Overview
A short introduction to the modification/creation of vehicle skins
Introduction

The intention of this Tutorial is to show you the modification of existing vehicles skins. The Tutorial is structured in several chapters with different topics. It will demonstrate step by step to do the modfication or creation of a custom made skin. In this tutorial it will be the modification of the yellow SdKfz 251 to a camouflaged Vehicle with a simple broad stripe scheme presented. It will show the application of the scheme, the detailling process and the aging.
You should be familiar with graphic programmes, layers, opacities and other basics.
Working parallel
Its recommended to work with an active editor parallel to the graphic-programme.If you add files during a running editor it is needed to restart the programme. If you simply edit a existing skin, you just have to load an new map to check your results. In my working process i prefer to produce two identical working maps and work only in f2 mode. So you avoid the clicking through load map, load mission etc.
You have questions? Post them below.
Conditions
What do i need for editing existing skins?
This tutorial is based on the work with Adobe Photoshop. Similar Results can be reached with Gimp or other graphic programmes but will not be presented in this tutorial.
The needed Plug-In for the editing and saving of DDS Files, the used type for Skins in MOWAS2 is available at:
NVIDIA Texture Tools for Adobe Photoshop [developer.nvidia.com]
This Plug-In is essential !!!
You have to check the options of the Plug-In during the saving-step. On the left upper corner has to be activated a preset with an alpha channel! In my case i use the option
“DXT1 ARGB 4 bpp | 1 bit alpha”
The Alpha Channel is responsible for transparency (for example Tires, Hatches etc.)
Also available for special effects are different kind of brushes for the simulation of scratches, rough paintbrushes or drops.
Folderstructure and relevant files
Location
The files for Vehiclestextures are located in the pak-files. For the Game itself are the files located in the compressed Pak-File. The path to the concerned File in the Maingame:
in this Archive you will find the folder
the vehicles are structured in
- airborne (planes)
- btr (halftrack, apc etc.)
- cannon (arty, AT-guns, etc.)
- car (trucks, Motorcycles etc.)
- marine (ships)
- light tanks
- medium tanks
- heavy tanks
- train
Some models could be found in
Men of War Assault Squad 2/resource/texture.pak/texture/common/model too. Here are also located the track and wheel textures. So if dont want the standard wheel or track it is needed to produce a corresponding file for your skin (*#xxx.dds).
Three Files
One Set of a Skin consist of three files. The actual texture, the texture for the damaged vehicle and for the burned vehicle. The damage/burned files could be found in the seperate “x” folder. Below examples, here for the SdKfz251 in grey (Vanilla), for the syntax of the naming:
- SdKfz251D.dds
- SdKfz251D_x.dds
- SdKfz251D_xx.dds

Furthermore are included textures for the different seasons/zones. In the case of the SdKfz 251 and for the other is mostly in use
- SdKfz251D#1.dds for snowcamo
- Sdkfz251D#2.dds for three-tone-camo
- SdKfz251D#d.dds for the desert scheme
The ending could also be used for the own naming. The # is essential to divide the Texture and forgive no typos. Note that the damage texture for the desert-texture would be
SdKfz251_x#d. So dont swap the namecomponents!
Producing a simple three tone scheme

Identifiying the relevant areas.
The Texturefile is a compressed “picture” of all needed textures. You find from the Head of a bolt to the rim of the tire every texture in this picture “stacked” together. Every space is used to keep the file small in size.
Example of the Sdfz251#d.dds

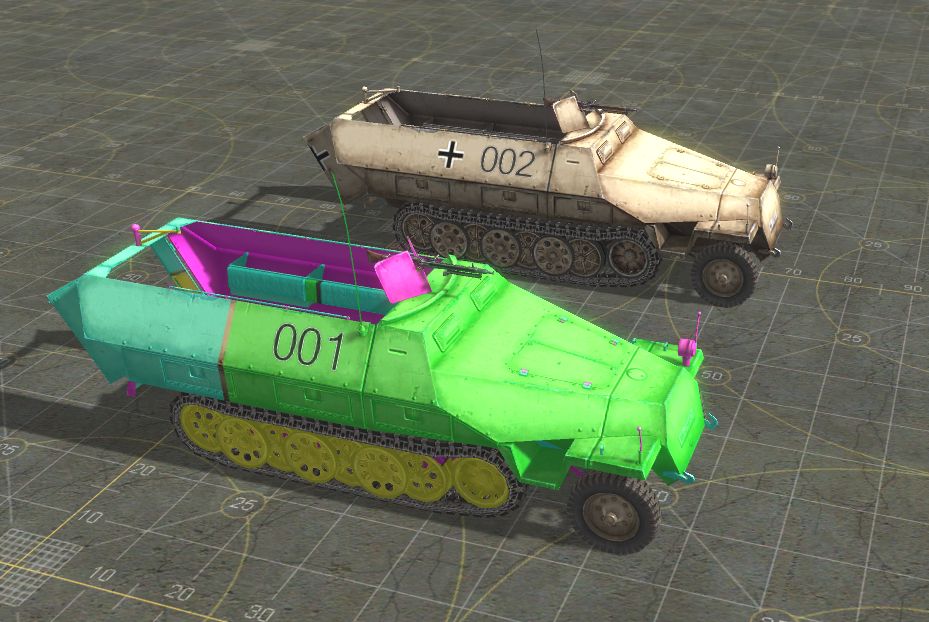
Some are fast identified some are not visible on the first look. So its sometimes helpful to have a closer look on the model itself in the editor (clip function). Some textures are also multiple used so is for example the side of the BT-5 turret is also used for texturing the back of the turret. Another issue is the reflection of one texture. This is for example in use for the trackcovers of the Pz III. These fact must be keept in mind when its up to producing complex patterns. If its not possible to identify a certain part so is the coloring of entire areas of the texture with a “signal”-color recommended, this helps to delimit the area and identify the wanted part. in the example below with just four “levels” have a transparency of 60%.
More effective are number tables in connection with color codes. Below just a simple sample. Colors, Font and spacing is up to you.
To identify the parts, which have to be camouflaged it is also neccessary to take a look at the name#d2.dds. Here you see fast what part are relevant.


Layers
In the editing process is it reasonable to work with layers. One reason is the obvious advantage of reverting paint-mistakes without harming the original. The second is based in the detailling step. Every details like bolts, gaps, hatches, windows or slits must be restored after the application of the painting (Goo-Effect). The real coloring should be done with 0% transparency. This makes it simplier to work with the colors and avoid irritations. After finish the scheme a change of transparency to 50-70% produce in most cases a satisfactory result.
Two ways
Method 1
You can work right in the texture with a second layer. For example striped and complex schemes. This is recommended in the work with sloped areas too and you work free-hand in creating complex schemes. The disadvantage is that you produce a scheme which only could be used for this certain vehicle.
Step 1
Adding the stripes. In this case two stripes of brown and green with a 23px brush with egde sharpness of 23%. Dont worry about painting over the borders. You working in a seperate layer and nothing will get lost.
Step 2
Cleaning the “borders” in relation to the skin below. Its recommended to add transparency (here 60%) to the layer, so you you see what you delete and get a first feel about the final transparency.
Step 3
Cleaning and fighting the goo-effect
With the added transparency you have a first visible result. But a closer look will show that several details are lost. The gaps of the storagecovers and the edge damage on the top are colored too.

Now its up to restore all the gaps, details and damages. With a small brush you delete all the areas and bring back details. In this case the gaps of the storagecovers, the gap of the upper and lower armorplate and the blank metal on the edgedamage. The lower area seems a little bit darker too. So here we erase with light opacity to dark a little bit that area.
and some additional scratches and a small addition of a distortionfilter (1%)
and in the editor it looks like that


This is a real simple example of an non-complex scheme. You can play with different brushes and effects, sensitivity, strength and dublicated layers. Every thing produces other results and looks.

- Blurred motion
- Granulation
- Blur
- original scheme
Method 2
Or you can just add a pattern with a seperate layer. This is practicable when its up to patch-schemes. But you have to check this carefully. This method could produce distorted textures caused by textures in the skin which could be increased by the game. For example the hullside of the BT5 is strongly scaled down in the texturefile. This work only limited. So method 1 deliever better results but is more time consuming.
Selection and removing of pattern and painted areas in method 2 could be easier by using the background, selecting the black areas and switch back to the actual scheme layer. Now are you able to erase fast the superflous colored areas.

A battelworn vehicle without scratches, dirt or small variations in the colors are not compellingly unrealistic. A brand new vehicle right from the factory could also be realistic. It depends on the time the vehicle was in the field. This depends on the mission and the story you wanna spin.
A lot of impressions, inspirations and examples could be found on scale modelling newsgroups and forums. You can find some links in the last chapter. Check there the galleries which almost are searchable for the different types of vehicles and offer most of the time additional information to origin and time of the certain style.
Detailling the textures – Tipps
- worn handles
- chipped color at hatches and egdes
- scratches on the flanks caused by vegetation and collisions
- splashes of mud,dirt, dust
Snow Camouflage

German Panzer IV with “perfect white” Snow-Camouflage, behind Pz III with distorting stripes
This Chapter will provide some tipps about snowcamouflage. a brand new camouflaged vehicle in early winter will have an covering detailled snowcamo. Time play also a role. As the german wehrmacht was “suprised” by the winter in december 1941, white chalk or other white fluids were in use for hasty first painting actions. A Vehicle in spring after rain, mud and hundreds of mounting movements of the crew will present a completely different look. Insignia like the “Balkenkreuz”, regimental signs and number plates were seldom camouflaged too. So keep that in mind by put on the “white wash” on the vehicle. Crews didnt want to paint these again after removing the paint or add a new camo on it.

- Vanilla Snow Camo
- light shining through
- strong worn off edges
- only rest of camo and a little bit of rust

- Brush with light opacity
- small sponge
- squiggle by hand
- brushes different sizes and opacities

- Big sponge
- large scratches
- vanilla
- highlighted areas no edges
Layers save time
You can work with one template and uncounted layers. For example the insignia, rust, dirt. This save time if you woking on one type of vehicle. For snow camo is one timesaving approach to apply the existing snow layer UNDER the orginal skin (copy) and work with the delete brush. You safe time, avoid the goo-effect and get good results.
Producing Damageskins
Damageskins could be easily produced by fading existing vanilla skins into the own created skin. That means adding an corresponding existing name_xx#*.dds into the own as a new layer and work this transparency and deleting until the result is satisfactory. This is a very cheap and time saving method.
Commonly mistakes
Some mistakes result from rush or inadequate research. All these listed mistakes prevent the skin of a good finish.
Goo Effect
The mistake of patching up the details. This happens by applicate the texture without considering the layer below and covering the details. This also is valid in the case of missing transparency of the layer.
Transition Error
The misfits of parts. This is for example the transition between track-cover and hull. The misfits produce a sharp line and attract attention independent of the complexity of the pattern. The proper transition between turret and hull (12 o’clock position) is also a must for a good skin.
rework needed, the hinges of the engine cover need also coloring

Camouflage exaggerated
Keep in mind what parts of the vehicles should be painted or camouflaged. Camouflage was not always applicated on the interior, on switches, lamps, tyres or antennas. The application of snow camo was also in reality a ungrateful job for the crew because it meant to paste color on your vehicle. The interior of snow camouflaged open top vehicles was not always white as the rest.
Gallery, Credits and Links
Below you can see some Examples of Asurekas fine Cannons and Pantherskins and some of my humble work. Sorry about the self praise…


Asurekas 8,8cm Flak in different schemes

This Guide is a living document. Its lives from review, suggestions and experiences. So please comment below and ask your questions.
Links to modelling sites:
Missing Lynx[www.missing-lynx.com] extraordinary modelling site with a huge gallery and painting guides
Credits
Many thanks to Asureka who came up with some amendments and ideas. Check out his skin pack!
[link]
Many thanks to Amanda Litz for correcting my text.