Overview
Welcome to Vermintide 2! This guide is written with players completely new to the Vermintide series in mind. Hopefully this guide will allow you to understand all the basics of the items, weapons, and UI. There won’t but much in the way of gameplay tactics, but hopefully more of that type of guide will pop up as time goes on, and if you’re particularly desperate you can check out the community guides for Vermintide 1.
Basic actions
If you play the Prologue of the game, you will learn several basics of combat, but some of the lessons are incomplete.
- Move with WASD
- Attack with left click.
- Block with right click.
Blocking consumes stamina. Certain strong attacks are unblockable (specifically downard pound attacks from bosses), or else will instantly deplete all your stamina. - Jump with Space
- Dodge with Space + direction.
Many players suggest binding dodge to a seperate button like Shift, because otherwise you might dodge while attempting to retreat backwards. Dodging will move you quickly to the side or backwards, but you cannot dodge backwards. You can sidestep many enemy attacks, and this is a fundamental concept in more advanced melee combat. - Use Character Ability with F.
There is a purple-colored meter that will fill up over time and as you take damage. When it fills completely a soft sound effect will play, and the meter will begin to glow. Every character and career has a different ability with different effects and applications. - # keys 1~5 to select your items.
1: primary weapon
2: secondary weapon
3: healing item
4: support potion
5: bomb - Shove by pressing left click while blocking. Most weapons will activate a special push-attack with unique properties if you hold left click.
- E button to pick up items, interact with certain objects, and revive down teammates. One important thing the game does not teach you directly is that you can block before reviving in order to block attacks during the revival process to avoid being interrupted.
Iten Pick-ups and their effects
While progressing through mission maps, you will happen upon items outlined in white, and you can pick them up with the E key.
- Healing items
-Bandages: these items are used by holding left click to heal yourself, or right click to heal another player that you are looking at.
-Healing Draught: these items are used after a short drinking animation upon left click, or given to another player with an empty healing item slot upon right click. - Support potions
-Speed potion (blue): these potions will buff your move and attack speed for a short time.
-Strength potion (yellow): these potions will increase your damage and help your attacks penetrate armor for a short time.
-Concentration potion (purple): these potions will cause your ability meter to fill up quickly for a short time. - Bombs
-Explosive bombs (Round): These bombs cause a large explosion on impact, and will stagger enemies that are not killed by the blast, including bosses. This is particularly useful for creating space or interrupting tough enemies.
-Fire bombs (Conical): These bombs will carpet the impact area with fire for a short time. Particlularly effective against large hordes. - Books
-Tomes: These items occupy the healing slot. Carrying one of these to the end of the map will increase the completion reward. You can still pick up and and swap healing items for tomes. Maps will typically have up to 3 tomes.
-Grimoires: These items occupy the support potion slot, and “curse” the entire party upon acquisition, reducing maximum HP. Unlike Tomes, you cannot swap these out for potions, and can only remove them from your slot by equipping them and left-clicking, which will permanently destroy the Grimoire. Carrying a Grimoire incurs a heavier penalty than a Tome, but in exchange the reward for completing a mission with these in your posession is much greater. - Barrels: when struck once, these barrels light a fuse, and can be tossed with Left Click. When struck a second time, or when the fuse expires, they will detonate.
-Explosive barrel (wooden)
-Fire barrel (metal)
Enemy types
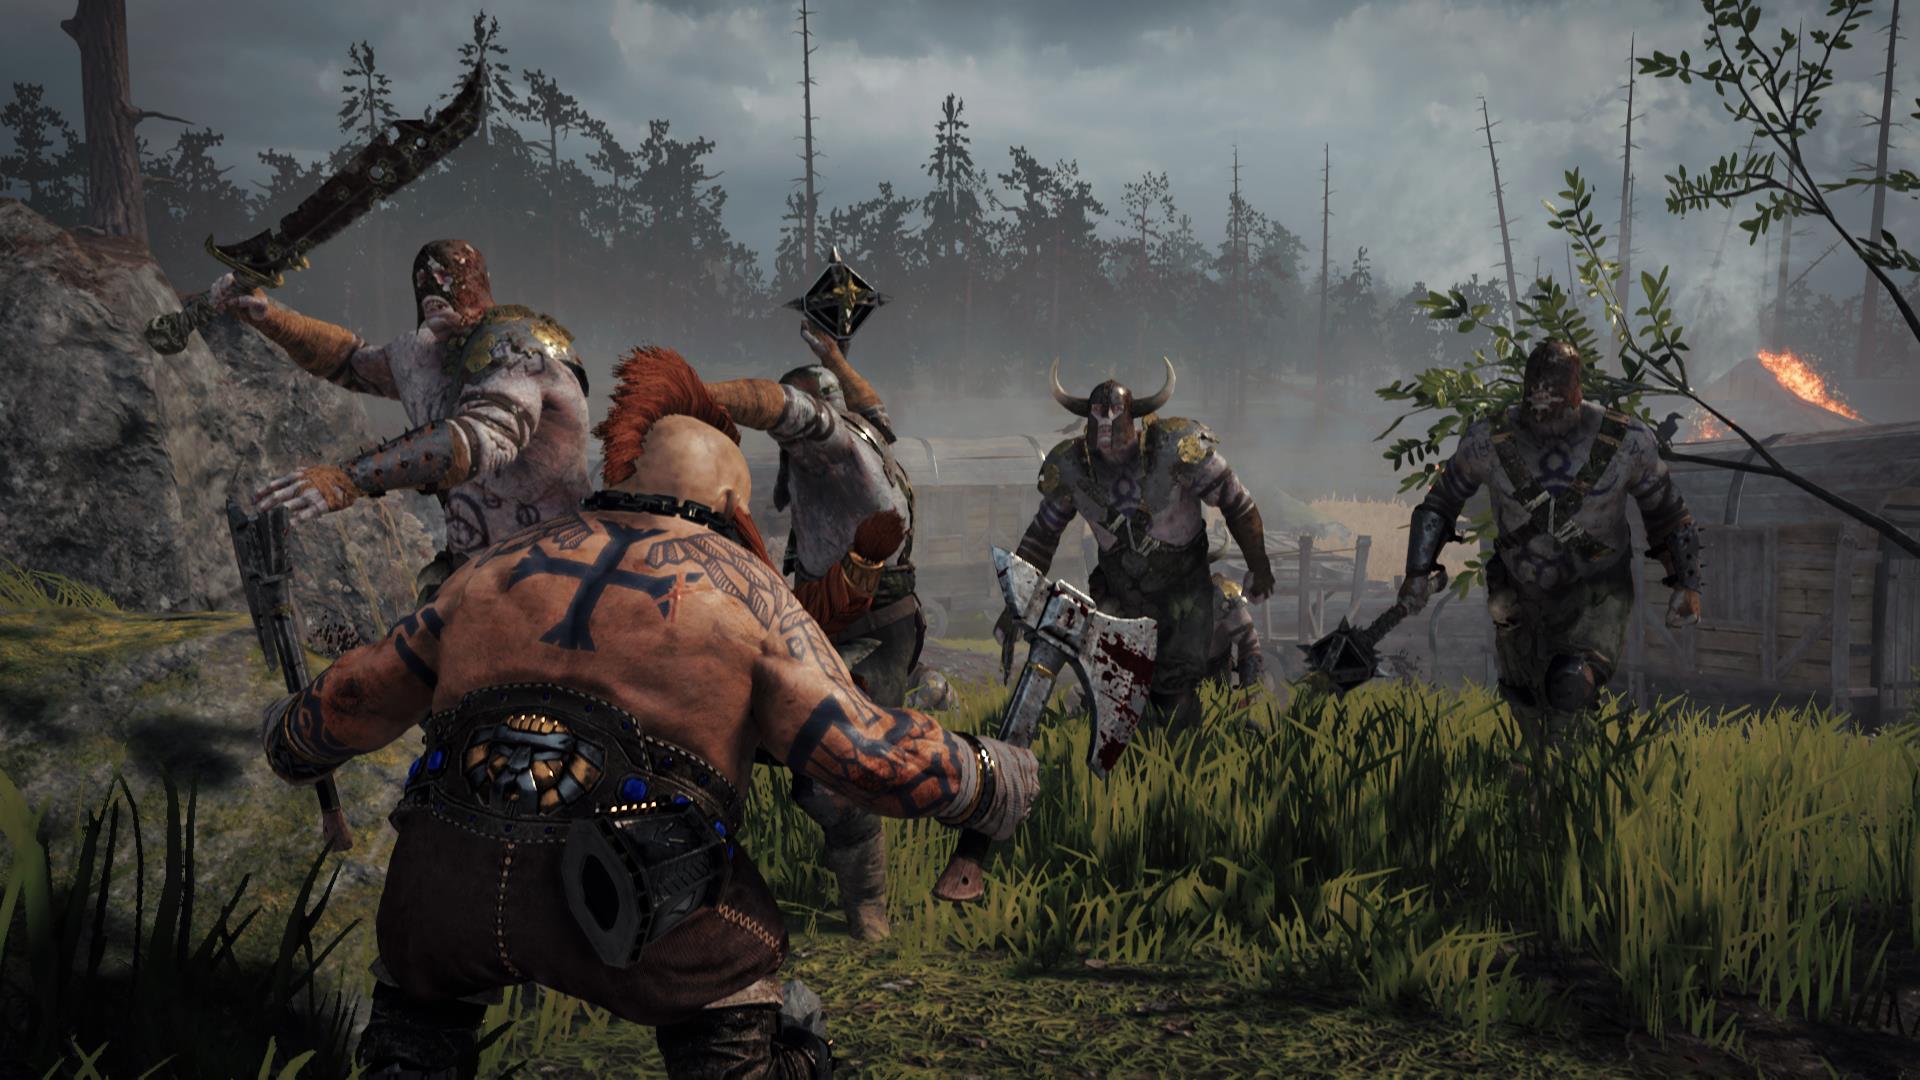
There are different types of enemeis, and the variety is quite vast compared to Vermintide 1. Knowing the basics of how to deal with the types of enemeis in general will be vital to survival. Marking particularly dangerous enemies will help your team to focus them down before they deal too much damage to your party. As a general rule, the Vermin/Rats are less threatening than the Chaos/Barbarians.
- Grunts
-Smaller clan/slave rats and barbarians, they make up the meat of most hordes, and are easy to kill and cleave. - Shield grunts
-These enemies resemble grunts, but carry small round shields. They can be troublesome to kill quickly, and when scattered into hordes, they prevent attacks from cleaving, making it difficult to control the crowds with melee attacks. - Armored units
Enemies at this tier and above are marked when pinged.
-Stormvermin and helmed barbarians, these are one tier up from grunts, most normal attacks will be deflected by their armored parts. They generally carry heavier 2-handed weapons and have attacks that are difficult to interrupt and will remove large chunks of HP if not blocked or dodged. There are varieties of Stormvermin that have shields, and are generally much more resilient than other shielded enemies. - Chaos Warriors
-These enemies are towering soldiers in full plate armor. Their entire bodies will deflect conventional attacks, including headshots. Only strong, charged attacks will deal damage to them. They are hardier than stormvermin and barbarians, but have a similar moveset. - Berserkers/Monks
-Both varieties dual-wield weapons, the barbarians being topless and holding axes, and the rat monks wearing green robes. They will dash at the heros screaming loudly and unleash a barrage of attacks that cannot be interrupted by normal attacks. These enemies can deal a large amount of damage in a short time if the targeted hero does not block. - Specials/Disablers
-Gas-rat: This enemy emits a hissing sound, and will toss orbs of acidic poison in volleys of 2. These orbs can deal damage when contacting a hero, and will create a puddle on the ground where it lands, dealing damage to any hero that steps into the affected area. When lightly damage, it will charge the nearest hero and self-destruct, dealing heavy damage.
This category of enemy is particularly dangerous because they can disable one or more of your party members until they are rescued
-Hookrat: has a distinctive wheezing laugh/mutter when it spawns. Will run up to the heros, typically during a horde, and clap a barbed noose on one of them and slowly drag them away. The captive hero can be damaged by other enemies in this state, and when downed, the hero will be hung up to dry, and the hookrat will run off to retrieve another noose.
-Assassin: Has a distinctive chittering when stalking the heros. When it sees a good line of sight, it will leap long distances and disable a hero by pouncing on them. This enemy backflips repeatedly when struck, and if given the chance, will disappear in a puff of smoke, making it sometimes difficult to slay.
-Blight Stormer: This is one of the most dangerous enemies in Vermintide 2. This slow-moving wizard will chant while approaching the heros, and will either grab a hero with a magic spell or conjure a small tornado nearby, indicated by a green circle on the ground, and a wisp of green wind pointing towards him. This enemy will teleport in order to close distance, or when damaged, and the tornado he summons will constantly move towards a targeted hero until he is slain. The tornado will briefly incapacitate anything that gets sucked in, including grunt enemies, tossing them some distance away and dealing some damage. - Bosses
Bosses have several types of attacks: signature moves, downward slams that cannot be blocked, barrage attacks that can be blocked, and swipes that can be blocked, but knock away.
-Rat Ogre
An original monster from Vermintide 1, it has a new barrage attack that must be blocked, in addition to its hammer attacks that cannot be blocked, and smack attacks that will knock heros away even when blocked. The simplest of the bosses, and a good introduction to their unique attack properties.
-Firestorm Ogre
This monster has some armor on the front, and an exposed back., with a flamethrower attached to either arm. The fire will scorch the ground and any hero, dealing DOT to any that pass through it. When struck in close quarters, it has a swipe attack of its own.
-Troll
This monster has a projectile vomit attack that deals damage and drains stamina, and a large axe that deals a lot of damage. When damaged enough, the troll will collapse for a short time and gain a small amount of temporary HP. When it stands again, the temporary HP that is not depleted by attacks will become permanent HP.
-Chaos Spawn
This monster attacks aggressively using both downward slams and barrages. however, it can also perform a grab attack on a hero, allowing it to regain some HP by chewing on its target, and then tossing it about. Teammates much be wary, as the toss will deal damage to other heros struck by it.