Overview
A basic historical overview of Warsaw Pact technologies, capability, war plans, and how it can be utilized in game.
Background: The USSR, the Warsaw Pact and NATO
To understand the military thinking of the Warsaw Pact, one has to go back and look at their primary motivators and influences. In particular, it requires an in depth look at the USSR which served as an armory and as an instructor for Warsaw Pact militaries. The weapons were designed to serve Soviet purposes and adress Soviet capibilities and deficiencies. Thus even when playing non-Soviet Pact nations it is important to understand the basics of the Soviet mindset and history.
The History of the USSR
Rise
The nation most responsible for their weapons, tactics, and doctrine was the Union of Soviet Socialist Republics, which had risen from the ashes of Tsarist Russia in 1918. In doing so, it automatically took on several distinctly Russian ways of thinking – including a pathological fear of invasion, a mistrust of powerful neighbors, and Catherine the Great’s admonishment that stable borders for Russia were impossible. These lessons were then hammered in by the immediate invasion of Russia by the Allies of the First World War, primarily America and England, who strove to restore the original Russian government while silencing the specter that was international Communism before it could grow.
The effort failed, and gradually the Western troops trickled home; The Czechoslovak Legions returned to their newly founded homeland, the English fighters flew back to their island, and the last remnants of the White Russian force were expunged. The USSR remained, a sulky international pariah nursing a sense of victimhood, all the while growing as it absorbed the former Imperial holdings.
The Second World War
The Great Patriotic War is in many ways a catalyst for the ideas encapsulated in this guide; it pushed the Soviets into a far more aggressive stance. Here was confirmation of Catherine’s tennets: the Russian border was not defensible and inherently unstable. Thus, the enemy could not be allowed to reach it. Soviet doctrine from this point on became aggressive rather than defensive, focused on advancing and siezing ground. At the same time, it underwent a radical transformation as it absorbed German military tactics and ideas. Deep battle was augmented by Blitzkrieg. Mobile motorized infantry in support of hard-charging speedy tanks became the norm. These influences and ideas would become increasingly apparent in their vehicle and weapon design.
Post-WWII
The end of the Second World War drew new front lines, dividing the East and West and setting the stage for the Cold War. Poland was immediately taken over as Communist. Yugoslavia’s Red Partisans under Tito fought their way to national leadership. Czechoslovakia and Hungary, though nominaly democratic, would end up falling under Communist rule within a few years as their fledgeling Communist parties existed with total control over the state’s security apparatus and secret police. The USSR had gained an all-important buffer between itself and the West, but distrust remained. Within a decade, the Western nations of Europe and the United States formed NATO, a military alliance of the West. Interpreting this as a hostile move, the USSR gathered its buffer states together under one command and logistics structure in preparation for a cataslysmic clash of ideas and alliances. The Warsaw Pact had risen.

Doctrine: A Constant Evolution
“In the West, it has become common to deride Soviet style tactics as inferior and second rate. This is incorrect; Soviet tactics were different as the Soviet commanders had to solve very different tactical problems than those faced by the technology based NATO armies.”
This one sentance defines the purpose of this section. “Doctrine” speaks of generalities, while tactics are informed by this wider doctrine. To understand Soviet doctrine, we must first have a basic understanding of their resources and shortcomings.
The Soviet Military: Abilities and Limitations
Technology
If you have played Wargame, you have likely run into the inferior AA systems, shorter ranged tanks, less accurate rocketry and so on. You could thus be excused for thinking Soviet technology was inferior. Well, yes and no. The primary limiting factor for almost all Soviet industry and machinery were the men. Unlike the West, the Warsaw Pact depended on conscripts rather than volunteers. In addition, the vast majority of these would have been recruited from a small village and in all likelyhood never exposed to anything more complex then perhaps a tractor. Thus, the majority of Soviet gear had to be robust (as to survive with little to no maintenance), cheap (as the untrained conscripts may inadvertently break it) and easy to operate. There were exceptions, of course; the Soviet Navy and the VVS required a higher level of expertise, and used longer terms of service (five instead of two years) in addition to “lifers” or professionals (especially as pilots). Nevertheless, the Soviet military thinker had to acknowledge that their gear and their men would in all likelyhood be inferior to their direct counterpart. At the same time, the Soviet conscripts had numbers on their side as well as an even more important advantage: redundancy.

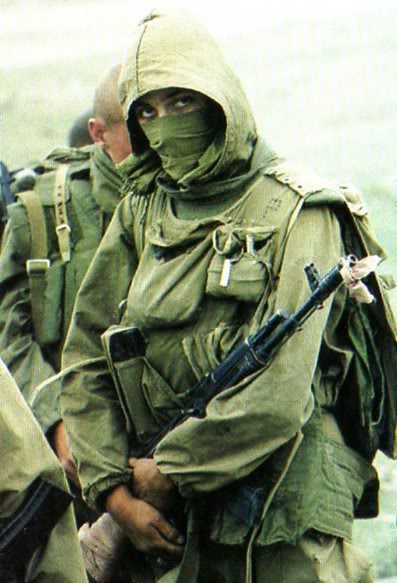
Infantry
The Soviet infantry, as previously discussed, has several limitations. However, it is important to distinguish between so called “A, B or C” class units. This will also come in important when discussing tanks. In essence, an A-class formation is at full-strength, has modern equipment and is manned by professional “lifers” or veterans. A B-class unit is lacking one of these: it can be equipped with sub-par gear, it can be fresh and untried, or it can be an A-class that took significant casualties. C-class formations are the reservists, the units with poor gear and training. These distinctions are important as there is a difference between an Army Spetsnaz unit (which has the best gear and training available to it), an Airborne shock unit, and an ordinary rilfe platoon. Assuming, however, that the motor-rifles are in the majority: the Soviet military thinker had to come up with a way of using them efficiently, as opposed to the mass slaughter of the Great Patriotic War.
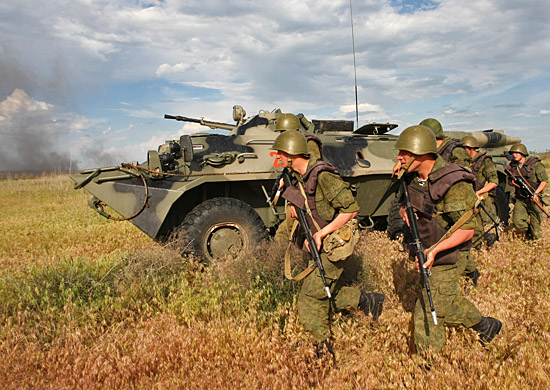
Armor
Again, the classification of units applies. Assuming a war in the Eighties or Nineties, only a few limited units would have access to a modern T-72 variant. Many would have inferior models, and even more would have older T-64 and T-55 tanks that would fast be losing relevance on the battlefield. Additionally, Soviet tanks would have technological limitations in terms of stabilization and optics. Thus they would have to be employed in a way that made this irrelevant.
Solutions and General Doctrine
The solution to these limitations was simple and brutal: an armored assault designed to fragment an enemy line and force a breakthrough. The thinking was that the USSR and other WP nations had numerical advantage – their limiting factor was the number of A-class units. If, however, an A-class unit managed to shatter the enemy front, C-class units suddenly gain in usefulness; a T-55 attacking a prepared position is ATGM-fodder. A platoon of T-55s tearing across the field behind your lines is hard to stop as there’s no prepared position waiting to kill it. Even once it has been killed, that platoon has succeeded in pushing the fight to the rear and more and more units will be pouring through that gap, shredding anything the enemy tosses at them to try and contain the breakthrough.
Tactics: Applying the Doctrine (Part One)
Warsaw Pact tactics ideally focused on the liberal application of the tank. Their ground support and helicopters were heavily armored as to provide close in support while under fire, and the motorized infantry was generally there to support the advance of tank formations as well as occupy any dangerous built-up or urban areas that might hide ATGMs. But it is the tank that should do the majority of the damage, and all Soviet tactics should revolve around supporting it.
Concentration
Concentration of fire is staggeringly important in terms of engagements. Russian units tend to have worse stabilizers and inferior range; a modernized T-72BU thrown up agains an M1A2 has about an even chance of coming out on top, but the tank to score the first hit will suddenly have overwhelming odds of scoring the kill as well. Two lesser T-72 models will therefore have the edge over that BU as they are more likely to hit and thus cause critical damage or panic the enemy crew.
Russian tactics are excellent at encouraging concentration of fire. Russians units had less artillery observers than western counter-parts, which encouraged Russian divisional commanders to use the maximum of artillery when a target was identified. Russian tactics are very clear about the value of positioning forces so the maximum number can engage the enemy at the same time.
Close to Contact

If a company was engaged at the range of a mile, then it would aim to be on the enemy position in three minutes if it was in column (i.e. not expecting to be hit by effective fire) or 2 minutes if already formed for an advance to contact. Russian units do not fire and manoeuvre at below company level (at least while in a mechanised battle). The second company would aim to be on the enemy position as soon as the tactical situation permitted e.g. 2-3 minute after the first company has reached the enemy position. On the battlefield it meant that defending enemy anti-tank guided missile launchers would get perhaps 2 missiles off, and hand held anti-tank weapons perhaps 1 or 2 before the battle was fought at point blank range.
In terms of Wargame, the rapid ‘close to contact’ minimises the NATO advantage in weaponry. Advantages, such as superior NATO weapon sights, matter little if tanks and AFVs are firing at targets at less than 200 metres.
Morale
By this I am referring to the morale of the actual players, not the simulated troops. The correct application of Russian tactics can undermine the morale of opponents. Setting up a Russian assault takes seconds; there is very little careful positioning or pre-planning to do, and you will be ready to go far faster than your opponent. In addtition, most players are uncomfortable being under constant assault. Russian tactics, especially after the initial breakthrough has been achieved, will put incredible stress on the enemy HQ and will pressure them into making poor decisions.
Example Assault (Steppe)

The basic Soviet solution was simple: they would advance on three axis, with a reserve behind. Which ever axis broke through first would become the main axis of advance and all support would be shifted to that axis.
The battle started with an artillery/ rocket/ mortar barrage reminiscent of the Somme. While NATO armies might carefully recce enemy positions or rely of calling in supporting fire as targets were required, we were a Russian army and we had little confidence in getting the necessary support quickly. We simply identified any likely positions overlooking the crossing points and hit them hard with Grads and napalm. Ideally, this artillery support should land just before armored units enter range so that any defenders lying in wait there are still stunned or panicked and unable to put up too much resistance.
As we entered the town on our left, it became obvious that the town was well defended. So, in line with Russian doctrine (Towns should be bypassed), infantry were debussed to engage in FIBUA, while the main column identified a gap in the defences, one street wide, and the battalion went straight through the town and out the other side… the defenders were shocked at being bypassed and their commander had what can only be described as ‘command paralysis’.
The NATO counter-attack hit our centre axis of advance. Our centre axis ground to a halt. rather than reinforce failure, the reserves switched to follow another axis. The divisional artillery support also switched to the other two successful axis.
Our advance was difficult to halt, as every time a main road was blocked, the advance switched to the next adjacent road. Russian policy was any road heading west would do (as they come from a country of poor roads).
At every possible opportunity, the Russian advance switched back to column formation for maximum speed. The speed reduced NATO support, as their mortar/ artillery positions had to move as they felt threatened by the speed of our advance.
Simply put, aggressive tactics on open ground pay off. The enemy is unlikely to begin a counterattack on the opposite flank – they will generally be too busy trying to stem the tide and re-establish something approaching a defensive line. An typical example of a good NATO tactic against an enemy advance is for NATO tanks to find positions where they can fire 1 shot at the attackers and then reverse quickly into cover. i.e. before the enemy can locate them and return fire. An equally cautious or NATO-minded player will then halt his advance and seek to snipe away as many tanks as possible before advancing. But as previously established, this is a fight that favors NATO. Don’t get bogged down. Your advance may cost you points advantage, but even in Destruction points are irrelevant. You will begin siezing zones and pressuring the enemy spawn, he will begin losing positionally, and at that point you can either sit back and eat whatever feeble counterattack he can scrape together or over-run his spawn outright.
Tactics: Applying the Doctrine (Part Two)
Example Assault (Grozny)

If you are making a city assault, that generally means you have no other choice; there is no angle of attack that can be taken without passing through a town or within range of it, and thus you need to over-run the town in order to let your armor begin the actual assault.
The first choice one must make is if they wish to keep and hold the town or merely neutralize a garrison for long enough to allow armor to blaze through. If you wish to hold the town for good, then it will become necessary to throw in better classes of units. This will in turn weaken your main thrusts, as you will be bringing in Army Spetznas, MorPech platoons and their fire support instead of additional tanks. If you merely wish to neutralize enemy tank killers, it is cheaper to merely throw in Motor-Rifles; they will in most probability not survive (especially in the enemy brings in additional troops or dedicated infantry killers), but they only need to buy time for your armor to push past the town.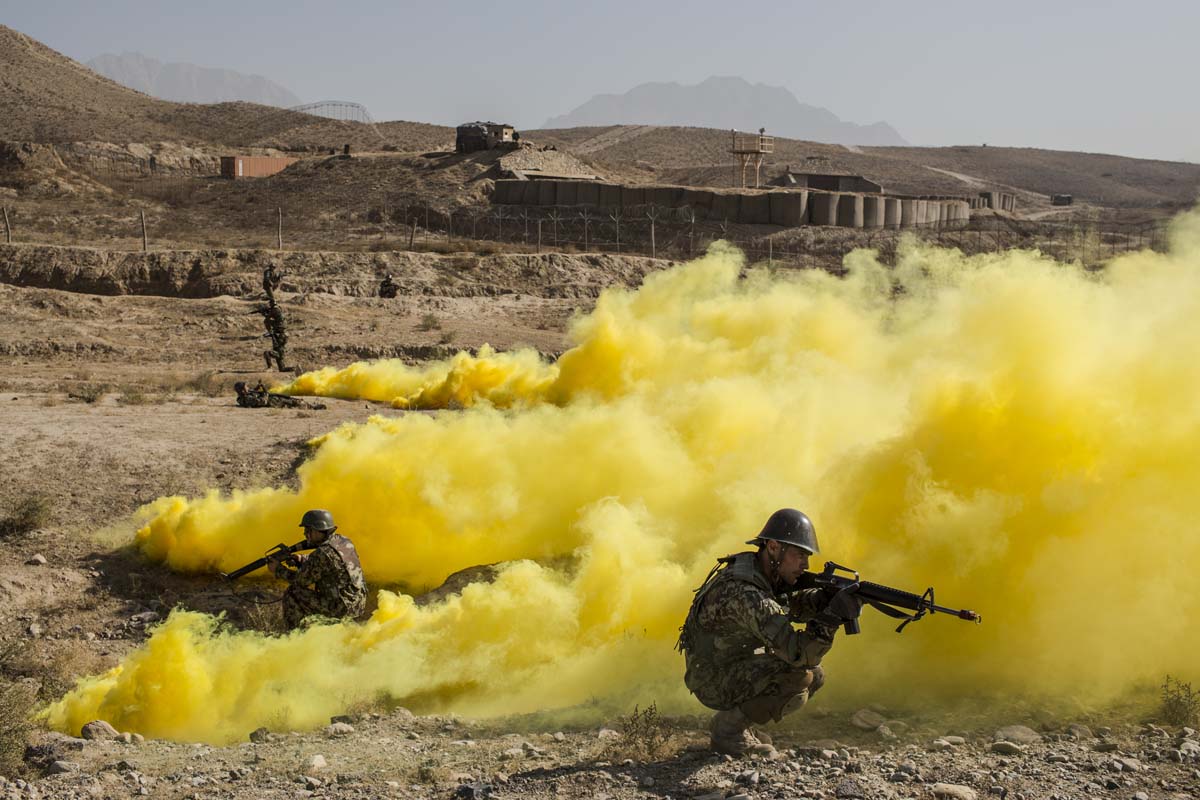
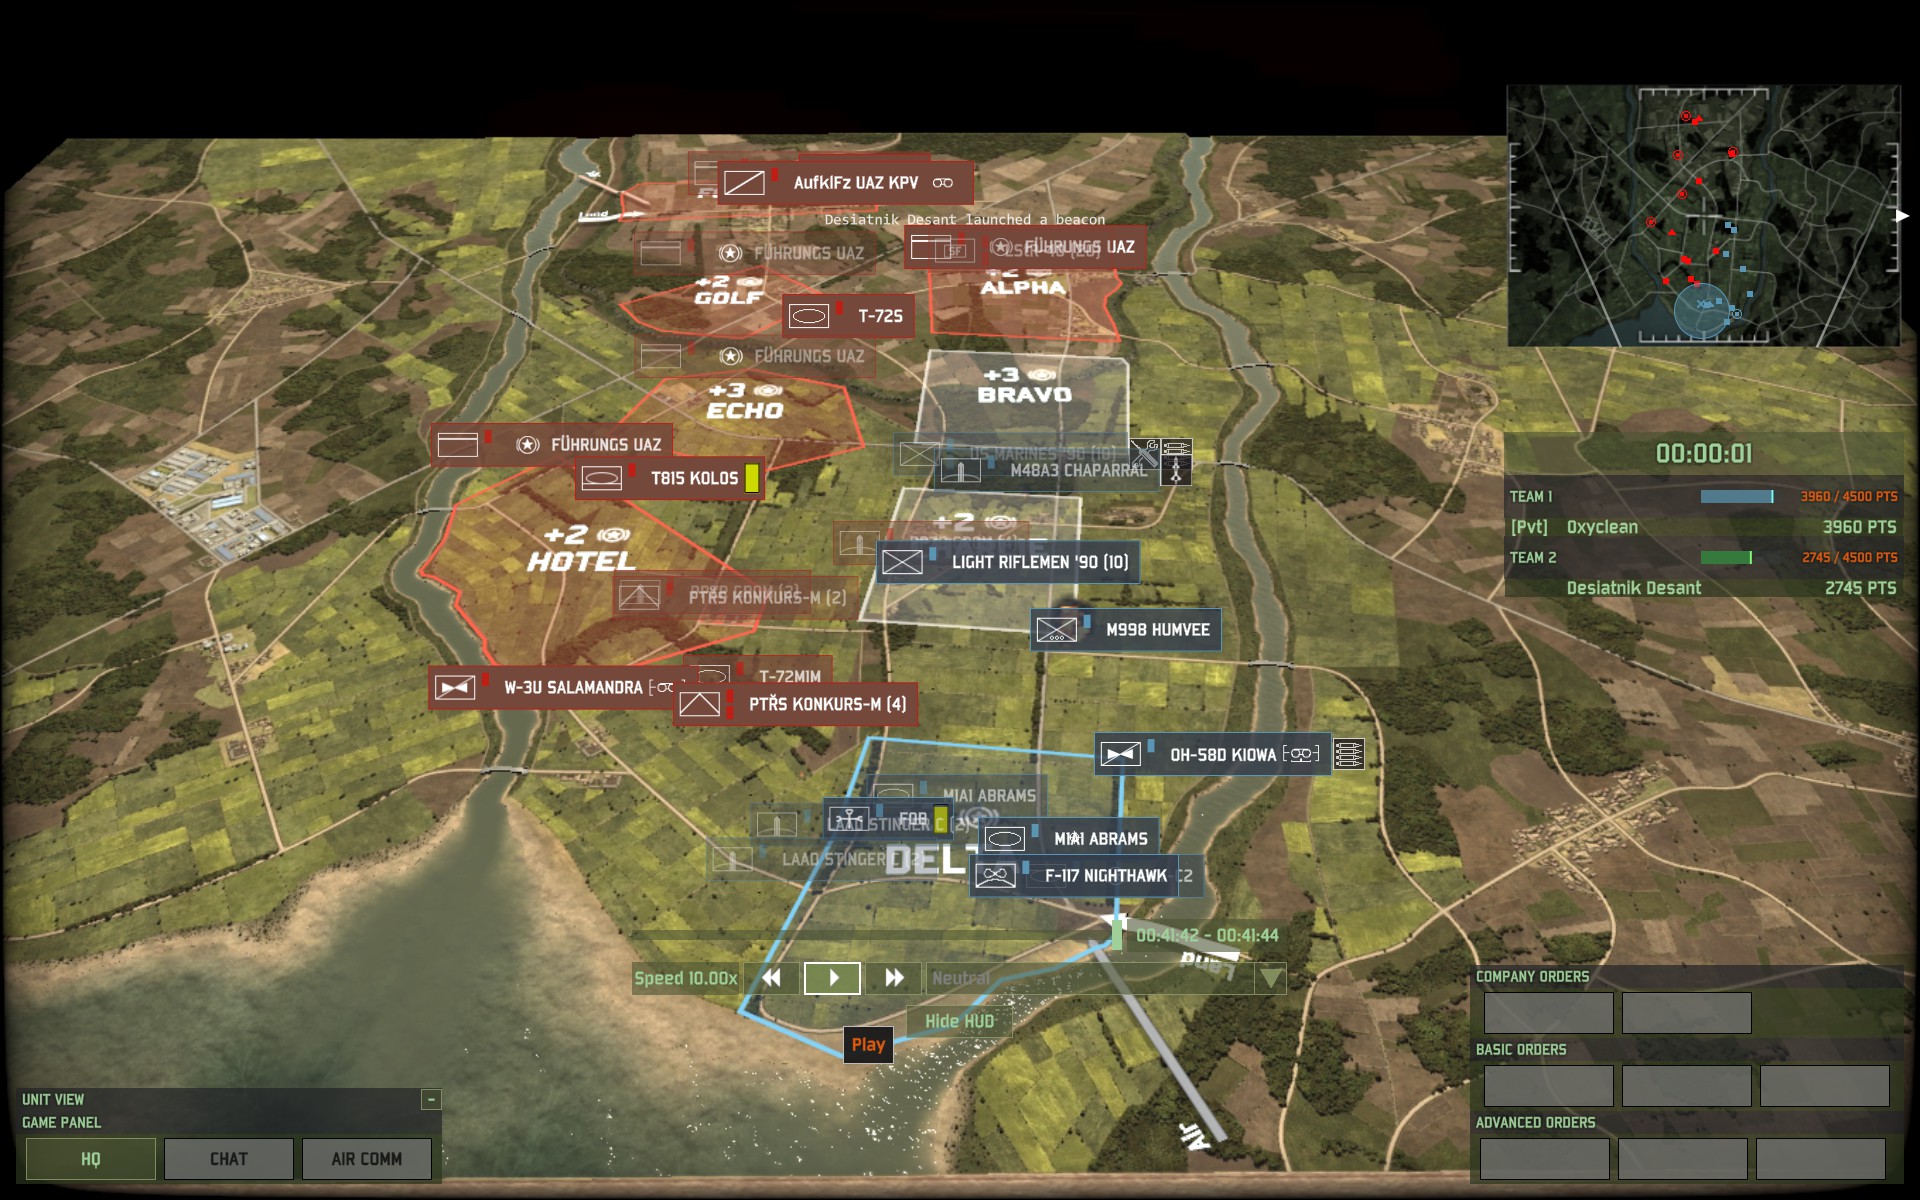
In-Game Example
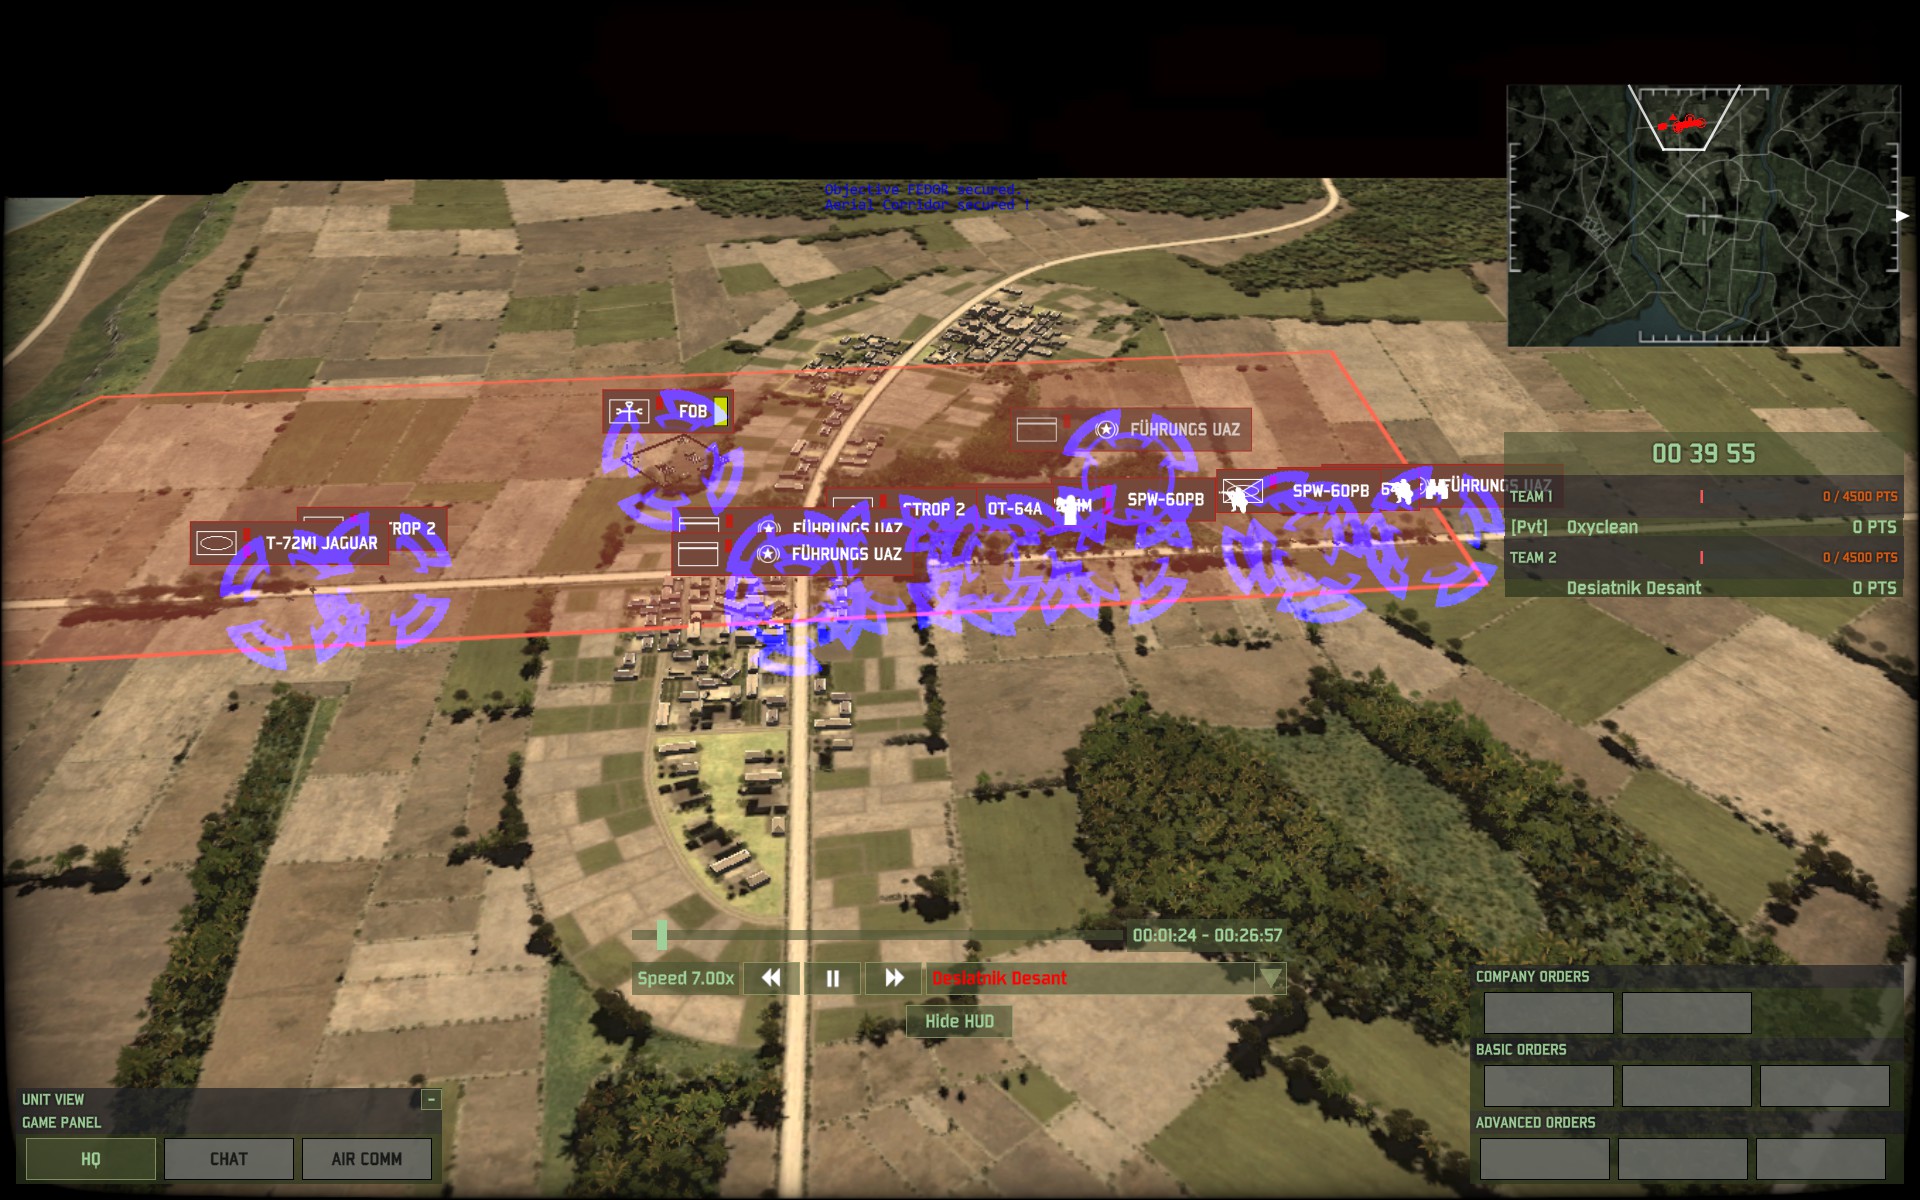
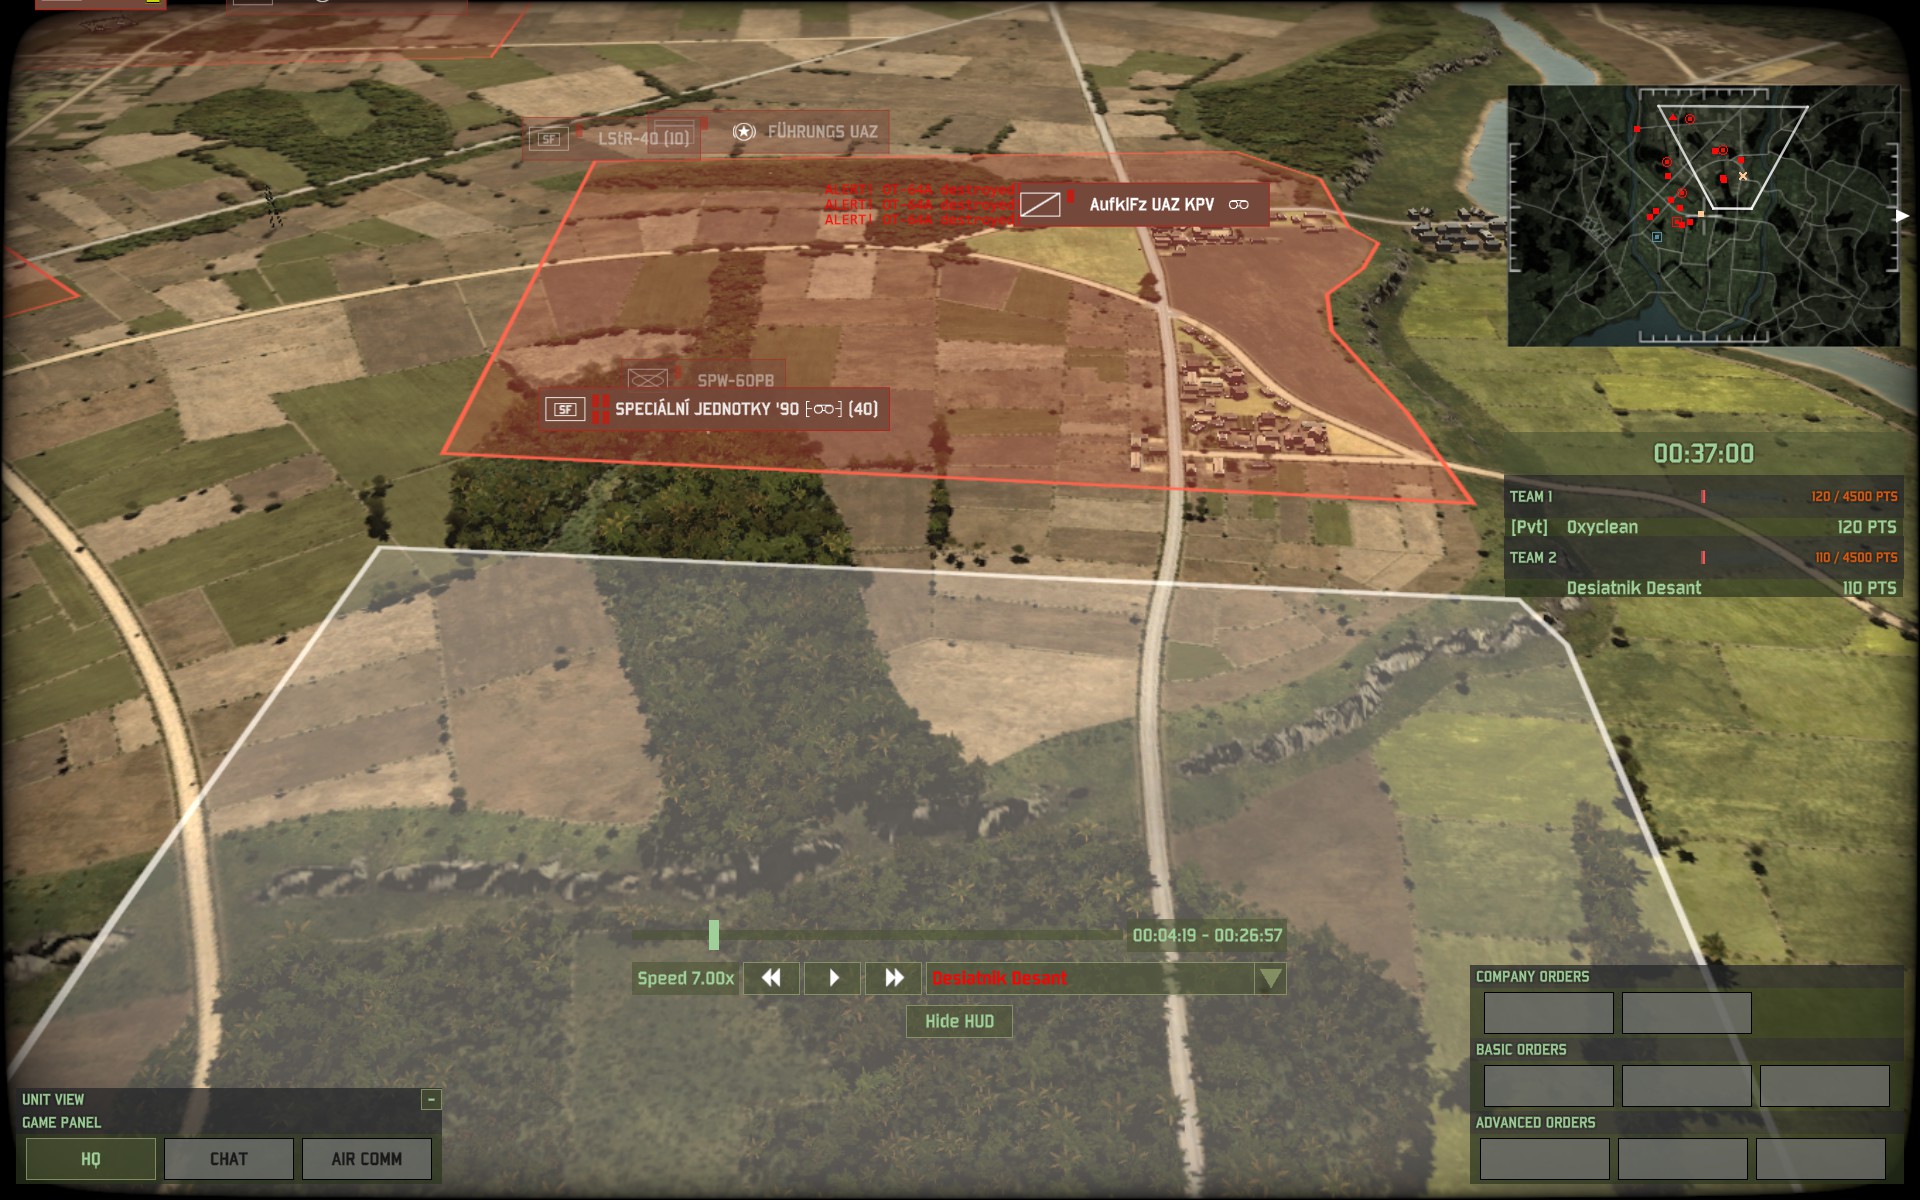
Deployment
This match illustrates most of the points I’ve made in this guide – including that the Soviet approach to war actually works. With regards to my initial set up: The far left (in-game from my perspective the far right) flank was formed by a T-72M1 pair backed up by a Strop 2 SPAAG. The primary thrust was to be made by three T-72MIM tanks, also supported by a Strop and some recon UAZs. The other flank was made up of two squads of LuftSturmRegiment 40 and a full platoon of Czechoslovak Red Berets. Their initial role was to tie down the patch of forest covering the right-hand side of the map – I had few dedicated anti-infantry units and needed to prevent a push on that side at all costs.
Initial Moves
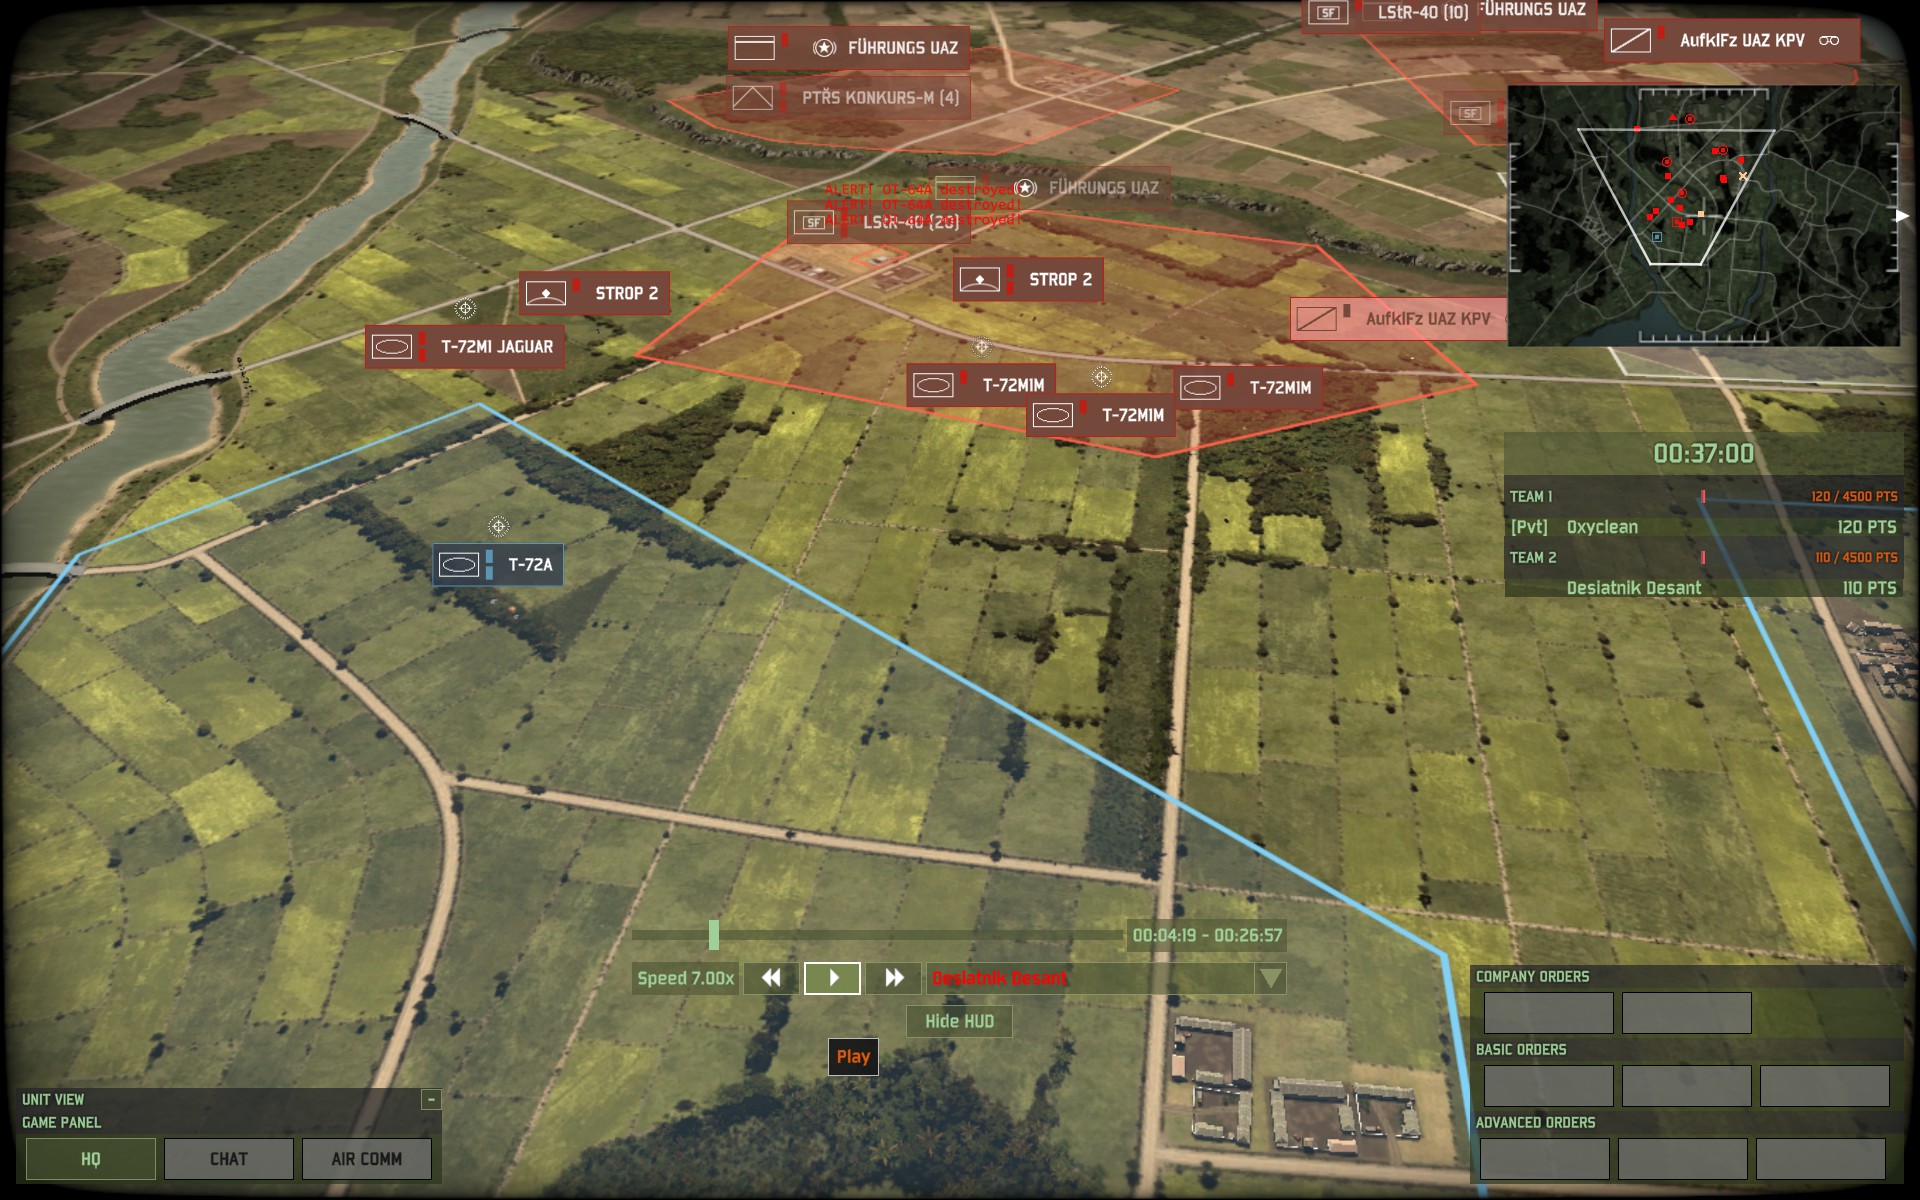
My first action was to completely tie down the right flank. I debussed my platoon of Red Berets, then somewhat wastefully fed their transports to the infantry occupying the forest. This served one significant purpose: it revealed to my opponent that there was in fact a hostile force occupying that patch of woods and forced him to pause and gather more forces before advancing. Intermittently throughout the game, I would toss in another transport which would instantly die but also spot units for a subsequent pass by a MiG-29 dropping thermobarics, conveniently delaying any offensives.
In the meantime, the center and left groups hit contact and split into a wider array. As the initial contact had melted, they continued pushing into the zone. The infantry groups following them began occupying clusters of houses, grabbing the territory my armor had just cleared and securing it from a sudden counterpush.
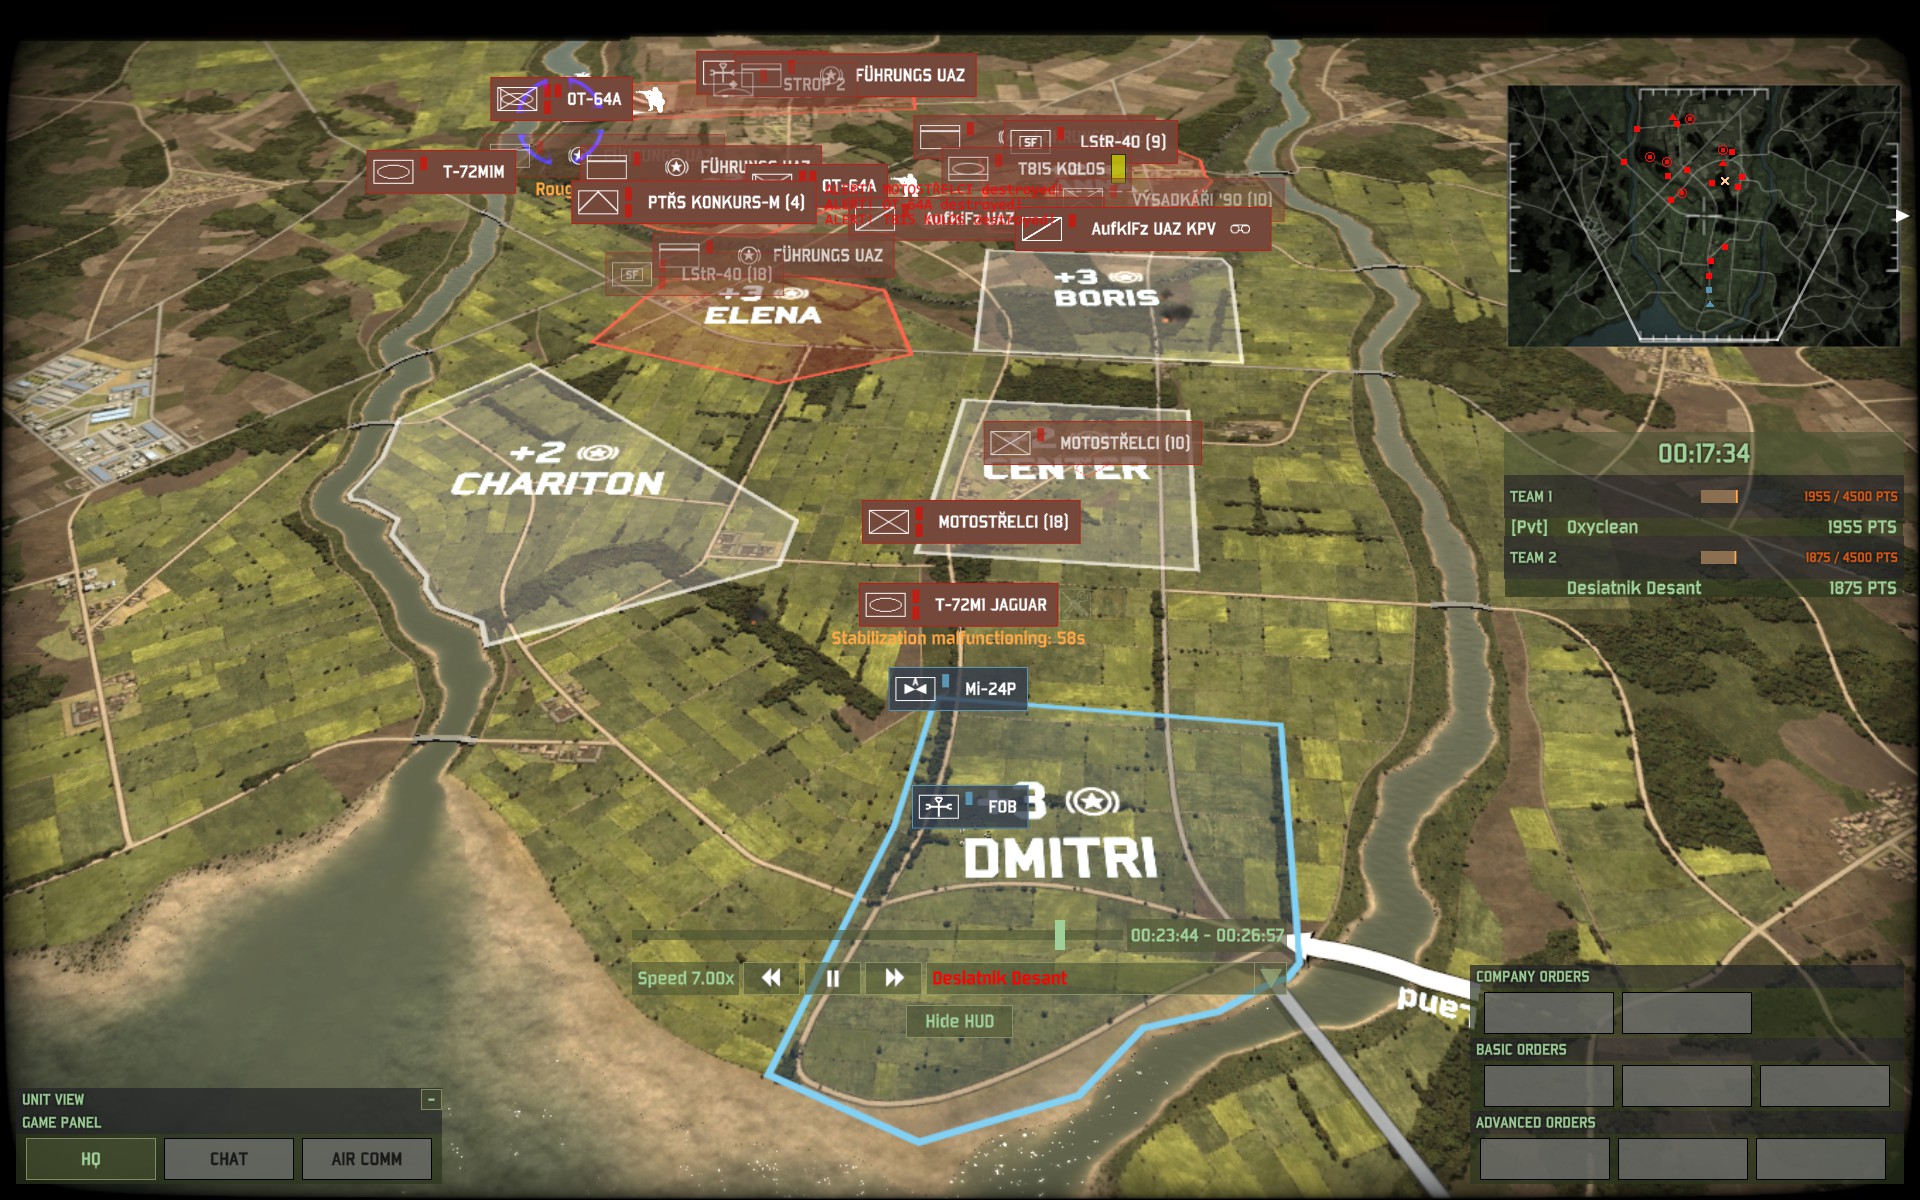
Endgame
Sometime later, after a protracted fight on the very border of his spawn, a set of lucky TOS Buratino salvos shattered by initial force and allowed him to start retaking ground. At that point, I simply switched gears and began rerouting reinforcements to the left while simultaniously pushing my Red Beret platoon into the woods. They died to the last man (mainly to yet another Buratino hit), but not before cleaning up the infantry forces and an enemy command unit lurking in the forests and tying them up while two platoons of Motor-Rifles jetted past and captured the town beyond the woods, immediately followed by two T-72M1s which both caught the fleeing enemy command but also penetrated all the way to his FOB even as reinforcements poured out.
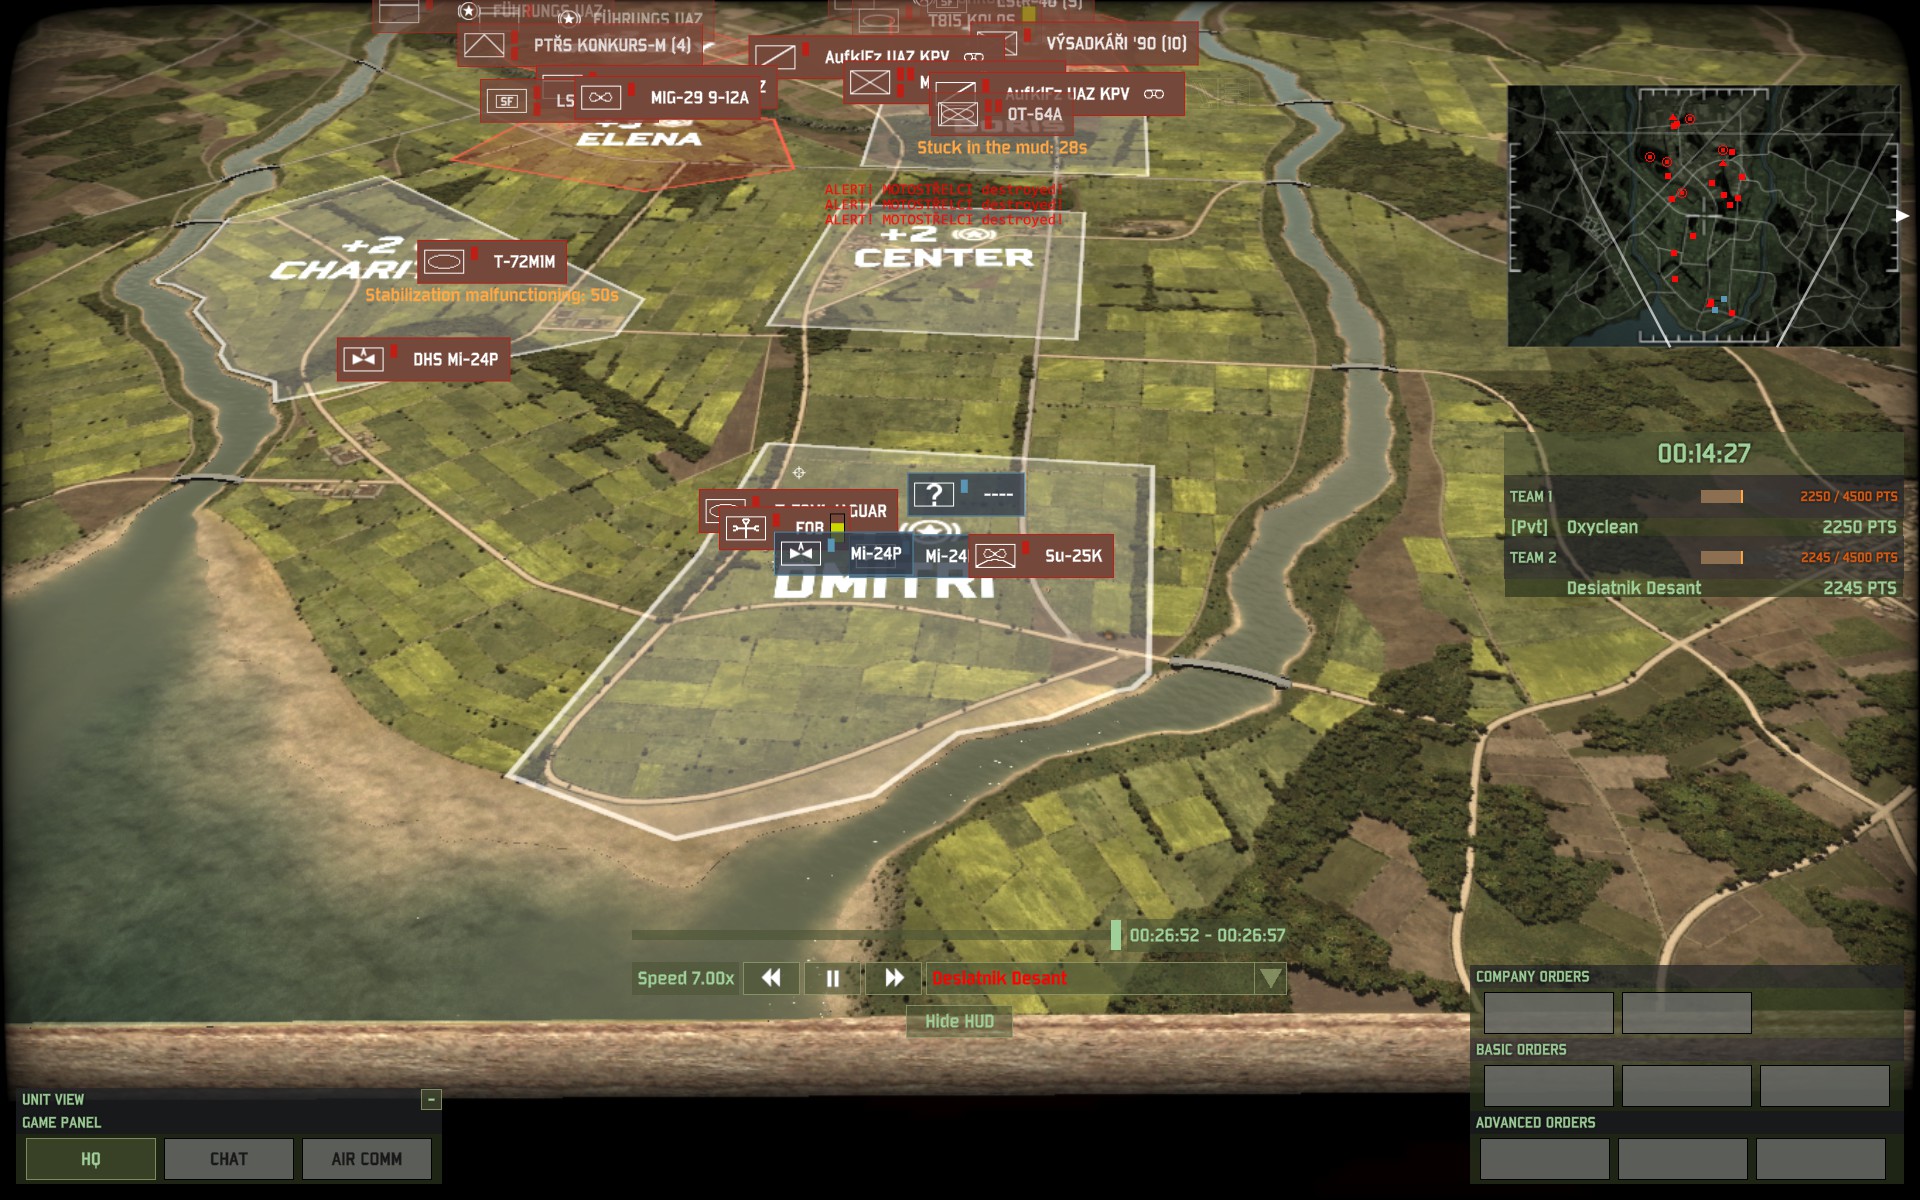
At this point all strategy went out of the window and I simply clicked all of my deploye tanks and infantry and told them to “Move Fast” to the enemy FOB. My one T-72M1 sat under the FOB, taking constant fire from eventually a pair of Mi-24 helicopters even as my remaining infantry moved up to try and back the tank up and another T-72MIM reclaimed the left side of the map.
At that point the game was over. A Su-25 pass killed another tank while coincidentially spotting the enemy command squad, which my last tank then obligingly removed from the pain of existence. In terms of points, I had very nearly lost. Very few of my units had lived from begining to end. However, one point is important to make: if you look at my initial deployment, it followed Soviet doctrine to the letter. My A-class units (T-72S tanks, LstR40 and Red Beret special forces, Su-25 ground-attack) pushed up first and shattered the enemy line, allowing the B-class (T-72MIM, MiG-29) and C-class (T-72M1, motostrelcy) to push through that new gap and do a lot of damage in the rear.
The Buratinos and command units are frail targets. They are coincidentially also quite expensive, unlike the cheap tanks, transports and conscripts I cheerfully fed into the meatgrinder until it jammed. Now granted, I probably would have lost by points if not for the fortunate fact that my aggression starved my opponent and severely limited the amount and quality of units he could throw back at me.


As a general disclaimer, I should probably point out that in a large part my success here was due to the fact that my opponent had simply not brought better tanks then some cheap T-72 variants. This does not mean that these tactics do not work on a better equipped enemy. However, better armor can significantly slow your advance, and can lead to some situation like the following heartbreaker:
The game had been brutal, but again I had almost over-run his spawn. Unfortunetely, thanks in large part to liberal application of F-117 and F-15 jets, he managed to stave off my assault long enough for the timer to run down. The result? A heartwrenching loss on points. The attacker will always take more casualties, and it is imperative that you overrun the enemy as soon as possible to avoid this sort of result.
Tying it Together
In the end, the main thing that will make or break a REDFOR assault is if you can catch your opponent on the back foot and keep him off balance. You can never let up the pressure – his units are for the most part superior in a one on one situation, have longer range, have better accuracy, and are capable killers. There are only a few seconds of rational thinking standing between this 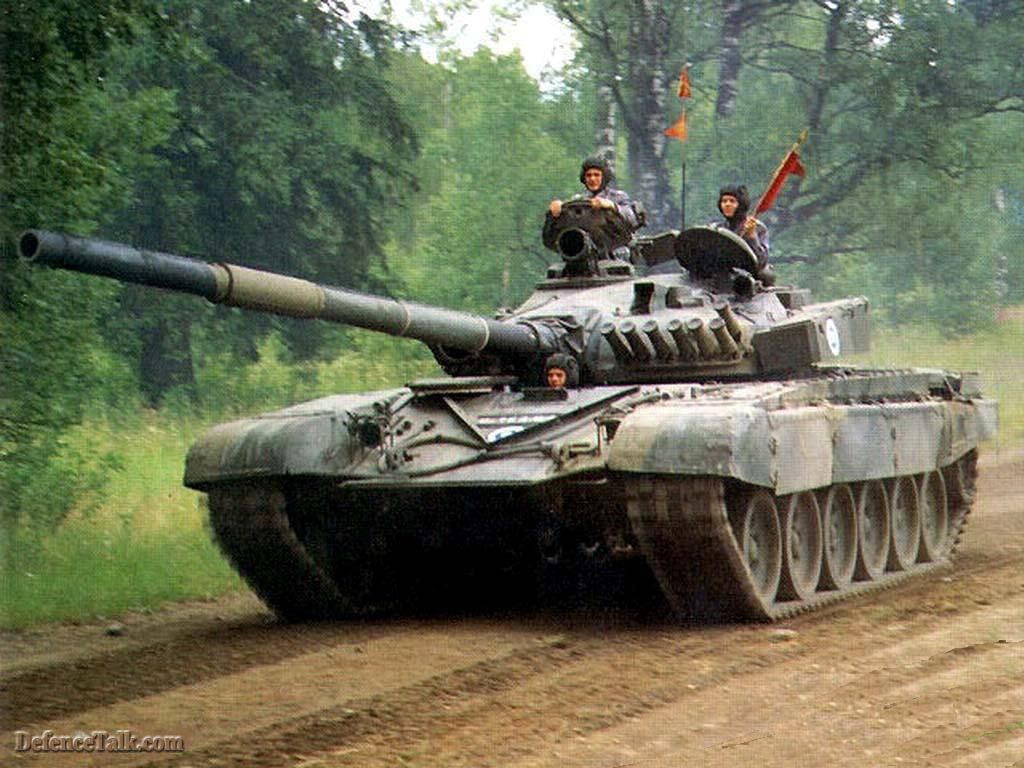
Don’t let up. Keep puching. Yes, your men will die; let them die with honor. Colonel Anatolij Levchenko achieved the highest Soviet title of “Hero of the Soviet Union” when he lost his life in actions during the Soviet-Afghanistan War. Having received detrimental direct hits from AAA (Anti-Aircraft Artillery) ground fire during an attack run against enemy targets at Salang Pass, his damaged MiG-23 refused to allow him to eject. Seemingly knowing his situation was dire, Levchenko pointed his damaged aircraft at the AAA installation and plowed the emplacement at full speed, subsequently destroying it and its surprised operators at the cost of his own life. Let this be a role model for you. The Warsaw Pact was only viable in all out assault in real life, and has carried these deficiencies with it into Wargame. So go and rush and fight and bring honor to your lands.
даваи даваи даваи!