Overview
Complete walkthrough through the game
Chapter 1 – The Valves
You wake up in a small house in the middle of nowhere. Go out of your room and find your friend.
Our first mission is to find 5 valves to open all doors around the house. So lets go!
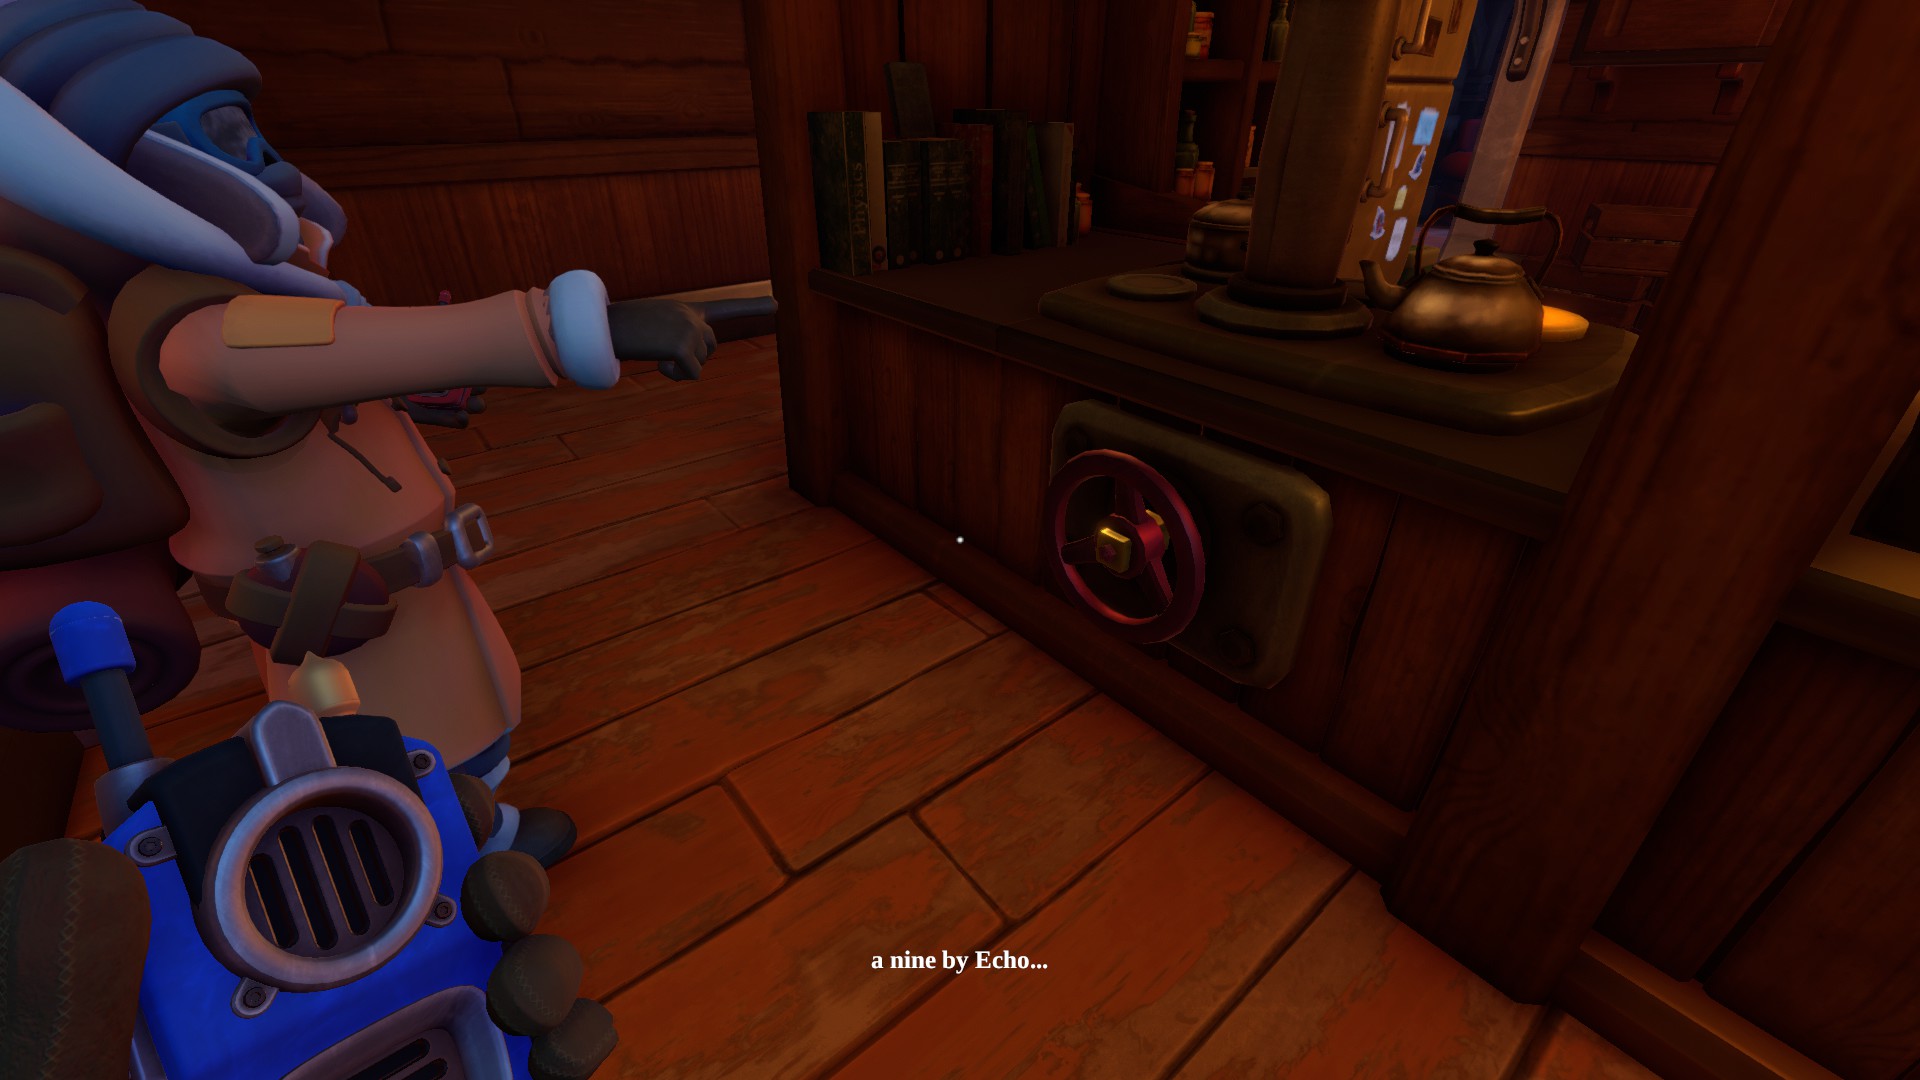
First Valve
Second Valve
Third Valve
Fourth Valve
Fifth Valve
Chapter 1 – The Signal
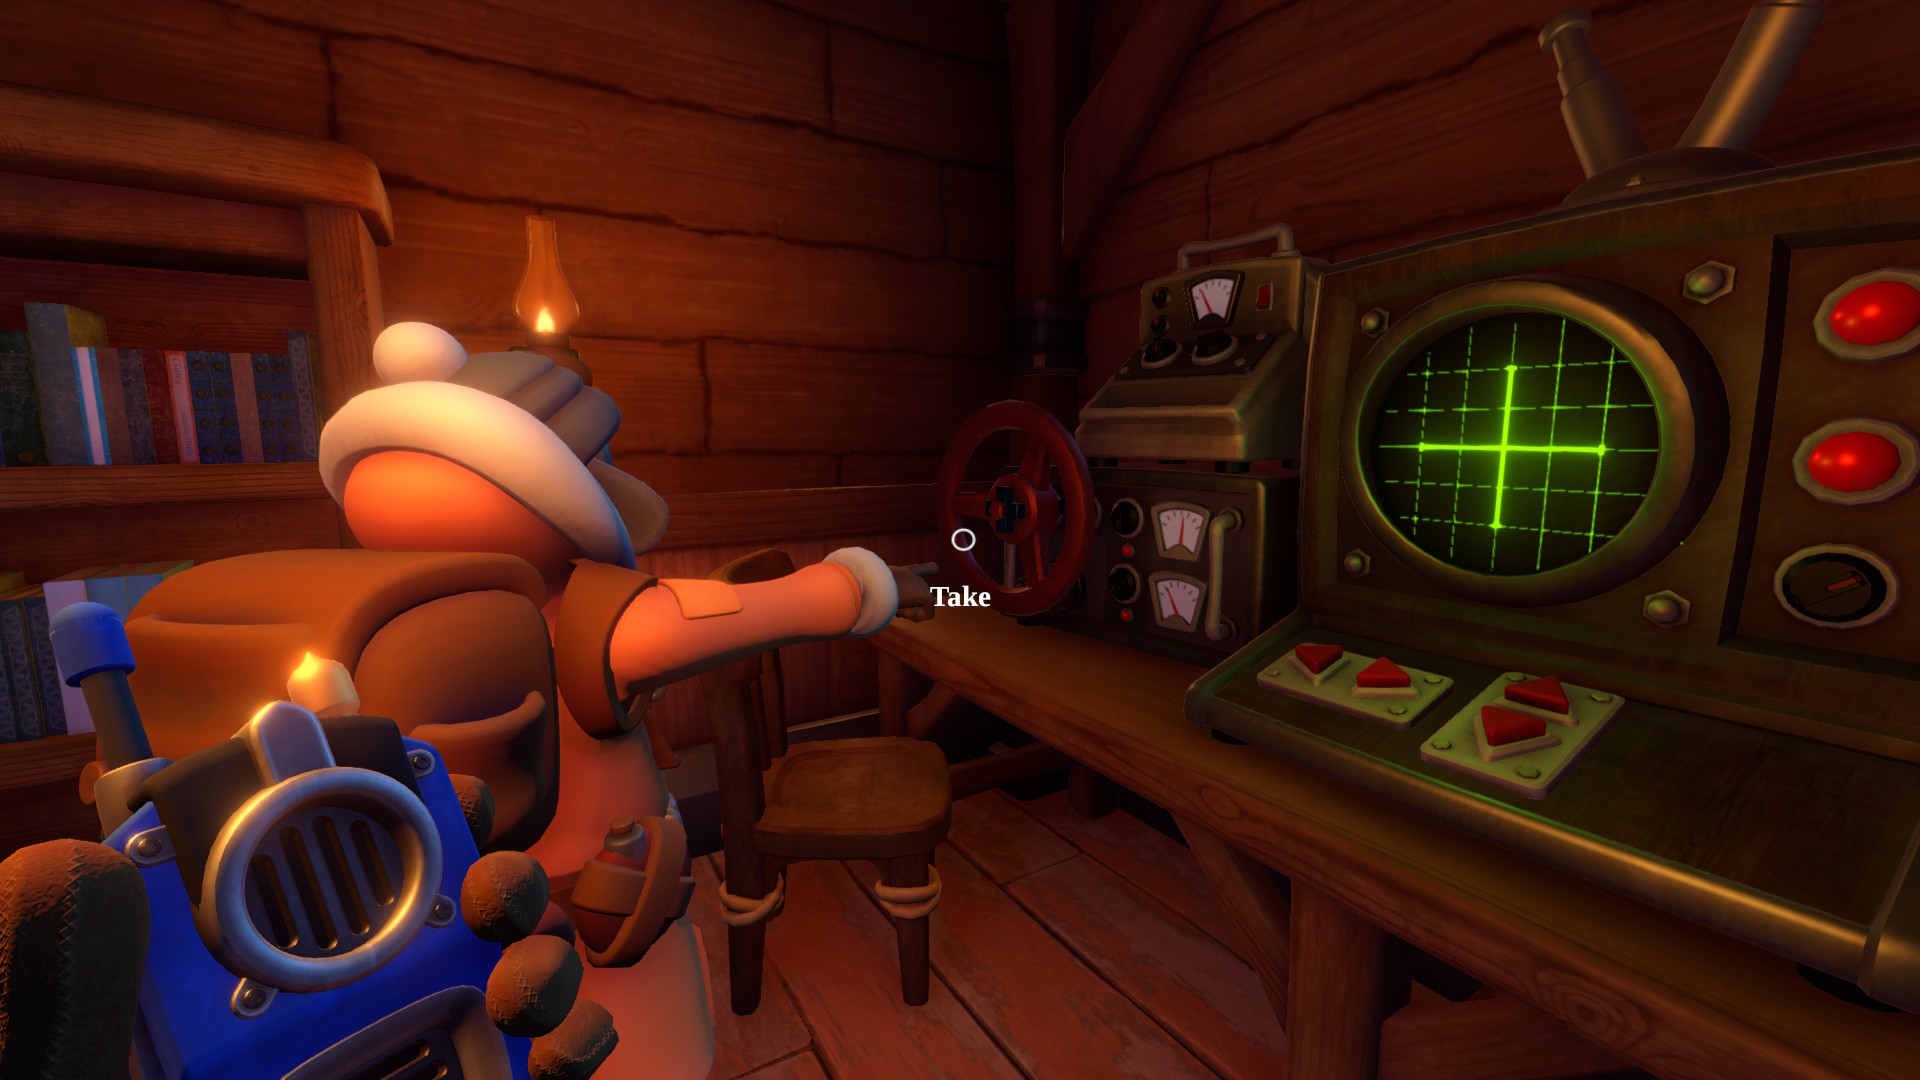
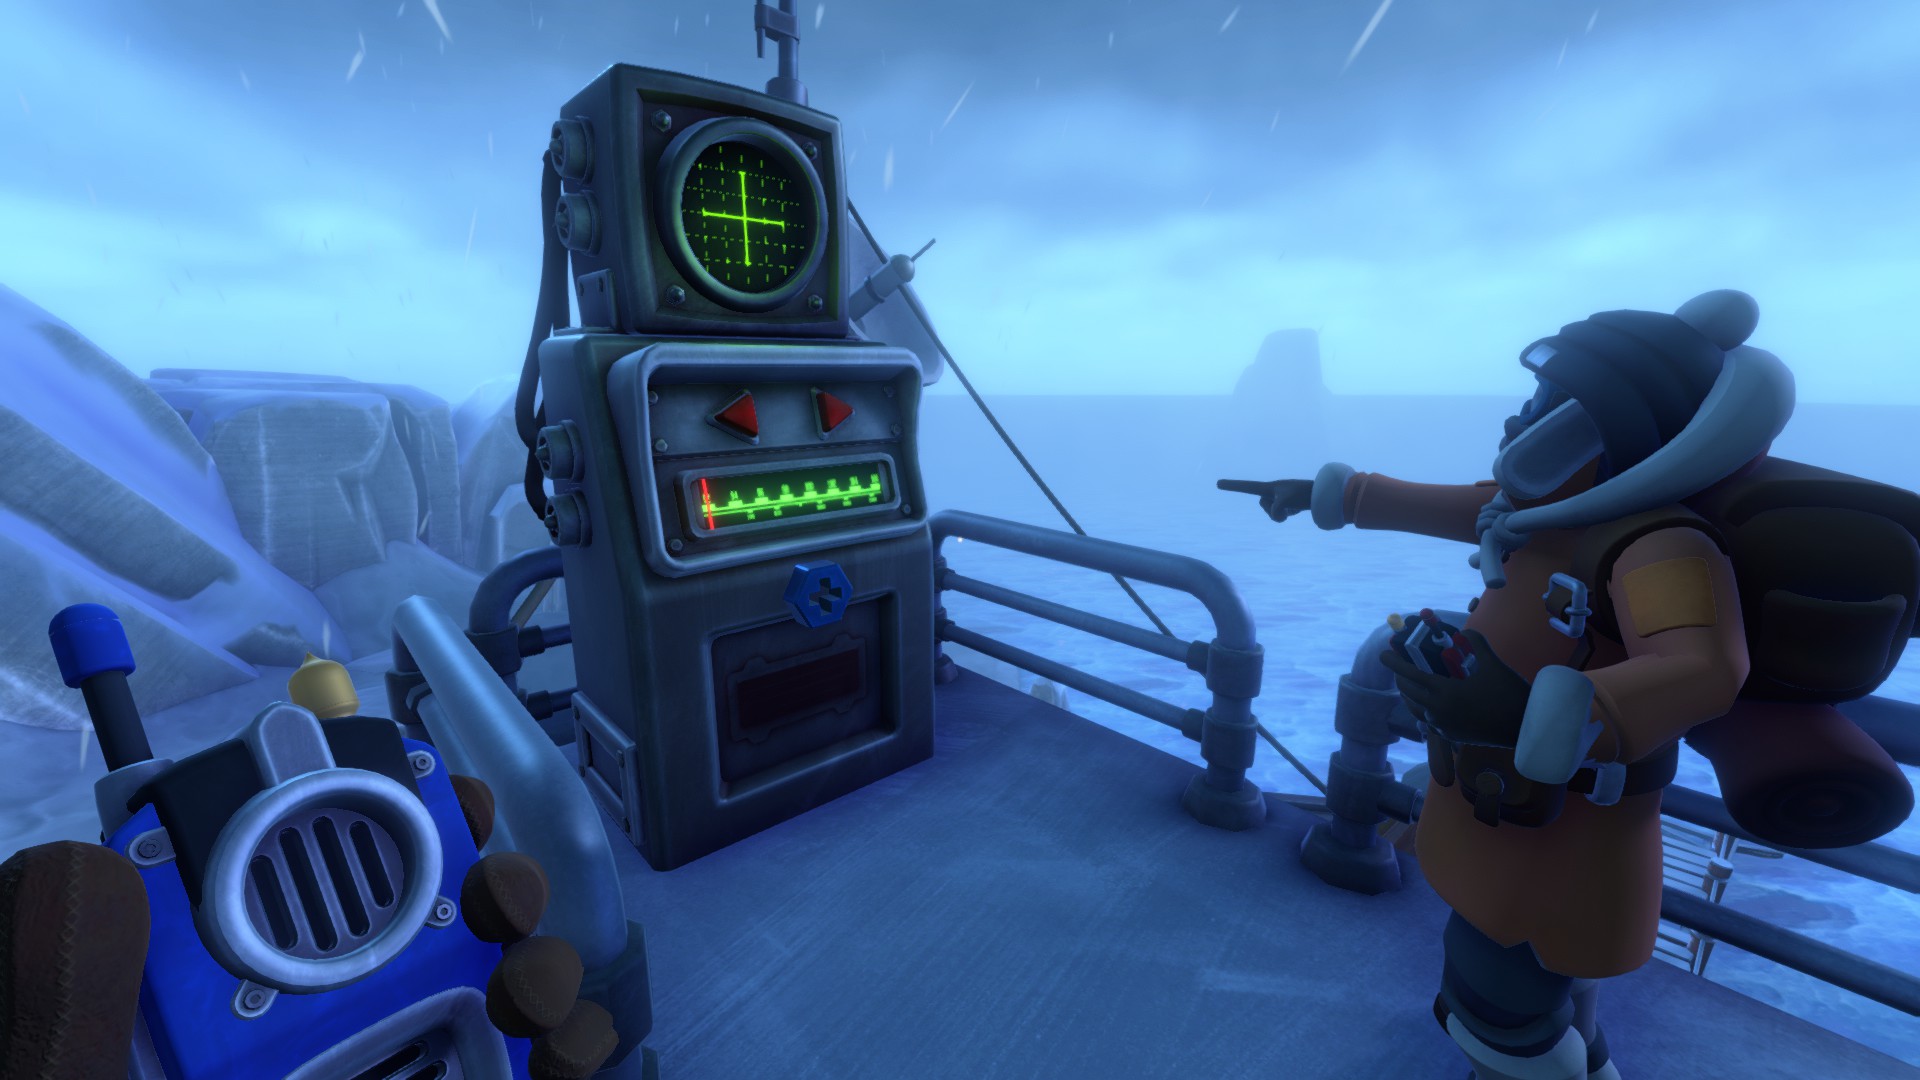
Now go on top of the house and you can find a signal transmitter. Thats the same that you can find inside the house. So one of you stay on top, the other go down in the house.
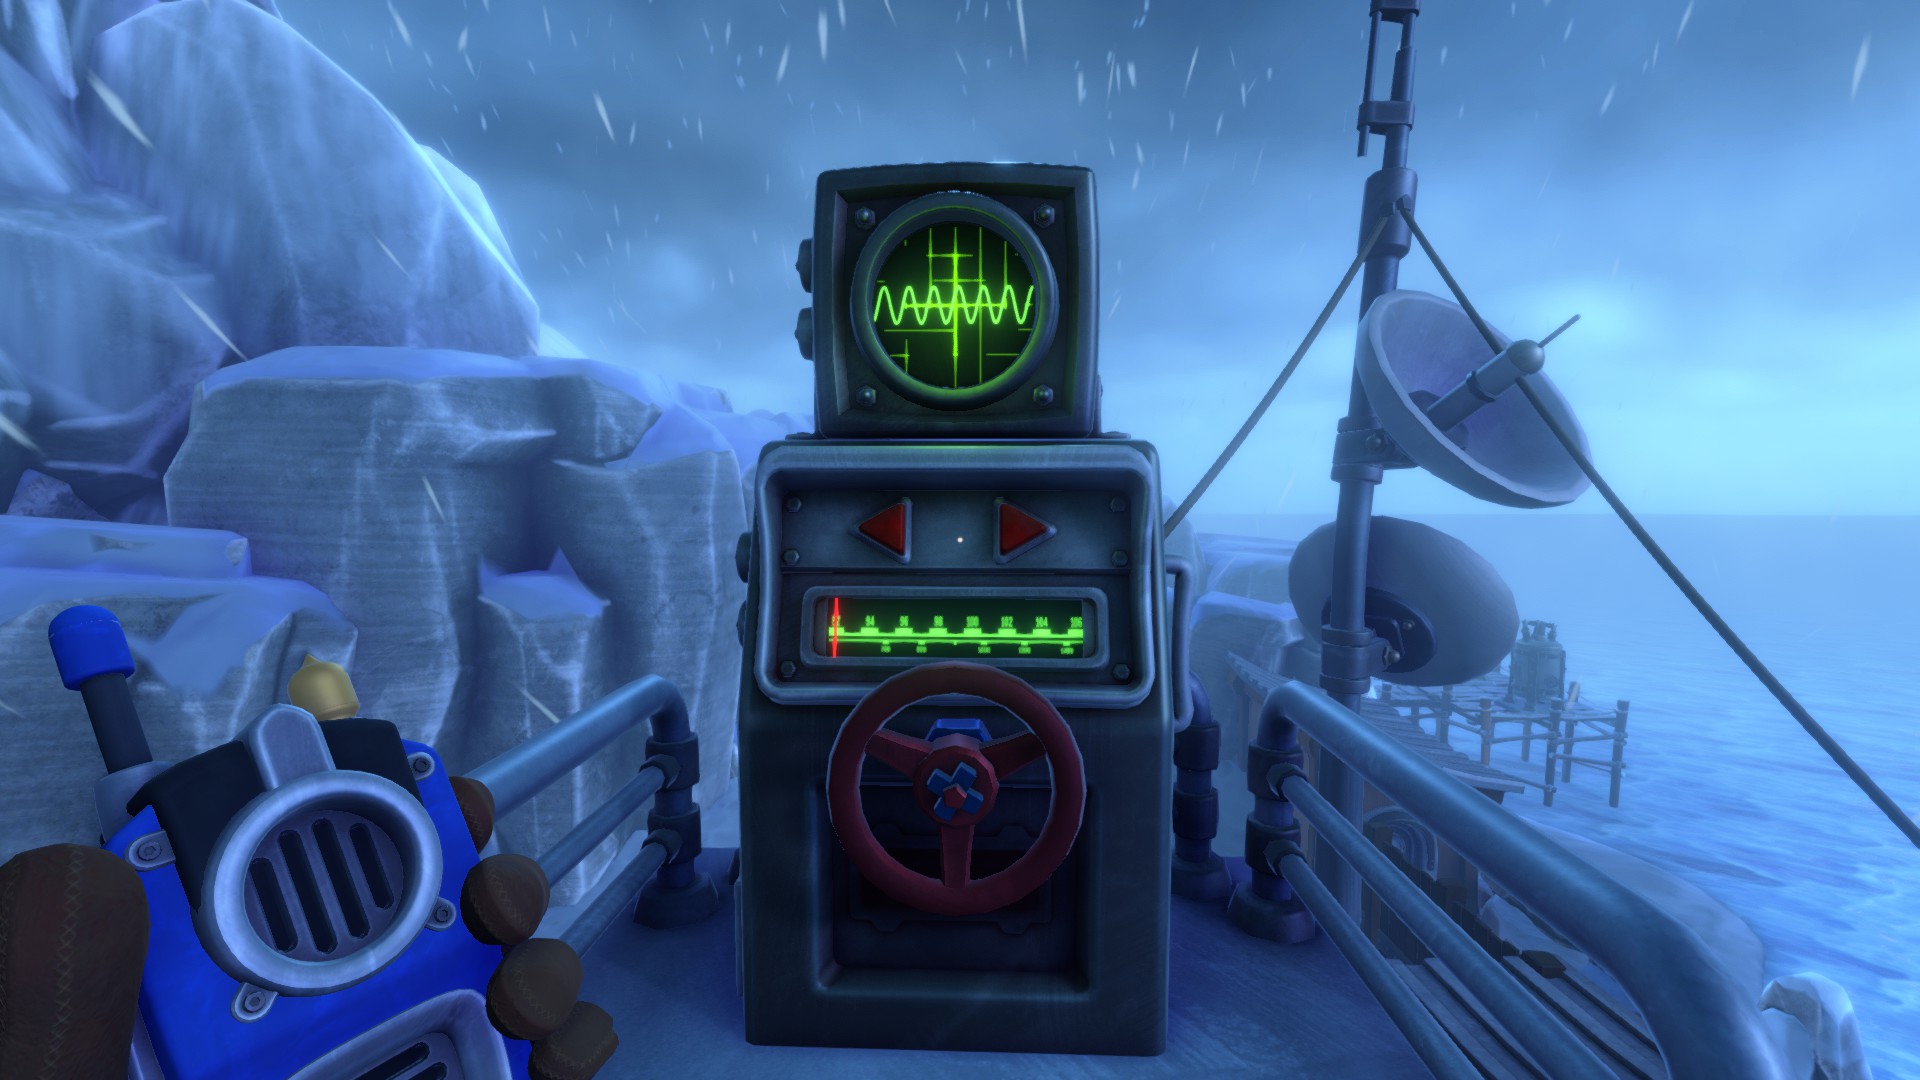
The player on the roof must select the frequency at which a line of a different color will be displayed on the screen. There are only two buttons for this. Choose a wave on which there will be another line and tell the second player below how it looks and how much it needs to be changed.
The player below will have four buttons. “Up” and “Down” are responsible for the height of the wave. And “Left” and “Right” for its width. With these buttons, he must build that wave, which the player on top of it is shown in a different color.
Two players need to match only 4 waves. 3 will be musical, and the latter is just with a voice transmitting coordinates. After that, both players go to the room with the great map on the wall.
Chapter 1 – The Map
When you stand in front of the big map, think of the radio messages you hear the whole time in the house.
- Charlie 753
- Beta 754
- Delta 195
- Echo 469
- Beta 481
- Charlie 447
You can see in front of the map two levers that are responsible for the coordinates. One lever per player. Holding the lever you make the slider, which is located in the lower left corner of the map, move. You need to extend this slider to the three places marked with a circle (you have not marked them yet).
When the slider reaches one mark, it again moves to the beginning. If you mark an unnecessary place, you will hear a characteristic signal of failure and all marks will disappear.
If one player turns the camera away from the lever, the slider will return to the beginning.
Chapter 1 – Snowmobil
Its time to starting your vehicle!
The first player must go to the tank near the car, and the second to run to the other two tanks, which are outside the house (you opend that door with valve number 4).
Both of you must reach number 6 at the maschine in the garage.
Inside you have the following numbers
- -8
- -4
- -4
Outside on the leavers you can pull the following numbers
- 8
- 5
- 5
- 8
- 7
- 4
The player on the street should pull the lever with the number 7 on both tanks. And the player near the car pulls the lever with the number 8.
Chapter 2 – The Wall
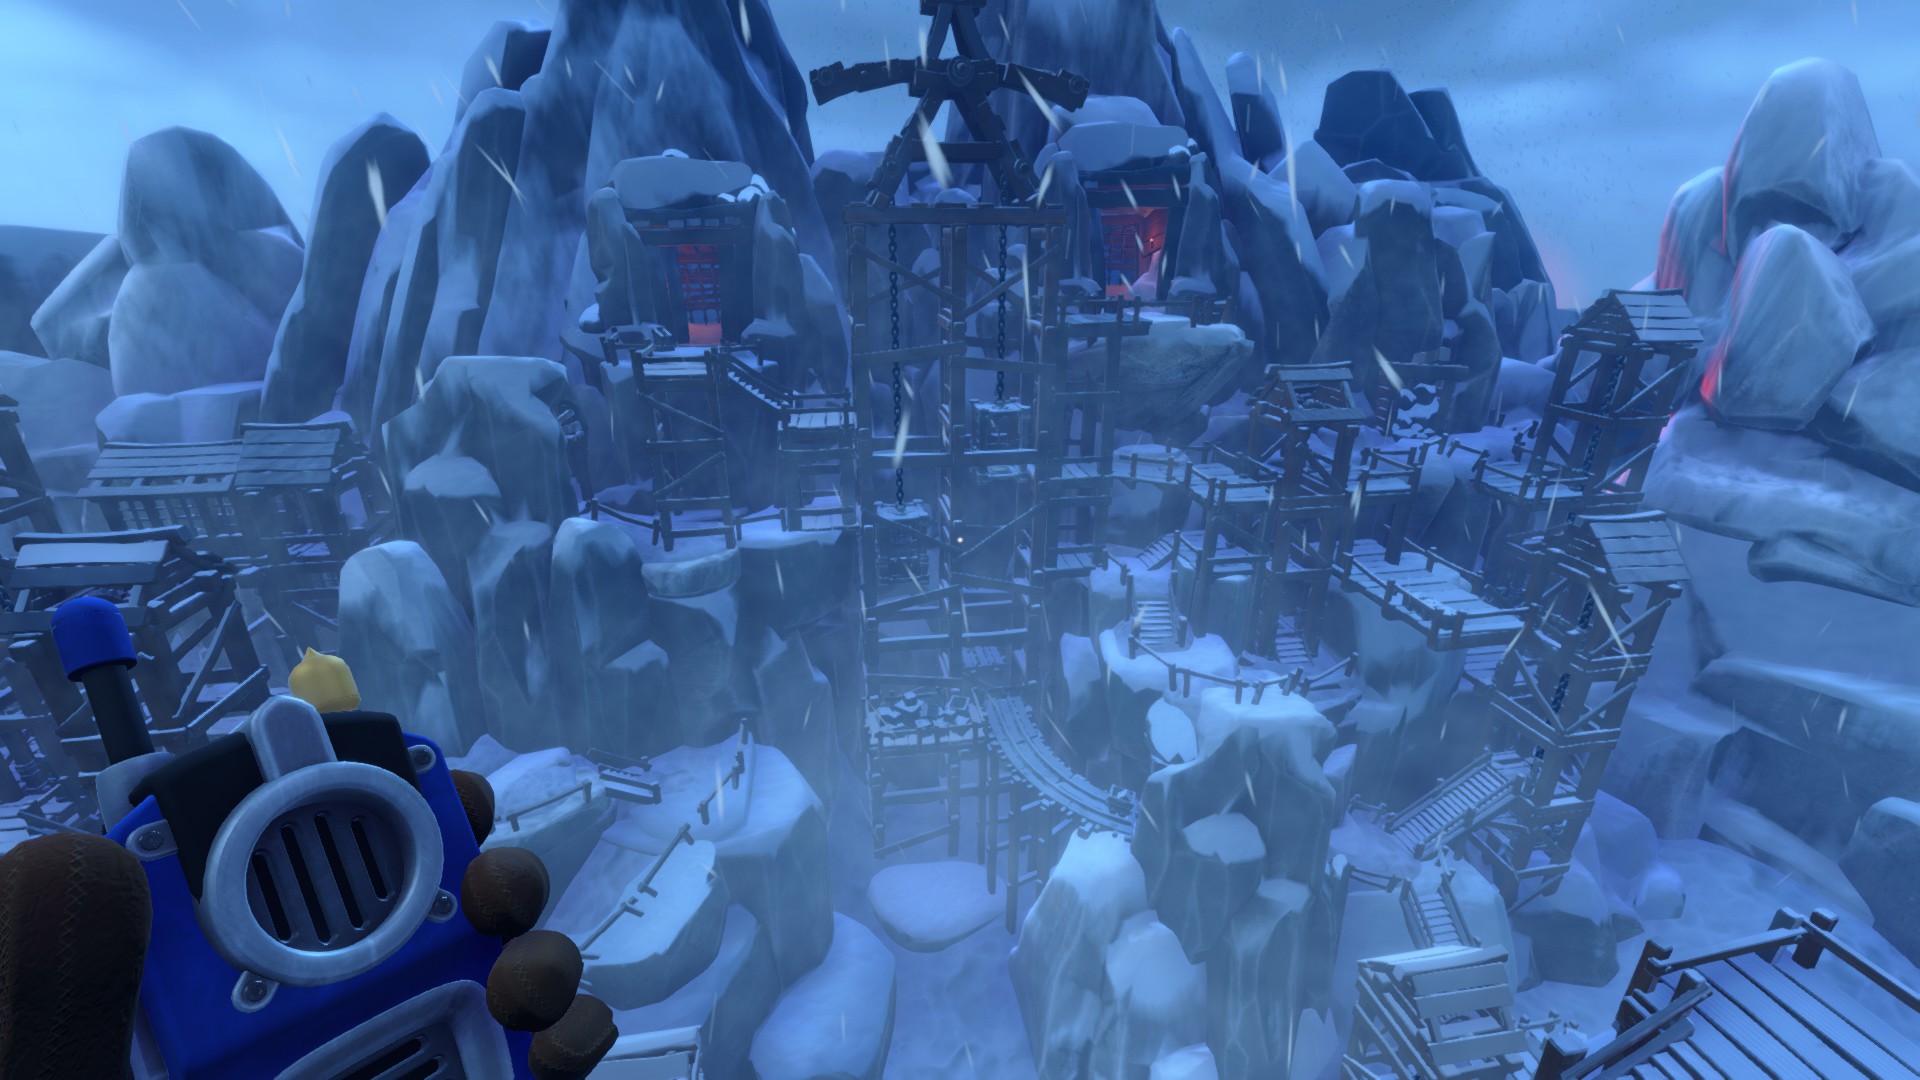
You see now an old, broken mine with a lot of wodden elevators.
The special thing about it is, that they are paired on both sides and their feature is that lifting one elevator on the left side, you lower the other on the right side.
Go on the following steps to pass this puzzle
- Two players first approach two elevators (diamond mark) and turn in. These elevators are needed to introduce players to the rule of the puzzle.
- Next, the player on the right steps onto the elevator with the dynamite mark. The player on the left side enters the dynamite elevator from his side and goes down 2 times, lifting the same elevator on the right.
- The player on the right goes along the roof of the elevator further on and turns left to this elevator and takes him up 1 time. He leaves it and goes back to the elevator with dynamite.
- The player on the left lifts the elevator with dynamite, lowering the right. The player on the right goes into the elevator with the mine car mark and rises to the very top. It goes along the roof of the elevator with pickaxeto the next elevator with the dinosaur skull. Lowers it 1 time. Next, the player on the right returns to the elevator with a pickaxe, lowers it 1 time and returns to the elevator with a dinosaur skull.
- The player on the left side goes to the elevator with the mark and rises to the very top and through the roof of the elevator with the pickaxe goes to the elevator with the dinosaur skull.
Both players take turns going up to the cave passages and find 2 levers. They must be simultaneously held to open the gate to the cave and go to the next chapter.
Chapter 3 – Frozen Tracks
You’re trappend in a cave now!
You see a lot of levers to open different gates. Each leaver open only gates with the same color.
To escape, do the following steps with your friend.
To keep it simple, let’s call both players P1 and P2
- P1 goes into the passage to the left, and P2 closes it by pulling the red lever on the right. P1 goes to the blue lever.
- P1 pulls the lever and steps on the platform near the first gate for its part. P2 do the same with its own. Both make a general counterclockwise rotation.
- P1 goes down the corridor to the right to the next platform through the blue gate (P2 is still at the lever and can turn it) turns the platform counterclockwise passing to the yellow lever and activate.
- P1 goes back along the same path, asking P2 to pull the blue lever.
- P1 goes into the passage to the left, and P2 closes it by pulling the red lever on the right. P1 goes to the blue lever.
- P1 goes into the passage to the left, and P2 closes it by pulling the red lever on the right. P1 goes to the blue lever.
- P1 goes into the passage to the left, and N2 closes it by pulling the red lever on the right. P1 goes to the blue lever.
Chapter 4 – Misty Valley
Finally free, but the next puzzle is not far away.
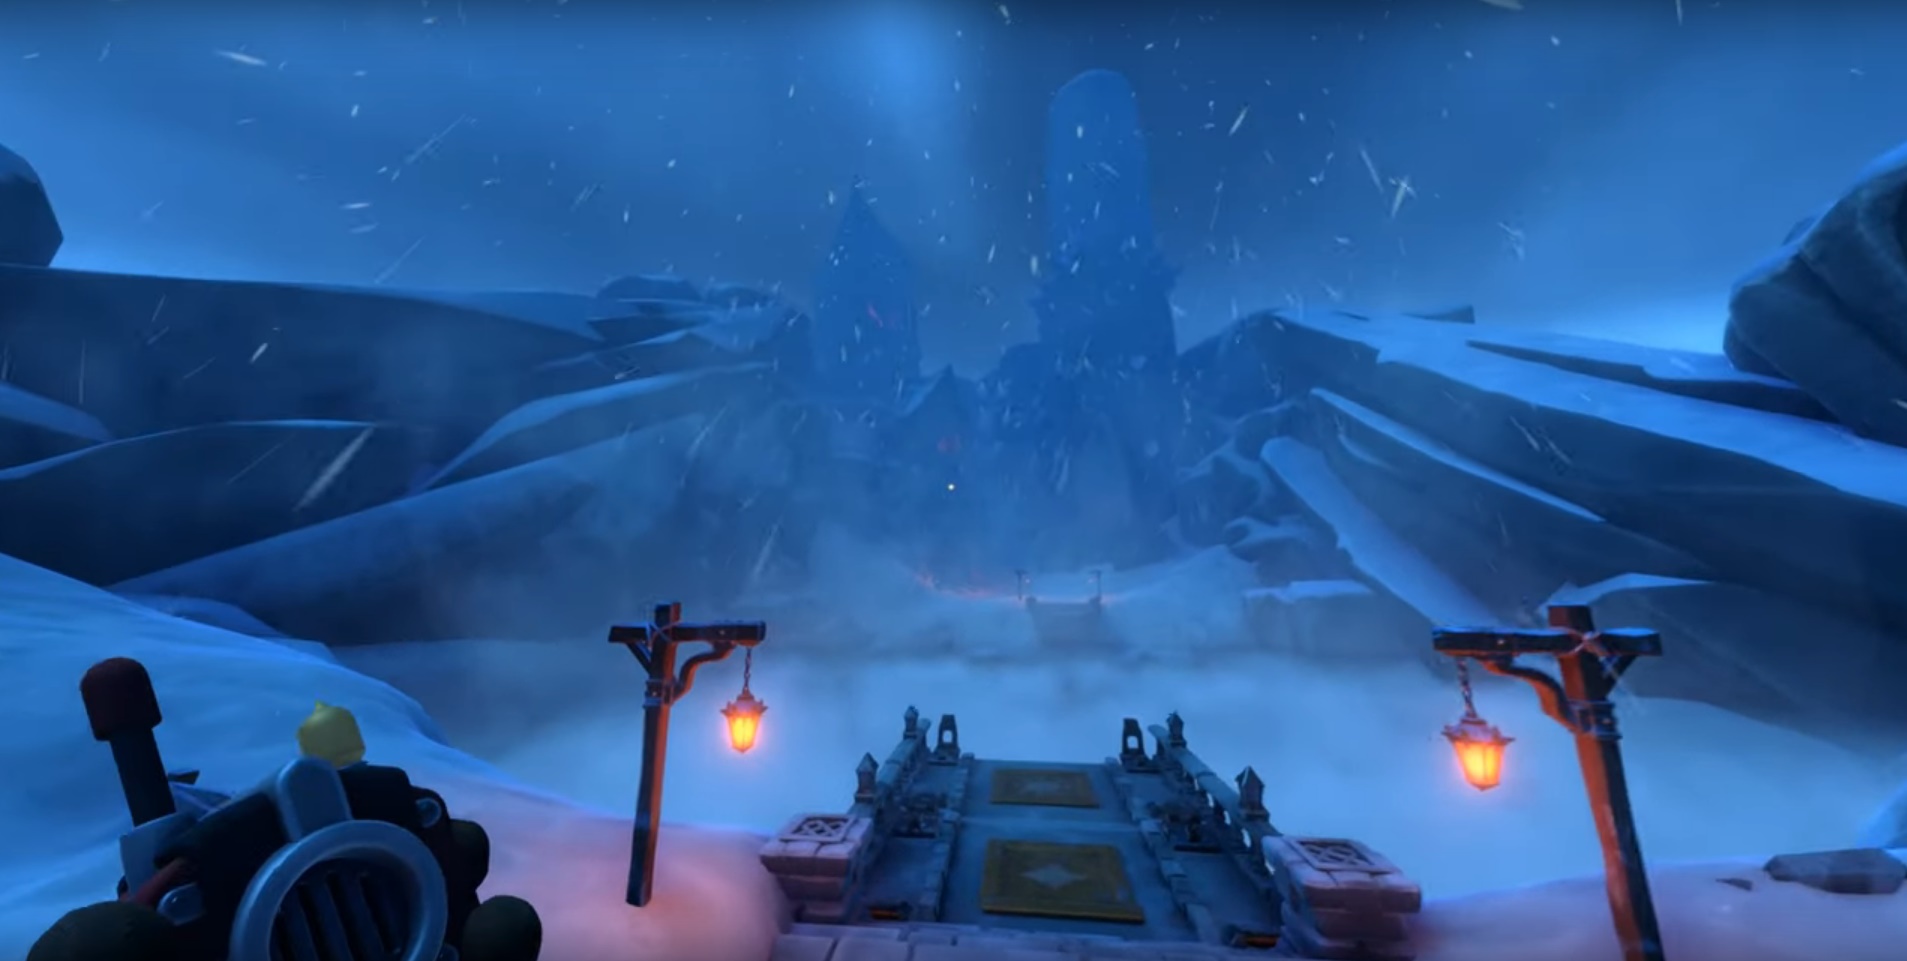
The only thing you see is a big abyss and the beginning of a bridge. In this puzzle, one of the players builds a bridge through the mechanism in the cave, and the other steps on it.
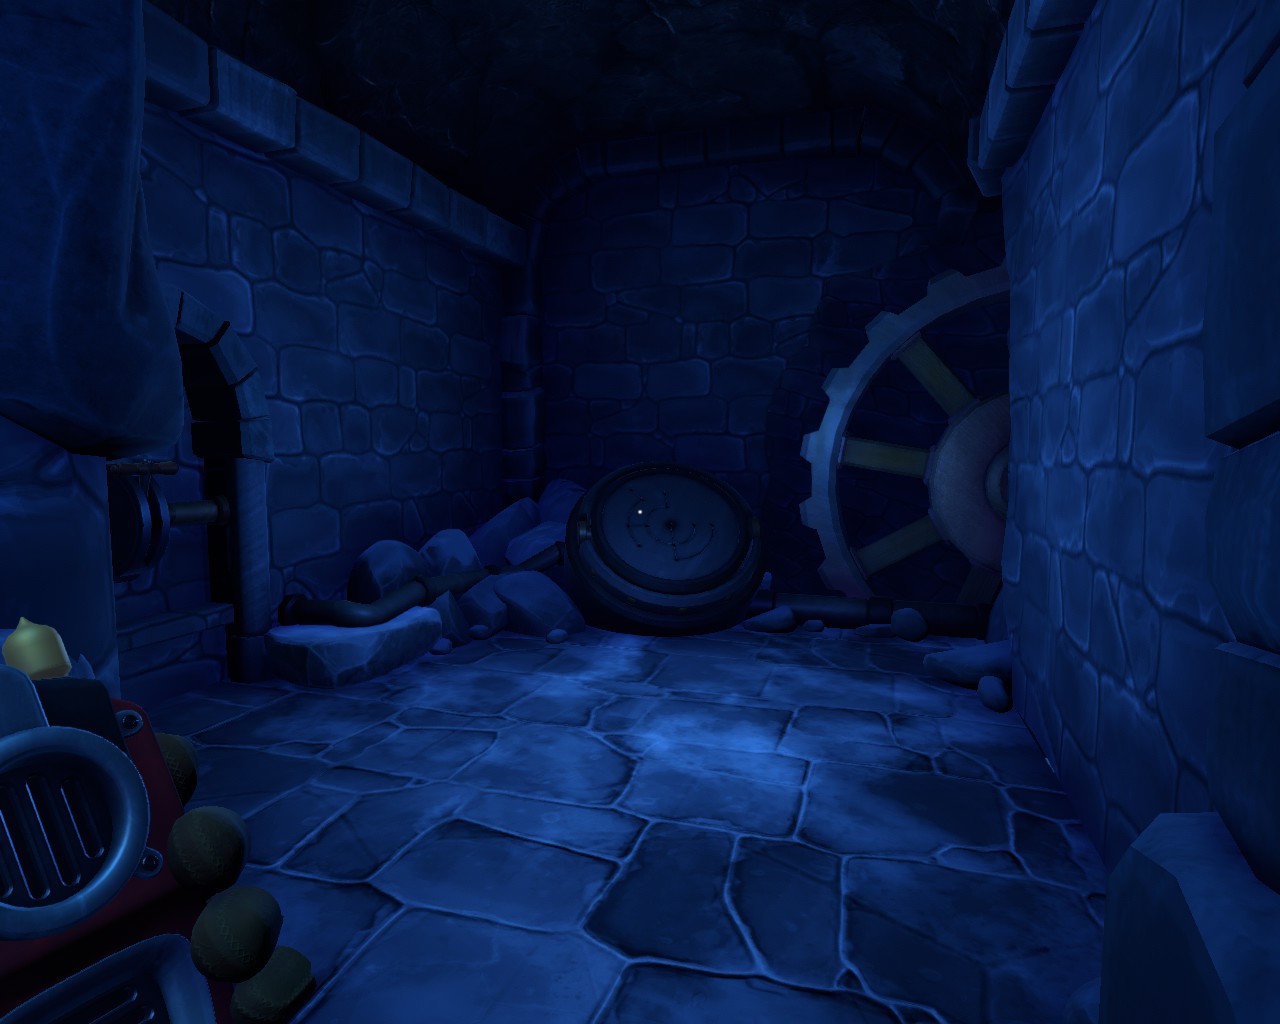
Go on the right way and you can enter a small, dark cave. Having entered the cave,activate the lever on the left in order for the mechanism to work. After that, clicks on the mechanism itself.
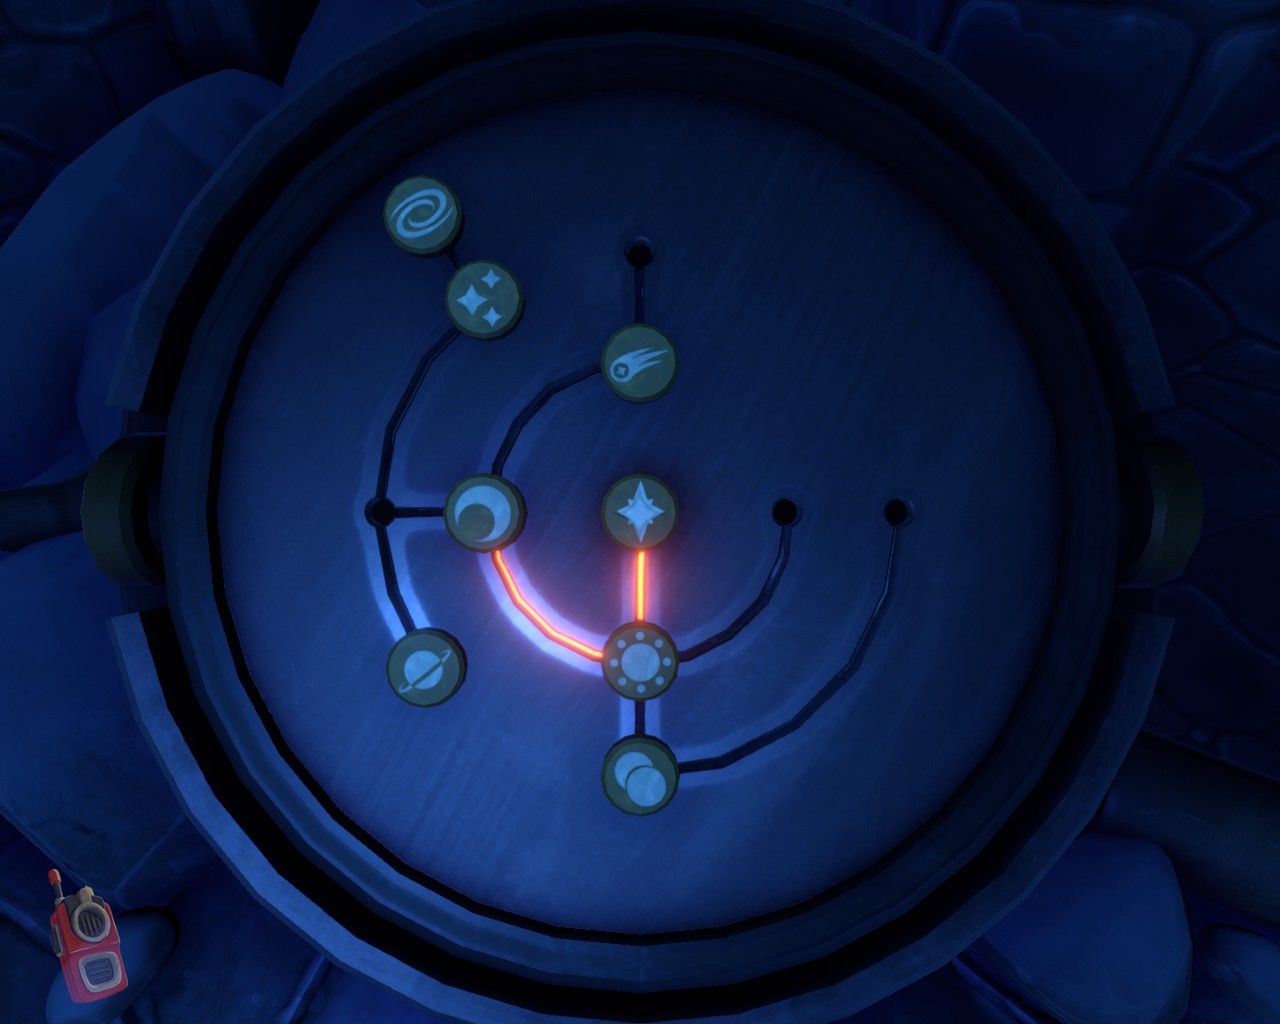
The bridge is built with the correct arrangement of characters one after another. The same symbols are on every part of the bridge. First, the player in the cave must line up the signs so that a line can be drawn through them.
Star (center) -> Sun -> Moon -> Jupiter -> Stars -> Universe
The player on the bridge goes on it successively stepping on each sign.
Keep in mind that after the part with the Stars, the bridge is divided into two parts. The player on the bridge must go to the left to the part with the Universe and stand there until the player in the cave rebuilds the bridge.
The player must now mentally draw a line starting from the universe.
Universe -> Stars -> Comet -> Eclipse -> Moon -> Sun
The player starts from the Universe to go to the Stars and turns to the part of the bridge with the Comet. If the player in the cave correctly placed the characters, then the player on the bridge will not have difficulty passing the bridge to the end.
Watch out, if you break the line by moving the symbol aside,the bridge will lower and the player will fall on it!
Chapter 5 – Two Paths
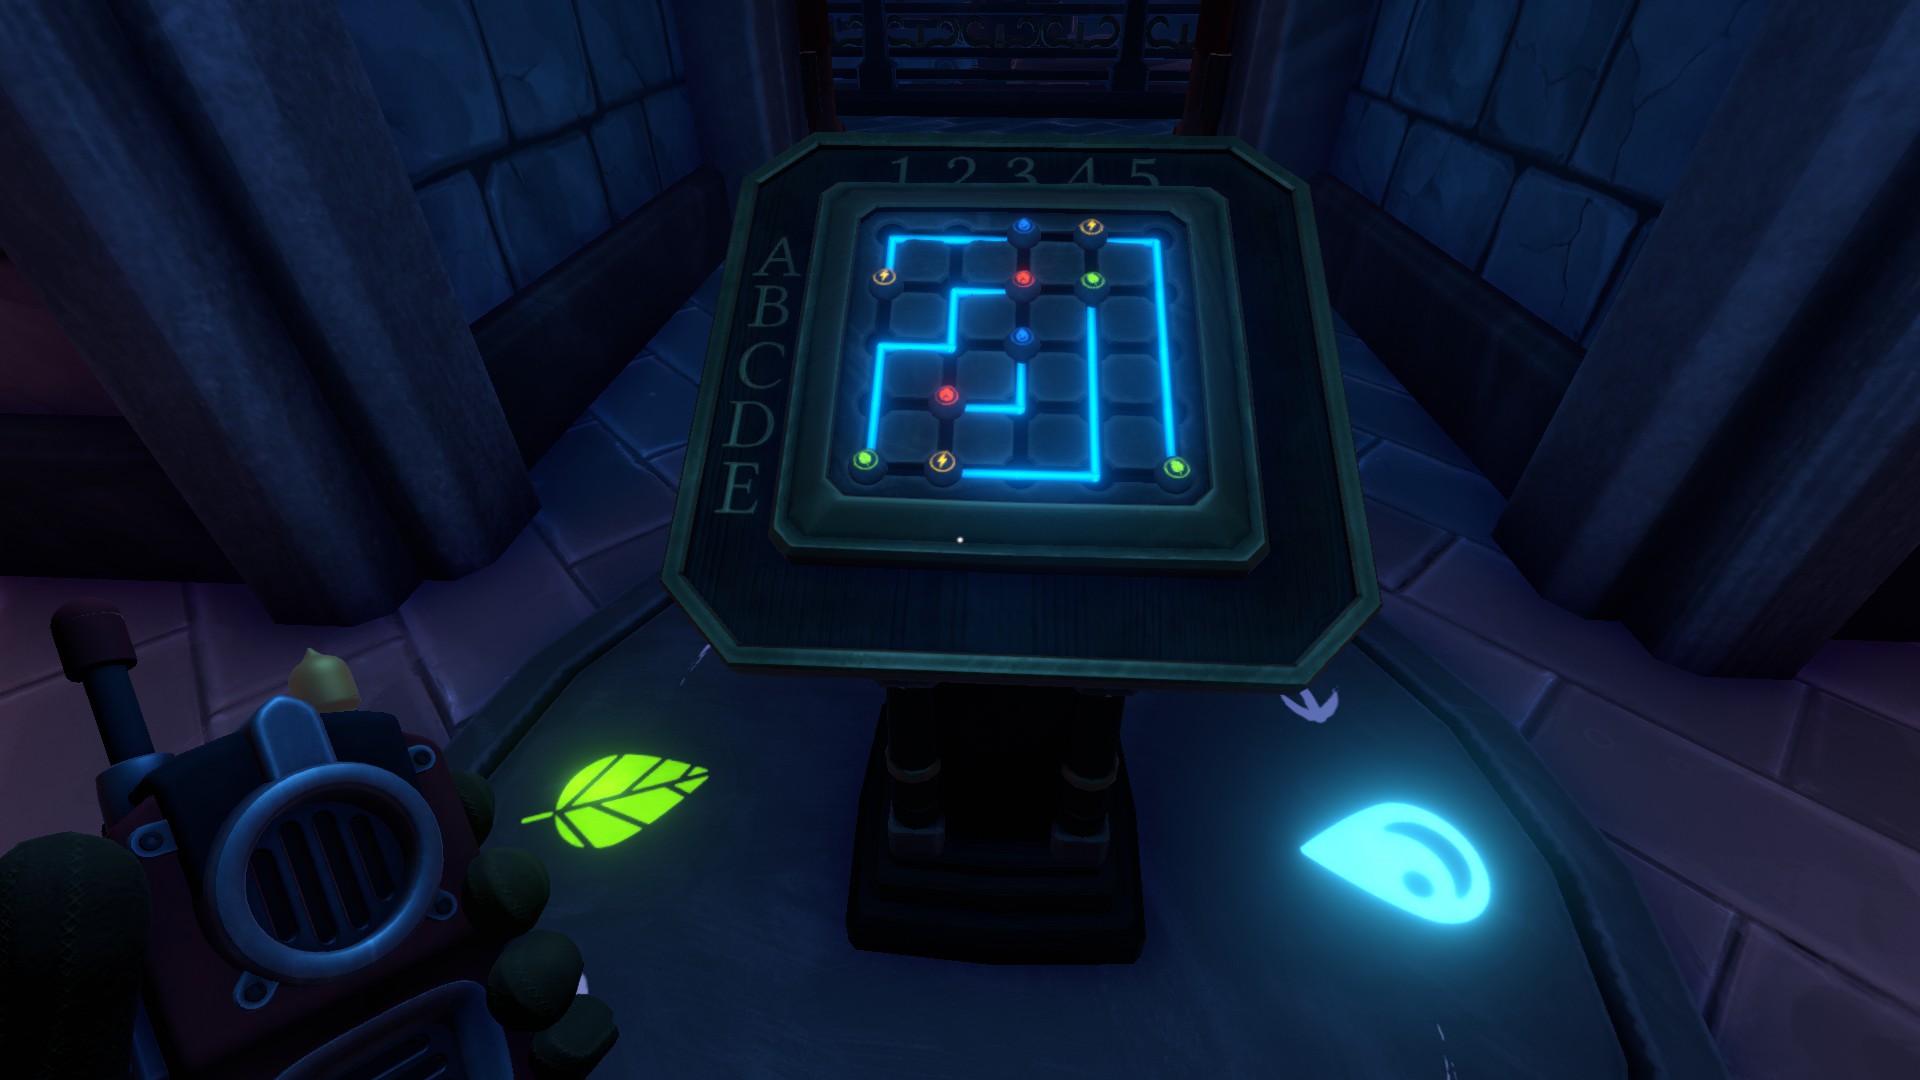
Each player start in different locations, each of which has the image of a chessboard. They are combined.
One of the player can put spheres with elements on the baord and the second can draw lines between them.
On the left and right side of the wall you will find a note with combinations to solve the riddle
To solve it, you need to do as shown in the screenshot.
Chapter 6 – Strange Encounters
To go further, one of you needs to take a candle from the table and go down. There will be a riddle with electric wires.
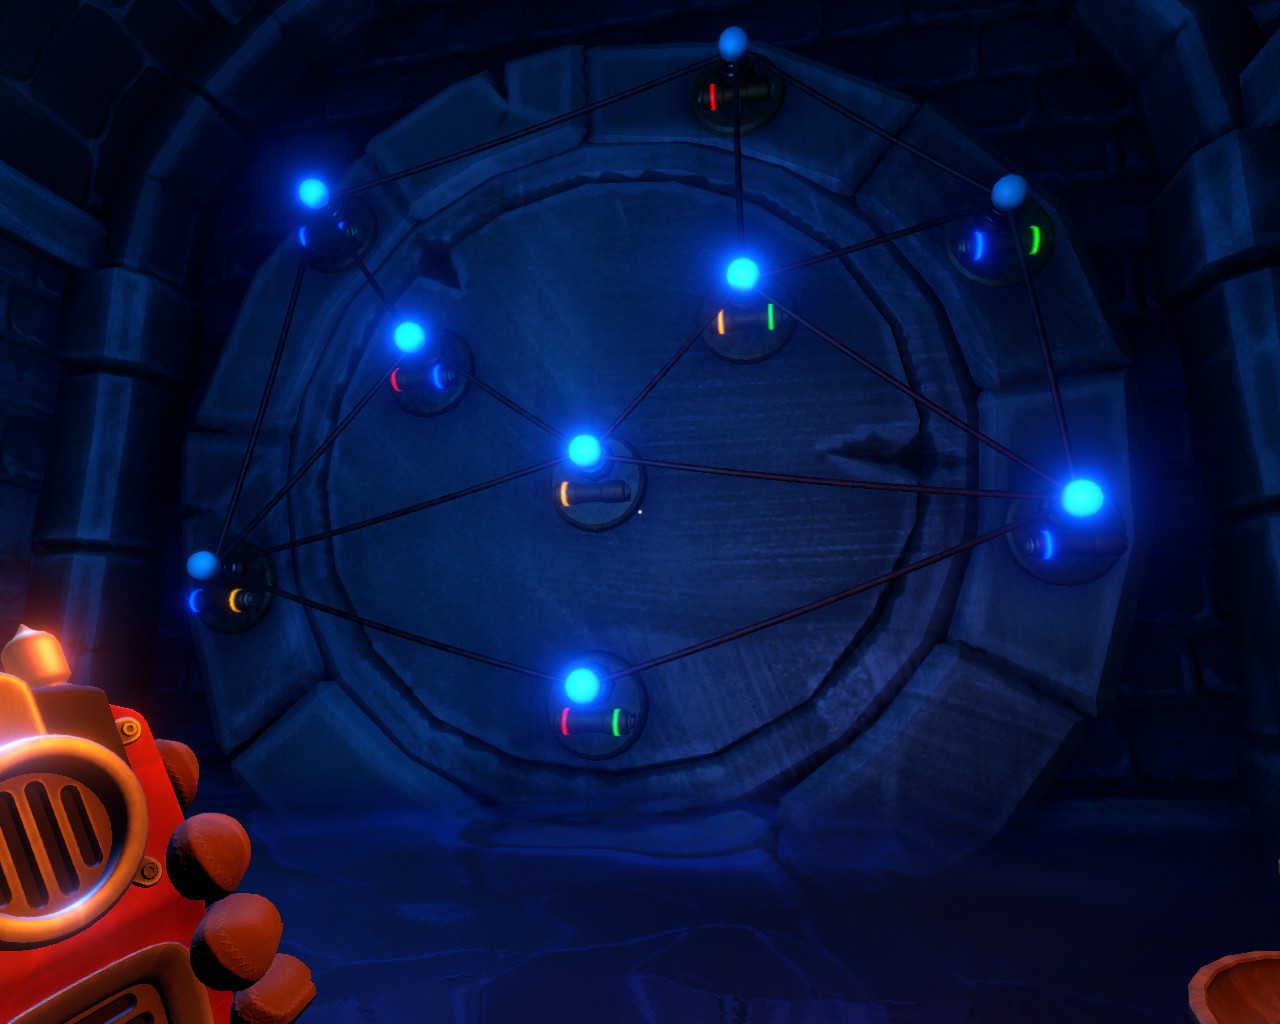
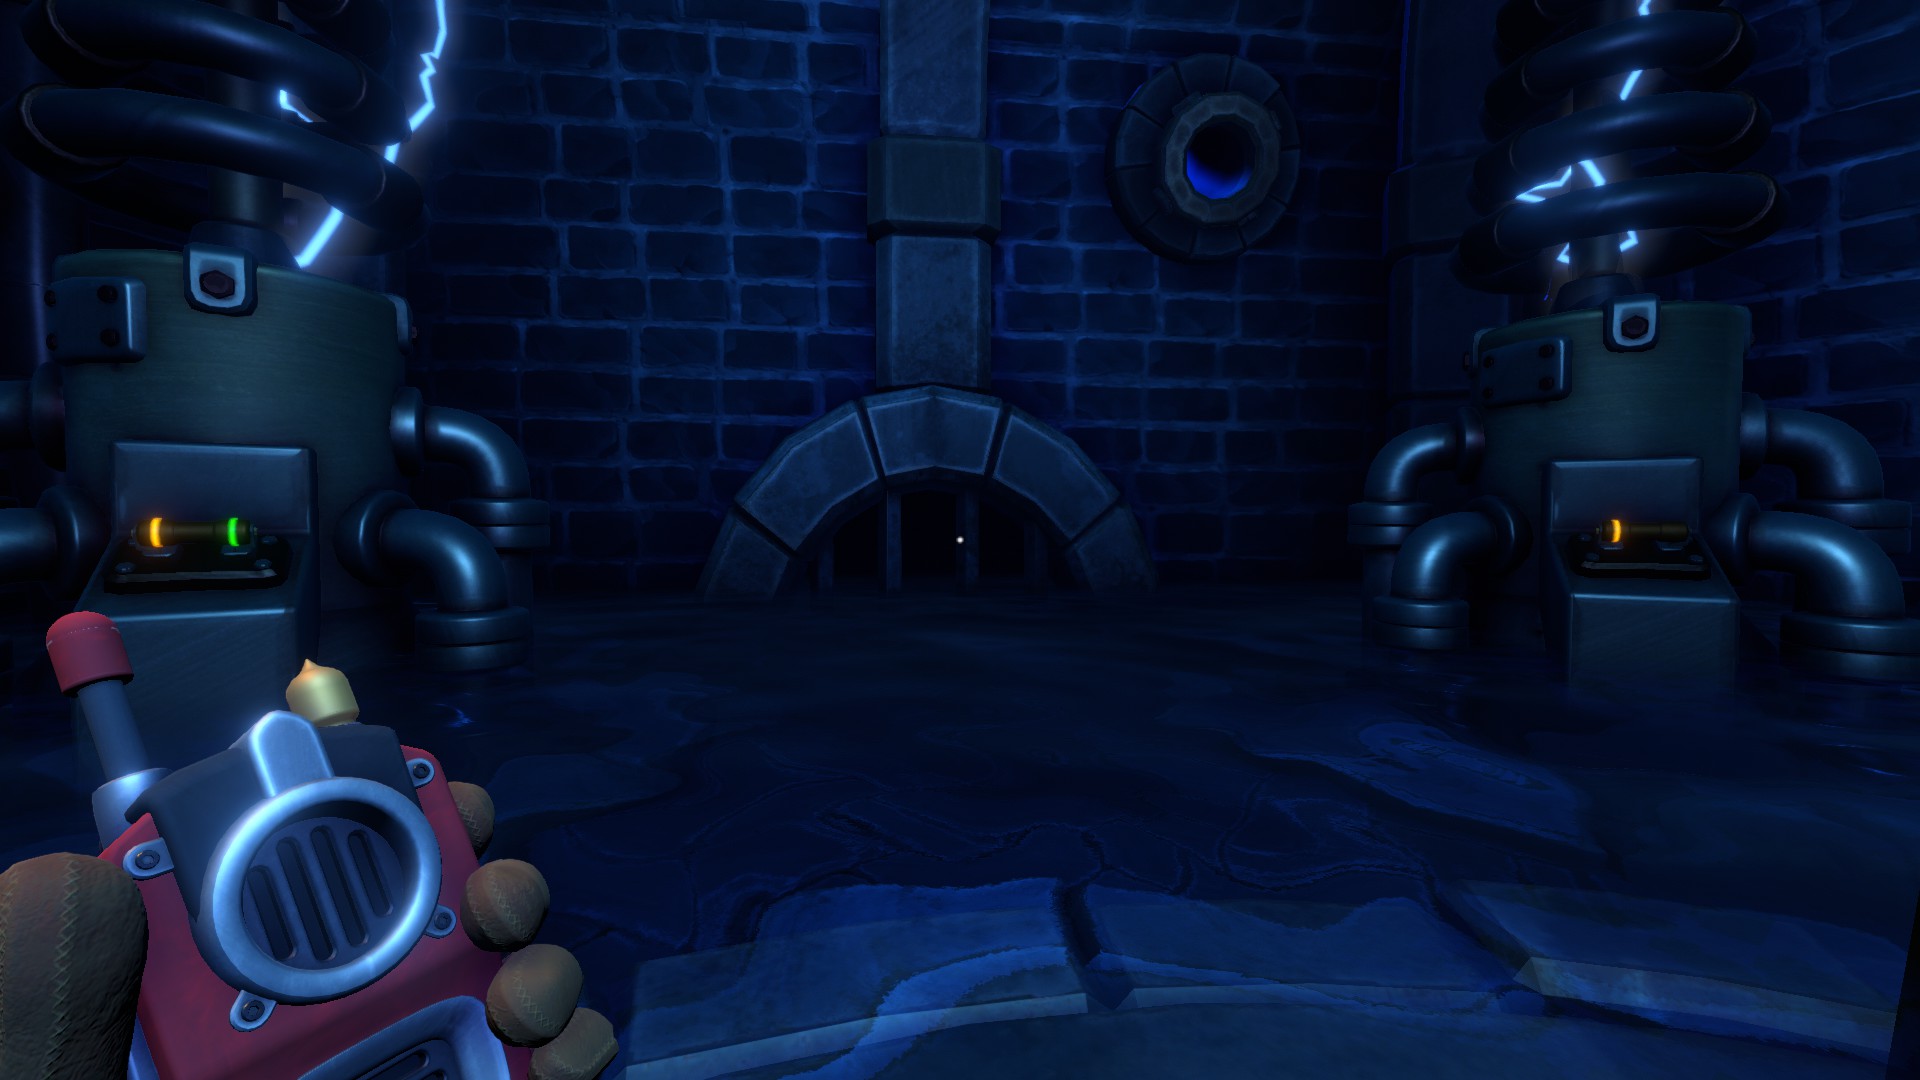
One player will have a round plate and settings marked with colored lines on the wall. The second player will have poles there that are wired. In the middle is a table with a lever that supplies electricity and capsules with the same colored lines as the second player.
They must be inserted into the post in the correct order.
The player with the pillars needs to place the capsules from the entrance to the end so that the sequence is the same as the second player on the plate.
Starting with blue blue.
- blue blue
- red blue
- 1 yellow
- yellow green
- 1 blue
- red green
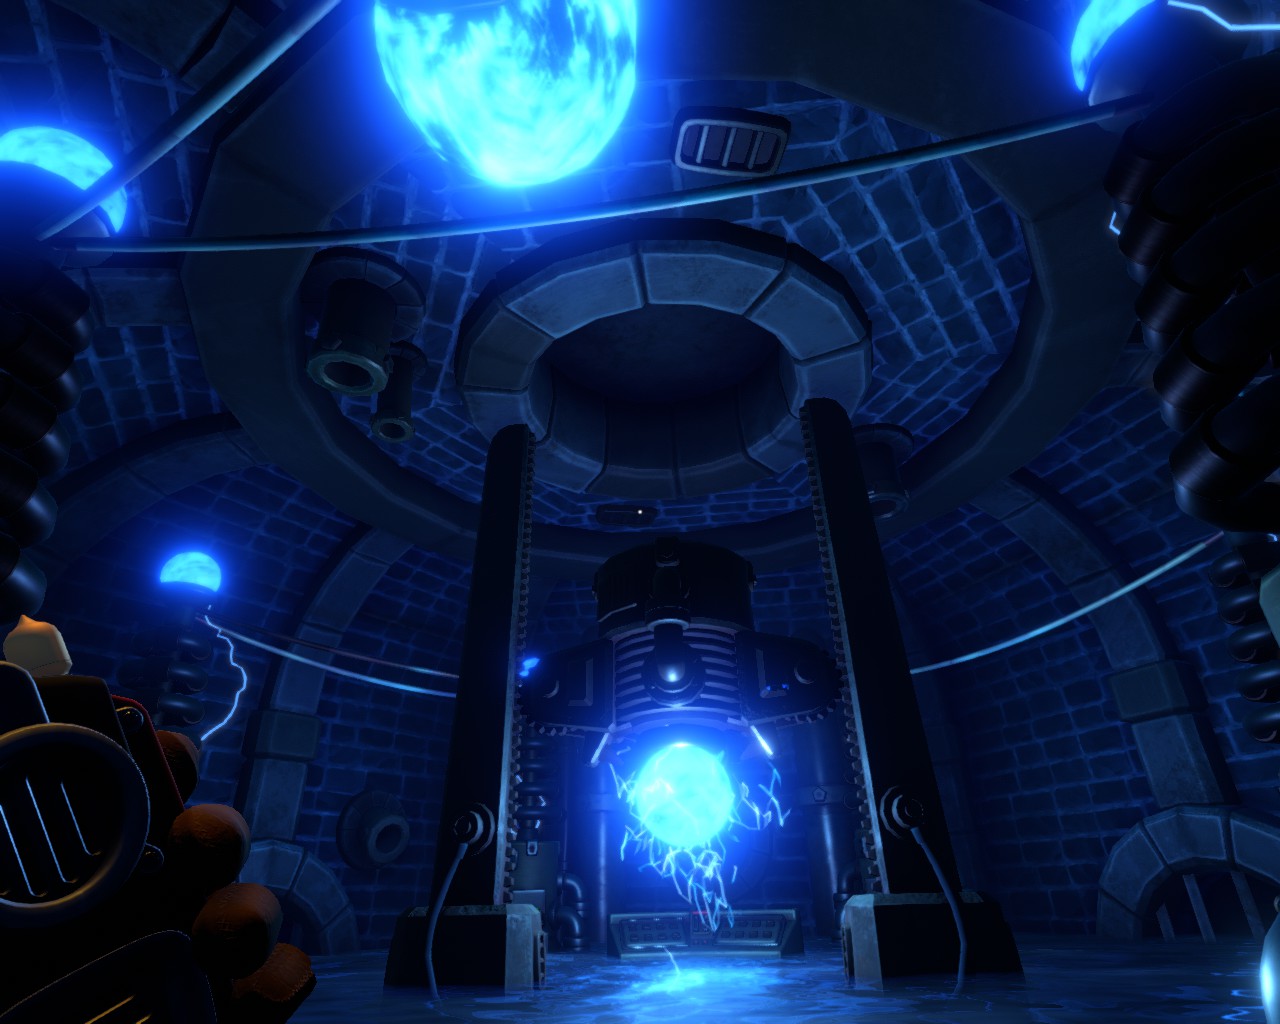
Be care, this riddle is limited in time. The longer you decide, the lower the large ball in the pillar room falls. When it touches the water, the player in this room will die and the riddle will have to be started new.
Chapter 7 – Overgrown
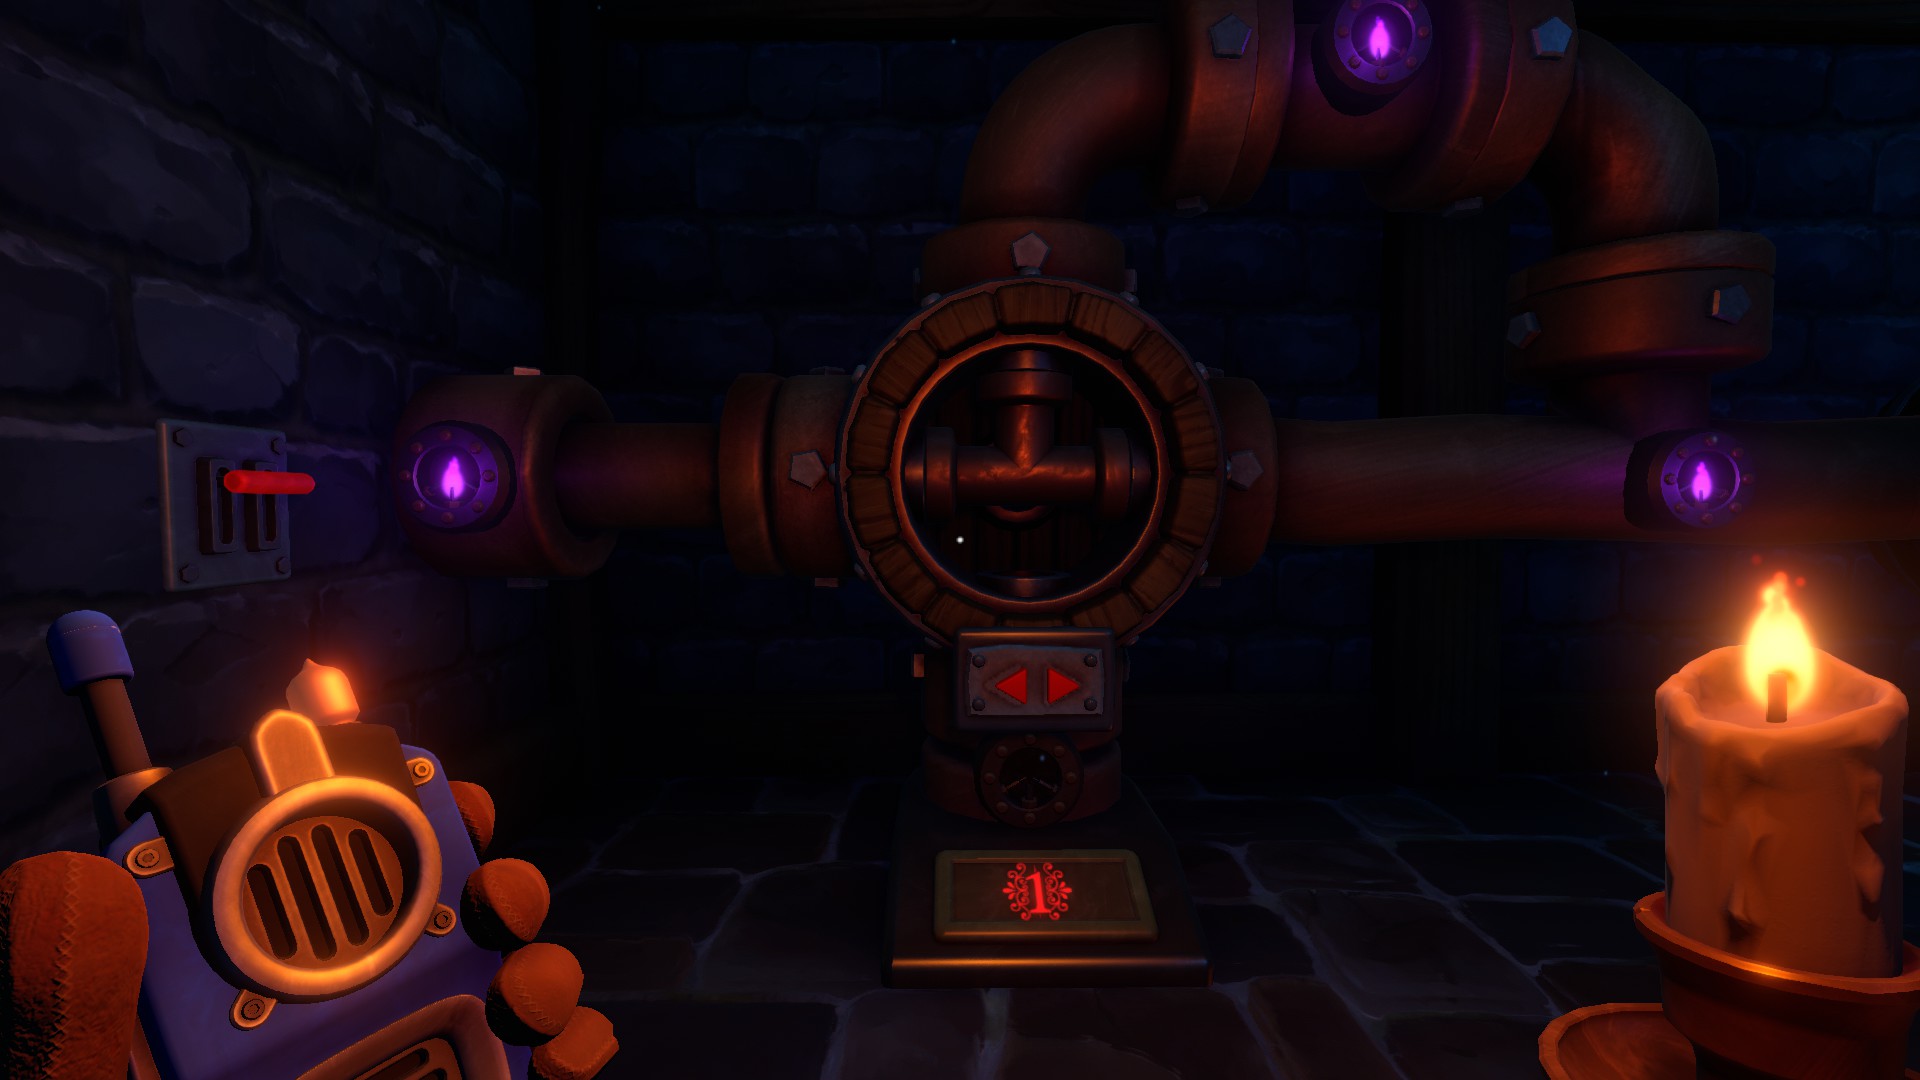
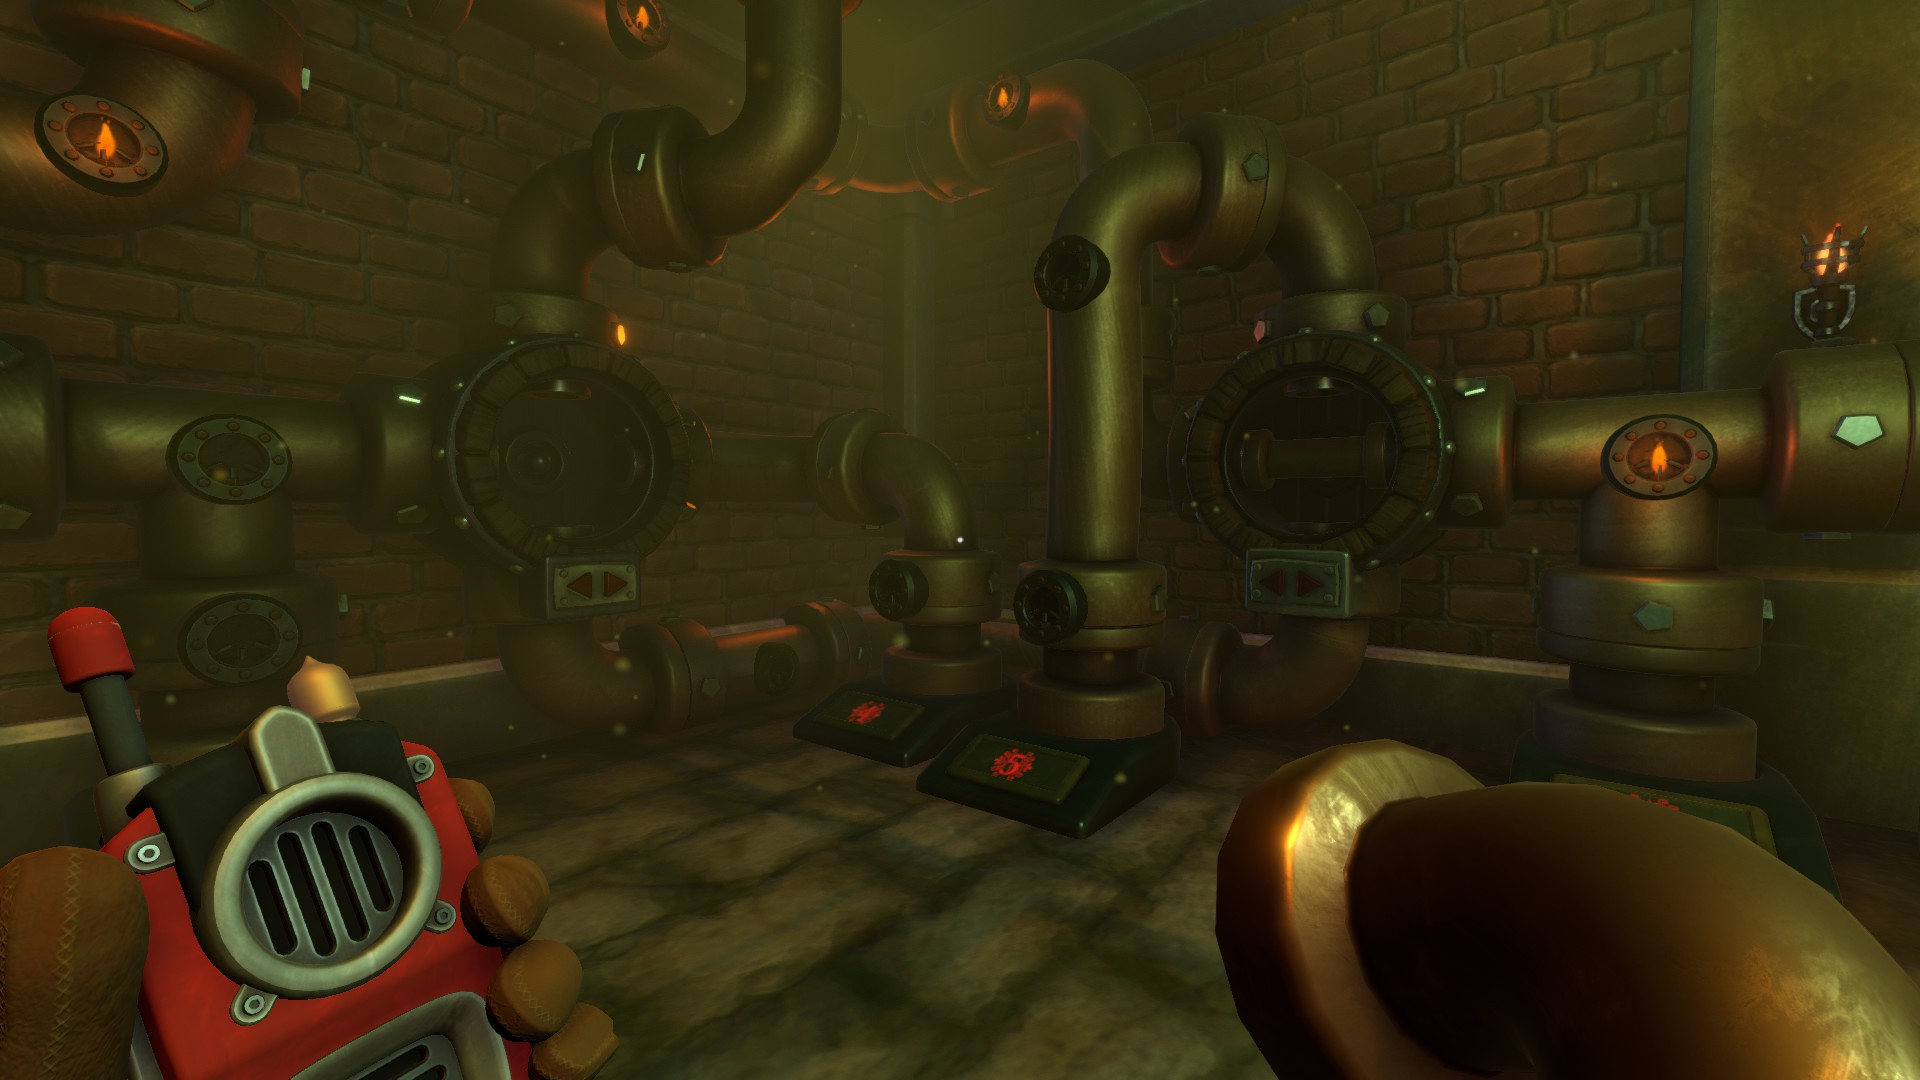
First, for both rooms, look arround and collect 4 pieces of pipe. These are necessary to the installation because it will be necessary to transmit flames of a certain color. The task is to arrange the pipes so that there are no leaks in any of the rooms.
It is also necessary to fill three tanks with green, orange and purple flames. While in one of the rooms there is a lever for supplying a red flame, and in the other two levers for yellow and blue.
Beginn with what color you like.
Green
To do this, pull the yellow and blue levers and arrange three slots in two rooms of the pipe. Slots can be rotated, and pipes can be changed among themselves. This will be needed in the future.
The symbols below indicate the types of pipes and their location in the slots.
Single lever room: ┣ ┛━
Room with two levers: ━ ┓┳
________________
Orange
We turn off the blue lever in one room, and turn on the red in the other room. After that, we change the pipes in the slots.
Single lever room: ┓x ━ (x = no pipe)
A room with two levers: x┏ ━ (x = no pipe)
________________
Purple
Turn off the yellow lever and turn on the blue. We change the pipes.
Single lever room: ┻ ┛━
Room with two levers: ━ ┓┏
Chapter 7 – The Fountain
The player of the two-lever room must go to the empty fountain and go down the stairs to turn the valve, which will launch the puzzle. It is limited in time and should be prepared for it.
If you activate the valve, water flows in and the stairs on the side turn.
Tip:
If you can not see well because of the water level, hop! That can help for a short time.
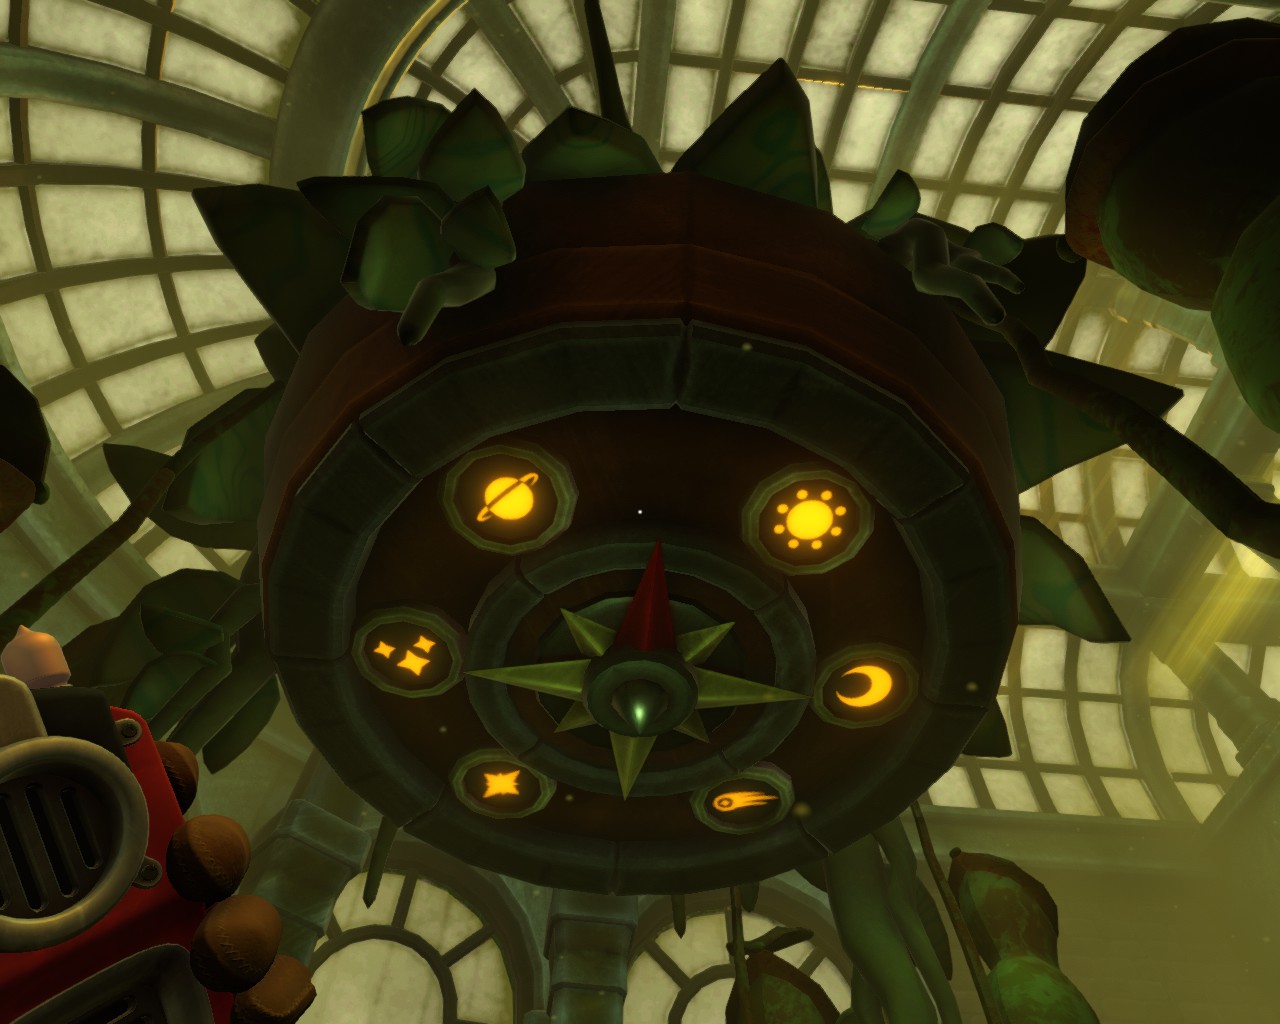
Each of the stairs refers to a specific symbol.
These symbols are also indicated on the ceiling above the fountain. This is a symbol of the Comet.
As a result, we have the following arrangement on the mechanism:
- Top Left → Jupiter
- Left → Stars
- Upper Right → Sun
- Bottom Left → Big Star
- Right → Moon
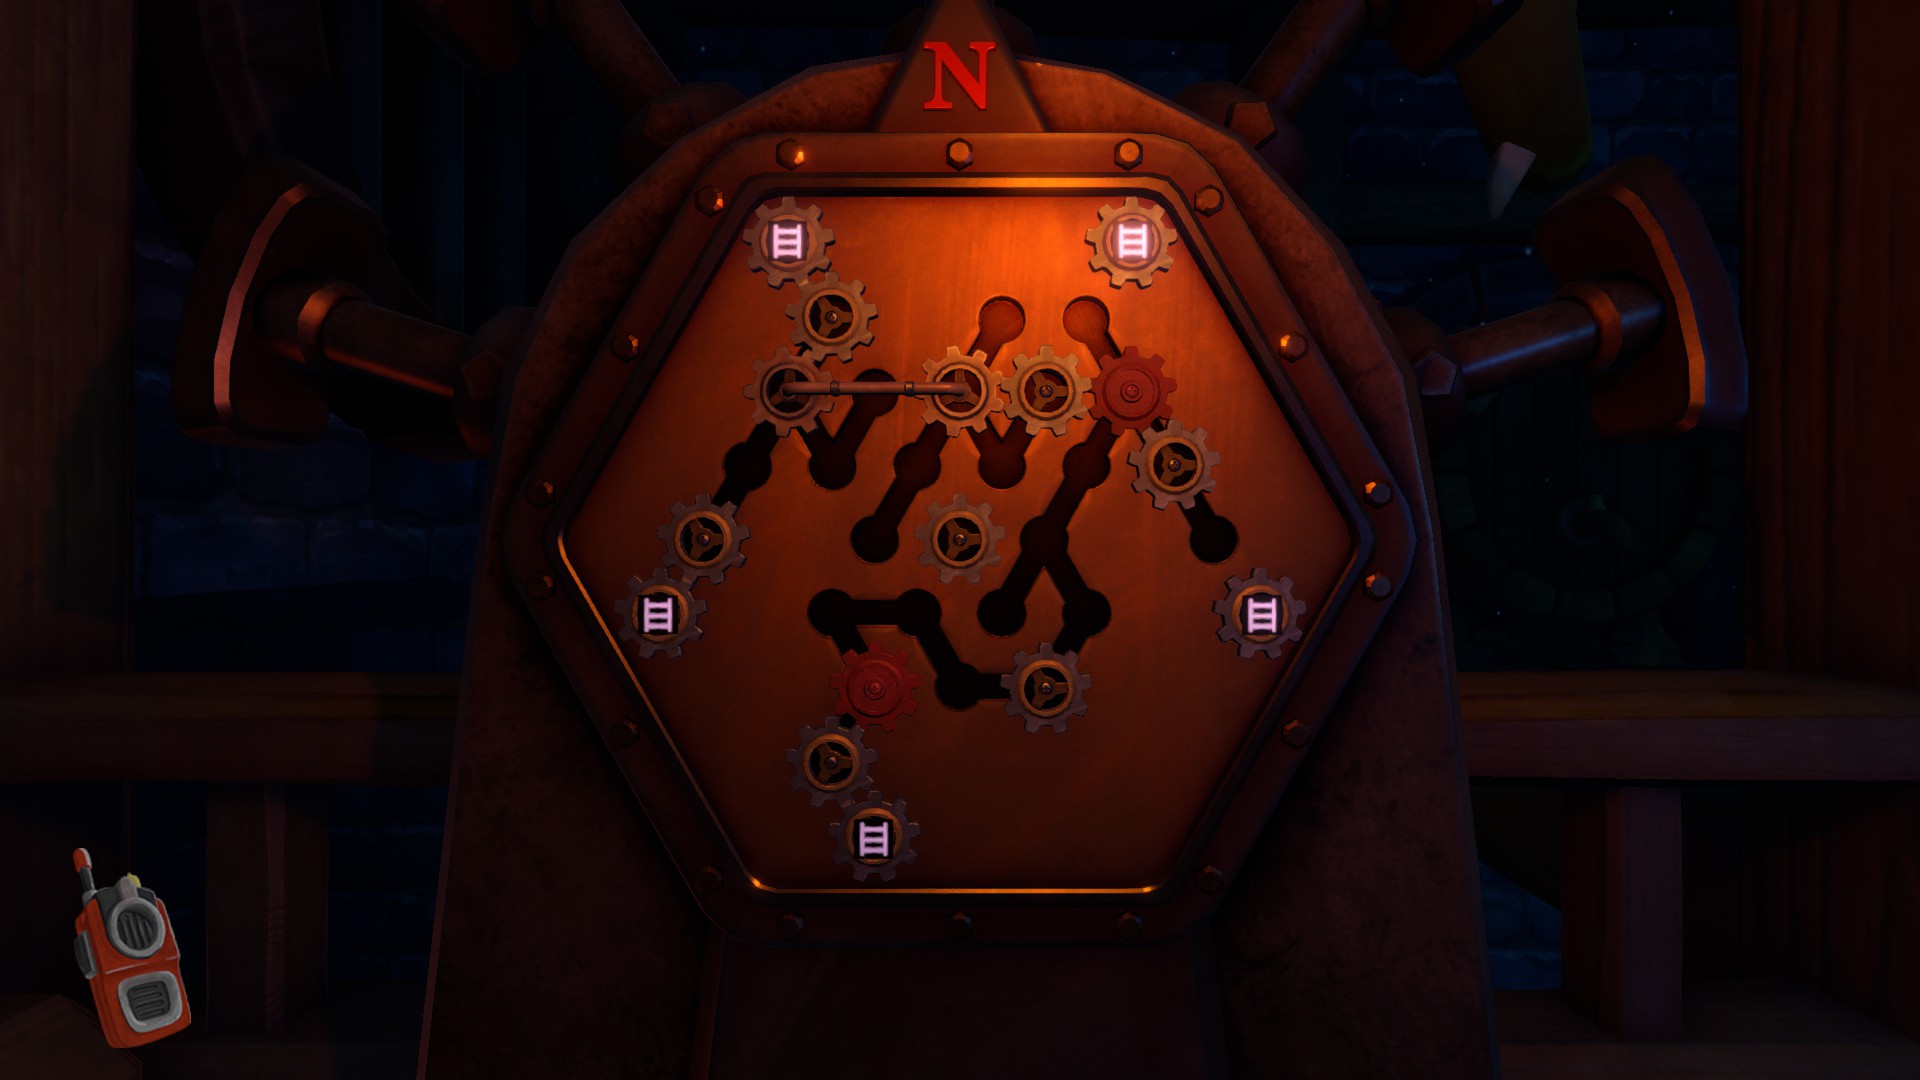
It is in this sequence that they will need to be rotated. This is done by laying a line of gears from the center to the desired ladder. If this line touches the red gears, the line will not rotate the ladder.
Listen to the second player, he will talk when it will be necessary to rotate the ladder, and when it will be necessary to stop.
There are fixed tiers between tiers with symbols, they must be reached on the stairs of the marked tier. The last tier will need to be tightened before exiting the reservoir
Chapter 7 – Poisons
On the right of the room you stand in a old greenhouse. So its time to brew a few potions!
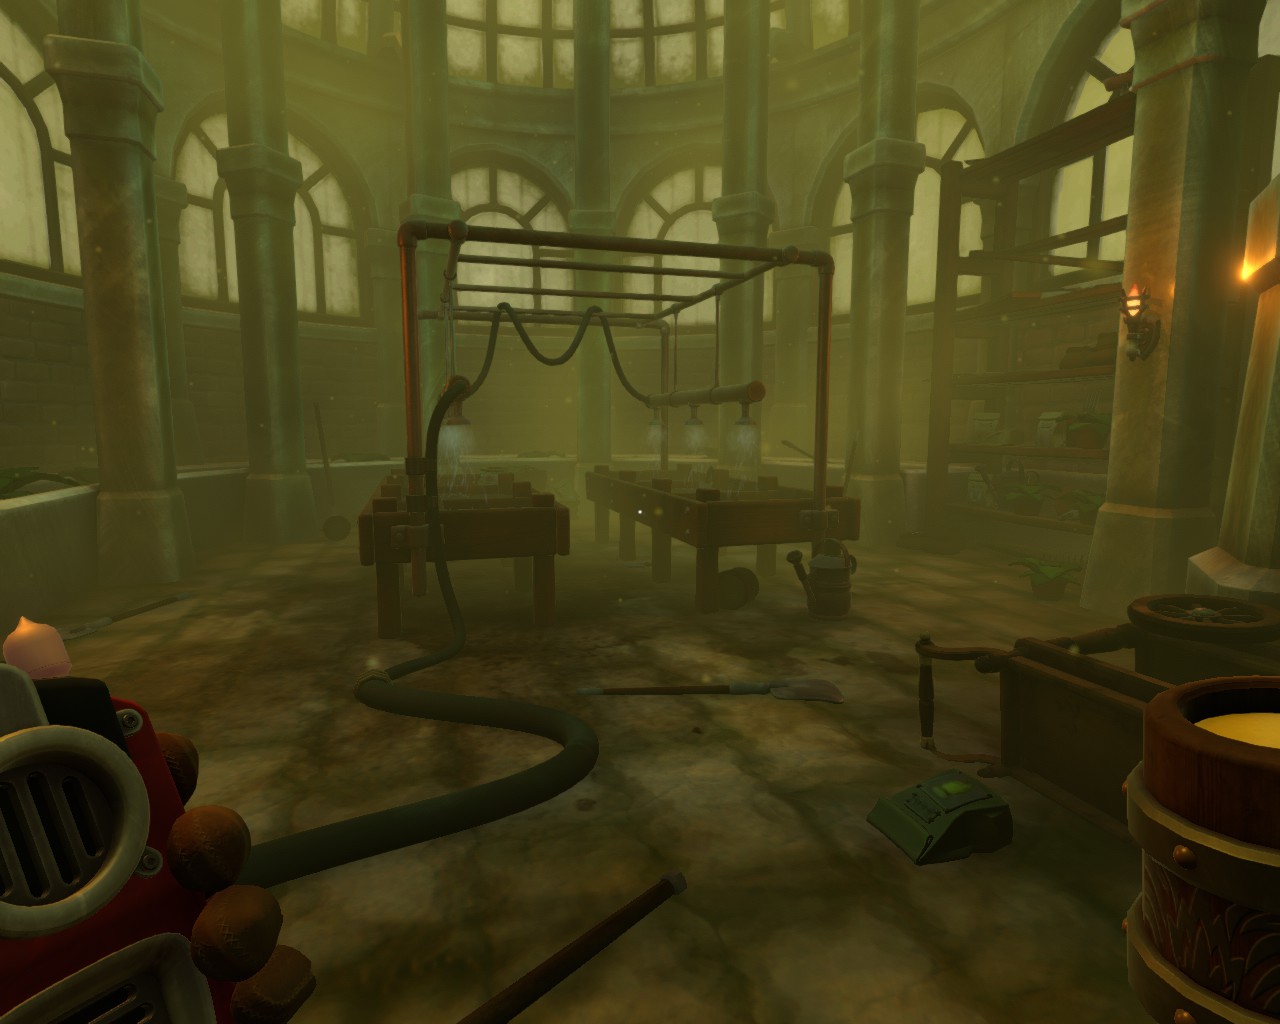
In one room with a reservoir there are three taps with fluids of three colors: green, orange and purple. There is also a small garden where you need to grow fruits, seed bags and scoops are scattered throughout the garden. You must take the necessary seeds and plant them on the bed and watered it with the correct liquid.
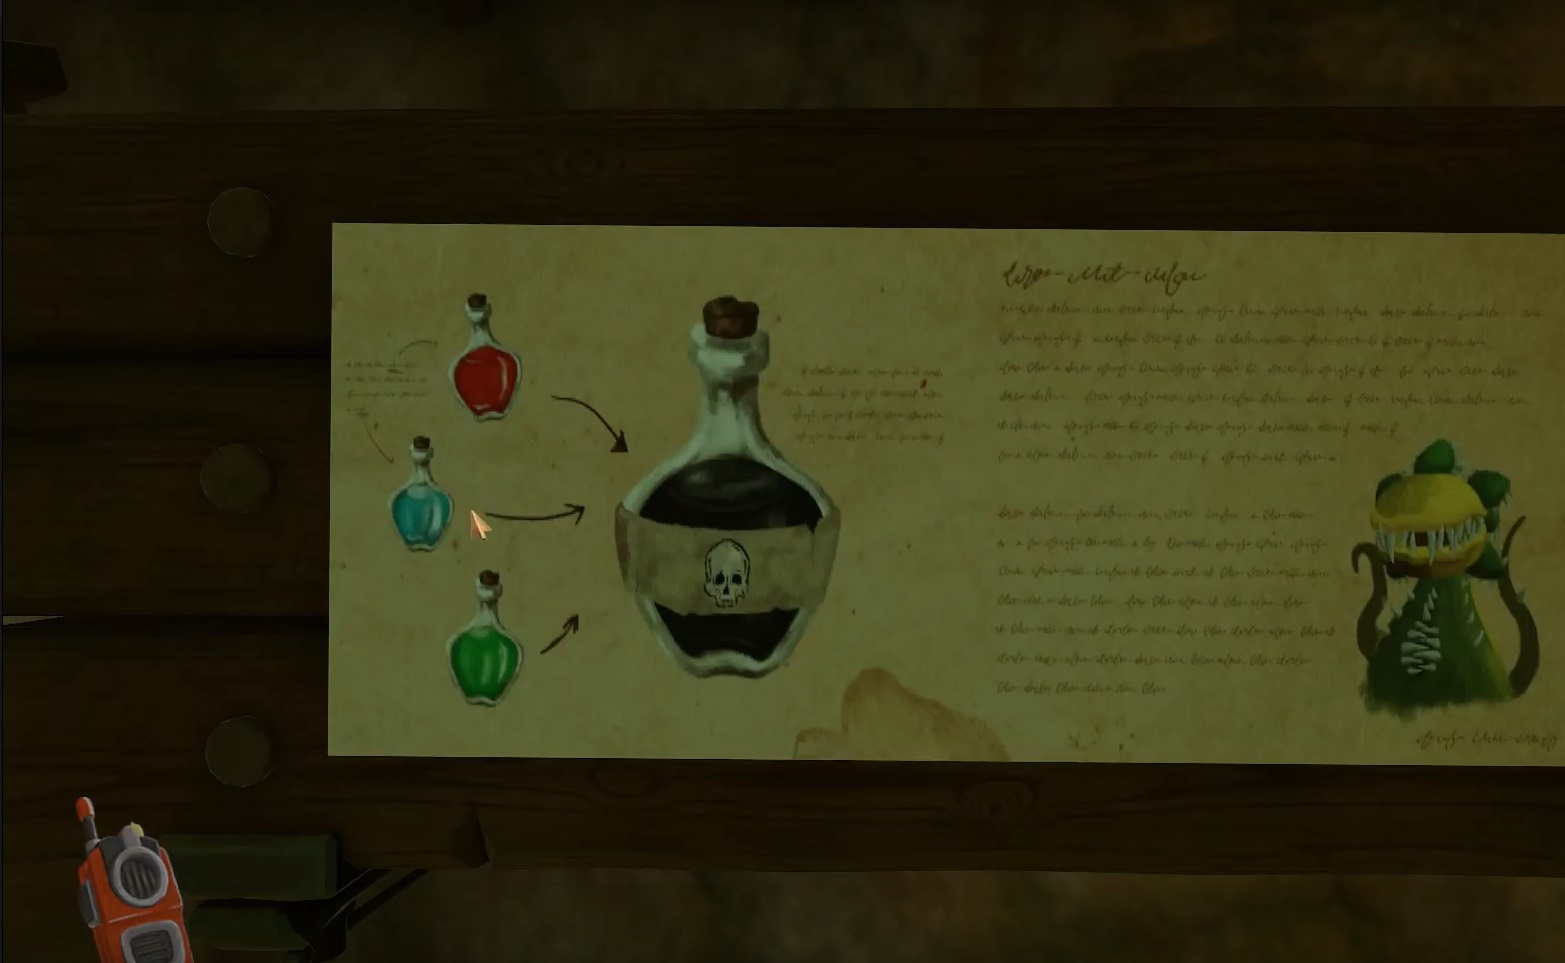
Here are the recipes from another player’s room:
In the other room can you find all the equipment. One device with two slots and the other with three. We need a dual-slot. Based on recipes, combine the ingredients here.
The rooms of two players are connected by rails with trolleys. They are needed to transfer resources for potions to each other. One puts objects in a trolley and presses a lever. Another picks up these items and uses them for their intended purpose.
You need to brew the following poisons to create one, deadly poison to defeat the carnivorous plant.
Having received all three potions, they need to be folded into another device with three slots. After receiving the black potion, you need to fill it in the sprayer, which lies on the table next to the recipes in the same room in which you received the potion. The device must be transferred to another player, and he, in turn, must spray them on a huge plant that stores a second stone. The stone must be taken.

Chapter 8 – Hidden Answers
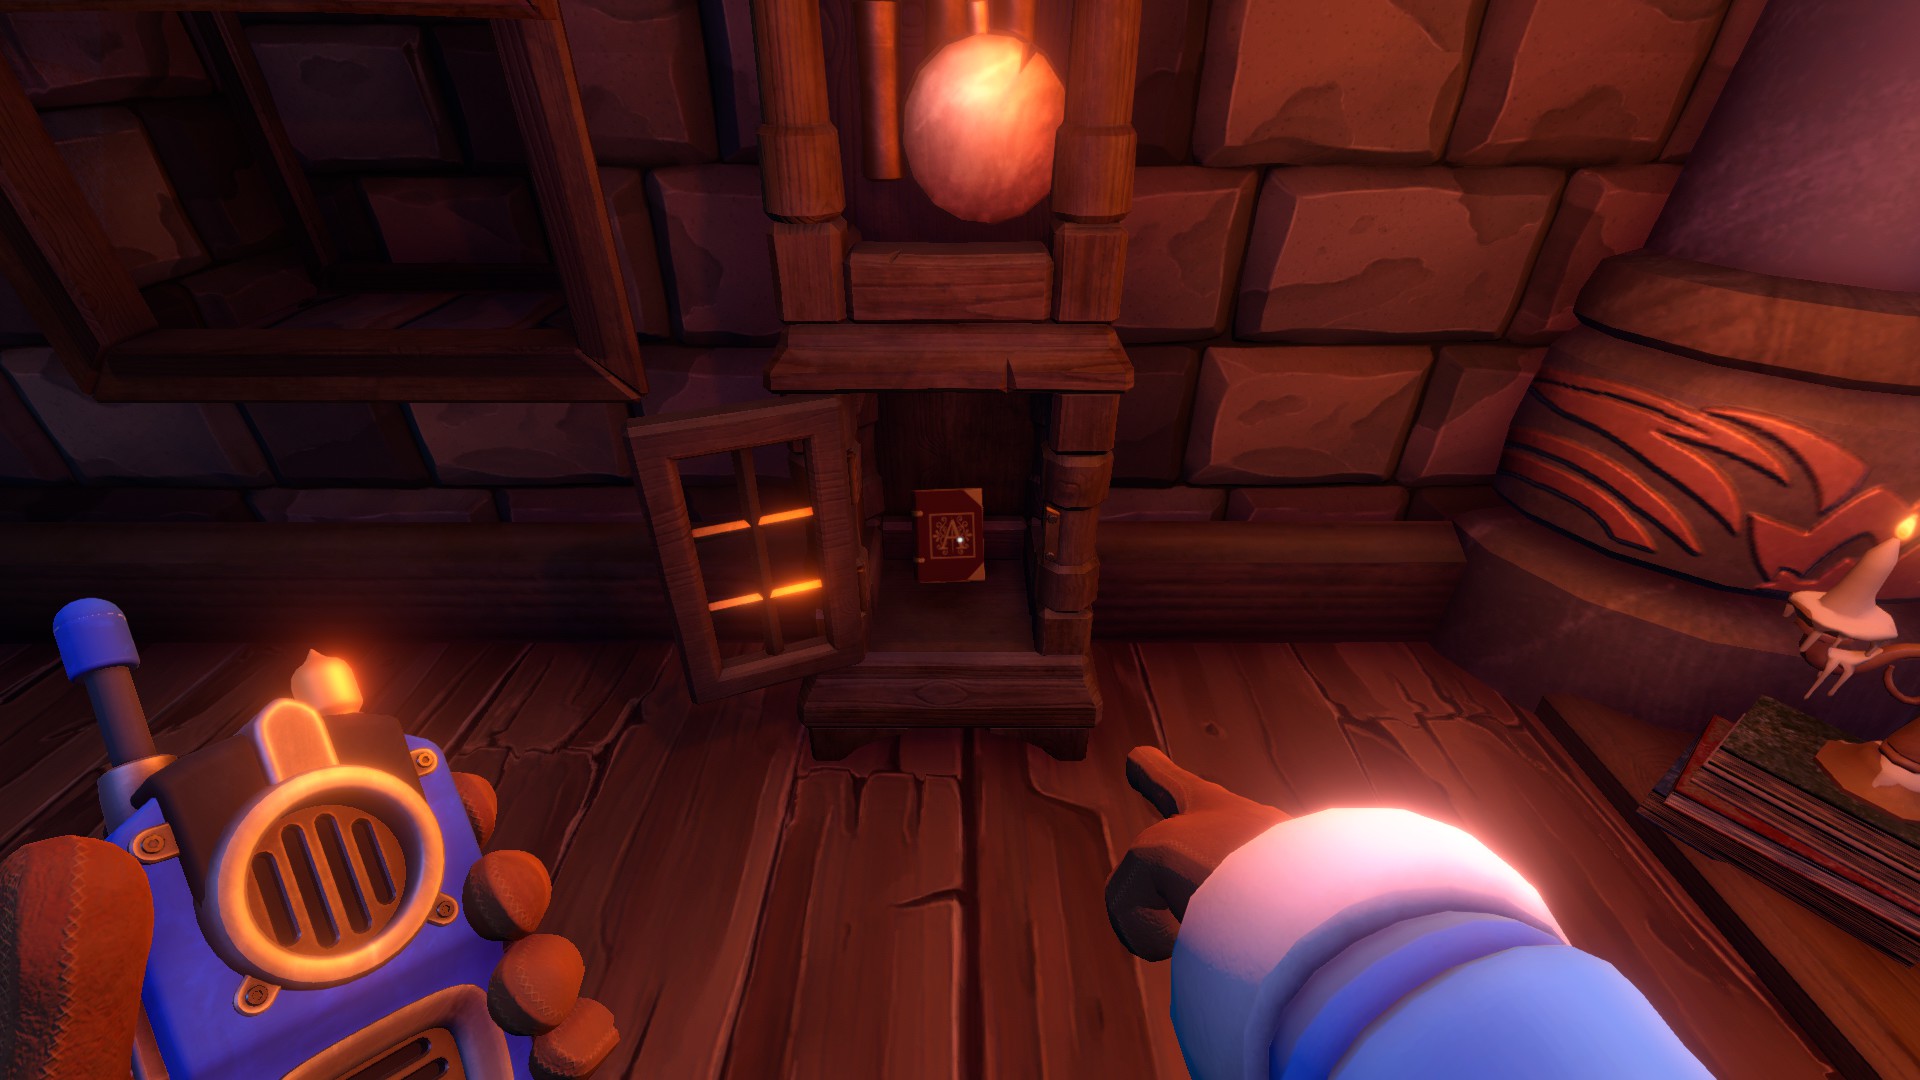
In this chapter, you both find yourself in rooms that are similar to each other, but there are significant differences. The goal is to find 6 books hidden throughout the room. All these books have a big letter on the front, so you can find them maybe a litte bit easier.
The order in which the books must be found does not matter!
At first, one player can find 4 objects in his room to collect. These 4 objects are:
- sand clock
- globe
- cube
You can not do anything with these objects except to place them seemingly randomly in the room.
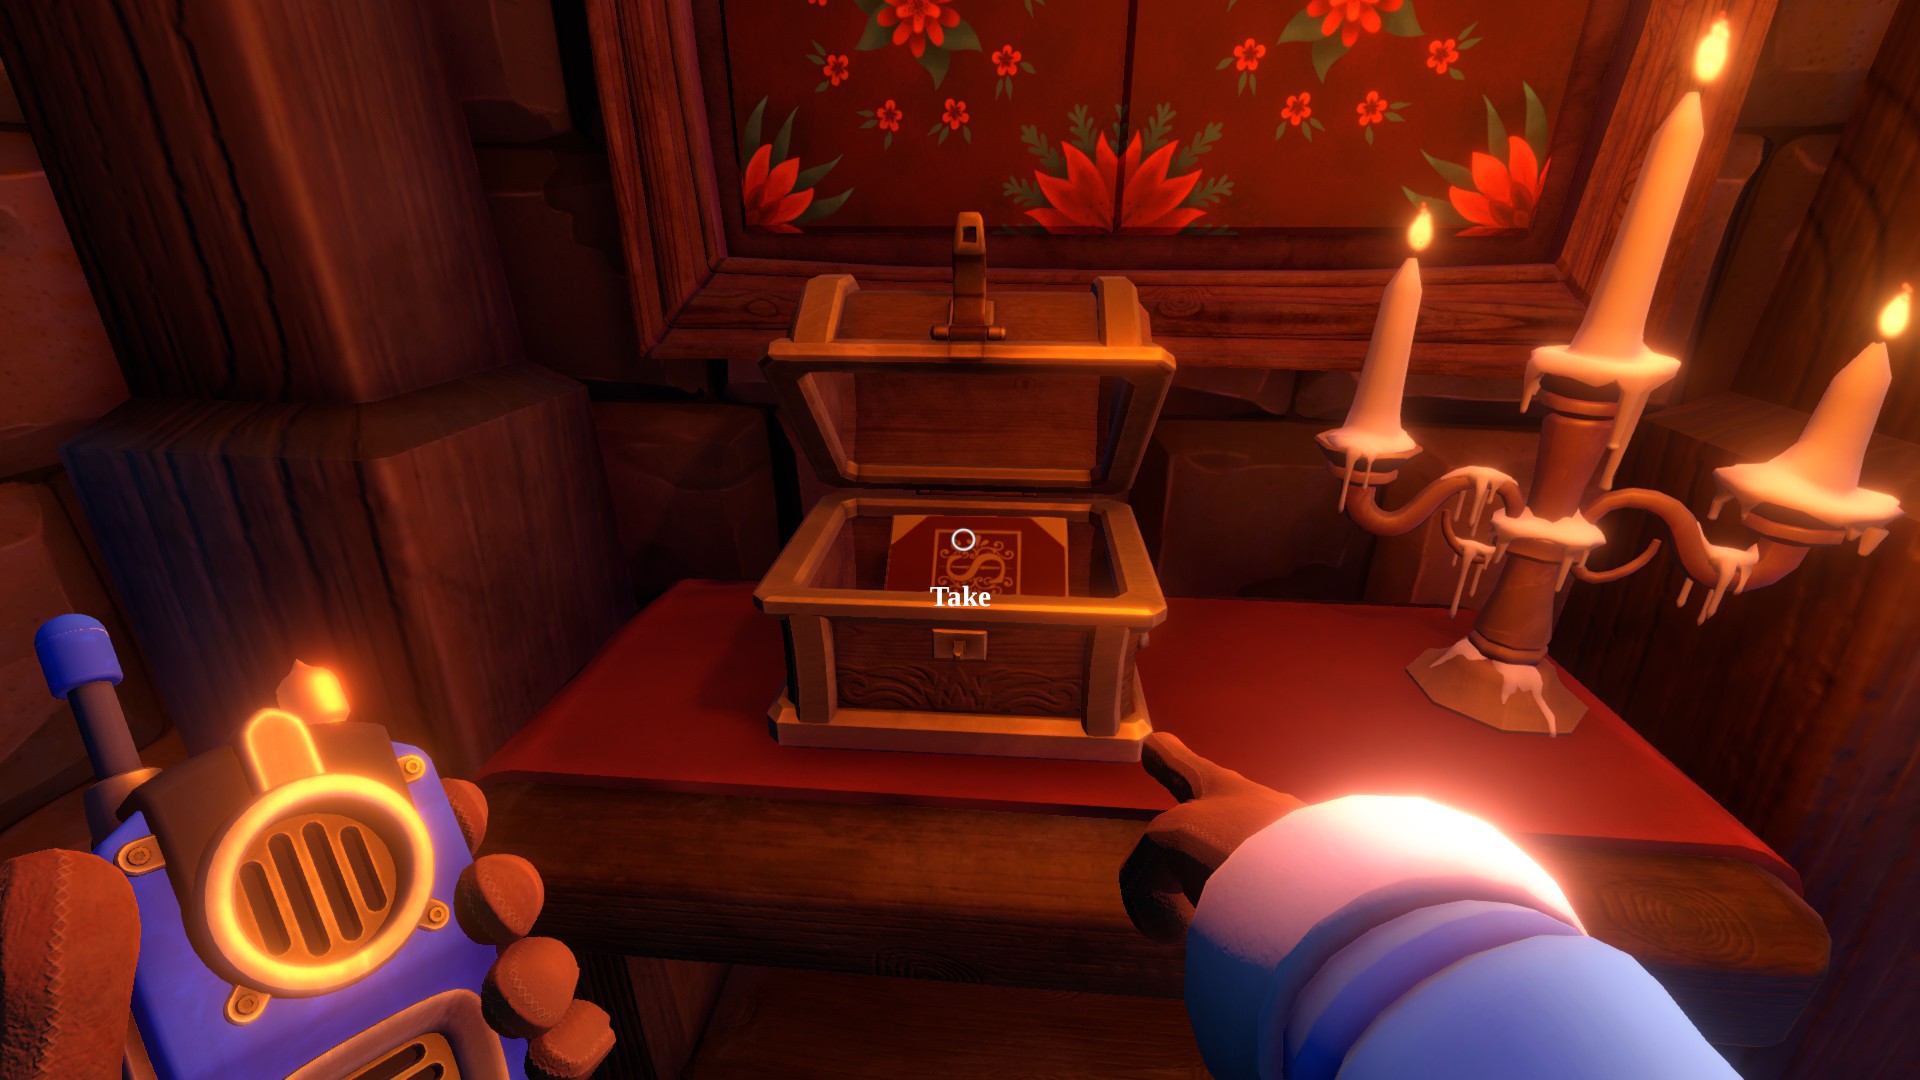
Your partner have also this items in his room. Place all 4 at the same position as in the other room. After that, a box will open on the second floor of both rooms in the corner. Both players must take a book from there.
One of you can collect paintings that depict strange animals. The second player must explain where they are located. The first player must place the collected pictures in the indicated places.
One of the paintings does not contain an animal, but a man (the portrait differs from that in the other room). Put it in place to the left of the door.
After completing the task, one picture on the stairs will open. There will be a book.
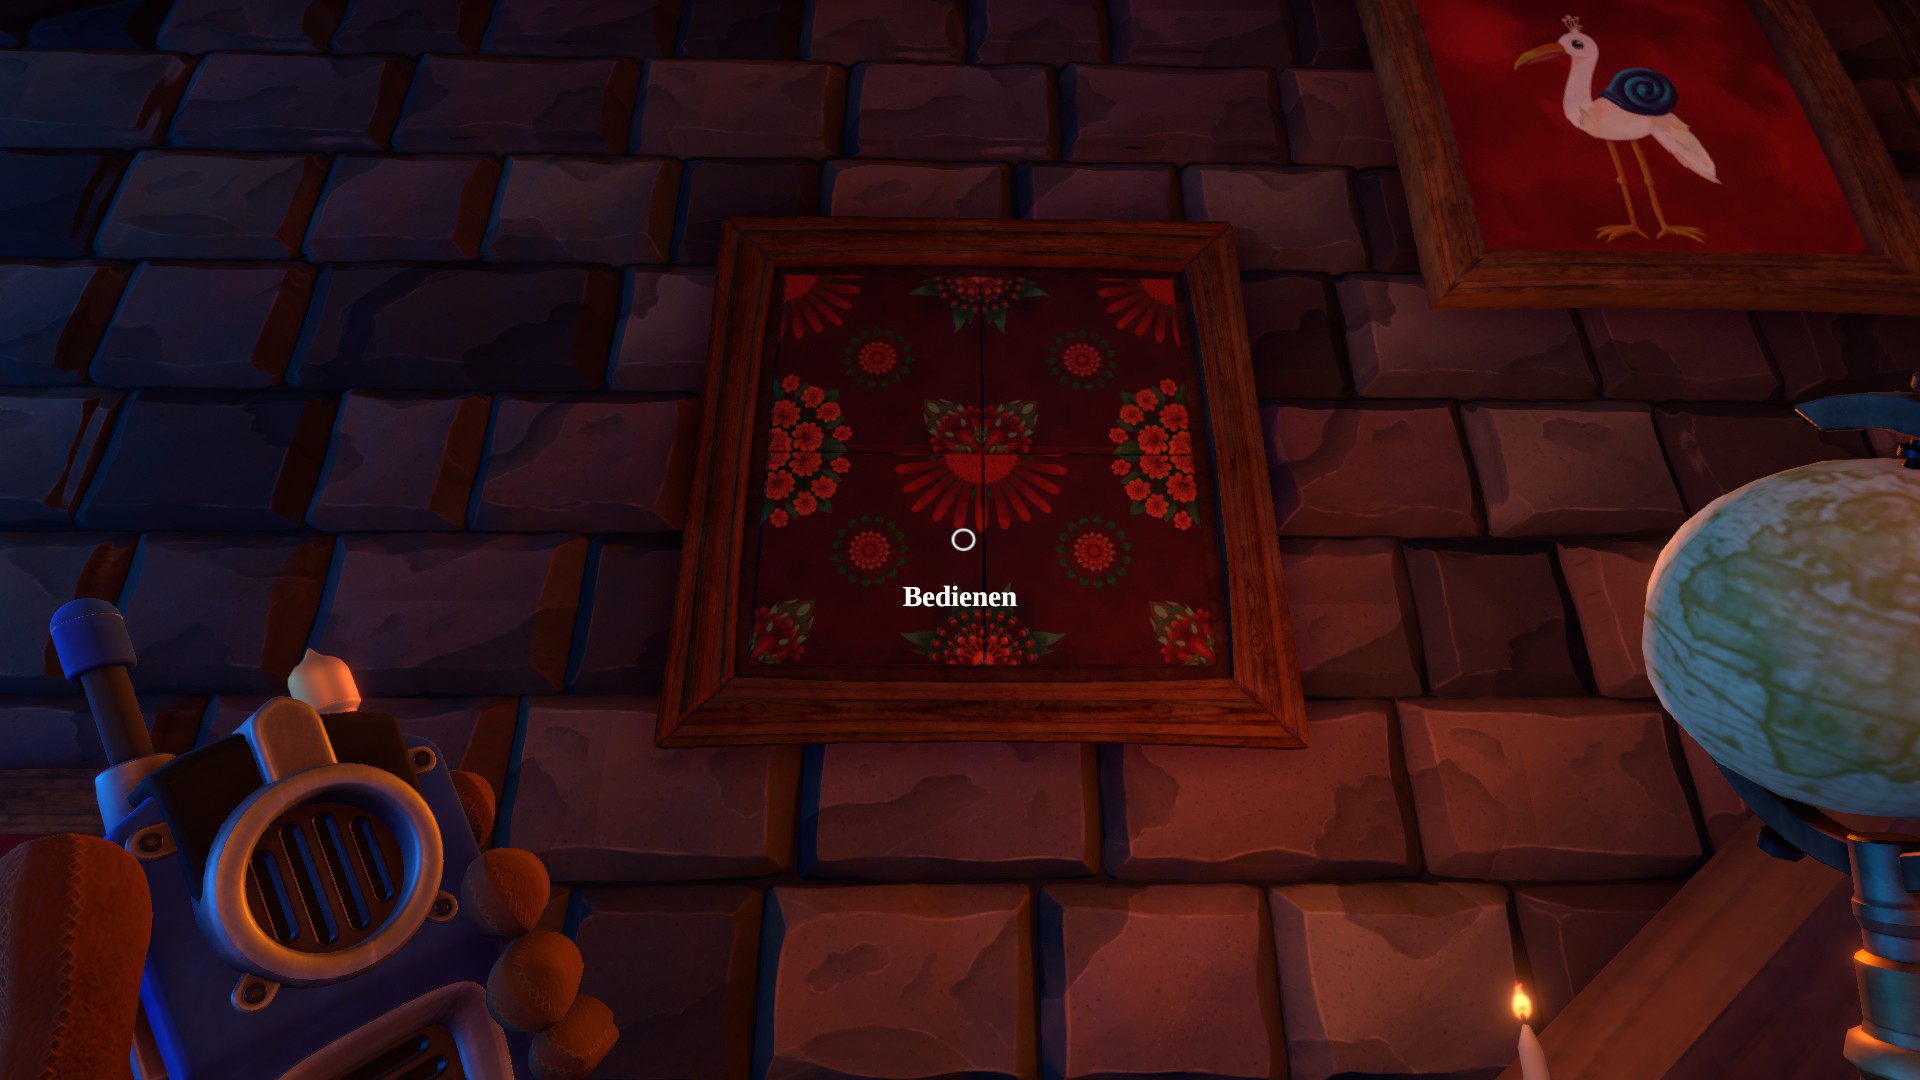
In addition to 6 “strange” animal paintings, there are also 3 paintings with floral ornaments. Each picture is divided into 4 squares, which the second player can rotate. Squares should be set so that the drawings in all three paintings coincide with the image of the same paintings in another room.
After that, the picture to the left of the clock will open. There will be a book
In the middle of the rooms there is a candle holder. Only one player can light candles. The second player should tell what candles they have on.
After that, the box with the book under the candle holder will open.
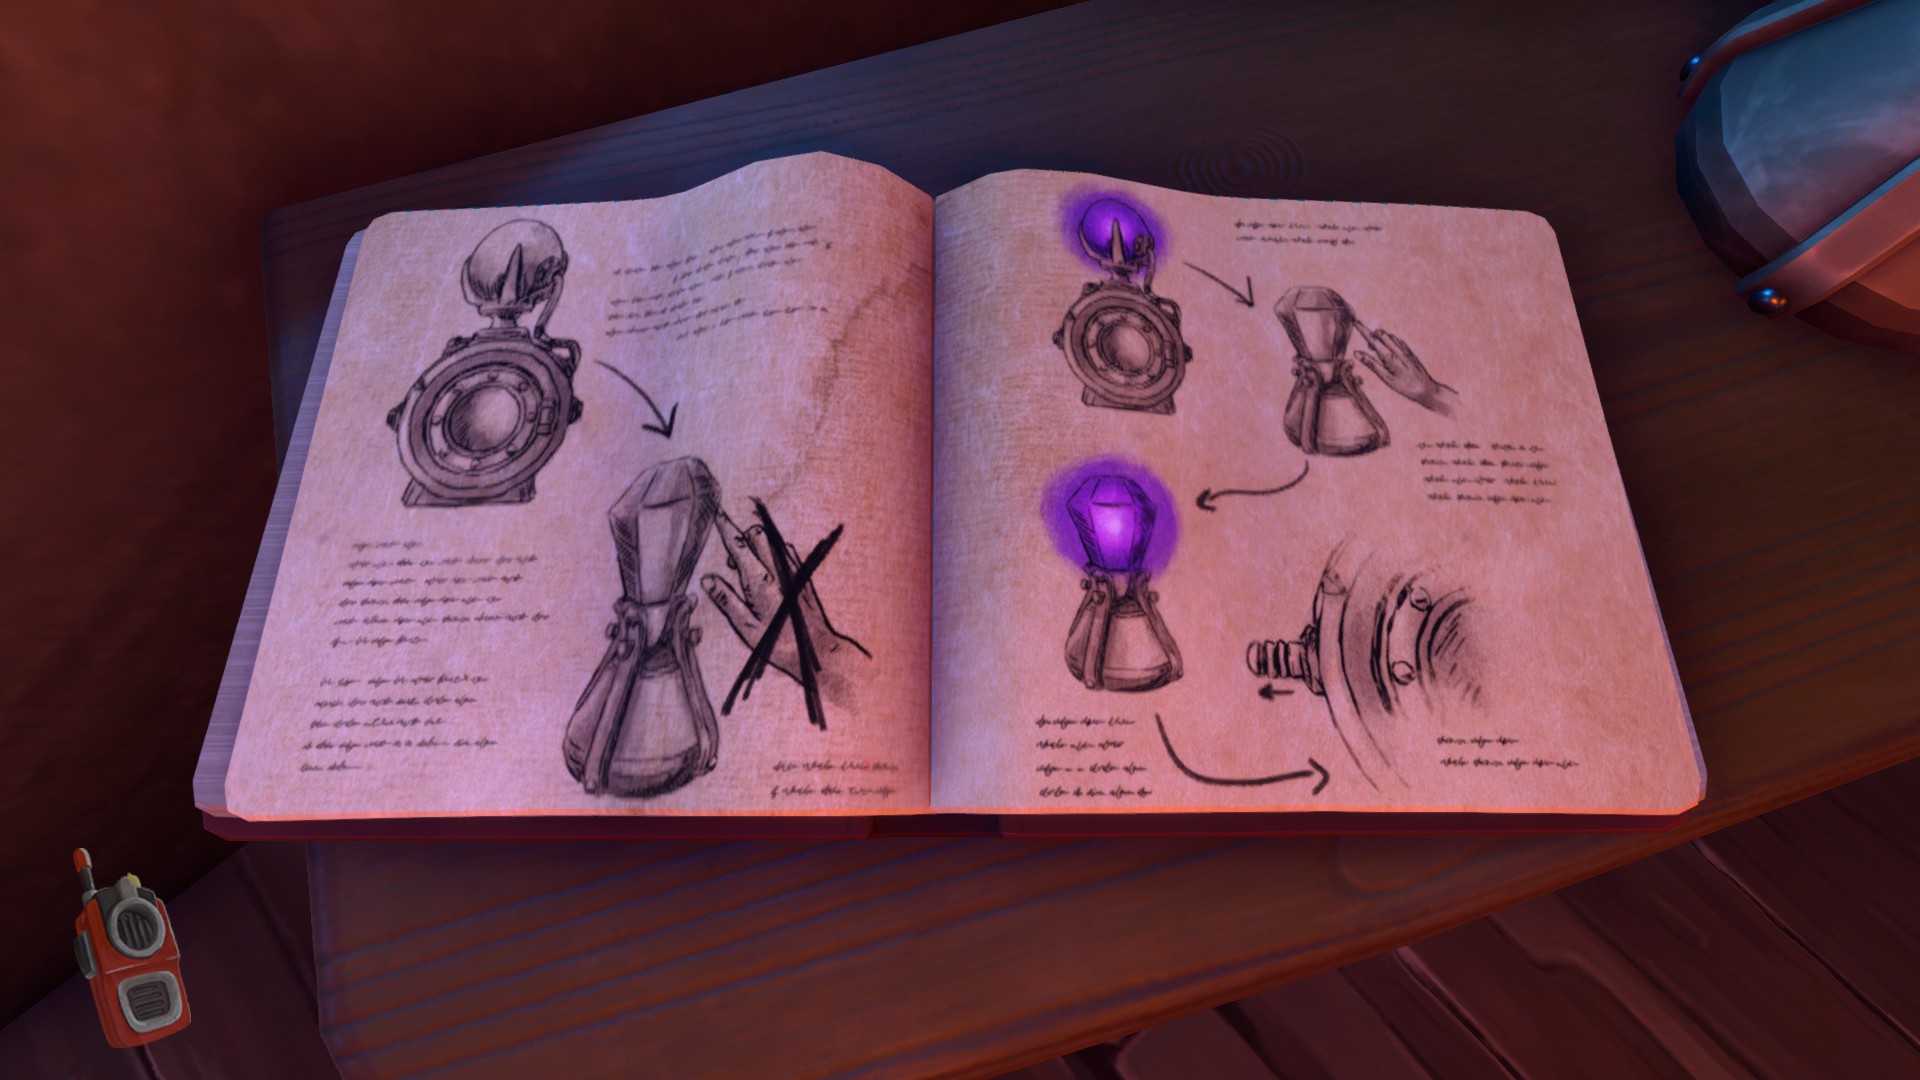
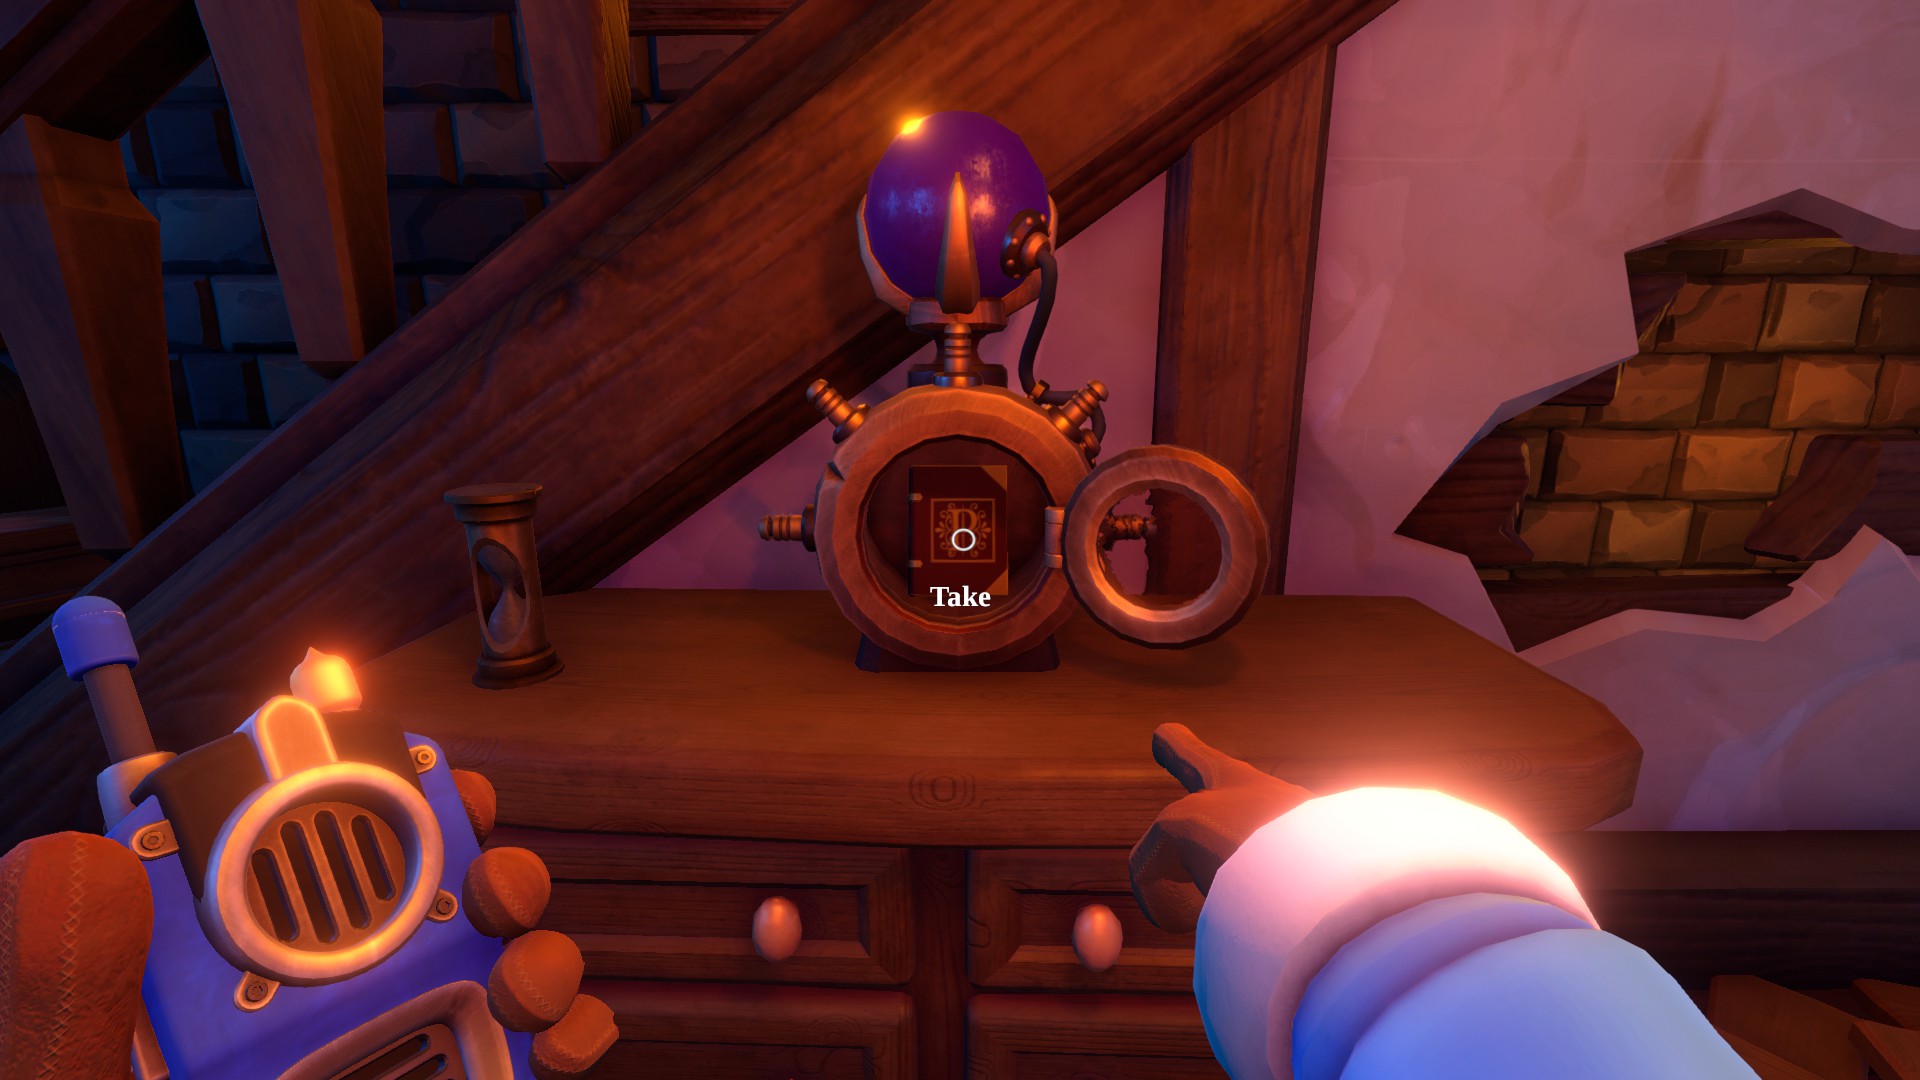
On the pedestal near the stairs there is a spherical purple device, it glows when the first player approaches certain crystals. There are 5 of it in the room and you need to light them all.
If the first player approaches the crystal, and the second ball flashes quickly, it means that it must be activated. If you activate the wrong crystal, then all others will be canceled.
After execution, a box with a book will open under the ball
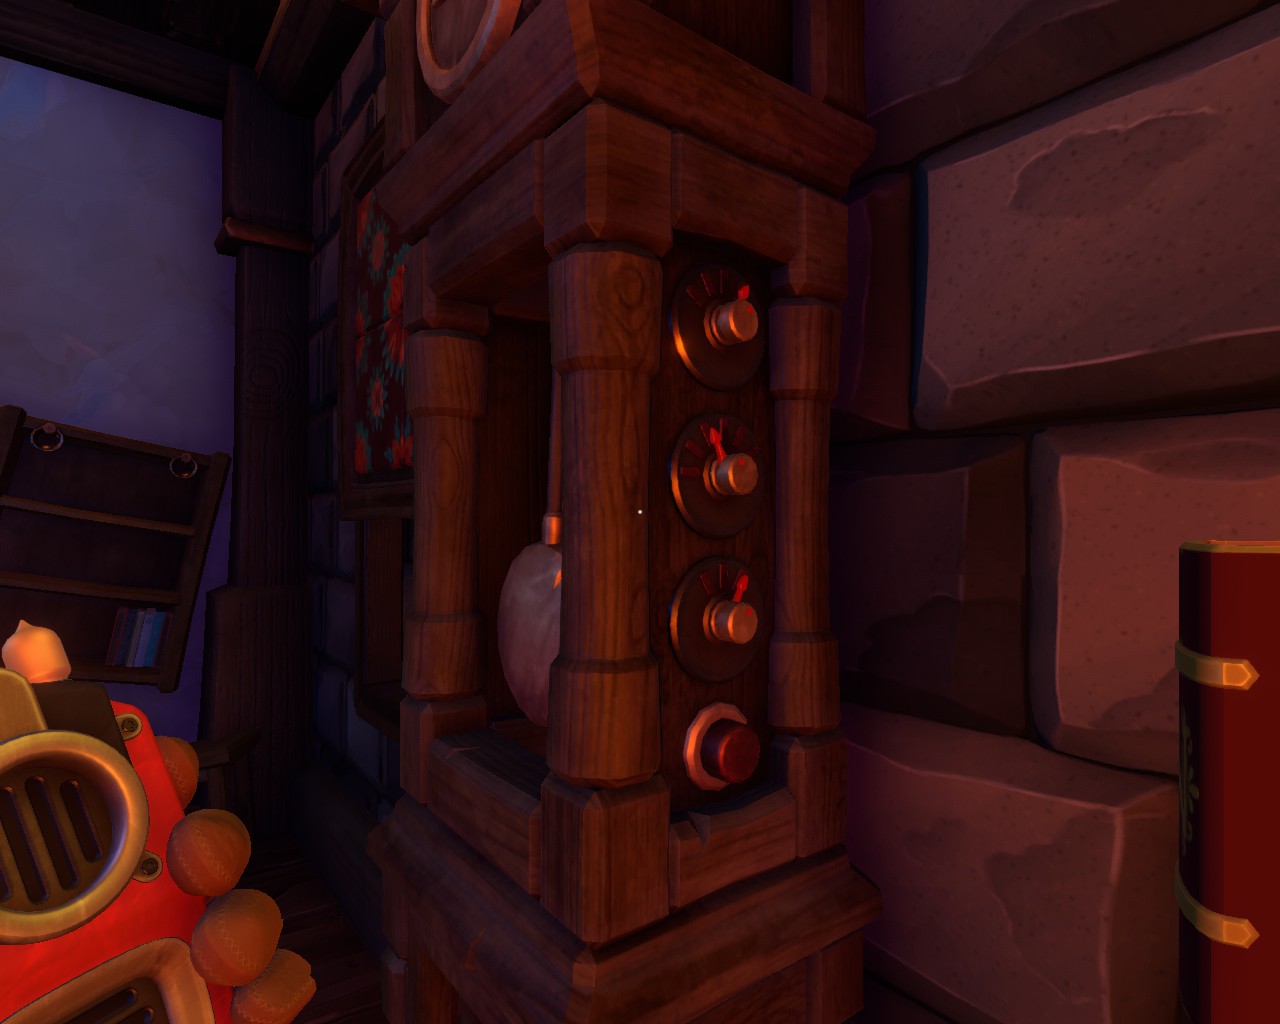
The first player has divisions to the right of the clock, and the second has switches in the same place. They are responsible for the sound of the clock, the beat frequency and the sound of the cuckoo.
The first player must explain this to the second player, and he must adjusts the parameters of his watch to the clock of the first player, and then clicks on the button below.
After execution, a door with a book will open under the clock.
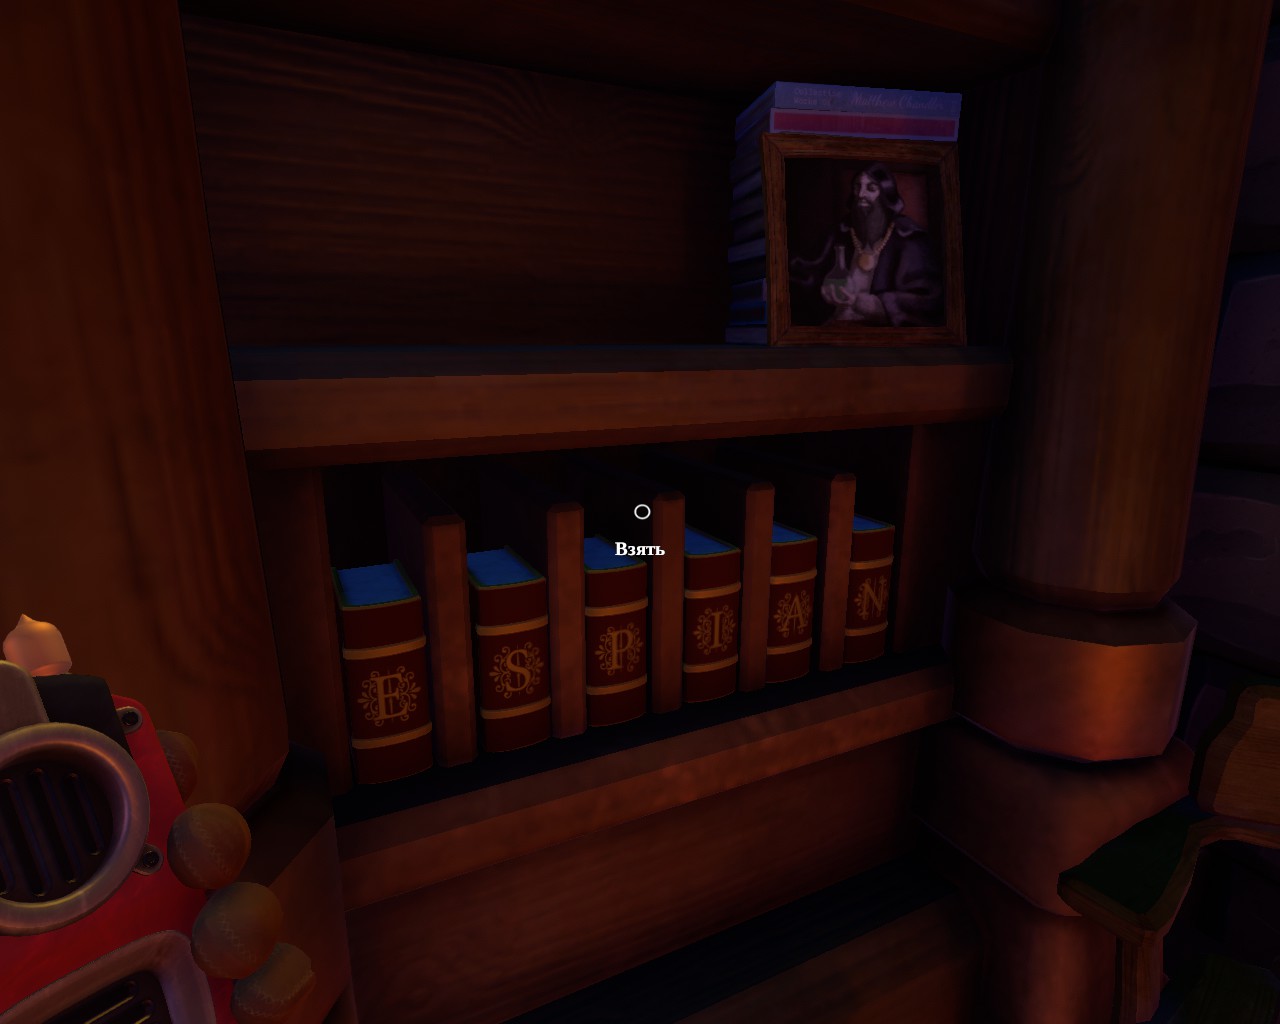
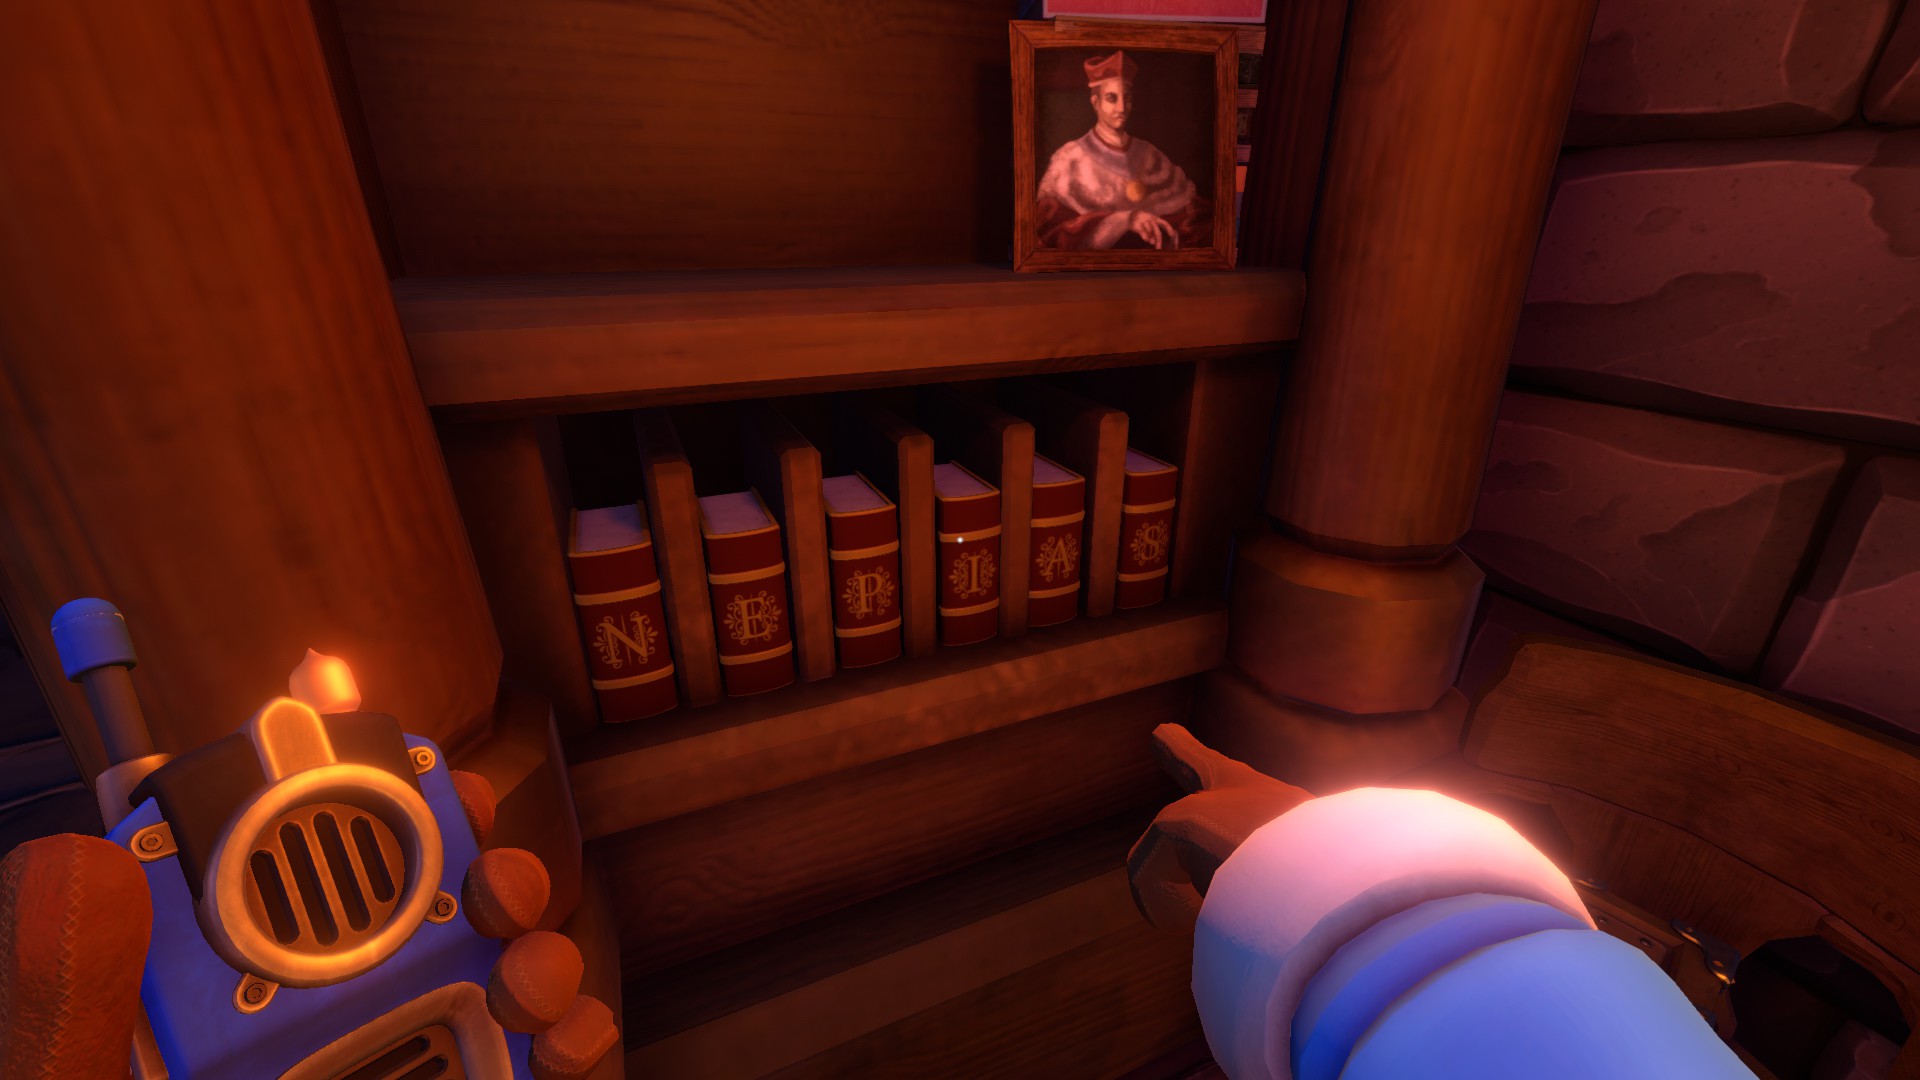
Now you’ve collect all 6 Books. Go down in the corner to the left of the fireplace. You must set in your book now in the correct order. Remember the picture next to the entrance door.
A player with a picture of a bearded man looking to the left should make up the word ESPIAN.
A player with a picture of a man looking to the right – NEPIAS.
Chapter 9 – The Soulstone
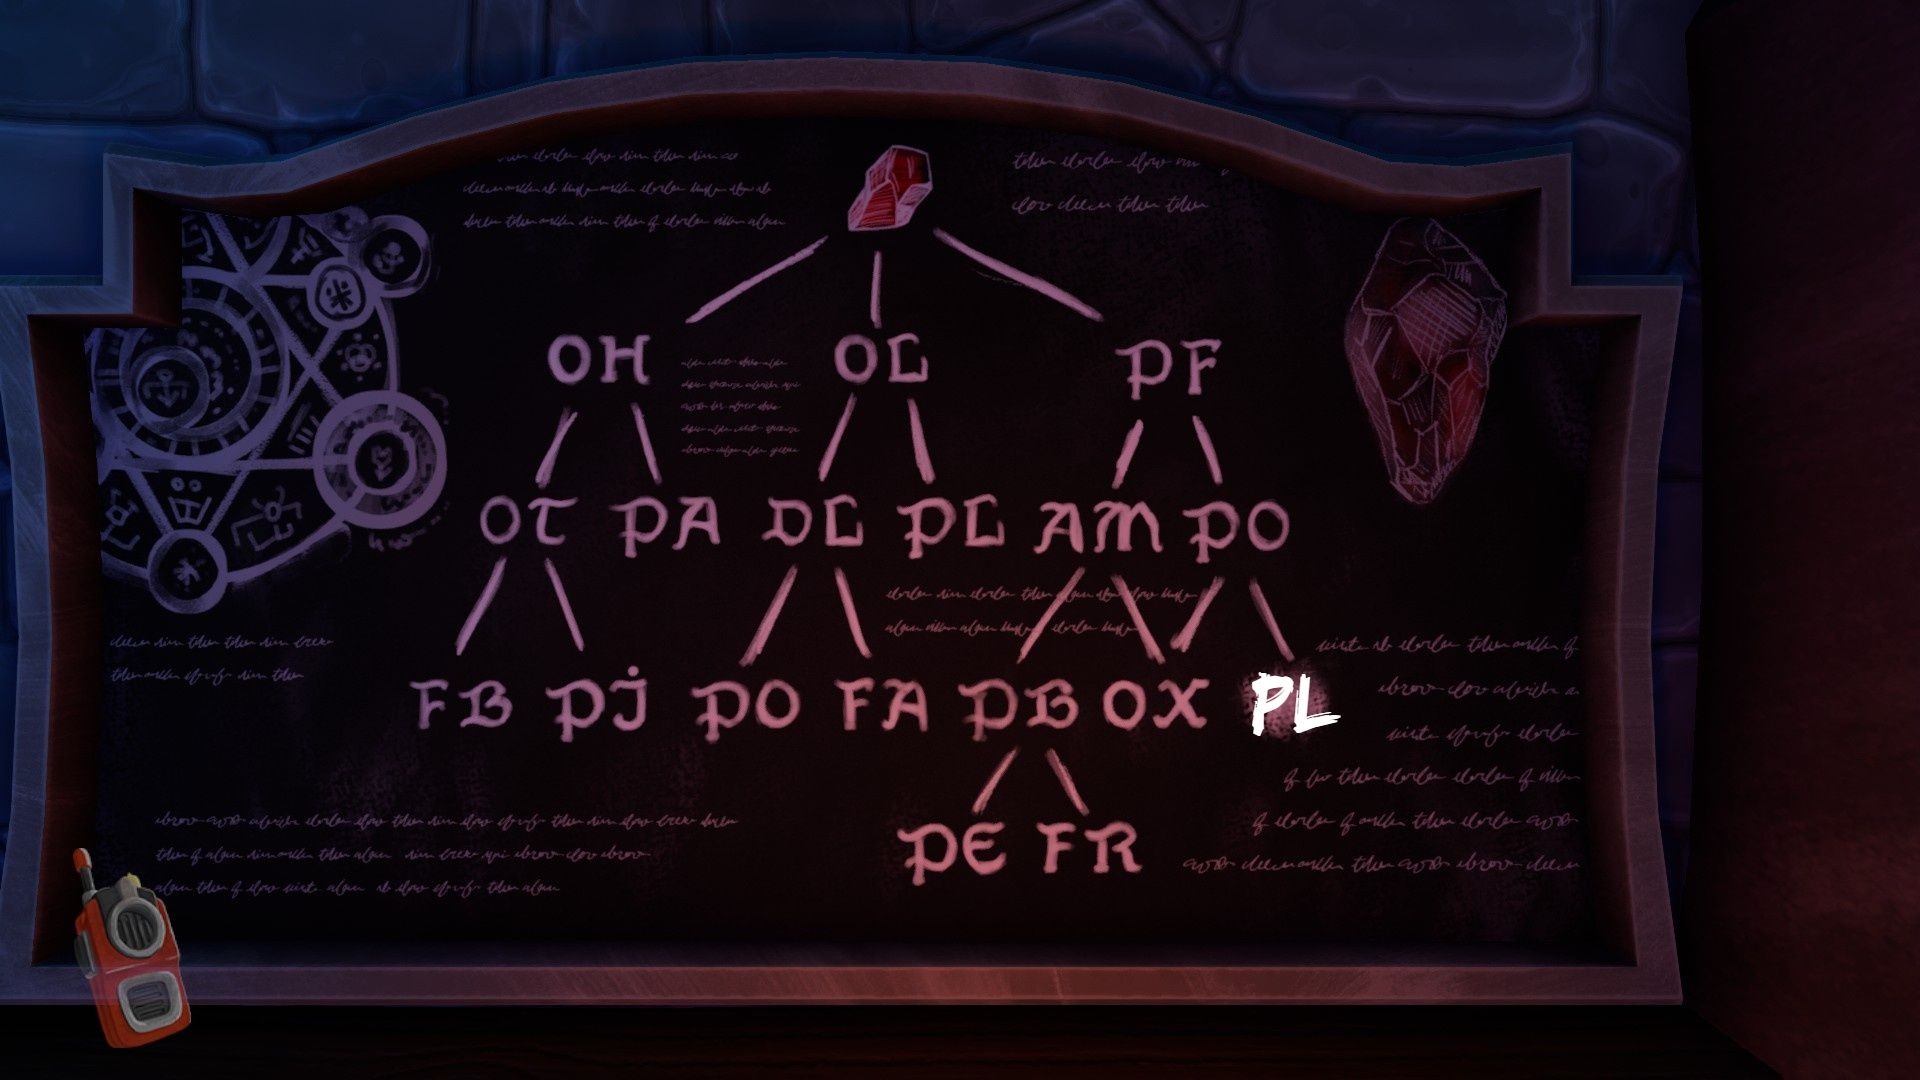
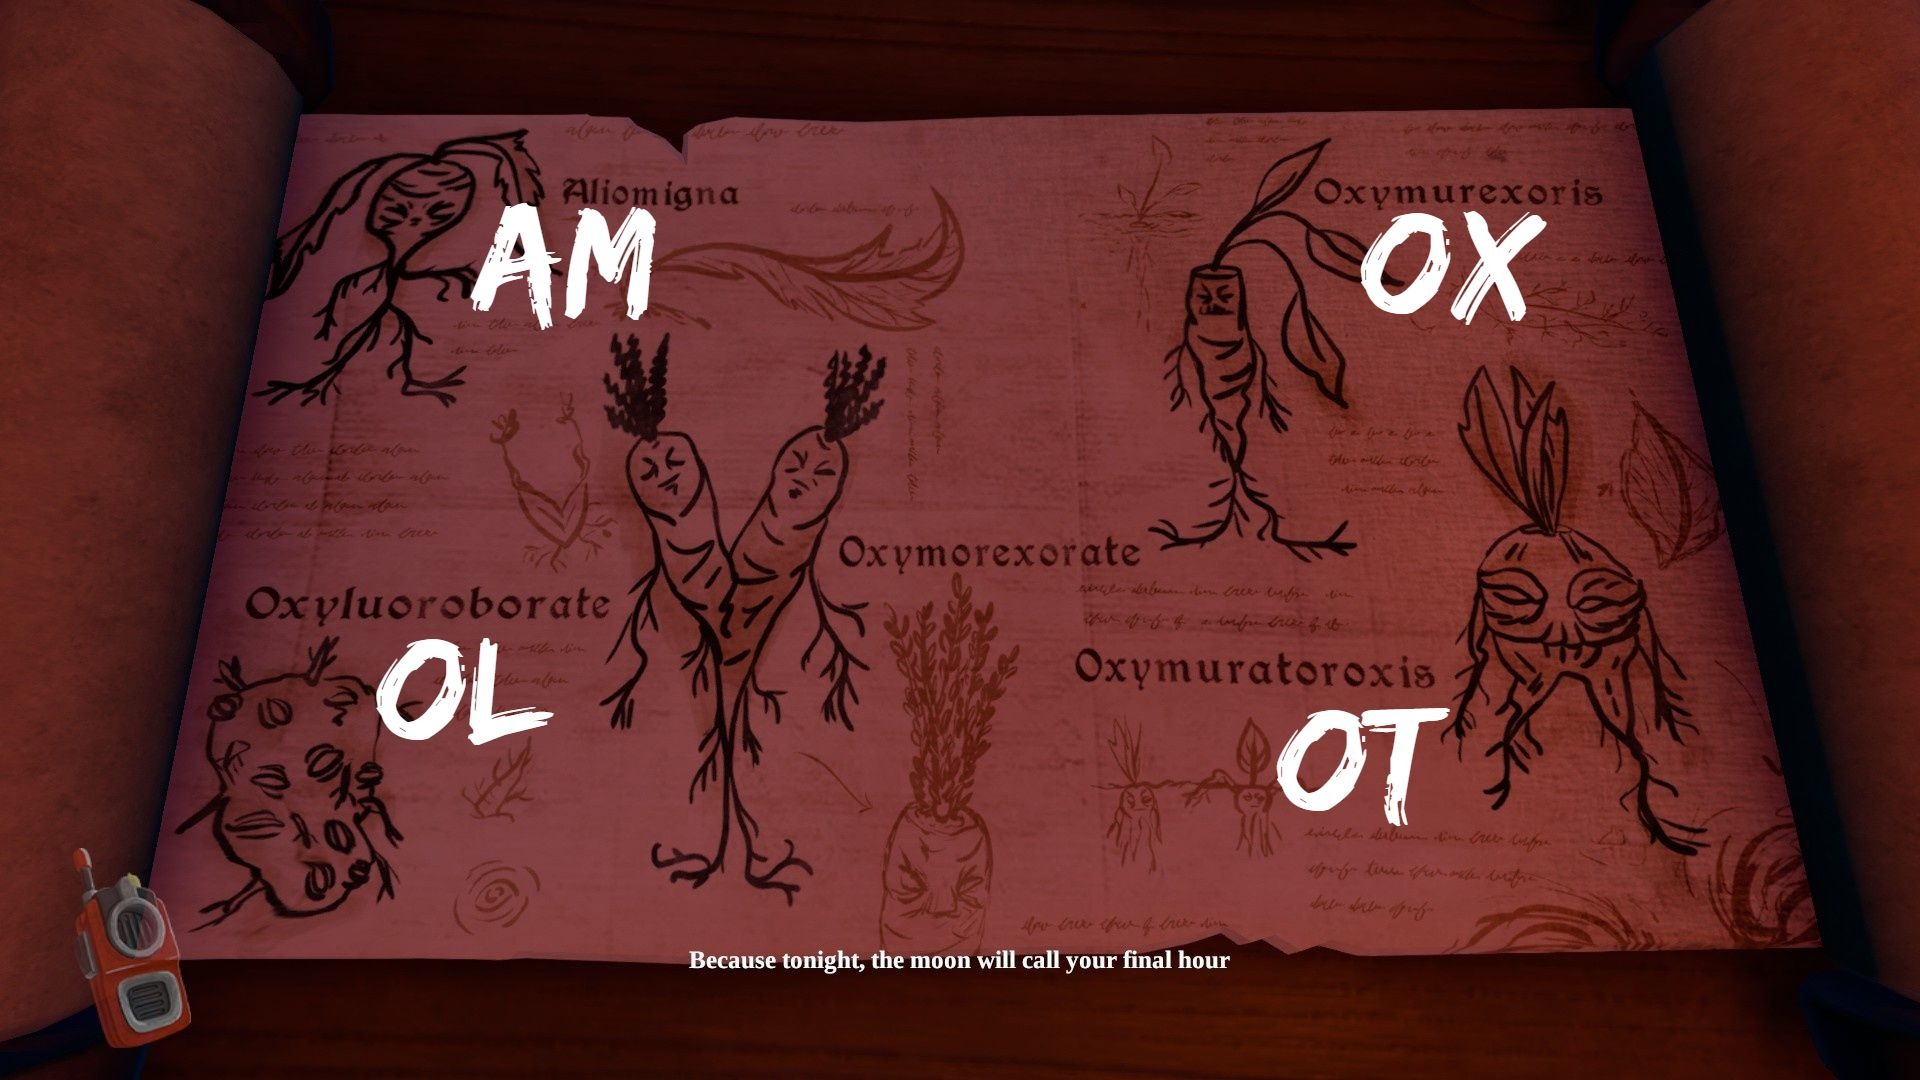
Both players together must create a third stone. One player has a board with a table (screen below), on which you need to create a stone, and entries around which the components are shown and named.
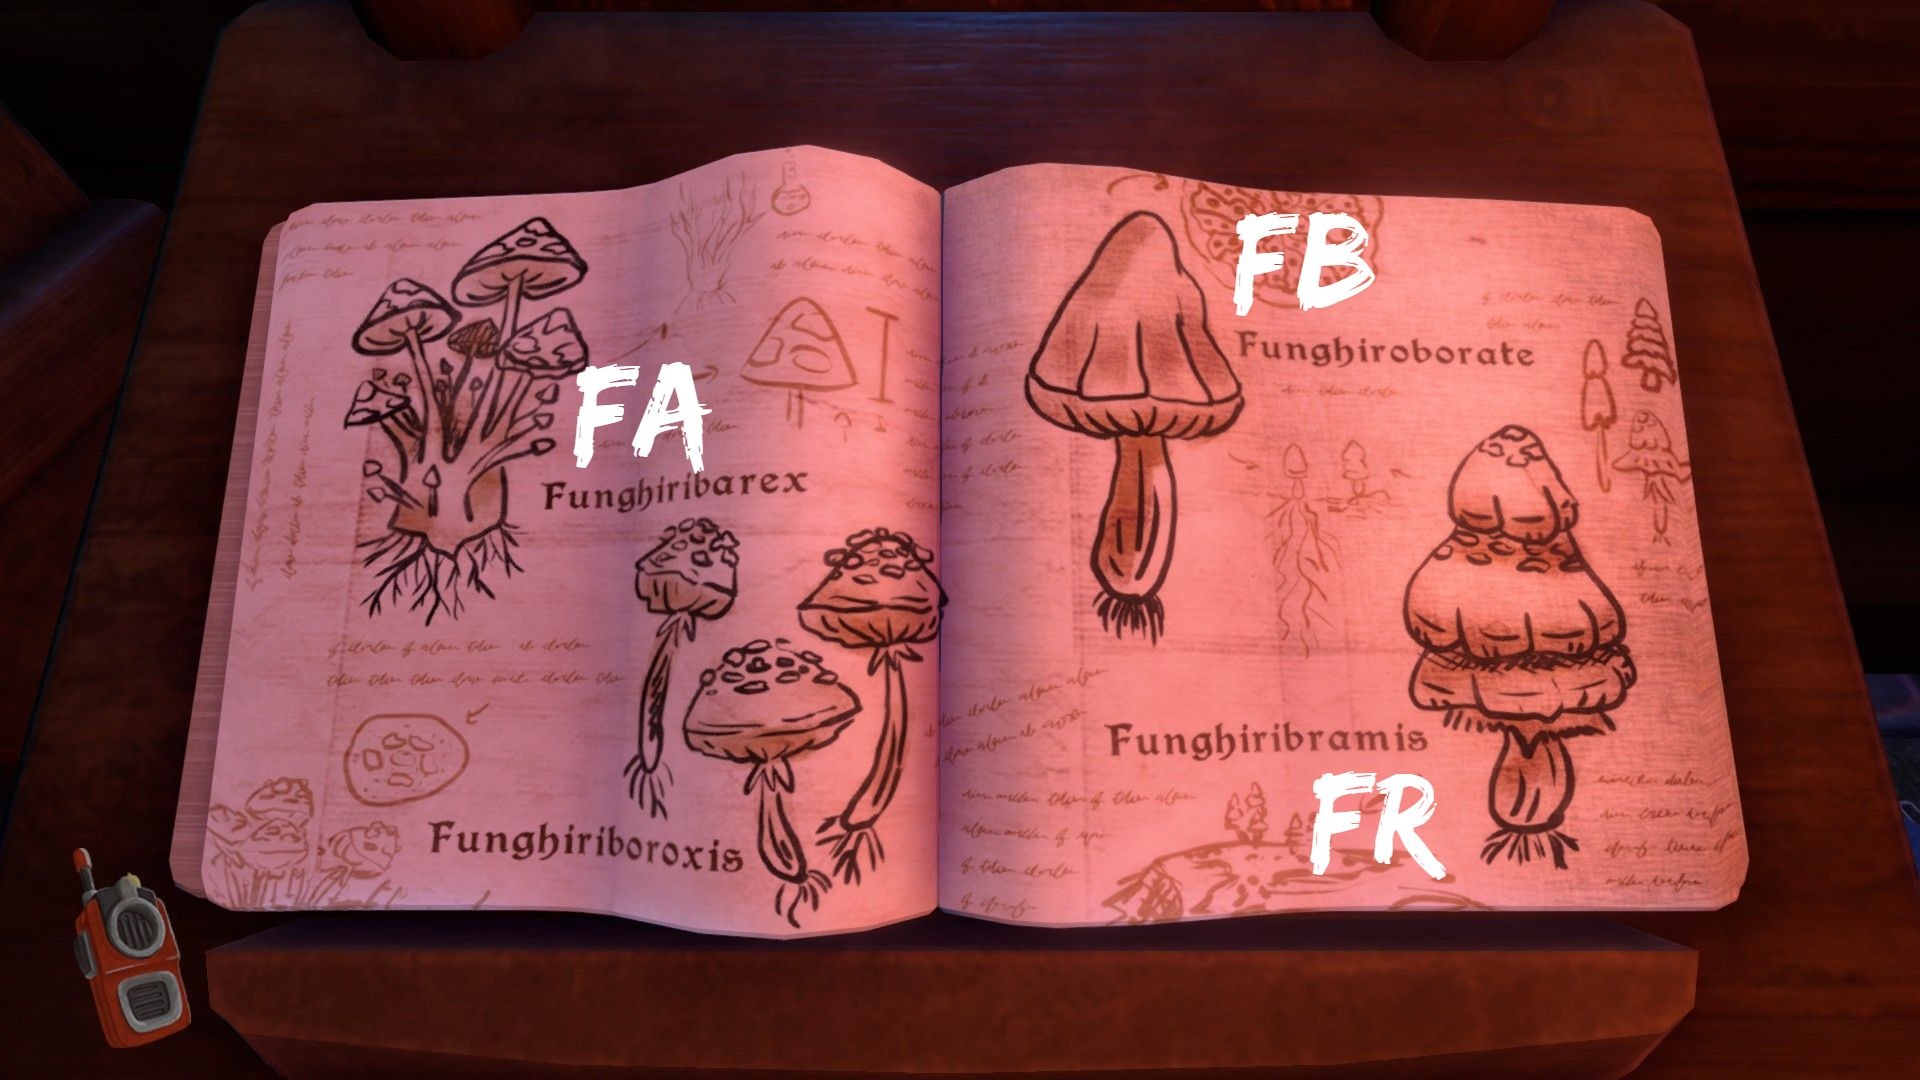
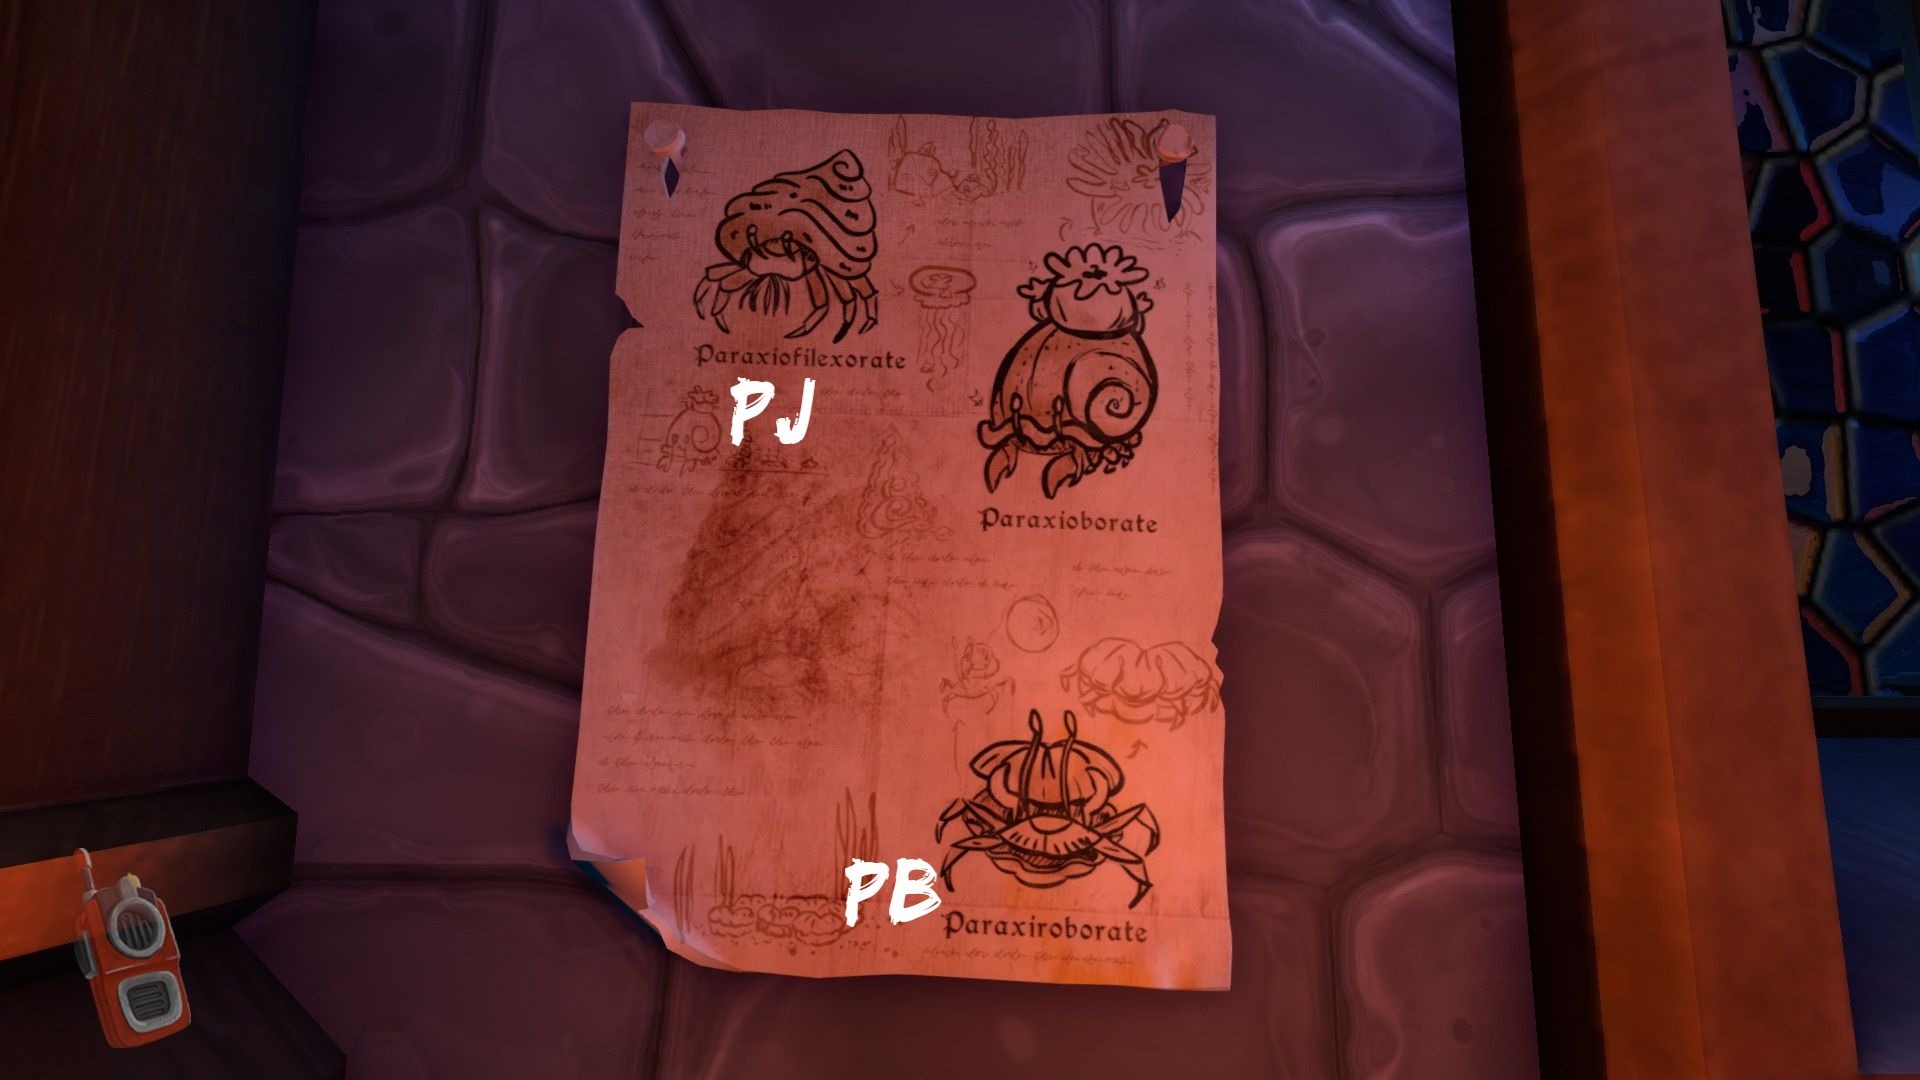
On the table, these components are indicated as abbreviations.
These abbreviations must be decrypted by the second player, since he has a book with decryptions. Also in the room of the second player there are components with images. And three devices.
One combines two components into one, the second disconnects one component into two, and the third is needed to connect the 3 components that are indicated below the stone in the table (OH, OT, PF).
Chapter 10 – The Betrayal (1)
After receiving the alchemical stone, one of the players gets into the cage, and the second goes through a secret passage instead, which is divided into two corridors.
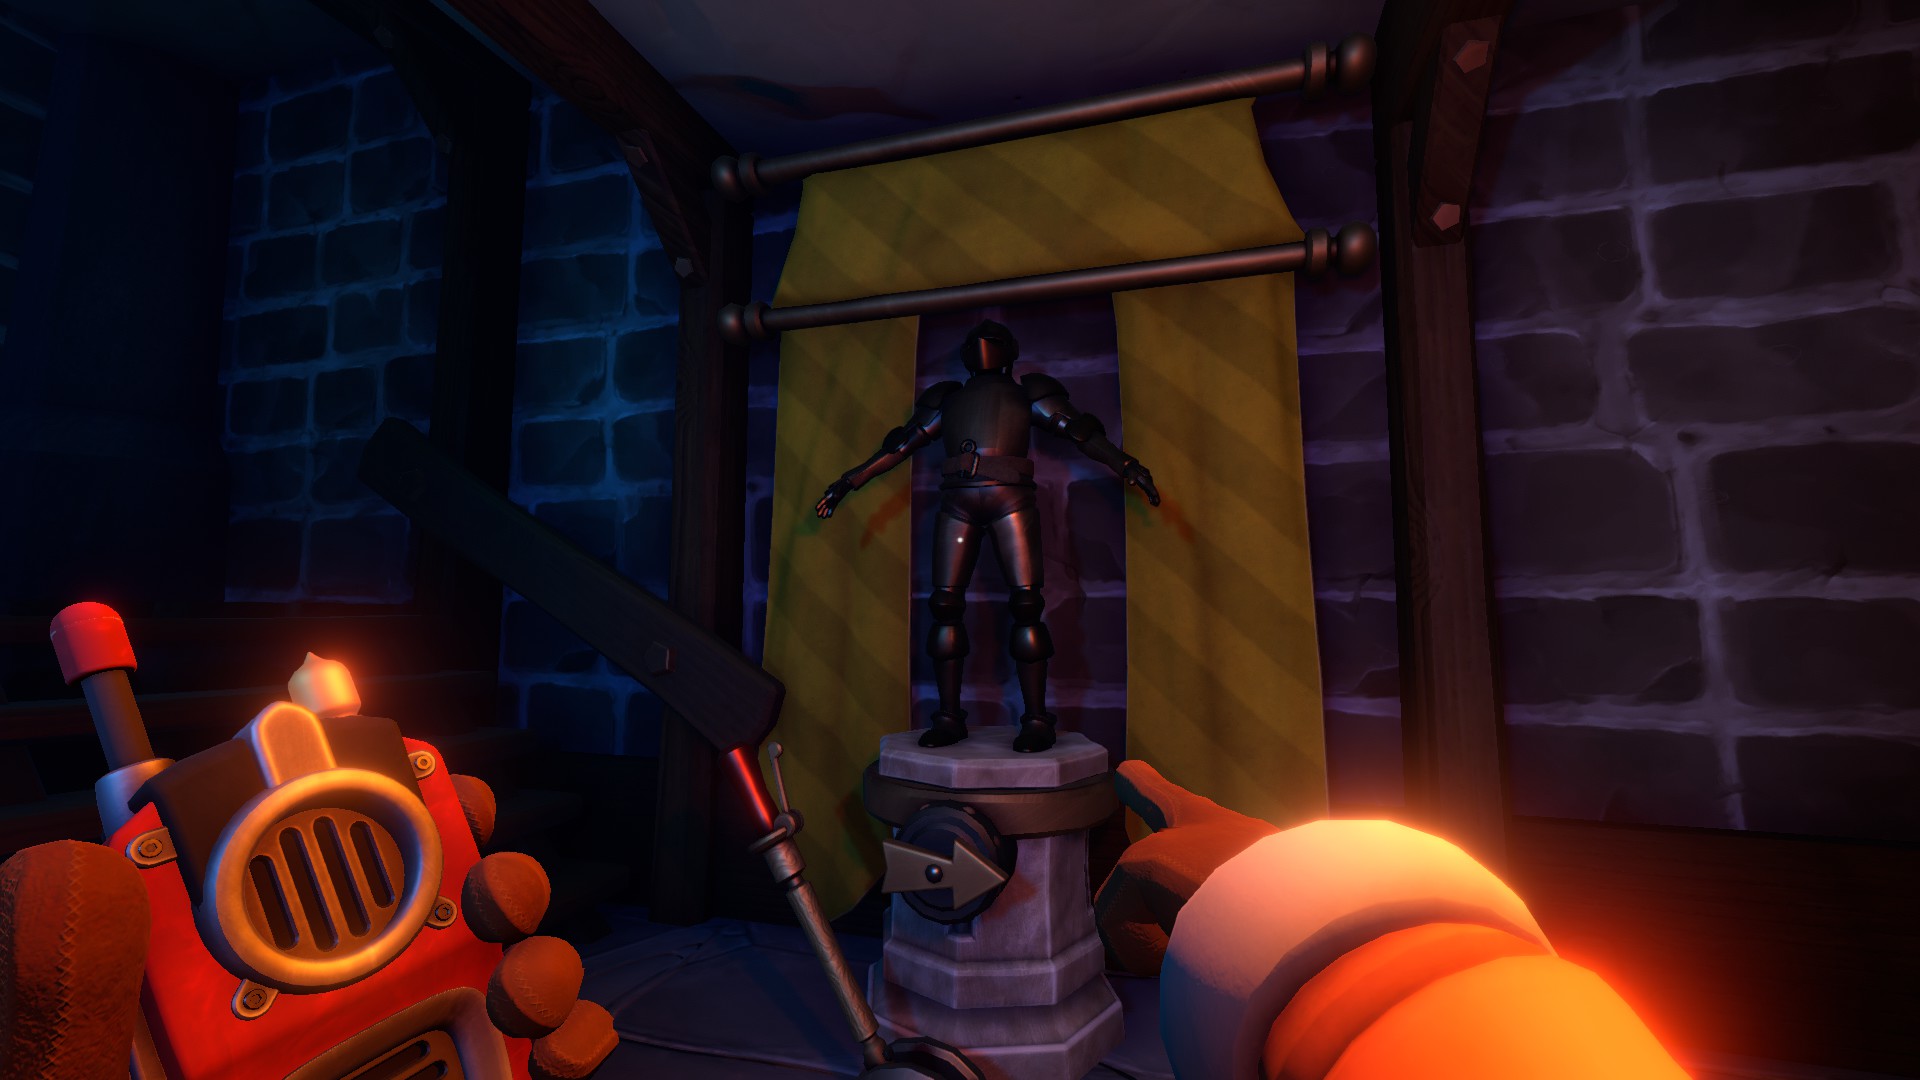
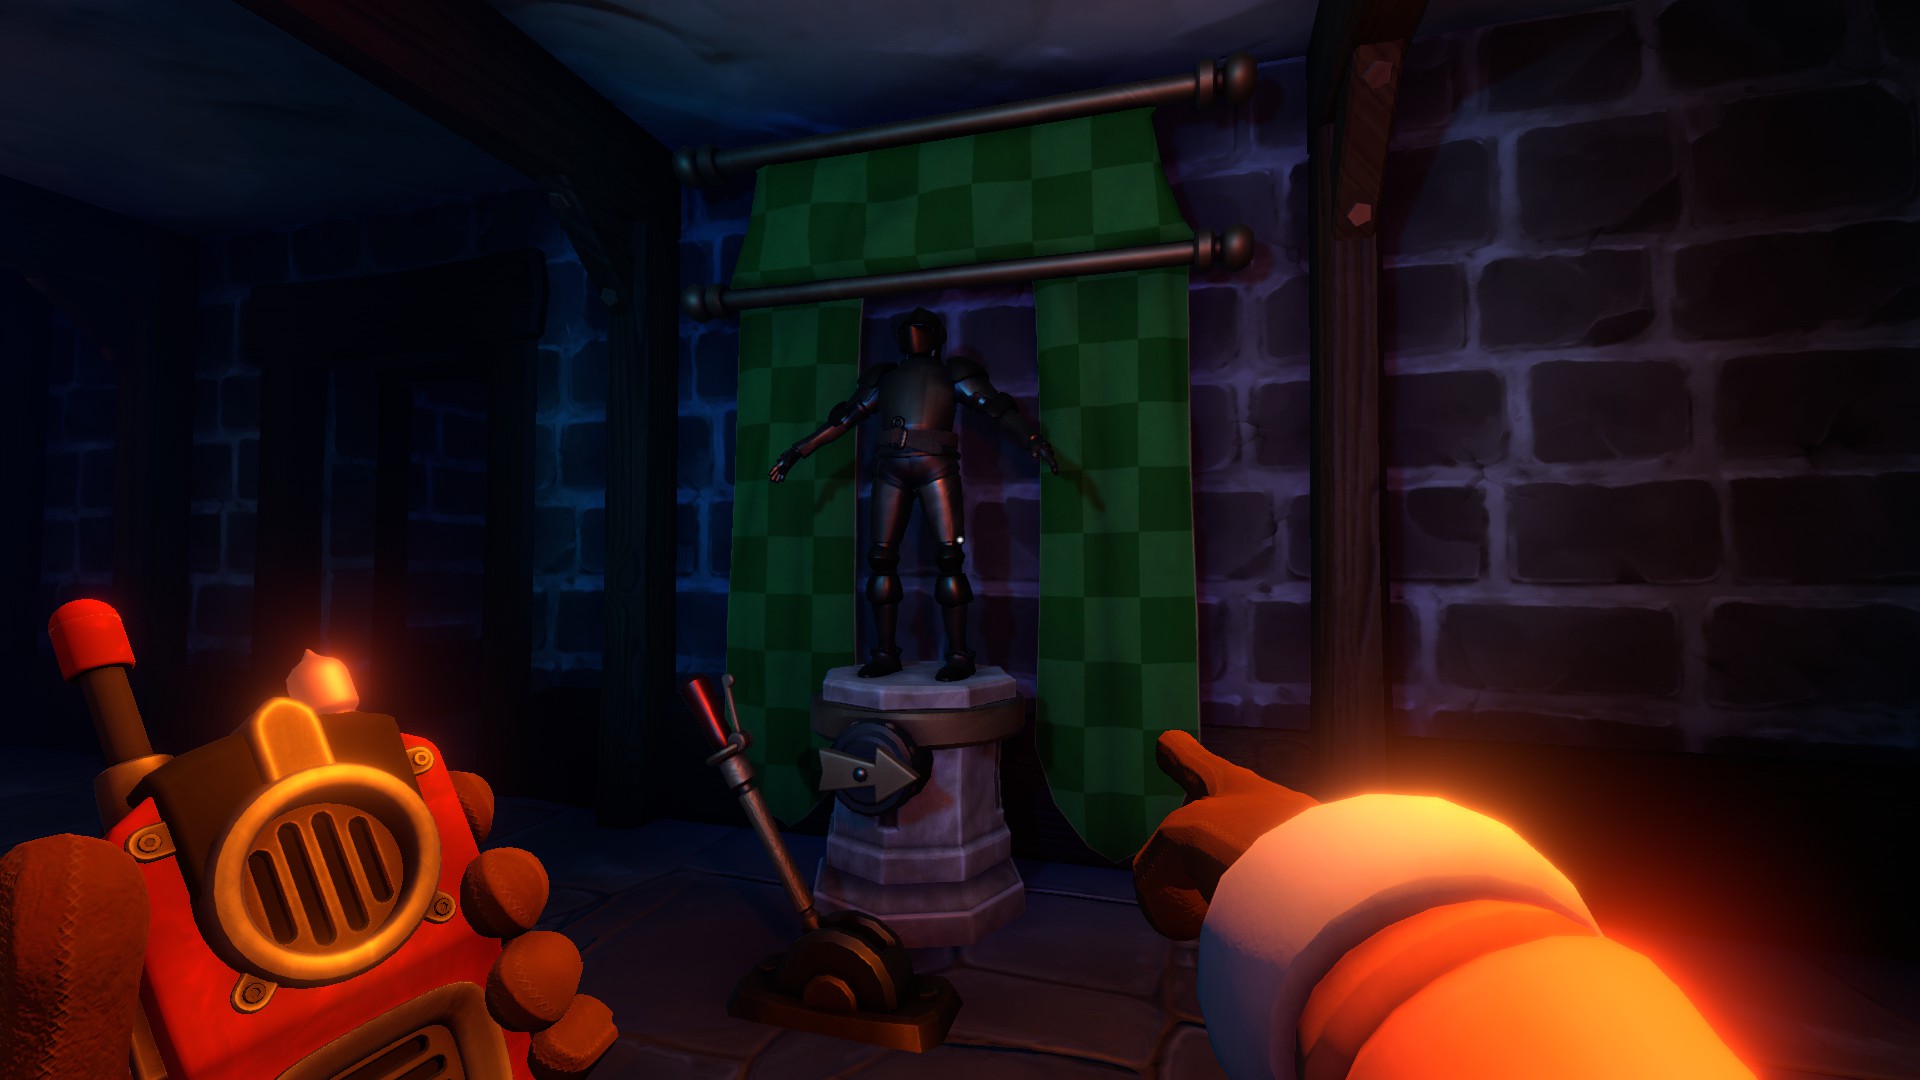
In both hallways knights stand in front of colored curtains.
First you need to release a friend using the lever that is next to the window.
The released player will find a hall in which there are 4 of the same statues of knights infrront of colored curtains. In the middle of the hall there will be a button that will rotate all knights 90 degrees.
The player in the hall can move the curtains behind the knight to highlight it. You can only move one curtain at once.
In one corridor there is a knight whose lever is broken. His curtain is blue. The next knight at the window will be with a yellow curtain. And in the other corridor both levers work. The one closest to the window will be with a red and white curtain. The last knight of that corridor stands in front of a green curtain.
To solve the puzzle you need to perform the following sequence of actions:
- The player in the corridors must turn the knight’s lever with the yellow curtain.
- The player in the hall presses the button once.
- The player in the corridors turns that yellow lever again.
- The player in the hall presses the button once again
- The player in the corridors runs to the other side and turns the knight’s lever with the red curtain.
- The player in the hall presses the button once.
Chapter 10 – The Betrayal (2)
After the previous knights, the next riddle will be around the OTHER four knights along the royal throne. One player is in the hall, and the second must approach the other knights from the other side through the iron doors.
Each knight holds in his hand a certain weapon and shield with an image of an animal on his back. Weapons and shields must be arranged based on the tips that are written on the tablets. These plates are on each side.
One player places weapons, and the second shields.
The player who placed the weapons do the following
From left to right if you stand in front of the throne with the king.
Axe → Hammer→ Sword→ Mace
The player behind the wall do the following with his shields. Again from left to right if you look straight to the wall.
Dragon→ Deer→ Phoenix→ Bear
After solving the riddle, a cutscene sets in, in which the player who placed the shields runs out through the throne to another player in the great hall.
Now its time for the final decision! you can choose between
- You sacrifice yourself
- you kill your friend with the dagger
Sources
We Were Here Togehter – Game
[link]
[link]
[link]
Notes


