
Overview
A quick guide on modifying the suspension condition through MSC Editor to modify camber, castor, and toe on the Satsuma.
MSCE Values
To stance the Satsuma, you will only need MSC Editor. MSC Editor can be downloaded from this thread.
The editor will allow you to edit the Suspension condition. To access the suspension condition, open the editor, view the “Satsuma Report” and you can edit the suspension condition in the “Maintenance” tab for all 4 wheels.
There are 3 values that decide how the suspension is damaged ingame. While the three values are universal across all the suspension parts (FL strut, FR strut, RL shock, RR shock), the way they are interpreted by the suspension parts may be confusing. *See explanations below for more information.
These are the following values (-x, x, x). You will see these values for the FL/FR struts and RL/RR shocks. Values of (-0, 0, 0) are “normal” where the suspension is perfectly straight.
The values are the degrees that the wheel is rotated. Each value moves the wheel a different direction.
The first value, also known as the caster, determines how far the wheel/brake assembly is away from the place where it should be normally. A positive value (15 for example) makes the wheel move towards the rear of the car, while a negative value (-15 for example) makes it move towards the front of the car. A very high caster (360 for example) may cause the wheel to go either upwards or downwards as well.
The second value determines the toe which is the angle of the wheel turned either inwards or outwards. It may appear as if the car is steering is modified. A positive value will make the wheel turn rightwards, while a negative value makes the wheel leftwards. So, for example, +15 for FR & FL struts makes the front wheels turn 15 degrees towards the right while – 15 for the FR & FL struts makes the front wheels turn 15 degrees towards the left.

Do note that setting the front wheels to conflict with each other (eg: +35 degrees for FL and -35 for FR struts) will make the physics engine bug out and cause the car to fly in some cases. The car is however uncontrollable and may start flying. This may lead to death, should the user not utilize a seat belt. Since toe messes with physics engine, it will be mostly ignored throughout the guide.
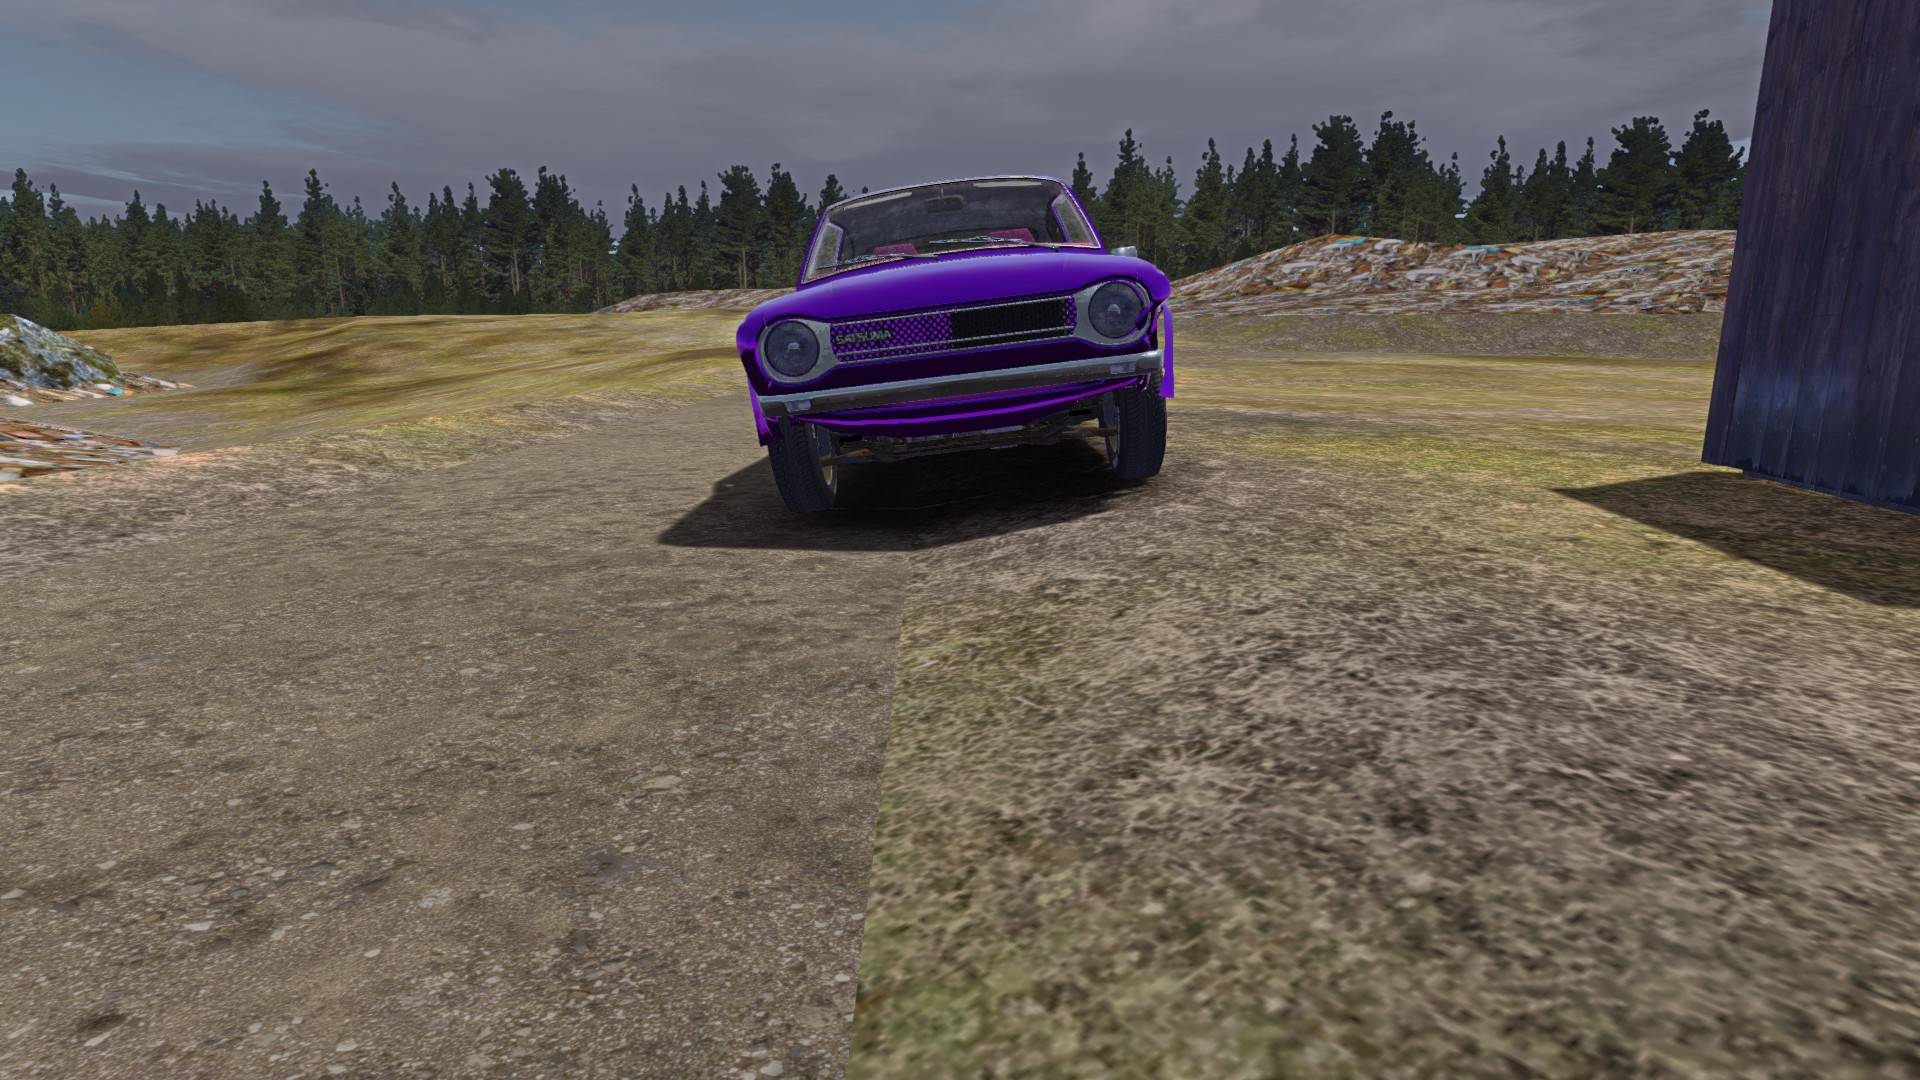
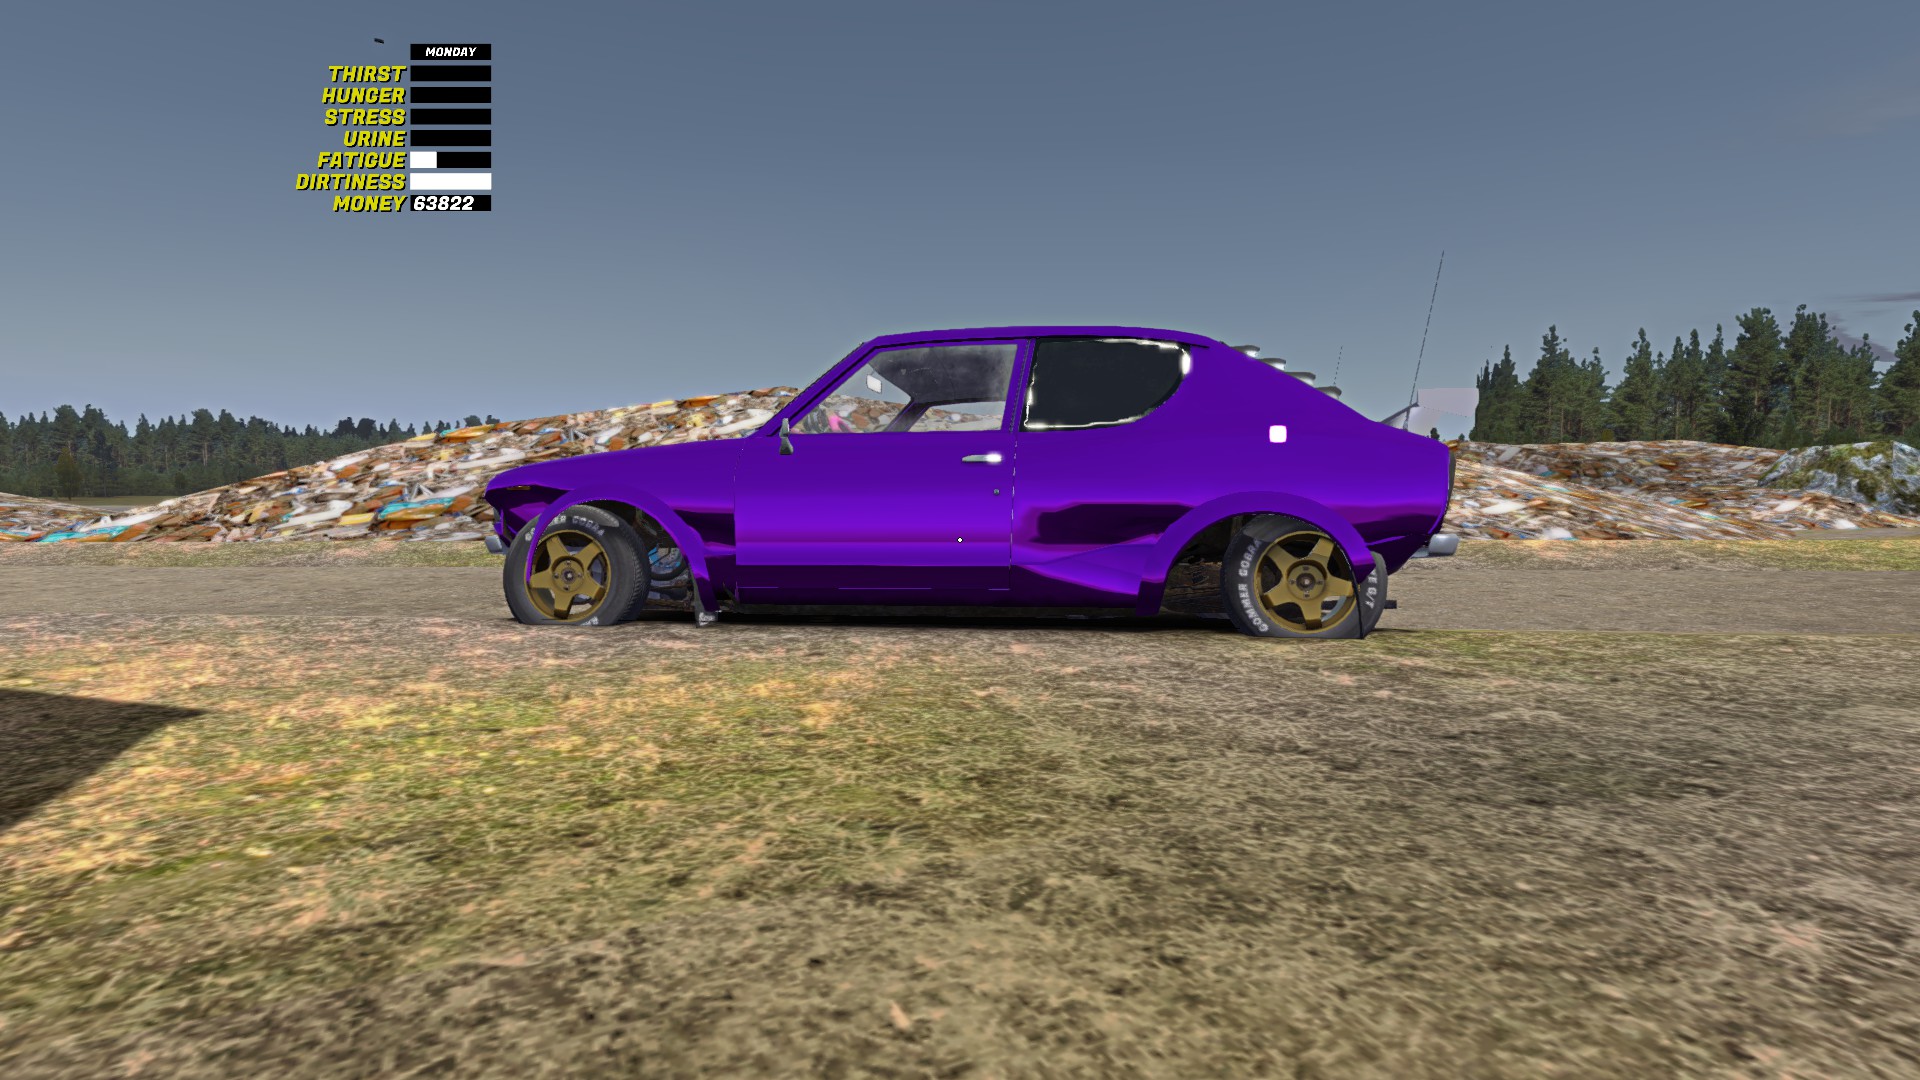
The third value determines the camber of the car. This is how you get that “stance”. A value of 90 will rotate 90 degrees clockwise along the y axis thus making it parallel to the ground beneath it. A value of negative 90 will mean that the wheel will rotate 90 degrees counter clockwise, again making it parallel to the ground beneath it.


Notice the driver window has positive camber while the passenger has negative camber? If you put a value of 15 for both tires, they will go the same direction. So if you wanted to achieve negative camber for both tires, you would have to change the drivers to be negative (-15 in this case). Vice versa to achieve positive camber, where one wheel is switched to a negative. This applies to the rear wheels as well.
So to achieve a stanced Satsuma, only the third value is modified and the first two values are kept at -0, and 0 respectively. To achieve a stance that is visible & “driveable” , the values should be kept in between 1 – 23. Each value is one degree. Anything between 1-4 is not really visible though.

Consequences
Stancing your Satsuma with negative camber can have a lot of negative consequences. ANY negative camber will hurt your performance. You will only get the “stance look” at 5 degrees or more of negative camber. Positive camber past 4 degrees or so will also encounter similar problems.

With excessive camber, the car will damage the tires a lot quicker. I actually drove from Teimos to Fleetaris (highway) and I popped a brand new tire on the way there. Just like stanced cars in real life, you will have increased tire wear.
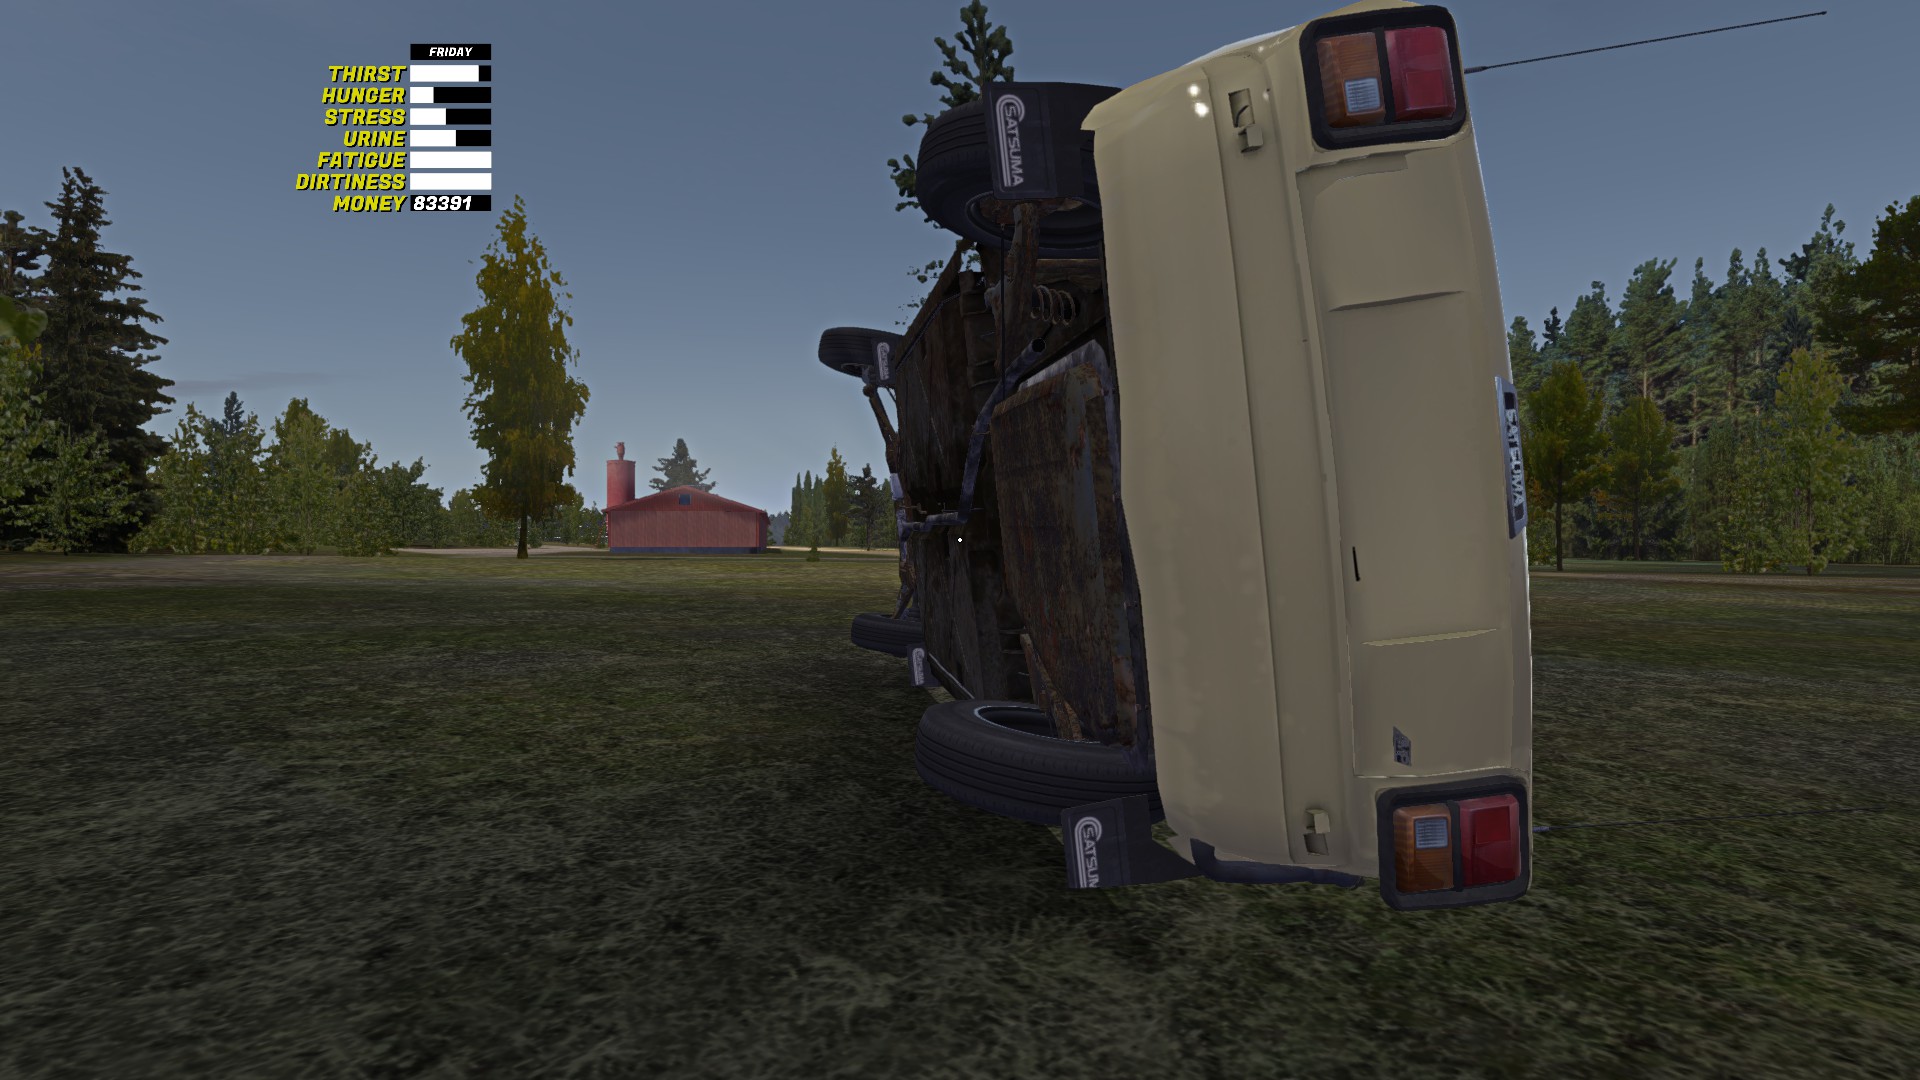
There is also a wobble after speeds. The speeds at which the wobble start decrease as the camber increases and the intensity of the wobble varies based off of how intense your camber is and how fast you are going. So the more camber (values past 23 for example) the wobble will get worse.
I have actually had the car flip due to this death wobble. With a stance of 22 degrees the car will have a death wobble at 80-82 kmh, but at 26 degrees it has a death wobble at speeds above 54-60 kmh. The wobble is comparable to the Hayosiko at 140+ kmh and may lock up the steering. But the car will wobble much more violently than the Hayosiko and may also persist despite slowing down which may (in)directly lead to a fatal crash.
With the wobble, it’s difficult to get to higher speeds. I haven’t gotten past 100kmh while at 8 degrees.
The stanced car will also be lower than normal. The lower ground clearance may lead to more frequent removals of the fuel tank, rear bumper, exhaust pipe, and exhaust muffler if you hit bumps at higher speeds. The body may also get damaged.
Stance will give worse mpgs which means higher fuel costs as the engine has to rev more while going slower.
A very aggressive stance will also thrash the suspension even more, up to the point where it ruins the stance and drivability.
So the idea of camber seems pretty useless. There are no benefits, and it could kill you or damage your car. And many people out there (including myself) honestly think it looks stupid. It kind of is.
But what if it was actually useful from a performance perspective?
Well it can be. At 2-3 degrees of positive camber in front wheels only, there’s a slight improvement in handling. The car appears to take bumps better. The camber isn’t very visible either so it doesn’t look out of place. It also won’t get wobble until approximately 140 KMH, and even then it is a slight wobble not a death wobble. Of course with greater speed, more wobble.
After doing some rally practice before testing, Falski reported getting 5:56 in the rally with no camber and no crashes, but also reported getting 5:56 camber and 2 crashes. The crashes weren’t related to the camber. The camber helped with bumps so it made up enough time to correct 2 crashes.

These rally tests were done with keyboard and a (completely stock headers & exhaust, air filter and rally suspension) detuned Satsuma. It made 50 hp and 49 ft lbs with a very very flat power curve that declined as the rpms increased.
No. Not at all. Camber is not worth it. It makes the car undriveable in almost every way imaginable, and the only “benefit” is the look of the car, however, I don’t like the look of stance at all, so I don’t consider it a benefit for me. It actually looks hideous.
The car accelerates slower, has a lower top speed, handles poorly, lower ground clearance (with no positives of that ground clearance), worse MPG, shreds brand new tires, and can severely damage the suspension.
The only thing that might be “worth it” is that 2-3 degrees of positive camber. It seemed to make a difference in rally bumps.

Other interesting notes
While most camber, castor, and toe seem useless, there are some interesting things. Useful? Absolutely not. Interesting? Definitely.
An interesting thing to note is that an angle of 180 (second OR third value in -x, x, x) for the front wheels makes the car a rwd, rear wheel steering machine. The reverse gear will drive the car forward while the forward gears (1 – 4) will drive the car backwards. Setting an angle of 180 for the rear wheels, however, will not produce any notable result. The car will now wobble a lot during turns and may cause a rollover and thus one can expect worse stability during cornering. Snap-oversteer is more frequent and may lead to rollovers in certain situations. The rear wheels are now the front wheels while the drive wheels (the former front wheels) become the rear wheels.
I did the RWD-Rear Steering Satsuma and I rolled over pretty quickly.

Negative 45 degrees castor (first value) for front wheels, positive 45 degrees castor for rear. You cannot drive more than 5kmh and there is insane bumping. Can’t lose control as you can’t go fast enough. Unusable.
Setting the toe (second value) on both front wheels to 90 allows burnouts to be performed with ease. After setting the toe, turn the wheel to one side and step on the gas.

Set the camber (third value) of the front wheels to 90 and then pull the choke on first. You might have to set on the gas before shifting to avoid stalling. The result is that the front wheels turn until the car shuts down.

Feedback
Feedback for the guide will be appreciated, & If there is anything that needs to be clarified, do ask in the comment section. I will respond. Also, if you found anything interesting that was not mentioned in the guide, do leave a comment.
This guide was very painful to write as I (and most others out there) really don’t like camber. I had some fun testing, as there were some unexpected results (RWD Rear steering Satsuma) but making the stanced cars was sickening.I am looking forward to next guide.