Overview
How to make and import an Avatar in Free Blender Open Source 3D Program.Requires a Moderately-Advanced understanding of Blender (topics like ). I’d suggest an understanding of modeling, skinning, textures, and unwrapping before attempting this guide.Blender[www.blender.org]Currently a work in progress. Needs a review, a once-over, and, possibly in the future, a video to include some ‘how to blender’.
1) Make a mesh.

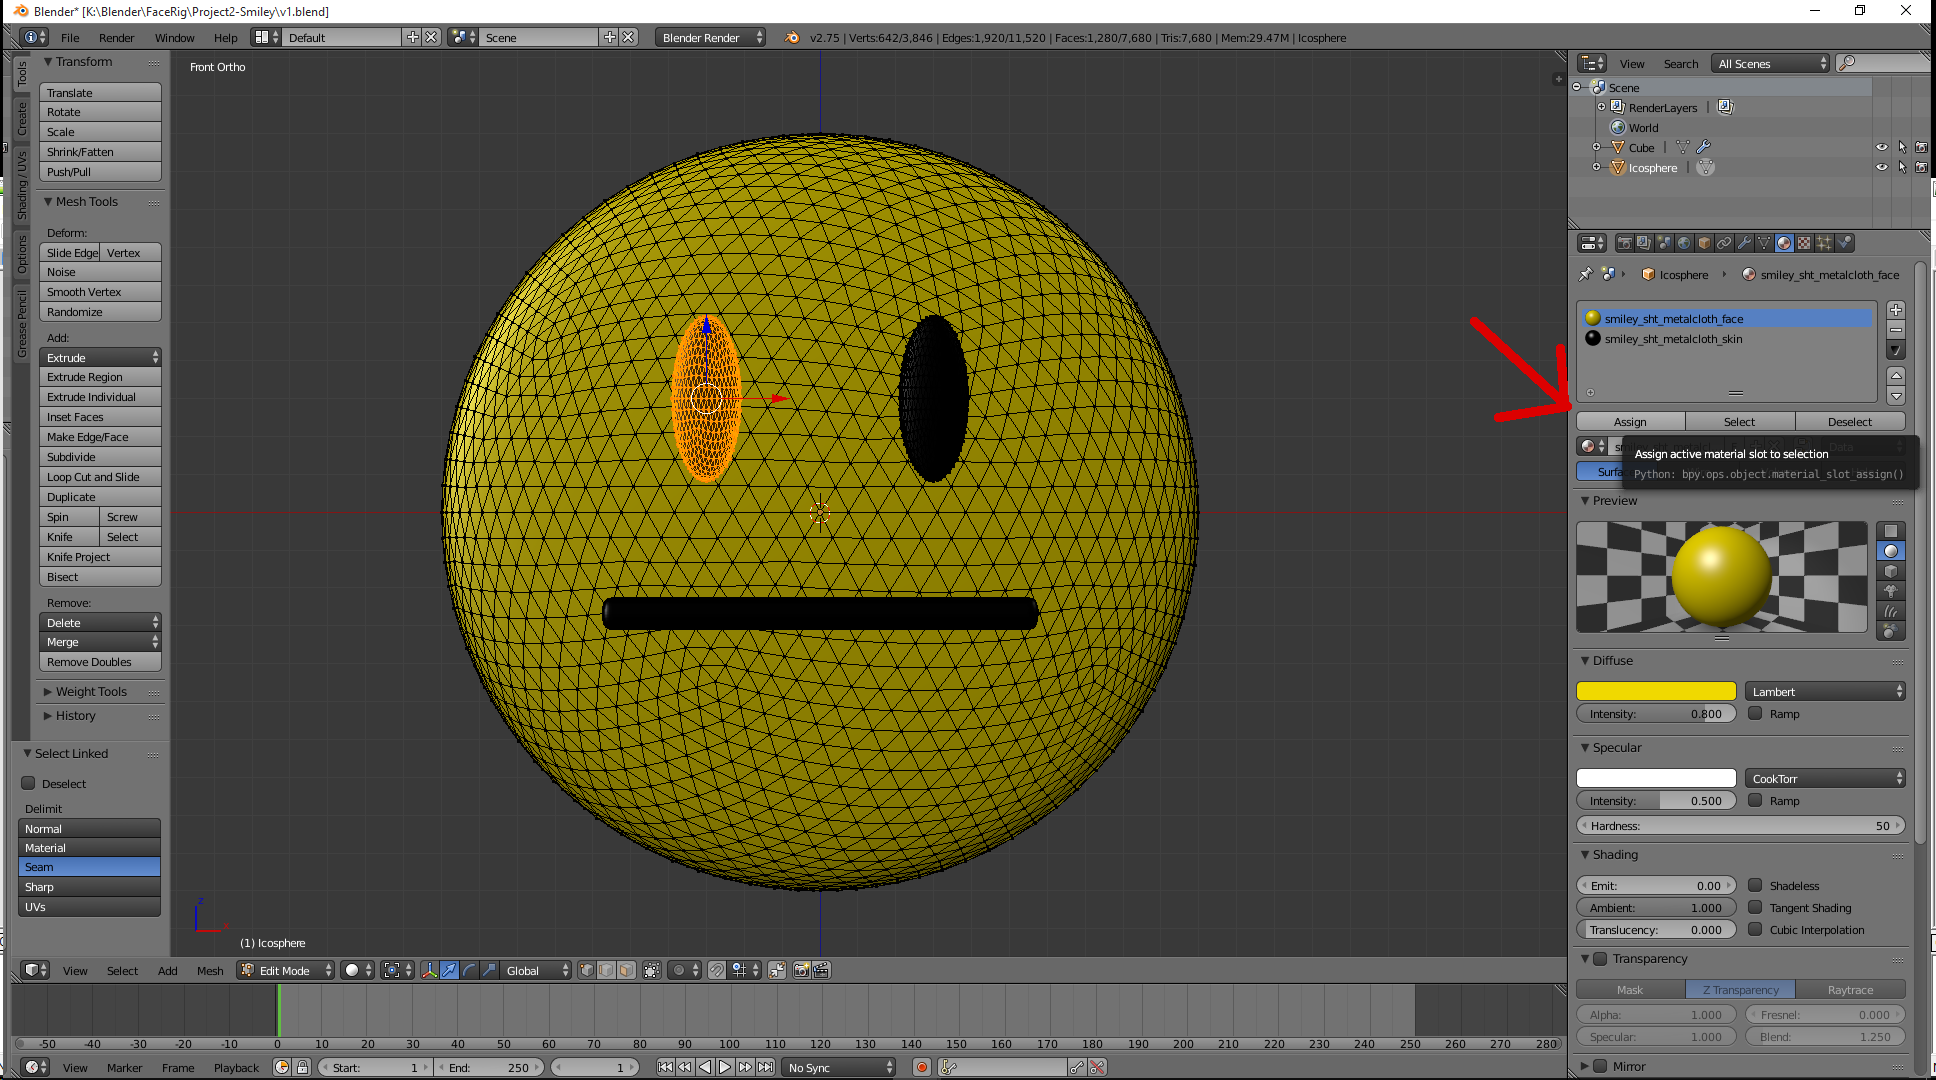
2) Add Materials.
Note: For the model to be importable to FaceRig, certain parts of the file must be named EXACTLY in the correct format. The mesh’s materials are one such part, because the materials determine what shader types are used for which portions of the mesh. Whenever a naming scheme is listed, please check in the documents for options and explanations of what each portion of the name indicates.
Naming scheme: avatarName_sht_shaderType_materialName.
Example: bob_sht_metalcloth_tshirt
Assign the materials to your mesh in order set which shaders affect which portions of your model.
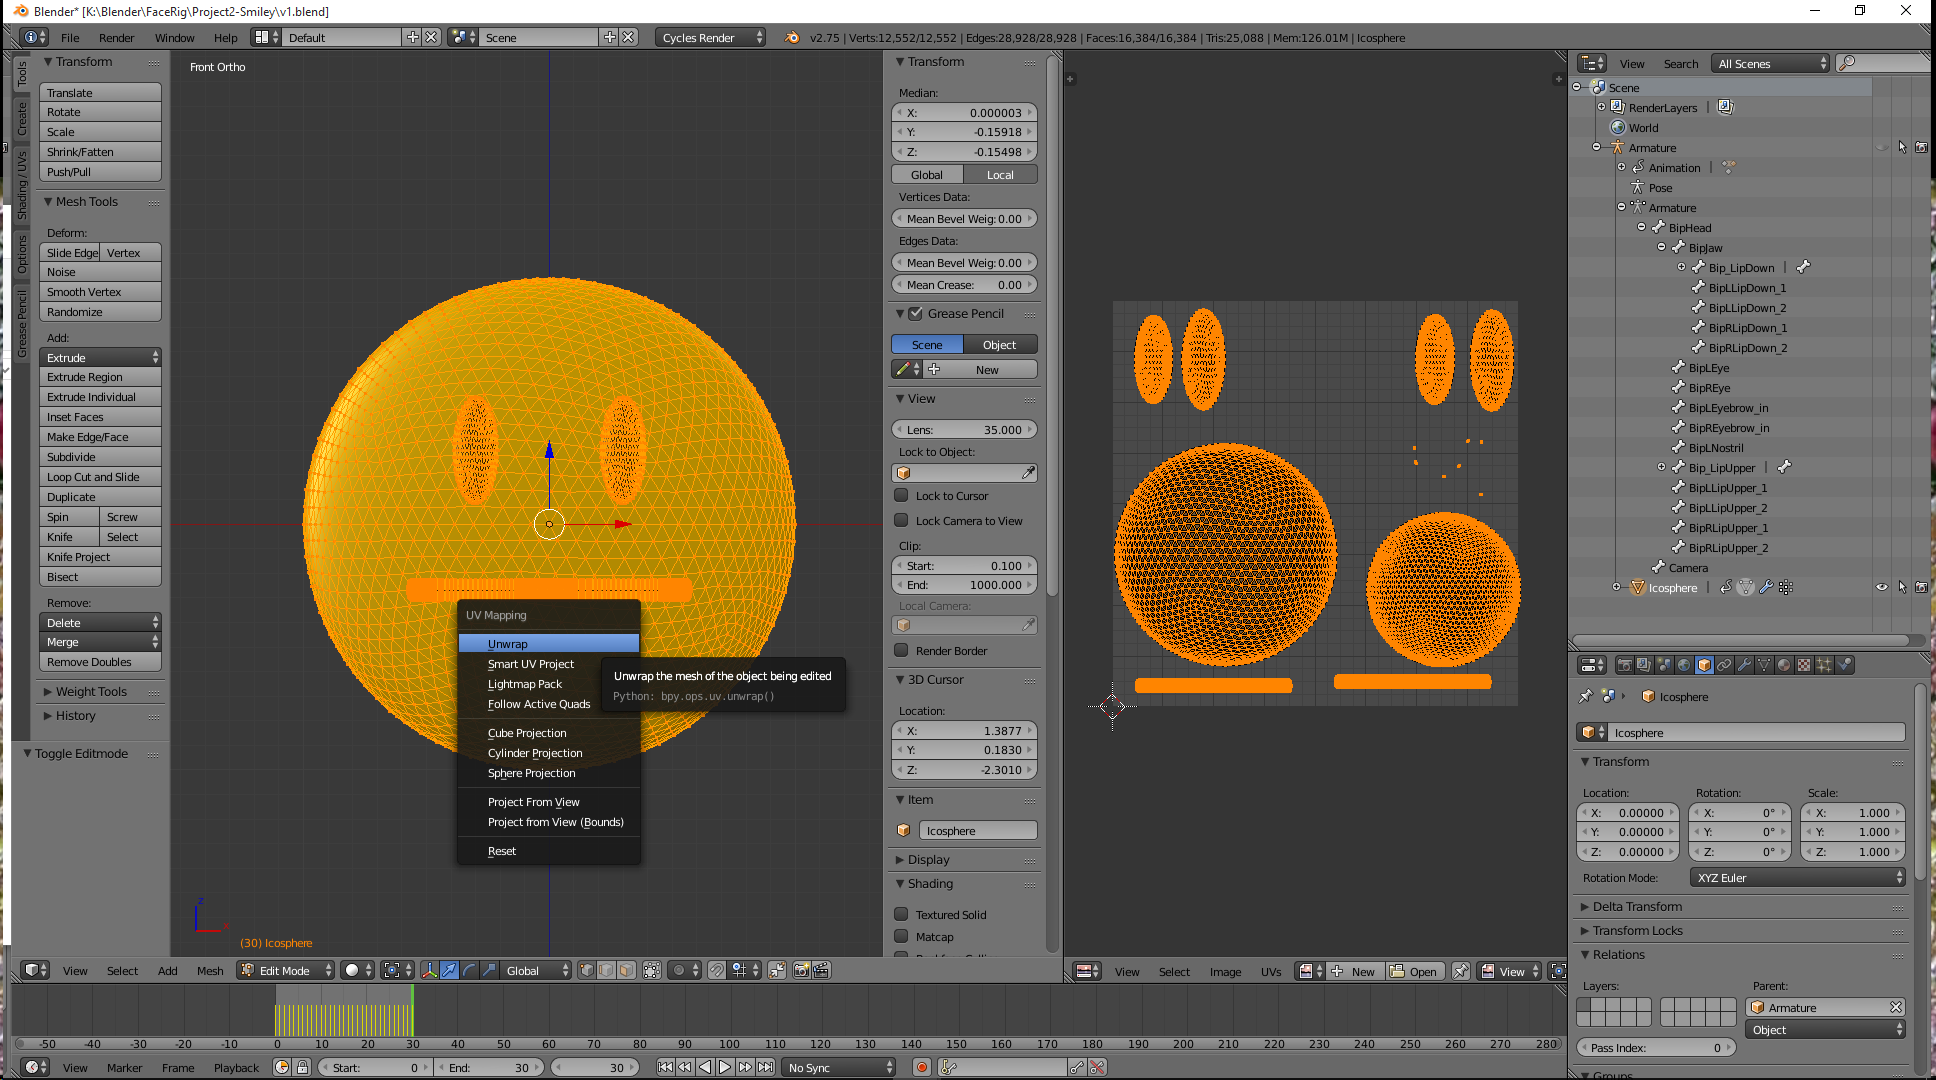
Make a UV map for the mesh.
Now that the Materials are all set up in blender, you can create the textures. Textures are to be made in .tga image file format and placed into the directory you plan to import into Facerig. Each material you make needs have at least a diffuse texture, but can also include a variety of other texture types depending one the shader types you’re using. The naming scheme can be found in the documents.
3) Make Skeleton & Rig Mesh
Naming scheme is vital and found in documents.
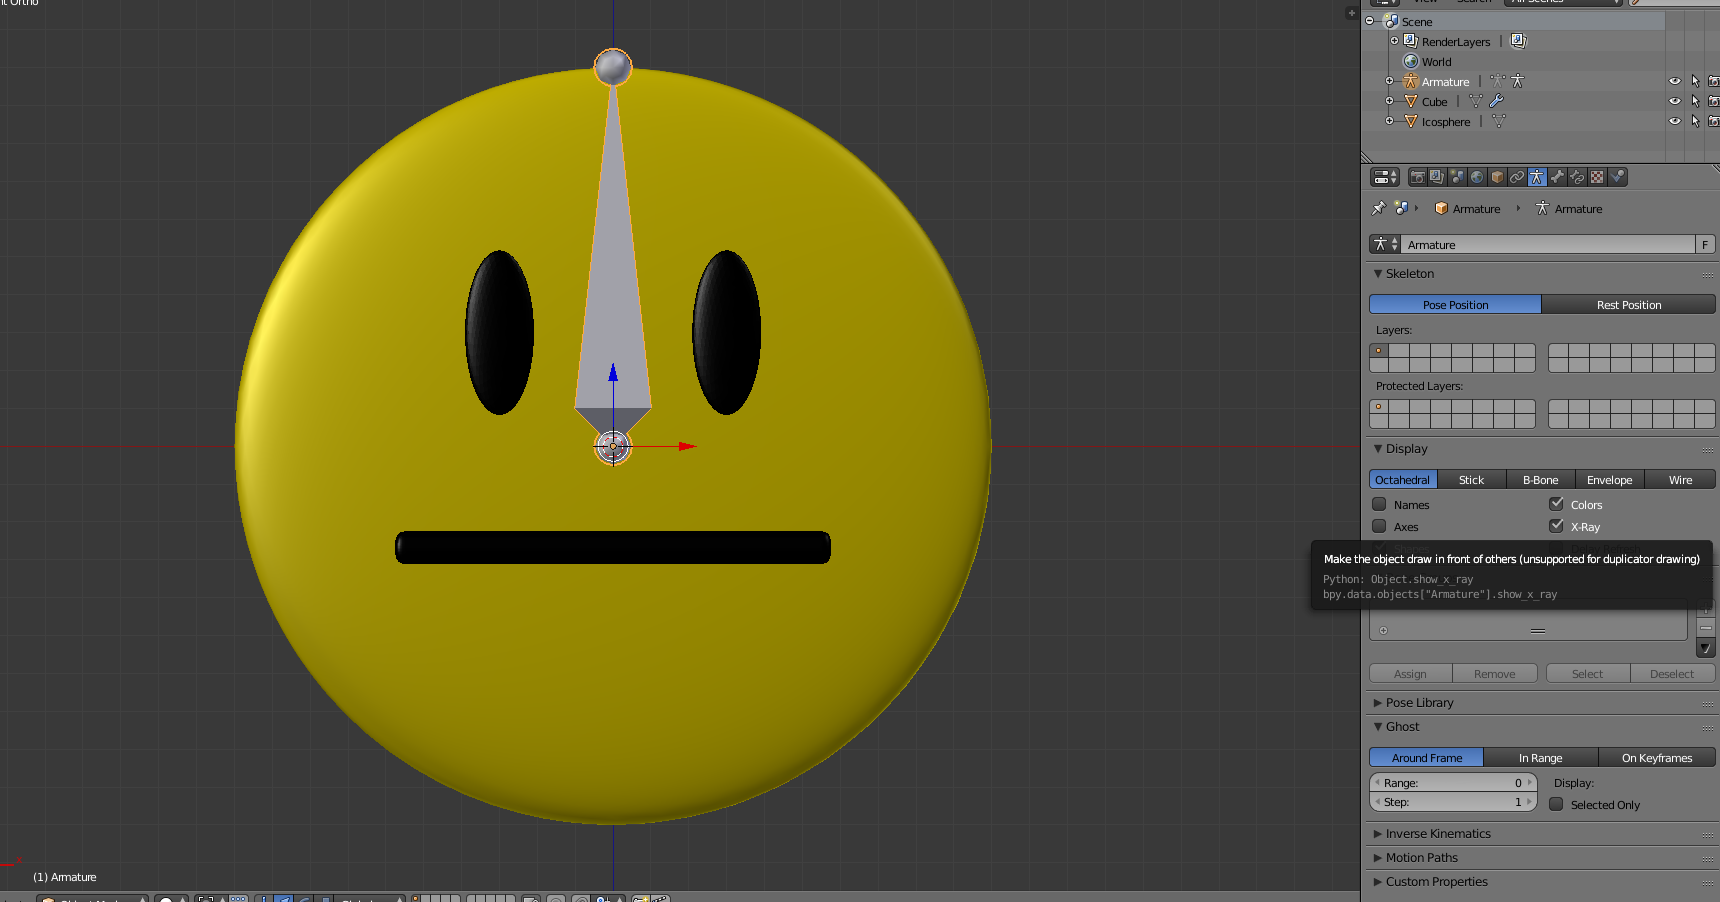
Add Armature
Naming Scheme is Important
Naming Scheme Example
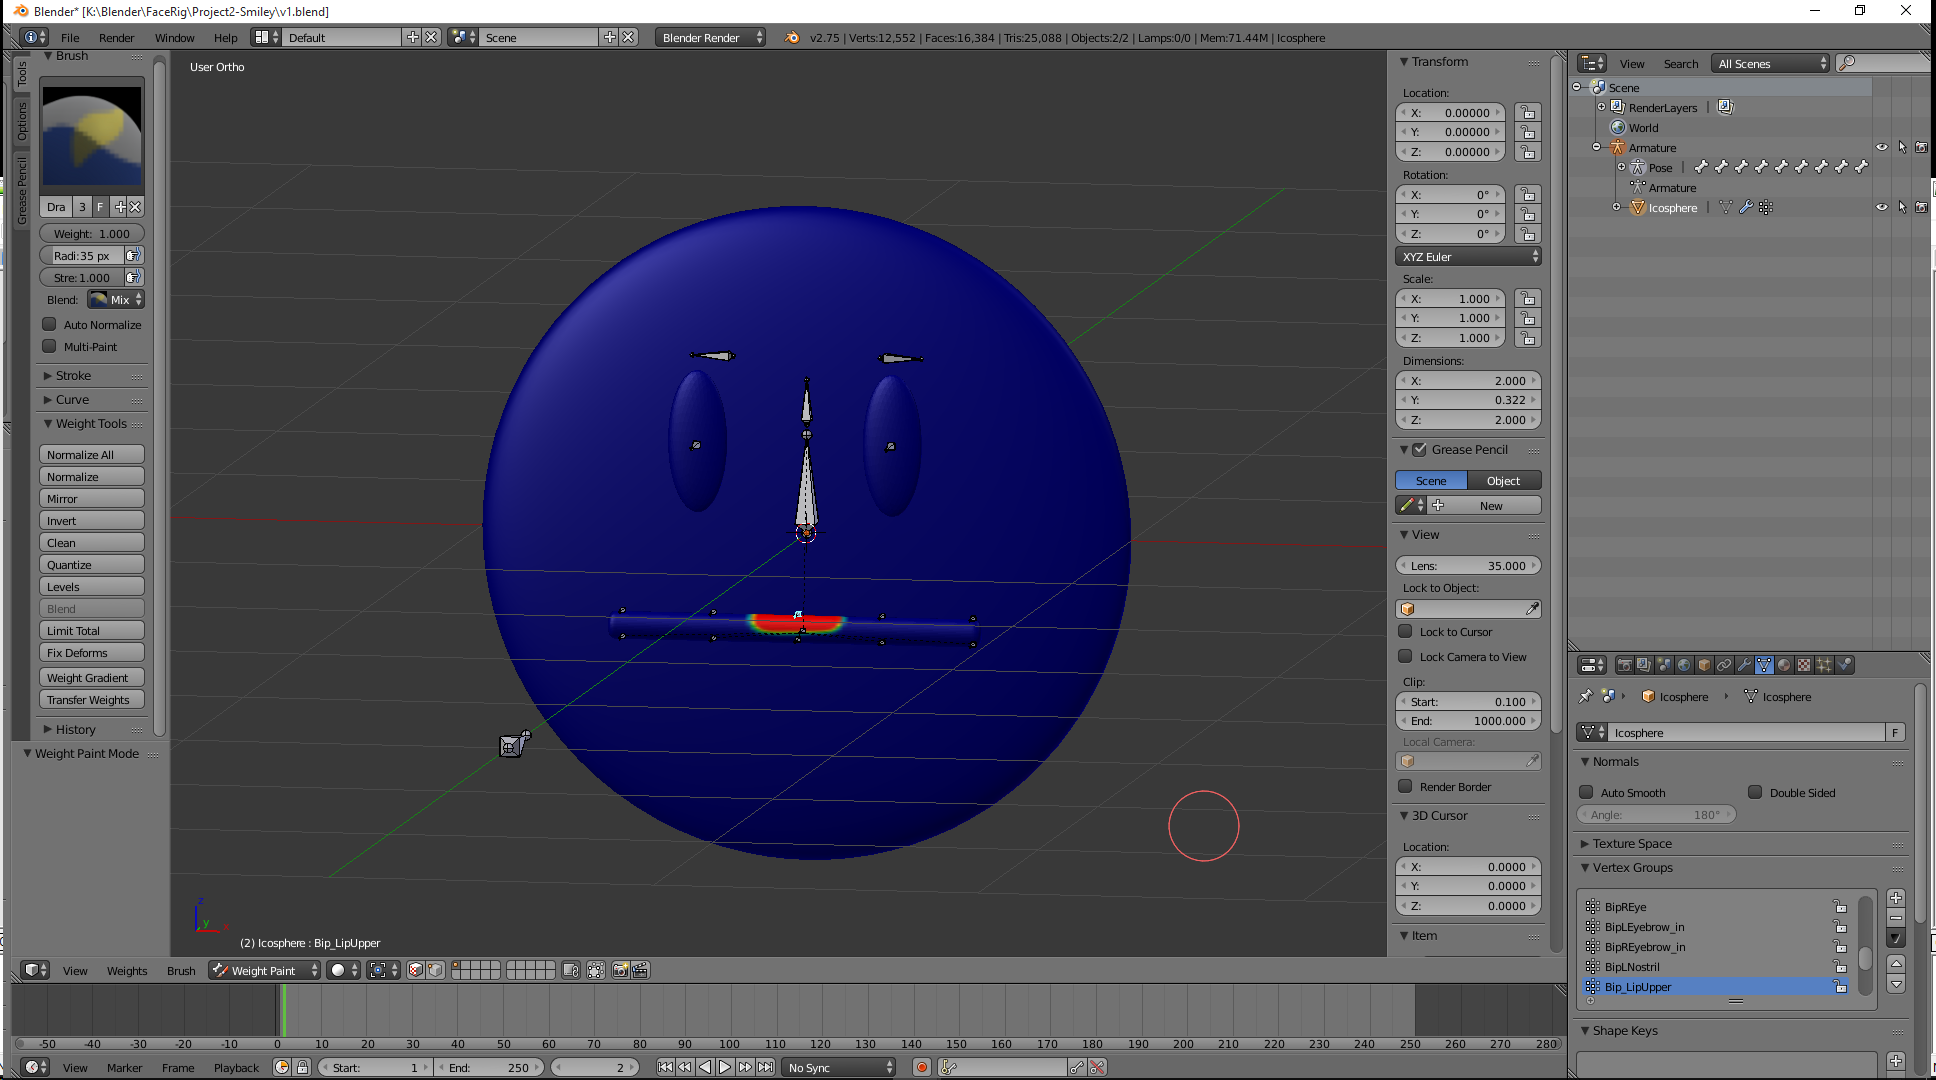
Skinning/Rigging
4) Animate.
FaceRig makes the your avatar copy what you face is doing by detecting what state you face is in, then blending between a set of animations. Because of this method of motion, every avatar must include 55 different animations defining different states and expressions of the avatar. These animations, and the exact names of each, are listed in the documentation.
If you want to test whether your model will import into FaceRig, you can simplify the animation process by just making an idle animation, and not making the rest. The model will still import and run the idle, but it will not respond to any movement/expressions you make.
The colladae exporter only exports animation frames where there are Keyframes. To make sure that the entire animation is exported, you can use ‘Shift-O’ to generate “in-between keyframes” for each of your keyframes (the blue keyframes).
By default, Blender only saves animations that are linked to an object, and each object can only have 1 animation at a time. As such make sure to hit the ‘F’ next to the ActionSelector for every animation to force it to be saved even without a link. Otherwise, all animations but the one currently linked to your armature won’t be included when you save the .blend file.
5) Export Geometry
Export just the model, without animations to collada format.
To do so, first remove the Action using the ‘X’ button.
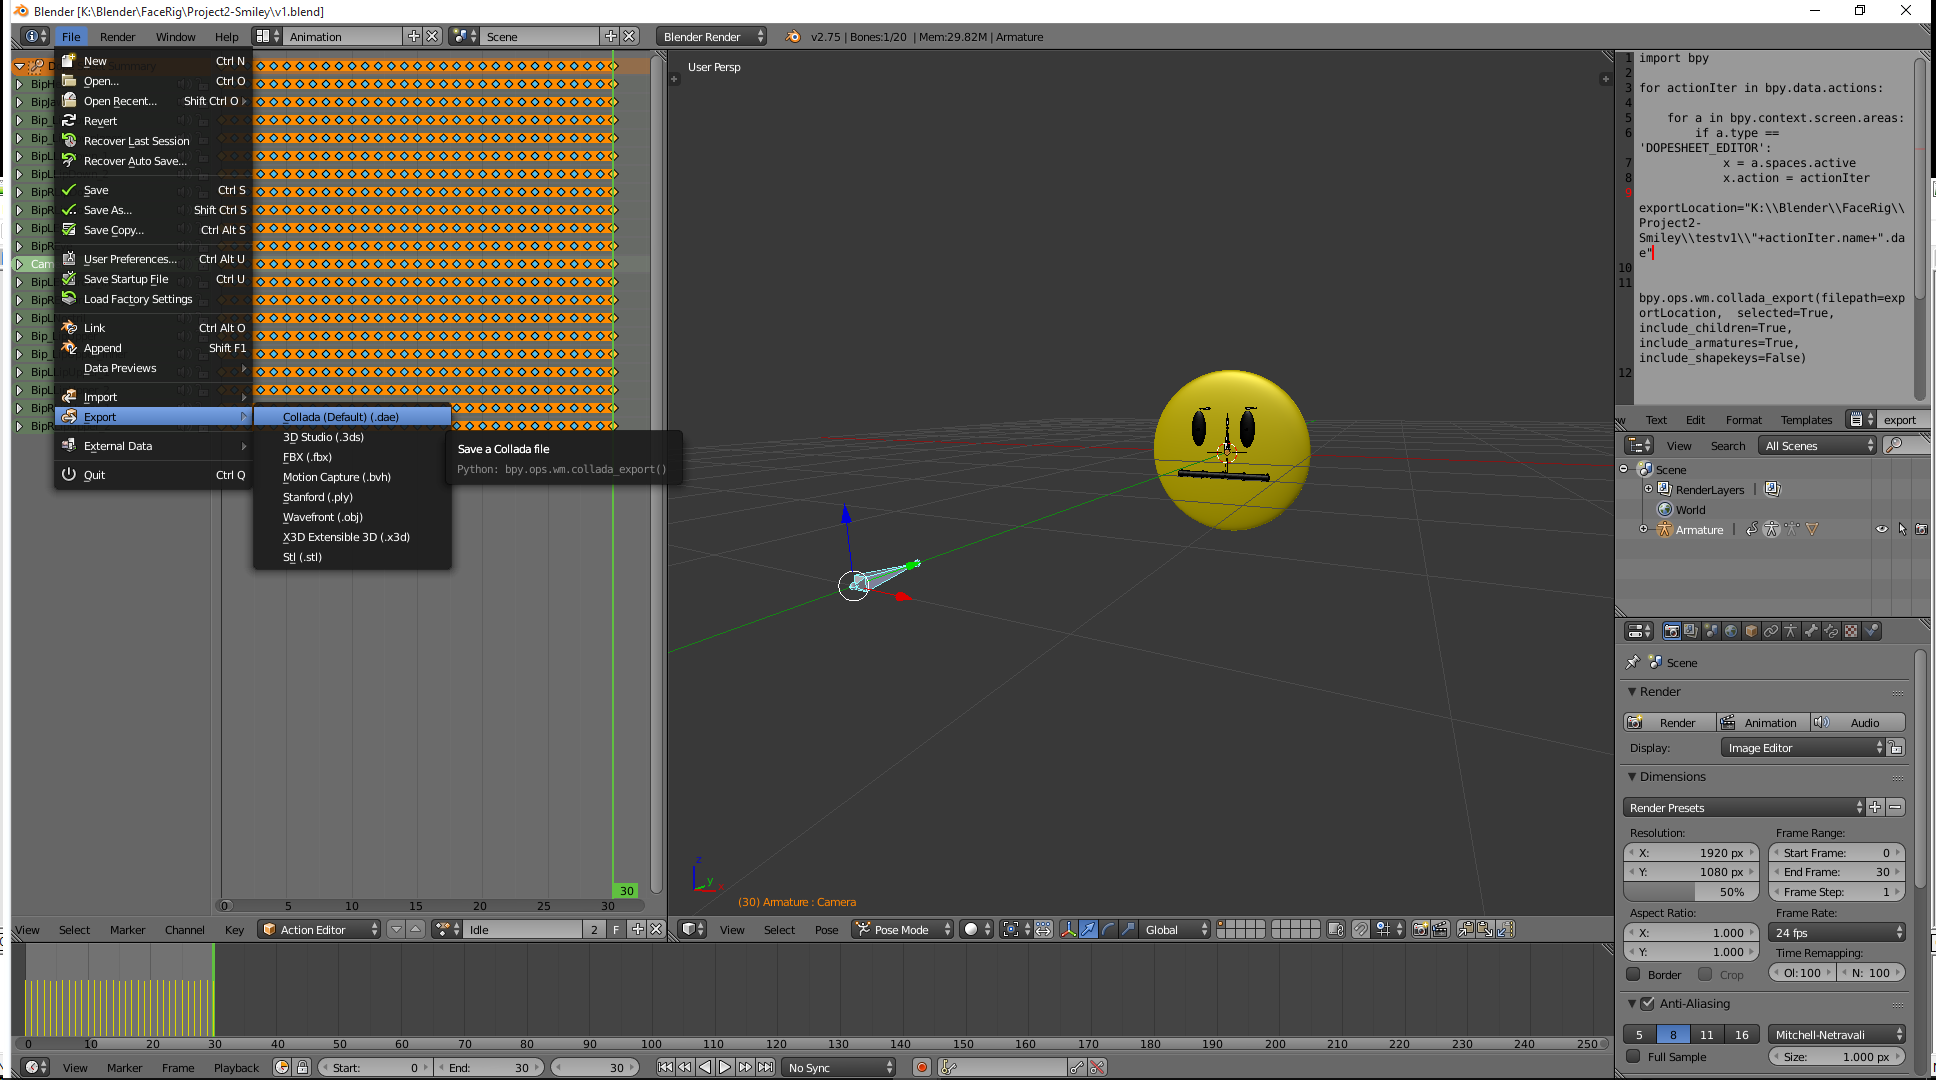
Then select the export “Collada (Default)(.dae)” under the File menu.
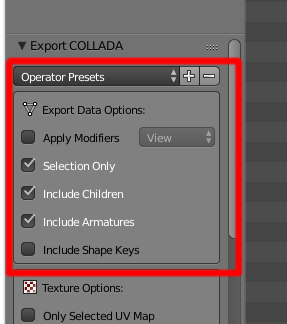
As you only want the model you made, use “Selection Only”, “Include Children”, and “Include Armatures”. This will export the correct contents if you have either the mesh or the armature selected when you export.
Finally, export a file with the name ‘avatarName’Geometry.dae Example: bobGeometry.dae
6) Export Animations
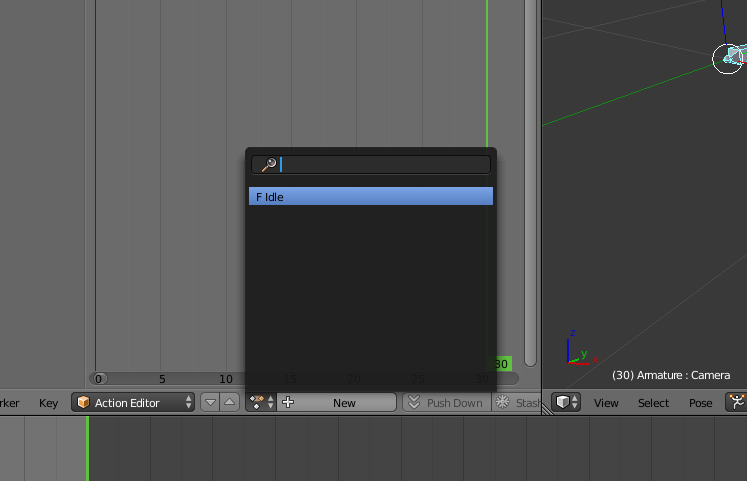
Export each animation. To do so, Link the Action to the Armature by selecting the Armature, then selecting the action from the dropdown list.
You can do this individually, one at a time, for every animation (as in below image), or you can use the below script that will iterate through the Animations and export them all for you.
You can use the same export settings to export the animations as you did for the Geometry.
For the script to work, you must have the Armature selected and have the Action Editor window open somewhere on you workspace.
Note: Double slash in exportLocation is required for python to understand it.
7) Config File
You can also include a config file in your import directory to make small adjustments to how FaceRig handles your model. In mine, I have used set_friendly_name to rename the avatar’s ingame name from avatarSmiley to Smiley, and set_skin_for_avatar so I can rename the avatar’s skins if I ever make more than 1.
Example:
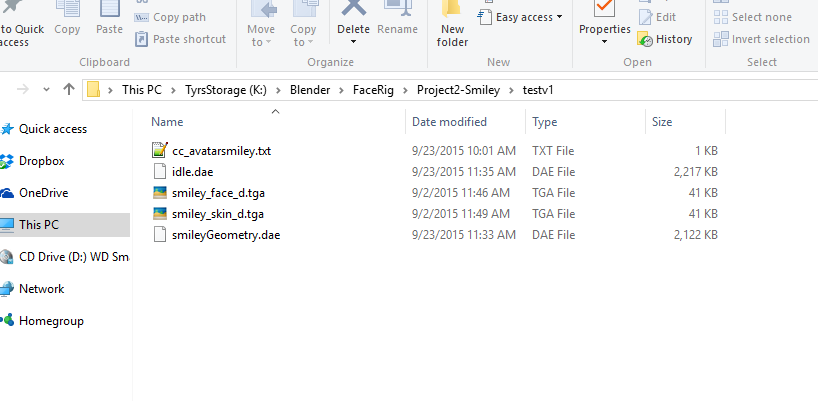
What your import directory should look like so far:
8) Setup ImportWizard
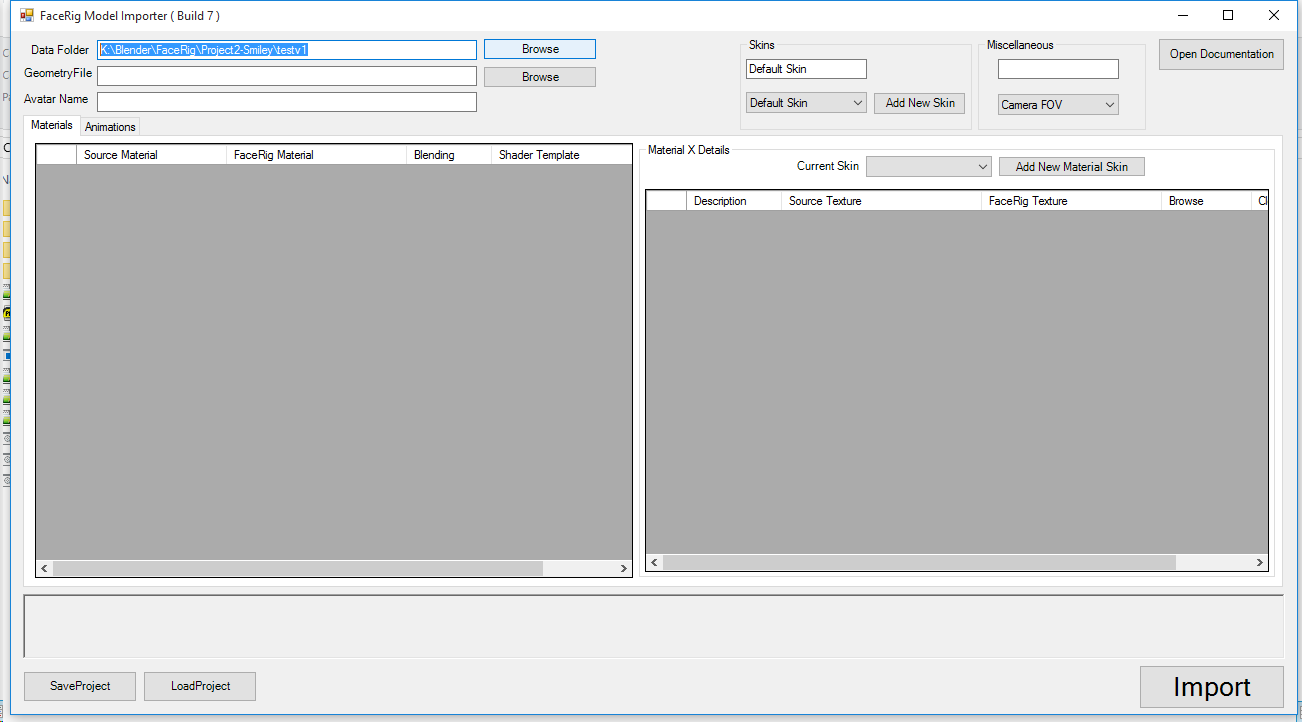
Open ImportWizard, found in %FaceRig%/Bin/Tools/ImportWizard, and browse to your output directory.
Note: This step can be quickened by copy/pasting the path before clicking the browse button. This will allow the folder to already be open in the browsing window.
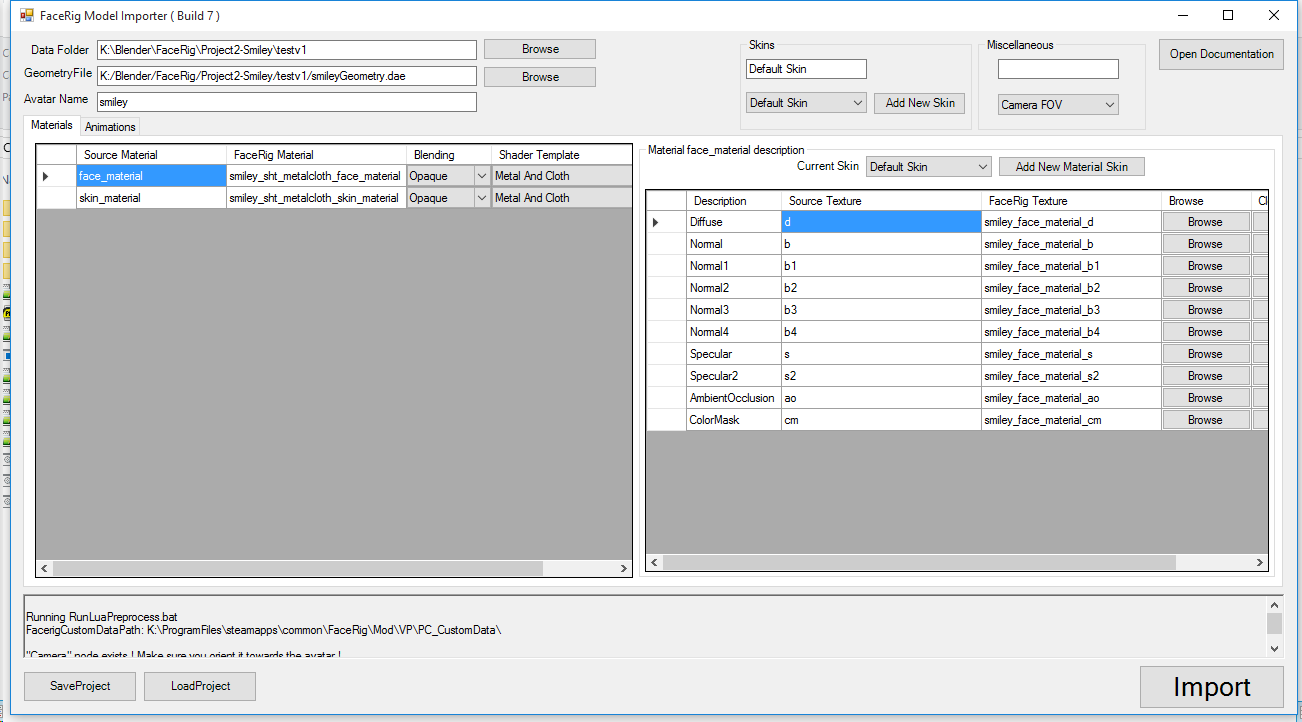
When you click OK, the wizard will automatically fill the import options for you.
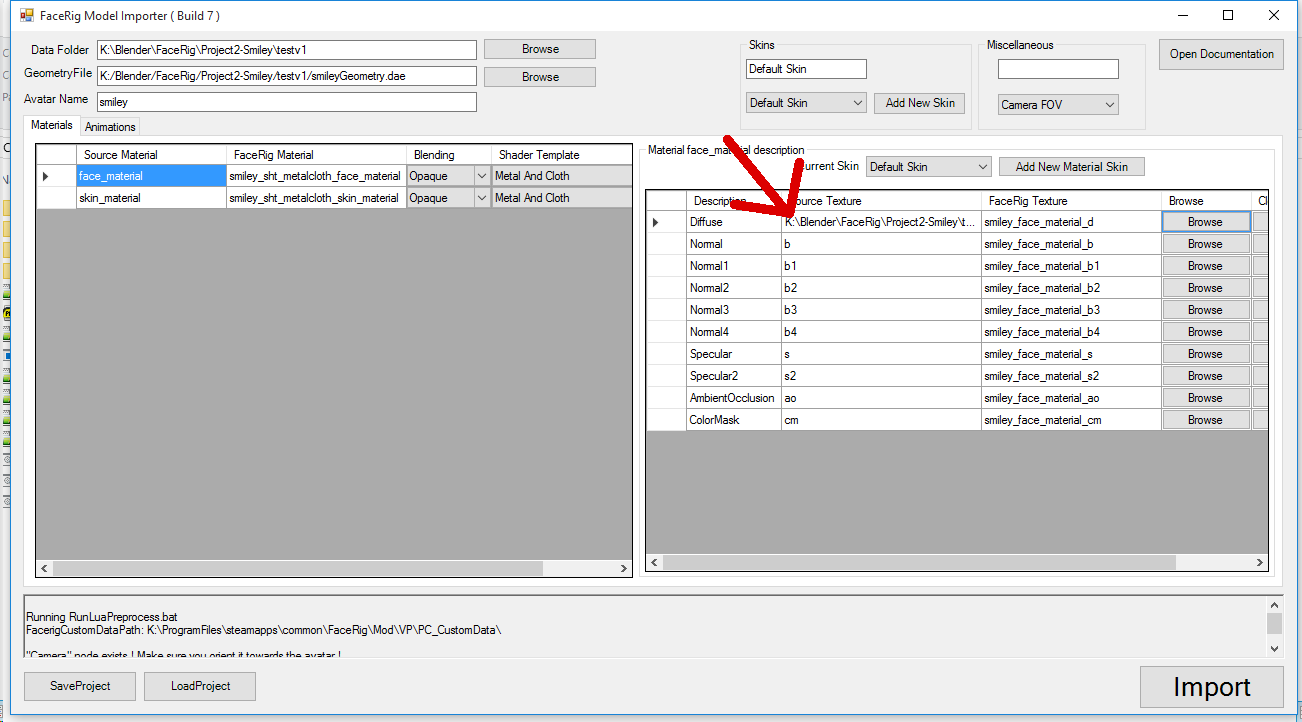
While exporting a mesh, Blender tags ‘-material’ to the end of every material’s name. Because of this, the materials aren’t automatically filled out when opening the model. You can either manually assign the textures their intended materials in the wizard, or you can account for the extra tag by adding it onto the end of your textures’ filenames so they are automatically filled out upon opening.
Example: smiley_face_d.tga => smiley_face-material_d.tga -or- reassign as below img.


