
Overview
This Guide will help teach you how to add configuration settings to an a hat in time mod file
What is the Ini file
The Ini file, called Modinfo.ini, is a file that is automatically created when you make a new mod, It stores basic info about the mod, The name, The Creator “Usually stated as me”, and the description.
This file can be opened using any kind of text editor.
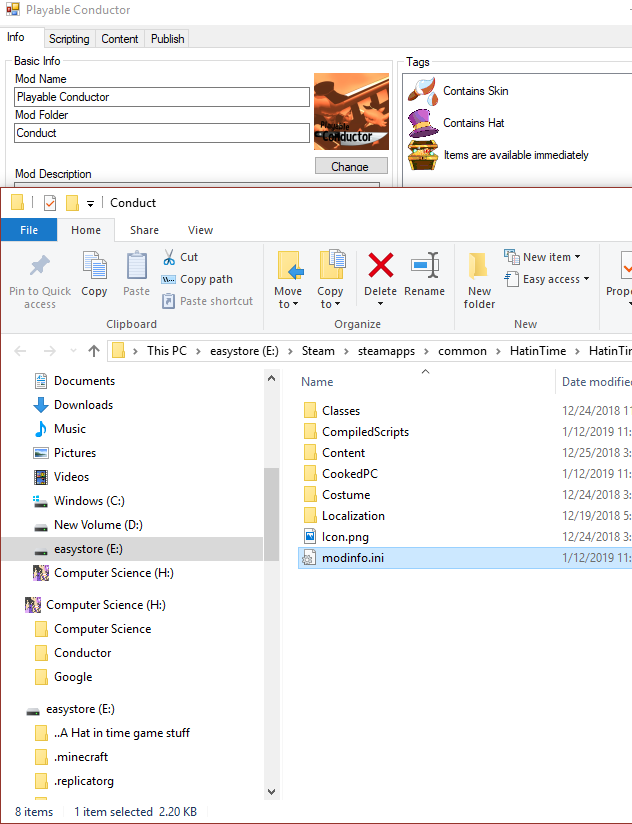

All these files are automatically added and don’t need to be messed with alot
Editing the Ini file
Now that we know WHAT the ini file is and what it does we need to know how to edit this,
THE EDITOR MUST BE CLOSED , The file(Ini) must be open and the editor must not be opened. If the editor is for some reason, the open file will not save and you will need to rewrite the ini file again.
There are many options on what we can do in this file,
Tags
Tags are what appear in the workshop. They tell the user what the mod contains, some examples below:

If a tag is = 0 then that means that it doesnt have that tag, if it is one then that means that the tag is true.
These tags are auto set so there is no need to edit them.
Configs
Configs can do a variety of things but they require user input.
Here is an example of one from my playable conductor mod,


So now you have the config set up here, but its not doing anything!
You need to define this variable again in the mod file,
Making the Config do something
This is Somewhat complex, so i will be using Playable Conductor as an example,
So before we added,
This in itself does nothing
We need to define the variable in the GameMod class
Note: If you want to change the name to something other than playerSet go ahead just make sure to edit that in the rest of your code, being consistant is key!
Make sure to have
under the Gamemod or else nothng will work!
So make sure this gets changed we want to make a new event in our GameMod Class

This says that when something is changed, update this file,
We need an initial
Be sure to keep capitalization consistant
This checks to make sure its updating the correct config and nothing else
inside of that because we allready defined our variable,

I only had 2 Configuration statements so Mine is somewhat small.

You can do this for as many configs you need, just make sure you have that many in your ini file.
So a final product should(or could) look something like,
This would Give you the help hat if config is = to 0, and remove it if its = to 1
Big thanks and links to other Modding guides
If theres anything i forgot to add Please tell me in the comments and I will add it as quick as possible, And give you credit!
Other modding guides: Credit to the respective owners (Weegee, and Heavy)
[link]
[link]
[link]
[link]
[link]