Overview
A comprehensive guide for mortar squads. Includes everything you’ll need to know, including calculators and how to test them. If you guys have any questions, feel free to ask in the comments or add me on Steam. Good luck!
Introduction/Basics
Hey guys! Welcome to my first tutorial. I’m making a video series that goes along with this Steam guide. This Steam guide will be a bit more in-depth, but the videos should help clarify some things for you. The YouTube playlist for this guide can be found below:
Now, let’s get into the text version.
The Mortars Themselves
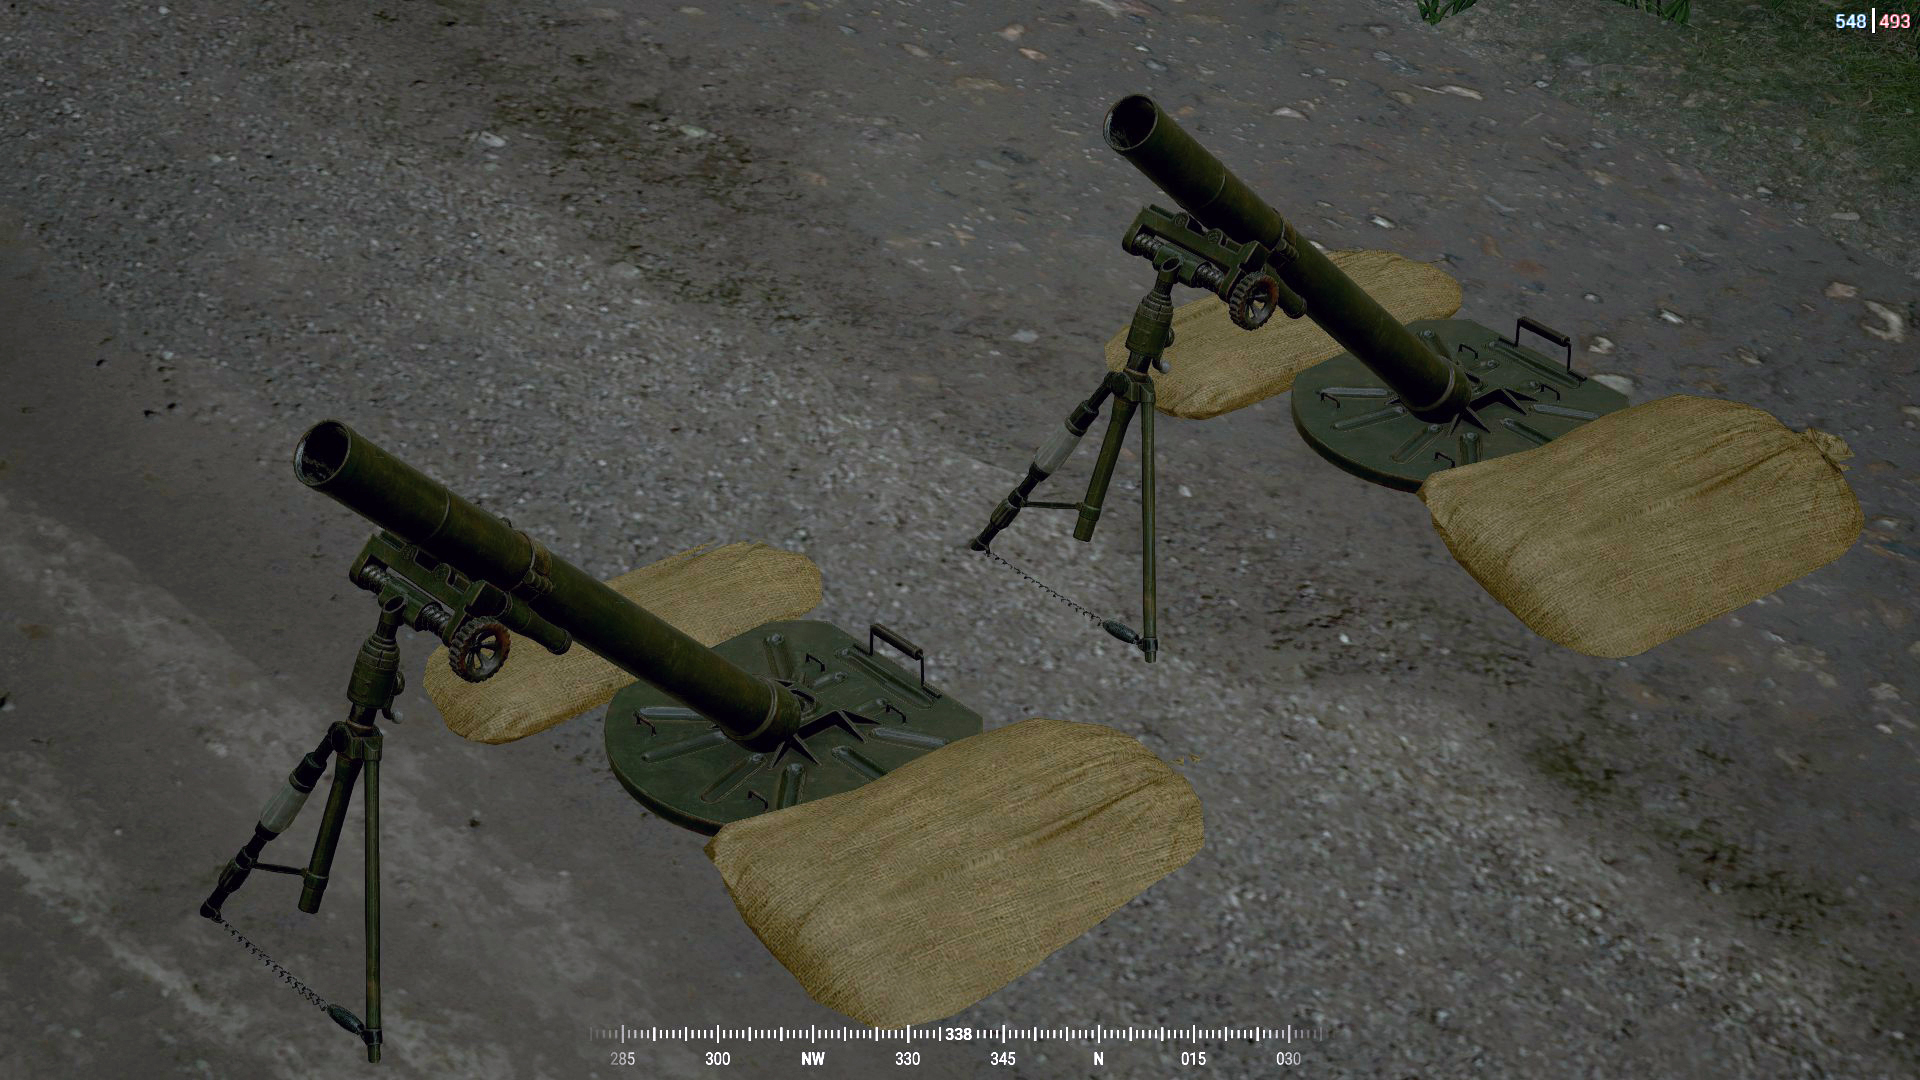
- Mortars cost 250 points each
- Only two per FOB are permitted
- Each reload (3 rounds) costs 90 ammunition (1000 ammo = 11 reloads)
- Right click to view crosshair (decreases aim sensitivity)
- The numbers on the left are called miliradian
- The numbers on the bottom (your compass) are called degrees/bearing/azimuth
- Left click to fire, you can shoot three mortars at a time
- Use the distance chart on the left Use a mortar calculator [squadmc.ende.pro]to determine miliradian and degrees to target, do not use the chart on the mortar
- Mortars take 20 seconds to land once fired
- Mortars have a minimum range of 50m and a maximum range of 1250m
Running a mortar squad requires a bit of work on everyone’s part. Here’s what you’ll need:
- A surplus logi that your team does not absolutely need. Mortars are a luxury. Do not make your team lose because you took the only logi.
- Good FOB placement, and usually on a small/medium map (for rapid logi runs)
- Mortars built in a safe/hidden and distant position
- People willing to shoot mortars all game
- Person willing to do logi runs all game
- People willing to spot/follow SL all game
- Valid and accurate targets
Calculators
Mortars are most effective when using a calculator. In my opinion the best calculator is SquadMC, but you may want to check out some others. The video below goes over different calculators that people use in Squad for mortars.
Calculator Tutorial (SquadCalc) (OUTDATED – SKIP)
***IMPORTANT***: I do **not** recommend SquadCalc. Skip this section to save yourself some reading. This section is only up here just in case some people are convinced they would prefer SquadCalc.
If you’re a visual learner, watch the above video. If not, I’ll explain it in writing here. (This calculator is not as good as SquadMC or other calculators.)
The largest grid on the map looks like this:
- E-2 (seperated by thick black lines)
The second largest grid:
- E-2-6 (seperated by thin black lines)
The third largest grid:
- E-2-6-4 (seperated by thin white lines)
This is as small a grid as the map has. We need smaller in order to be accurate. Say your mortar or target is at the bottom-left of one of those little white boxes. You just look at your
[imgur.com] and add -1 to E-2-6-4. Which would be this:
- E-2-6-4-1
You just need to accurately type in the mortar position on the left, and then the target position on the right. The calculator will tell you exactly where your guys need to aim (miliradian=up/down)(bearing=left/right) and then voila! Now you have pinpoint accurate mortars. Now we need to find a target and fire,
Calculator Tutorial (Map-Based)
The first 2 or so minutes of the Solo Mortar video will demonstrate to you how to use SquadMC. All Geographic calculators work the same way.
- Geographic Calculator Tutorial:
- Mark your mortar on the map (accurately)
- Mark your target on the map
- Aim and fire.
[link] – Pictured in video
[link] – An alternative to SquadMC
The Solo Mortar
Rather than waiting for a SL to tell you where to fire, you can do it yourself using SquadMC.
This allows you to control the mortars more effectively, to time and disperse them appropriately to conserve ammo or hit multiple enemy locations. This taken into account, an entire squad is not necessarily needed to drop mortars – just one guy on a mortar.
That being said, a mortar squad can still be effective with this ‘independent fire’ strategy implemented.
Video Examples coming soon…
FOB/Mortar Placement
- Fob Placement:
- Near main (for rapid resupply and therefore rapid fire)
- Far from enemies
- Somewhere defendable if possible
- Within range of the objectives (1250m)
Calculator: [link]

- Mortar Placement:
- Flat
- Secure or hidden (like in a compound)
- As close to eachother as possible (if using SL calculations)
- Far apart (to avoid being killed, provided the mortars calculate their own targets)
Mortar Squads (Basic)
I’ll be updating this guide to have multiple sections for mortar squads, but this recent video I made should do until then. I’ll keep the basic info I had before down below, but this vid is more up-to-date.
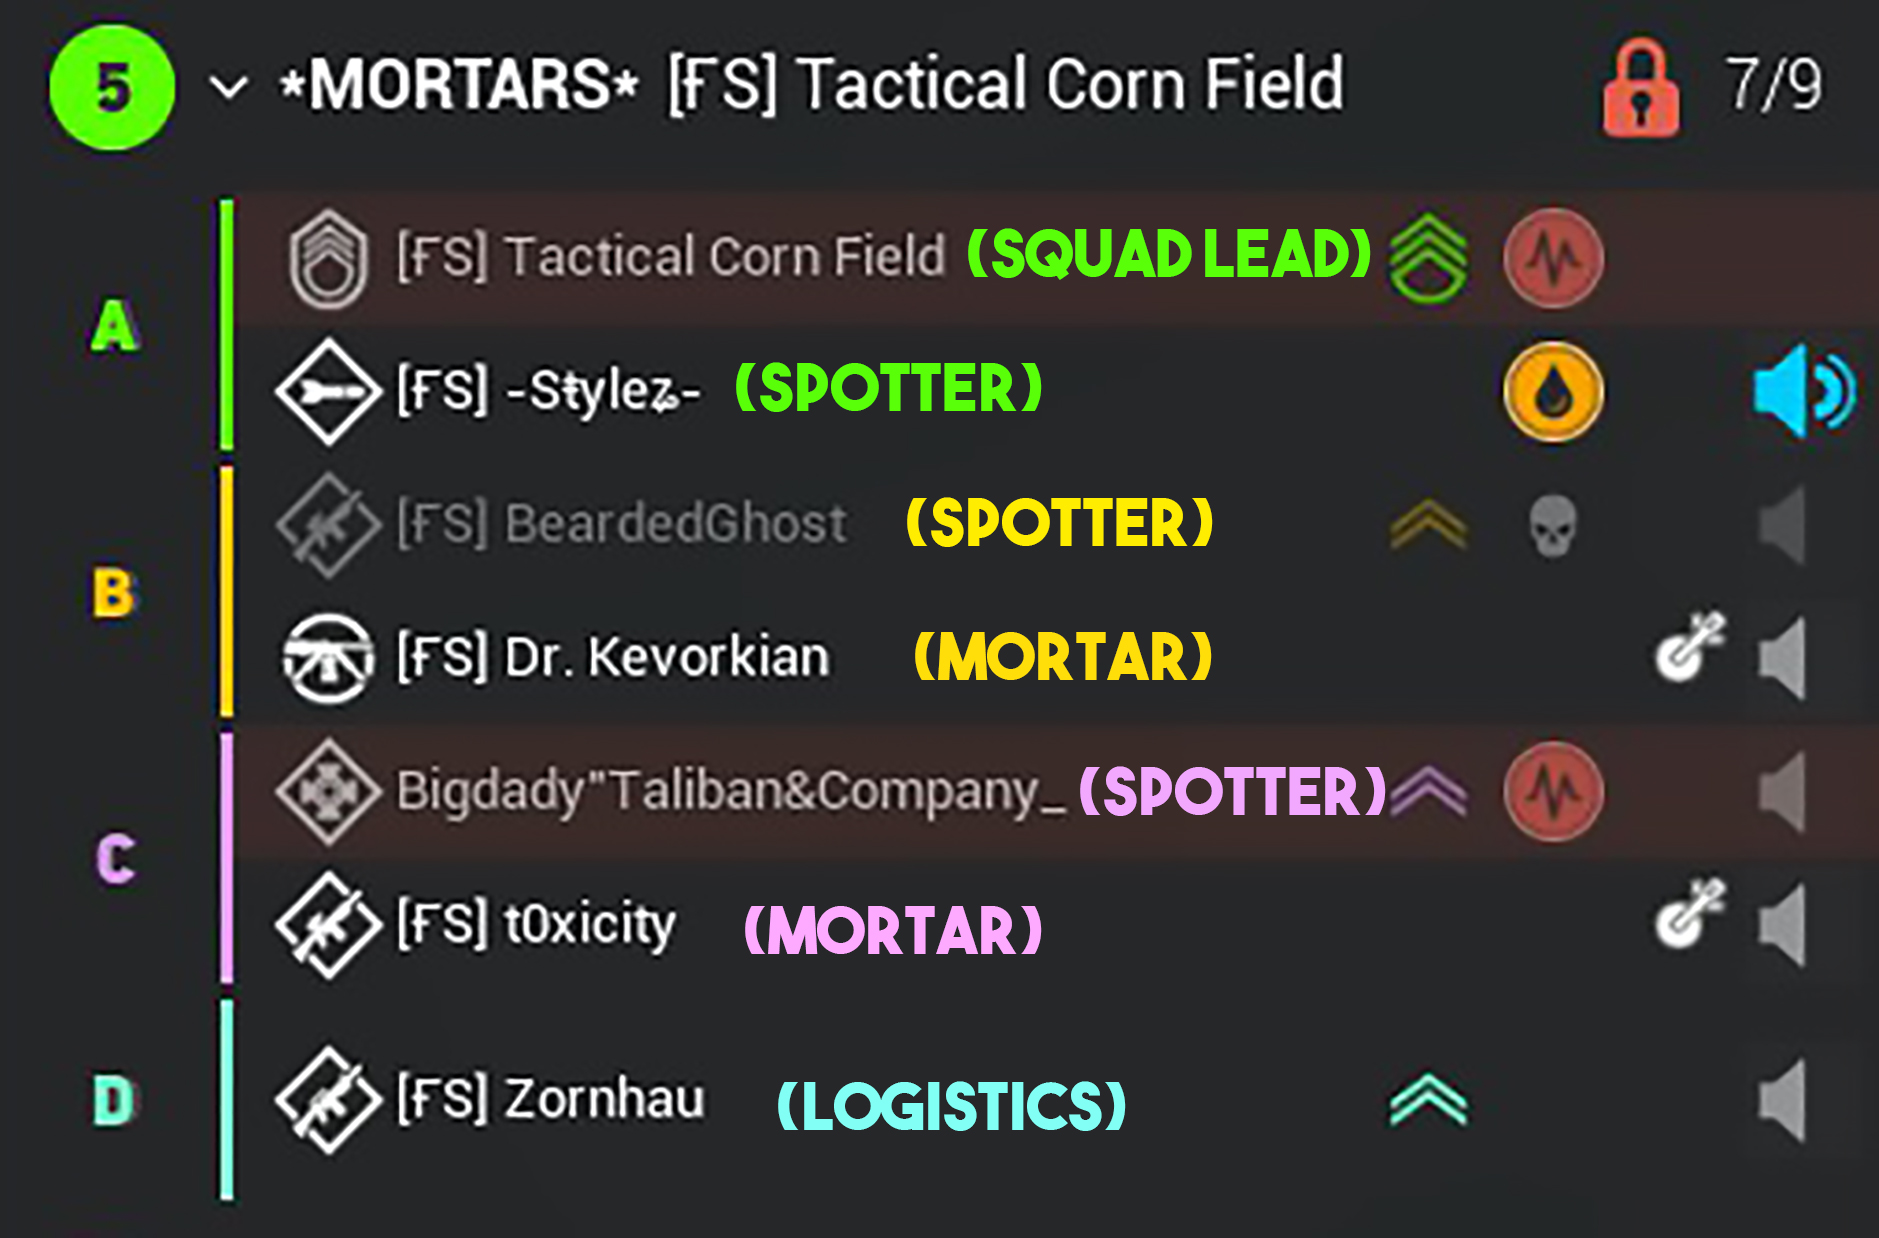
Basic Mortar Squad

- Name your squad “Mortars”
- Keep the squad members to a minimum amount.
- You’ll need one person doing logistics(for ammunition)
- Two people shooting the mortars
- Spotters, preferrably multiple fireteam leaders
With the addition of V12, I have found multiple fireteam leaders to be very beneficial. If you put a spotter and mortar in each fireteam, the mortars can basically work independently. If you get your mortars to use this calculator[squadmc.ende.pro], it takes lots of weight off your shoulders as the squad leader.
Firing
- Things To Keep In mind
- Mortars disperse by about 15-20 meters from where you aim
- This is not enough deviation unless you’re shooting static objects.
- You must spread the mortars out to be effective.
- Keep in mind what your goal is (suppressing a compound? killing a HAB? providing smoke cover?)
- Adjust volume, spread, and type of shells to your team’s needs
- Timing. time your shots if necessary. Don’t waste ammo if your friendlies won’t be there for awhile.
Mortars, by their nature, won’t always land directly on the target, which is to be expected. That being said, they are still accurate enough to take down HABs, vehicles, and even radios. If your shots actually are off, you’ll have to adjust fire. Think about where your mortars are, and where they’re landing. Telling them to add 10 miliradian will make the mortars land a bit closer, whereas moving one degree will cause the mortars to land a bit to the left or right. This all depends on the range of couse, and you’ll want to remember that even a half degree at 1000 meters will be significant compared to a half degree from 150m. Adjusting fire takes some getting used to, and you’ll get better with experience.
- Add miliradian = mortars land closer
- Subtract miliradian = mortars land farther
Targets
Ahh yes, the last part: targets. Since firing and targets go hand in hand, here’s a general Rule of Thumb that I follow.
- Infantry/objectives= dispersed, conserve ammo (unless you have enough ammo)
- Stationary targets= no dispersion, rapid fire until out of ammo (if accurate)
The best target of all is a HAB. Taking down an enemy HAB puts them in a very difficuly position, so long as you keep firing. If your mortars can hit their HAB, you’ll usually be able to kill it, so long as you have ammo. Even if enemies stay inside and rebuild it (which is very rare considering how fast HABs will fall to mortars) you’ll still be killing everybody else who leaves it, bleeding their tickets. Only two things can stop you: They find your mortars, or you run out of ammo.
Complications (WIP)
Height Offset
One thing to consider with mortars is the height at which you are firing. If you’re firing from the top of a mountain, to a flat spot on the map, then you may end up overshooting. Calculators such as [link] account for height differences, but you may want to stick to flat areas just in case.
Degrees At Range
Say I’m shooting a mortar at 150 meters, then I aim right one more degree. There will be a slight change to where the mortar lands. However, if I fire at 1,000 meter and aim right one degree, the mortar will land significantly farther than before. This is something to keep in mind when you’re adjusting fire, and is a reason why you may want to use half degrees, or quarter degrees. This principle is demonstrated by the following diagram:
Conclusion + Video Examples + Calculators
Mortars are difficult to get right, but when they work, they work. I’ve gotten about 40 kills with my mortar squads, and we’ve taken down 3 HABs in a single game, plus vehicles. I’ve even heard of people getting 80 kills as a mortar squad, which is insane.
[link] — Basic calculator.
[link] — Point and click calculator. (depends on your preference)
[link] — We ♥ Squad calculator. (not mentioned in tutorial, but pretty neat)
[link] — Another point and click calculator. Comes with extra bells and whistles.
- AdminChangeMap Fool’s Road AAS v1
- AdminDisableVehicleClaiming 1 (allows you to claim any vehicle)
- AdminAlwaysValidPlacement 1 (allows you to place anything you want)
- Adminslomo 20 (speeds or slows in-game time)
All of the above video examples have the entire fire mission process from start to finish, in an actual game. More of those to come. Hope this helps everyone, get out there and start shelling!
PS. Thanks to the devs for adding mortars, and thank you to all of the people who have made calculators for this game.

