
Overview
Mod your copy of Batman: Arkham Asylum GOTY to unlock the “Play as the Joker” maps and “Prey in the Darkness” maps which were never released on PC.
Introduction
Hey everyone!
I’ve been doing a lot of research, digging, and testing the last few days, and I am happy to say that it IS possible to play as the Joker in the PC version of Batman Arkham Asylum.
Apparently, the Play as the Joker maps (as well as the Prey in the Darkness maps) are no longer a PS3 exclusive. The Mac version of the game was released on October 27, 2011, and it includes both of the missing DLC packages. What’s better is that they are in a PC-readable format!
So, through a little configuration file edit and copying the files from the Mac version to the PC version, I have successfully gotten all available DLC to work on the PC!
I will not post the files here, due to copyright issues, but I will list the basic steps required to make your copy of Batman: Arkham Asylum into the COMPLETE Game of the Year Edition! Warning, it is rather complicated and requires access to a Mac and a Mac version of the software, the PC version (of course), and a large-ish flash drive.
Description of Mod
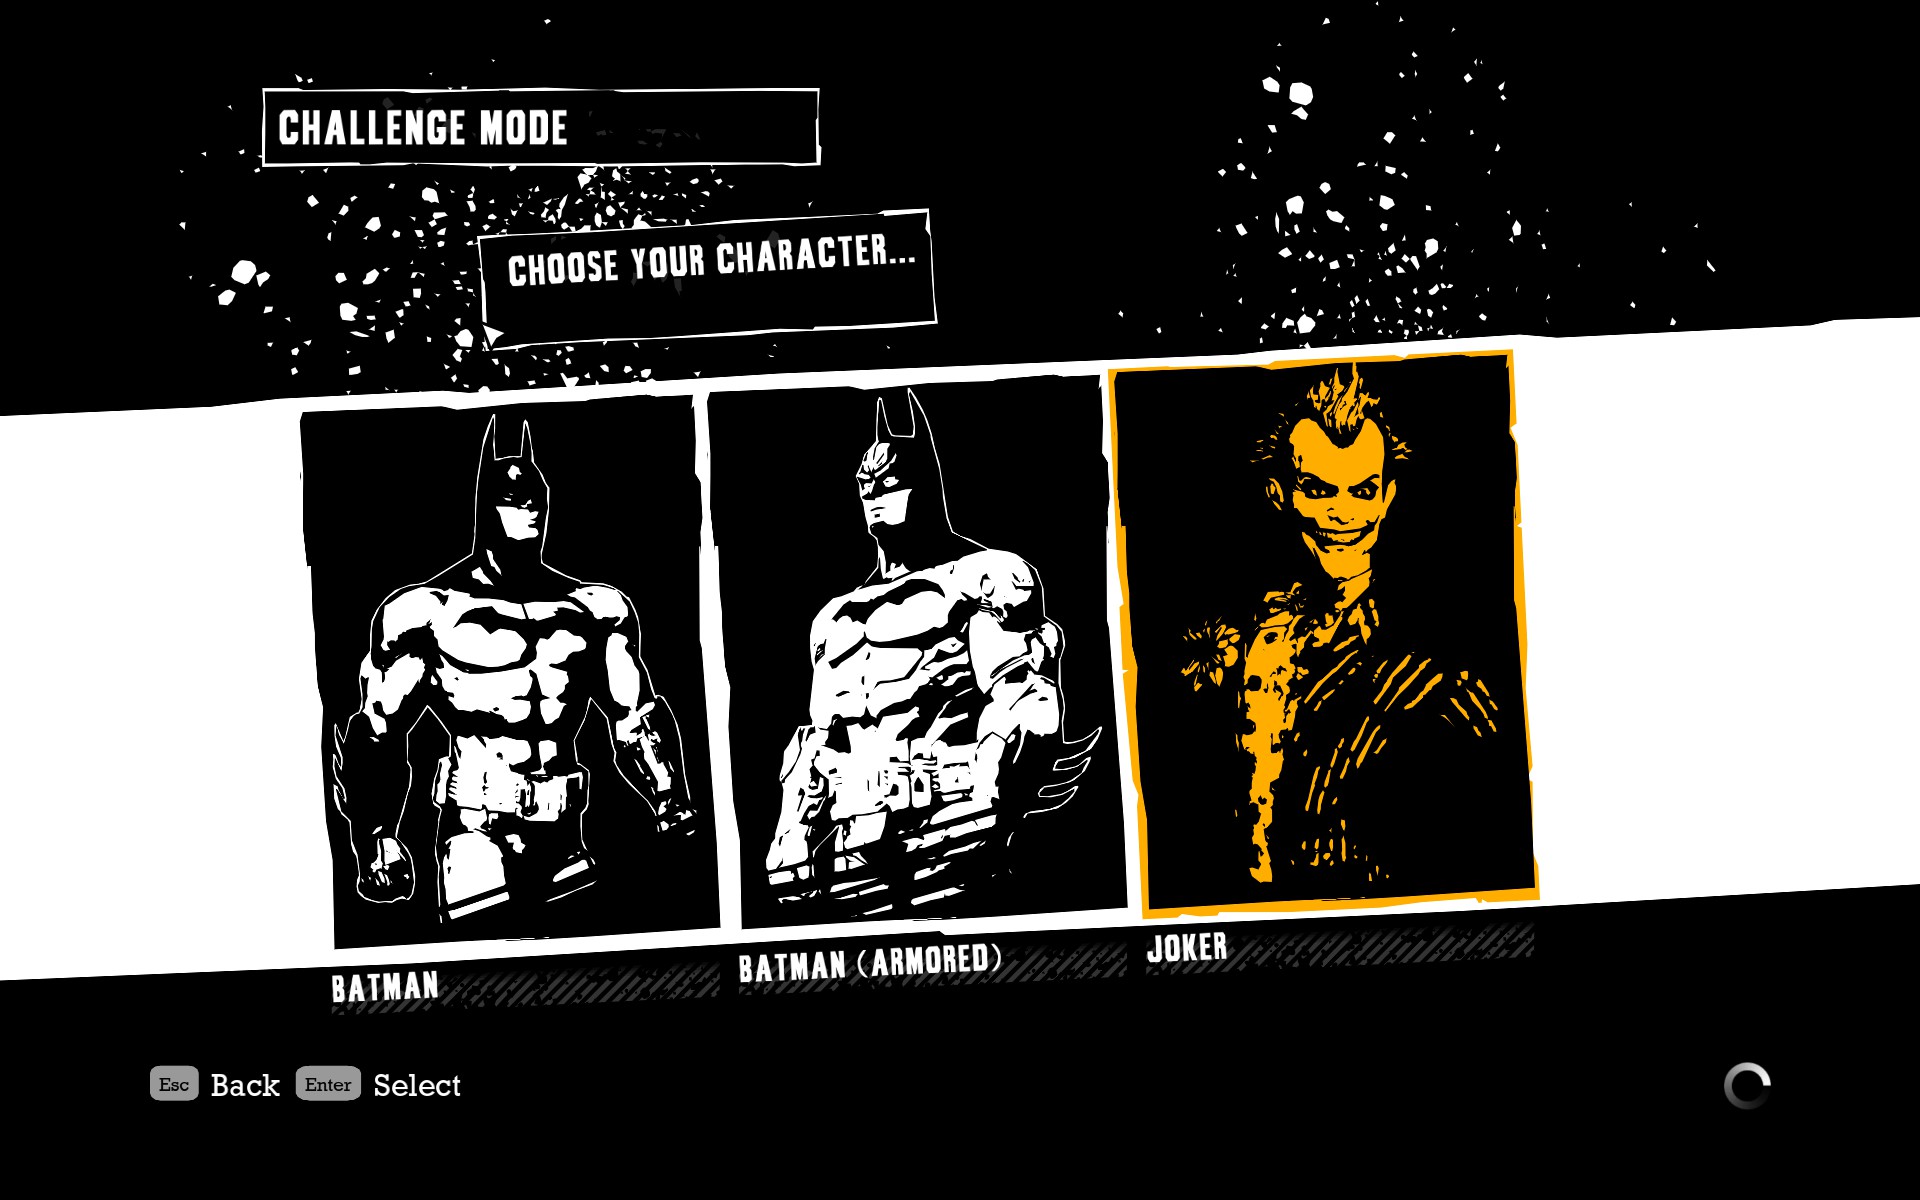
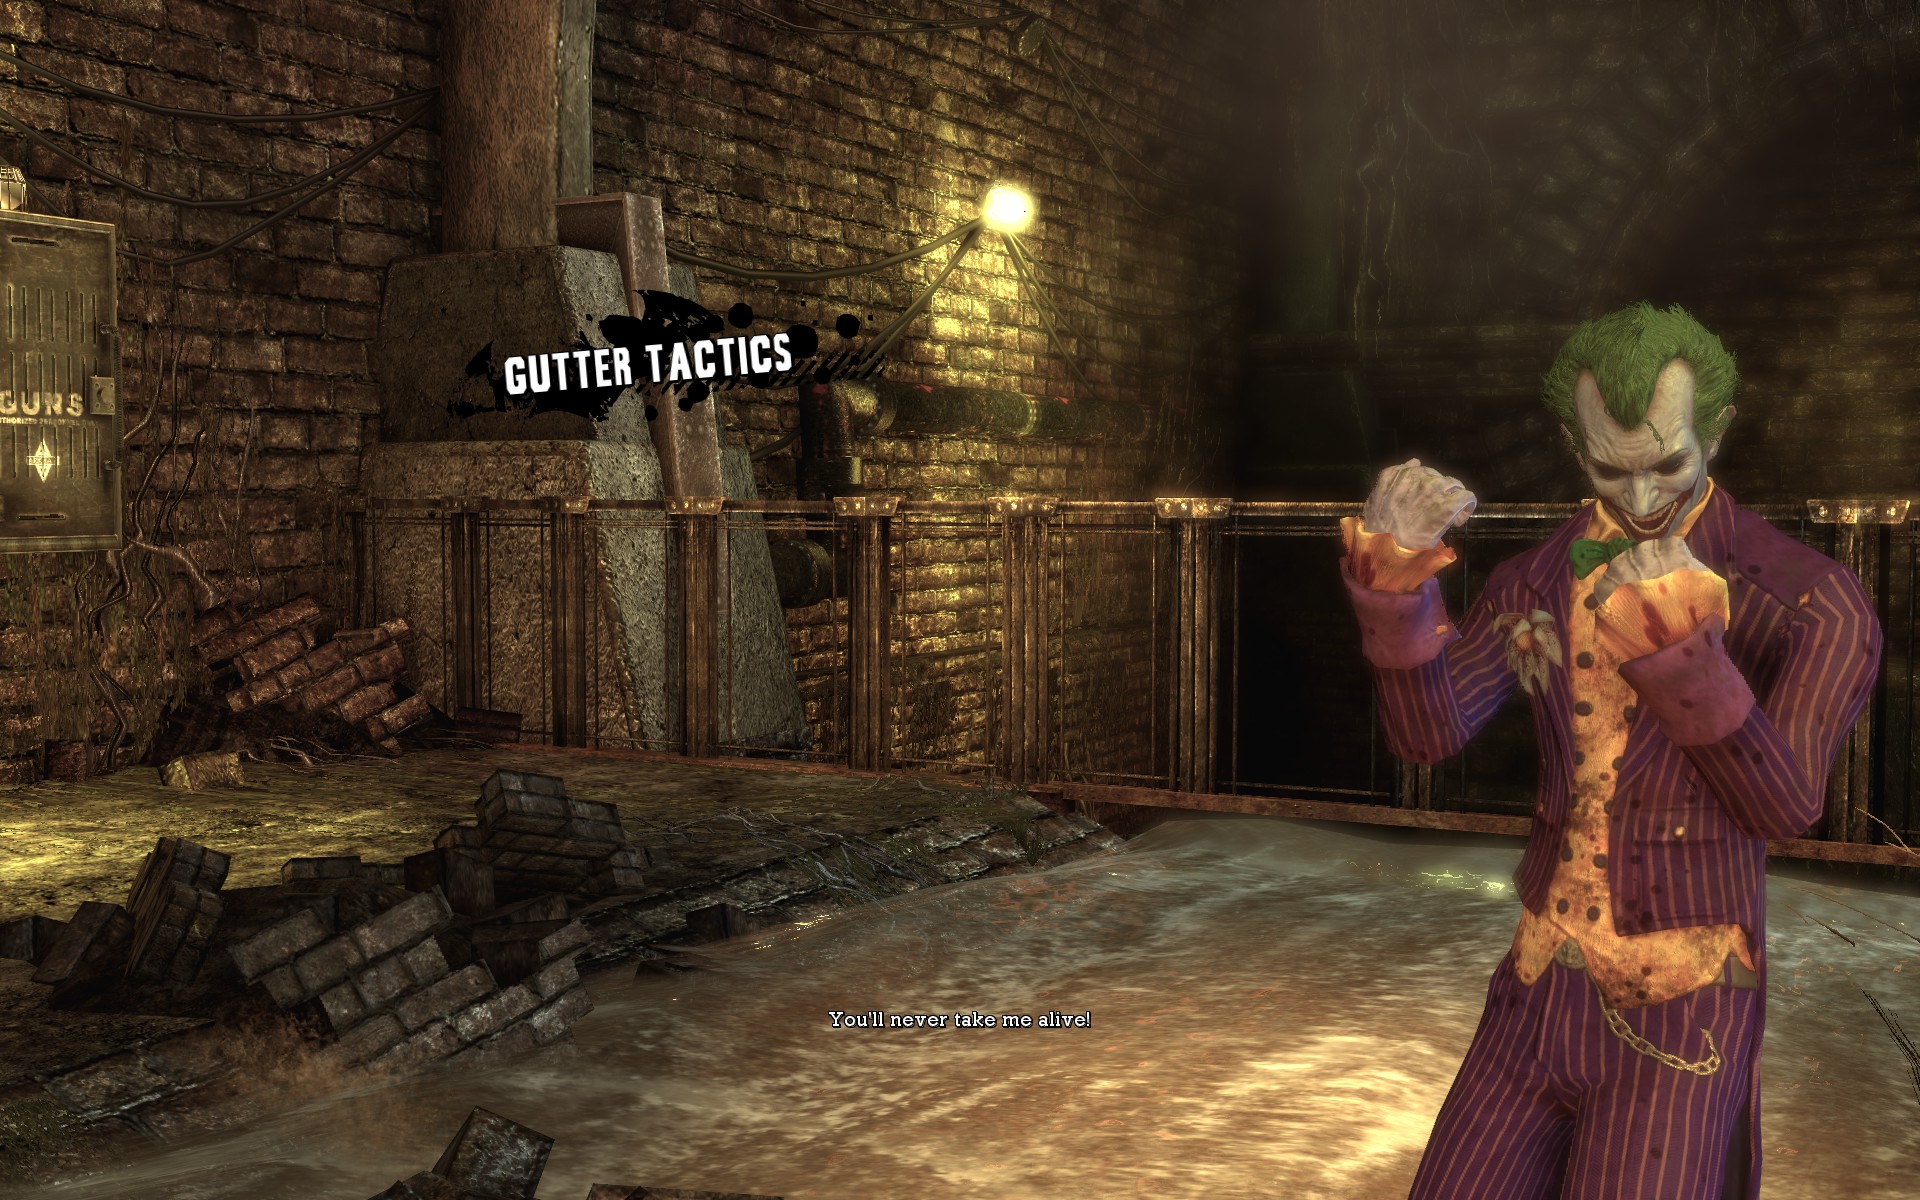
– Adds “Play as the Joker” challenge maps to the PC version
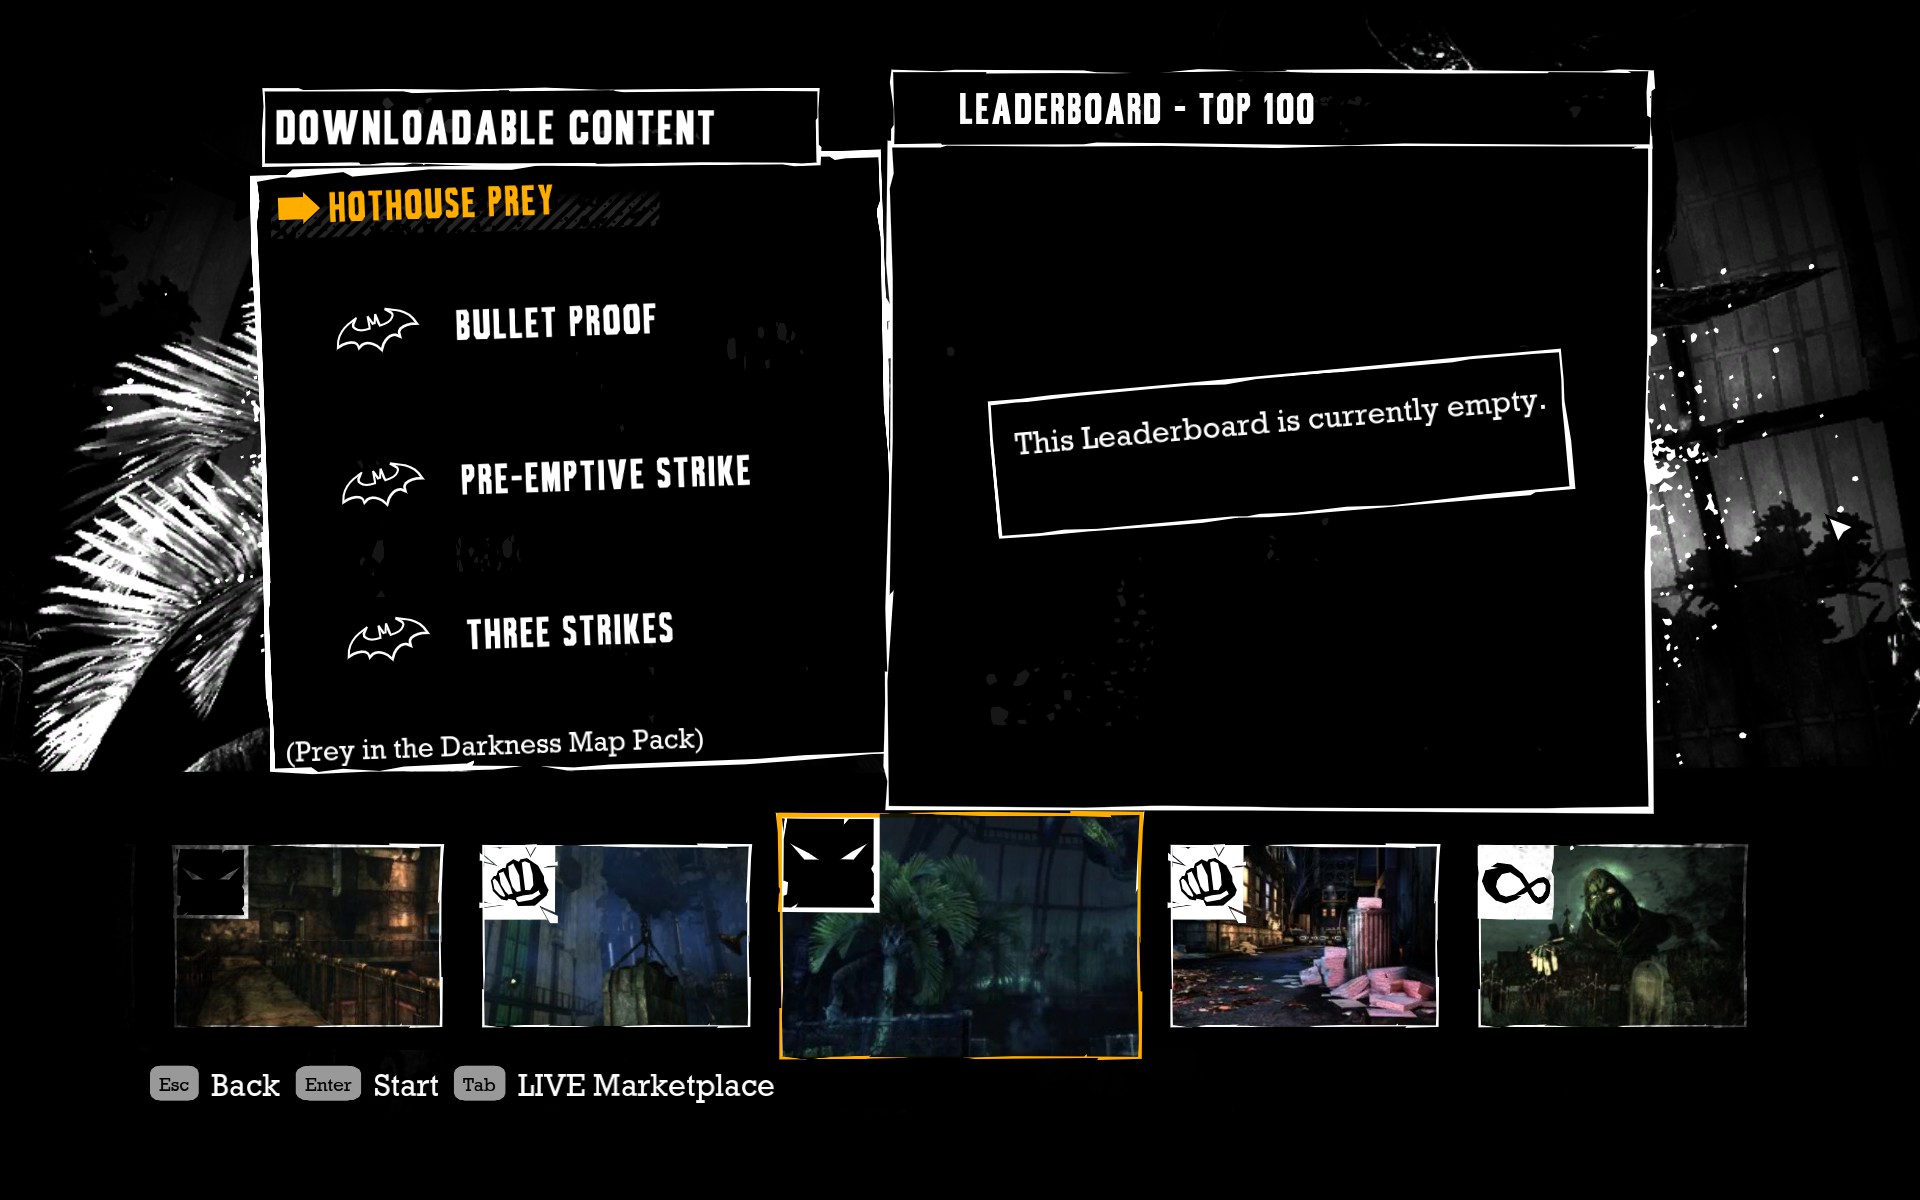
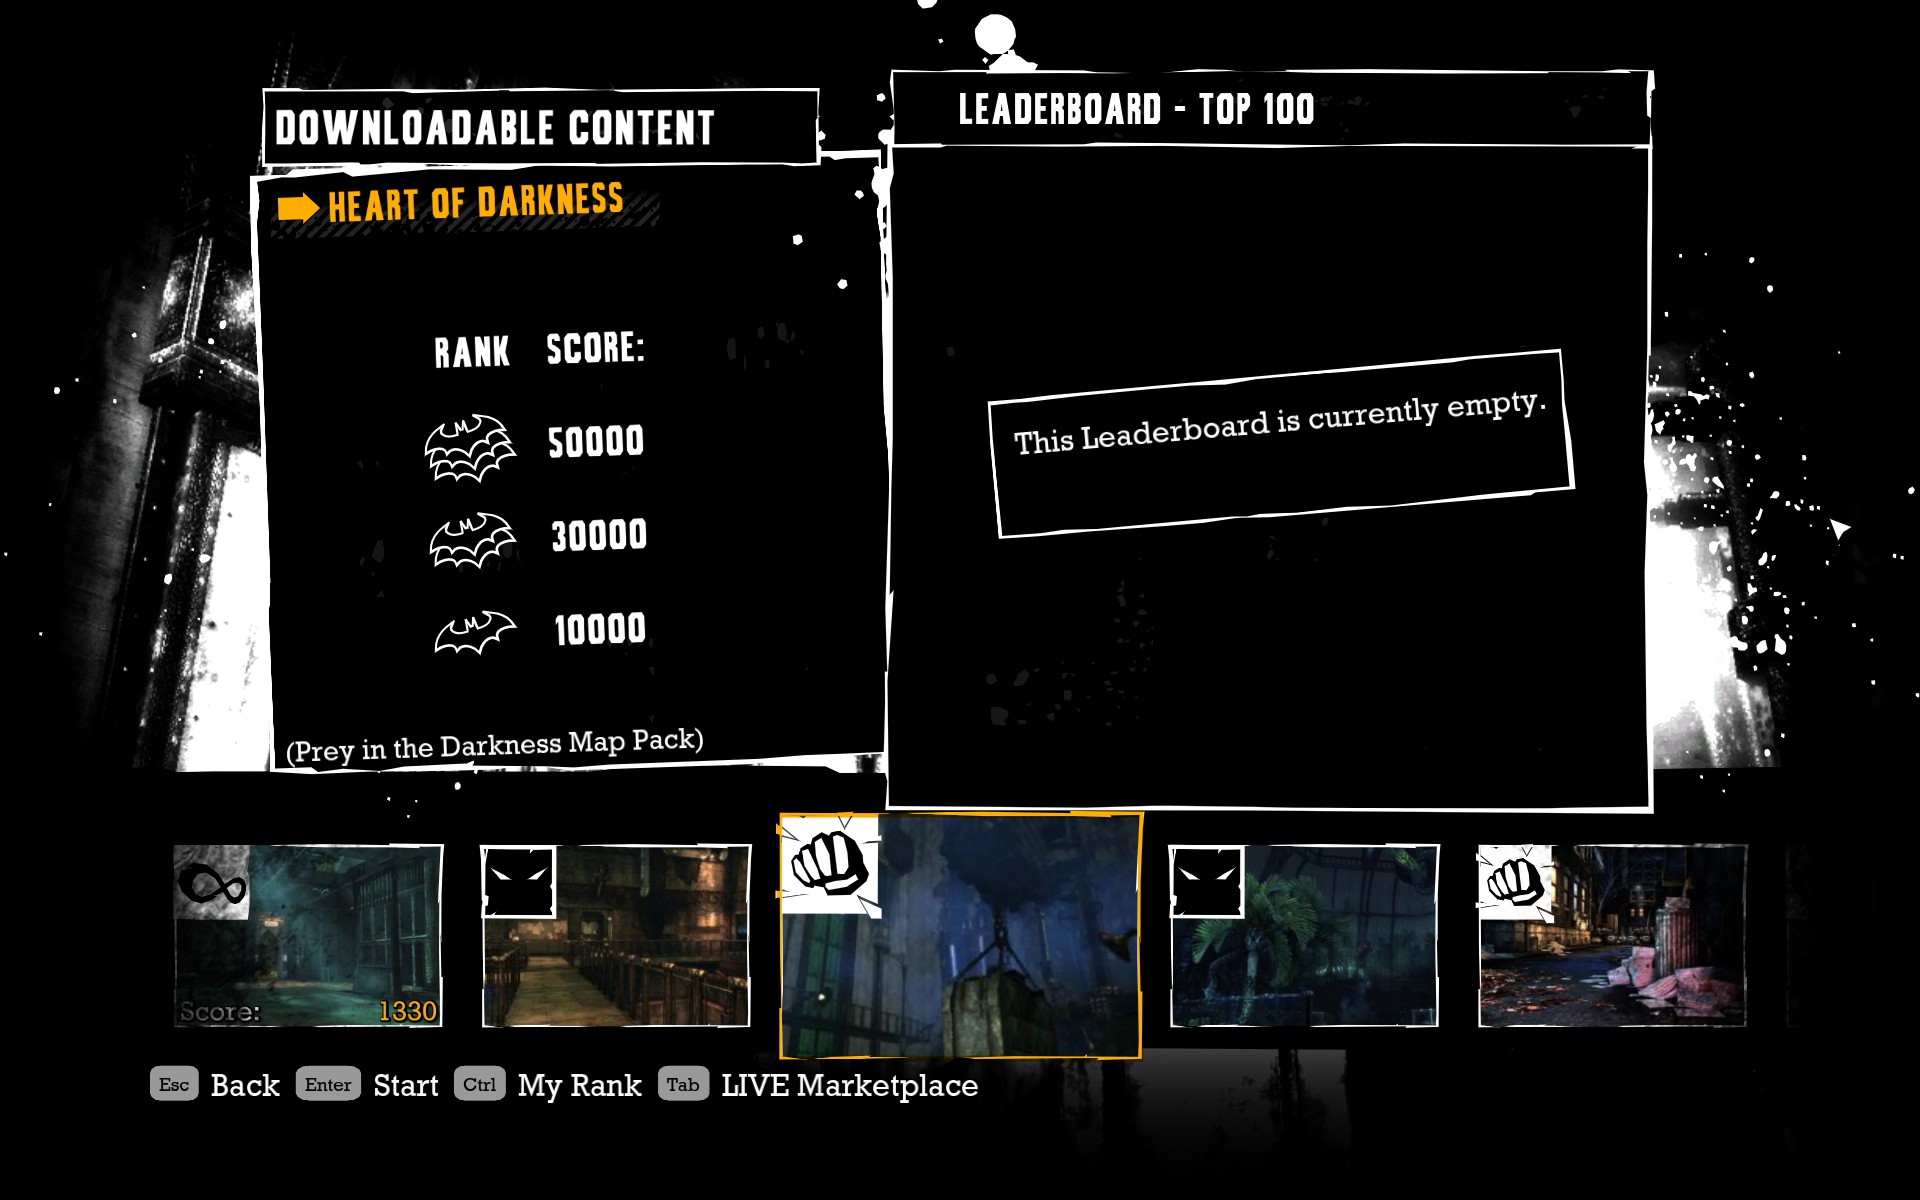
– Adds “Prey in the Darkness challenge maps to the PC version
– Adds all previously-released DLC to the PC version (which you already own if you have the GOTY Edition).
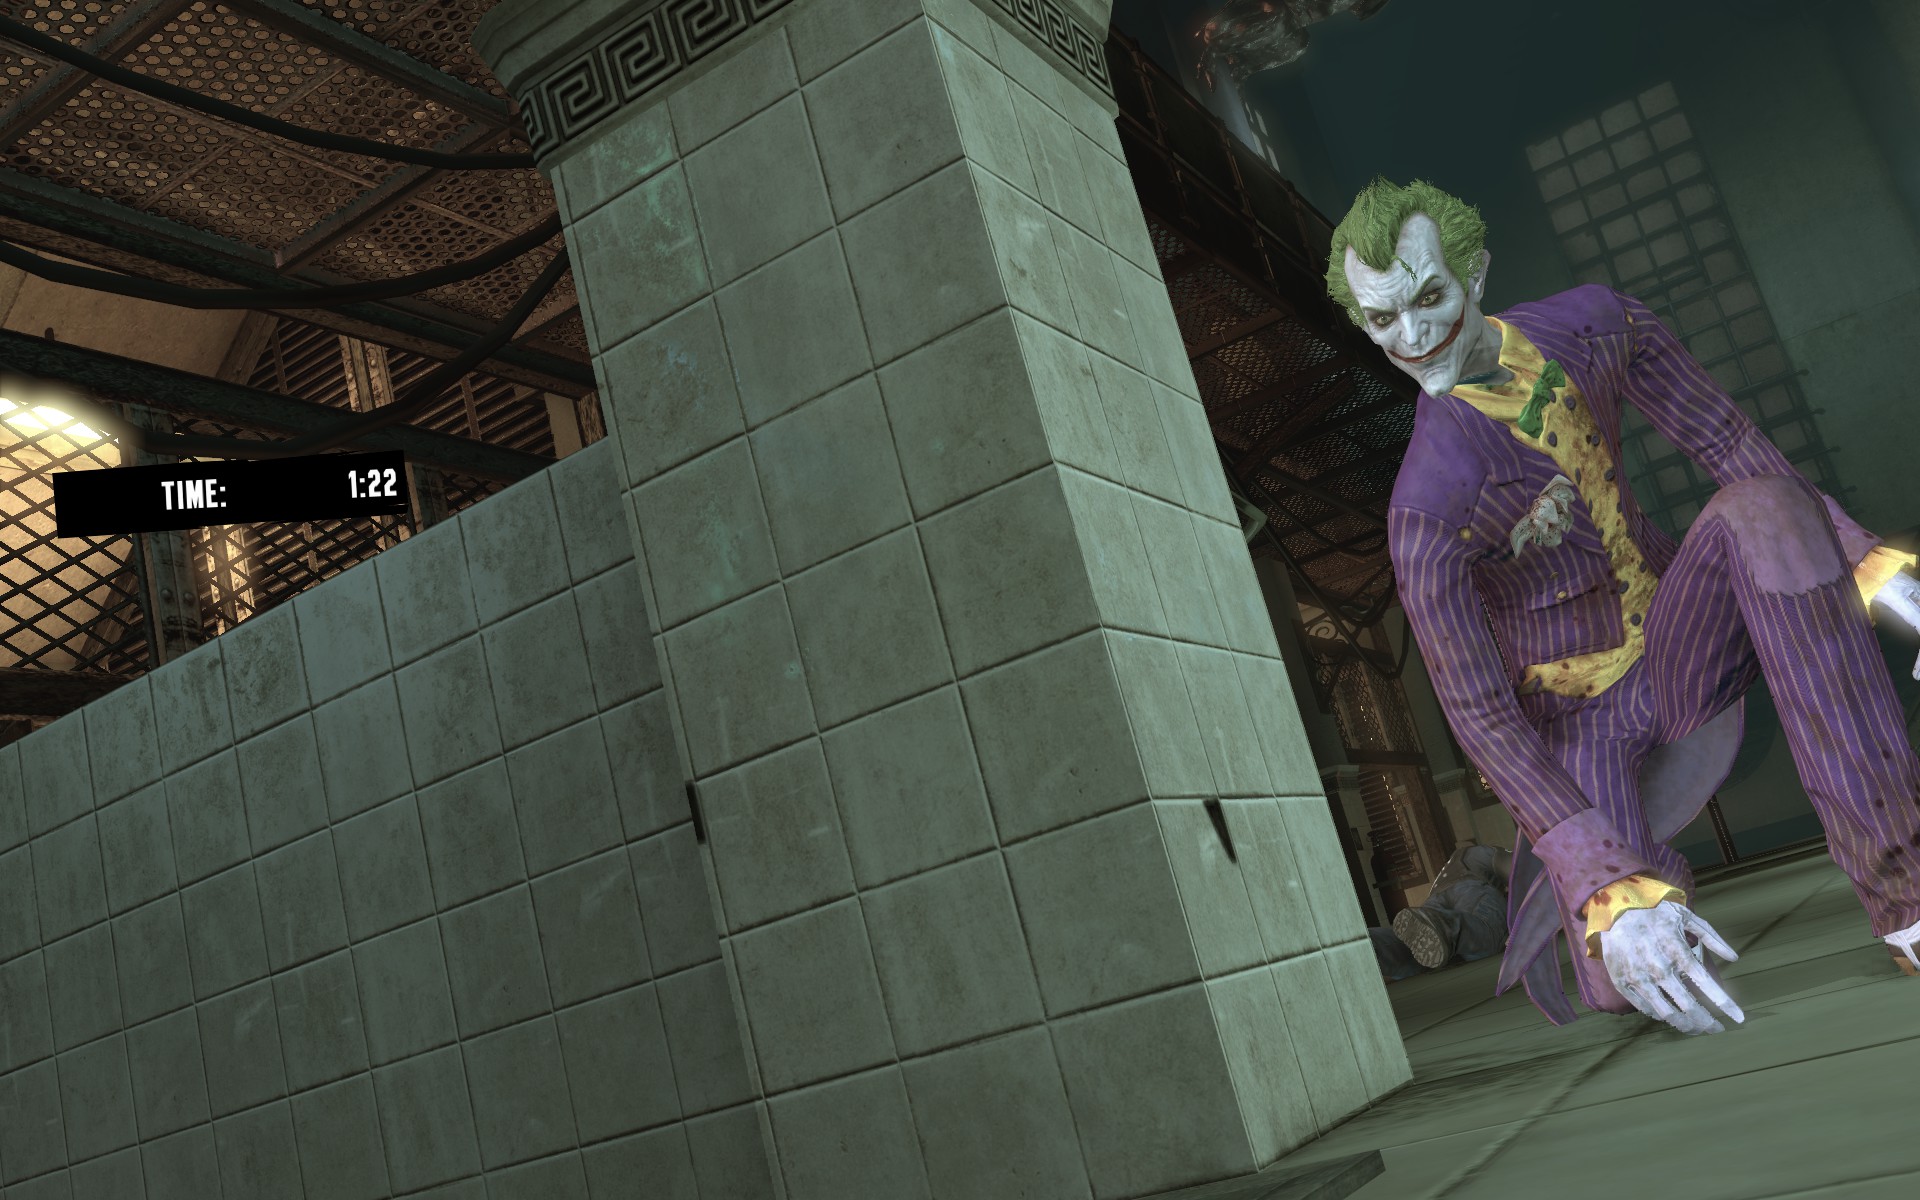
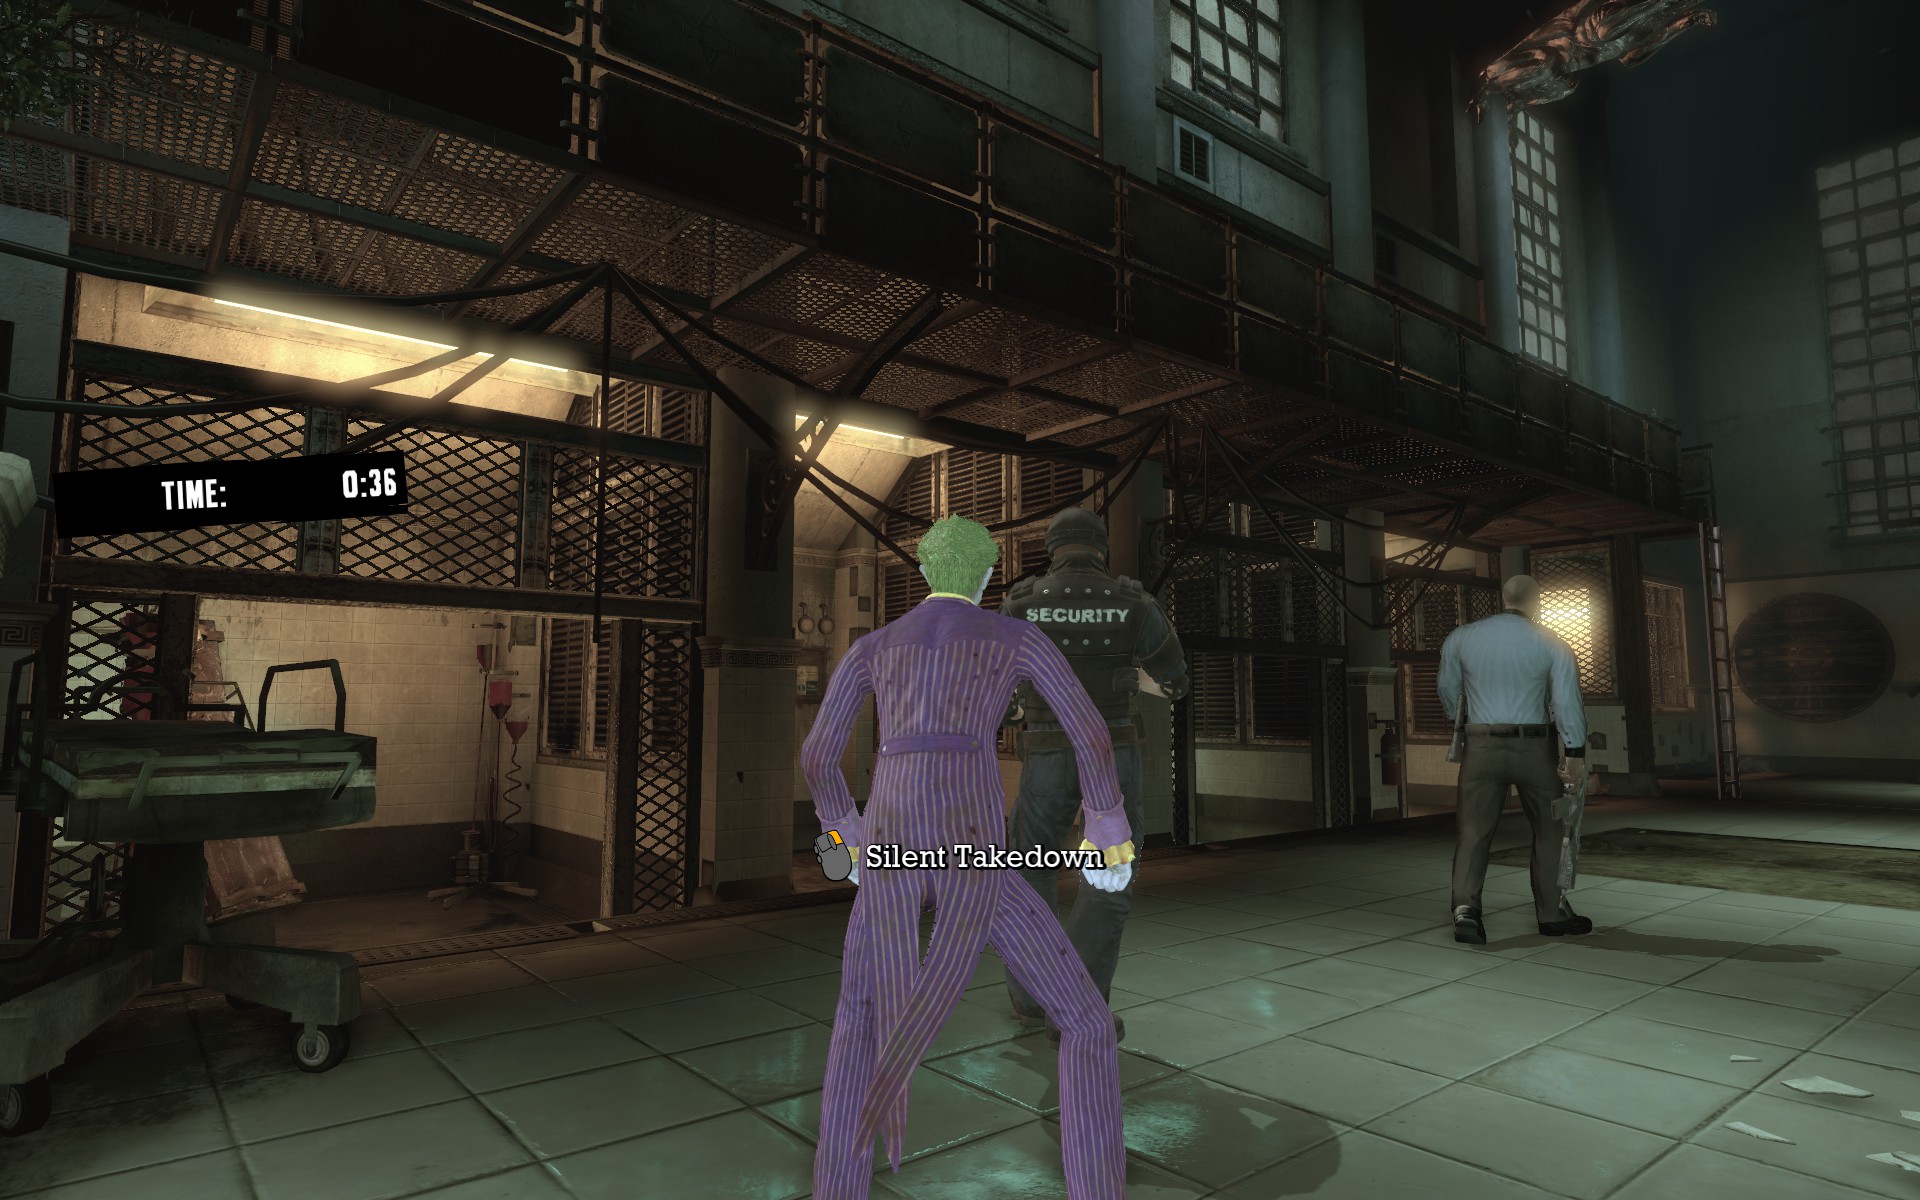
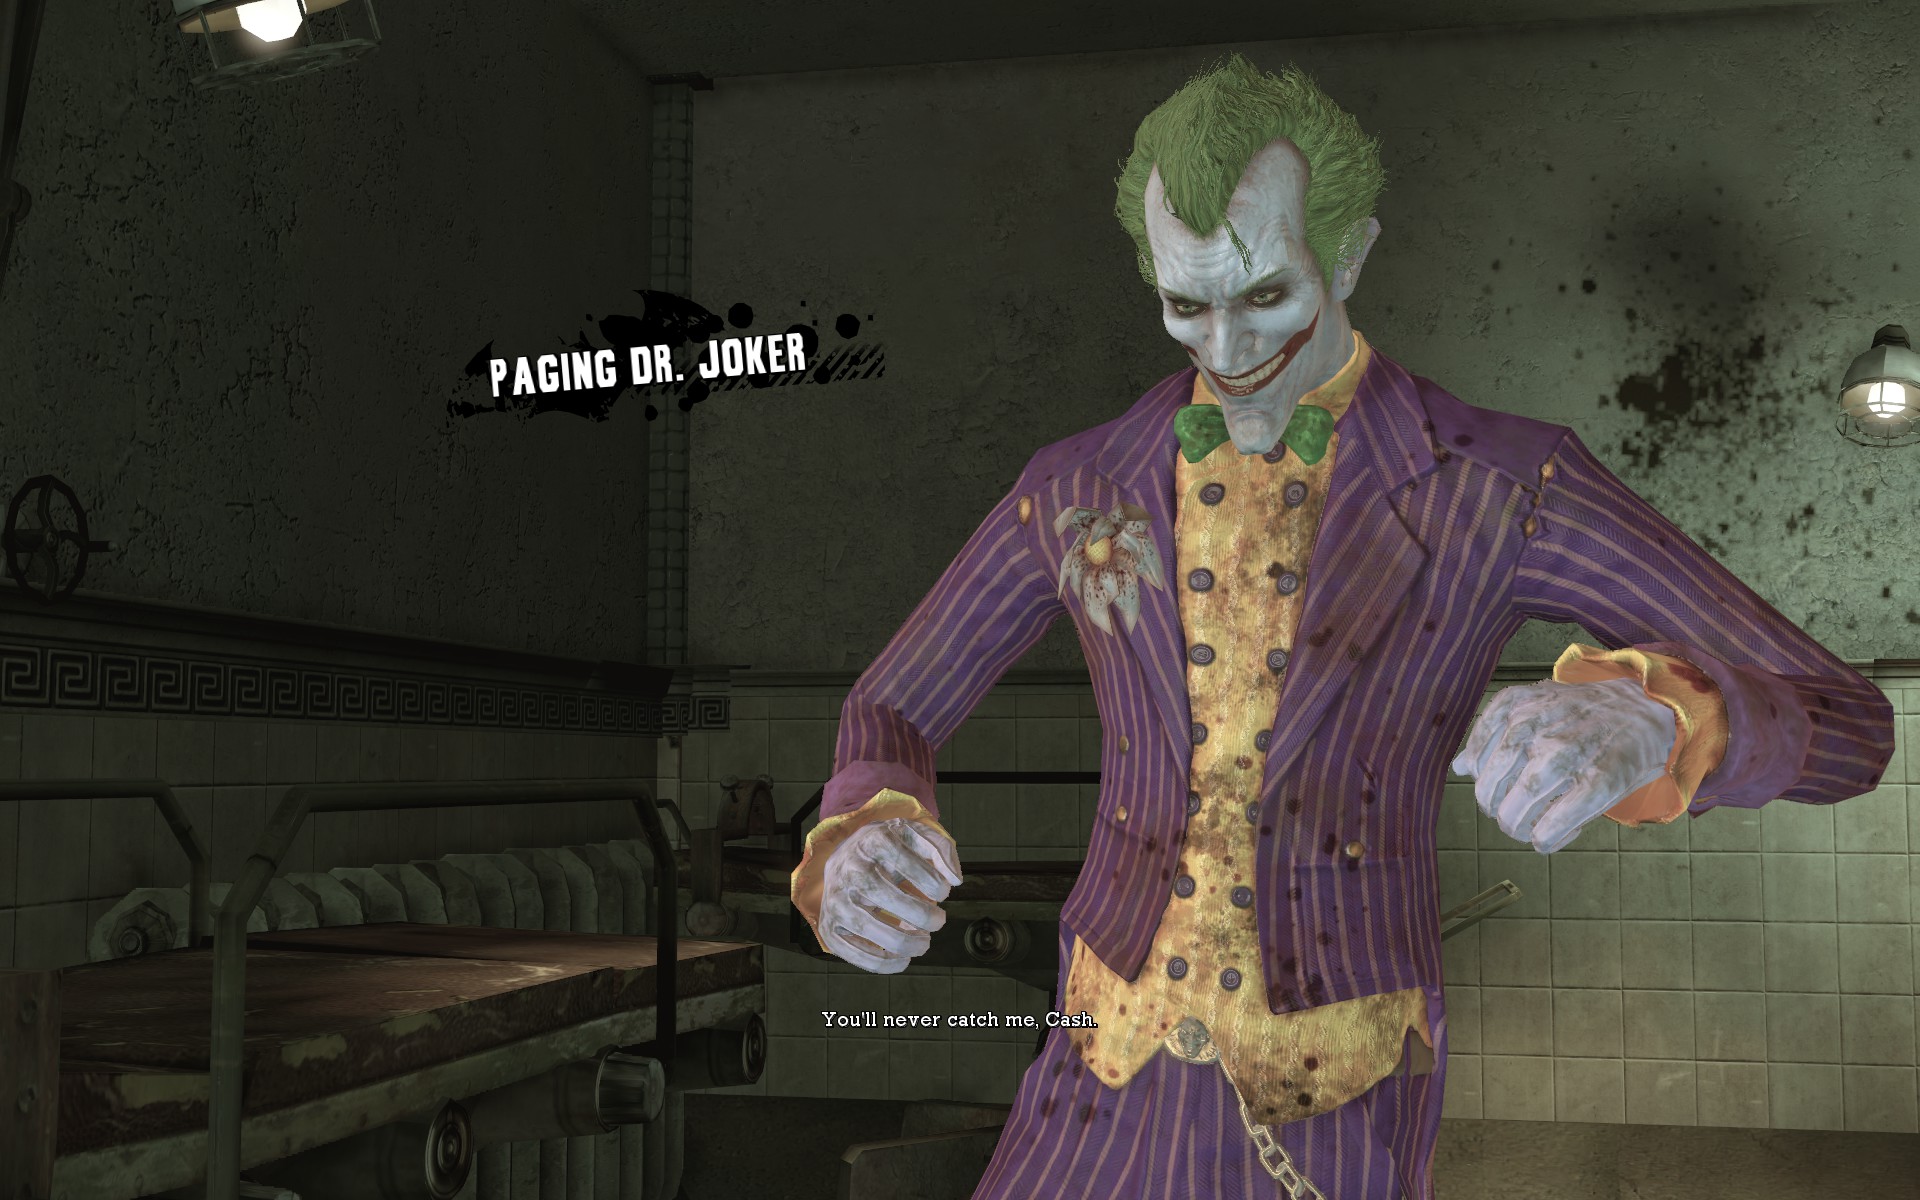
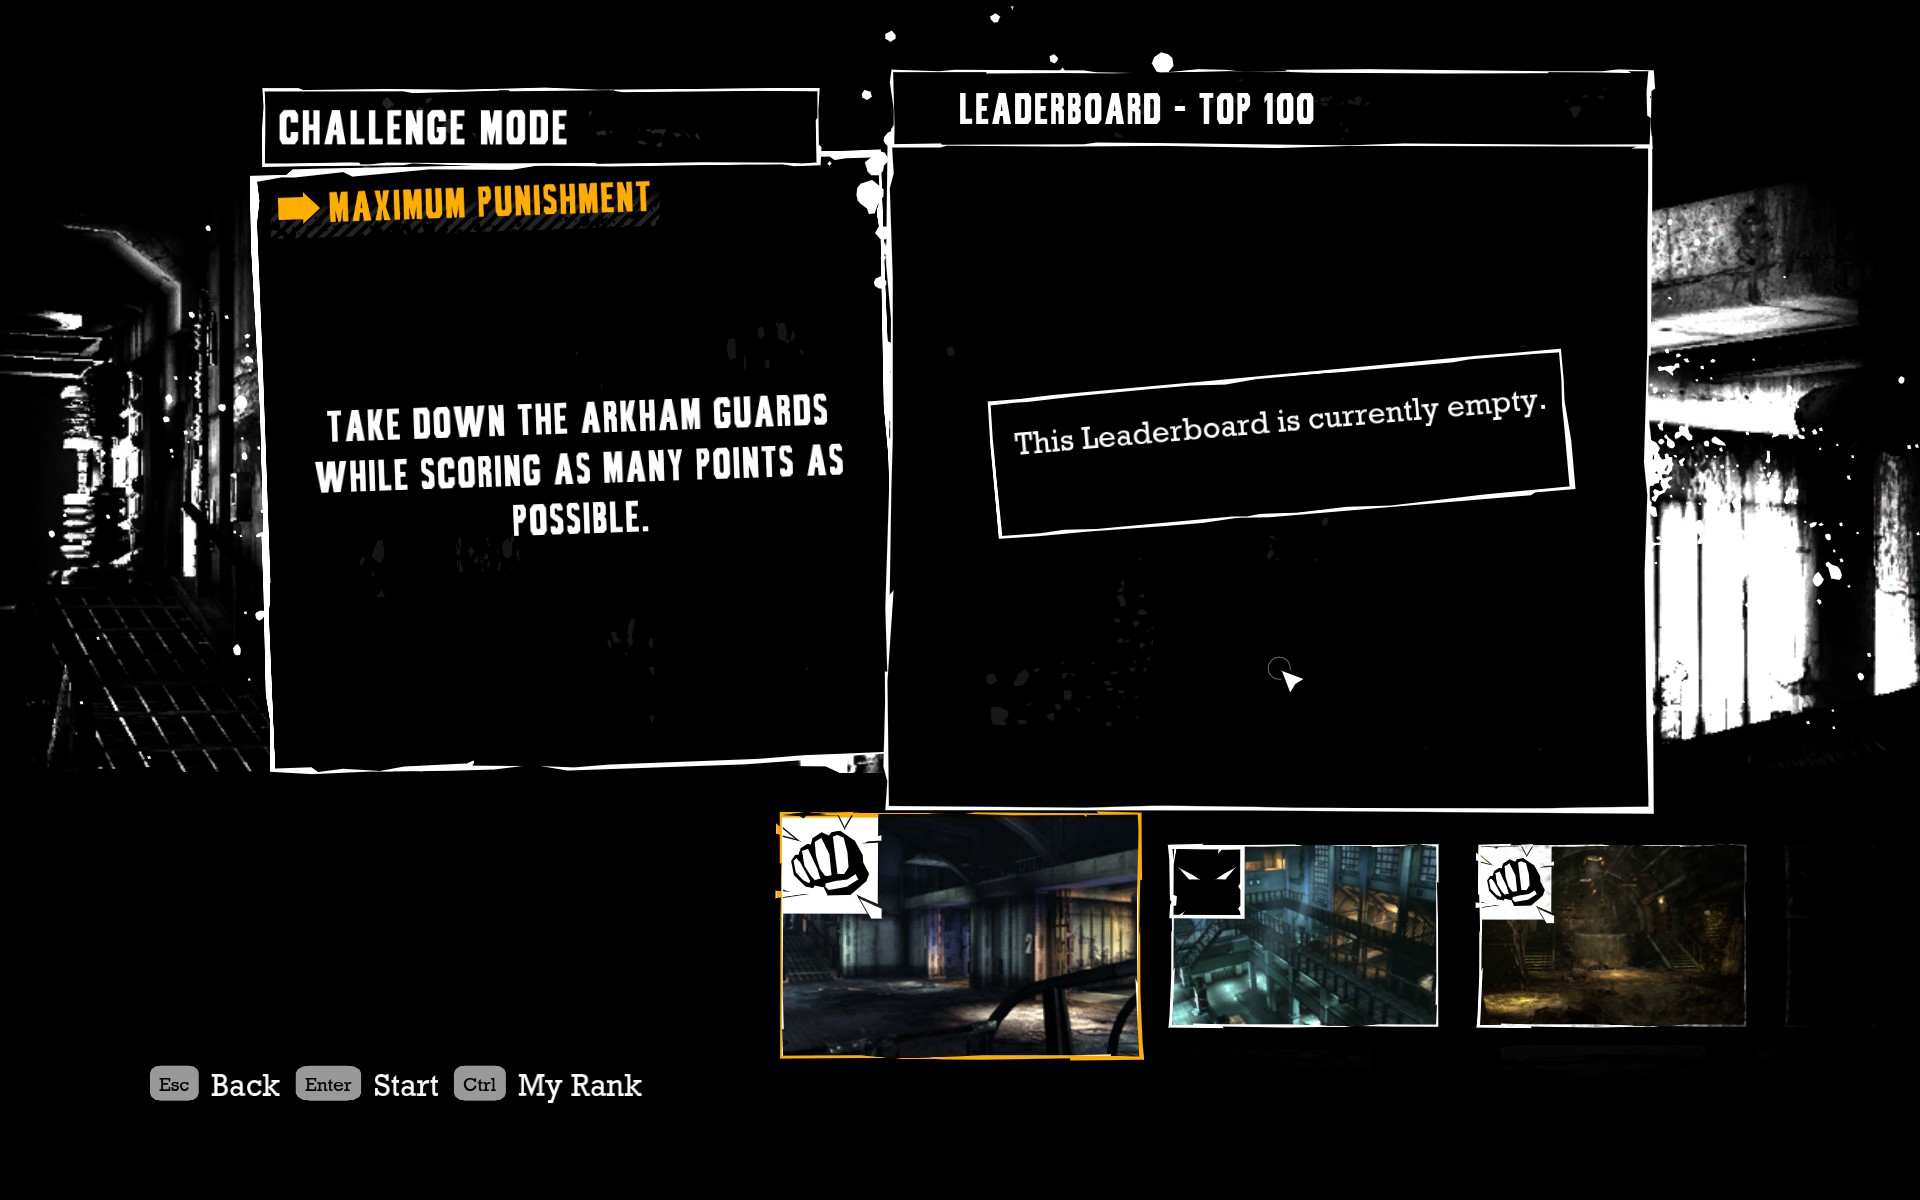
Screenshots


Notes and Warnings
– This walkthrough is only to be used if you own the Mac version of the game. If you don’t own it, don’t steal it.
– This adds content to the PC version which was never released for the platform. I am not advocating piracy or suggesting that any files or games be stolen. This was simply written to allow PC gamers to play the rest of the game, which was never offered to them.
– I cannot be held responsible for any damage to your game, your computer, your Games for Windows Live account, or anything.
– This method has been tested on the non-Game of the Year Steam version of Batman: Arkham Asylum. It has not been fully tested with any other versions.
– READ THE INSTRUCTIONS CAREFULLY. YOU ARE DOING THIS AT YOUR OWN RISK!!
– When I say to copy a file to your flash drive, copy it to the identically-named folder that we will set up. This makes it easier to install the DLC.
Instructions
1. You must own or have access to a copy of Batman Arkham Asylum on both PC and Mac.
2. If you have any DLC already installed from Games for Windows Live, it’s probably best to uninstall it.
3. Open up the Mac version’s app file on a Mac using “Show Package Contents.” If you don’t know how to do this, you will probably not be able to make this work anyway…
4. Navigate to Contents -> Resources -> BMAAData.dmg and open that file.
5. Create a BmGame folder on your flash drive. Create the following folder structures:
a. BmGame -> CookedPC -> Maps -> Challenge
b. BmGame -> CookedPC -> Maps -> DLC
c. BmGame -> CookedPC -> Maps -> Frontend -> Death
d. BmGame -> CookedPC -> Packages -> Dialogue
e. BmGame -> CookedPC -> Packages -> SoundFMOD -> Music -> Boss
f. BmGame -> CookedPC -> Packages -> SoundFMOD -> SFX -> Ambients -> DLC
g. BmGame -> Localization -> INT
h. BmGame -> Movies
OPTIONAL: For a non-English version, make these too:
i. BmGame -> Localization -> DEU
j. BmGame -> Localization -> ESN
k. BmGame -> Localization -> FRA
l. BmGame -> Localization -> ITA
6. Navigate to Data -> BmGame. The next several steps will be based out of this BmGame folder. When told to copy a file to the flash drive, be sure you put it in the folder with the same name as the one you copied it from!
7. Navigate to BmGame -> Config -> DefaultGame.ini and copy that file to your flash drive, but NOT into the file structure we set up earlier. This is the only file we want to keep but not replace the original later. Keep DefaultGame.ini separate.
8. Navigate to BmGame -> CookedPC. Copy the following files to your flash drive:
GlobalShaderCache-PC-D3D-SM3.bin
GuidCache.upk
Textures_DLC1.tfc
Textures_DLC2.tfc
Textures_DLC3.tfc
Textures_DLC6.tfc
9. Navigate to BmGame -> CookedPC -> Maps -> Challenge. Copy the following files to your flash drive:
Combat_Cave_Joker.umap
Combat_Cell_Joker.umap
Combat_Garden_Joker.umap
Combat_Max_Joker.umap
Predator_Admin_Joker.umap
Predator_Cave_Joker.umap
Predator_Max_Joker.umap
Predator_Med_Joker.umap
10. Navigate to BmGame -> CookedPC -> Maps -> DLC. Copy the entire folder to your flash drive.
11. Navigate to BmGame -> CookedPC -> Maps -> Frontend -> Death. Copy the following files to your flash drive:
Death_Batman.umap
Death_Batman_LOC_INT.upk
Death_Cash.umap
Death_Cash_LOC_INT.upk
OPTIONAL: Copy the other localized “Death_Batman” and “Death_Cash” files if using a non-English version.
12. Navigate to BmGame -> CookedPC -> Packages -> Dialogue. Copy the following files to your flash drive:
LH-J-G1_SF.upk
LH-J-G1_SF_LOC_INT.upk
LH-J-G1-Combat_SF.upk
LH-J-G1-Combat_SF_LOC_INT.upk
LH-J-G2_SF.upk
LH-J-G2_SF_LOC_INT.upk
LH-J-G2-Combat_SF.upk
LH-J-G2-Combat_SF_LOC_INT.upk
LH-J-Predator-Cash_SF.upk
LH-J-Predator-Cash_SF_LOC_INT.upk
OPTIONAL: Copy any similarly-named localized files if using a non-English version. Look for files with “LOC” in the name.
13. Navigate to BmGame -> CookedPC -> Packages -> SoundFMOD -> Music -> Boss. Copy the following files to your flash drive:
MUS_Chal_CombatJoker_SF.upk
MUS_Chal_JokerPredator_SF.upk
14. Navigate to BmGame -> CookedPC -> Packages -> SoundFMOD -> SFX -> Ambients -> DLC. Copy the following files to your flash drive:
AMBI_CombatDLC1_C1SFX.upk
AMBI_PredDLC_A1SFX.upk
15. Navigate to BmGame -> Localization -> INT. (OPTIONAL: If using a non-English version, visit the appropriate localization folder.) Copy the following files to your flash drive:
DLC1.int
DLC2.int
DLC3.int
DLC6.int
16. Navigate to BmGame -> Movies. Copy the following files to your flash drive:
LoadingJC.bik
LoadingJP.bik
17. We’ve finished copying files! Yay!
18. On your PC, navigate to My Documents -> Eidos (or Square Enix) -> Batman Arkham Asylum -> BmGame -> Config. Delete BmGame.ini (if it exists). It will be replaced later.
19. Navigate to your game’s installation folder. Something like C:Program FilesEidosBatman Arkham Asylum or C:Program Files (x86)Steamsteamappscommonbatman arkham asylum
20. Insert your flash drive. Copy the BmGame folder from your flash drive to your game installation folder. The folders should merge, and it will ask if you want to replace some files. You do.
21. Navigate to BmGame -> Config and find the file DefaultGame.ini. Open it up in a text editor.
22. Remember in 6 when I told you to save the Mac-version of DefaultGame.ini? Open it up in a text editor.
23. We now have two version of the DefaultGame.ini file open. In the Mac-version (from your flash drive), find the line that says “TLJF 26-Jul-2011 Added DLC content”, about 60 lines from the bottom. Copy ALL of the text from that point down (about 60 lines), ending with “DLCJokerPlayable=true”, to your clipboard.
24. Paste those 60 lines into the other open copy (the PC version) of DefaultGame.ini, at the very end of the file, after the last line.
25. Save the PC version of DefaultGame.ini. Close the other one.
26. Start Batman: Arkham Asylum. A new BmGame.ini file will be created. Note: The game may freeze the first time you try to start it. If this happens, give it a minute, then force quit and try again. It worked for me the second time, and I haven’t had any problems since.
27. You game should now have the Joker challenge maps added under the “Challenge Maps” menu option, and all DLC will be available under the “Downloadable Content” menu option.
Conclusion
Please let me know if this works for you! I will be happy to try to help if you run into any problems, but like I said at the beginning, I cannot and will not be held responsible for anything you have just done.
Enjoy playing as the Joker on PC!!
Original guide posted here: [link]