
Overview
This is an ongoing guide of things I have learned through my playthrough of the newest Black ops 3 zombies map.
Introduction
Hello everyone. This is a collection of information that me and my friends have obtained in the first few days of Black Ops III’s release for the brand new zombie map “Shadows of Evil.”
All information here was found entirely by me and my friends through private playthroughs, and none of the information was found from 3rd party sources like youtube videos (psh cause who needs that, it’s more fun to figure it out). If I make a mistake, feel free to correct me in the comments, but at least you know why 😛
I’ll be updating this guide as much as I can, including screenshots and eventually a nice tutorial video that shows you exactly how to do everything this map has to offer. Feel free to subscribe and stay tuned to my youtube channel for more tutorials and walkthroughs for all future Black Ops 3 zombies maps.
Sacrificing
The main goal of “Shadow of Evil” is to redeem the 4 protagonists of their ill deeds by finding momentos from their past and sacrificing them at alters hidden in the map.
There are 4 sacrificial alters in each of the 4 main side areas:


You need to first locate the hidden momentos. Just note that whenever you pick up one of these momentos, it will spawn otherwordly demons. They’re pretty easy to kill, but I’d wait till there’s very few zombies left before trying to fight them.


Championship Belt: Located in a box in the dock area up high. Use the beast to grapple up and knock it down. Have a human pick it up and bring it over to the boxing ring to start the ritual.
Toupee: Located in another box up high in the footlight district. Use the beast to grapple up and knock it down. Have a human pick it up and bring it into the burlesque house. To enter the burlesque house, have the beast grapple up ontop of the big sign and hit the electric box located on the opposite side. This will open the doors down below.
[/list]

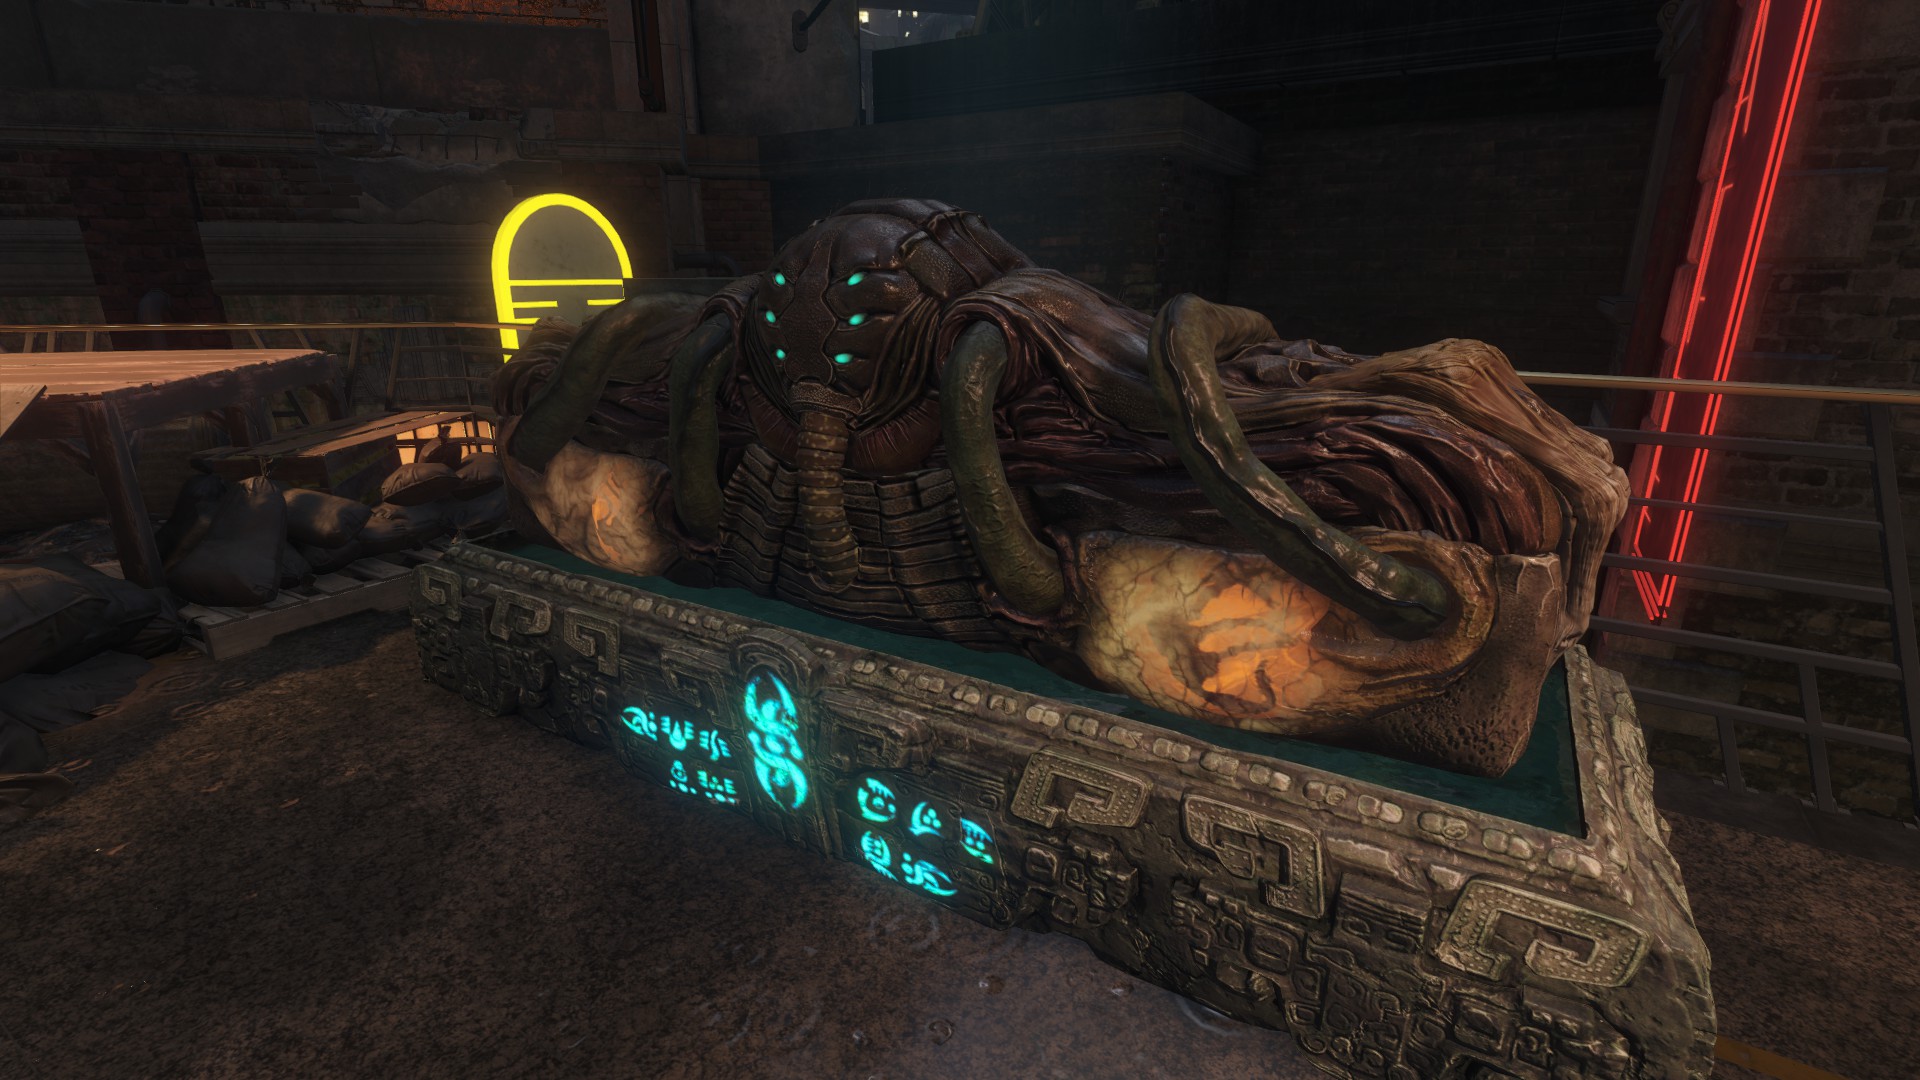
Pack-A-Punch
Once you have completed all 4 rituals, the final door will open in the subway area. Enter this area and you’ll notice another sacrificial alter.
There’s also 2 pedestals on either side of the room that require “Gate Worms” to activate. Place two gate worms and suddenly the walls will appear on the left/right side of the room. Do a “Wall-Run” to get to the other side of the room and place the last 2 “Gate Worms.” Once all 4 worms are in place, you’ll see long blue beams of light that reach towards a single point. This single point will be the “Pack-A-Punch” machine.

BEWARE! Once you do this final step, the area will lock down and you’ll be forced to fight a large amount of demons with epic music in the background. Make sure you’re ready for this fight!
Place the “Round Orb” on the sacrifical alter to initiate the final ritual. You’ll have to fight several demons this time and they’re going to be much harder this time around. Use the large room to your advantage and wallrun around in circles. Once the ritual is complete, the Pack-A-Punch machine will be ready to use.

Each weapon costs 5000pts to upgrade.

When you’re happy with your weapon upgrades, head back outside to see what you did.

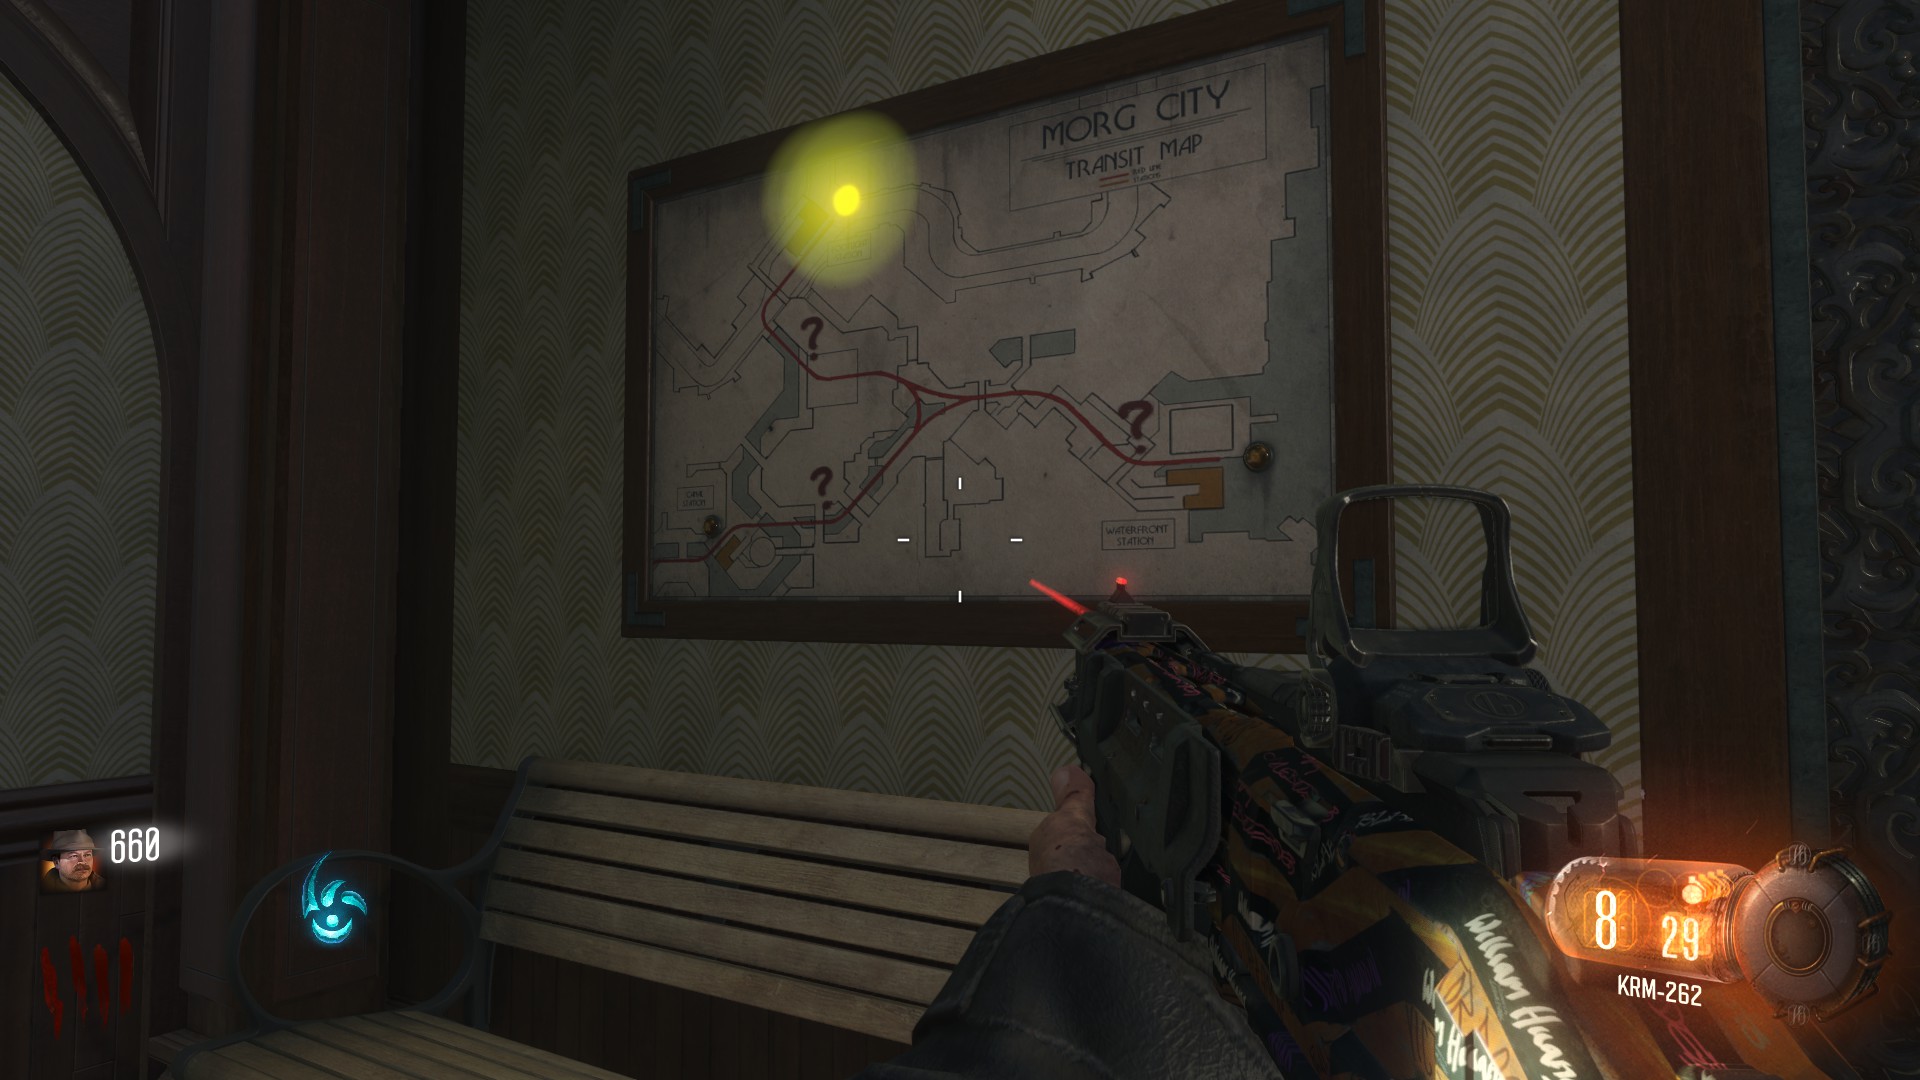
Train Stations


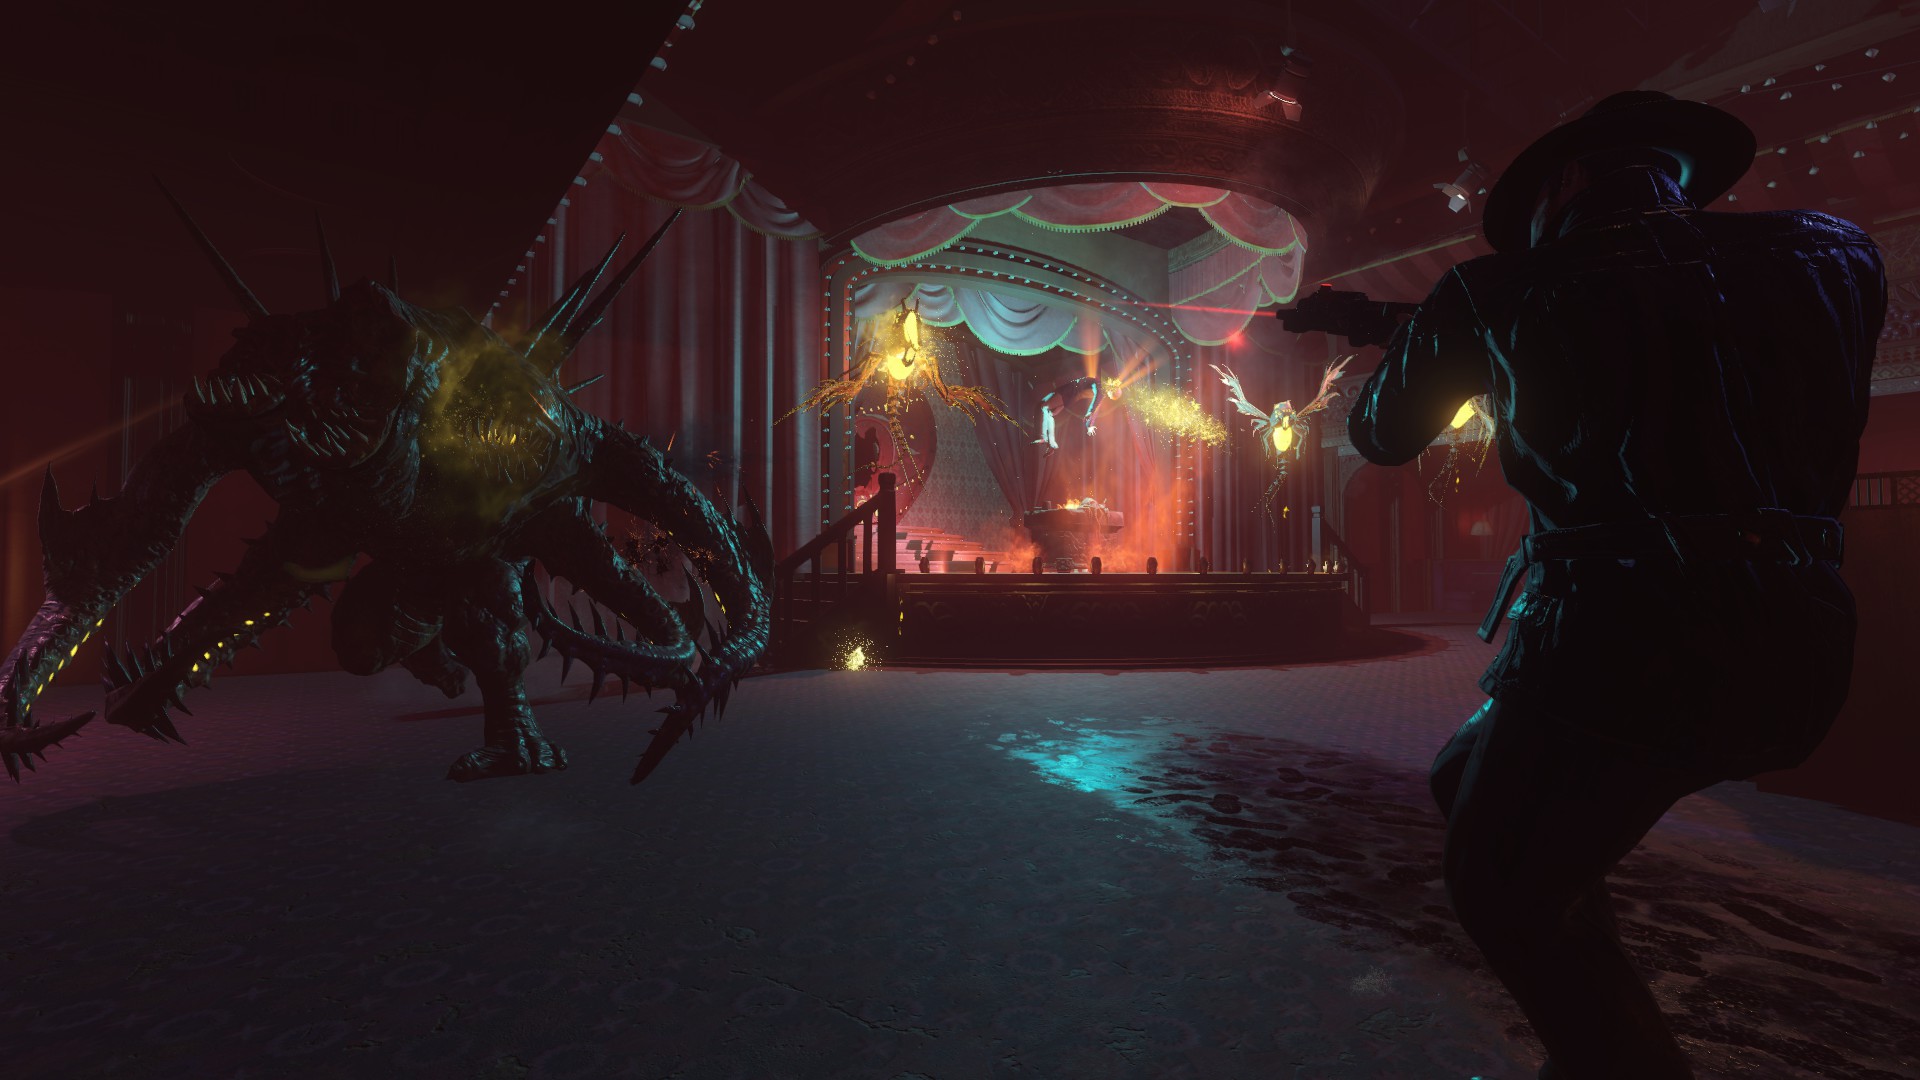
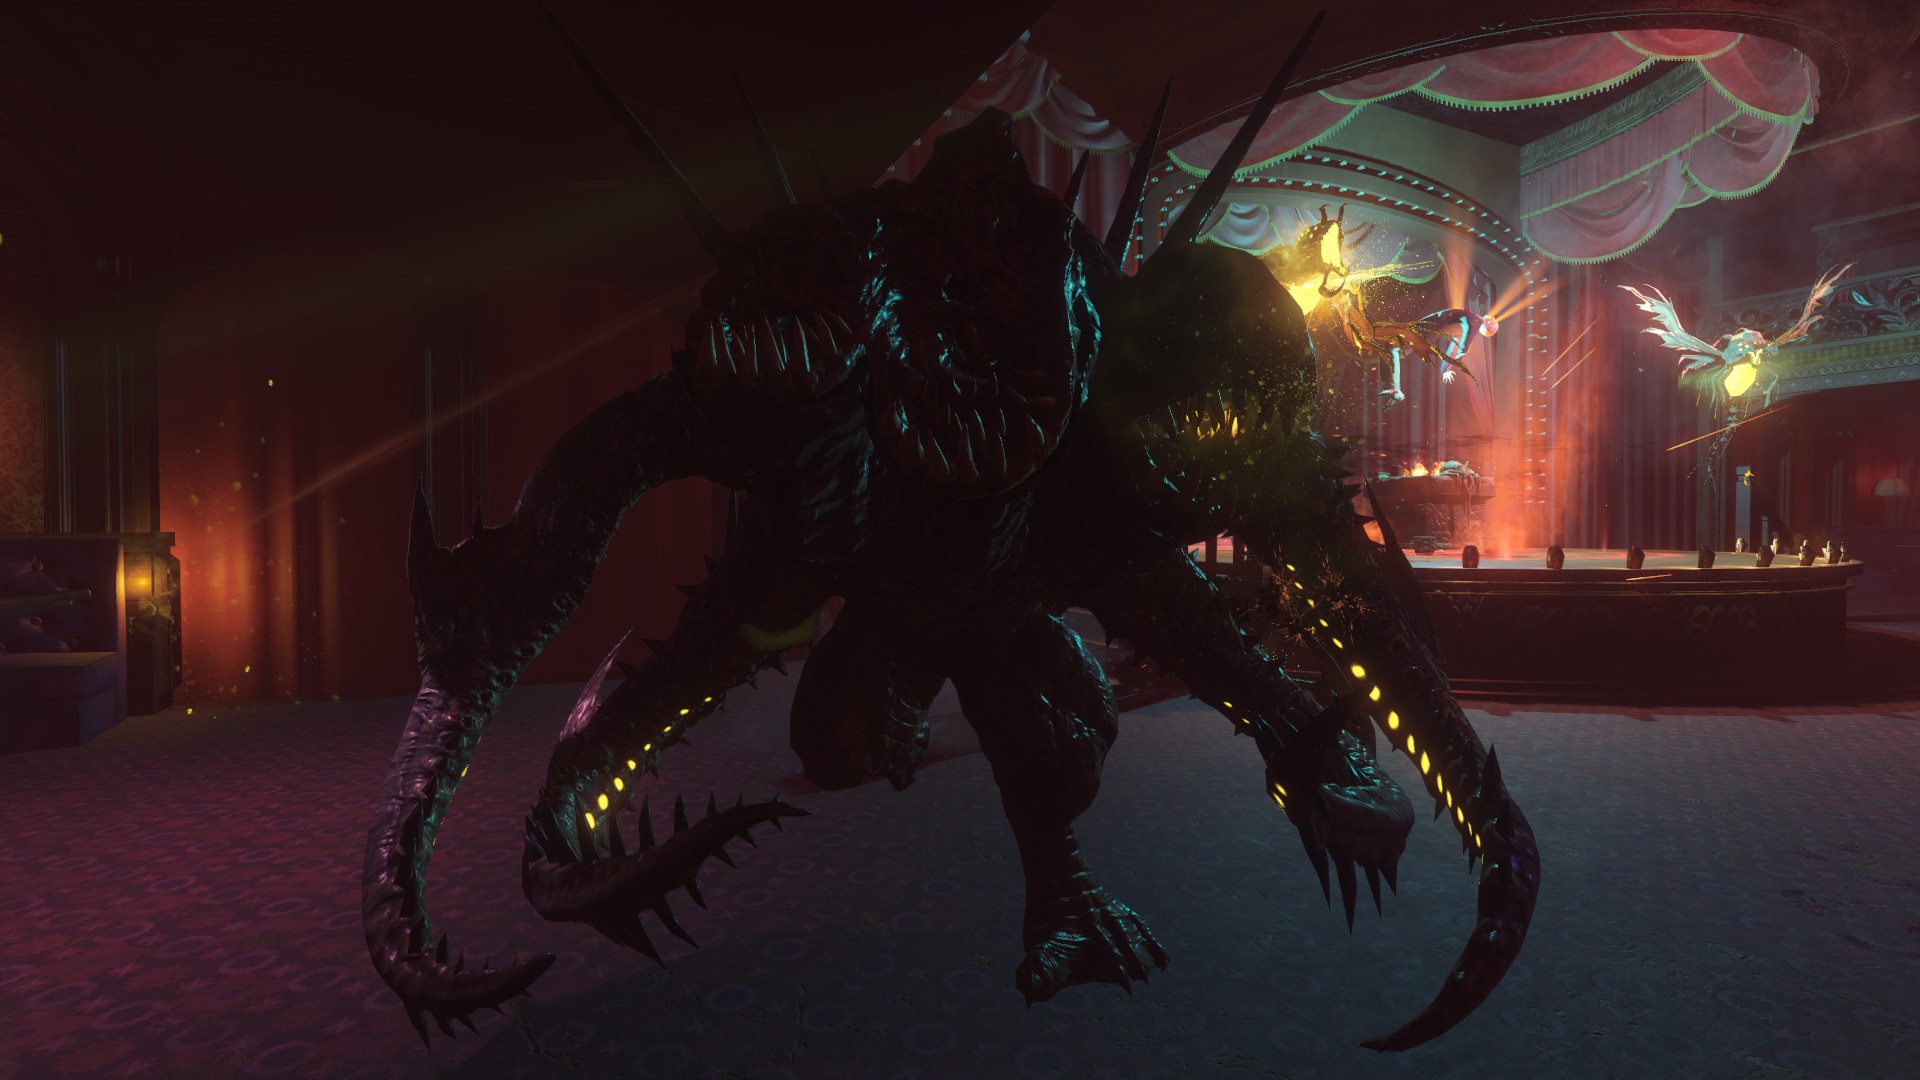
The Beast
There’s several blue “Goblet of Fire” looking basins spread out all over the map. You can walk up to them and turn into some crazy octopus monster for a few seconds. The monster has the following abilities:

- Super Speed
- High Jumping
- Grapple
- Instant Melee Kill
- Instant Revive
- Electric Shock
Now all of these abilities can be used to fight the zombies and give your team a fighting chance when you’re in a tight spot, but keep in mind that the Beast can only be used a limited time per round. Once you use it once, you have to finish the round before you can use it again. I have been able to use them multiple times per round, but this might be because I wasn’t using the beast every round so they stacked up.
The abilities are for more than just fighting zombies though, the Beast is critical for progressing through the map. The Beast can grapple up to specific areas and gain access to Sacrificial Ritual areas for the rest of the team.

Use your electric shock to activate power generators to open doors, staircases, and even turn on Perk-Cola machines.

Use the monsters melee ability to break open doors and crates that are locked up with big metal chains. This is a necessity for gaining access to Portals.

Plants
Search around the first two areas for what looks like a pesticide bug spray. This item can be used infinitely from what I understand and can be used to activate the fleshy green bulbs that are all over the map.

These bulbs will give you completely random things. I’ve often found live grenades, zombies, and even weapons. After a certain amount of rounds, the bulbs turn red and give even better equipment.

I found that at even LATER rounds, the bulbs turn purple, with even more rare equipment. The bulbs become more valuable the longer you survive. It might have something to do with the large 3-headed monsters.
Still investigating this.
Mystery Box
As always, this zombie map features a mystery box. The box, as you may have already noticed will look very different, but behaves exactly the same way.
To locate the box, look into the sky for a large beam of blue light shining down. Then activate the necessary doors to reach it. If the crate spawns near the downtown area with the big Burlesque house, you’re going to need to open a bunch of doors and get up on the walkway to reach it.
Perk-Cola Machines
Perk-Cola machines make a return in Black Ops 3, but instead of having to find a single power switch, you need to use “The Beast” to activate each individual machine. The machines will spawn in the same spots, but you won’t find the same machine in the same spot each time. In order to locate the machine you want right at the start, look for broken glowing cola bottles near the main gates in the center of the map.

A broken red bottle indicates that there’s a Juggernaught machine down that path. Broken green bottle means there’s a Fast-Reload machine. Etc etc.

GobbleGum
There are gumball machines all over the map. Spend 500 pts to get one of the 5 gumballs you have in your GobbleGum loadout. These gumballs will give you special abilities like being able to move faster while aiming or the ability to be ignored by zombies temporarily. Check the Gobblegum page of the Zombies menu for more information on what each of these gumballs does.

Mega GobbleGum: These gumballs are very rare and can only be unlocked via Dr. Monty’s Factory. Be aware that using one of these gumballs will deplete one from your inventory unlike the standard gumballs which are infinitely available. If you want more mega gumballs, you need to find “Liquid Divinium.”
Liquid Divinium: This is a type of currency used to purchase rare GobbleGum types. You’ll randomly be given Divinium by opening doors, or buying items ingame. I wouldn’t be surprised if this ends up being a microtransaction soon -_-
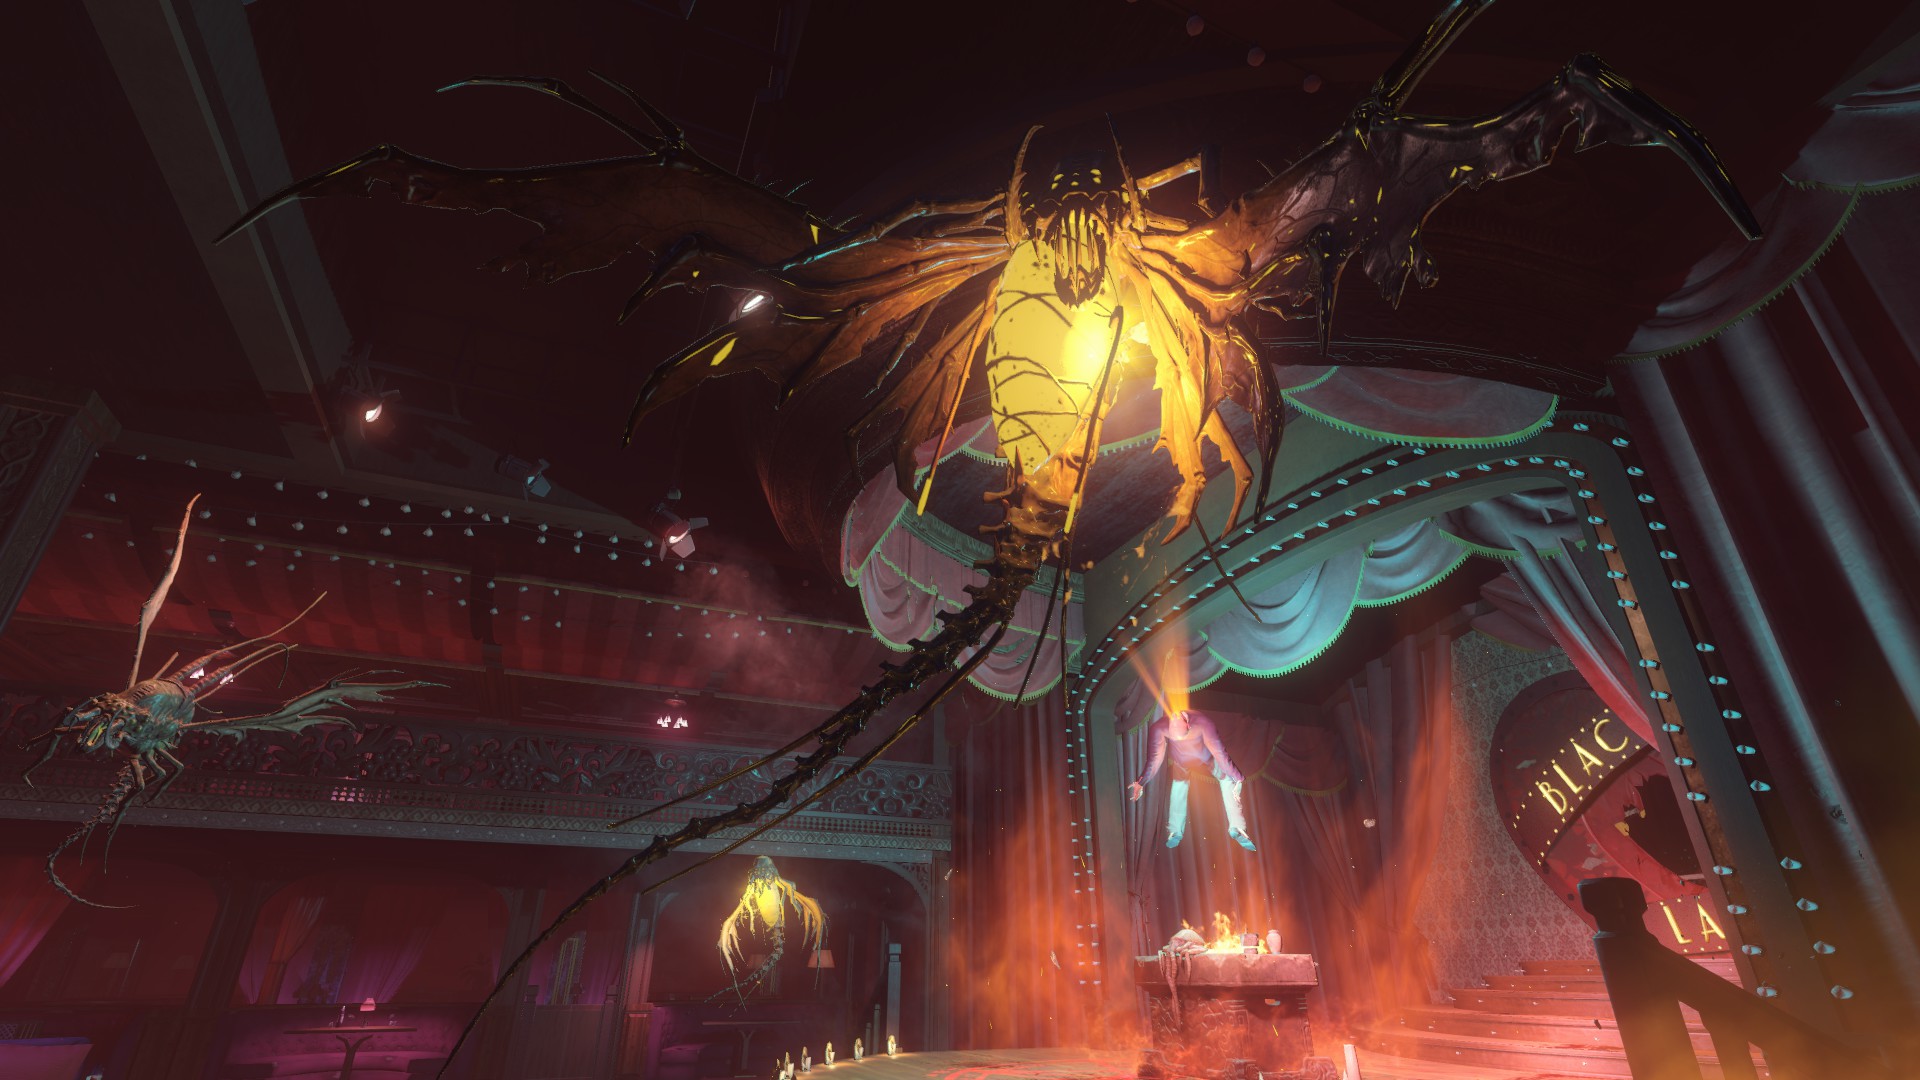
Bosses
There’s several new enemies in this map. Here’s a list of the ones I’ve run into so far and how to defeat them:


Portals
In each of the 3 branching areas there is a hidden door that can be destroyed when using “The Beast” and inside is a tear, similar to the ones found in “Bioshock: Infinite.” Simply walk up to them as a human and activate them to open a portal. These portals will bring you back to the subway station located in the center of the map. Be warned that when you use the portal for the first time, demons will be waiting on the otherside (about 3). Also, the subway is locked and requires “The Beast” to open.

You can always use these portals as there is no cost and it’s a great way to escape overwhelming odds. Activate all 3 to easily manuever around the map.
Fuses
There are 3 fuses hidden in the 3 unlockable paths that brand off of the center area. Each fuse is located on the upper walkways that require several doors to be opened to reach. Be careful when on the walkways as they all are a dead end unless a player uses the “beast” to unlock the exit. There are areas along the bridges that can be opened to allow for a quick escape.
Take each of the 3 fuses to the fusebox located in the underground subway next to the staircase on the left side (if you’re facing the exit). Placing all 3 fuses activates the “protector” boxes throughout the level. These protector boxes can be used to summon an AI robot that will follow you around and shoot zombies.

Nar-Ullaqua
You may have noticed that after killing the Margwa (3-headed monster), that he drops a “heart.” This item is one of 3 required to build a crazy looking weapon called the Nar-Ullaqua. You’ll also need a monster tentacle, and some kind of green hive looking object. Combine all 3 of these items on a workbench to create this insane weapon called the Nar-Ullaqua.
The Nar-Ullaqua can not be pack-a-punched, but honestly, it doesn’t need to be. Firing this weapon will create a black hole at the point of impact and any zombies (or bugs) nearby will be sucked in to it and instantly killed. You can only hold 10 shots, but the amount of zombies you’ll be killing will almost gaurnetee a power up each time you fire this weapon, meaning “Max Ammos” will be common.
Try getting the zombies to follow you in a train pattern and fire it when they’re as close together as possible to save ammo and do maximum damage!

Blue Shadow Man
I’ve noticed an odd blue smoke and a strange man watching often in the distance in high places and at random times. He spawns at the top of the fireescape in the introduction of the level. If you shoot him before he disappears, it will allow you to skip forward 5 rounds.
Investigating further.
Conclusion
Well that’s all I have so far. Like I said, I’ll try and keep this guide updated with as much as I can. Subscribe to it and I’ll be sure to add screenshots and links to youtube videos to help make this an easy to use tool to help your friends learn the new map.
-Nick930