Overview
Zona Tres Upload is a pain, no? Defending the Transmitter I mean. This is a foolproof method to success that requires only a little pre-planning.
Pre-planning – the key to success
Before taking on this mission, you really want to secure the Picos Nevados region FIRST (towards the north of the island around the centre area) so that you can unlock the AA Gun as a supply drop. If you haven’t already, go and do that now.
Once the AA Gun is available, you can start the mission. Now, doing the breakers is simple enough so I won’t get into that part. Once you’ve done it, you’ll be prompted to grab a drive to insert into a console within the dome which raises the transmitter and all hell then breaks loose.
DON’T grab the drive just yet. First of all, I’d suggest destroying the dome as it will just get in your way later on. Pull it down, set your explosives on it, whatever; just get rid of it.
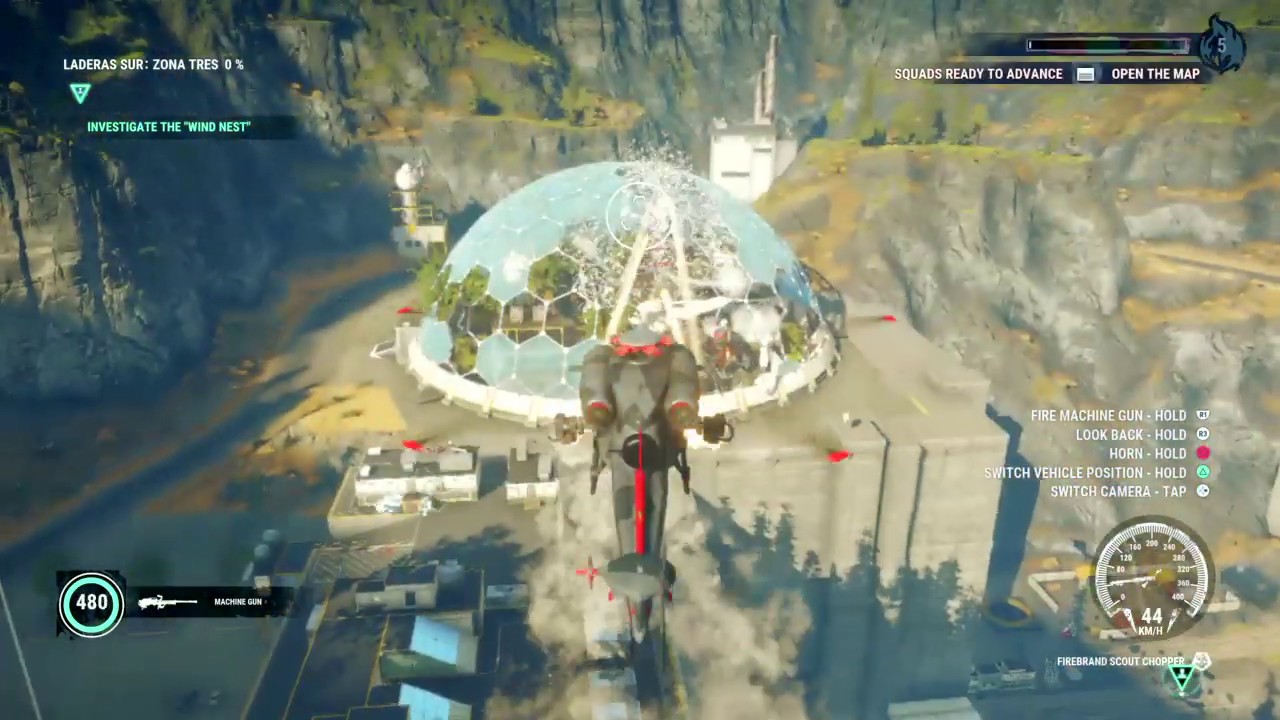
Now, this is the crucial bit: positioning your AA Gun. In this shot – I’m stood where the transmitter emerges – my cursor is pointing at the approximate spot on the adjacent hillside:


From this location, you should be able to comfortably deal with any soldiers who run up the stairs (thanks to the AA gun’s ‘area of effect’), the aforementioned RPG/Sniper dudes, helicopters and drones.
Now you’re prepared, grab the drive, insert it and quickly parachute/wingsuit your way over to your AA gun. Dealing with the first wave (soldiers, rpg/snipers, choppers) should be relatively easy (although the sniper on the right hand platform is practically invisible so it’s really a ‘hit and hope’ exercise with them).
After the jammers kick in, deal with them – I used my explosive grapple things but it’s quicker & less hazardous to just RPG them – then quickly get back to your AA gun to deal with the second wave (more soldiers, choppers and drones). The drones are arguably the hardest to deal with as they’re pretty small & dodge about, but keep at it and you’ll get them eventually, probably leaving a relatively healthy transmitter.
Hope this guide is helpful for what is, to my mind, maybe the most difficult ‘defend’ mission.