California 2 Guide [EN]
Introduction
This guide is designed to help players get acquainted with the new California map.
The map is a remaster of the old California - it features new objects, weapons, and vehicles, basically everything that’s currently trending in our favorite game
- The map size is “Insane” (effectively “Large+”)—somewhere between Arid and slightly larger
- You lose 10% of your experience upon death
- The map features several biomes (Standard Forest, Coniferous Forest, Burnt Coniferous Forest, Redwood Forest, Swamp, Desert, Radioactive Desert, and a somewhat developed underwater world)
- There are many hidden biomes and locations outside the map
- The map features bunkers for construction (like on Elver, A6 Polaris)
- There are several safe zones, quests, and trading
- There is a map travel system due to the map’s size (travel is free)
All screenshots are taken from my original Russian guide, so all screenshots include Russian translations
Guide not full
If u wanna check full guide
U can checl my RU version
https://steamcommunity.com/sharedfiles/filedetails/?id=3601169147
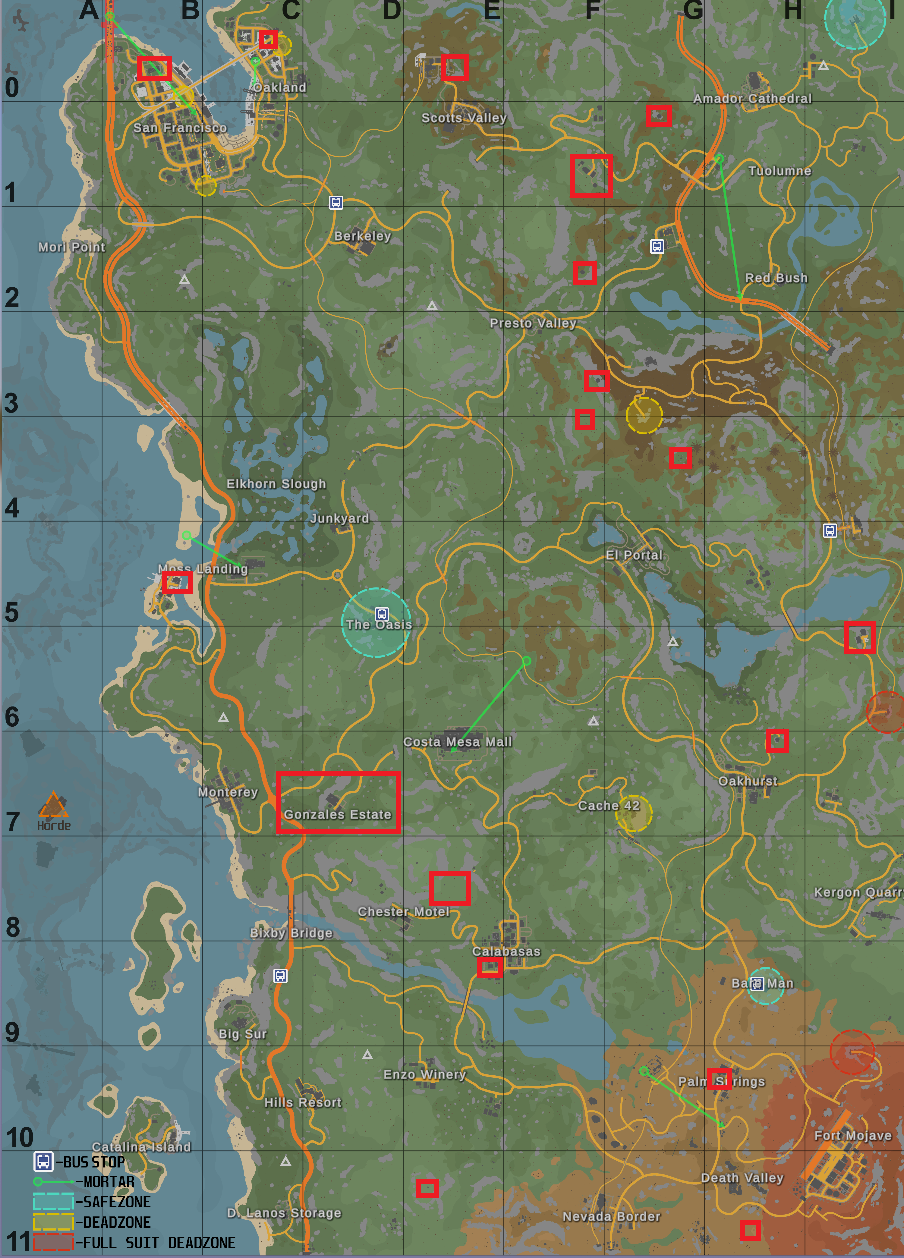
Map
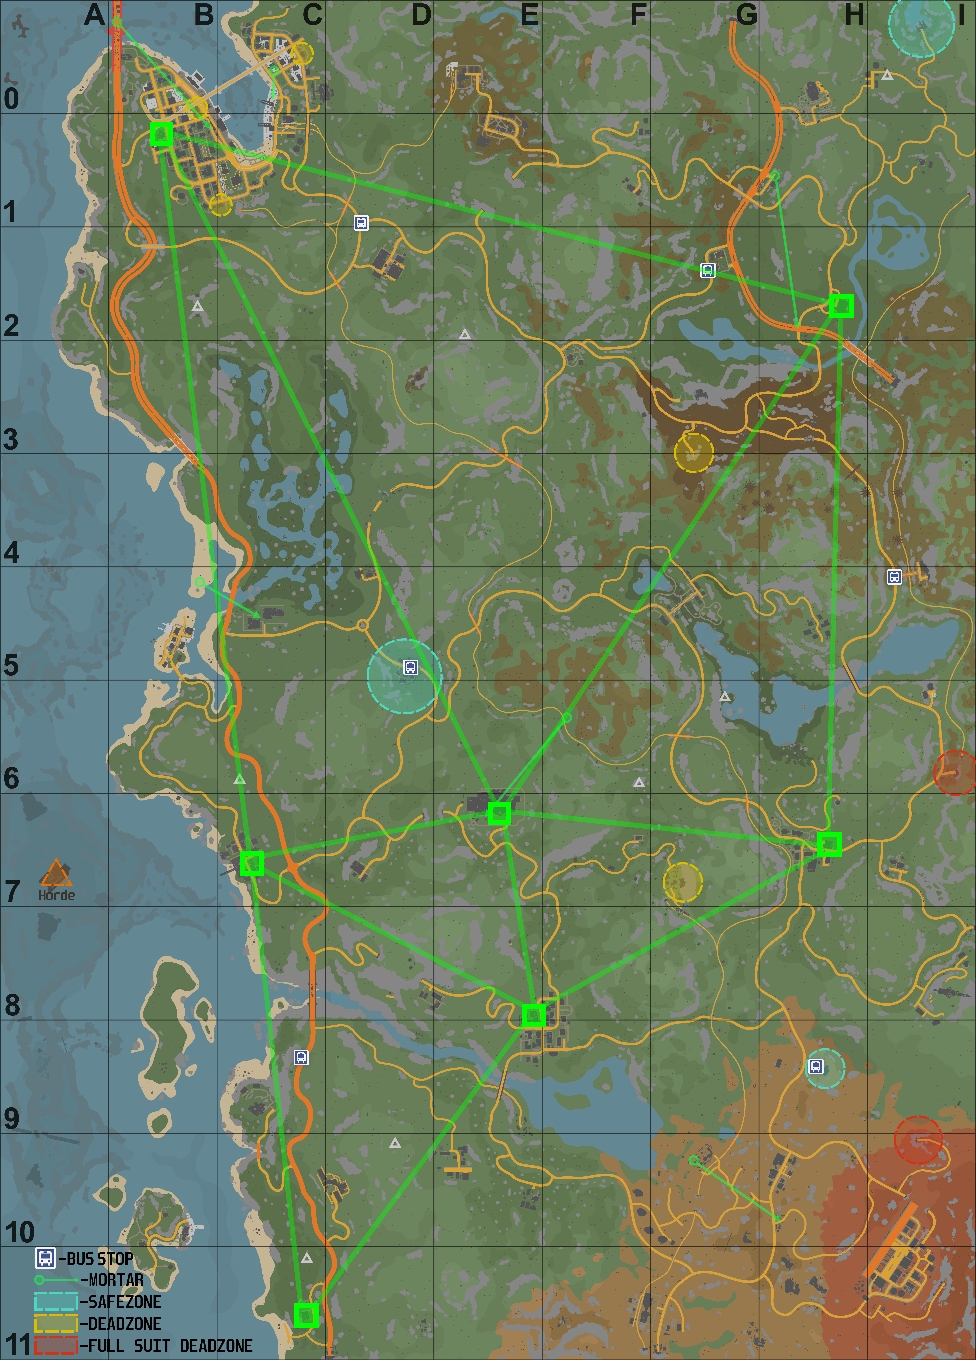
By default, the map is available immediately
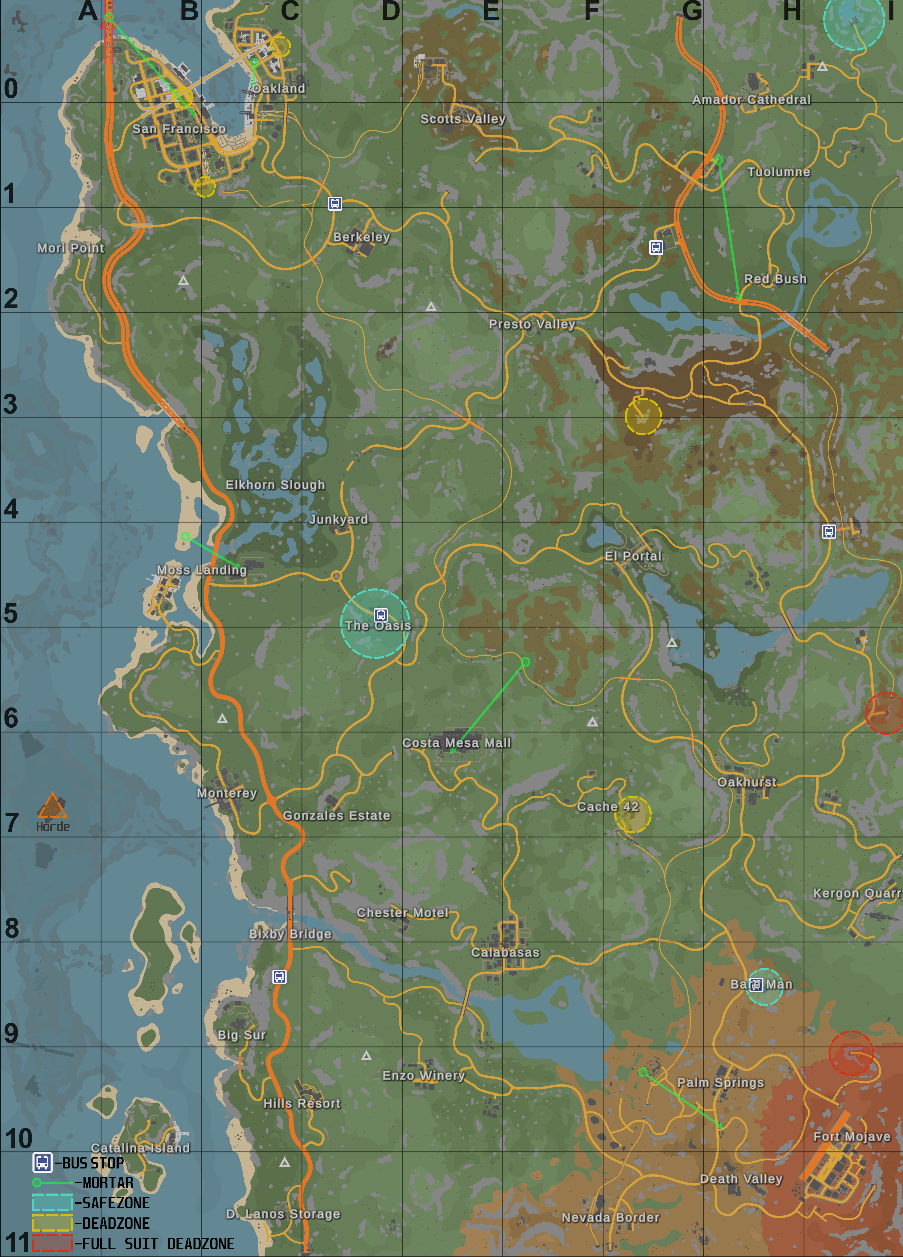
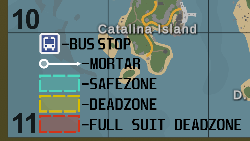
- Bus stops
- Mortars for launching airdrops (Launch point and drop location)
- Safe zone
- Standard Level 1 dead zone
- Level 2 dead zone (Bio-protection required)
- There is a coordinate grid for easy information sharing
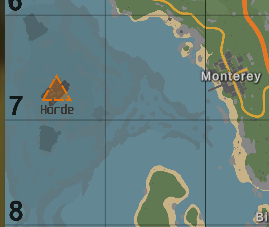
- The red triangle on the water is the Horde zone; the Horde beacon can only be placed there
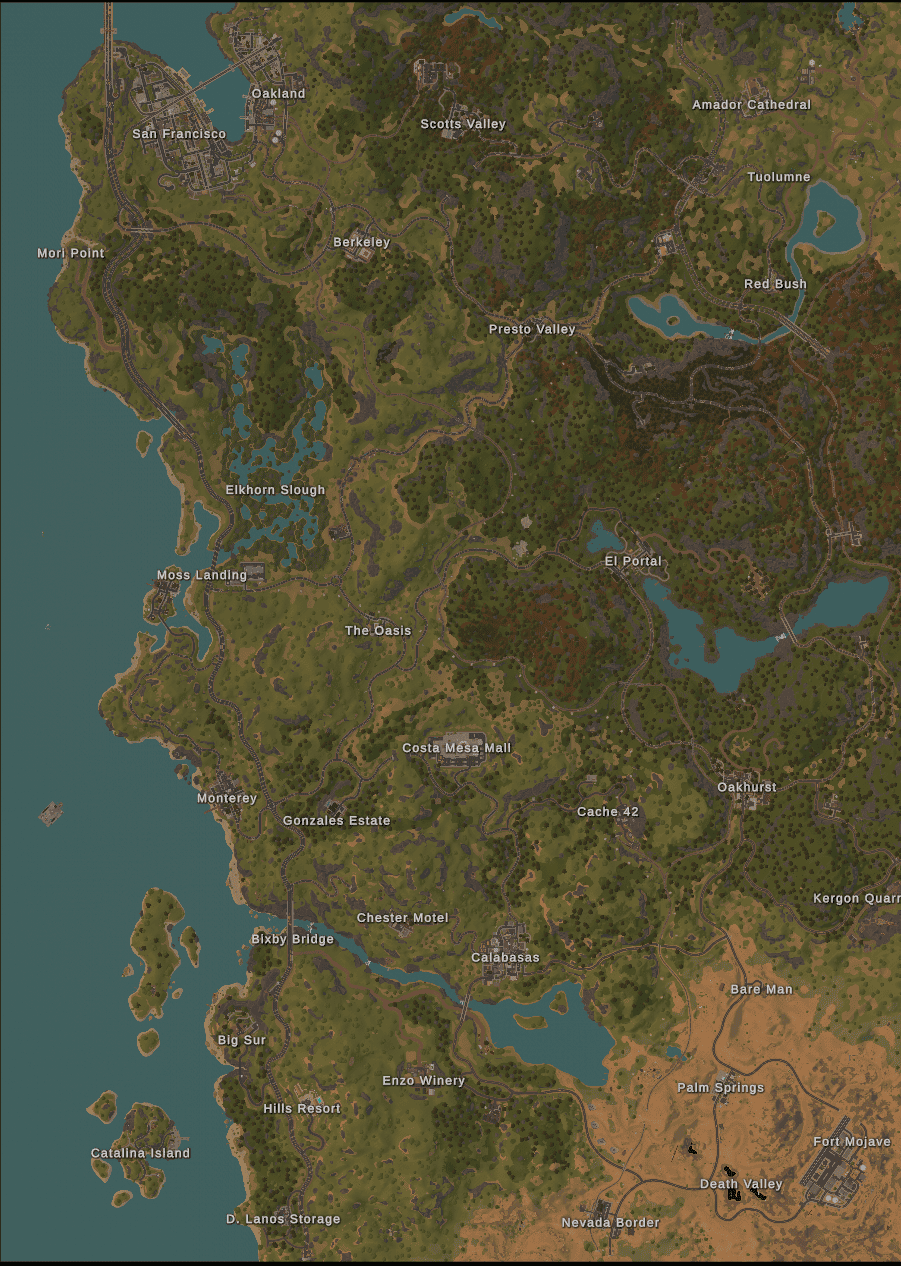
GPS version
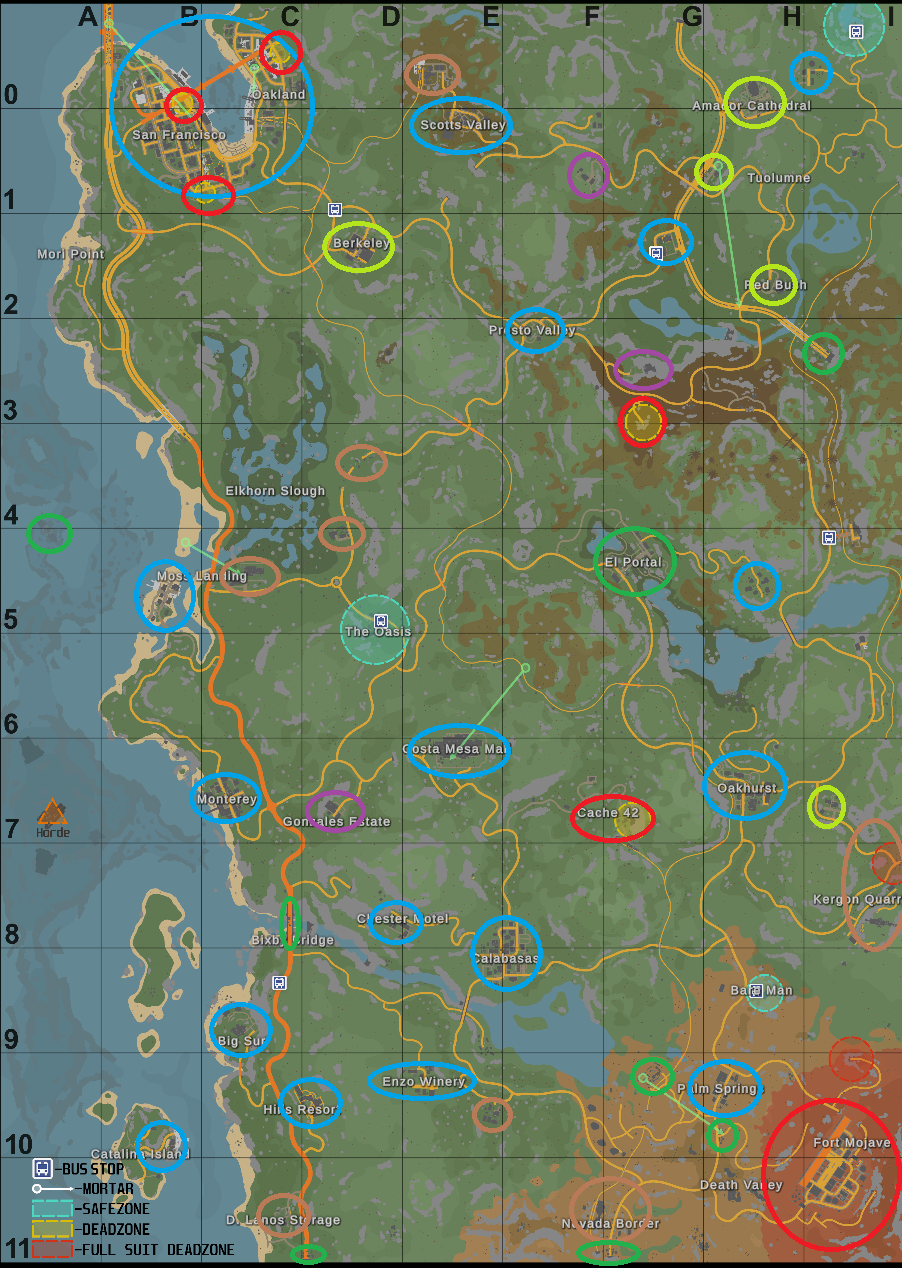
It doesn’t provide any information; it just shows a detailed landscape and more accurate representation of biomes and depthsMap of locations by type- Blue - standard civilian locations (hospitals, police stations, fire stations, etc.)
- Orange - construction sites
- Purple - Locations with Mafia loot
- Yellow - Locations with mixed civilian and military loot
- Green - Military locations
- Red - Locations related to the Dead Zone
- Blue - standard civilian locations (hospitals, police stations, fire stations, etc.)
Useful tips for the beginning of the game
This section contains information that will be particularly useful for new players
We have carrots, potatoes, and mushrooms
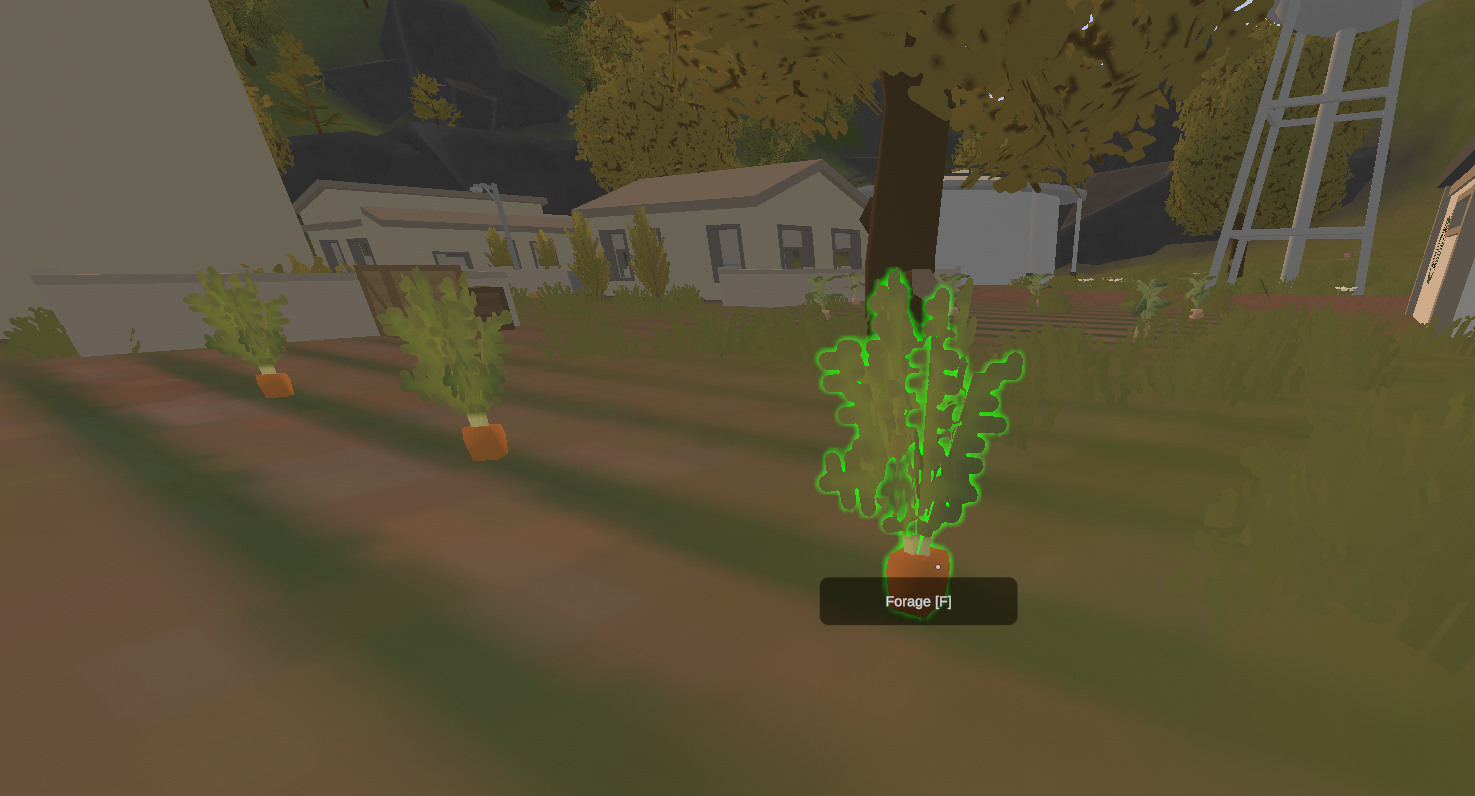
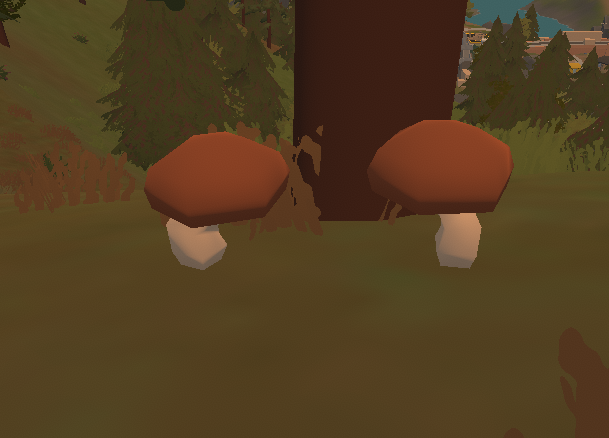
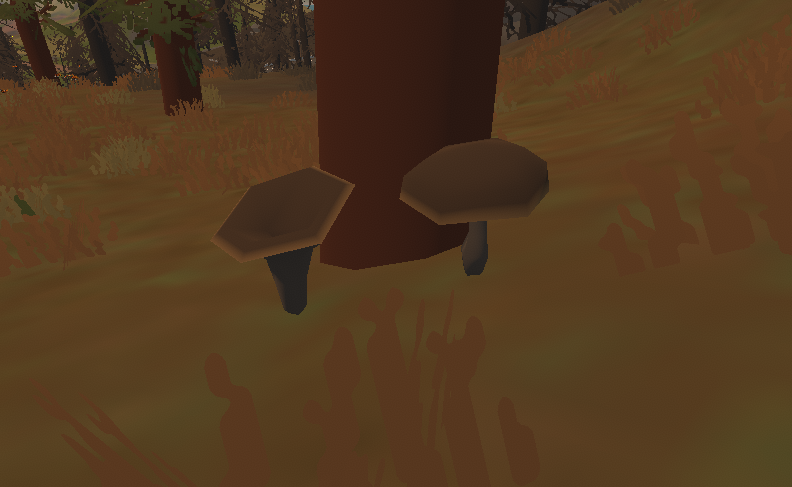
Carrots and potatoes are usually found near towns, villages, farms, or simply in the woods by the road
Mushrooms are found under trees; some may be inedible Edible mushrooms
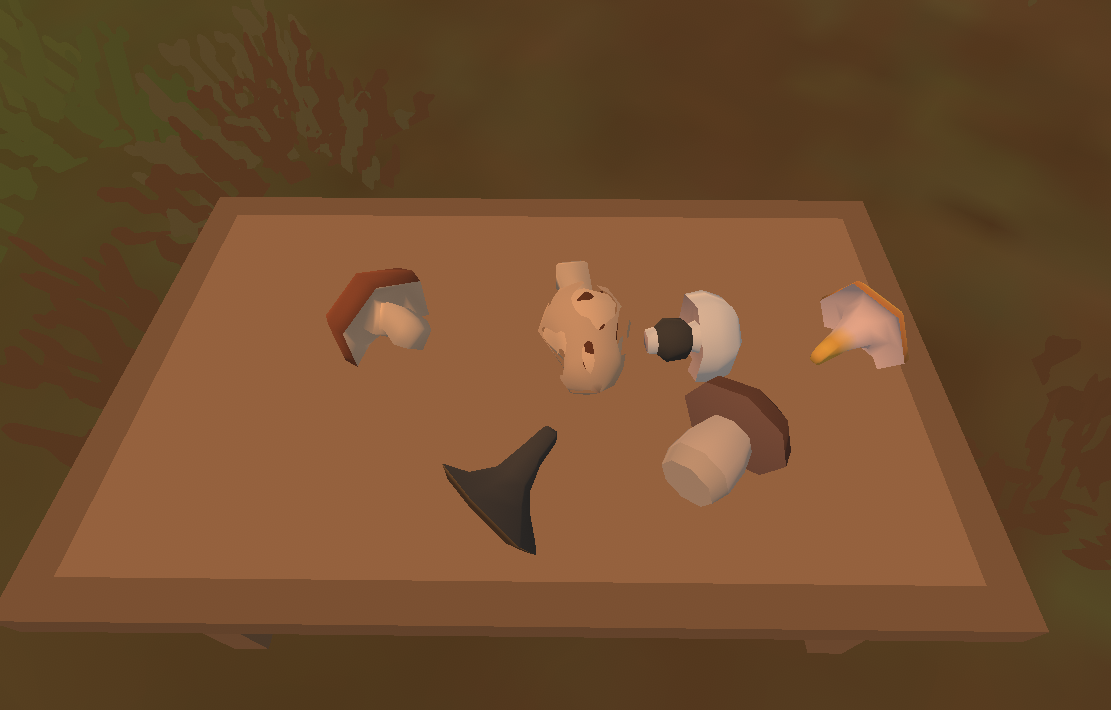 Completely safe
Edible mushrooms
Completely safe
Edible mushrooms 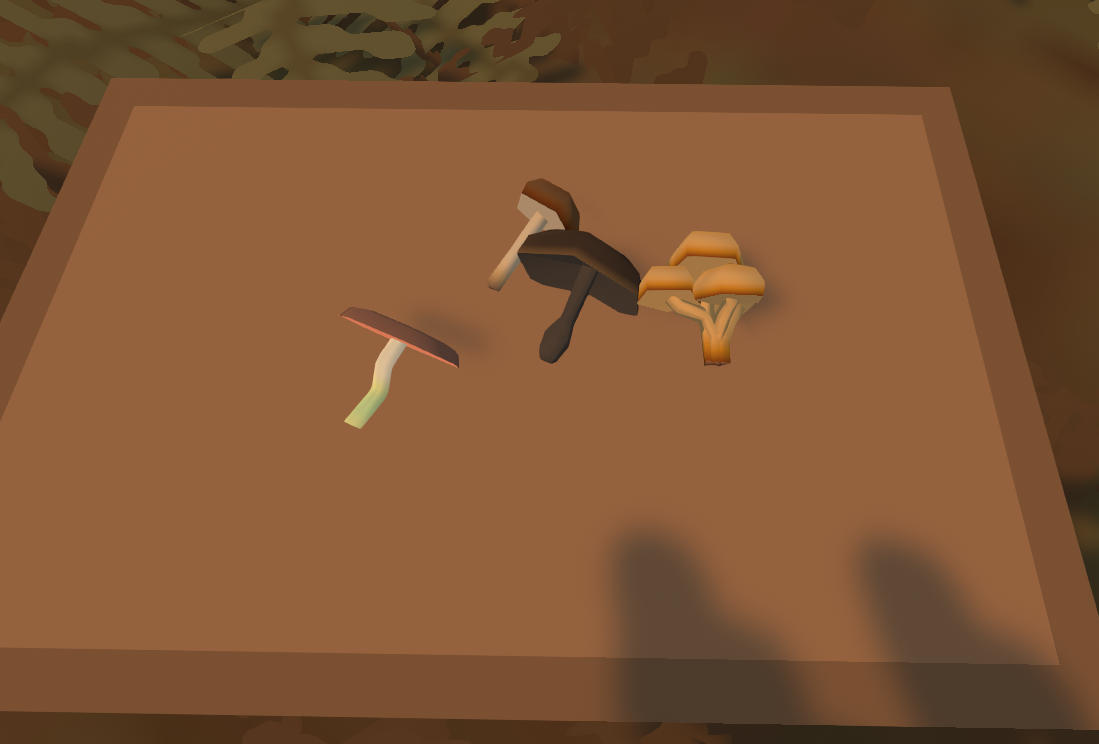 will only remove 5% of radiation and provide an effect
Non-edible mushrooms
will only remove 5% of radiation and provide an effect
Non-edible mushrooms 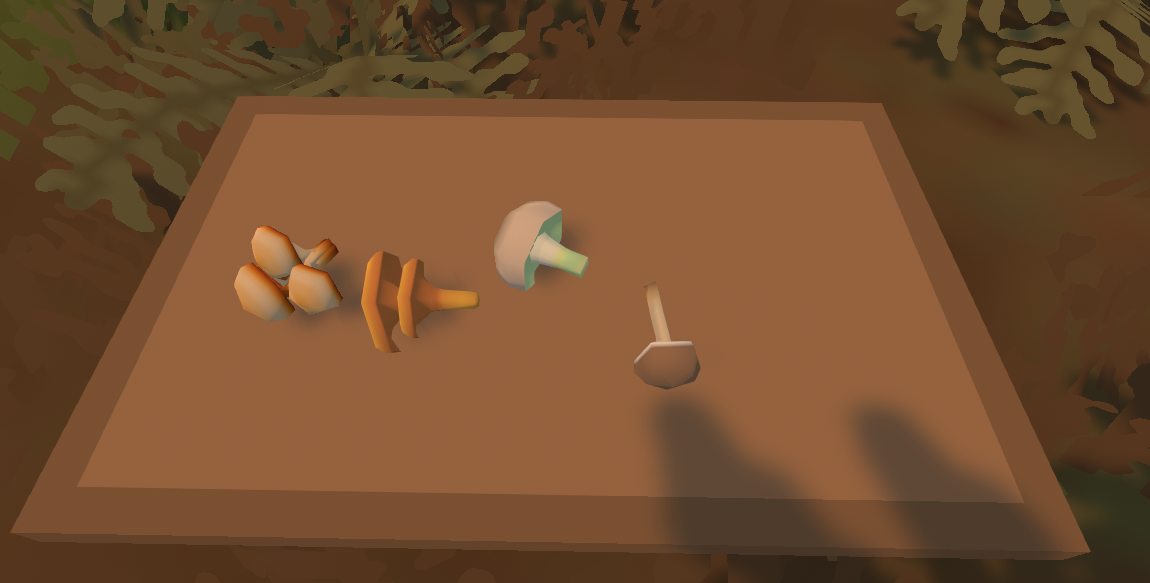 Don’t even think about touching them—immediately -100 radiation and an effect
Most items like trash cans, filing cabinets, and boxes yield some kind of loot when broken (mostly building materials or trash)
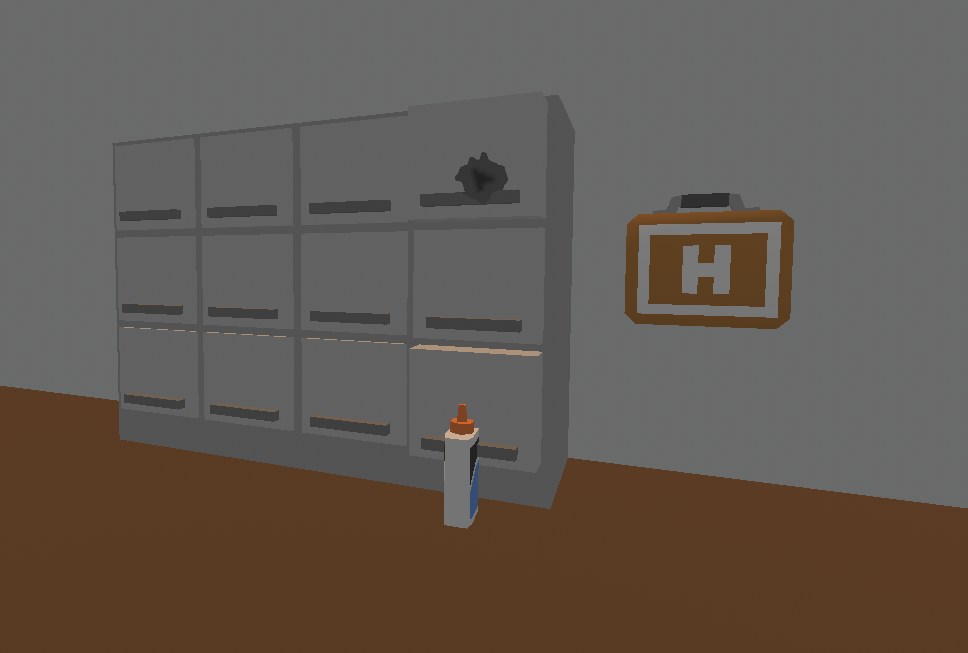
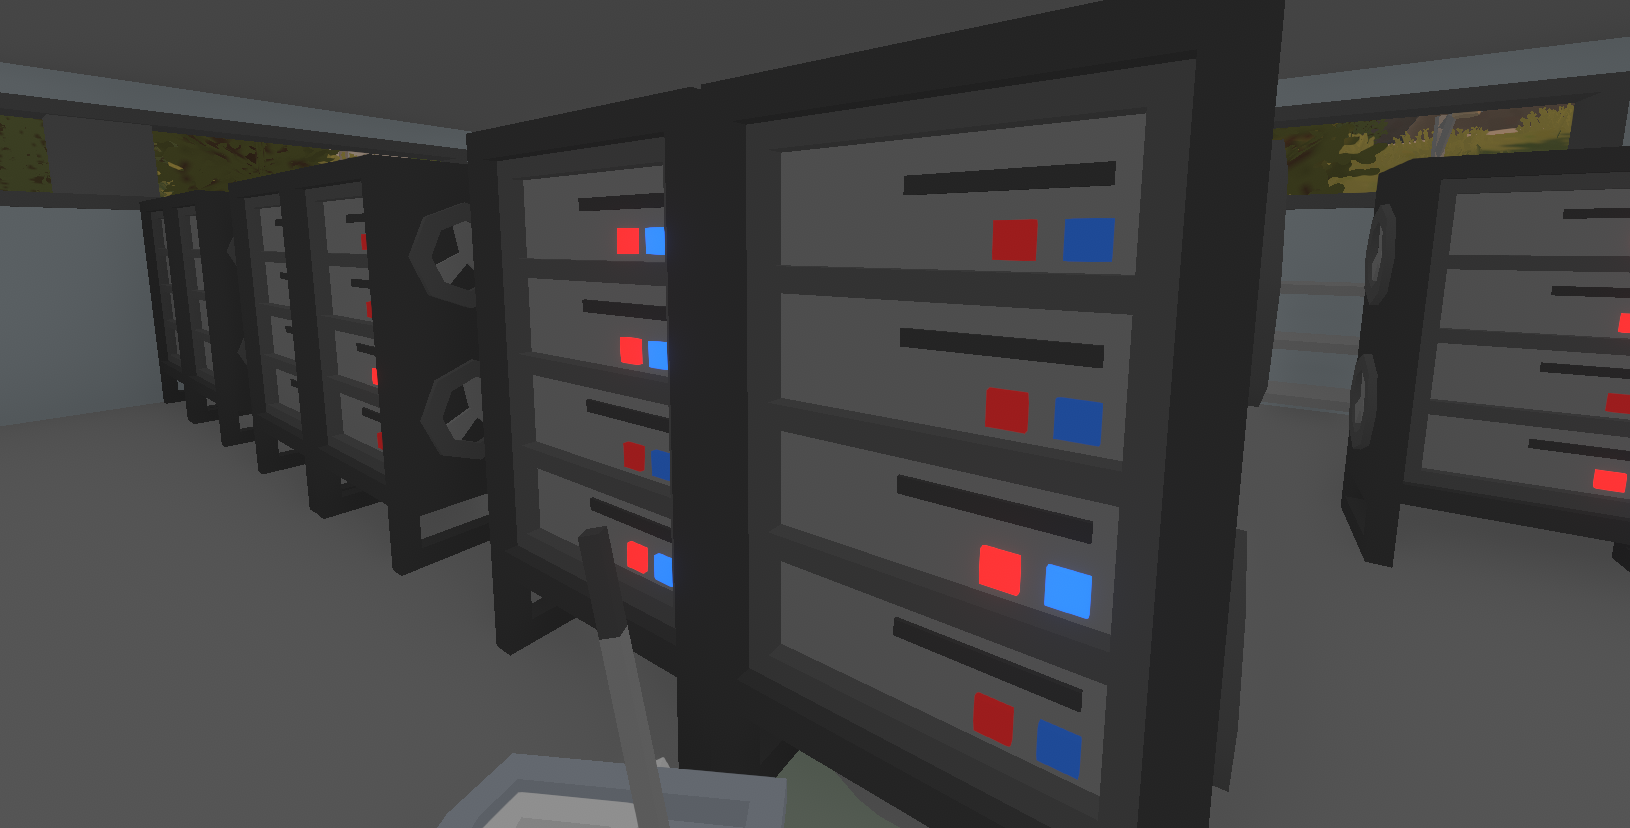
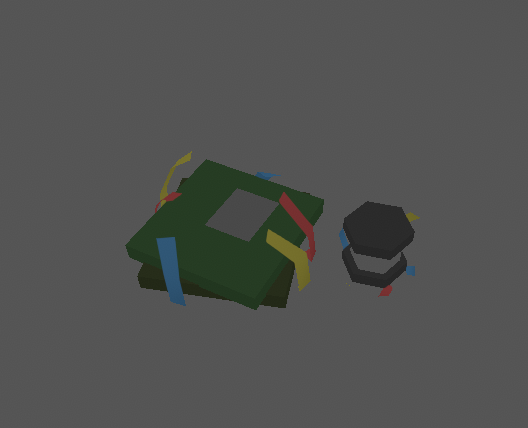
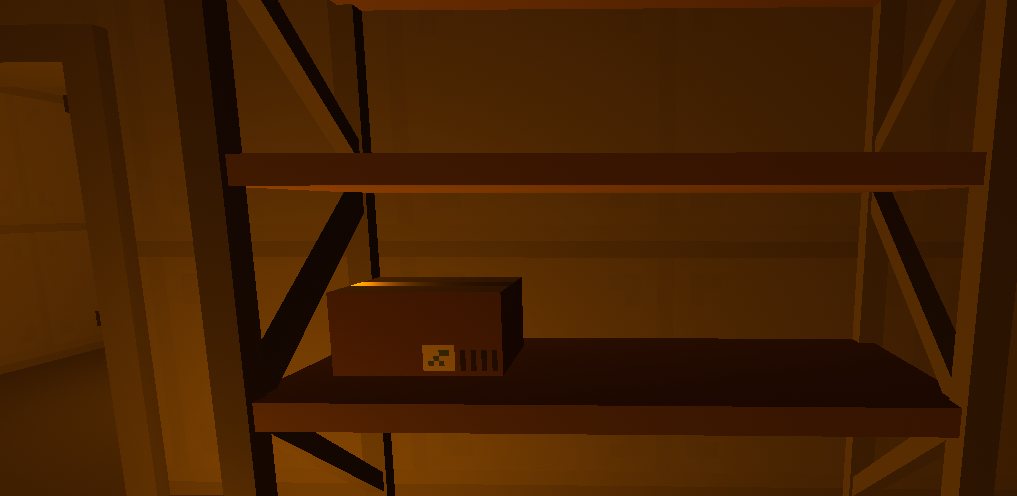 You can also break computers or data centers; they drop 2 important components that will come in handy in the future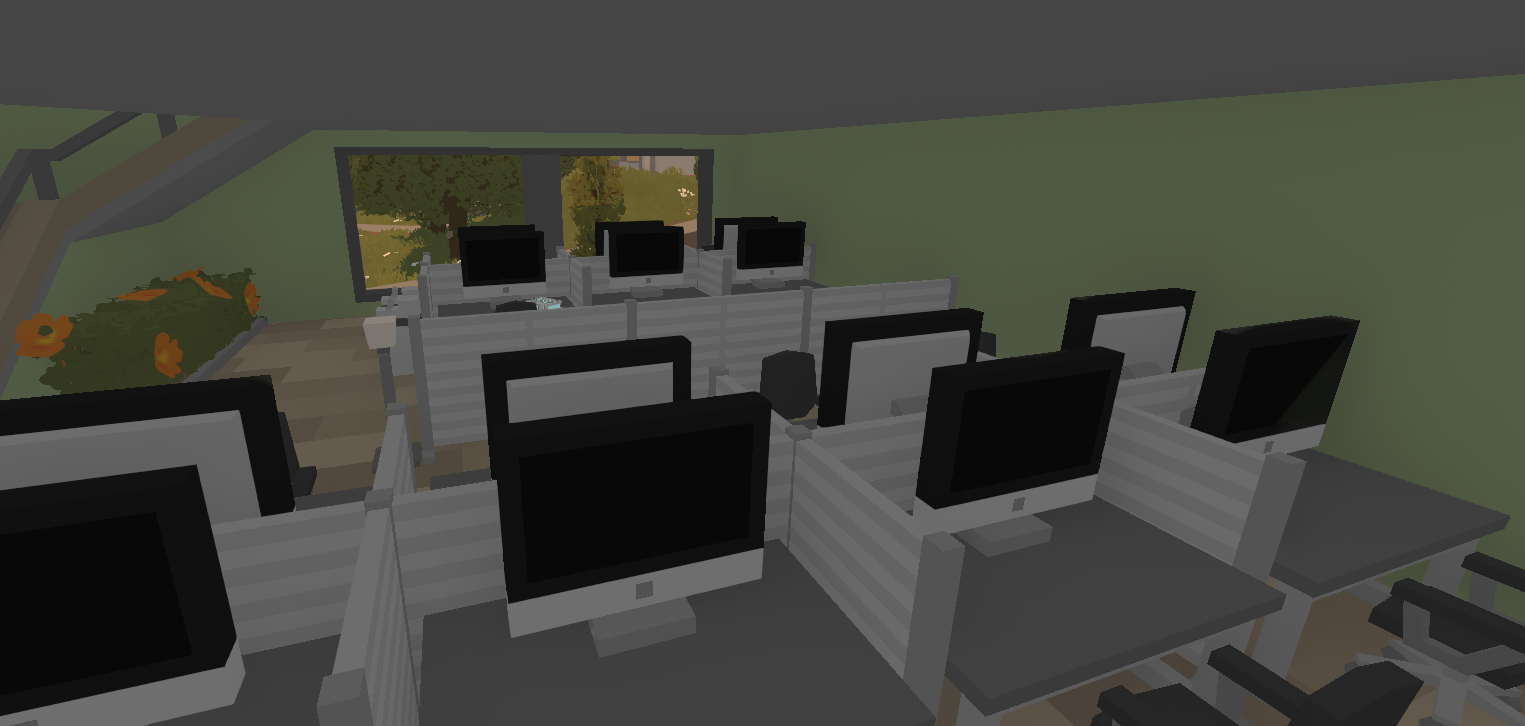
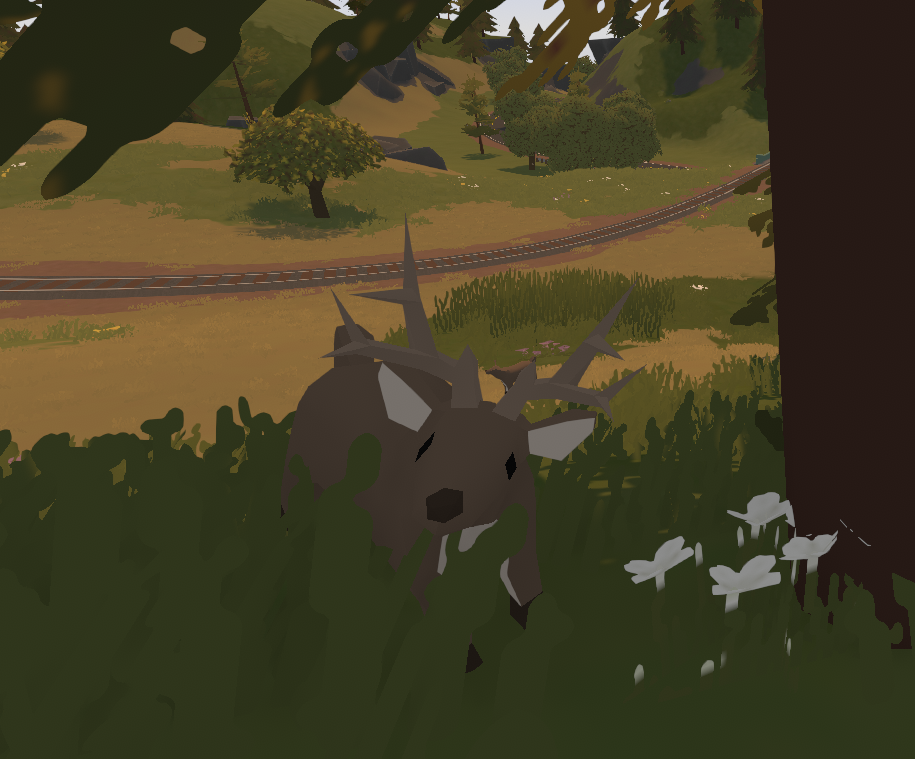
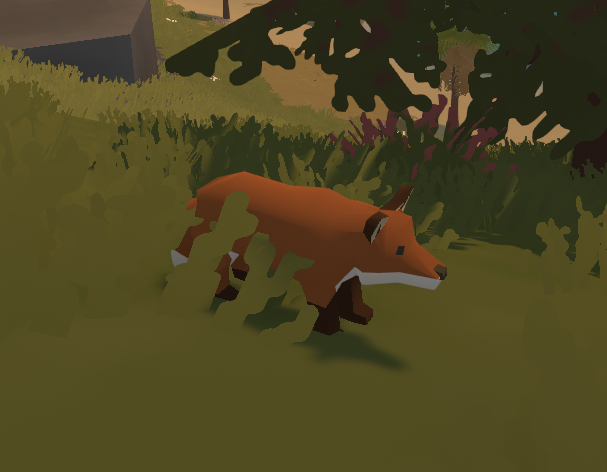
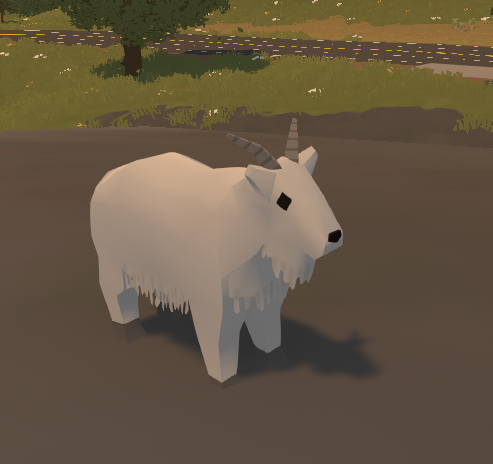
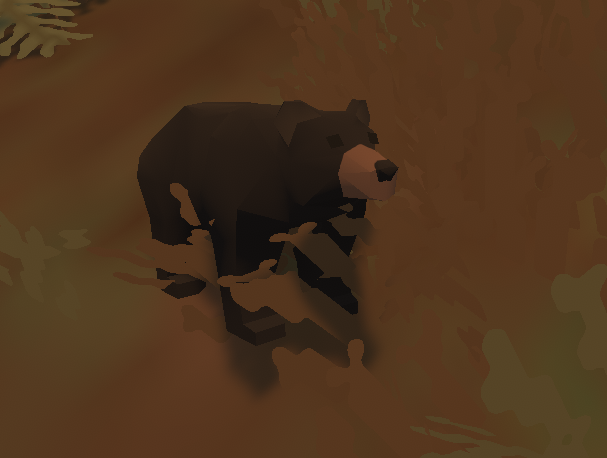 They are good hunting targets, and with a knife we can skin them for their hides and meat
The hides can be sold or used to craft clothing
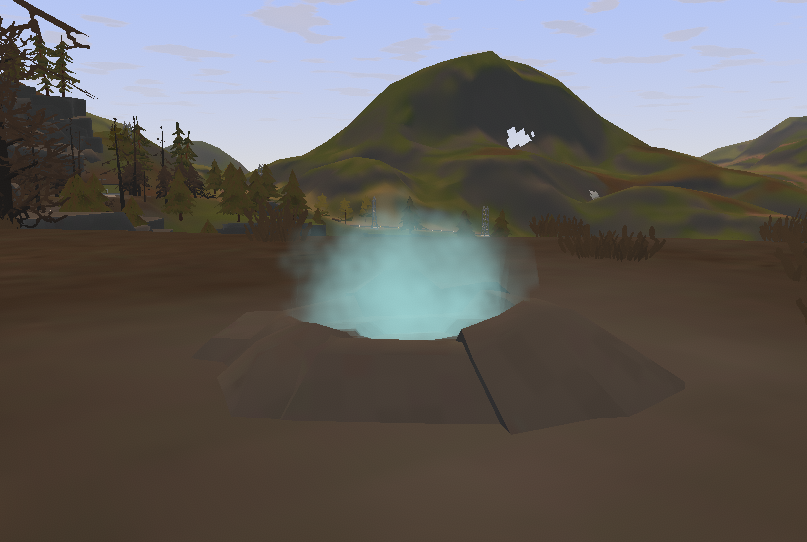 You can stand on geysers, and they’ll launch you in the direction you’re facing—be careful, one of the geysers might be a trap :)
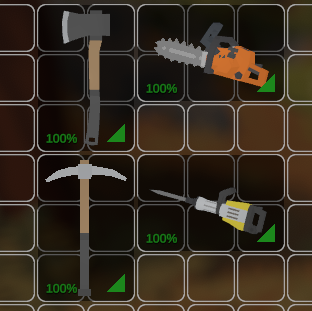
There are many mines and caves on the map where you can find plenty of iron ore, which is necessary for construction and other purposes
Fast travel on map
The map is quite large, so there are 7 fast-travel points on the map that allow you to quickly travel between locations; each point looks like a bus stop
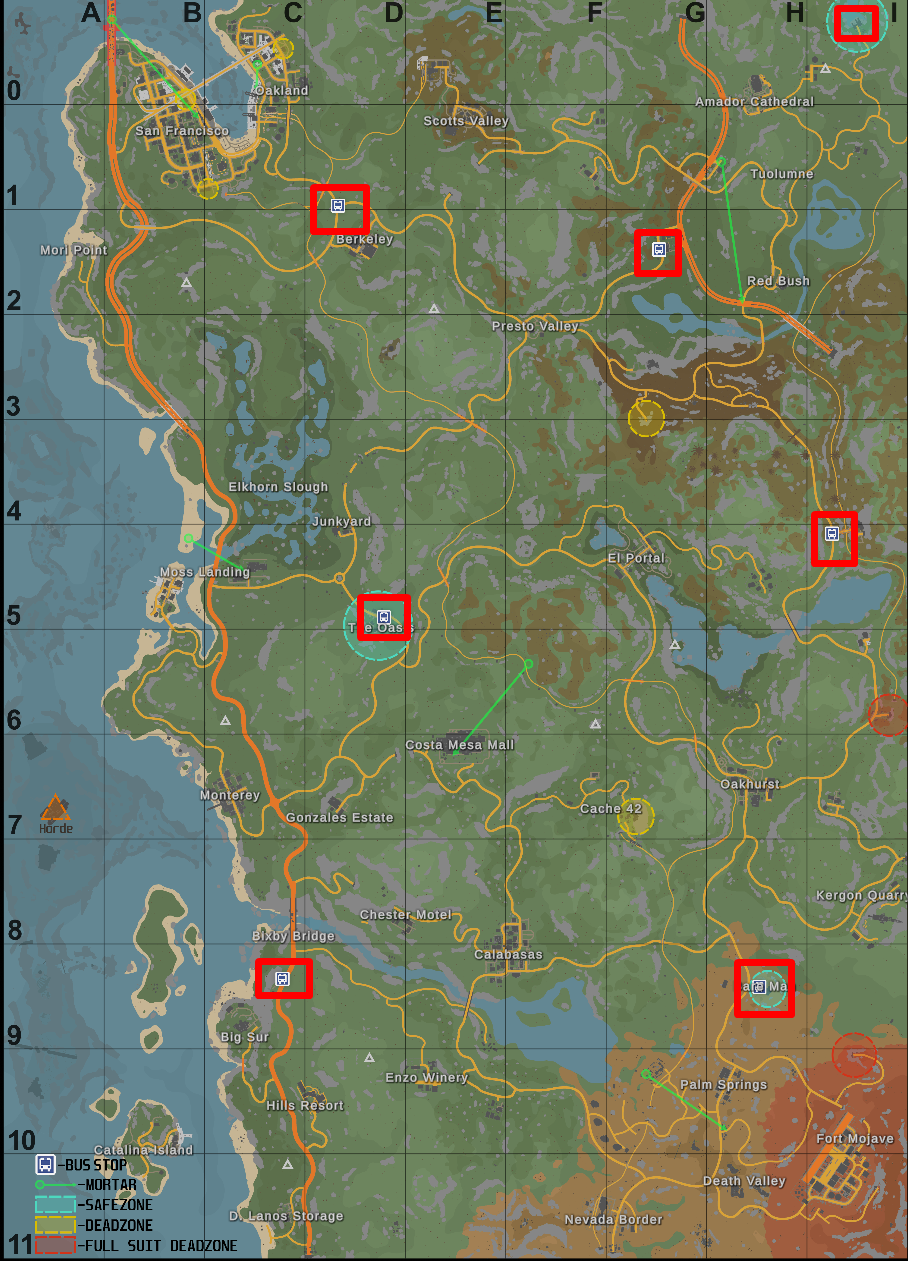
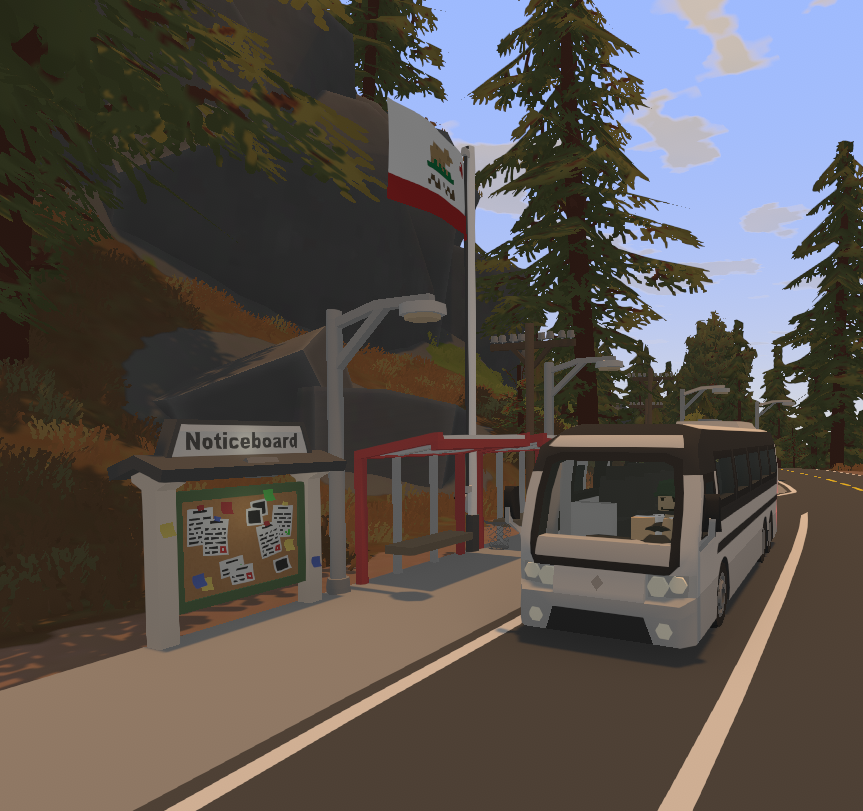 Traveling on the map is free; get on the bus, look at the seat, and select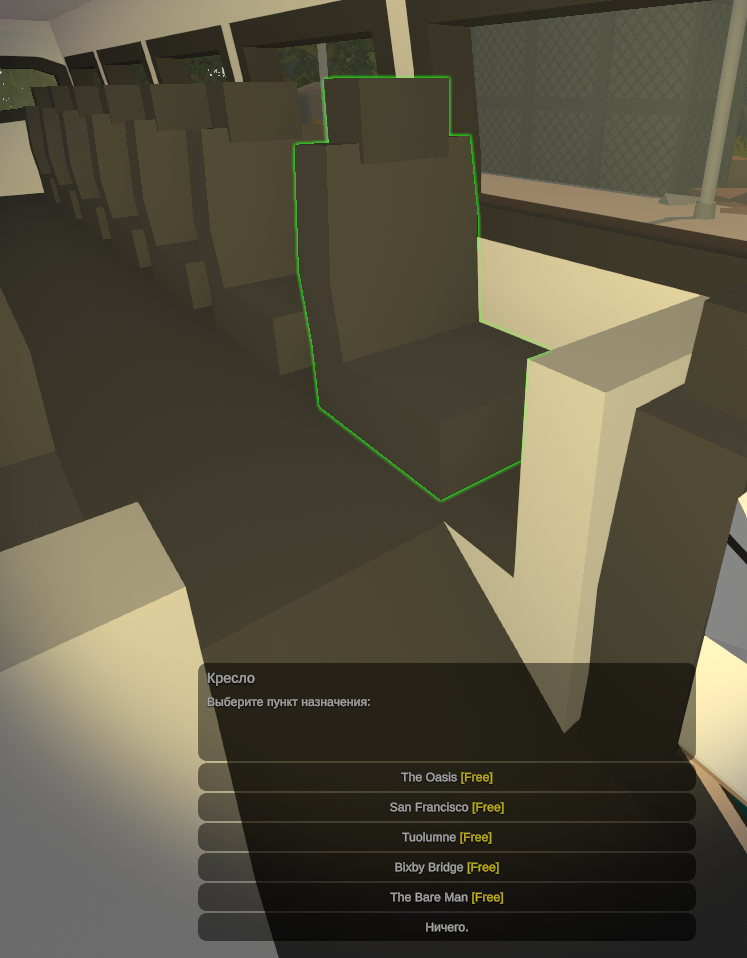
The 7th teleportation point will appear after the fisherman's quest; teleportation is only possible directly through an NPC There is a bulletin board near every stop or bus station where you can pick up a quest
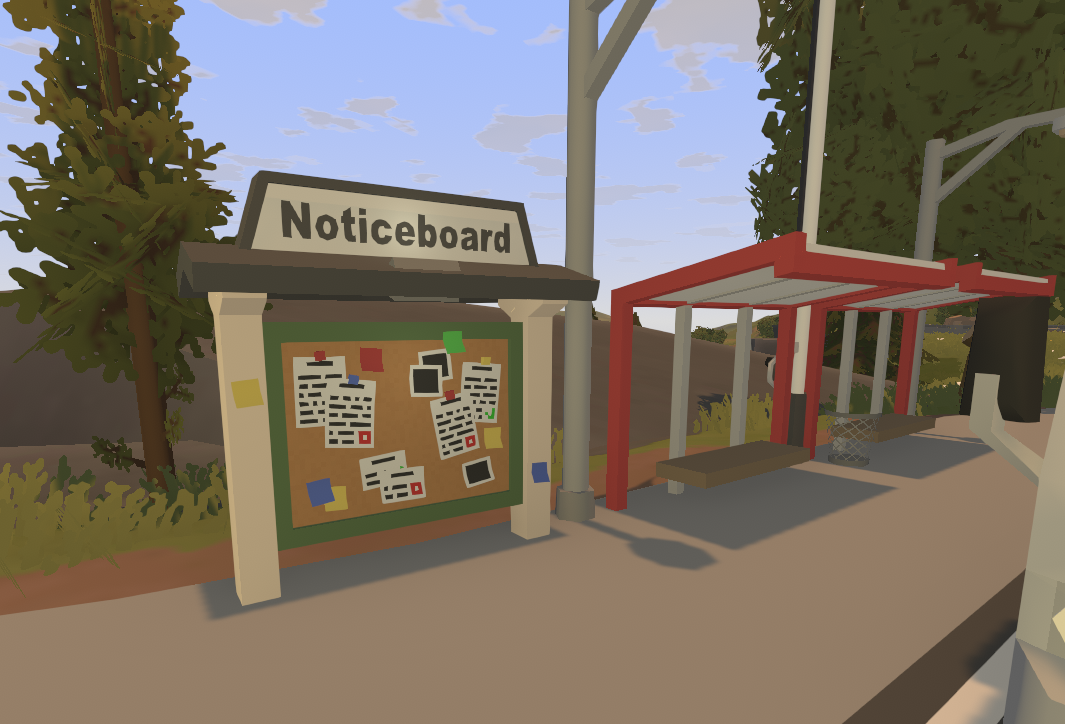
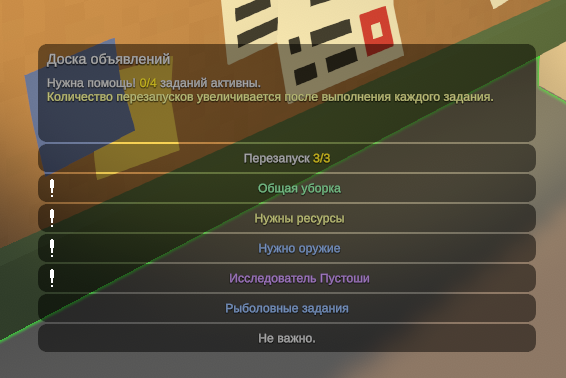
Safe zone
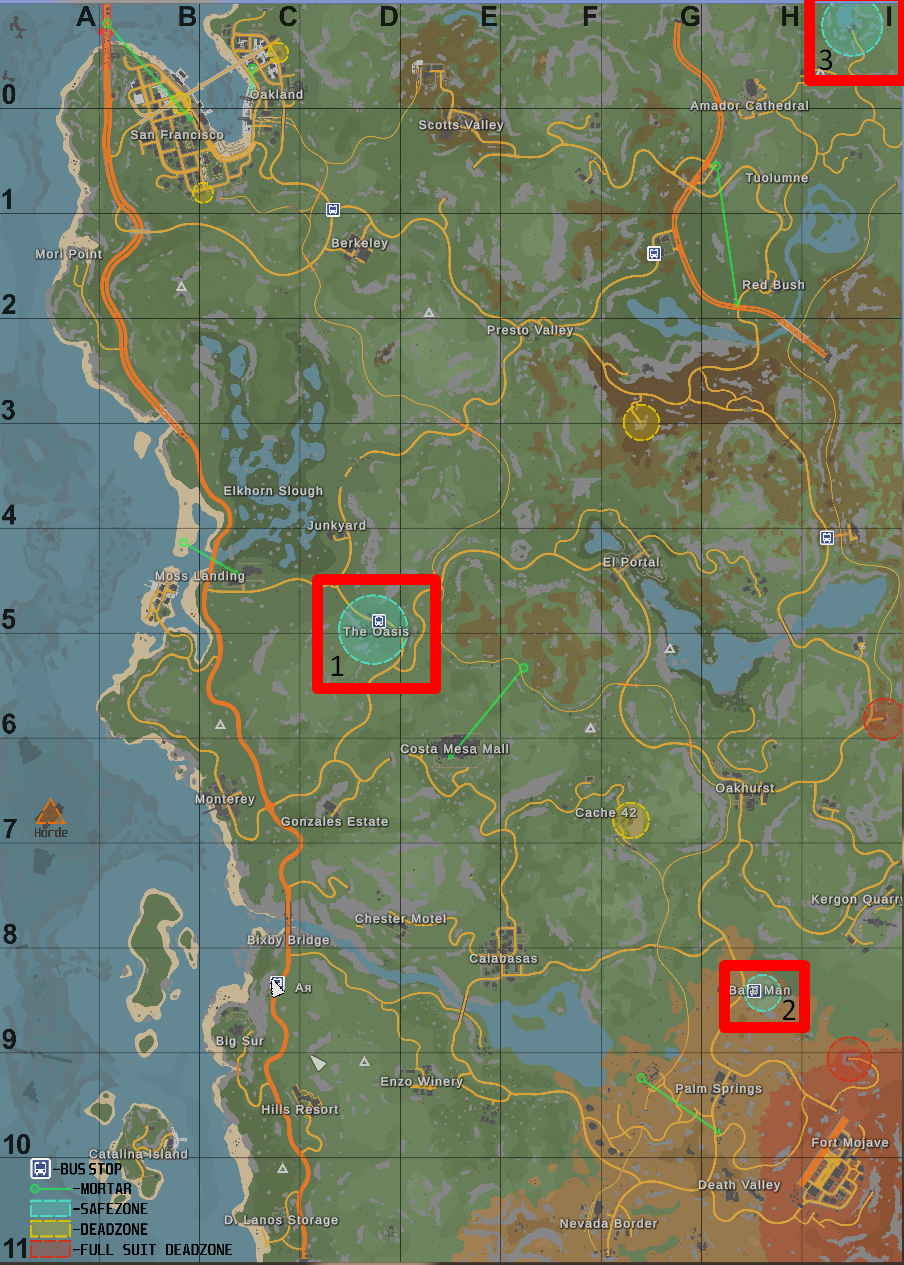
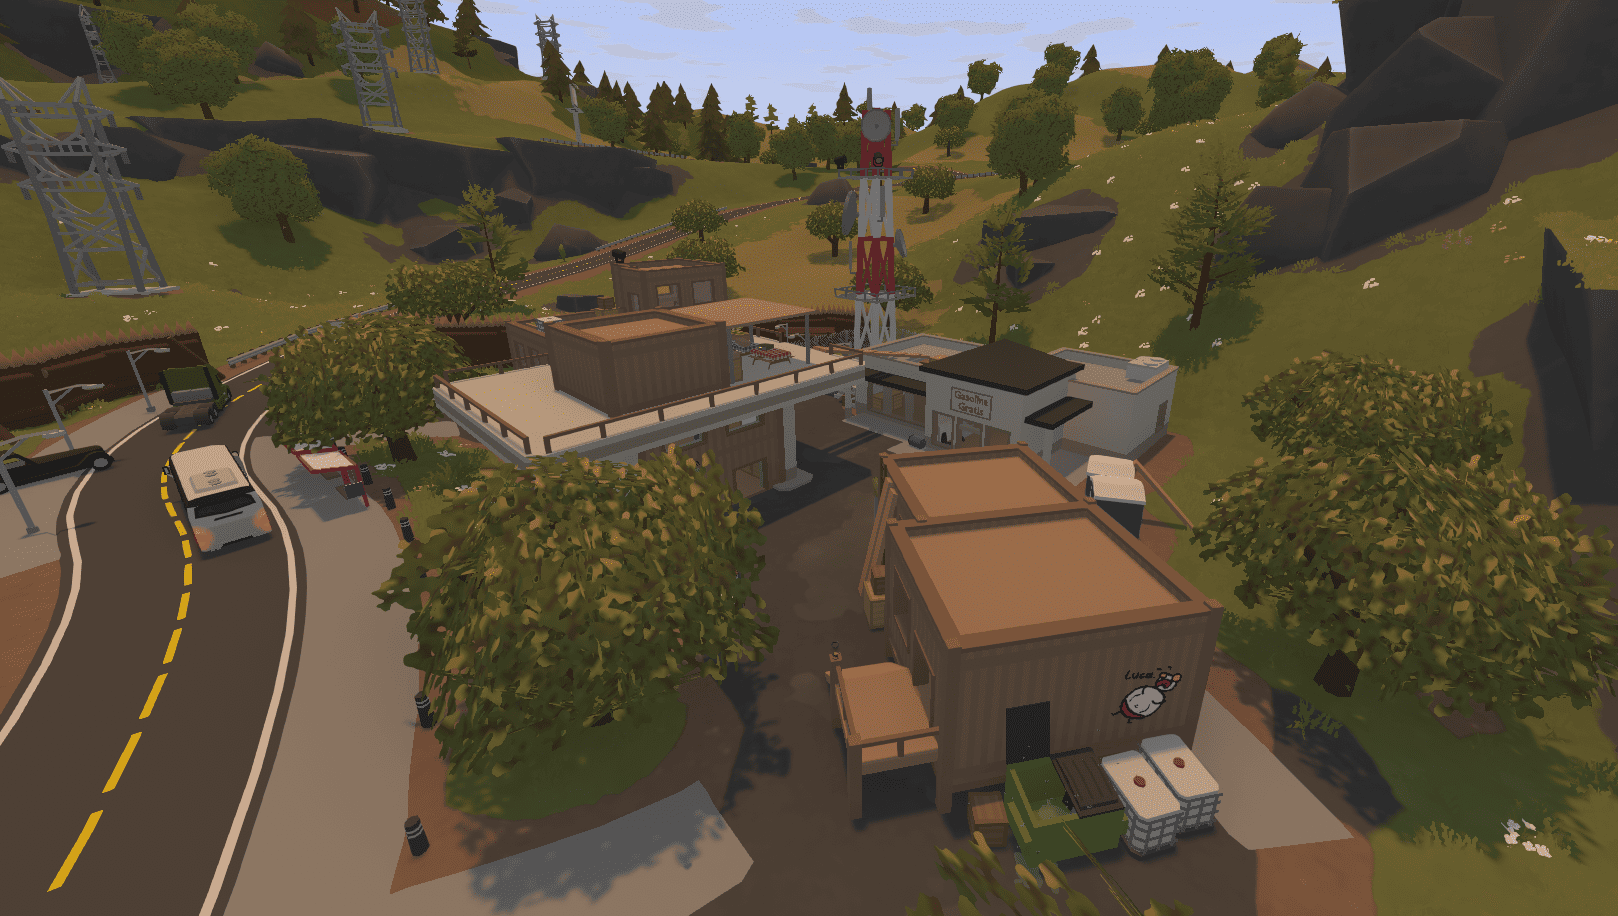 I won’t go into detail about every NPC; I’ll just mention the main ones, as this is also the main location where you’ll complete quests
Mateo - he’s a fisherman; he has fishing-related quests. By completing these quests, you’ll level up your fishing rods and the fish you sell; he also unlocks the 3rd safe zone
I won’t go into detail about every NPC; I’ll just mention the main ones, as this is also the main location where you’ll complete quests
Mateo - he’s a fisherman; he has fishing-related quests. By completing these quests, you’ll level up your fishing rods and the fish you sell; he also unlocks the 3rd safe zone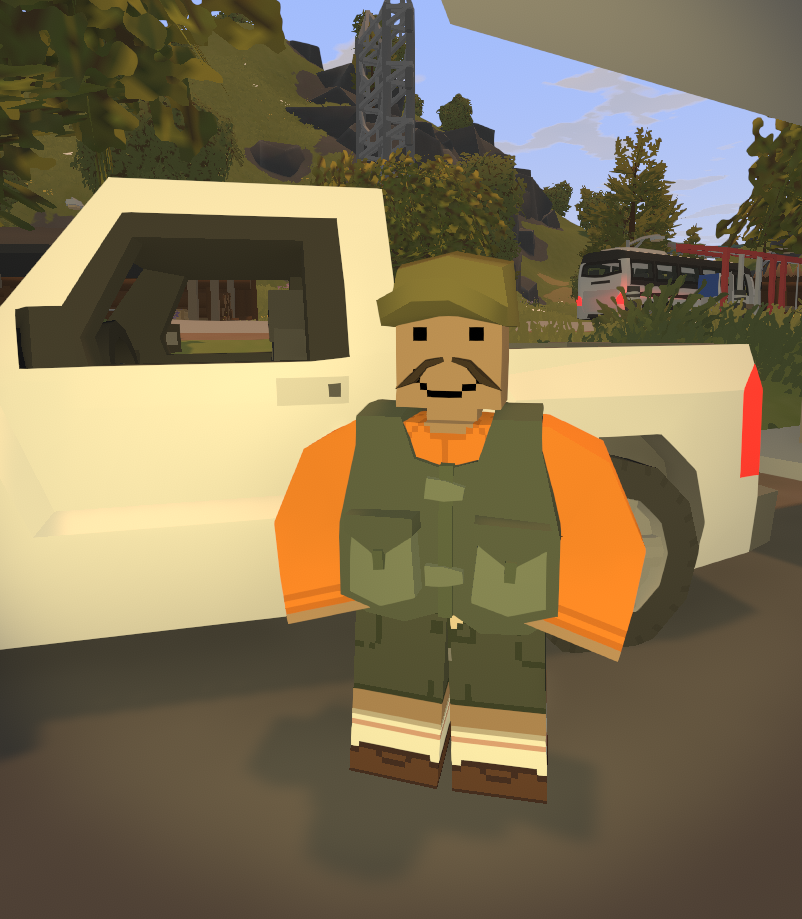
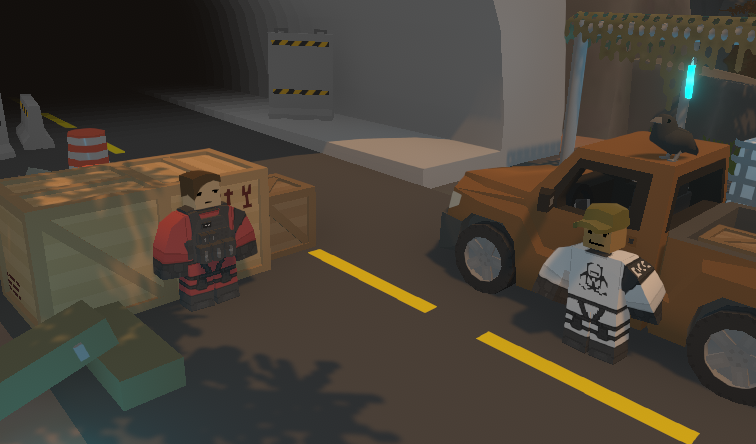
Ernest -sells weapons; after the first quest, he opens a shop.
Shops level up depending on the dead zone you visit (each dead zone unlocks its own shop level).
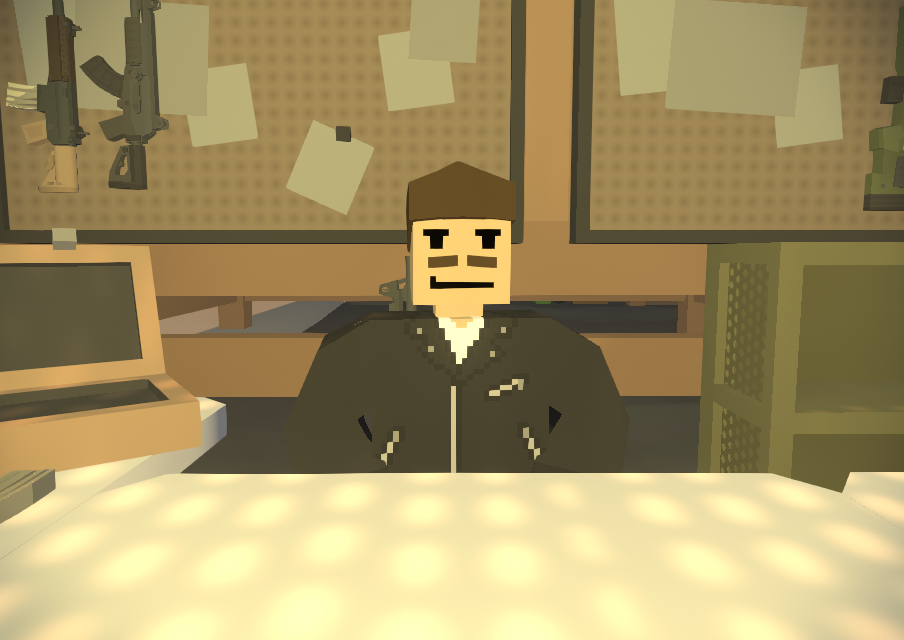
Sarah - mechanic sells blowtorch, carjacks, wheels, and jerry cans; buys car parts
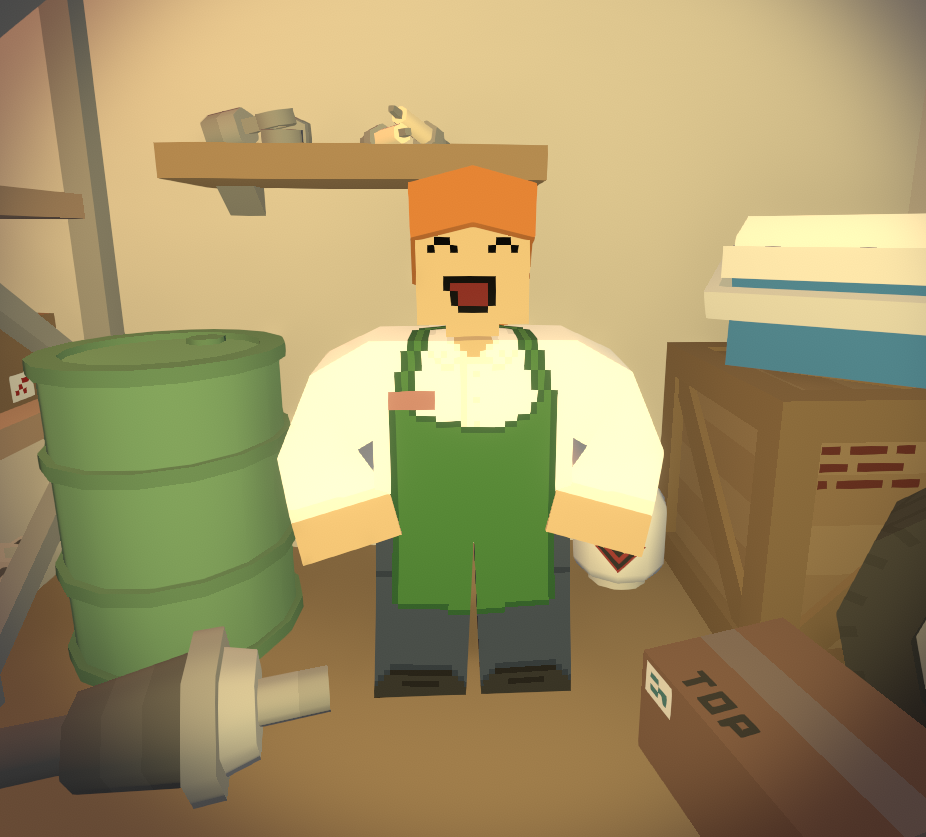
Julia - a farmer who sells seeds for farming and baking ingredients, and buys cooking and farming products
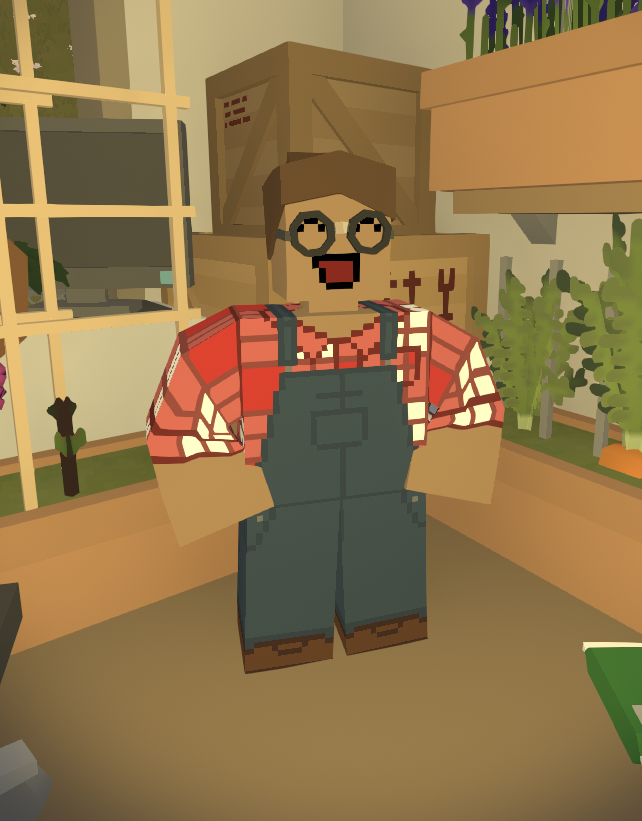
Frank - a hunter who buys animal hides and parts
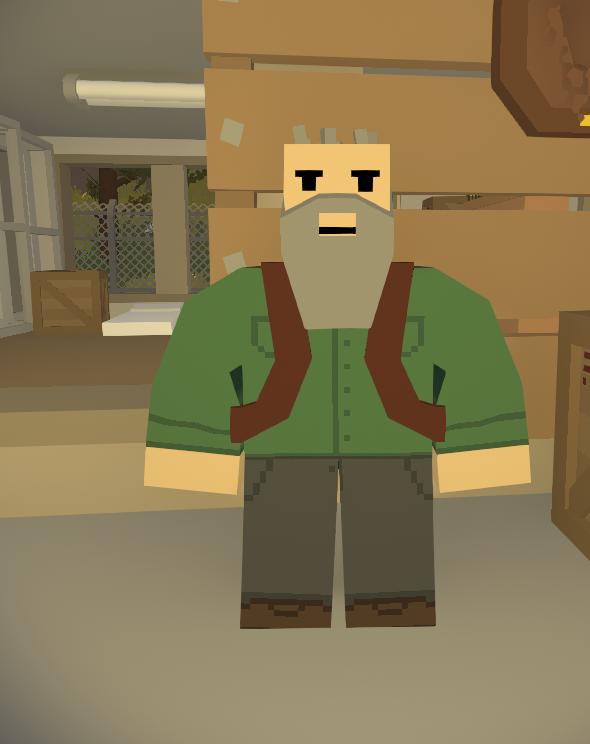
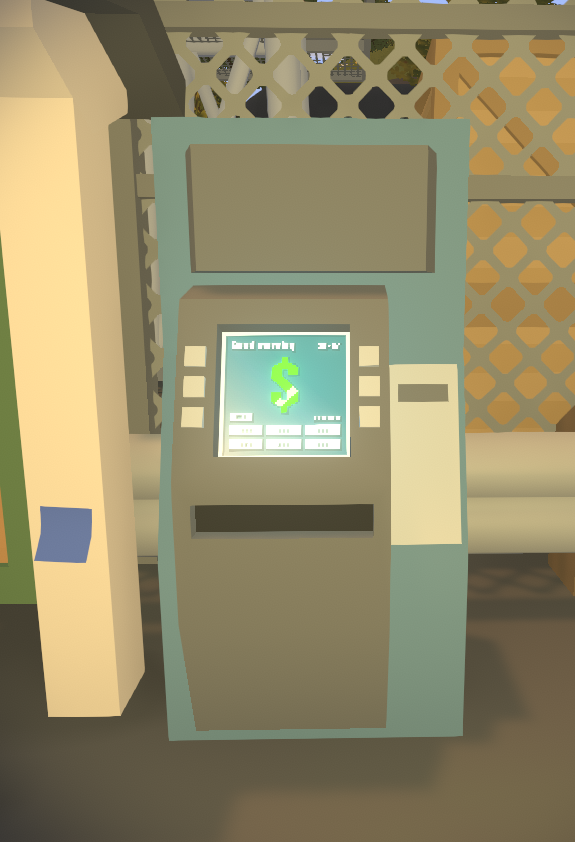
There are many other NPCs that exist and will appear as you complete quests, but I don’t find them interesting There are ATMs in the safe zones where you can convert experience points into cash or vice versa
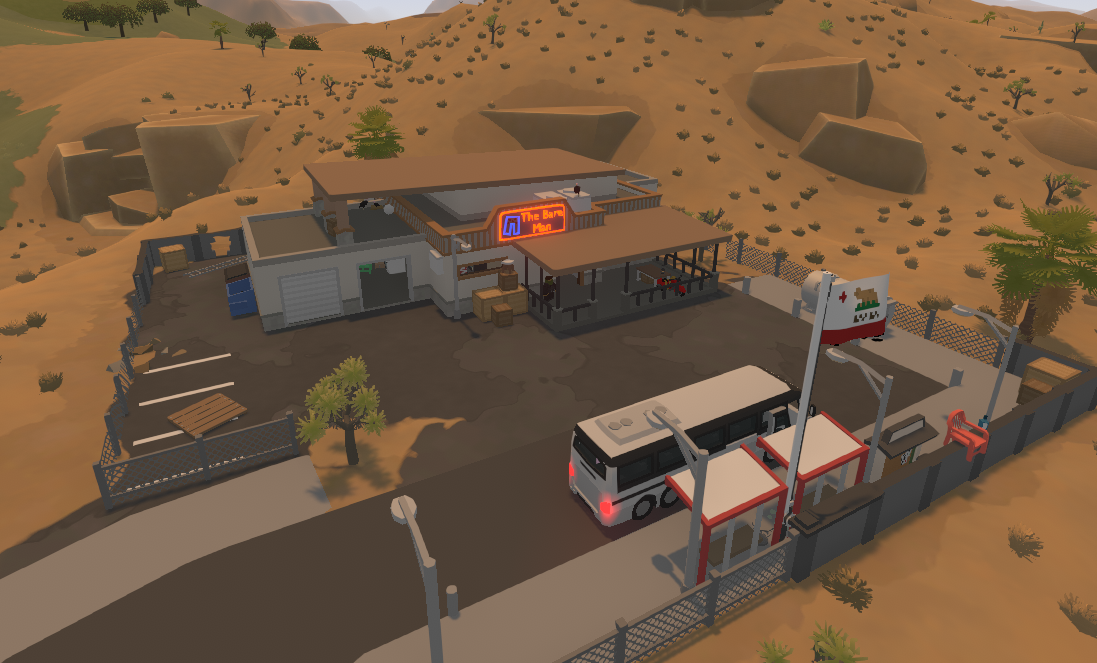
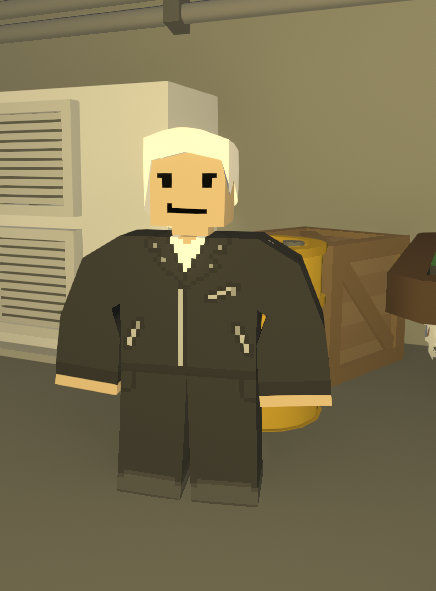
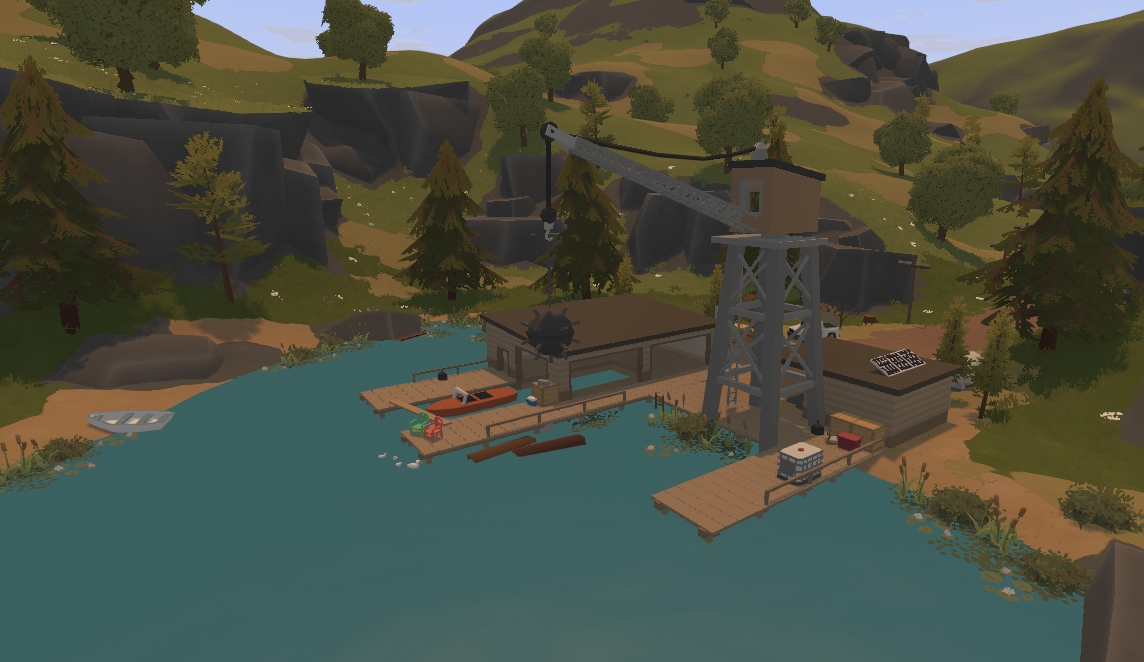
This location is just as significant; it also has its own quests, and there are a couple of NPCs you’ll interact with frequently Piglet – the main NPC in this location; he mostly sells junk, but there’s a day-night barter system: the more you spend during the day, the more you can buy at night (For example, if you spend 20,000 during the day, items worth 40,000 experience points become available at night; in other words, if you don’t buy anything during the day, nothing will unlock at night.) It’s a strange mechanic, but the items are worth it
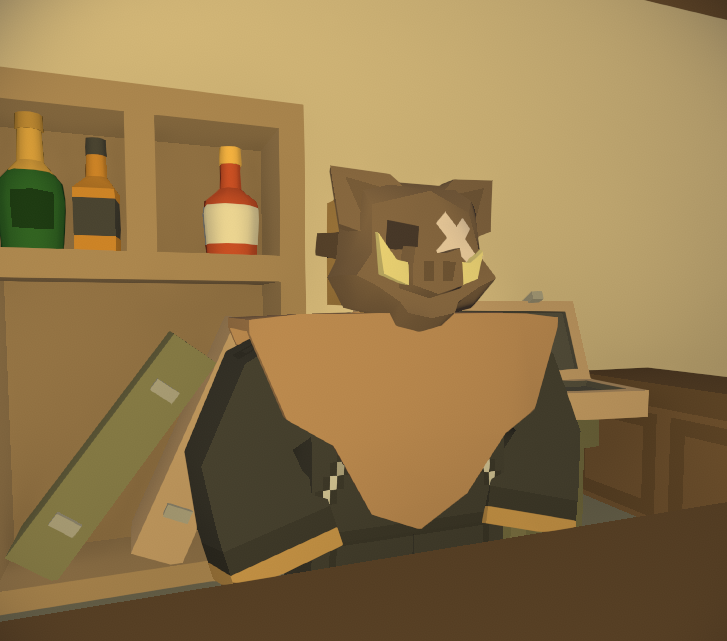
Warthog - the same mechanic as in Oasis, but with unique quests where we can unlock new vehicles to purchase
Fishing
To start fishing (i.e., leveling up your rods and unlocking more expensive trades), you need to complete the first quest from Mateo (he’s near the pickup truck in
The Oasis)
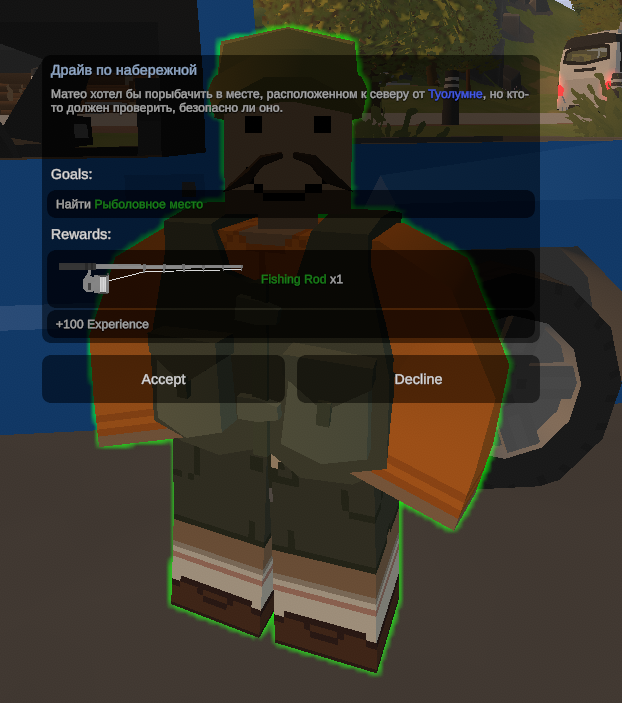
For the quest, we need to find a fishing spot (go to the right corner of the map, simply visit the location, and return to turn in the quest)
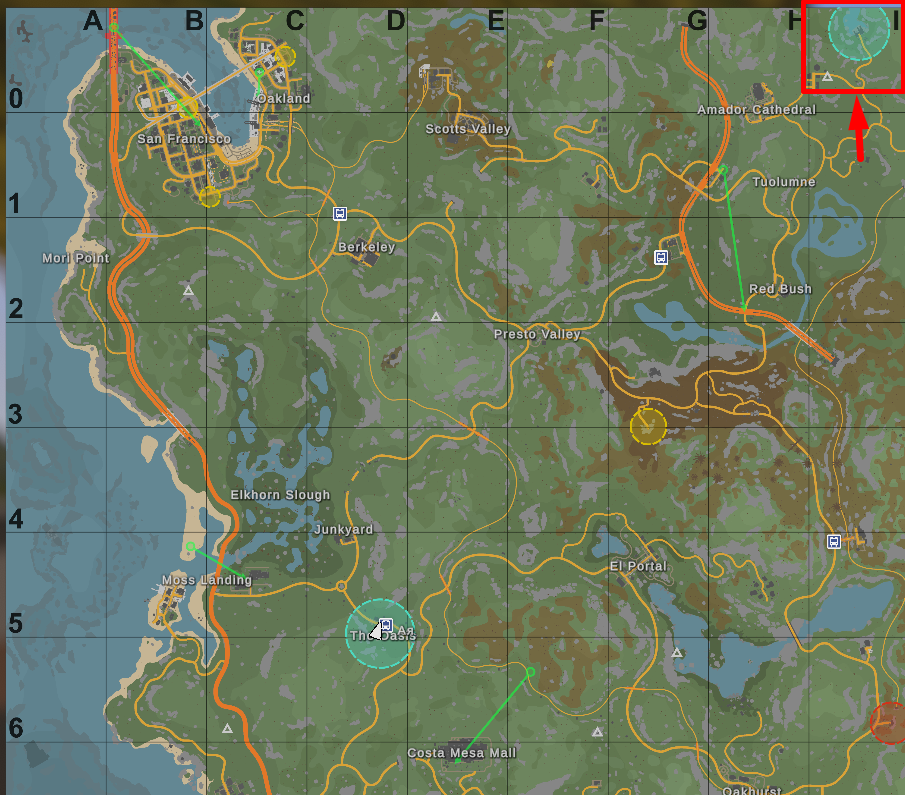
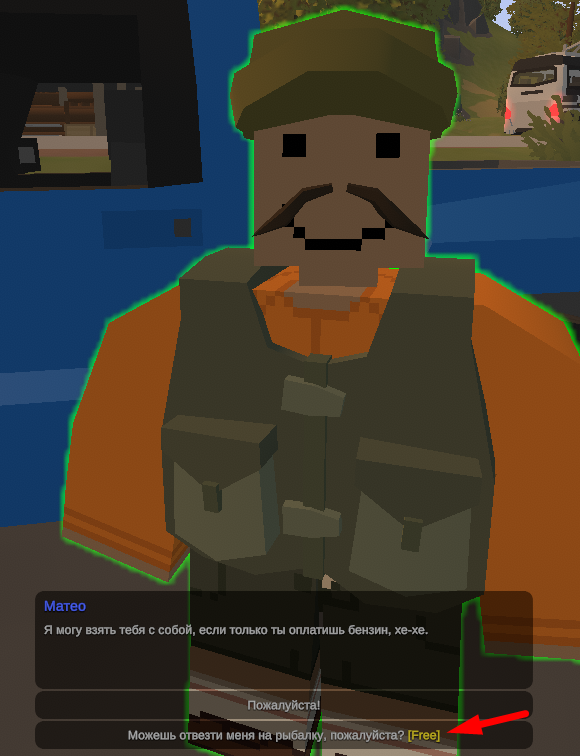
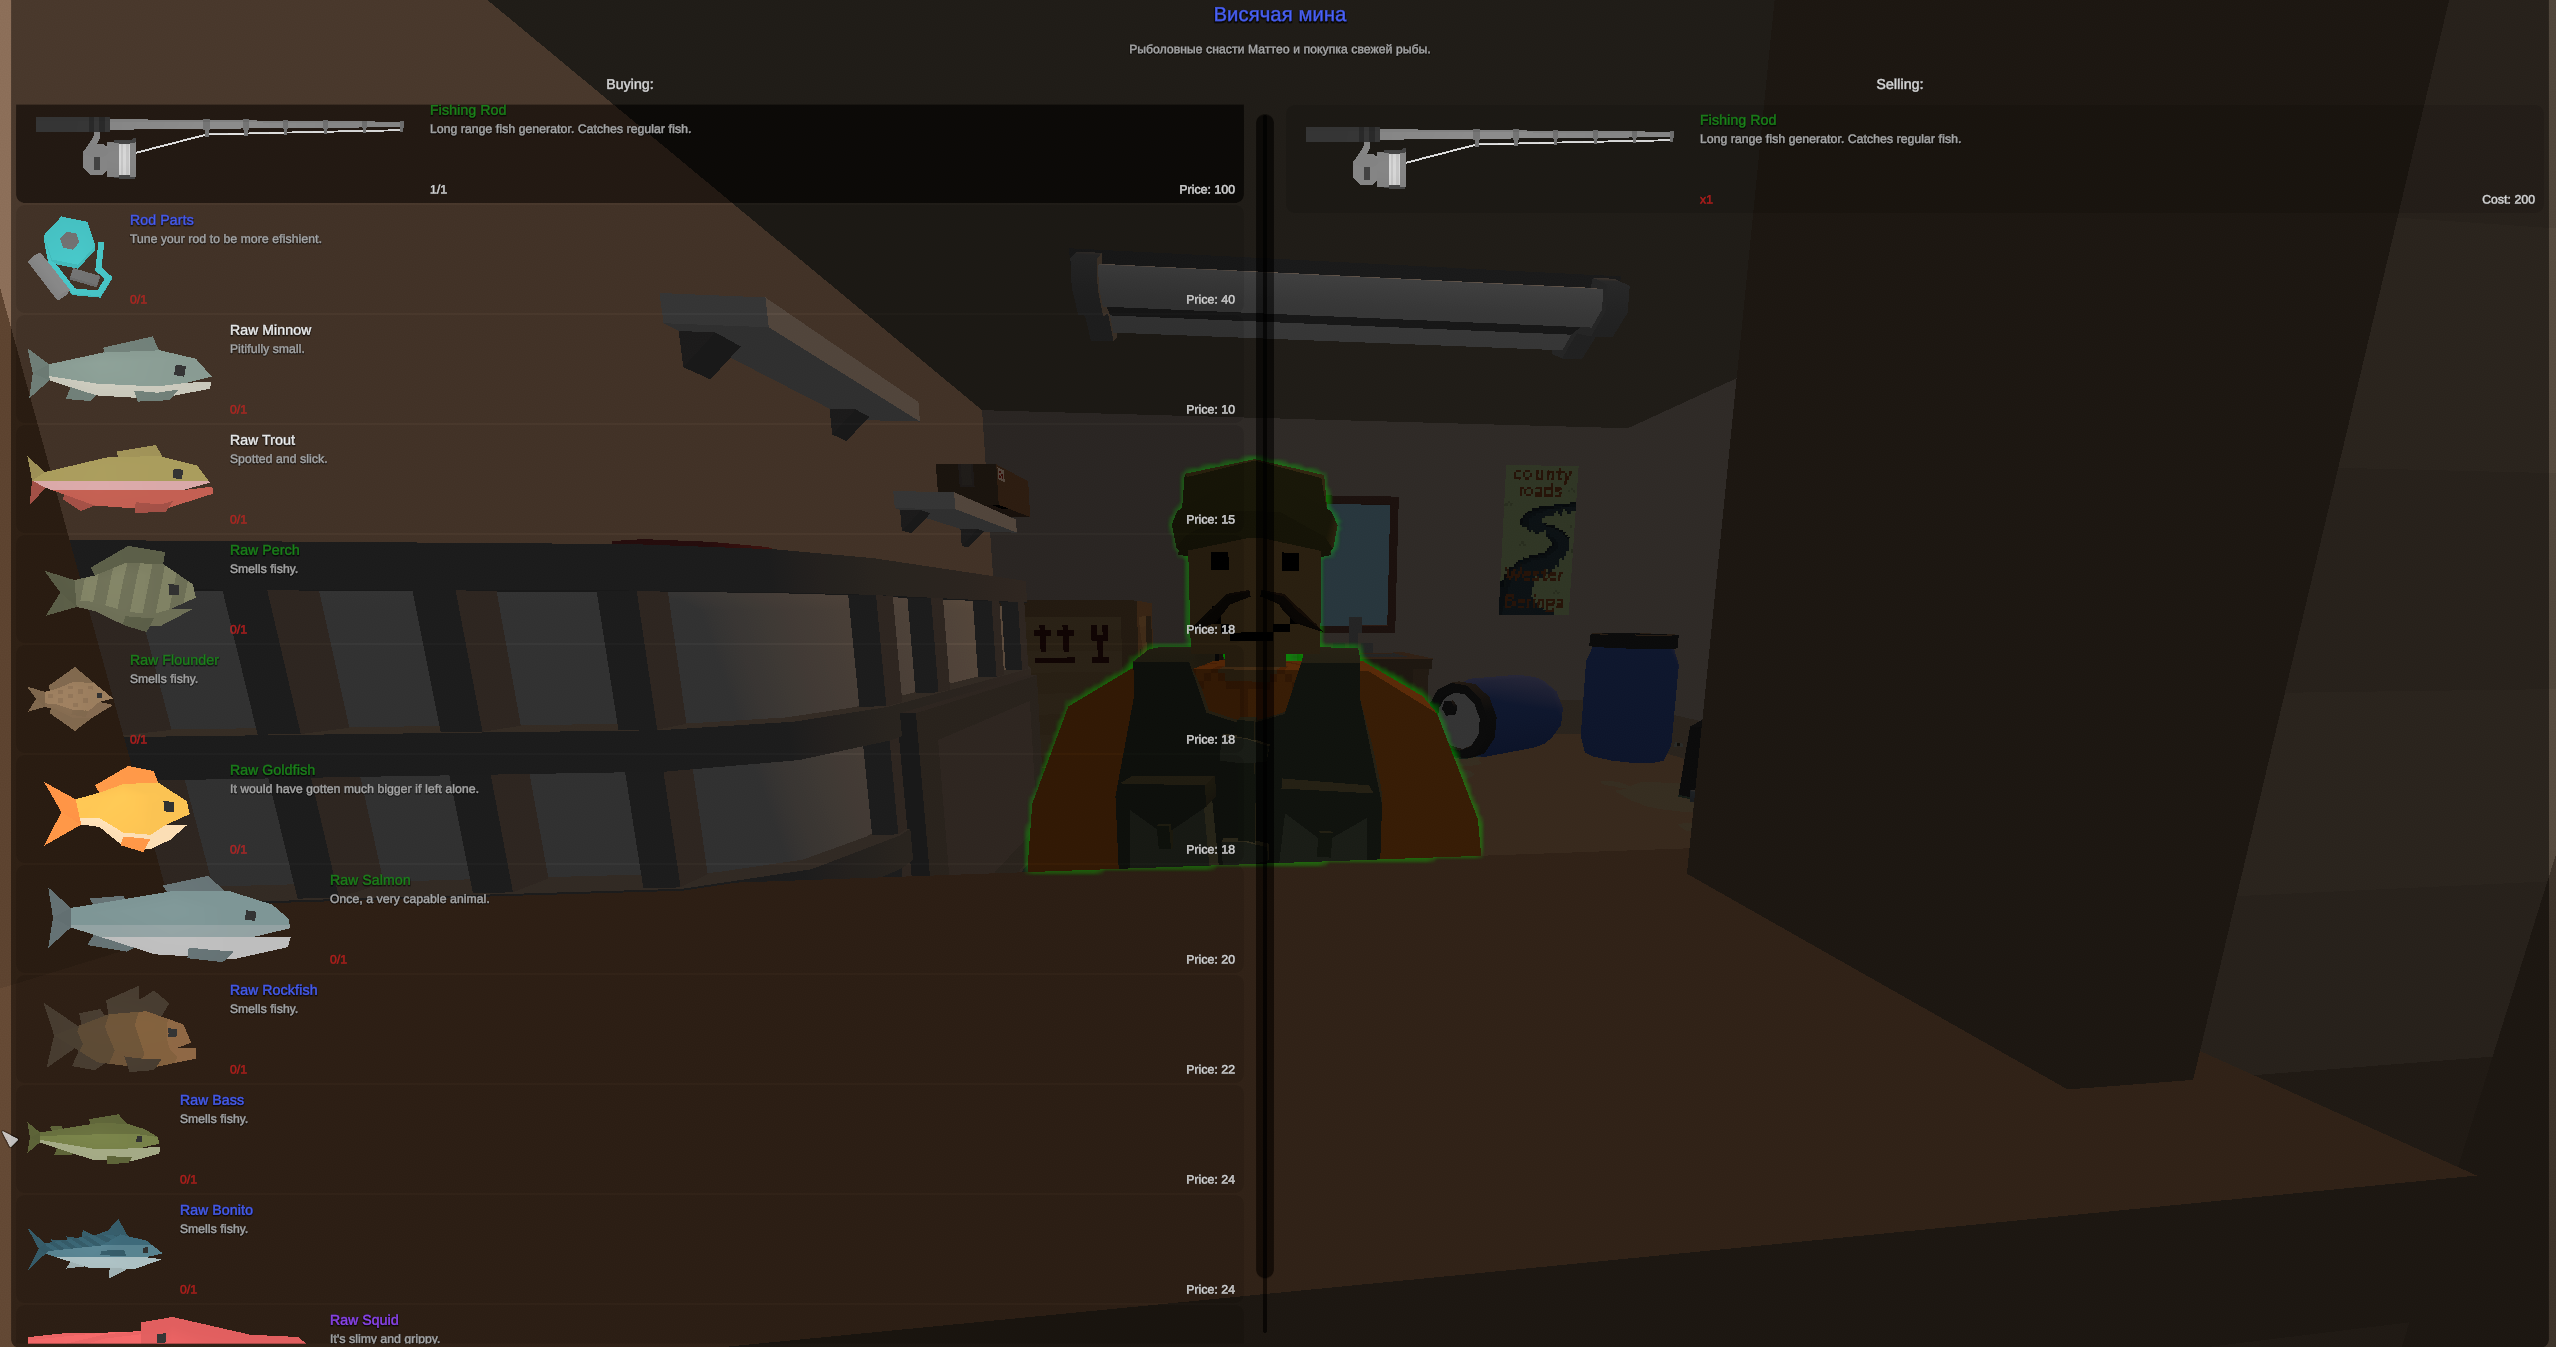
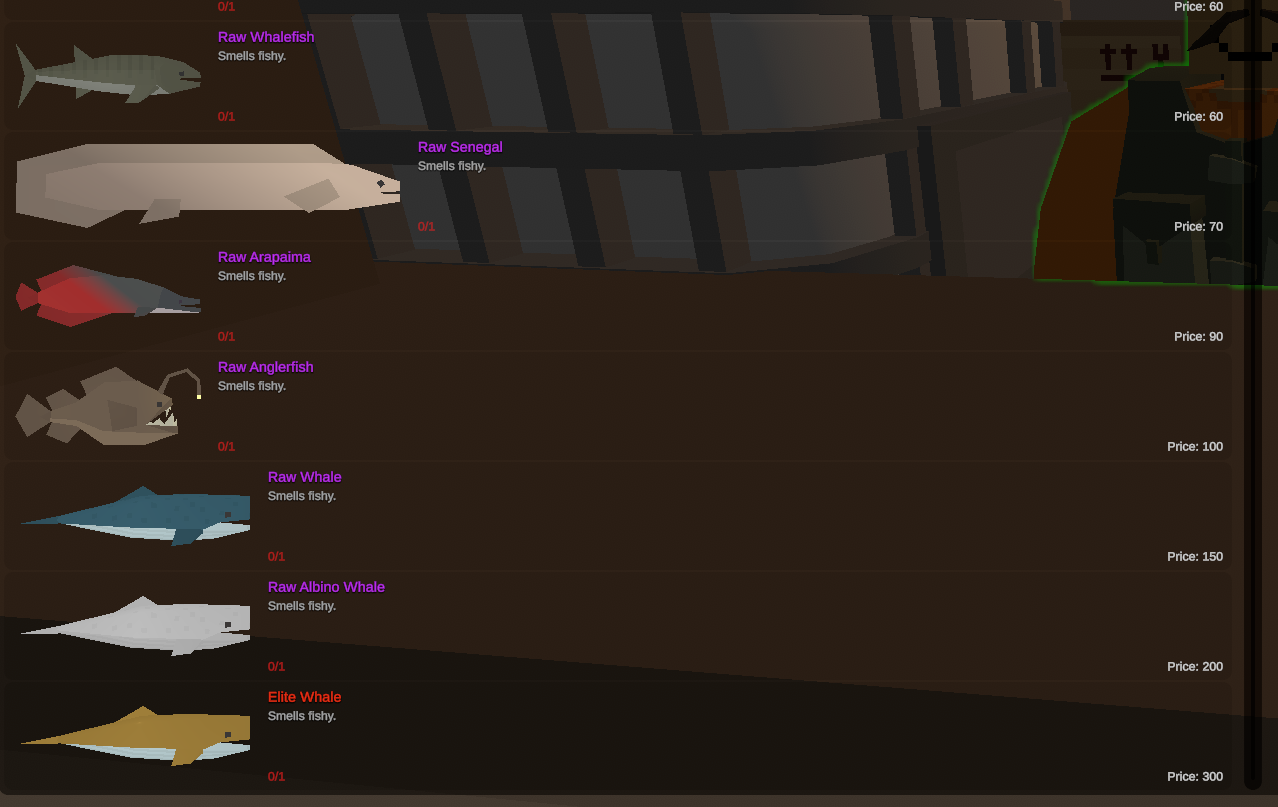
Next, we’ll be able to travel to this safe zone for free, where we can fish and immediately sell our catch to a merchant The shop’s Level 1 allows us to sell the most common types of fish caught with a standard fishing rod
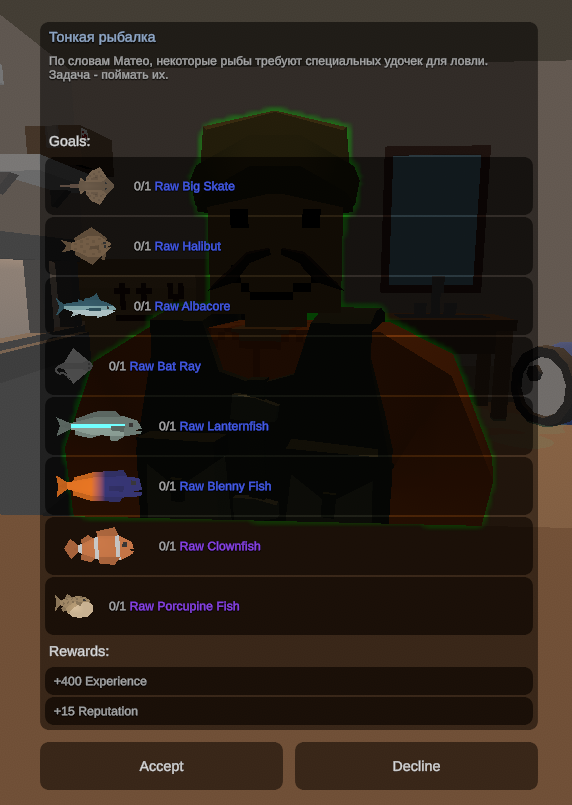
Then we can take on quests to upgrade his shop
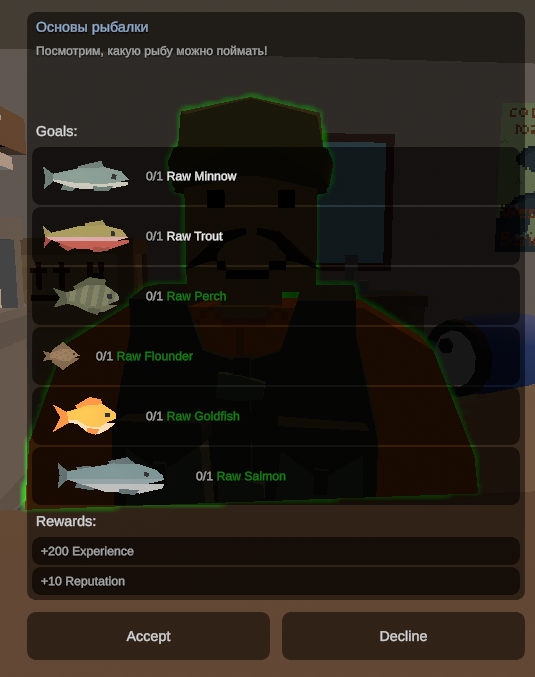
After completing the quest, a Level 2 shop will unlock
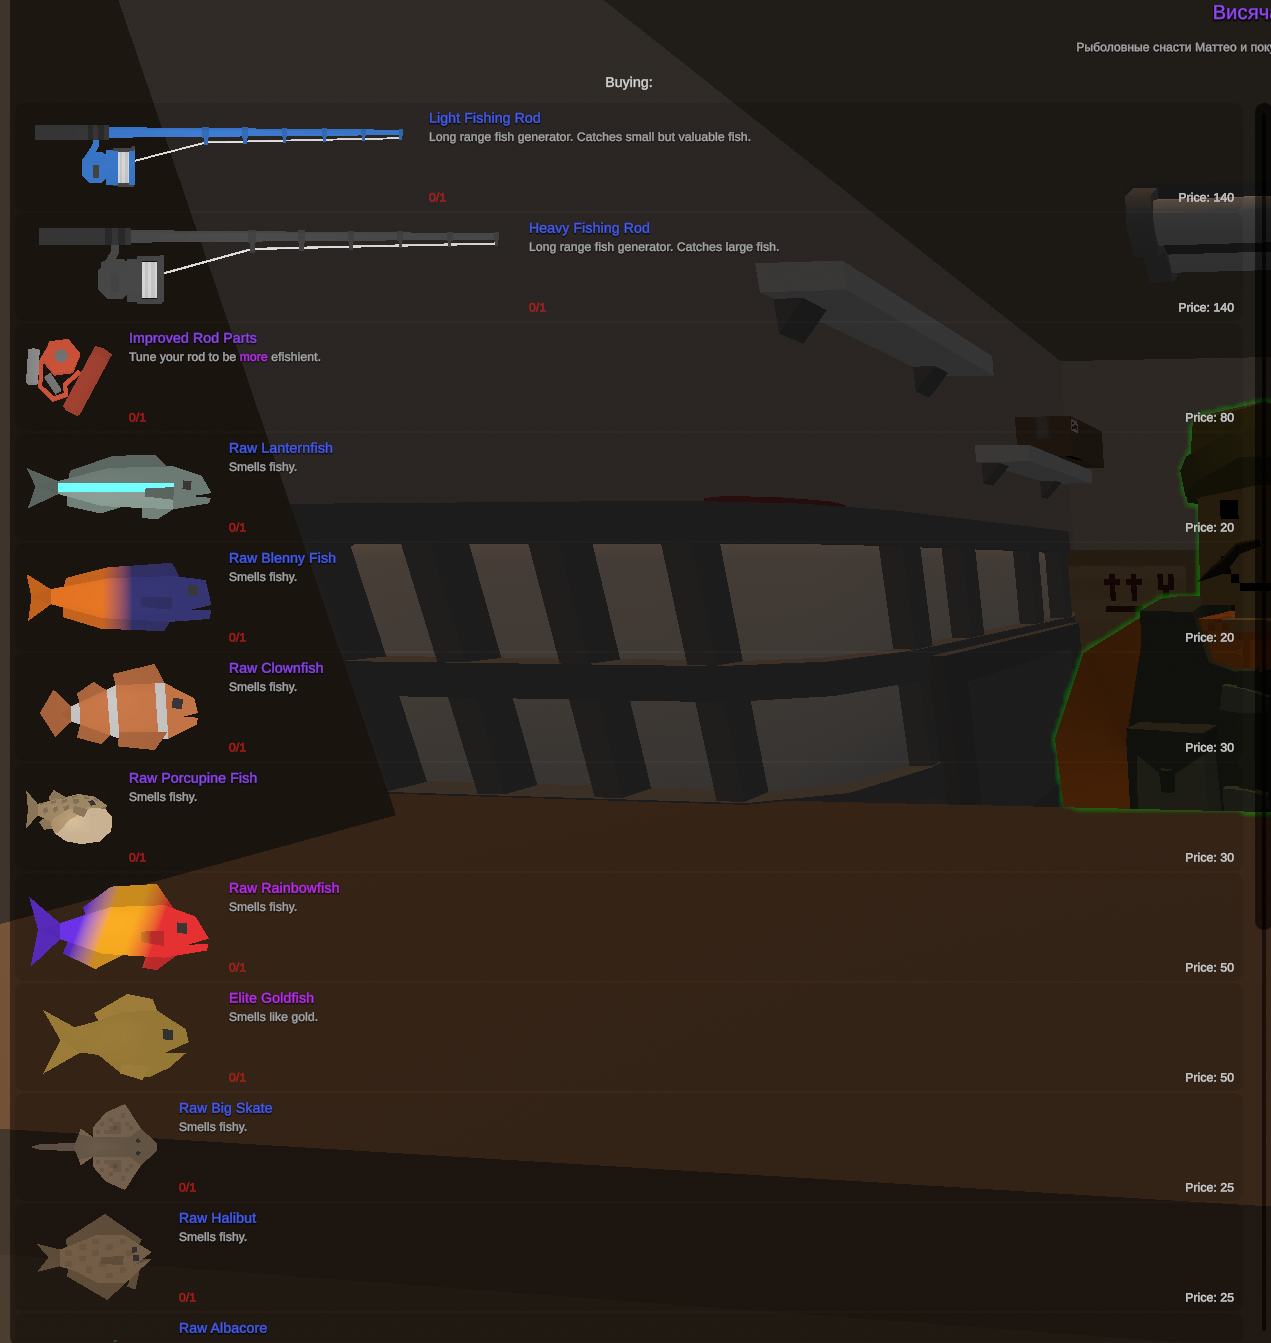
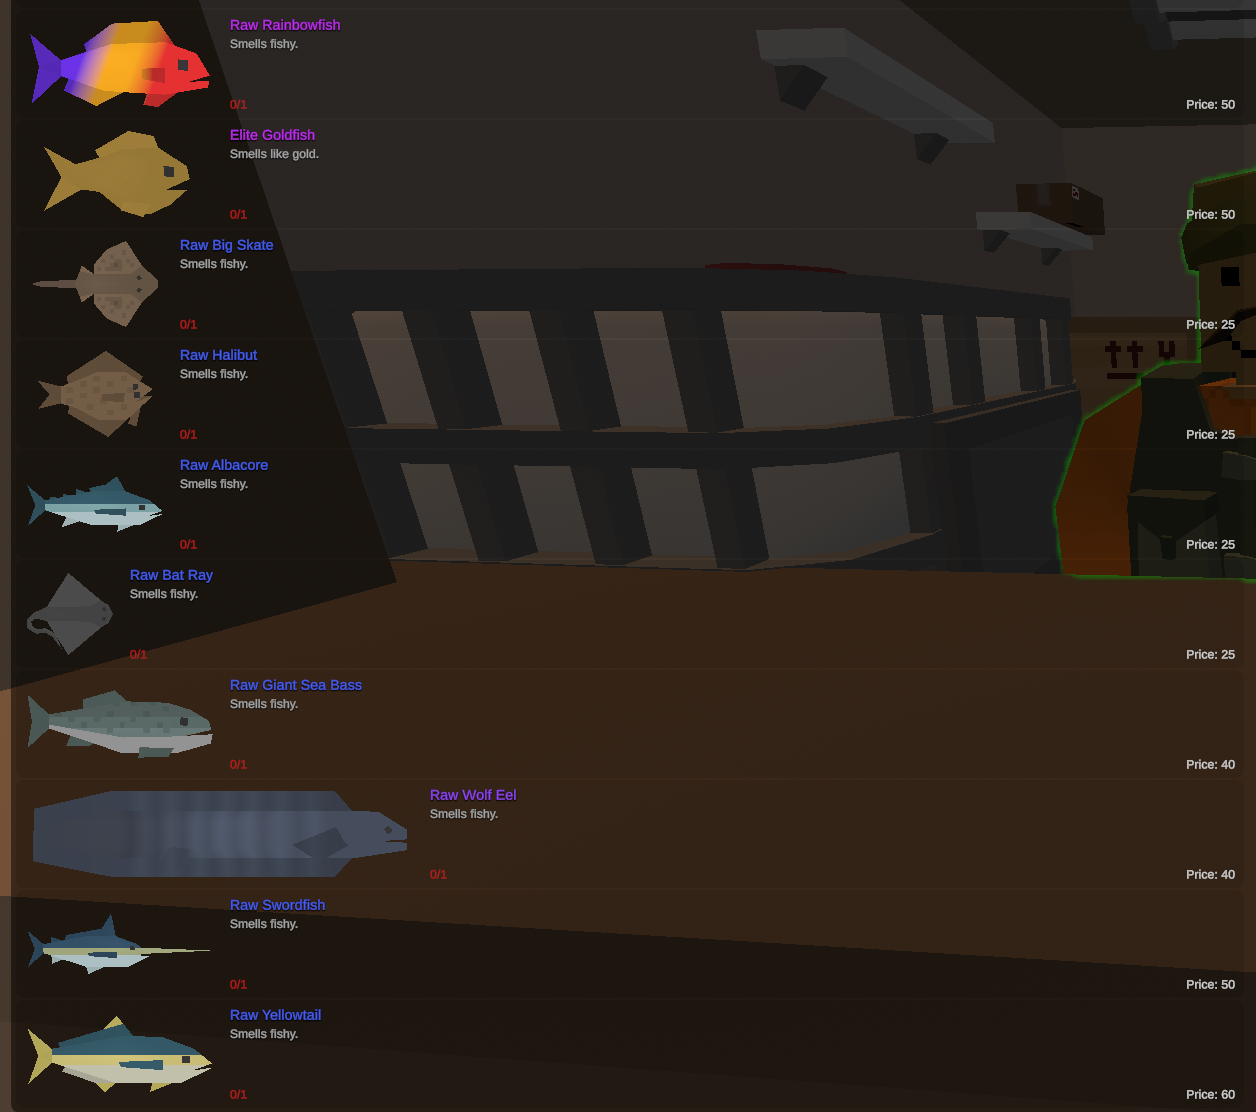
We may also receive items to upgrade our fishing rod (Each rod is unique and has an increased chance of catching a specific type of fish or item
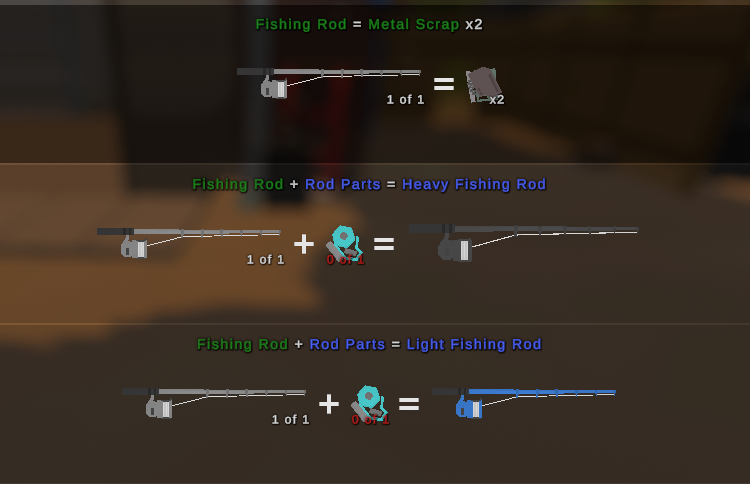
Upgrade the fishing rod, complete the 2nd quest, and unlock the Tier 3 shop
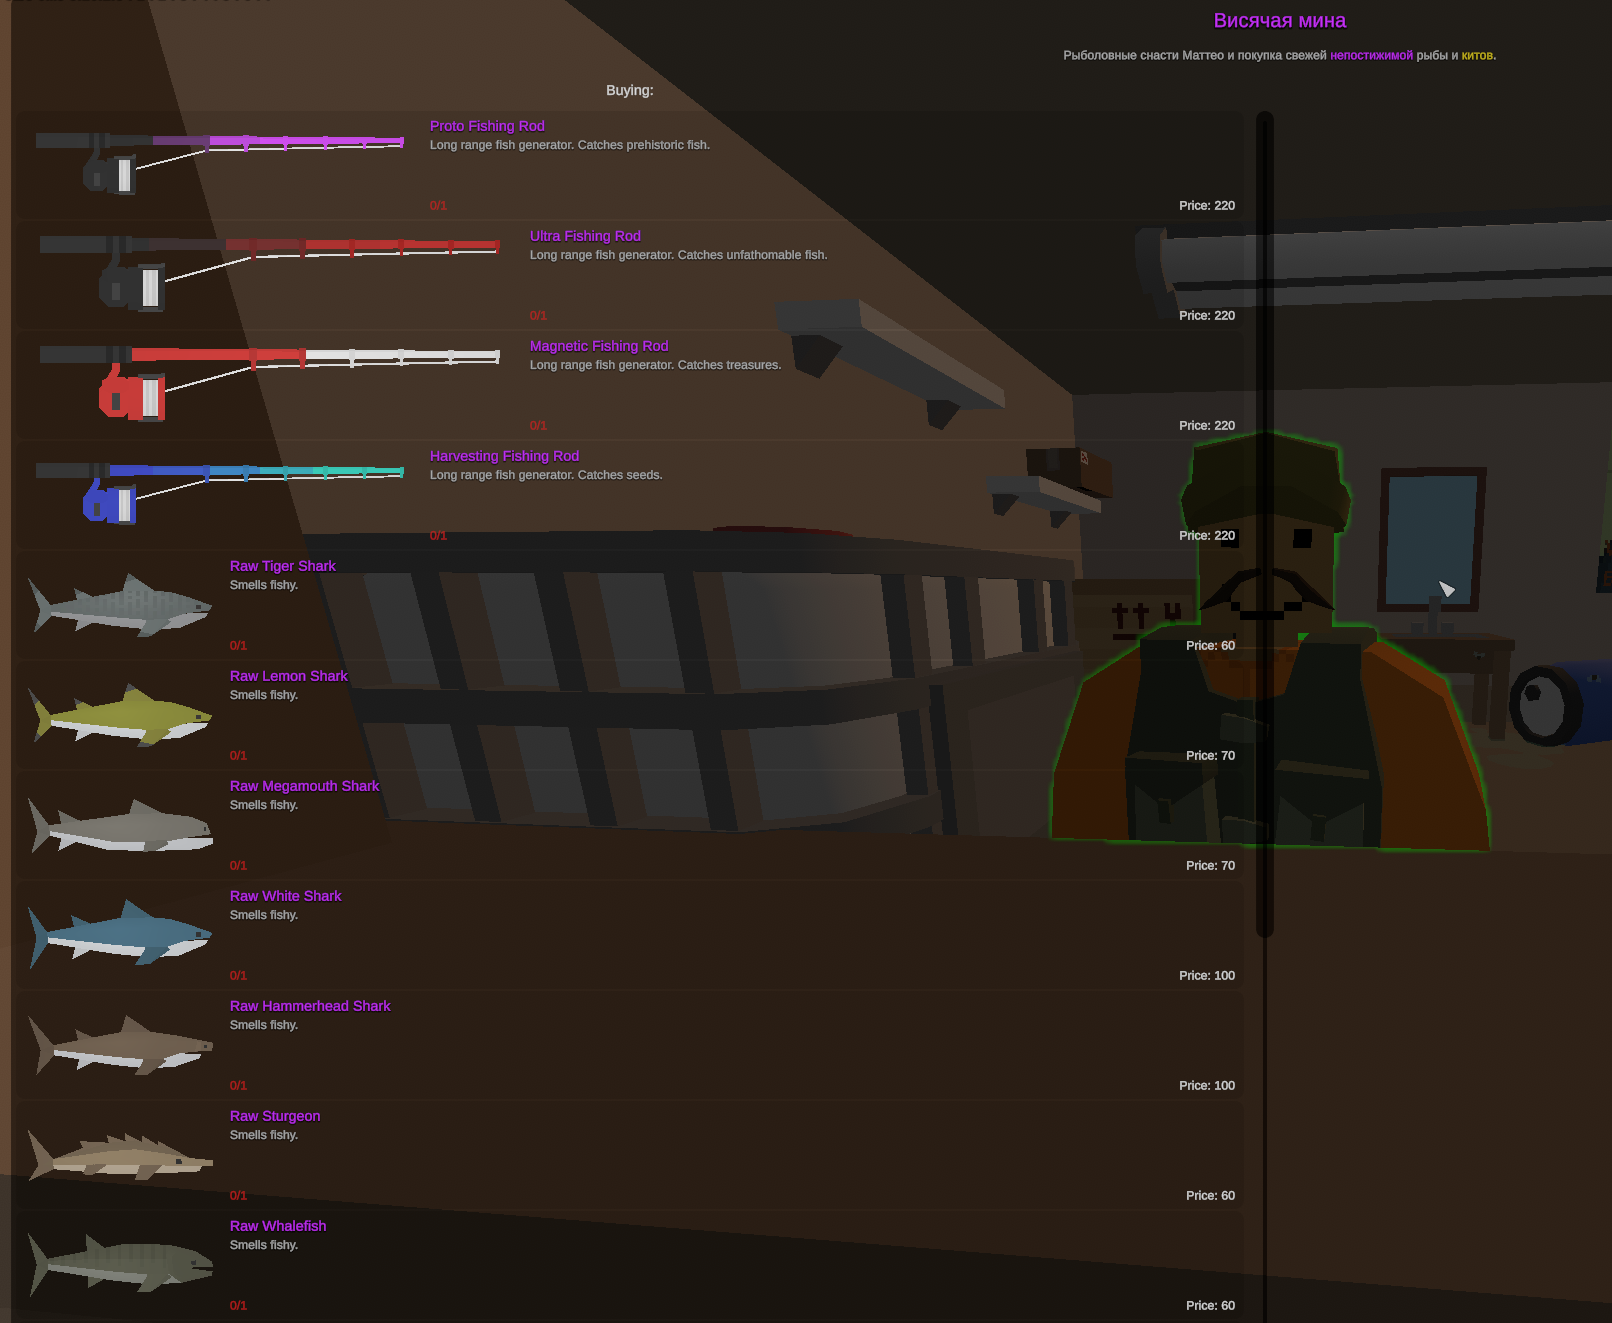
For more effective fishing, collect upgraded parts (they are already red) and choose a fishing rod that suits your style (the description of each rod specifies what it catches most effectively; for example, the Magnetic rod will catch items more often)
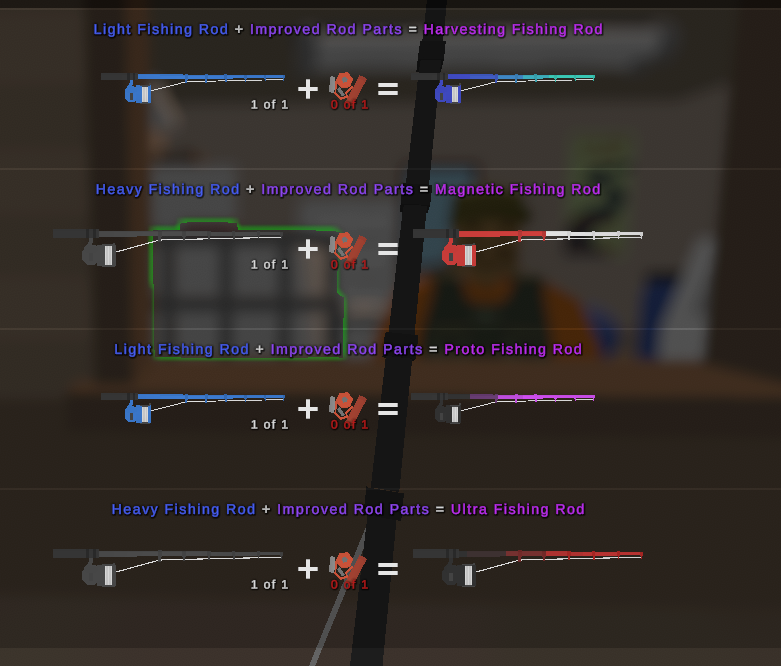
And if you really love fishing, you can combine all your rods into one to have a chance to catch whales

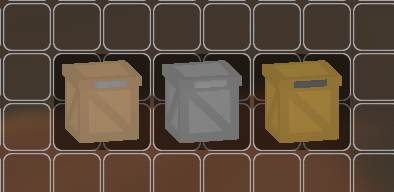
There’s a small chance the rod will catch one of three crates (Wooden, Iron, Gold). When opened, they often contain junk, but valuable items like filters can also drop.
Construction
There are 4 building materials on the map
- Wood
- Stone (Sandstone)
- Metal
- Concrete
The very first material we’ll use to build a house is easily obtained with an axe or chainsaw
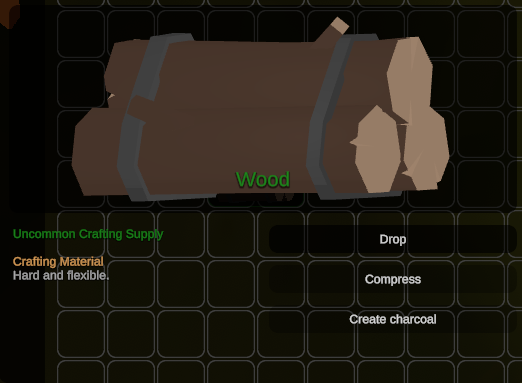 Wood can be stacked into piles of 20 units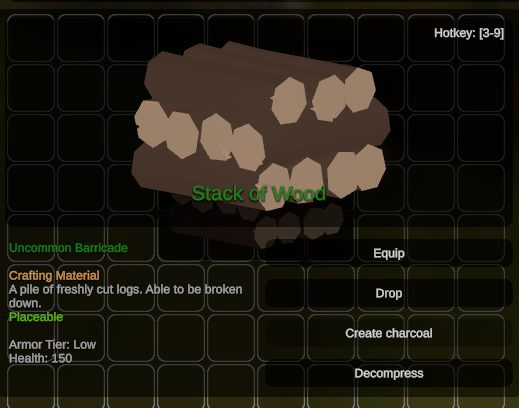
Appearance of wooden structures
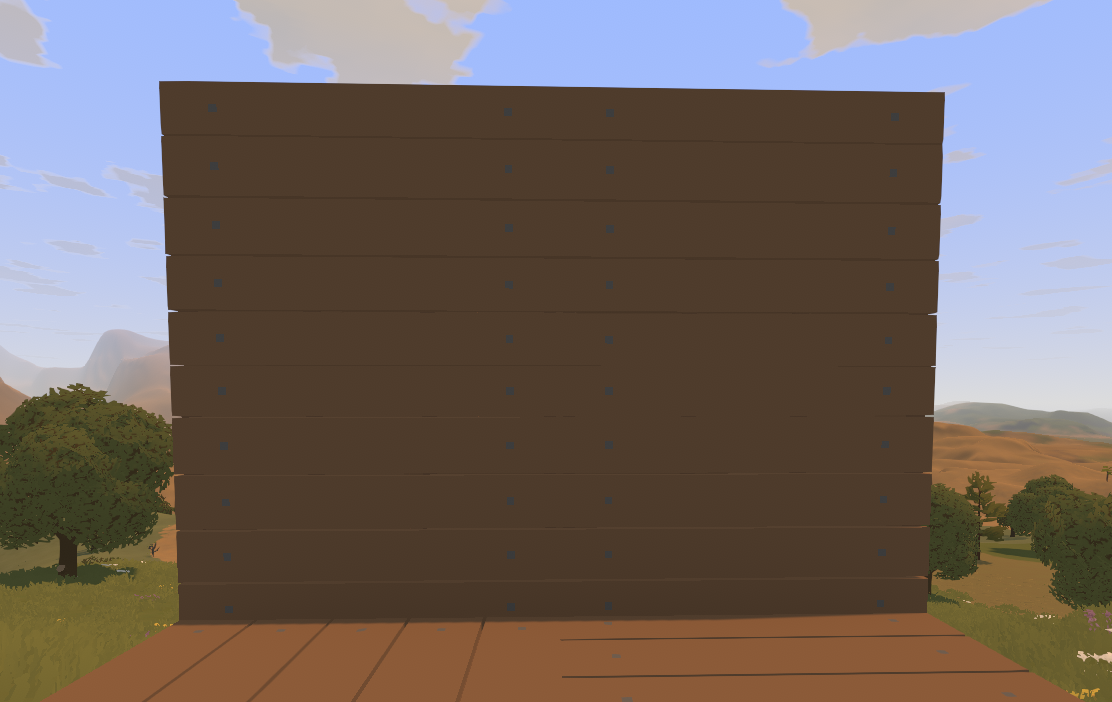 Wood durability - 450 HP
Sandstone can only be found in the desert biome (or purchased from an NPC in Bare Man)
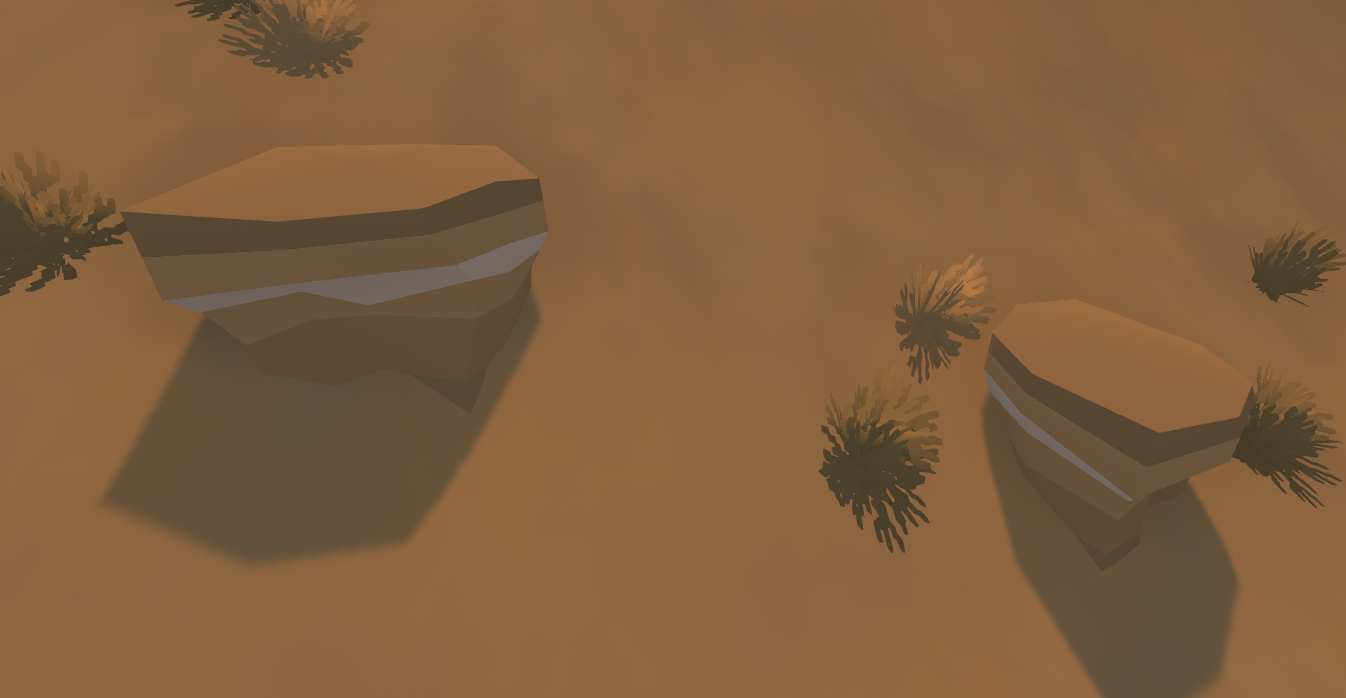
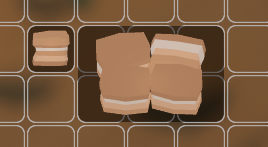
Mined with a pickaxe/drill and stacks in 15 units
 Appearance of sandstone structures
 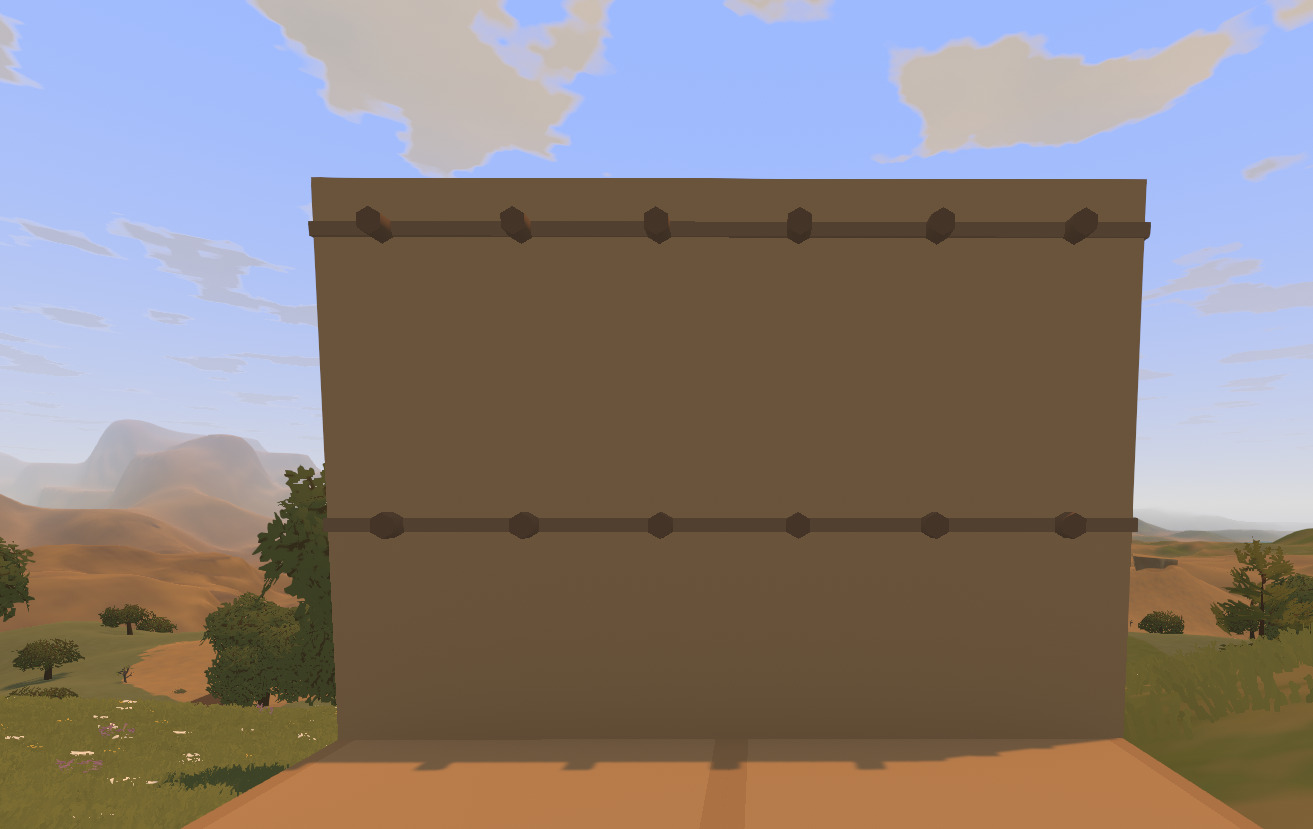 Sandstone durability - 900 HP
To craft metal structures, we need metal ore and coal to craft ingots or metal scrap/b]
Scrap metal can be obtained by dismantling items, mining it from ore, or purchasing it from an NPC in the location (Bare Man)
(Dust that drops from weapons can also be converted into metal using a blowtorch)
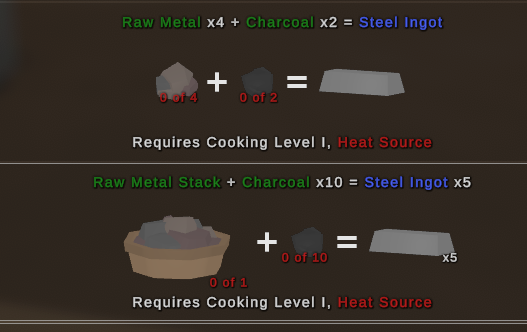
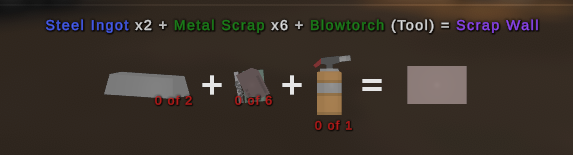 Appearance of metal structures
 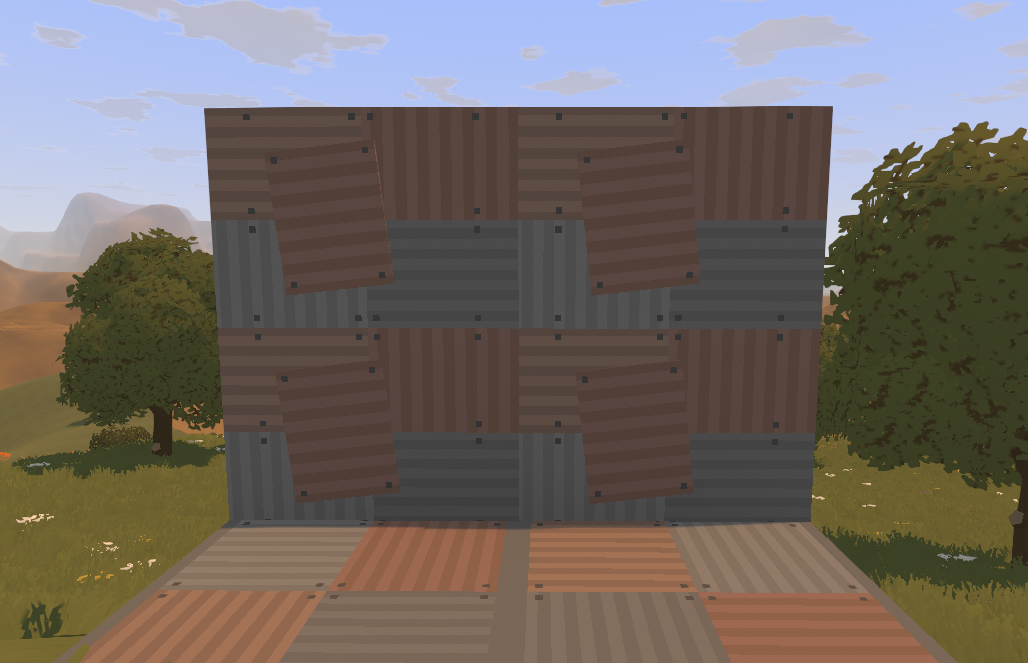 Metal durability - 2250 HP
Concrete is currently the best material on the map; it is required to upgrade metal structures to their concrete versions
To upgrade, you must use an metal structure, steel, and concrete
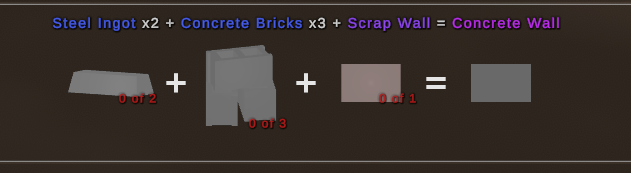
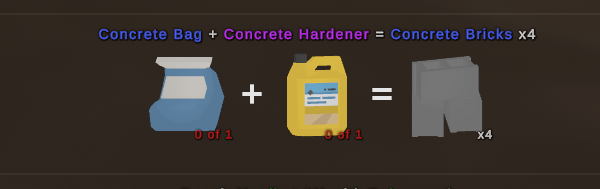
To make concrete, you need to find two components: cement and mortar
Concrete Bag can be found everywhere on construction sites, Concrete Harder can be found in level 2 and higher dead zones
Concrete Bag and Concrete Harder also drop from Horde Beacon
 Appearance of concrete structures
 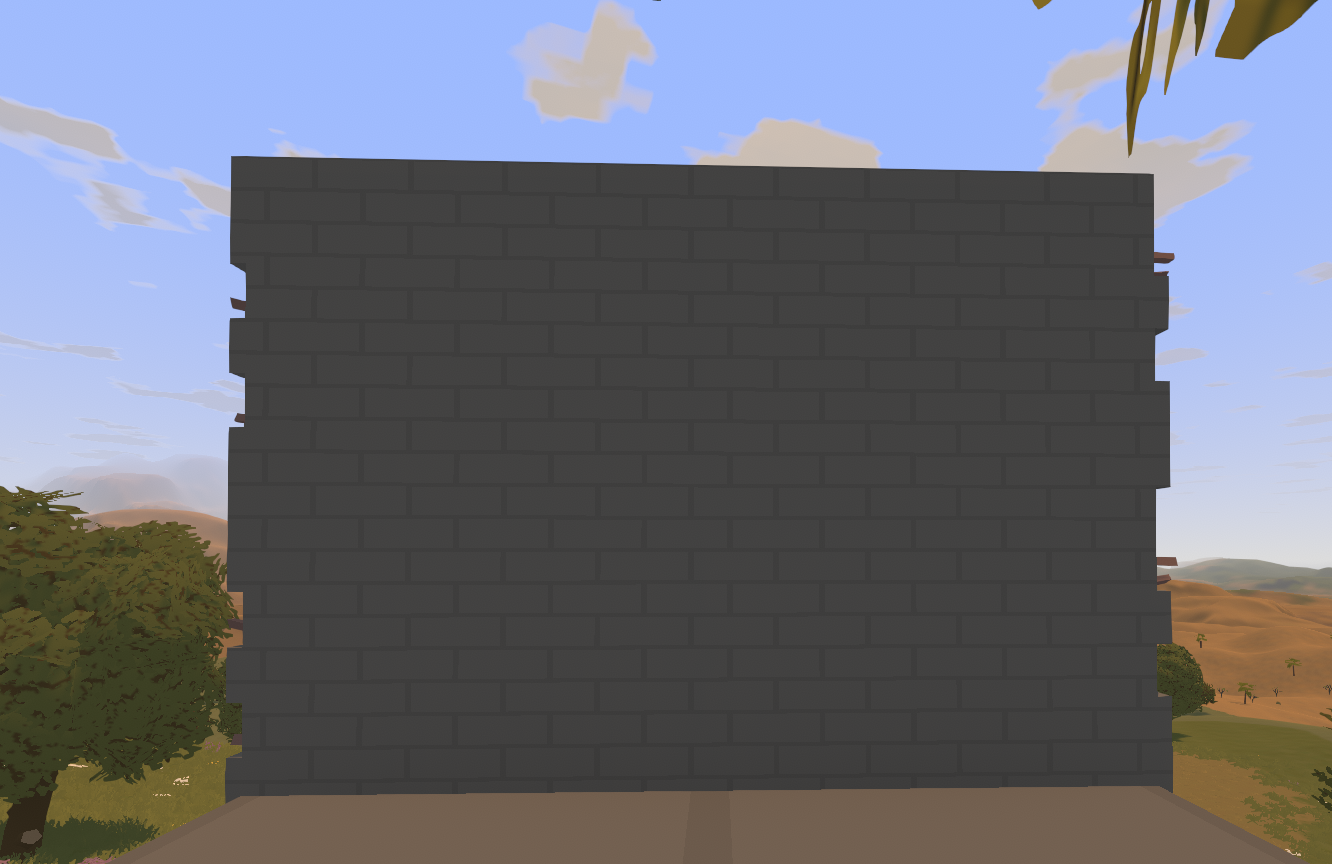 Concrete durability - 3375 HP
You can use any material to build a barricade in the form of a fence or gate; sometimes this is more useful than constructing a regular building
Generators, turrets, etc.
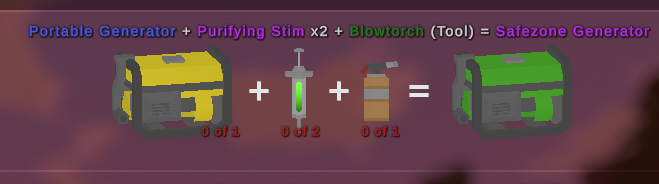 Disables the spawning of zombies and items within a specified radius; requires a generator to function
 Standard Generator - Runtime of 11 hours when fully fueled
 Upgraded generator, has a larger operational radius, runtime: 222 hours
 When destroyed, it explodes, dealing significant damage to surrounding structures and barricades
 Sentry parts spawn at military bases and also drop from military mega zombies
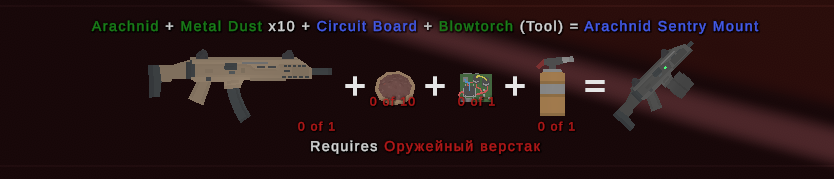
 As for its weapon, it’s best to equip it with a special sentry gun called Arachnid Sentry Mount; this weapon spawns in civilian locations
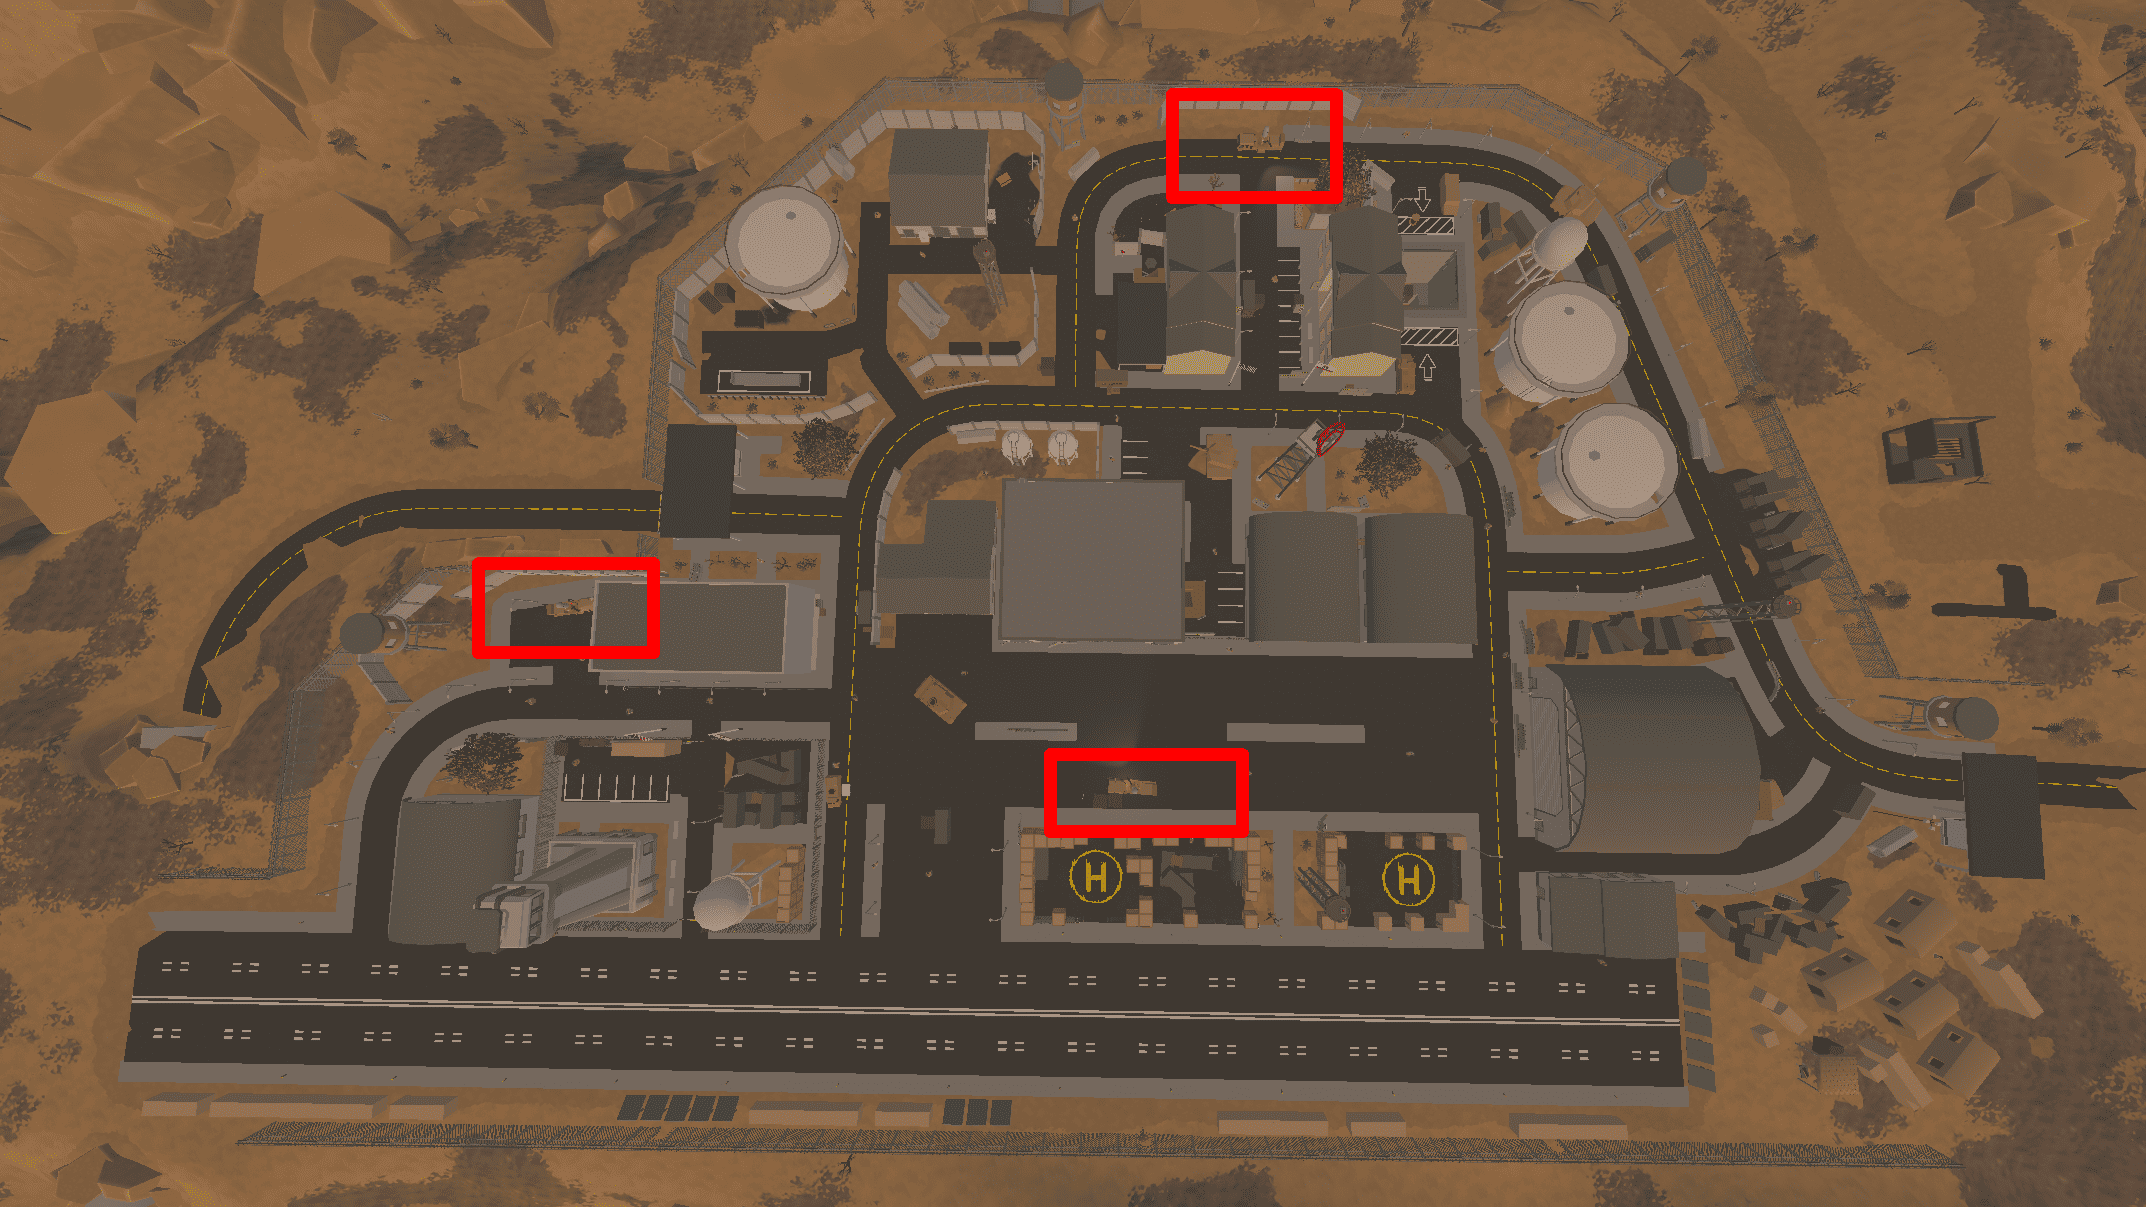
To destroy them, you must either use explosives or craft Raufoss rounds for large-caliber sniper rifles and try to shoot them down; it usually takes 3–5 shots, after which you’ll drop either a part for crafting a turret weapon or the turret’s body itself, the odds are 50/50
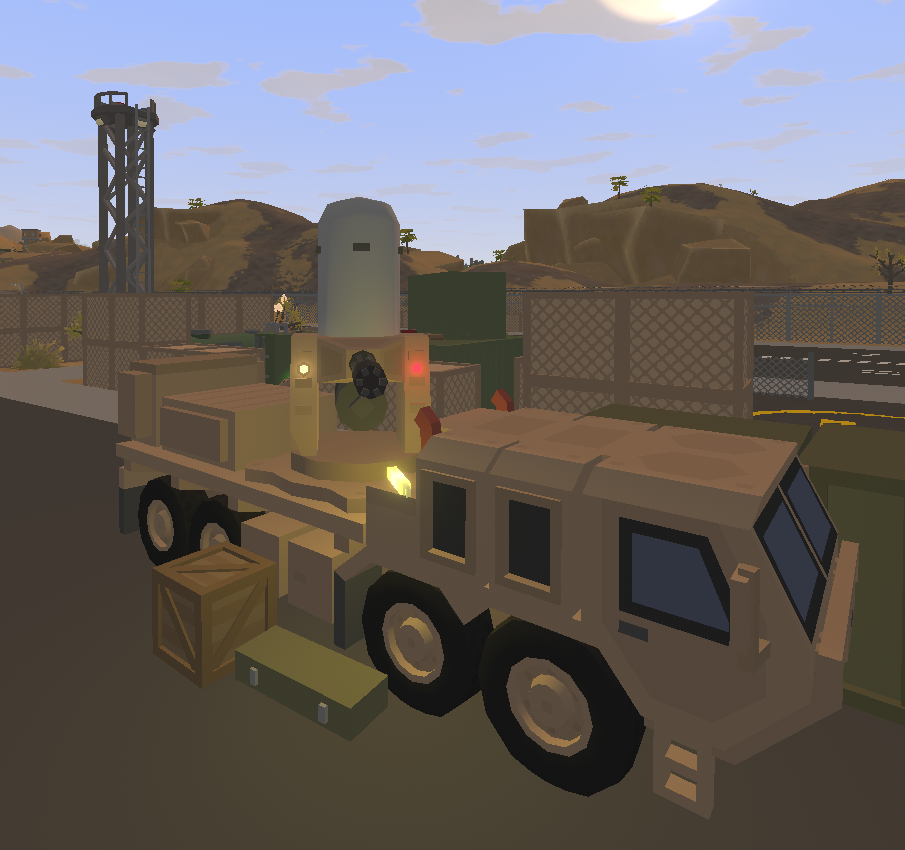
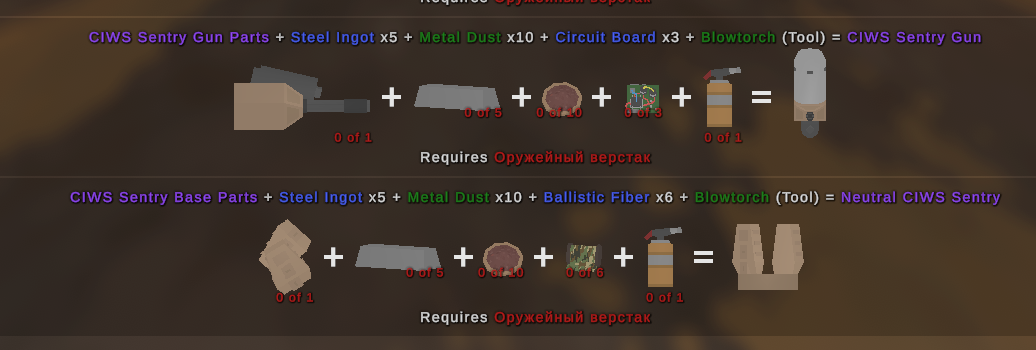
Durability: 1,500 HP (Crafted version)
Oil
Particularly large oil deposits are visible directly on the map, but most of them are hidden in caves.
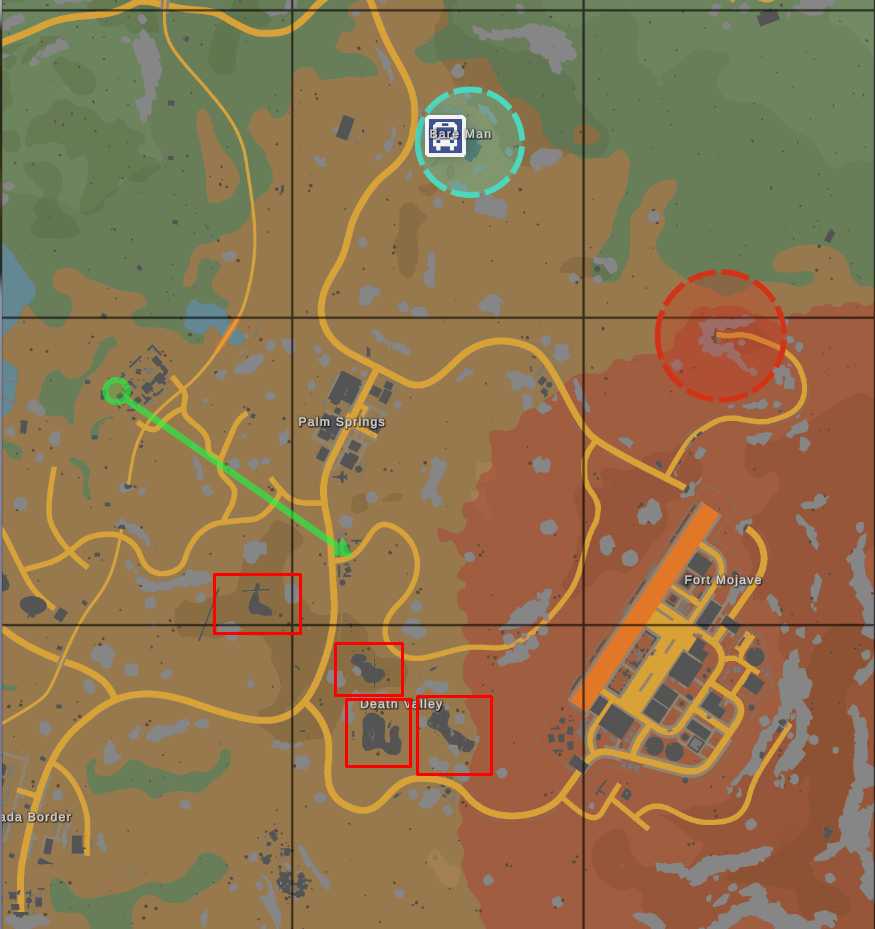
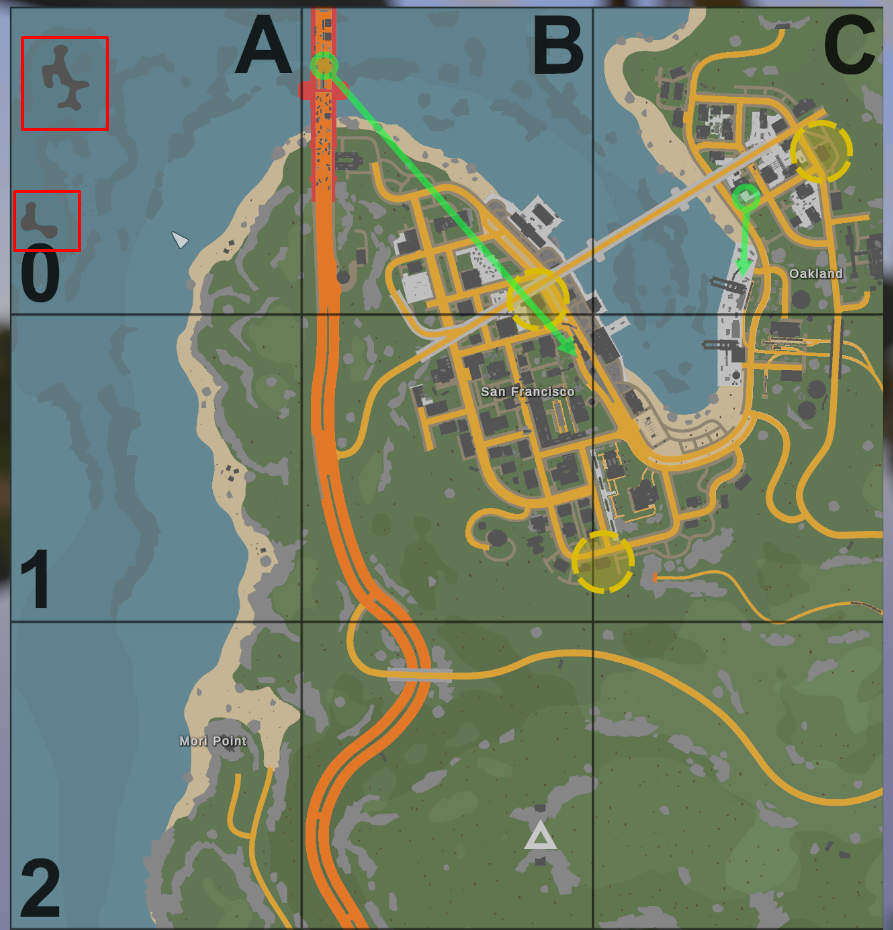 To reach an underwater deposit, you will most likely need diving gear
 It’s slippery and has an ice effect; each “Deposit” contains 3–6 oil spawn points—you just need to approach the bubbles and collect the contents
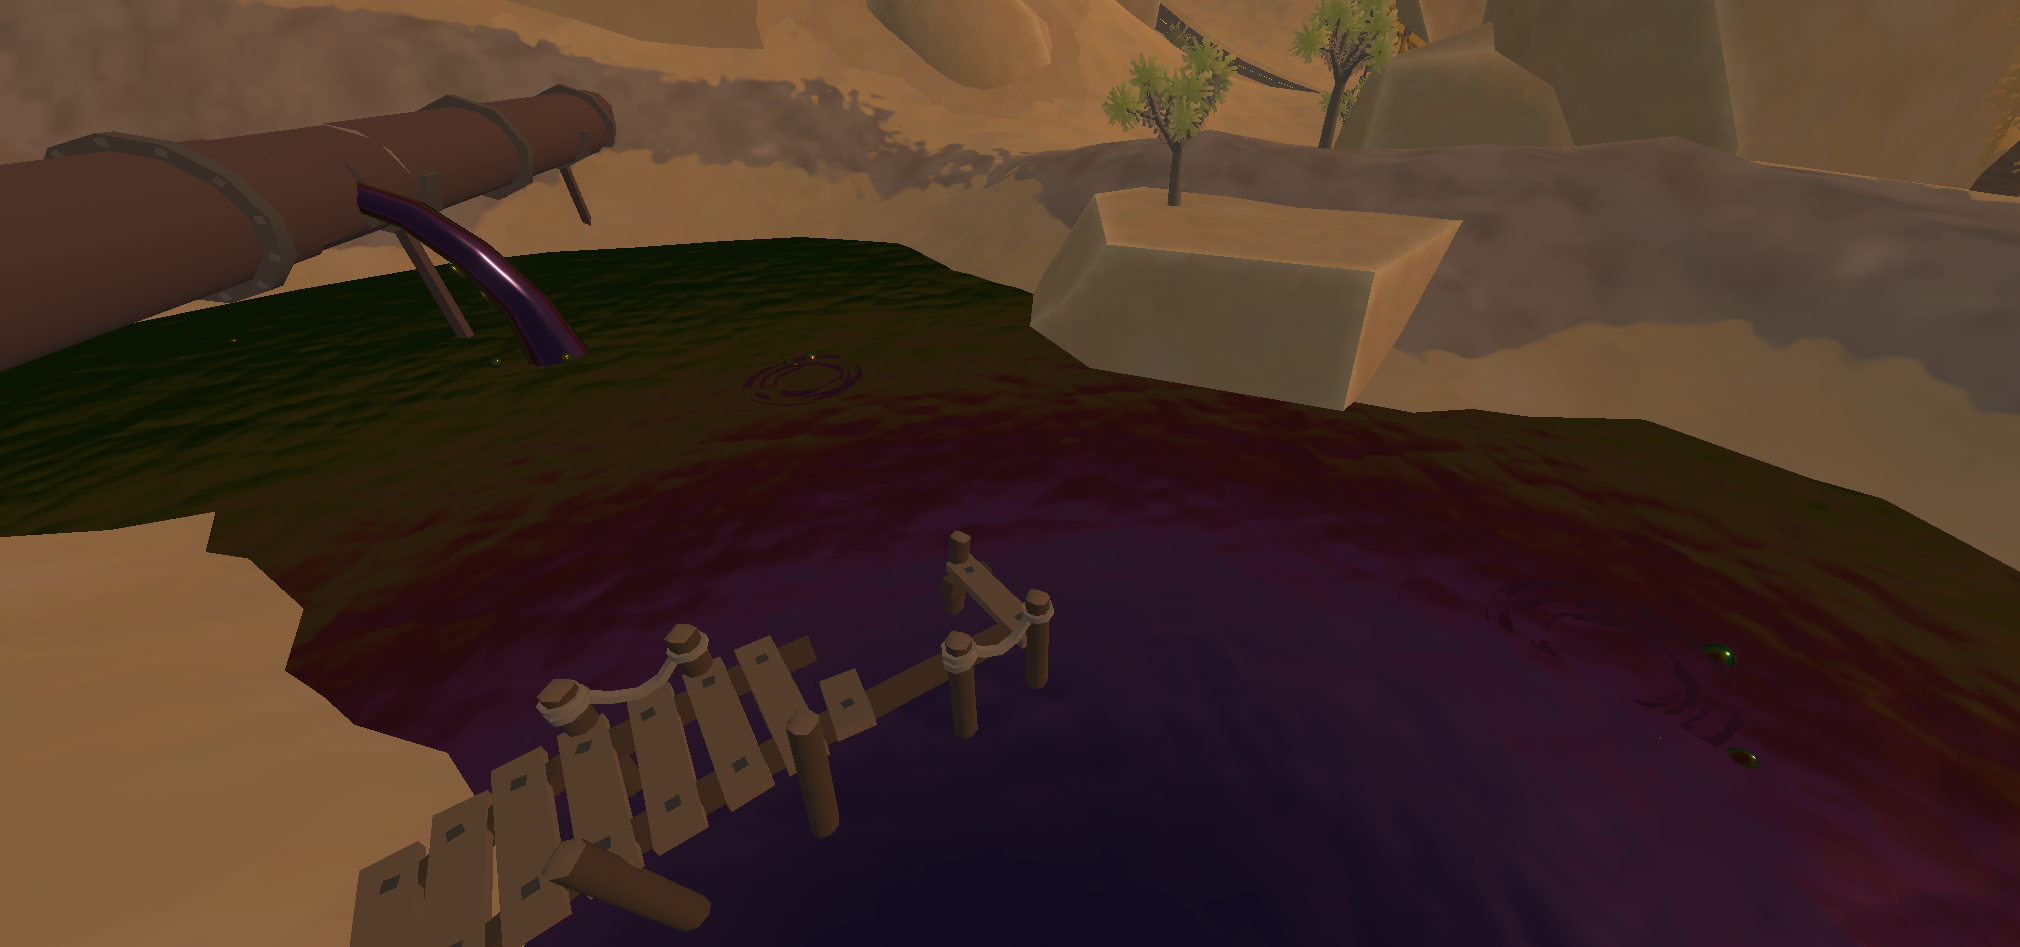
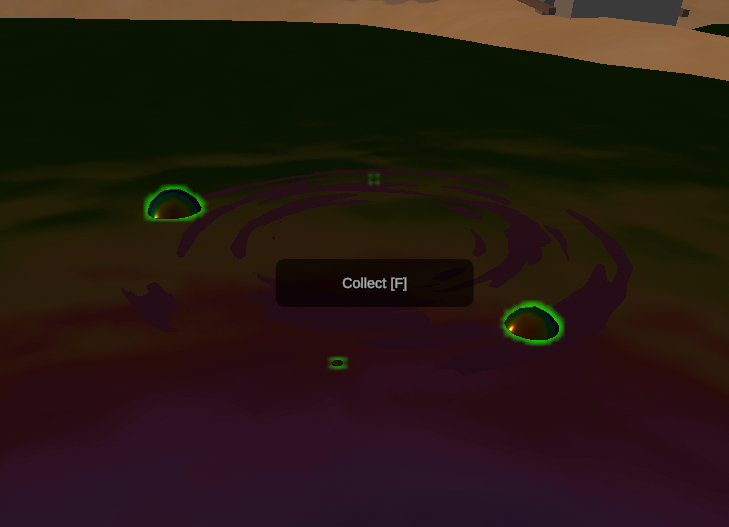
When collected, we get Tar; from this, we can choose to make Glue, Tape, or Rubber
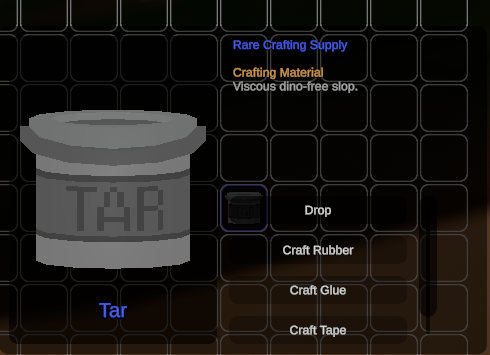
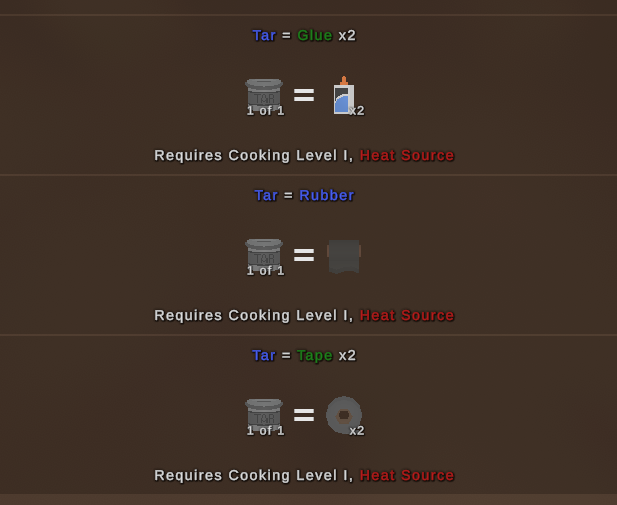
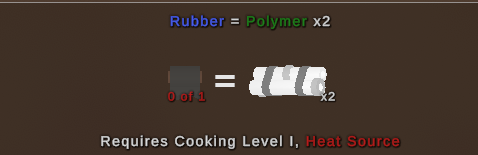
Rubber is more valuable here; it can be used to make polymer, which is needed to craft many items
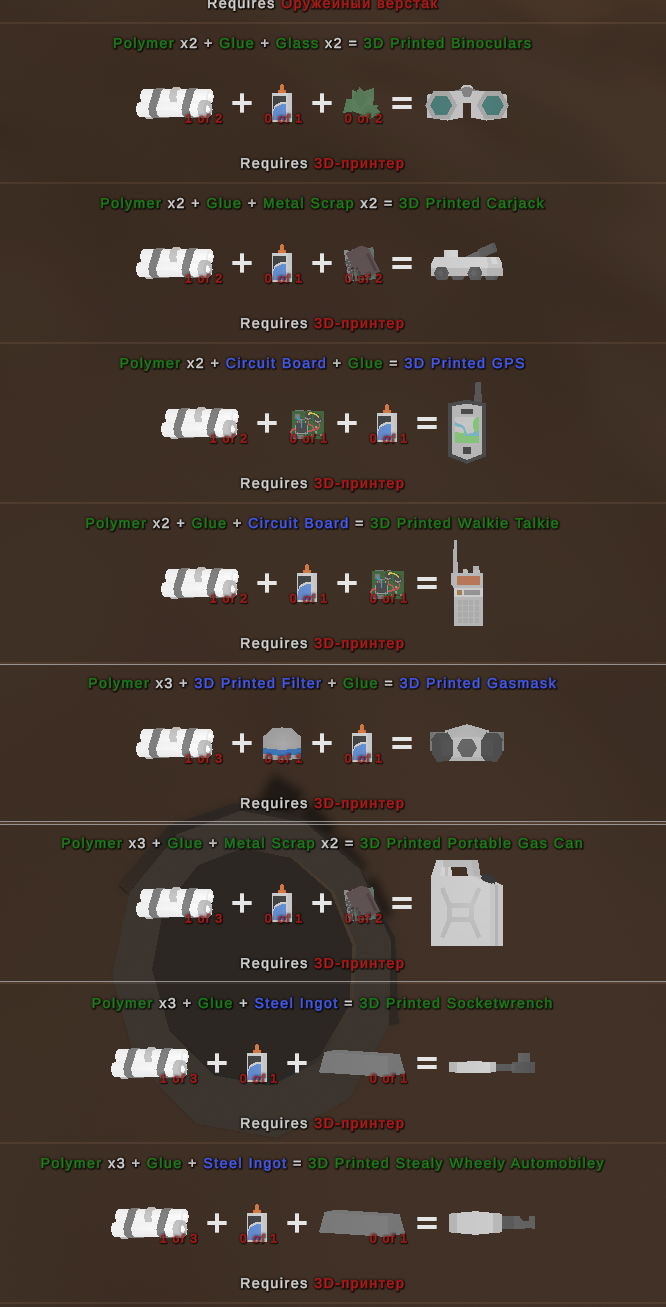
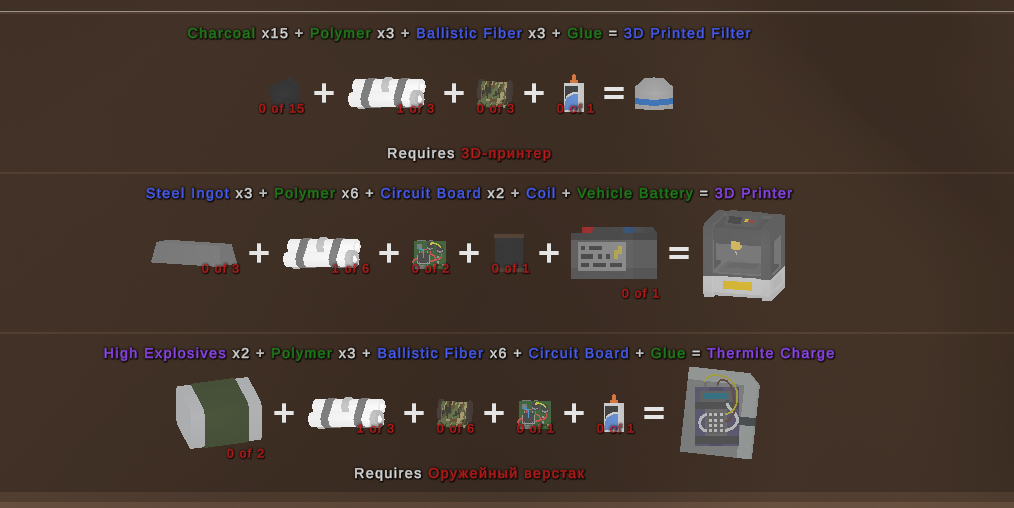
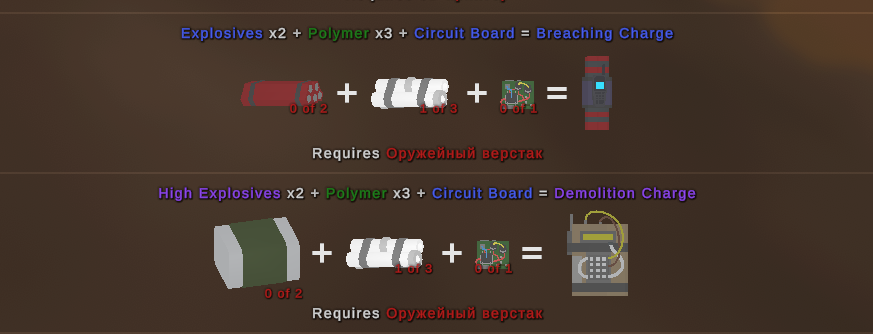
It is used both in crafting homemade useful items and in basic items such as filters or explosives
Deadzones
We have 3 levels of dead zones.:
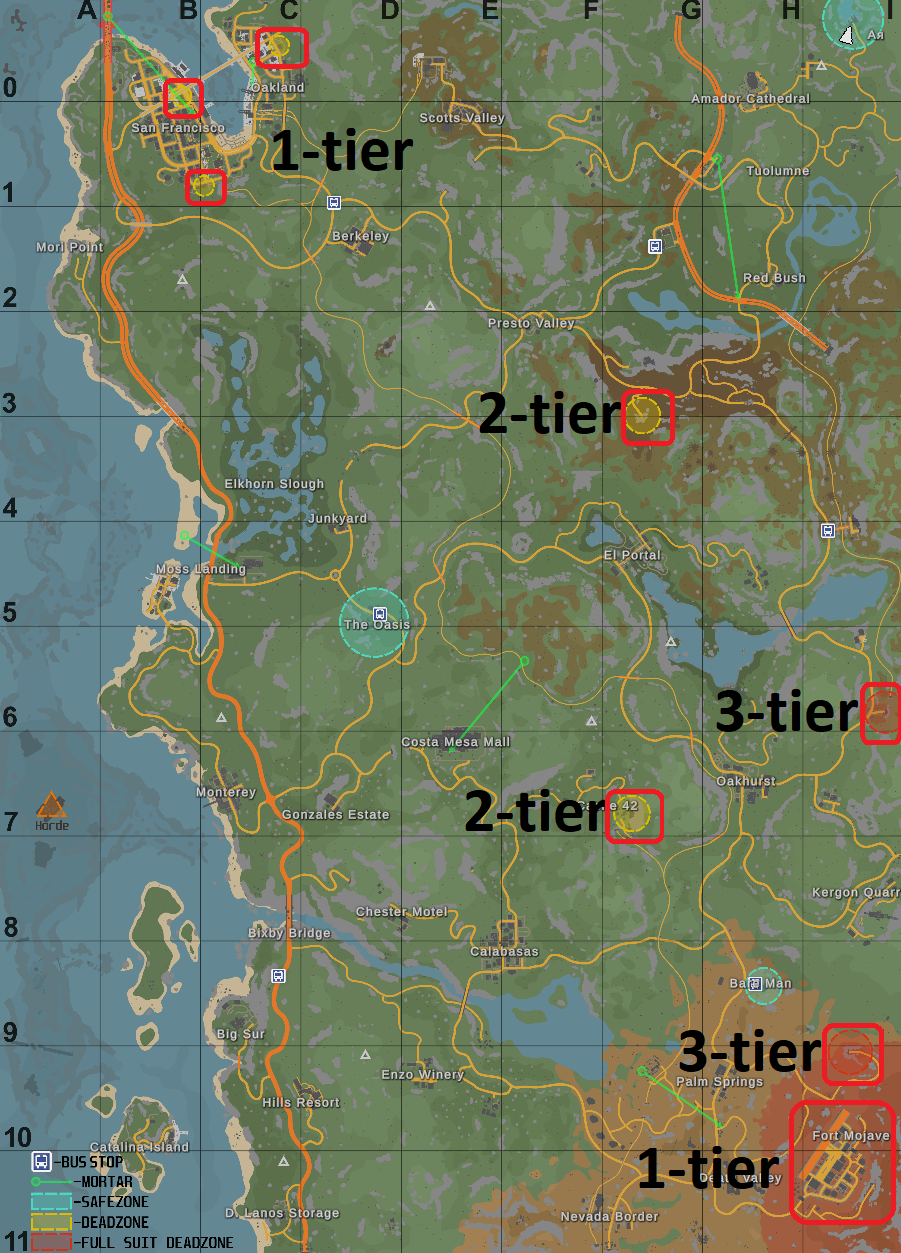
- 1st level requires only a gas mask
- Level 2 requires a gas mask and a level 2 access card
- Level 3 requires a gas mask, full chemical protection, and a Level 3 card
First of all, where can I get a gas mask?
The fastest way to find a gas mask is to go to the fire stations to look for it
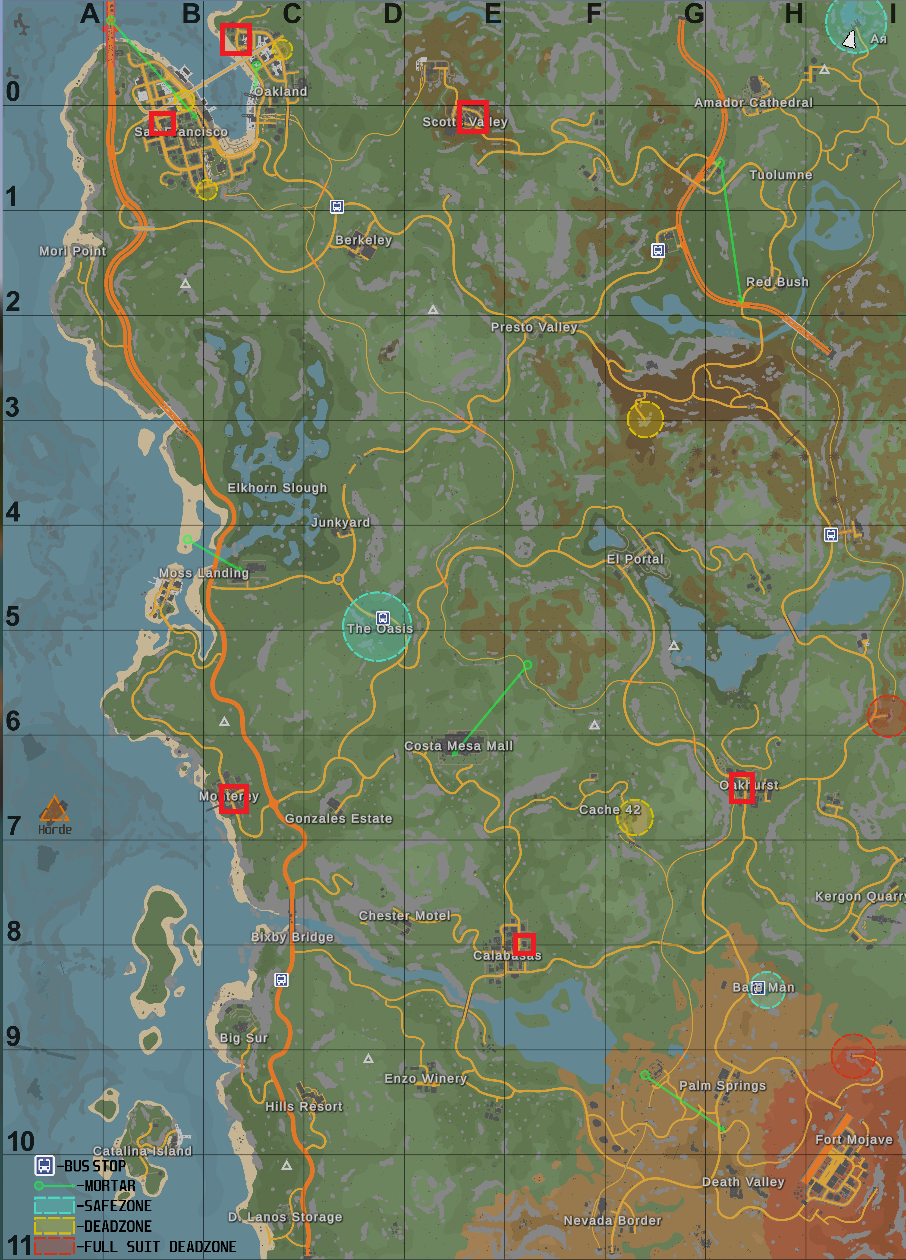 A map where you can probably also find yourself, police and mafia locations
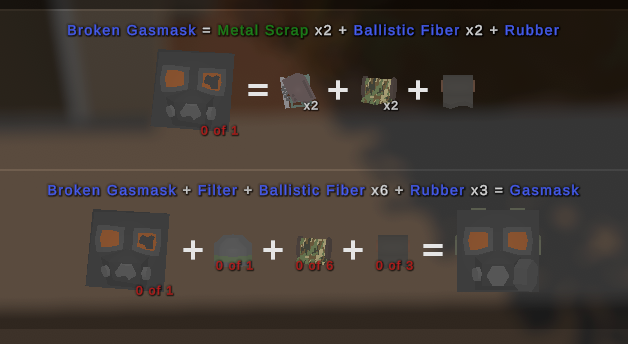
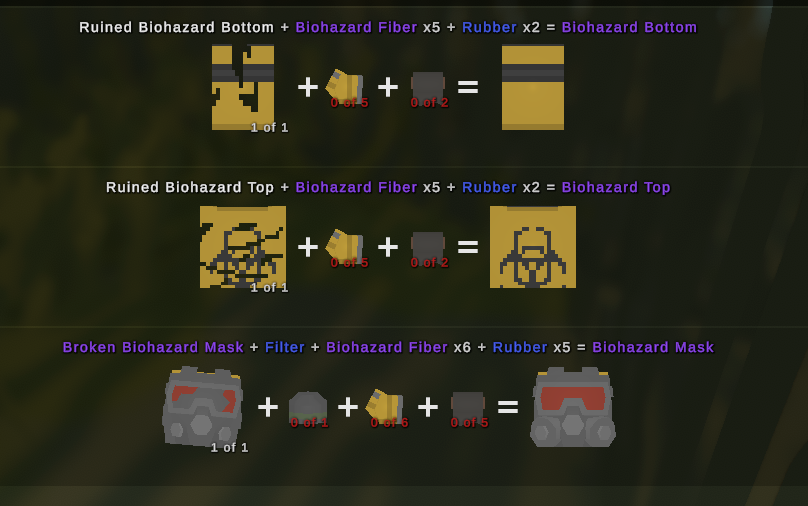
 First we look for a broken gas mask and filter, then we craft a whole gas mask
 (Ballistic Fiber is obtained from scrap of military clothing, Rubber is spawned in military locations, and is made from oil)
 There is also a homemade gas mask, but it has the disadvantage that it is spent very quickly, you can also craft a filter, it does not differ from the usual one, because the gas mask consumption depends on the mask itself and it does not matter which filter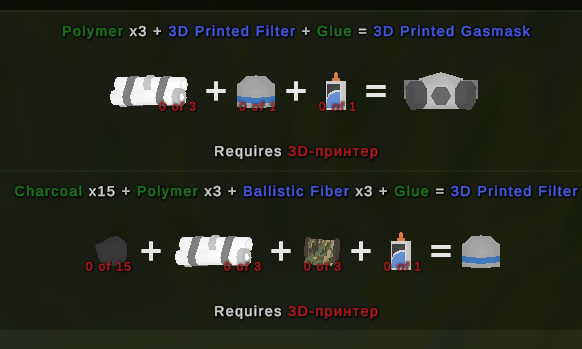
You can now visit Level 1 Dead Zones; two locations will be available to you
The first is Fort Mojave
The second is the San Francisco Metro
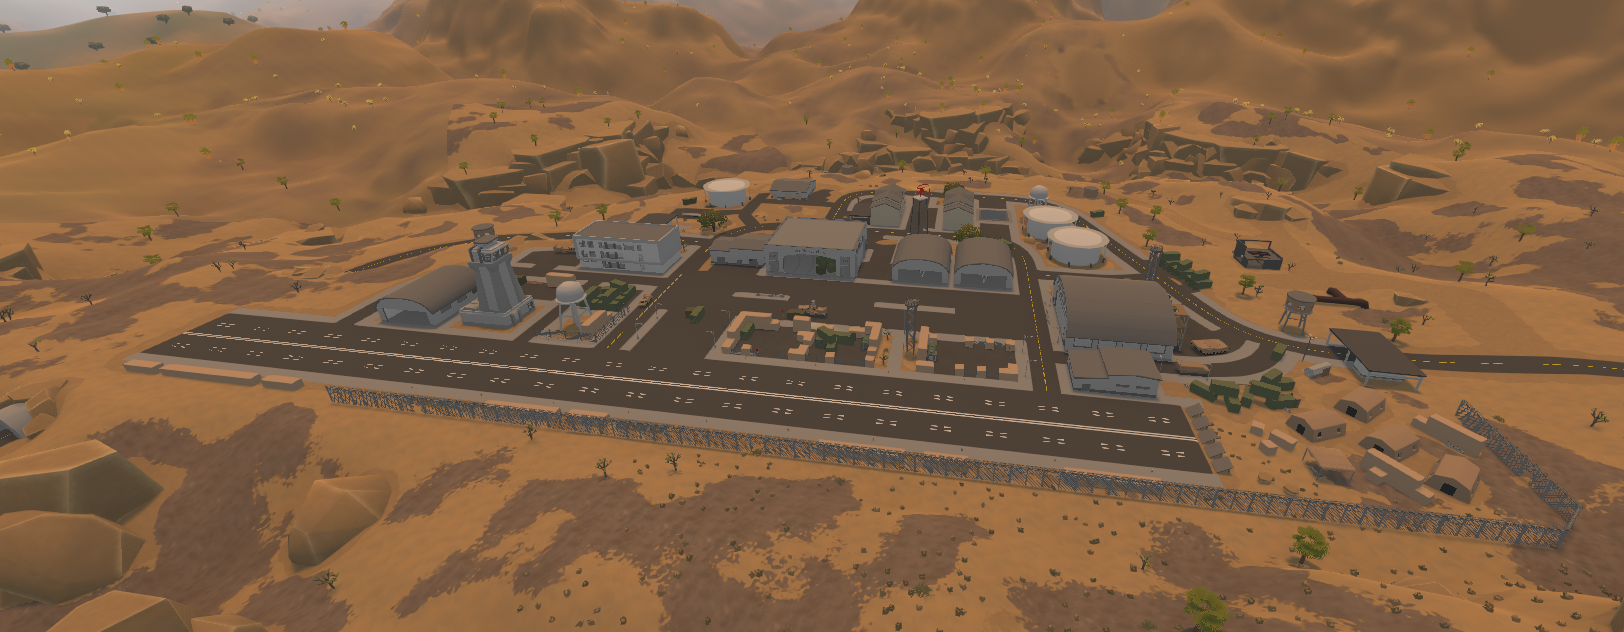
There are 3 turrets on the grounds that guard the perimeter and can kill you if they detect you
The military base has an underground reactor where Level 1 and Level 2 cards spawn
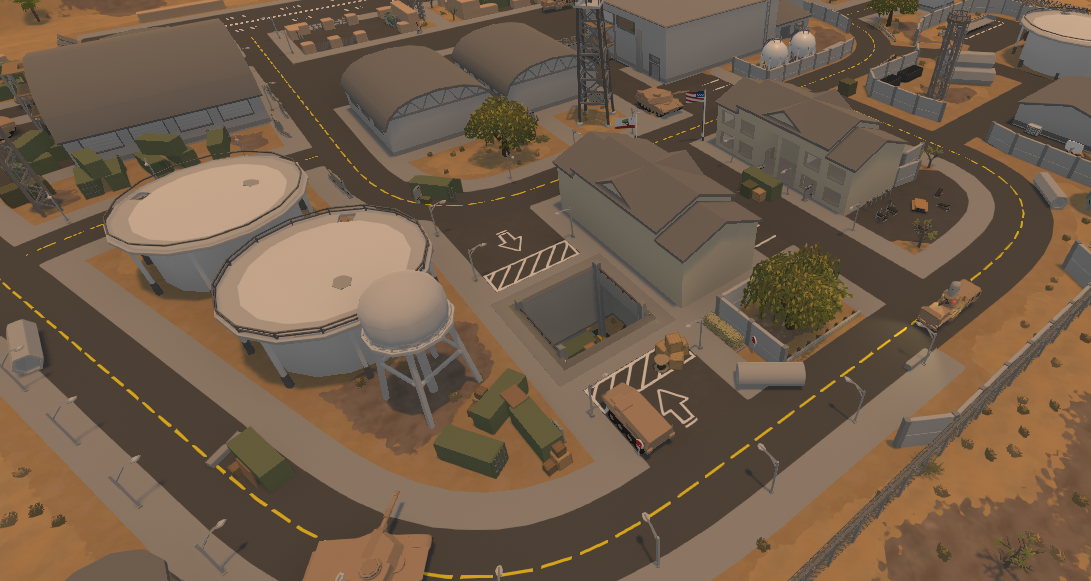
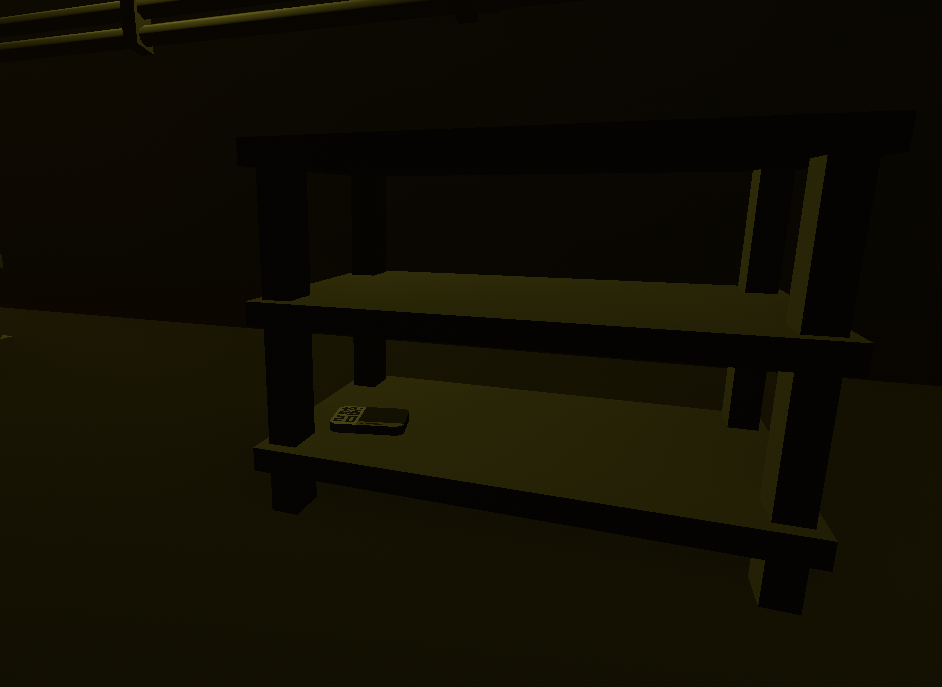
The 1st tier card is required to open the 1st-level doors (These rooms are located throughout the map and do not have a dead zone)
The 2nd tier cards are needed to enter the 2nd tier dead zone
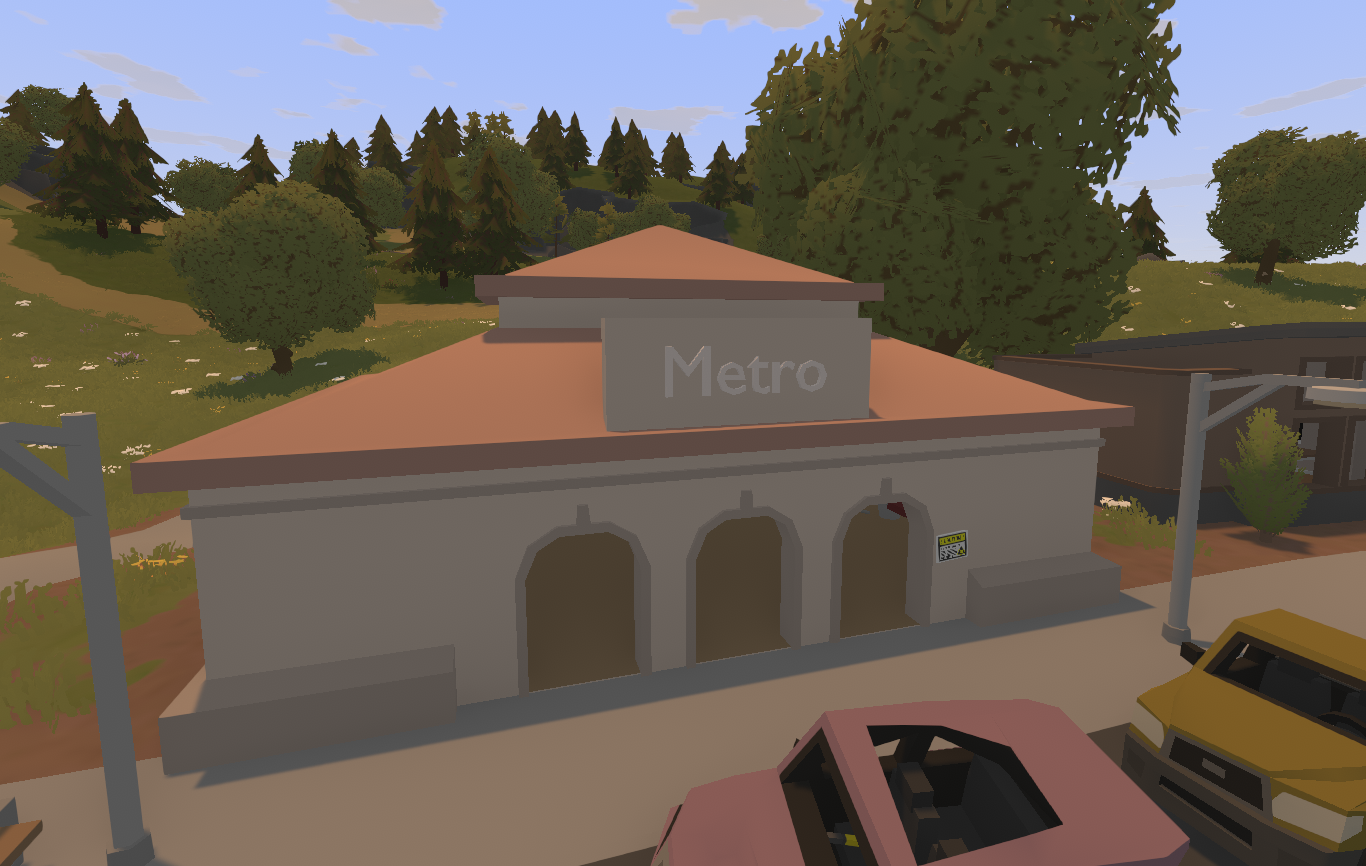 One of the most beautiful locations on this map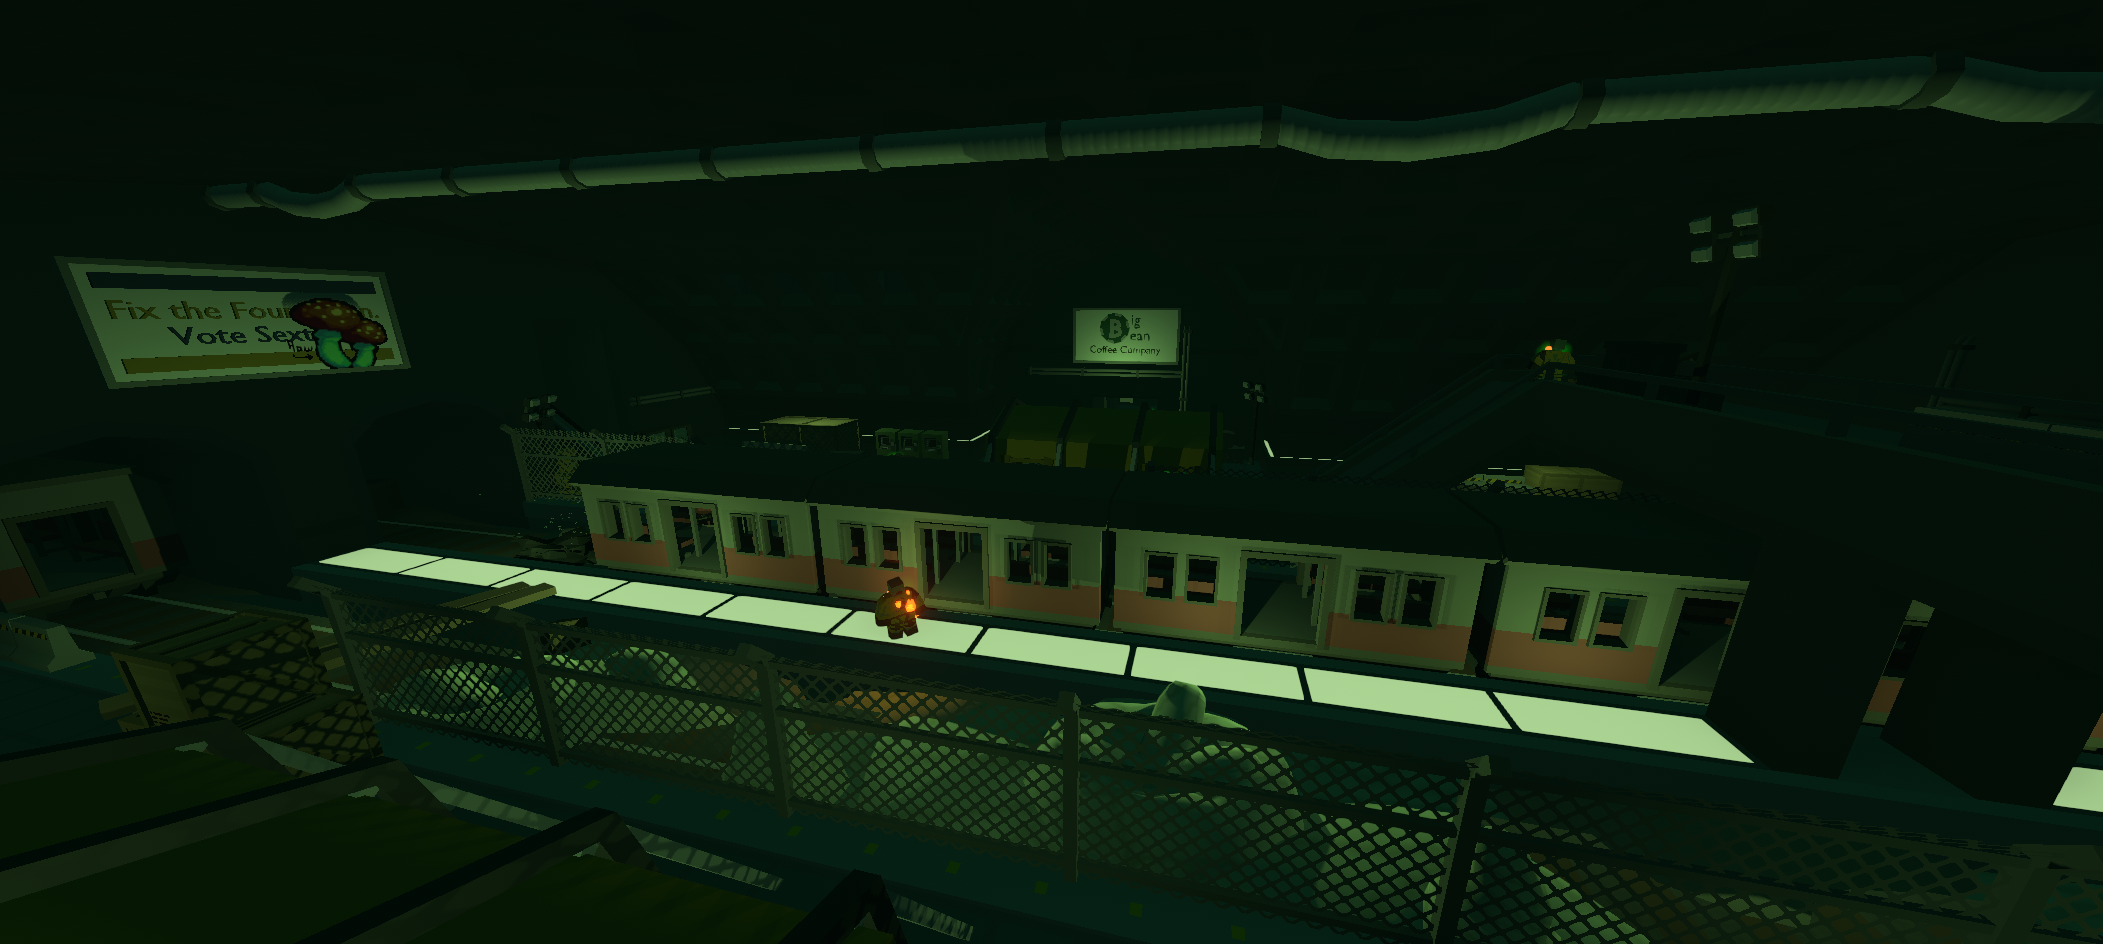
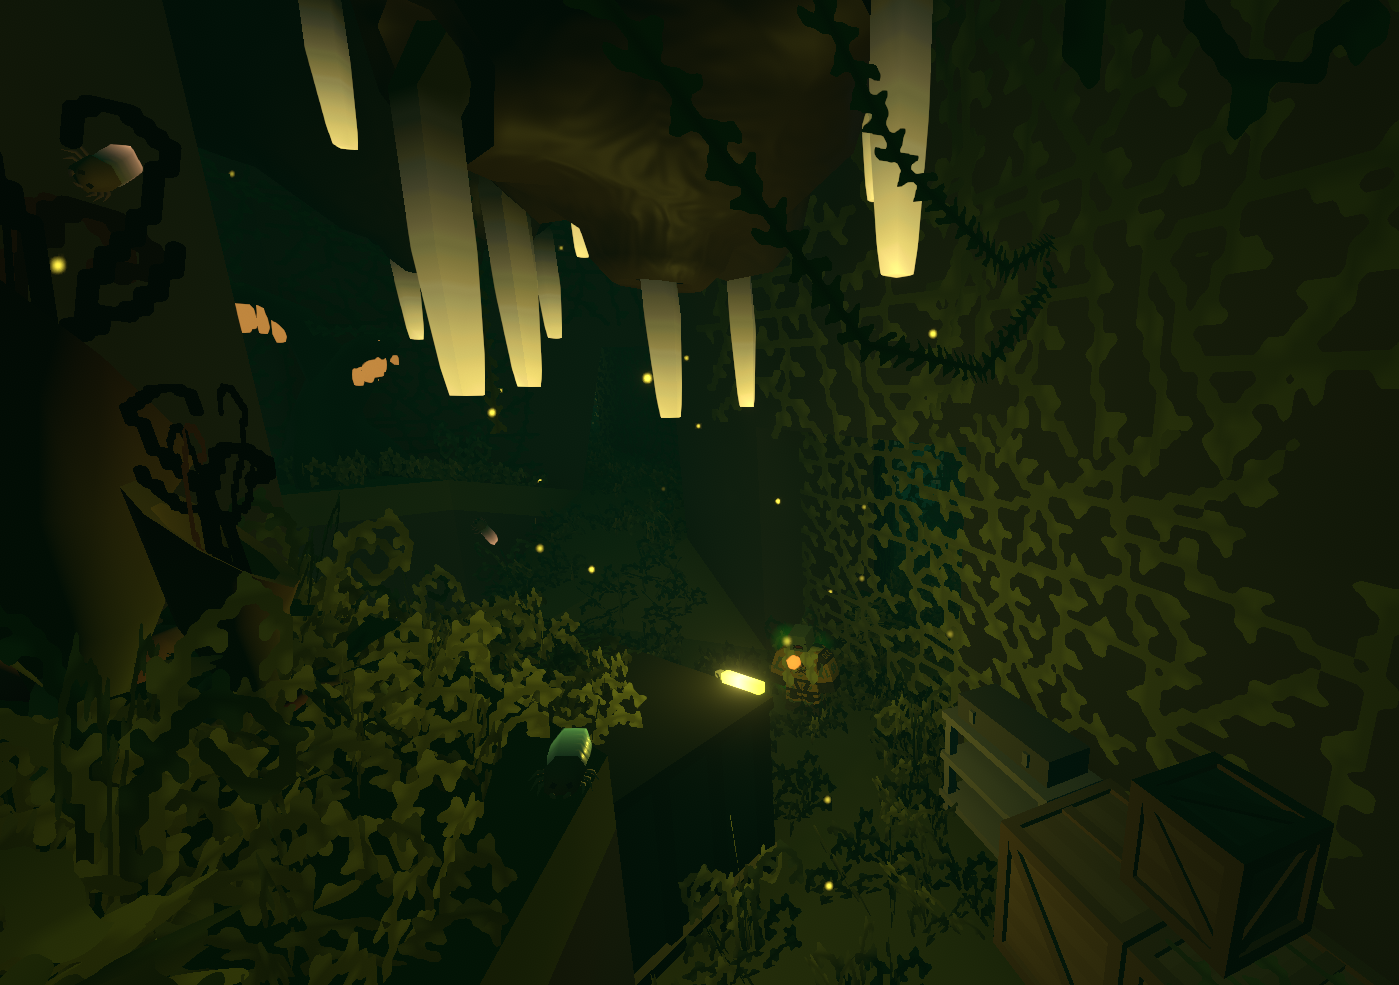
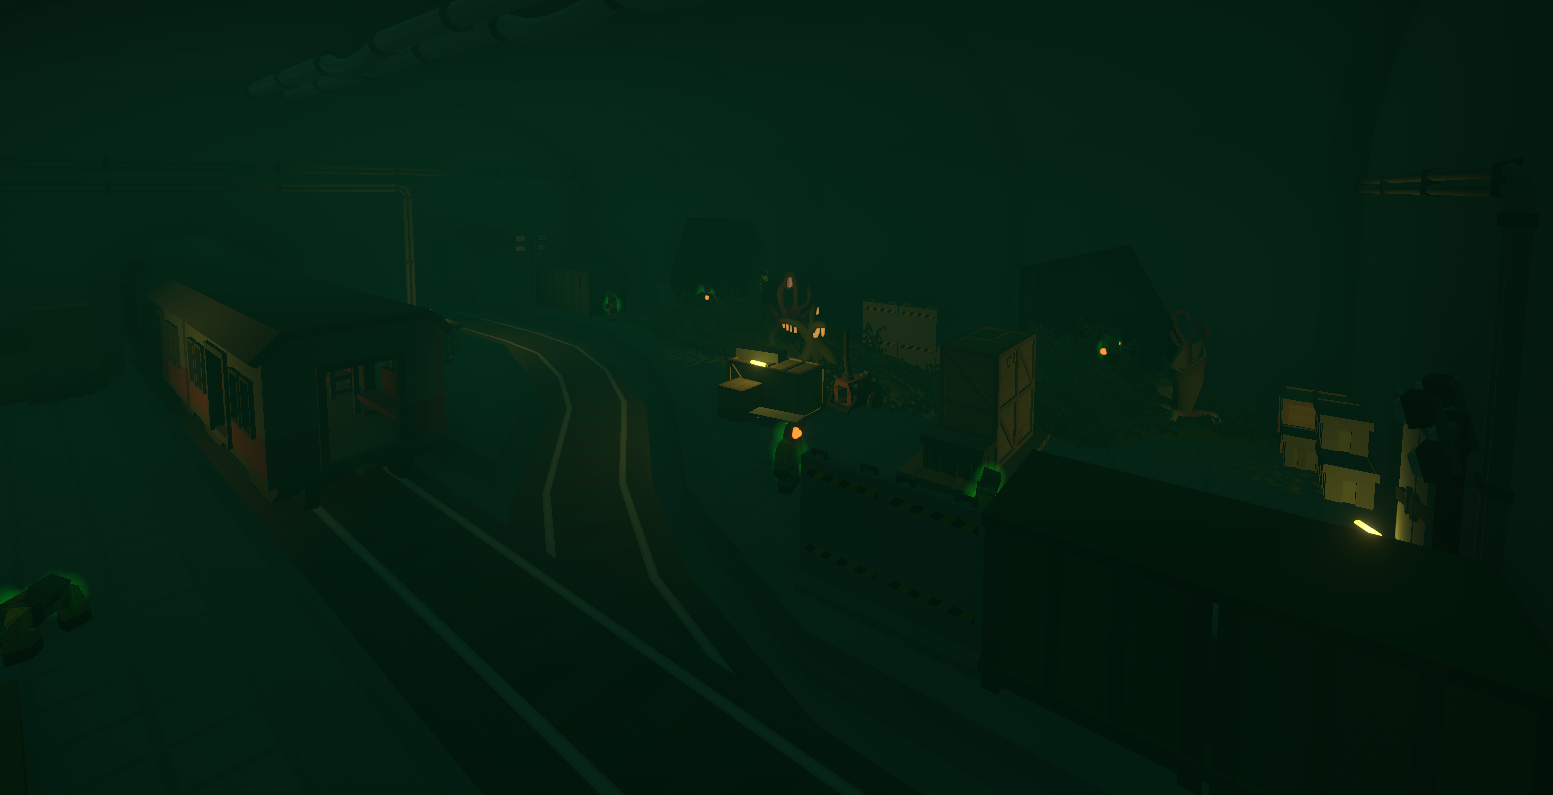
The point of this location is that components needed to visit the 3rd tier dead zone spawn here, along with a torn hazmat suit and an upgraded gas mask
The 2-tier zone, where we'll need a 2-tier map, is located in the Burnt Forest and is called Delmarva Bunker
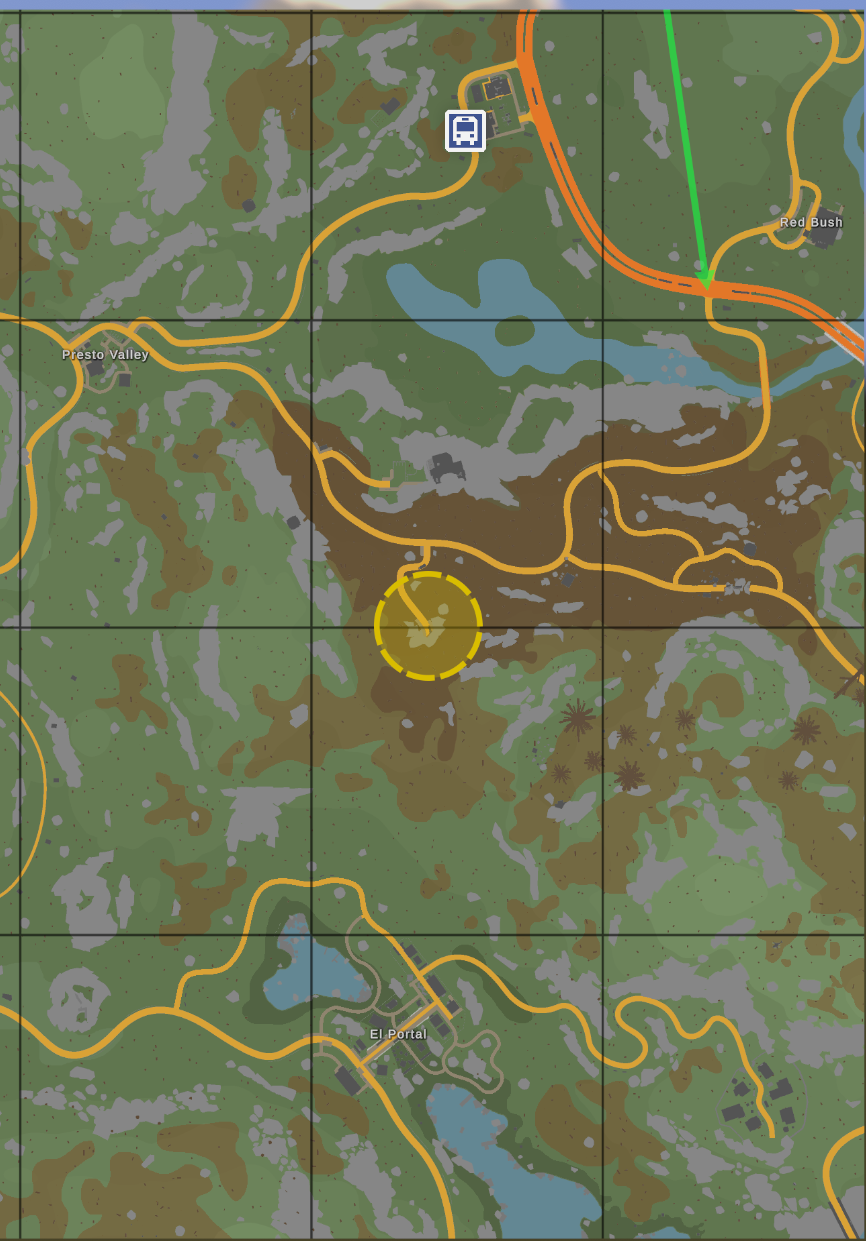
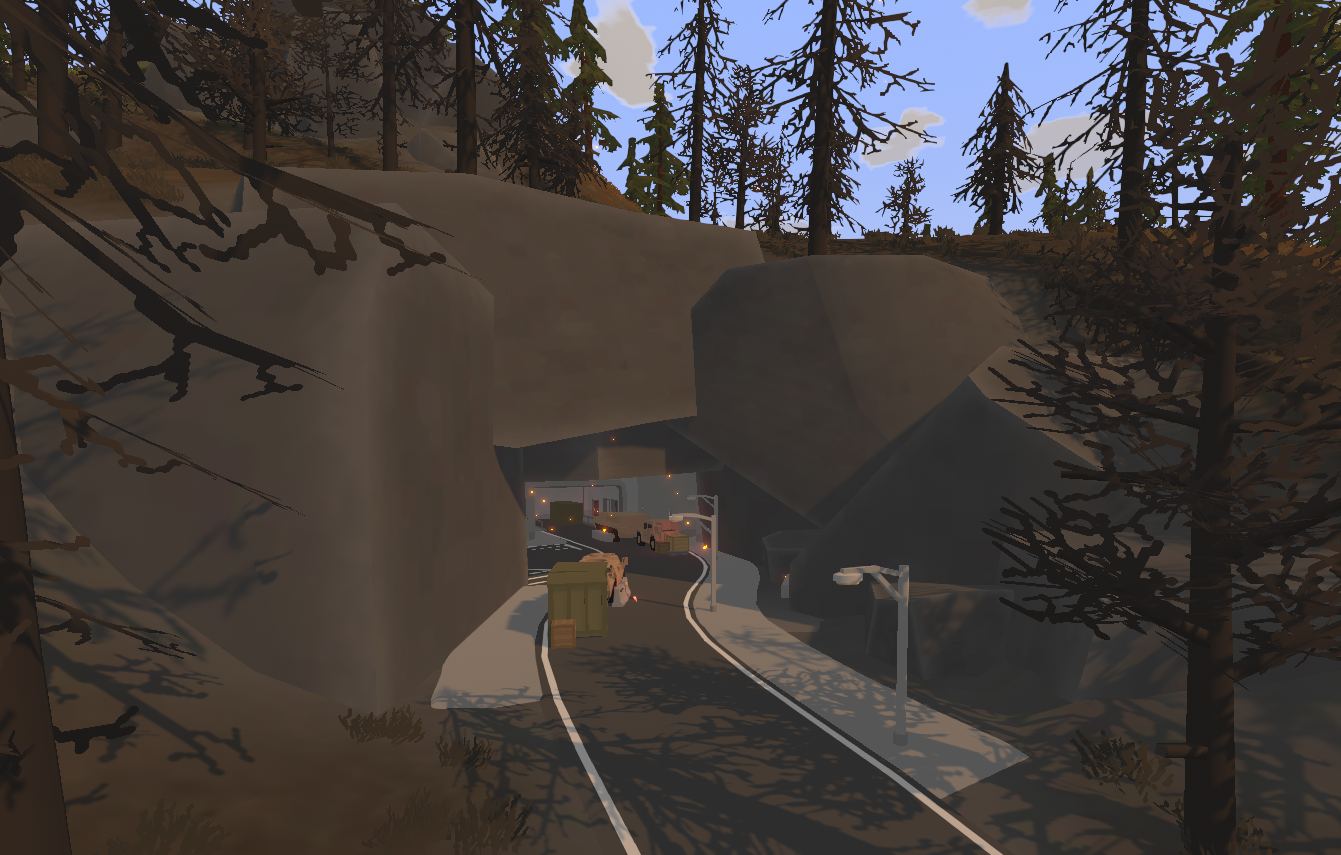 As mentioned above, we need a Tier 2 card (which spawns in Fort Mojave in the underground reactor or via airdrop)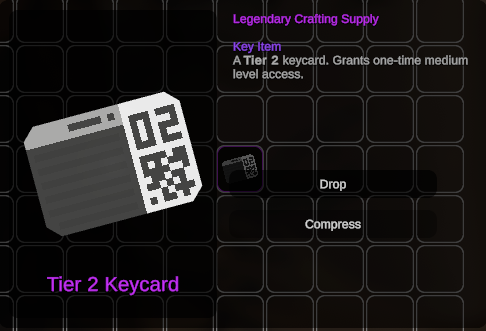
As soon as you enter, you’ll be notified that you can use the door within 30 seconds; once the timer runs out, you won’t be able to go back and will have to find your way out. This is a safeguard against camping, so if you go in and realize someone is there or is shooting at you, you can go back, but the player who was camping won’t be able to because their timer has expired

So you're inside; you spawn in a bunker built for the financial elite. It has all the luxuries—a movie theater, a restaurant, and even a casino (not working:( ), consisting of two parts: the bunker itself and the caves
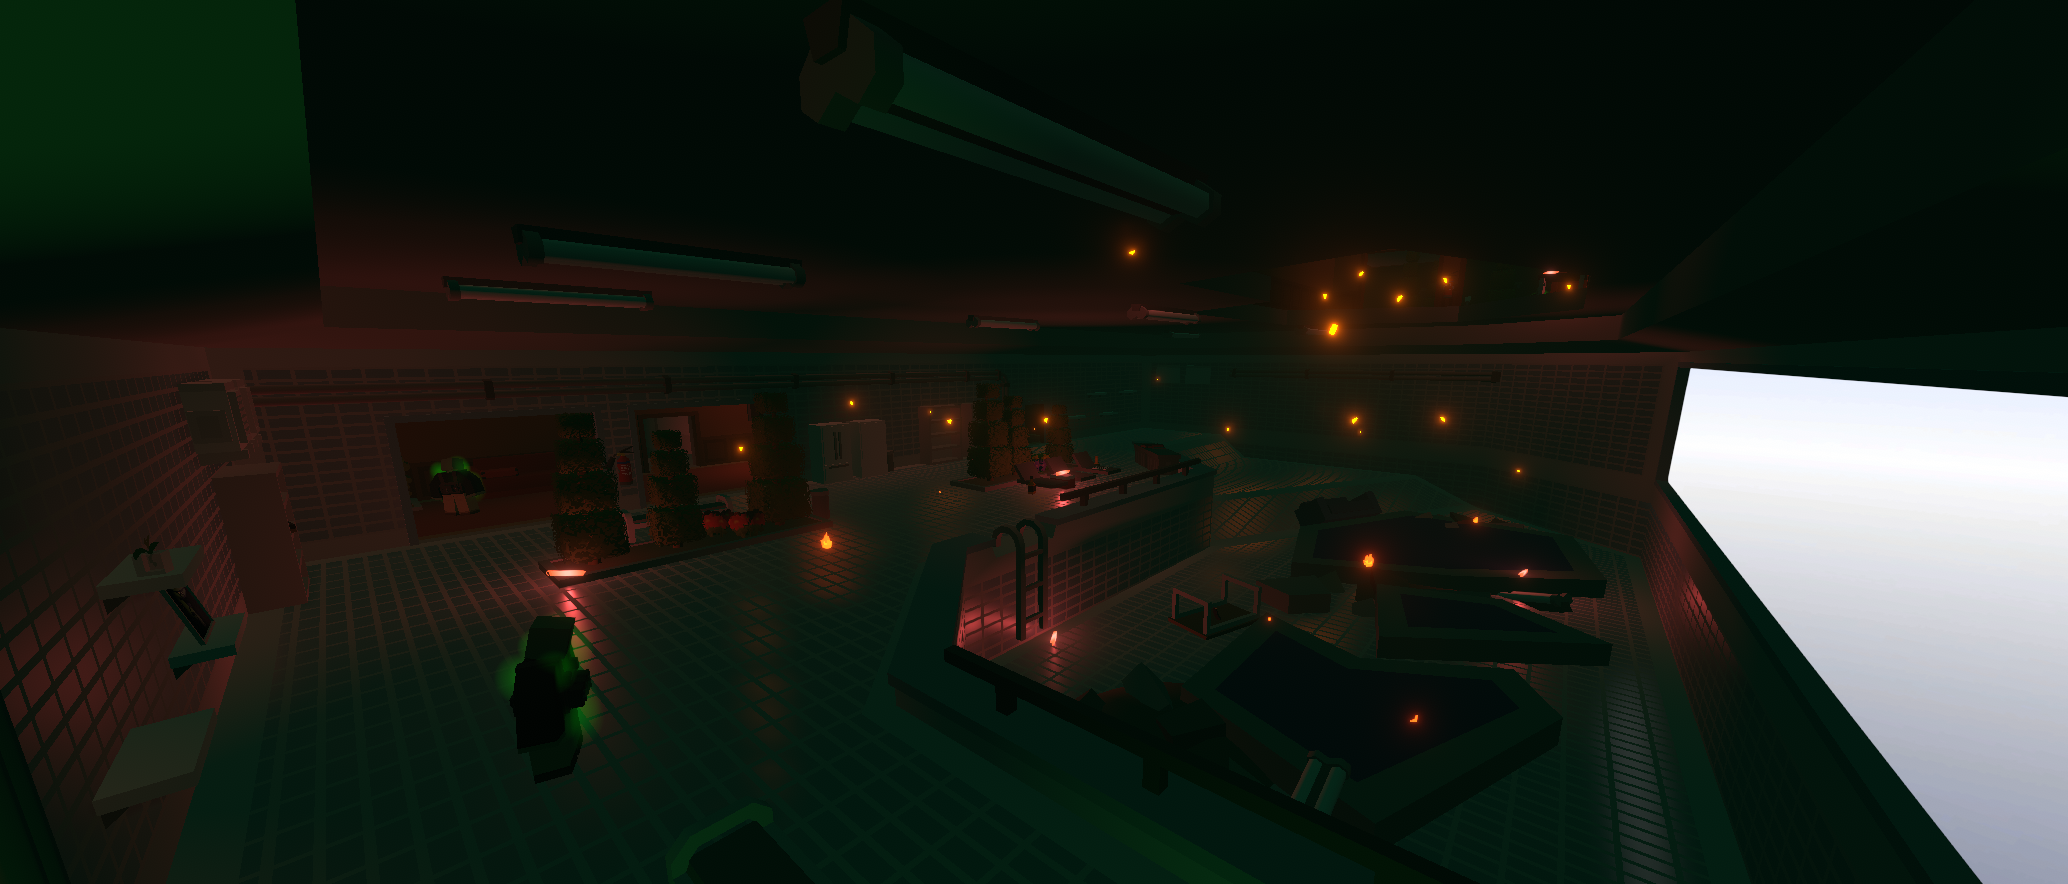
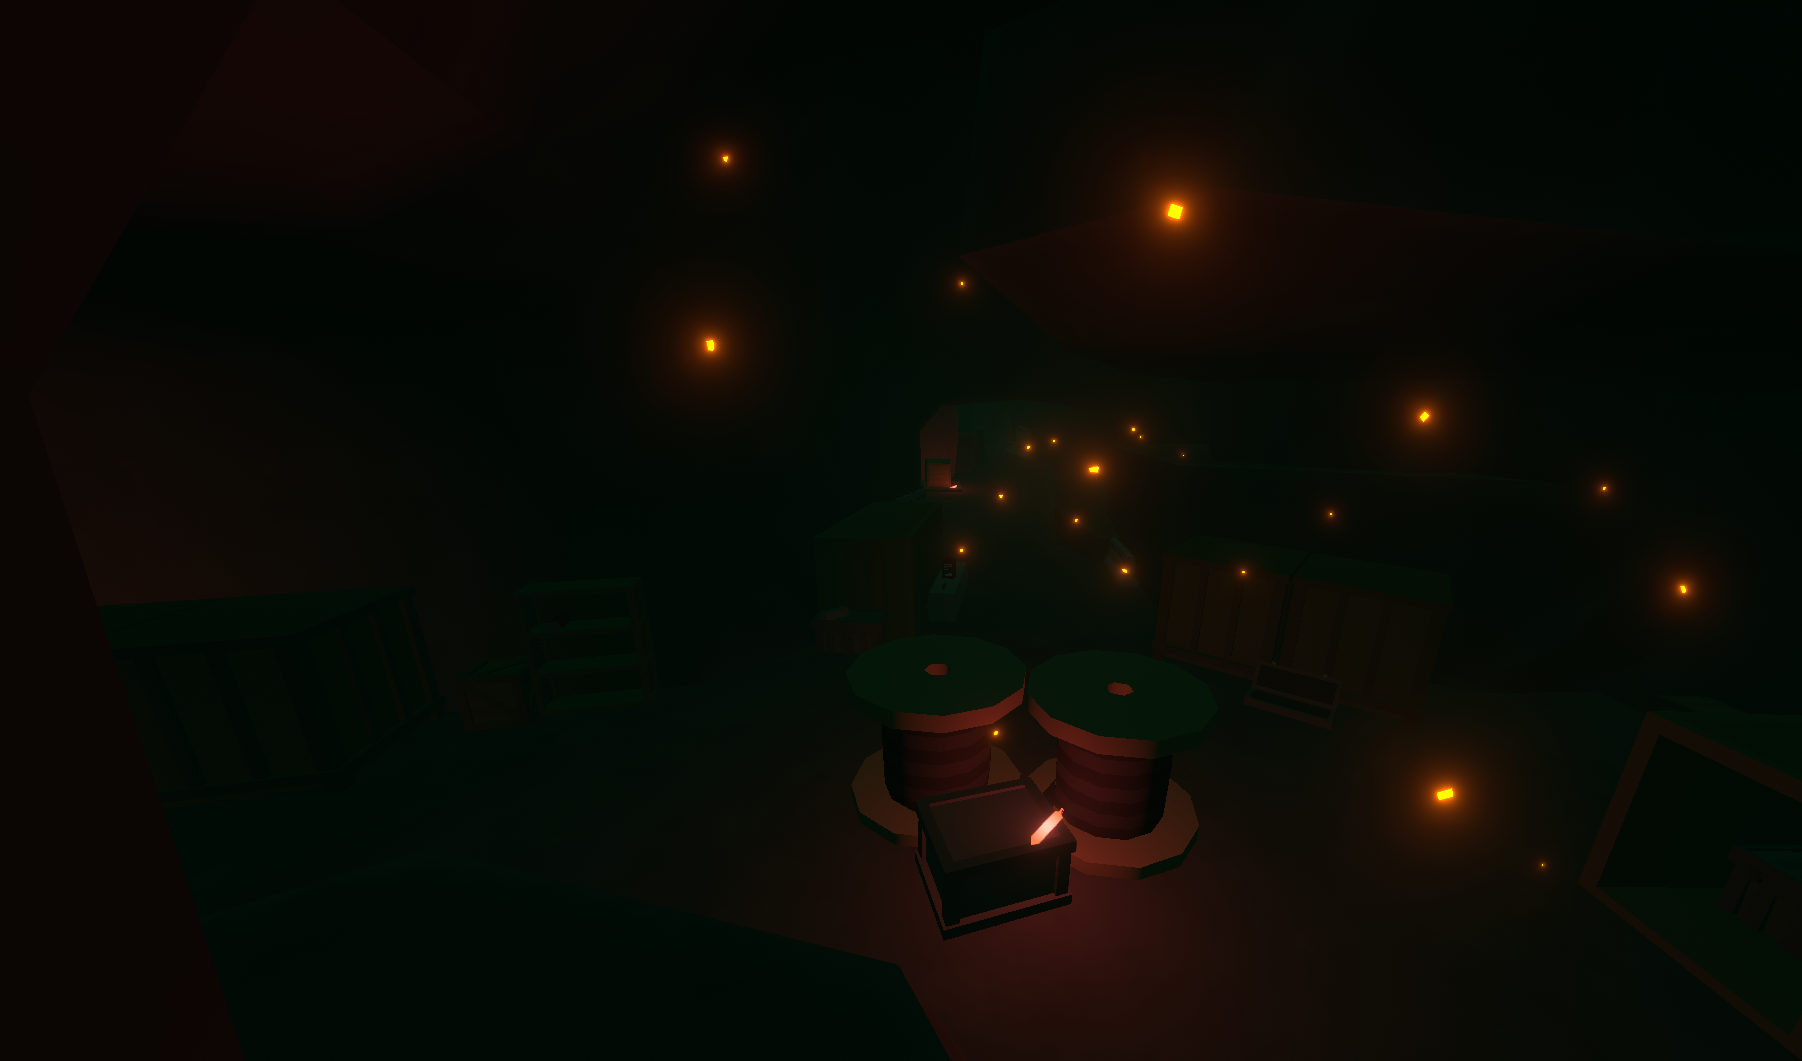 The map for the third tier begins to spawn in the locations of the 2nd tier; it is required to visit the 3 tier dead zone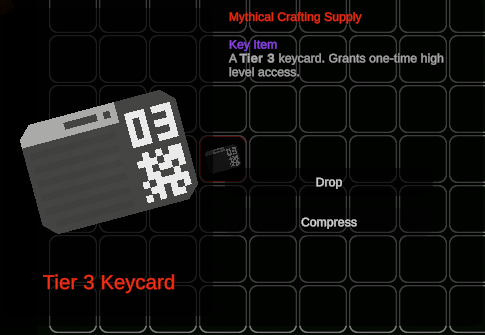
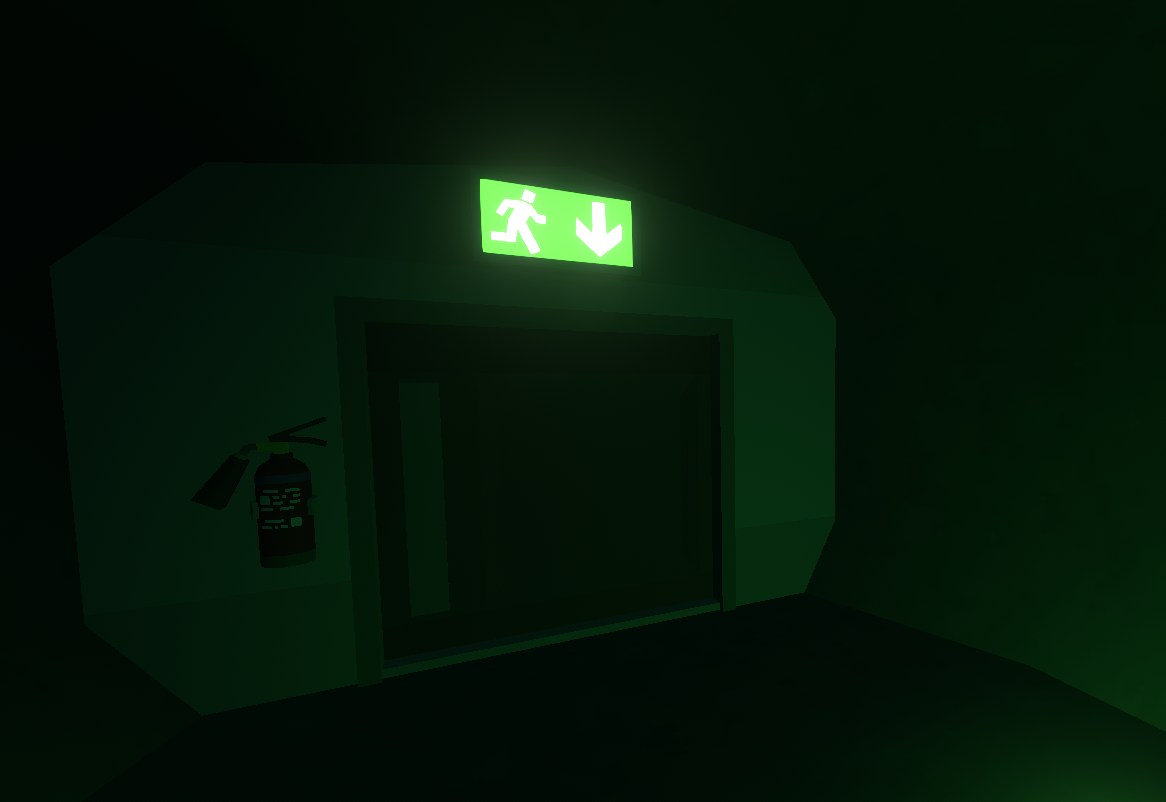
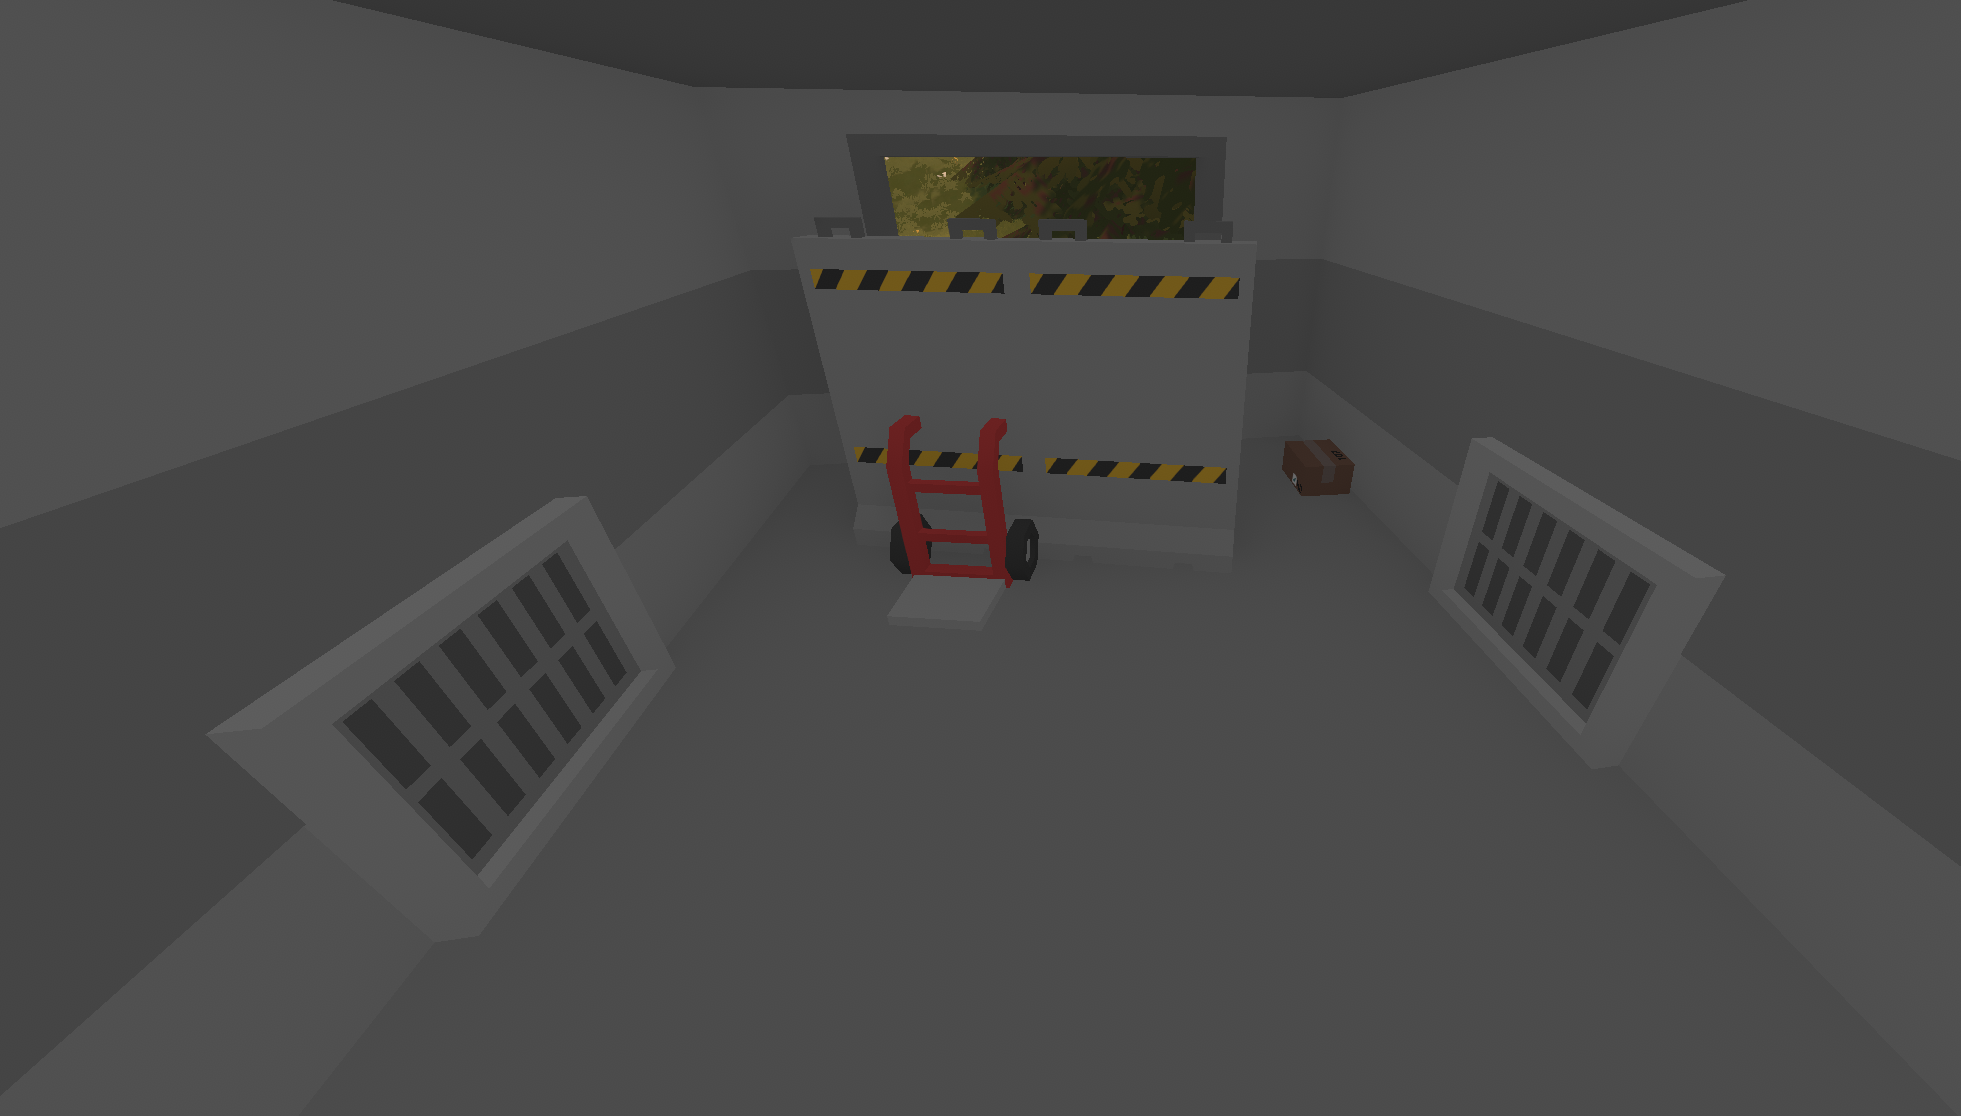
You've gotten yourself into quite a mess, but where's the exit? You need to follow the flares lying on the ground; they'll point you in the right direction to the exit
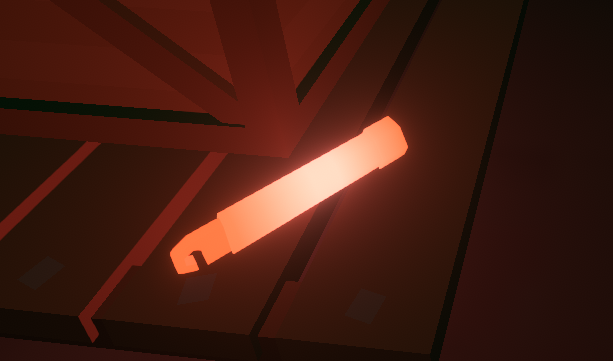 So first, you exit the bunker into the caves. Once inside the cave, follow the flares—there are many of them, but they all lead to the same place. Then you’ll see the exit; climb the stairs and you can leave the location.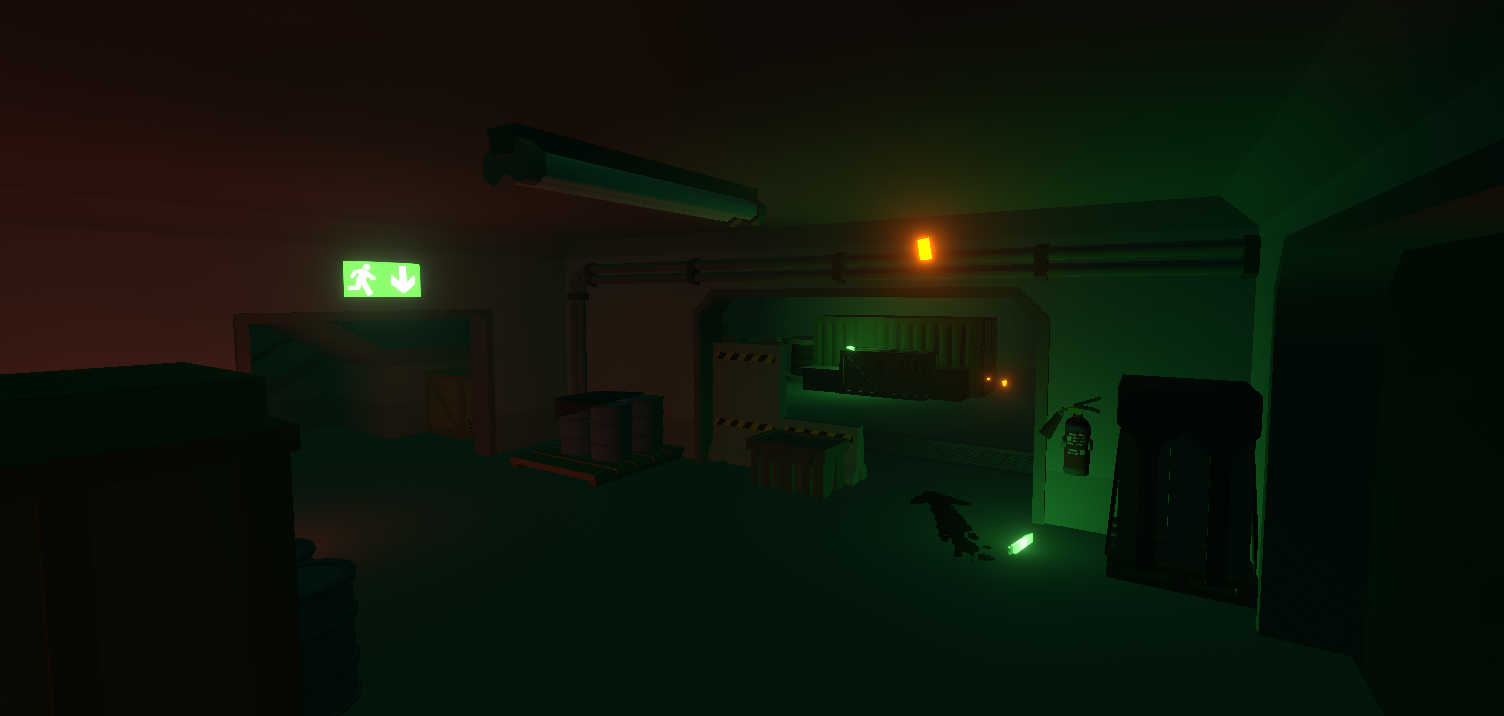
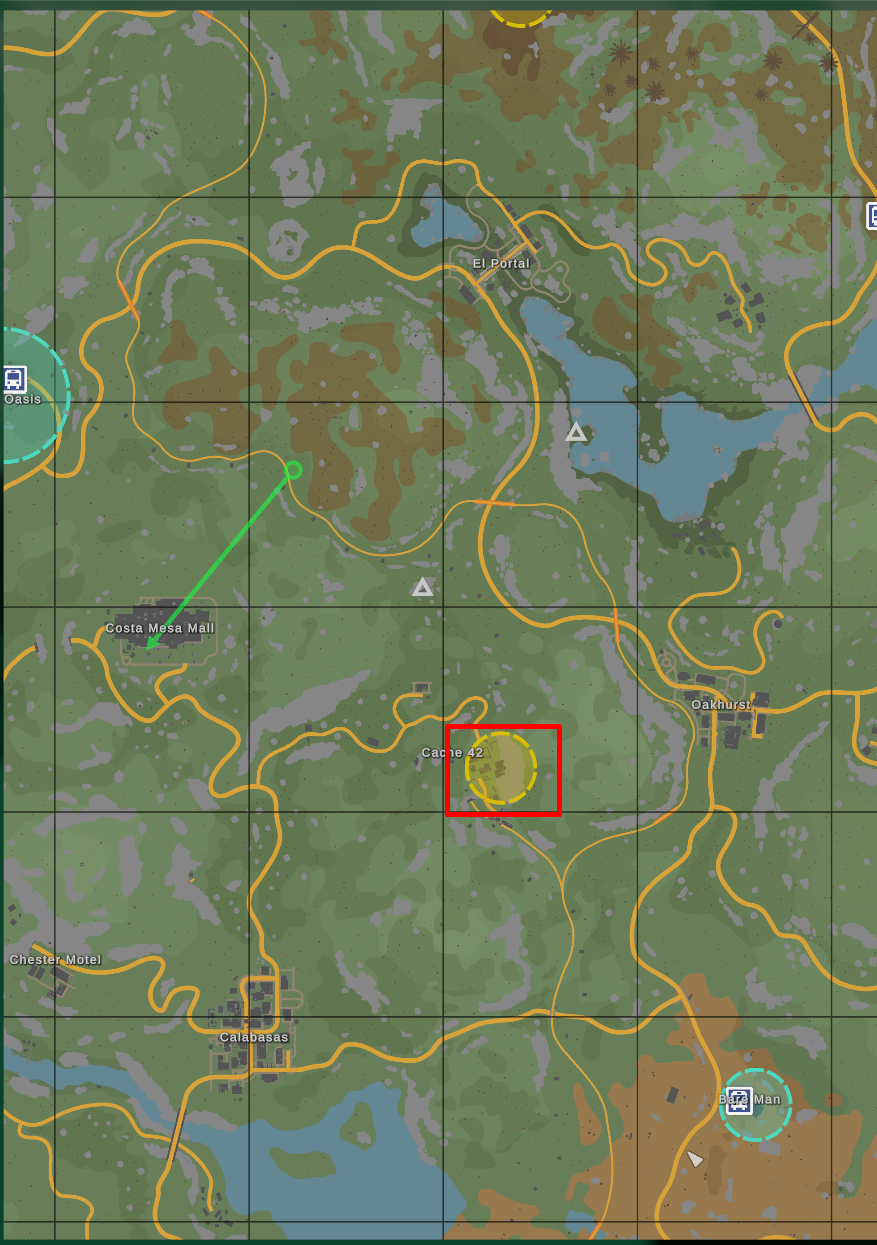
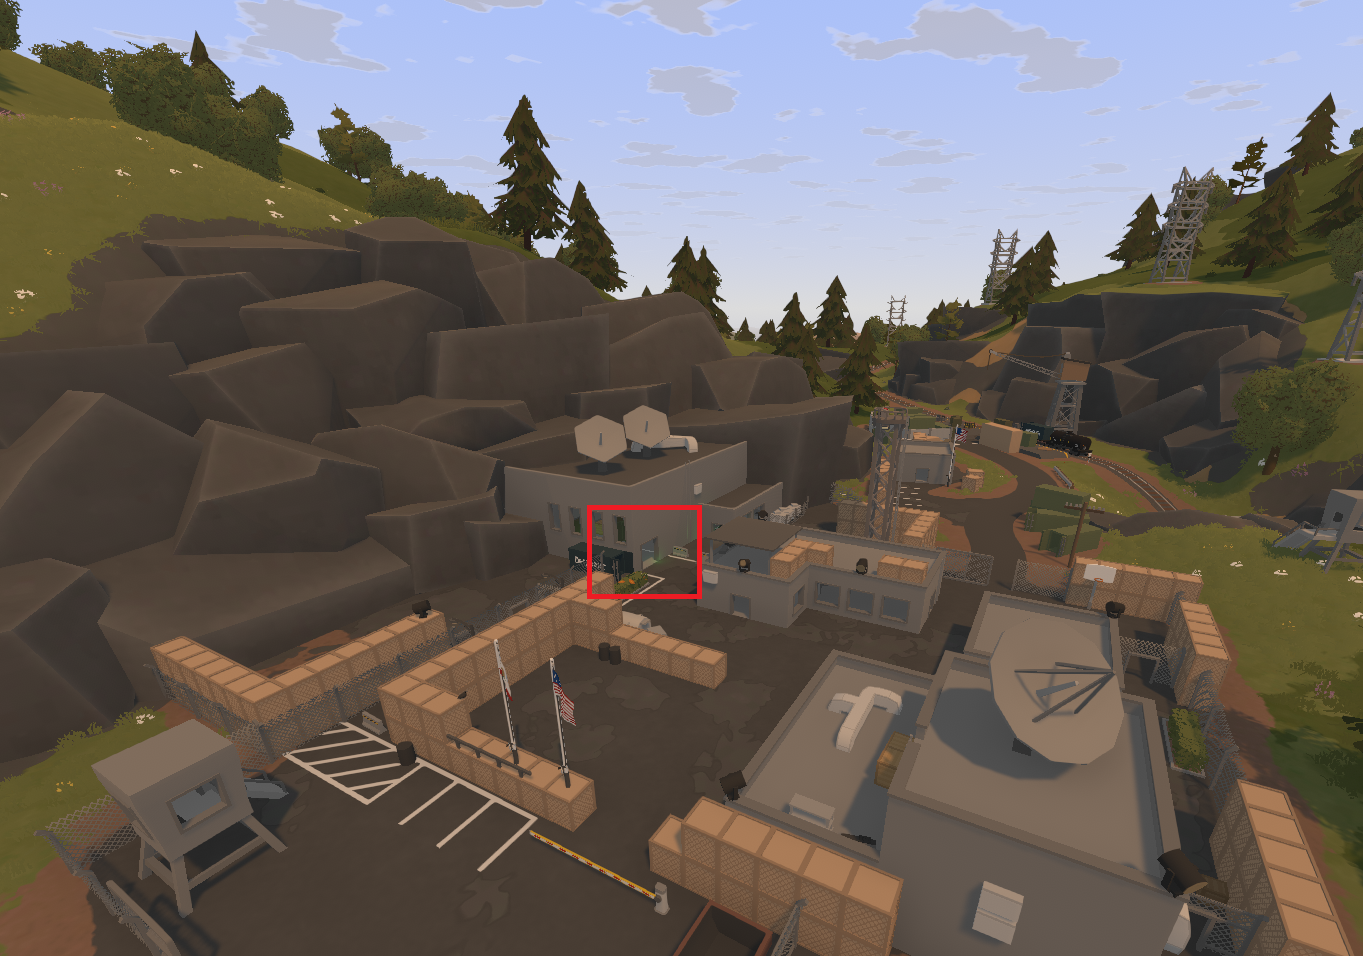 You should enter the main building, where you will find the entrance to the dead zone that requires the 2nd tier map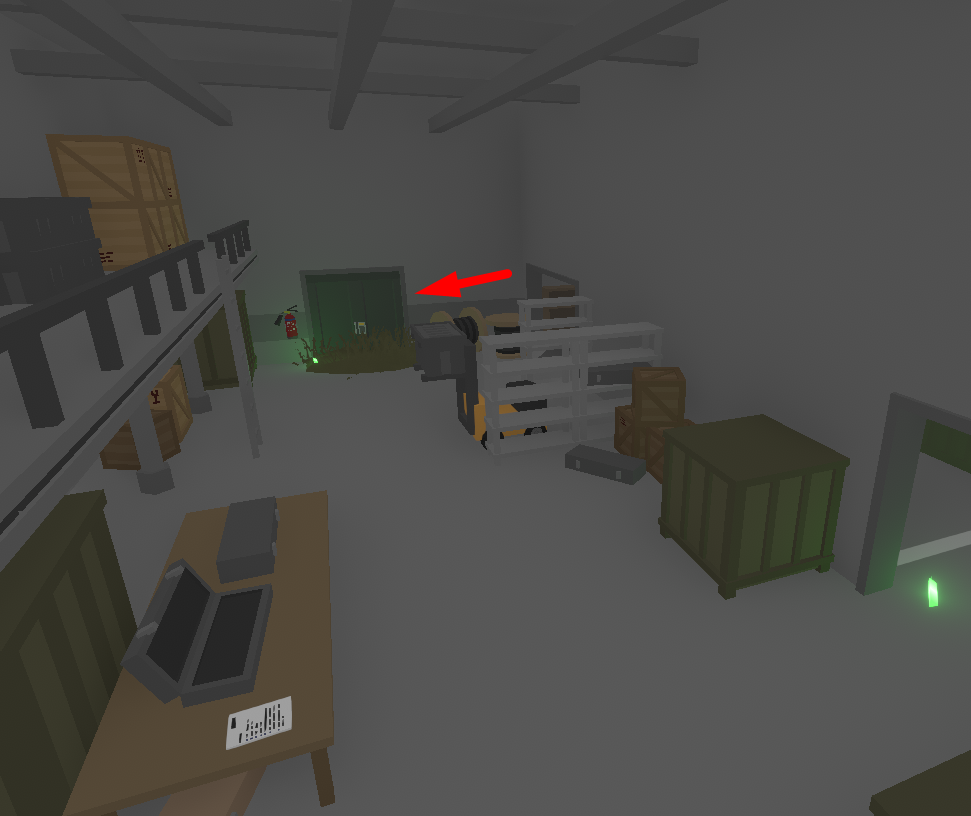
The area is dark; you should use either a flashlight or night vision goggles
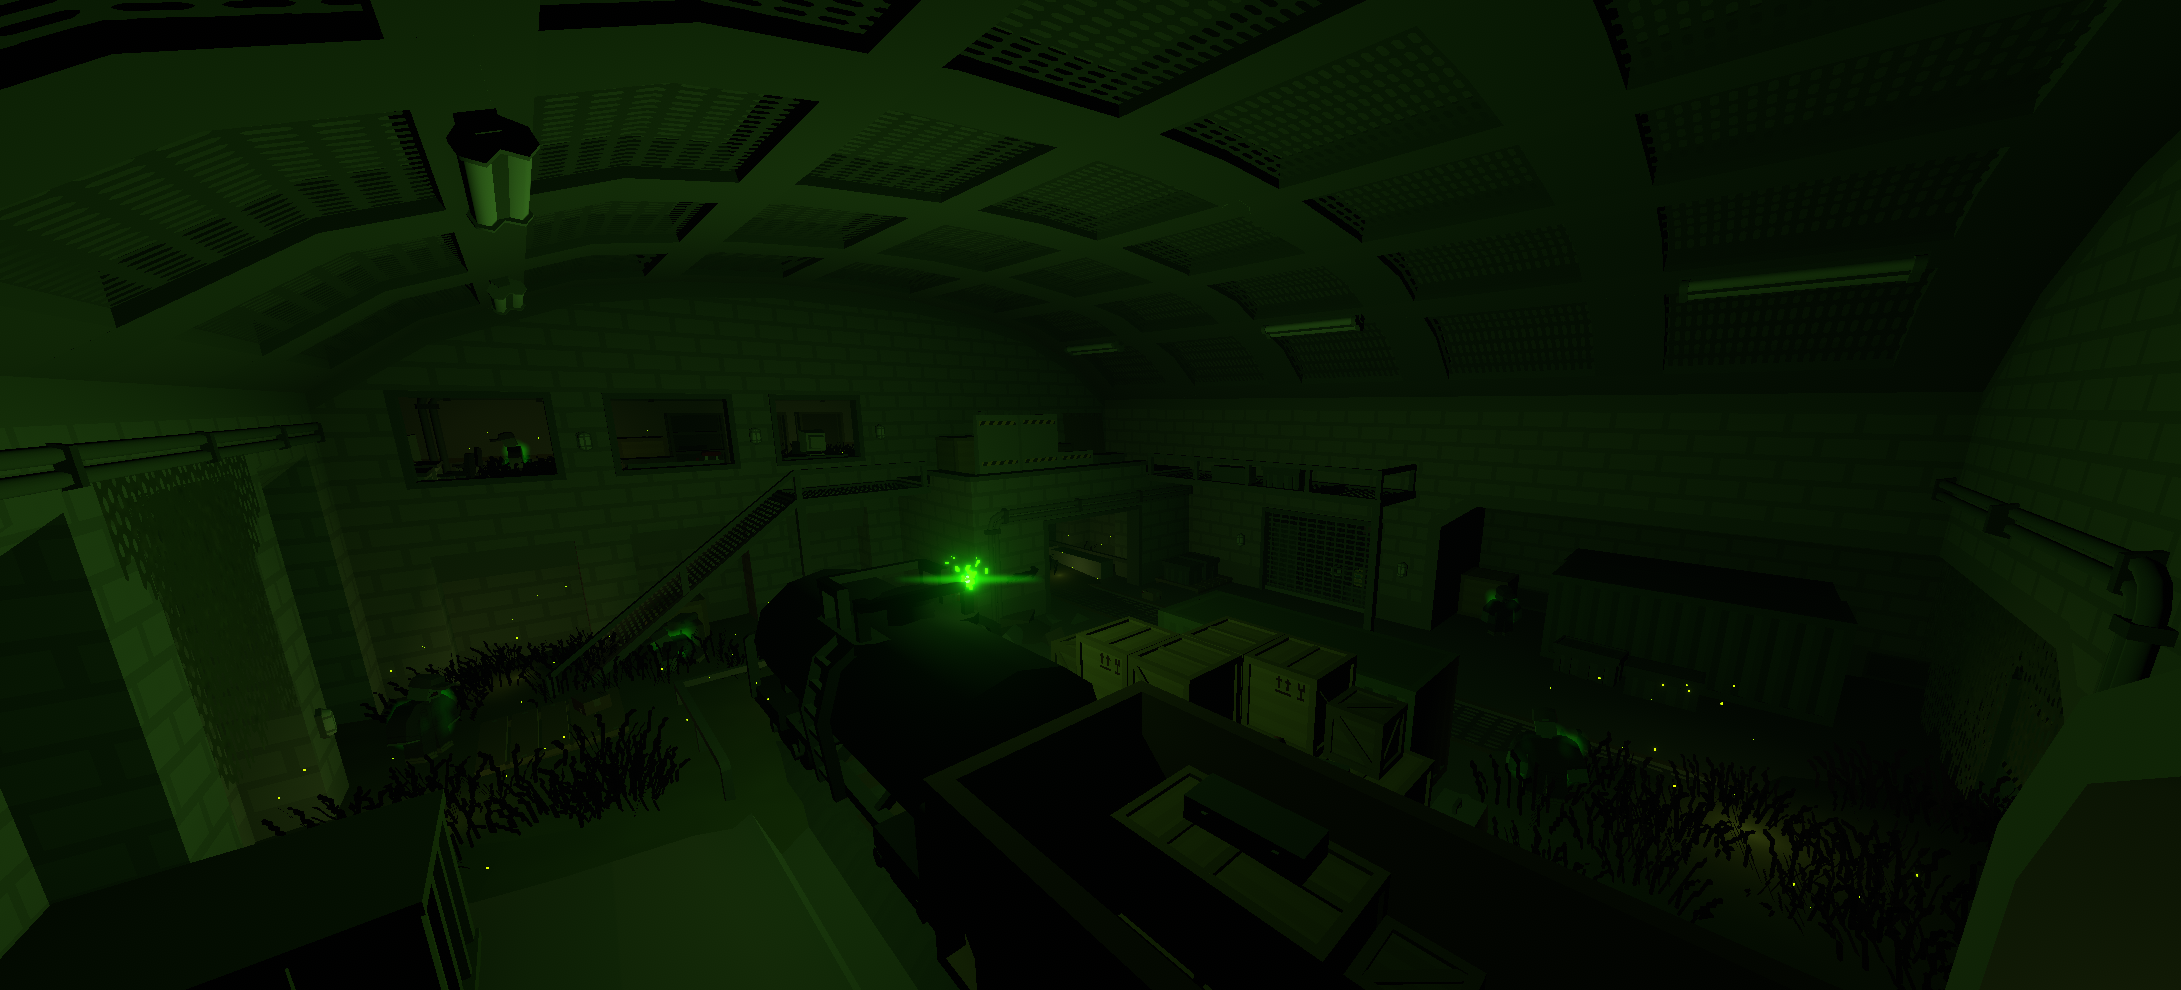 To exit, follow the floor markers until you see arrows on the walls; they will point directly toward the exit
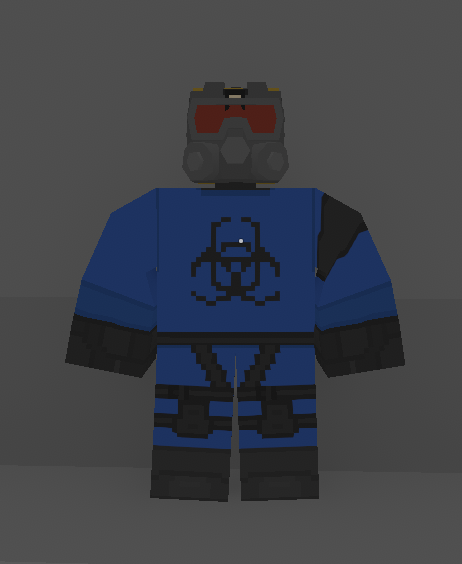 The best gear, weapons, and raid components will spawn at these locations
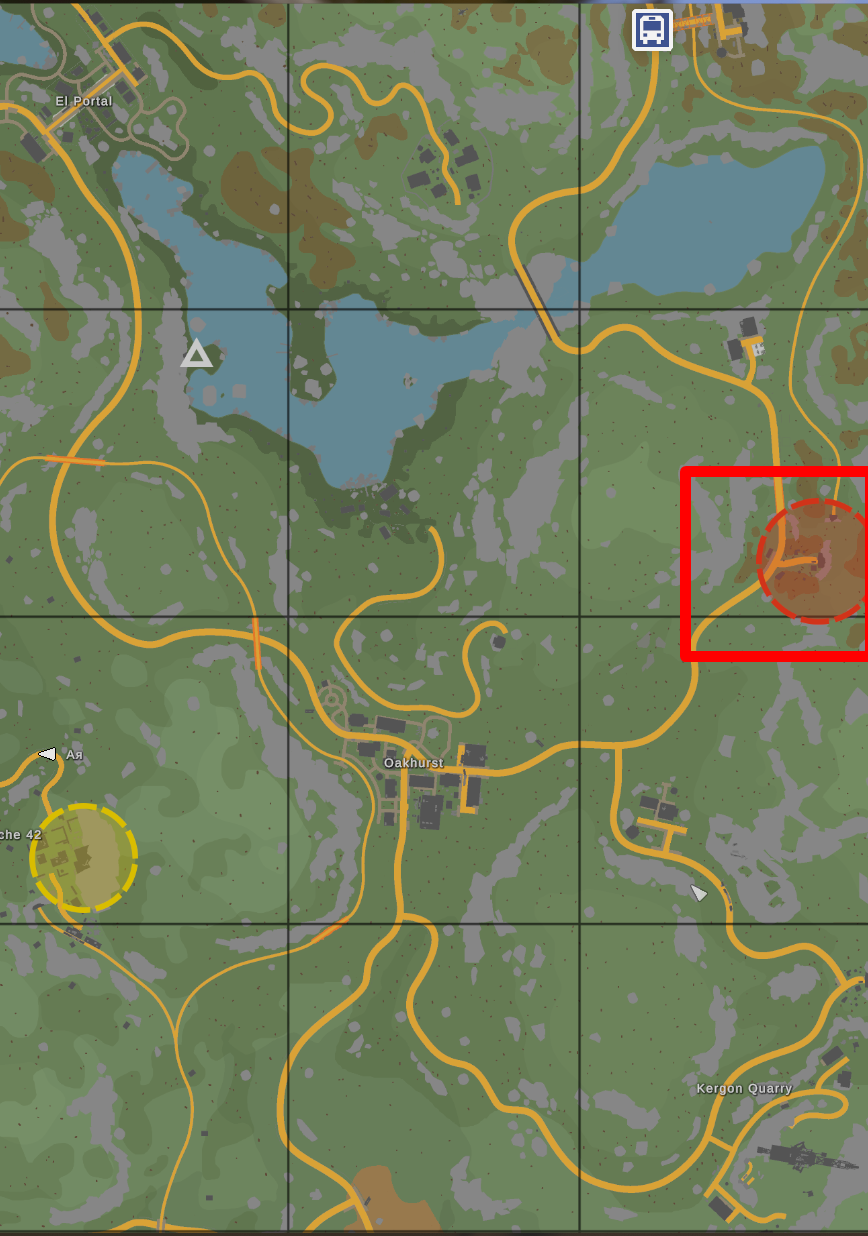
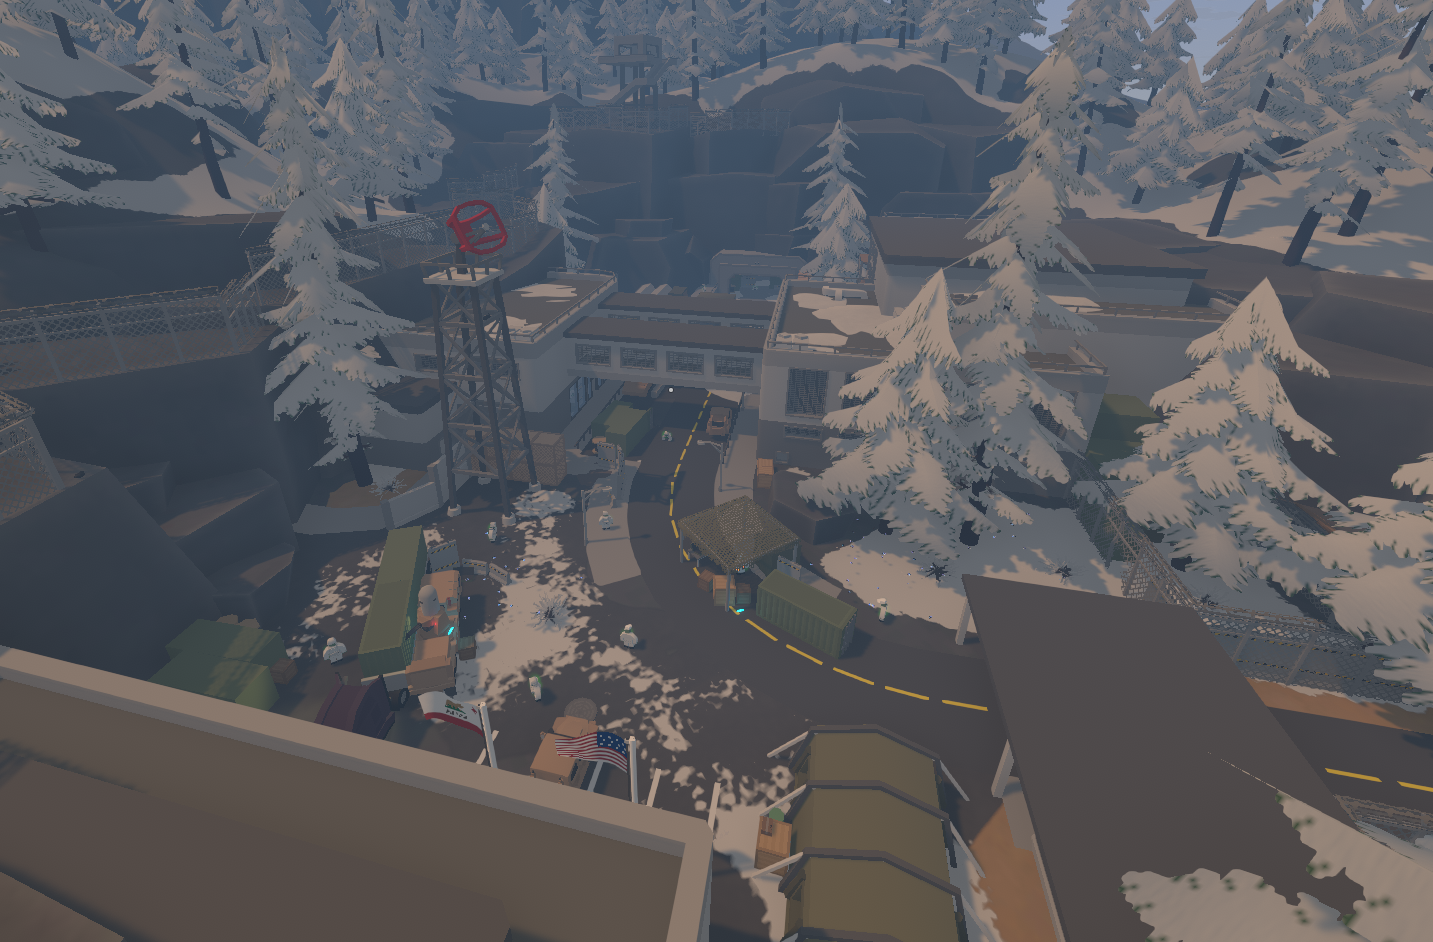
Whitney military complex located in the mountains
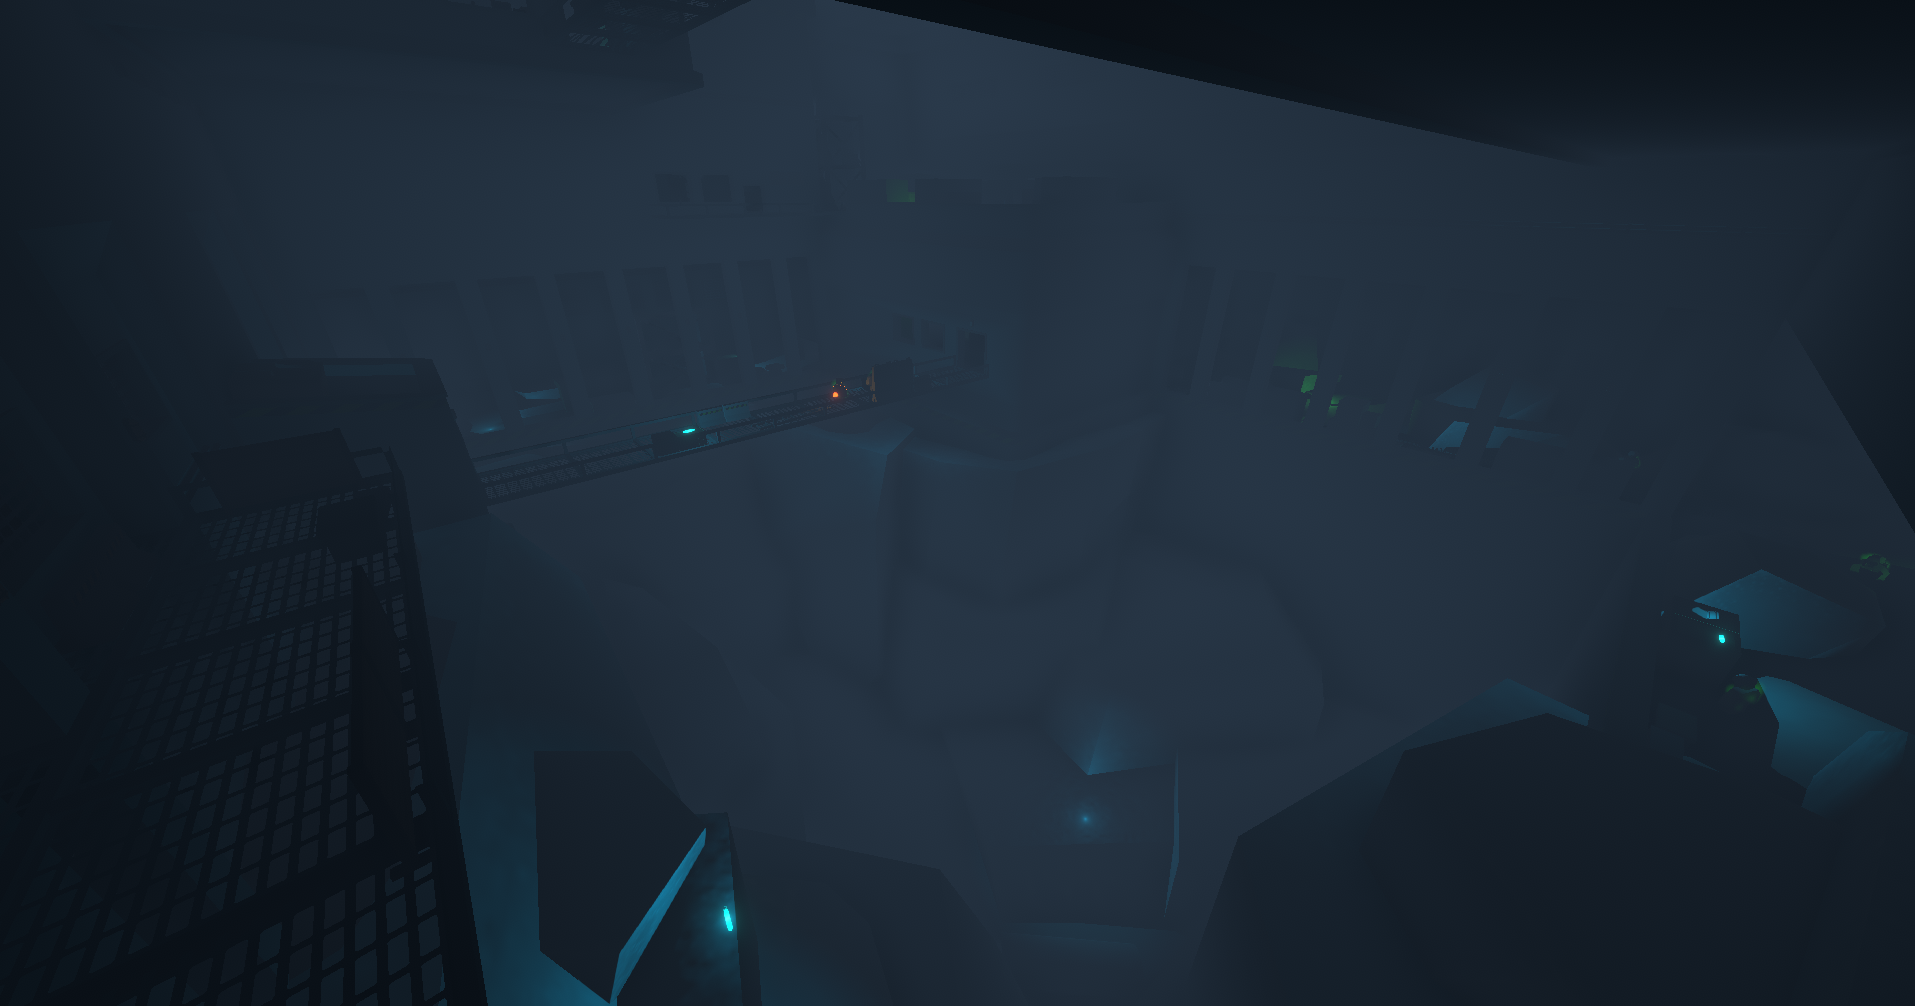
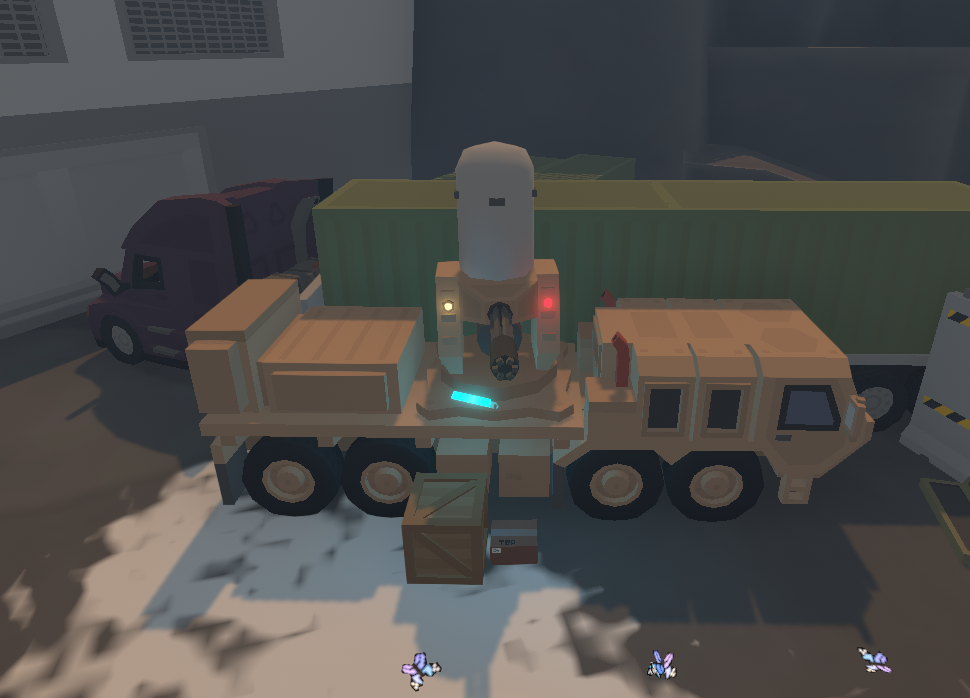
A turret will be waiting for us at the entrance, so be careful
We can leave this dead zone via the NPC that brought us here; there’s a ventilation shaft next to the NPC
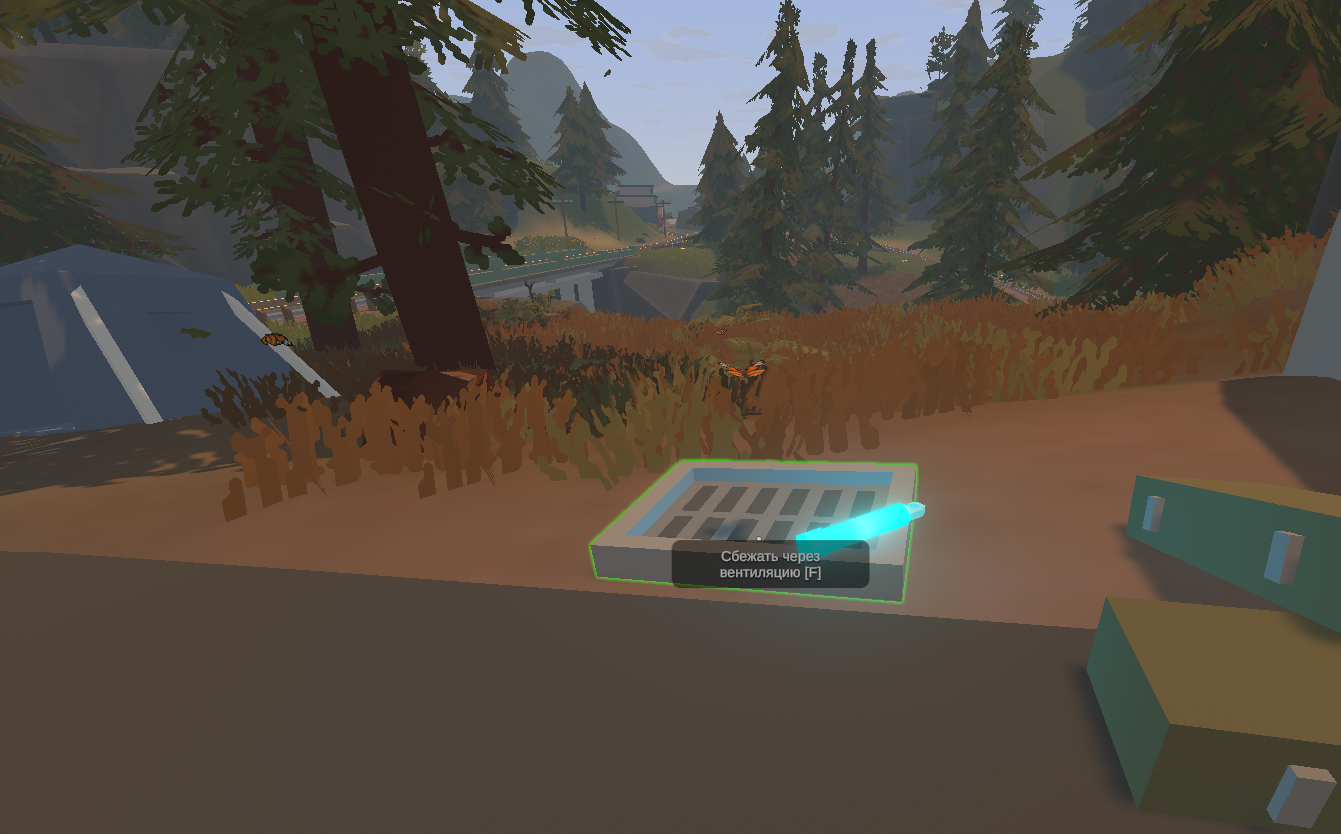
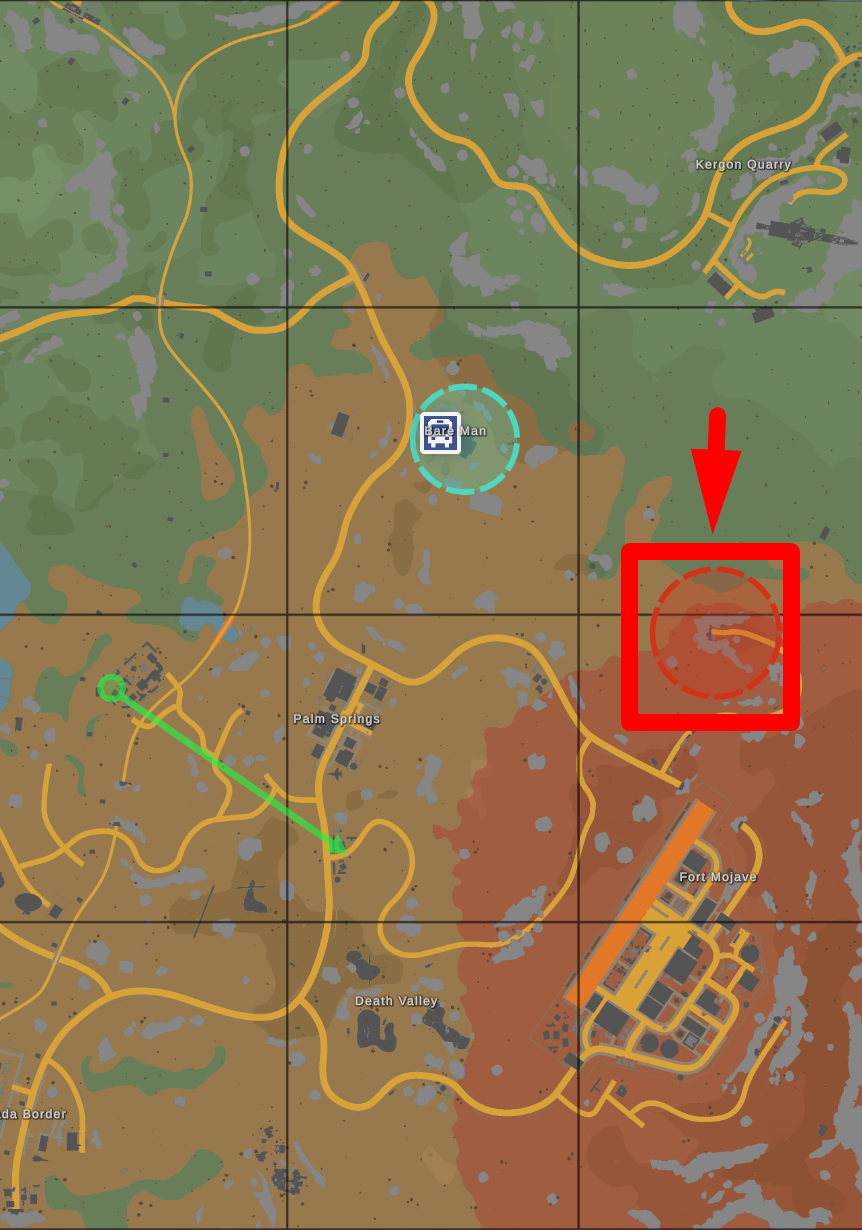
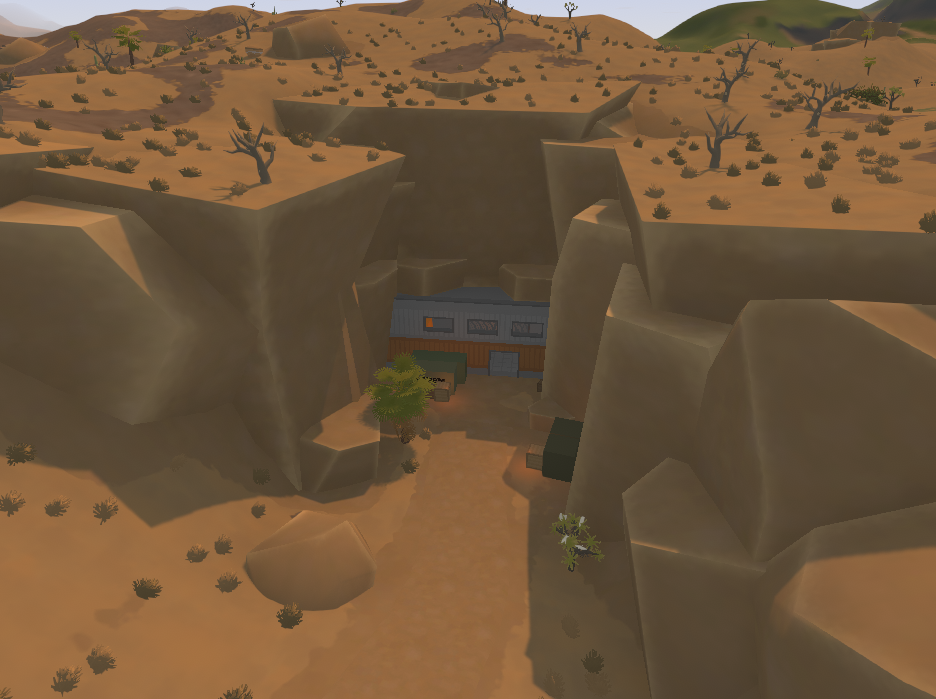
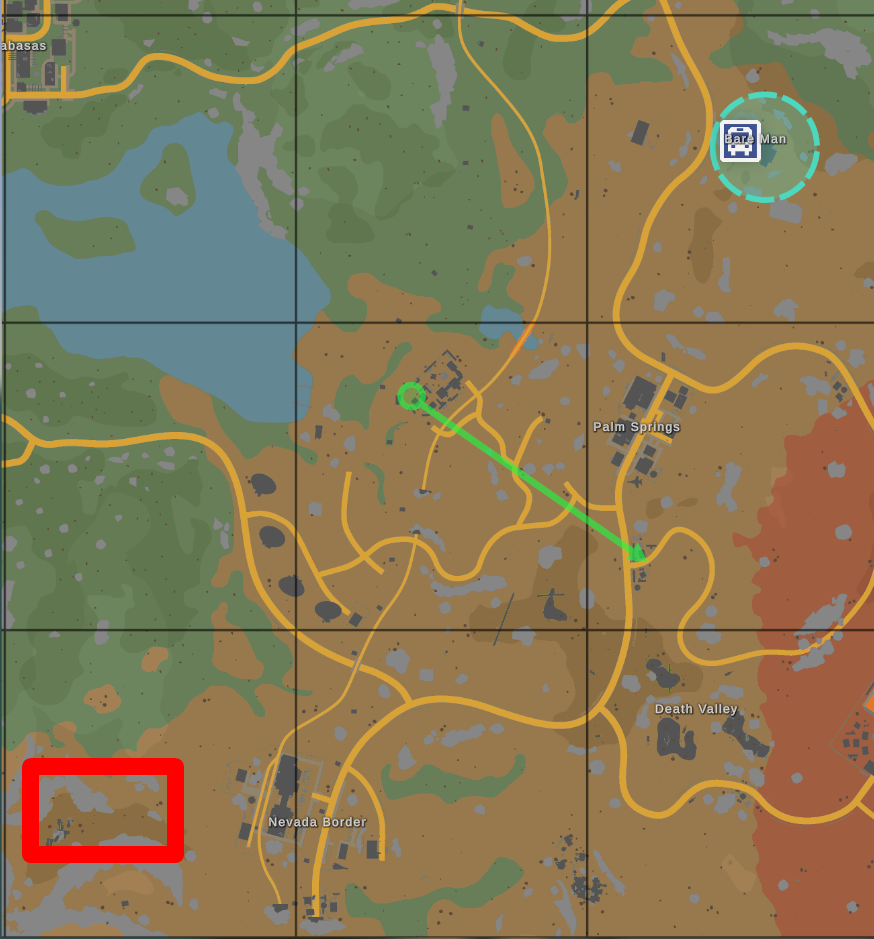
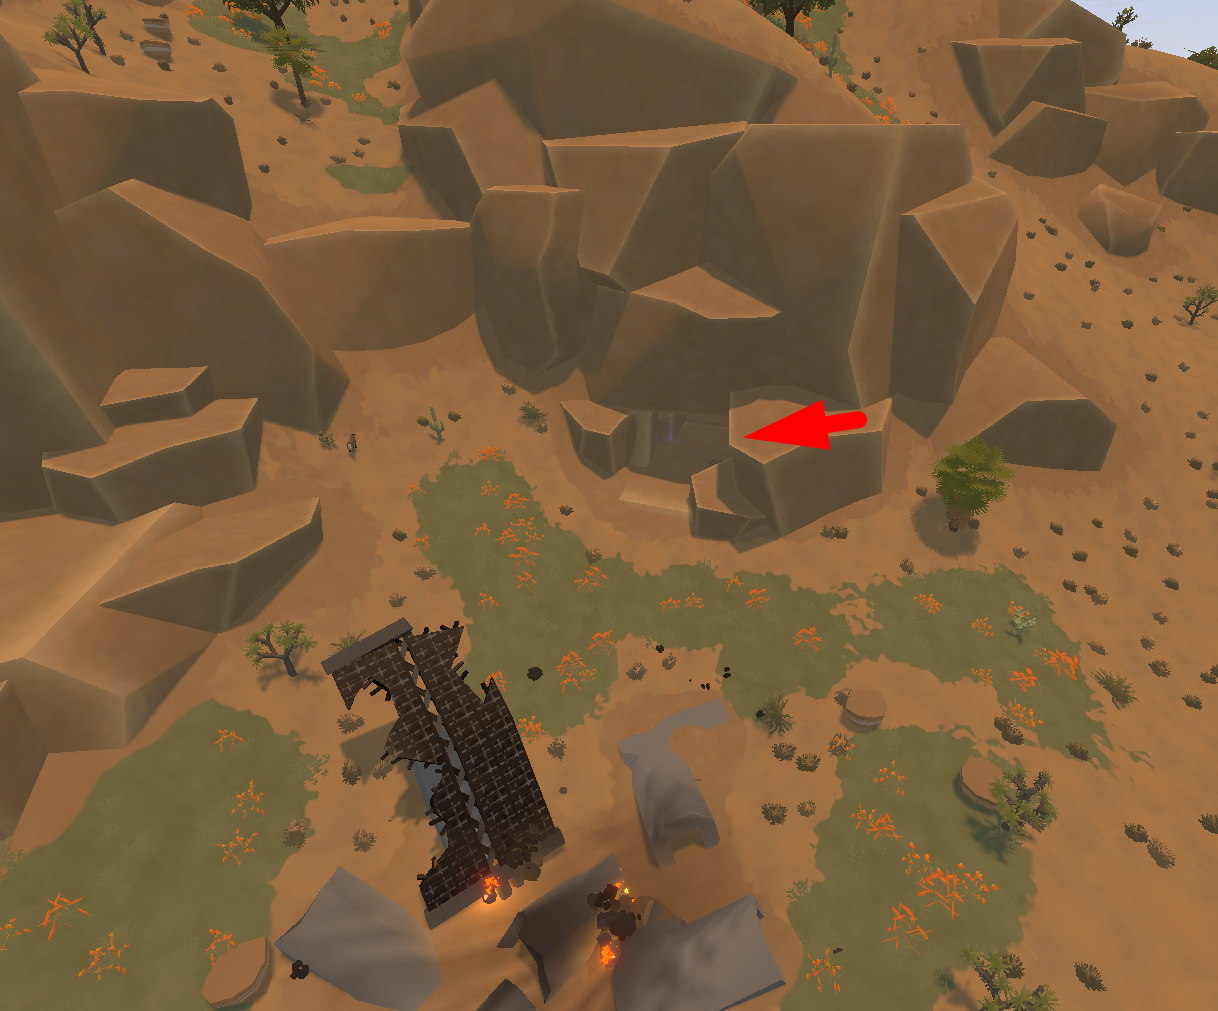
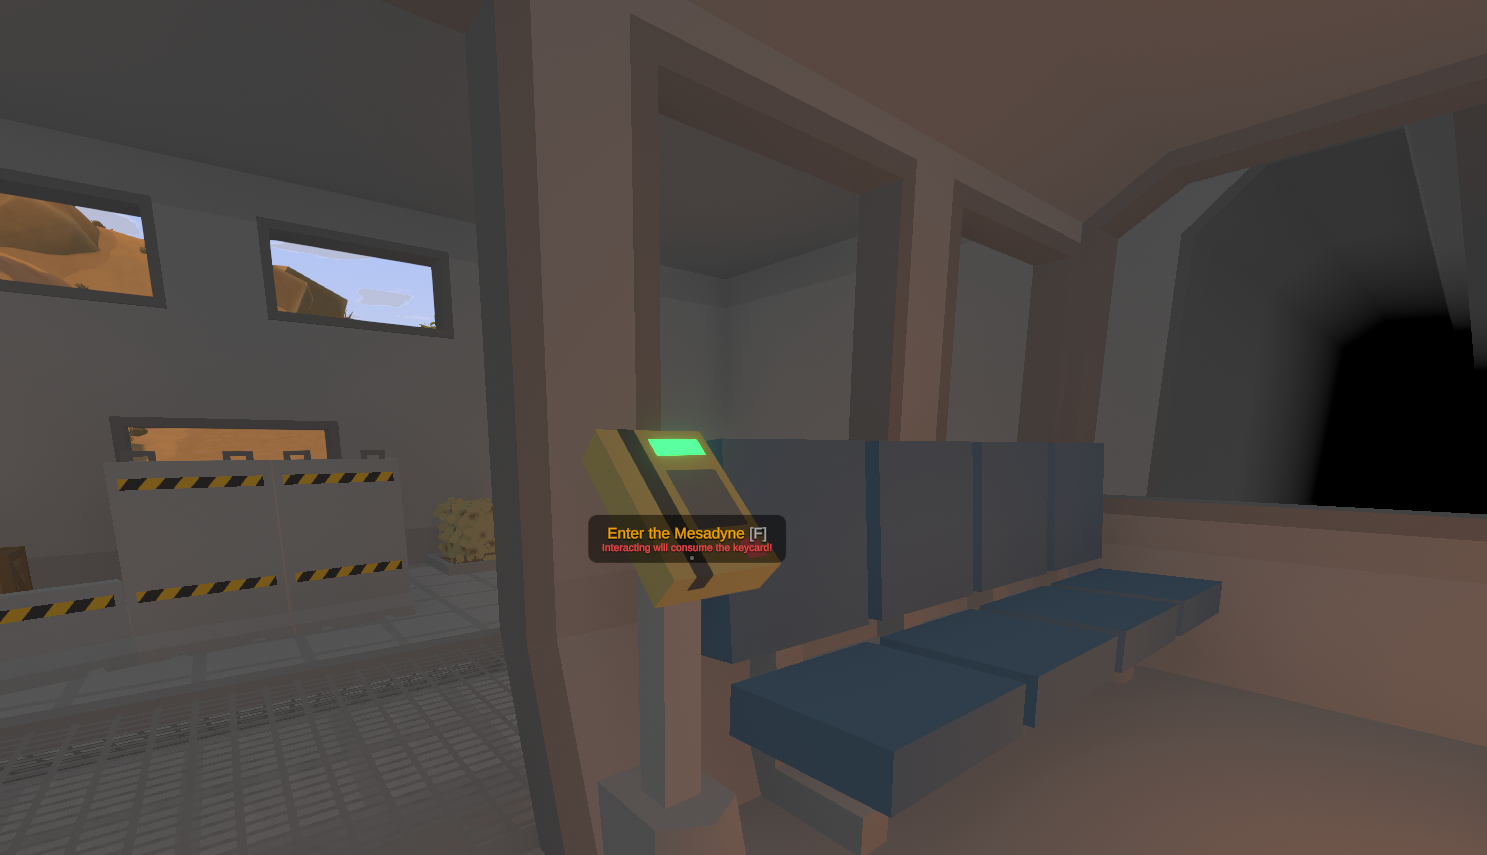 The location is a military-scientific complex for ballistic missile research hidden in a desert canyon
 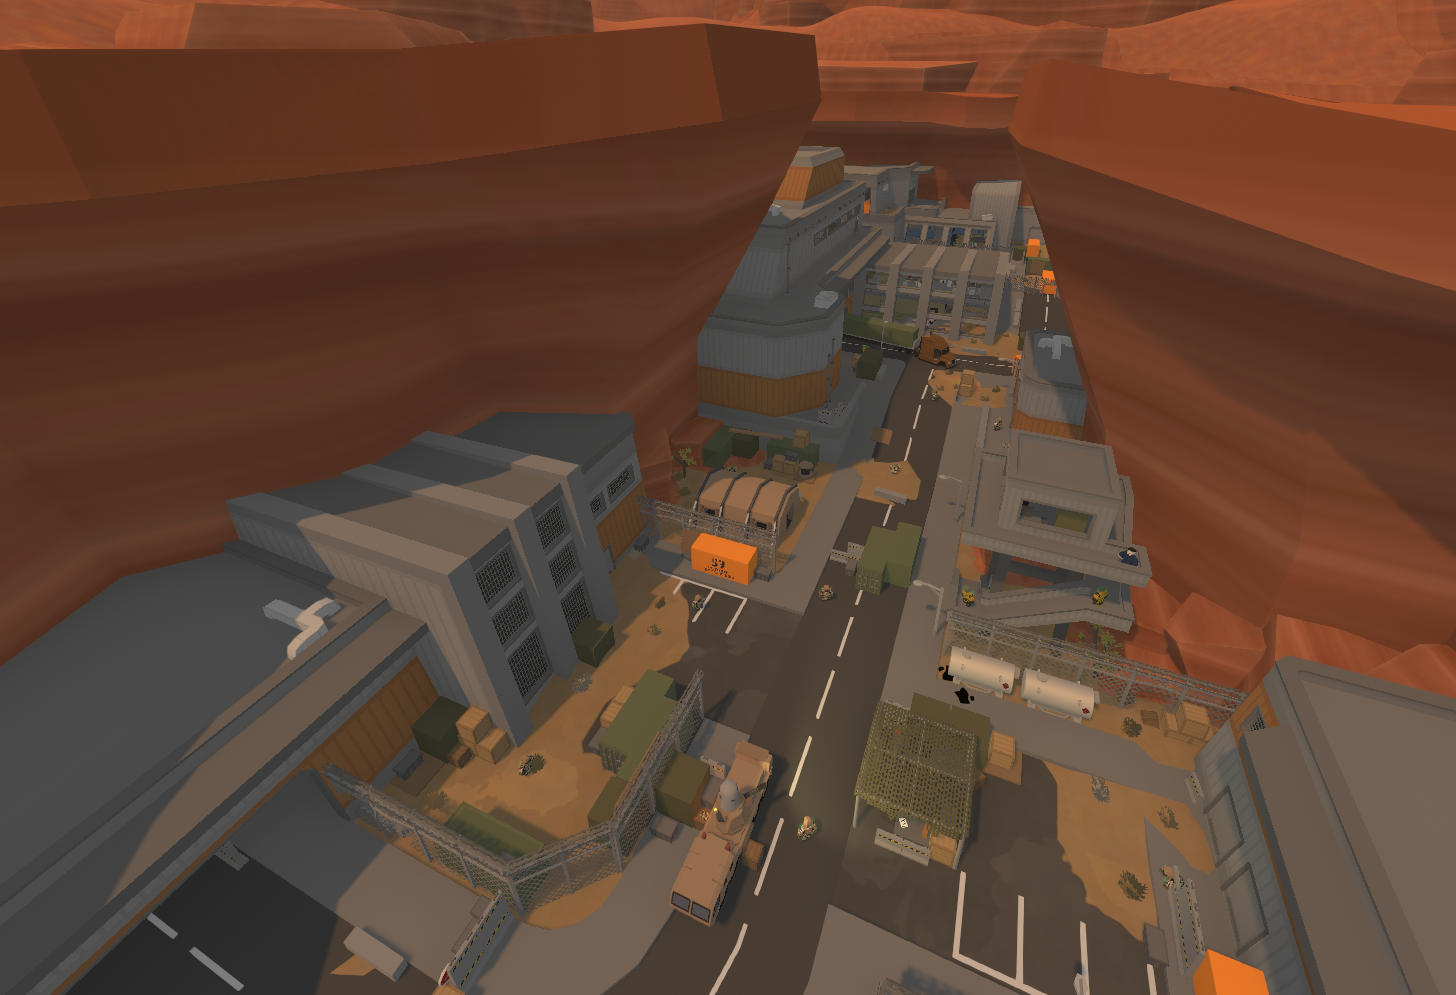 Location have Sentry too
Airdrop
Circle – launch location
Arrow – arrival location
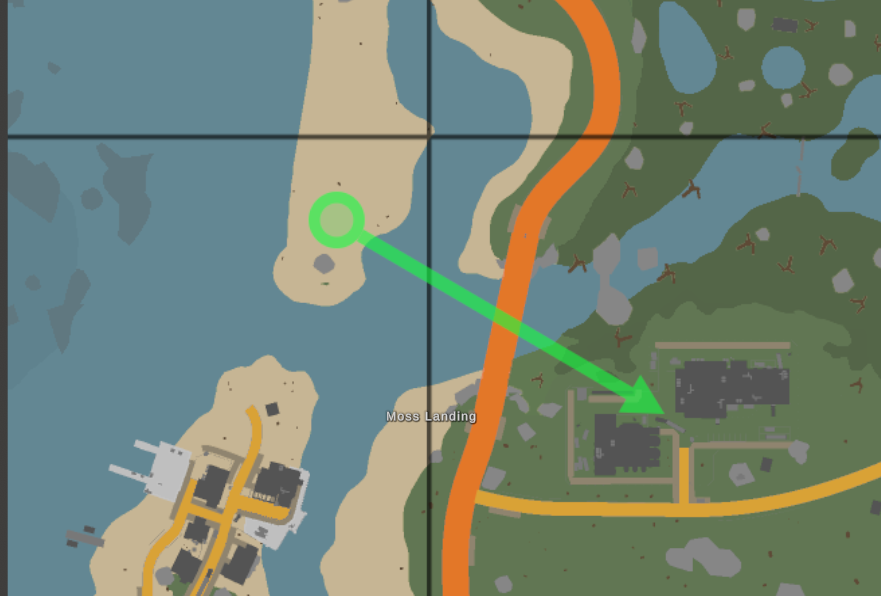
The launch process involves using Airdrop core to call in the airdrop
We need to use Airdrop Core on a special mortar
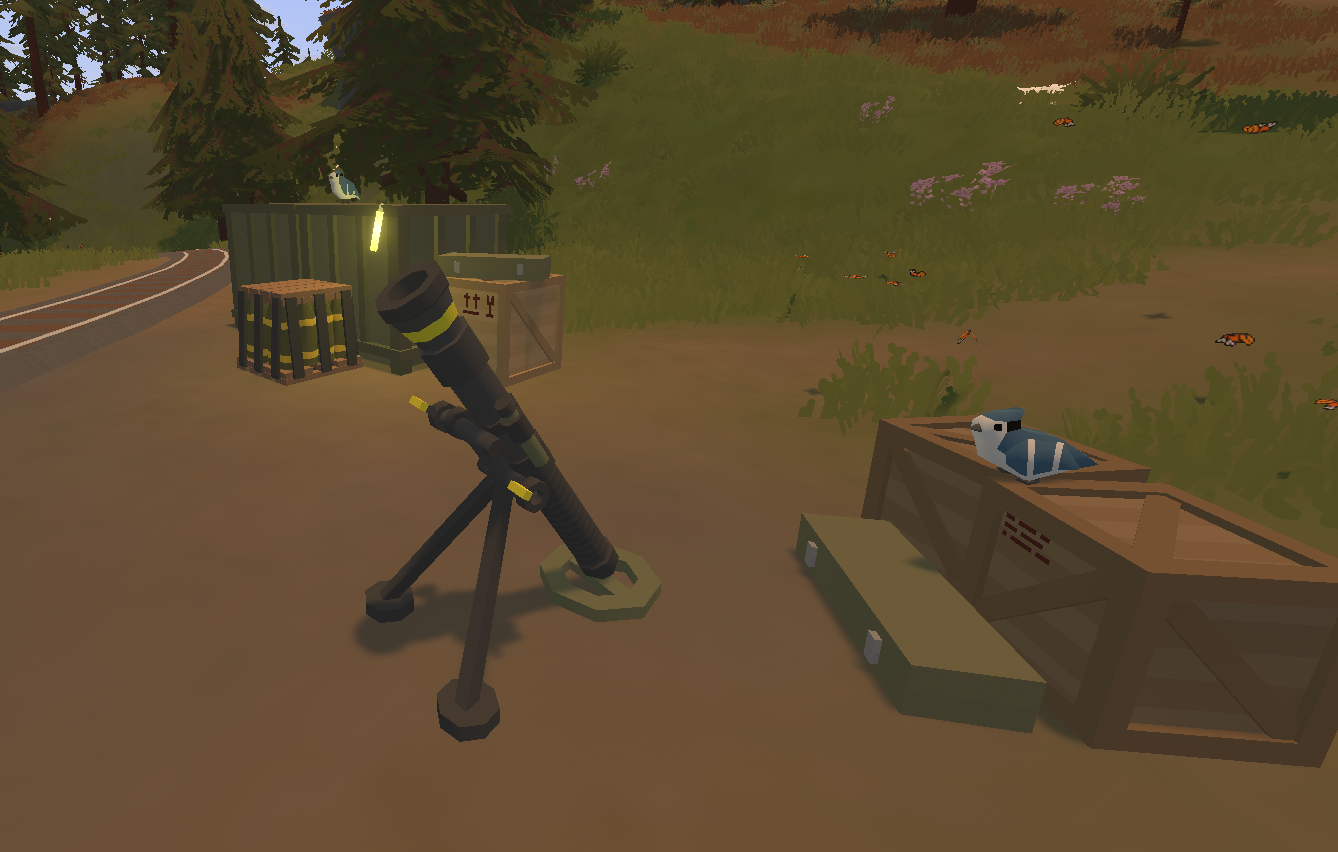
Airdrop Core drops at the Fort Mojave Reactor location, which is the lower level of the Fort Mojave dead zone and features mega zombies on the surface of the dead zone itself
As soon as we use the Airdrop core, all players near alert stations will immediately know that an airdrop has been called and where it will land
Airdrops contain basic gear (weapons, modules, ammo, food, gas masks, filters, 1-2 tier keycards, building components) and a military radio that announces the start of the airdrop and the Horde generator
Horde Beacon
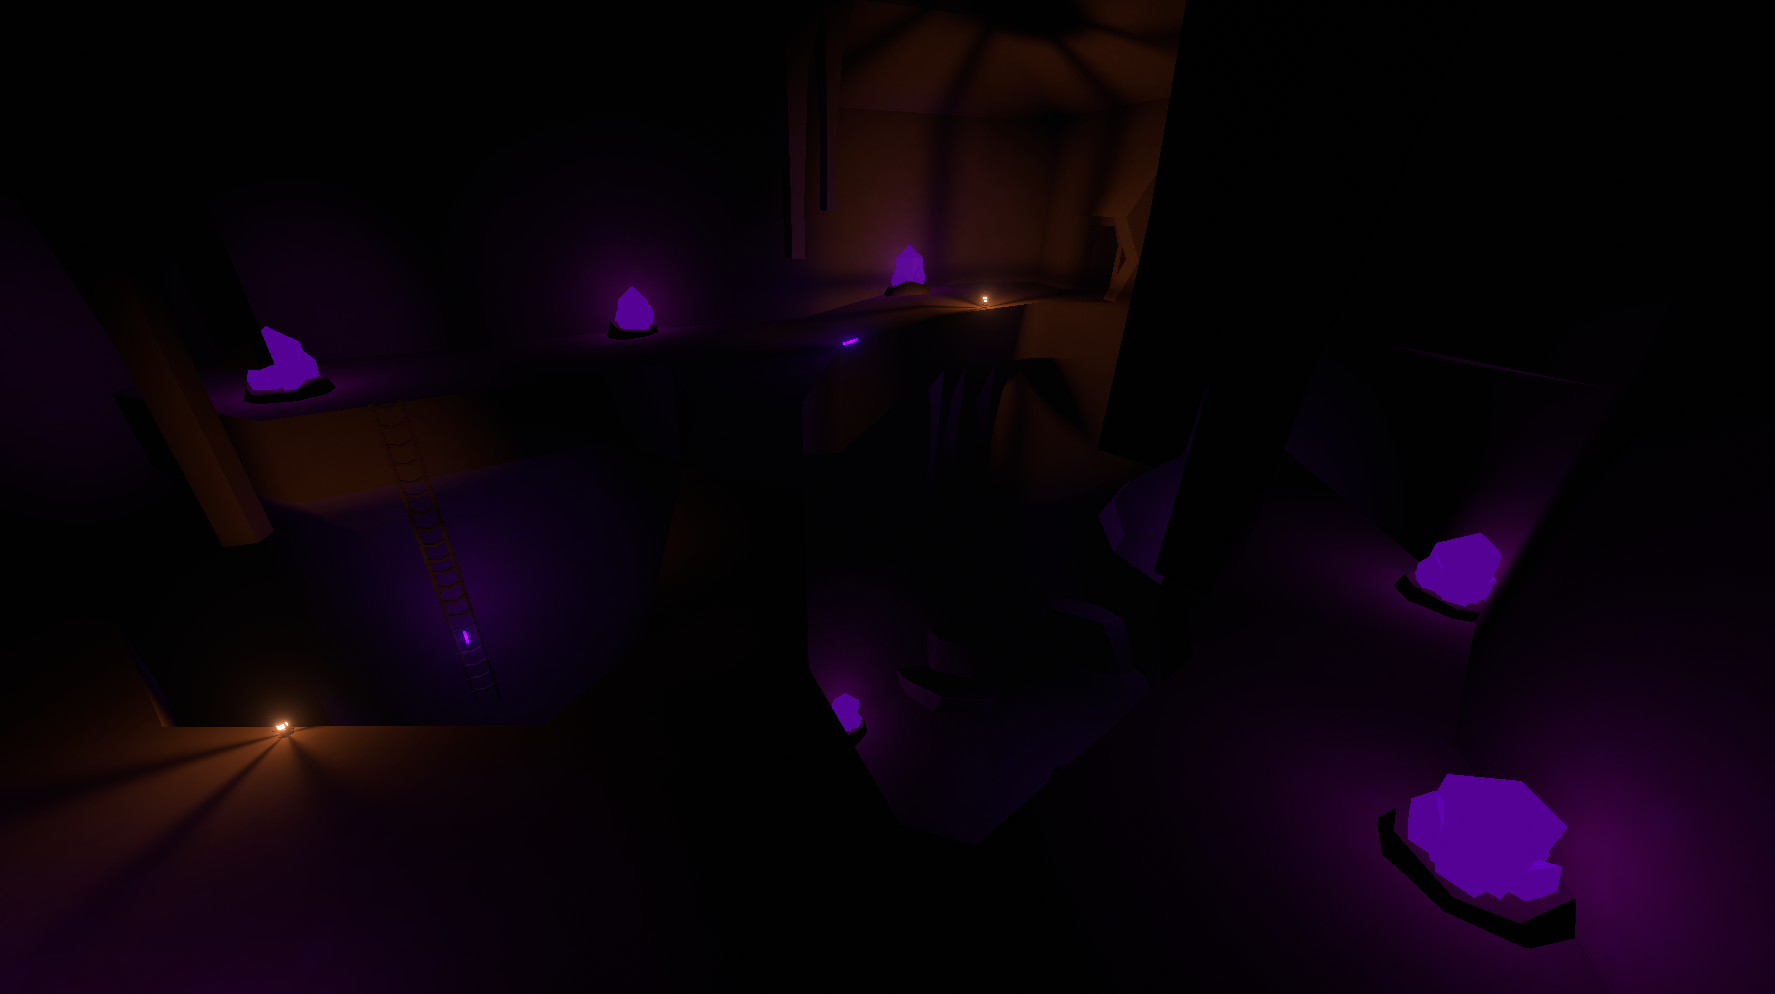
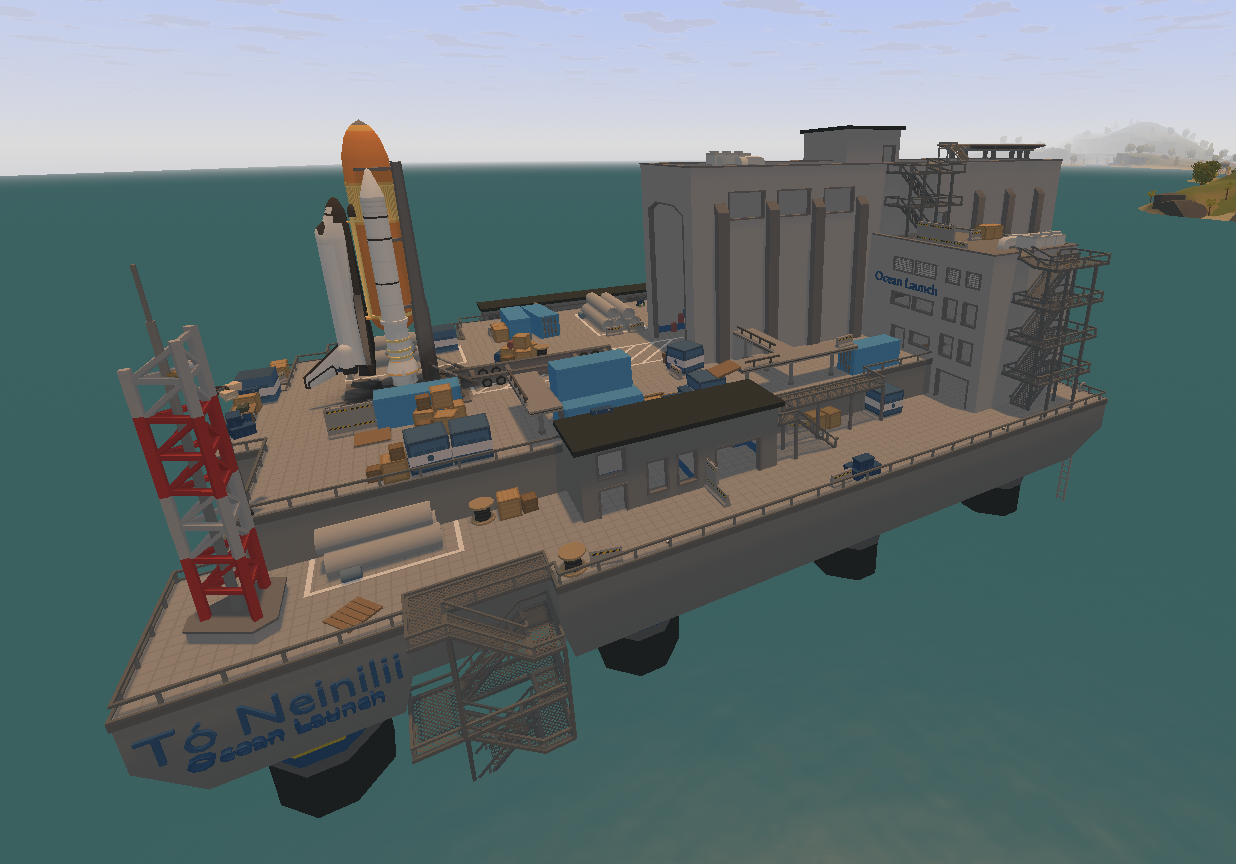 It has 6 ladder
The generator itself can only be placed on the symbols near the rocket
It has 6 ladder
The generator itself can only be placed on the symbols near the rocket 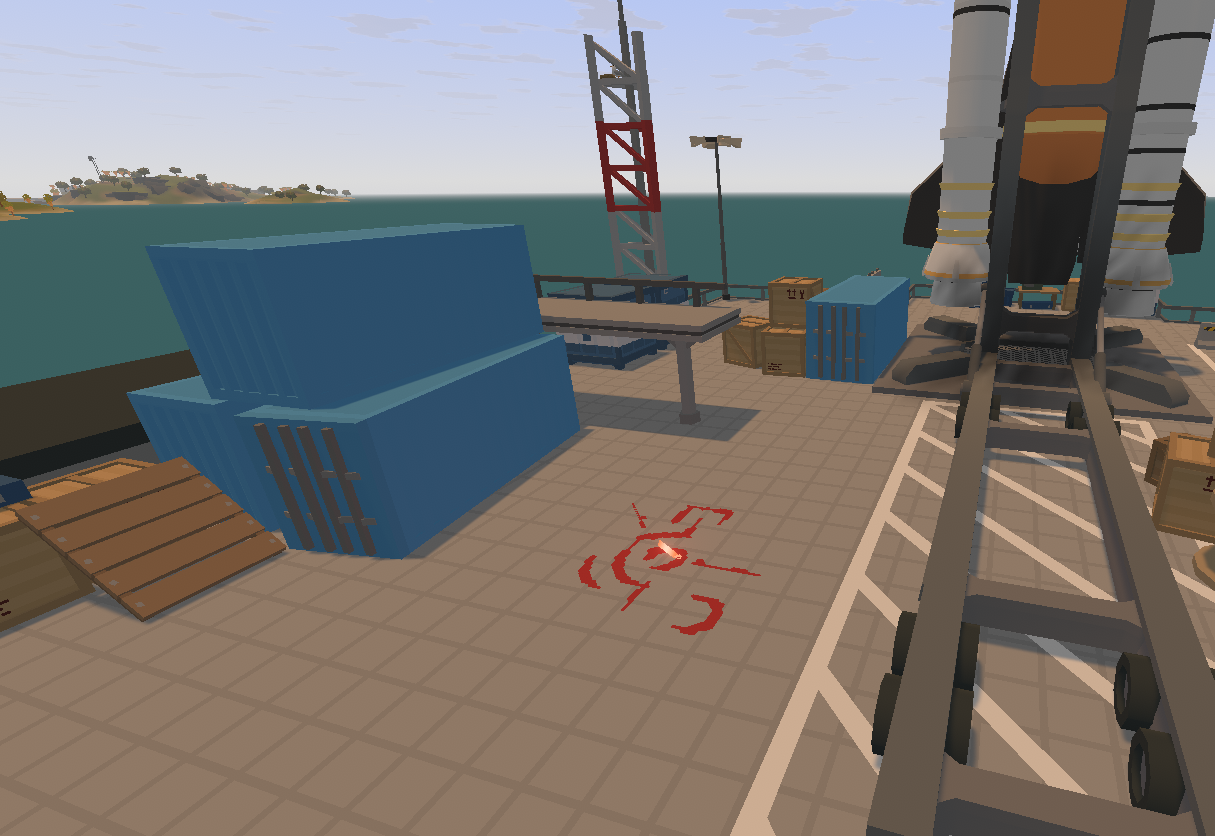
So, to craft the Horde generator itself, we need the following components
- 30 Cynirite Crystals
- 4 Motherboards
- 2 Coils
- 2 Horde Lures
- Generator
- Burner
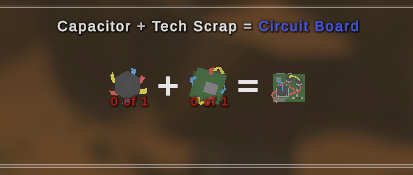
In screenshot old craft We craft motherboards from transistors and circuit boards; these all drop from electronics
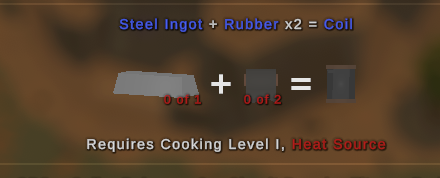
We make 2 coils from steel and rubber
Horde bait drops from the Horde generator in Metro, in quantities of 1-2 pieces; there are a total of 5 such generators in the location
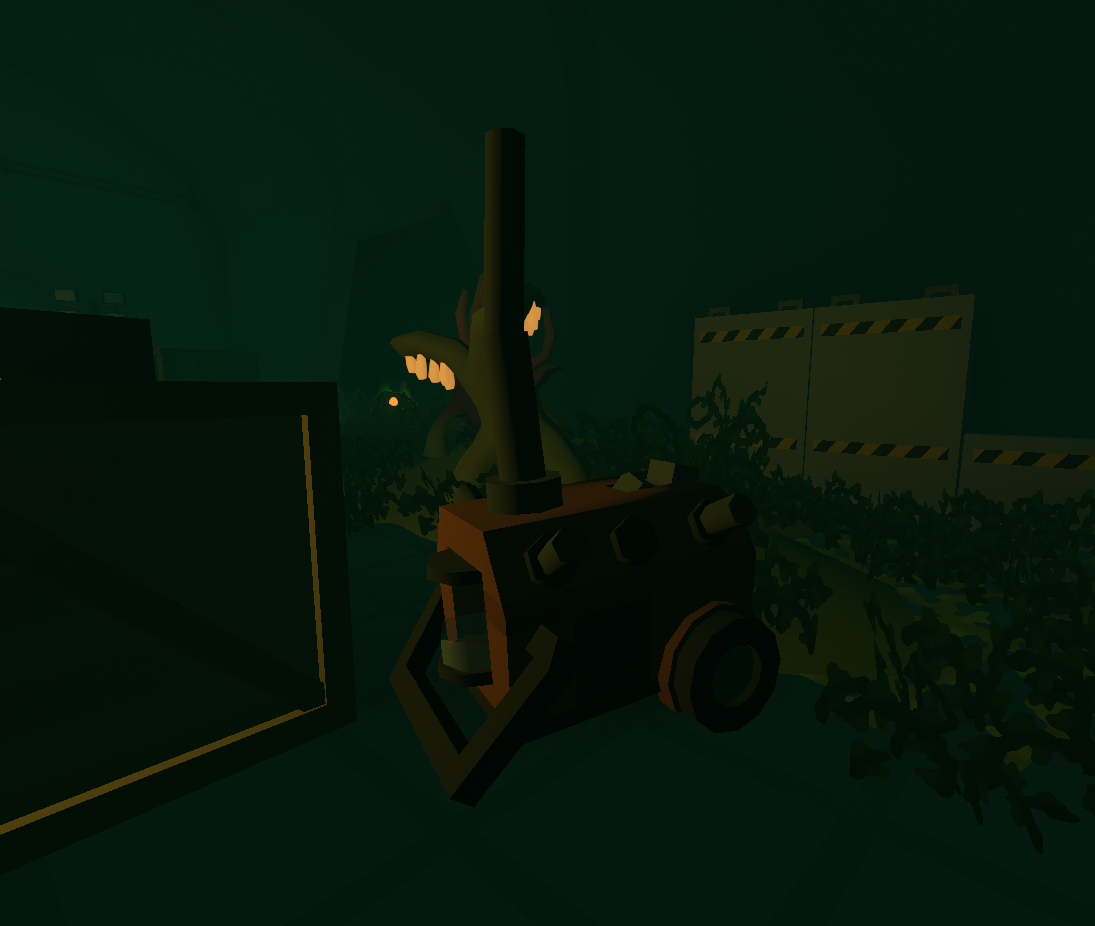
The generator is craftable
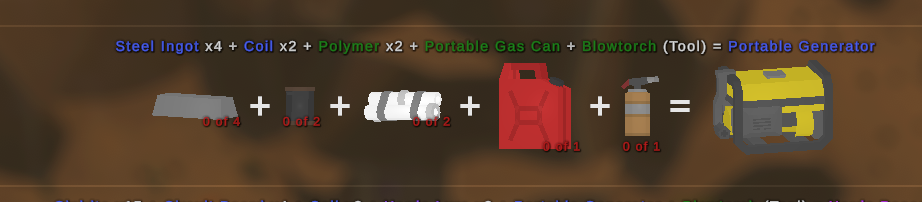
The blowtorch can be purchased or spawns at service stations or construction sites

The horde generator drops 18 items, and the mechanic works such that the more players there are, the more items there are—but the zombies also become tougher
- 1 player = 18 items
- 2 players = 25 items
- 3 players - 31 items
- 4 players - 36 items
- 5 players - 40 items
- 6 players - 44 items
- 7 players - 48 items
- 8 players - 51 items
- 9 players - 54 items
- 10 players - 57 items
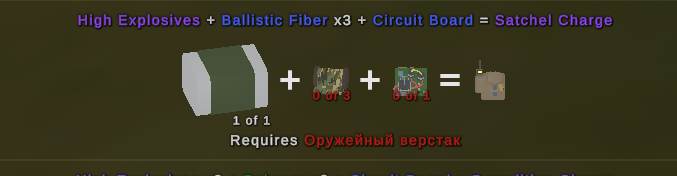
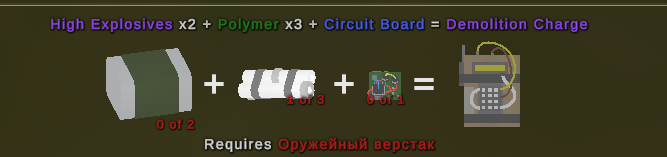
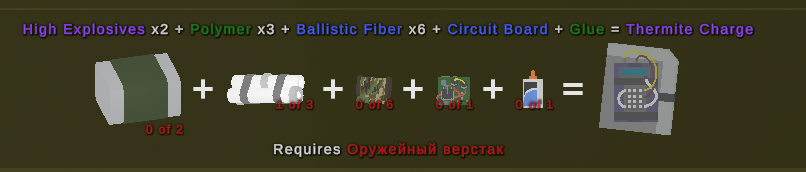
Everything that drops from the Horde
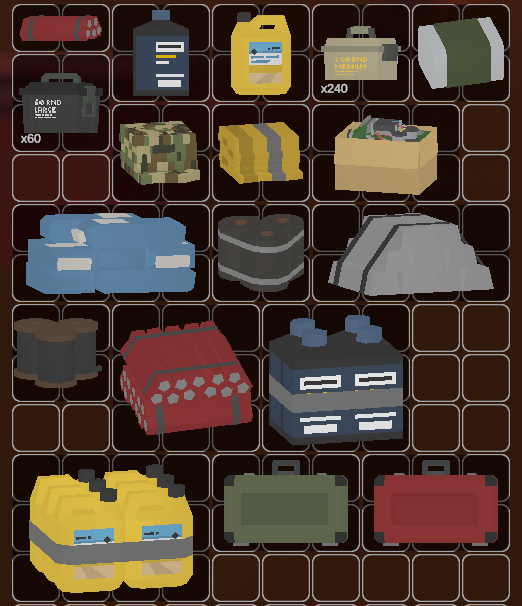
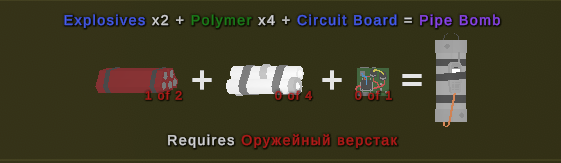
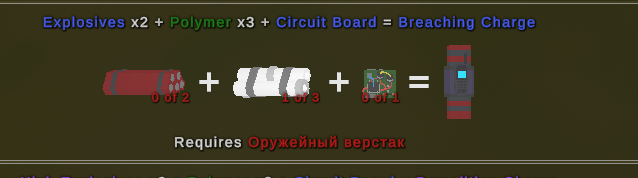
Raid gear
- Unturned | Русификатор | Перевод | Русский язык★ 5 (6.8k)163k views38k ♥4 minRussianUpdated 4 May, 2024
- More Farming Mod Crafting Guide★ 5 (1.1k)68k views3.1k ♥64 minUpdated 21 Dec, 2023
- Русификатор + Достижения + Транспорт★ 5 (3.2k)46k views4k ♥11 minRussianUpdated 29 Nov, 2015
- How To Get Better FPS! (Optimization)★ 5 (642)42k views1.5k ♥4 minBulgarian
- Escalation IDs★ 5 (323)39k views1.3k ♥20 minUpdated 8 Nov, 2024
- 简体中文汉化包 汉化指南★ 4 (165)38k views506 ♥1 minSimplified Chinese






- Upgrading to PremiumTeam Fortress 2★ 5 (20k)1441k views11k ♥6 minUpdated May 11, 2022
- No More Room in Hell Official ManualNo More Room in Hell★ 5 (2.8k)569k views2.1k ♥29 minUpdated Apr 22, 2019
- NMRiH Community Hosting GuidesNo More Room in Hell★ 5 (526)351k views653 ♥1 minUpdated Aug 10, 2022
- ULTIMATE GUIDE FOR GAME DEV TYCOONGame Dev Tycoon★ 5 (5.8k)326k views10k ♥4 minUpdated 23 Jan, 2014
- How to 'Git Gud' Soon™MORDHAU★ 5 (2k)318k views3k ♥68 minUpdated Nov 16, 2024
- Лучшие кооперативные игры SteamPAYDAY 2★ 5 (1.5k)315k views2.1k ♥56 minRussianUpdated Apr 27, 2025






This guide was created by its original author on the Steam Community. Are you the author and want it removed? Request removal.