Detailed Origins Guide
Map
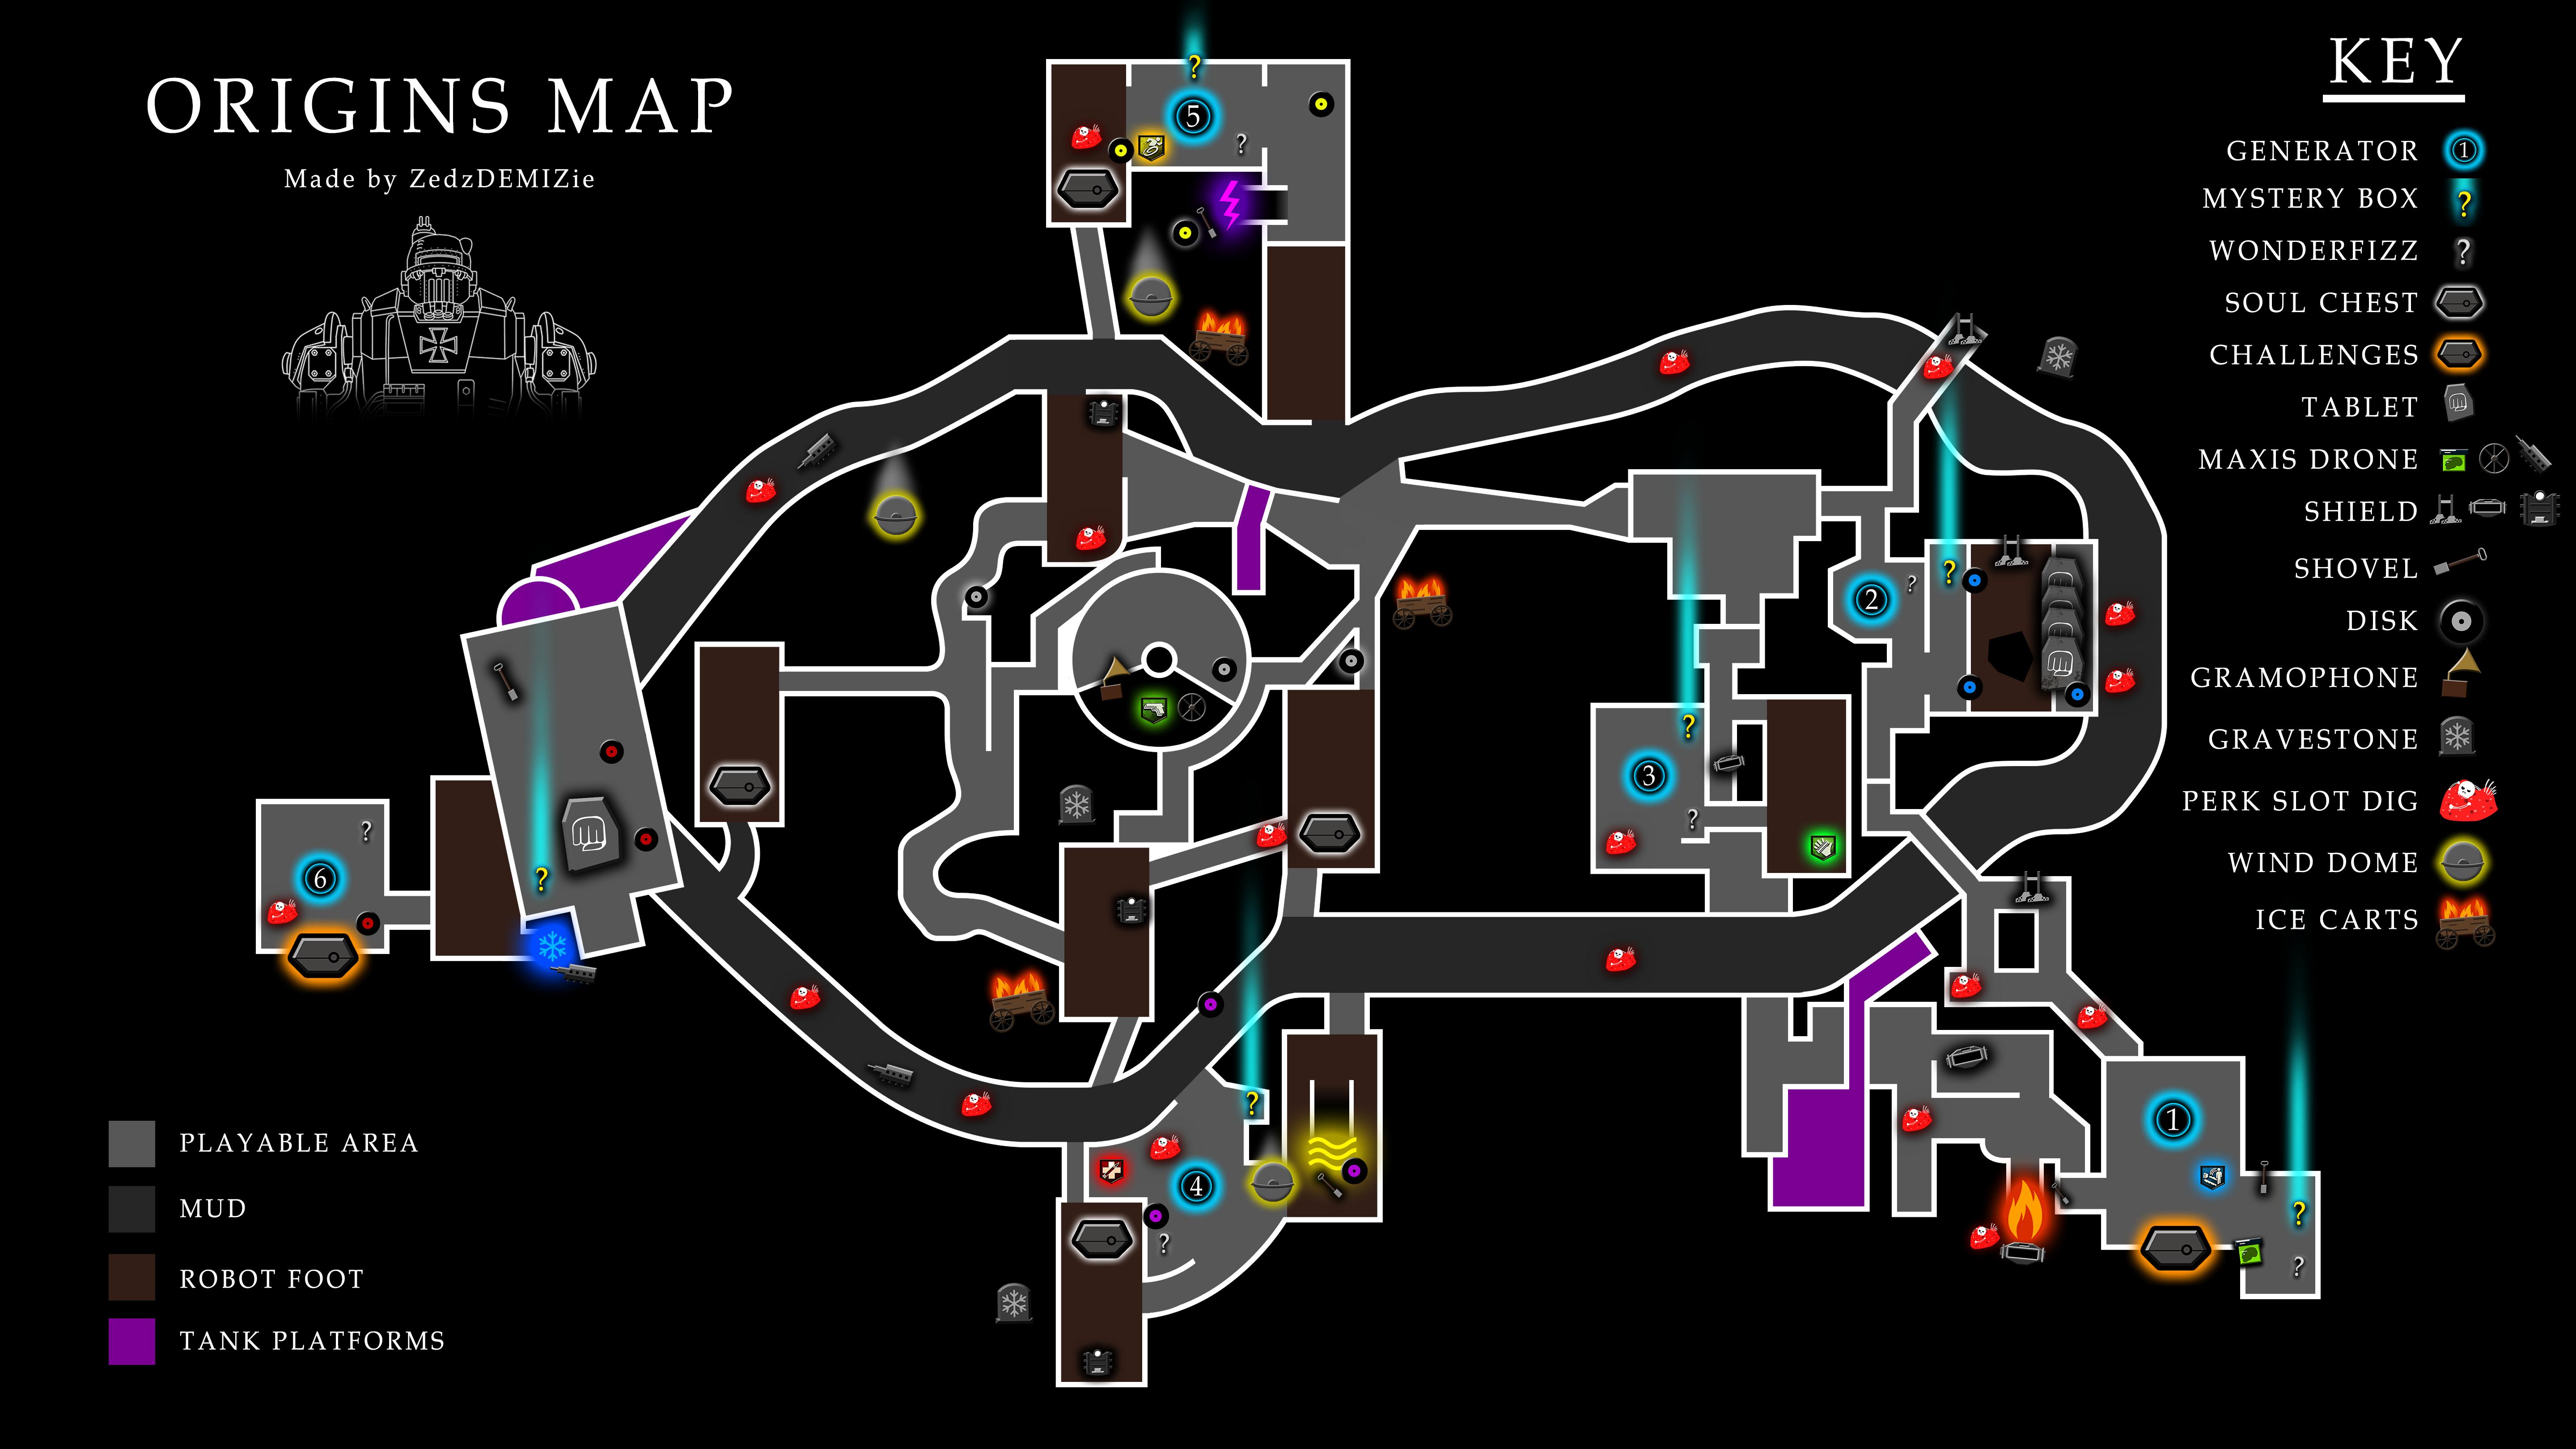
How to enable 'Pack a Punch'
in order to enable 'Pack a Punch' on the map you need to activate all Generators on the map.
To activate you need 200 points if you play Solo, 400 for Duo, 600 for Trio and Quad, you always get 100 points for completing the activation. This goes for all Generators on the map.
To activate you need 200 points if you play Solo, 400 for Duo, 600 for Trio and Quad, you always get 100 points for completing the activation. This goes for all Generators on the map.
Generator 1
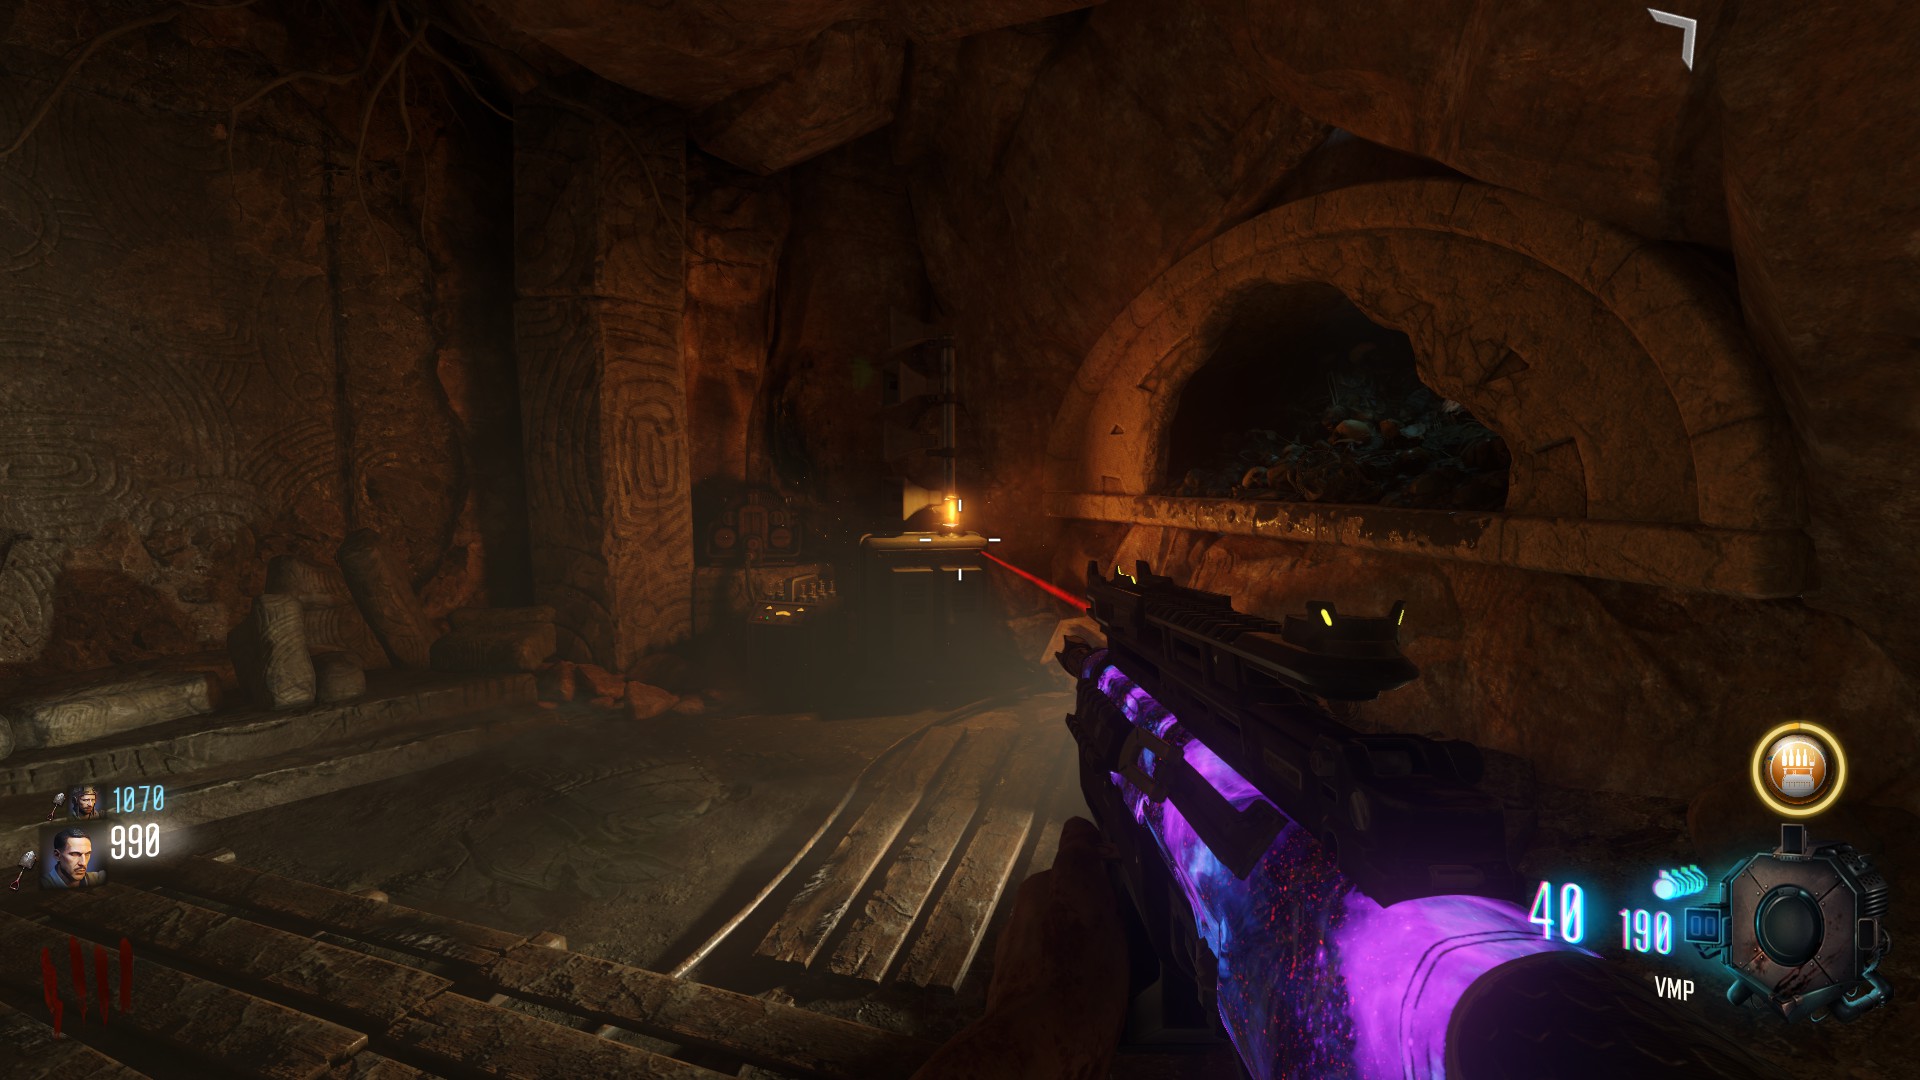
This one is by far the easiest to find since its right in the spawn room
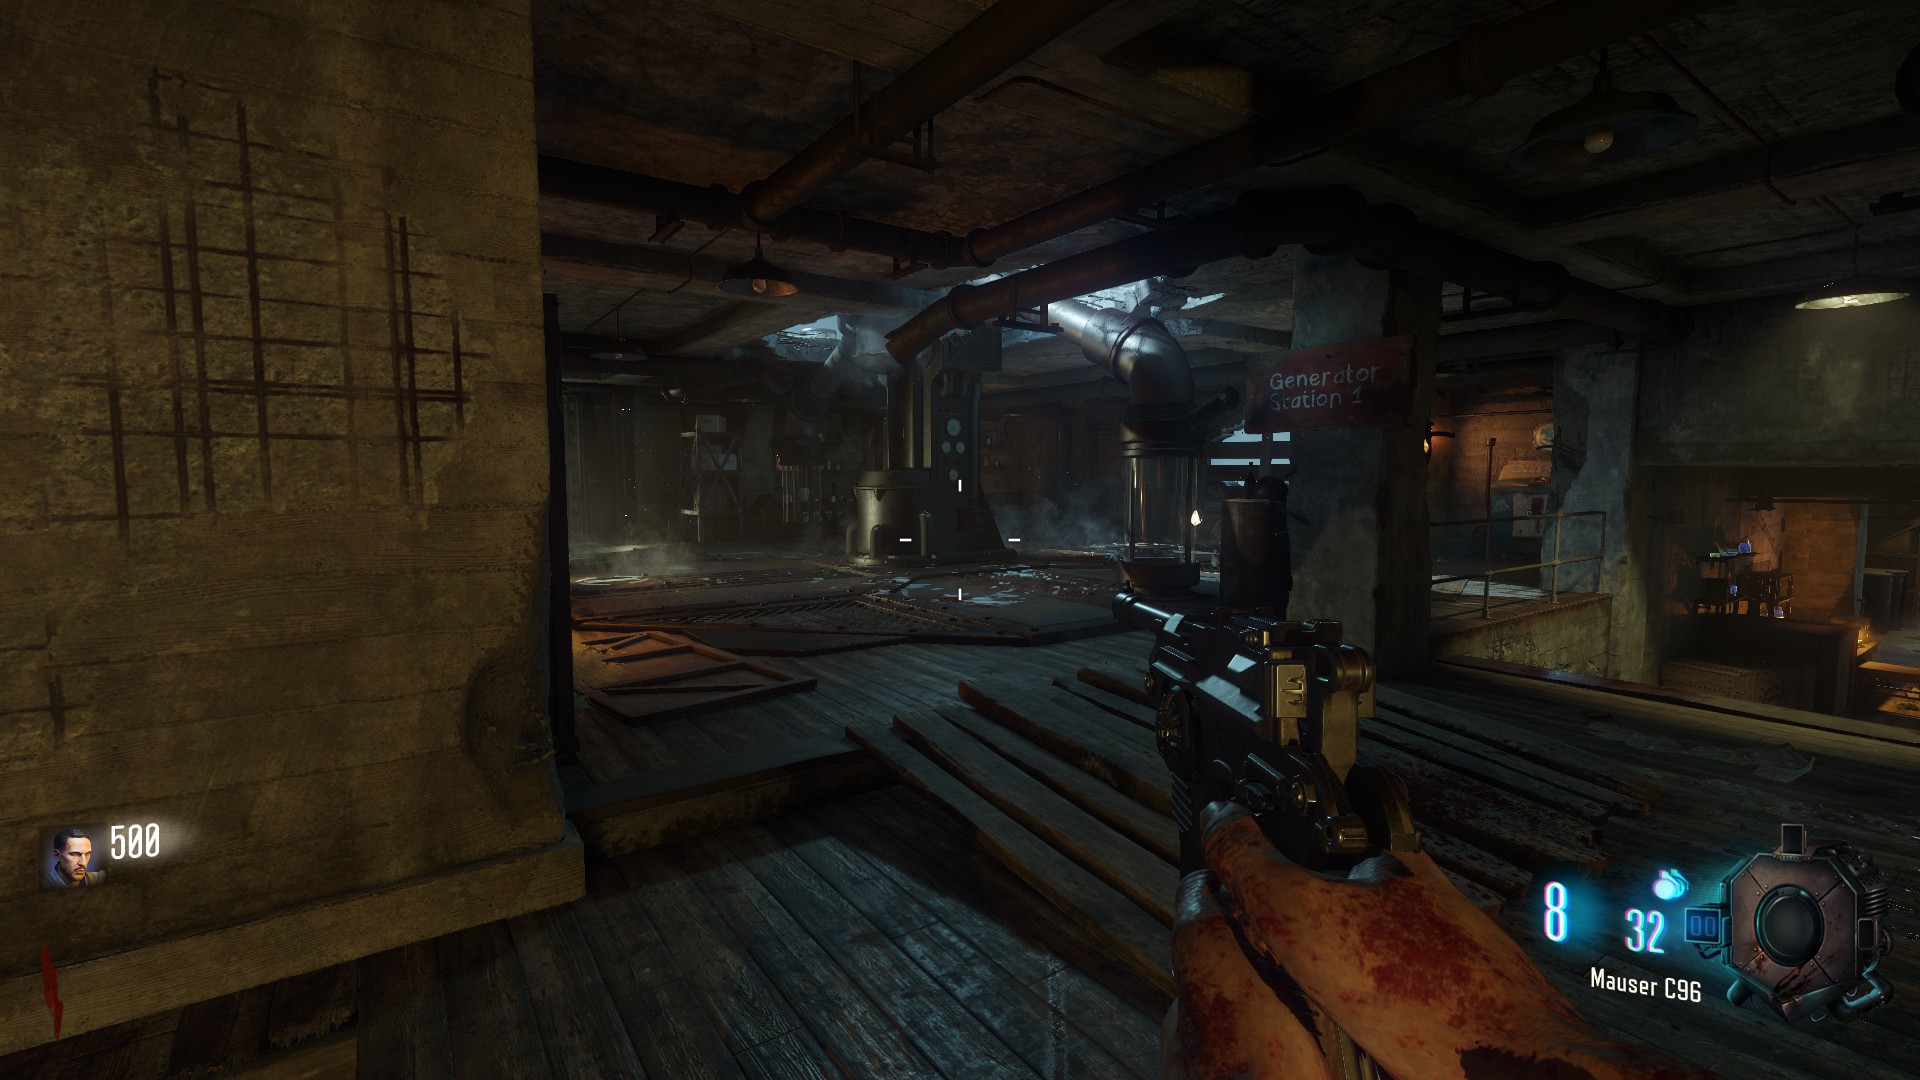
you always get a reward for activating the first Generator, it will usually be either '2x Points' when playing Solo or 'Zombie Blood' when playing Multiplayer
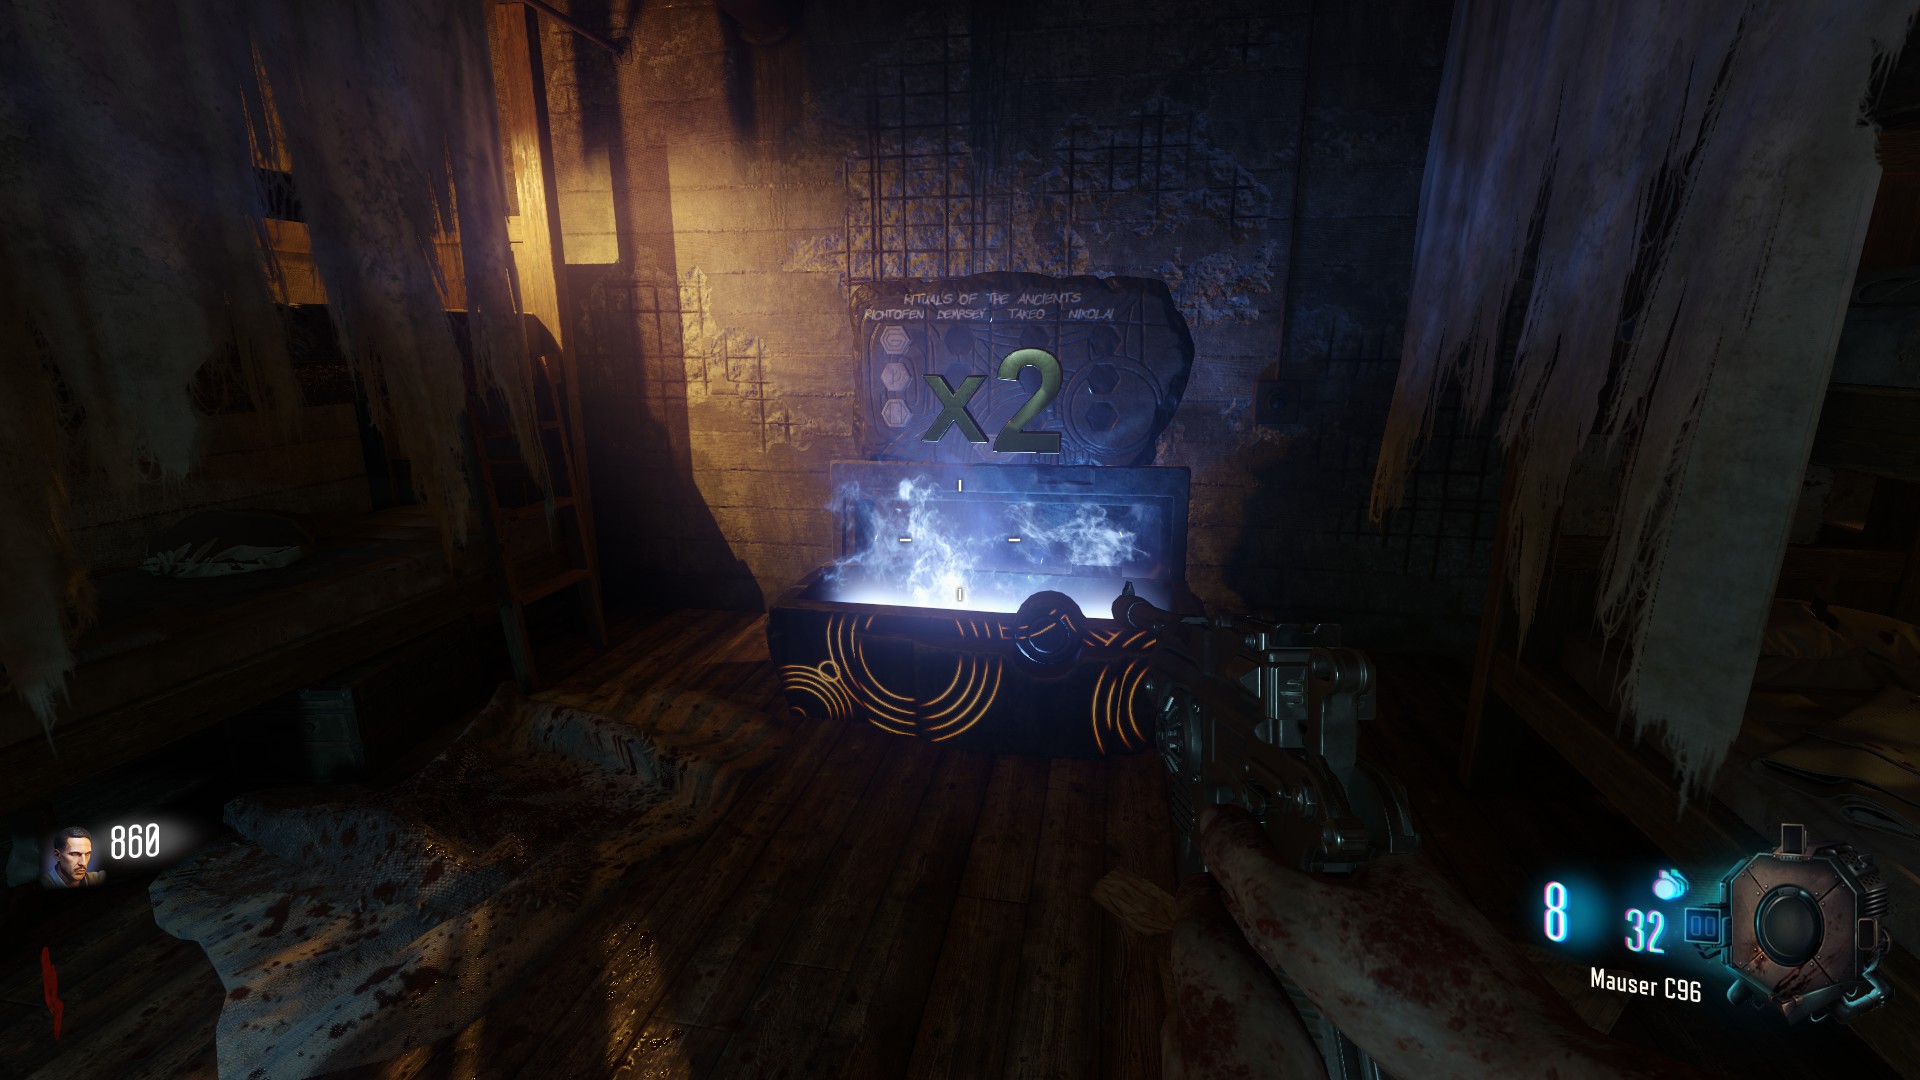
you always get a reward for activating the first Generator, it will usually be either '2x Points' when playing Solo or 'Zombie Blood' when playing Multiplayer
Generator 2
Generator 2 will be found when you open up the door that is past the first Generator.
when you come up the stairs form the spawn room to the right.
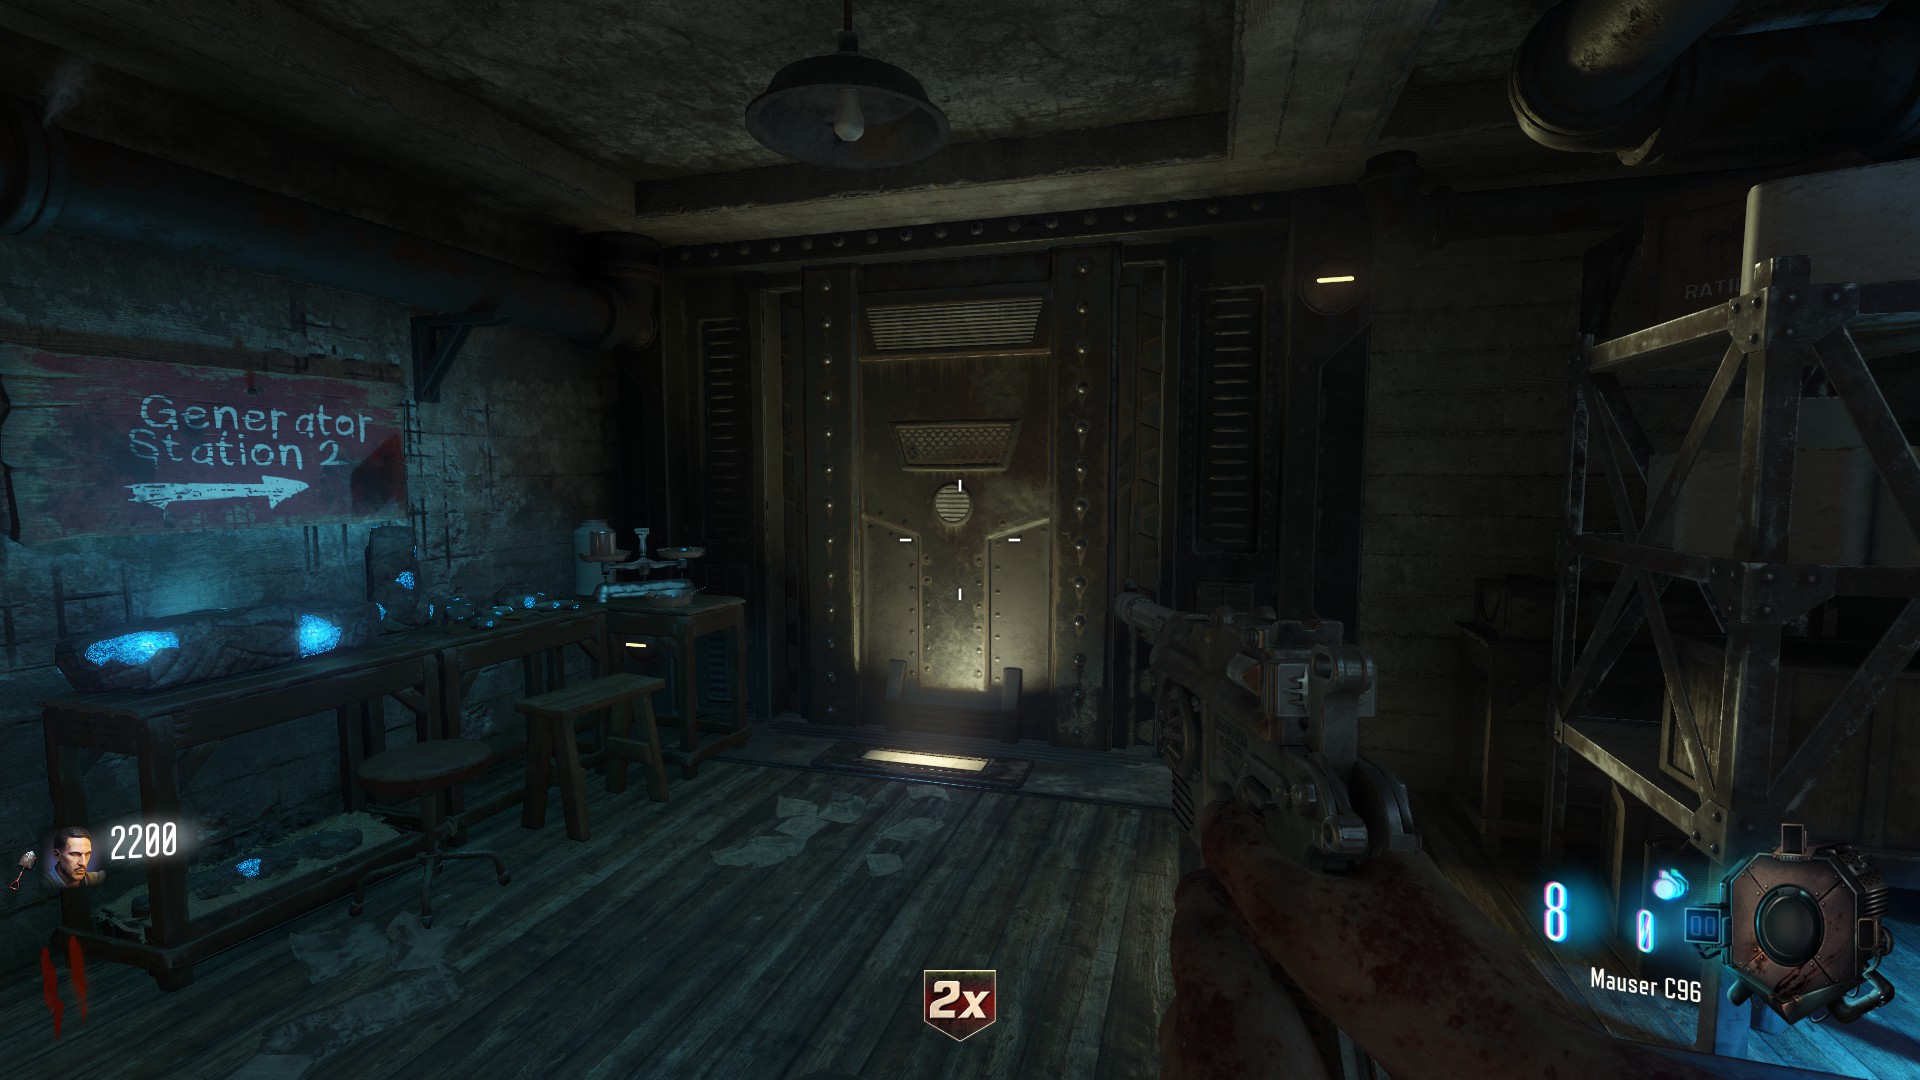
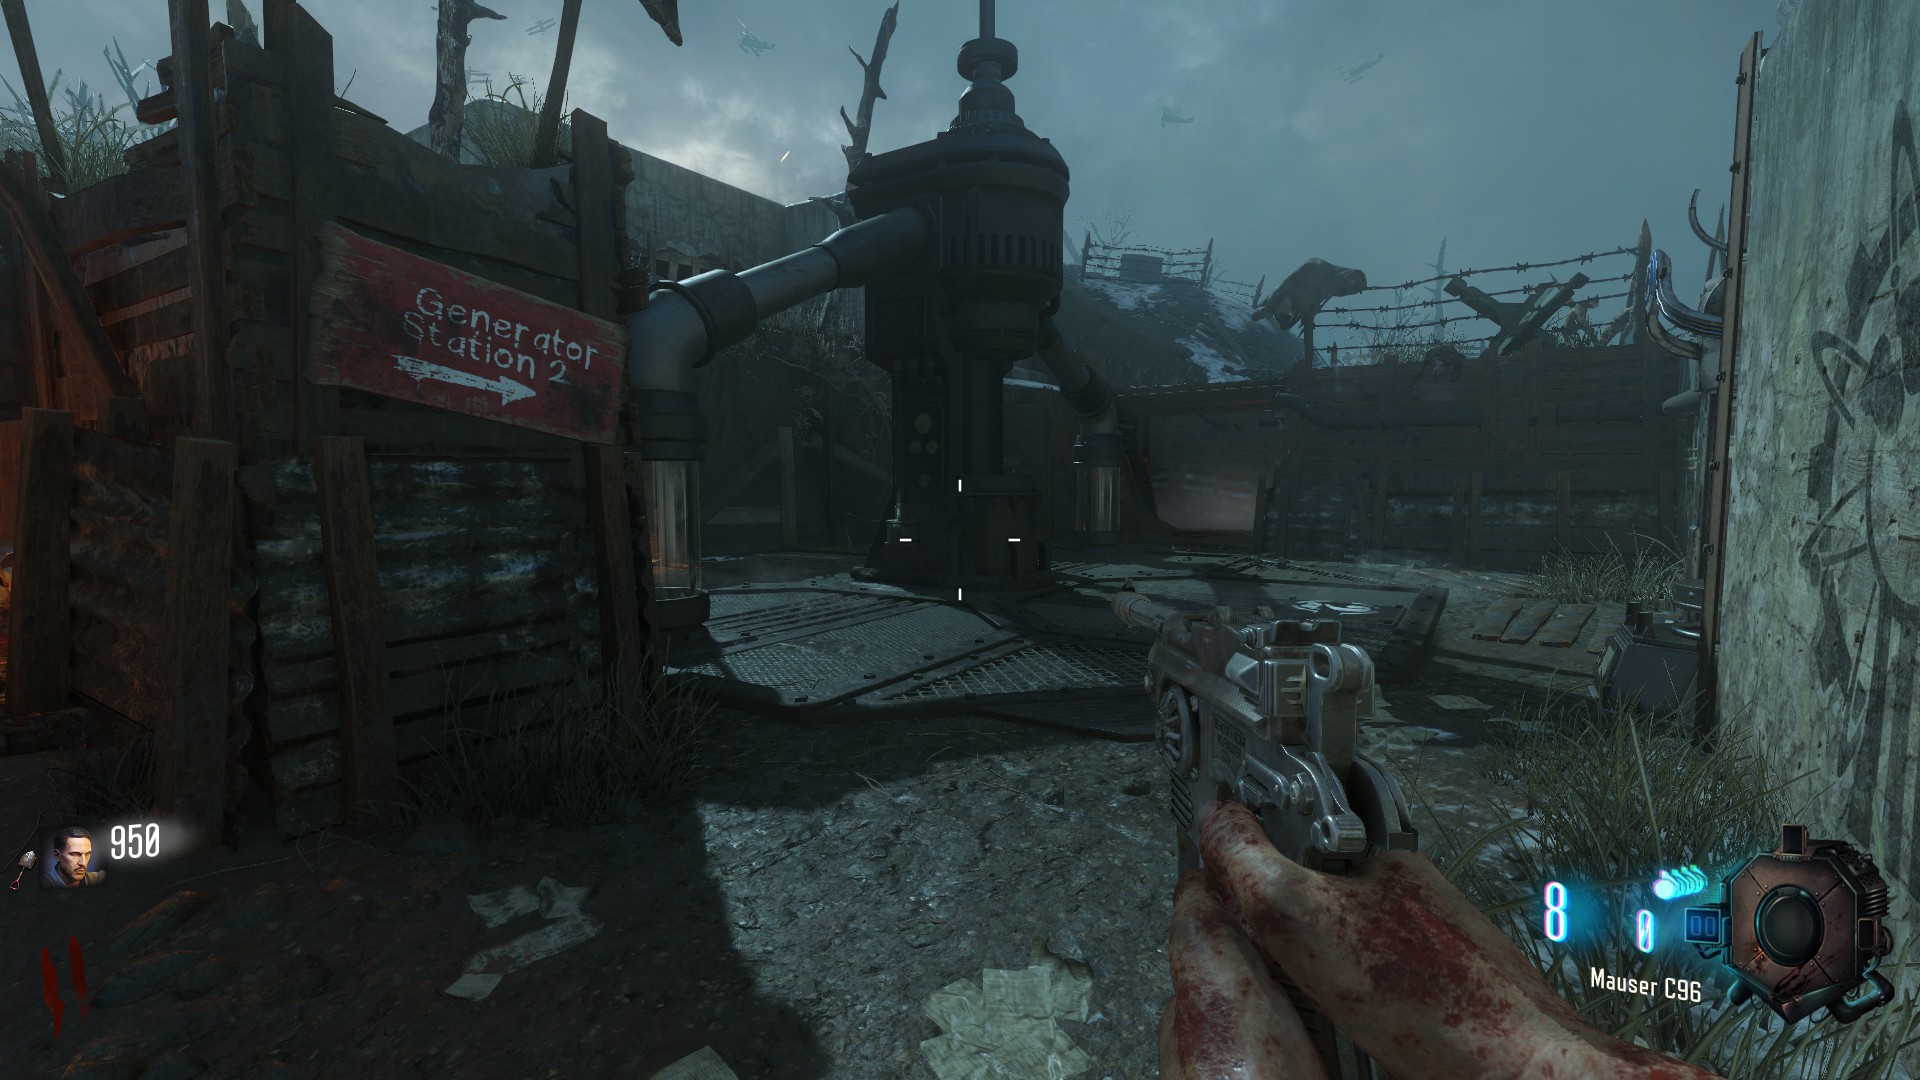
when you come up the stairs form the spawn room to the right.
Generator 3
Generator 3 is found by either going back to the spawn and opening the second door straight ahead from the spawn
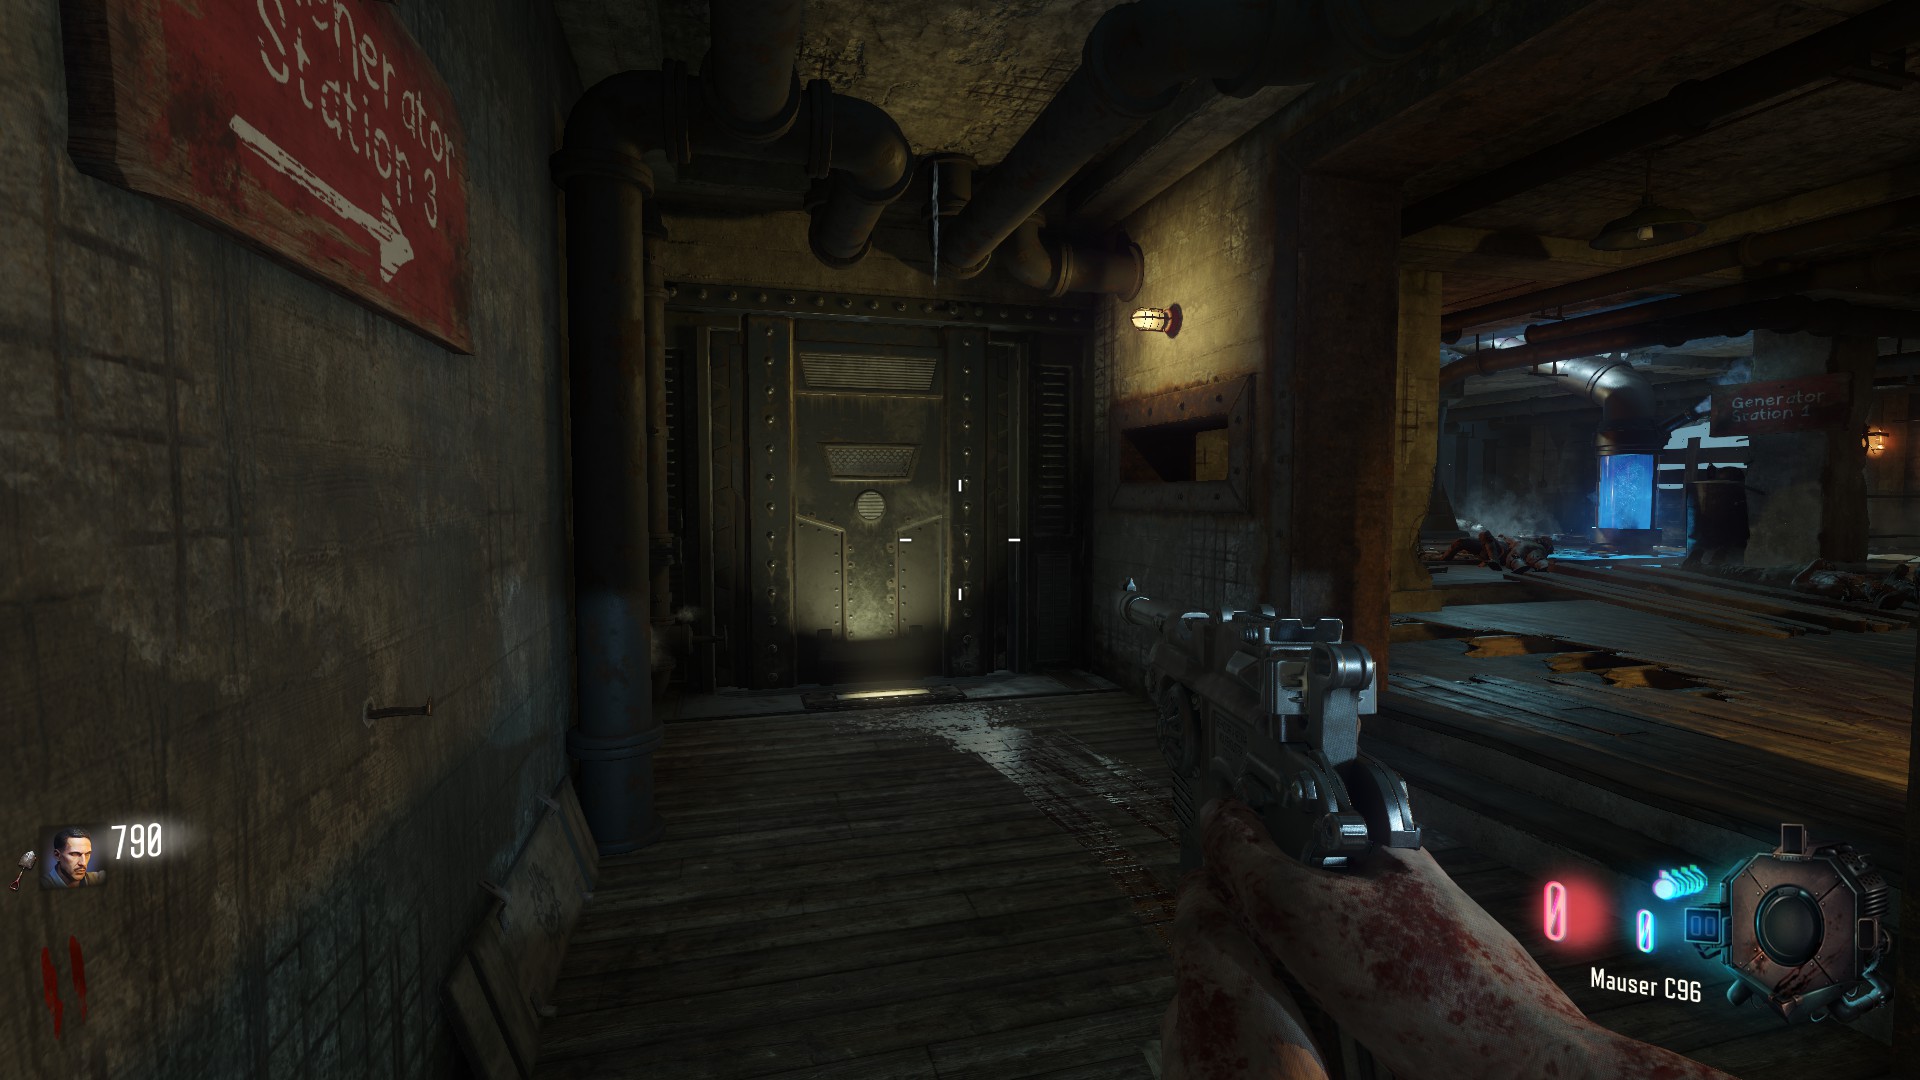
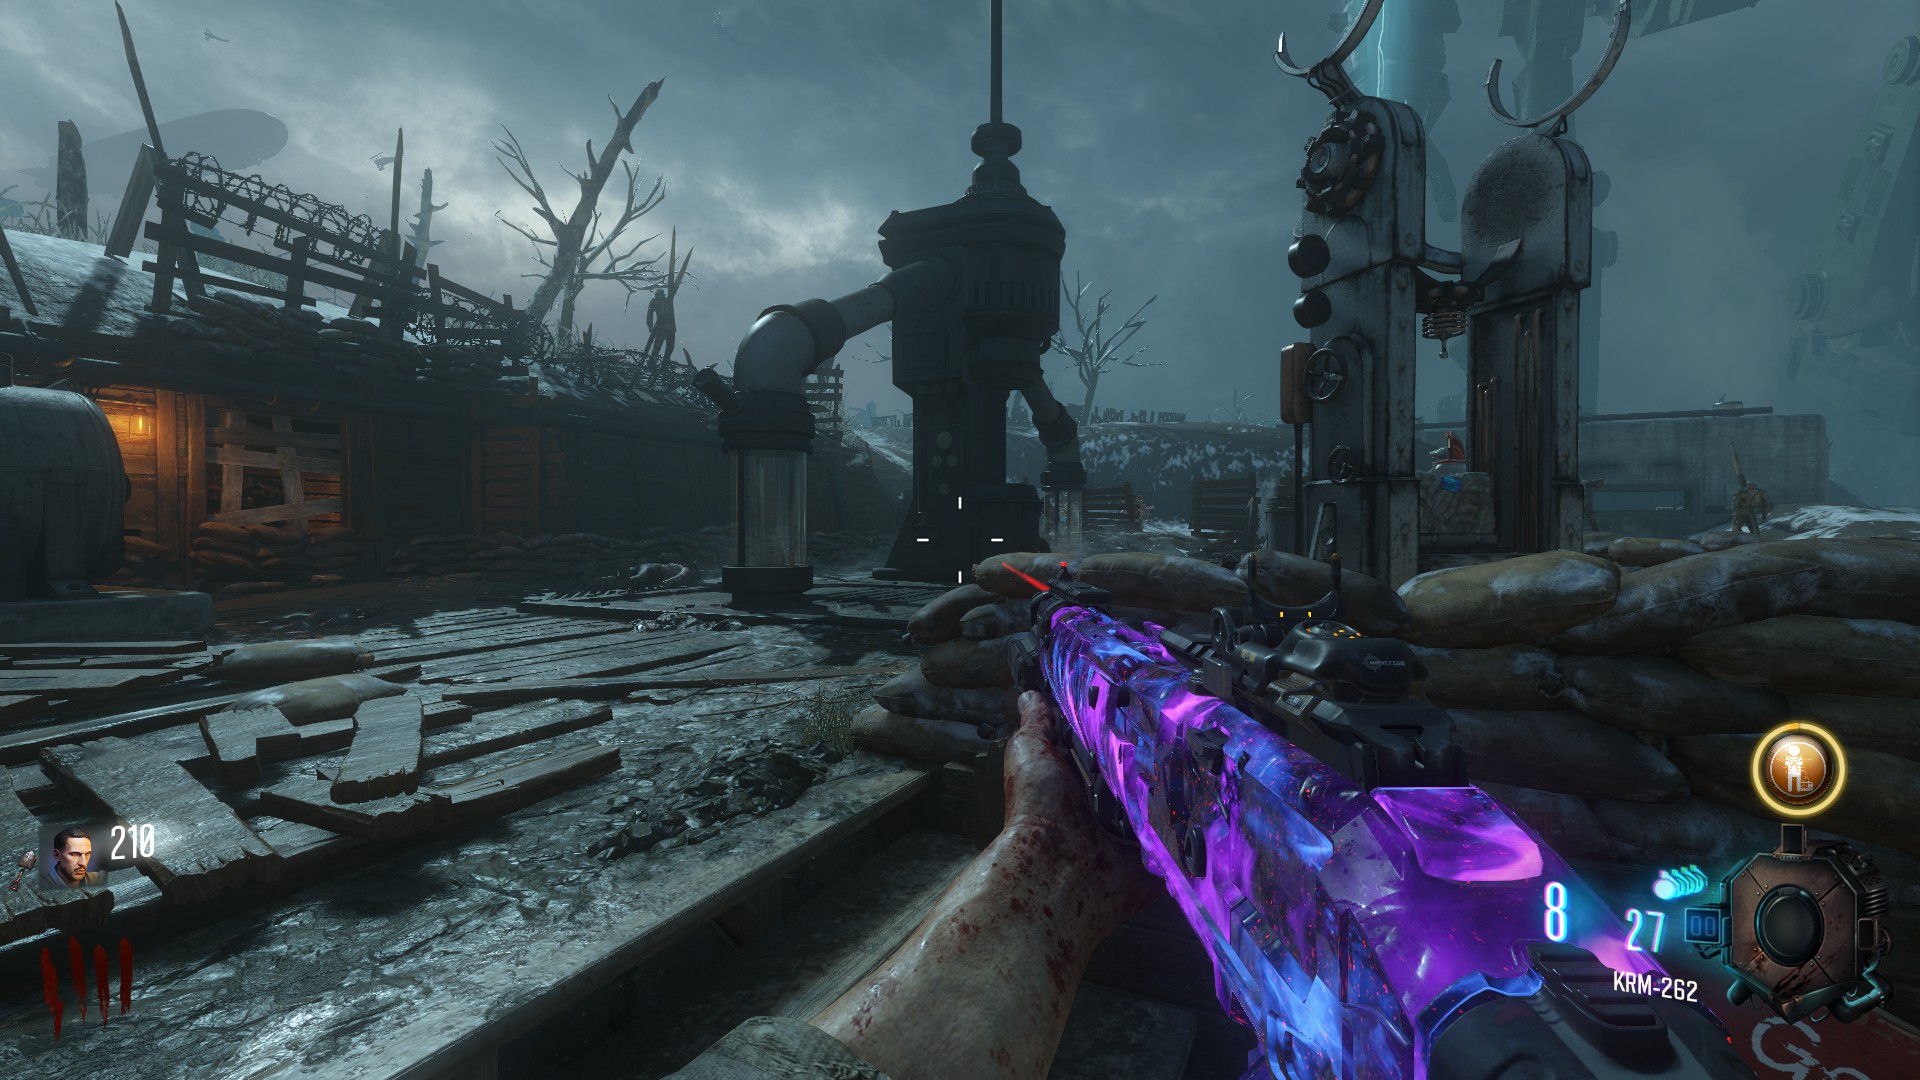
Or by going through the staircase room past Generator 2 to the left
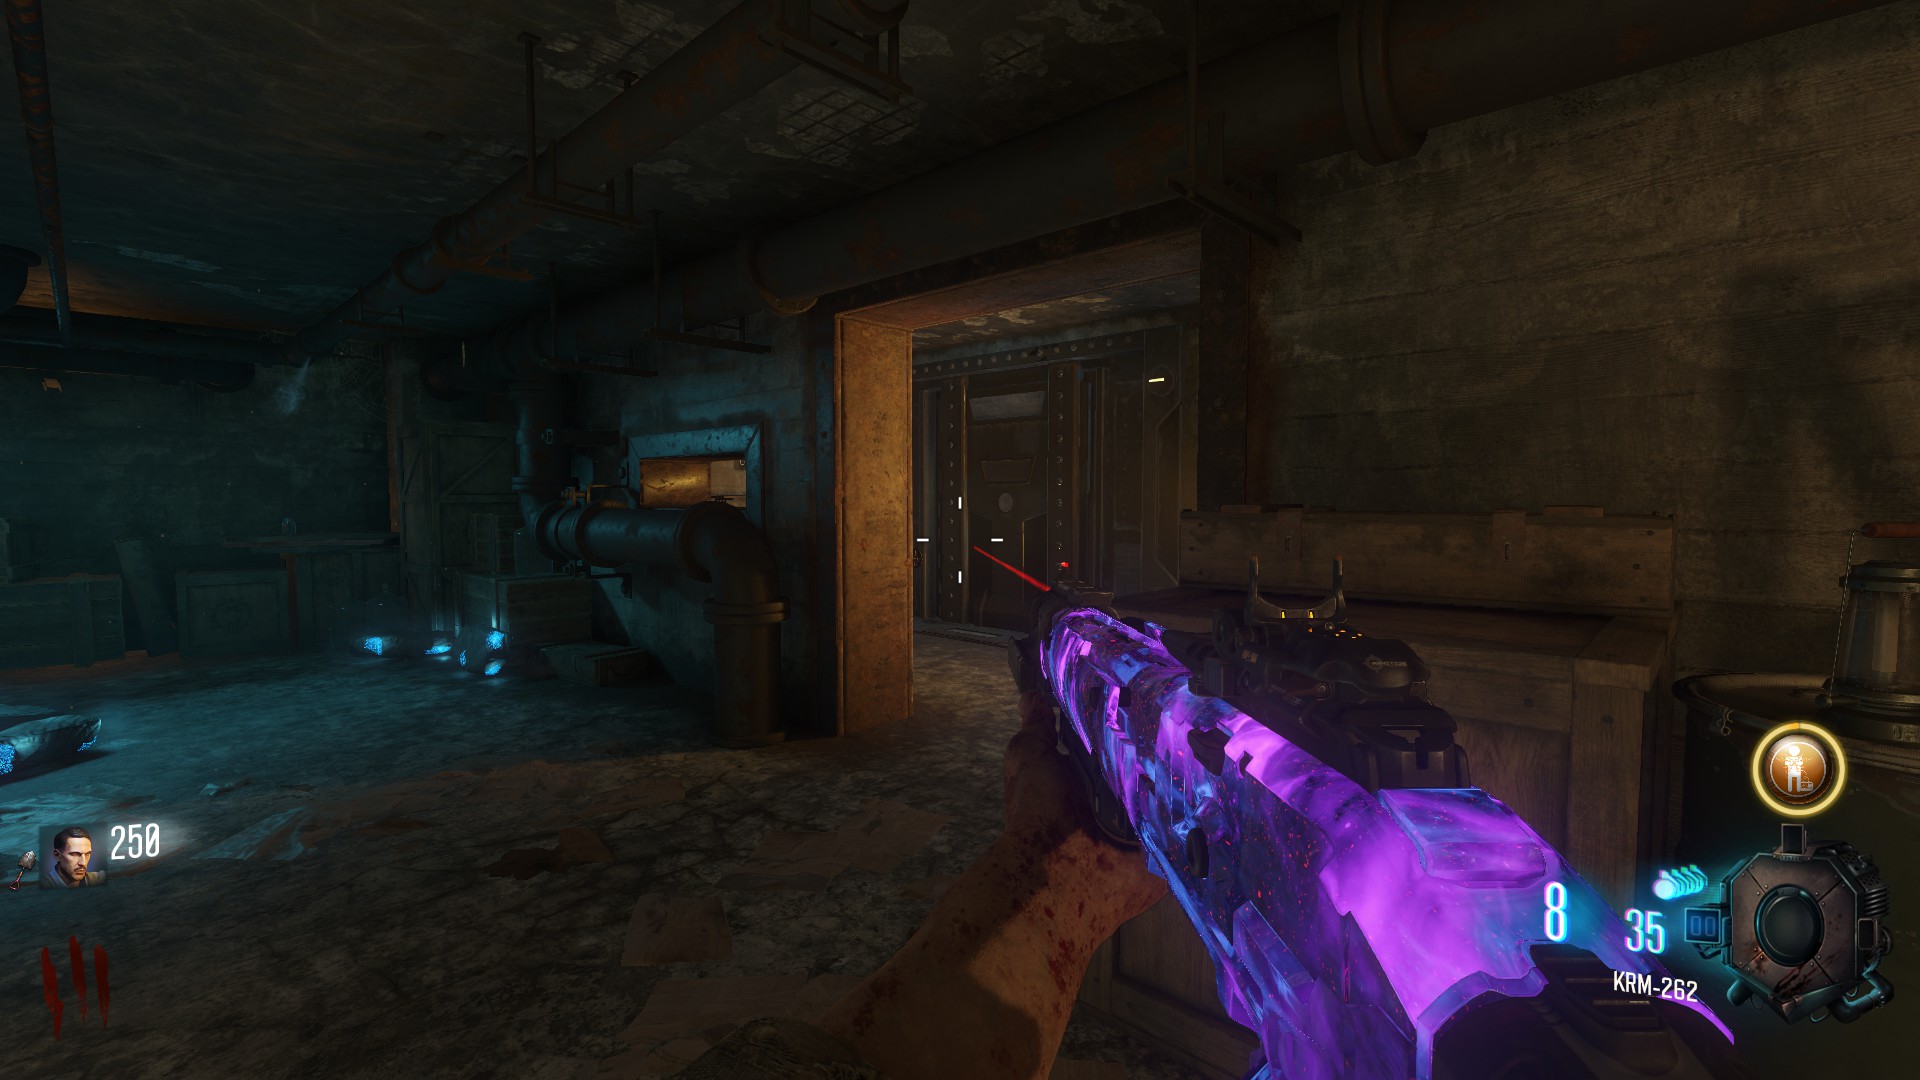
Or by going through the staircase room past Generator 2 to the left
Generator 4
(Generator 4 will be a bit harder to explain without using half a dozen pictures.)
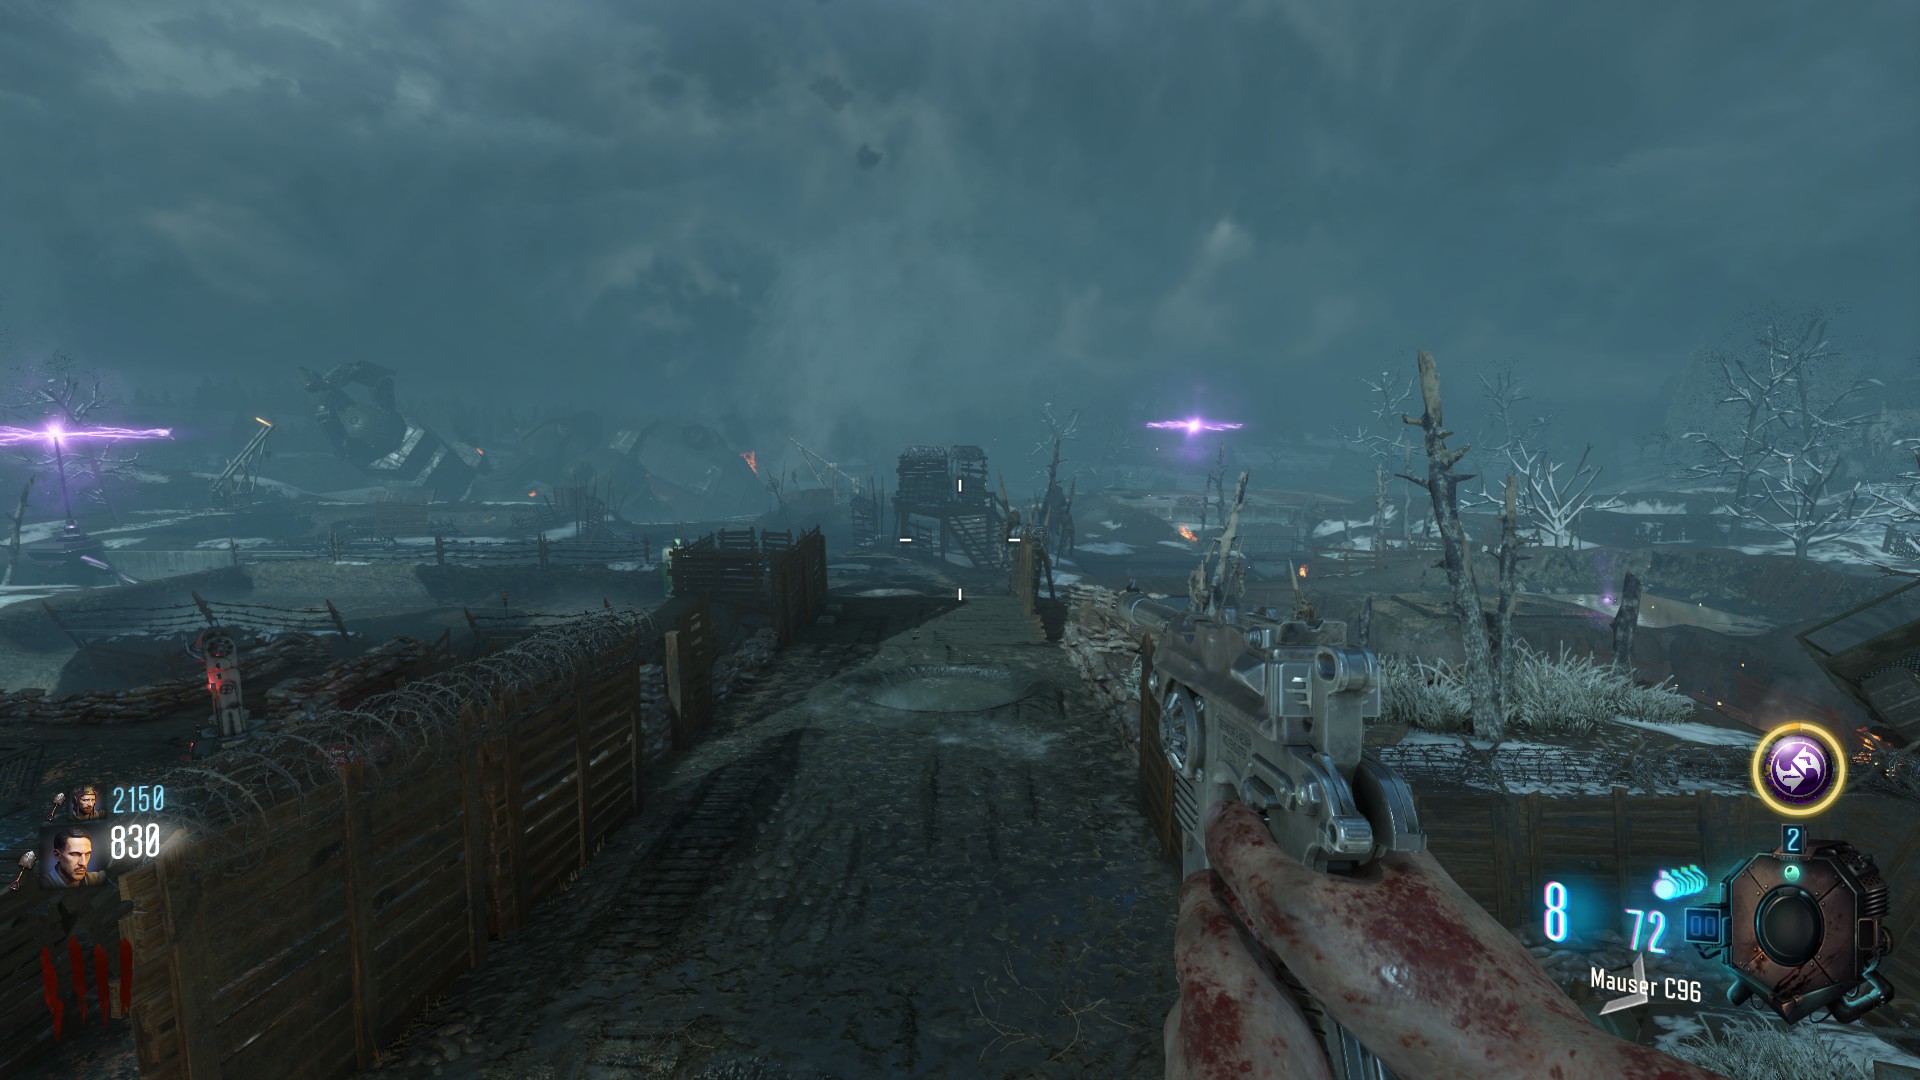
Go up the stairs in the staircase room, Into the 'no mans land'.
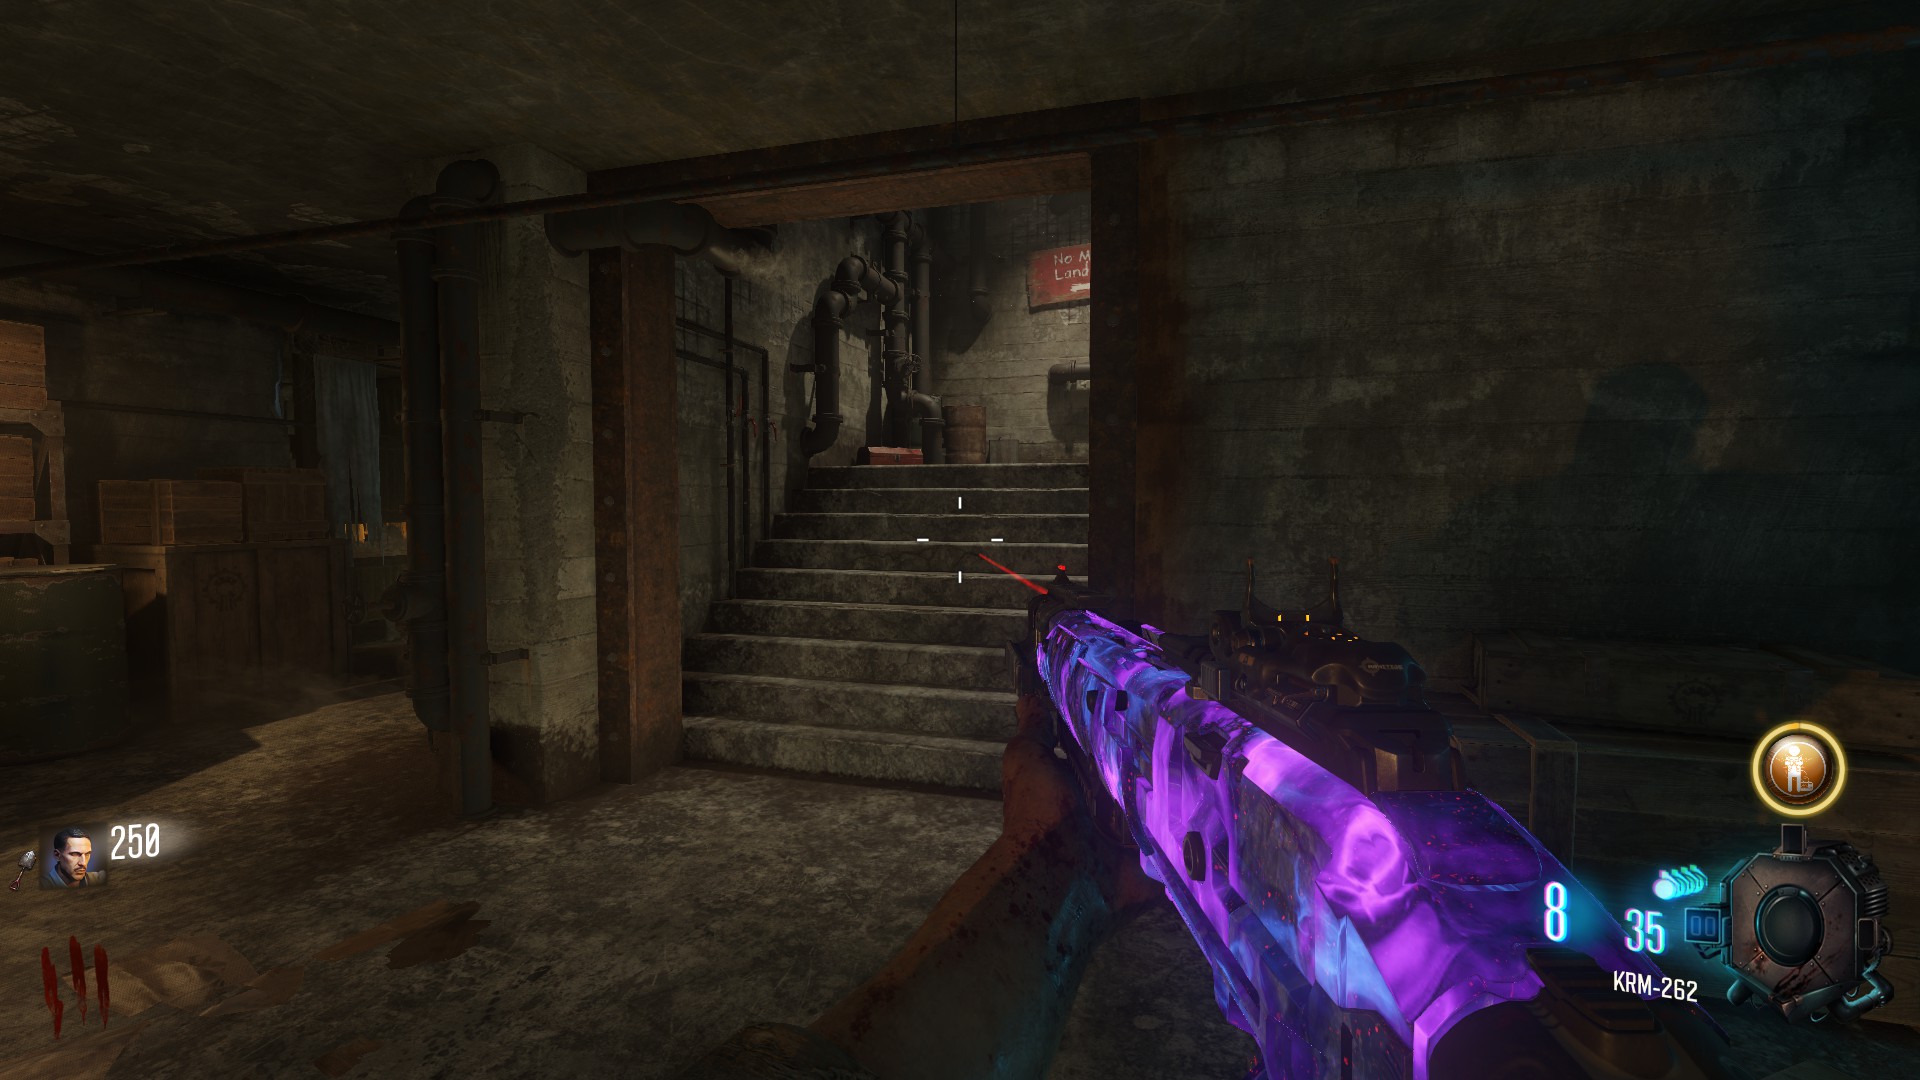
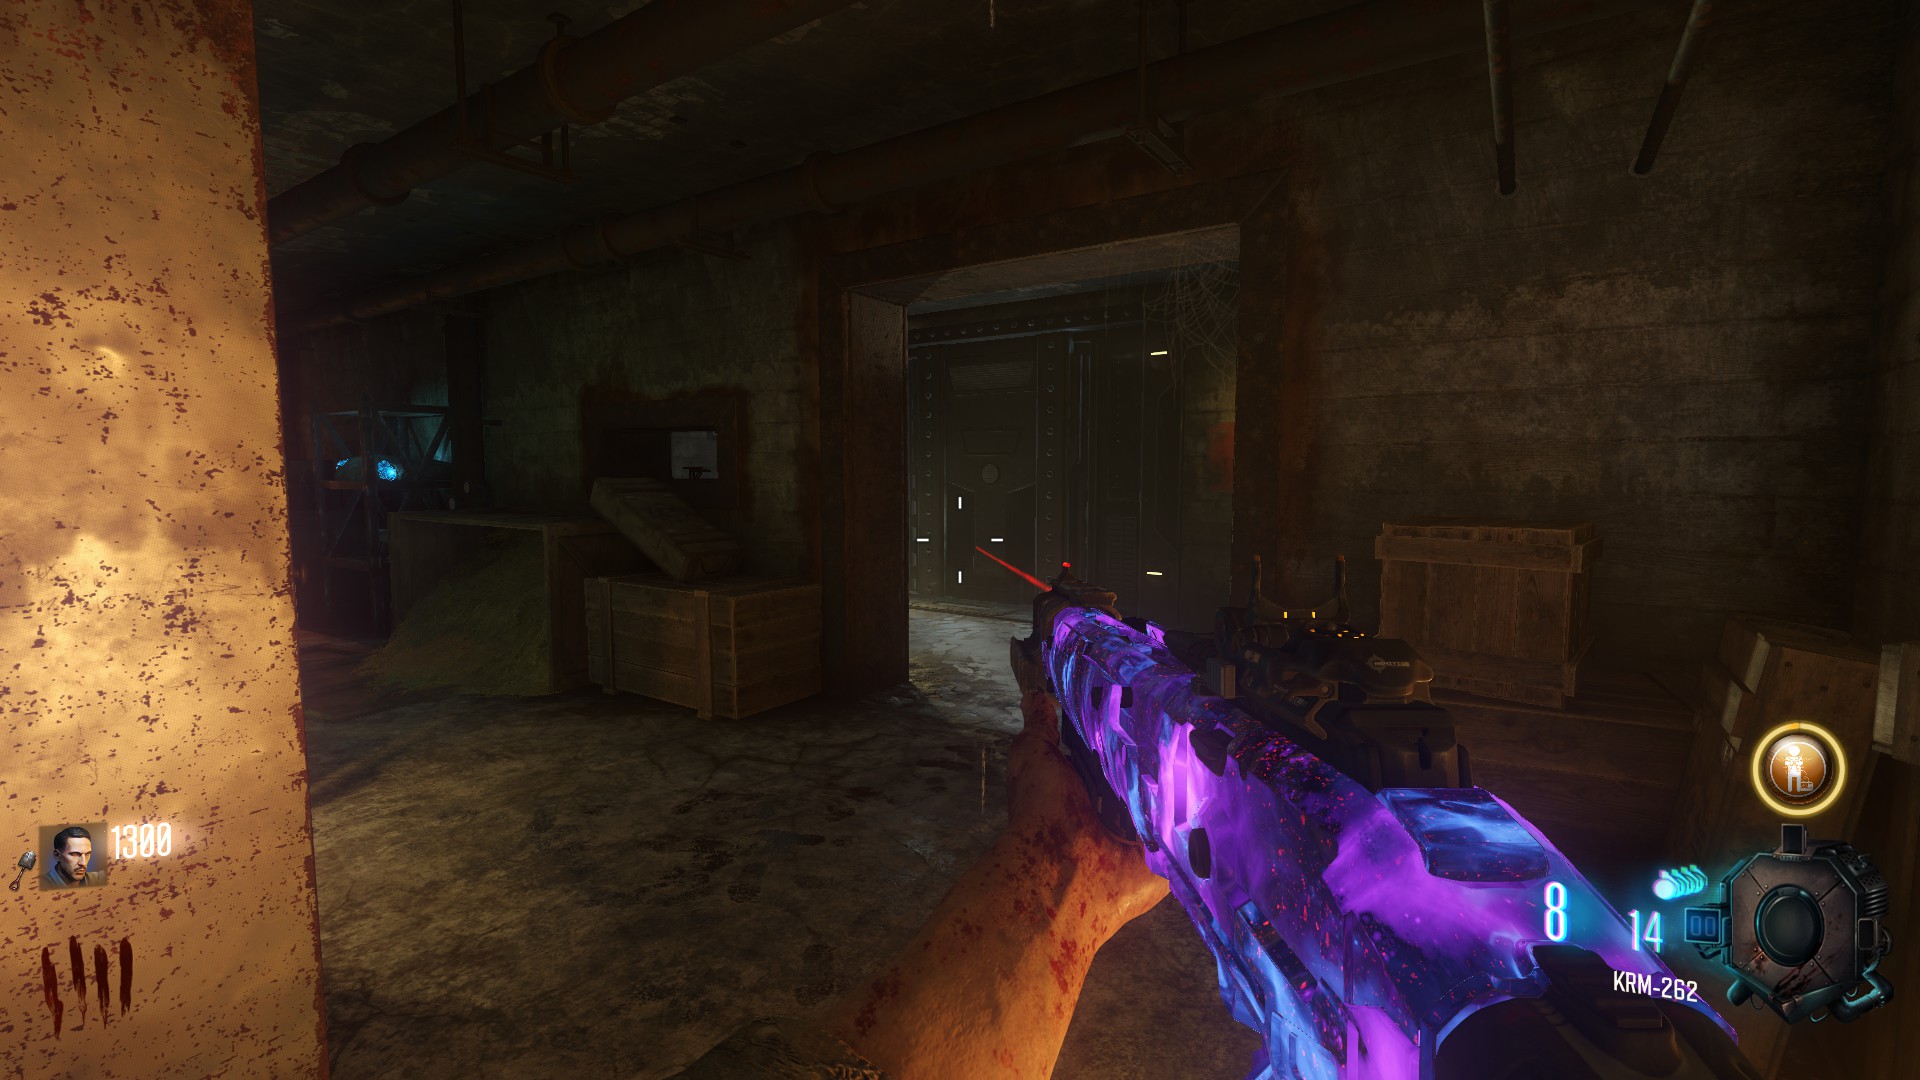
from here go to the left, over the wooden stairs from the 'Pack a Punch' pedestal and further ahead through Odins (the Giant in the Middle) left footprint.
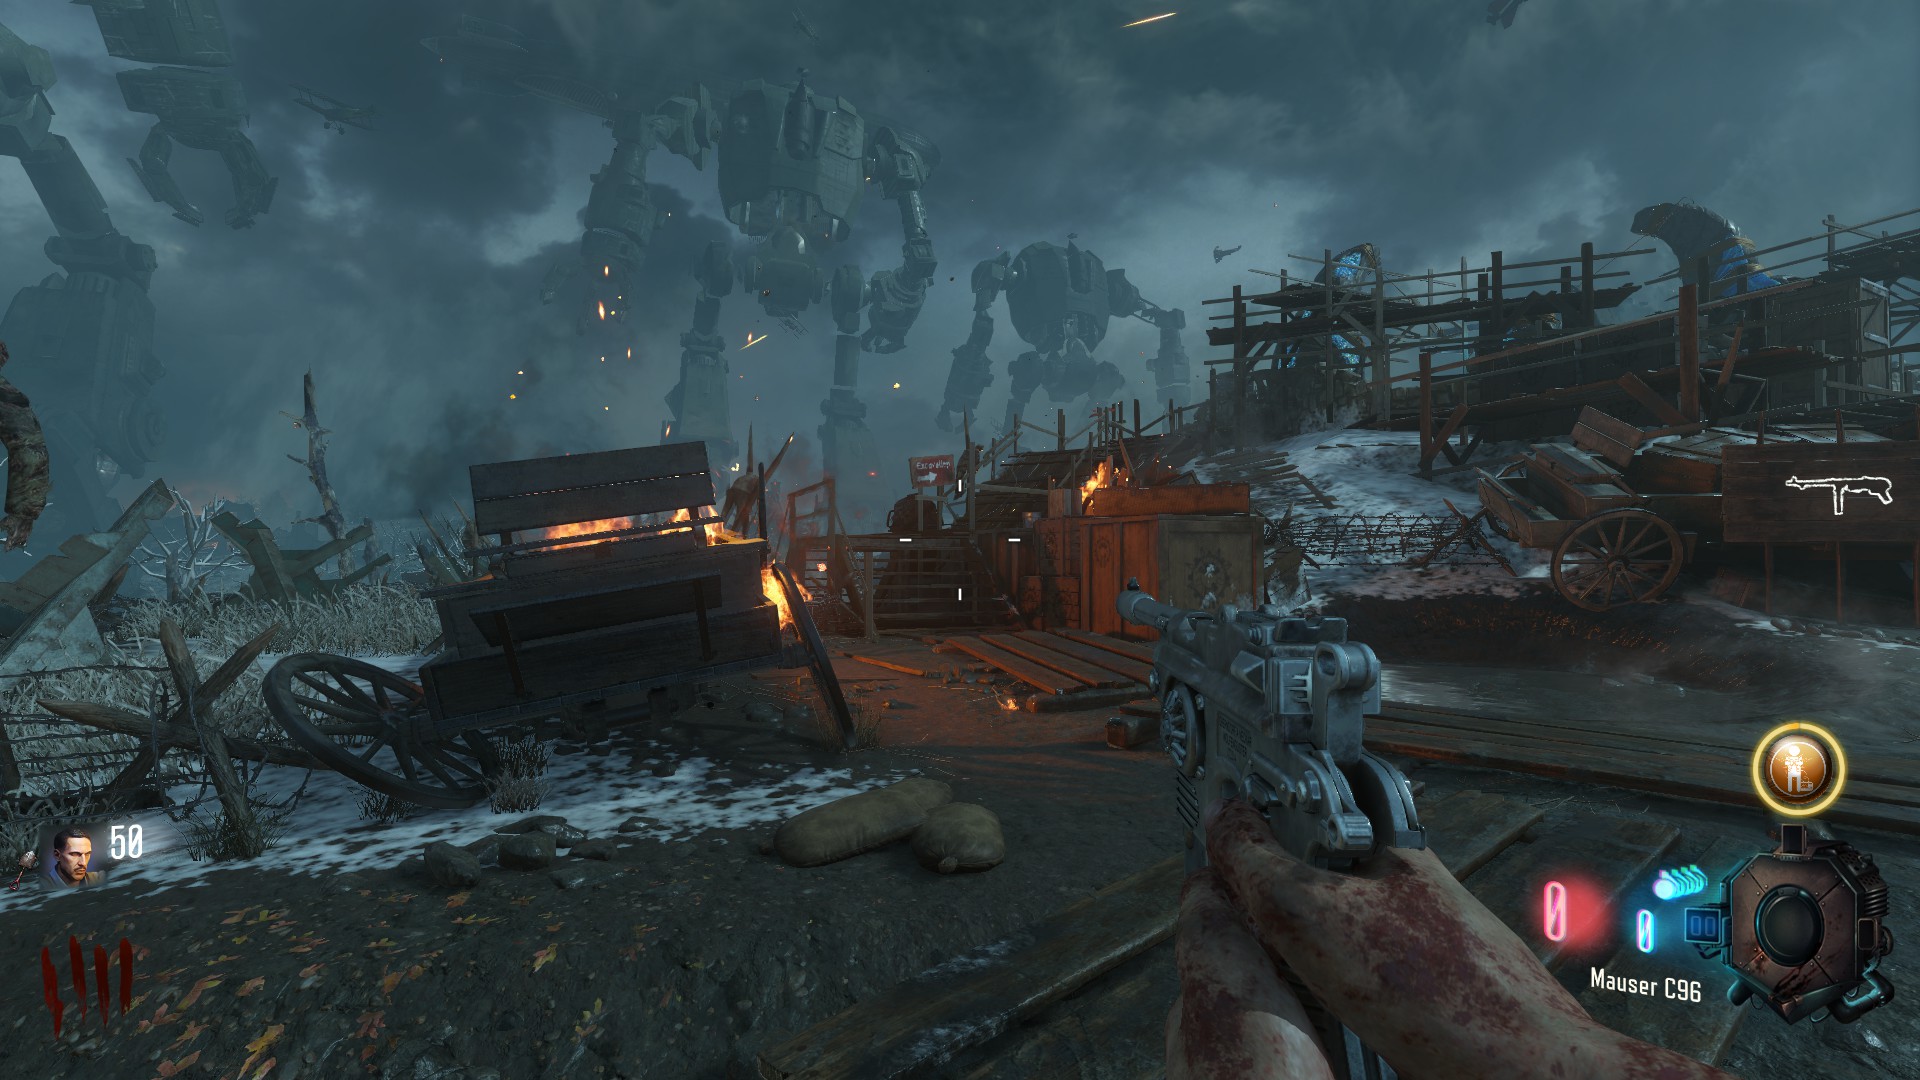
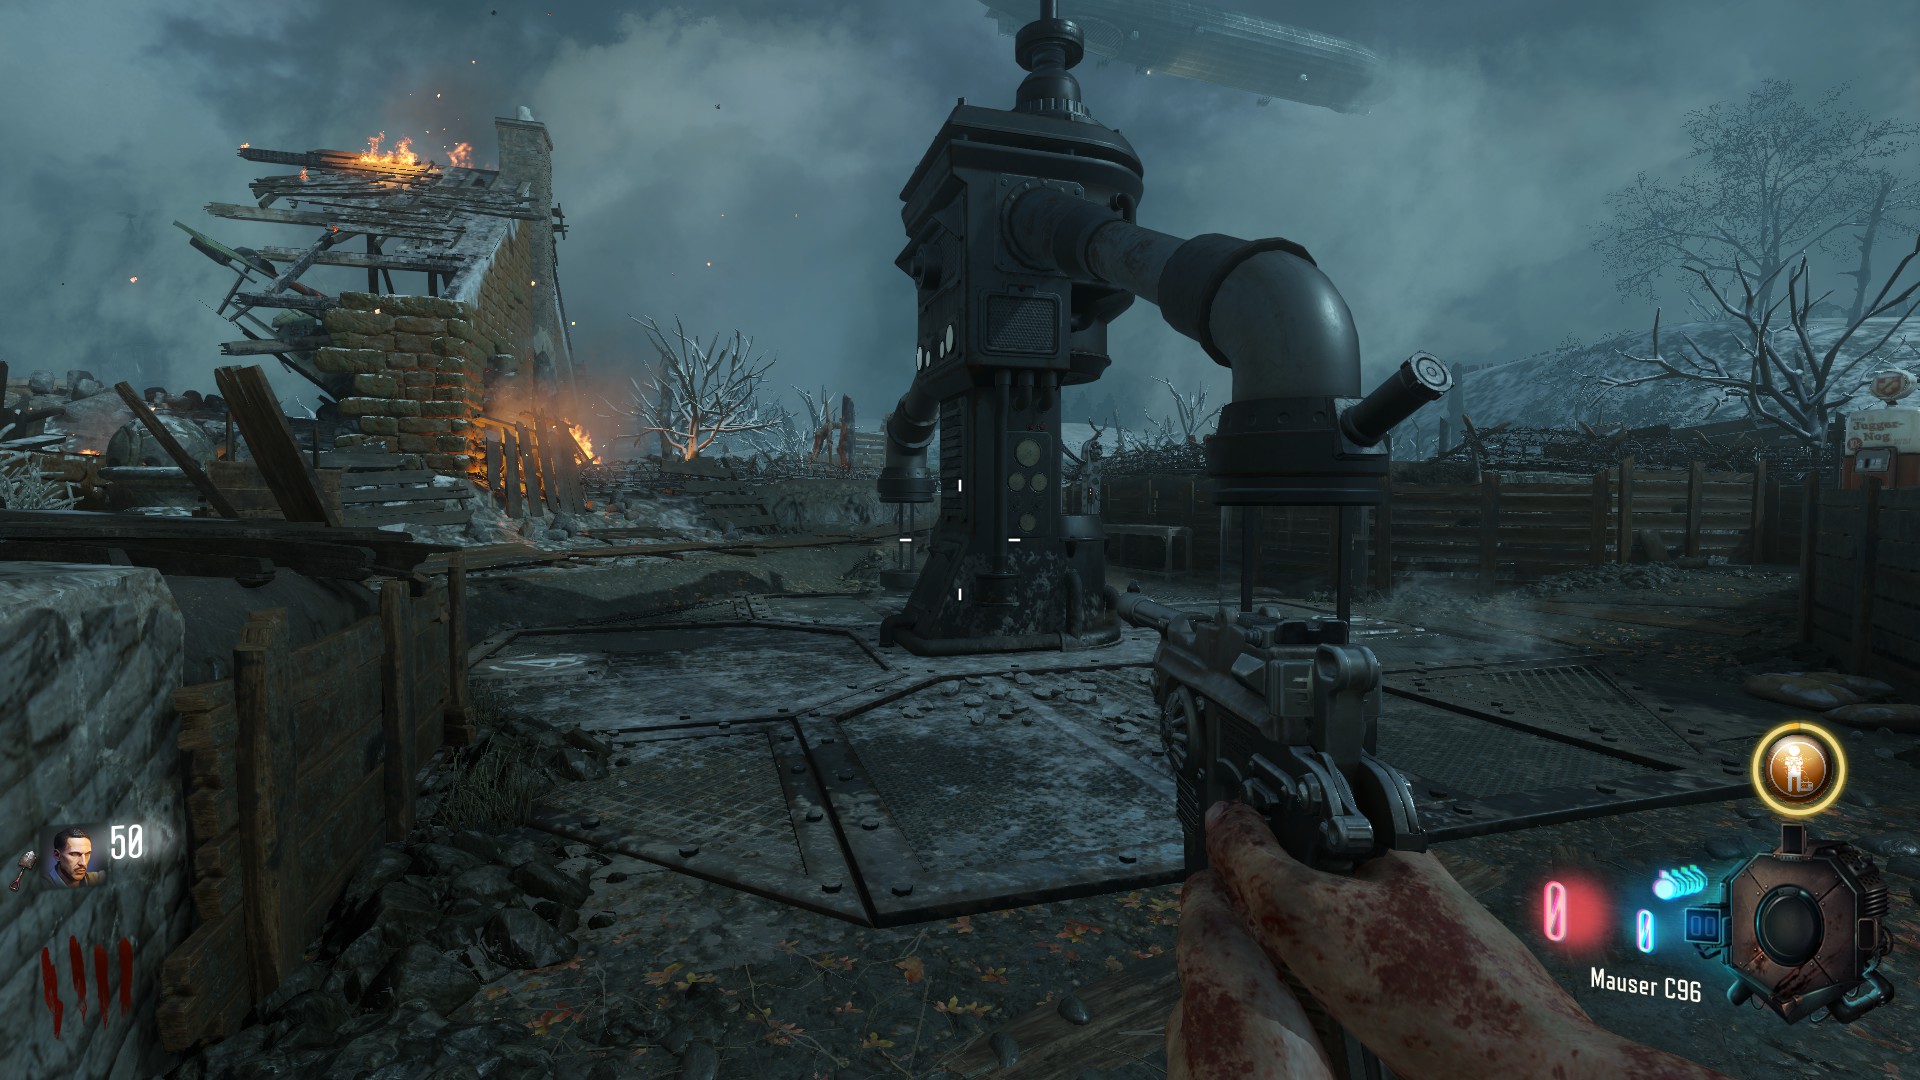
Go up the stairs in the staircase room, Into the 'no mans land'.
from here go to the left, over the wooden stairs from the 'Pack a Punch' pedestal and further ahead through Odins (the Giant in the Middle) left footprint.
Generator 5
Generator 5 is found by going back over the wooden stairs were the 'no mans land' "start" is and going further ahead
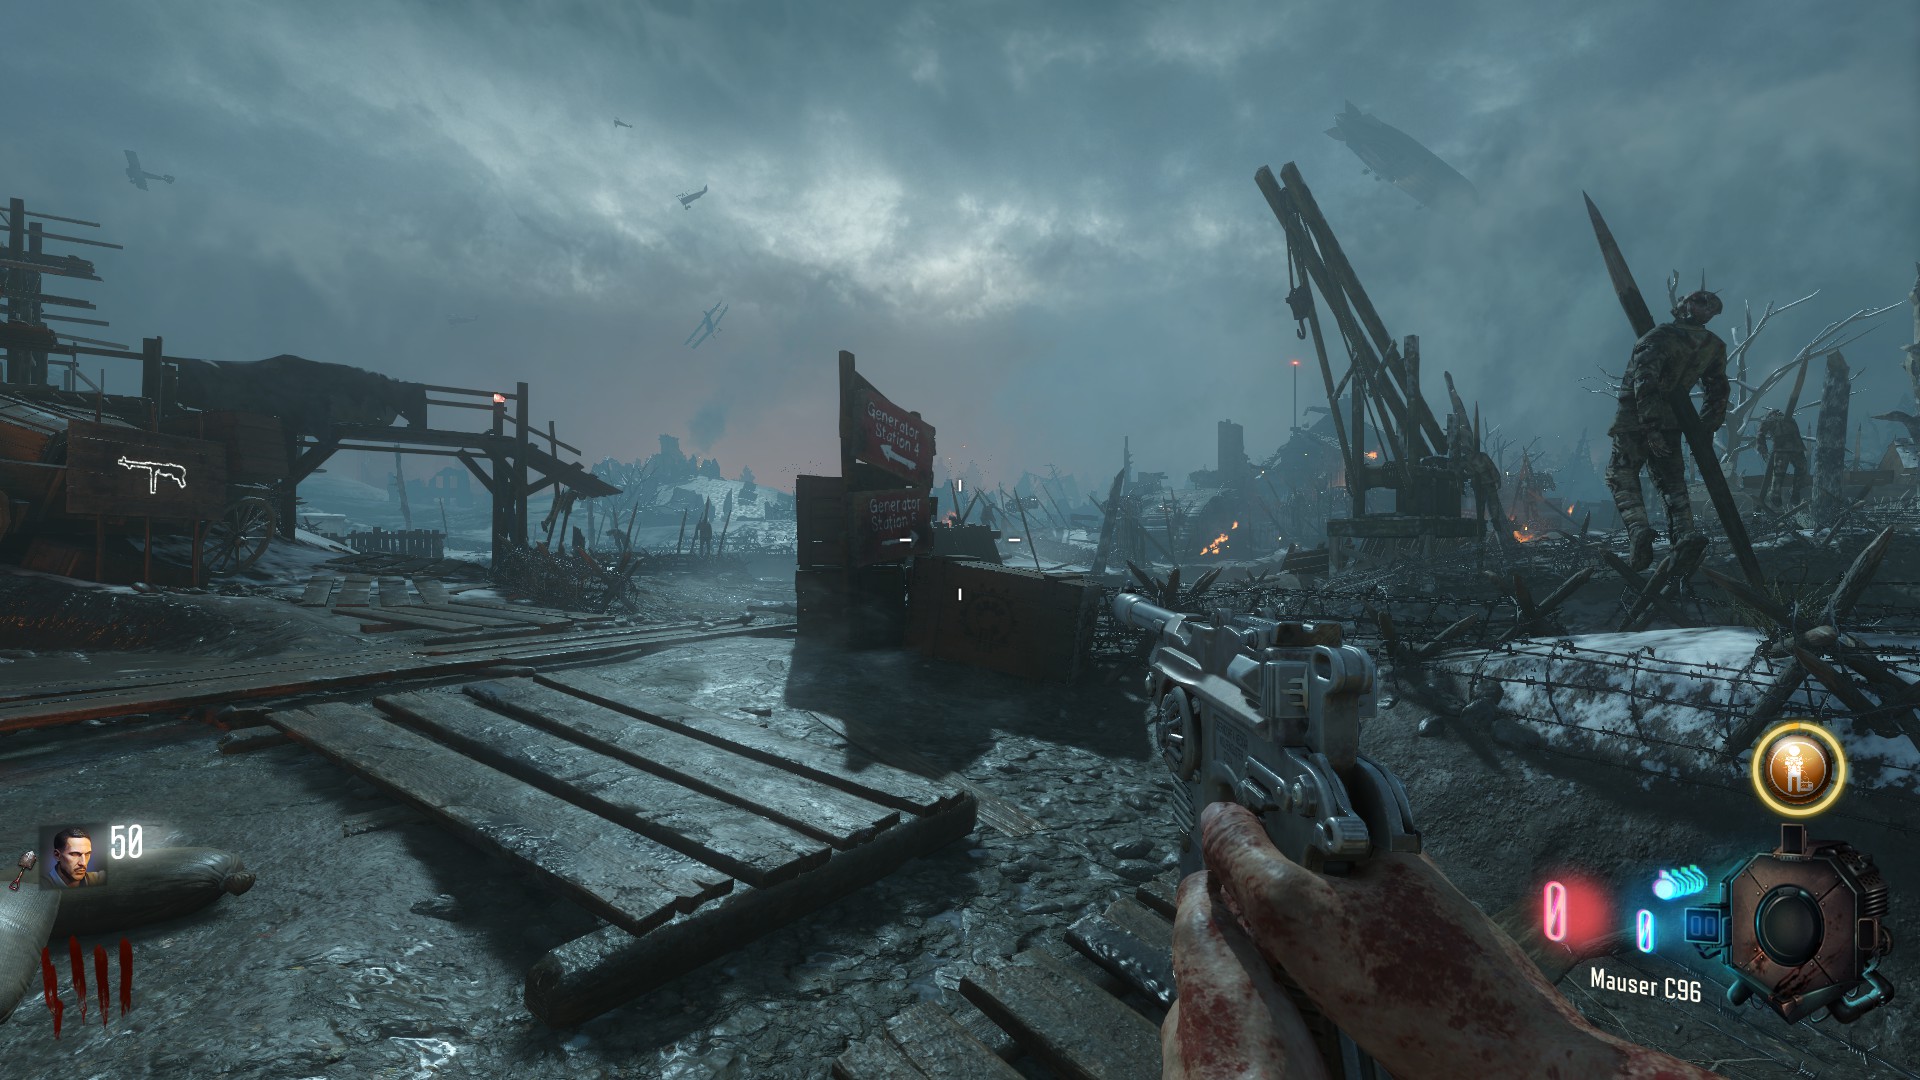
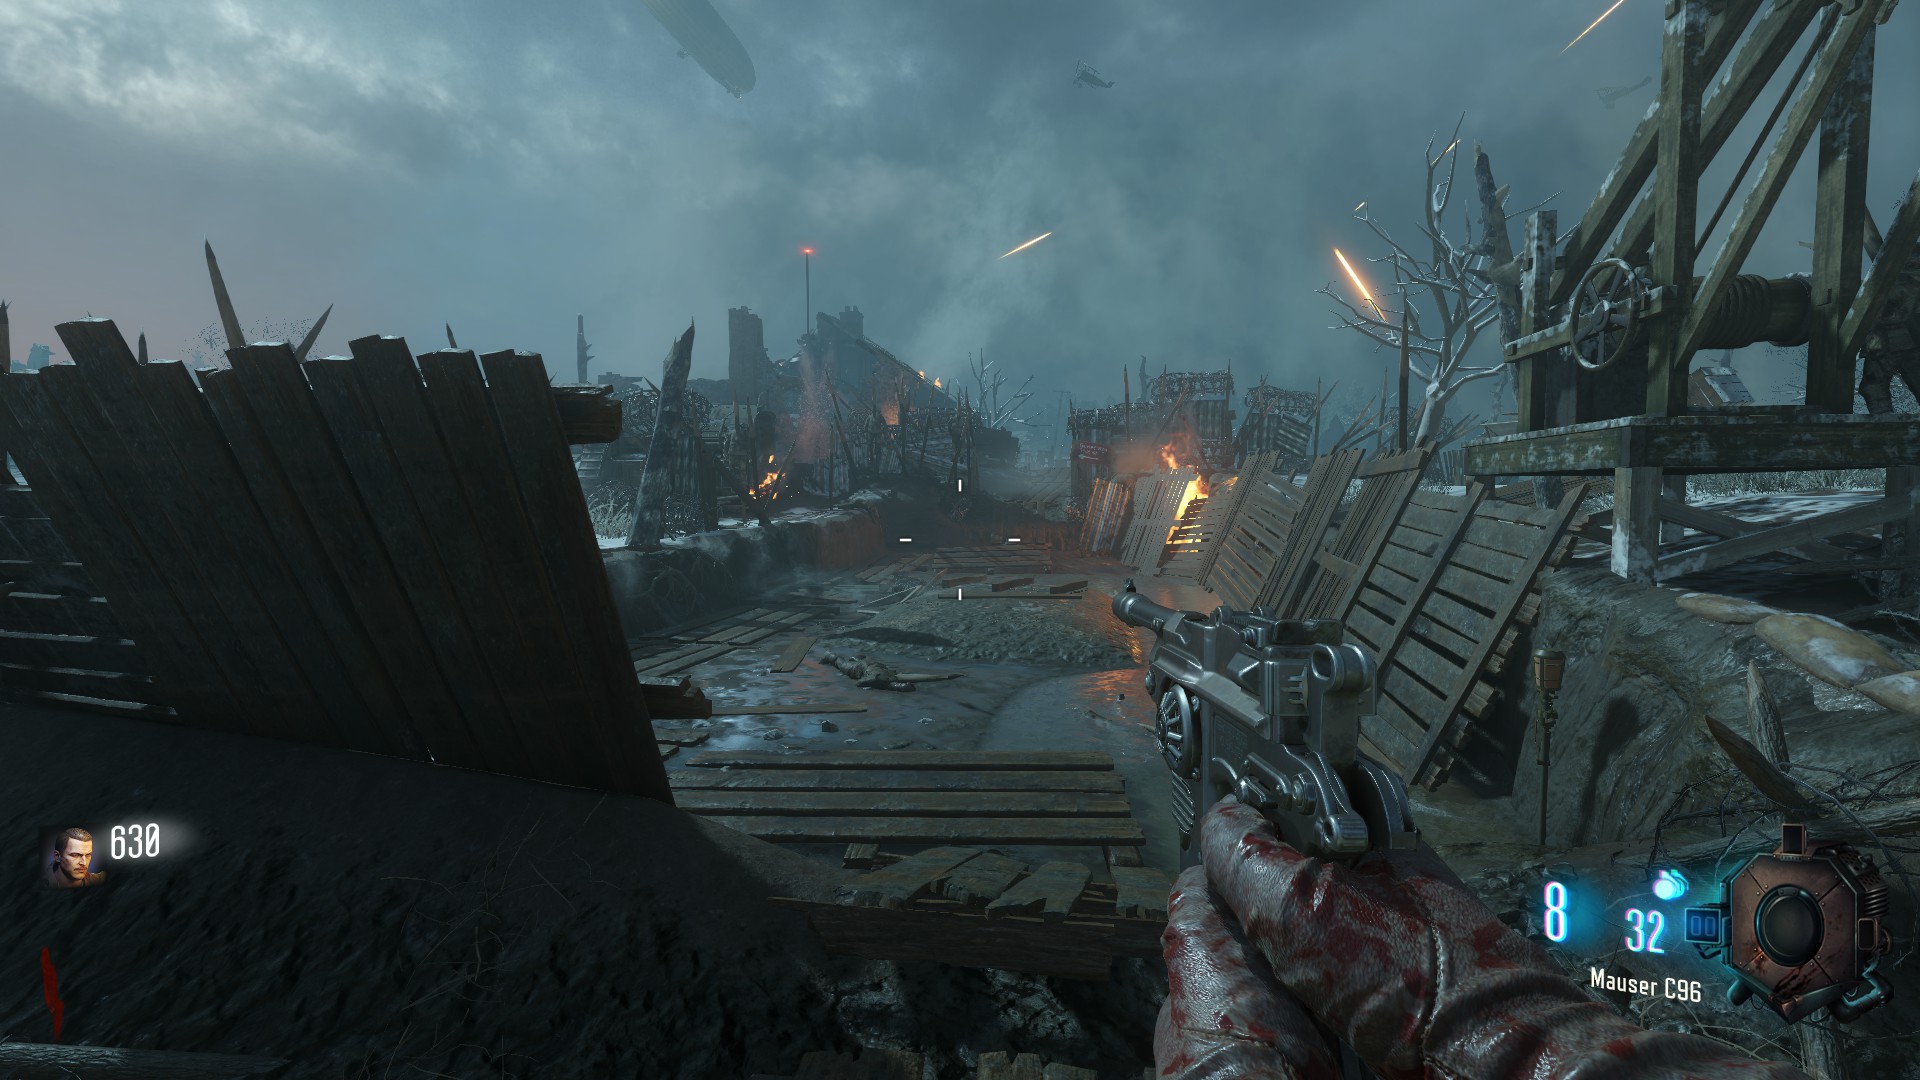
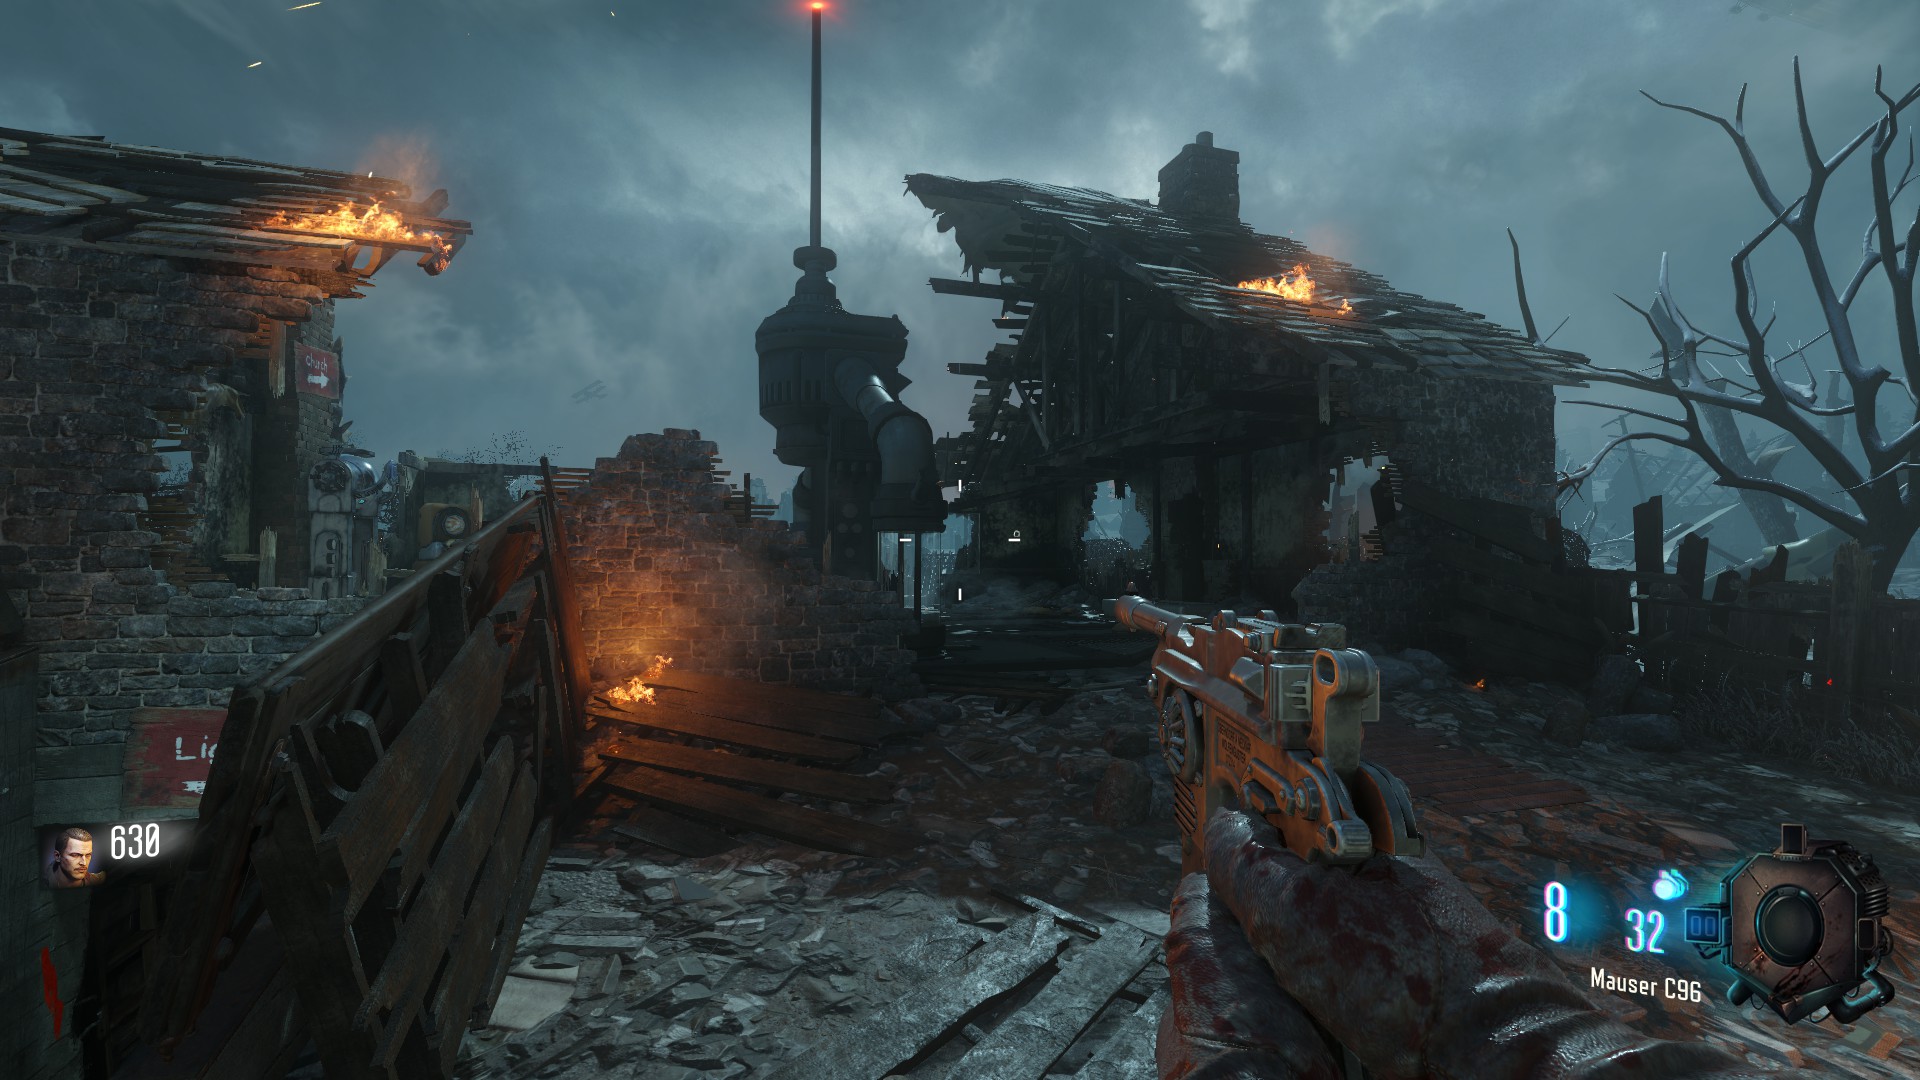
Generator 6
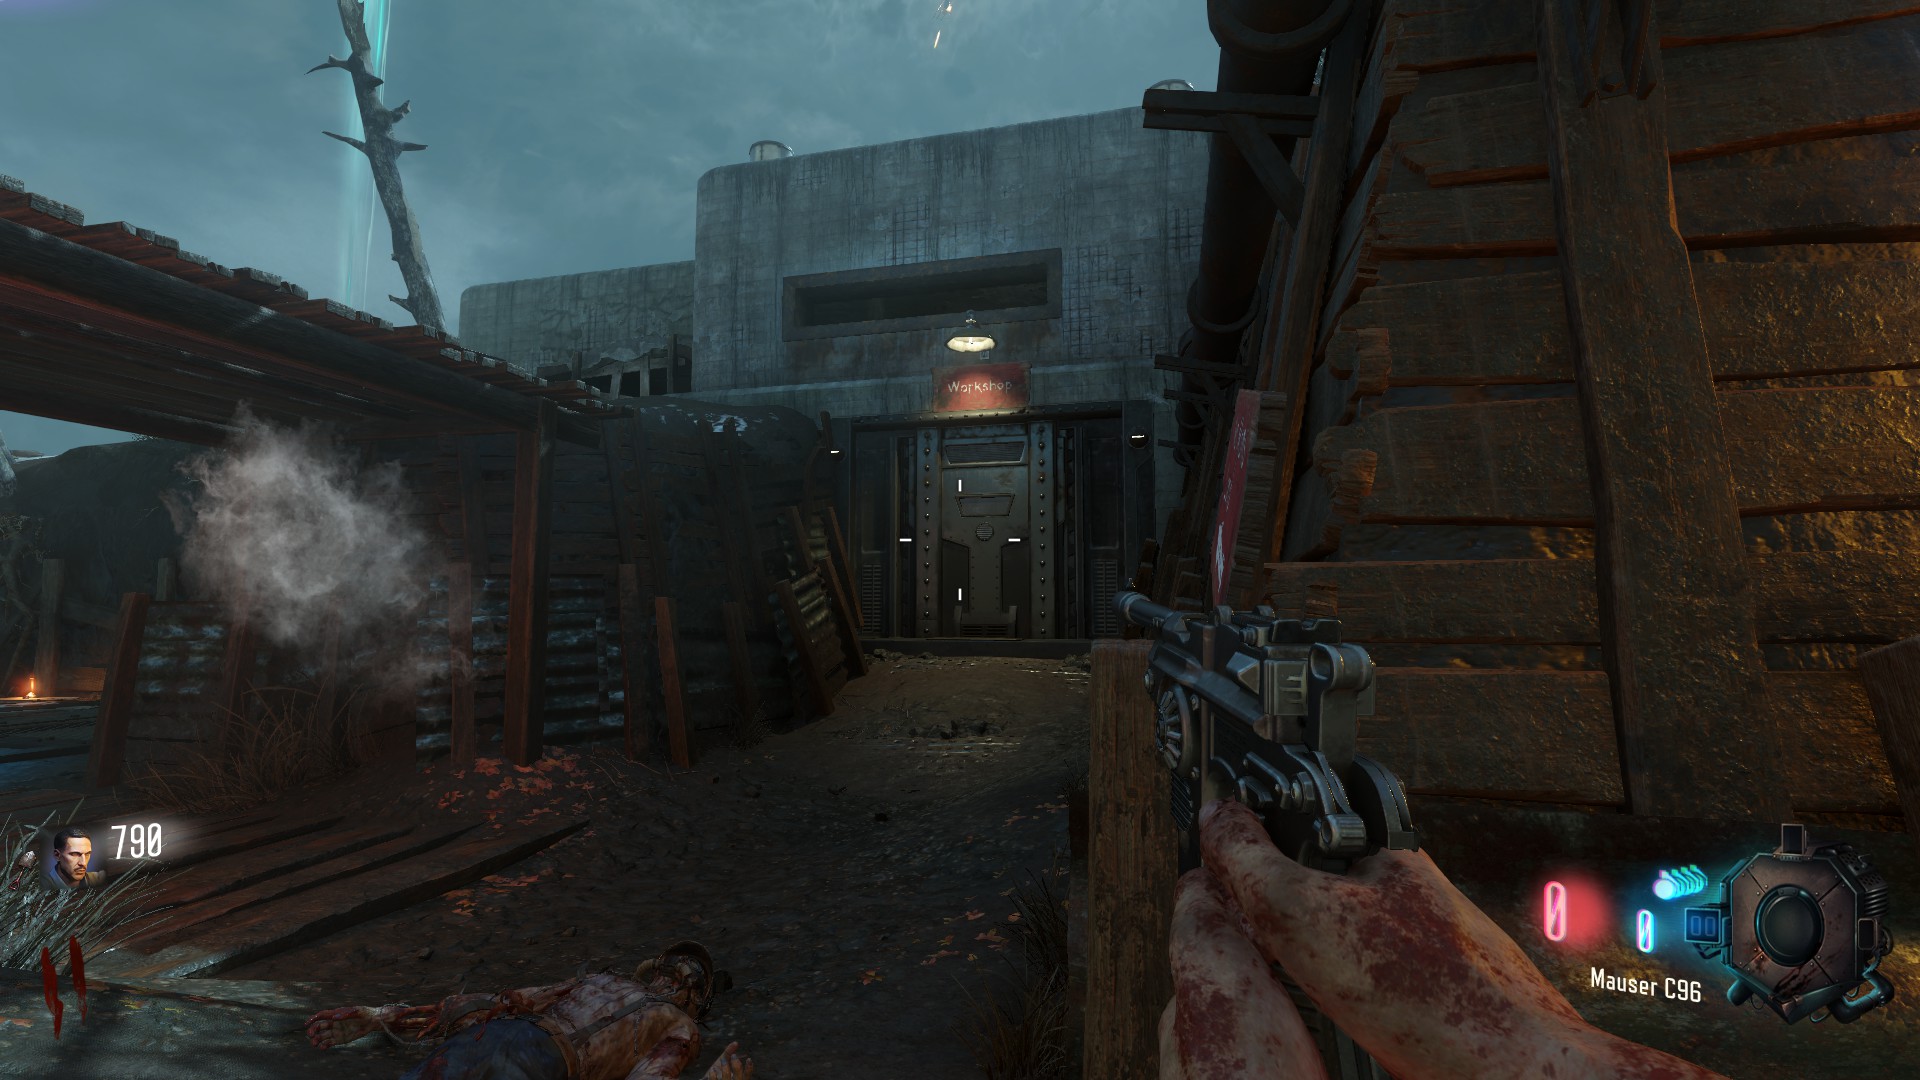
Generator 6 is found by going through the trench behind 'Pack a Punch'
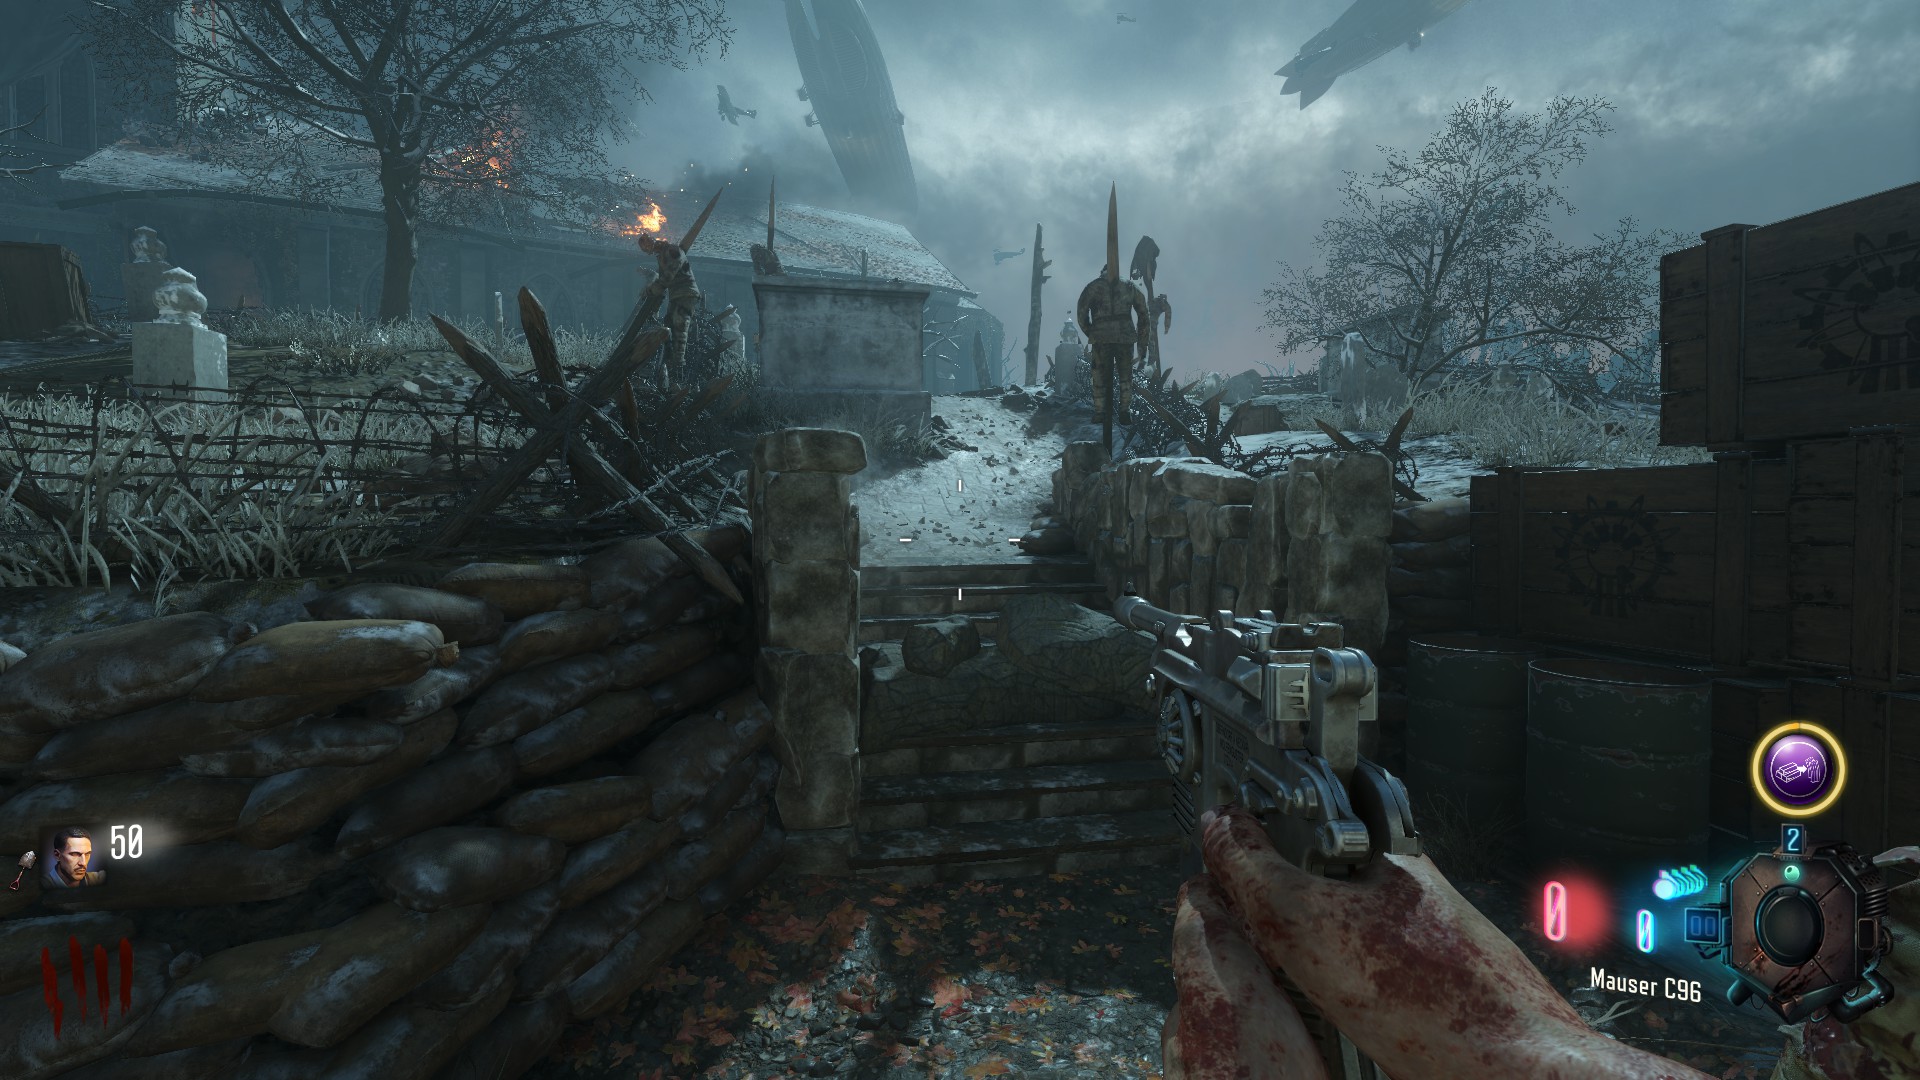 from there go left though the footprint of Freyr into the church op the stairs next to the tank
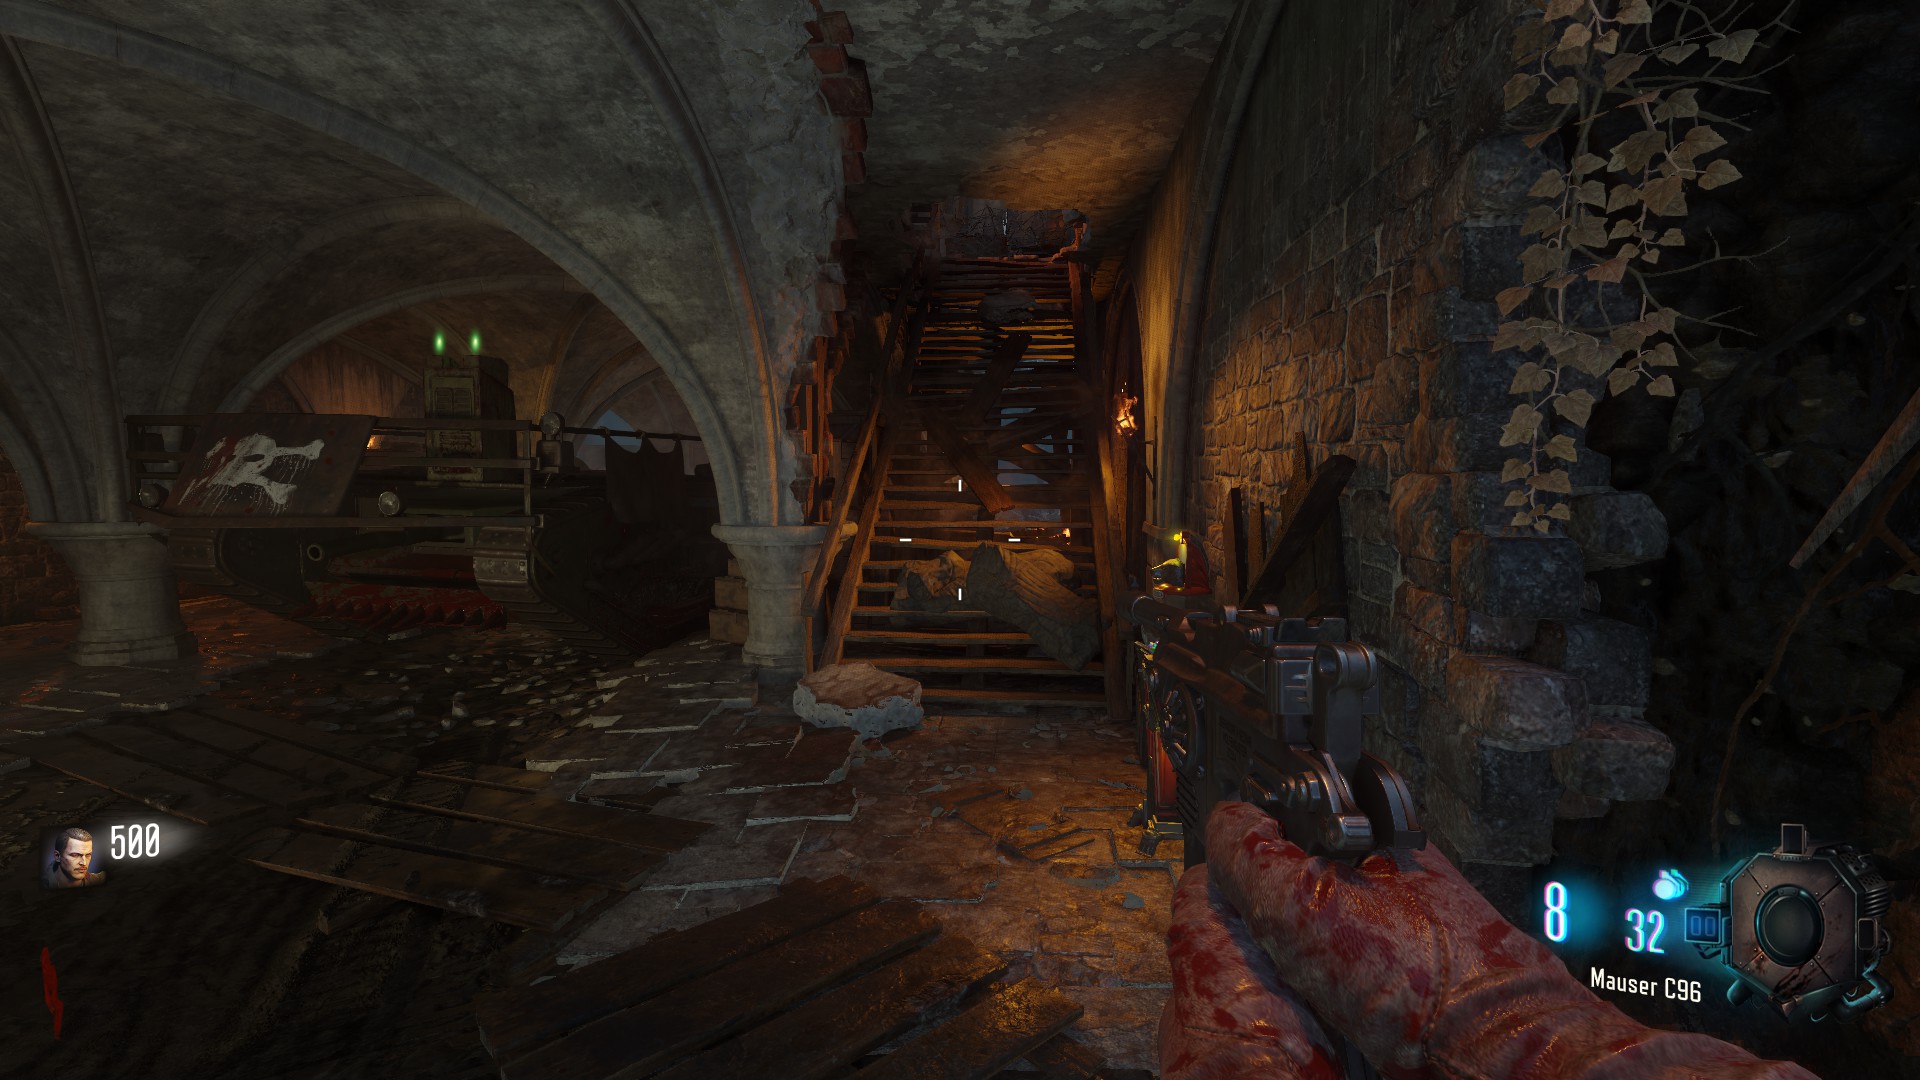
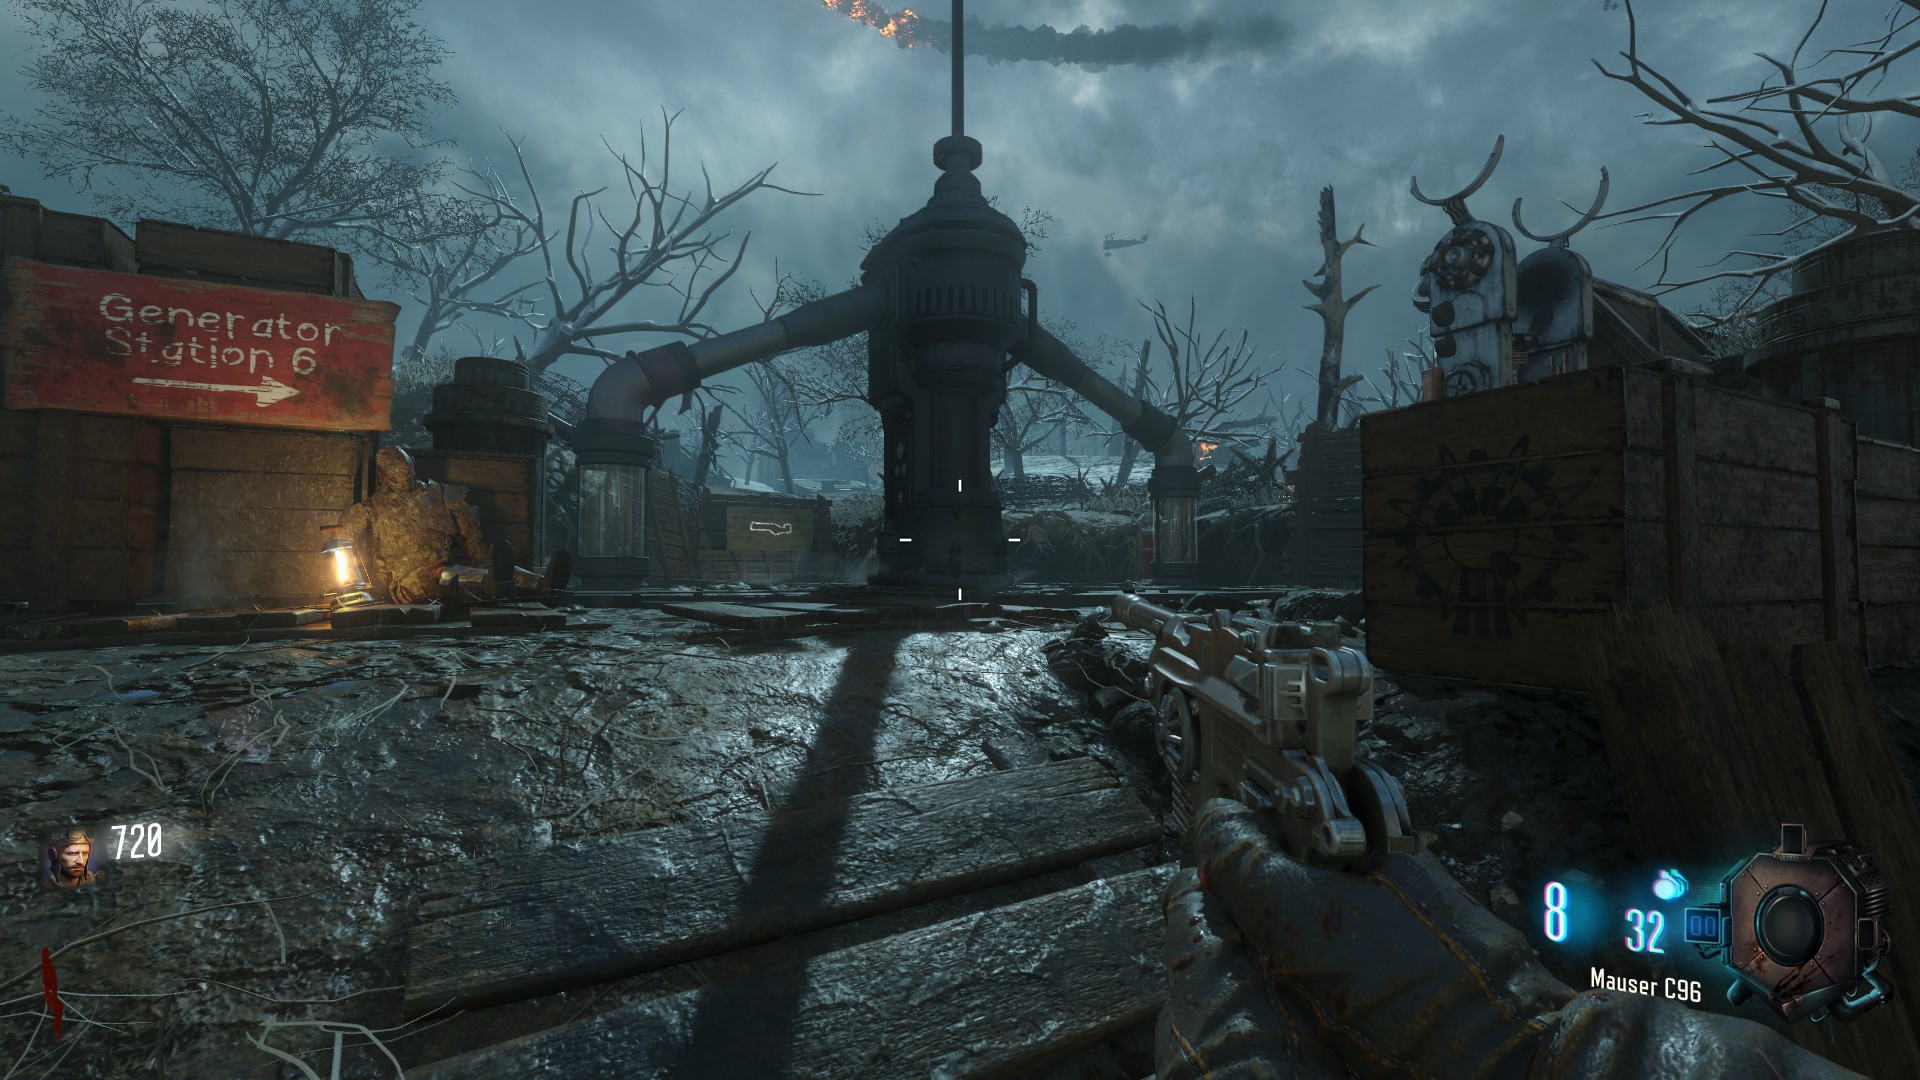
from there go left though the footprint of Freyr into the church op the stairs next to the tank
Perks Locations
Quick Revive
Next to Generator 1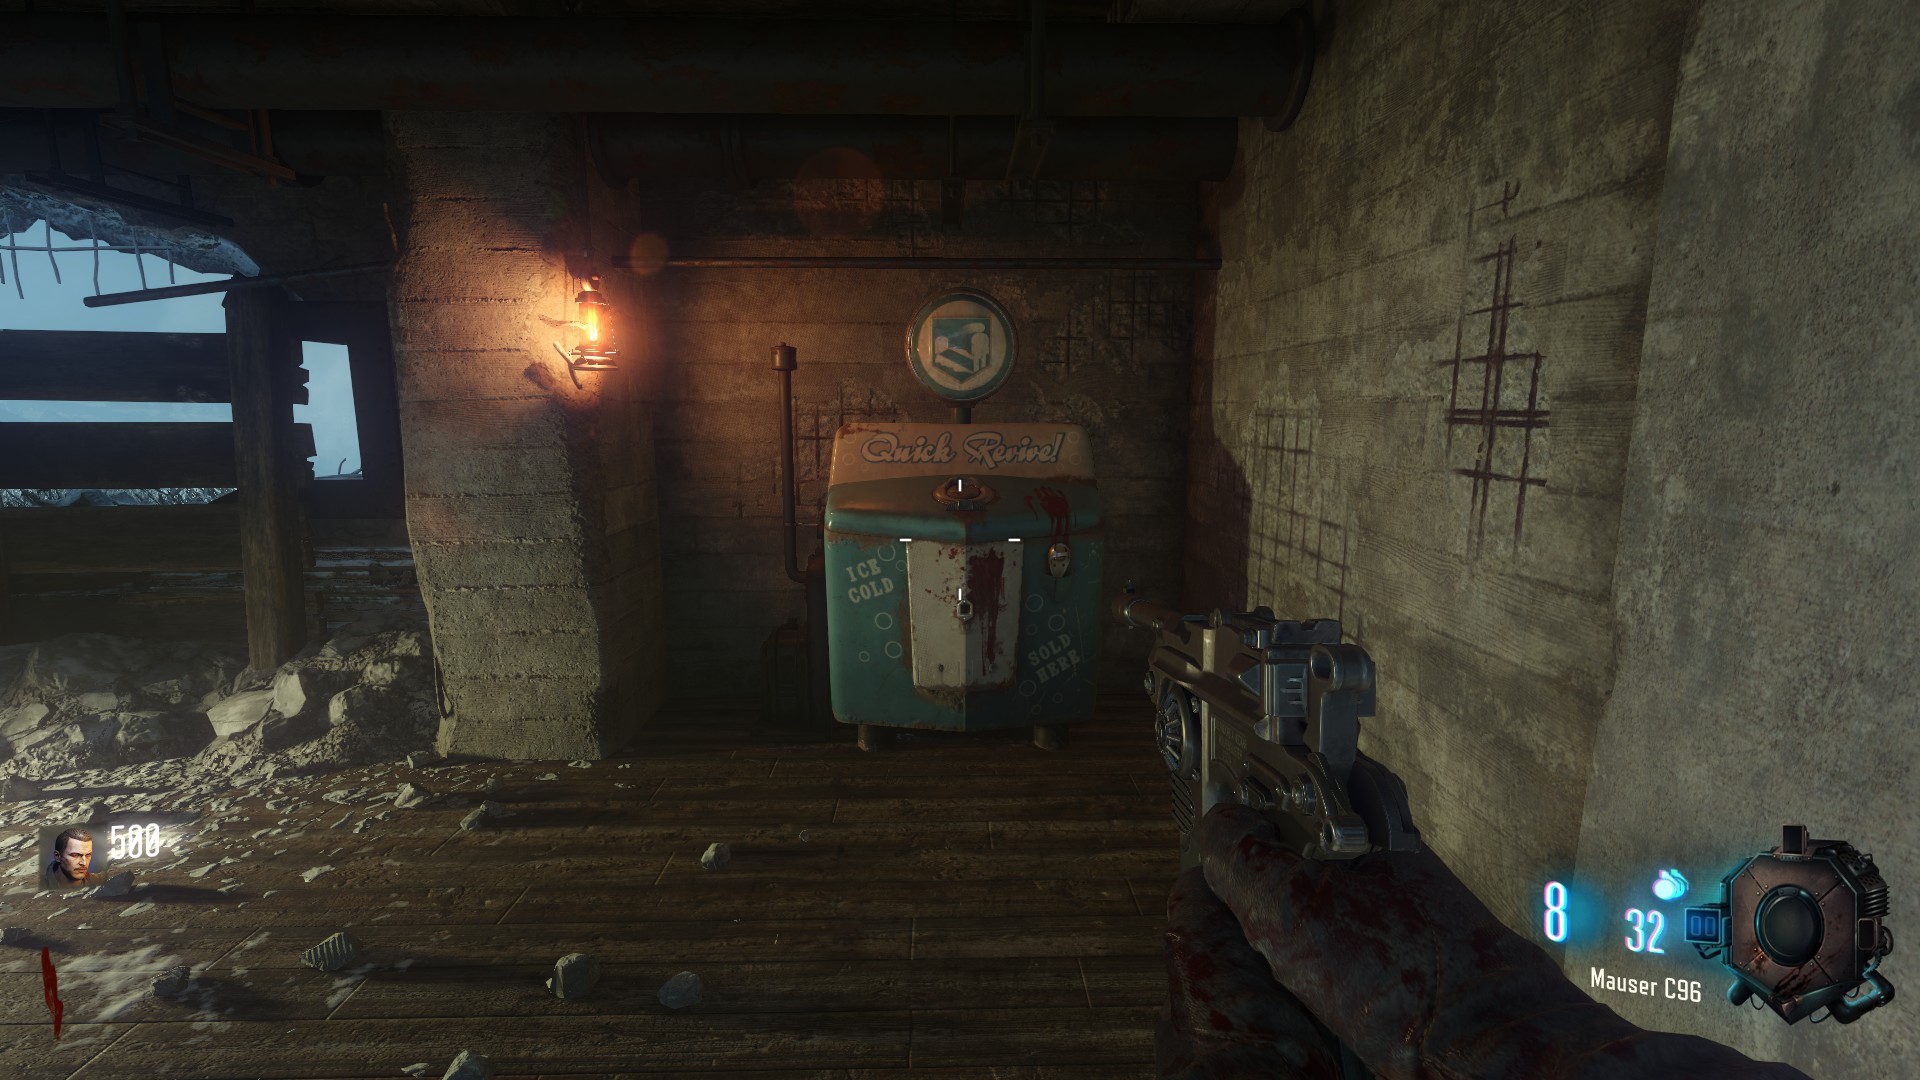
Speed Cola
Next to Generator 3 in Thors (Giant on the right of the map) footprint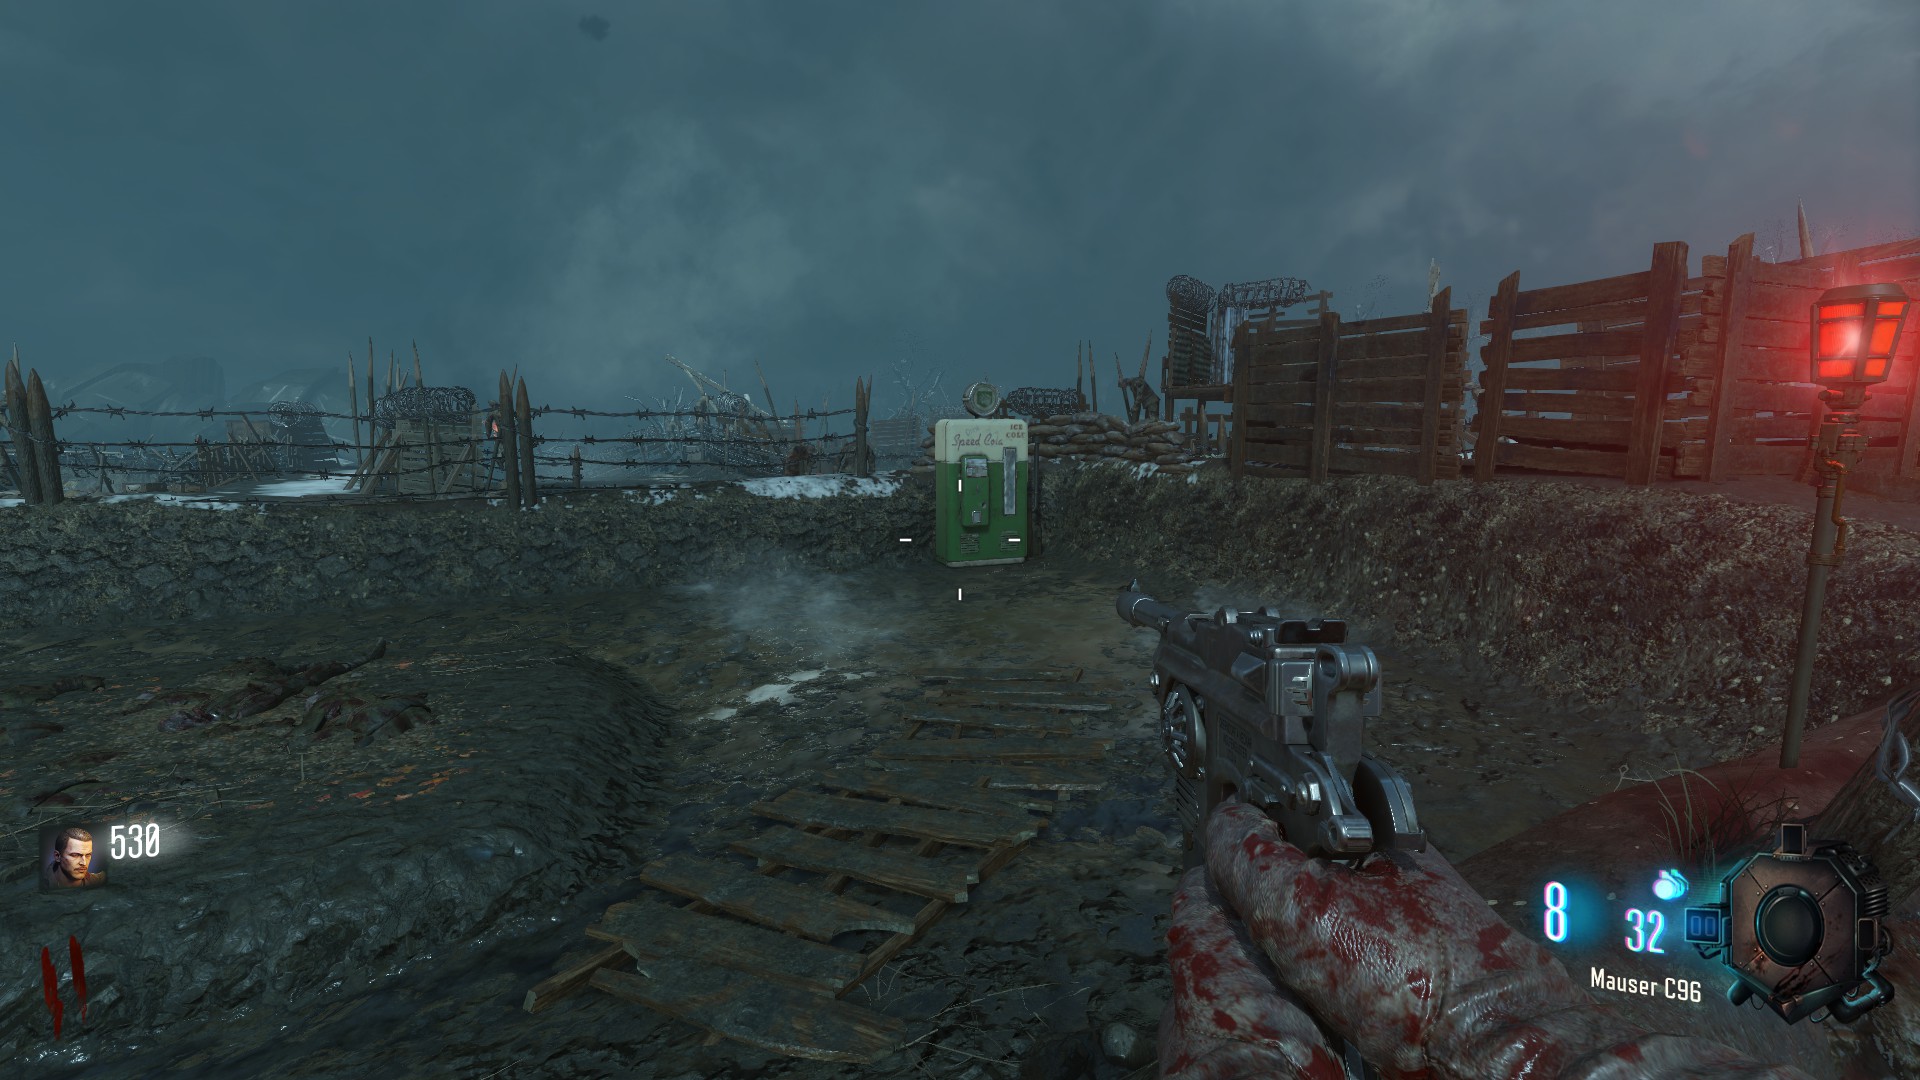
Juggernog
Next to Generator 4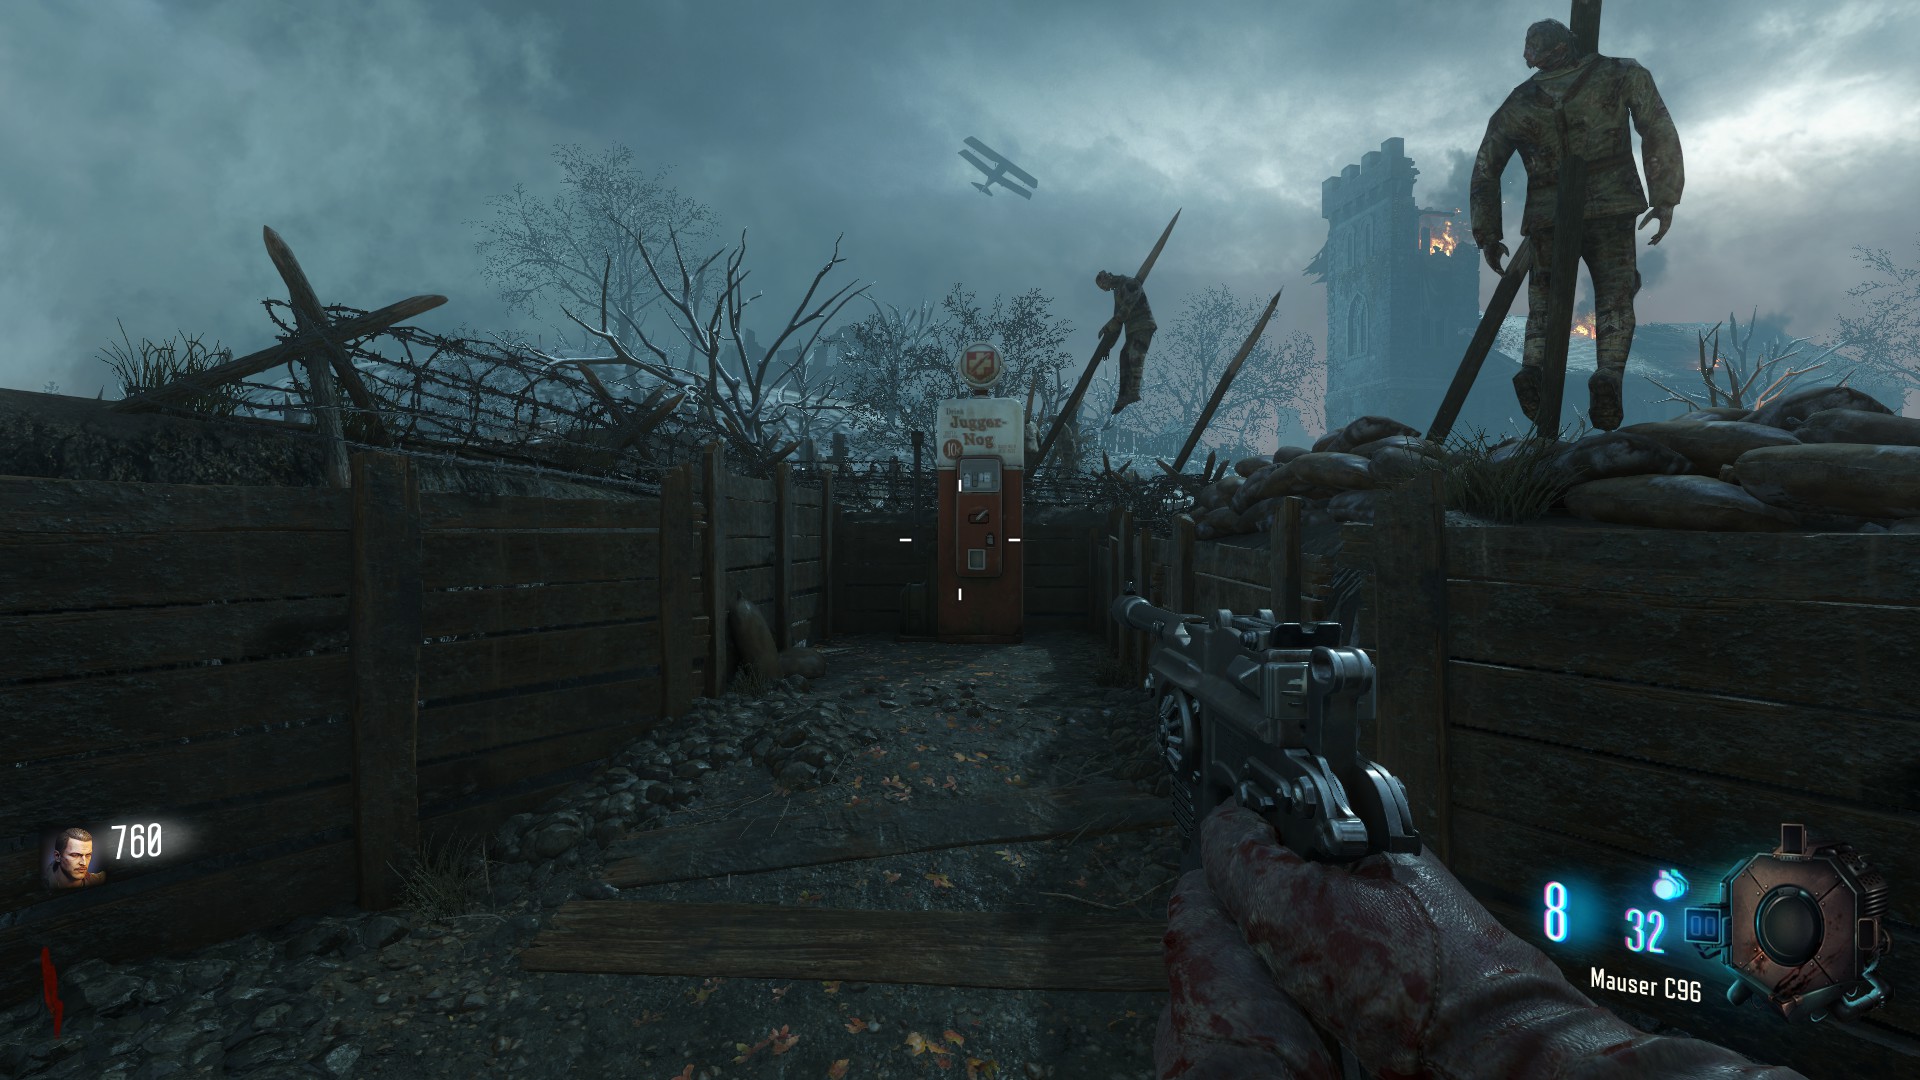
Stamin Up
Next to generator 5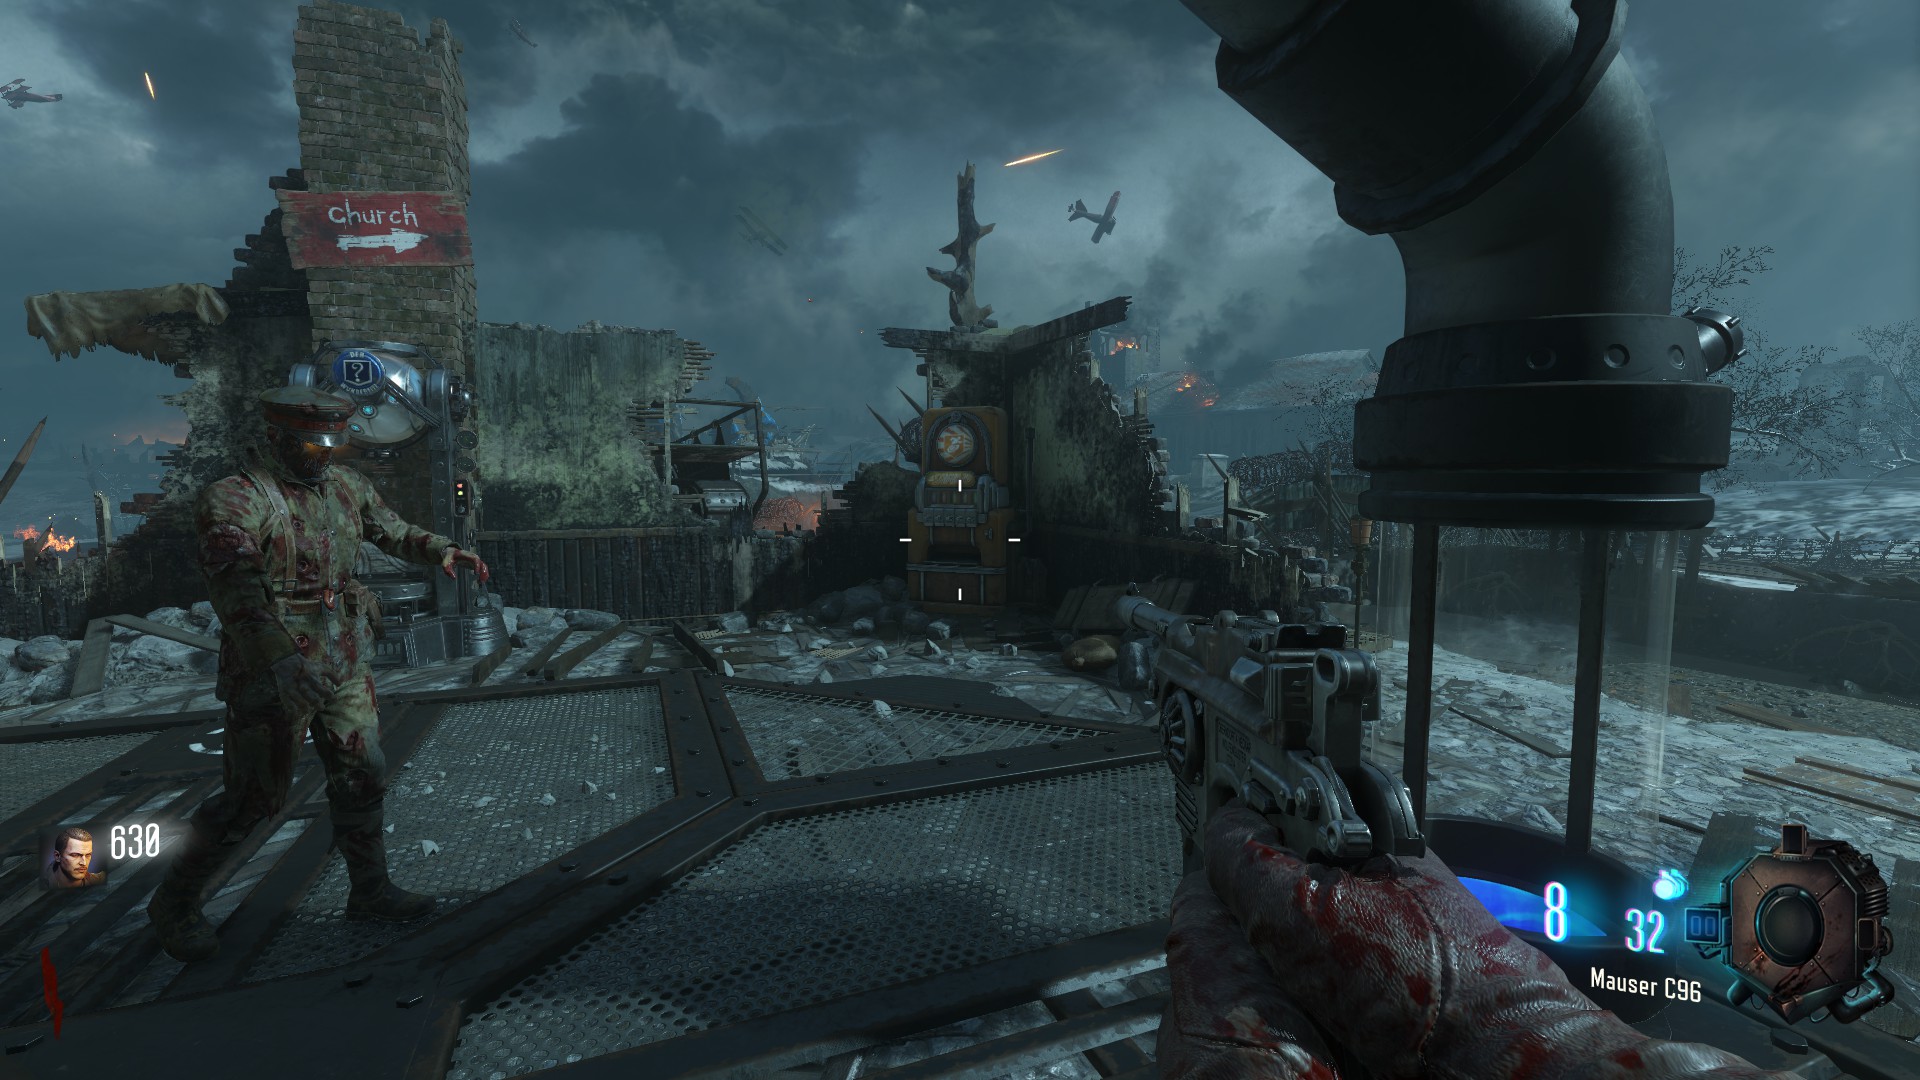
Double Tap,Electric Cherry,Widow Wine,Dead Shot
can only be obtained from Wunderfizz, Wunderfizz is located at every Generator but only one will be active, this is indicated by Wunderfizz having green lights and lightnings hitting it regularly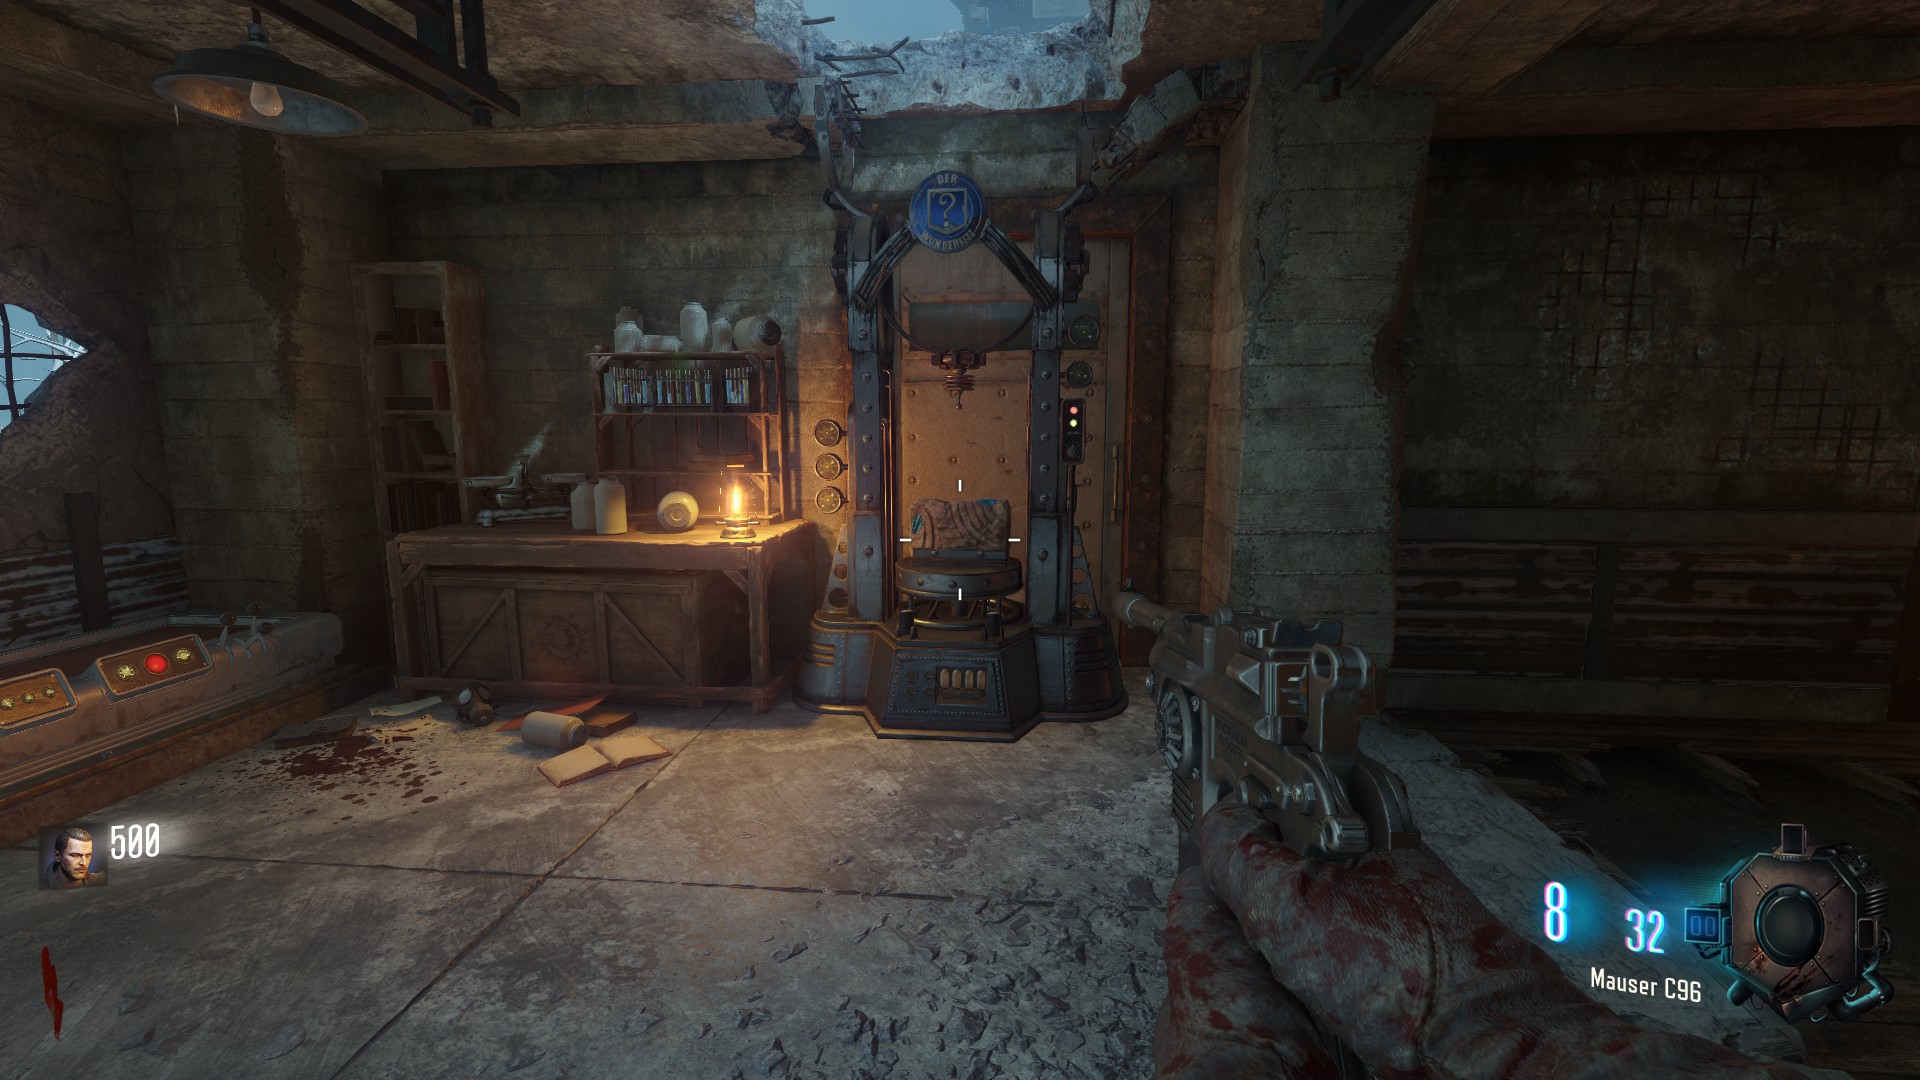 Double Tap can also be obtained by paying 30000 points to the challenge chest
Shovels
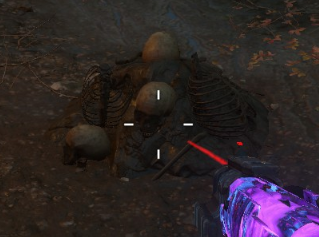 Shovels are needed to dig up weapons, power ups, or staff-parts from little hills on the map
after digging about 30 times (without going down) you will unlock the Golden Shovel, with the golden shovel you can dig up the Golden Helmet which prevents you from dying to the Giants
credit to GoldenRac00n for pointing this out to us.
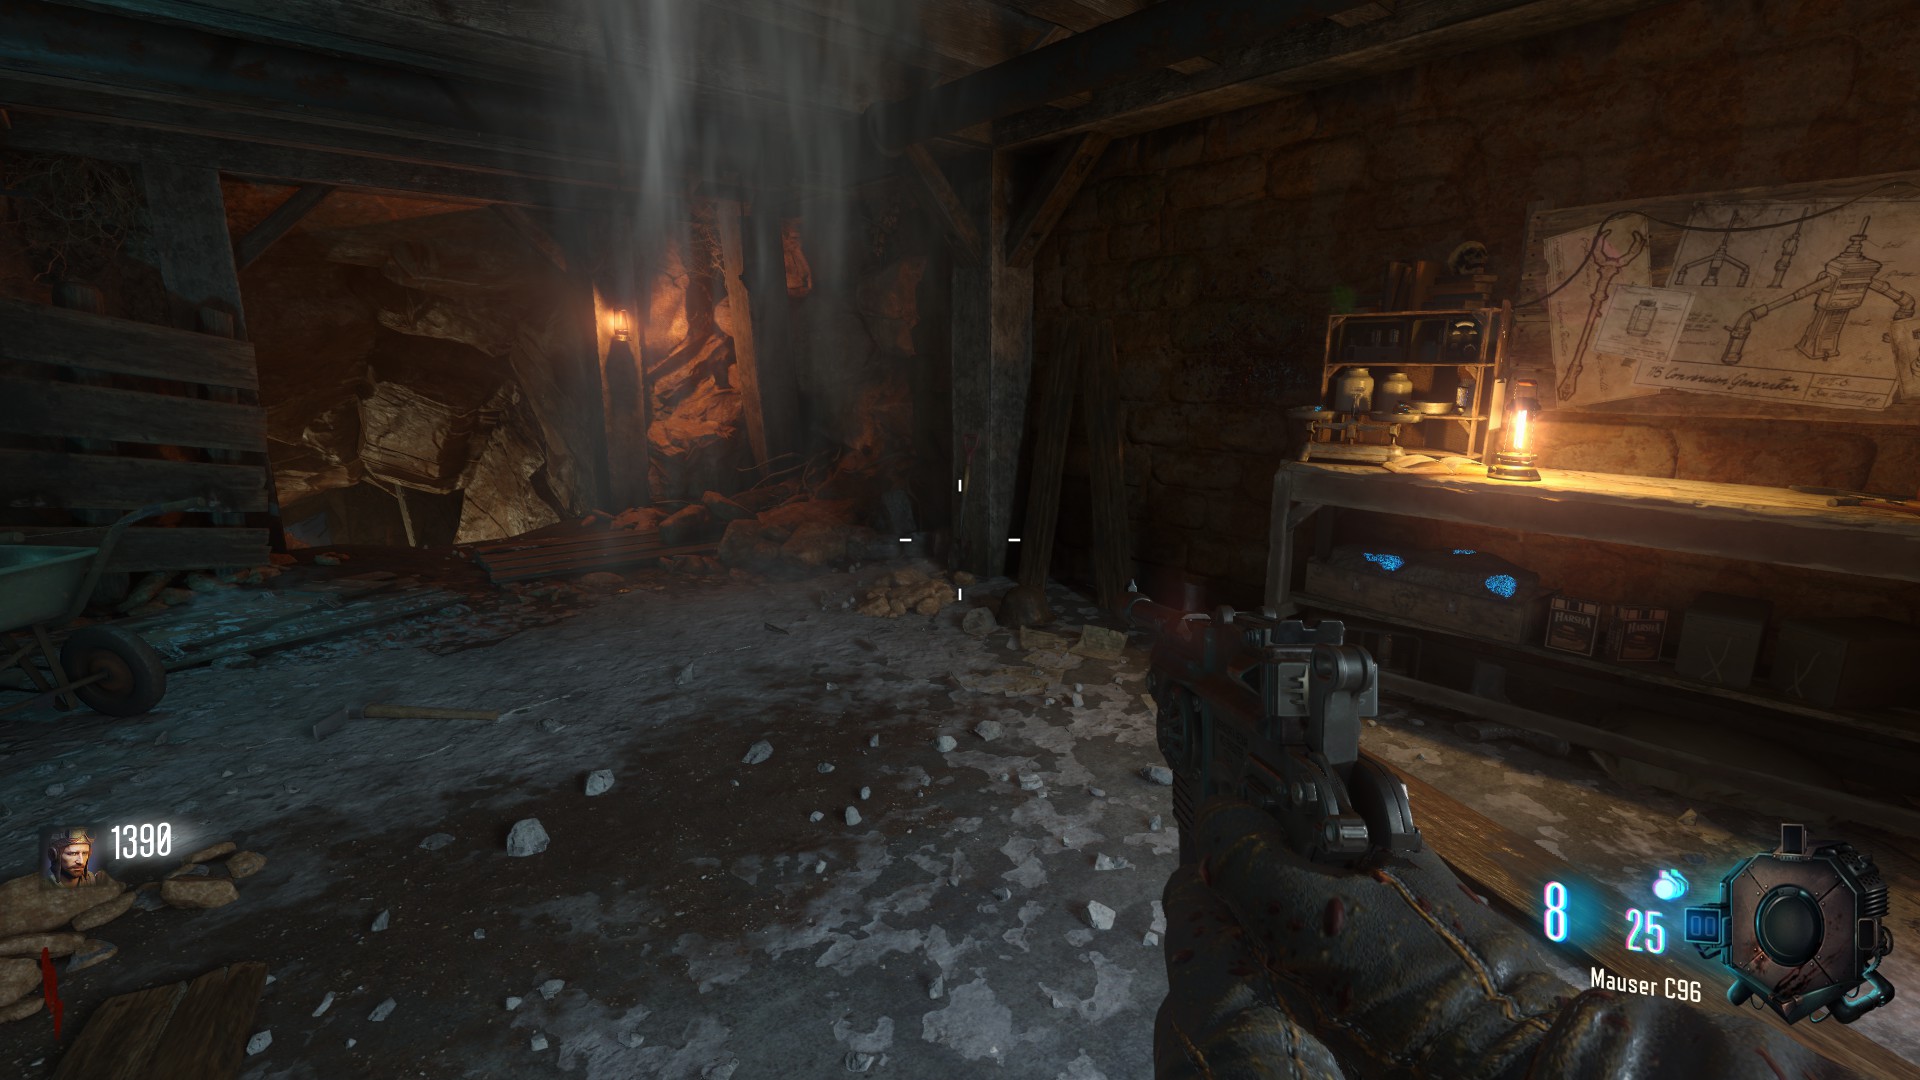
Two are located in the spawn room
-one close to the door to Generator 3
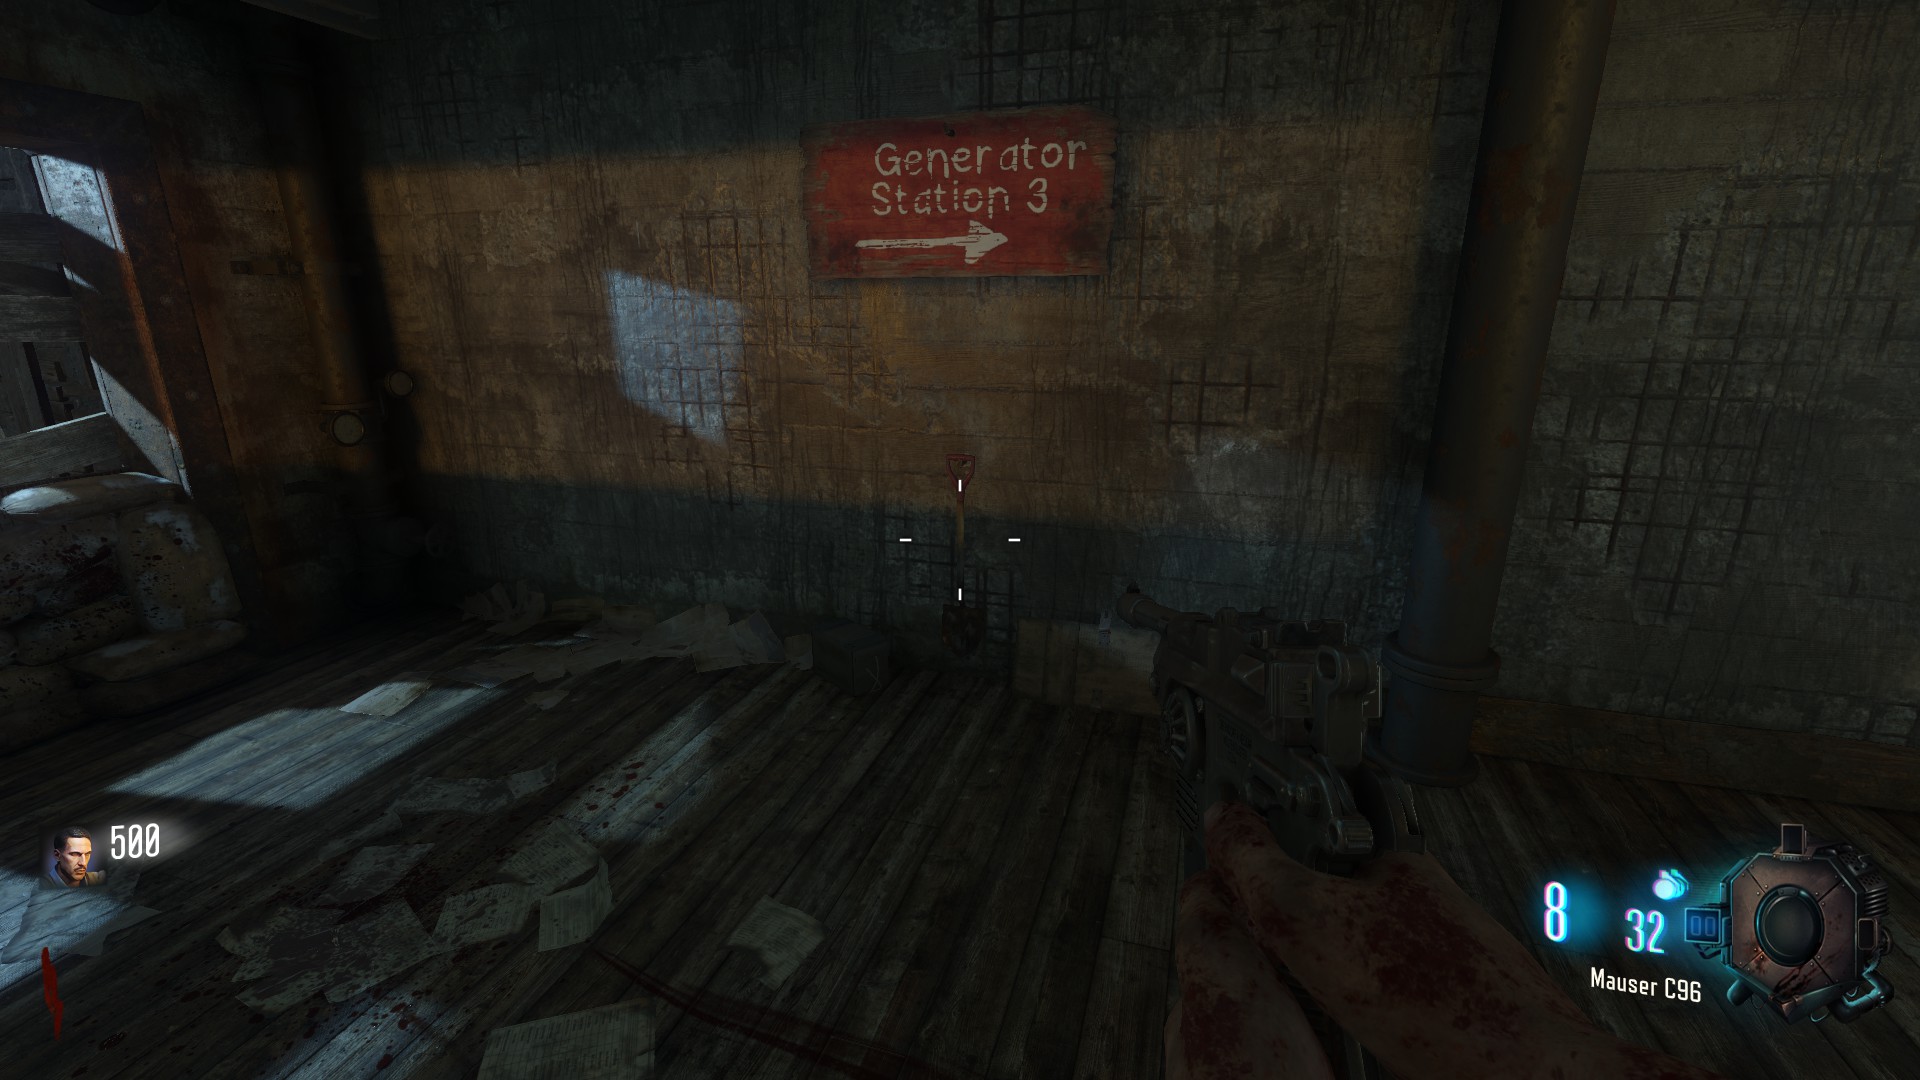 -and one in the lower spawn room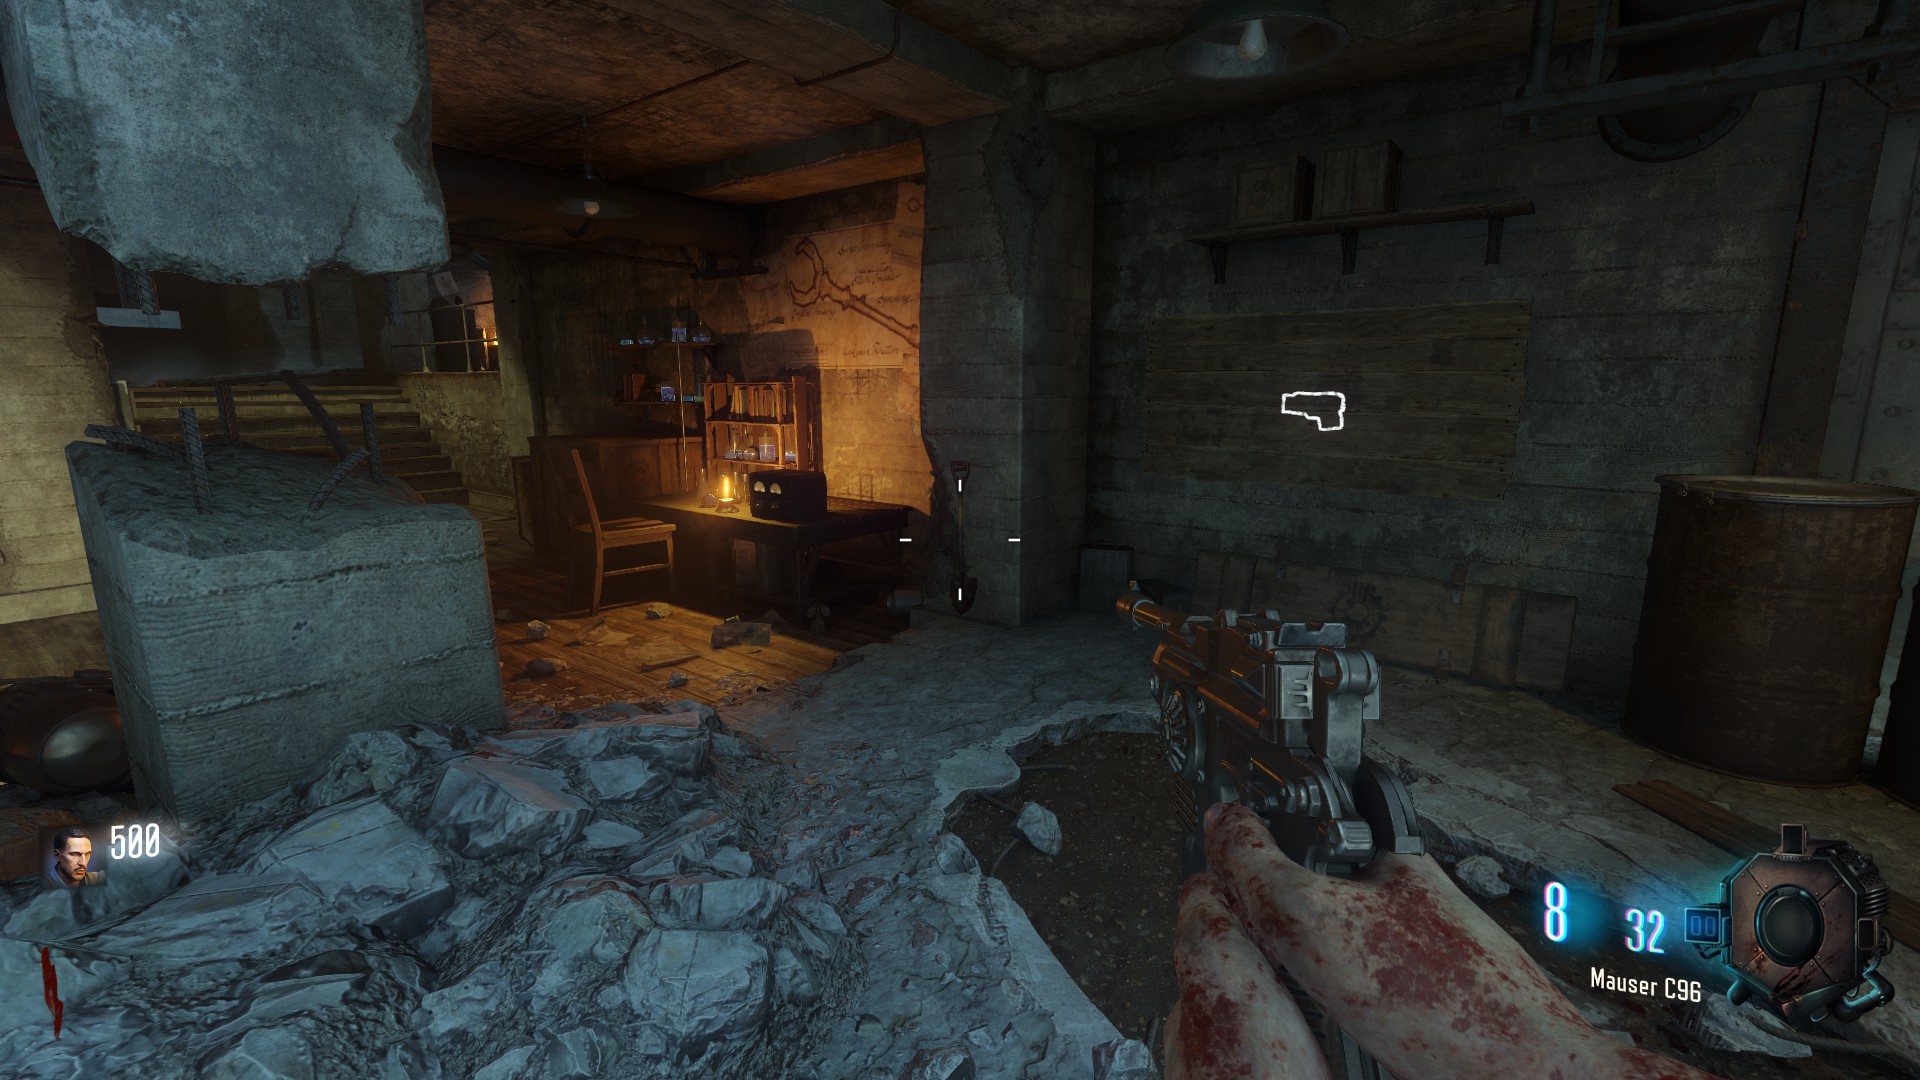
The third shovel is lying under the church, at the rear of the tank.
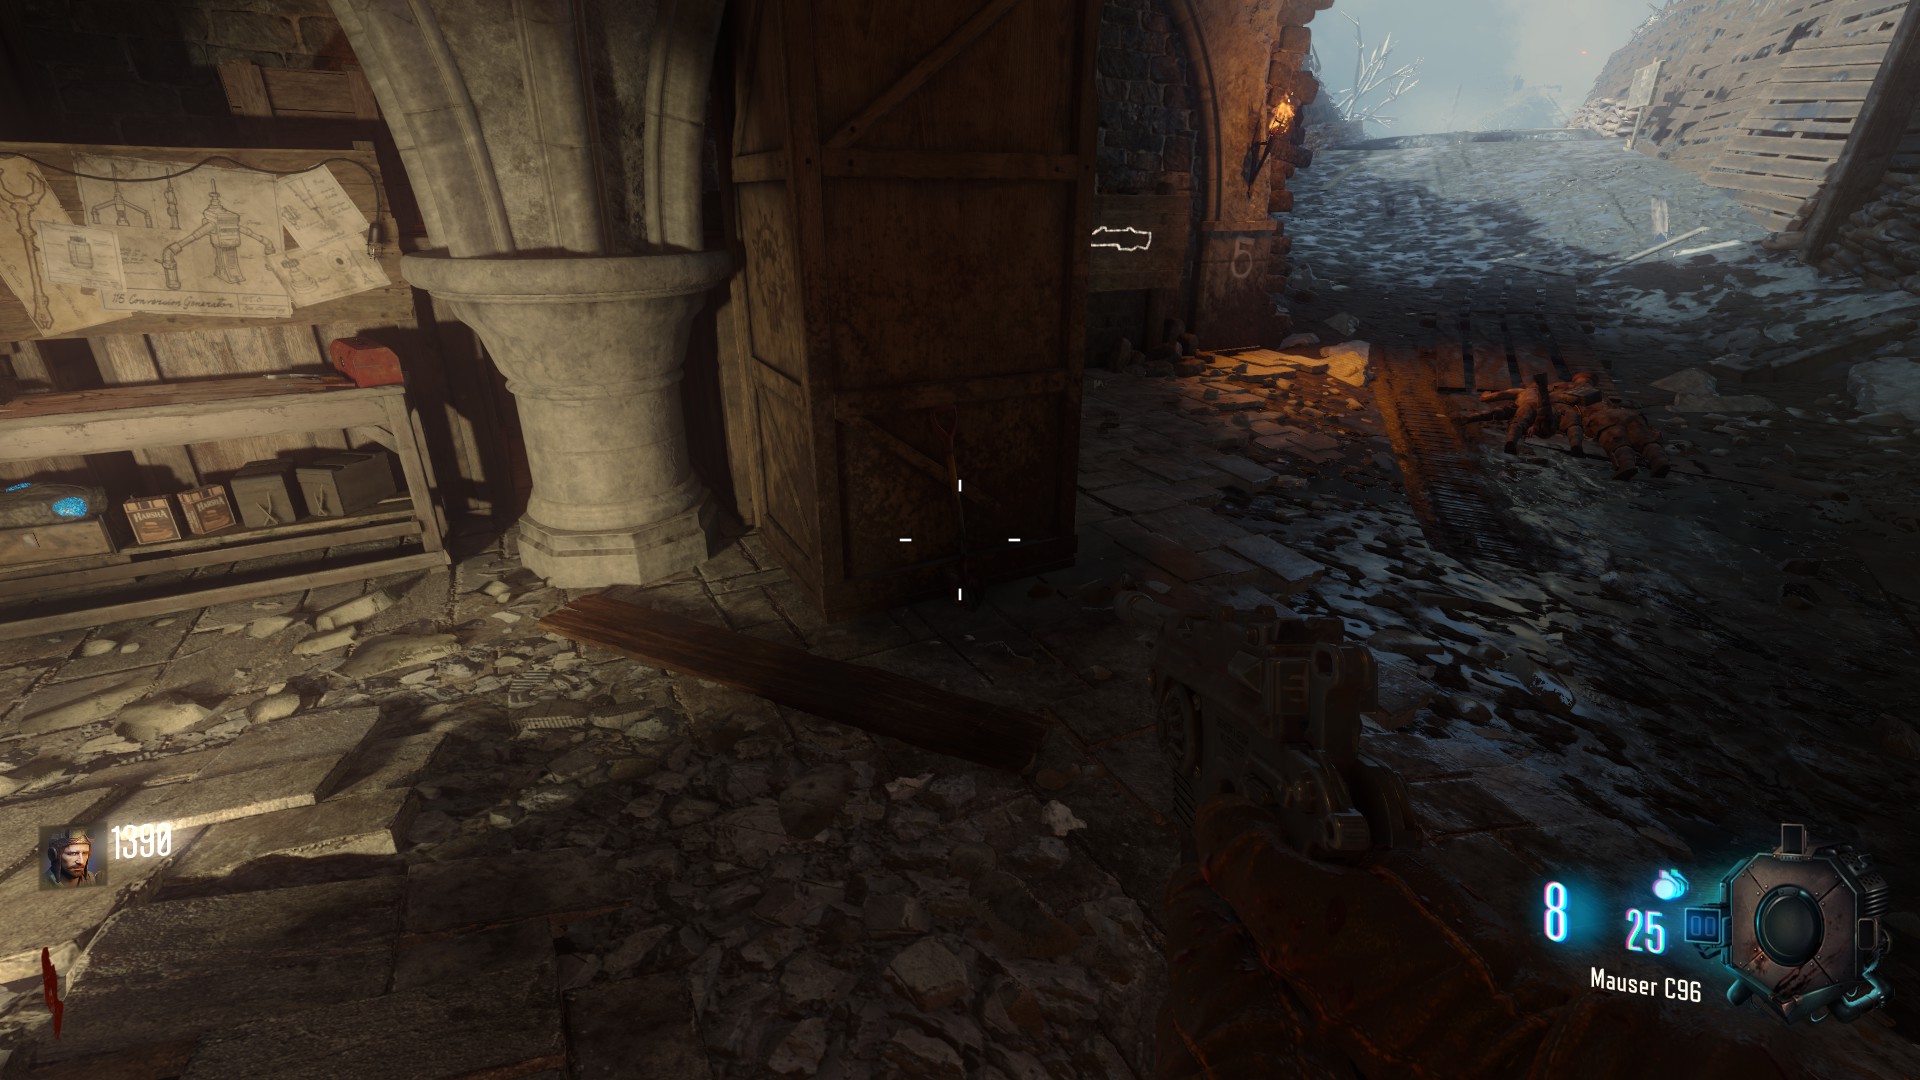
The fourth is In the wind tunnel, next to Generator 4
How to get into the Staff Room
In order to open the staff room you will need to find the Gramophone and the White Record.
once you have them place them on the box next to where you found the Gramophone,
a staircase will appear leading to the staff room.
one location could be next to the wooden stairs on a box
one location could be on a stone trench wall behind the 'Pack a Punch' pedestal
one location could be in a wheelbarrow next to 'Pack a Punch' it self
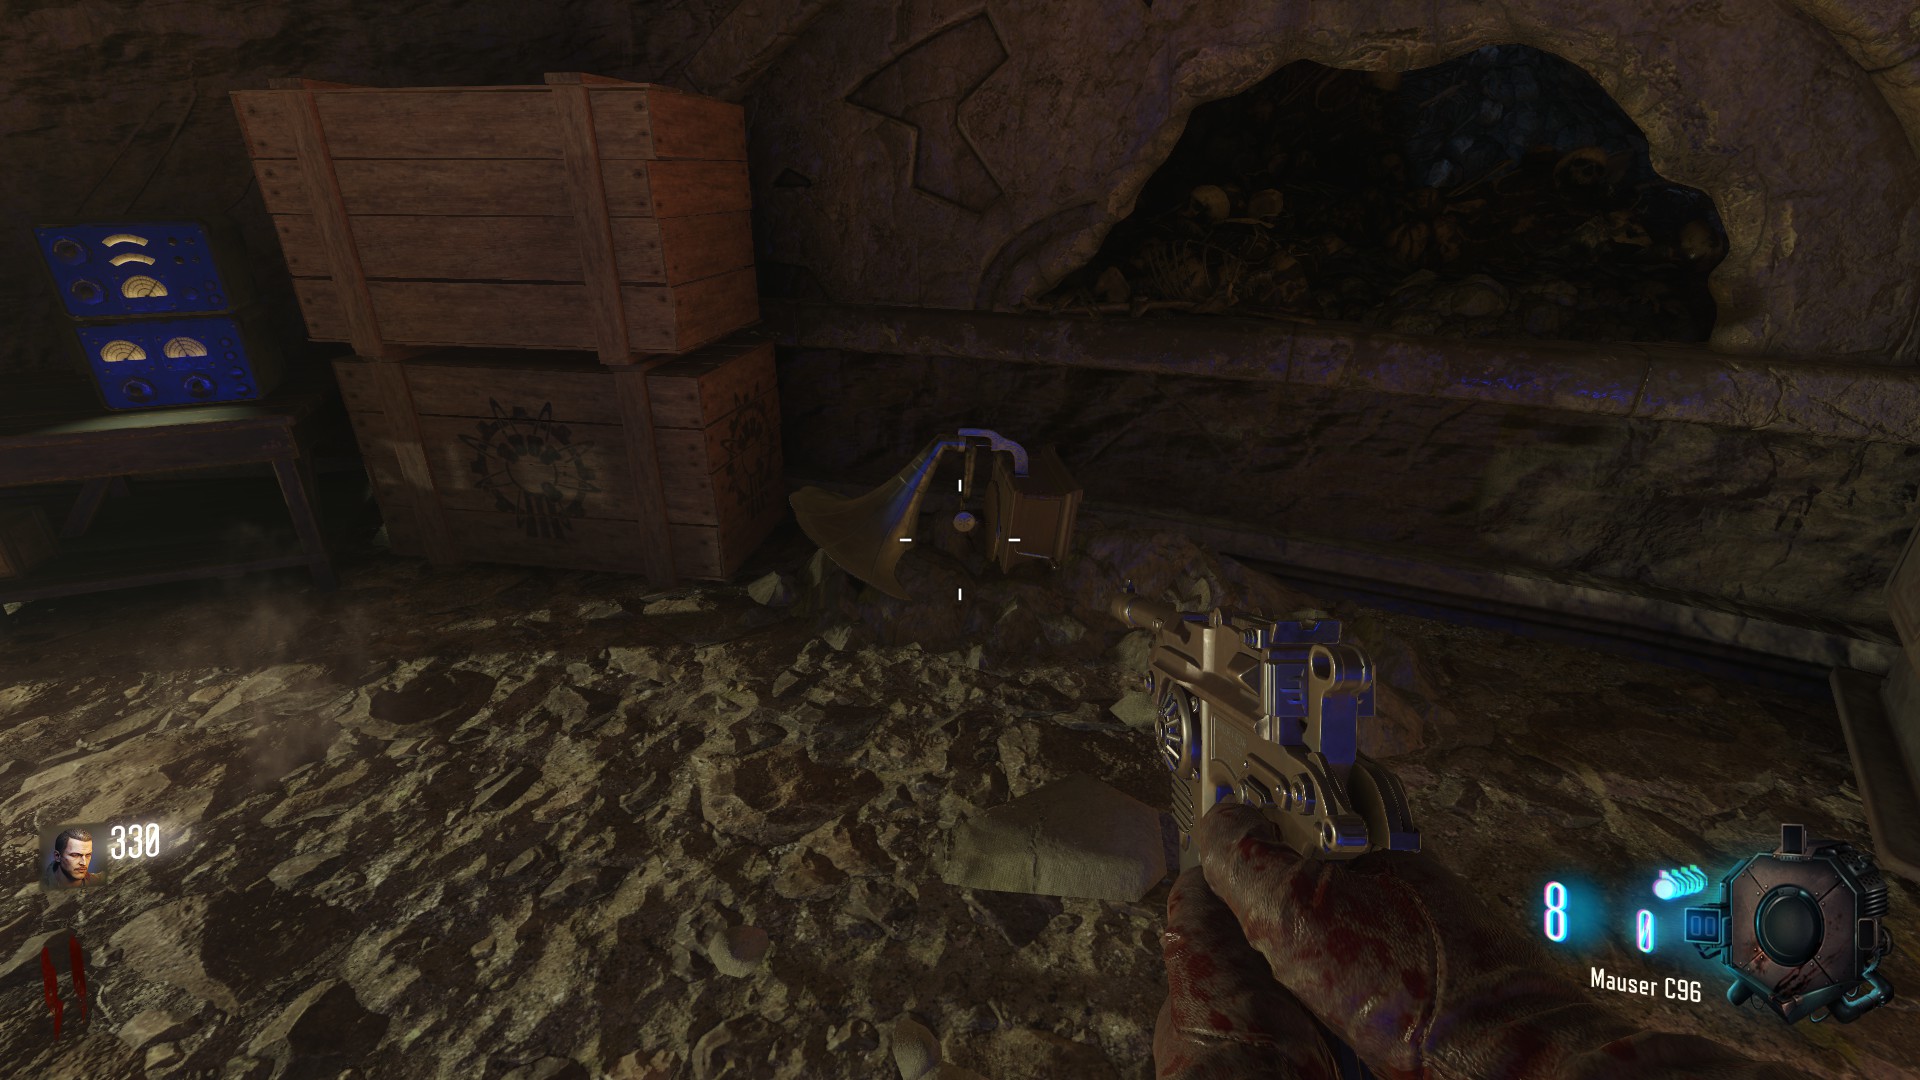
once you have them place them on the box next to where you found the Gramophone,
a staircase will appear leading to the staff room.
White Record
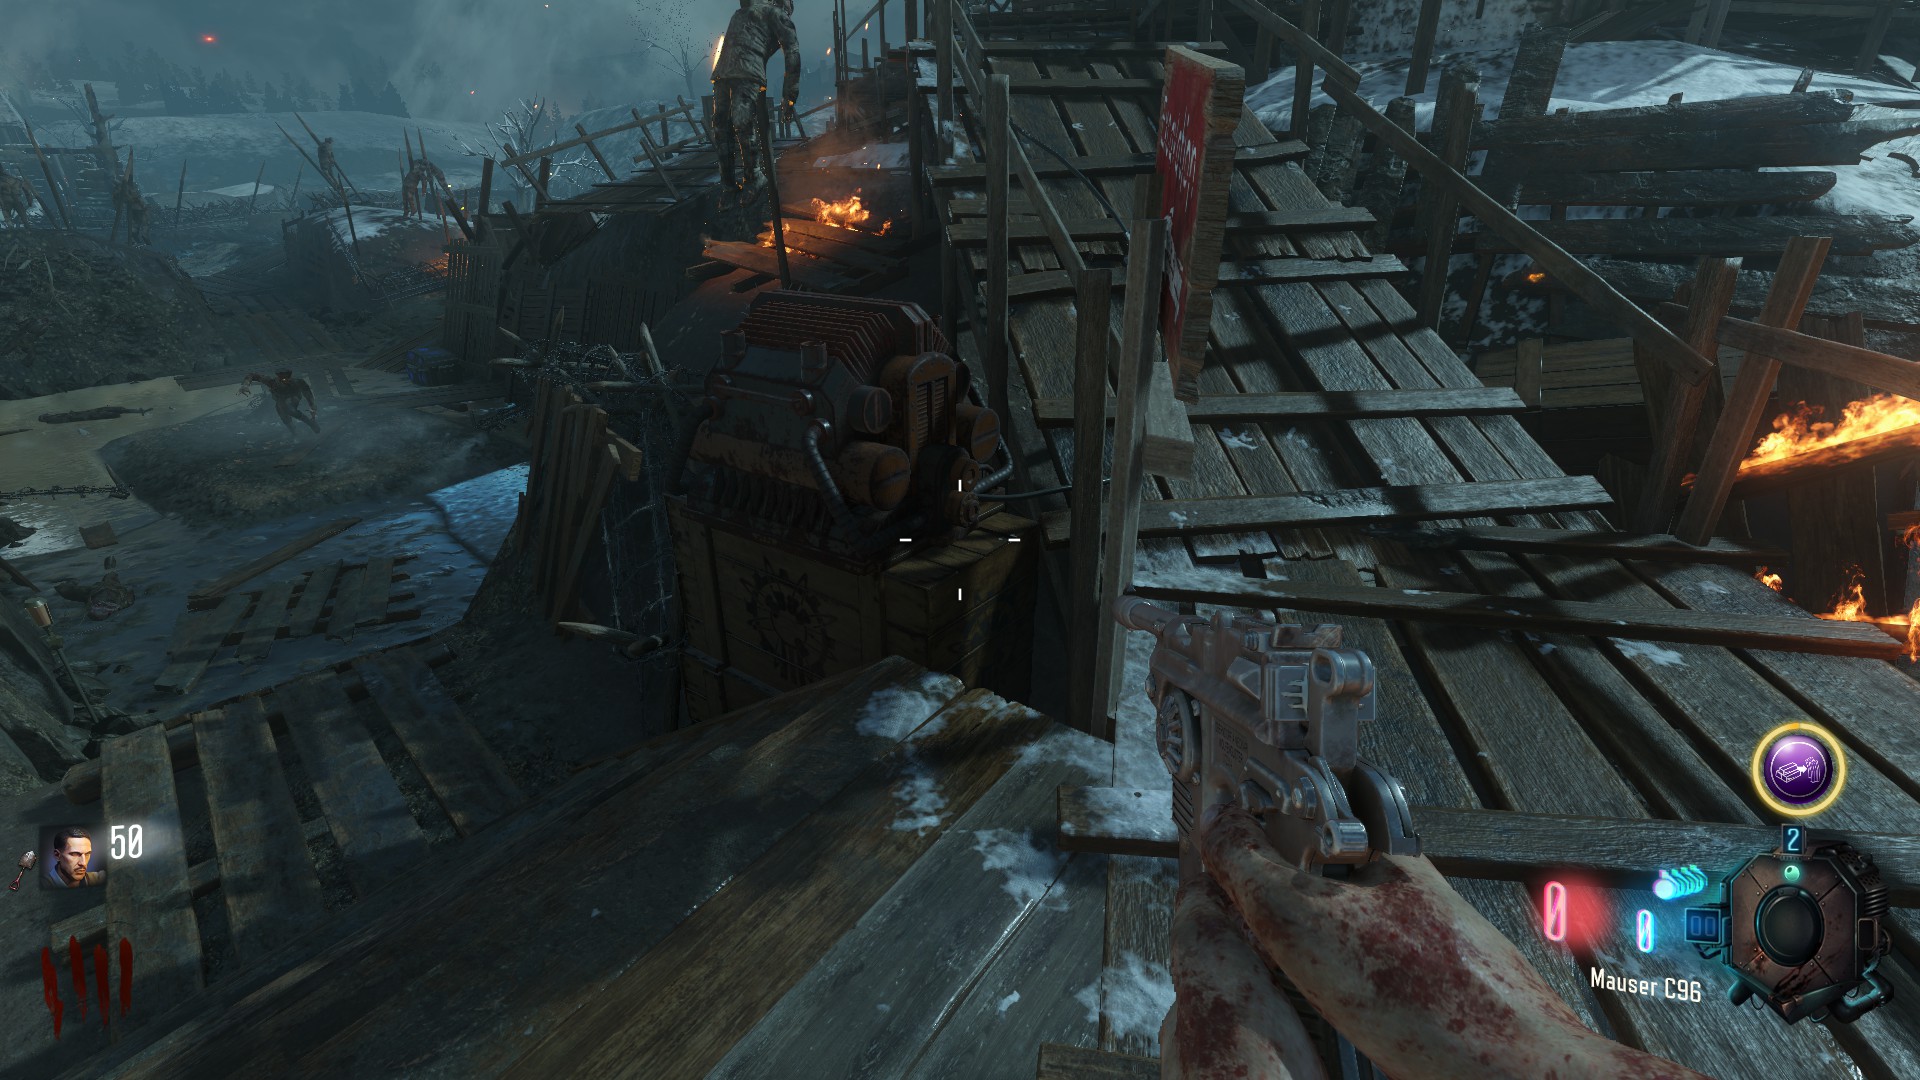
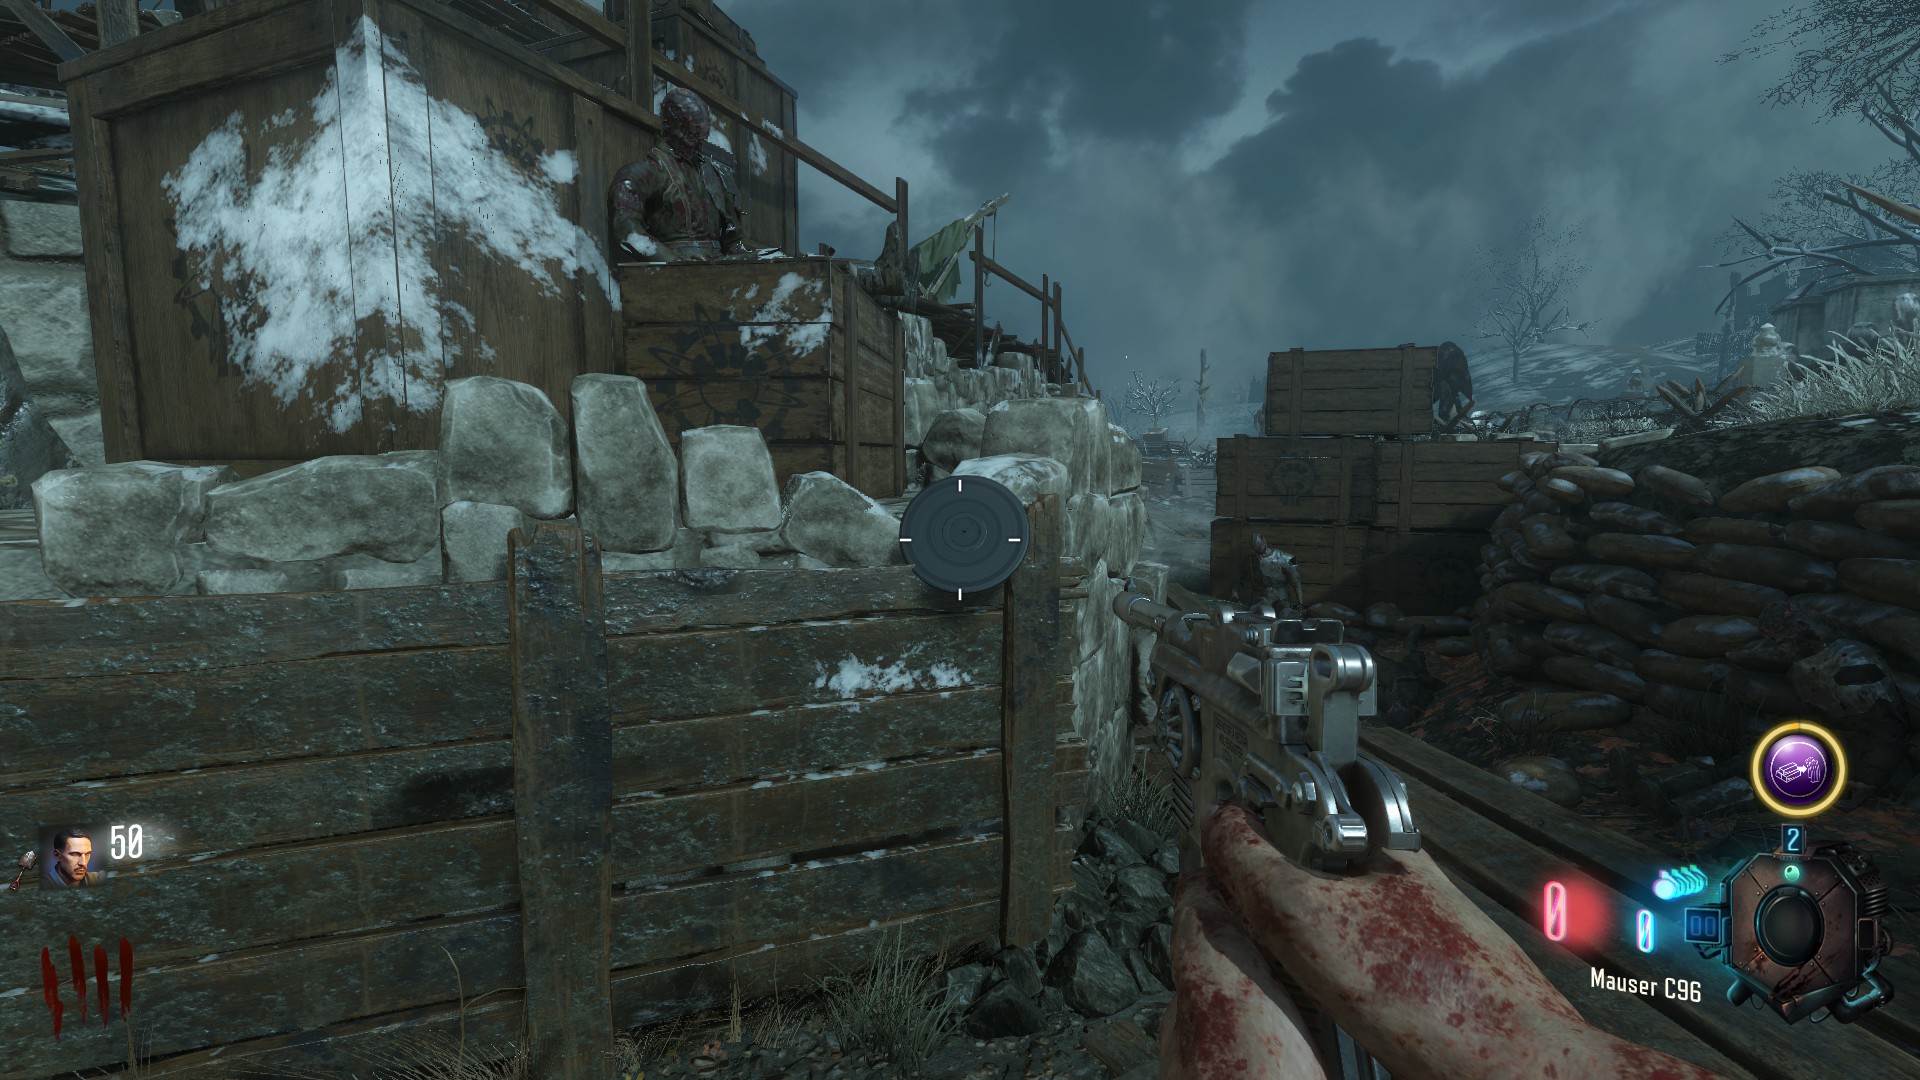
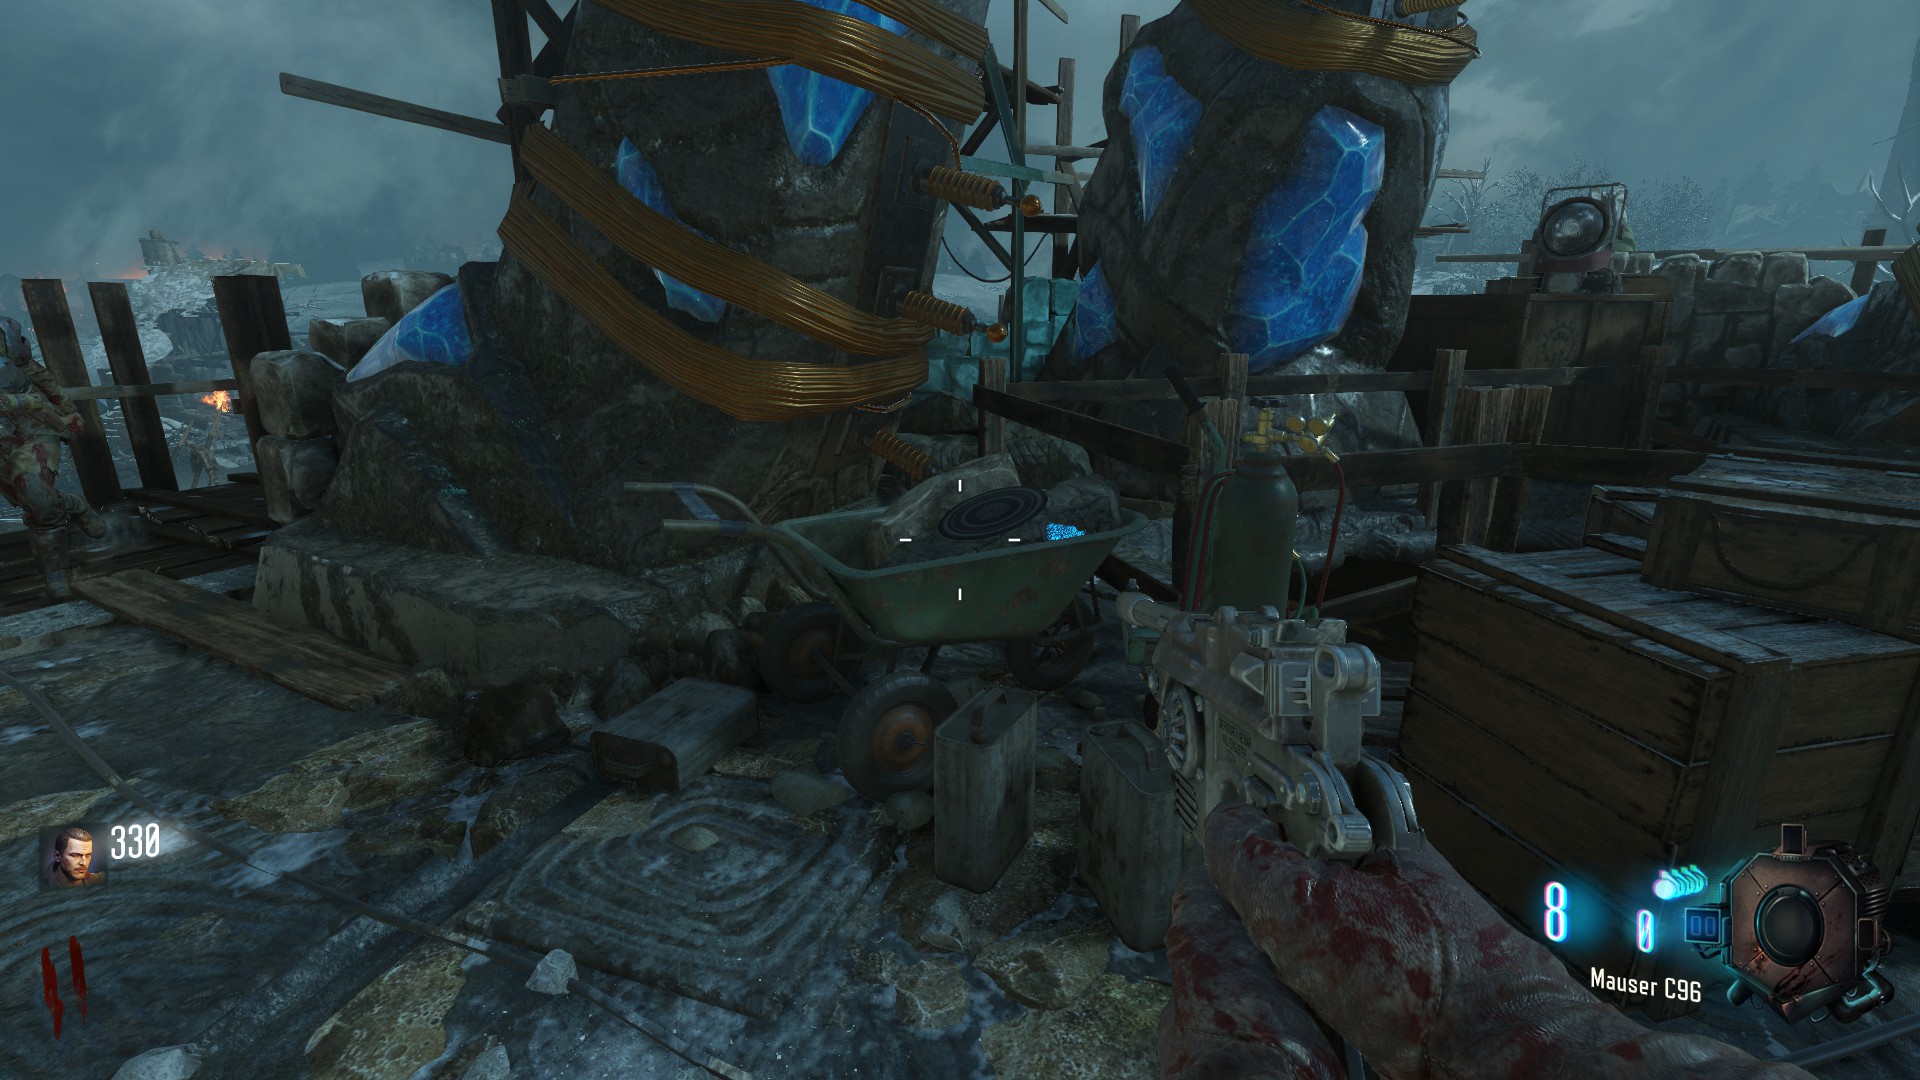
the white record has 3 locations all around the 'Pack a Punch' pedestal one location could be next to the wooden stairs on a box
one location could be on a stone trench wall behind the 'Pack a Punch' pedestal
one location could be in a wheelbarrow next to 'Pack a Punch' it self
Gramophone
the Gramophone is found under 'Pack a Punch' next to two chests
Ice Staff
The is Staff is one of the best, if not the best staff in the game, even though it can be tricky due to the zombies not dying instantly.
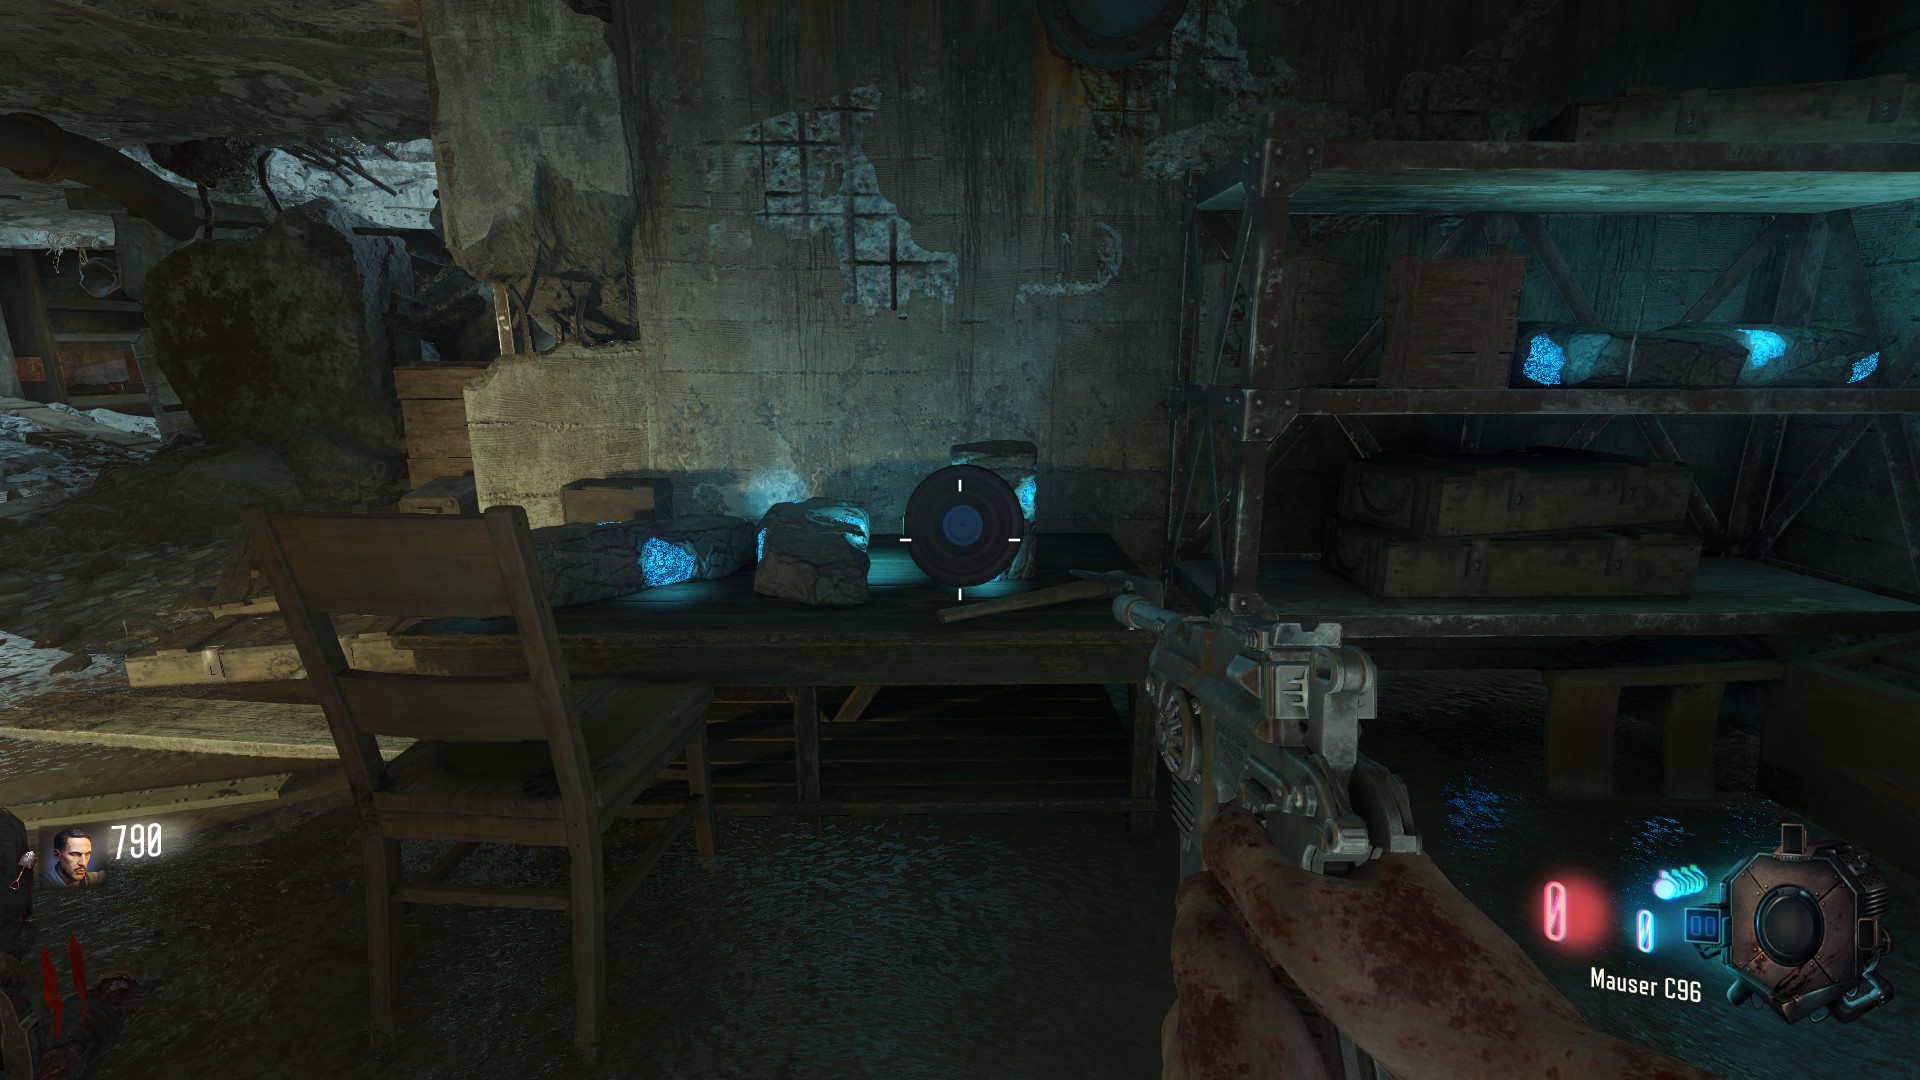
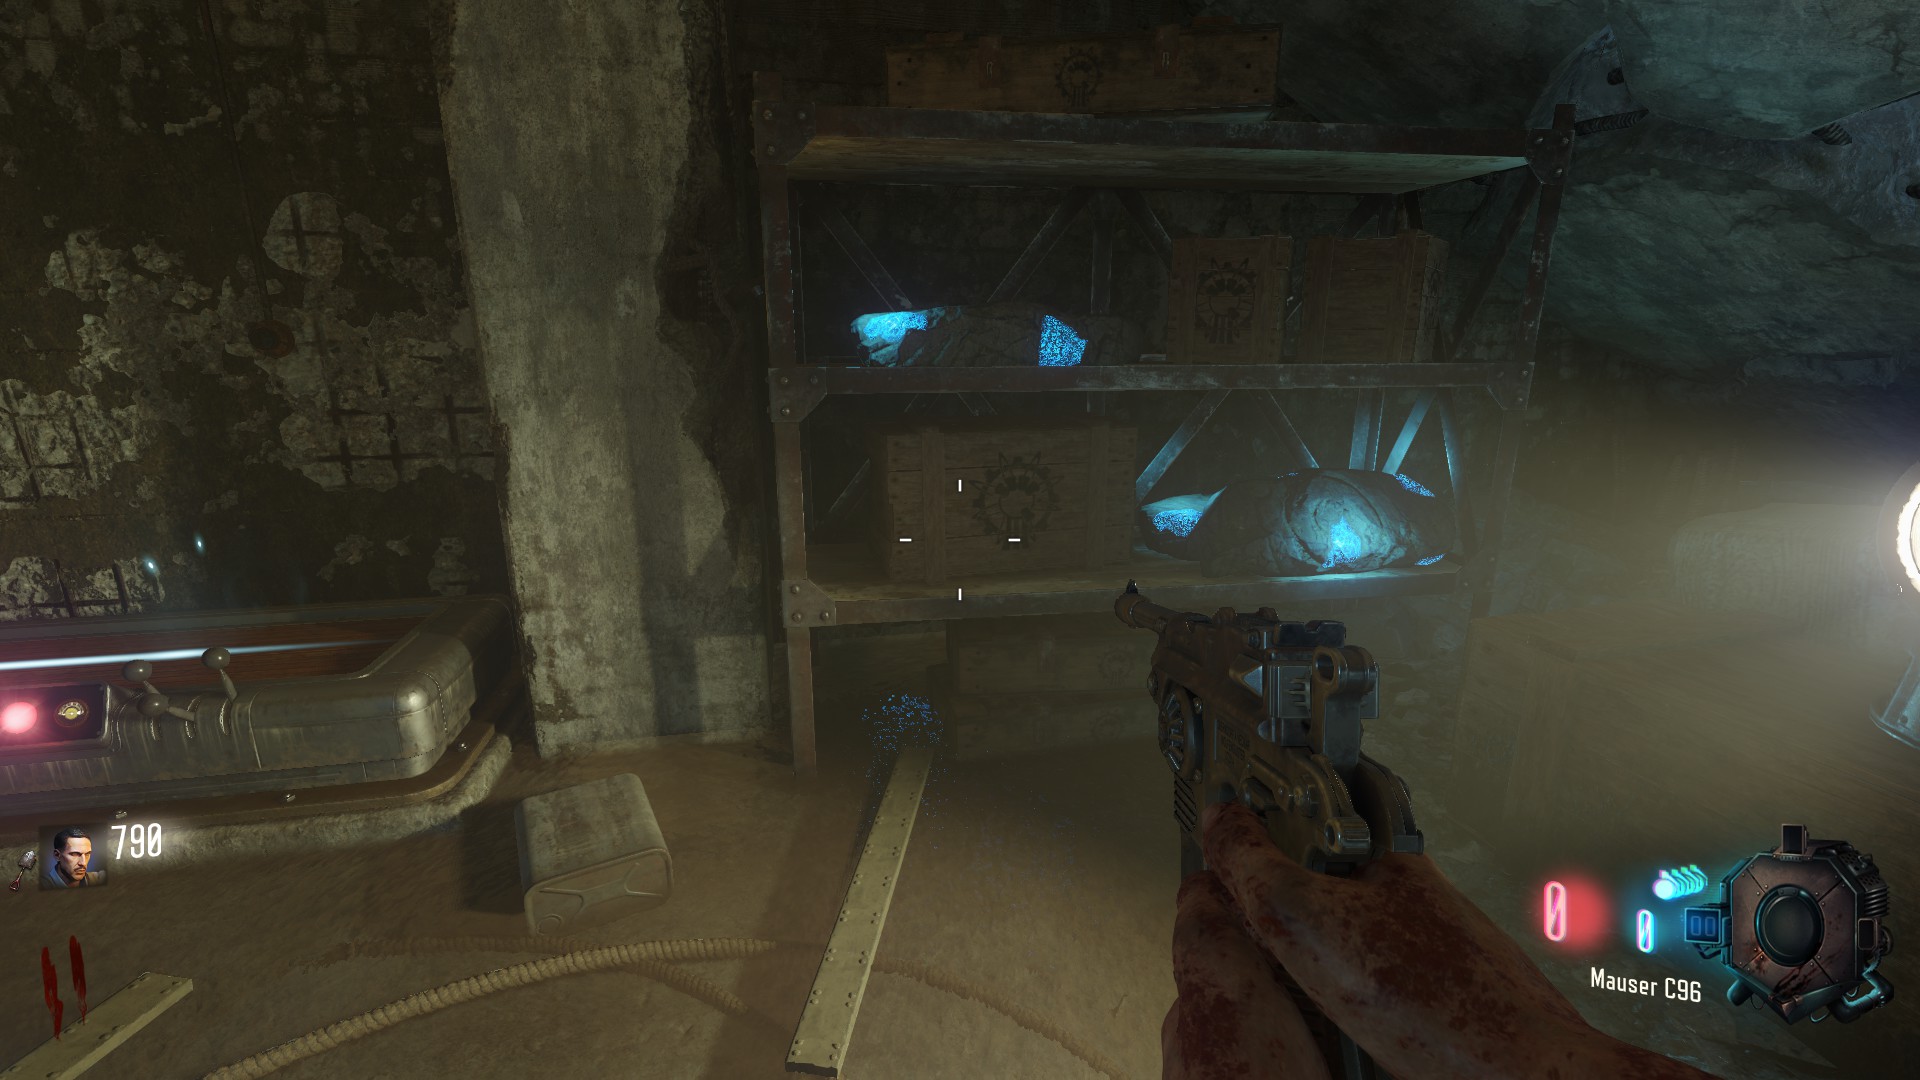
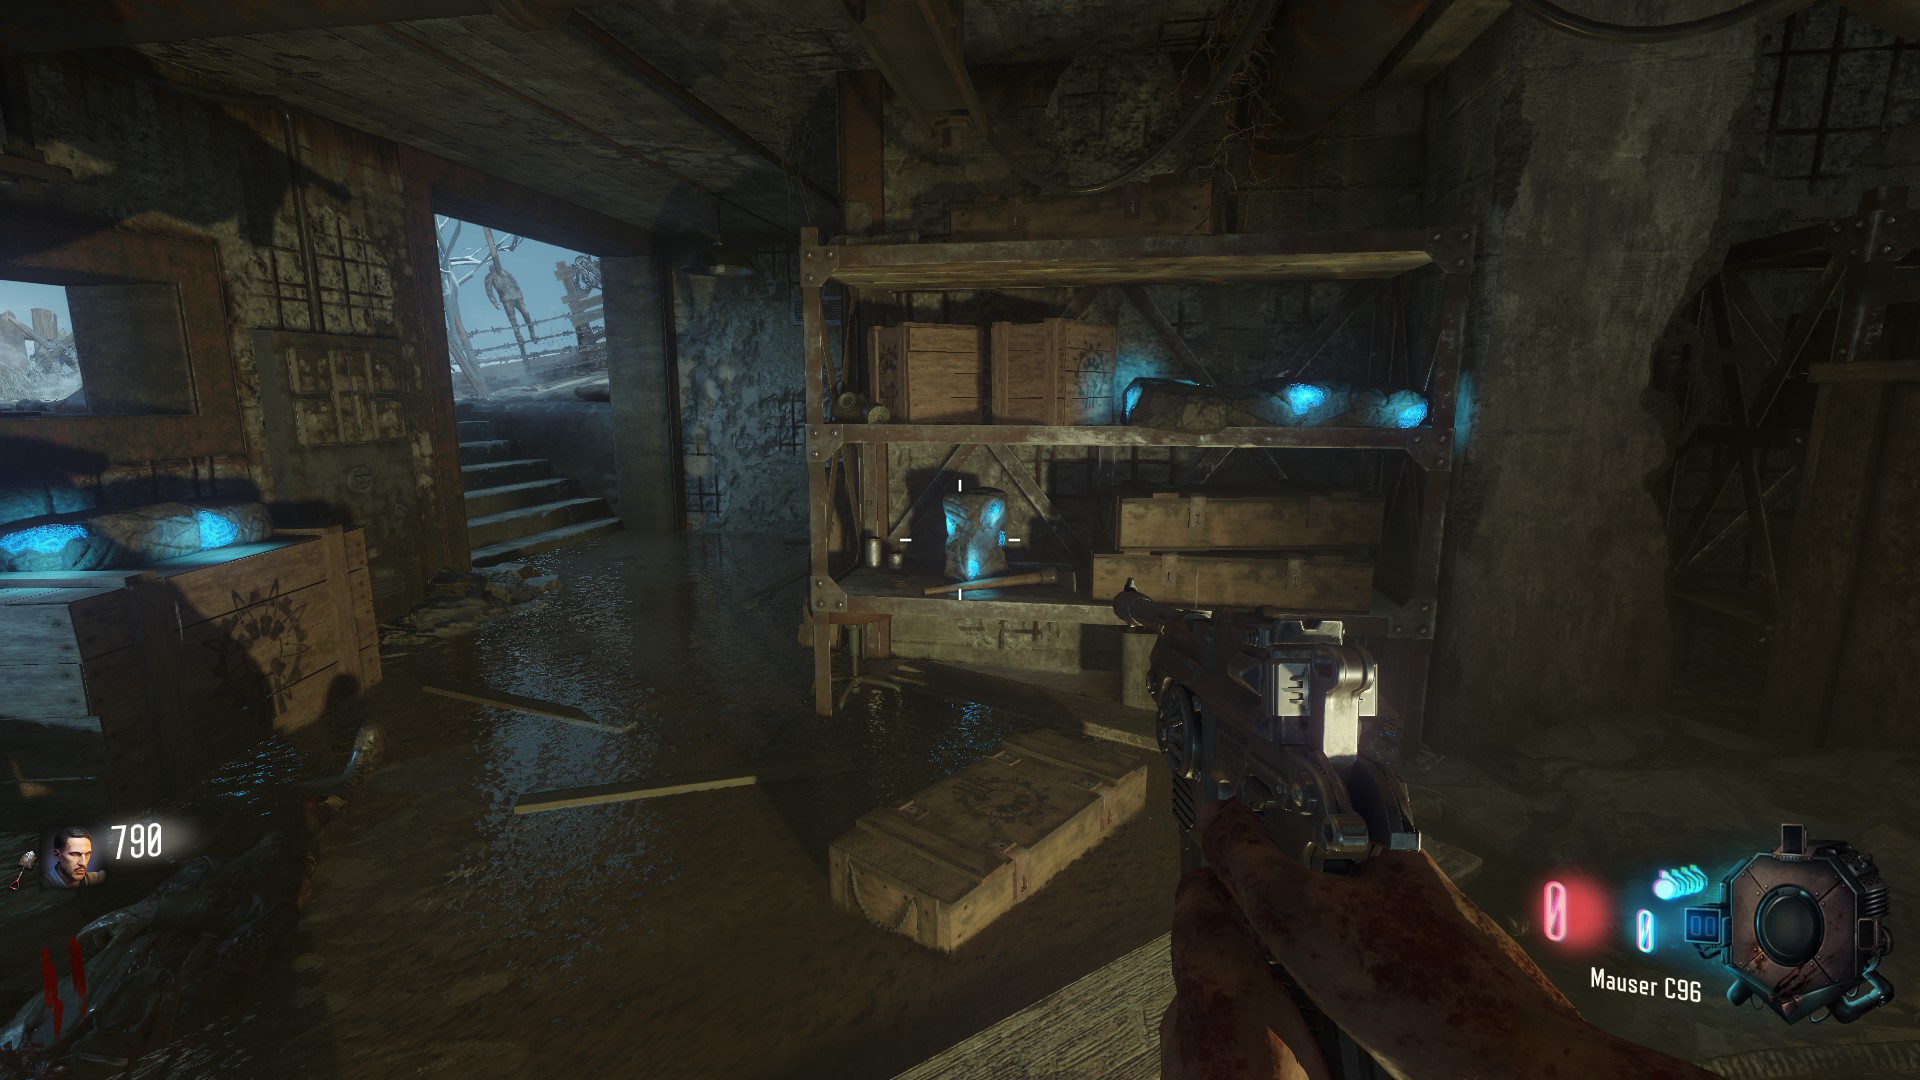
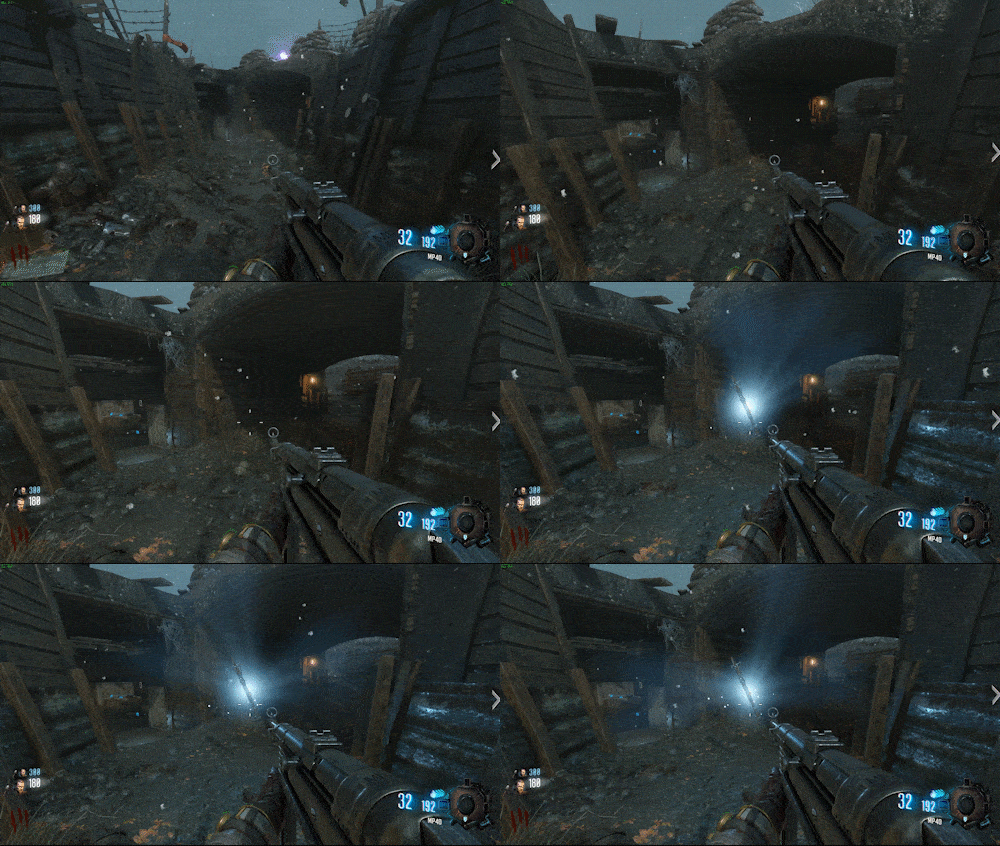
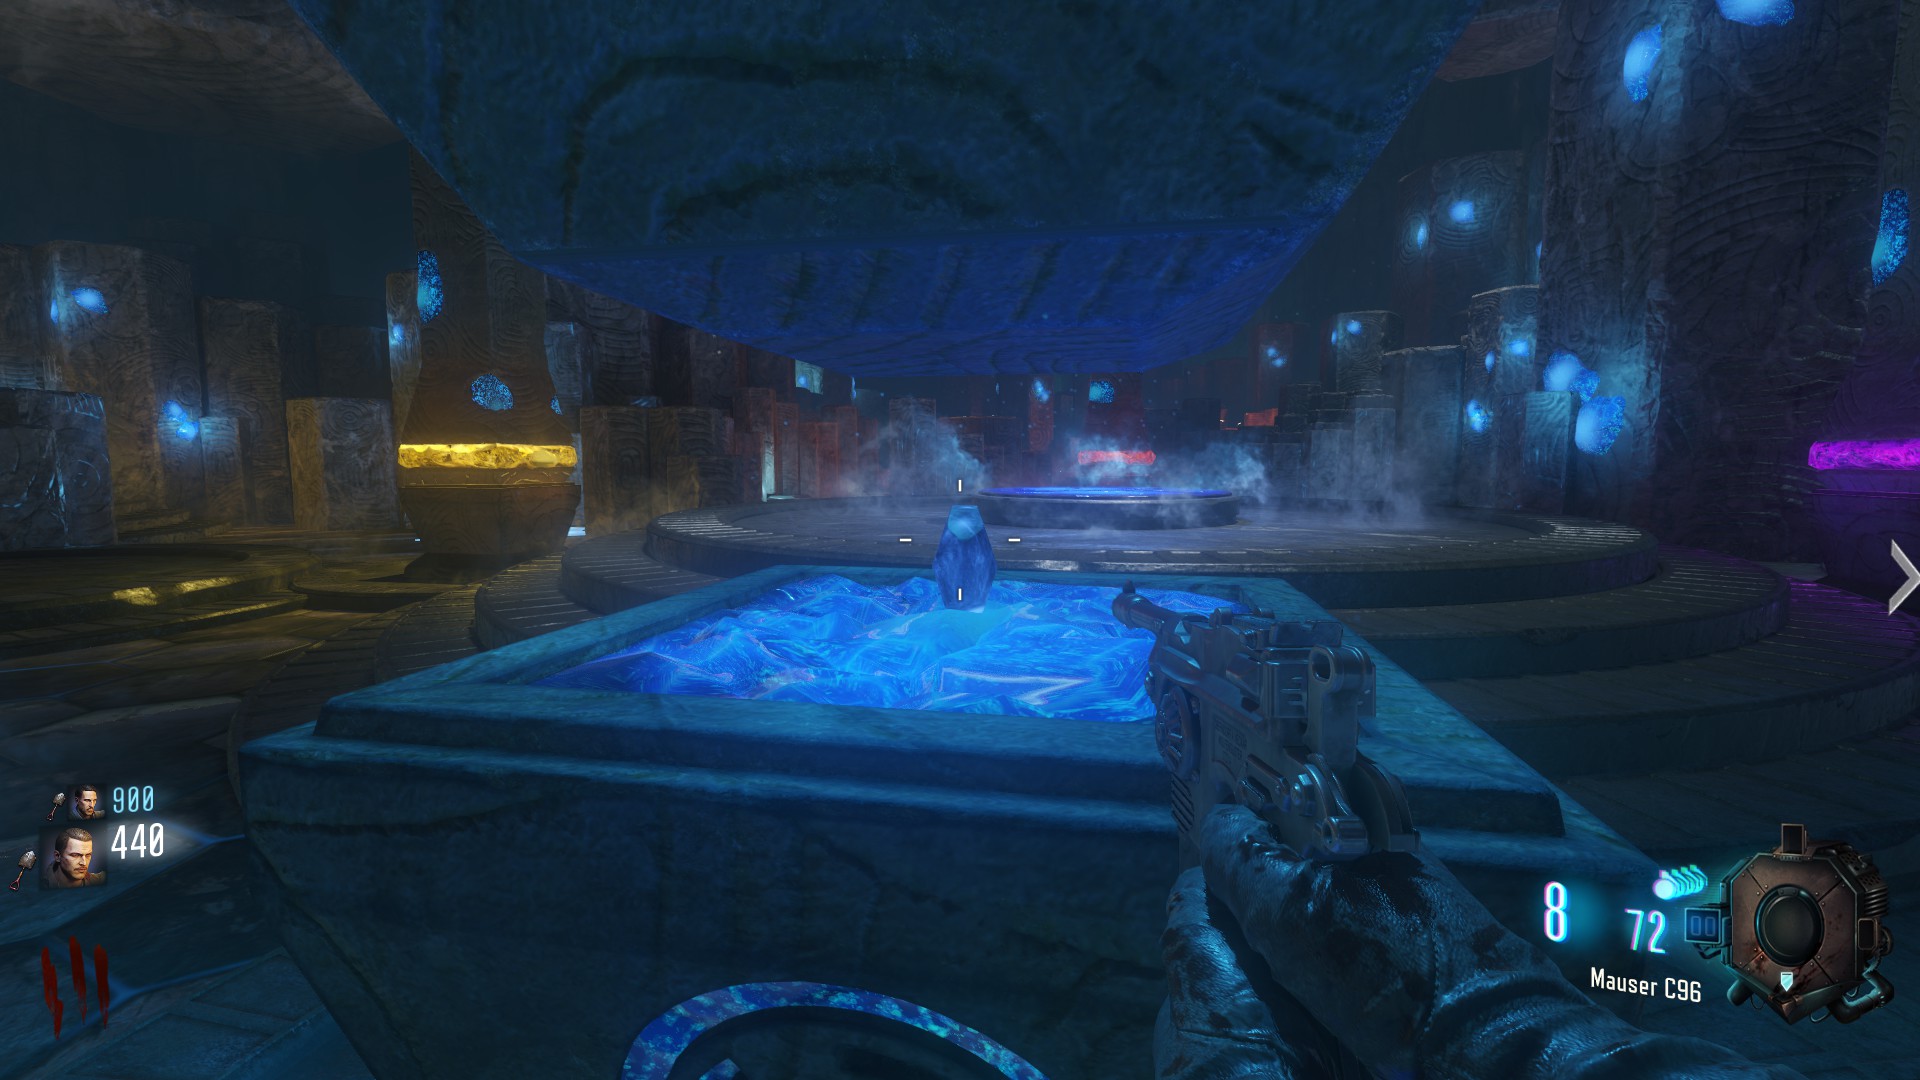
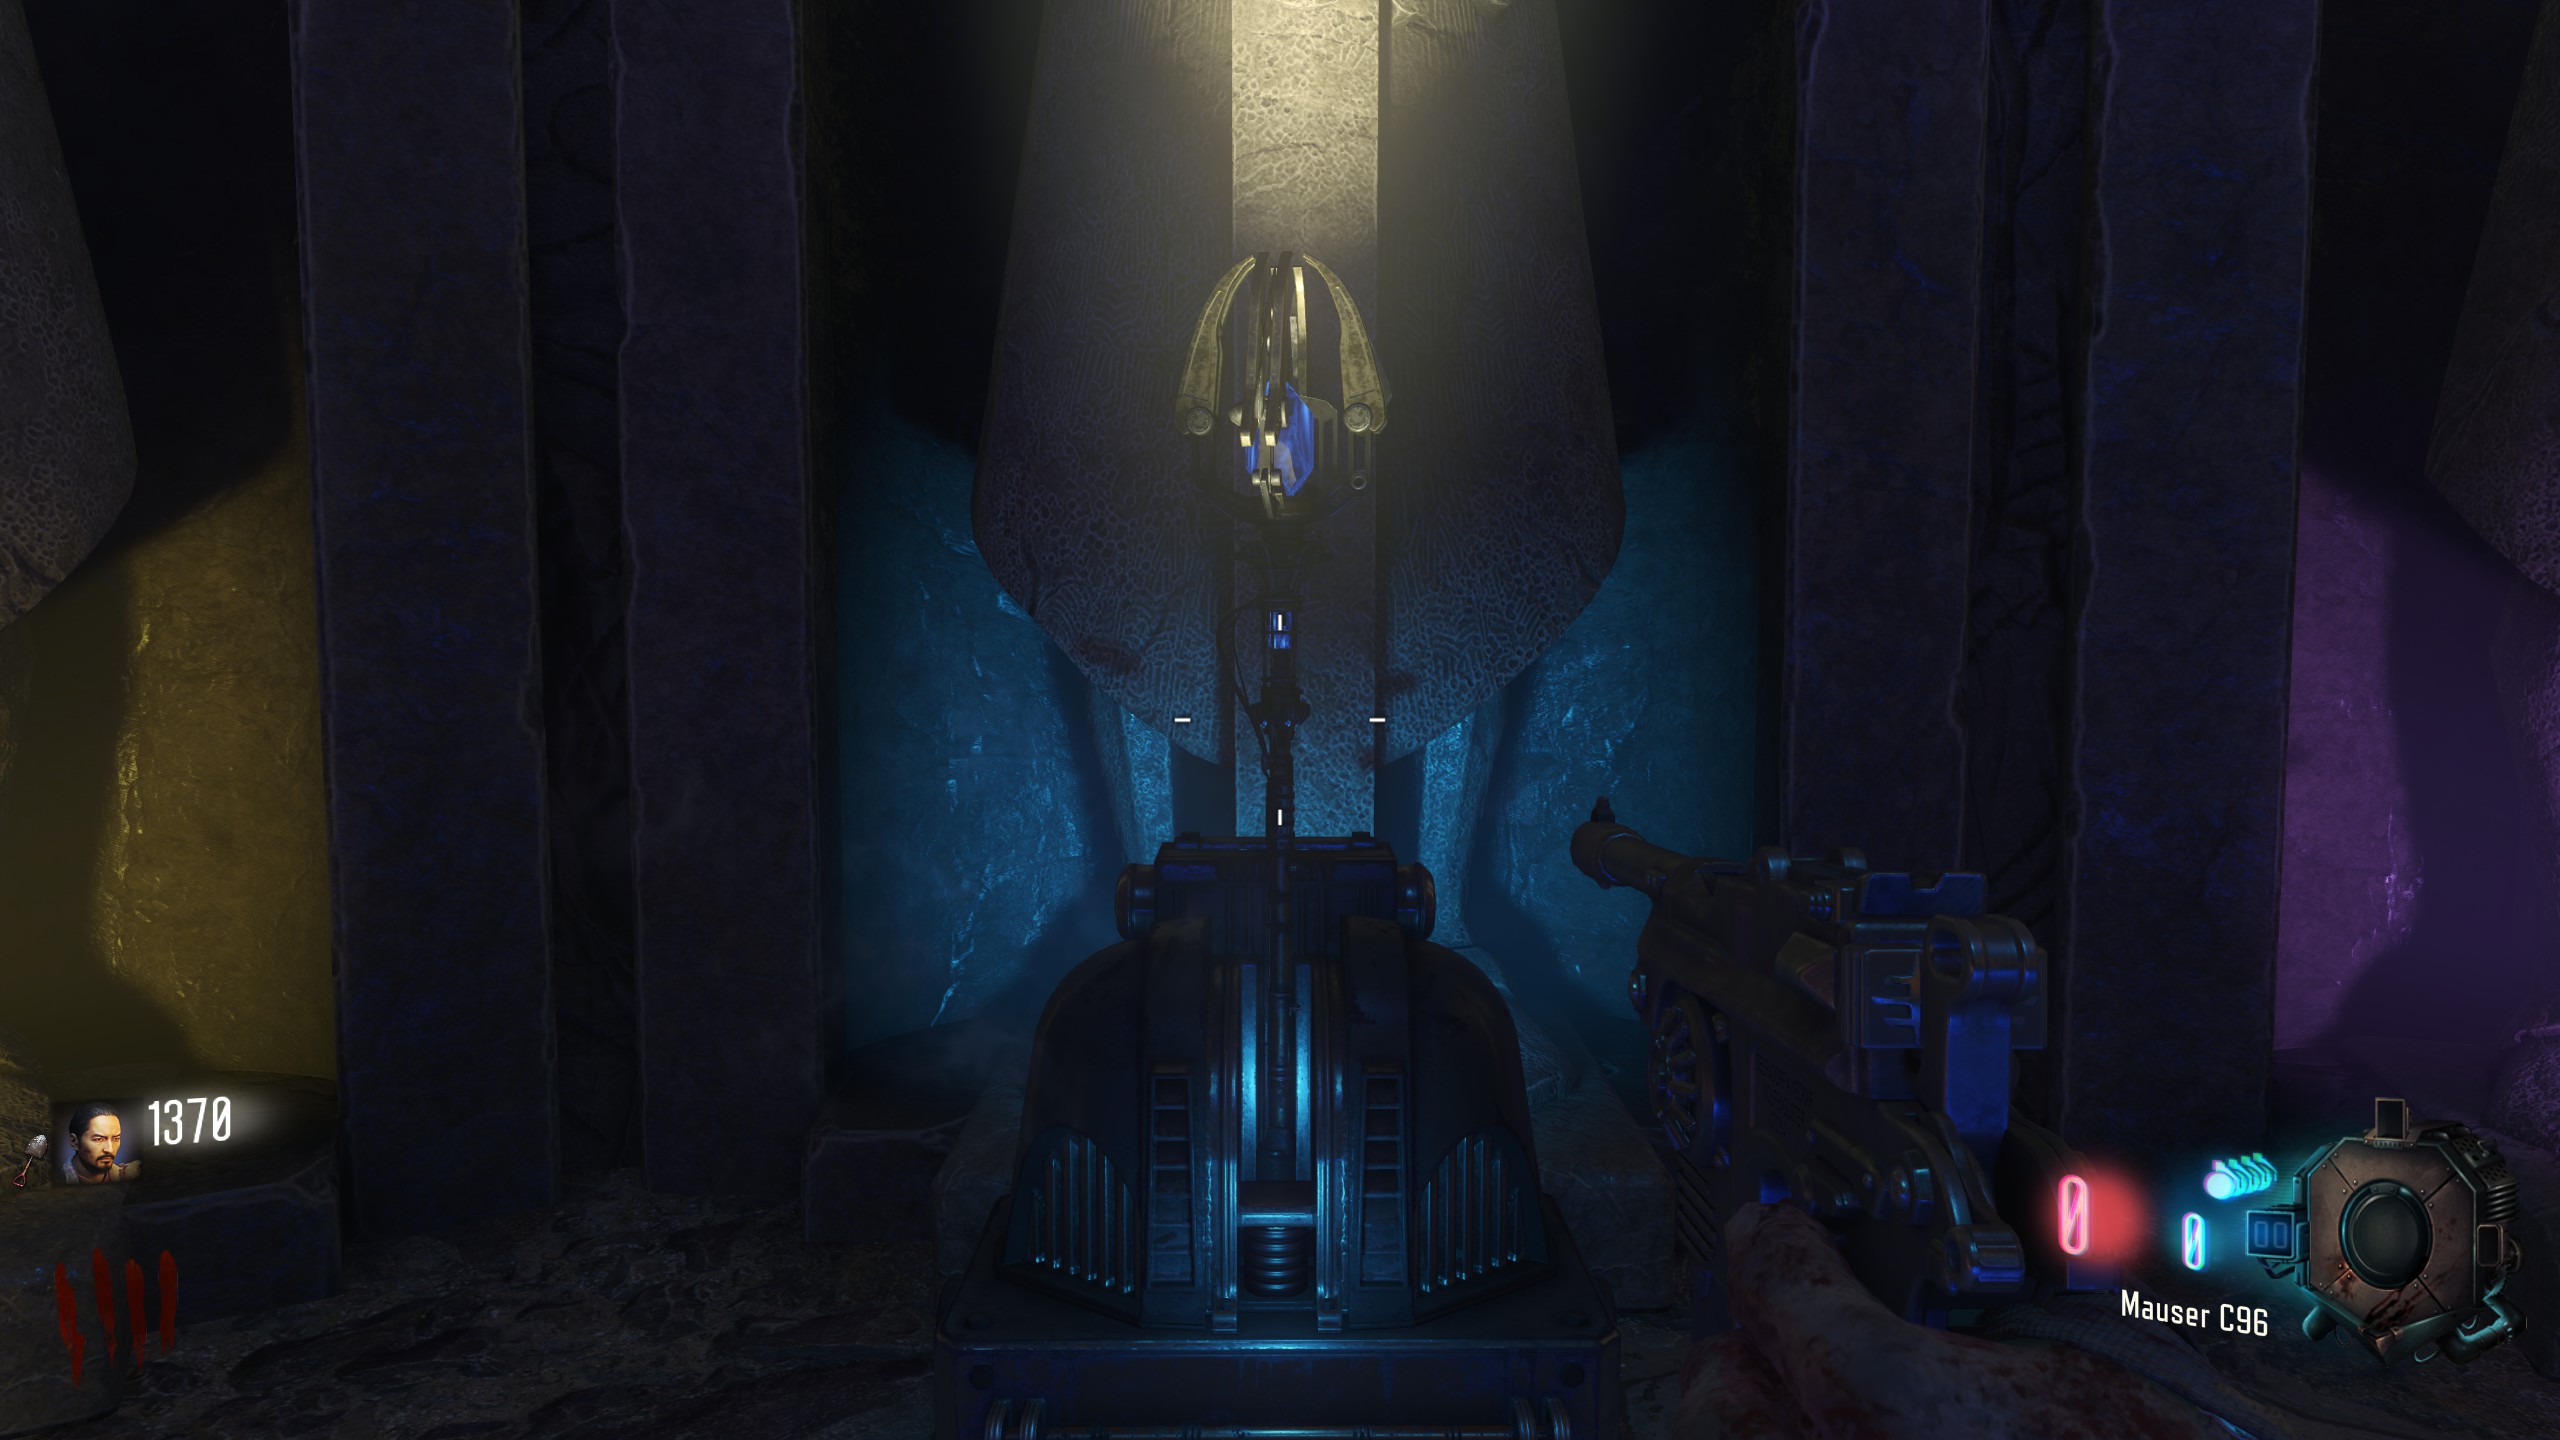
With the Gramophone and the Blue Record go to the cave near Generator 6
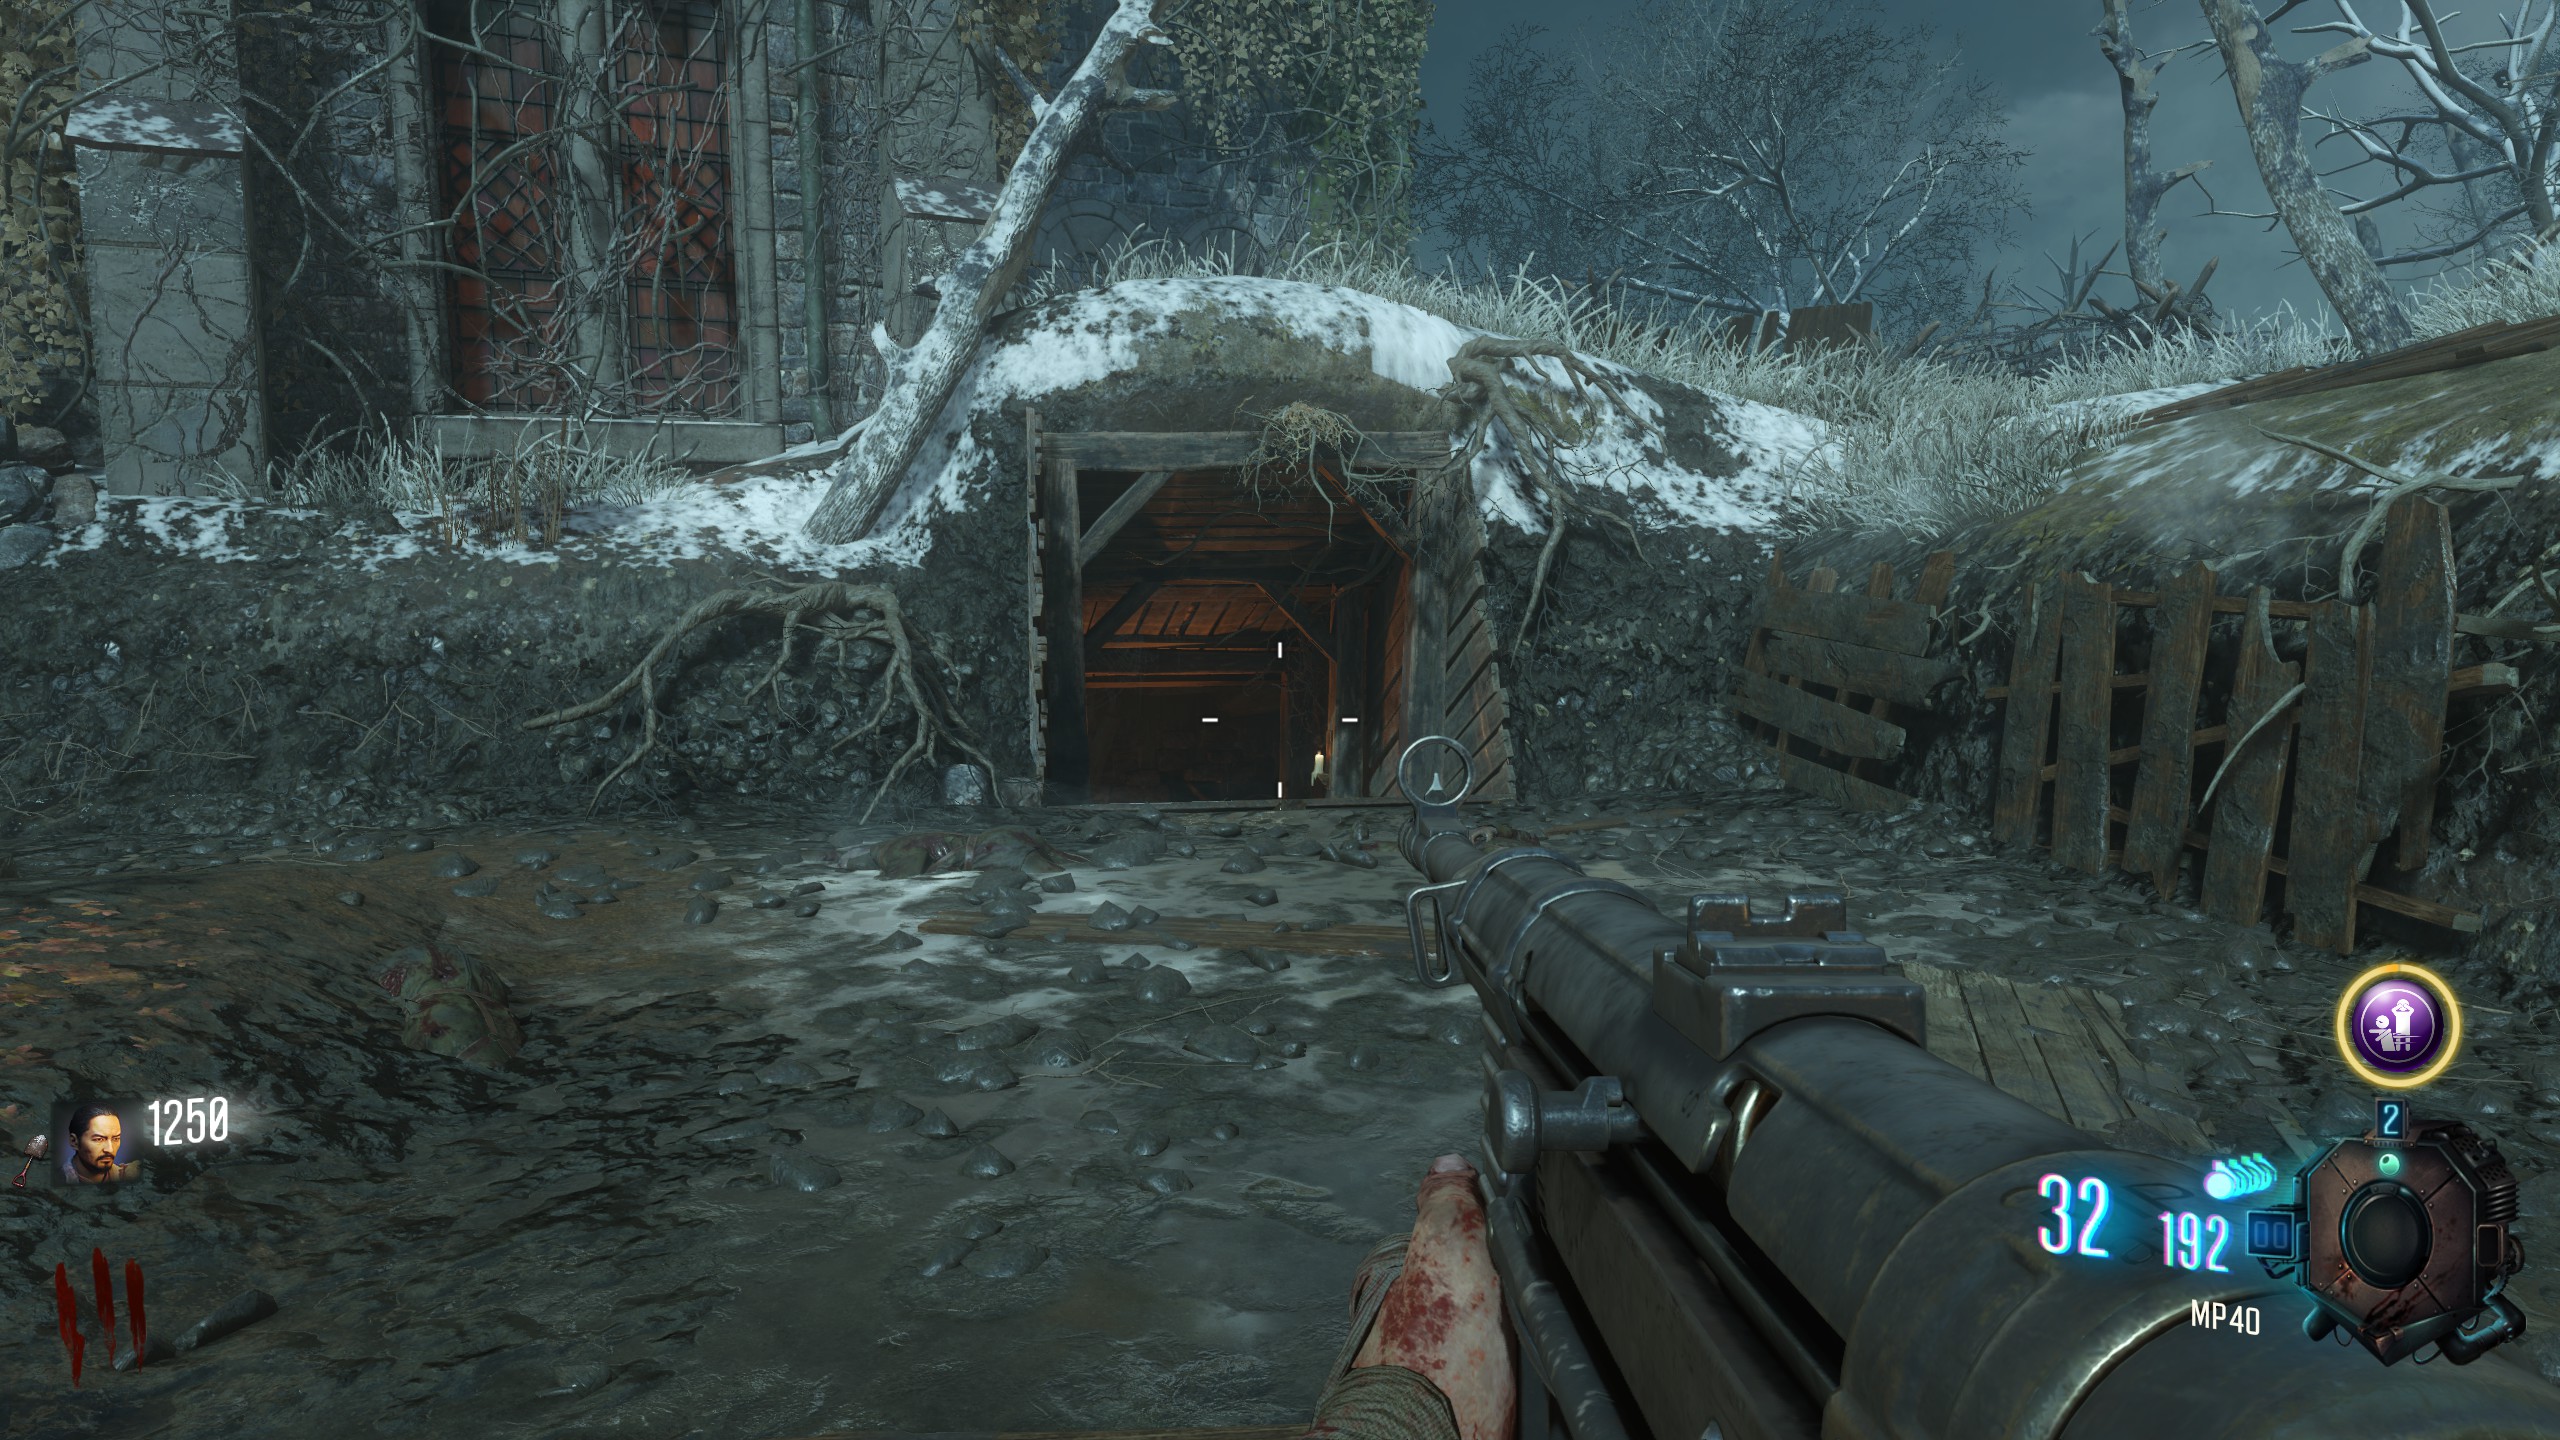 and place it on the table to the left.
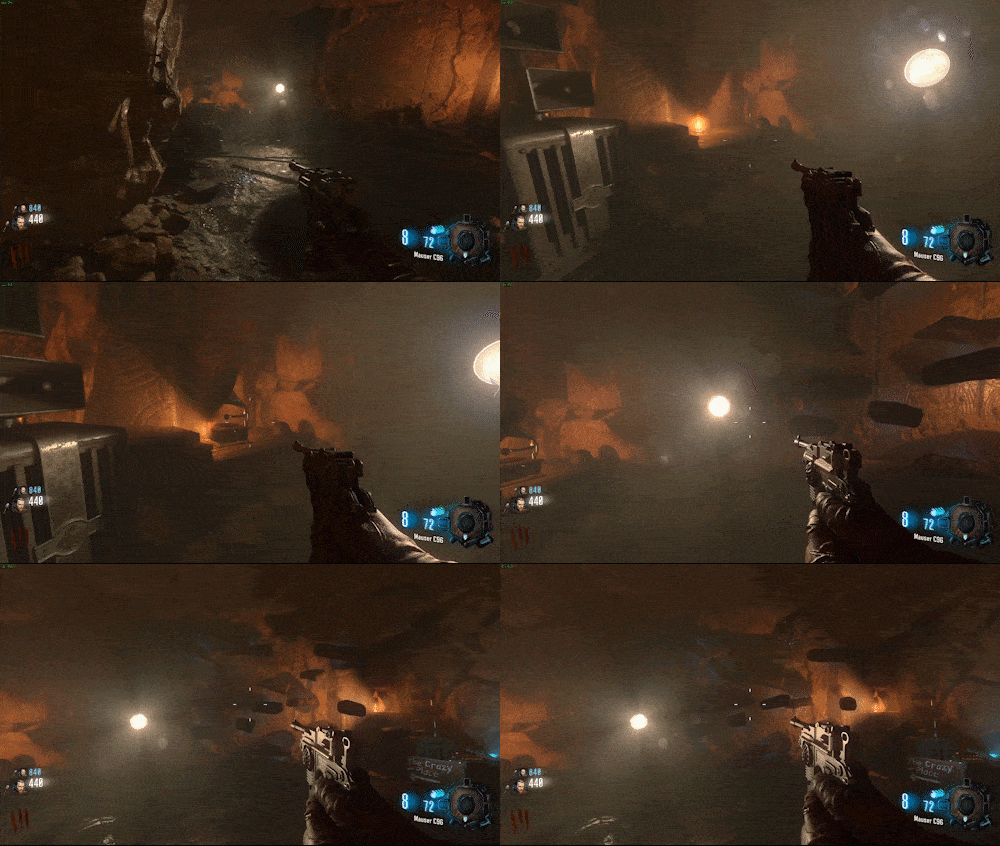
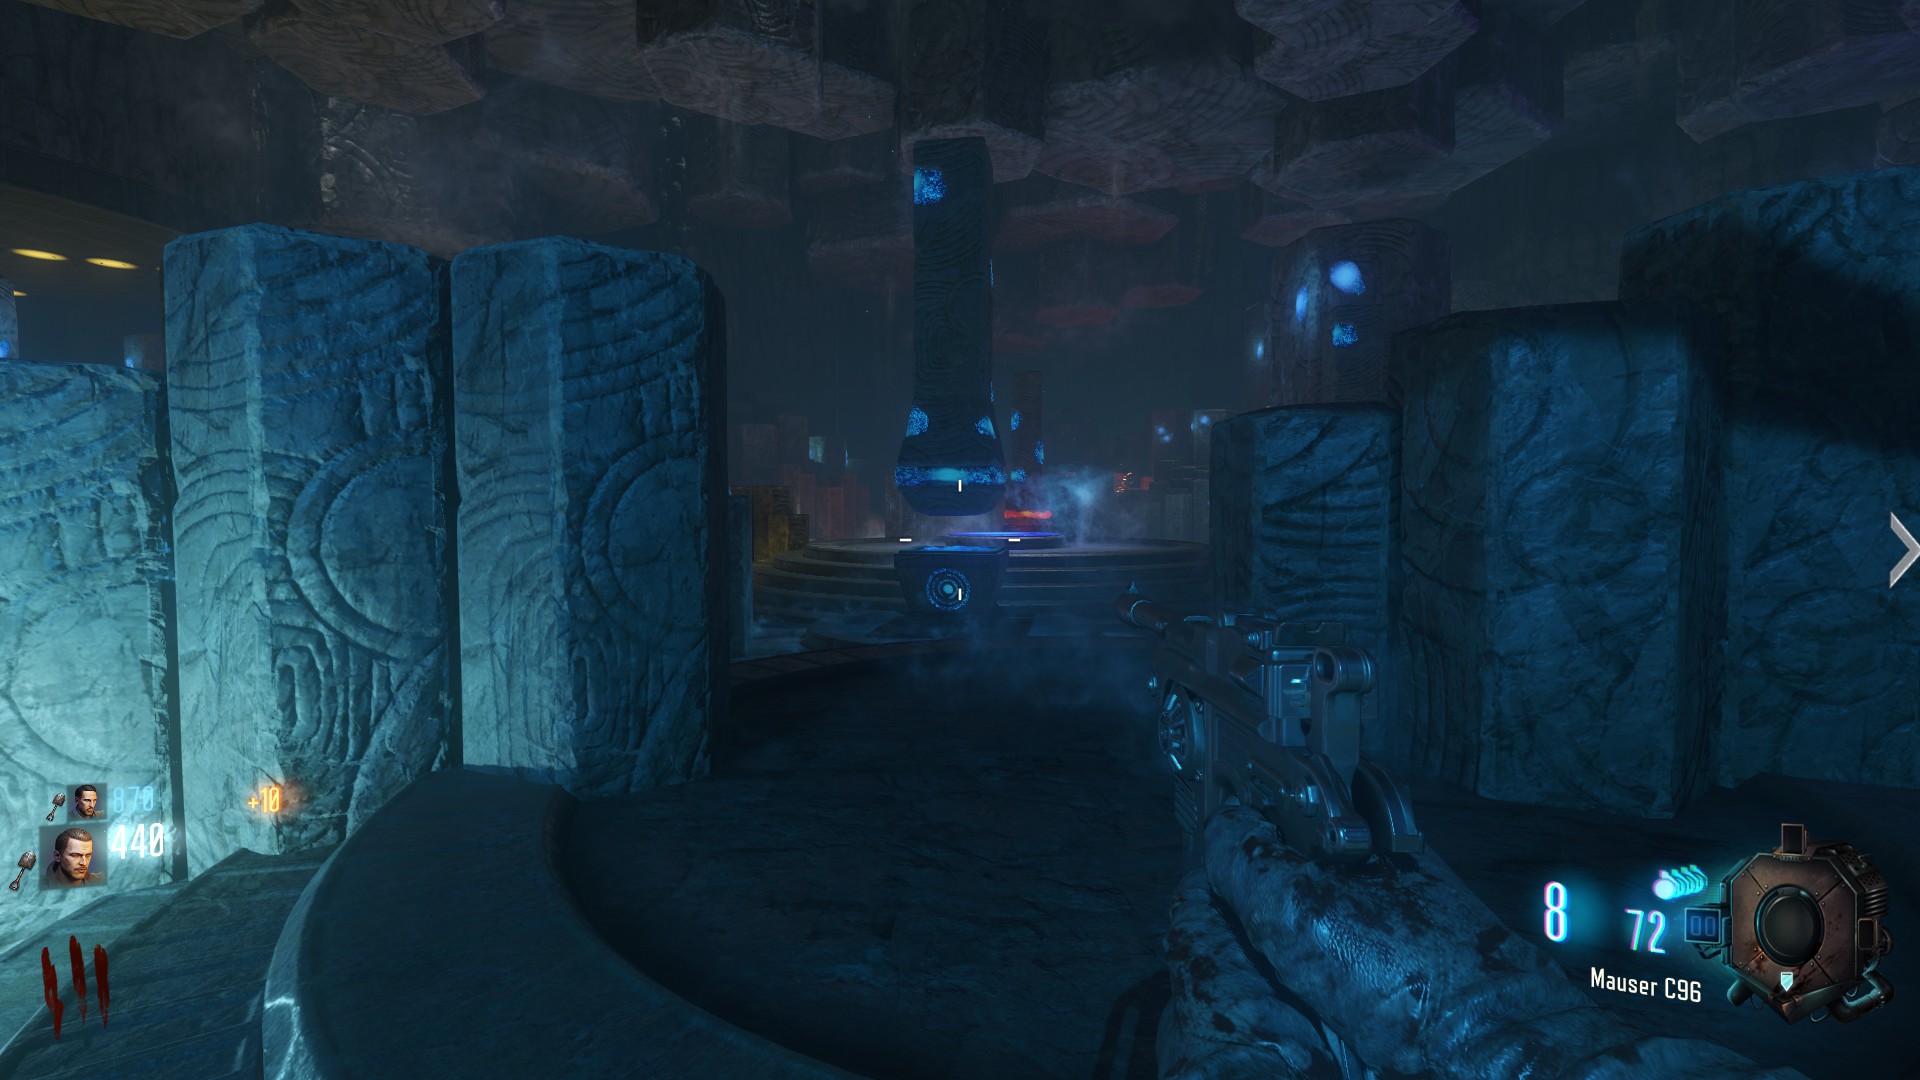
once in the crazy place you will see a blue artefact, go up to it and press "F"
Ice Record
First you need the Ice Record, it is located next to Generator 2 in the building inside shelfsStaff Parts
The staff parts them selfs are easy to get, for them, you just need to dig at little hills when it is snowing on the map. This is purely luck based, and you might not get all staff parts in the first weather cycle, just wait until it's snowing again. (all digging locations are shown on the map above)Gramophone
for the Gem you also need the Gramophone which found under 'Pack a Punch' next to two chestsWith the Gramophone and the Blue Record go to the cave near Generator 6
and place it on the table to the left.once in the crazy place you will see a blue artefact, go up to it and press "F"
Building
with all parts collected, go to the staff room and Build the staff on the blue pedestal
Ice Staff Upgrade
To upgrade the Ice staff take the staff and go back to the crazy place, here you need to solve a puzzle.
Here you need to shoot the corresponding symbol according to the "number" on the right
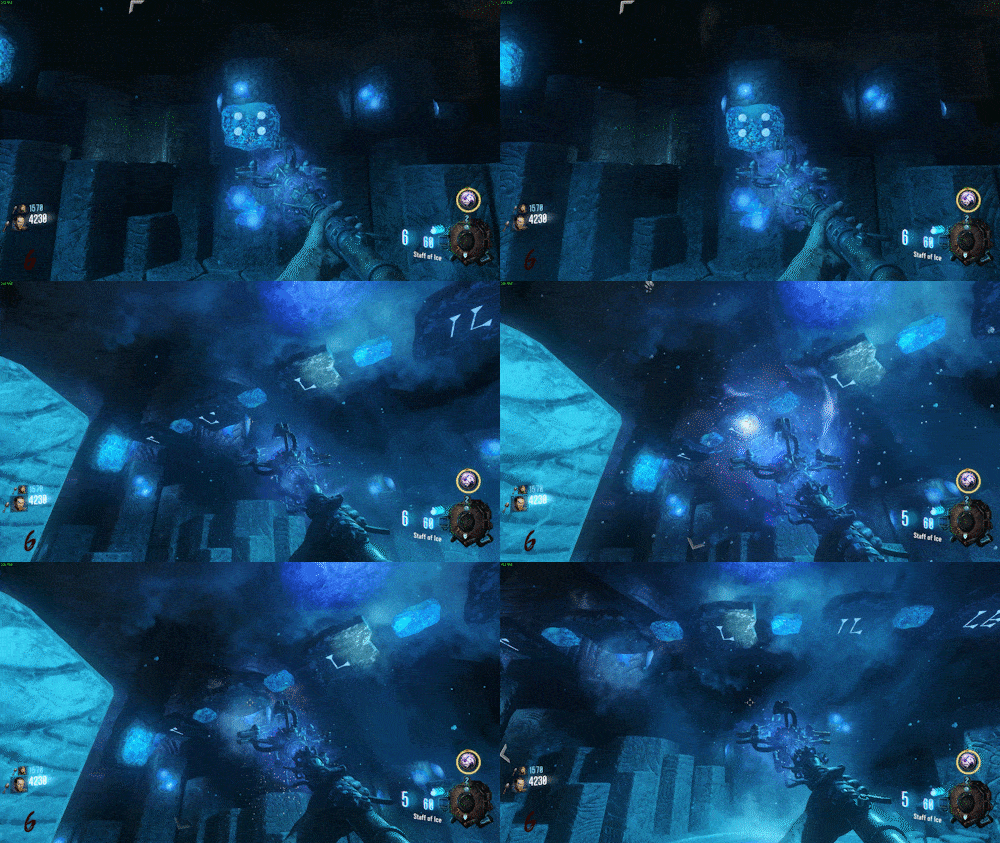
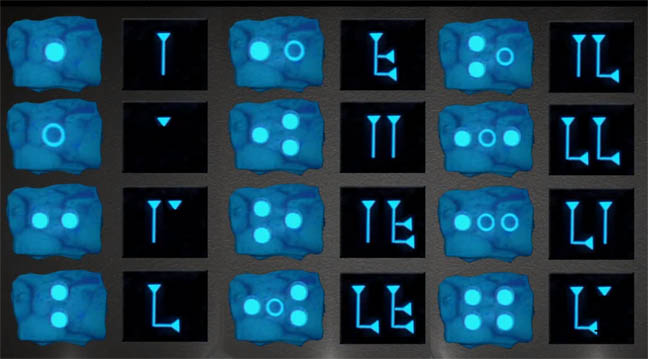
do that until all stones are turned around
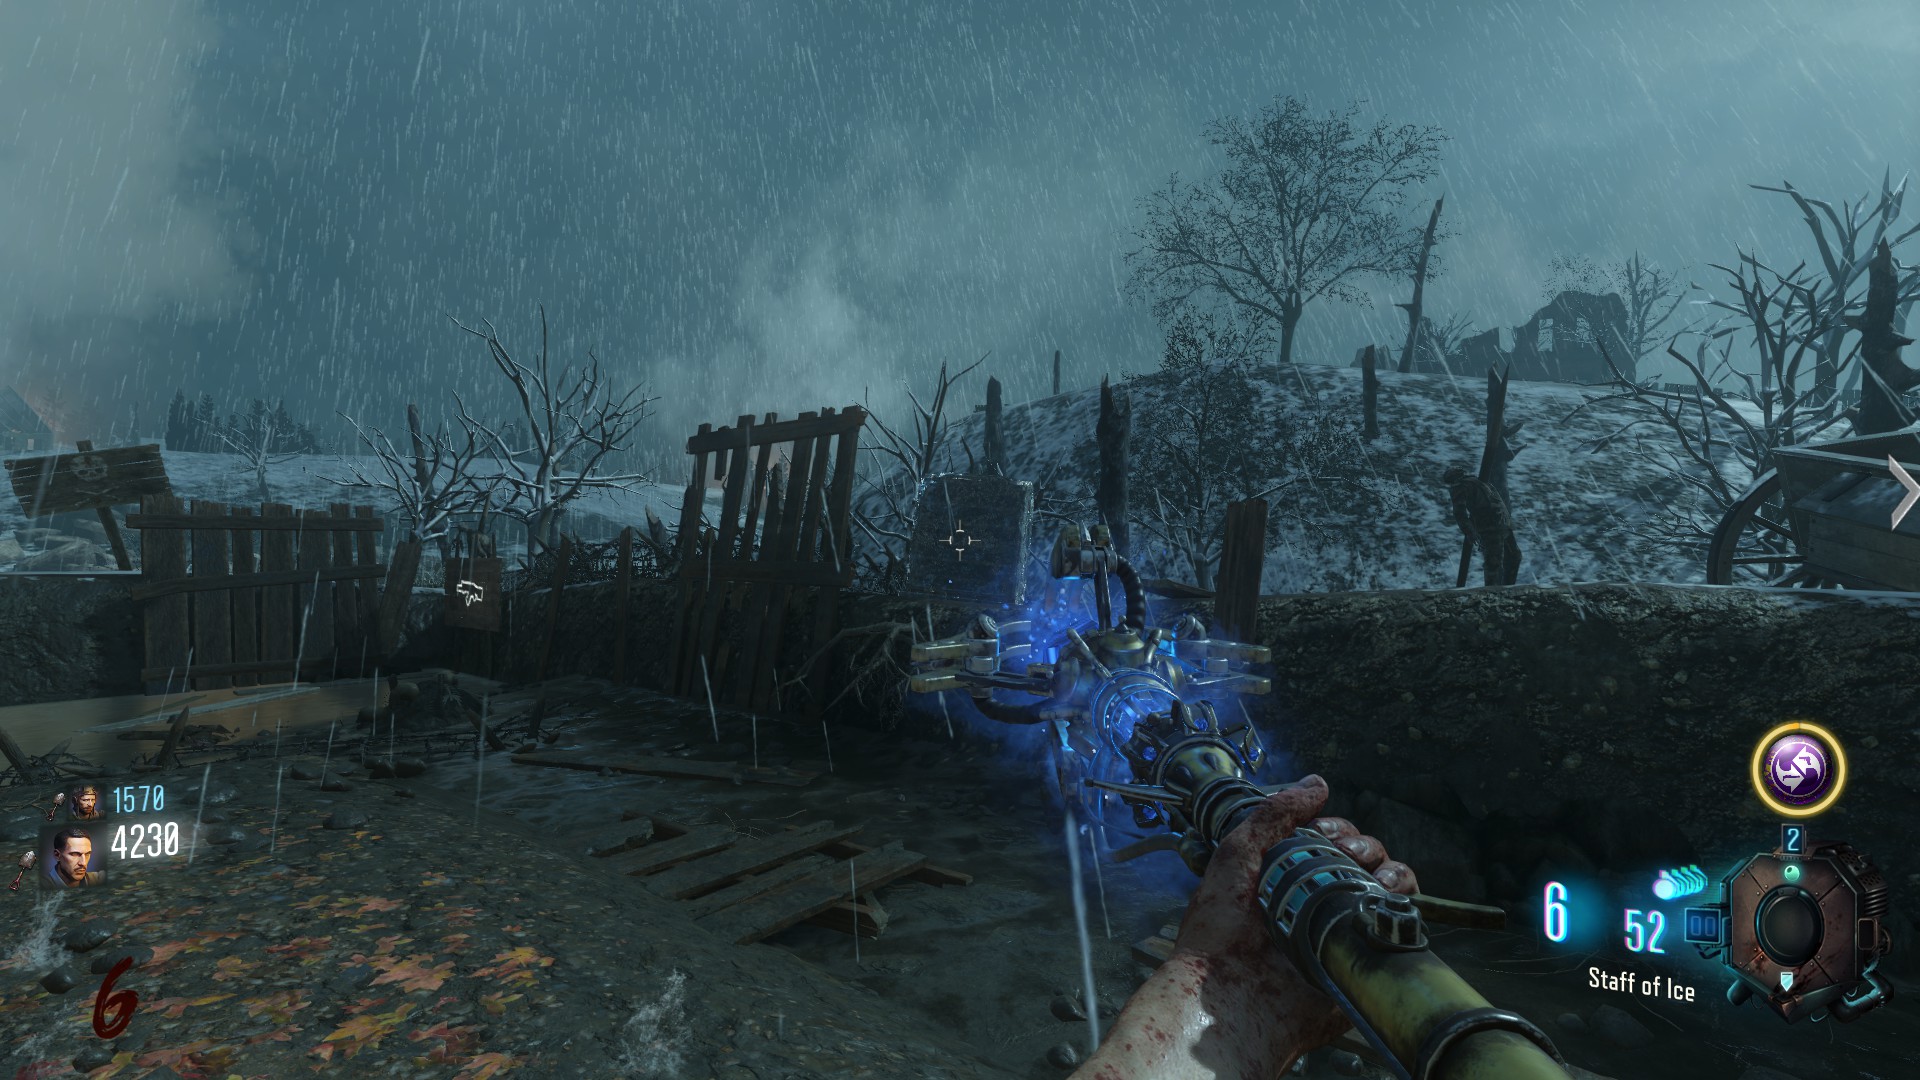
One will be to the right of Joggernog
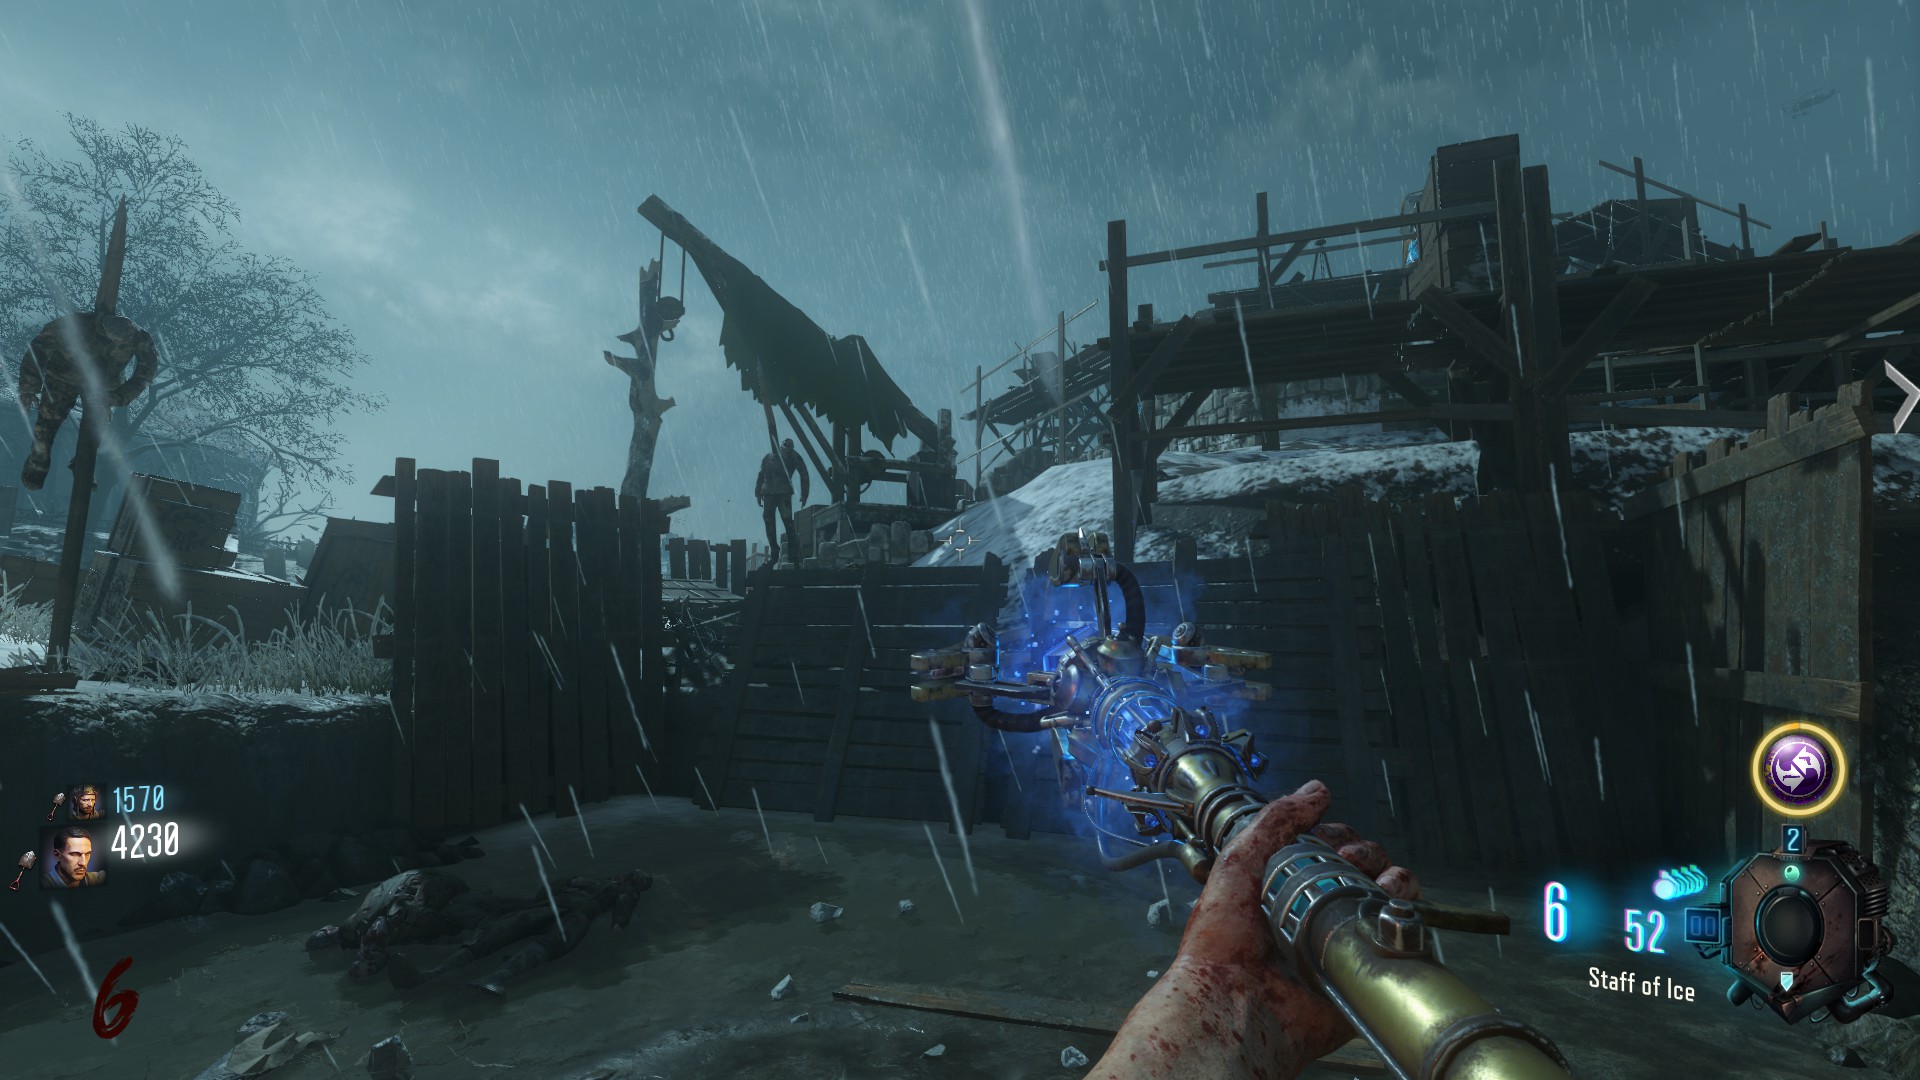
One will be on the hill of 'Pack a Punch'
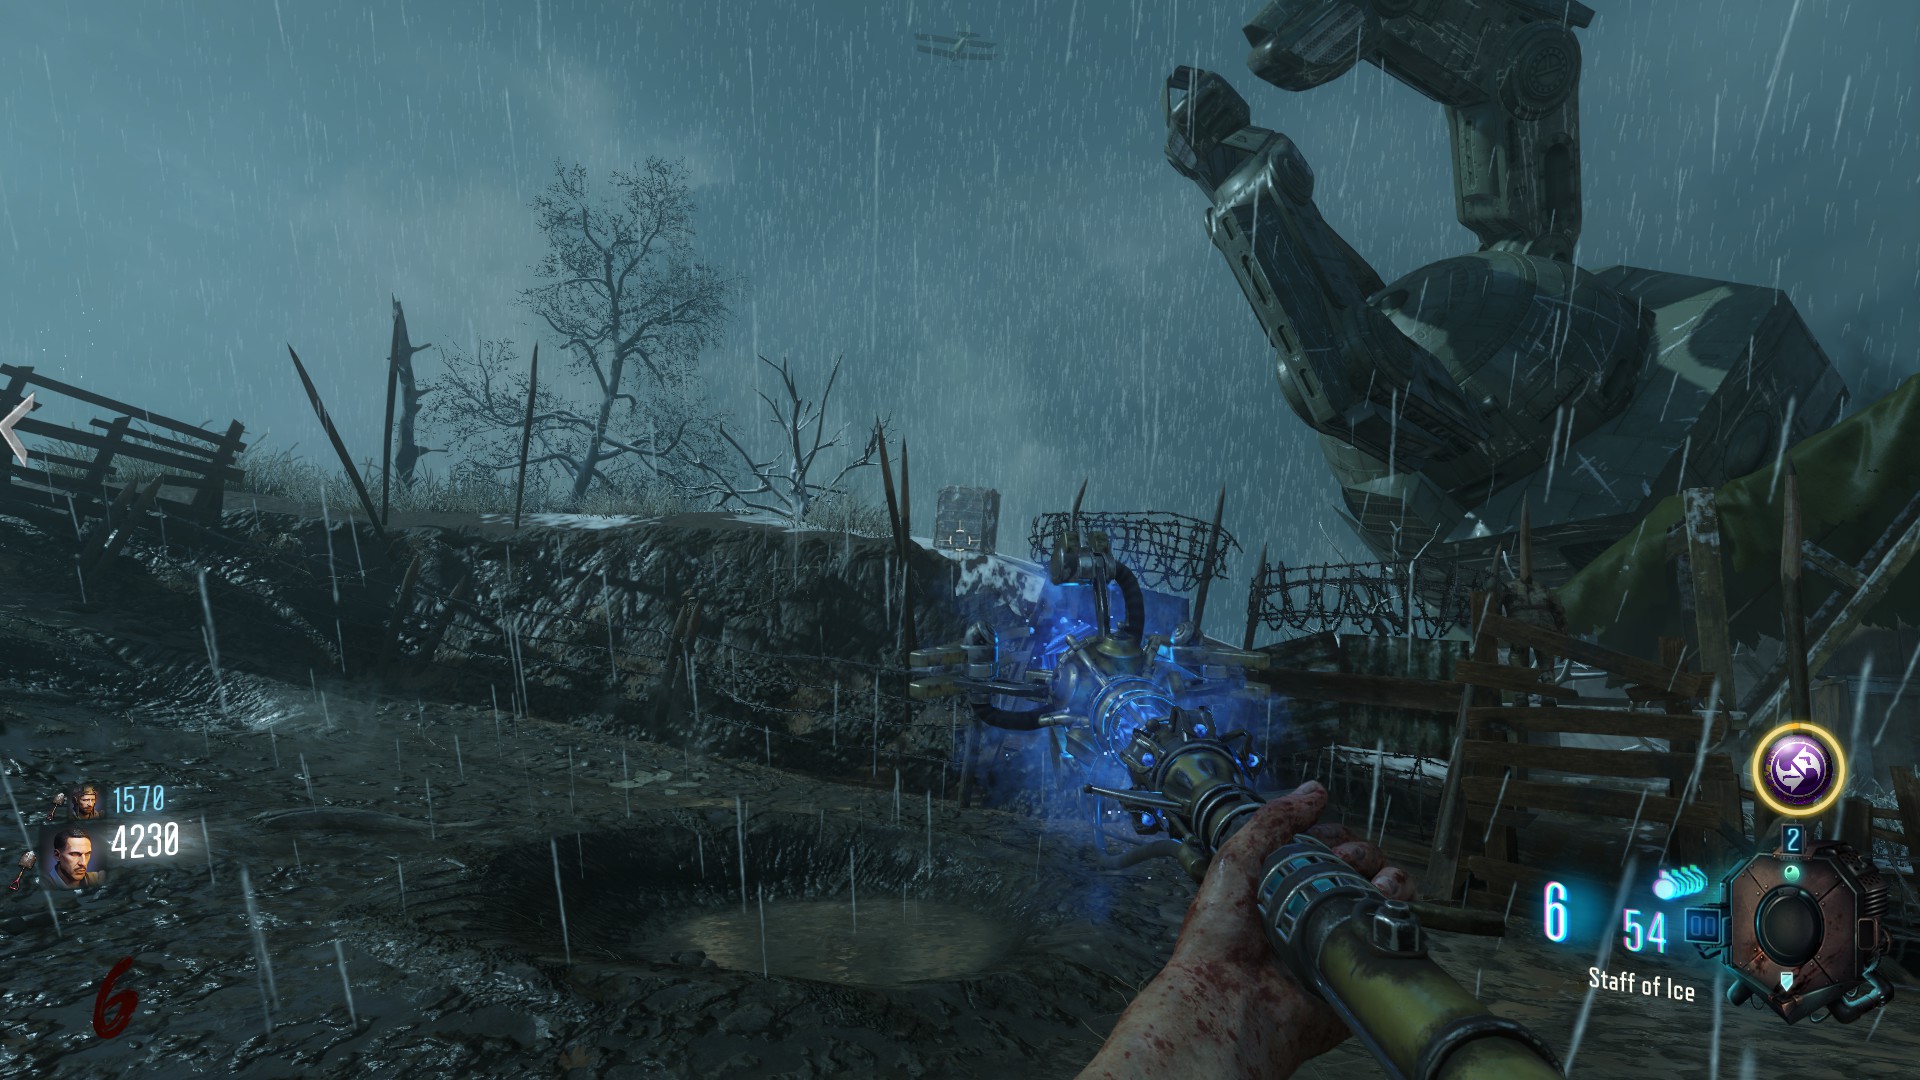
and the last one will be next to the Tank path behind the Generator 2 building
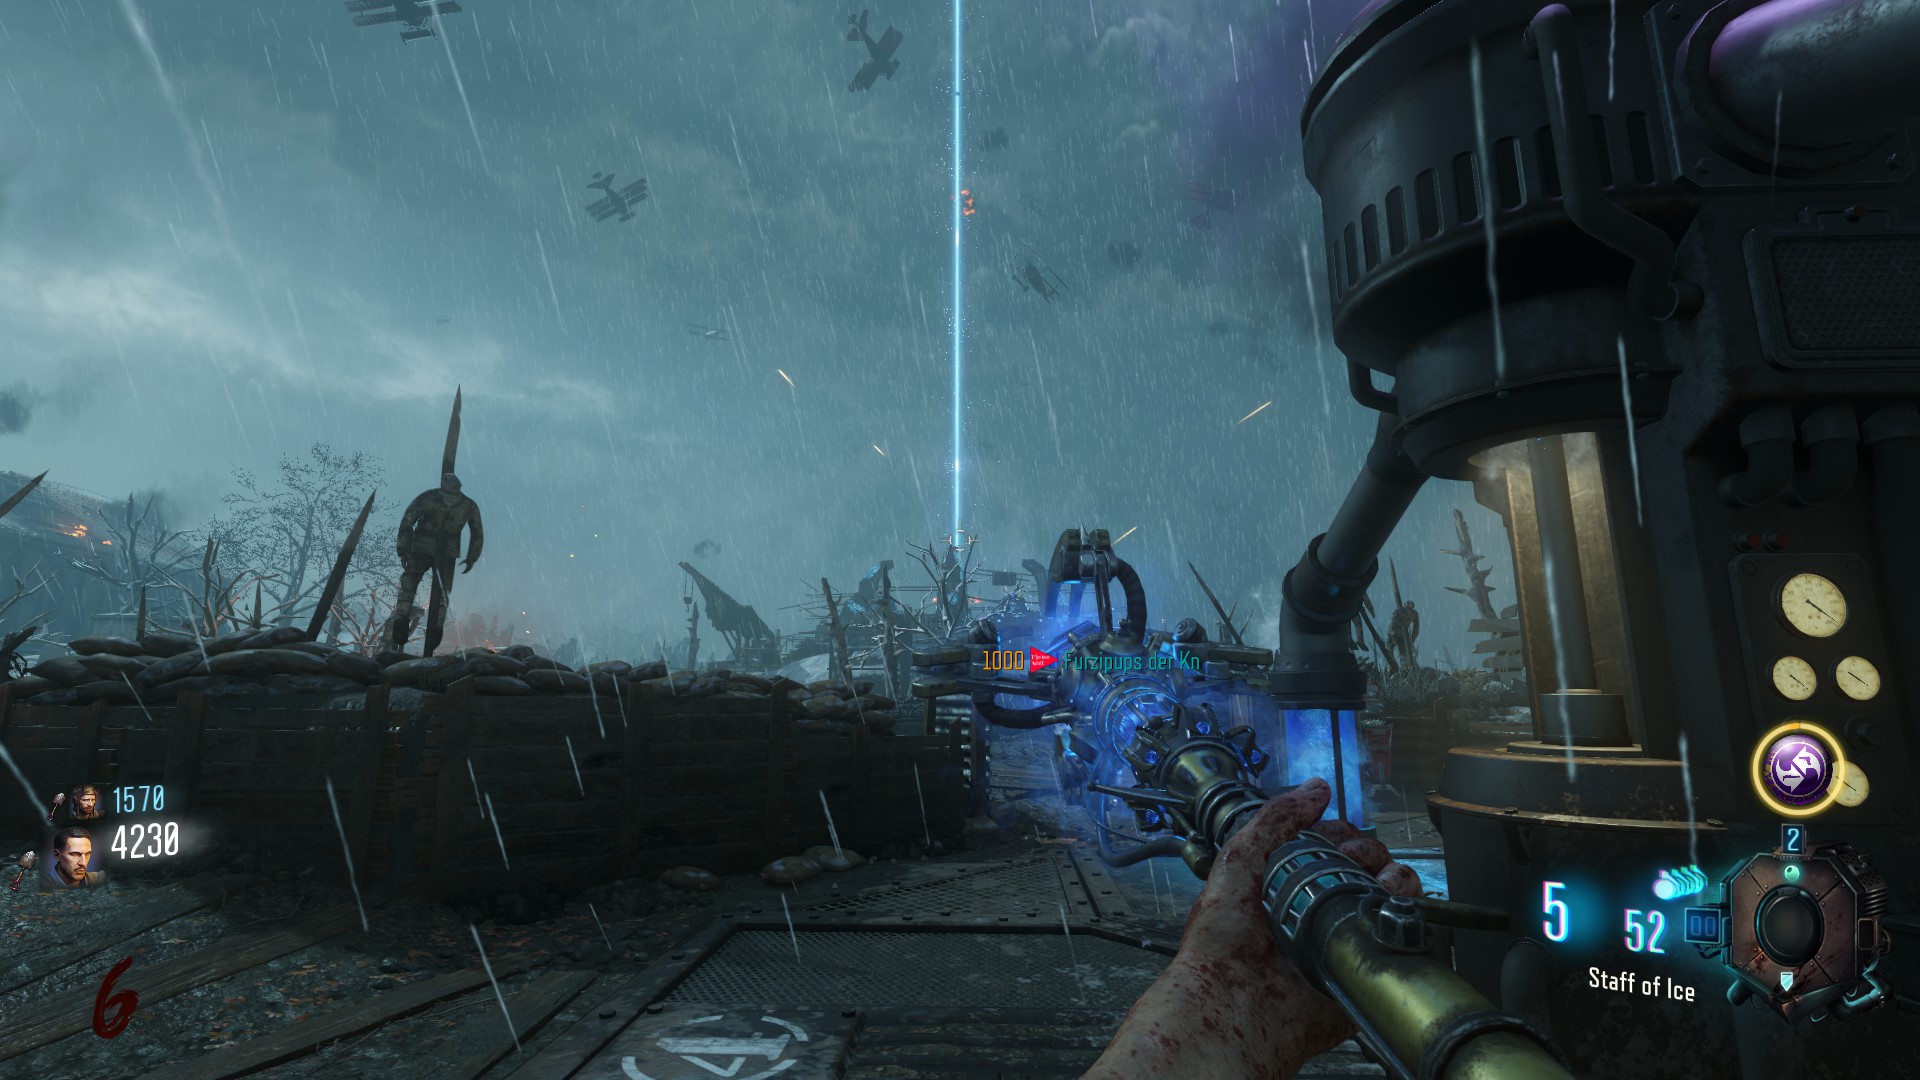
 after completing you will see a light beam coming from 'Pack a Punch'
Done with that u will see a light coming from the staff room. Go there and change all the colors of the rings to blue using the levers around the staff room.
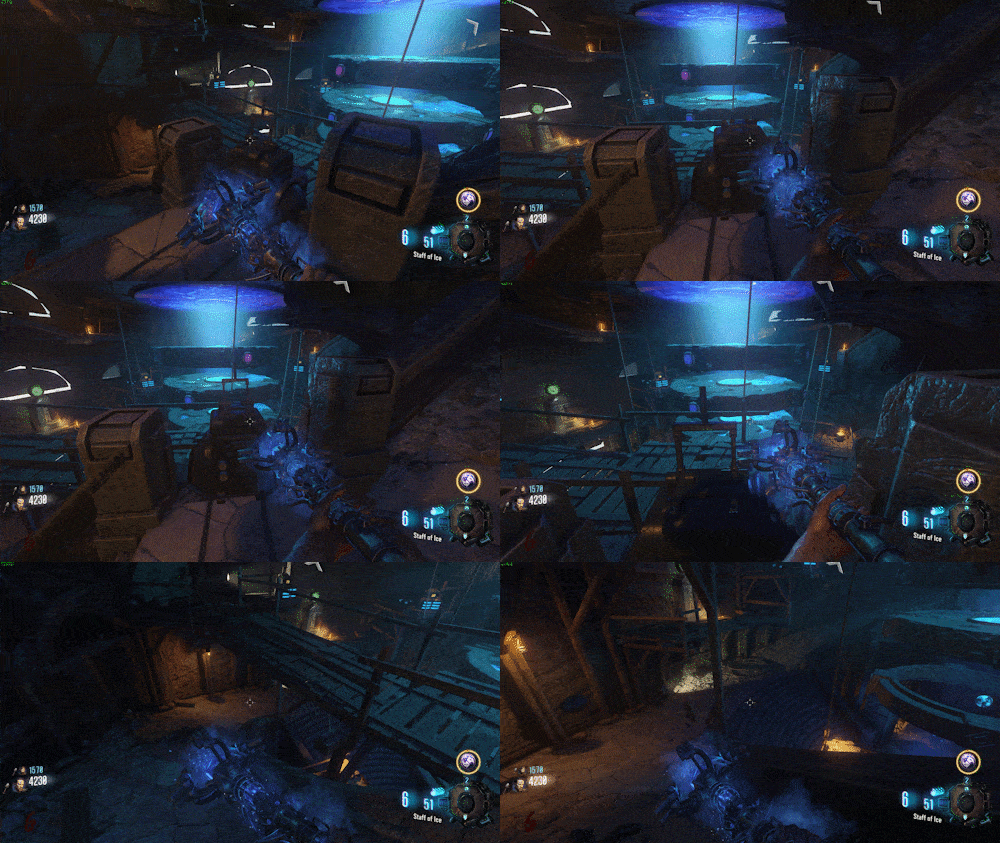
done with that go underneath the rings, and you will see a blue ball floating, shoot it with your staff and you will see it fly away (this will take a bit)
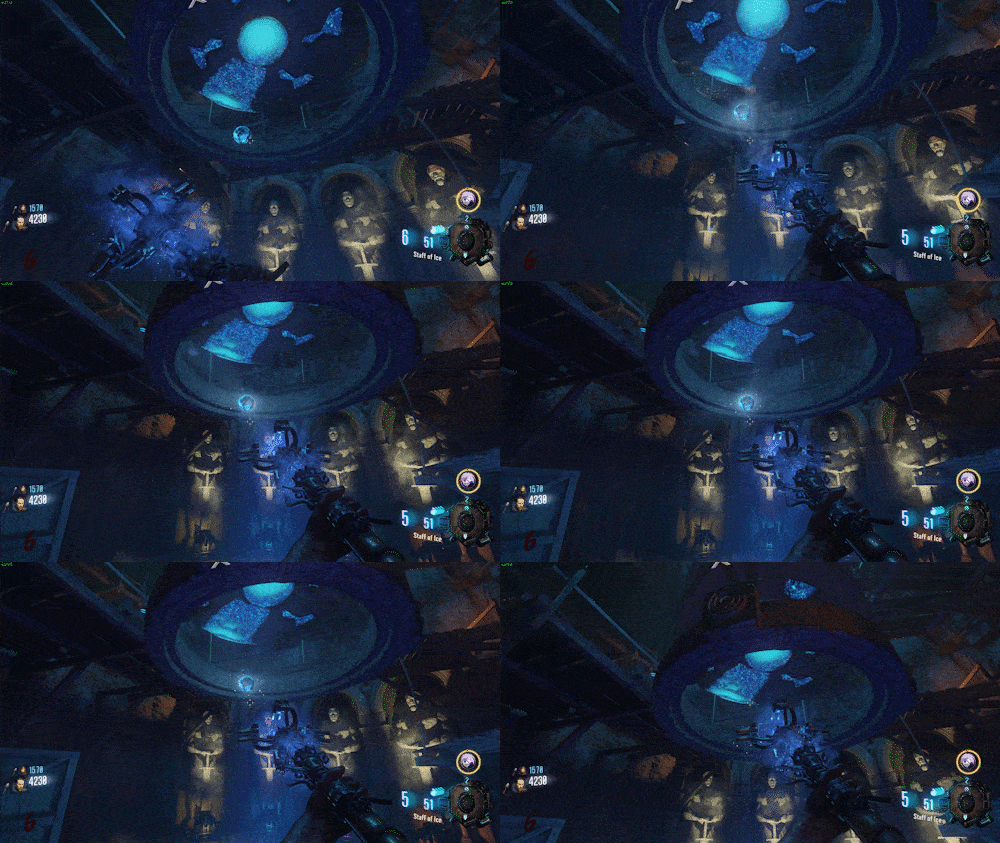
now go back to the crazy place through the ice cave and place the staff in the artifact, and kill ~20 zombies, you will get a notification when it's done
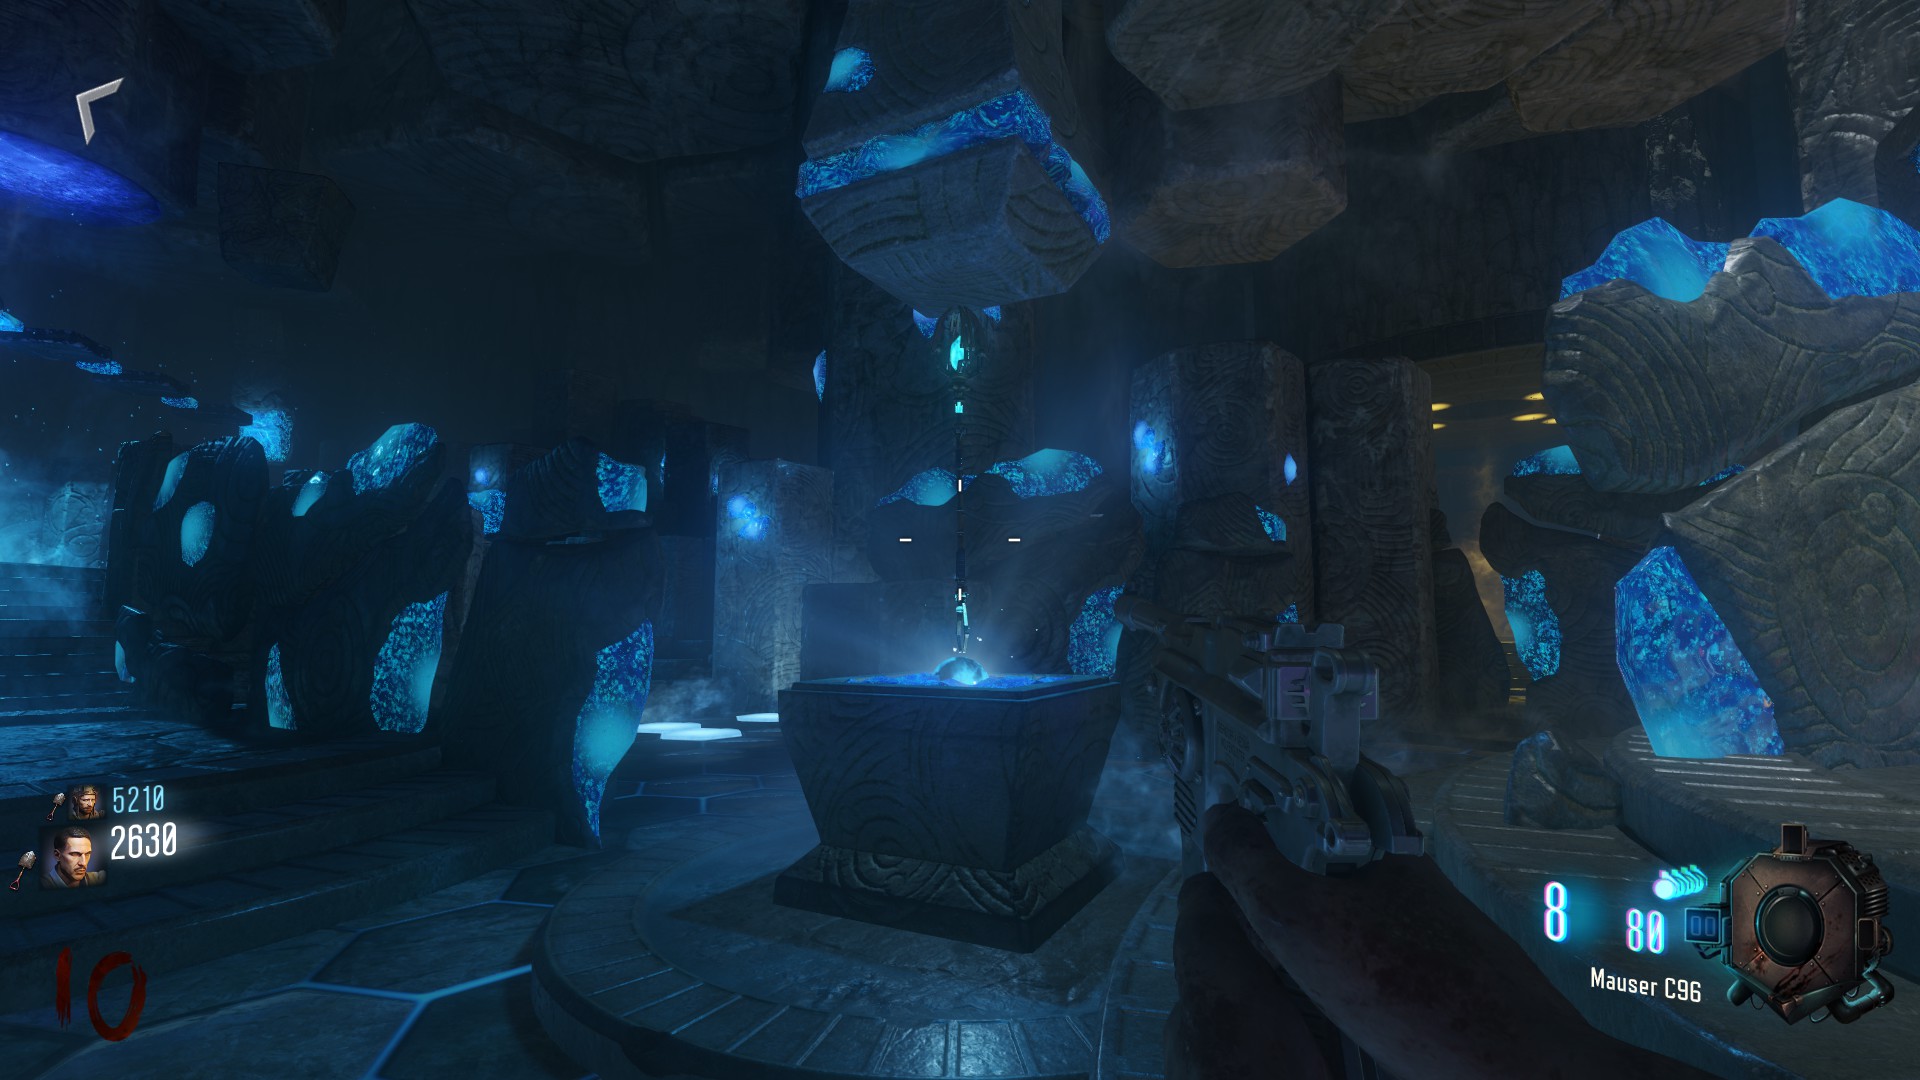
Enjoy your Upgraded Staff
Here you need to shoot the corresponding symbol according to the "number" on the right
do that until all stones are turned around
Tombstones
done with that you need to shoot 3 tombstones on the map with the staff and then shoot them again with an unpunched weapon to break themOne will be to the right of Joggernog
One will be on the hill of 'Pack a Punch'
and the last one will be next to the Tank path behind the Generator 2 building
after completing you will see a light beam coming from 'Pack a Punch'Done with that u will see a light coming from the staff room. Go there and change all the colors of the rings to blue using the levers around the staff room.
done with that go underneath the rings, and you will see a blue ball floating, shoot it with your staff and you will see it fly away (this will take a bit)
now go back to the crazy place through the ice cave and place the staff in the artifact, and kill ~20 zombies, you will get a notification when it's done
Enjoy your Upgraded Staff
Fire Staff
The Fire Staff is easy and fast to build, you will have all parts at round 8
the first location could be next to the tank behind i pillar
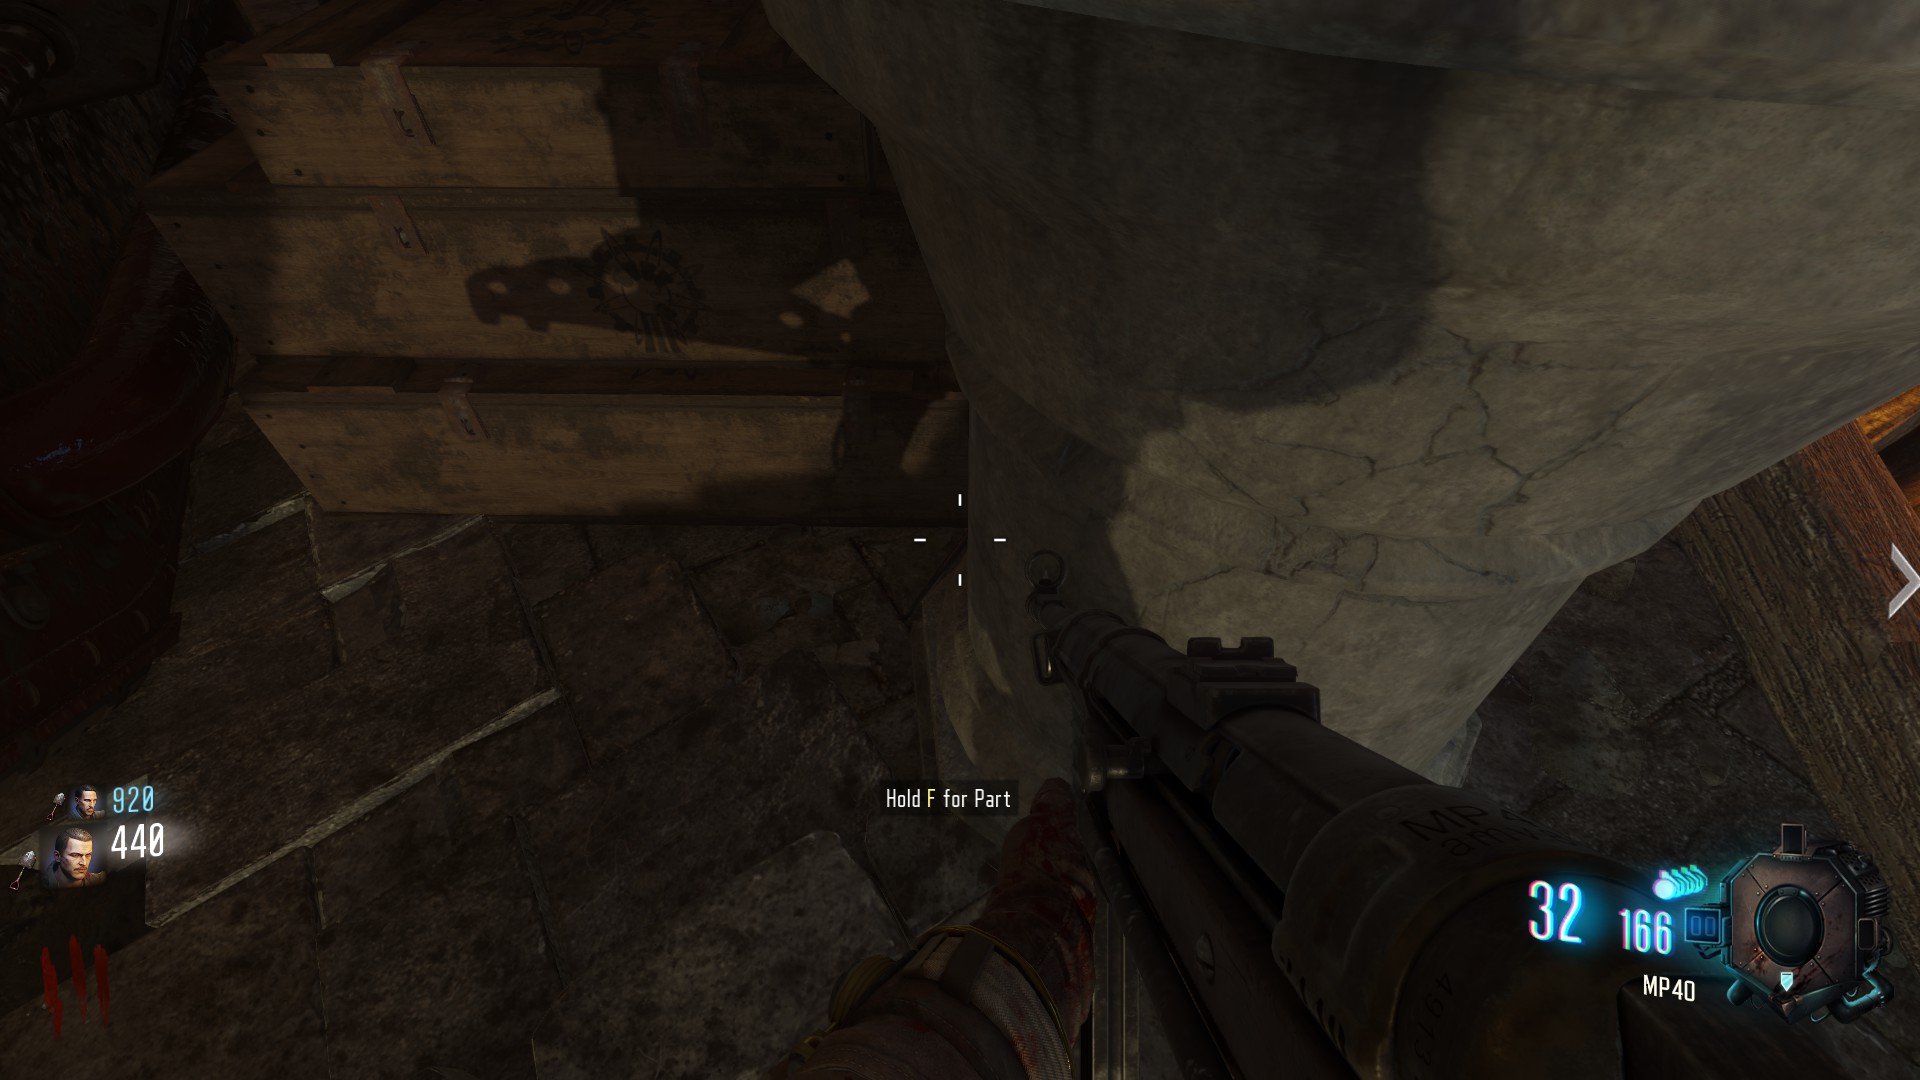
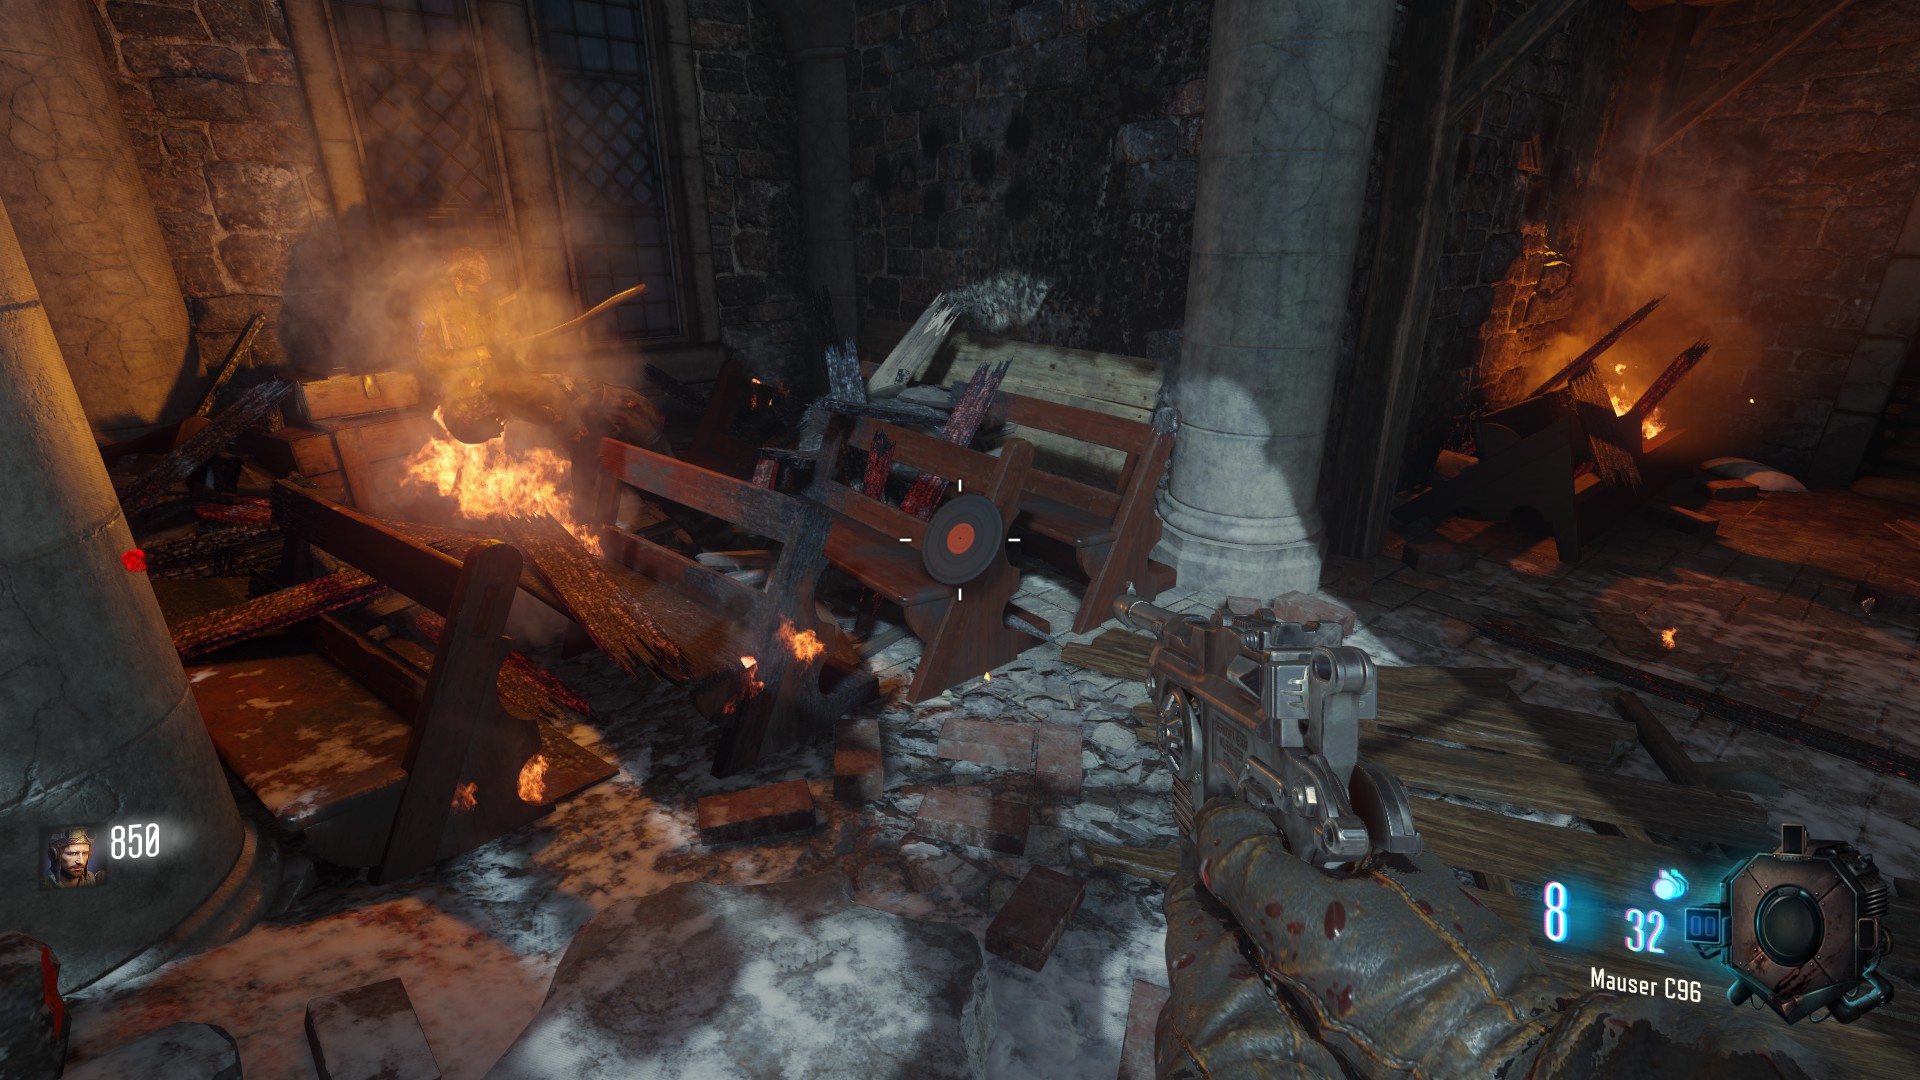
the second location could be on a bench on inside the church upstairs
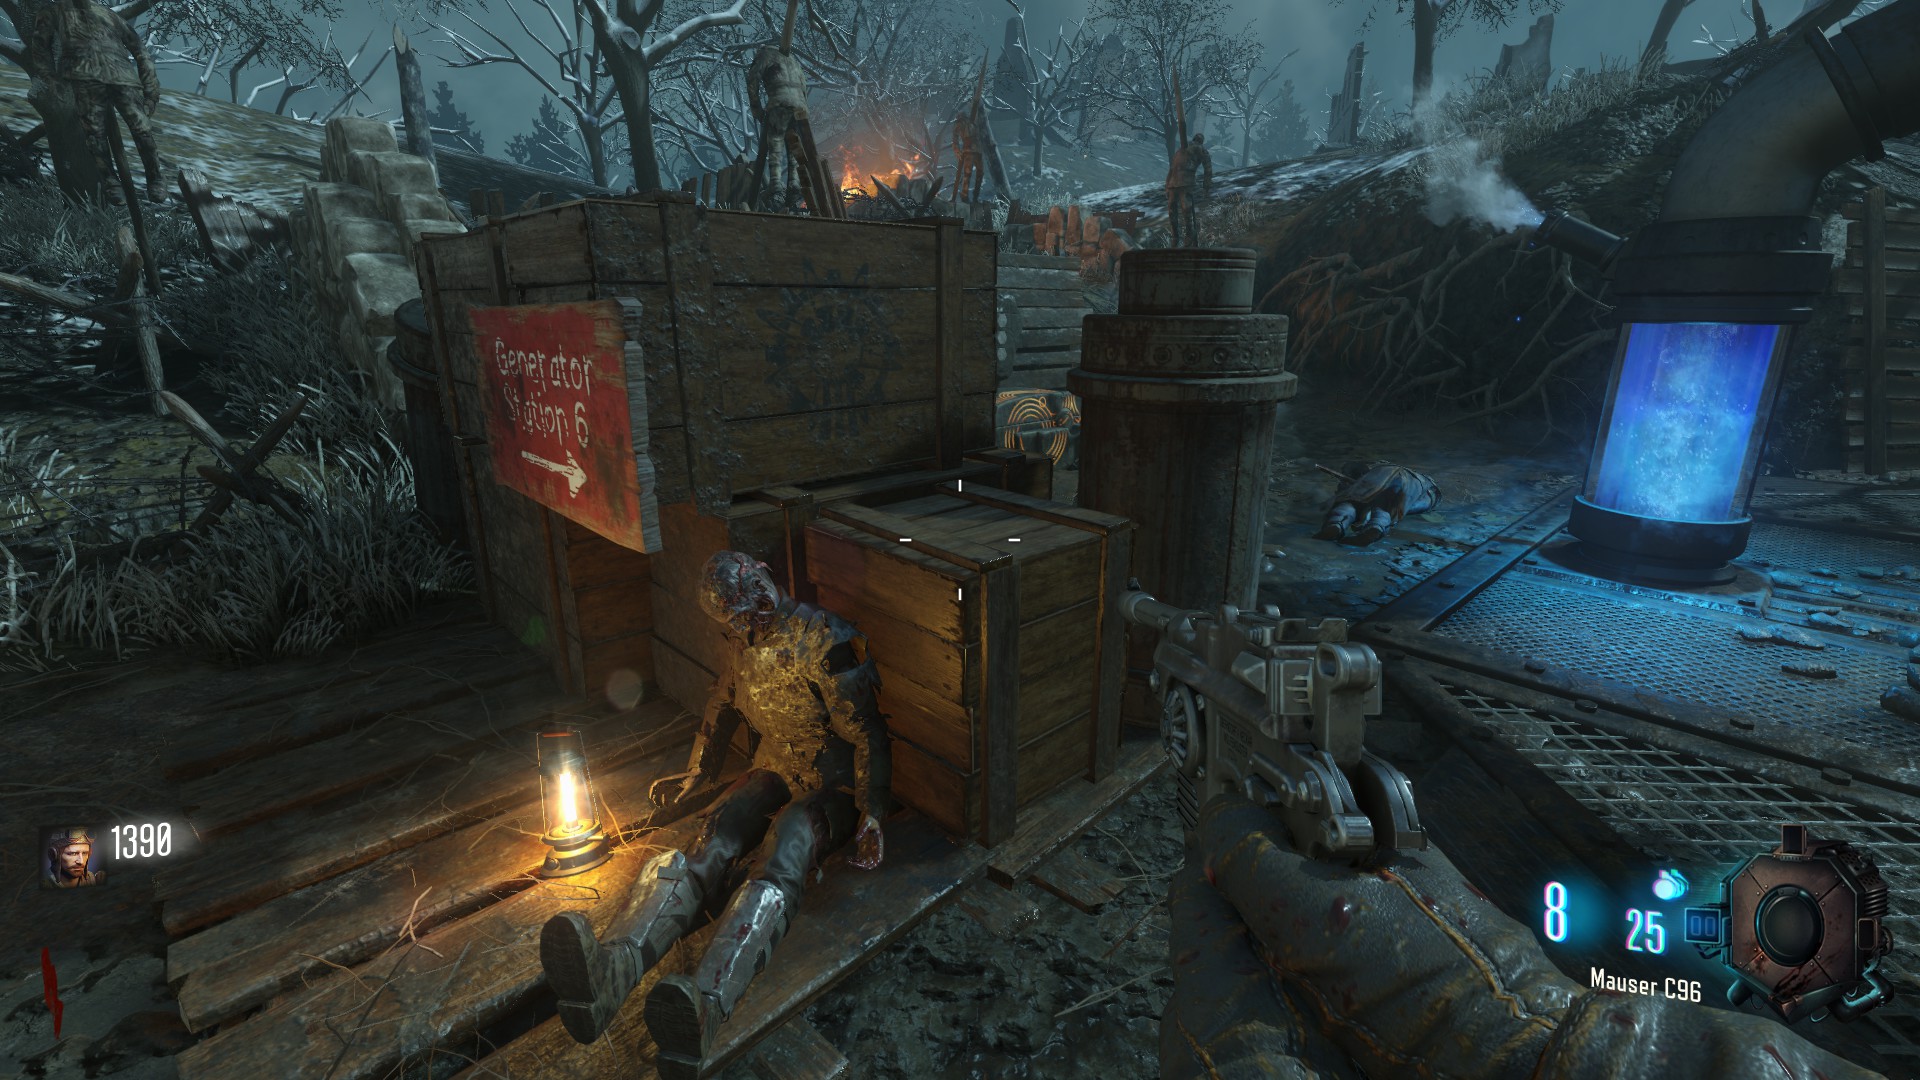
the last location could be on a box next to Generator 6
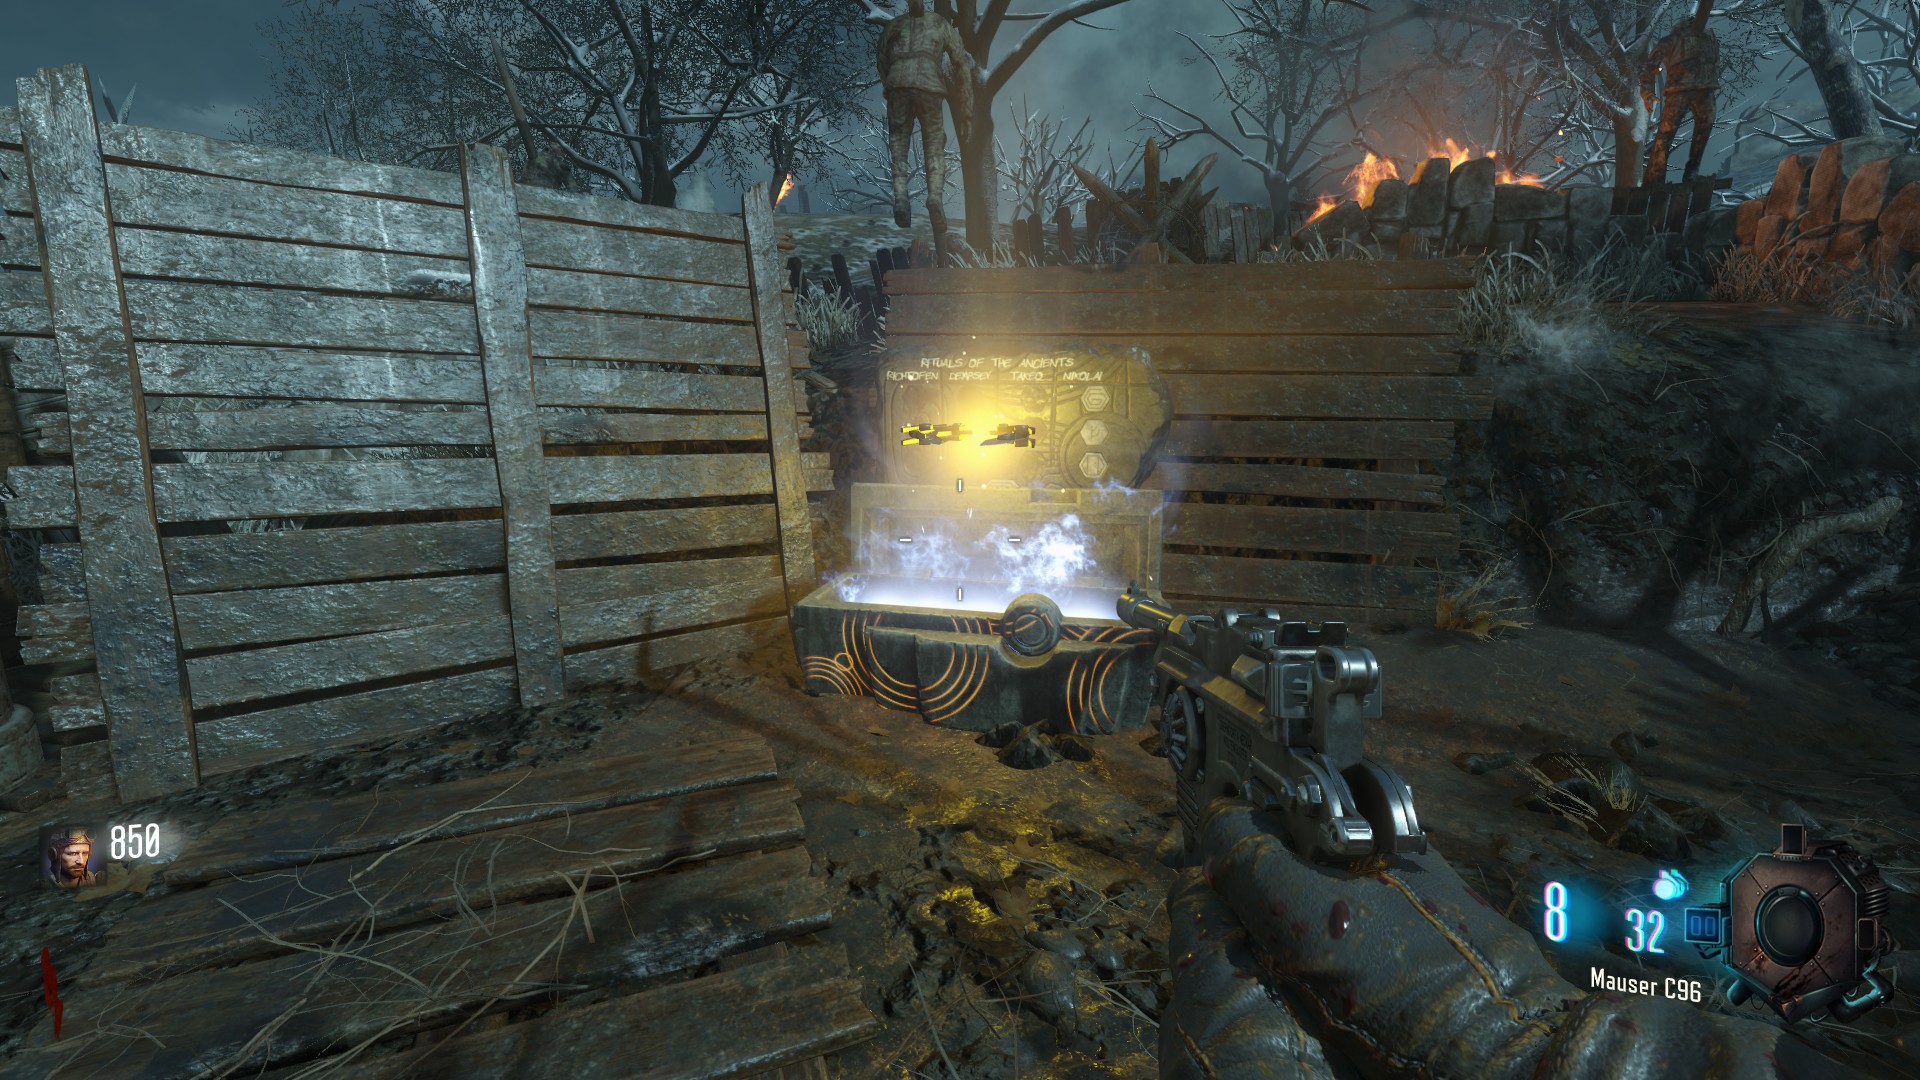
The box is also on Generator 6 (can't miss it)
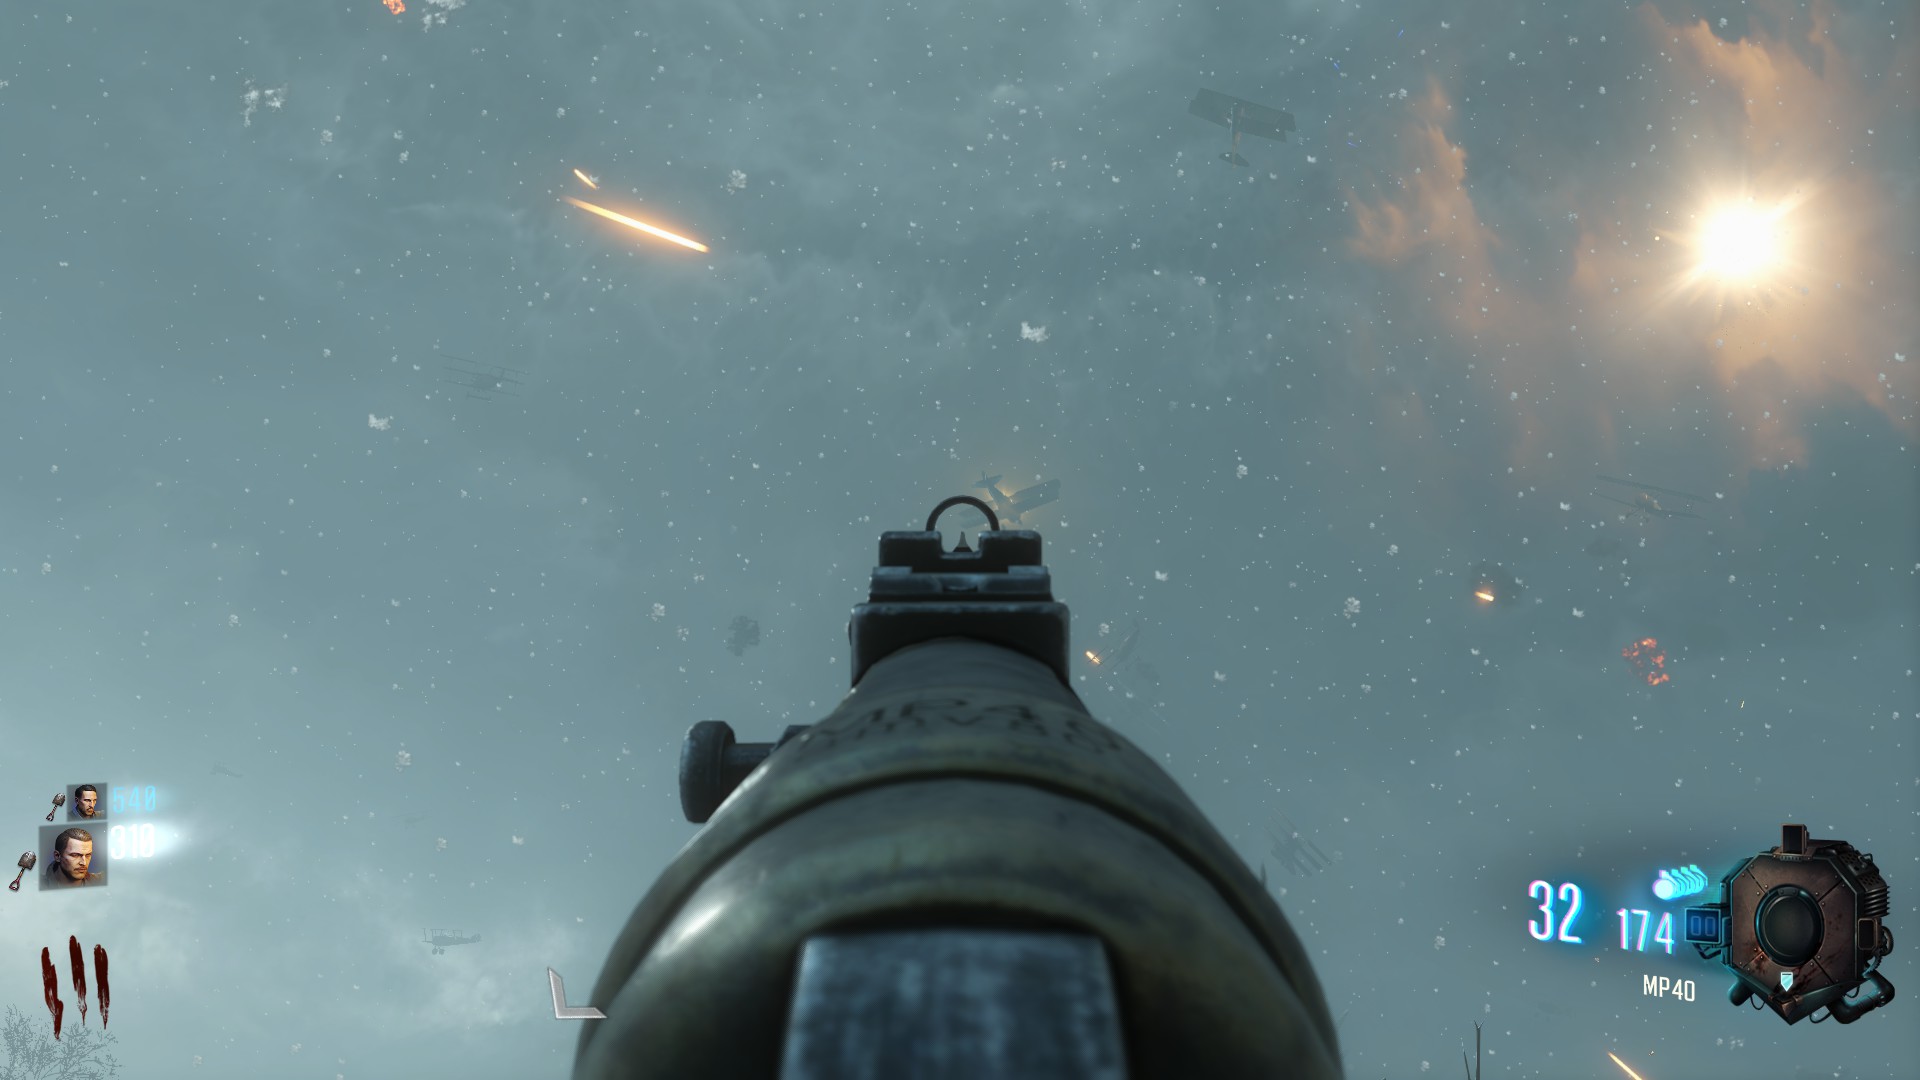
You will get the Second Part by shooting down a plain that has an orange glow to it, it will spawn in round 4-5
 no matter where on the map you shoot down the plain, the part will always fall in the middle of the map, next to 'Pack a Punch' and Odin's two footprints
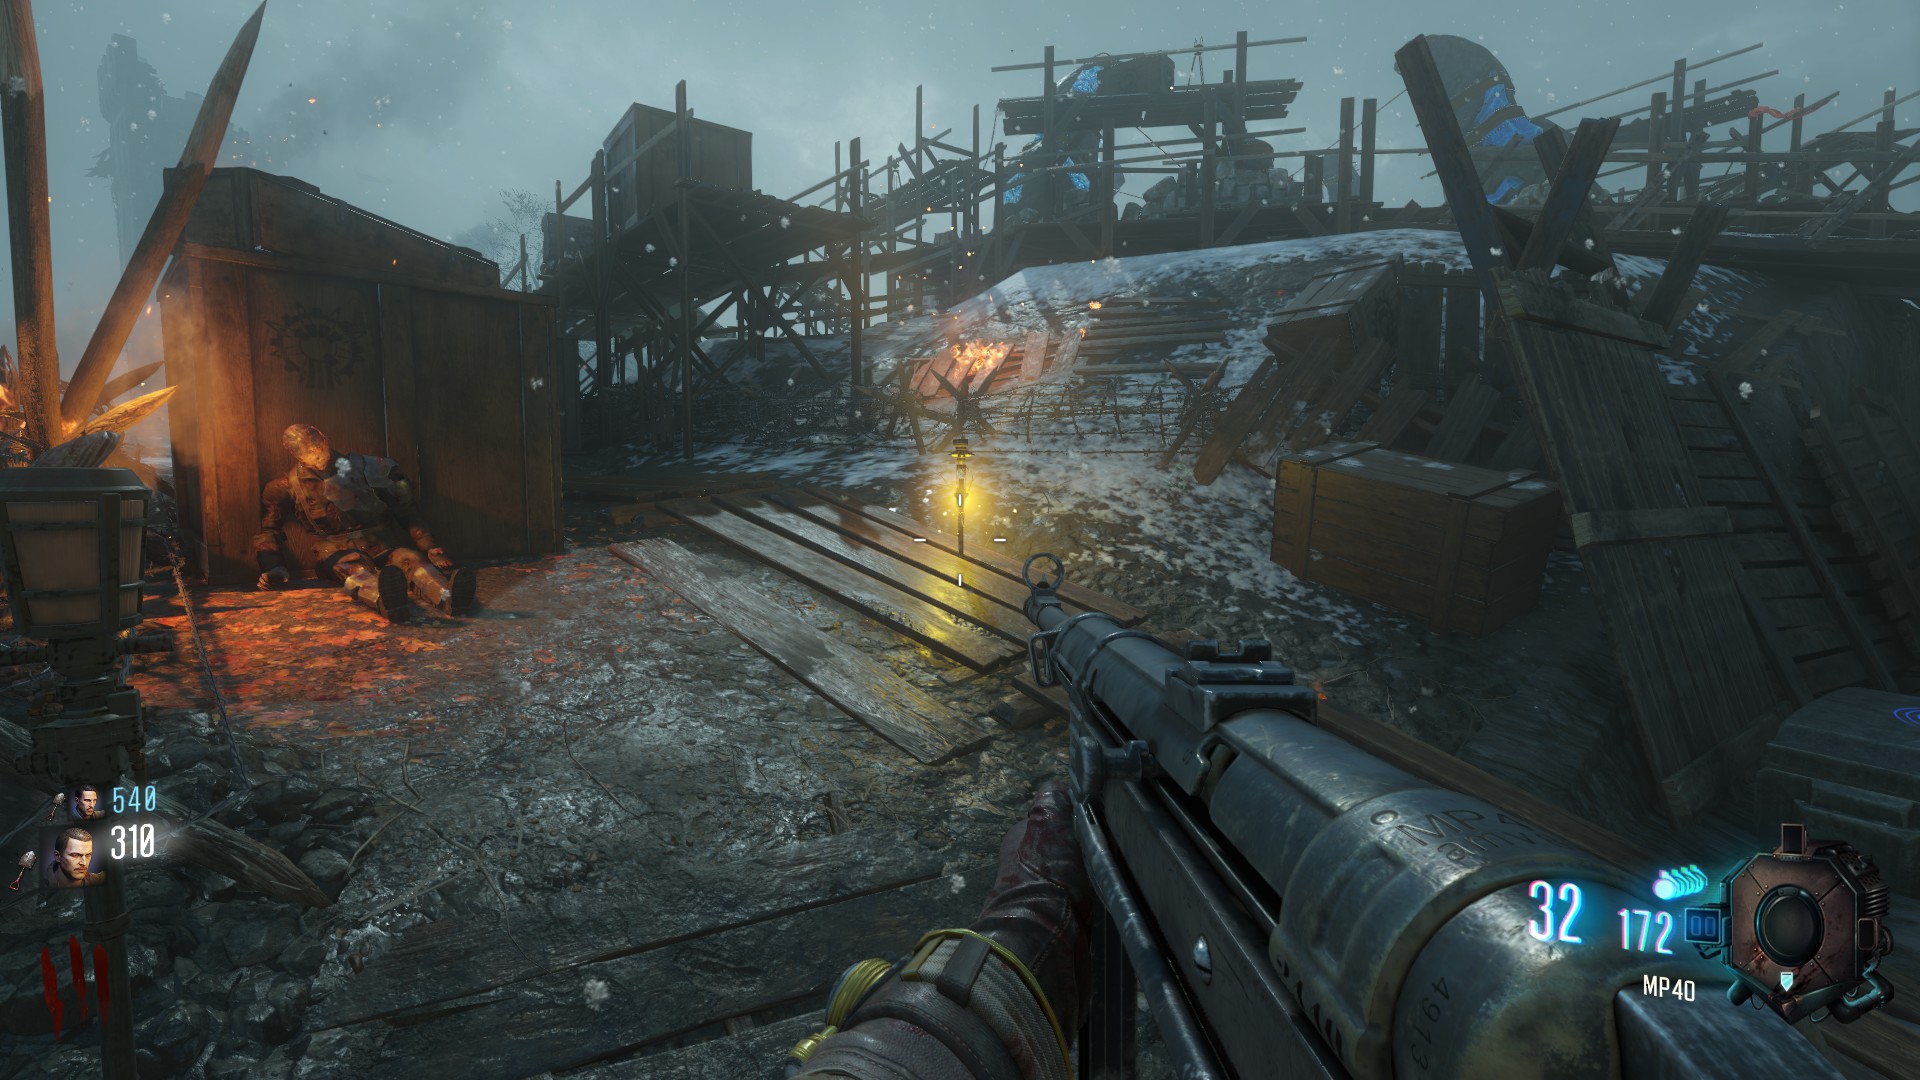
the Third Part will spawn after you kill the Panzer Zombie in round 8
this is by far the hardest part to get but cannot be missed
-It's recommended having a punched weapon until then (the best weapon against him is Boomhilda which is the starting handgun Punched)
-always shoot the Panzer Zombies Head since all other parts are protected
-whenever he grabs you try to shoot his right arm (your right) that way you
will cancel his action
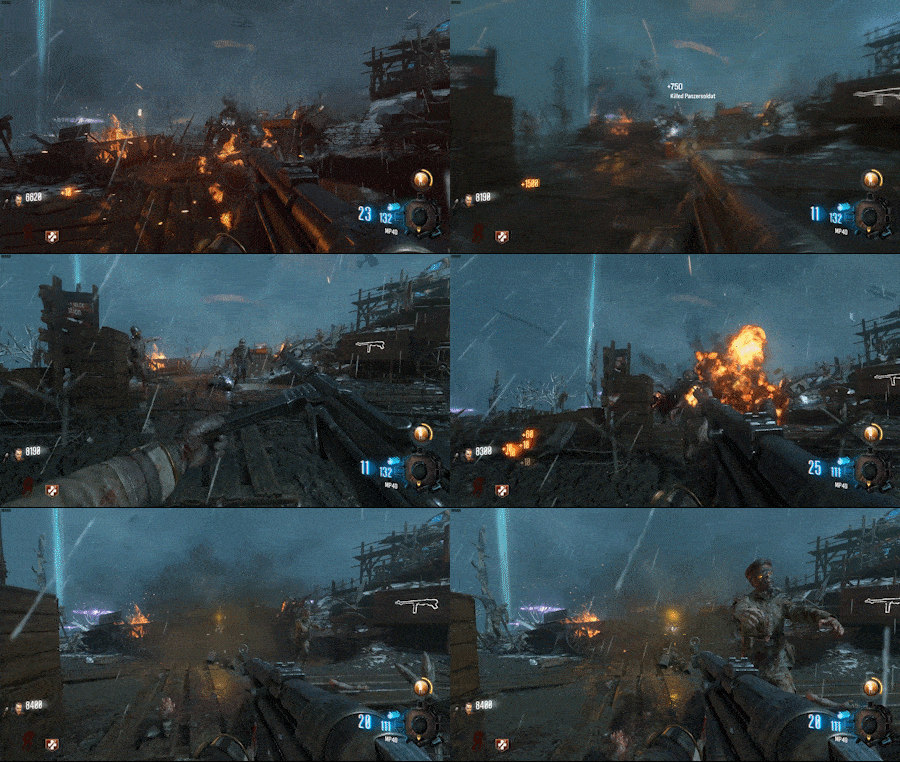
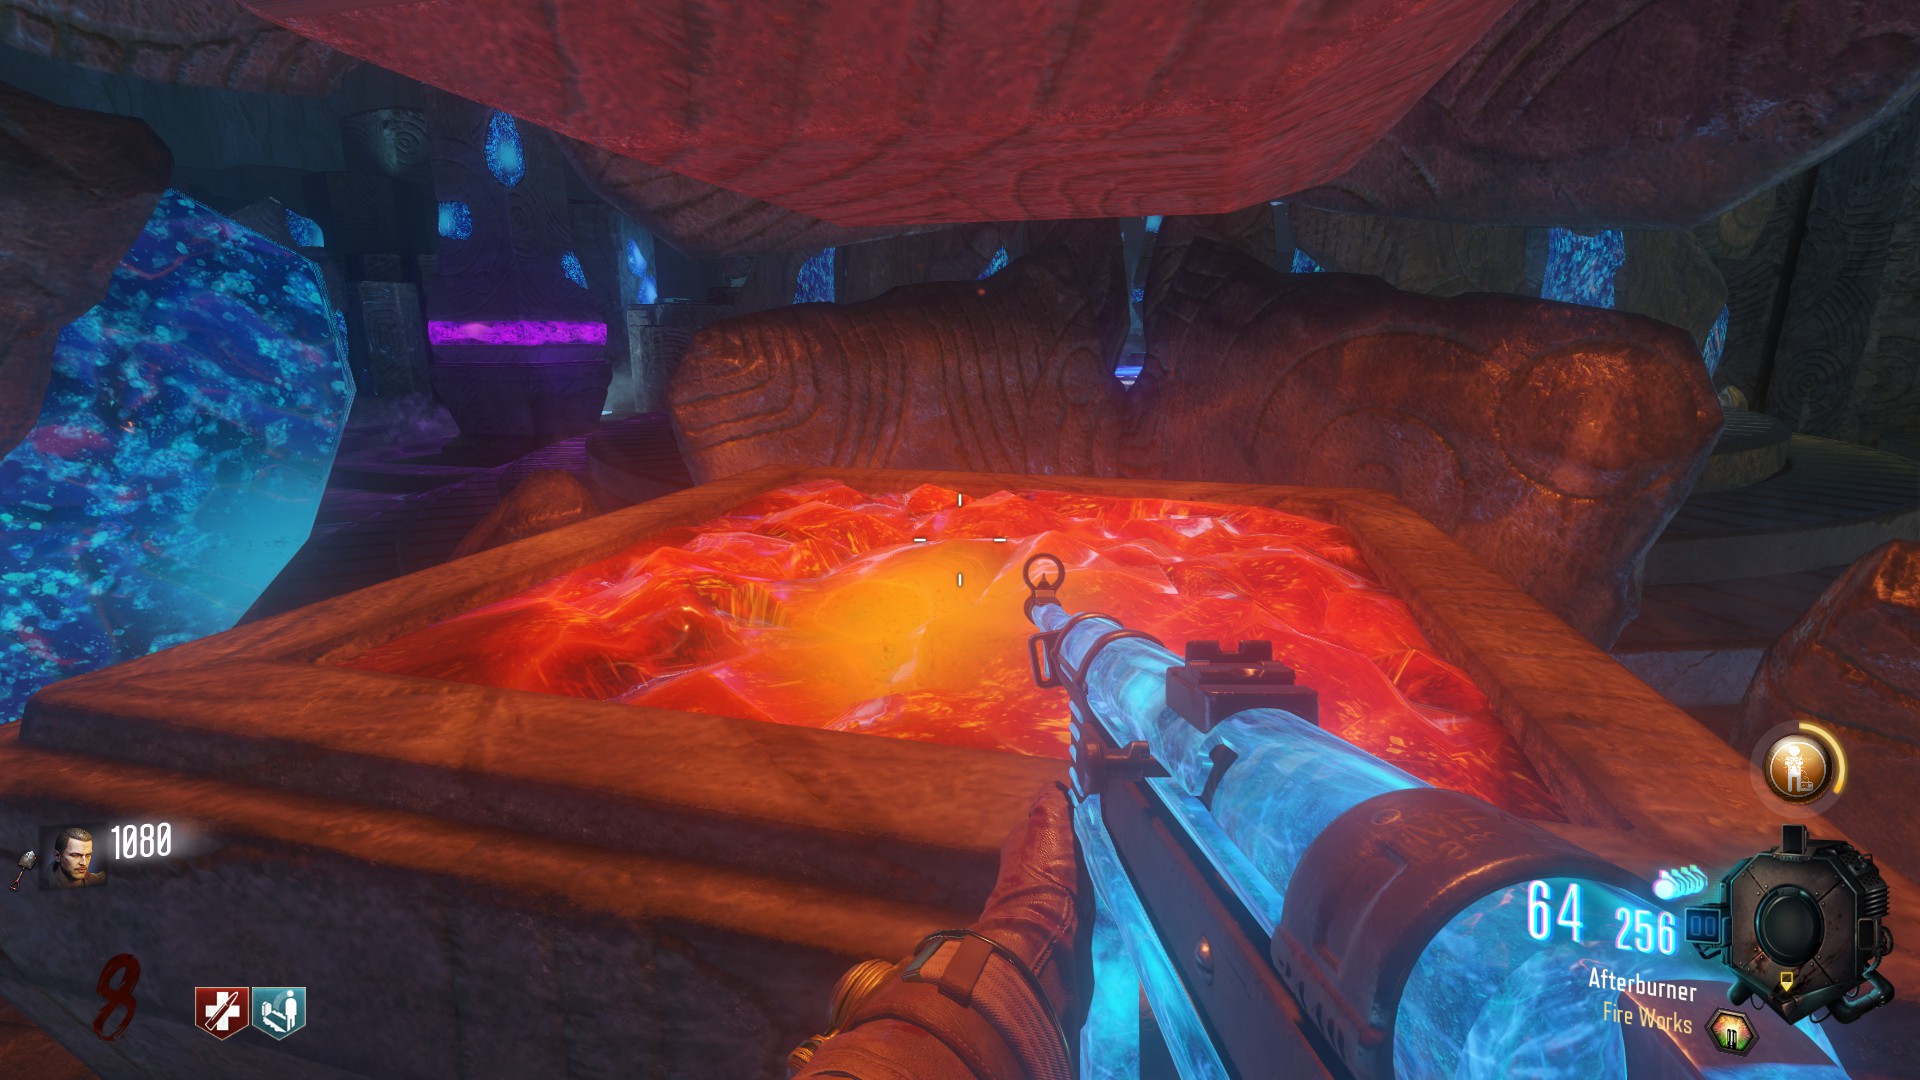
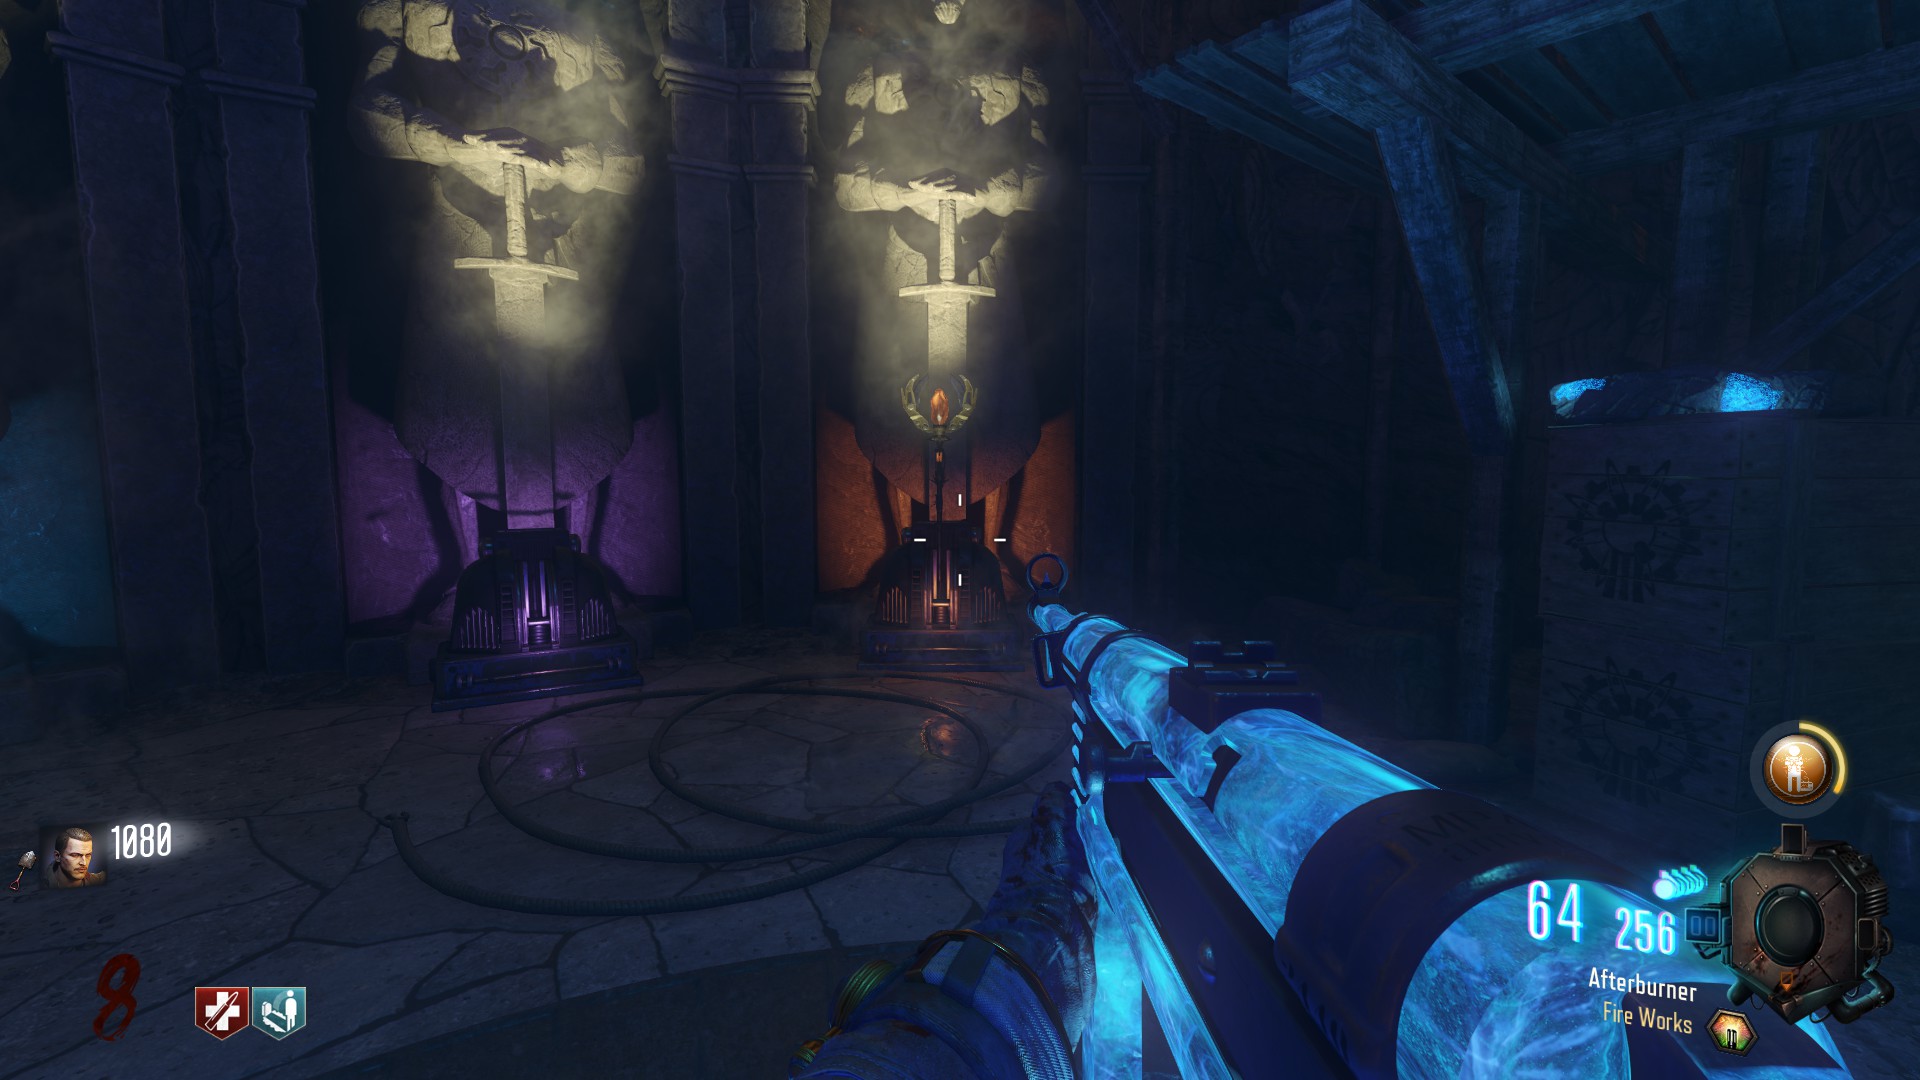
With the Gramophone and the Red Record, go to the cave near Generator 1
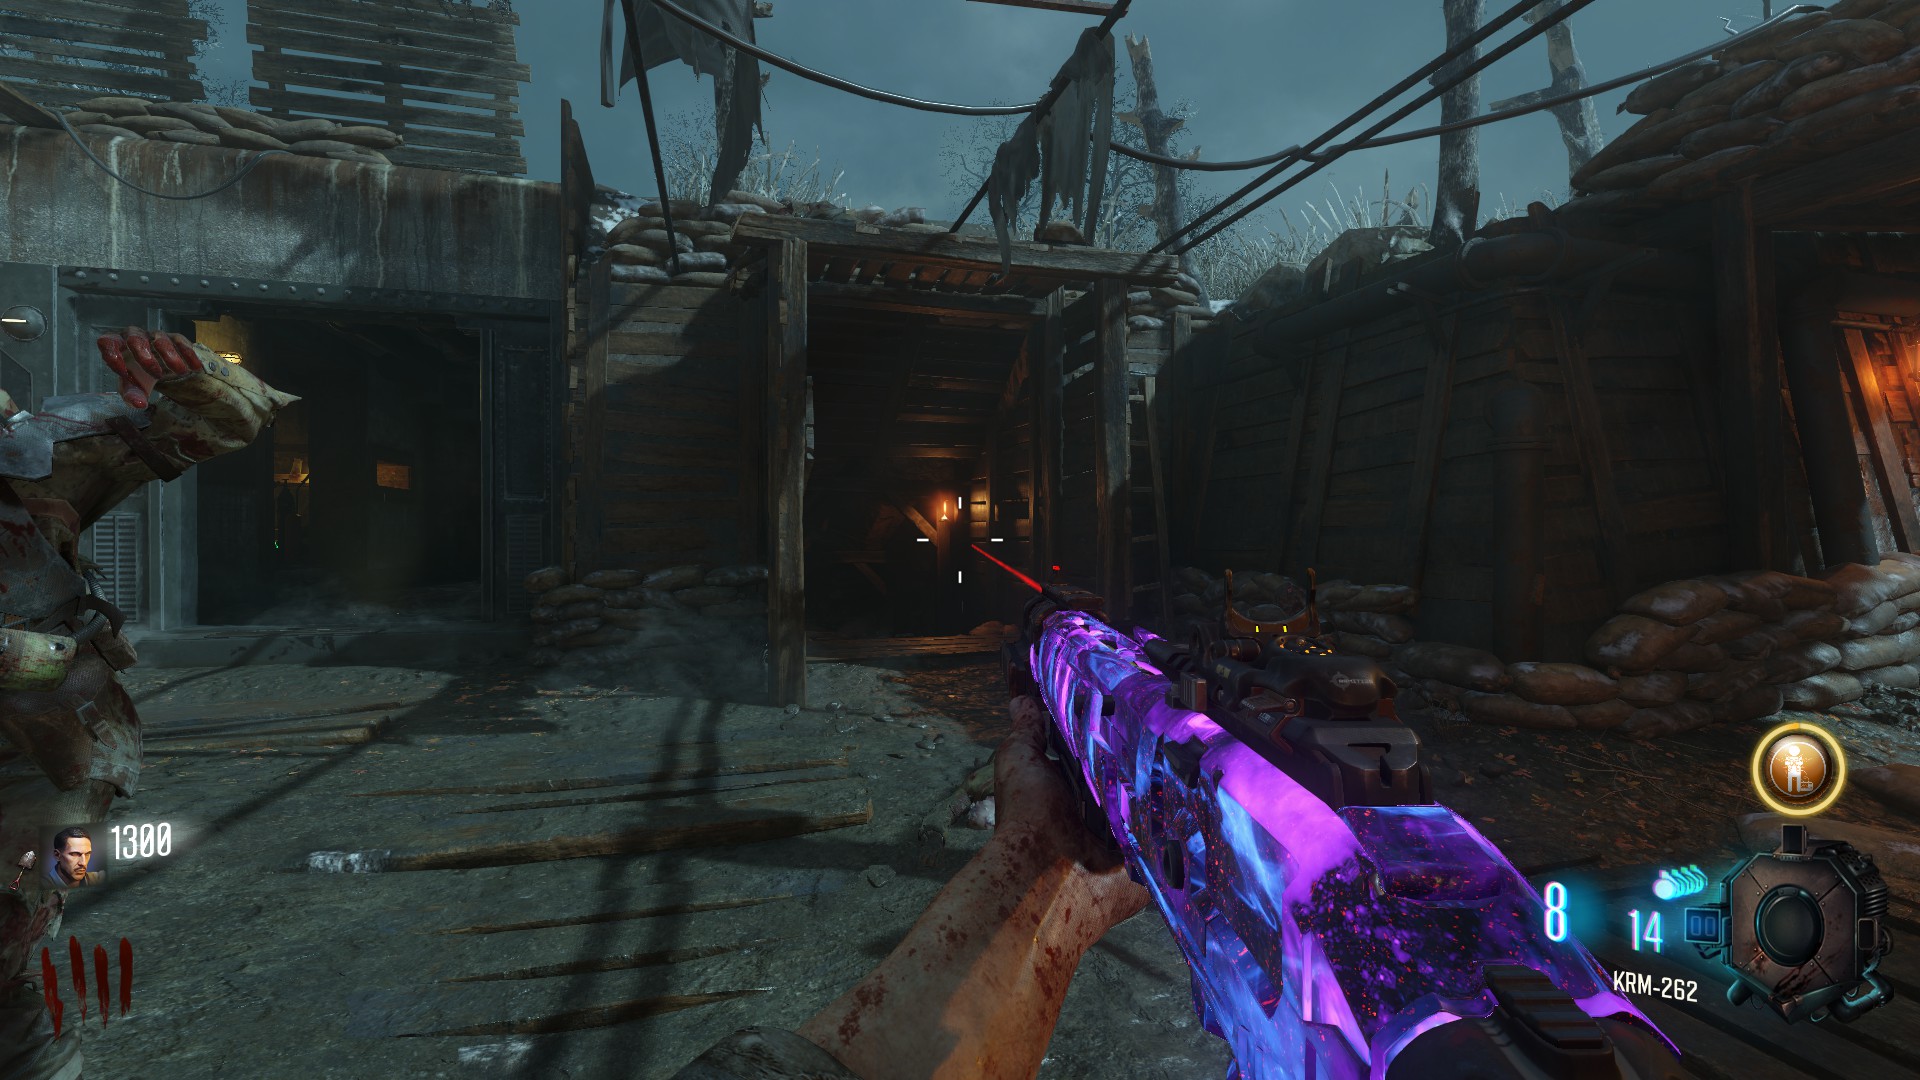 and place it on the table to the left.
once inside you will see a red artifact, go up to it and press "F" to collect the Gem
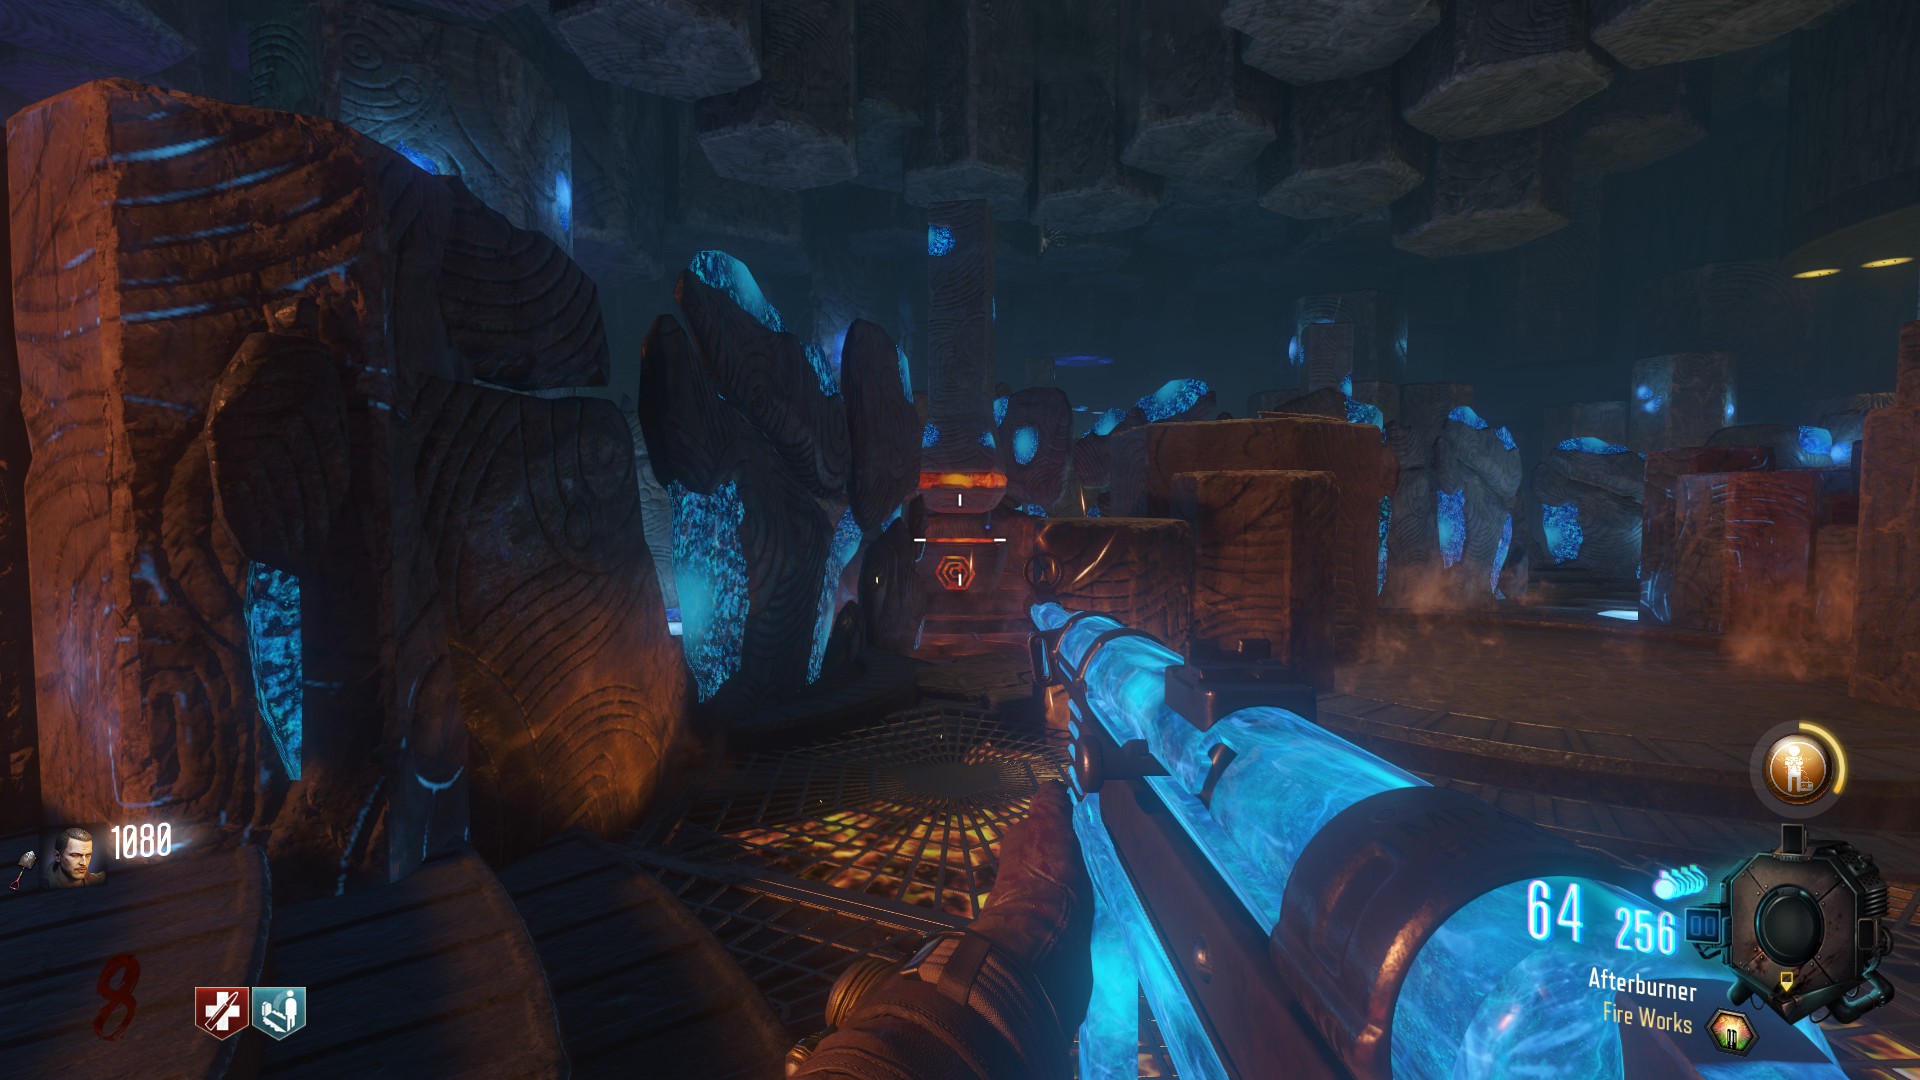
Fire Record
First you need the Fire record it is located around the tank/church and Generator 6 areathe first location could be next to the tank behind i pillar
the second location could be on a bench on inside the church upstairs
the last location could be on a box next to Generator 6
Staff Parts
You will get the First Part by activating Generator 6, it will be in a challenge box.The box is also on Generator 6 (can't miss it)
You will get the Second Part by shooting down a plain that has an orange glow to it, it will spawn in round 4-5
no matter where on the map you shoot down the plain, the part will always fall in the middle of the map, next to 'Pack a Punch' and Odin's two footprintsthe Third Part will spawn after you kill the Panzer Zombie in round 8
this is by far the hardest part to get but cannot be missed
-It's recommended having a punched weapon until then (the best weapon against him is Boomhilda which is the starting handgun Punched)
-always shoot the Panzer Zombies Head since all other parts are protected
-whenever he grabs you try to shoot his right arm (your right) that way you
will cancel his action
Gramophone
for the Gem you also need the Gramophone which found under 'Pack a Punch' next to two chestsWith the Gramophone and the Red Record, go to the cave near Generator 1
and place it on the table to the left.once inside you will see a red artifact, go up to it and press "F" to collect the Gem
Building
now that you have all parts, go to the Staff Room and build the Staff on the red pedestal
Fire Staff Upgrade
First, go back to the Crazy Place and locate the section on the floor with a mash
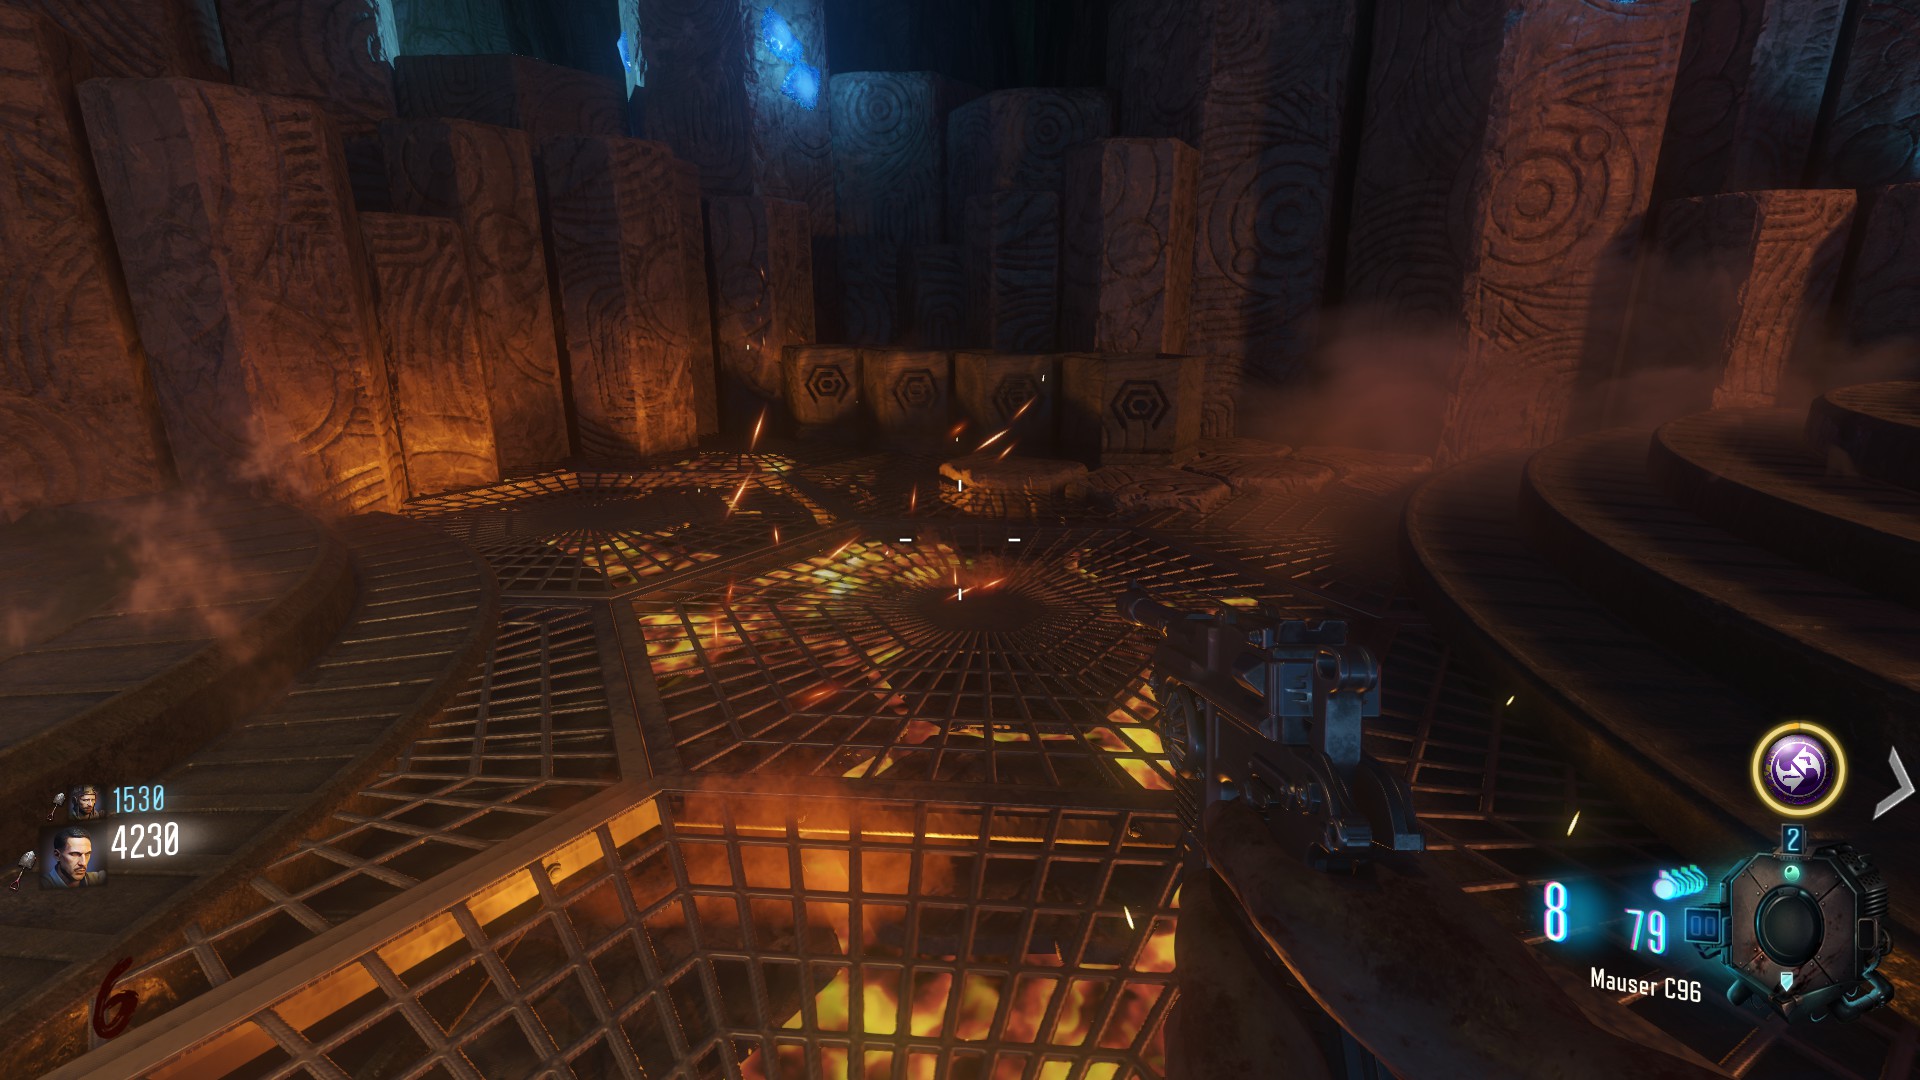 here you need to kill enough zombies until the Kilns in the back are all burning, you will hear a sound when you did it.
Now go up the main map and go to the Church, upstairs to the back wall, here you will see symbols on the wall. These correspond to numbers
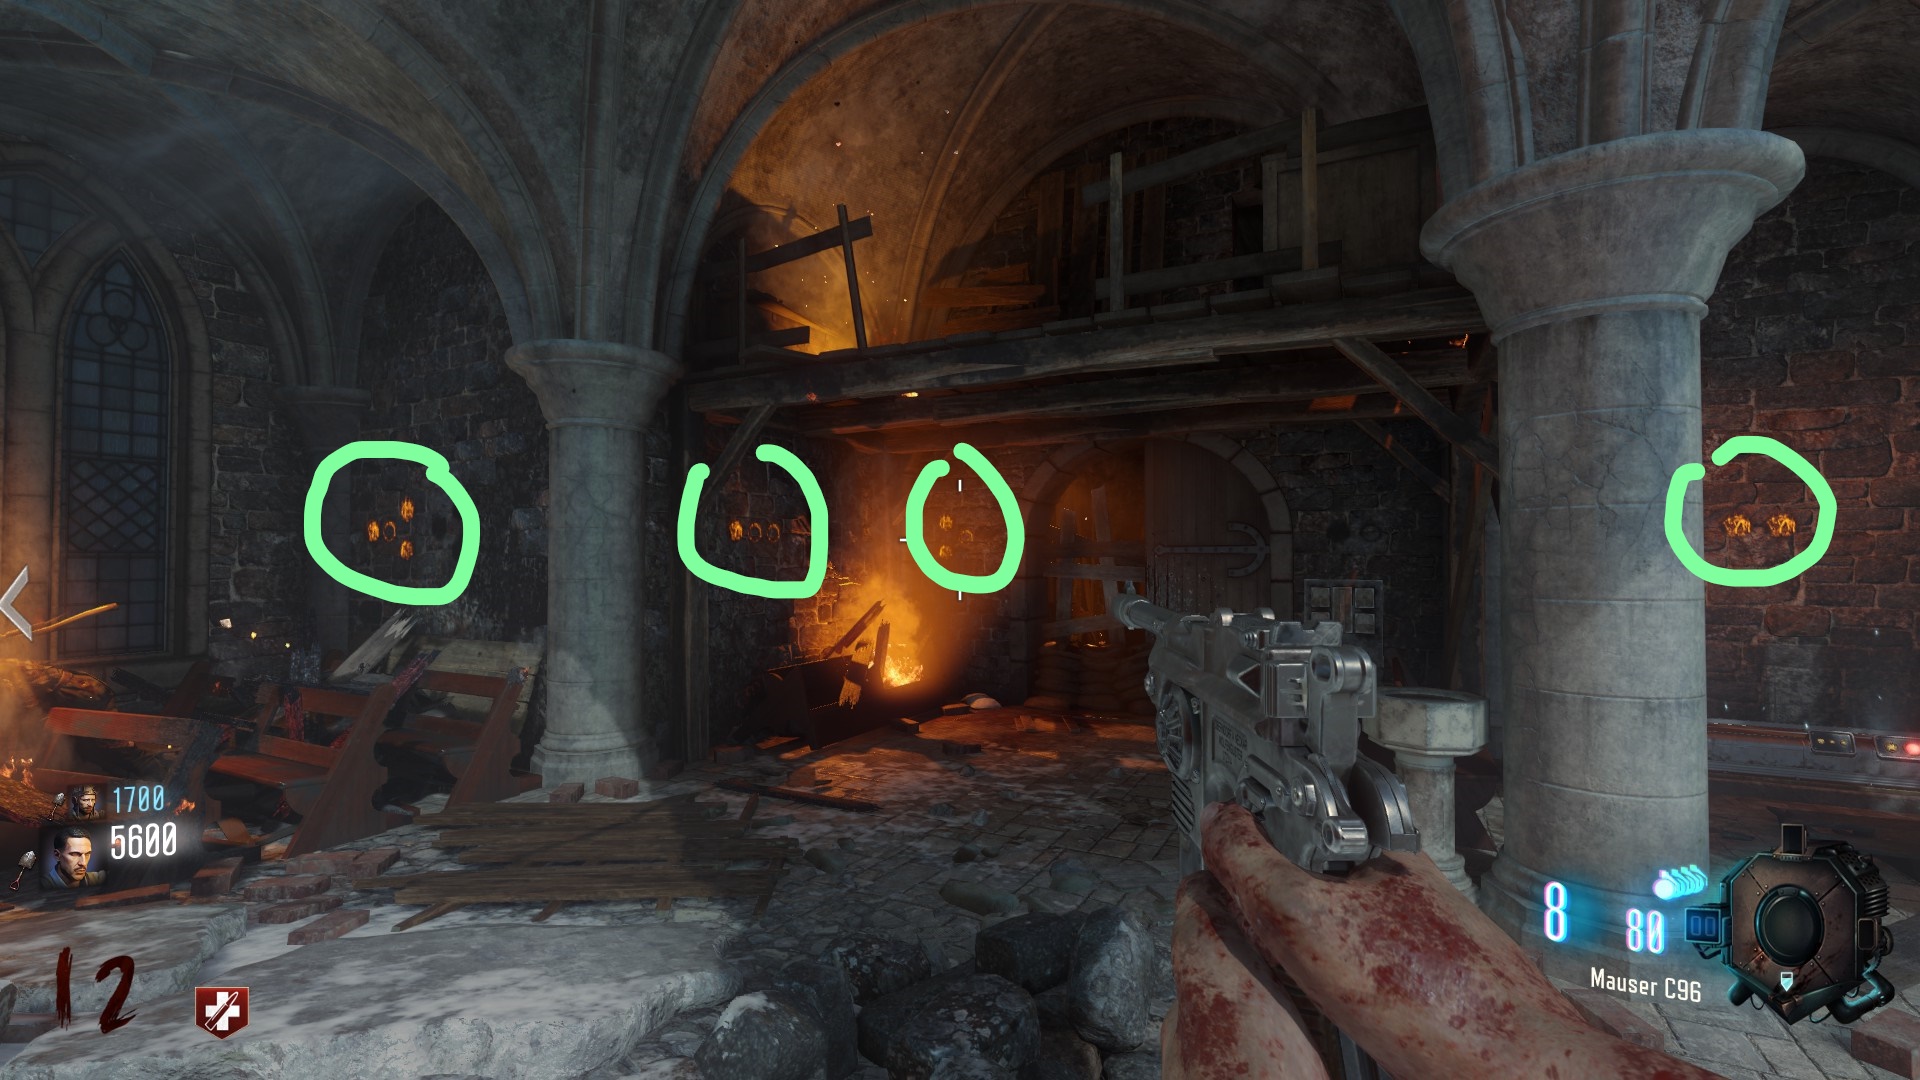
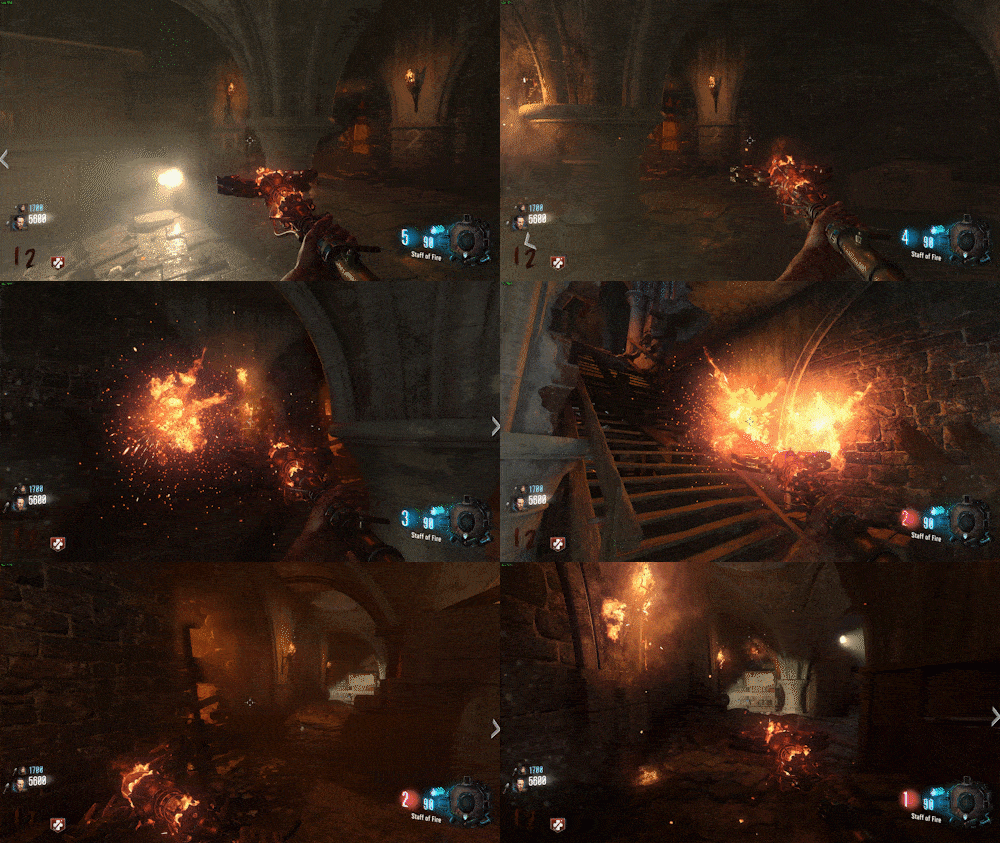
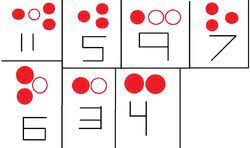 these numbers are also downstairs under Torches, remember the number you have and shoot the Torches to those numbers
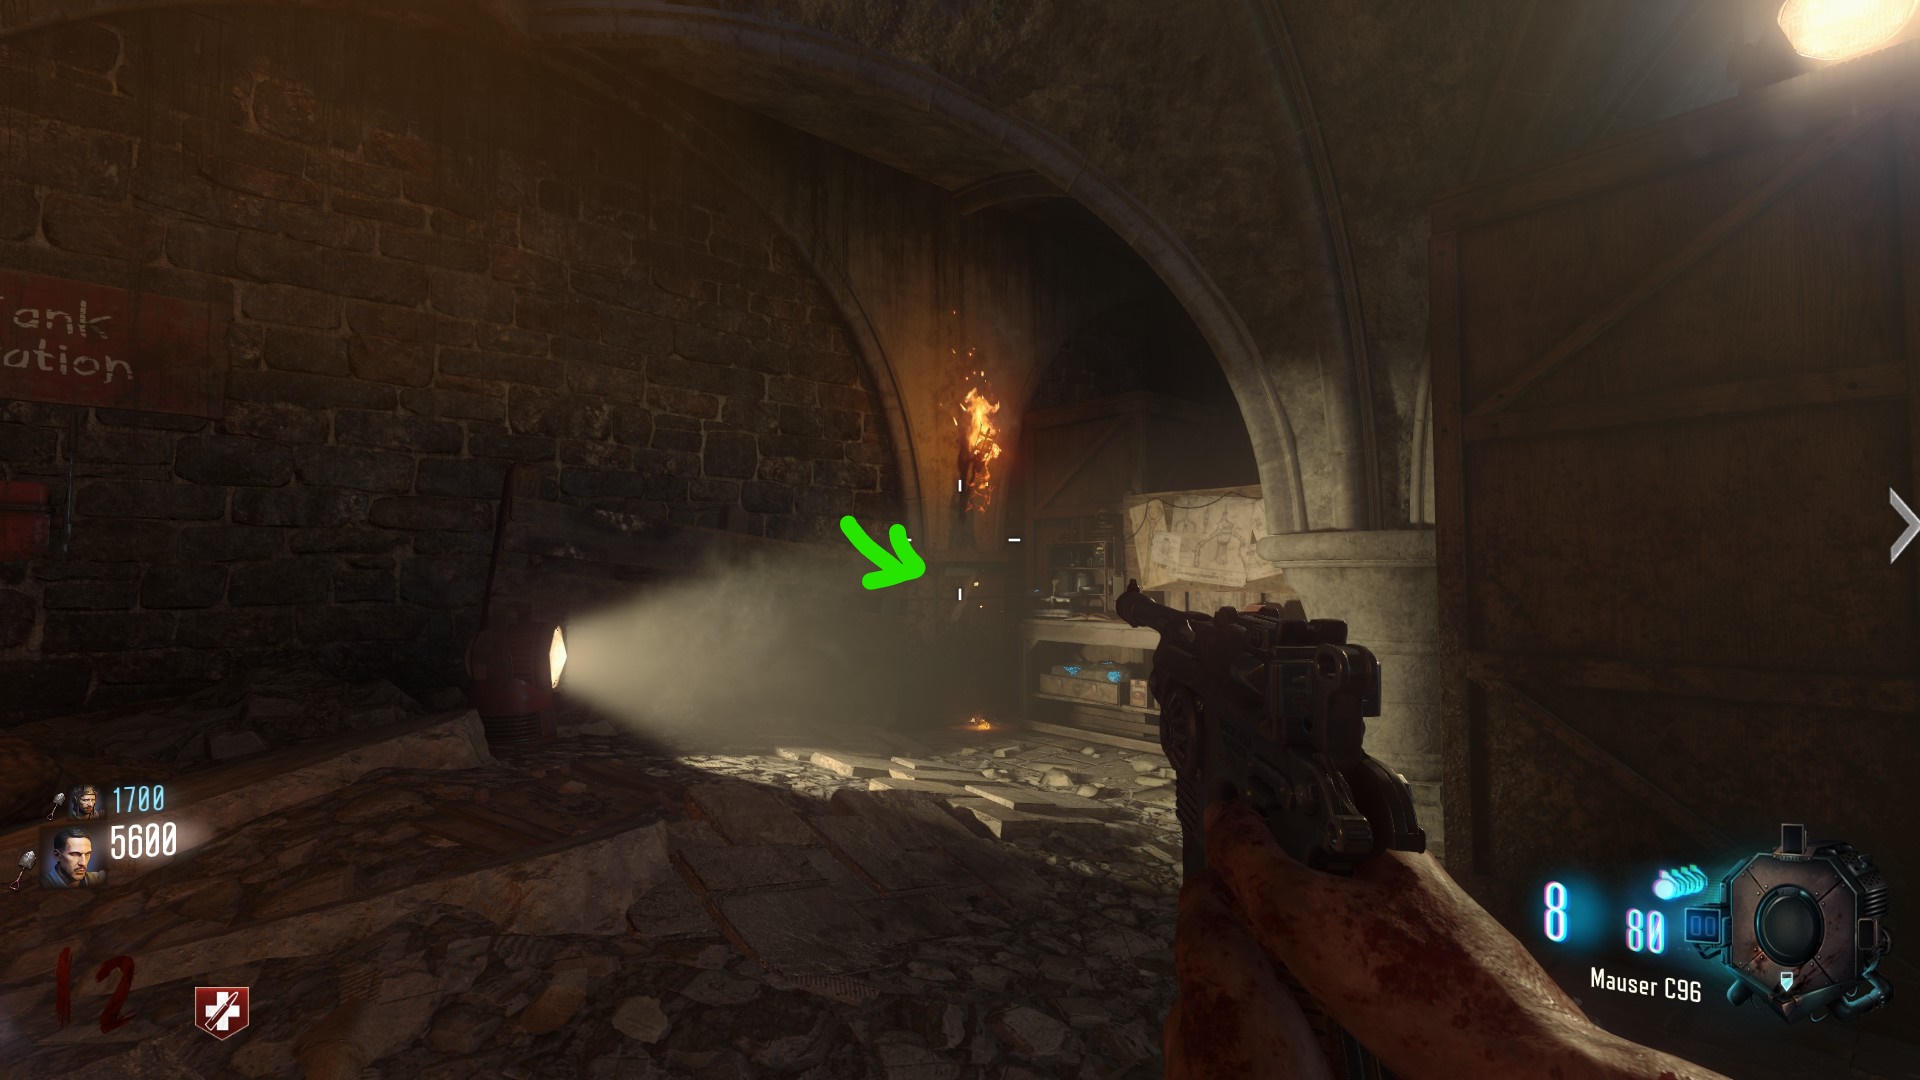
Note: -Be quick, the Torches will extinguish after a while
-The Torch without a number is actually the number 4
Now a Beam will appear over 'Pack a Punch'
go there and Turn all Colors on the rings to red using the levers
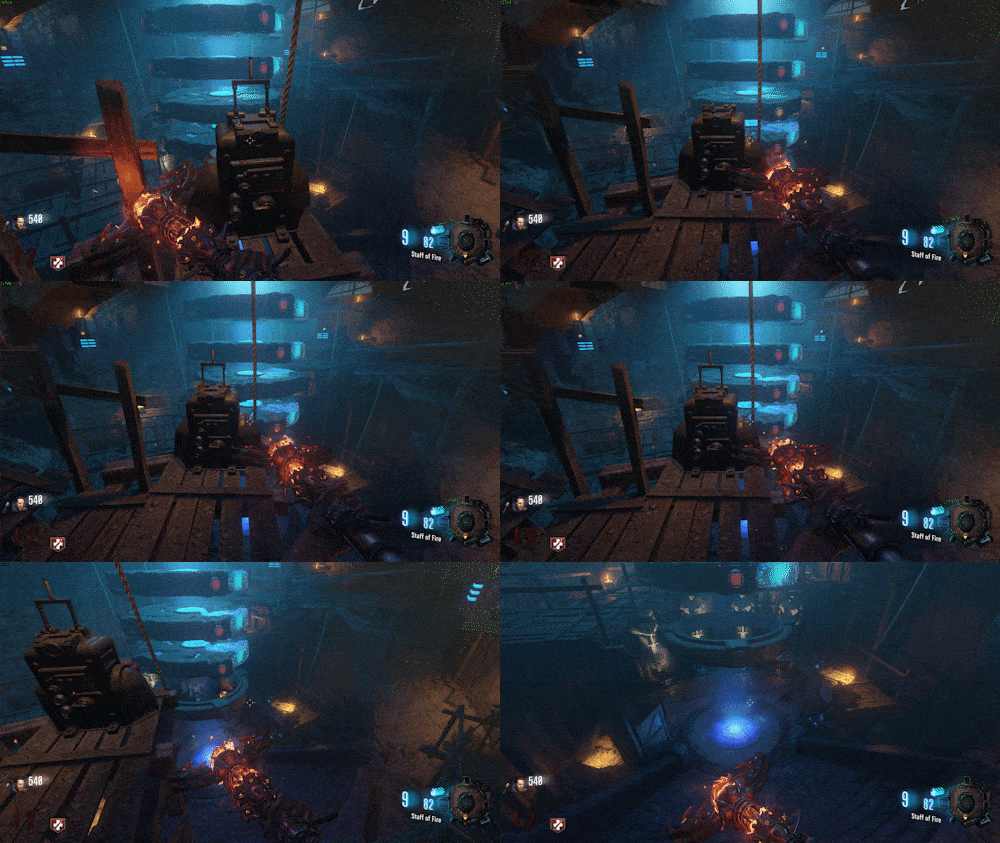
Done with that, go underneath the rings and shoot the red ball, it should fly away after a short while
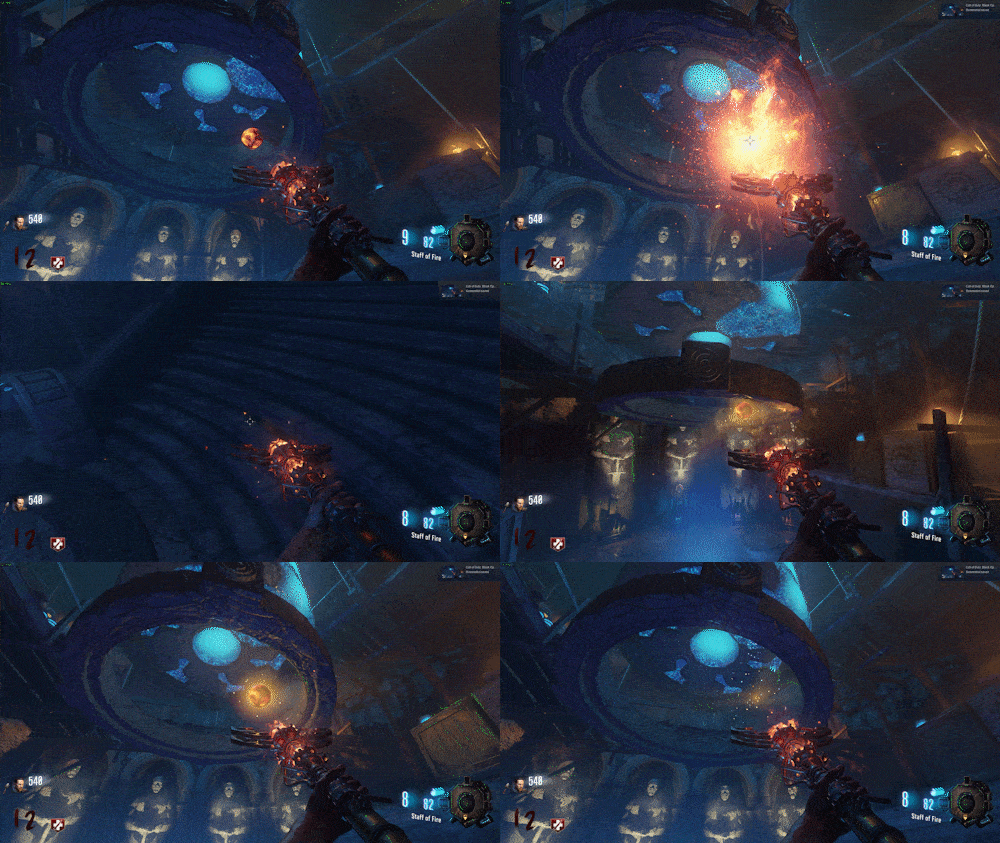
Now go back to the Crazy Place and place your Staff in the artifact and collect ~20 souls
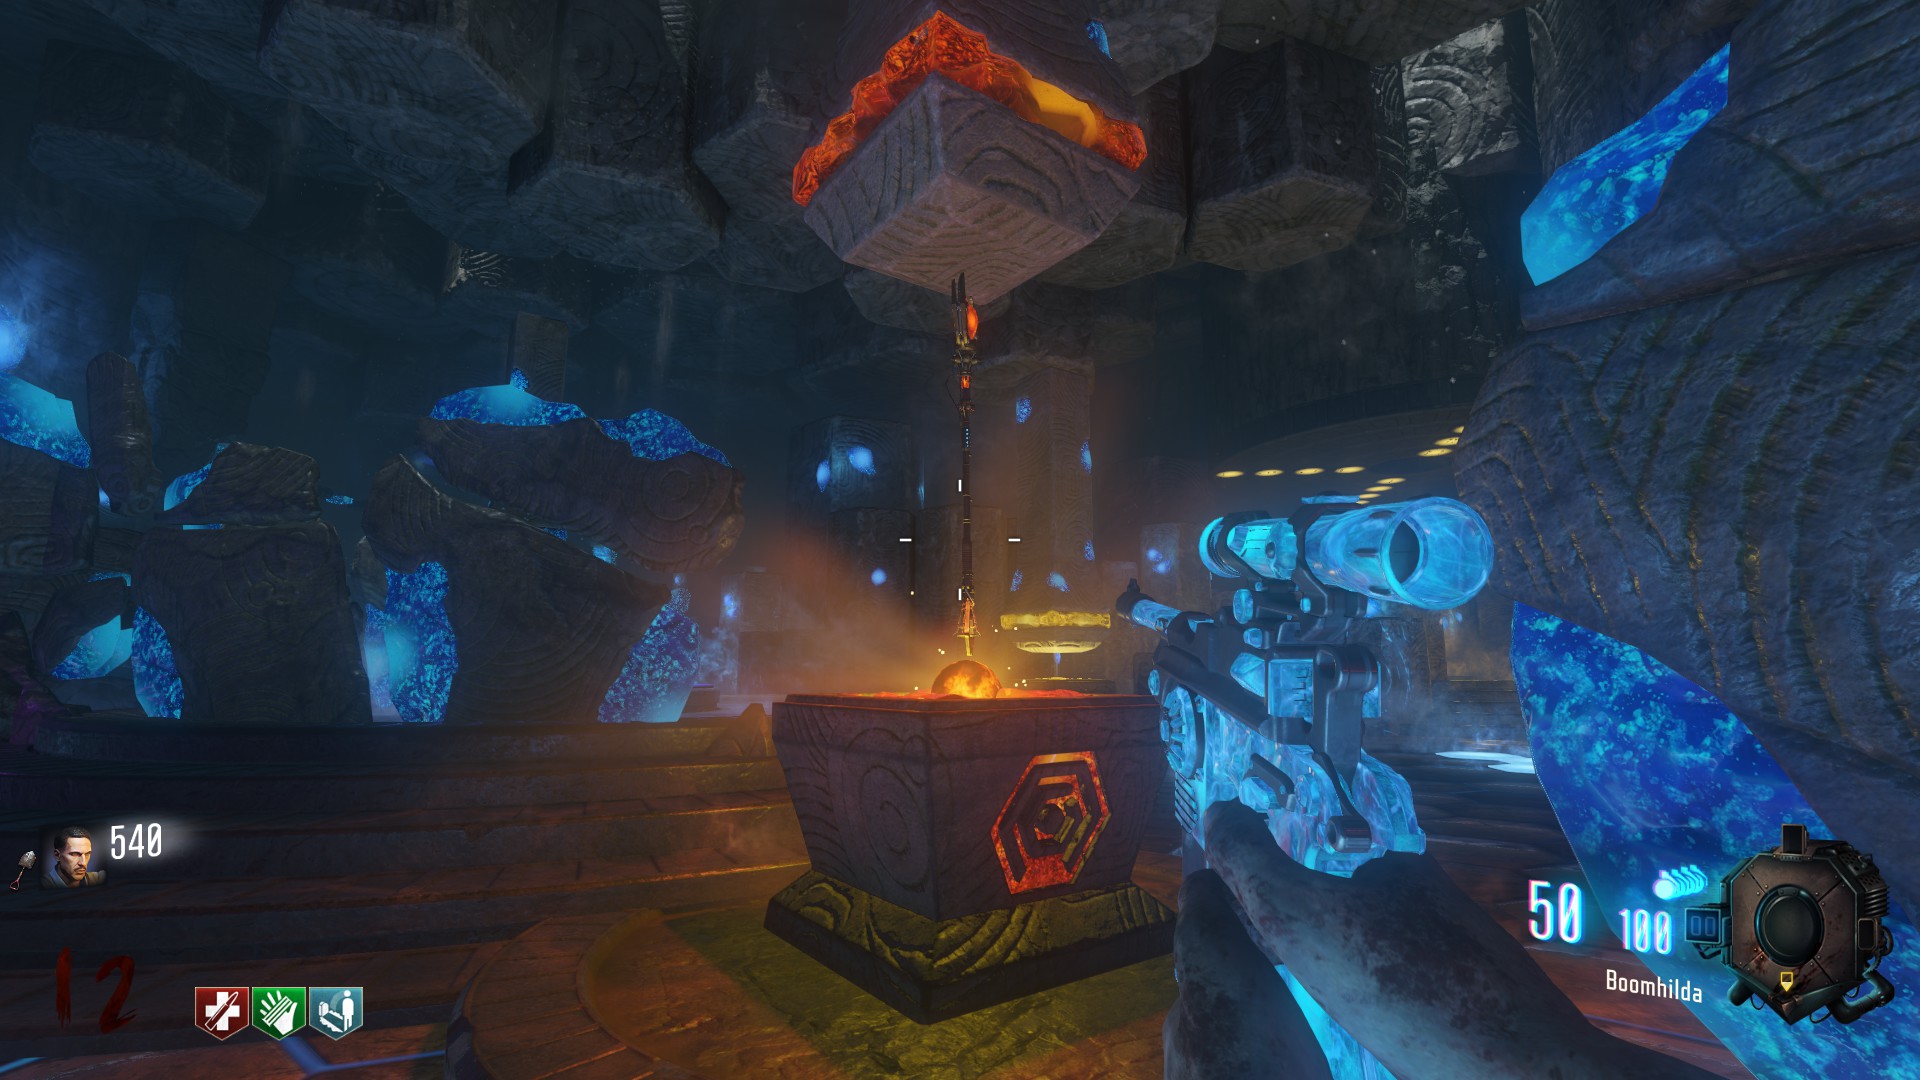
Enjoy your Upgraded Staff
here you need to kill enough zombies until the Kilns in the back are all burning, you will hear a sound when you did it.Now go up the main map and go to the Church, upstairs to the back wall, here you will see symbols on the wall. These correspond to numbers
these numbers are also downstairs under Torches, remember the number you have and shoot the Torches to those numbersNote: -Be quick, the Torches will extinguish after a while
-The Torch without a number is actually the number 4
Now a Beam will appear over 'Pack a Punch'
go there and Turn all Colors on the rings to red using the levers
Done with that, go underneath the rings and shoot the red ball, it should fly away after a short while
Now go back to the Crazy Place and place your Staff in the artifact and collect ~20 souls
Enjoy your Upgraded Staff
Lightning Staff
Lightning Record
First you need the Lightning Record which is around Generator 4One location could be next to Wonderfizz on the table
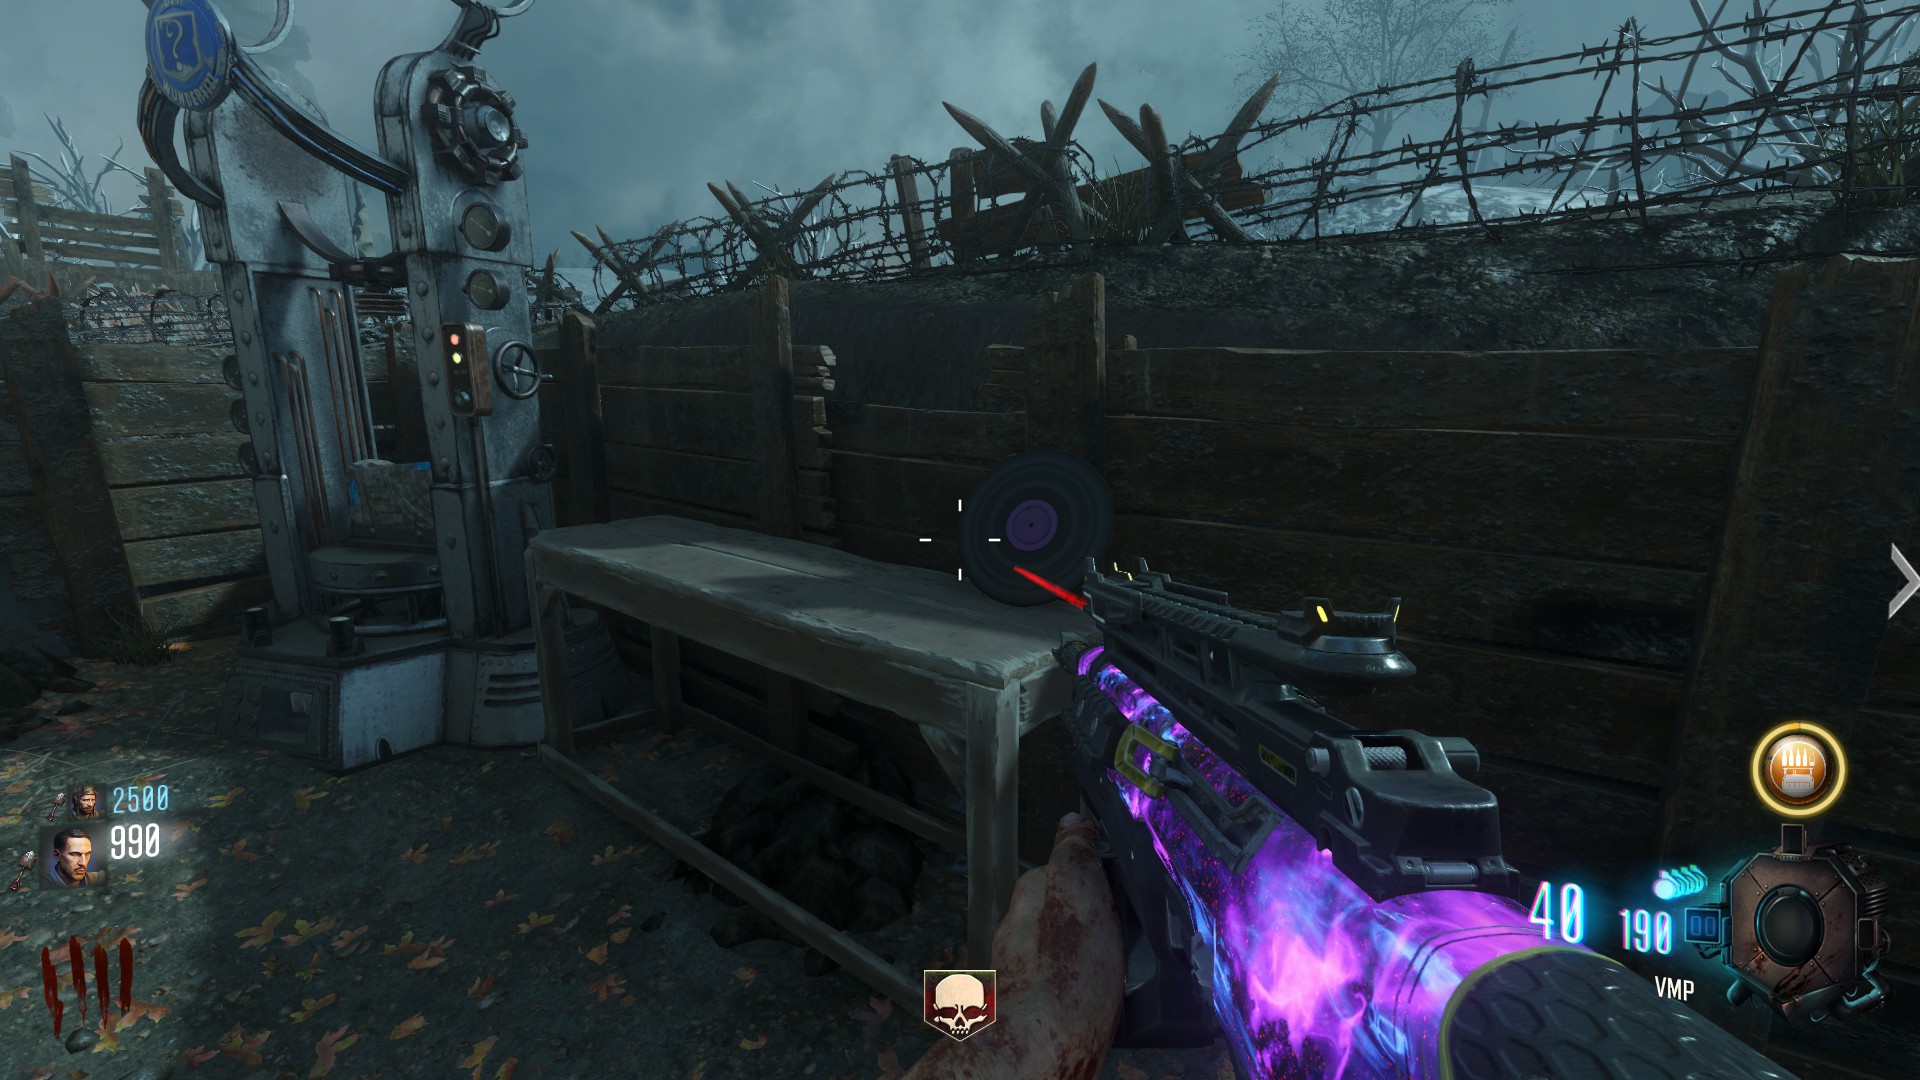
One location could be on a wagon across the mod way
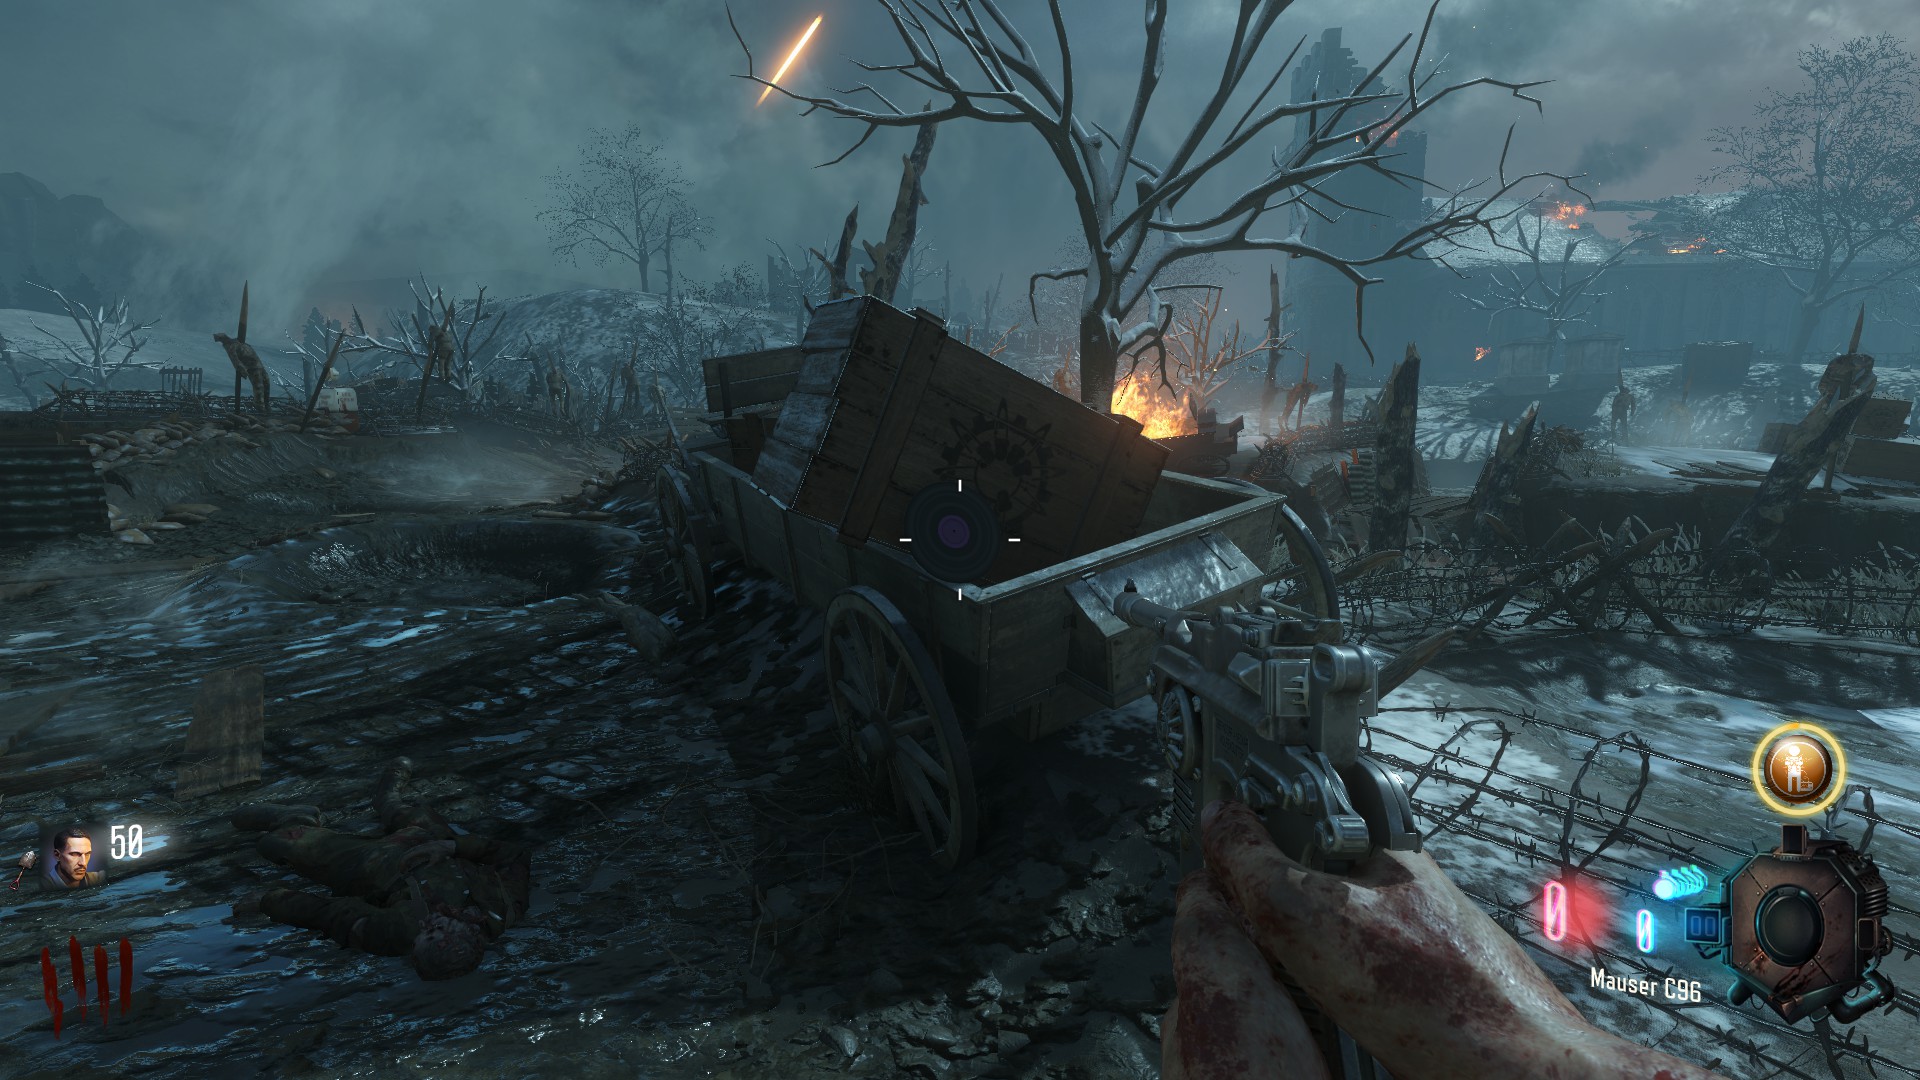
And the last location could be in the wind tunnel (the one at Generator 4) on the right side near the wind portal
Staff Parts
in order to get the staff parts, you need to drive with the tank and jump of to the locations to pick up the PartsThe First Part will be on a platform to the right of the first tank, close to generator 3
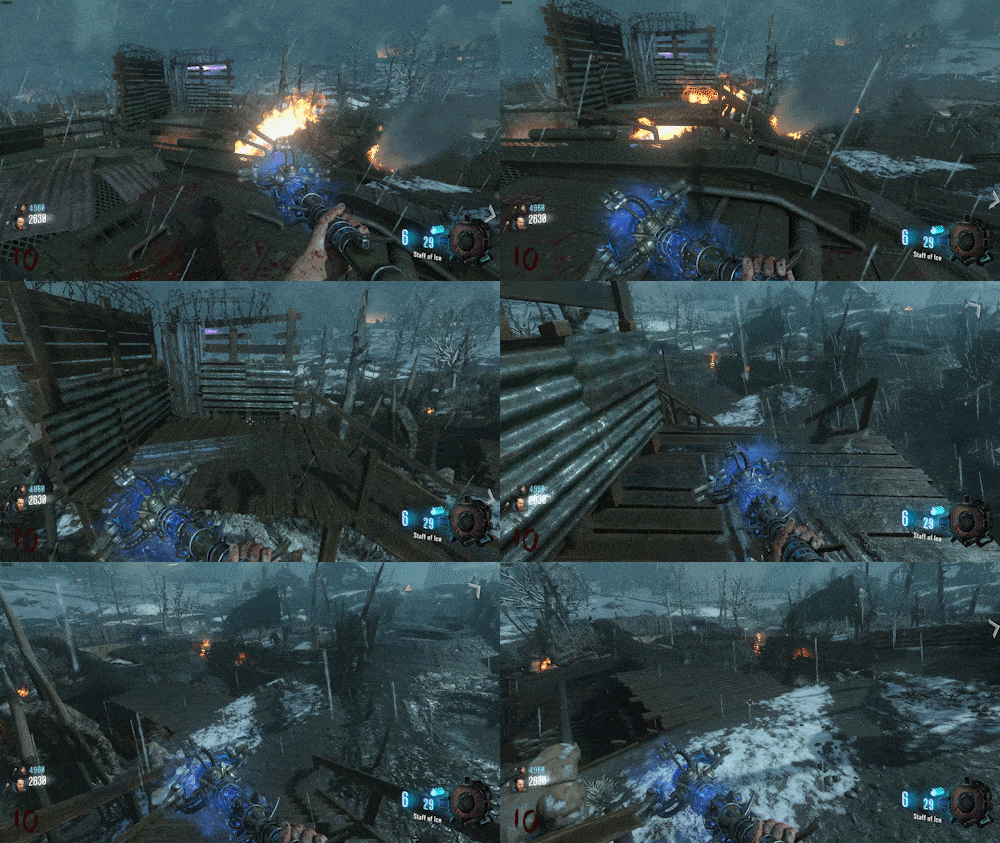
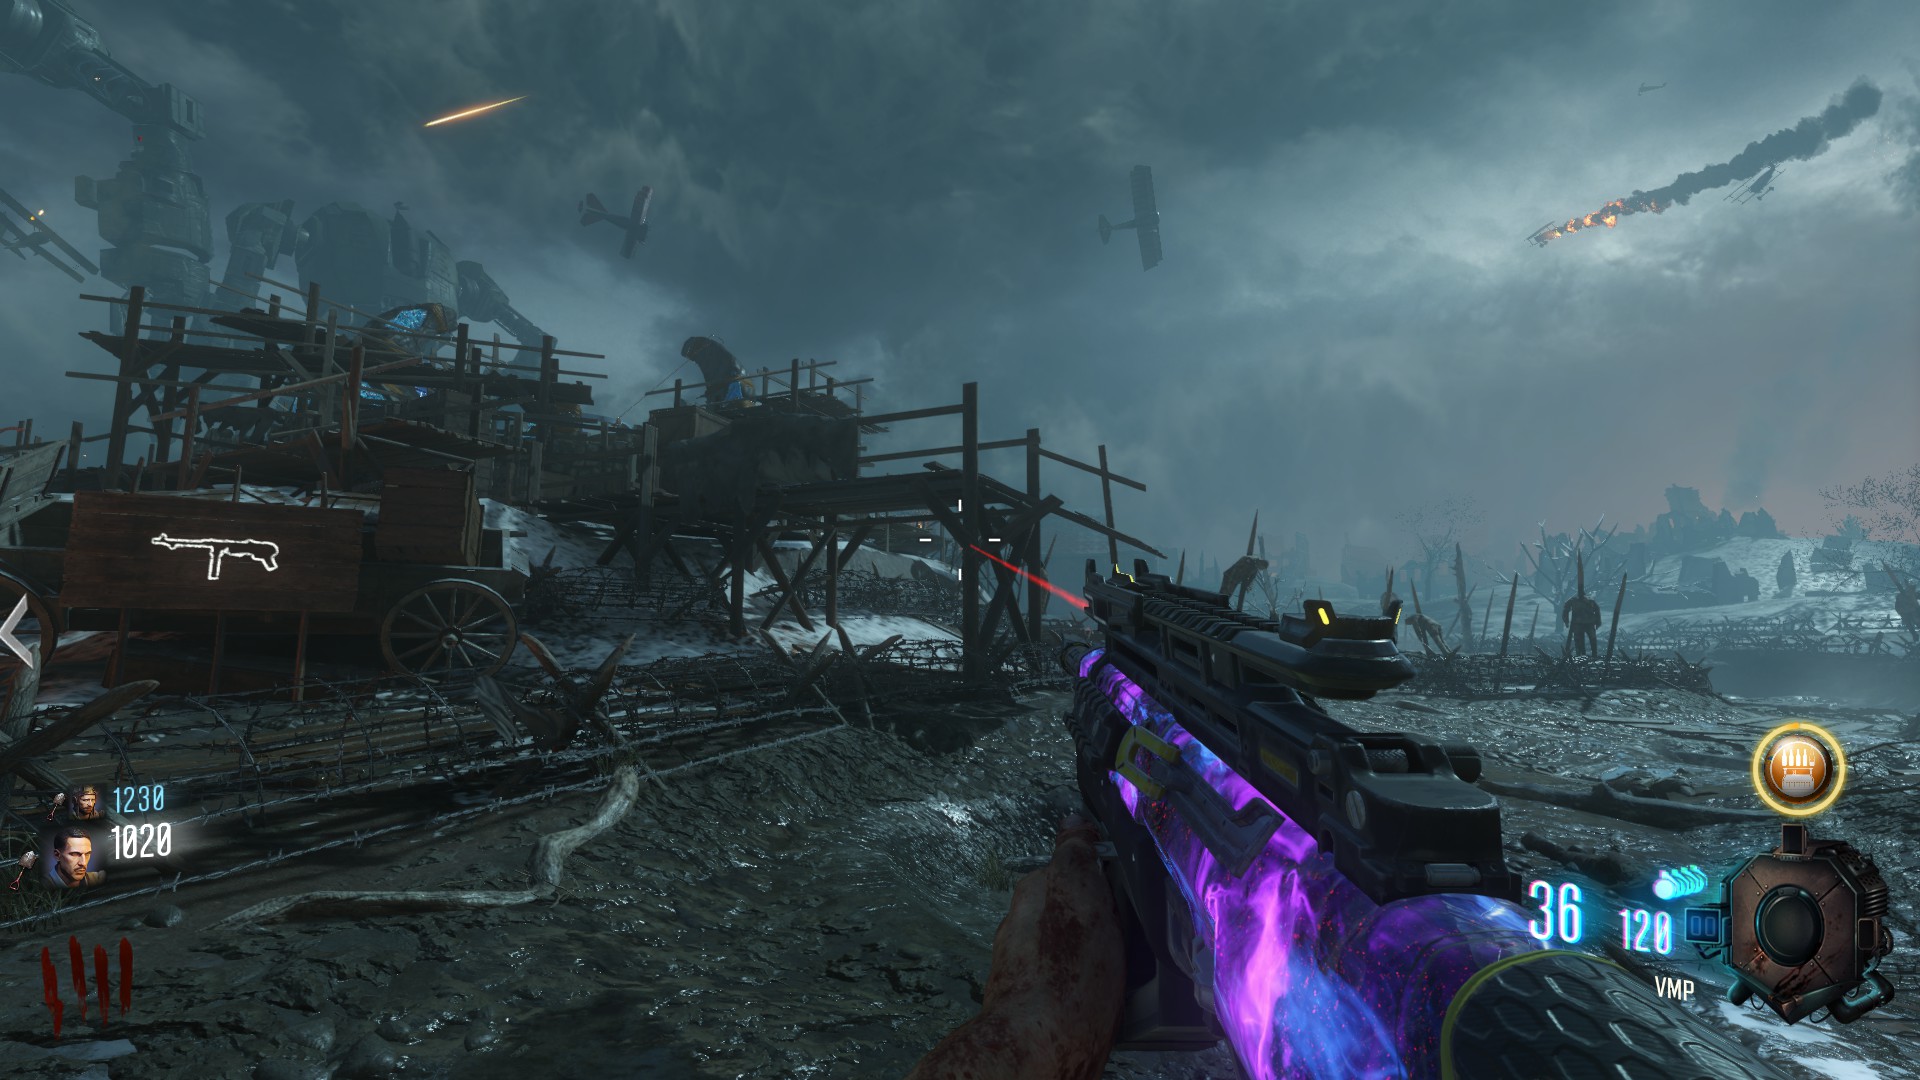
the Second Part location will be close to 'Pack a Punch' right after passing the MP40
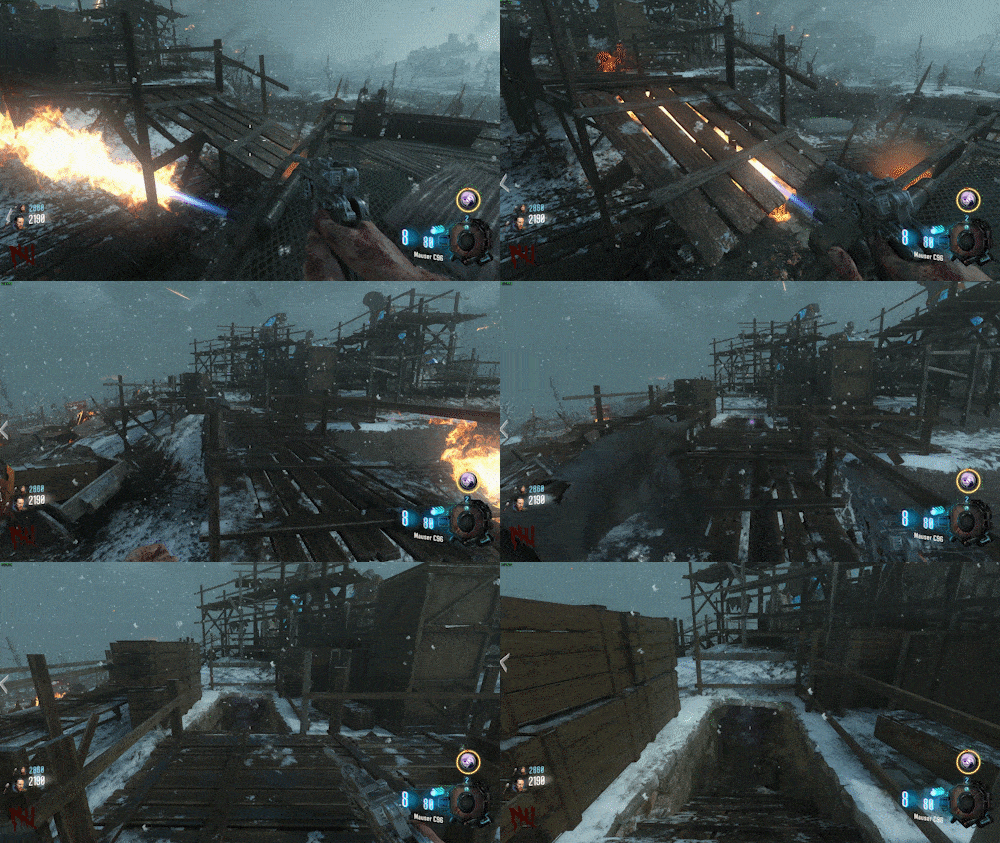
the Third part will be in the church, when approaching the church look for a ledge to walk on the right
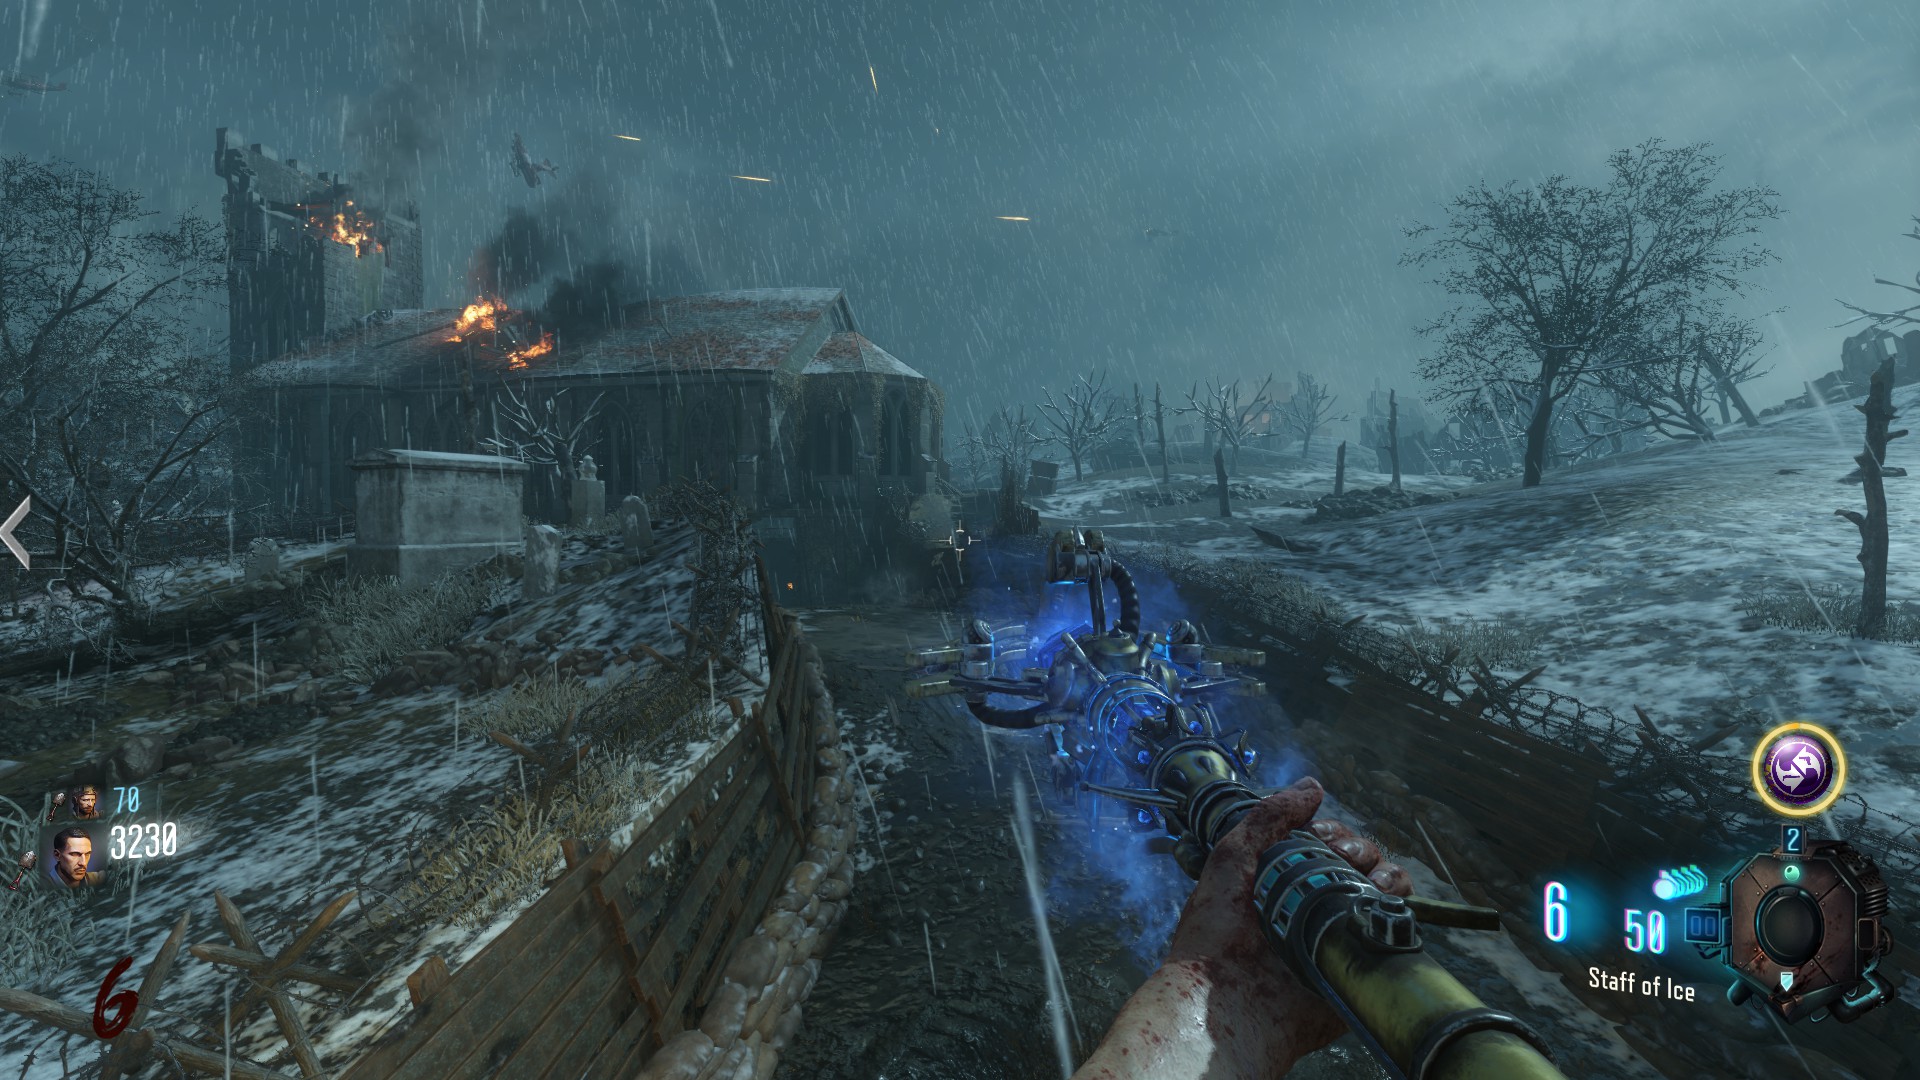
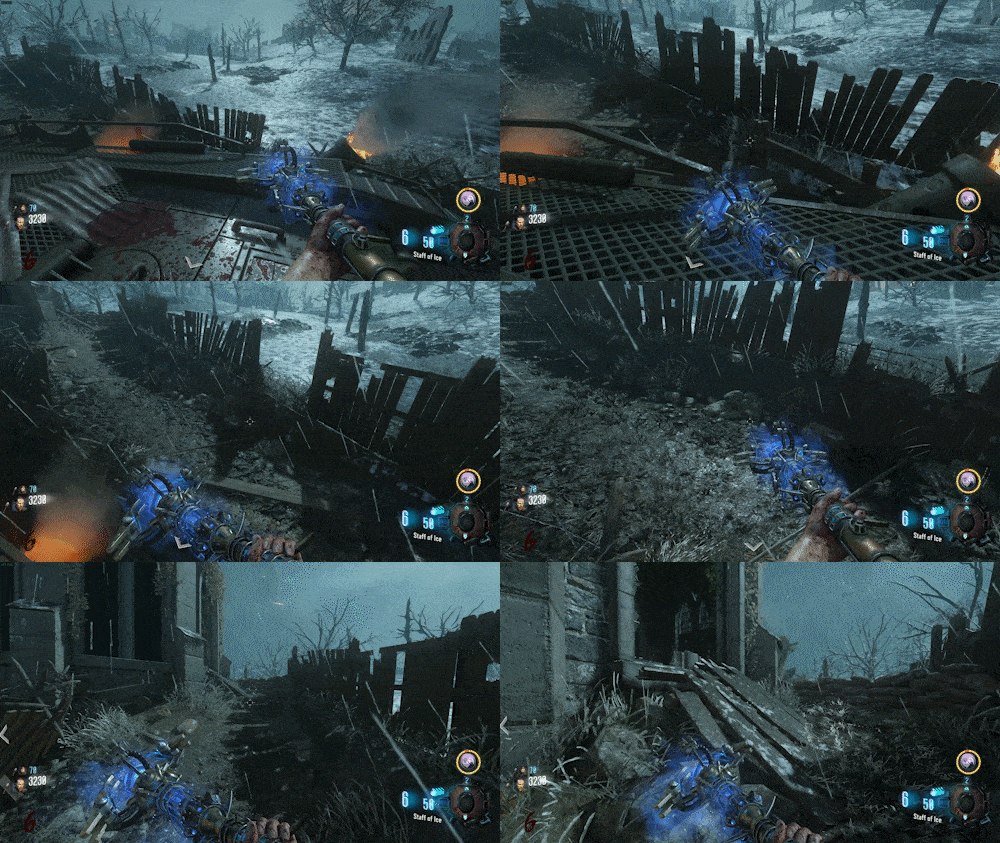
Gramophone
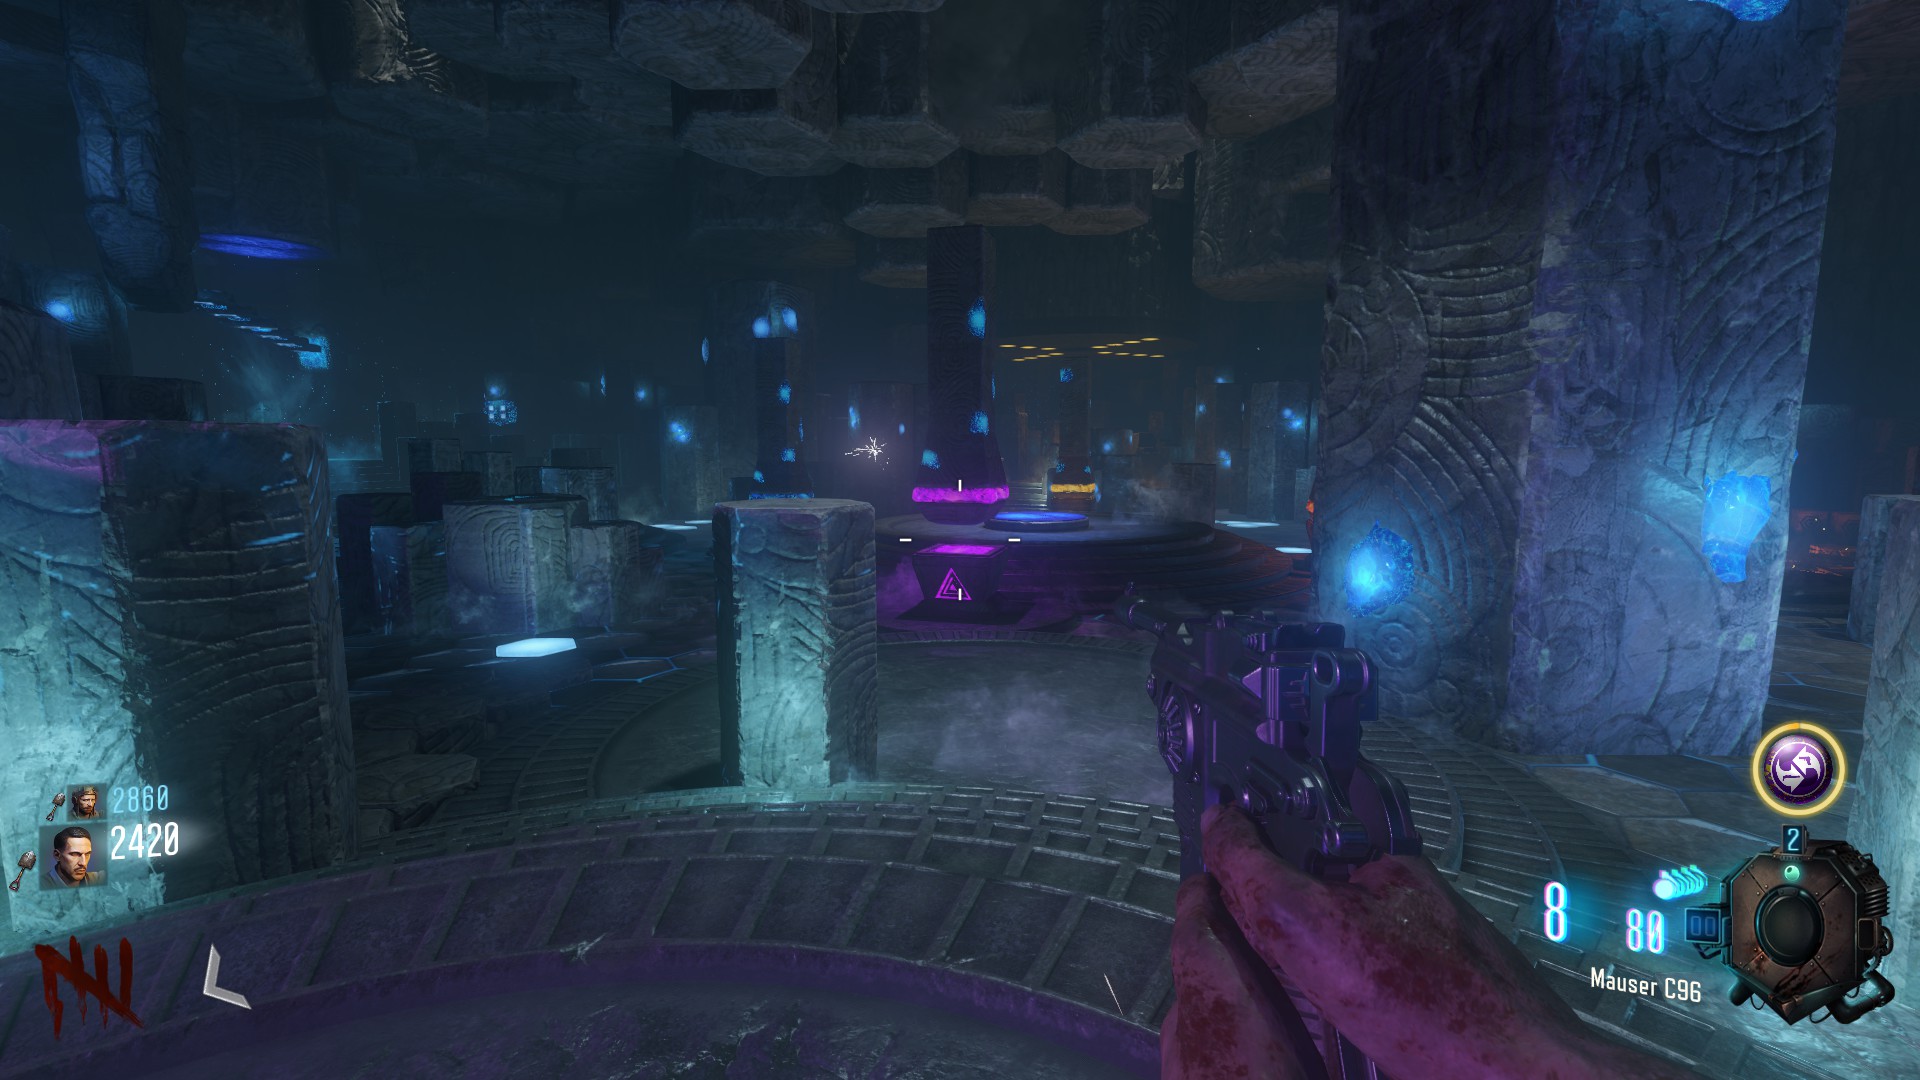
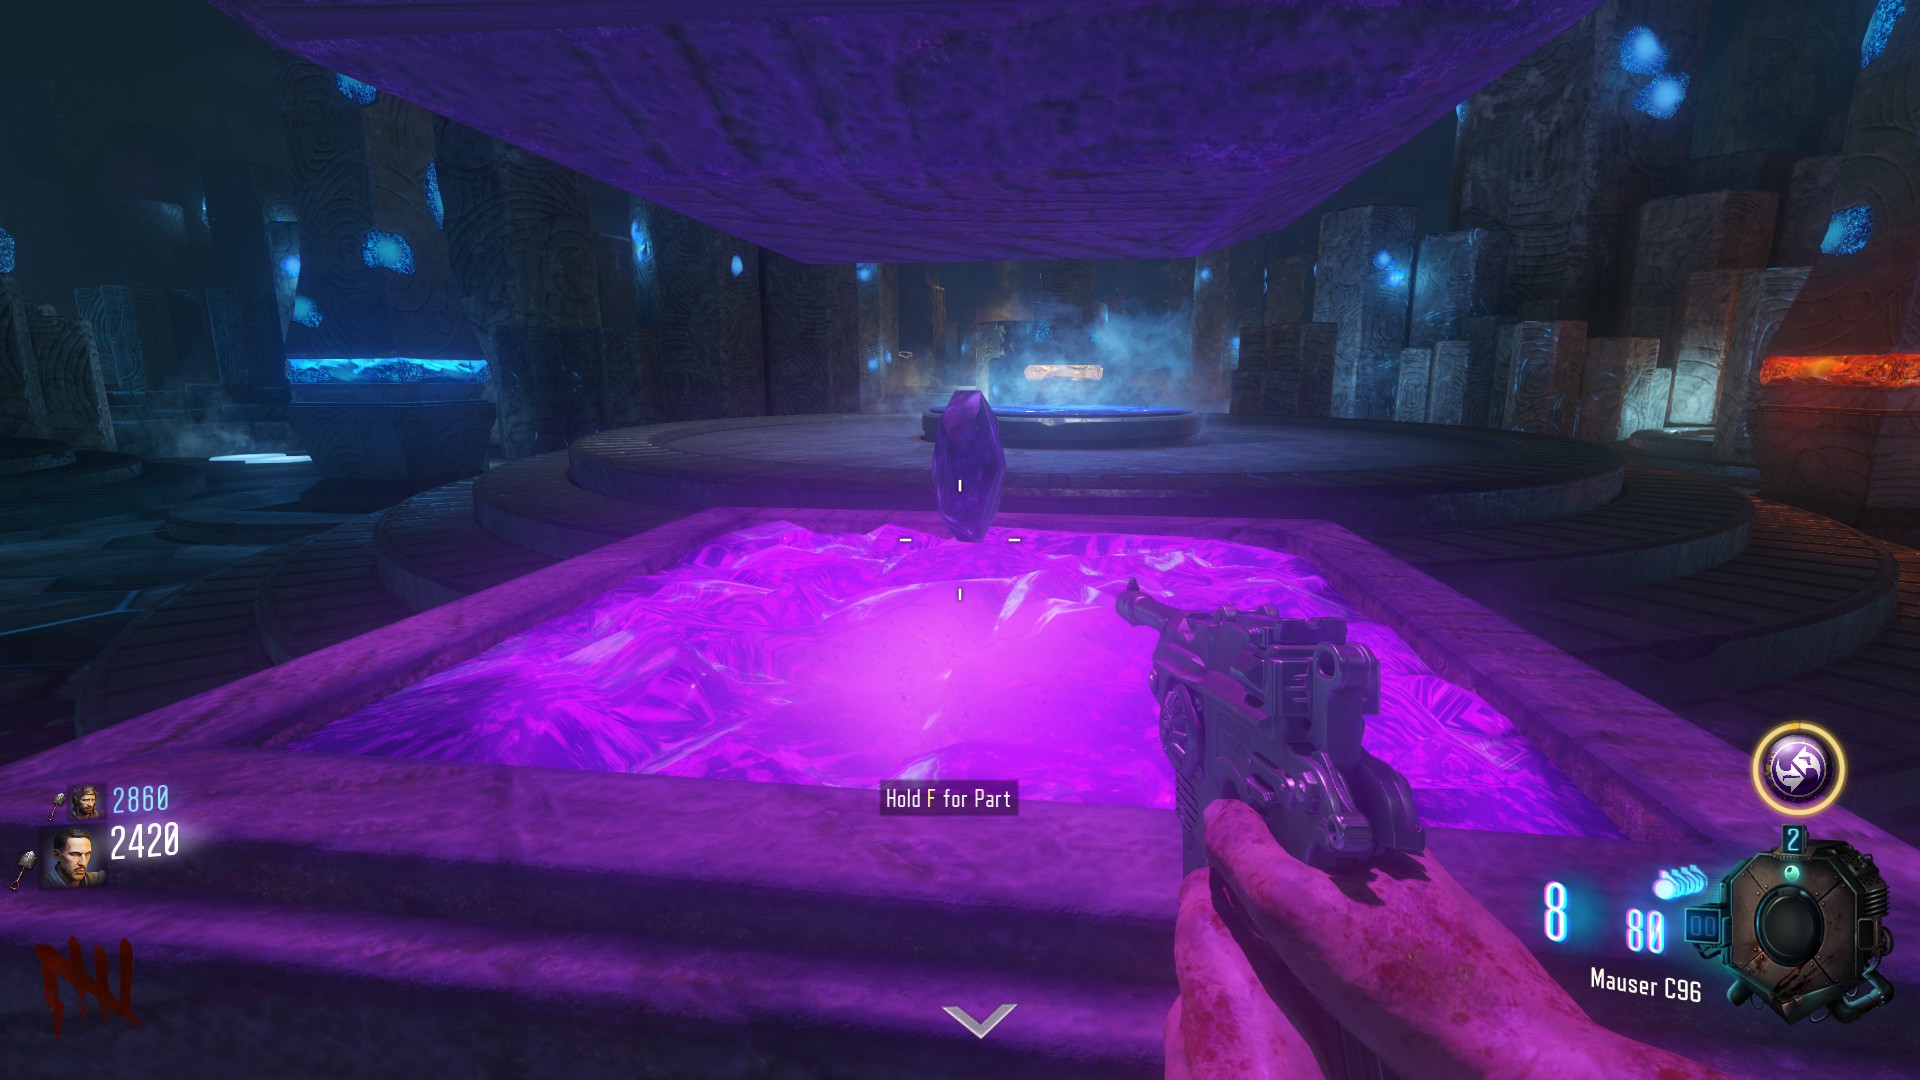
for the Gem you also need the Gramophone which found under 'Pack a Punch' next to two chestsWith the Gramophone and the Purple Record, go to the cave near Generator 5
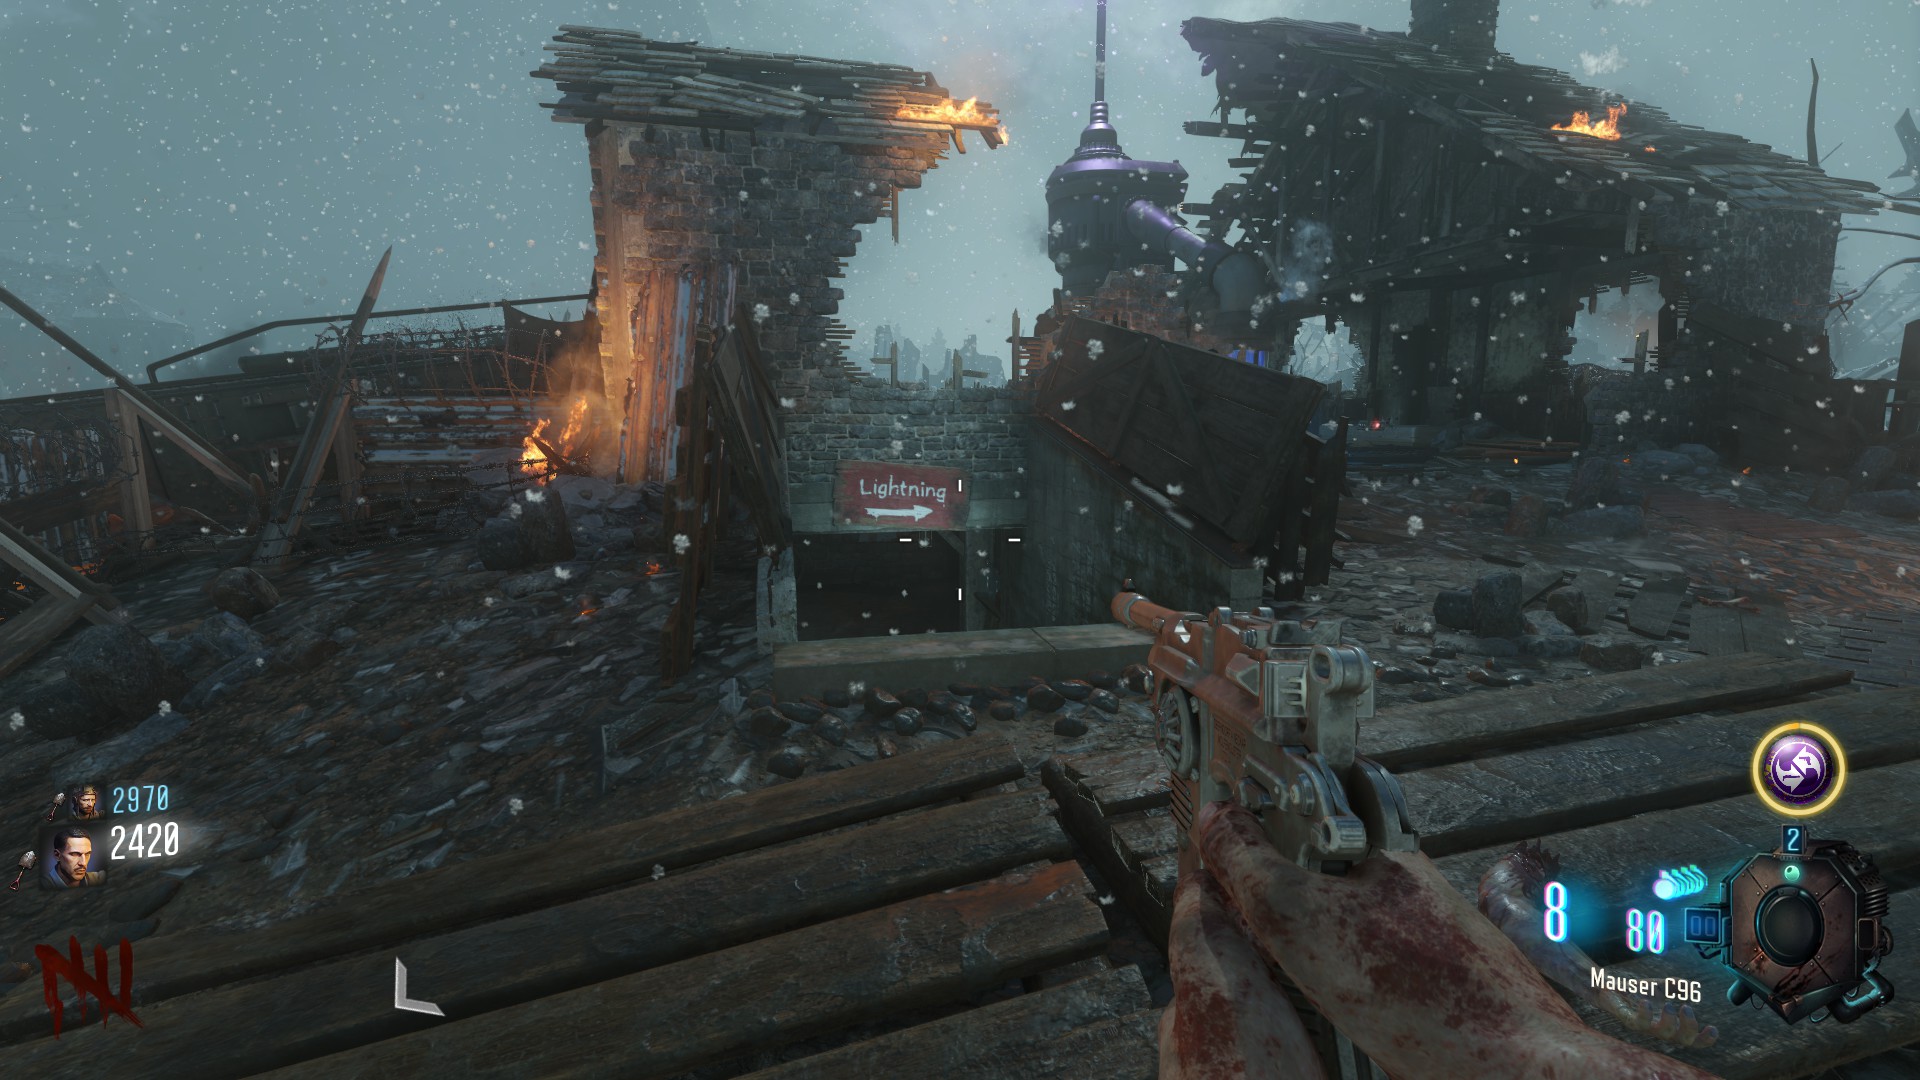 and place it on the table to the left.
once in the crazy place you will see a purple artifact, go up to it and press "F"
Building
with all parts collected, go to the staff room and Build the staff on the purple pedestal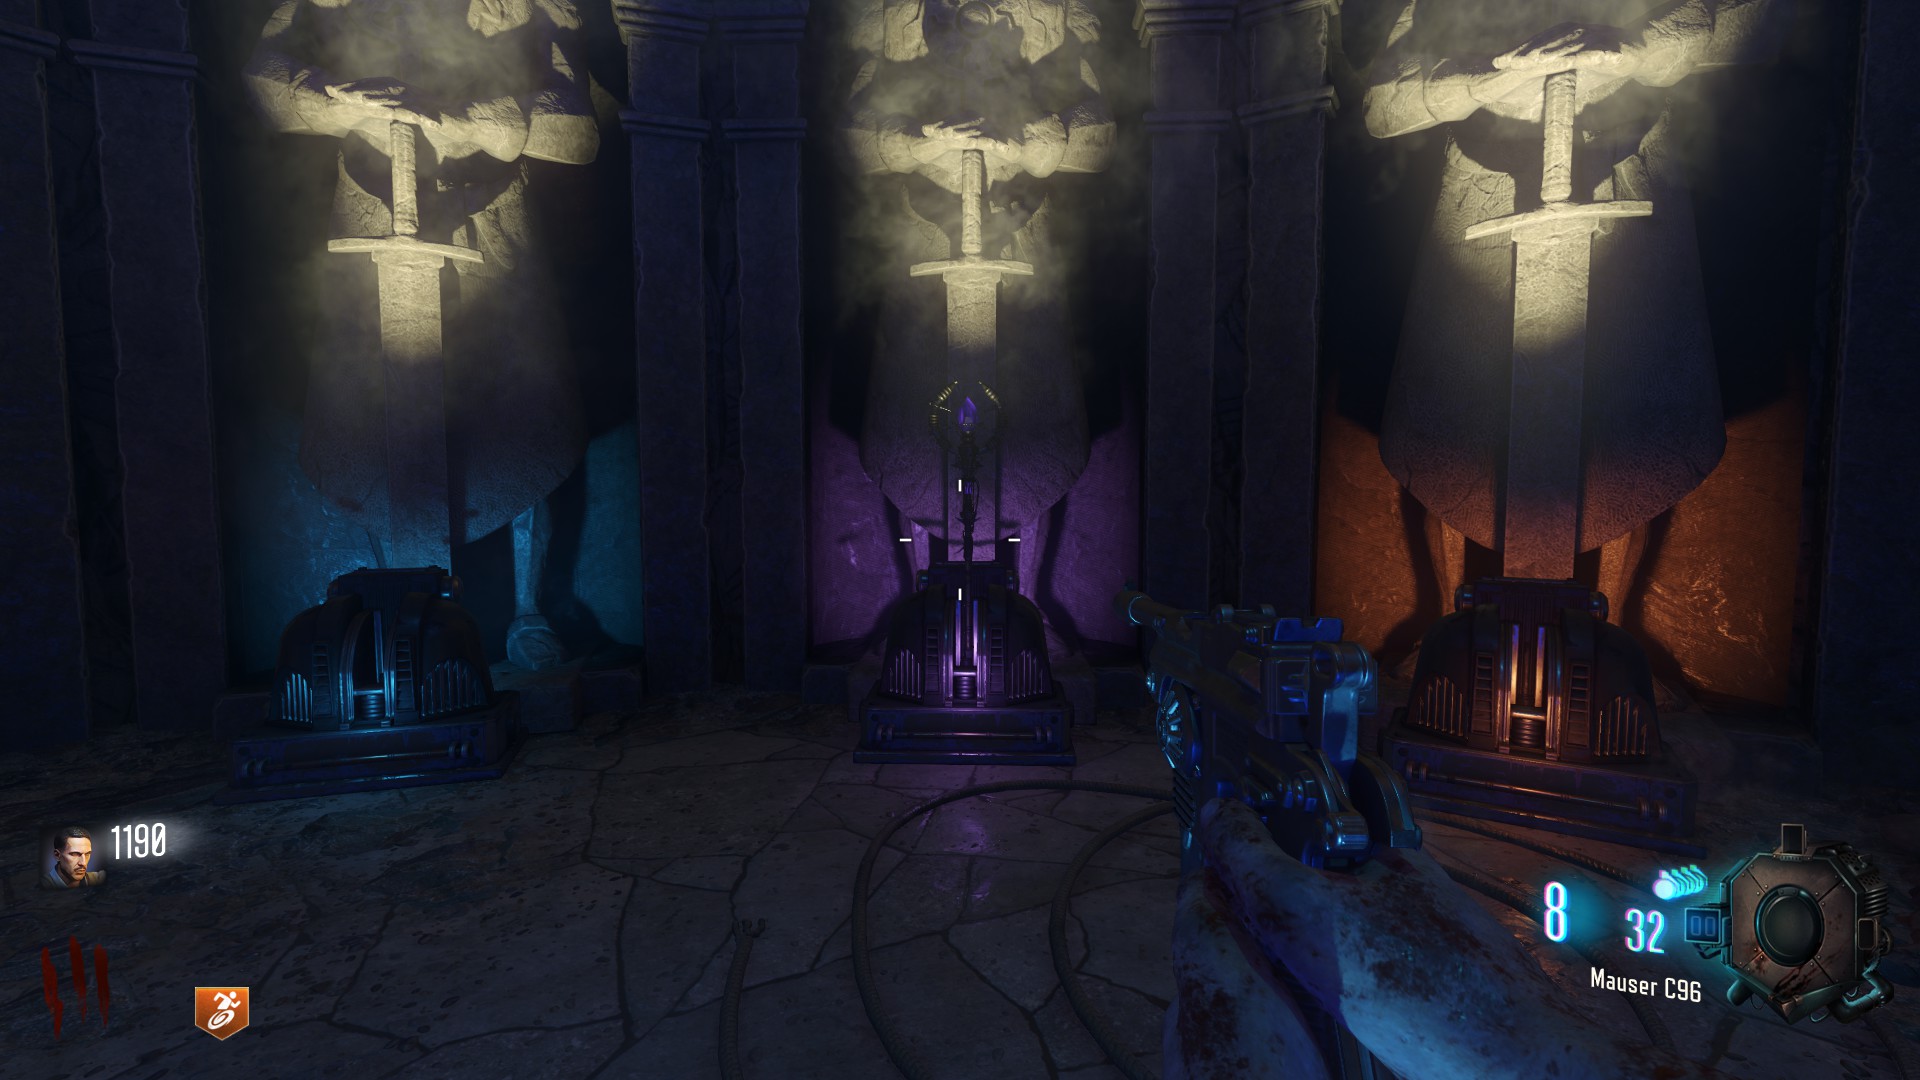
Lightning Staff Upgraded
First go back to the Crazy Place and locate the purple Triangles on the close to the portal.
For us, only the lower Triangles matter
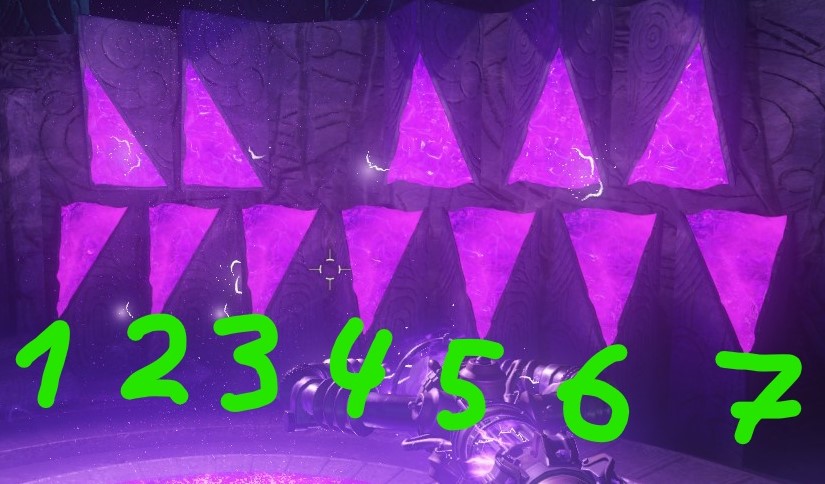
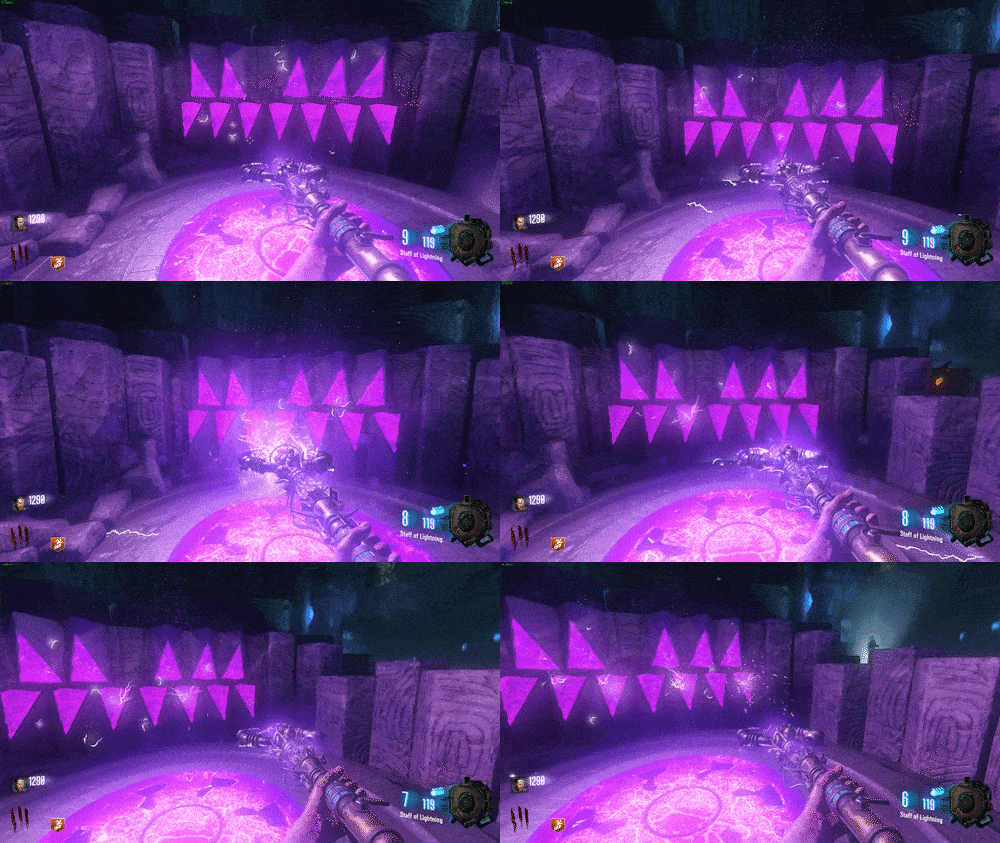
Shoot the following 3 number sequences
1,3,6 | 3,5,7 | 2,4,6
you should hear a sound if it worked
Note: you will not get a command prompt telling you can do an action
One is in the spawn Room in front of the stairs leading to Generator 1 turn this one LEFT
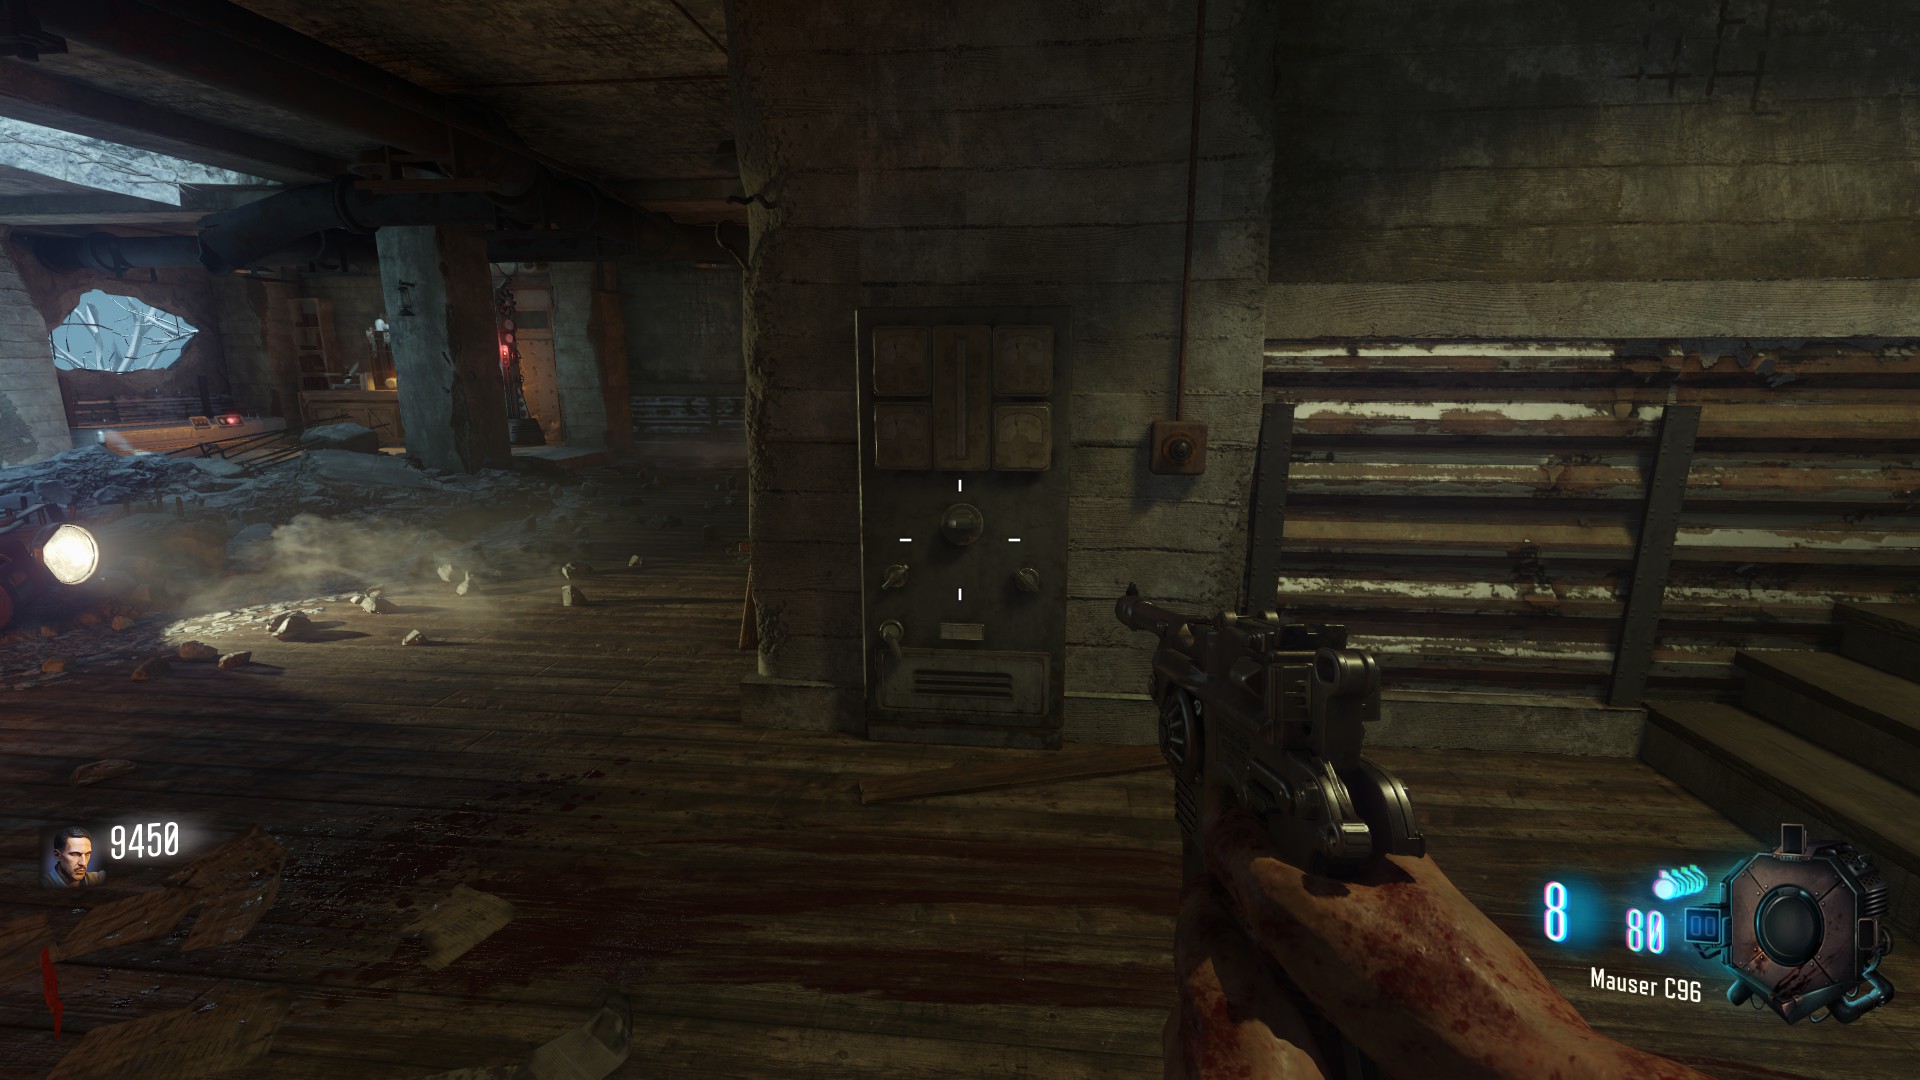
One is in the Generator 2 Building next to the exit to the tank path turn this one DOWN
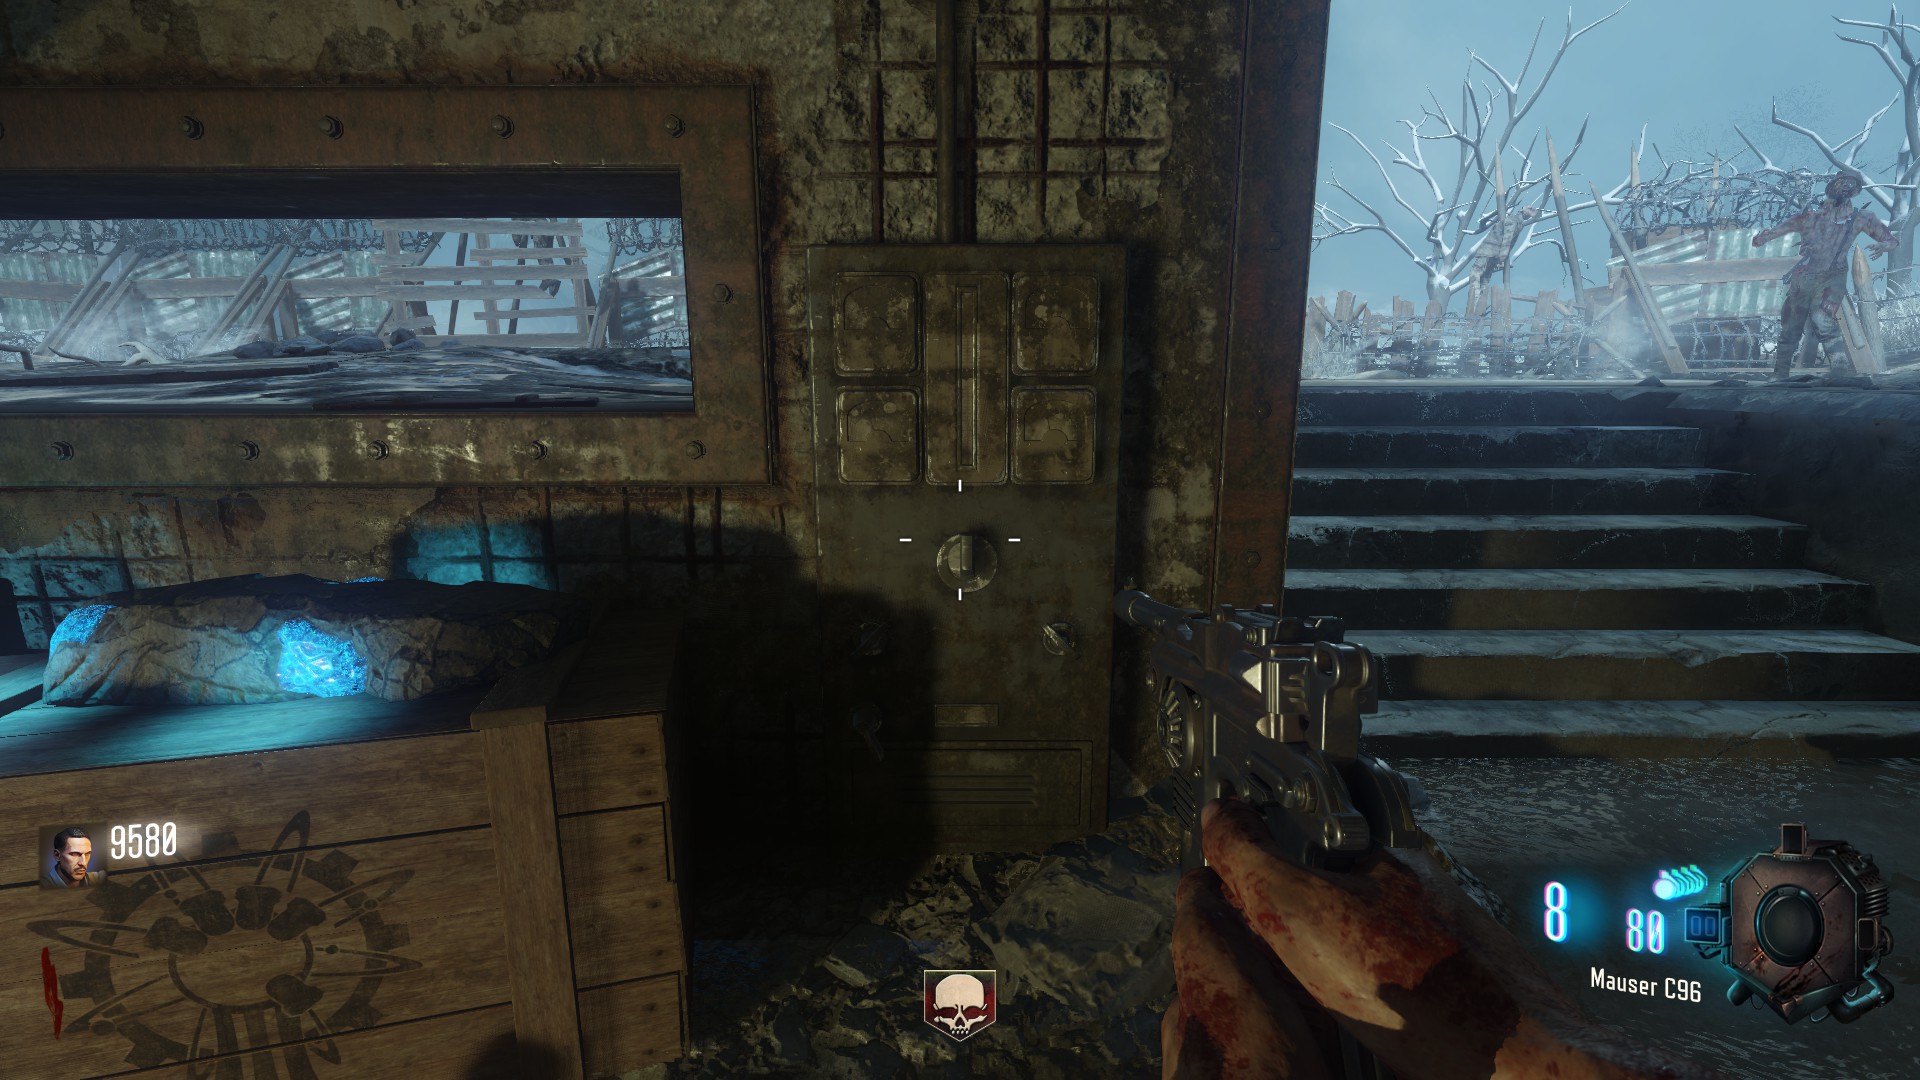
One is at Generator 4 if you stand in frond of the wind tunnel entrance next to it to the right, turn this one UP
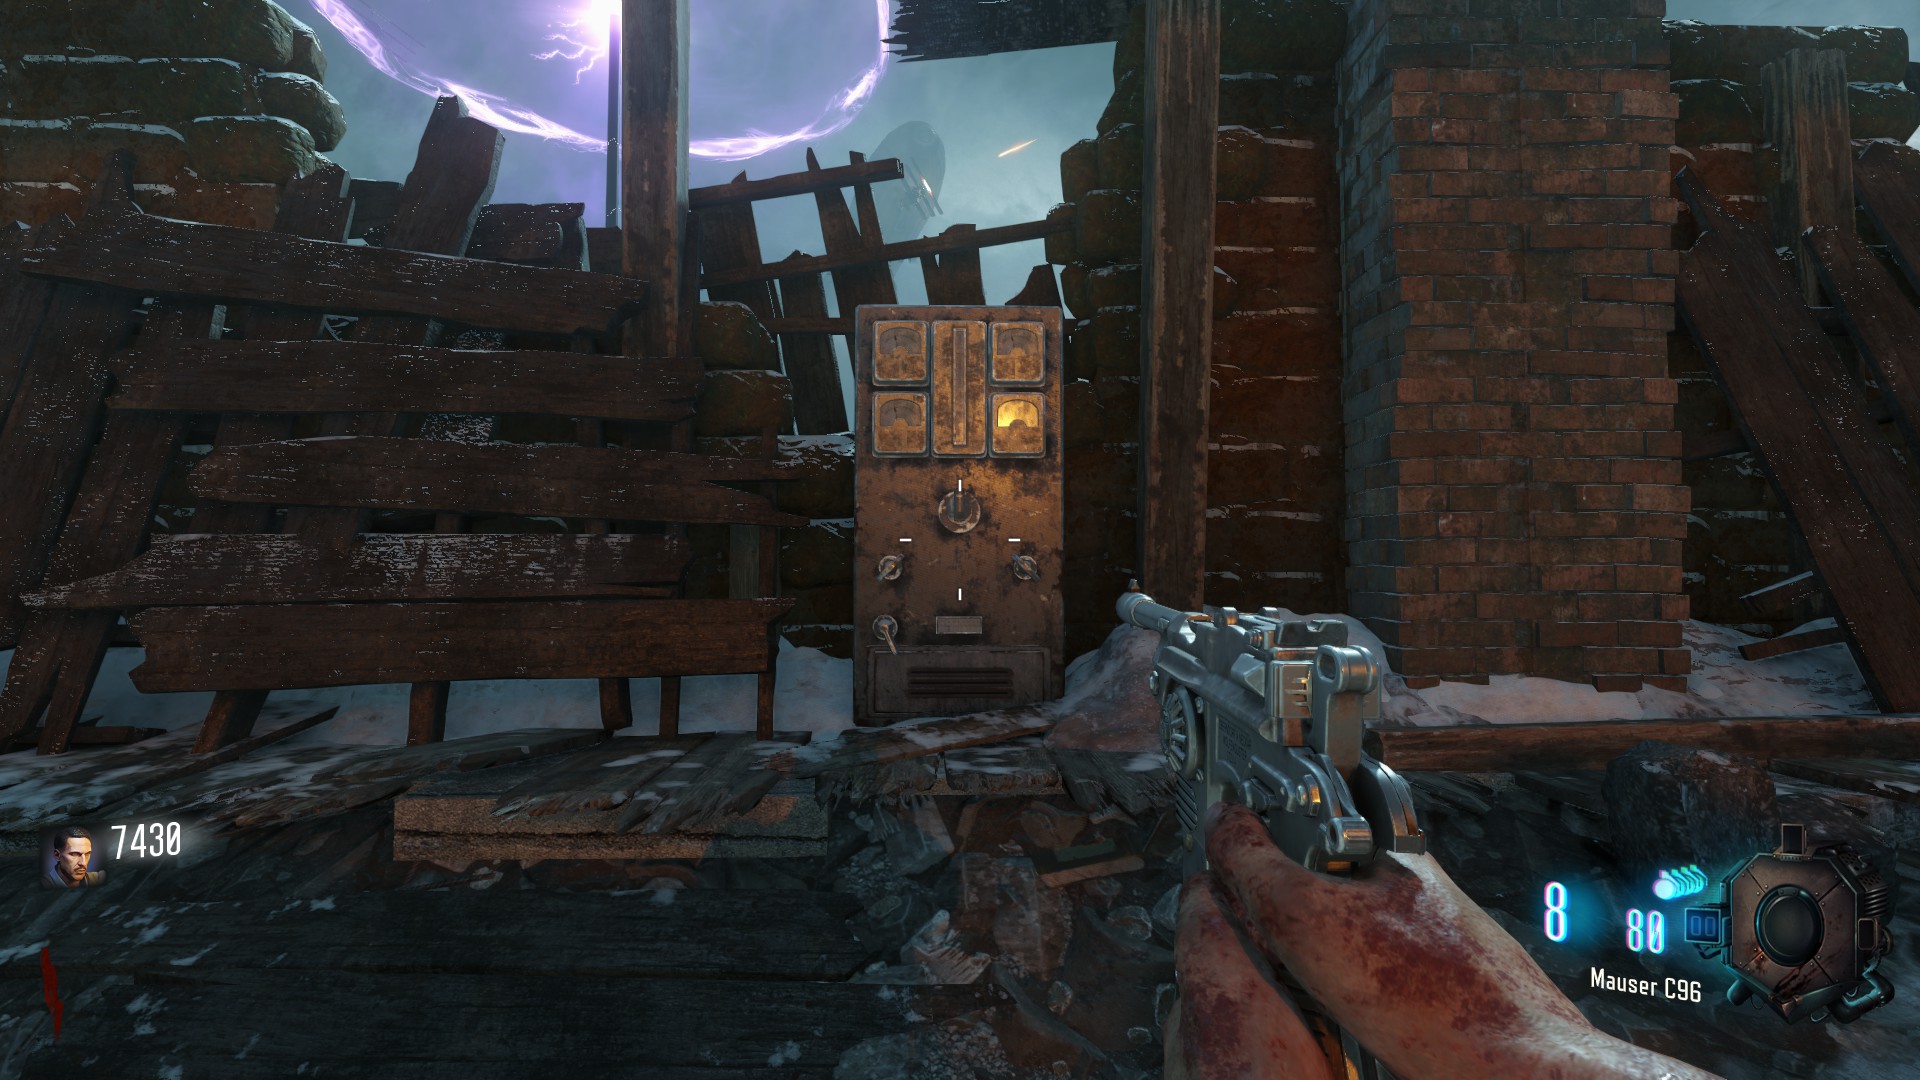
One is in the trench behind 'Pack a Punch' tun this one UP
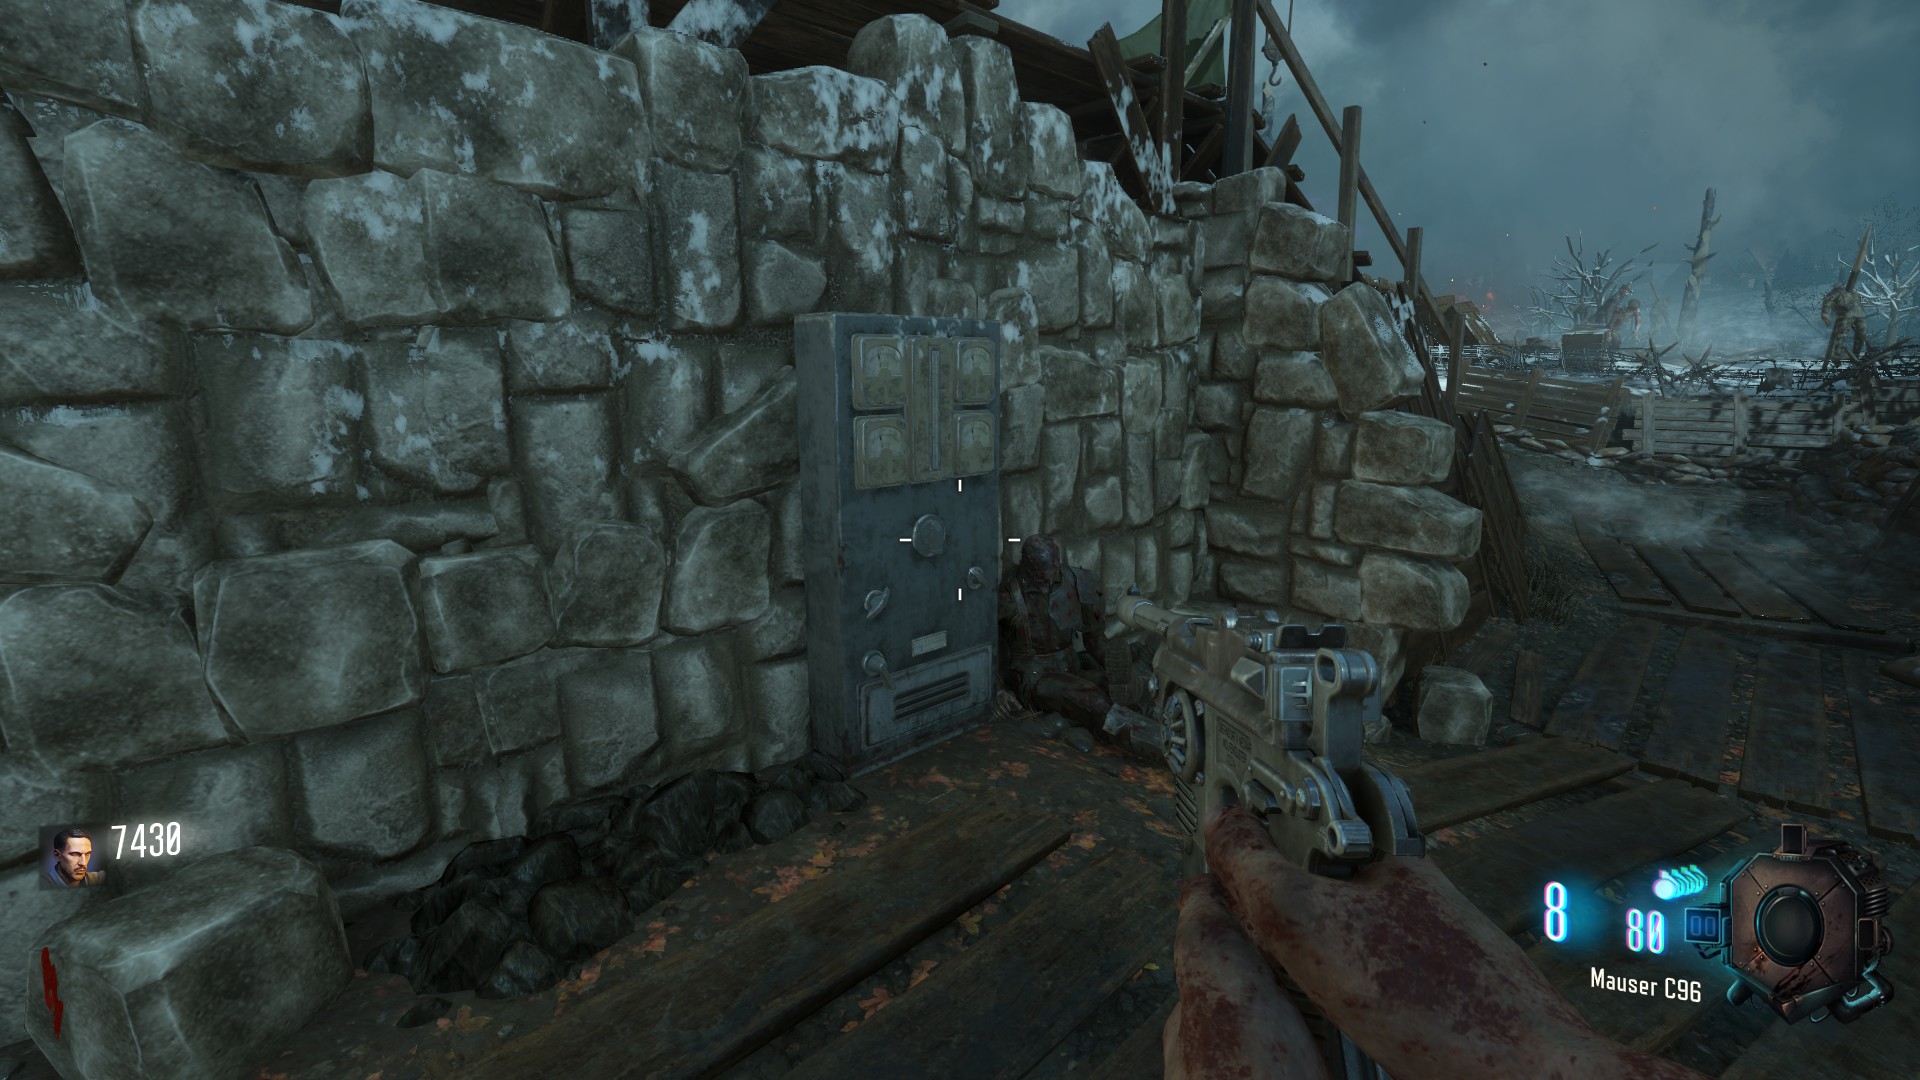
One is In the Church Downstairs behind the wooden stairs, turn this one RIGHT
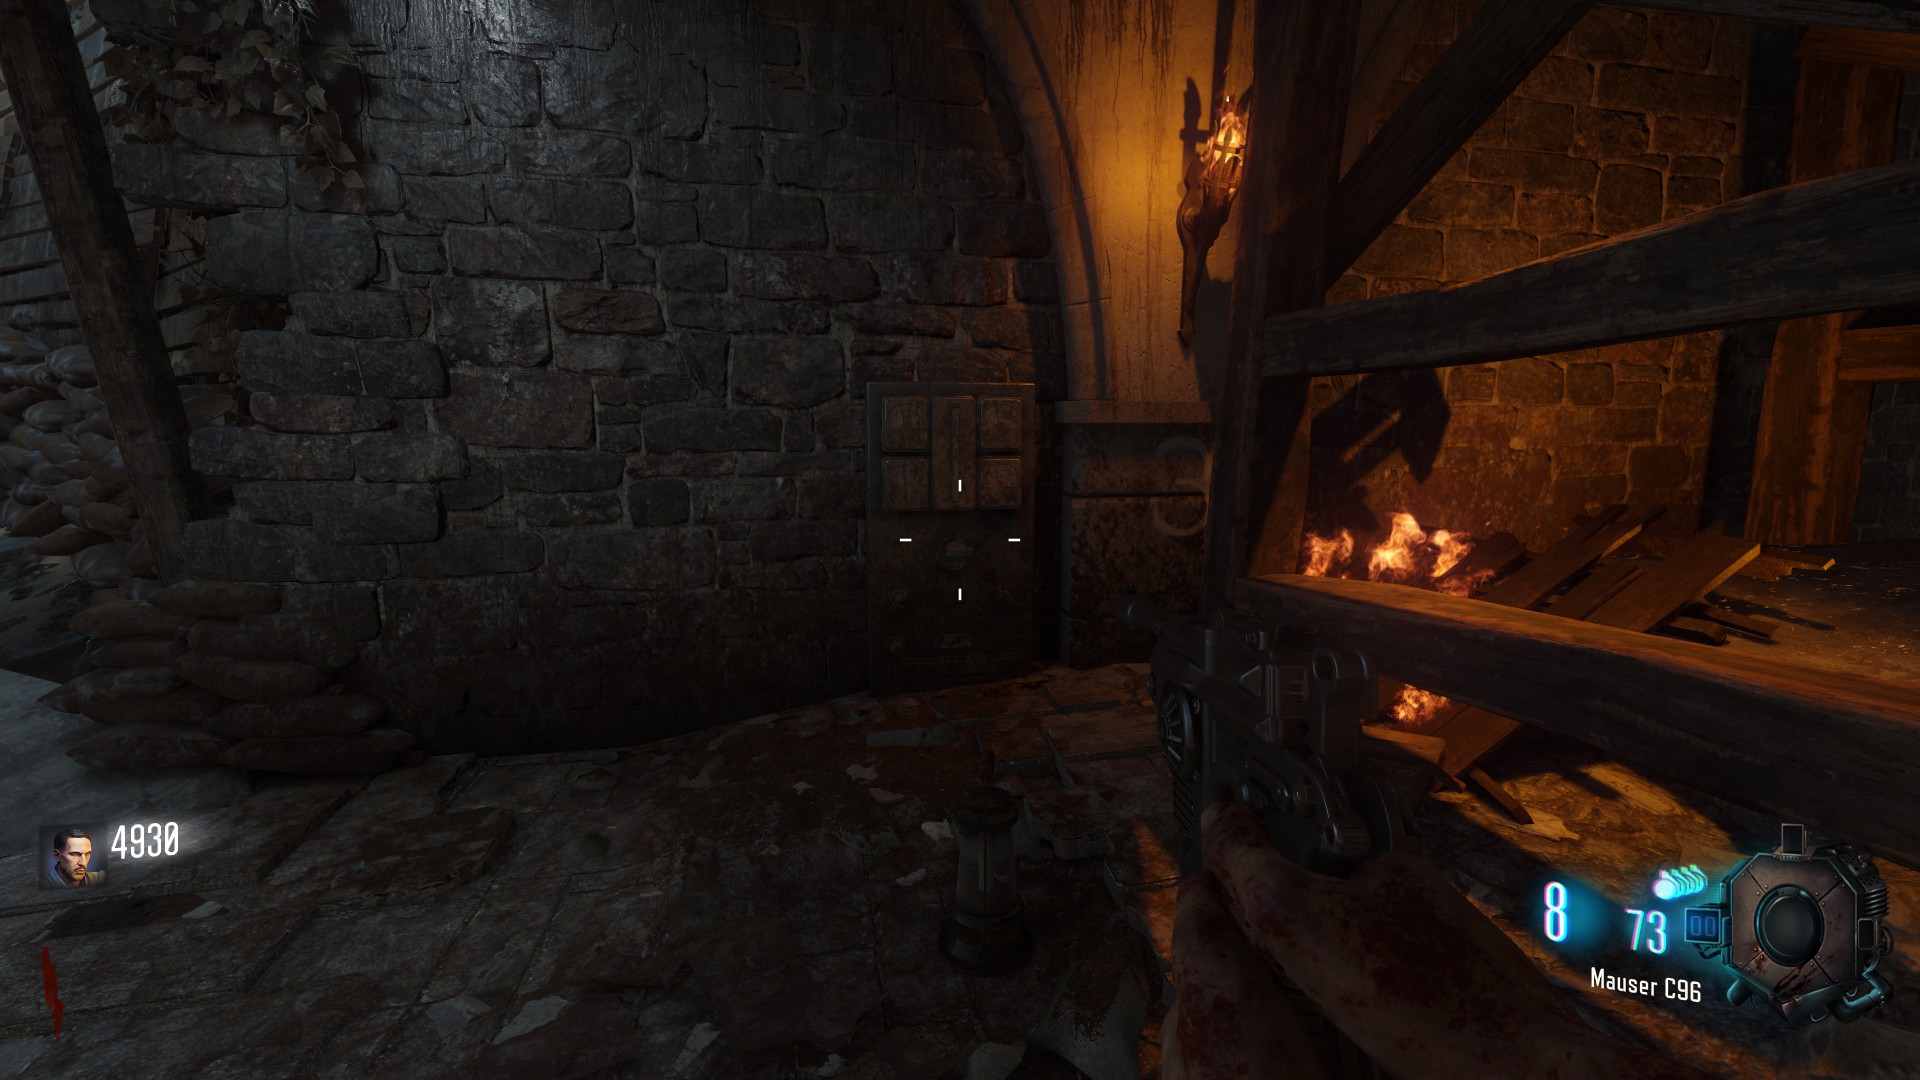
One is In the Church Upstairs at the back wall, turn this one UP
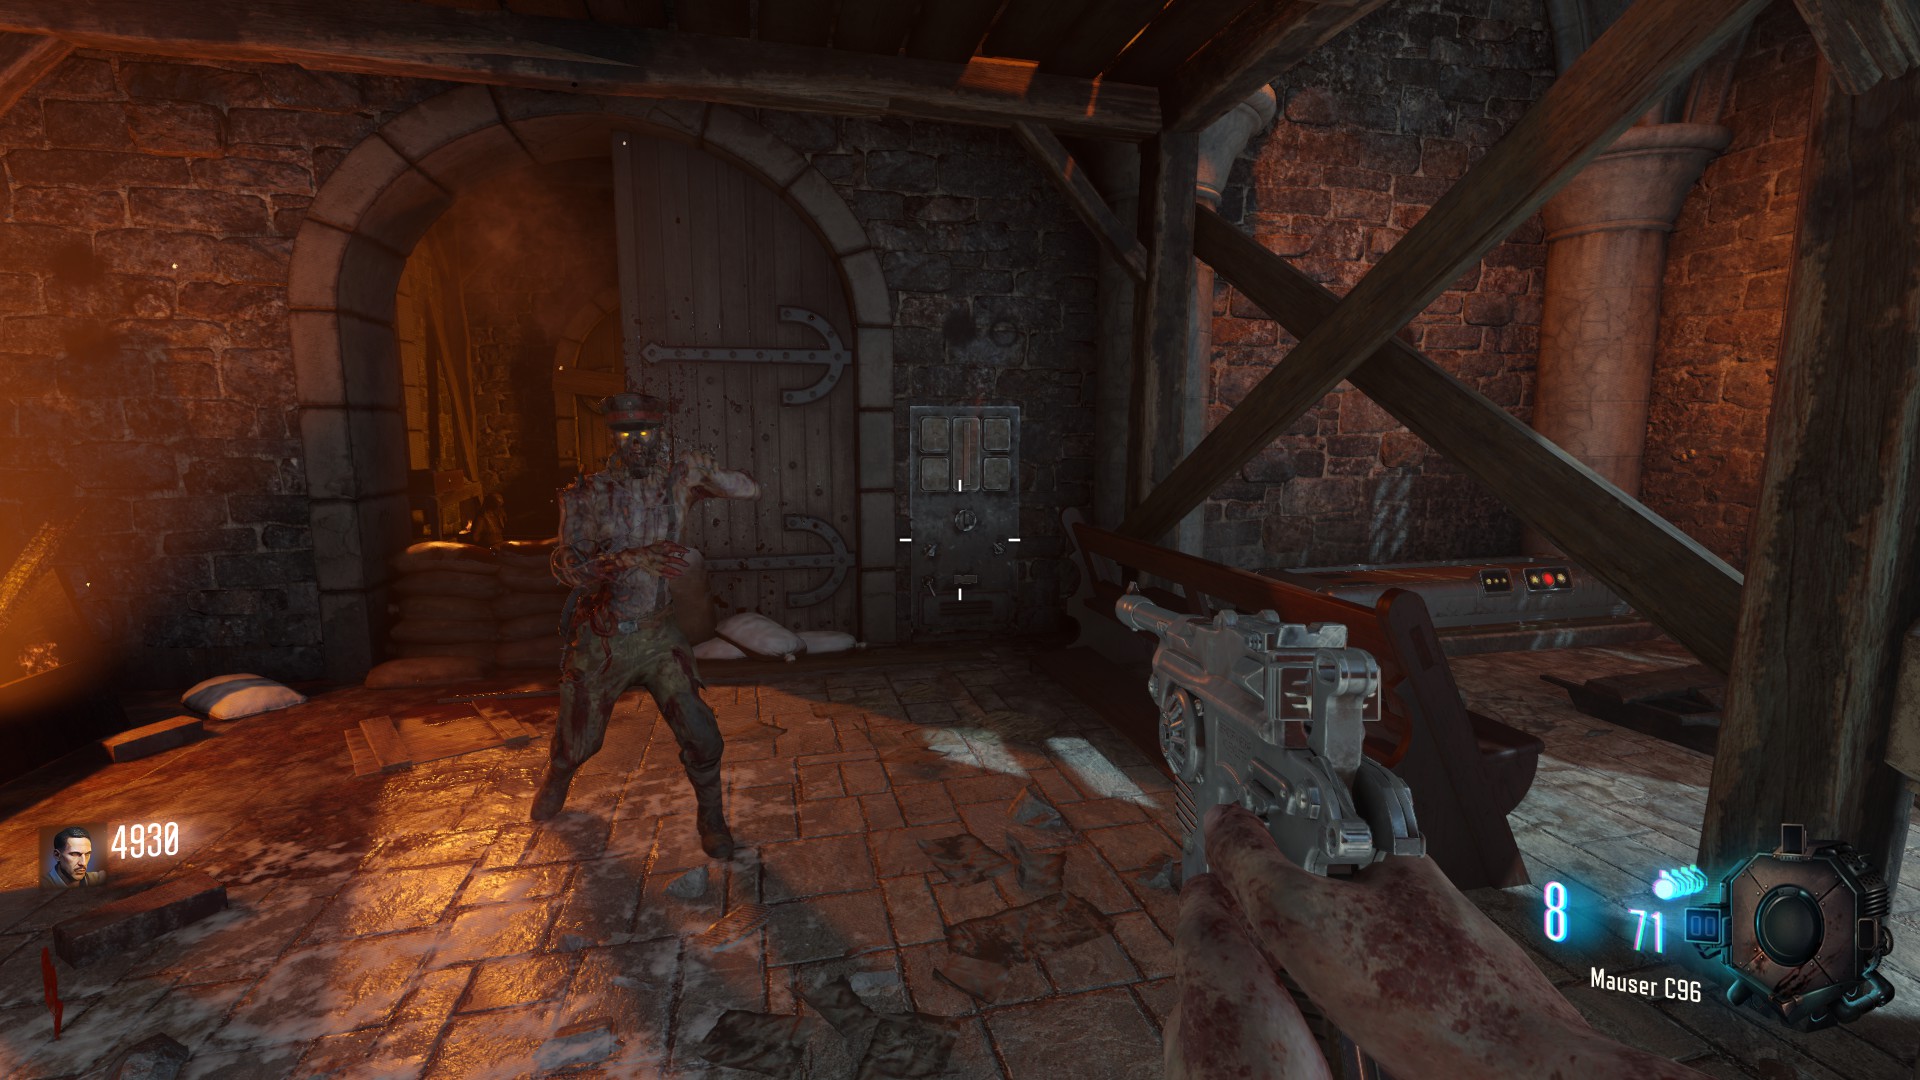
one is at Generator 5 opposite of Stamin Up tun this one DOWN
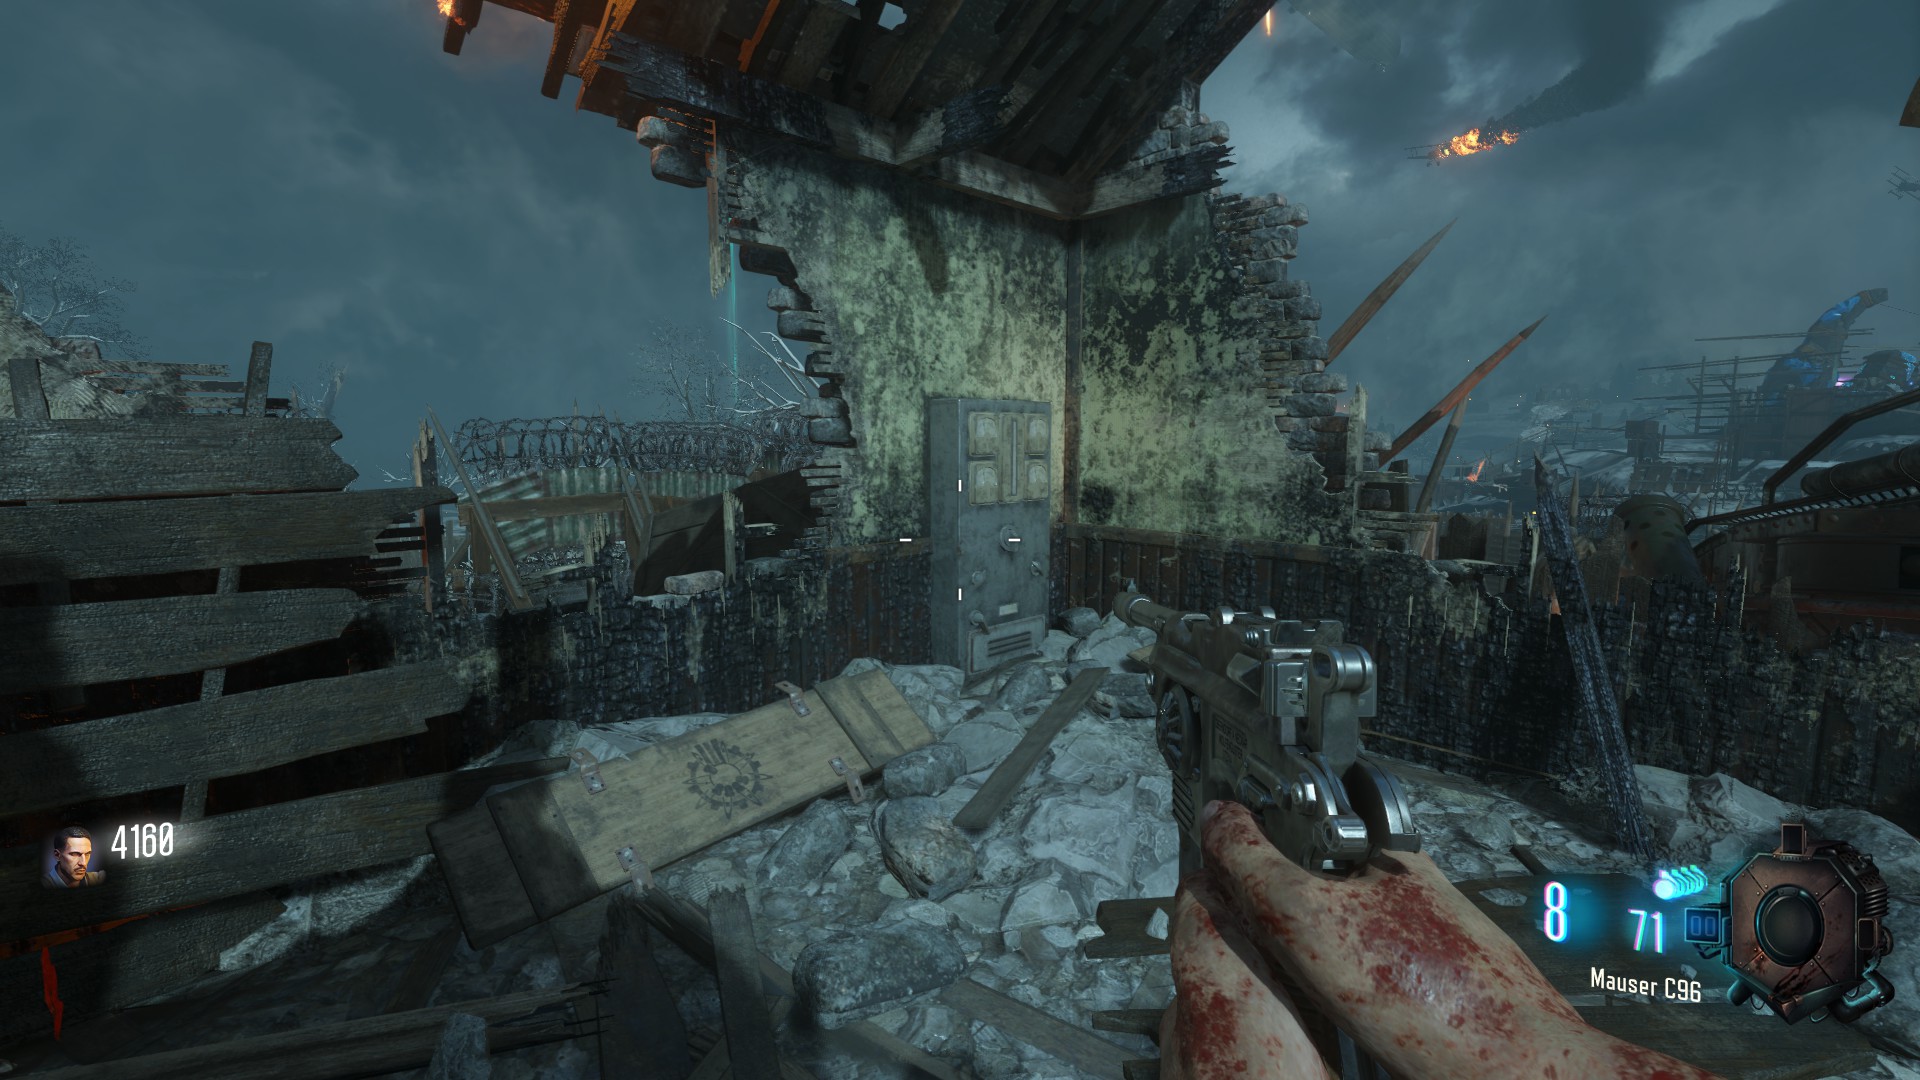
Now a Beam will appear over 'Pack a Punch'
go there and Turn all Colors on the rings to Purple using the levers
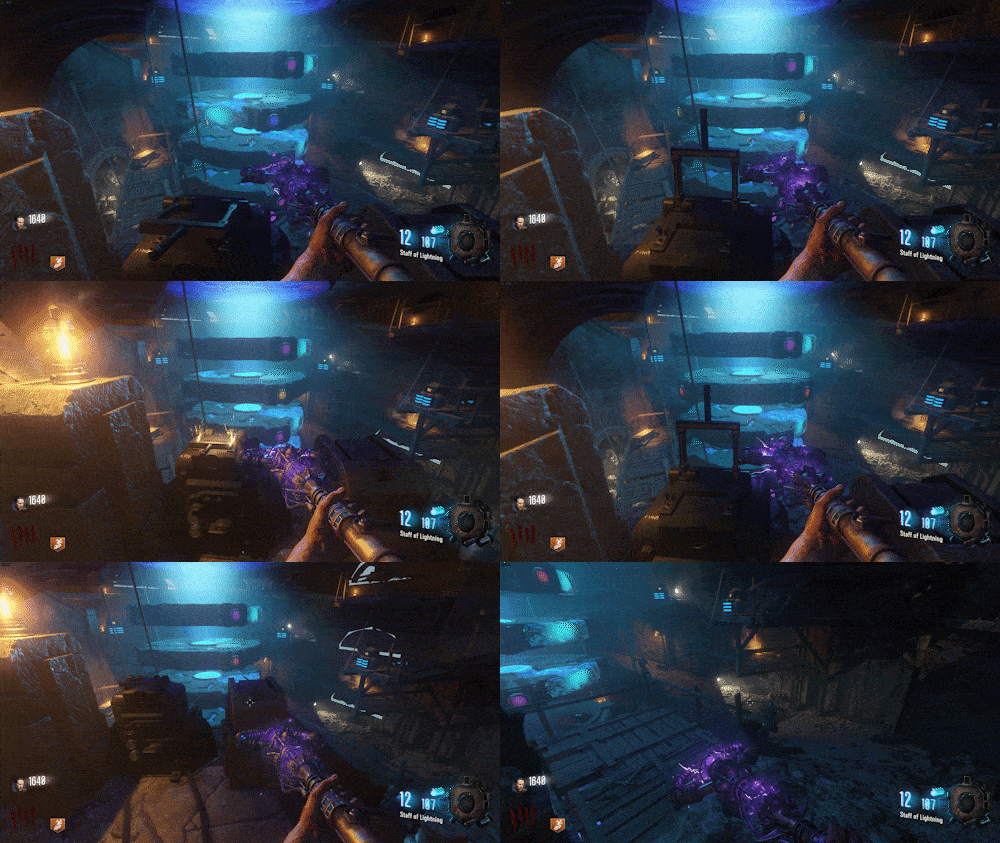
Done with that, go underneath the rings and shoot the purple ball, it should fly away after a short while
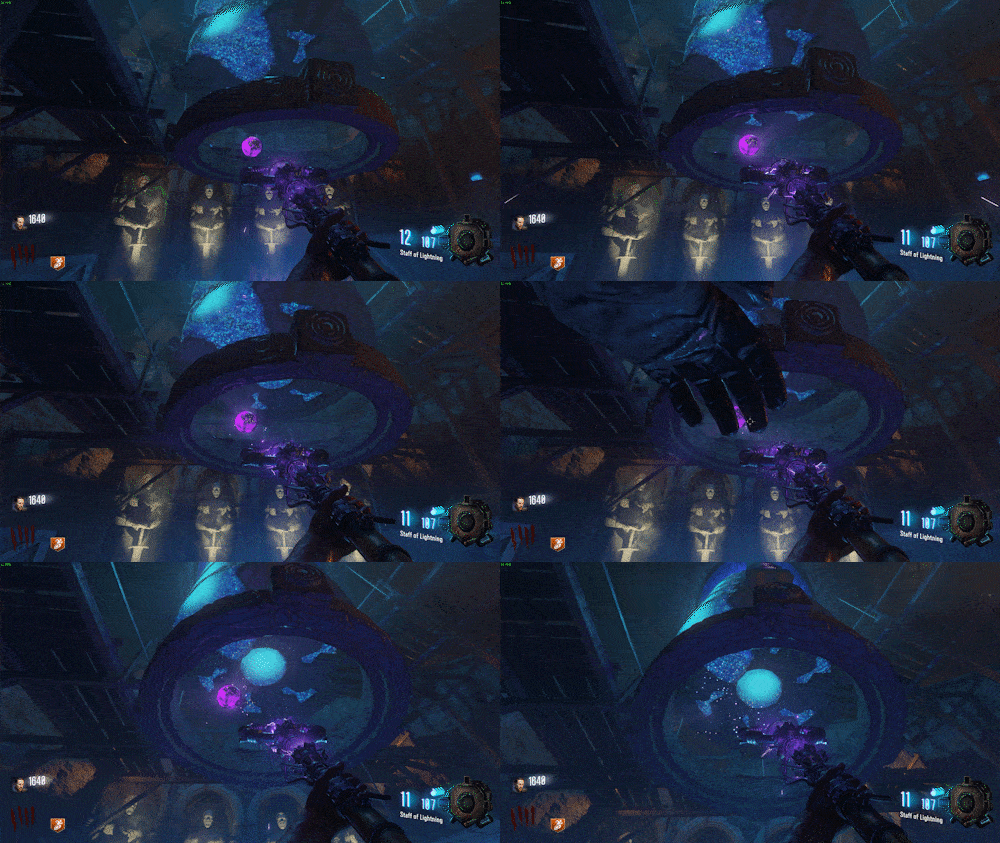
Now go back to the Crazy Place and place your Staff in the artifact and collect ~20 souls
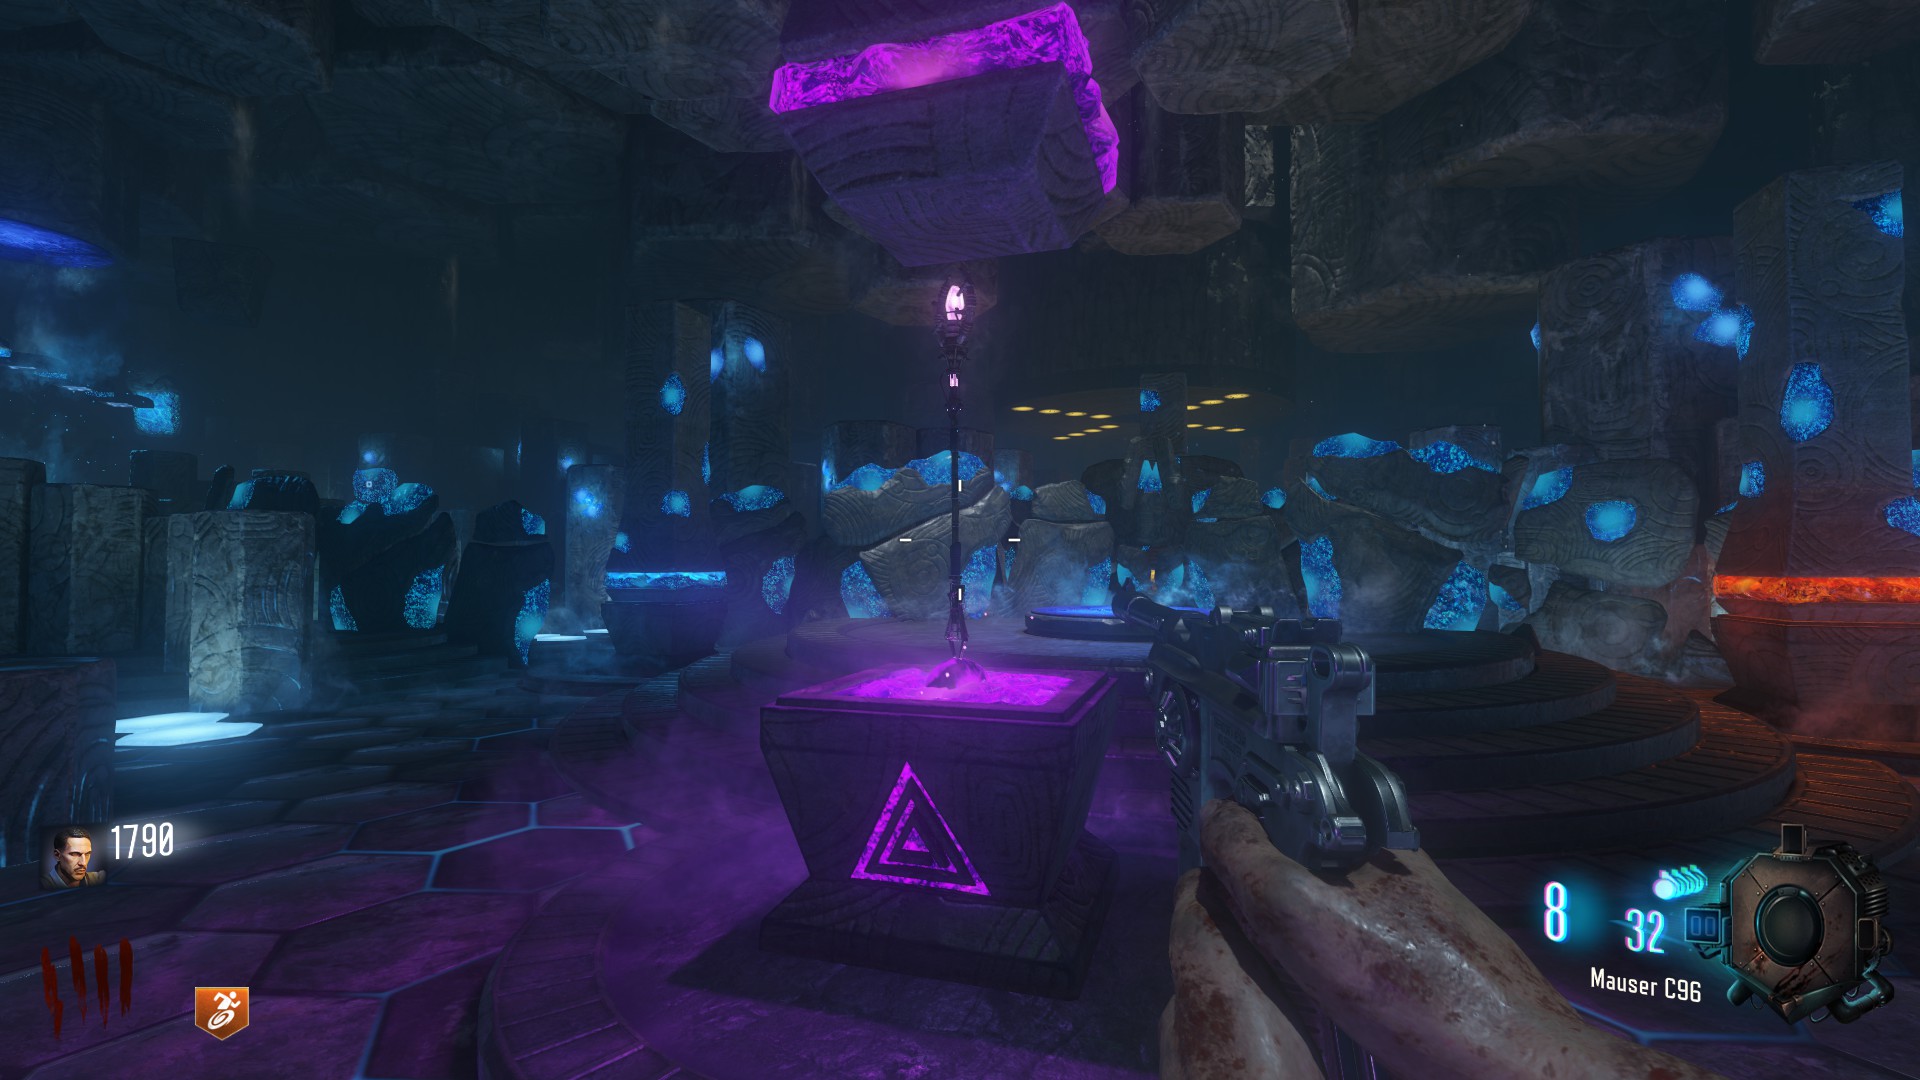
Enjoy your Upgraded Staff
For us, only the lower Triangles matter
Shoot the following 3 number sequences
1,3,6 | 3,5,7 | 2,4,6
you should hear a sound if it worked
Breaker Boxes
Now you need to find Breaker Boxes or Switch Boxes on the map and turning the Switch, so it doesn't spark anymoreNote: you will not get a command prompt telling you can do an action
One is in the spawn Room in front of the stairs leading to Generator 1 turn this one LEFT
One is in the Generator 2 Building next to the exit to the tank path turn this one DOWN
One is at Generator 4 if you stand in frond of the wind tunnel entrance next to it to the right, turn this one UP
One is in the trench behind 'Pack a Punch' tun this one UP
One is In the Church Downstairs behind the wooden stairs, turn this one RIGHT
One is In the Church Upstairs at the back wall, turn this one UP
one is at Generator 5 opposite of Stamin Up tun this one DOWN
Now a Beam will appear over 'Pack a Punch'
go there and Turn all Colors on the rings to Purple using the levers
Done with that, go underneath the rings and shoot the purple ball, it should fly away after a short while
Now go back to the Crazy Place and place your Staff in the artifact and collect ~20 souls
Enjoy your Upgraded Staff
Wind Staff
Wind Record
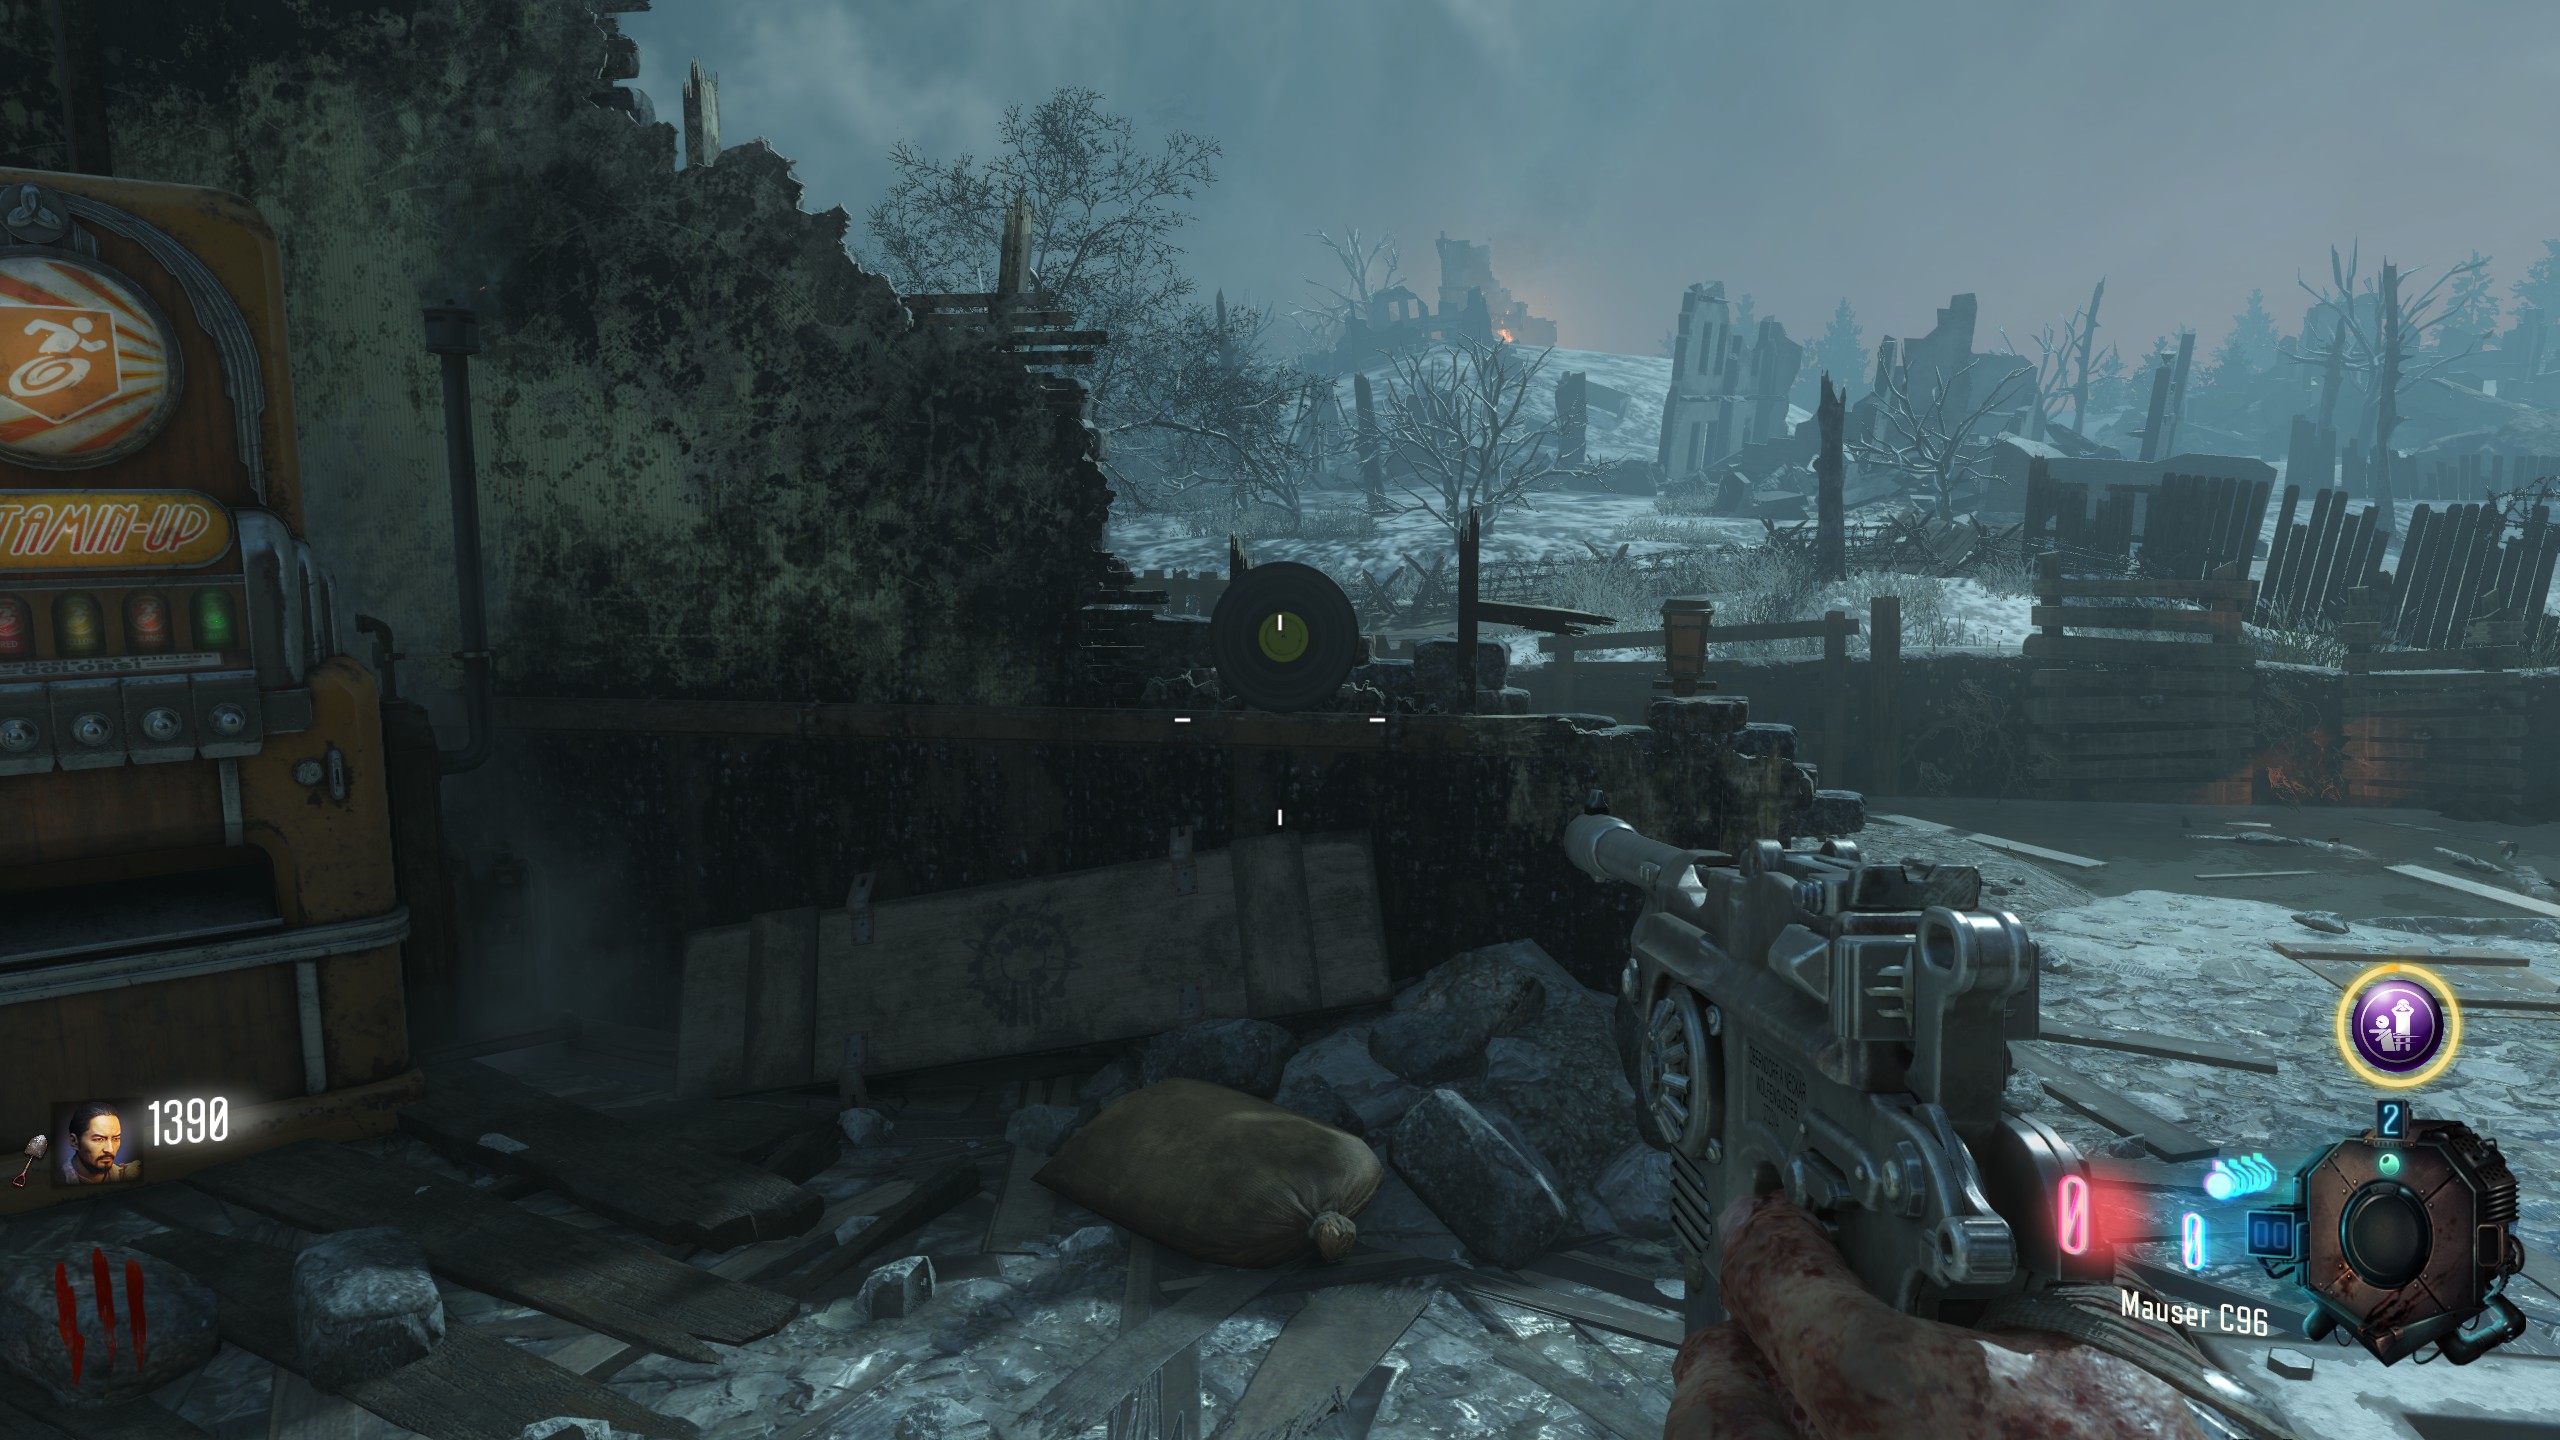
First you need the Wind Record it is located in the Generator 5 areaOne location could be inside the lightning tunnel (the one next to Generator 5) on a desk when you come in
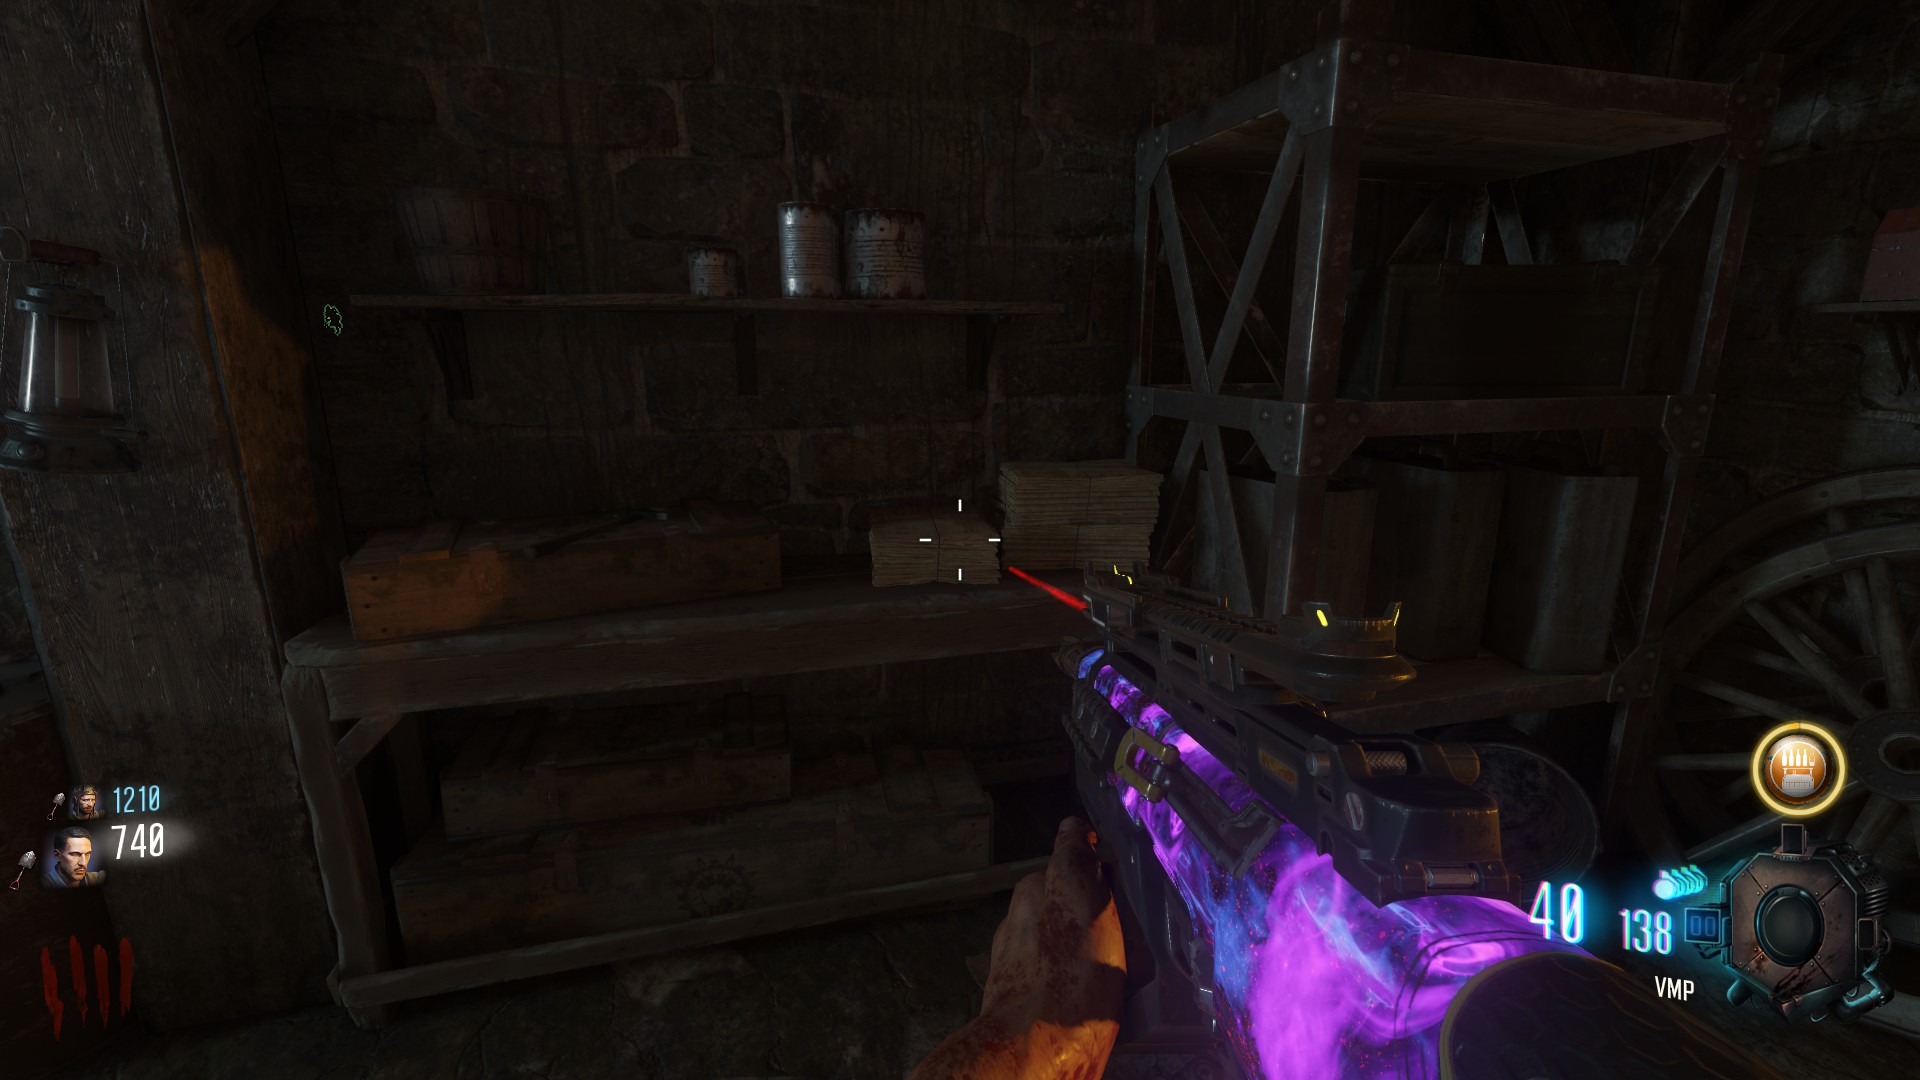
One location could be on a box just past the Lightning tunnel entrance
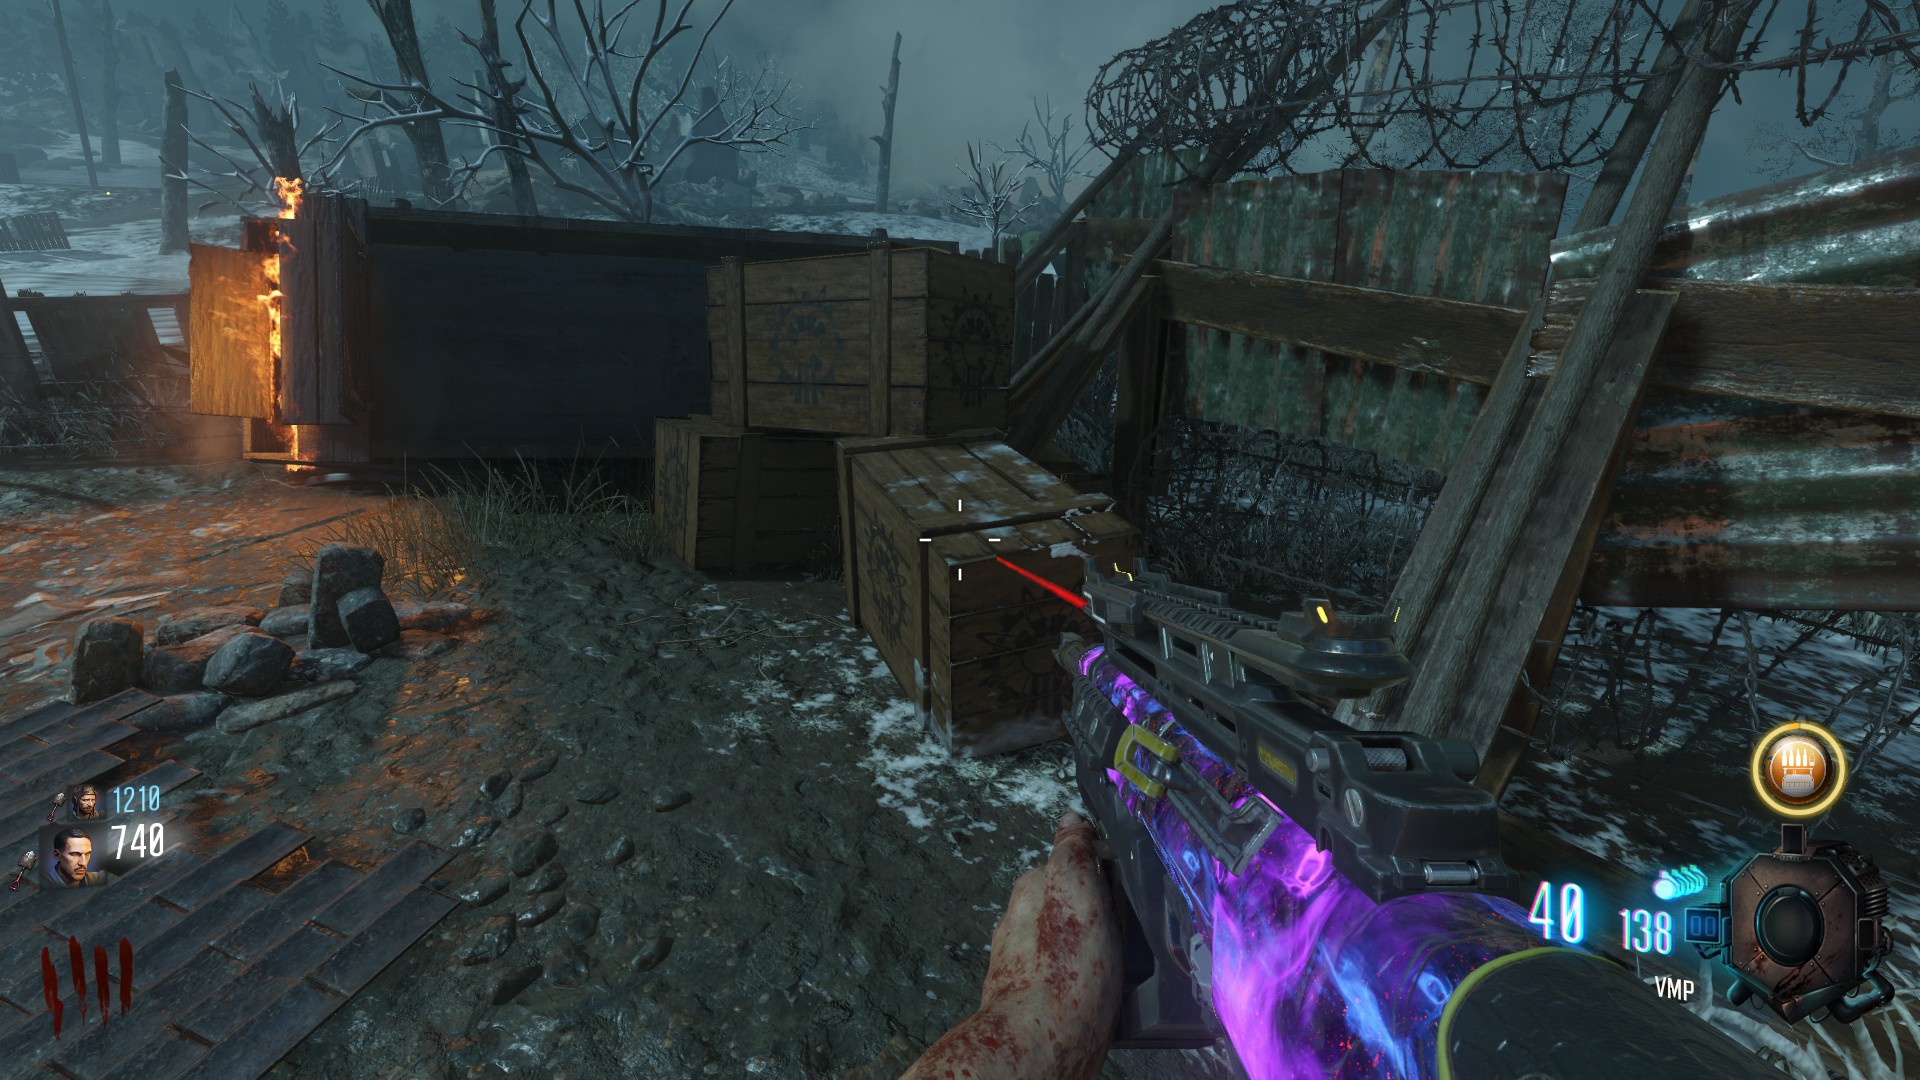
And the last location could be on a broken wall next to Stamin Up
Staff Parts
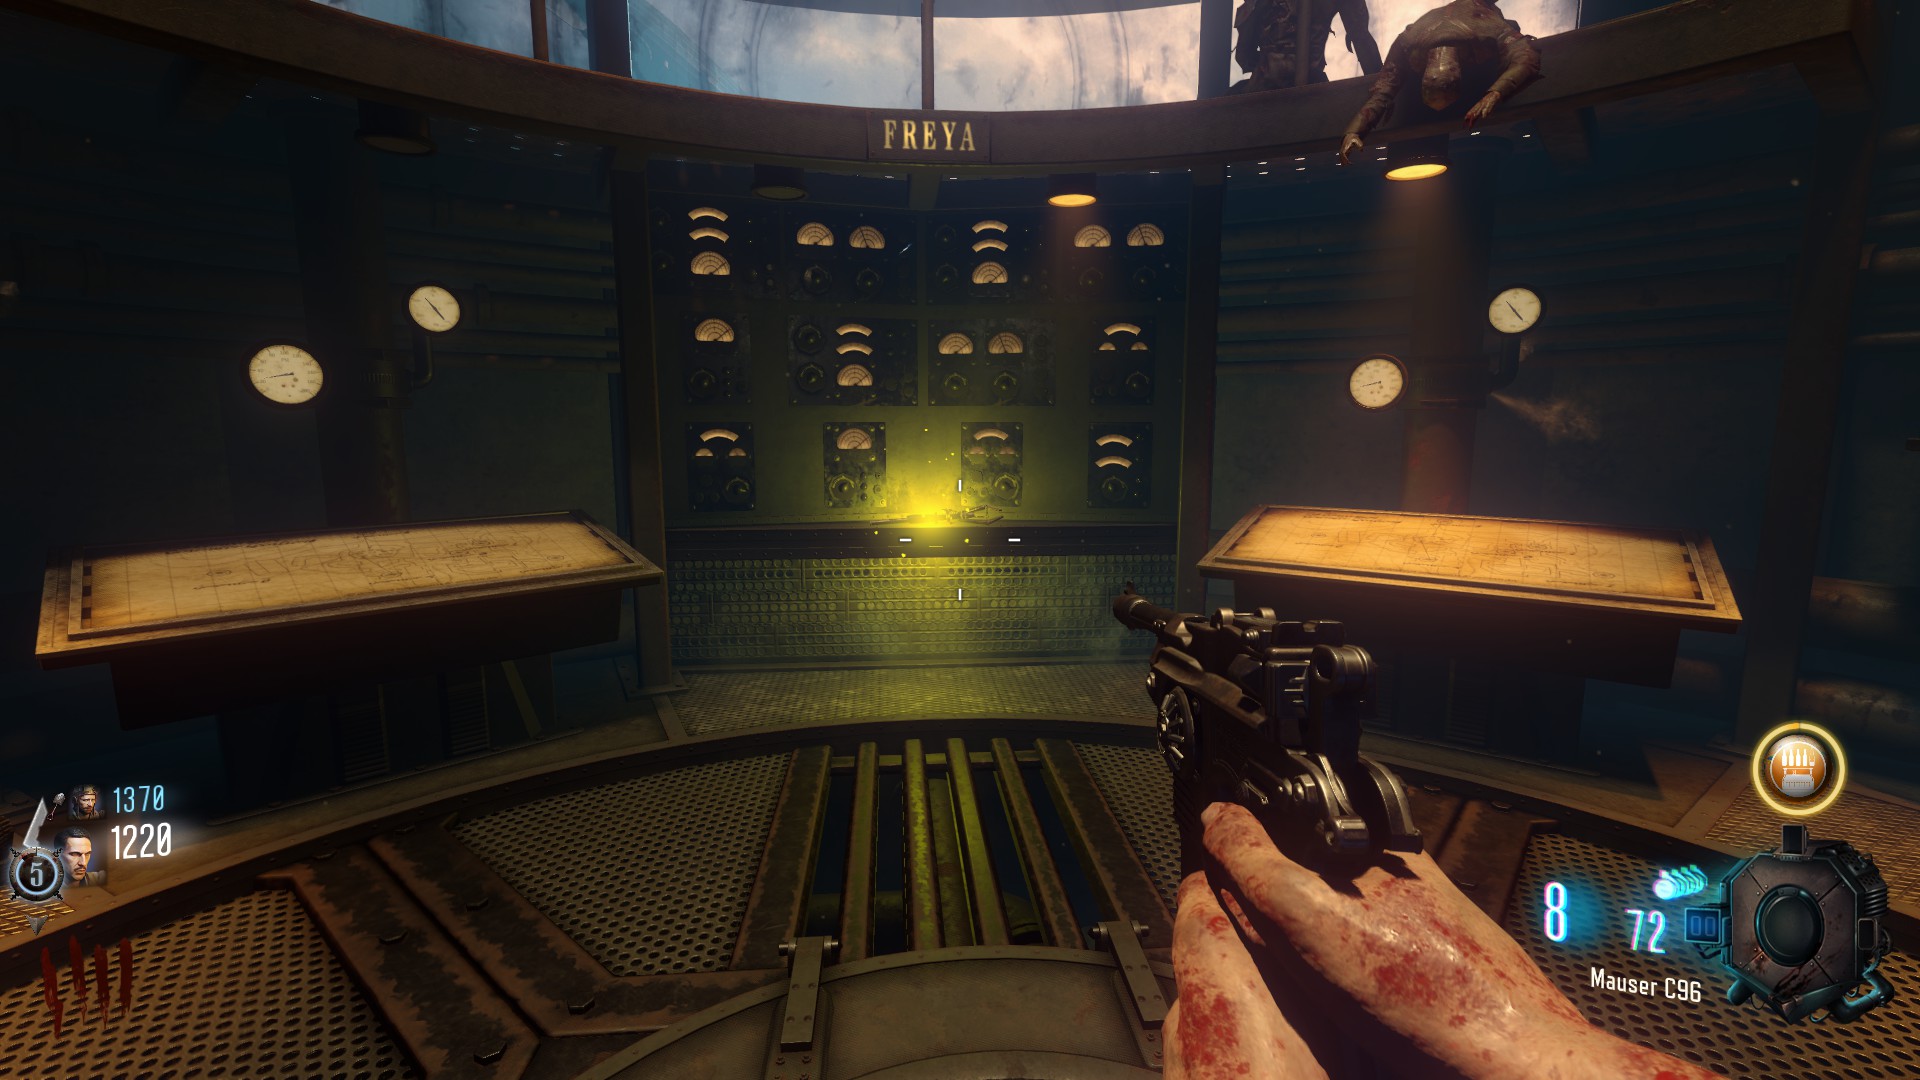
All Staff Parts are located in the Giants, in which order you do these doesn't matter, what matters though is how to get in.Each Giant only lets you in from one foot, to enter you have to shoot the correct foot while standing in its path.
LOOK FOR THE YELLOW LIGHTS ON THE BOTTOM OF THE FOOT
IF ALL THREE ARE COMING, DON'T TRY TO GO INSIDE A GIANT
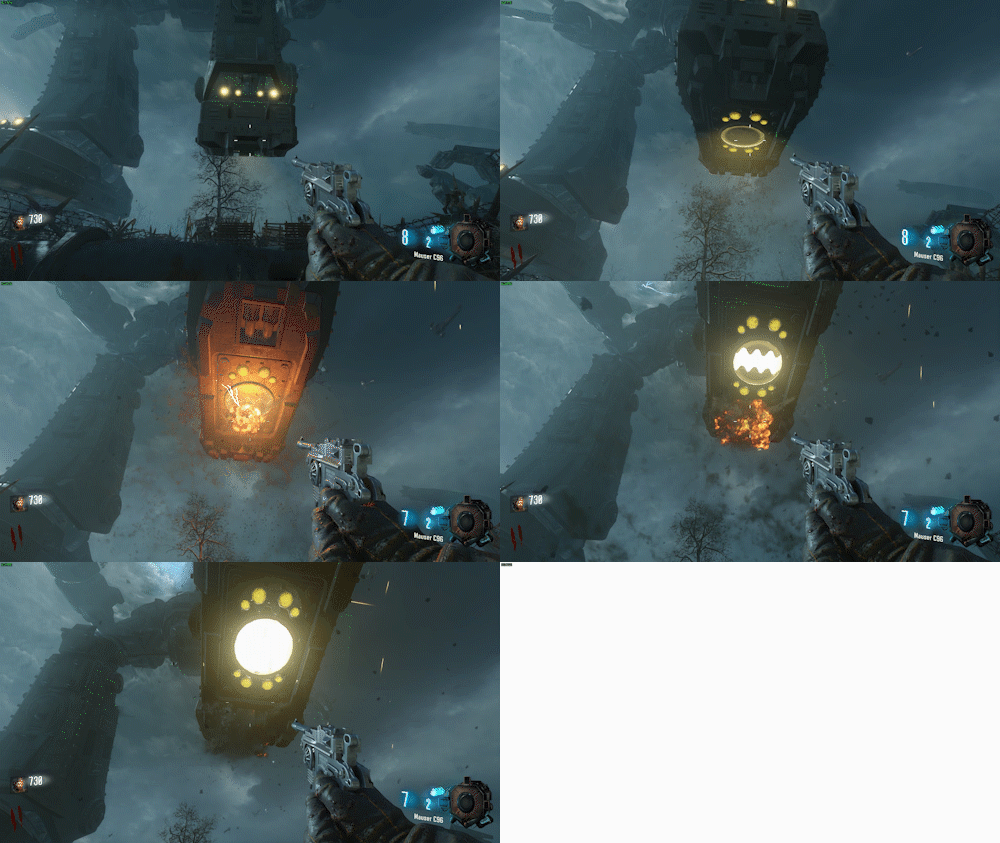
one part is located inside Thor (the right most Giant when they come towards you)
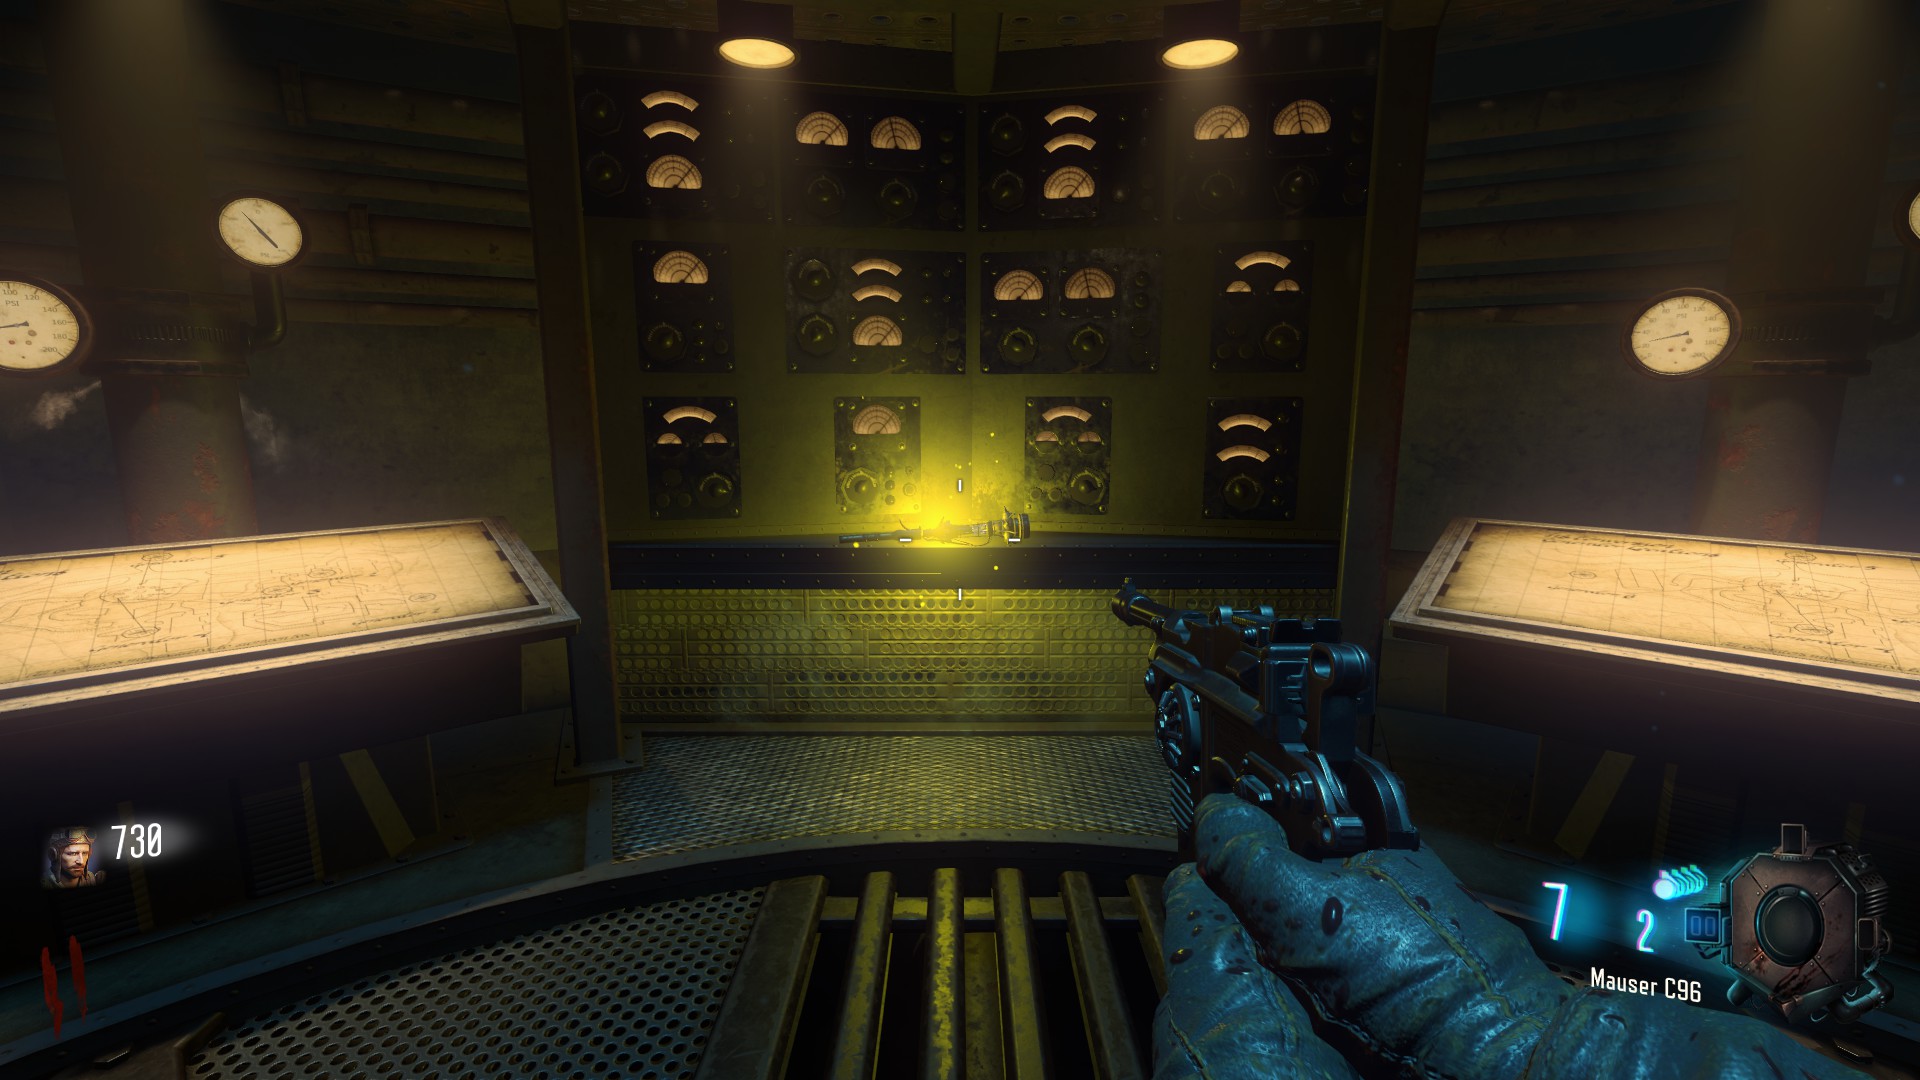
one part is located inside Odin (the Giant in the middle)
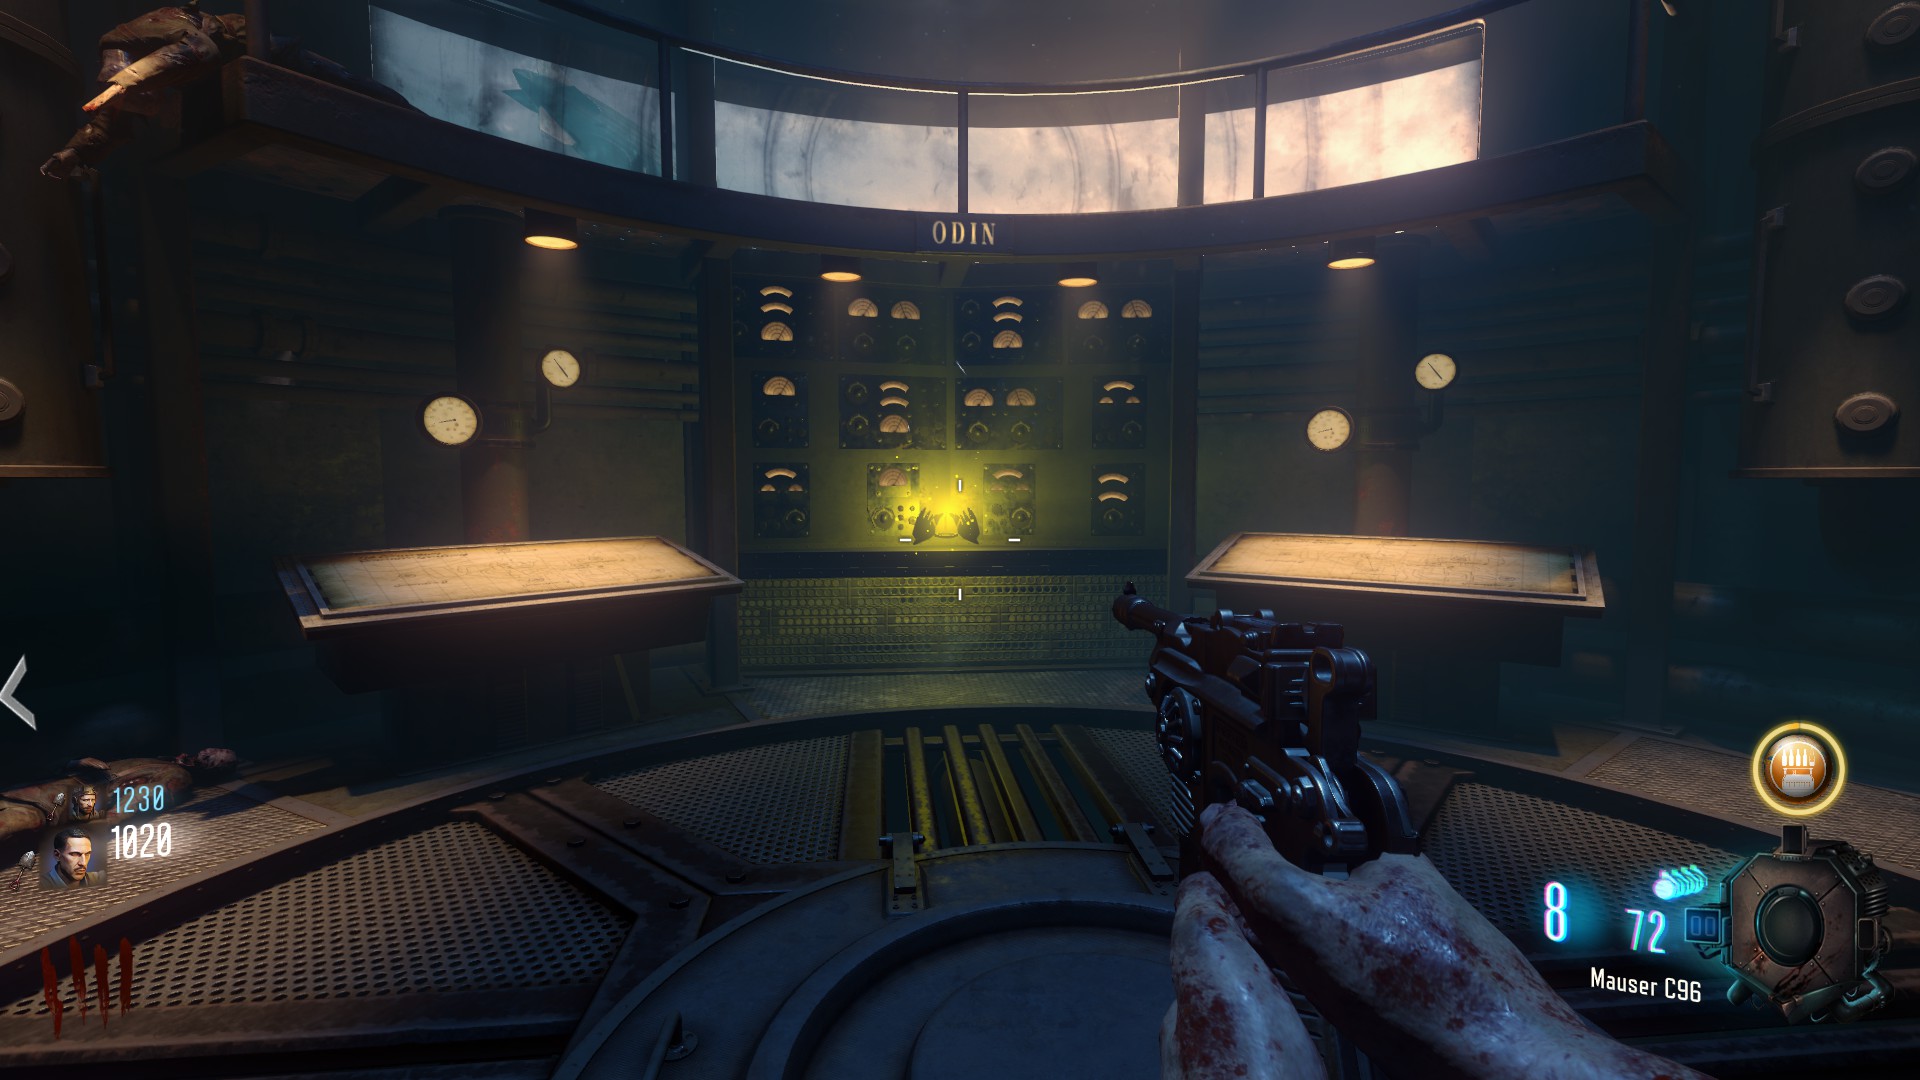
and one part is located in Freyr (the left most Giant when they come towards you)
Gramophone
for the Gem you also need the Gramophone which found under 'Pack a Punch' next to two chestsWith the Gramophone and the Yellow Record, go to the cave near Generator 4
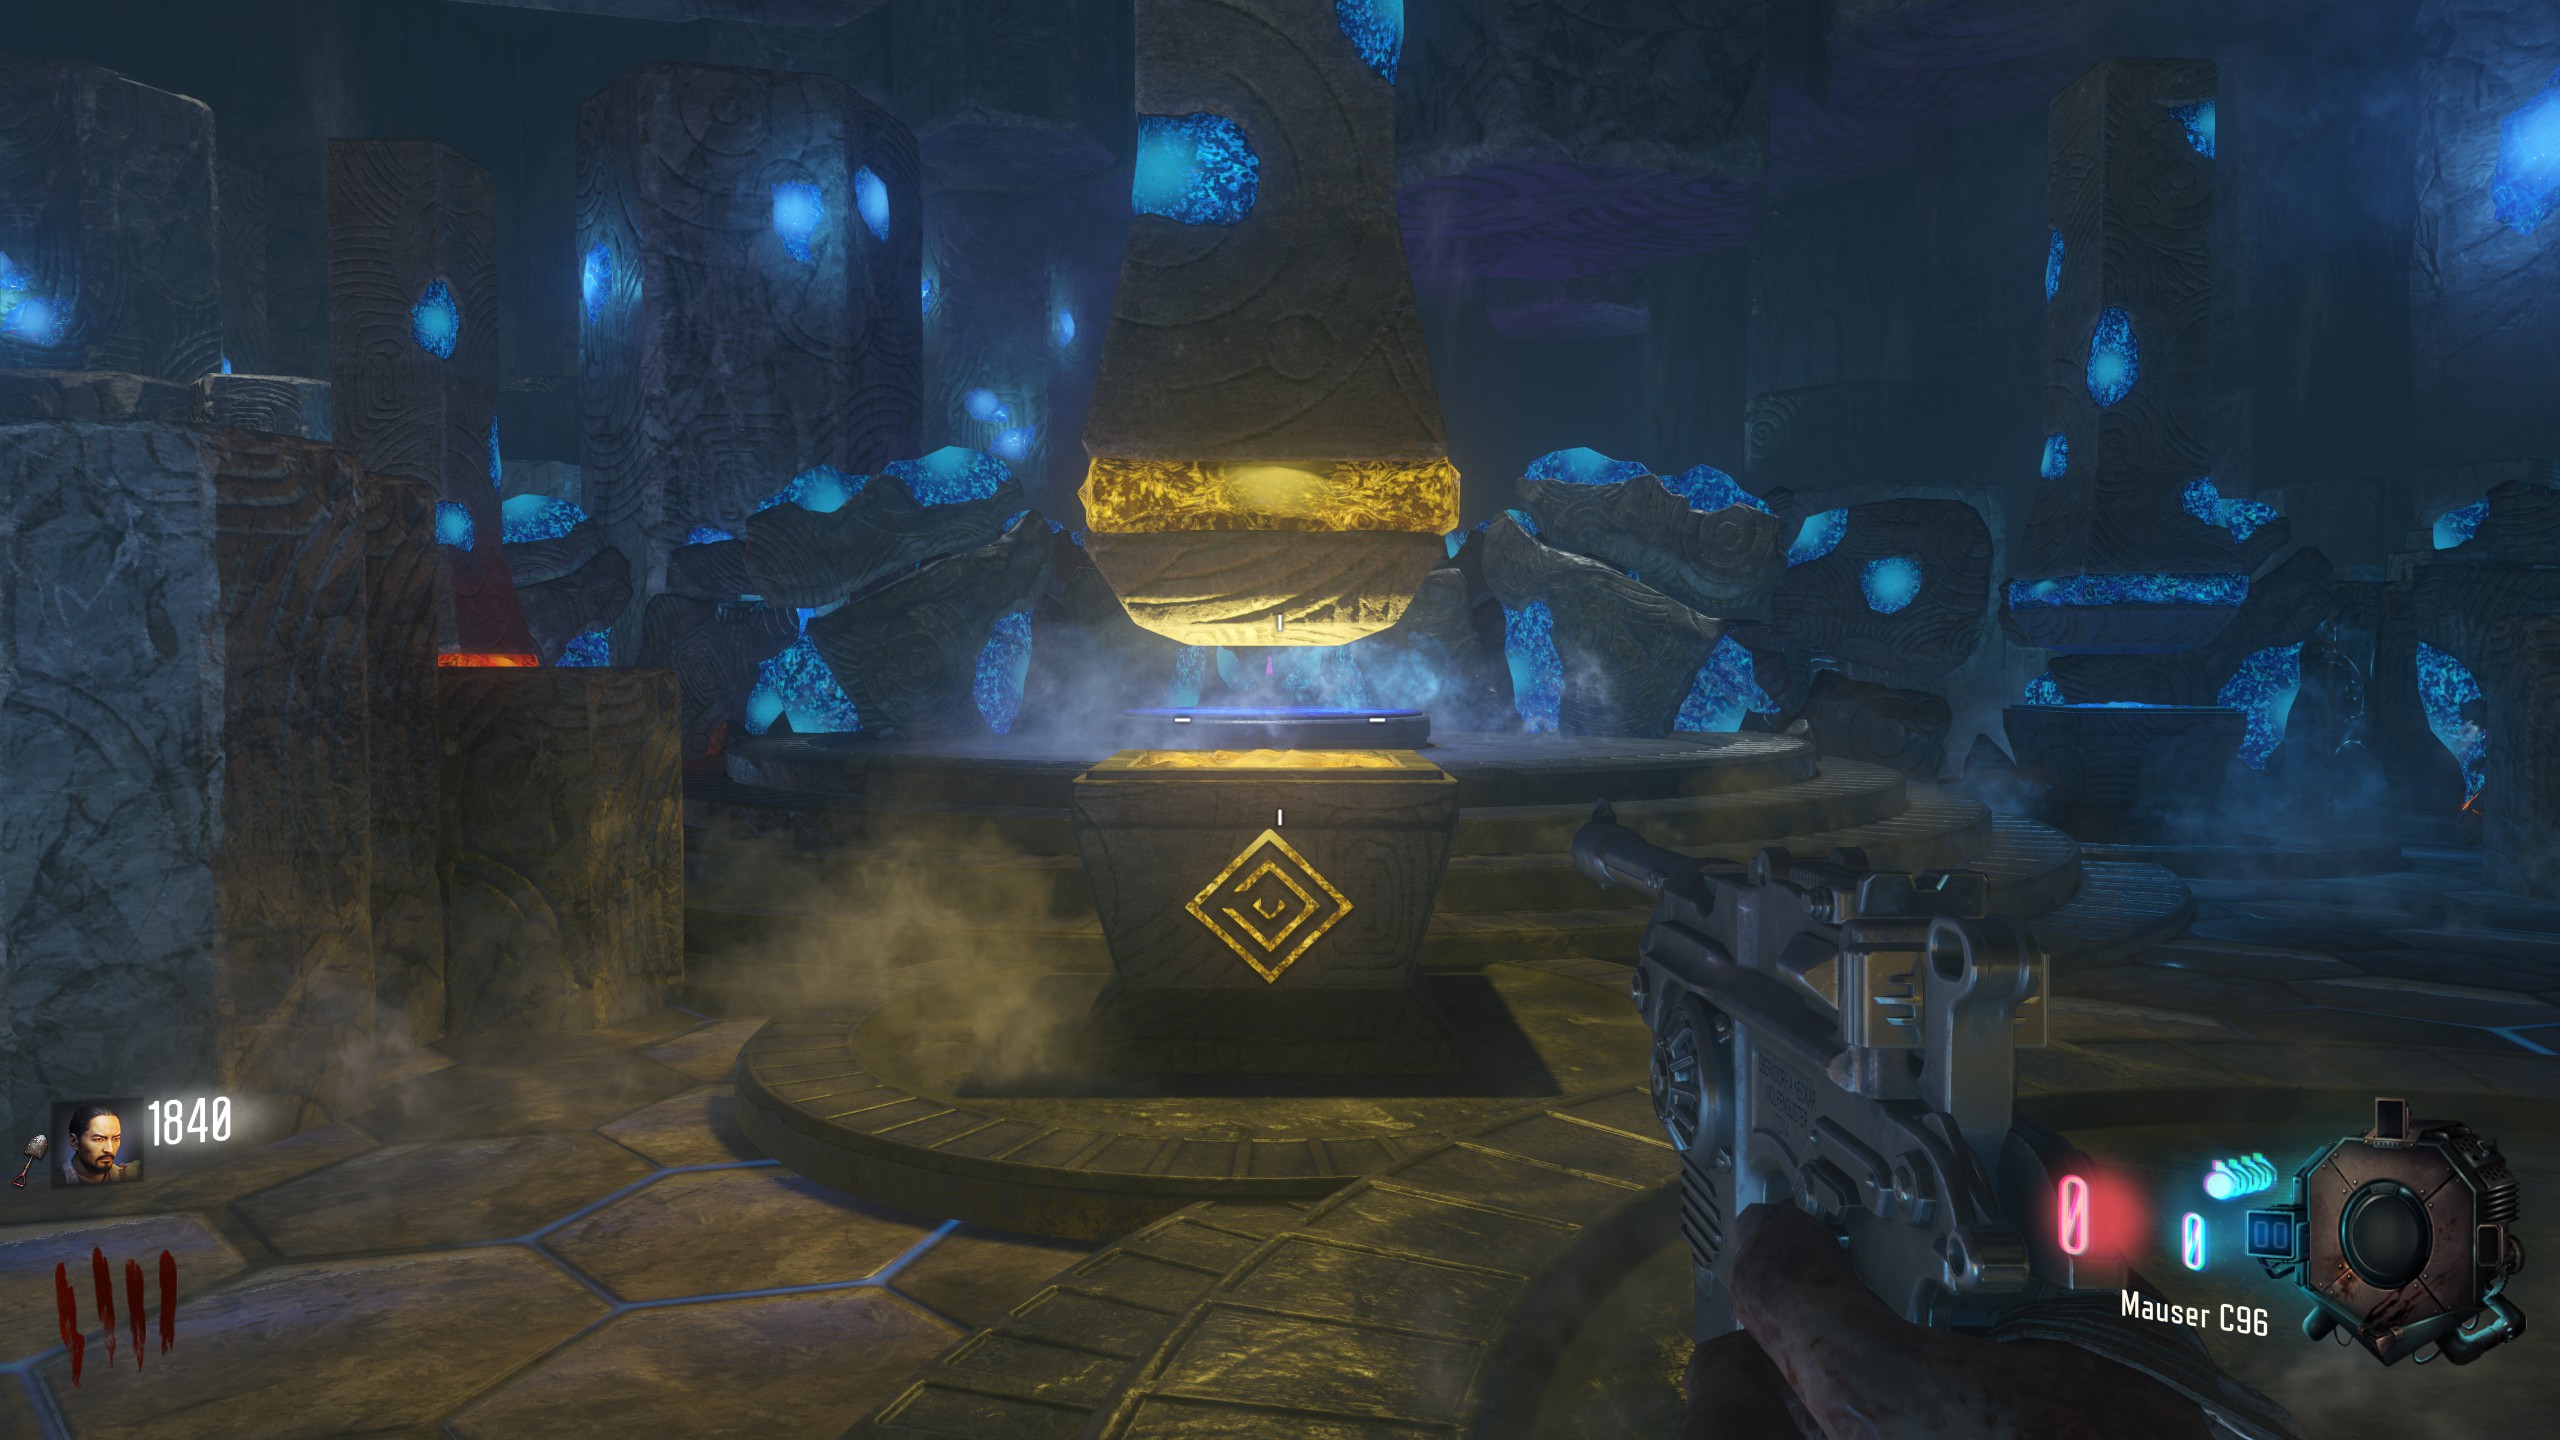
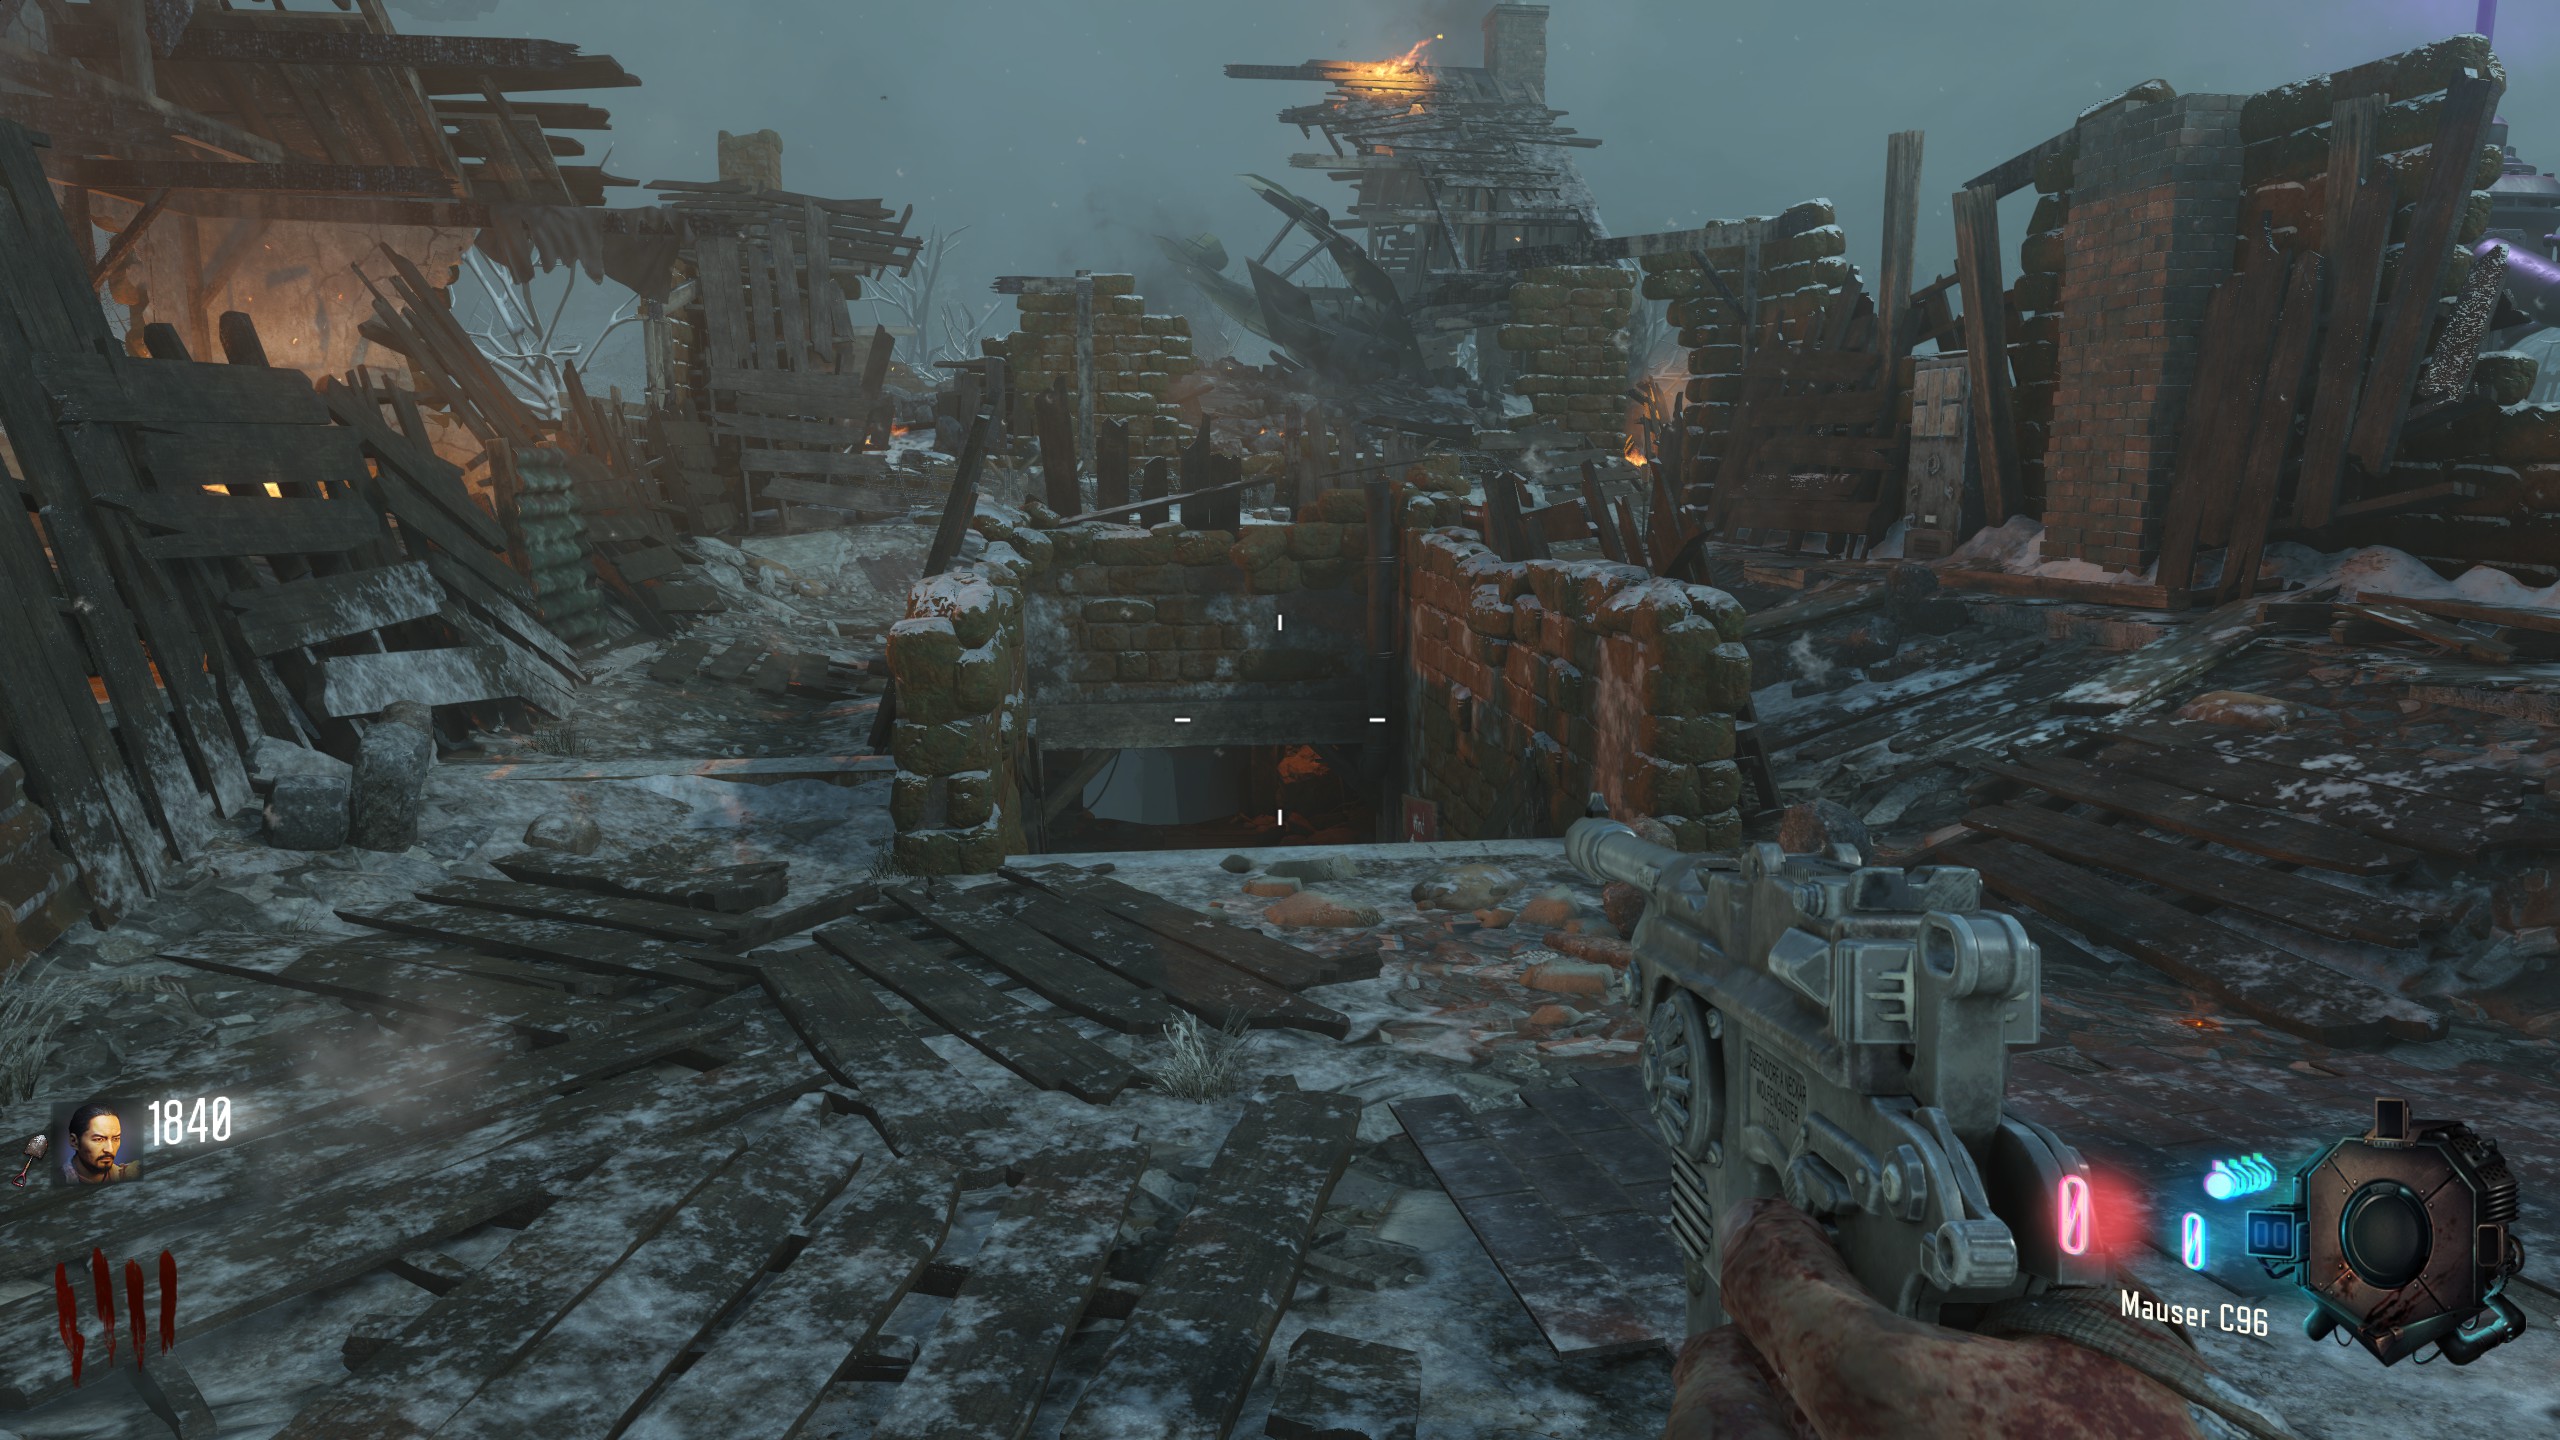 and place it on the table to the left.
once in the crazy place you will see a yellow artifact, go up to it and press "F"
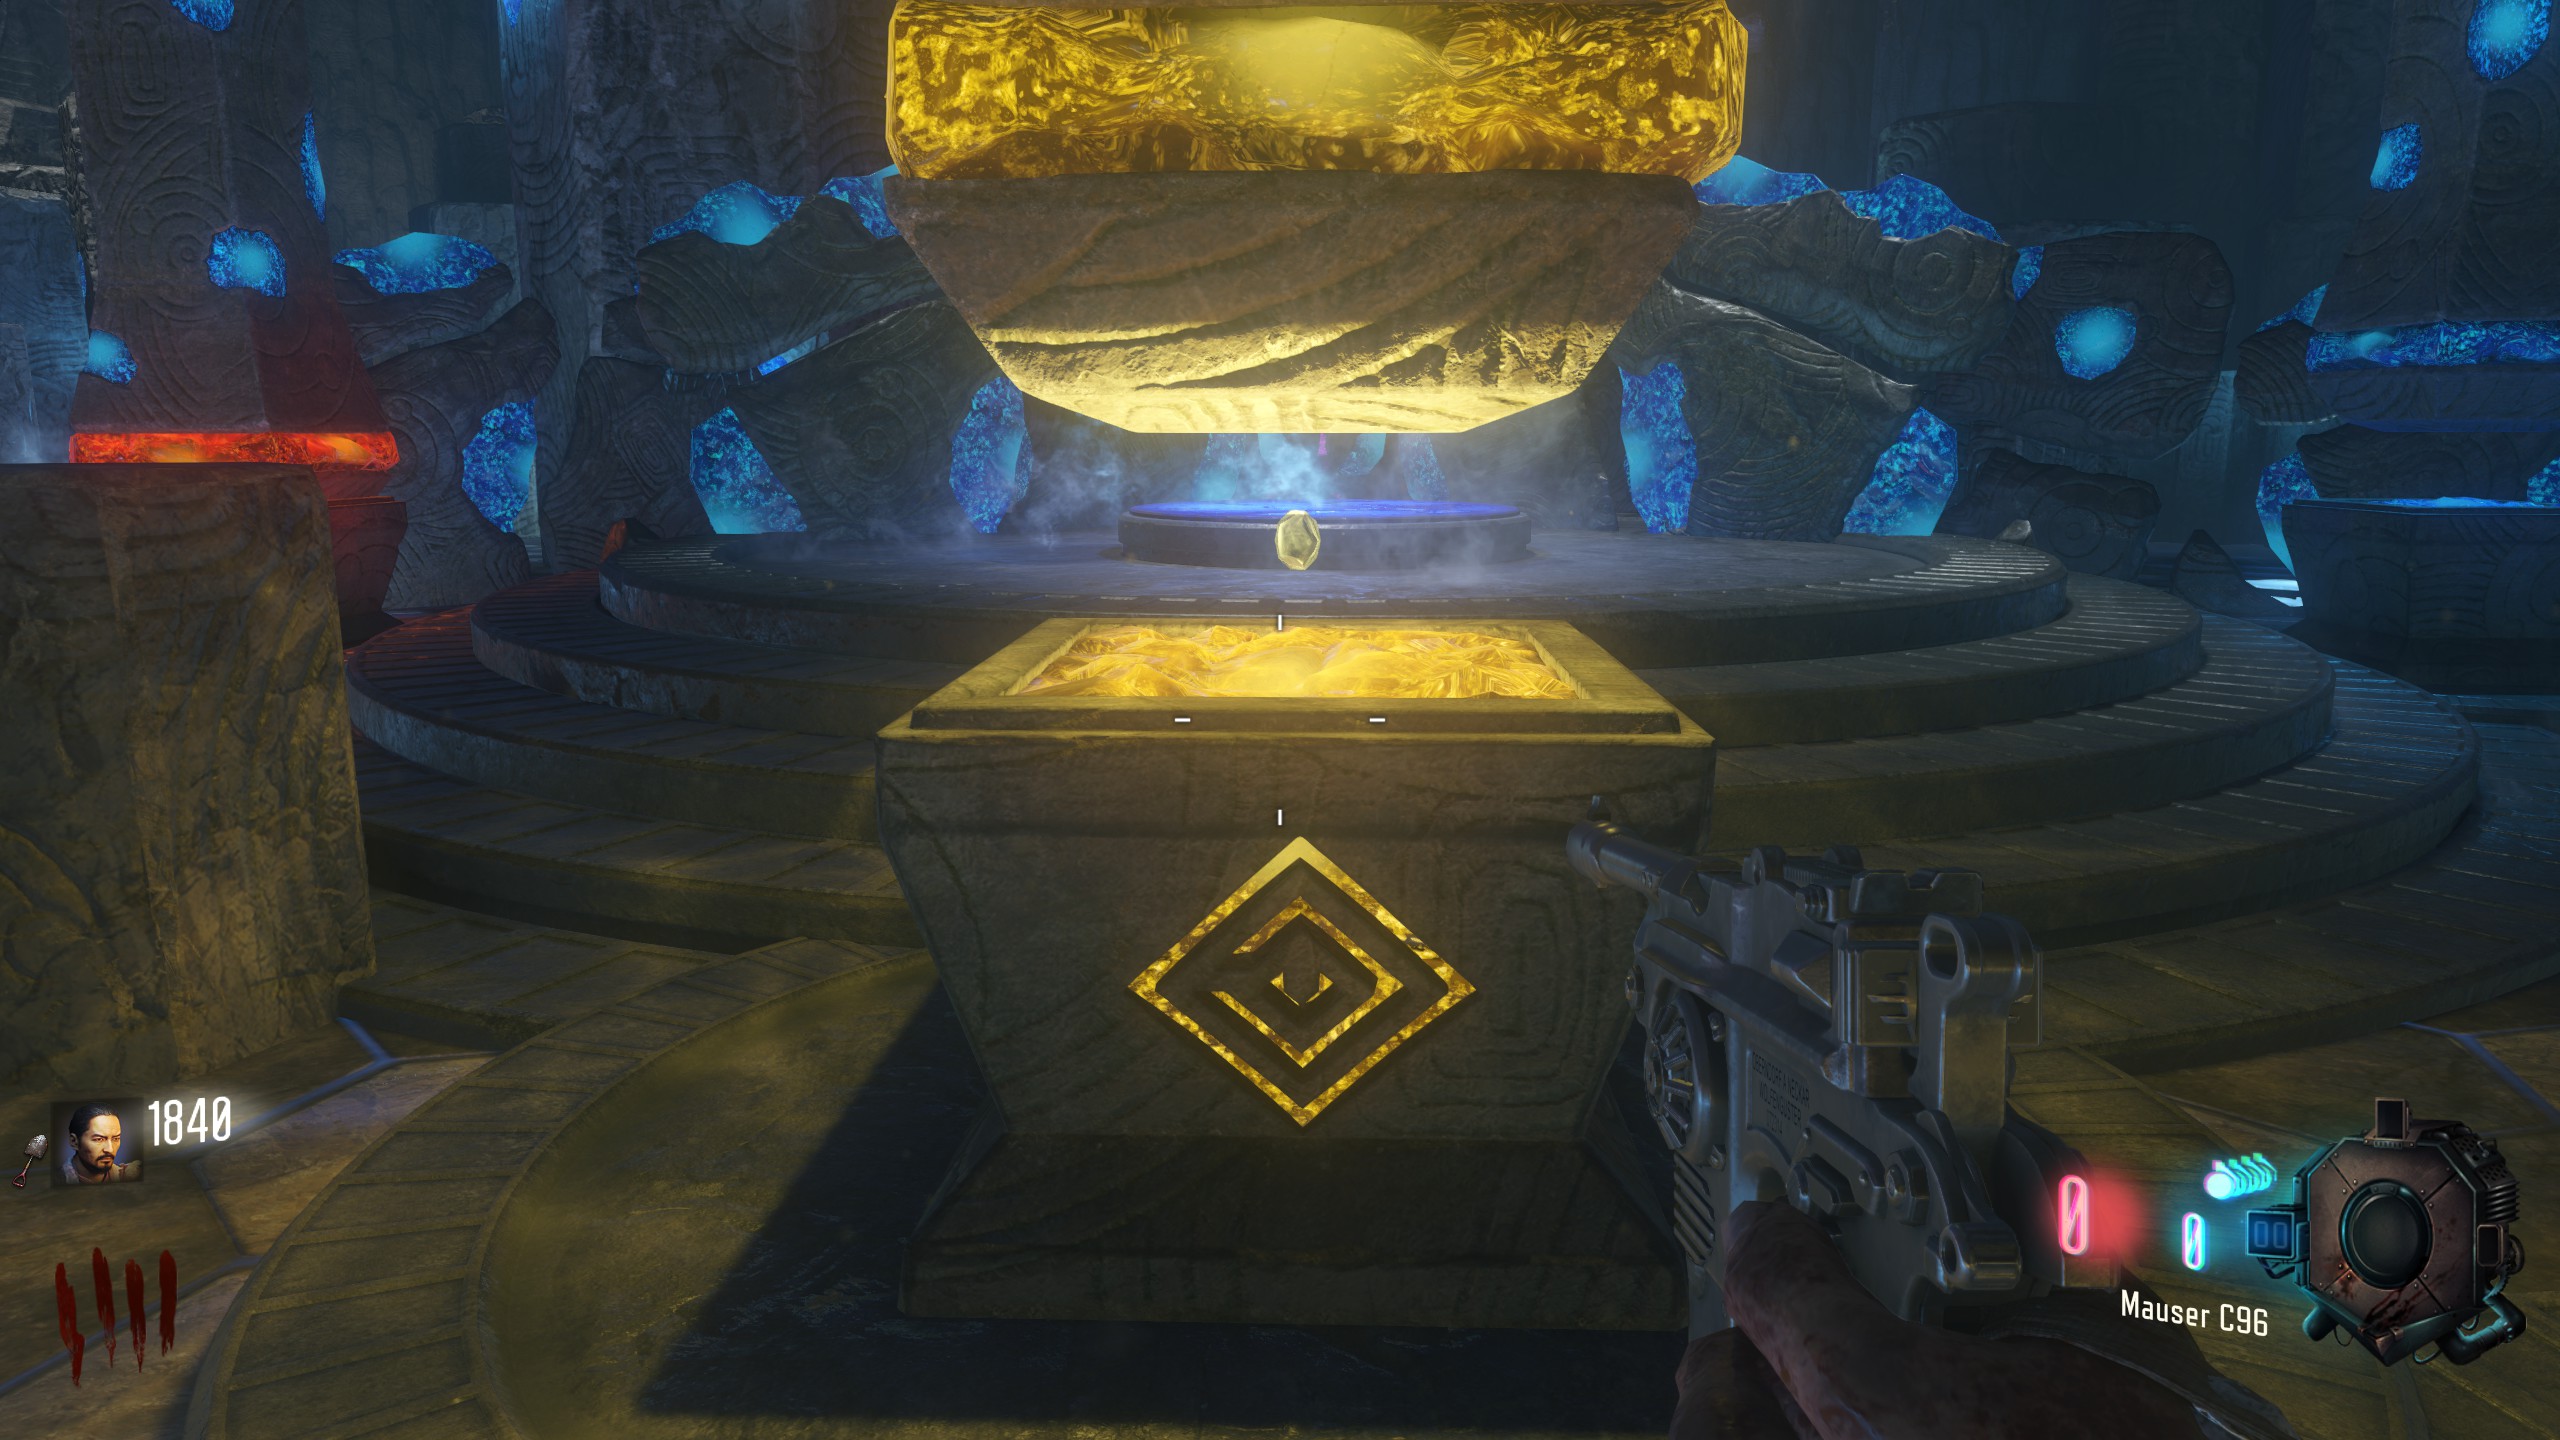
Building
with all parts collected, go to the staff room and Build the staff on the yellow pedestal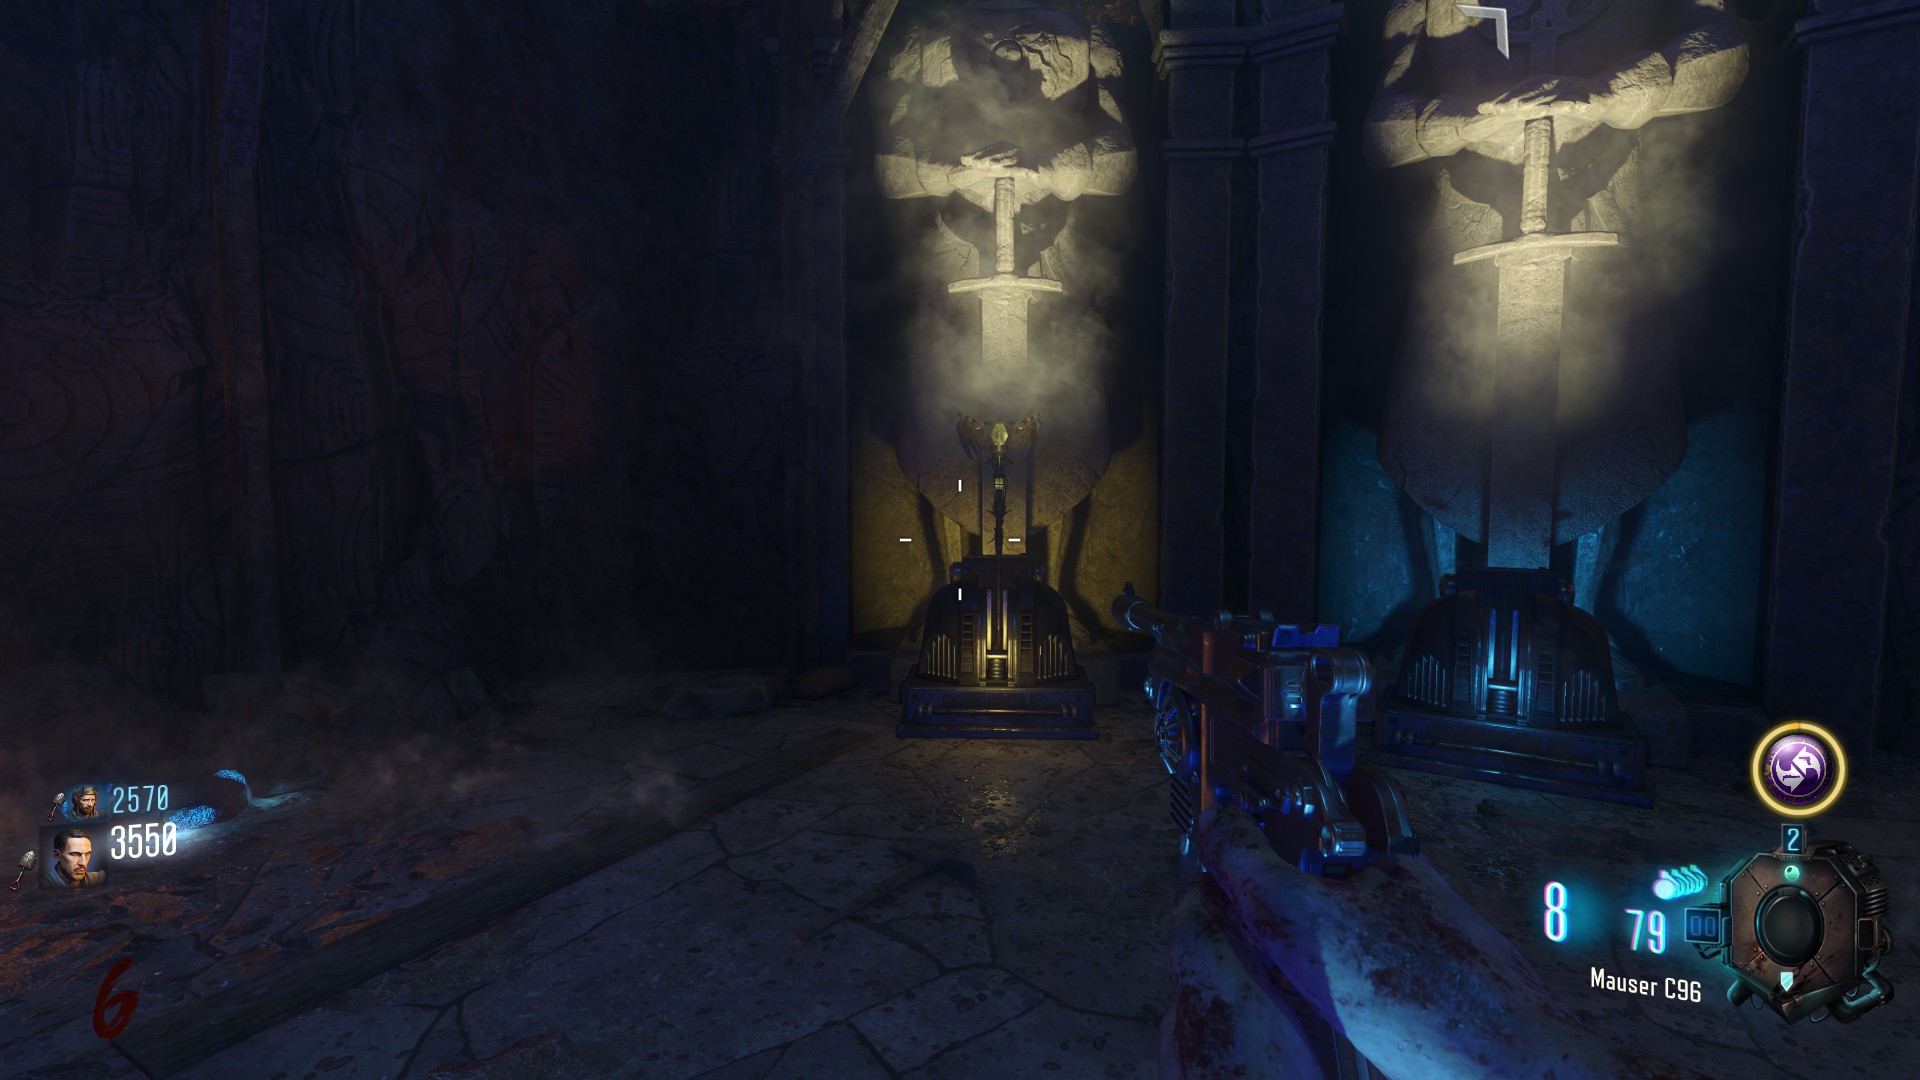
Wind Staff Upgrade
In order to Upgrade the Wind Staff, you need to go back to the Crazy Place
once inside look up, and you will see a disc like object, with your Staff you can rotate each ring on that disc
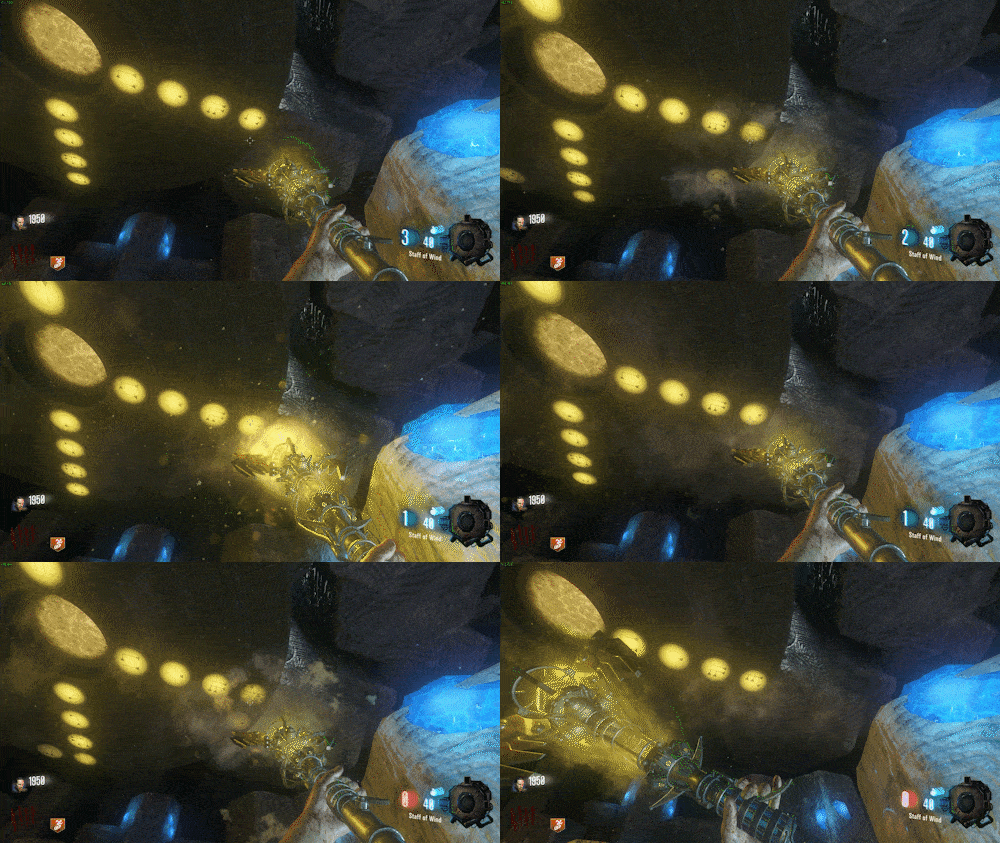
for the step you need to a line the green glowing spots in the picture with the symbols on the left
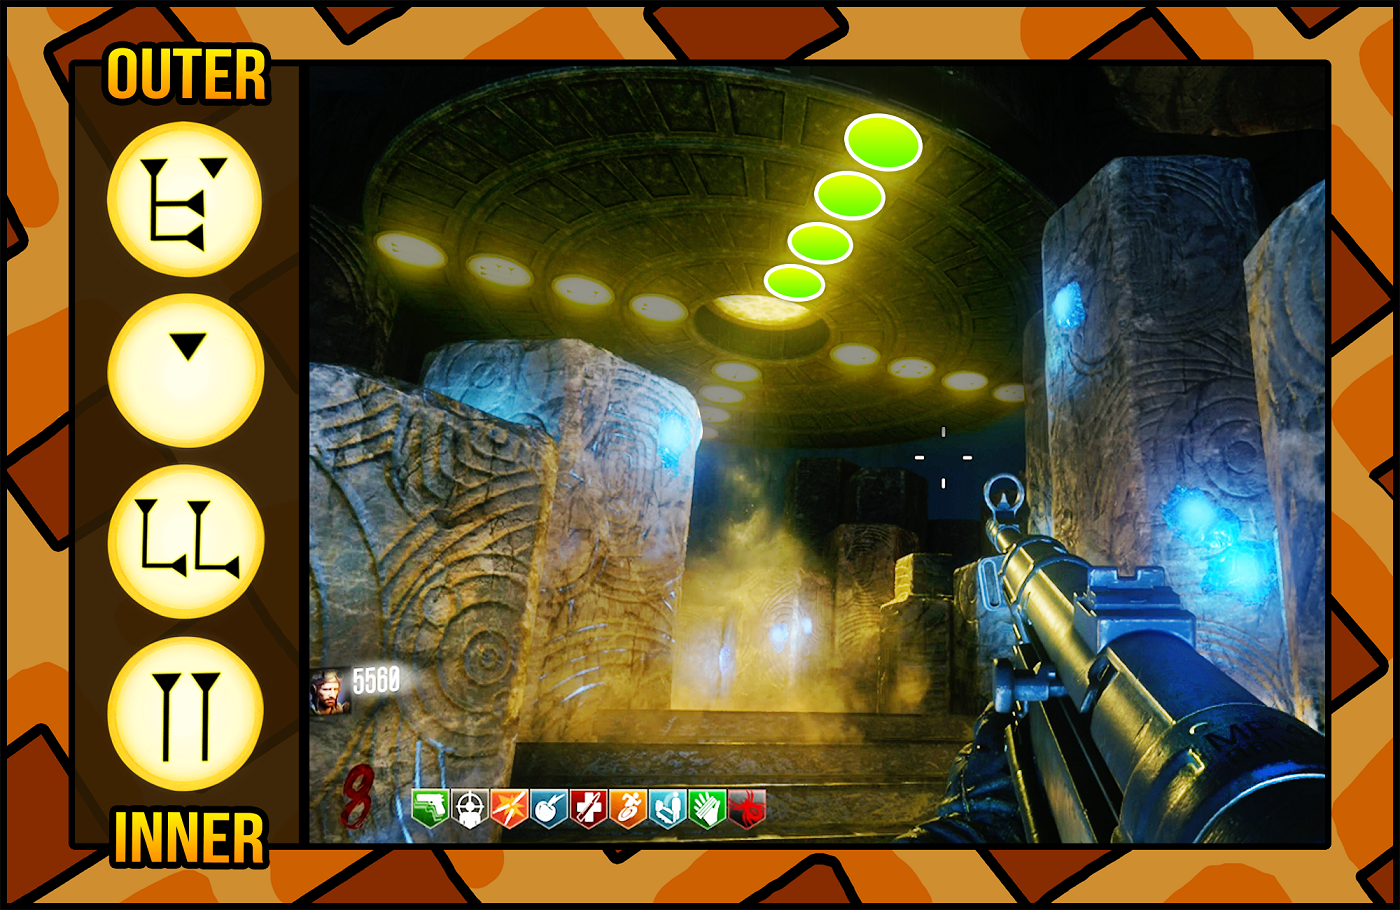 this picture is taken from Kronorium[www.kronorium.com]
on the map and redirect to some coming out towards 'Pack a Punch'
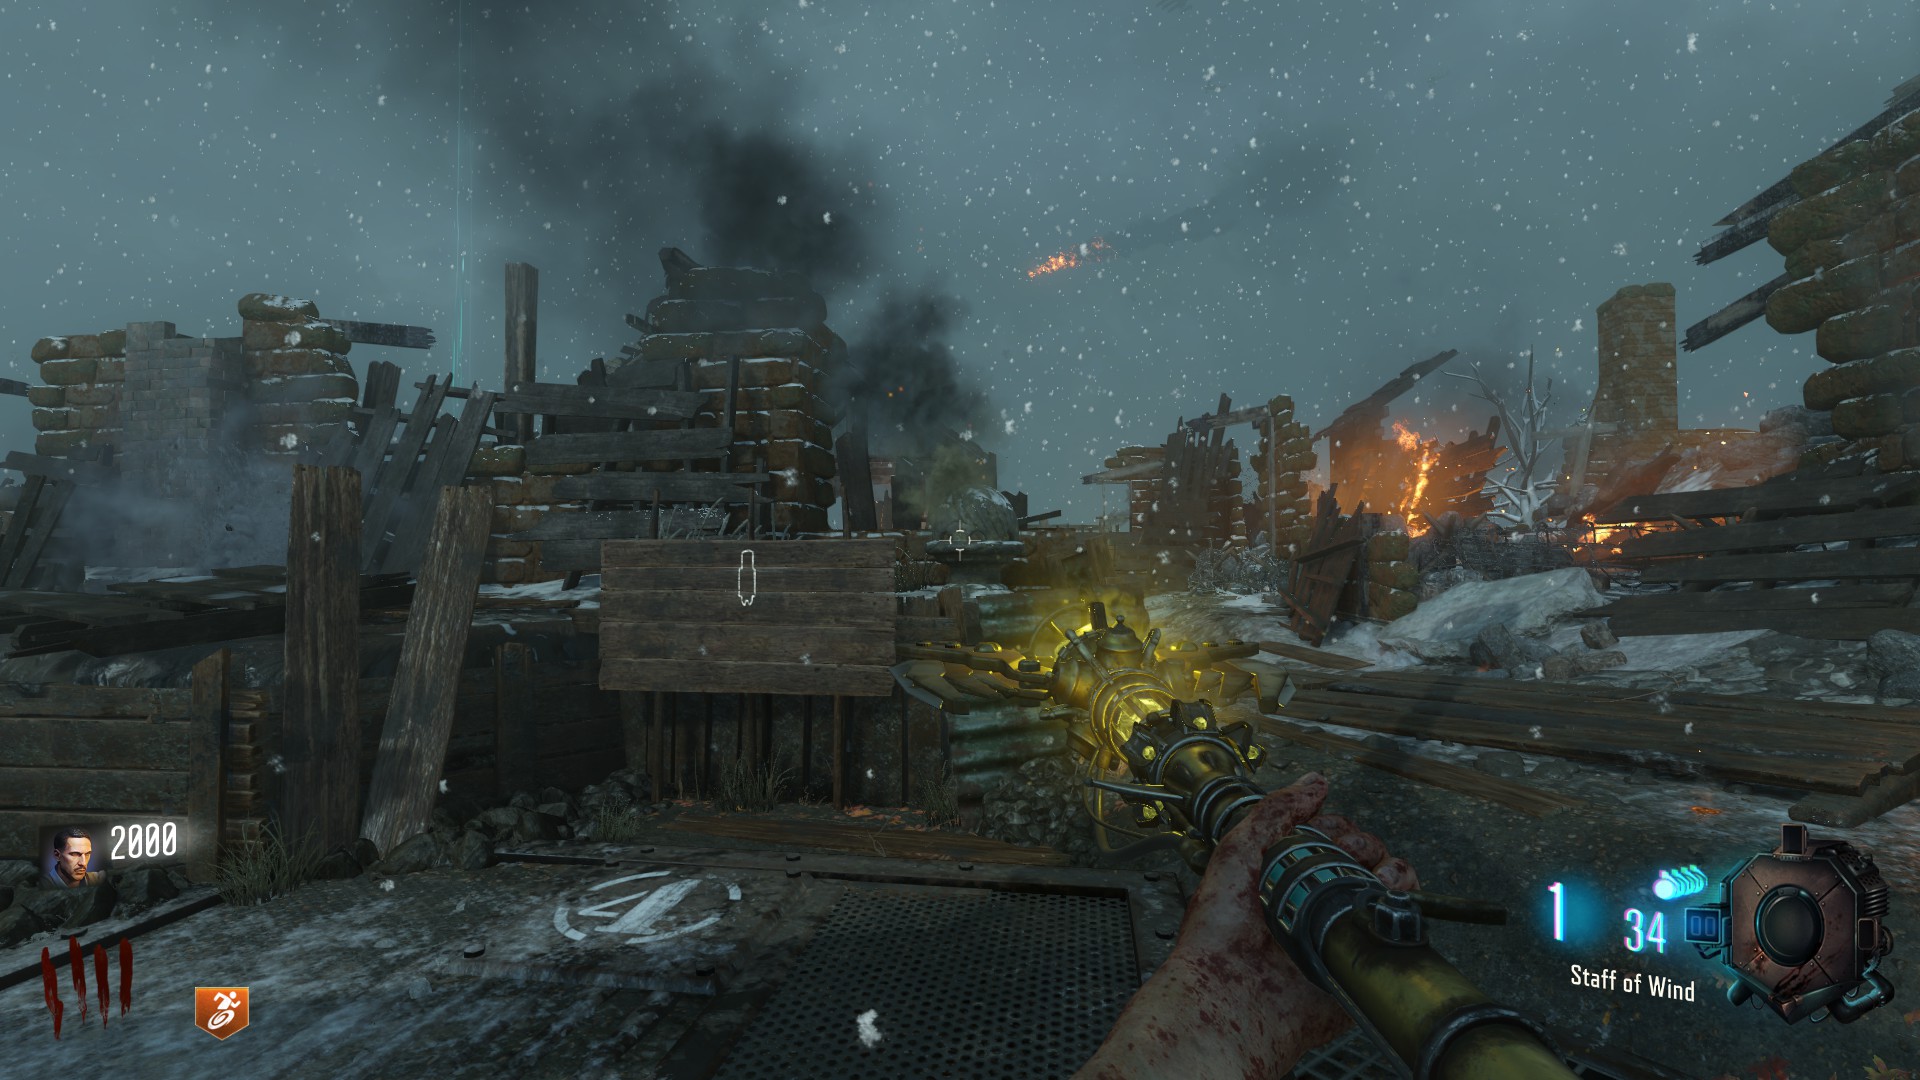
One is next to Generator 4 opposite of Juggernog
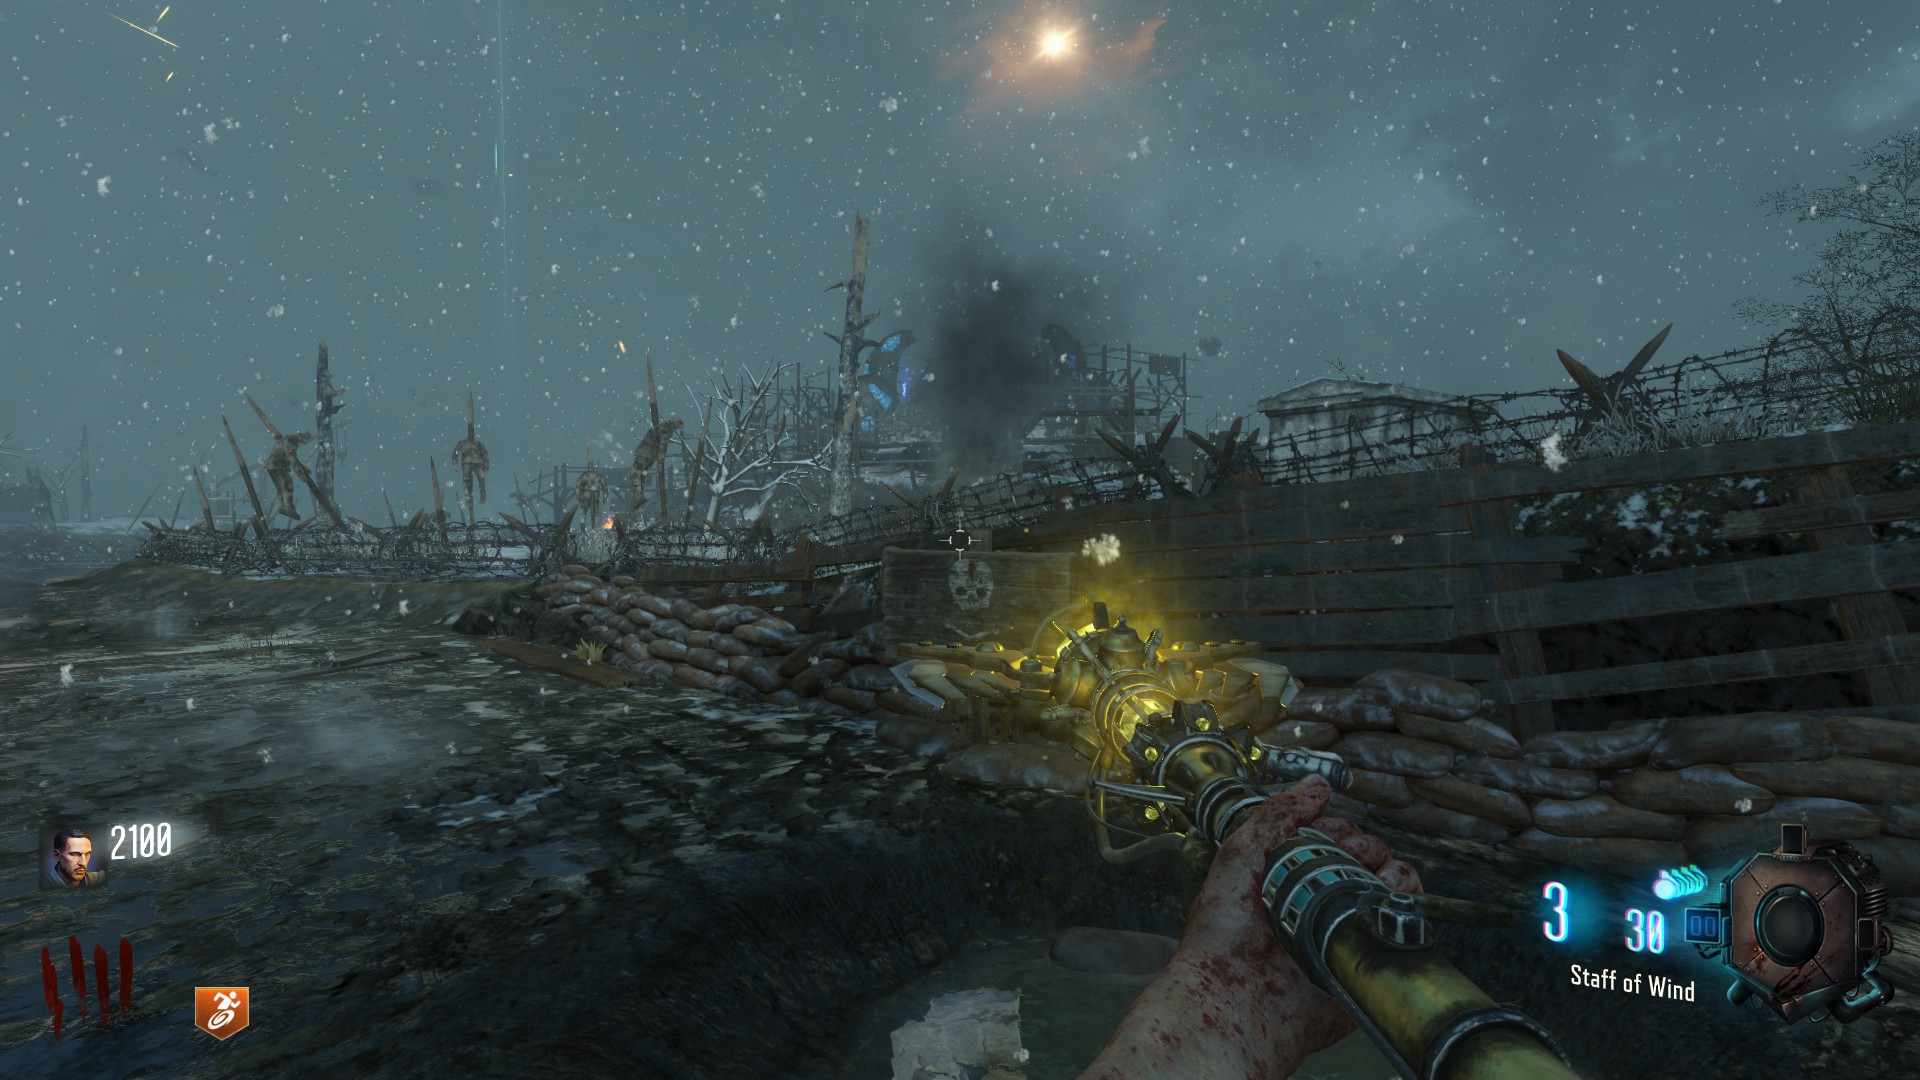
One is at the Church on the Tank path towards Generator 5 (Behind the Tank) on the right side just next to the second Scull Sign
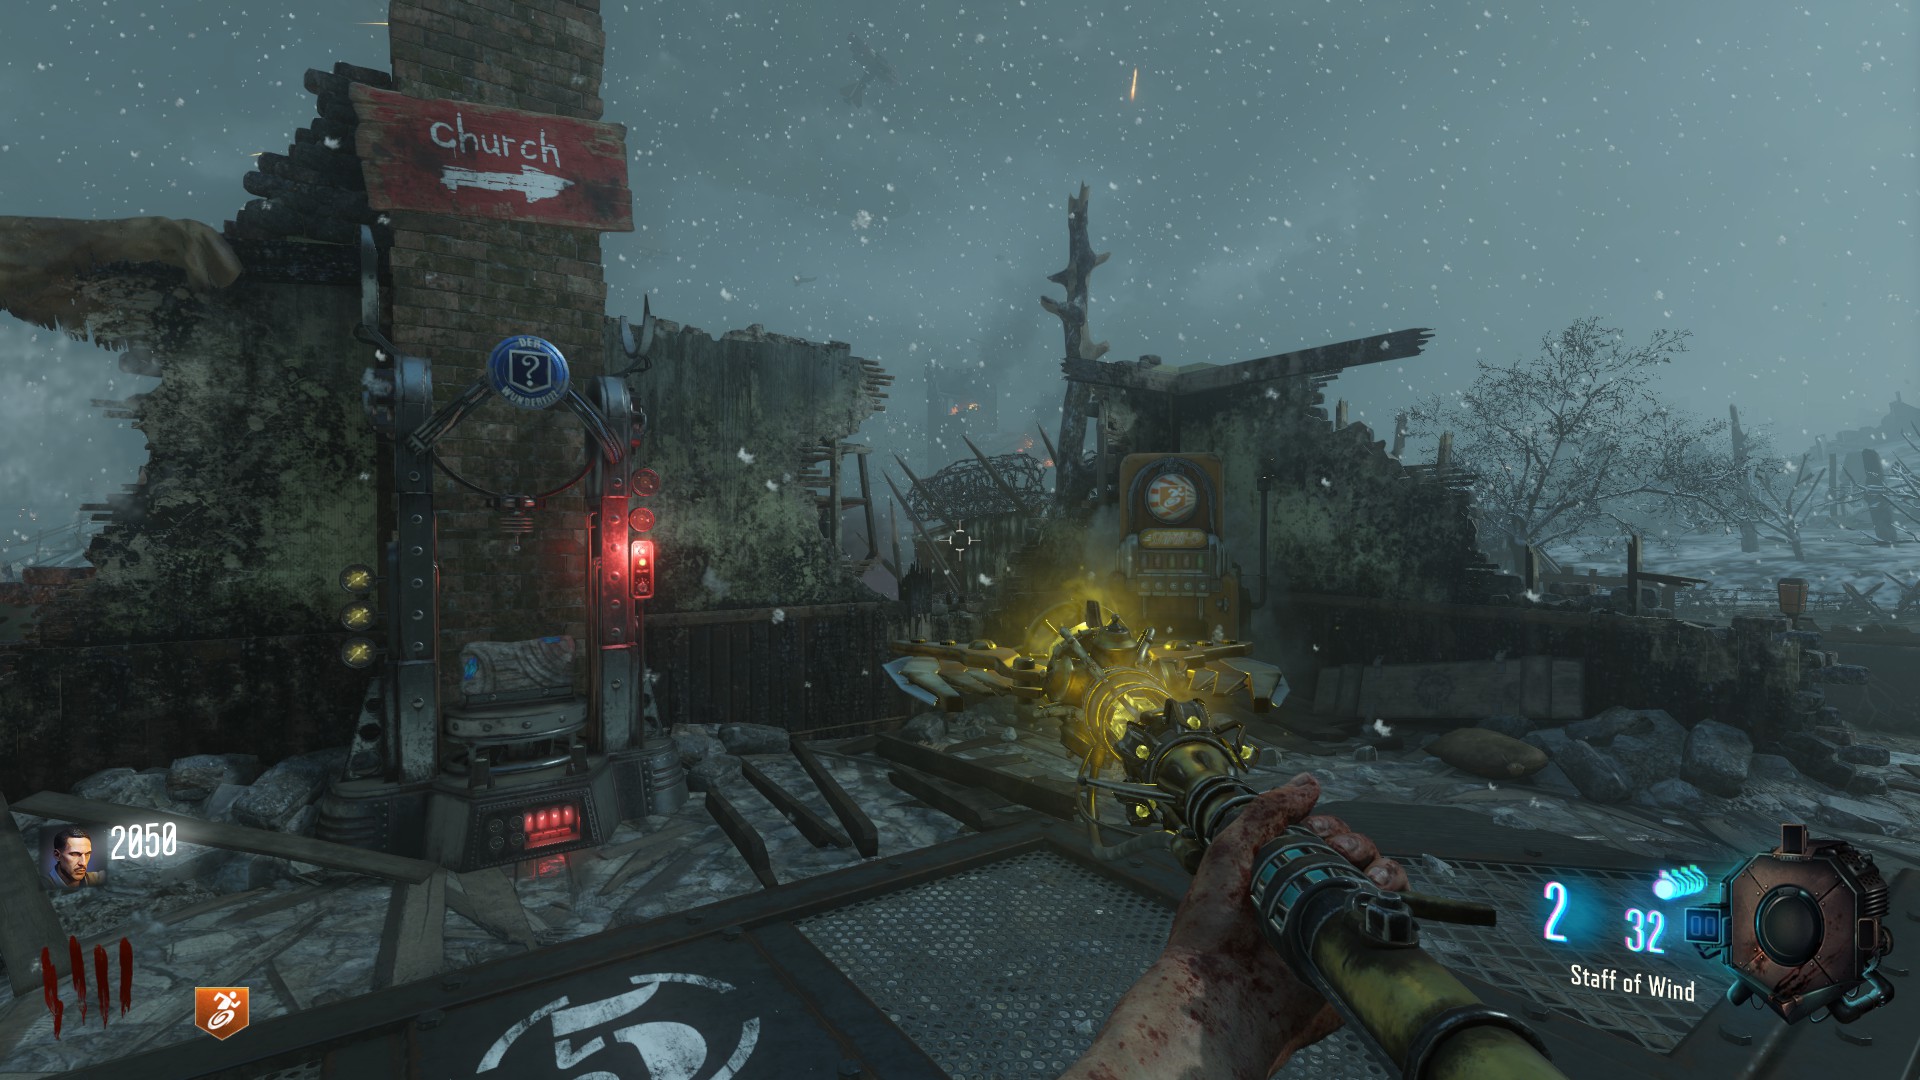
And the last one is next to Generator 5 if u go next to Stamin Up and look through a broken wall part you will see the Chimney
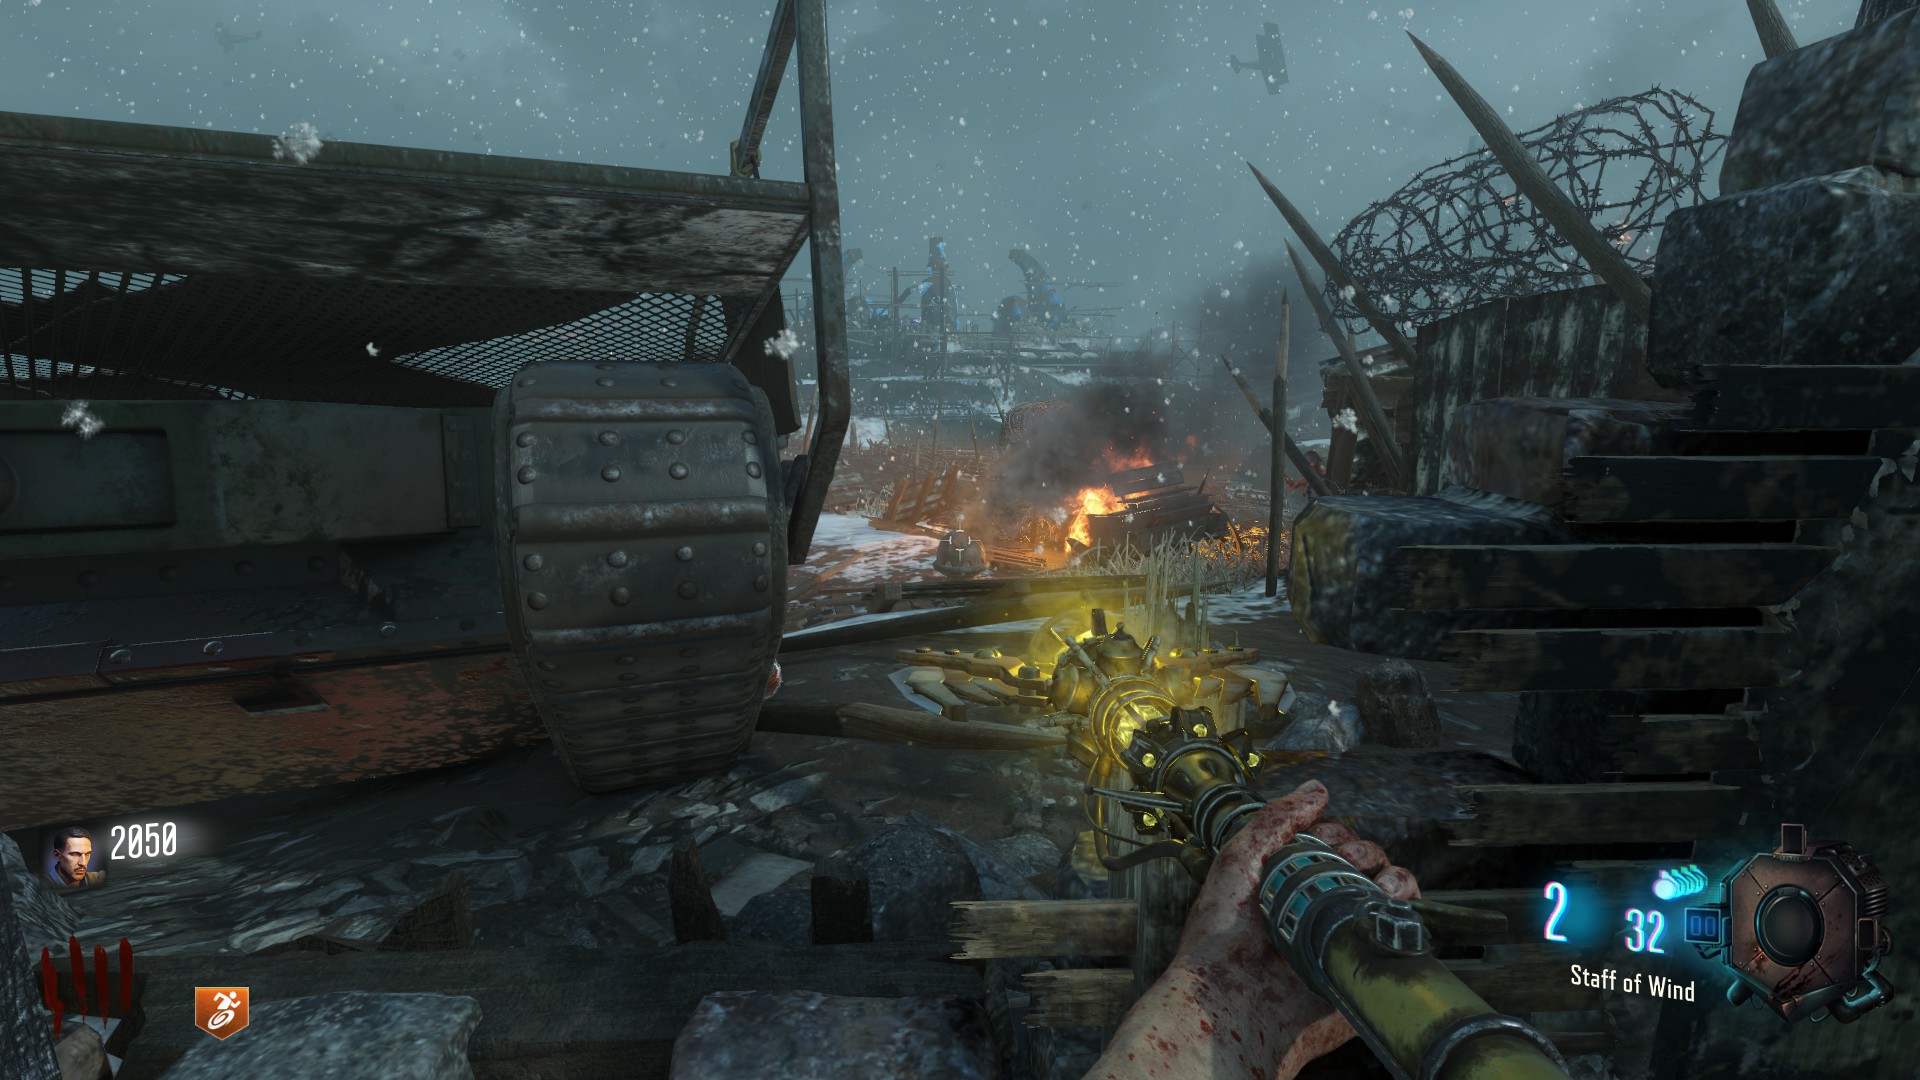
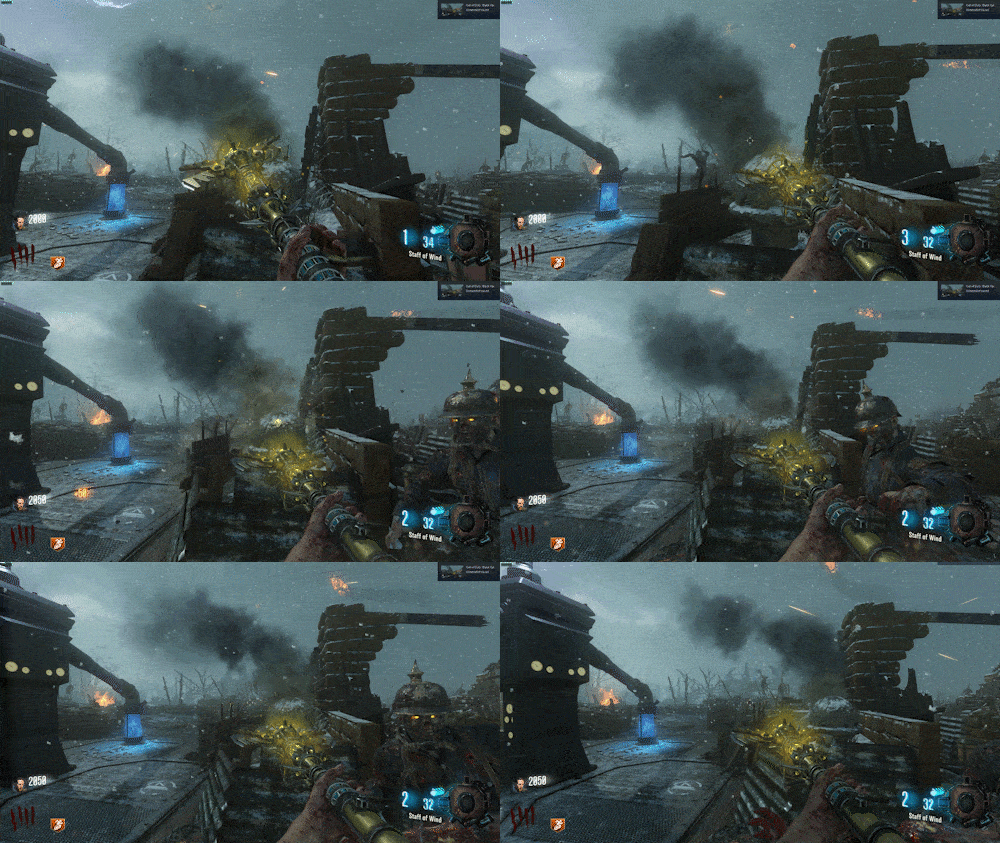
Now a Beam will appear over 'Pack a Punch'
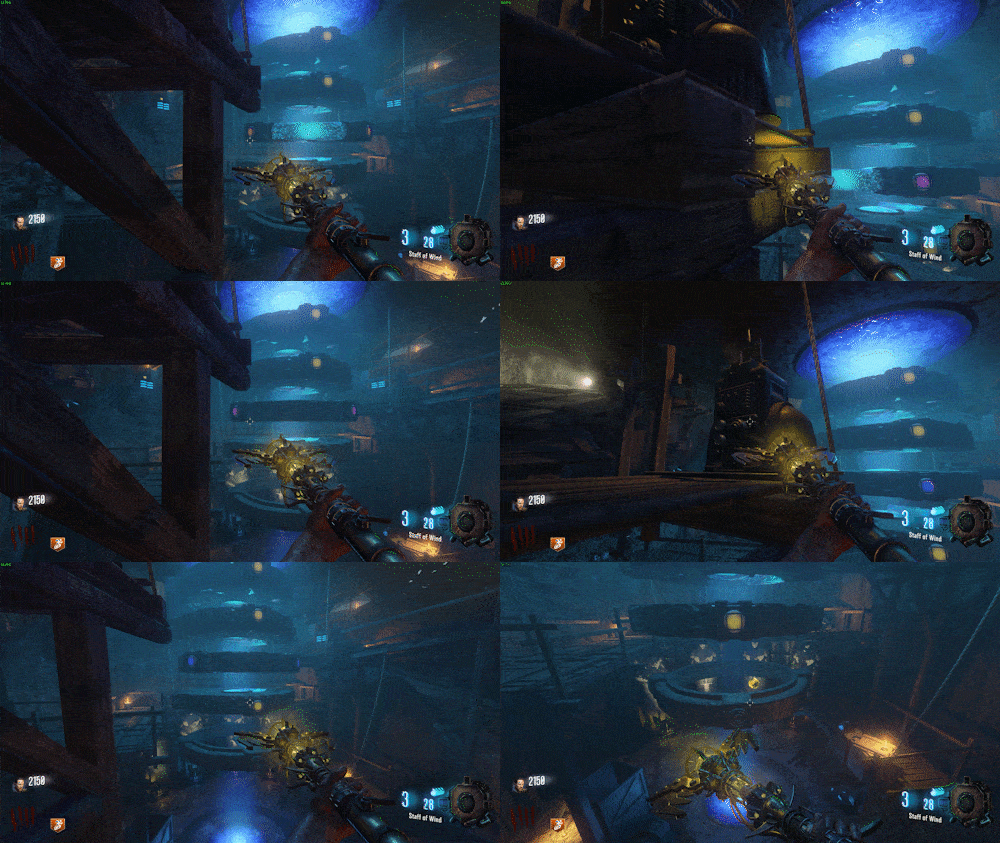
go there and Turn all Colors on the rings to Yellow using the levers
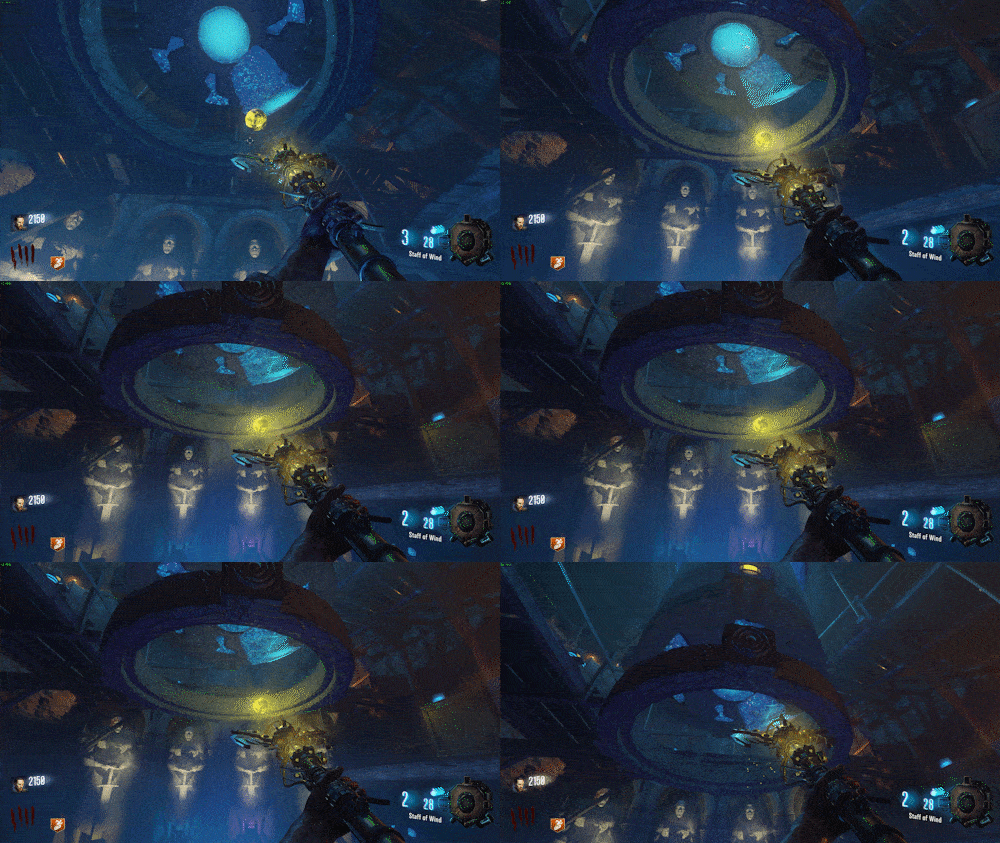
Done with that, go underneath the rings and shoot the Yellow ball, it should fly away after a short while
Now go back to the Crazy Place and place your Staff in the artifact and collect ~20 souls
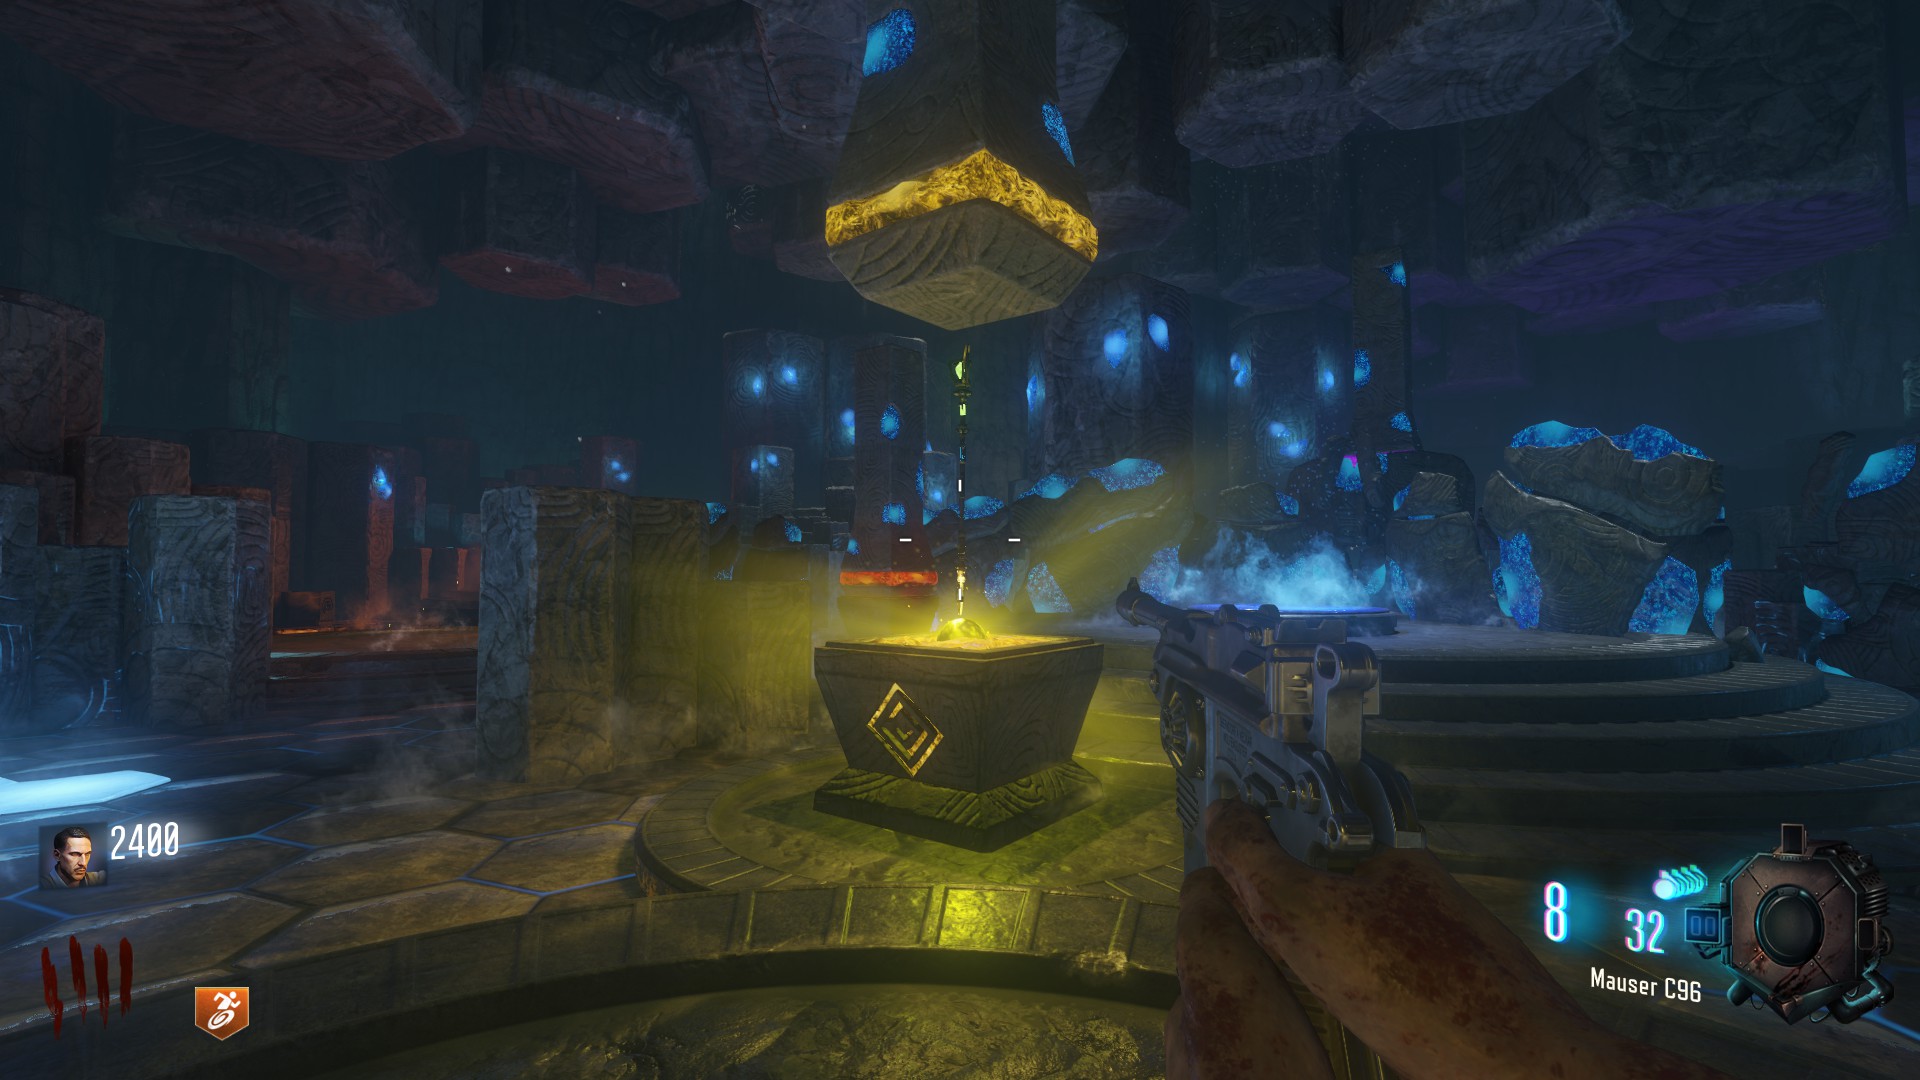
Enjoy your Upgraded Staff
once inside look up, and you will see a disc like object, with your Staff you can rotate each ring on that disc
for the step you need to a line the green glowing spots in the picture with the symbols on the left
this picture is taken from Kronorium[www.kronorium.com]Chimneys
done with that, you need to go back to the main map and locate the 3 Smoking Chimneys on the map and redirect to some coming out towards 'Pack a Punch'
One is next to Generator 4 opposite of Juggernog
One is at the Church on the Tank path towards Generator 5 (Behind the Tank) on the right side just next to the second Scull Sign
And the last one is next to Generator 5 if u go next to Stamin Up and look through a broken wall part you will see the Chimney
Now a Beam will appear over 'Pack a Punch'
go there and Turn all Colors on the rings to Yellow using the levers
Done with that, go underneath the rings and shoot the Yellow ball, it should fly away after a short while
Now go back to the Crazy Place and place your Staff in the artifact and collect ~20 souls
Enjoy your Upgraded Staff
Zombie Shield
The Zombie Shield will protect your back from zombie hits but will eventually brake, it is still highly recommended building it though because u will most likely be hit more do to mud
Shield Base
is found in the area around Generator 2
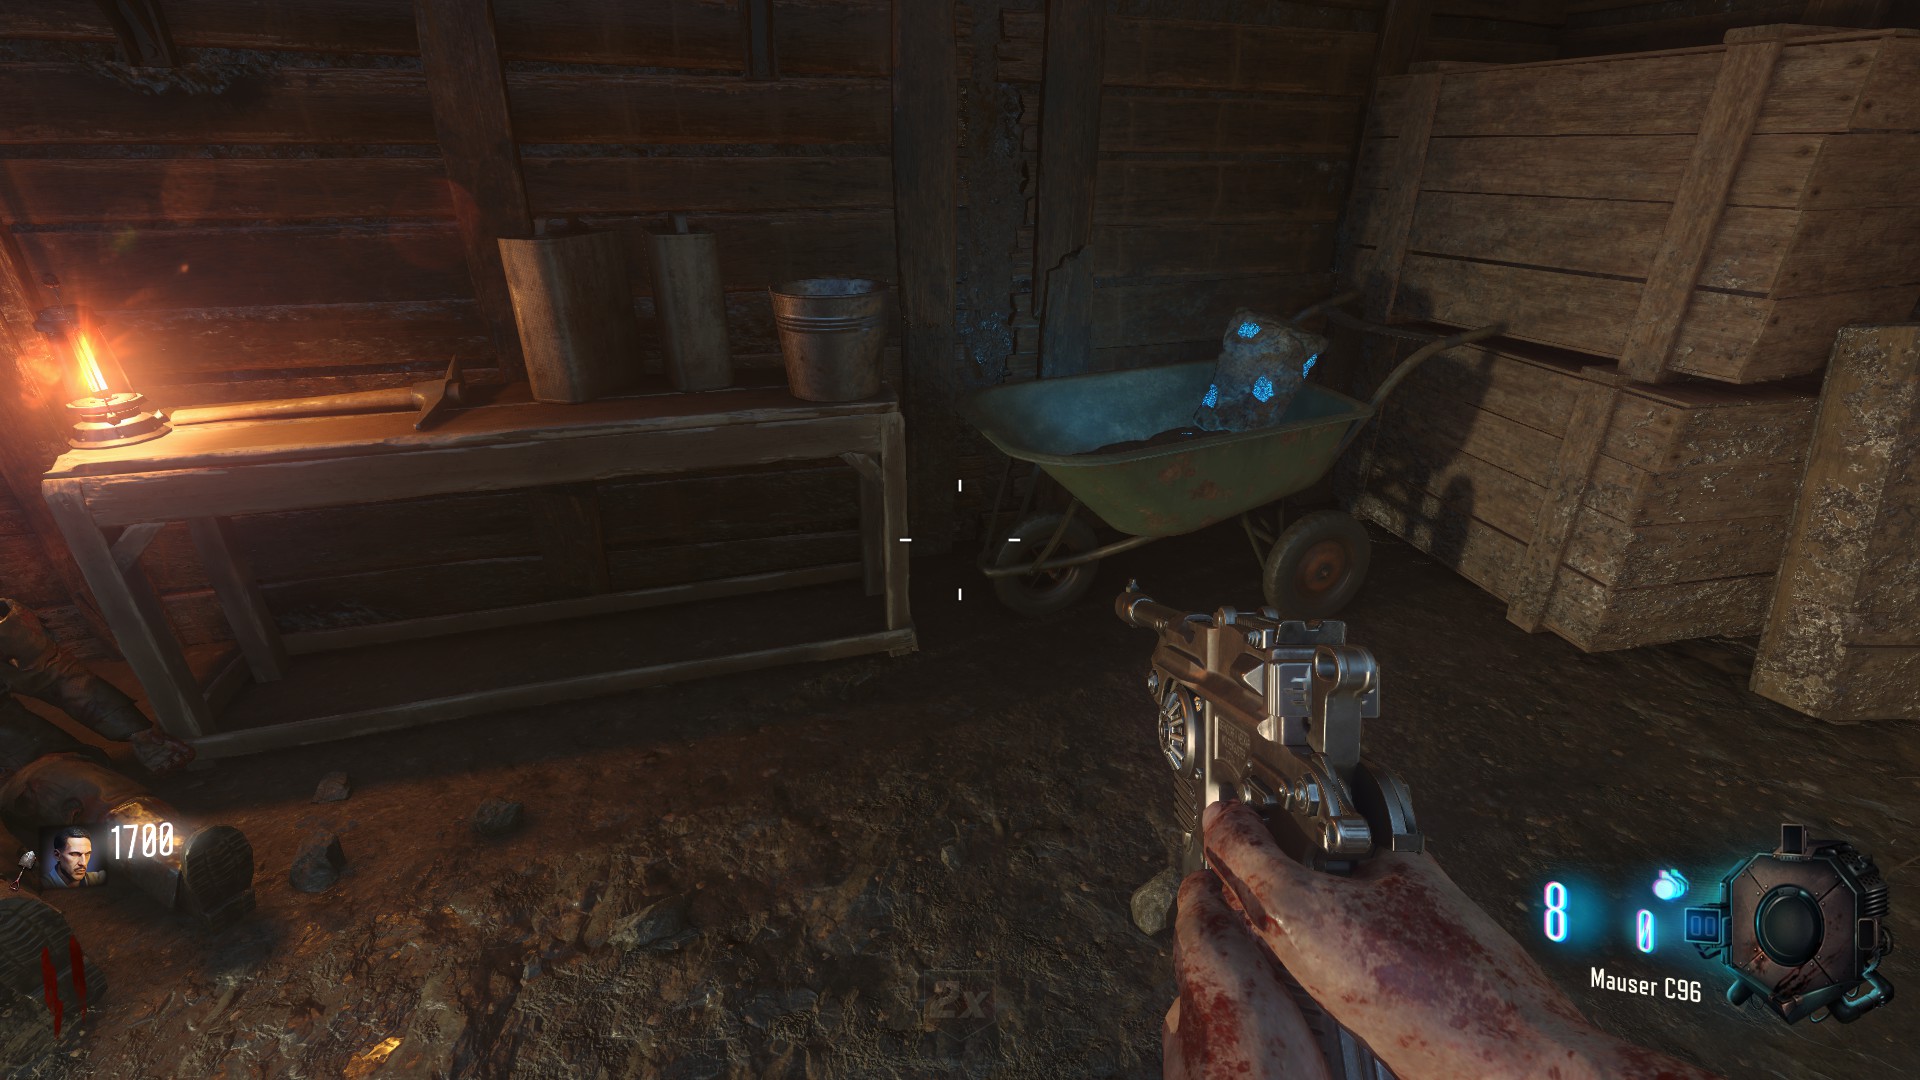
the first location could be next to a wheelbarrow under an overhang area
the second location could be on the roof of the building, right next to Generator 2
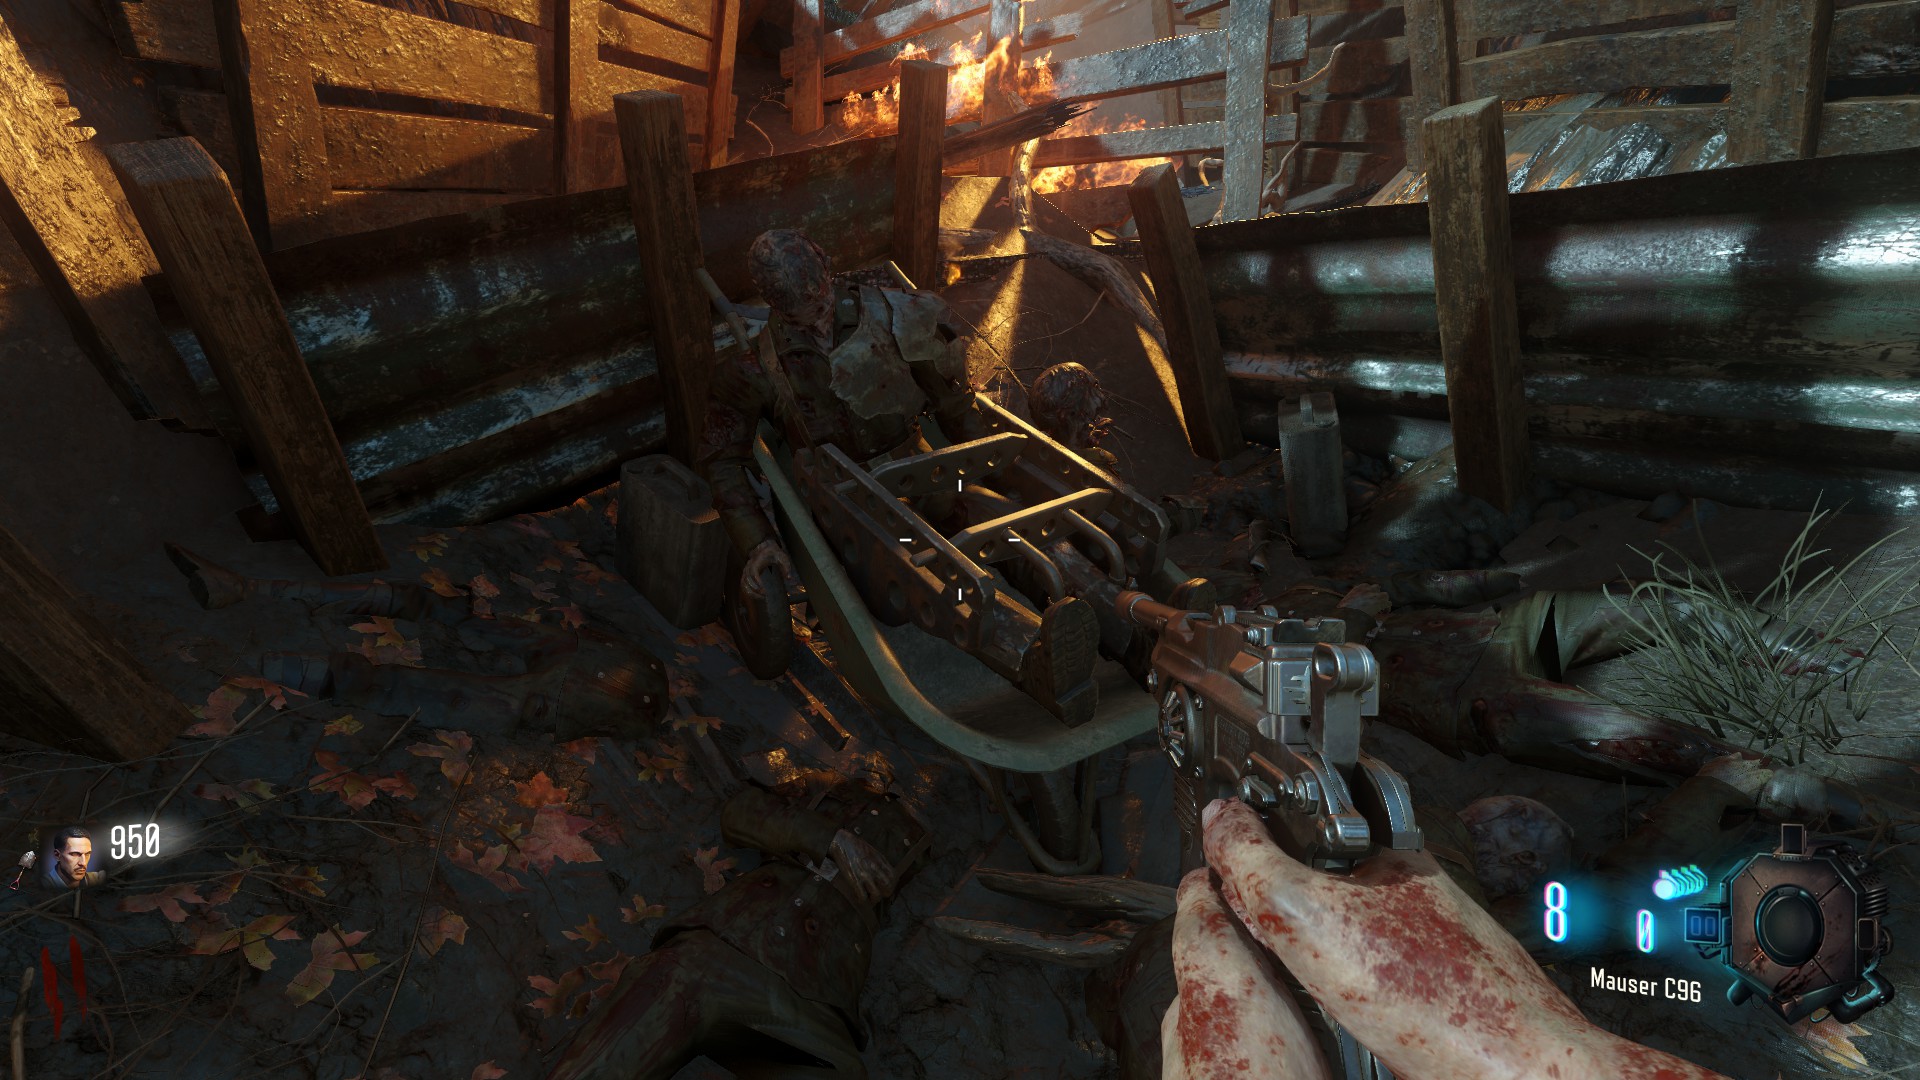
the third location could be in a wheelbarrow past the staircase room entrance in a dead end
Shield Face
is found in the area around Generator 3
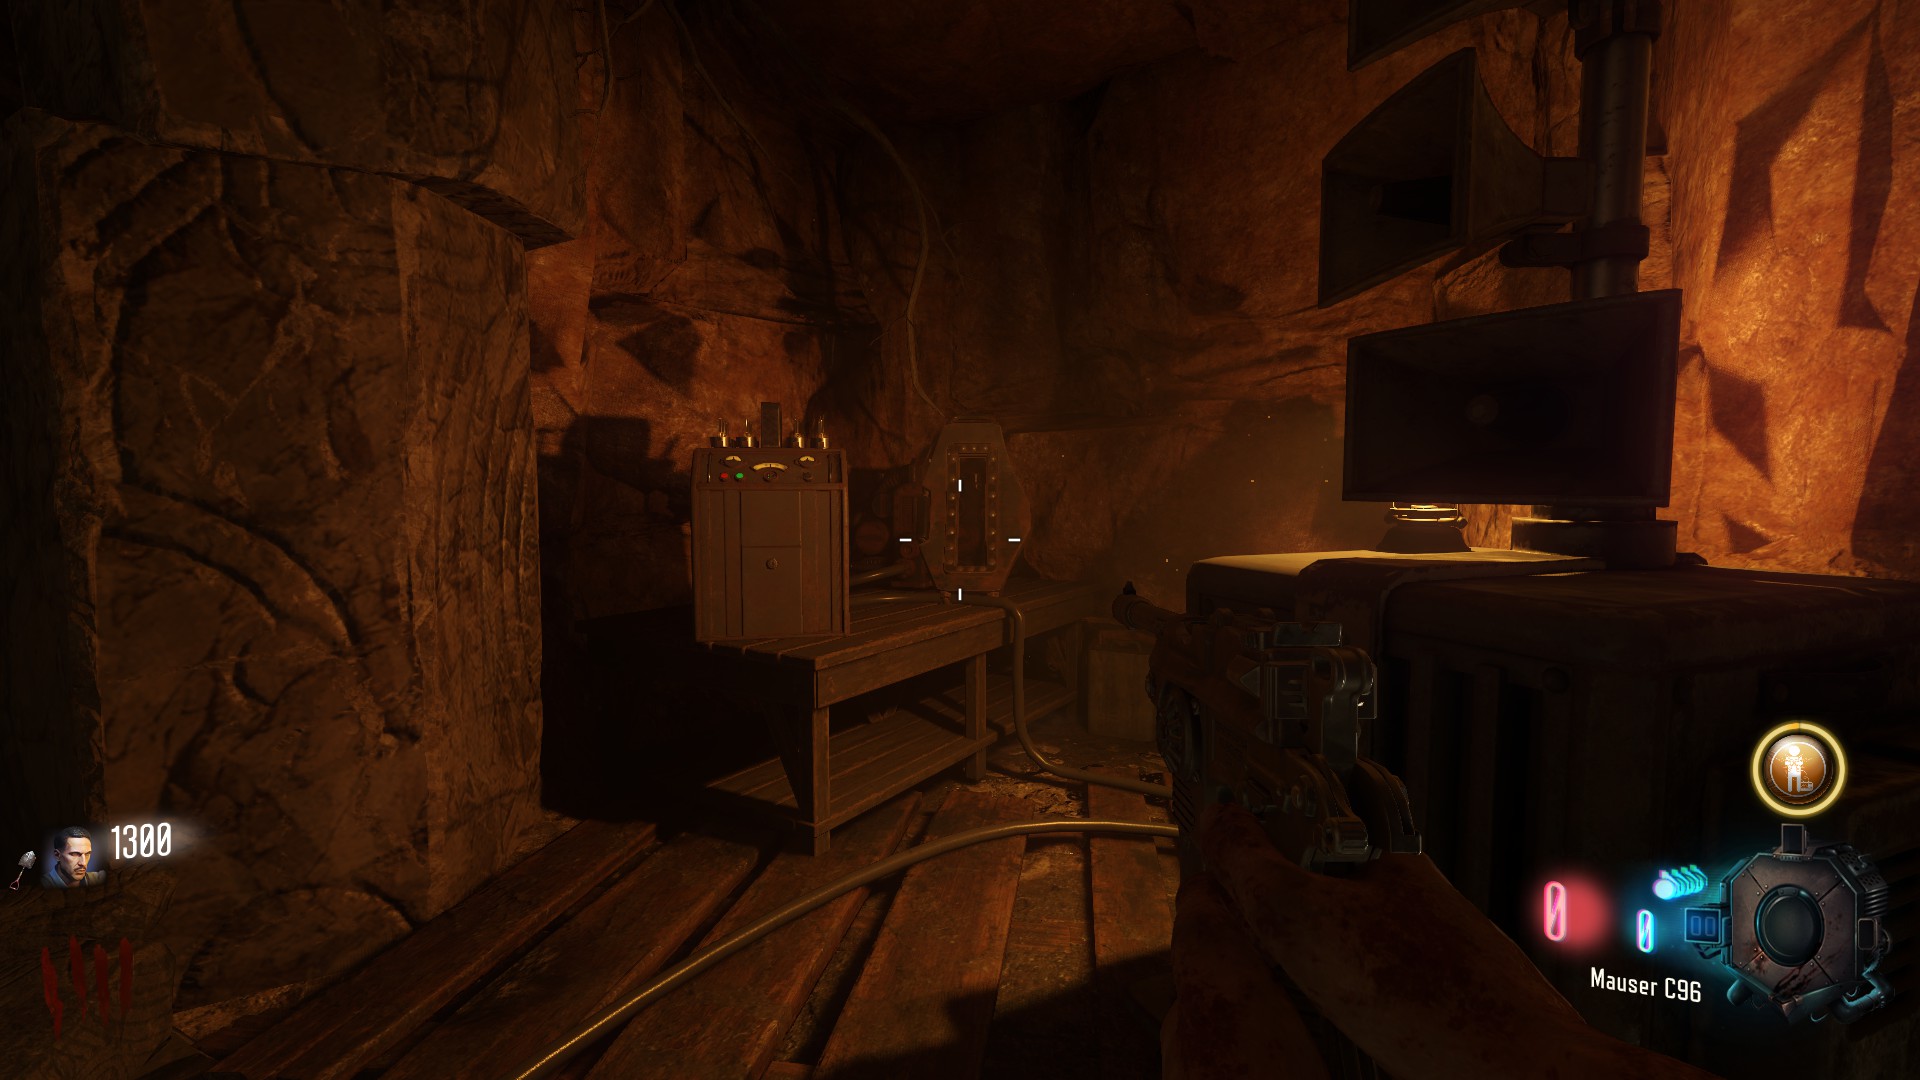
the first location could be in the fire staff crazy place entrance on a table
the second location could be next to a wheelbarrow in a little overhang arear (again)
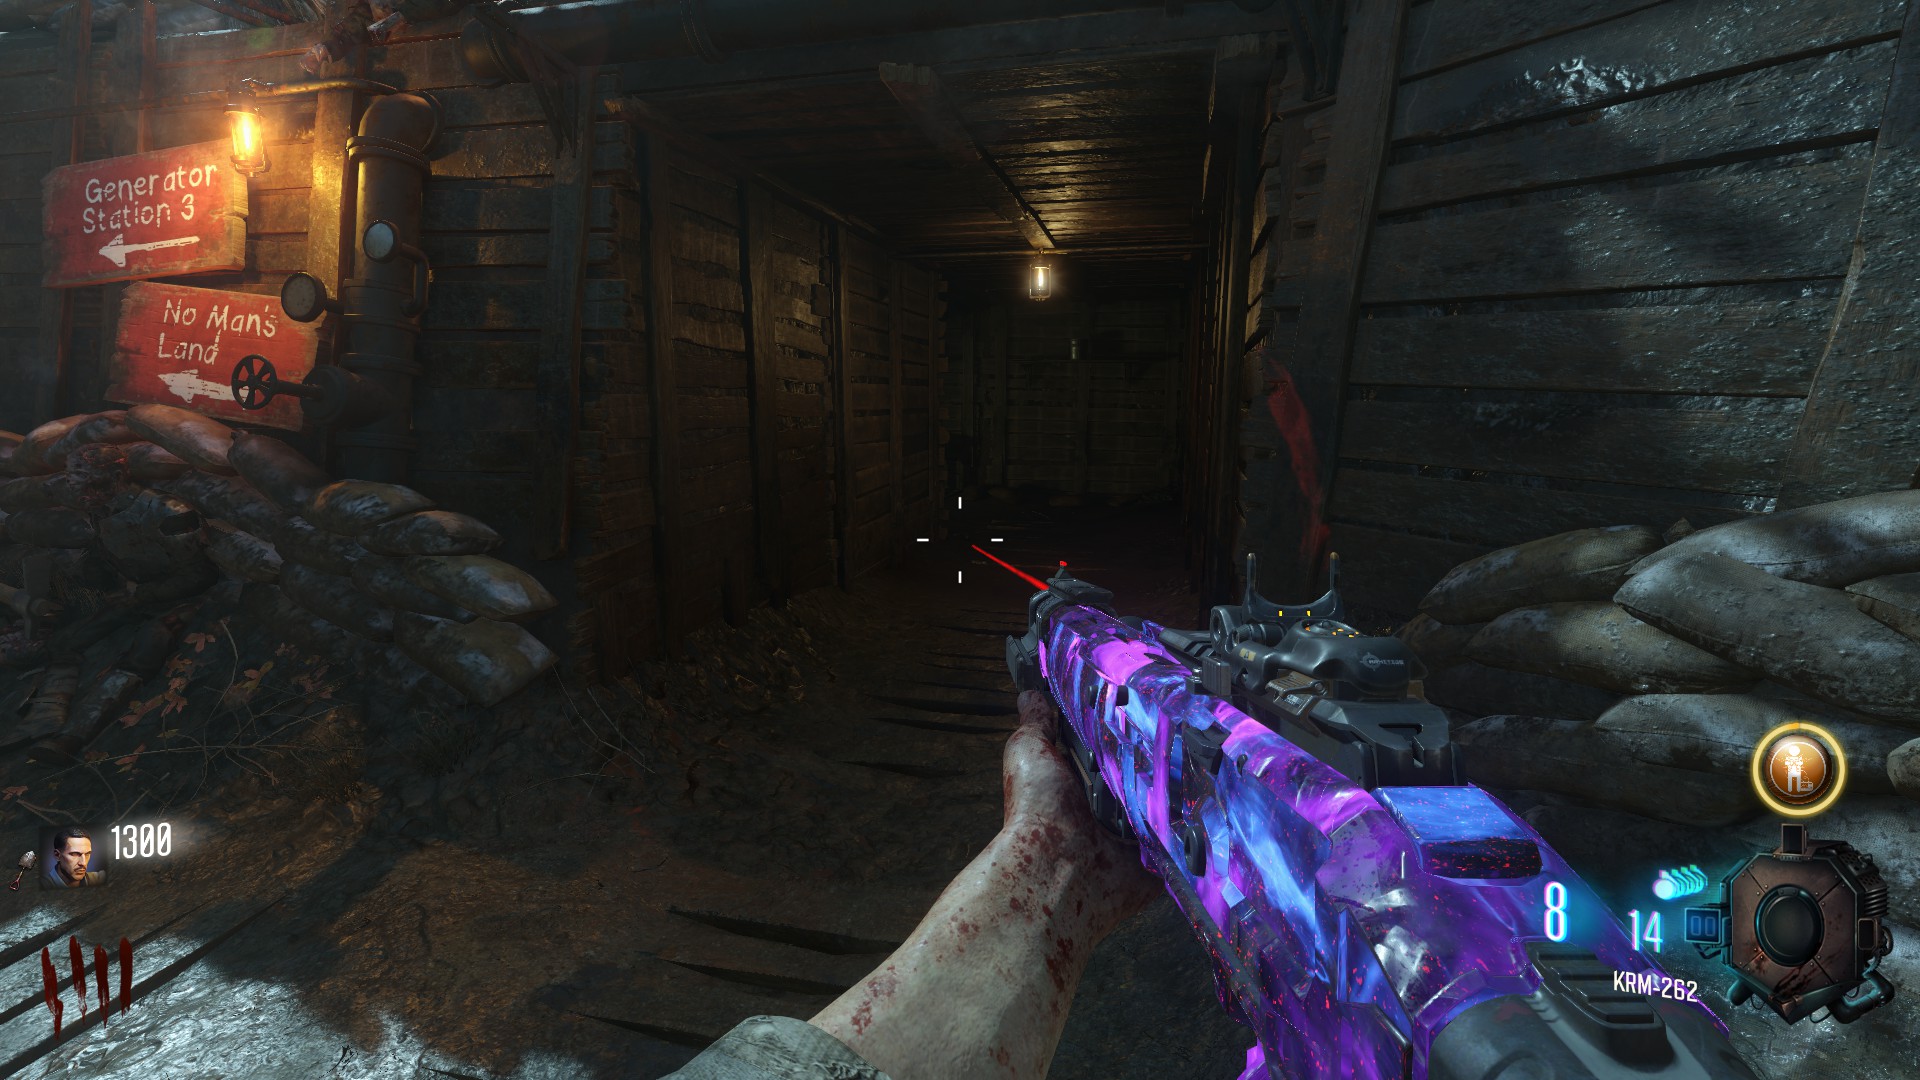
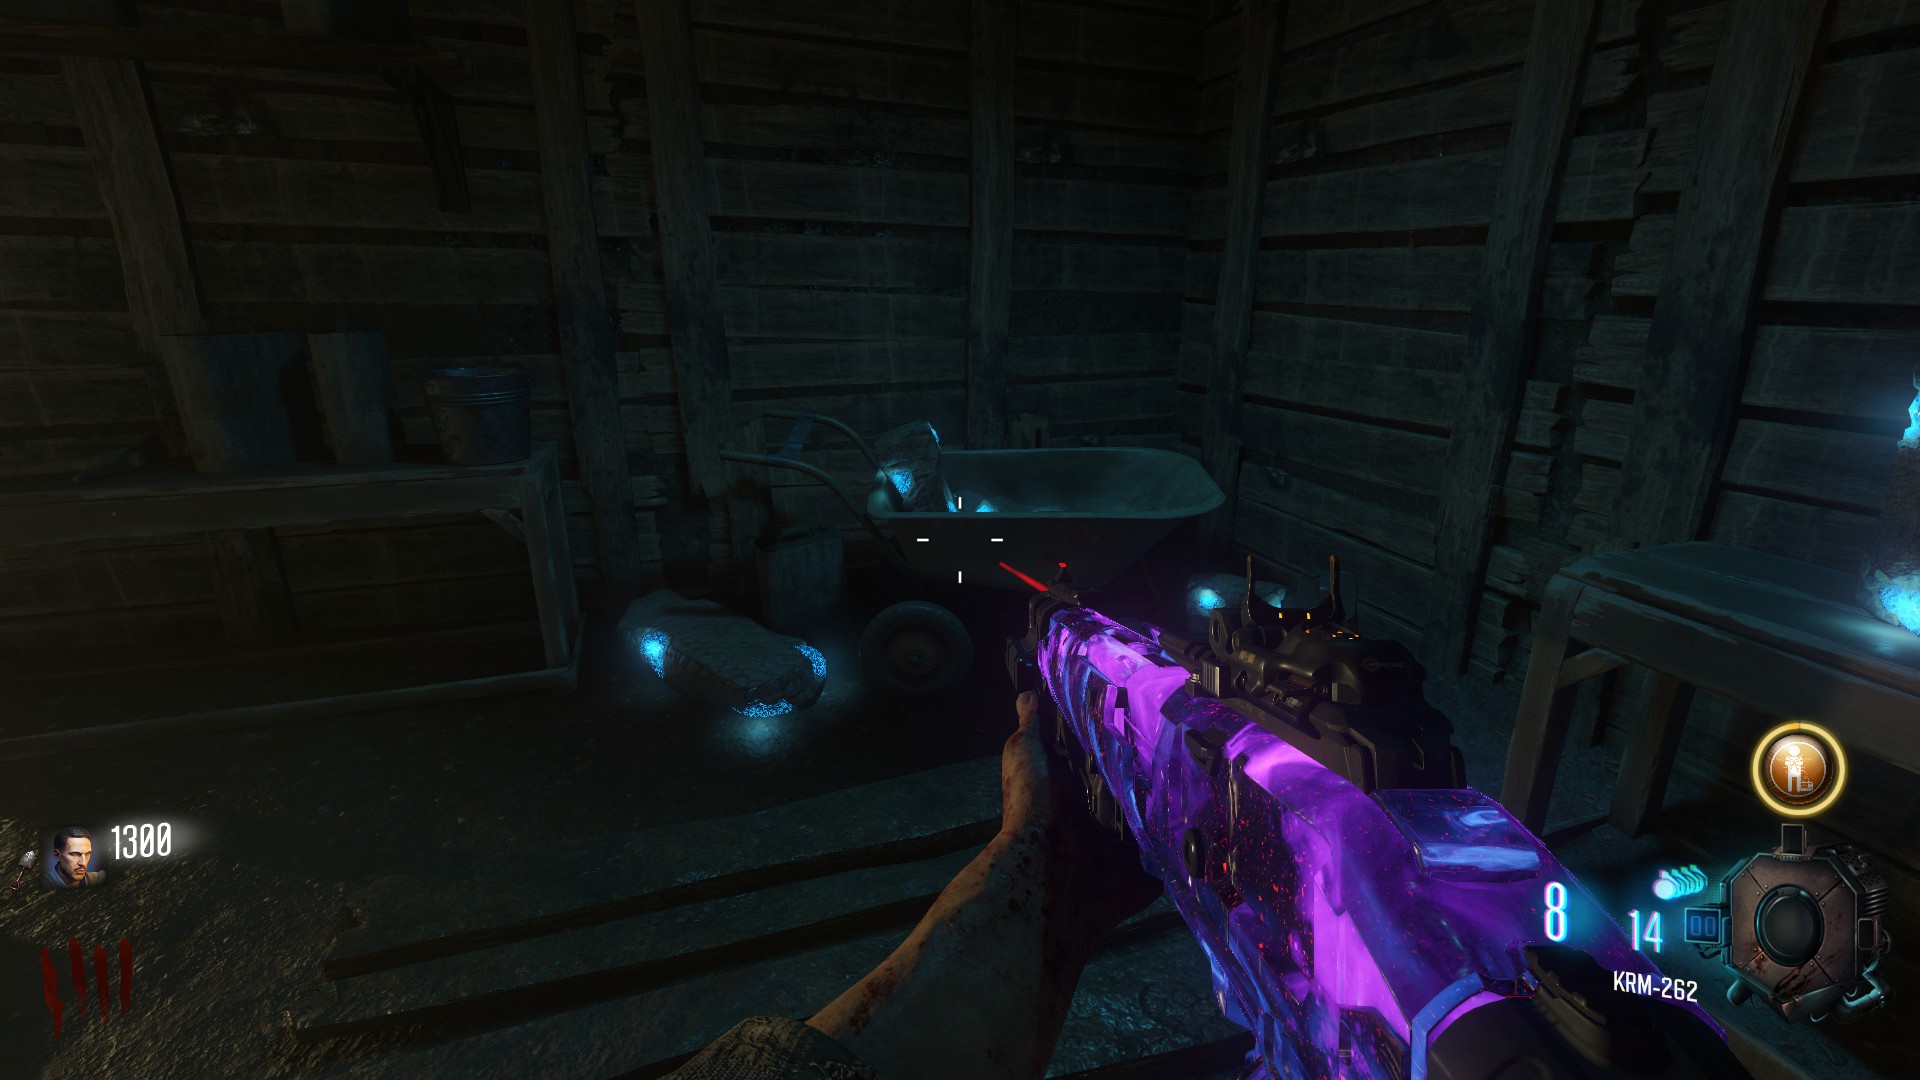
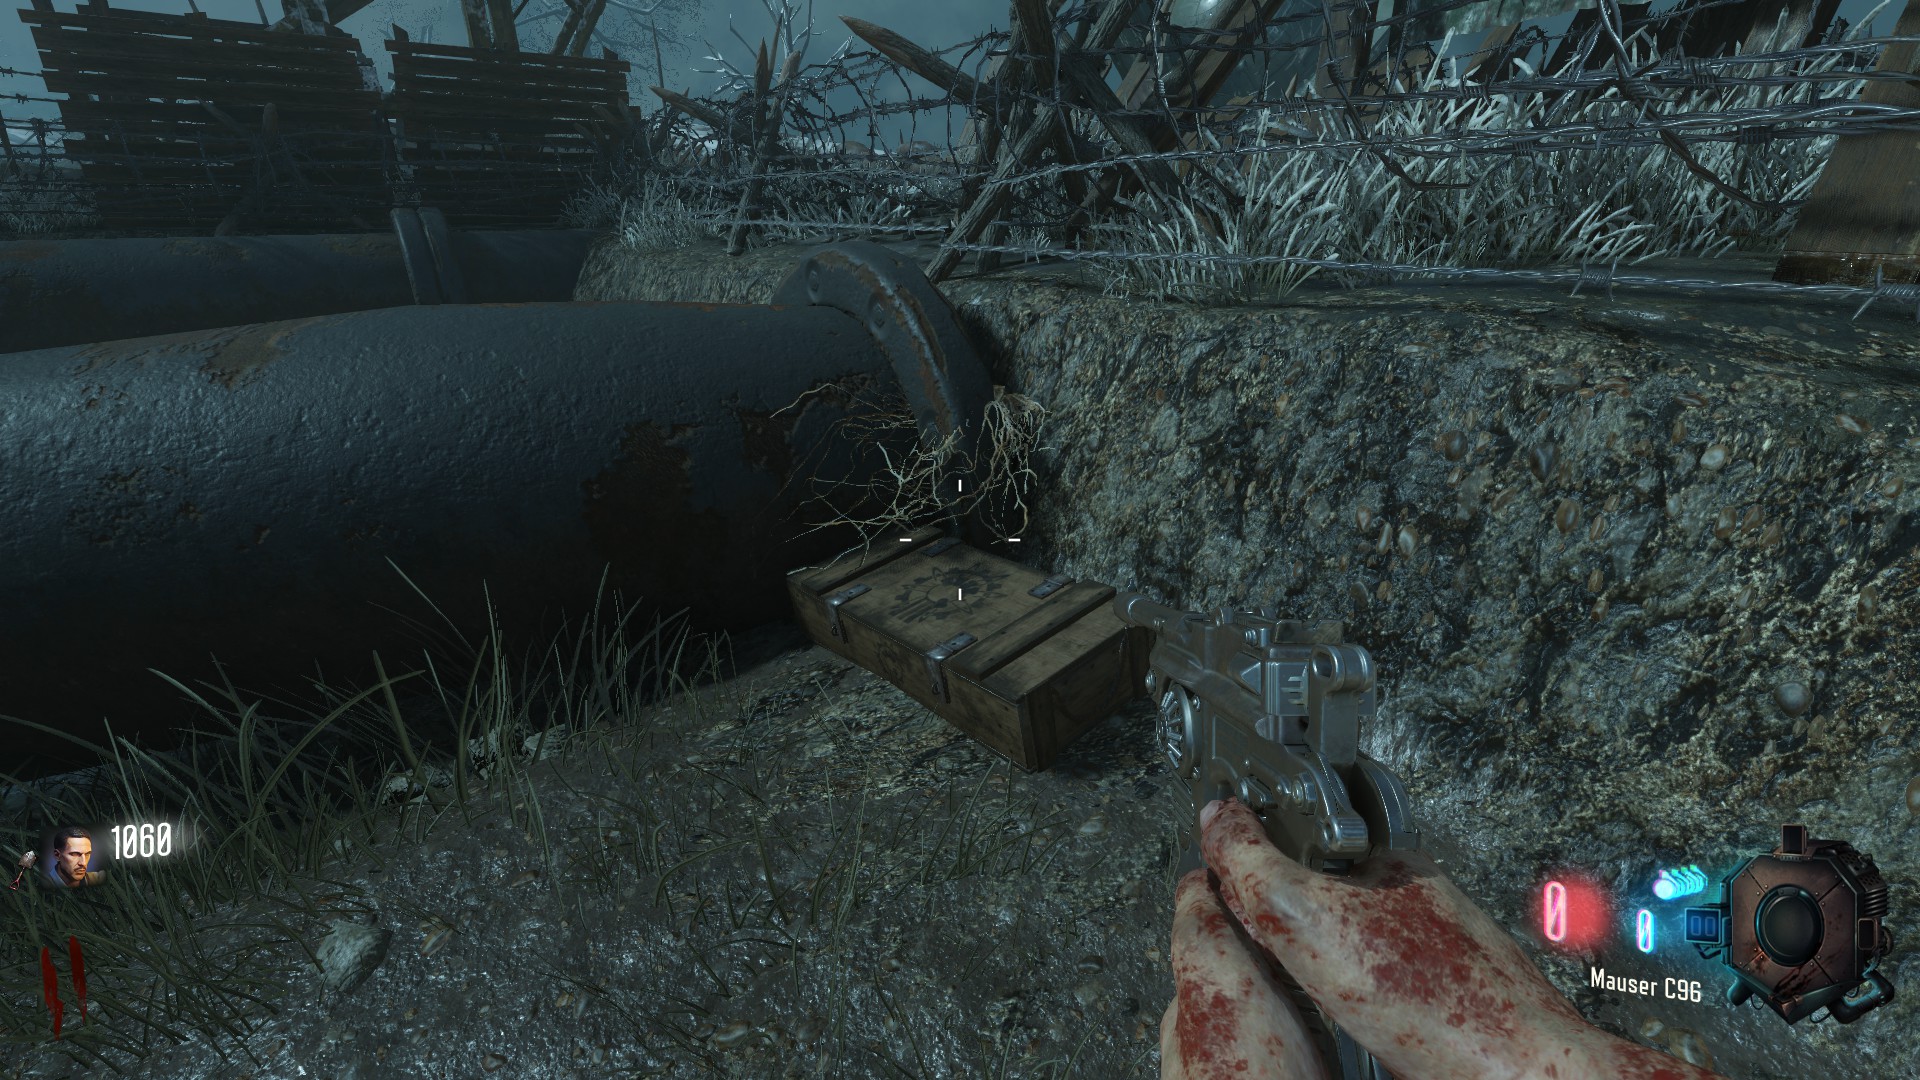
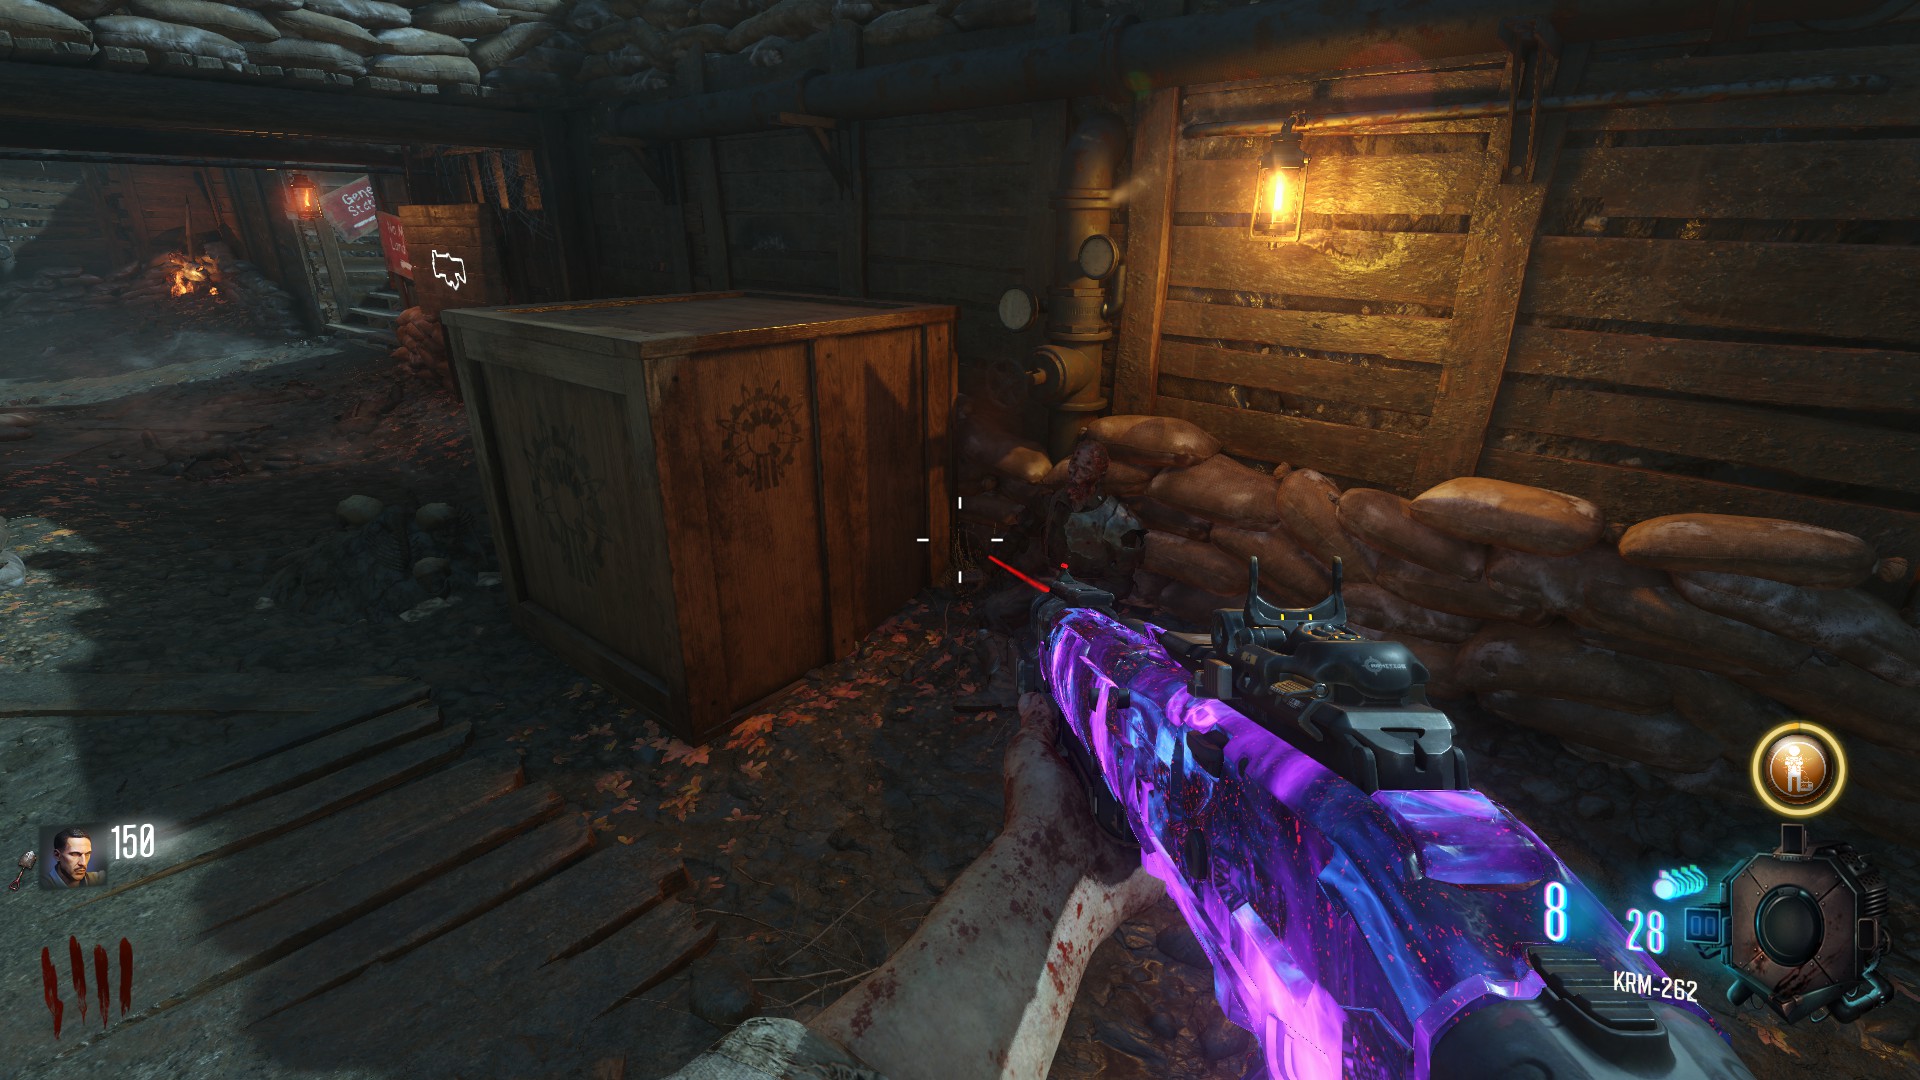
the third location could be next to a wooden crate in the trench beneath Generator 3
Main Shield Part
the third part can be found in the right foot footprint of the Giant walking in the middle (Odin)
the first location could be in the footprint next to Juggernog
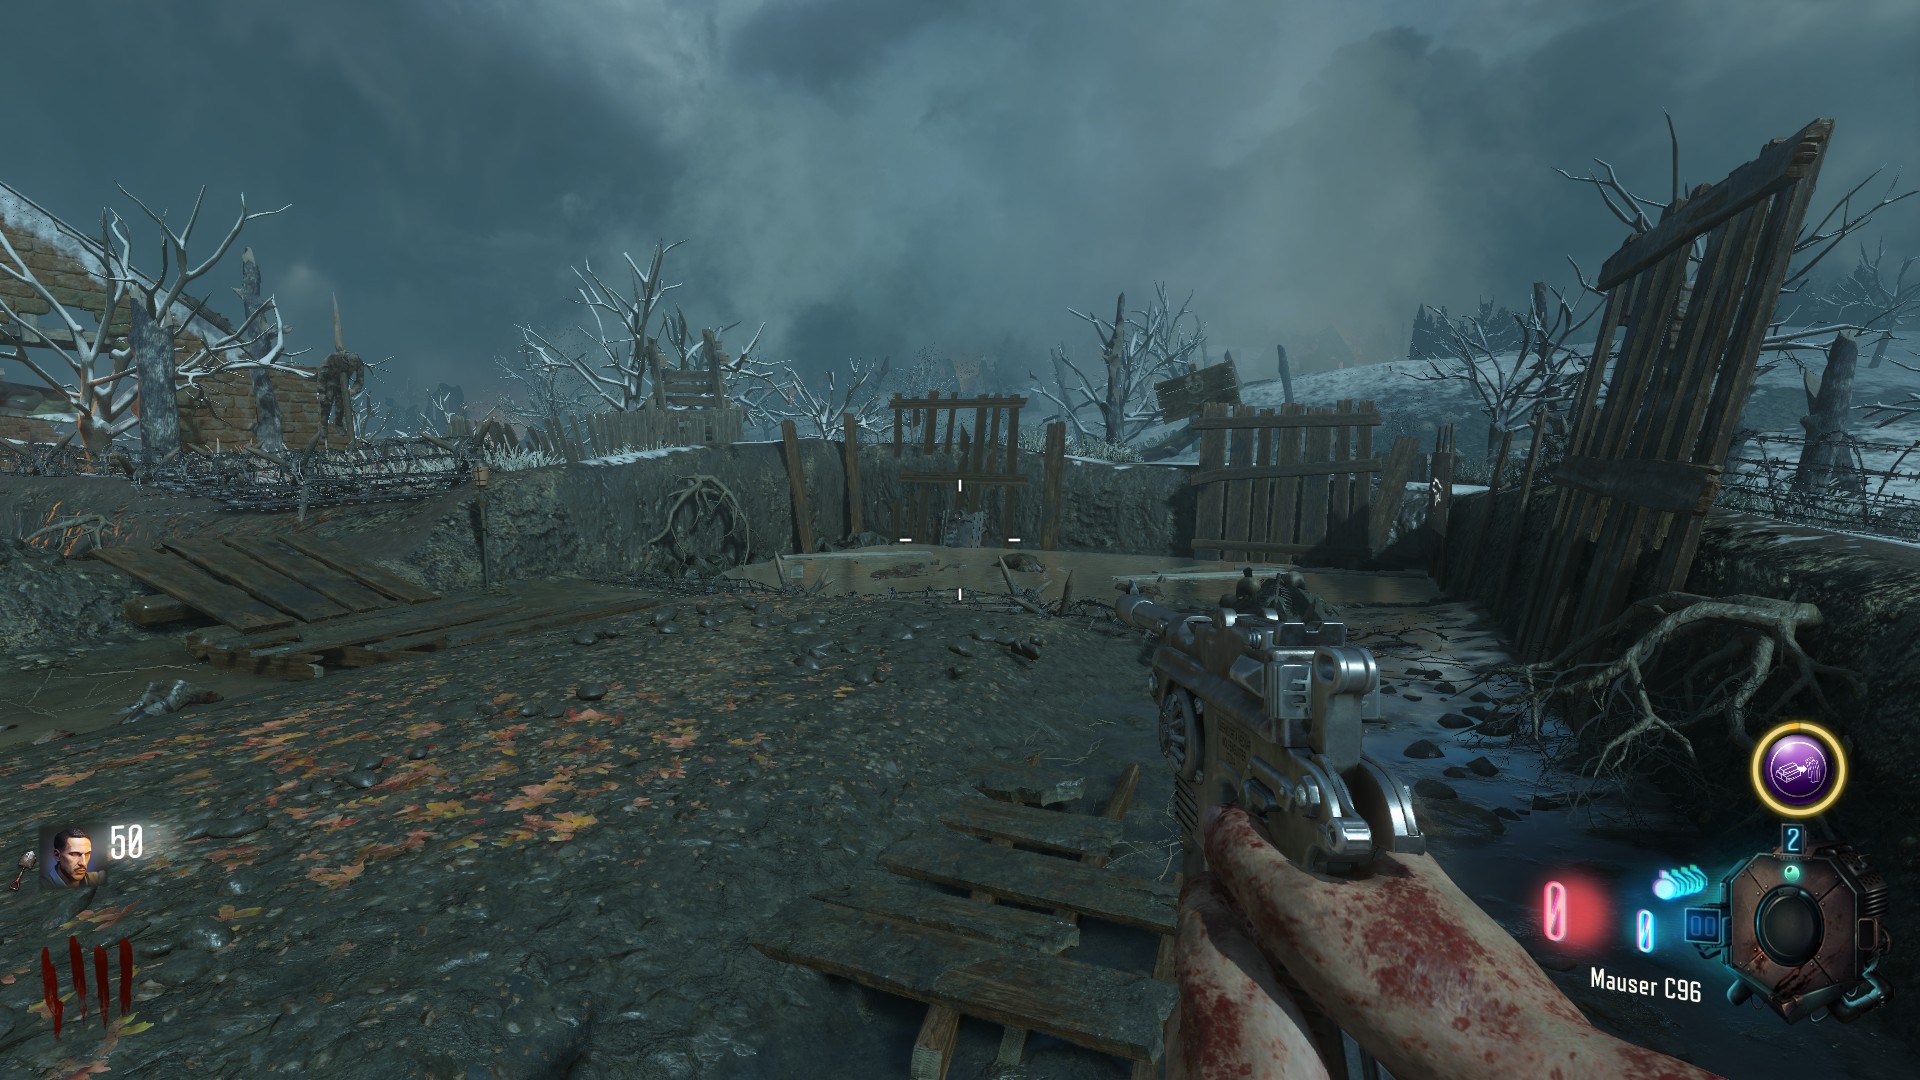
the second location could be in the footprint straight ahead of the staircase room exit past the MP40
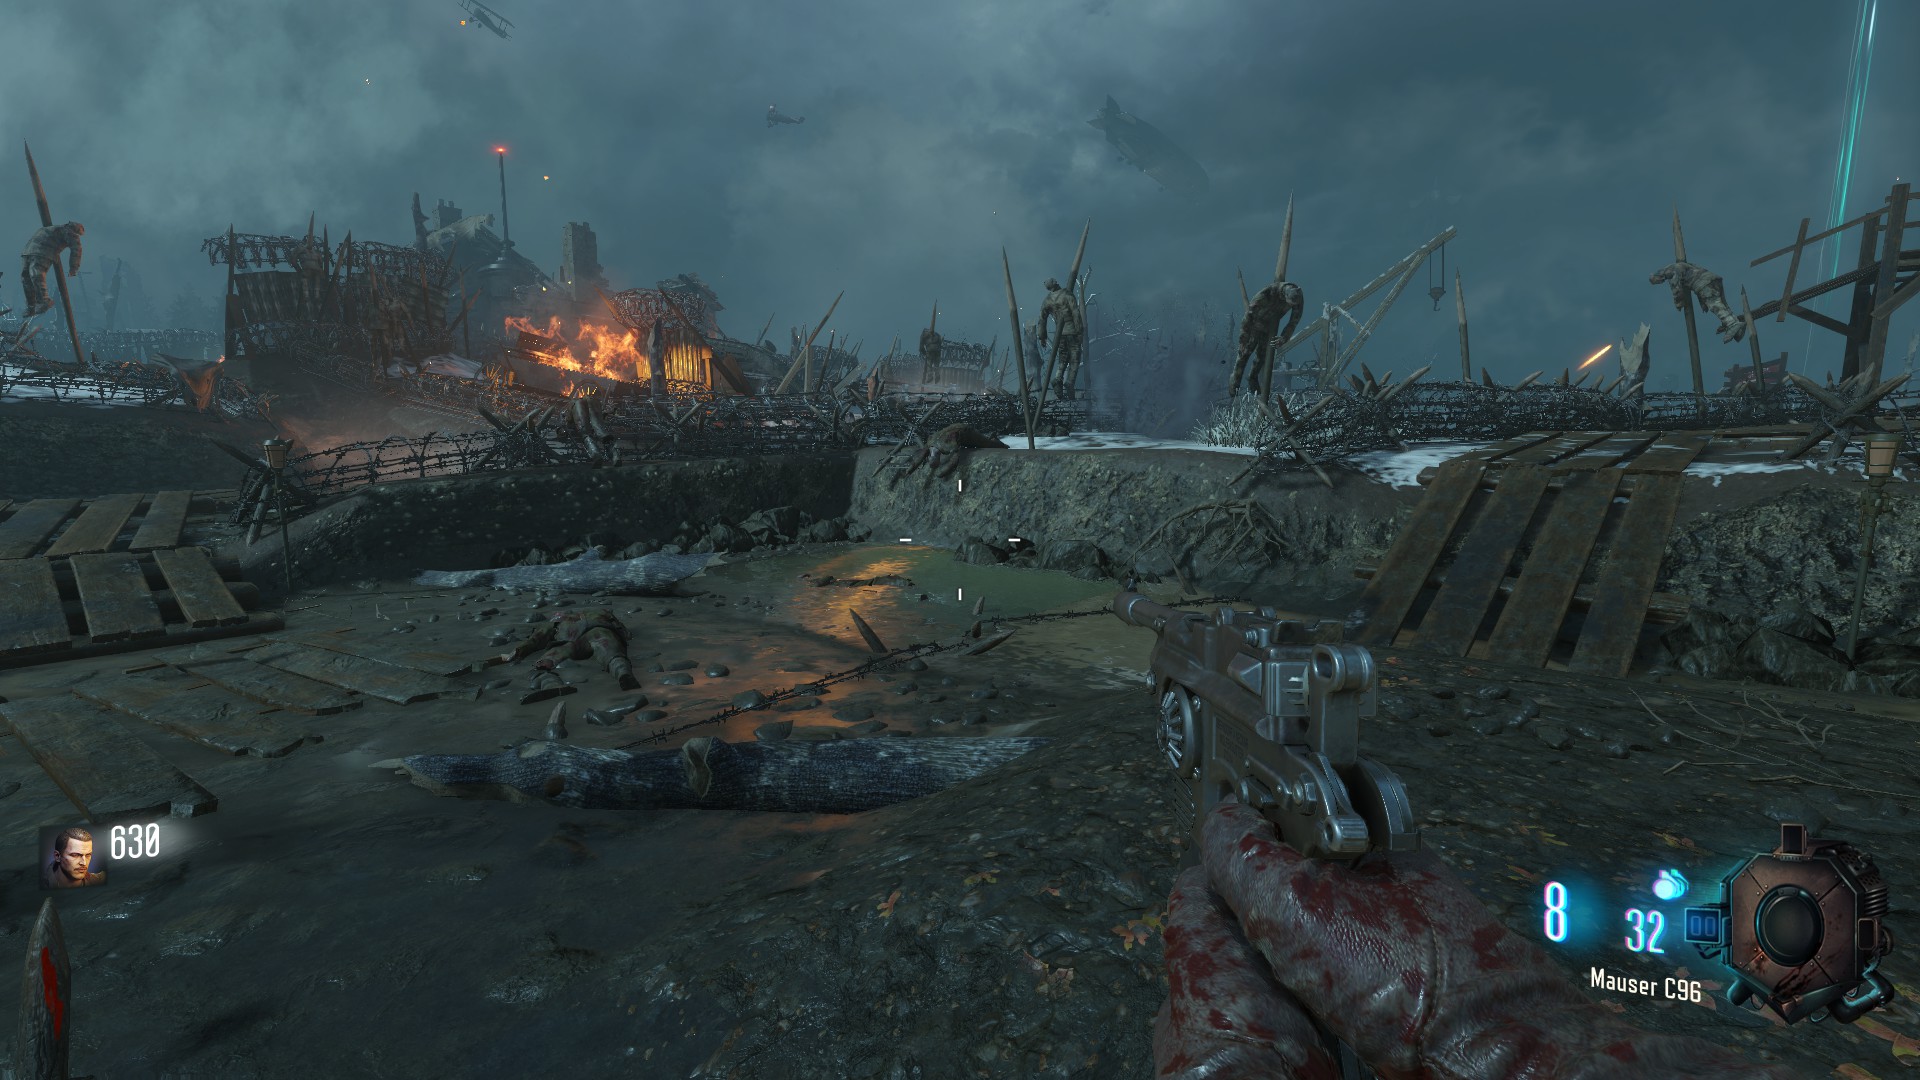
the third location could be in the footprint when following the trench behind the 'Pack a Punch' pedestal
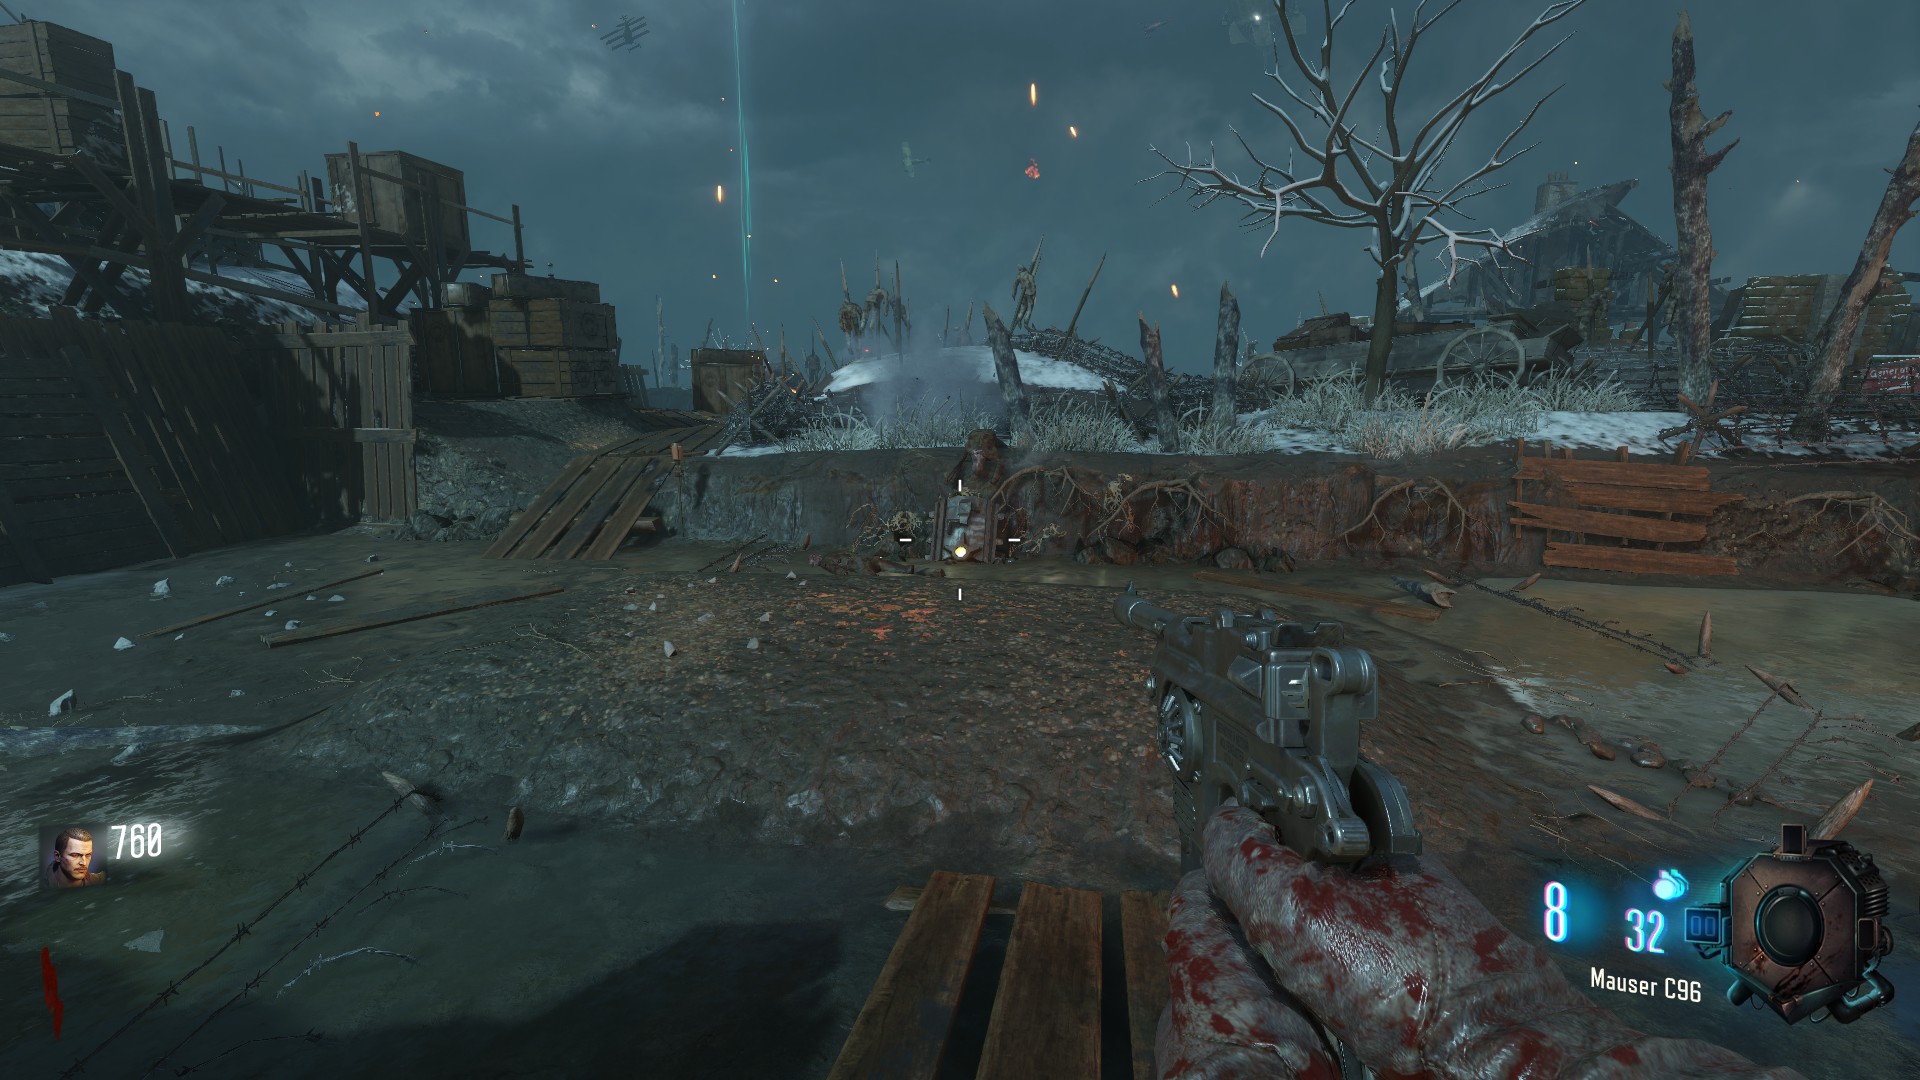
Shield Base
is found in the area around Generator 2
the first location could be next to a wheelbarrow under an overhang area
the second location could be on the roof of the building, right next to Generator 2
the third location could be in a wheelbarrow past the staircase room entrance in a dead end
Shield Face
is found in the area around Generator 3
the first location could be in the fire staff crazy place entrance on a table
the second location could be next to a wheelbarrow in a little overhang arear (again)
the third location could be next to a wooden crate in the trench beneath Generator 3
Main Shield Part
the third part can be found in the right foot footprint of the Giant walking in the middle (Odin)
the first location could be in the footprint next to Juggernog
the second location could be in the footprint straight ahead of the staircase room exit past the MP40
the third location could be in the footprint when following the trench behind the 'Pack a Punch' pedestal
Maxis Drone
The Maxis Drone is used for self-defense, reviving teammates and completing an Easter egg where you get a punched MG08 (Magna Collider)
the first part (Brain in a jar) is always located in the spawn room in the lower area on a table
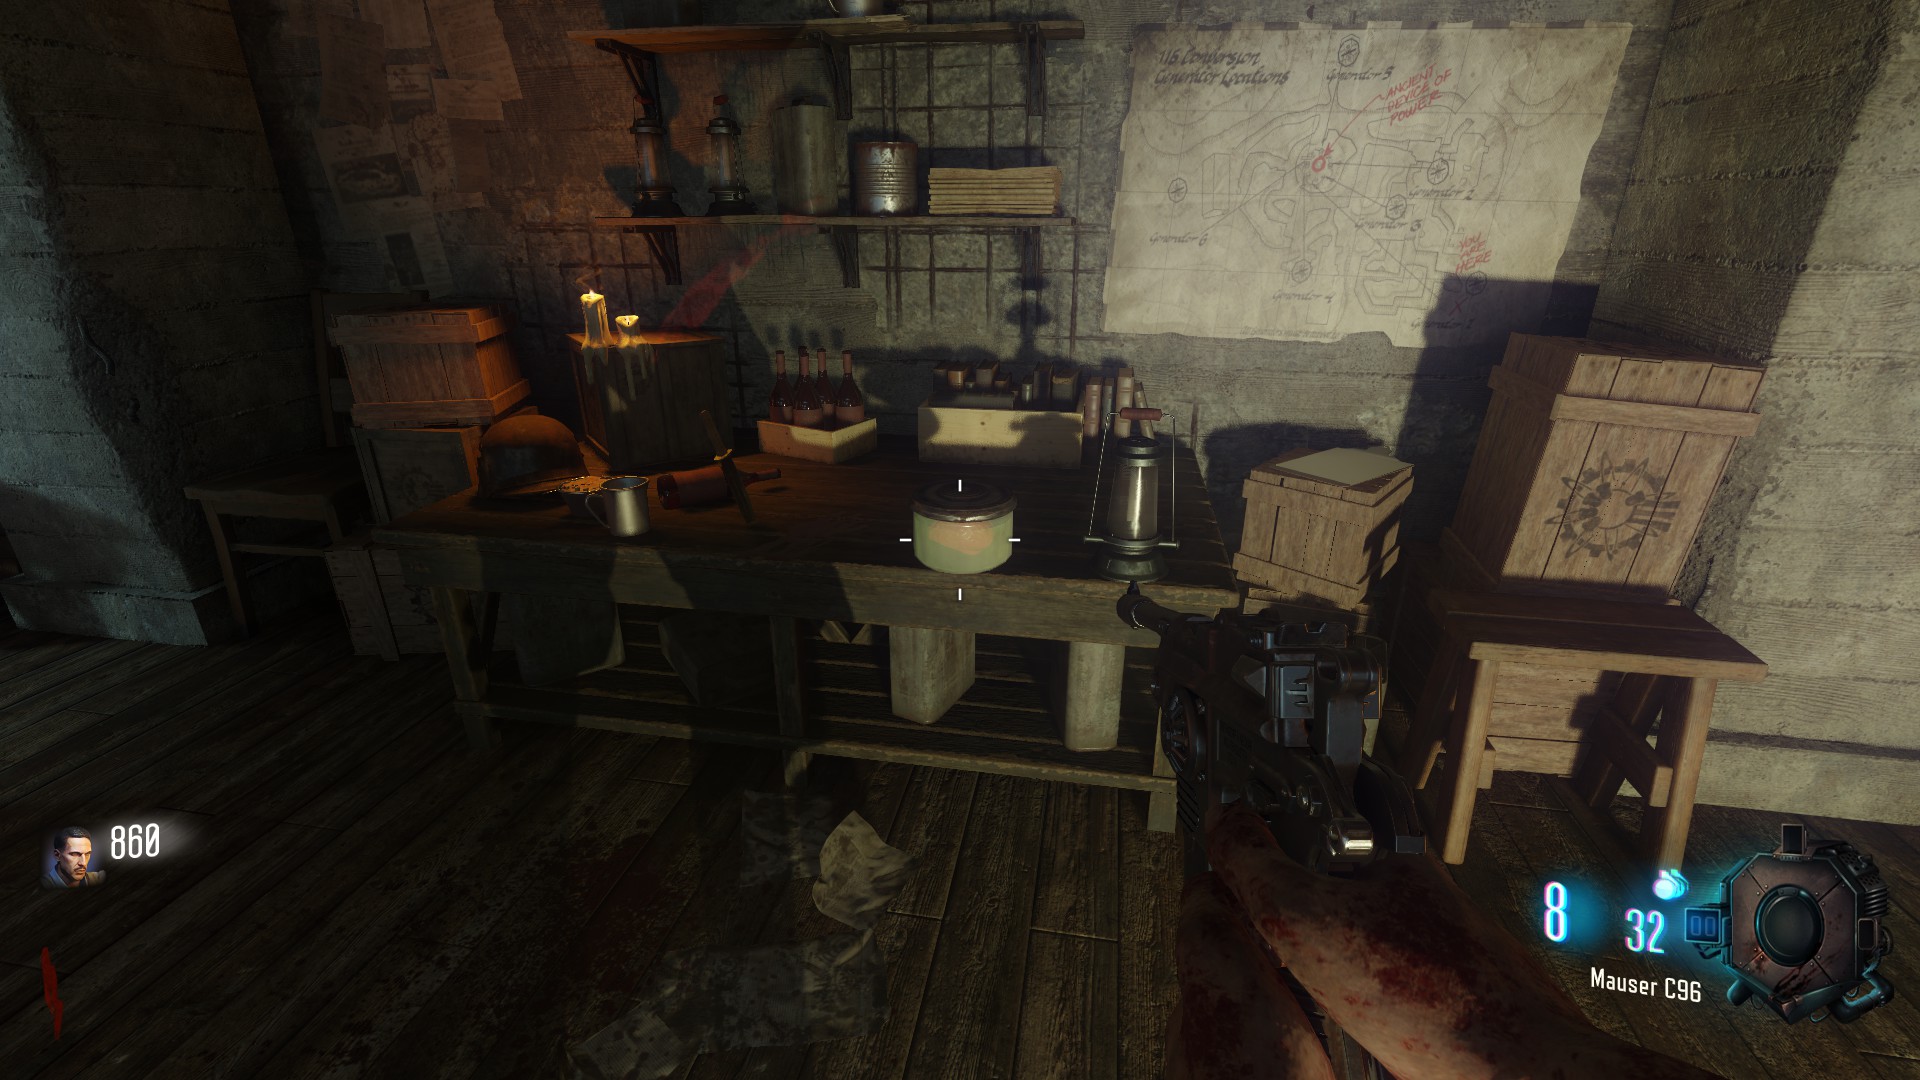
the second part (wings) is located around the 'Pack a Punch' pedestal
the first location could be at the wall next to the gobble gum machine near the pack a punch machine
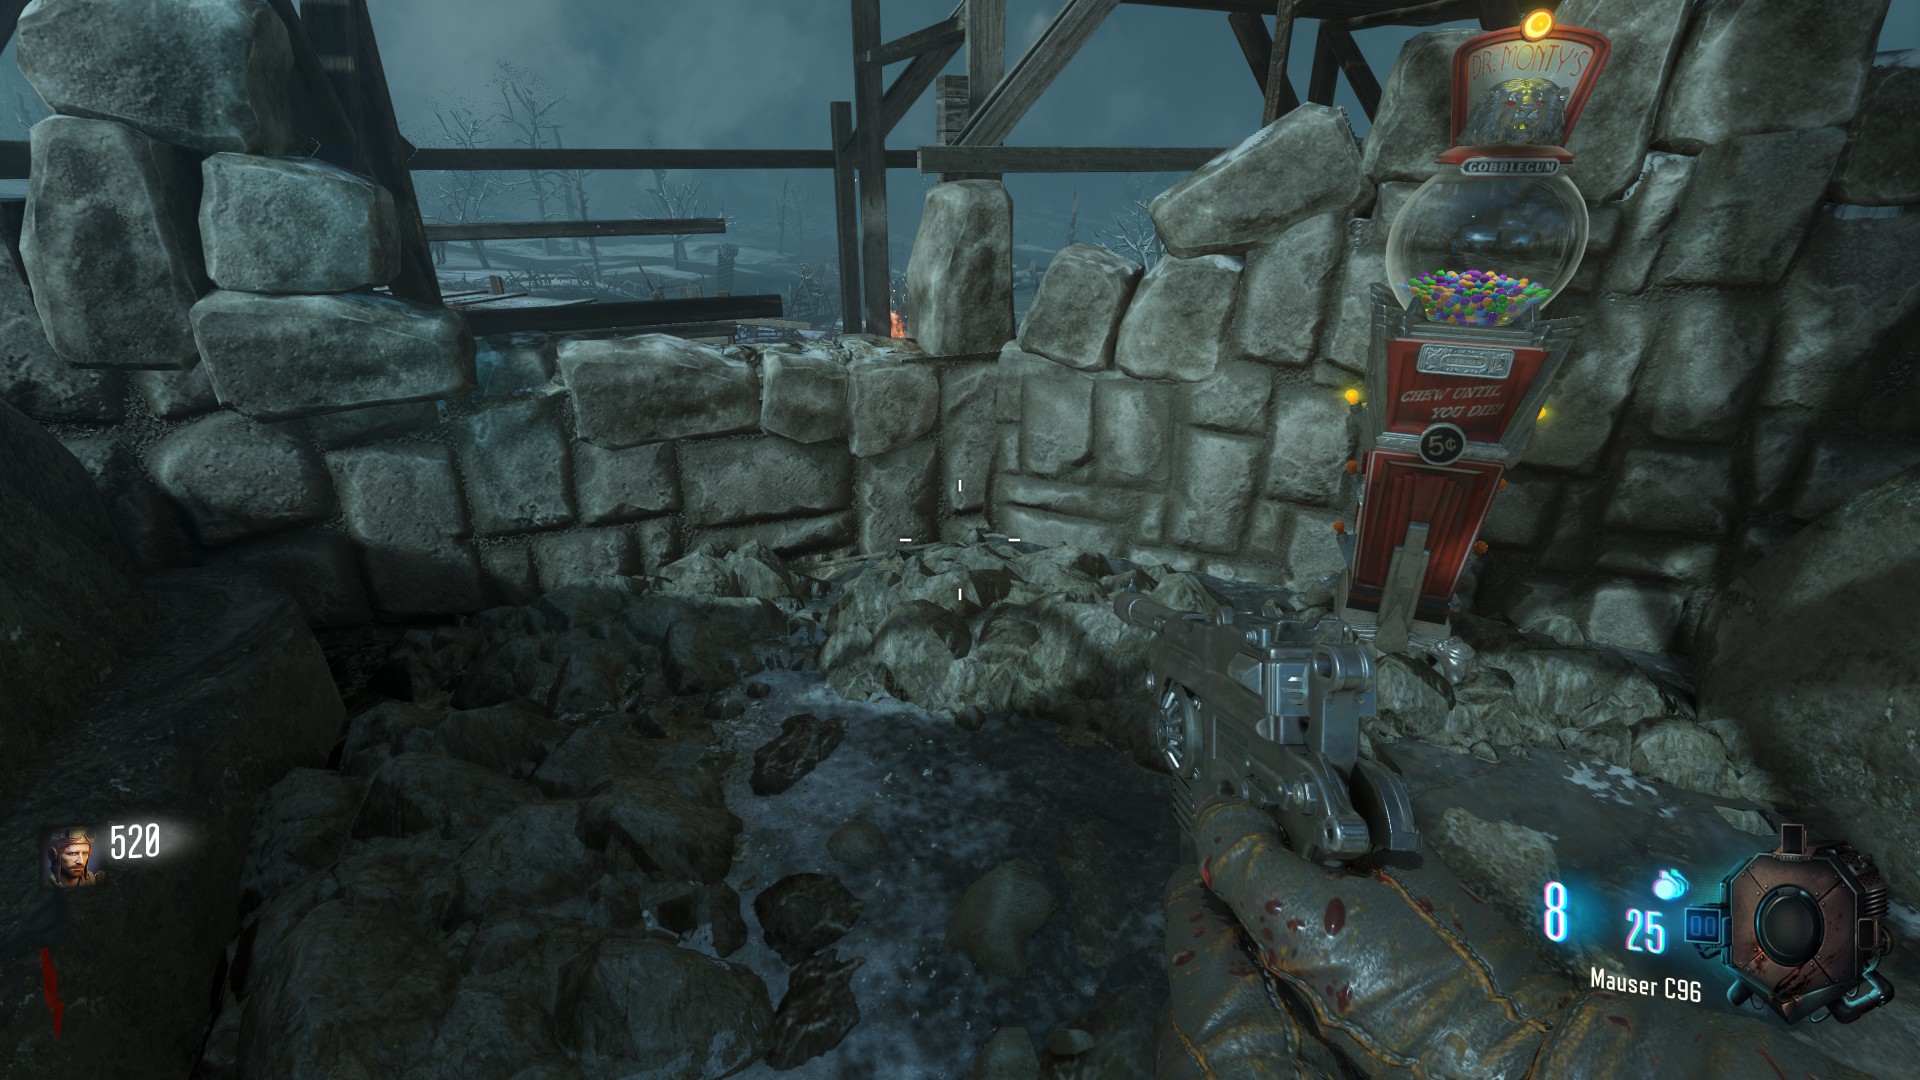
the second location could be next to the chest where the Gramophone is found
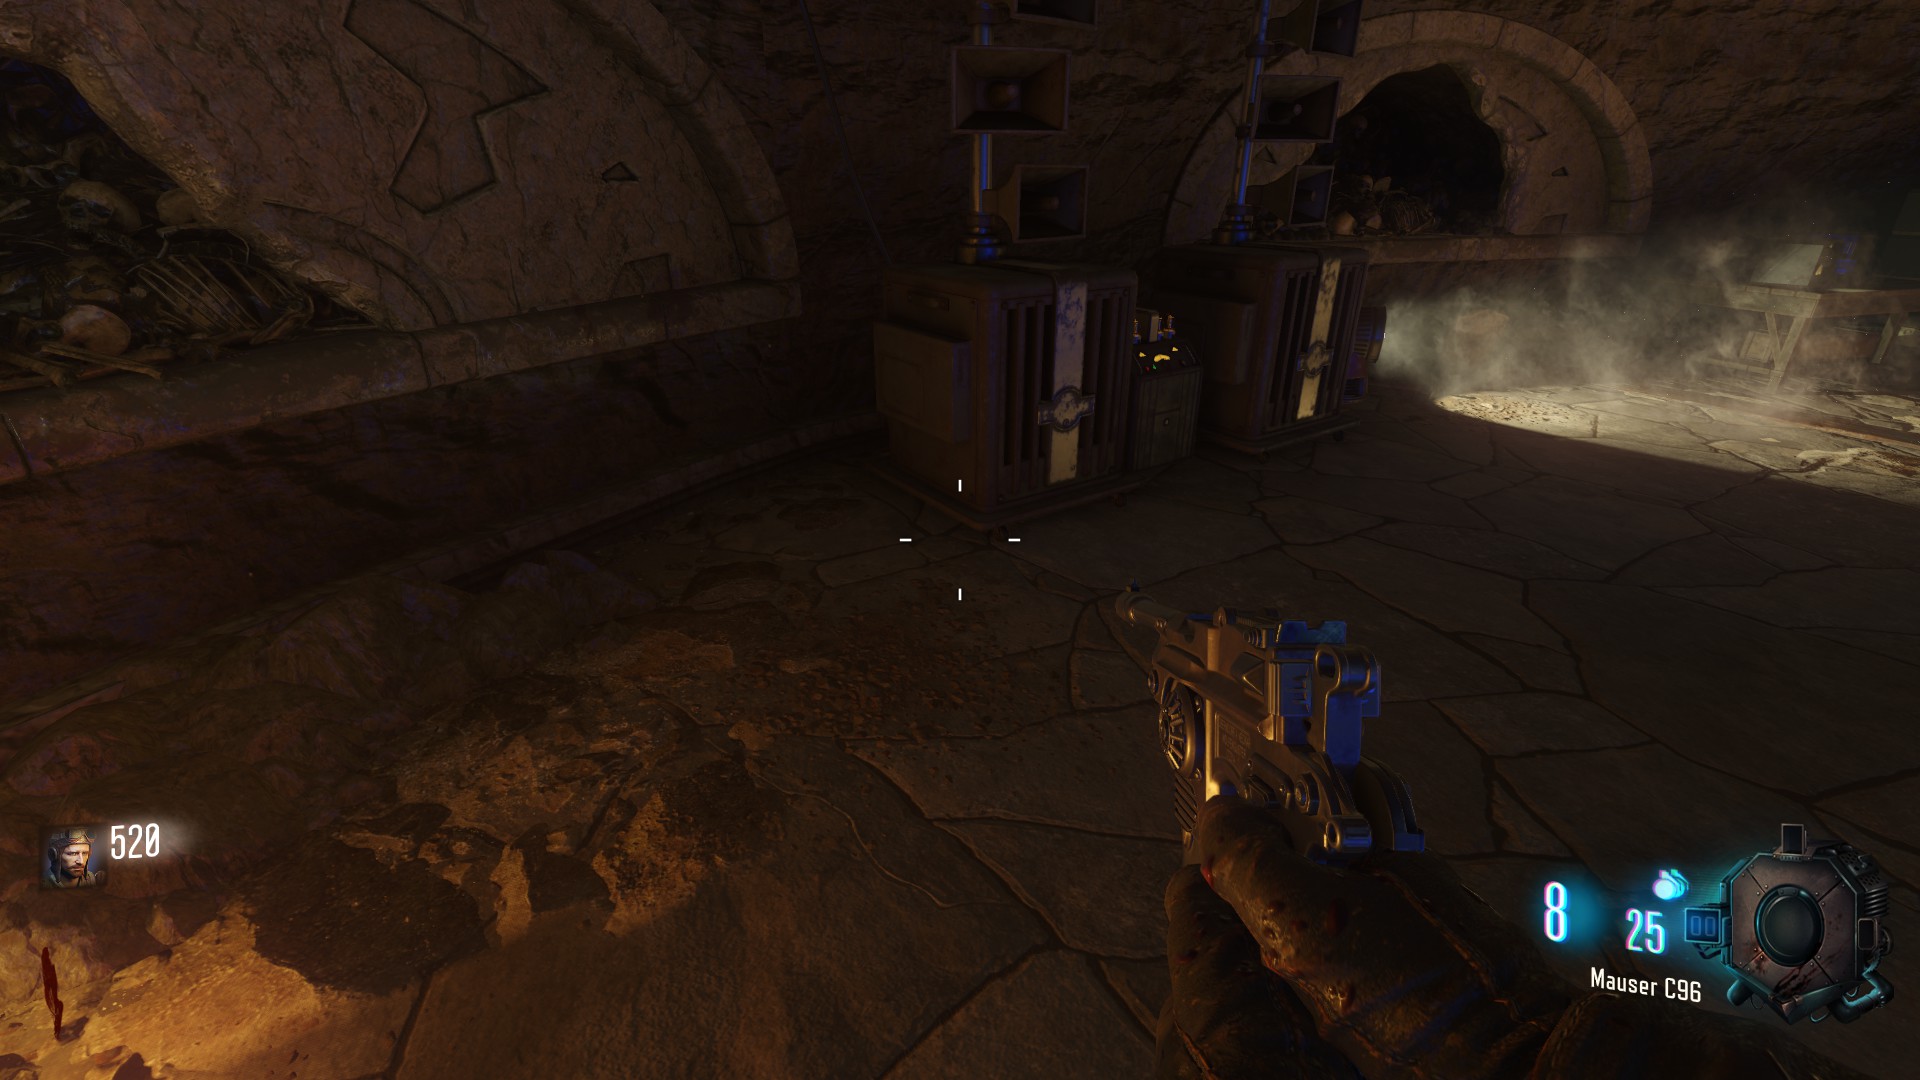
the third location is in the staff room on the wooden scaffolding
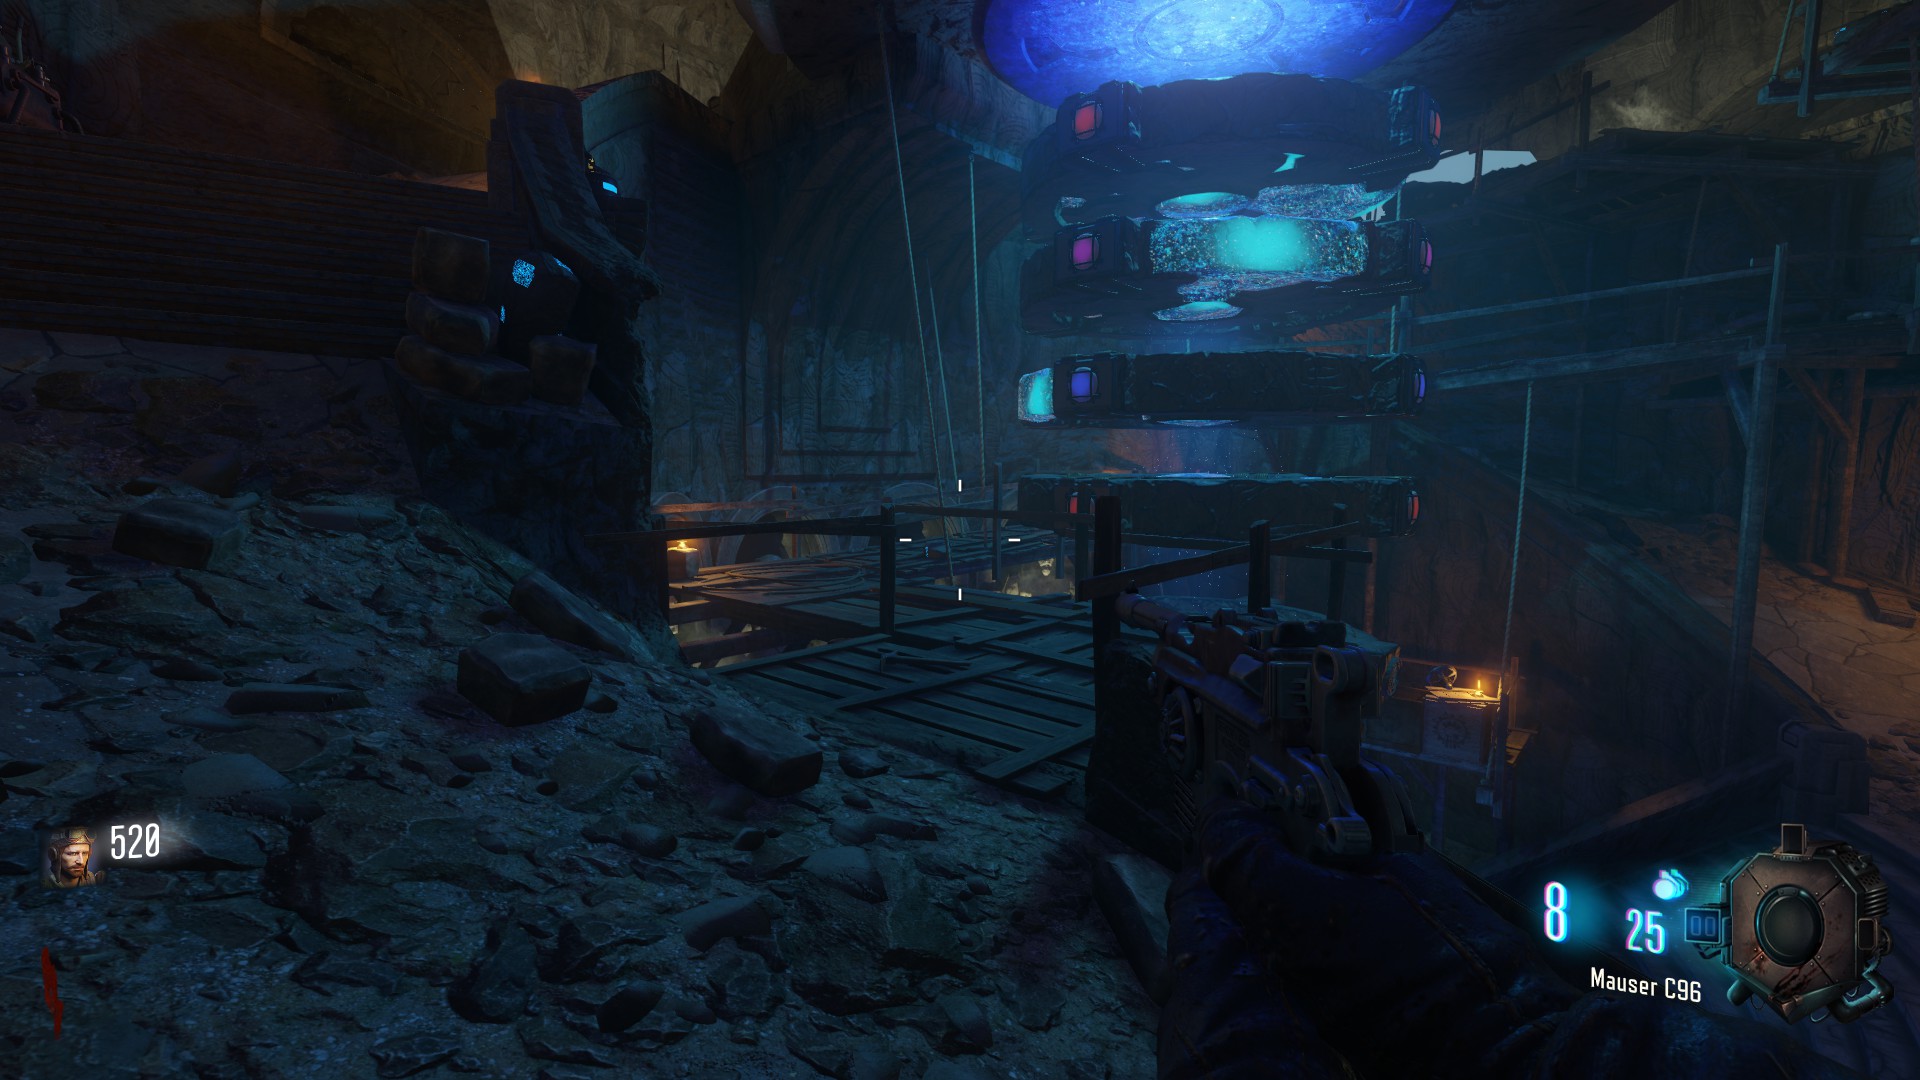
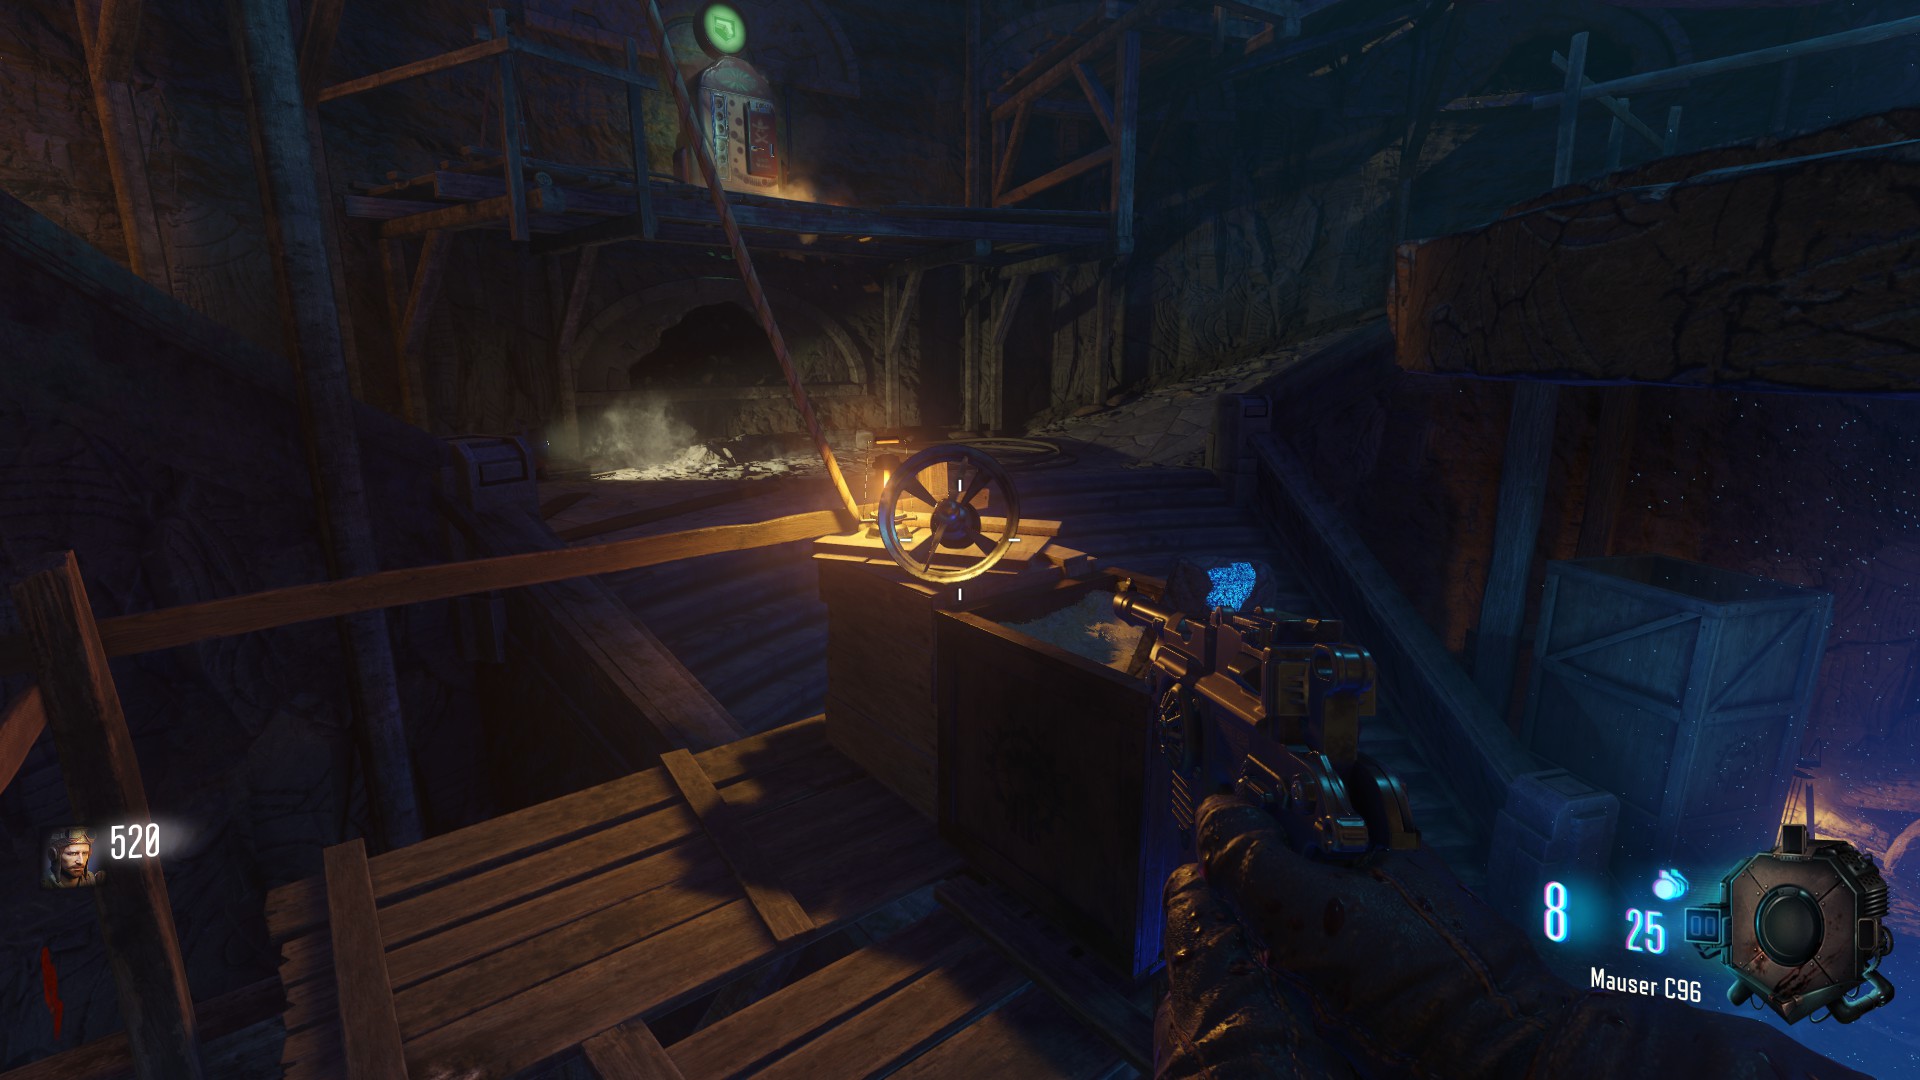
the third part (frame) is located around the tank/church area
the first location could be from the Church on the tank path heading to Generator 4 (in front of the tank) on the left side
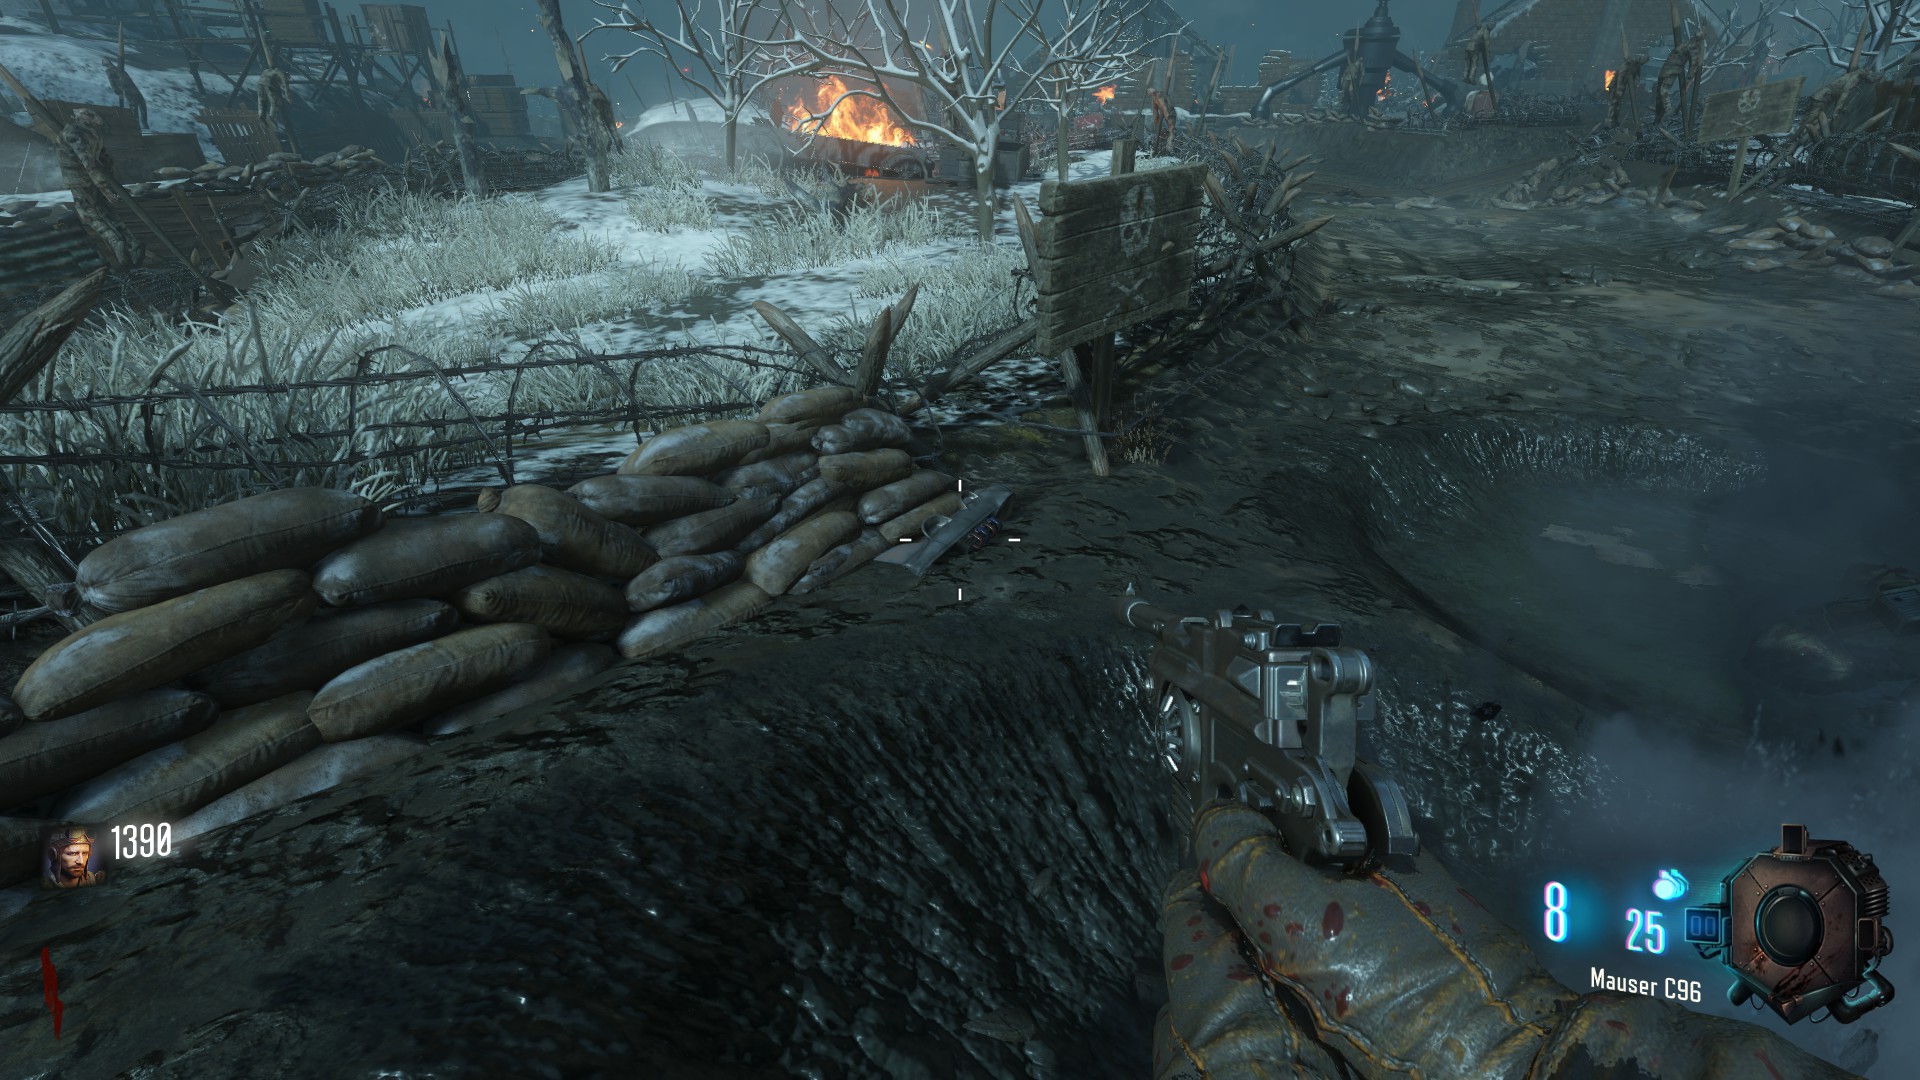
the second location could be from the Church on the tank path heading to Generator 5 (behind the tank) on the right side
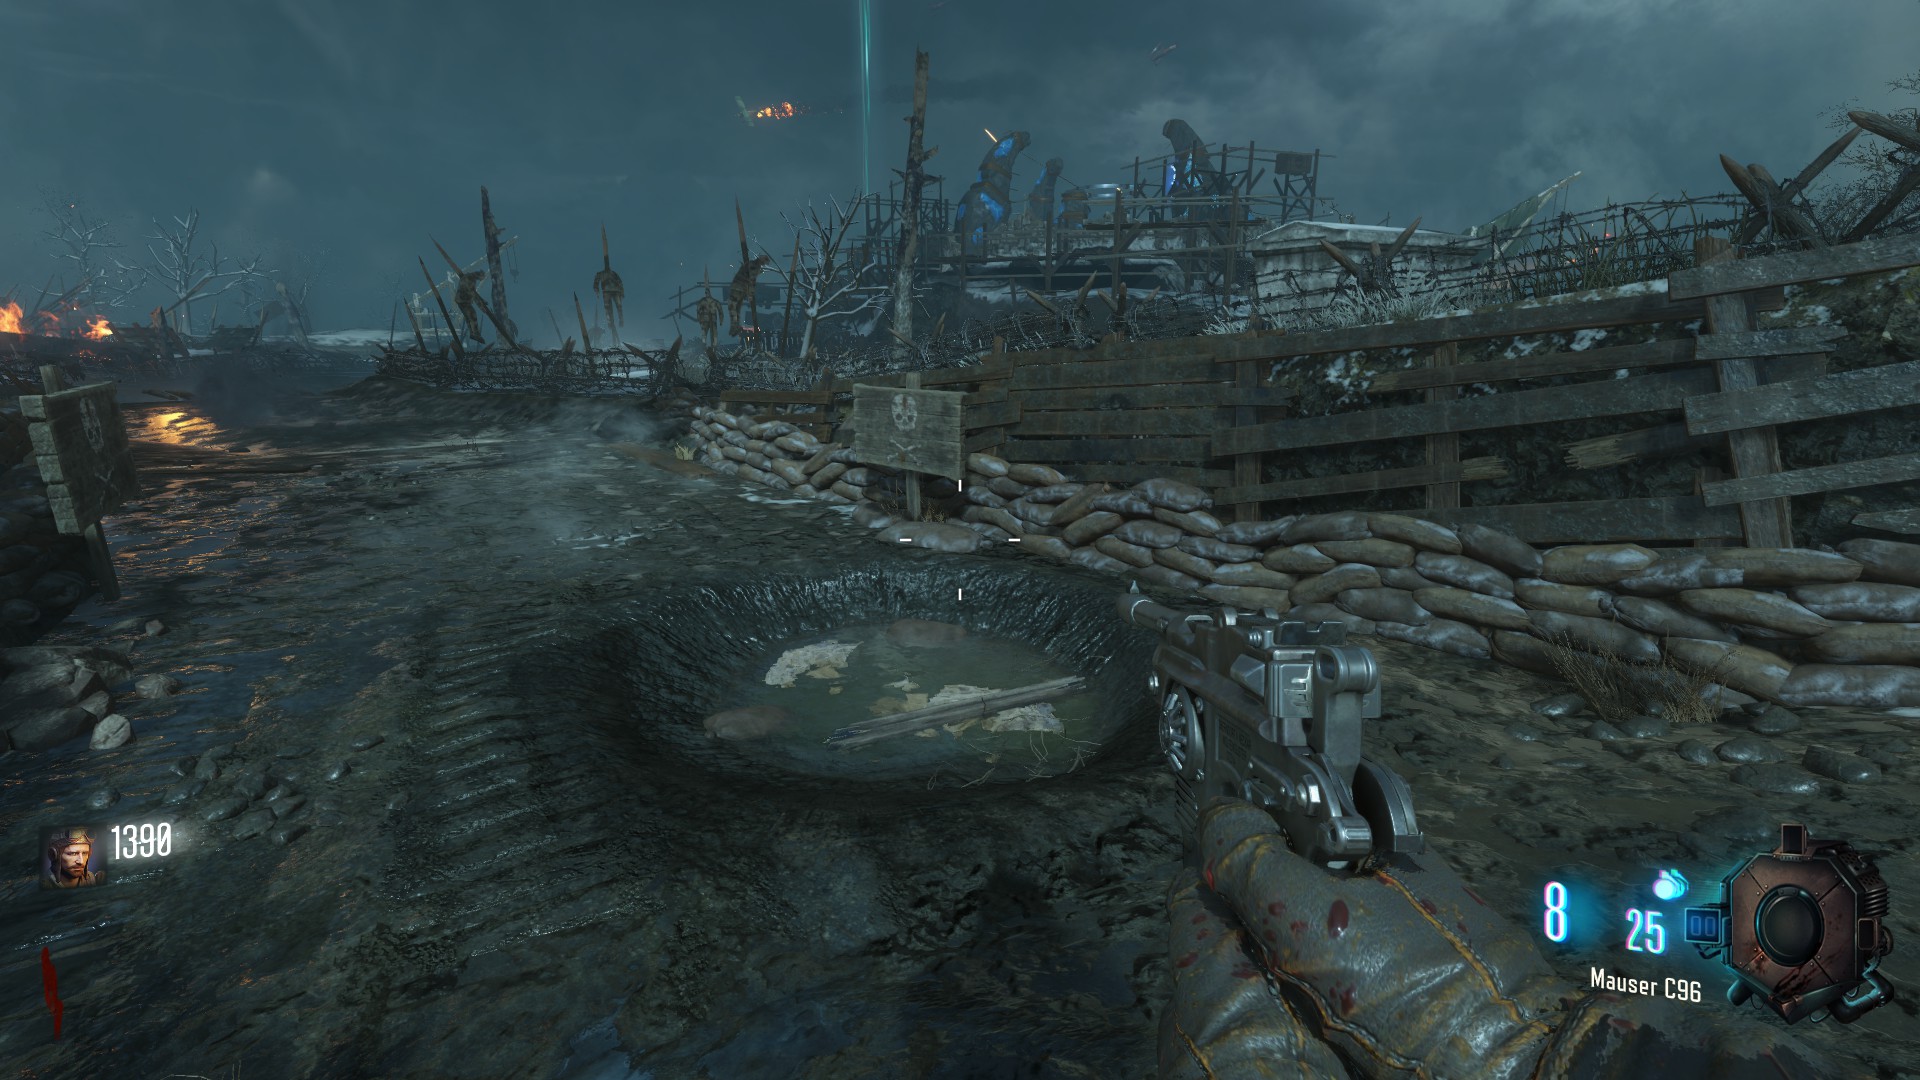
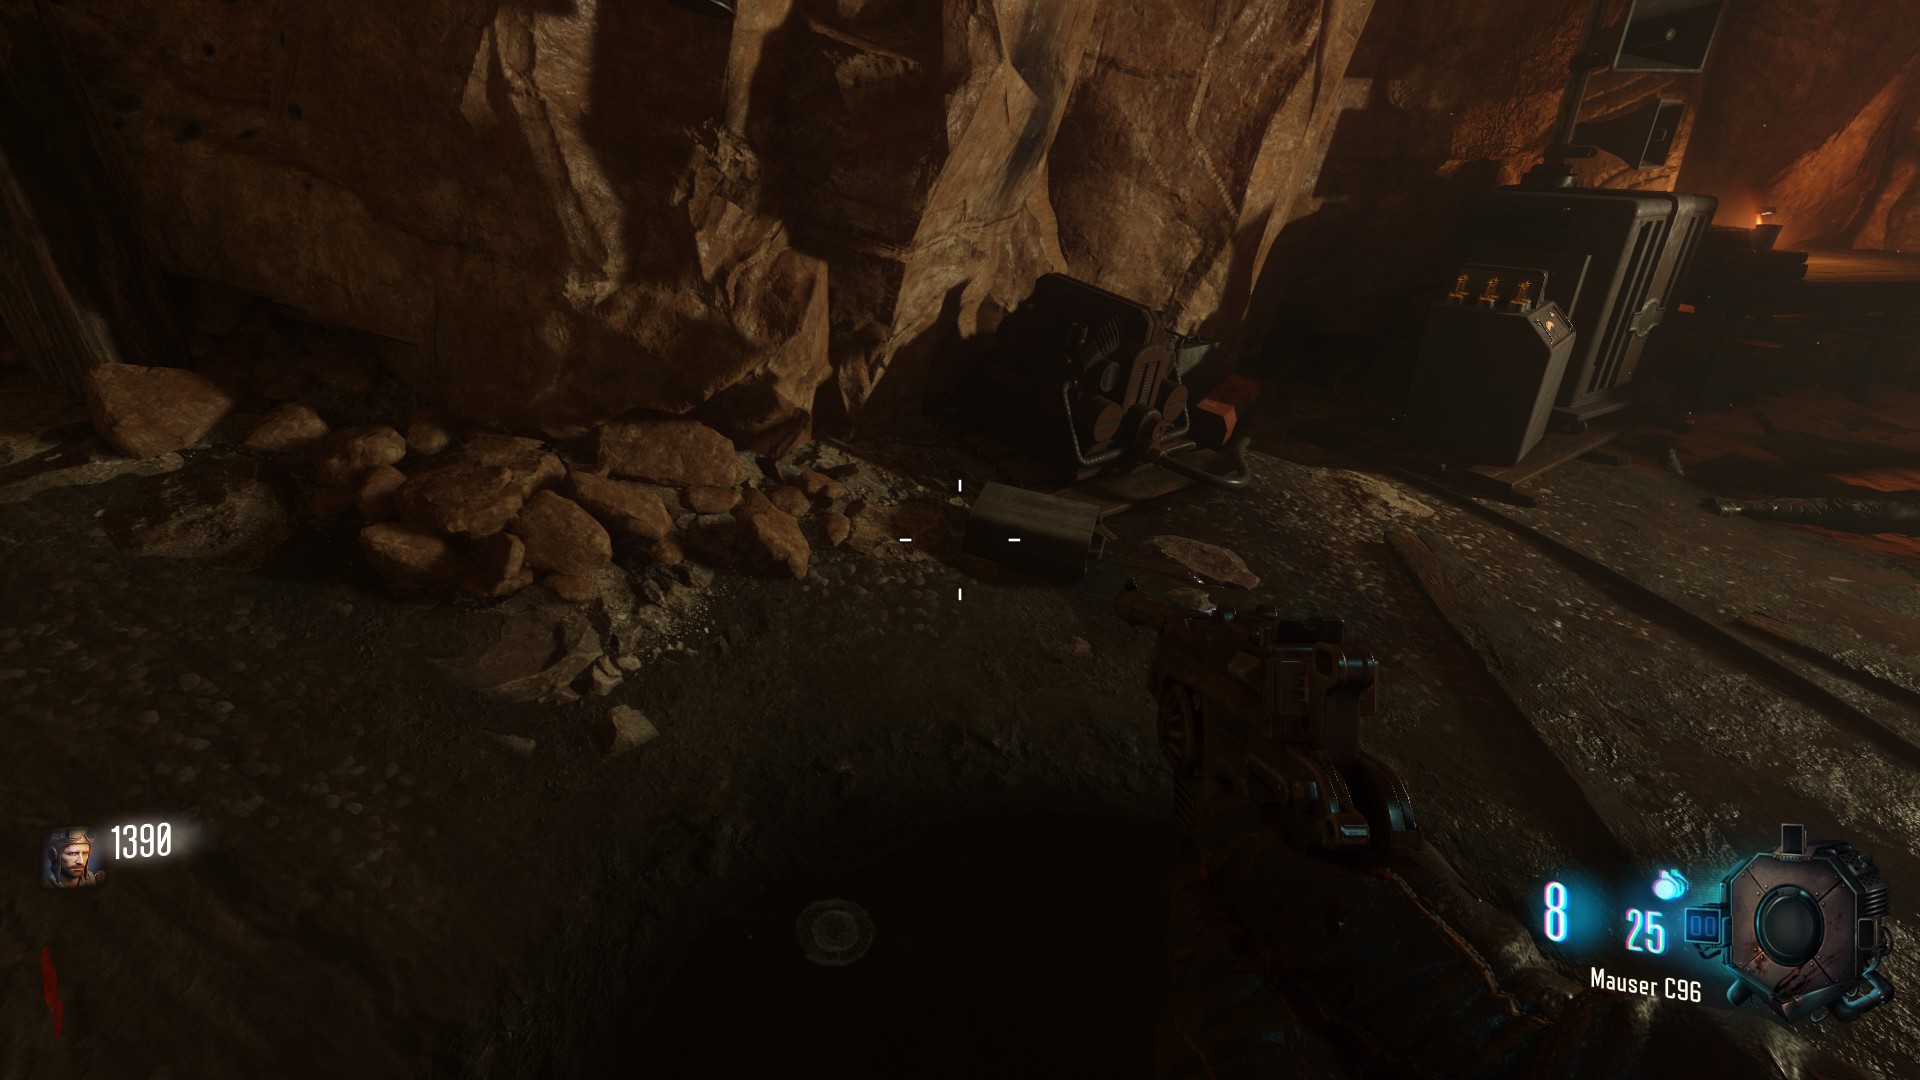
the third location could be in the Ice staff cave near Generator 6, next to an old gasoline generator
the first part (Brain in a jar) is always located in the spawn room in the lower area on a table
the second part (wings) is located around the 'Pack a Punch' pedestal
the first location could be at the wall next to the gobble gum machine near the pack a punch machine
the second location could be next to the chest where the Gramophone is found
the third location is in the staff room on the wooden scaffolding
the third part (frame) is located around the tank/church area
the first location could be from the Church on the tank path heading to Generator 4 (in front of the tank) on the left side
the second location could be from the Church on the tank path heading to Generator 5 (behind the tank) on the right side
the third location could be in the Ice staff cave near Generator 6, next to an old gasoline generator
Building locations (workbenches)
One is in the wind cave near generator 4
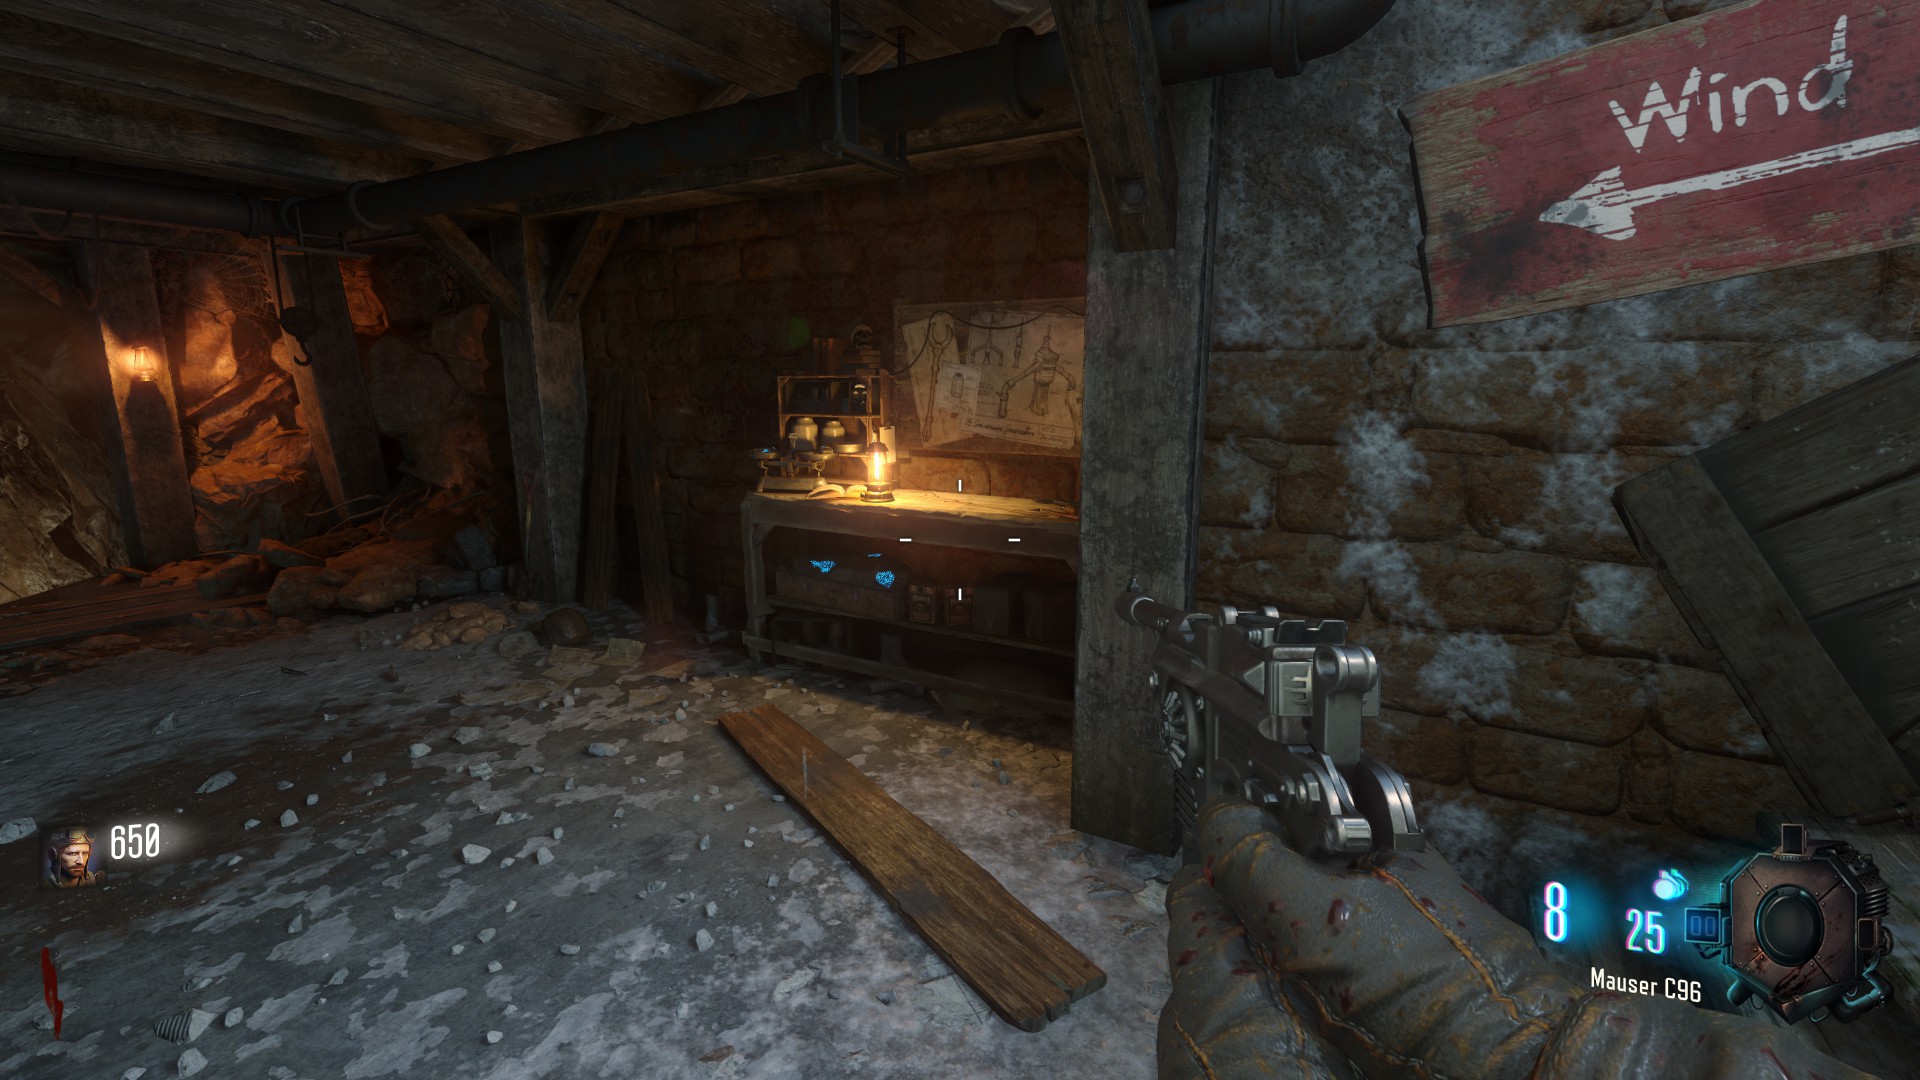 I usually build the Zombie Shield here
One is in the Staircase Room on the lower level
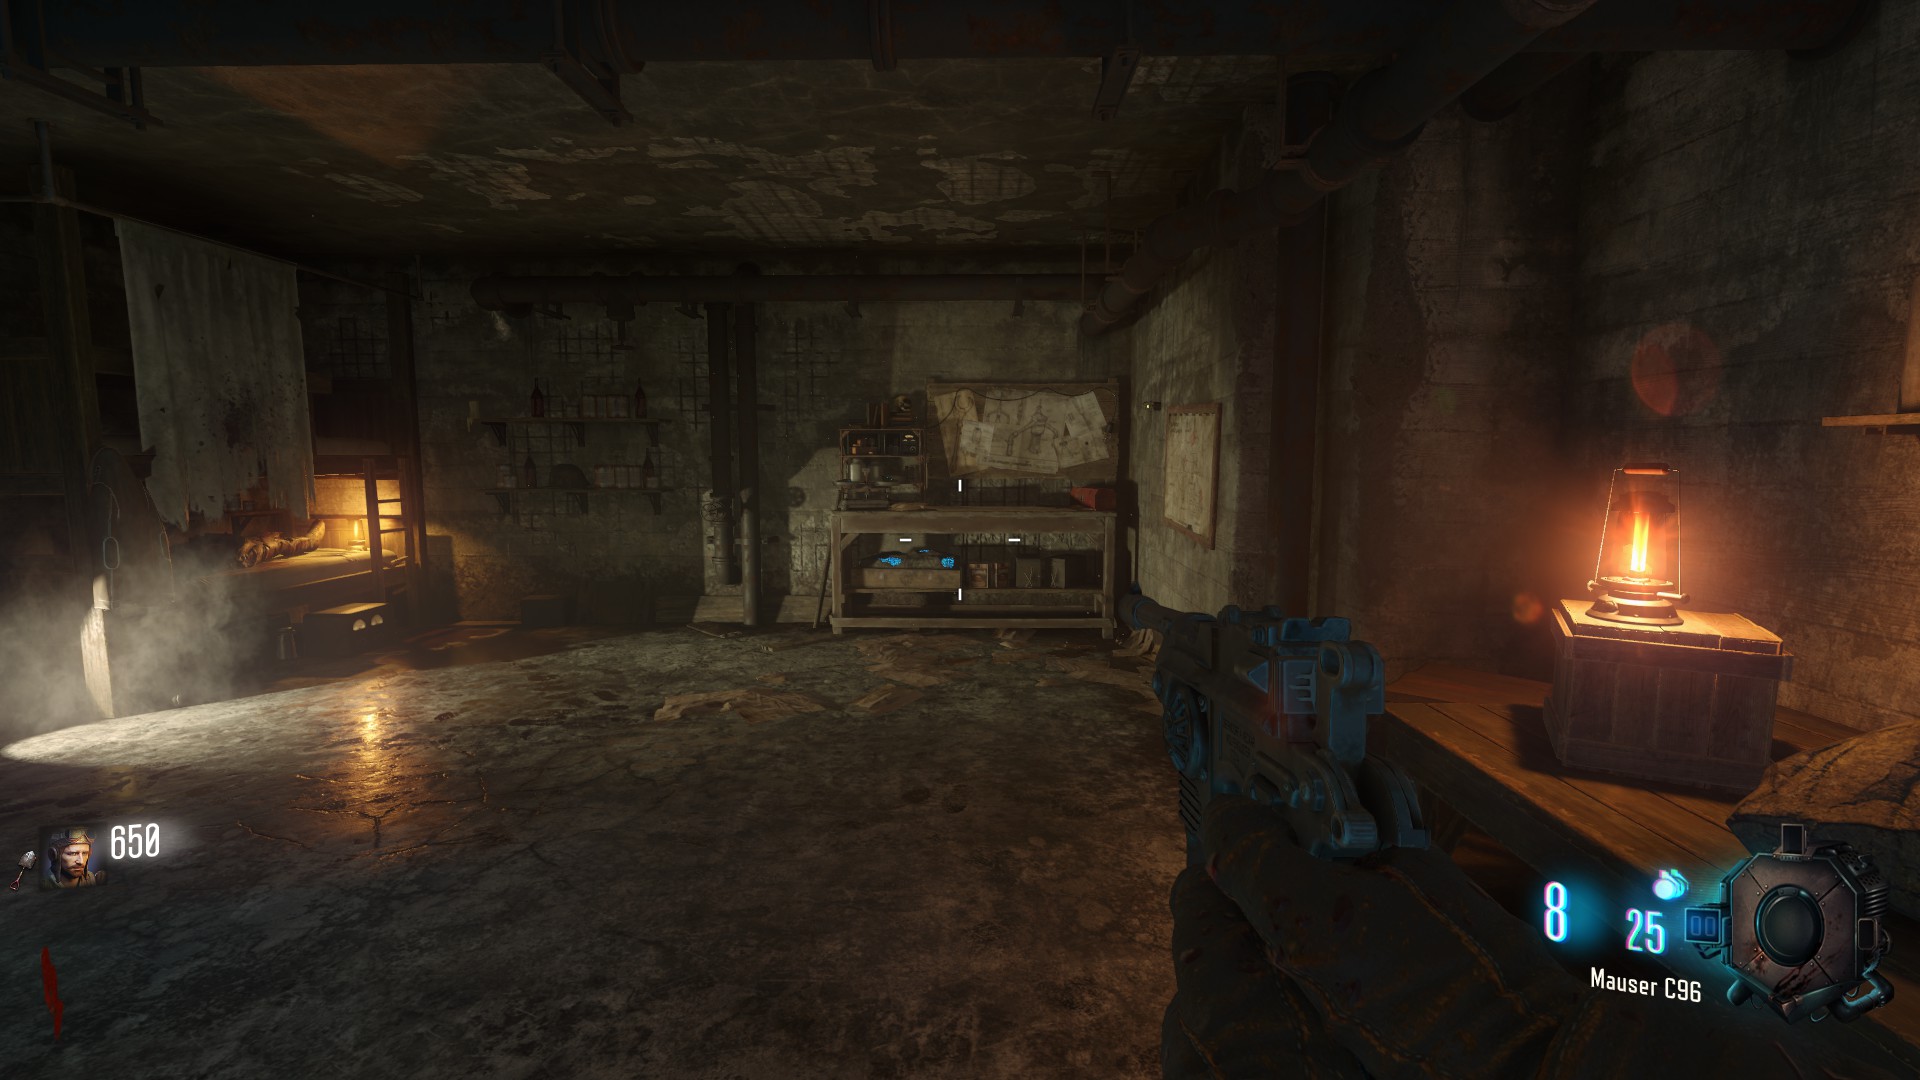 here I usually build the Maxis Drone
and one is by the tank
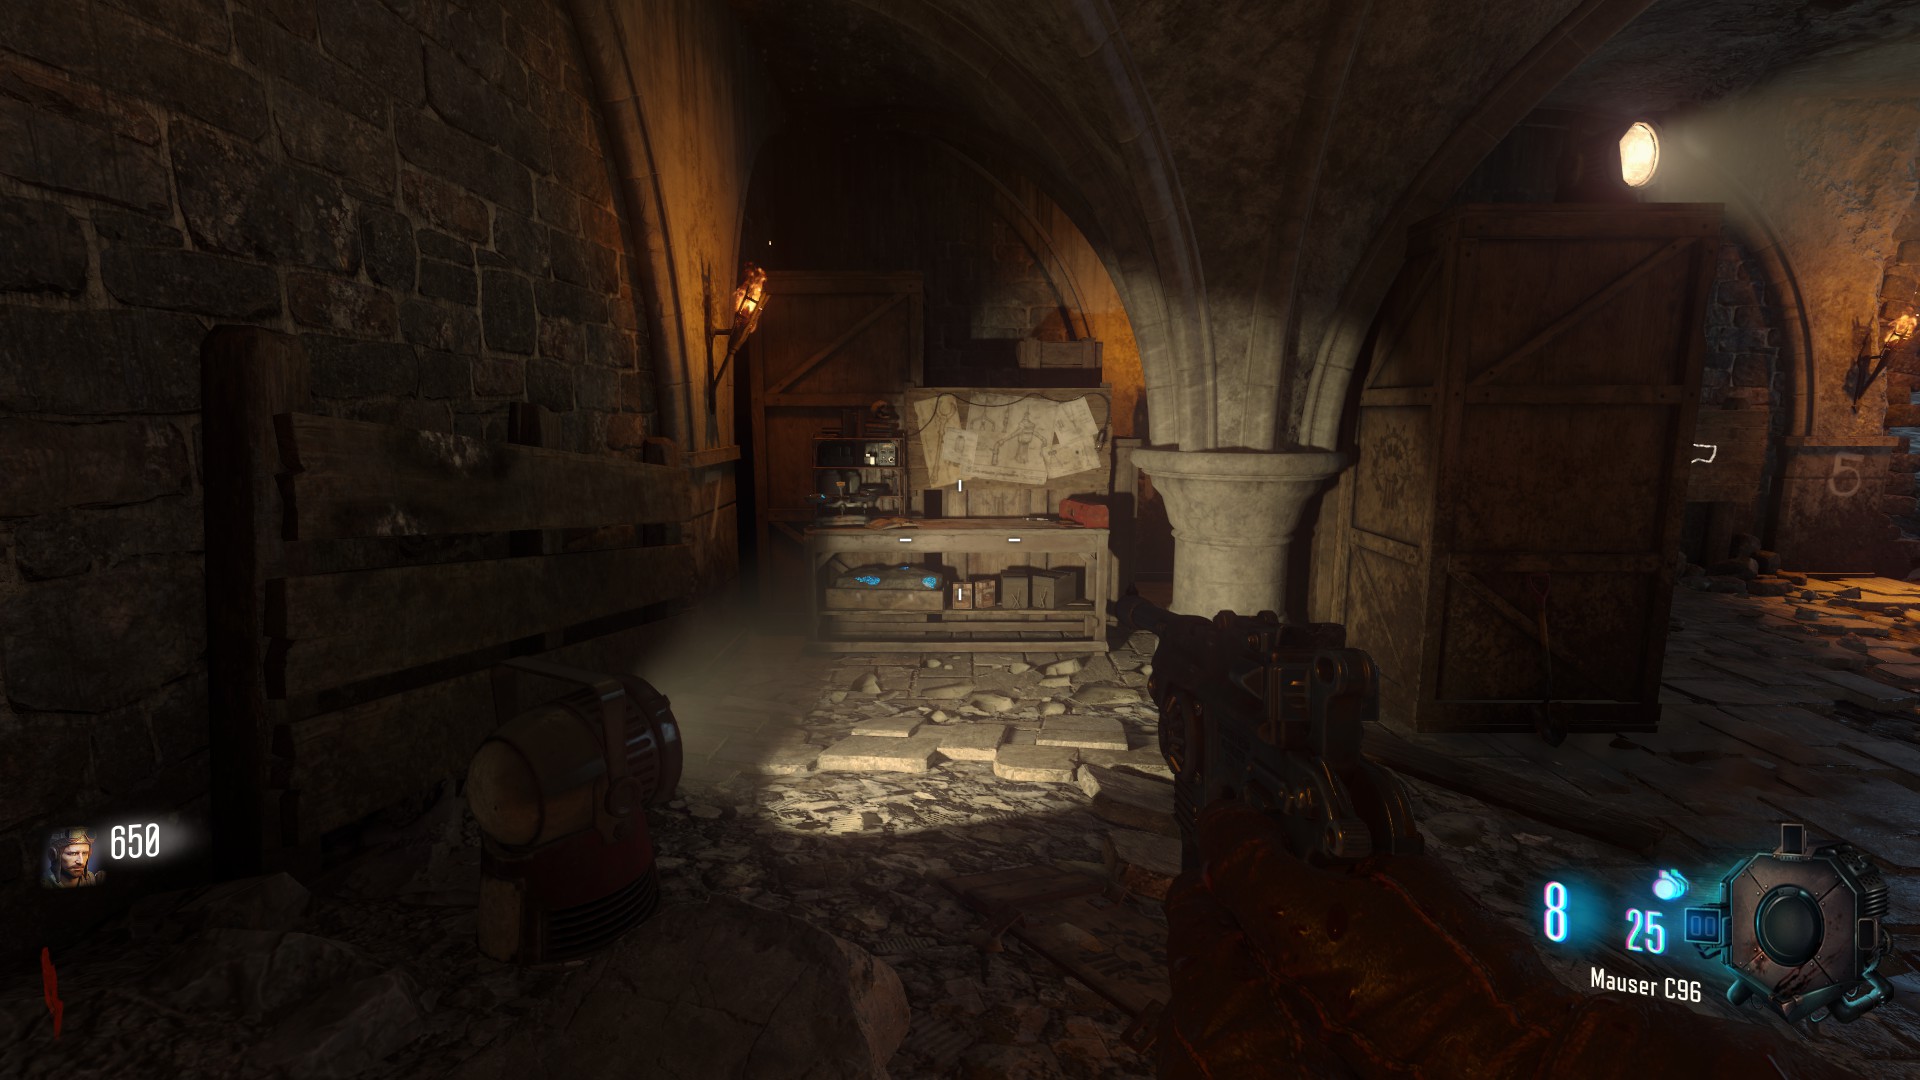
I usually build the Zombie Shield hereOne is in the Staircase Room on the lower level
here I usually build the Maxis Droneand one is by the tank
Free Punched MG08 (Magna Collider)
In order to get a Free Magna Collider, you need to build the Maxis Drone and find 4 Maxis Coins on the map.
To tell the drone to pick the coin up, just aim at it and shoot once
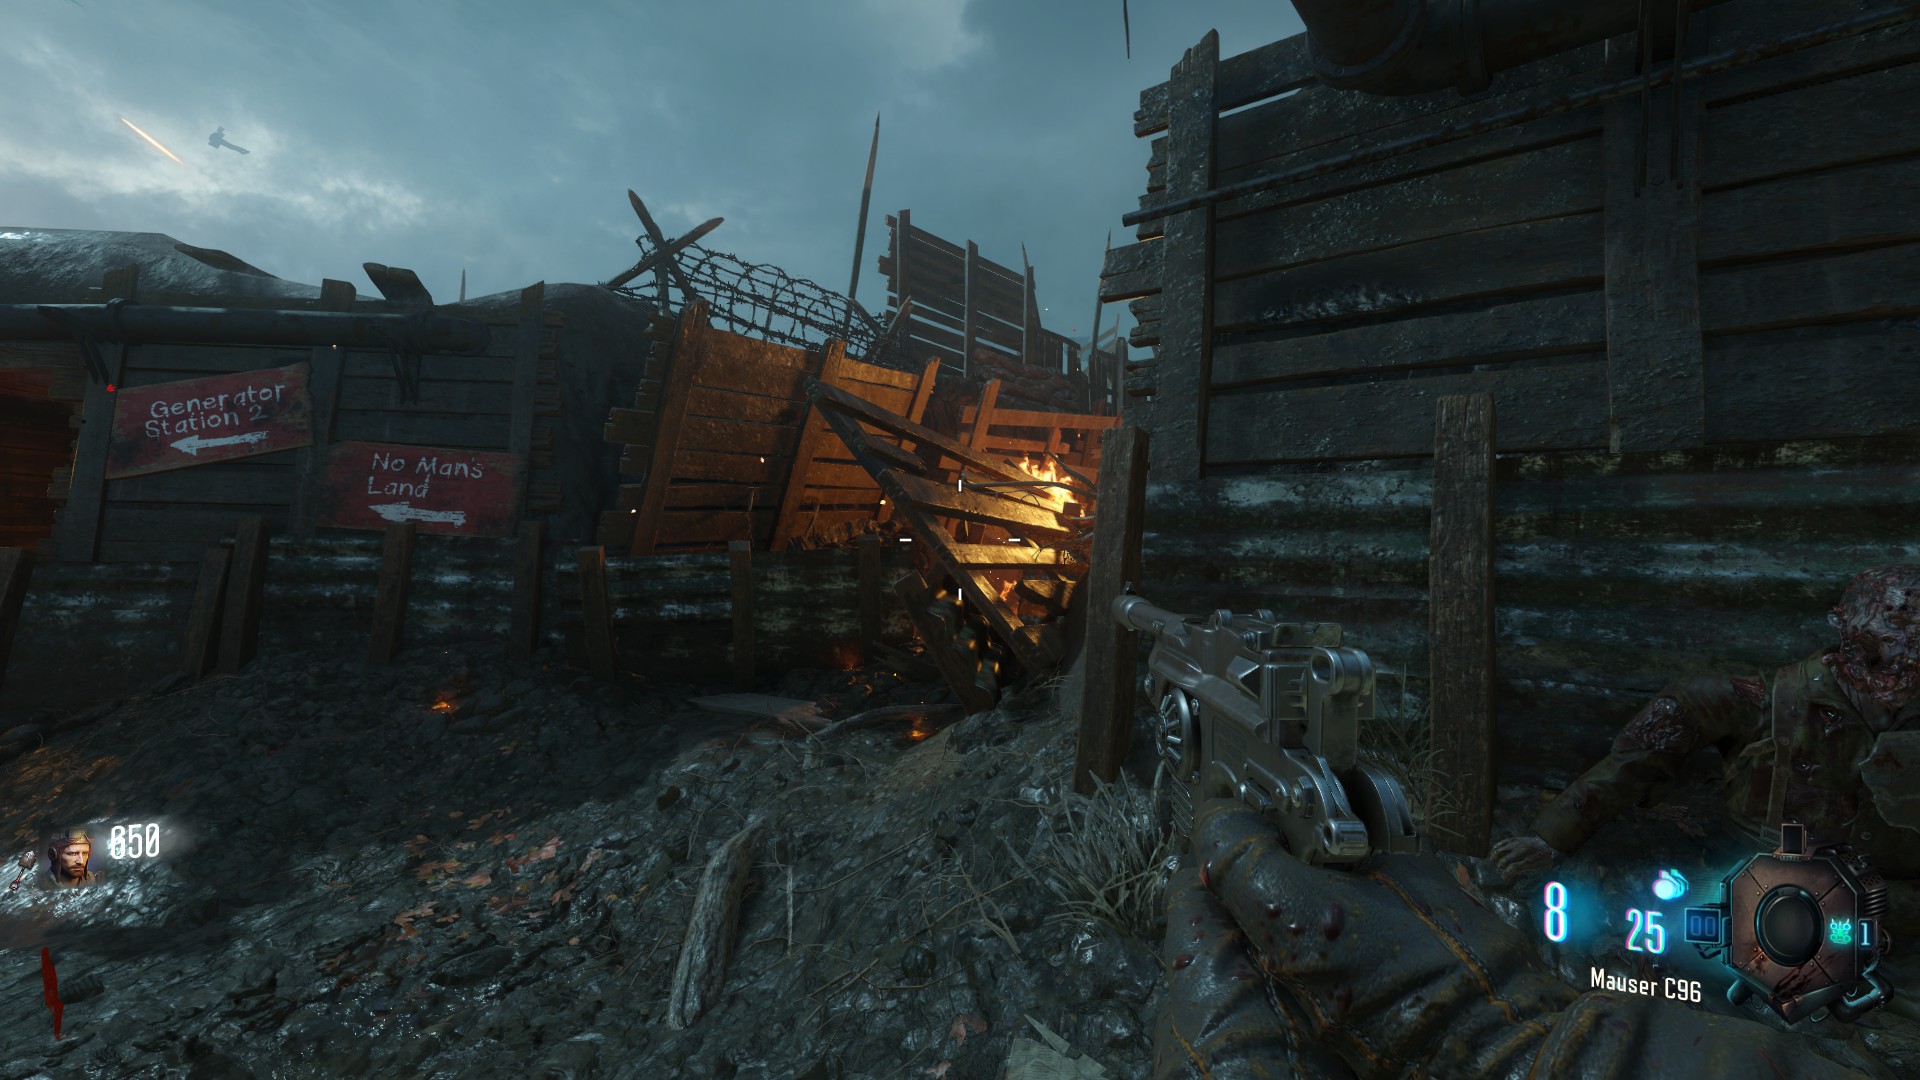
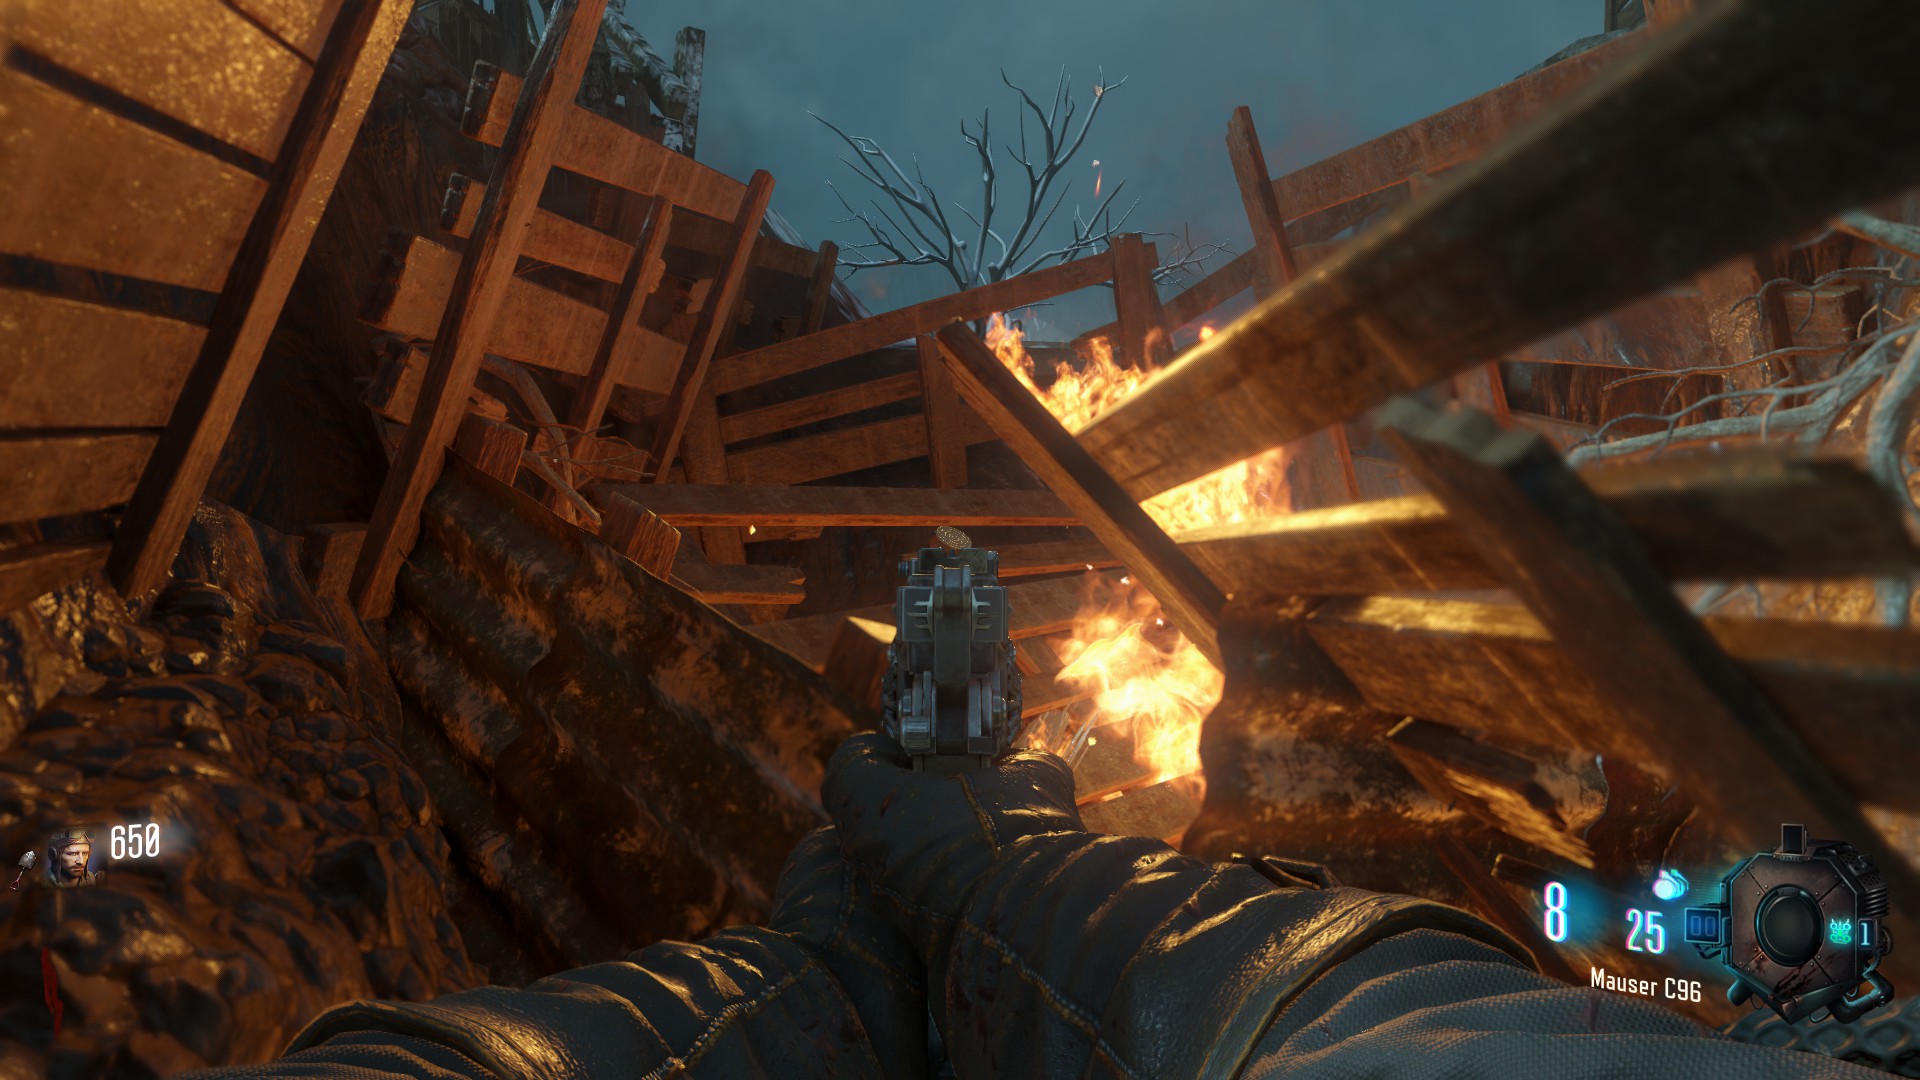
One is just outside the spawn room door to Generator 2 there will be a hole in the trenches with flaming debris. At the end you'll see the coin.
One is on the destroyed roof beside Generator 5.
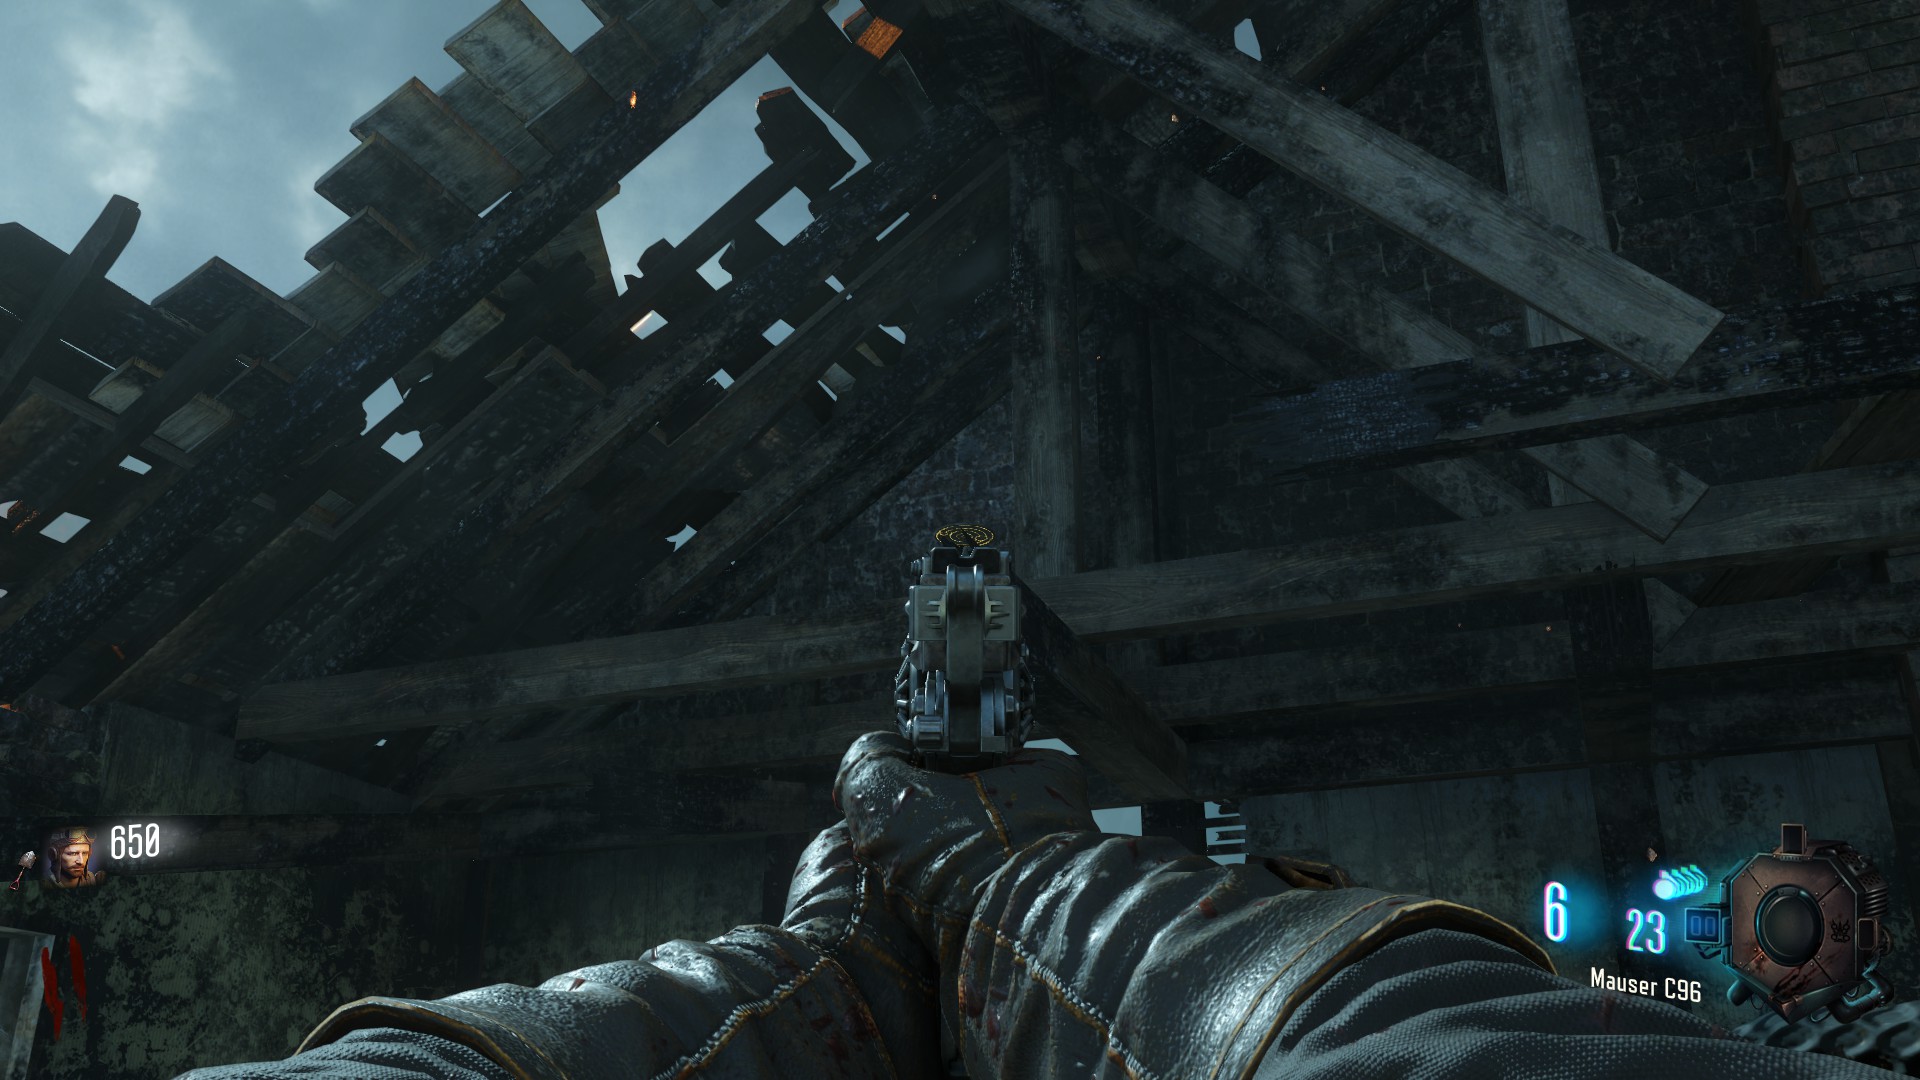
One is on the roof of the broken church, in the tank path heading towards Generator 4.
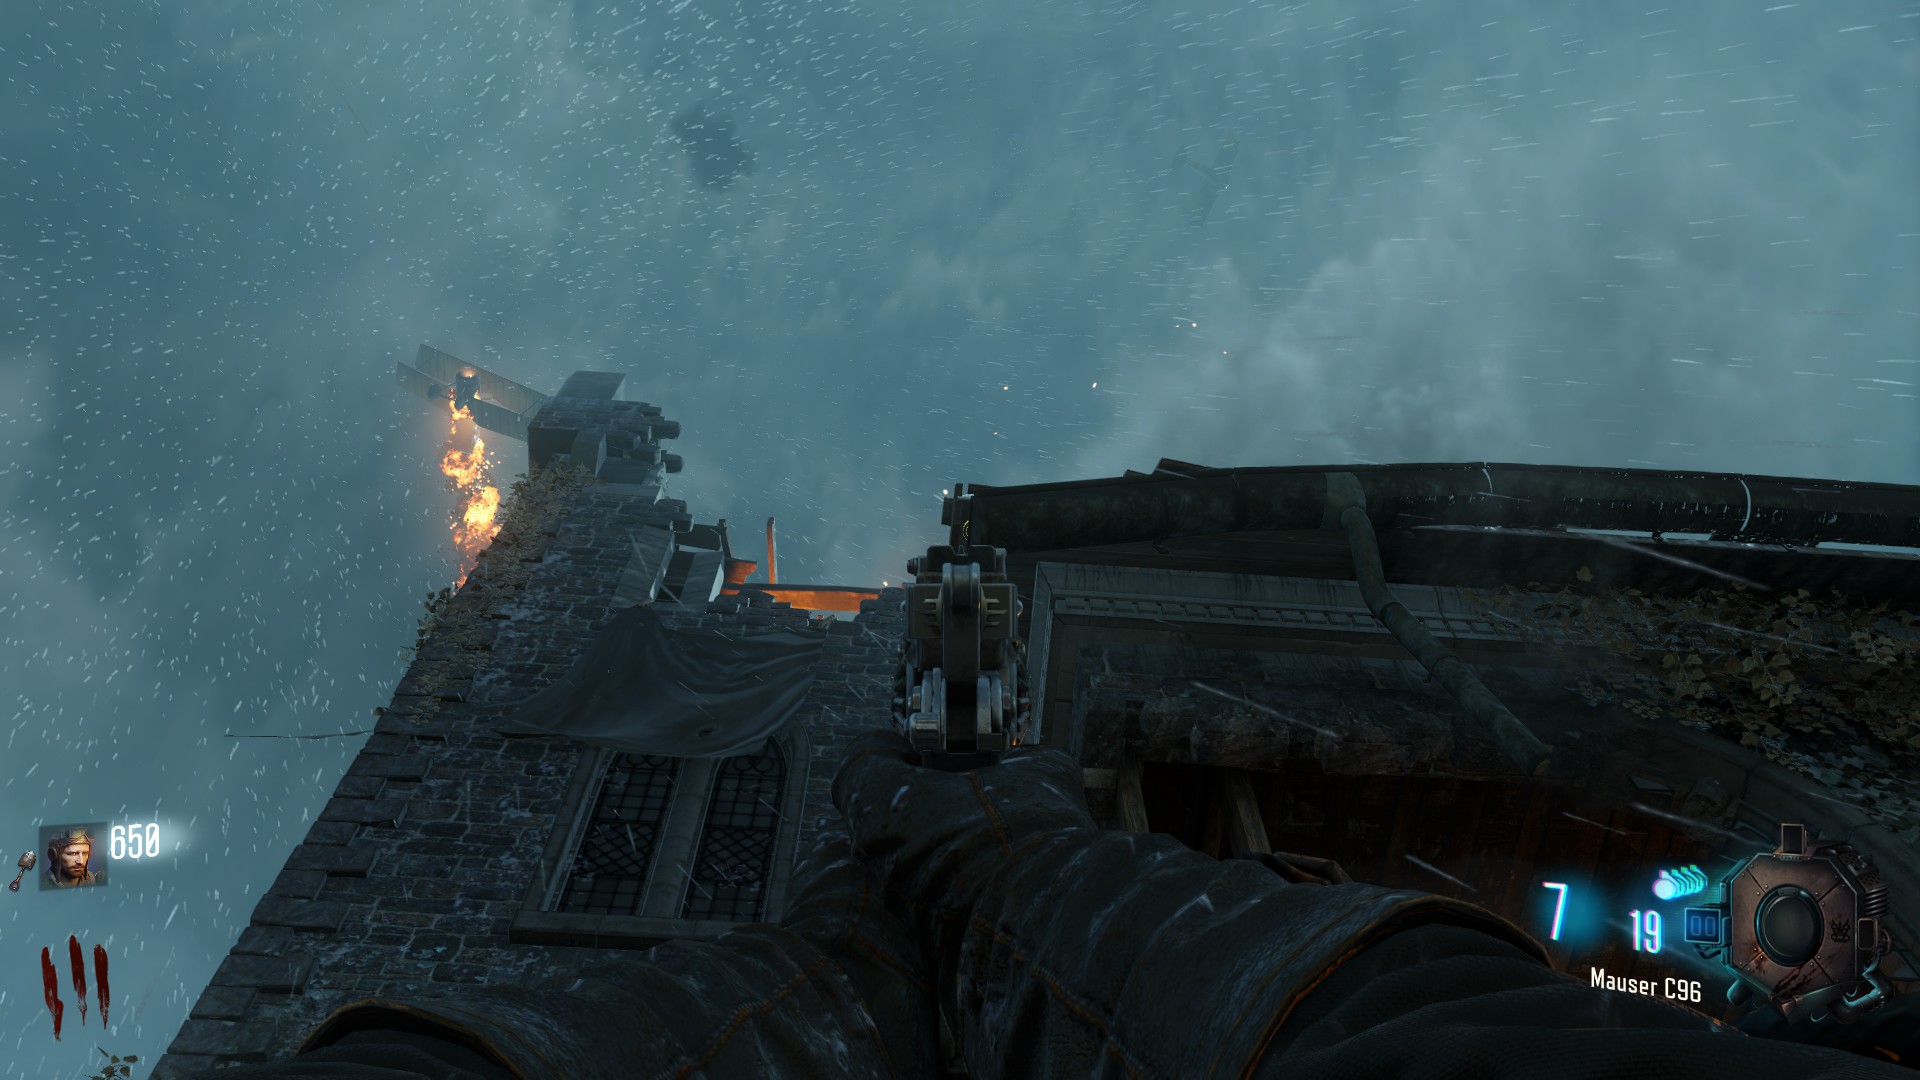
One is on top of the scaffold above the 'Pack a Punch' entrance. (the one closer to the church)
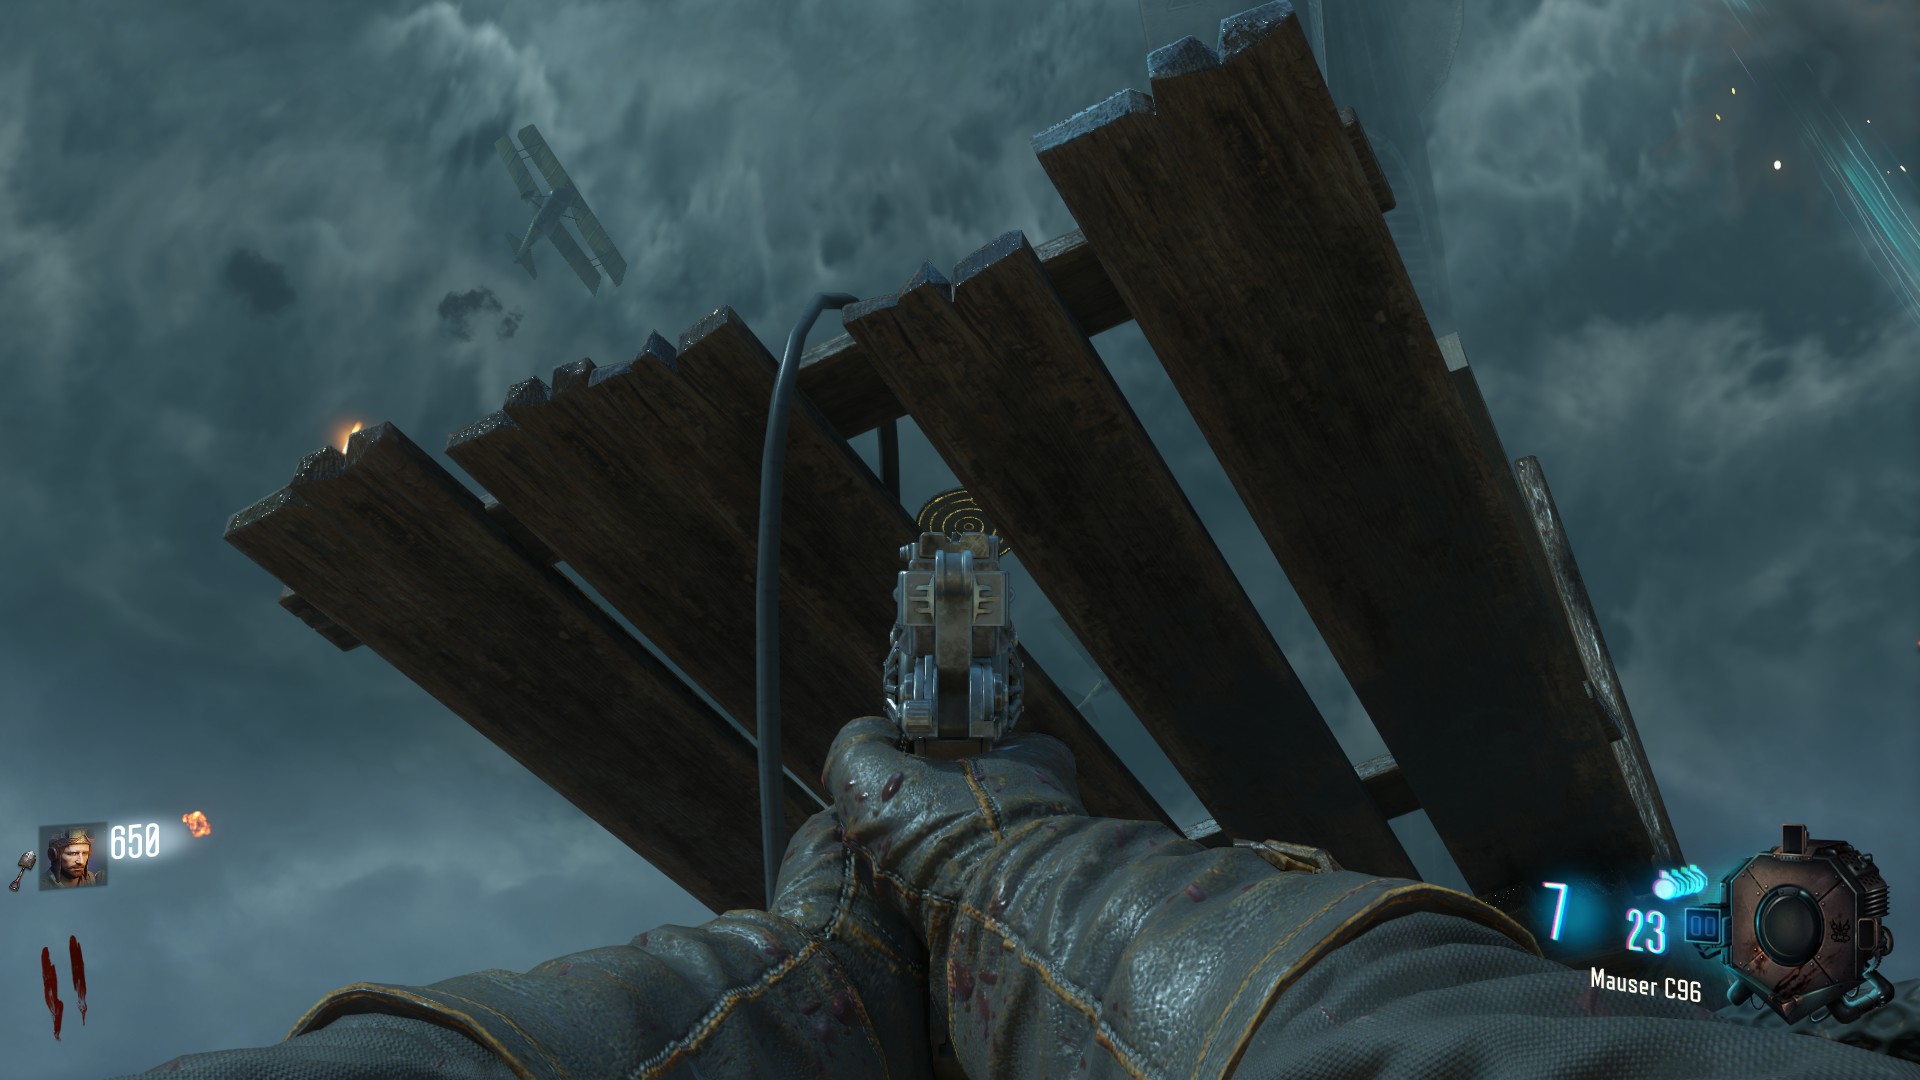
once you have collected them, the Magna Collider will appear in front of 'Pack a Punch'
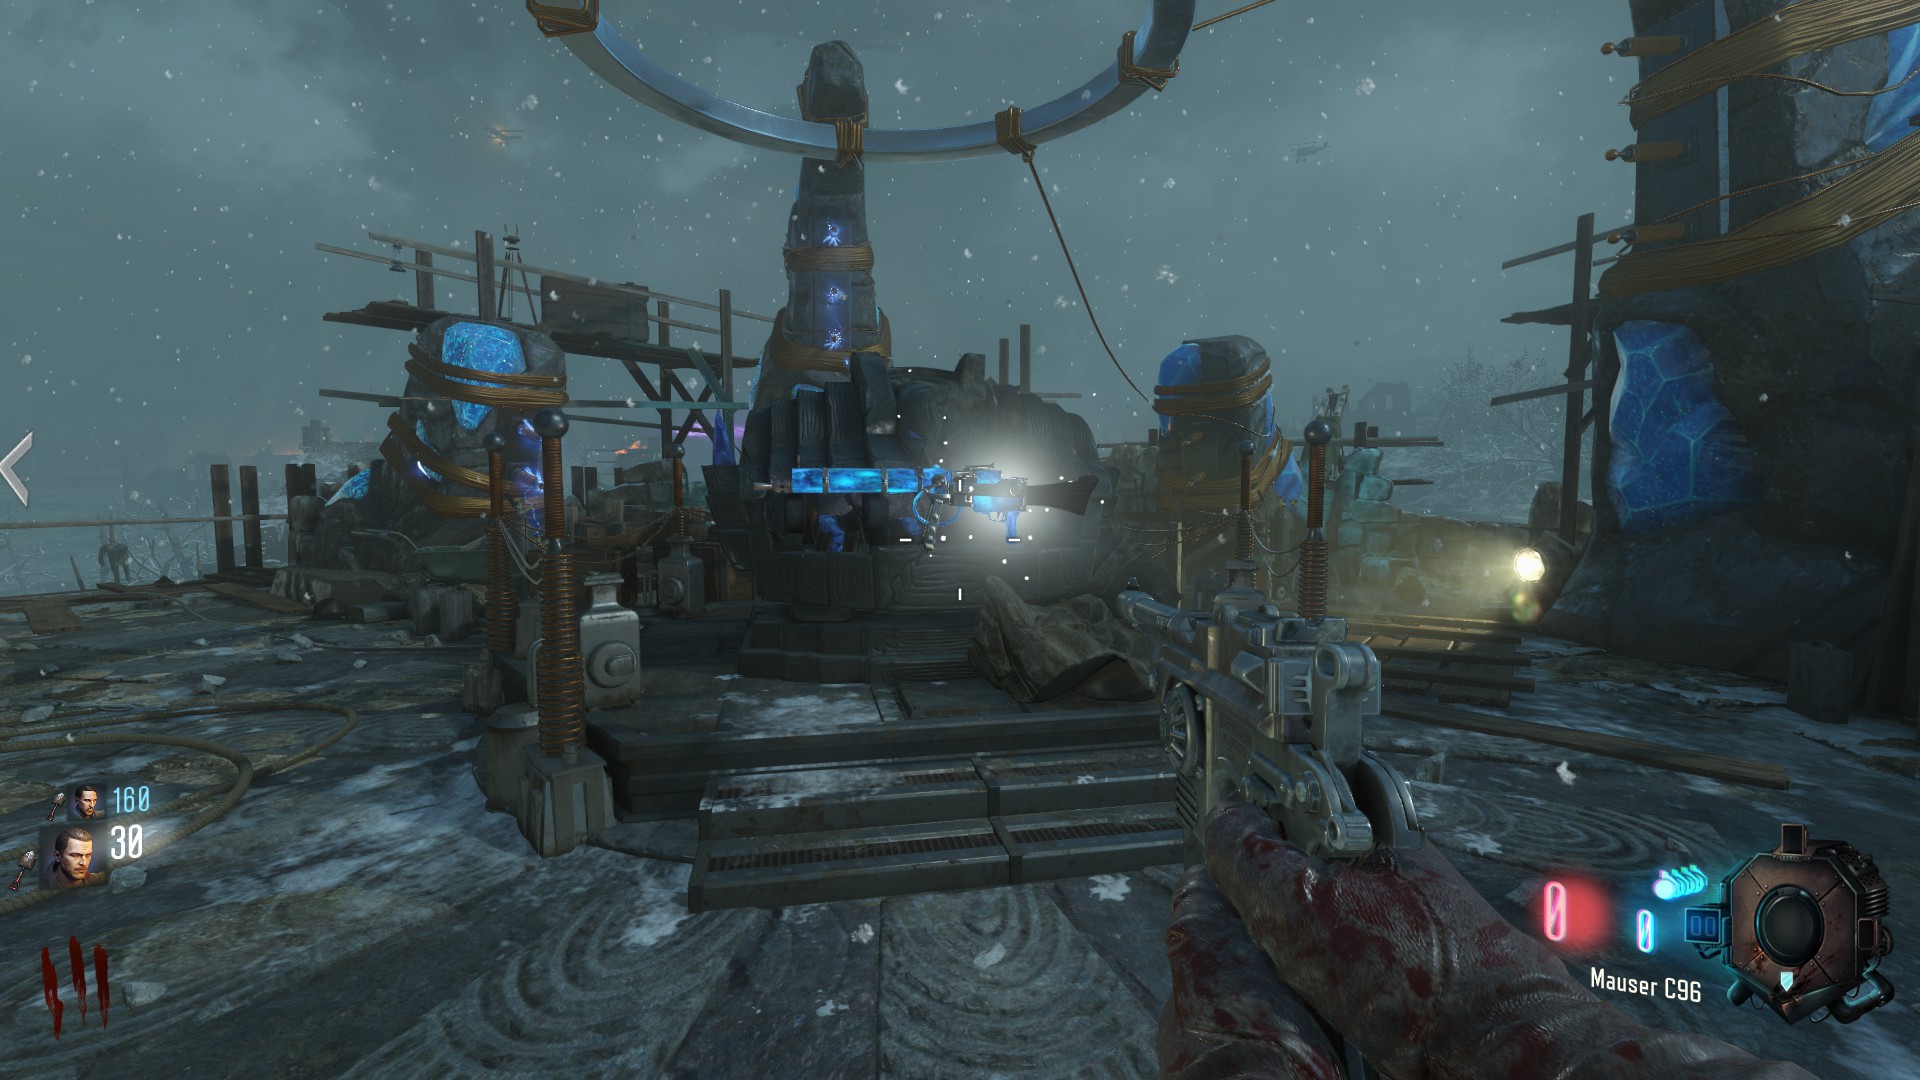
To tell the drone to pick the coin up, just aim at it and shoot once
One is just outside the spawn room door to Generator 2 there will be a hole in the trenches with flaming debris. At the end you'll see the coin.
One is on the destroyed roof beside Generator 5.
One is on the roof of the broken church, in the tank path heading towards Generator 4.
One is on top of the scaffold above the 'Pack a Punch' entrance. (the one closer to the church)
once you have collected them, the Magna Collider will appear in front of 'Pack a Punch'
Music Easter Egg
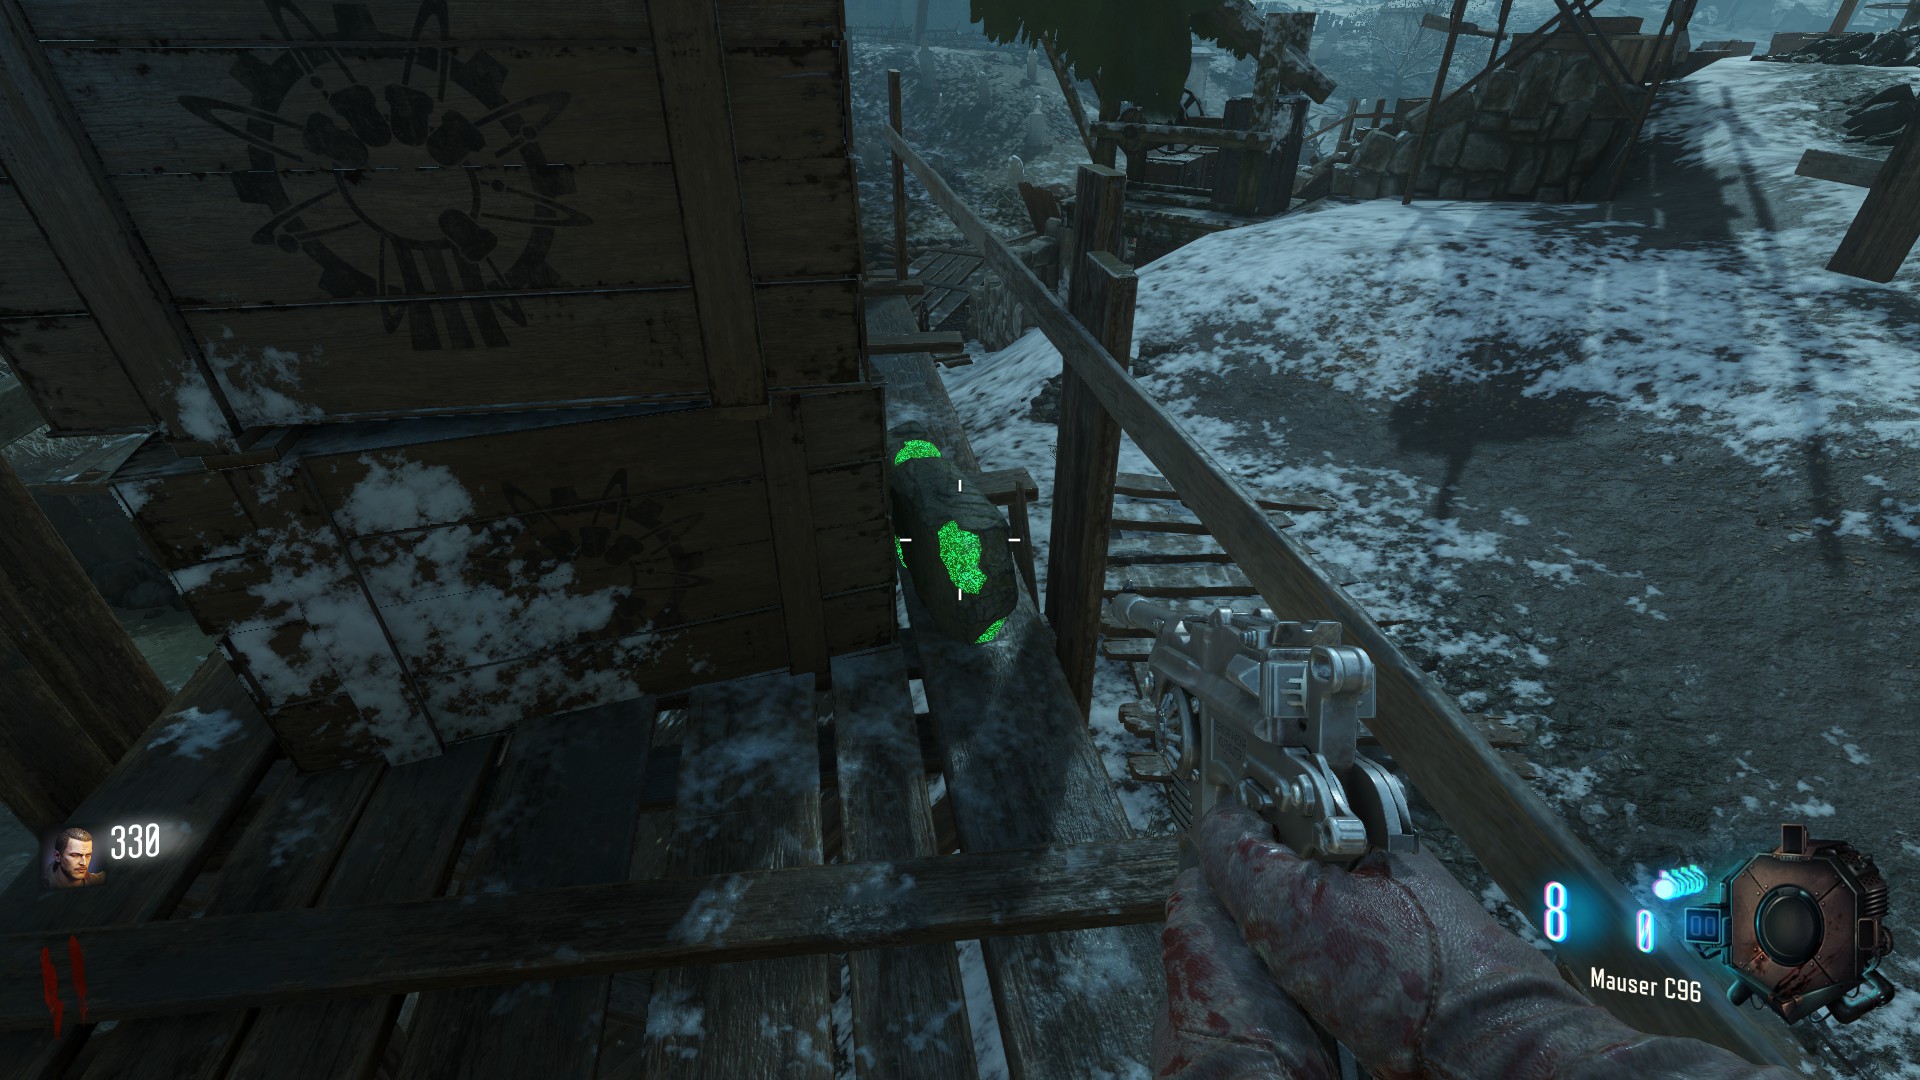
The Objects you are looking for a green stones similar to the element 115 stones all around the map
this will play "Archangel" my personal second to favorite Zombies song
only topped by "Cold Hard Cash" (im a sucker for Jazz, im sorry)
The first stone is right at the spawn next to the challenge chest
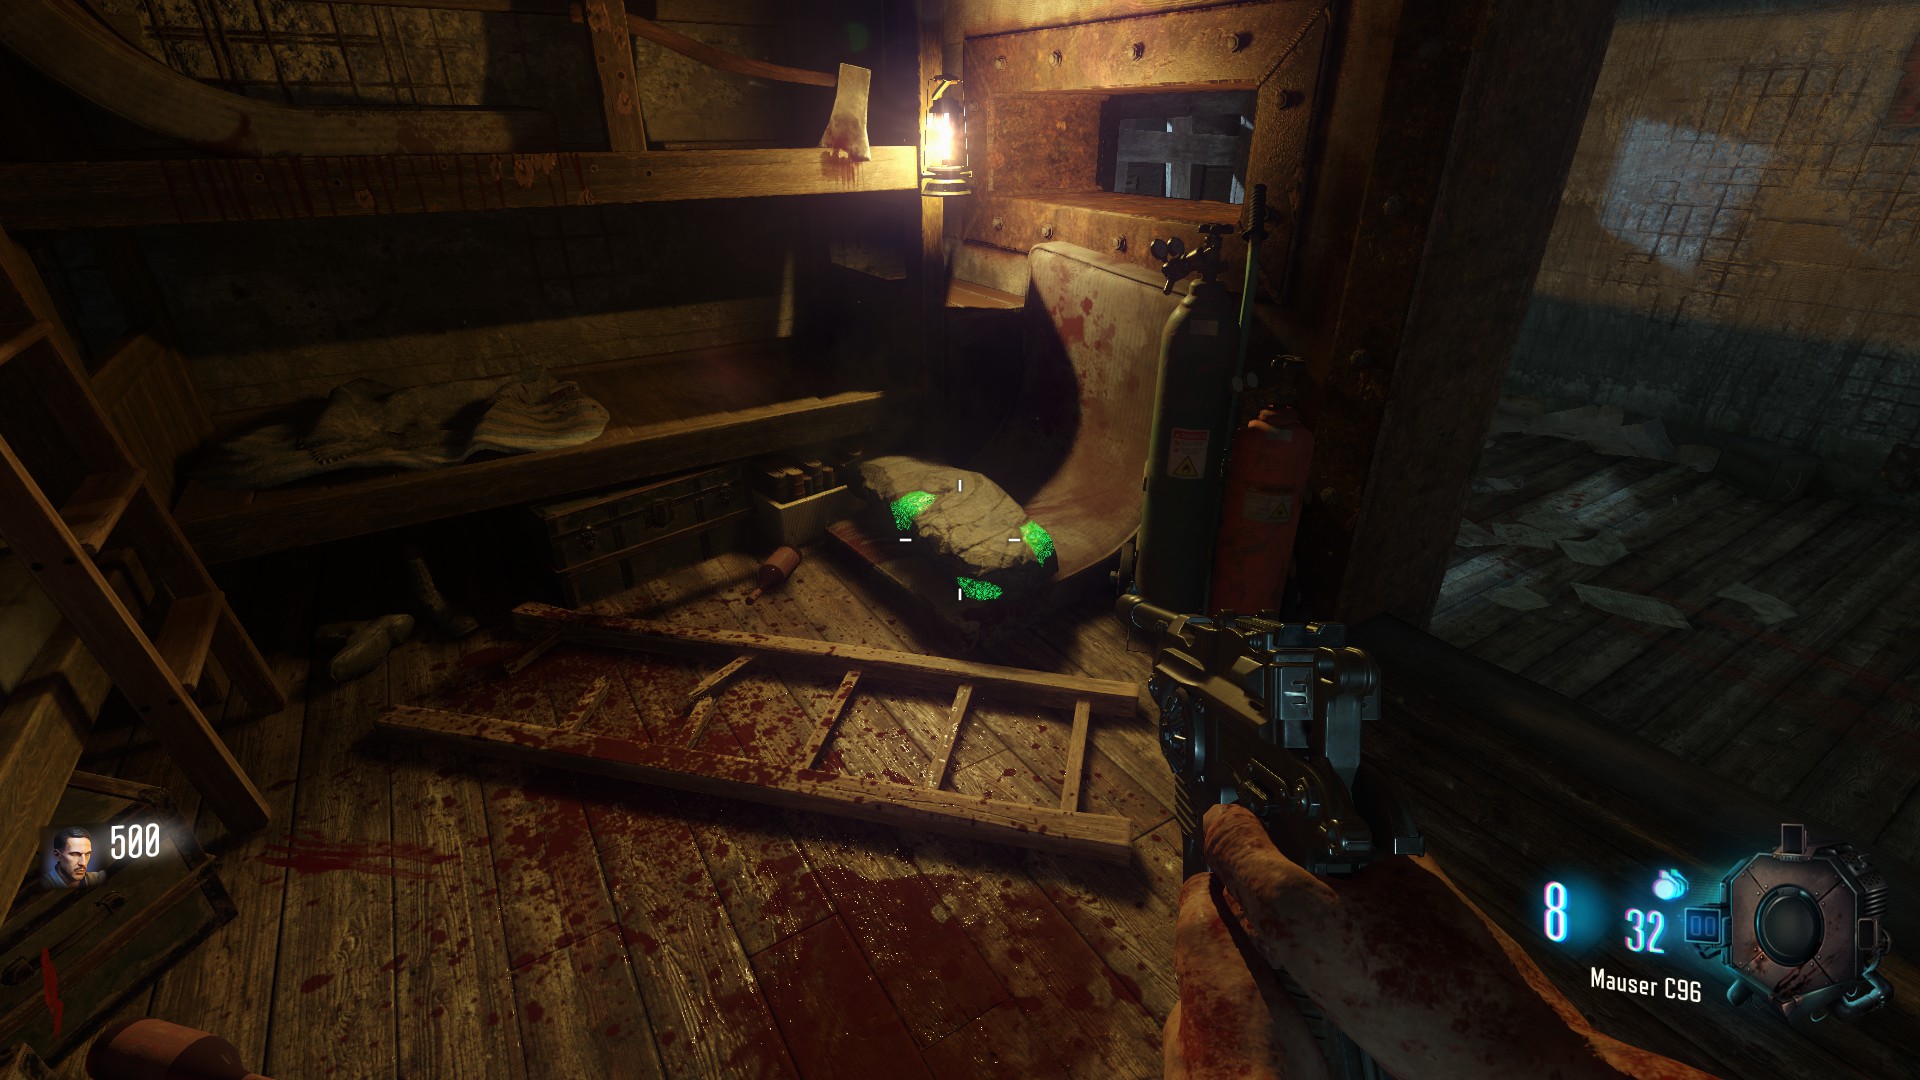
The second stone can be found in the staircase room after Generator 2/3 upstairs on back
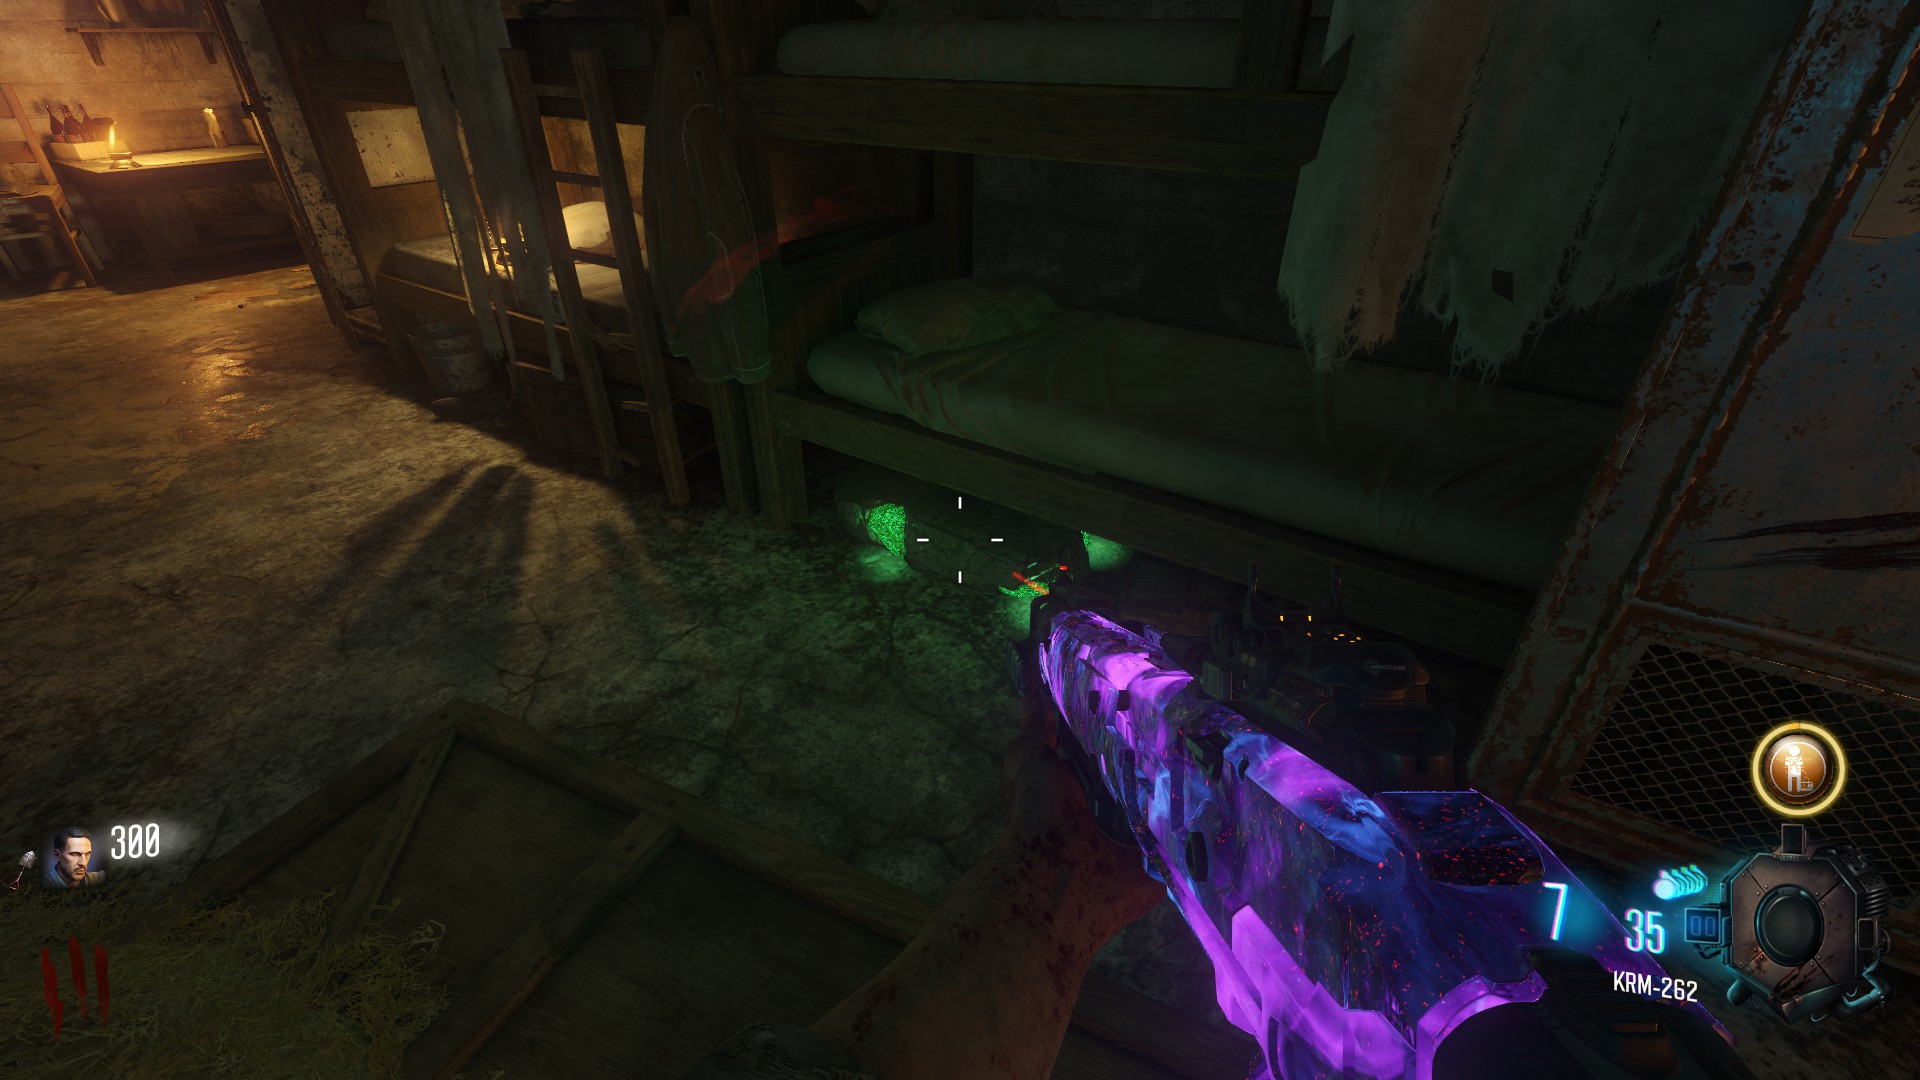
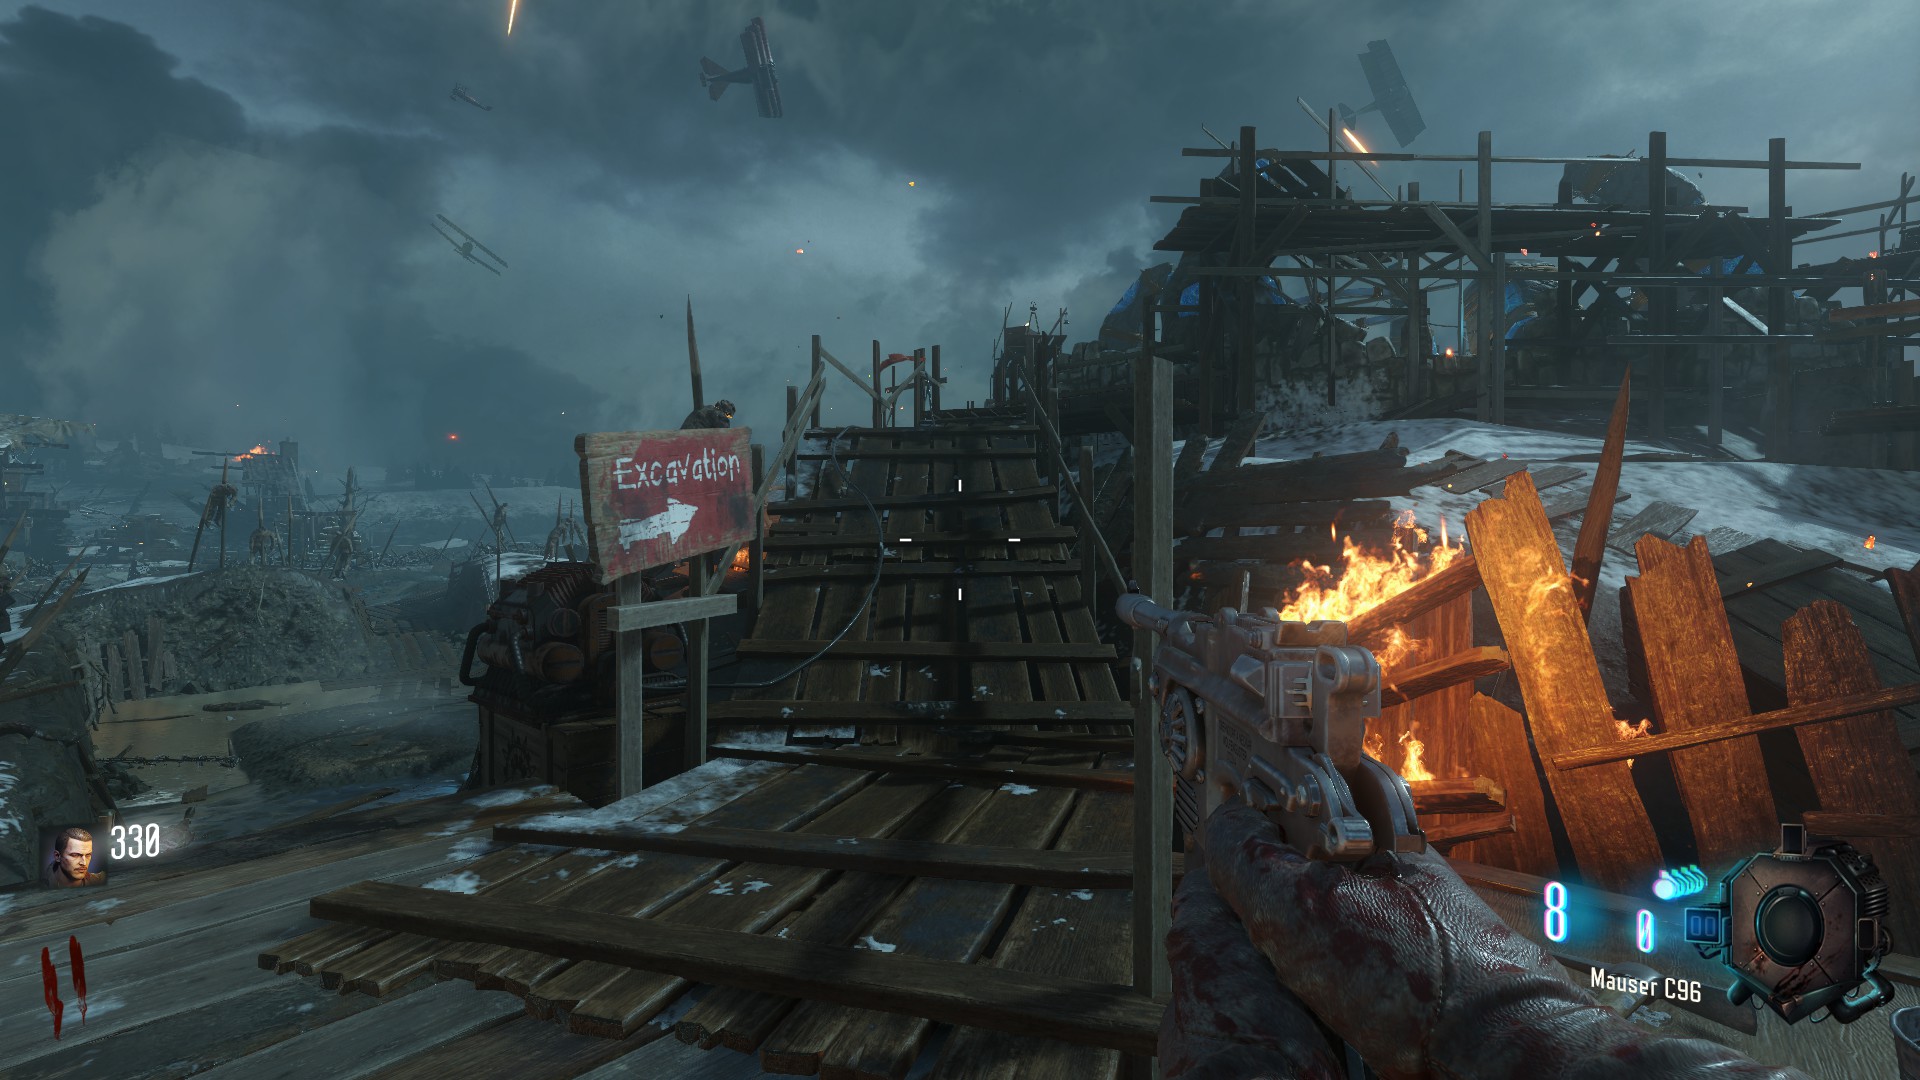
The third stone can be found on the wooden catwalk next to the 'Pack a Punch'
this will play "Archangel" my personal second to favorite Zombies song
only topped by "Cold Hard Cash" (im a sucker for Jazz, im sorry)
The first stone is right at the spawn next to the challenge chest
The second stone can be found in the staircase room after Generator 2/3 upstairs on back
The third stone can be found on the wooden catwalk next to the 'Pack a Punch'
Writers Note
Hey guys,
first of all i wanna thank everyone who liked the guide and even Favorited it. its genially a rewarding feeling knowing people appreciate the work me and my friend have put into this guide.
unfortunately i got some "bad news" I'd like to bring forward.
"bad news":I will not be continuing this guide, meaning i will not detail the Easter egg for for you guys, I'm sorry but I'm just not that dedicated to complete Easter eggs over and over again to gather all the screenshots and clips to detail the steps for you.
Of course i could gather the content from the internet, but i would rather just point you to a guide that has detailed the Easter egg steps already. I'm sorry.
Guide for Origins [2020 updated]
In the name of my co creator who unfortunately passed away this August and myself,
we thank you for your attention and your generous steam point gifts and hope this guide made your first Origin experience a good one,
Maxim.
first of all i wanna thank everyone who liked the guide and even Favorited it. its genially a rewarding feeling knowing people appreciate the work me and my friend have put into this guide.
unfortunately i got some "bad news" I'd like to bring forward.
"bad news":I will not be continuing this guide, meaning i will not detail the Easter egg for for you guys, I'm sorry but I'm just not that dedicated to complete Easter eggs over and over again to gather all the screenshots and clips to detail the steps for you.
Of course i could gather the content from the internet, but i would rather just point you to a guide that has detailed the Easter egg steps already. I'm sorry.
Guide for Origins [2020 updated]
In the name of my co creator who unfortunately passed away this August and myself,
we thank you for your attention and your generous steam point gifts and hope this guide made your first Origin experience a good one,
Maxim.
More Call of Duty: Black Ops III guides
- All Around Enhancement Mod Description And Info★ 5 (597)211k views1.2k ♥34 minUpdated Aug 10, 2023
- Black Ops 3: Console Commands★ 5 (1.1k)123k views2.4k ♥7 minUpdated Feb 13, 2020
- Origins Ultimate Guide★ 5 (562)72k views1.7k ♥17 minUpdated Jun 24, 2017
- Guide for Shadows of Evil [2020 updated]★ 5 (1.4k)67k views4.5k ♥24 minUpdated Mar 22, 2024
- Guide for Der Eisendrache [2020 updated]★ 5 (1.3k)65k views4.6k ♥30 minUpdated Feb 22, 2024
- How to download the community T7patch by Serious and play online zombies safely (also FPS Fix)★ 5 (491)62k views1.2k ♥4 minUpdated Apr 30





This guide was created by its original author on the Steam Community. Are you the author and want it removed? Request removal.