[DLC] Road to Gehenna Easter Egg Guide
Introduction
Zone 1
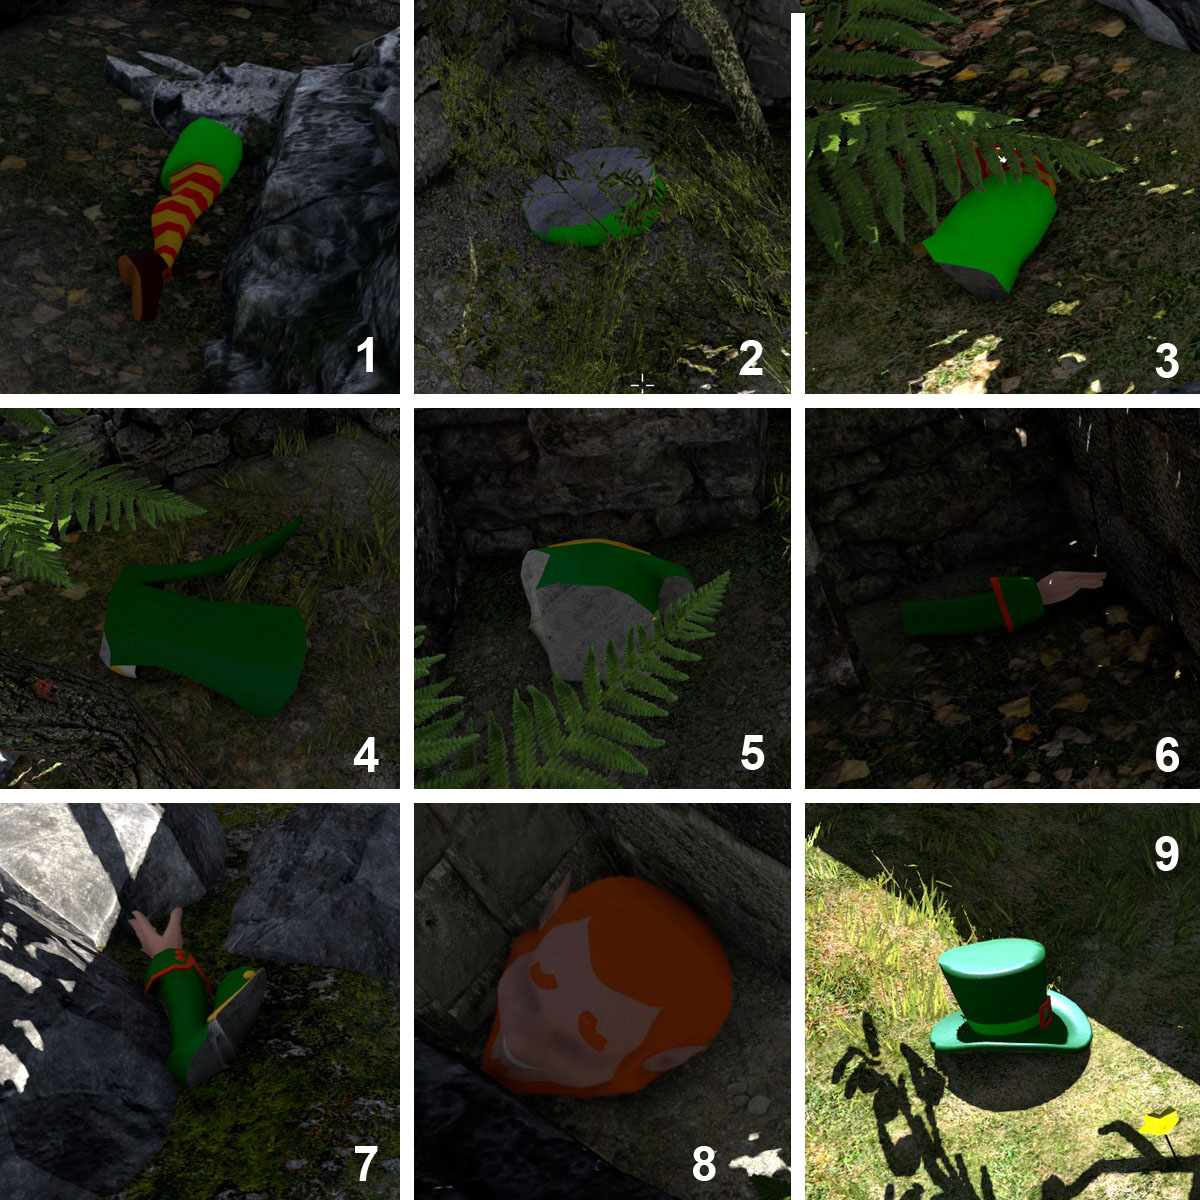 #1 - Left Leg: Behind a small pile of rubble in the center courtyard, to the right of the puzzle, Through a Window.
#2 - Lower Torso: Located behind a bush in the center courtyard, to the right of the puzzle, Through a Window.
#3 - Right Leg: Nestled in some rocks and bushes in The Swapper courtyard.
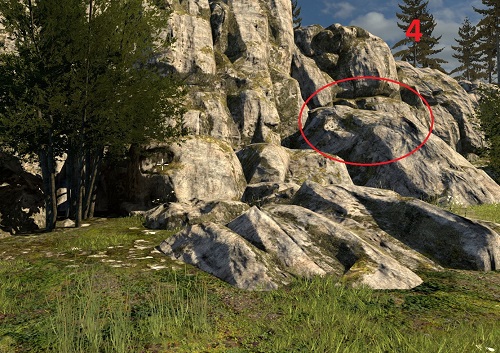
#4 - Mid Torso: Behind some rocks in the center courtyard, to the left of the puzzle, Through a Window.
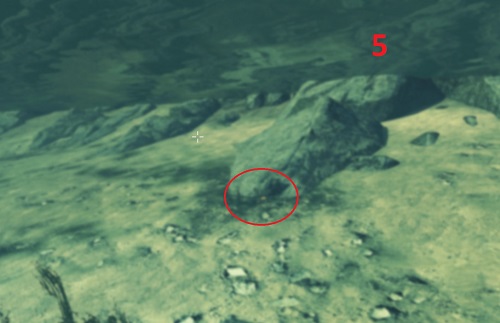
#5 - Upper Torso: Behind some bushes in The Swapper courtyard.
#6 - Left Arm: Located in a dark crevice in the center courtyard.
#7 - Right Arm: Nestled in some rocks in The Swapper courtyard.
#8 - Head: Located behind a short wall near one of the corners in the center courtyard.
#9 - Hat: In a secret area of The Swapper courtyard, you need to jump on a square stone to reach the area.
Once you've completed the statue, you will hear the music stop, thunder roar... and then nothing else. What happened? Well, you've essentially unlocked something that will happen near the End Game. Trust me, this unlocked secret will be impossible to miss!
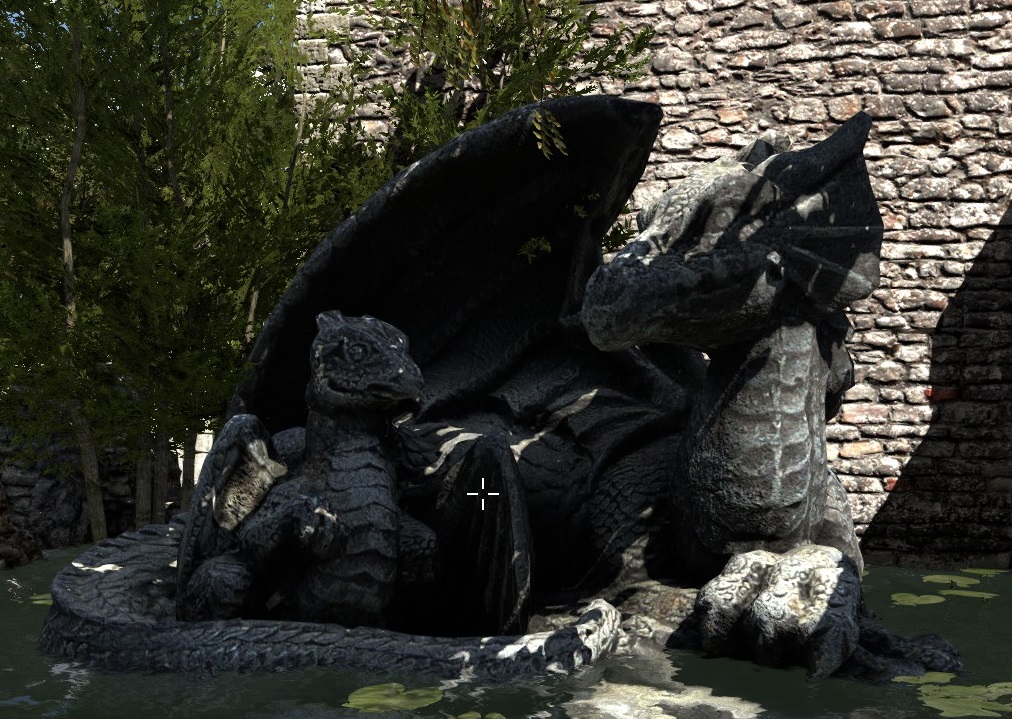
Zone 2
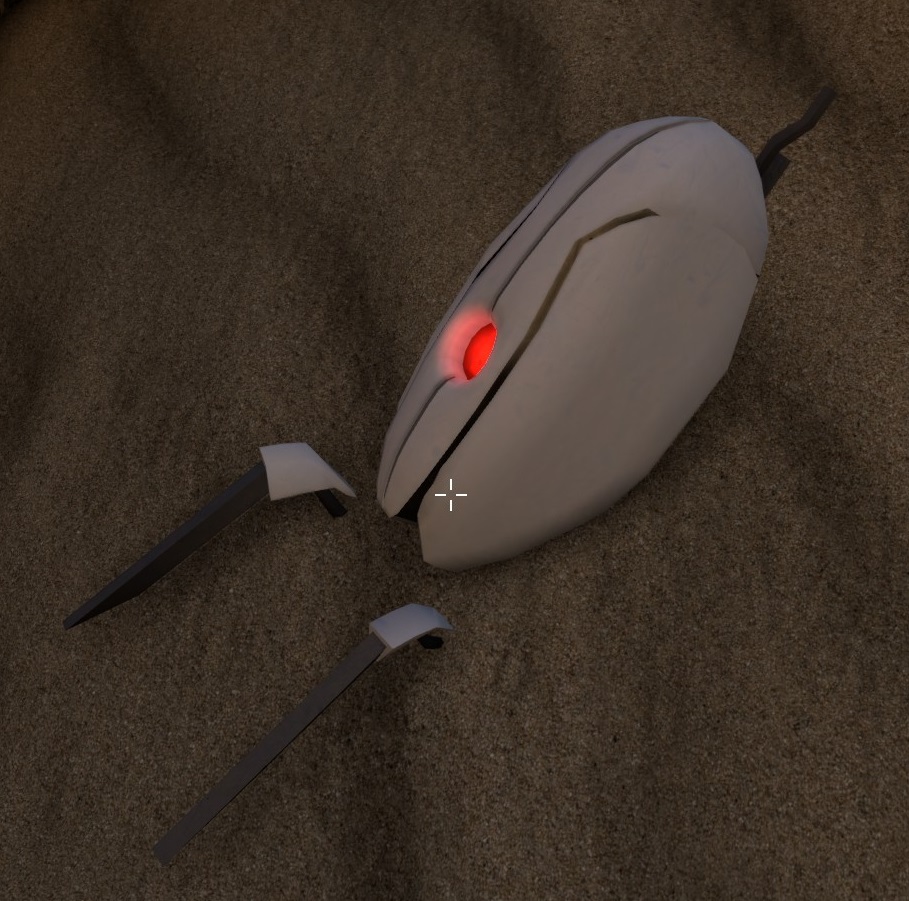
Zone 3
#1: Located along the sandy beaches behind the puzzle, BFF.
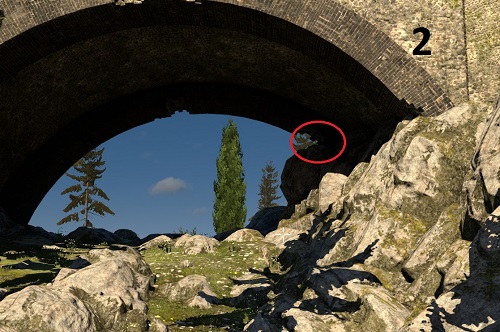
#2: Using the clue, climb the rocks in front of BFF under the aqueduct to find the next clue. You will need to leapfrog from rock to rock in order to locate the bottle.
#3: Head to the puzzle, Harmony, from the entrance, walk under the aqueduct, over the hill and follow the bottom of the cliff face to your left. When you reach the scrubby tree, look up the cliff face at a fern bush. You will find one of the Croteam developers leisurely sitting down and enjoying the view!
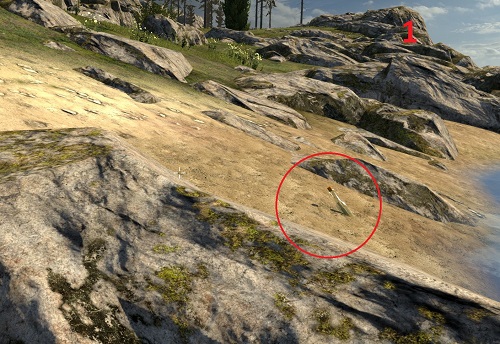
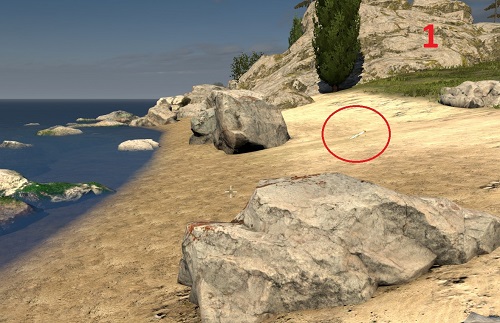
#1: The first bottle located along the sandy beaches close to the floating star.
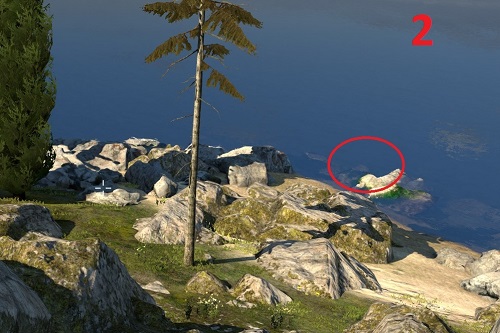
#2: As the clue shows, follow the coastline until you see a dead tree nestled amongst three live trees. From this point, head into the water and look in the crevices between rocks and sand underwater. You will find this bottle cruelly hidden in a dark corner.
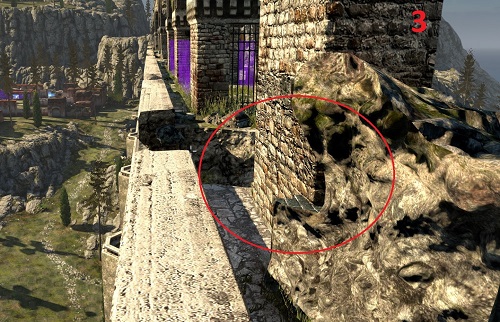
#3: Standing near the location of the previous bottle, look at the aqueduct while simultaneously looking at the clue. You should be able to pinpoint the exact location of the aqueduct where the bottle is located (located on the upper portion of the aqueduct, right next to the fan used to acquire the star). You will find the bottle cleverly hidden between a pile of rubble and the column.
#4: From here, head to the next location (you should be able to pinpoint the exact spot from the current location), near the tall tree in the distance. About 30 feet from the tree, jump up onto the rocks to find the bottle hidden amongst them.
#5: Located directly across on the other side of the channel, as shown in the map. This time you are looking for a gold ring underwater, so scour underneath the shoreline for a faintly glowing object. Pick up the object to discover an interesting side effect.
Zone 4
Huge thanks goes to Spooky, who took the time to map out the optimal path to completion to minimize redundancy. I am not going to map out every single choice, but rather write out the generic strategy for each "story". I will keep the story choice outside of spoilers, but put actual choices within the adventure within spoilers.
- The Artist: Head across the Hills -> Answer Jerusalem to both questions -> (Receive flute) -> Continue to the valley -> Pass through the Labryinth -> Seek out the Minotaur -> Slay him -> (Receive Axe) -> Exit the Labyrinth -> Continue you journey Until End Condition
- The Scholar: Continue working until Look for Wood is an option -> (Use Minotaur's axe) -> Continue working until End Condition
- The Scientist: Enter Sage's Chamber (Use flute) -> Descend -> Enter Treasure Chamber -> (Take a coin) -> Descend until End Condition
- The Artist: Head by the river -> (Use coin) -> (Receive key) -> Walk by the Aqueduct -> Teach Exiles to rebuild (taught via Scholar's translations) -> Continue until End Condition
- The Scholar: Continue working until Look for Wood is an option (Use Minotaur's axe) -> Continue working until End Condition
- The Scientist: Descend into the Tomb -> Enter the Poet's Chember -> Tell the Poet about the Archive (Unlocked via Scholar's work) -> Descend and be lifted by spirit of poetry and wisdom -> Cross the bridge (Use key) -> Examine Seed -> Finished
- The Blacksmith: END
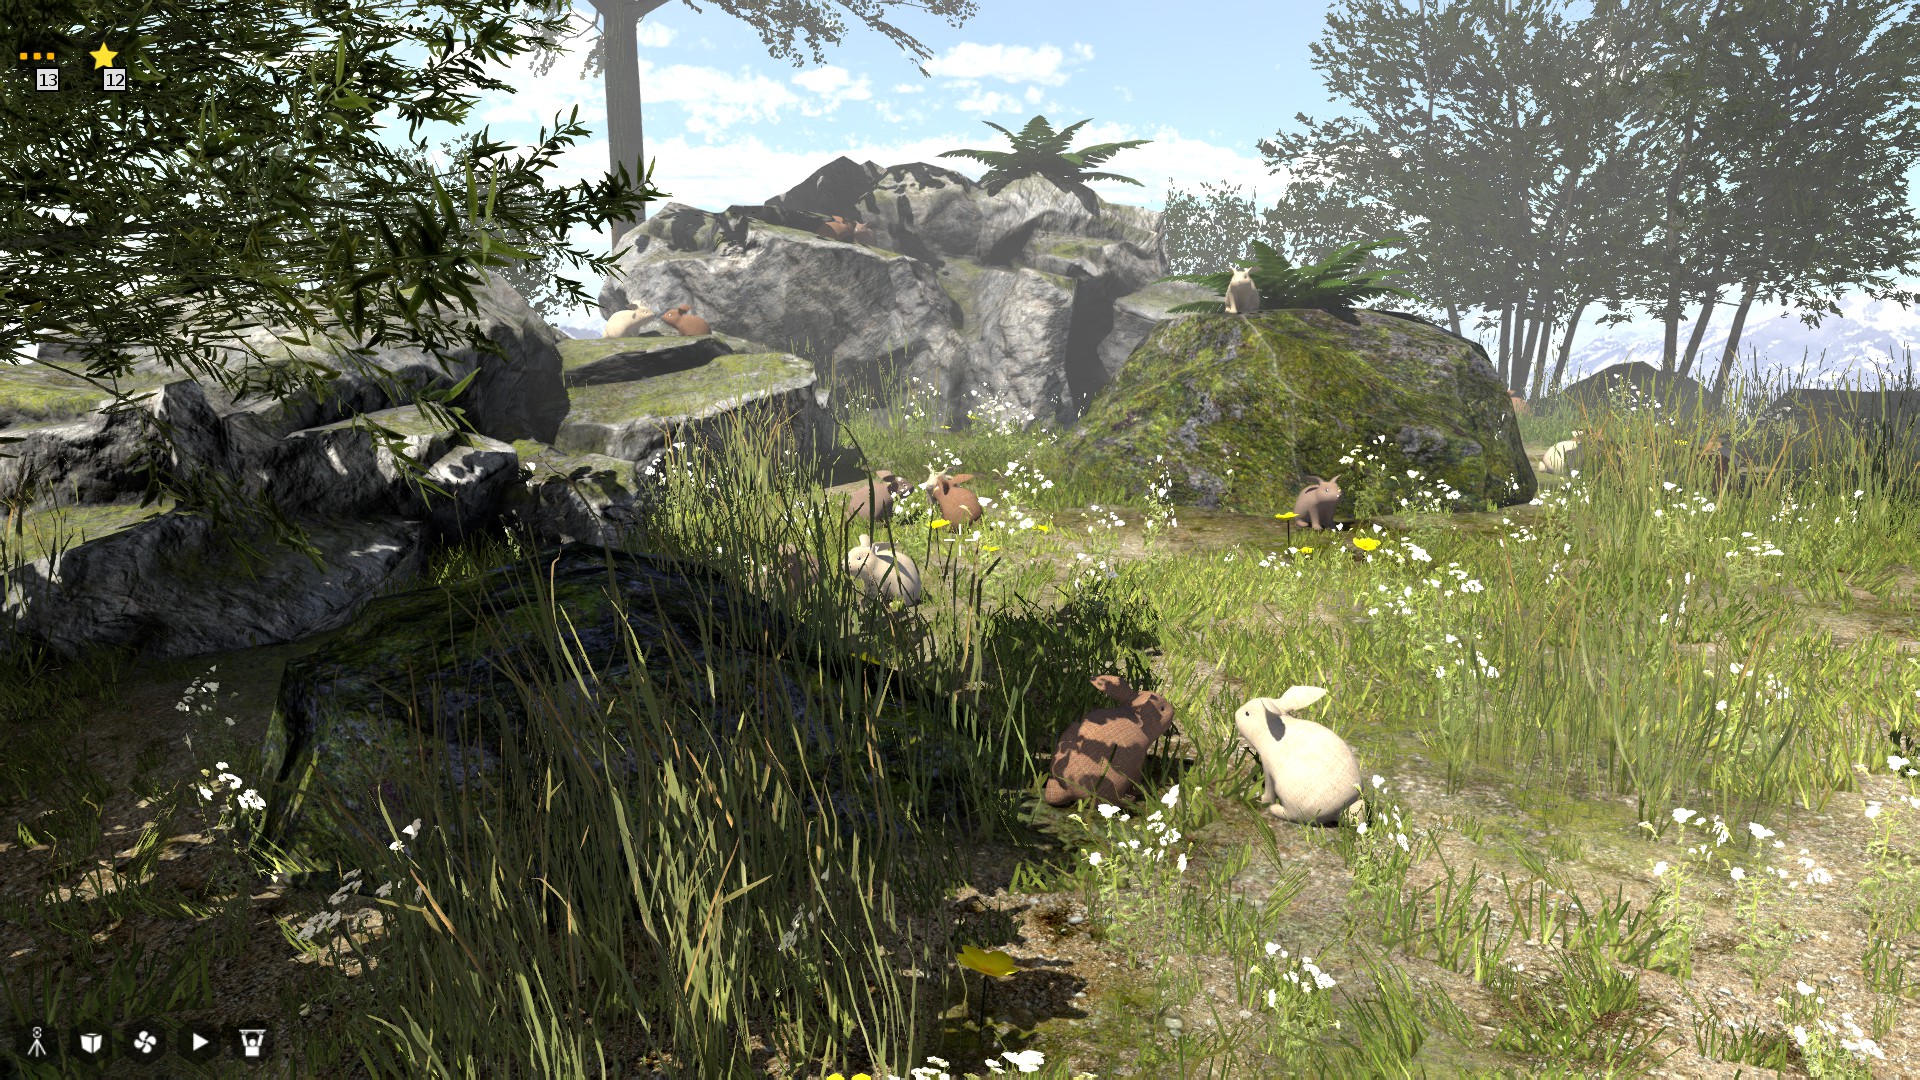 Located behind Colliding Beams, you will notice a floating island in the distance. If you zoom in, you will see it is full of bunnies. Head back to the main island and then jump into the fan that blows to the Colliding Beams island. If you bunny hop (perhaps this is pun intended by the developers?) as you land, you will preserve momentum and launch yourself to the bunny island. There is no way back, so you will have to reset once you’ve seen enough.
In this courtyard you will find 7 QR codes that can't be read in-game. If you were to use a QR scanner, they would read the following: Happy, happy, boom, boom, swamp, swamp, swamp. If you are not aware, this is a reference to the Harry Potter fanfiction, Methods of Rationality.
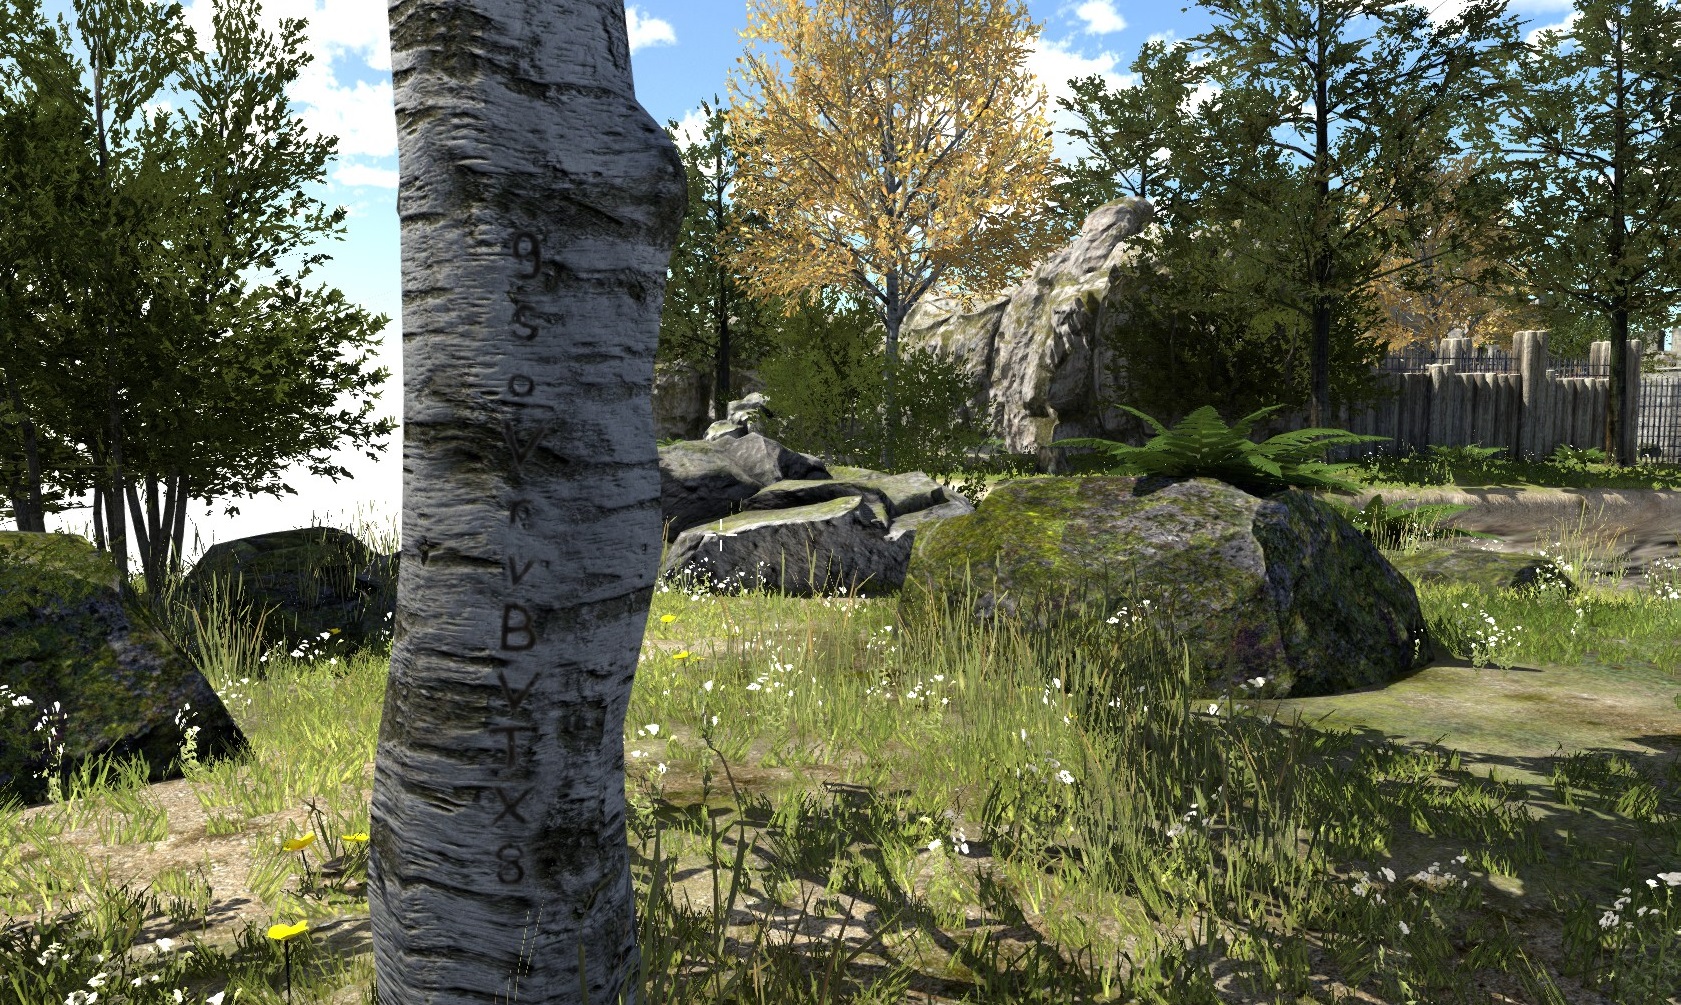 Head behind Air Delivery, where there is a fan that blows to one of the stars. You will see another floating island within jumping distance. Take a sprint jump and land on the island and look on the lone tree. You will see 9soVrvBVTX8 etched into tree... Hmmm... wonder what that could mean? How about this interesting music video?
Hub World & Misc.
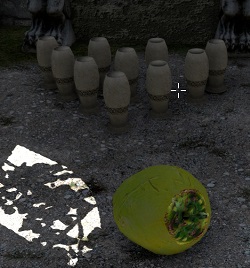
WORLD 1: The Swapper- A bowling ball and bowling pins set up.
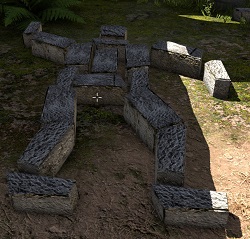
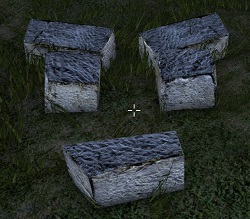
WORLD 1: Open Field- Rocks in the shape of a murder scene dead body.
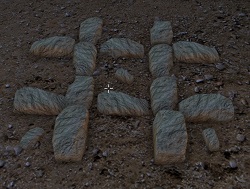
WORLD 2: Haircut- A singleplayer game of Tic-Tac-Toe.
WORLD 4: Goliath- The Serious Sam logo formed in rocks.
- Secret Stars - Hints + Complete Solutions [With spoiler tags]★ 5 (3.5k)91k views5.7k ♥43 minUpdated Dec 28, 2025
- Total Achievement Guide★ 5 (1.9k)59k views2.9k ♥34 minUpdated Mar 4, 2018
- Sigil Puzzles / Tetris Puzzles - All of them★ 5 (902)48k views1.3k ♥1 minUpdated Mar 11, 2018
- [DLC] Road To Gehenna - Secret Stars - Hints + Complete Solutions [With spoiler tags]★ 5 (1k)34k views1.7k ♥36 minUpdated Sep 3, 2015
- Terminal and Time Capsule (Audio Log) Locations★ 5 (832)31k views1.1k ♥11 minUpdated Jul 17, 2015
- Three Endings Guide (text only)★ 5 (244)31k views499 ♥21 minUpdated Dec 30, 2015


- Upgrading to PremiumTeam Fortress 2★ 5 (20k)1441k views11k ♥6 minUpdated May 11, 2022
- No More Room in Hell Official ManualNo More Room in Hell★ 5 (2.8k)569k views2.1k ♥29 minUpdated Apr 22, 2019
- NMRiH Community Hosting GuidesNo More Room in Hell★ 5 (526)351k views653 ♥1 minUpdated Aug 10, 2022
- How to 'Git Gud' Soon™MORDHAU★ 5 (2k)318k views3k ♥68 minUpdated Nov 16, 2024
- Лучшие кооперативные игры SteamPAYDAY 2★ 5 (1.5k)315k views2.1k ♥56 minRussianUpdated Apr 27, 2025
- Desert Eagle Heat Treated | Blue GemCounter-Strike 2★ 5 (1.6k)293k views1.5k ♥2 minUpdated Jan 16





This guide was created by its original author on the Steam Community. Are you the author and want it removed? Request removal.