DOOM Written Guide/Walkthrough for all secrets on each mission including Doomguy locations.
Introduction
 Hello everyone.
After many requests I have decided to create my own written guide to finding all secrets and Doomguy locations throughout the campaign, this is an alternative to my video guide.
We will NOT be looking for elite guards, drones, data logs etc, however, we will find many of those along the way.
This guide isn't perfect by any means and my grammar is never great, but please feel free to offer any constructive feedback or correct any mistakes i may have made and i'll do my best to fix and make things better.
If you get stuck at any point then you could always check out my video guide, you will find the link further down this page.
The video has time links in the description so you can go directly to the secret you're struggling with, if you don't want to do that feel free to drop me a comment and i'll help as best i can.
I hope you enjoy my guide and find everything you need.
All Doomguy locations:- The UAC - Secret 1
- The UAC - Secret 3
- Resource Operations - Secret 7
- Resource Operations - Secret 8
- Foundry - Secret 2
- Foundry - Secret 4
- Argent Facility - Secret 2
- Argent Facility - Secret 3
- Argent Energy Tower - Secret 4
- Argent Energy Tower - Secret 5
- Kadingir Sanctum - Secret 2
- Kadingir Sanctum - Secret 5
- Argent Facility (Destroyed) - Secret1/2
- Argent Facility (Destroyed) - Secret 6
- Advanced Research Complex - Secret 5
- Advanced Research Complex - Secret 9
- Lazarus Labs - Secret 5
- Lazarus Labs - Secret 6
- Titans Realm - Secret 3
- Titans Realm - Secret 4
- The Necropolis - Secret 2
- The Necropolis - Secret 3
- Vega Central Processing - Secret 1
- Vega Central Processing - Secret 4
- Argent D'Nur - Secret 4
- Argent D'Nur - Kill the final boss.
- This guide is image heavy.
- This guide contains missable secrets.
- Instagram[www.instagram.com]
- Youtube
- Check out my Doom Review
- Rate it and give it a thumbs up
- Leave comments or feedback
- Share it with friends
- Follow me and my Guides
http://steamcommunity.com/sharedfiles/filedetails/?id=709470954
Doomguy locations are not highlighted in the video guide, but if you're collecting all secrets then you will find all doomguys.
https://steamcommunity.com/sharedfiles/filedetails/?id=2031543270
https://steamcommunity.com/sharedfiles/filedetails/?id=2036142586
DOOM Eternal video guides:
https://youtu.be/yRLYR_jUgwA
https://youtu.be/MN4HV3aHLwo
Mission 1 - The UAC
Clear this area of all demons to gain access to the door in the upper far corner (highlighted in the screenshot below).
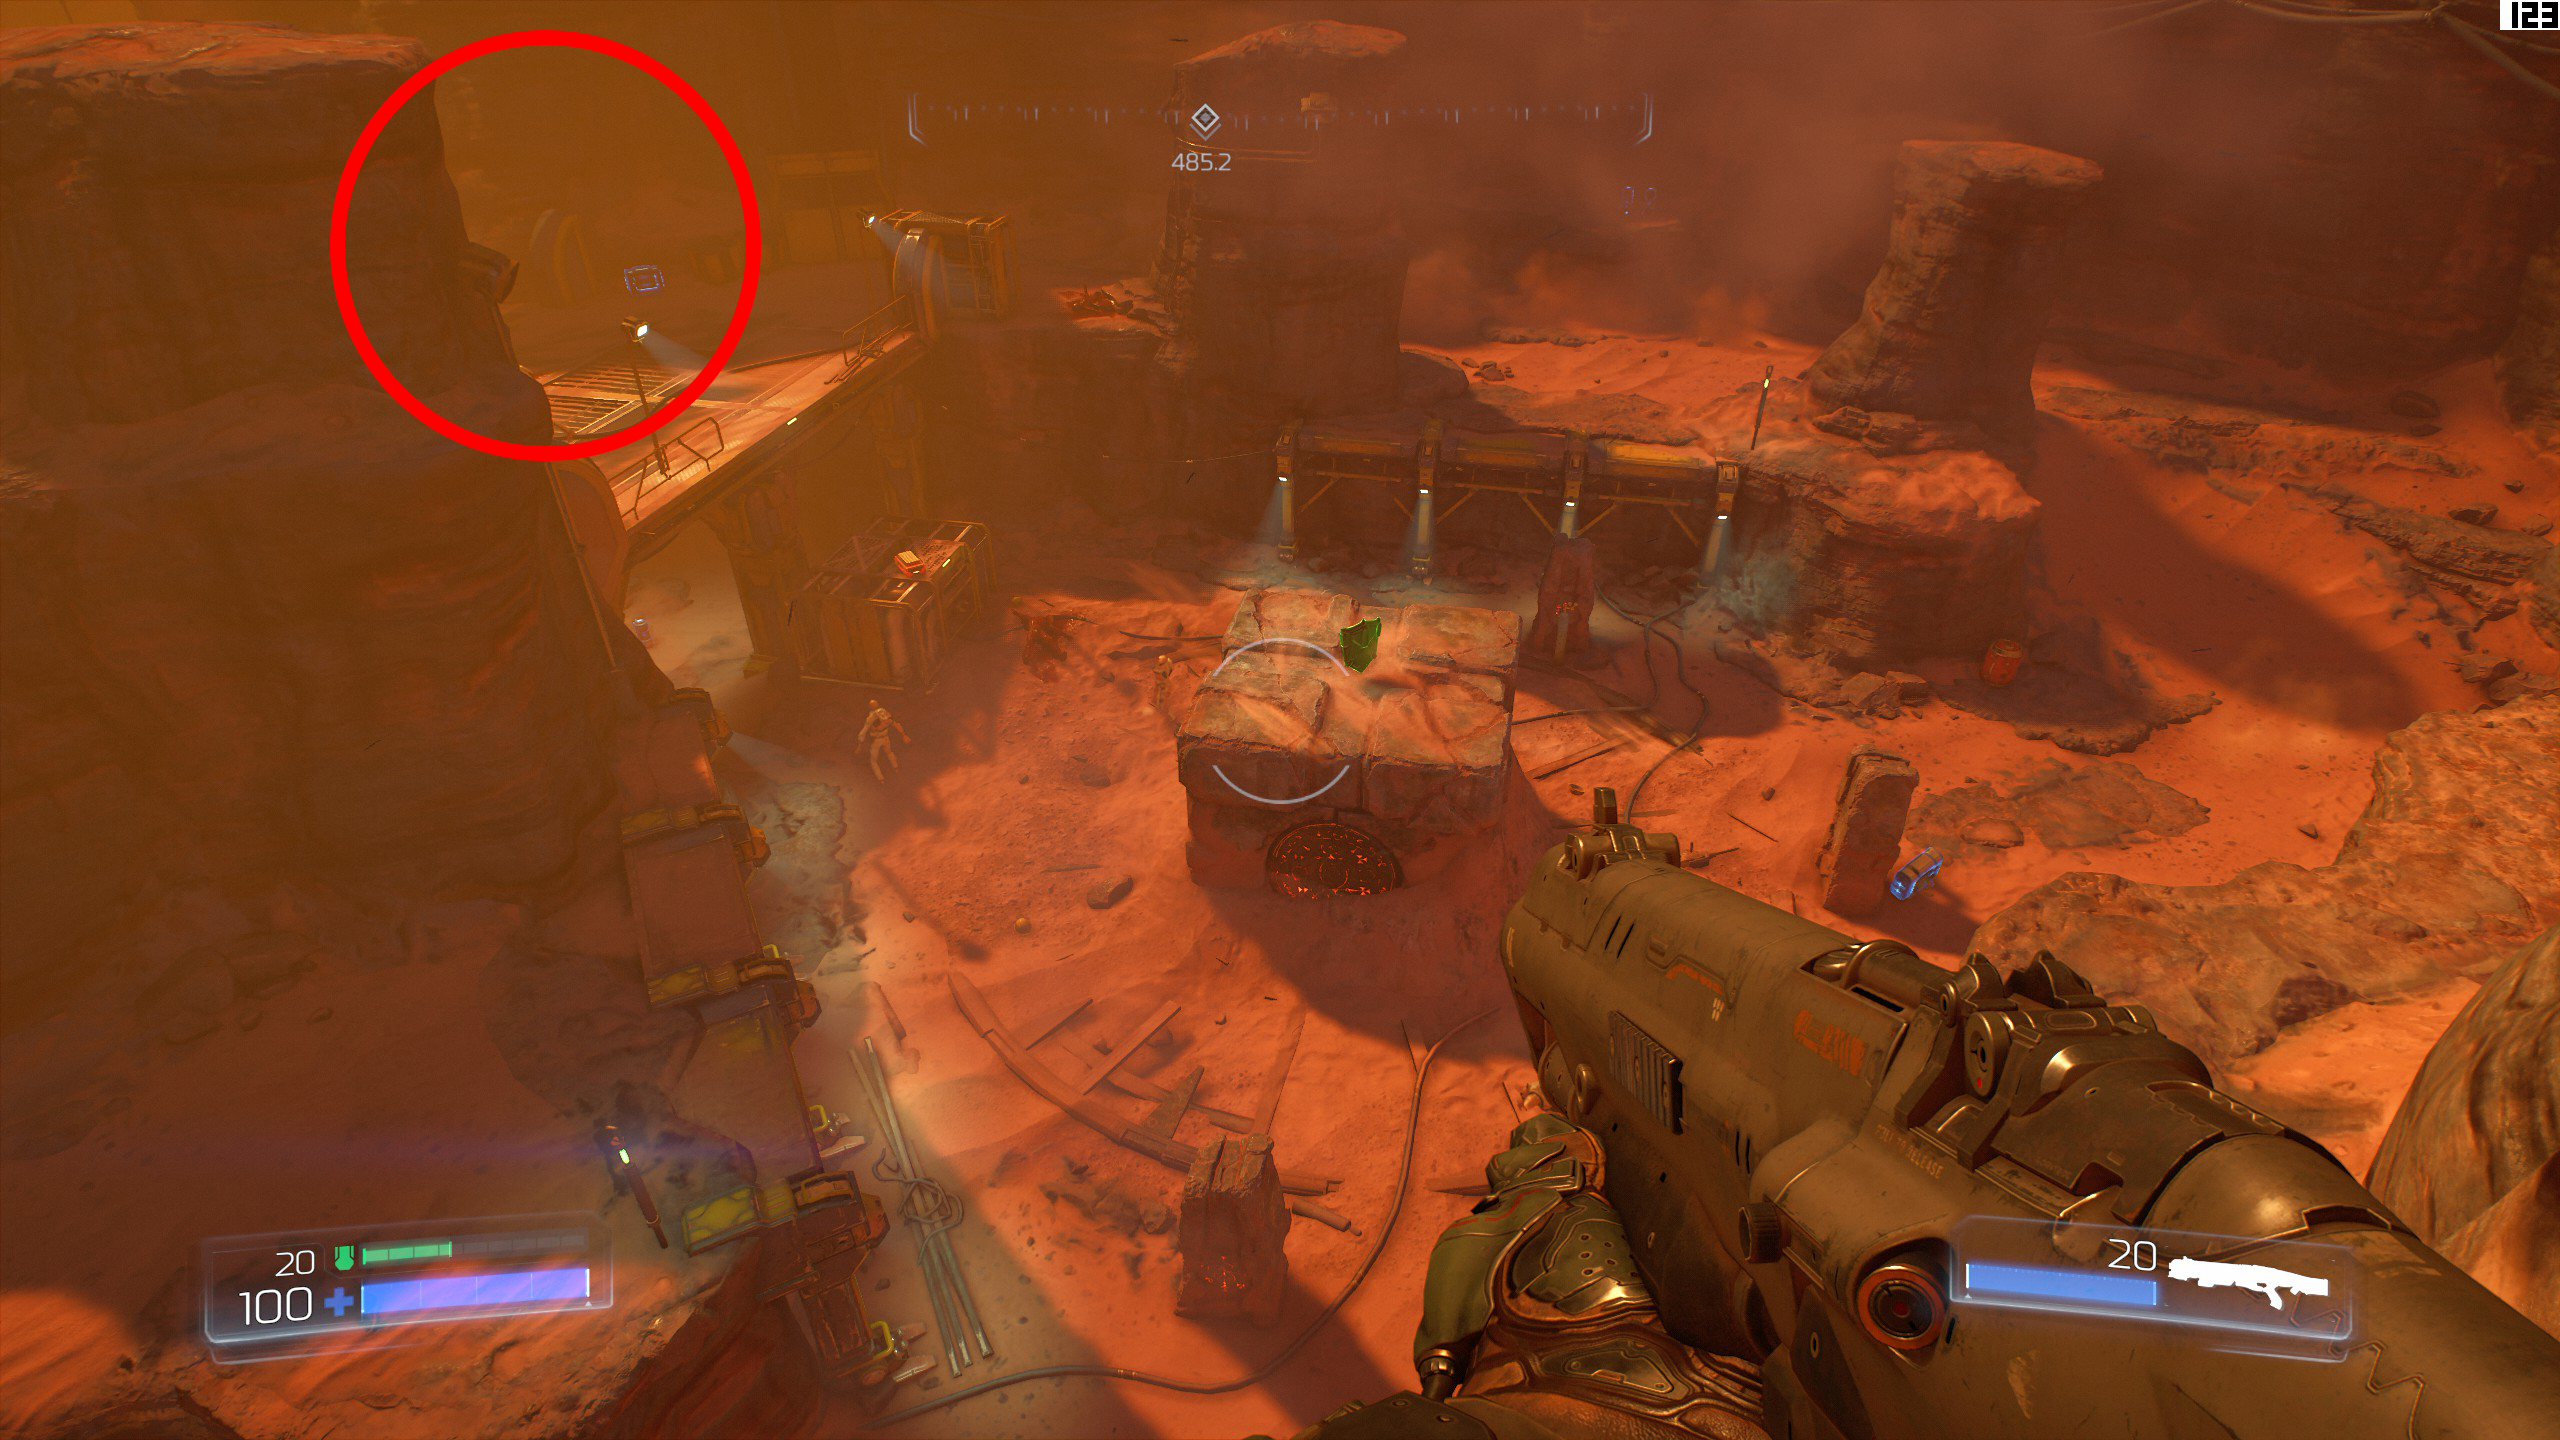
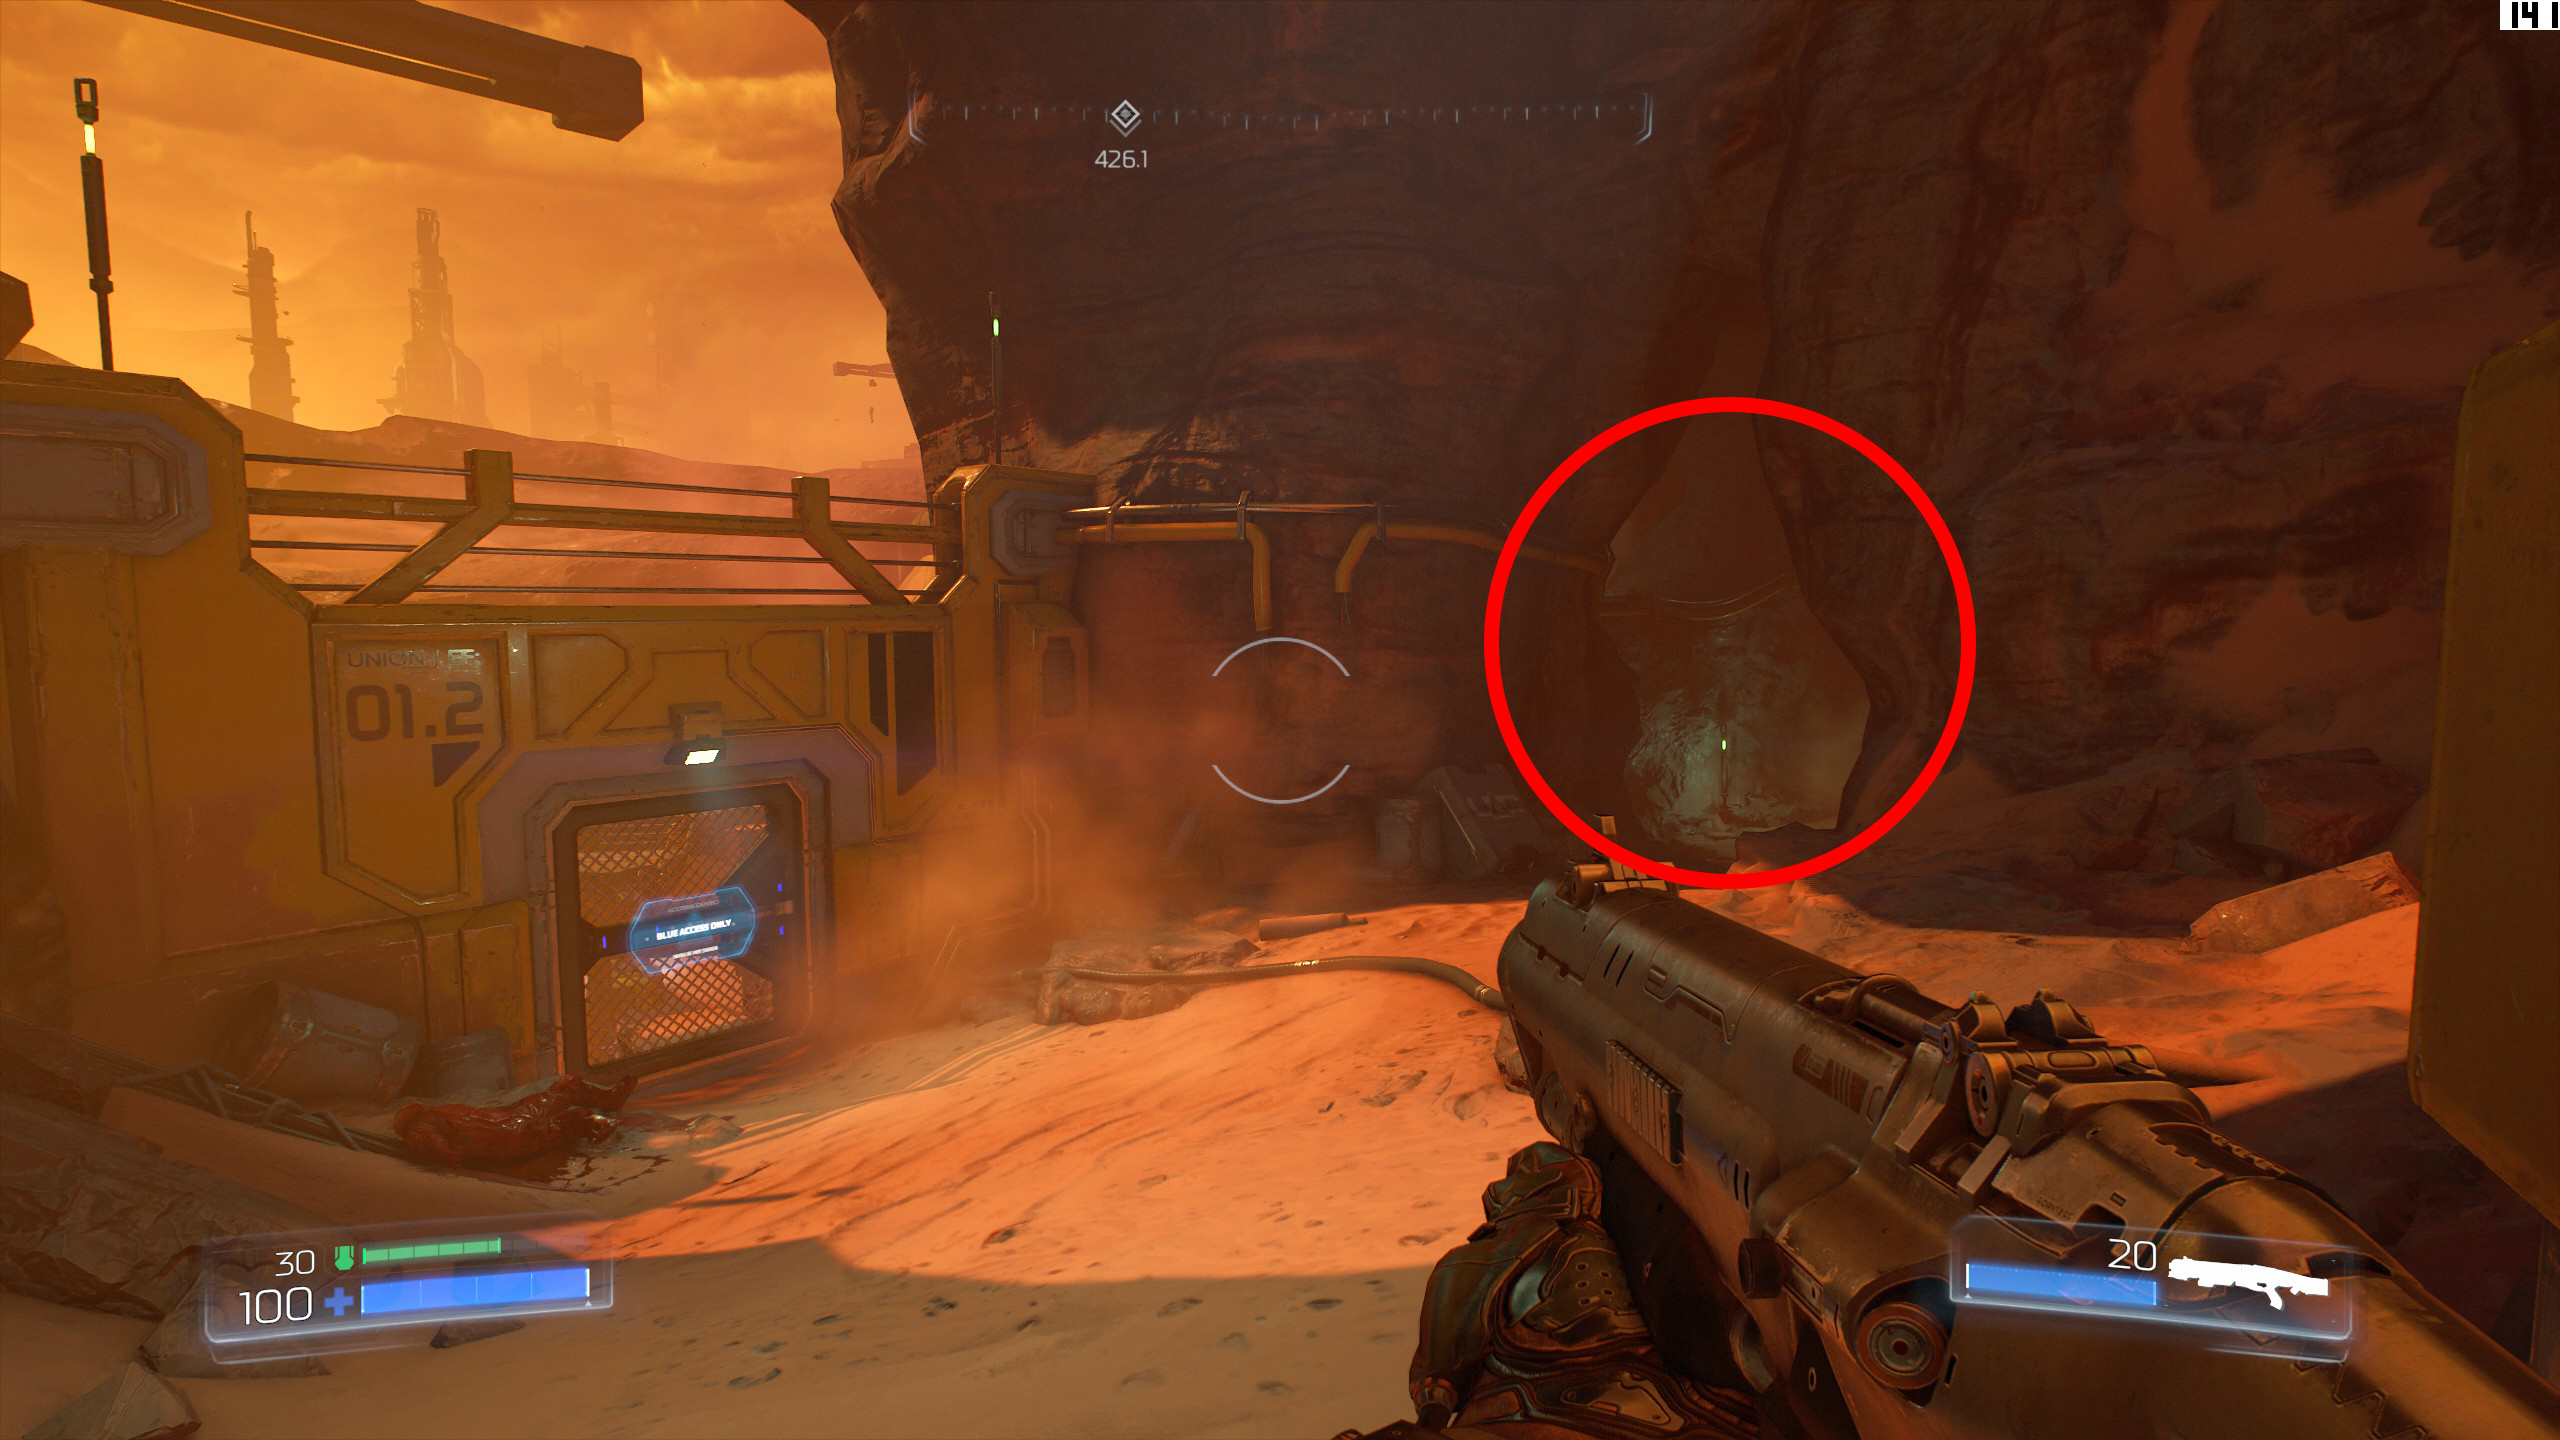
This will lead you to a blue door which requires a blue key.
You can find the blue key and the first secret by following the path to the right of the blue door, a dead guy will be holding the key at the end of the path.
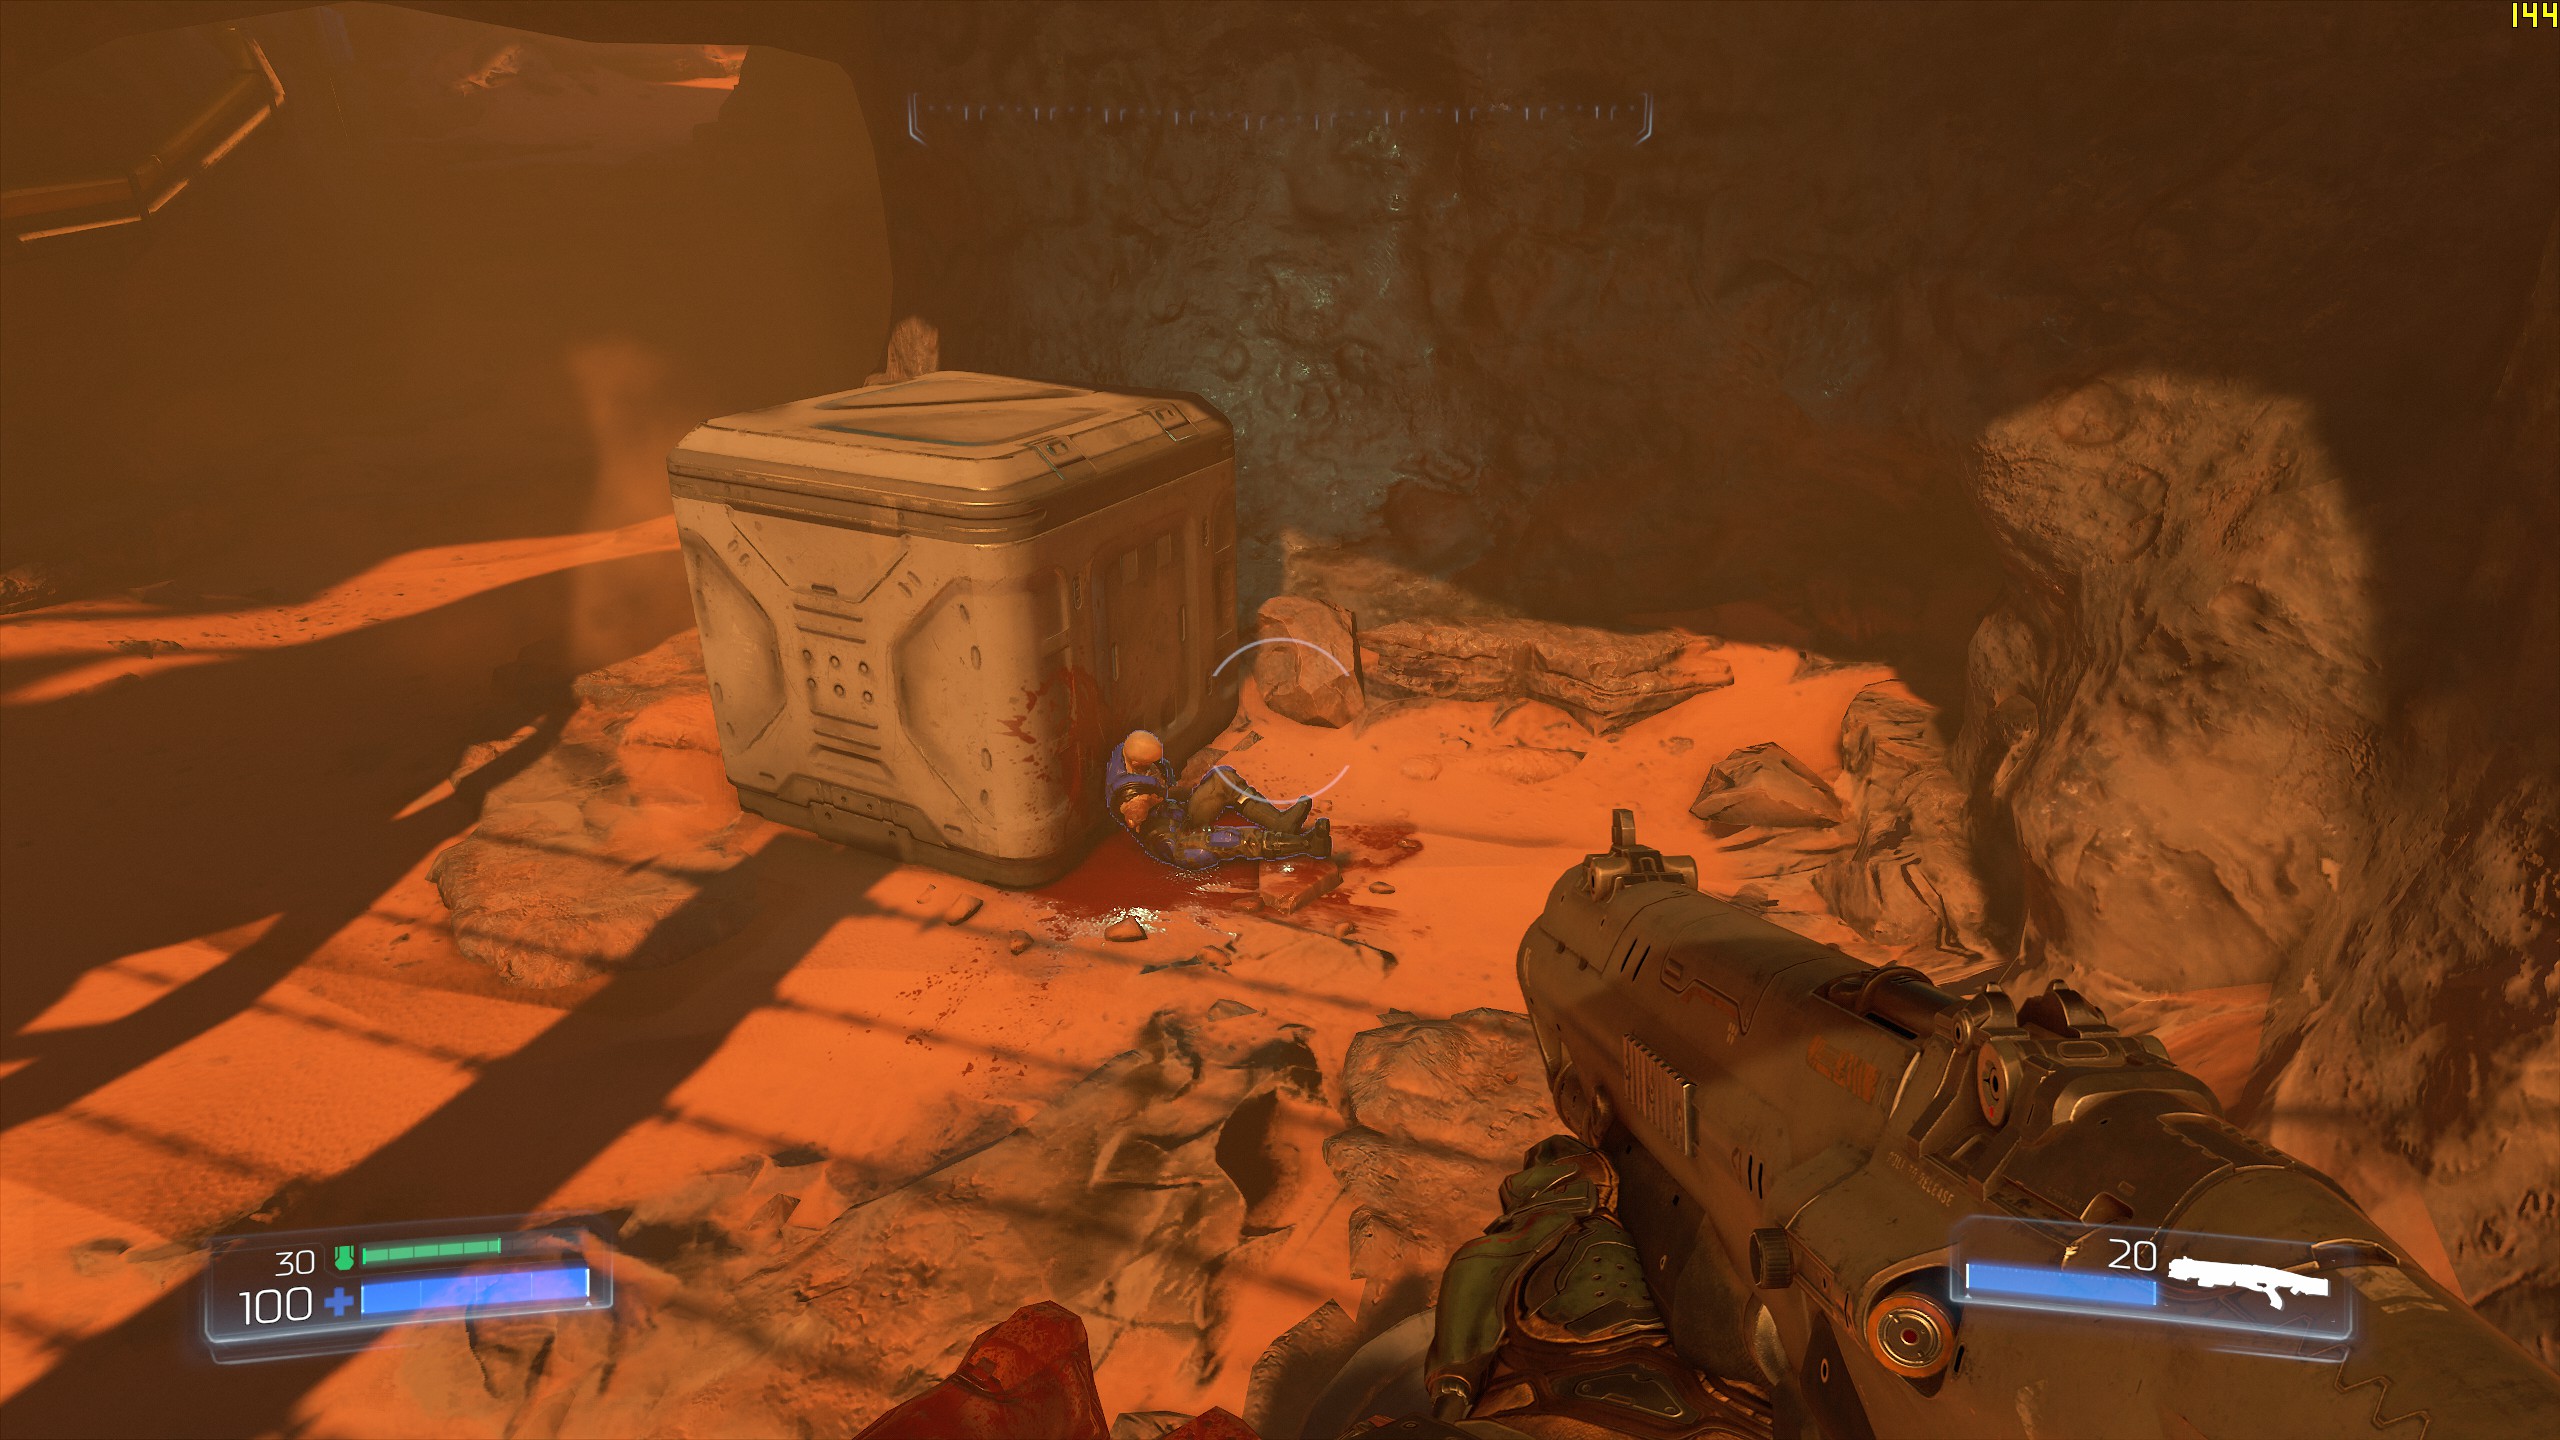 When at the dead guy look up above at the rocks and you will see a ledge that you can climb up to from the crates, on that ledge is your first secret, a Doomguy.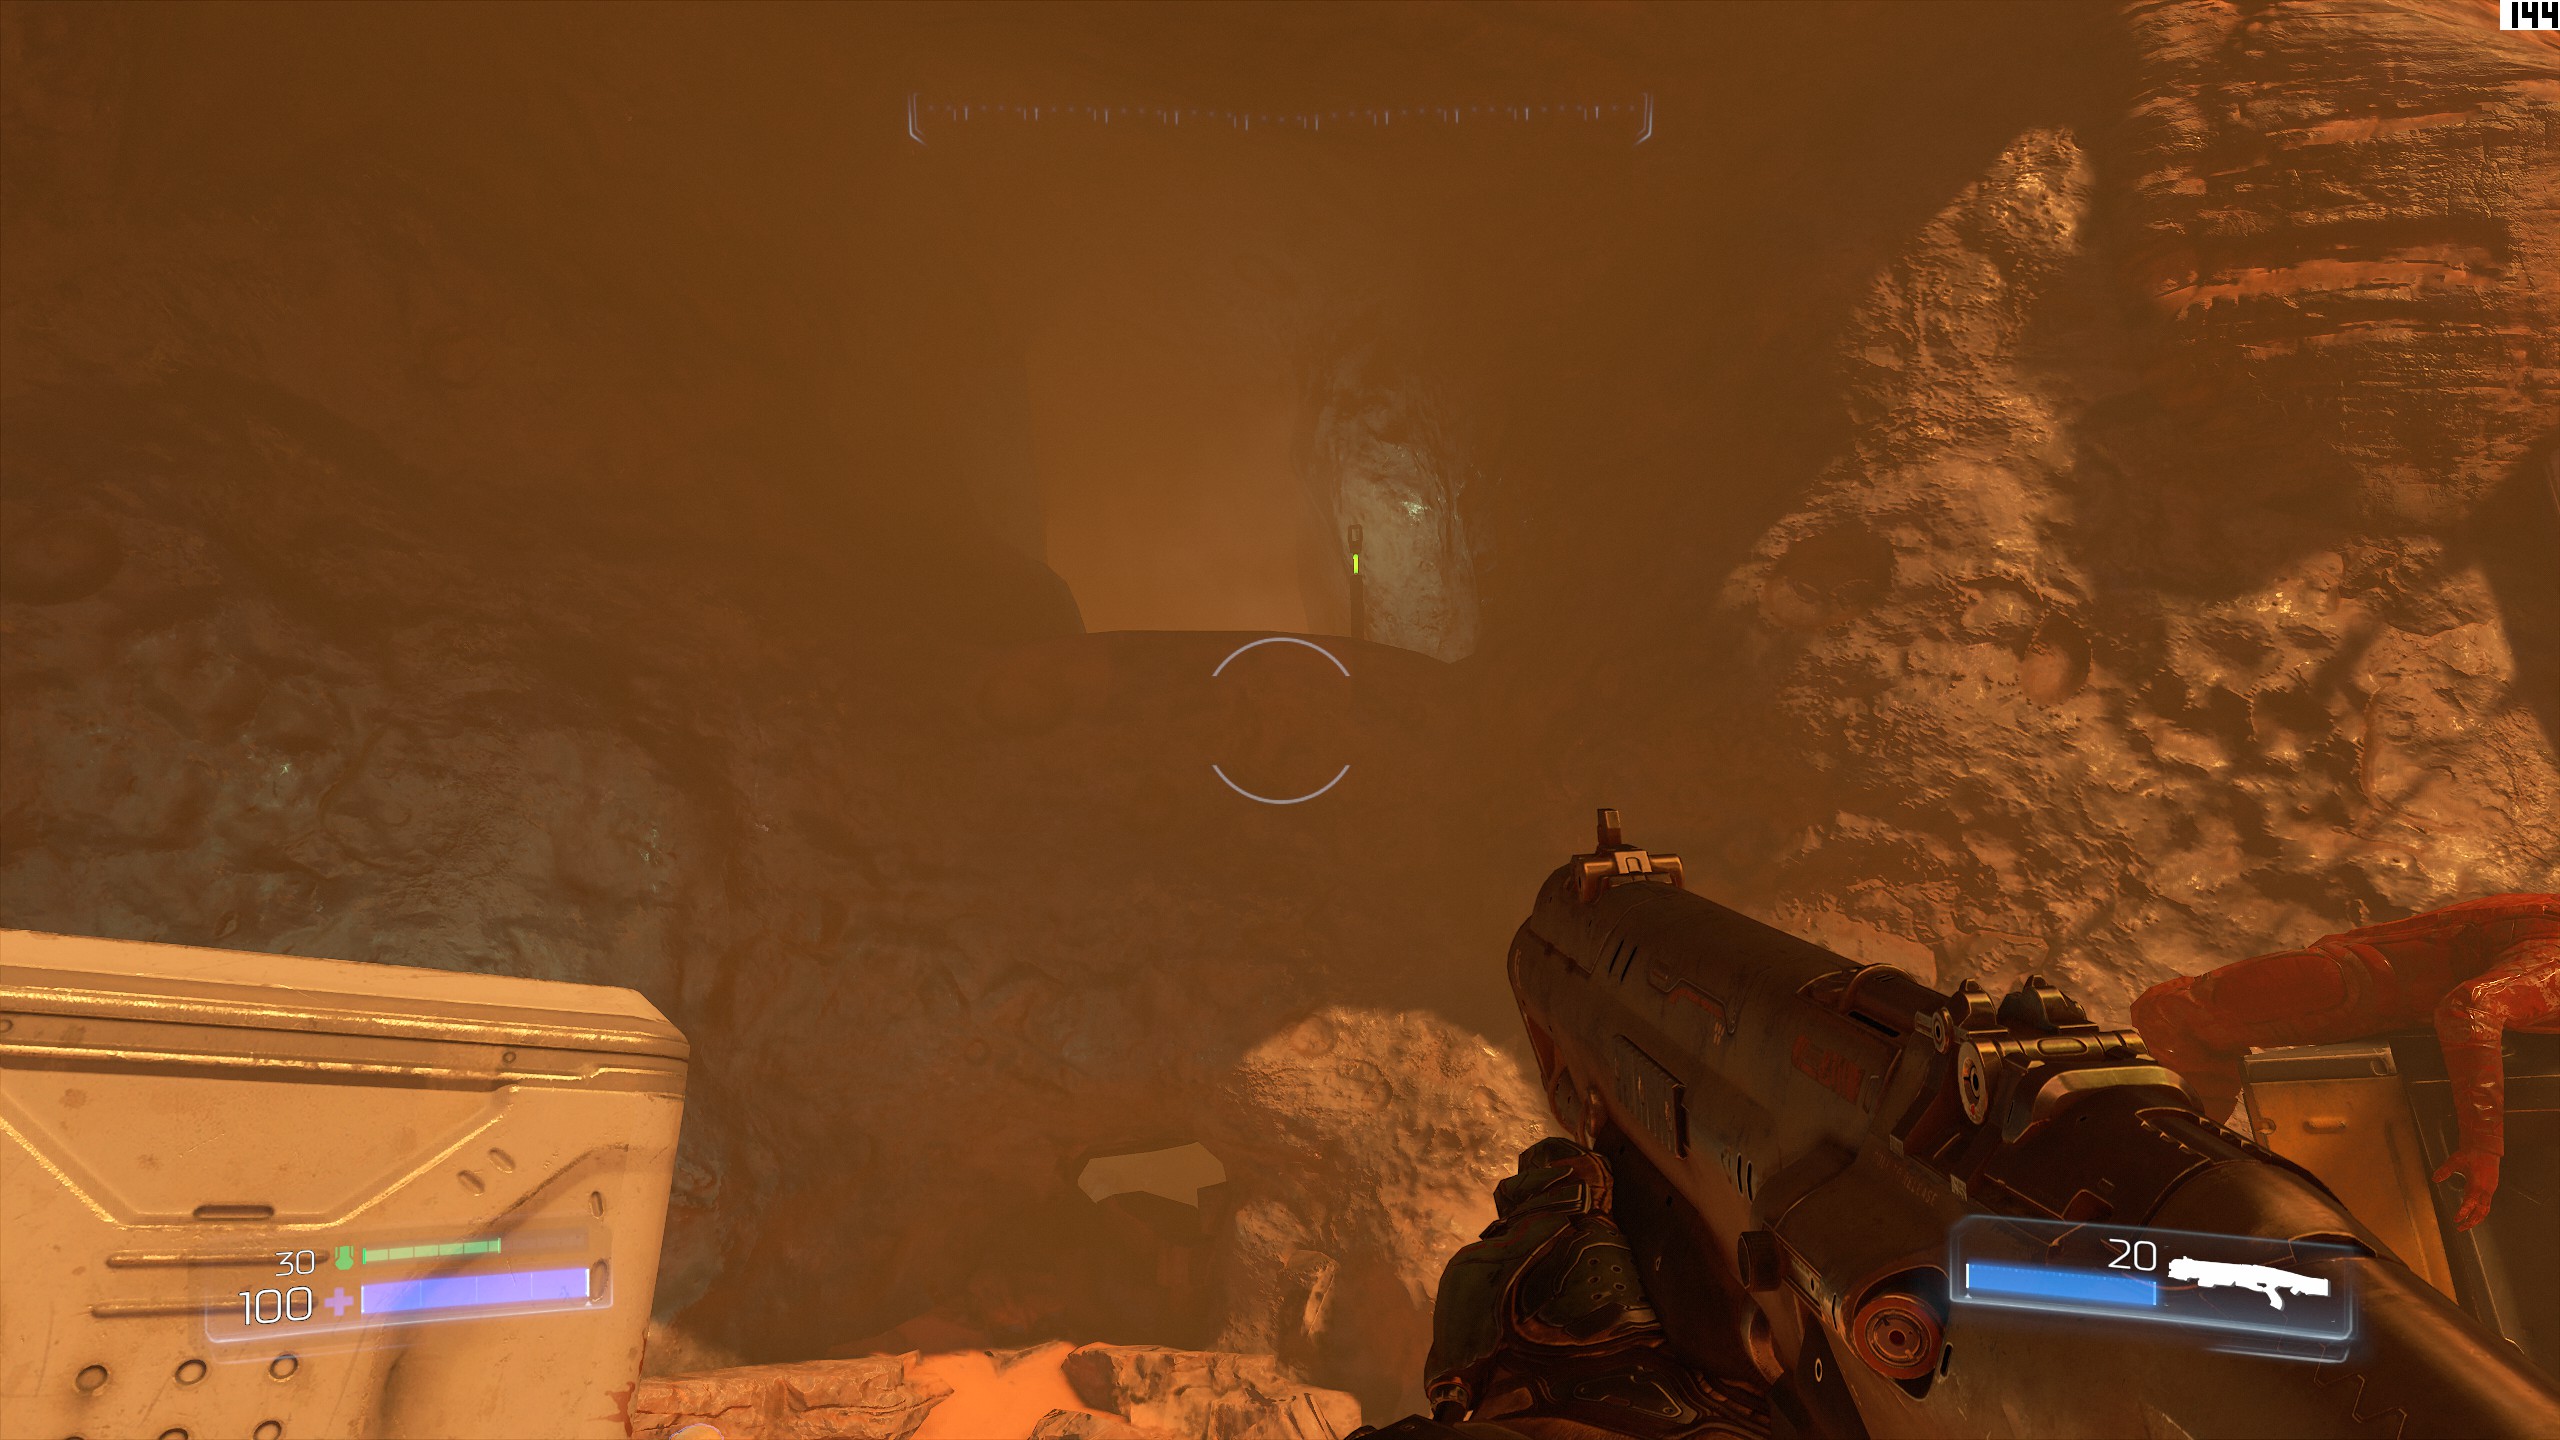
Now continue the mission through the blue door.
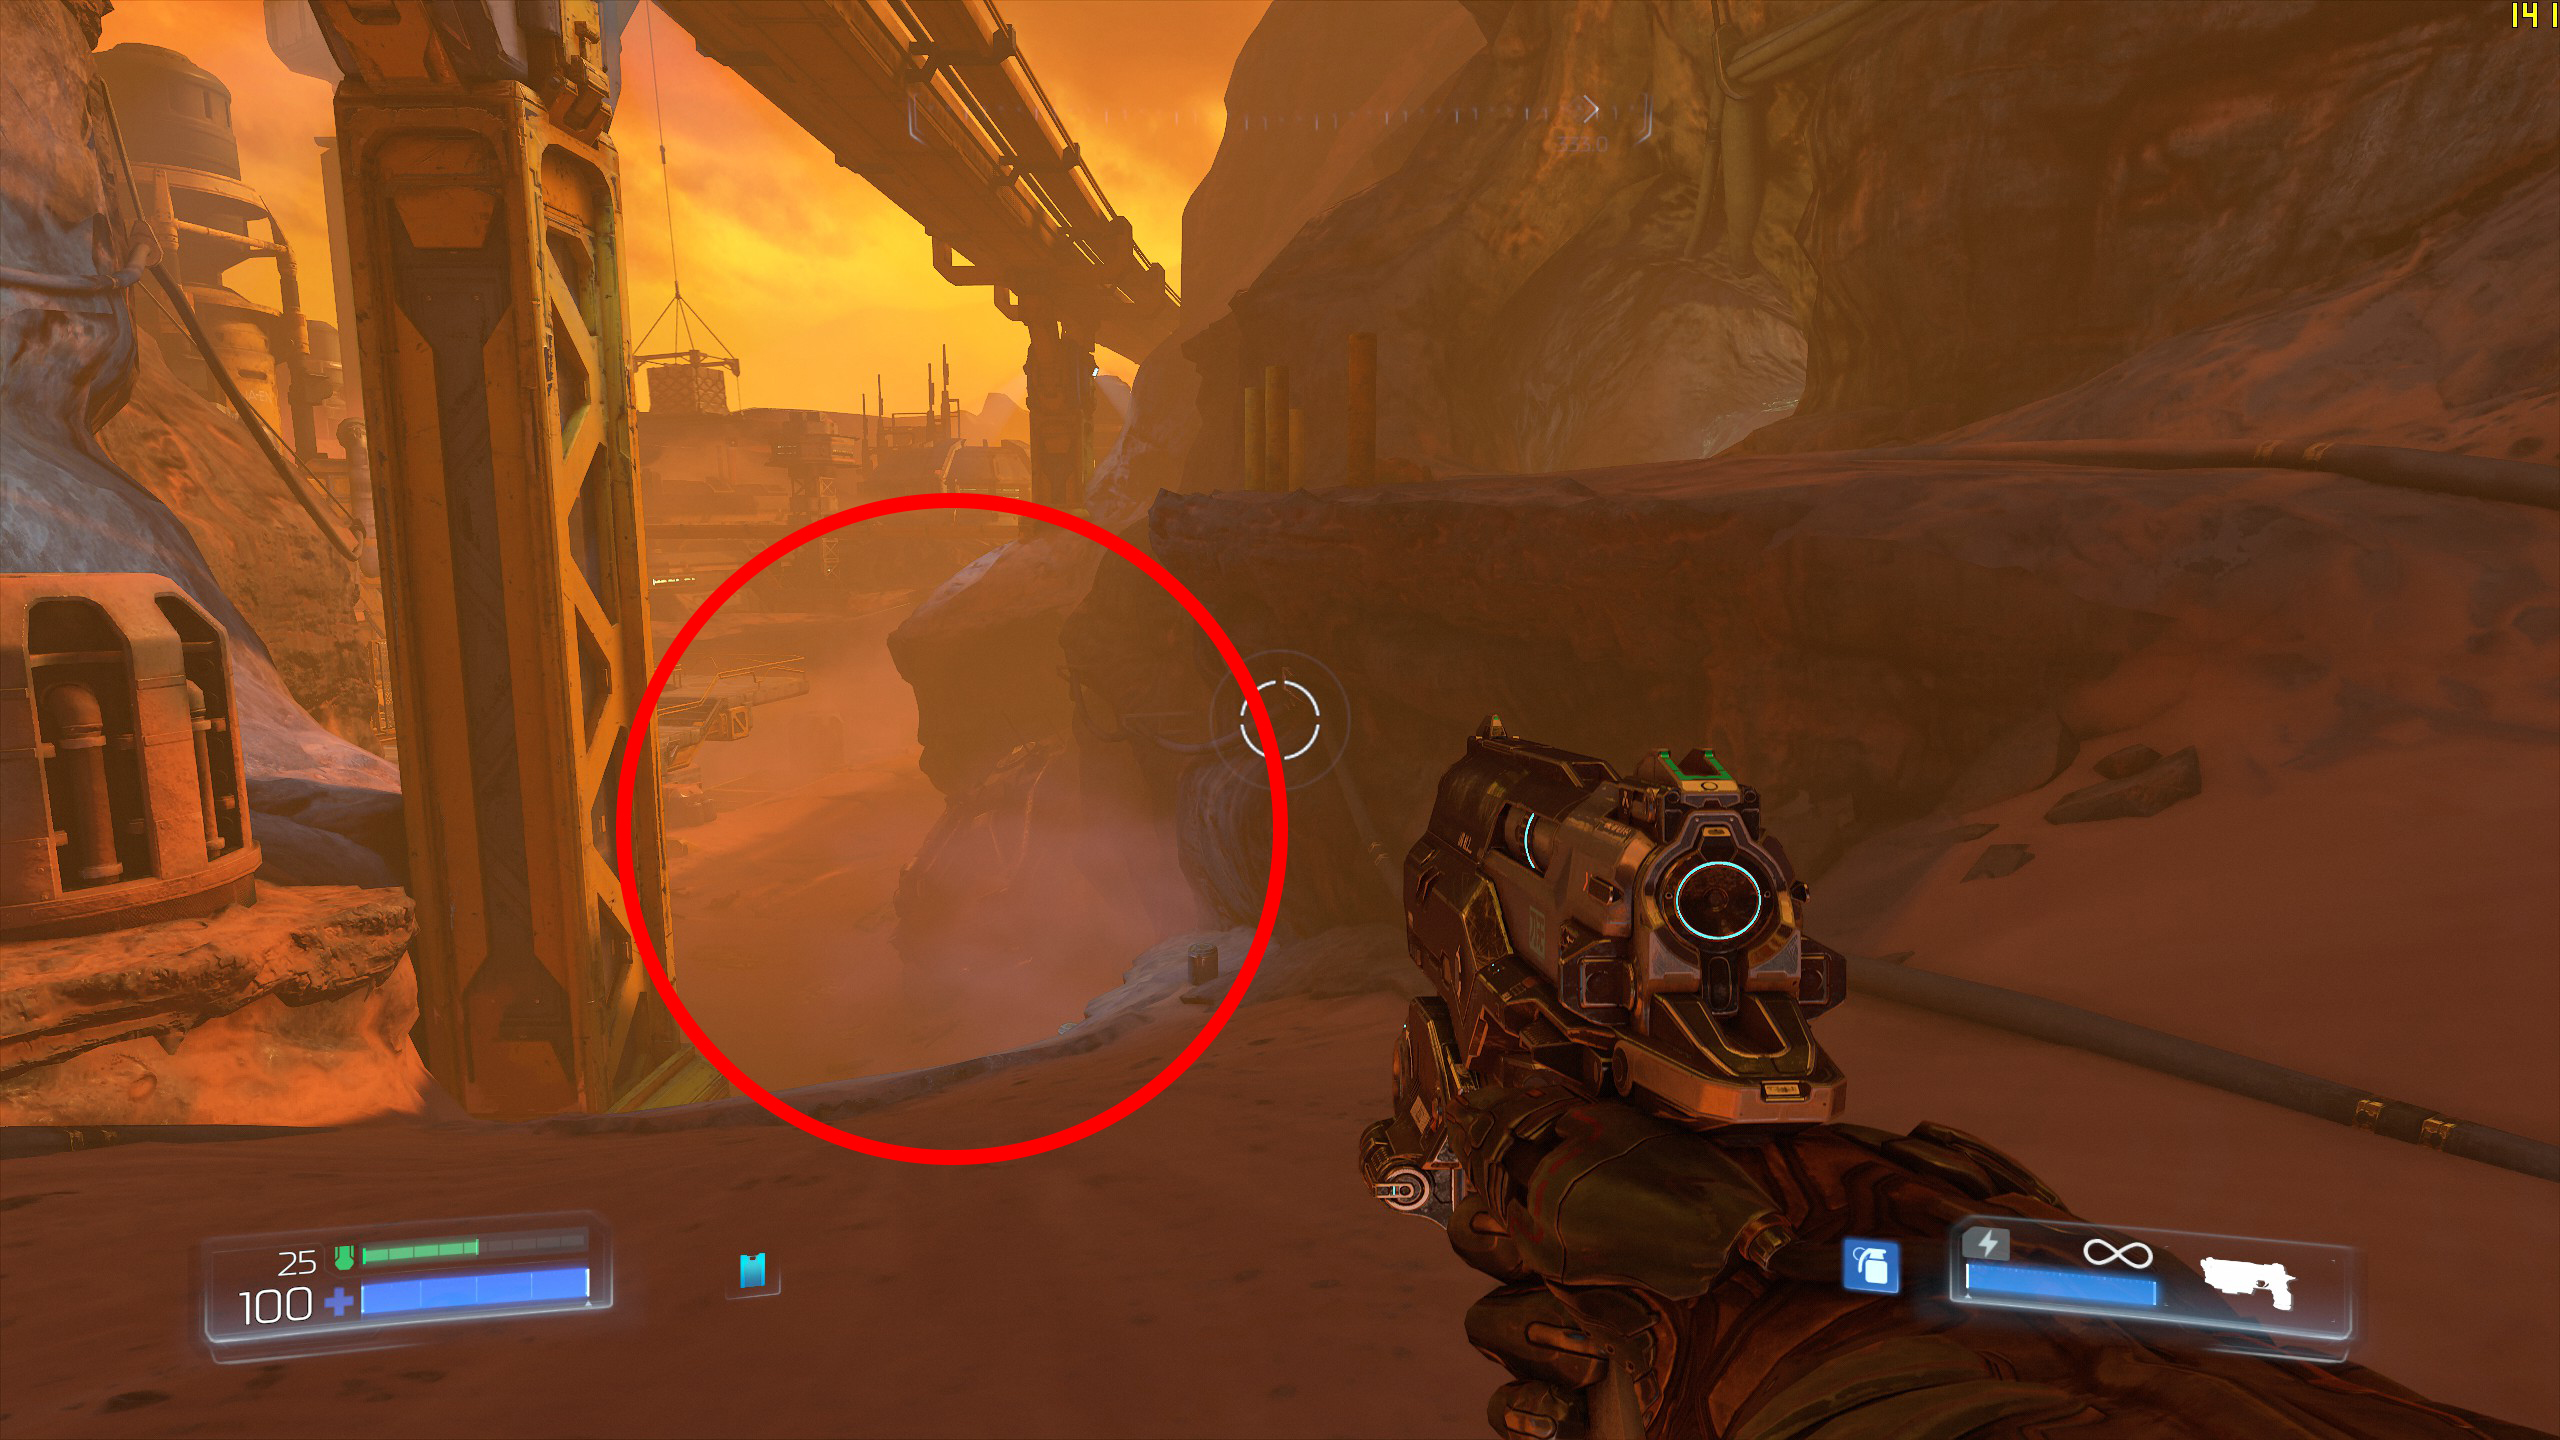
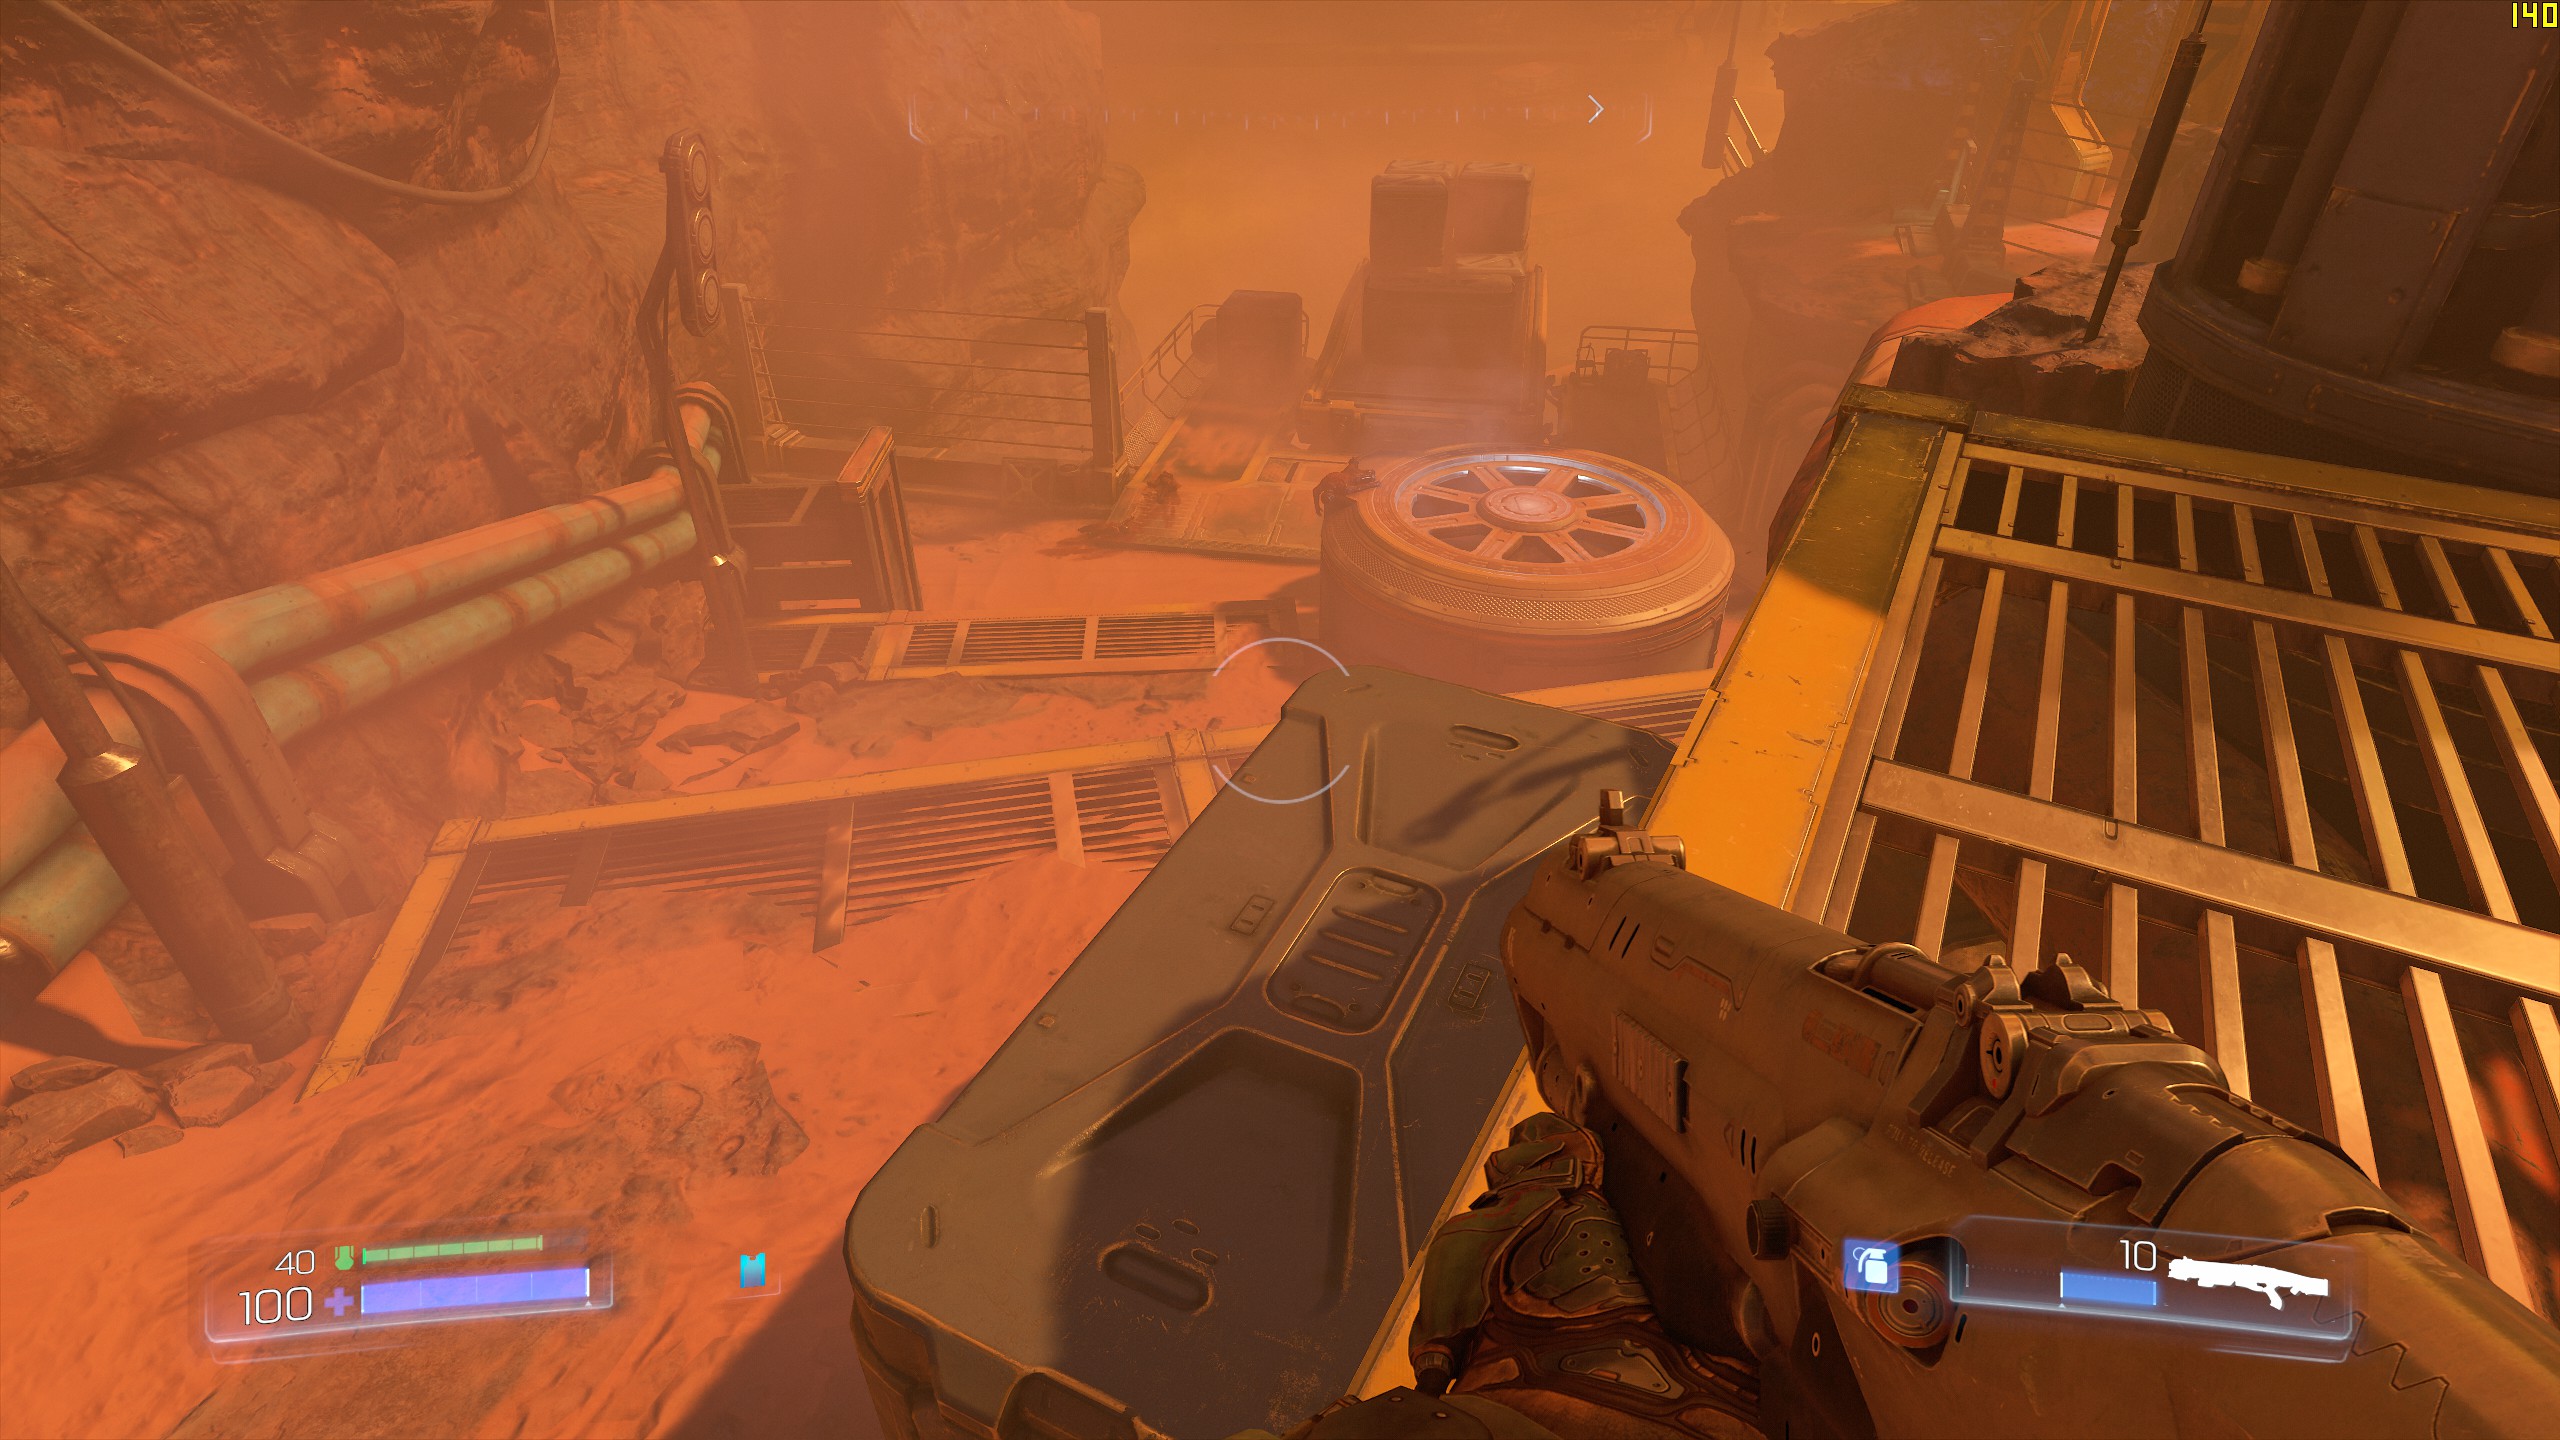
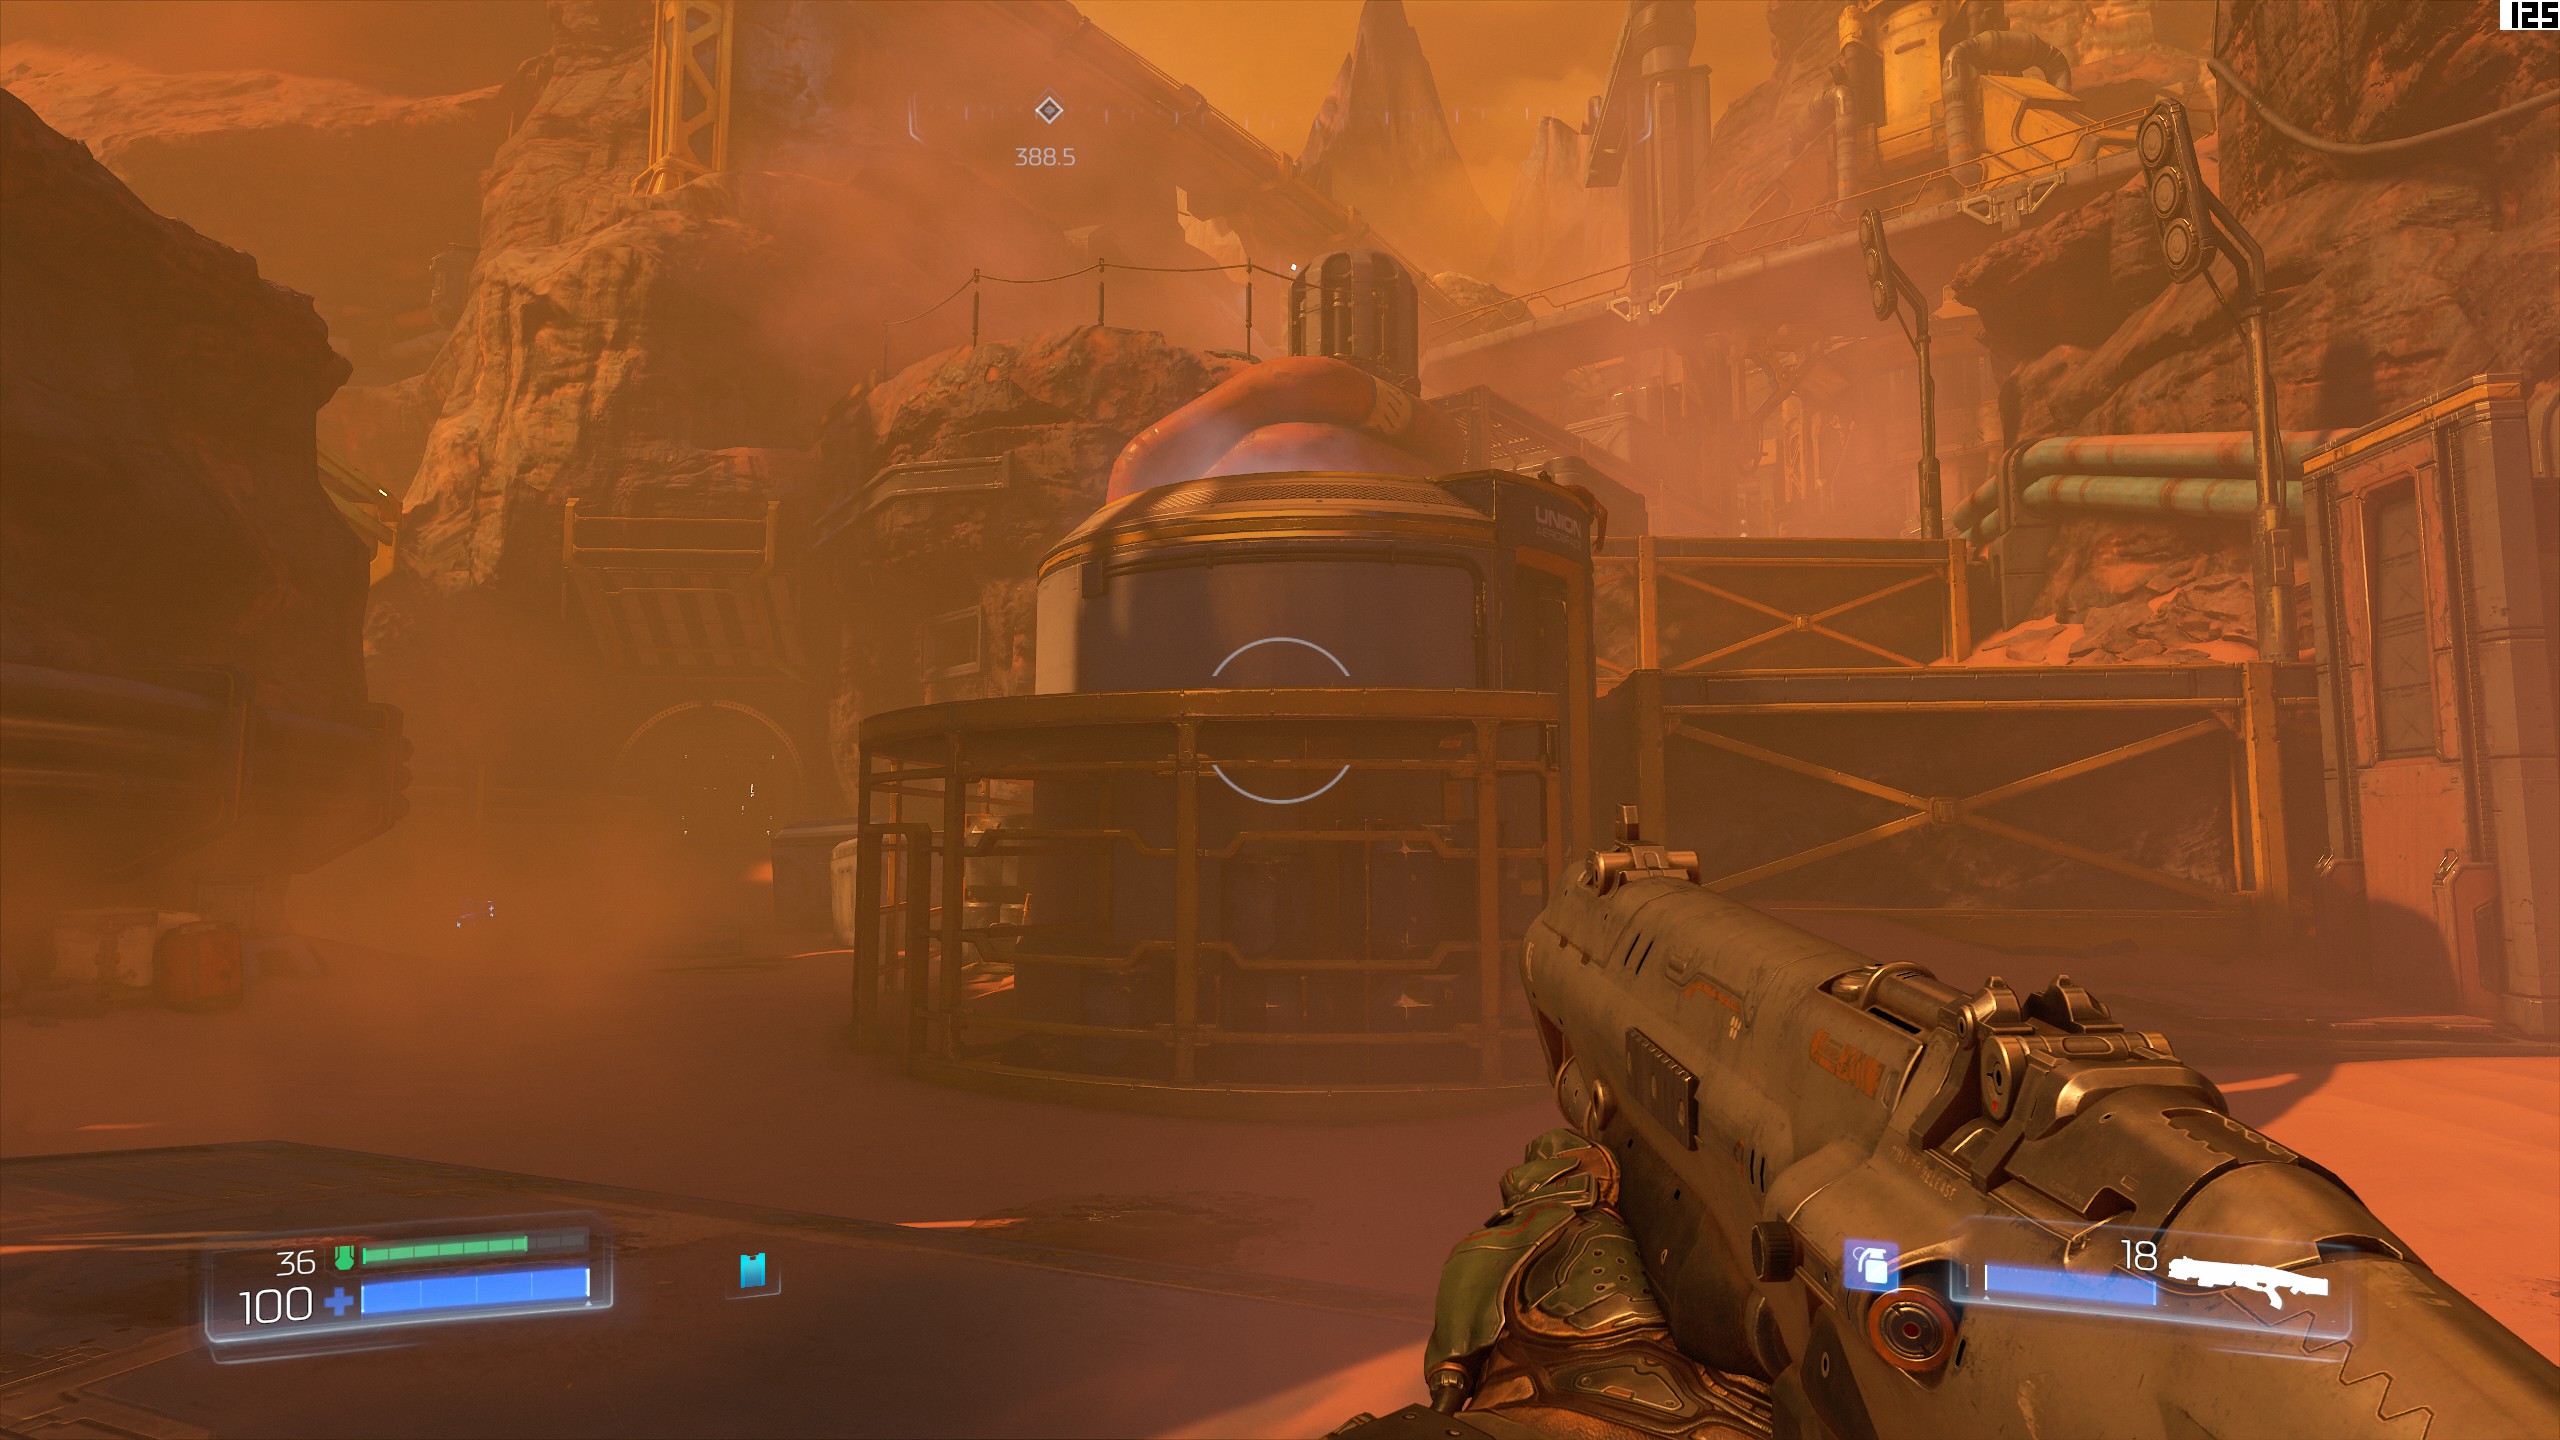
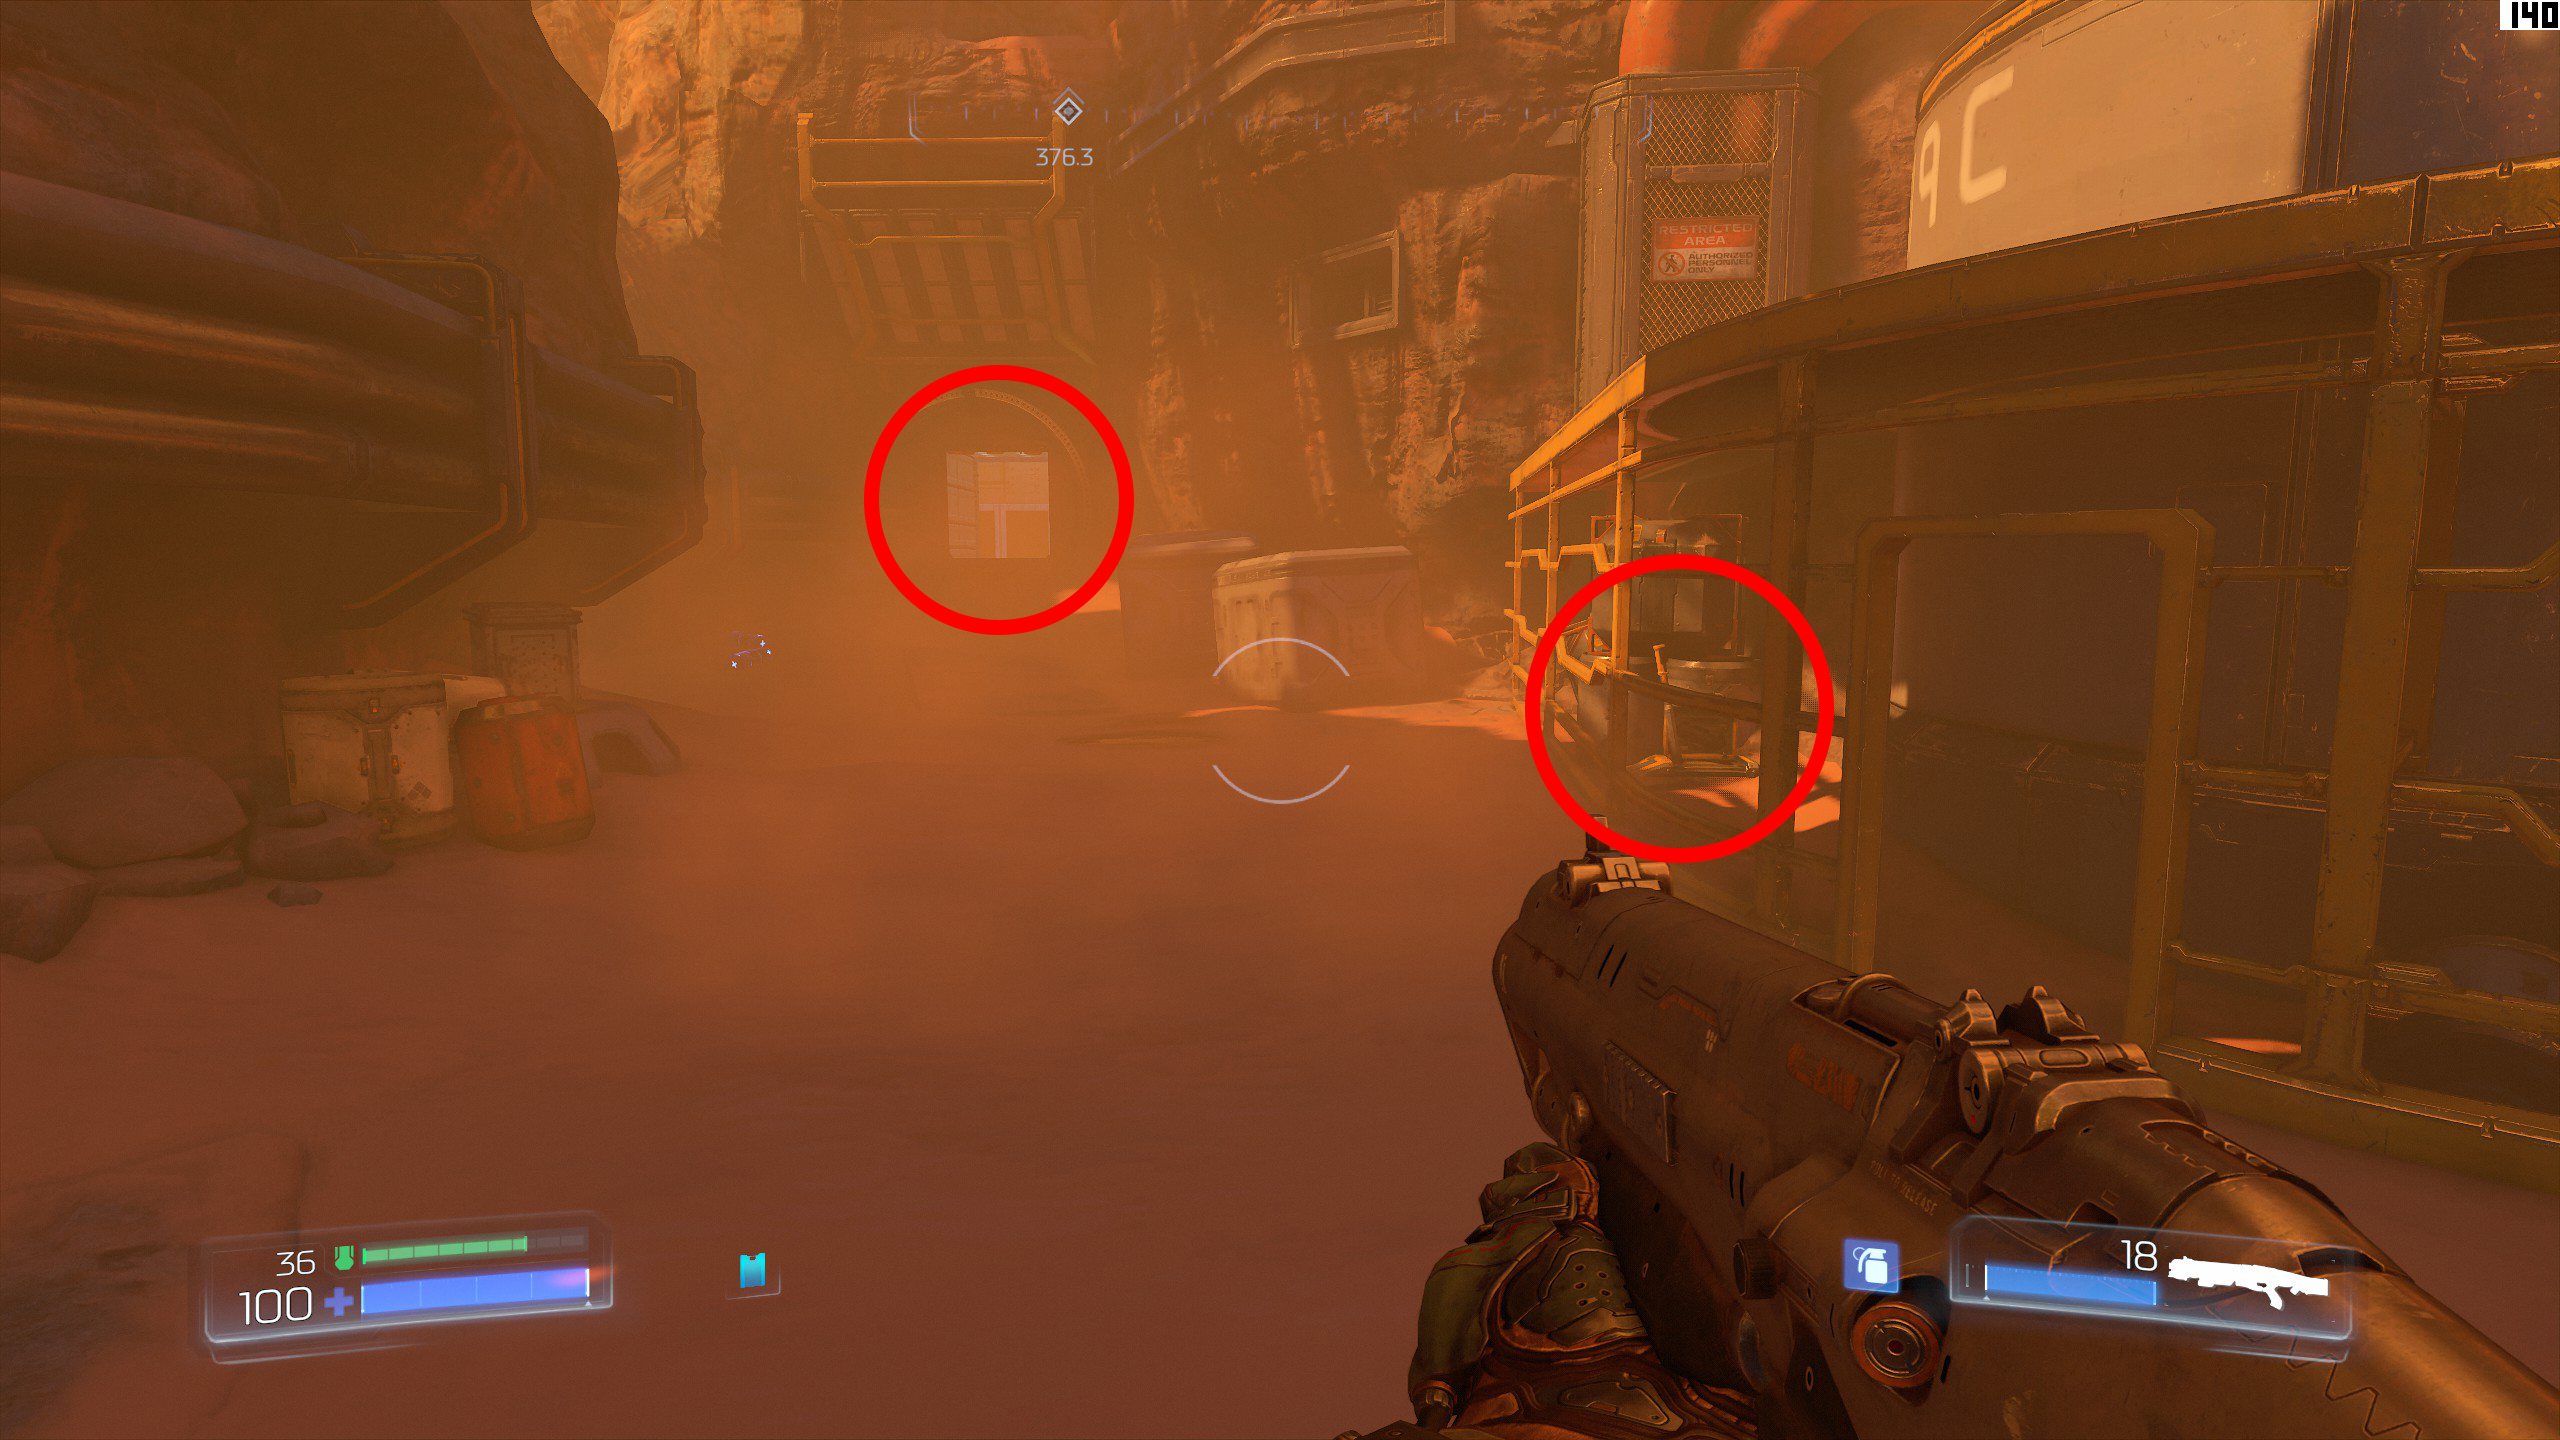
When you reach the bottom you will encounter a few demons, kill them and then take a look at the small building with a circular cage surrounding it, inside is a lever you can activate to access the secret room.
The secret room is just left of the building where the lever is, go inside to gain your second secret.
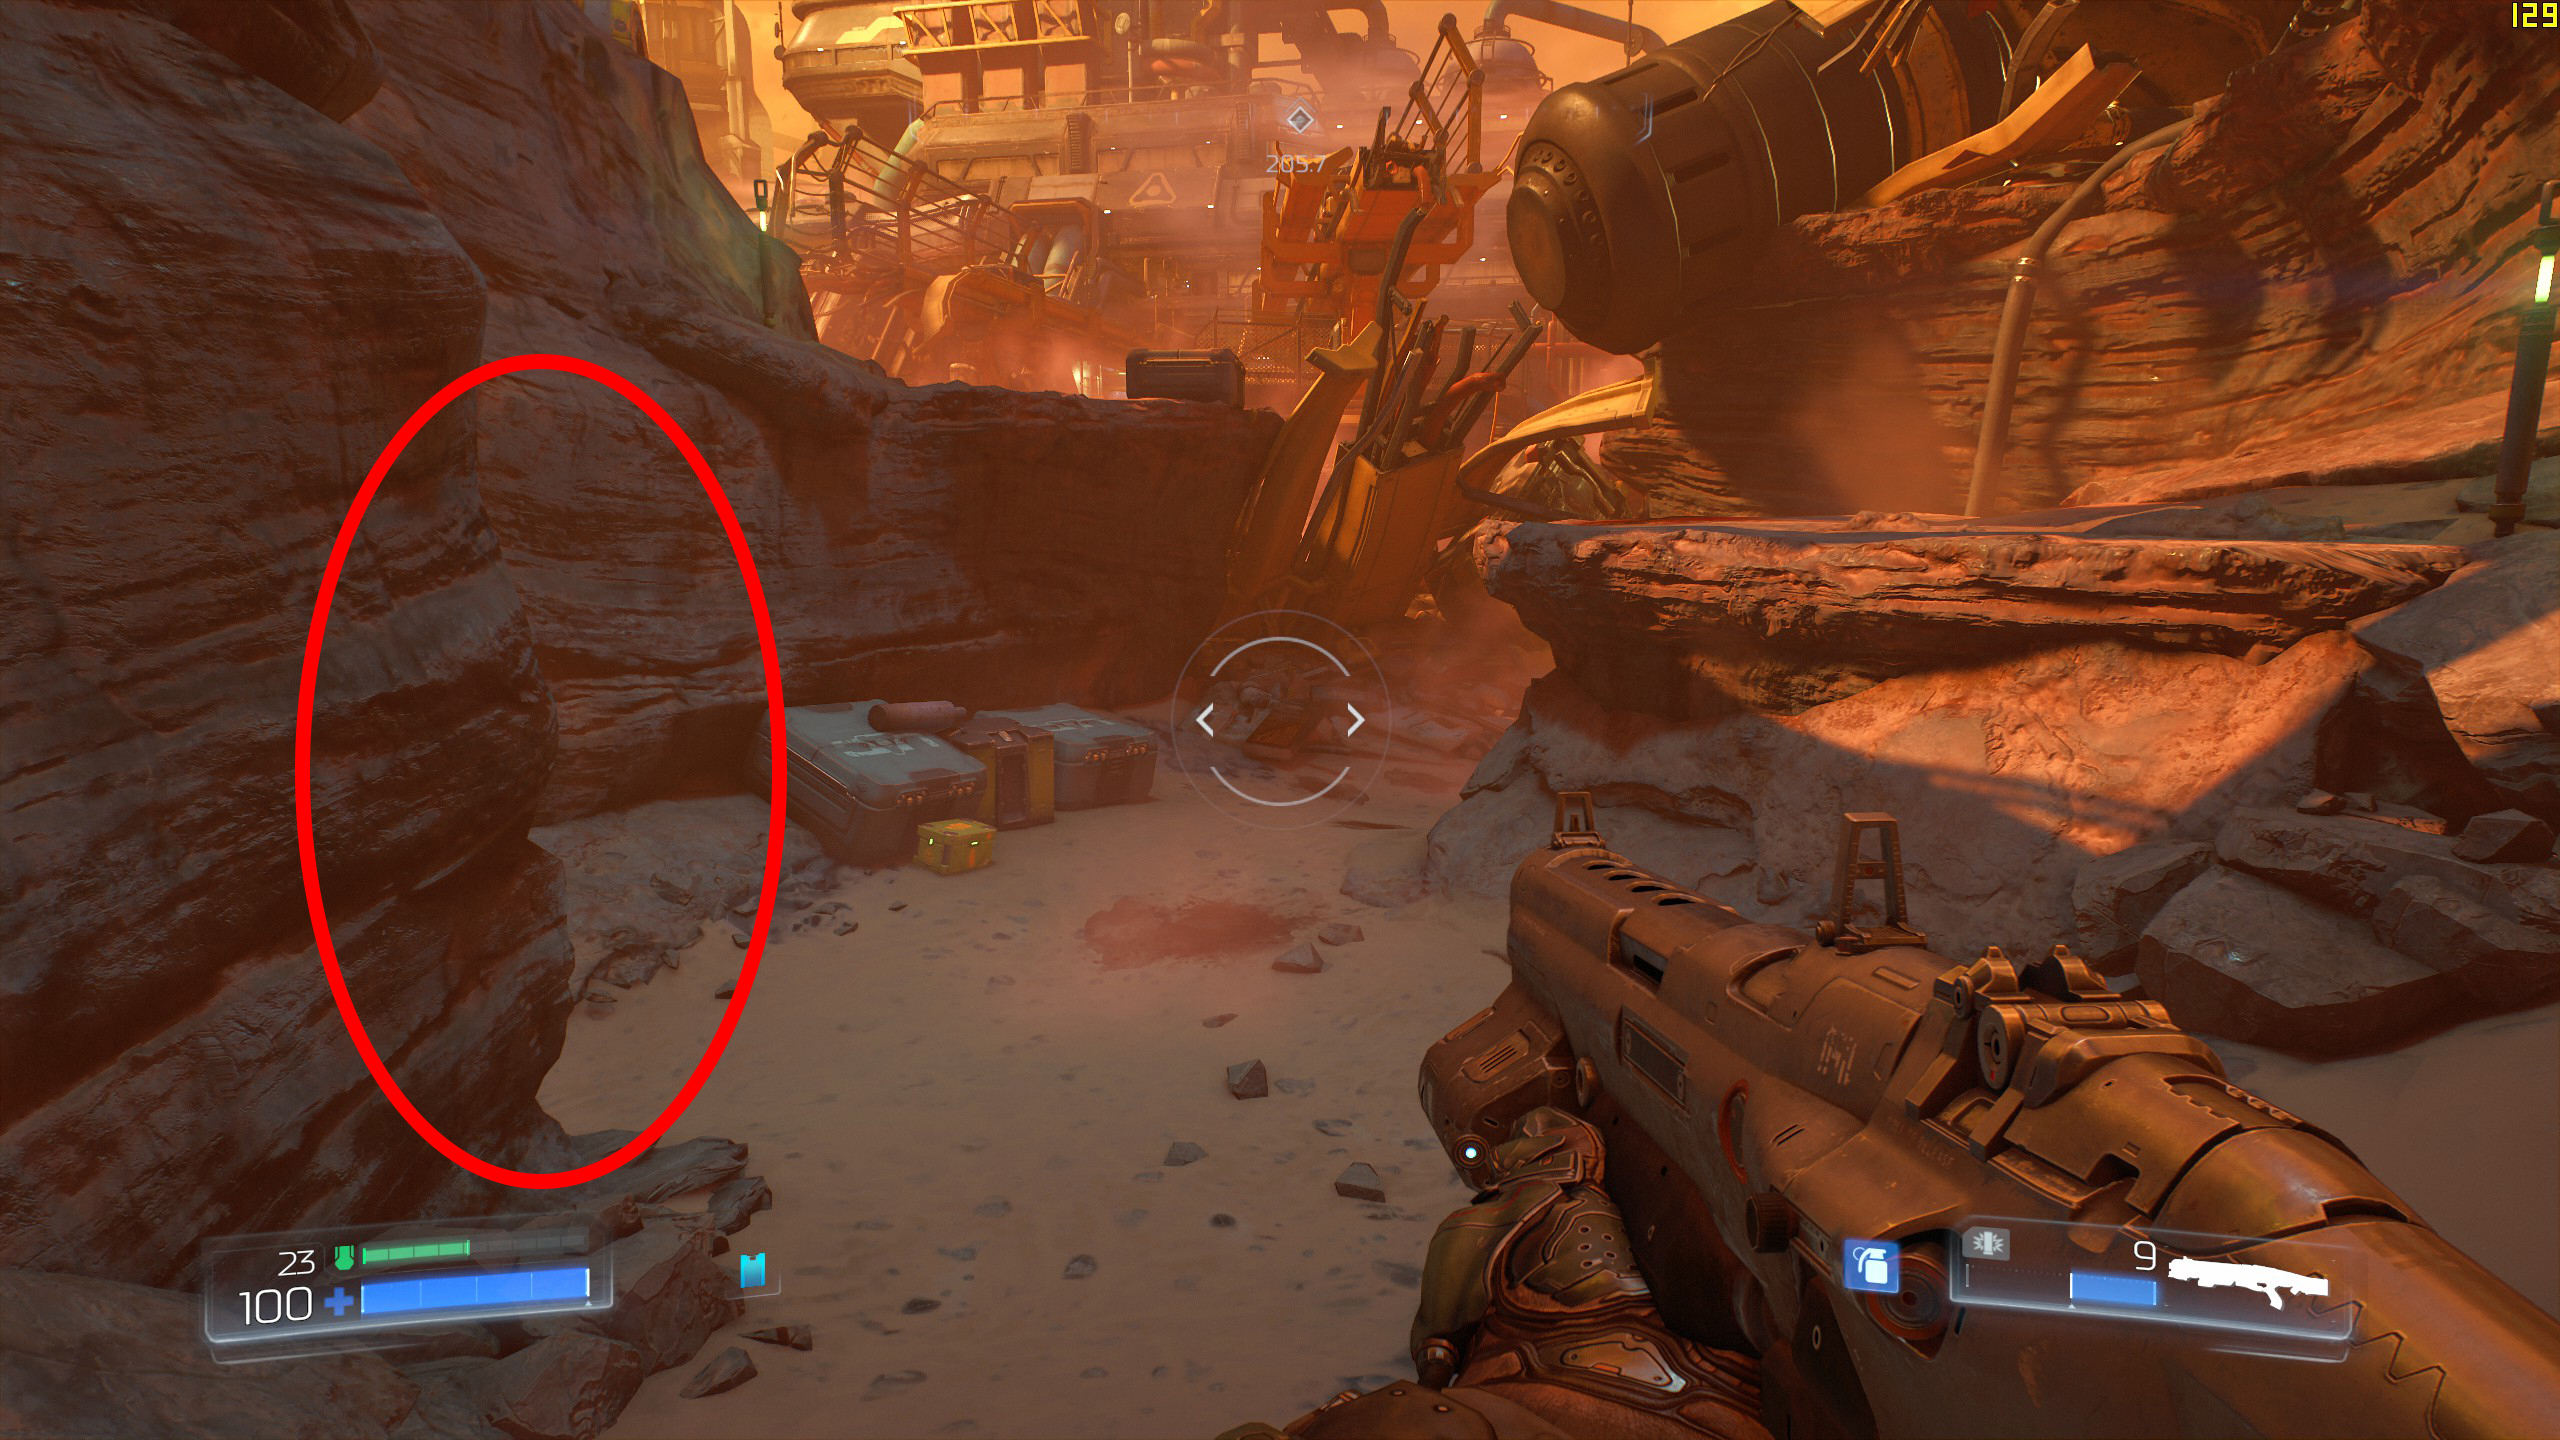
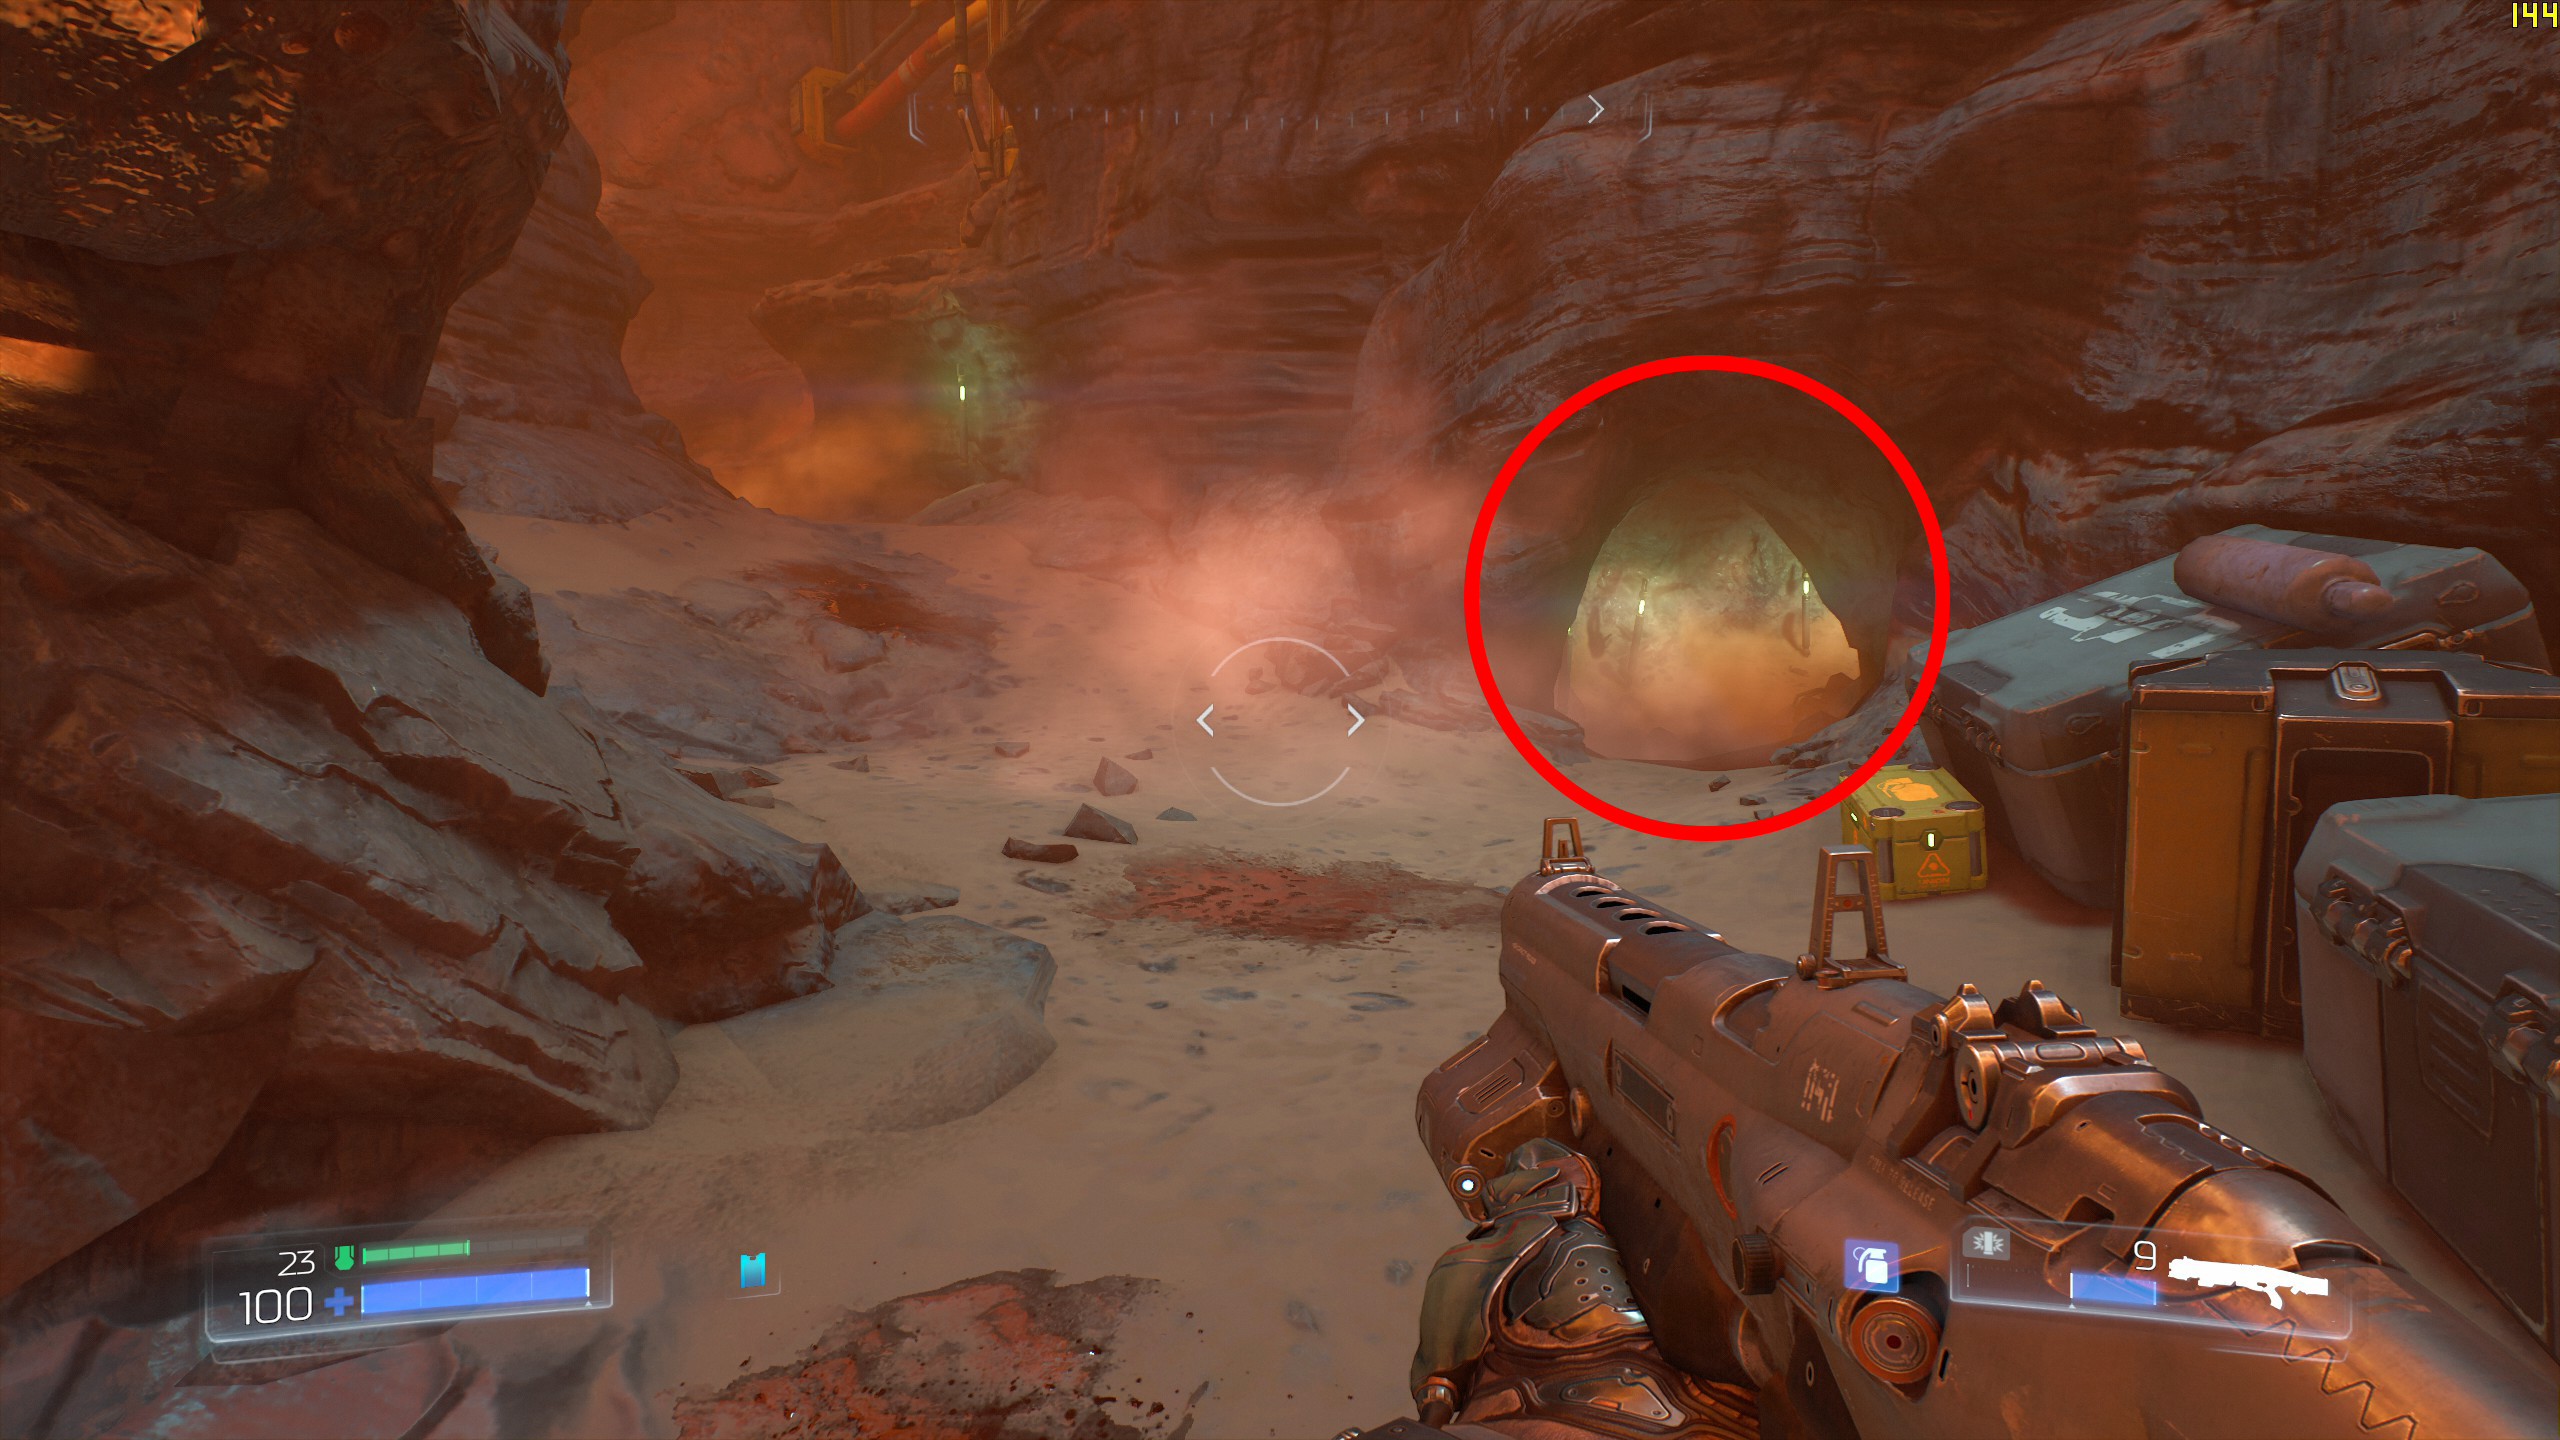
Mission 2 - Resource Operations
Climb up to the room and follow it around to gain your first secret.
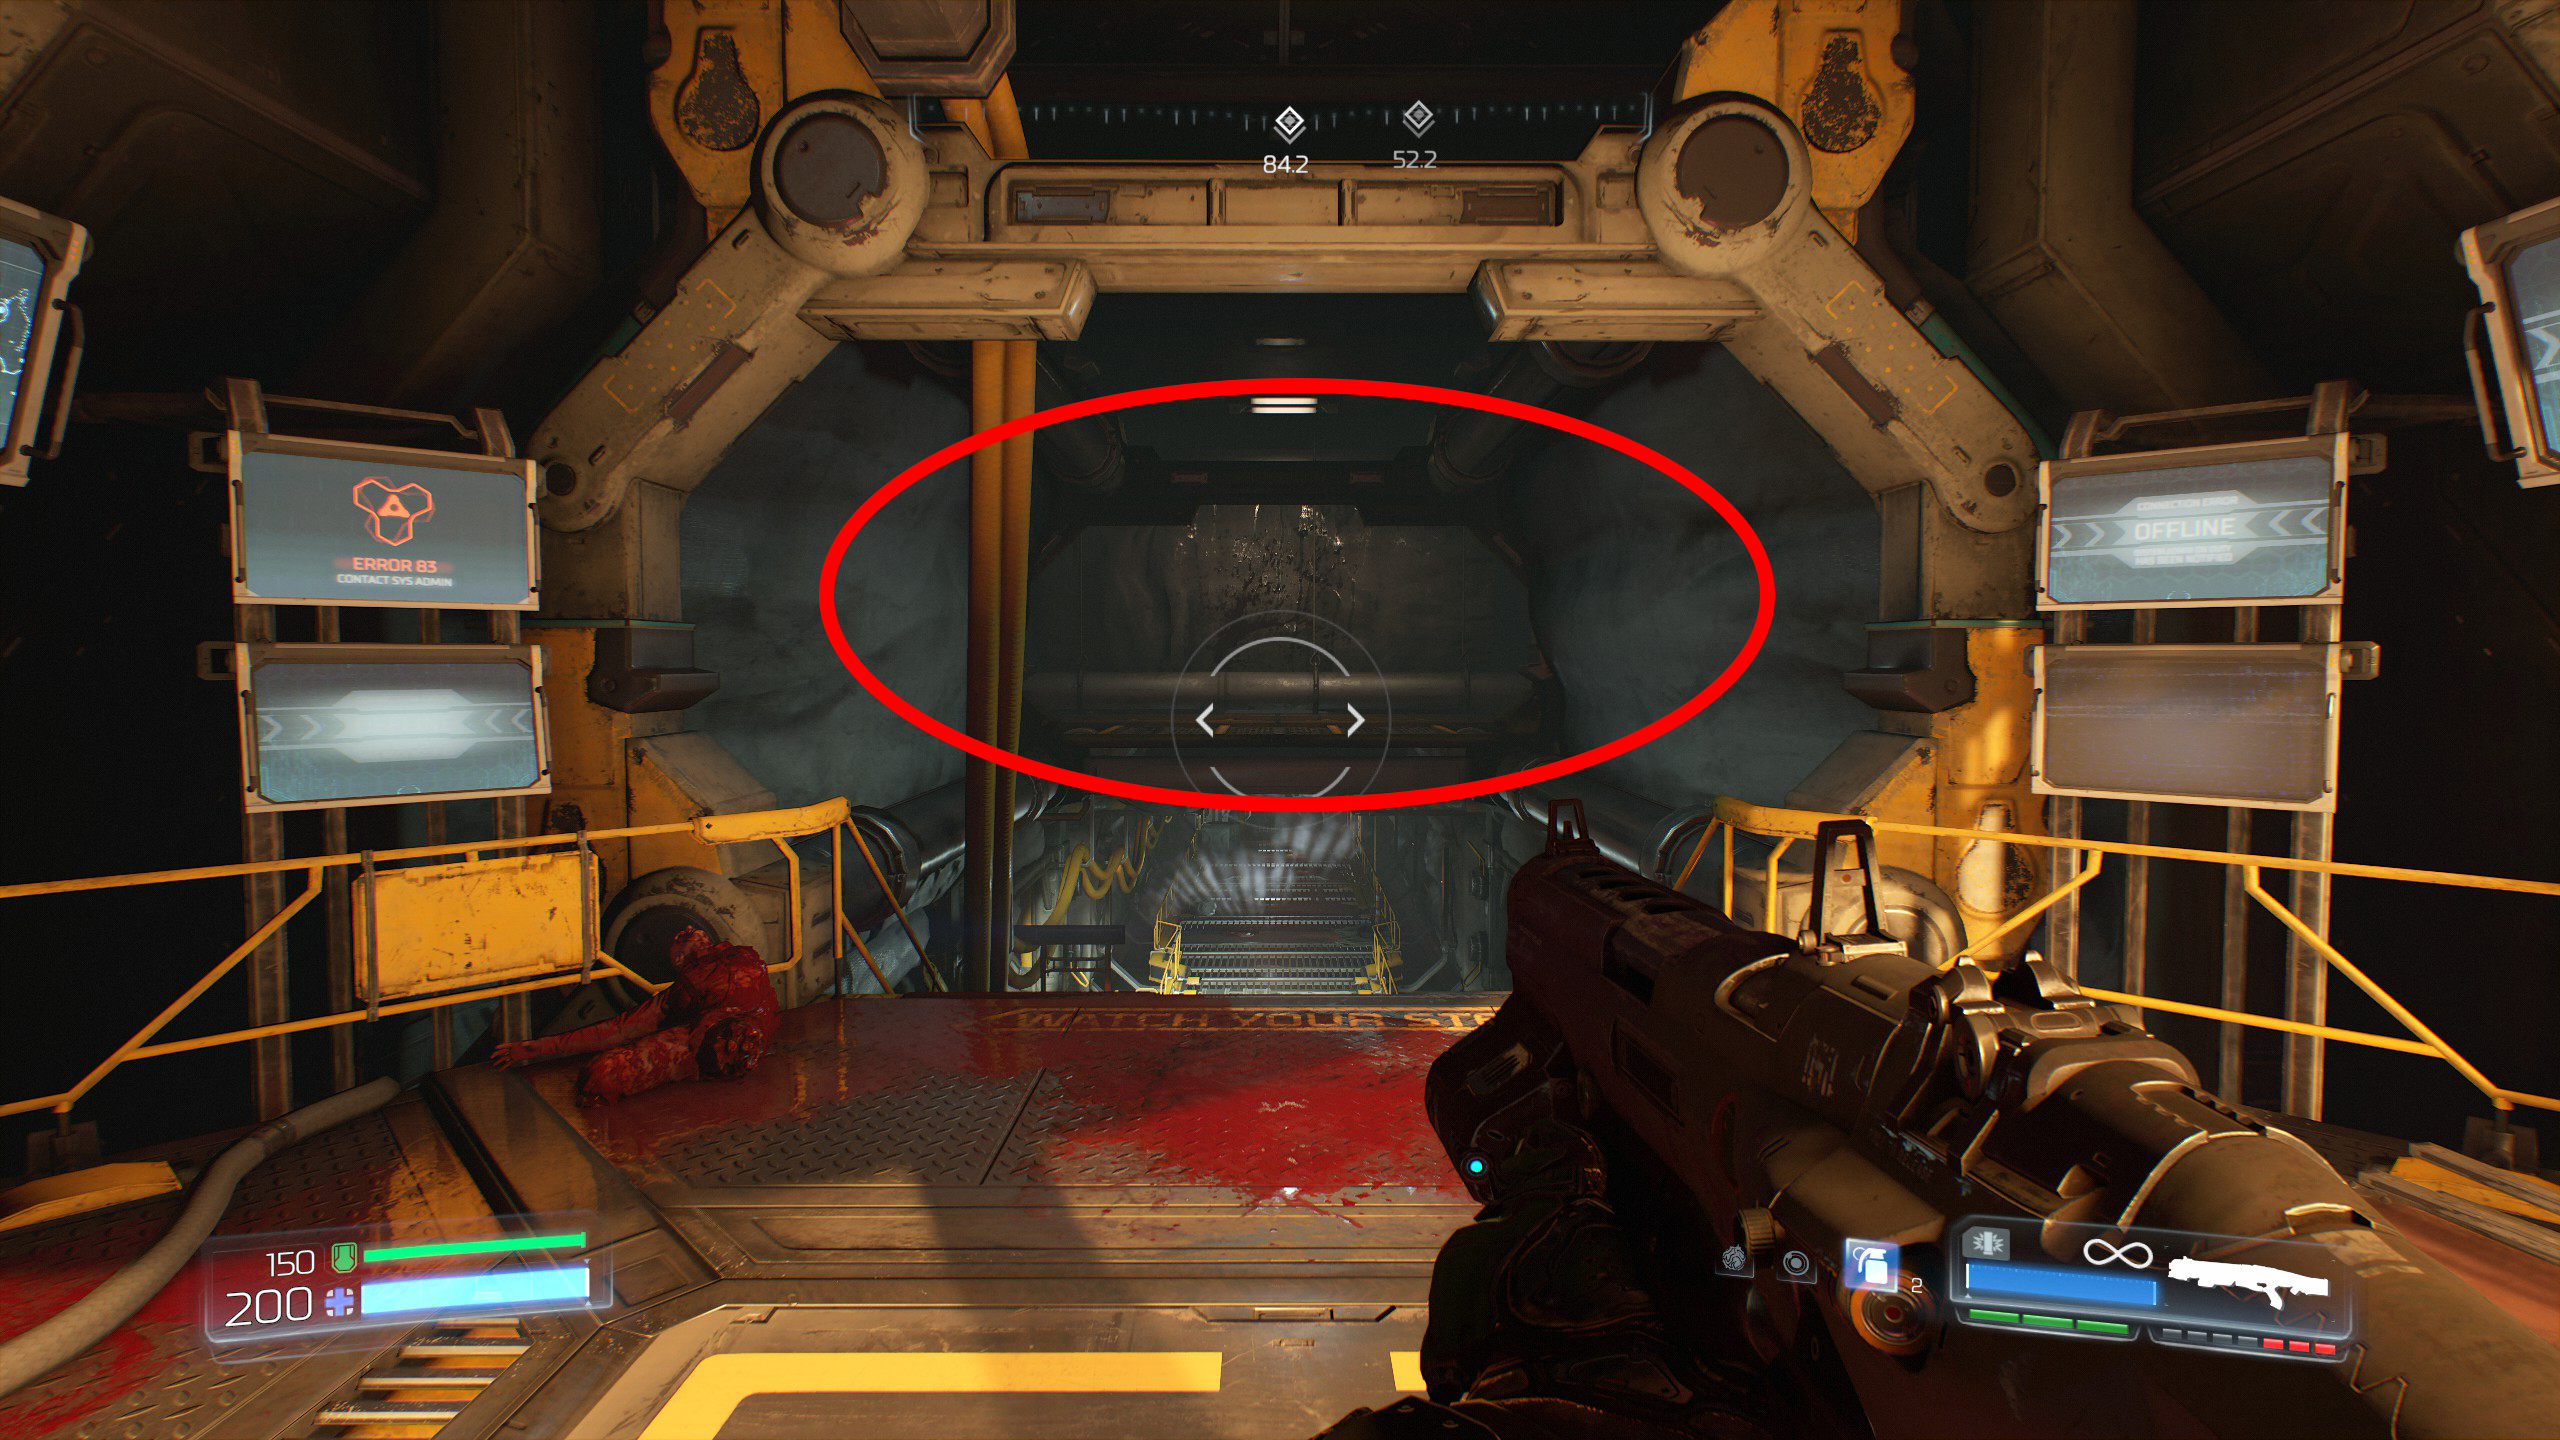
Now continue the mission.
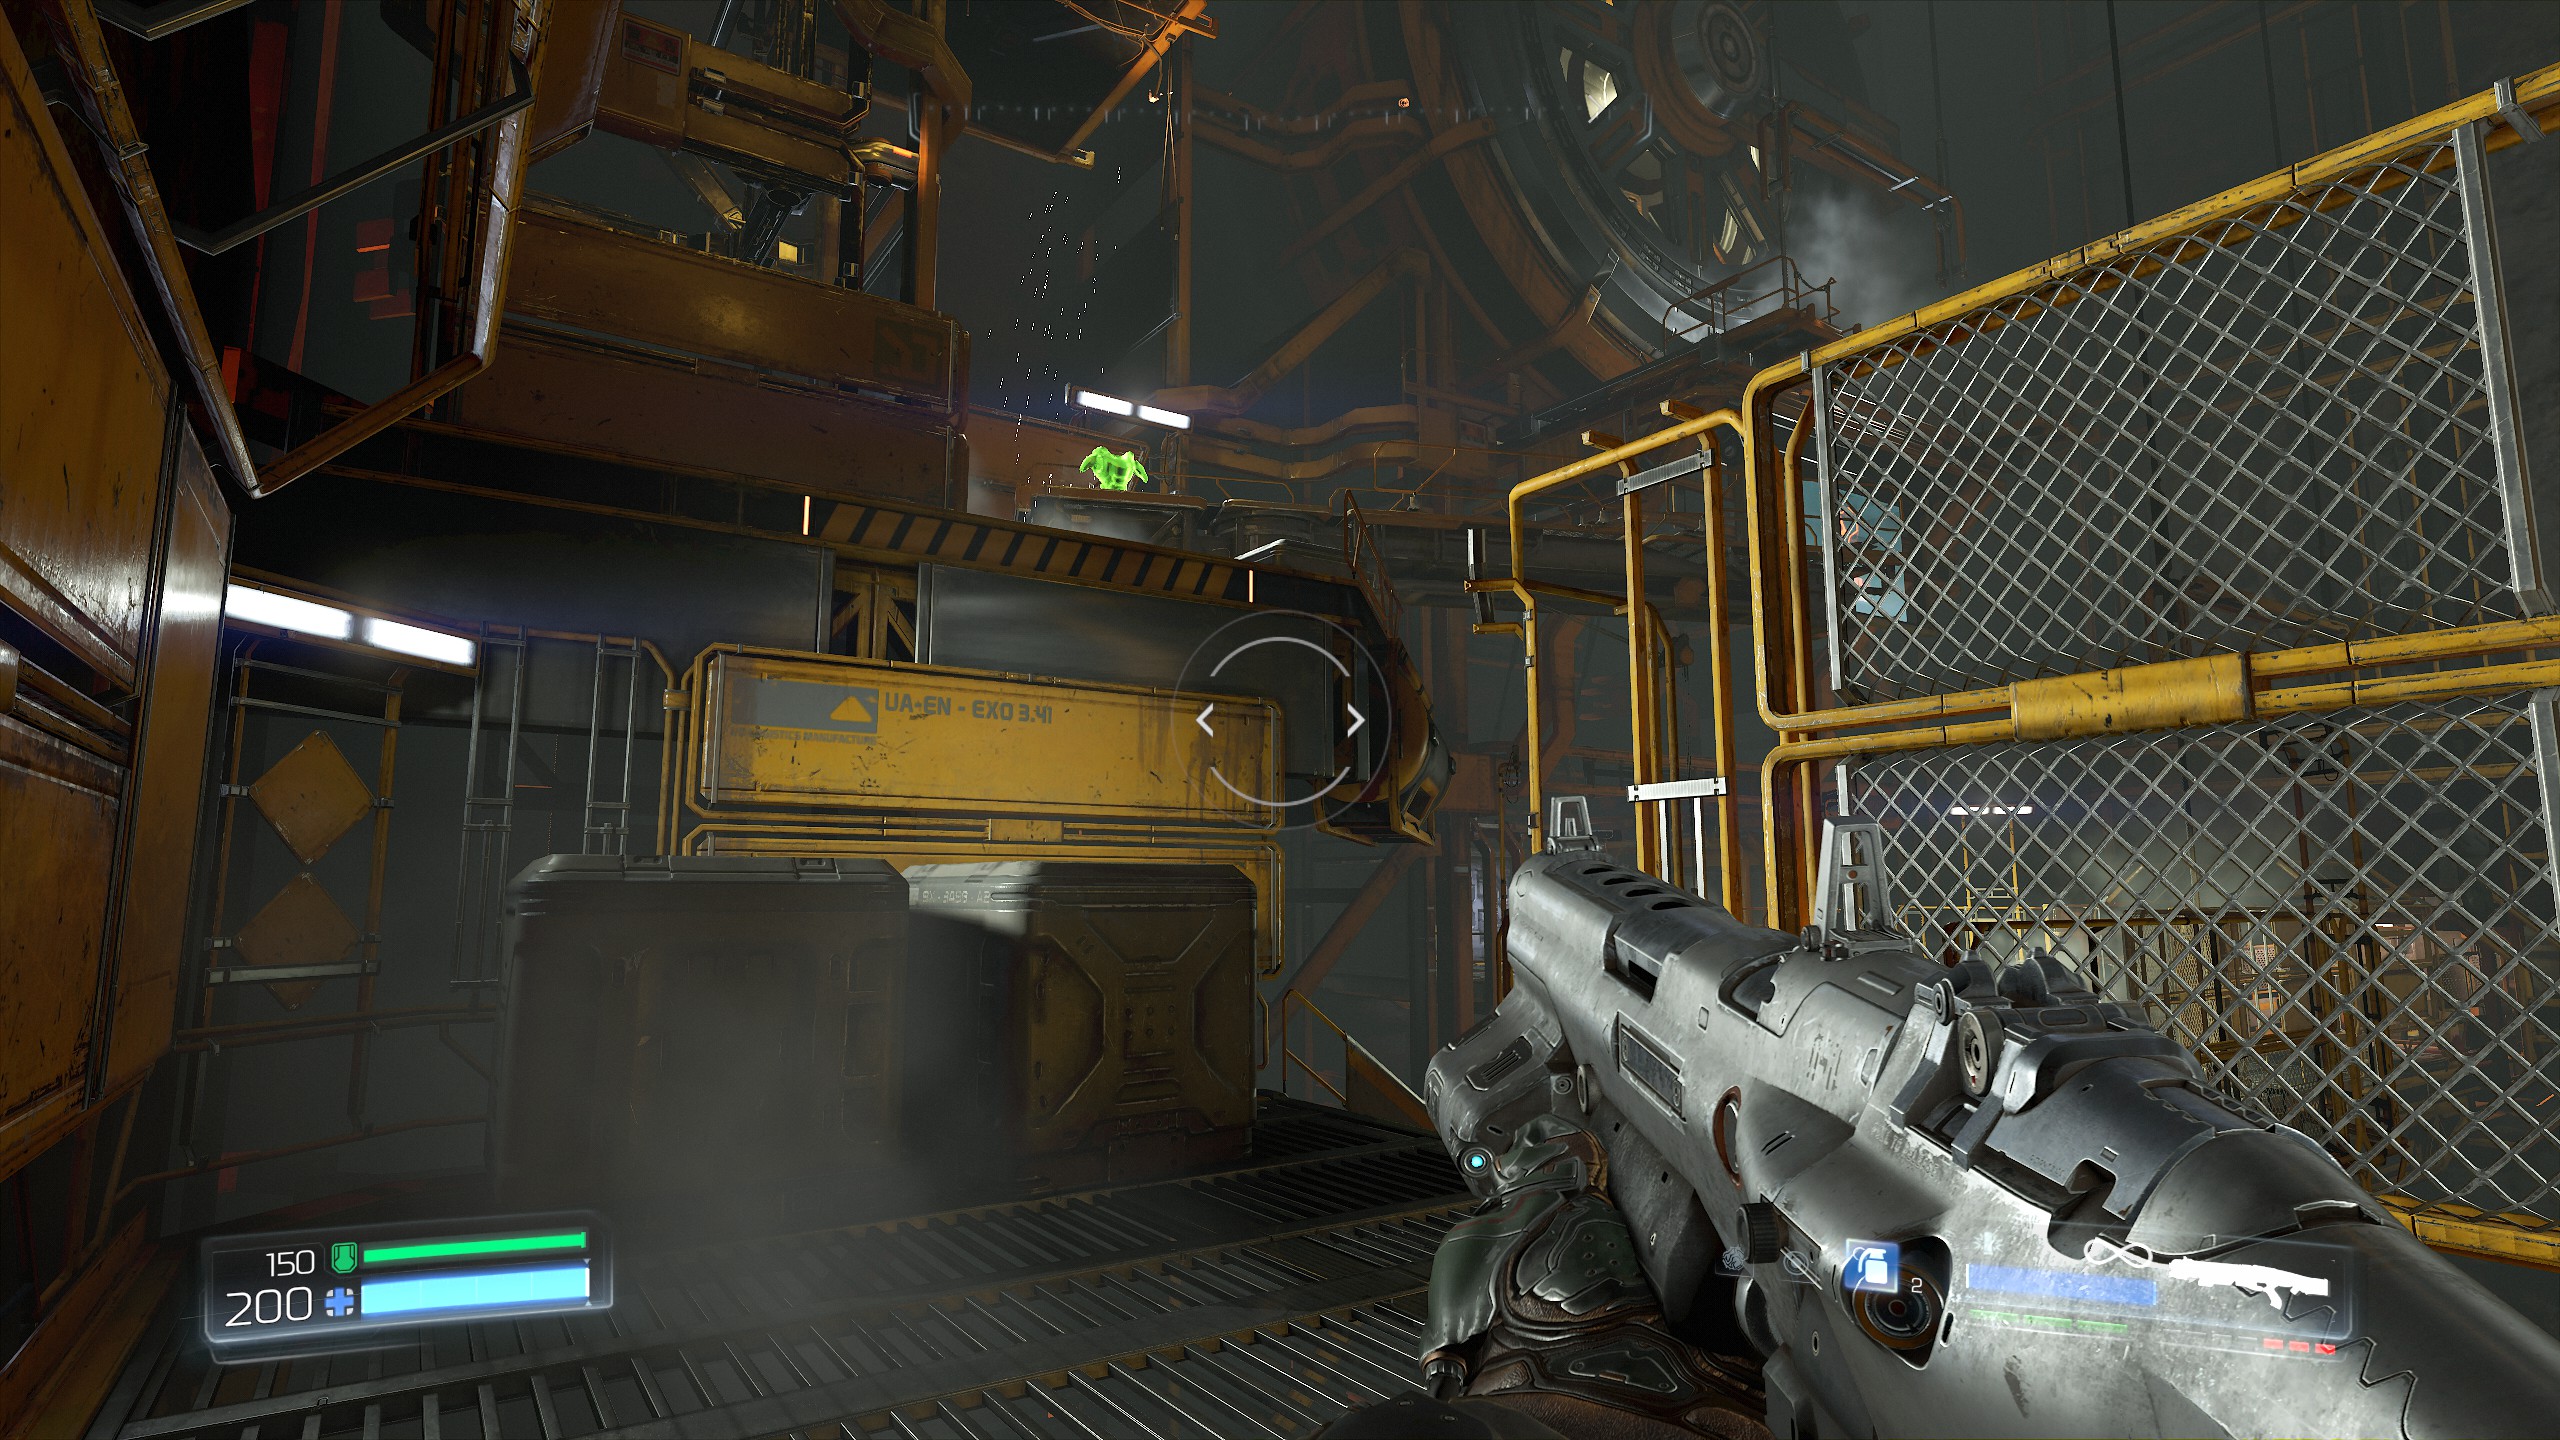
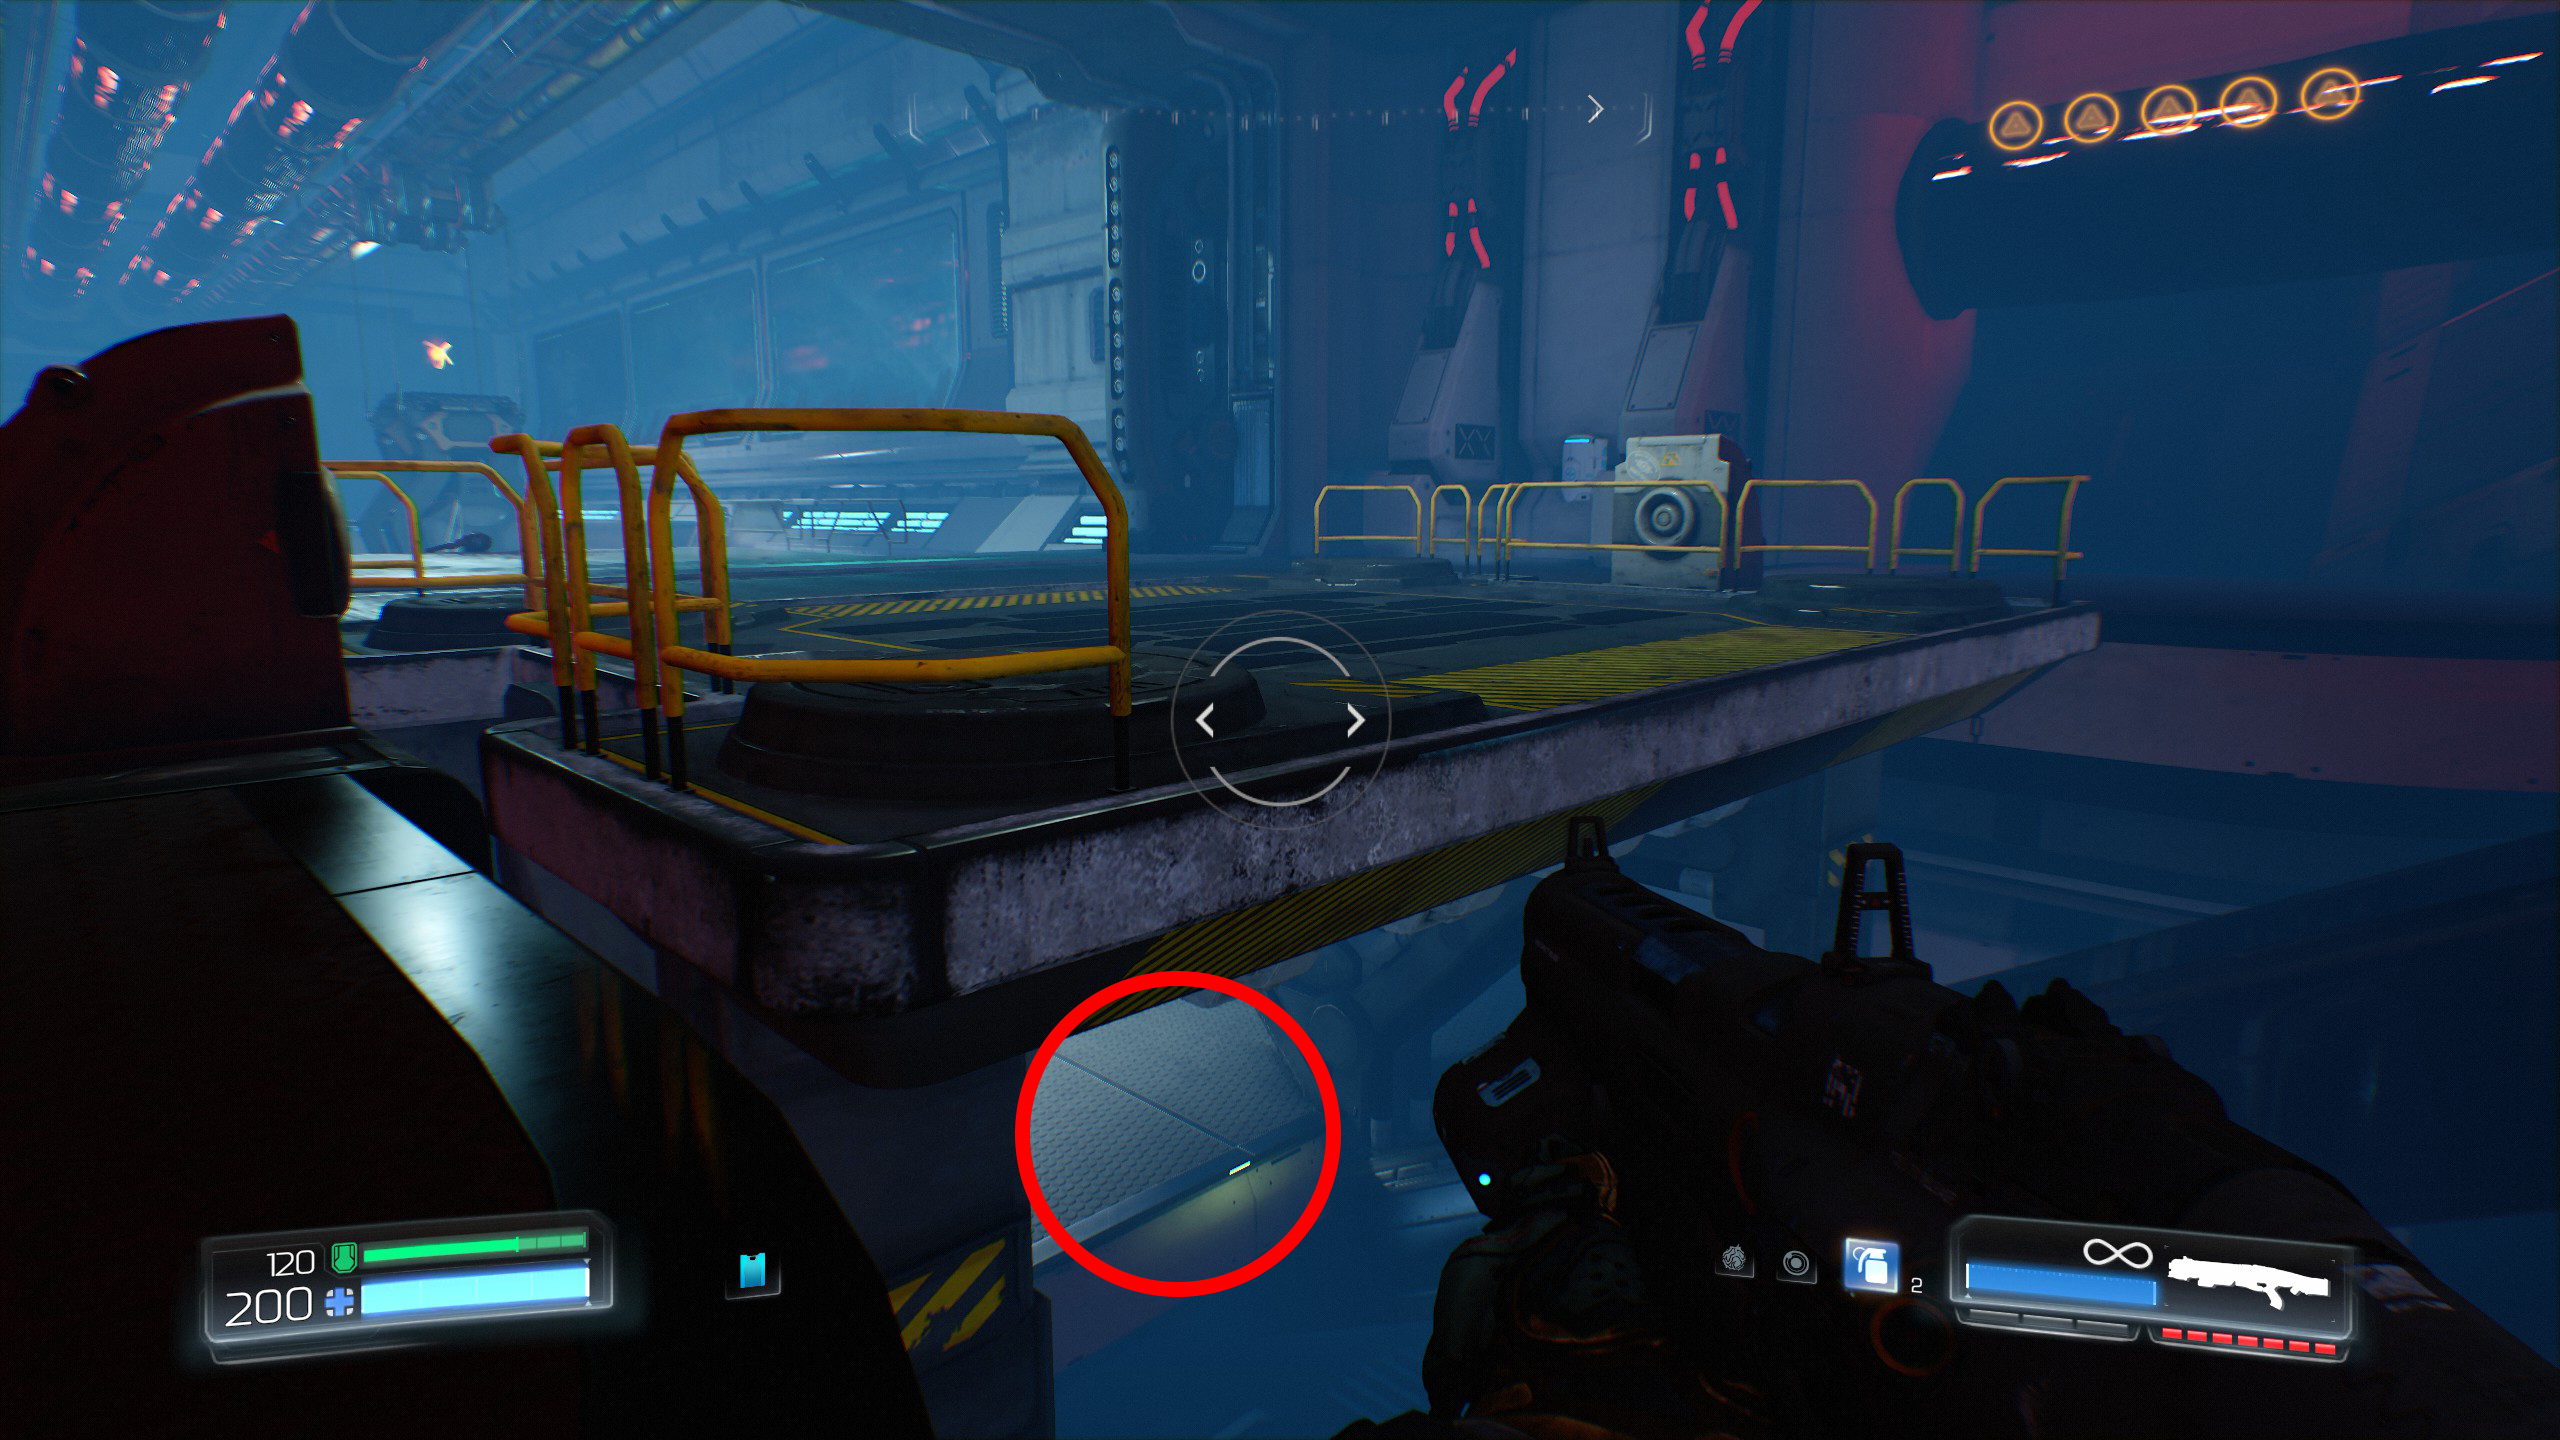
When you reach the armor pickup continue to the end of the platform, stand on the side rail and jump over to the small ledge highlighted in the image below, from that point you can climb up to the next platform/s to find a lever that you will need to activate which opens the secret room.
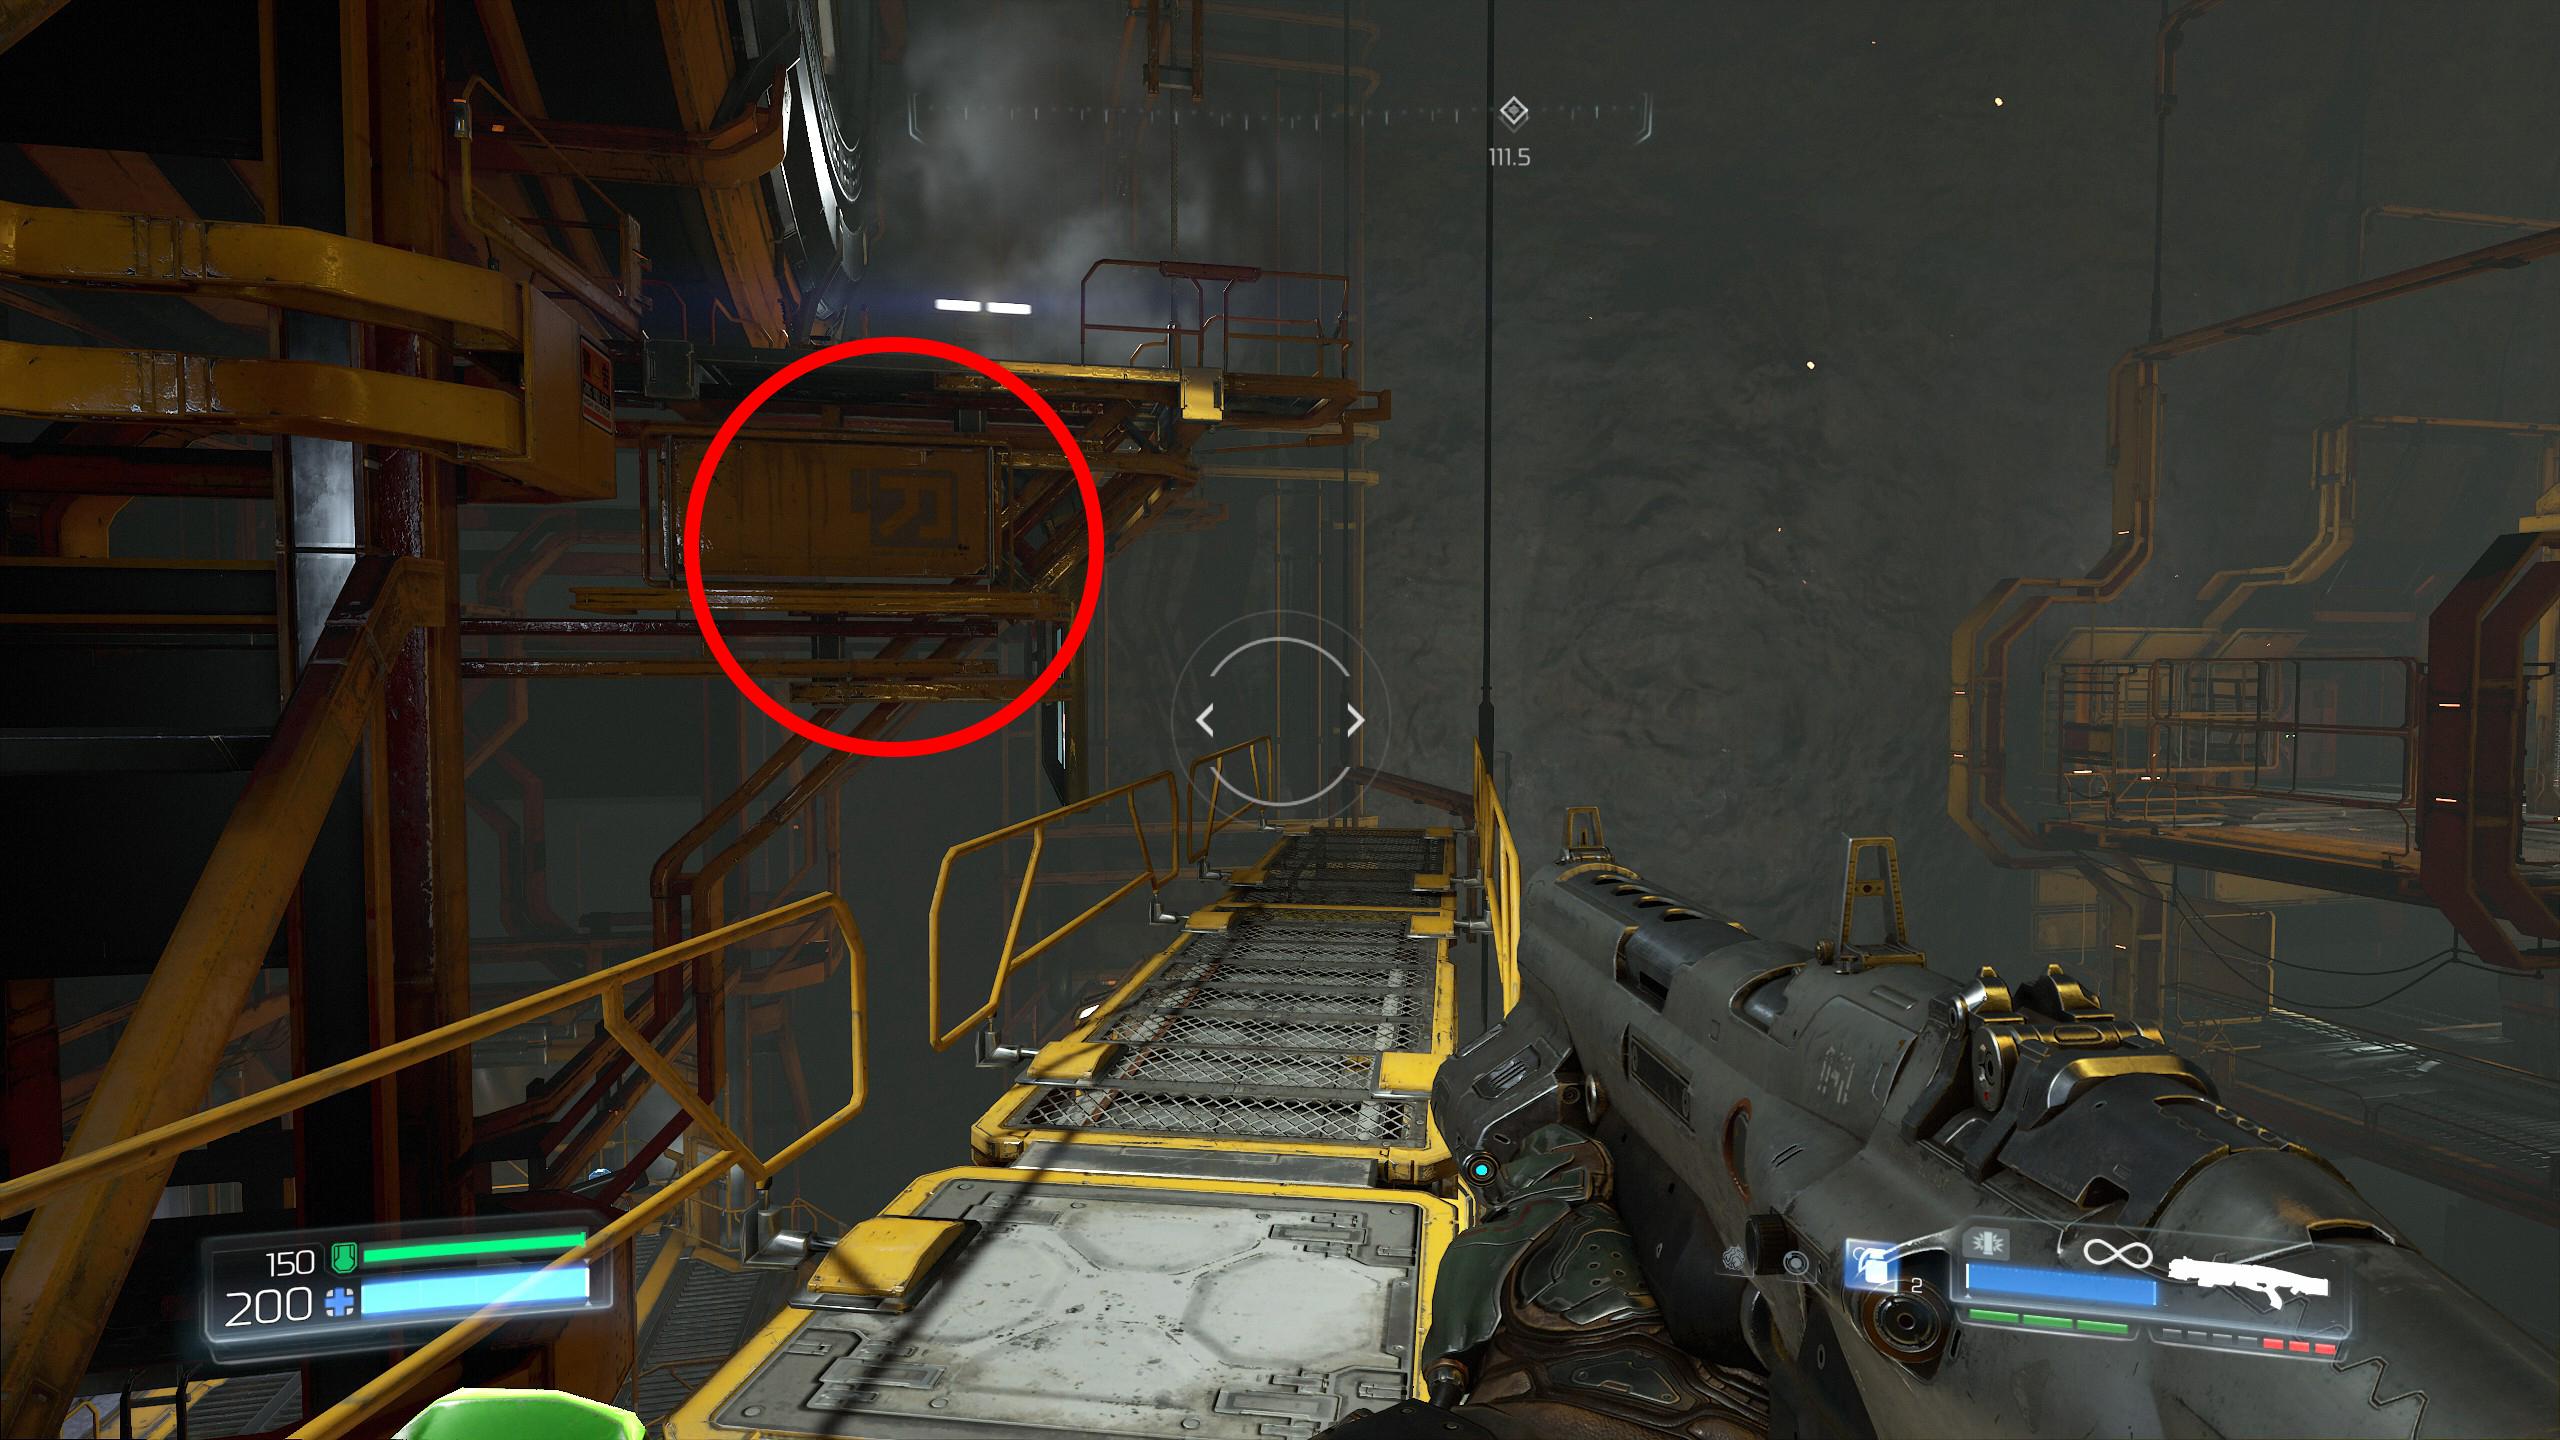
After activating the lever carefully drop down to the ground floor and you will find the secret room below the platforms you have been climbing, head inside to gain secret number 2.
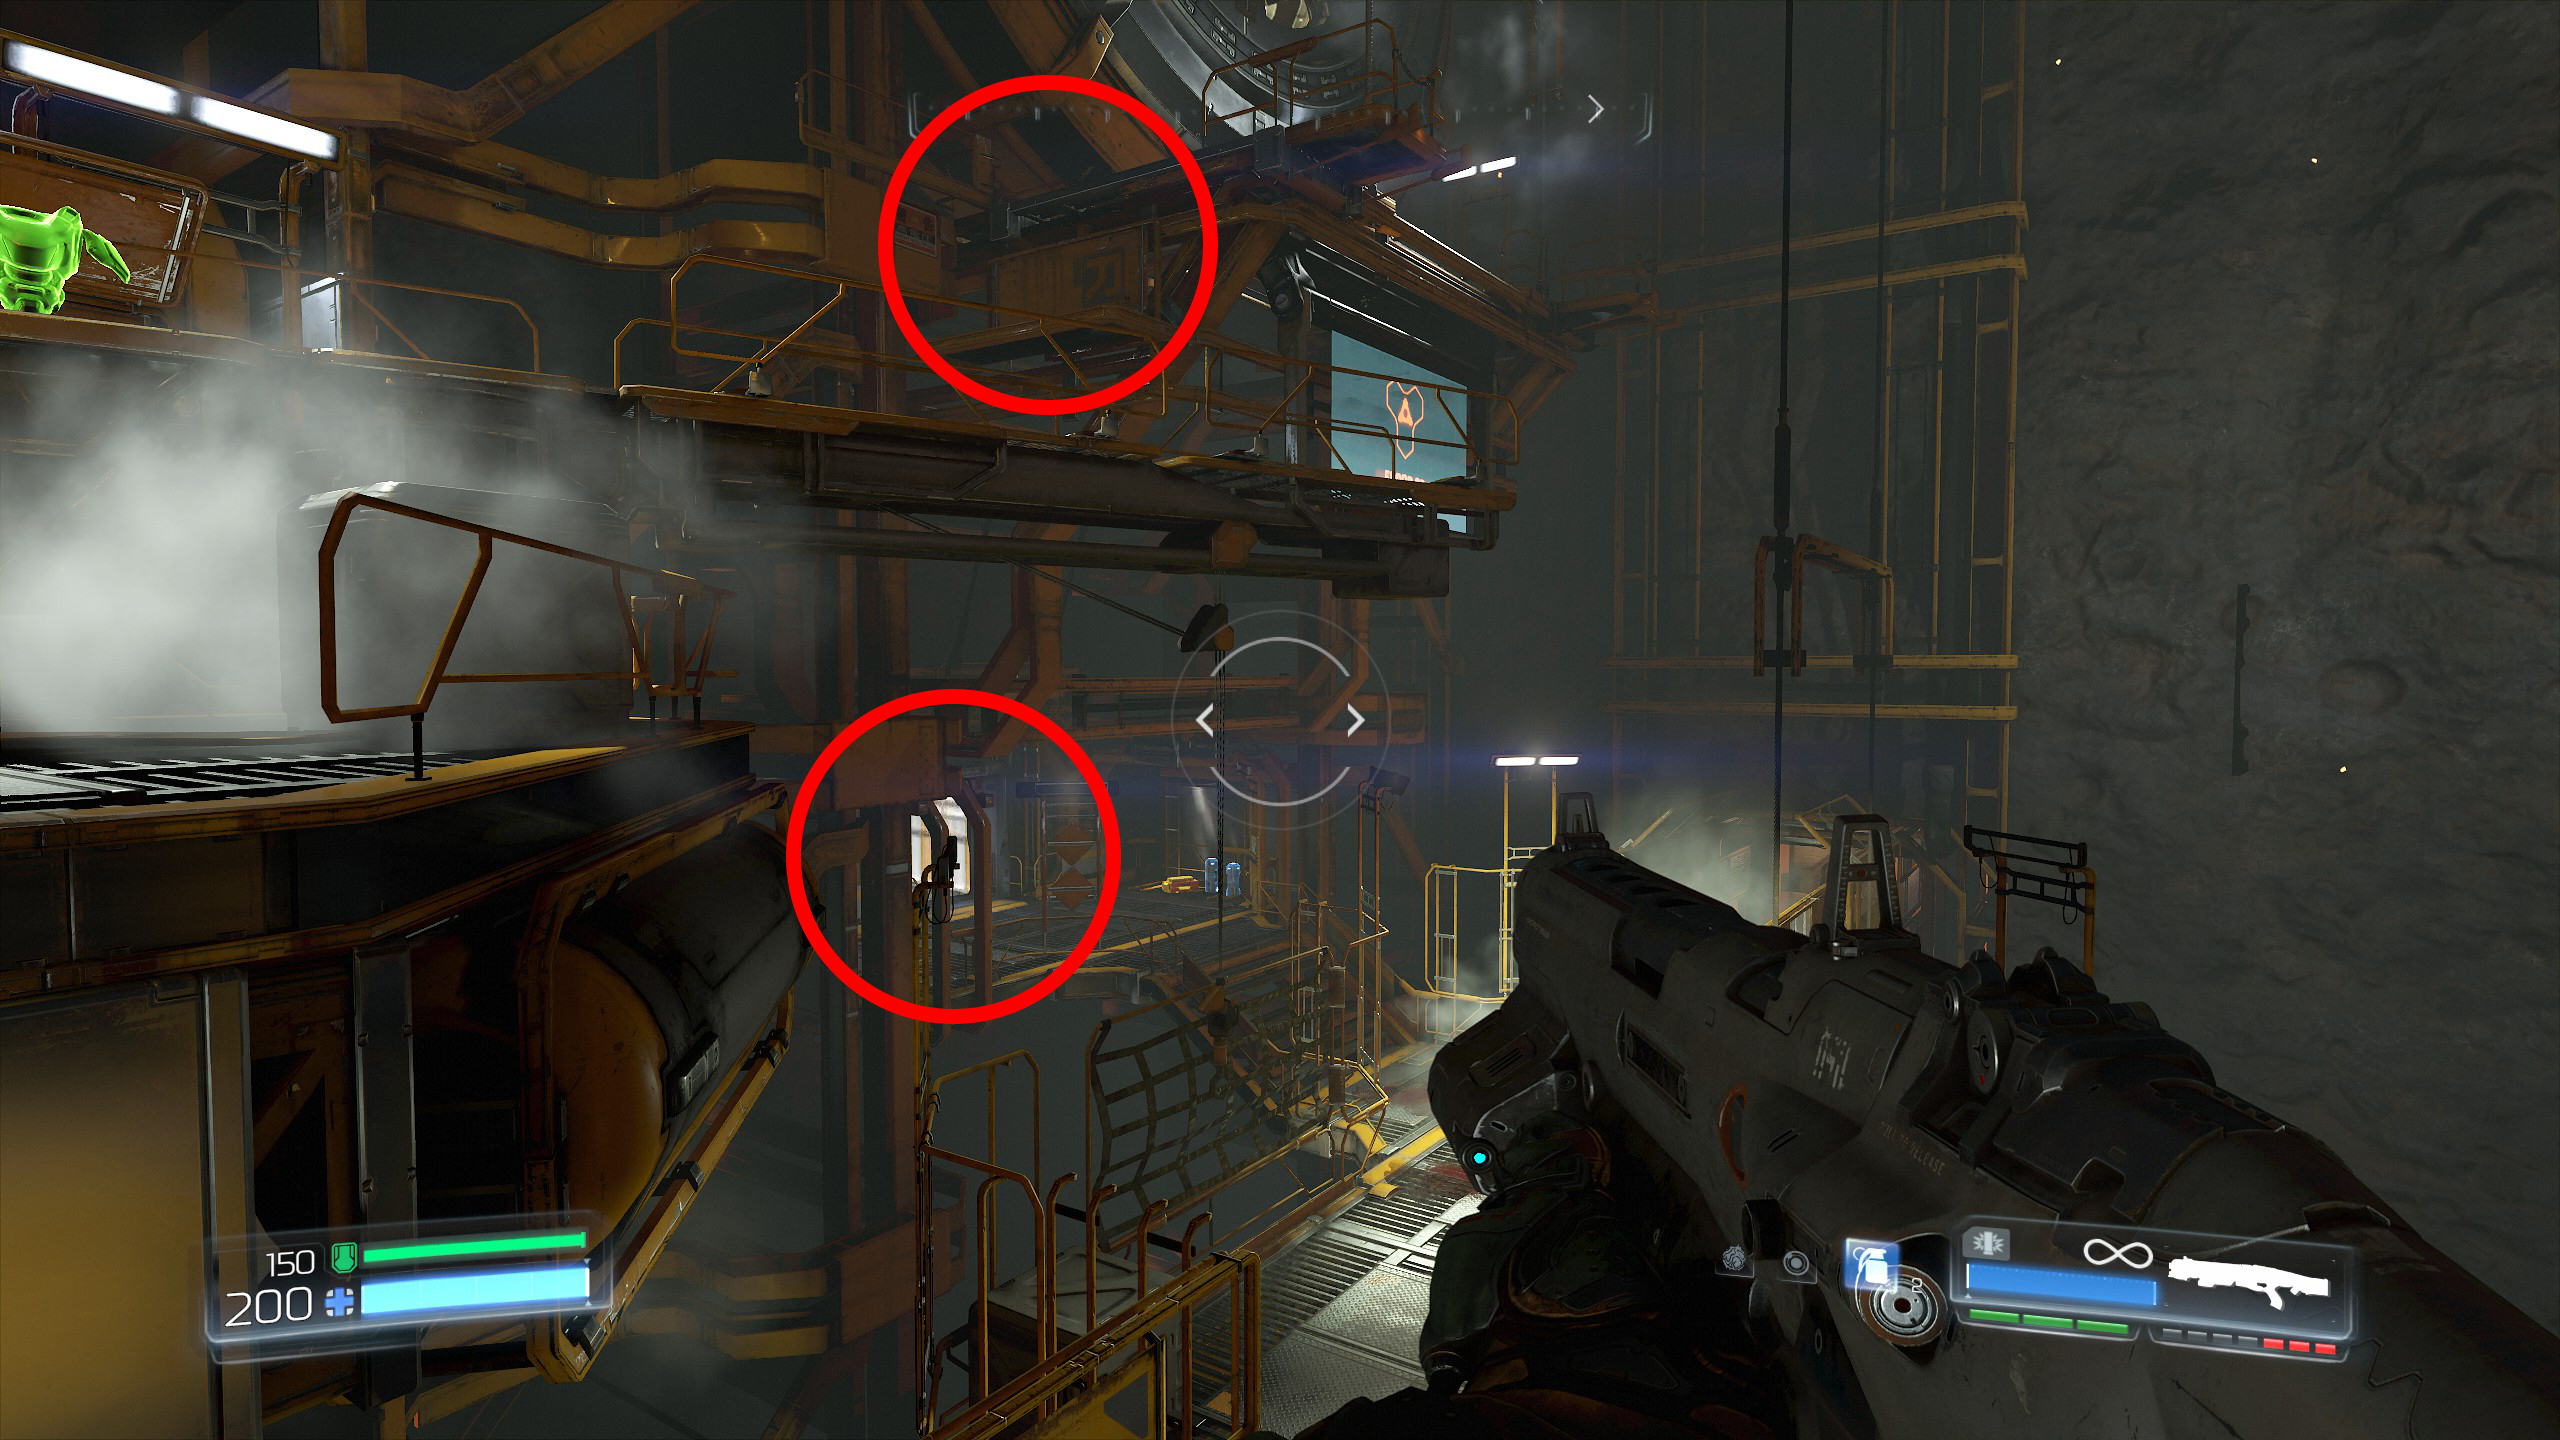
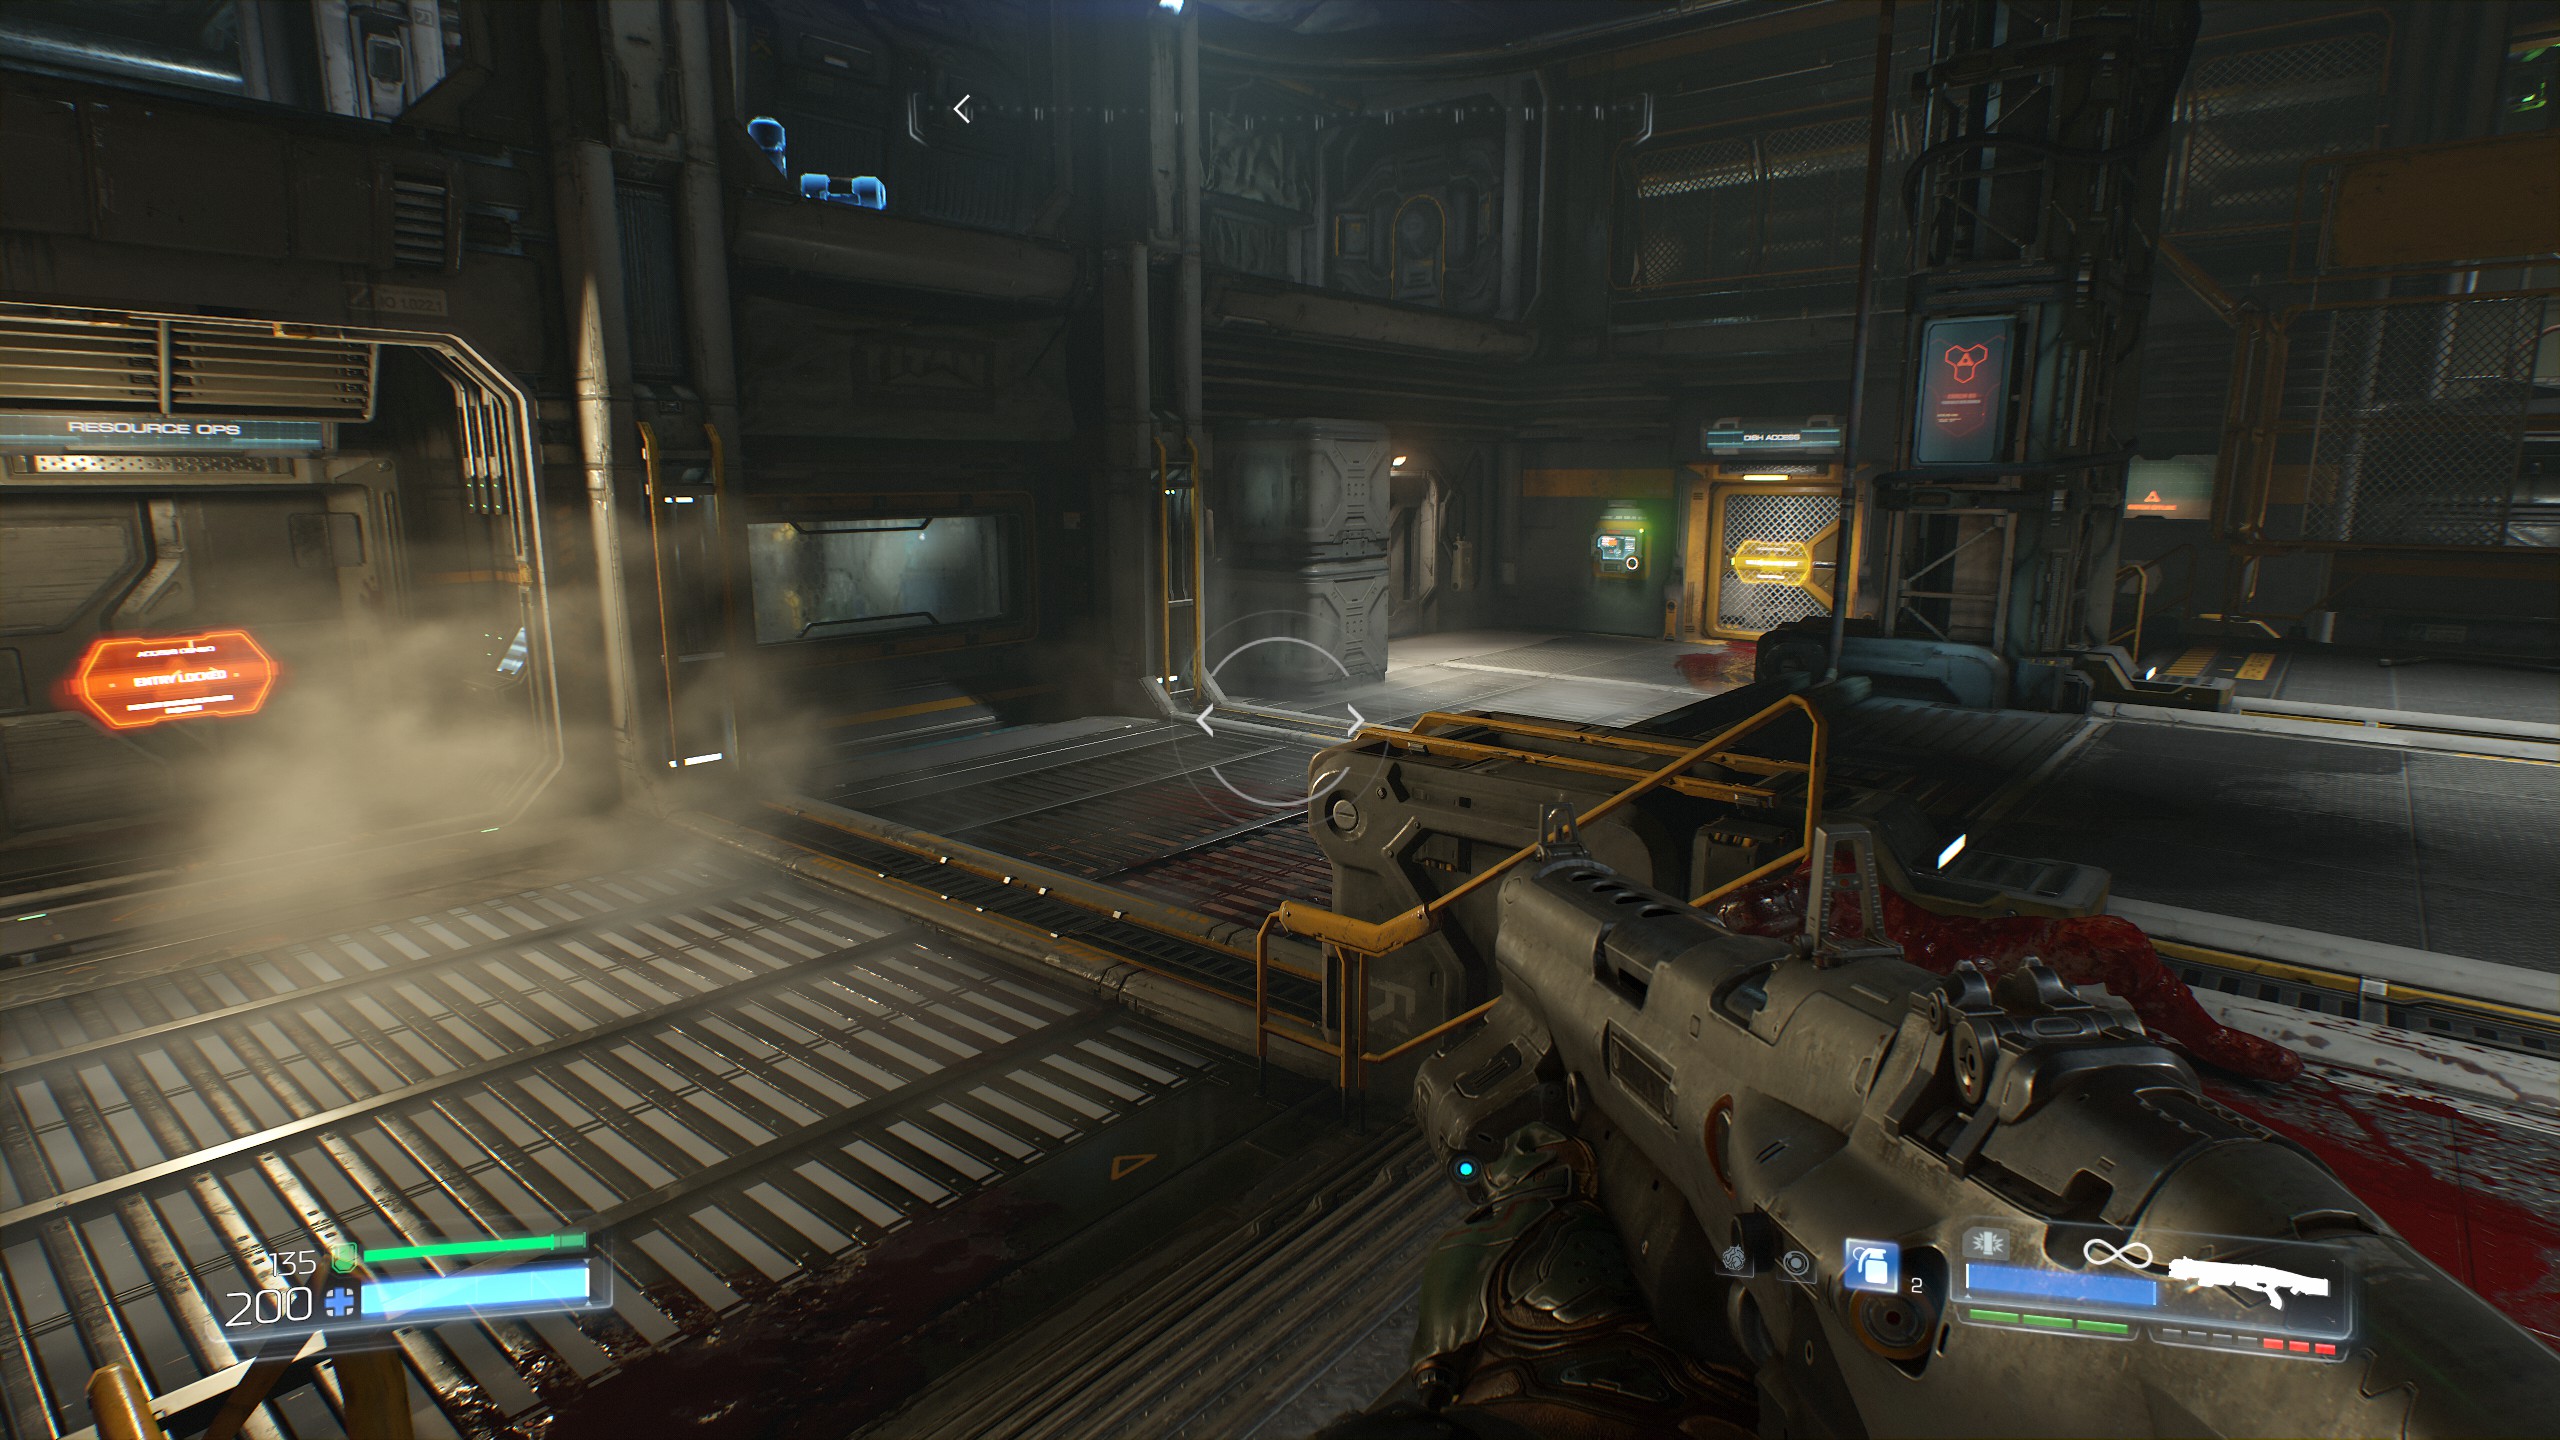
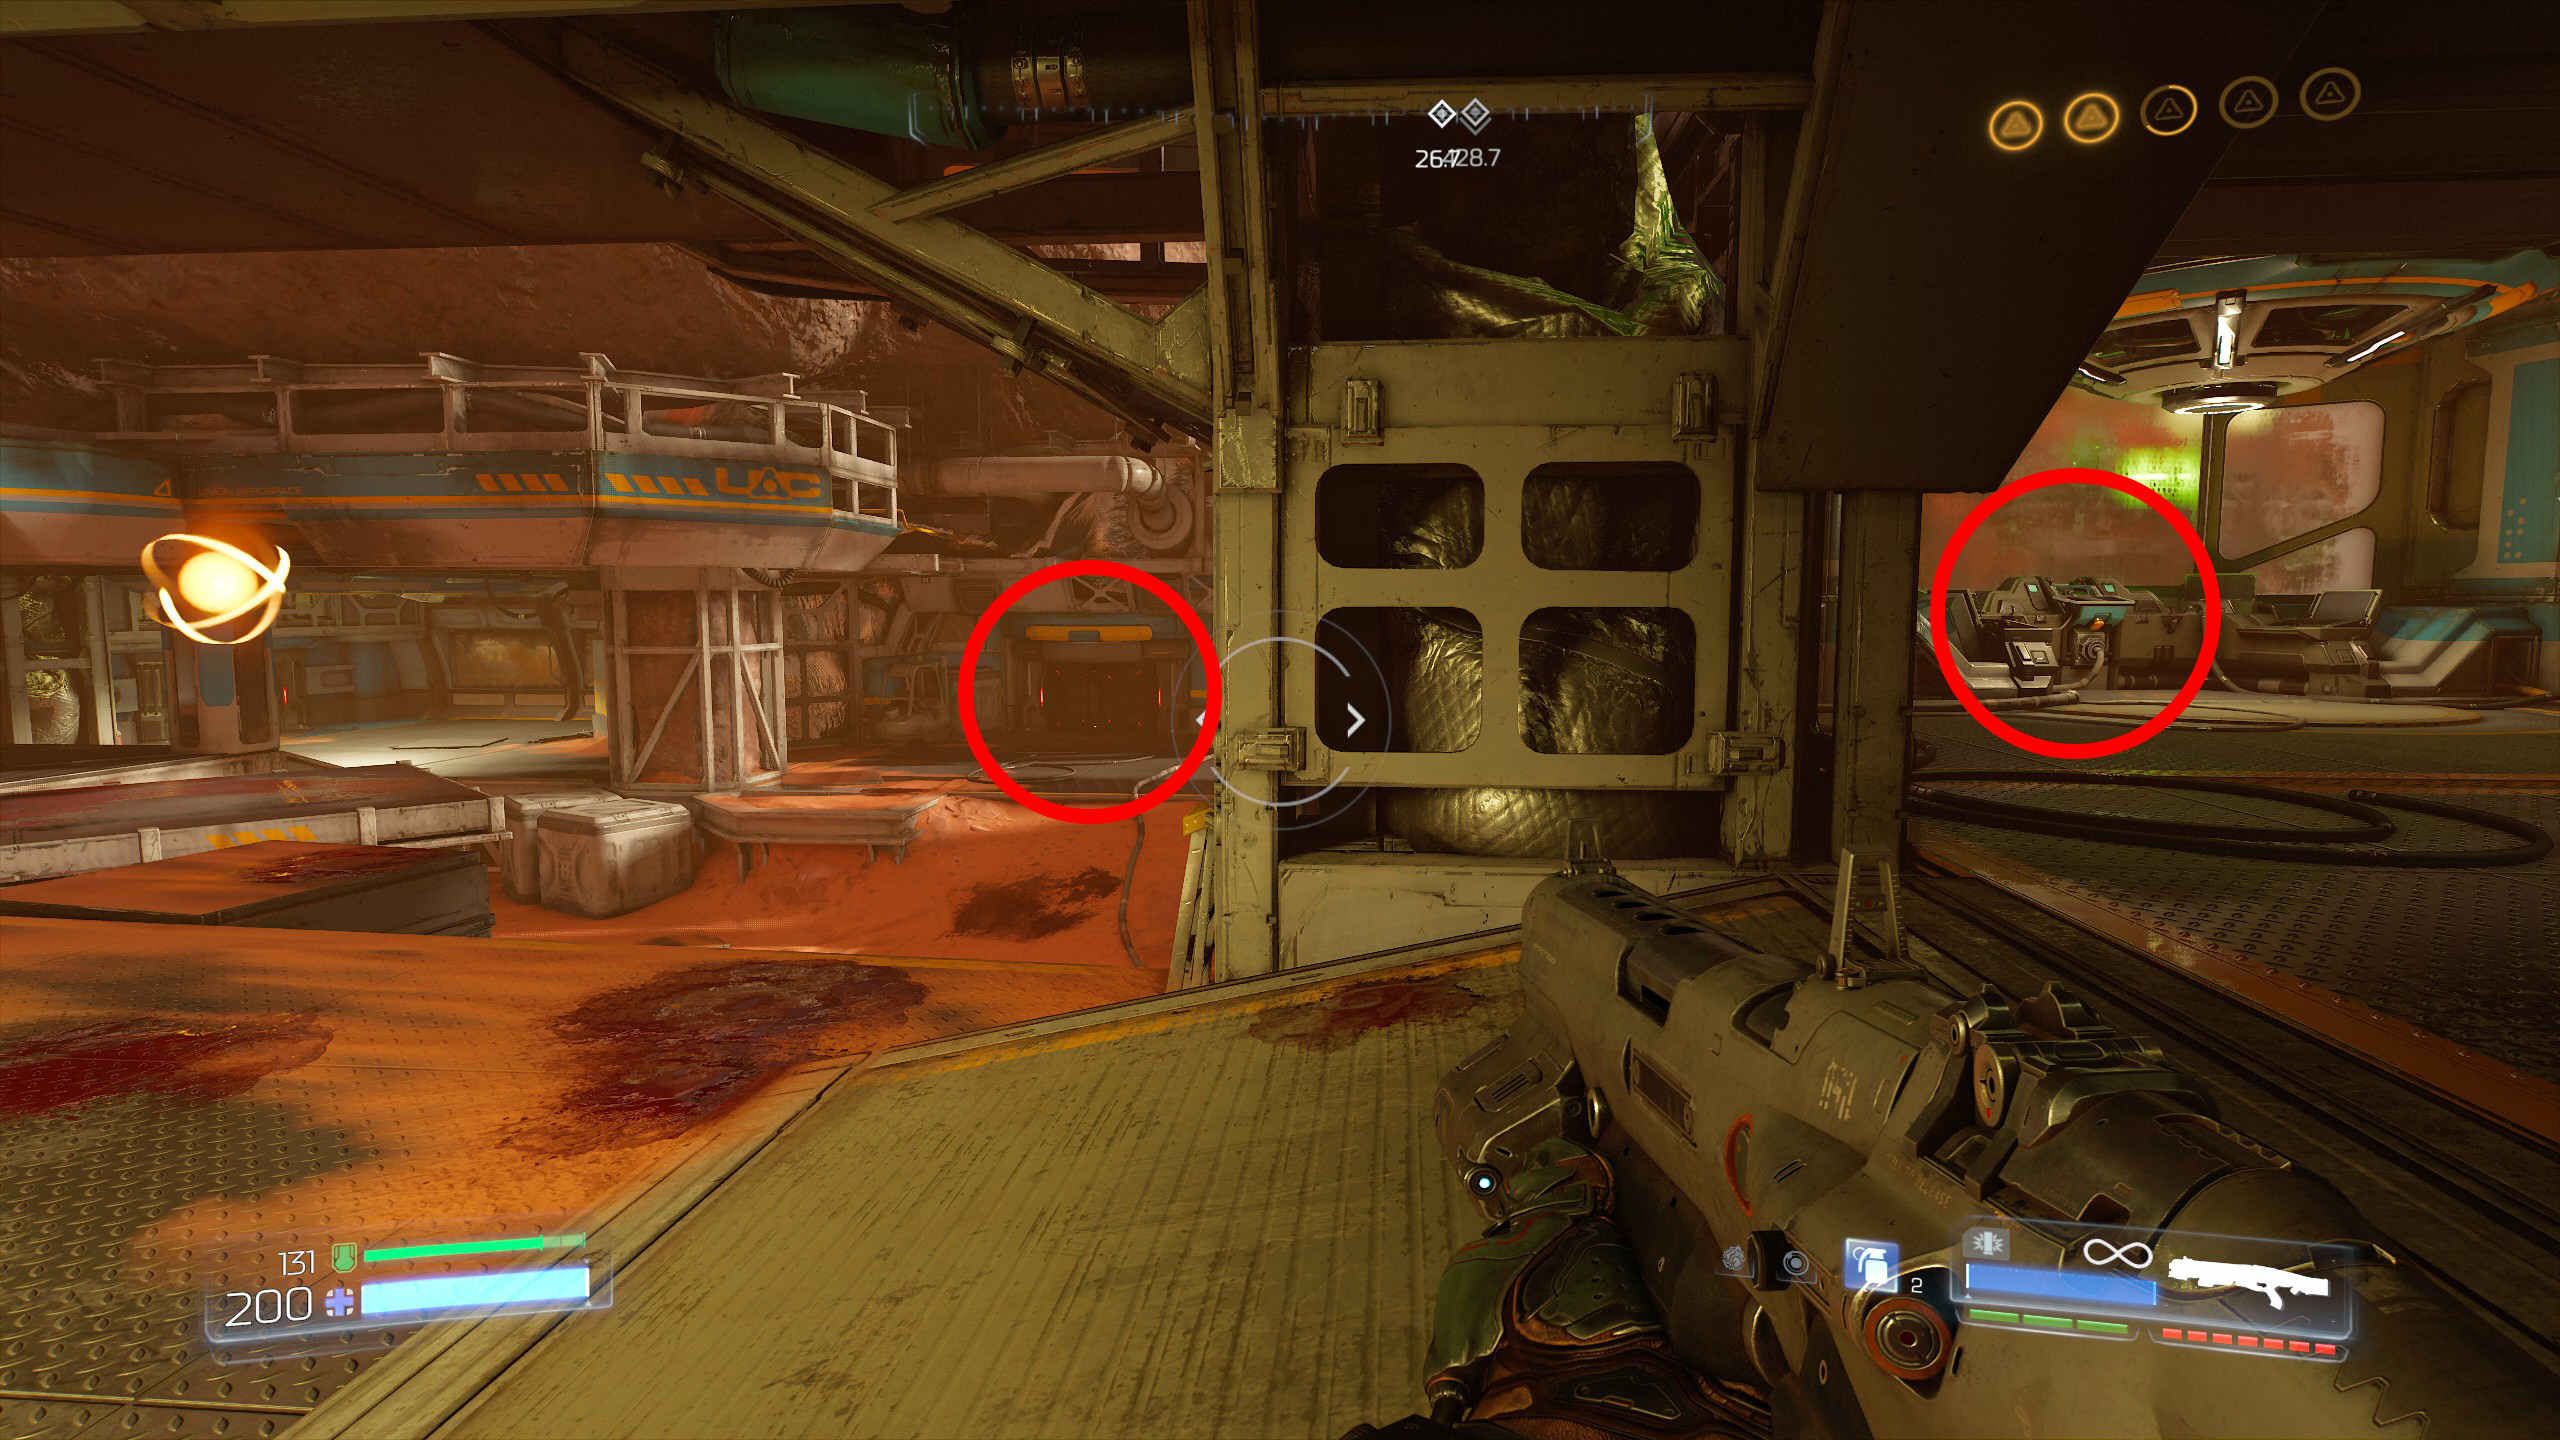
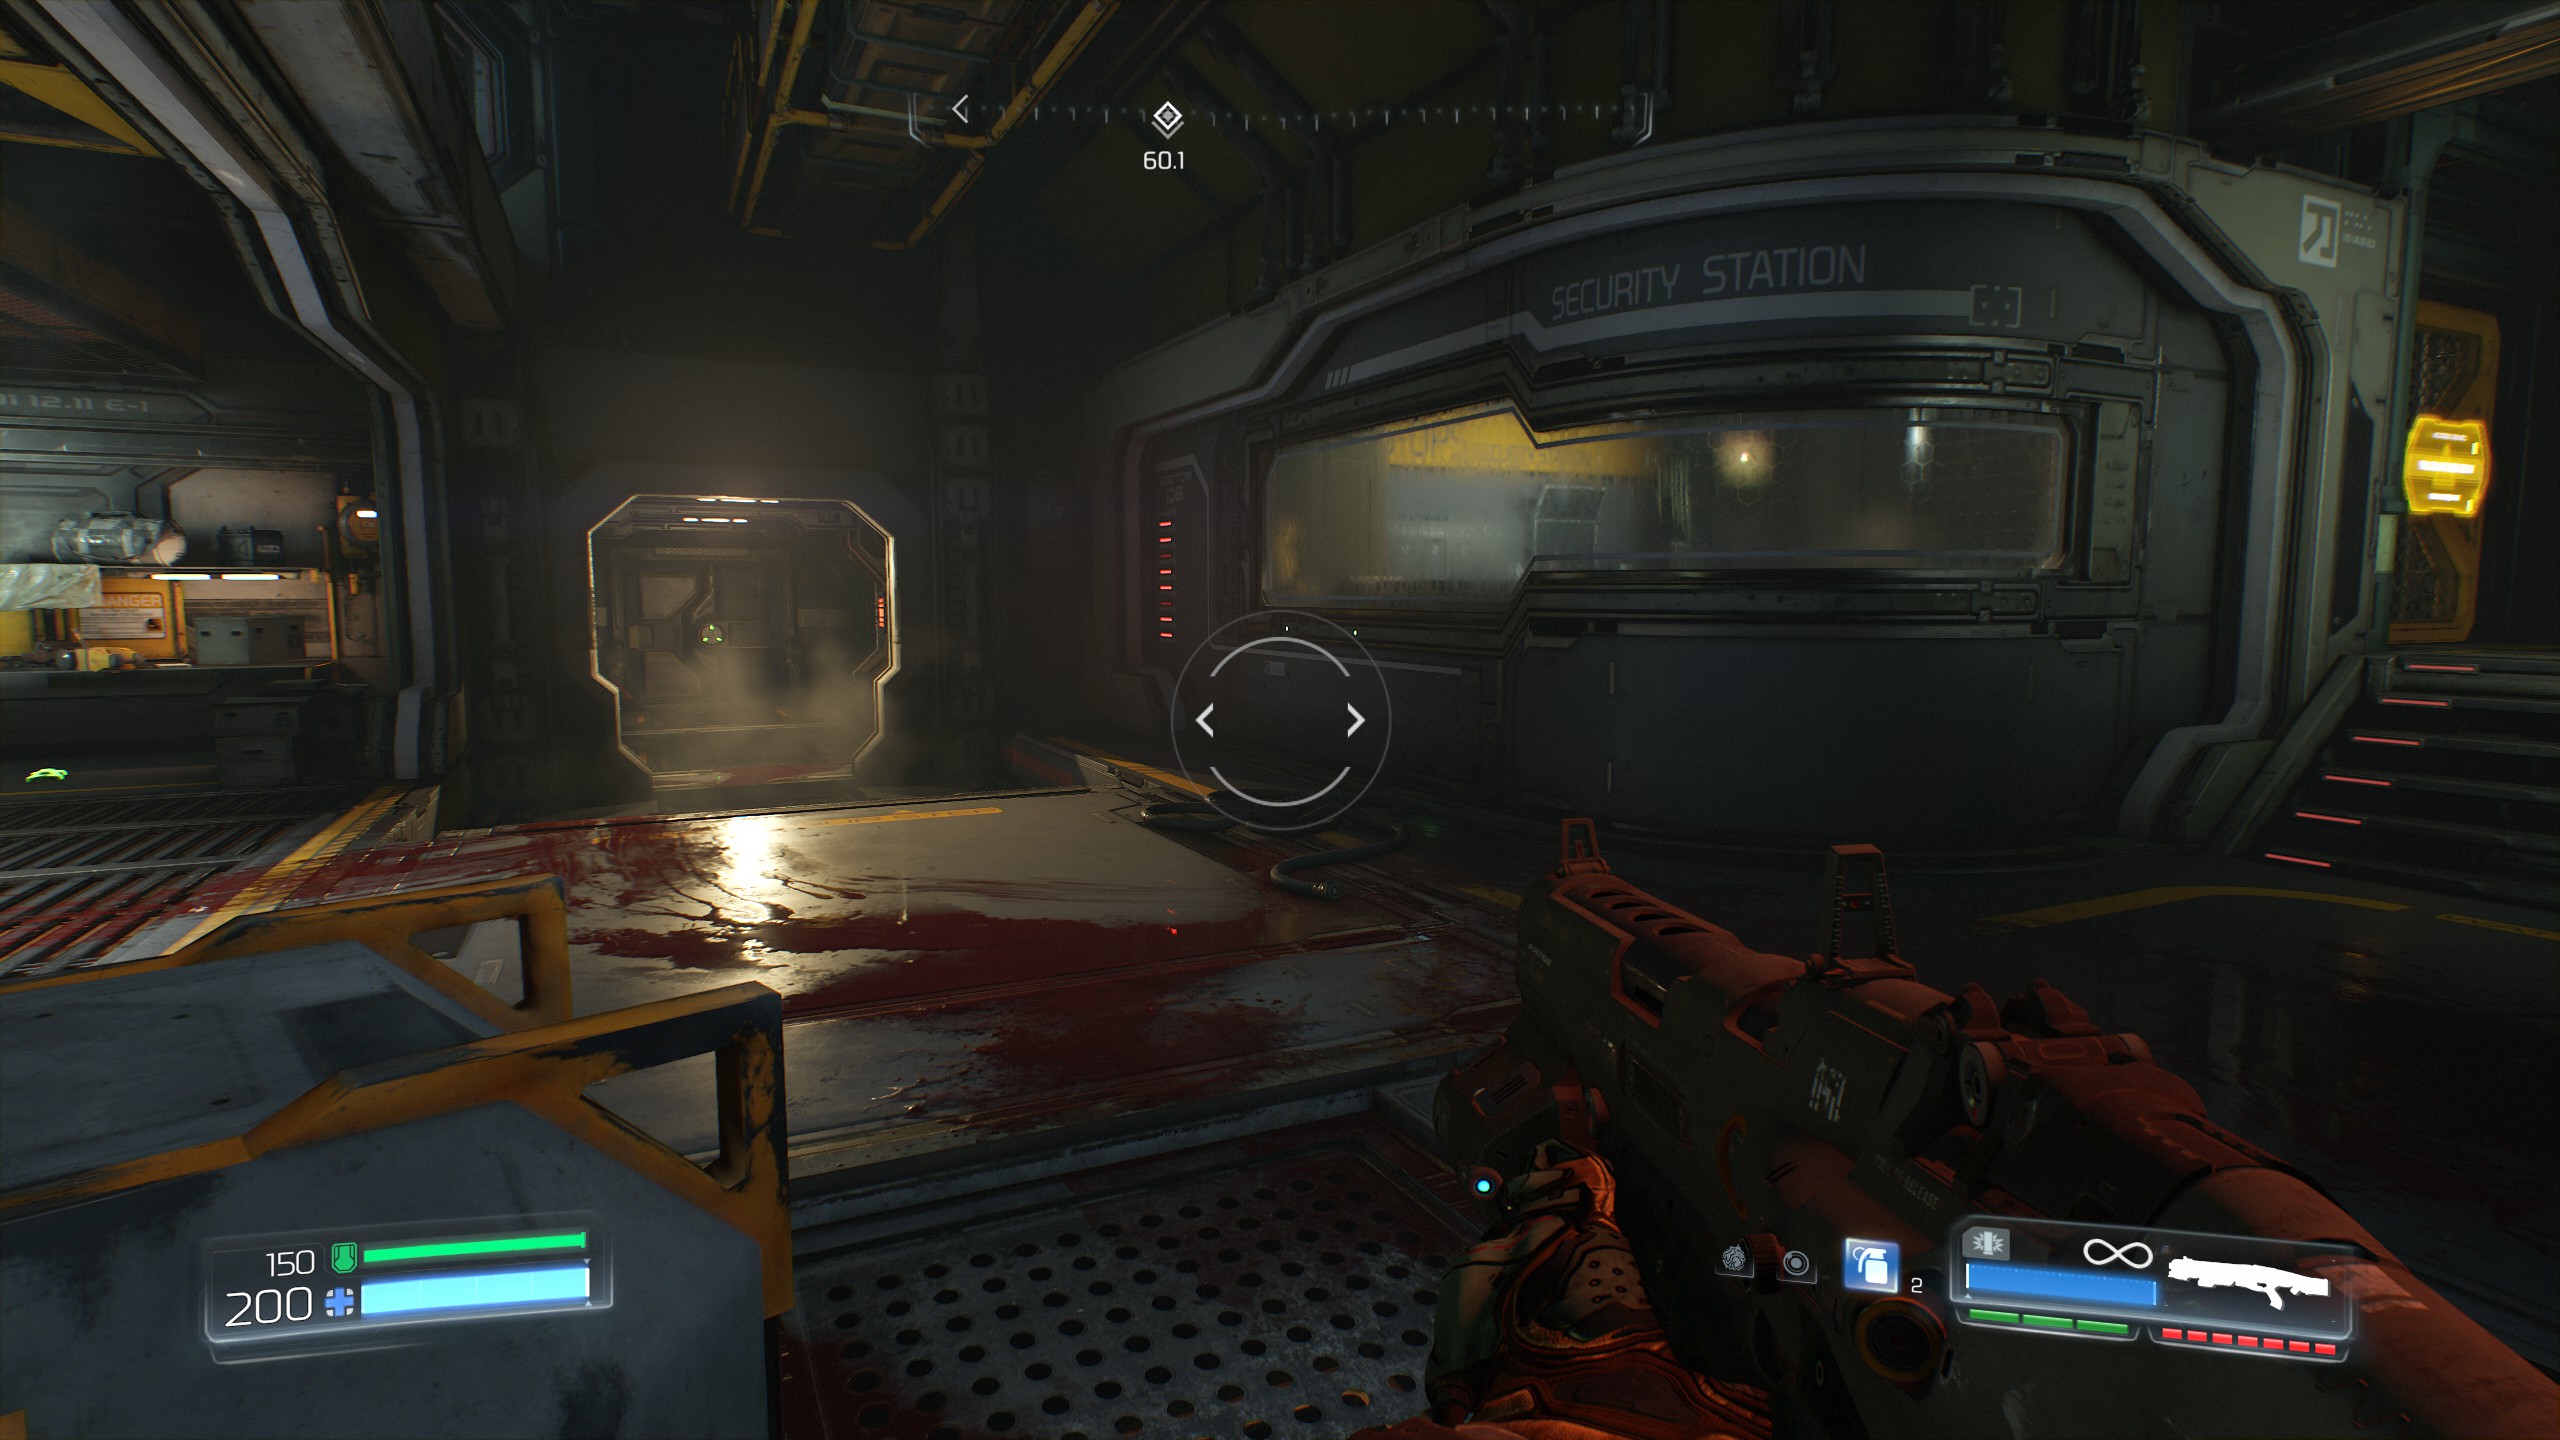 Once you have the yellow key do not enter any doors, instead come back the way you came from heading down the elevator and return to the room with the second yellow door (shown in the right screenshot above).
Now use the yellow key to go inside the room and activate the terminal, this will unlock the hatch that is located in the corridor before you head outside towards the elevator.
Drop down into the hatch to get secret number 3 and a Elite Guard.
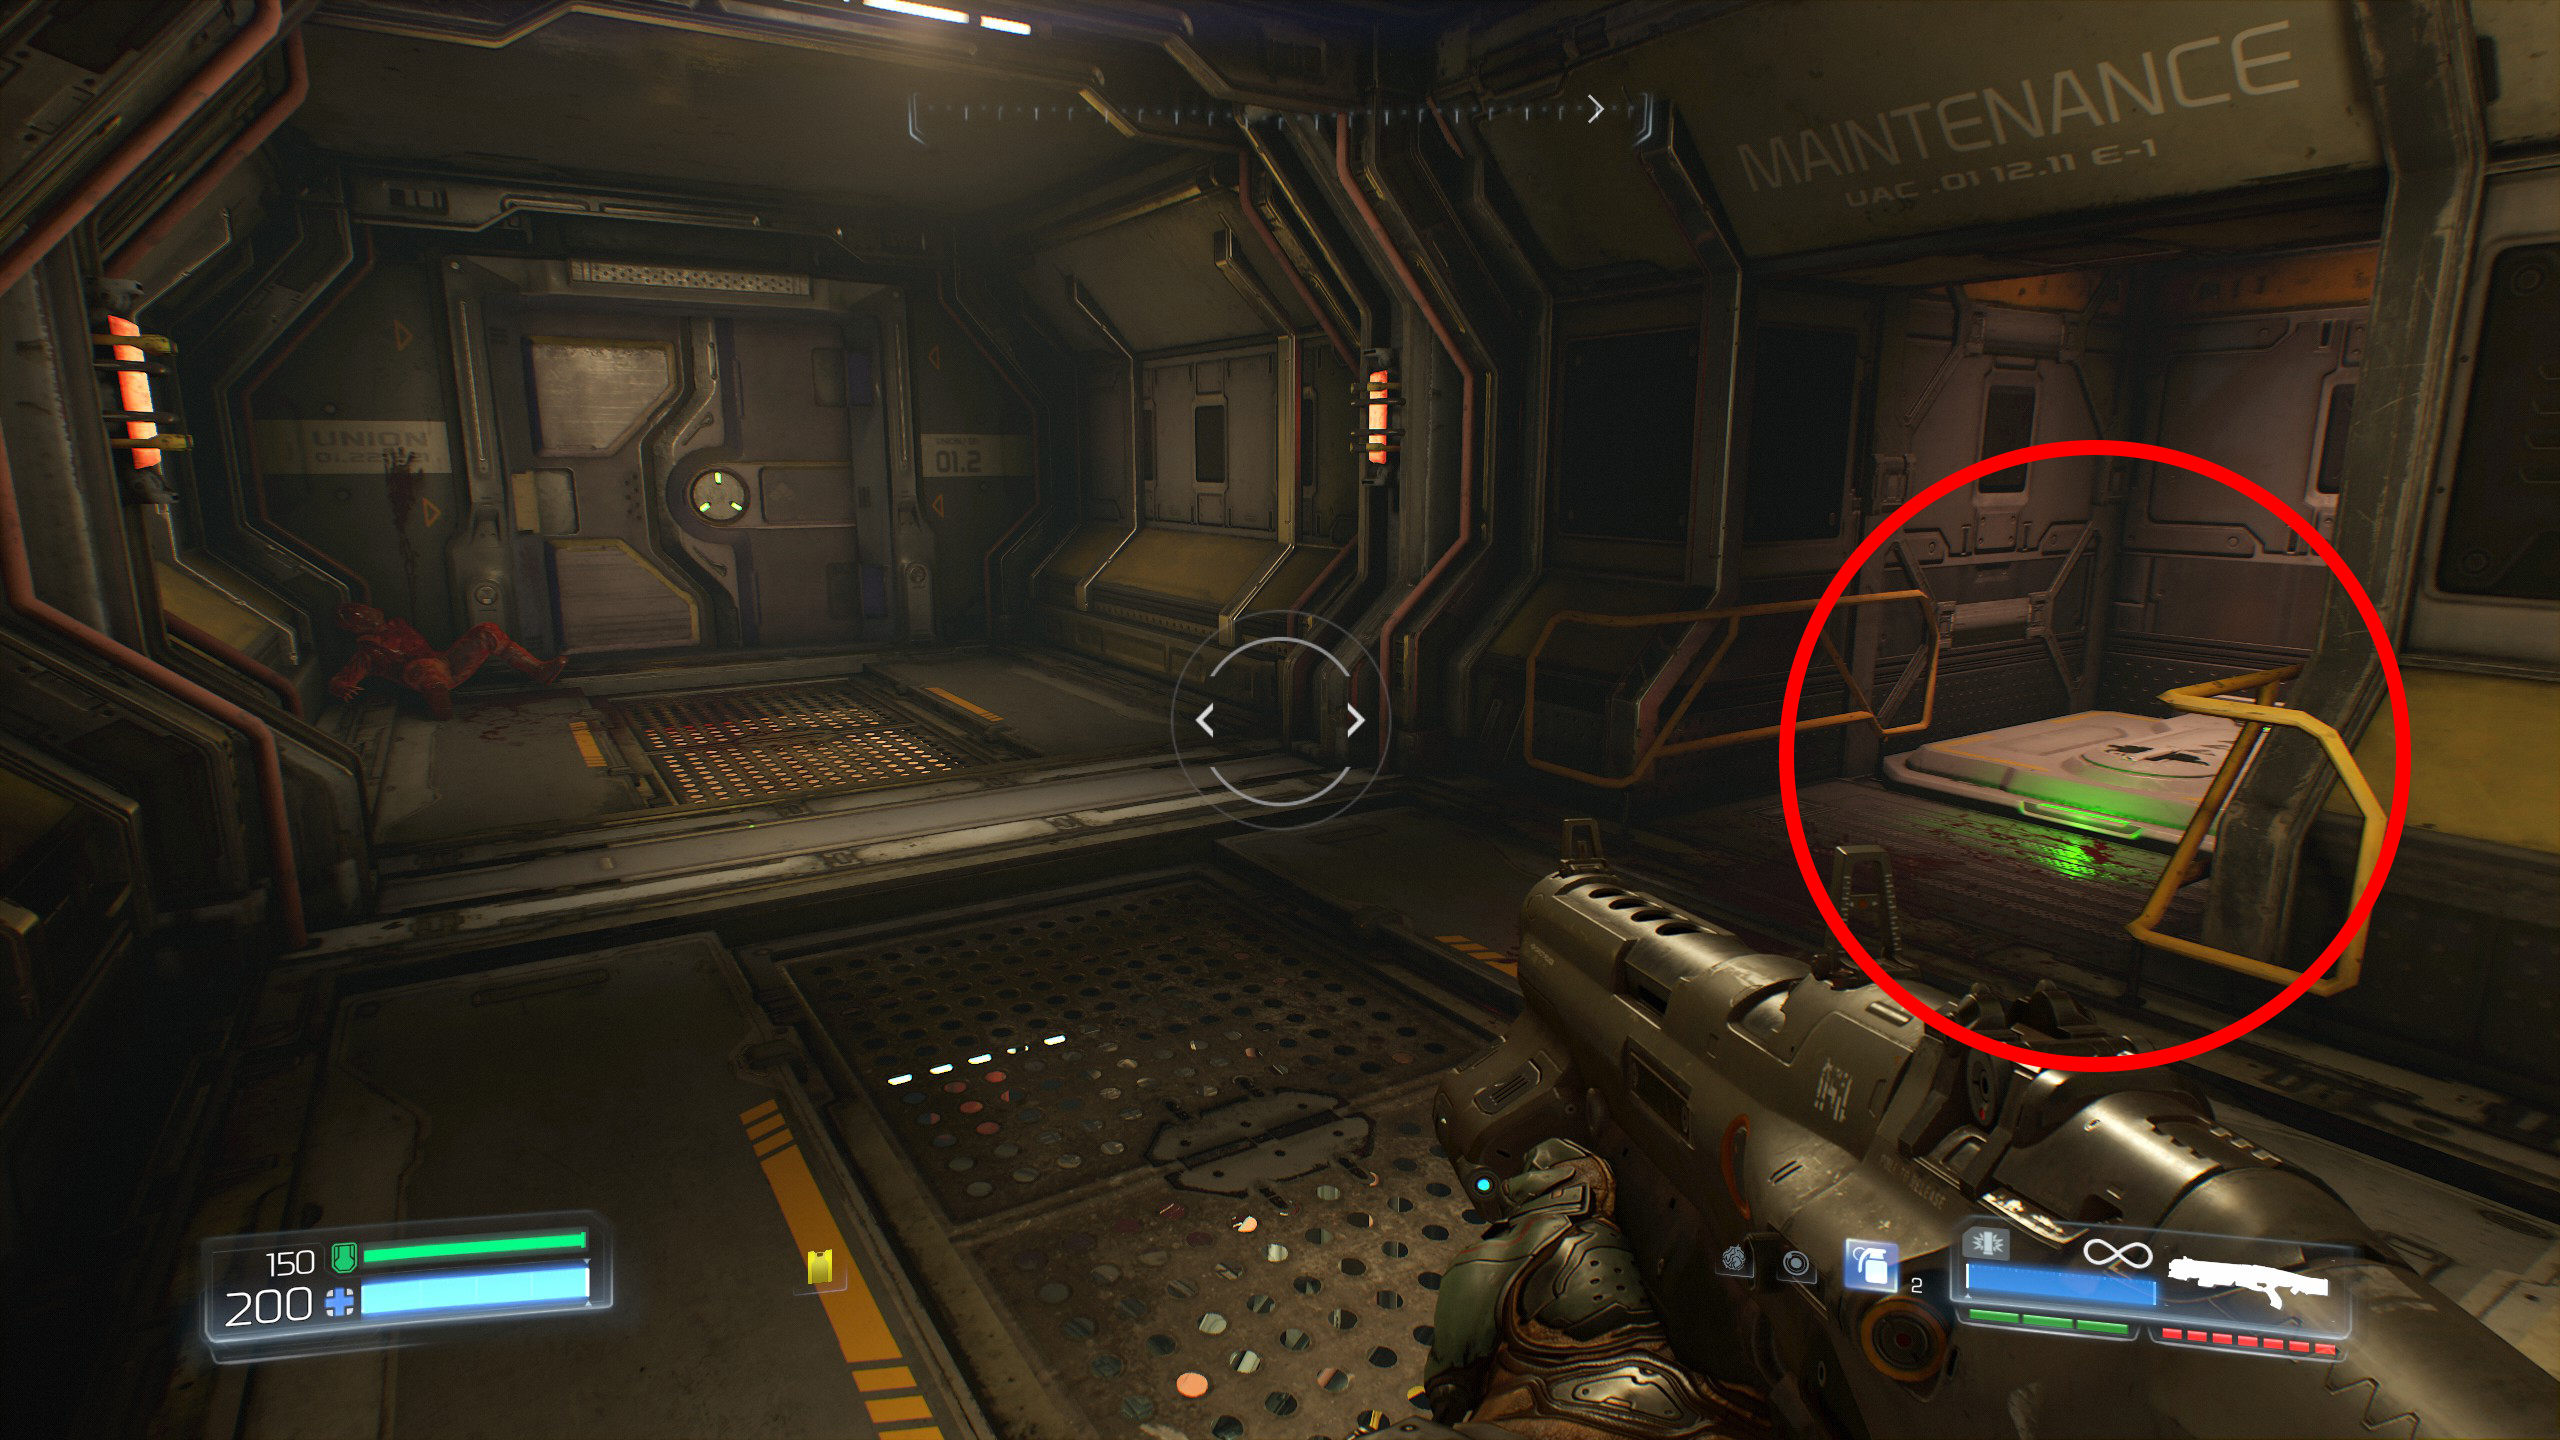
Now proceed to secret 4.
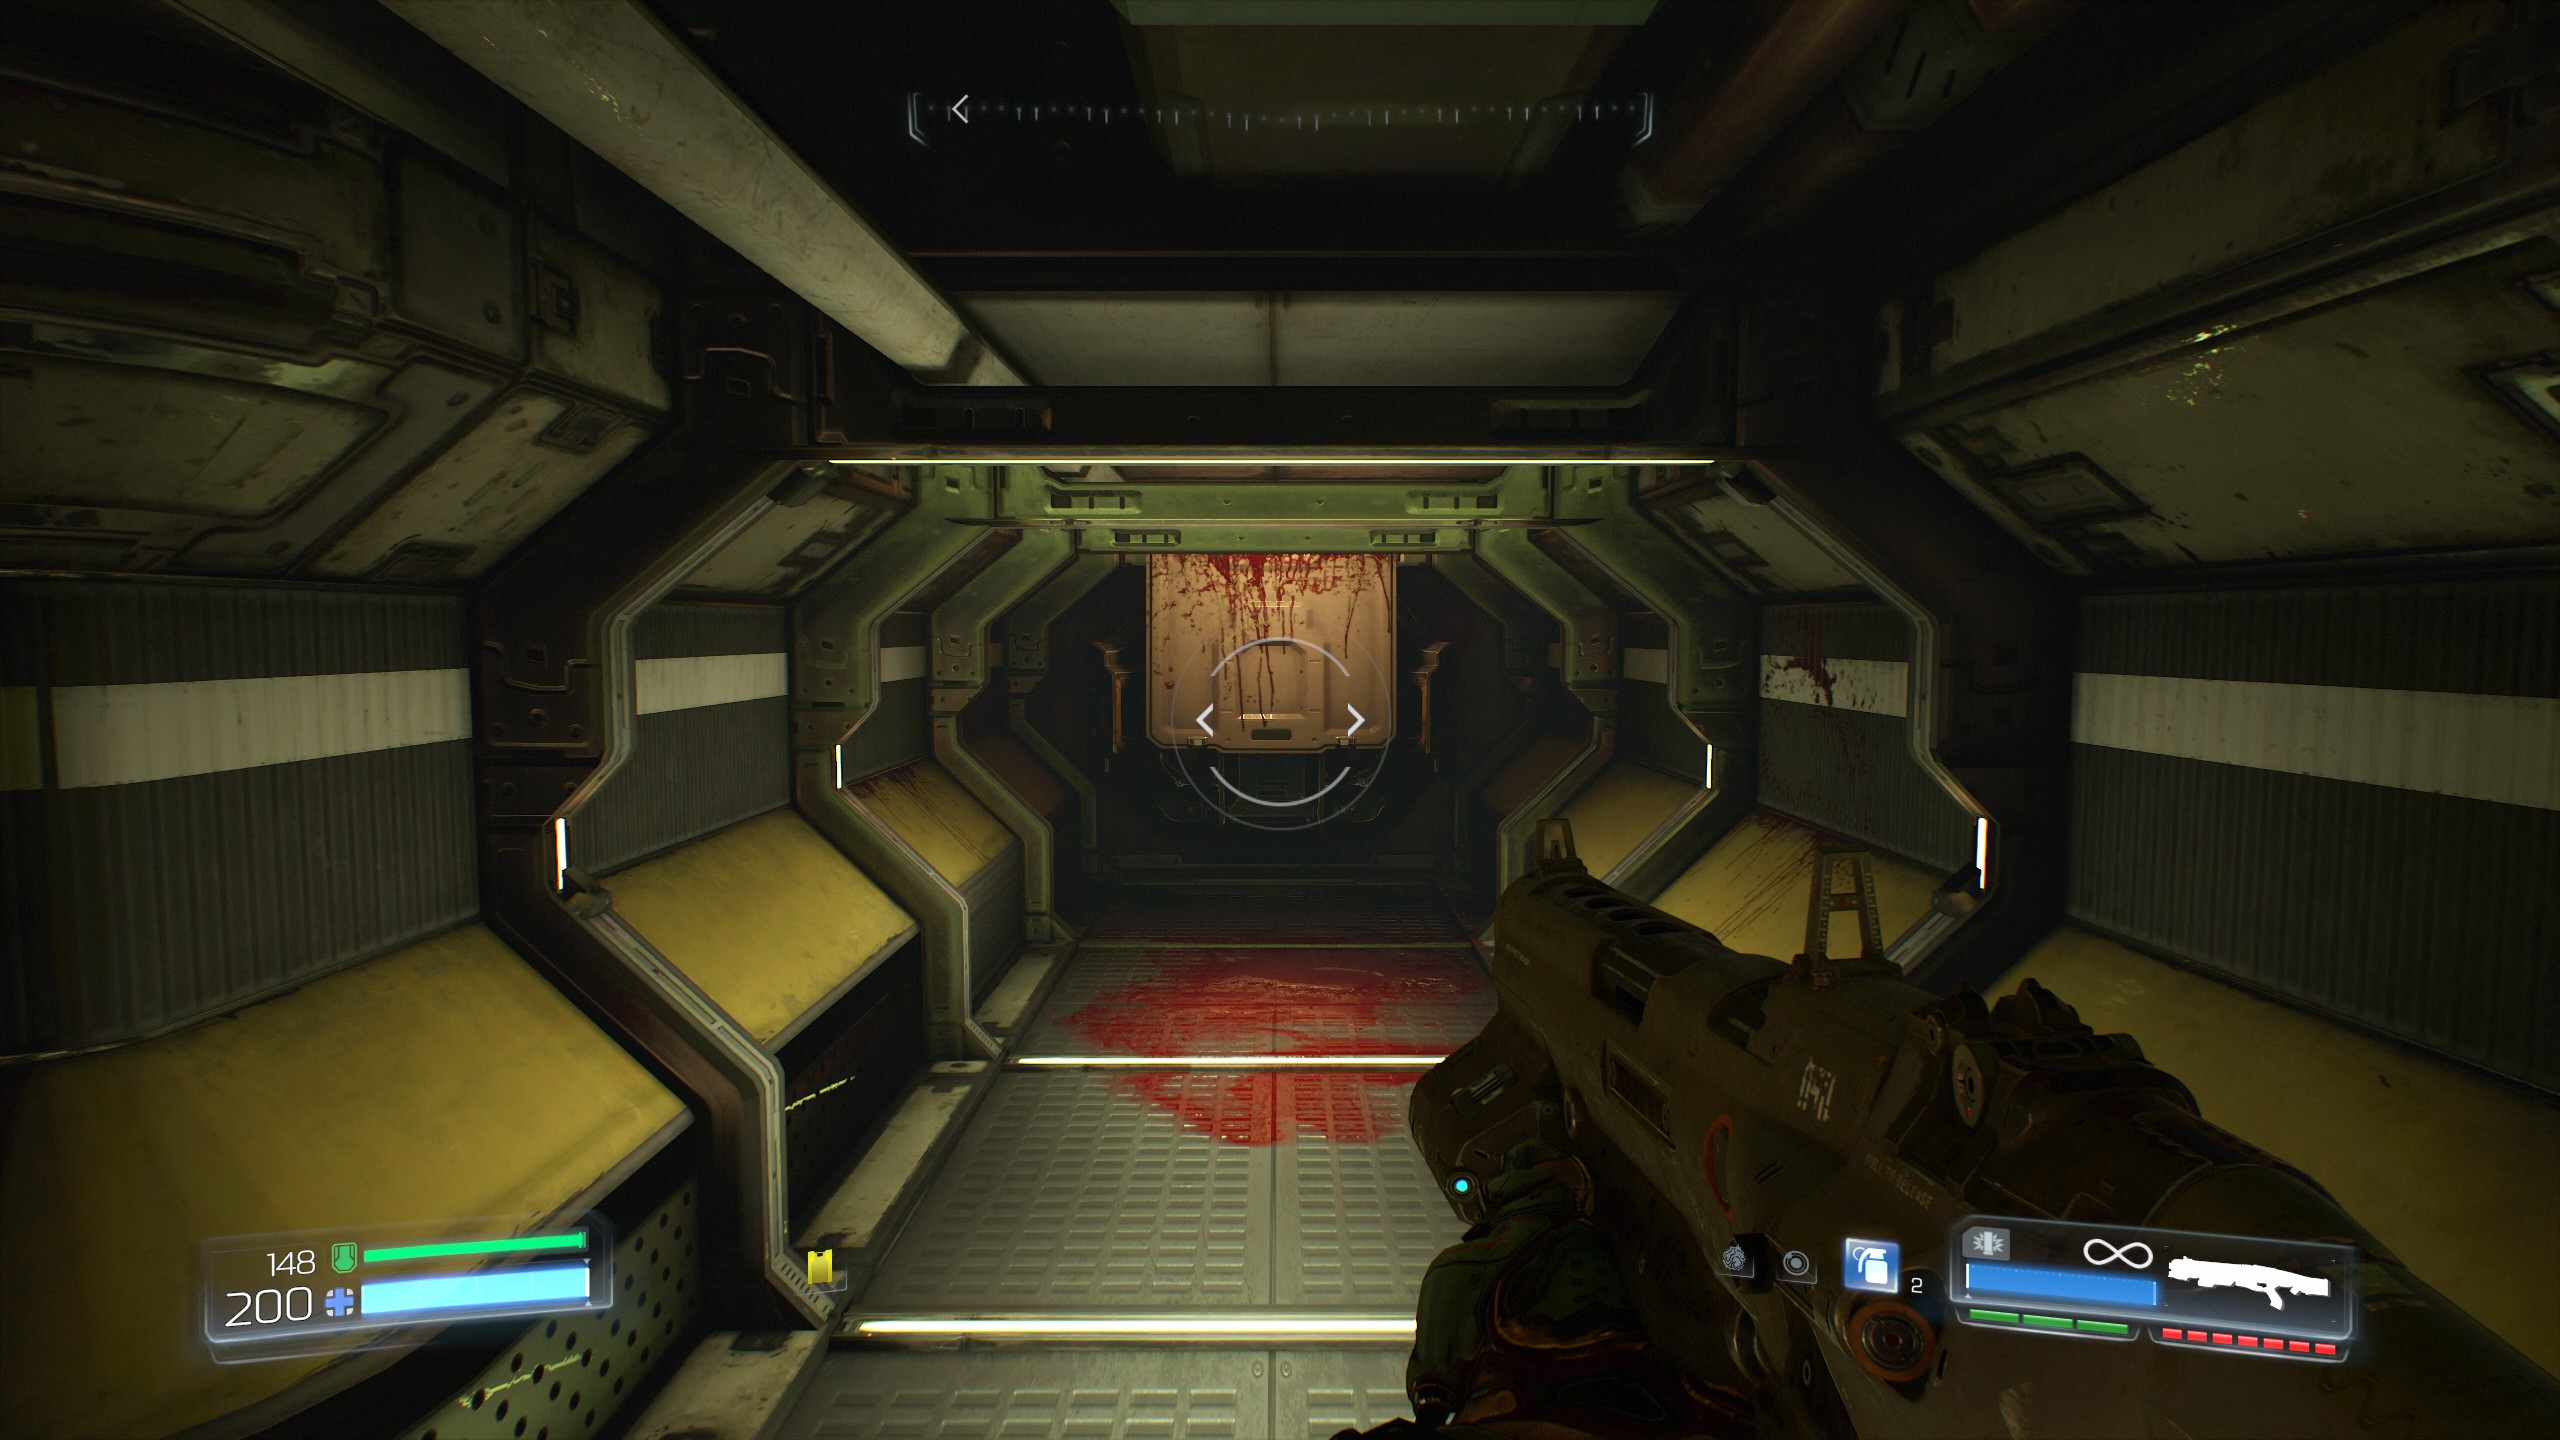
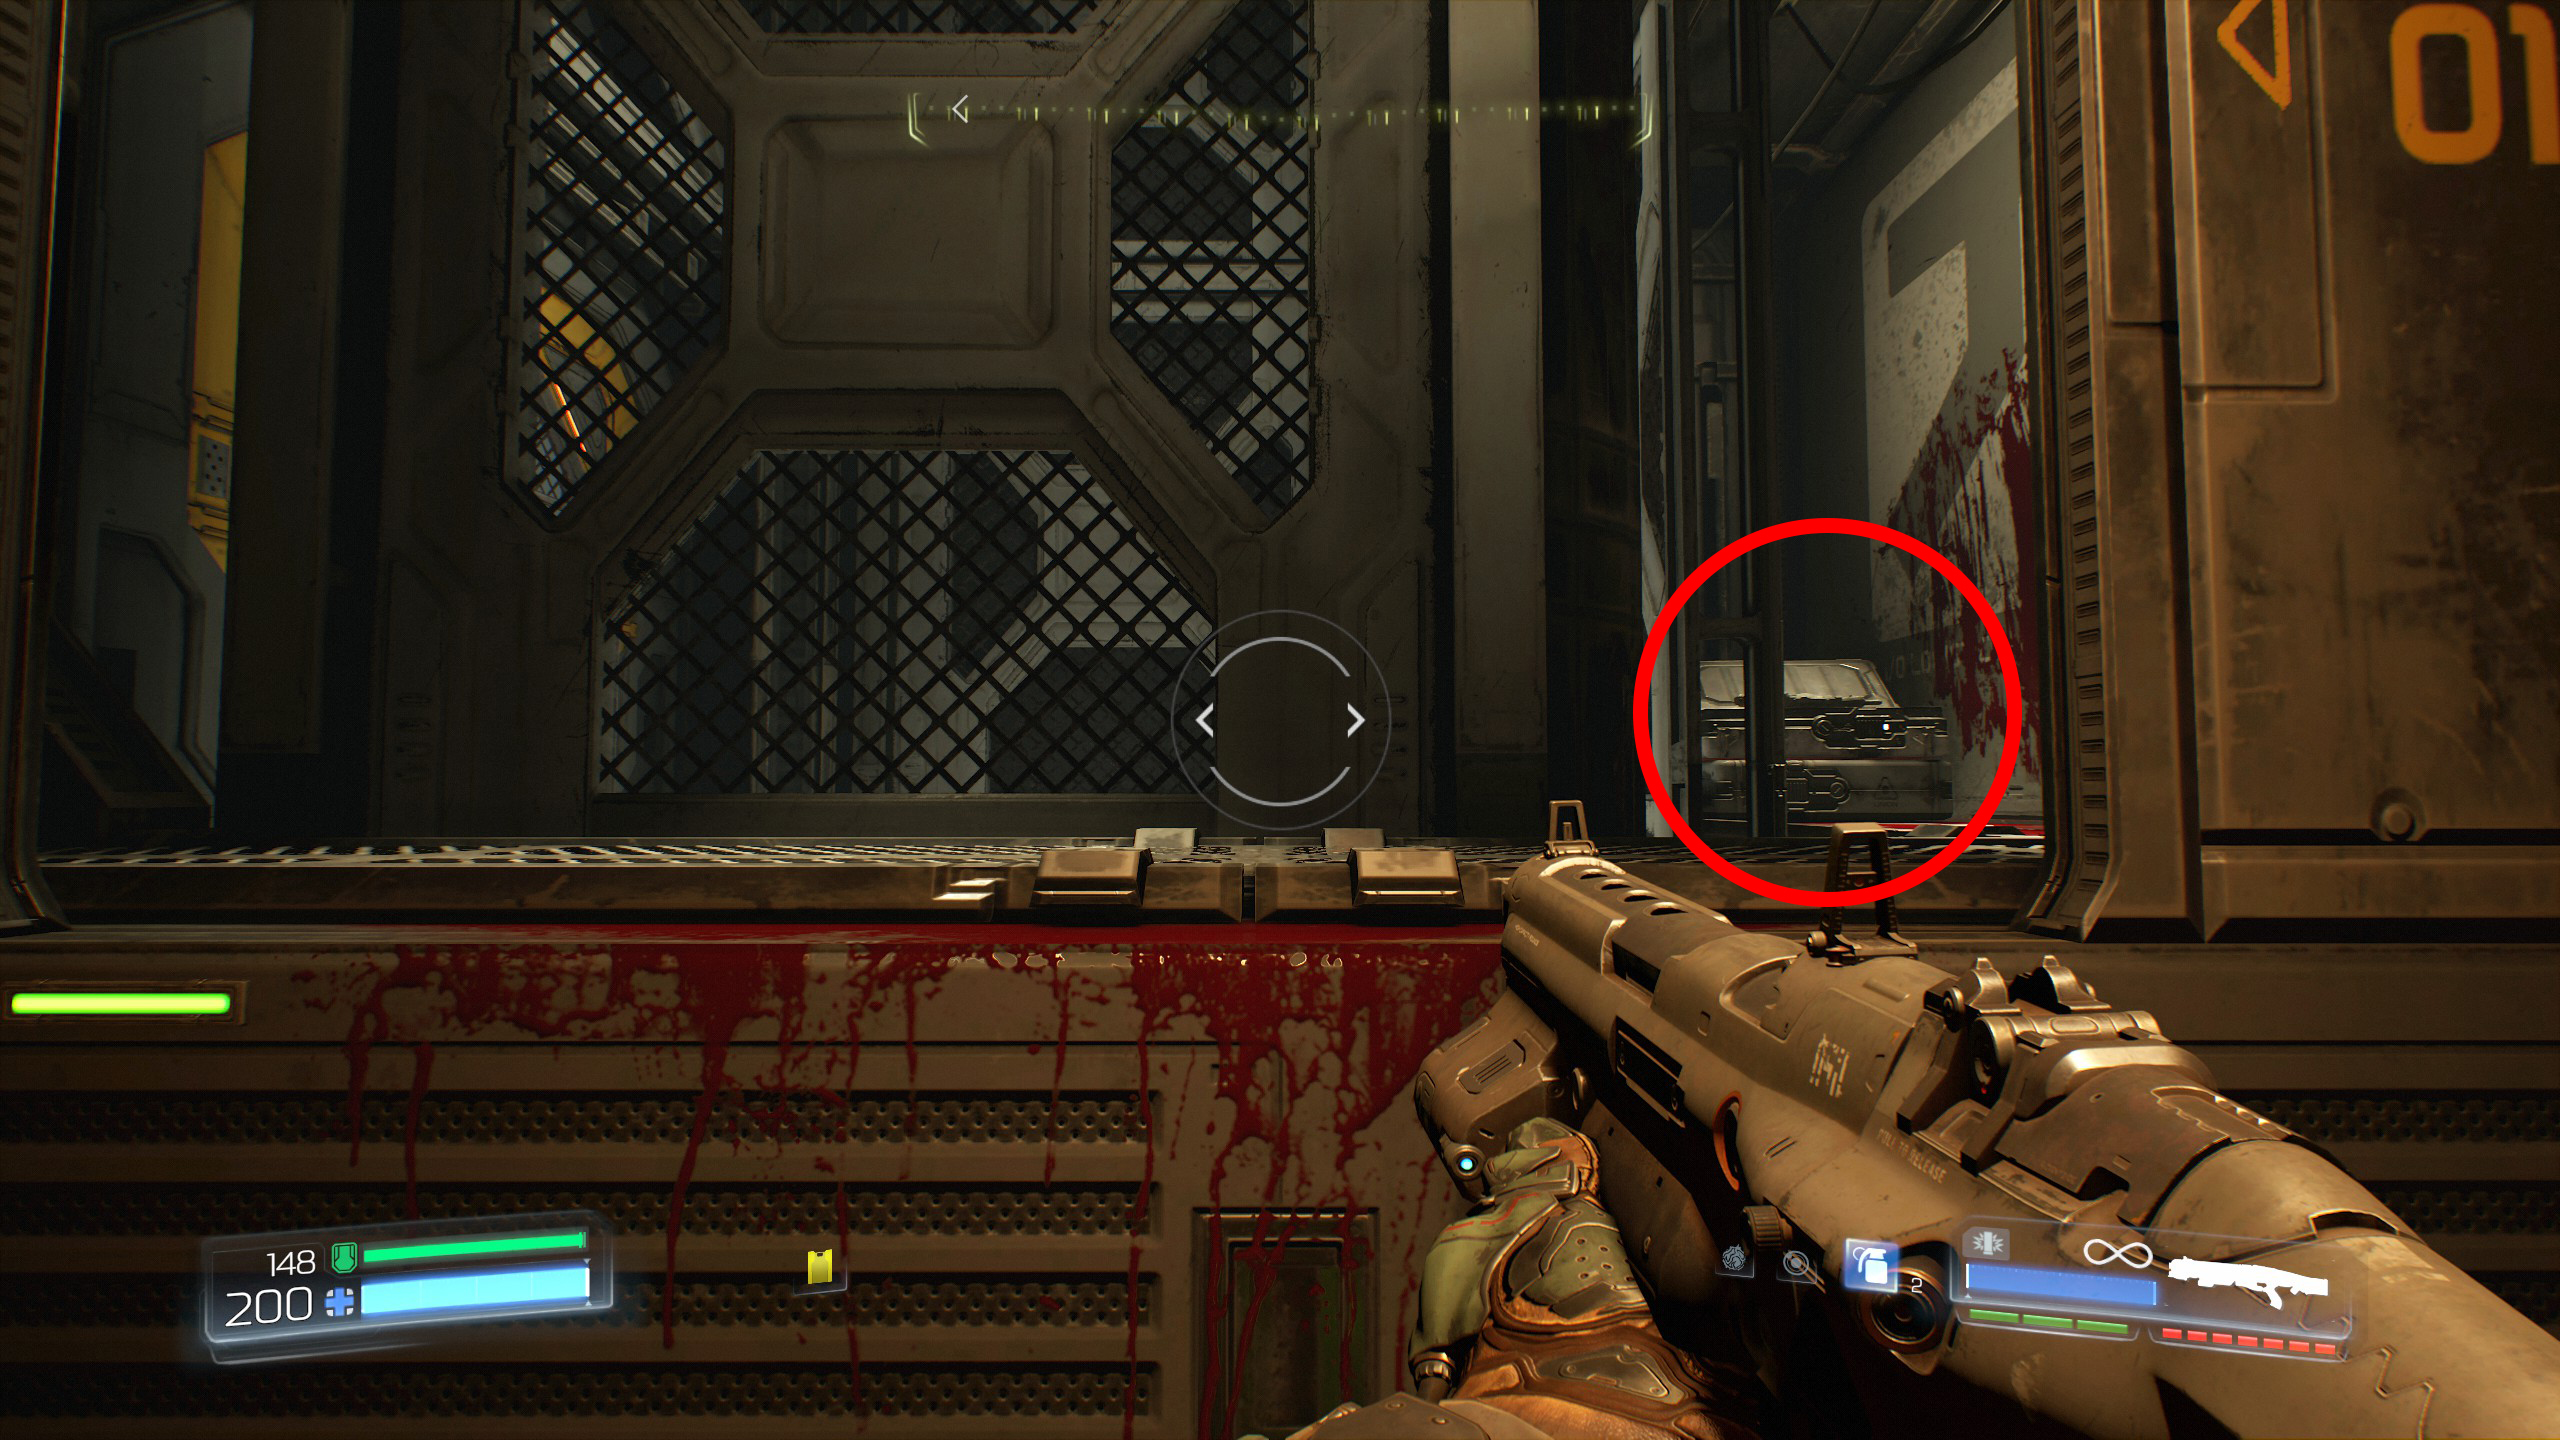
Now proceed to secret number 5.
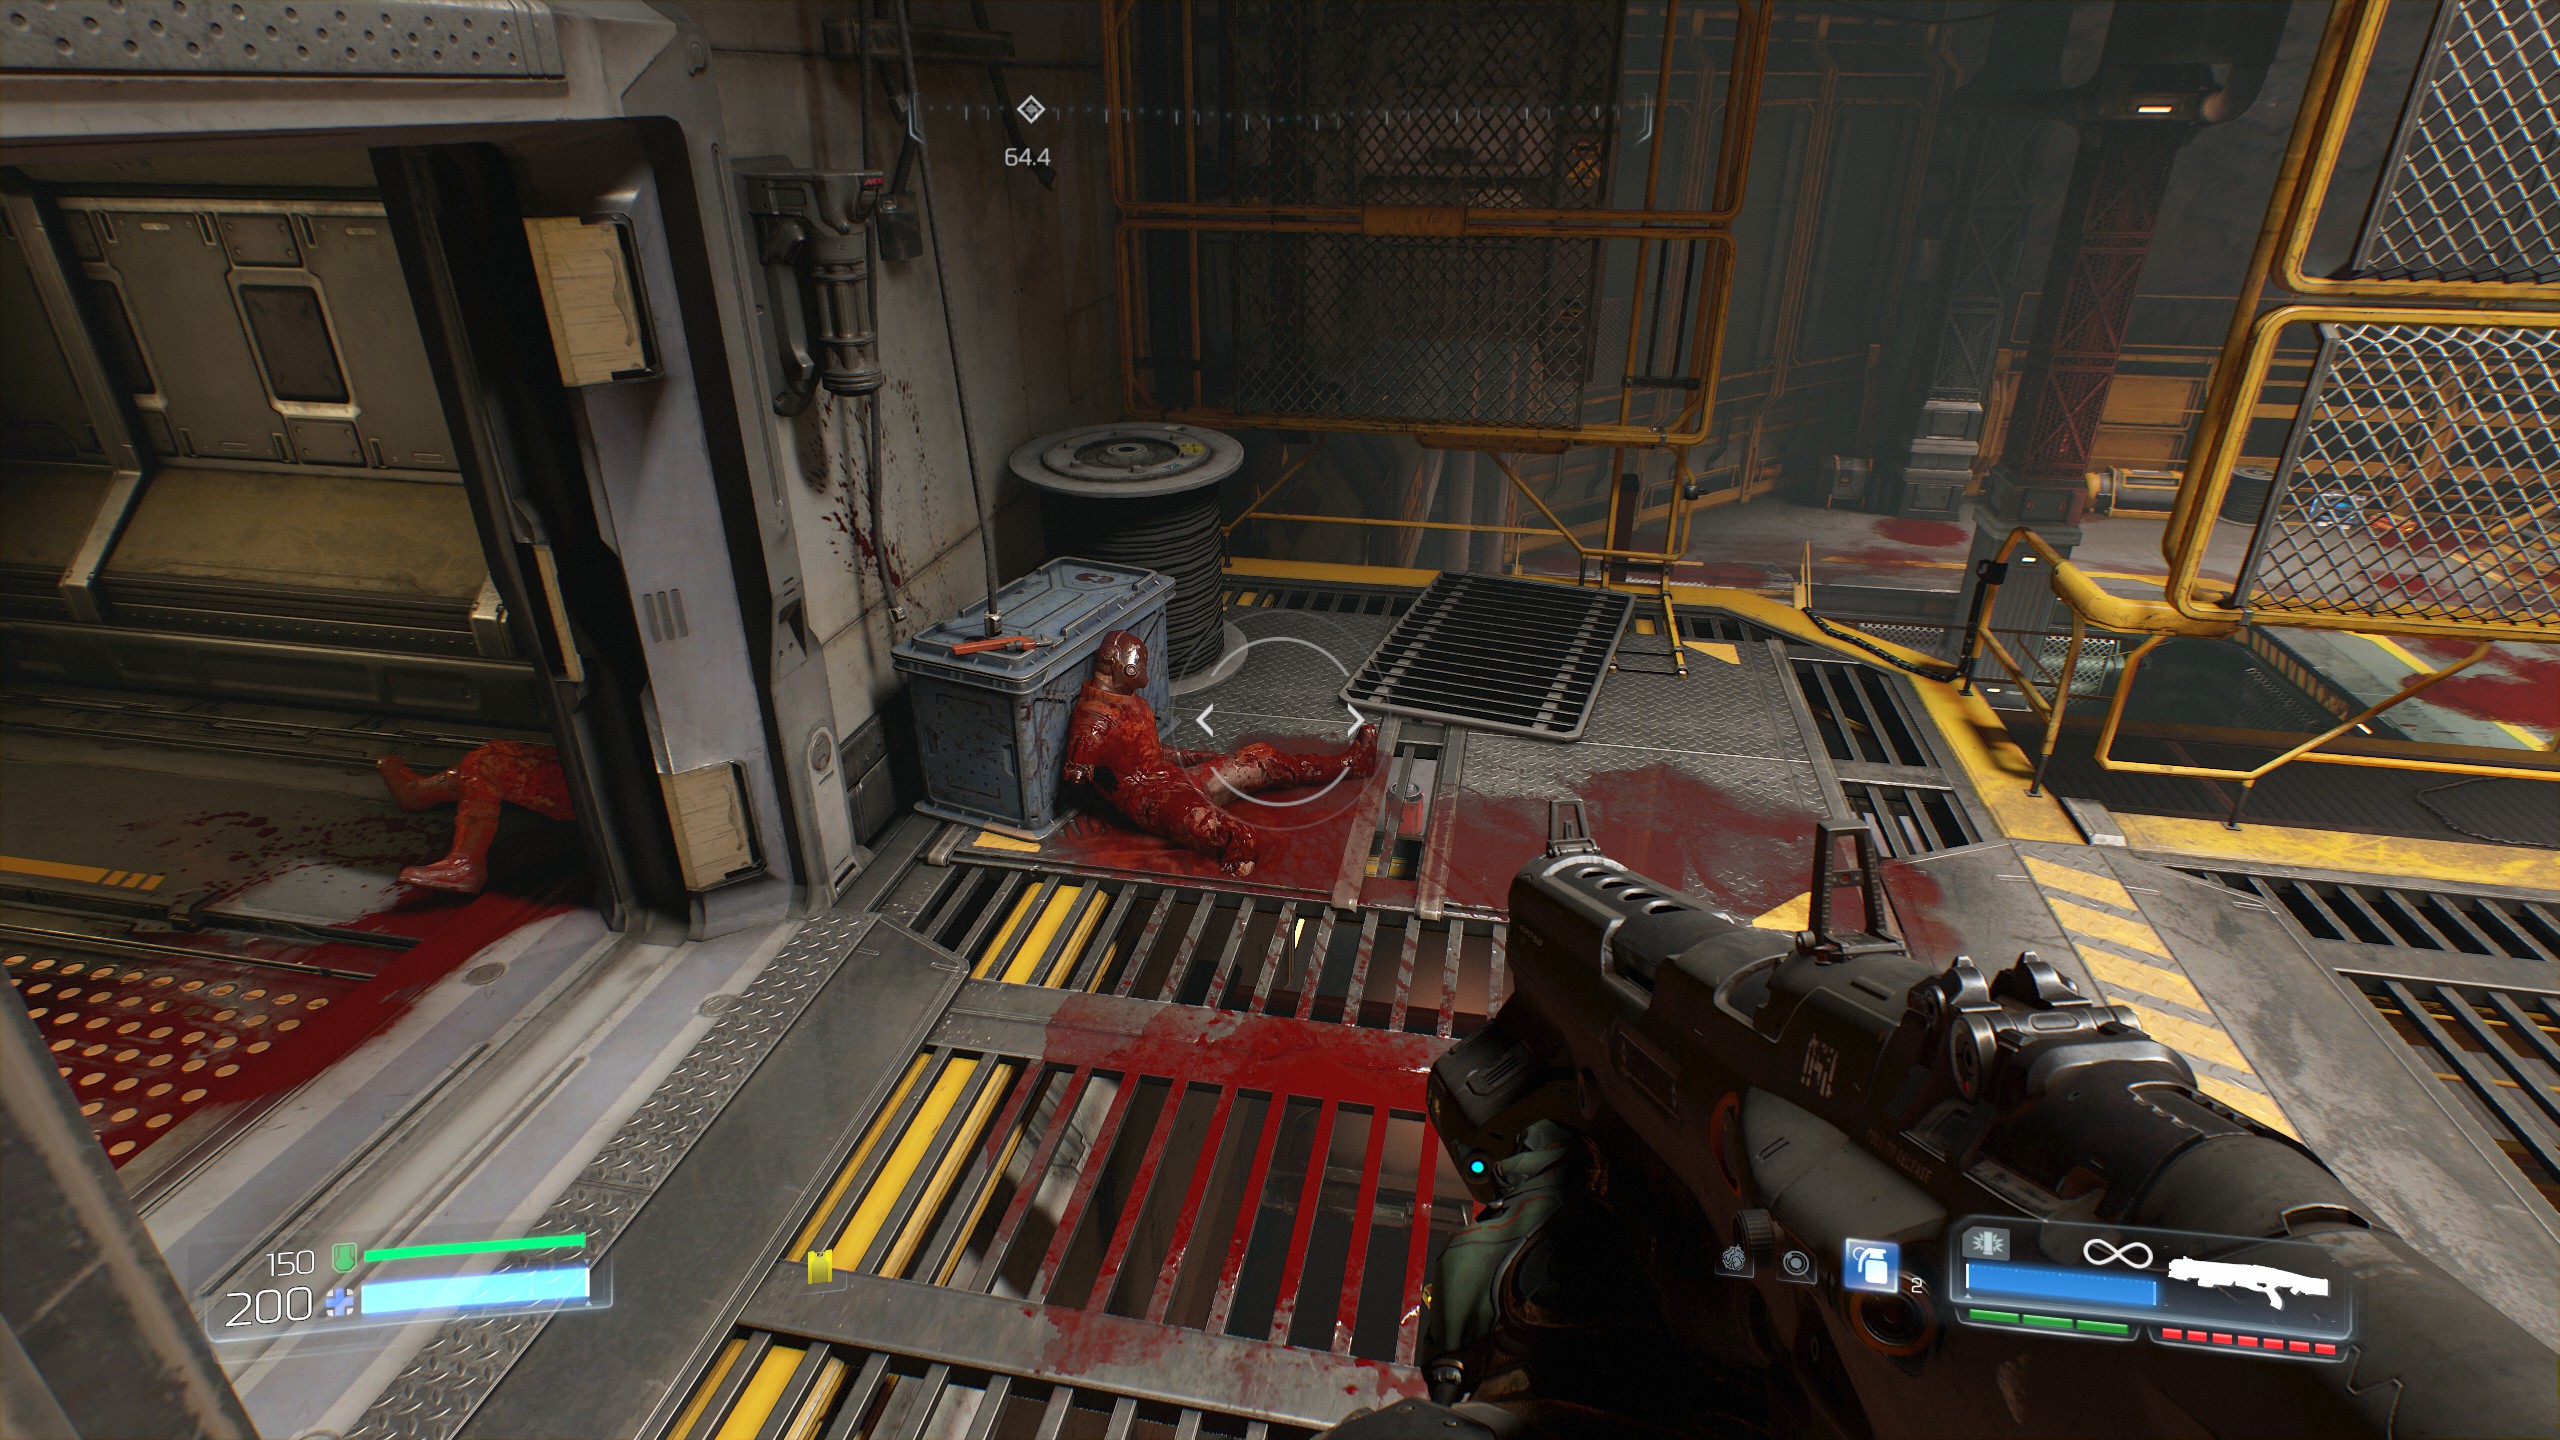
Now take the elevator back up towards where you found the yellow key.
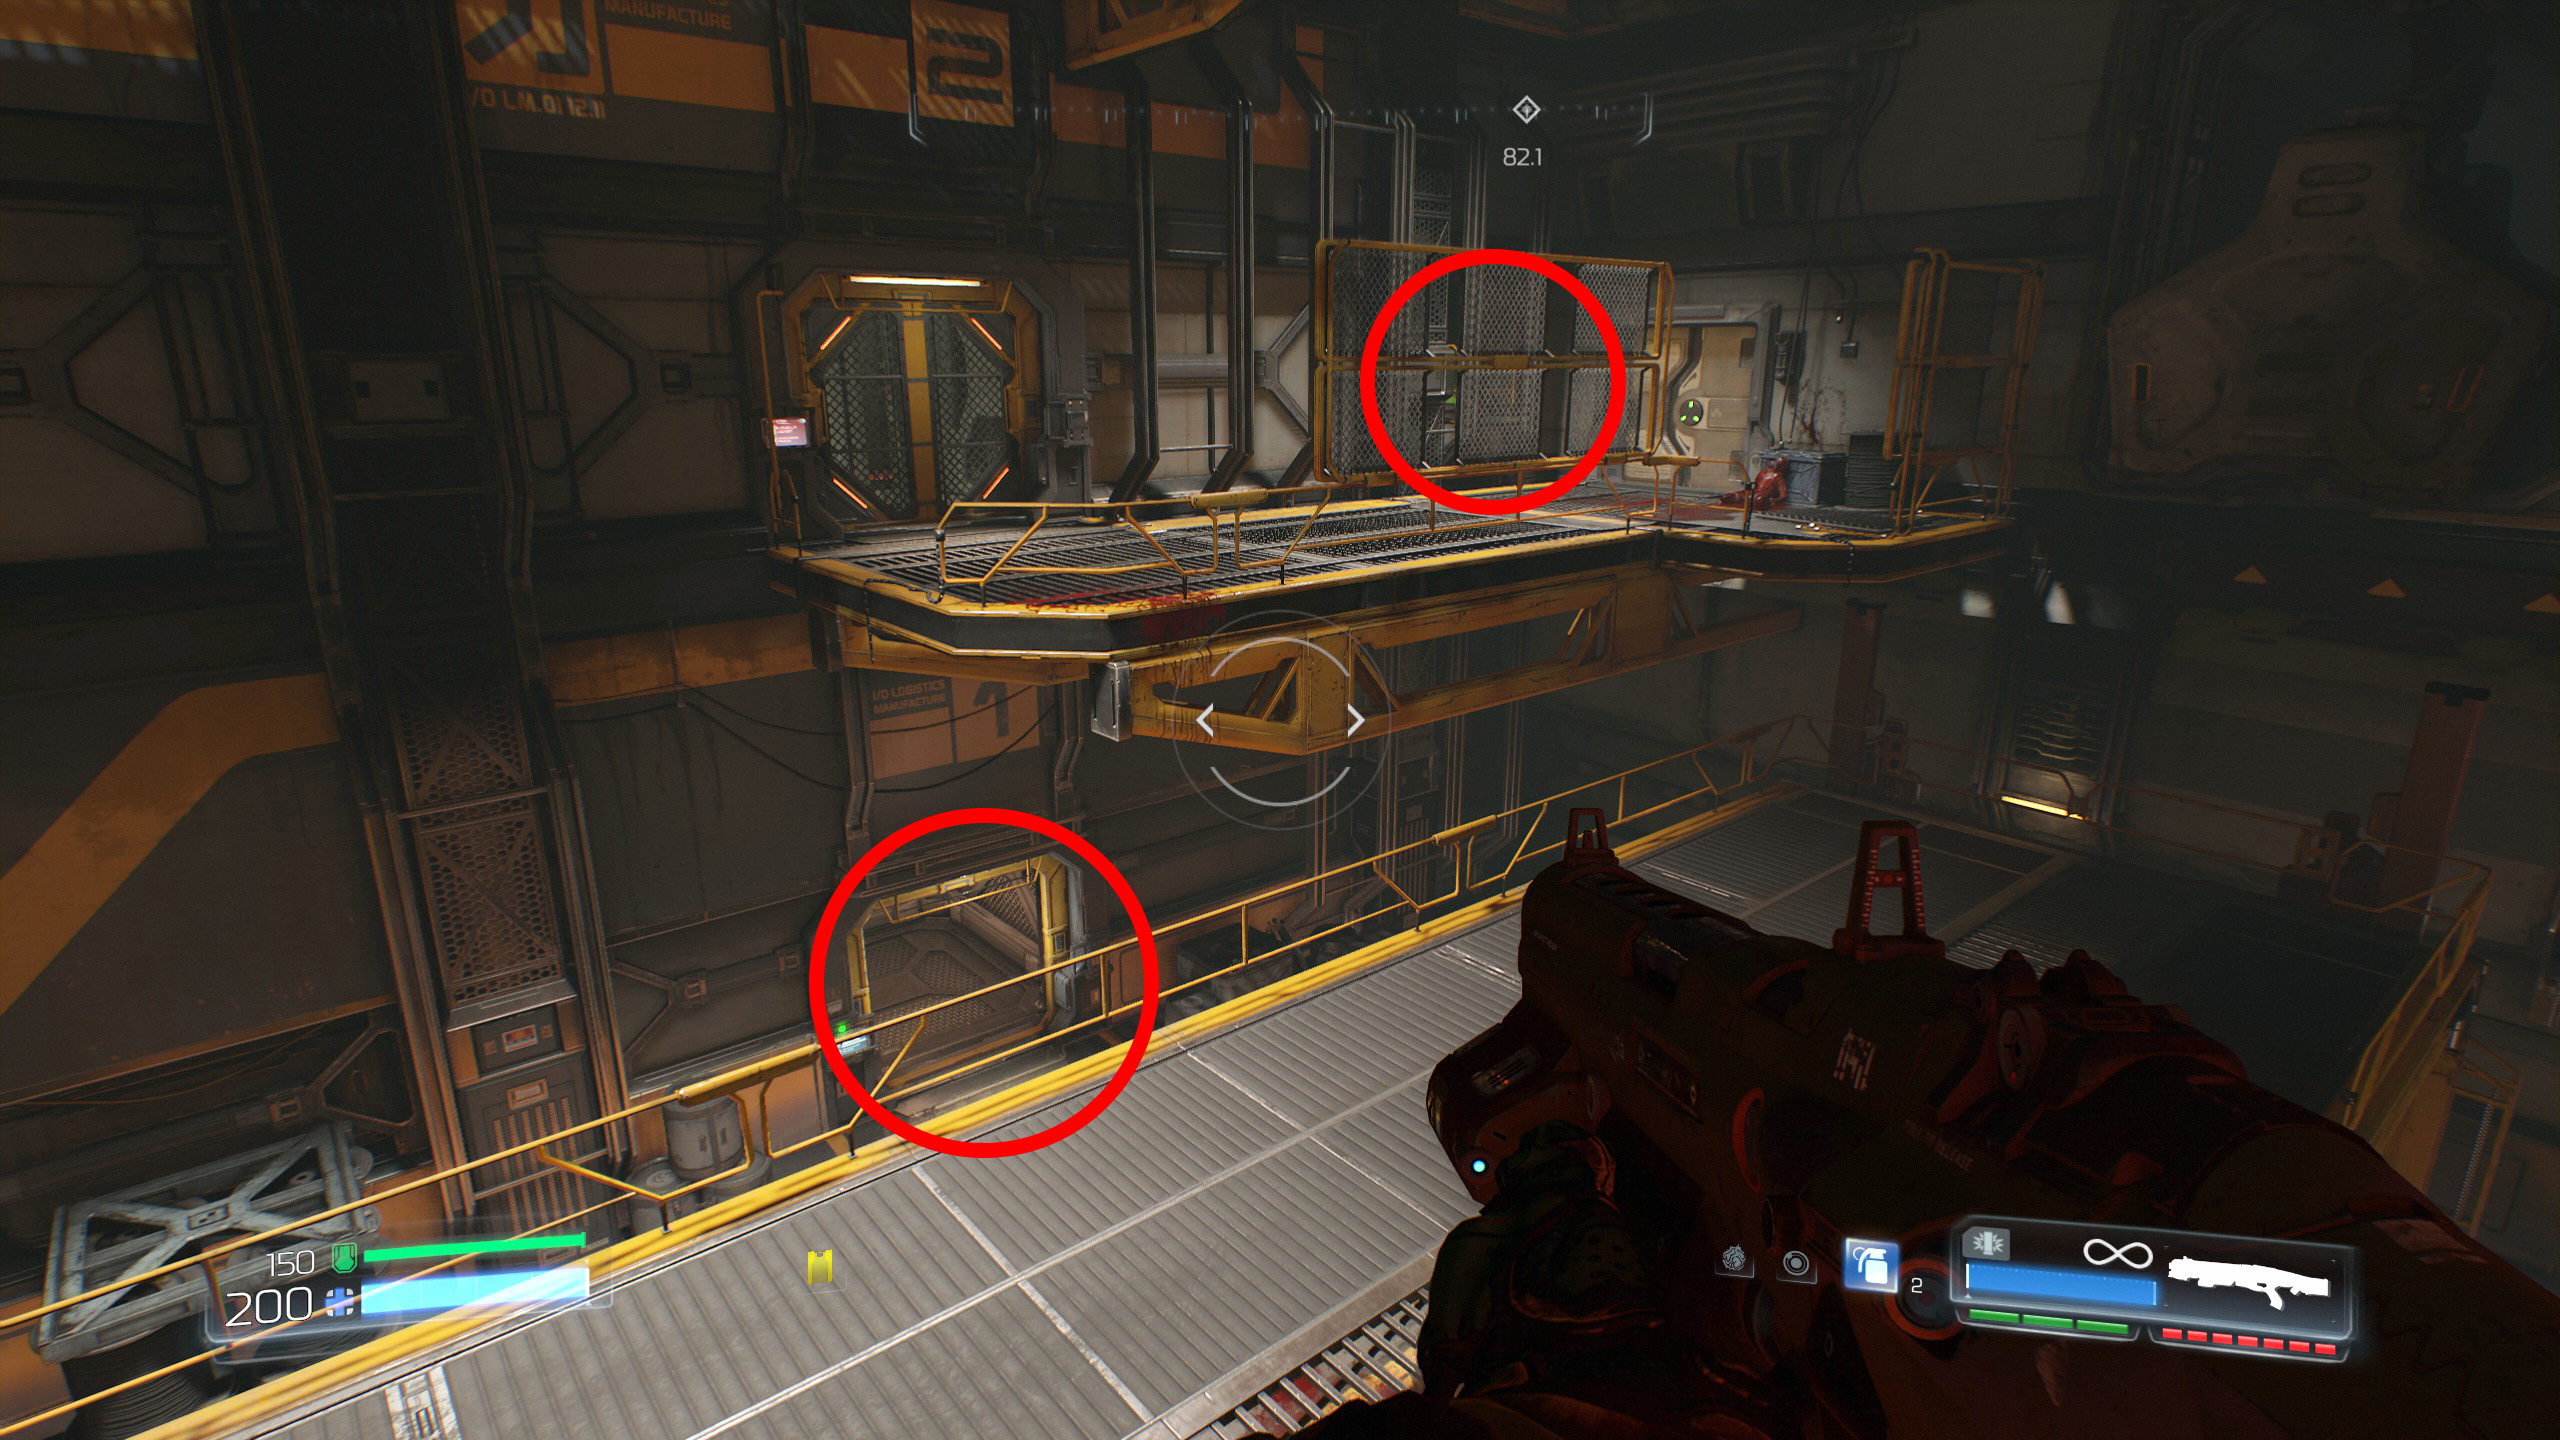
As you face the door where the yellow key was found, take the door on the right and this area will give you secret number 5.
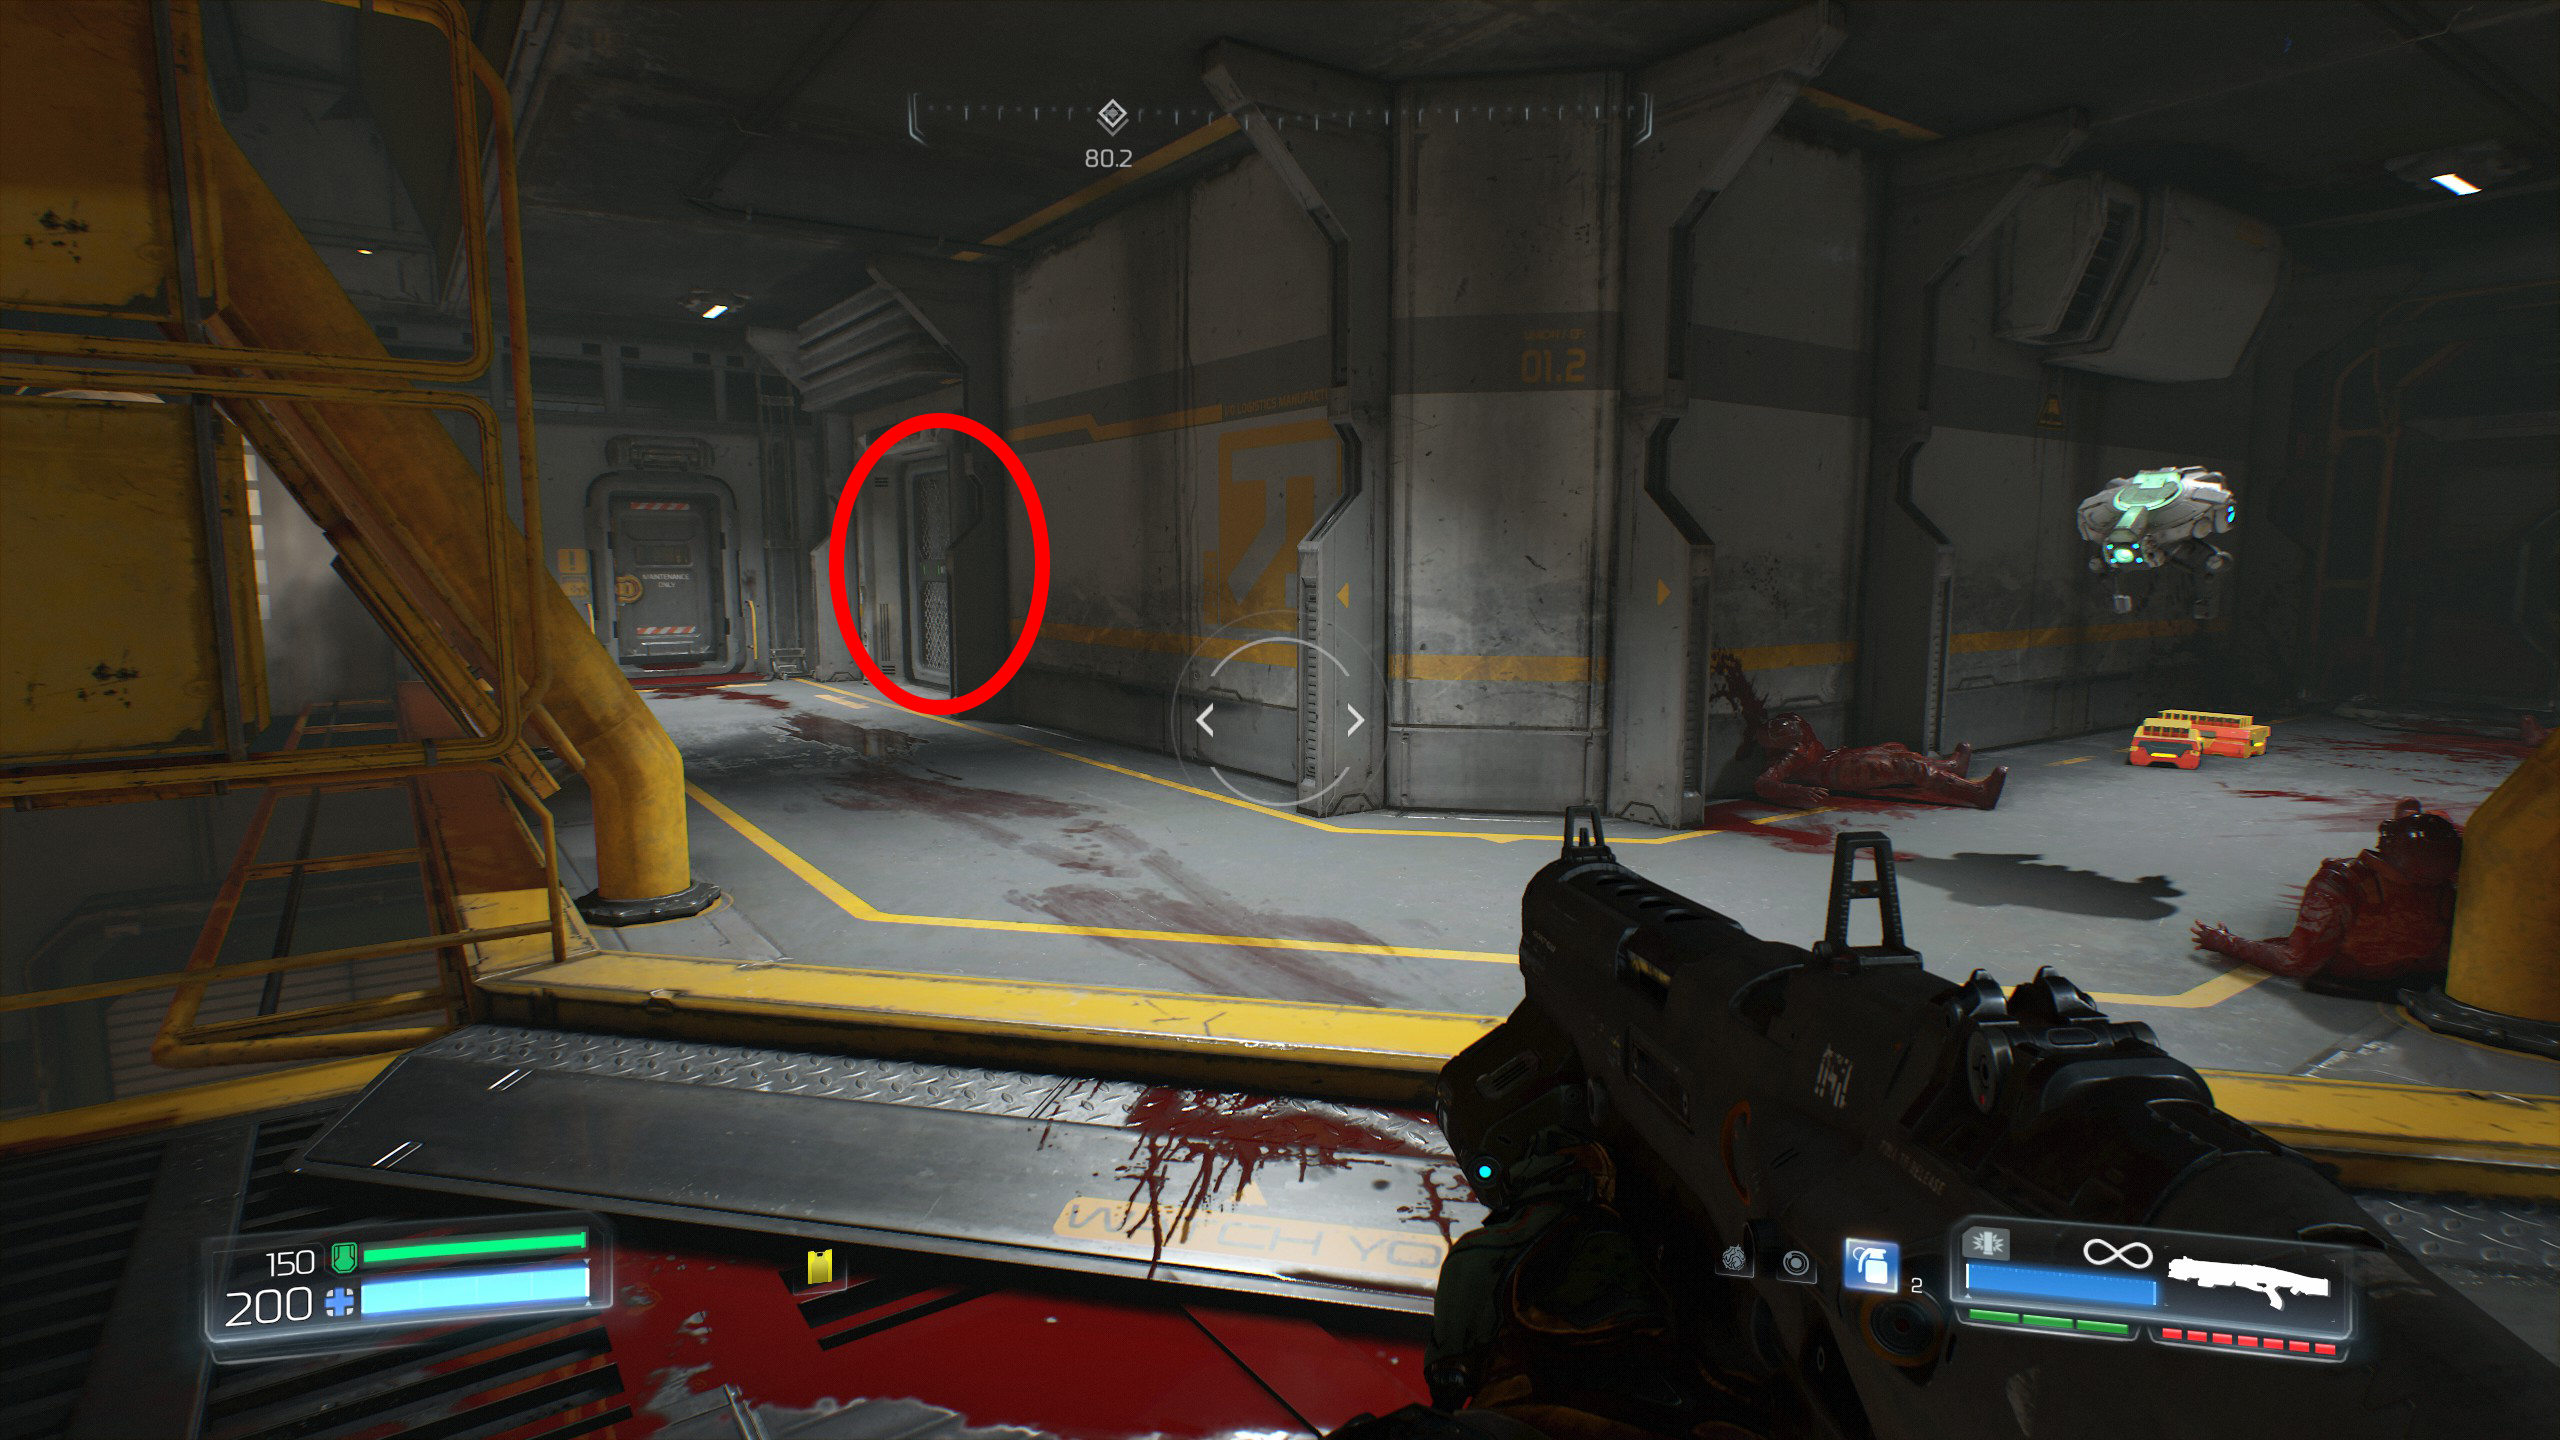
Now immediately start secret 6.
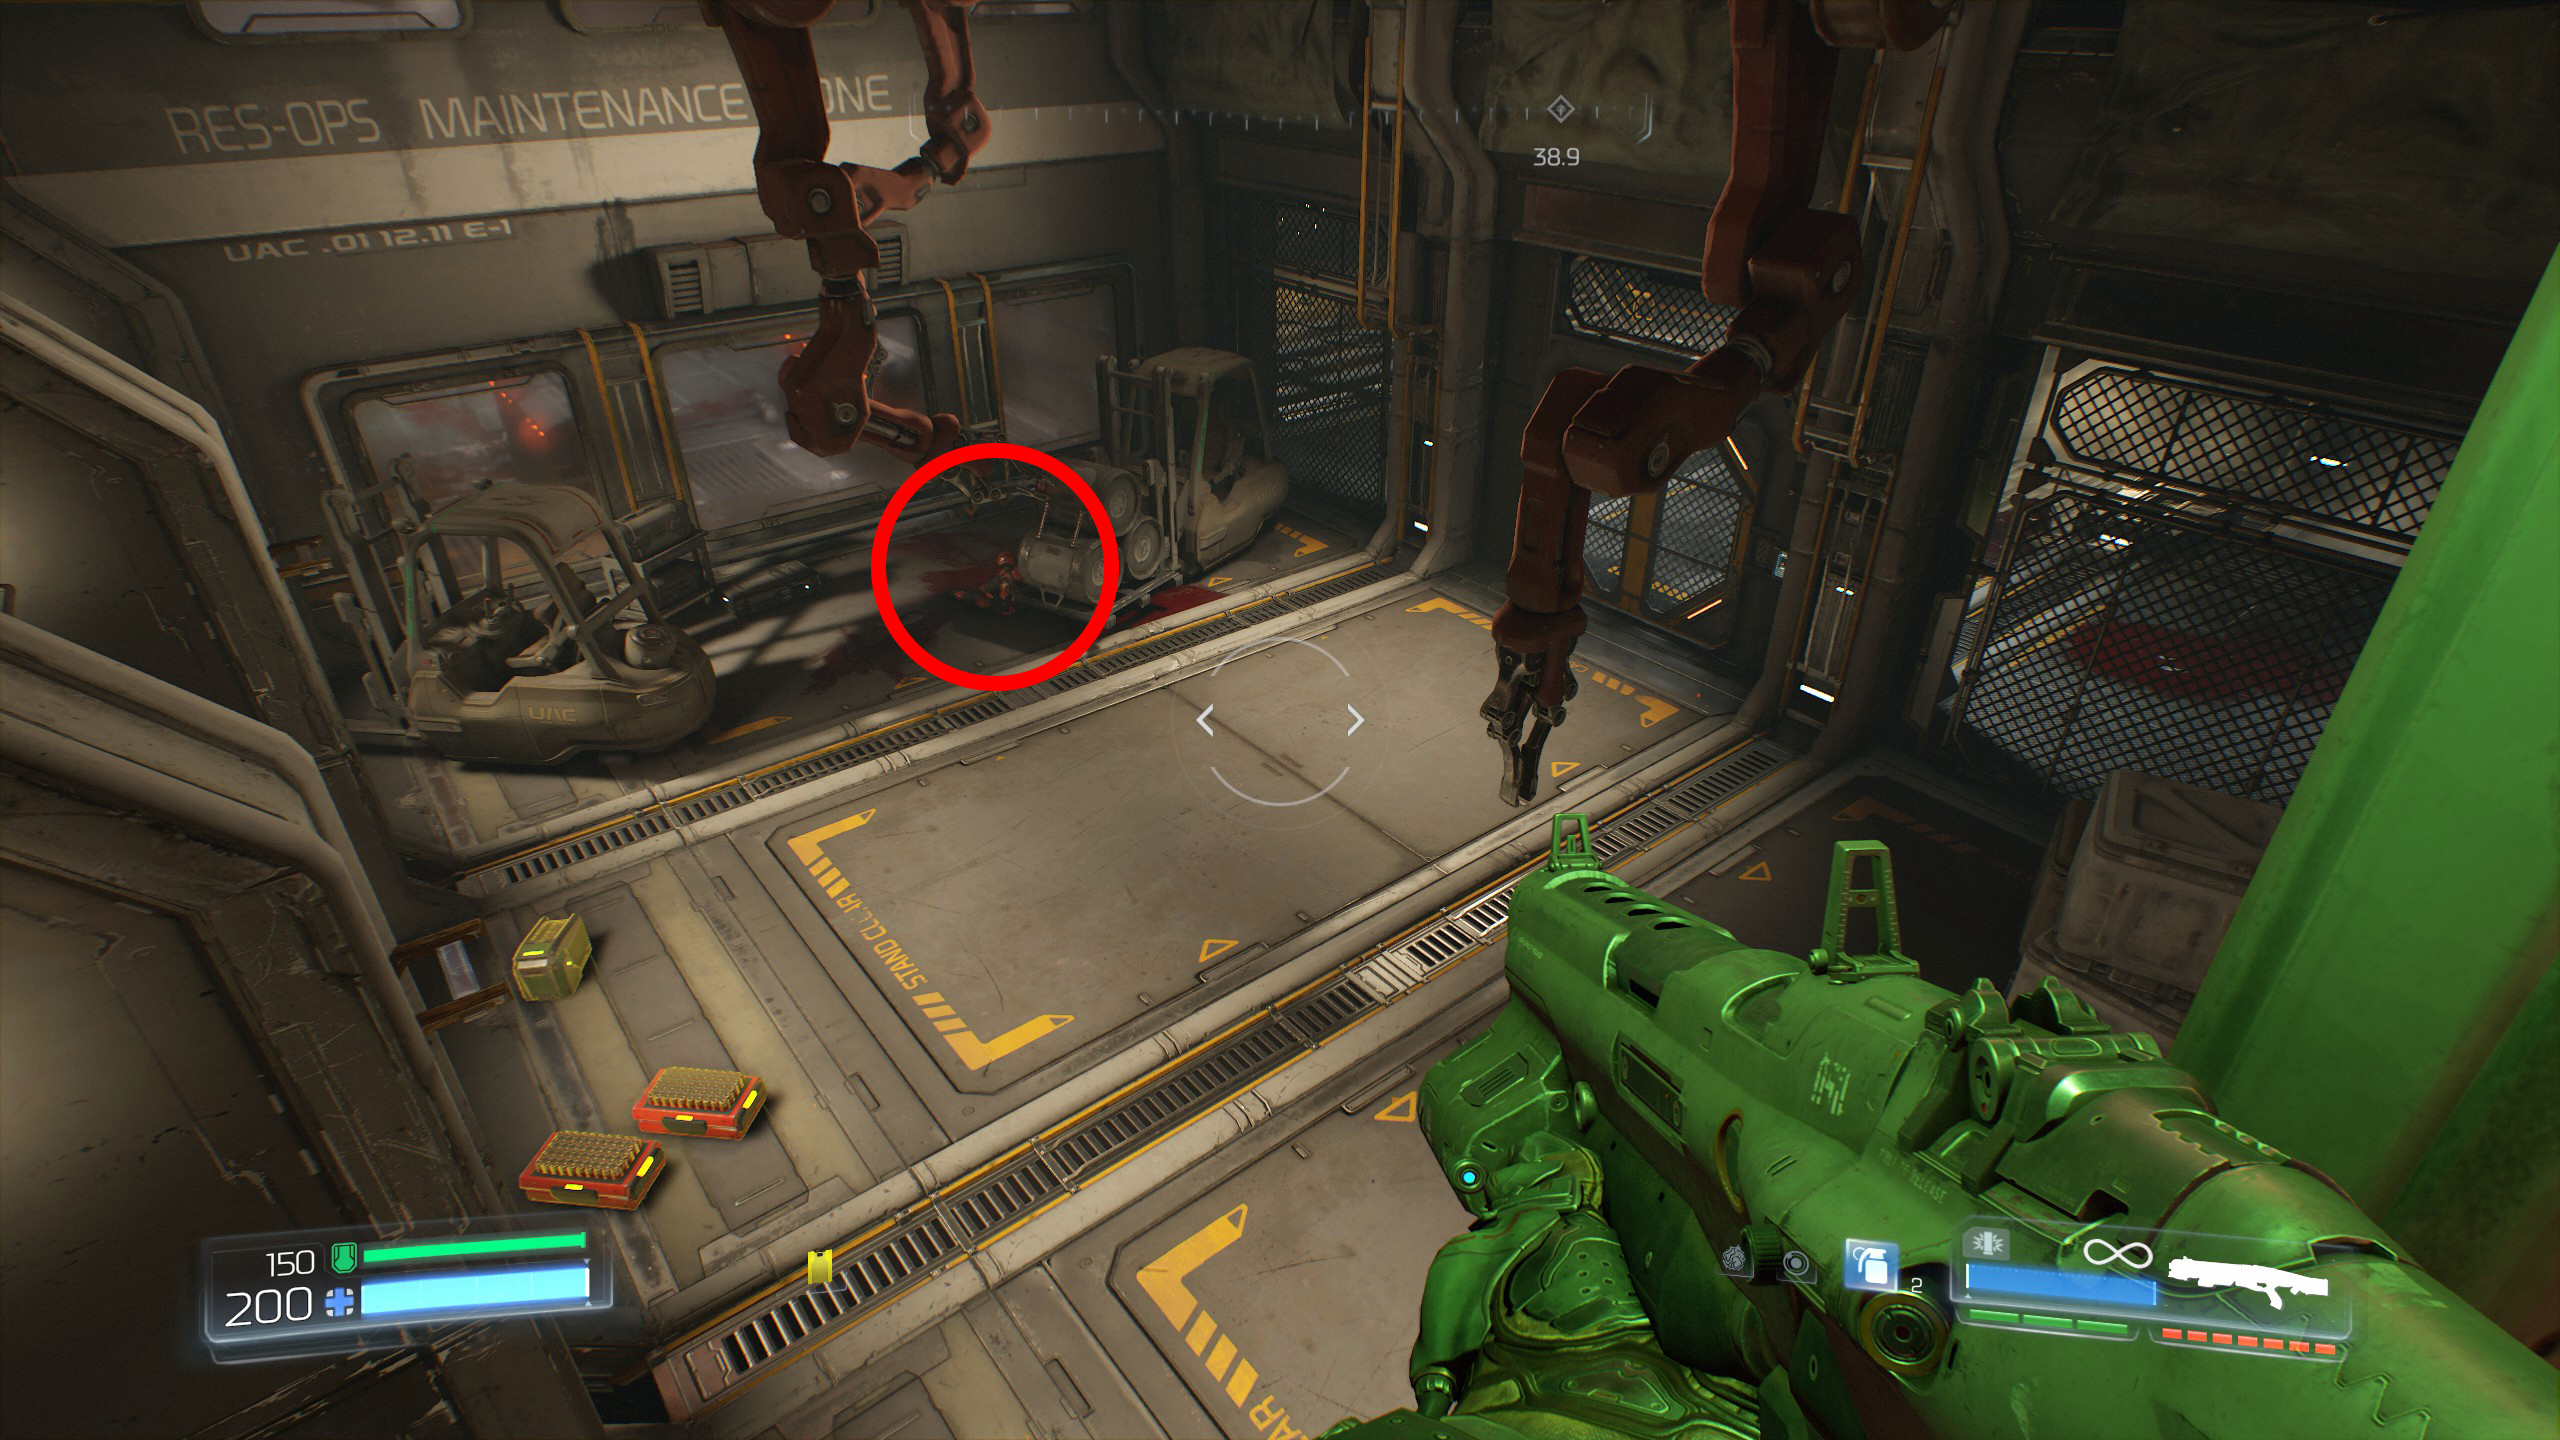
From secret 5, as you enter the room follow the blood stained floor around to the left, on the lower left side you will see a small tunnel or shaft that takes you to another room.
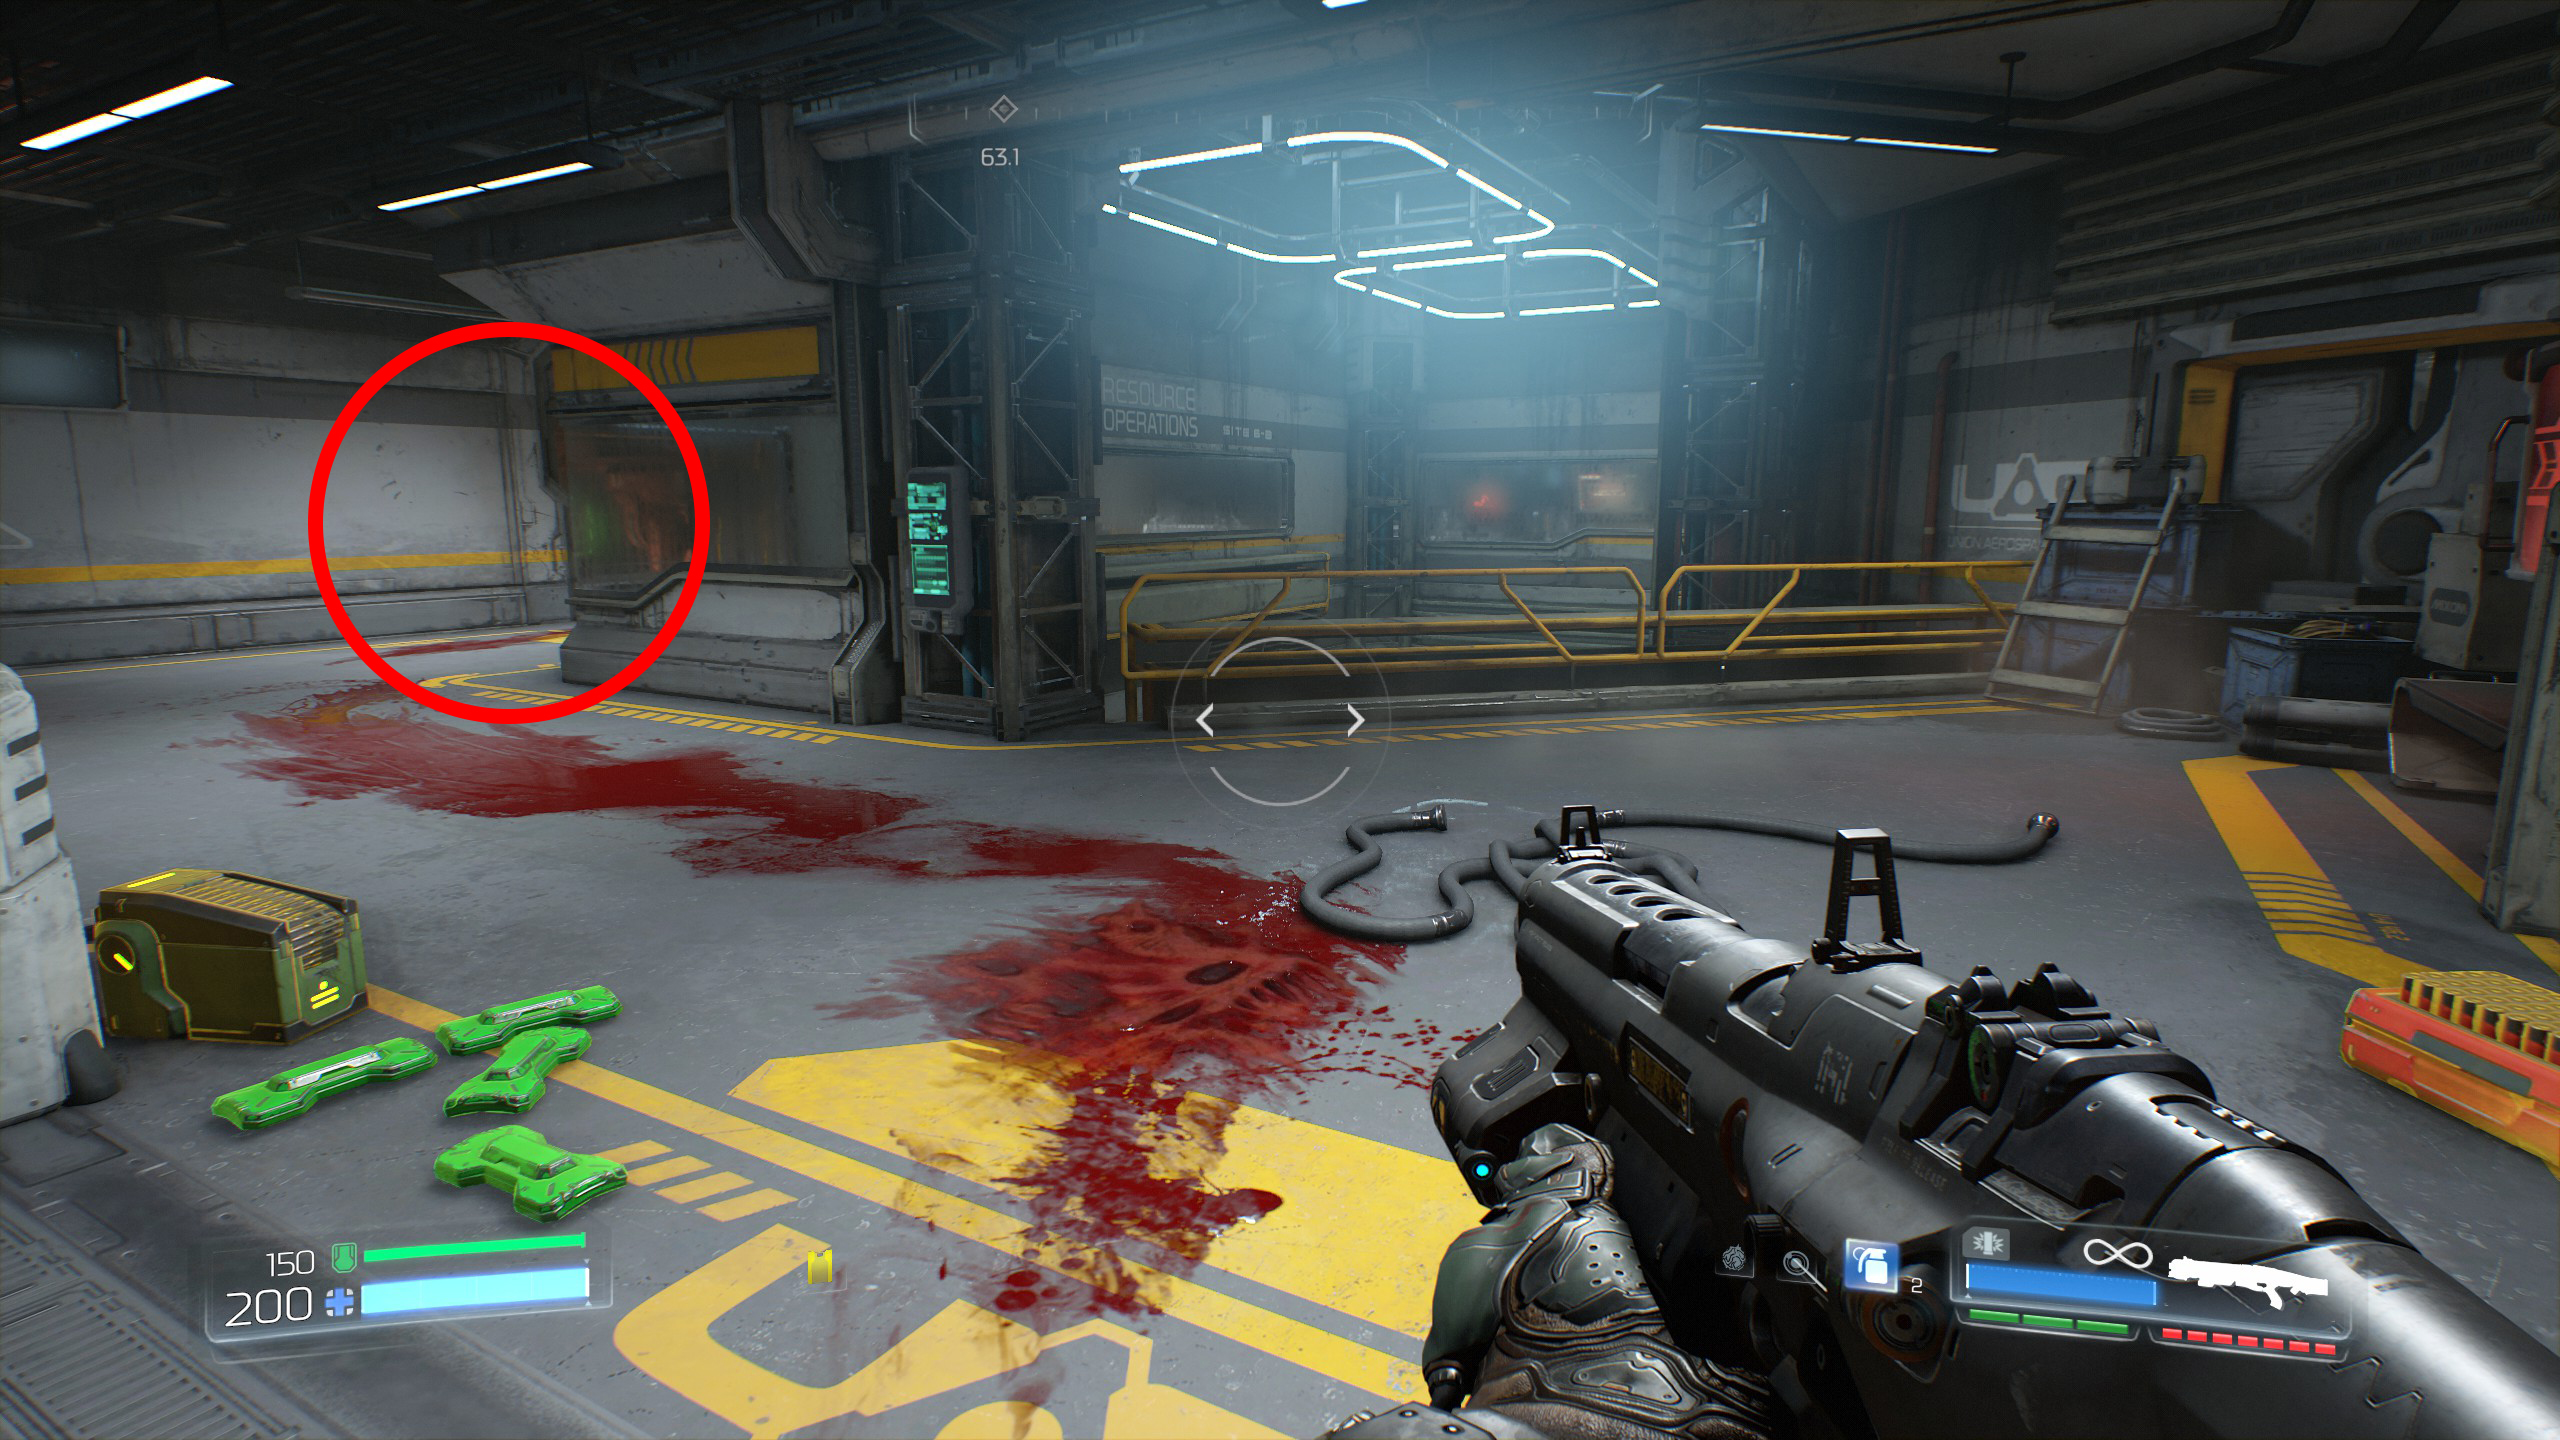
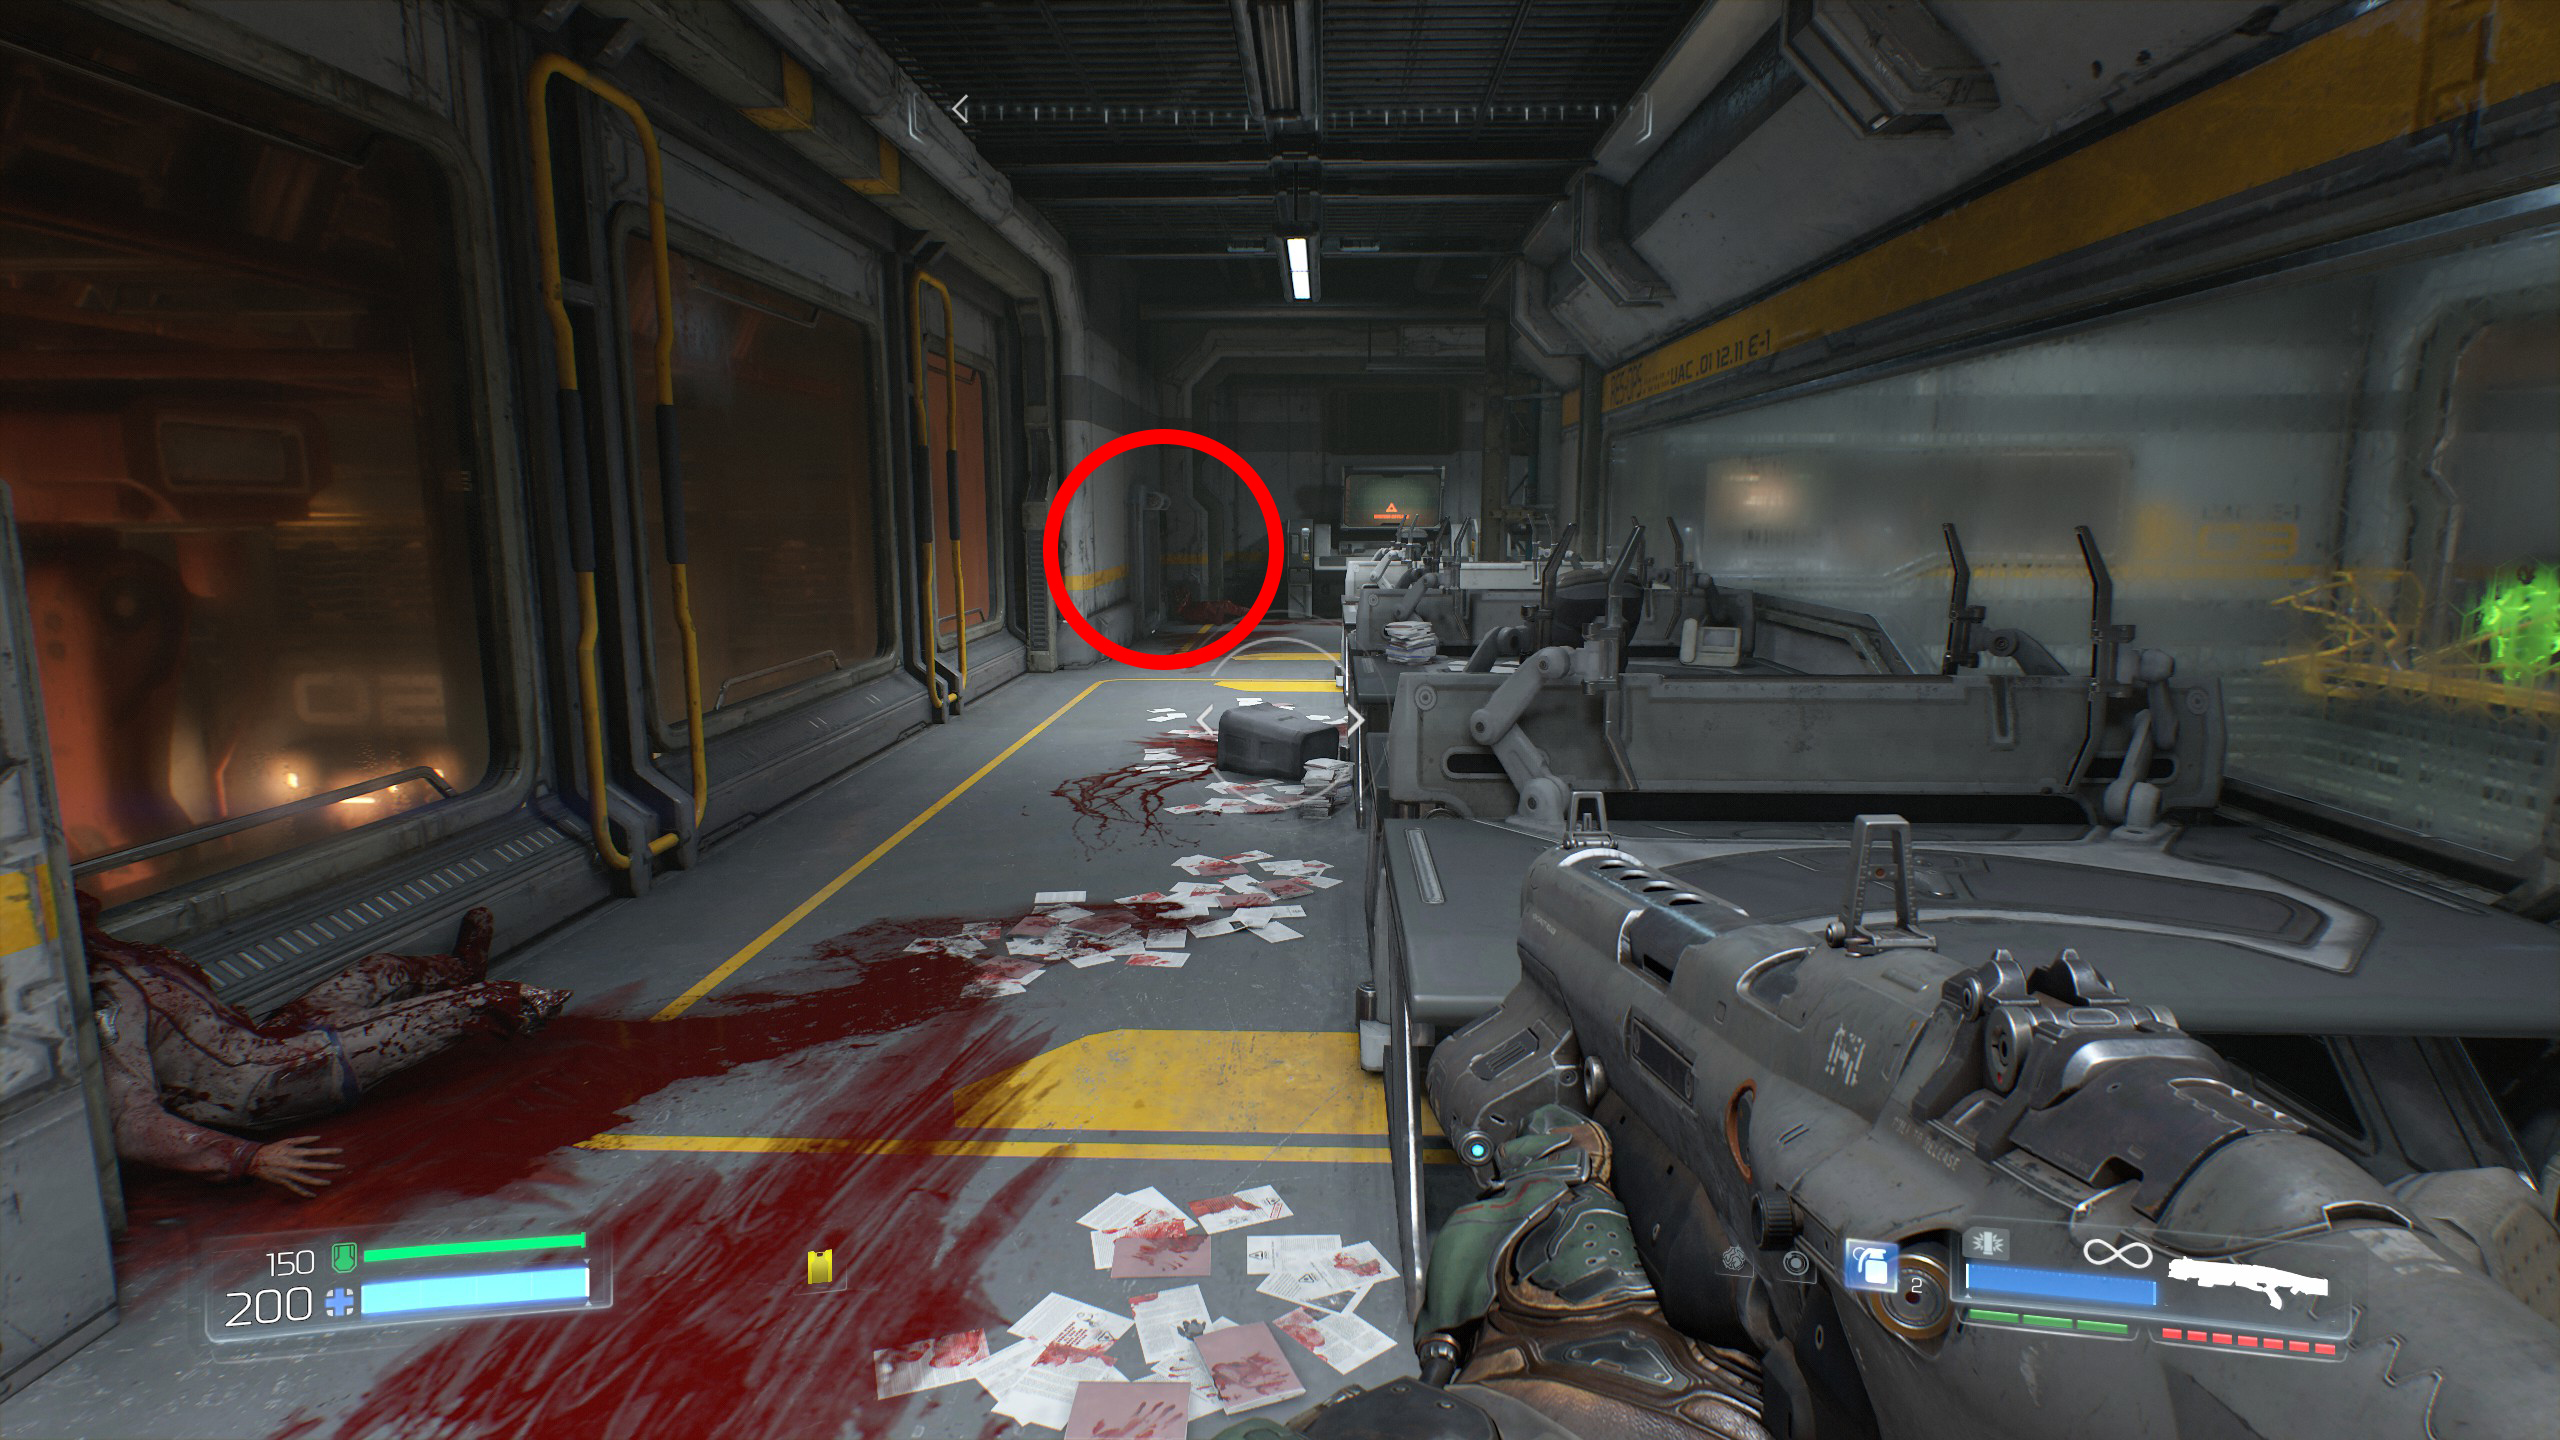
Enter the tunnel/shaft and drop down into the next room to gain secret number 6 and also an Elite Guard.
Continue the mission.
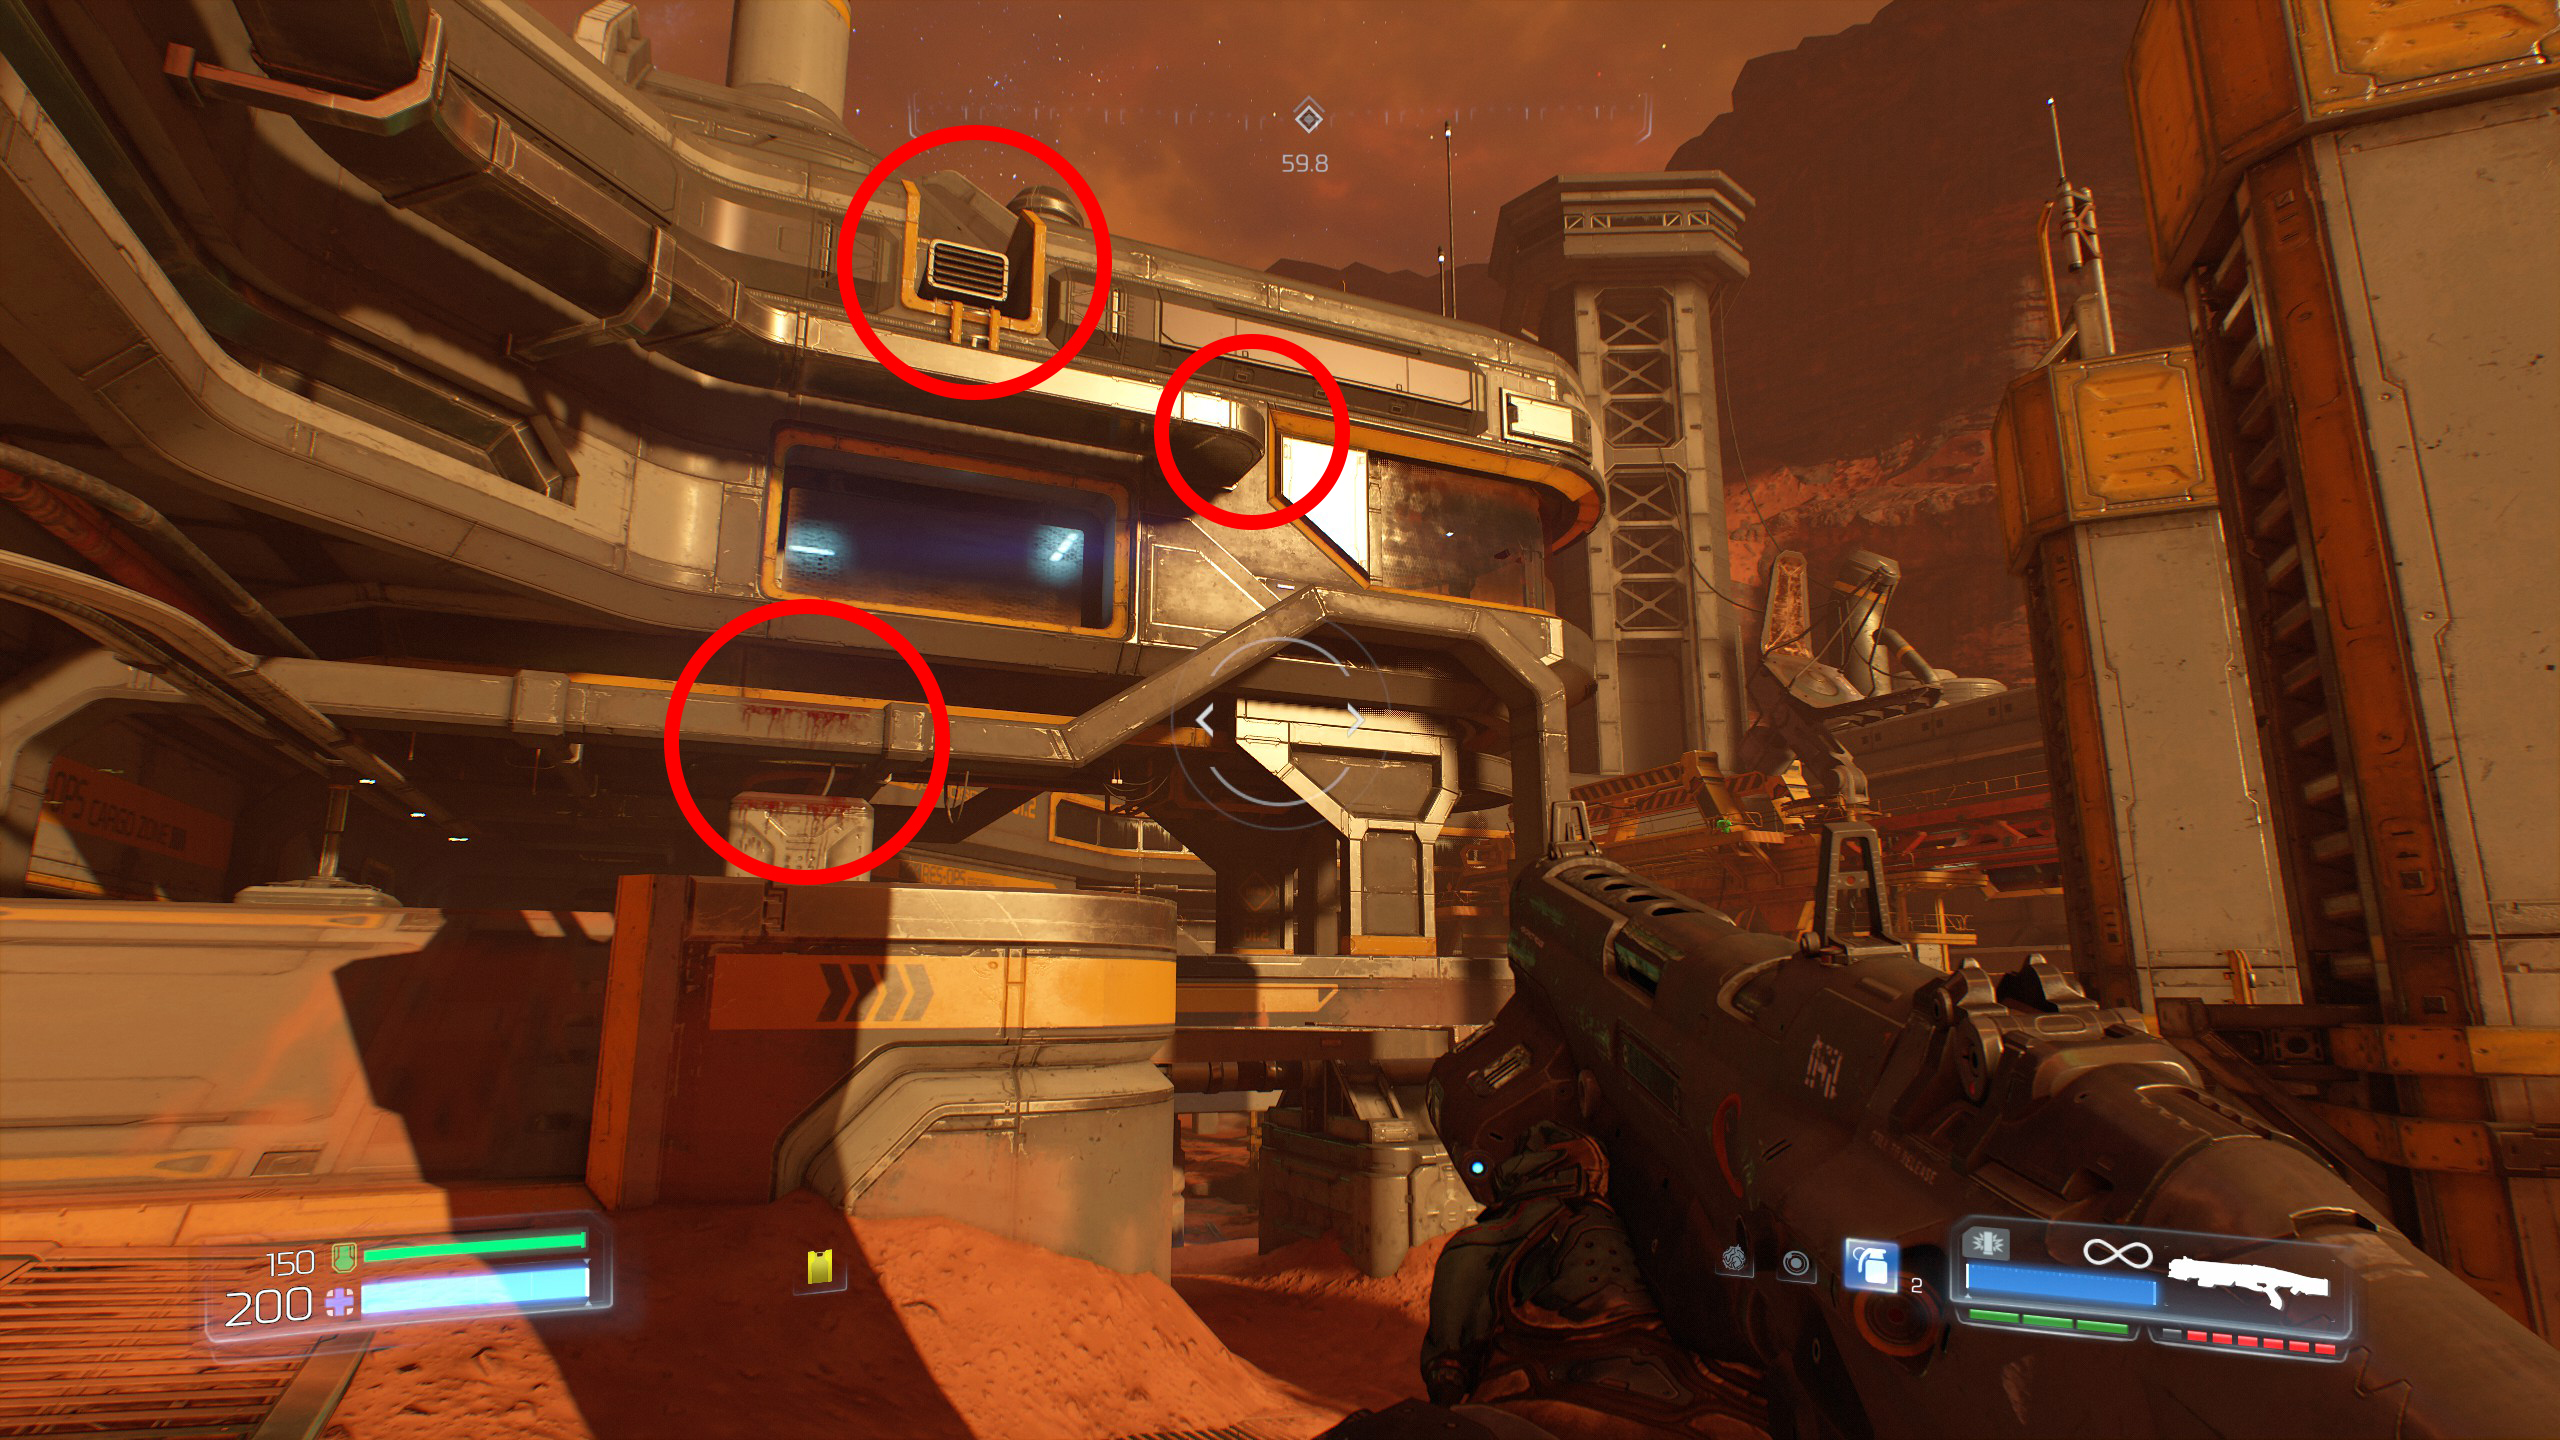
When you reach the top, on the opposite side of the rooftop will be a small room containing a Doomguy for secret number 7.
You will also find a hatch on the rooftop that you can drop down into to proceed with the mission.
Mission 3 - Foundry
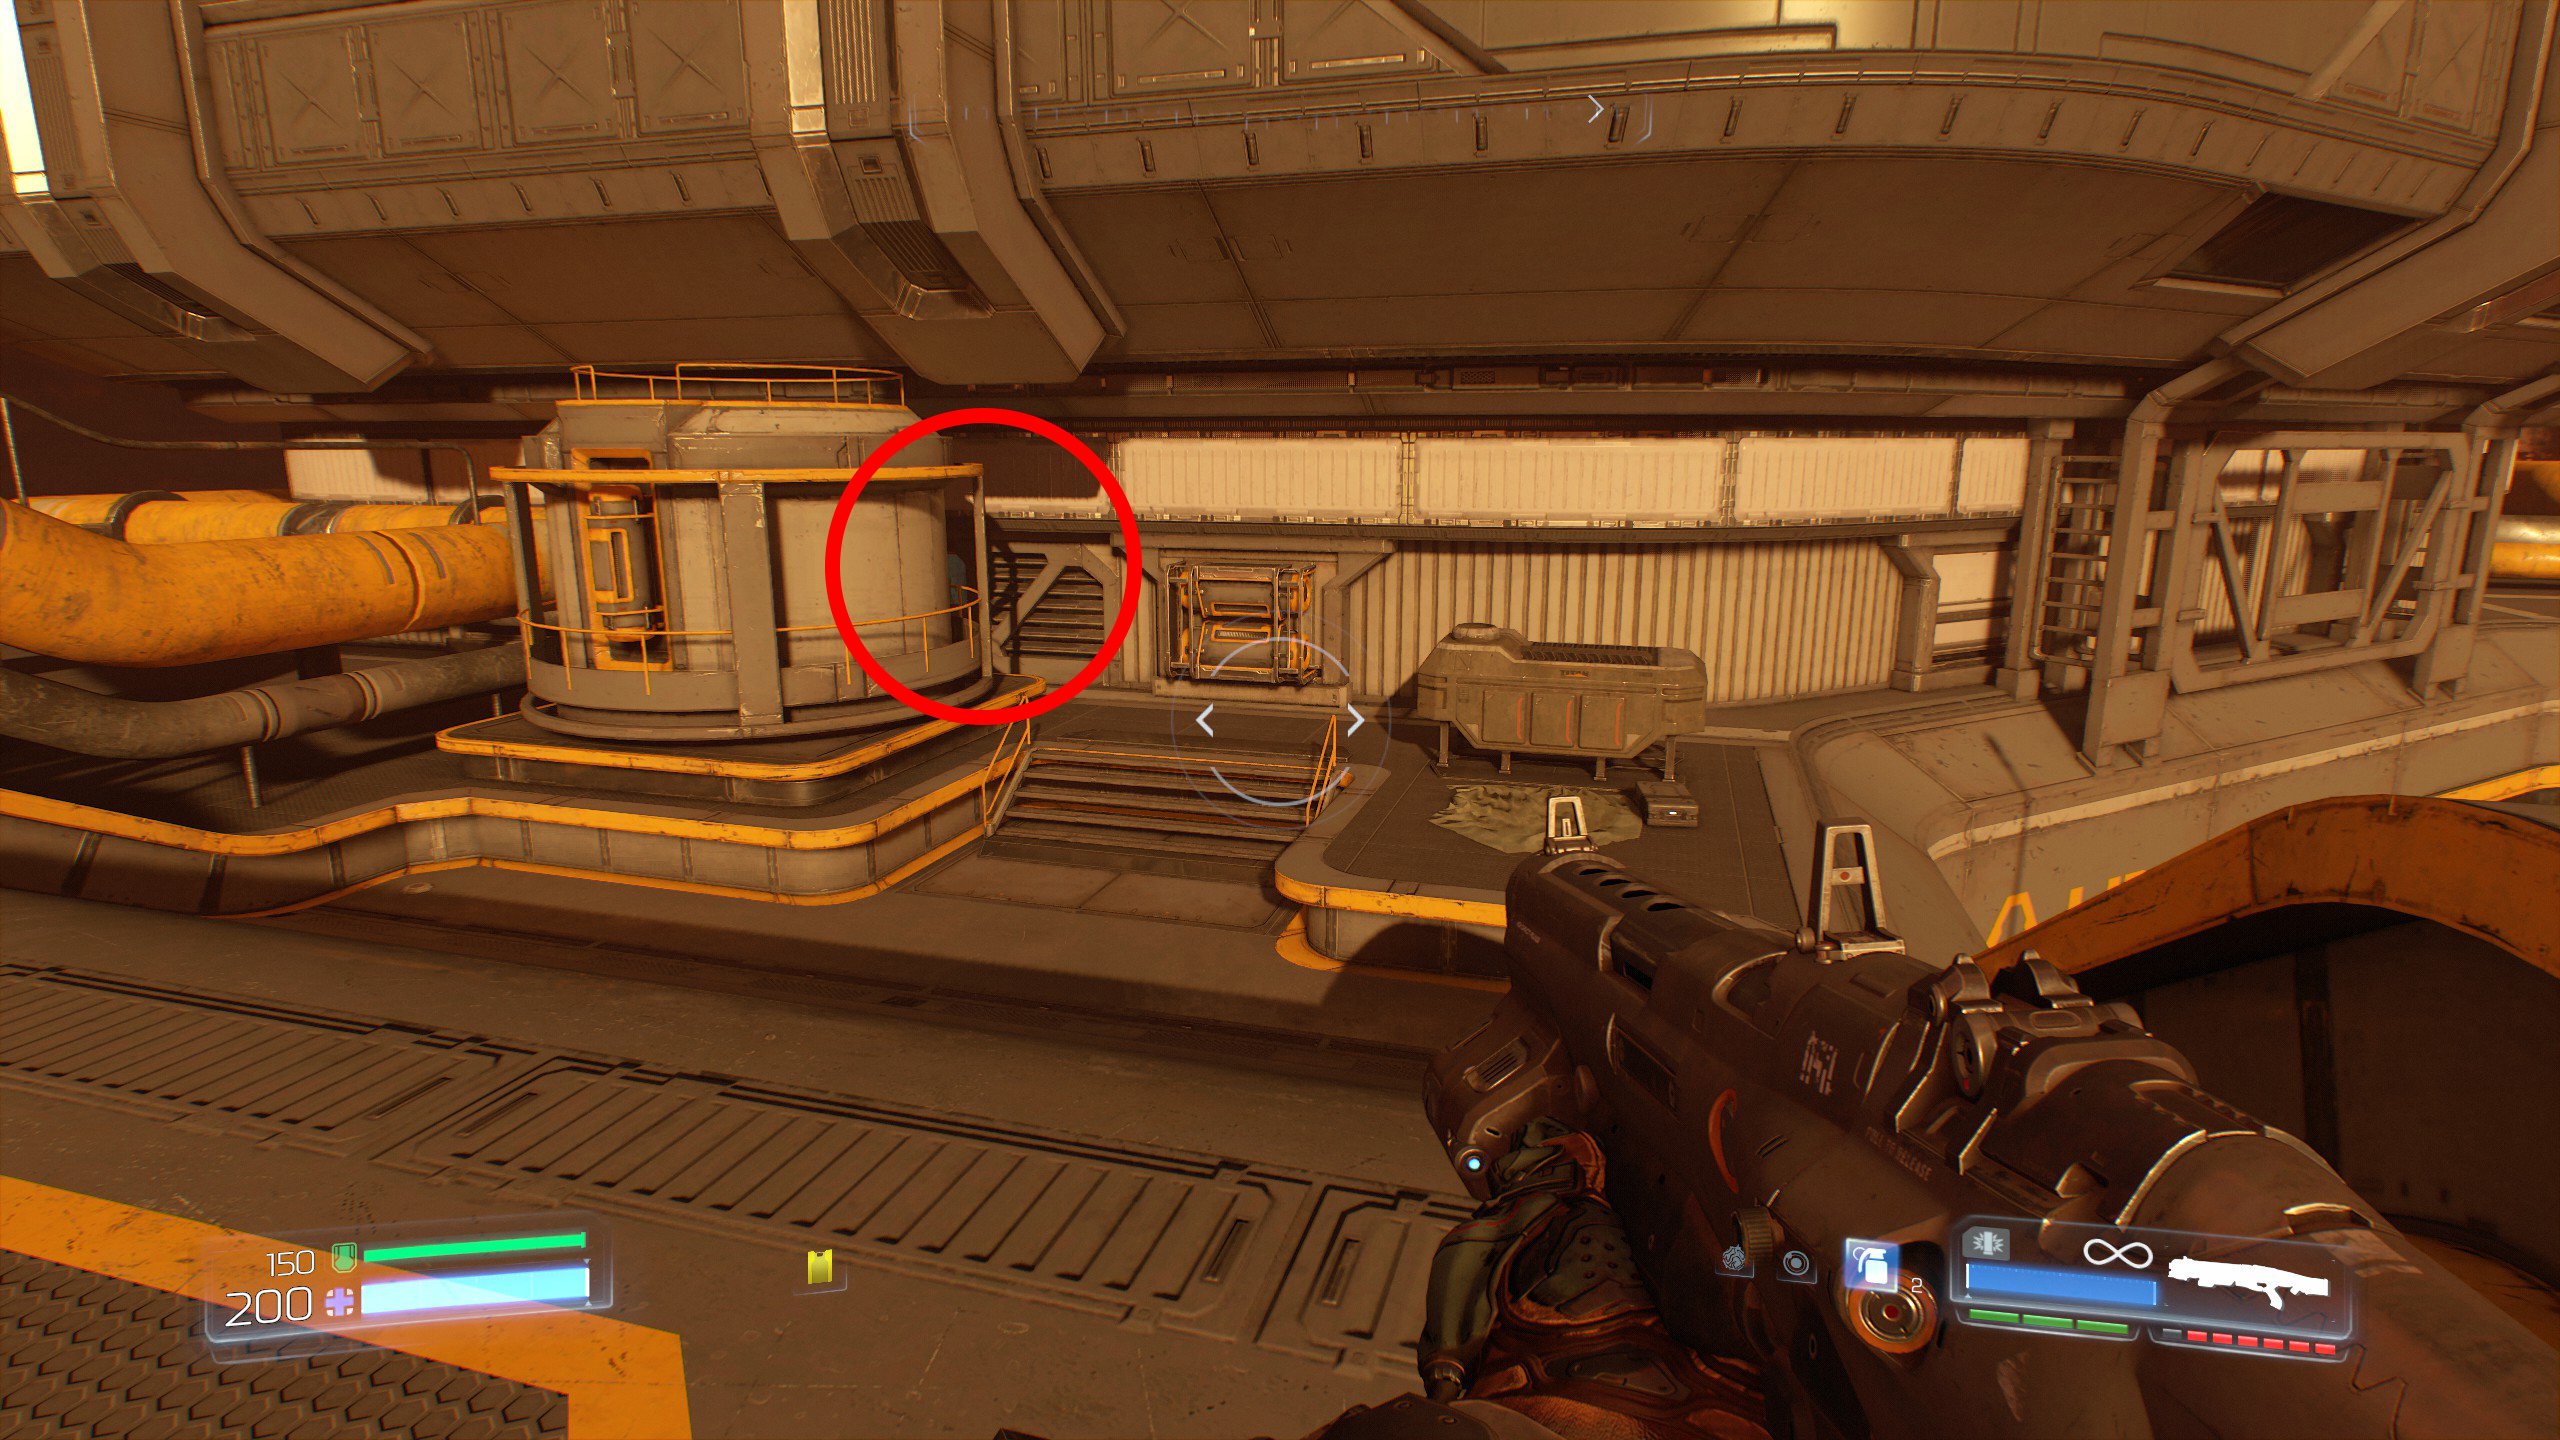
Inside you will find a Field Drone but continue the mission until you reach a room with another broken pathway and a dead guy on the opposite side.
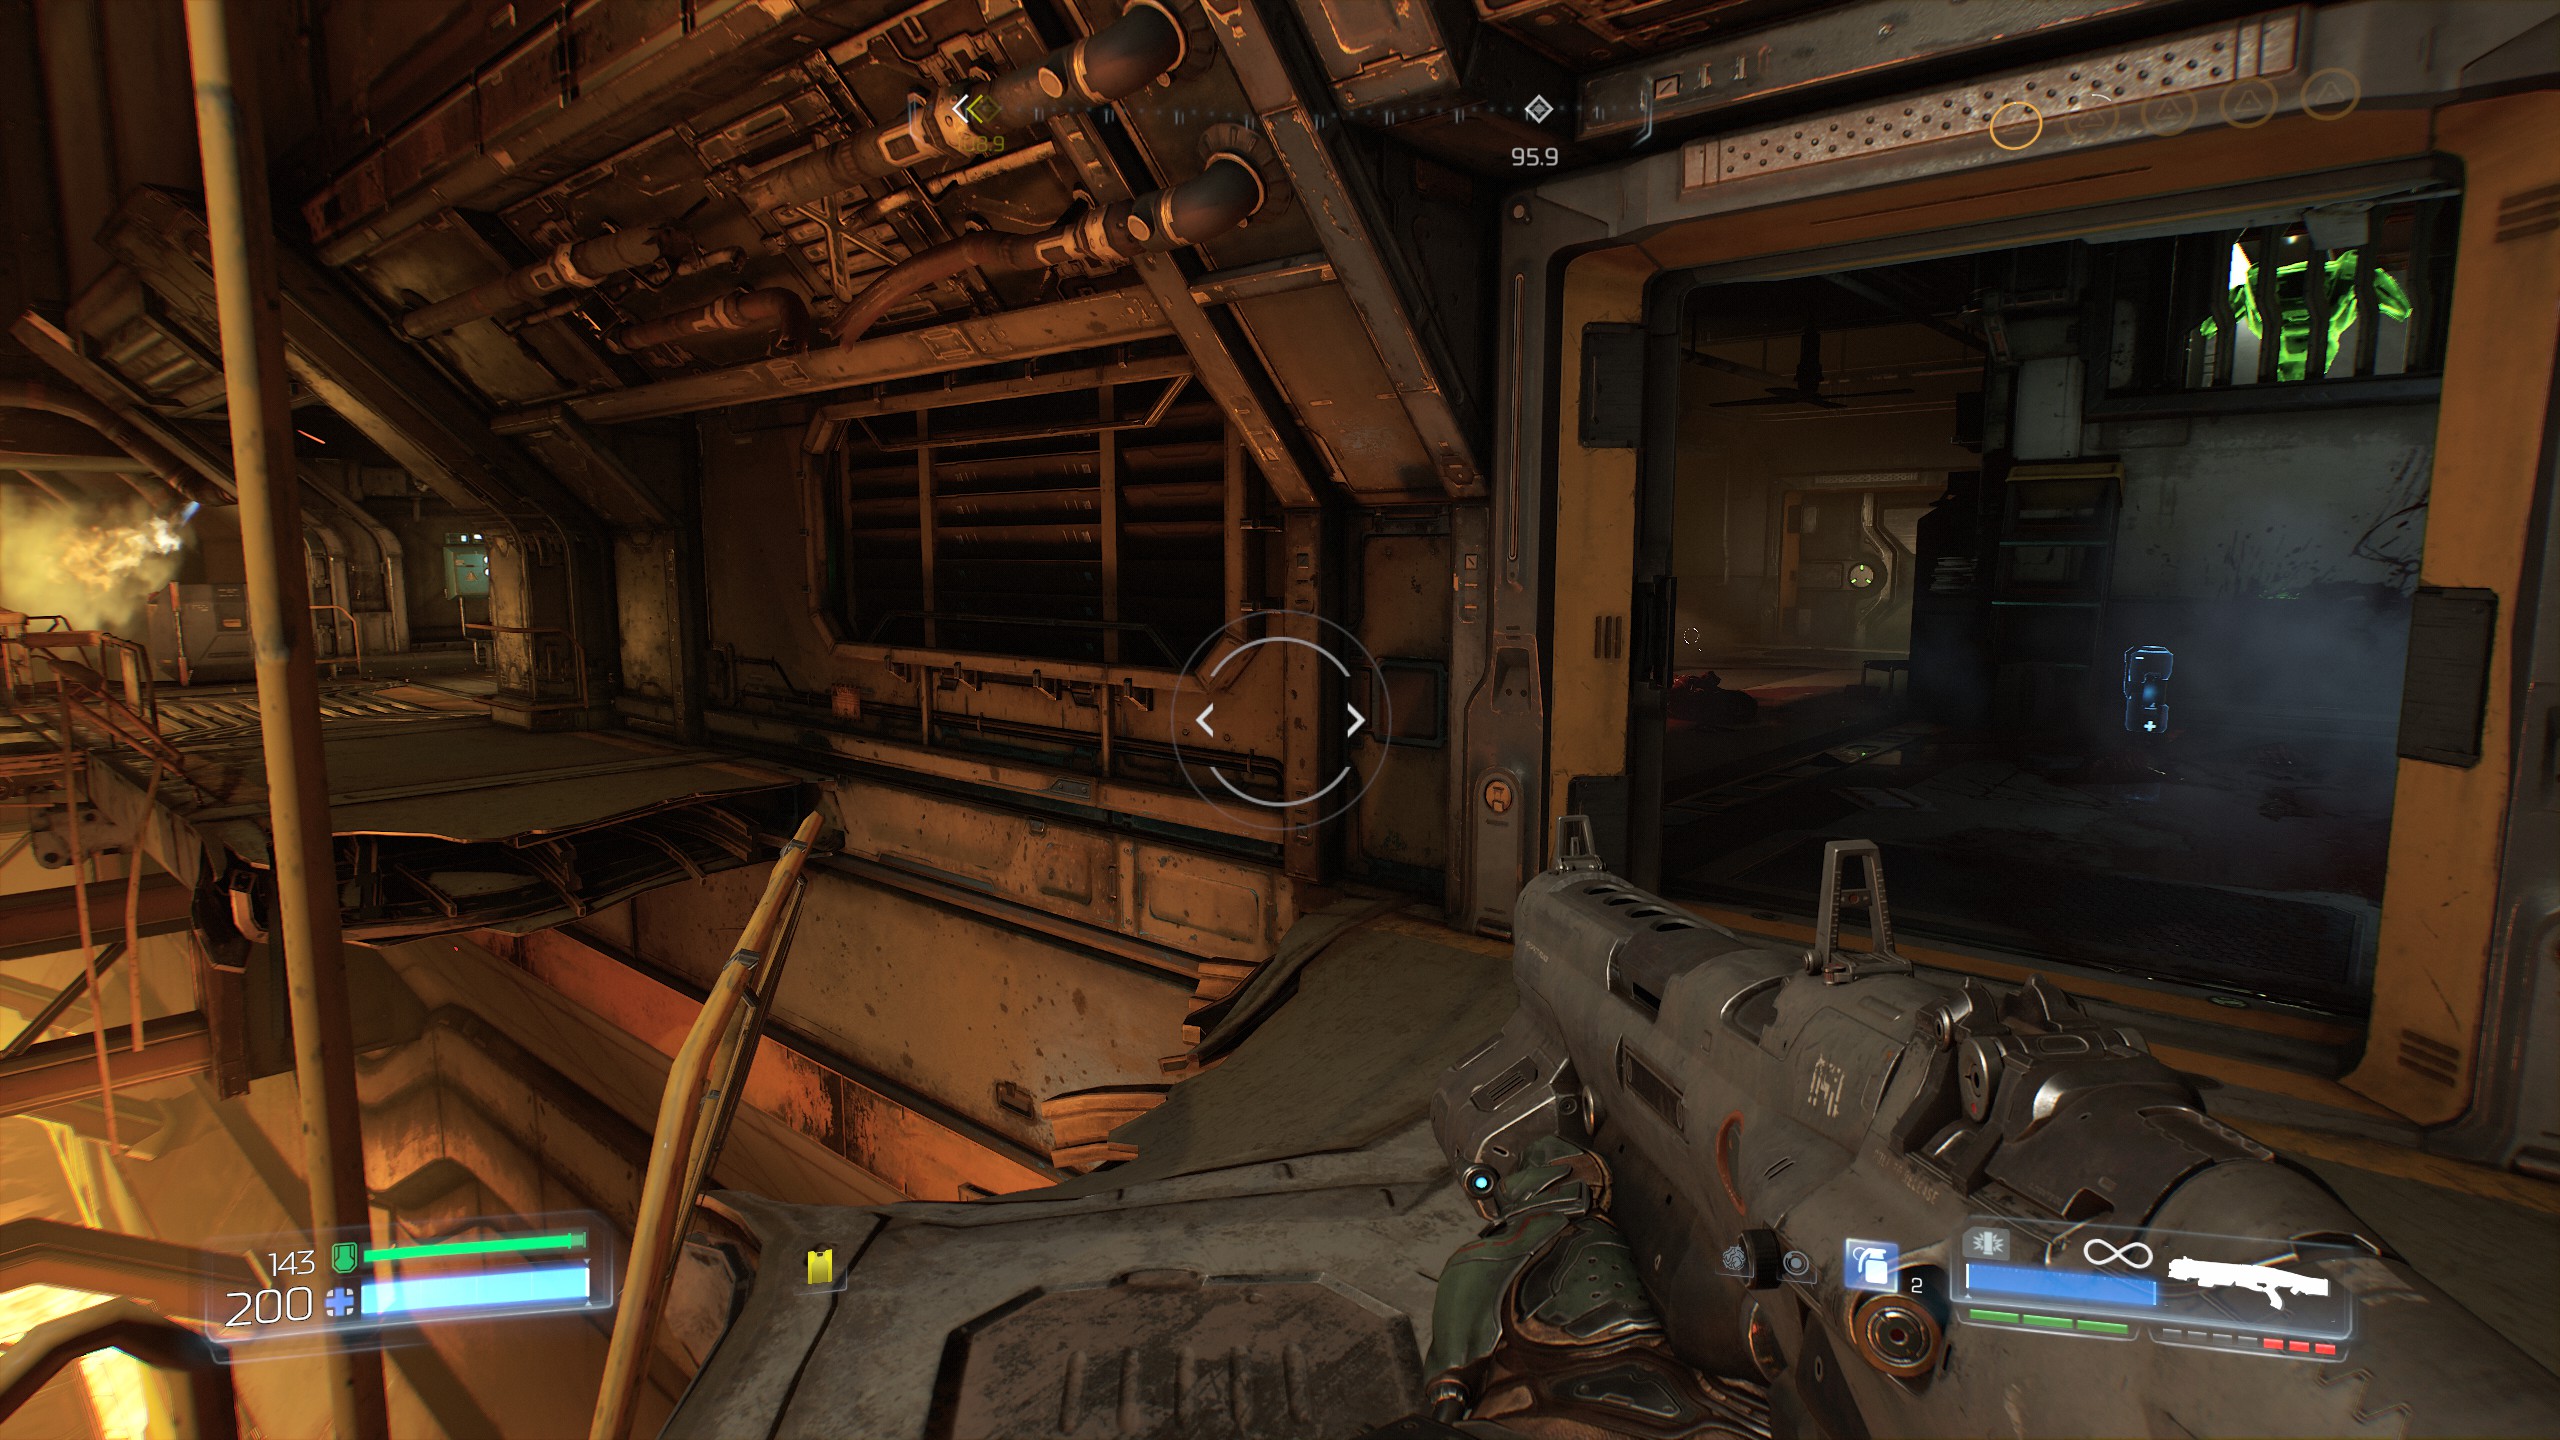
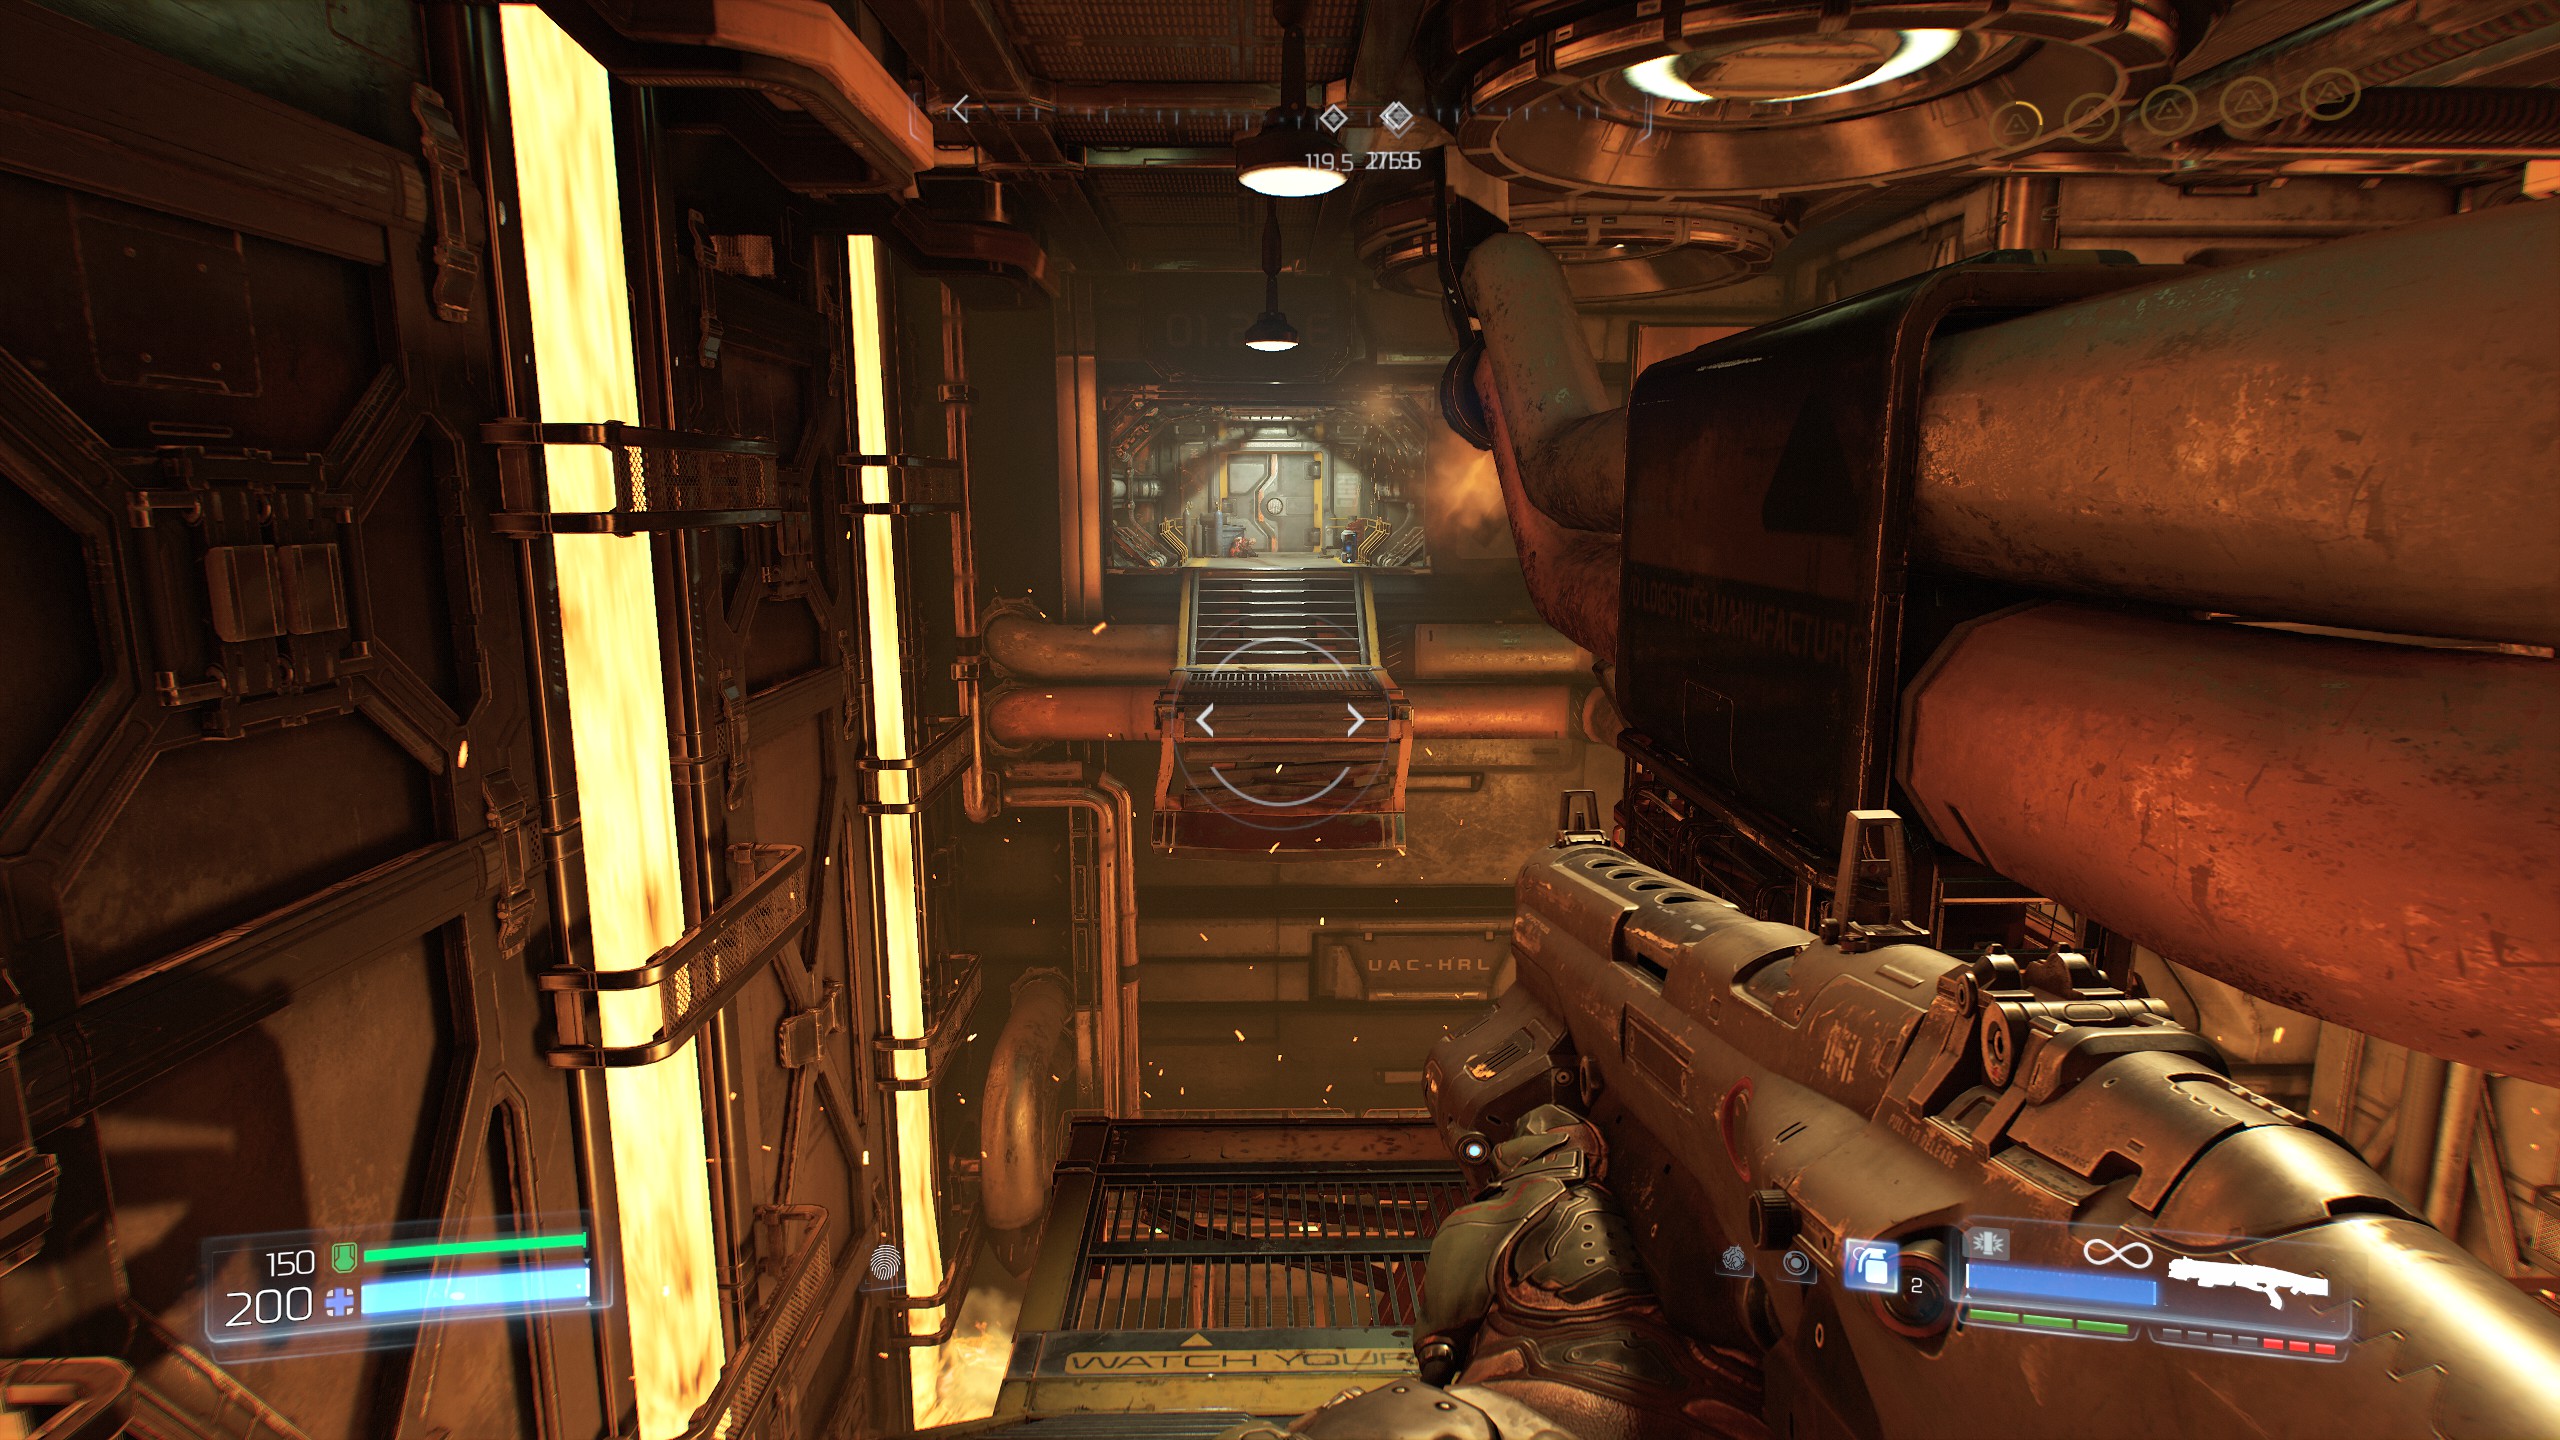
Jump or climb across to the other side (This is also part of the mission) and face back towards the direction you came from and you will see on the left a small ledge, follow the ledge around and you will come to an opening that you can climb into, this will be secret number 1.
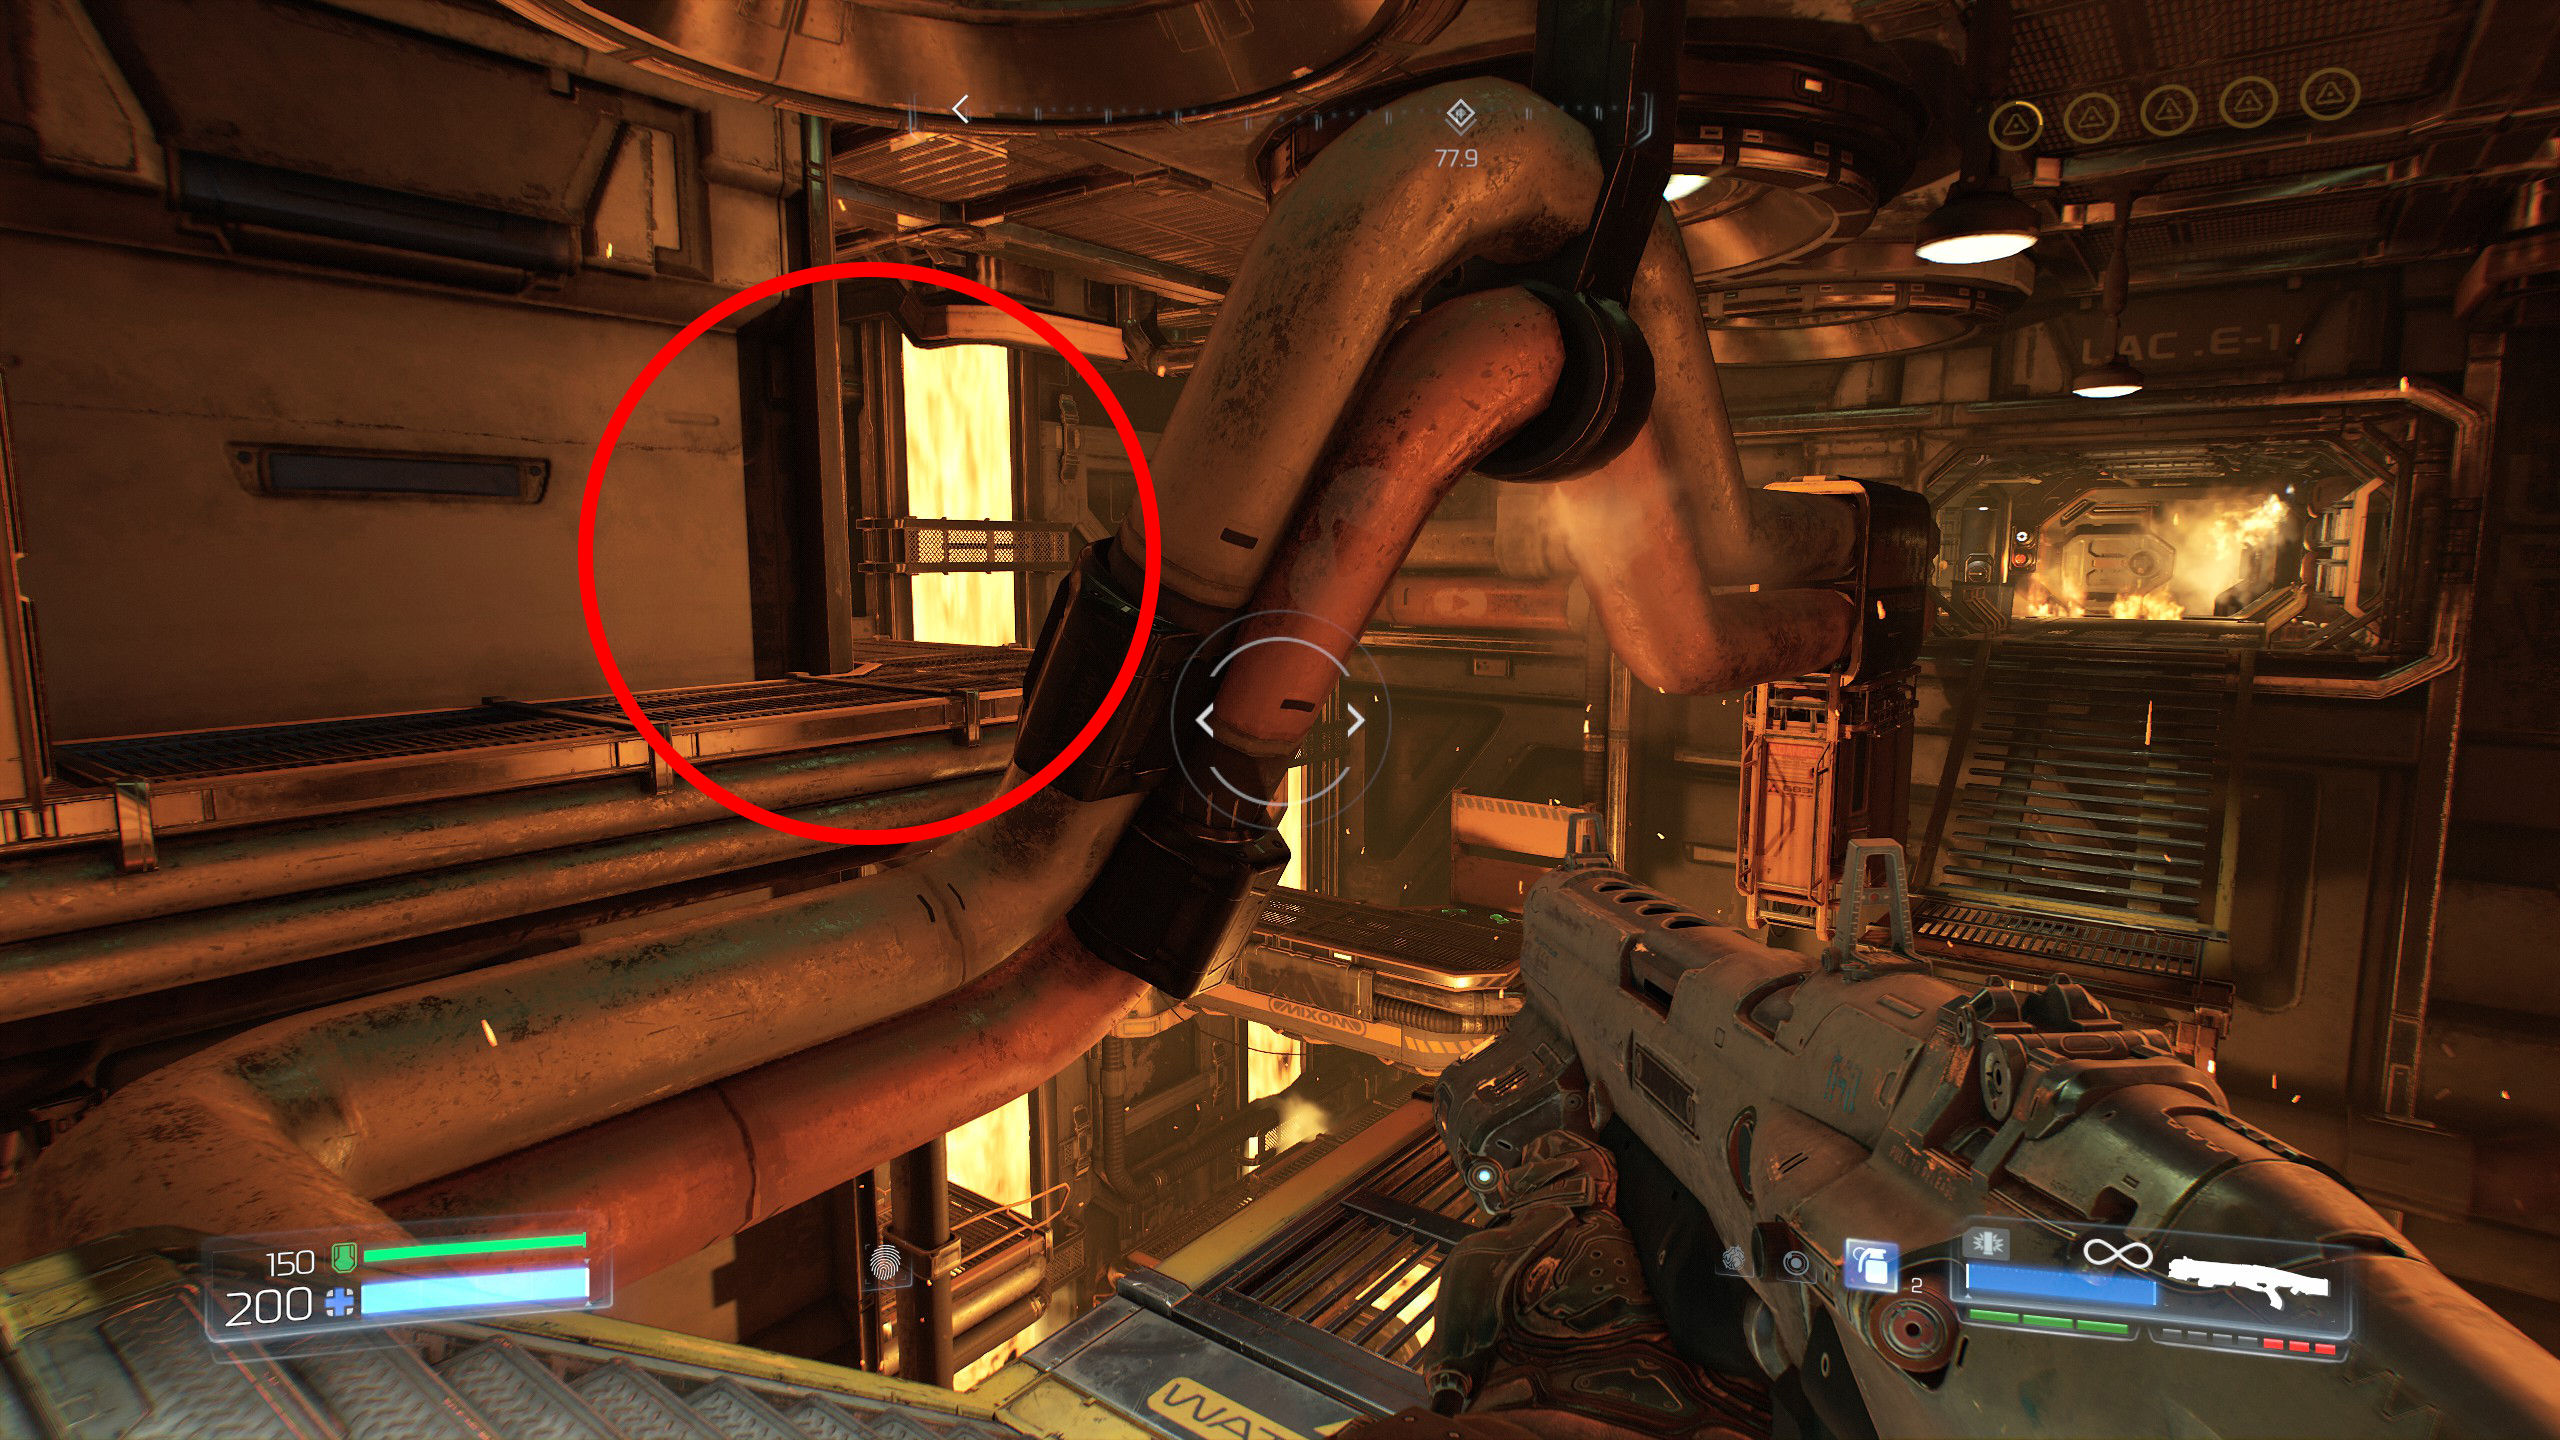
Take the path on the right side around to the very back.
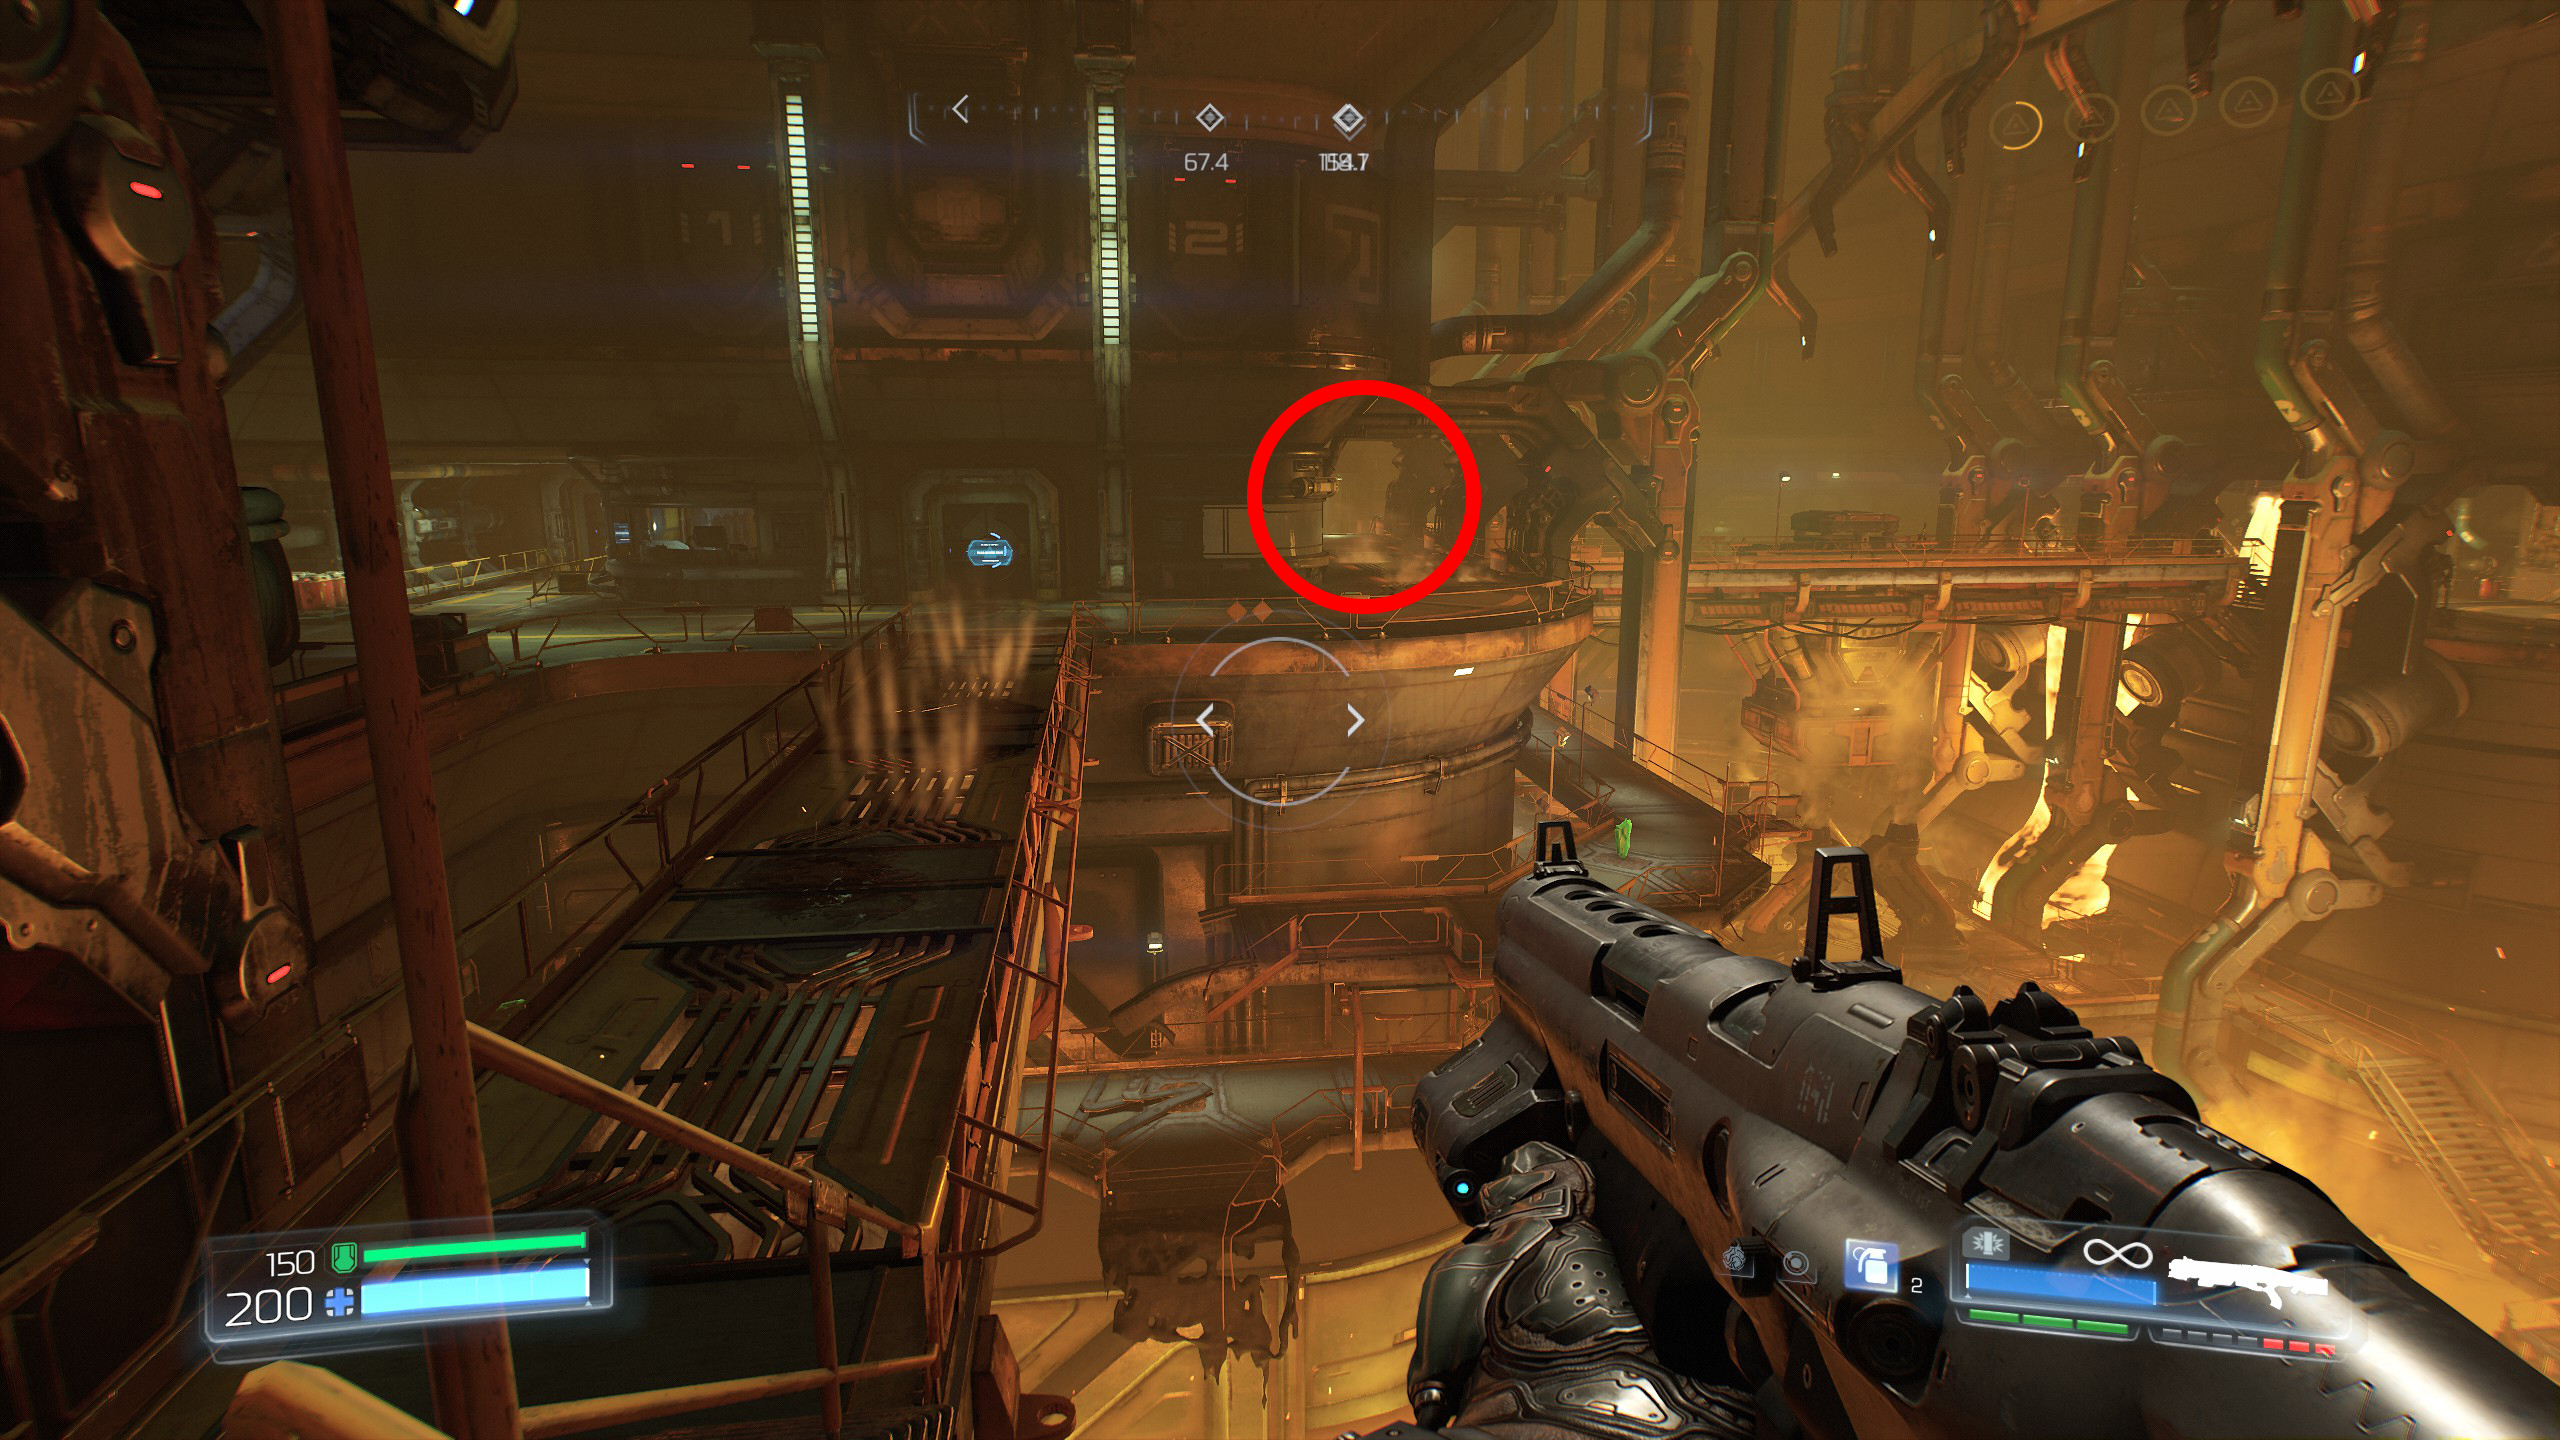
Once you're at the back area and clear of demons you will notice molten lava/metal coming out of the piping not far from the yellow key location (you may as well grab the yellow key from the dead guy whilst you're there).
Take a look over the edge in front of the pipes and you will find a platform that you are able to drop down onto, there you will find a Doomguy which is secret number 2.
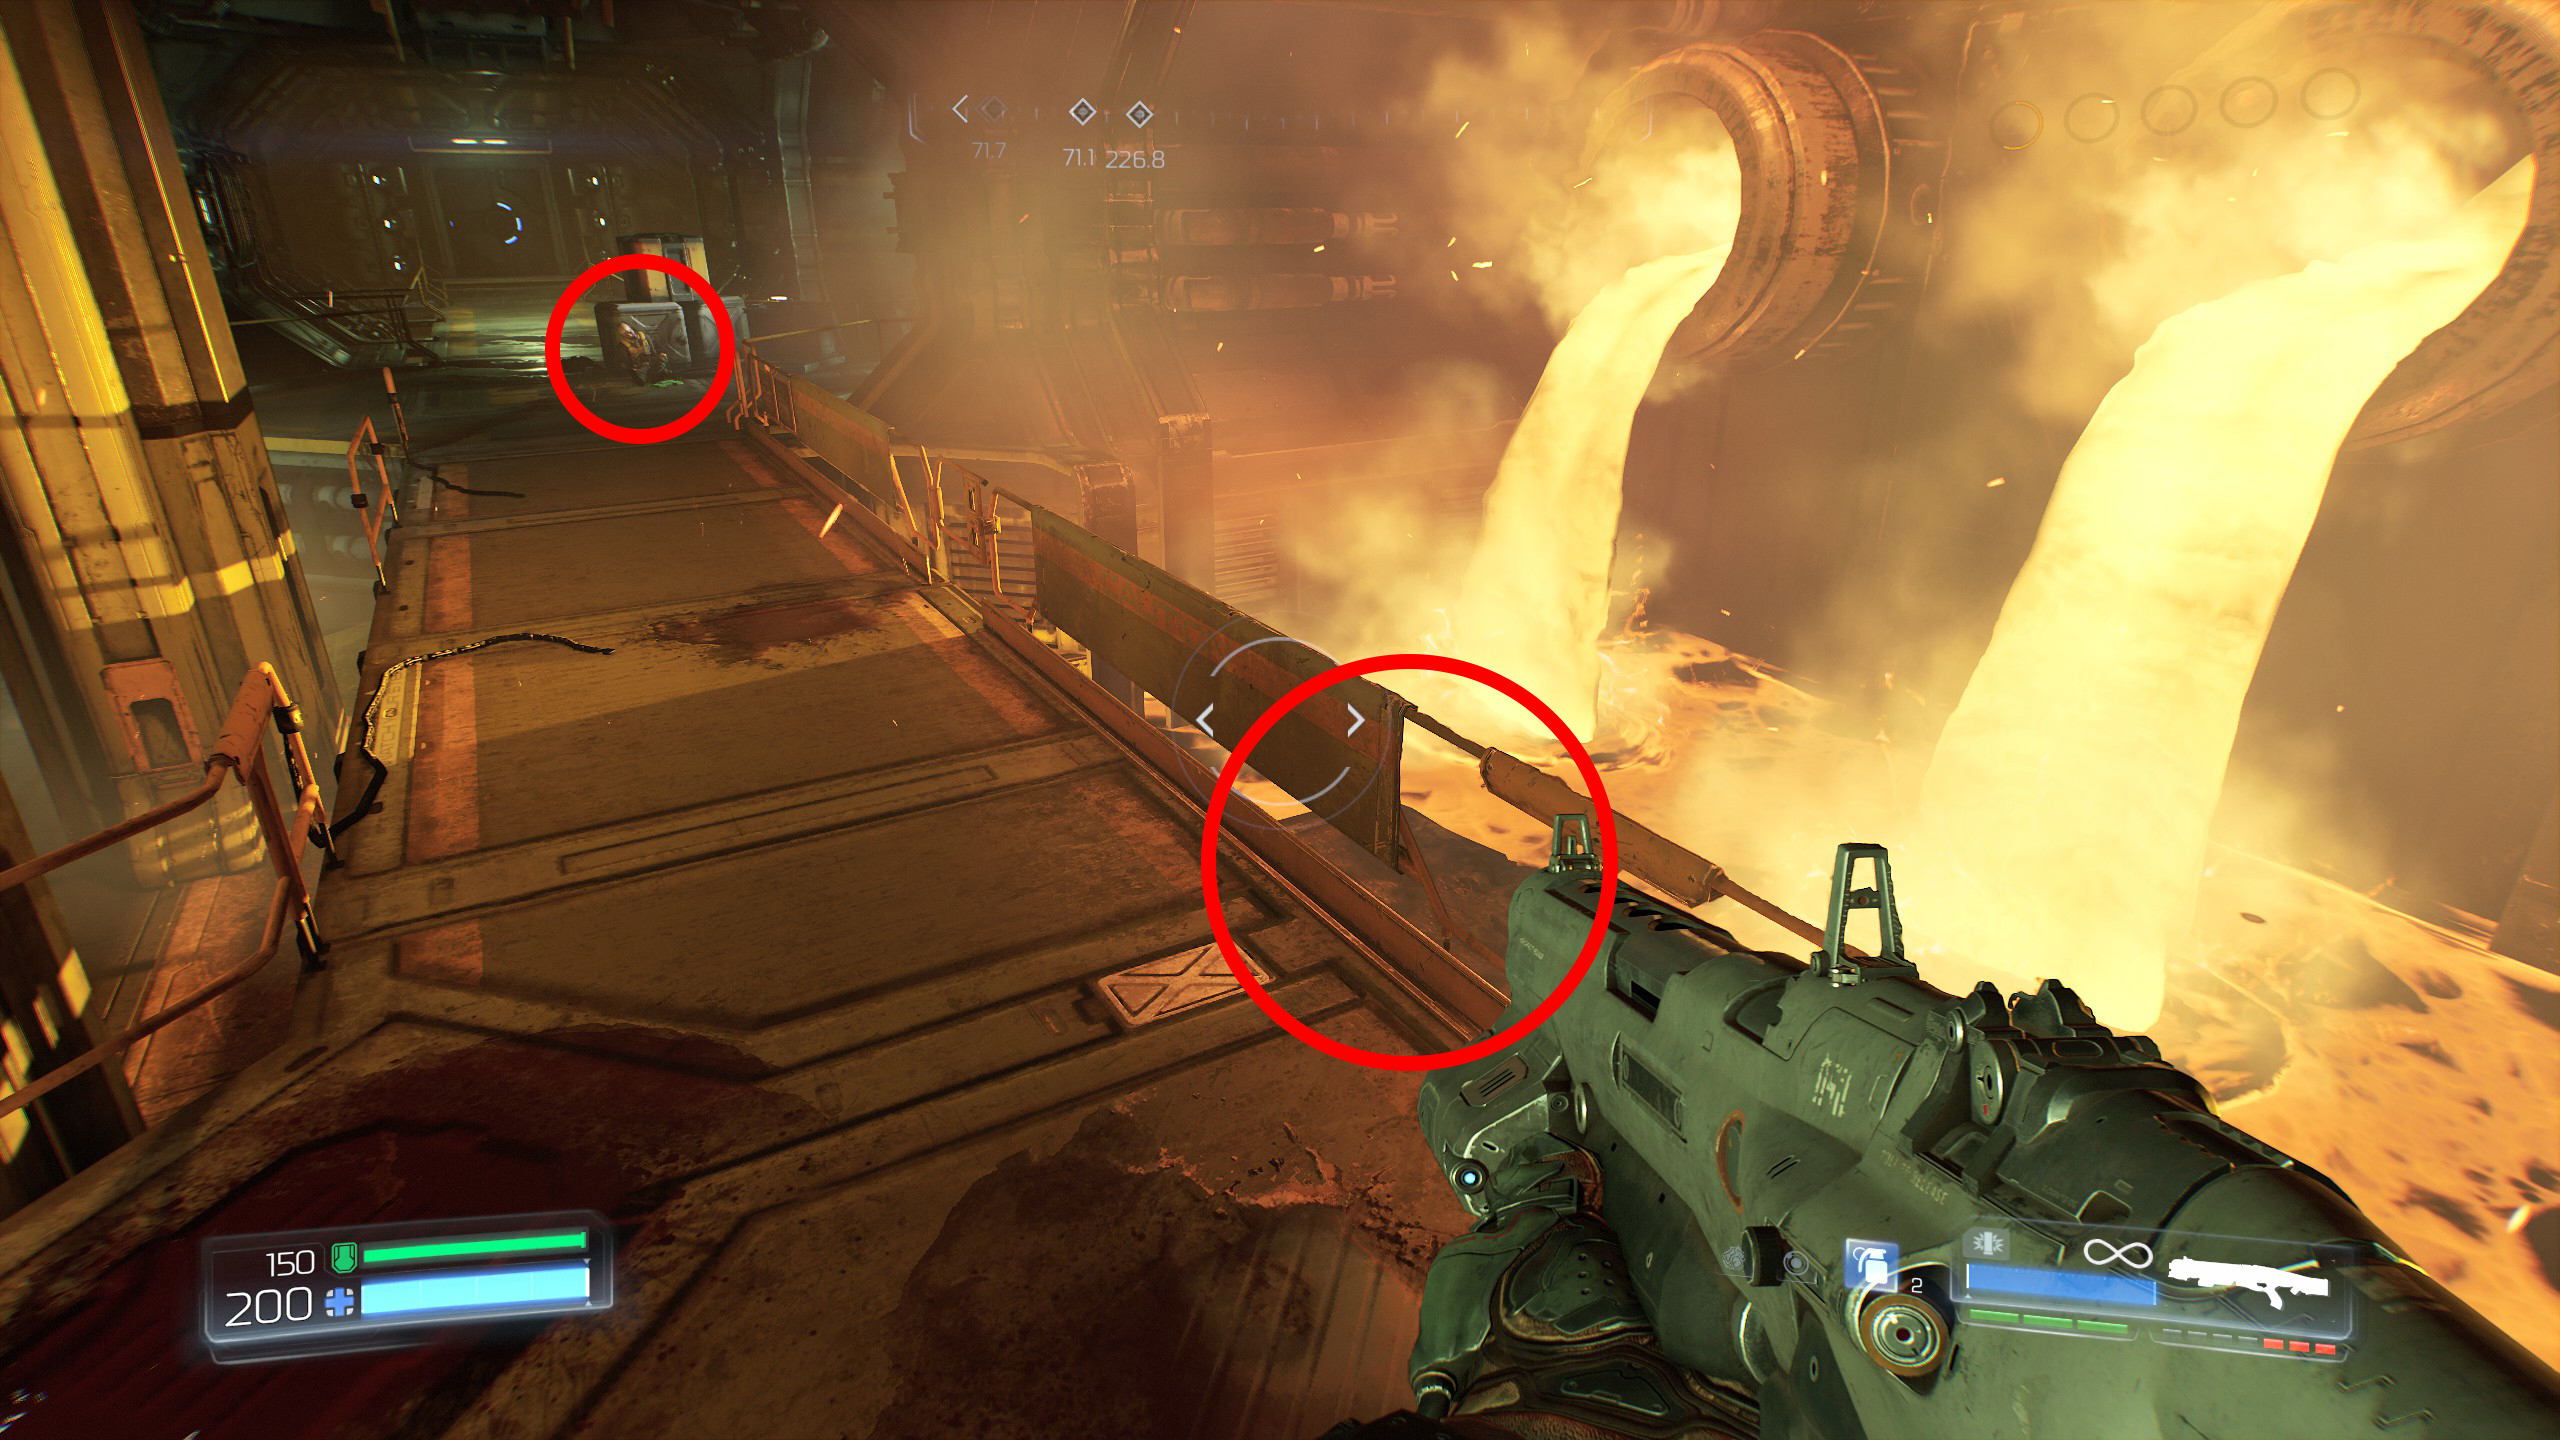
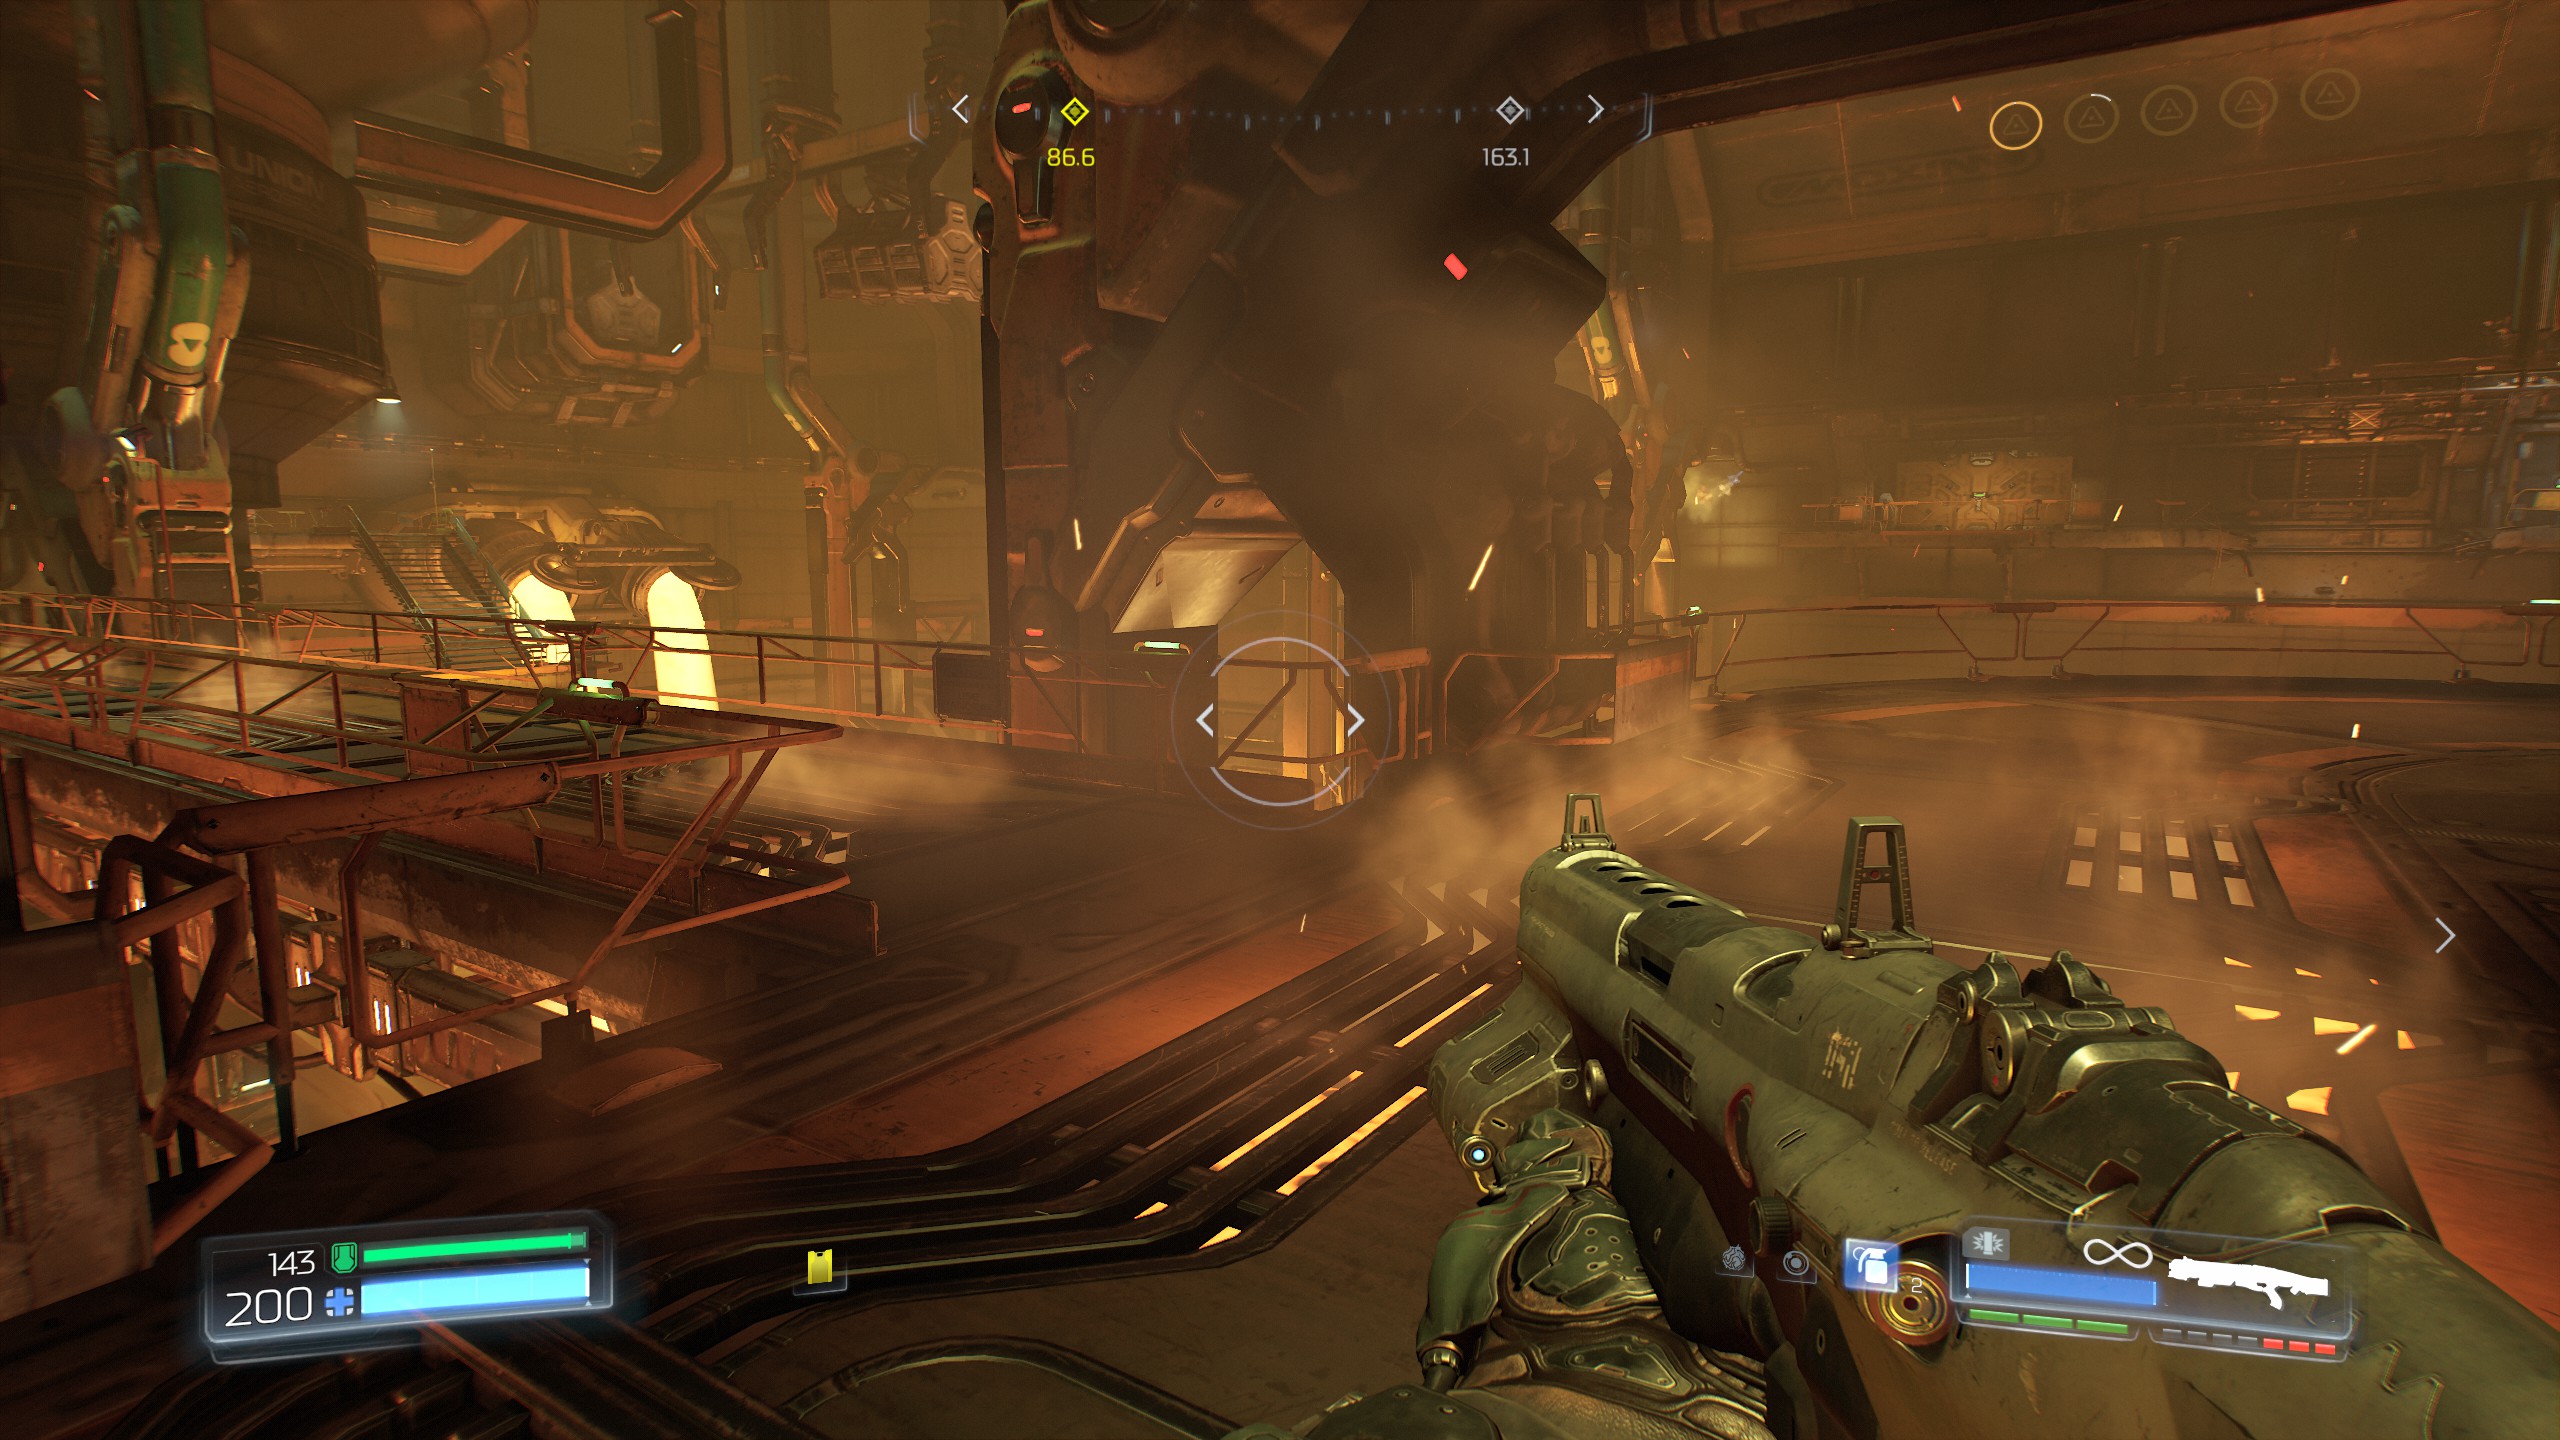
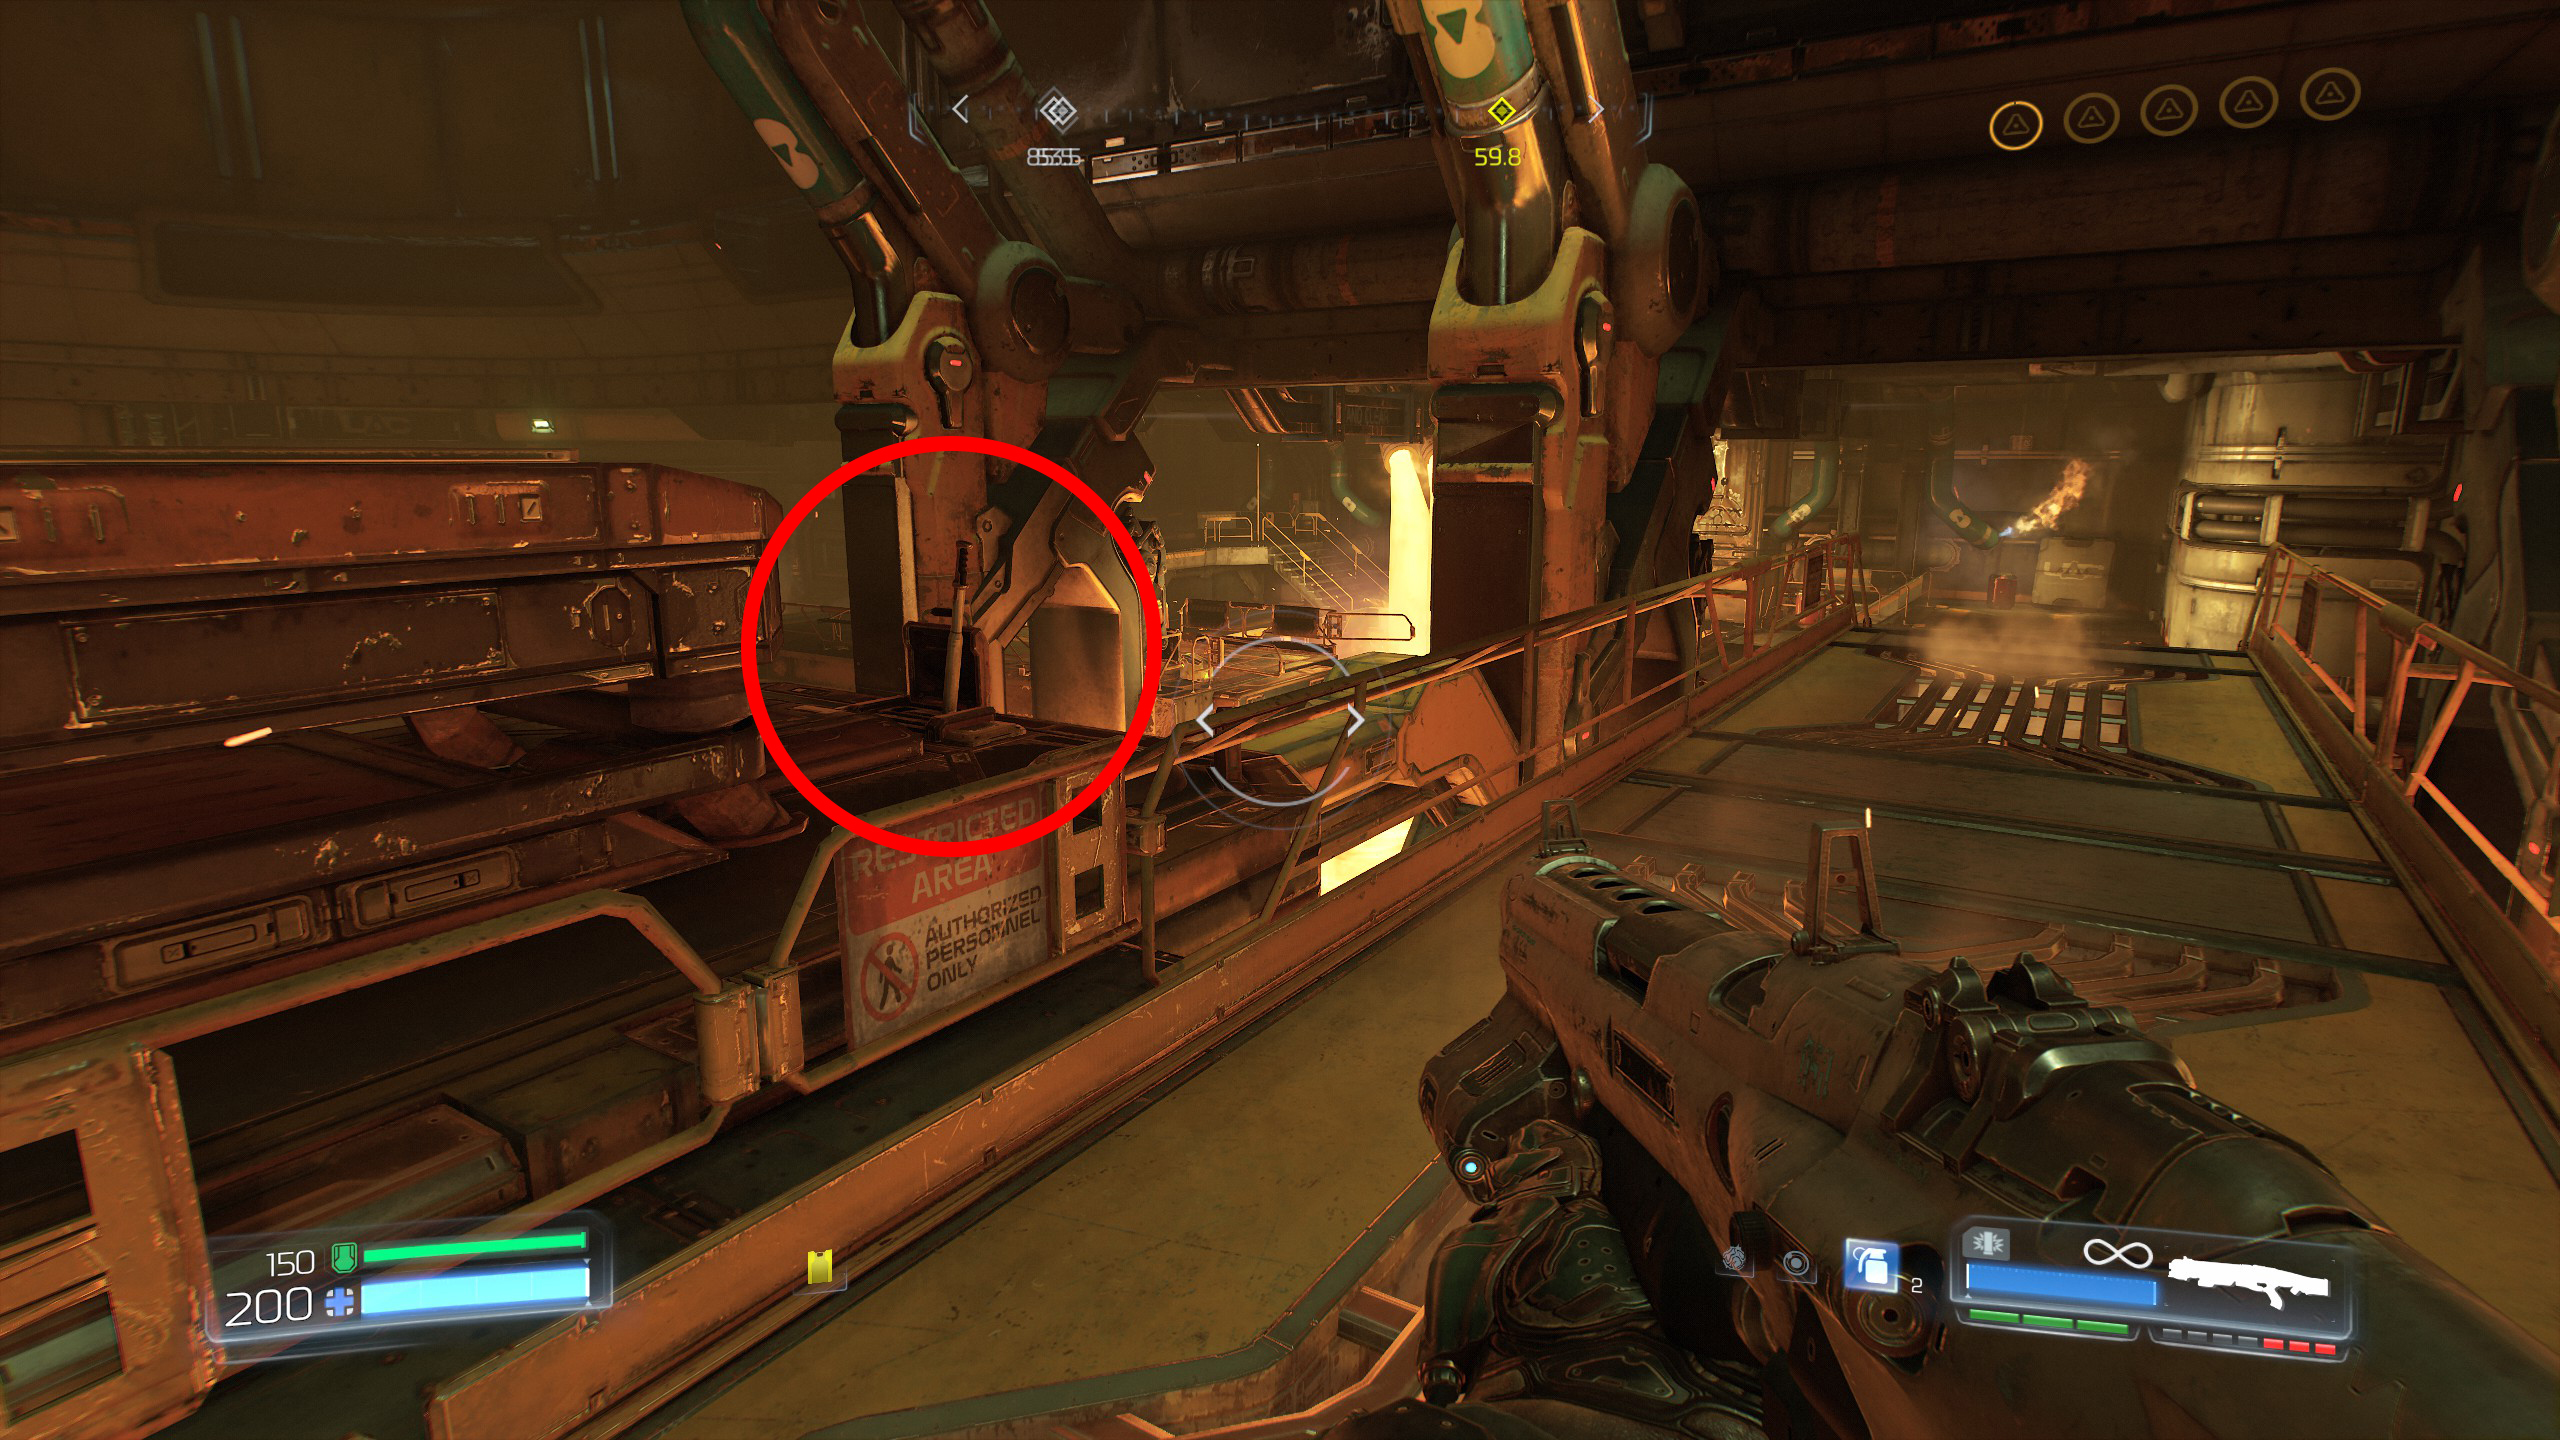
After activating the lever continue across the bridge, in front of you and slightly left you will see the secret room opening, go inside and that will give you secret number 3.
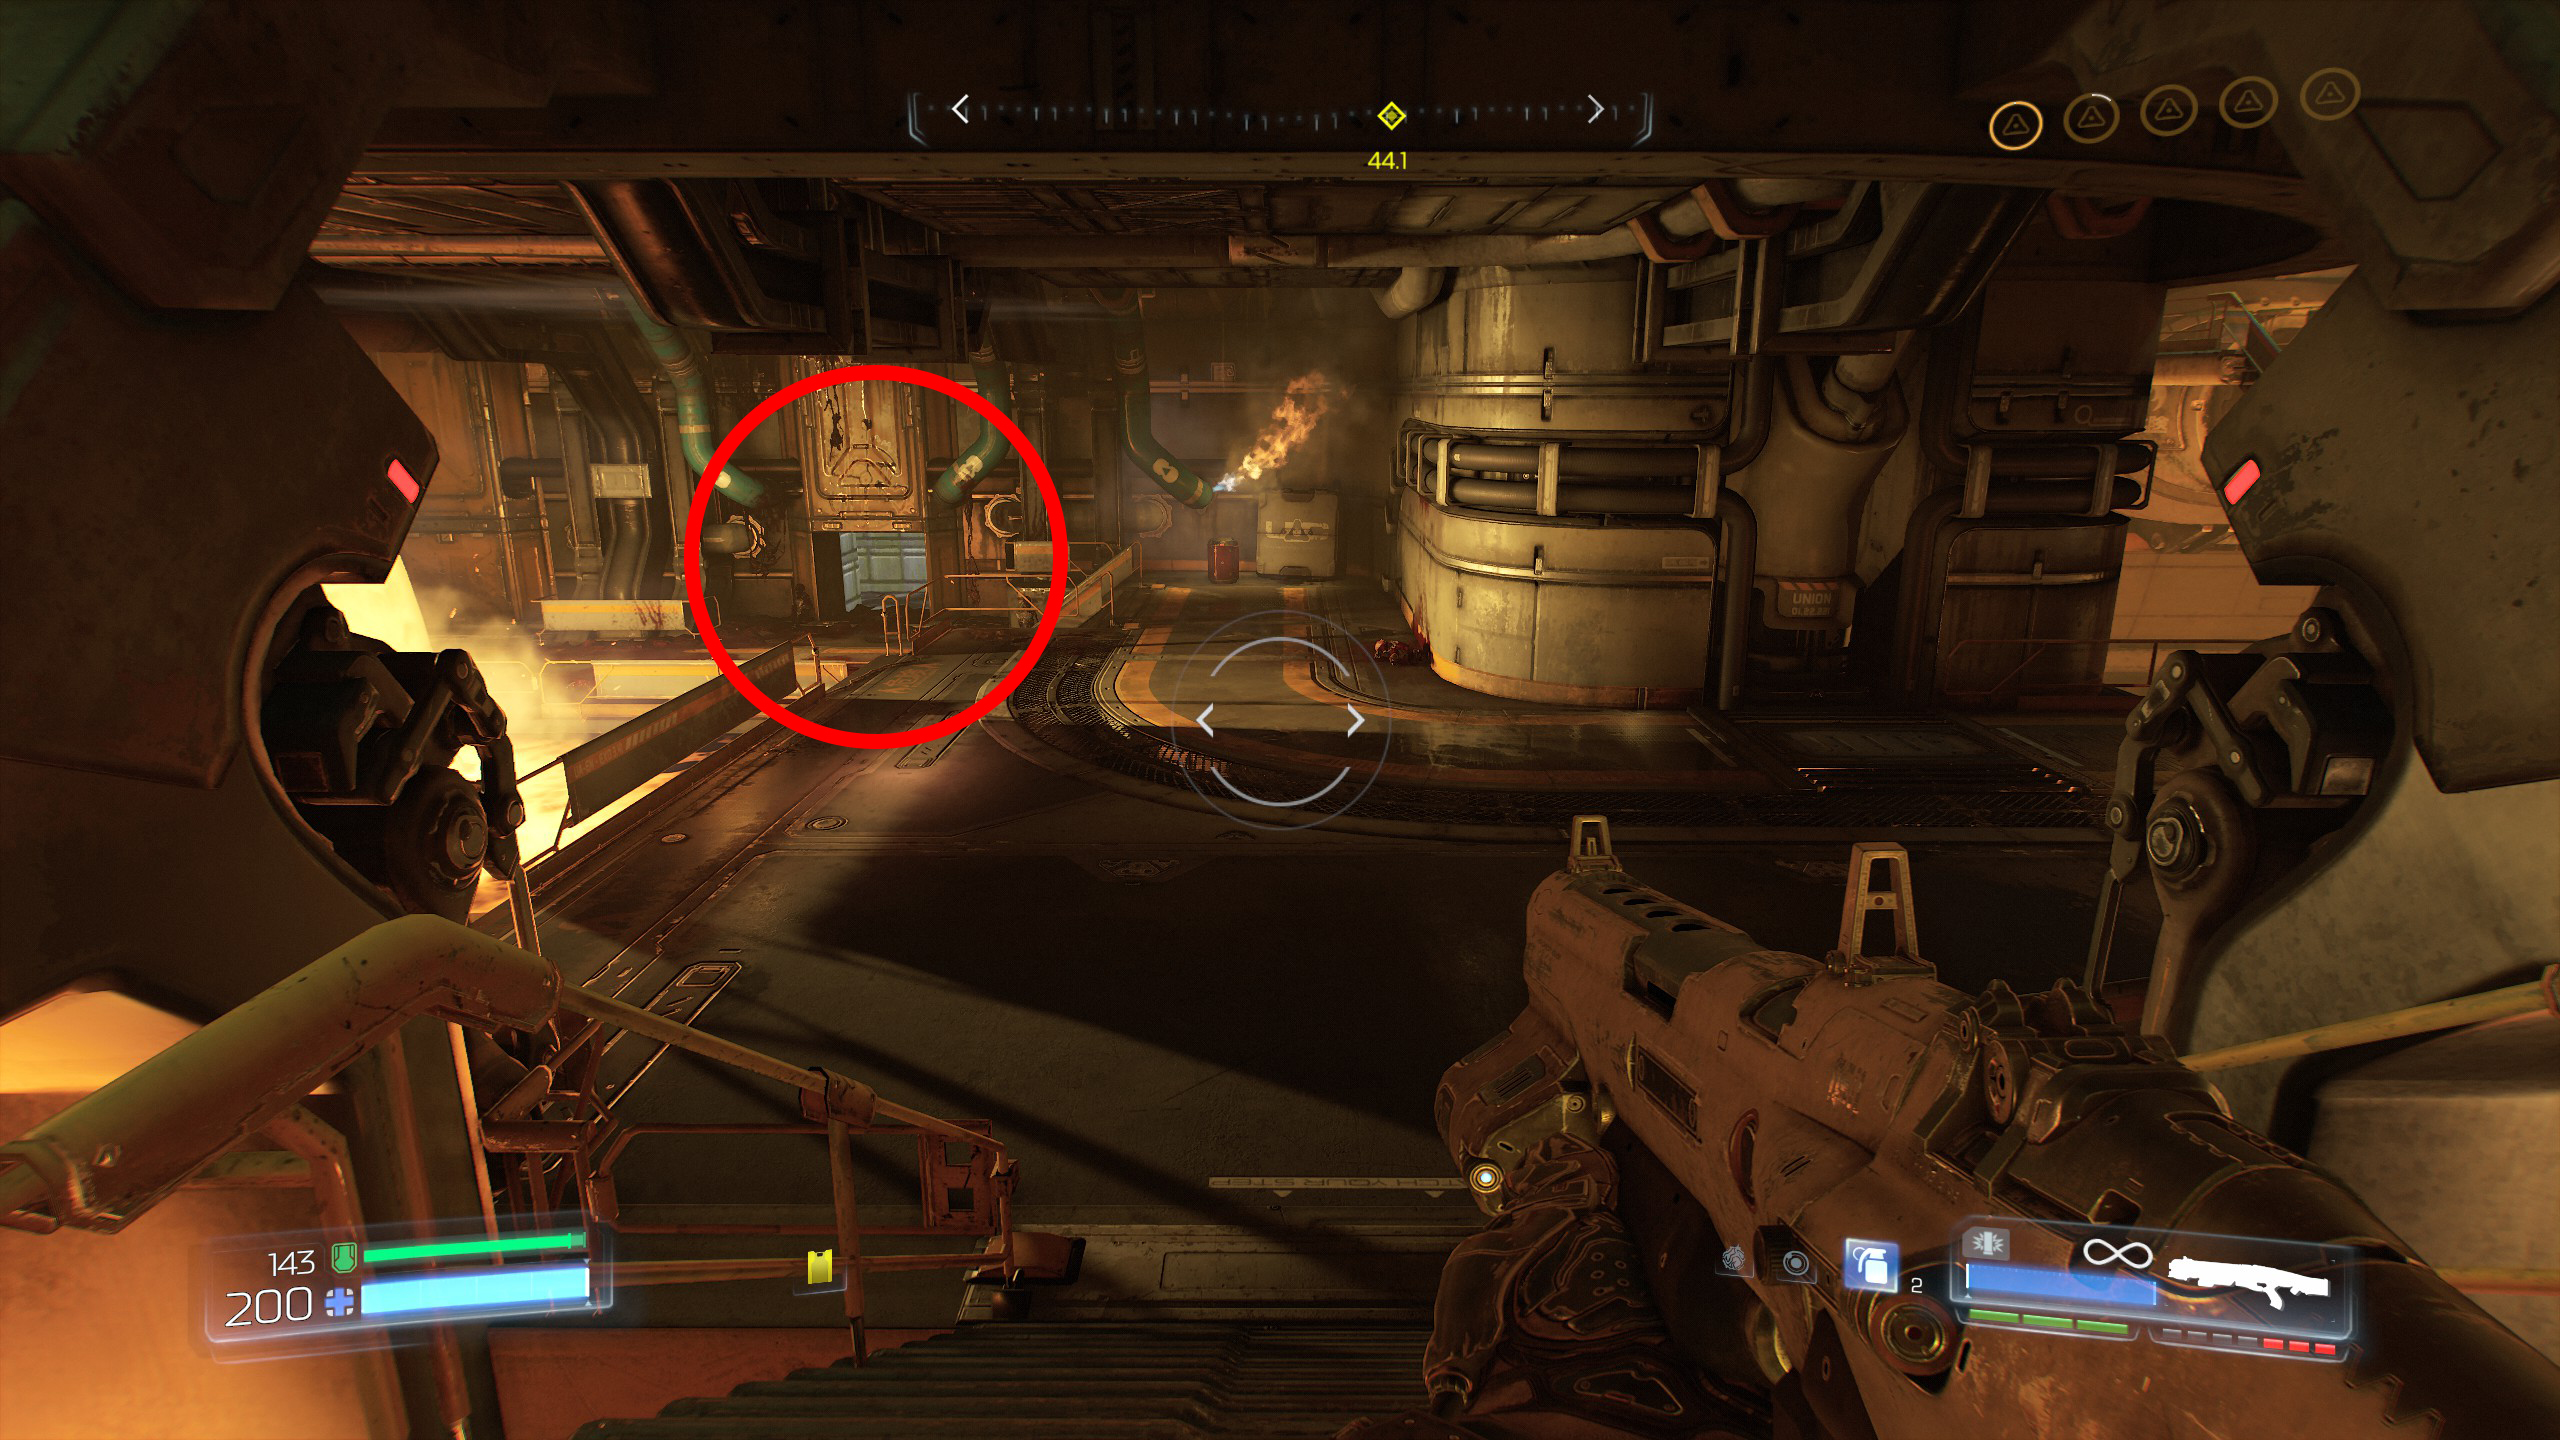
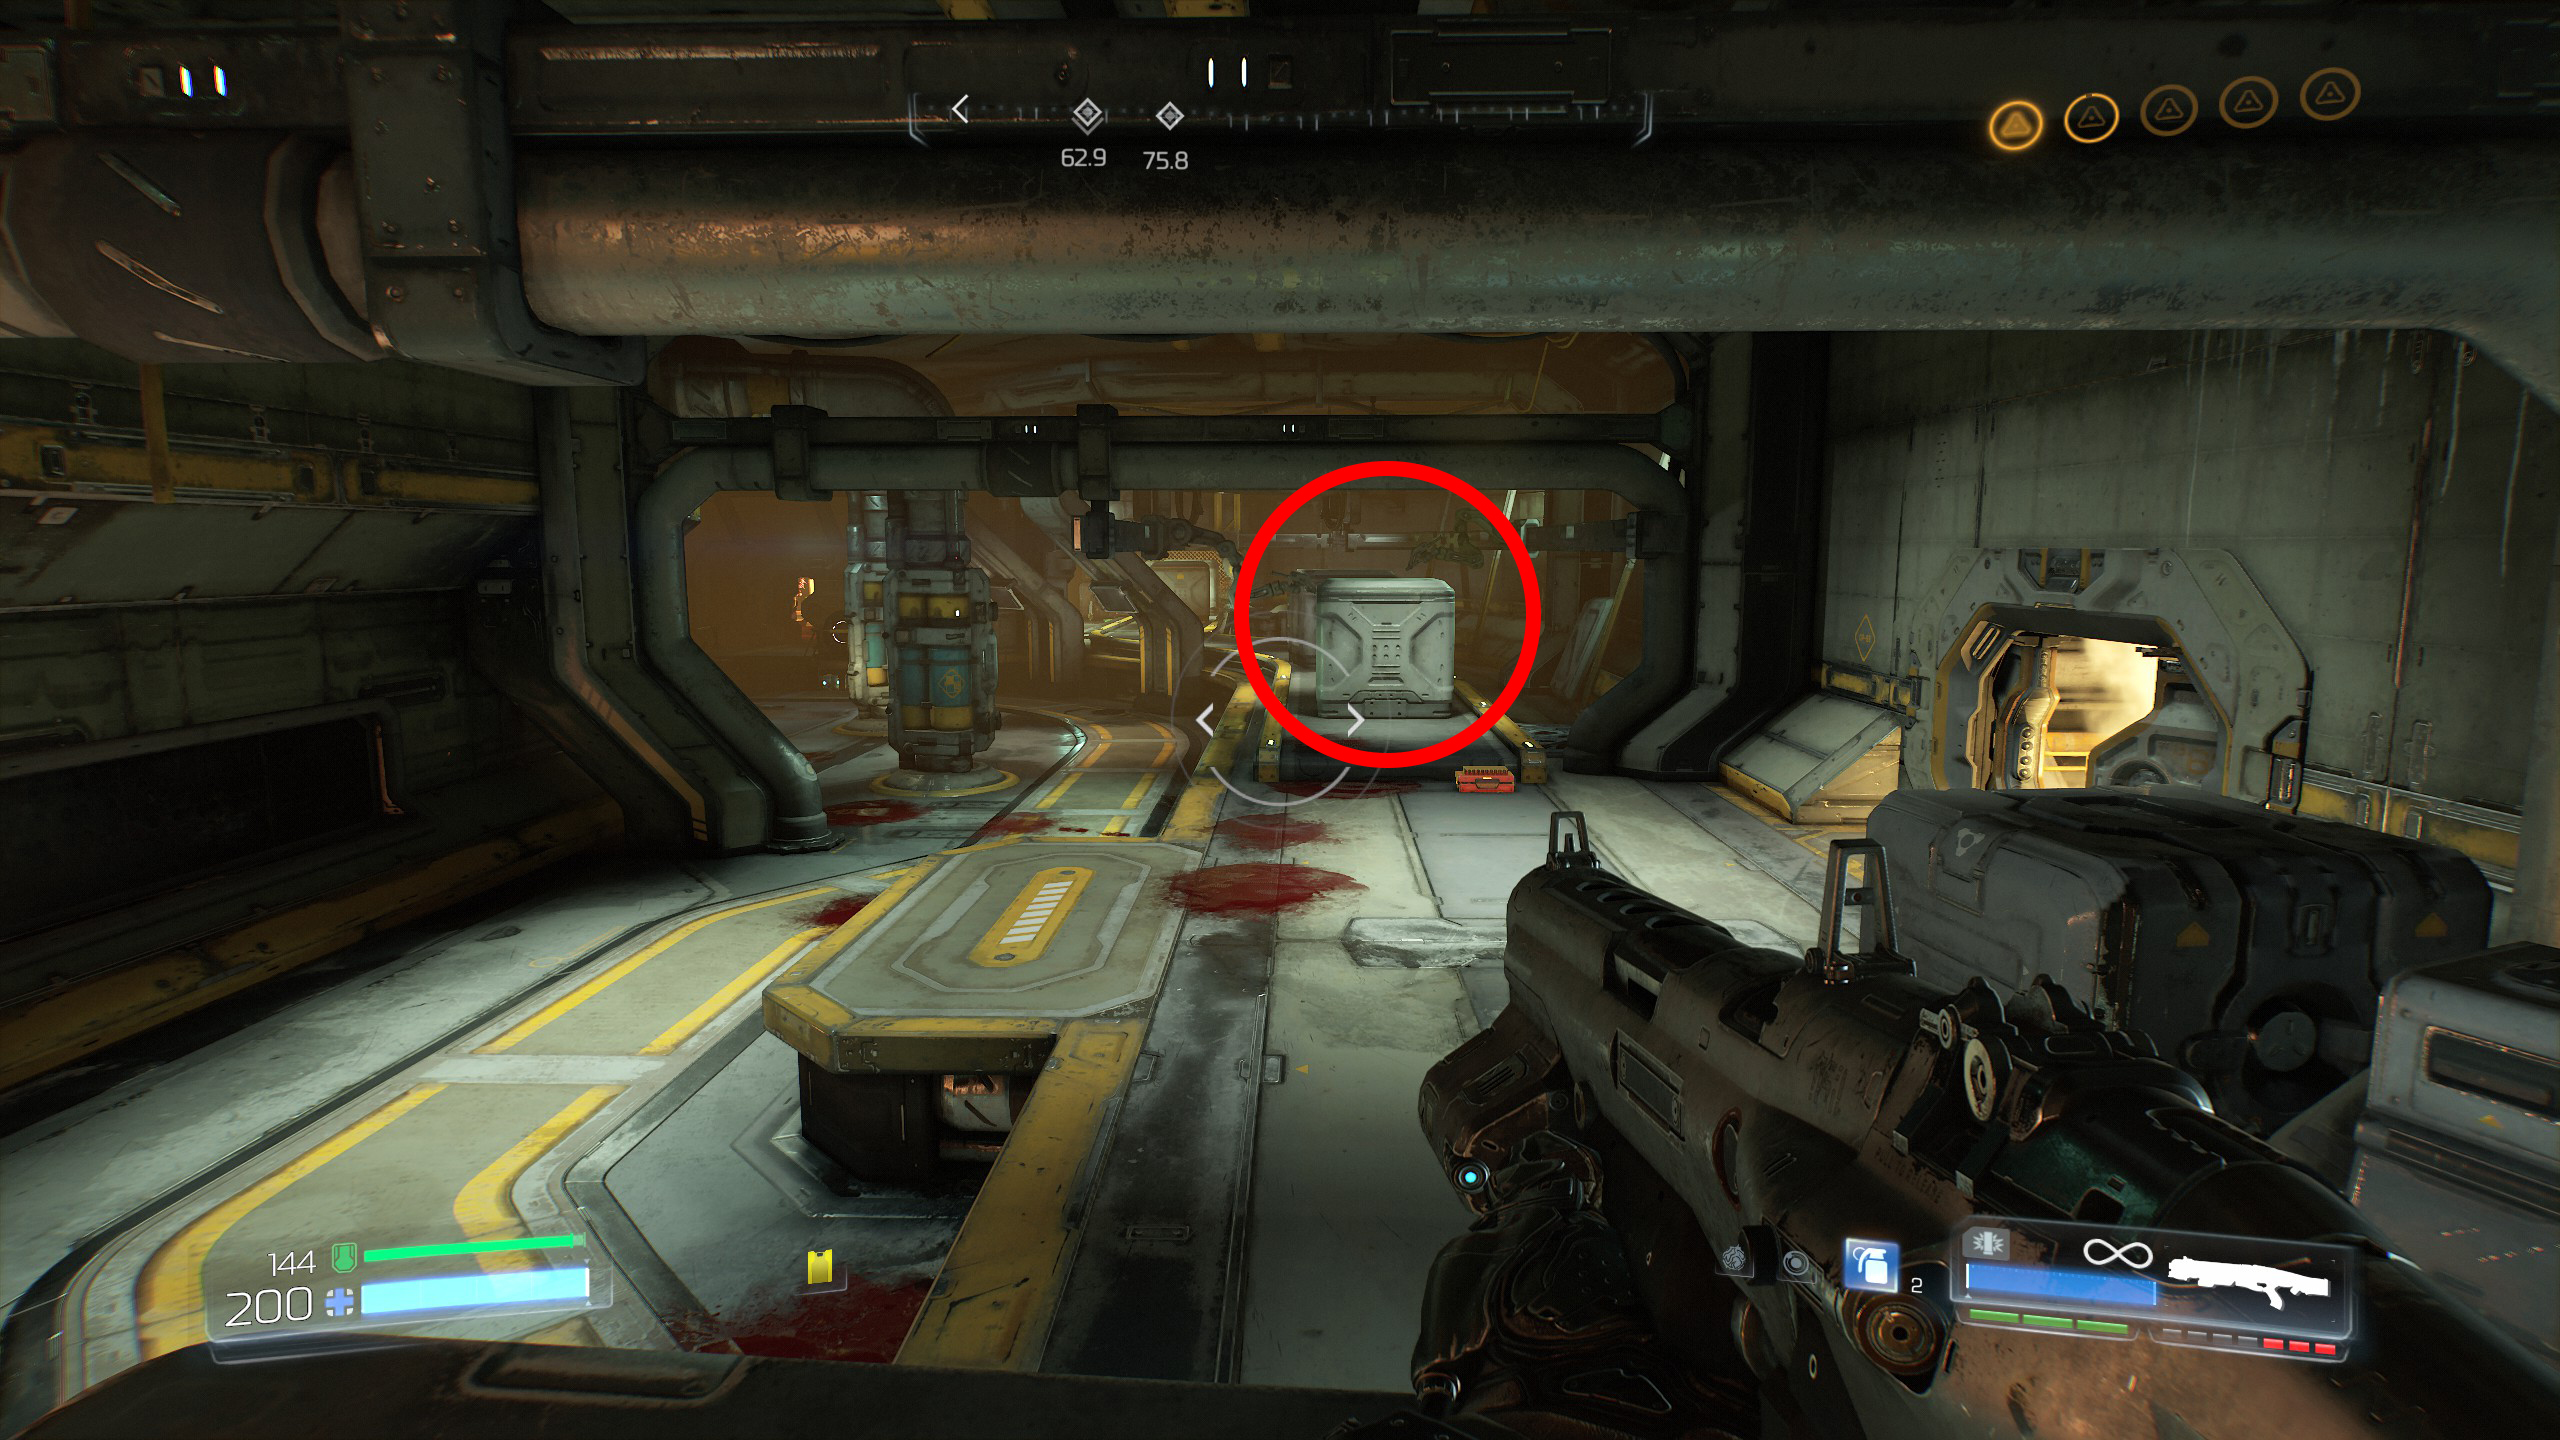
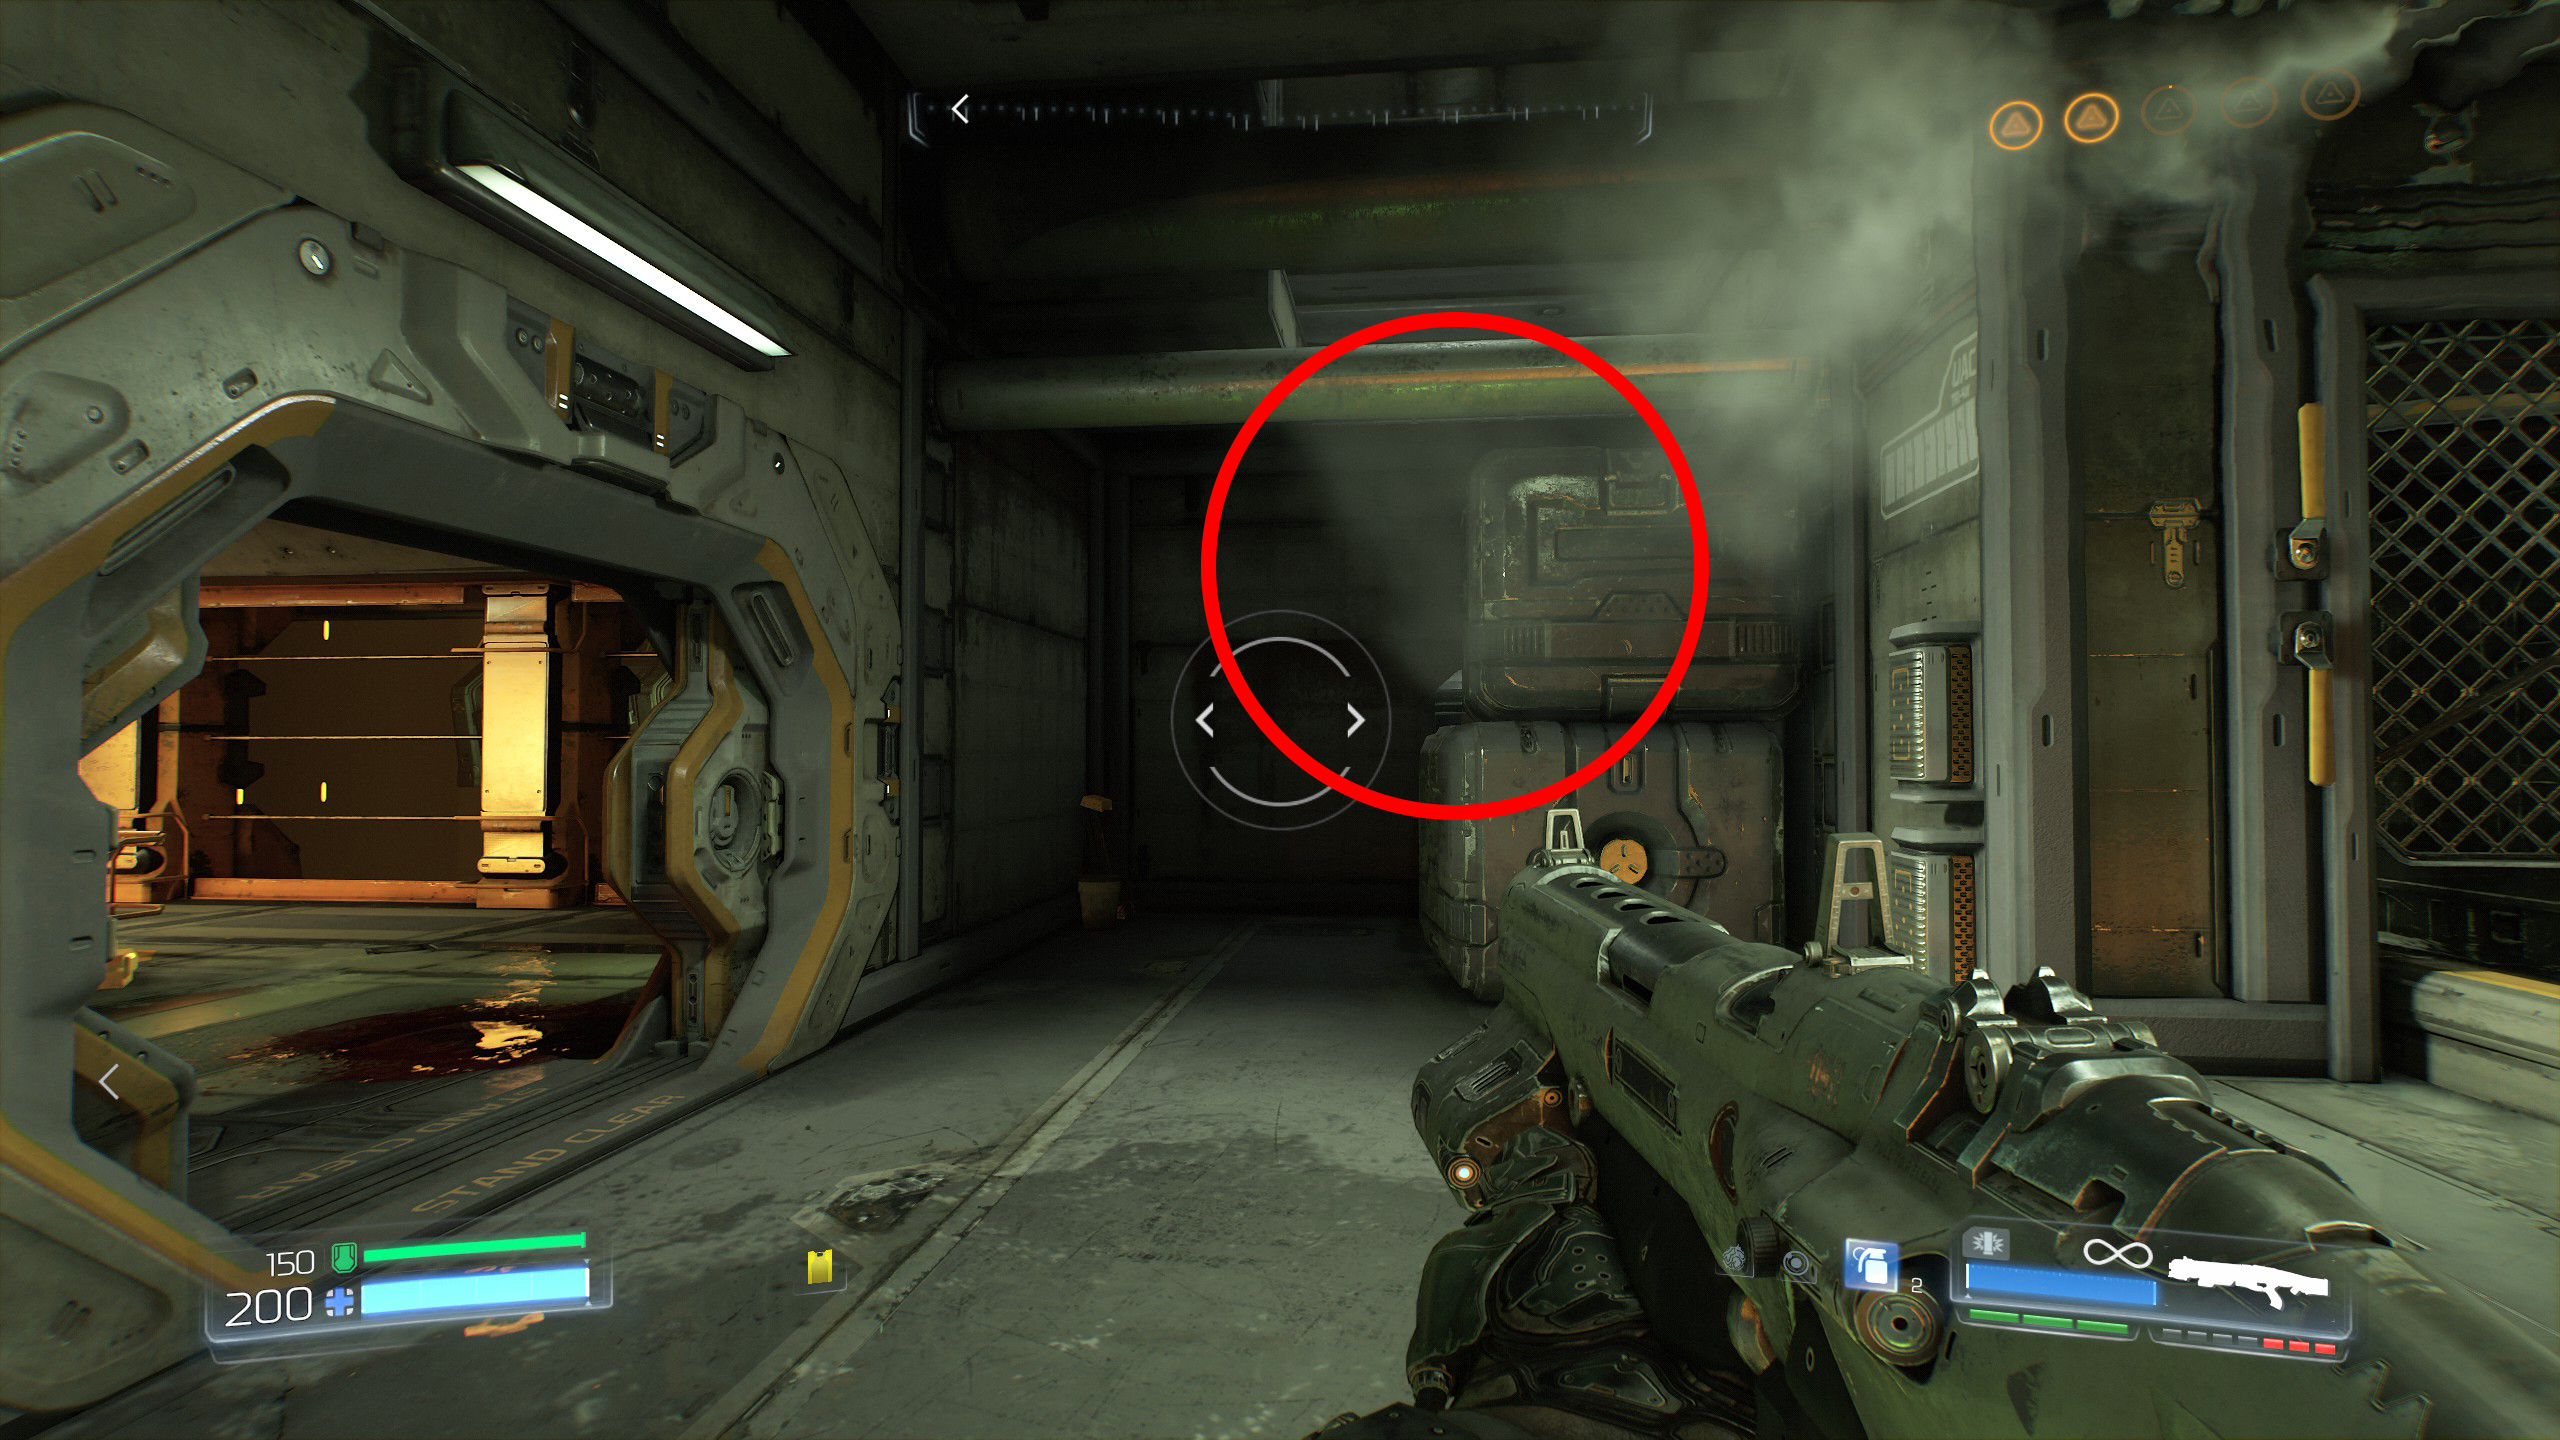
After secret 5 continue on until you reach the dead guy with the blue key, grab the key and drop off the platform ahead, you will find yourself back at the secret 2 location next to the dead guy with the yellow key.
Once again from there head back in the same direction as before towards the start of the mission (the same as we did in secret 3) but this time don't go up the steps towards the bridge, instead just before the steps take a left down another set of steps.
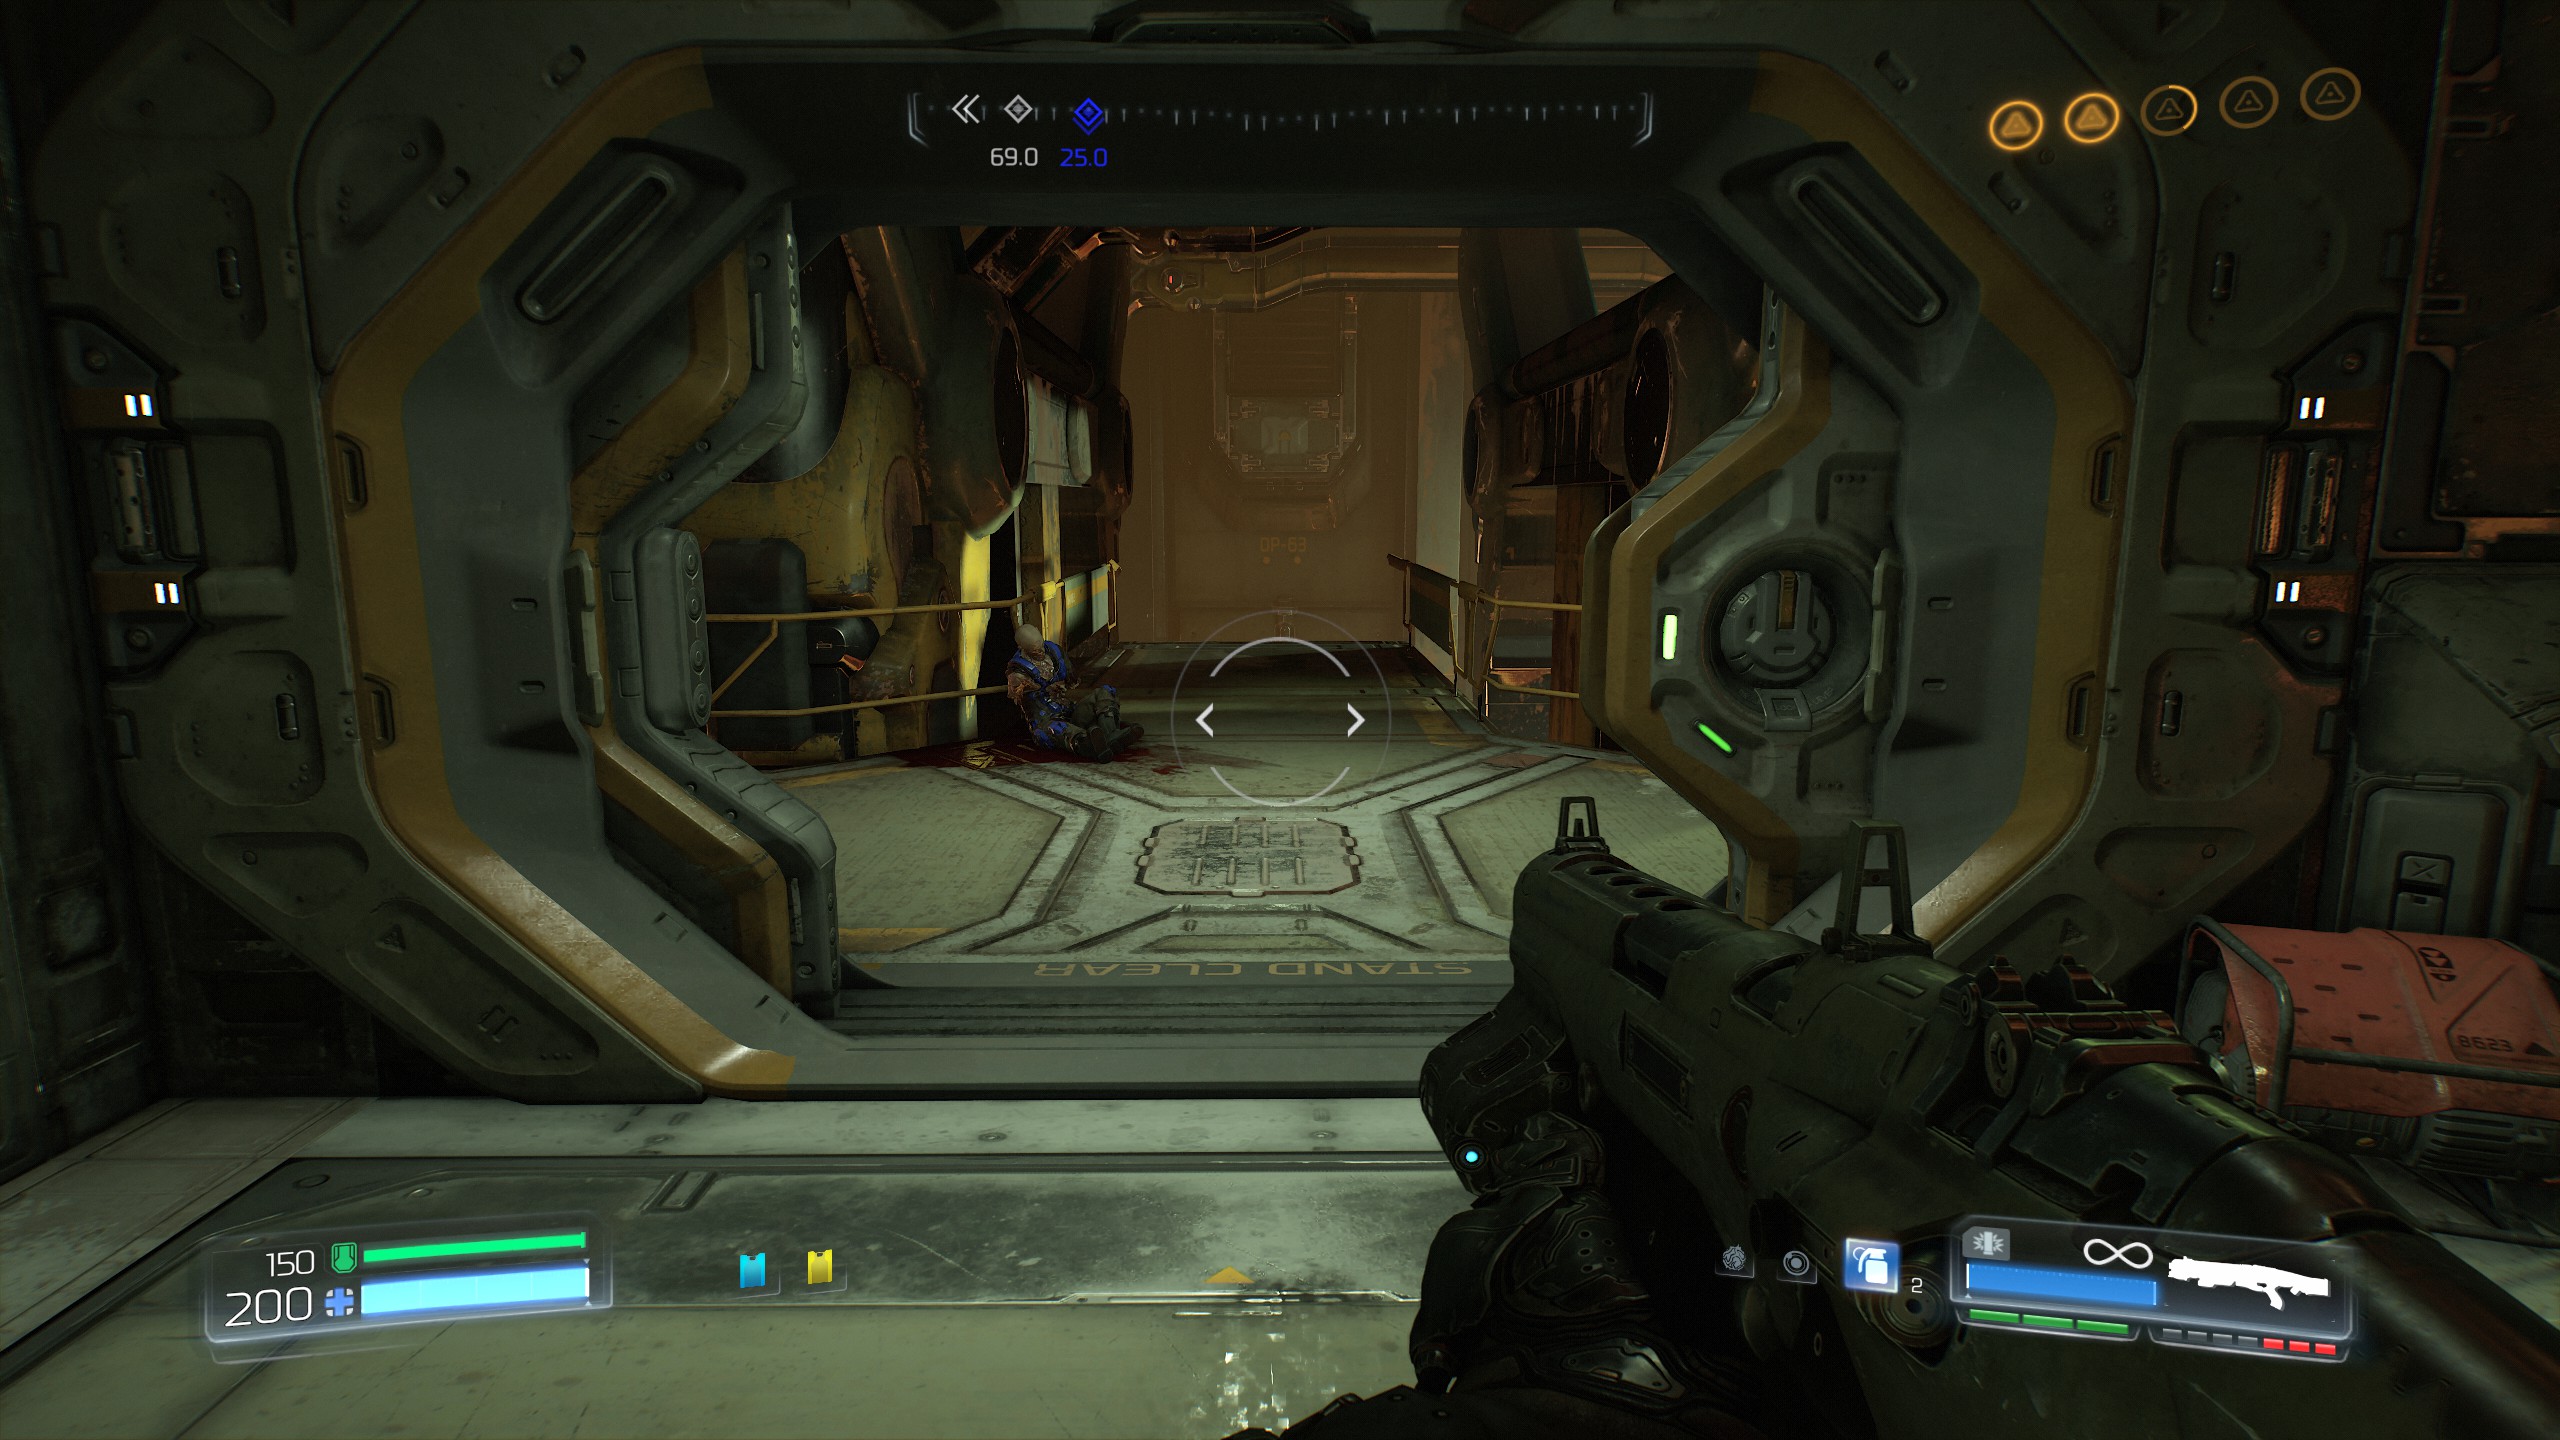
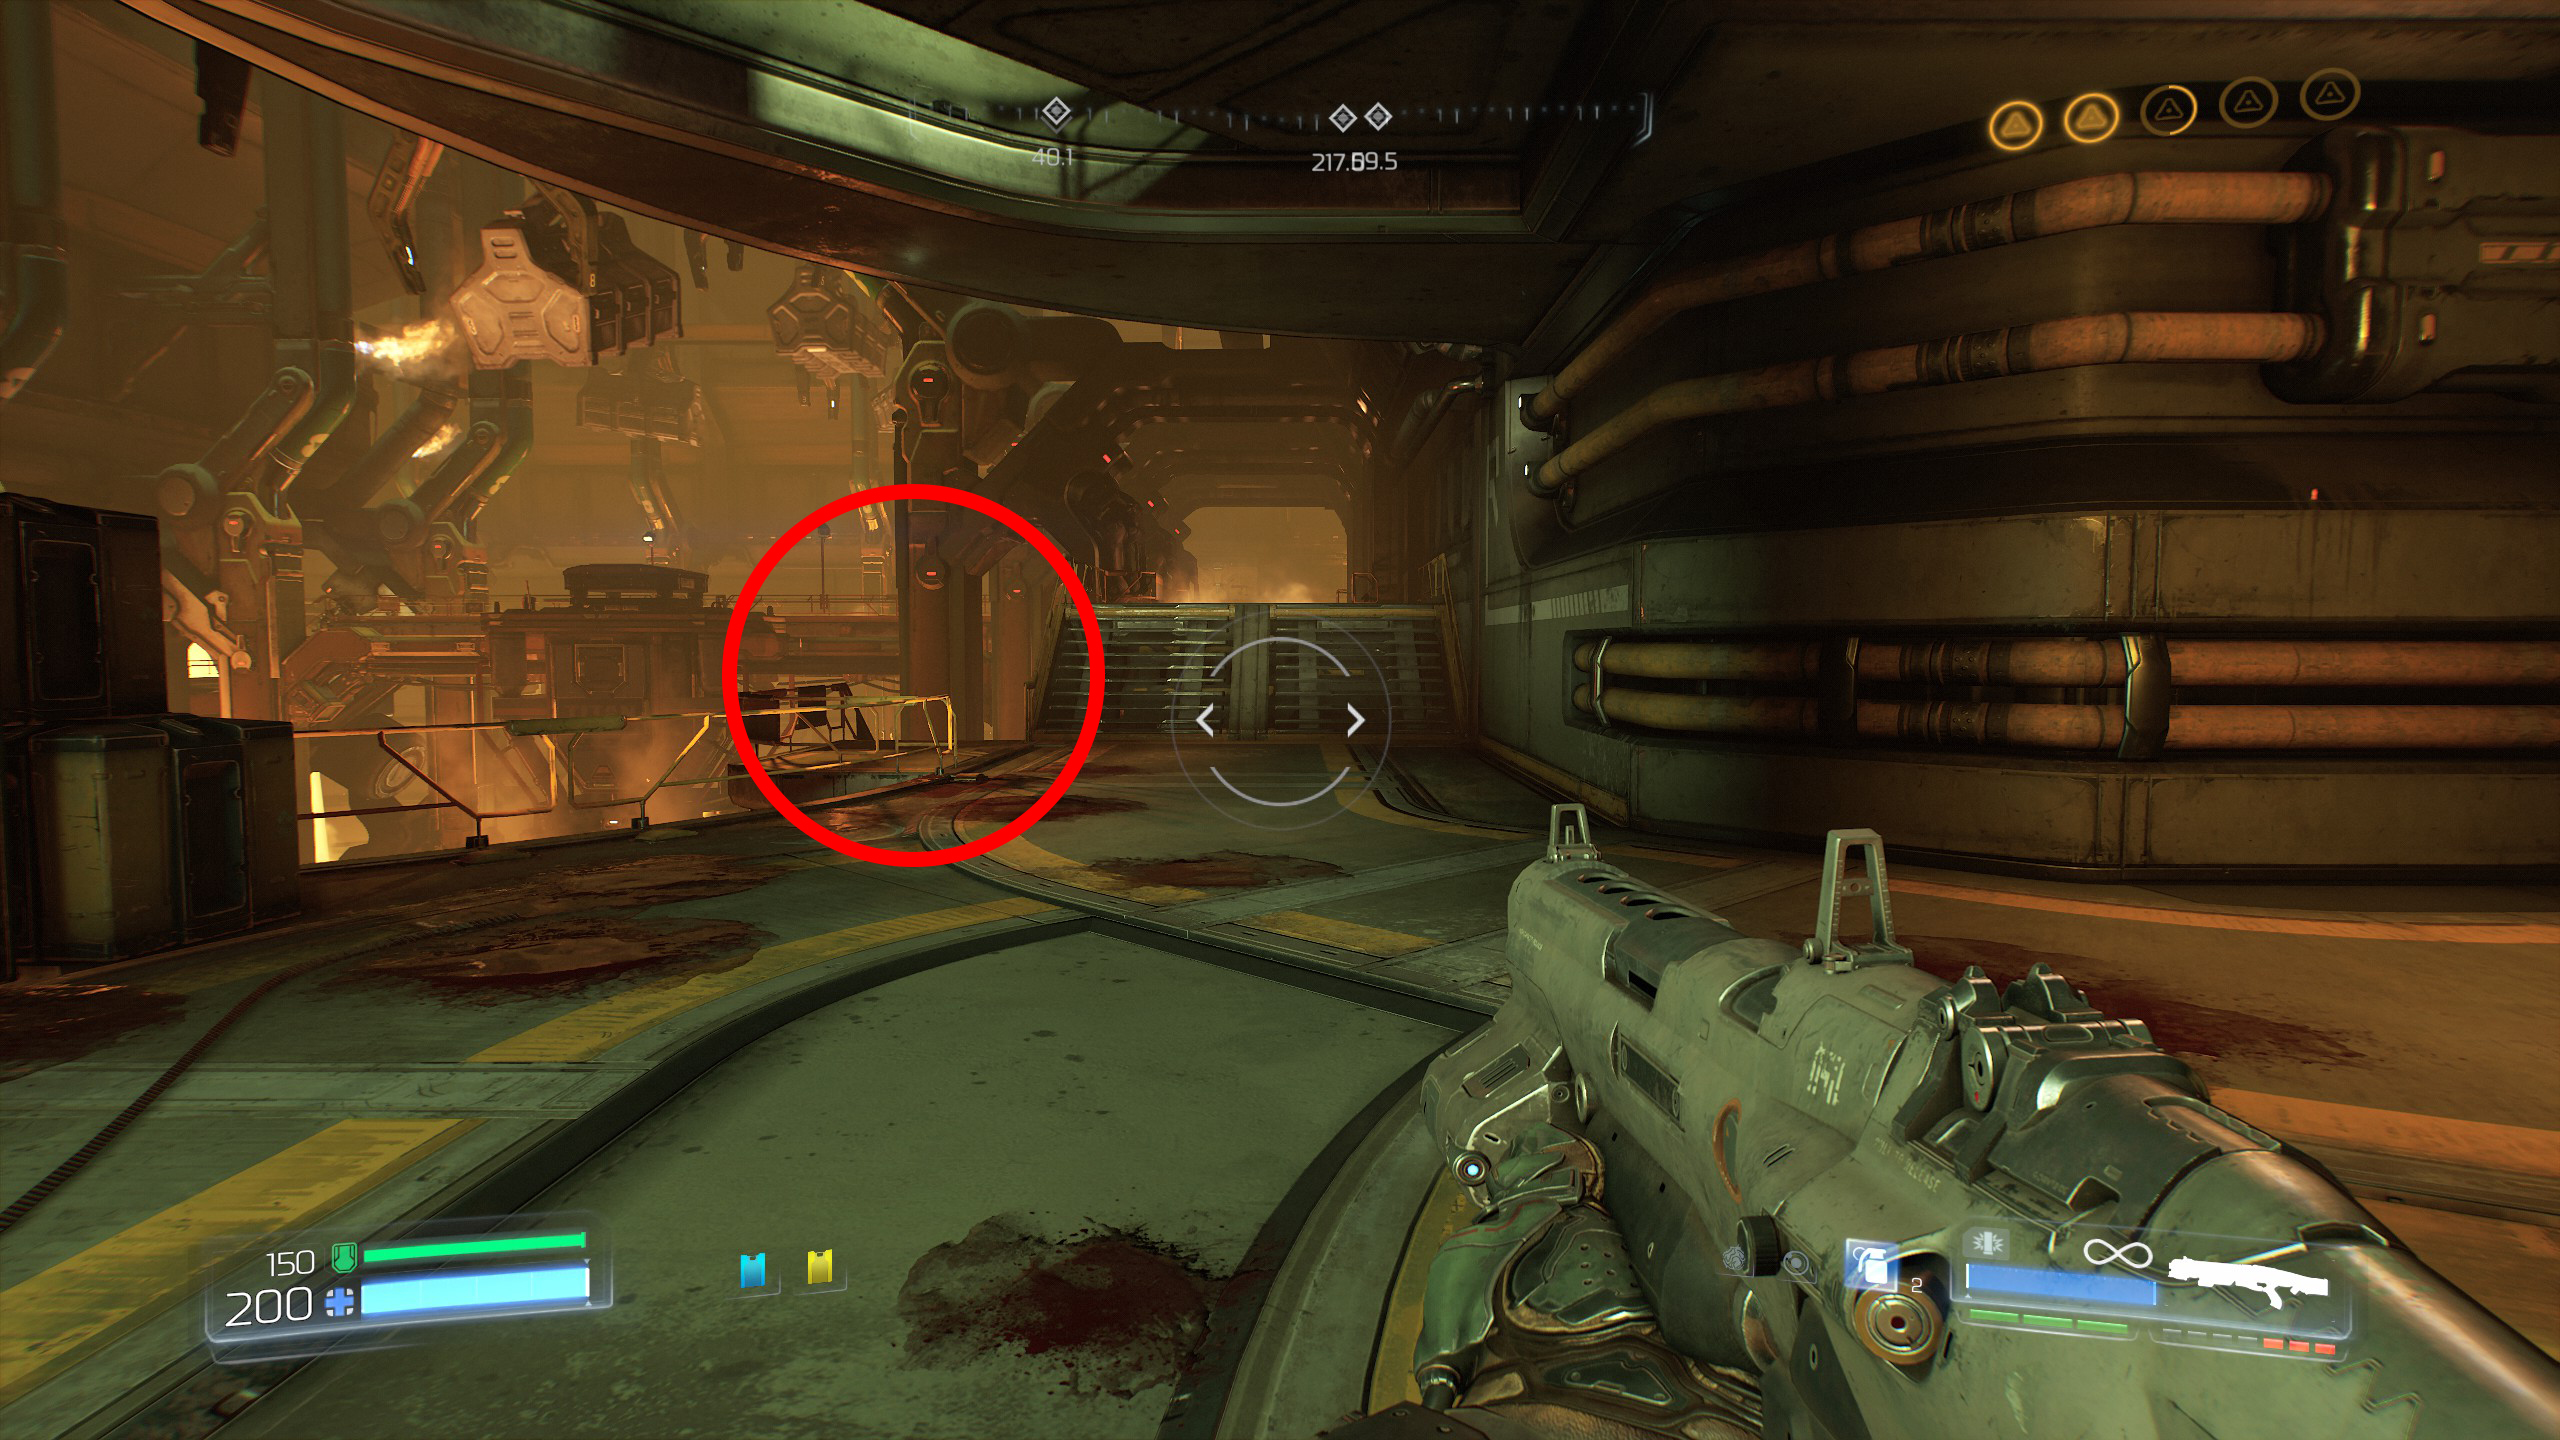
Now continue to follow the path all the way around until you reach the broken part of the platform.
Drop down the gap and head back in the same direction you just came from and enter the doorway you come to on your left.
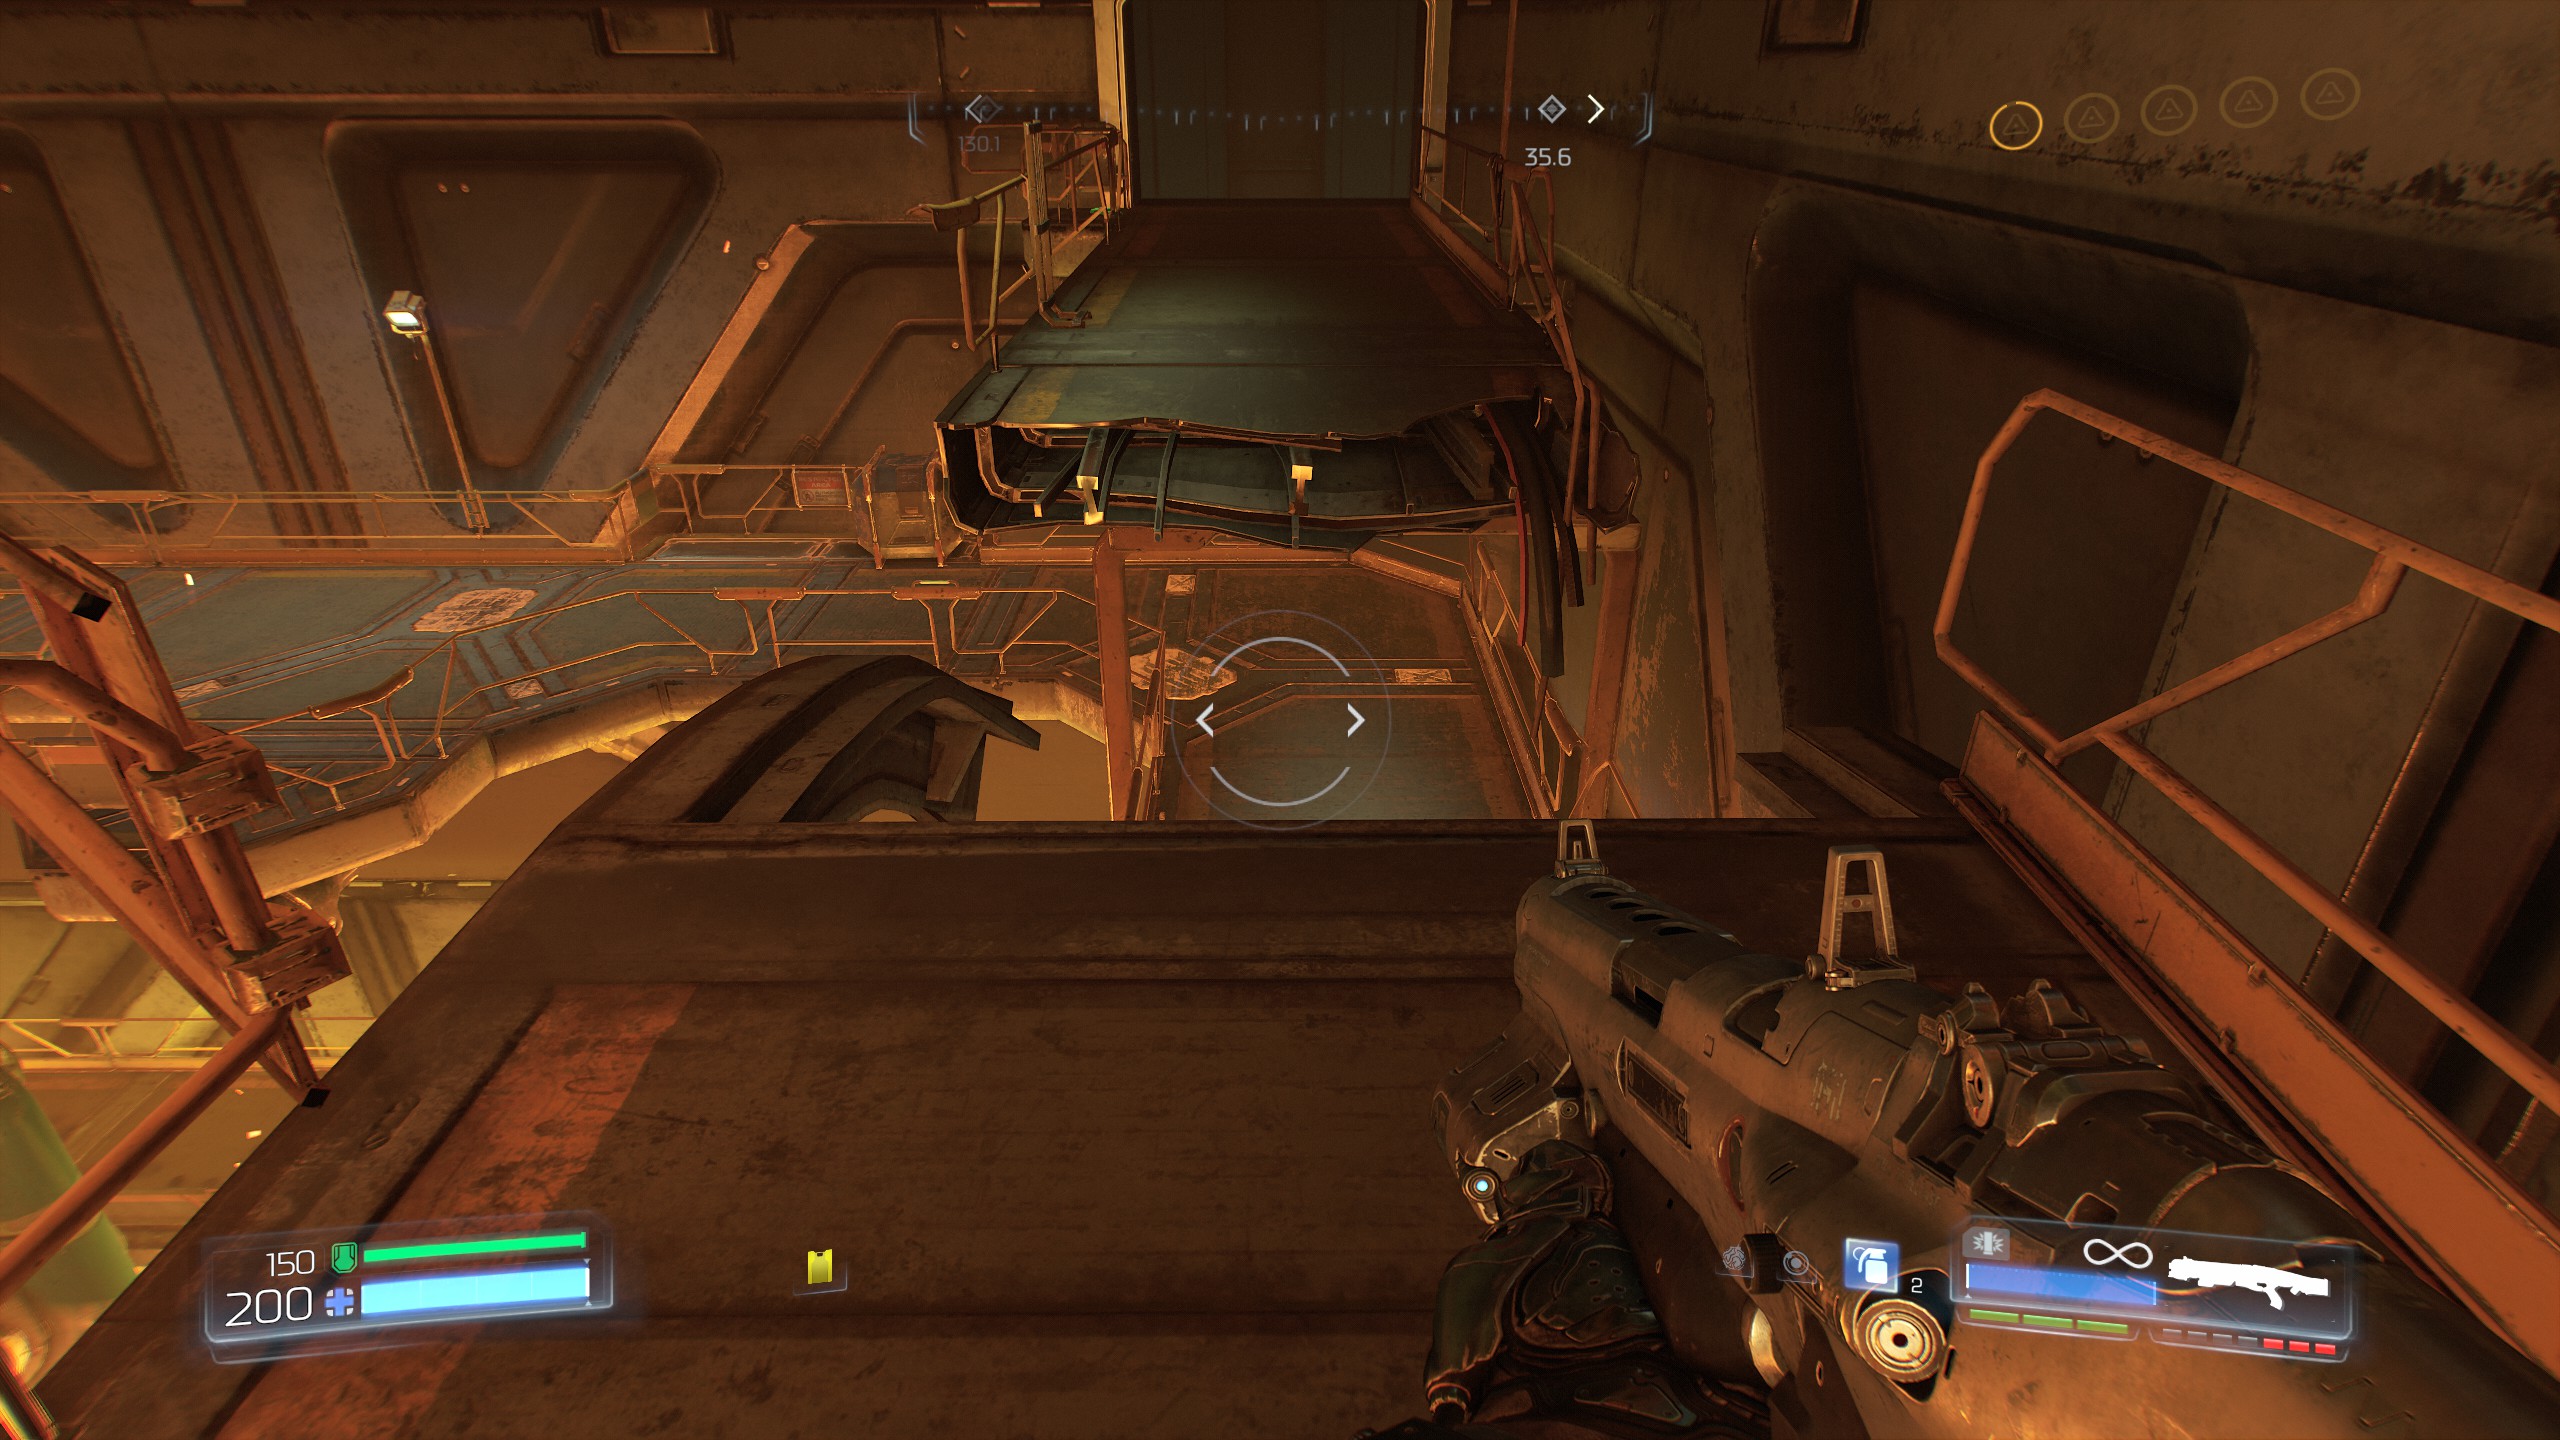
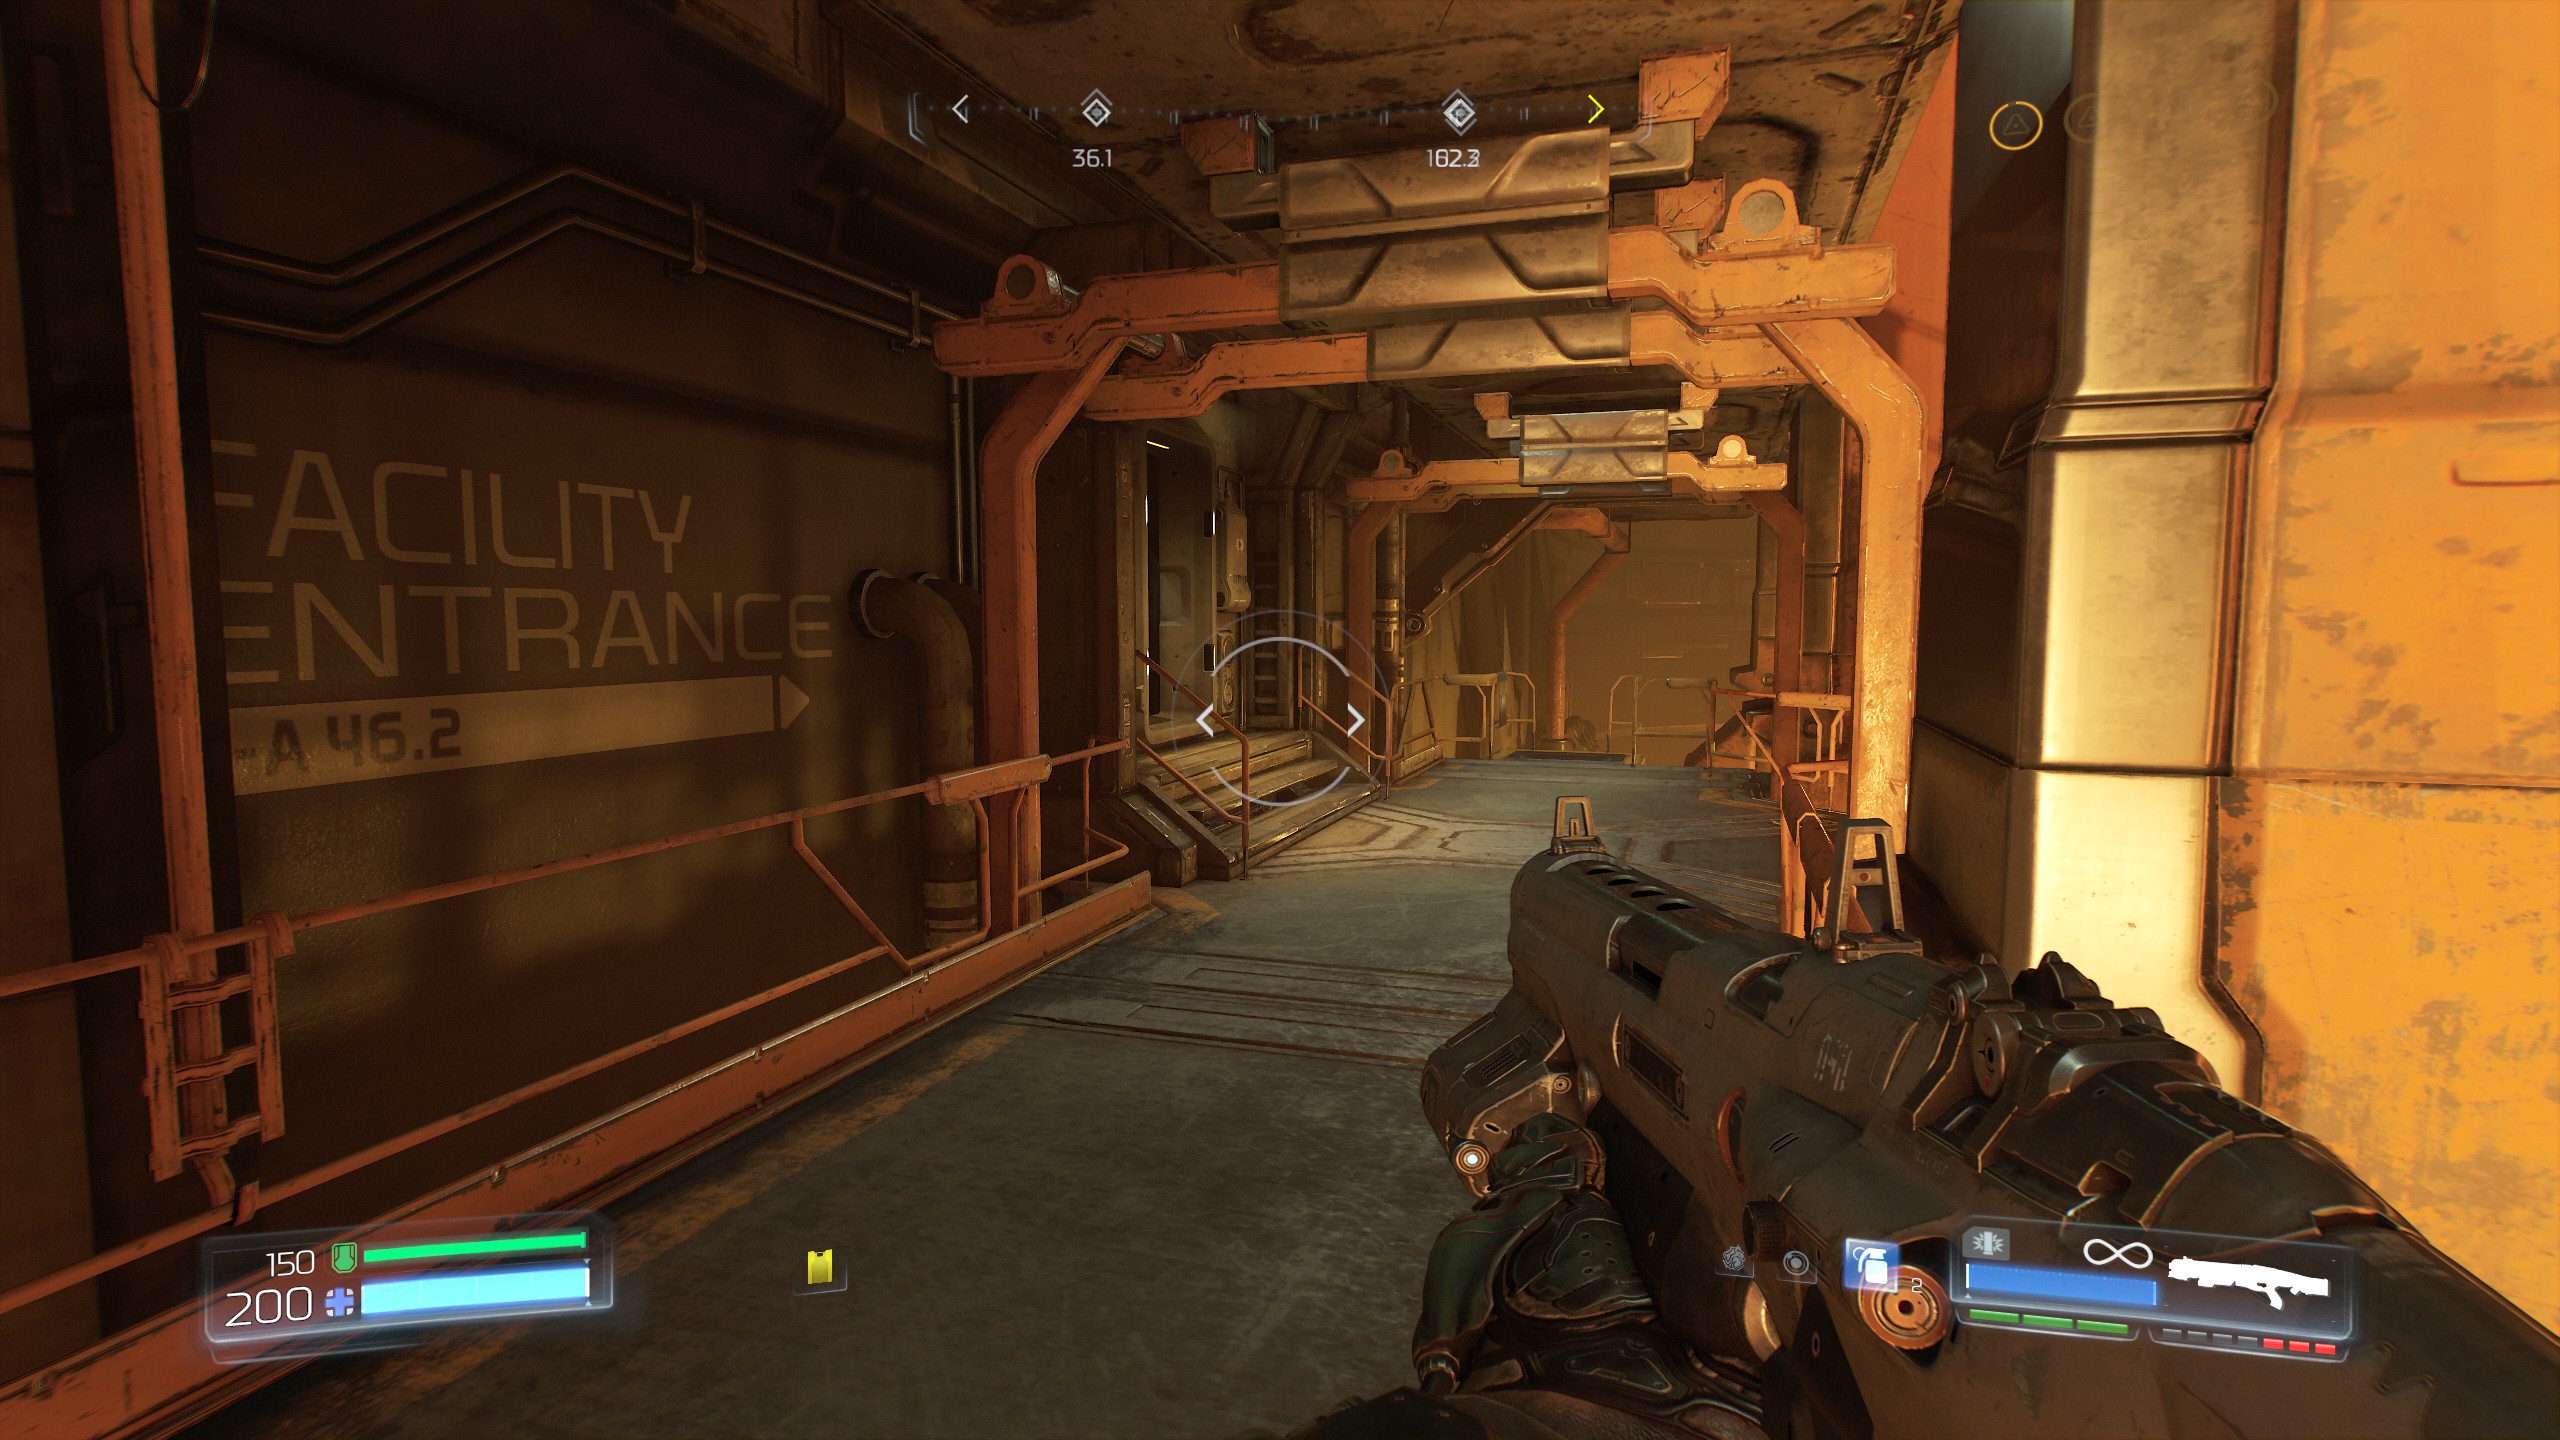
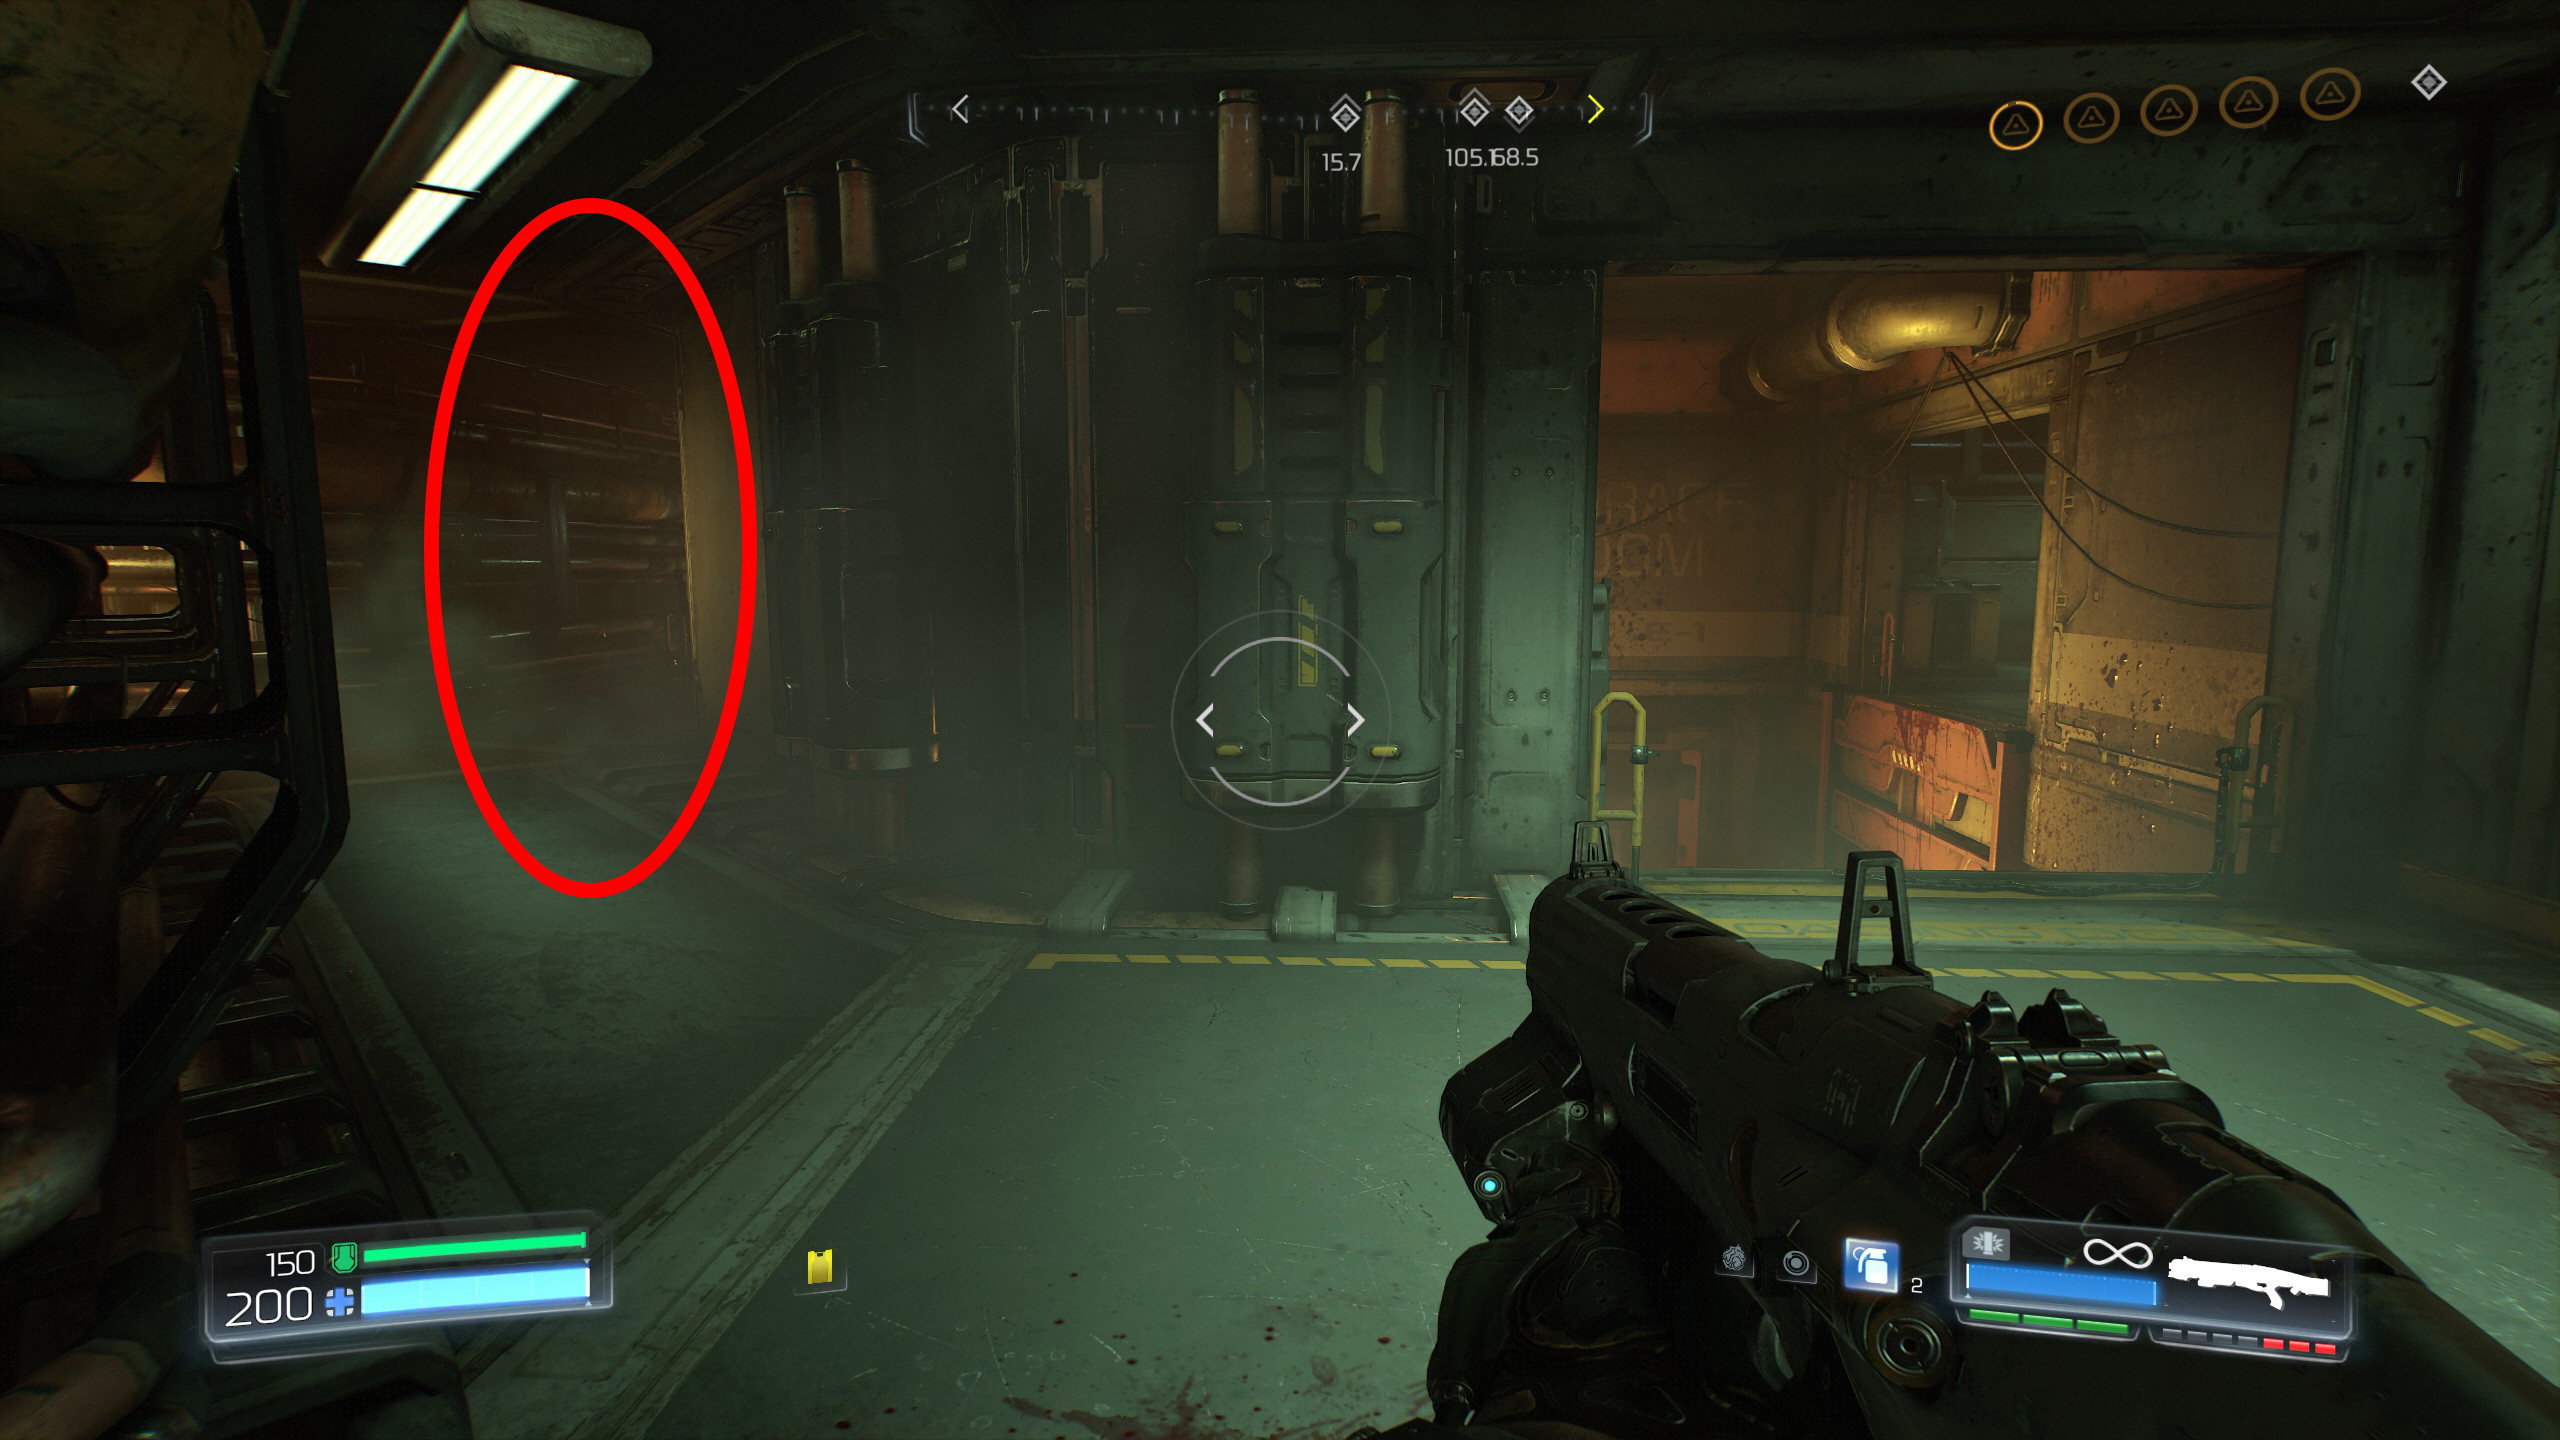
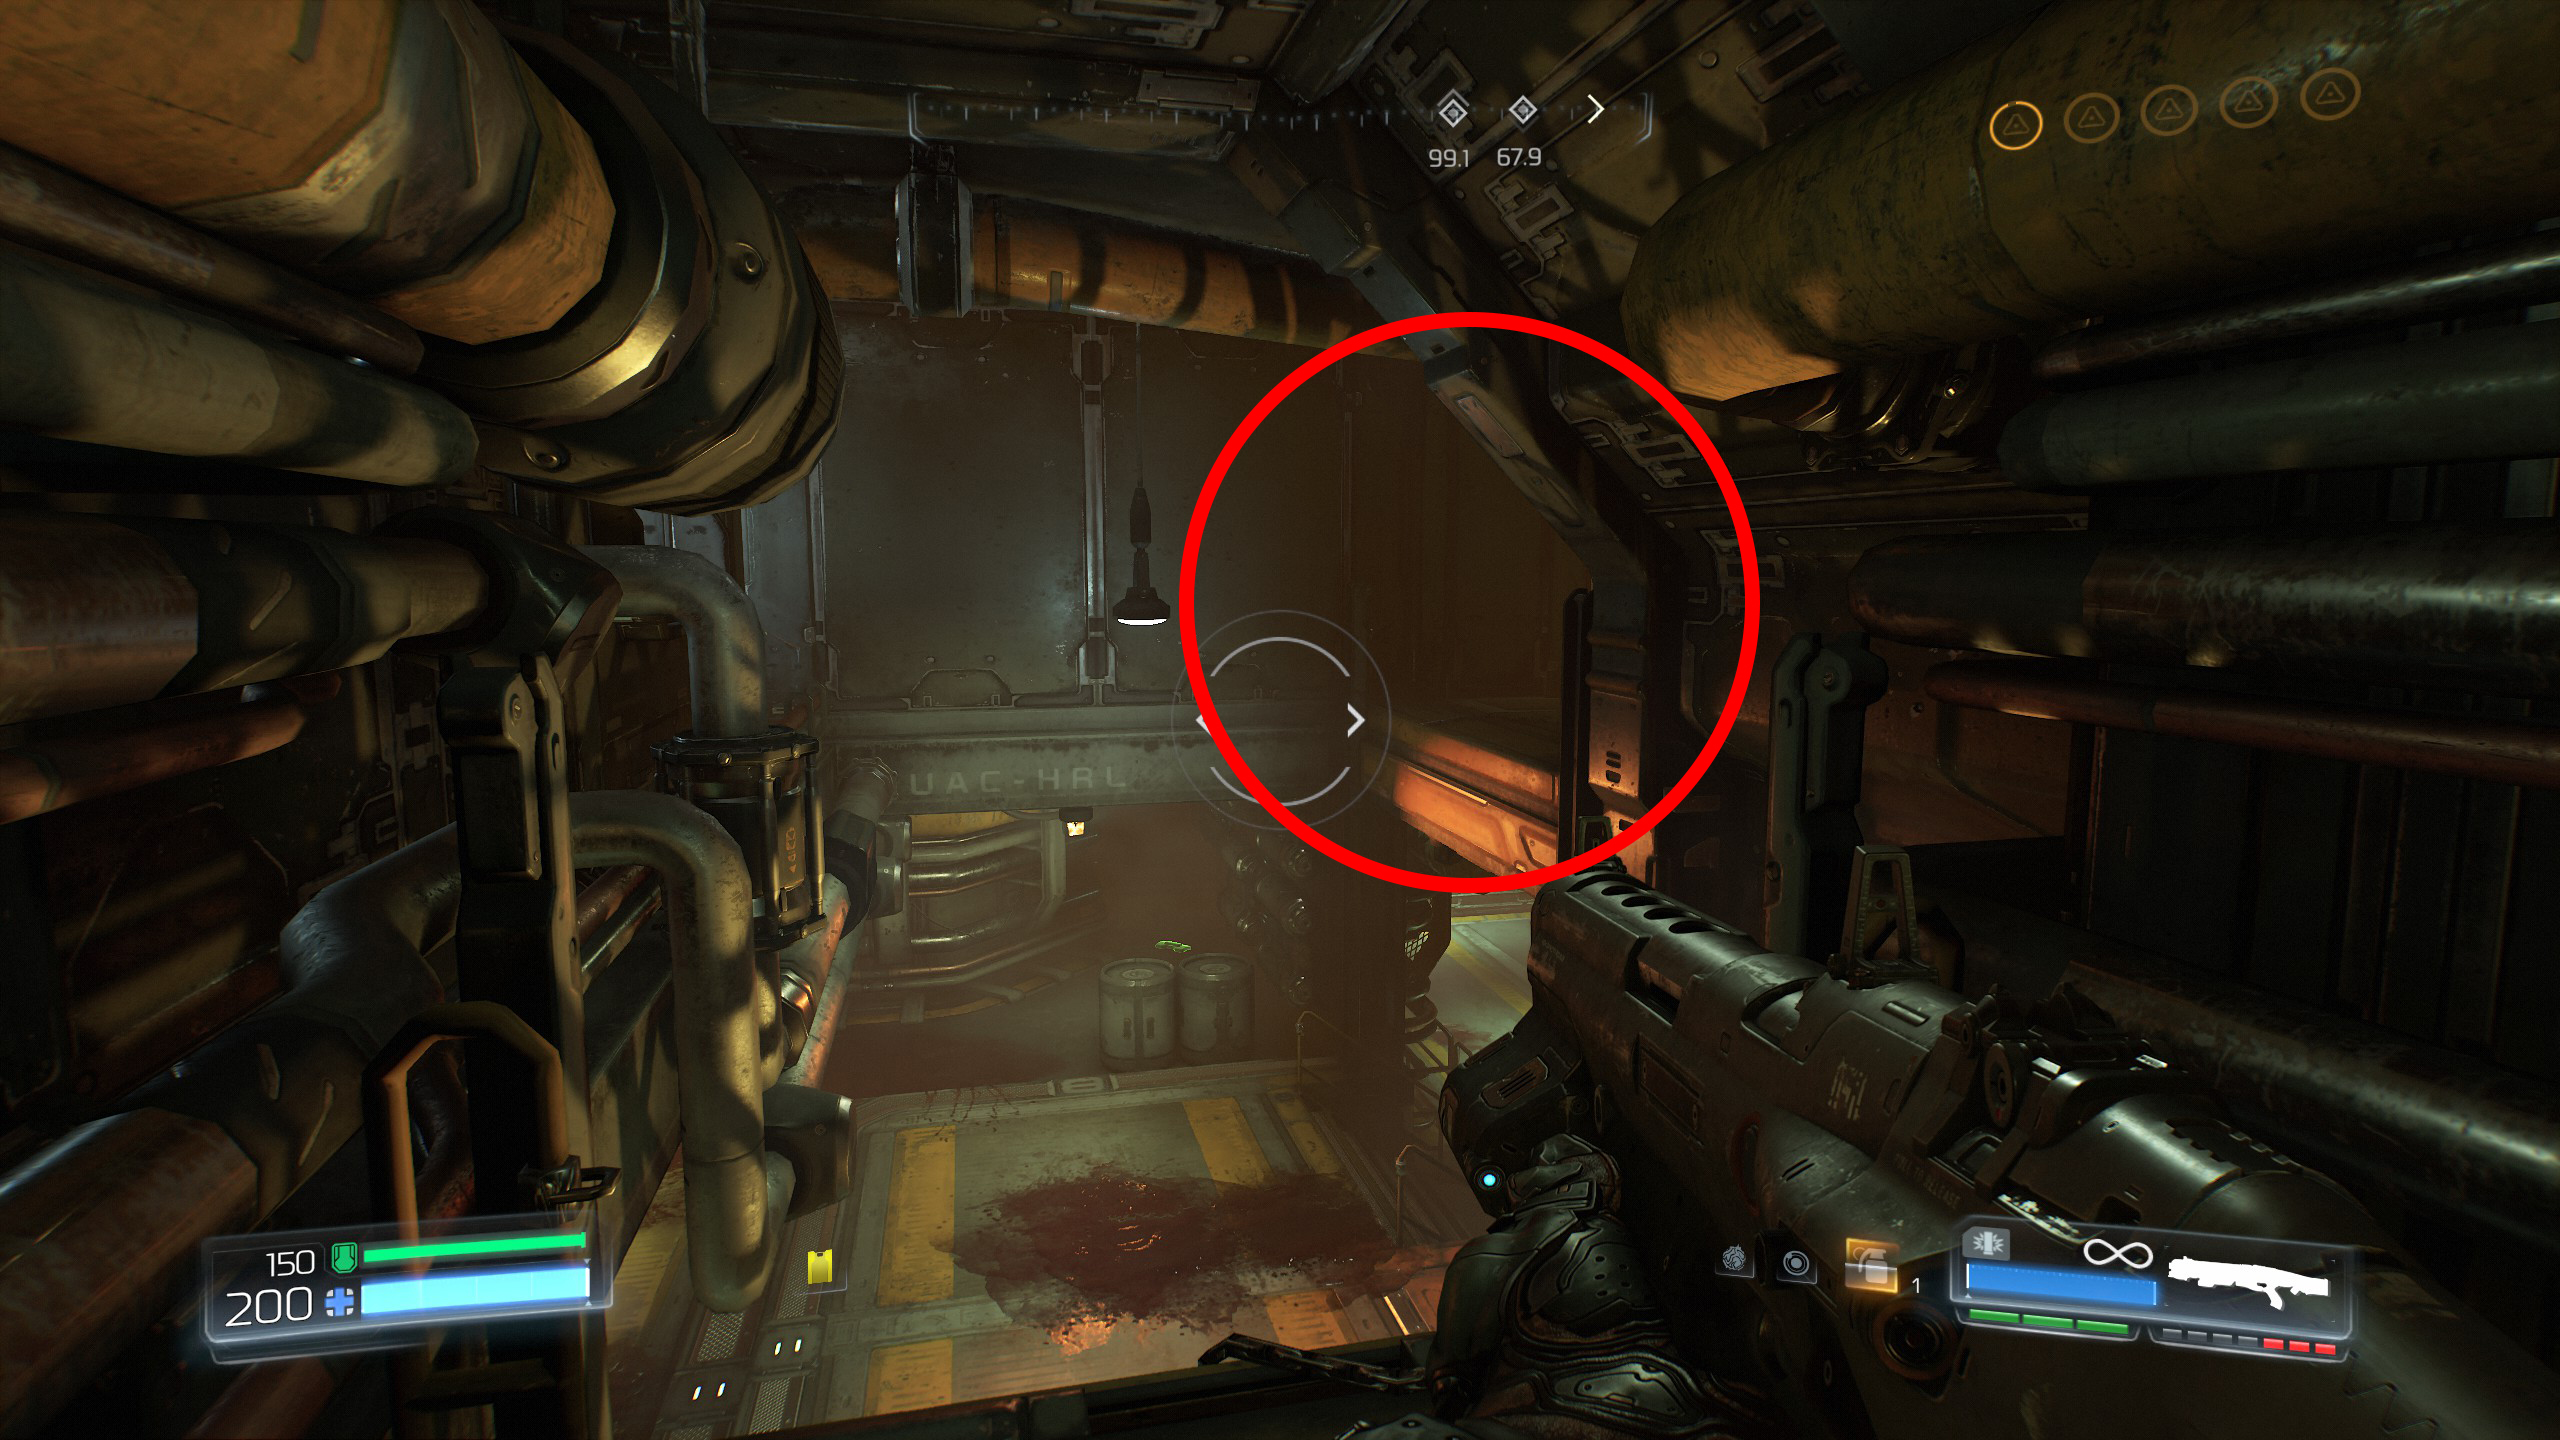
Once through the doorway follow the path around to the left, you will come to a small room but ignore it and continue left until you reach another small room, now before you drop down into the room take a look over to the upper right side and you will notice a ledge you can climb up to, this will take you to yet another room, climb up and go inside to get your final secret of the mission, secret number 6.
Mission 4 - Argent Facility
Climb the steps onto the platform and you will find a lever under the piping, activate it to unlock the door to the secret room.
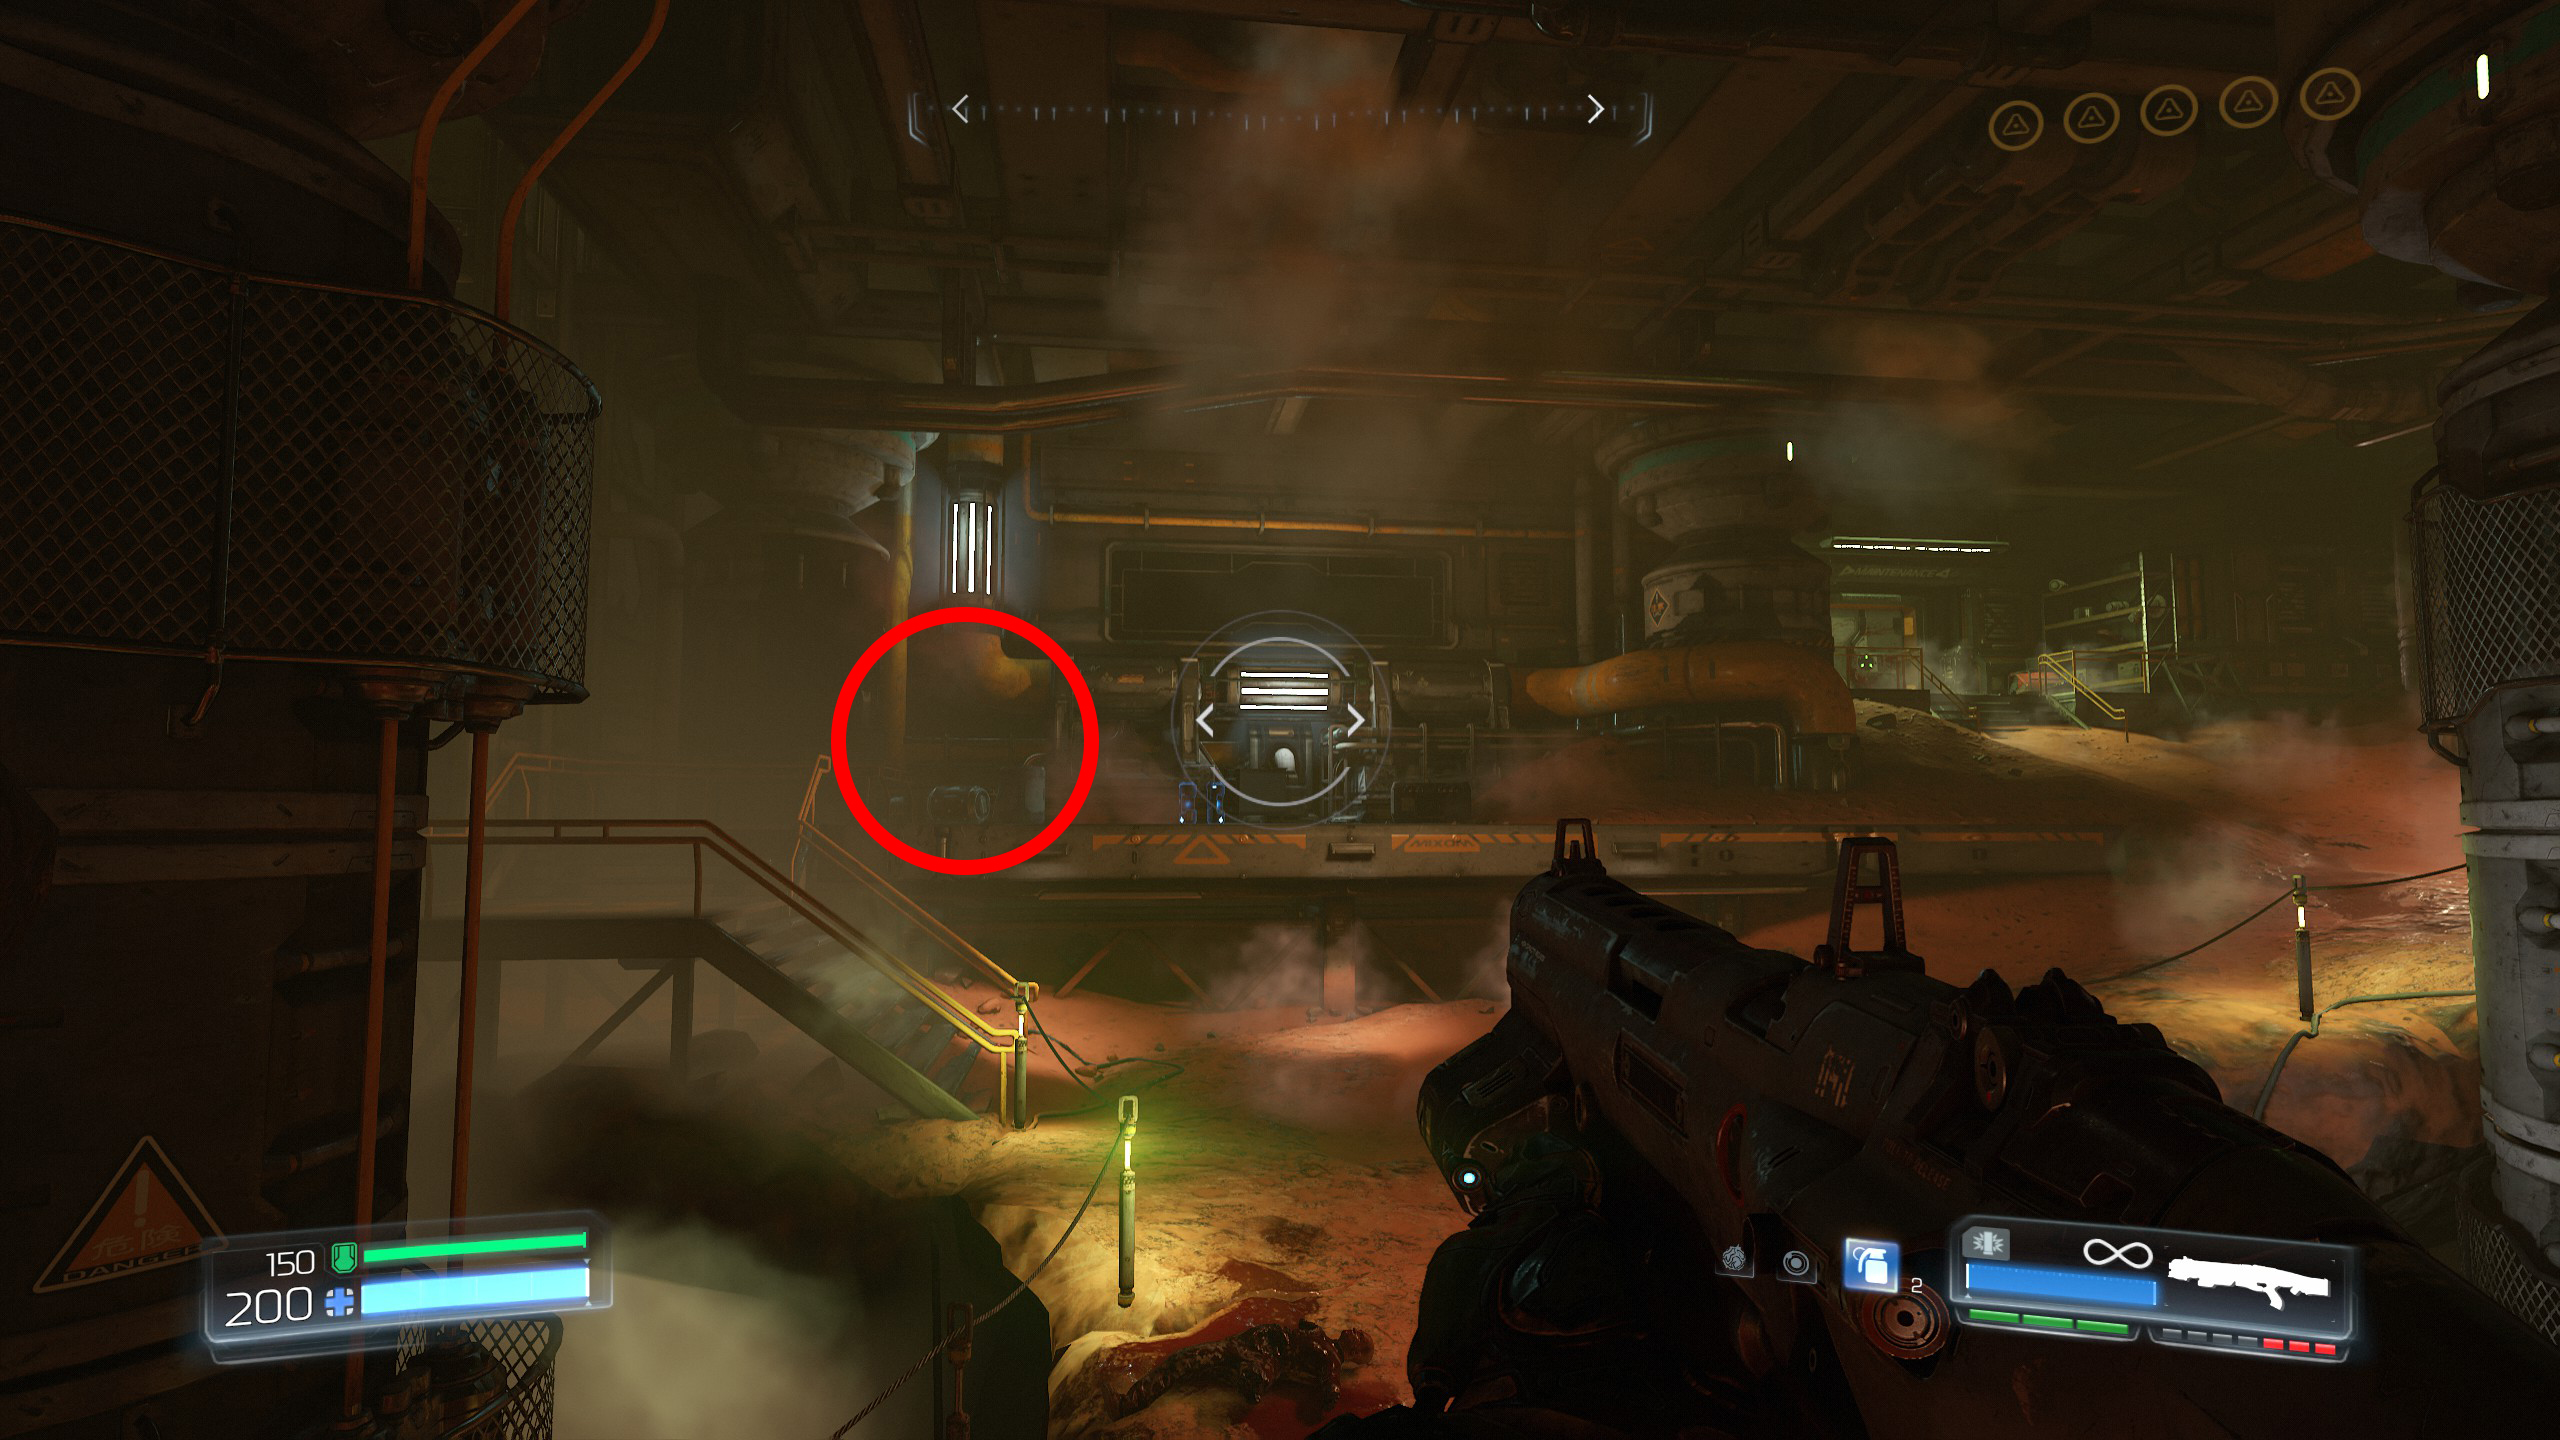
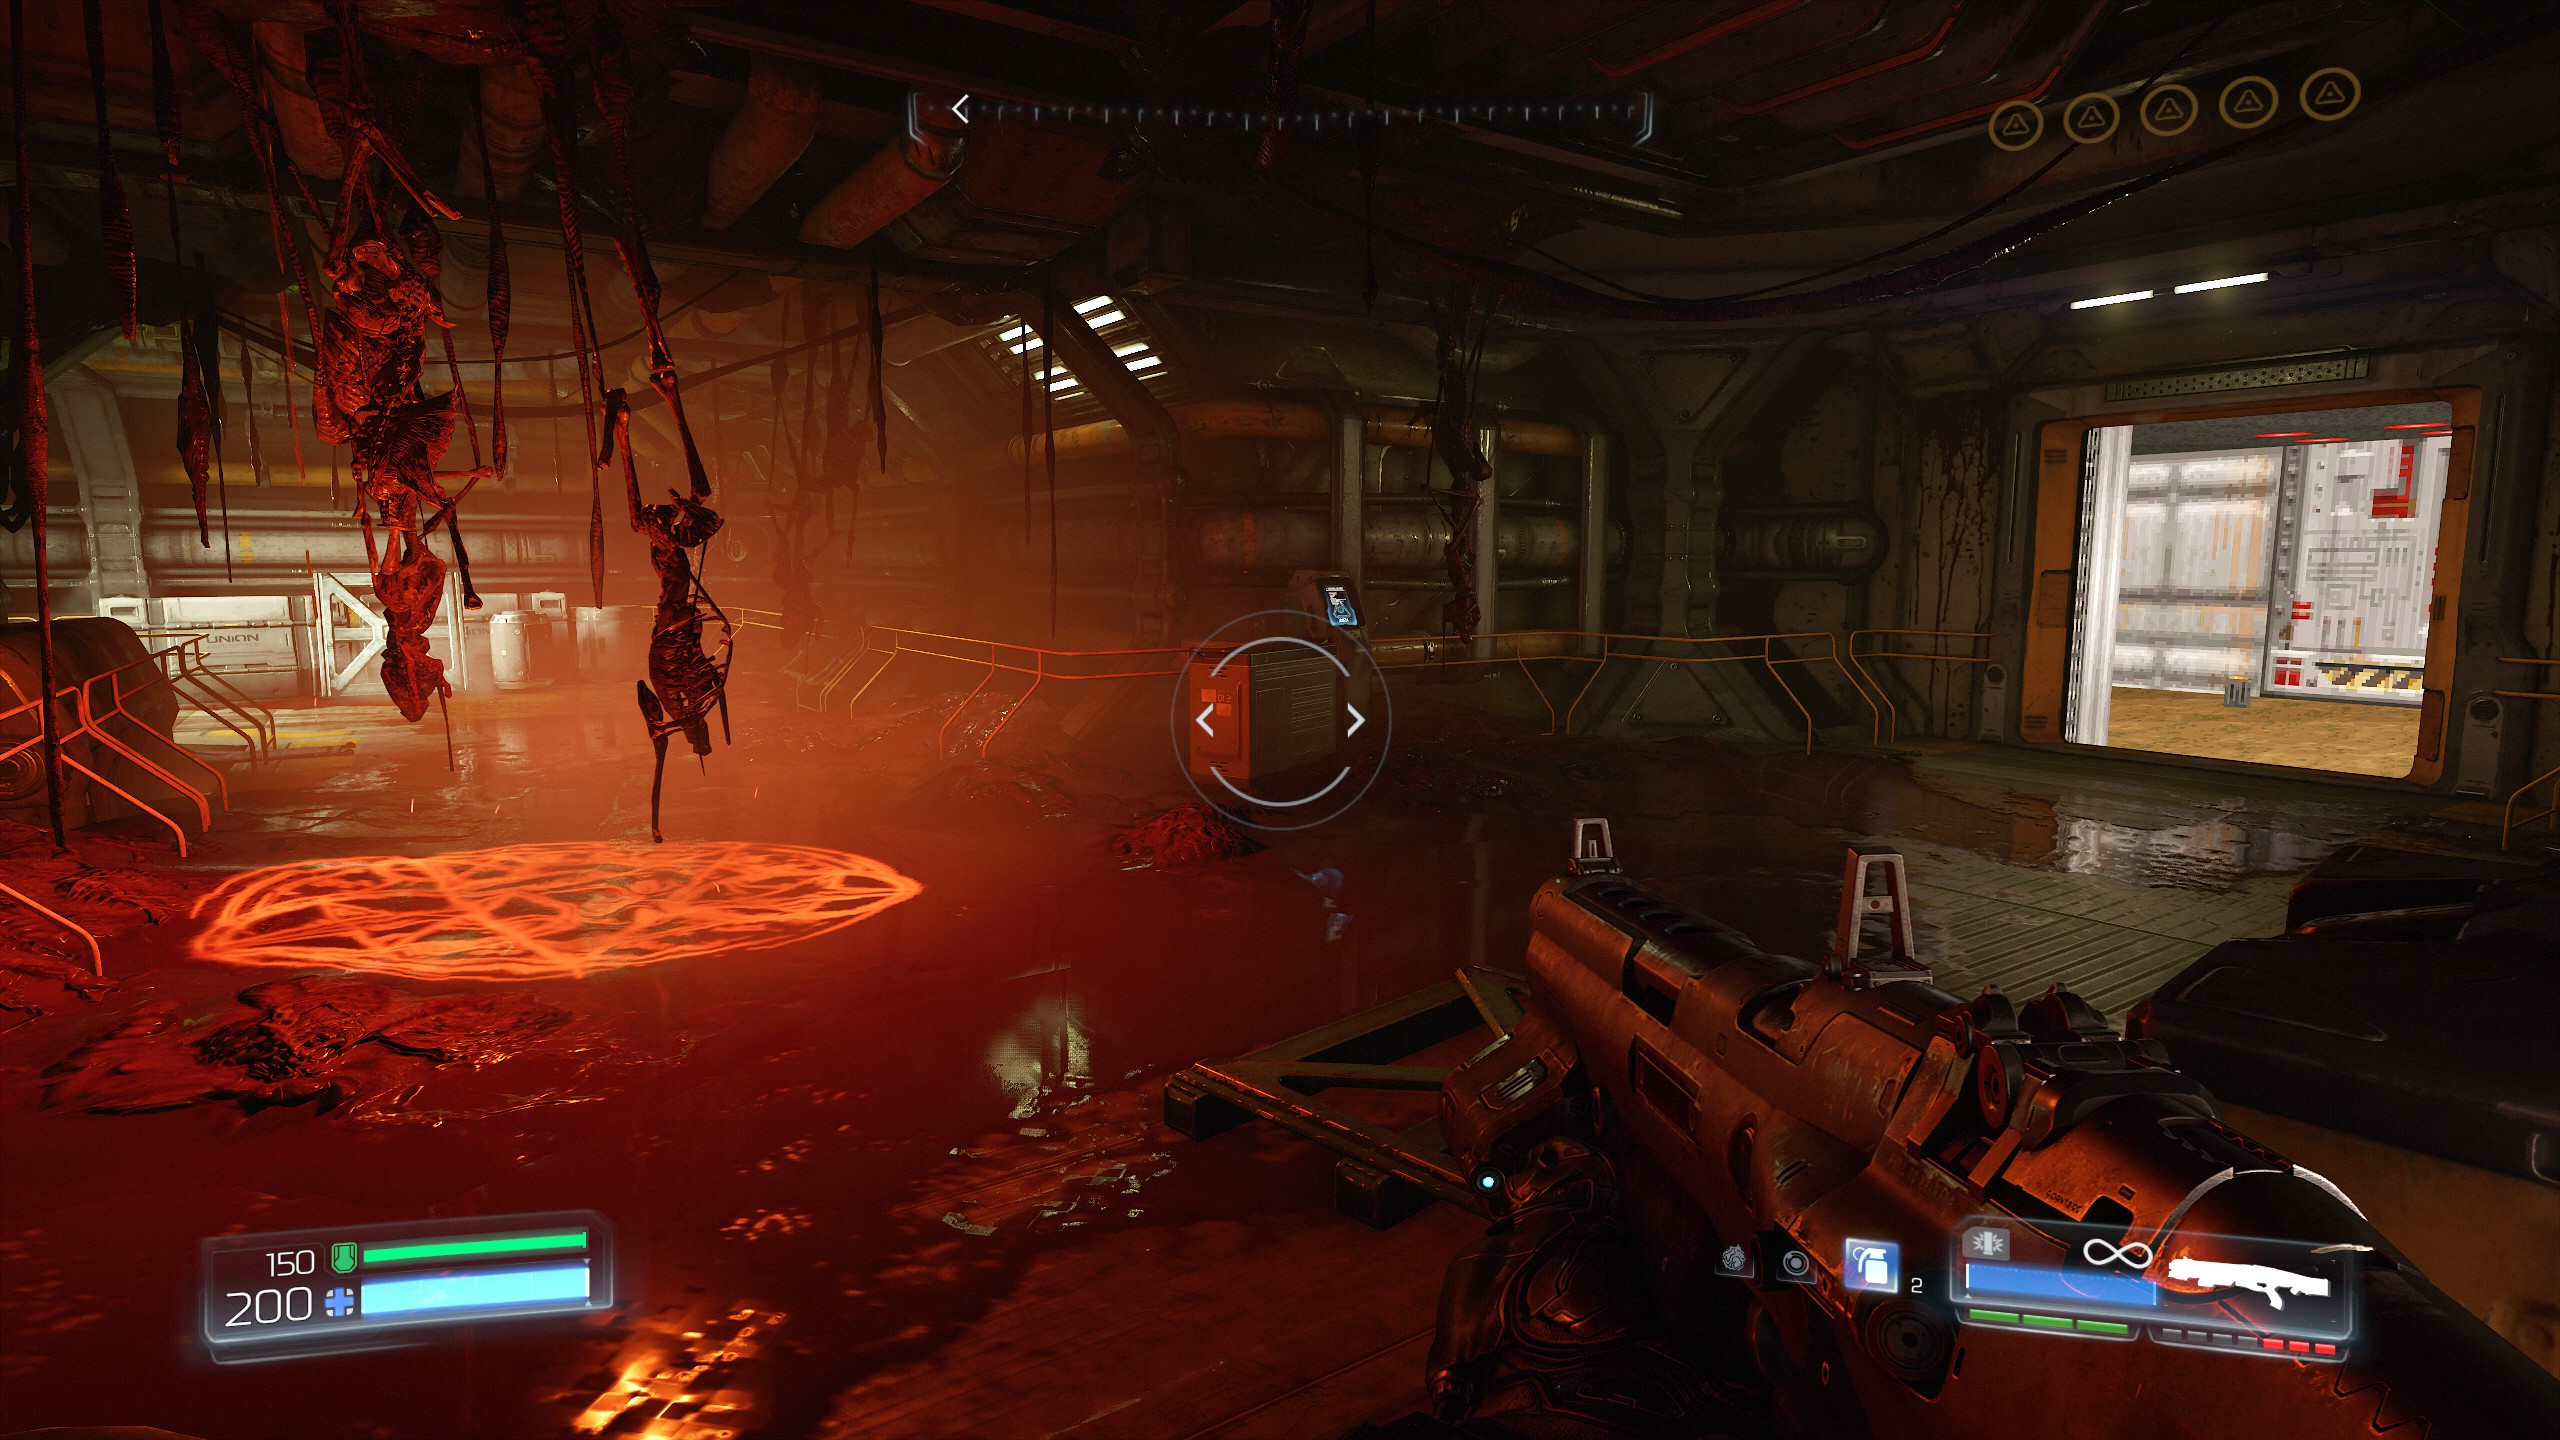
Once activated continue the mission to the next room and at the second pentagram image on the floor you will see the secret room on the right side, enter to gain secret number 1.
Once the area has been cleared etc then as you face the blue barrier look left to find a set of crates you can climb, climb up to the next level.
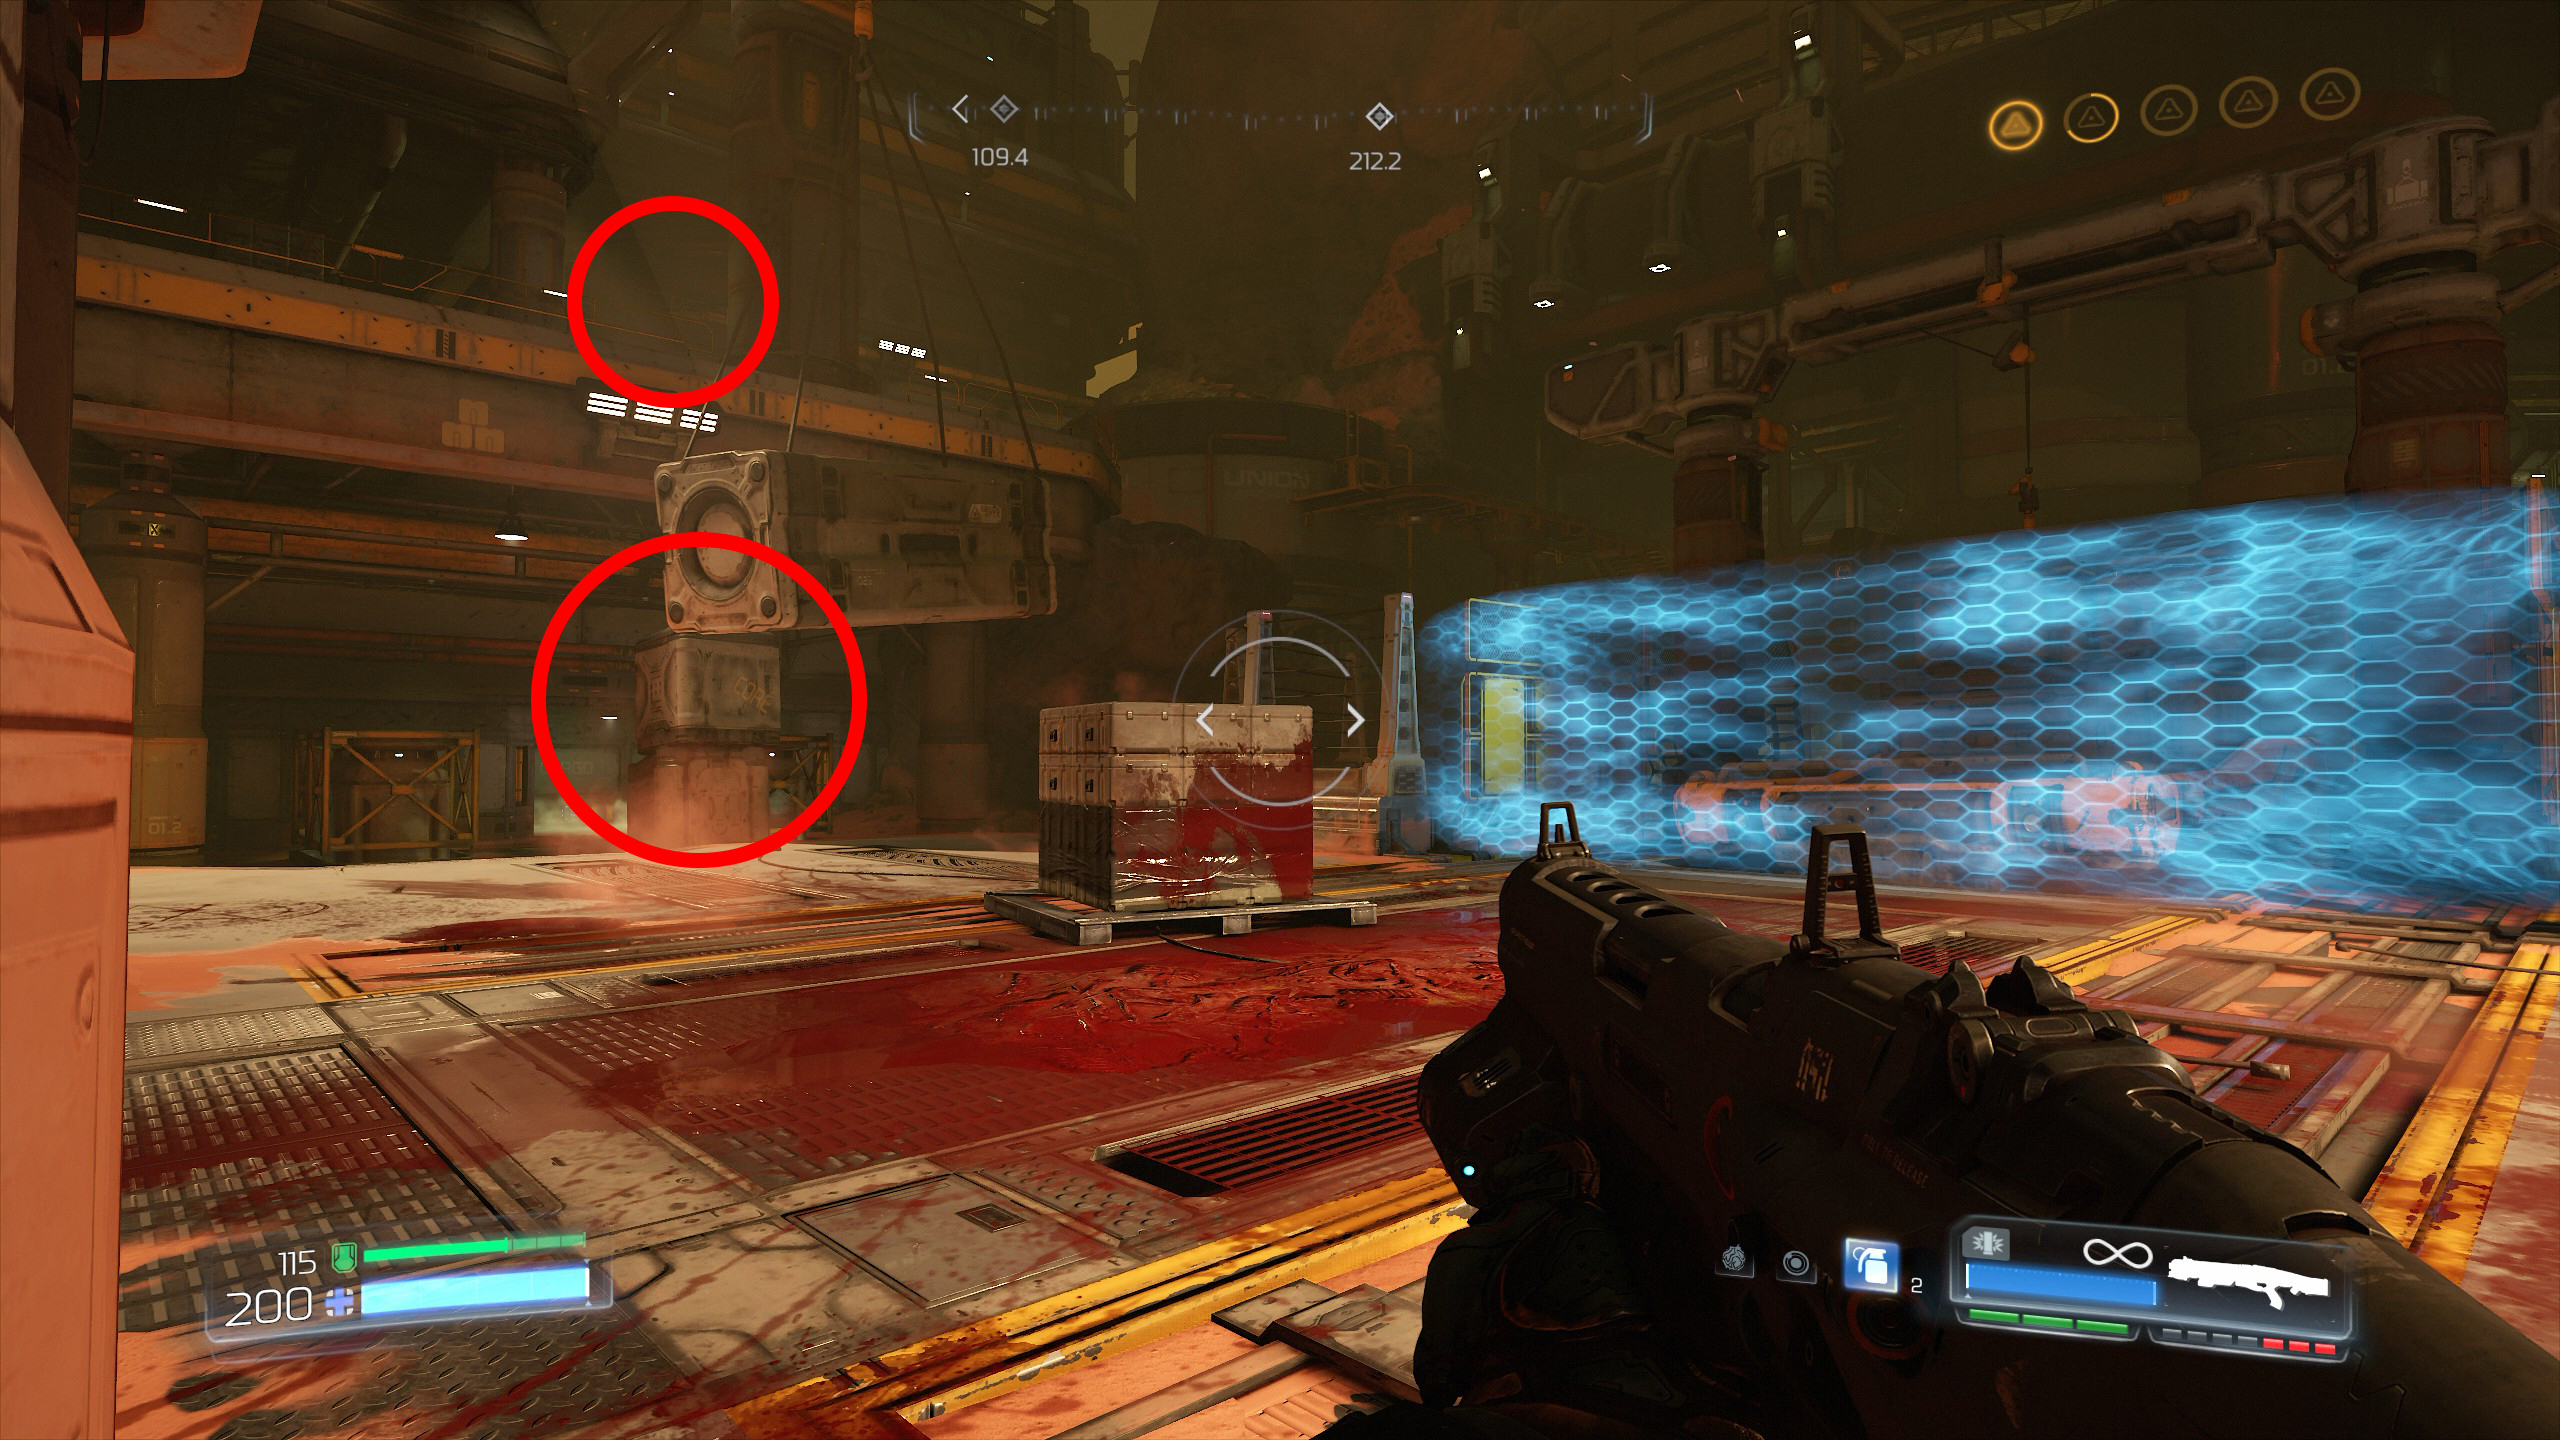
Now follow the nearest mission marker into the nearby room, inside the room is another small room which contains the filter that you need to destroy to proceed.
Once you destroy the filter head out into the next room and you will notice the ground floor door/shutter will open up and allow access to the lower level, drop down inside.
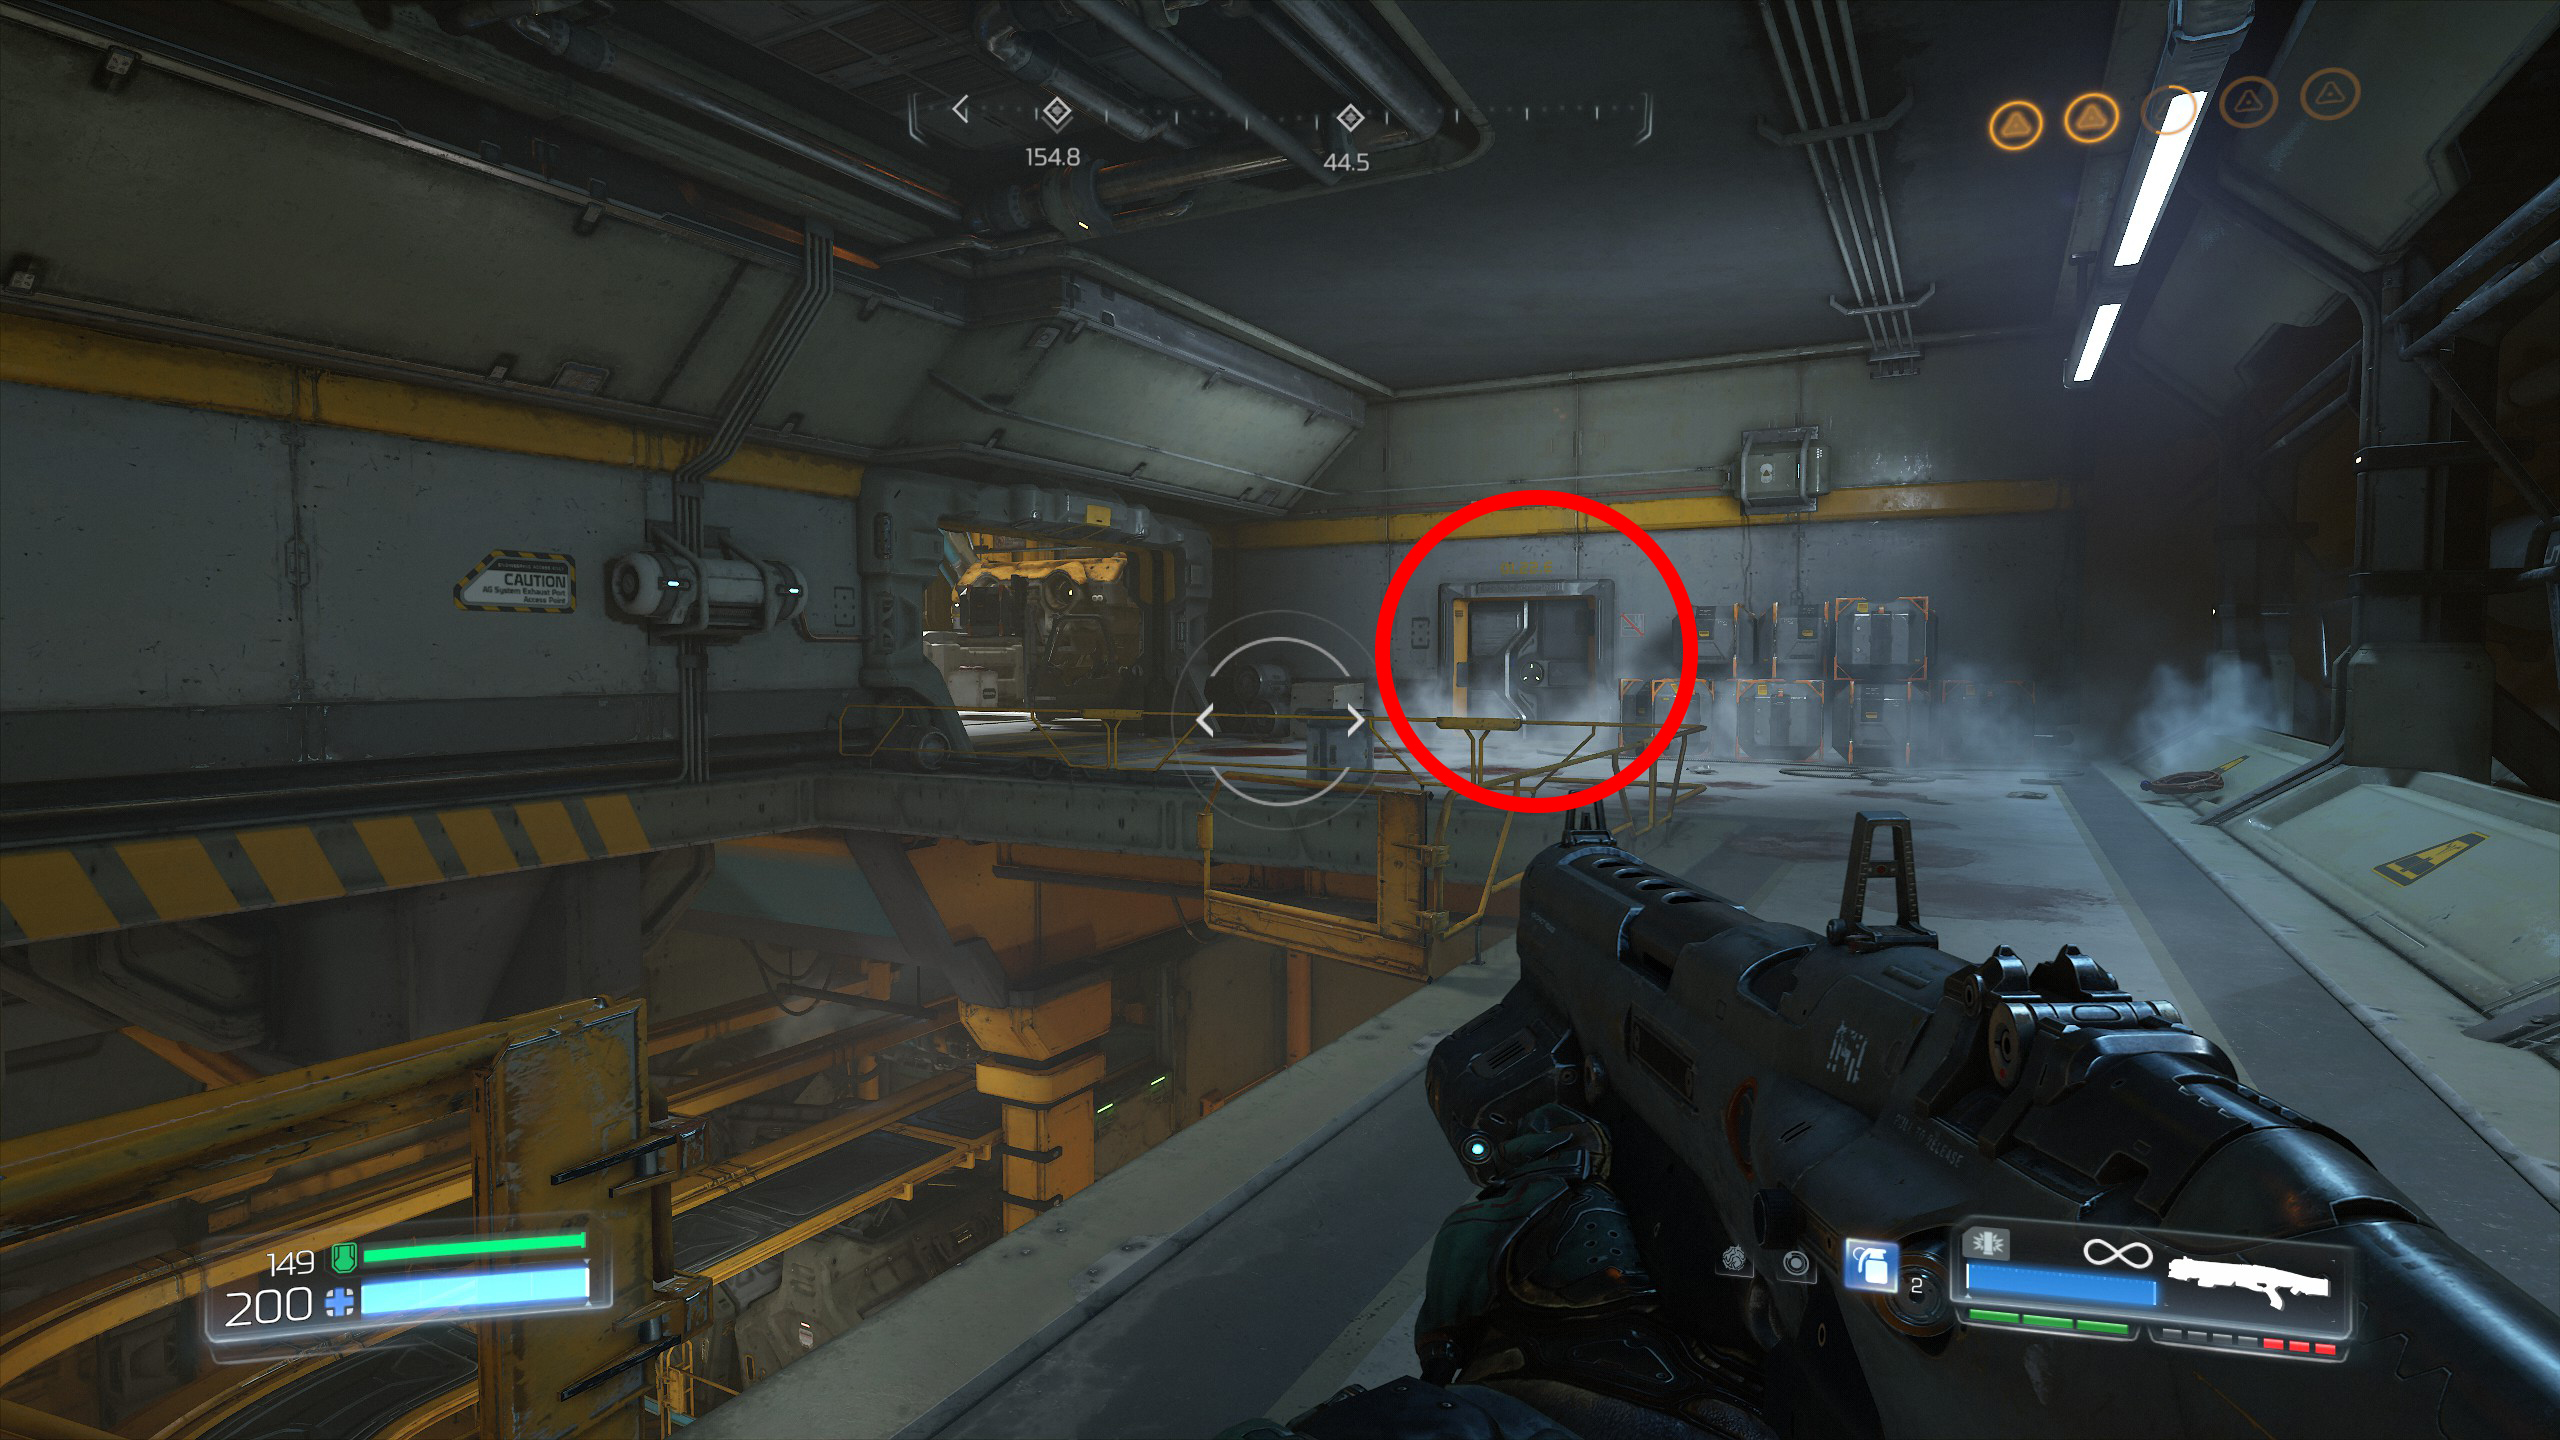
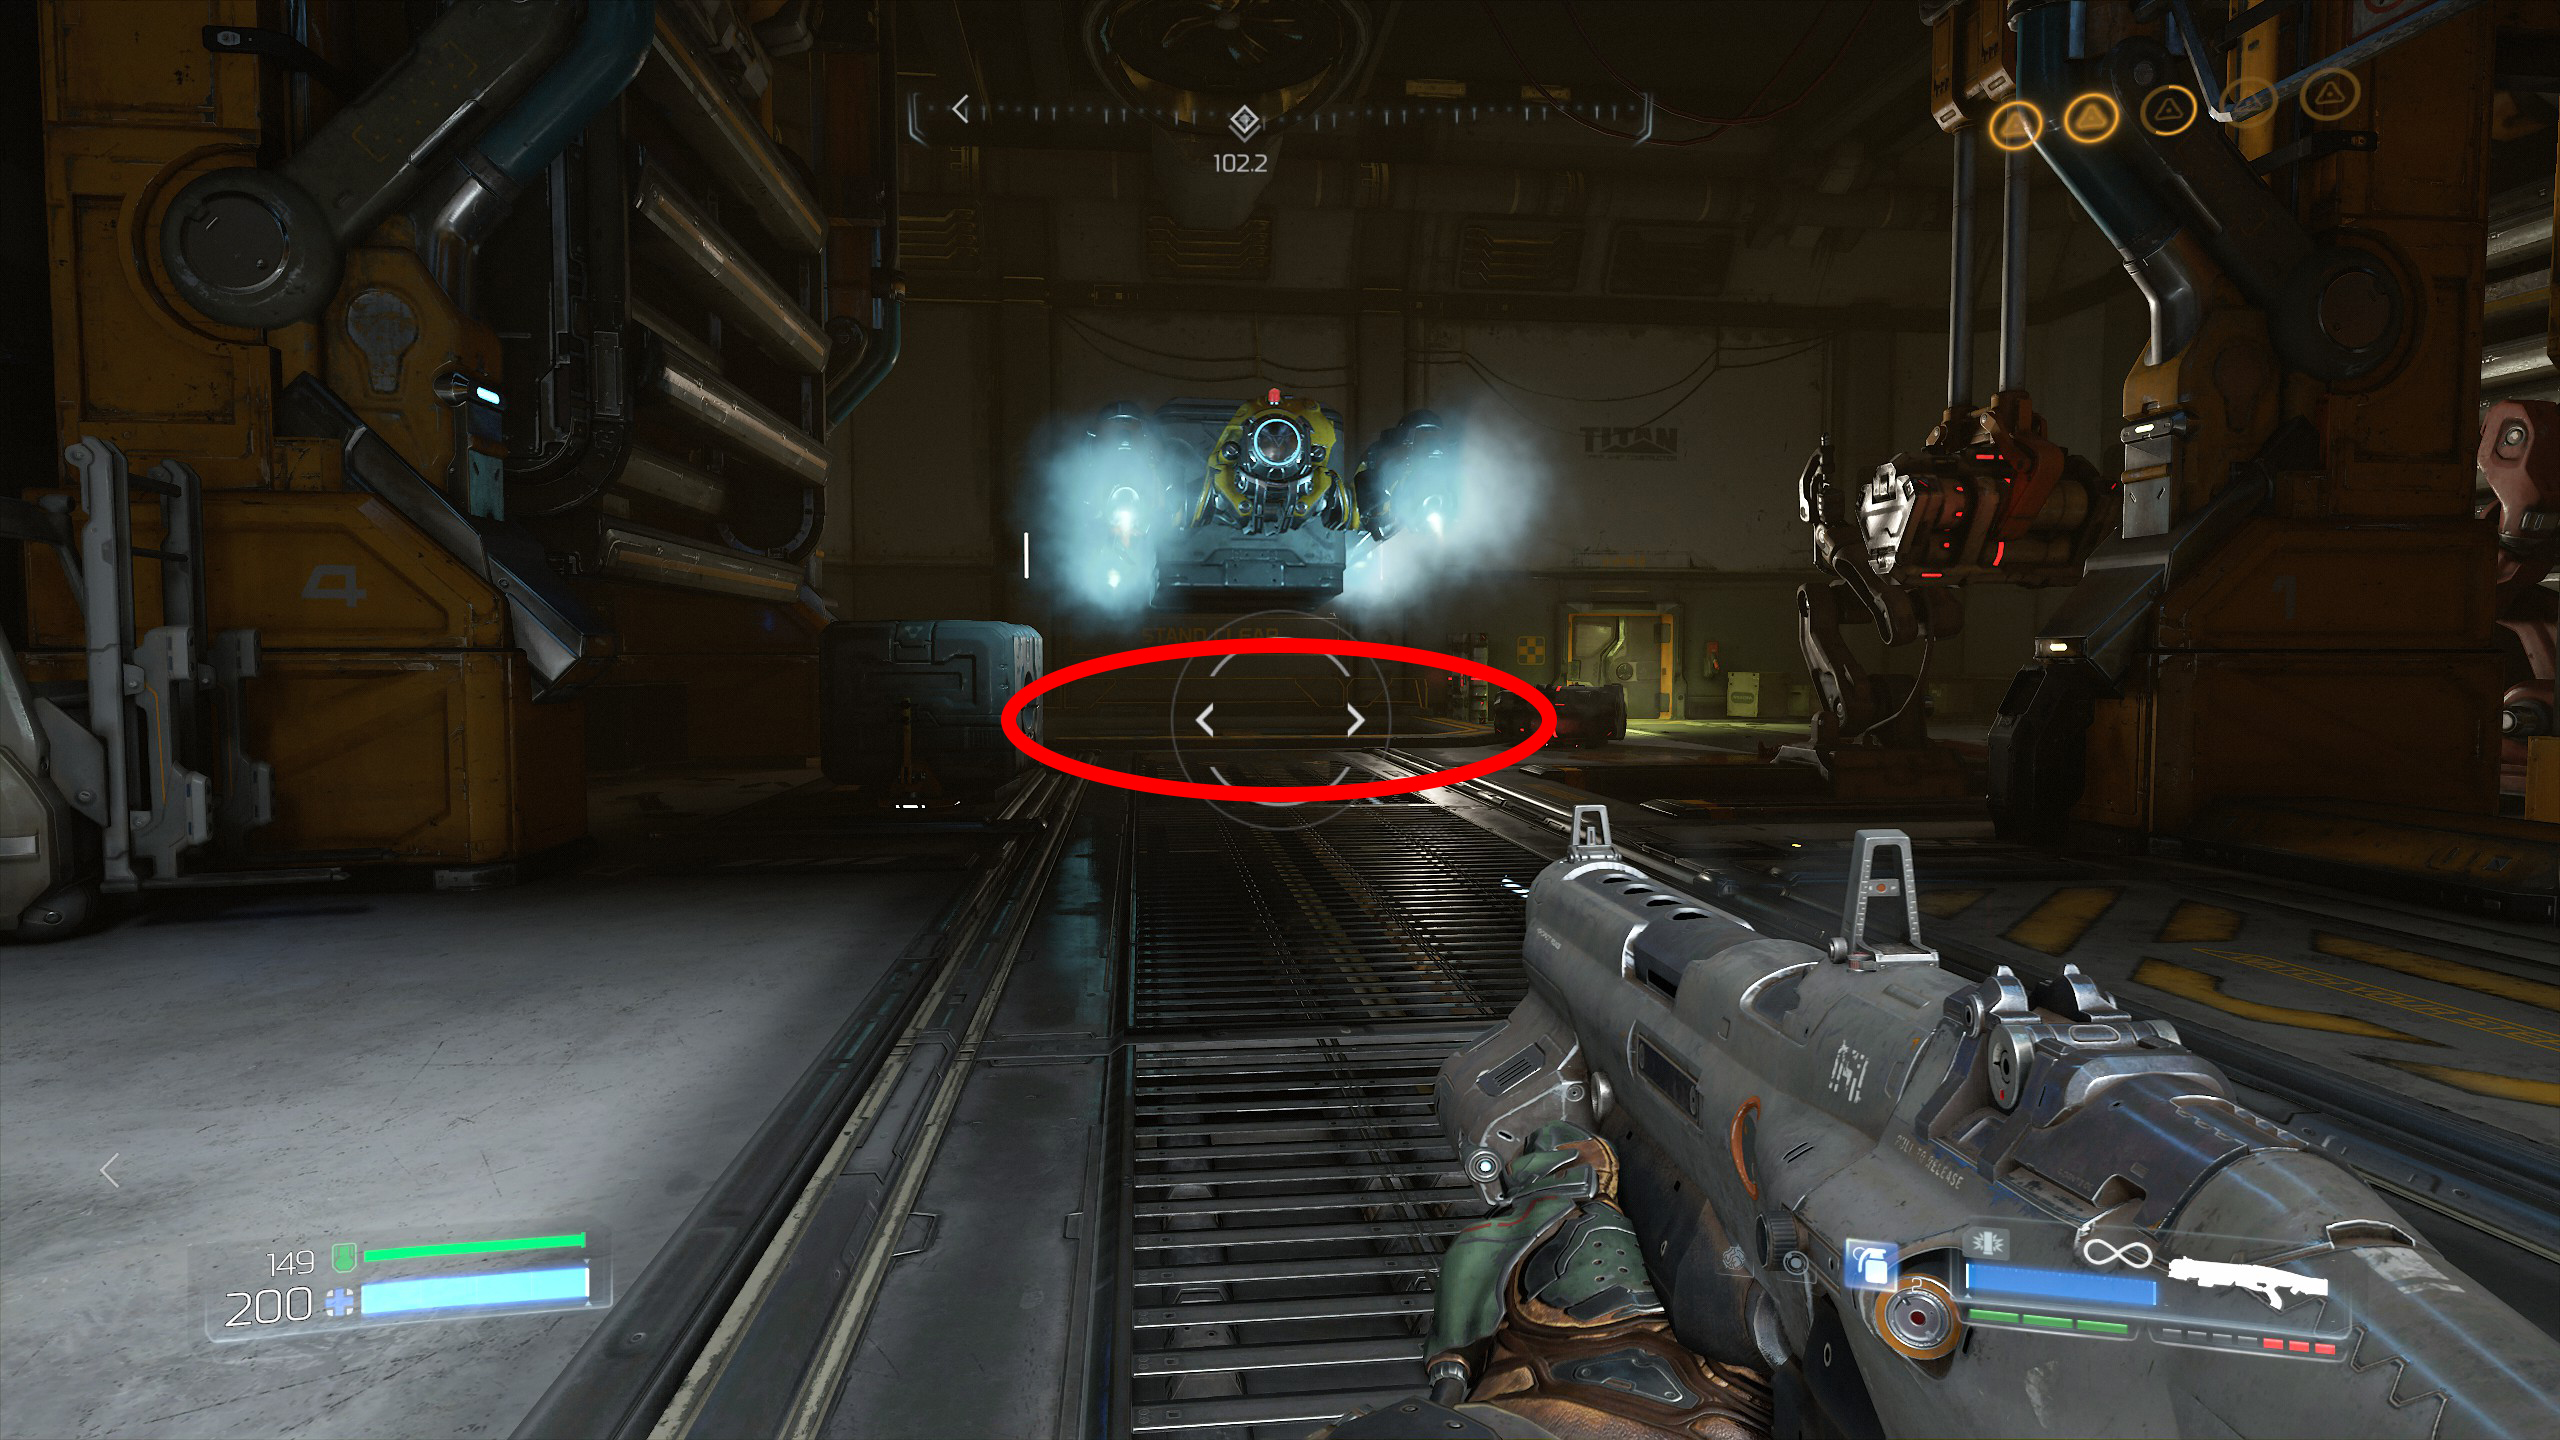
When you drop down notice the stack of crates on the left side, climb them to reach the central platform above, on the platform you will find a Doomguy for secret 2.
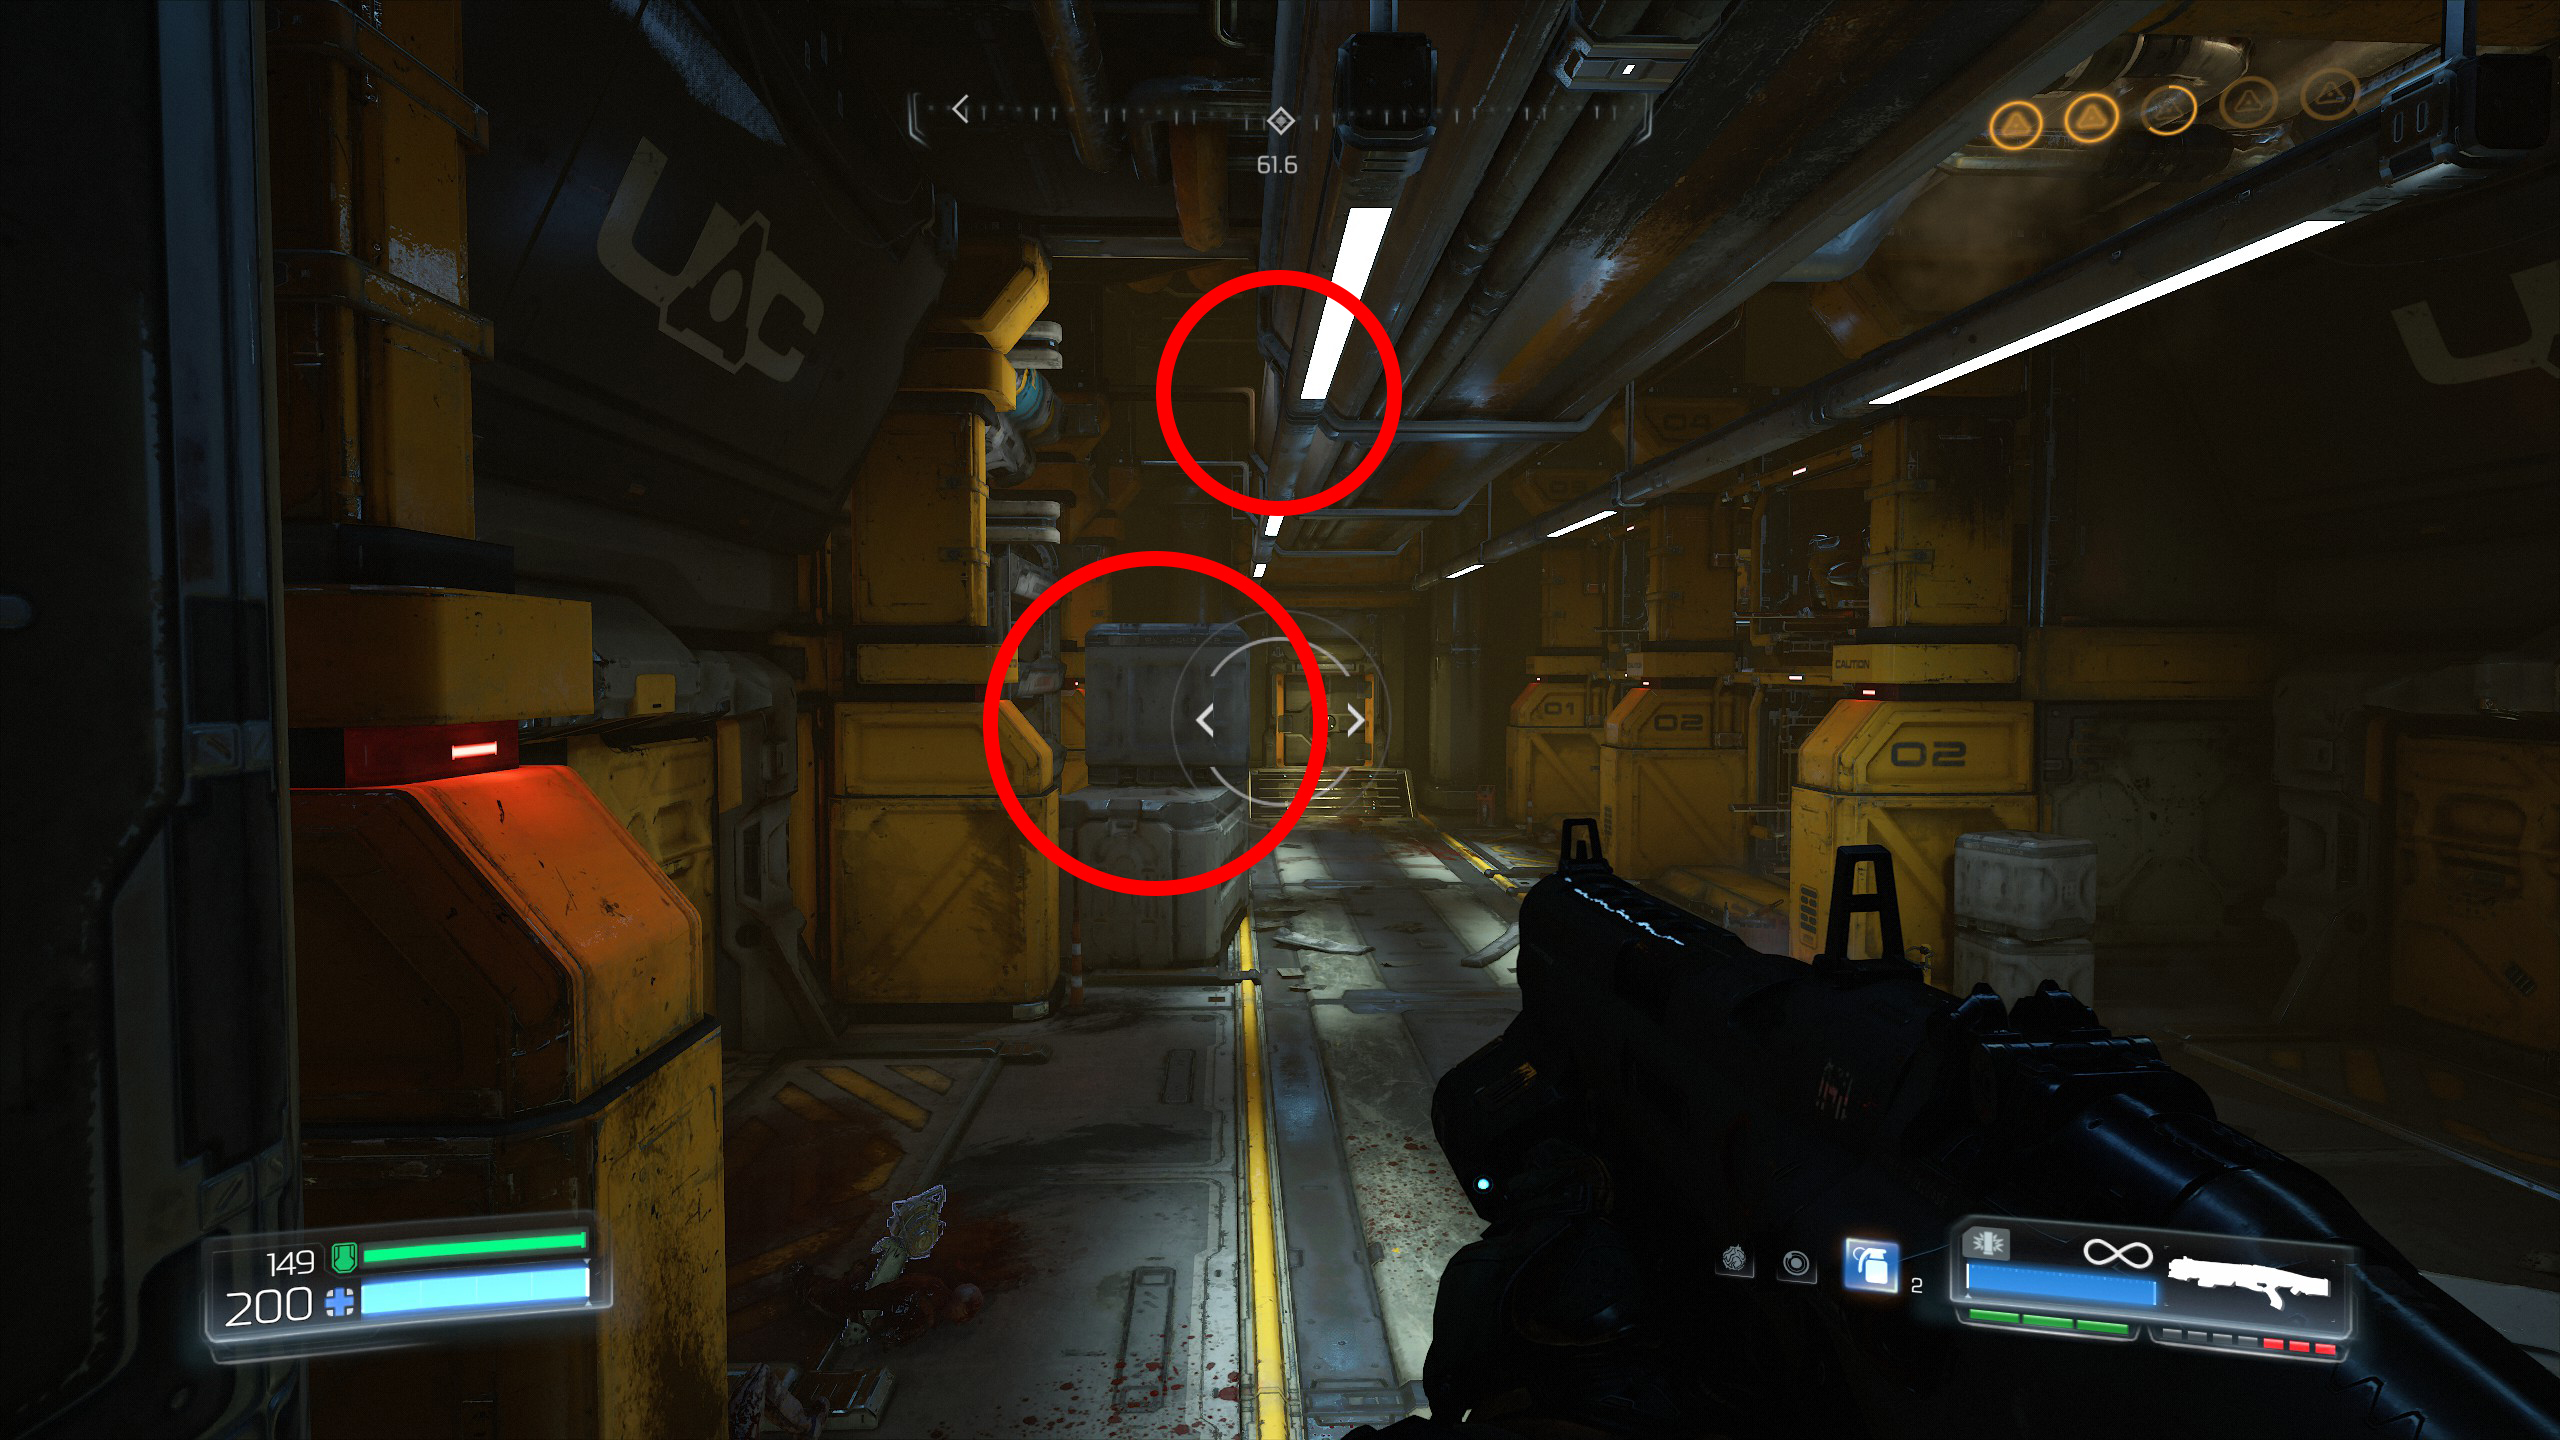
Continue to secret 3.
This time follow the path to the right.
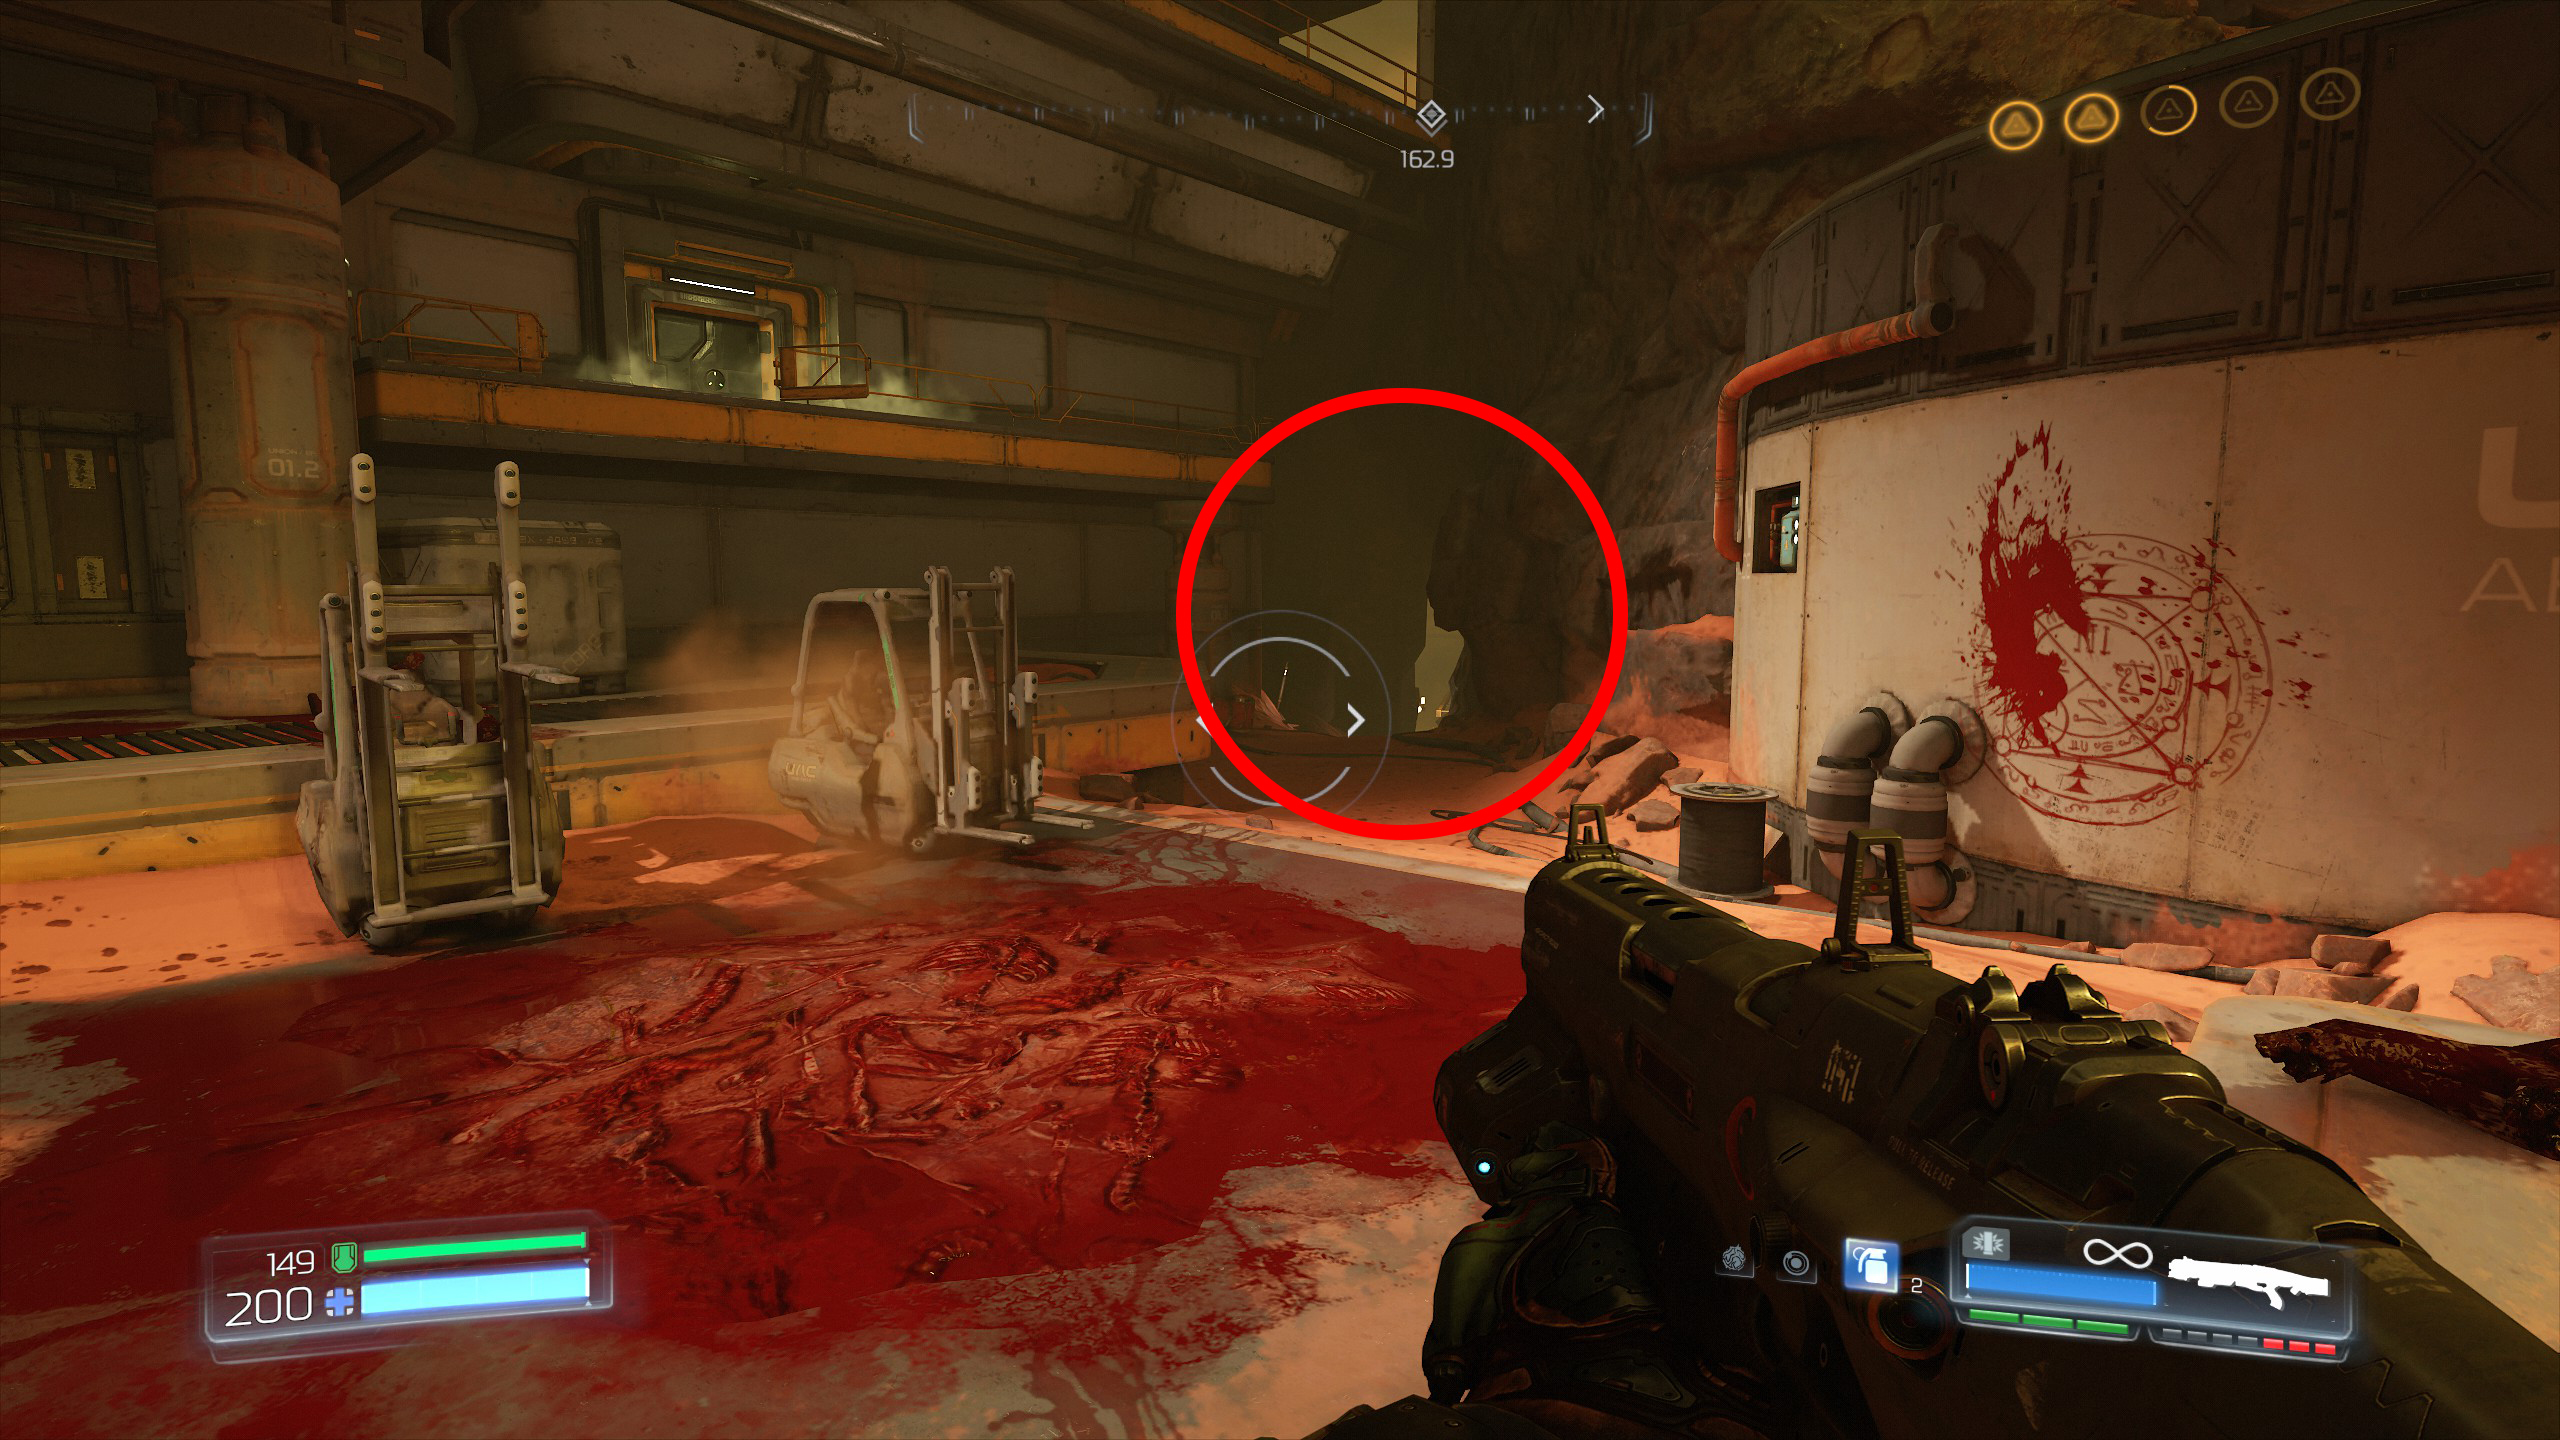
Follow the path until you reach the opening on your right side, go inside and climb the crate to reach the upper platform and once up make your way around the left edge of the building, follow it around and you will come to another room with a Doomguy sitting on the case at the back, that will be secret number 3.
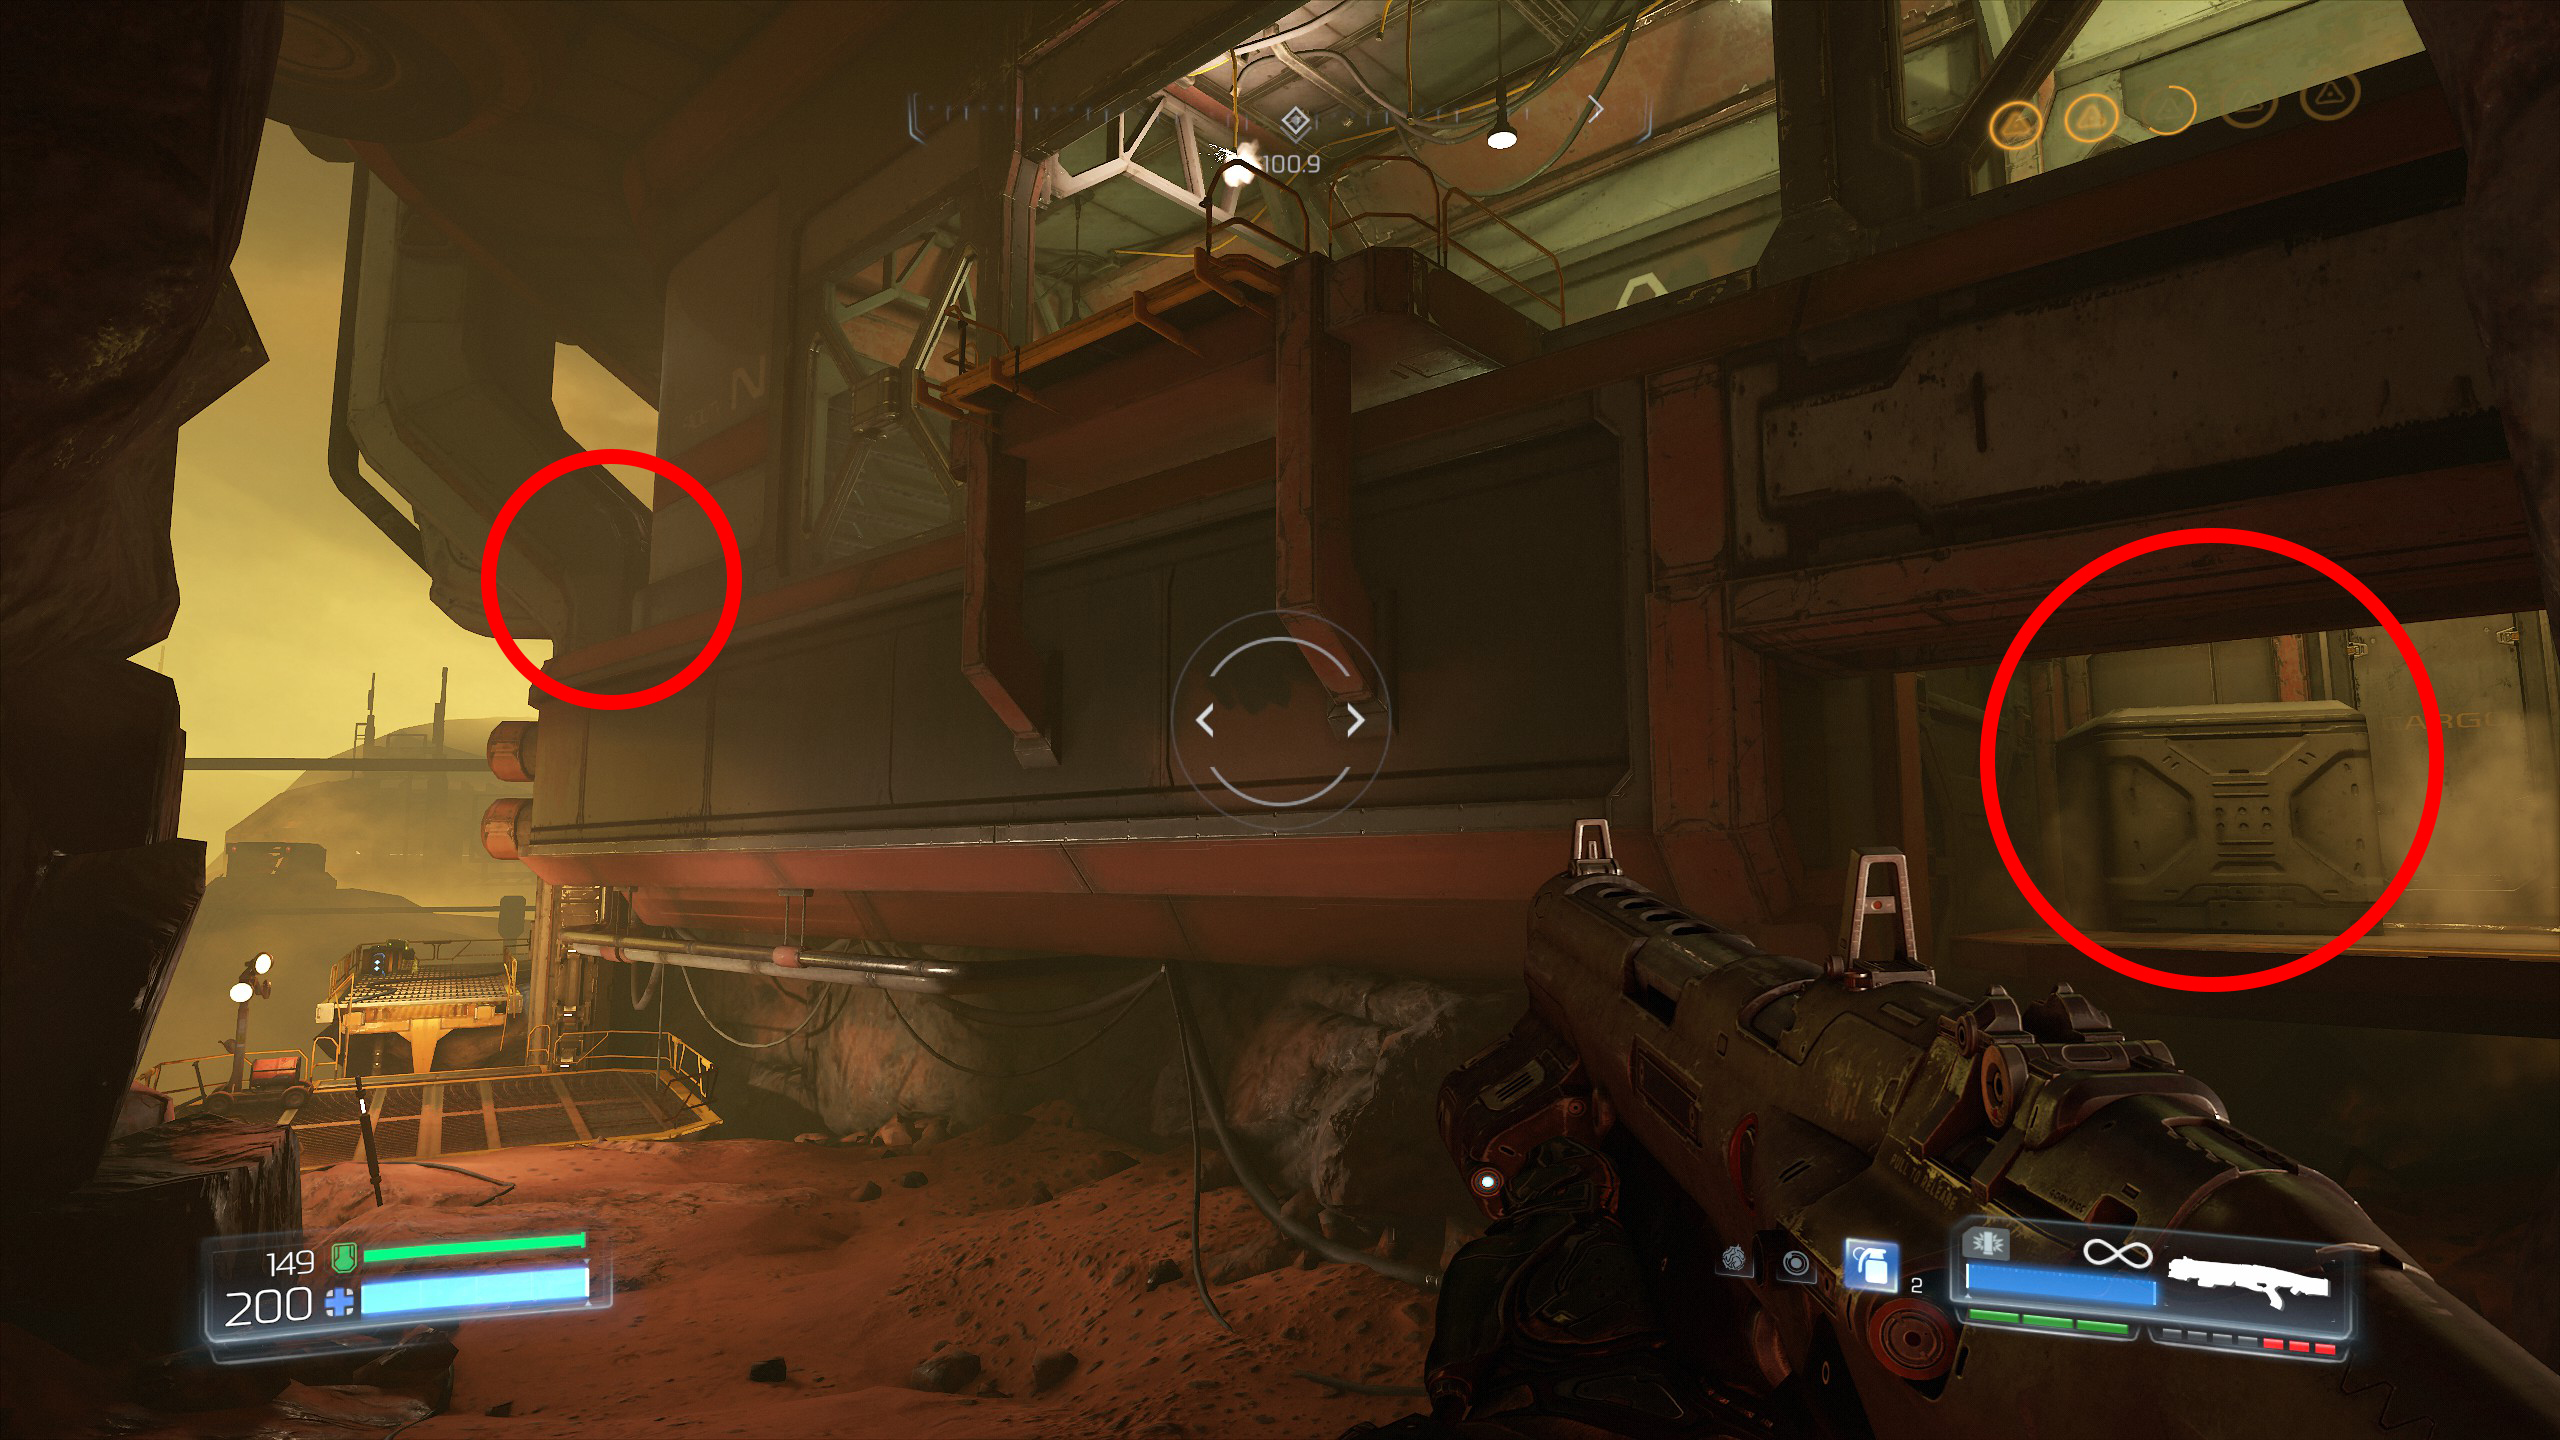
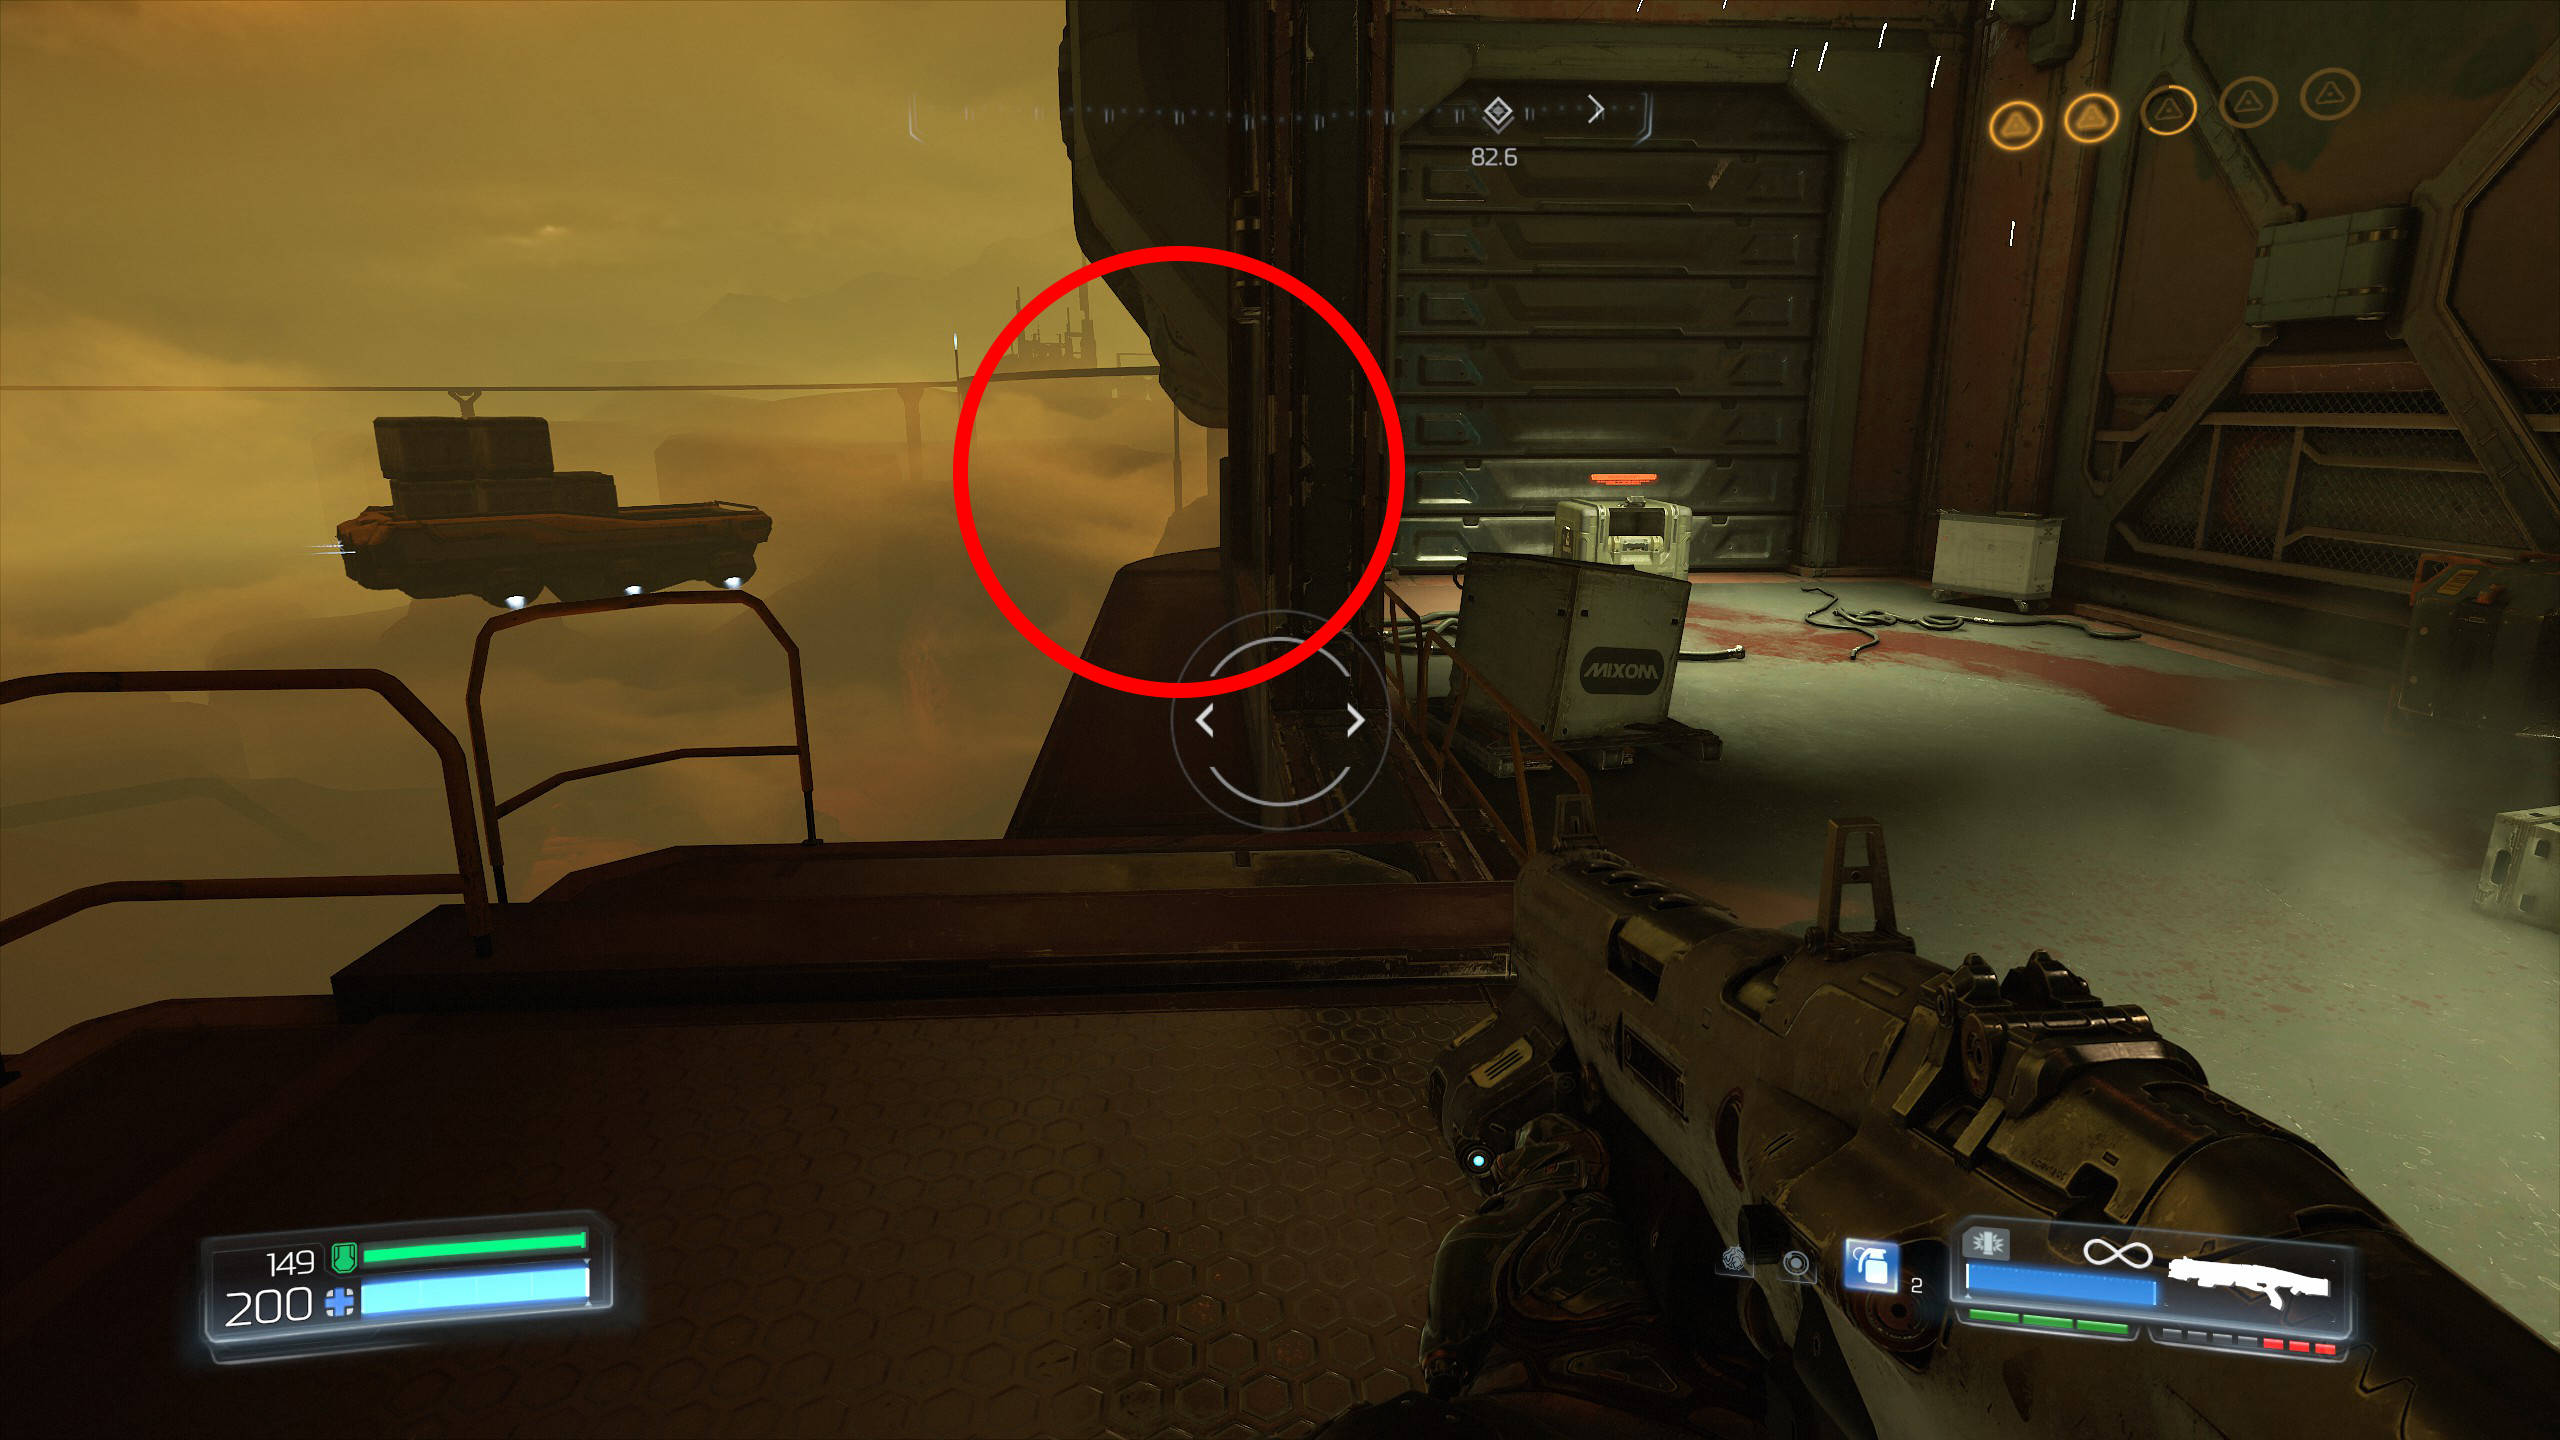
From here immediately go to secret 4.
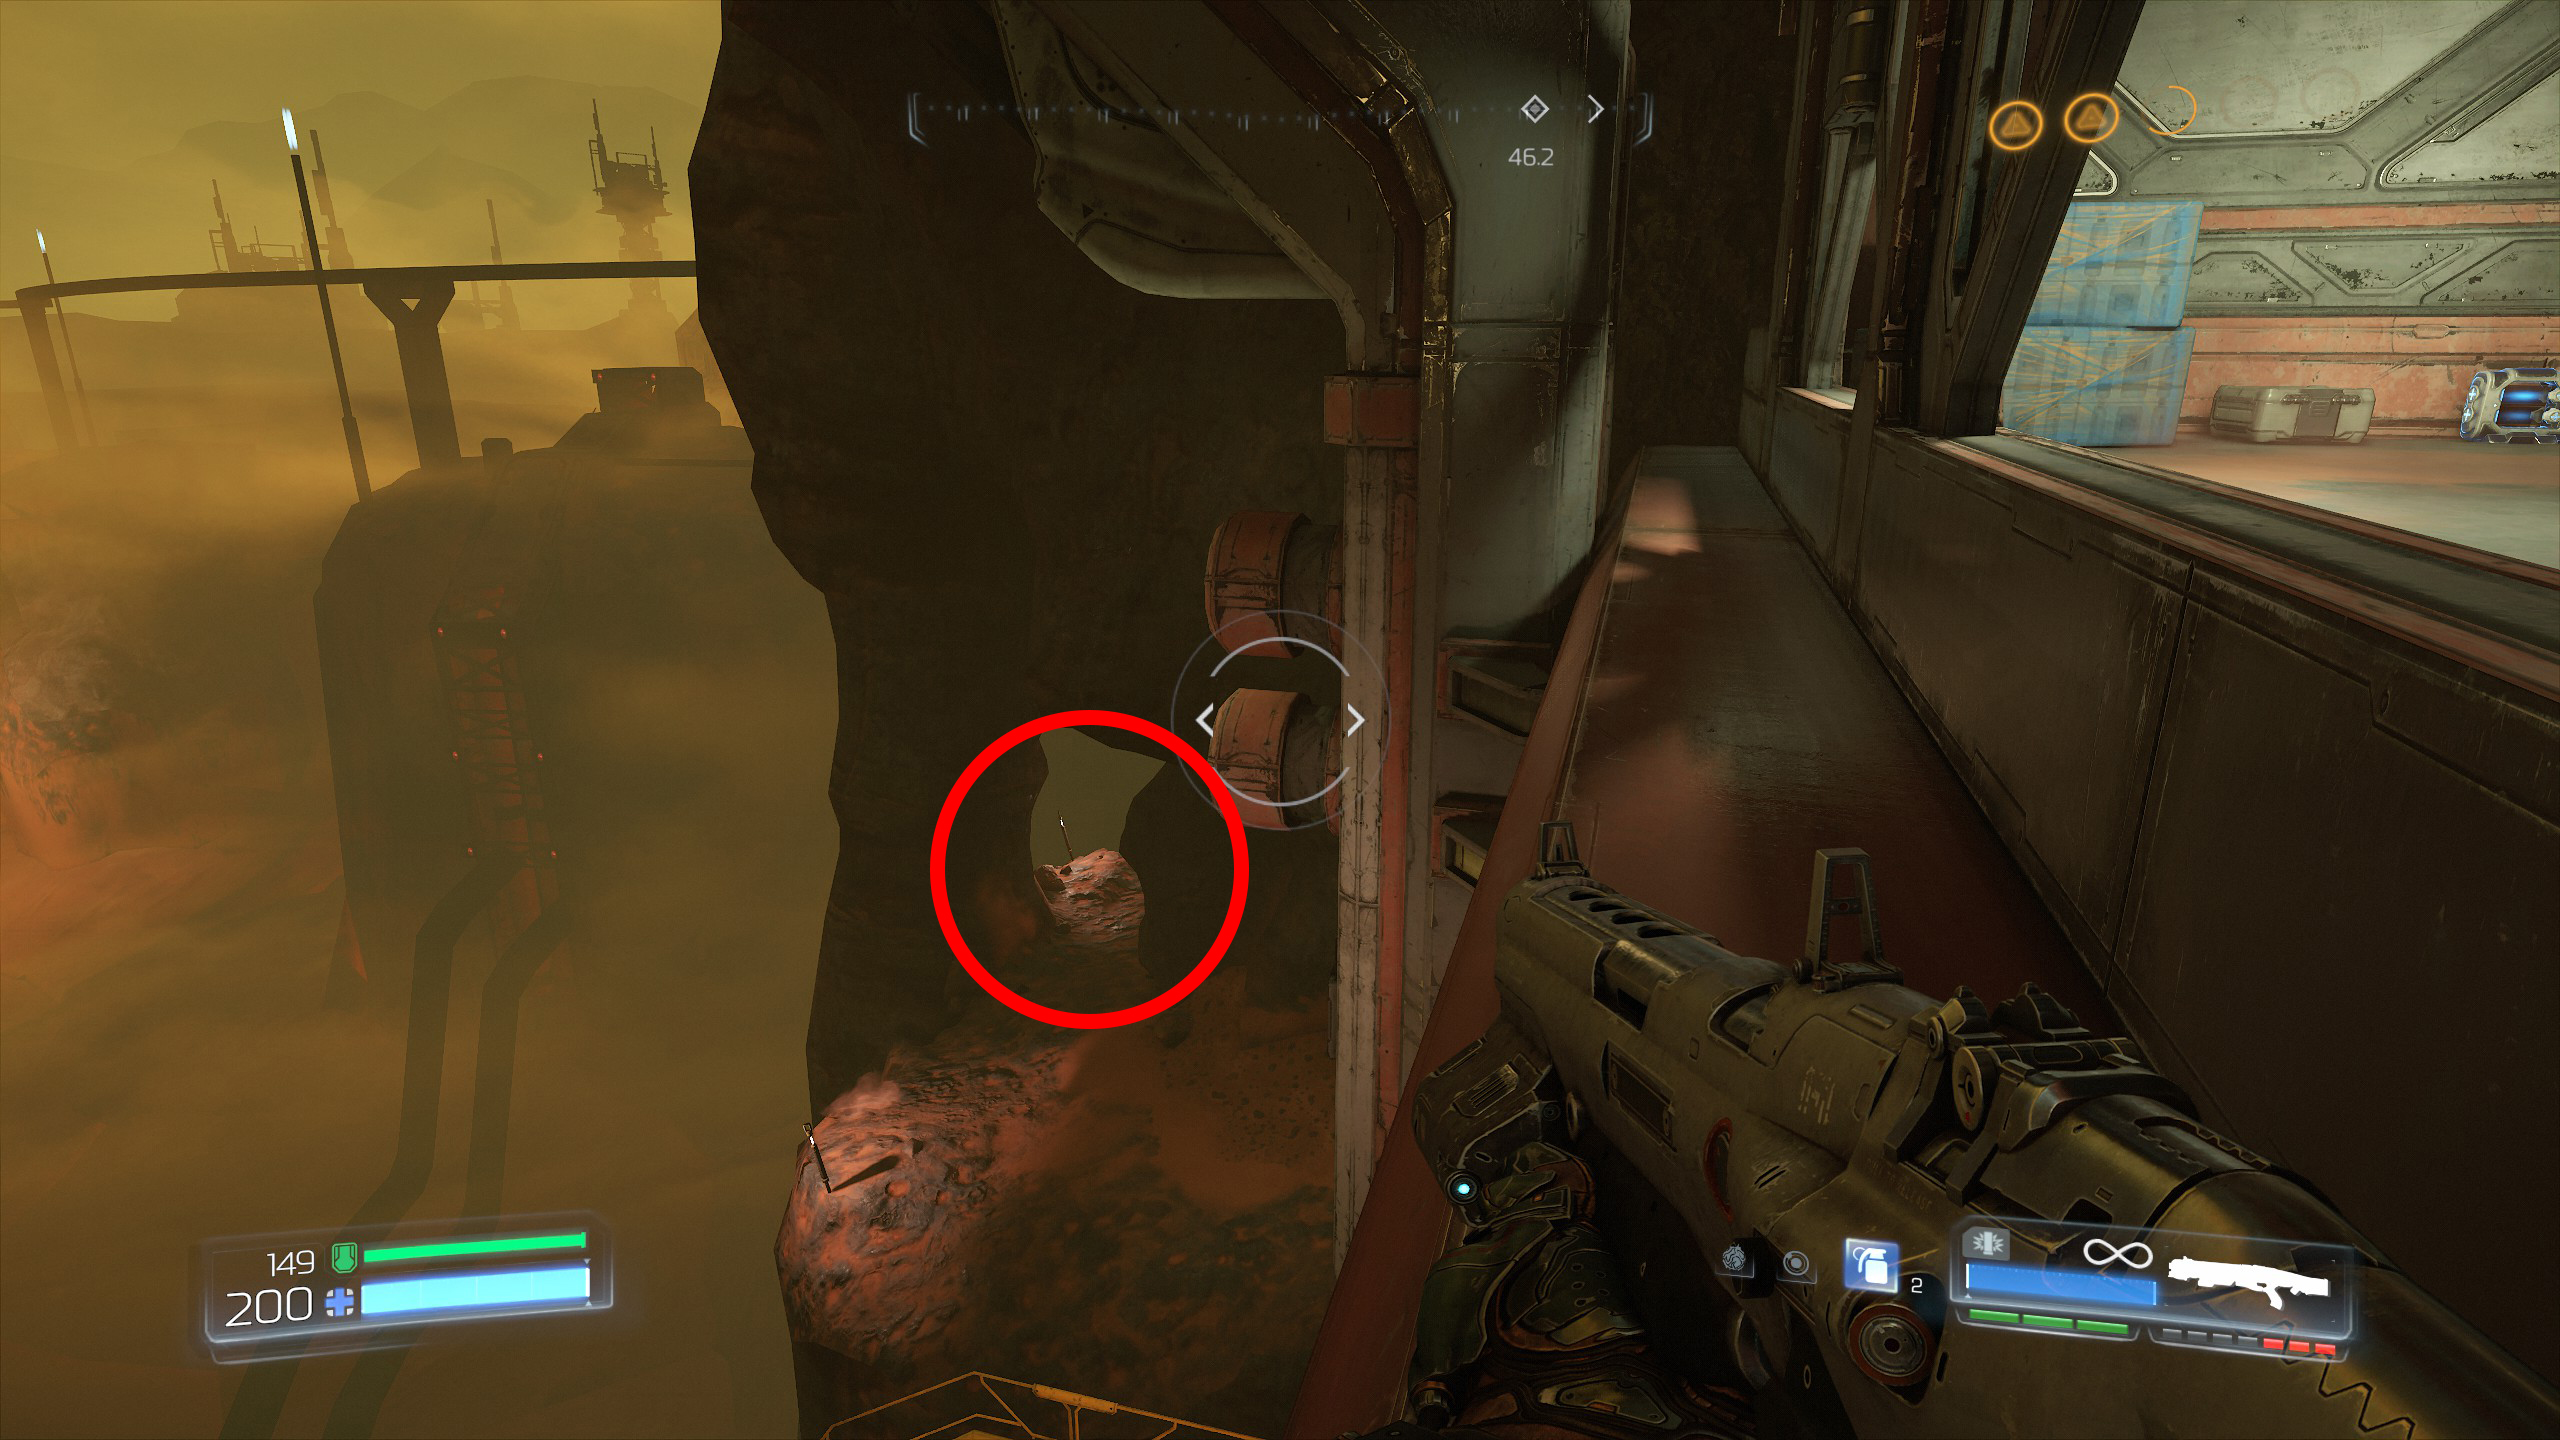
The next and final secret is nearby.
At the back of the room (the opposite side to where you entered) will be another small room that you can access from the side, inside will be an Automap and the final secret for this mission.
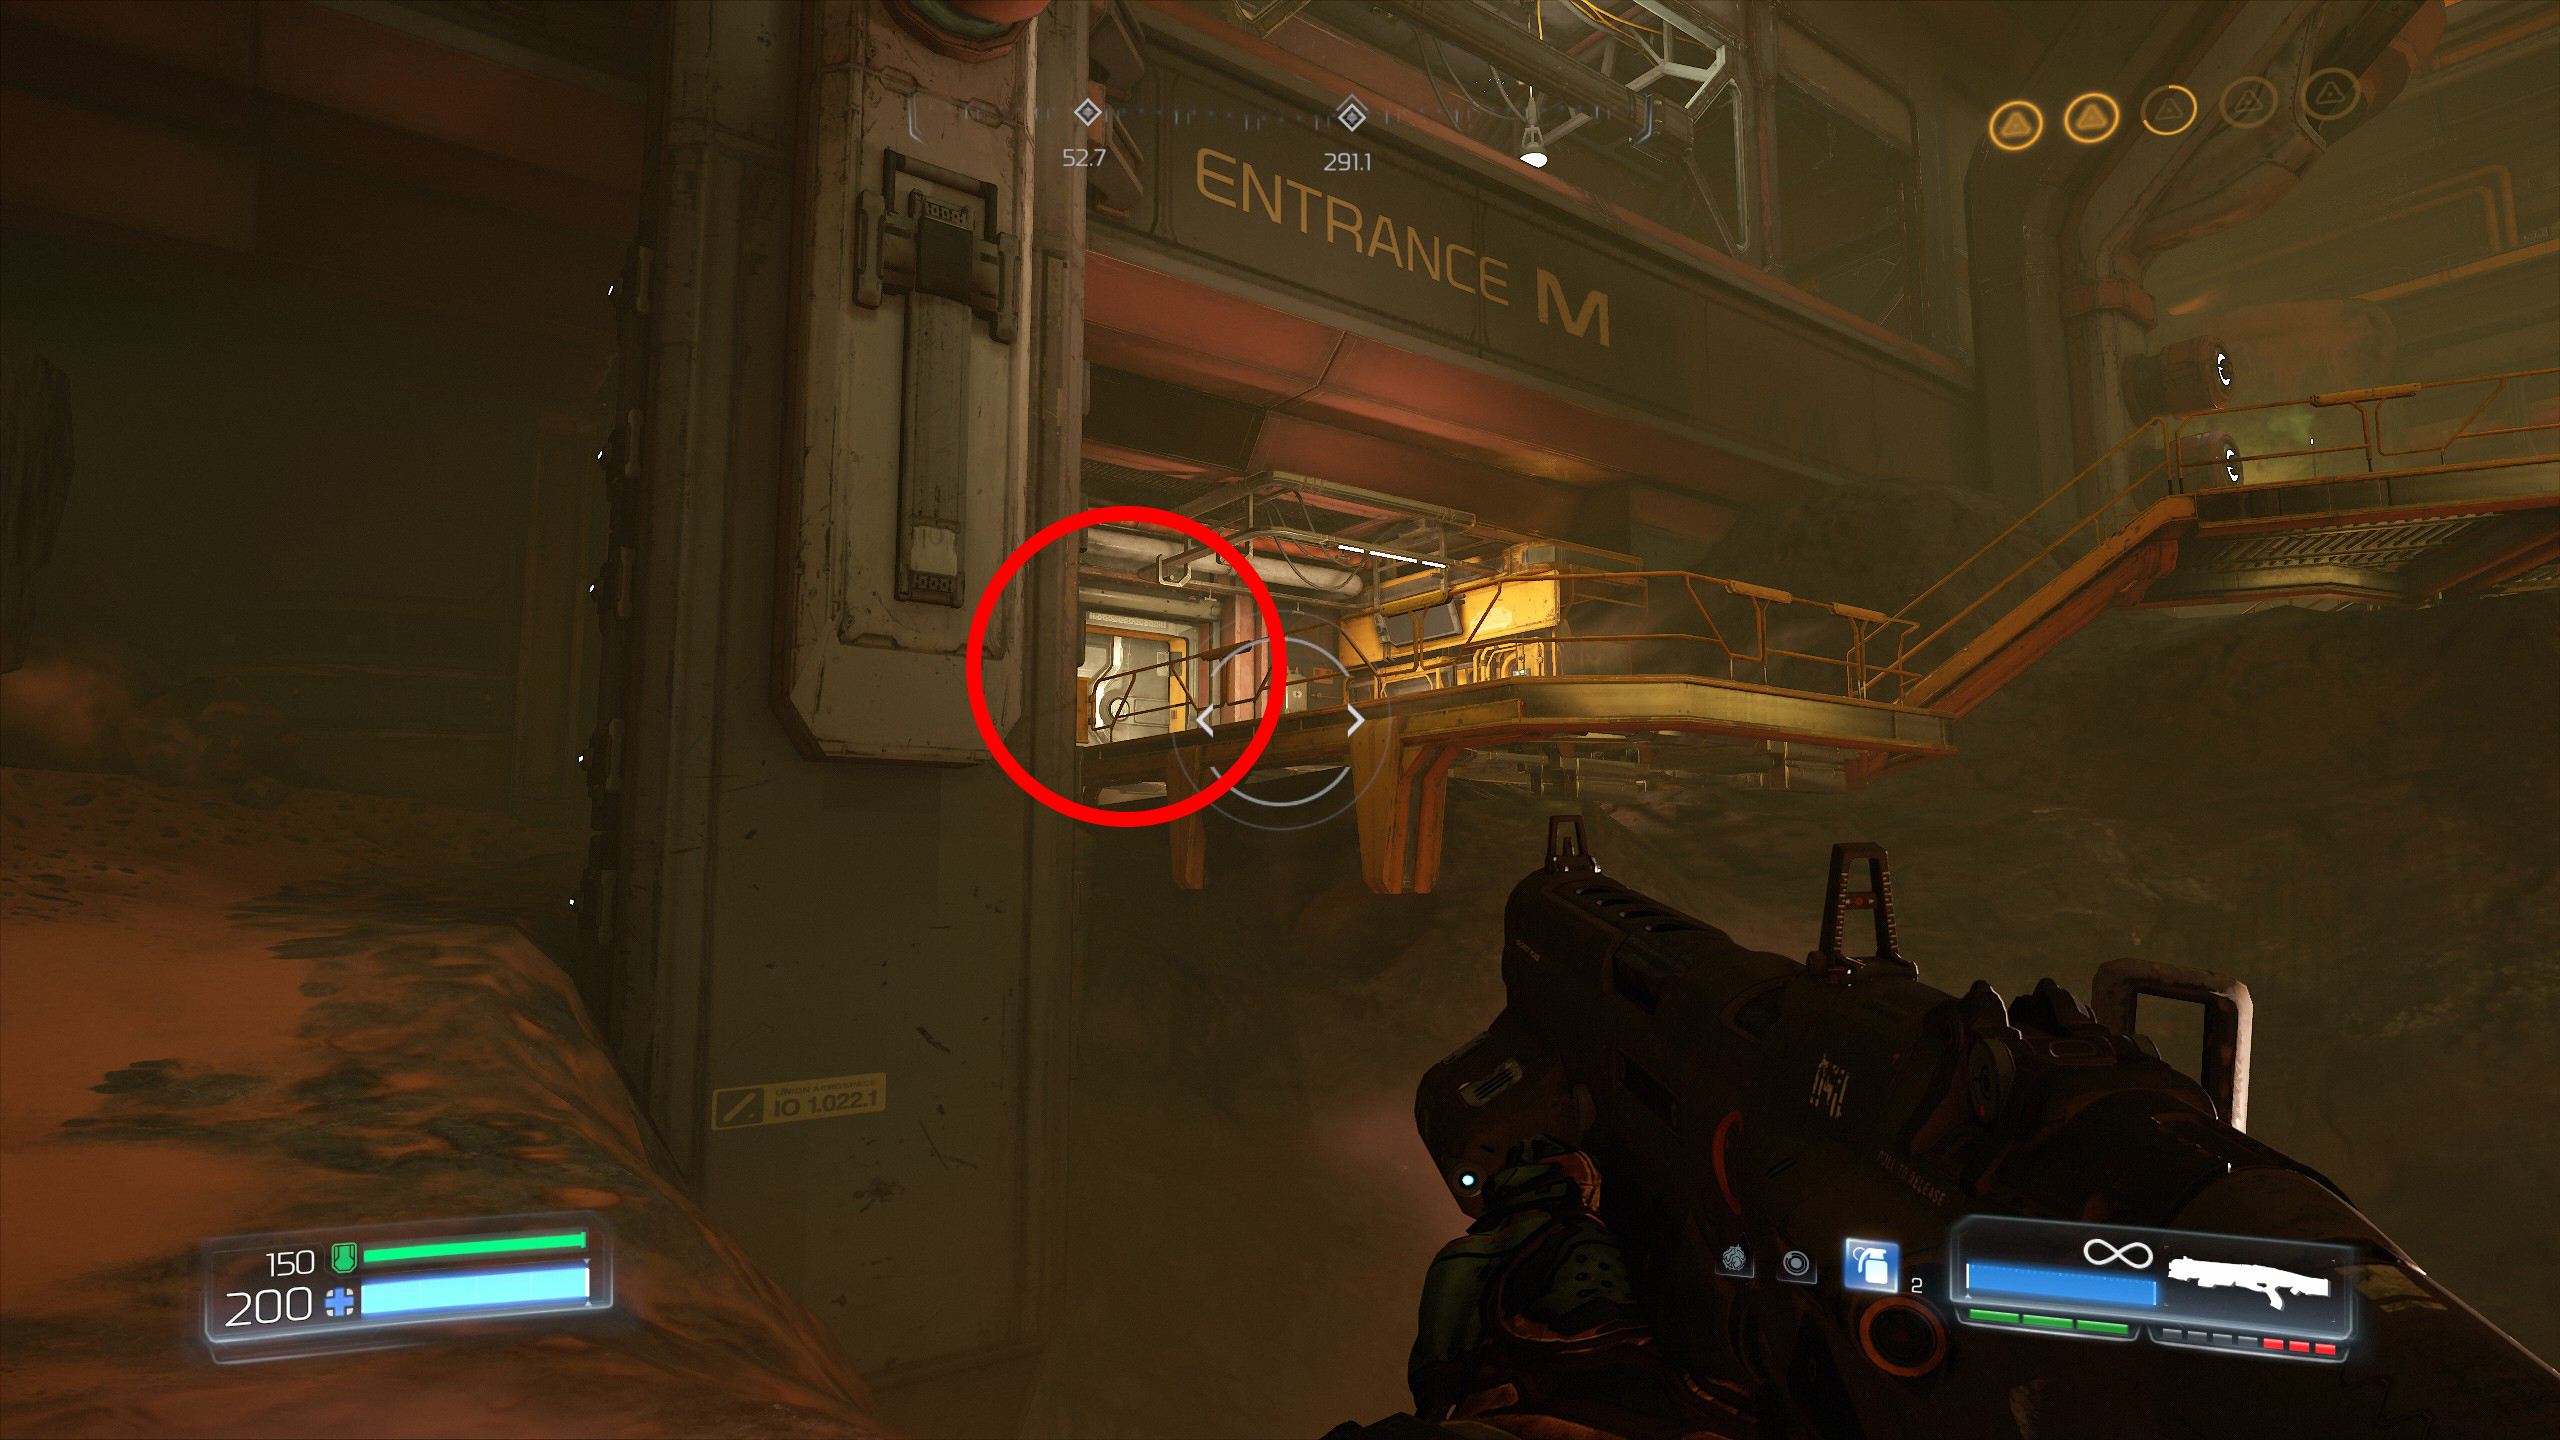
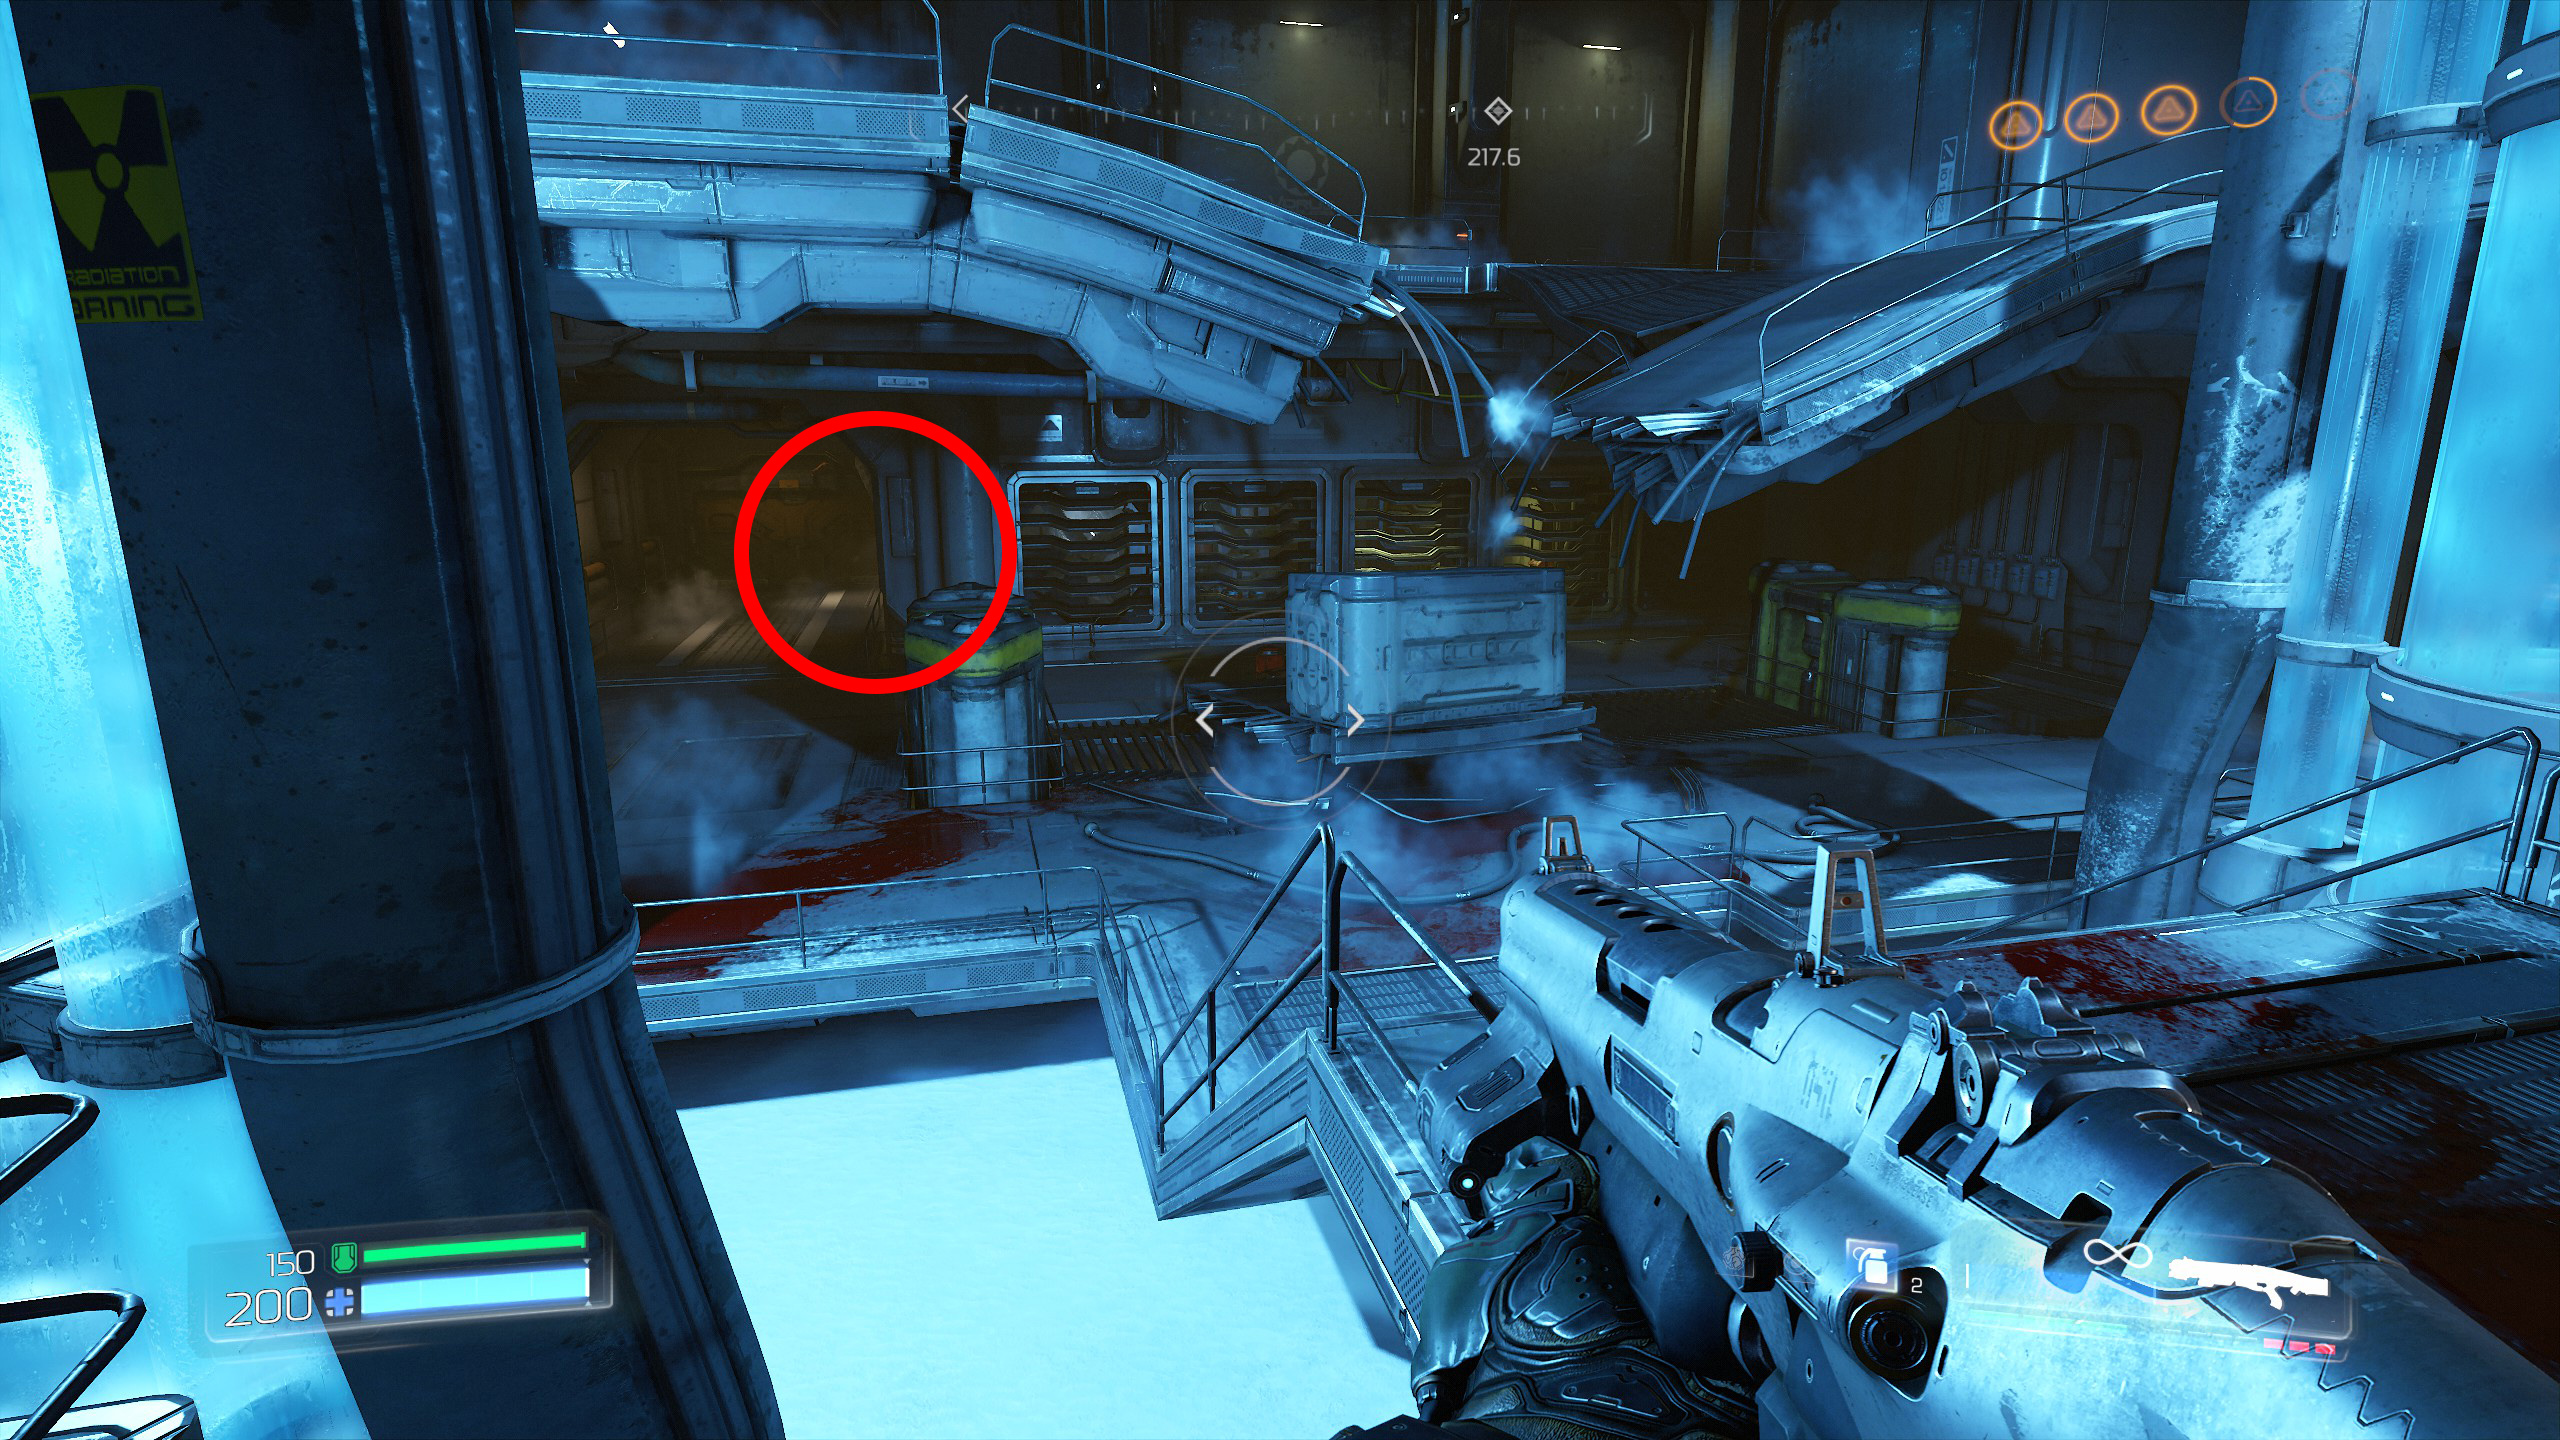
Mission 5 - Argent Energy Tower
Start the mission when you come to the first indoor area at the beginning clear the area and grab the double jump boots.
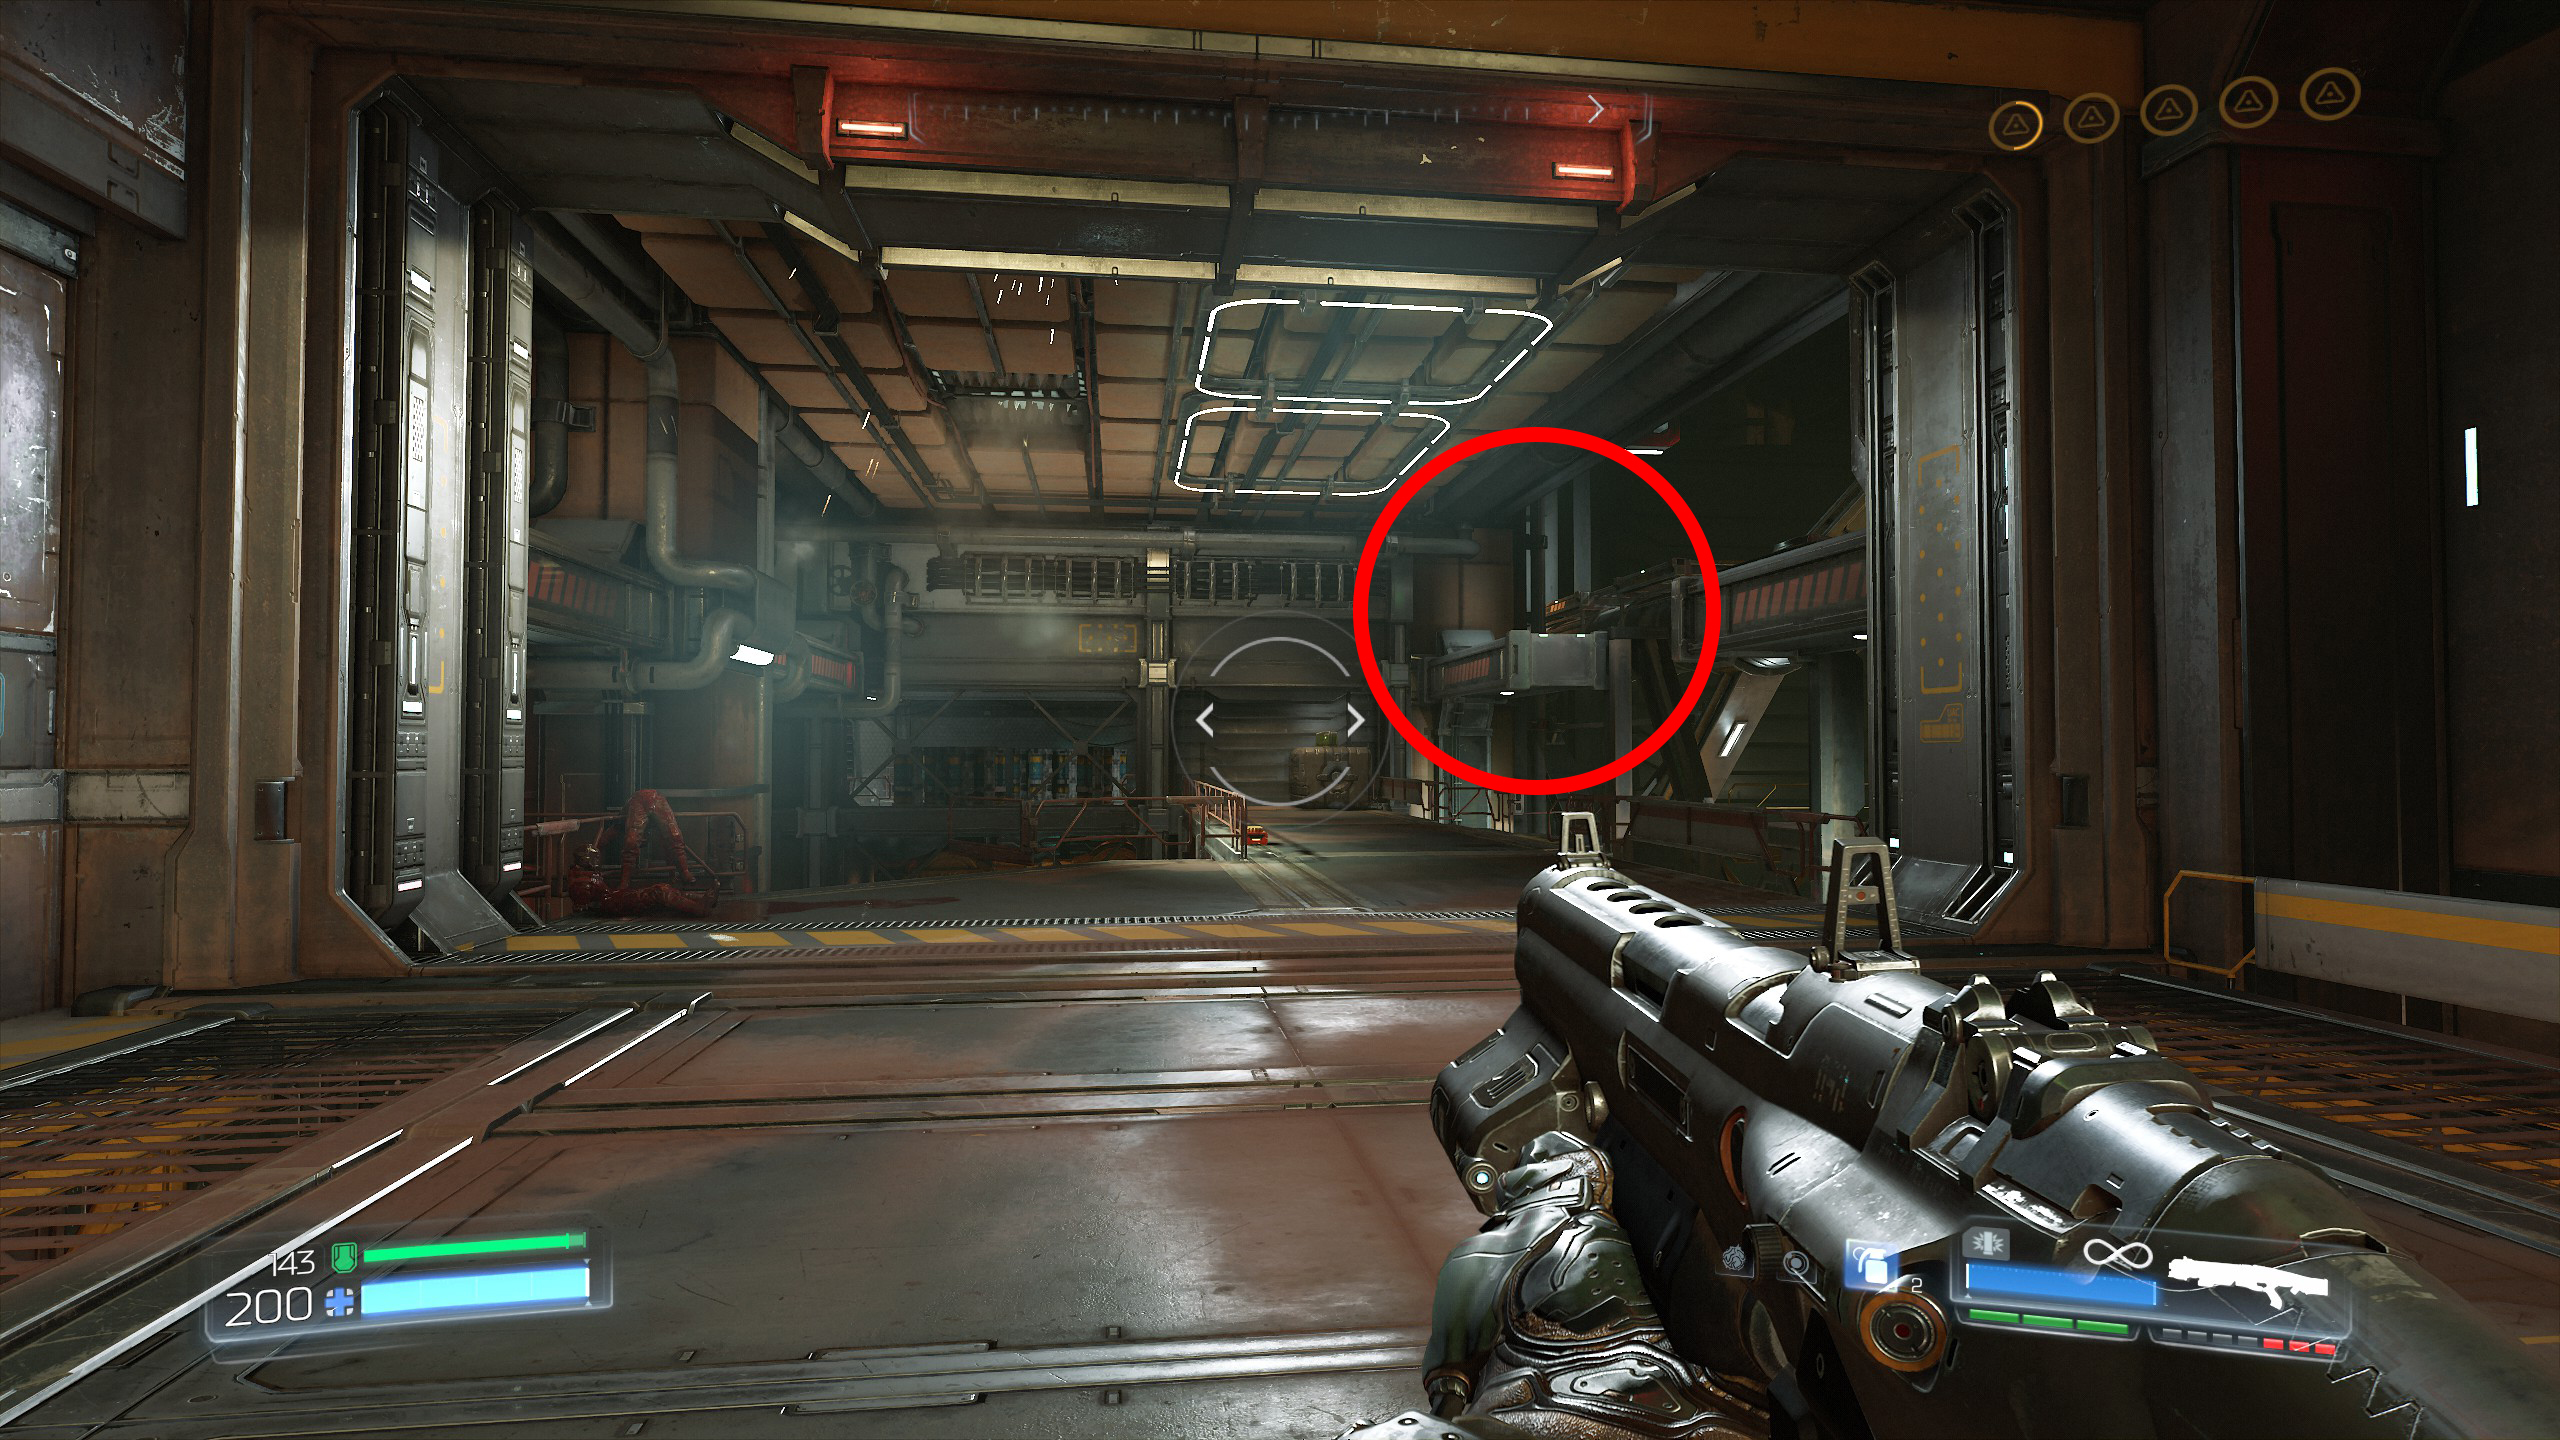
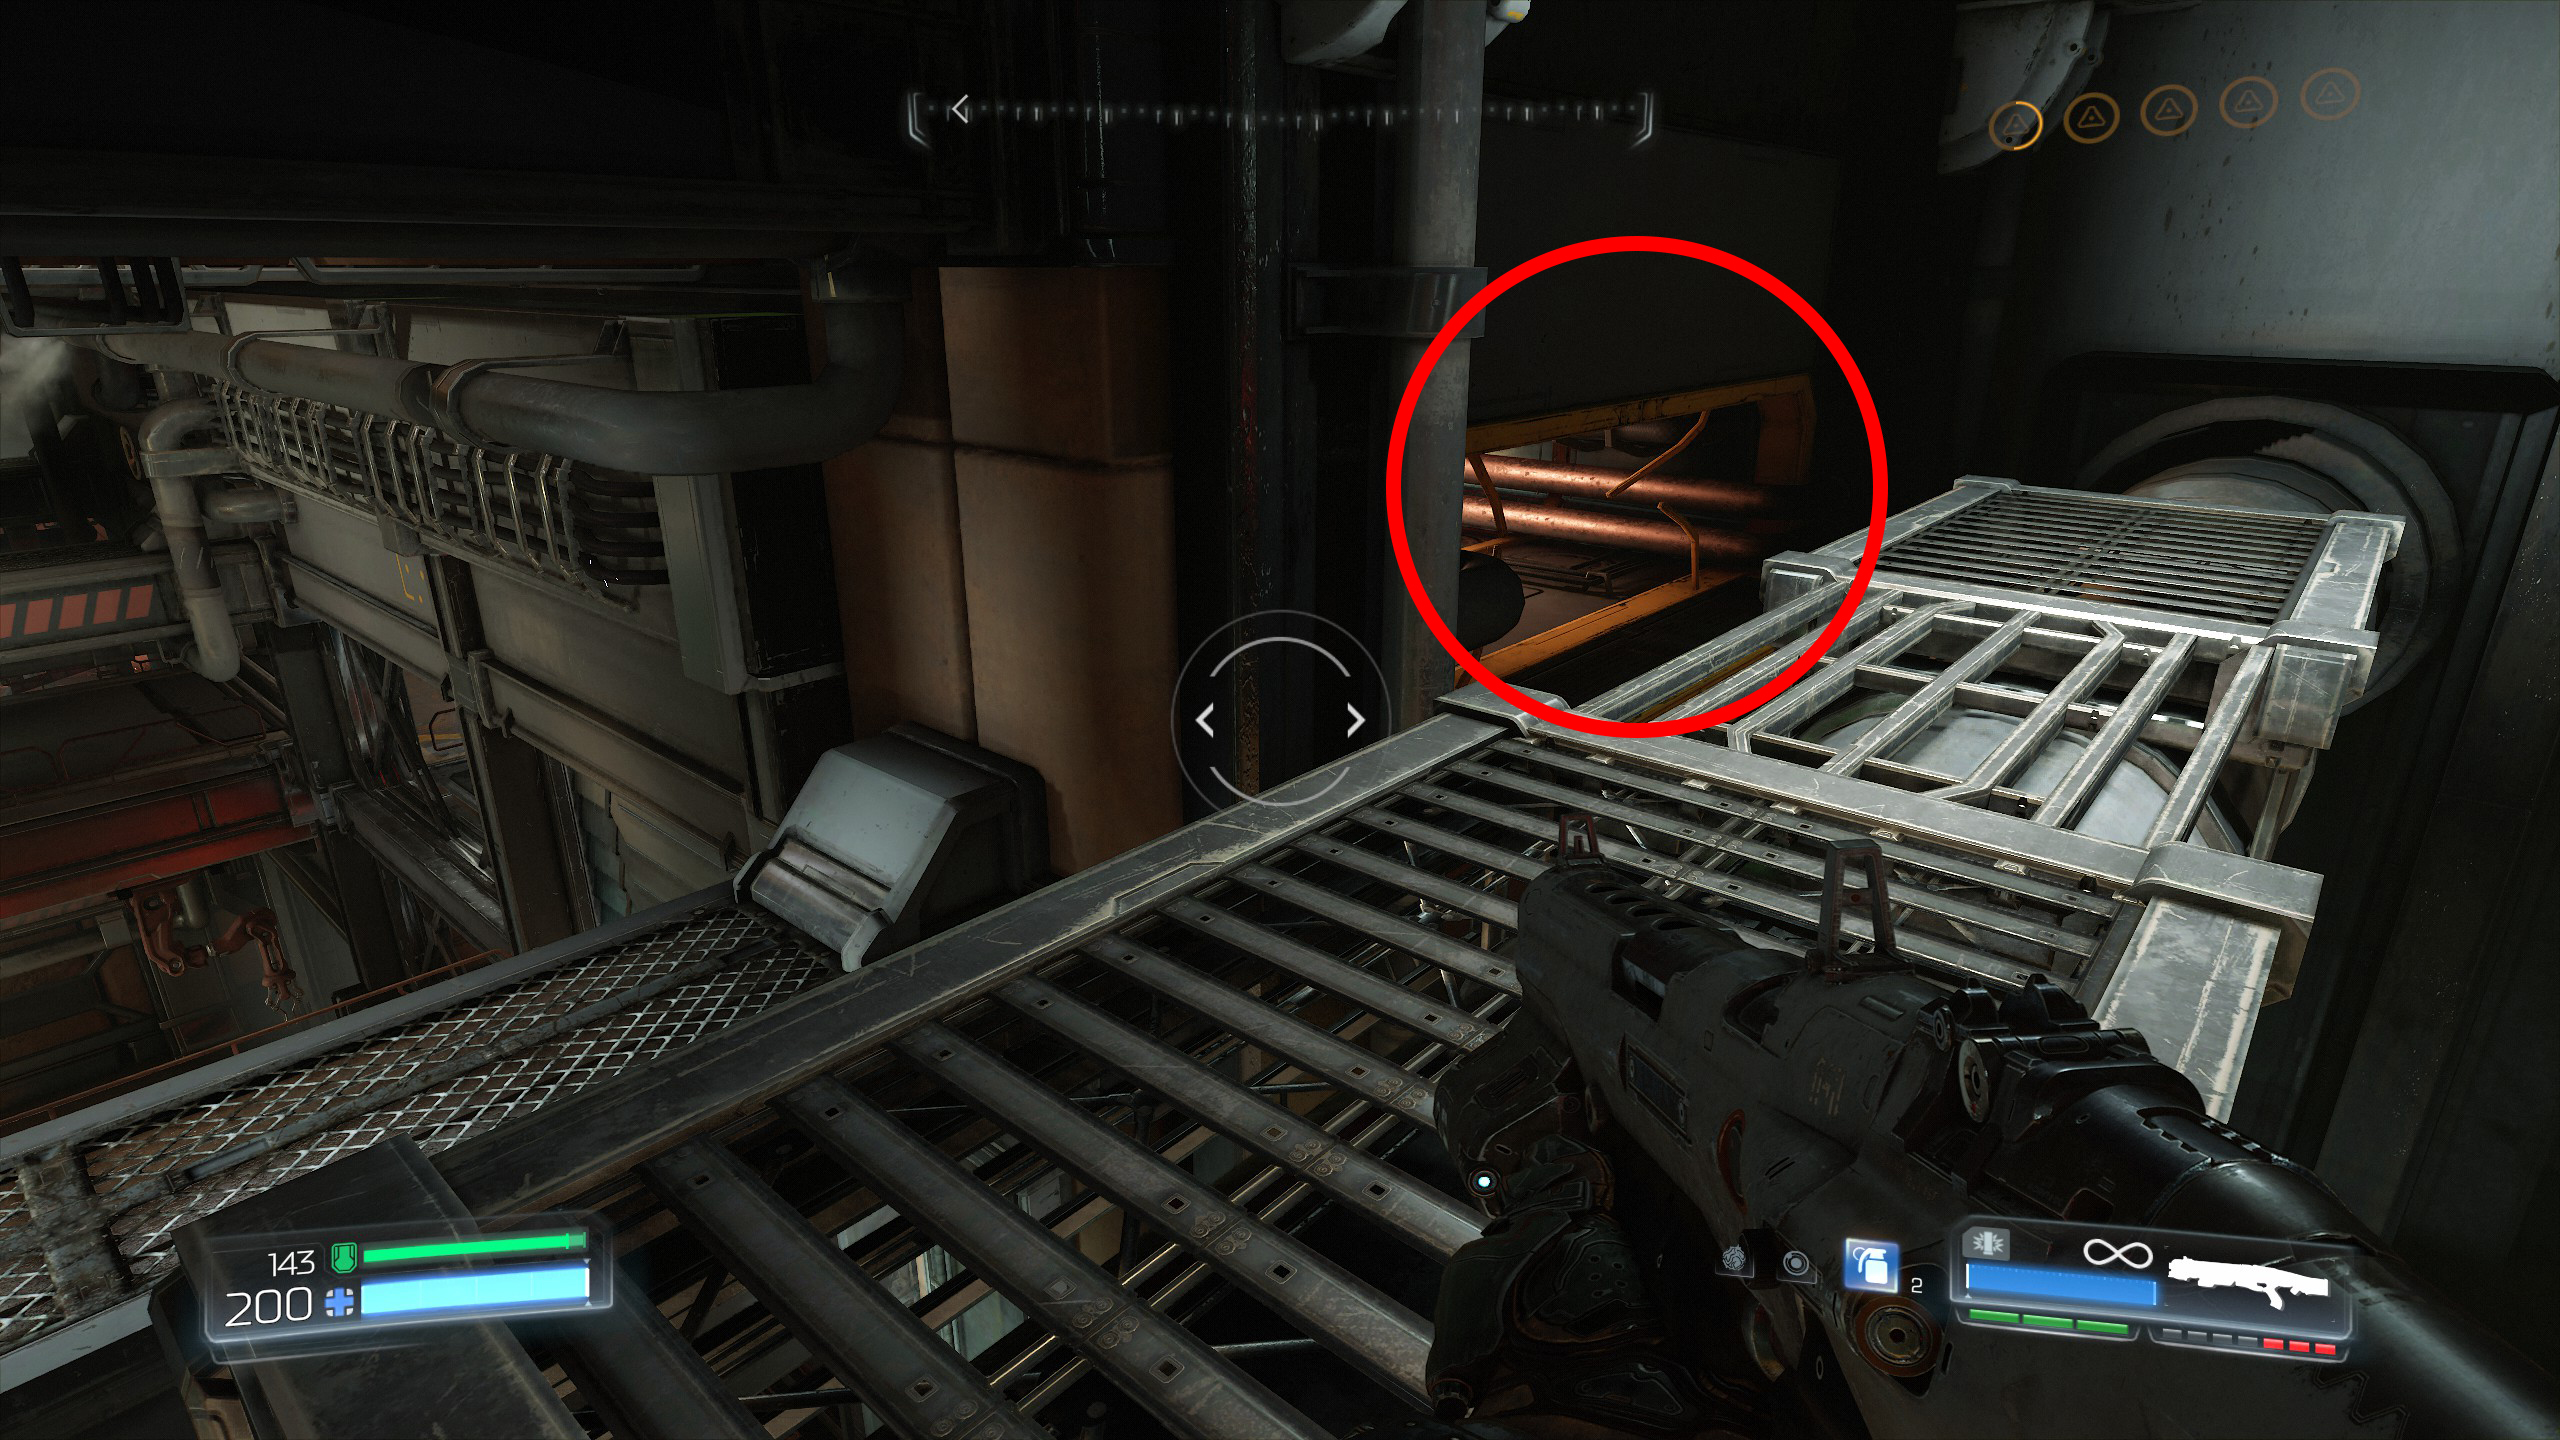
Once you have the boots jump up to the platform above and face the direction of the mission, but just before you leave the room and continue the mission turn around and you will notice a couple of platforms on the right hand side, climb them and enter the small opening further down the platform as shown in the screenshots below, inside will be your first secret and an Argent Cell.
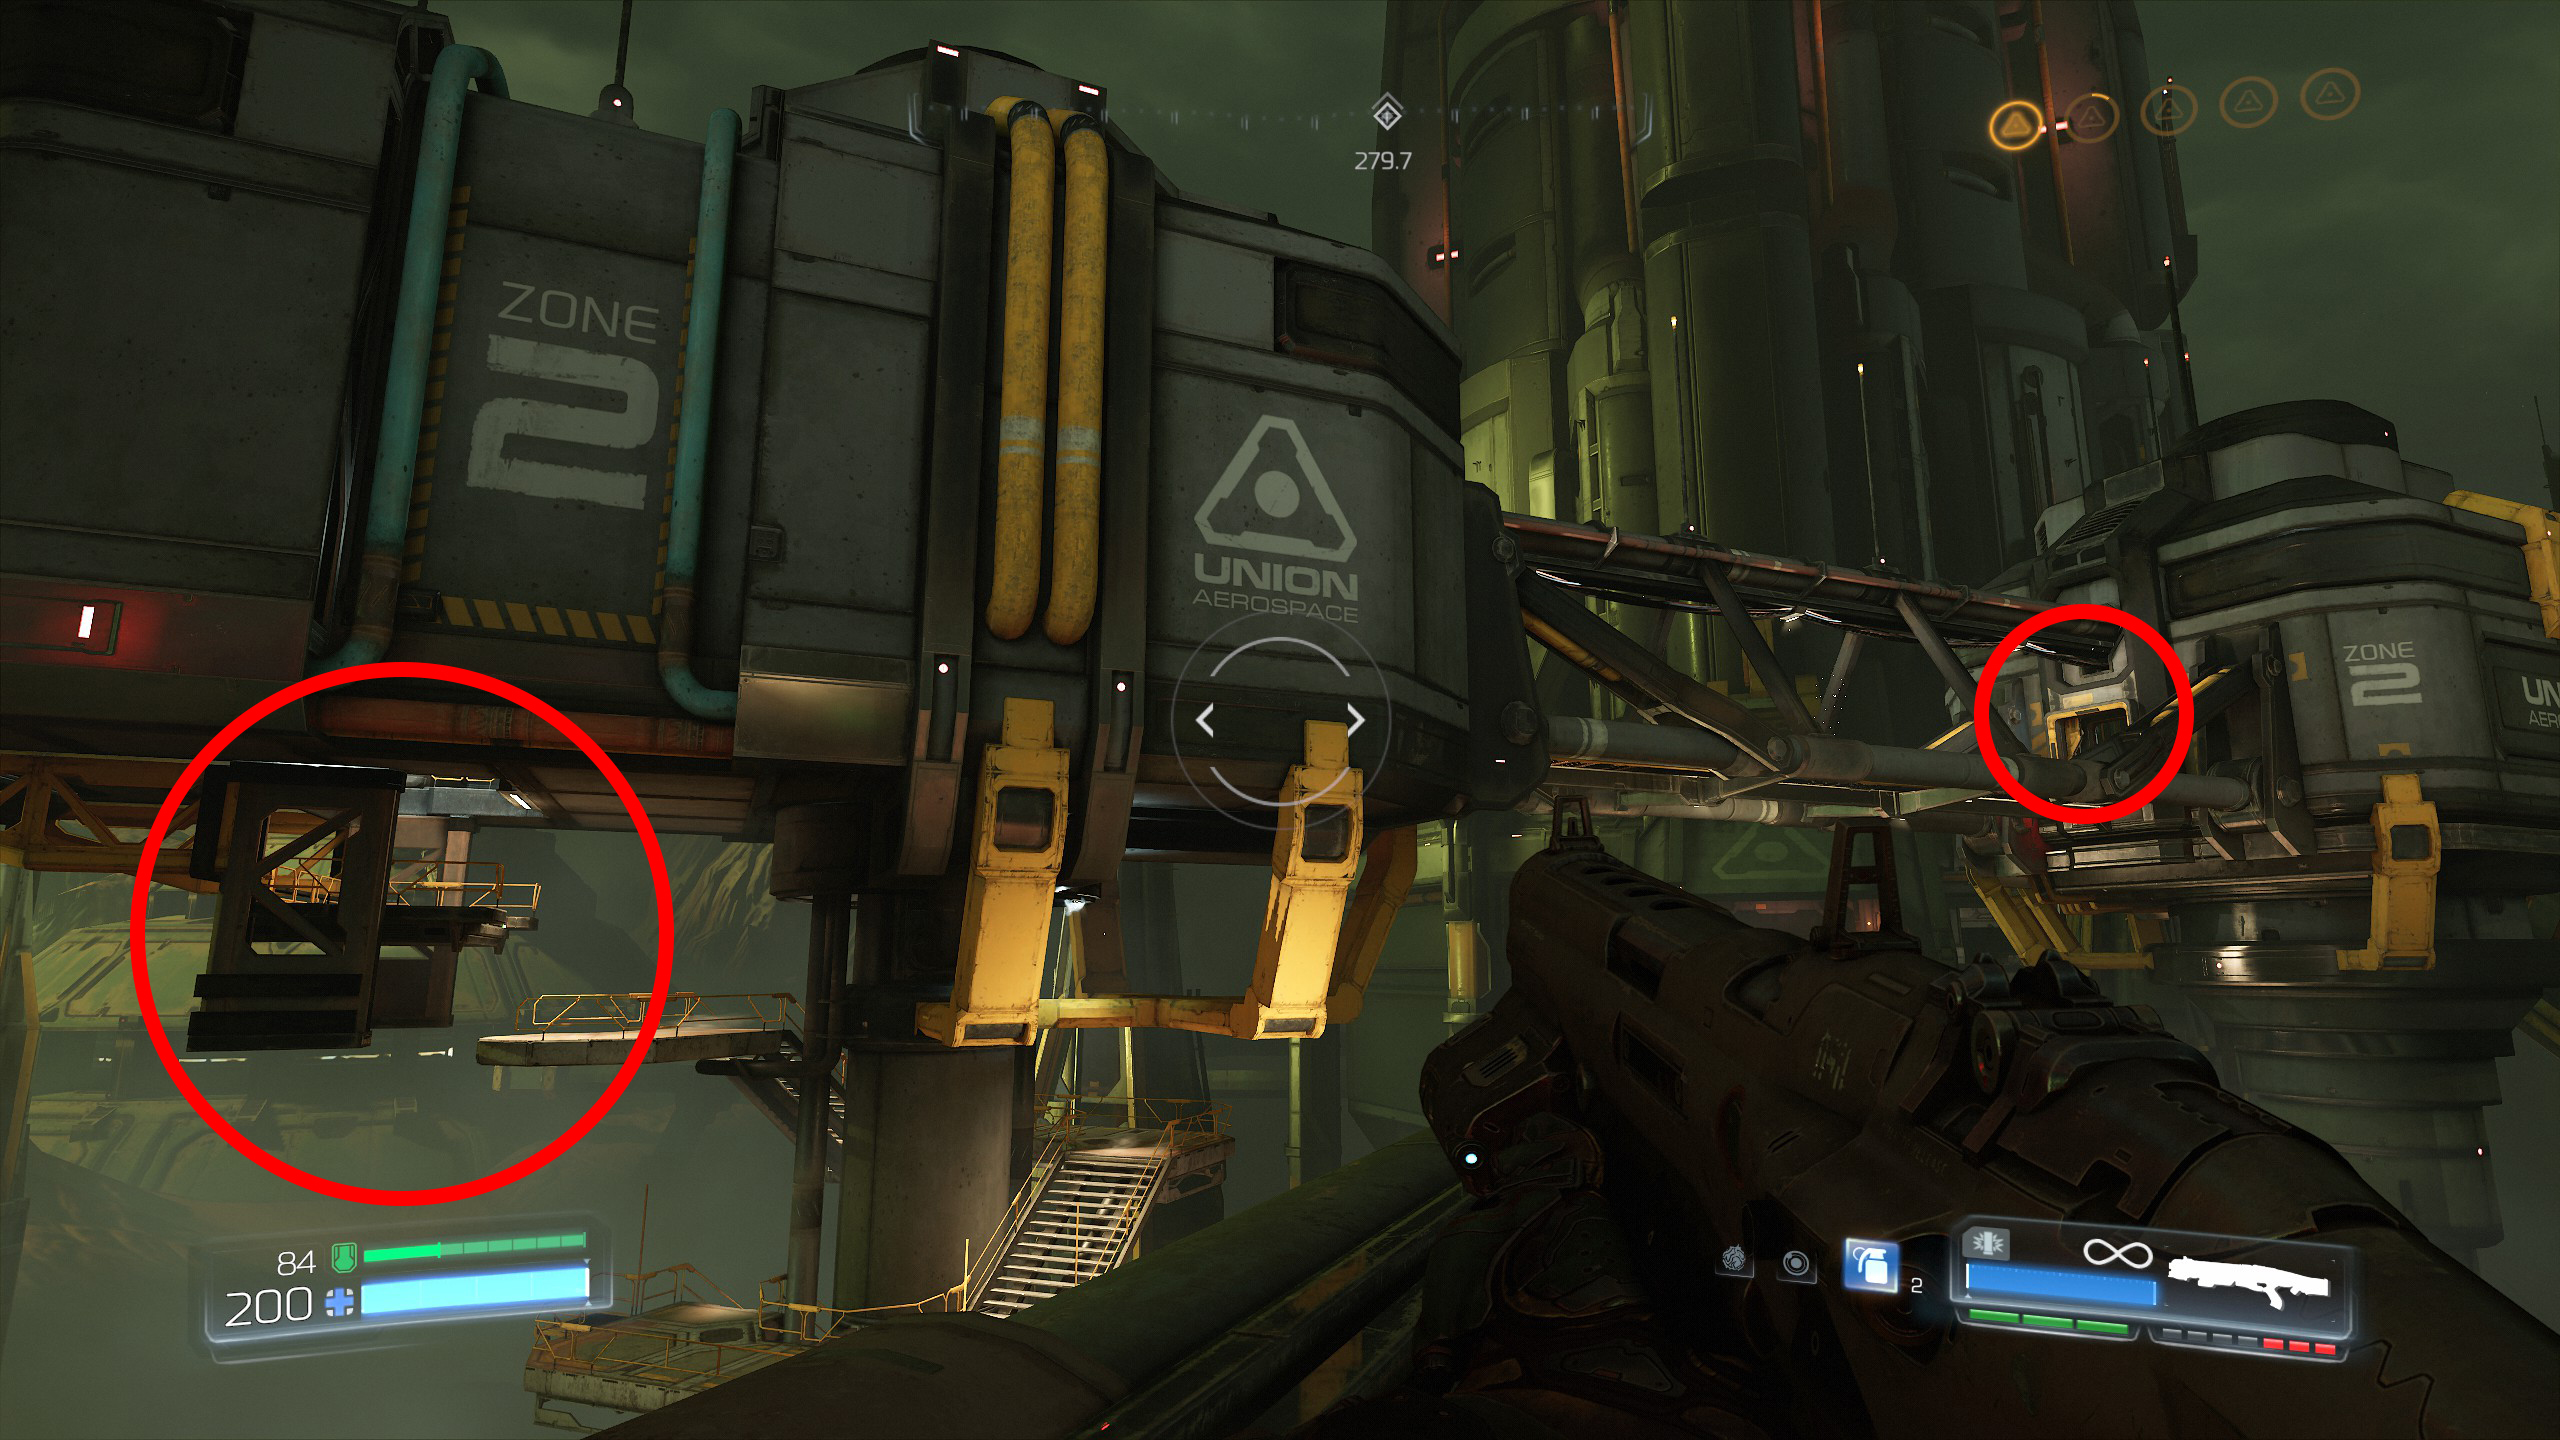
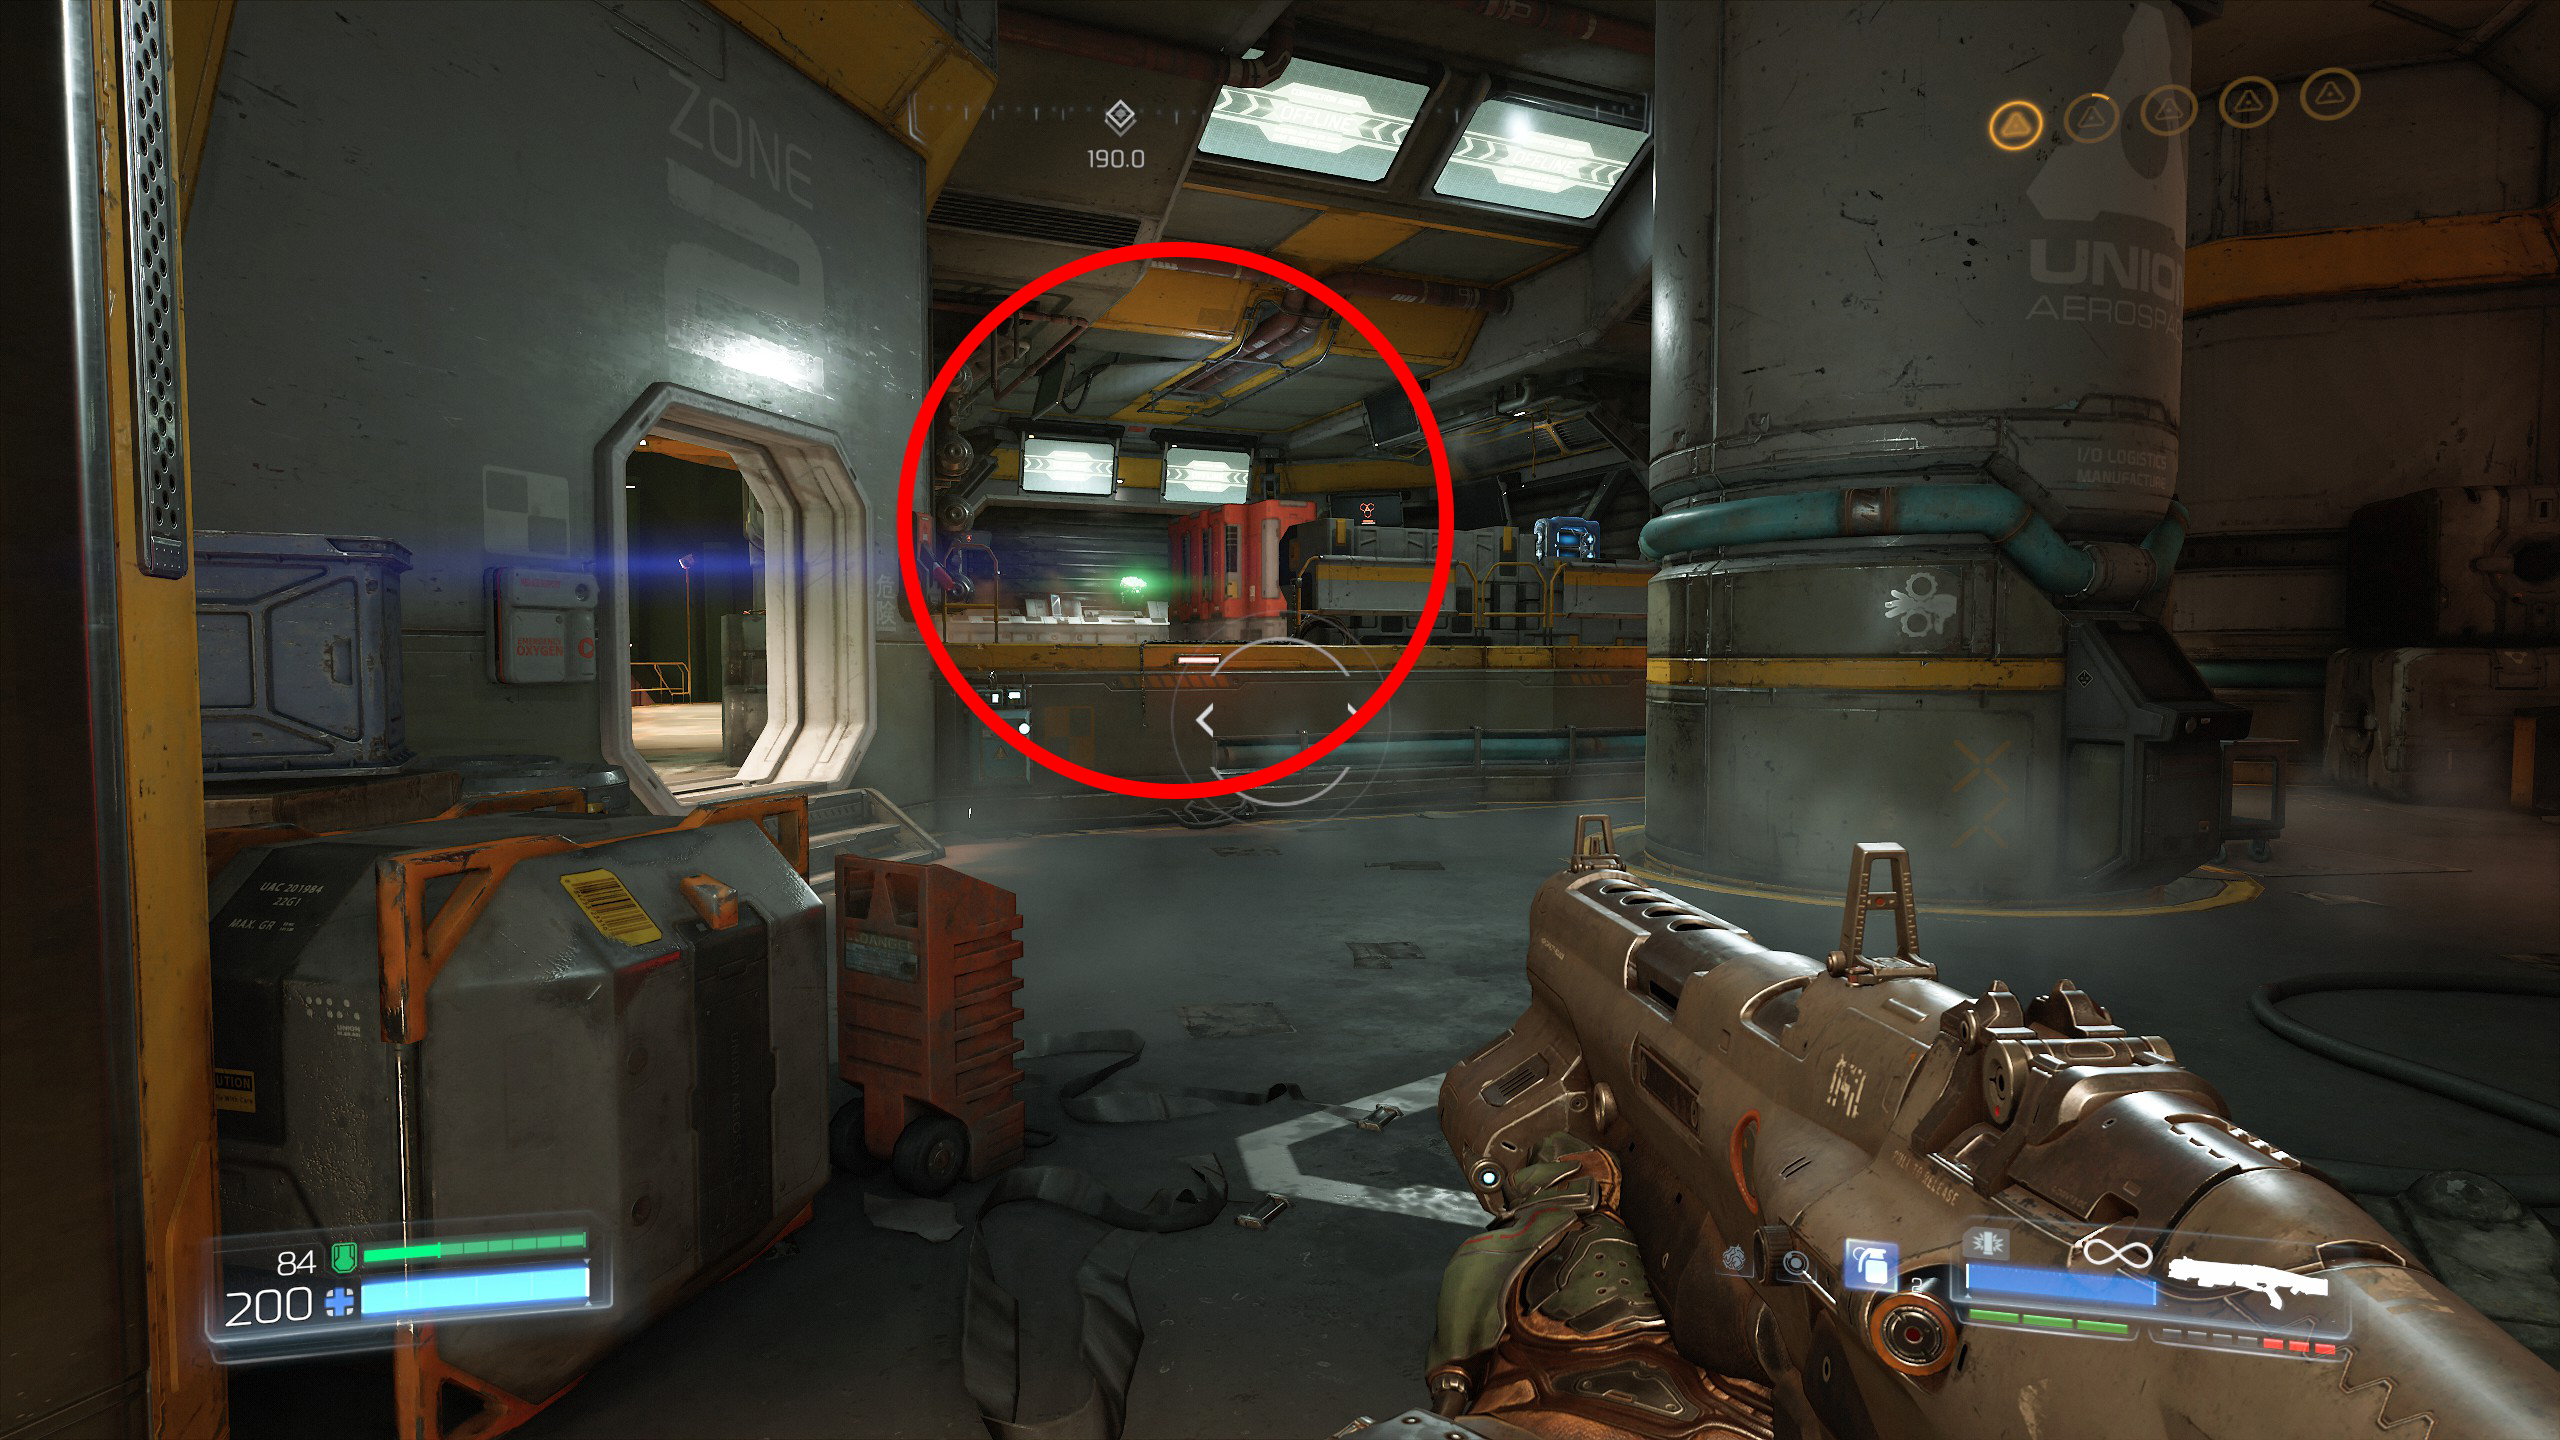
Continue the mission heading outside, we will need to jump across and climb the platforms up into the left tower which will allow us to walk across into the right tower, once in the right tower go to the very back of the room and you will find secret number 2 and a Field Drone.
From secret 2 exit the tower and drop down onto the long pipeline below and head in the direction of the mission, when you reach the broken part of the pipeline jump over to the other side.
At the other side look below and you will see an Elite Guard, drop down to get the guard along with secret number 3.
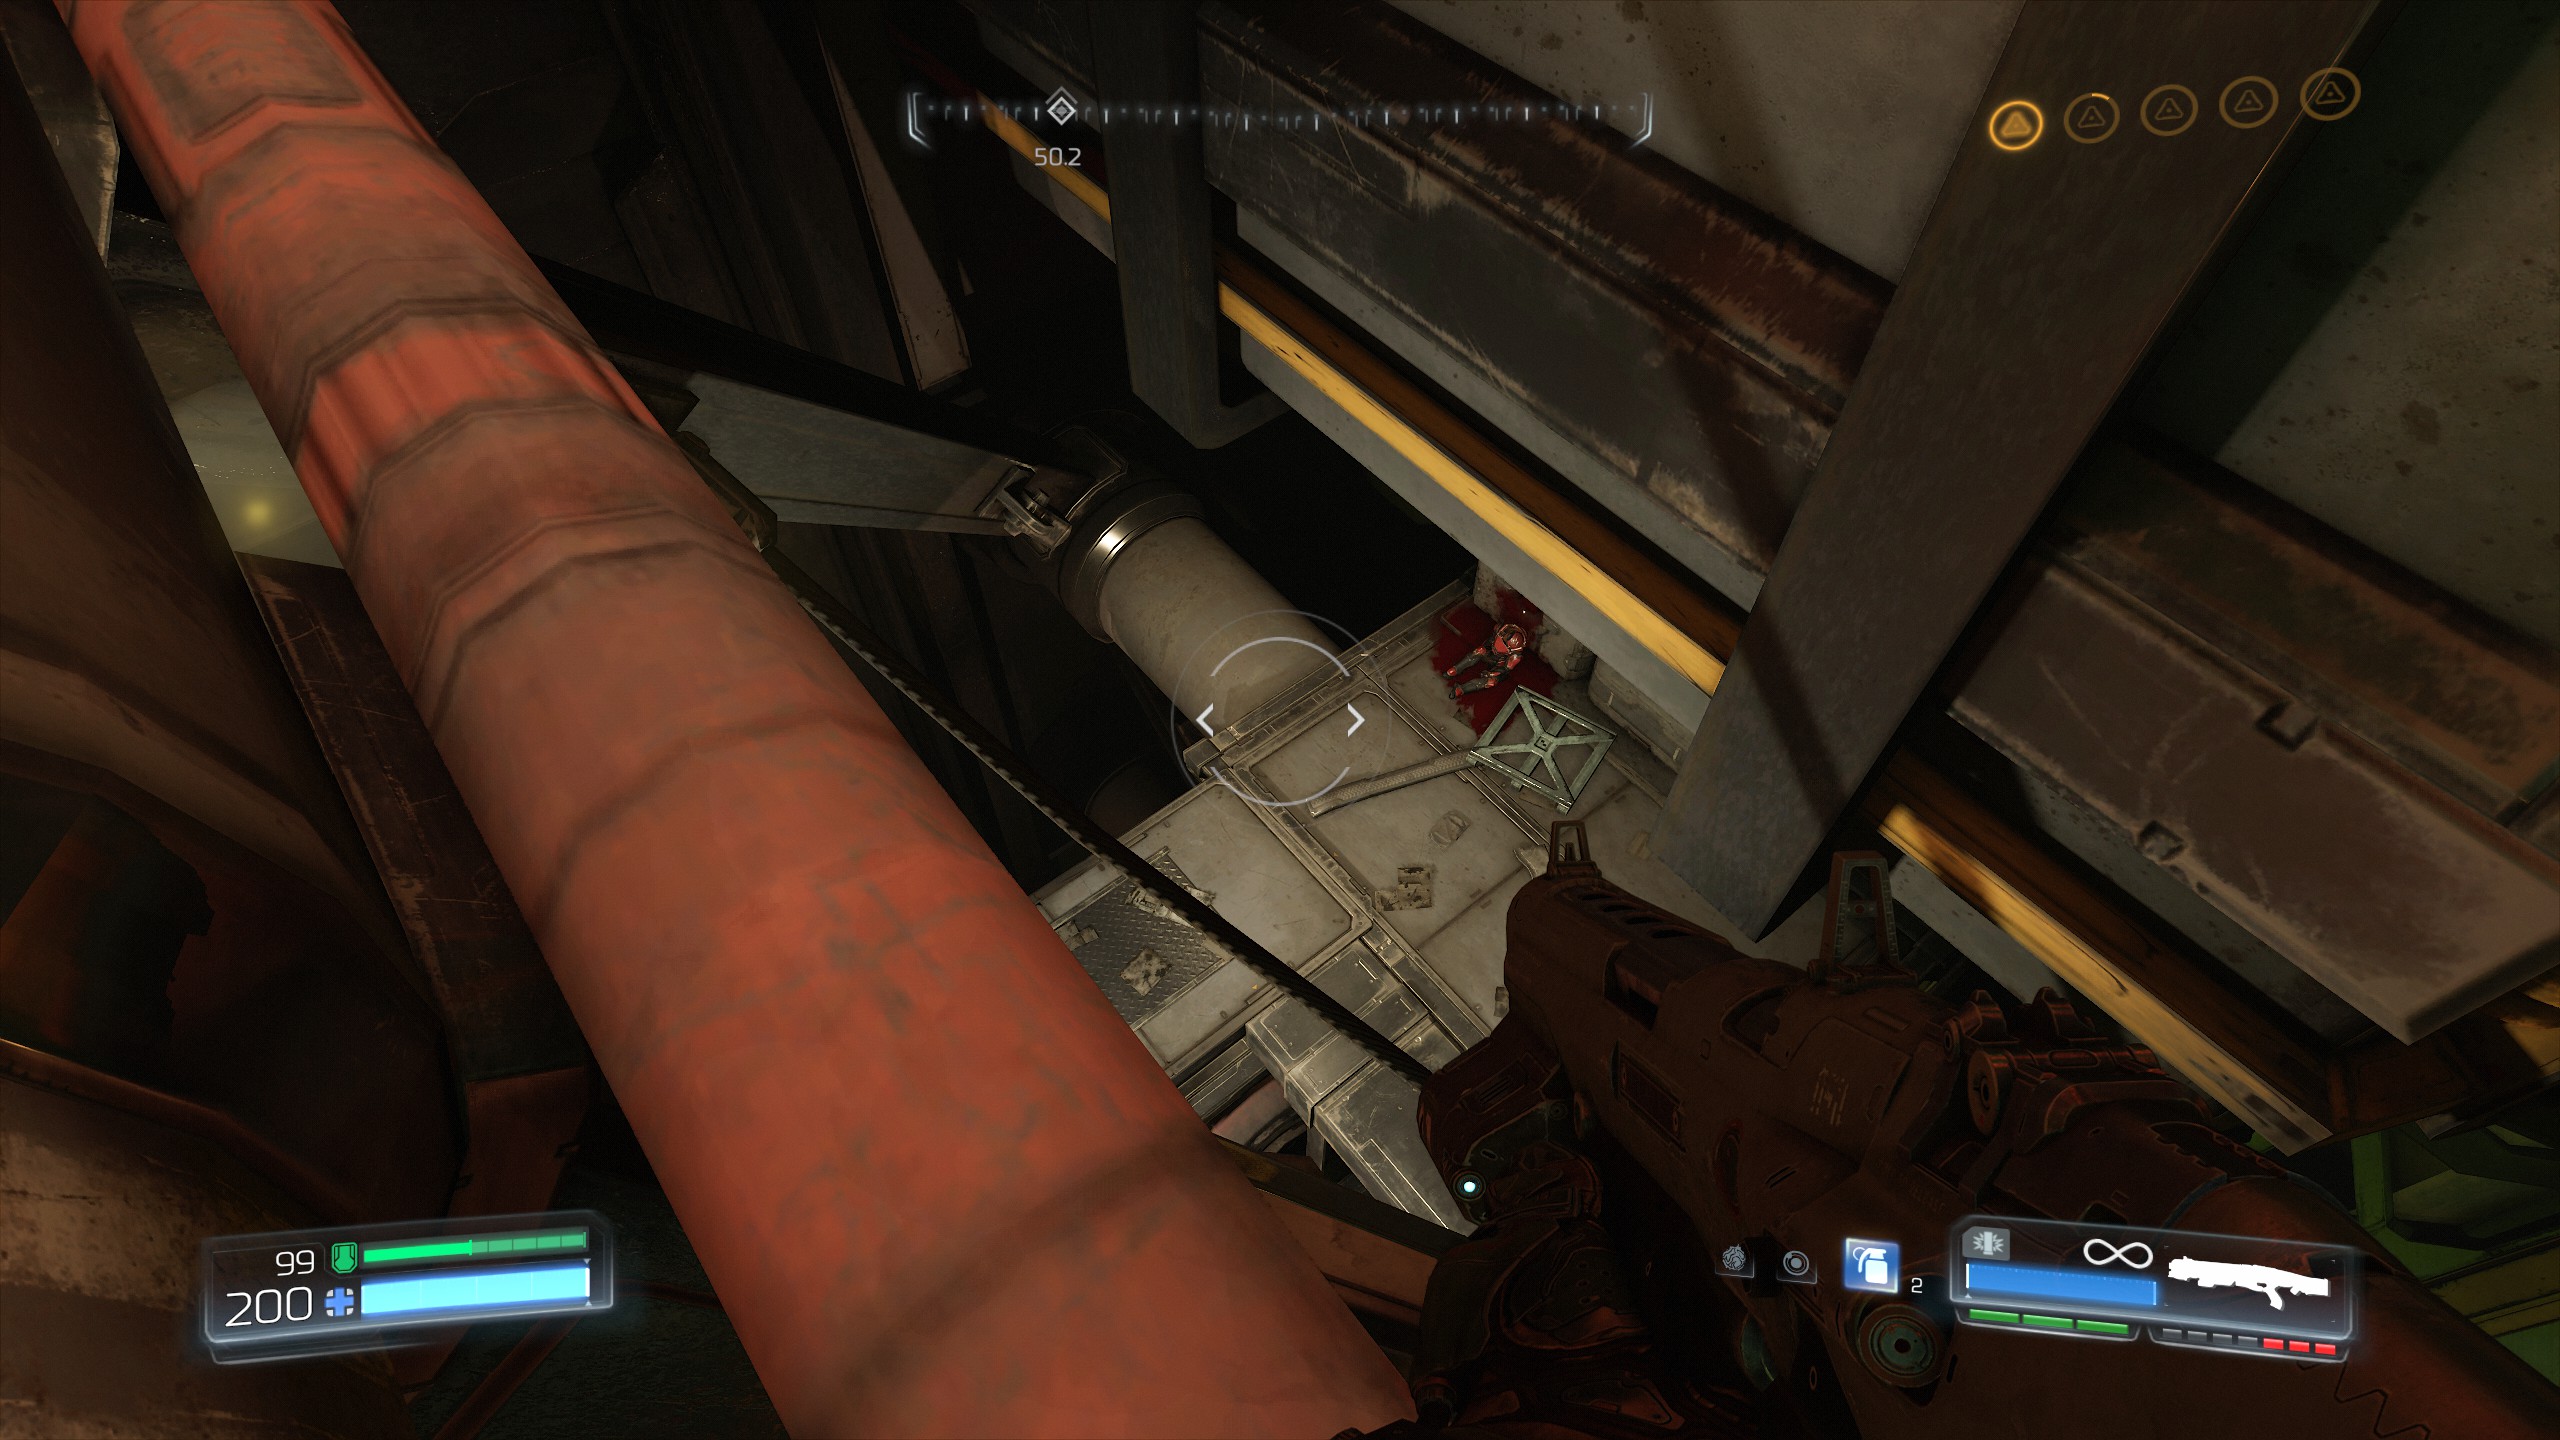
WARNING: If you go beyond this point you will not be able to go back and collect any missed secrets as you will drop down into the maintenance tunnels and not be able to climb back up.
Continue the mission until you reach the maintenance tunnels that contain the moving machinery, then once inside follow the tunnel and drop down onto the lower platform where you will find an Elite Guard and a Data Log.
Now continue onward but take the right path and drop down into the tunnel, you will see a ledge that you can climb up to on the right side, proceed to climb up and work your way further up using the other platforms as shown in the screenshots below.
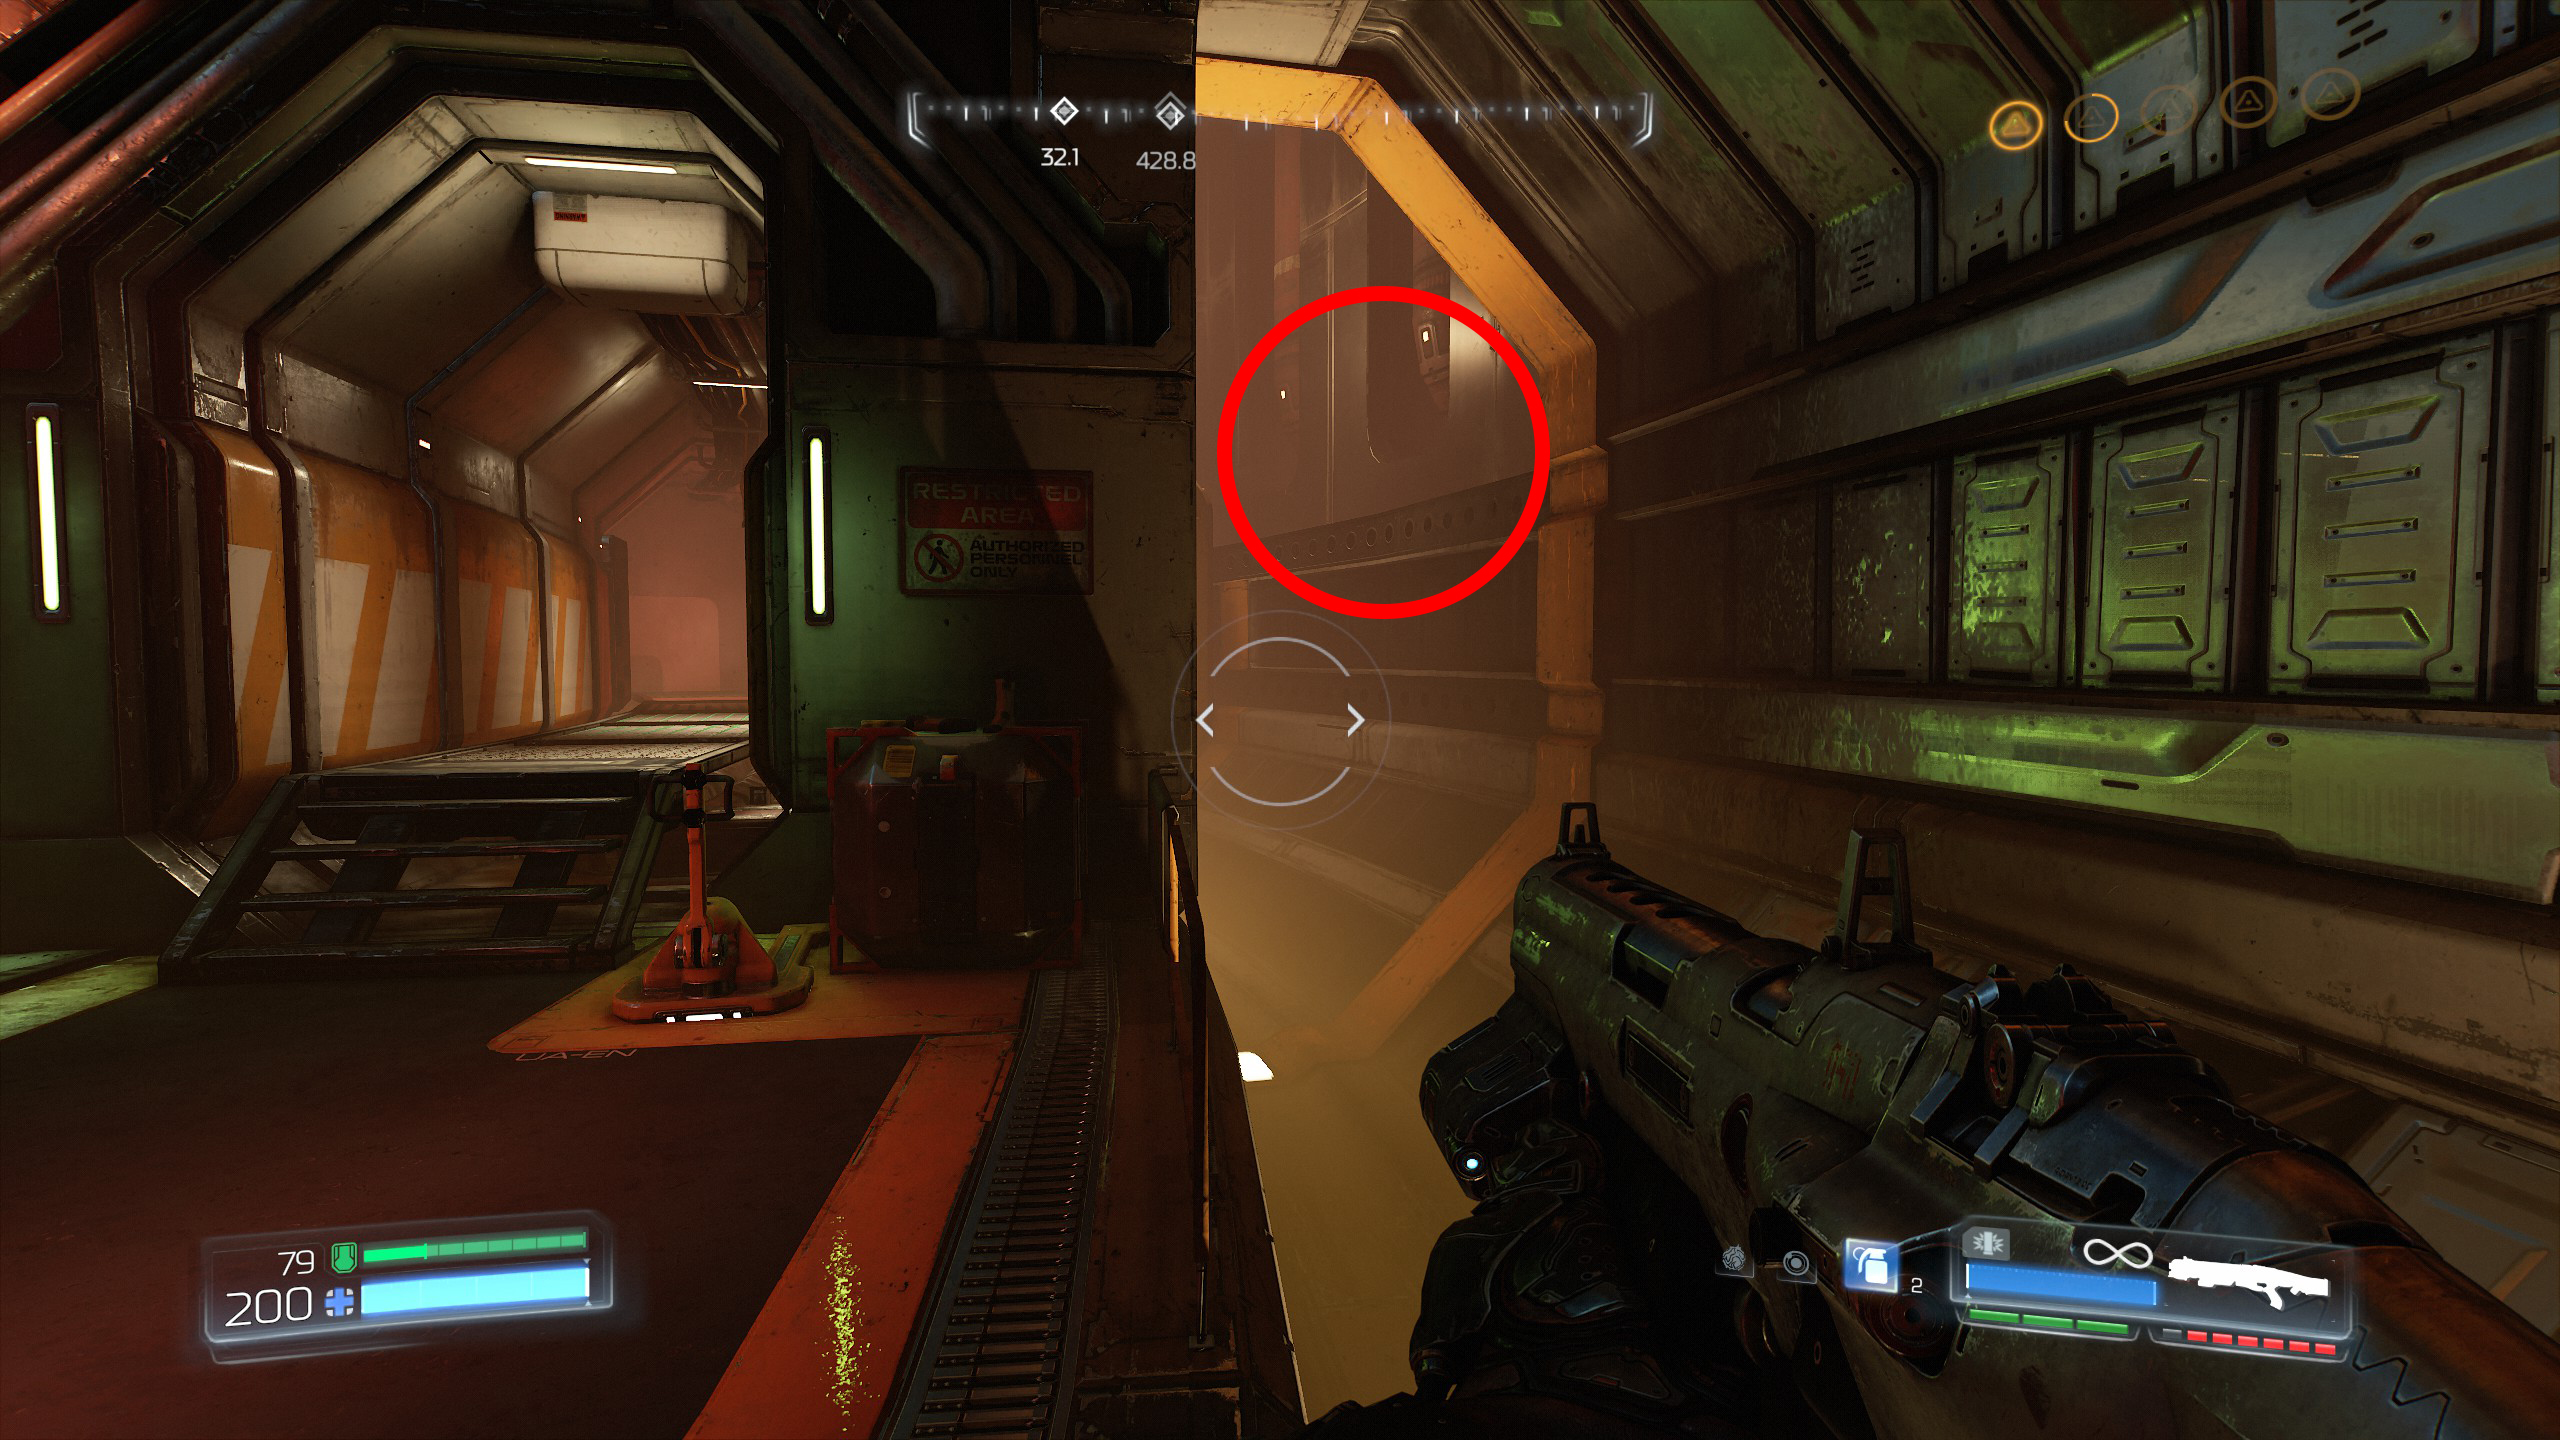
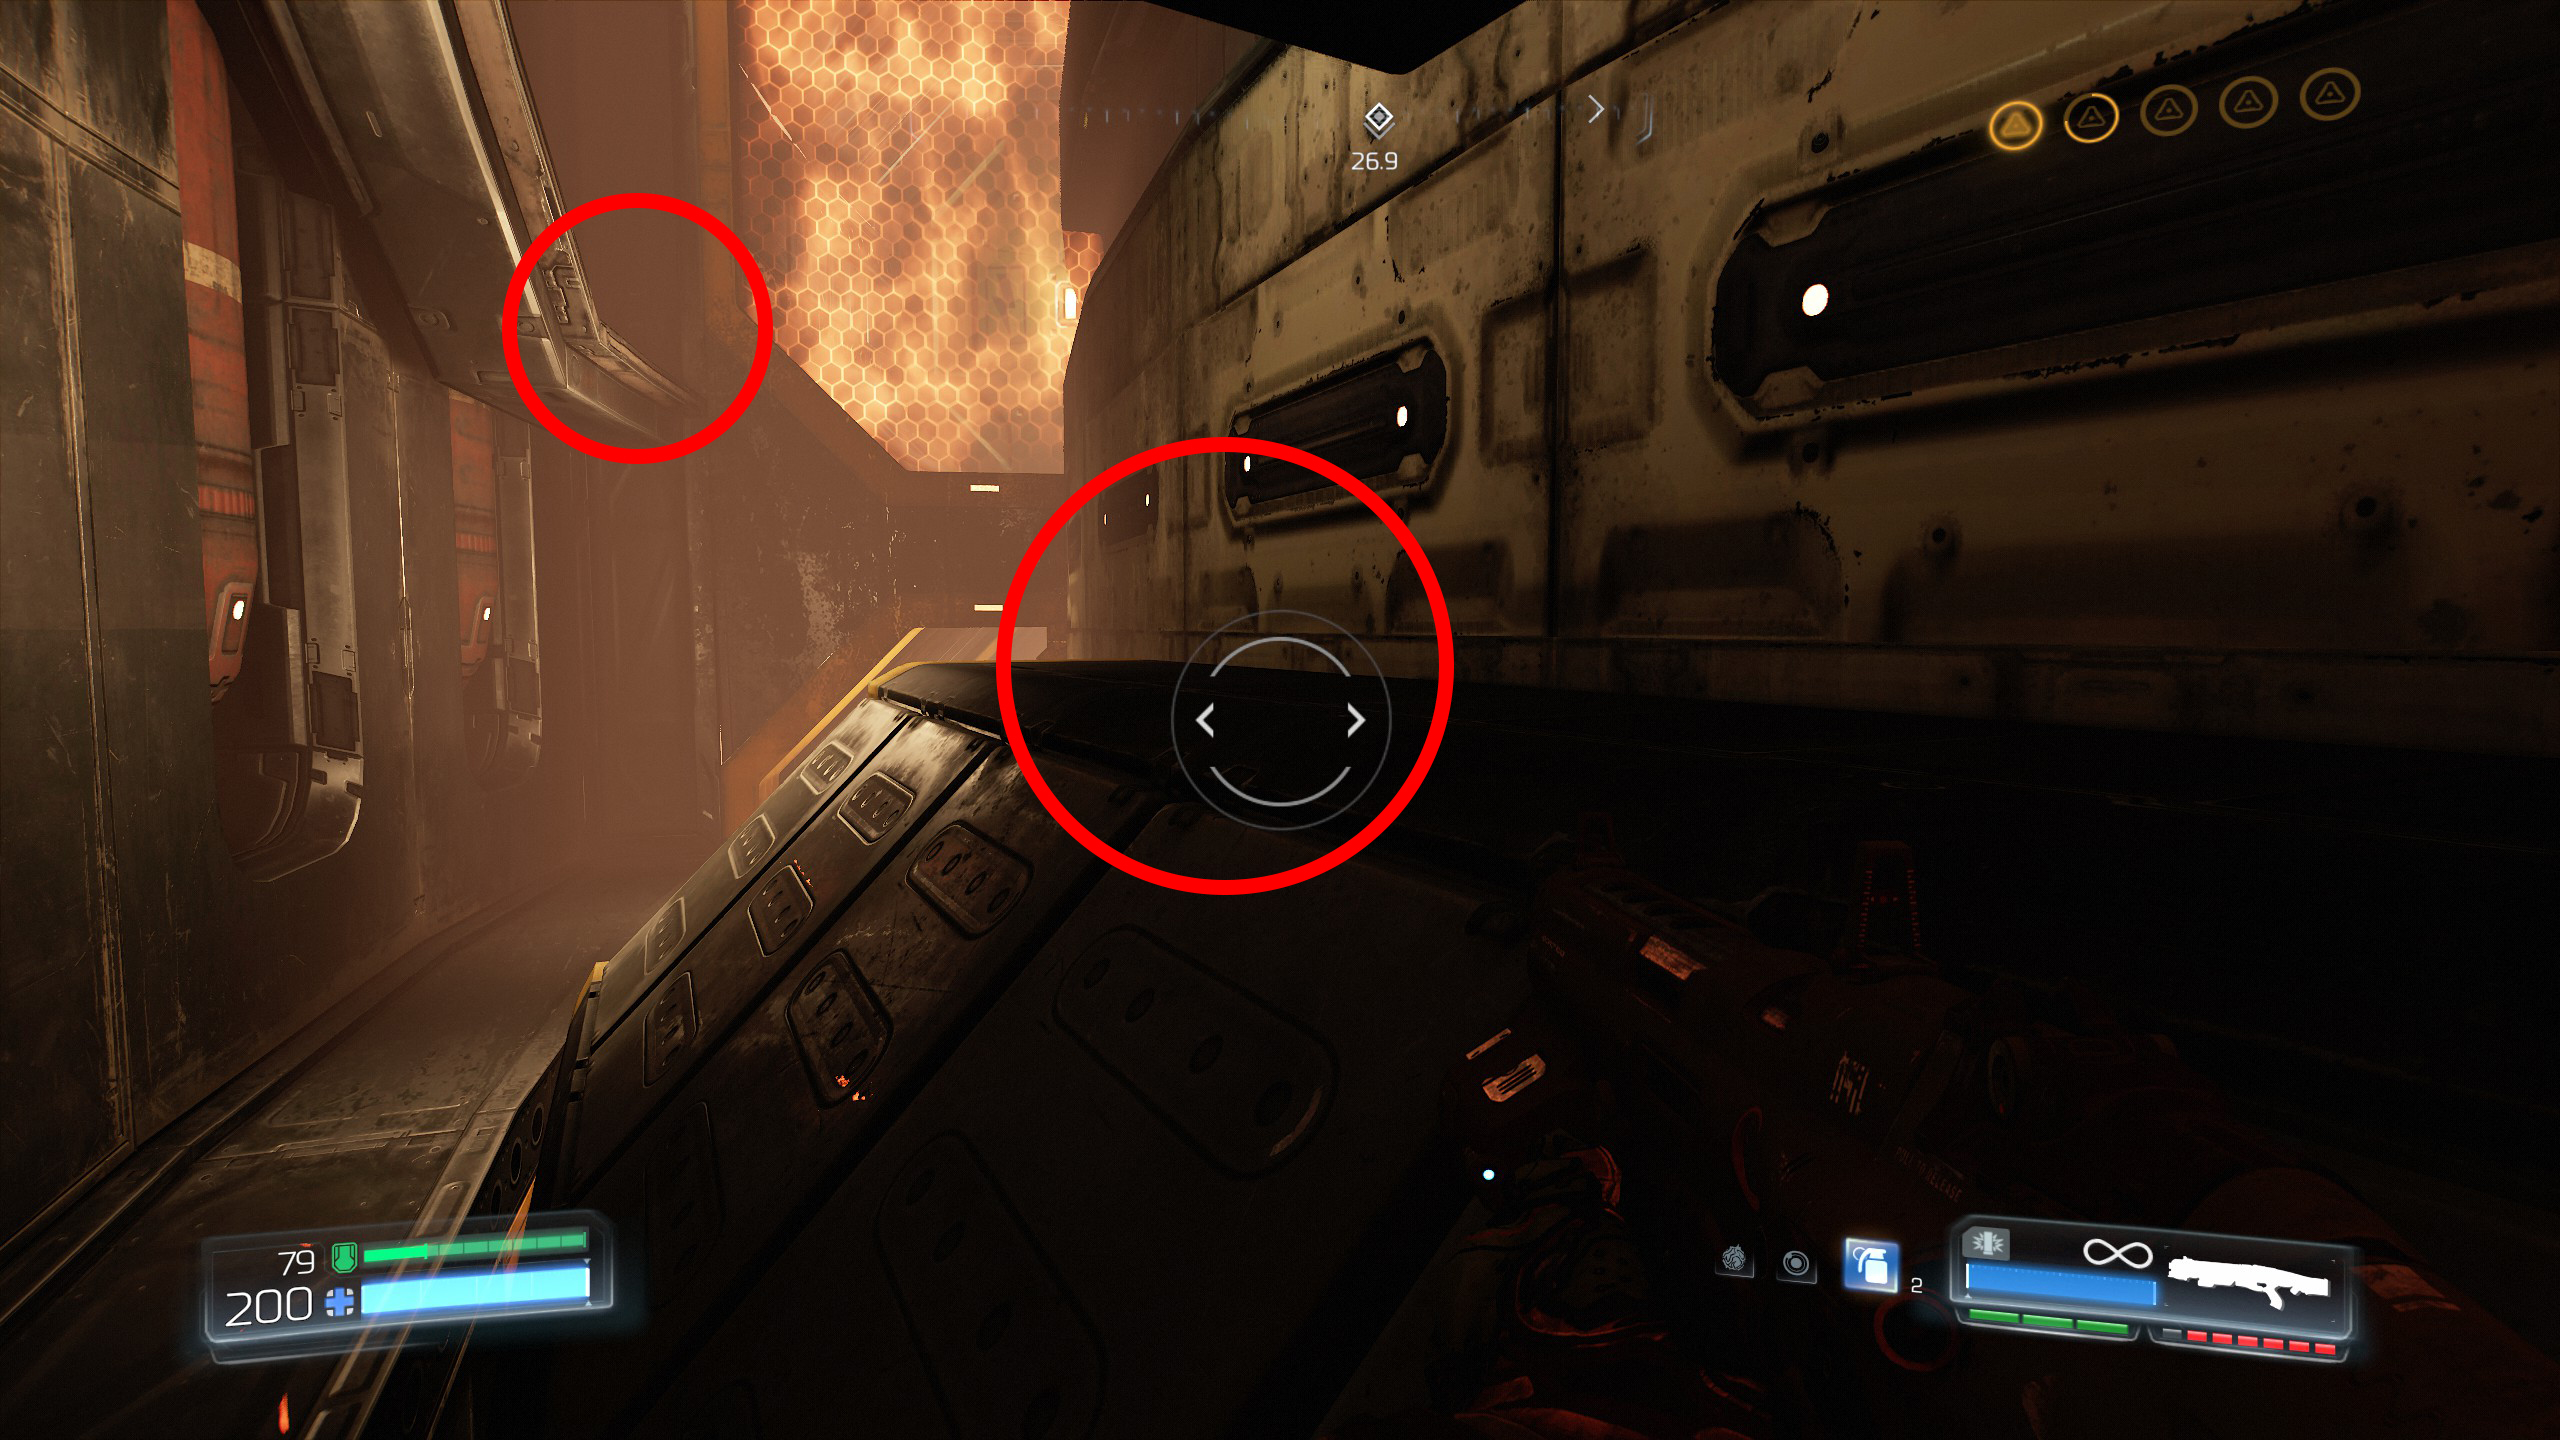
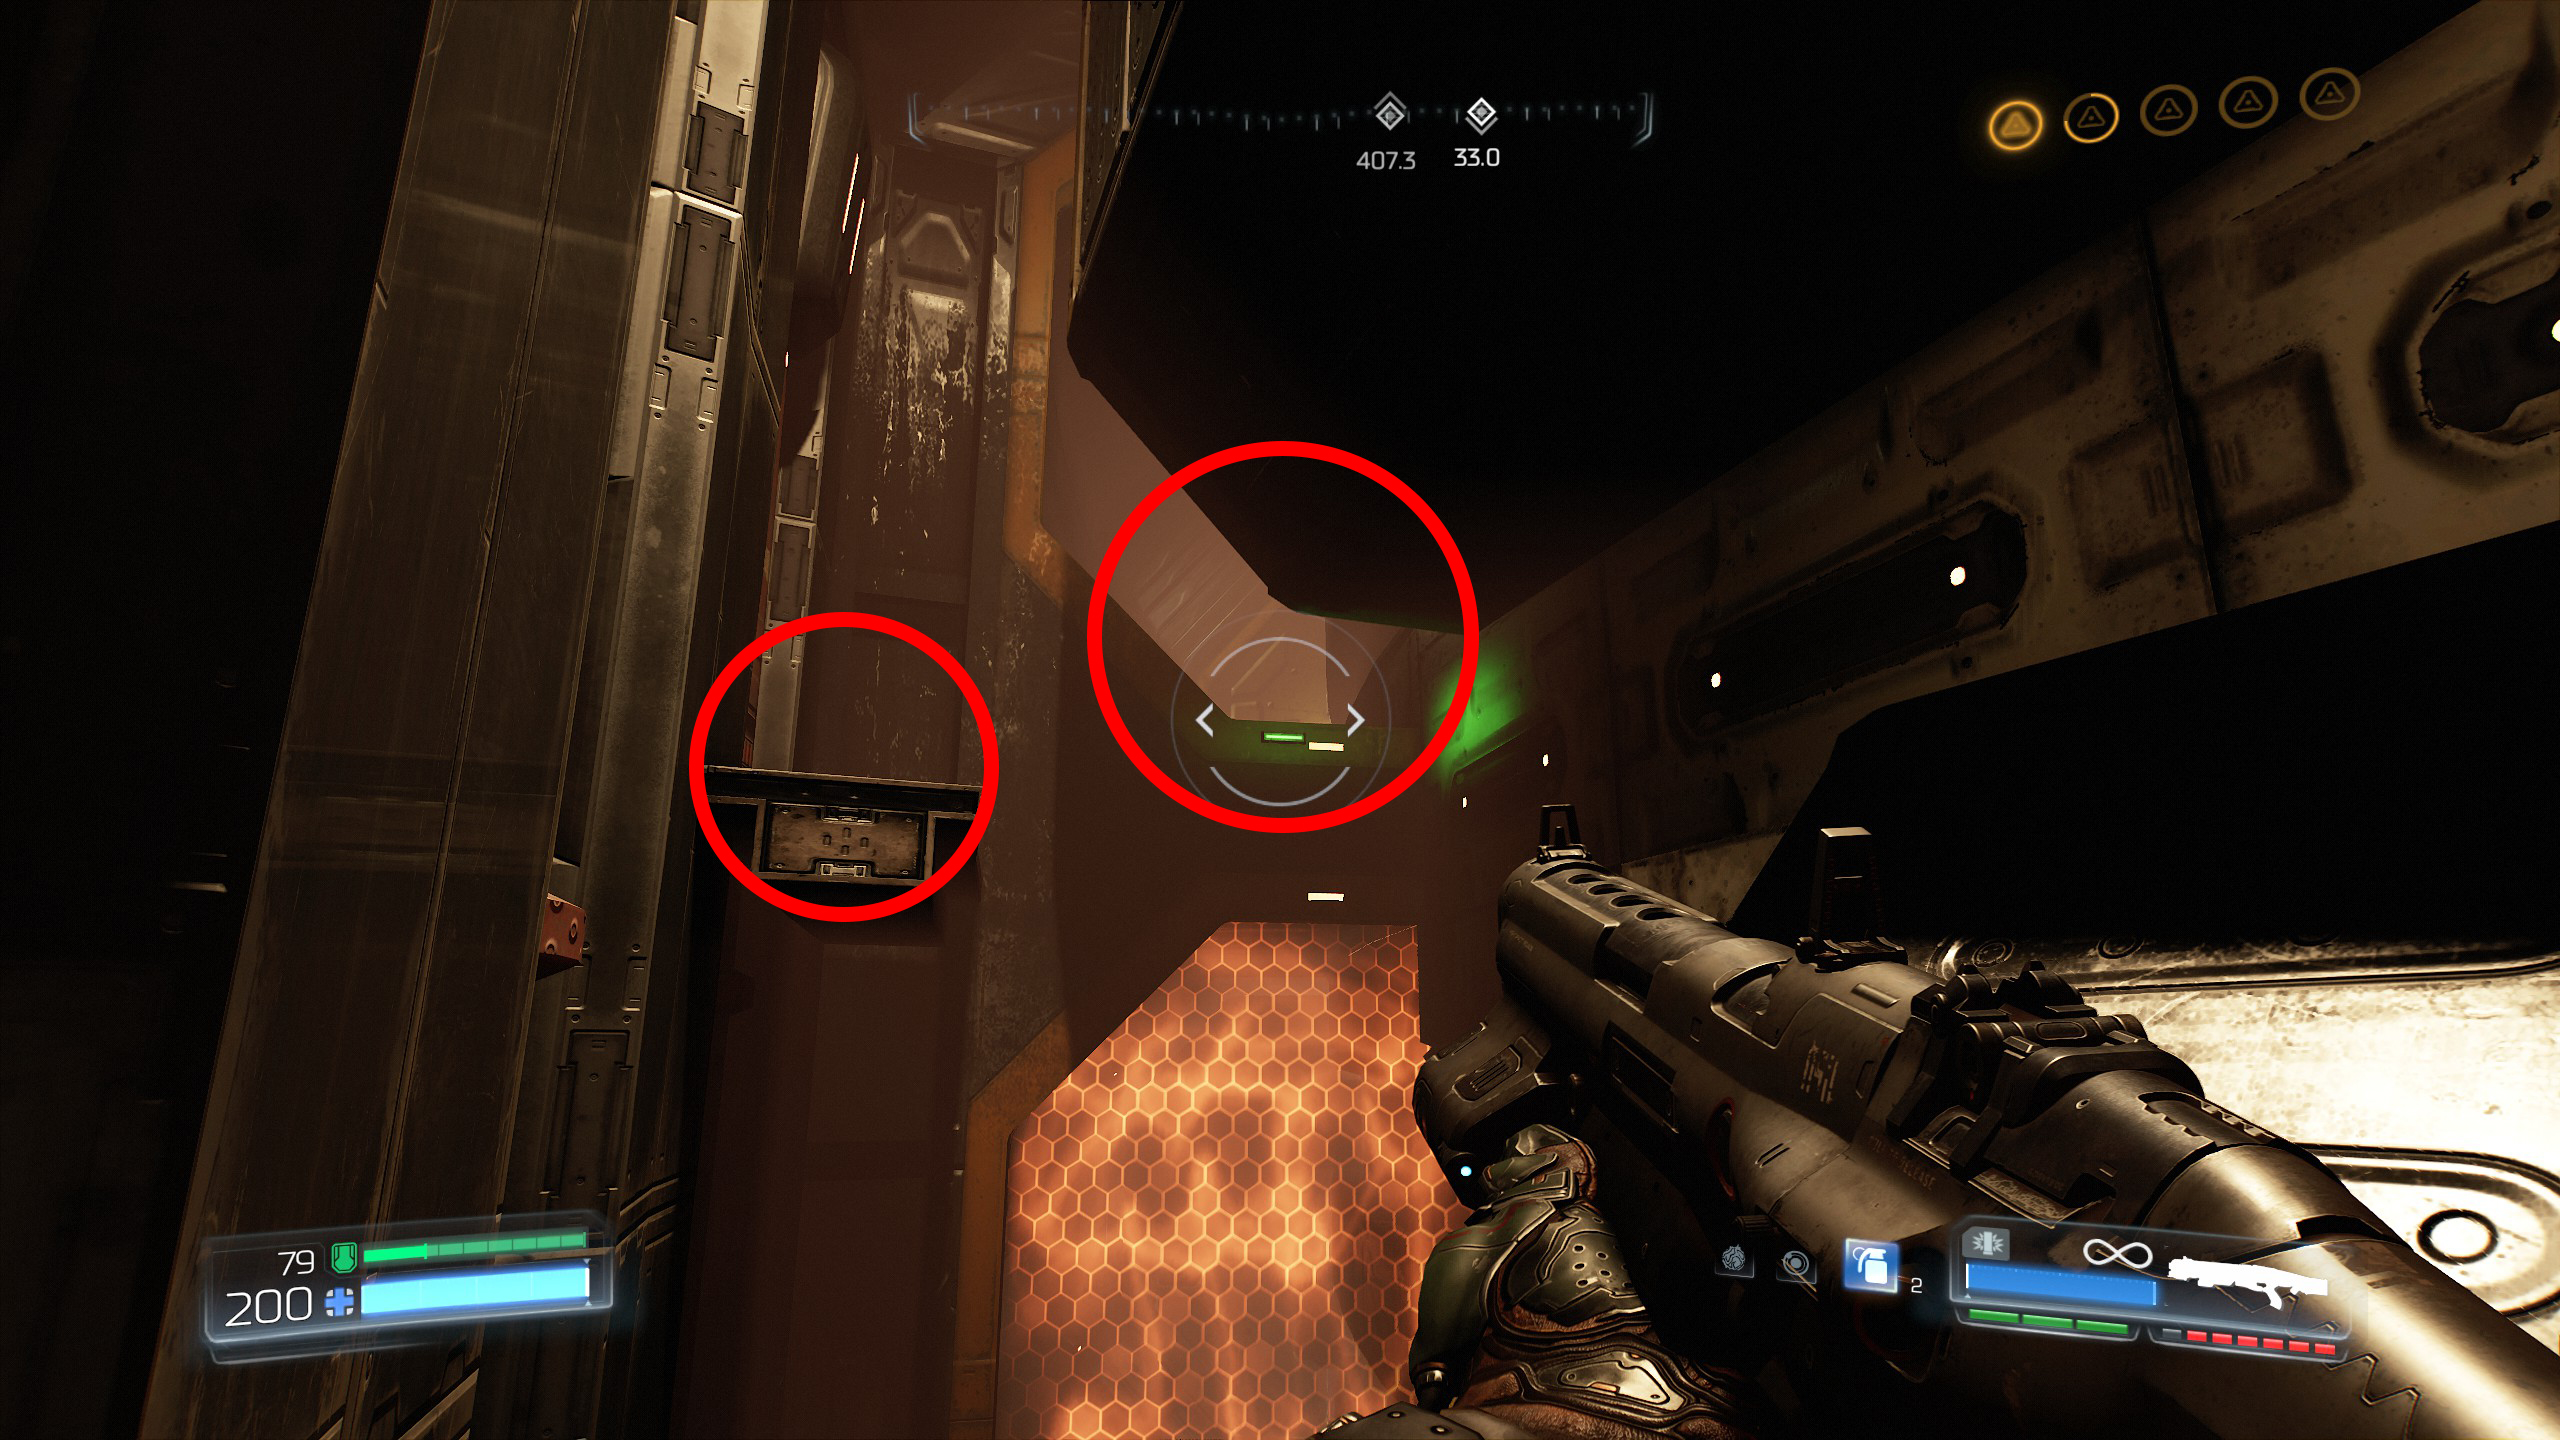
From the previous ledge walk higher up and turn around, another ledge will be in front of you, jump up and be ready to jump across and follow the machinery into the opening where you see the green light flashing.
Once you're through to the other side drop down and to the left will be a Doomguy which will give you secret number 4.
Continue the mission.
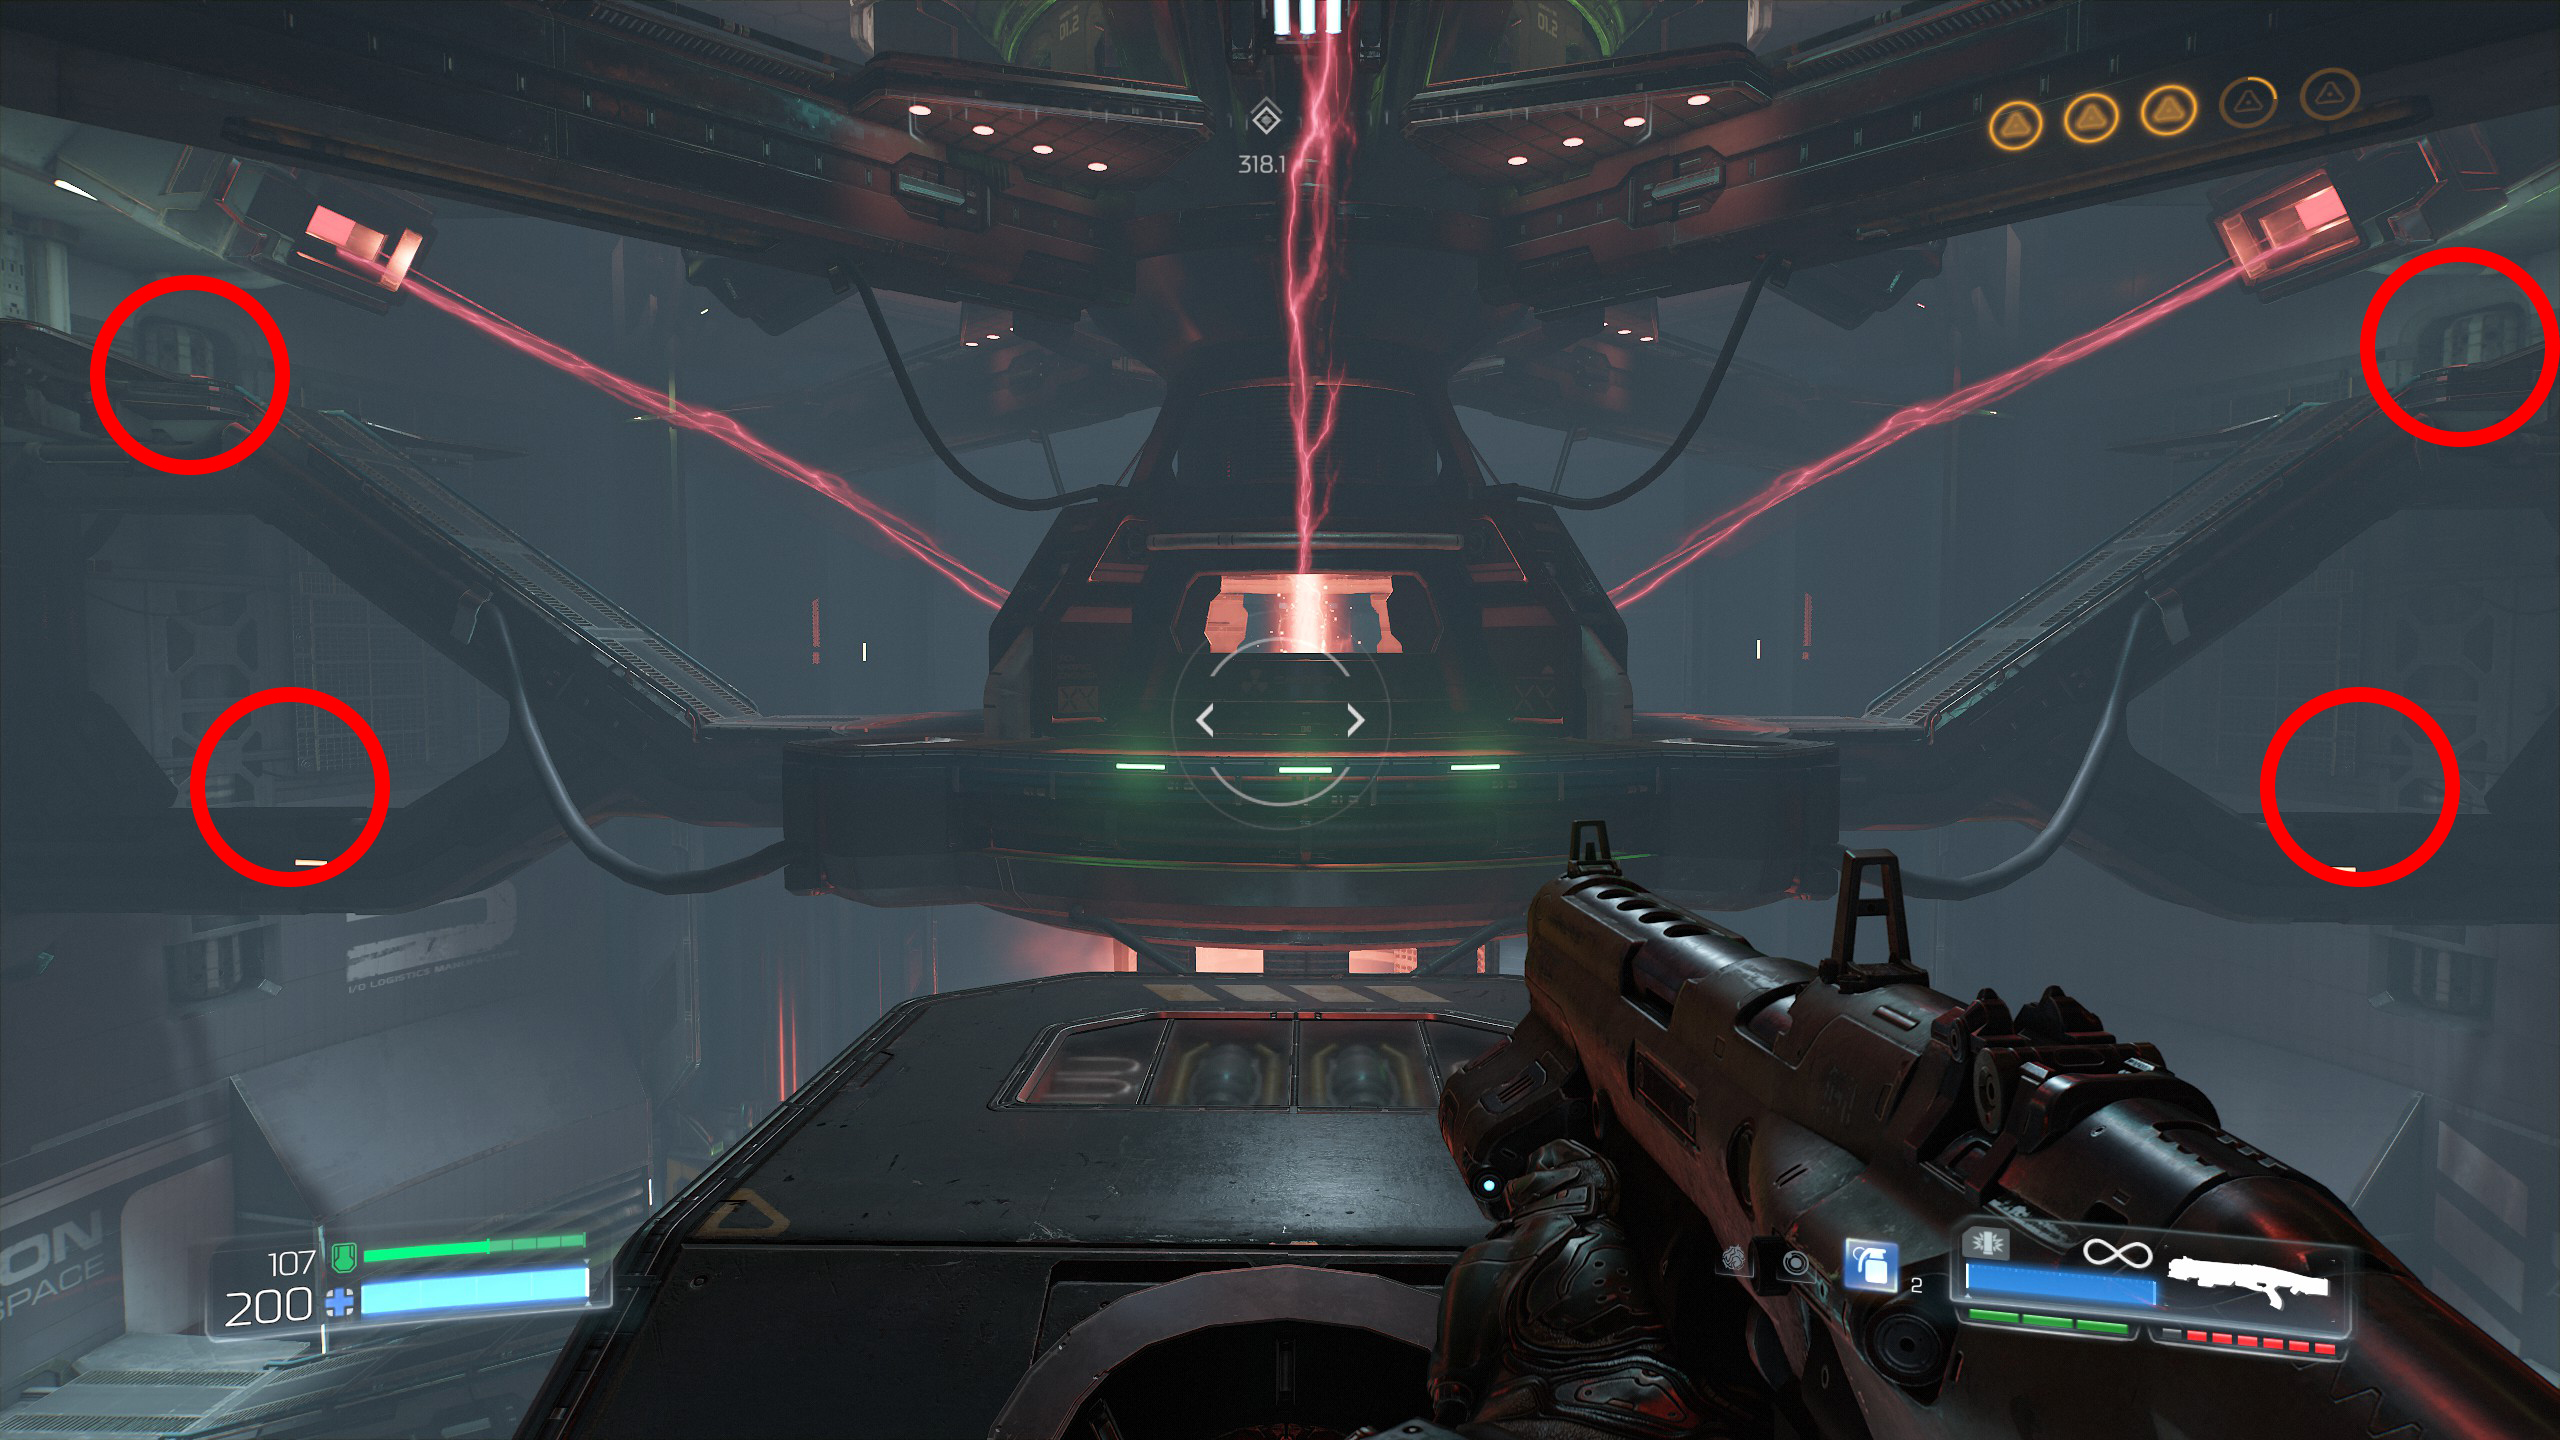
After the big demon battle in the main room make your way upwards until you reach the spinning central core, from there go up one more level to where you see the 4 red electric beams shooting out from the core (see screenshots below).
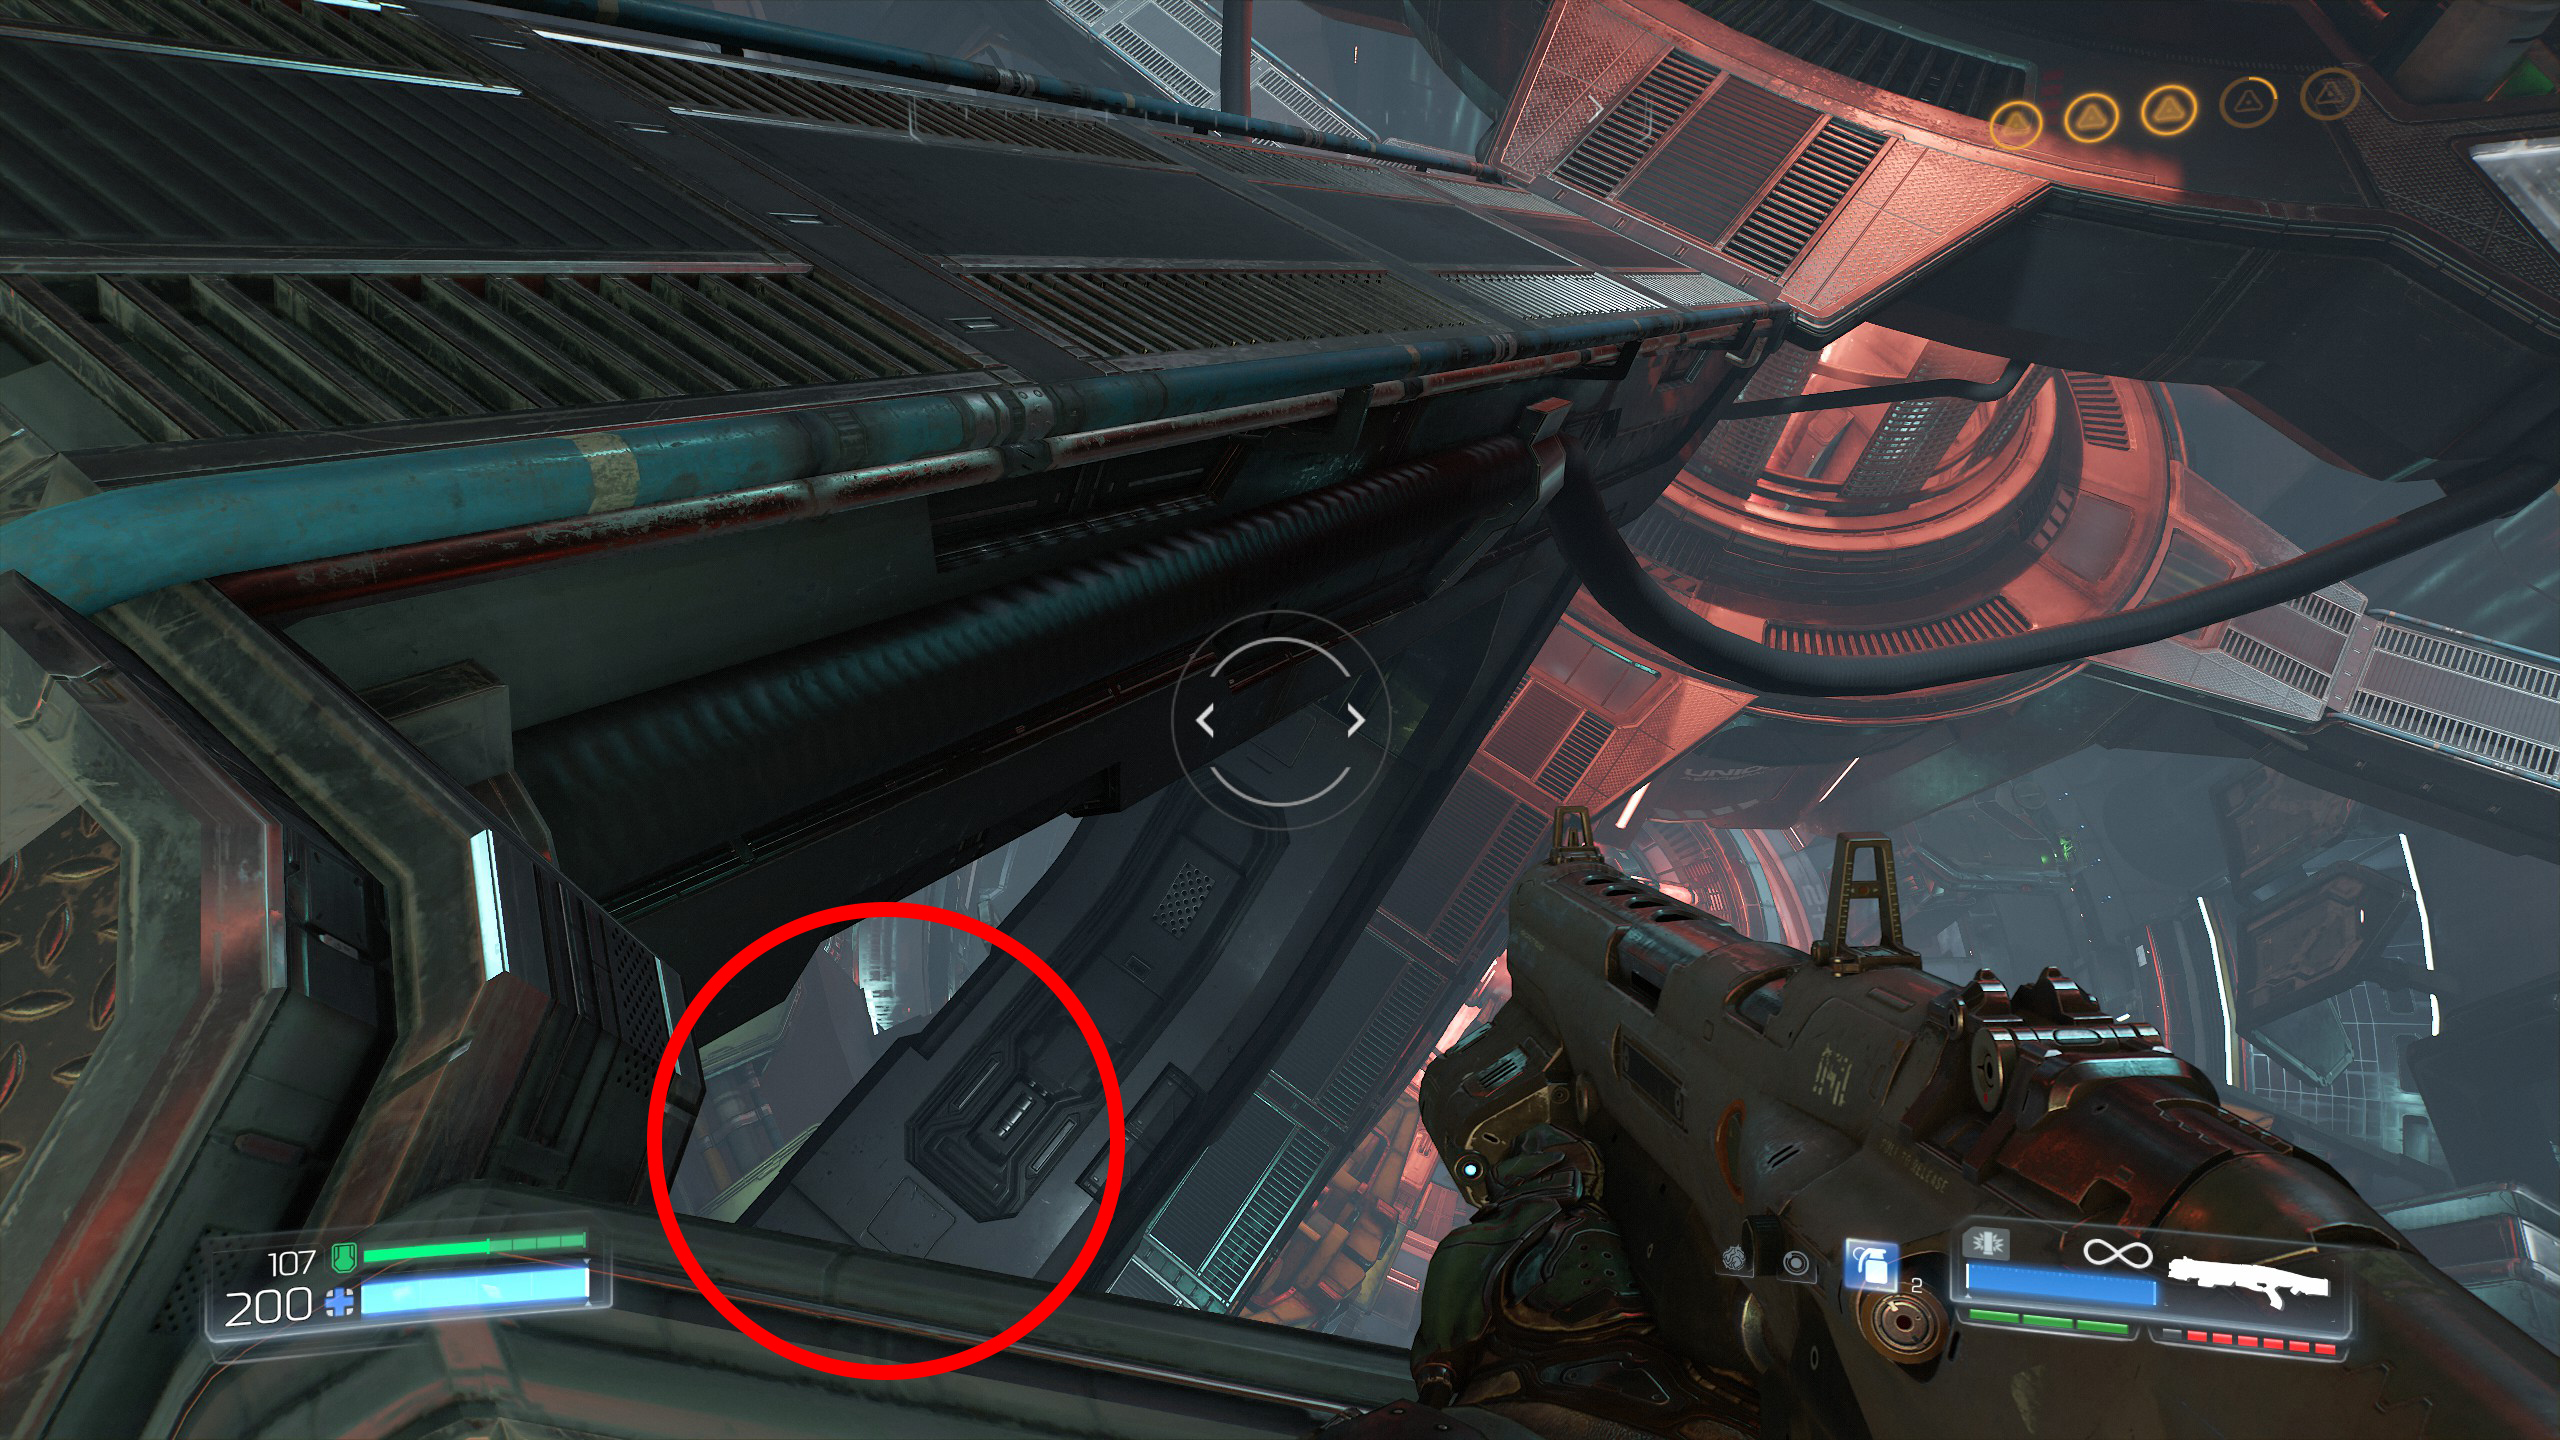
On either side of the core are two platforms or structures leading higher up, underneath one of those you will find a Doomguy for secret 5.
In the left screenshot below you will need to drop down from the upper red circle to the lower red circle, only one side has the doomguy but just be careful when trying to drop down as it can be a little tricky.
Continue the mission.
Once activated drop back down with the drone and hidden at the bottom behind where the drone plugs into the wall is the secret room, head inside for secret number 6.
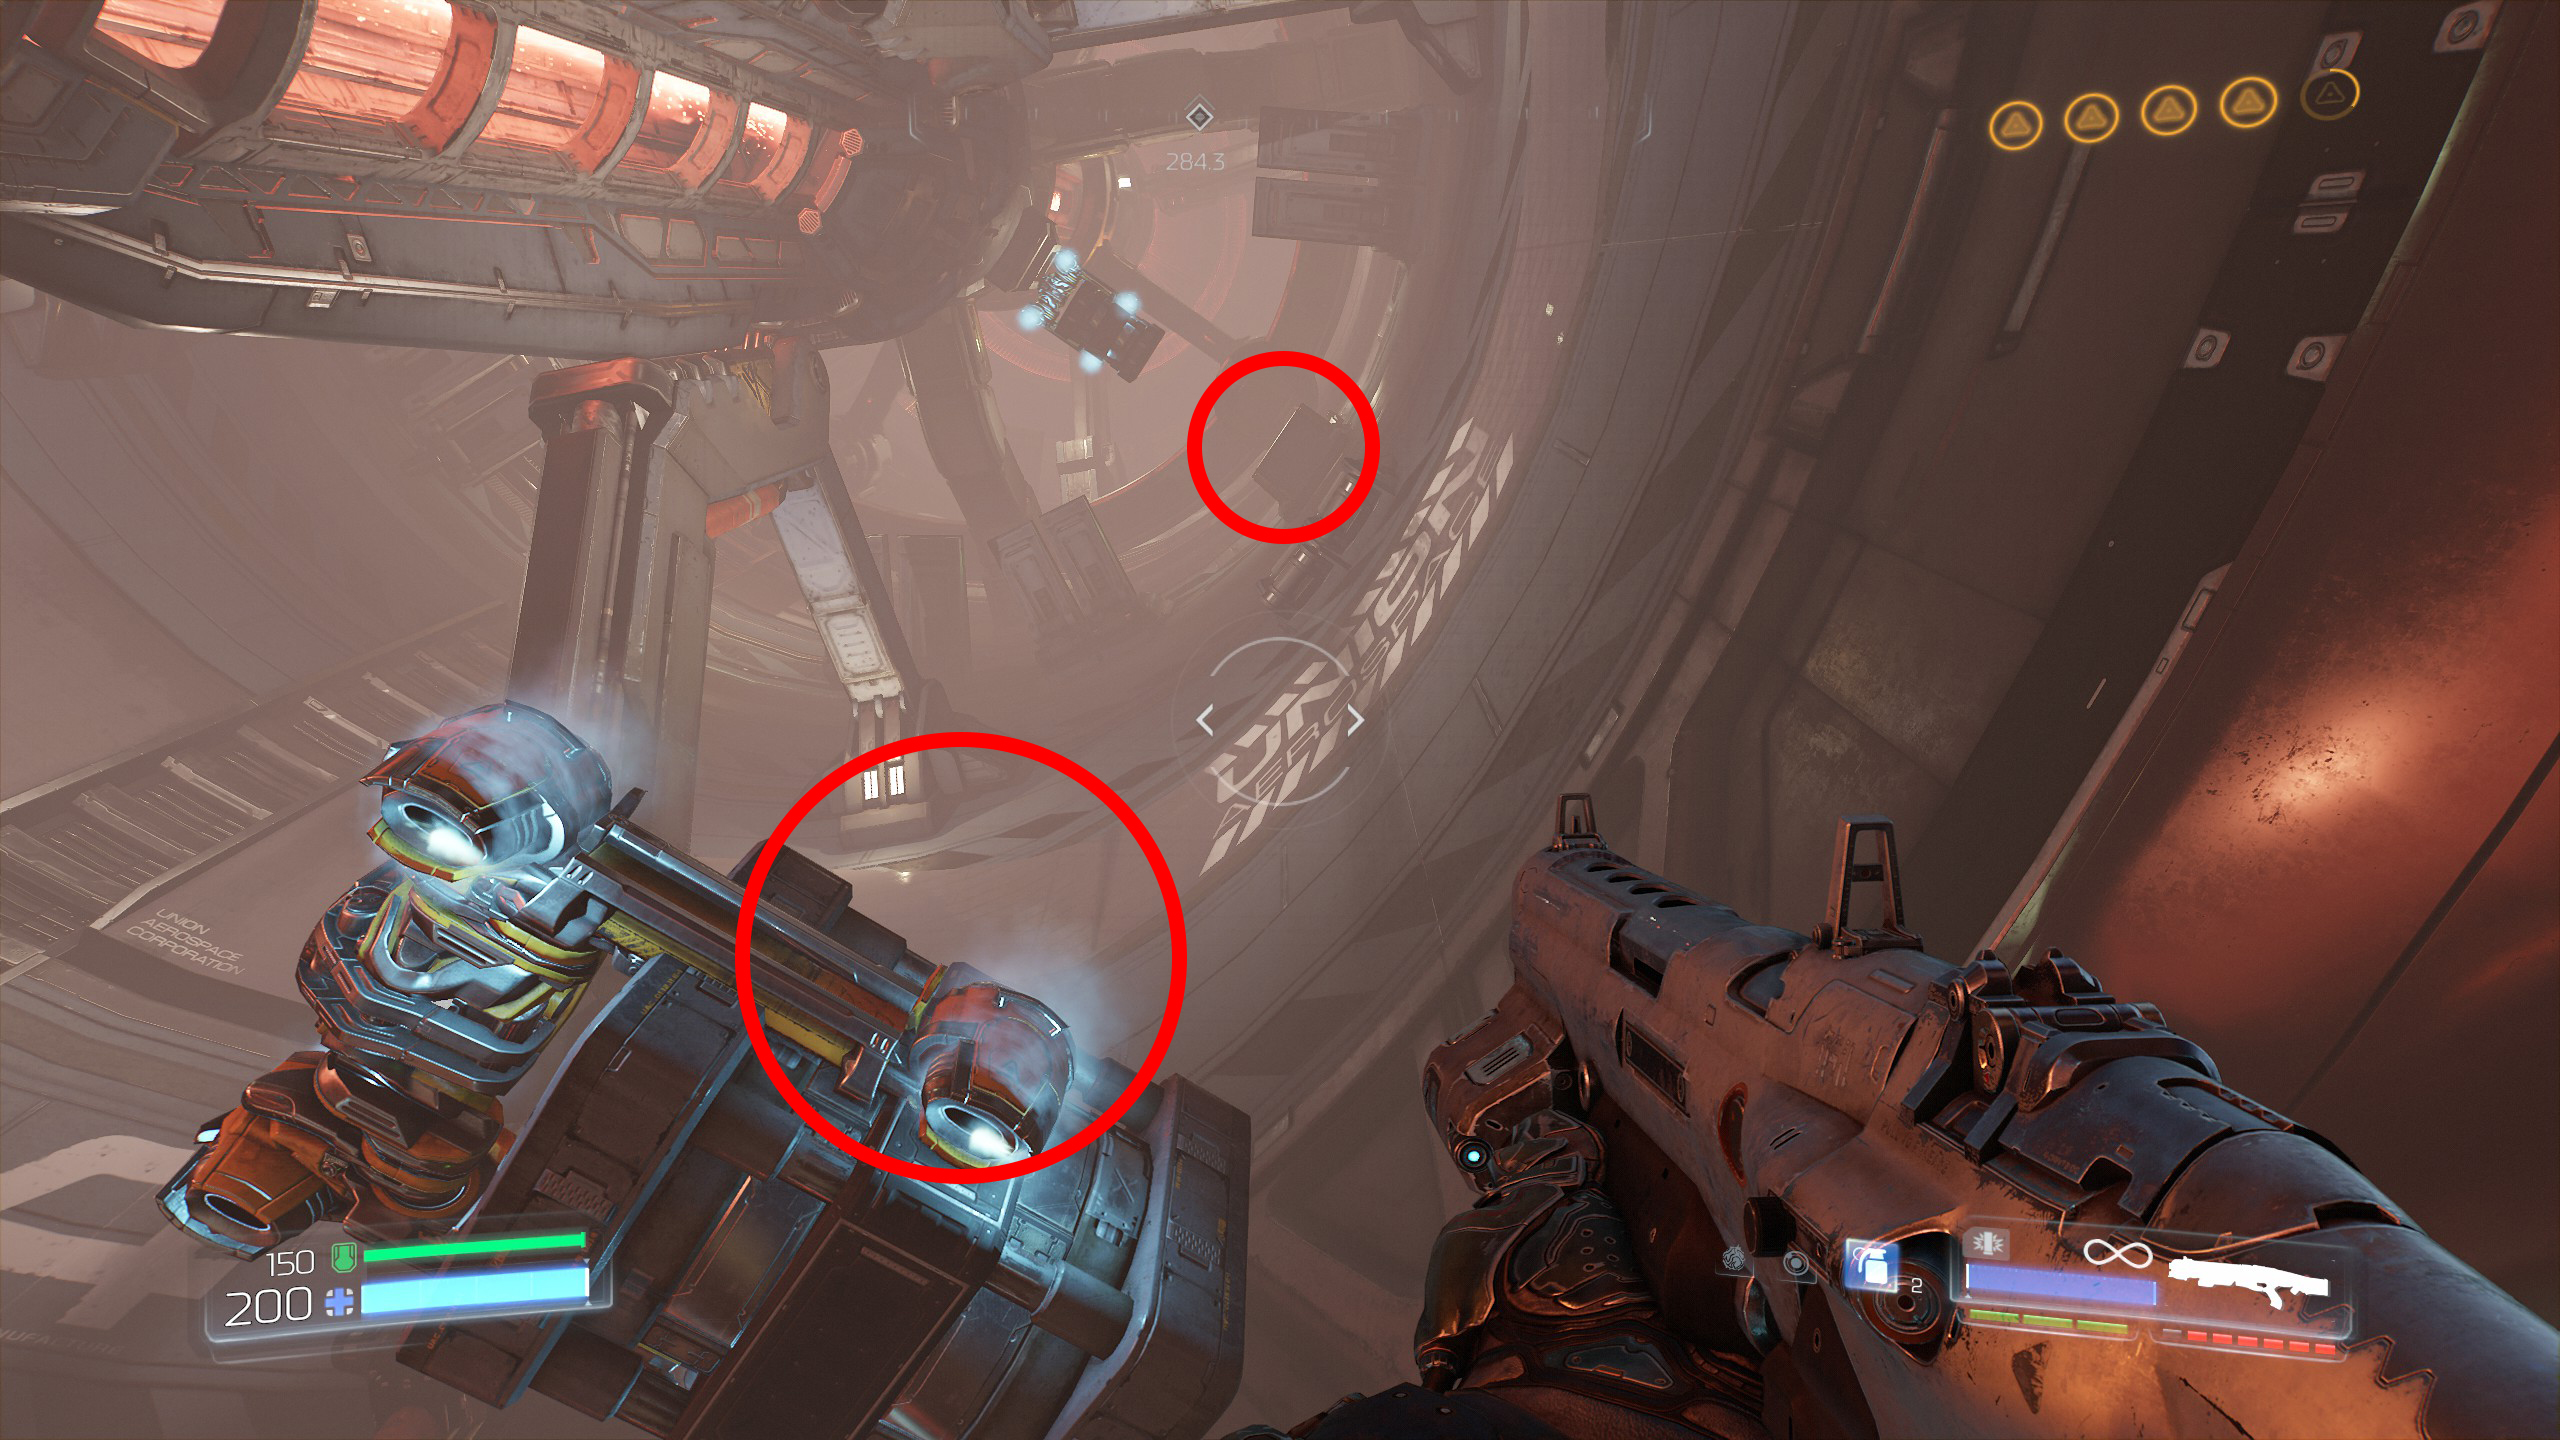
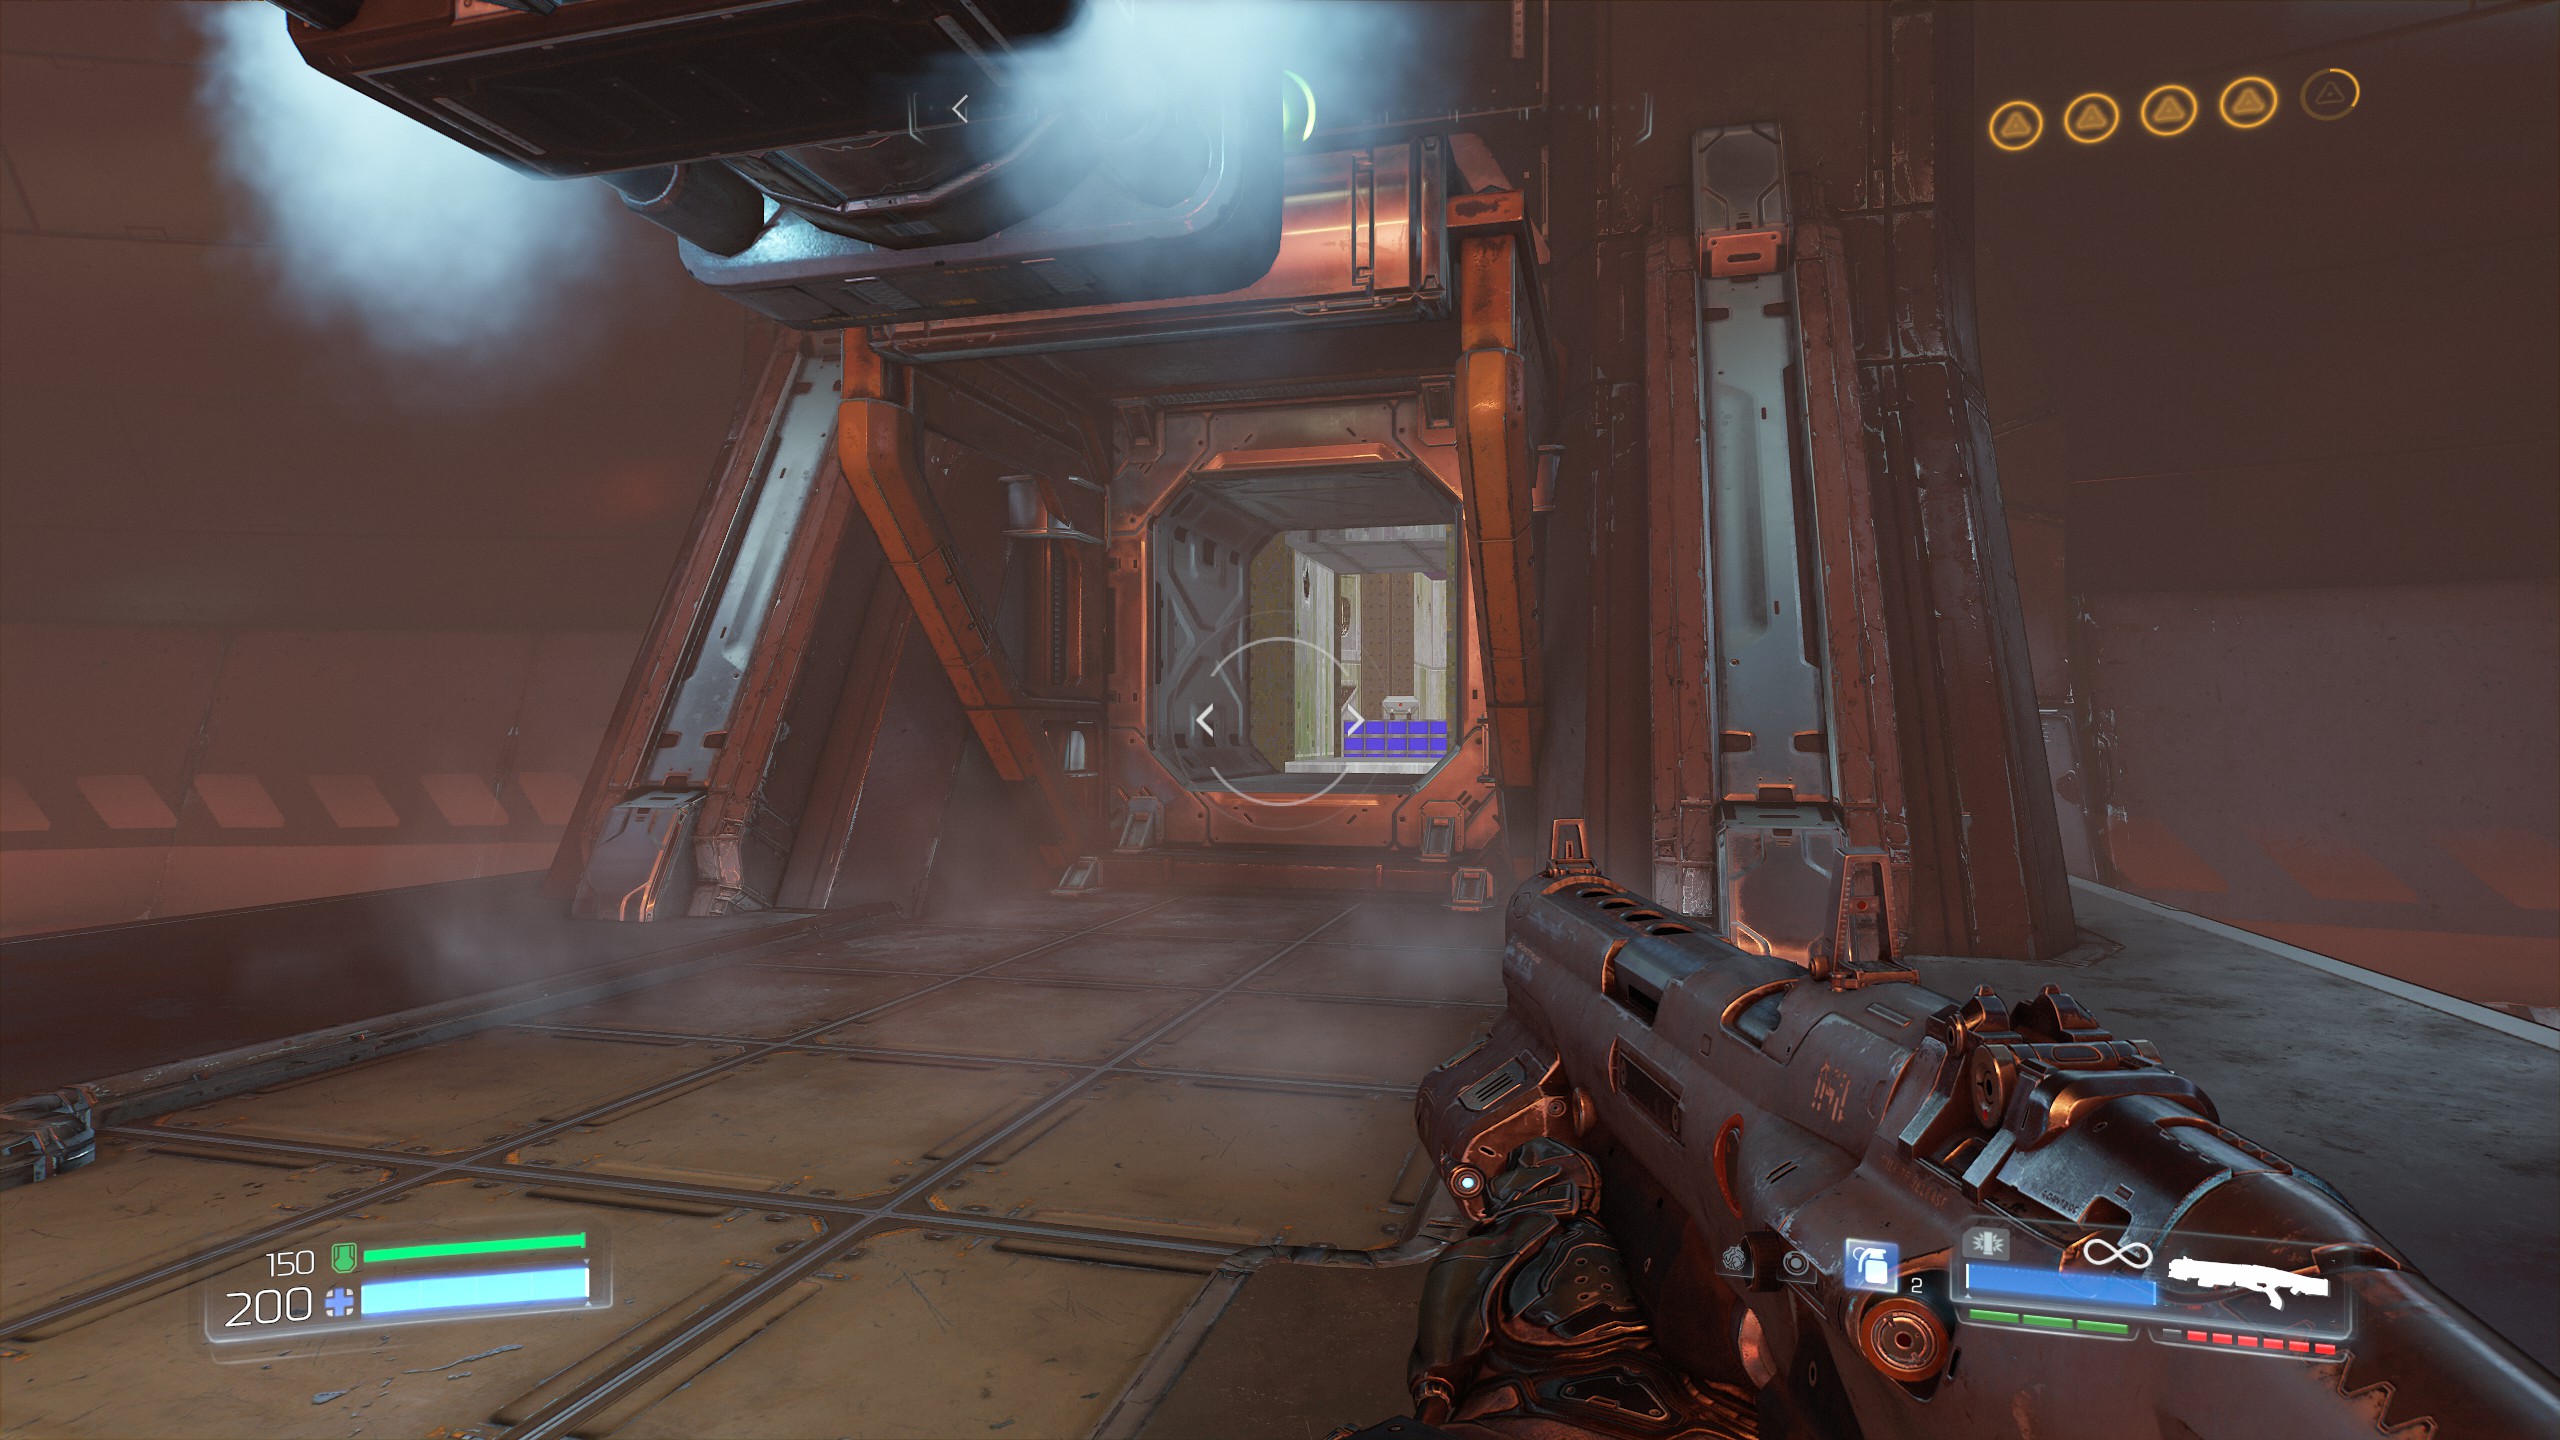
If you look down the shaft either before or after you drop the elevator you will notice a small opening on the opposite wall further down, simply run forward, drop down but keep hold of the forward button so you just manage to land on the edge of the platform which is where you will find secret number 7, the final secret for this mission.
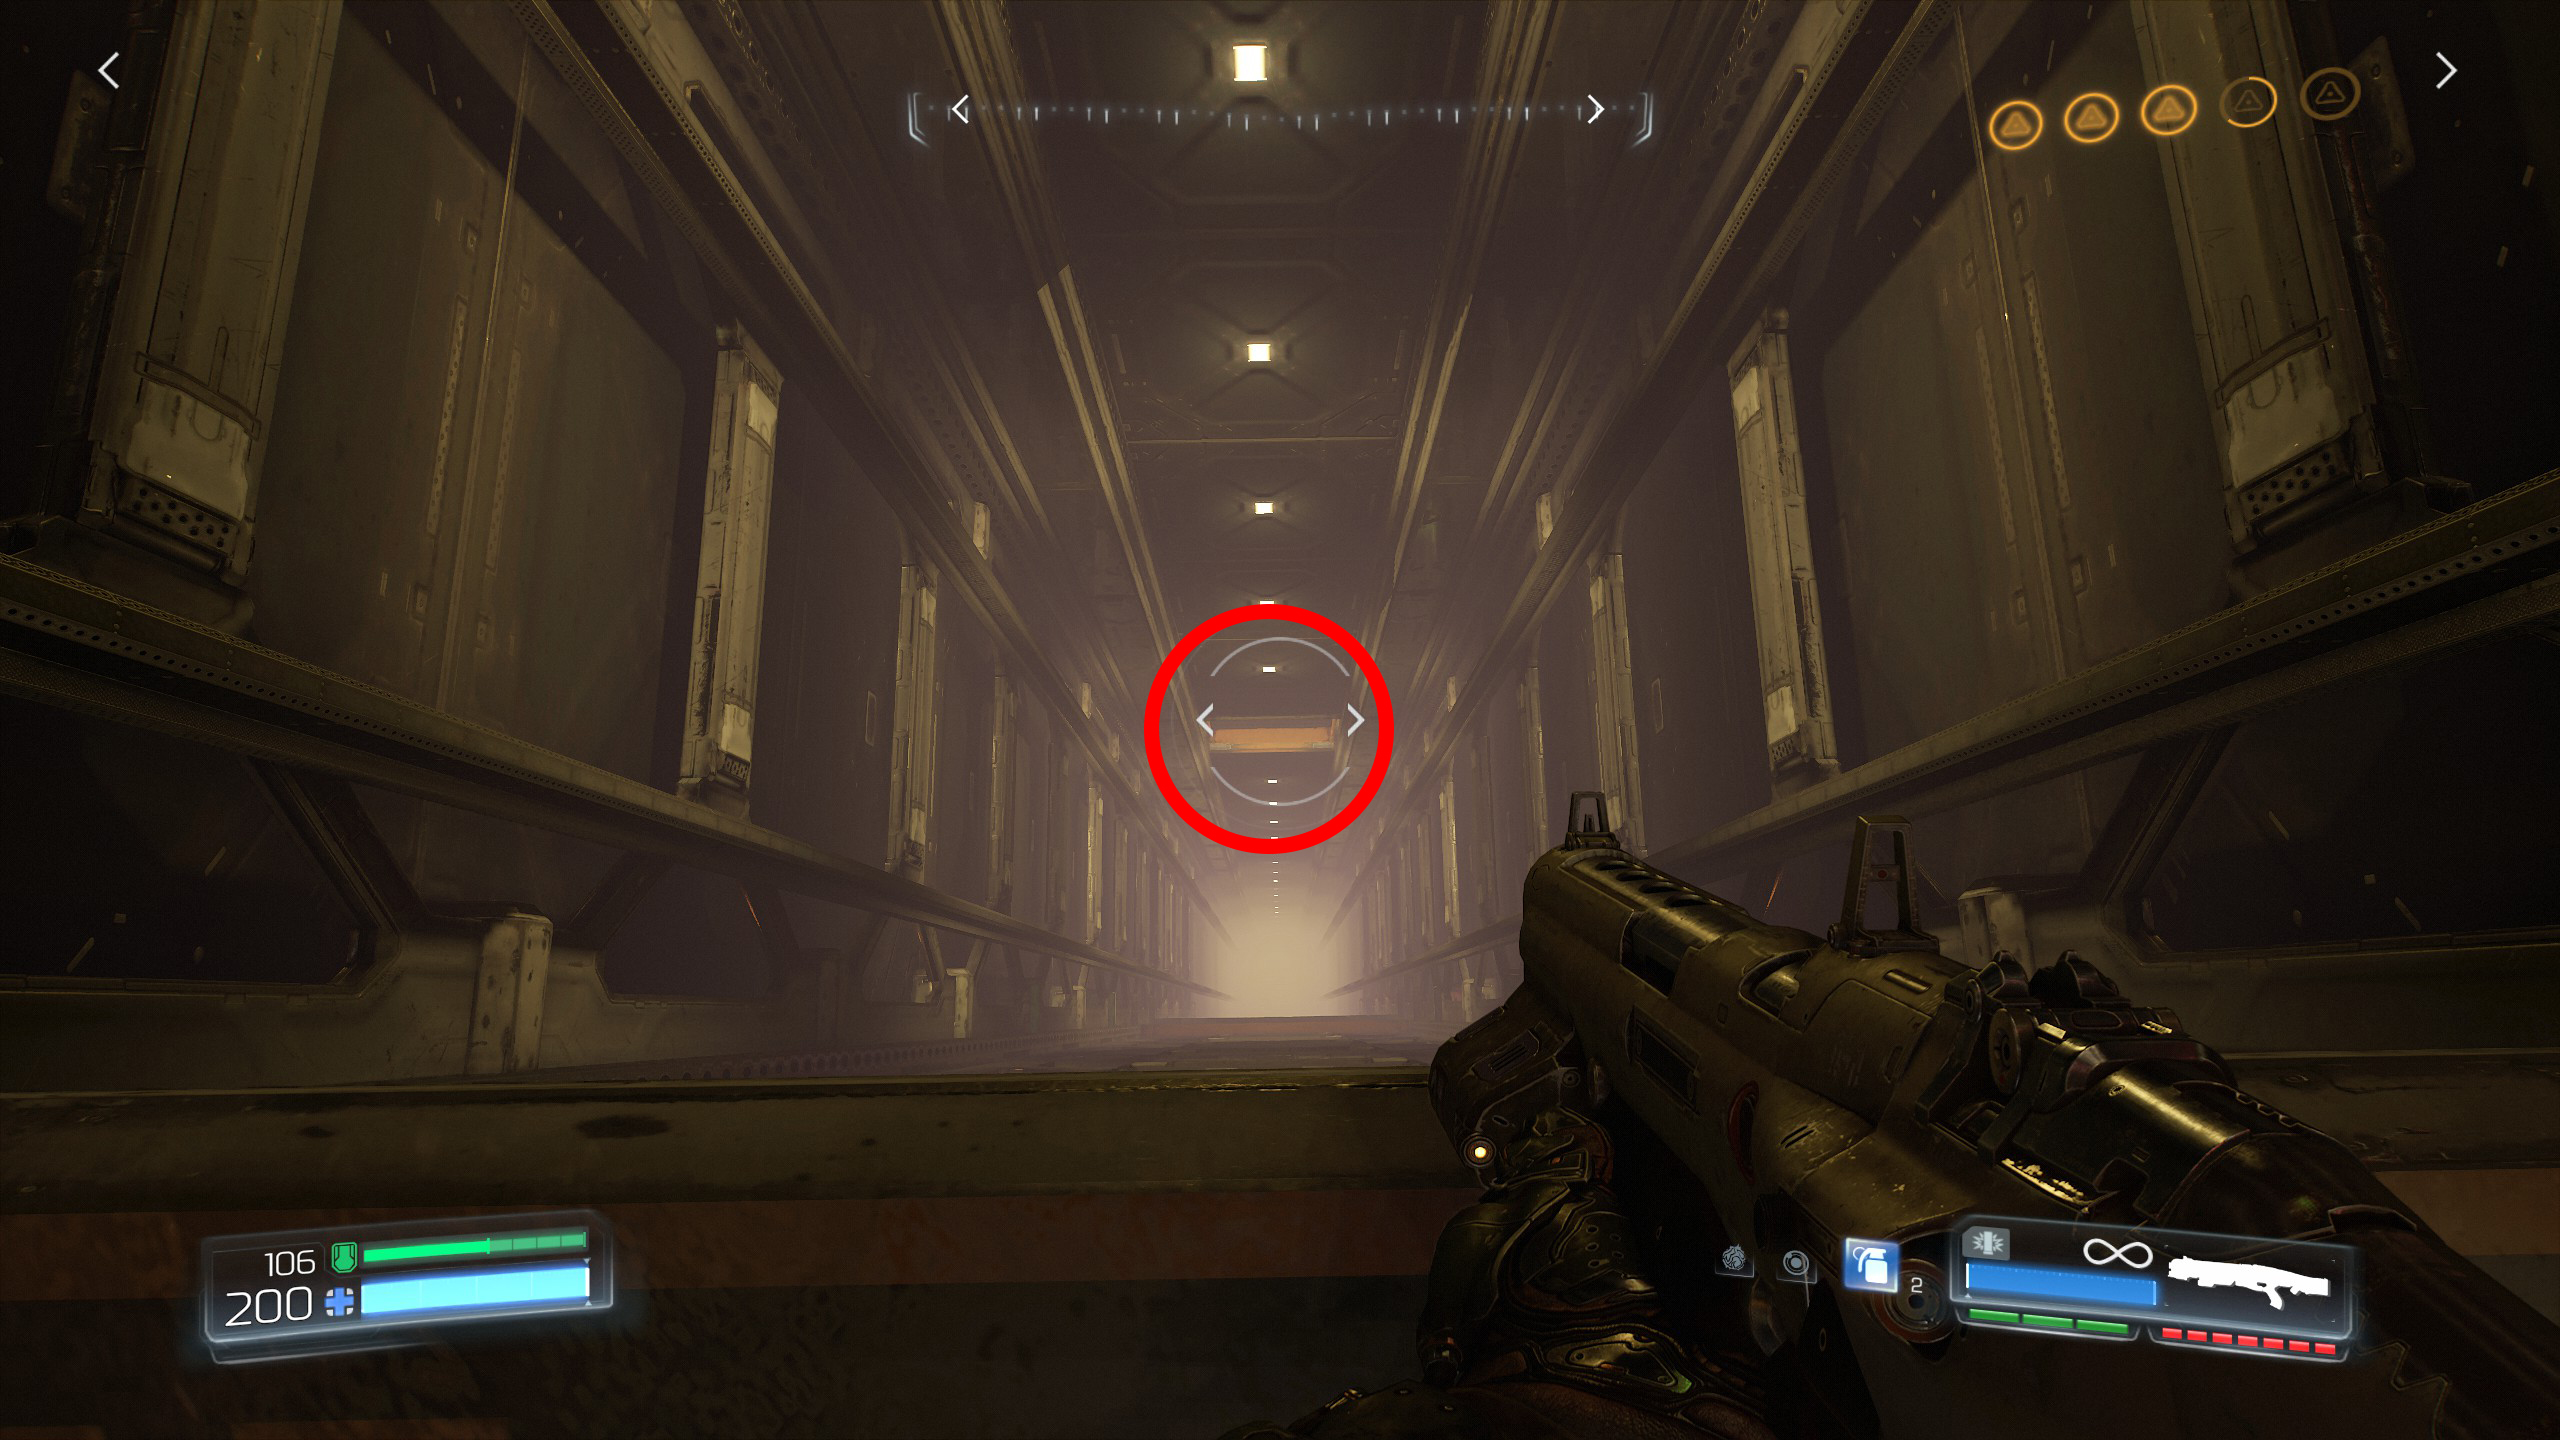
Mission 6 - Kadingir Sanctum
On the upper left side you will see an armor pickup which is where your first secret is located, you will be able to reach it by climbing the rocks on the left just after the steps.
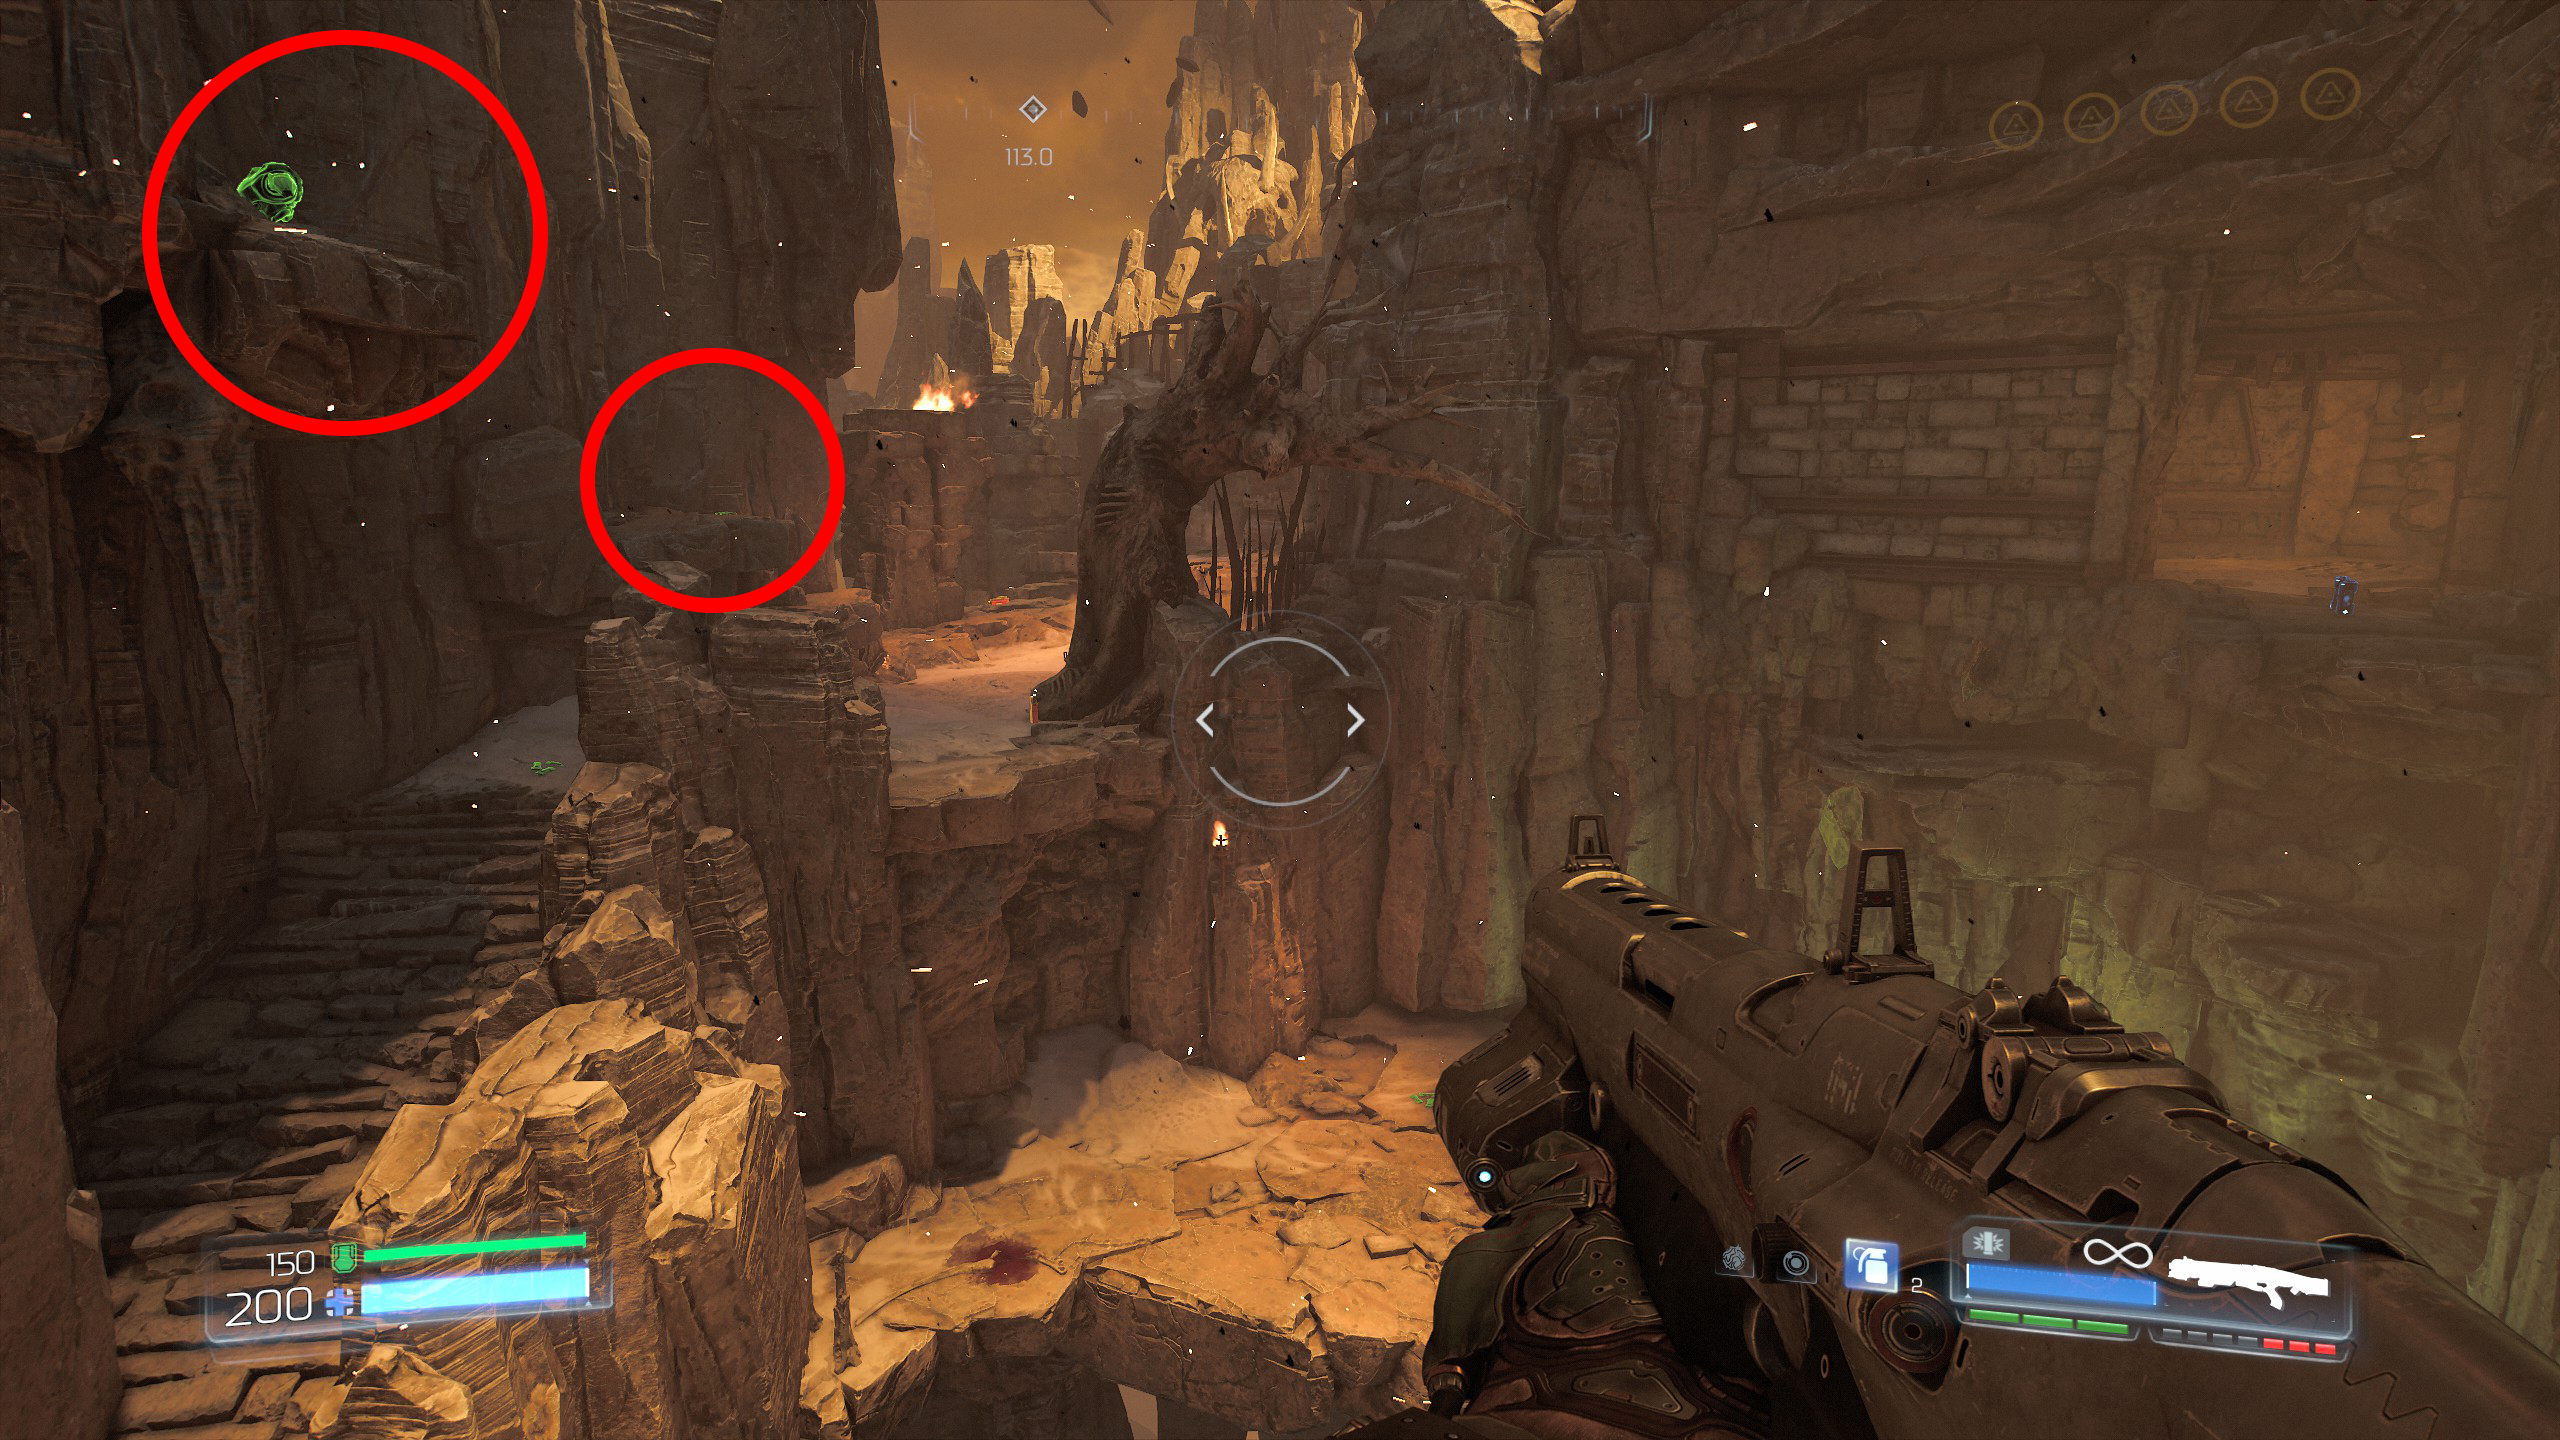
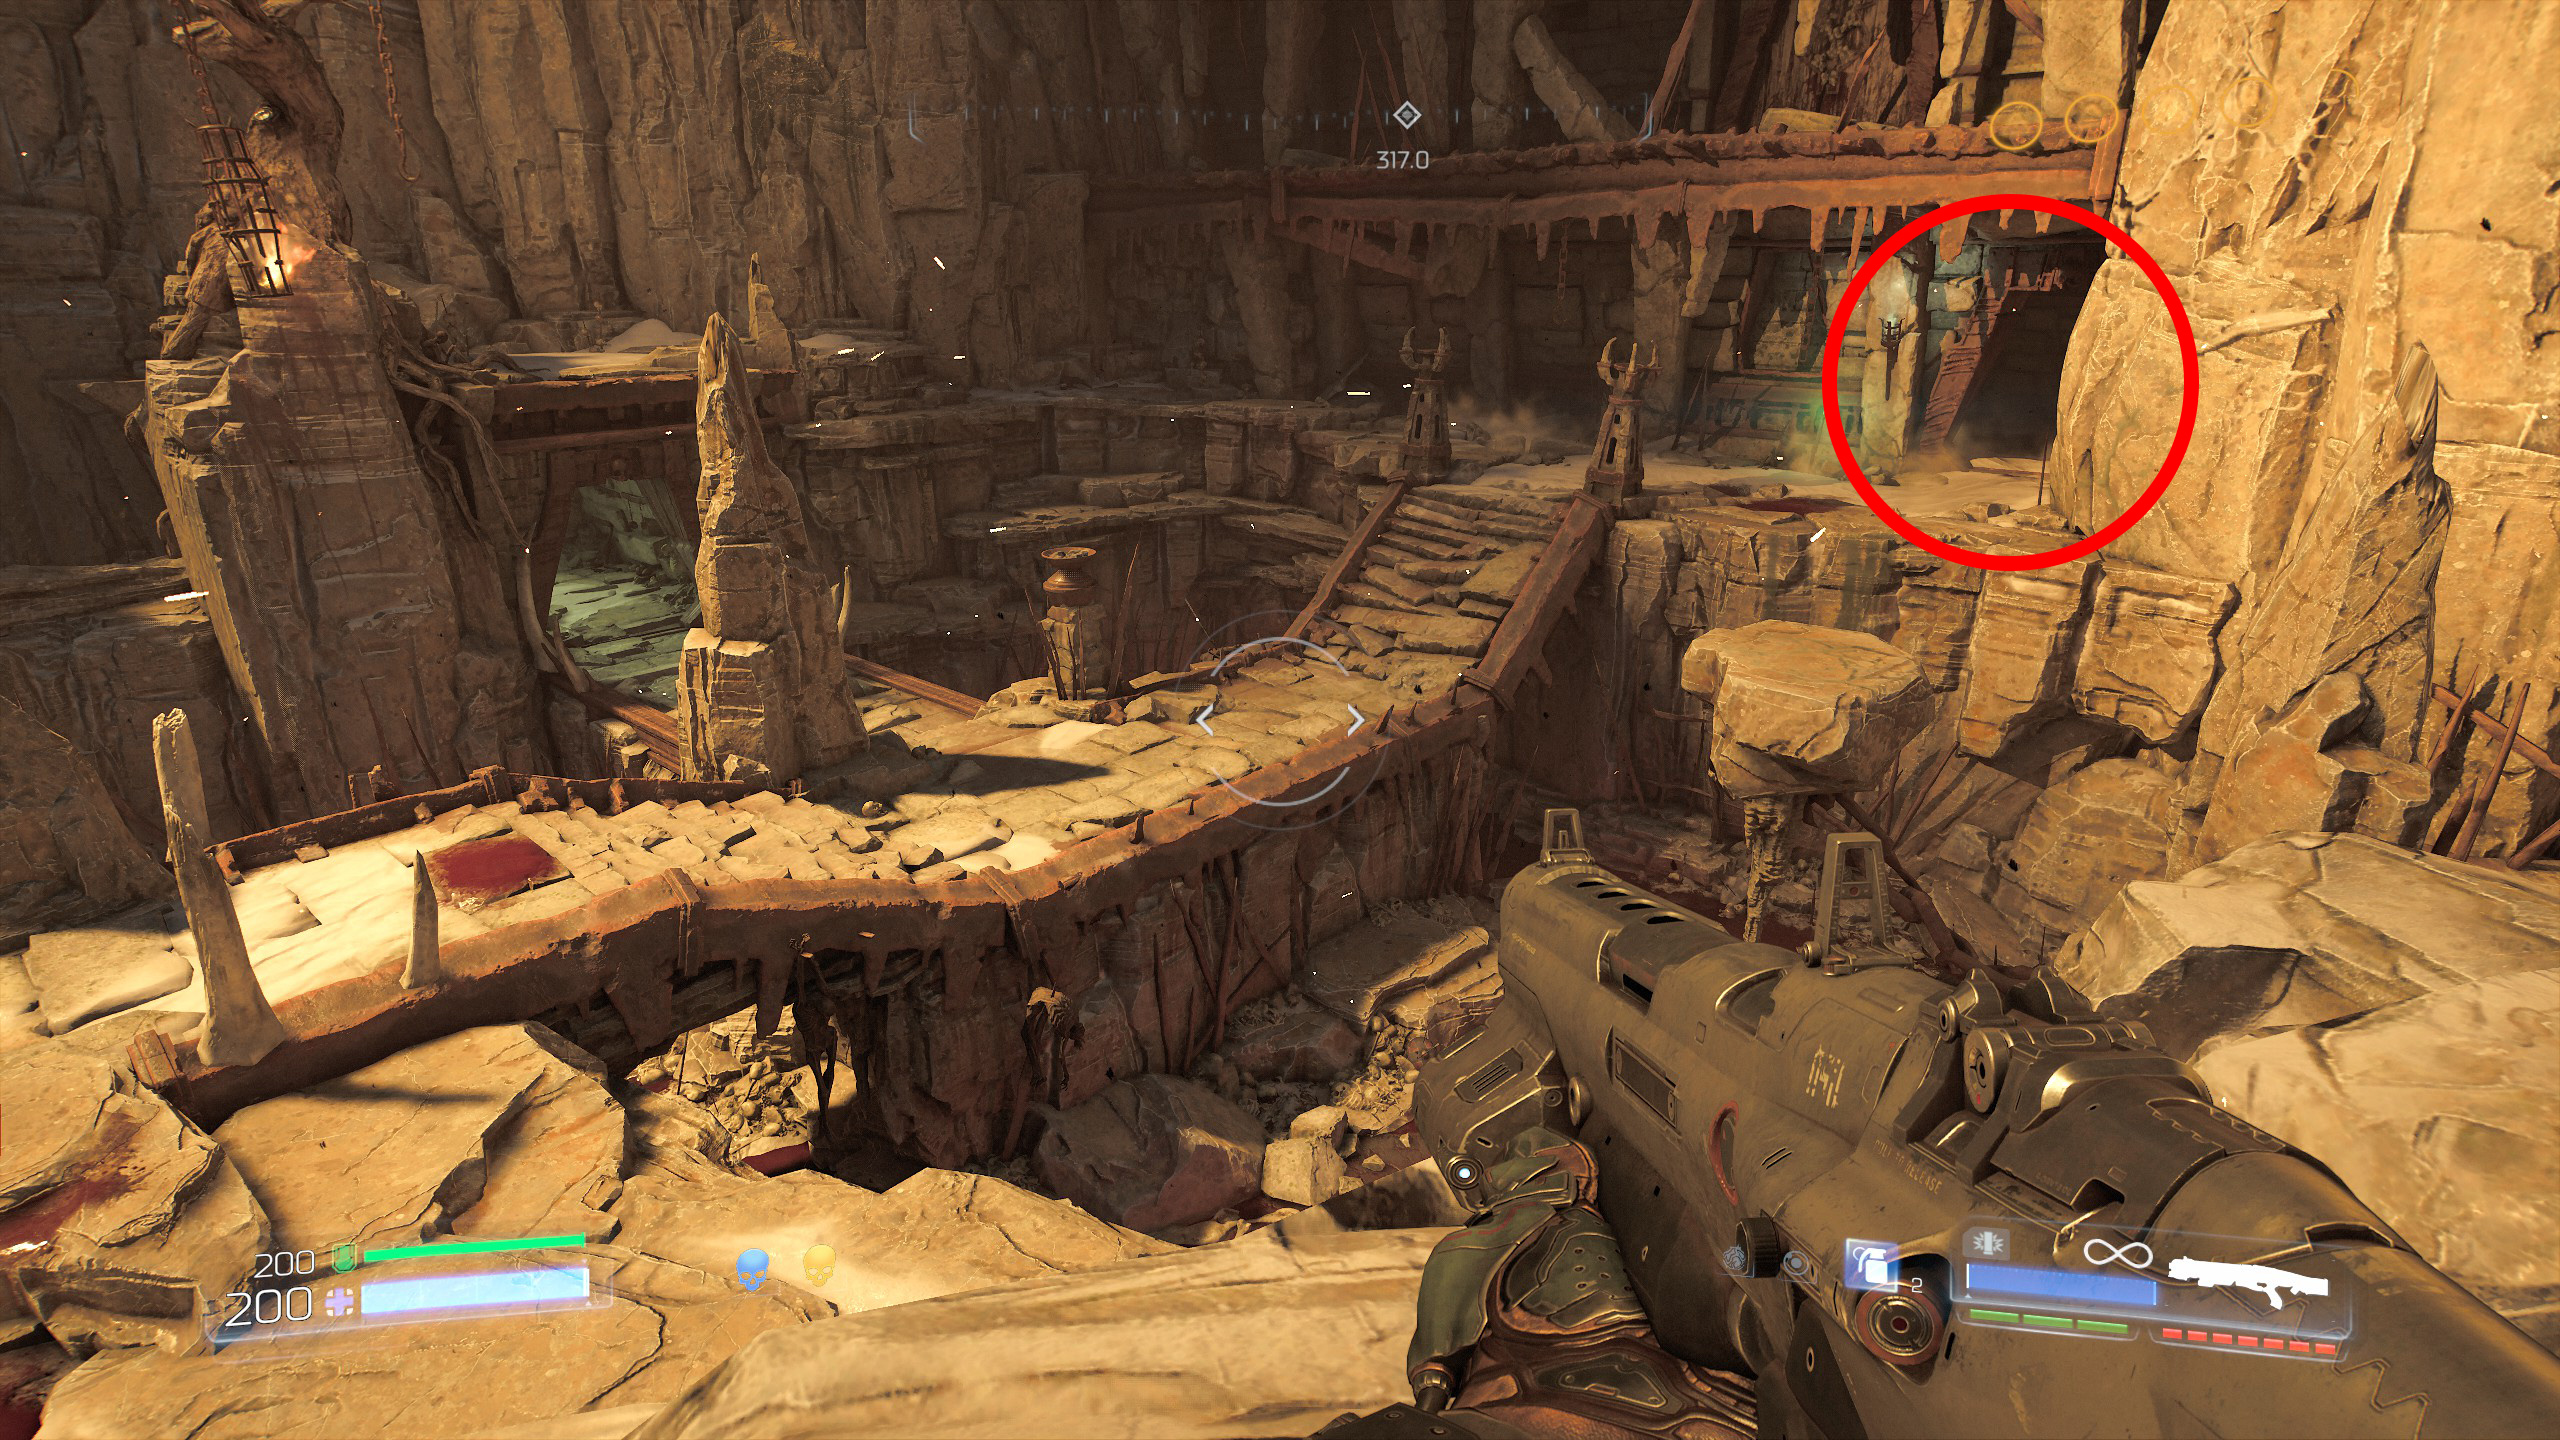
Proceed through the gate and it will bring you back to the area where secret 1 was located, but this time rocks will form in front of you, climb the rocks to the top to find a skull you need to activate.
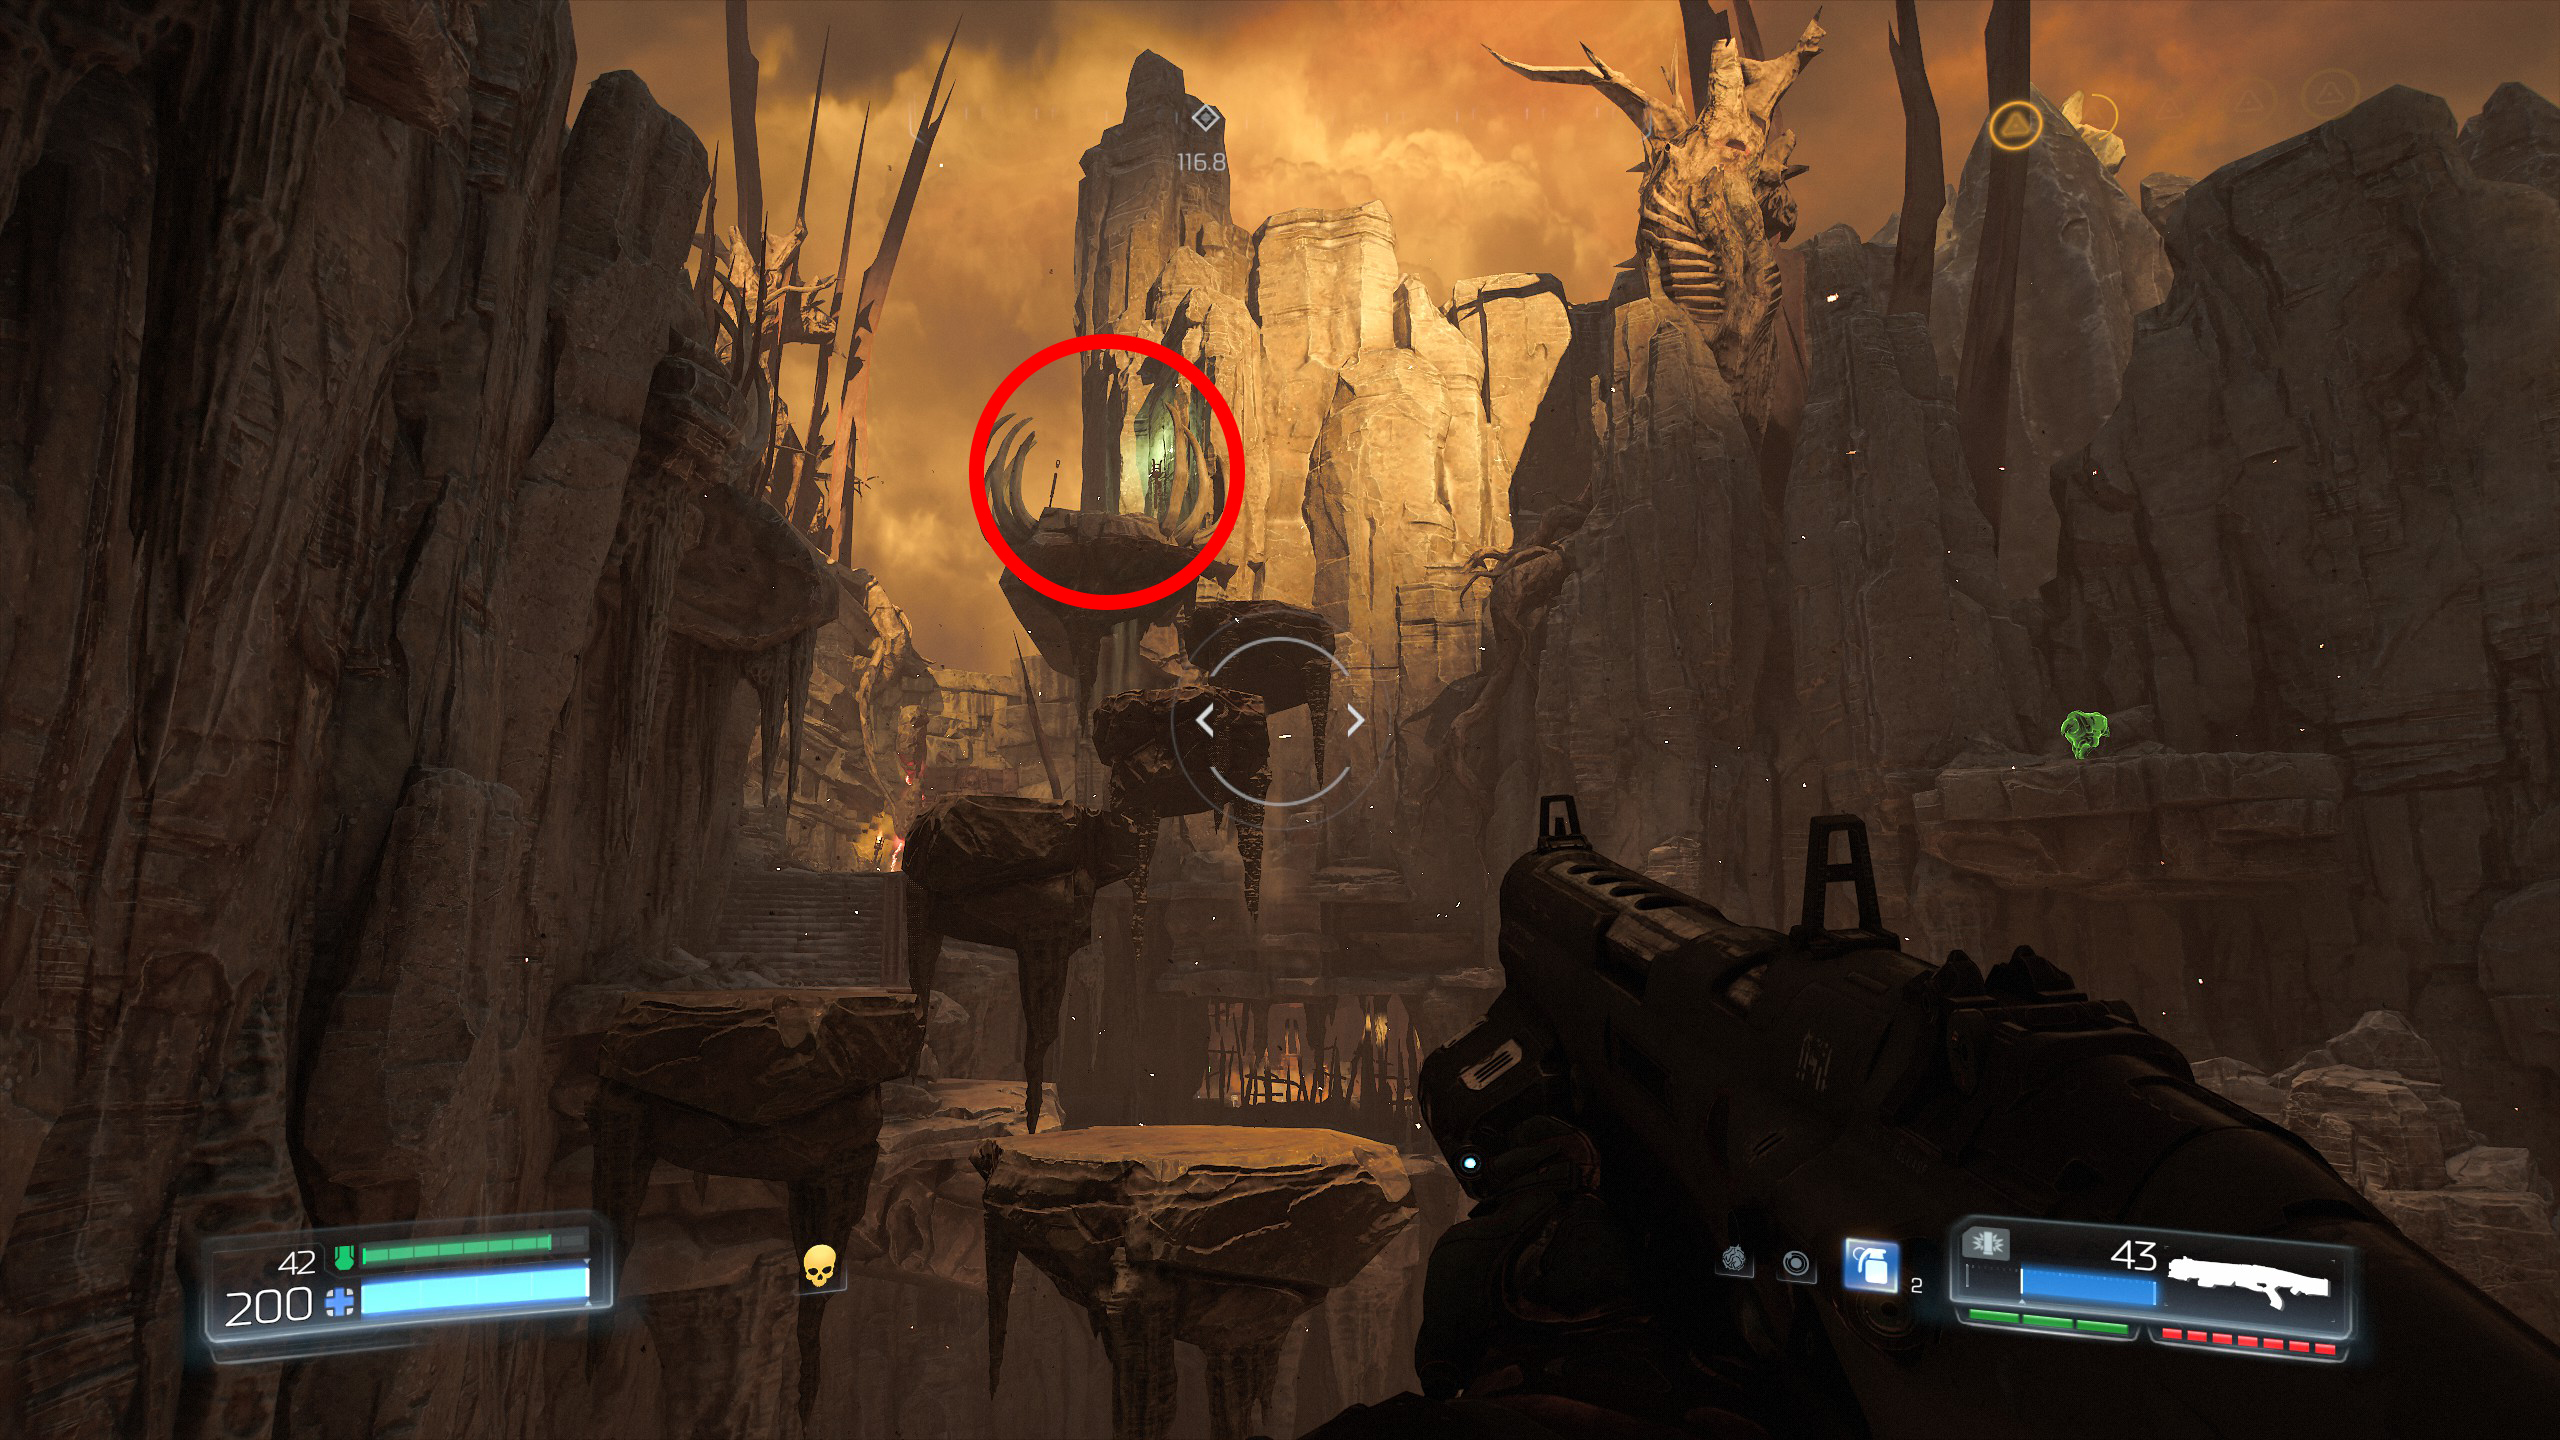
Once the skull is activated notice the door below opens up, drop down and do not enter the green portal, instead as you enter the door follow it around to the right and at the end you will find a Doomguy for secret number 2.
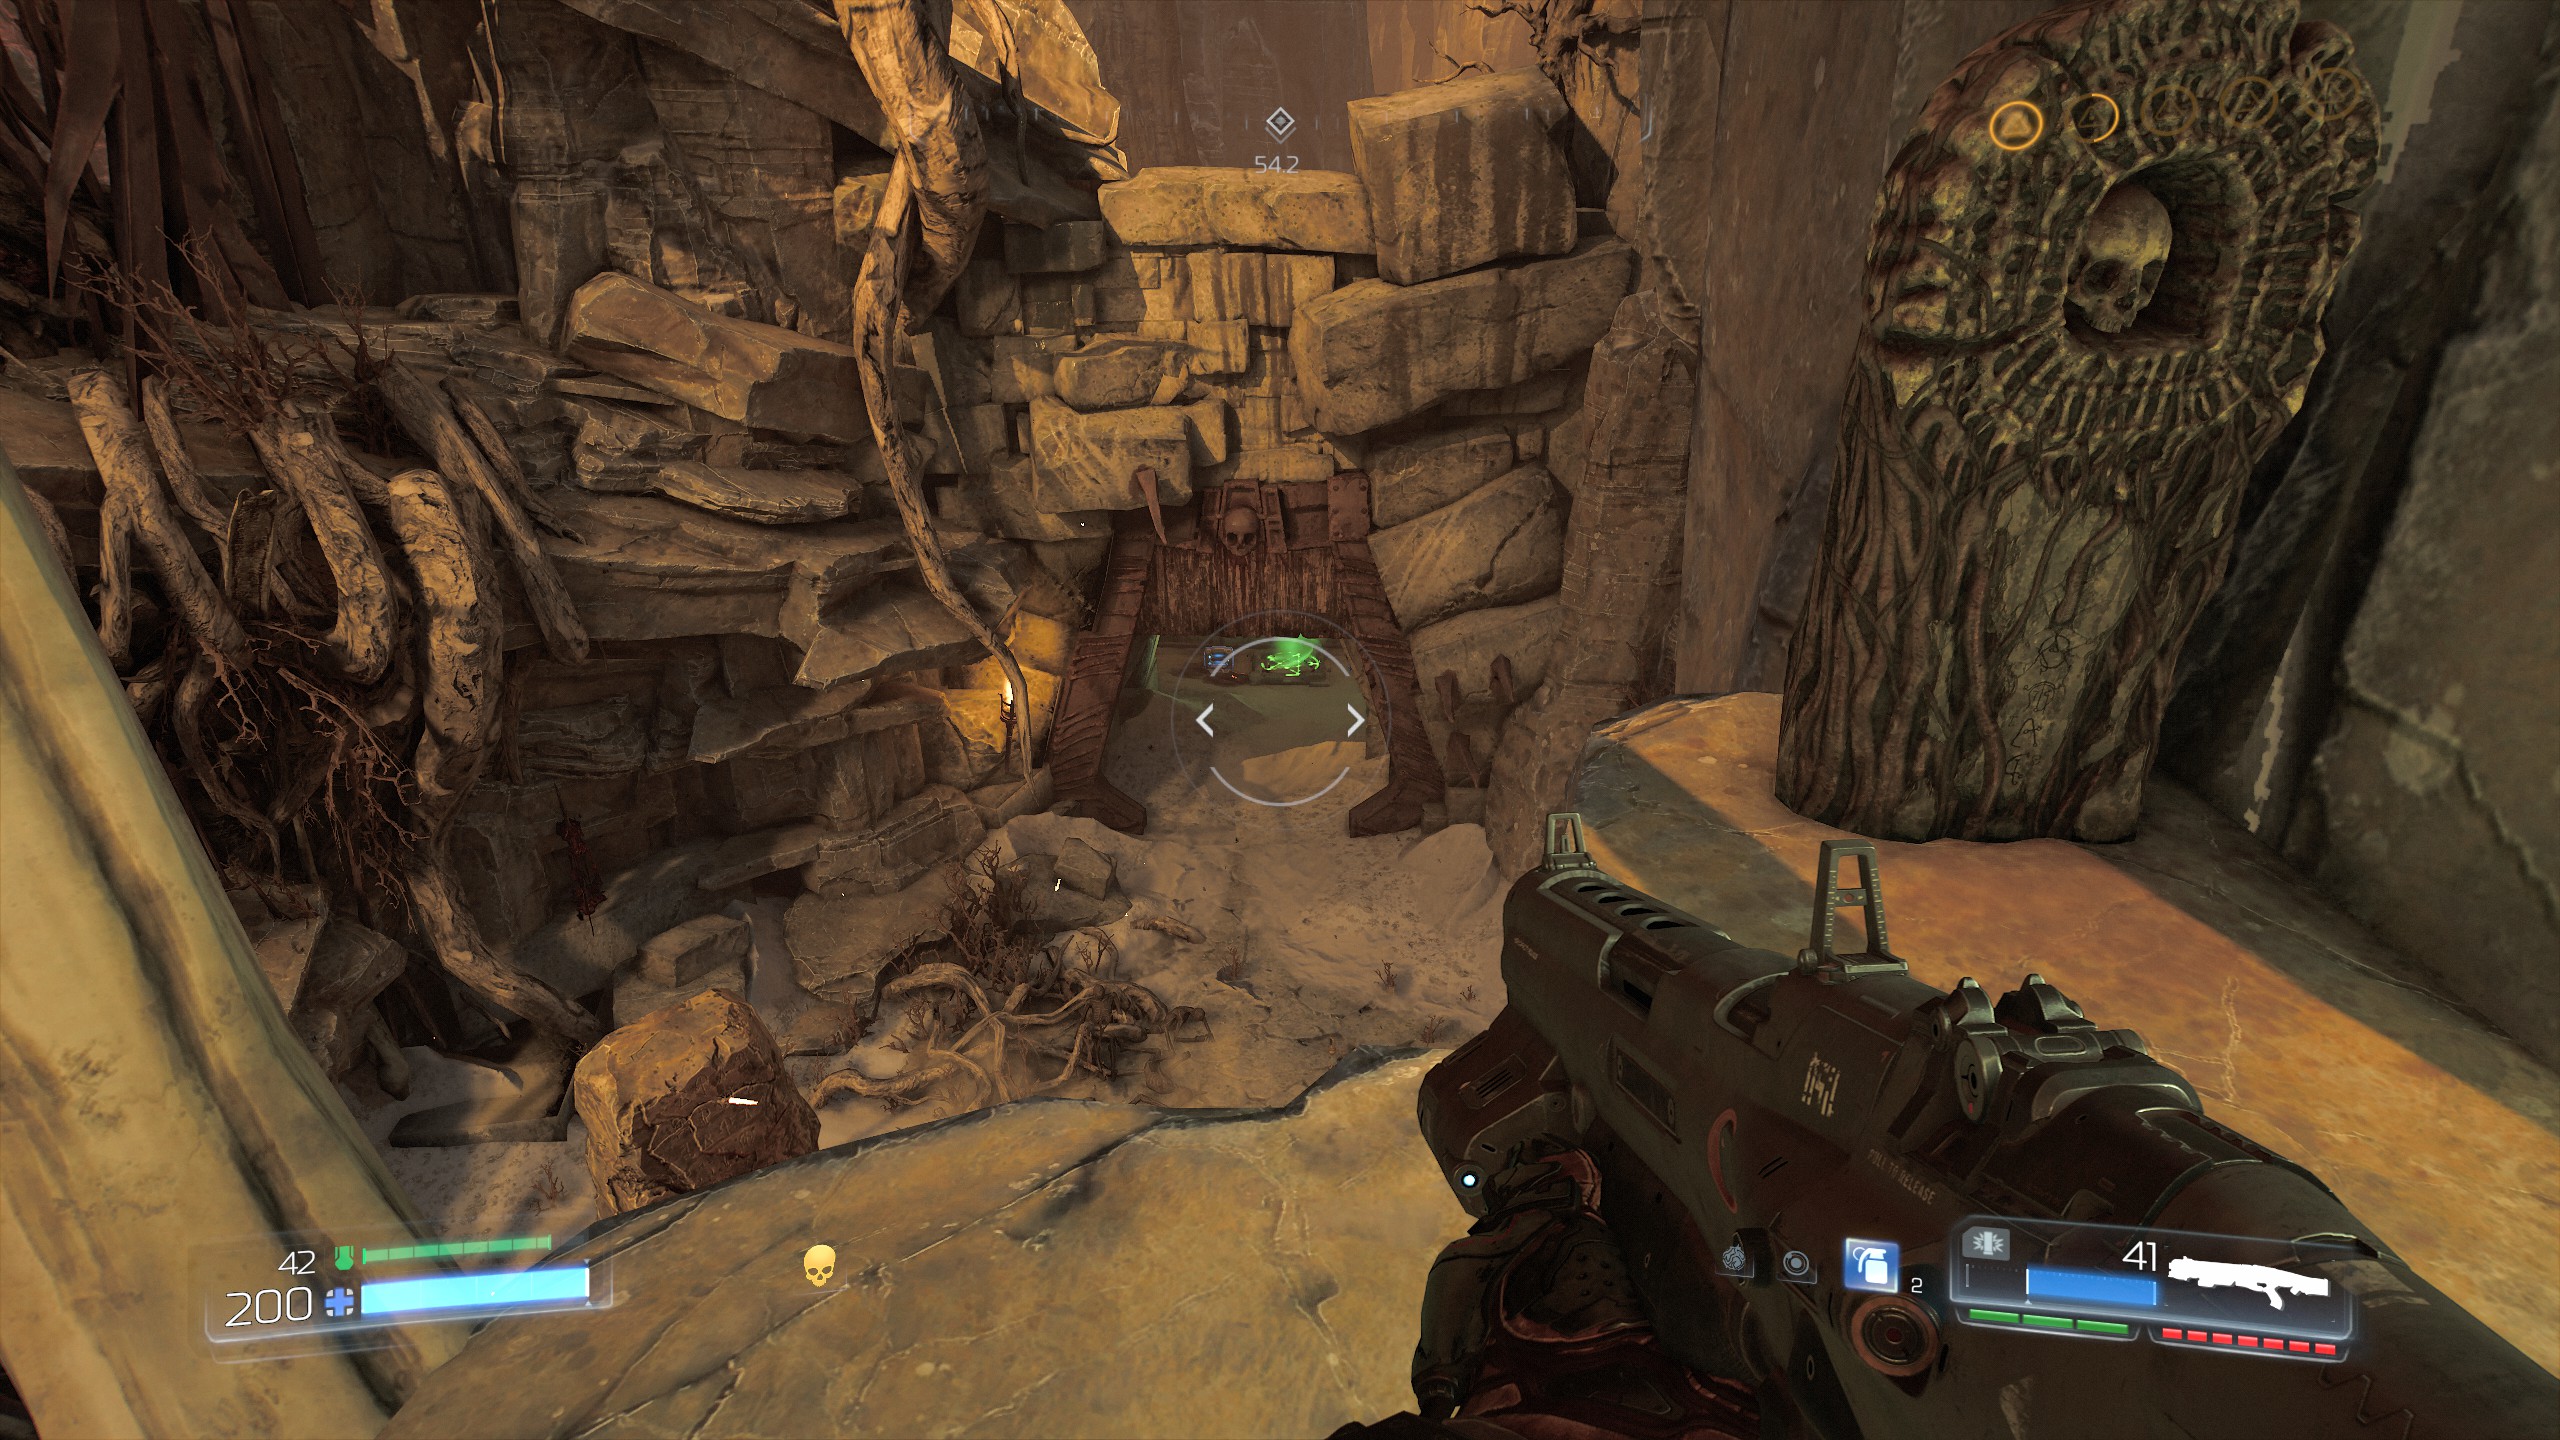
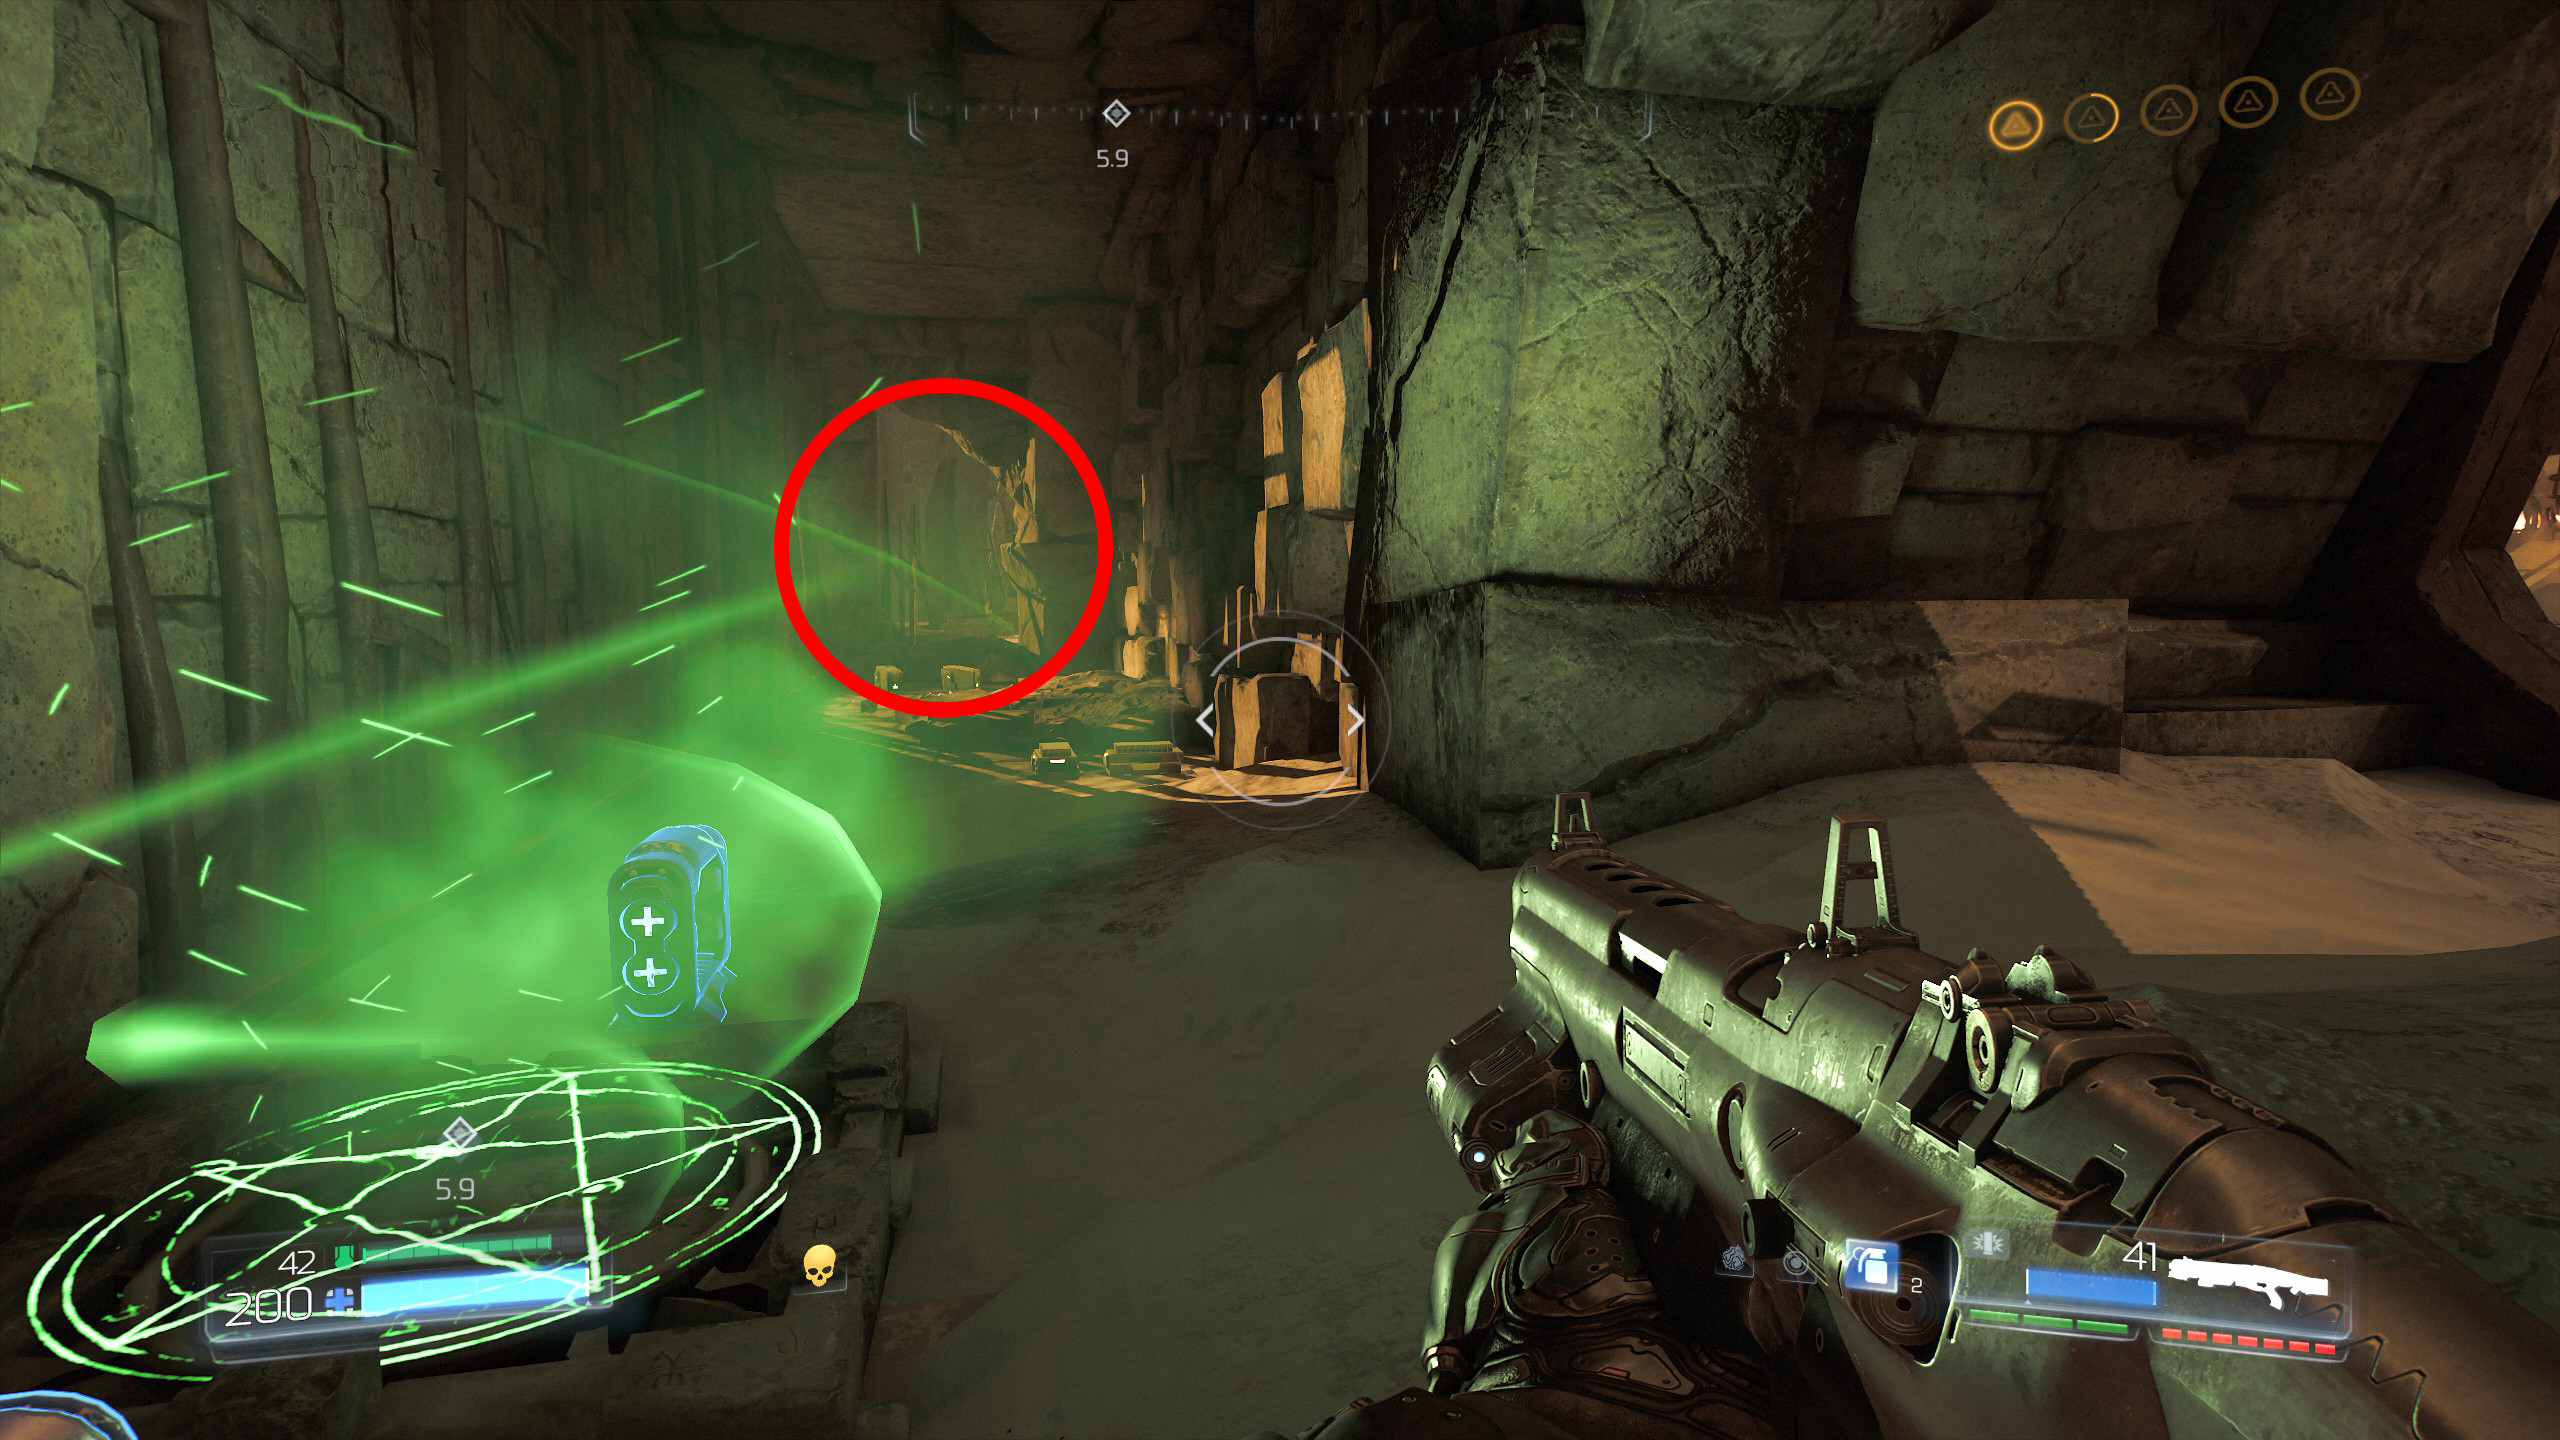
Once you have the secret you can now go back and head through the green portal to continue the mission.
From secret 2 the portal should bring you out near the blue skull, grab the blue skull and clear the area of demons but DO NOT open the blue door, once the area has been cleared head to the back of the area and up the steps so you are opposite the blue door, as you face the blue door look at the top right corner and climb up to the small room, inside is secret number 3 and also a Rune.
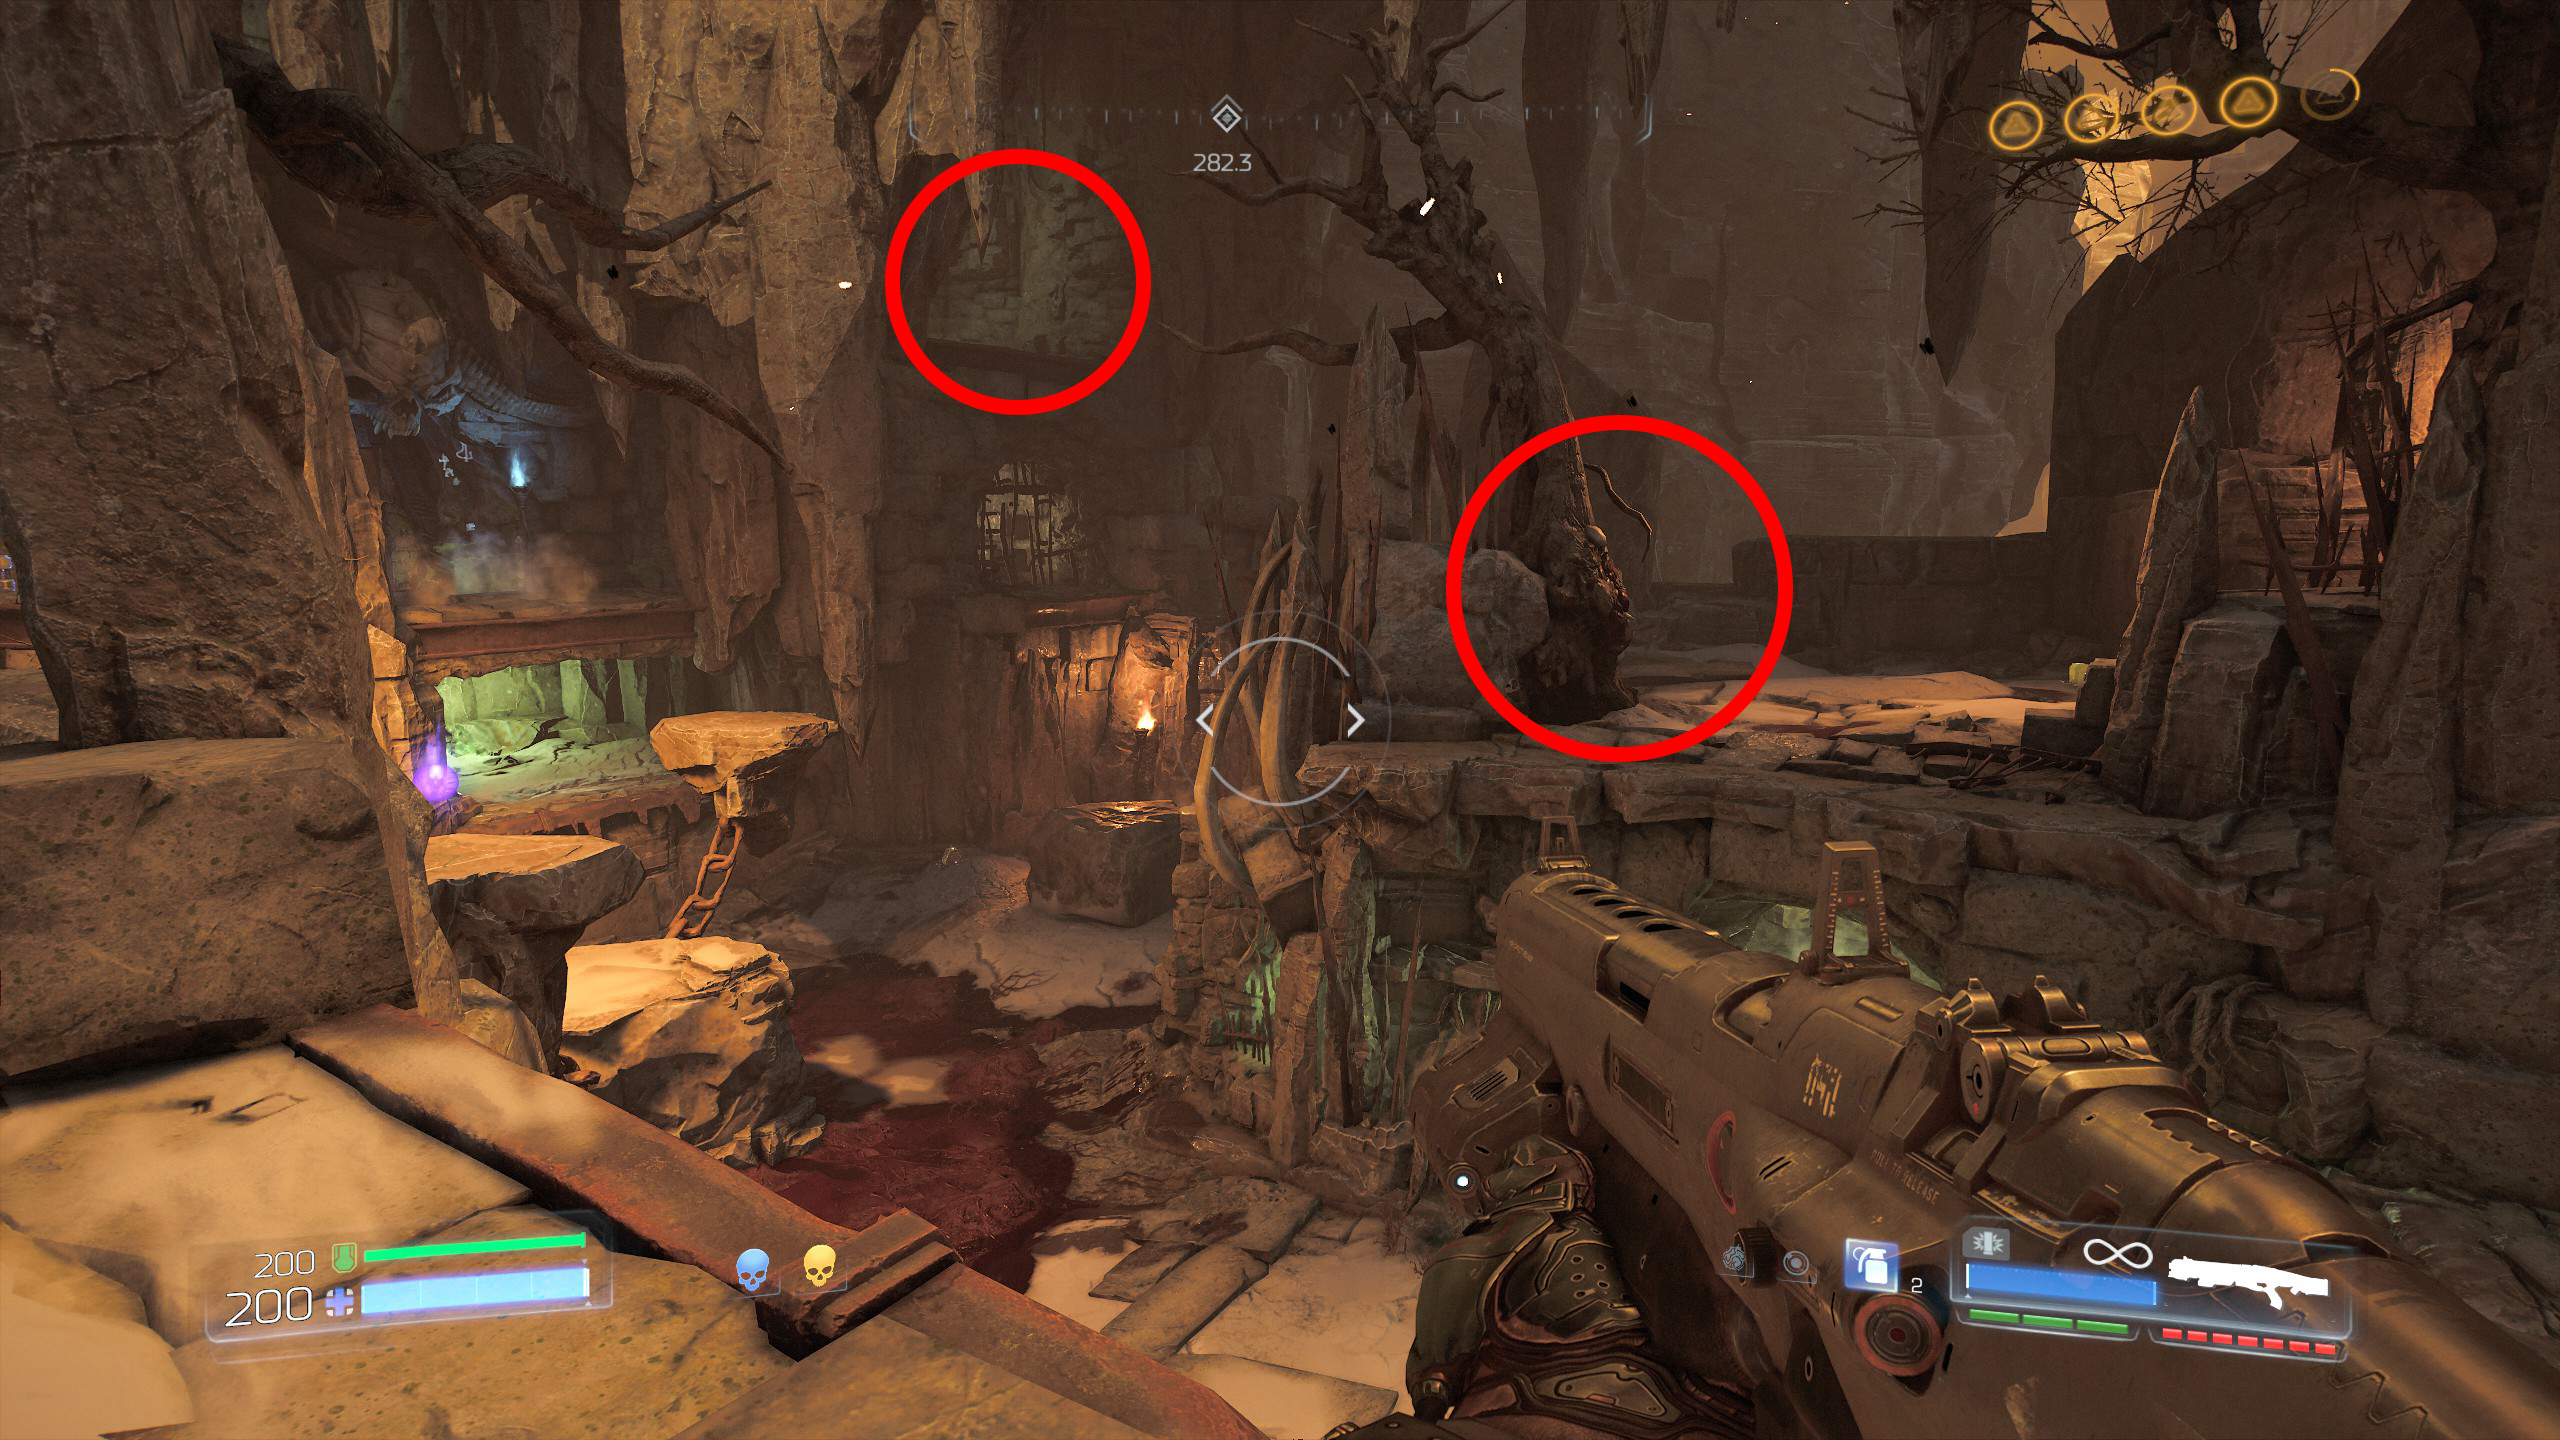
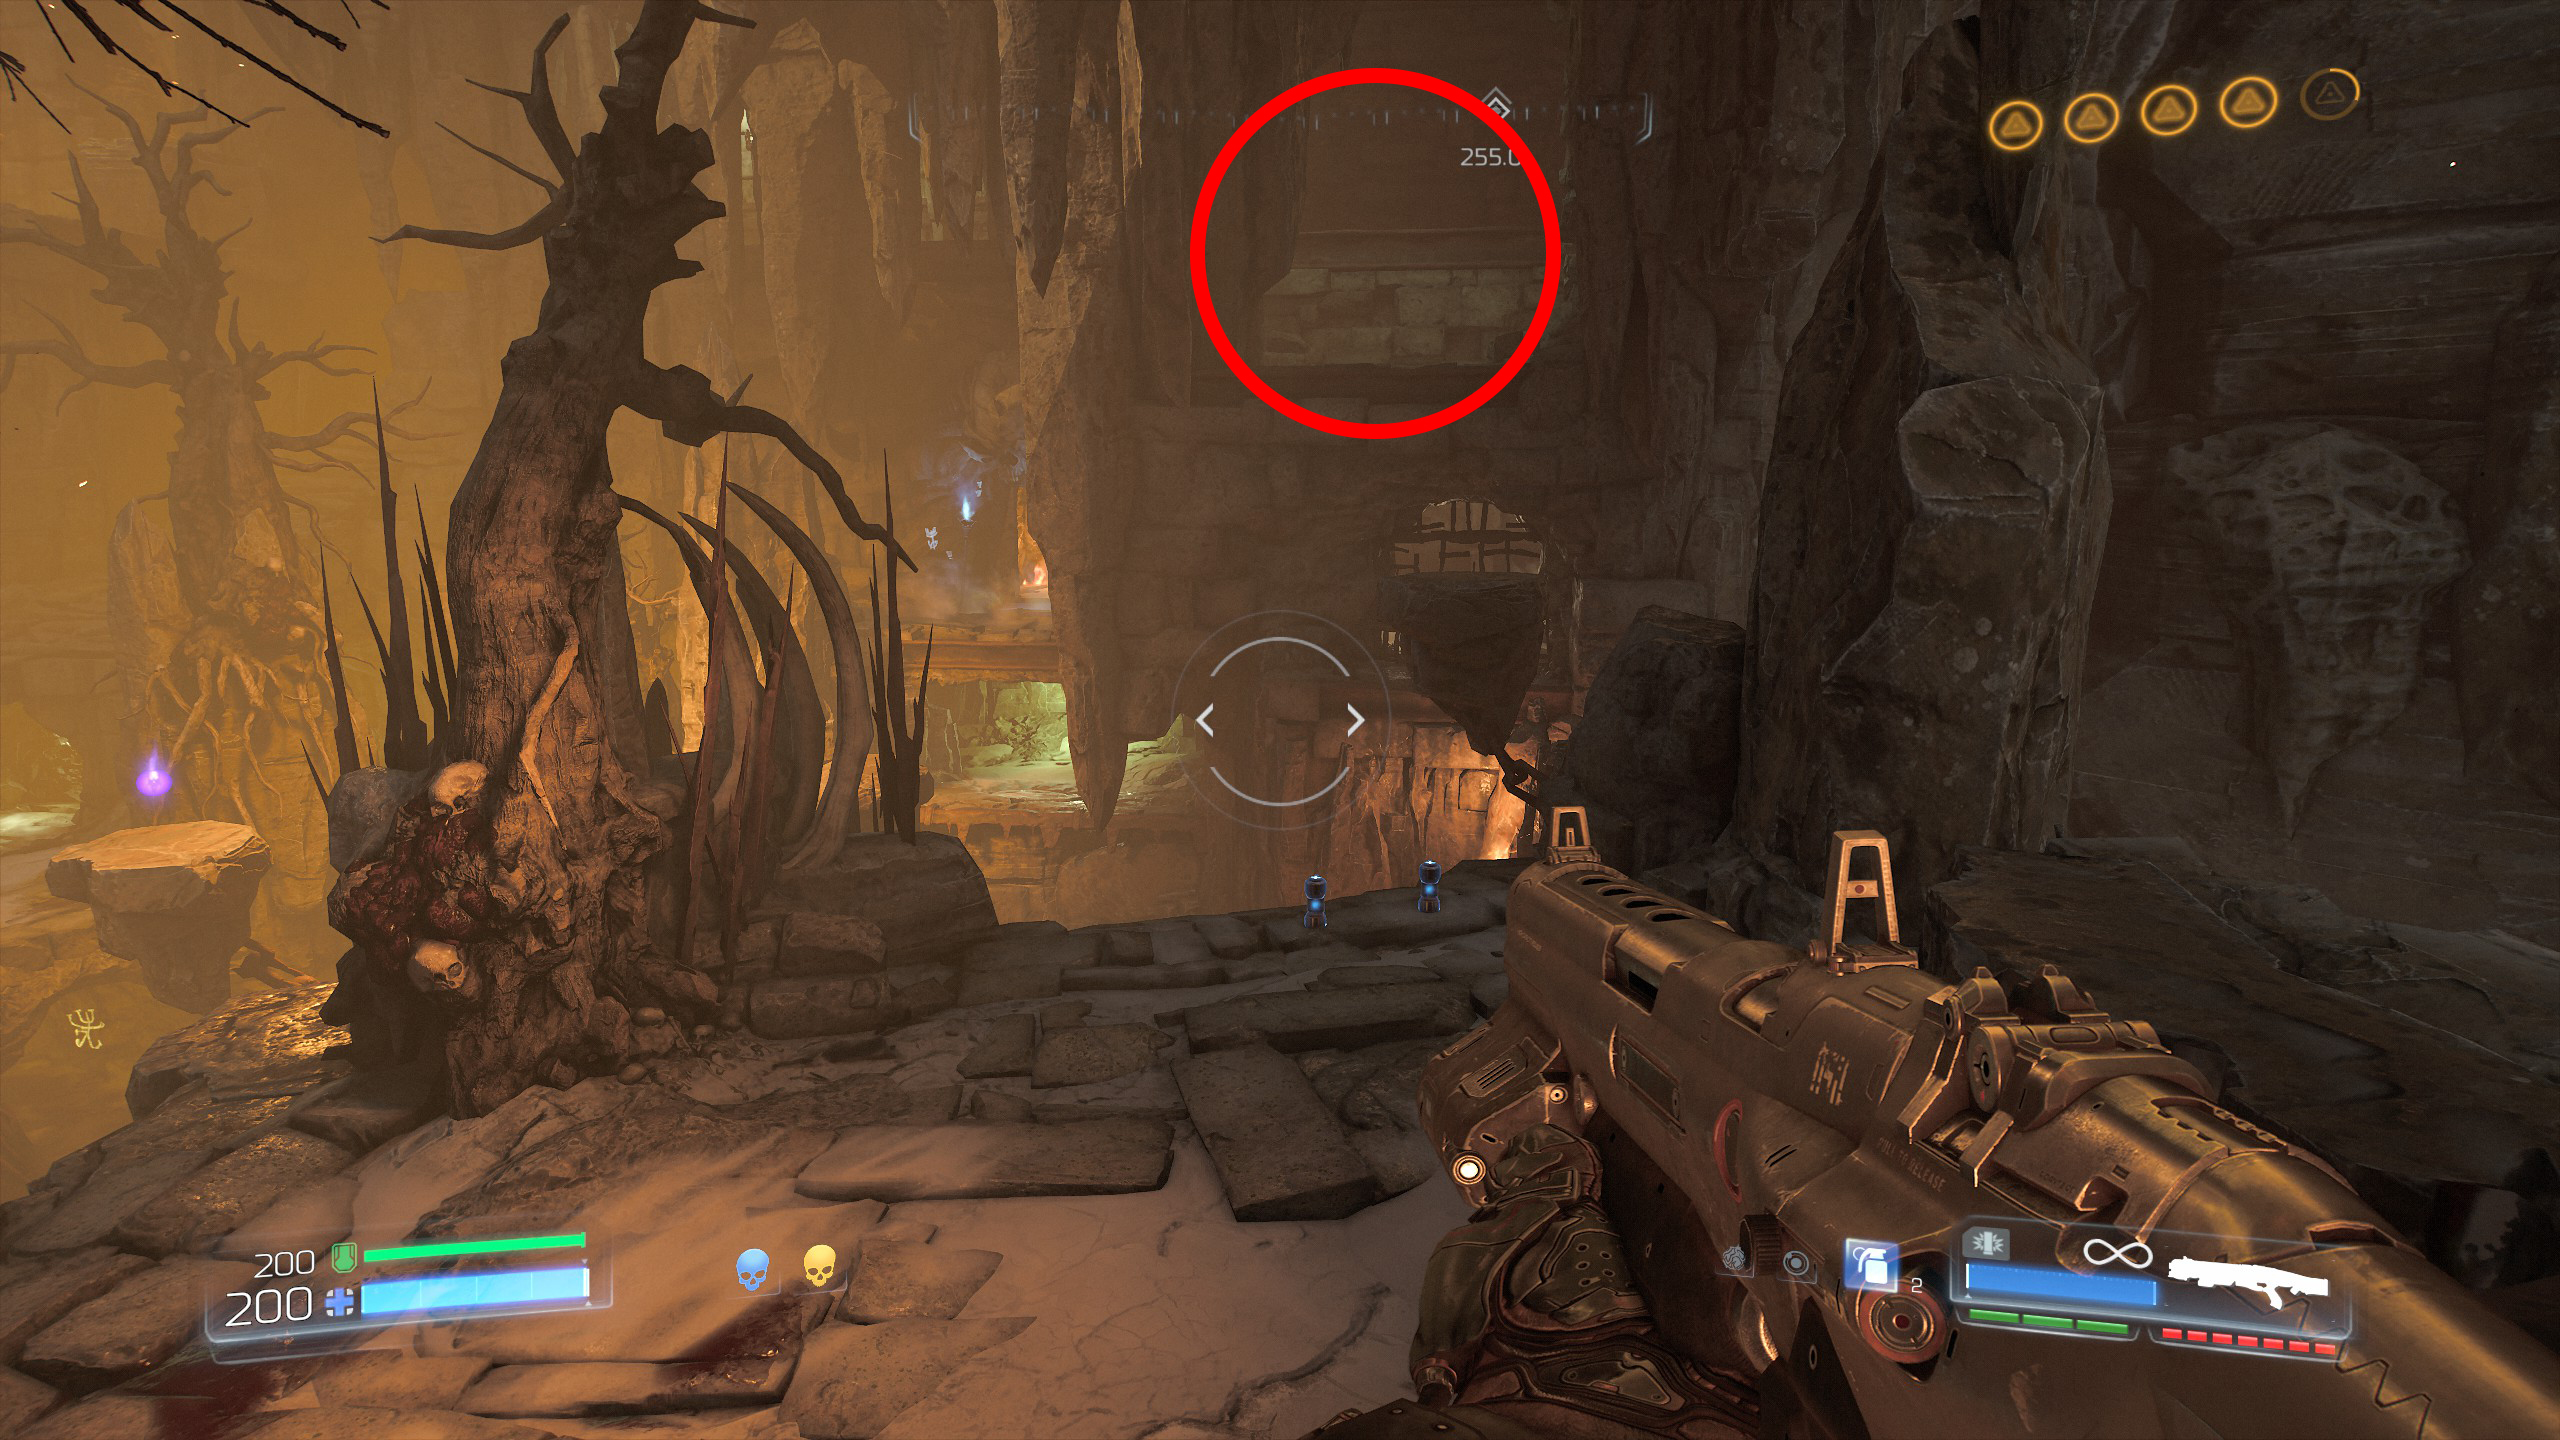
Now proceed with the mission through the blue door.
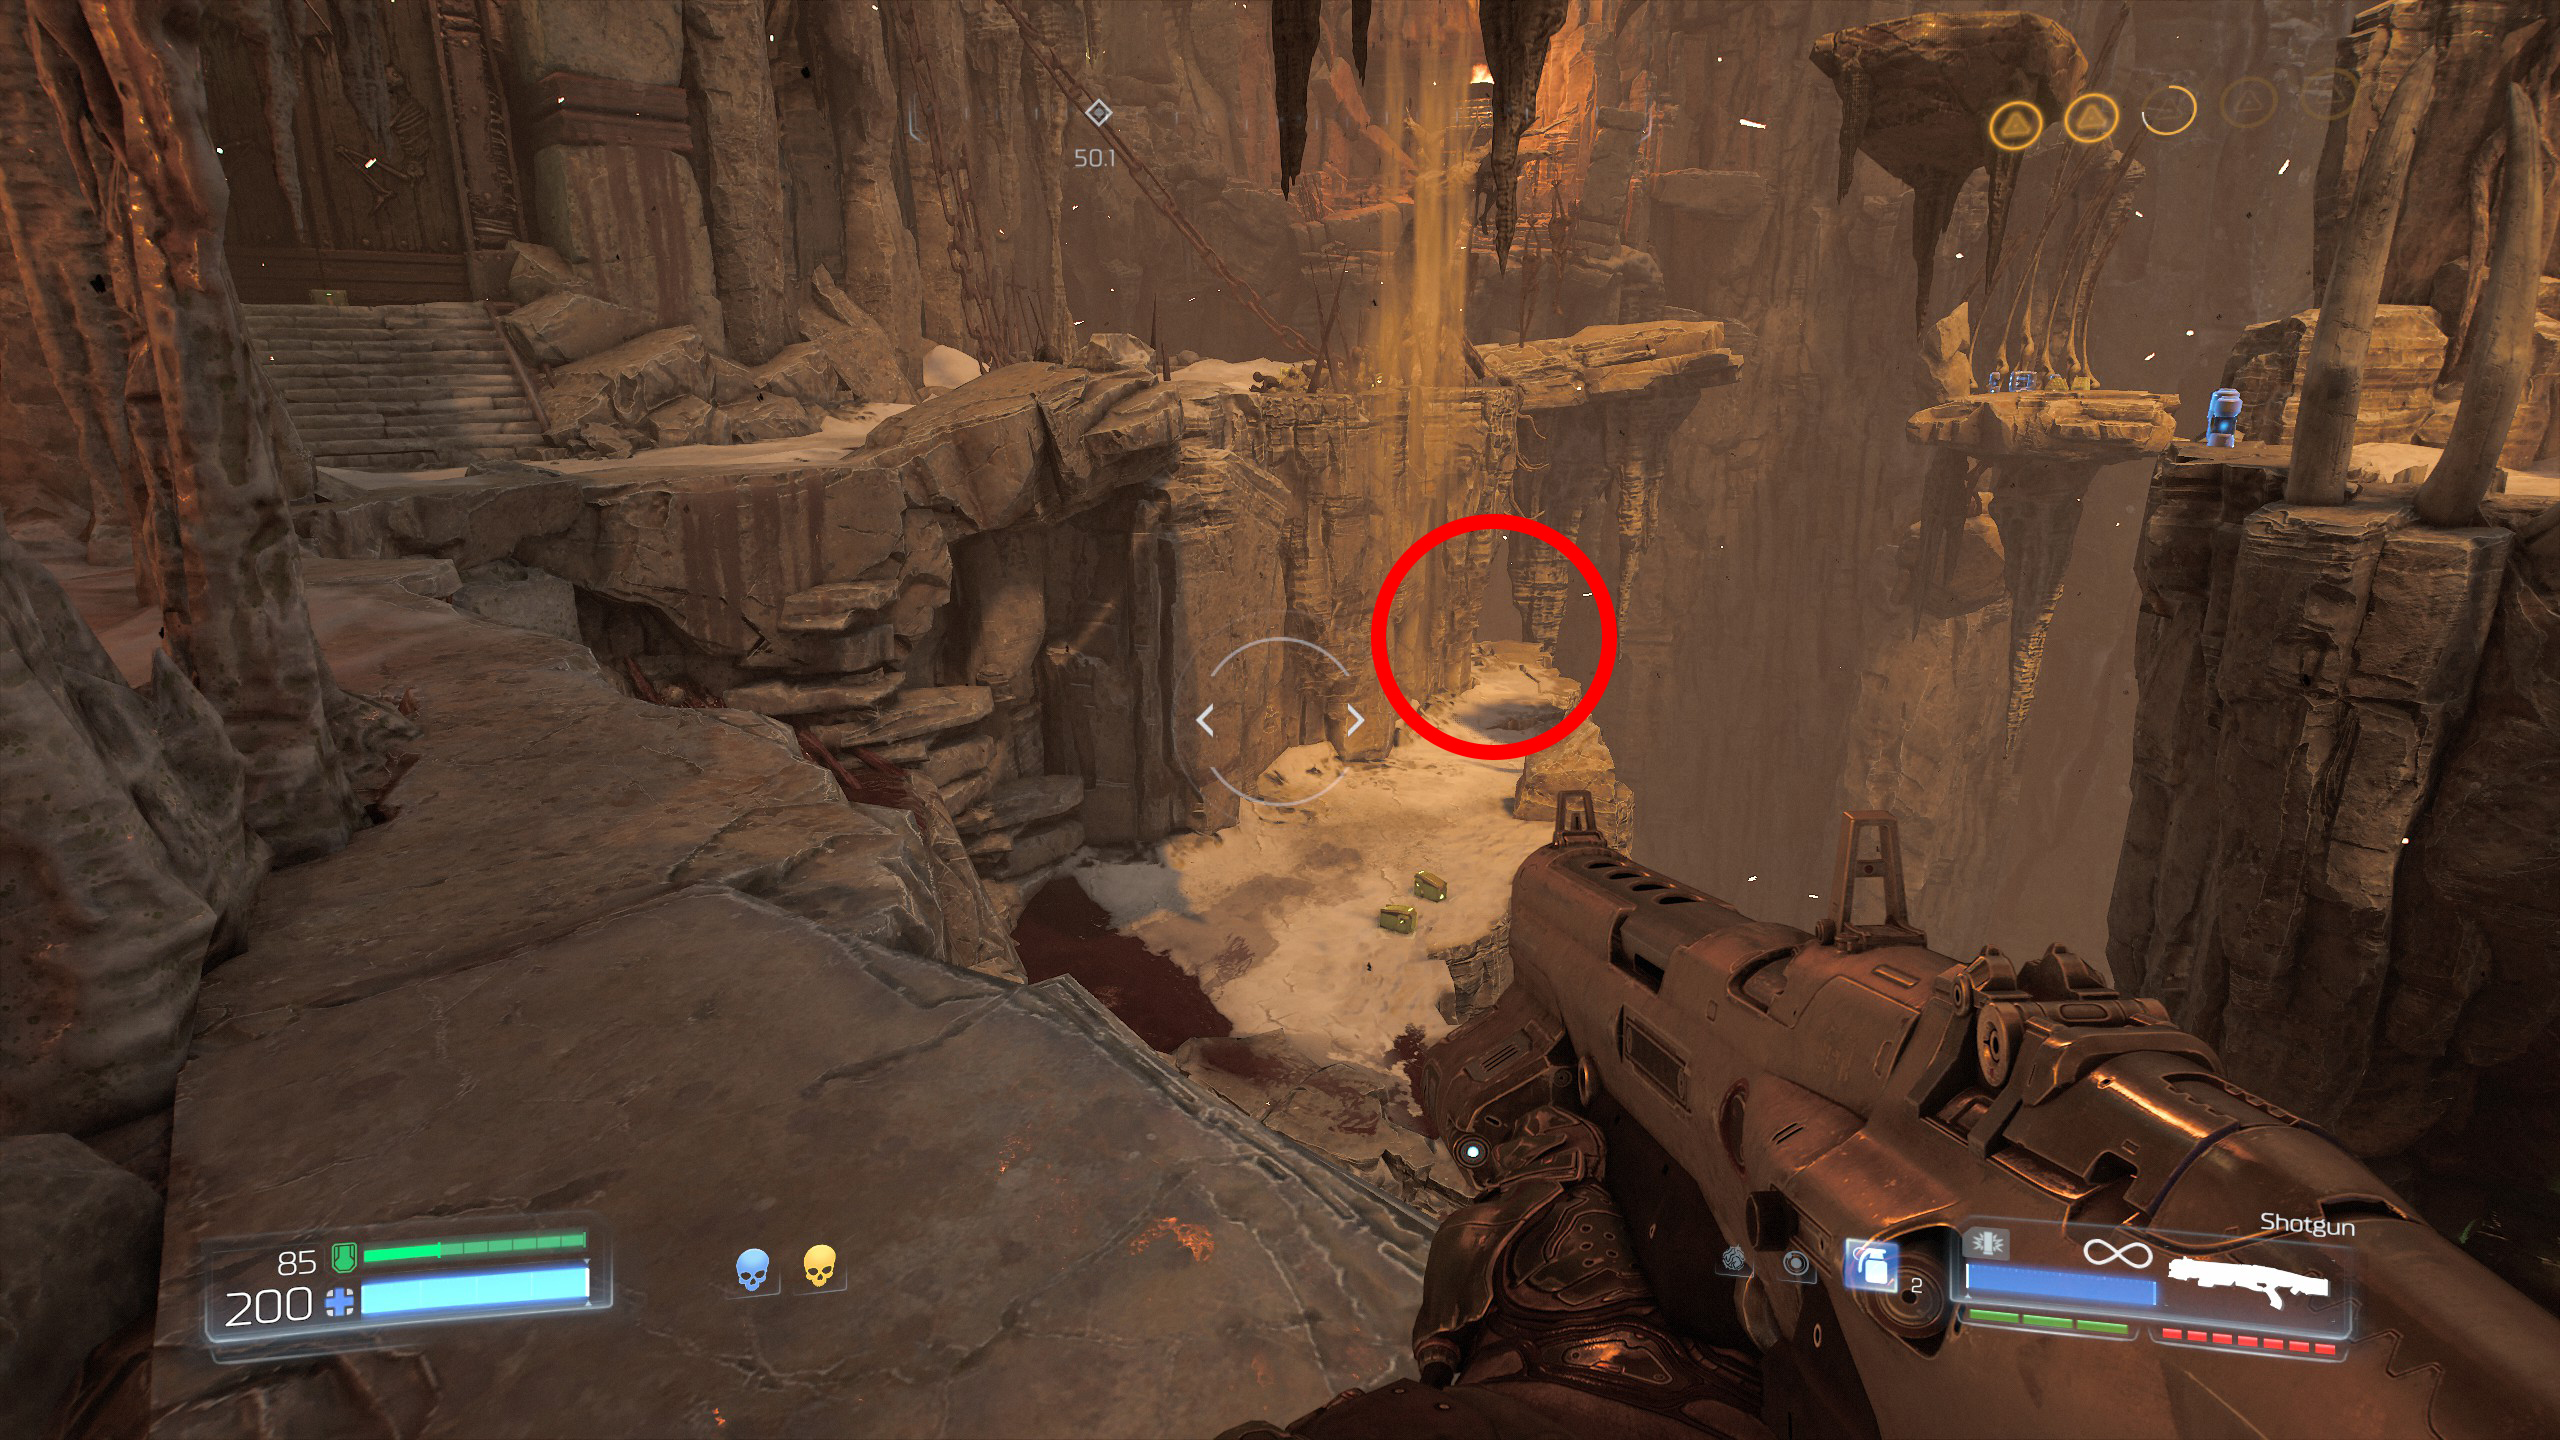
Continue the mission.
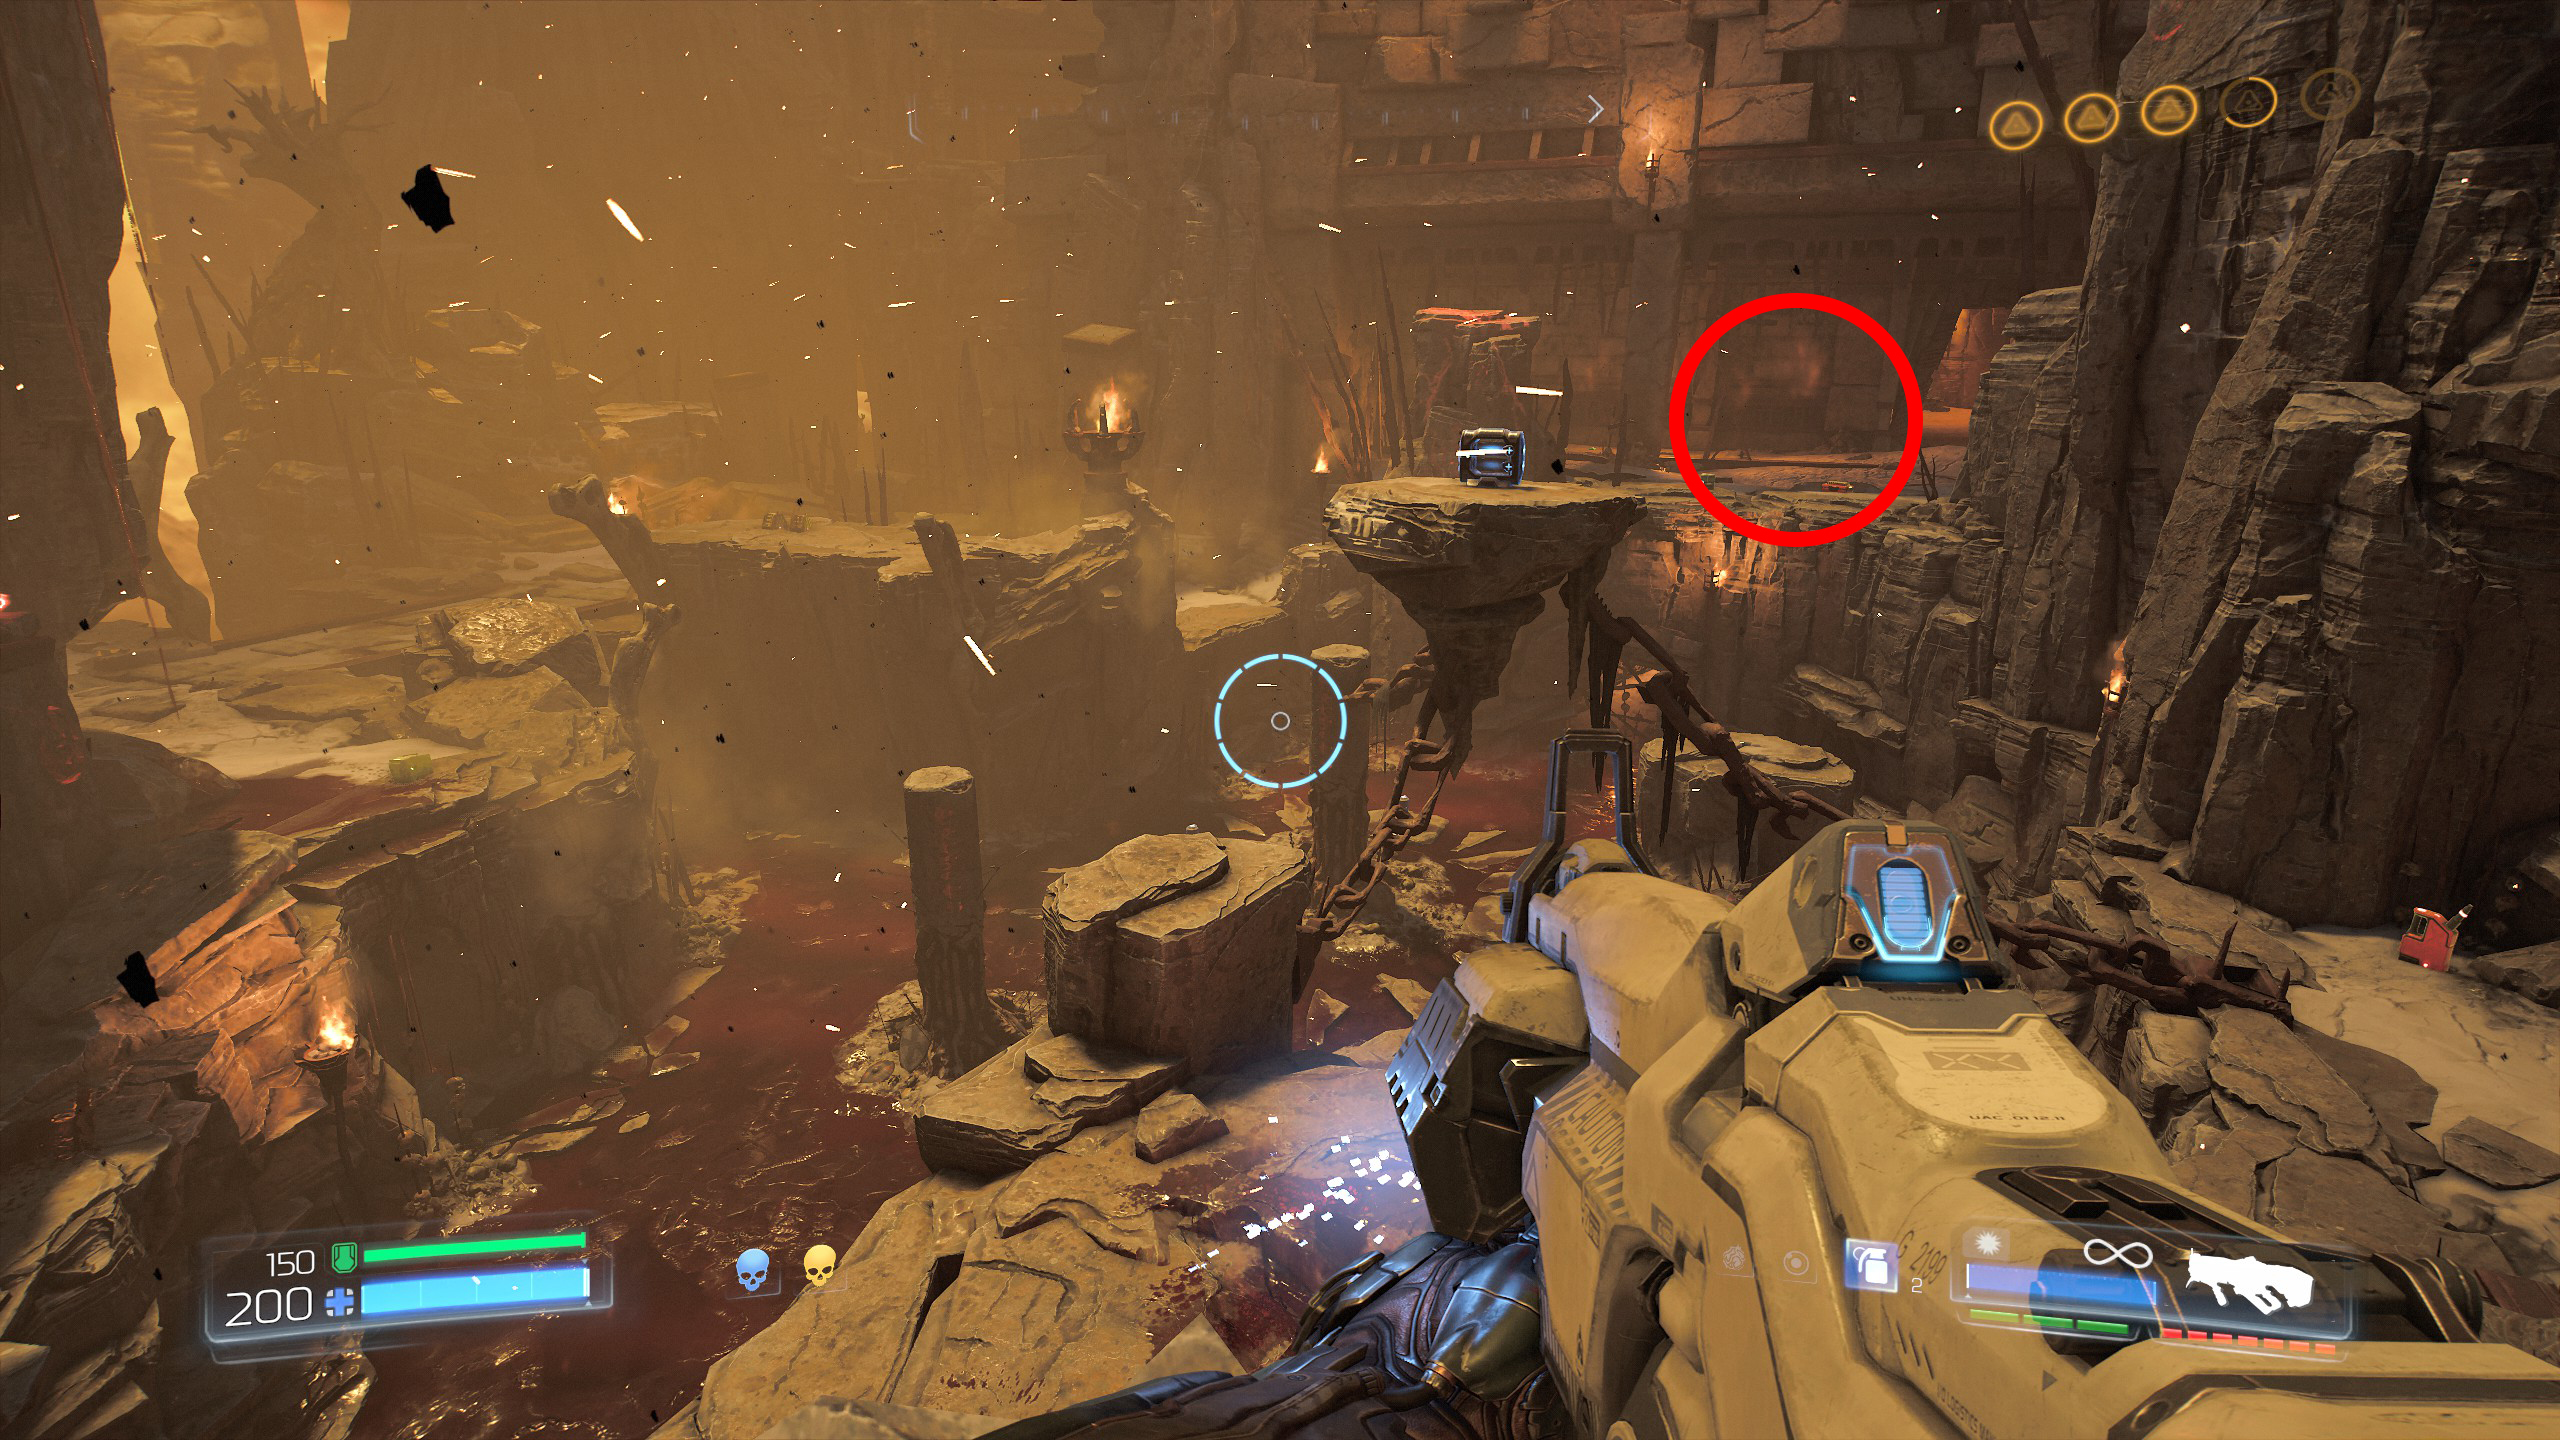
Face the steps and start walking up, as you make your way up look onto the inner corner and you will see a small hidden platform which is where a Doomguy is located which will be secret number 5.
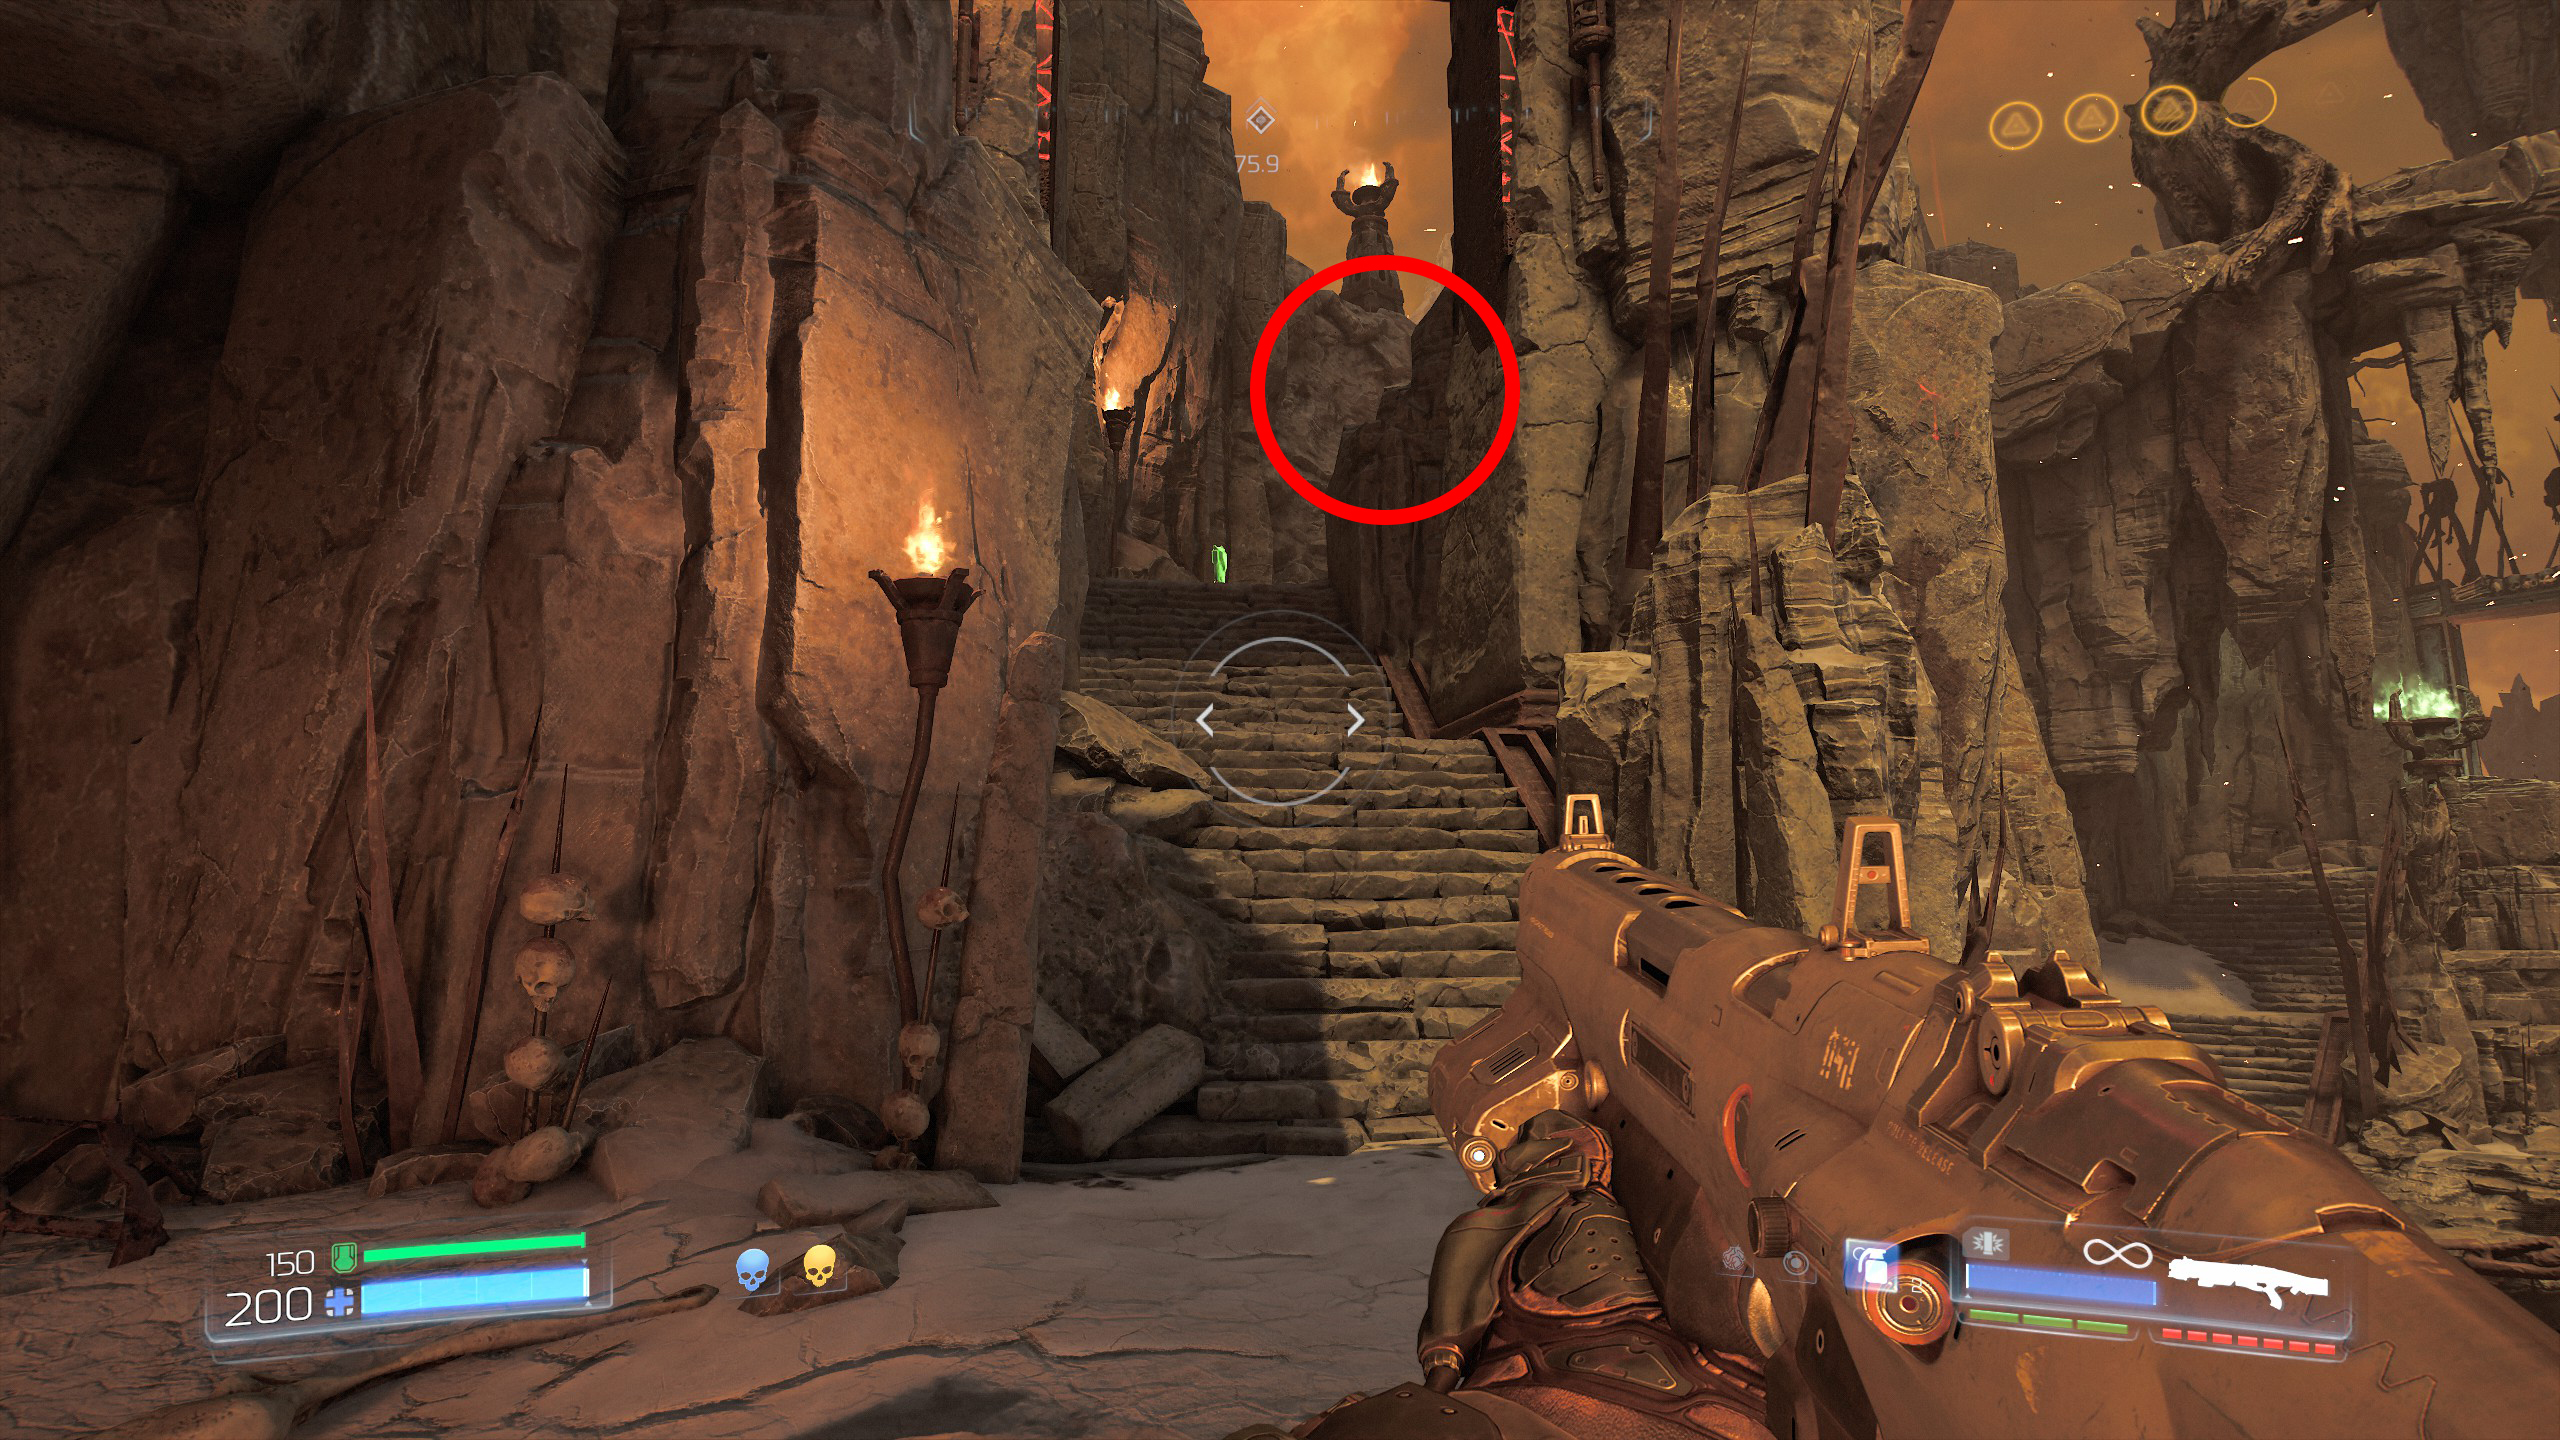
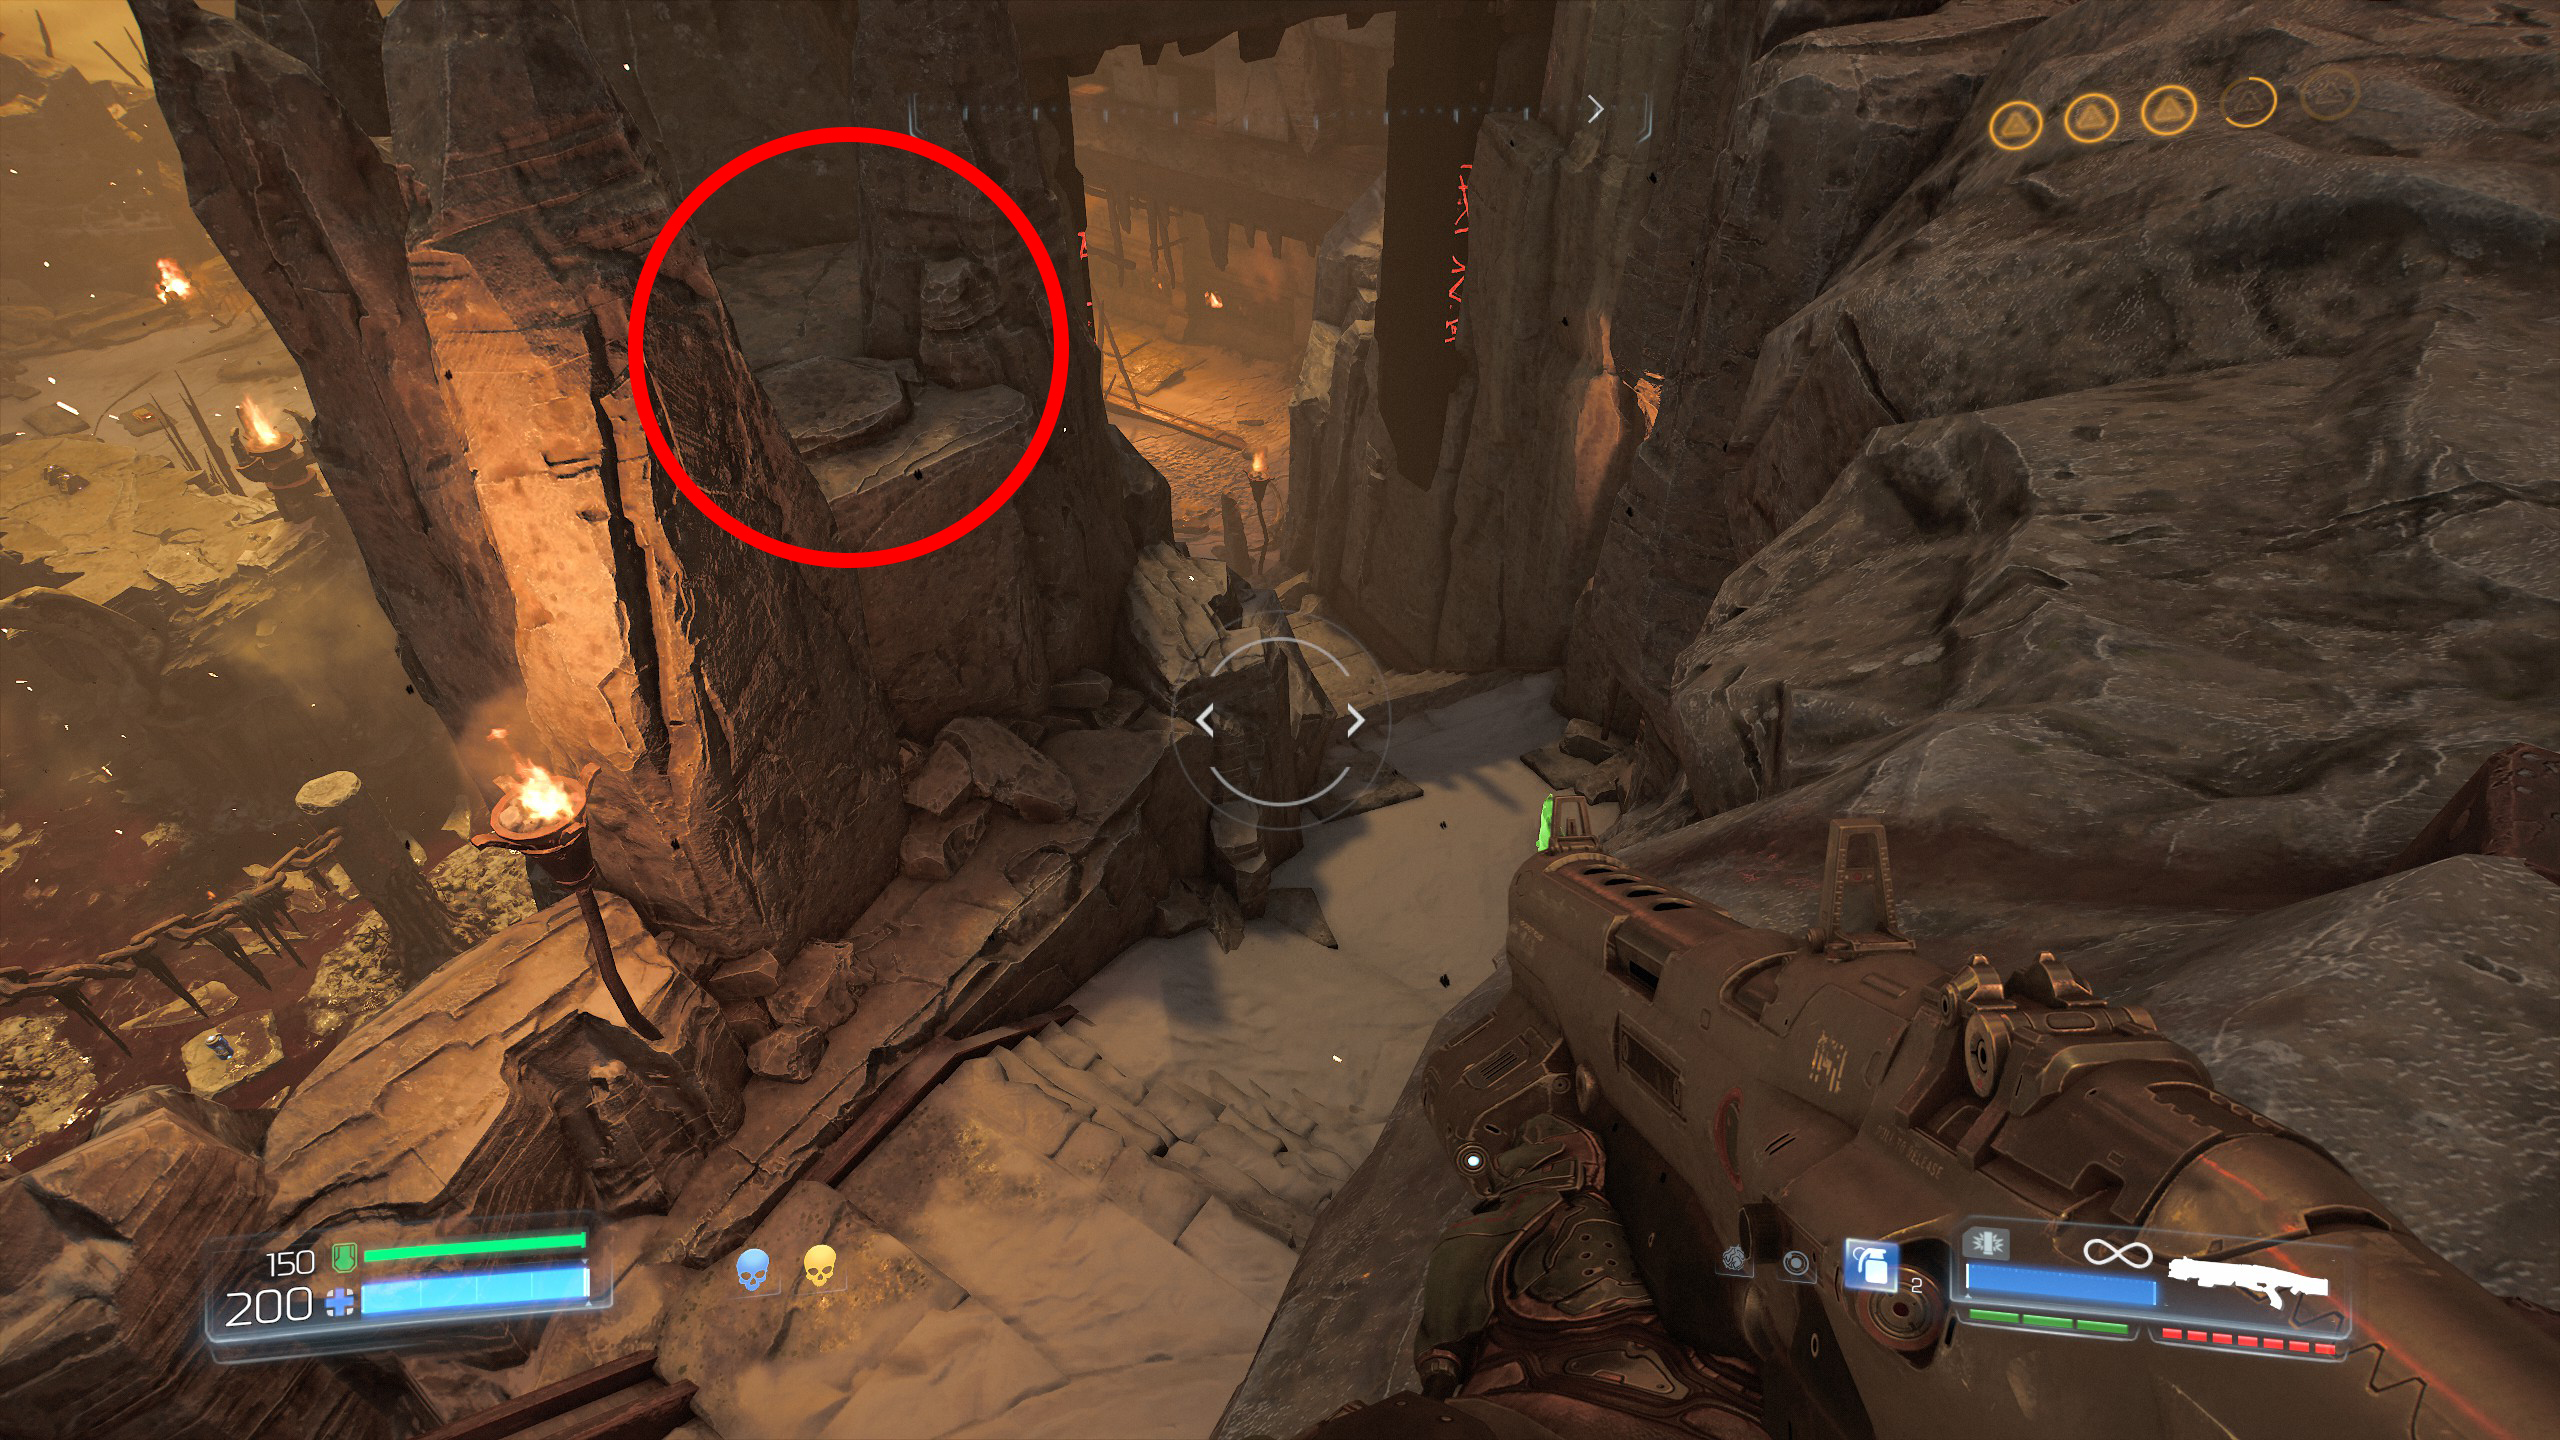
From here go to secret 6.
So now take what was our left path and follow it all the way around, i believe you come across a Field Drone along the way but continue onward until you reach a small room where a few soldiers will appear as part of the story/mission.
From that room follow the path upwards to the right and after a big fight in the blood soaked area enter the nearby cave and at the back of the cave is a lever you need to activate to unlock the secret room.
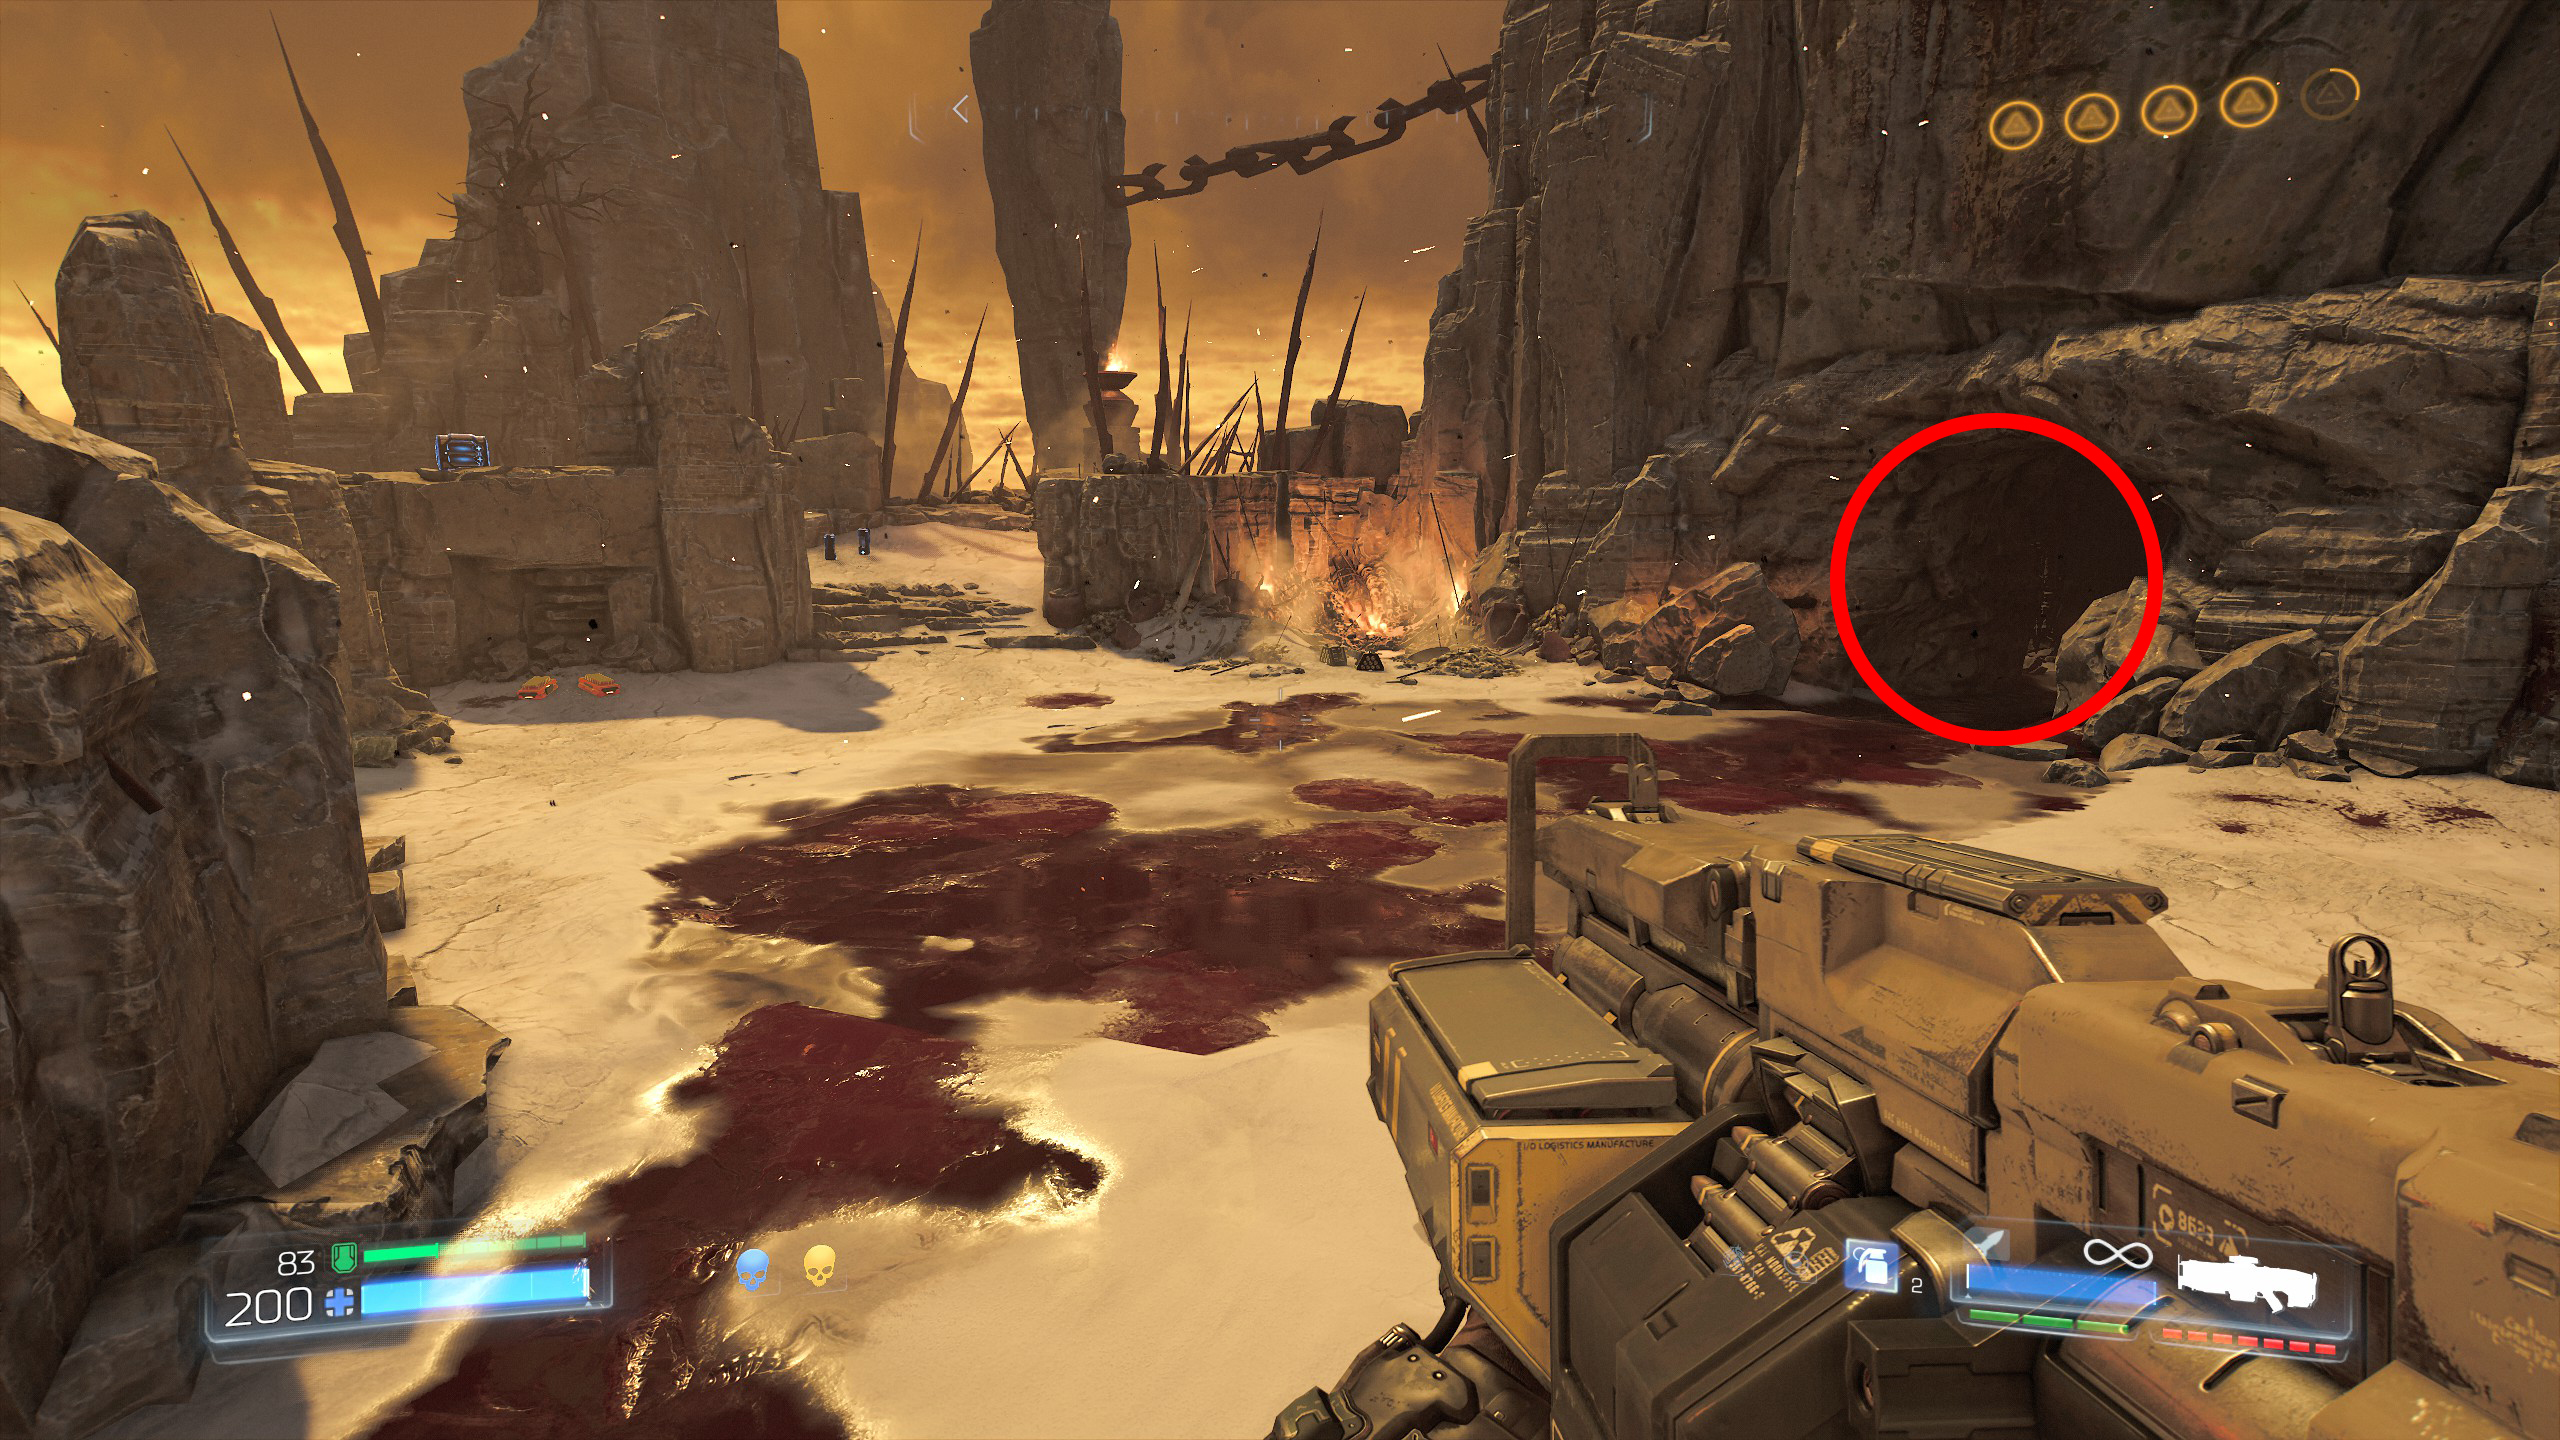
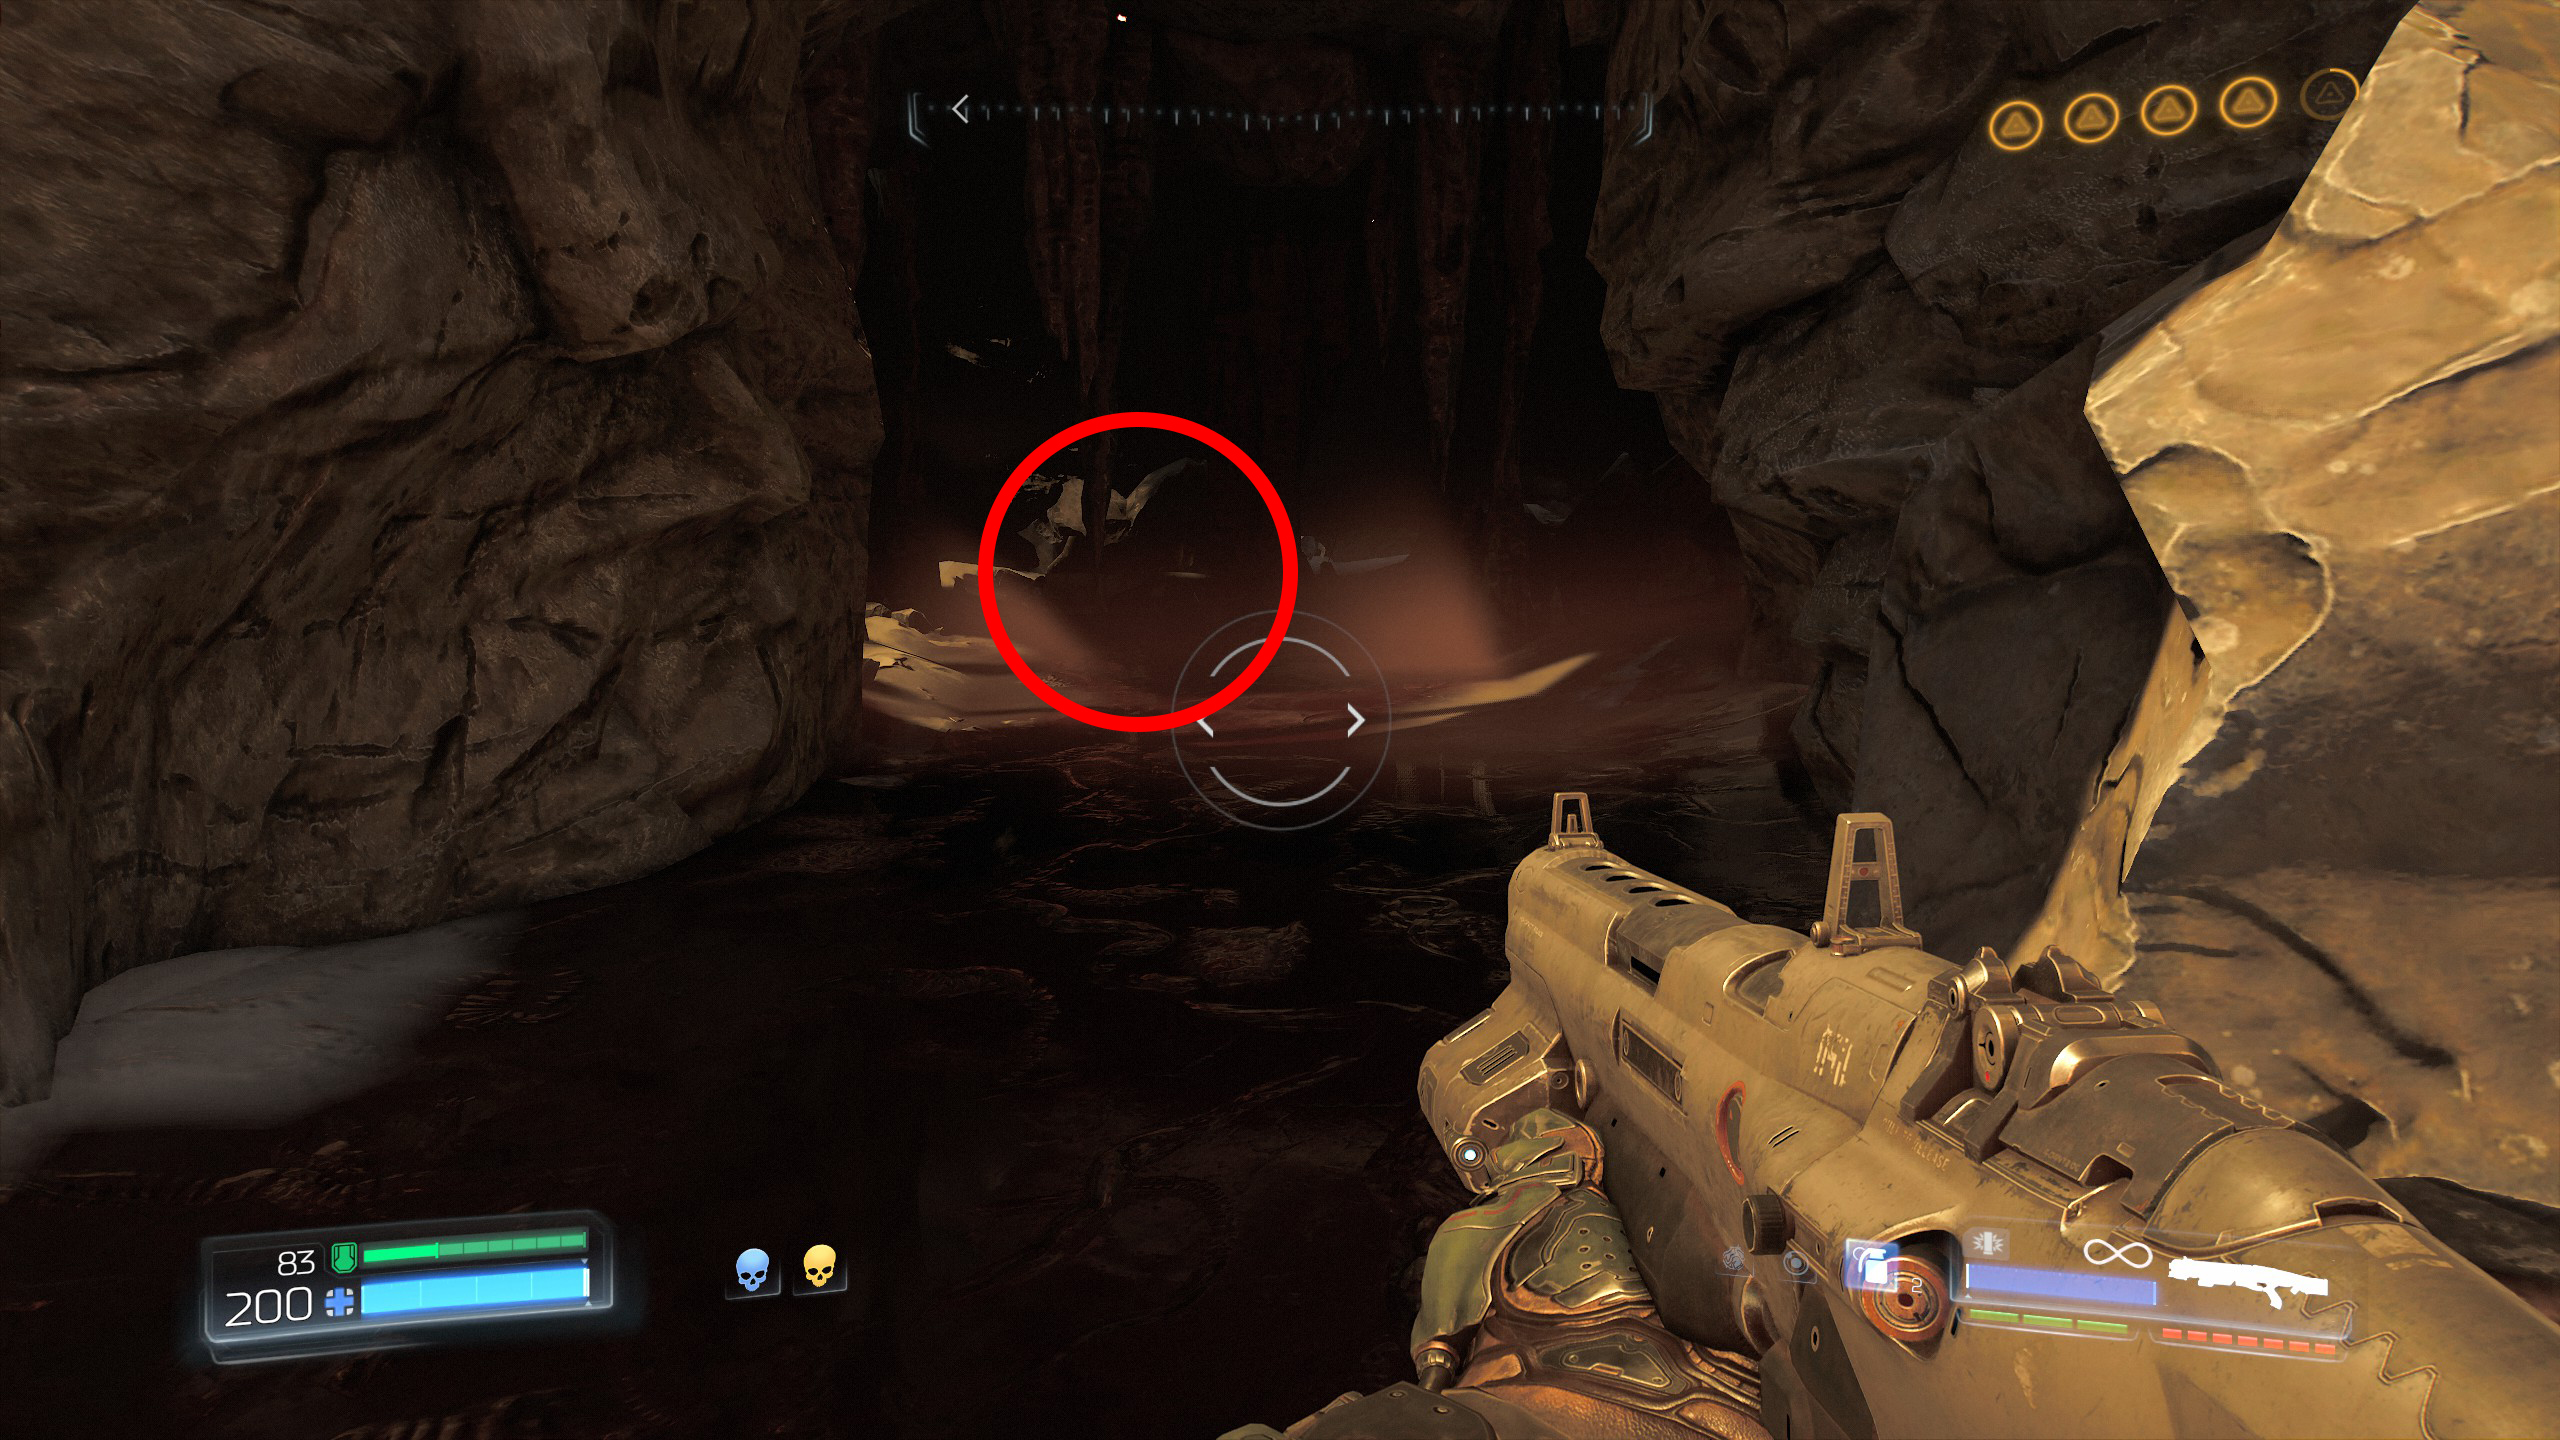
After activating the lever exit the cave and look straight ahead and slightly to the right, notice a small ledge, drop down from there and behind you will be the secret room, enter to gain your final secret of the mission, secret number 6.
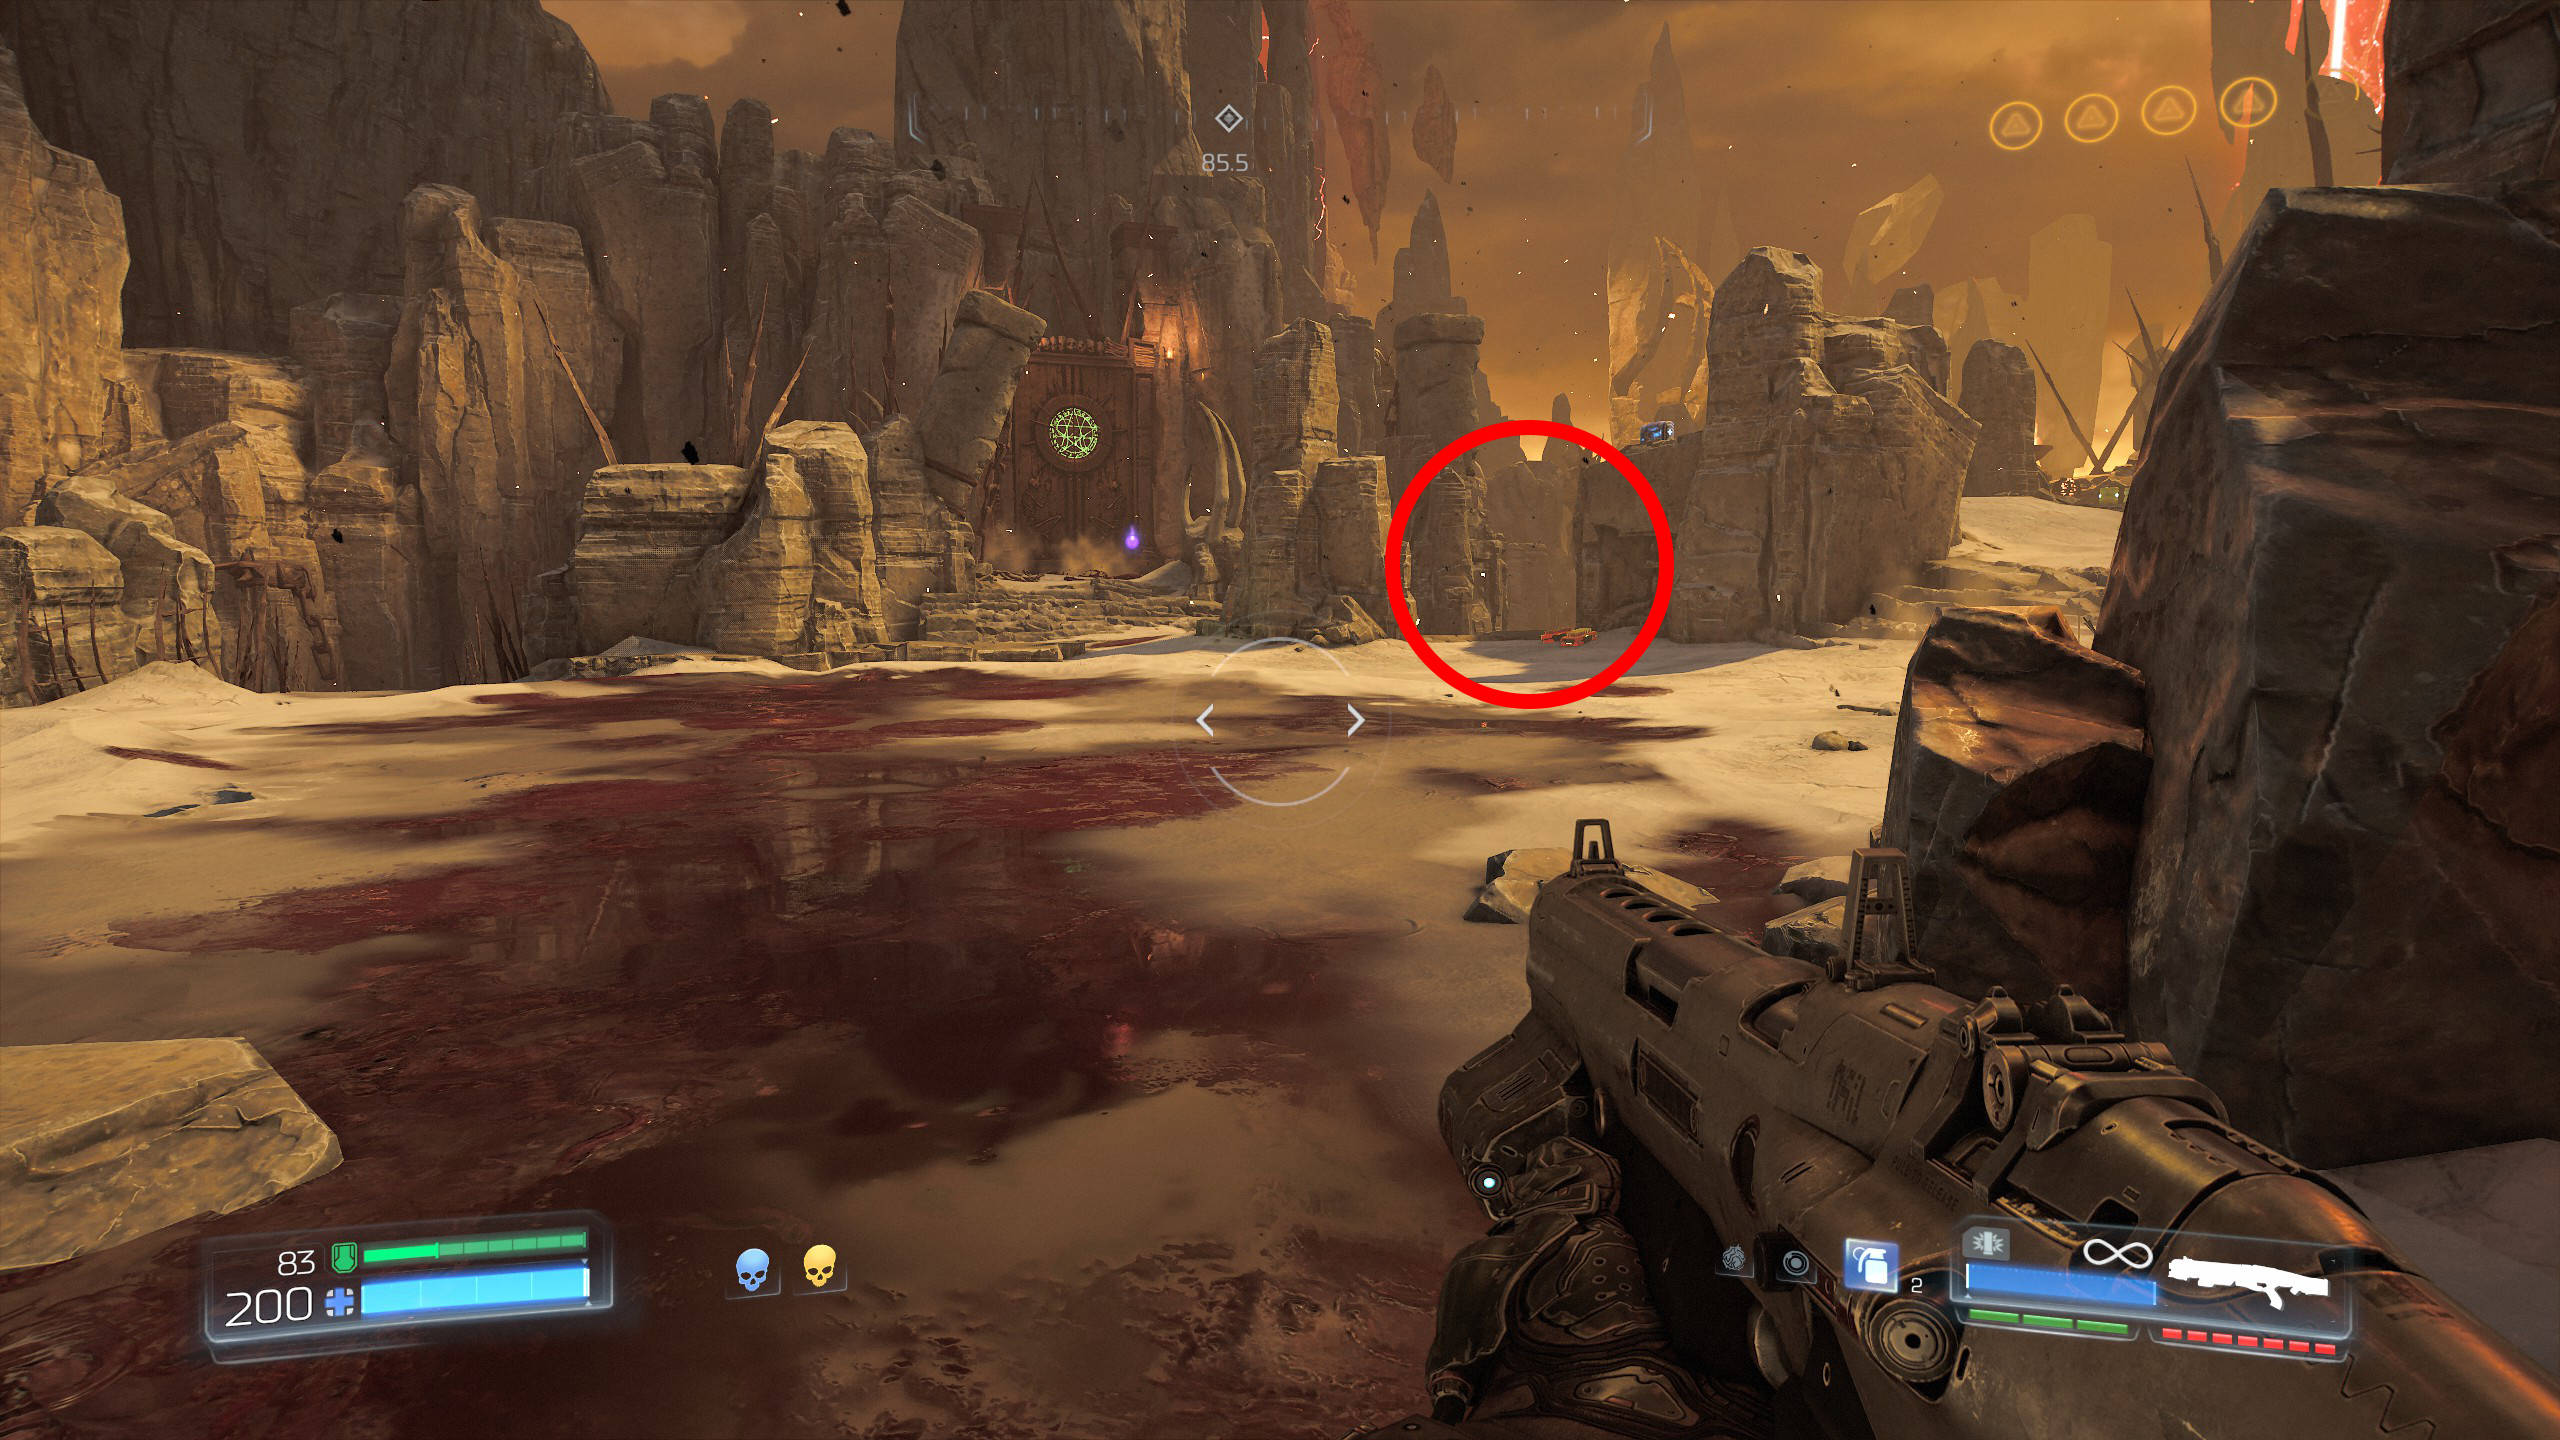
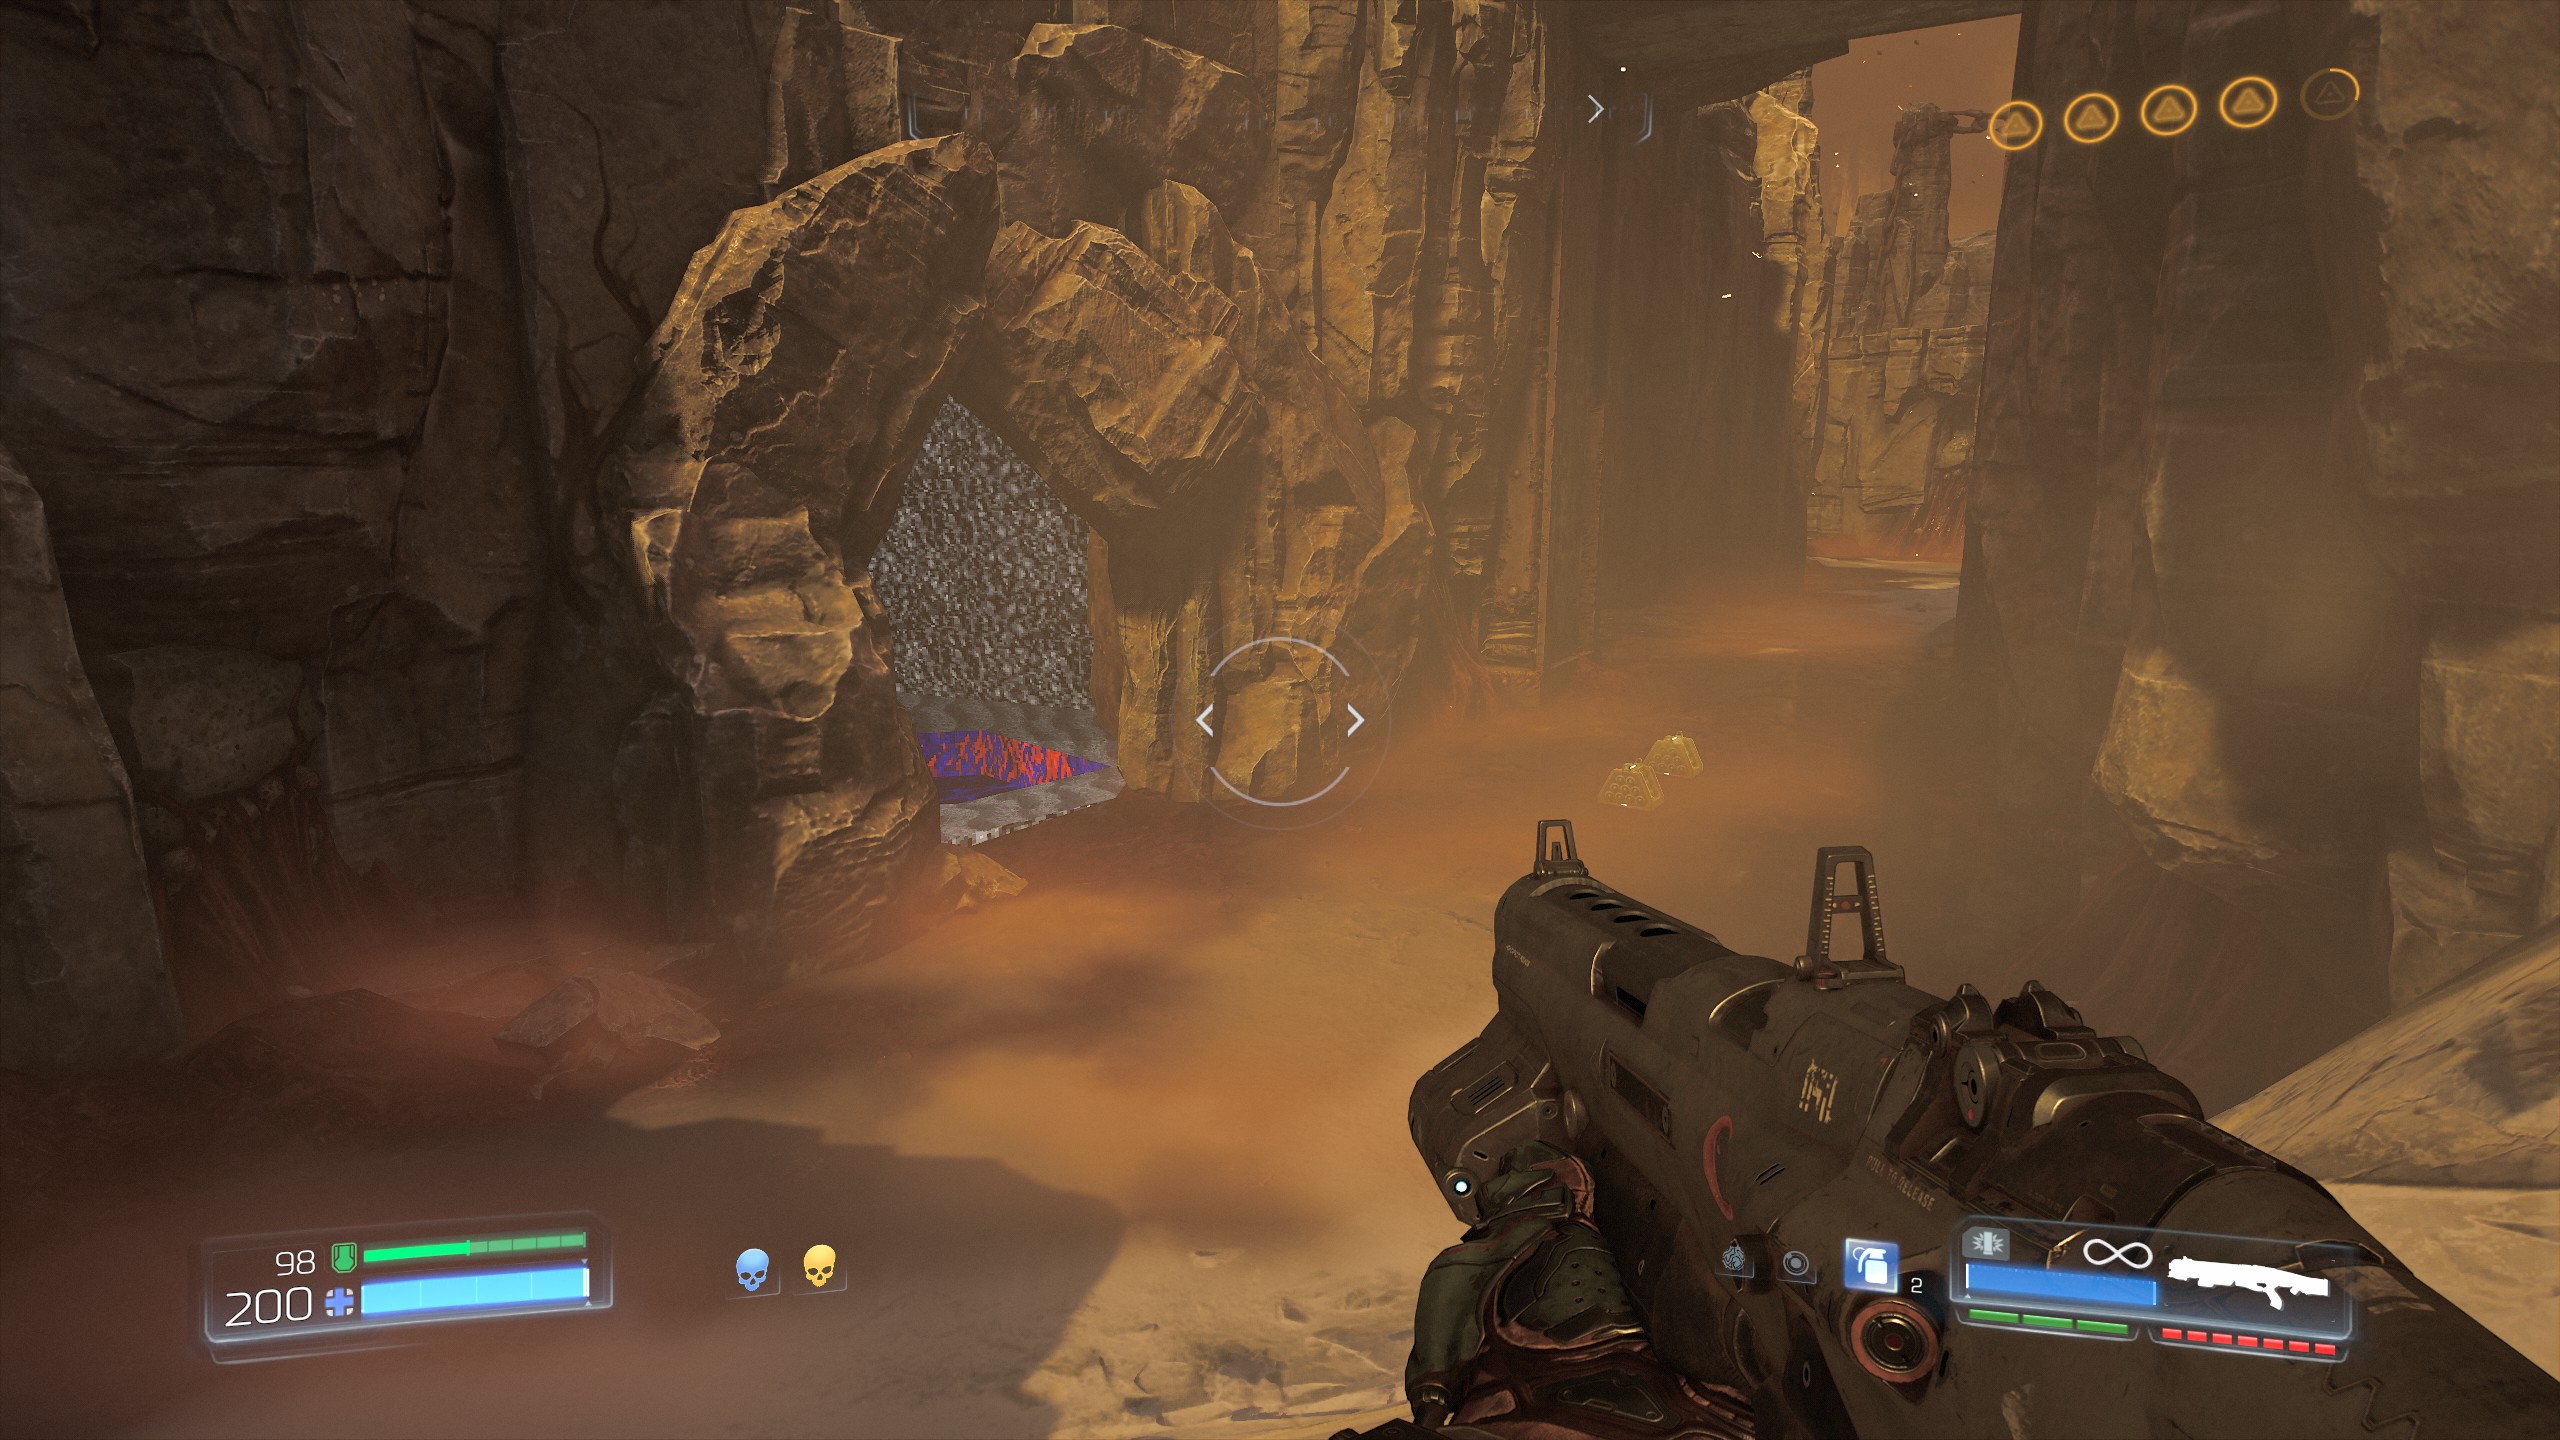
Finish the mission and onto the next.
Mission 7 - Argent Facility (Destroyed)
Ok for this we are going to find two secrets next to each other, so start the mission and follow the path around until you have to start climbing green lit platforms, climb up and again follow the path around until you reach a larger green lit platform, climb up onto the platform and you will find a set of crates with a lever hidden behind them, activate it to unlock the secret room.
Once the lever is activated drop down to the platform below and you will find the secret room behind the central pillar, if you also face the secret room and take the left path you will find another secret which is a Doomguy.
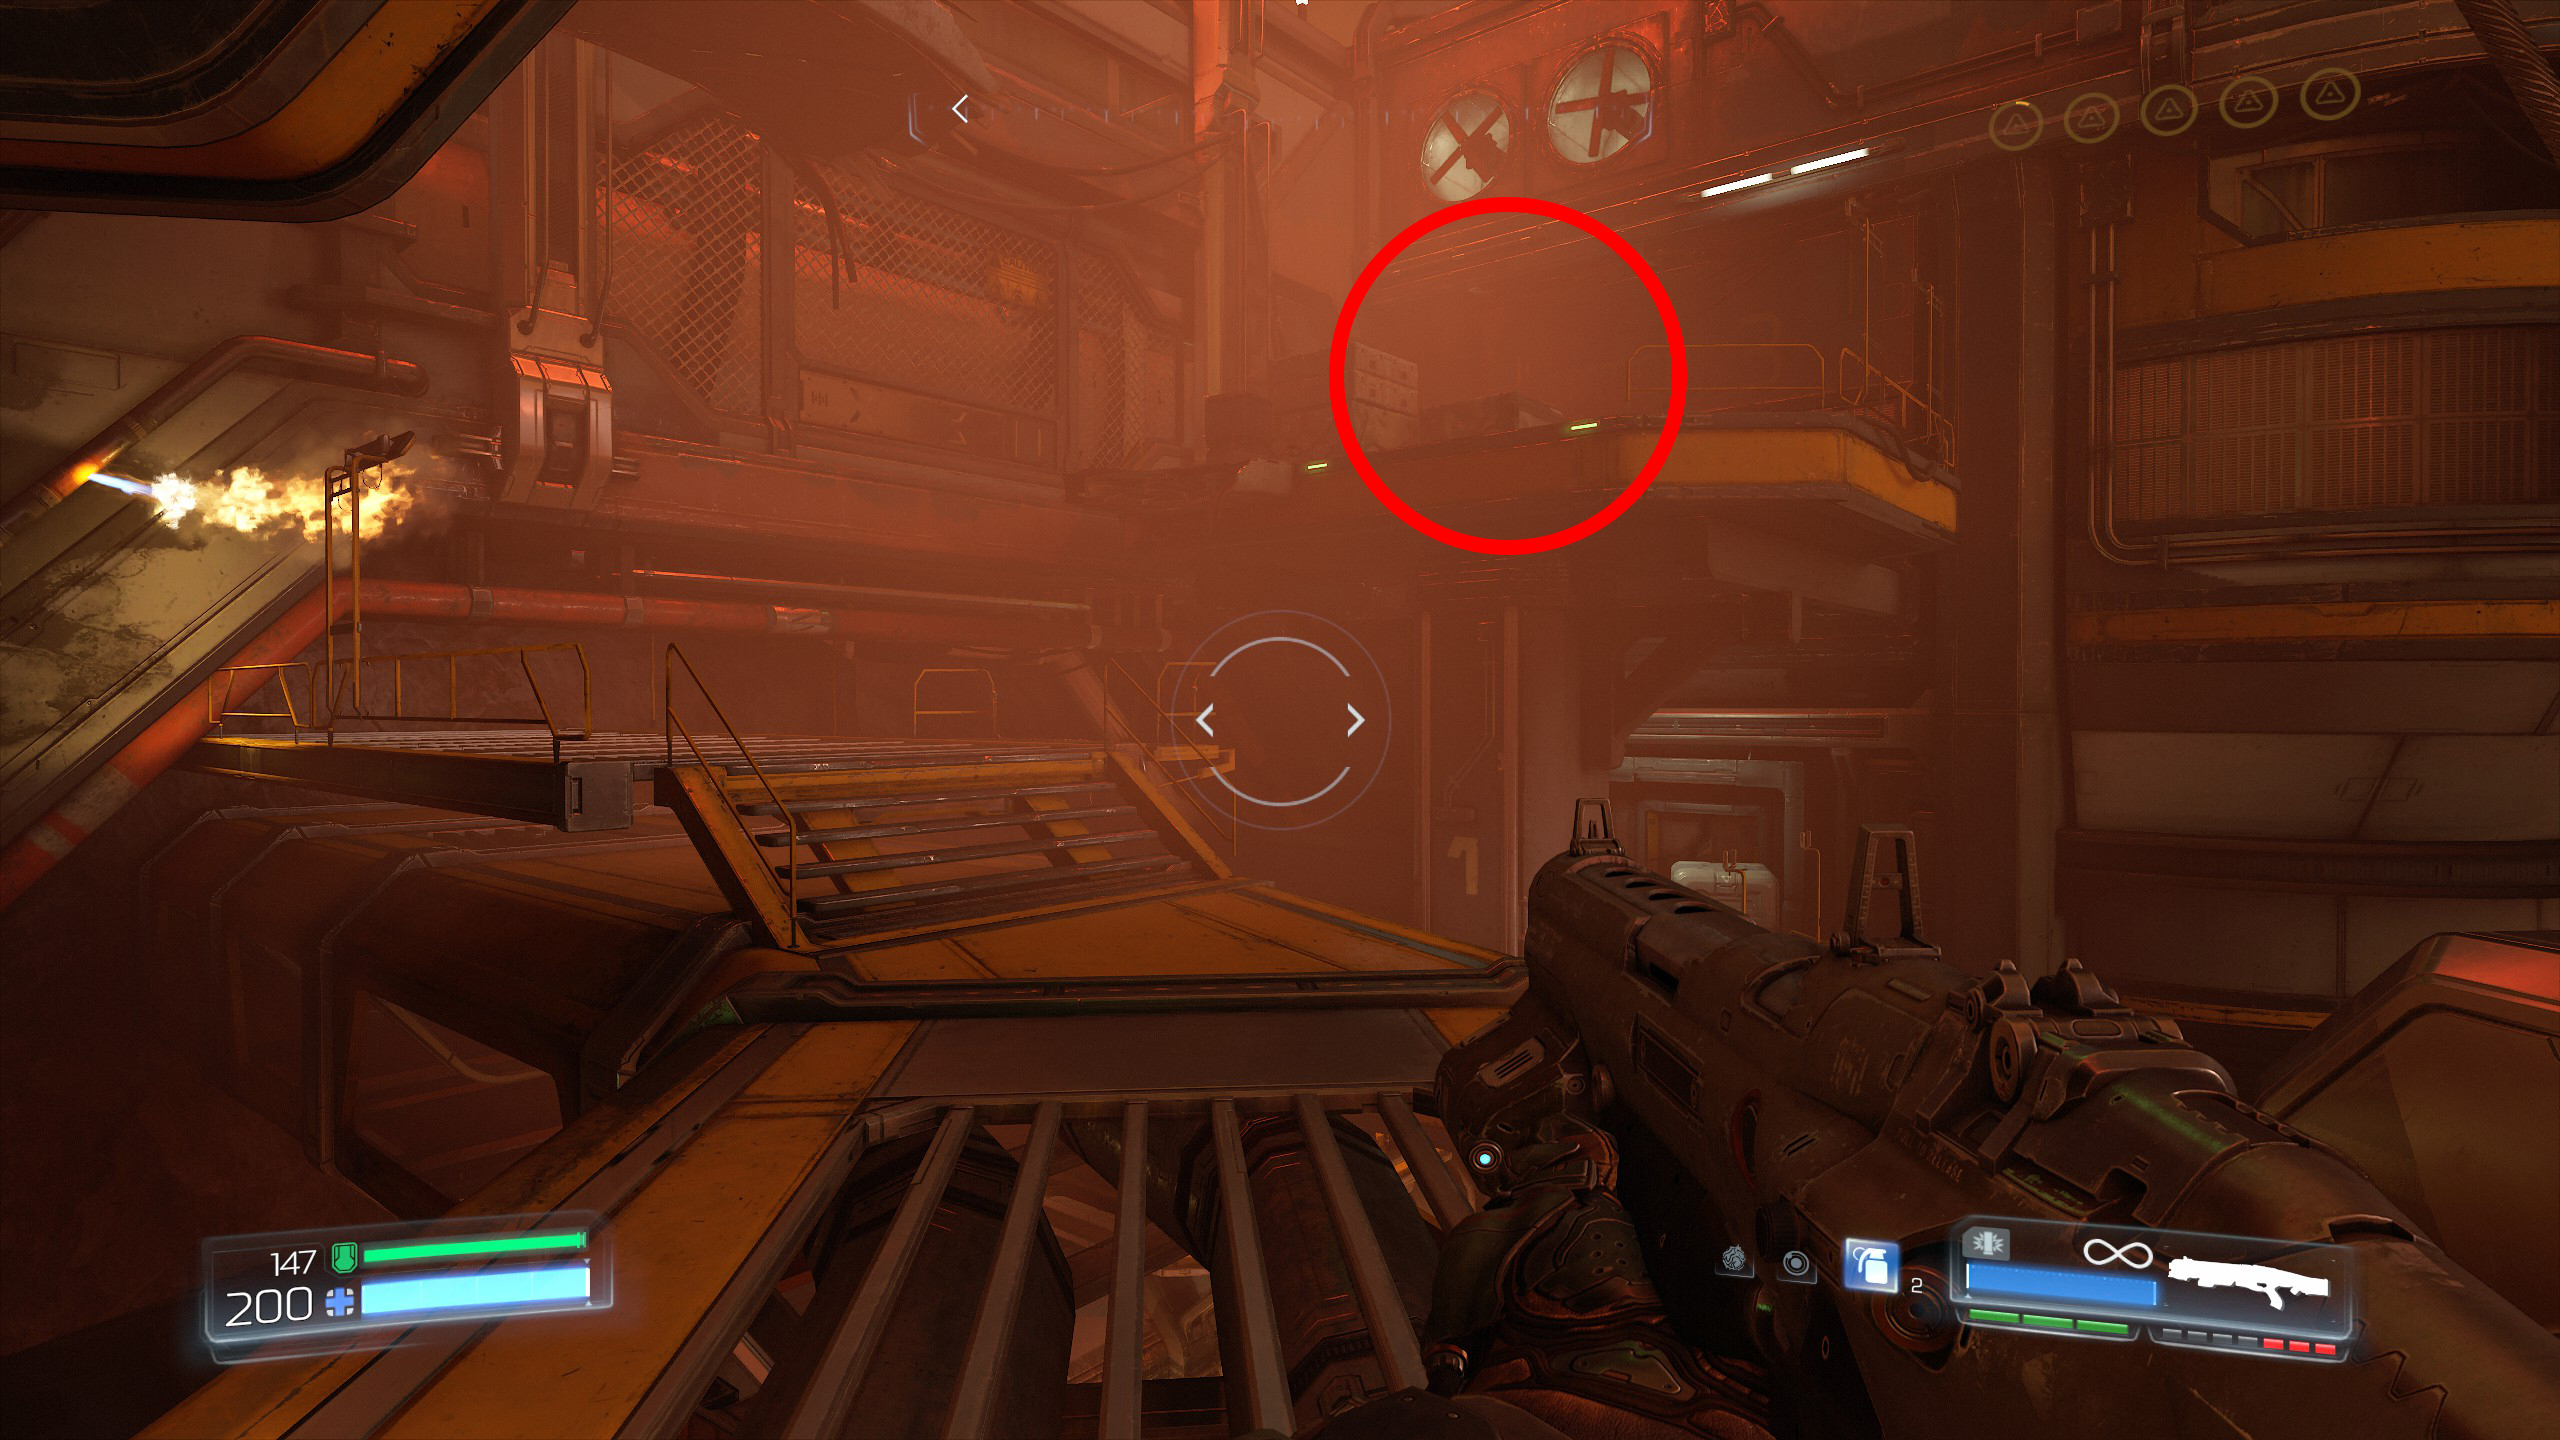
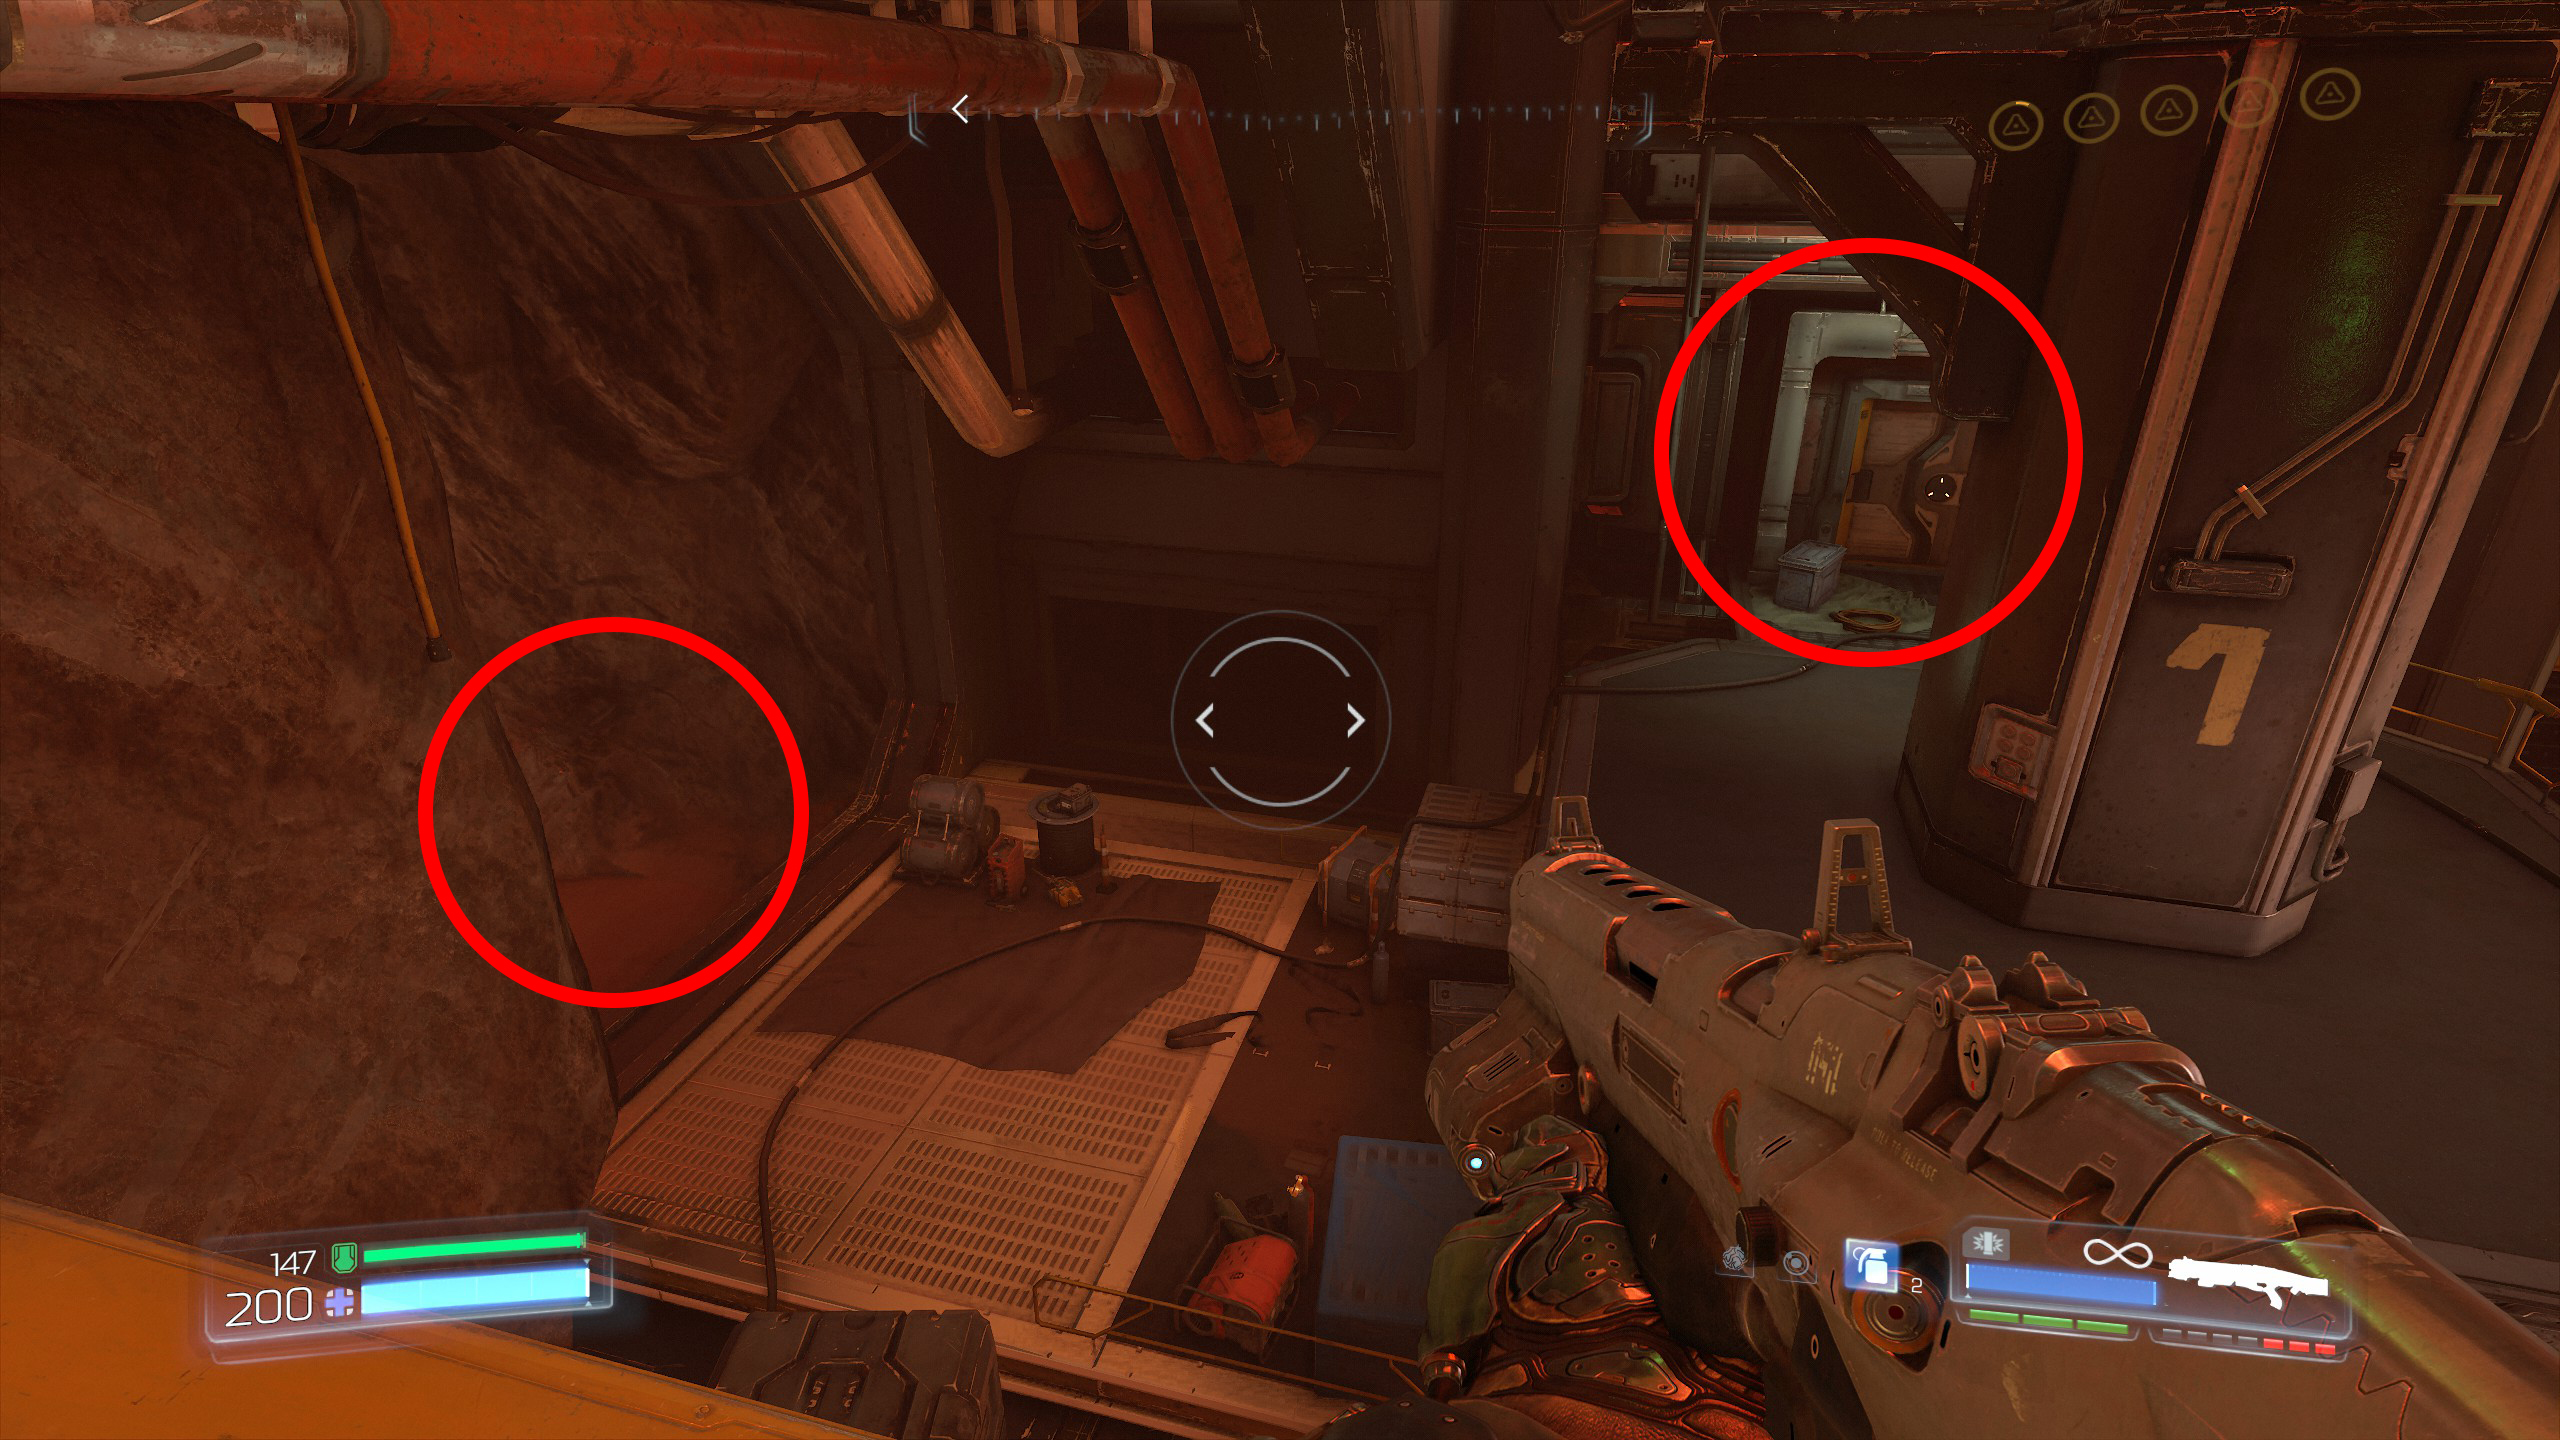
That is secret 1 and 2 out of the way.
On the far side you will see a door with a flashing green light just above it, as you face the door you will see on the left side a small rock platform, jump across to the rock platform from where the door is located and make sure you hit a checkpoint before proceeding.
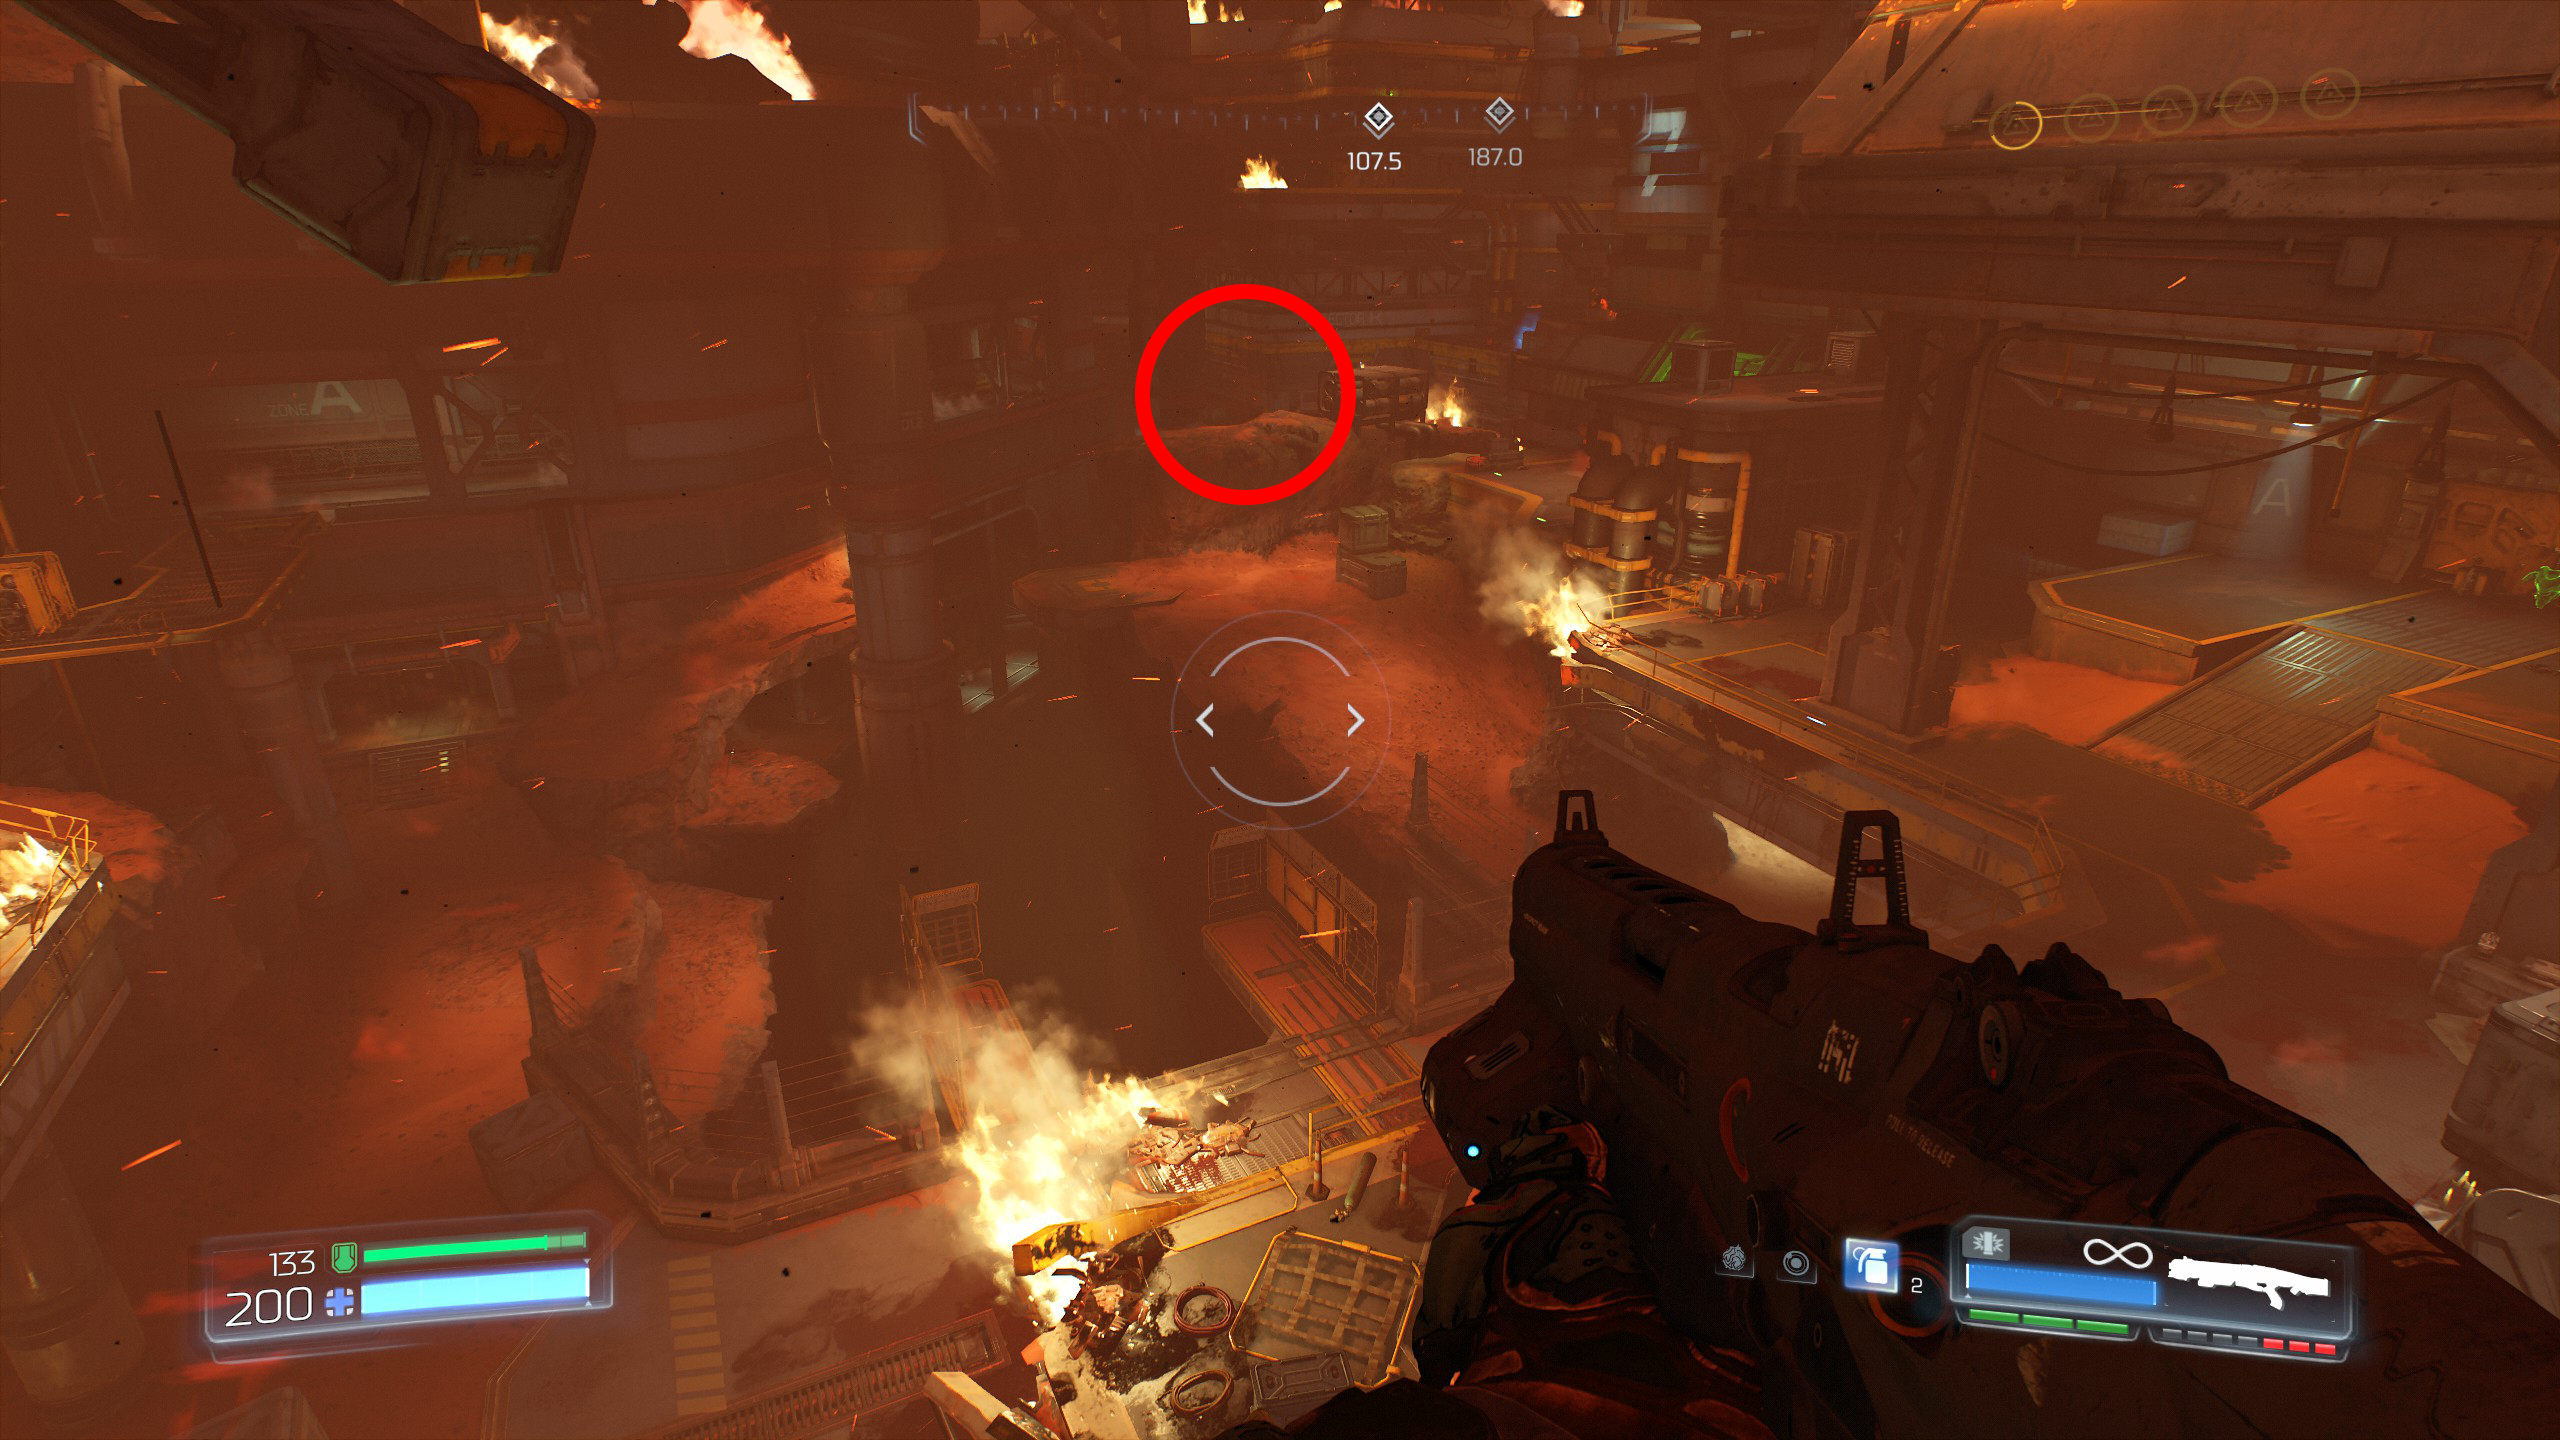
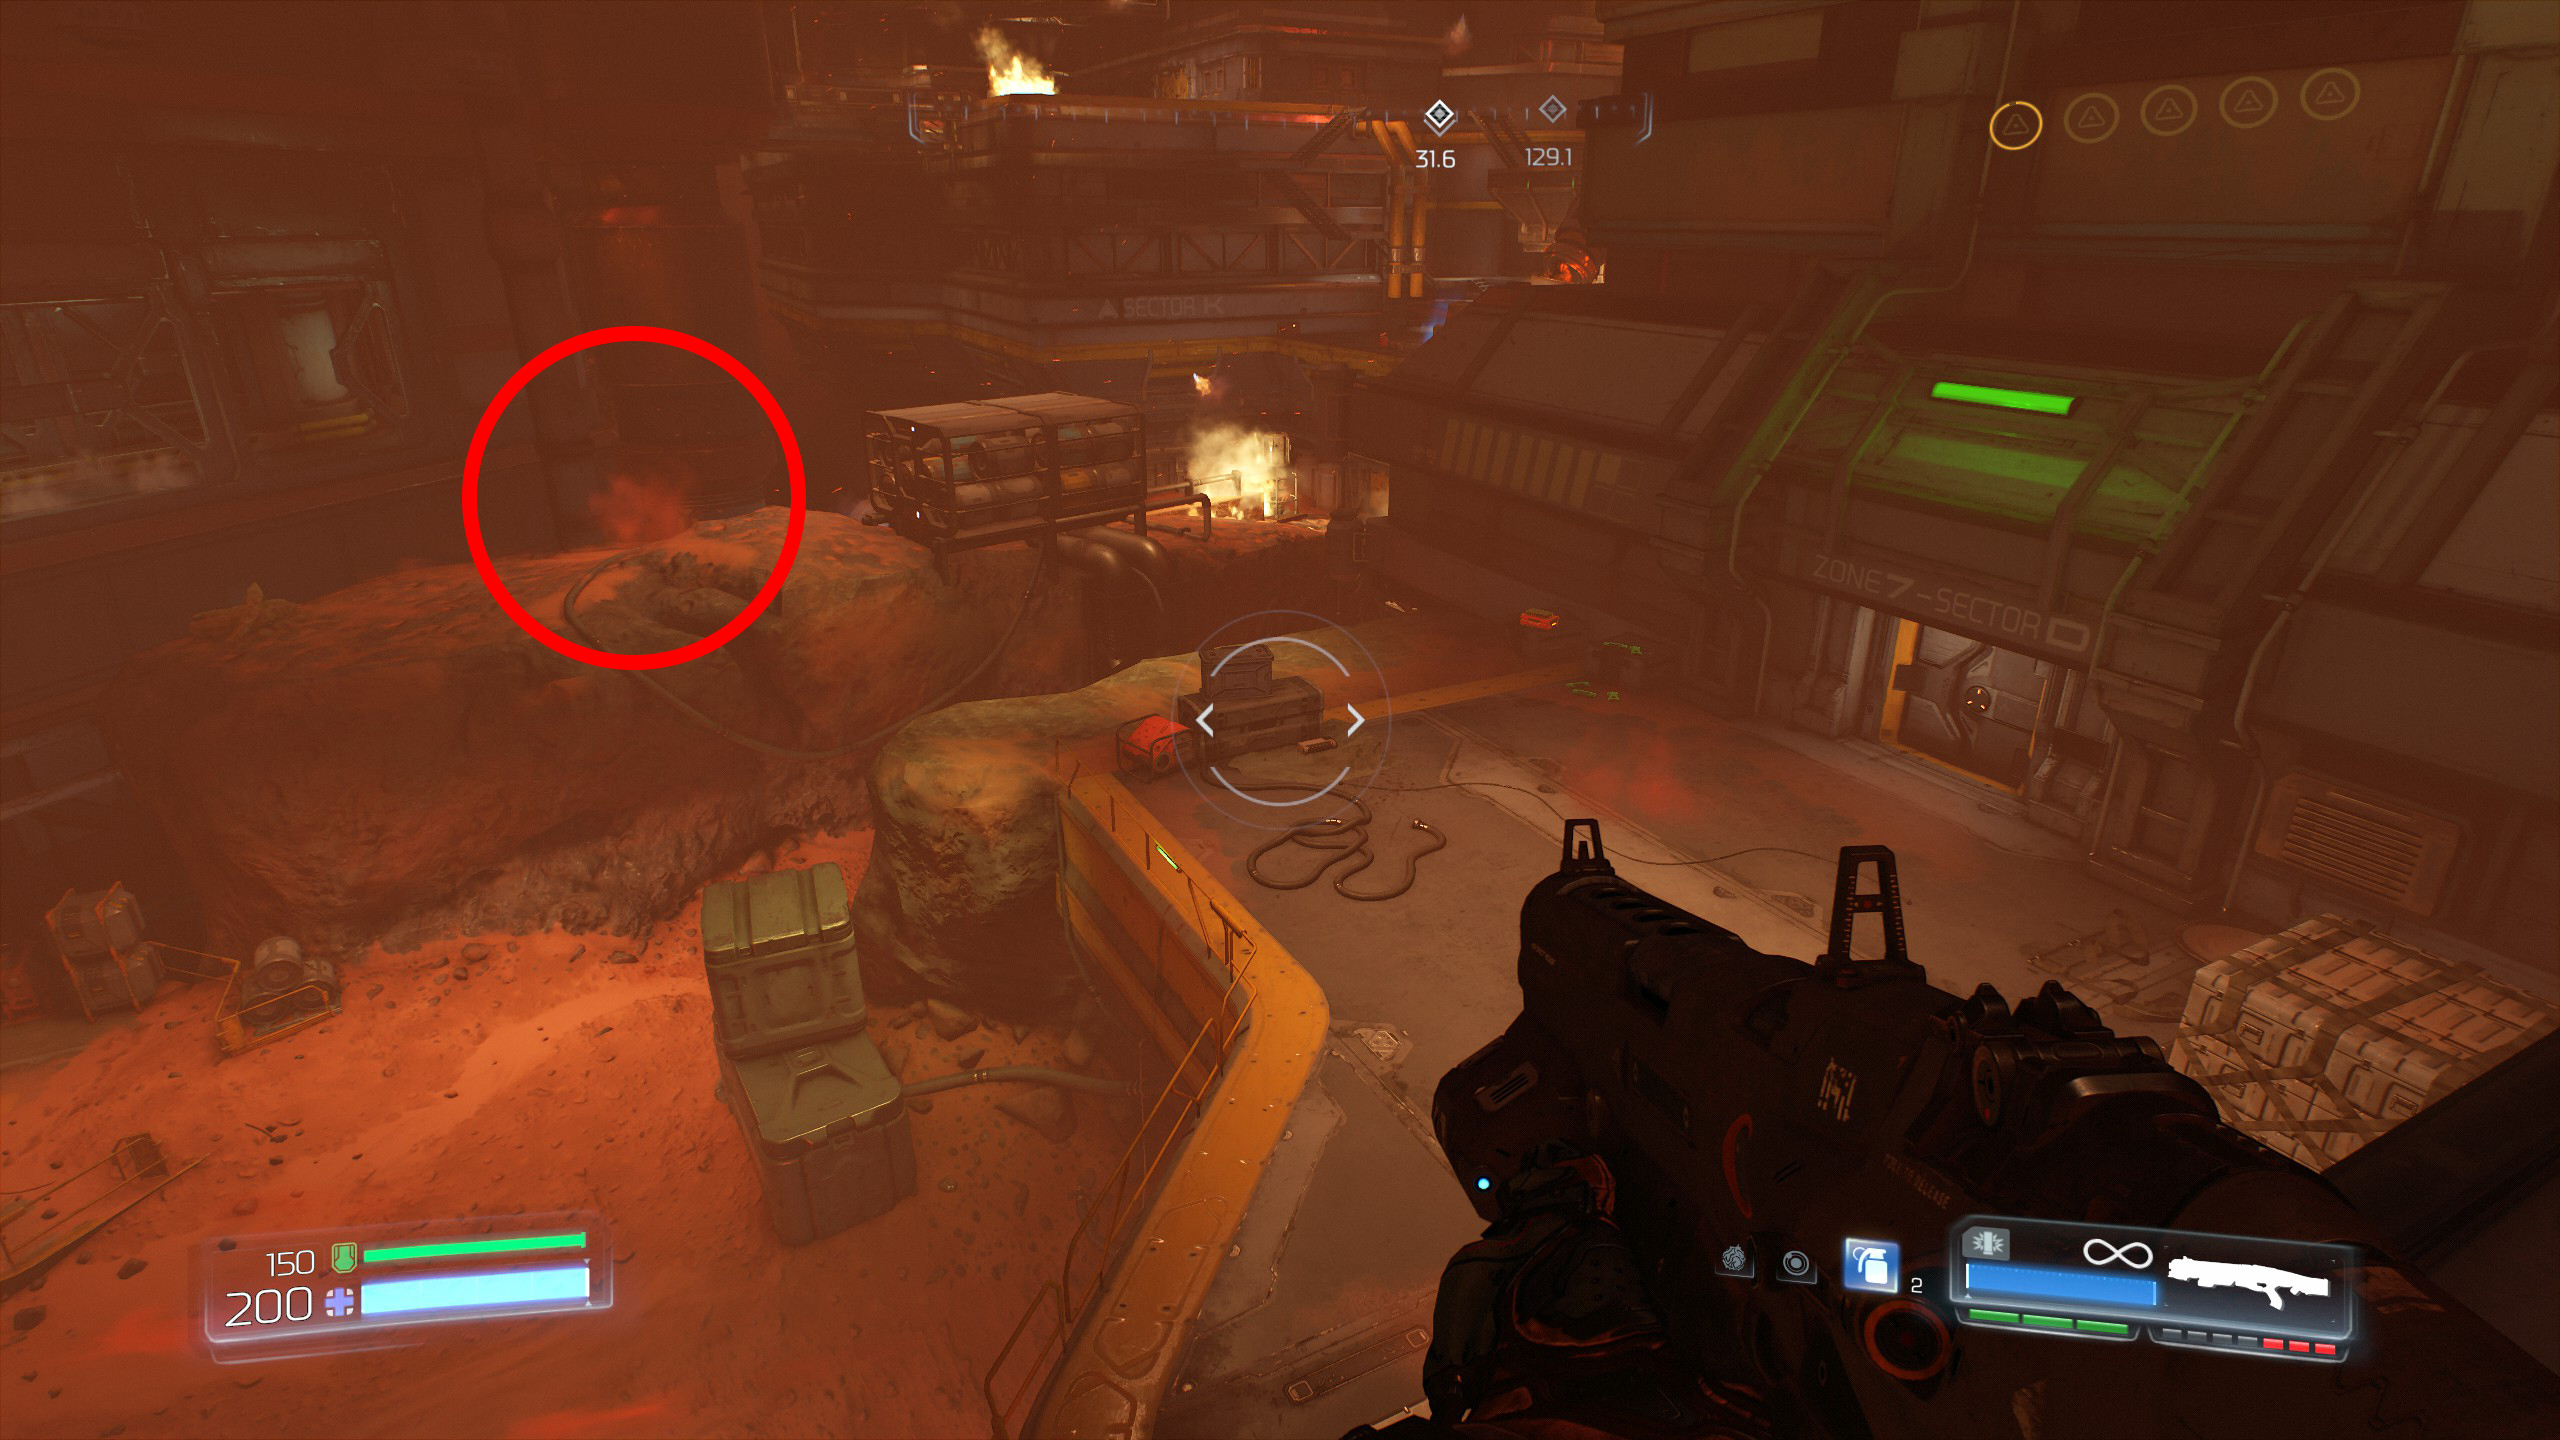
This part is a little tricky but i'll explain as best i can.
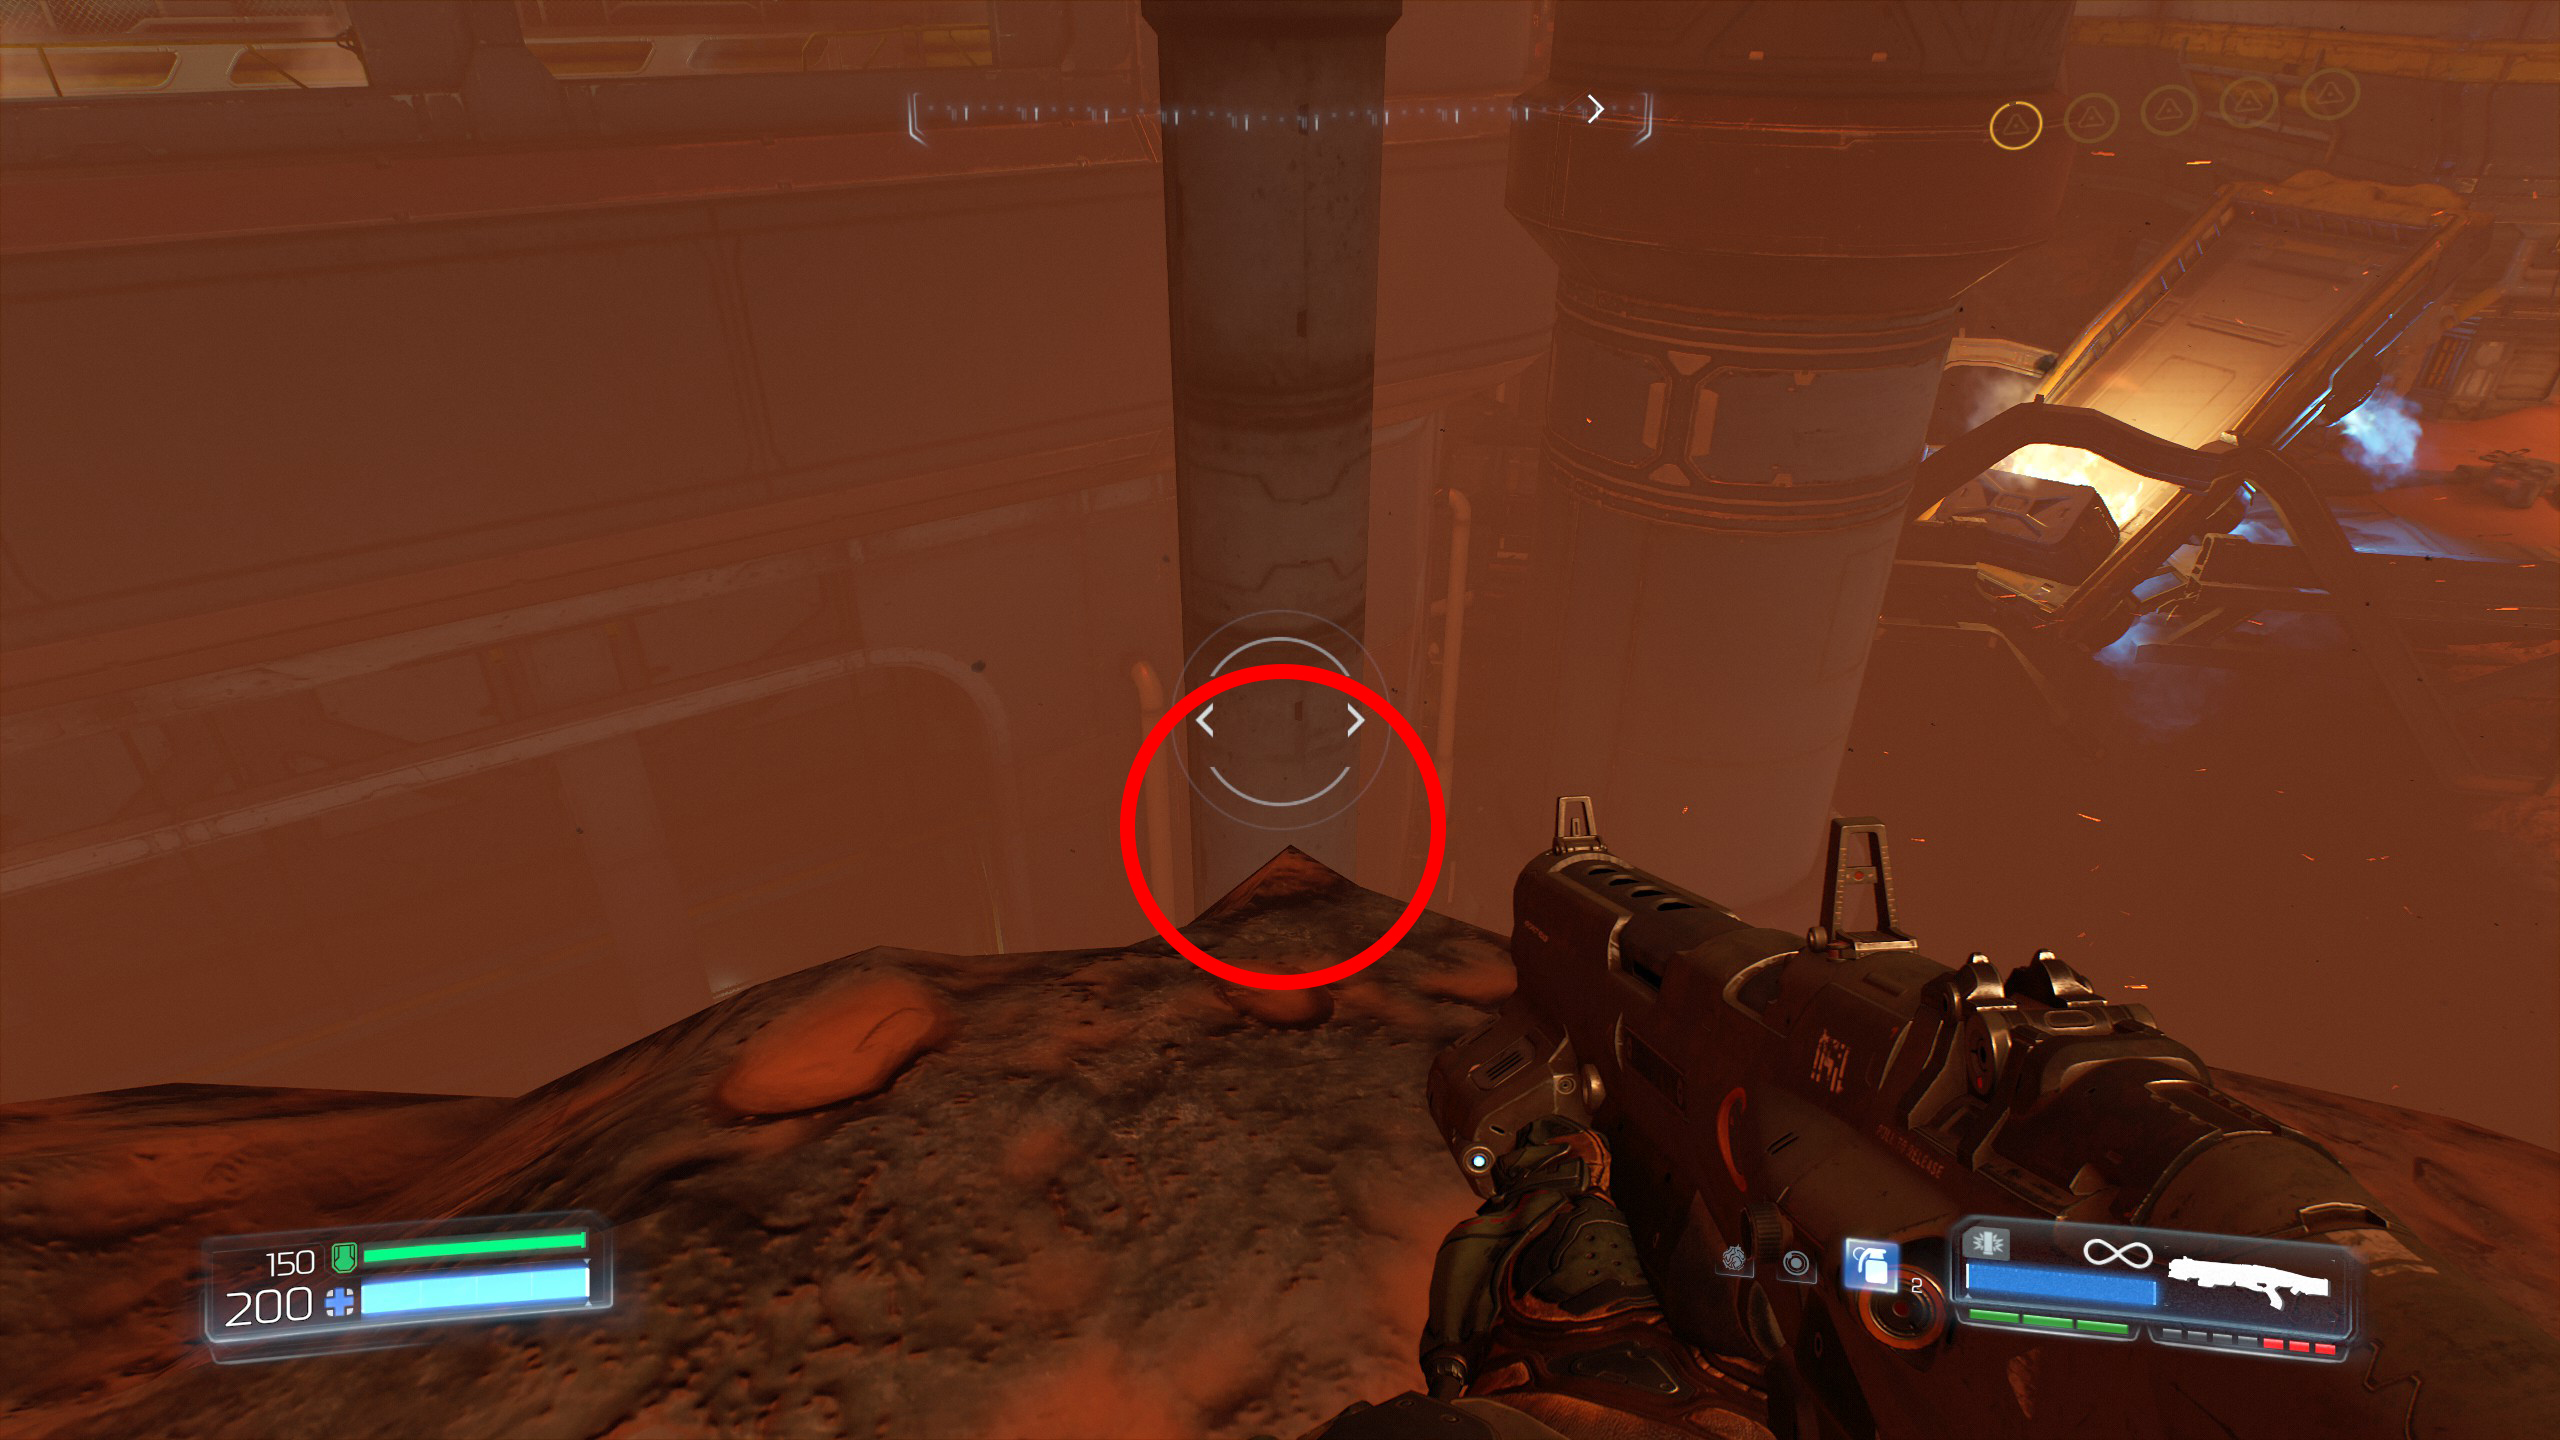
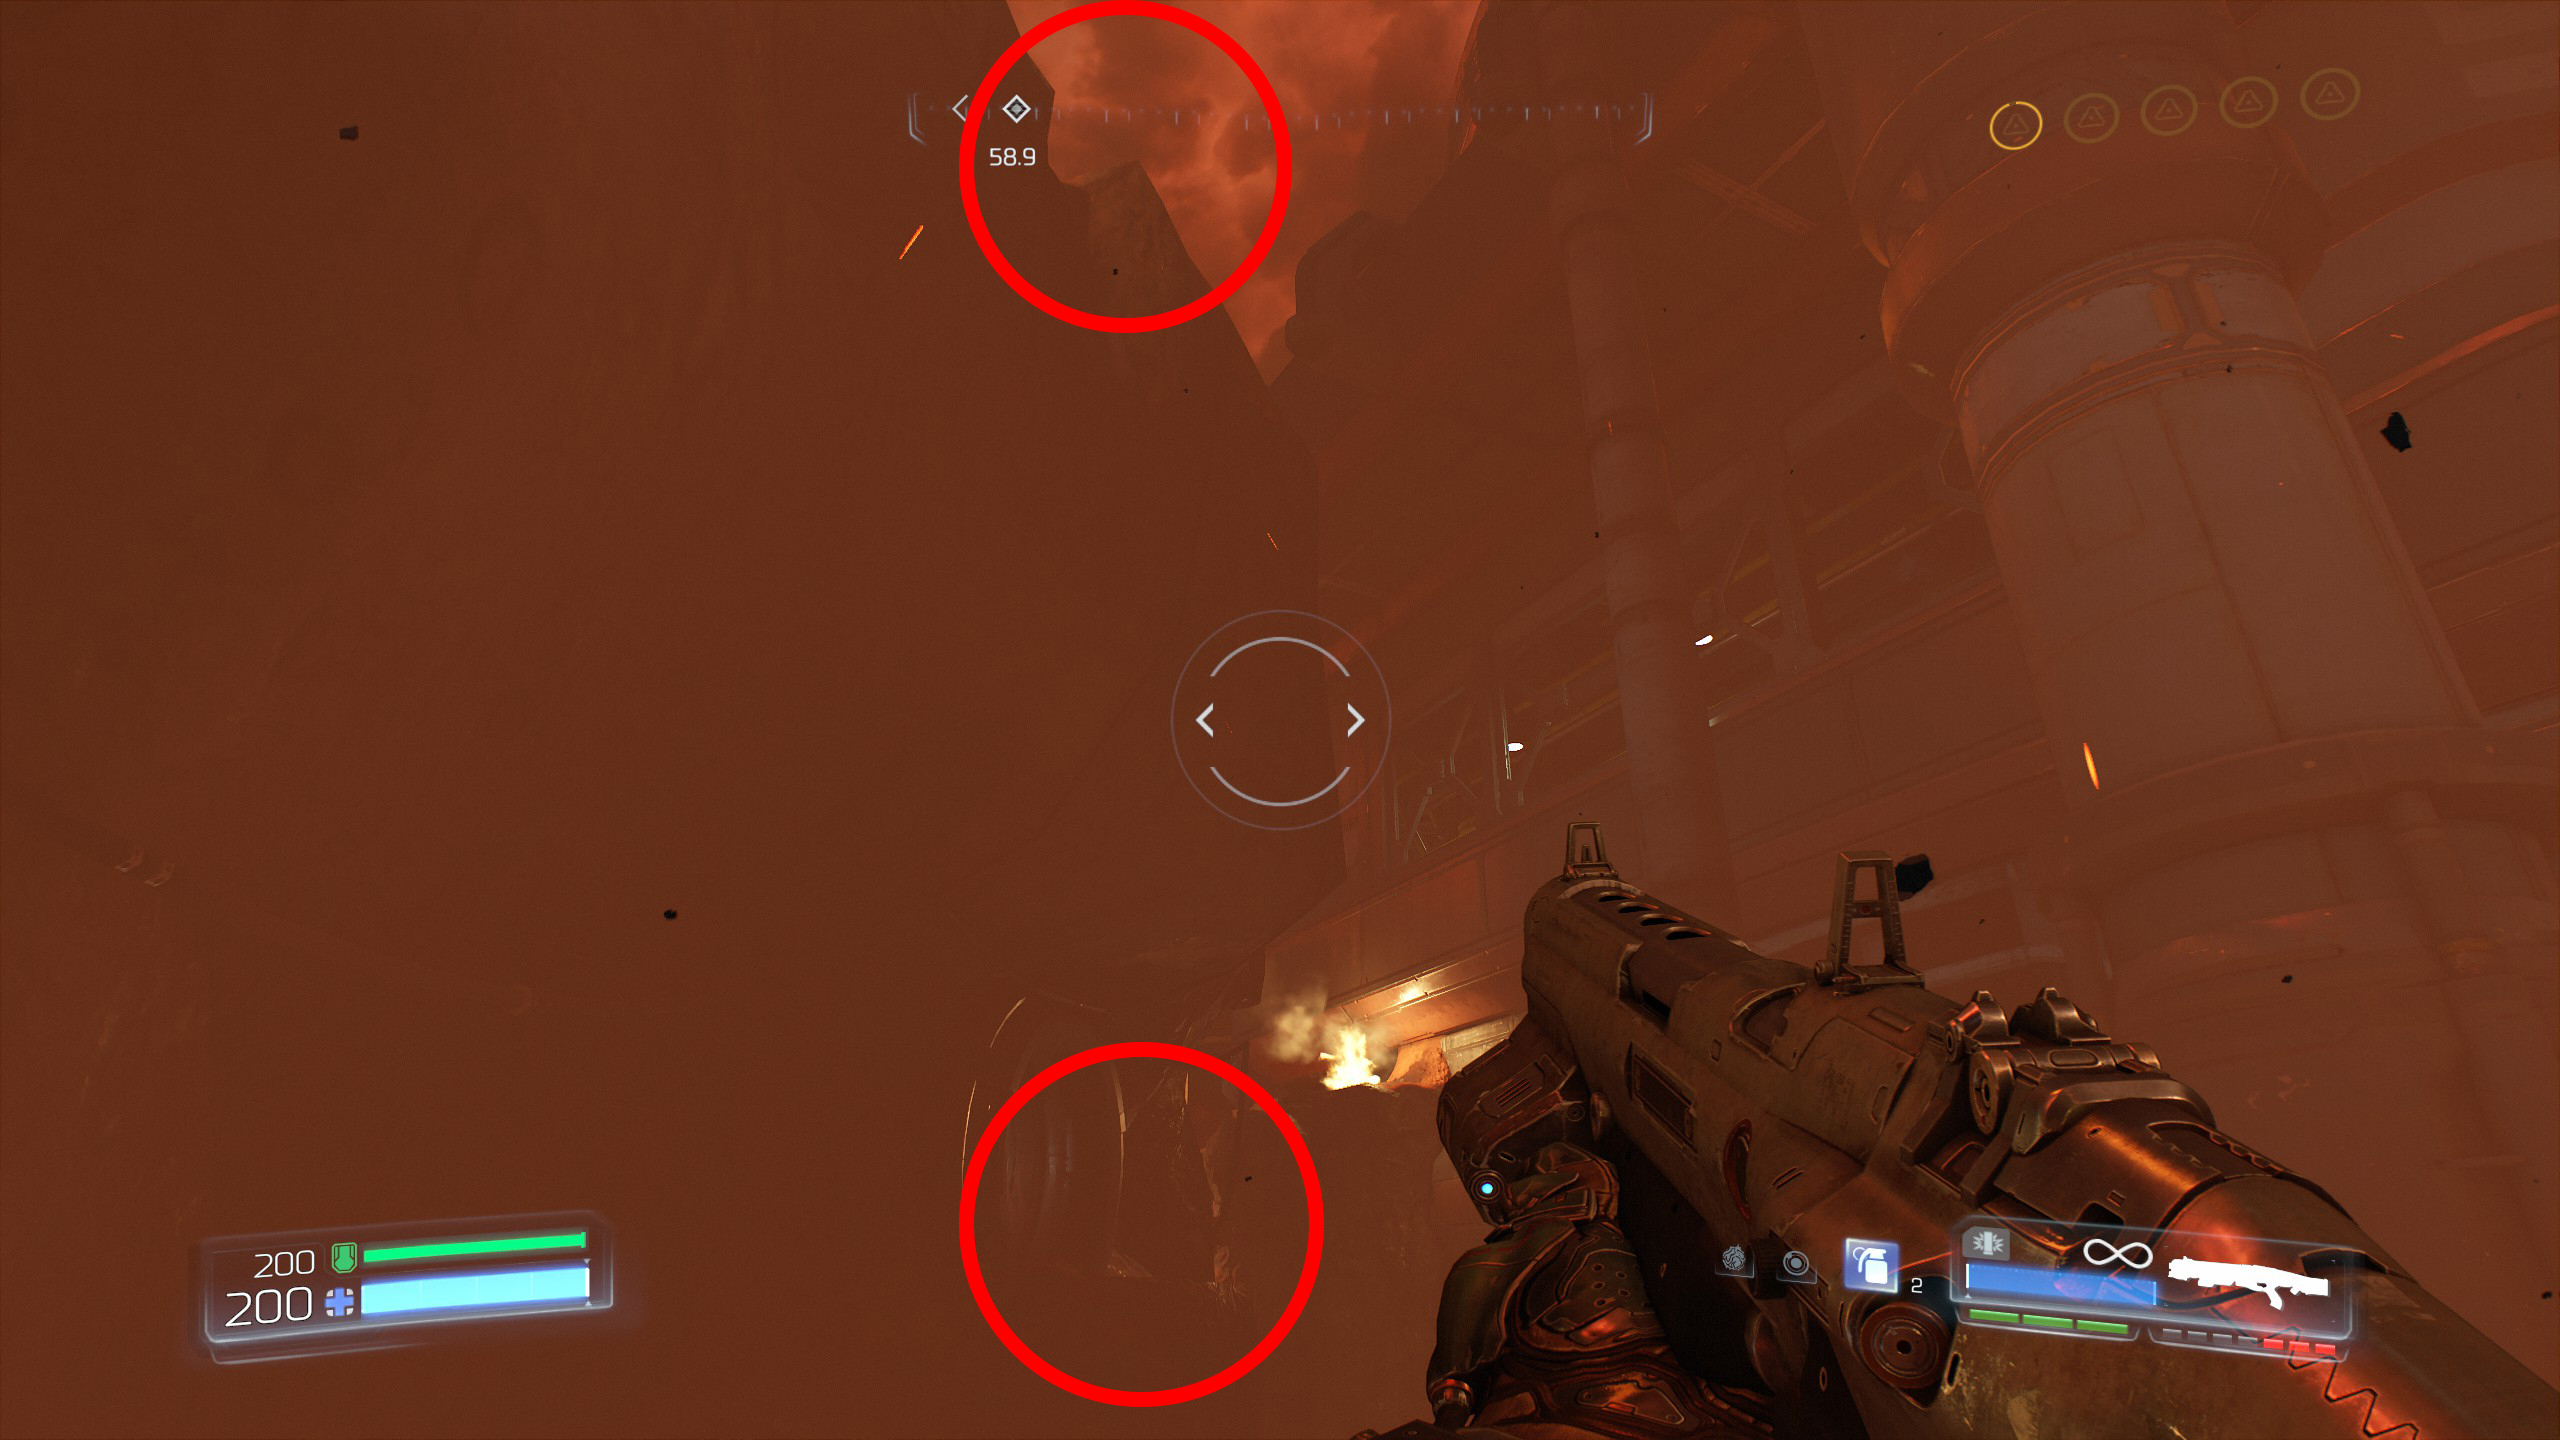
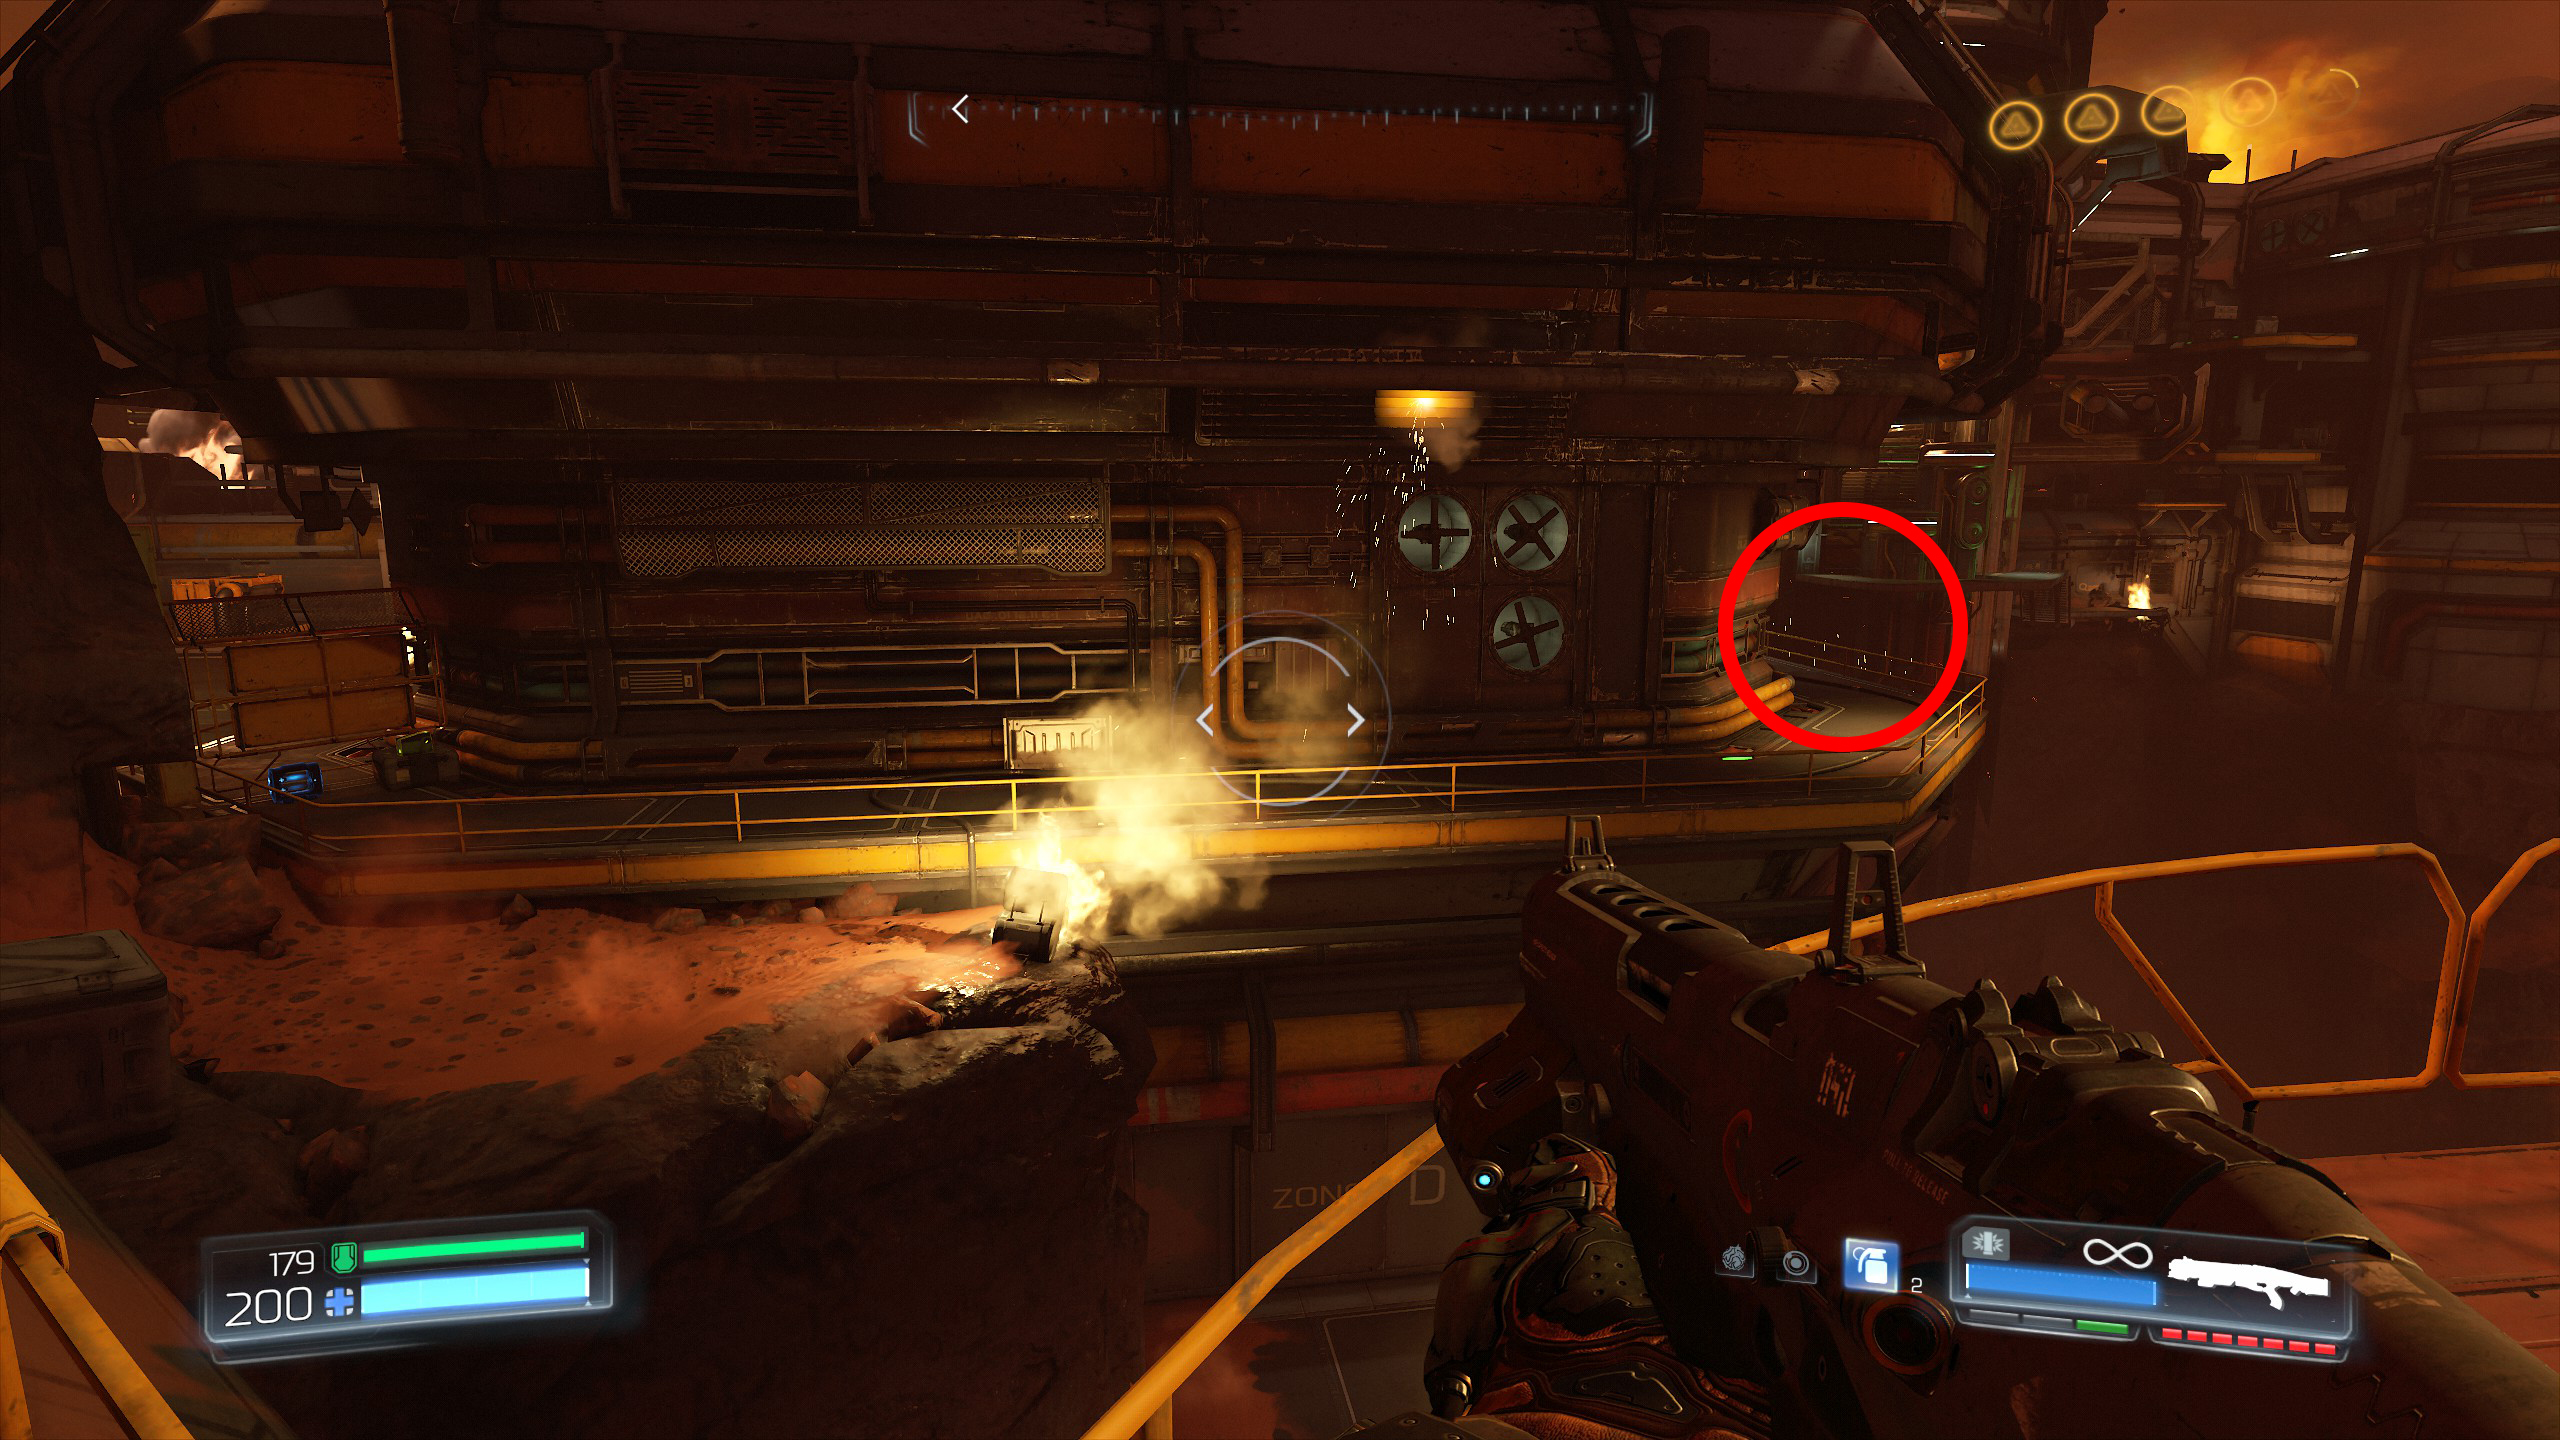
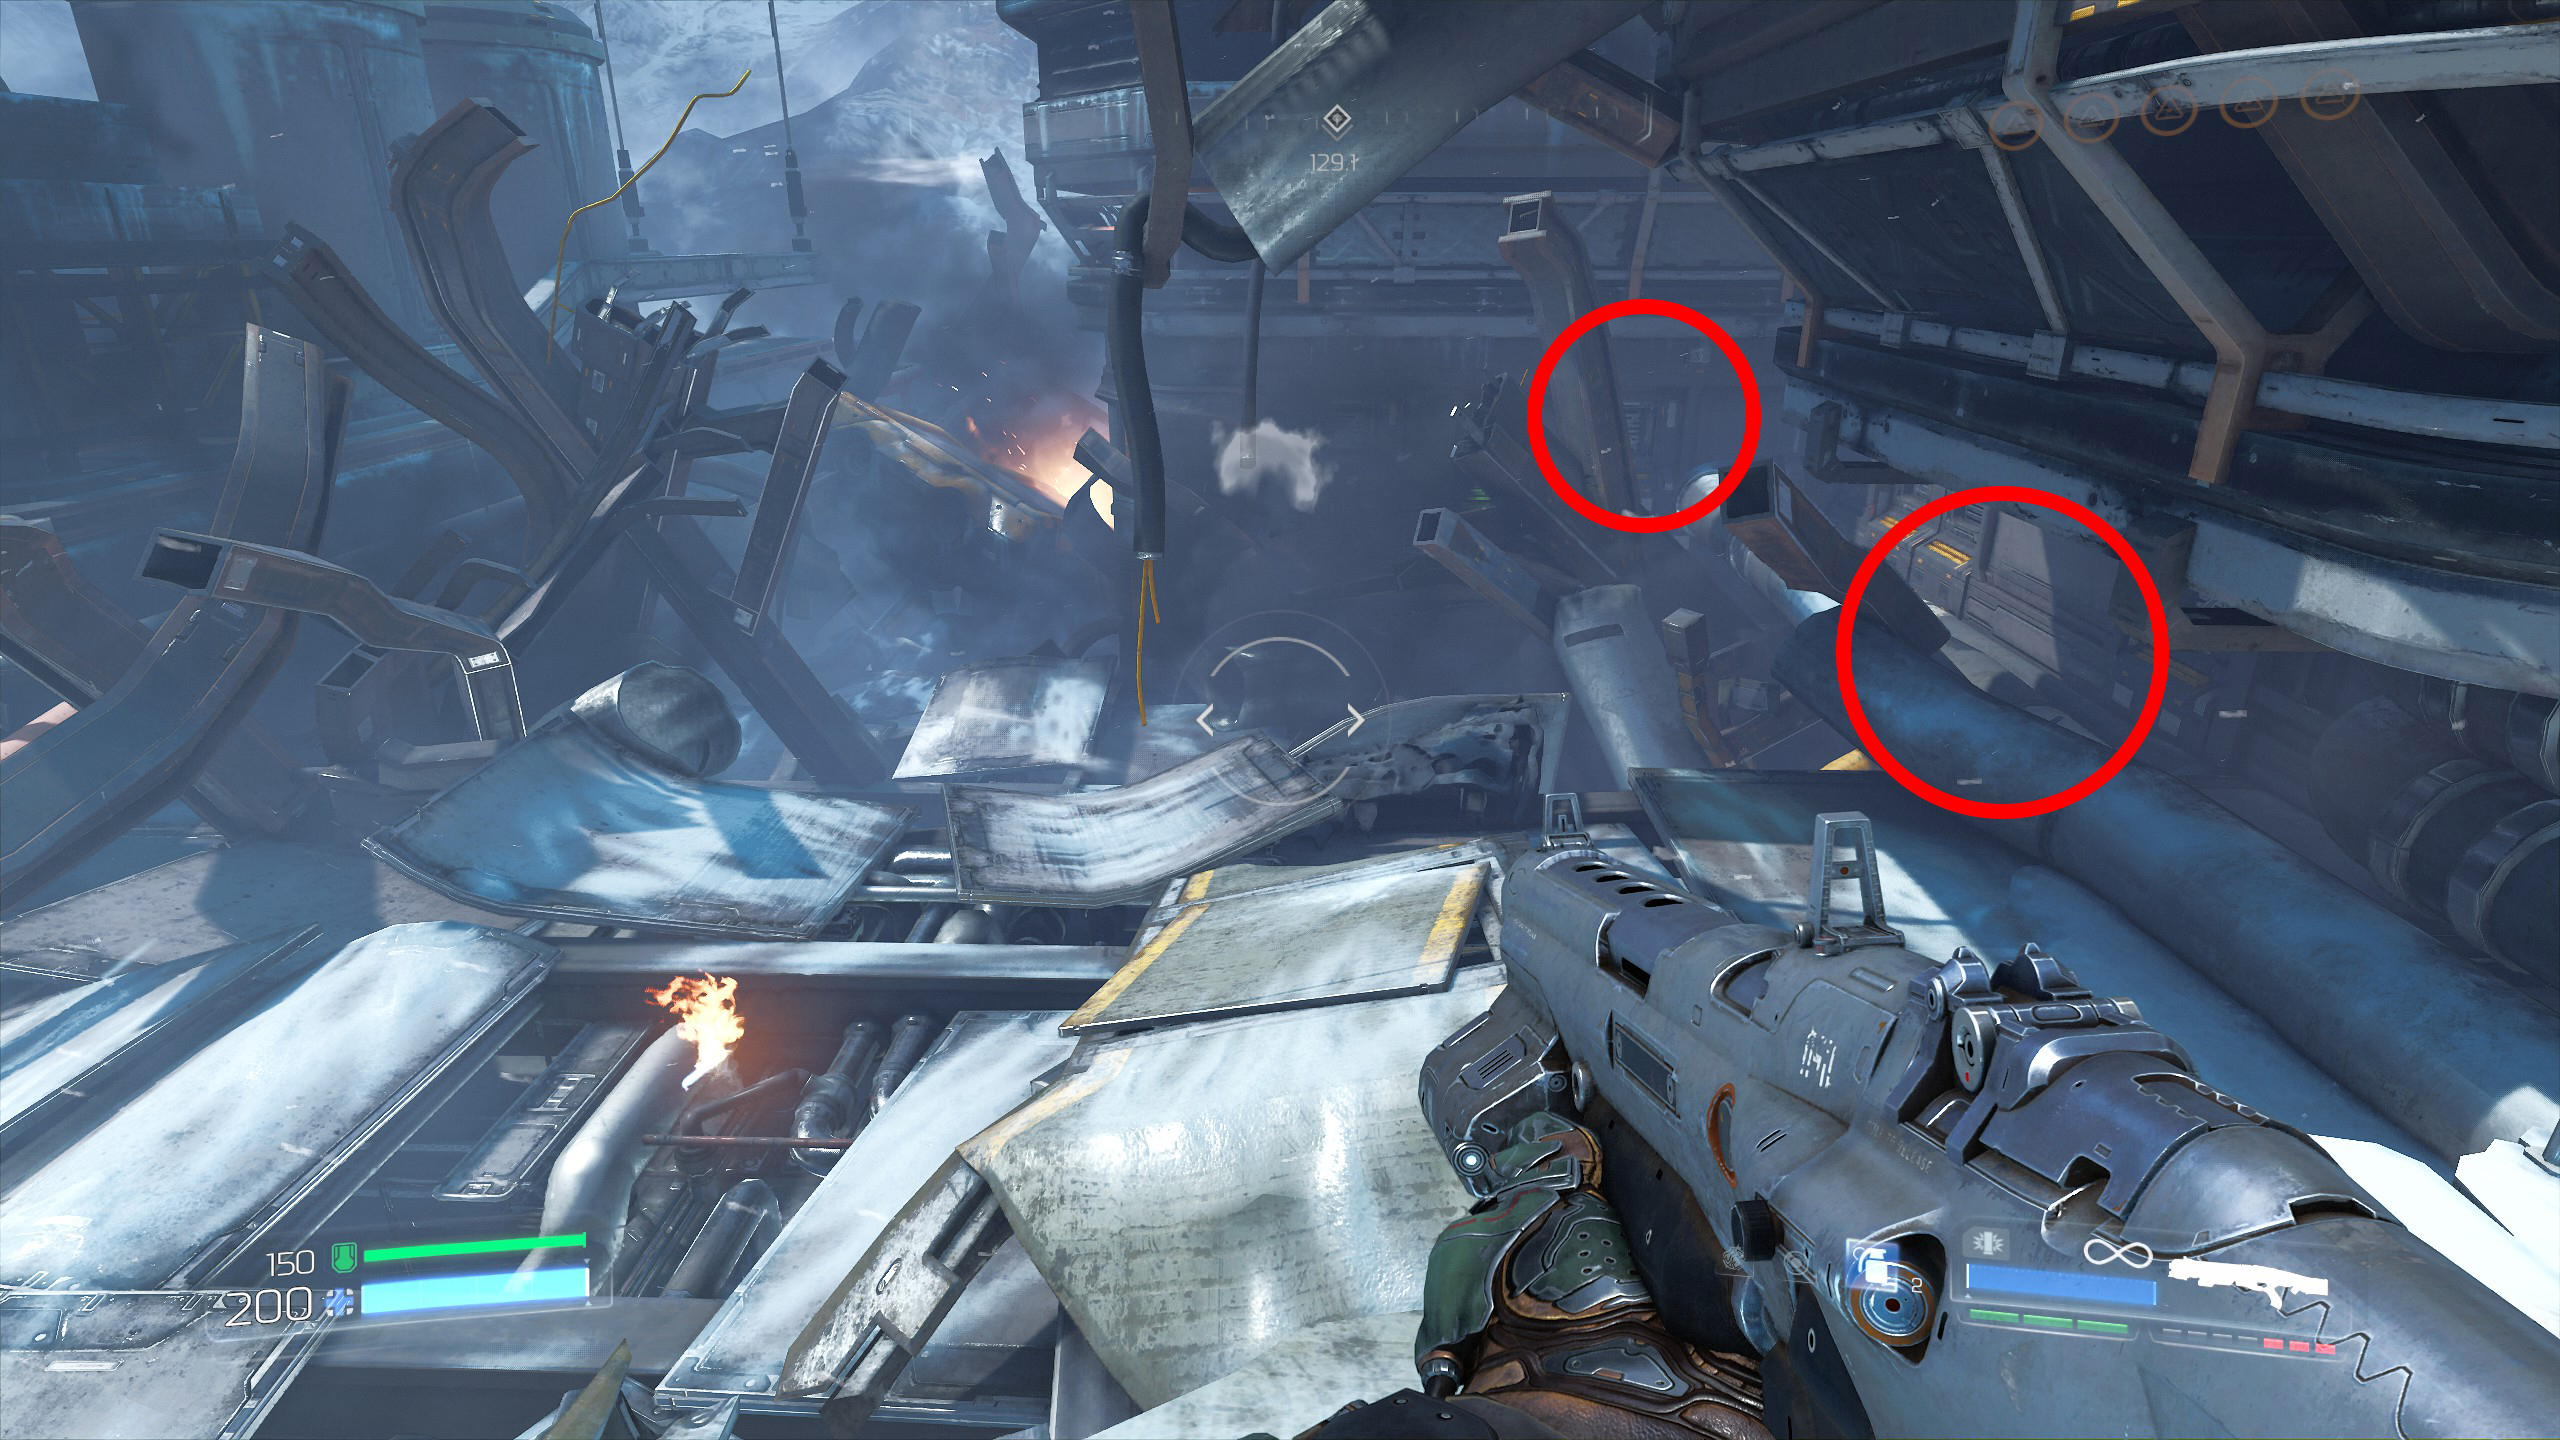
Under the rock platform is a tunnel containing our secret and the entrance to the tunnel is facing the two vertical pipes you see opposite the platform.
You have two options here, you can either jump across to the entrance from a nearby platform lower down which i didn't realise when writing this guide or you can follow my way and drop down from the rock platform landing at the tunnel entrance (highlighted in the right screenshot below). If you are going to drop down then line up the point on the edge of the rock with the smaller of the two pipes as shown in the left screenshot below then walk backwards in the same direction and drop down off the rock landing on the edge of the tunnel.
When you drop down just keep hold of the forward button and be prepared to double jump in case you miss the landing, this might take a few tries which is why you need the checkpoint first.
Once you make it then inside will be an Elite Guard and secret number 3.
Now you can continue the mission.
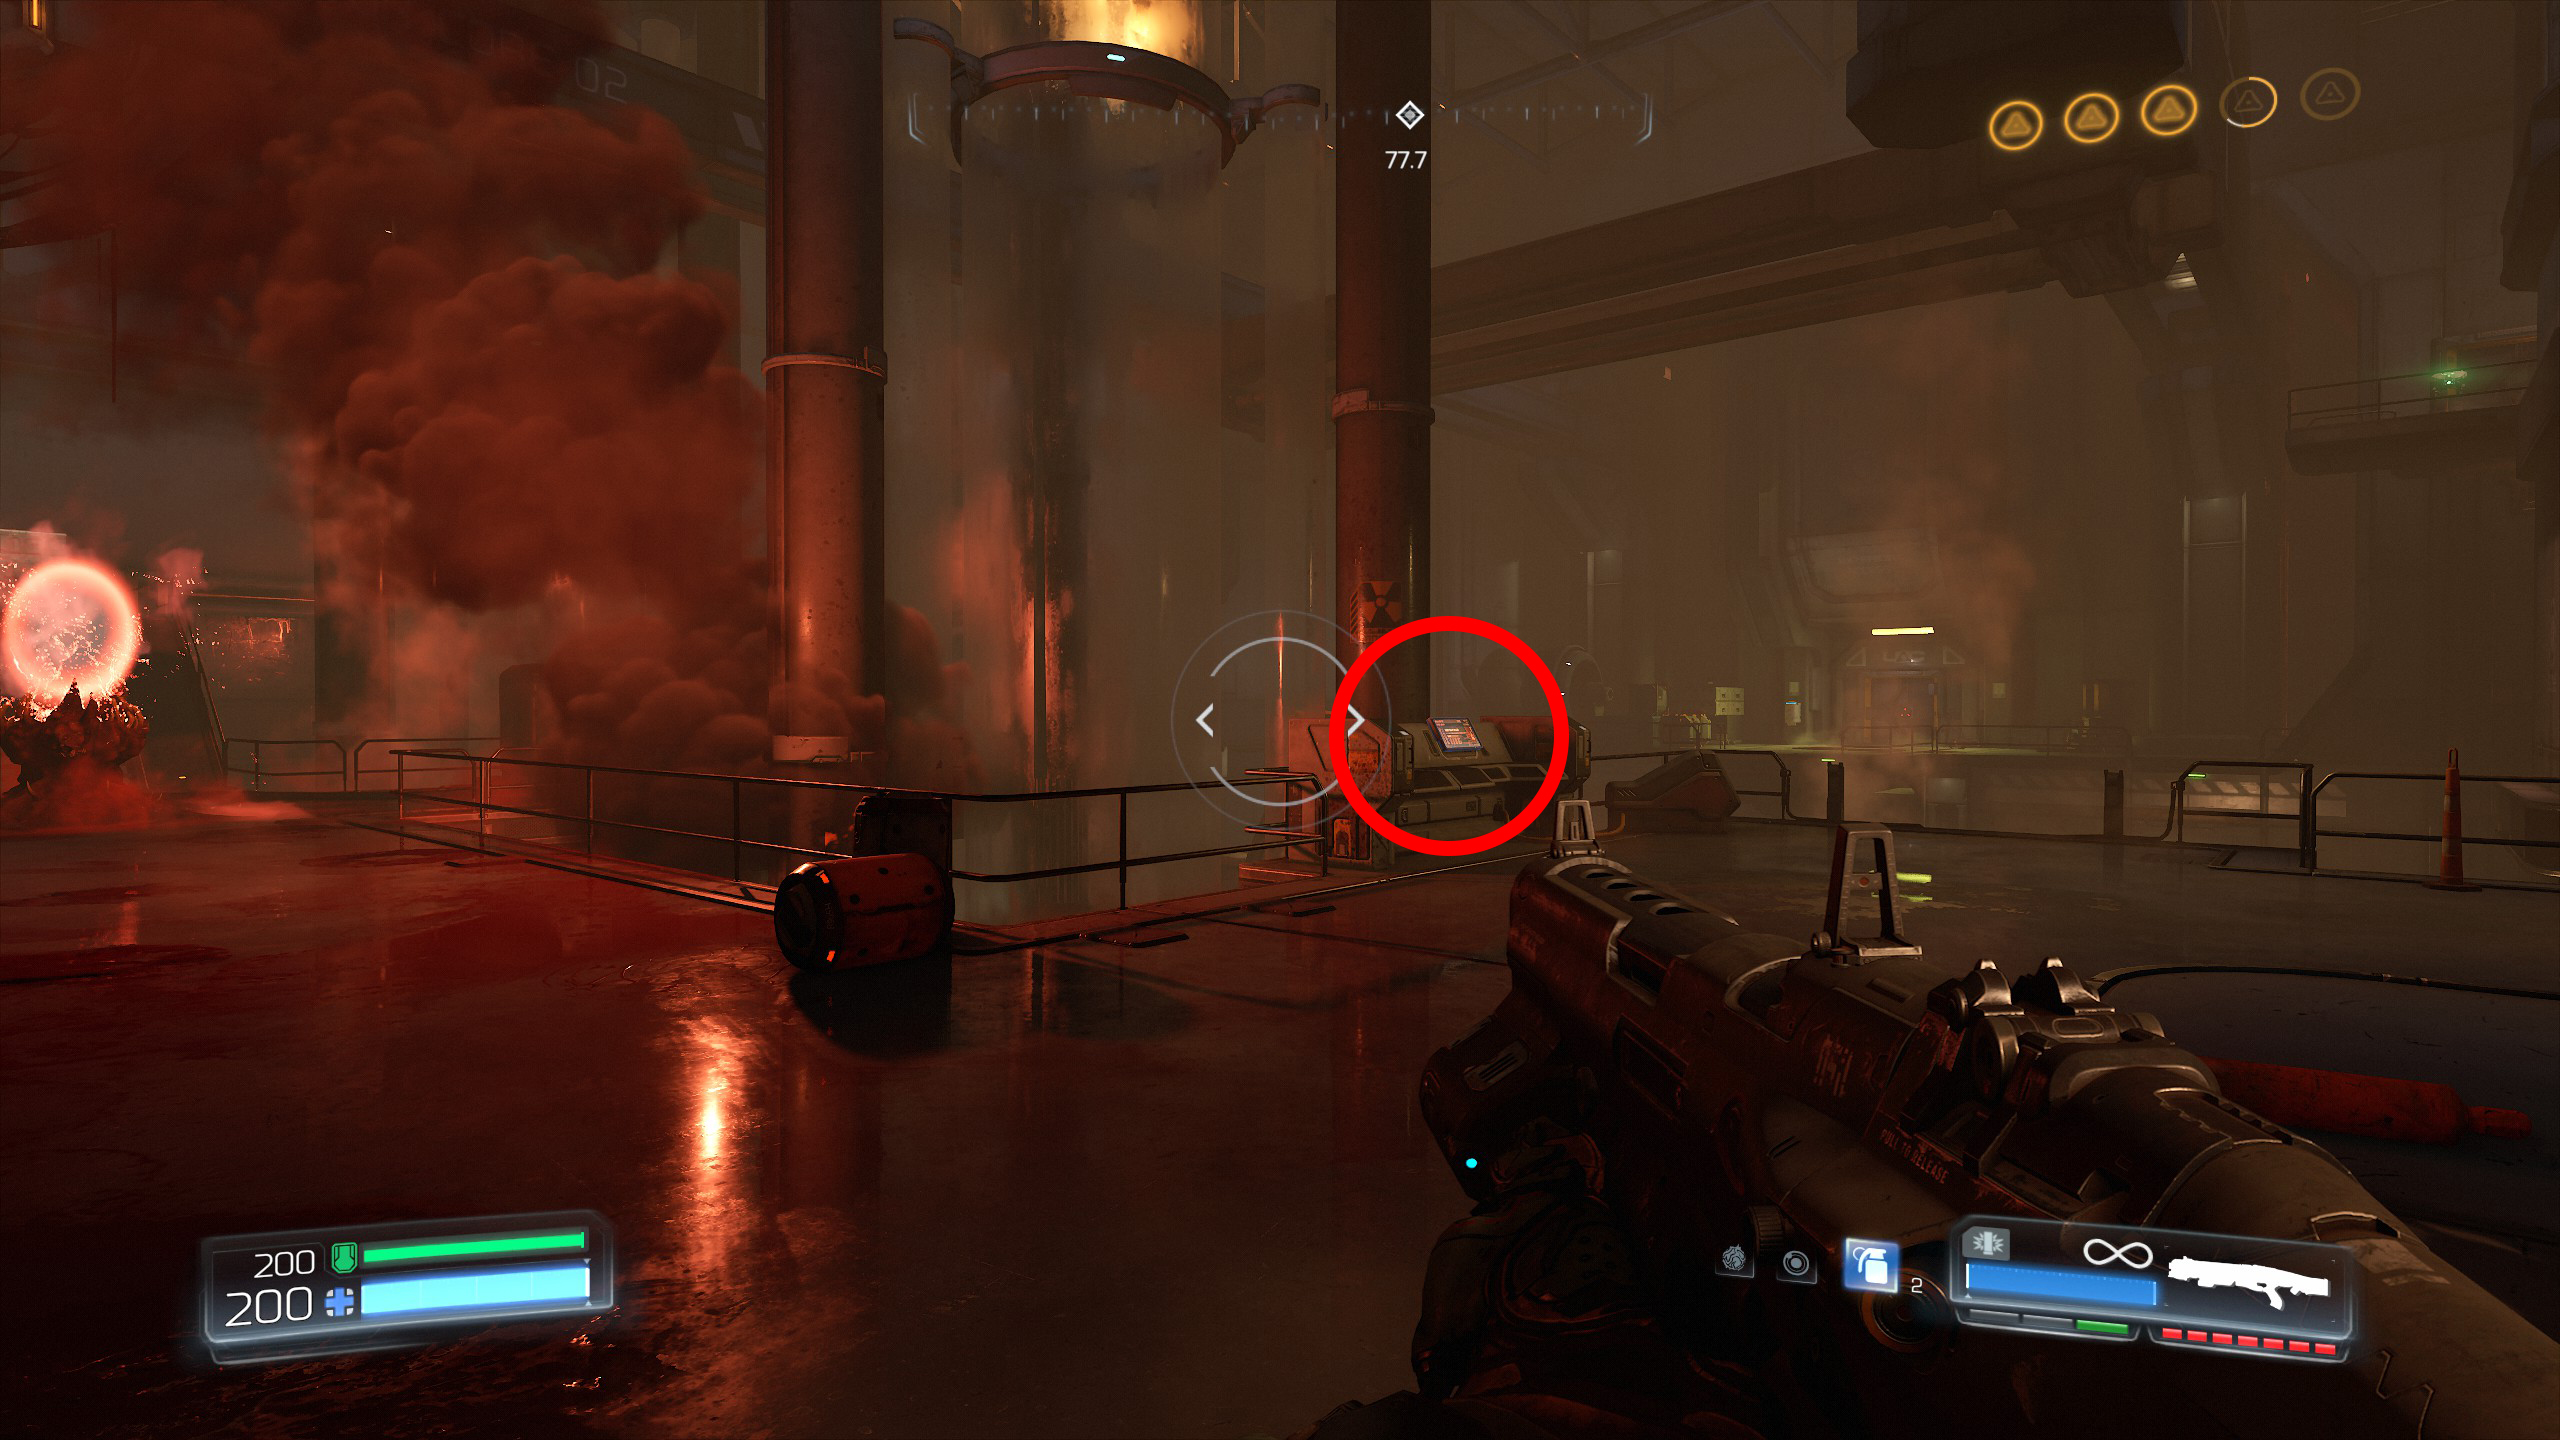
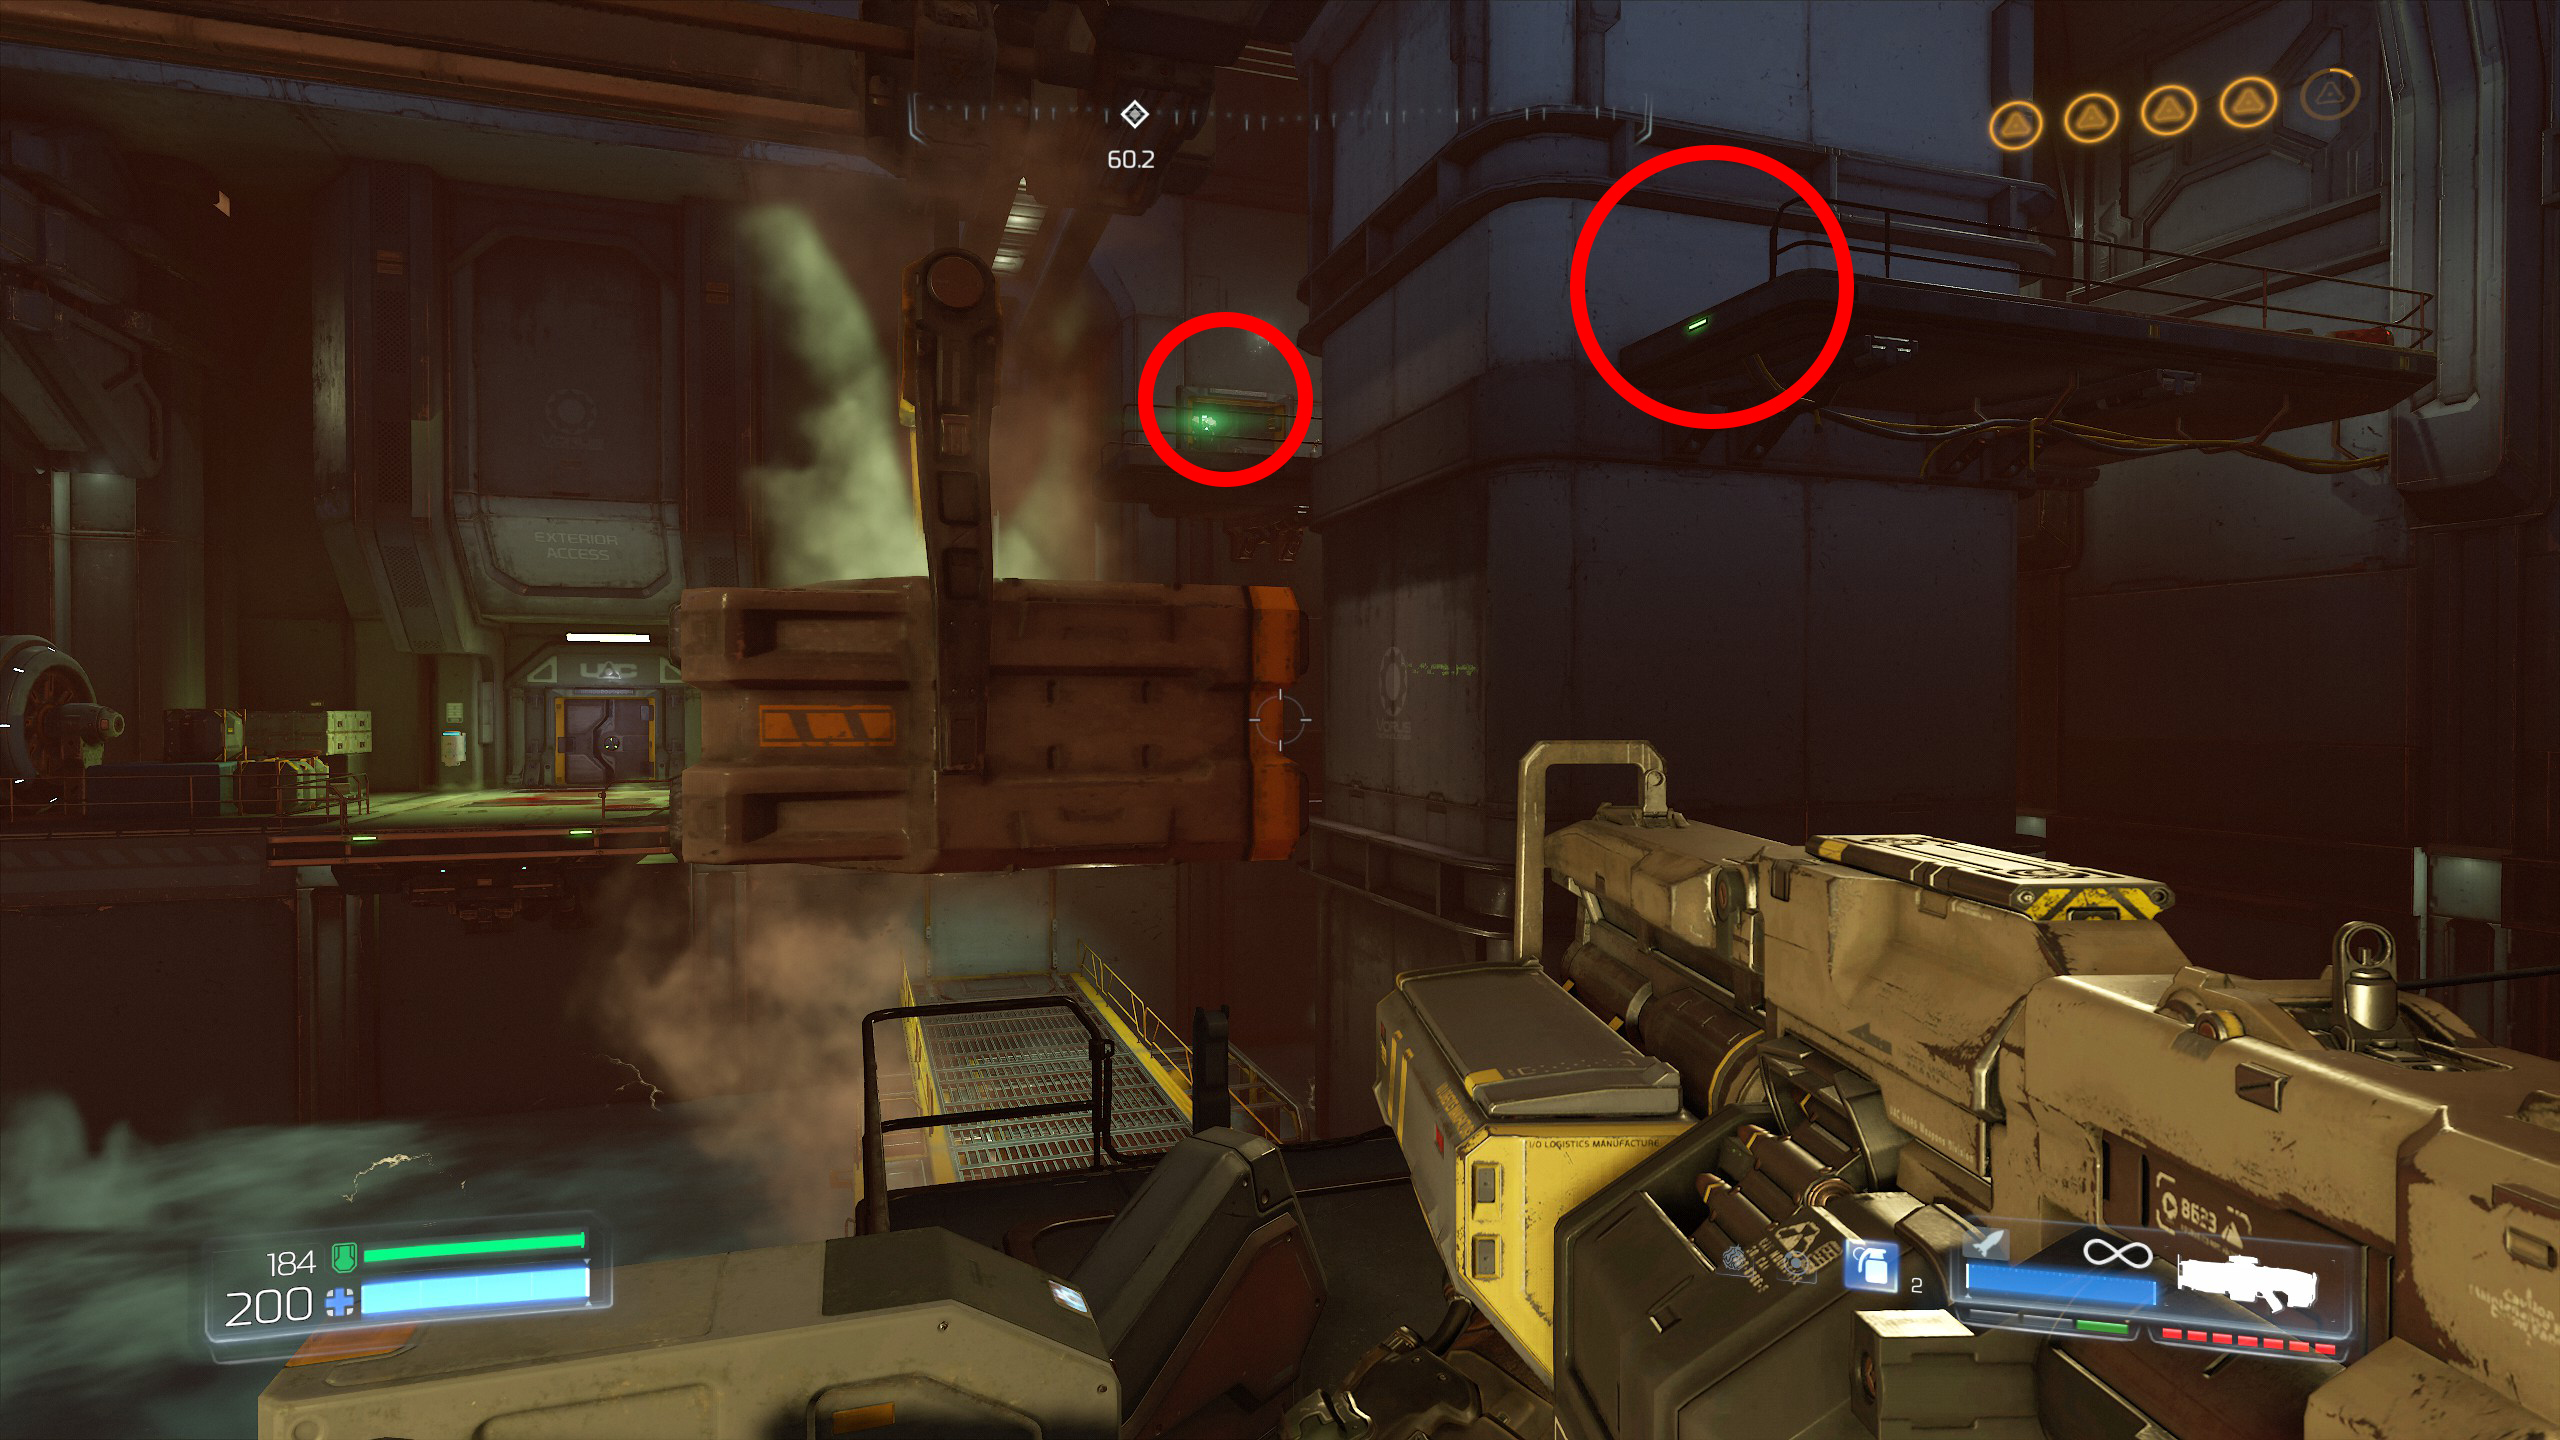
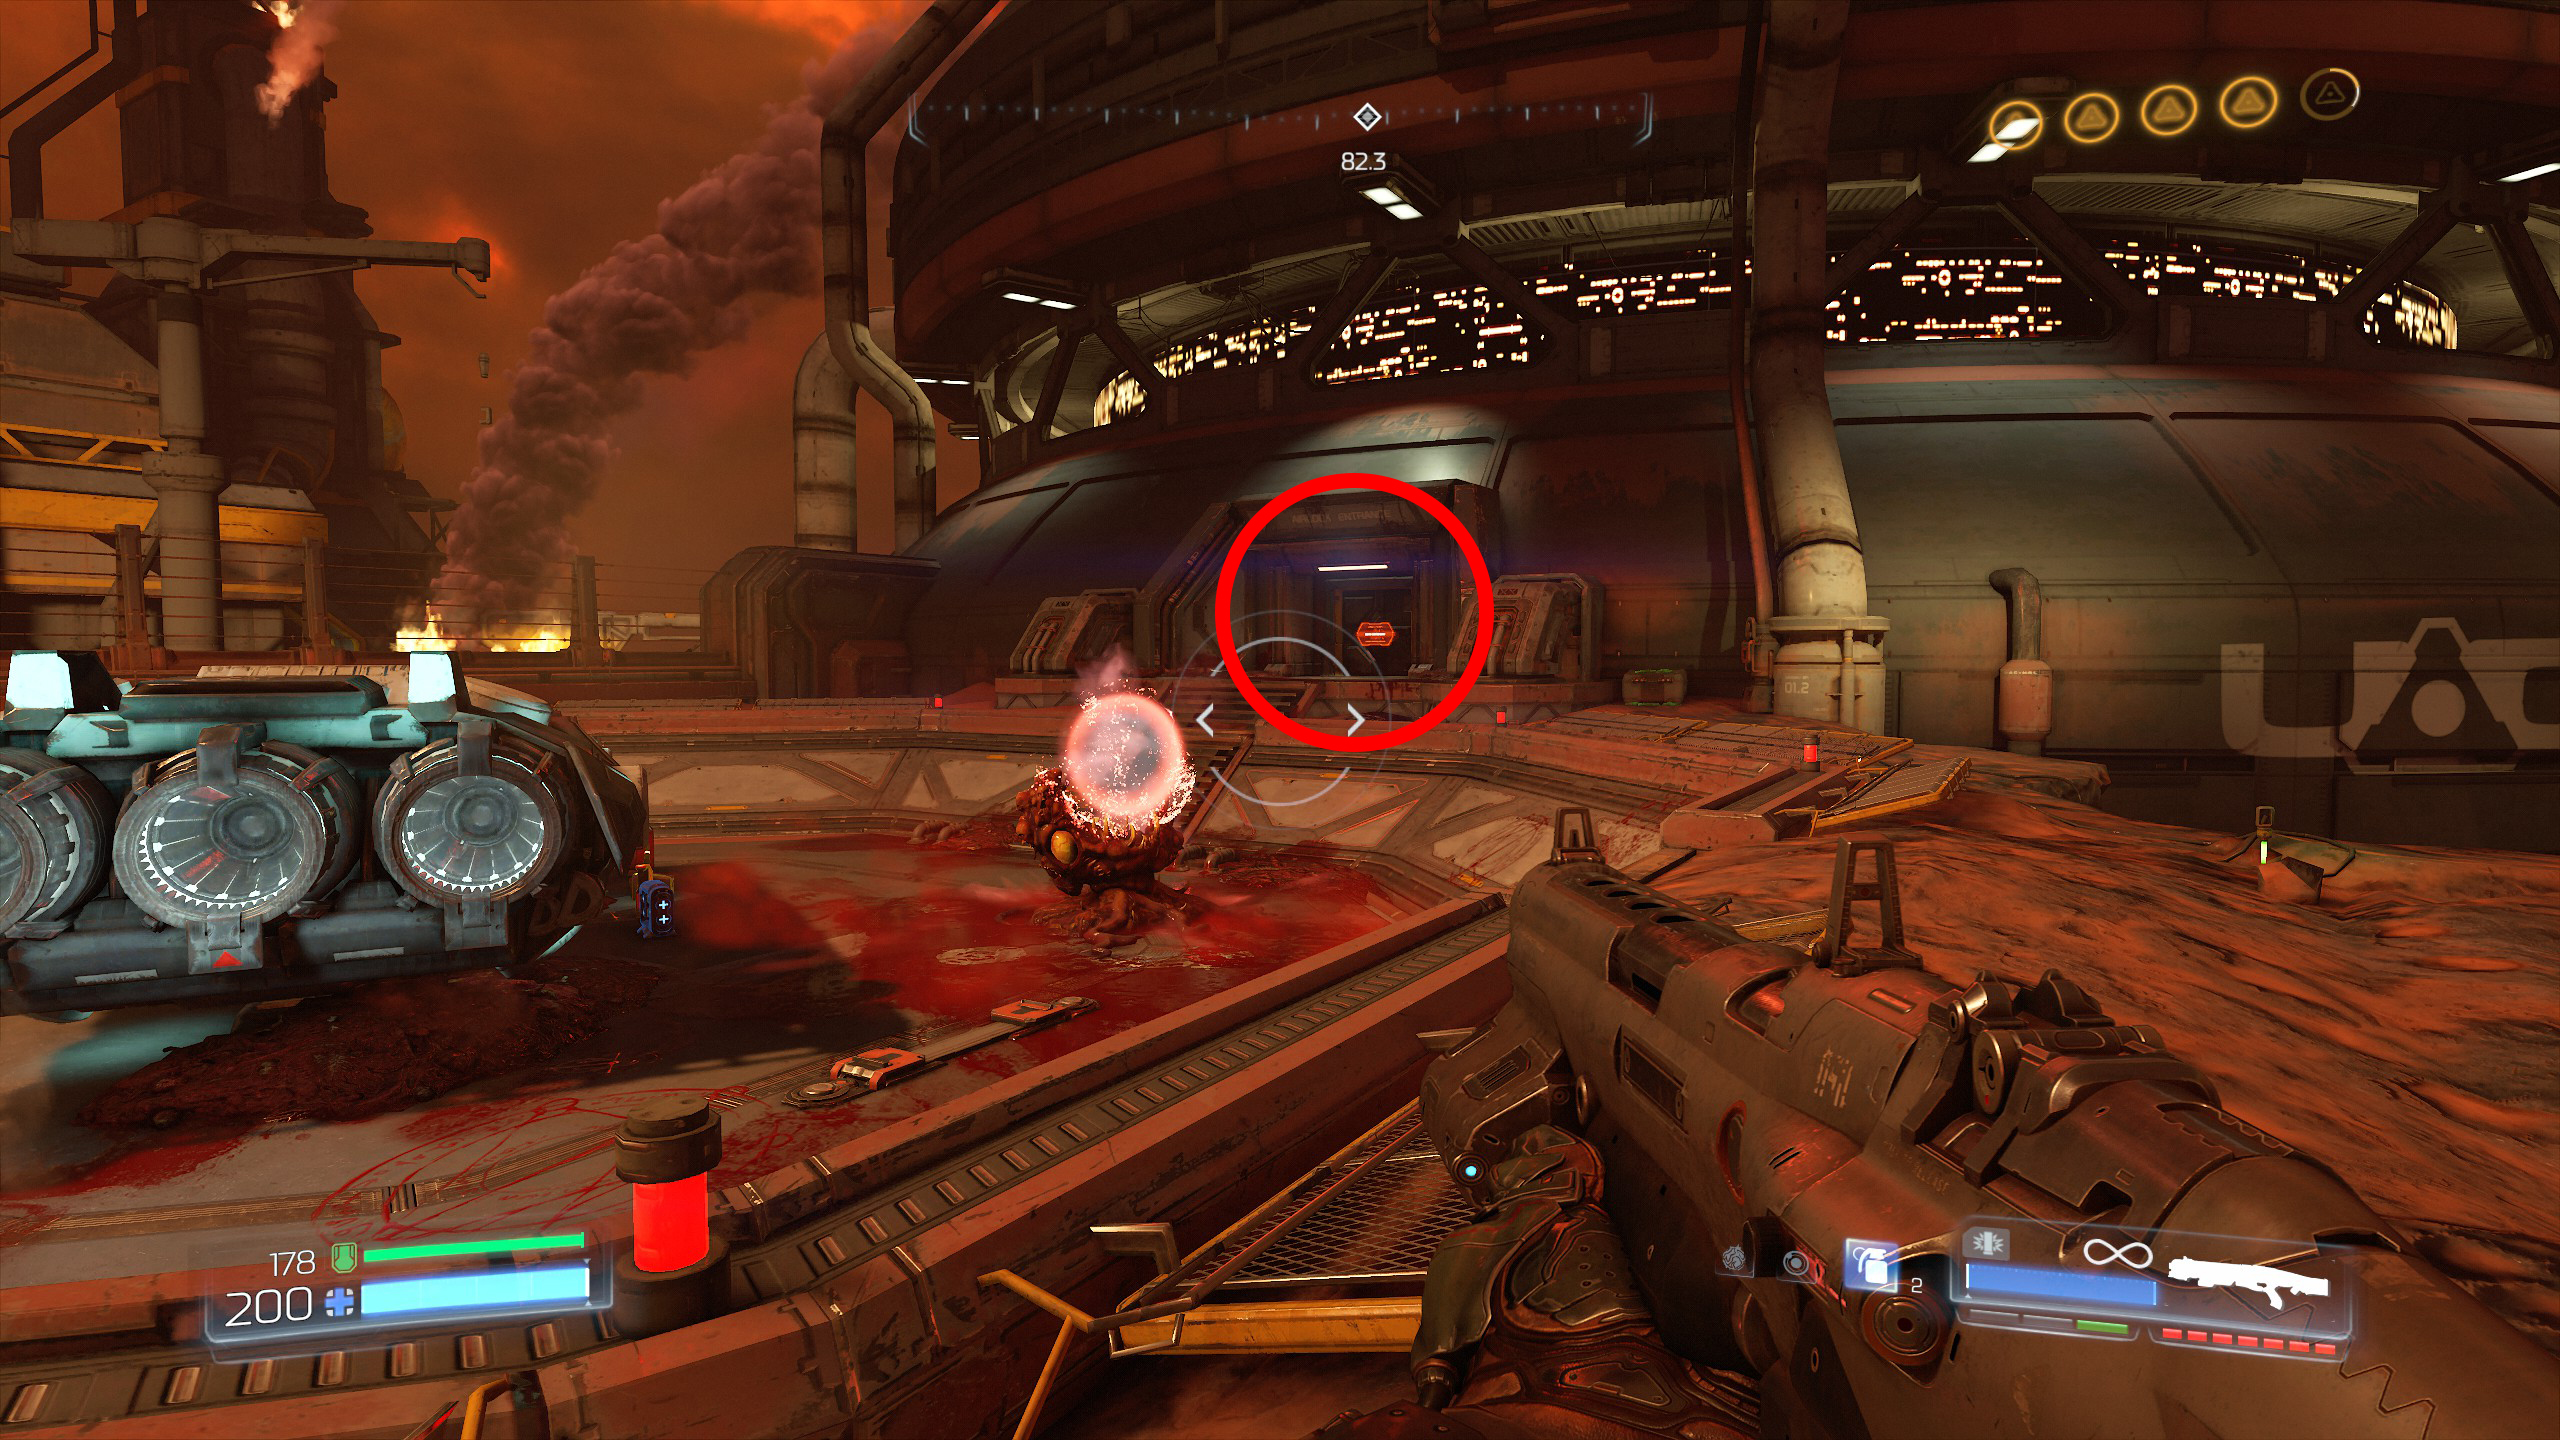
When you enter activate the terminal nearby, this should be to the right side as you face the hive and once activated will move the large crate next to you, this will then allow you to climb the crate to reach the upper right platform.
Once up follow the path around to find a Field Drone and secret number 4.
On with the mission.
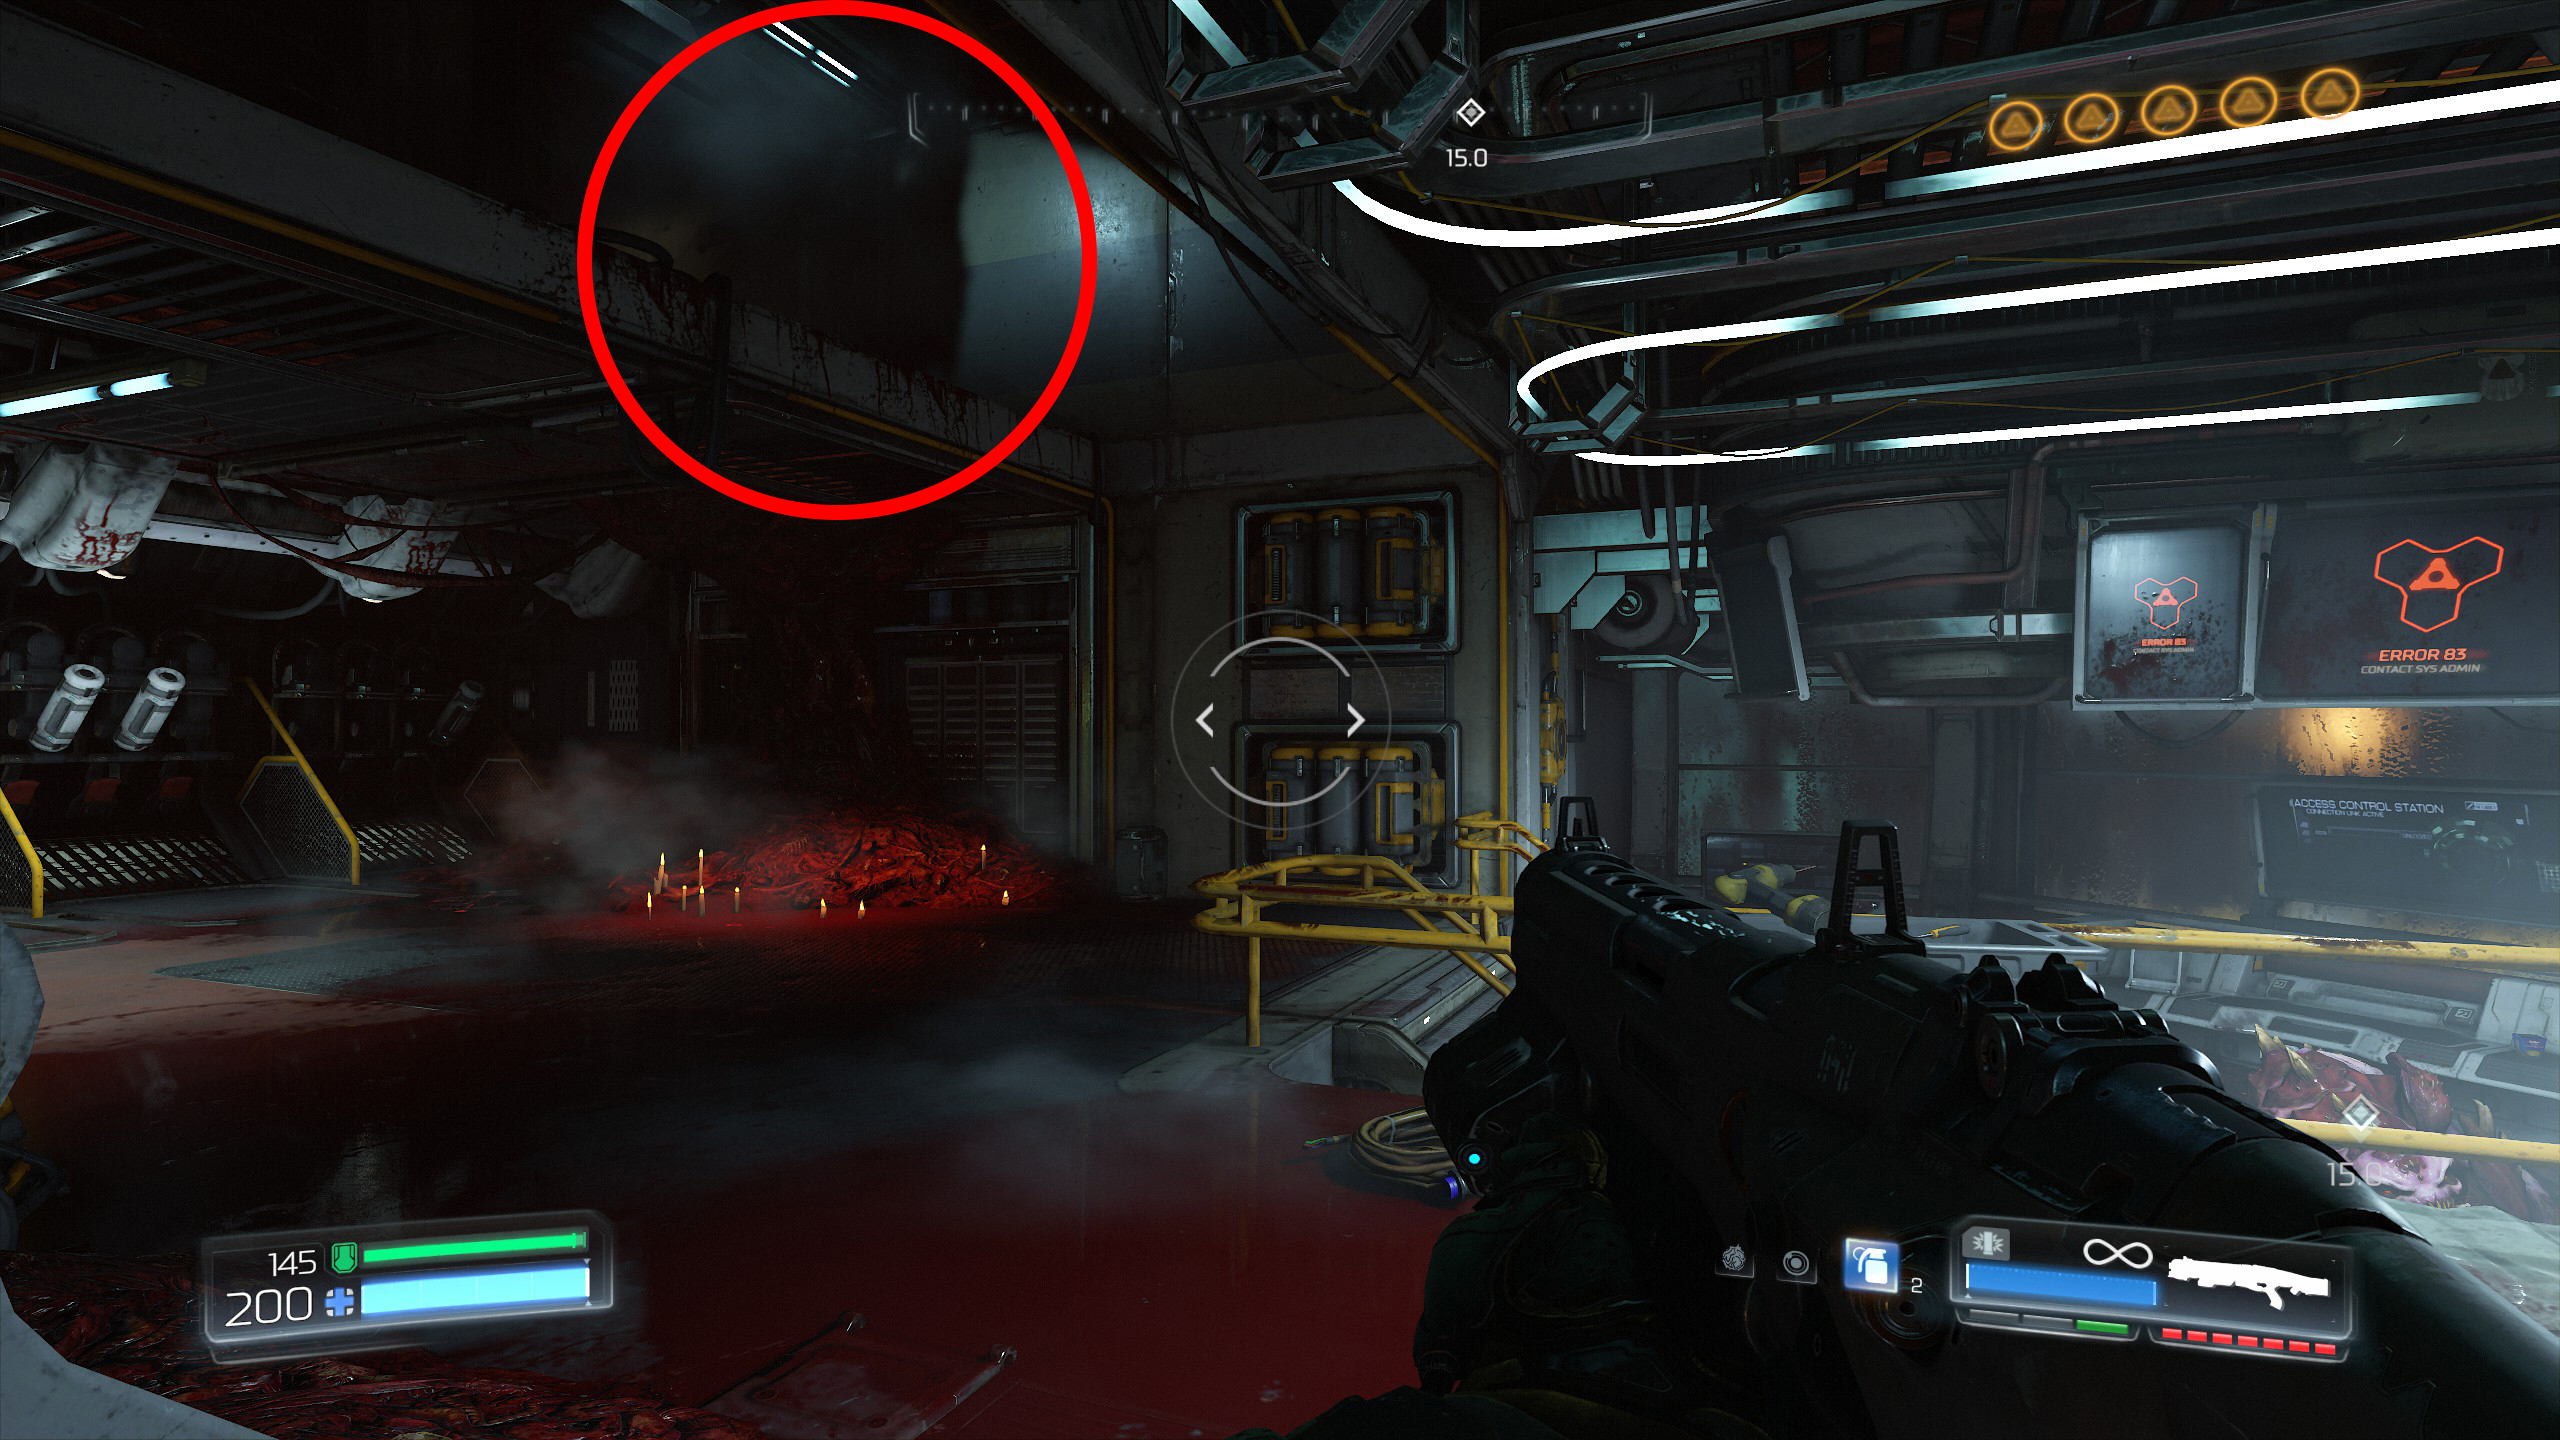
When inside face the mission objective and in the upper left corner is a small room you can climb up to, inside will be your final secret for the mission, secret number 6 which is another Doomguy.
Mission complete.
Mission 8 - Advanced Research Complex
Start the mission on the train and step off on the left side, face the UAC sign and head up the left stairway until you come to a few demons.
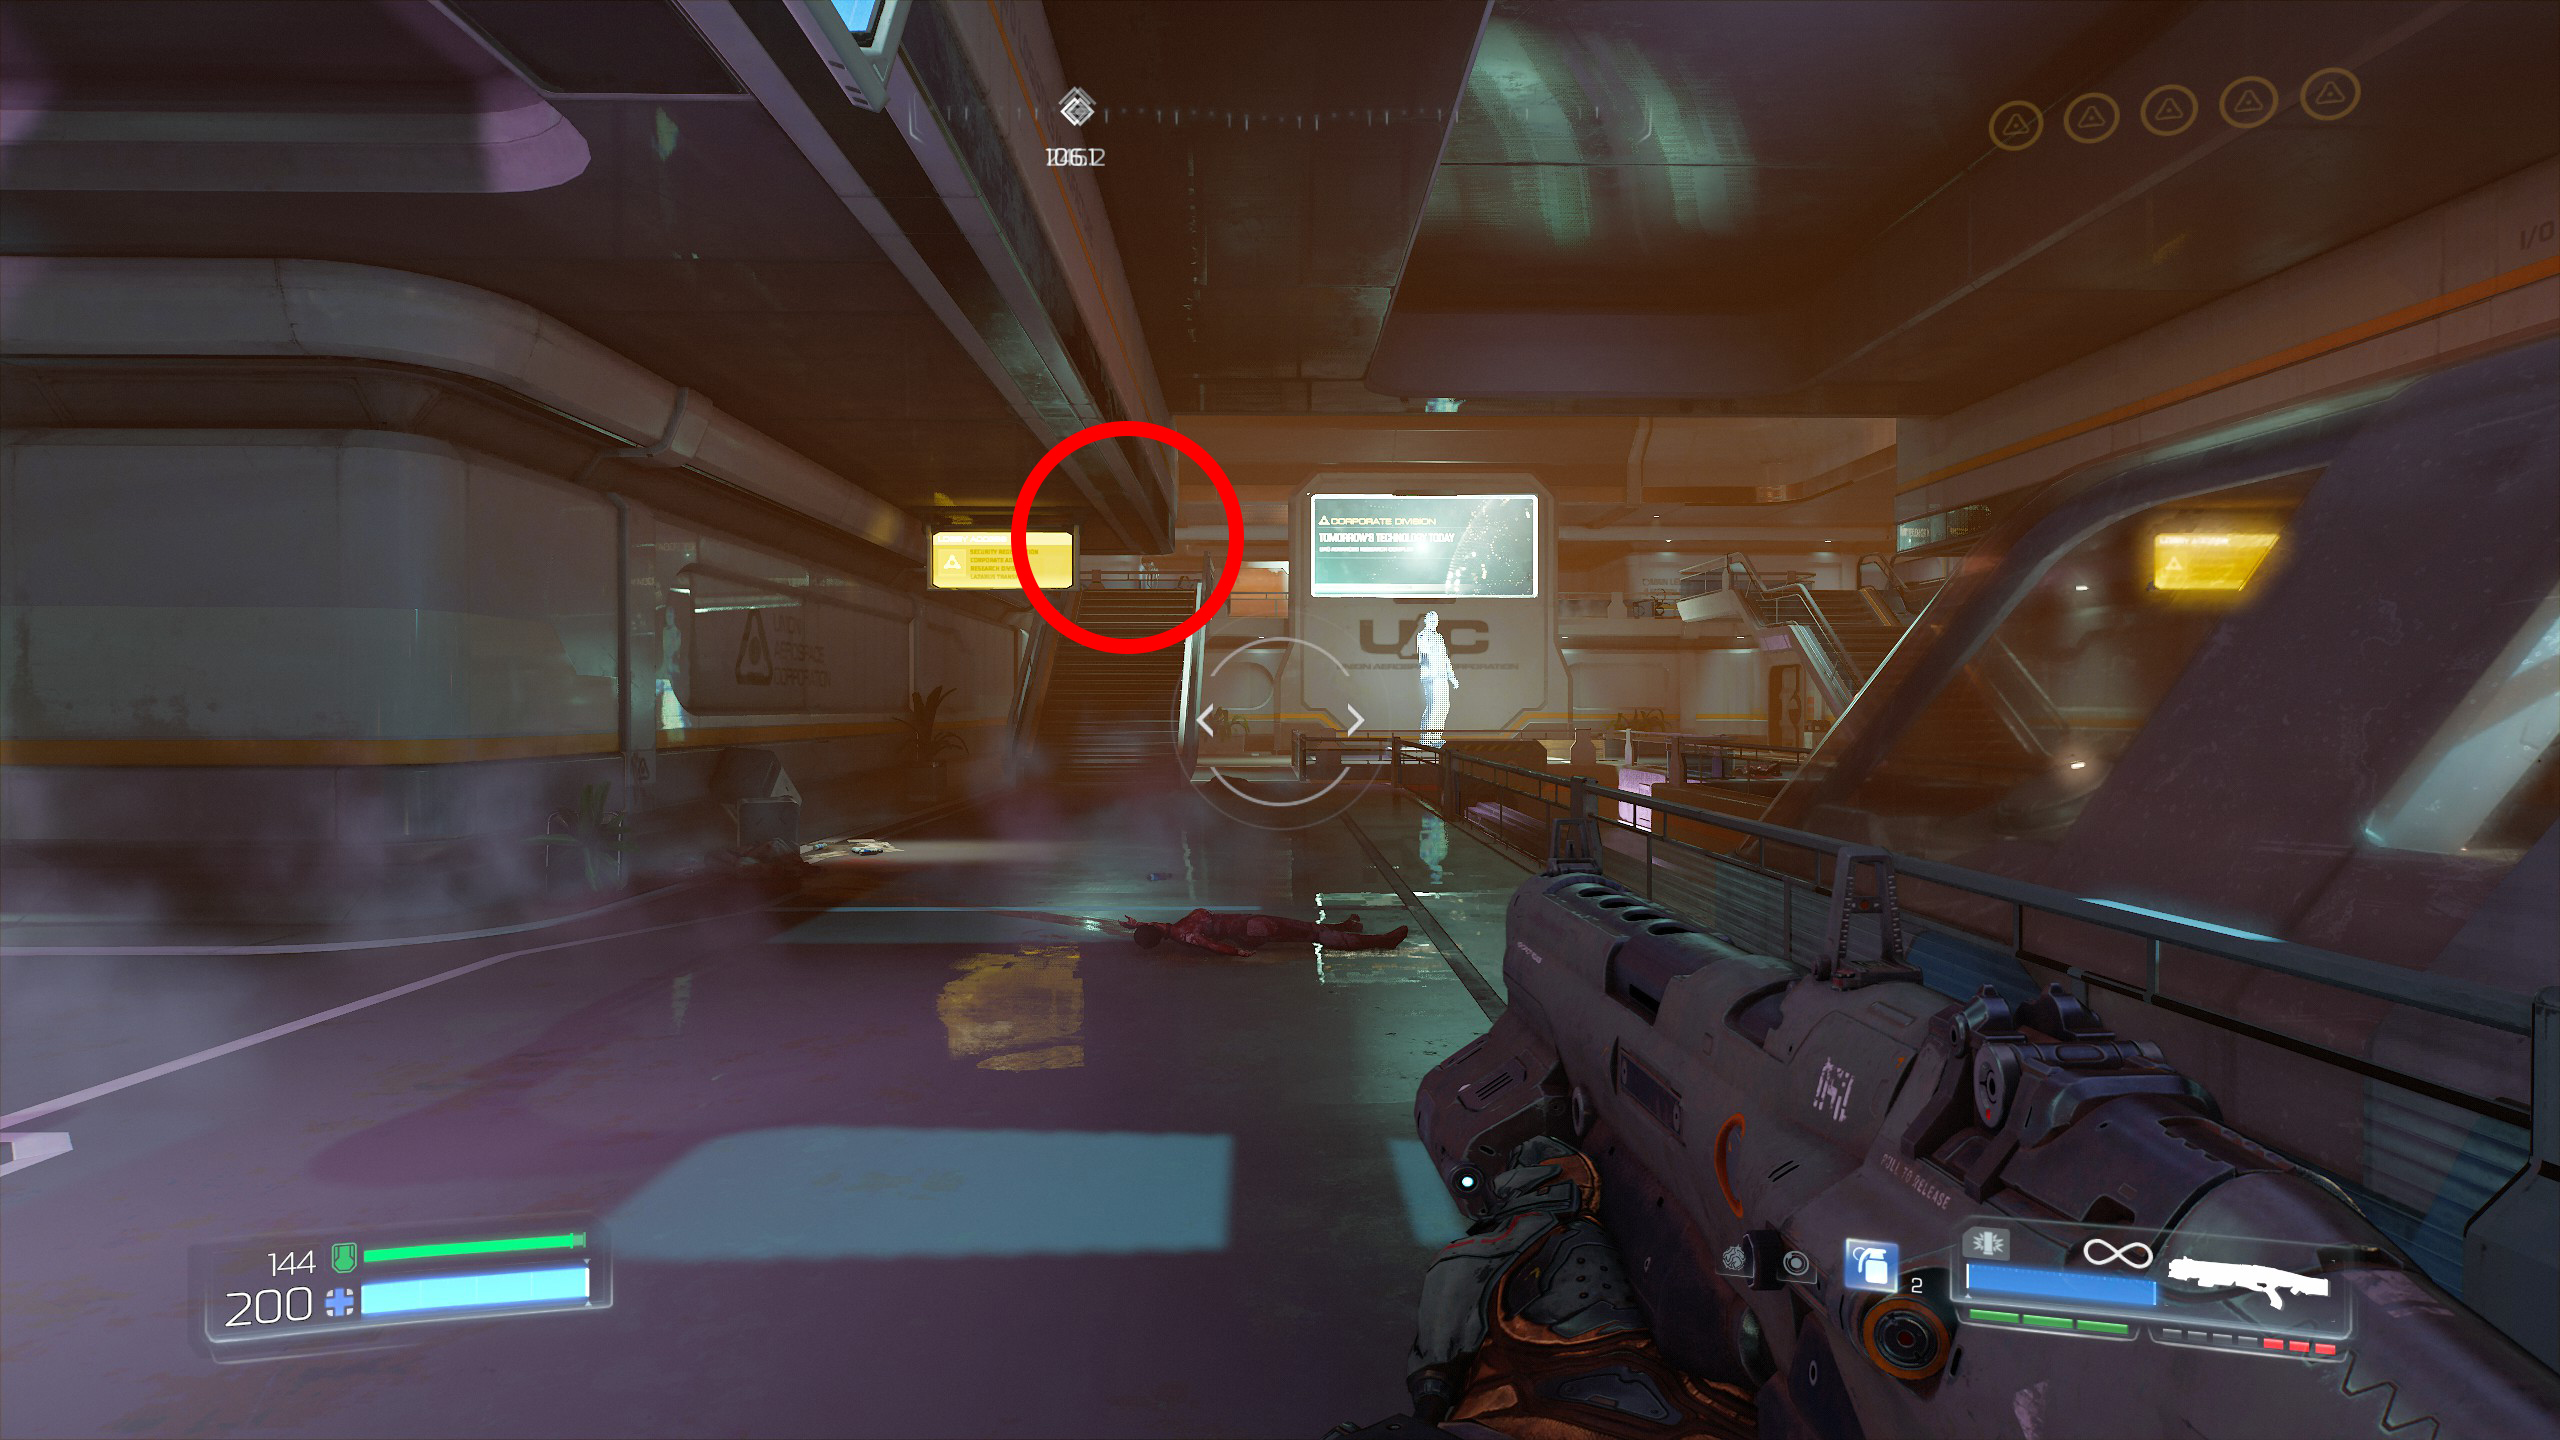
On the left side are two entrances to the bathrooms, take the right side entrance and inside climb the sink and climb up to the hatch in the ceiling.
Continue through the hatch into a room which contains an Elite Guard, Automap and of course secret number 1.
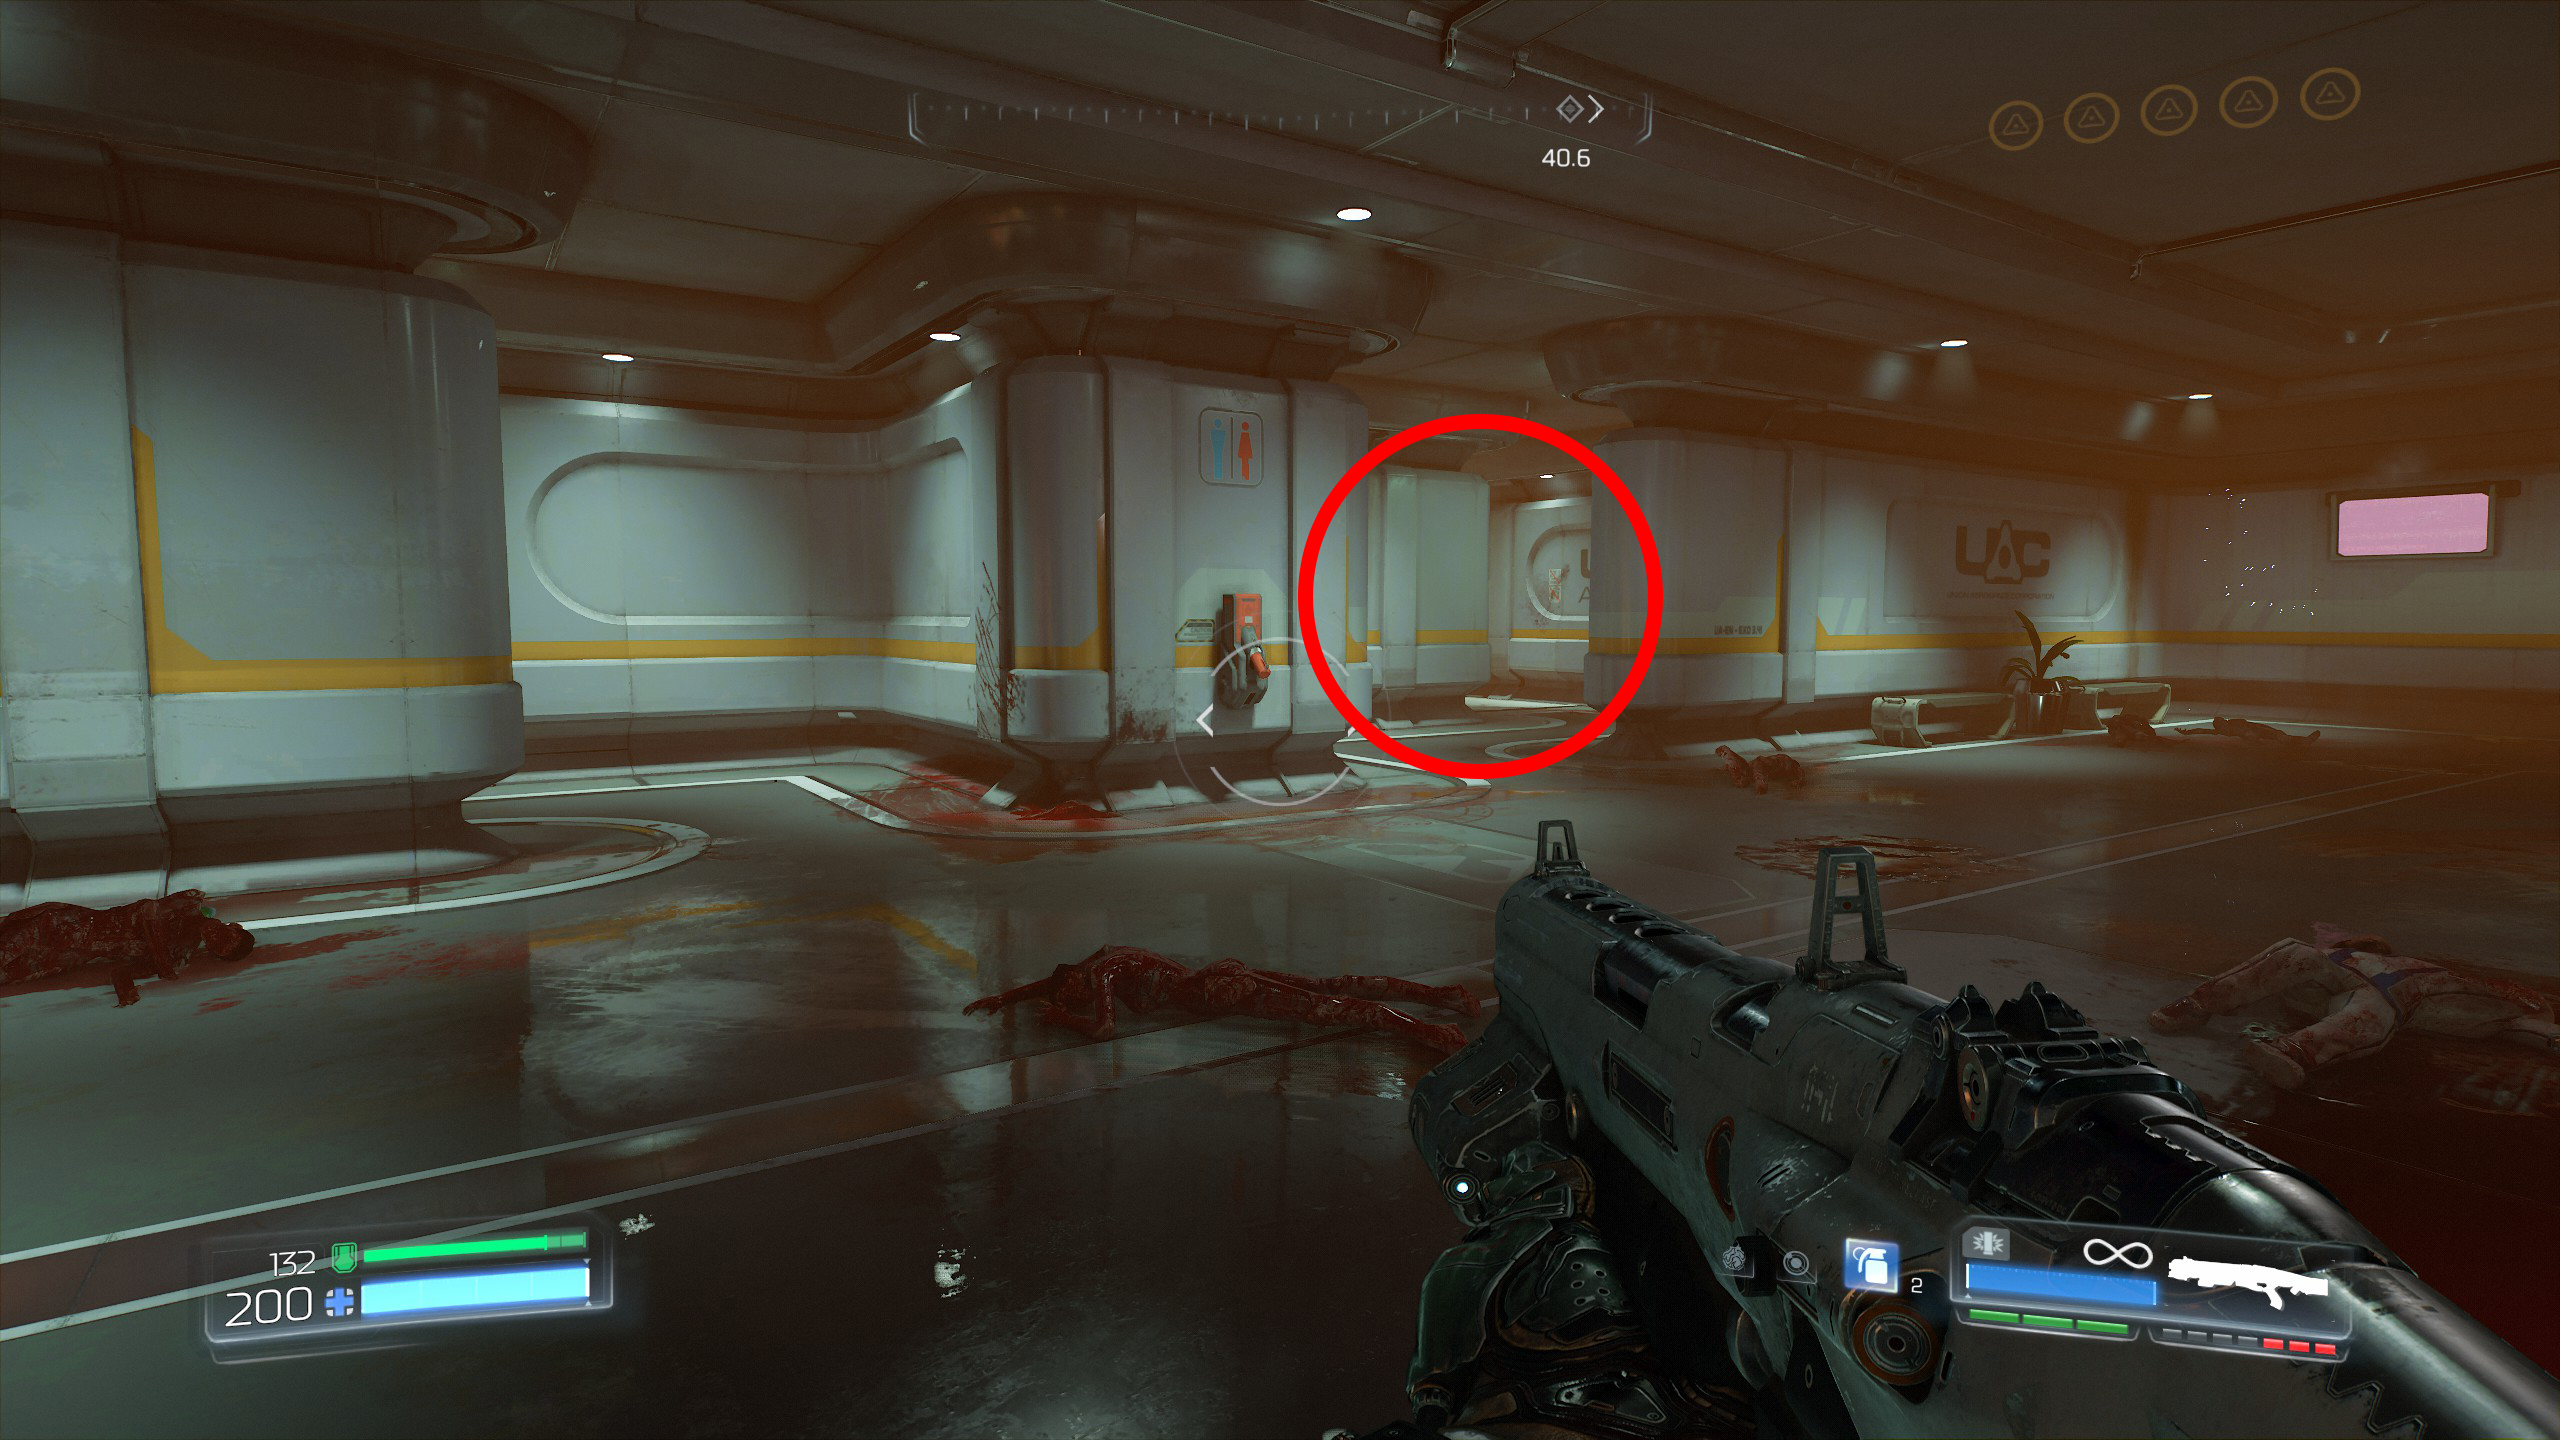
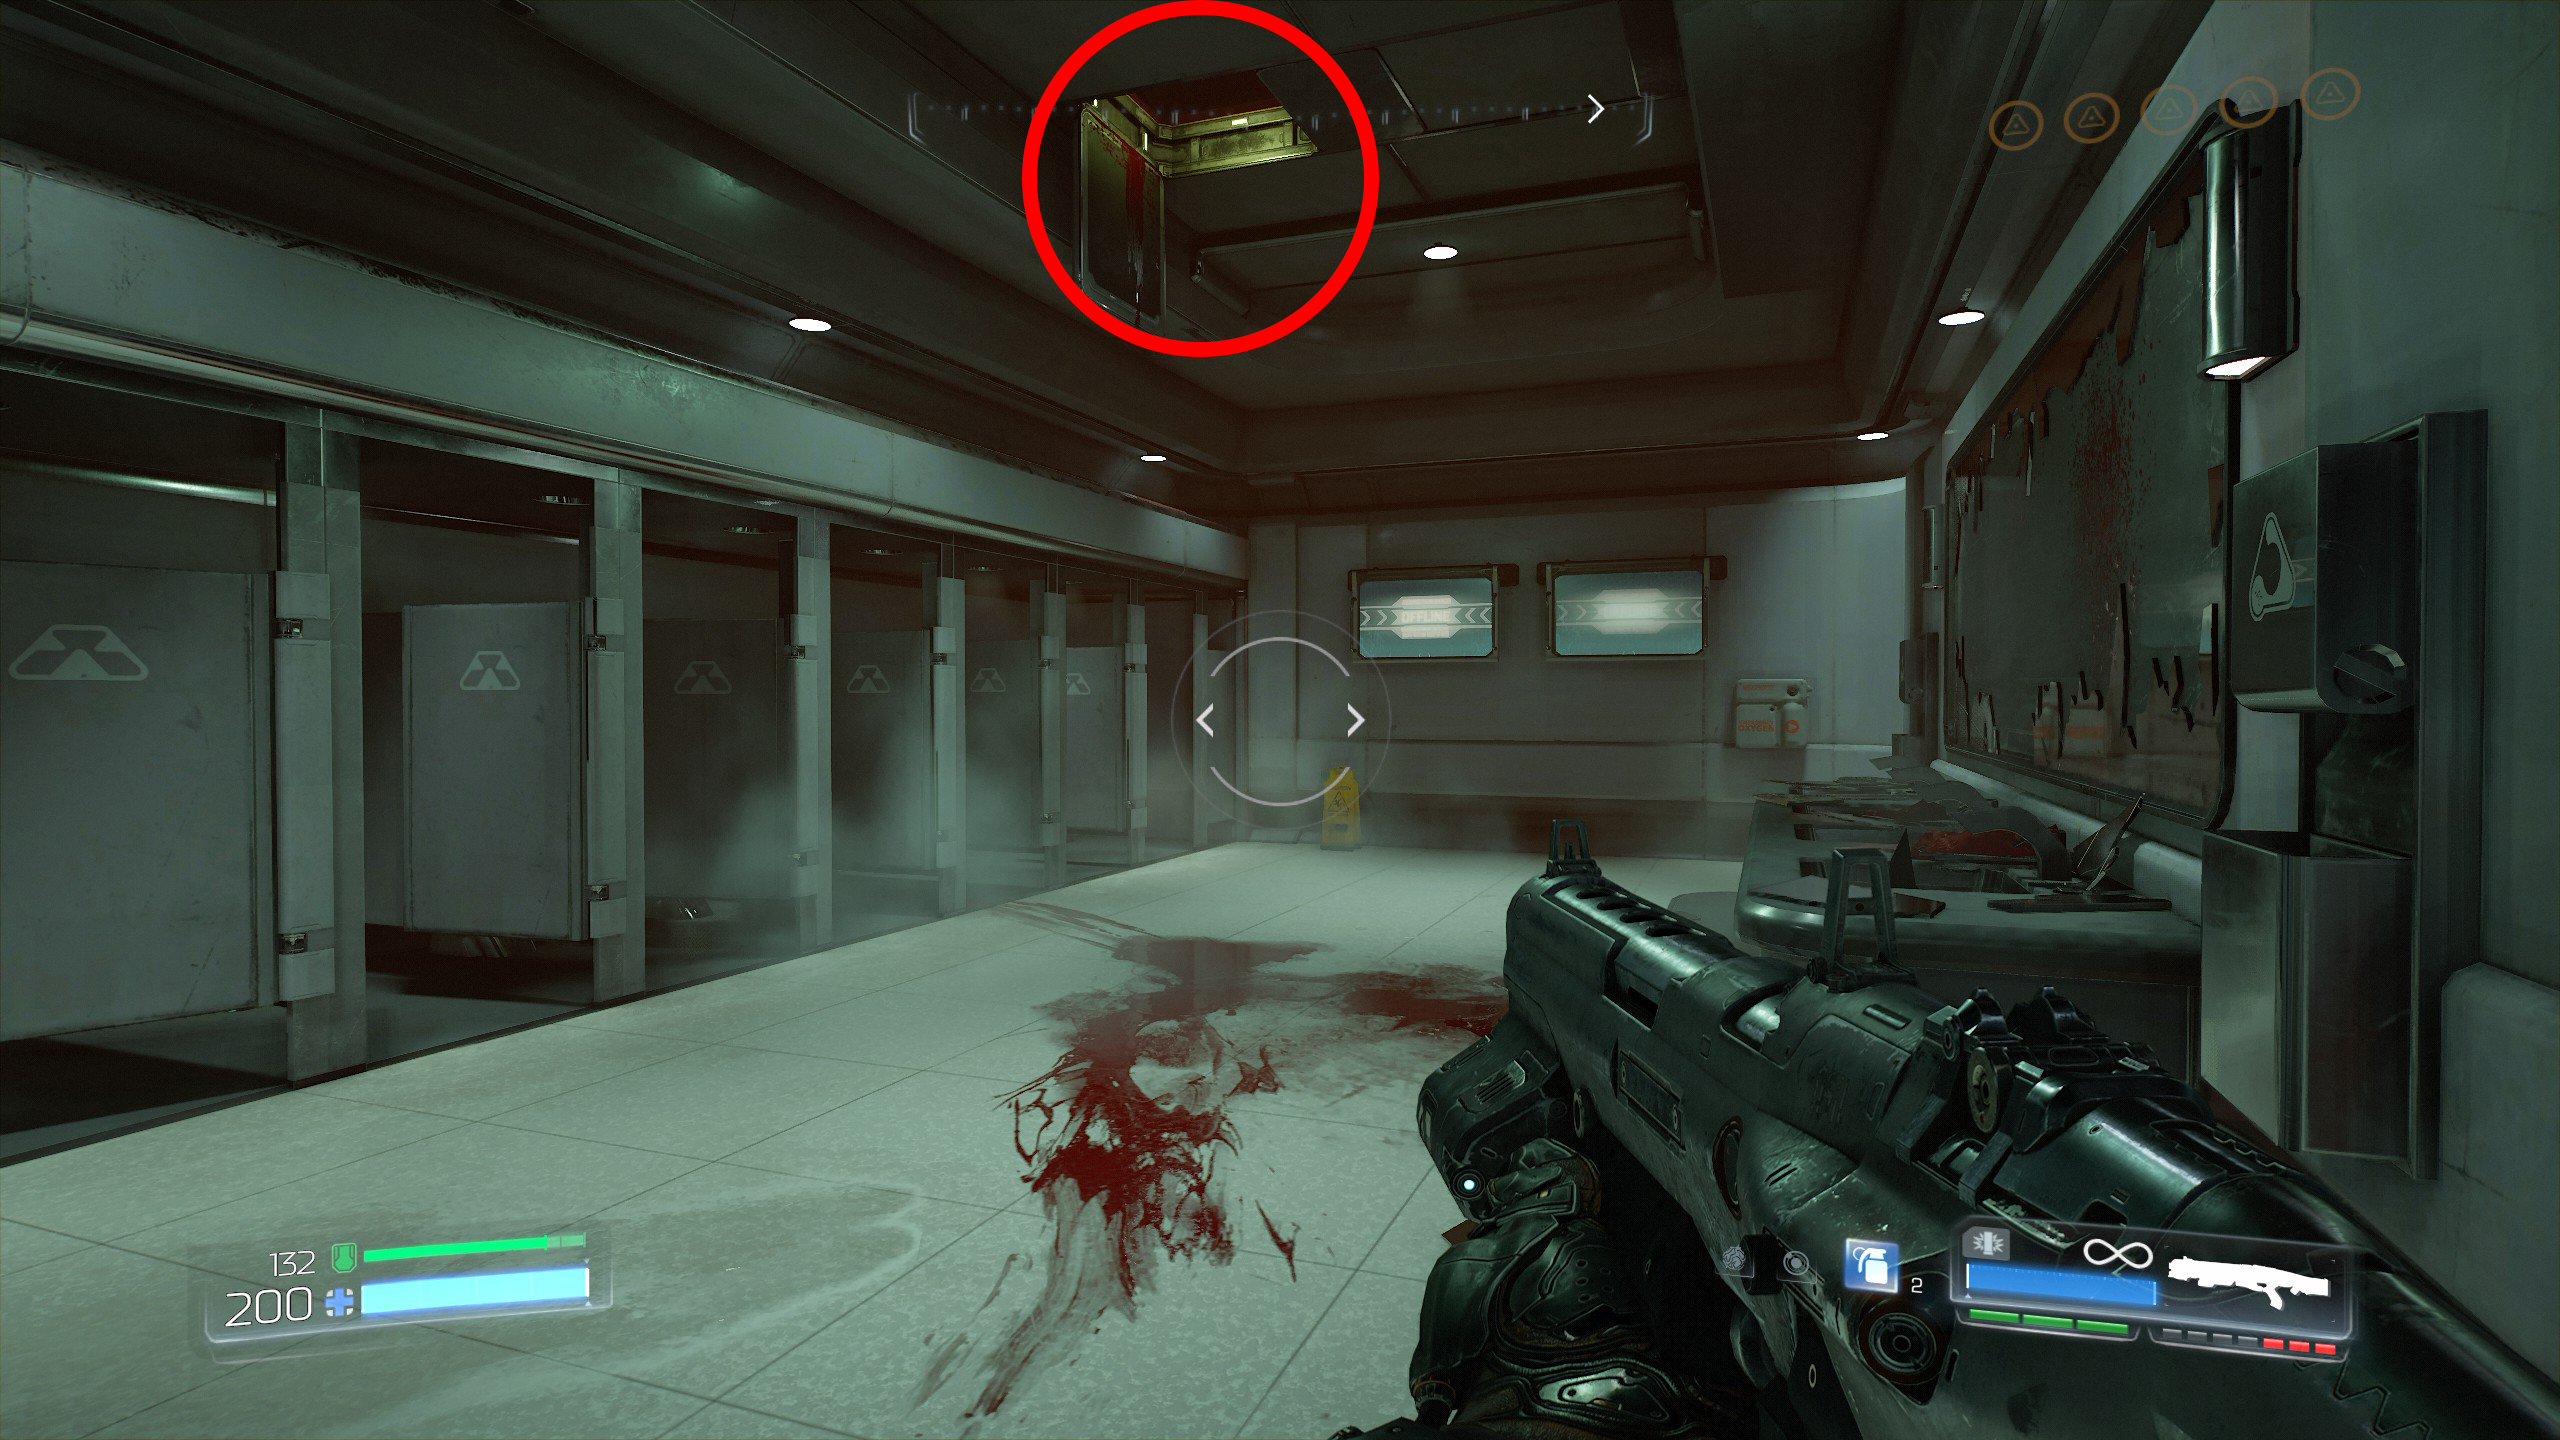
Continue the mission.
After speaking to Samuel in his office make your way towards the airlock that takes you outside, but before reaching the airlock take a left after exiting the elevator to grab an Elite Guard.
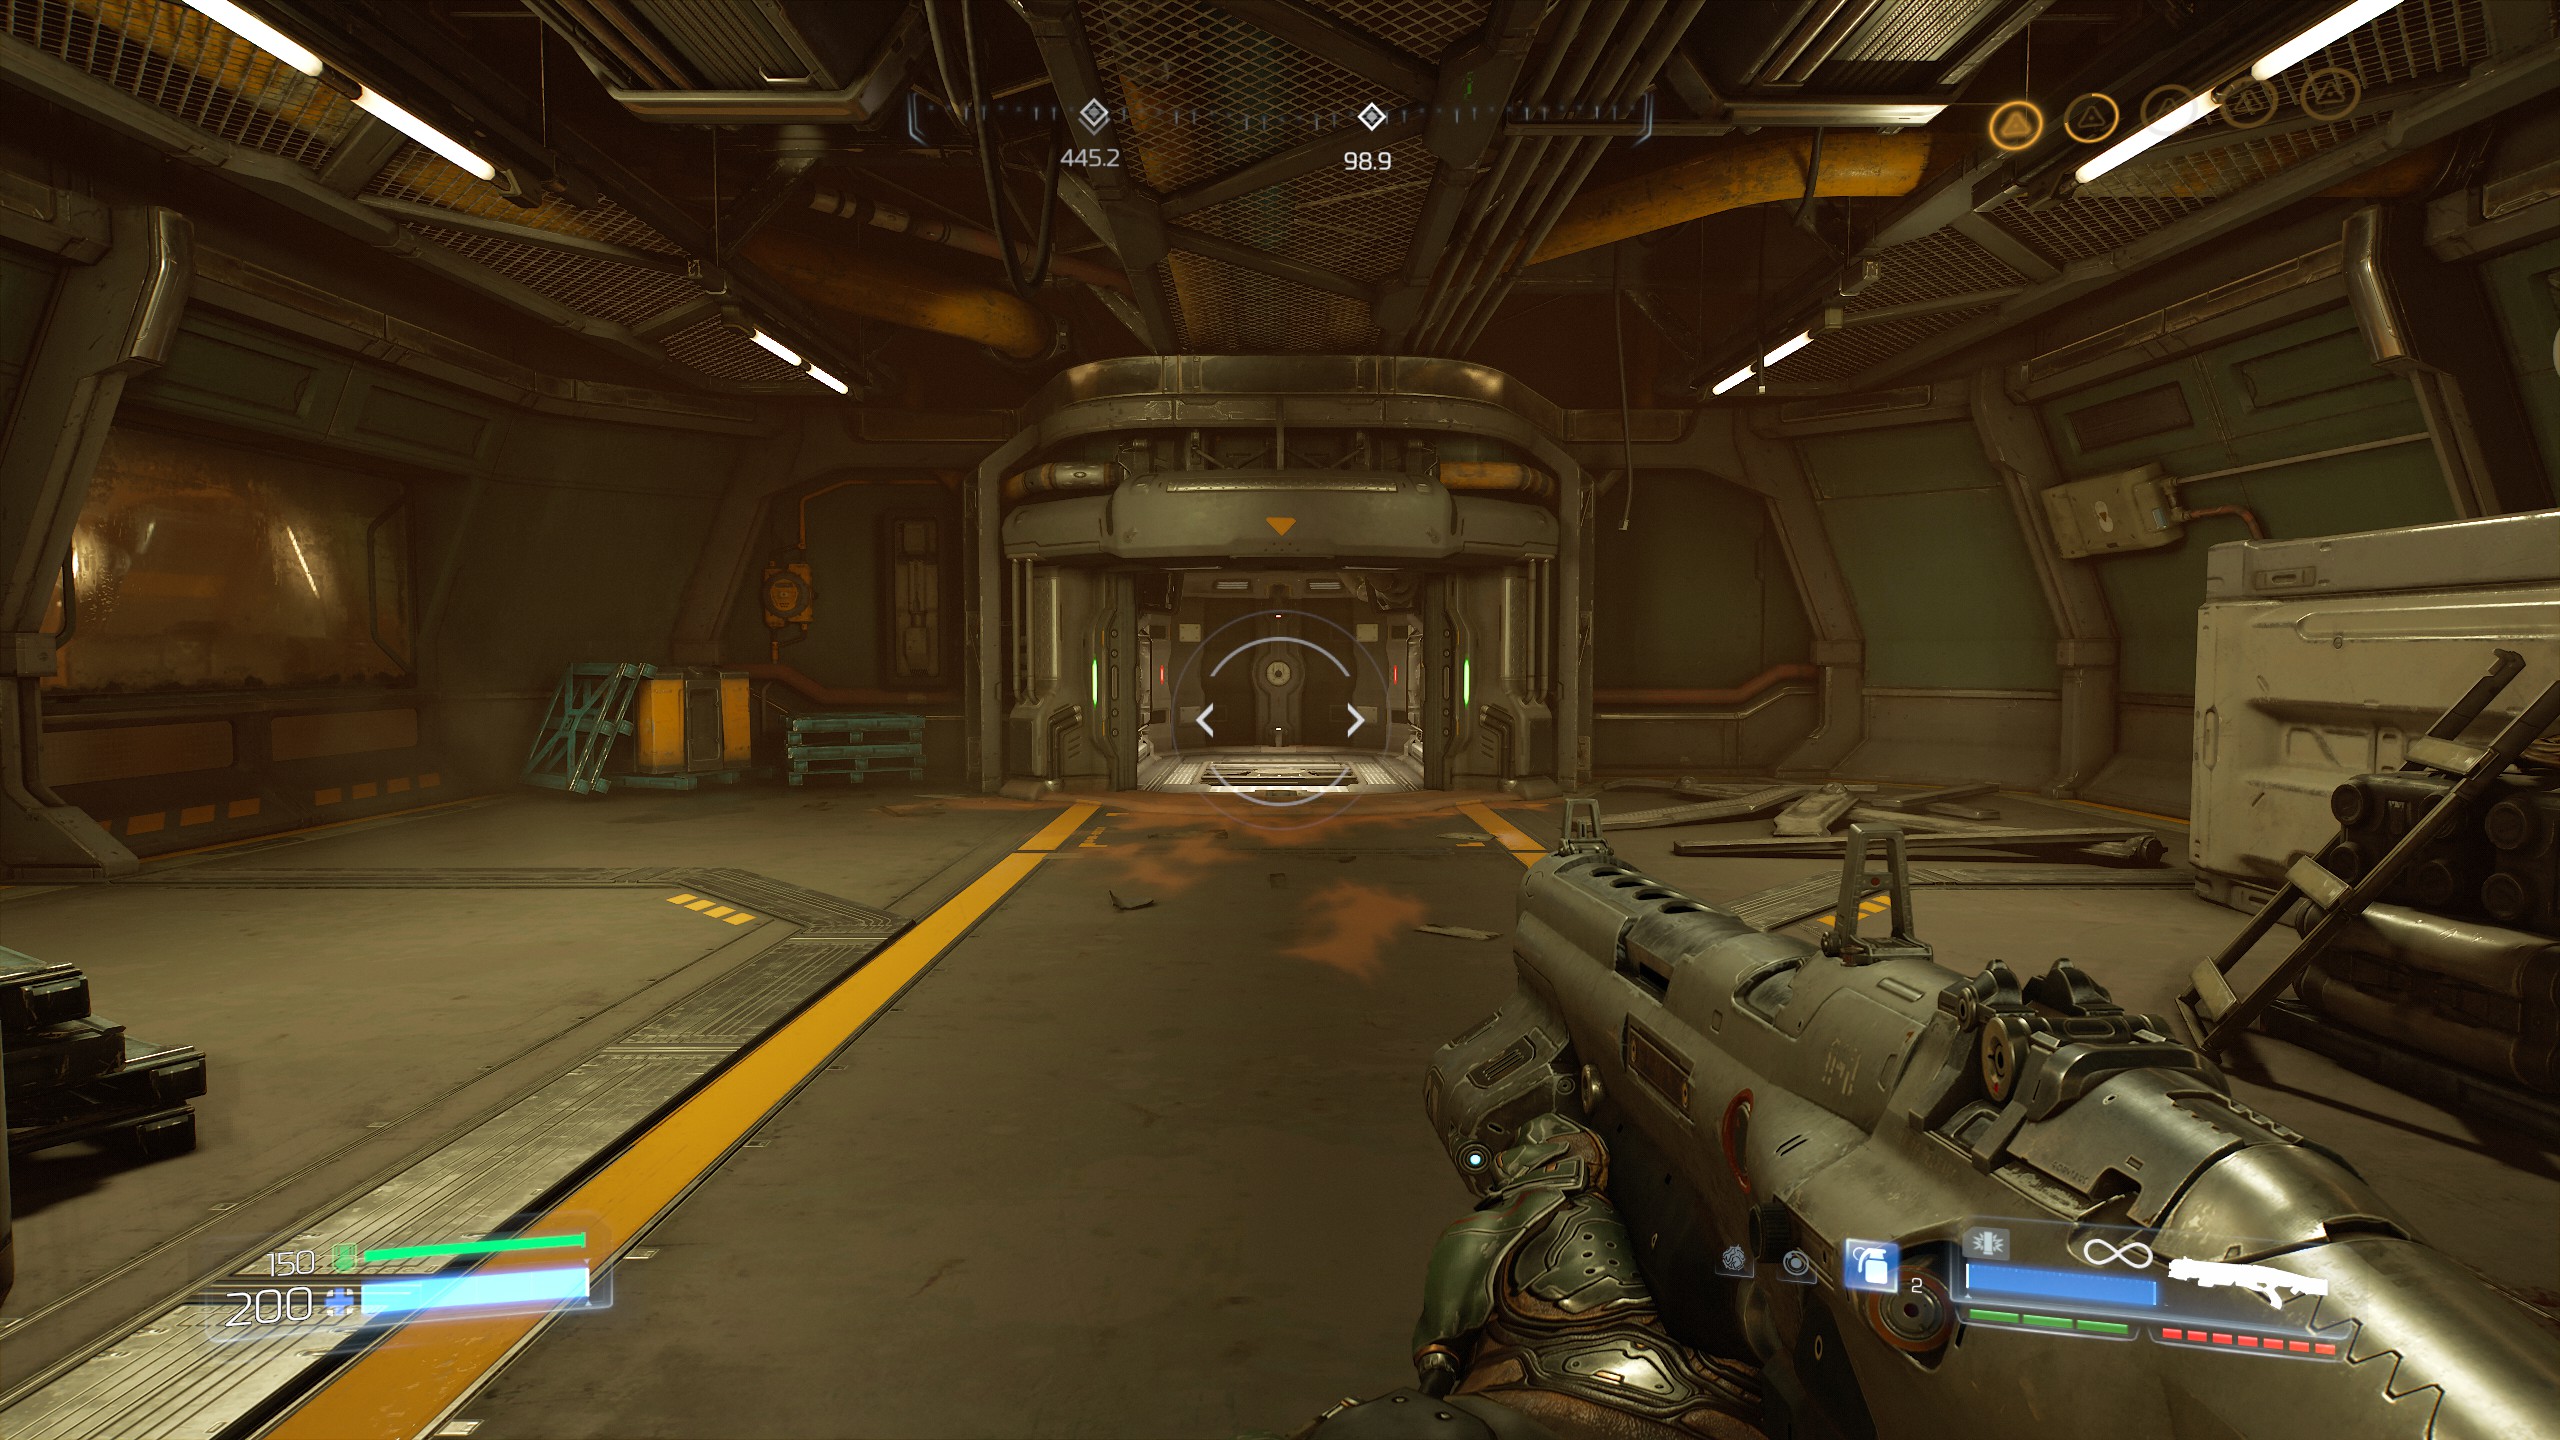 Once outside clear the area and activate the terminal on the far side, this will open the second airlock and the blue barrier.
Enter the second airlock to find a Rune, secret number 2 and a funny turkey game hidden behind the crates.
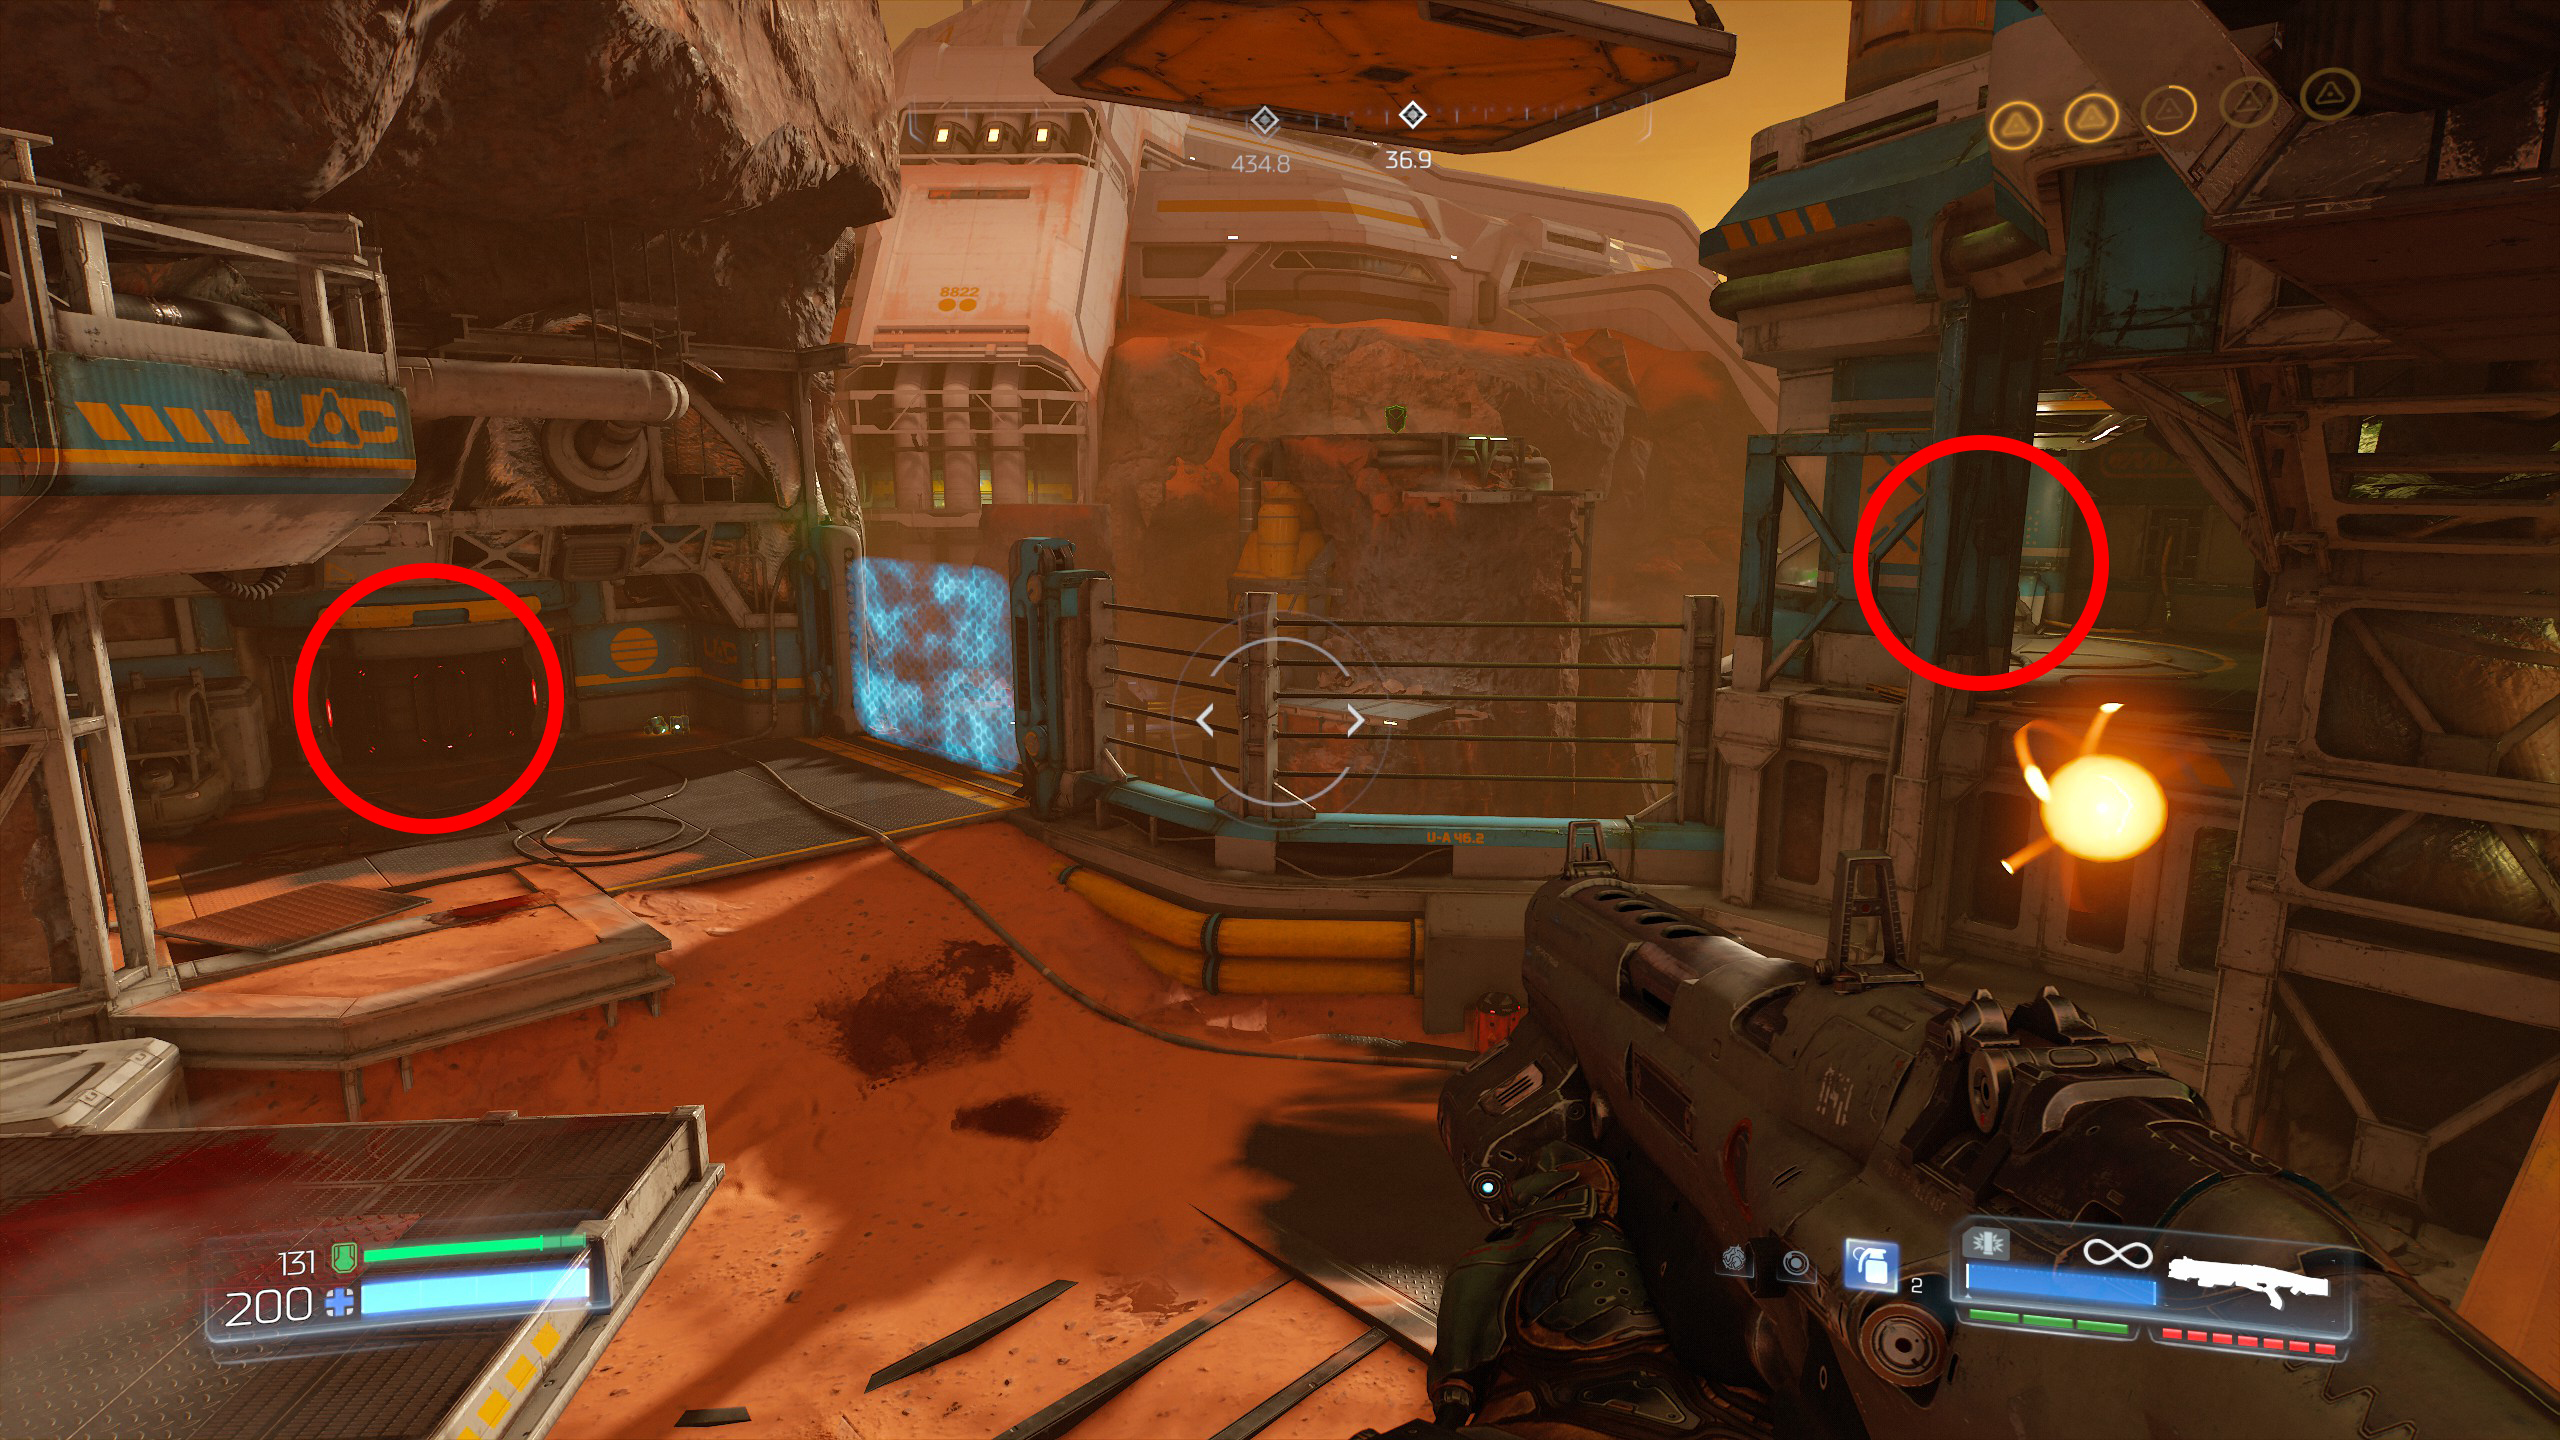
From here go to secret 3.
This is where things can be a little complicated so i will explain as best i can.
Exit the airlock from secret 2 and from where the blue barrier was located we need to reach the top of the rock in front, to do that jump across onto the lower left platform and from that point jump up onto the rock and climb your way up to the very top.
From the very top face the mission objective and jump across onto the next rock platform and then over to the platform with the three large pipes, behind them is a health/armor pickup that will gain you secret number 3.
From here immediately go to secret 4.
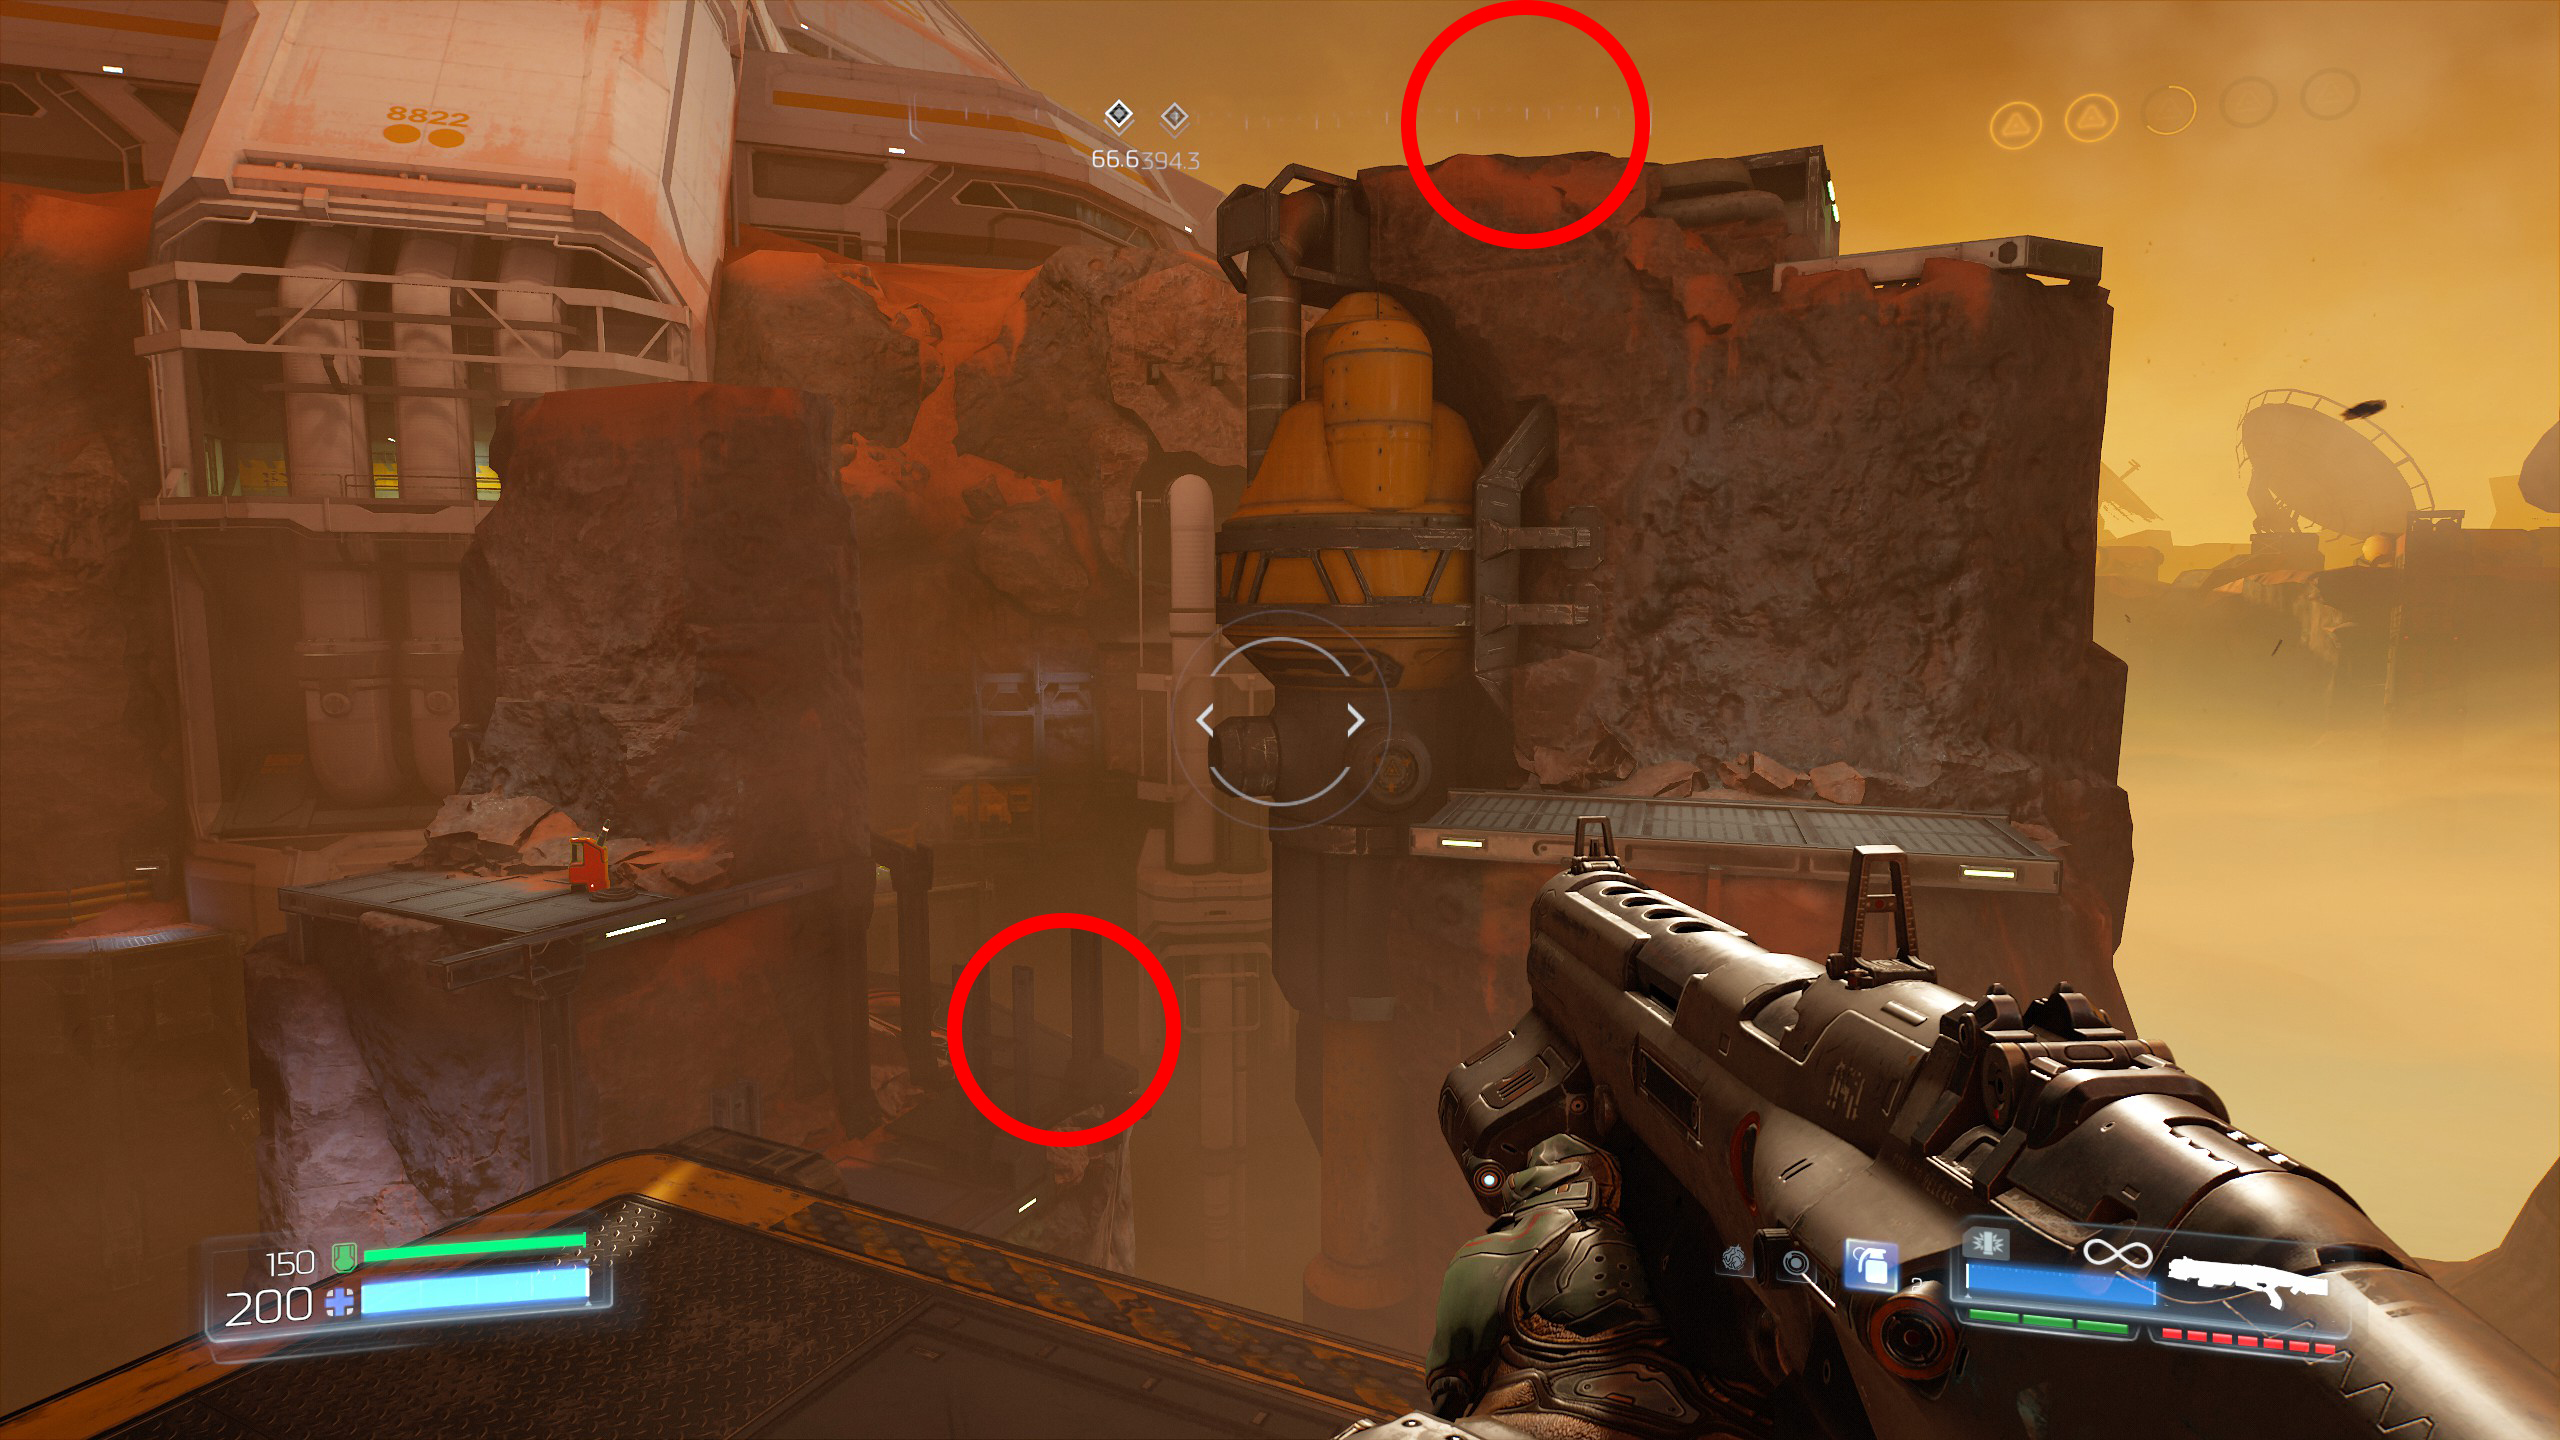
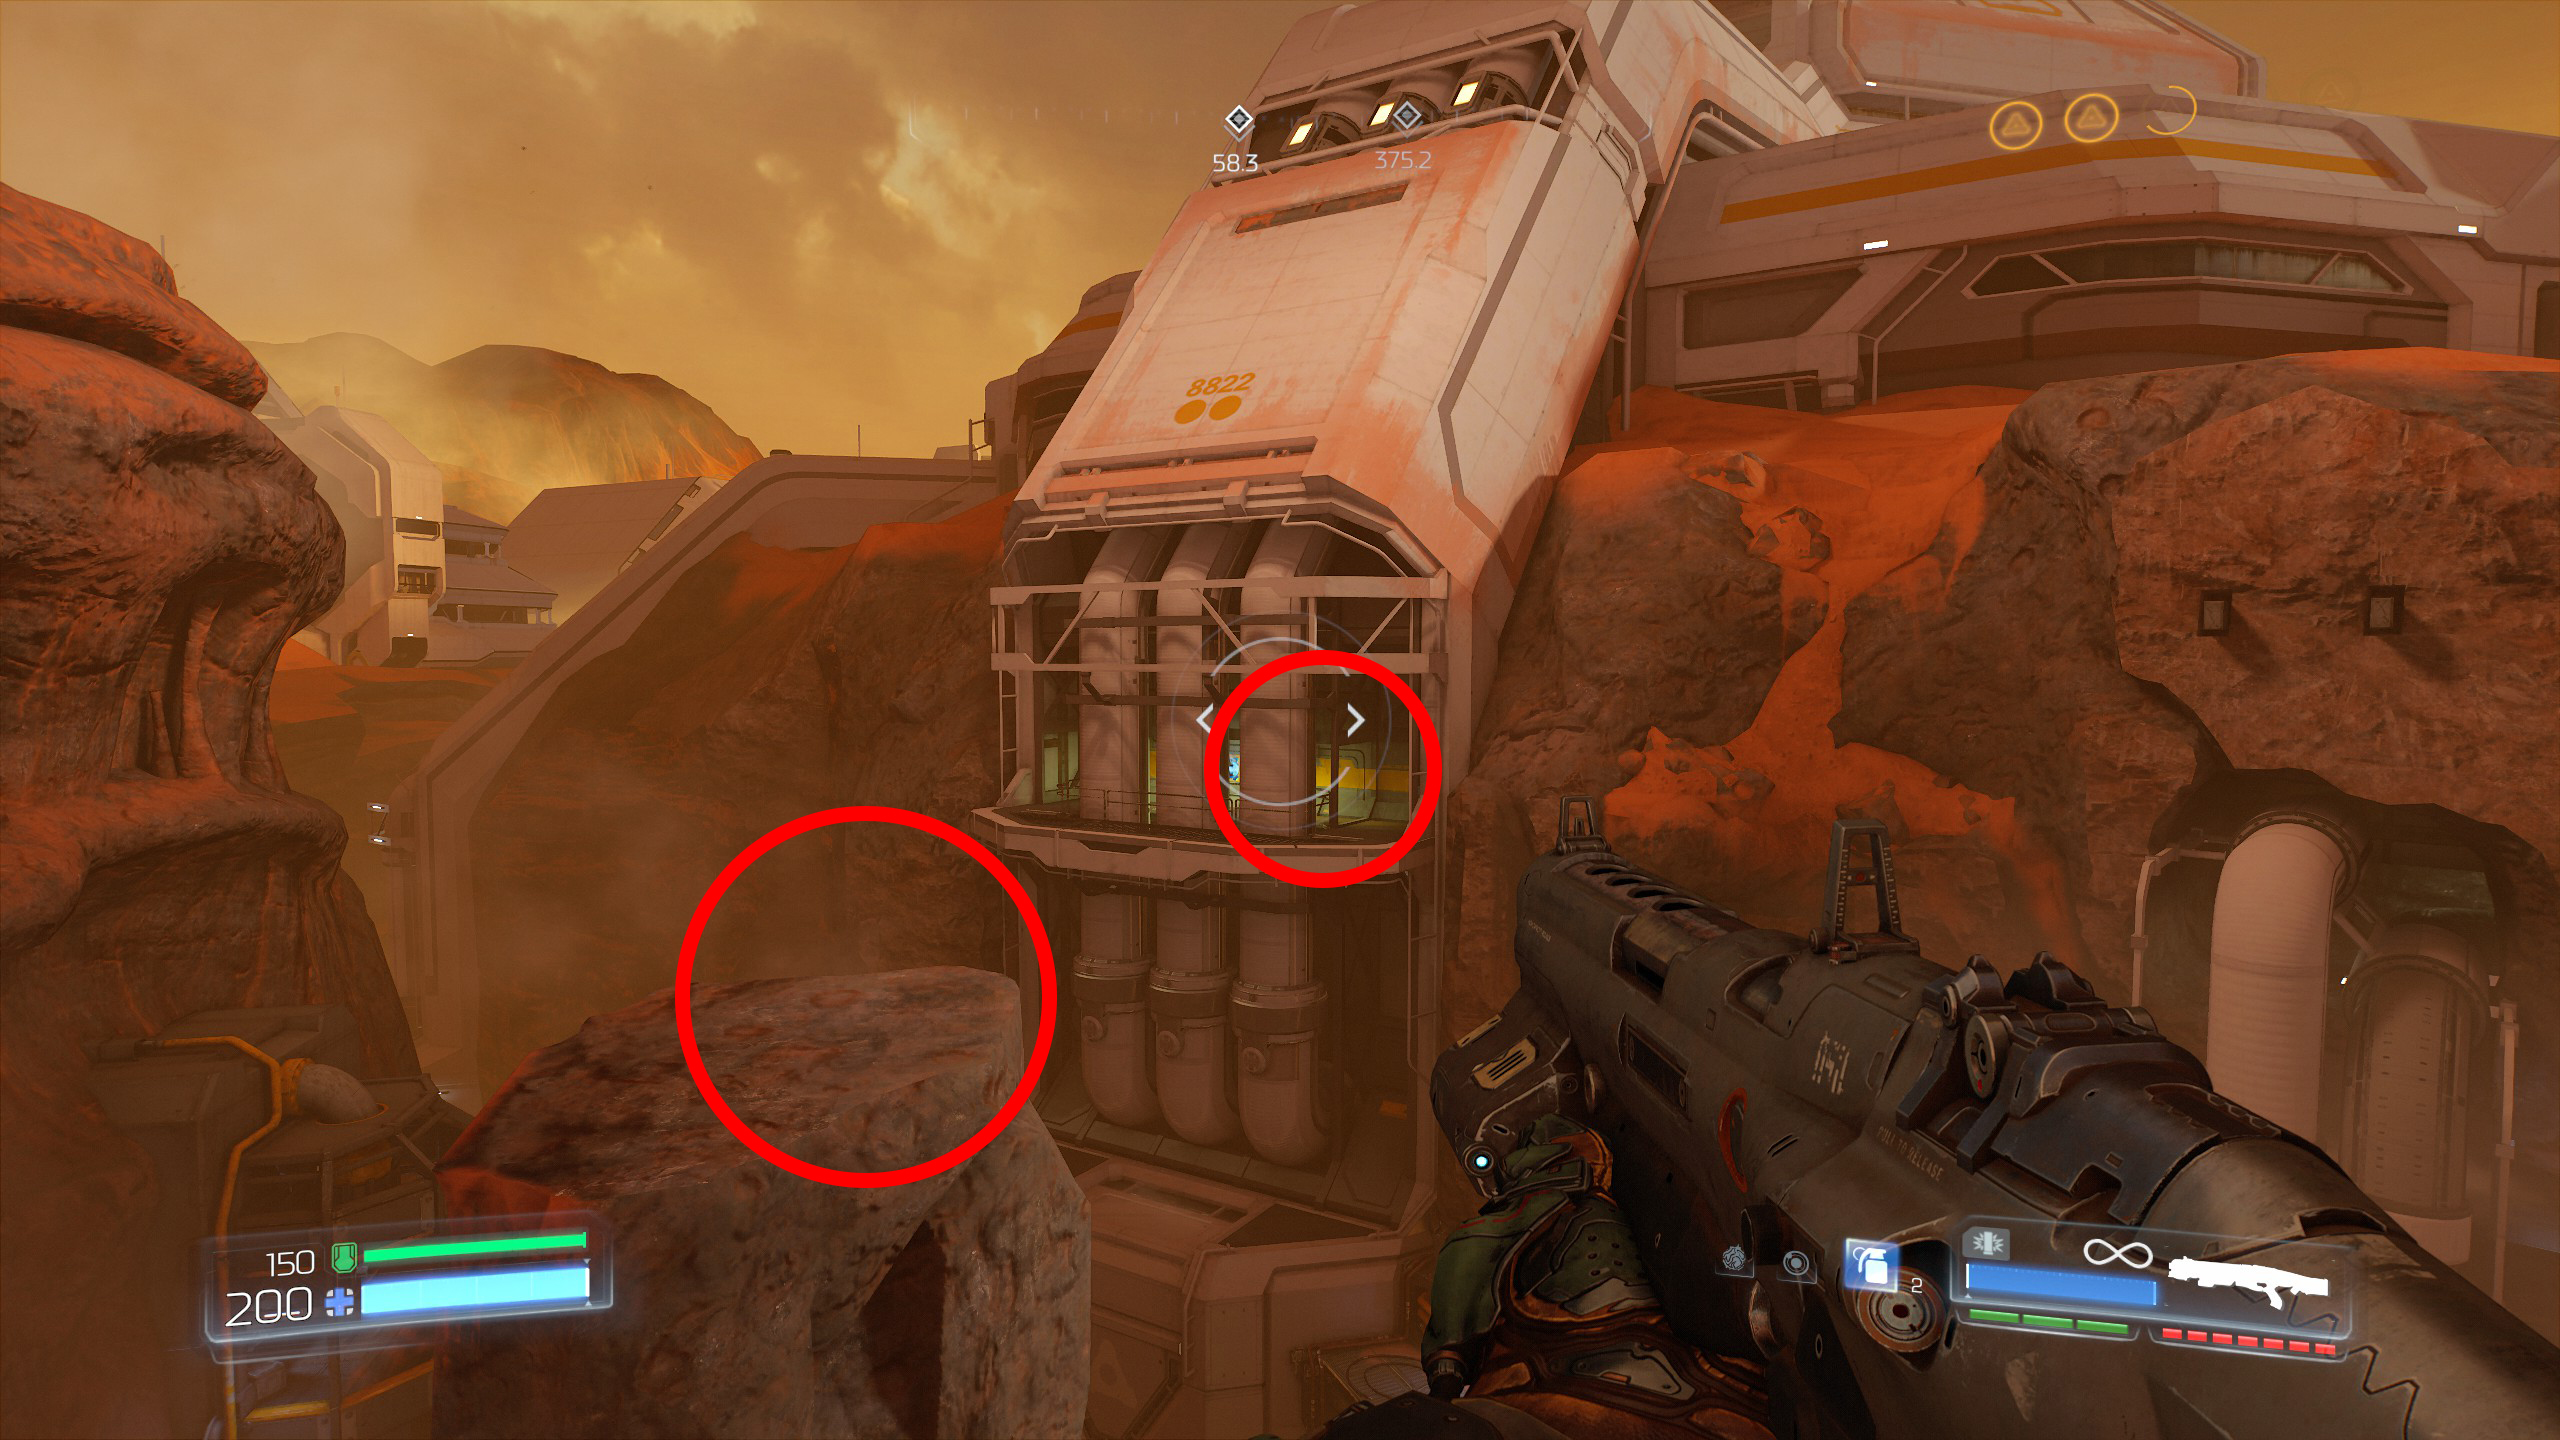
Starting from the location of secret 3 look down from the right side edge and drop to the platform below, from there jump across to the platform opposite, inside will be an Argent Cell and secret number 4.
Once again from here immediately go to secret 5.
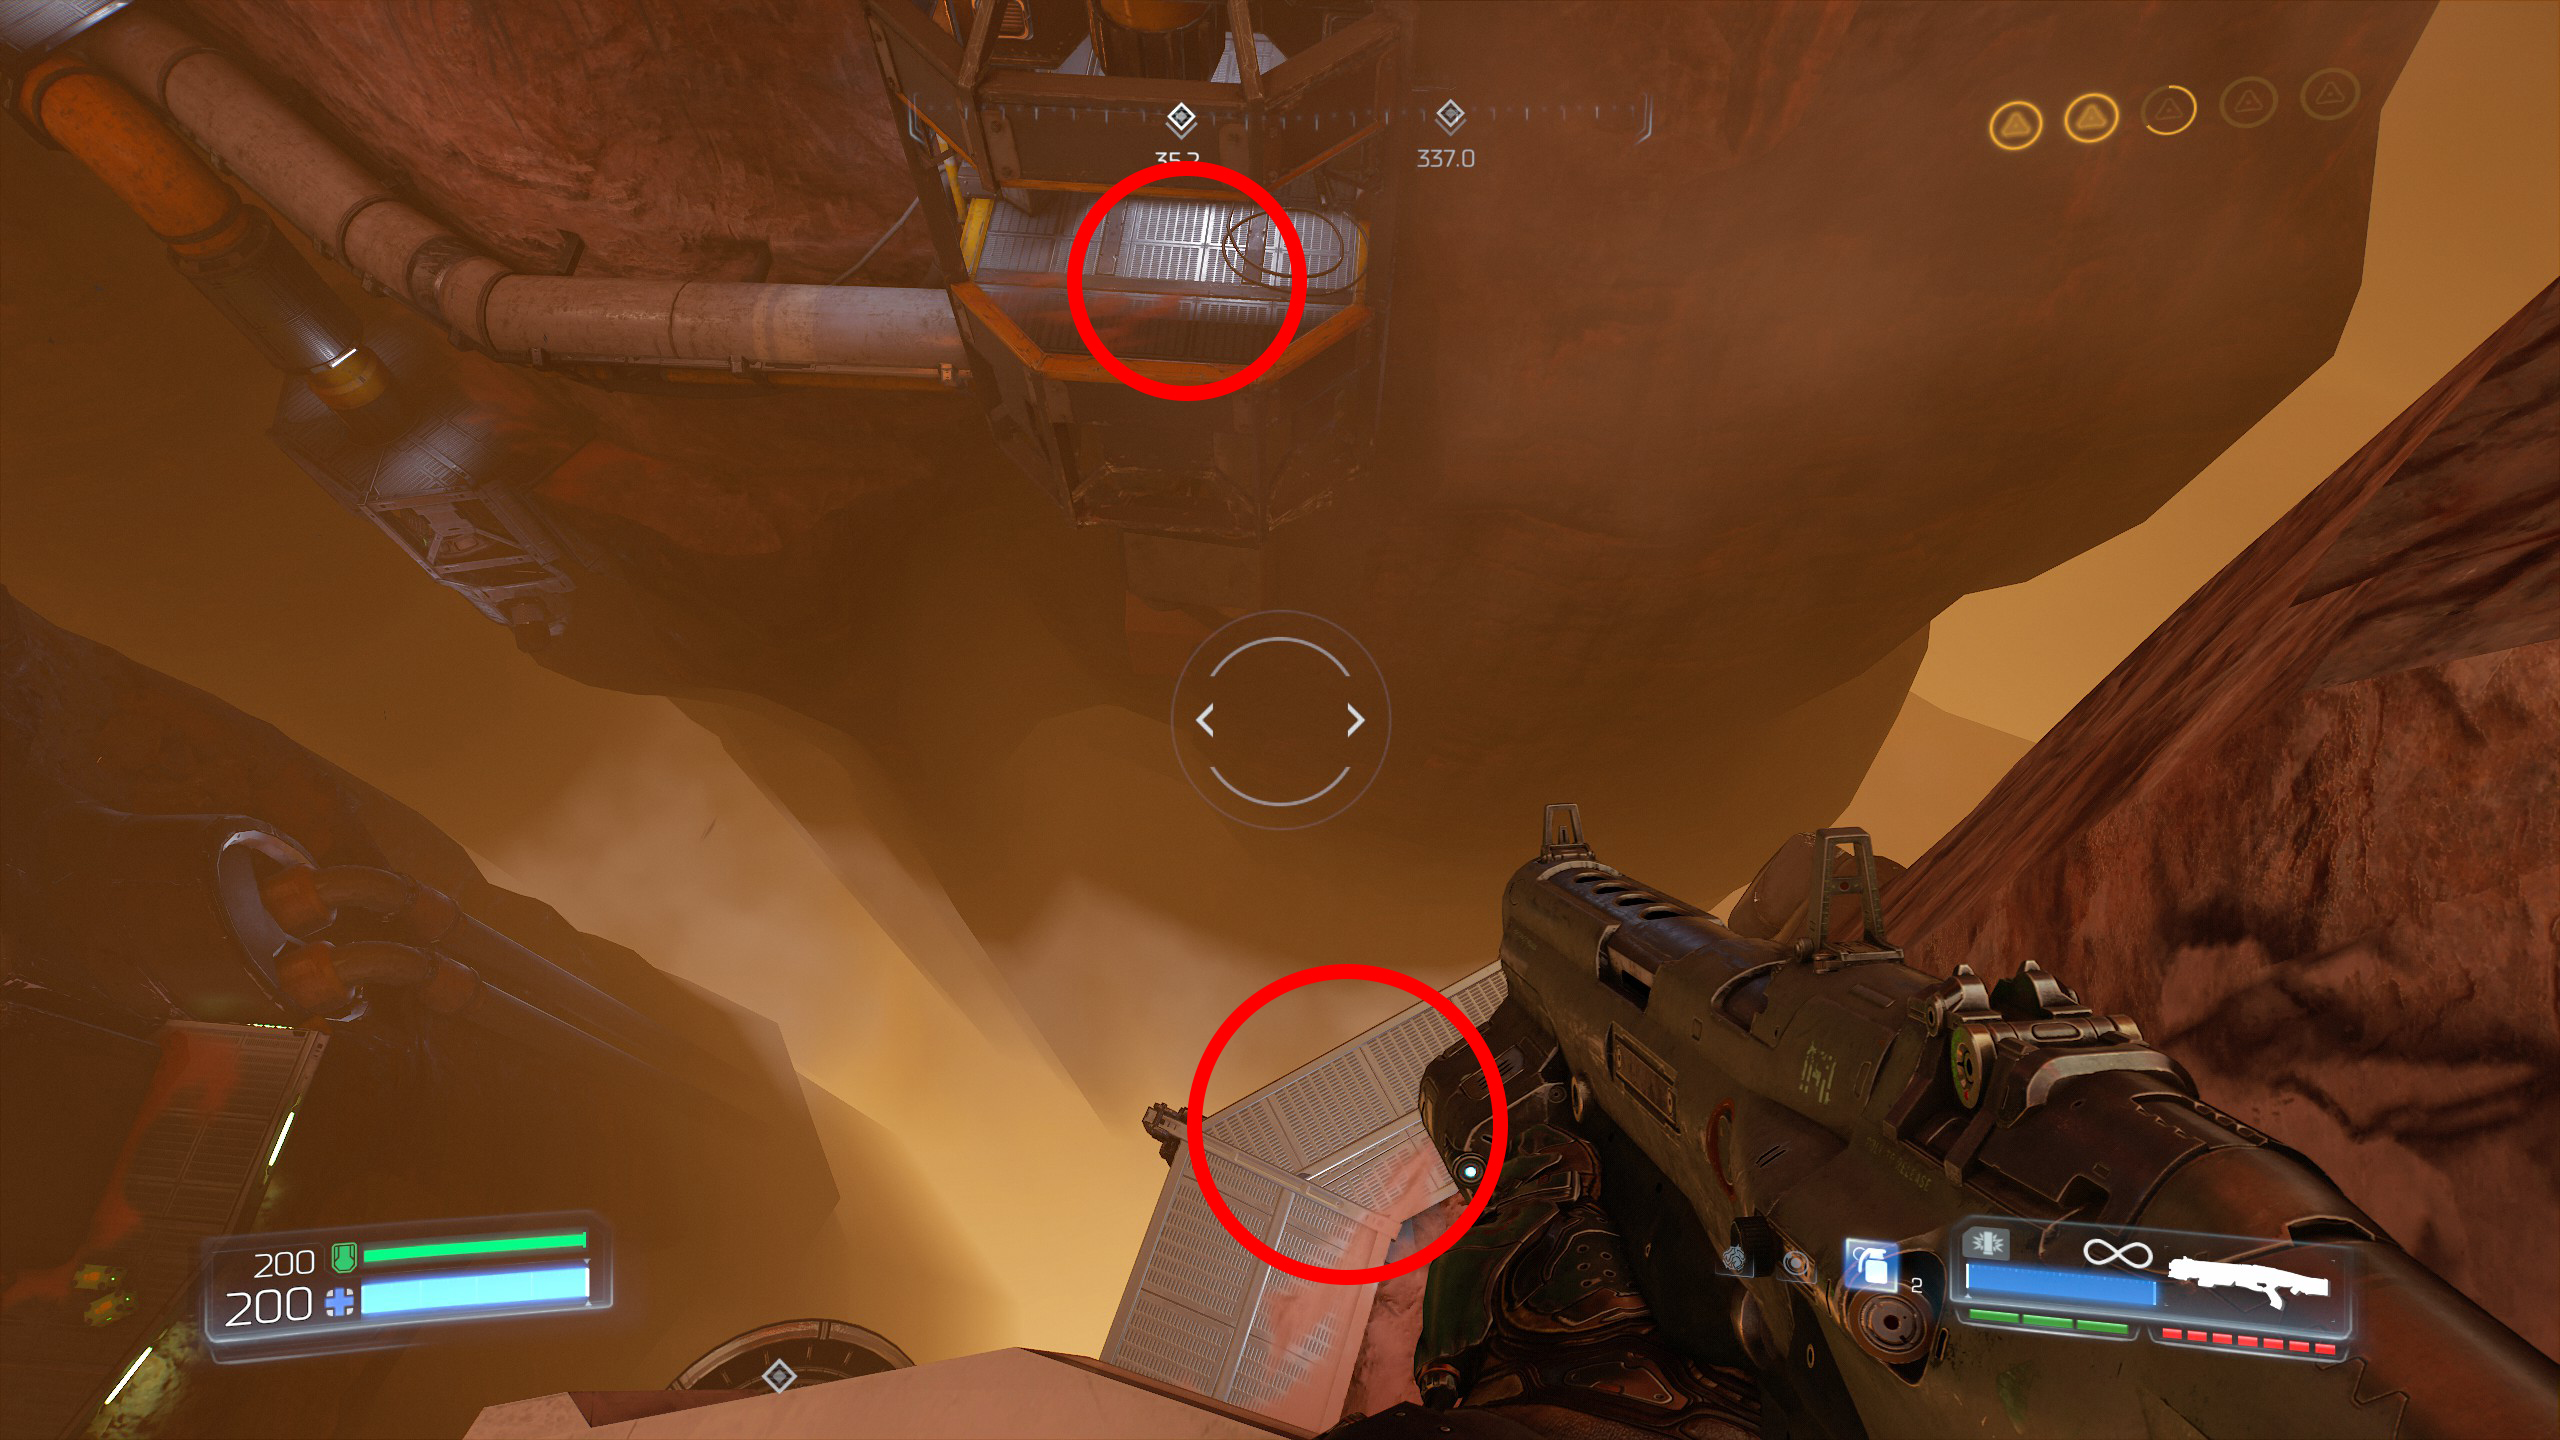
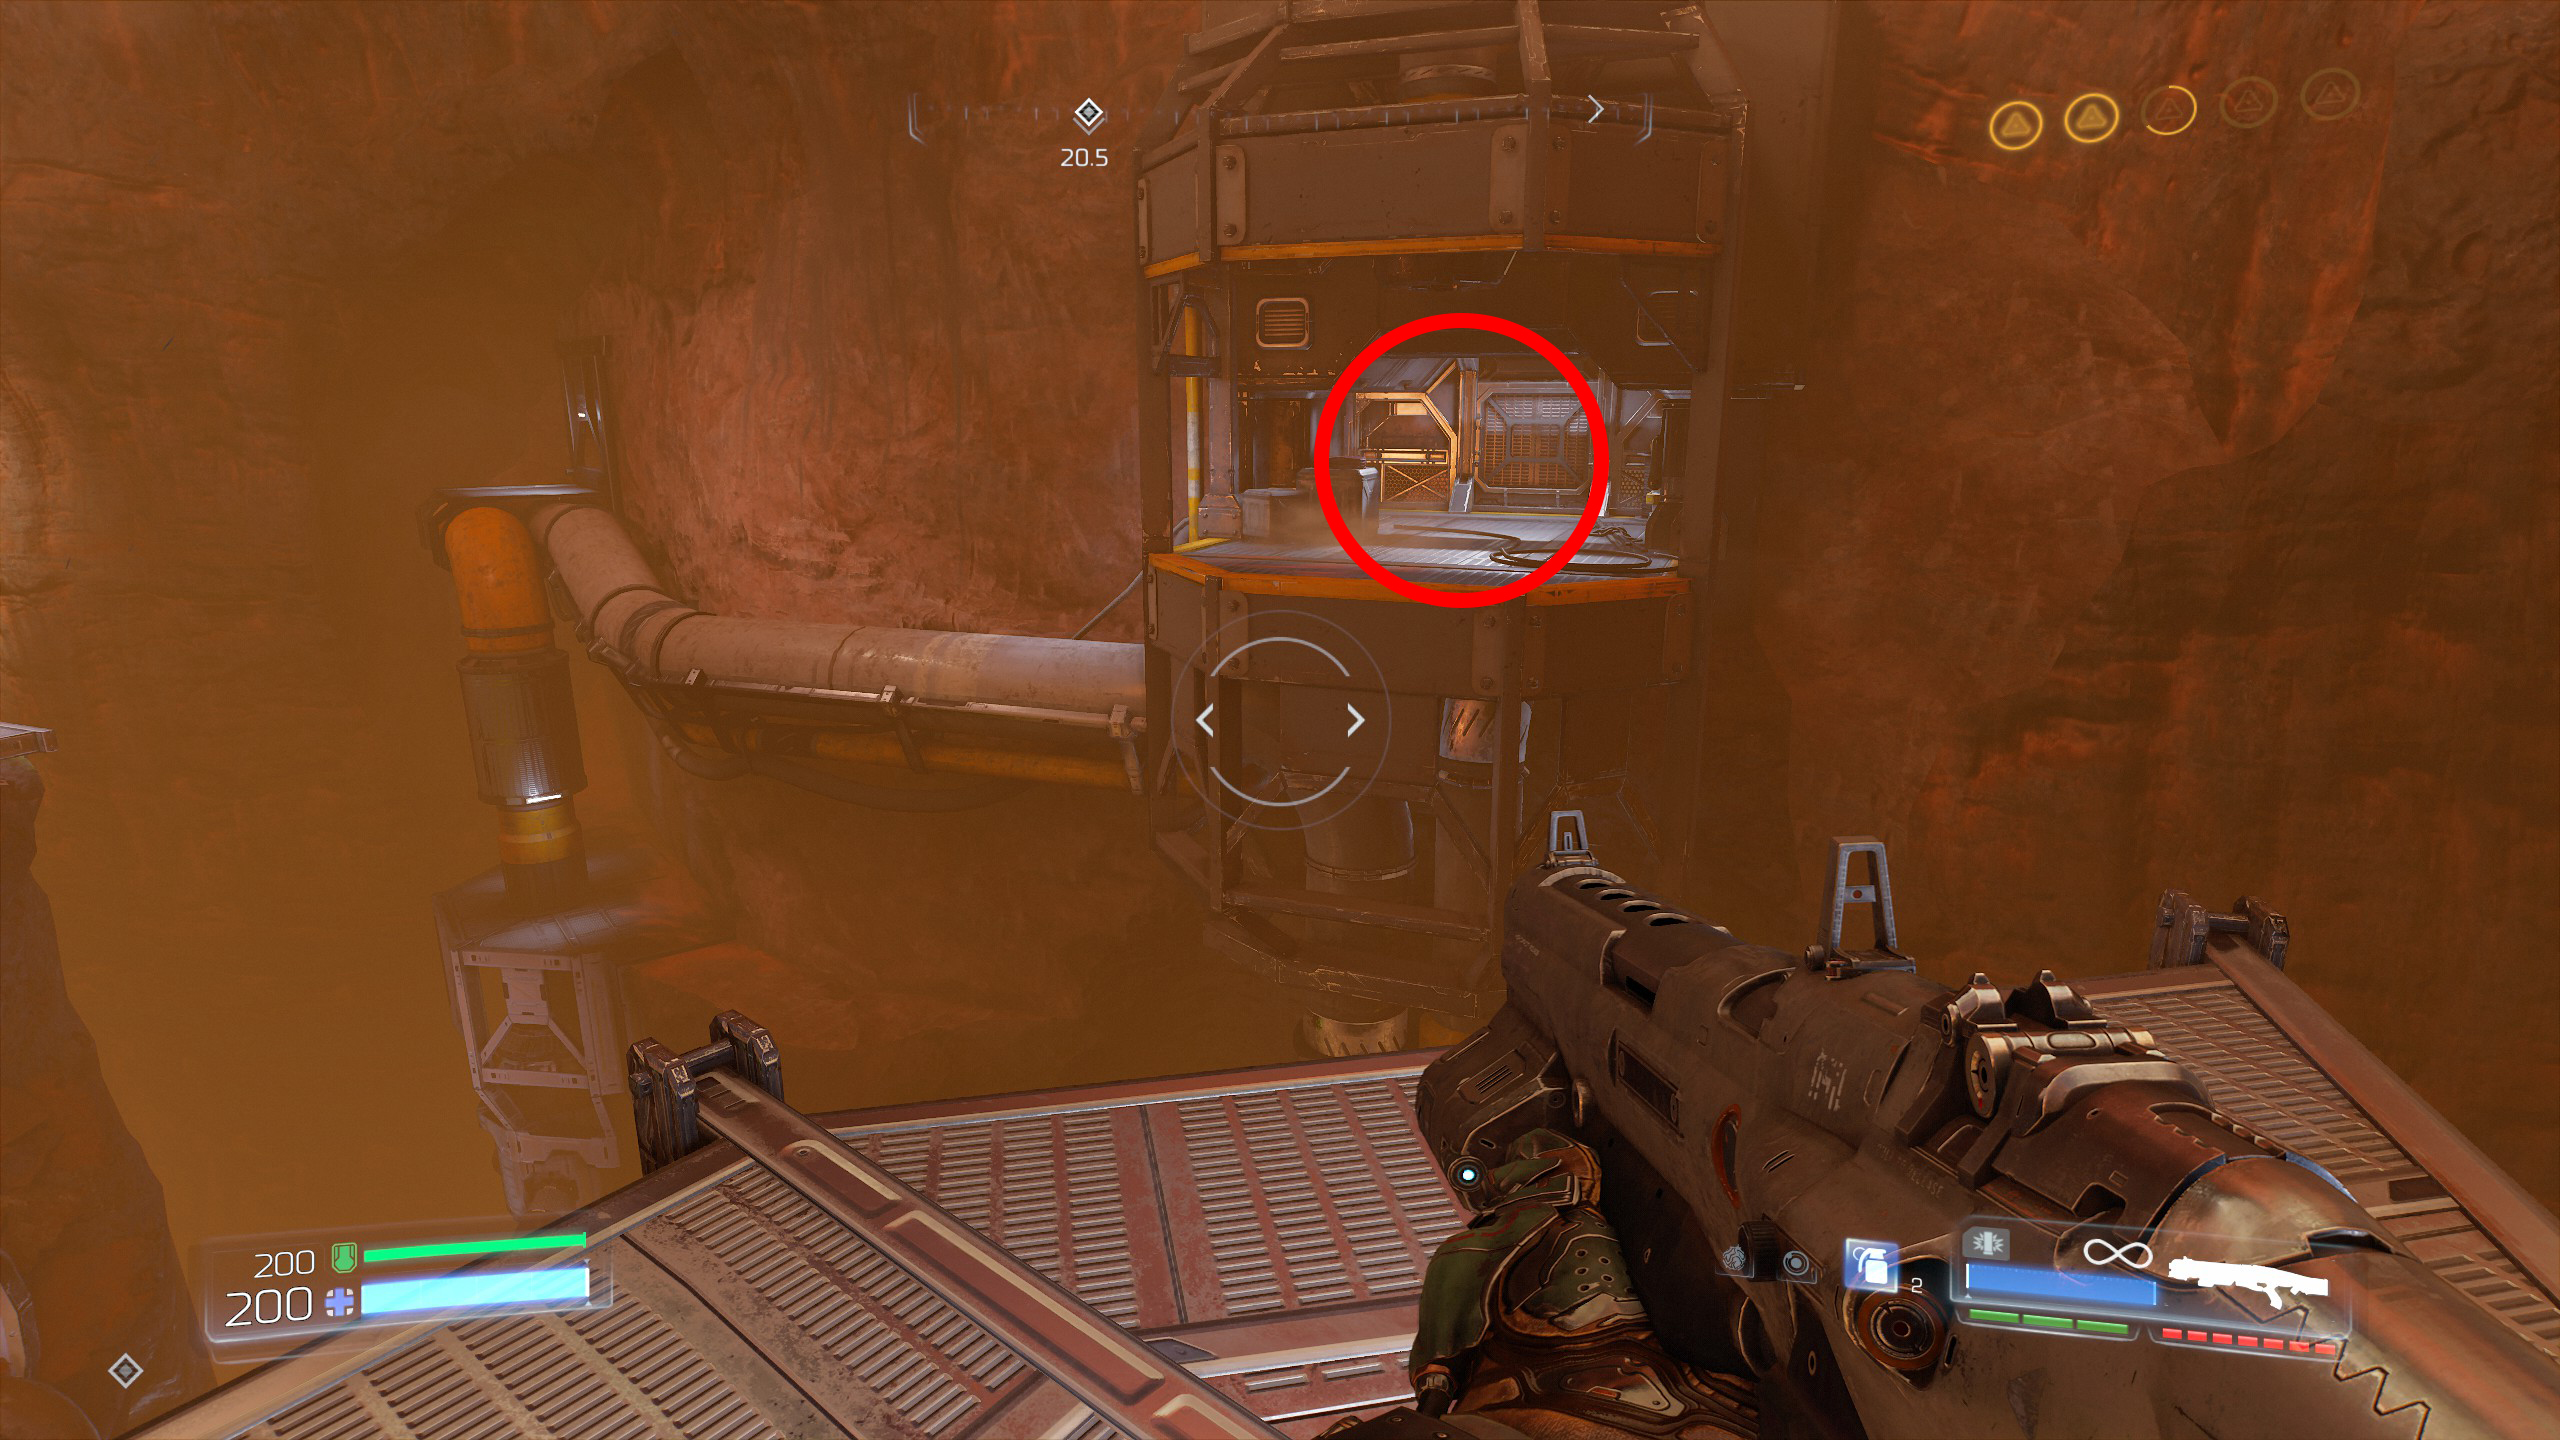
Starting from the location of secret 4 make your way along the pipeline against the wall to the platform ahead and then proceed to jump across and climb up to the central platform.
From there once again make your way up to the top of the rock like we did in secret 3 and then again jump over to the next rock platform.
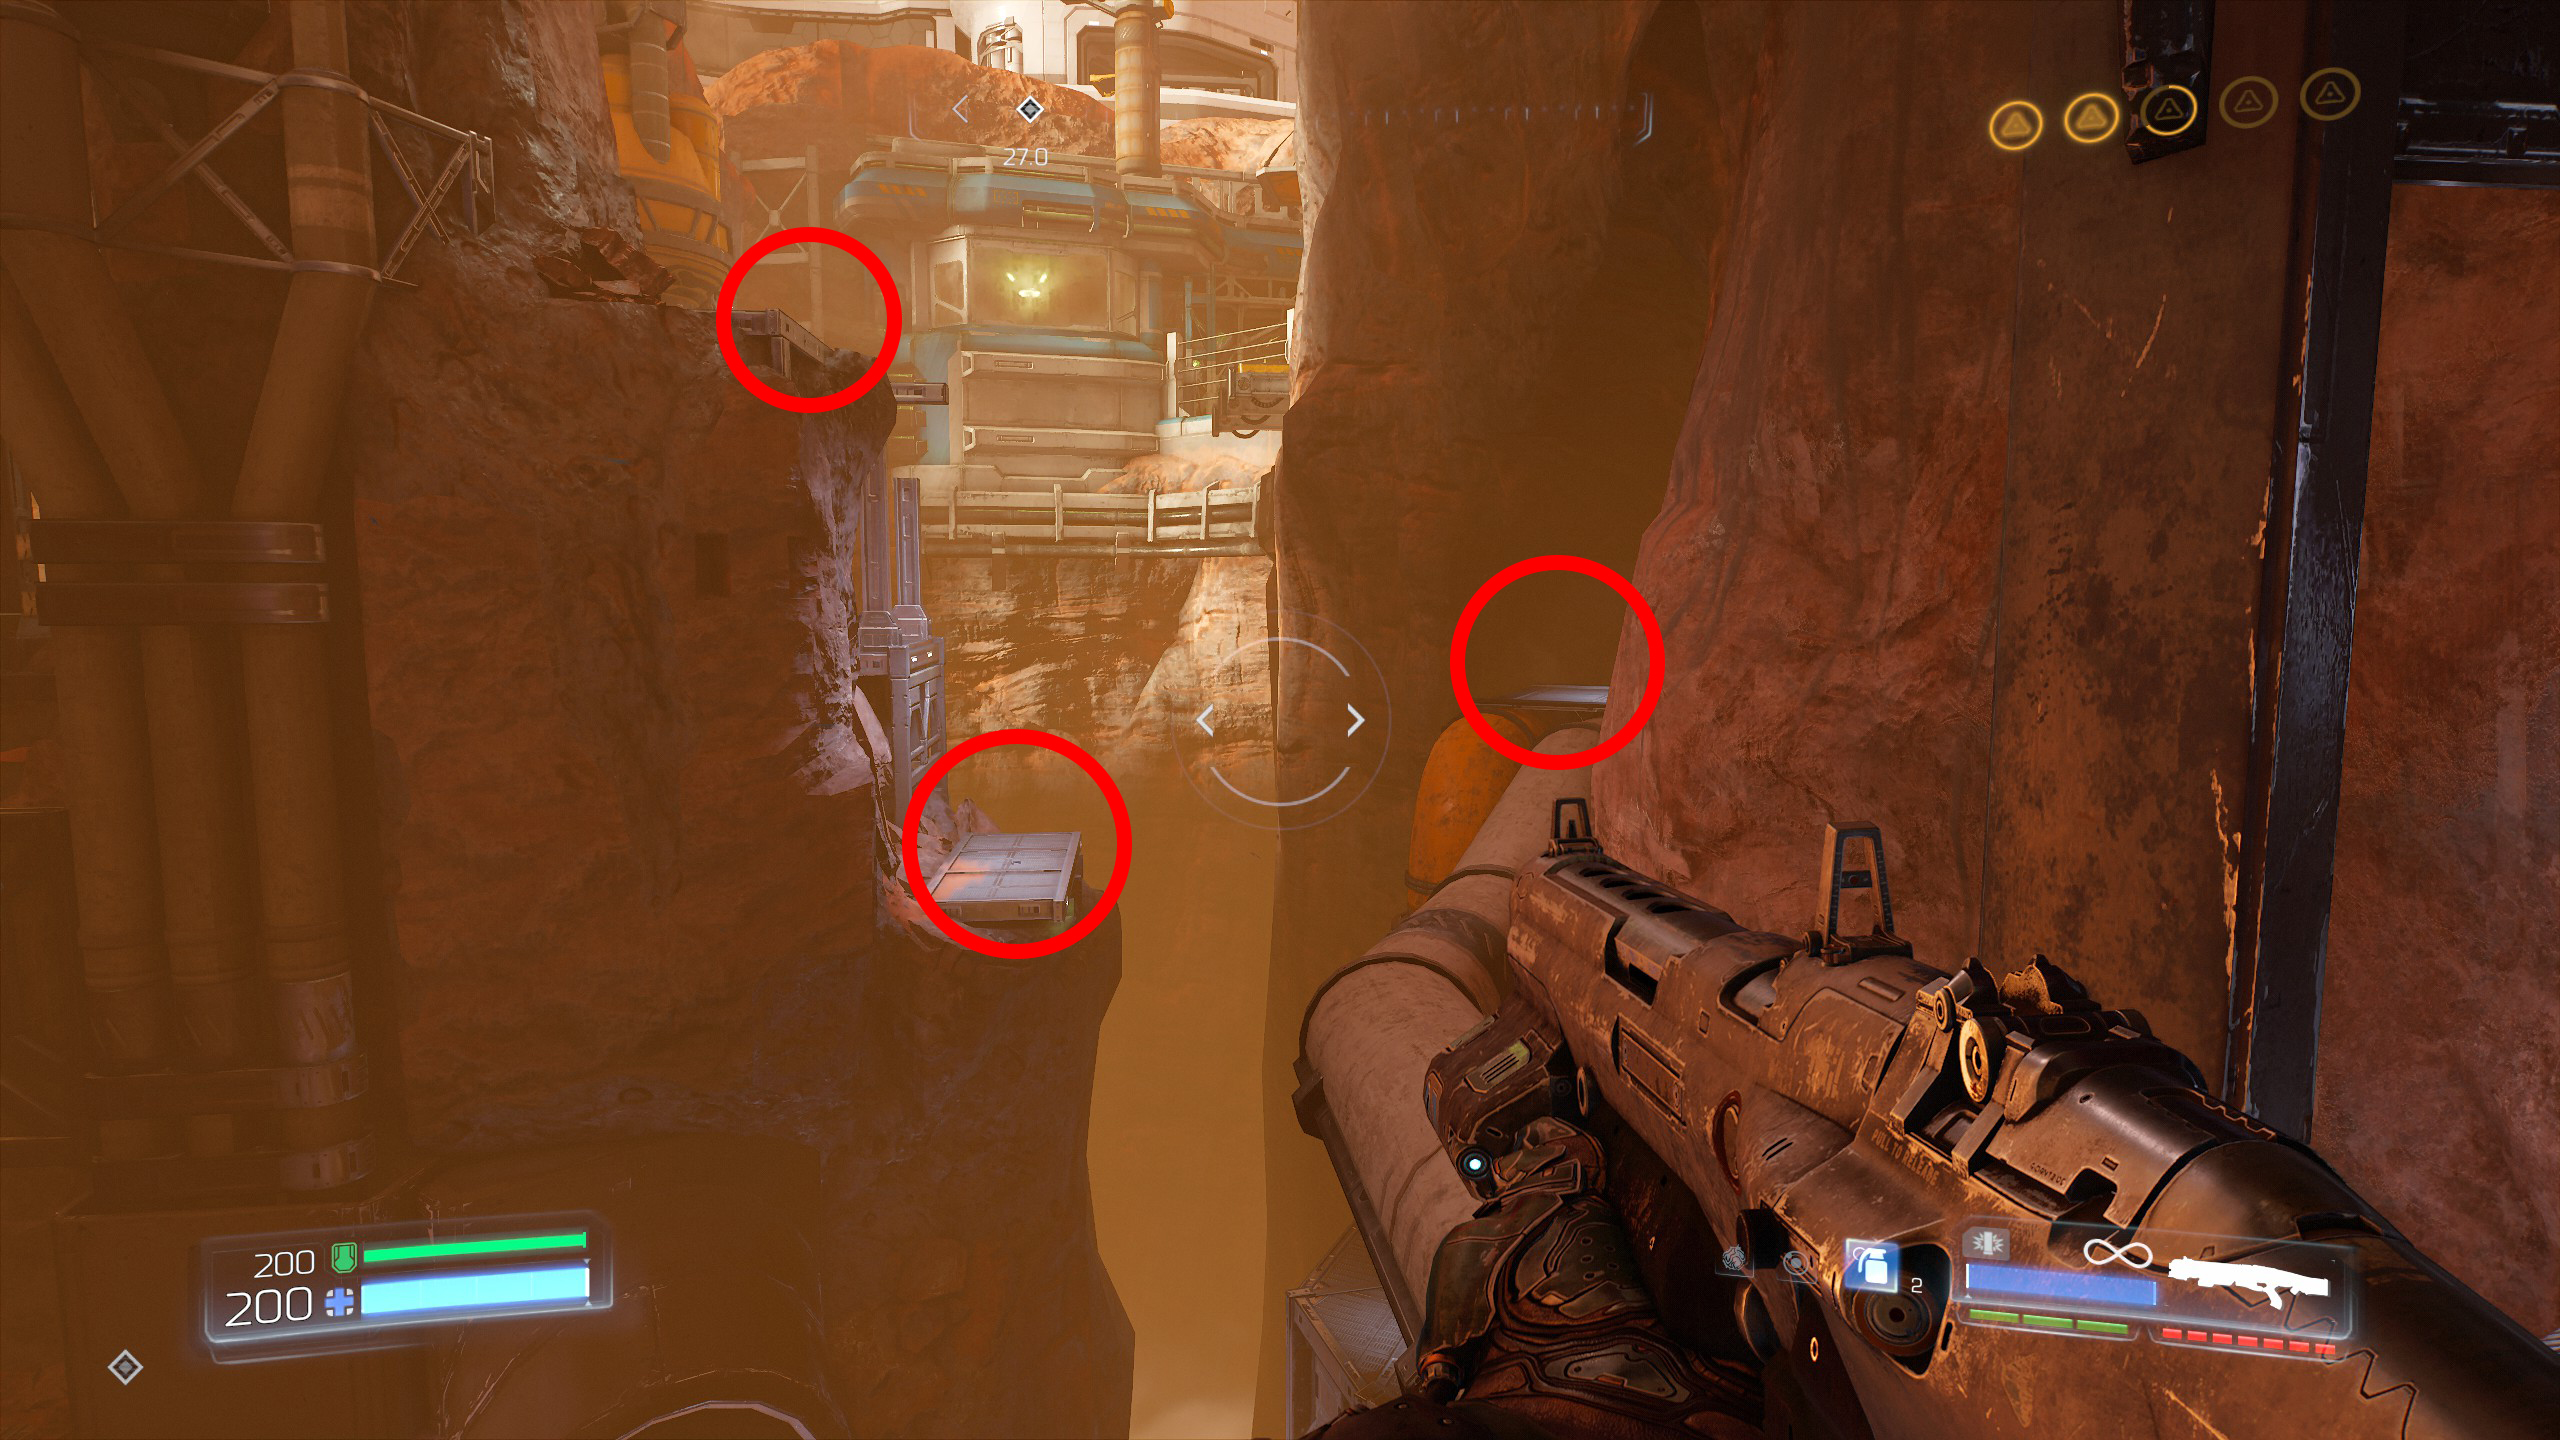
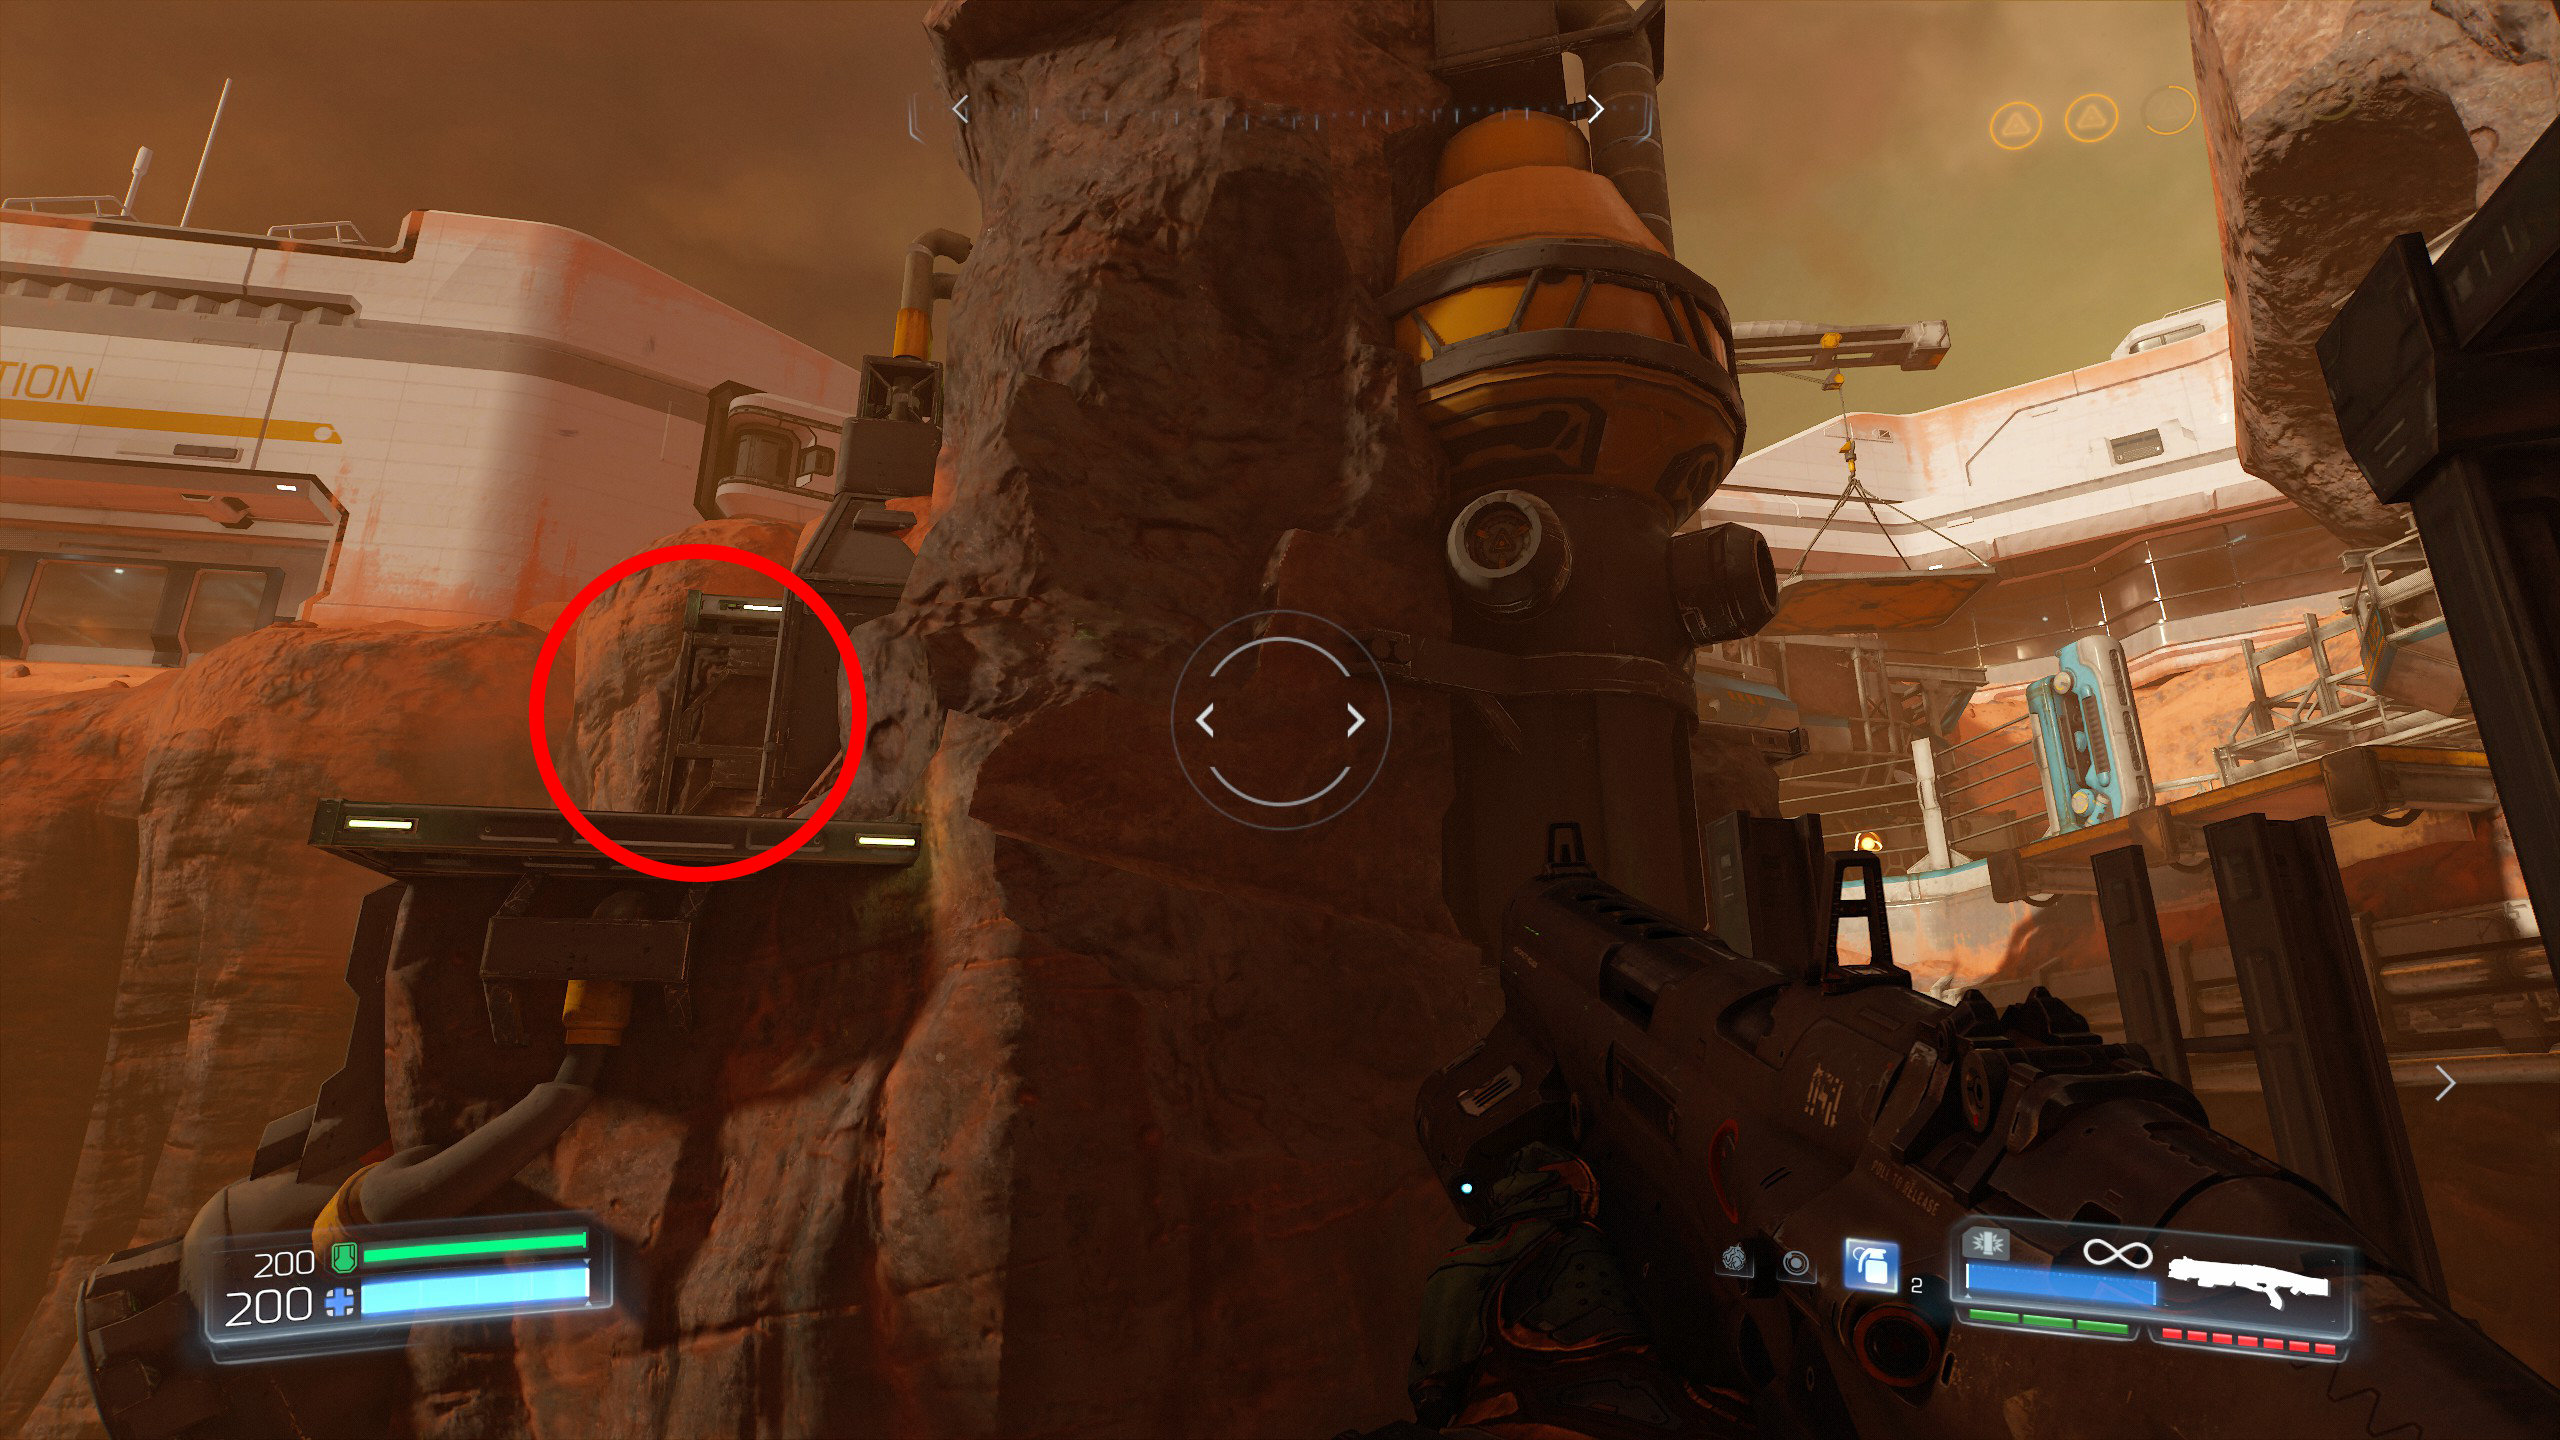
This time ignore the platform with the three pipes from secret 3 and instead jump over to the small platform next to the two pipes on the right side, this will require a big double jump.
Once on the small platform you will find a lever, activate the lever to unlock the secret room for secret number 6 later on.
Immediately after that climb onto the pipes and make your way into the gap, inside will be secret number 5 which is a Doomguy.
Now go to secret 6.
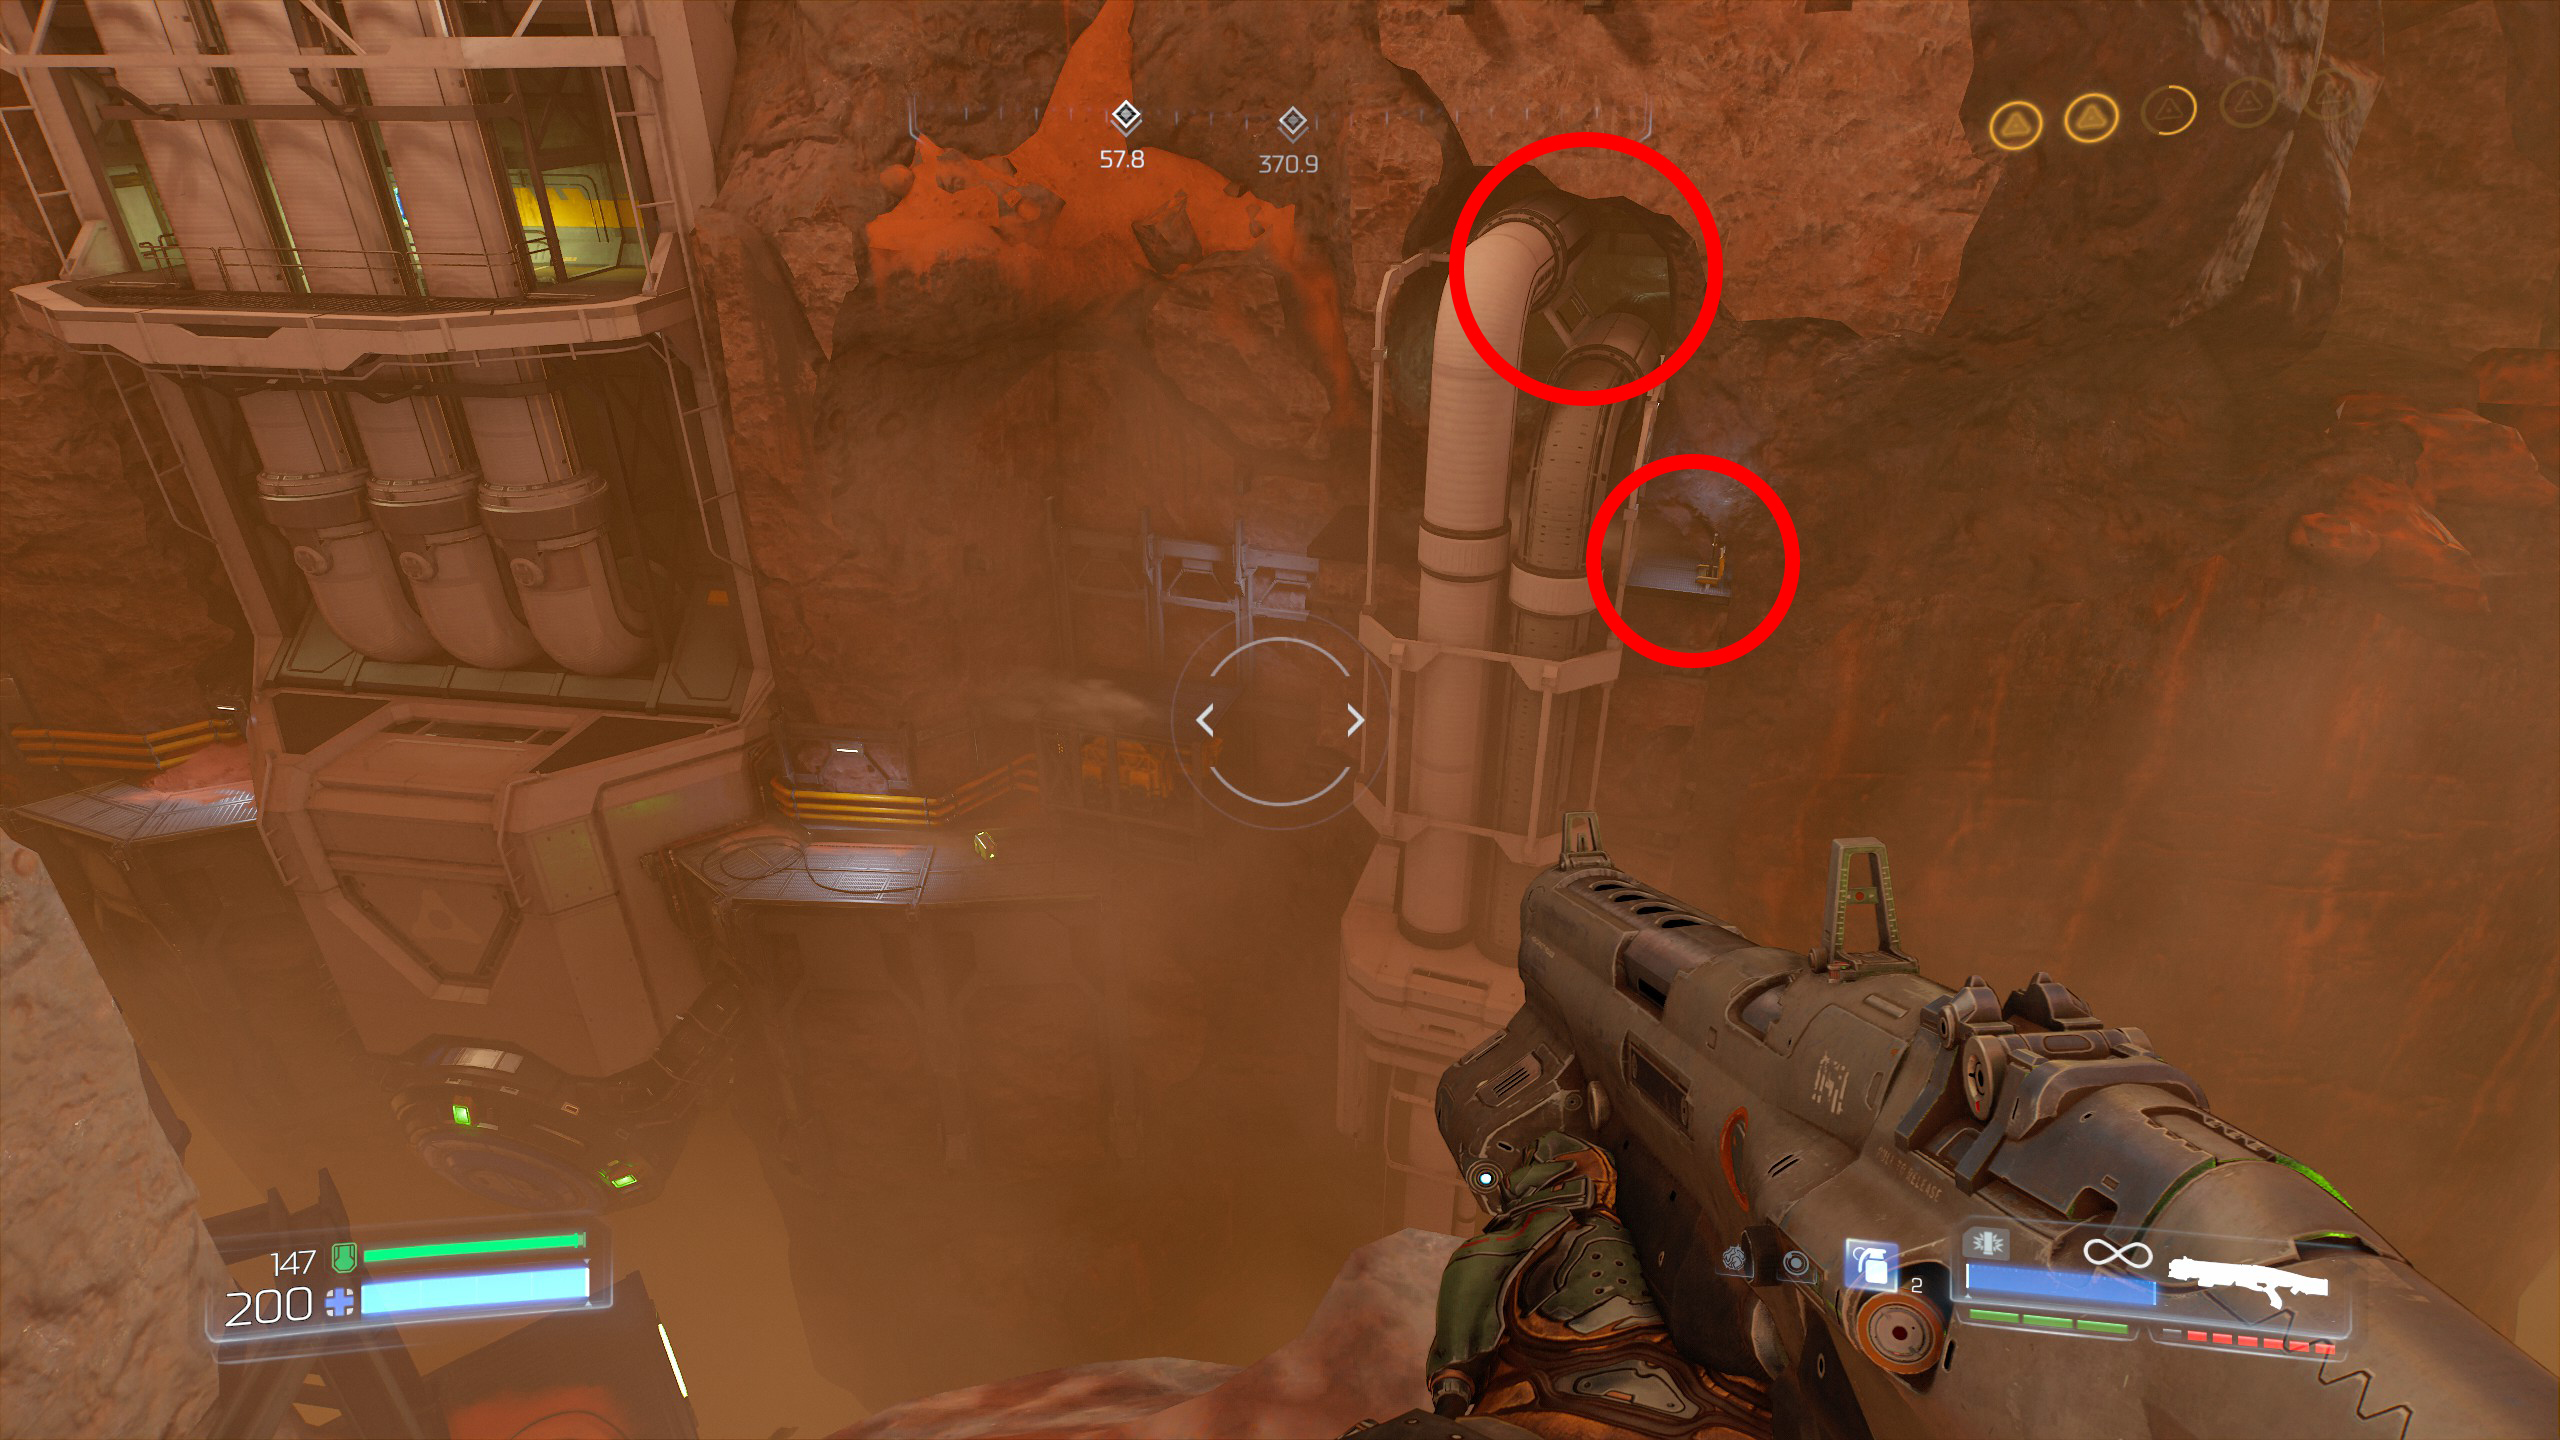
From secret 5 we need to head back to the beginning where we first exited the airlock and activated the terminal, so to do that drop down on the right side to the platform below and make your way across the platforms as highlighted in the left screenshot below, this will bring you back to the airlock location.
At the back of that area you will notice the door is open for the secret room, head inside for secret number 6.
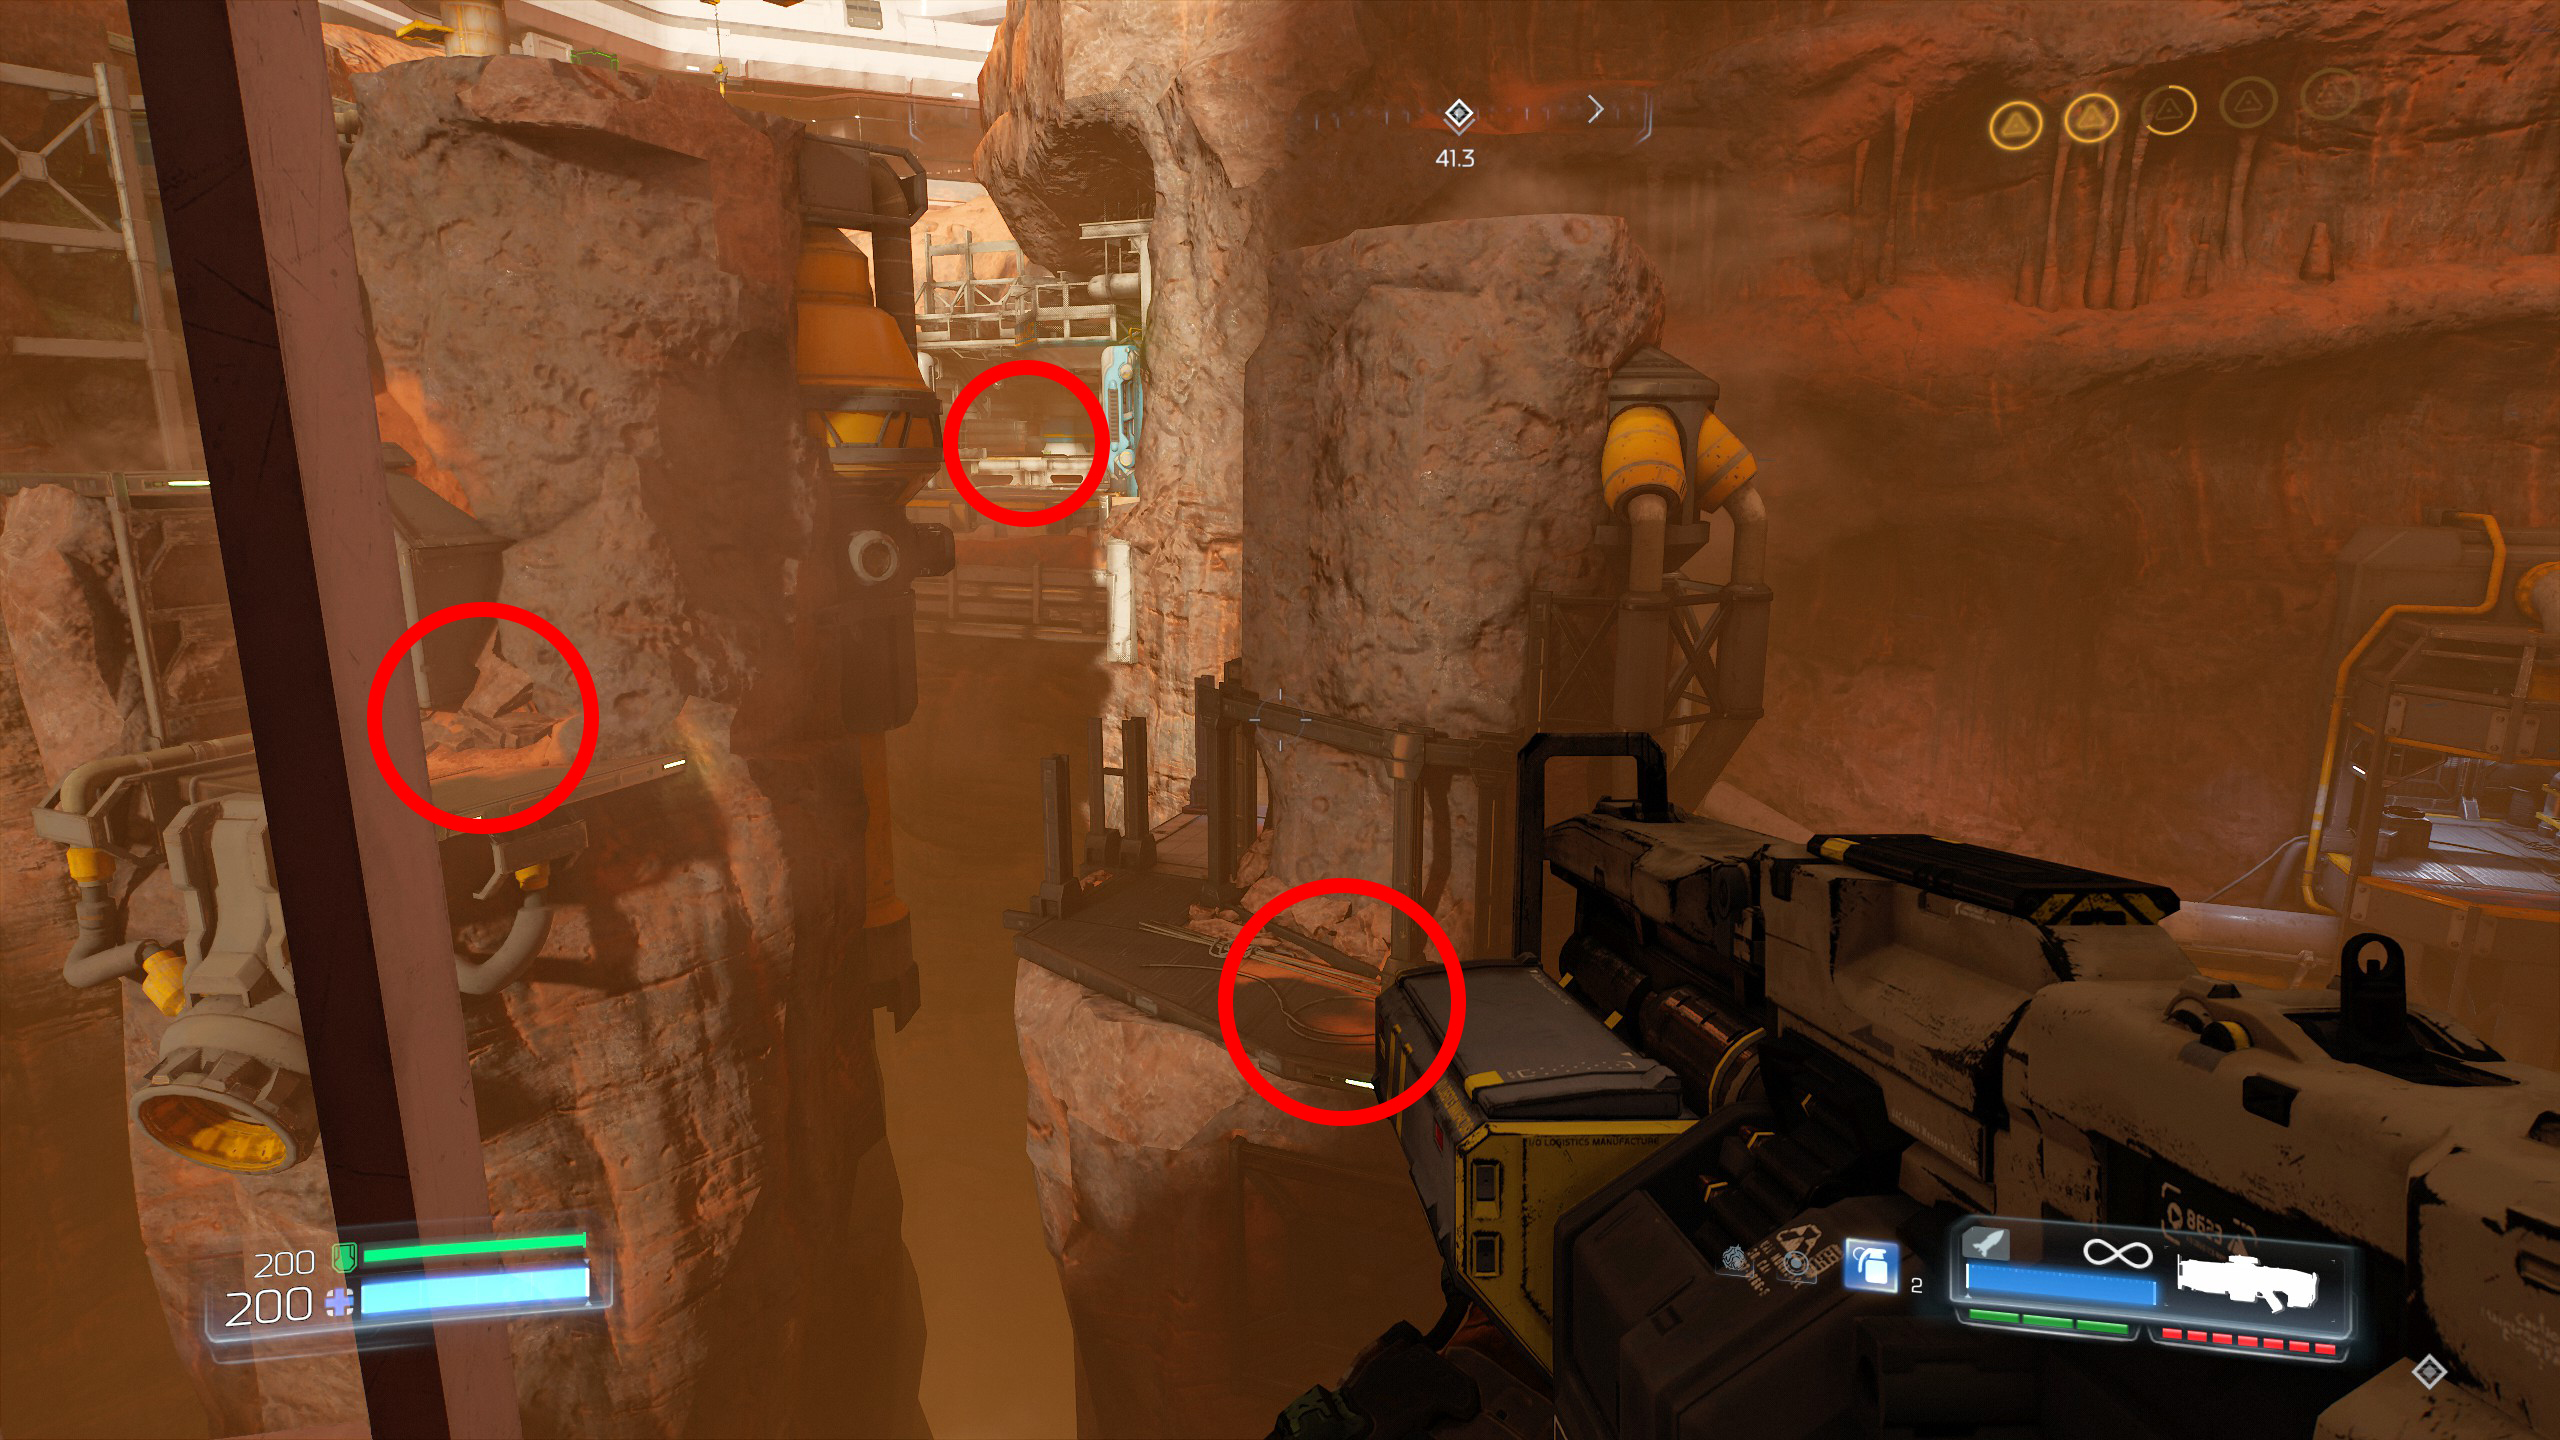
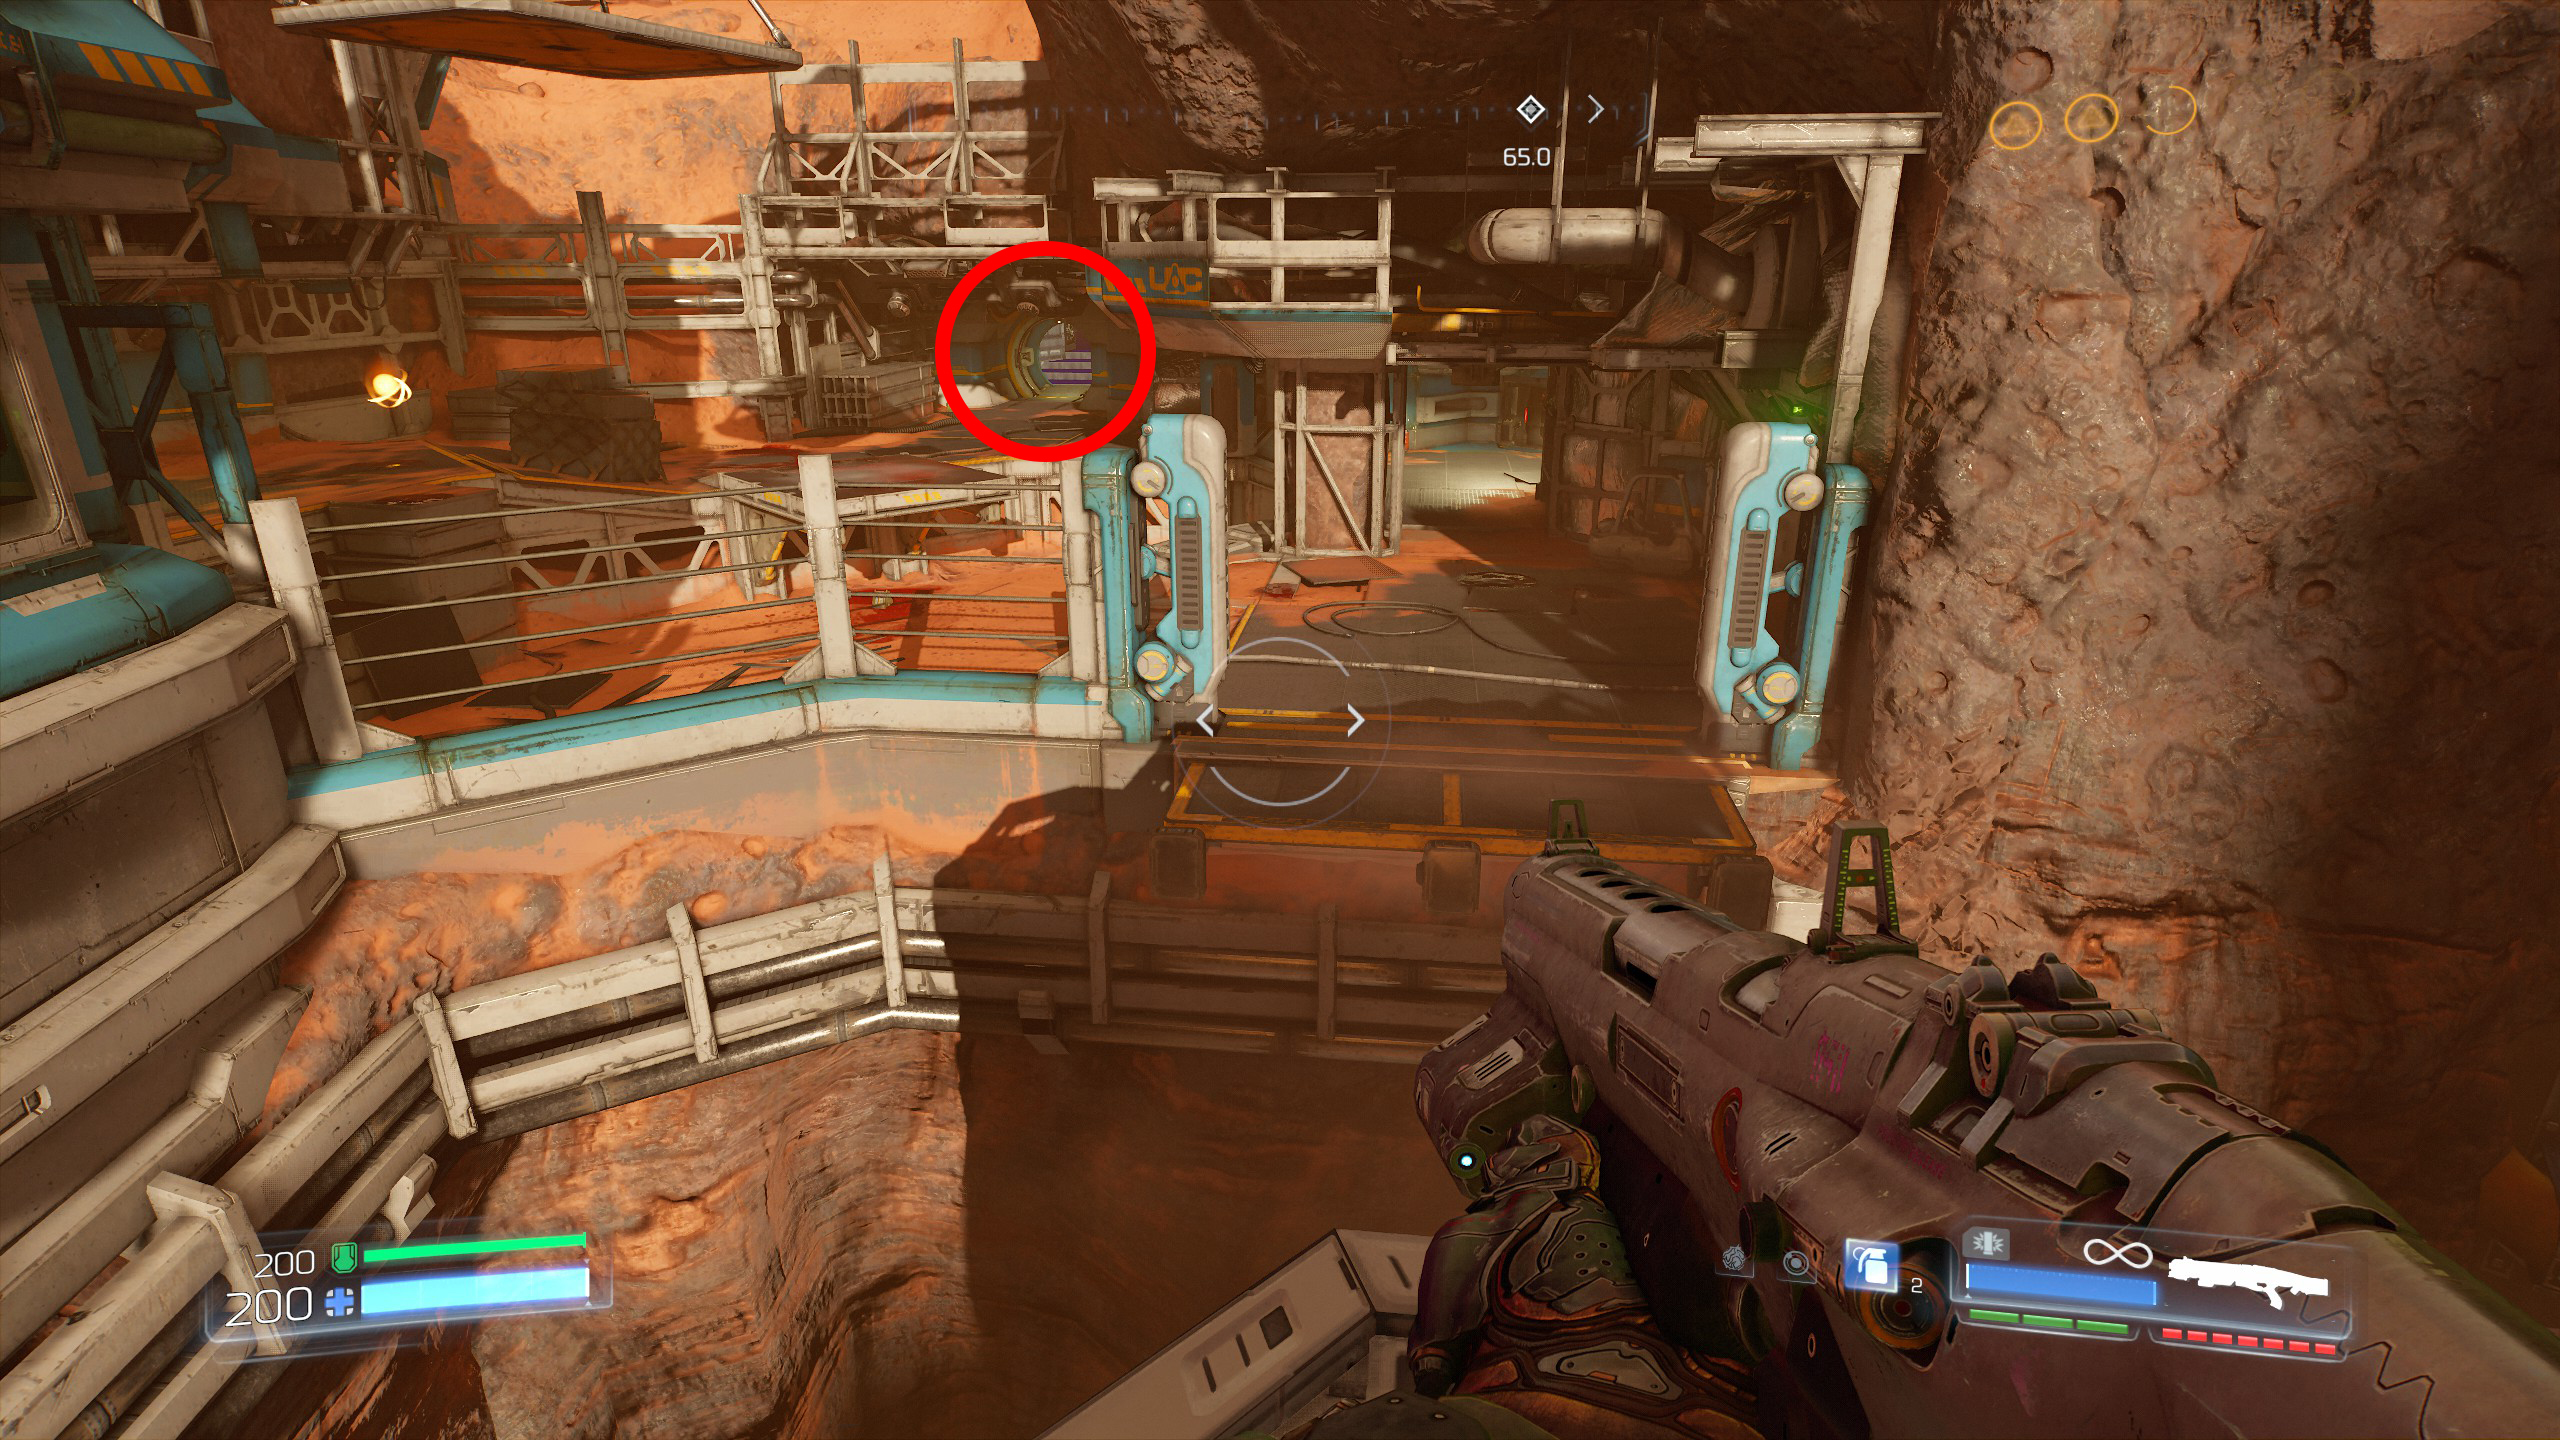
WARNING: Once you proceed with the mission and enter the pipeline you will not be able to come back and collect any missing secrets, so make sure you get them all first.
Continue the mission and after entering the pipeline climb up through the fans and exit out.
Continue to follow the path around until you reach a small room with another fan that is activated, turn off the fan using the switch and enter the room, drop down through the gap on the floor that opens up and then drop further down to the lowest point and enter the tunnel to grab a Field Drone and secret number 7.
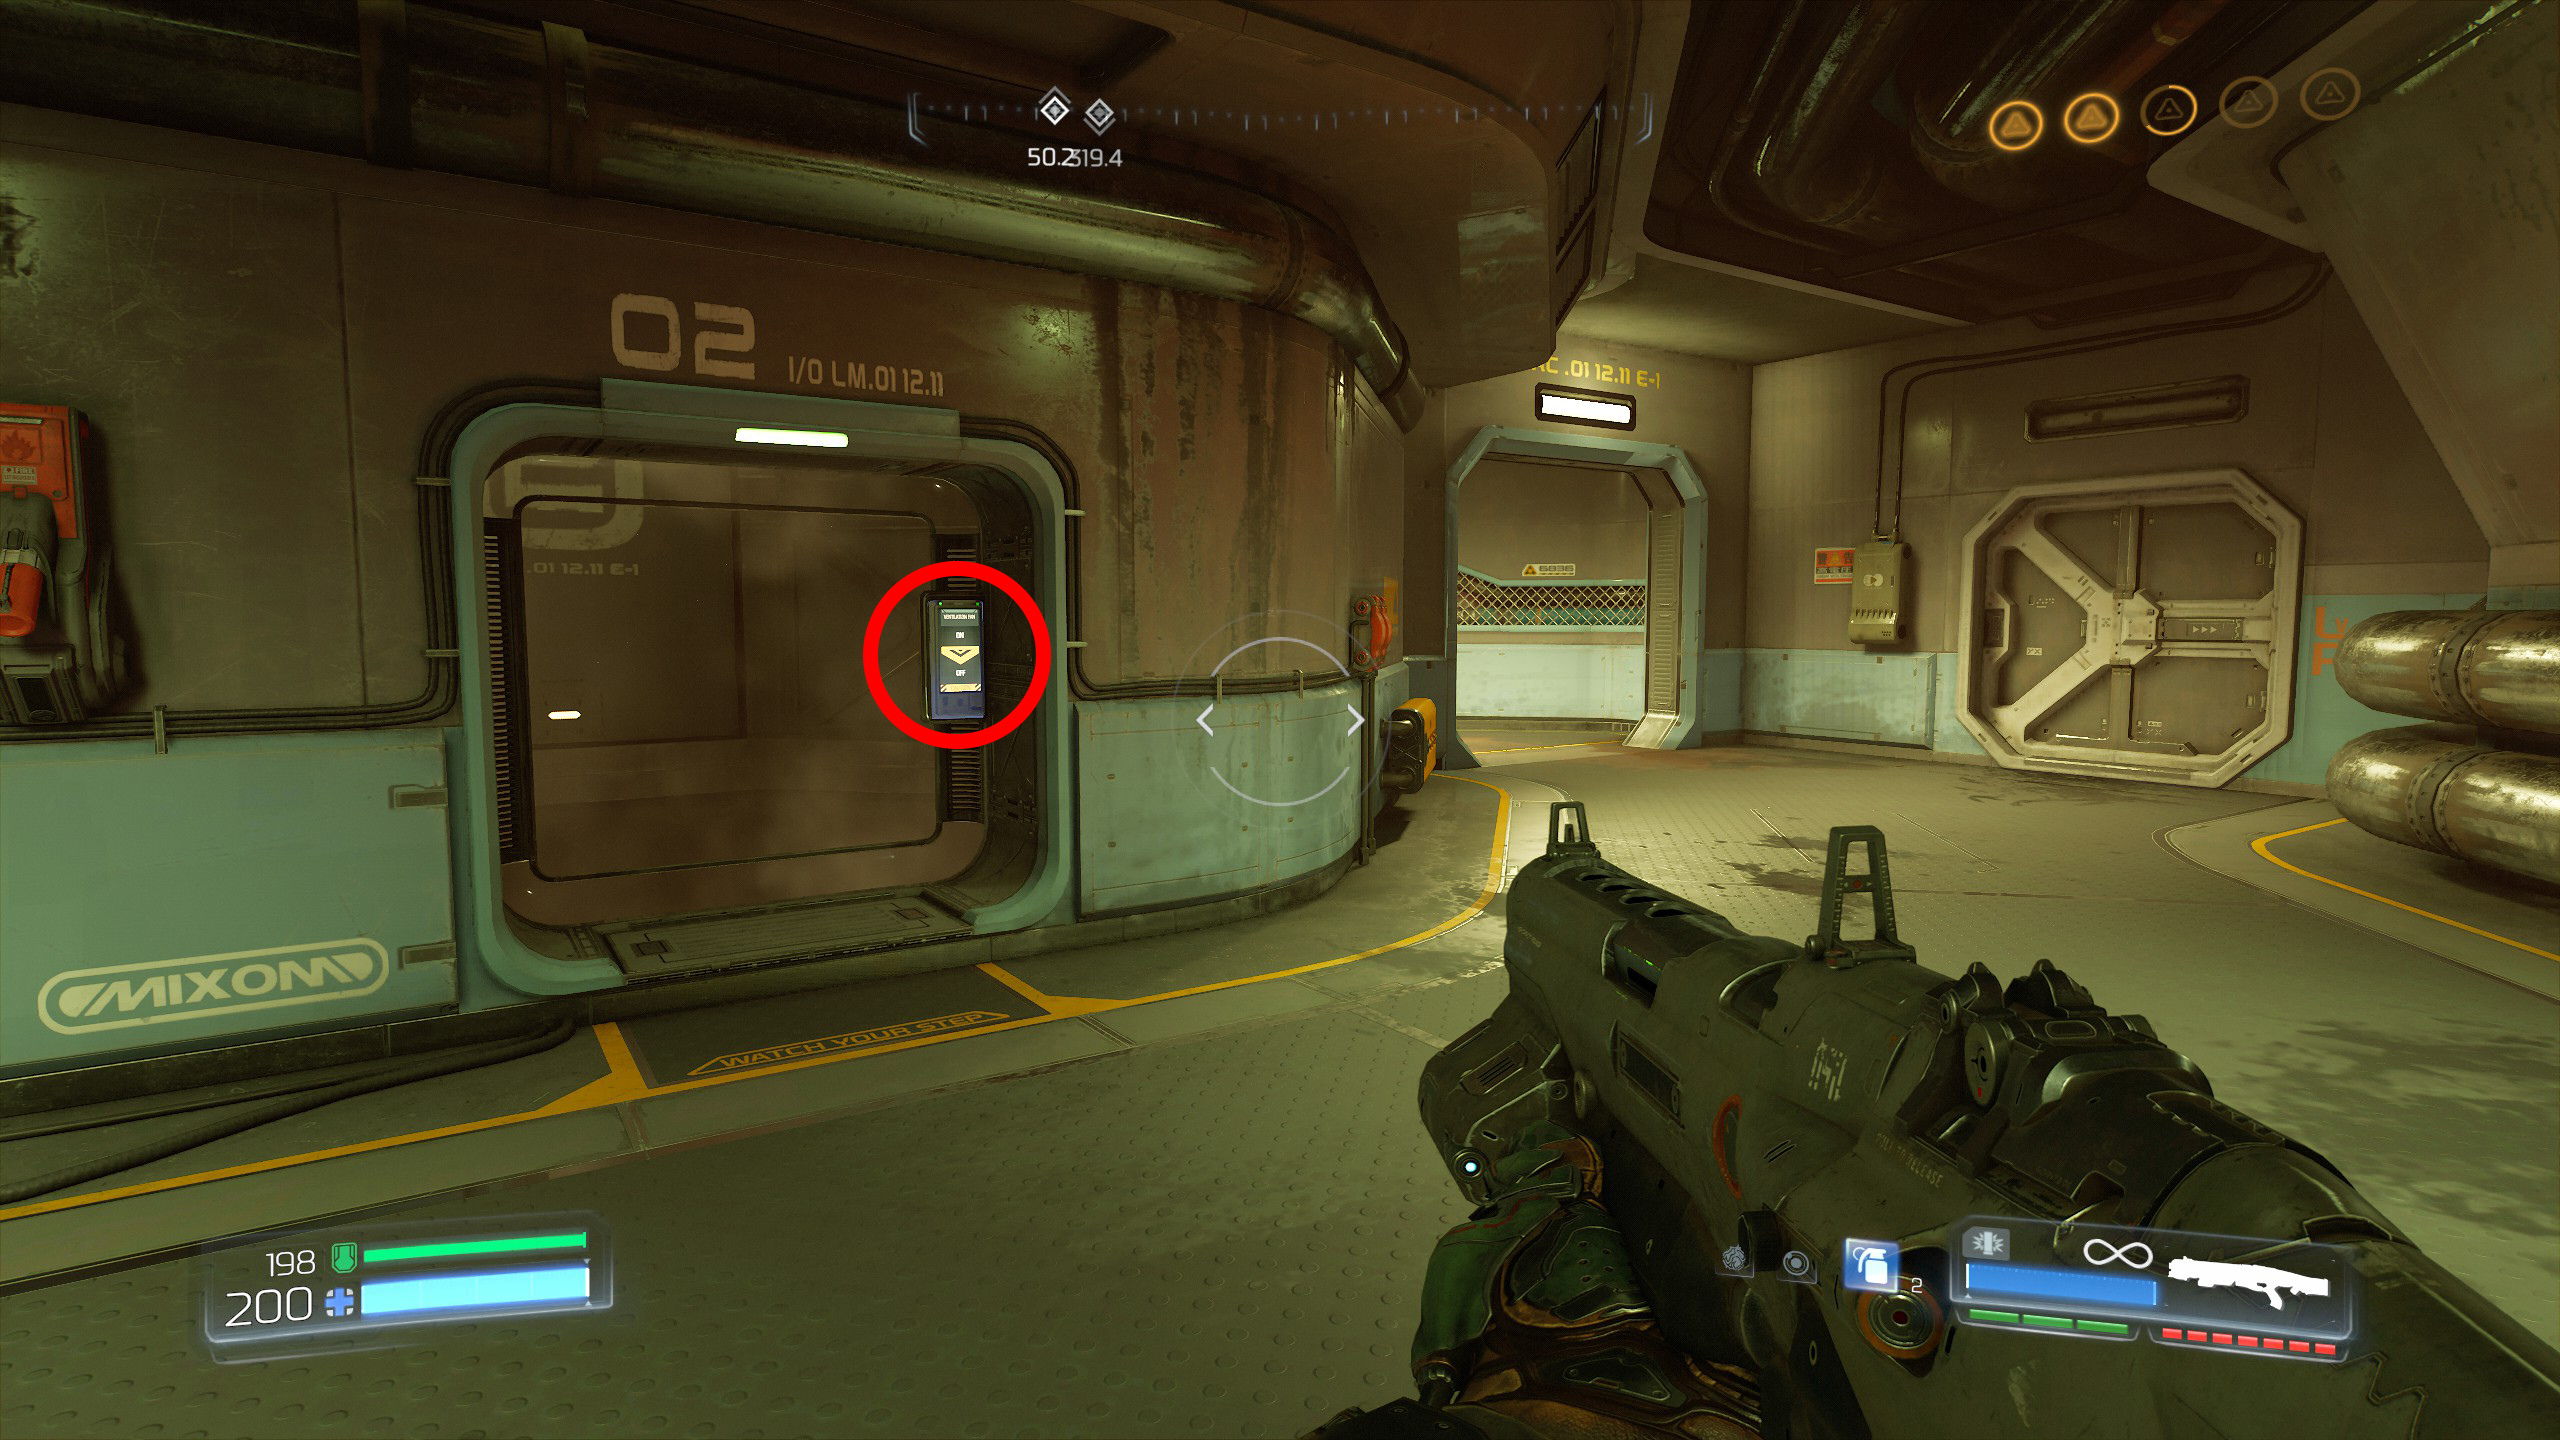
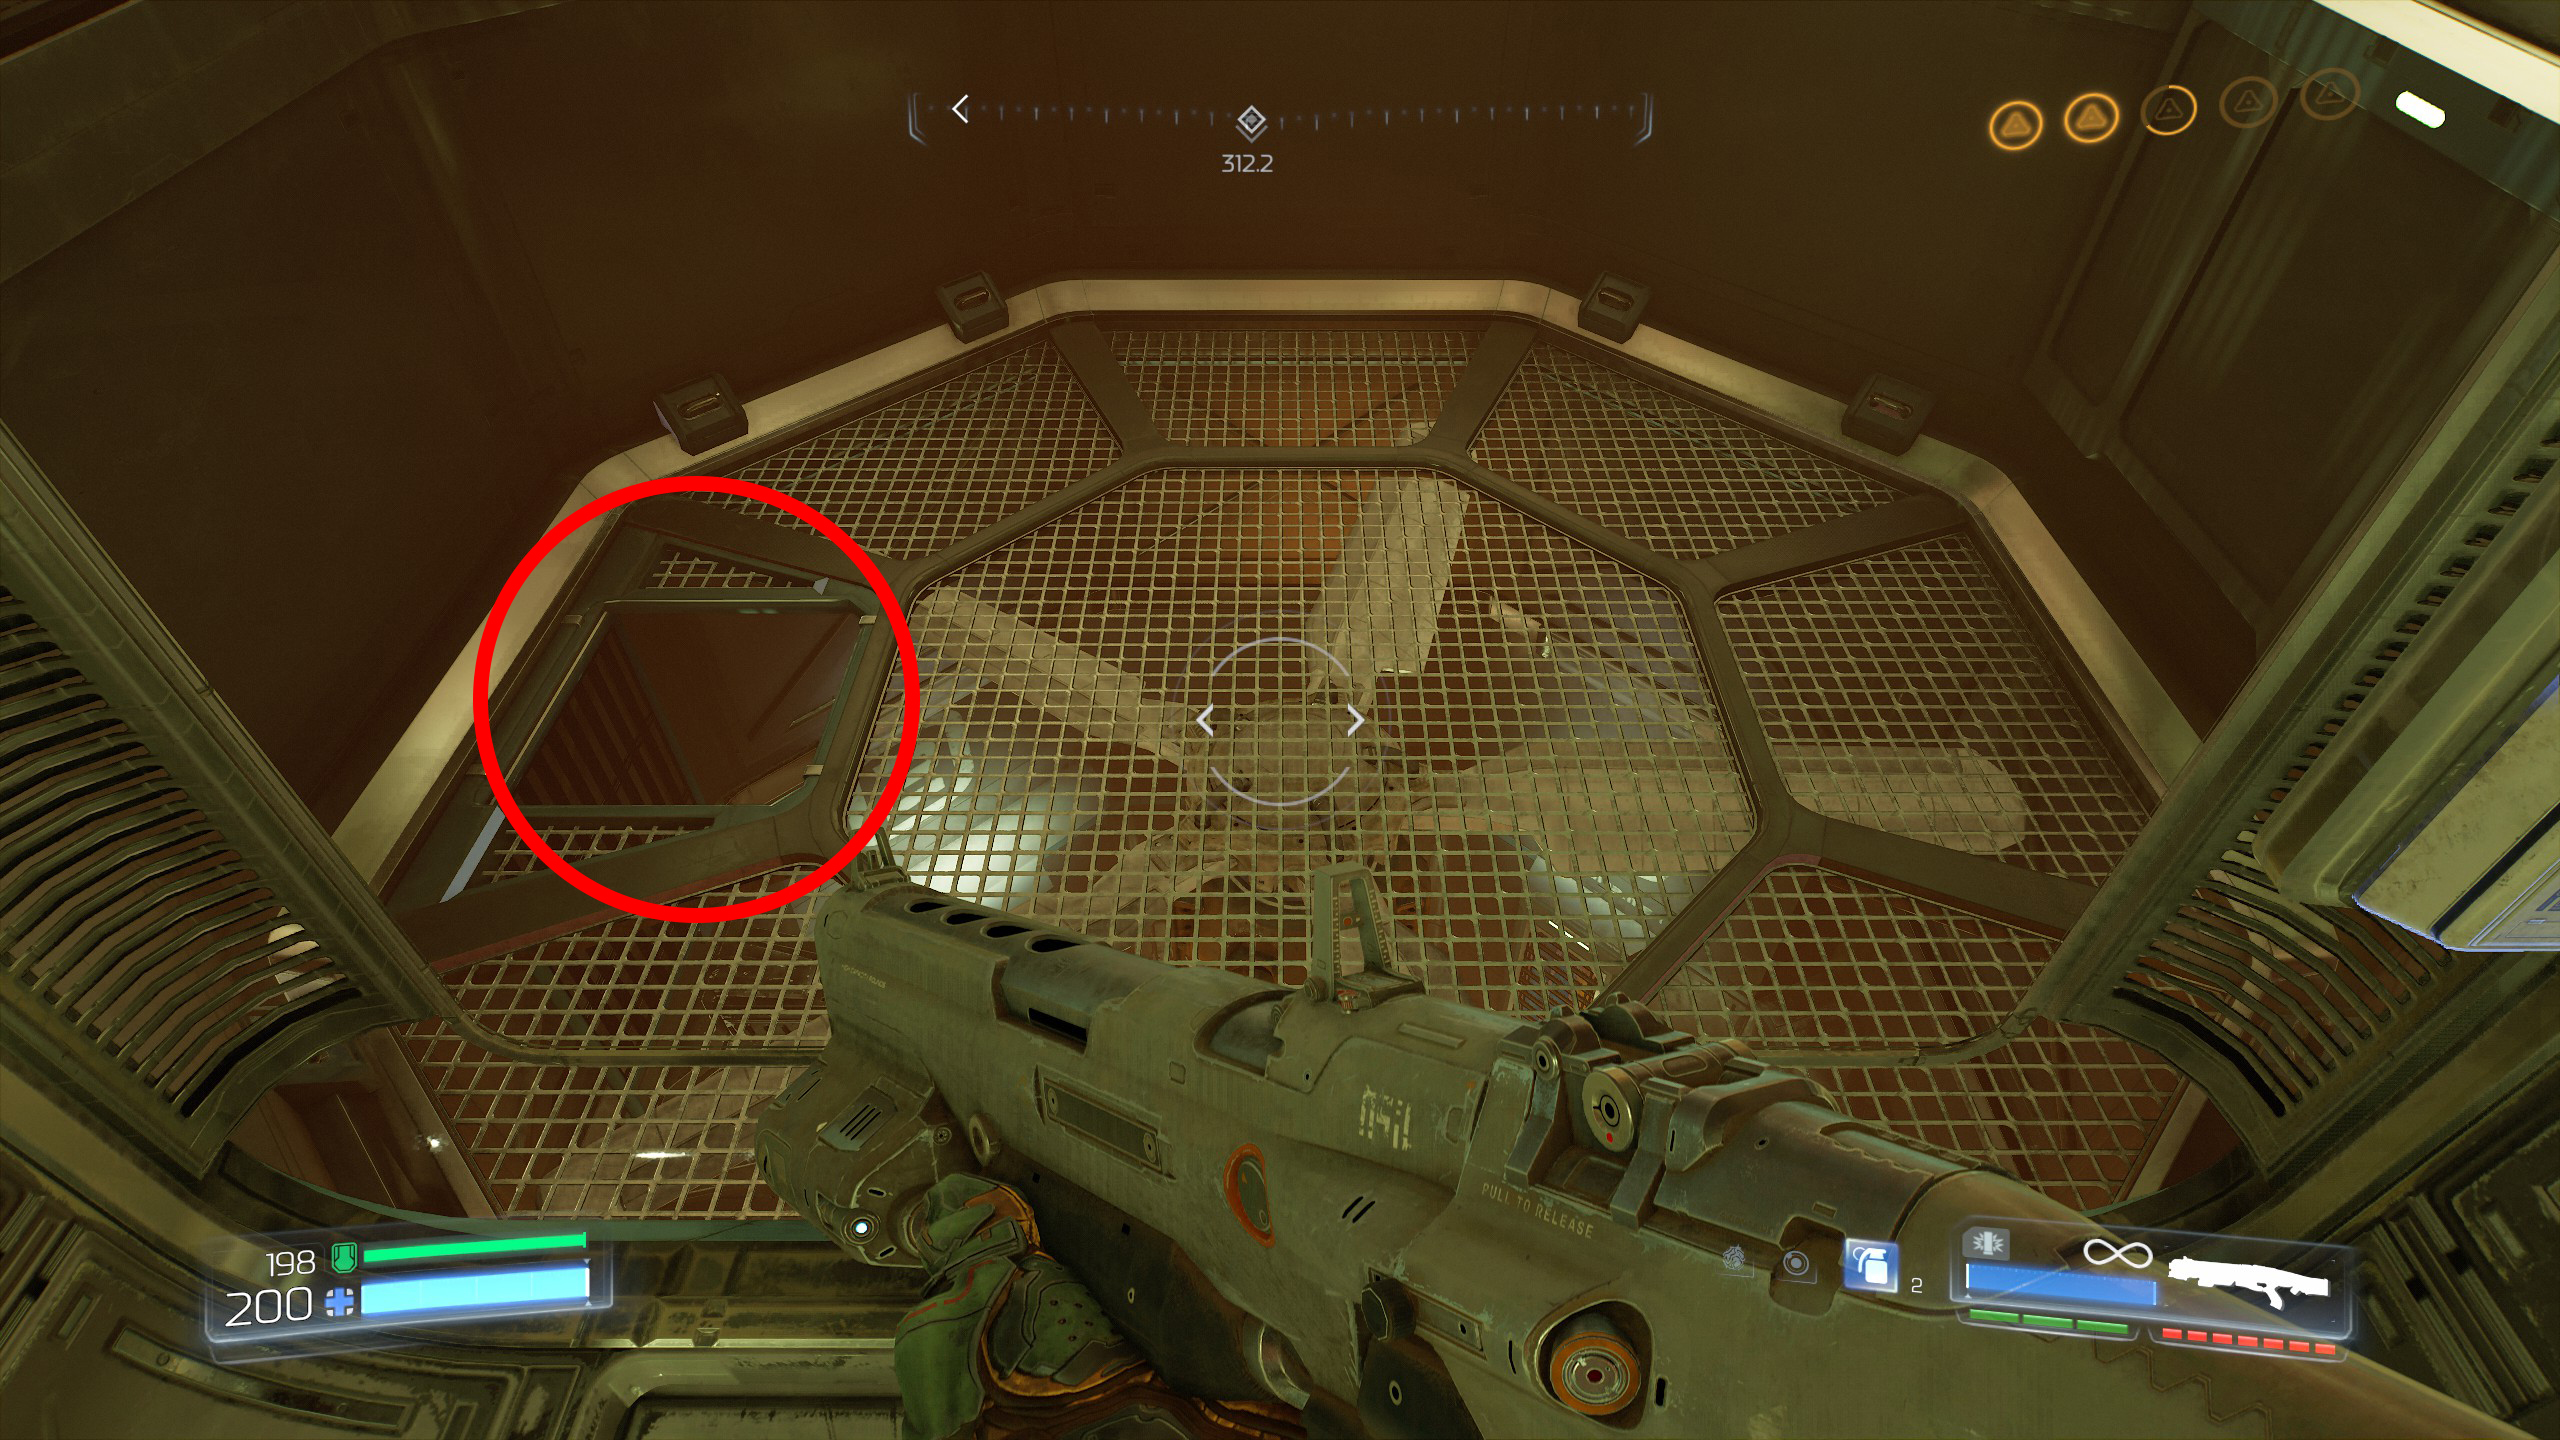
After secret 7 turn the fan back on and enter the room again to be lifted to the top, when you're at to the top enter the tunnel and follow the path around to the right, you will exit out in front of the BFG Labs.
Do not enter the labs, instead take the door on the left and inside will be an Elite Guard and secret number 8.
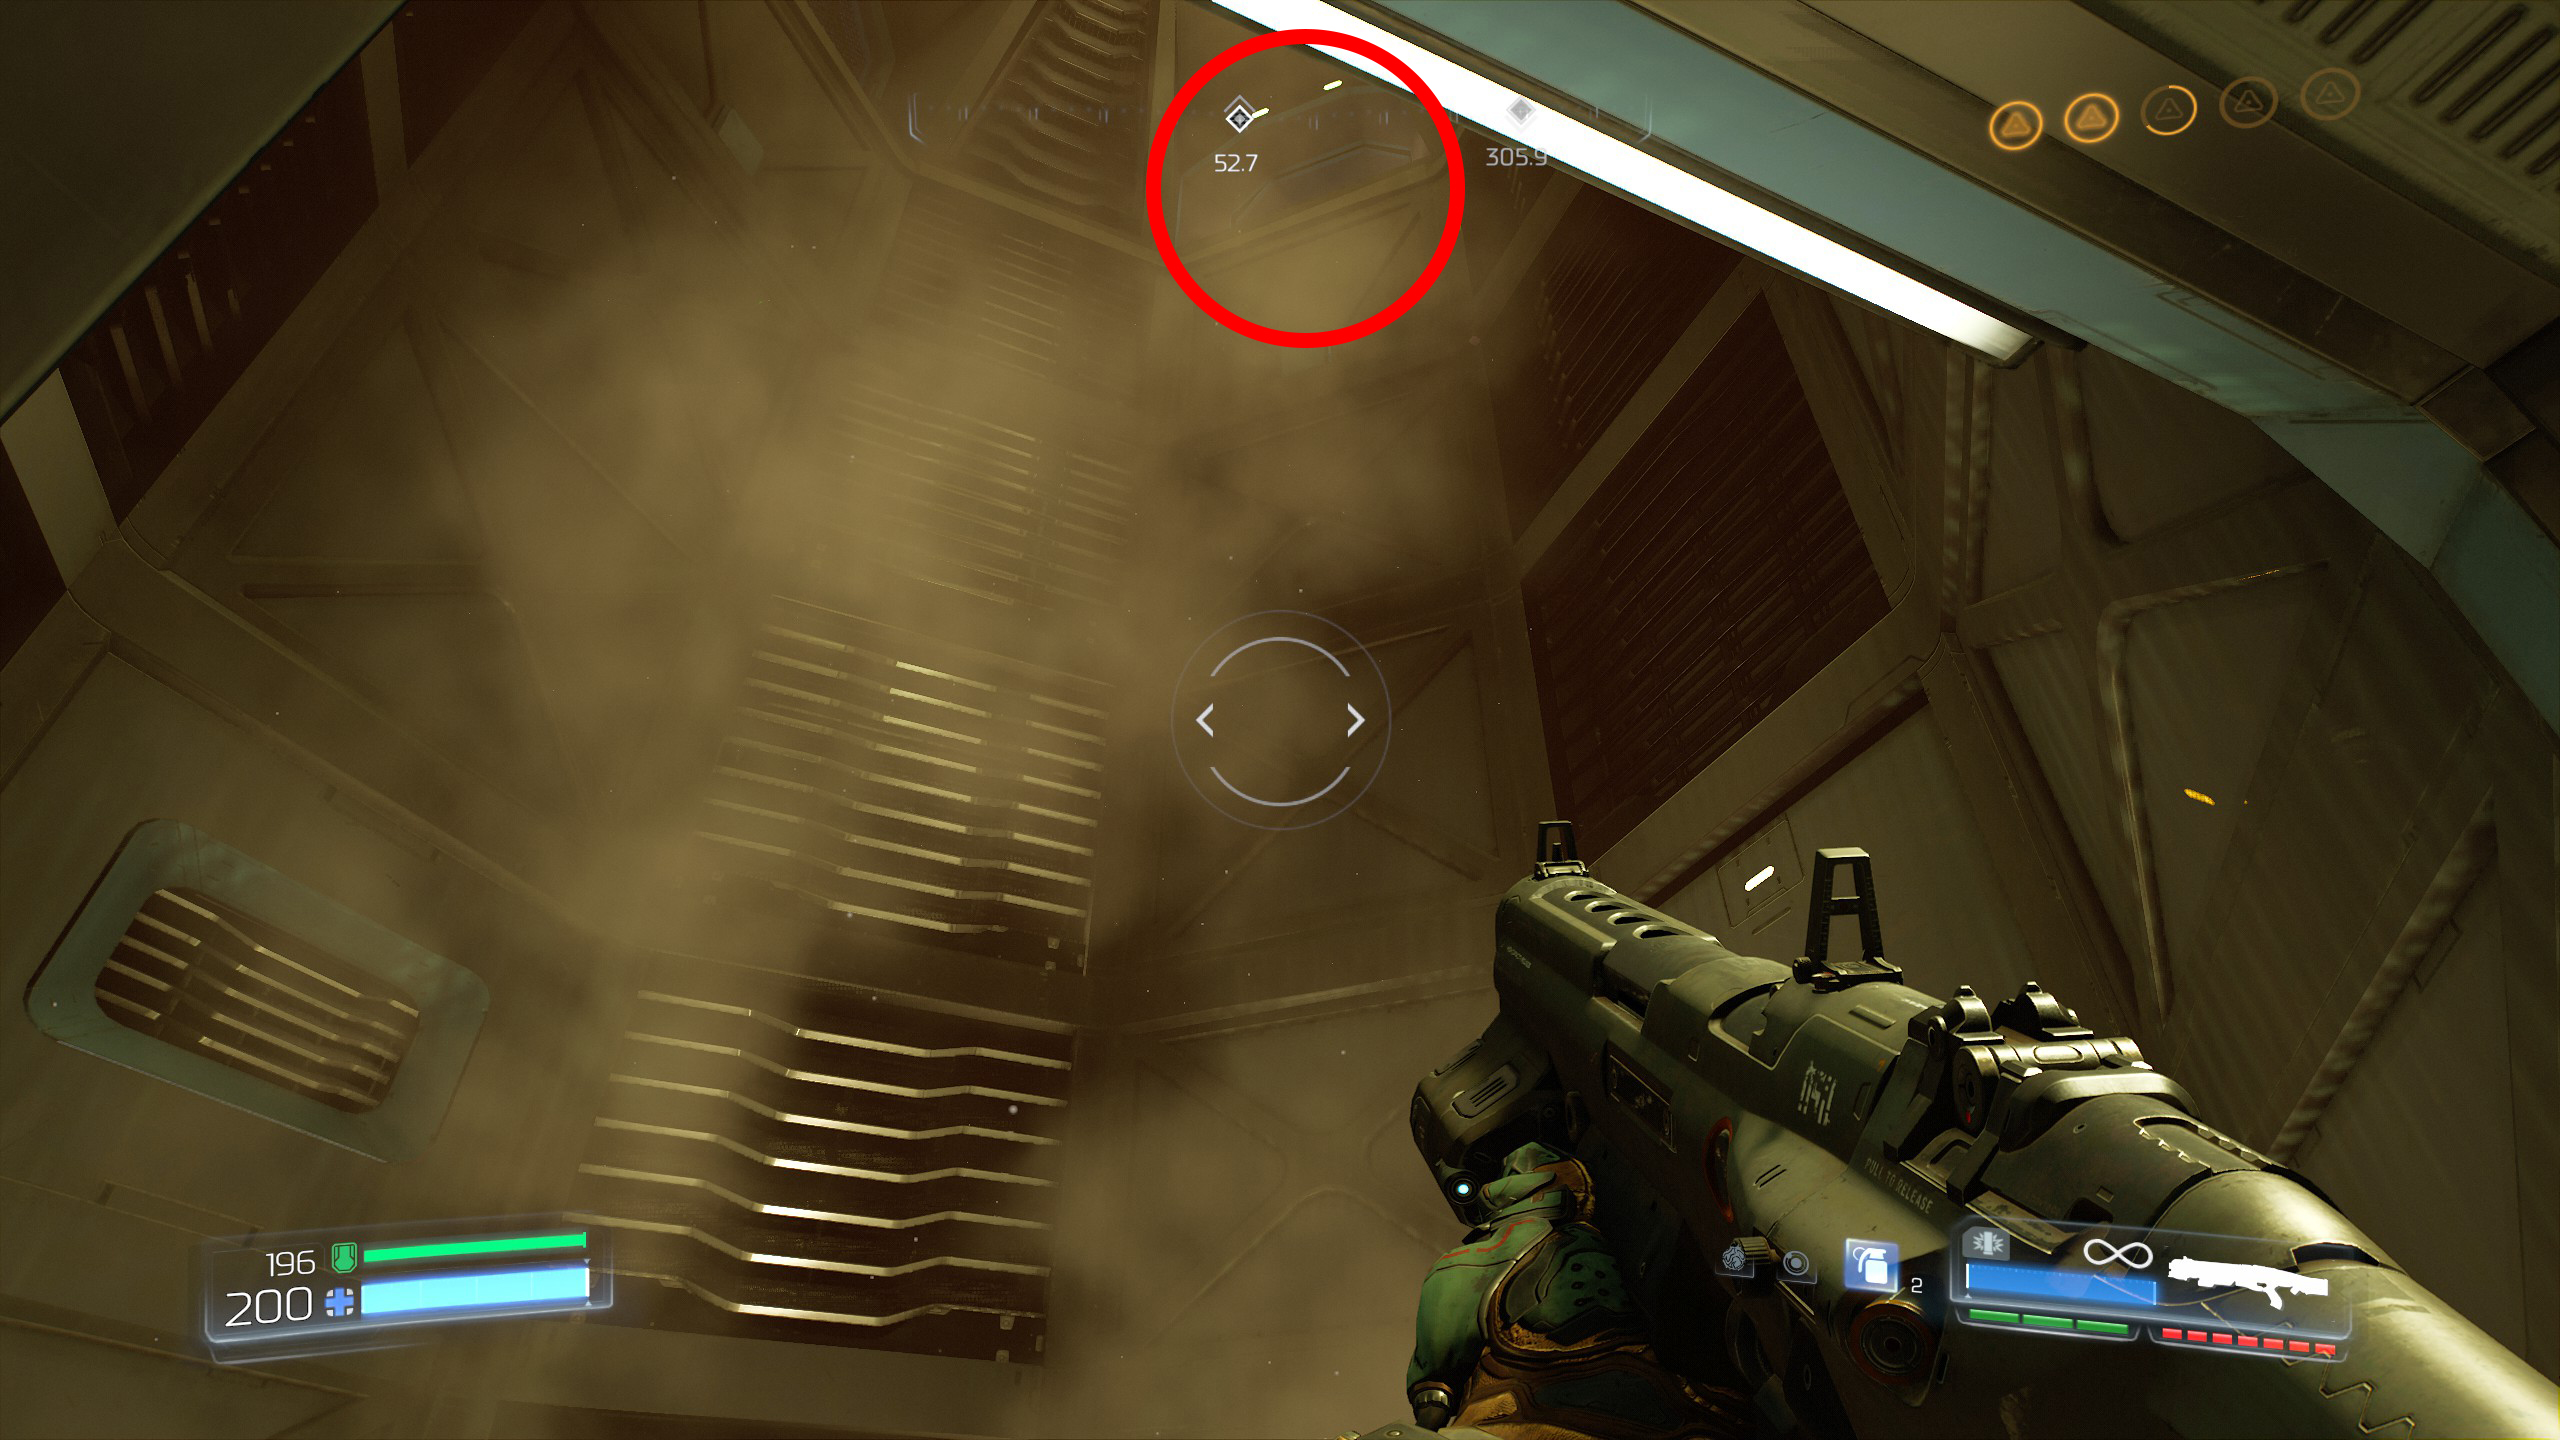
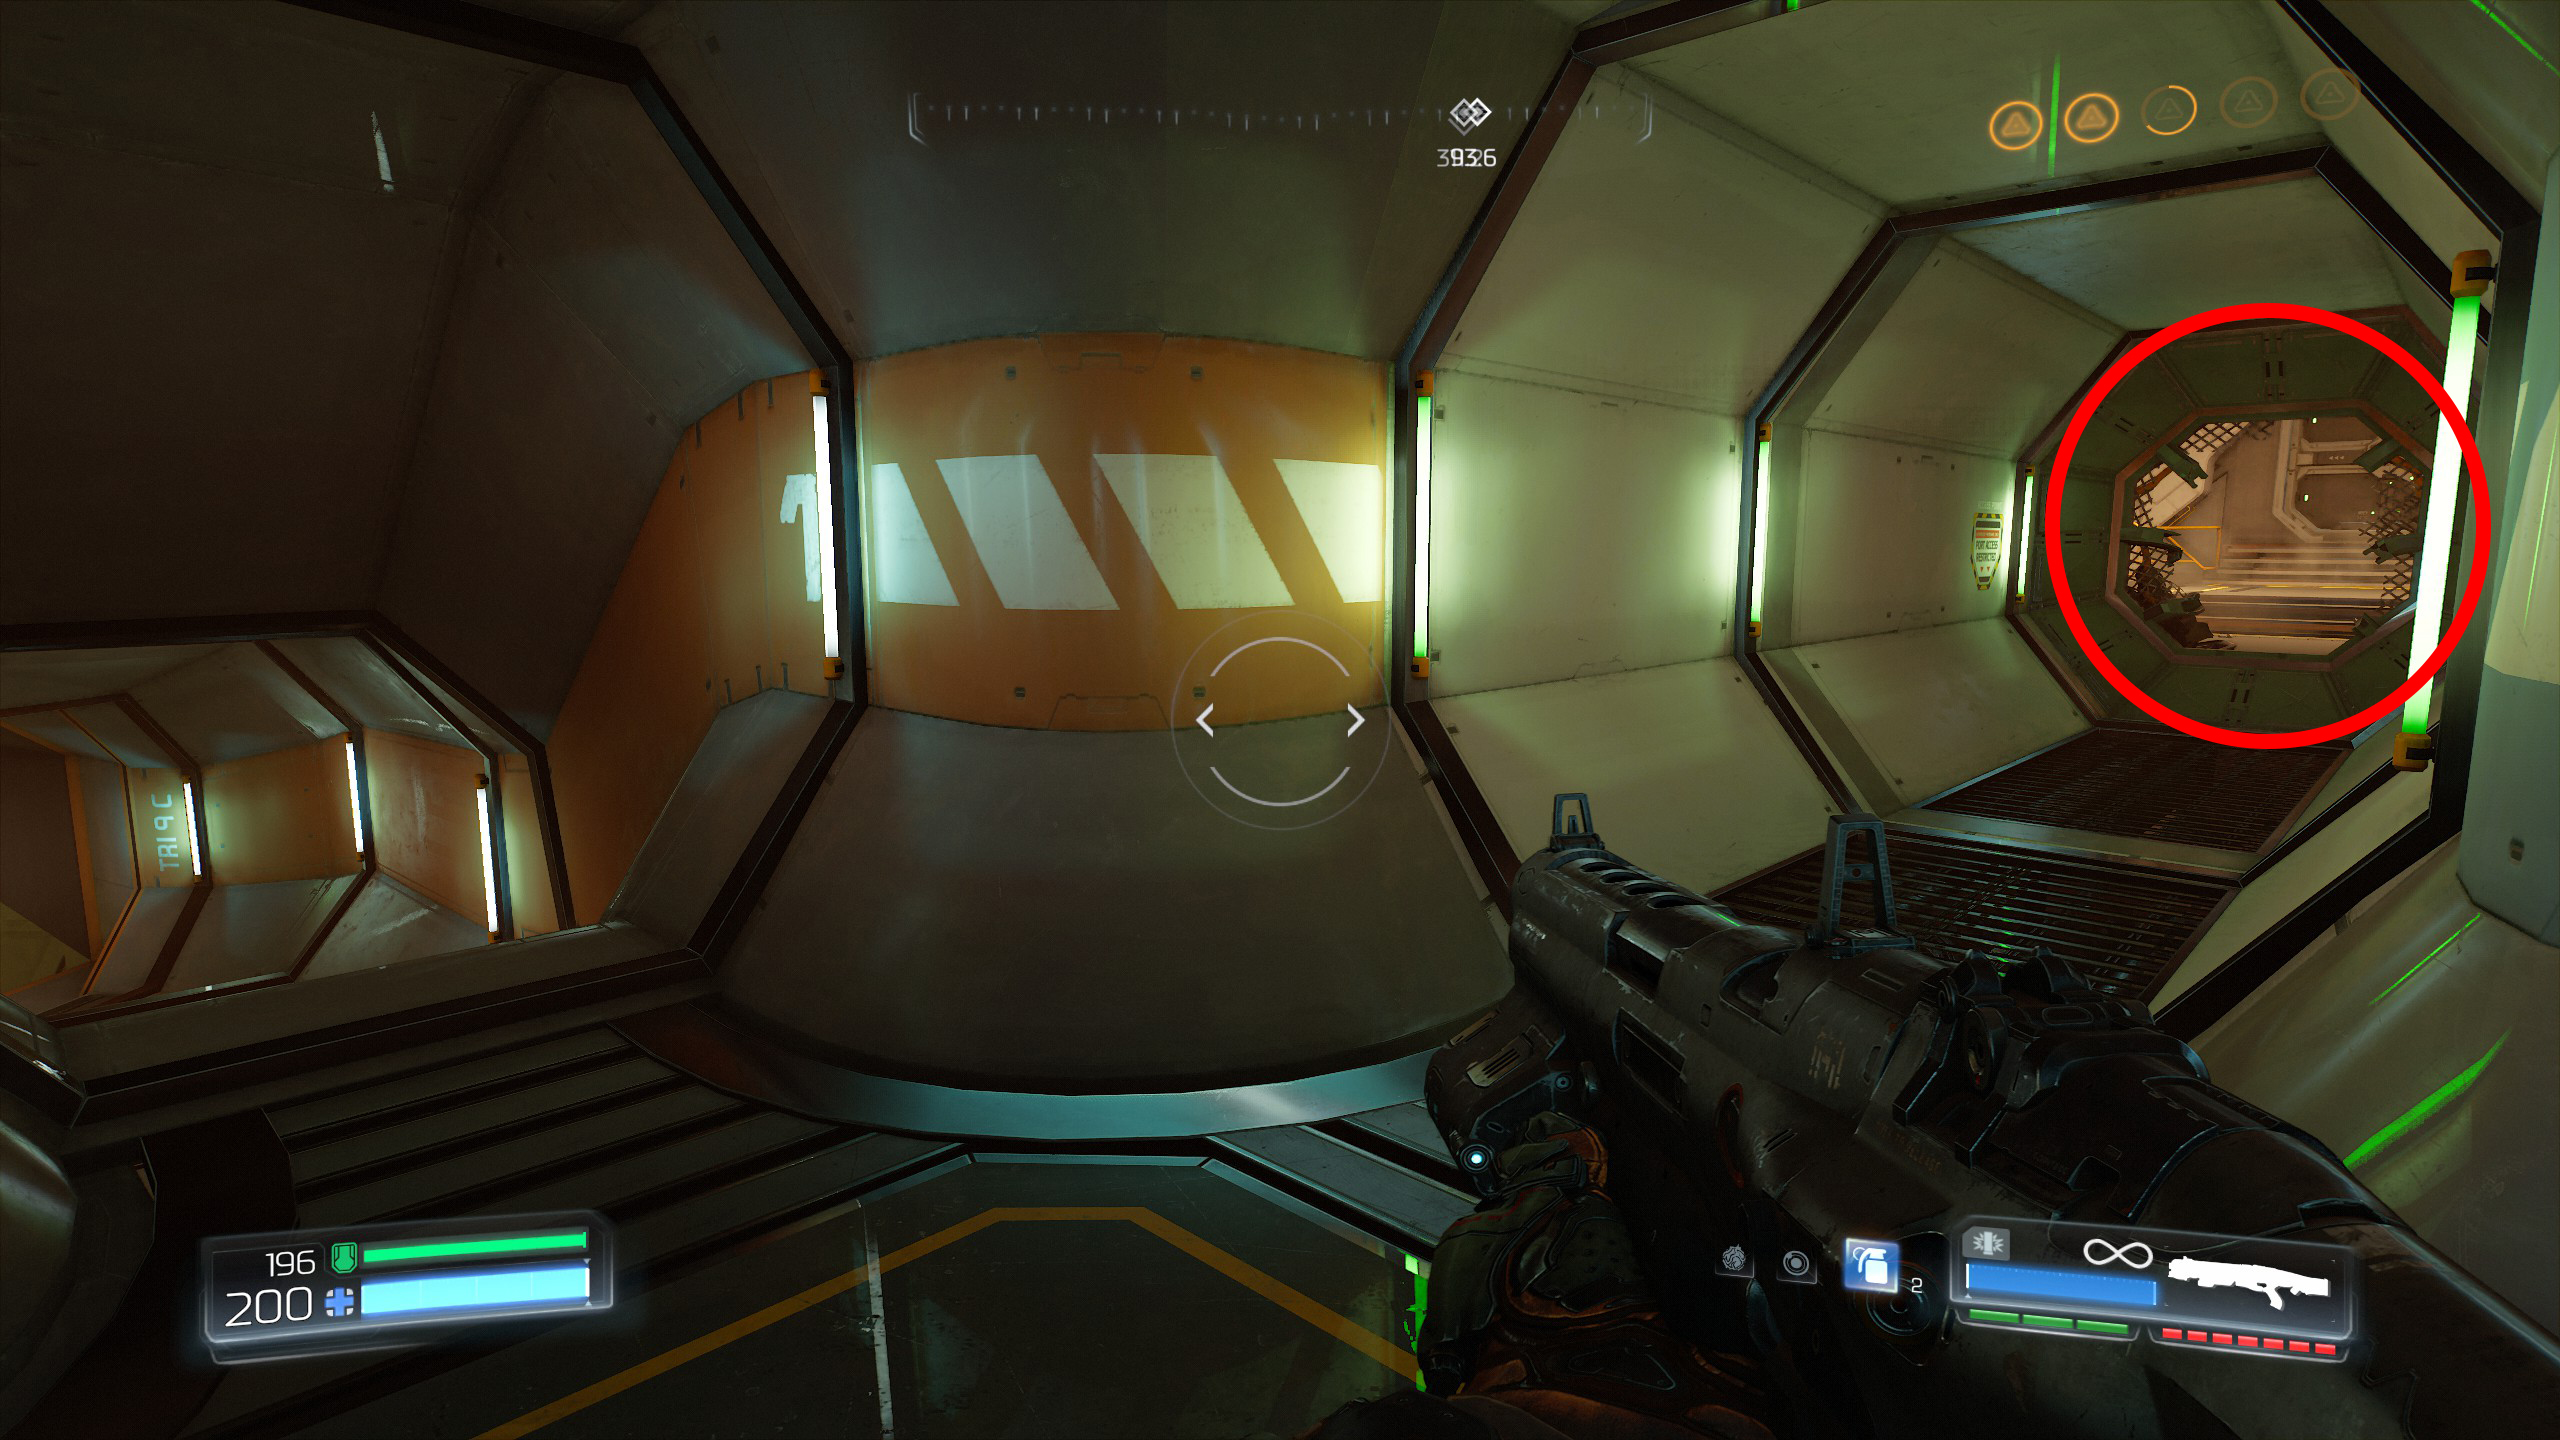
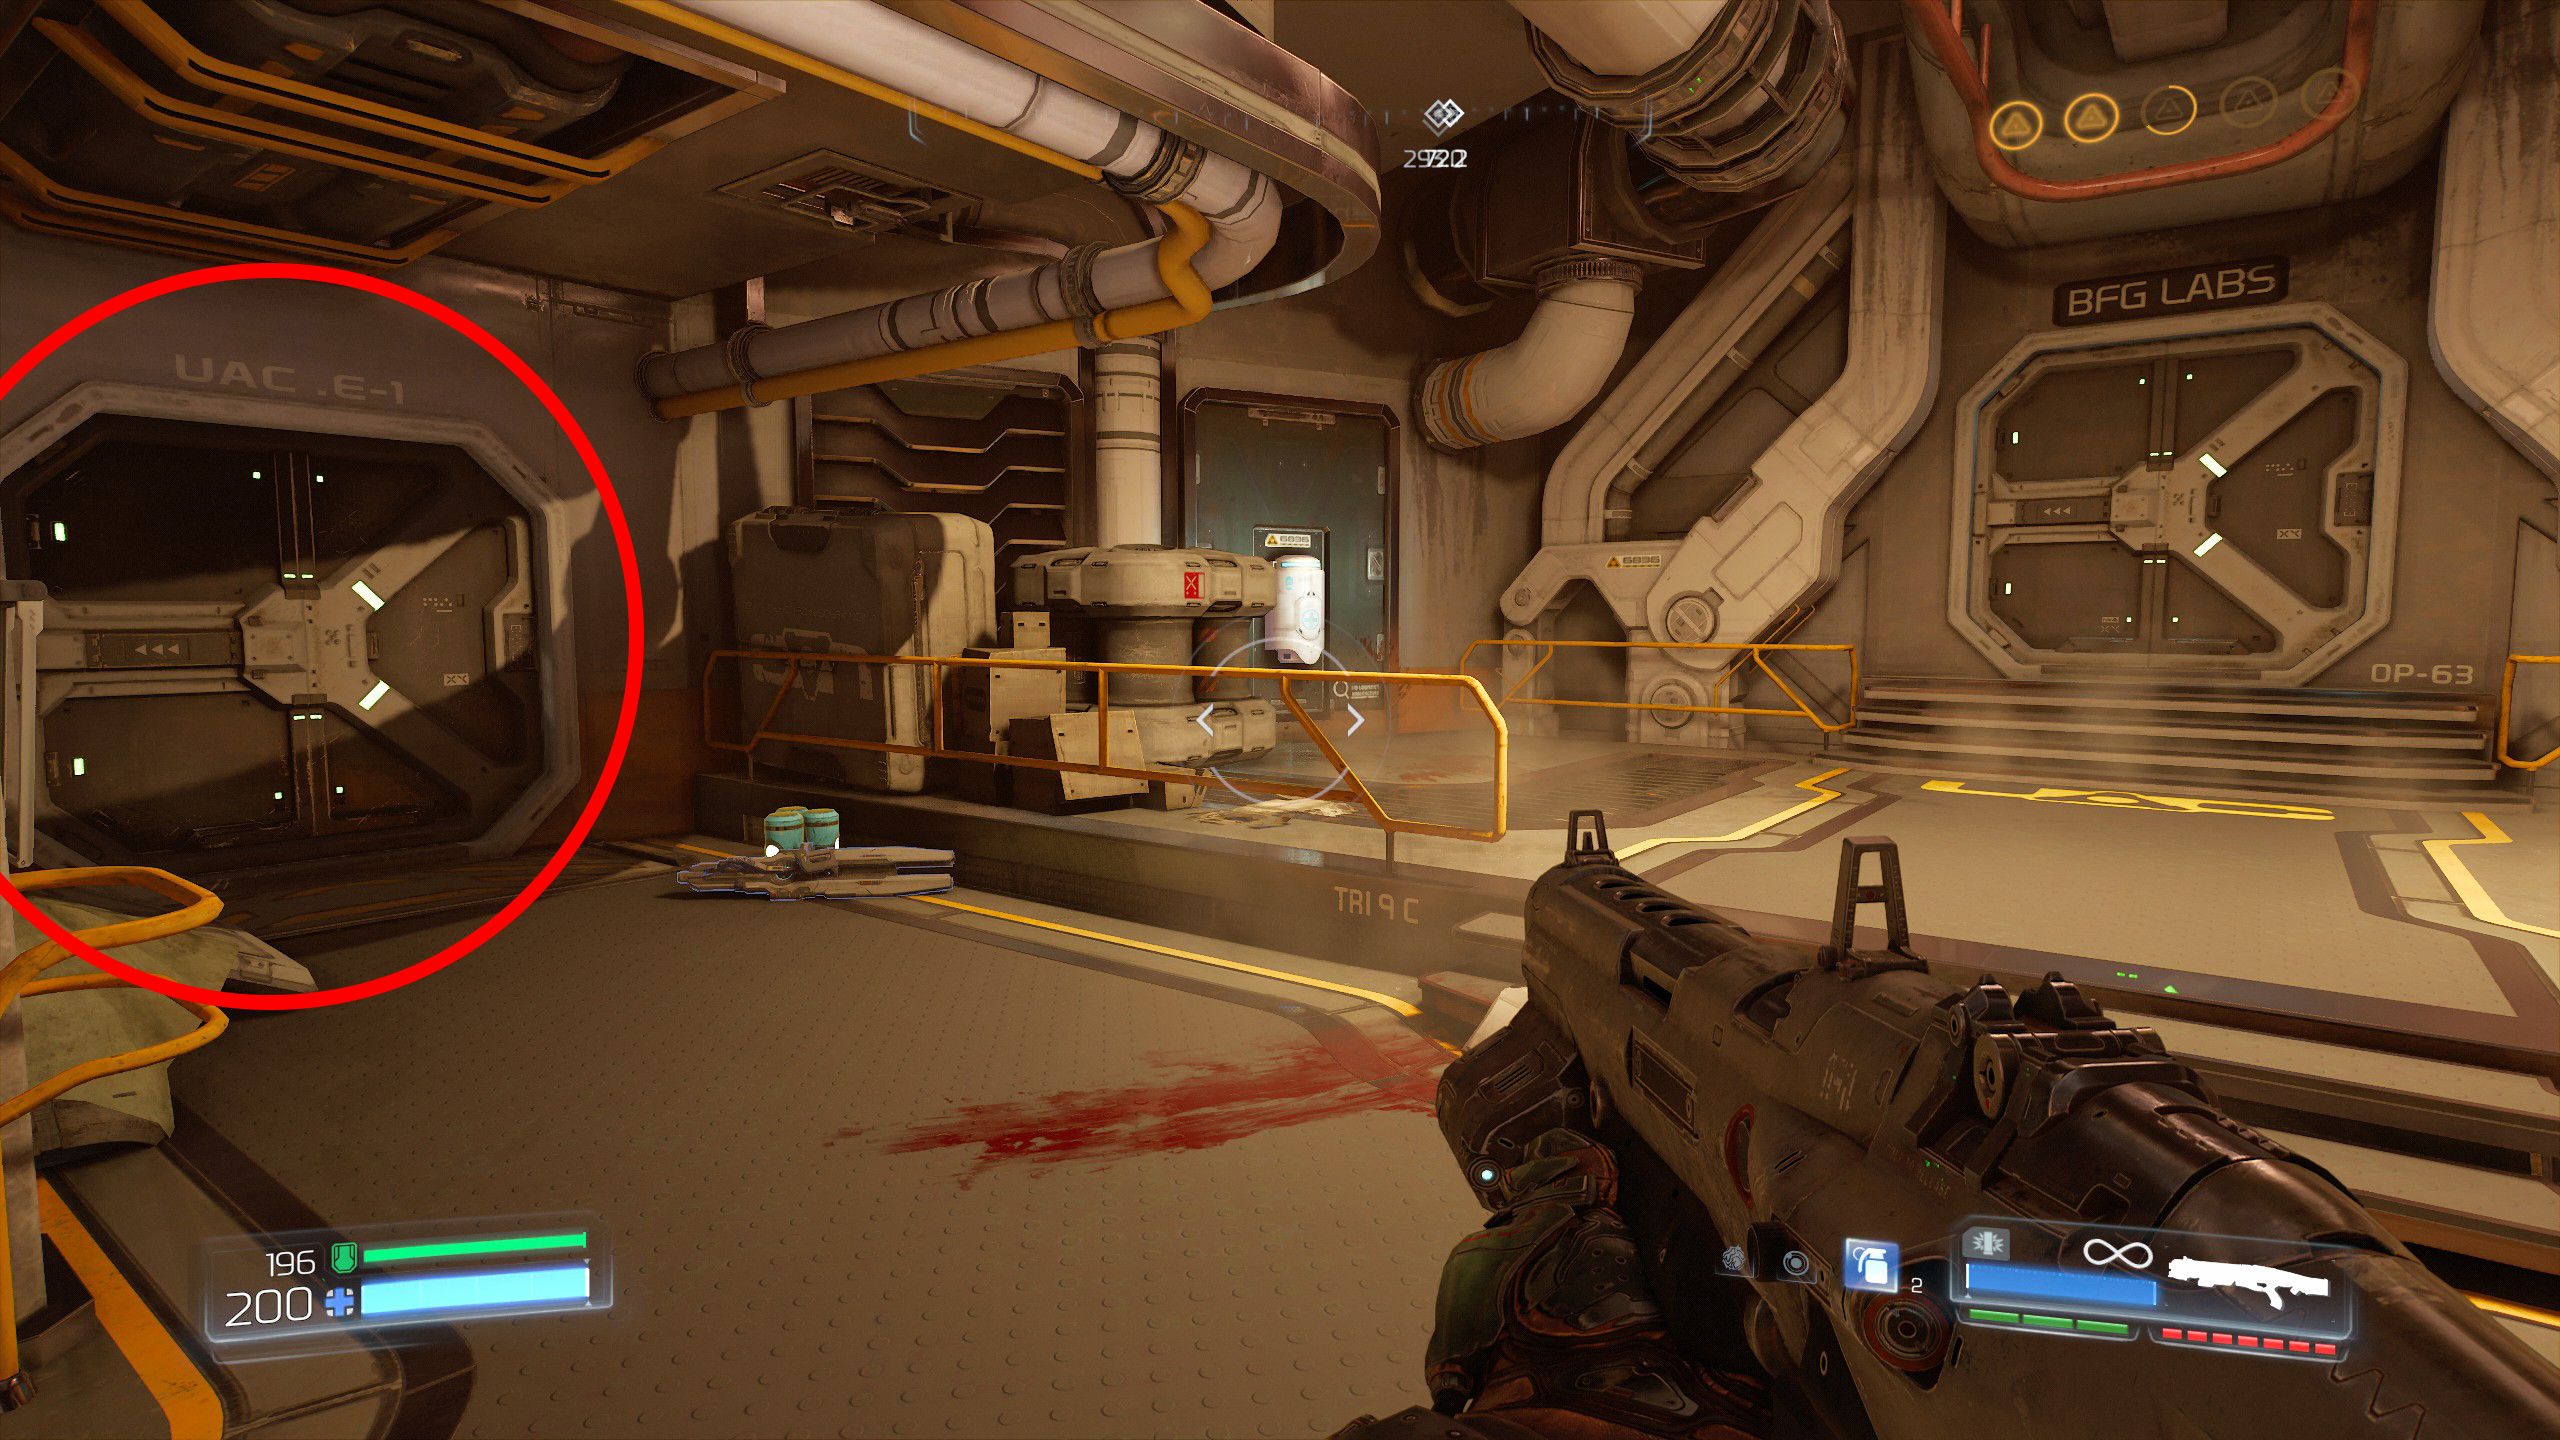
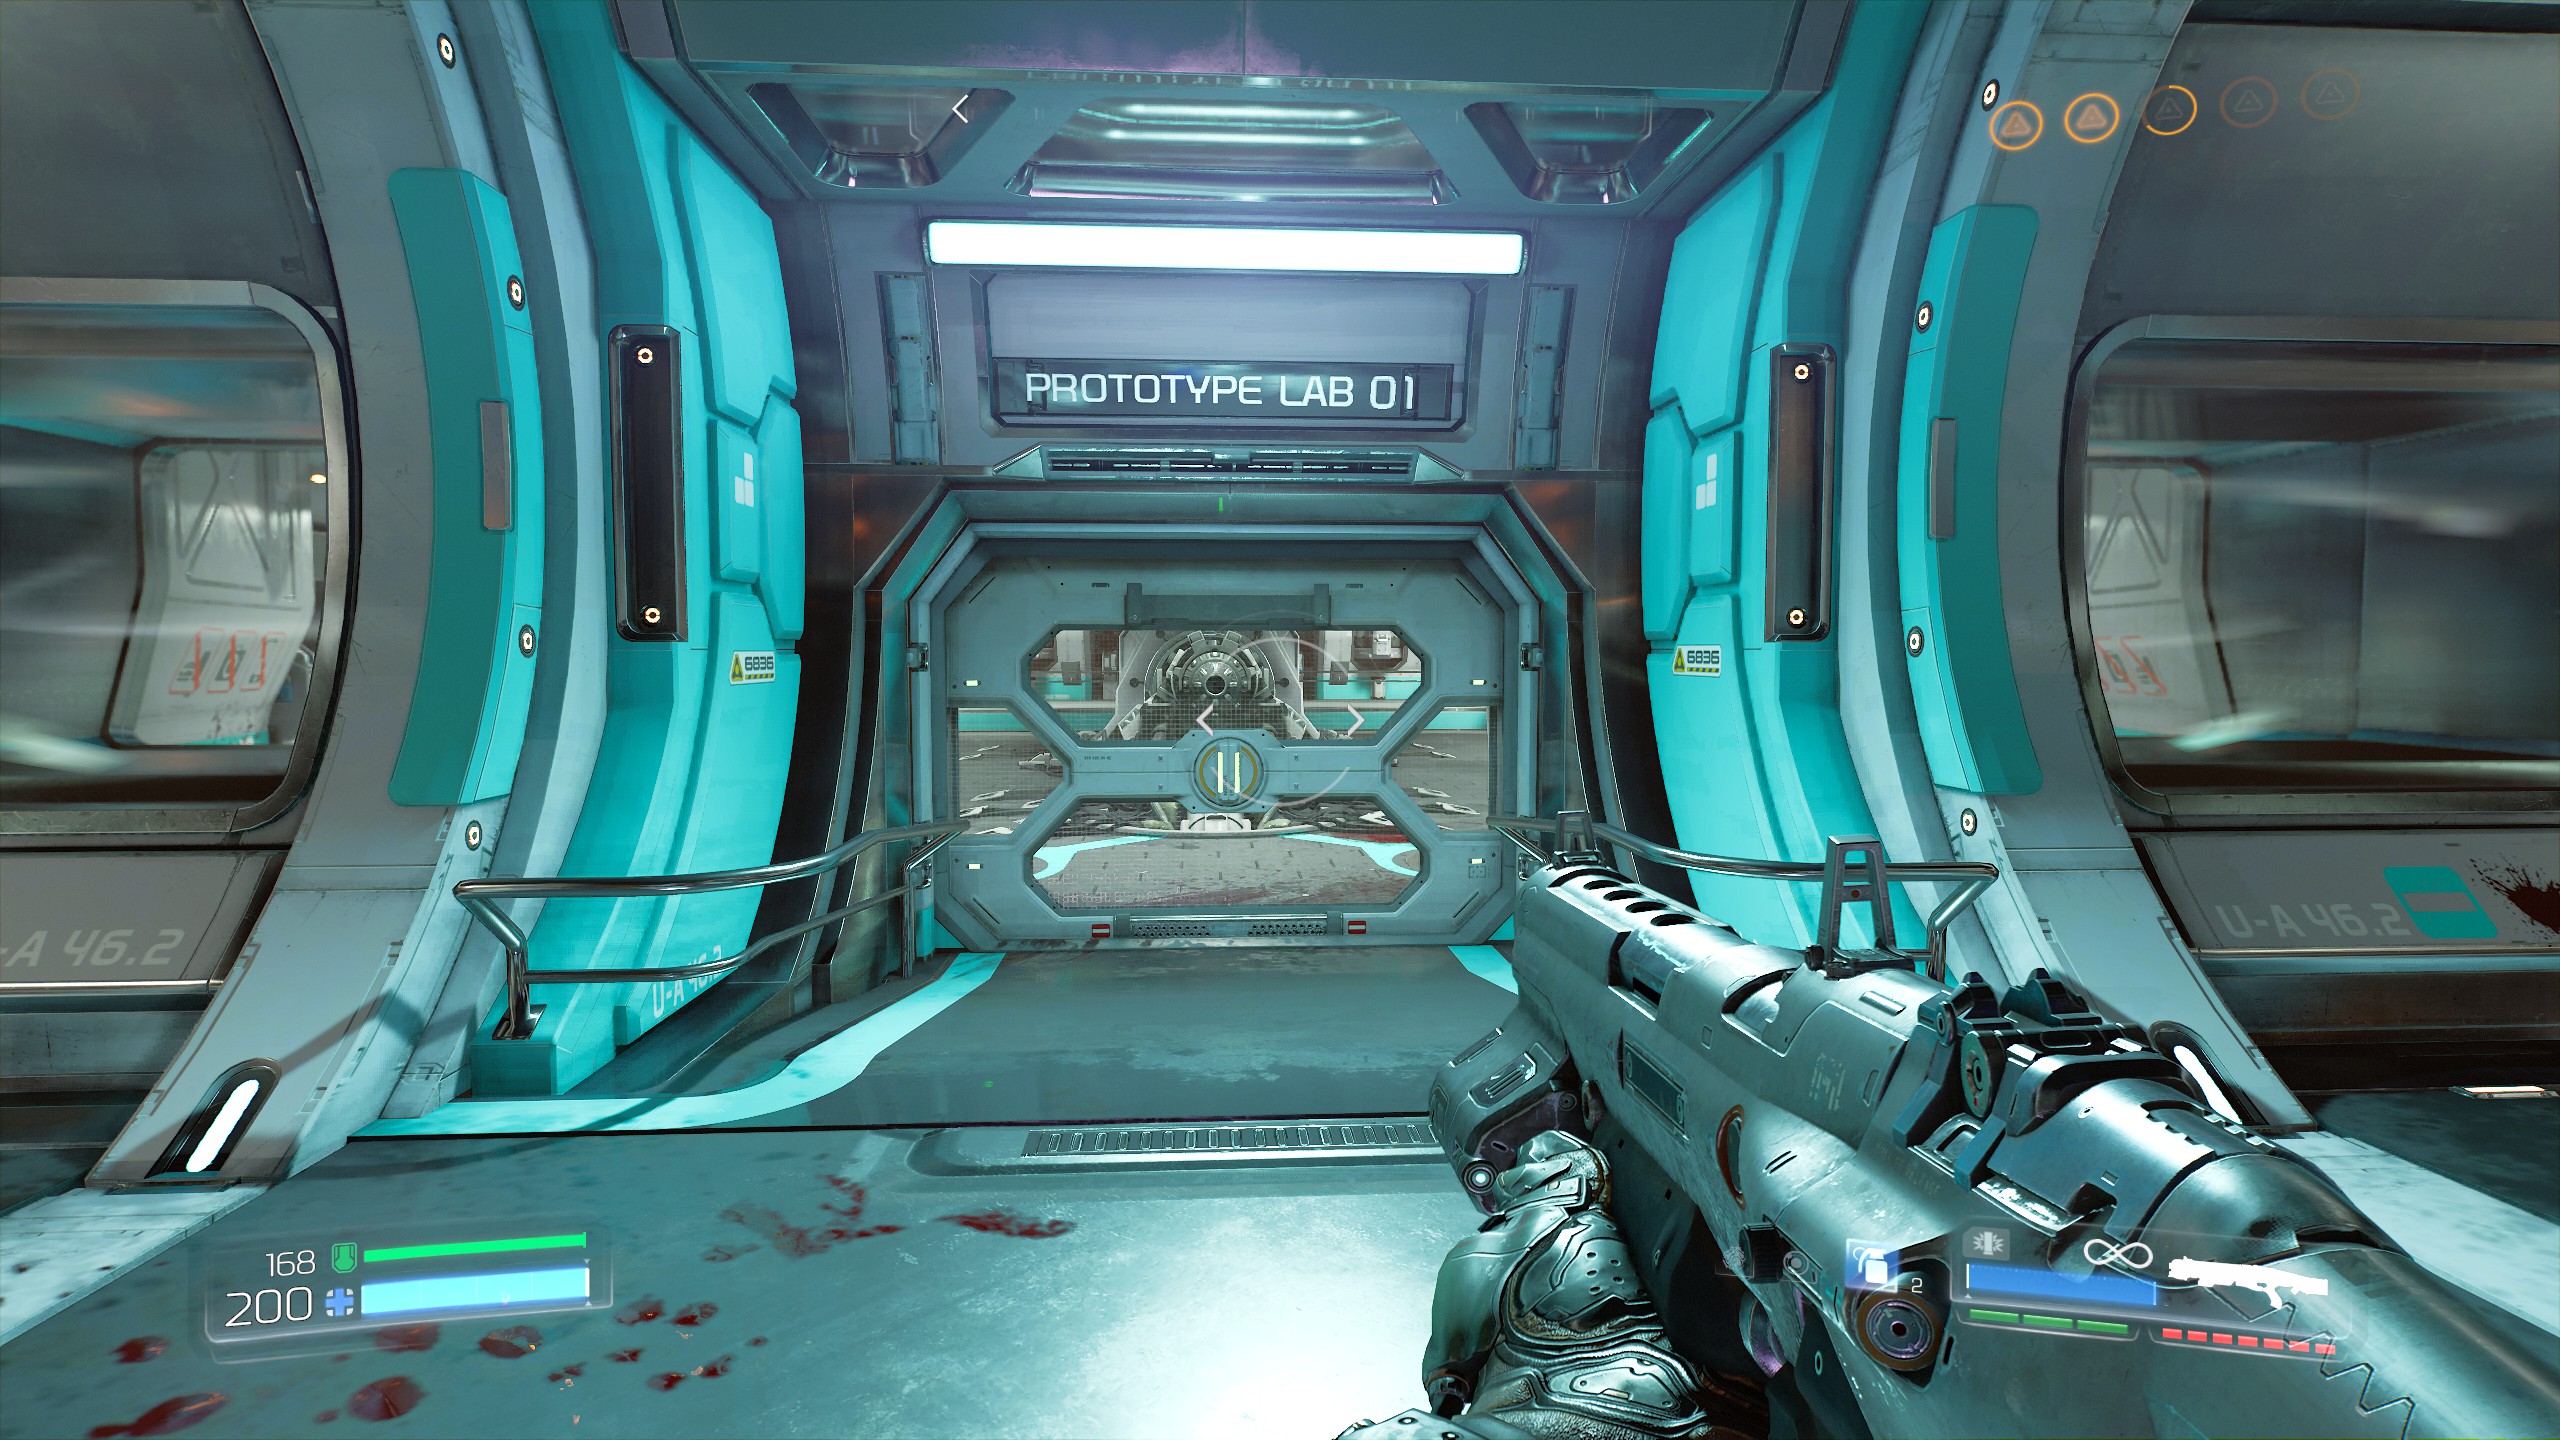
Enter the BFG labs and look around for a door with Prototype Lab 1 above, enter the room and when inside you will see an open shaft in the upper right corner, climb onto the central machine and into the shaft then follow it around, at the end will be a Doomguy for secret number 9.
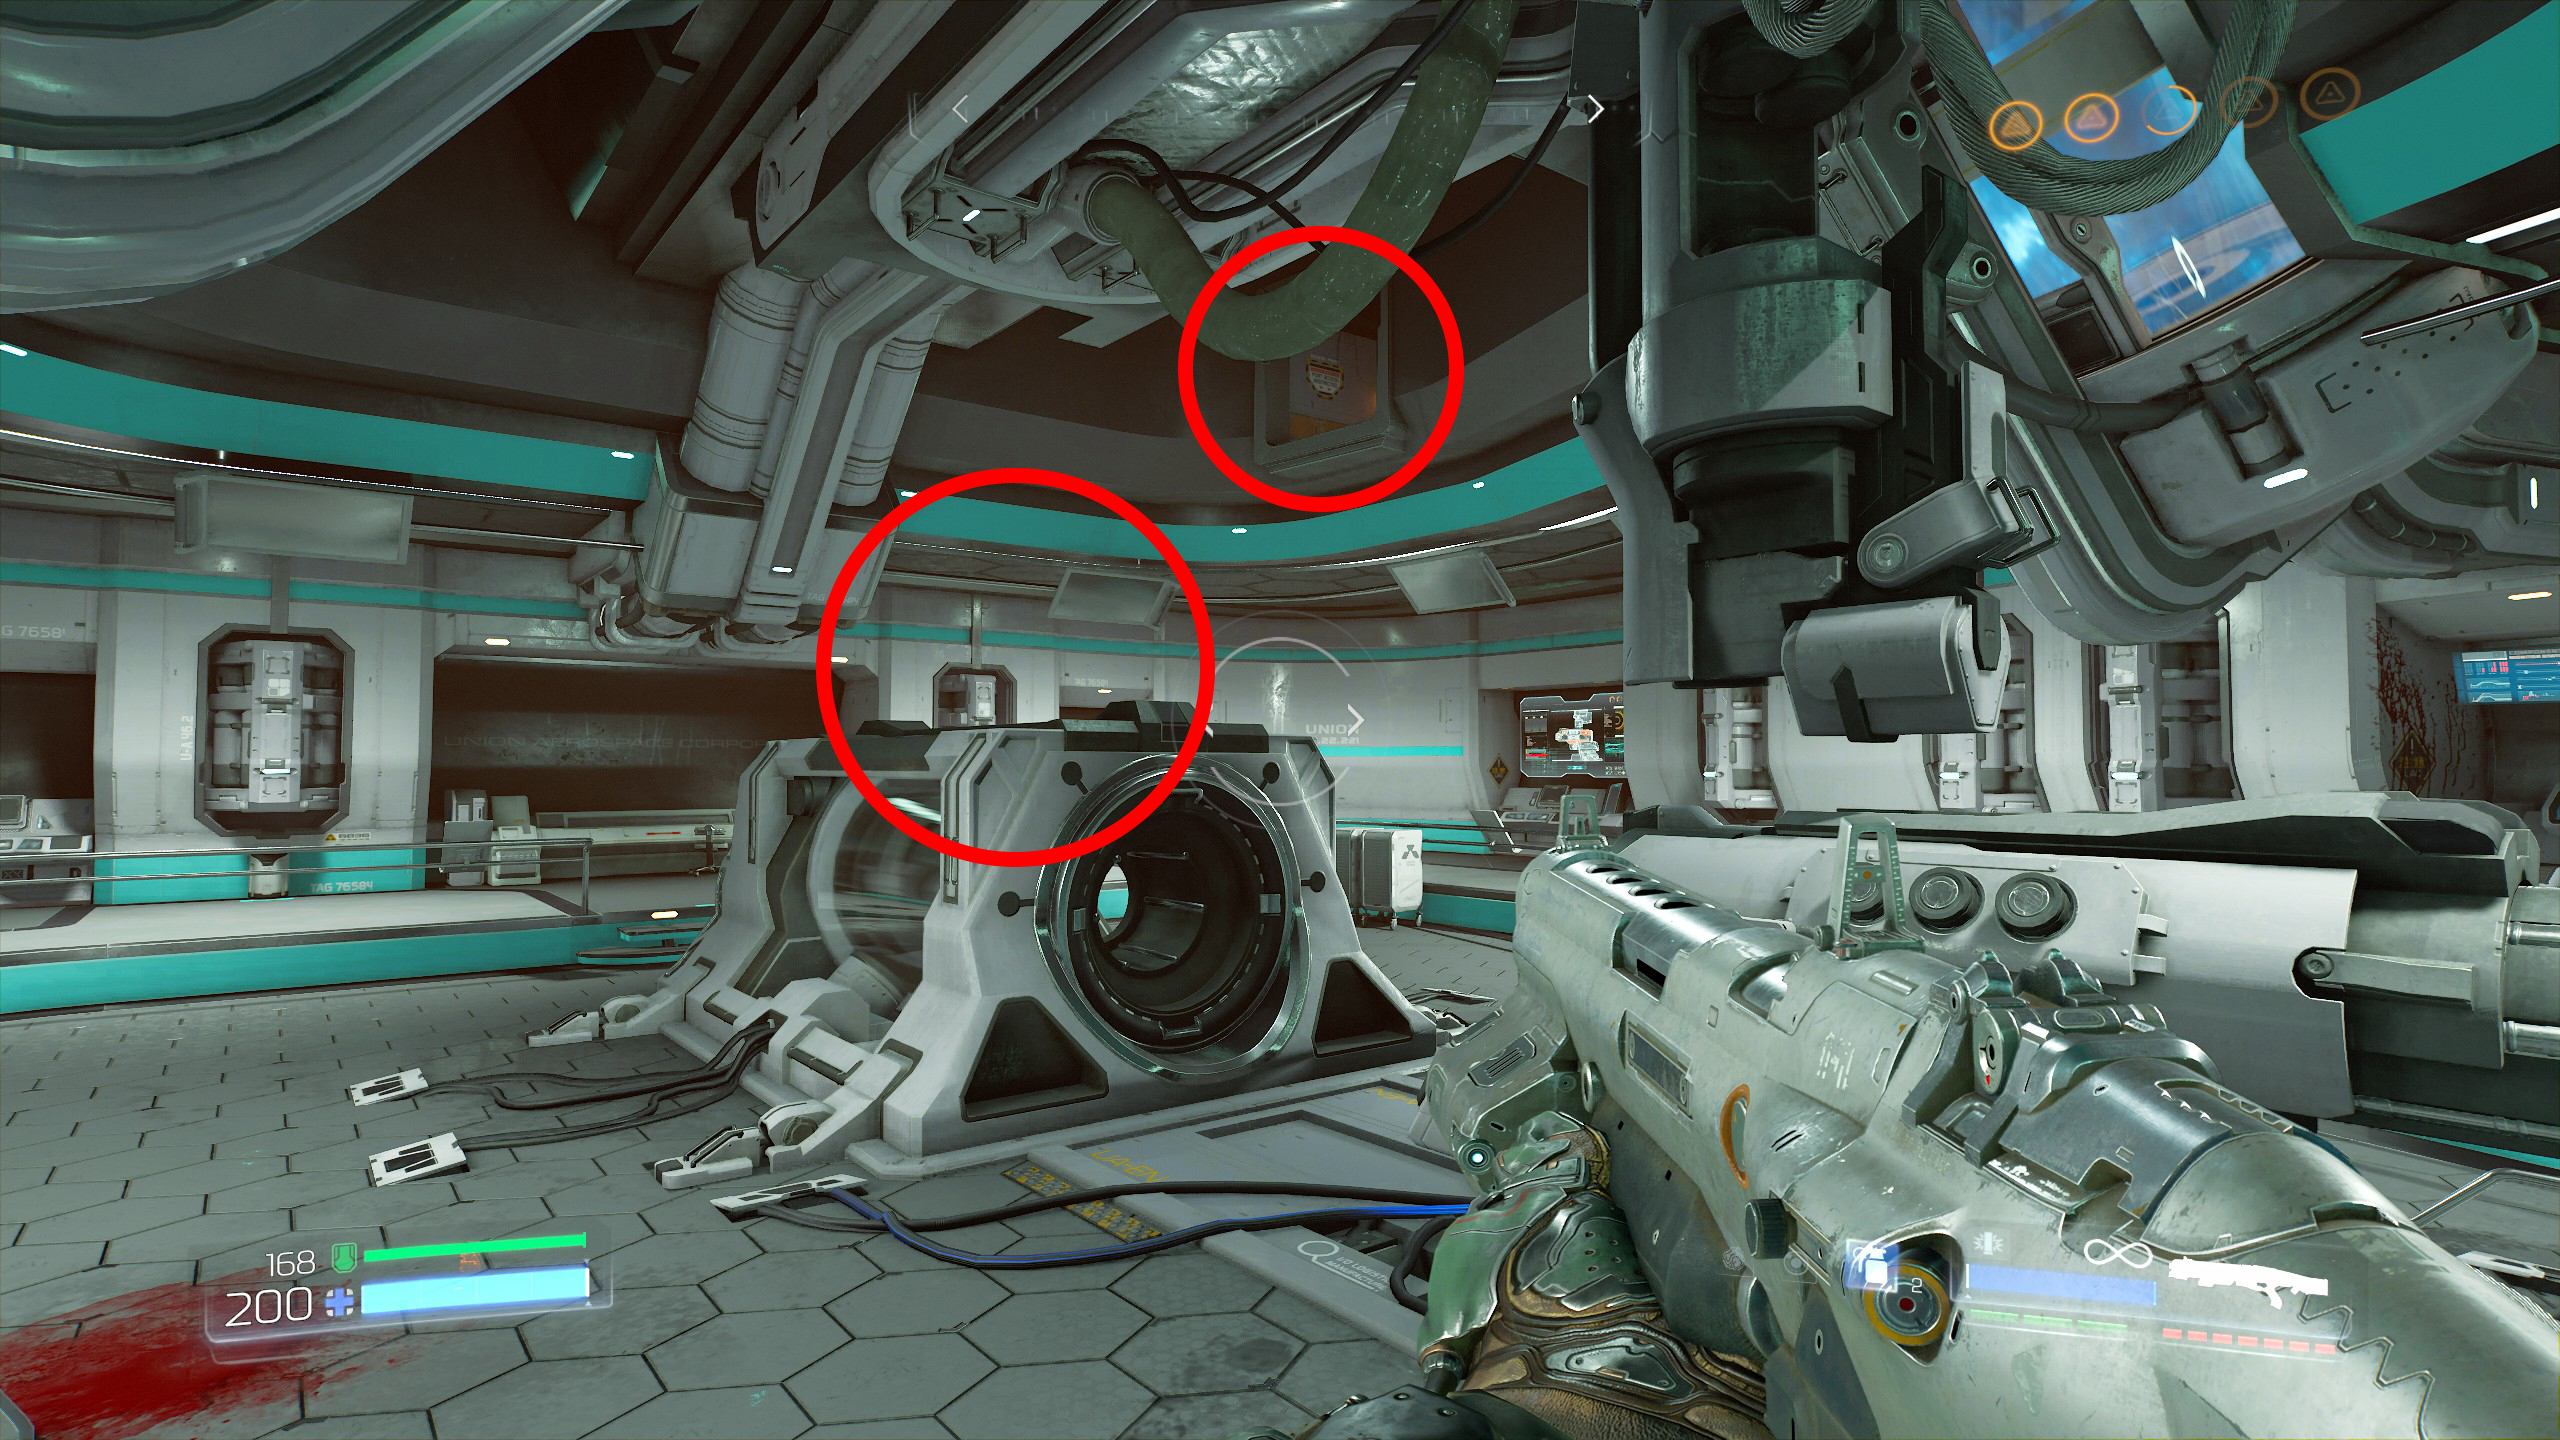
Continue the mission.
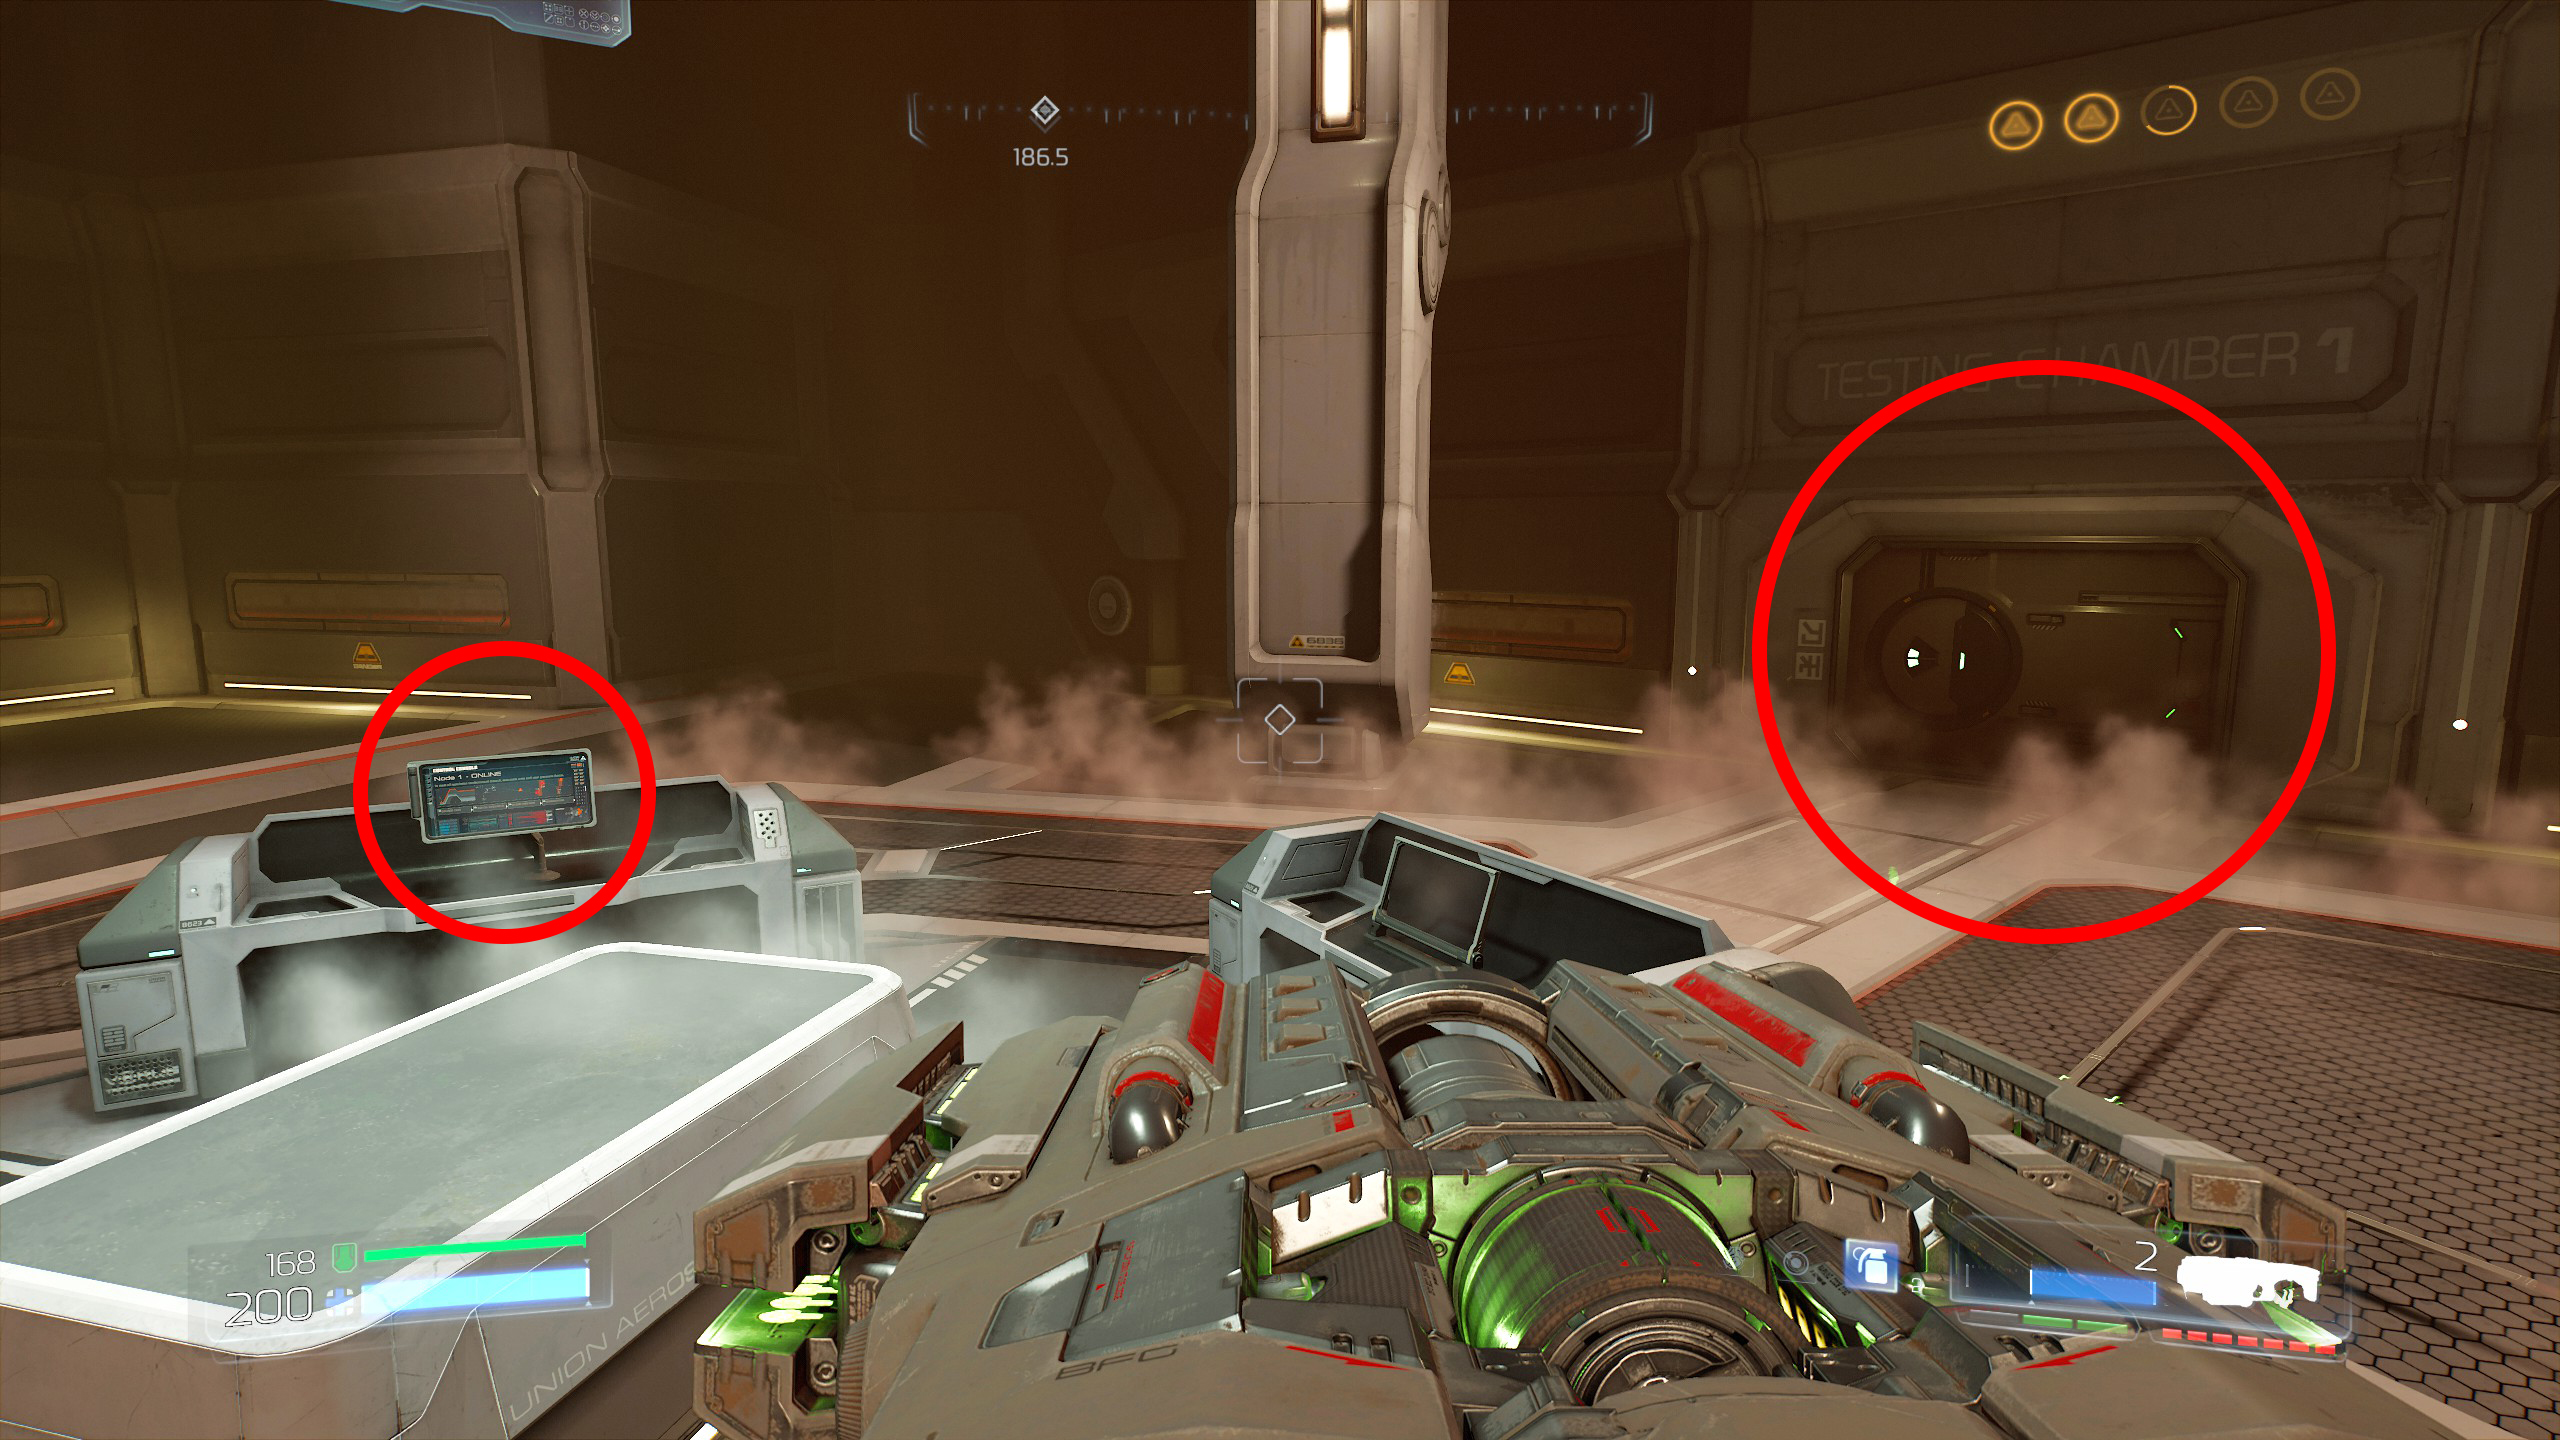
After picking up the BFG proceed with the mission and activate the terminal after testing out the gun, once the terminal is activated enter the door to Testing Chamber 1 nearby.
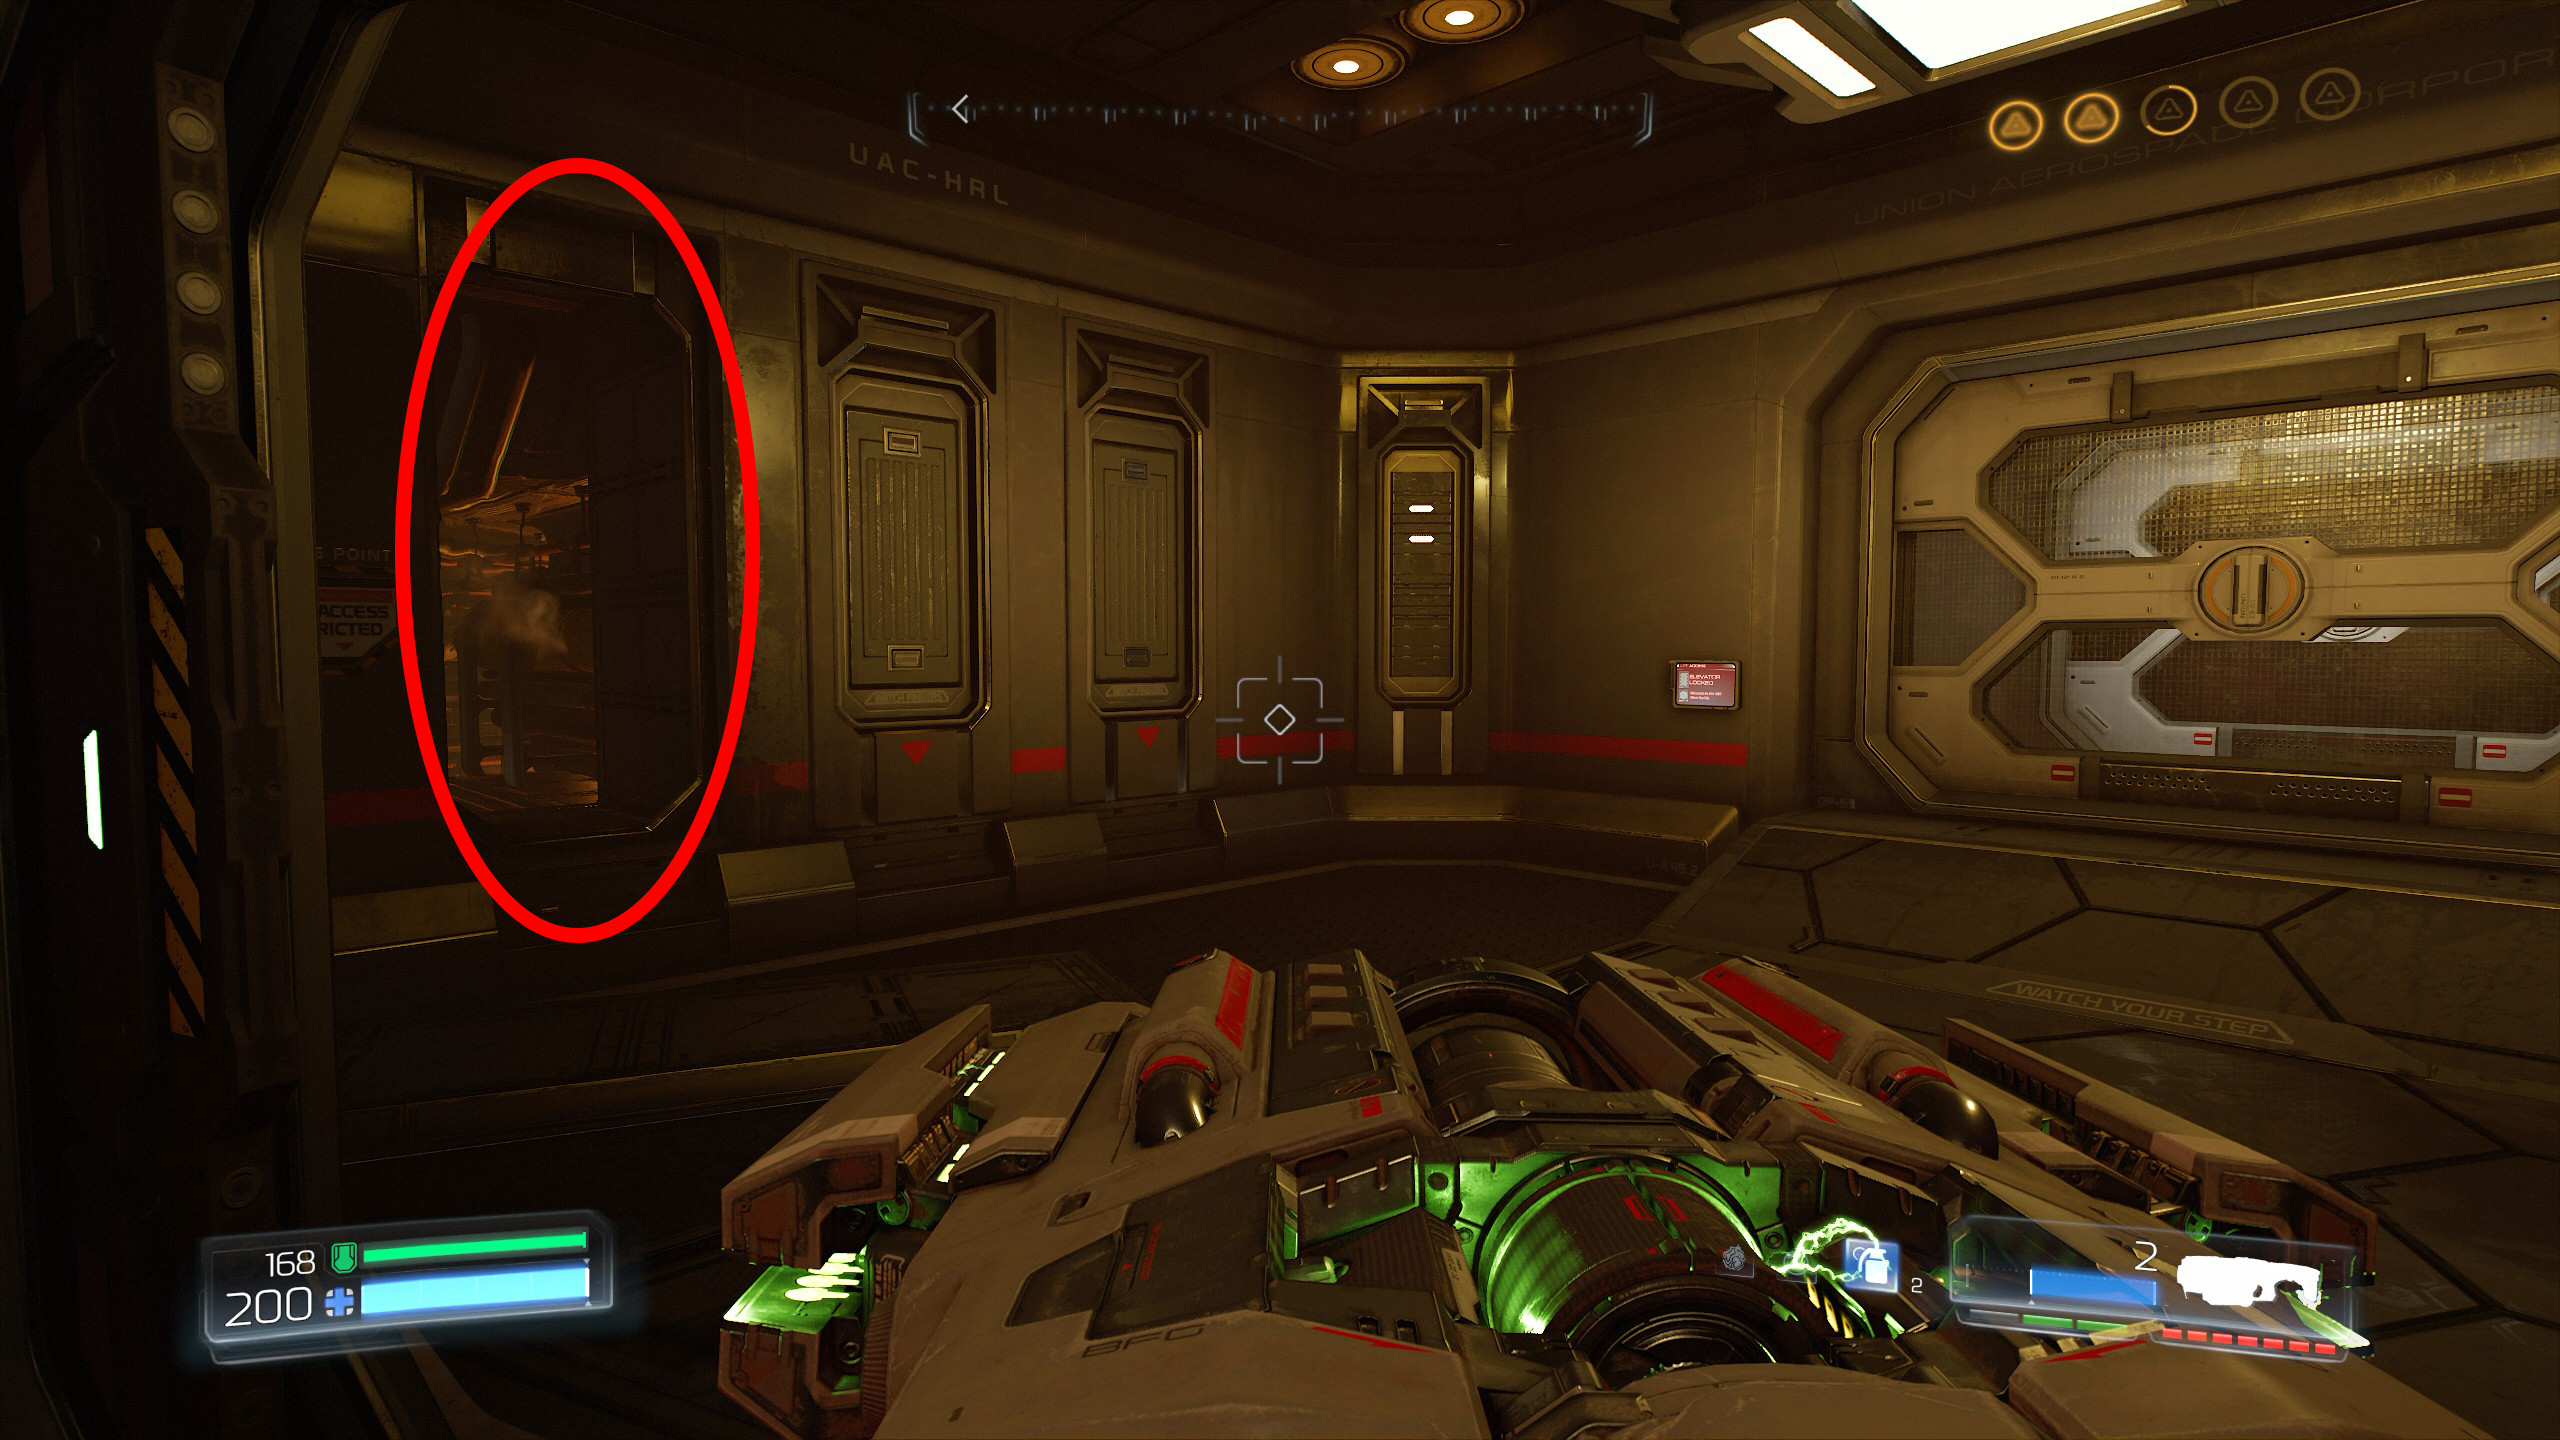
As you enter Testing Chamber 1 you will see on the left hand side a small passage, enter and follow it around to gain a Rune and the final secret number 10 for this mission.
Mission 9 - Lazarus Labs
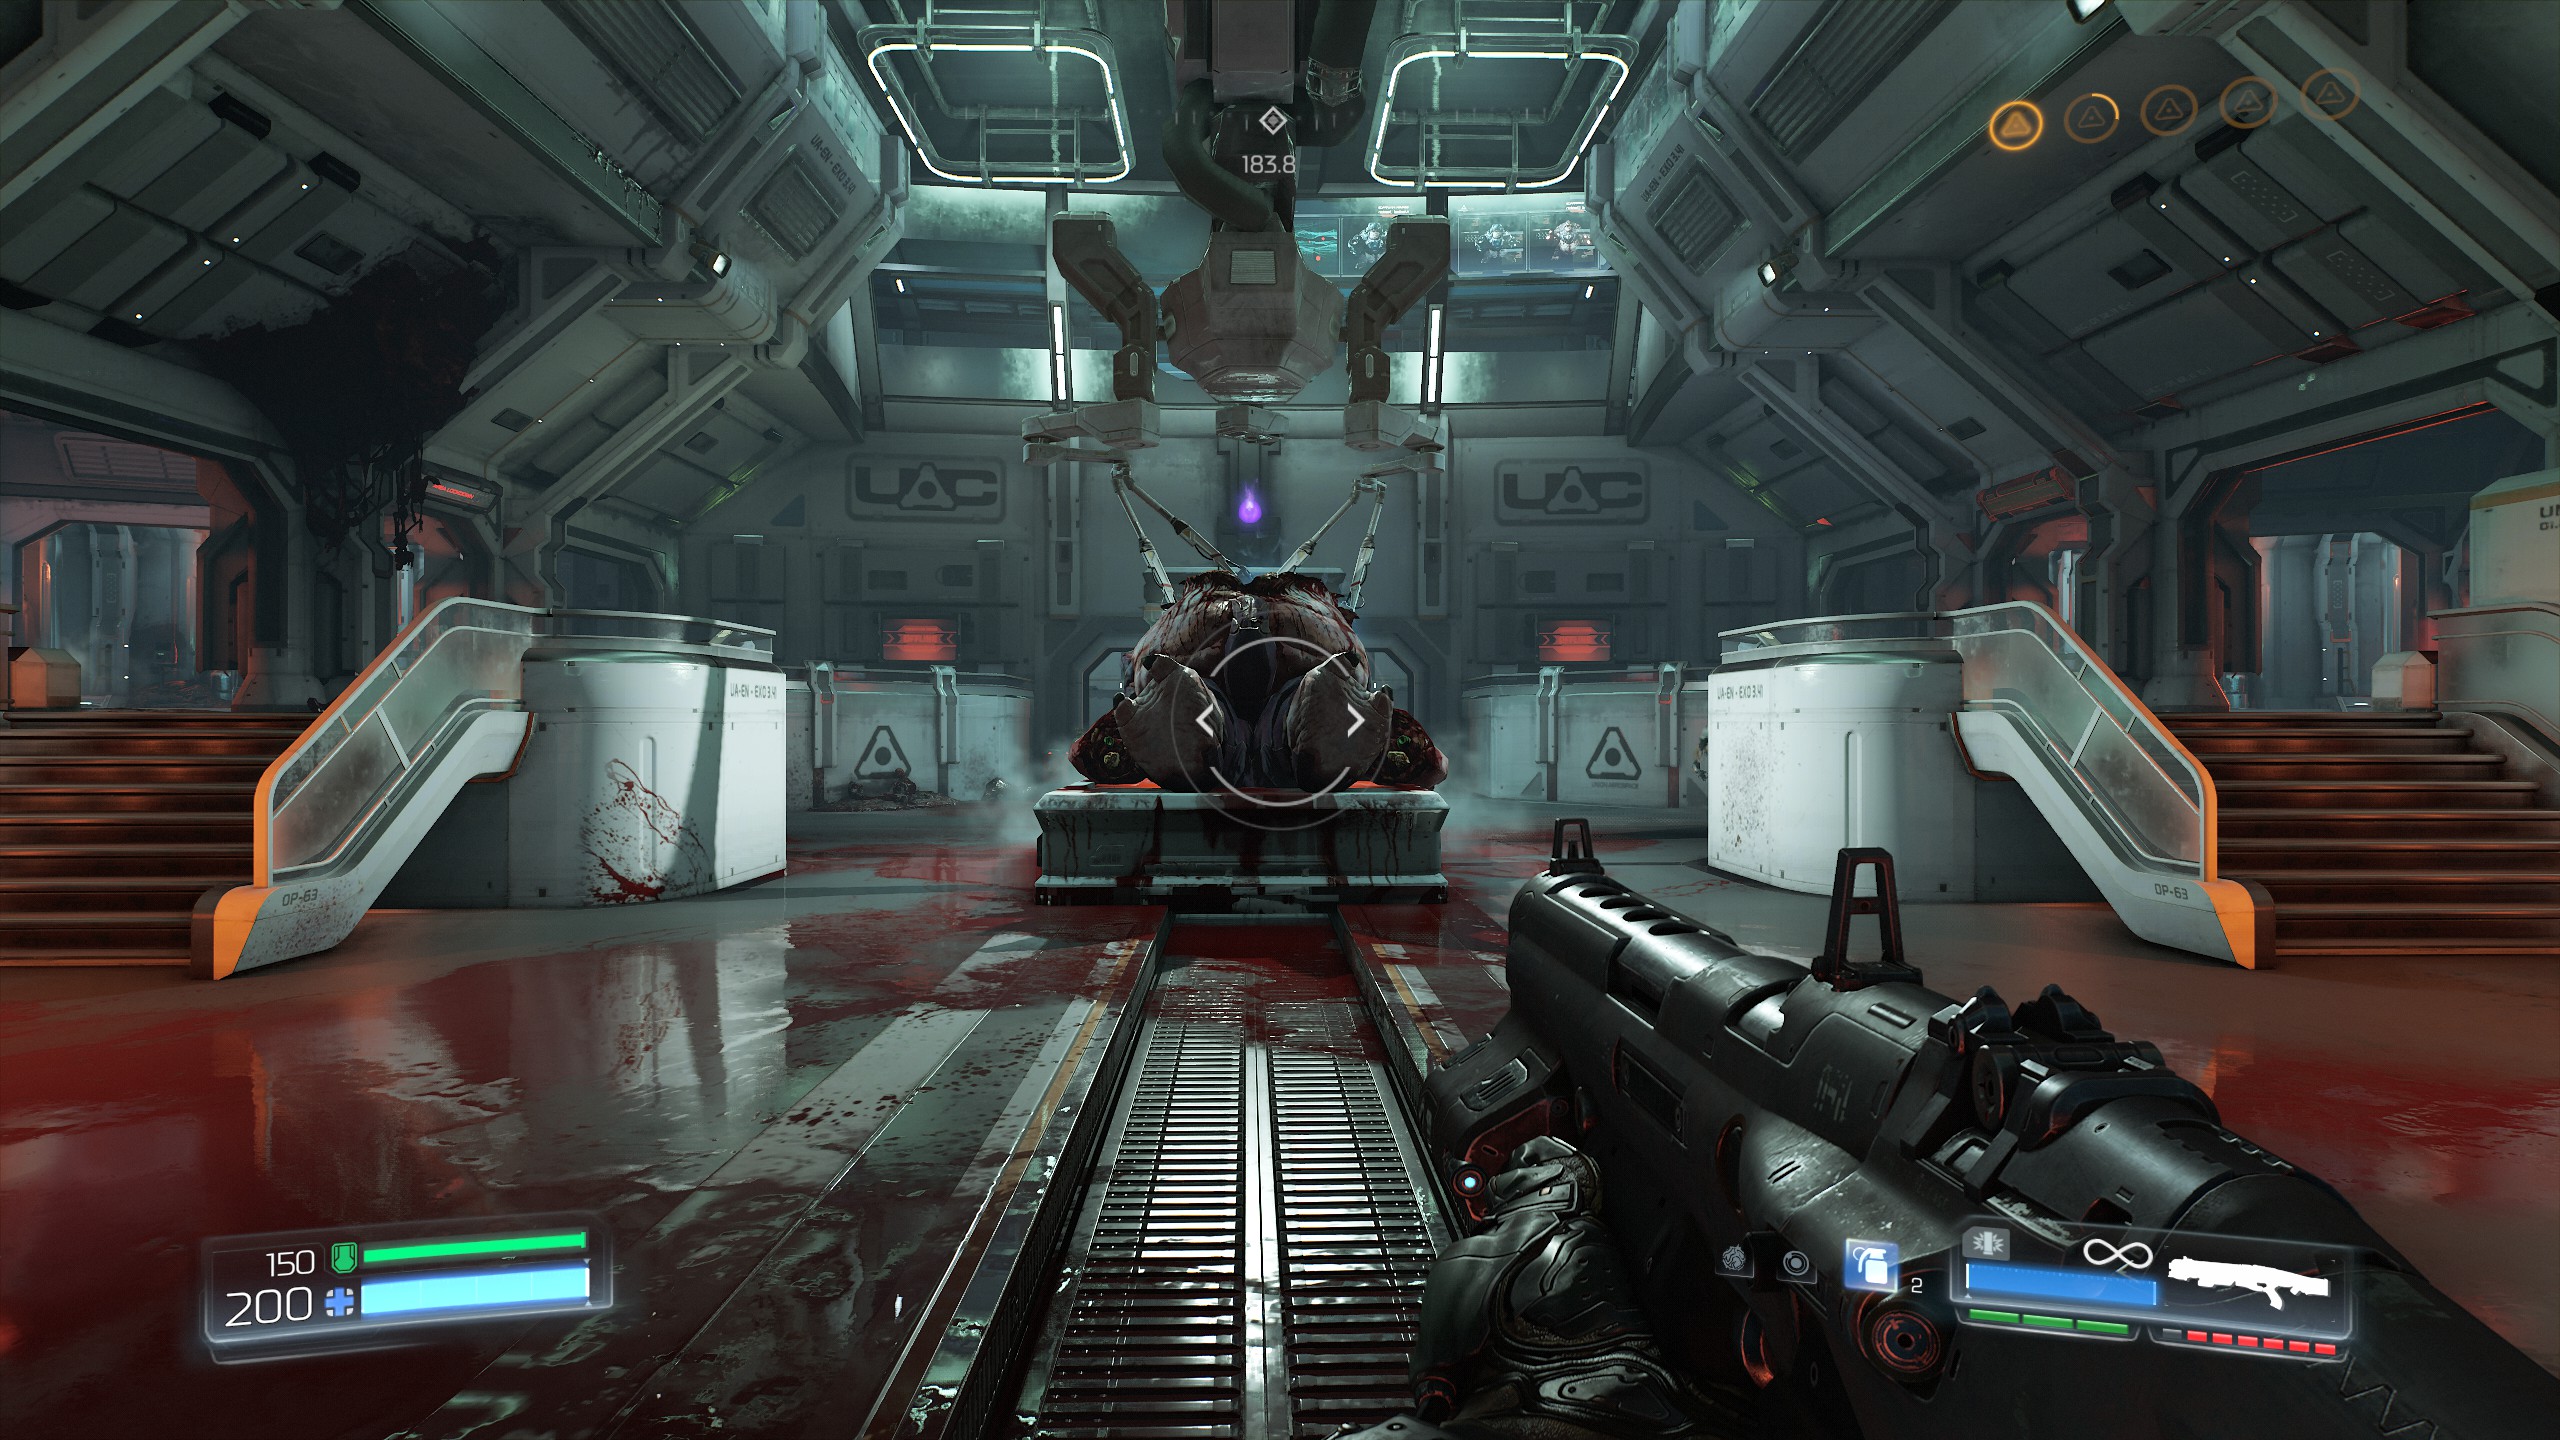
Begin the mission and make your way through until you reach the room with the elevator and a demon trapped above it, do not touch the body and instead head to the right side behind the crates to find your first secret and a shaft leading to the next room, proceed through the shaft and on to the next secret.
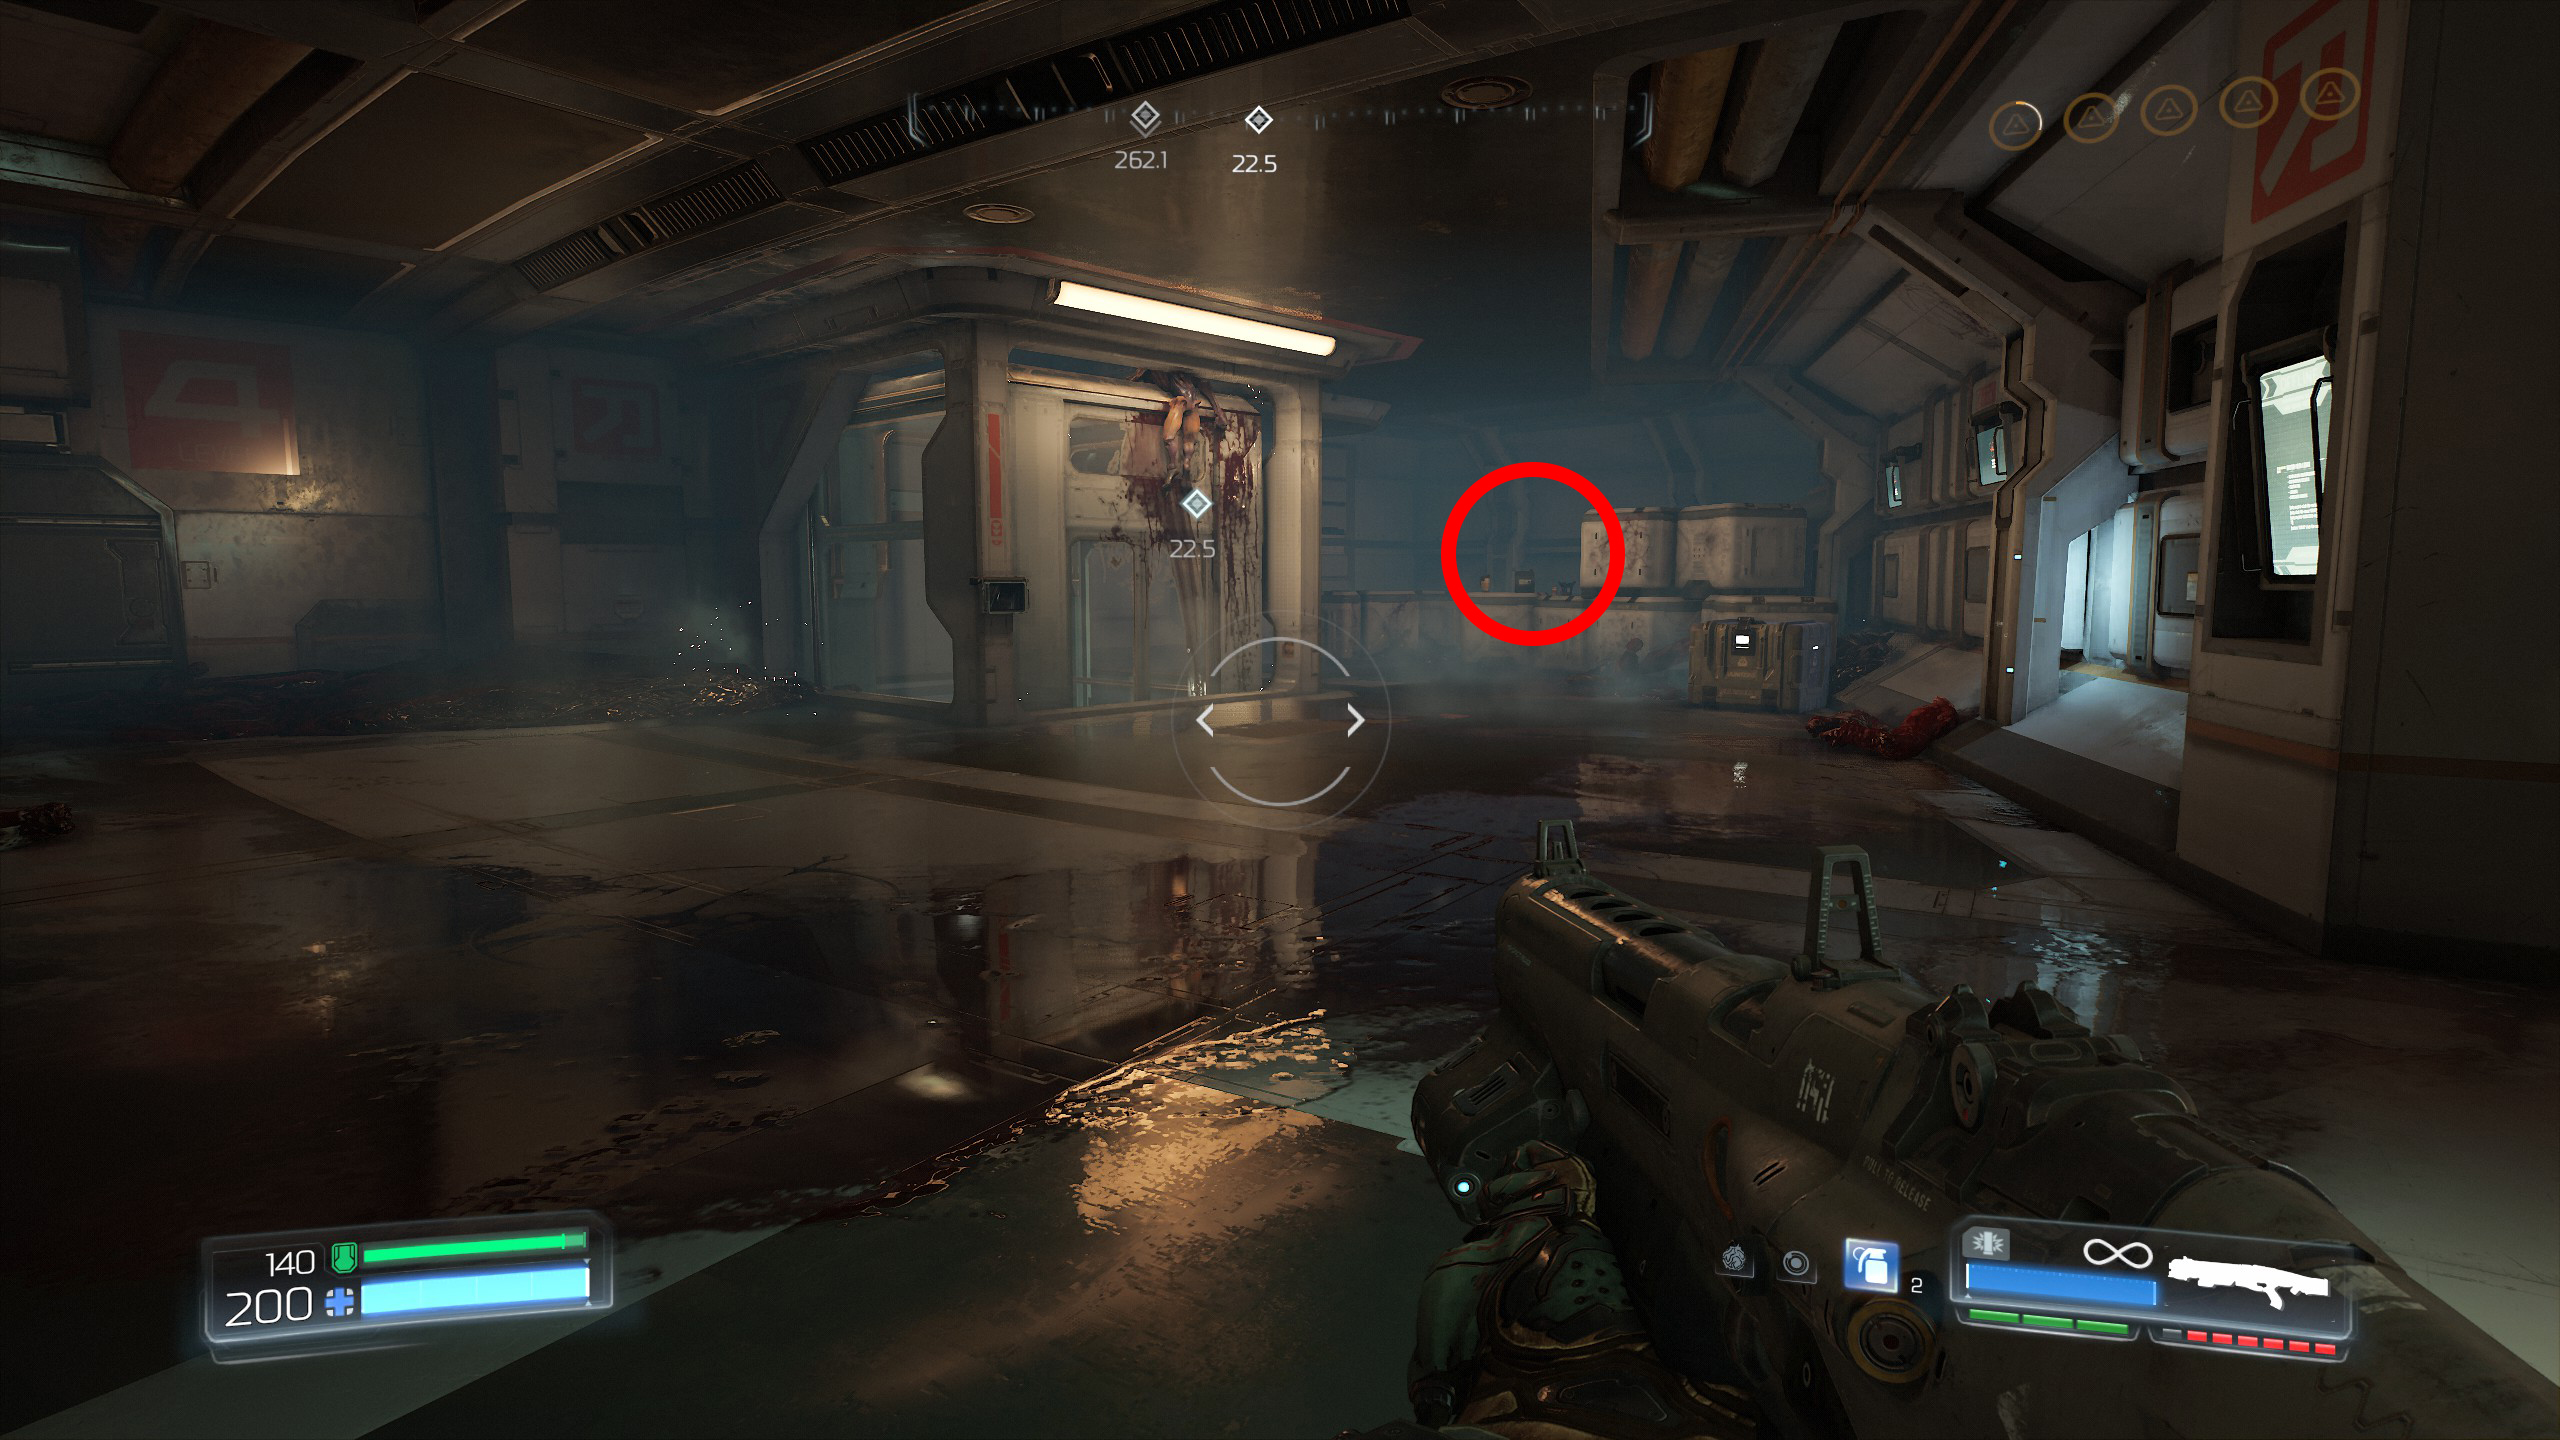
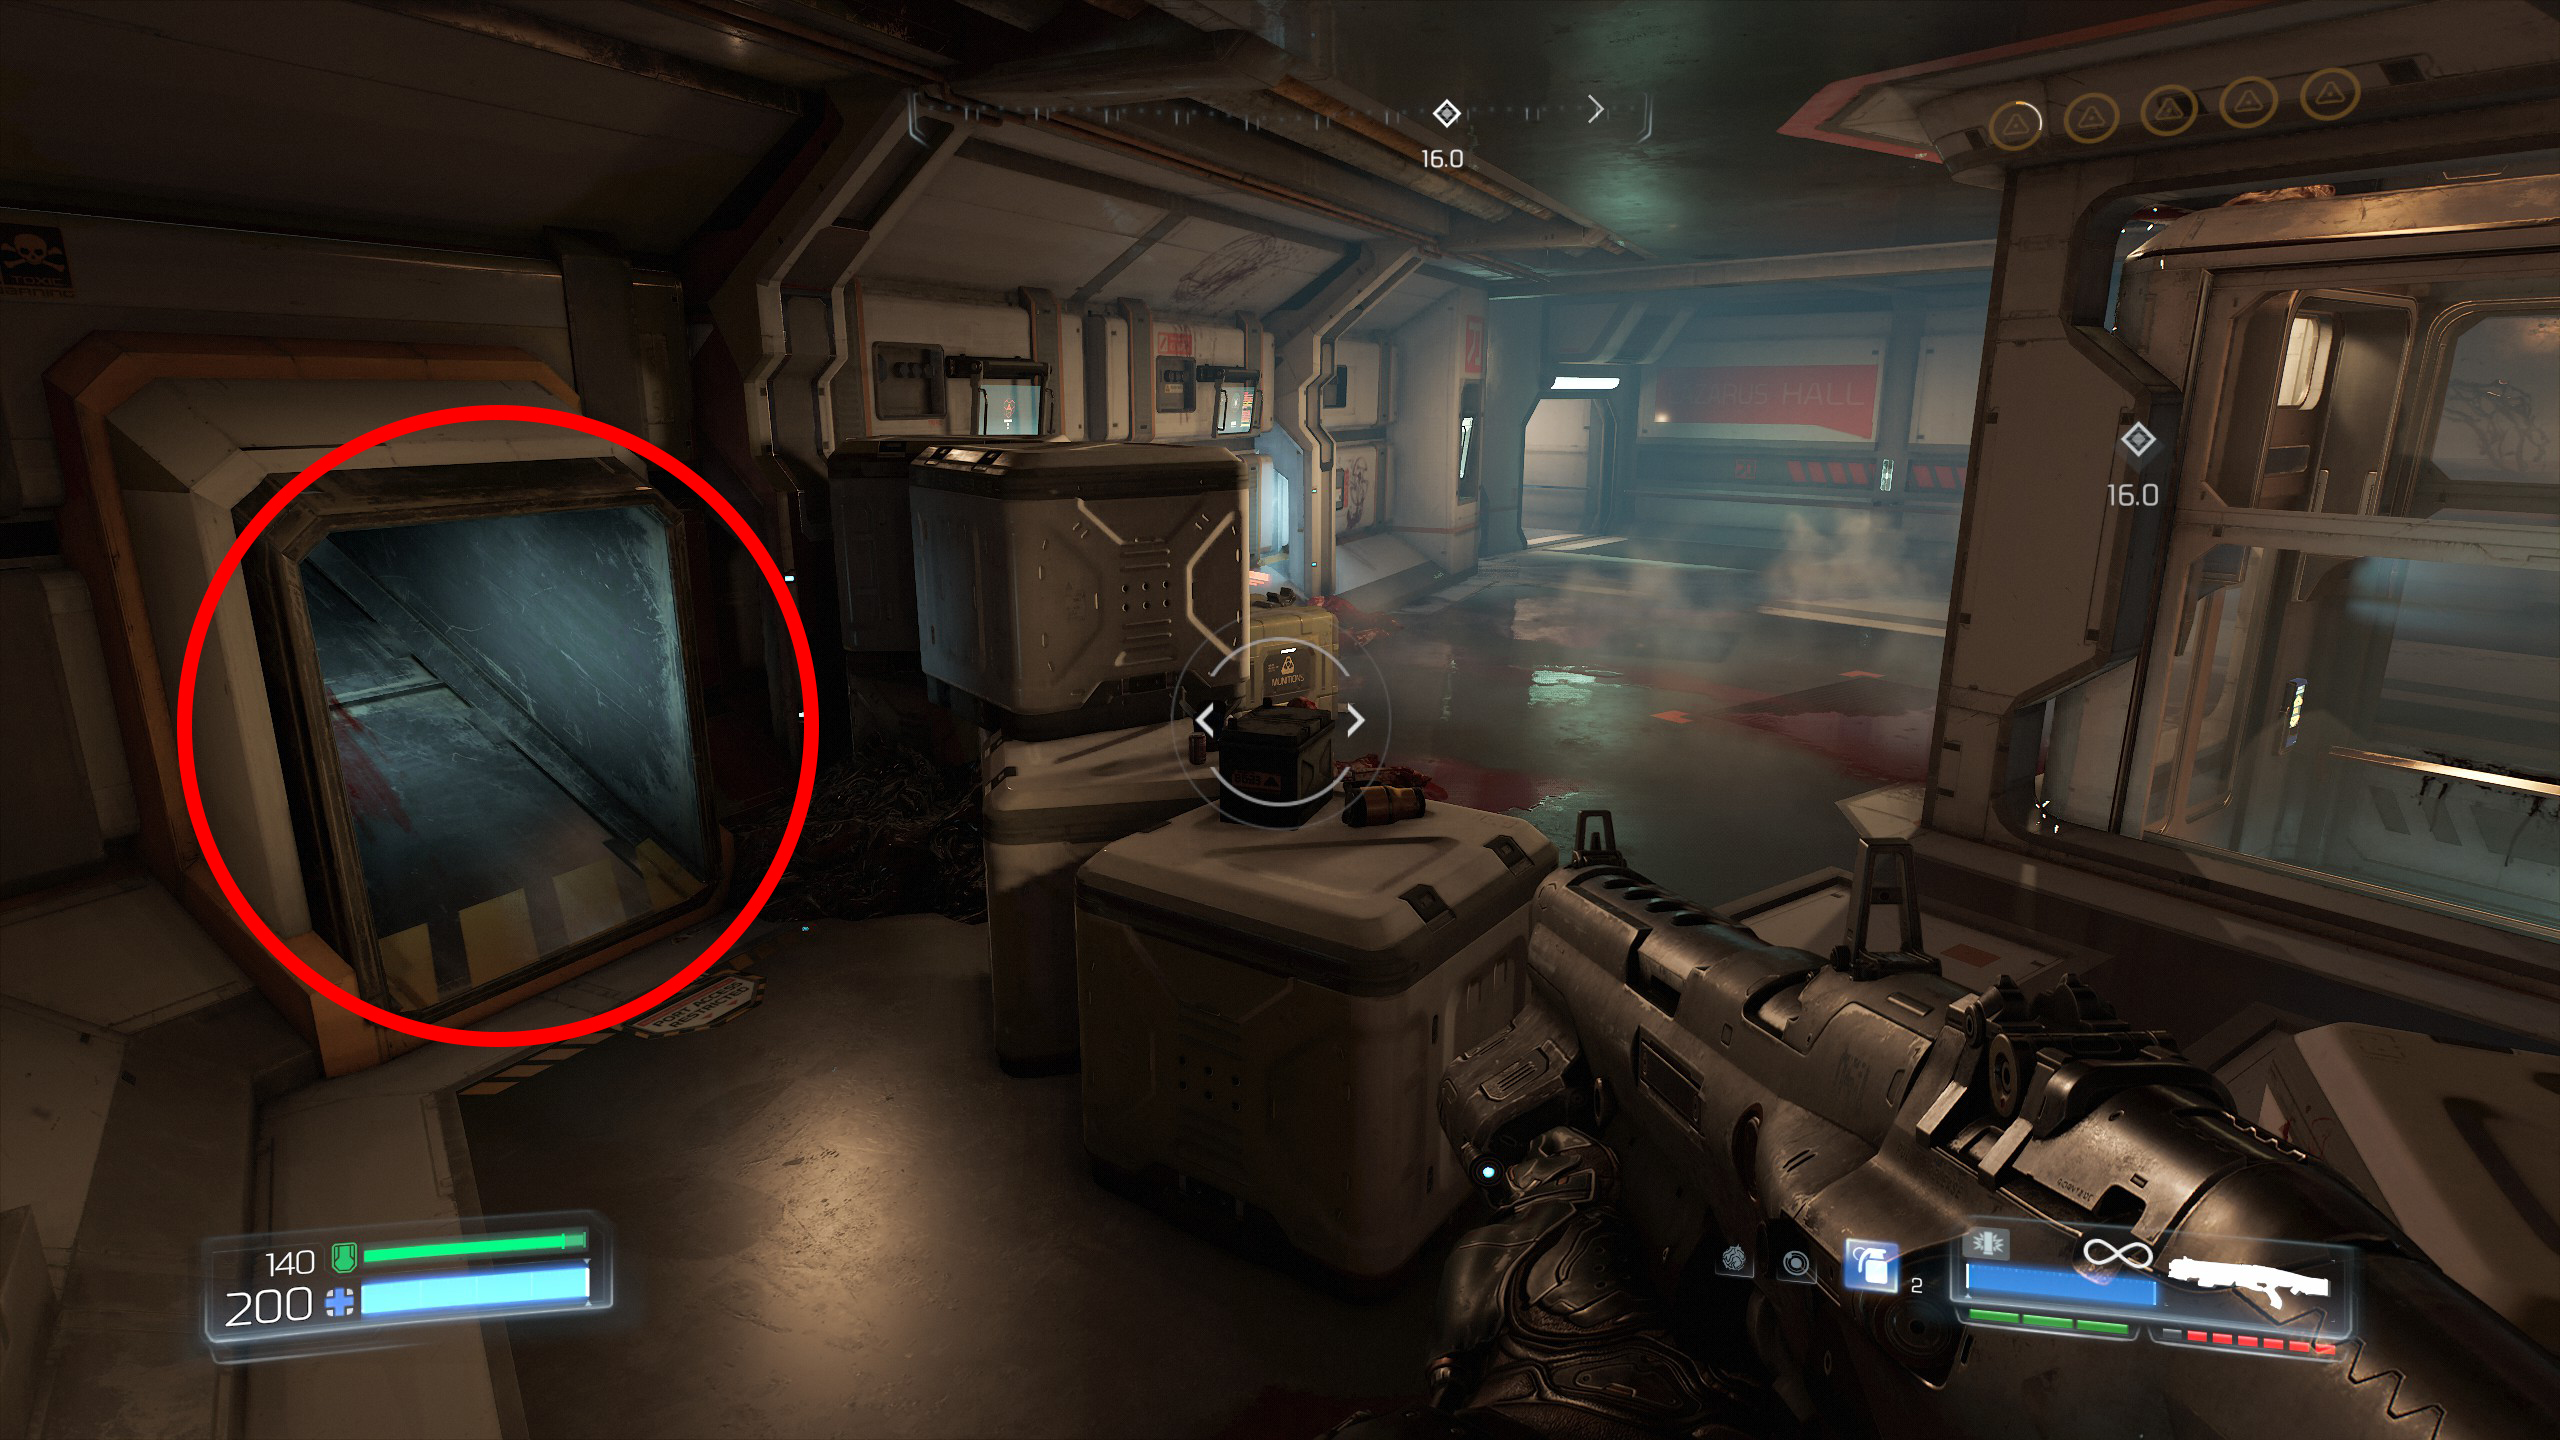
From the shaft drop down into the main room and once you have finished the fight exit through the door with the green lights.
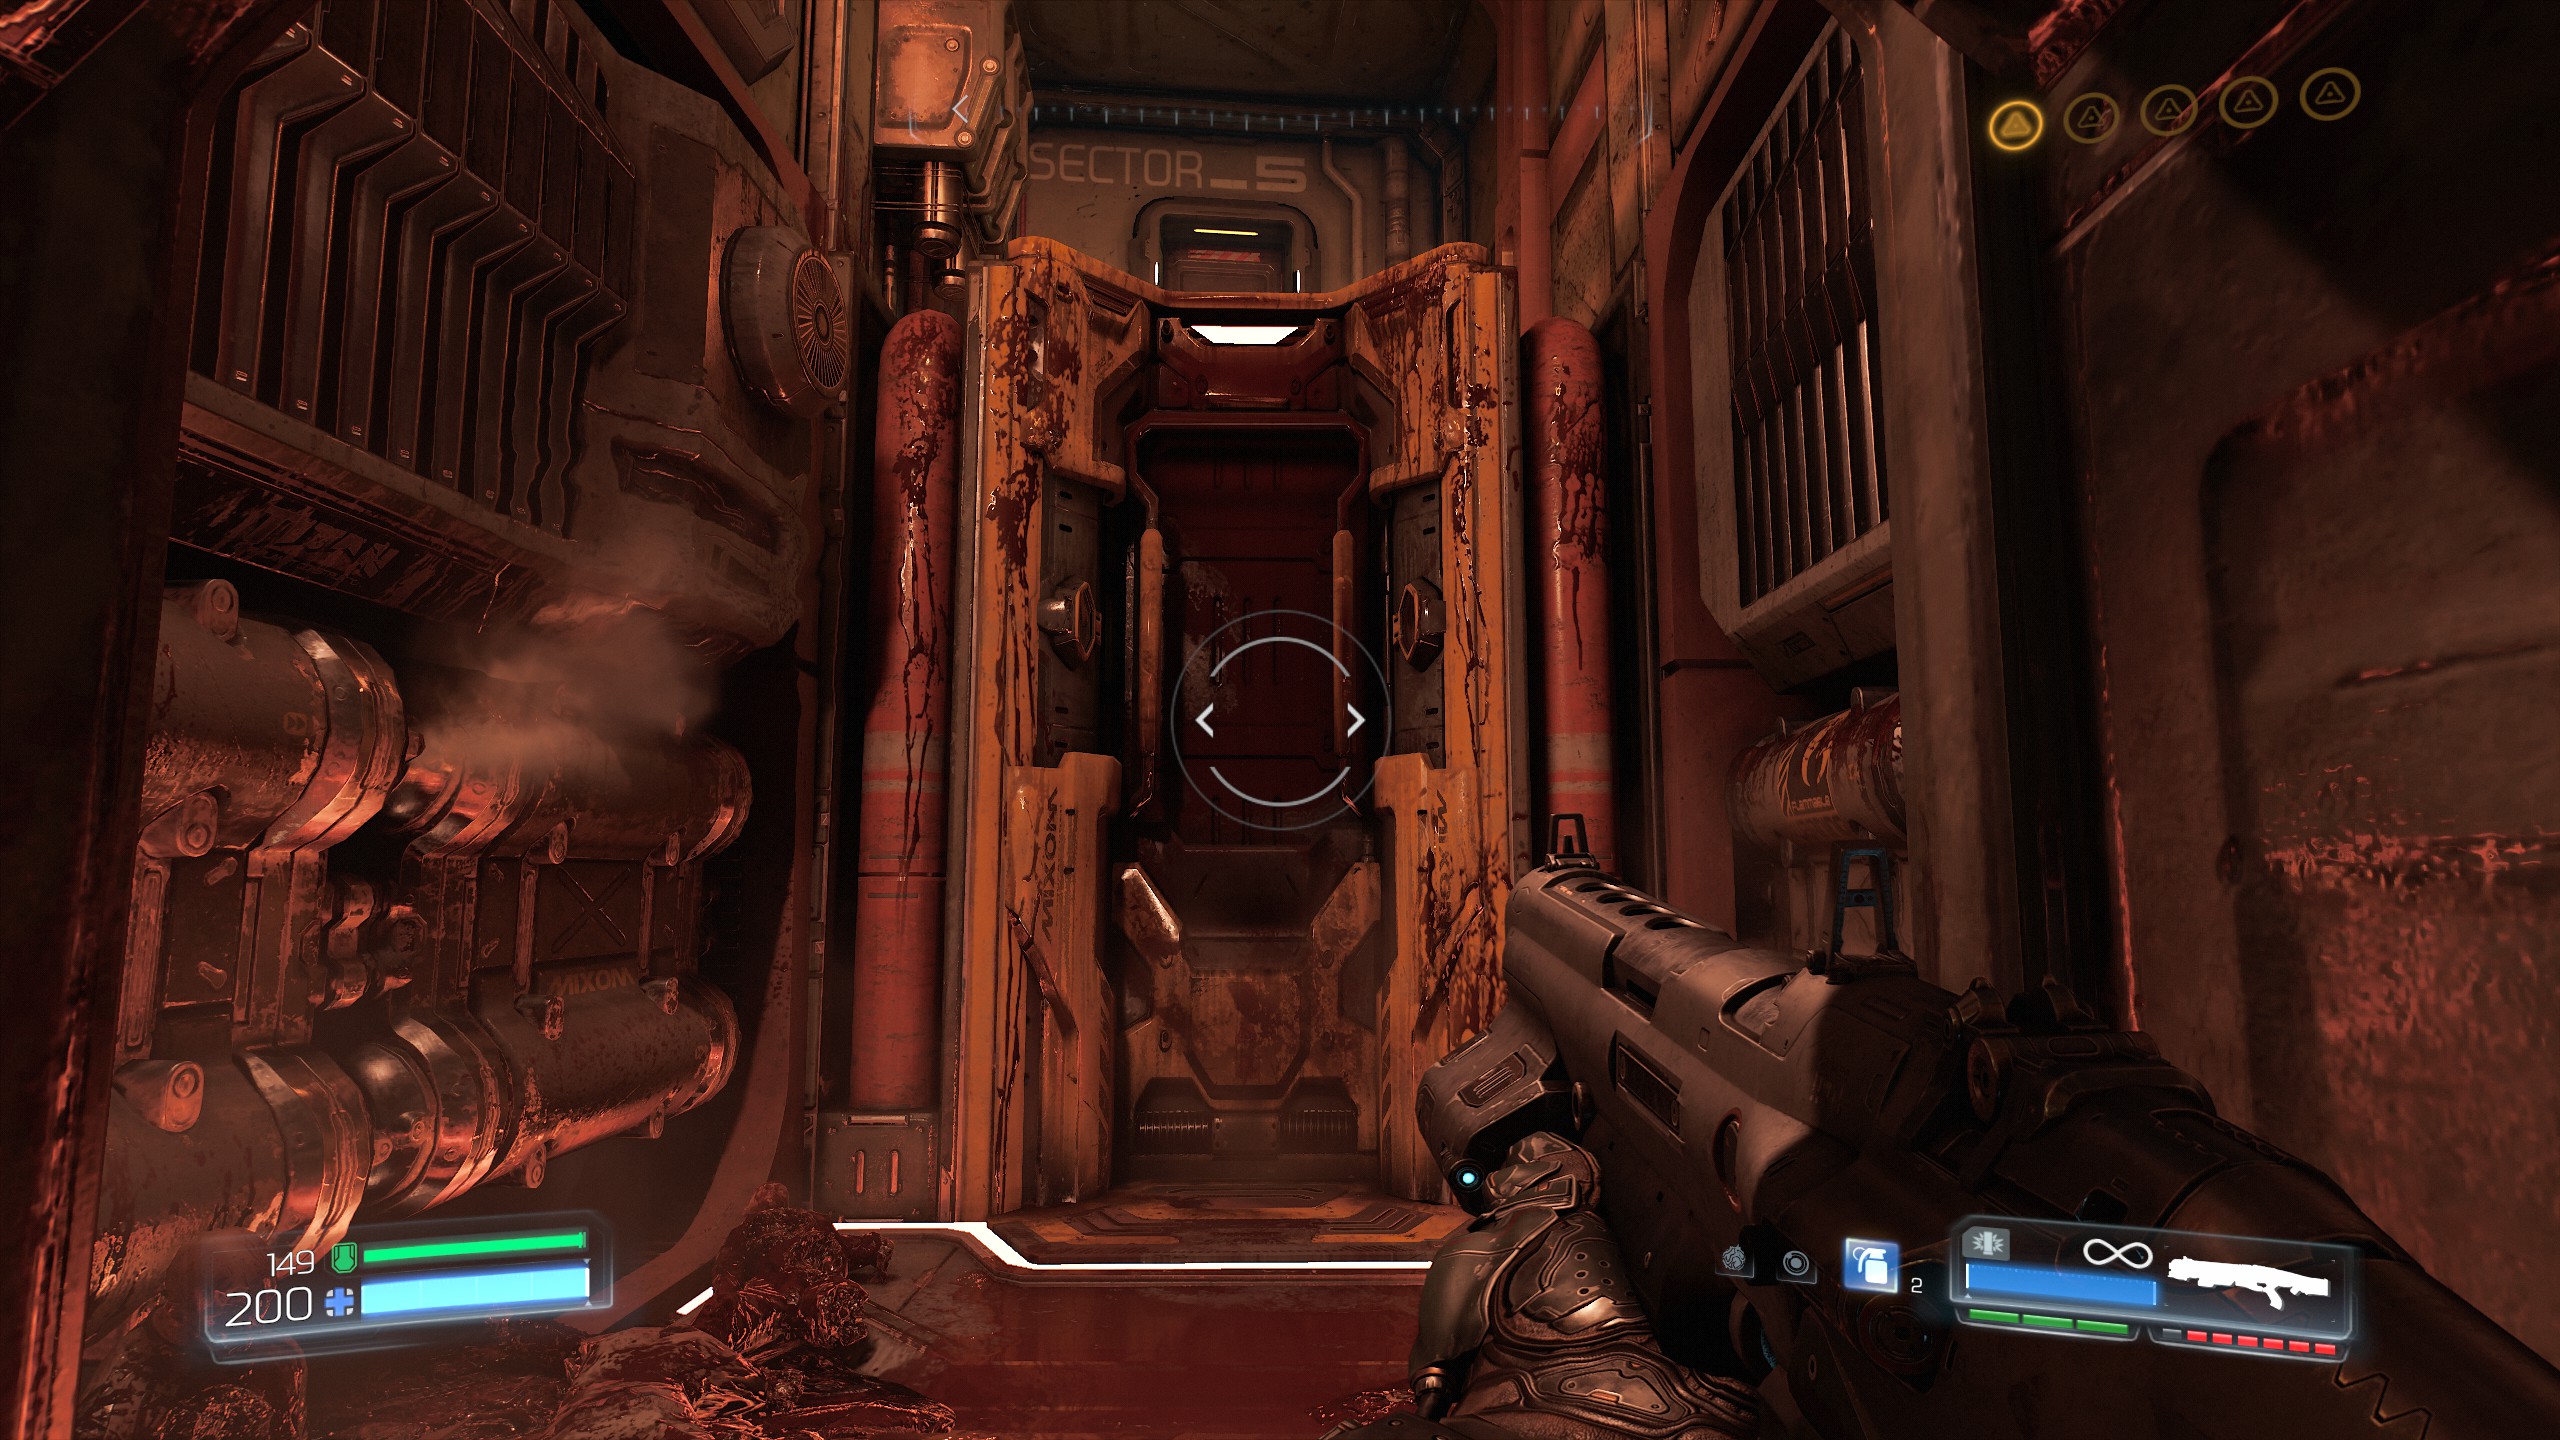
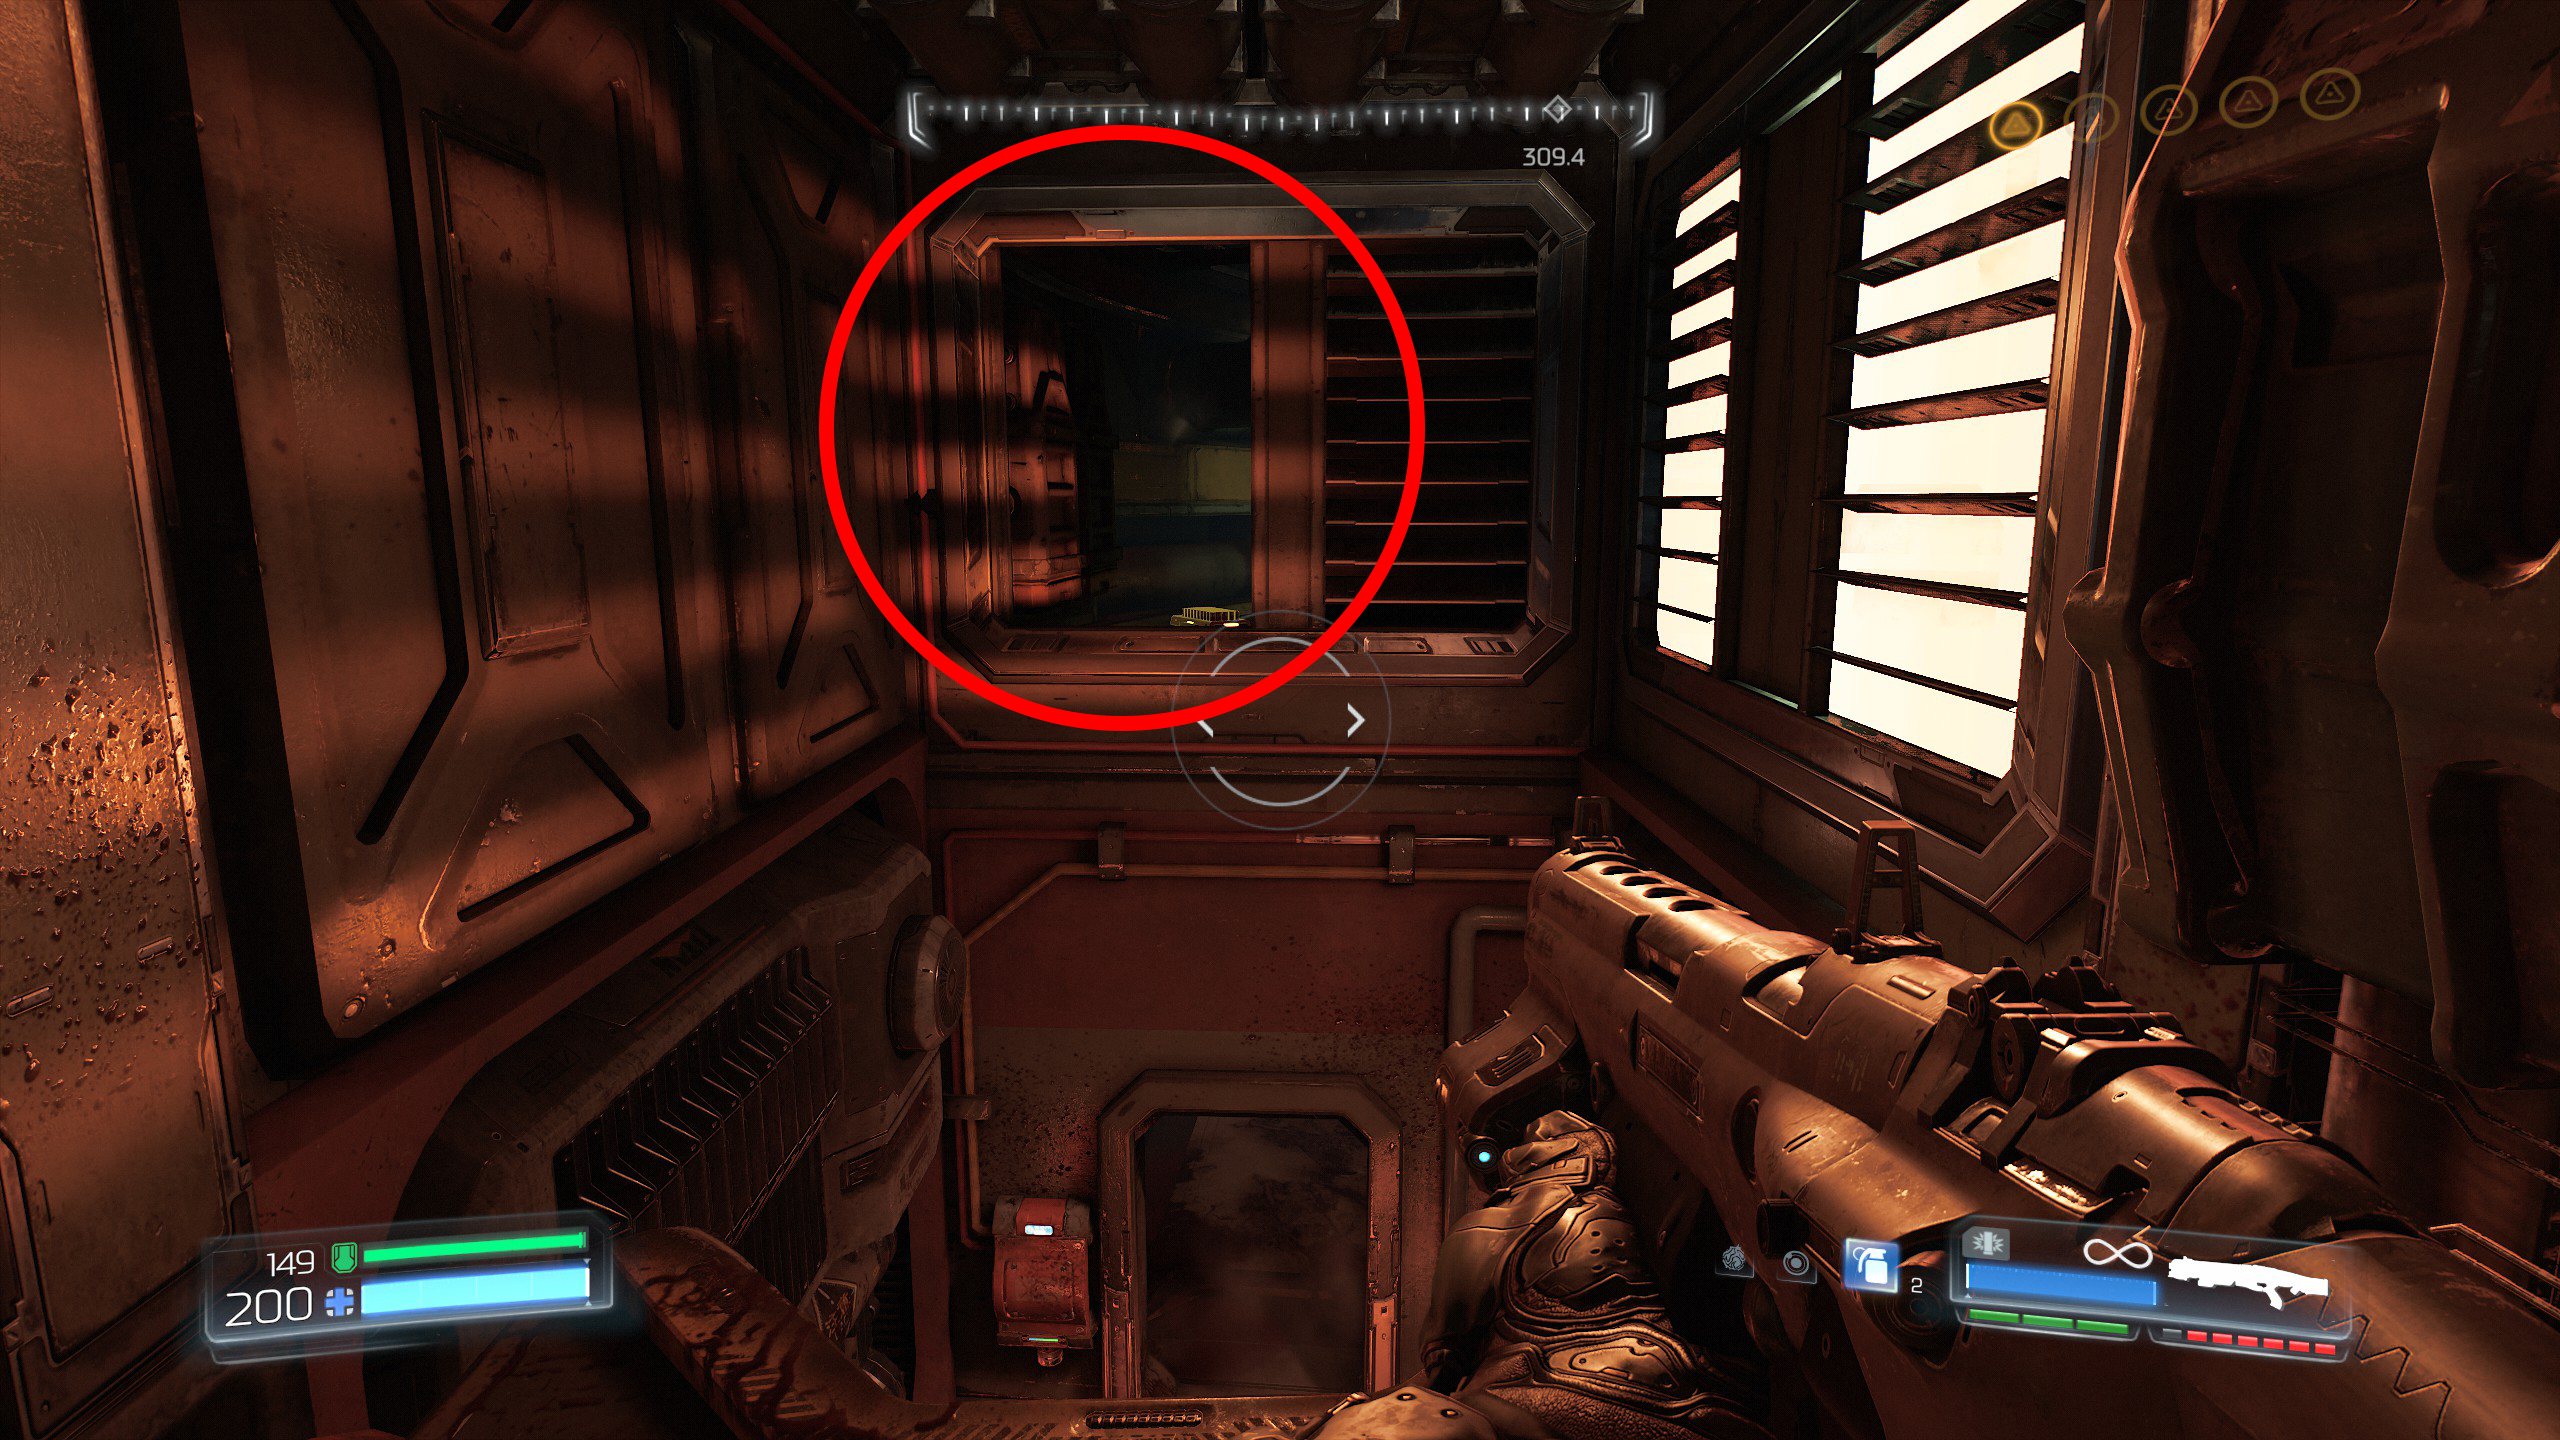
Follow the path until you reach a door with Sector_5 written above, you will have to climb up the wall to reach it but don't go through the door, simply turn around and on the opposite side of the door is a vent you can jump across into and inside will be secret number 2.
Continue the mission.
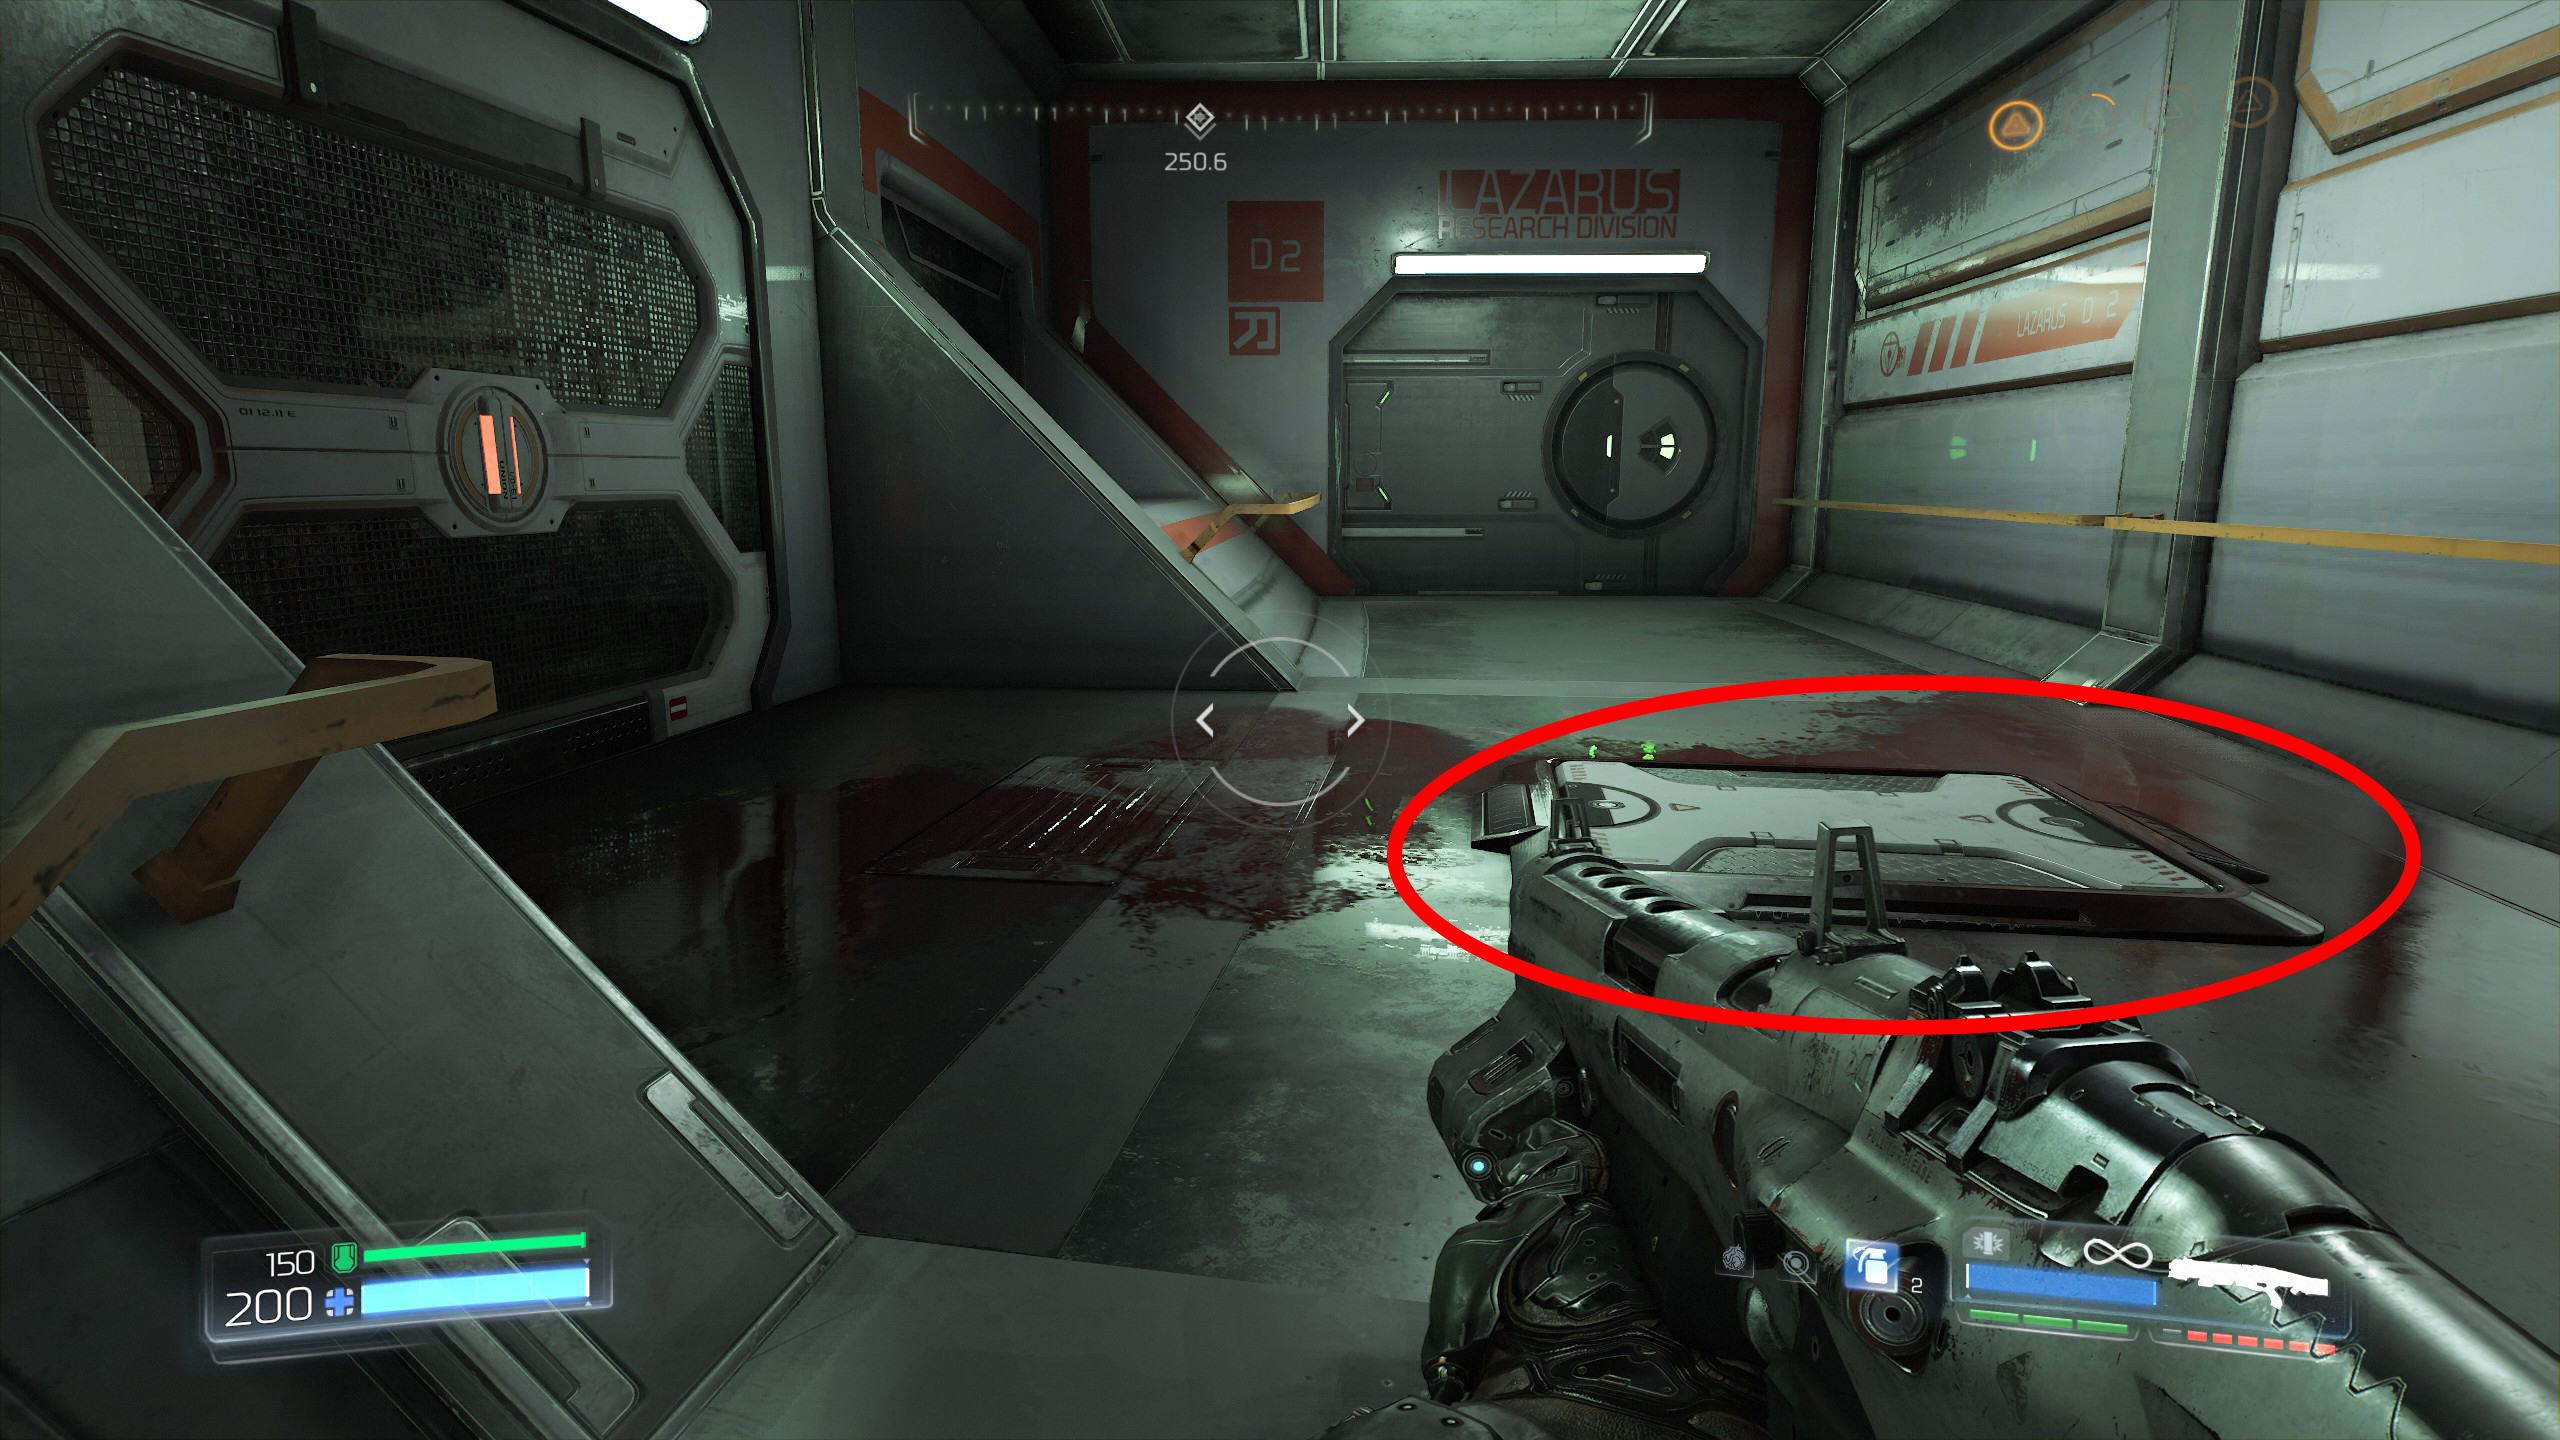
As you proceed with the mission you will eventually come across a Field Drone in a small room, from that room climb up out of the hatch and move on to the next room, from there go through the left doorway and follow it around until you reach a door with Lazarus Research Division above it and a hatch on the floor as shown in the screenshot below.
Open and enter the hatch to gain secret number 3 and continue through to also find a Rune.
Now proceed with the mission.
WARNING: From this point, once you enter the hatch as part of the mission you will not be able to go back and collect any previous secrets, so make sure you collect them all first.
After dropping down through a hatch or two you will also drop down into a large room and battle it out with waves of demons.
Clear out the demons and at the back of the room between the two staircases that lead down to the lower level will be a door and a switch, activate the switch to open the door and go inside to gain secret number 4.
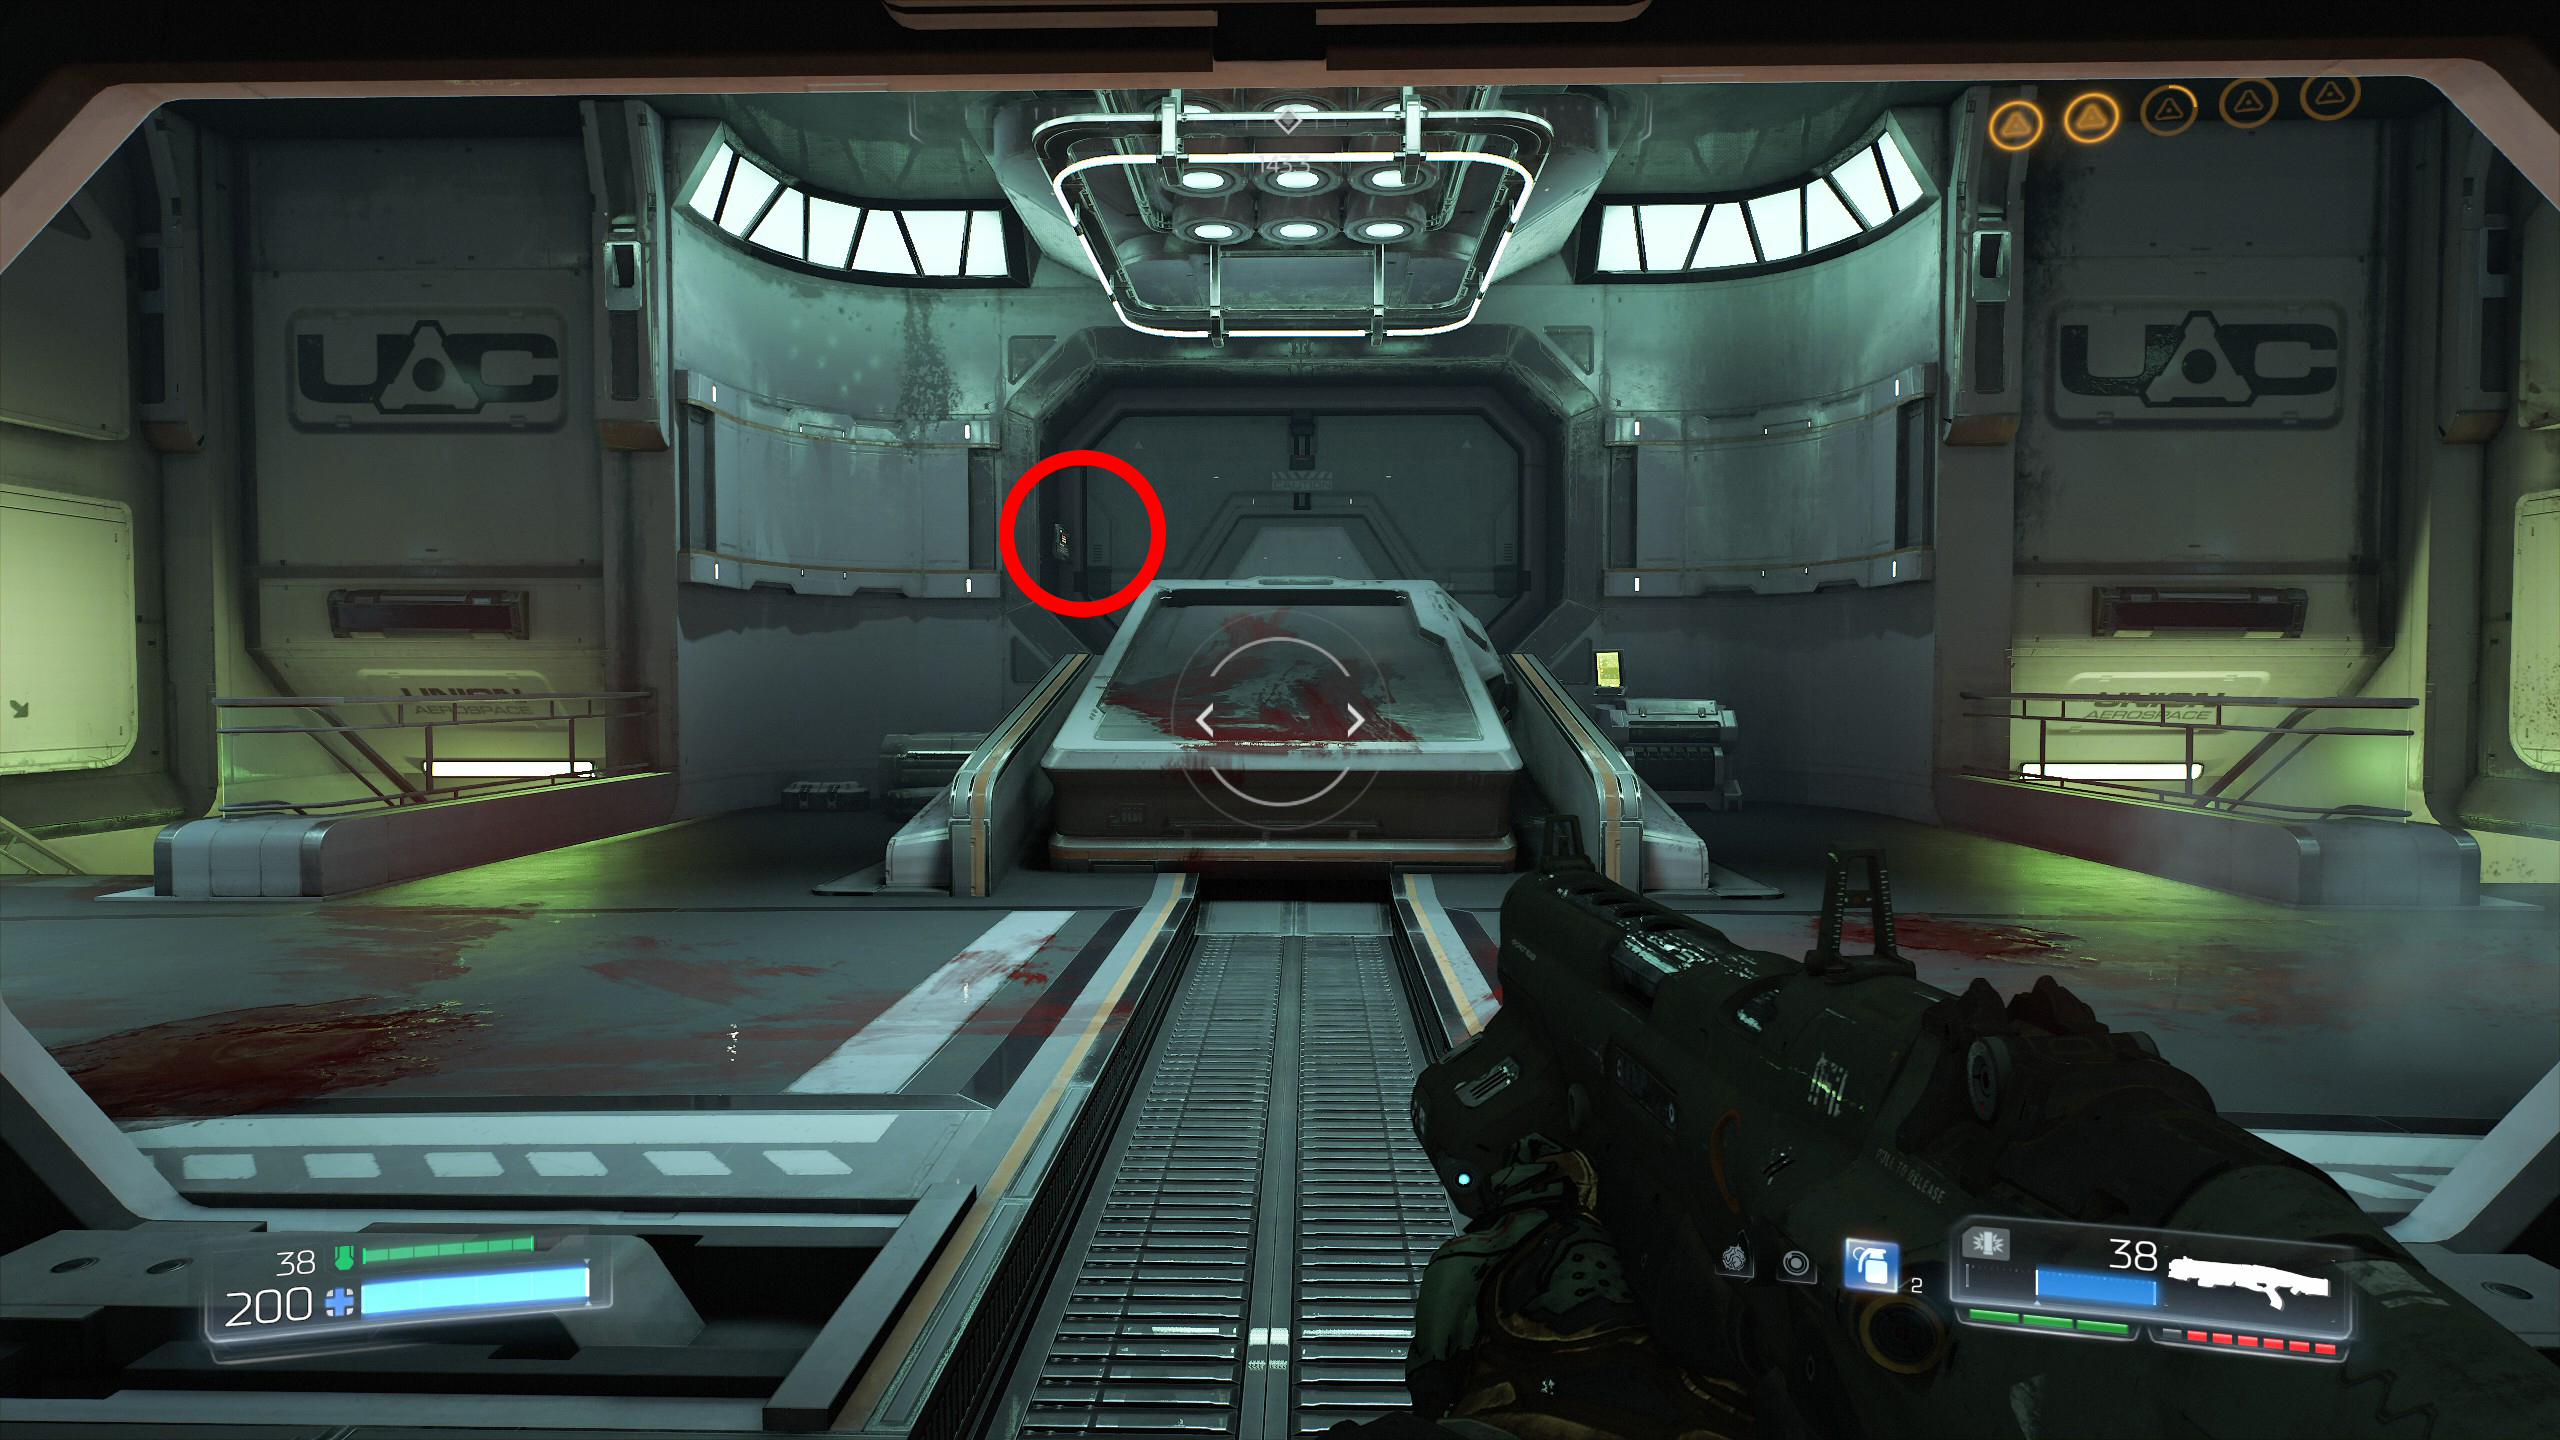
WARNING: If you enter through the broken door you will not be able to go back and collect secret 4.
From secret 4 continue onward with the mission down one of the two staircases and you will come to a broken door, once you go through the broken door there's no turning back so make sure you have everything you need.
When you go through the broken door into the next area turn left and squeeze behind the first stone slab, follow it around and take a left to the very back to find secret number 5 which is a Doomguy.
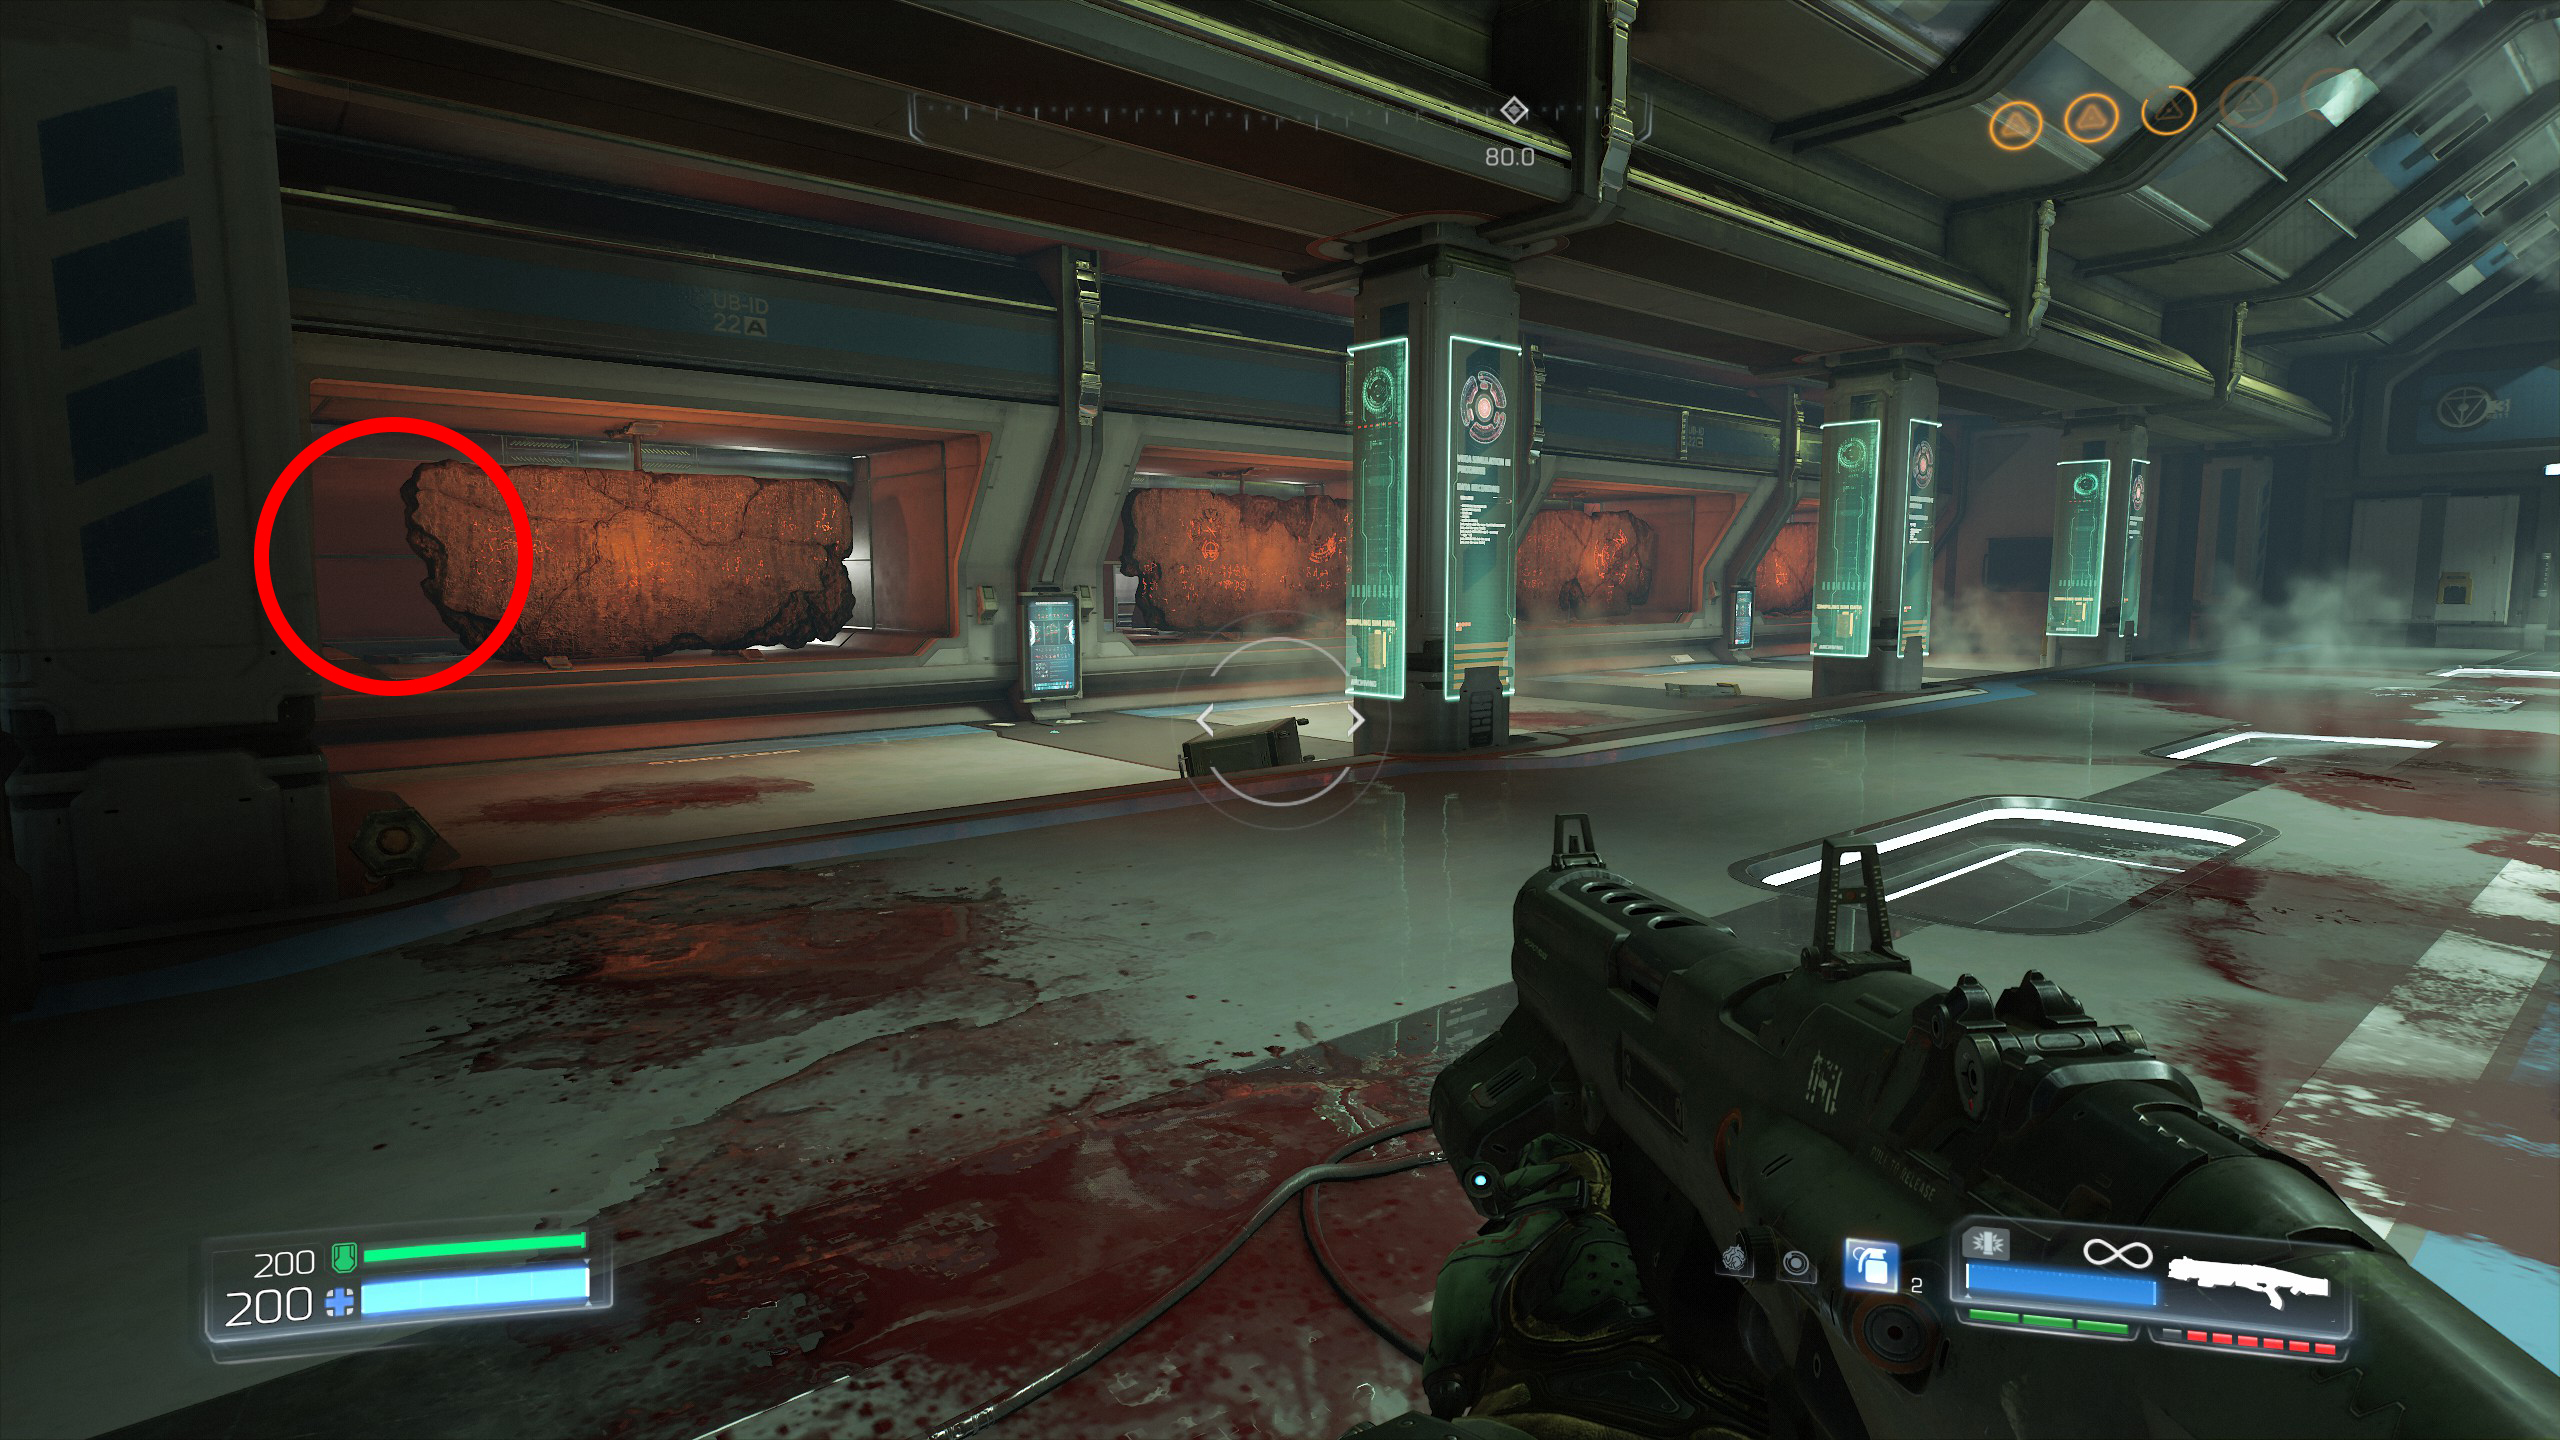
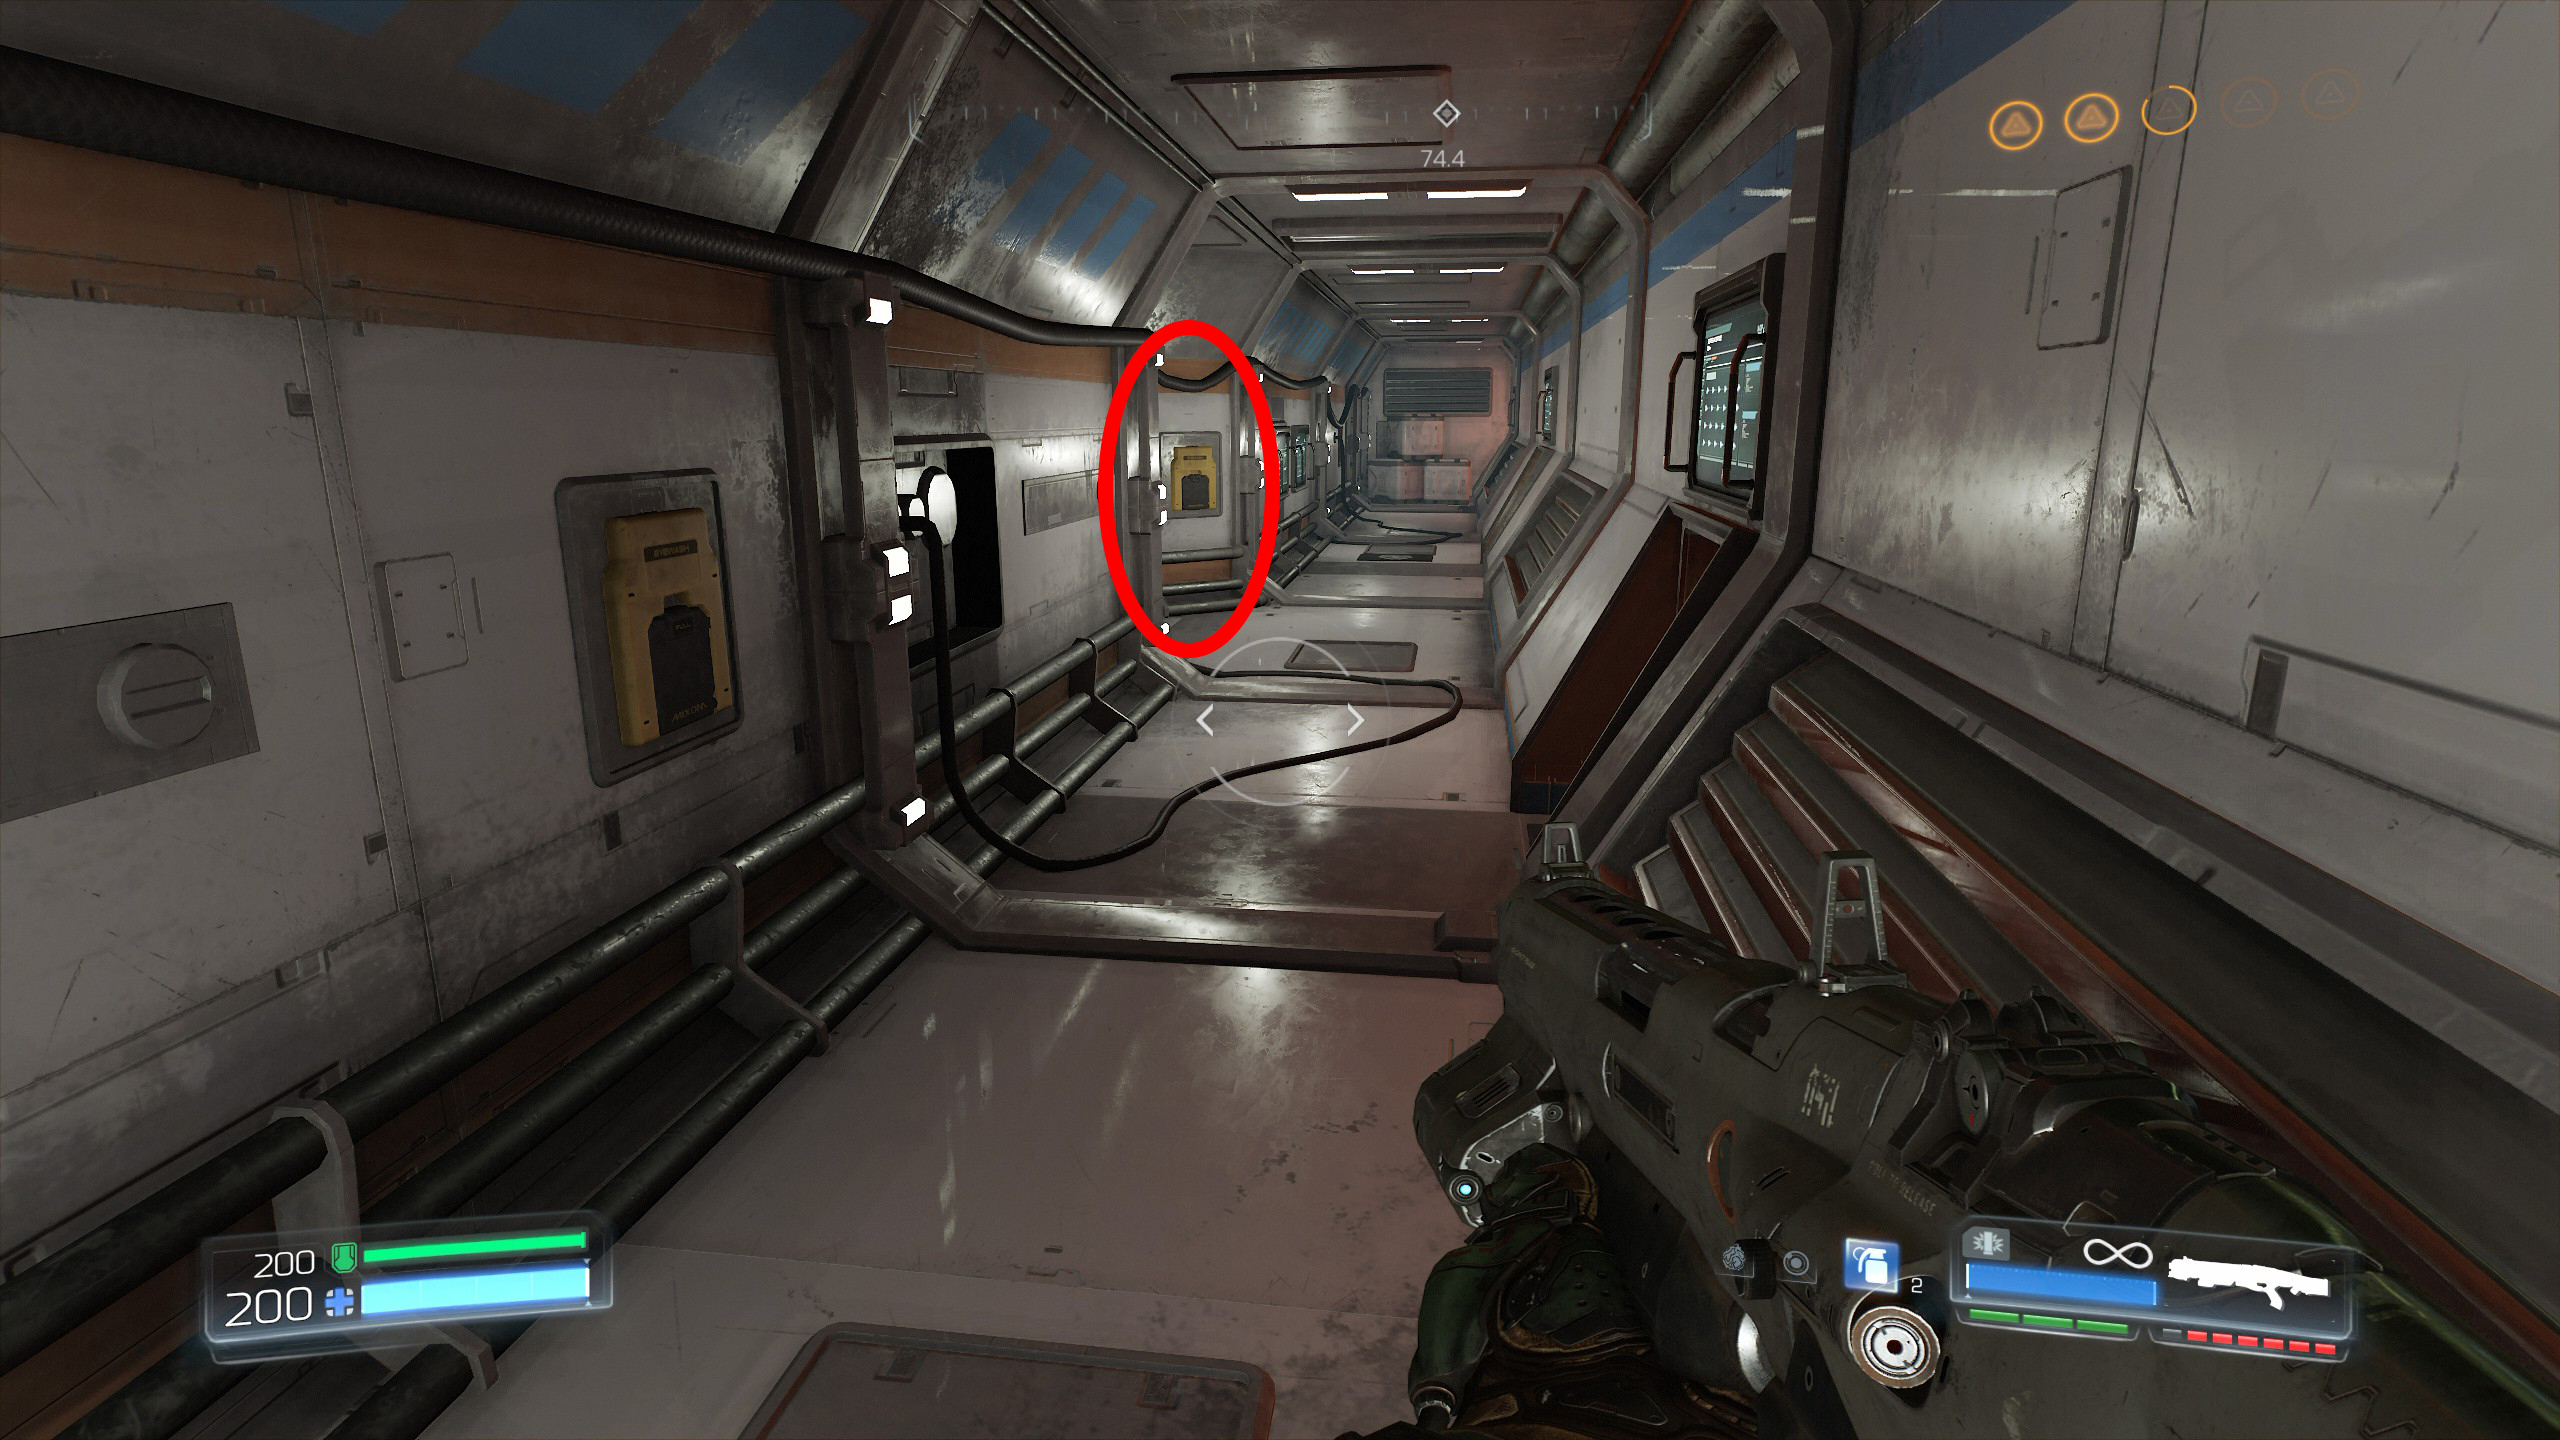
Now exit out the same way and head for the elevator.
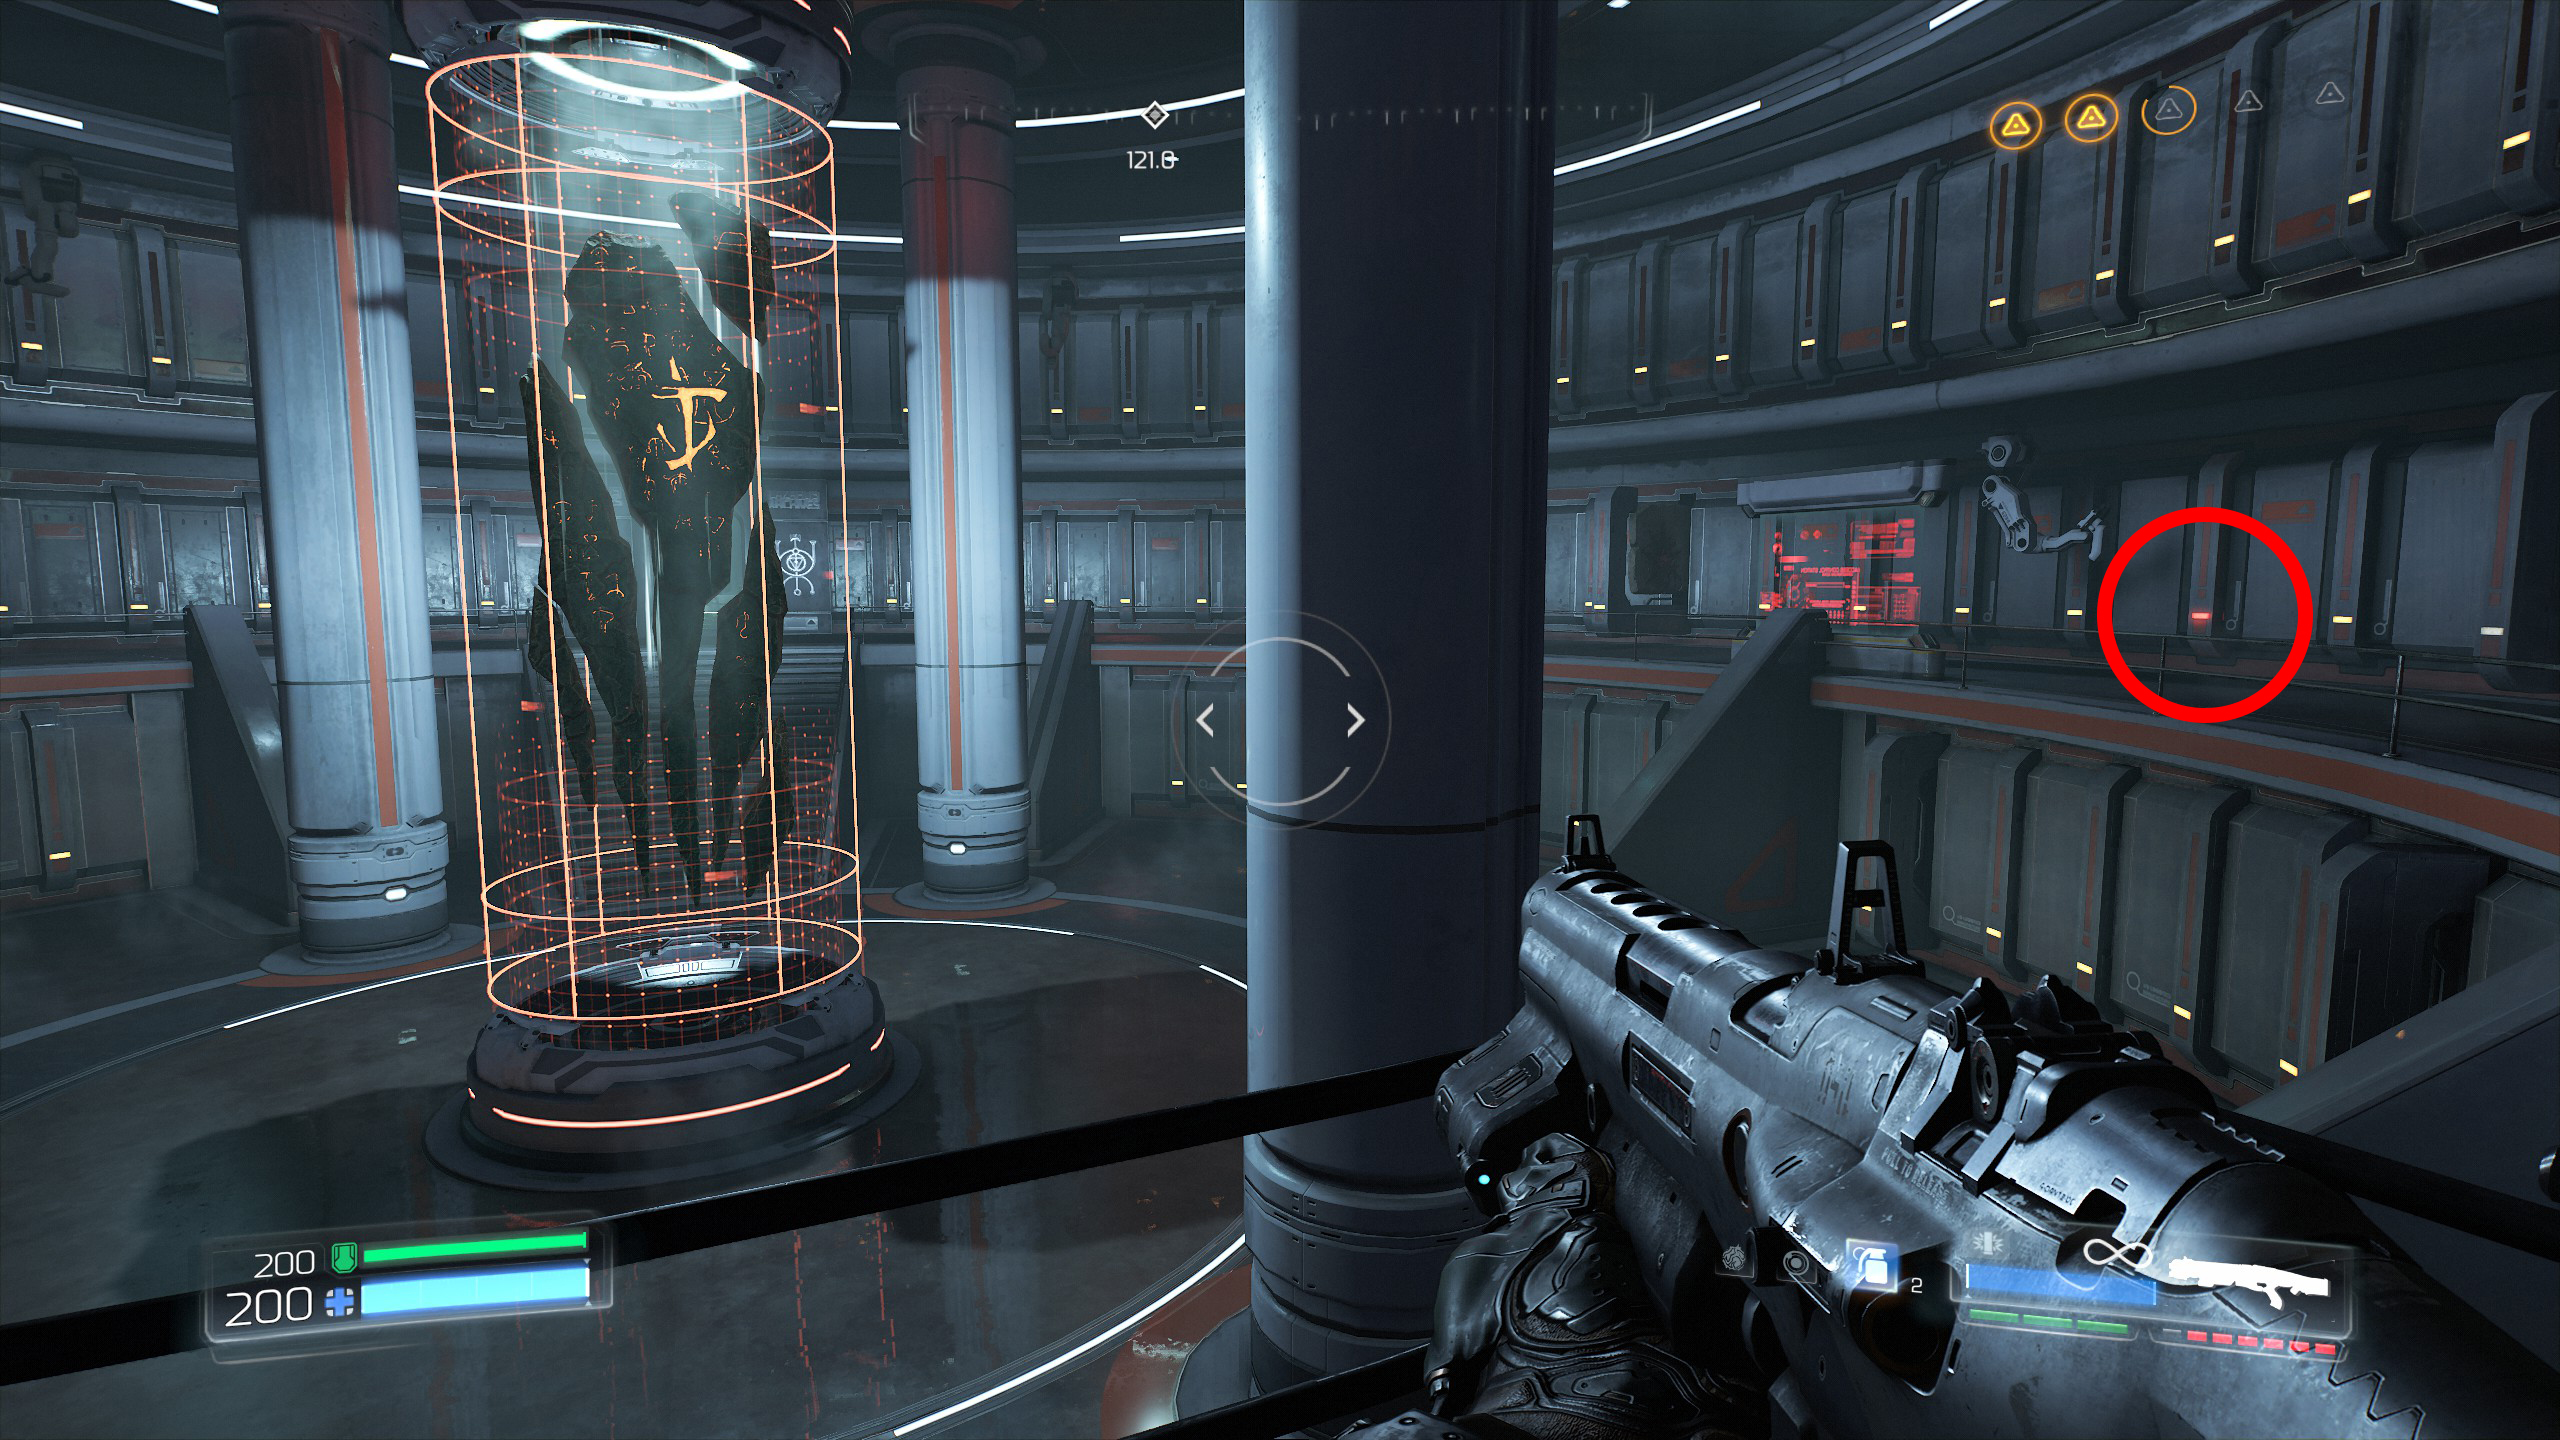
This first section is not part of the secrets but is an achievement so i will include it here.
Continue the mission from secret 6 and activate the terminal to access the small room at the far side, inside the room on one of the computers is a hidden game you can play as highlighted in the screenshot below.
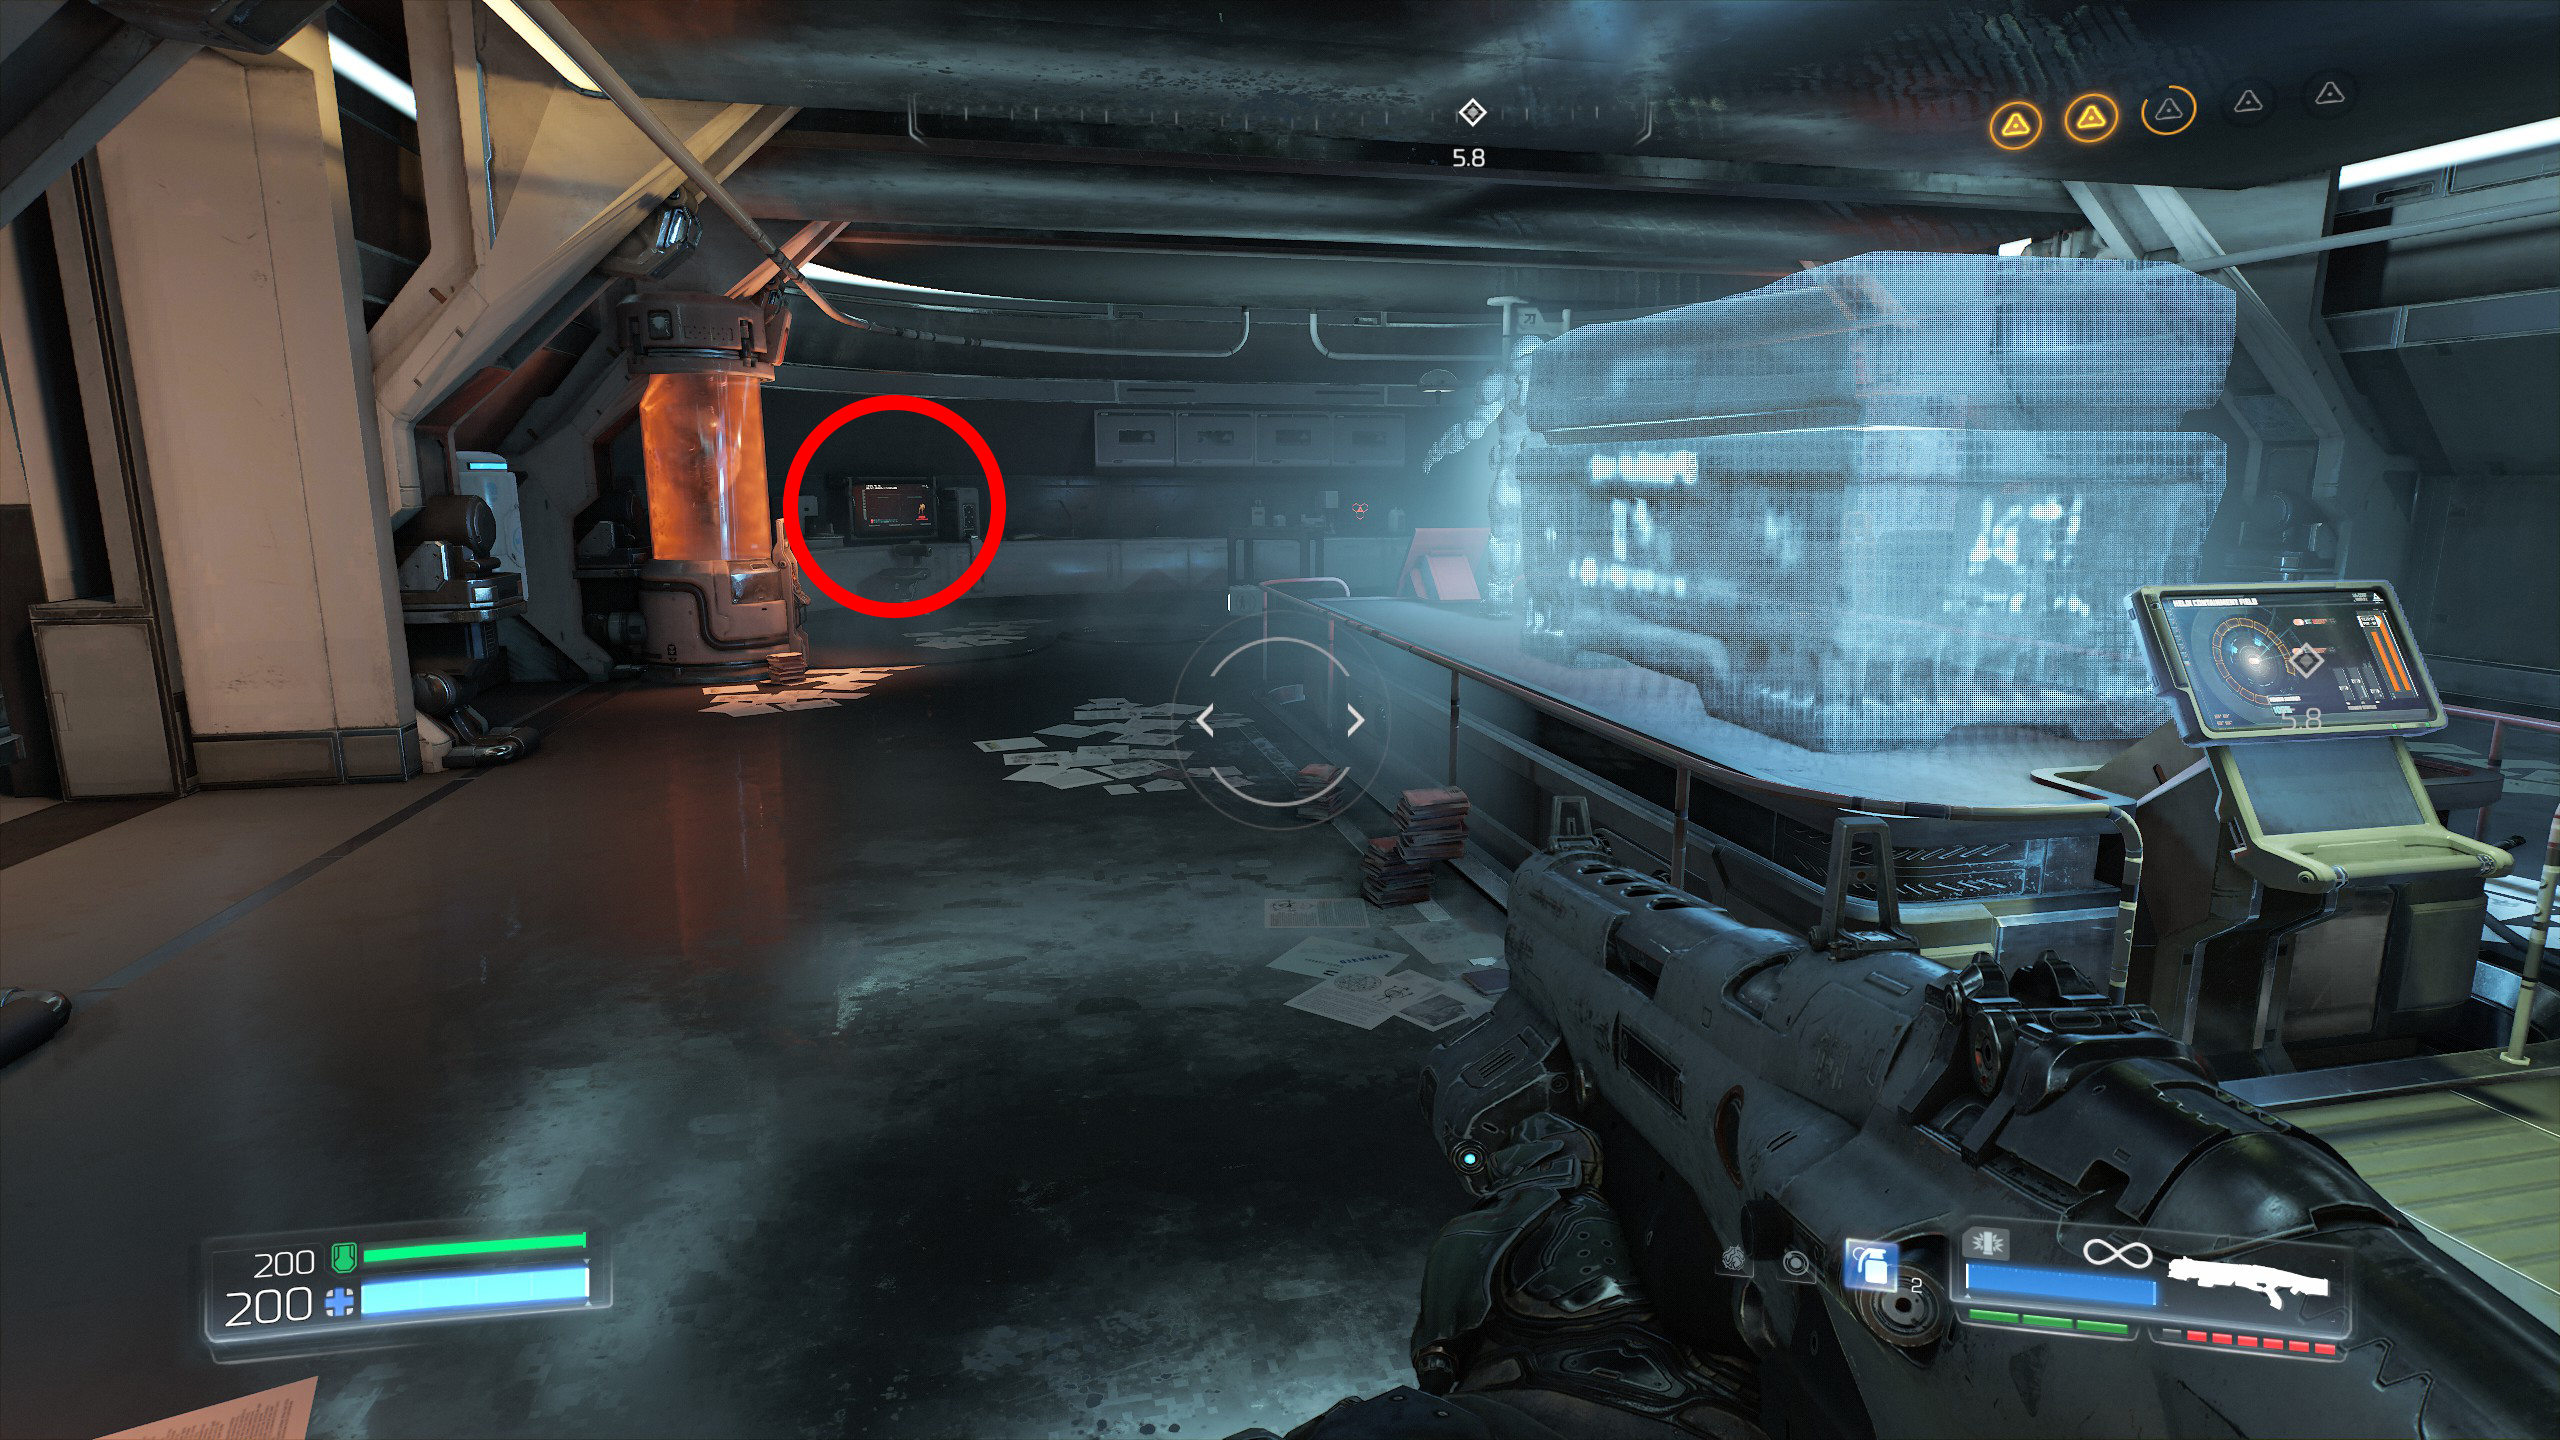
Now we are going to proceed with the secrets.
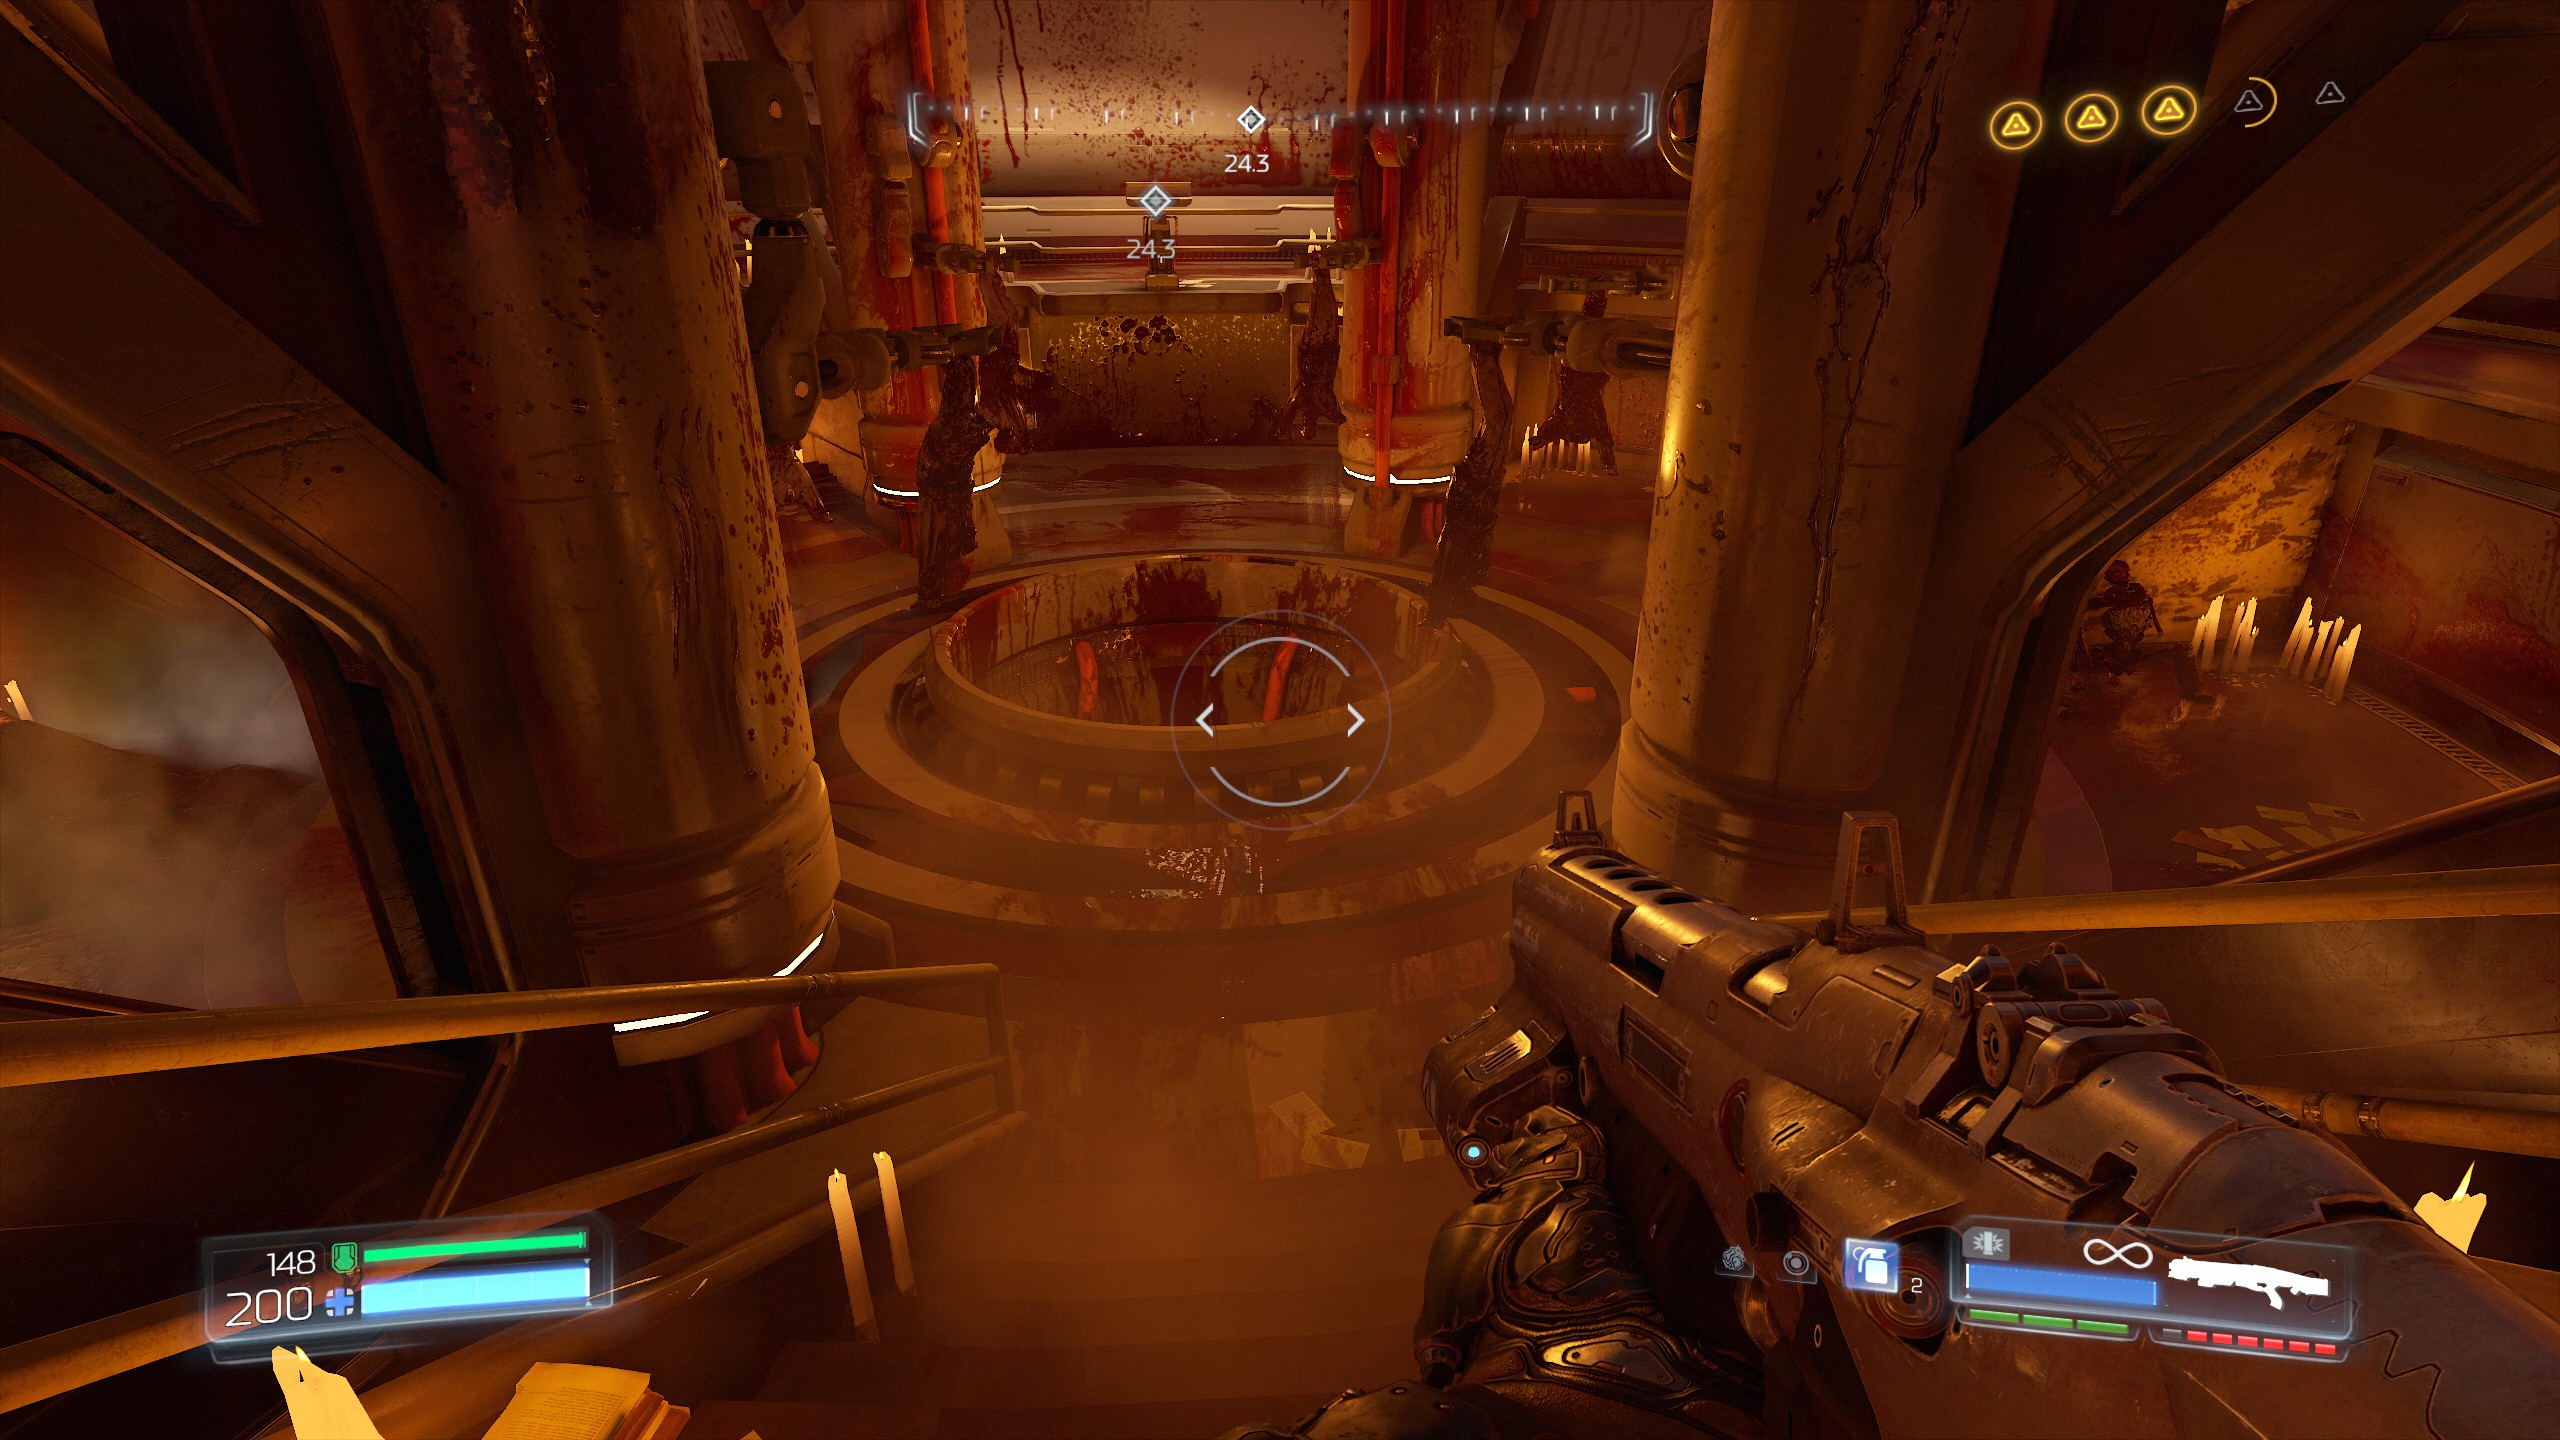
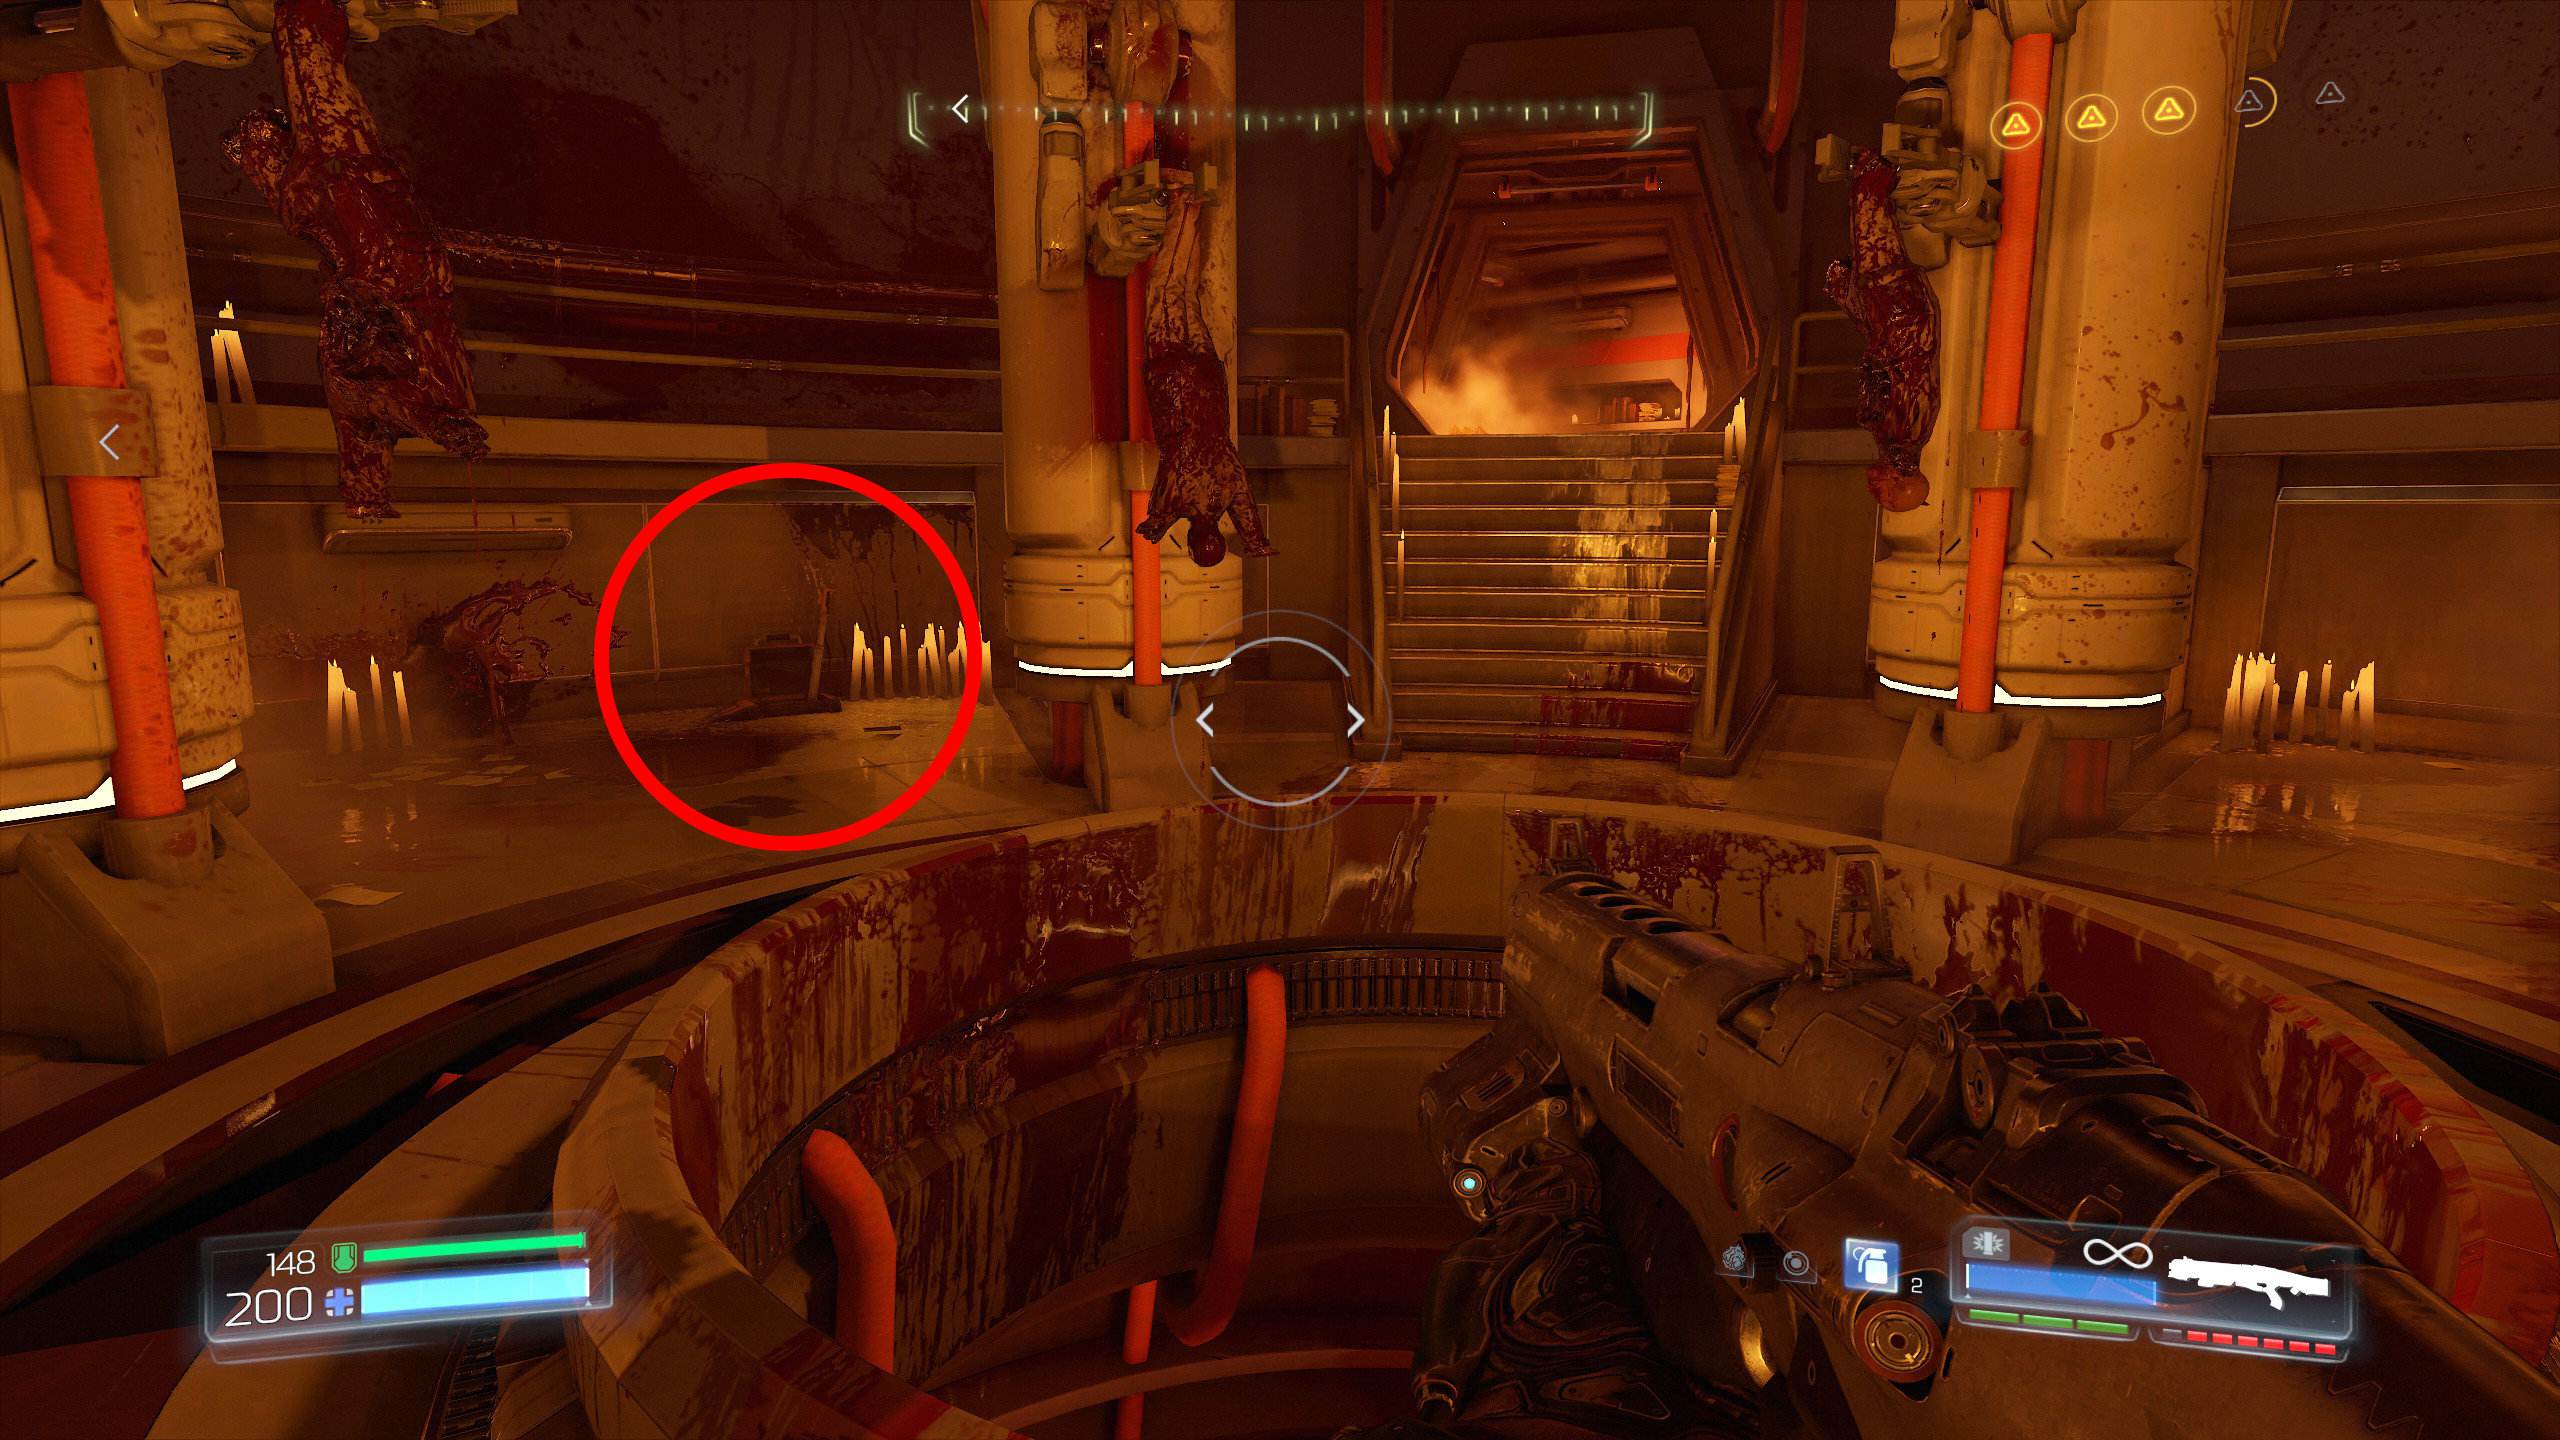
Continue through until you reach a room with a hole in the ground along with a few bodies hanging from robotic arms and plenty of blood.
As you walk down the steps towards the hole look to the right of the steps to find a lever that needs activating for the secret room.
Now drop down into the hole to gain a secret and inside you will also find the secret room, so secret 7 and 8.
Proceed with the mission.
Once through take a right and make your way to the end room, inside the end room you will find an open vent you can climb into, climb inside and follow it around to find a Rune and secret number 9, the last secret for this mission.
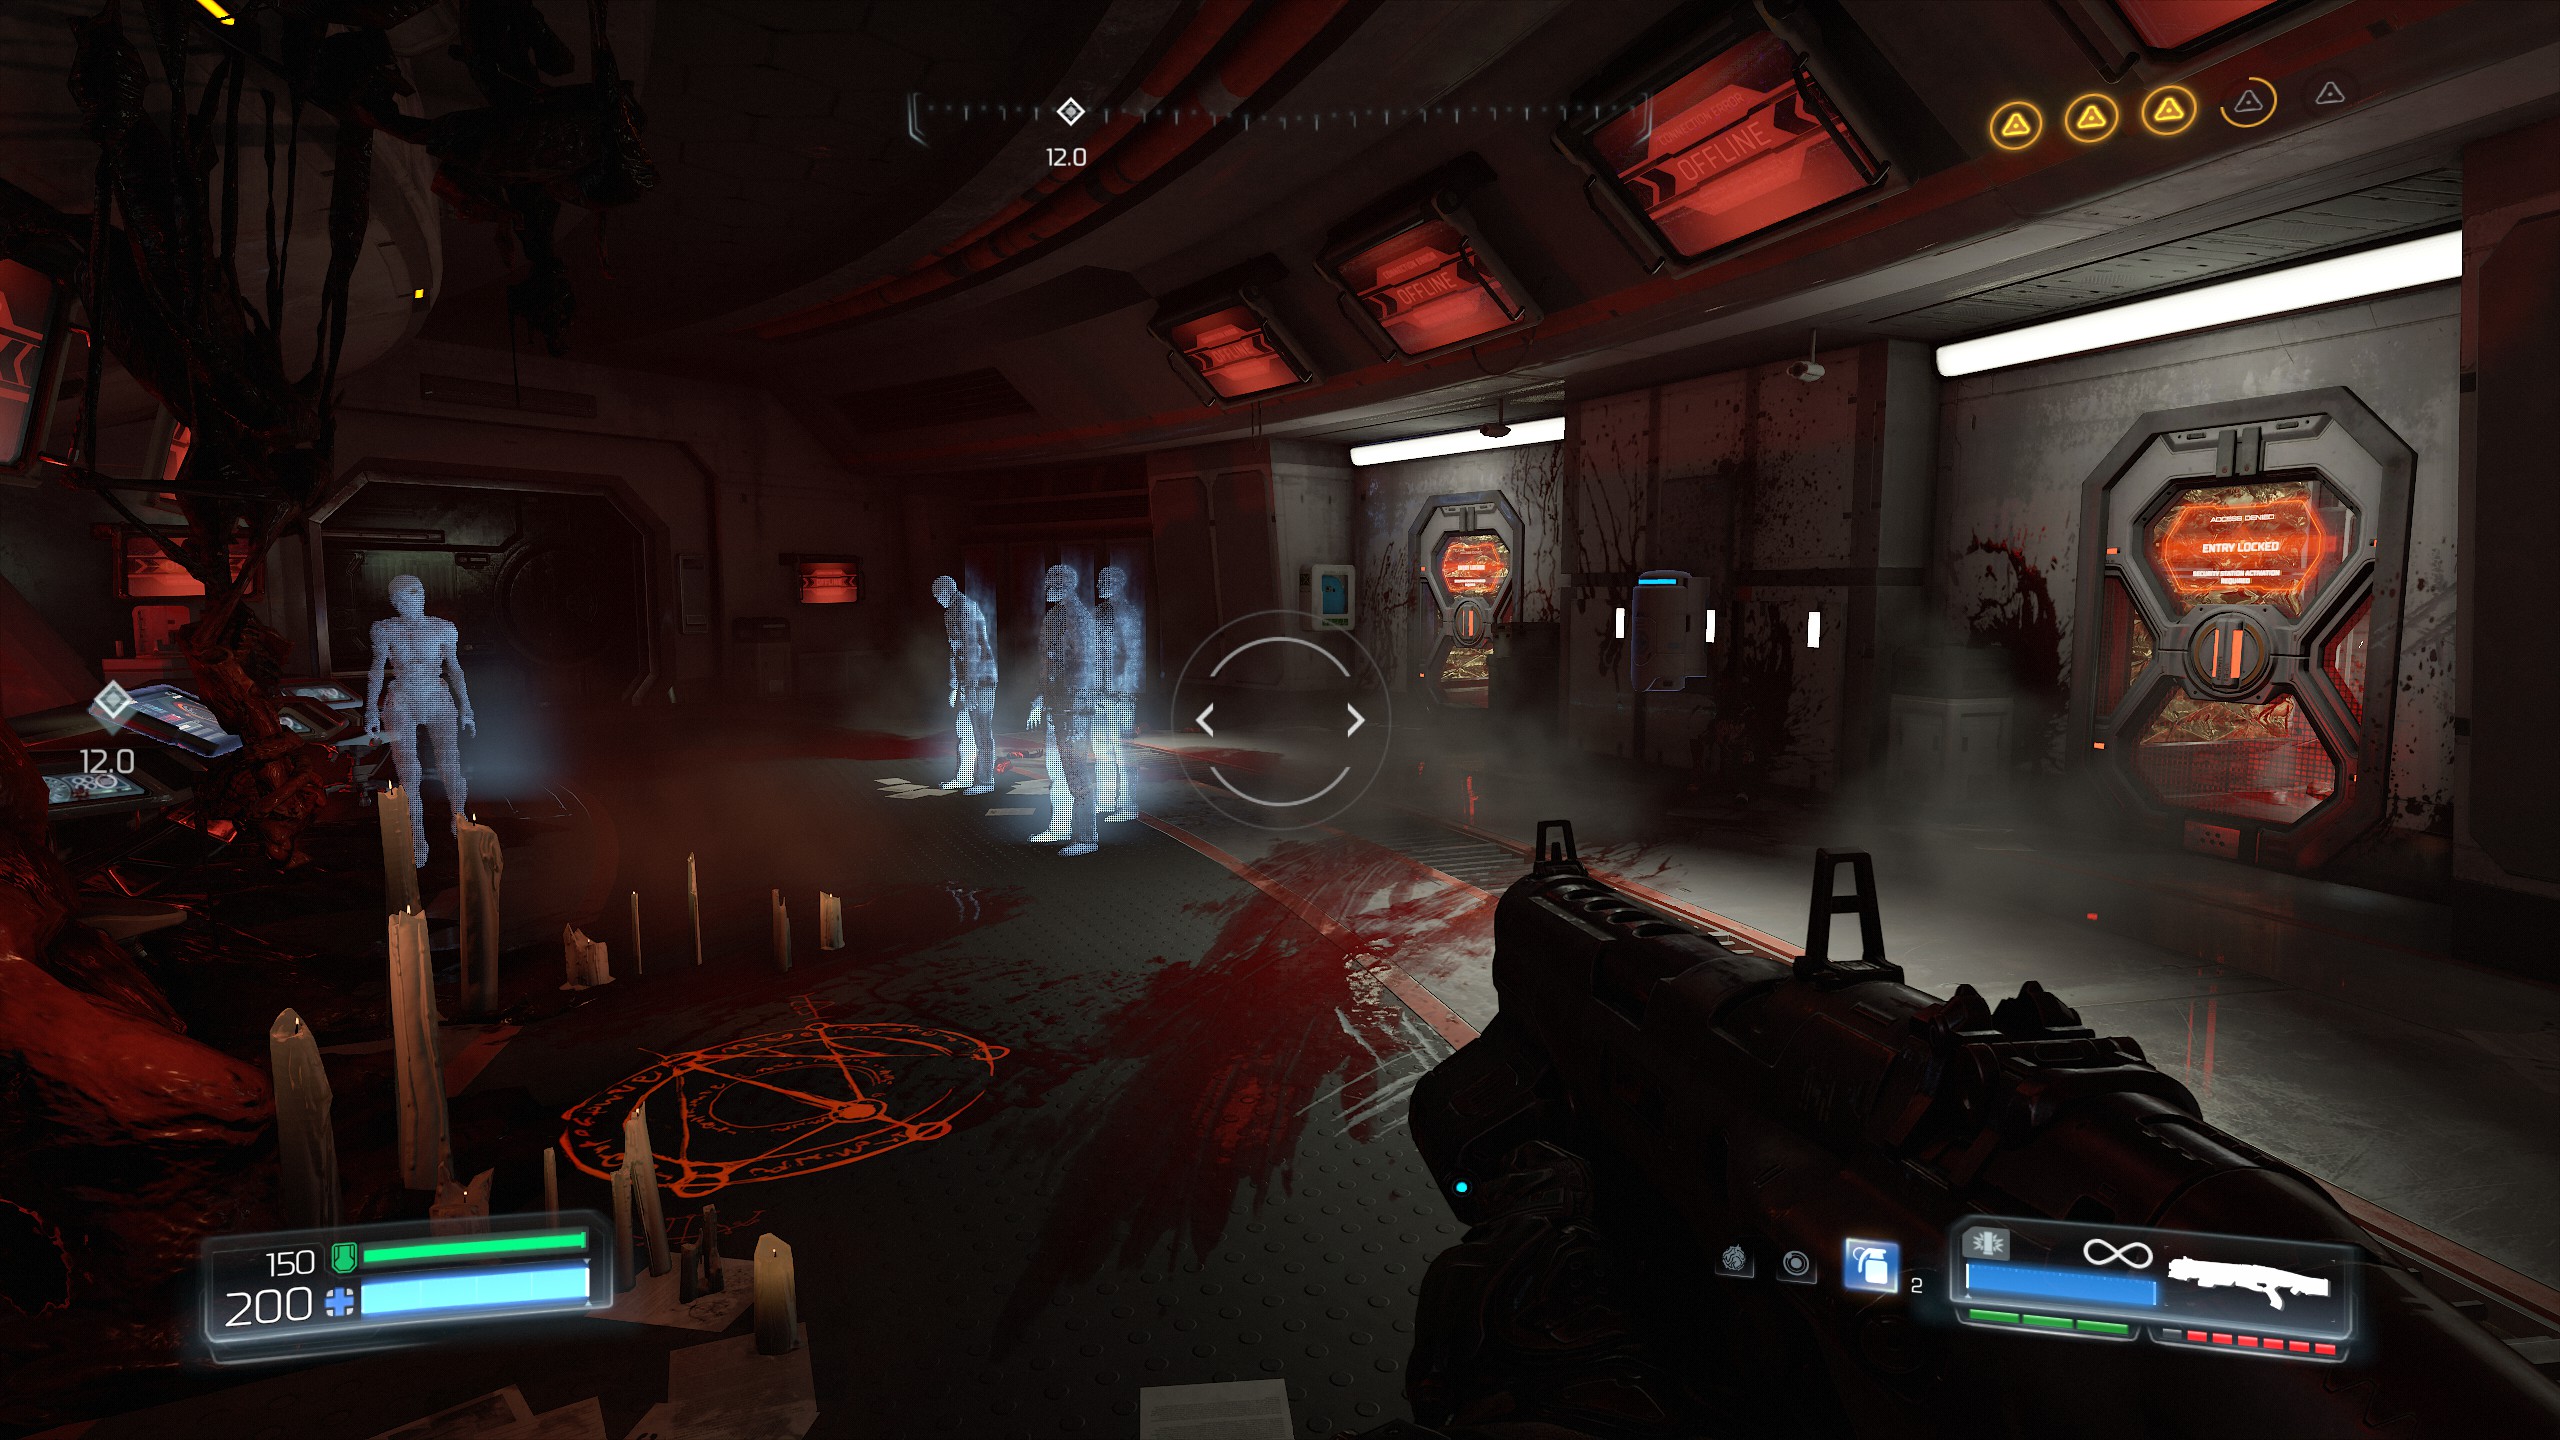
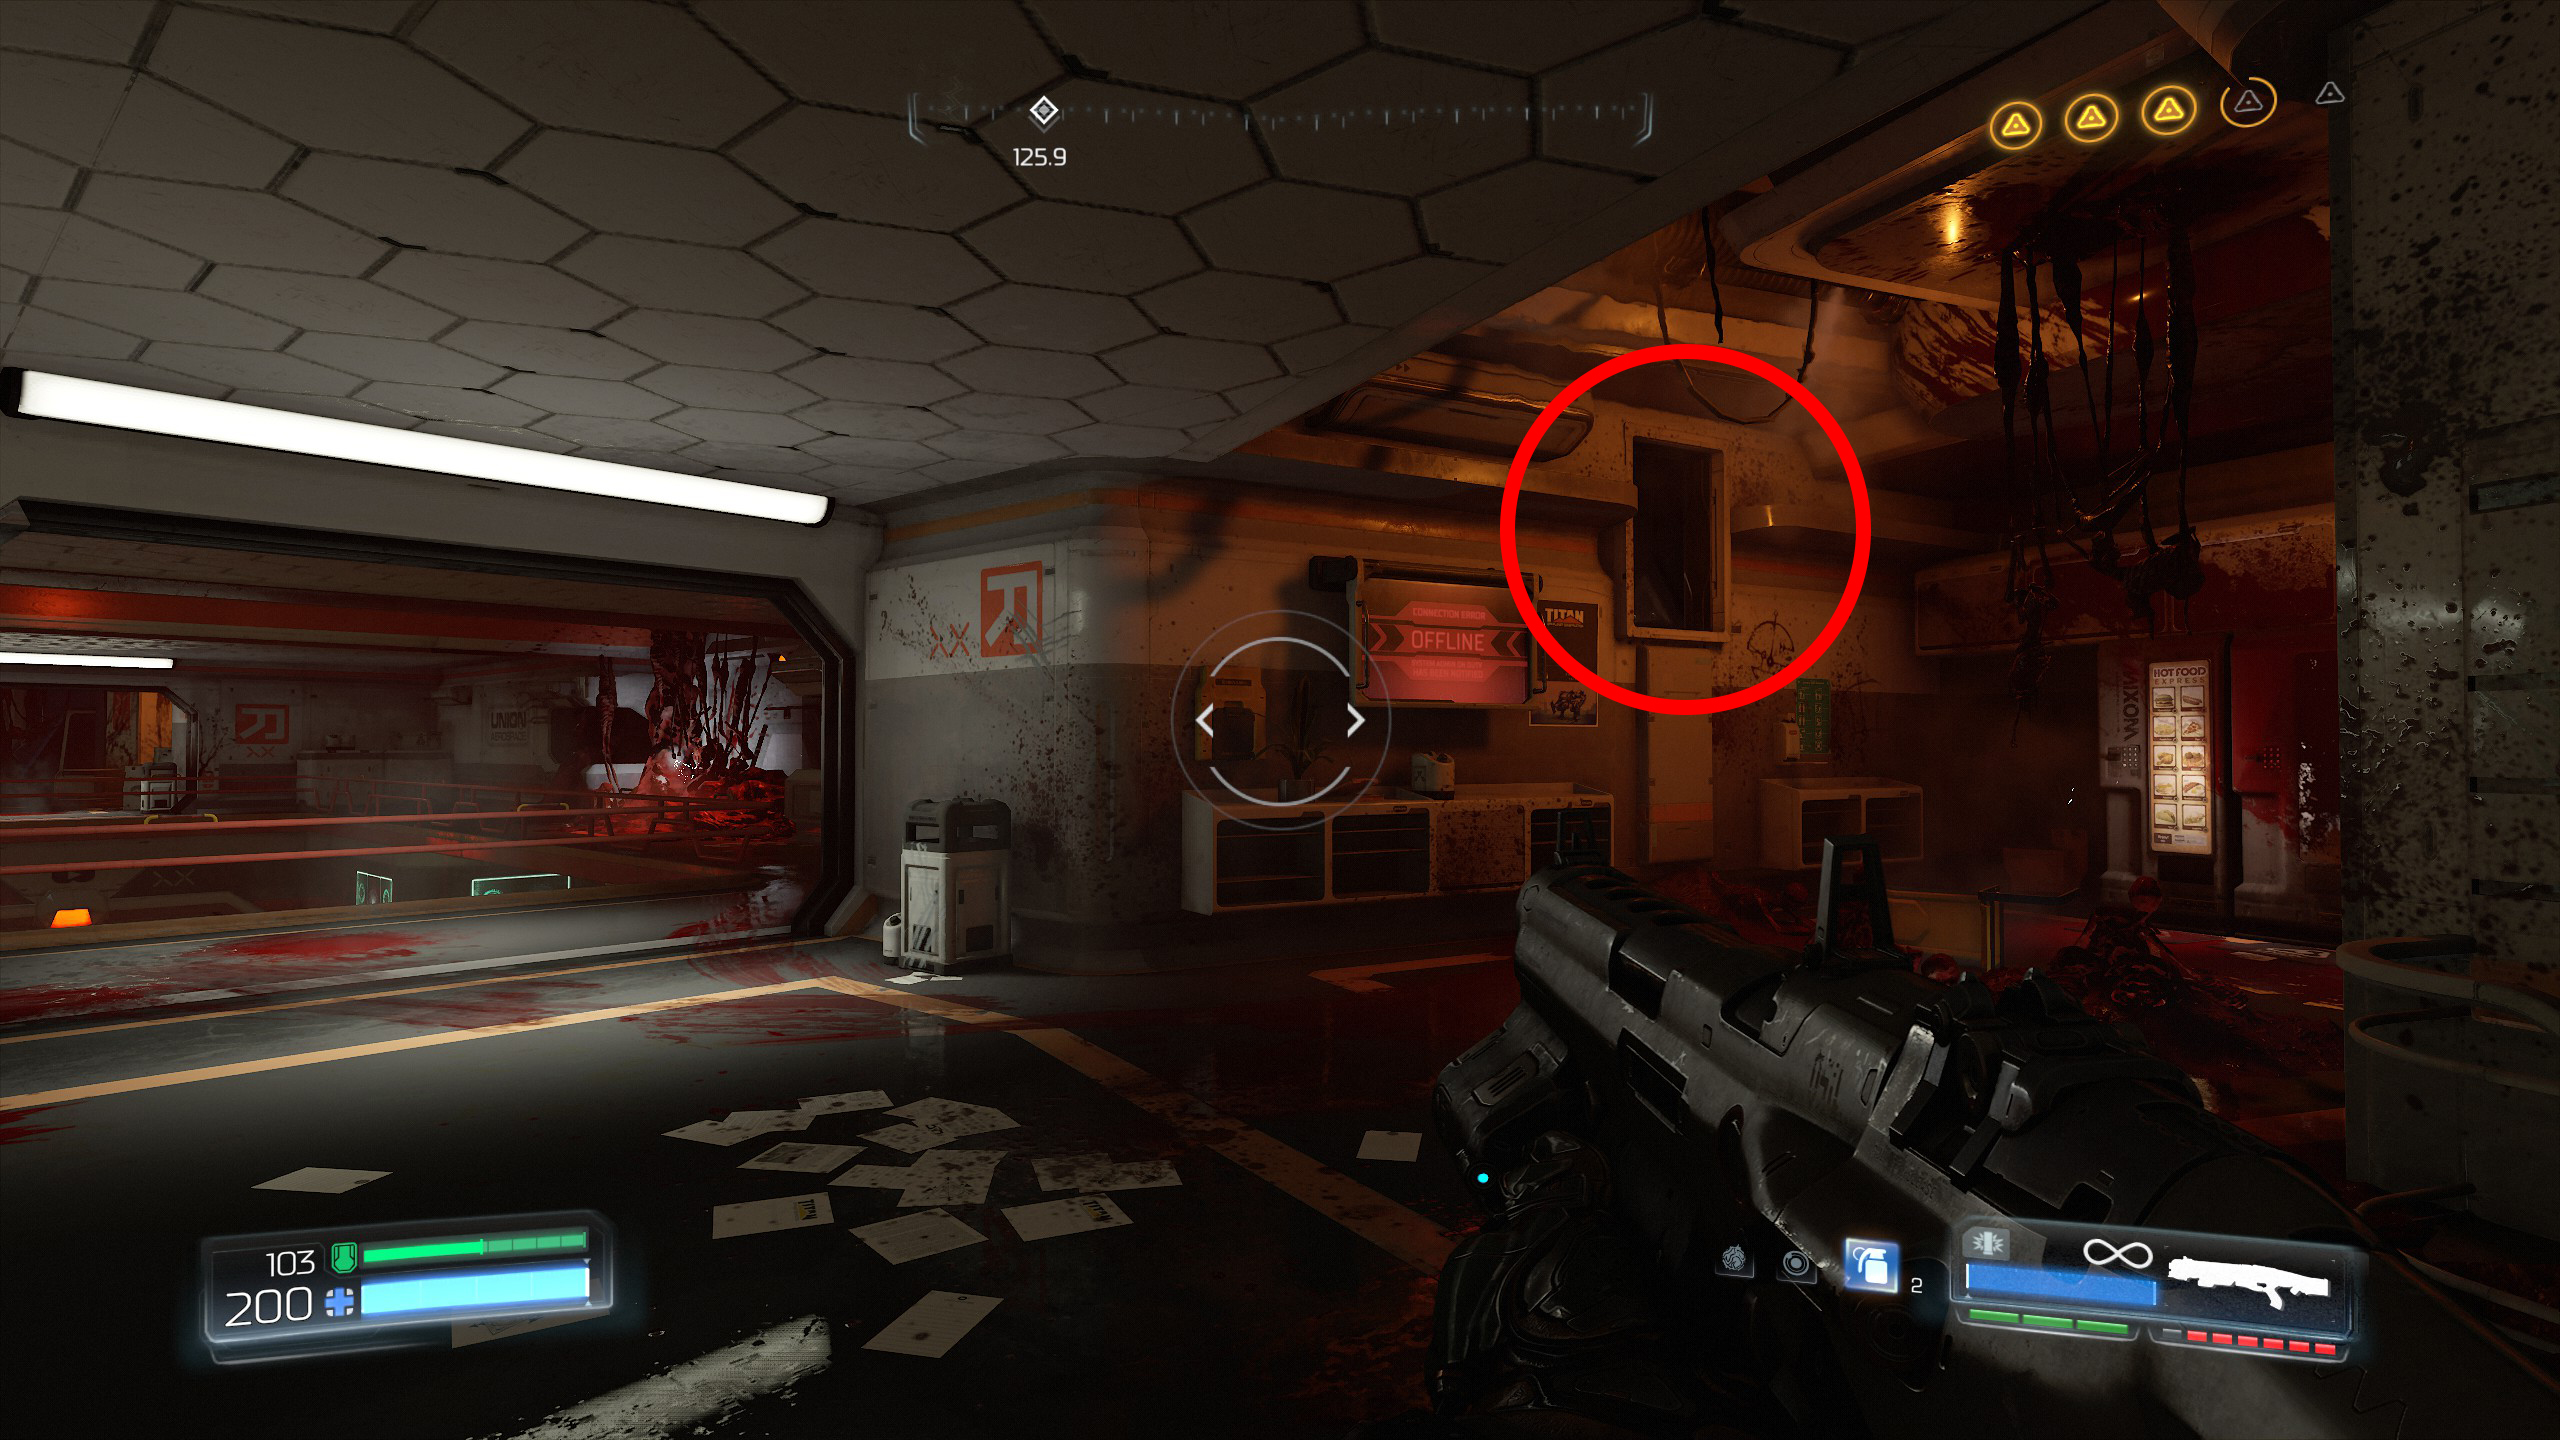
Another mission complete.
Mission 10 - Titans Realm
Begin the mission and you will come to a room with two pillars lit up by red electricity and green acid on the ground floor.
If you drop down under the platform between the pillars you will find a skull, activate the skull and make your way around to the right side of the room to find a small opening that contains secret number 1.
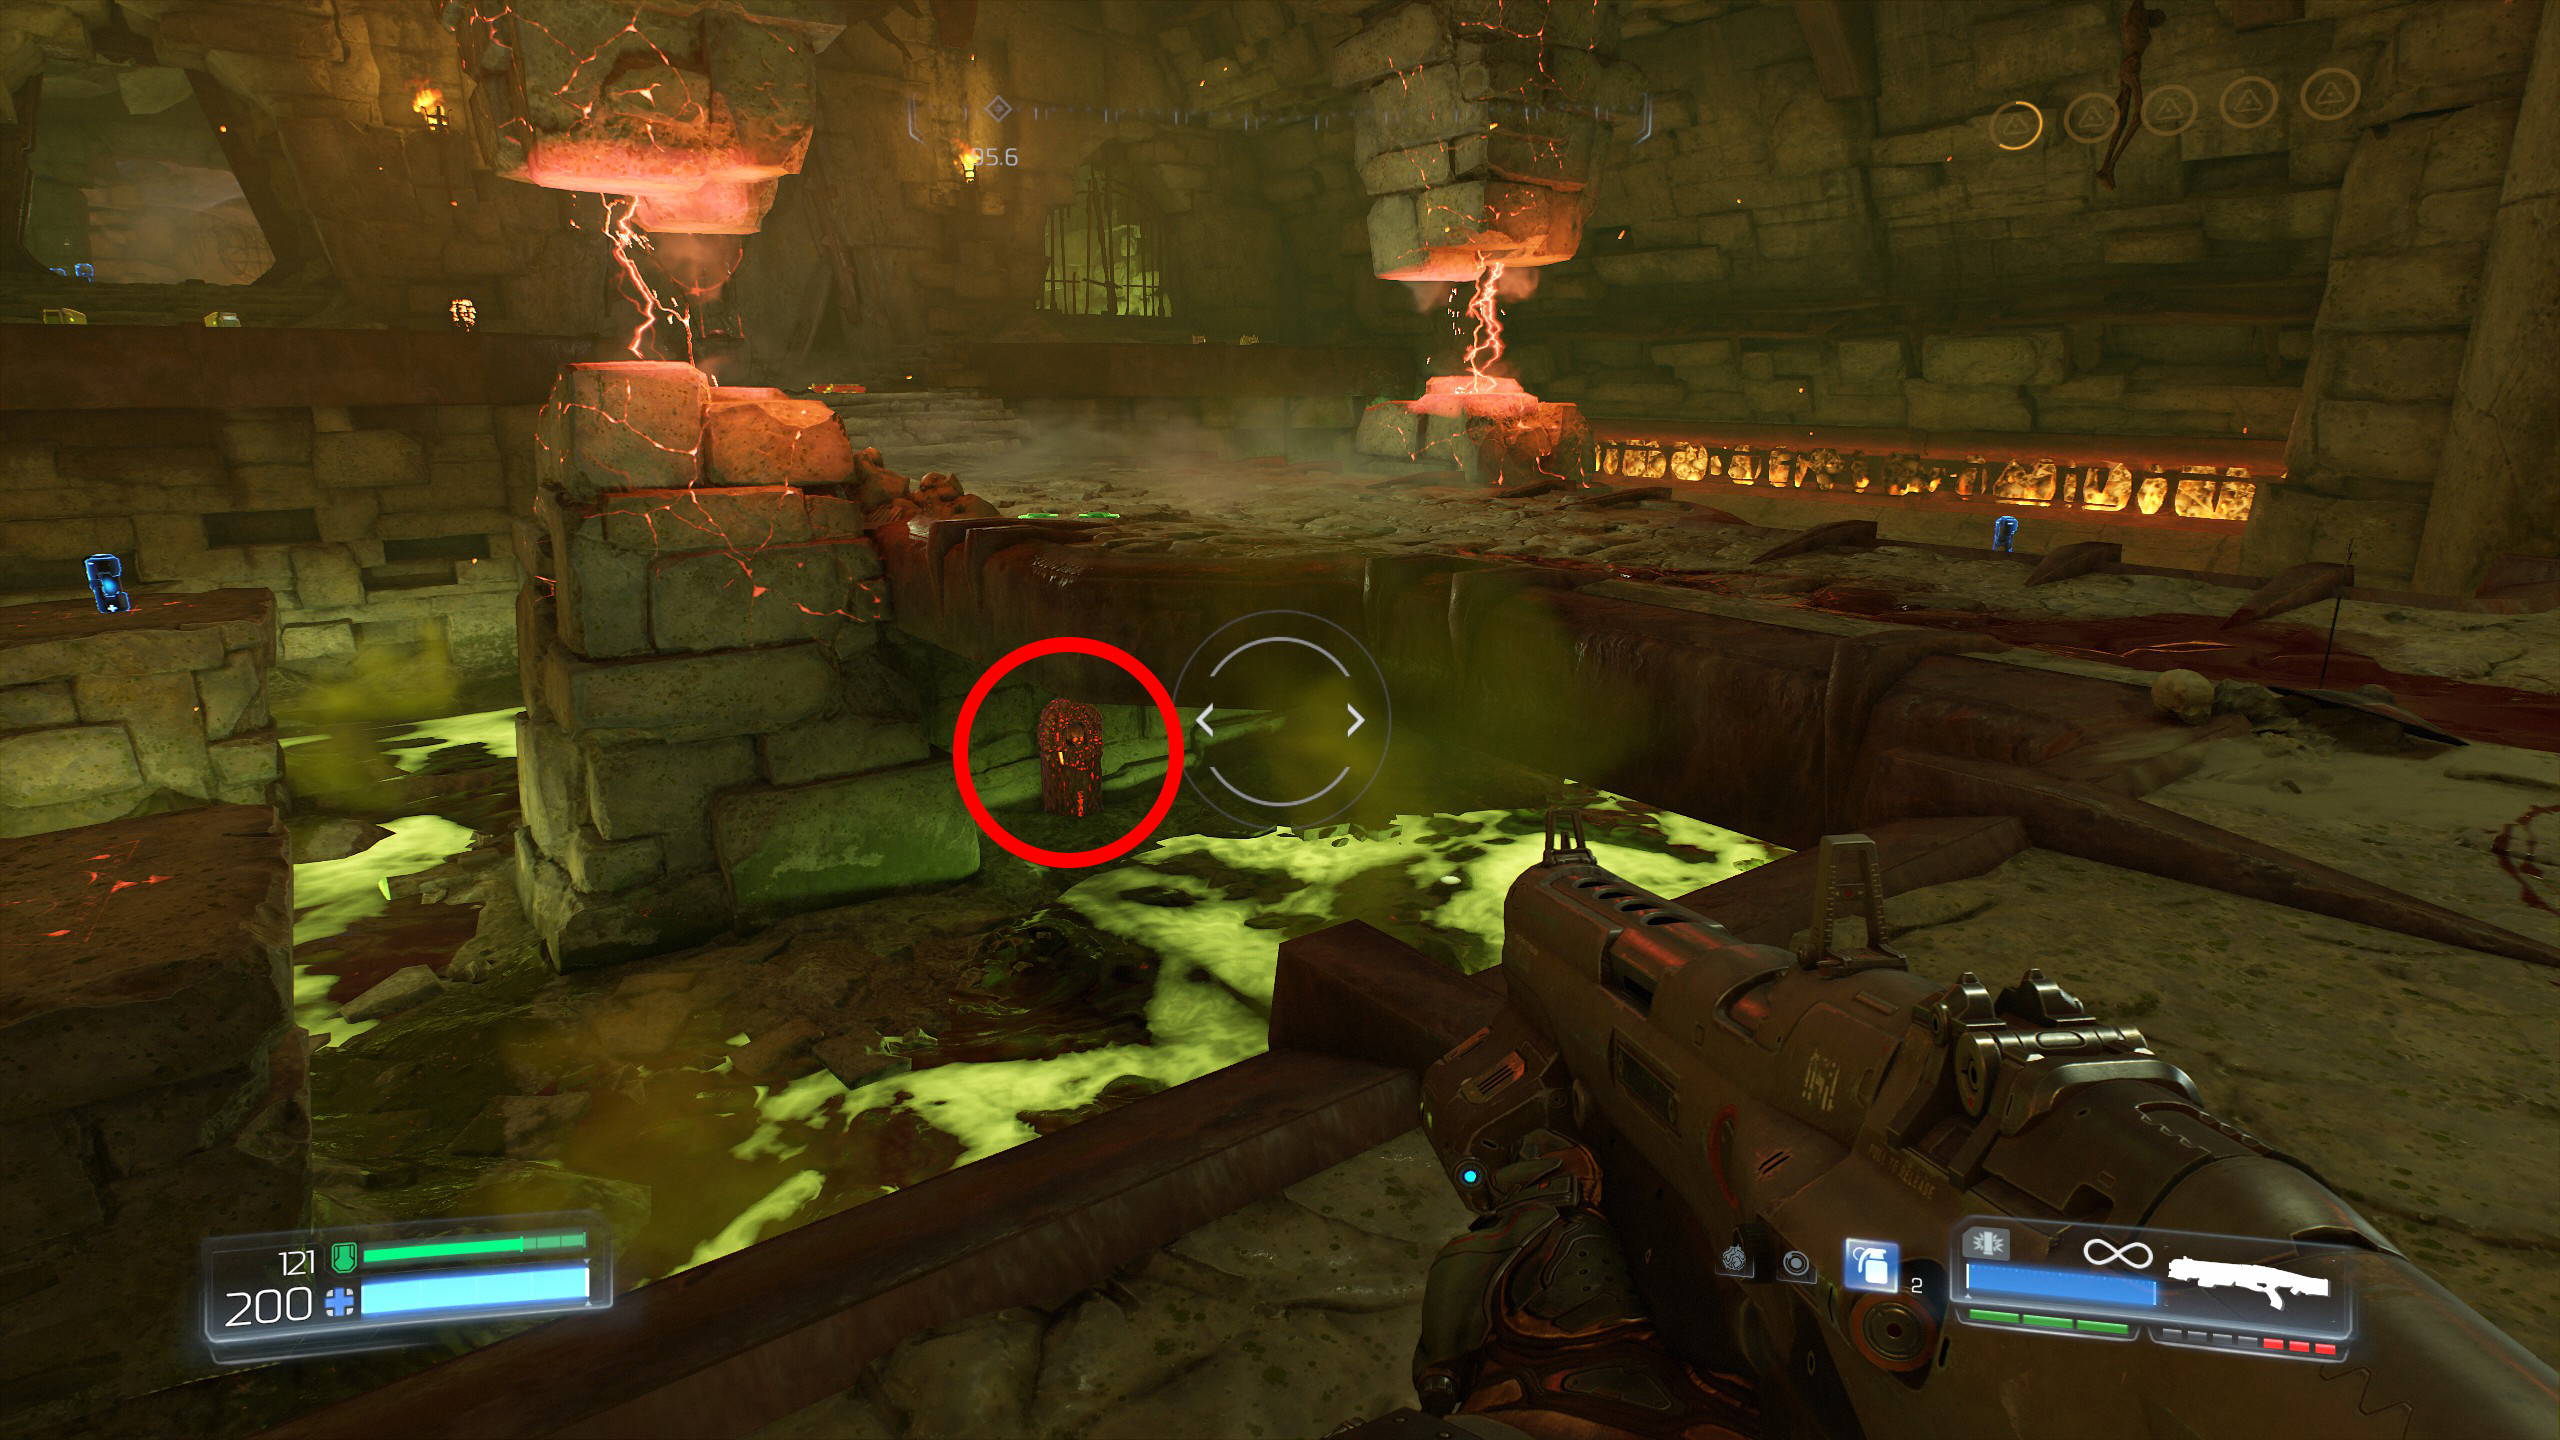
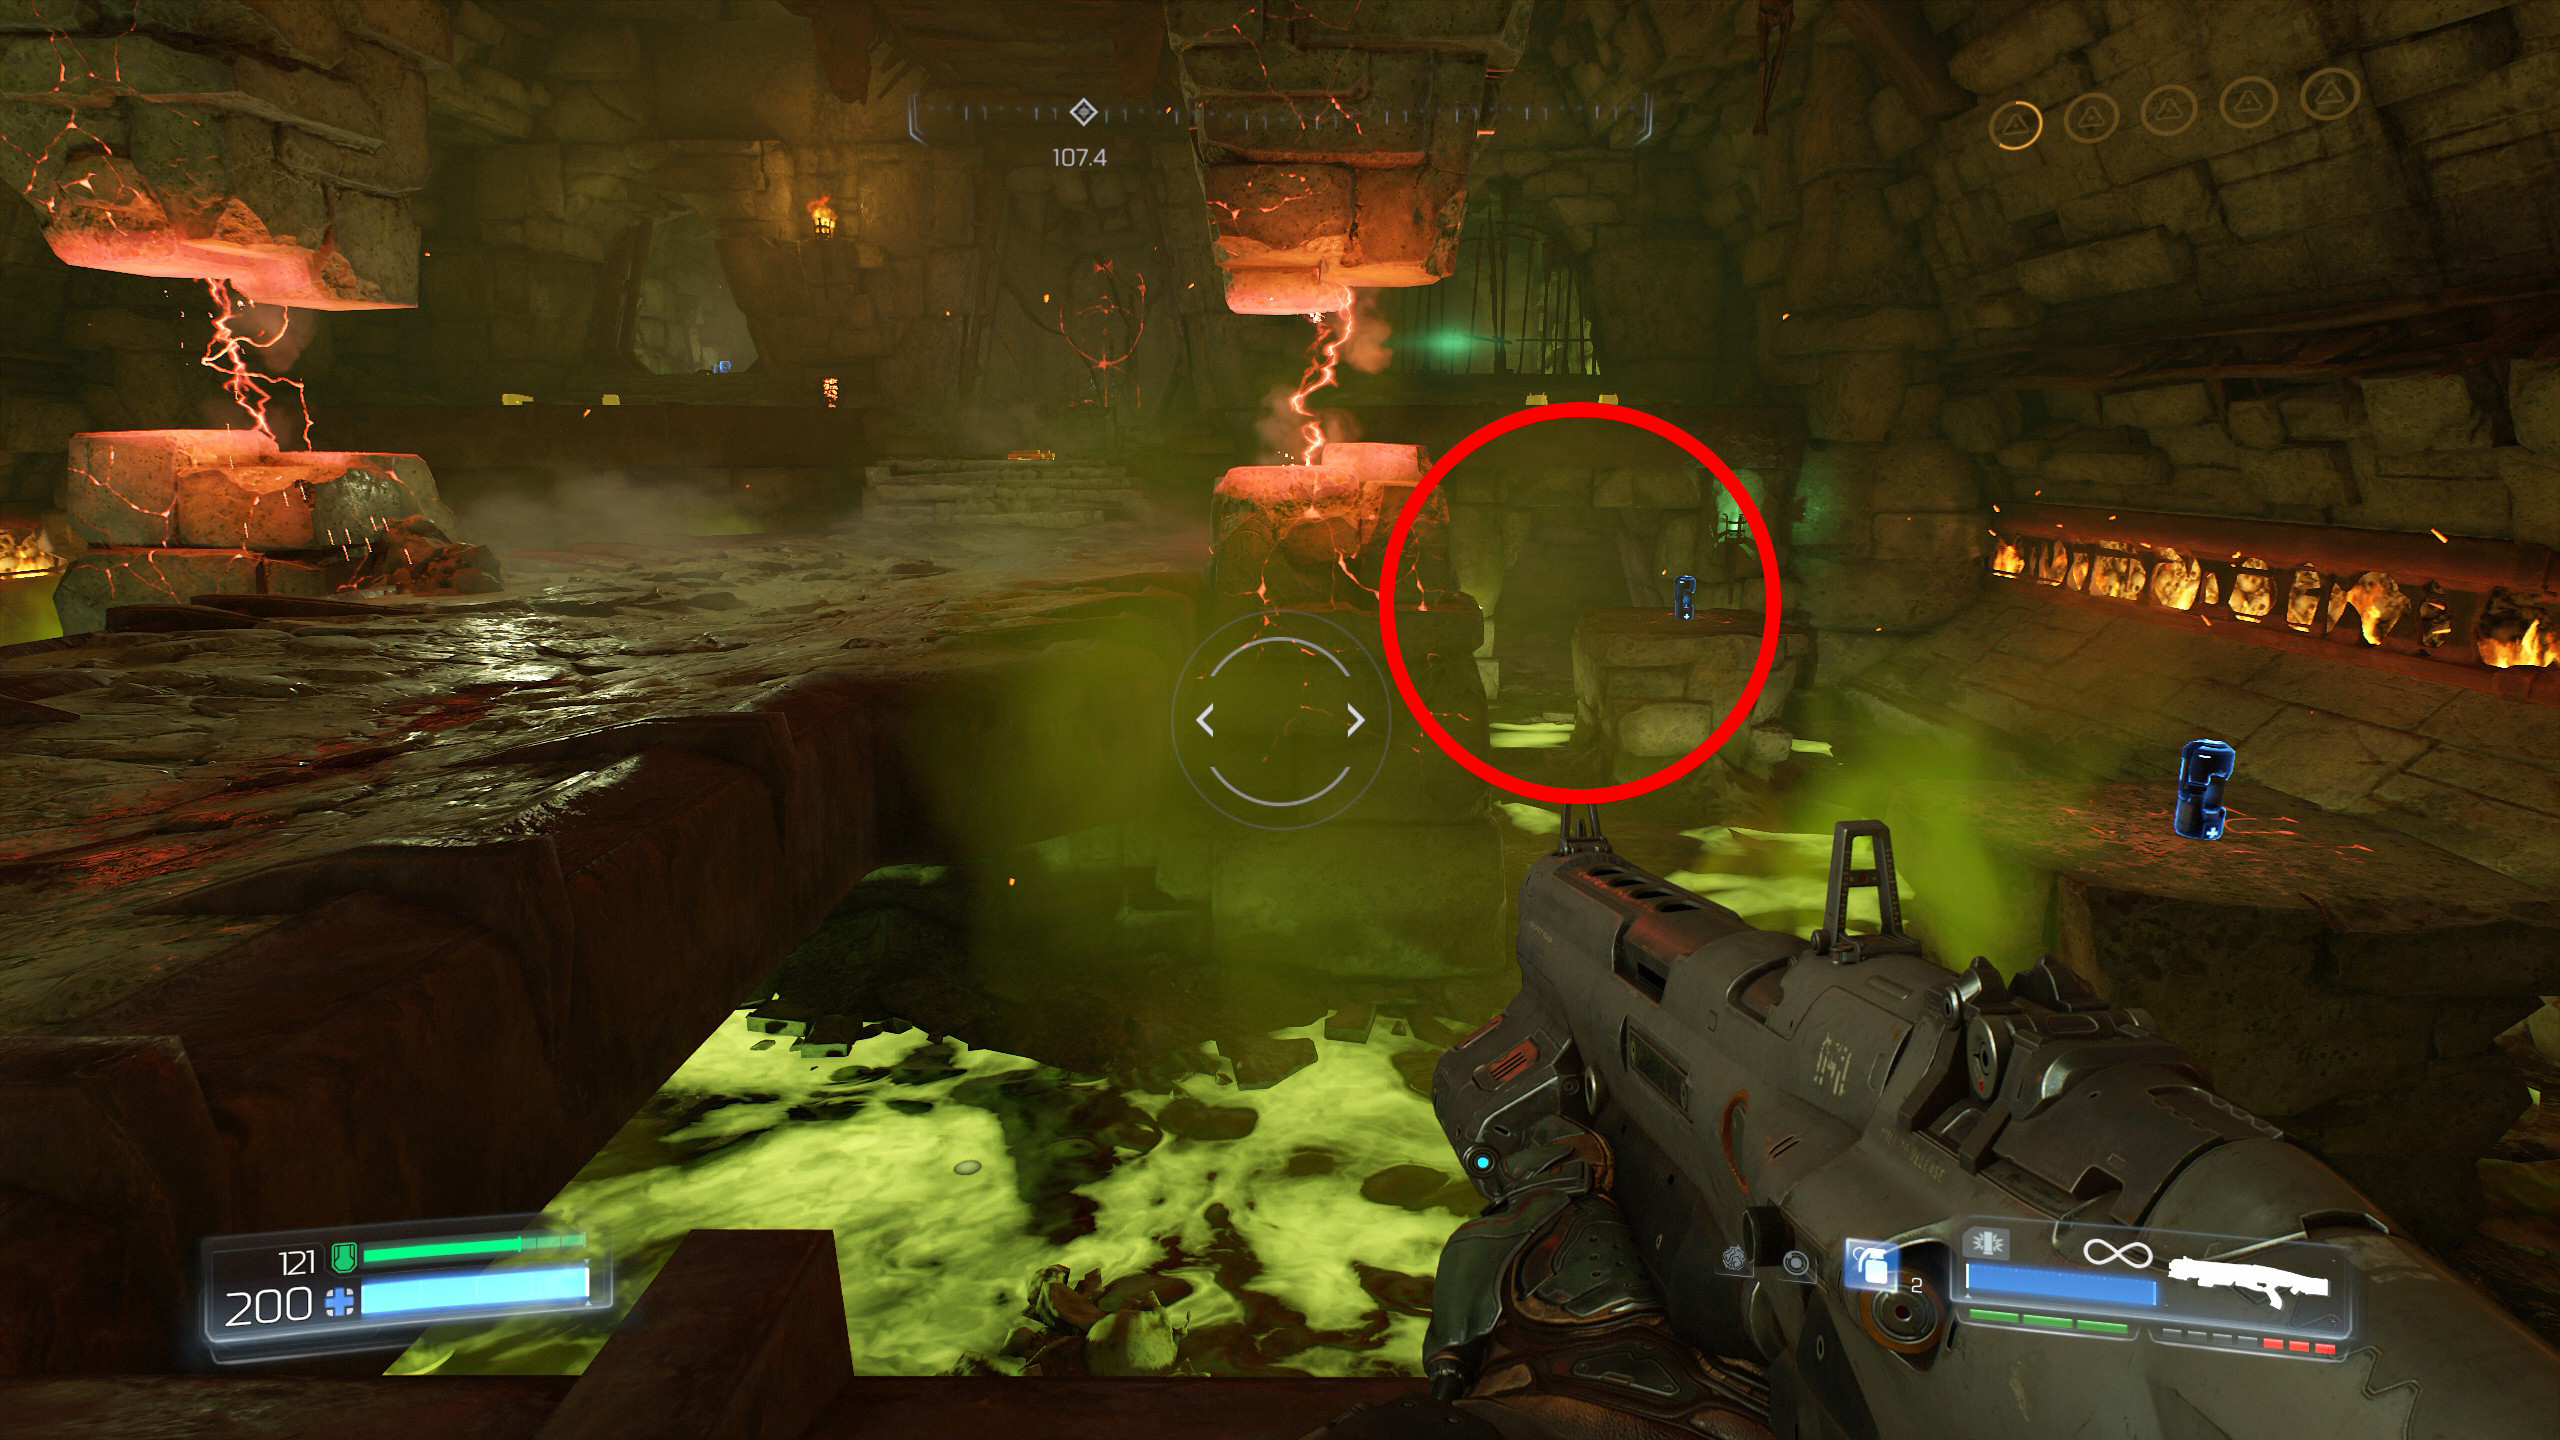
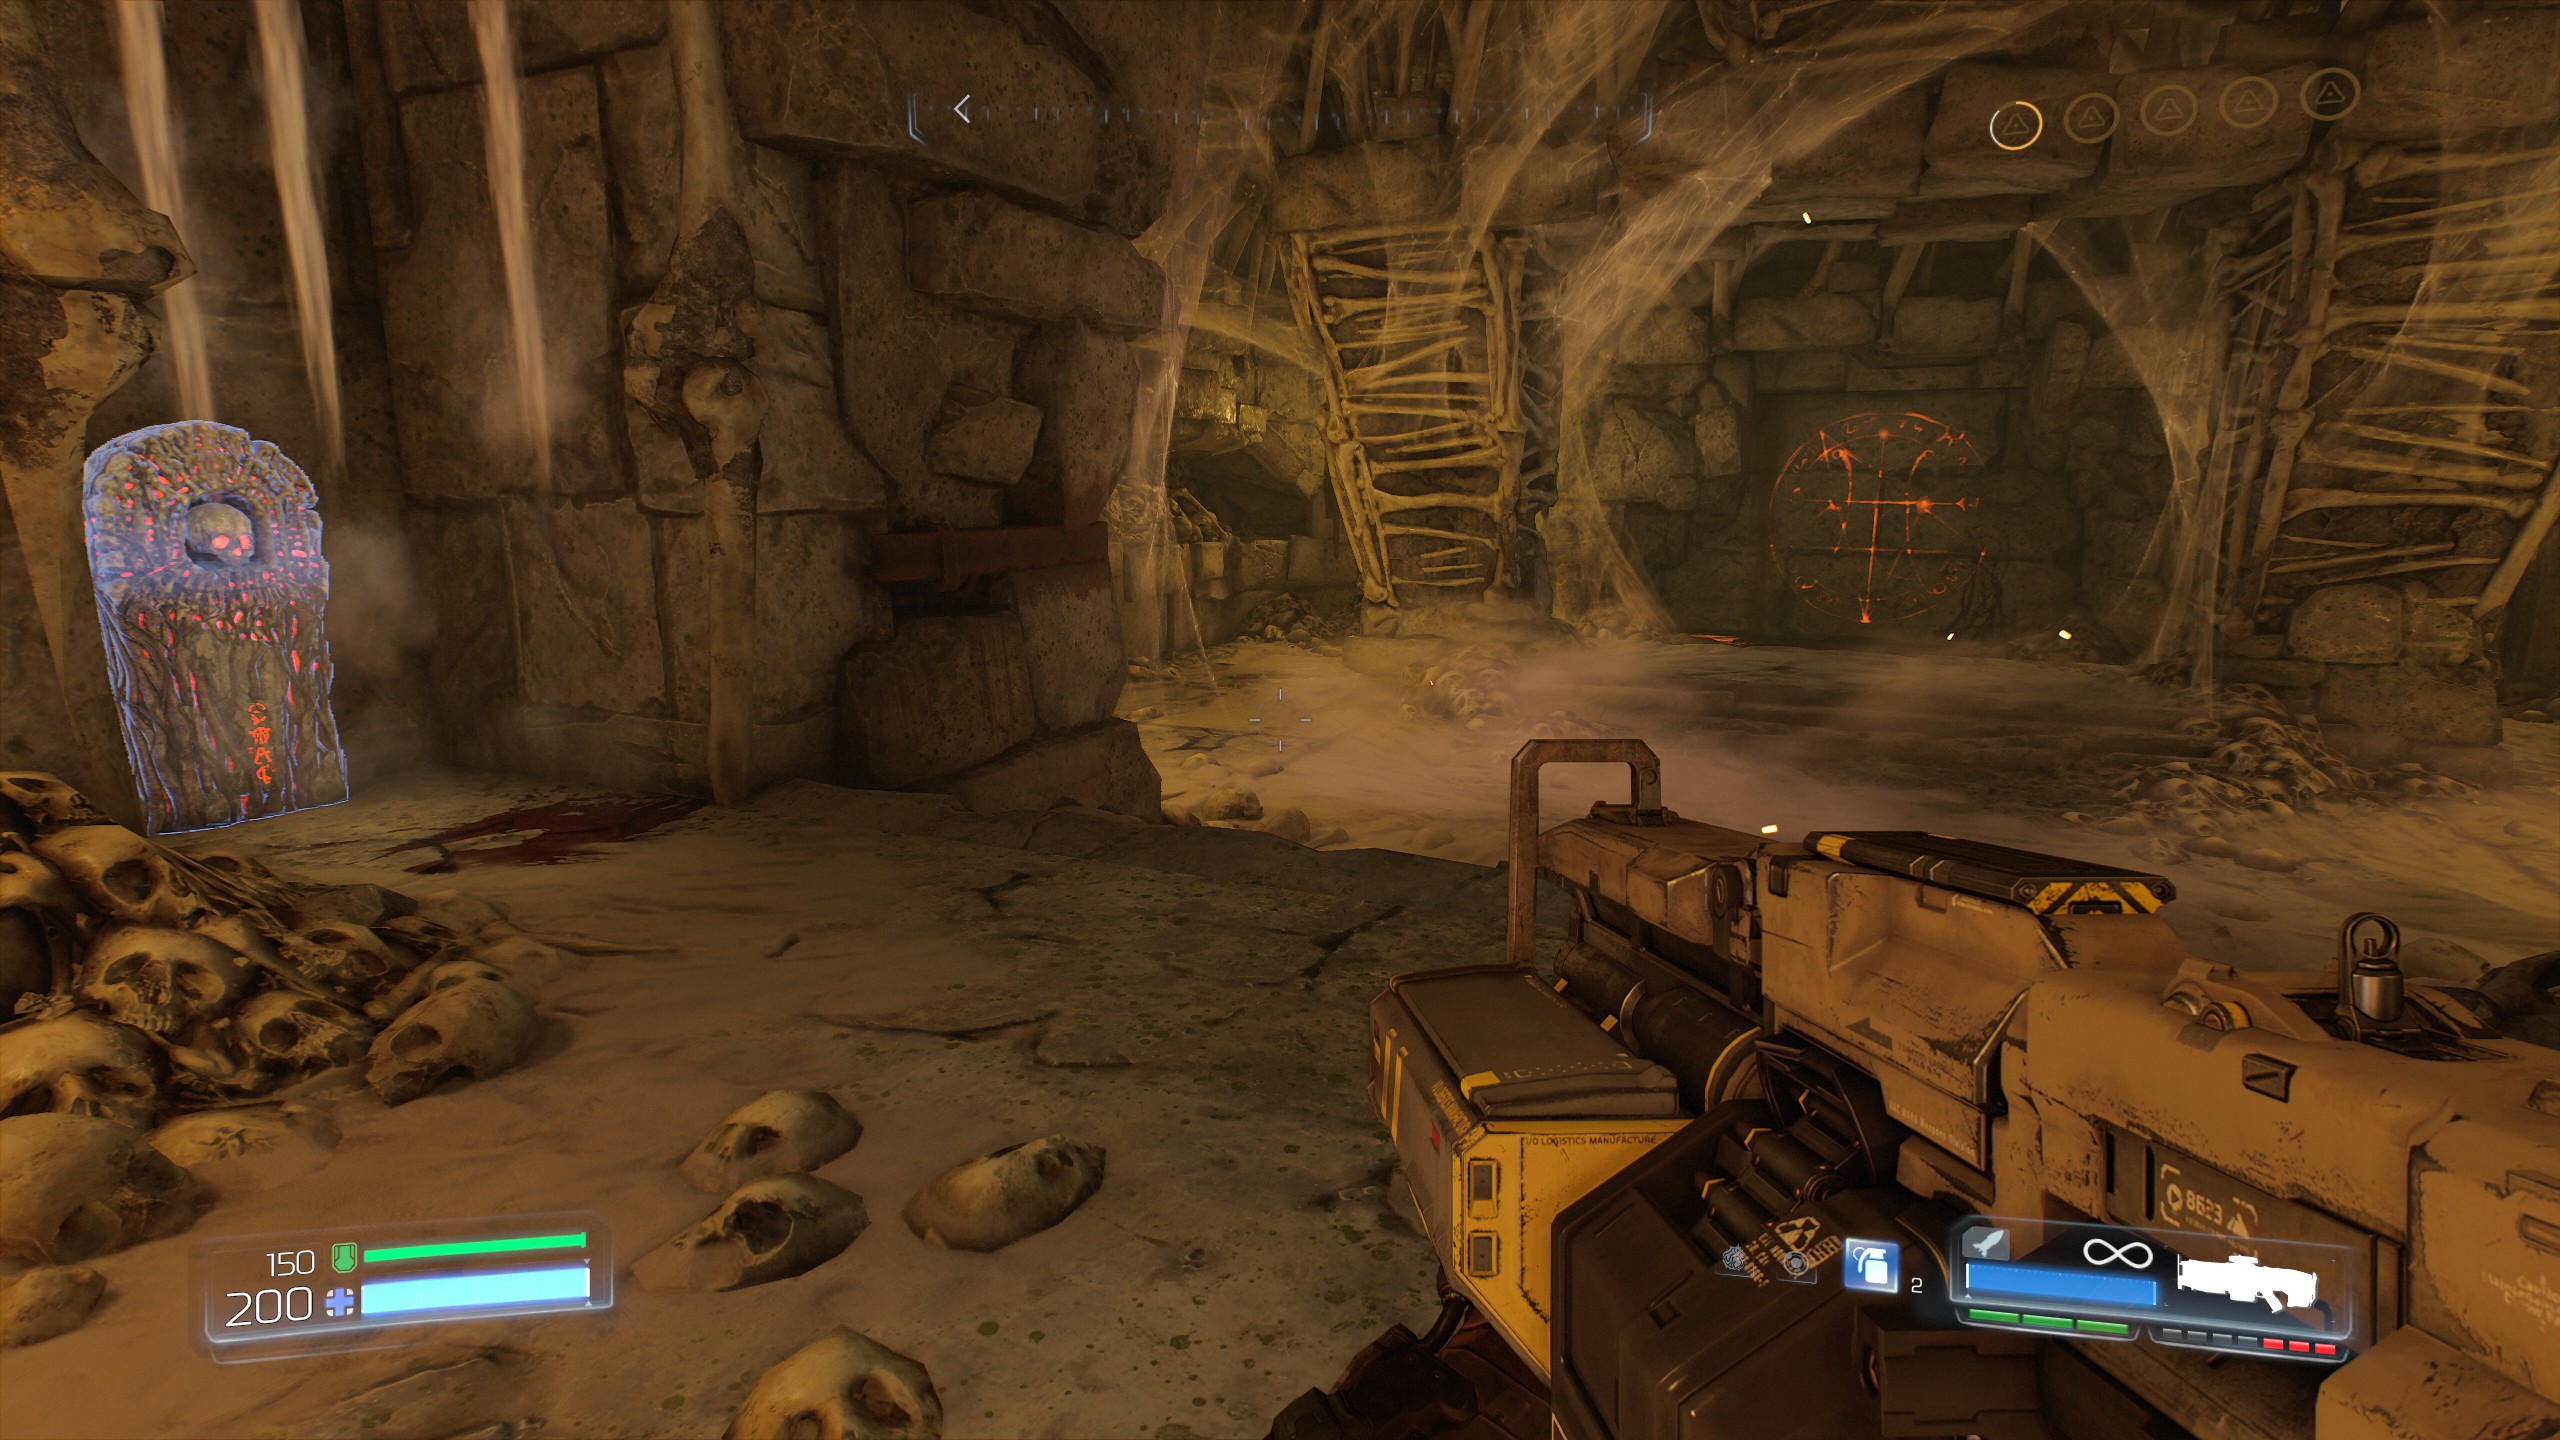
From secret 1 continue into the next room and head to the very back following the right passage, you will then need to kill all demons to gain access to the skull.
Once all demons are dead the skull will be found on the left side as you face the demonic symbol on the back wall, activate it.
Once activated head back towards the entrance but take a left, it will be a dead end at first but if you wait a few seconds and kill the demons that spawn the wall will crumble open and give you access to a Field Drone and secret number 2.
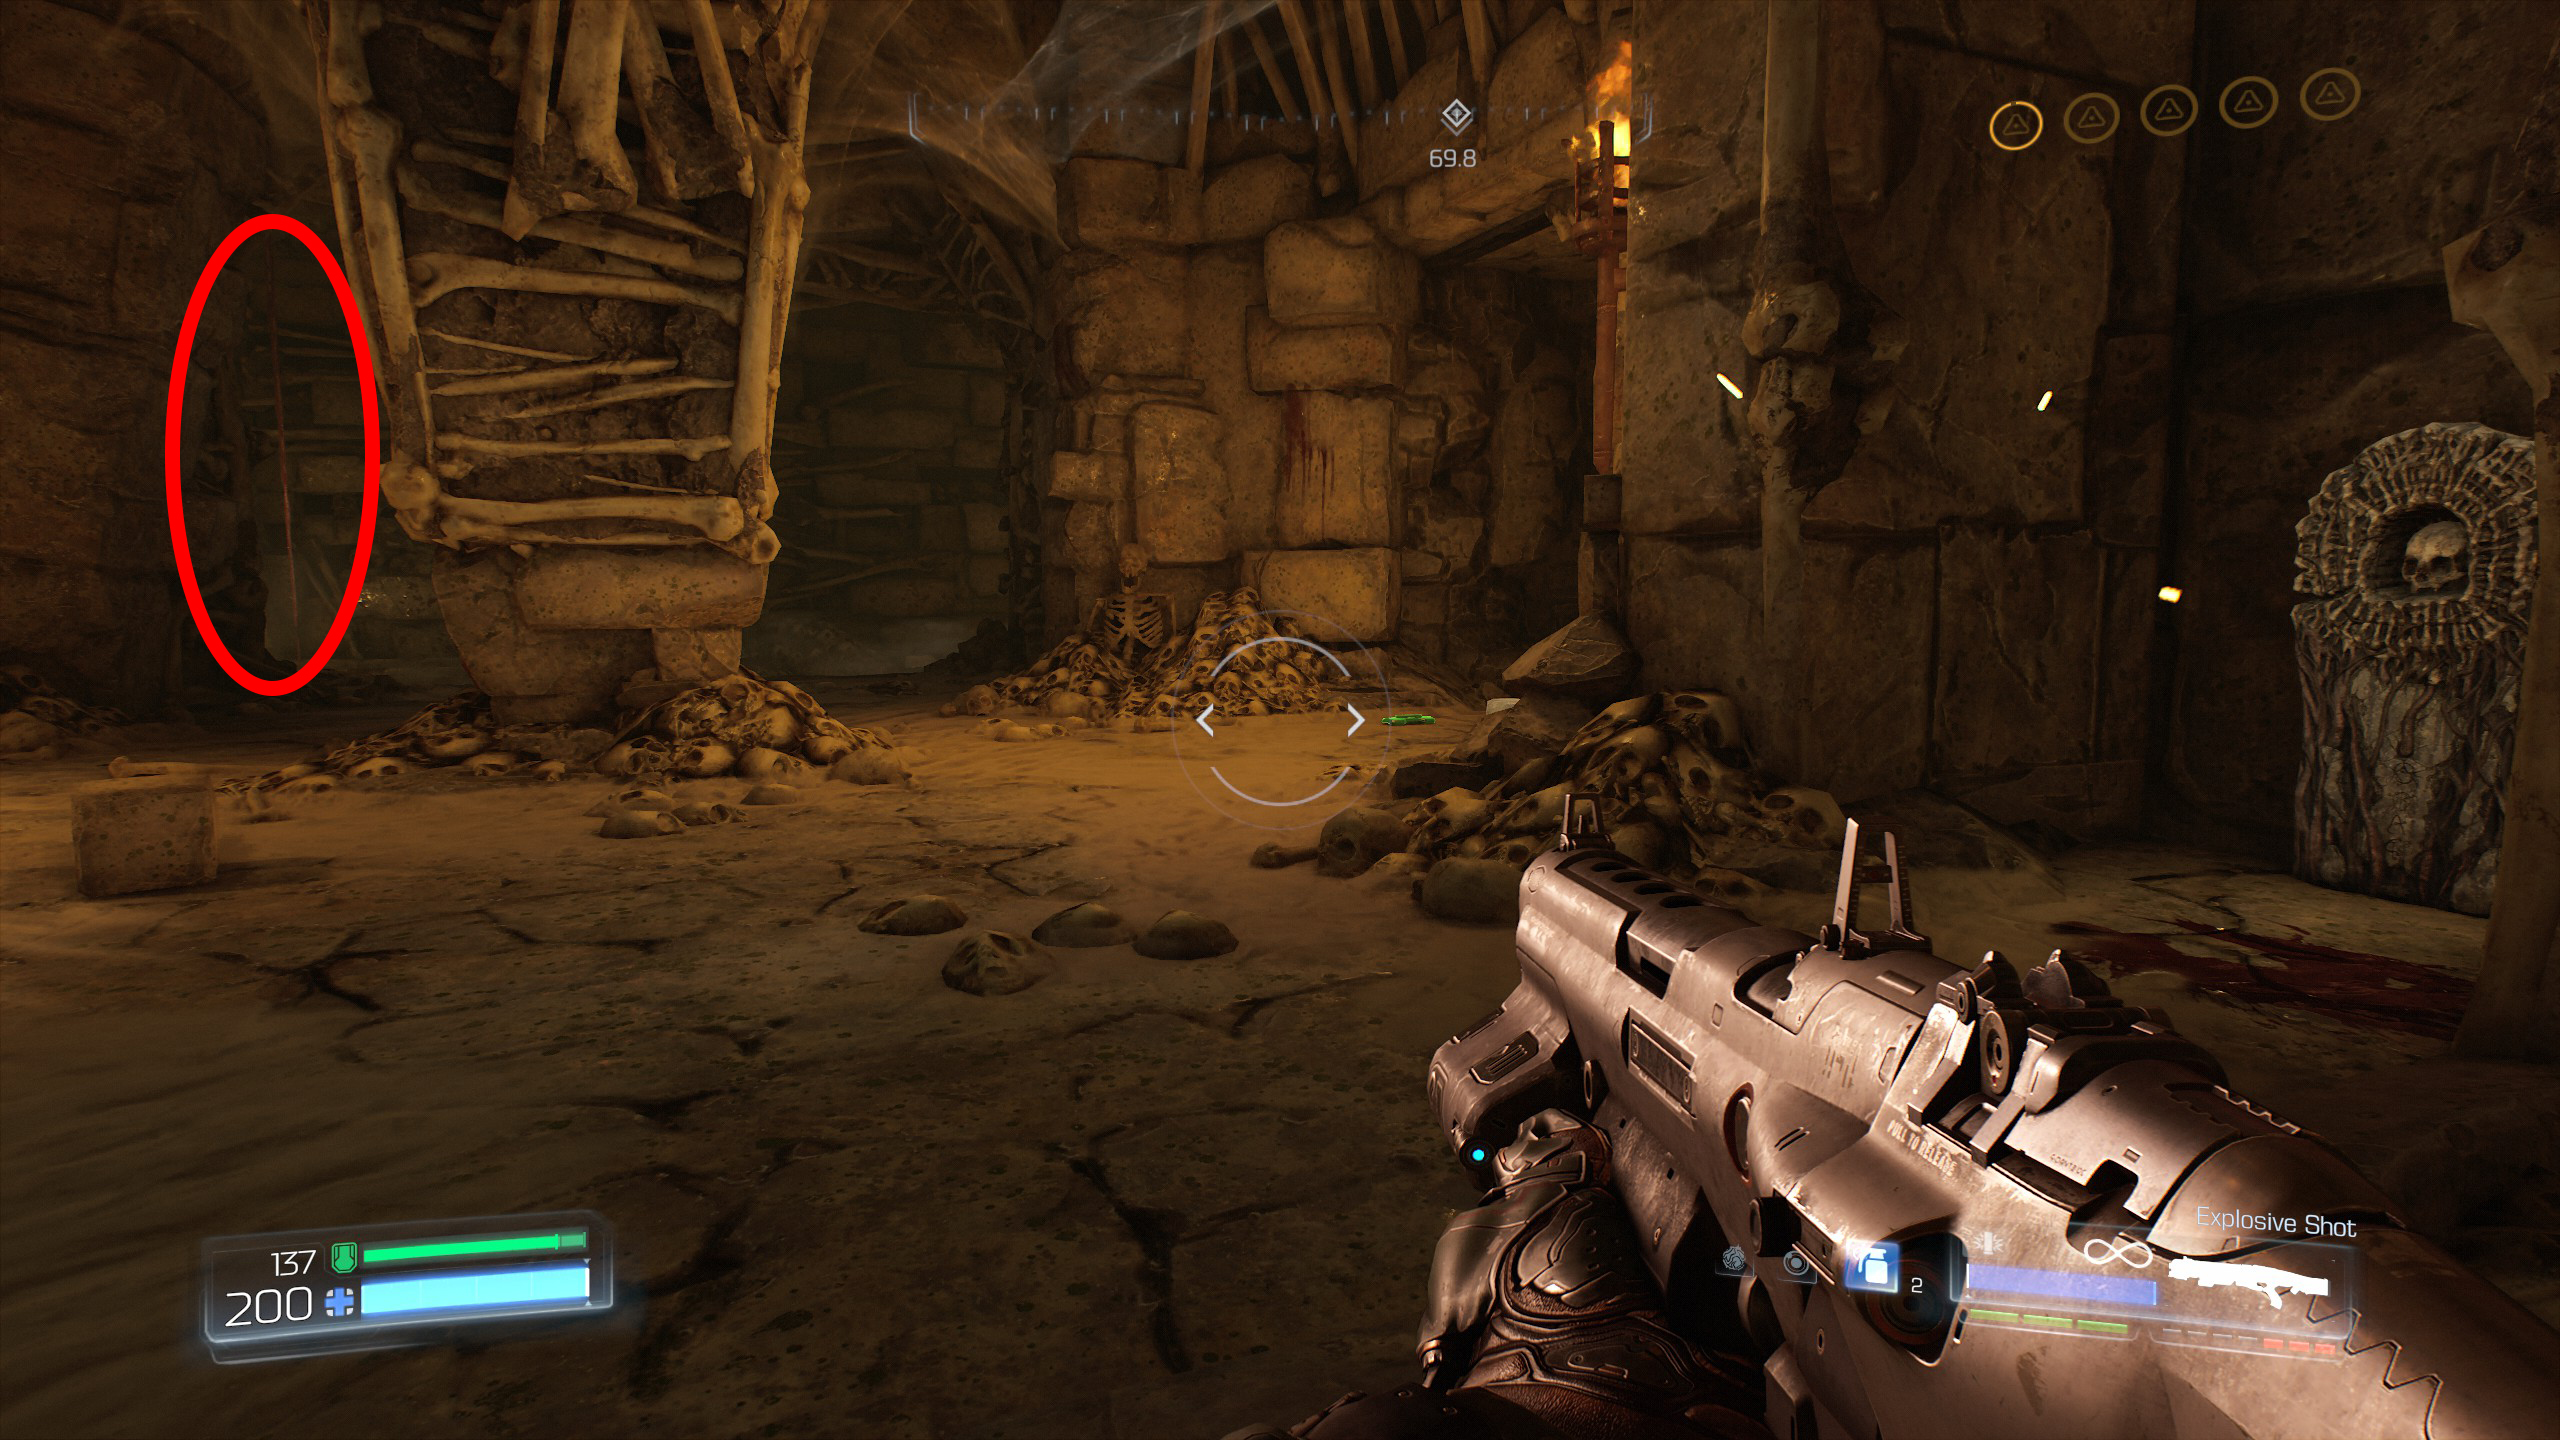
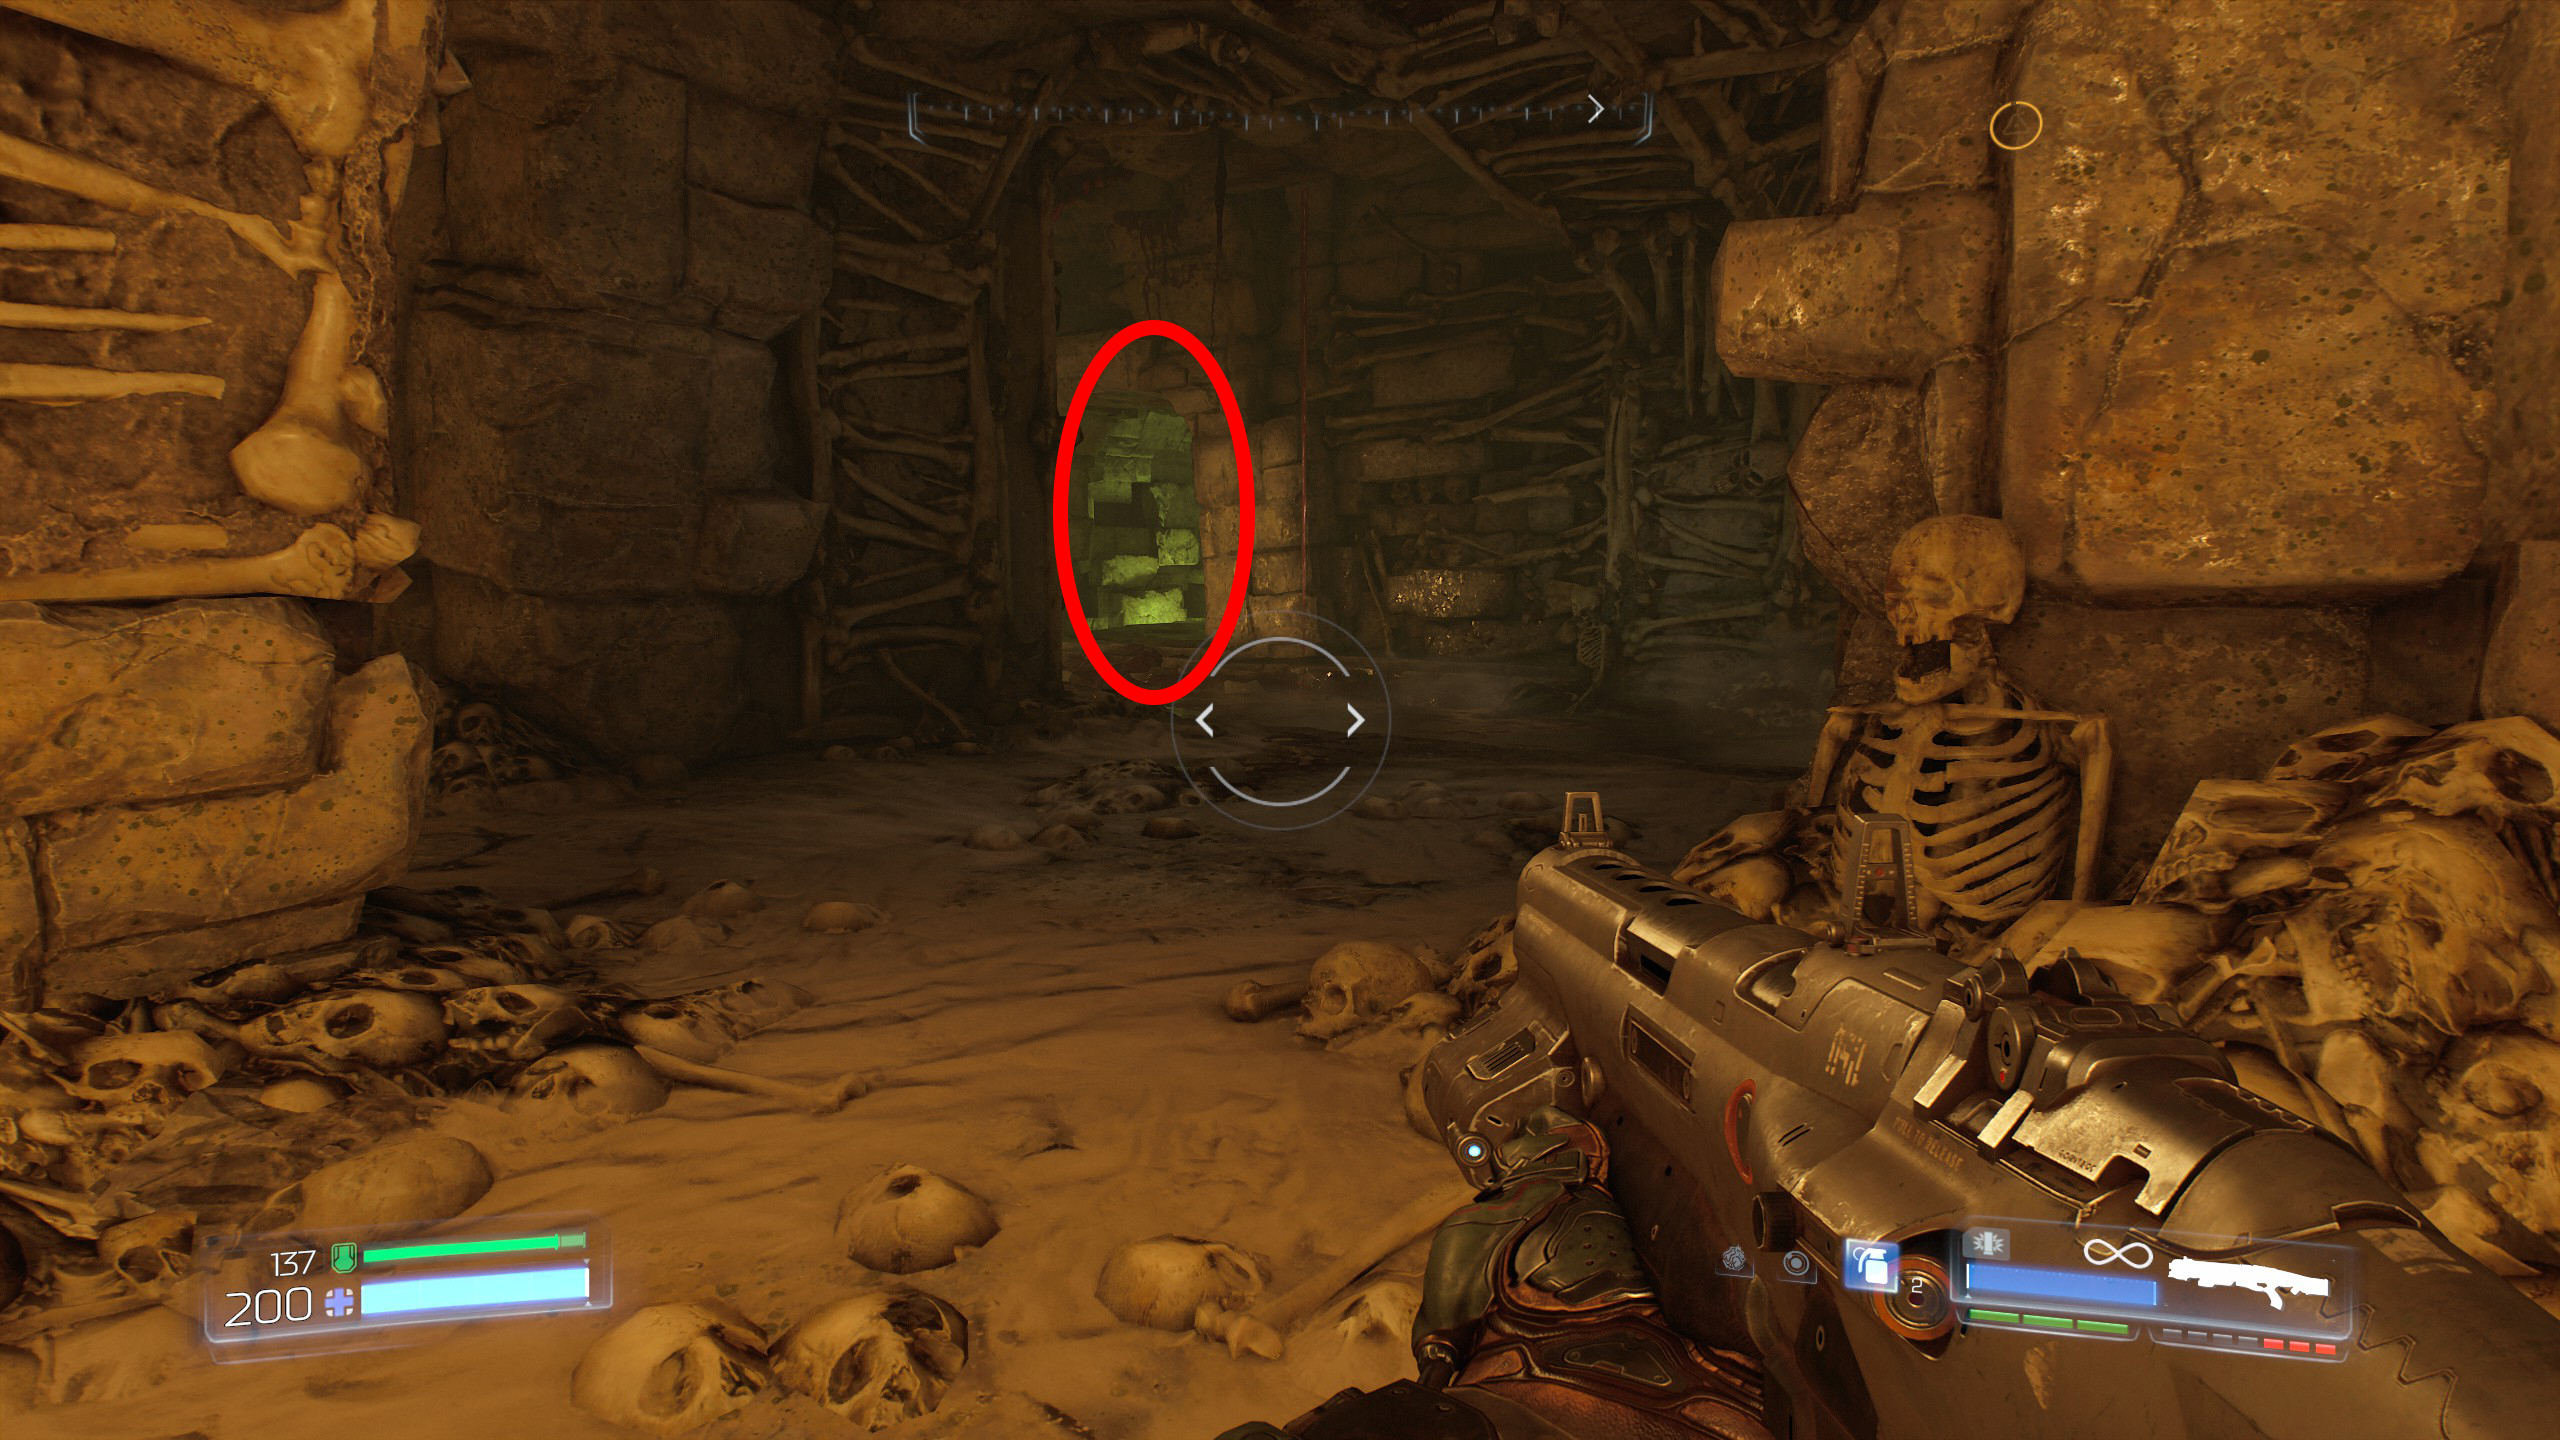
Continue the mission.
In the next room you come to you will have to kill all demons that spawn, this will give you access to the green portal.
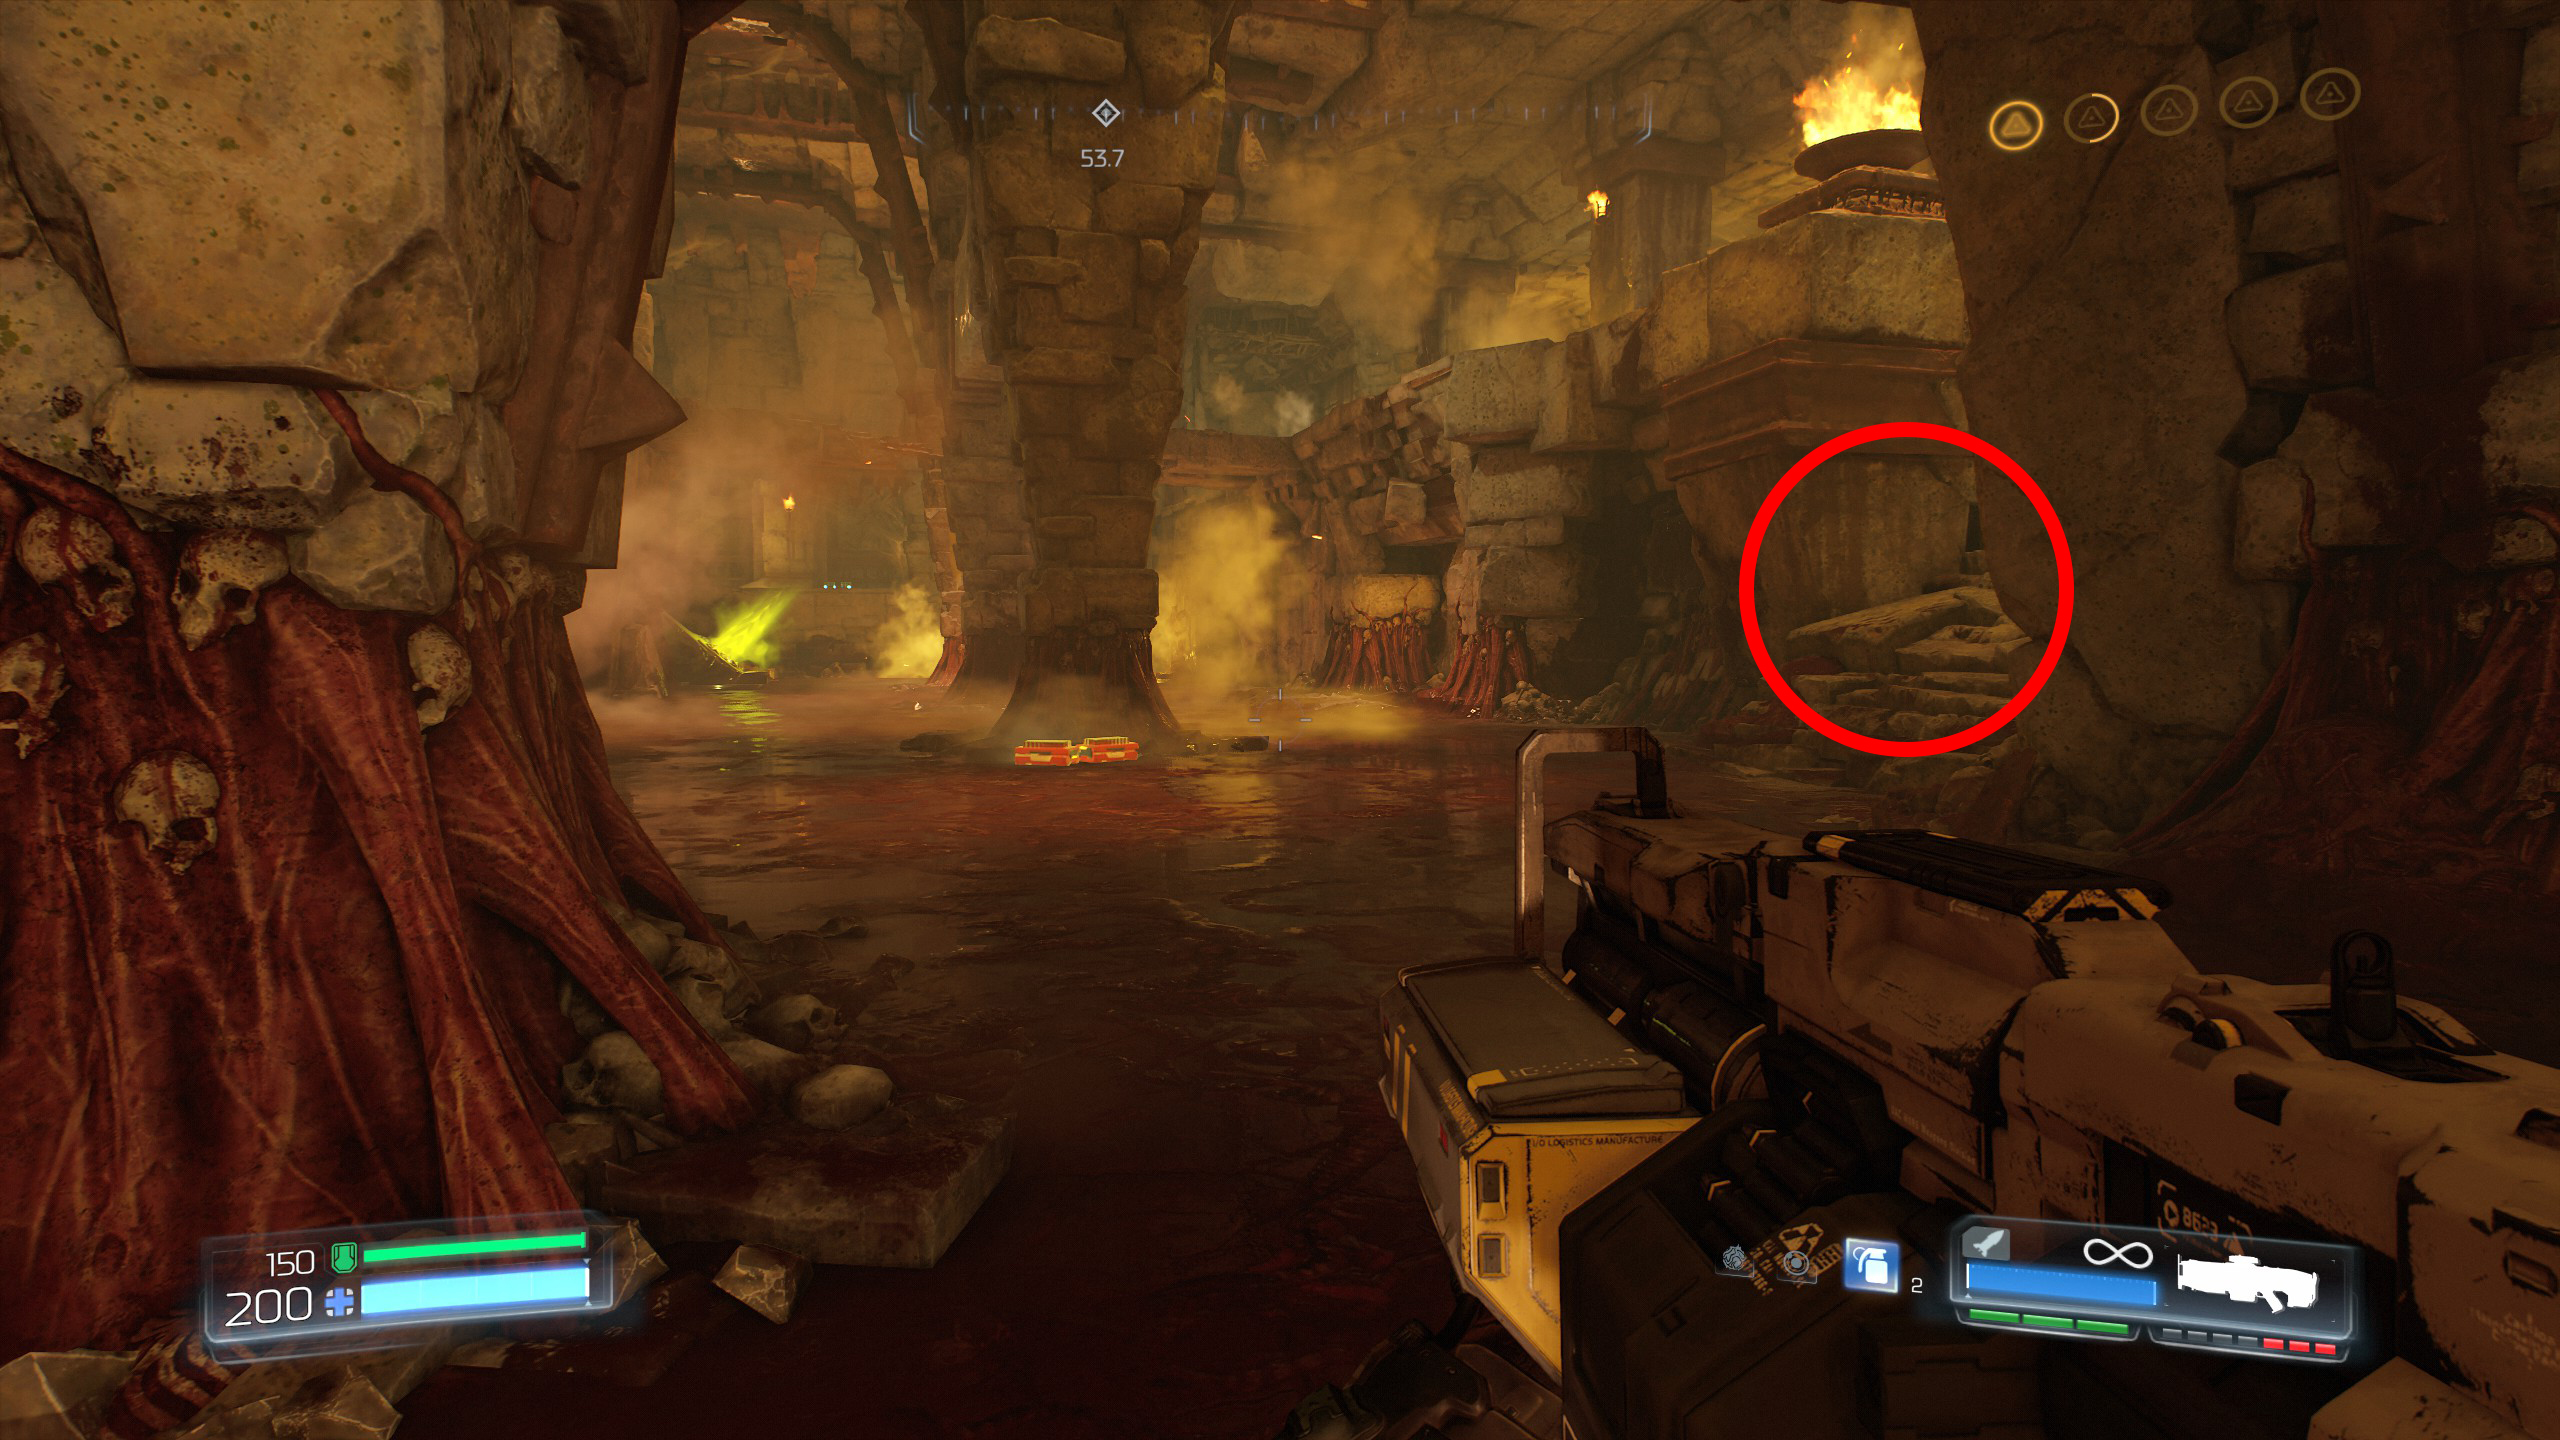
Enter the portal into the next room and take a right, continue and take another right up the stairway, then once again one more right turn, then follow the path ahead to the opposite corner and you will find a gate with a Doomguy locked behind it.
Kill all demons in the room to gain access to the Doomguy for secret number 3.
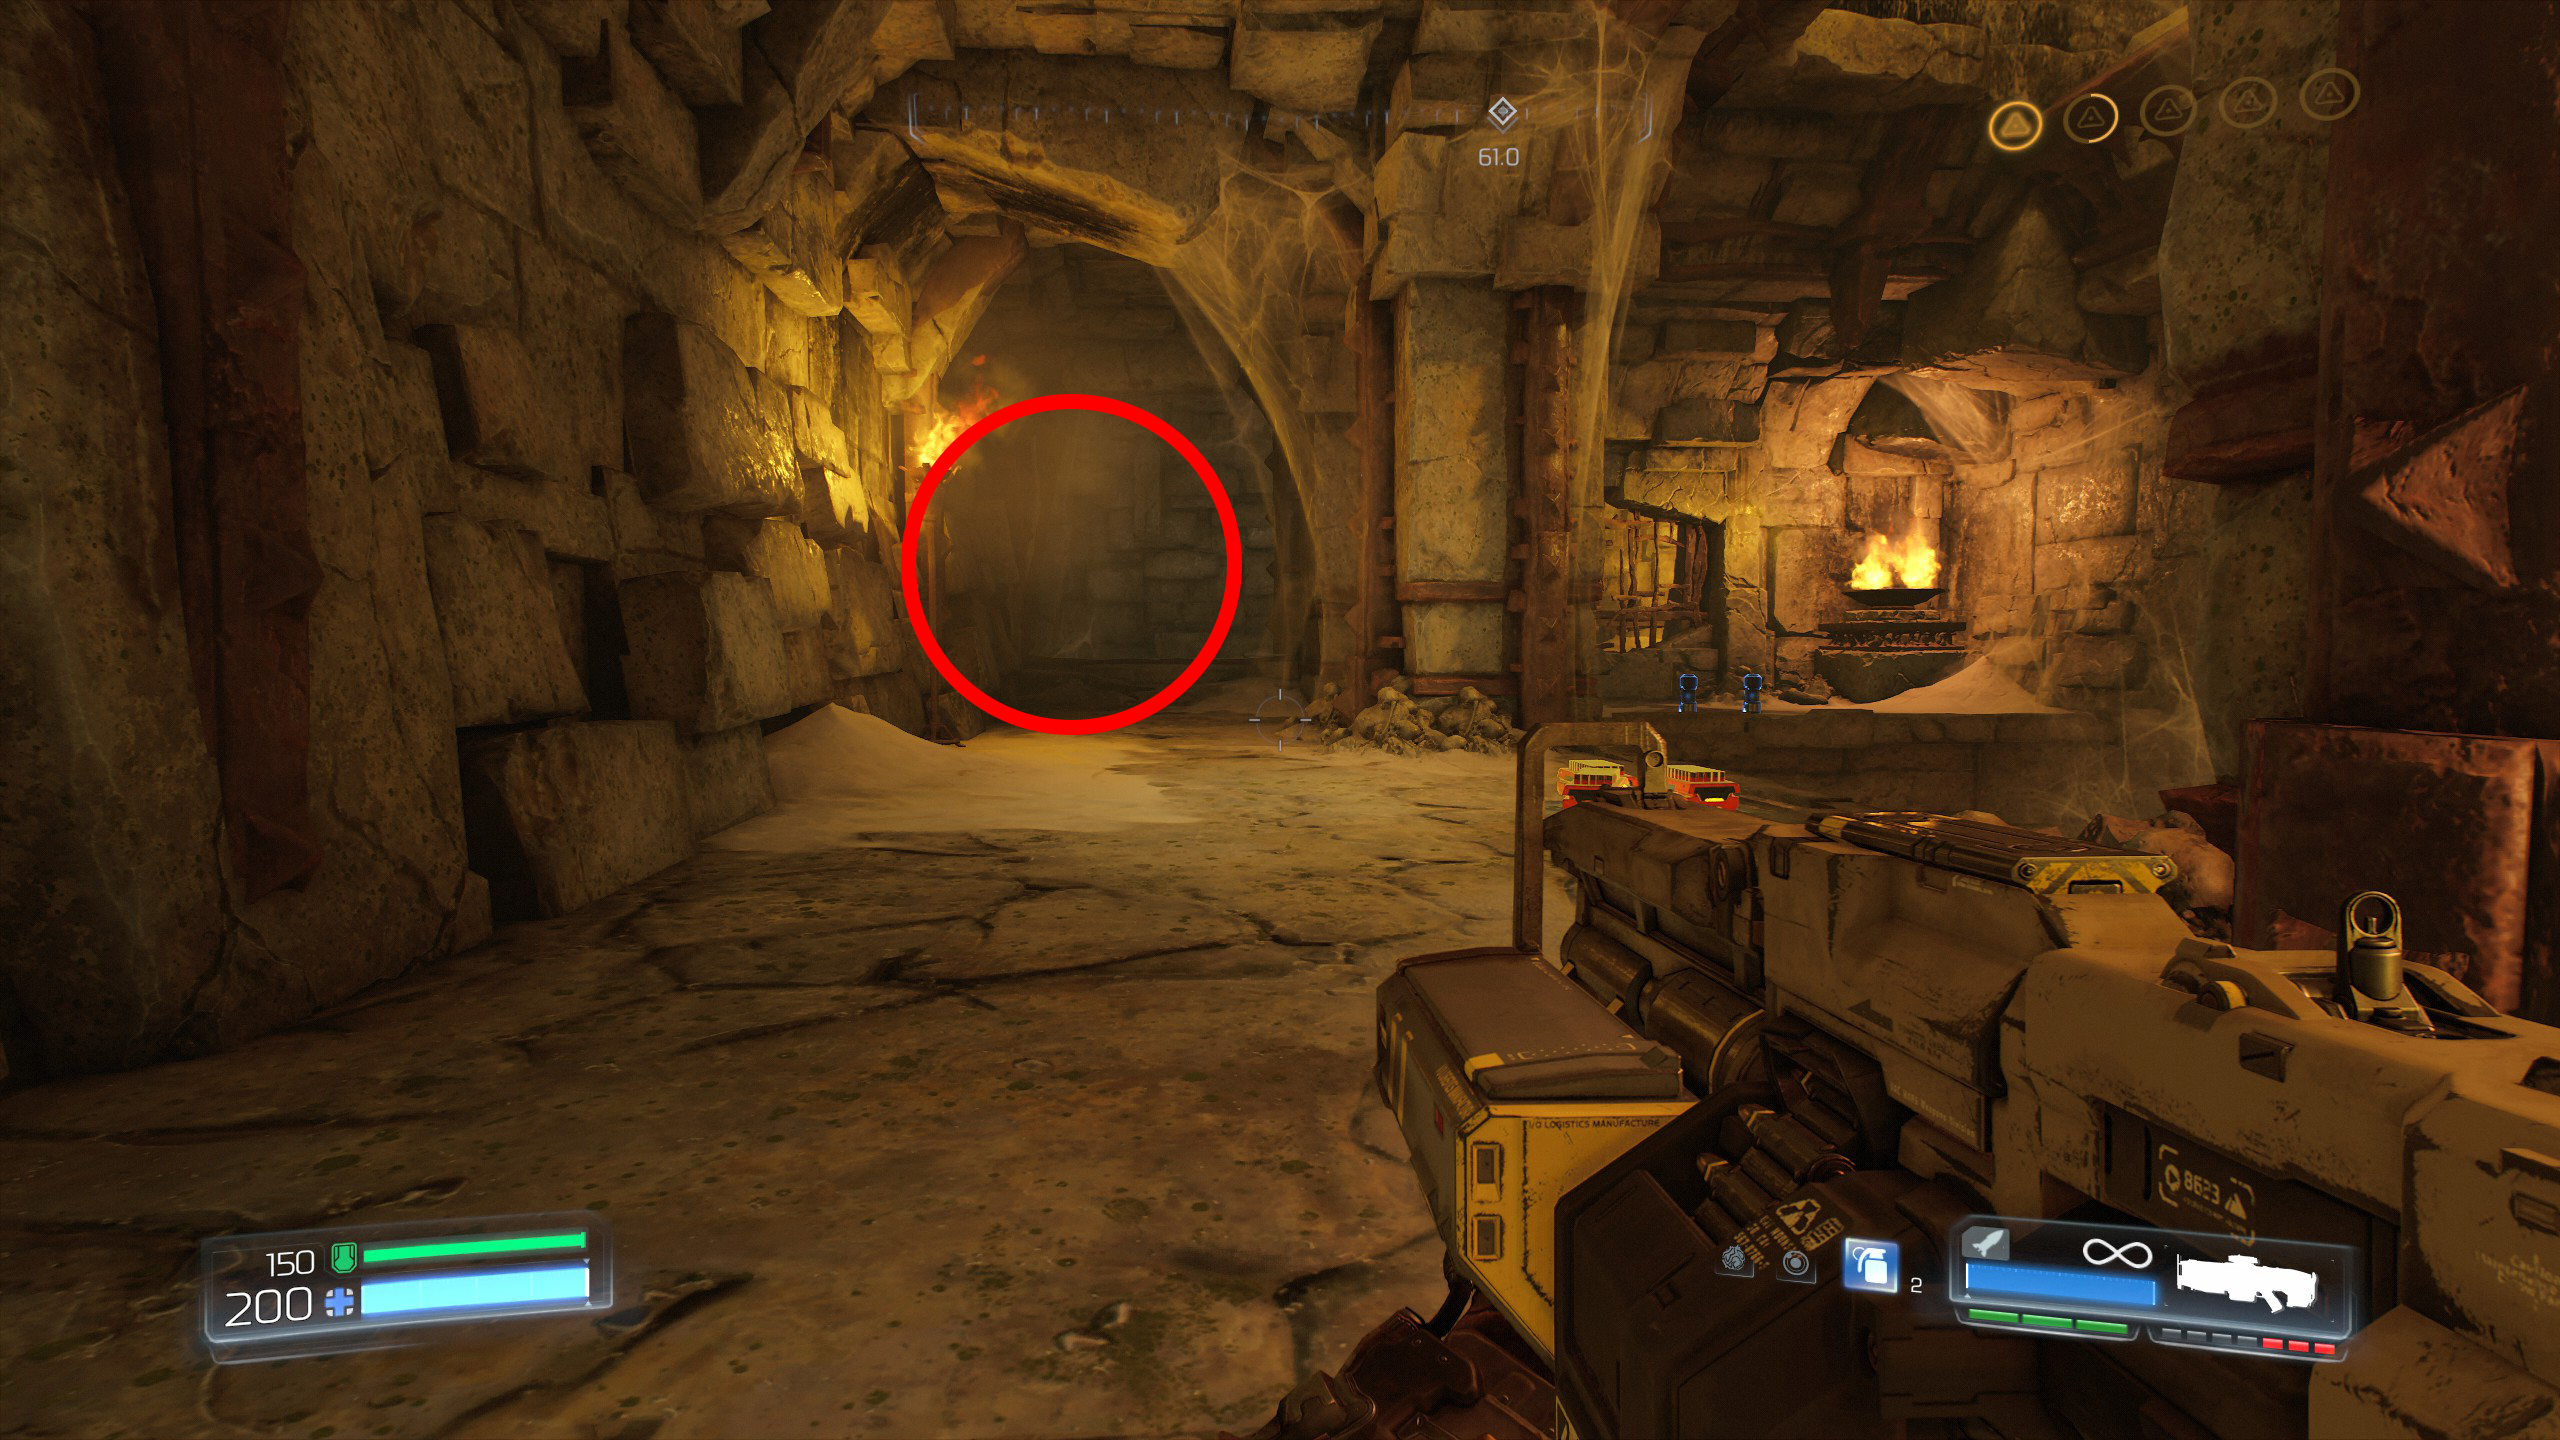
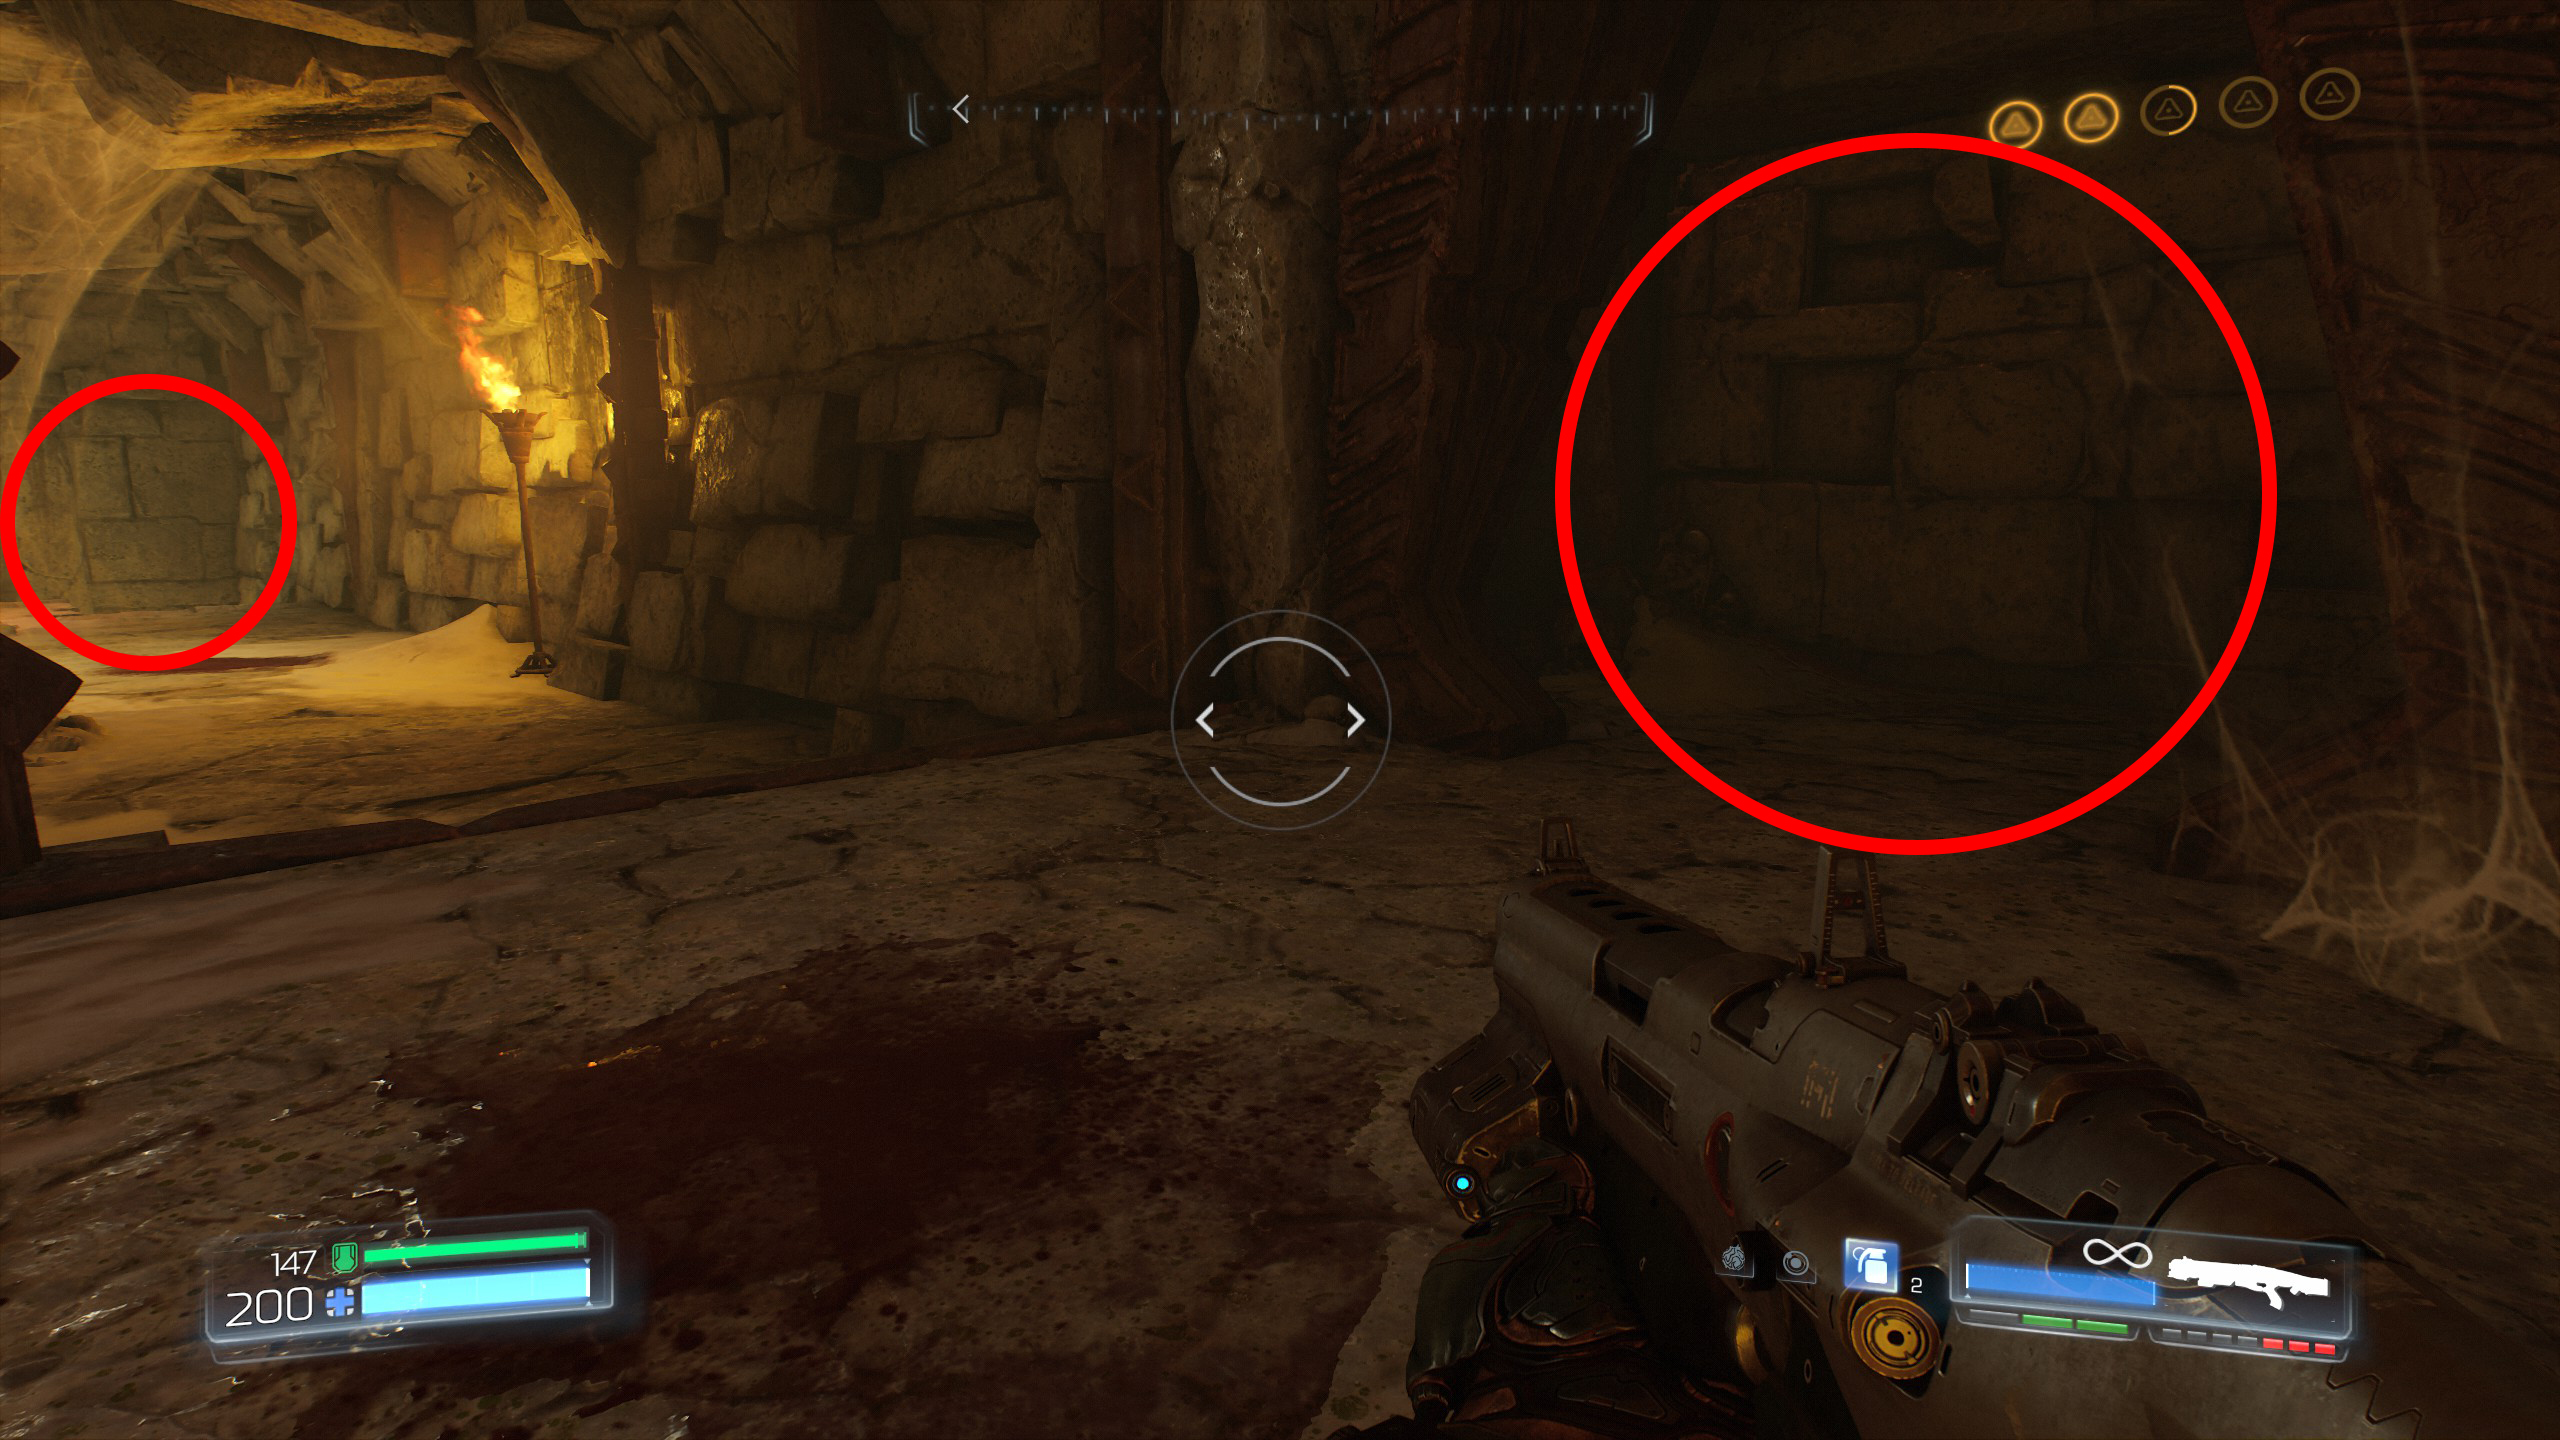
Continue the mission through the next portal.
To reach the secret you will need to climb up to one of the other corners and jump across, that will then give you secret number 4.
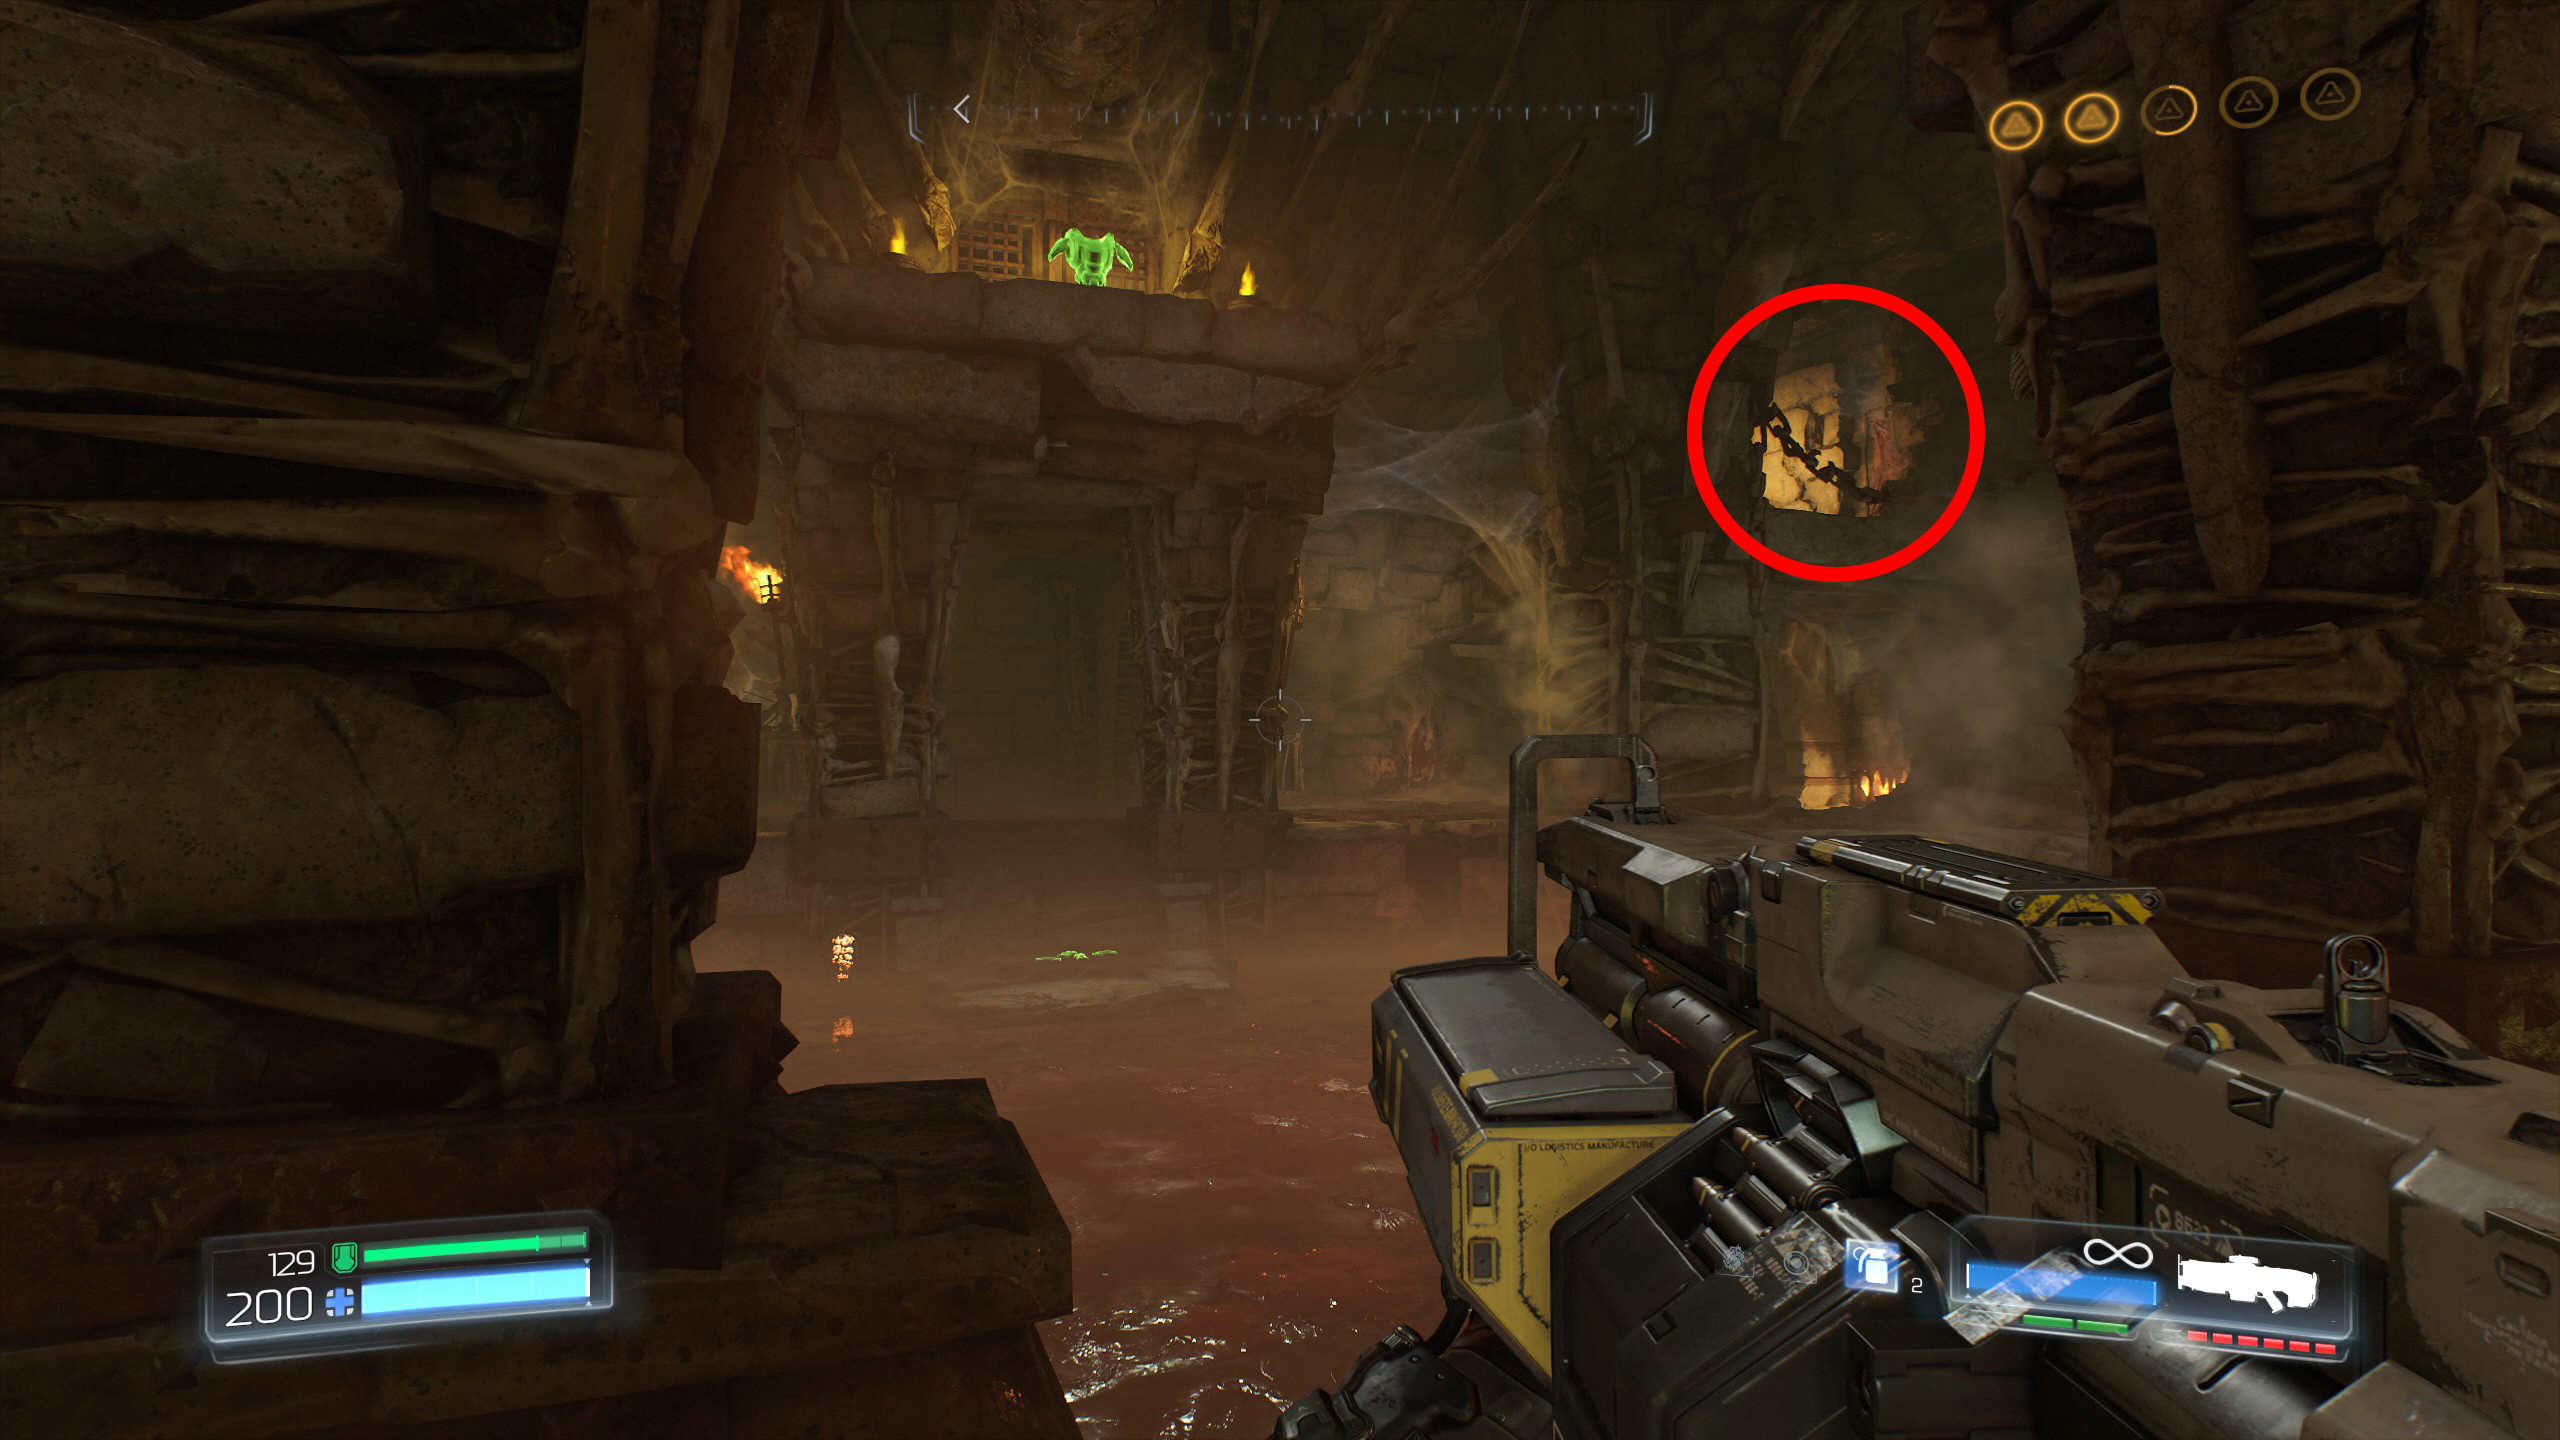
To proceed with the mission climb up to the armor pickup location.
WARNING: Beyond this point you will not be able to go back and collect any previous secrets.
Climb onto the rock and as you're lifted up activate the skull above.
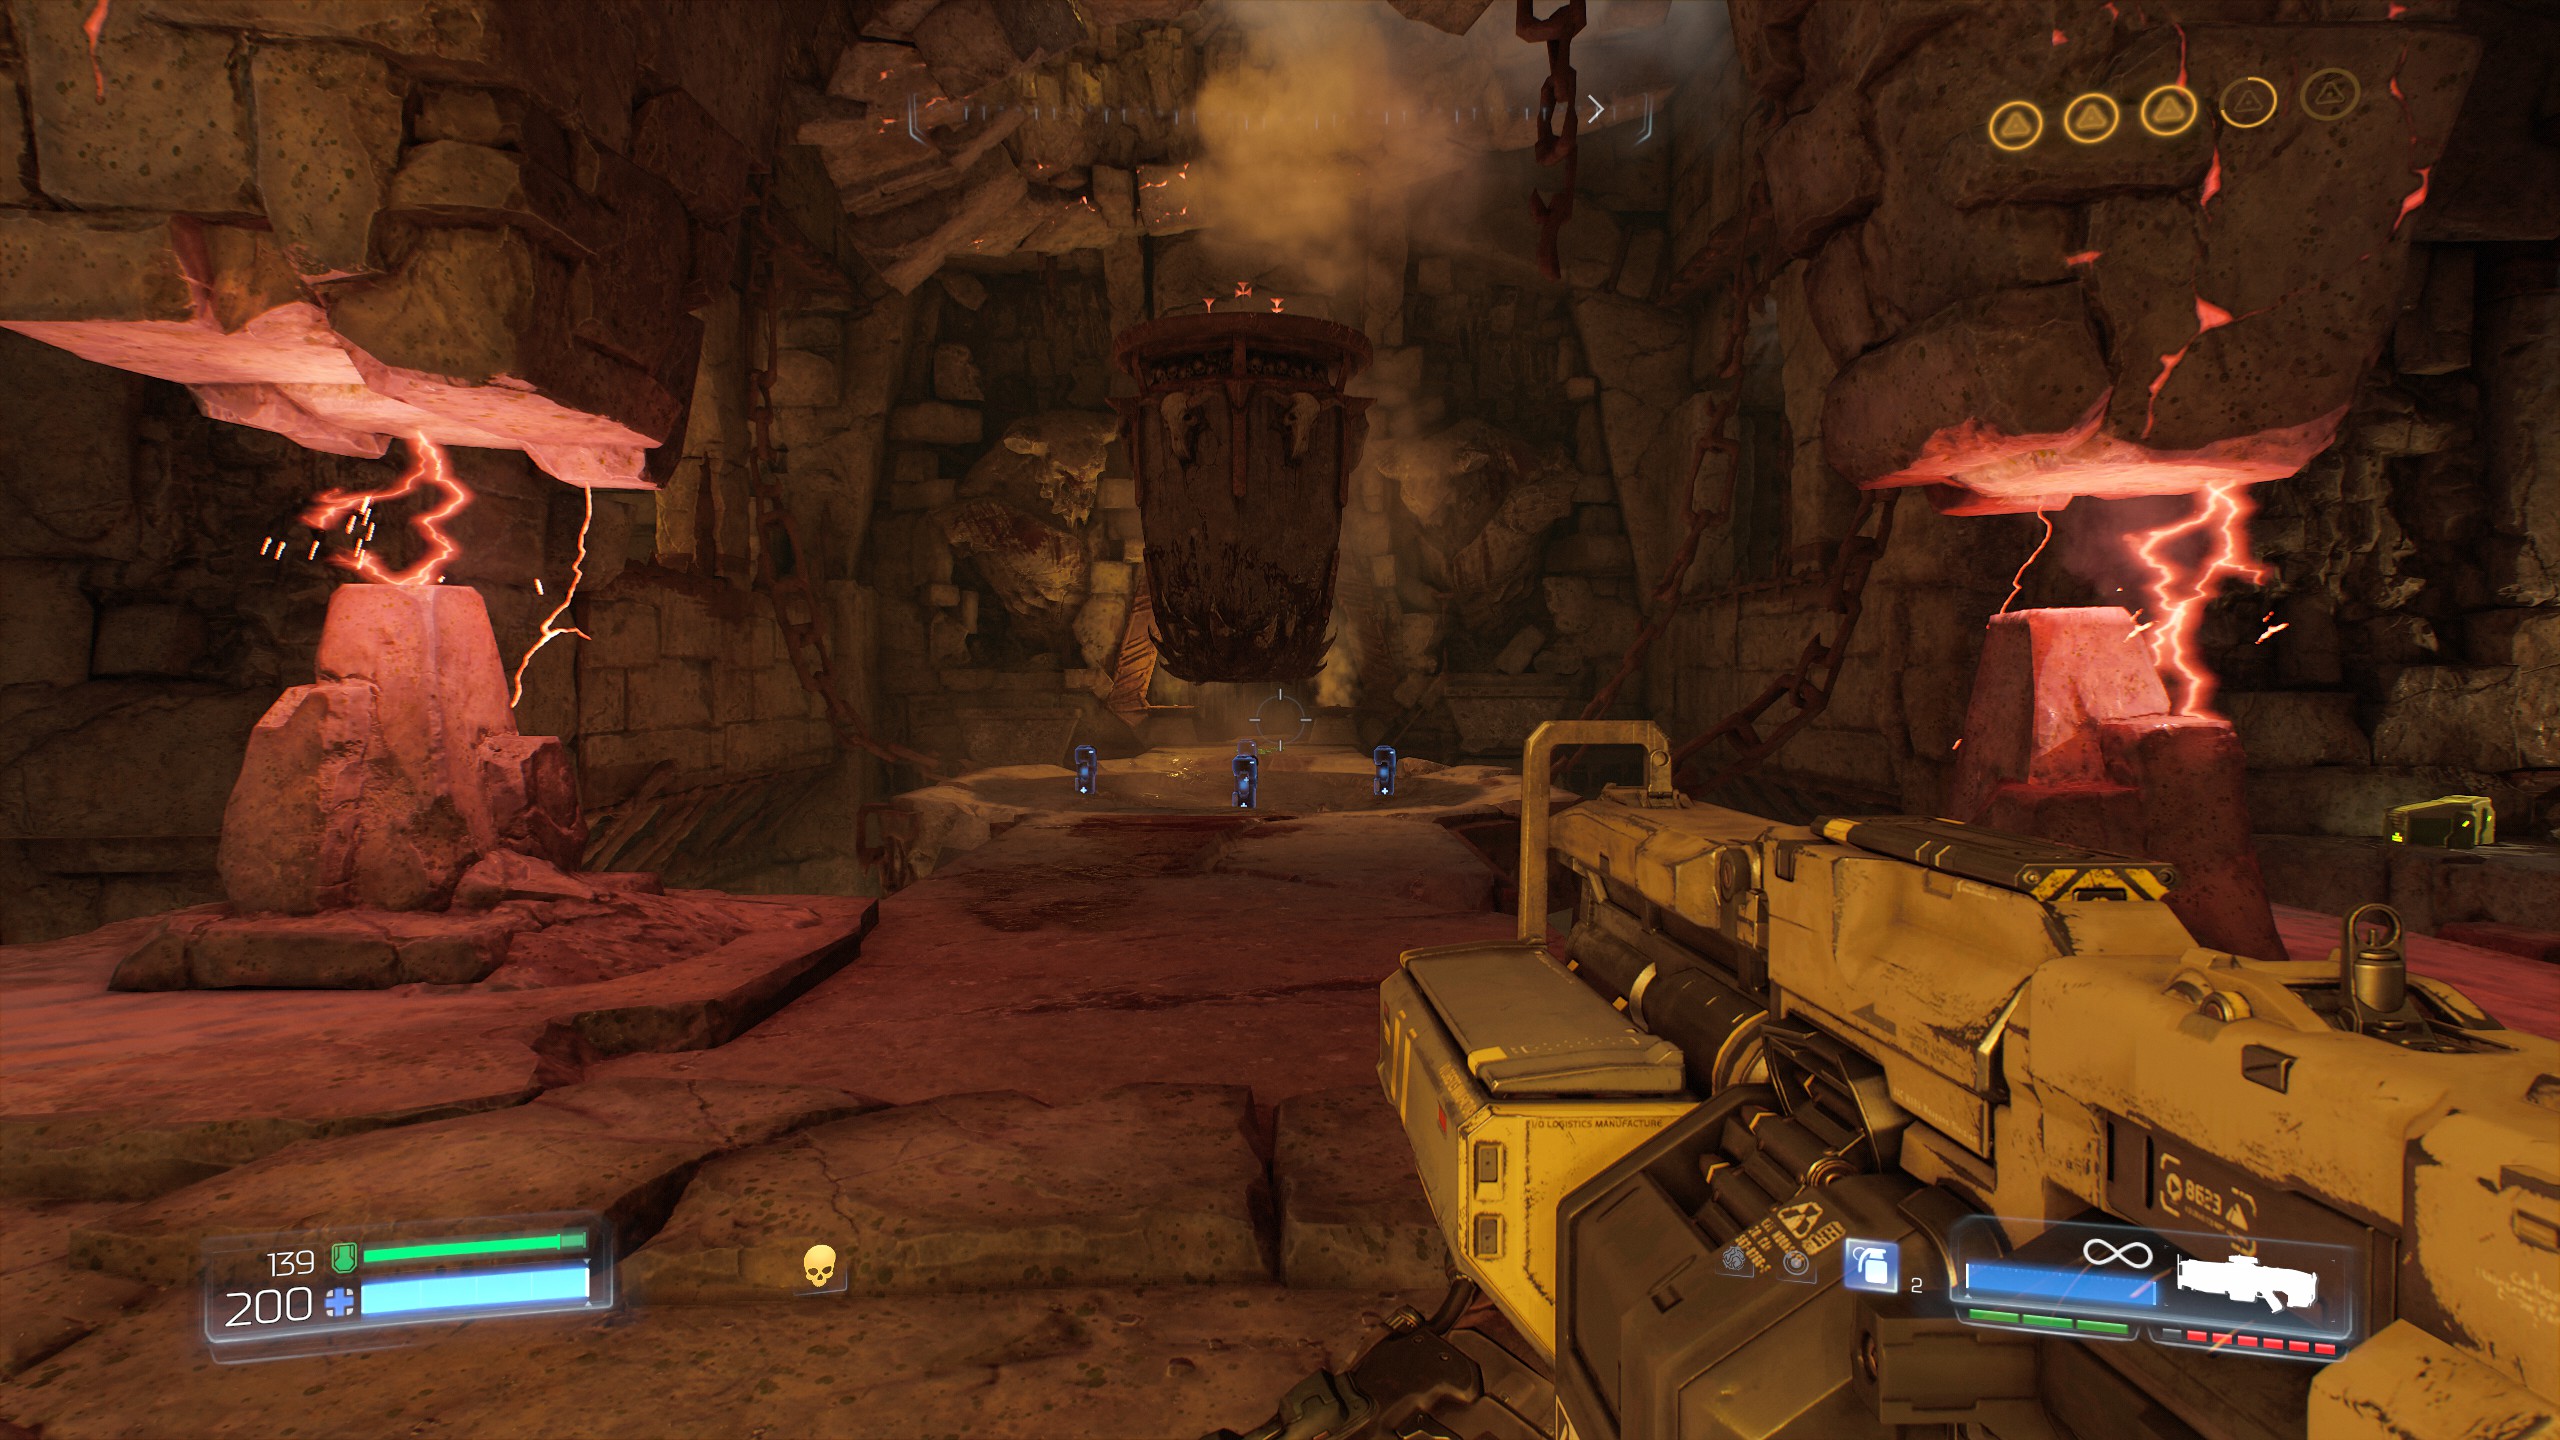
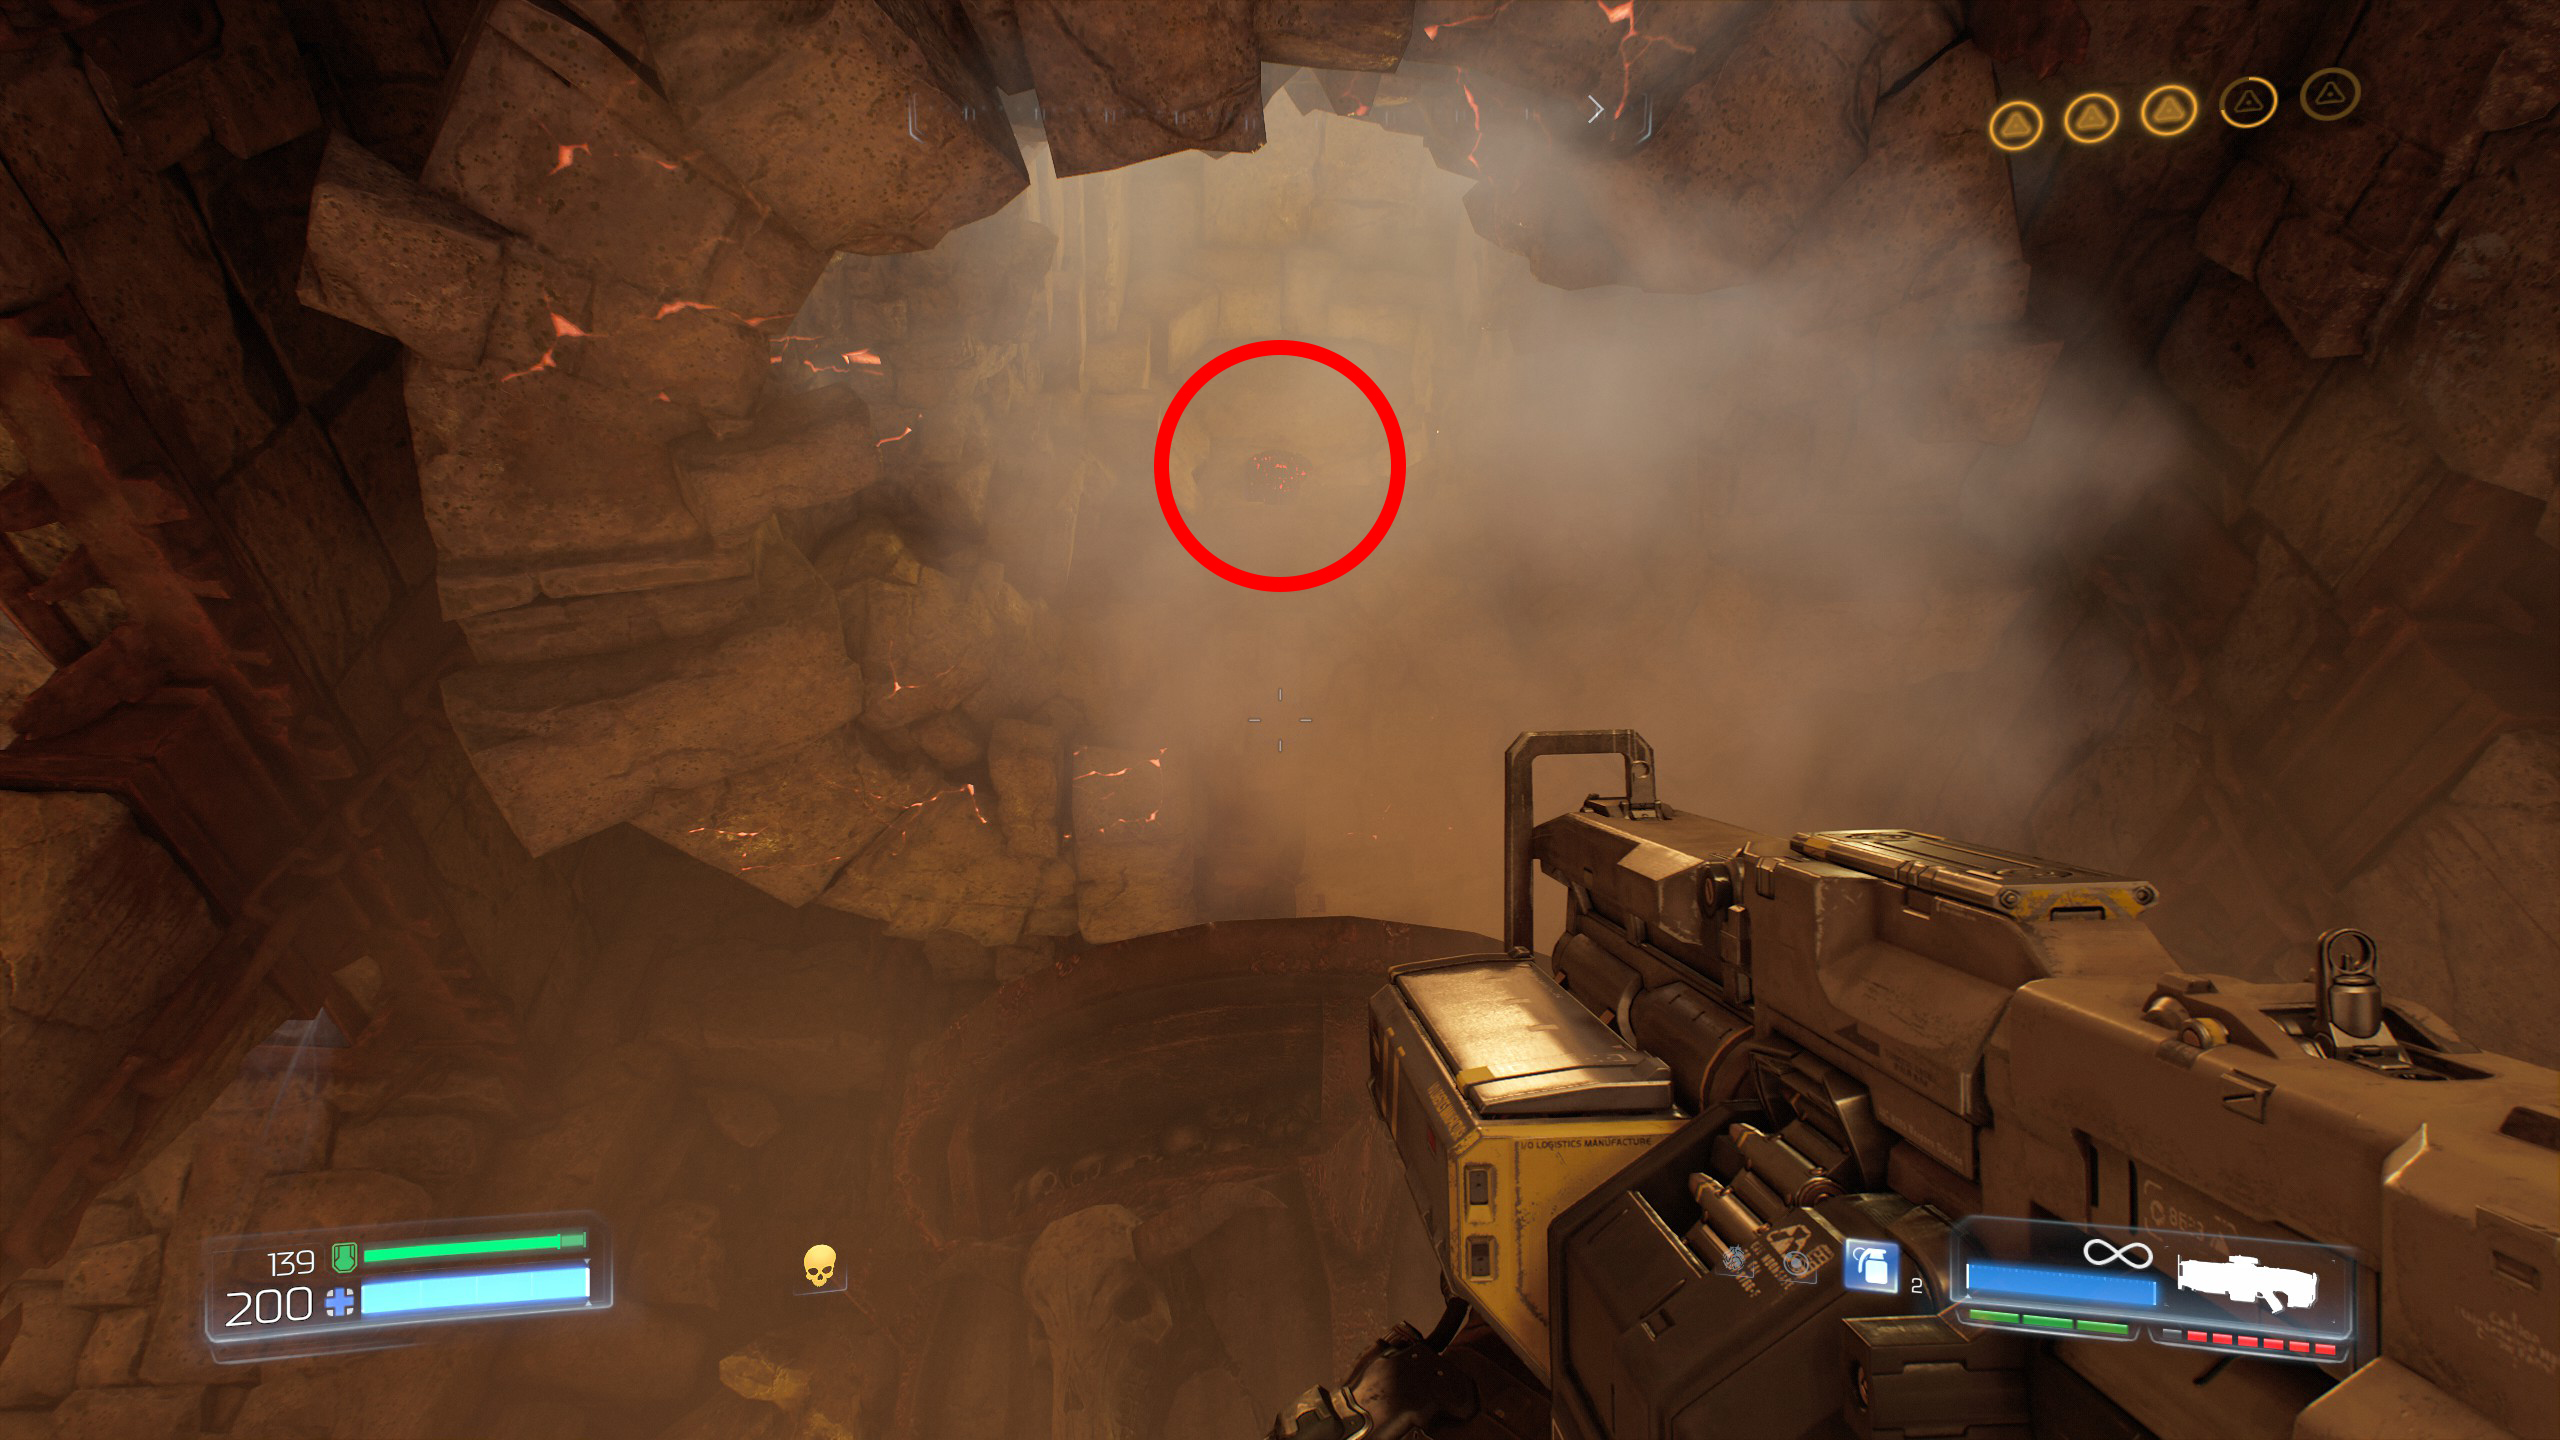
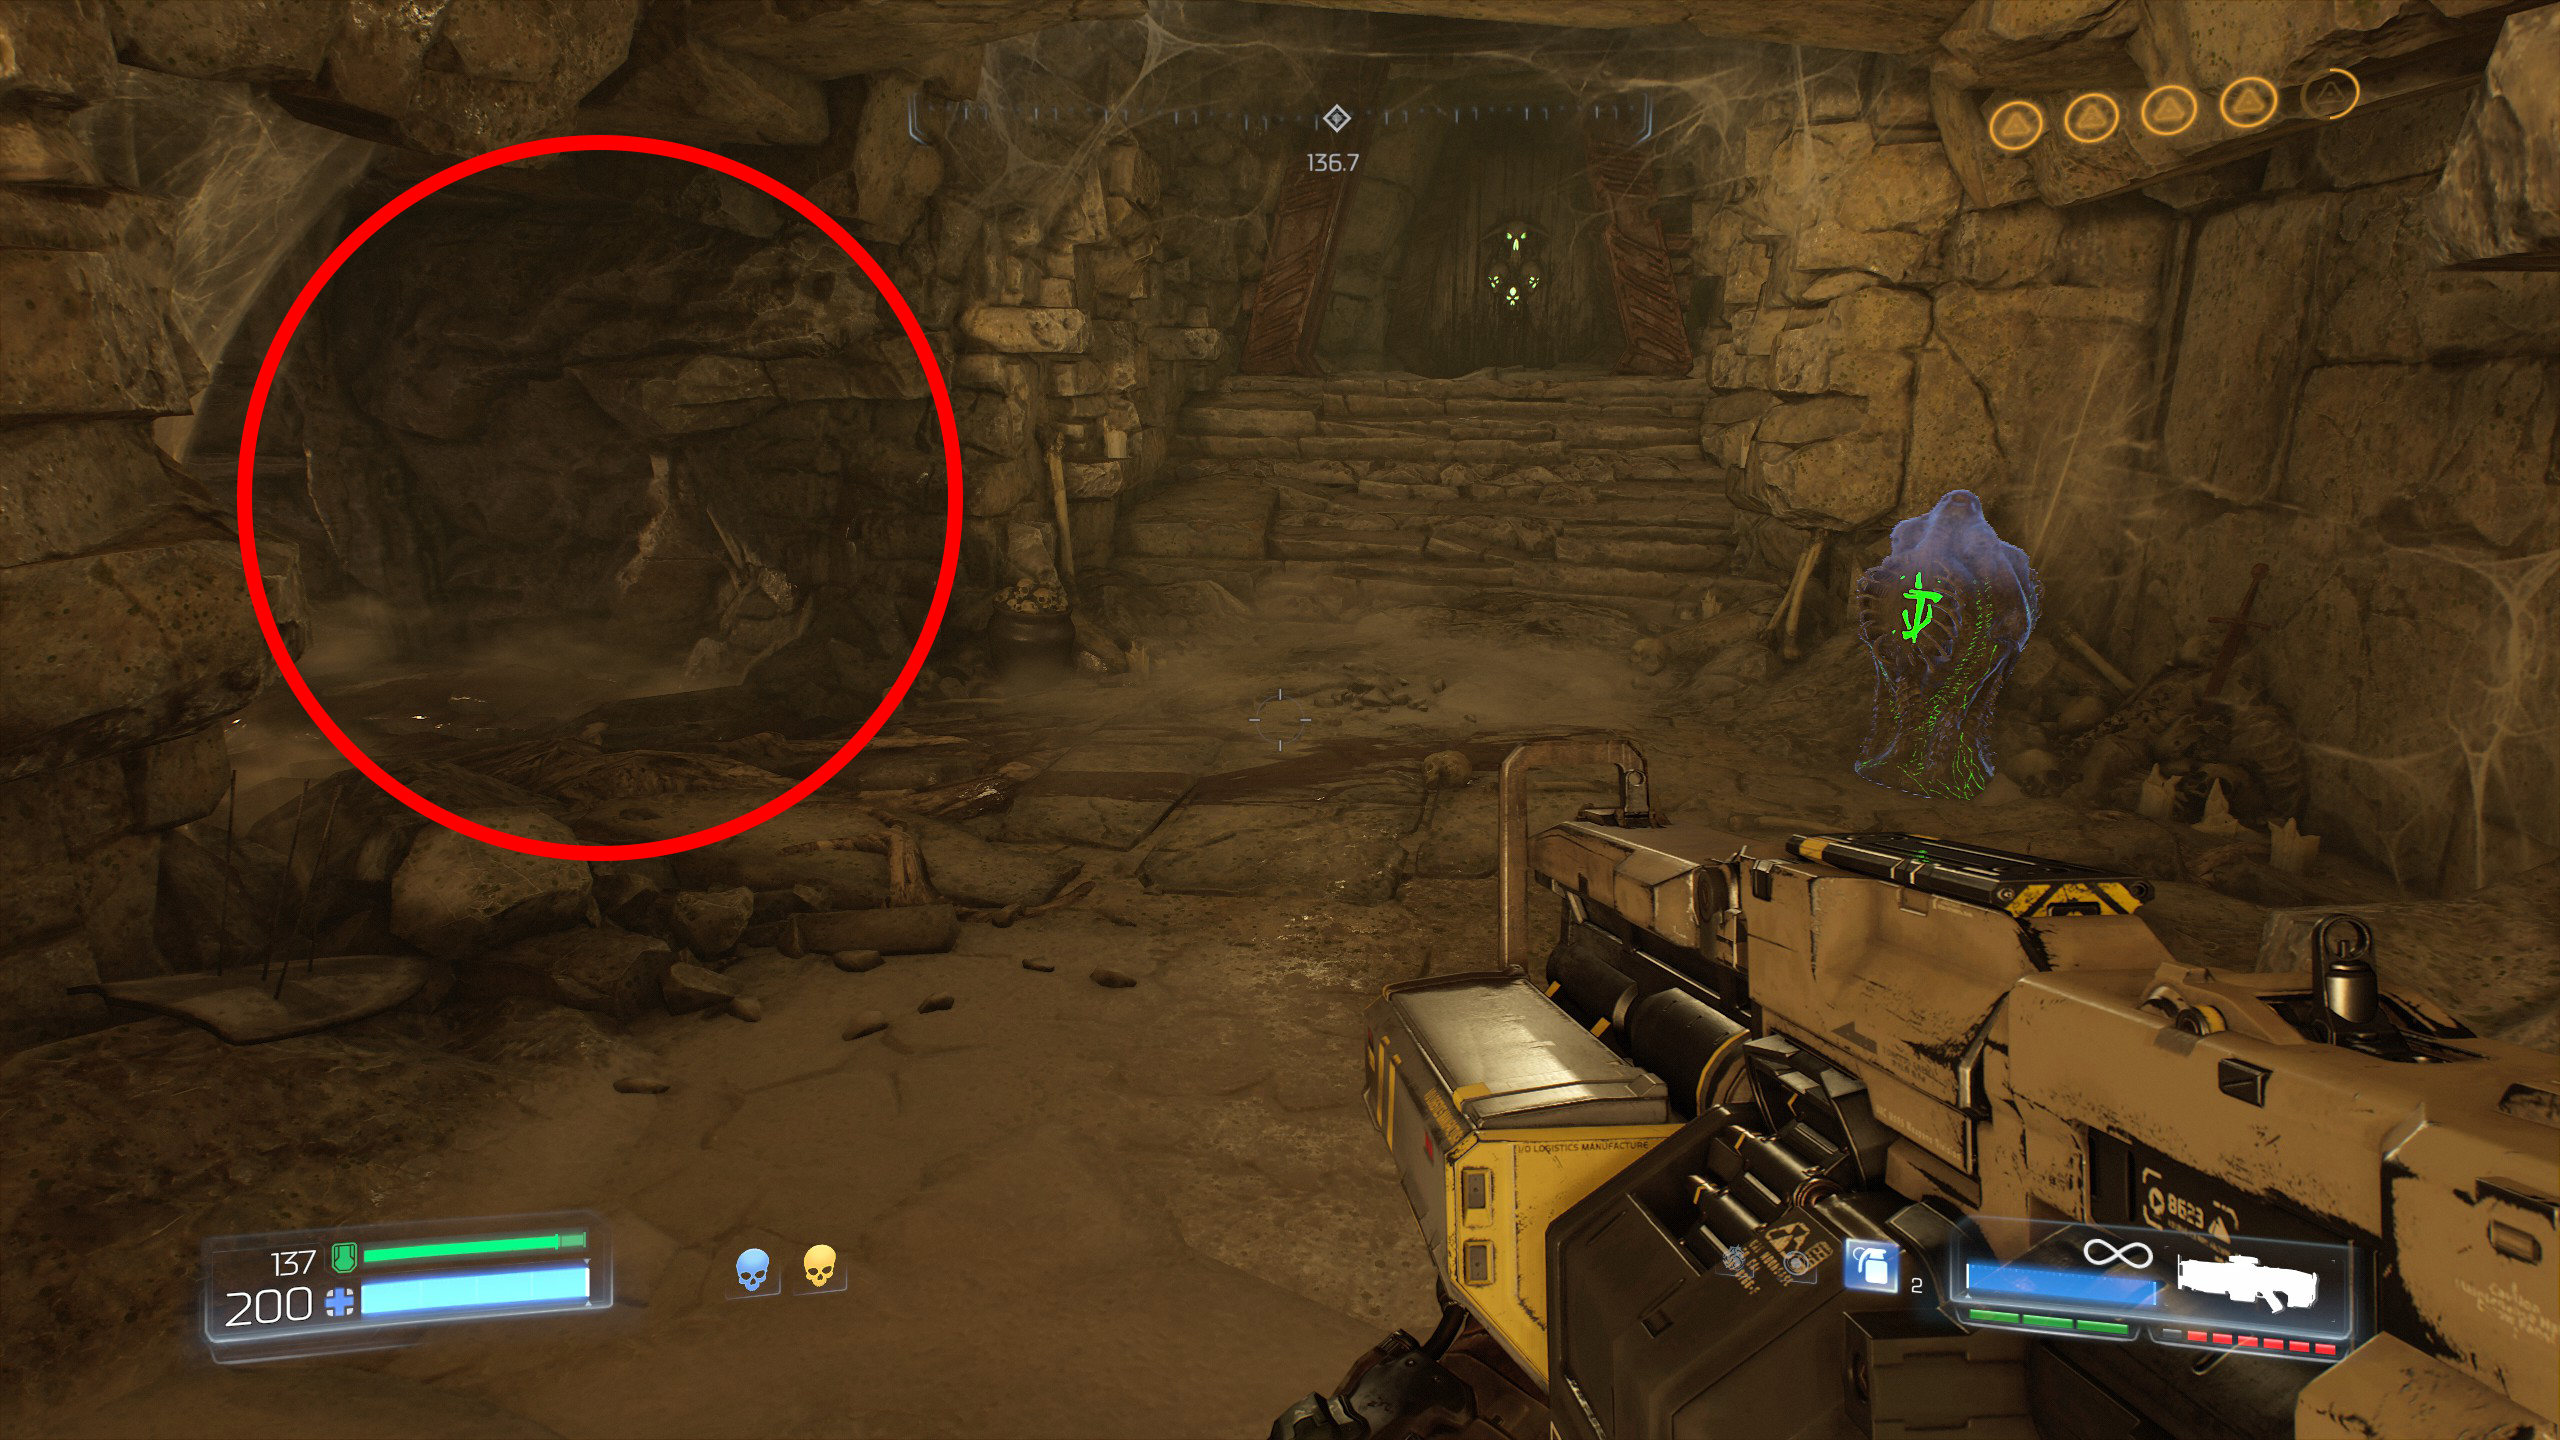
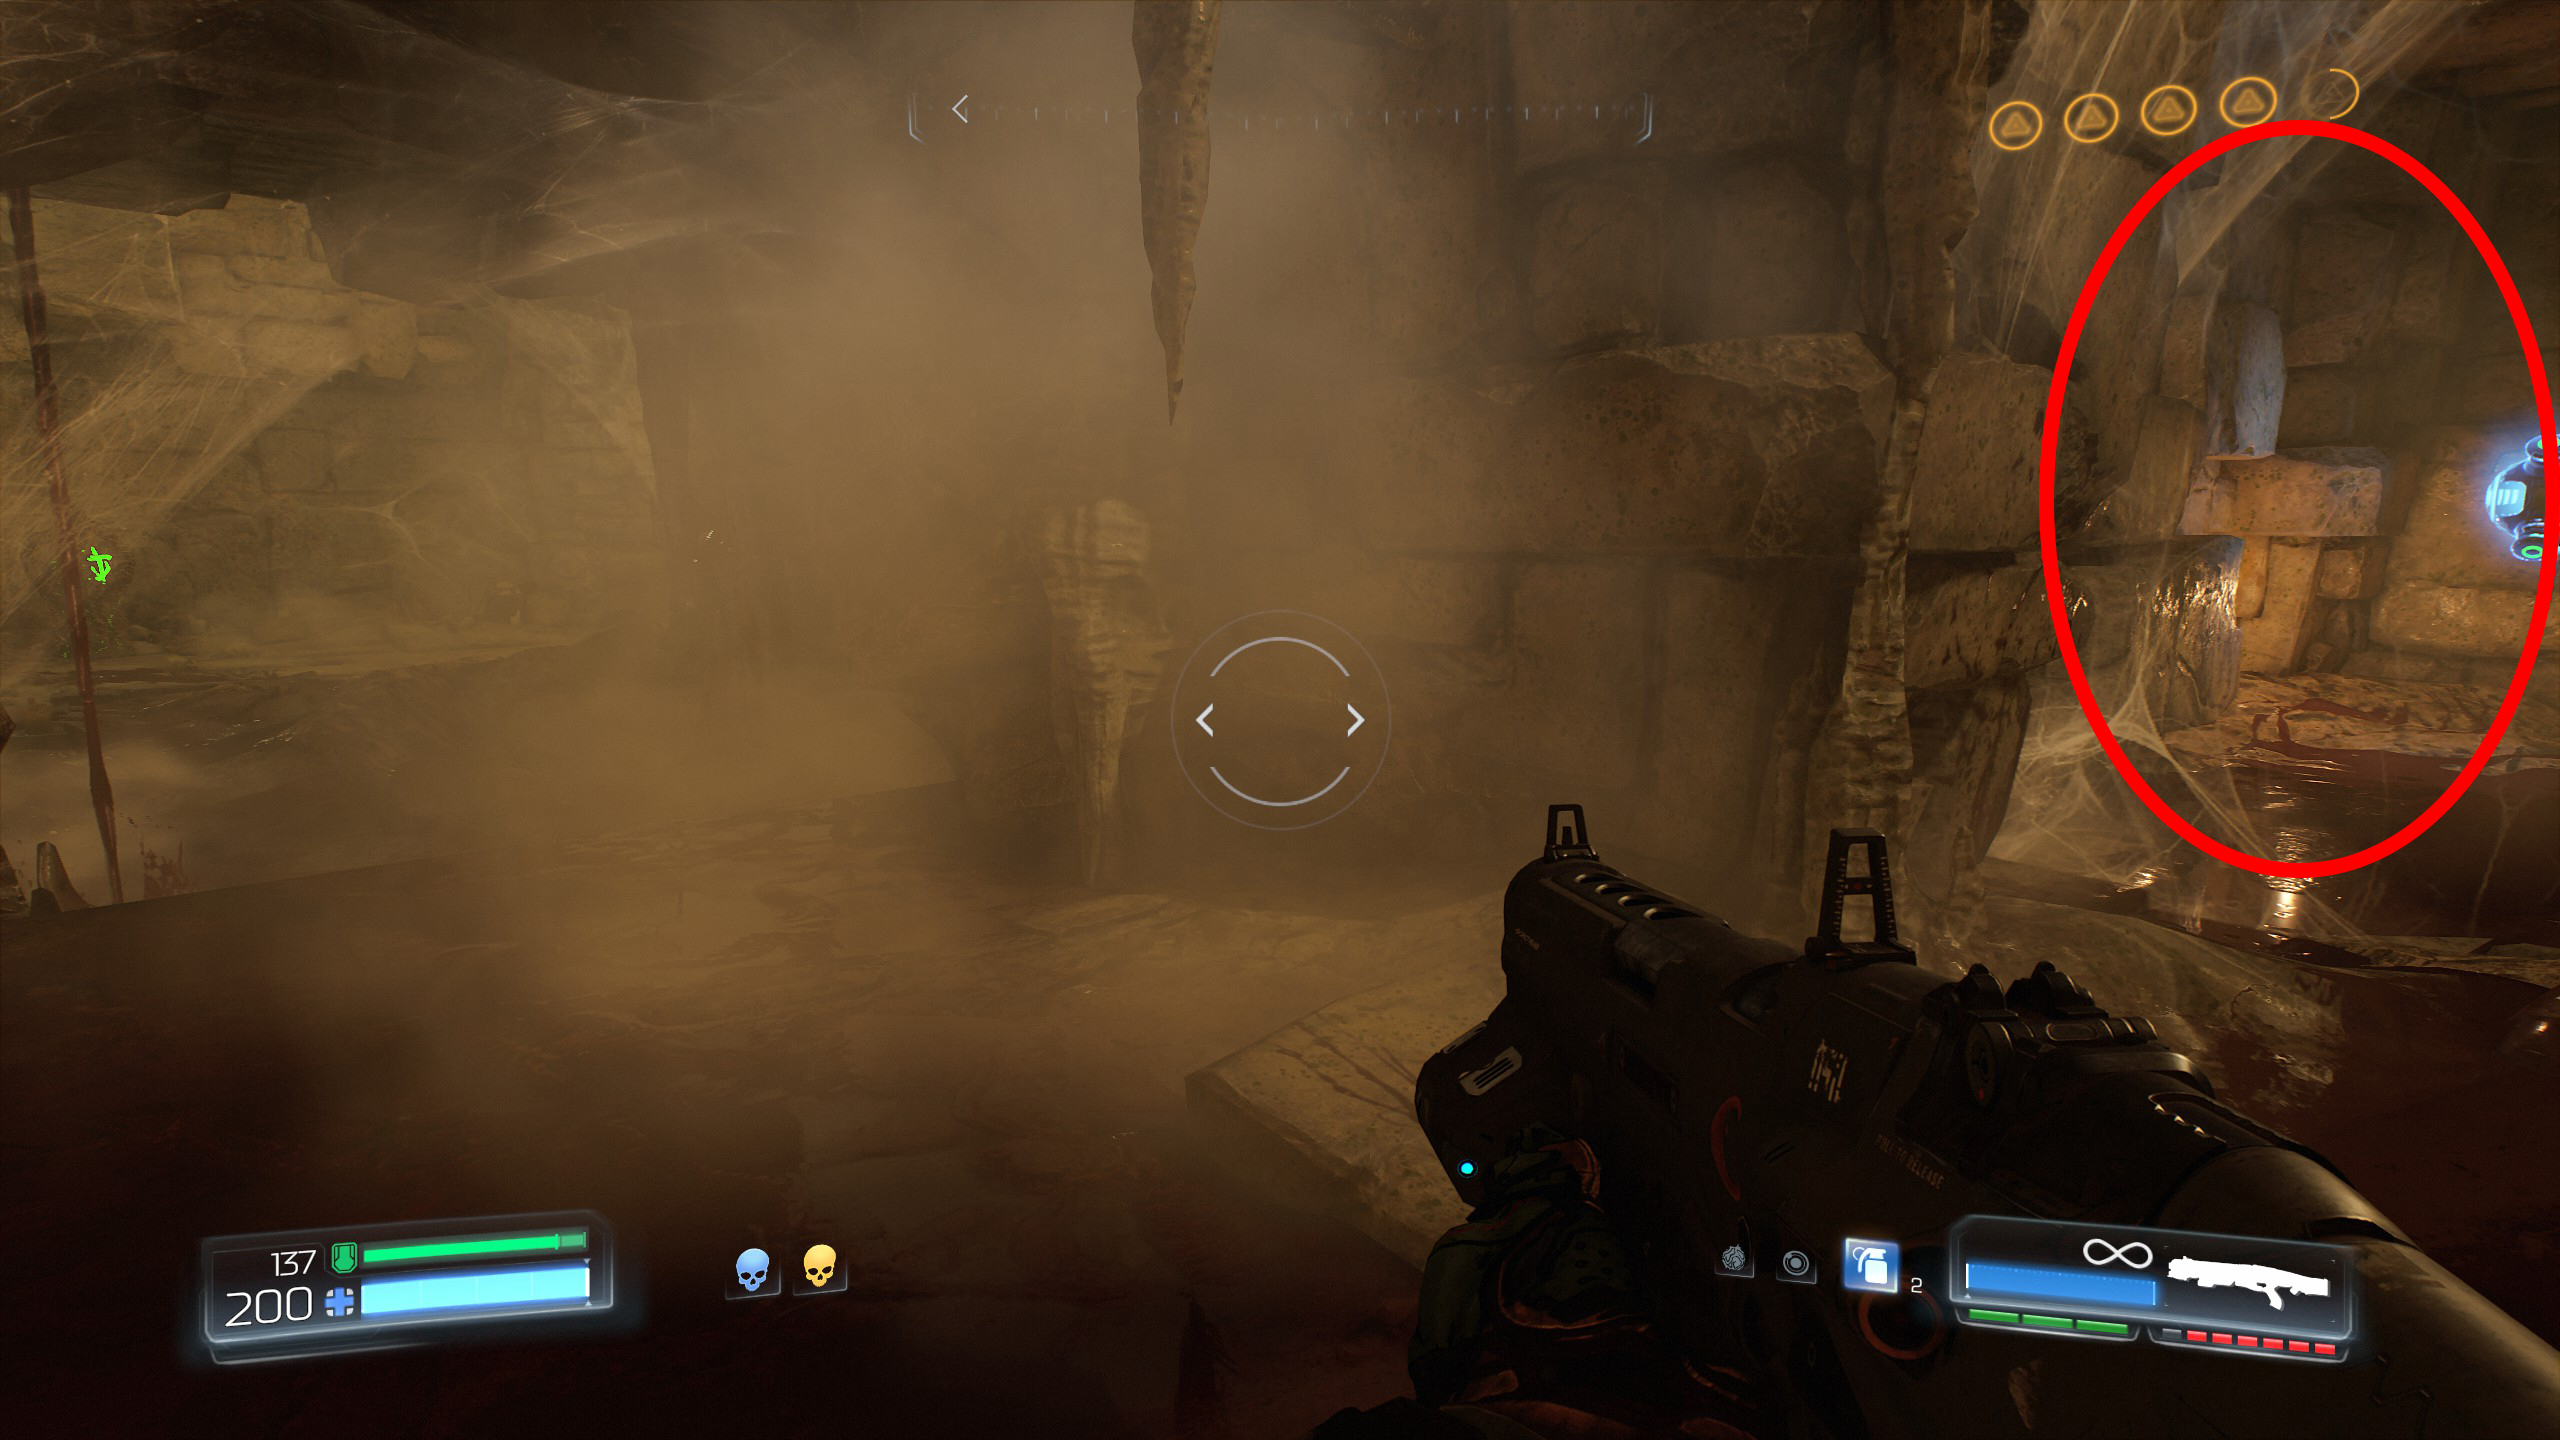
Now from the rock face the two pillars with the red electricity and ahead of those on the left side next to the gate is a small gap in the wall with a lever, you will need to activate the lever to unlock the secret room.
Once activated the gate on the left of the lever will open, go up the stairway and then in the next room take a right, head down the steps and again take another right and you will find the secret room, enter the room to gain secret number 5.
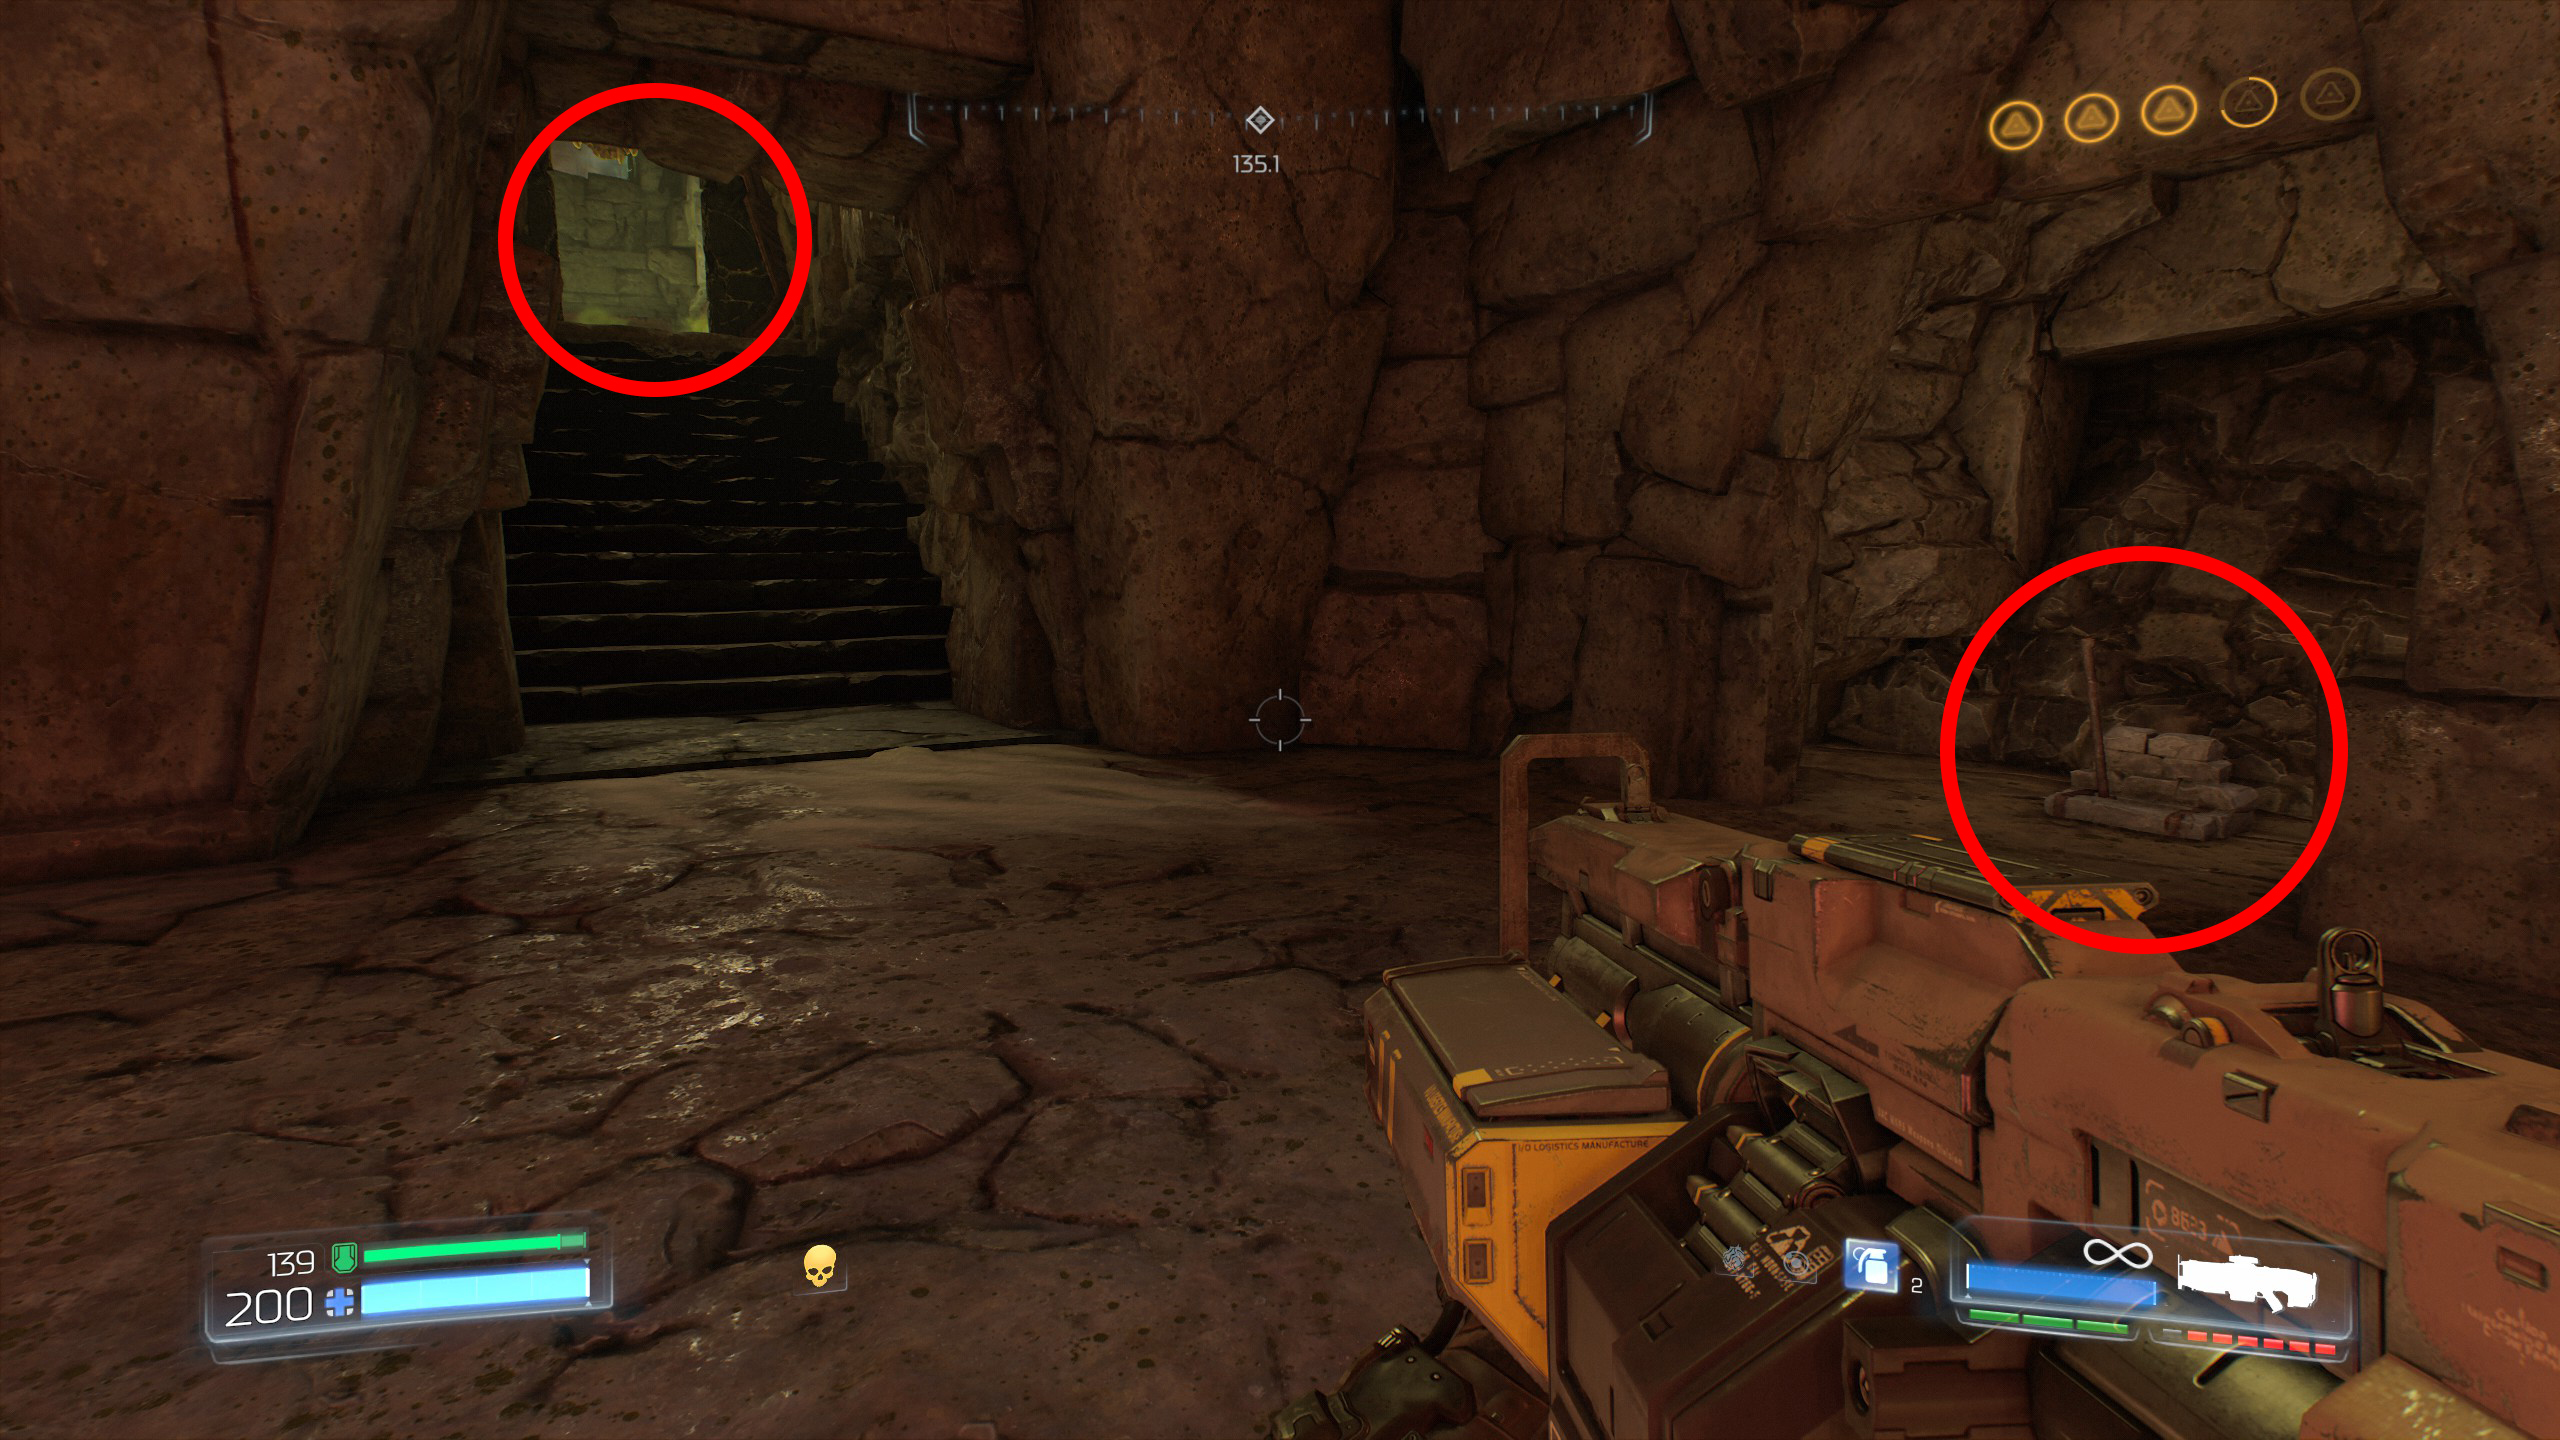
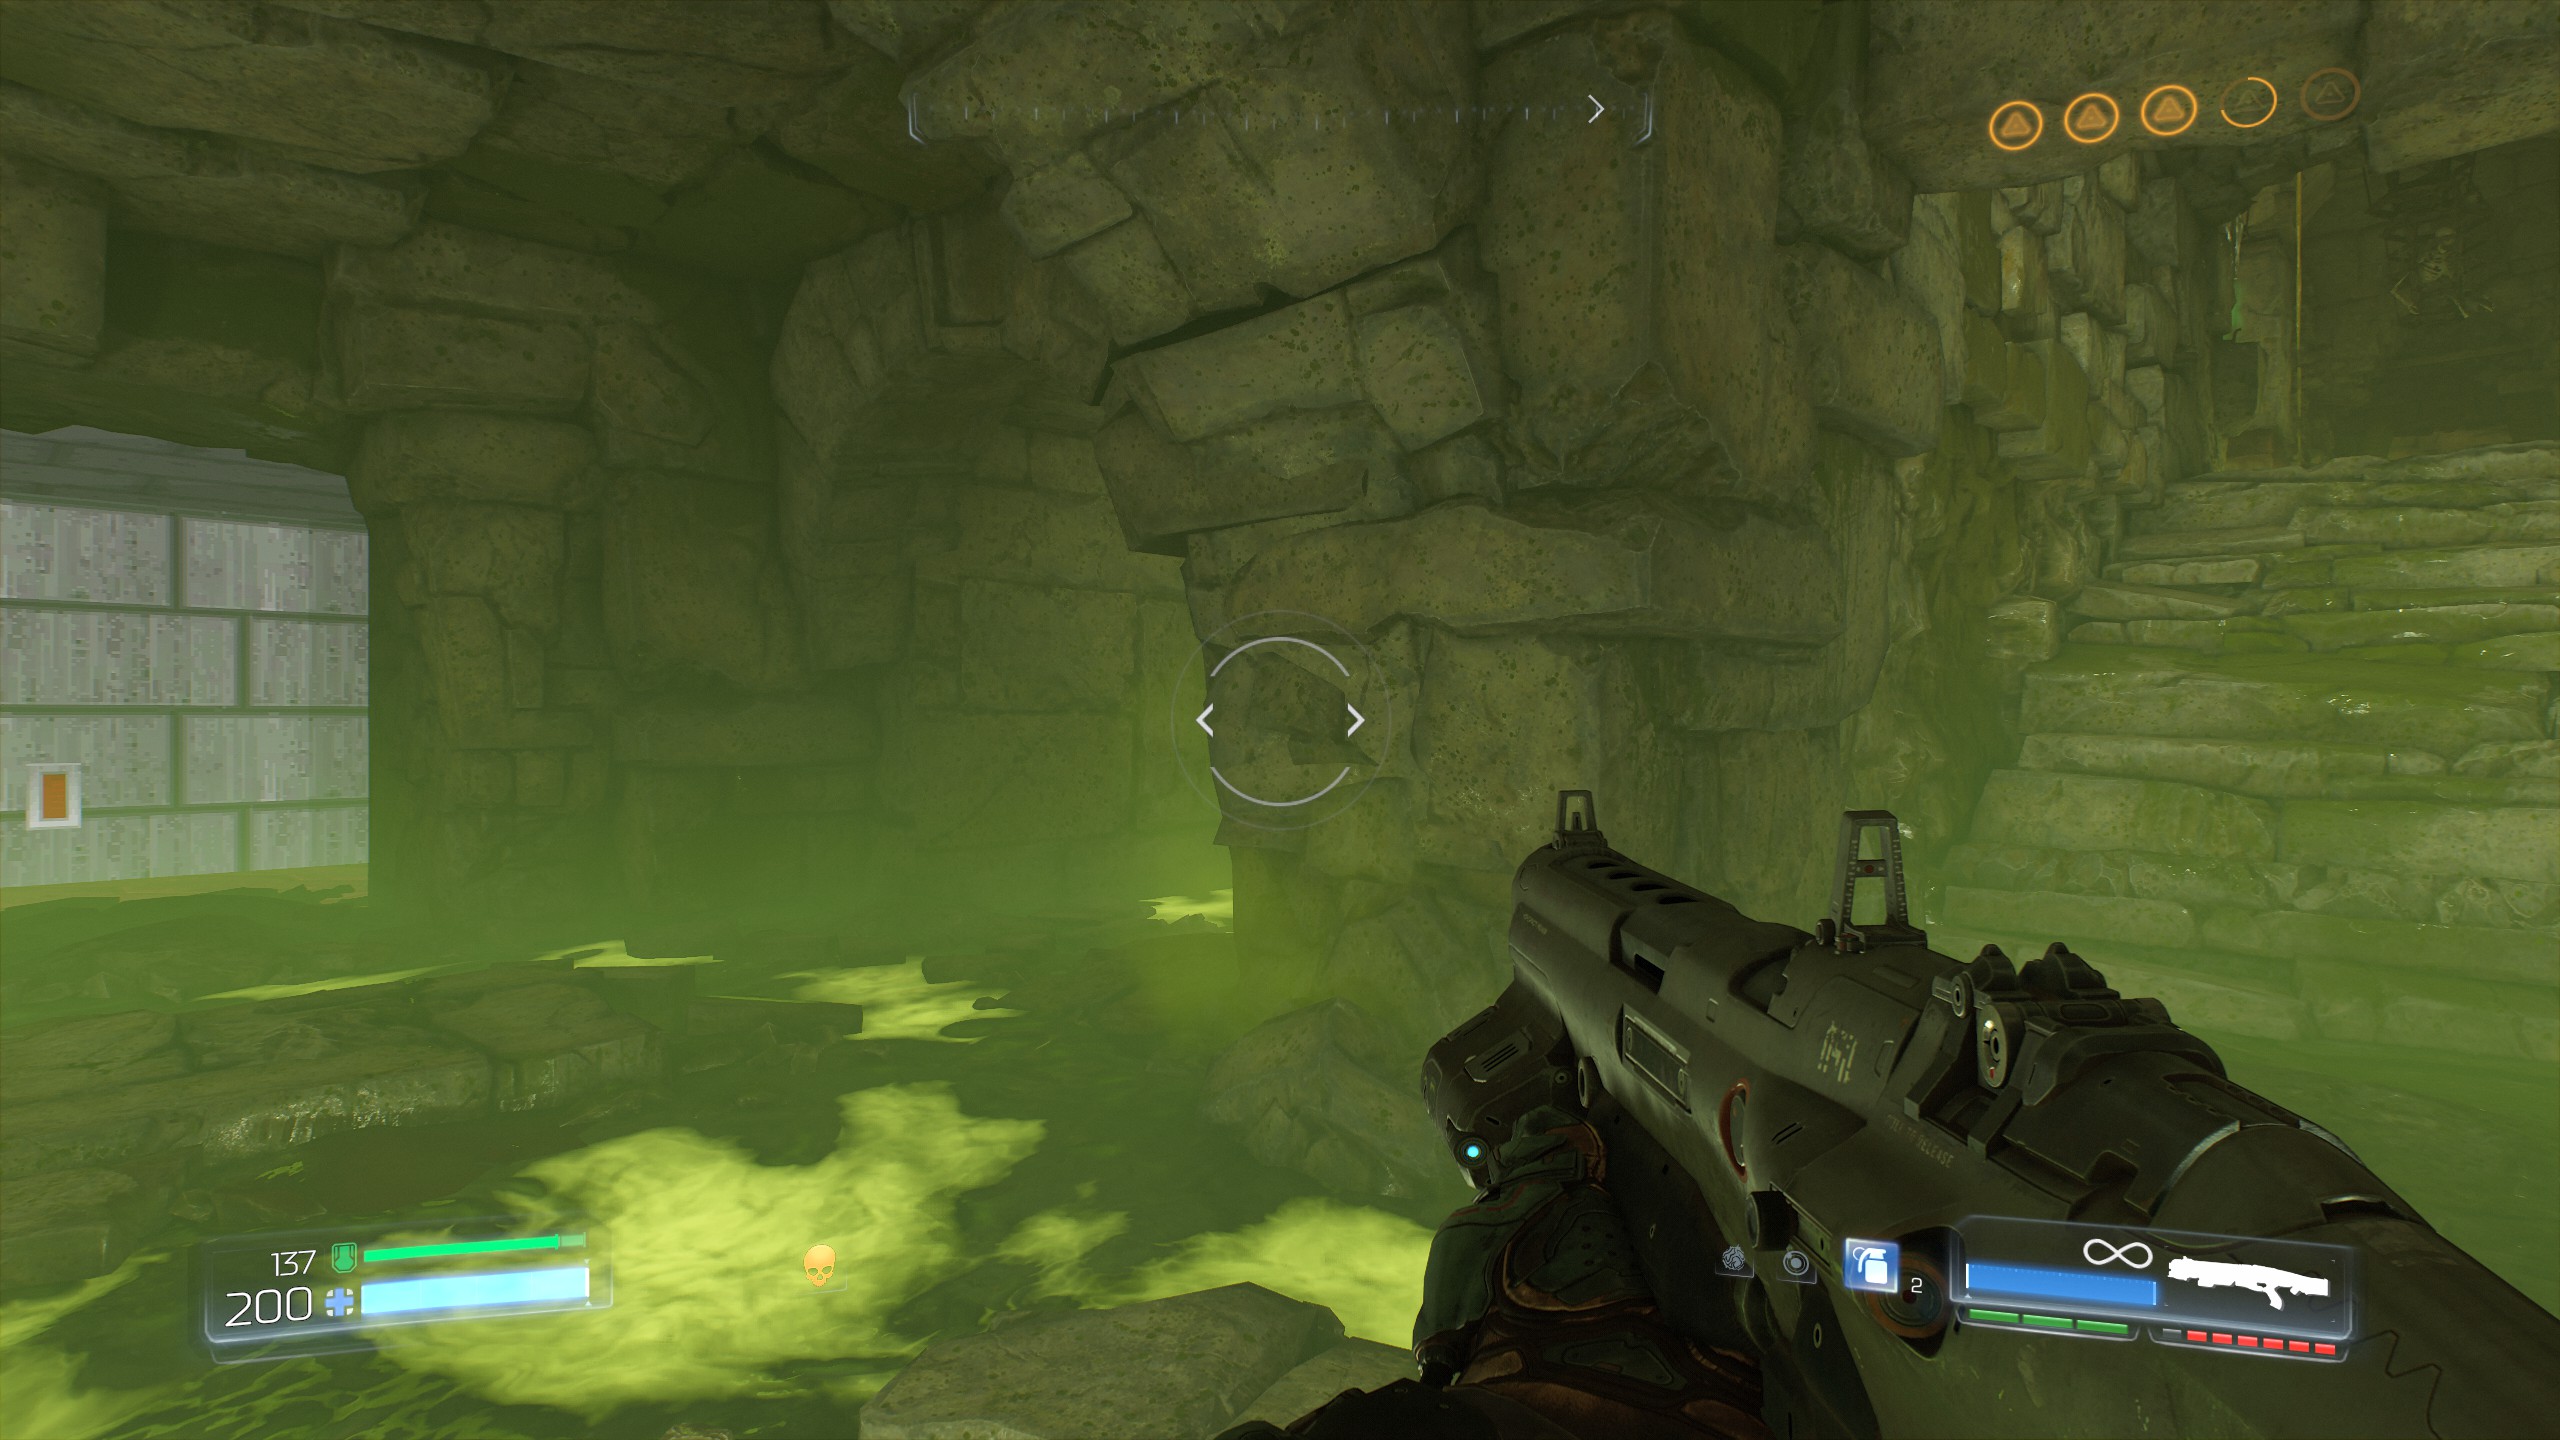
Continue the mission.
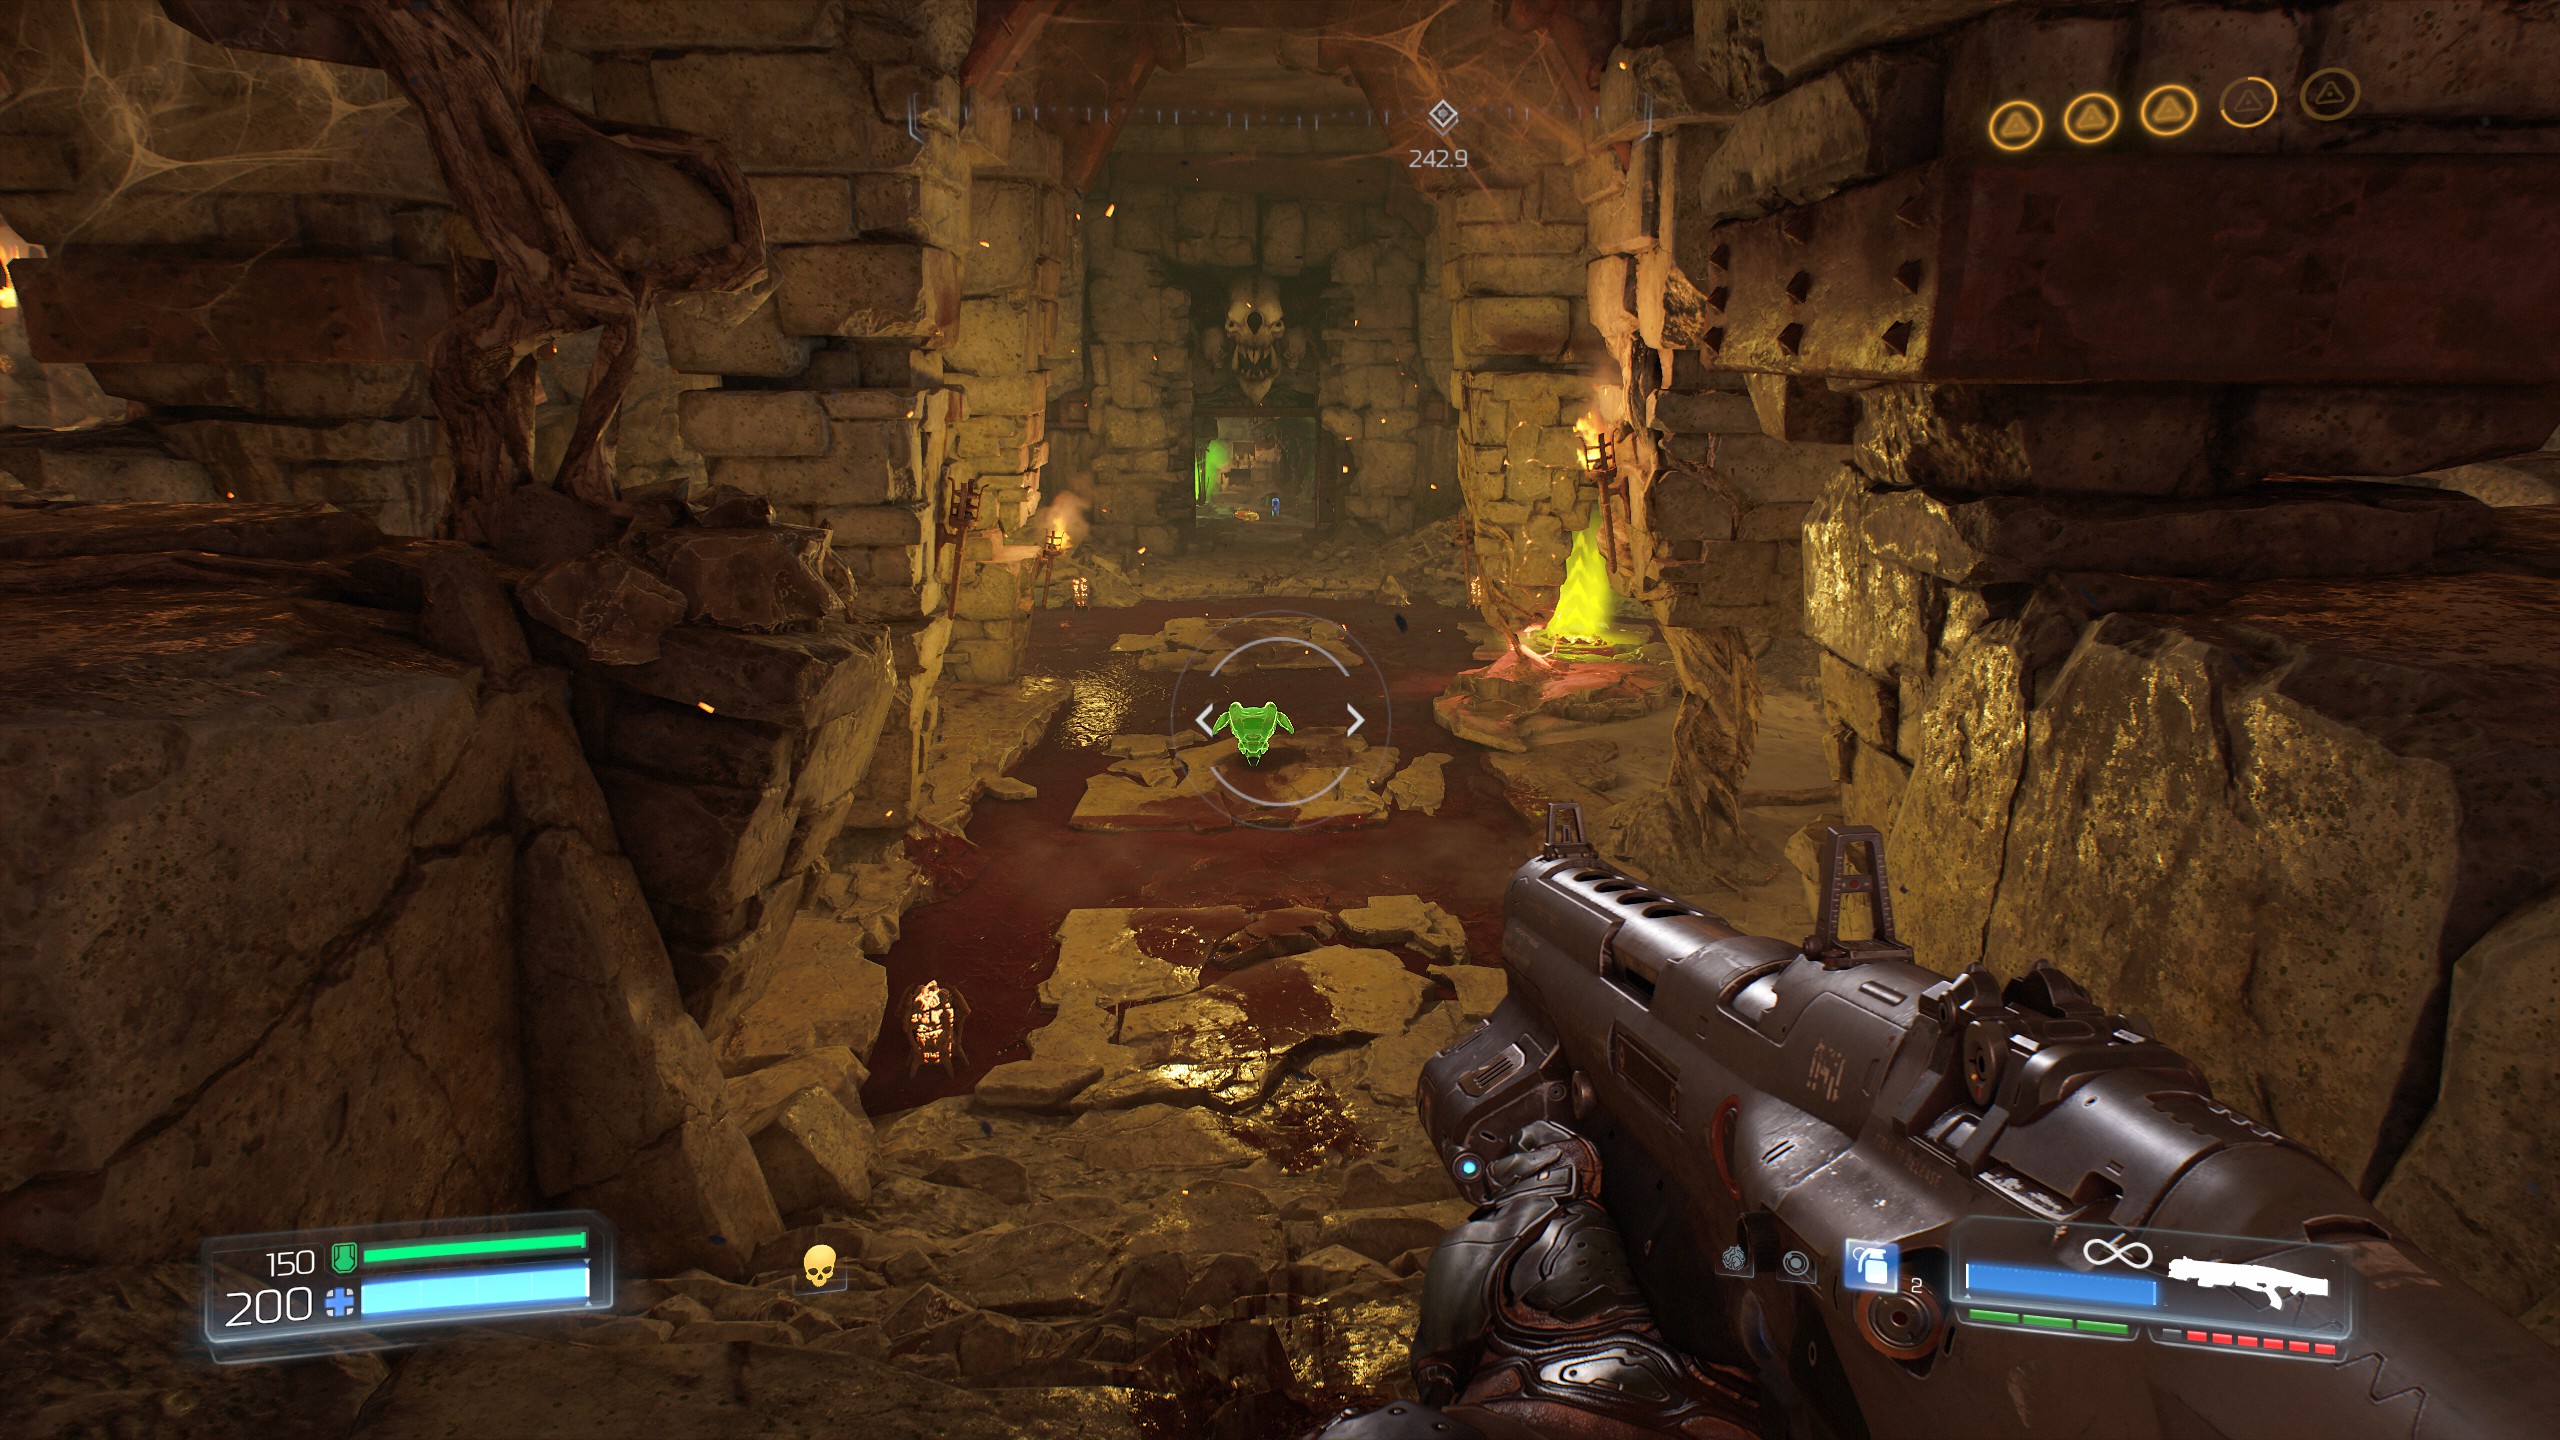
Enter the portal and follow the path until you reach the audio log, go left at the audio log and follow it around and you will find a health/armor booster, this will also gain you secret number 6 the final secret for this mission, well done.
Mission 11 - The Necropolis
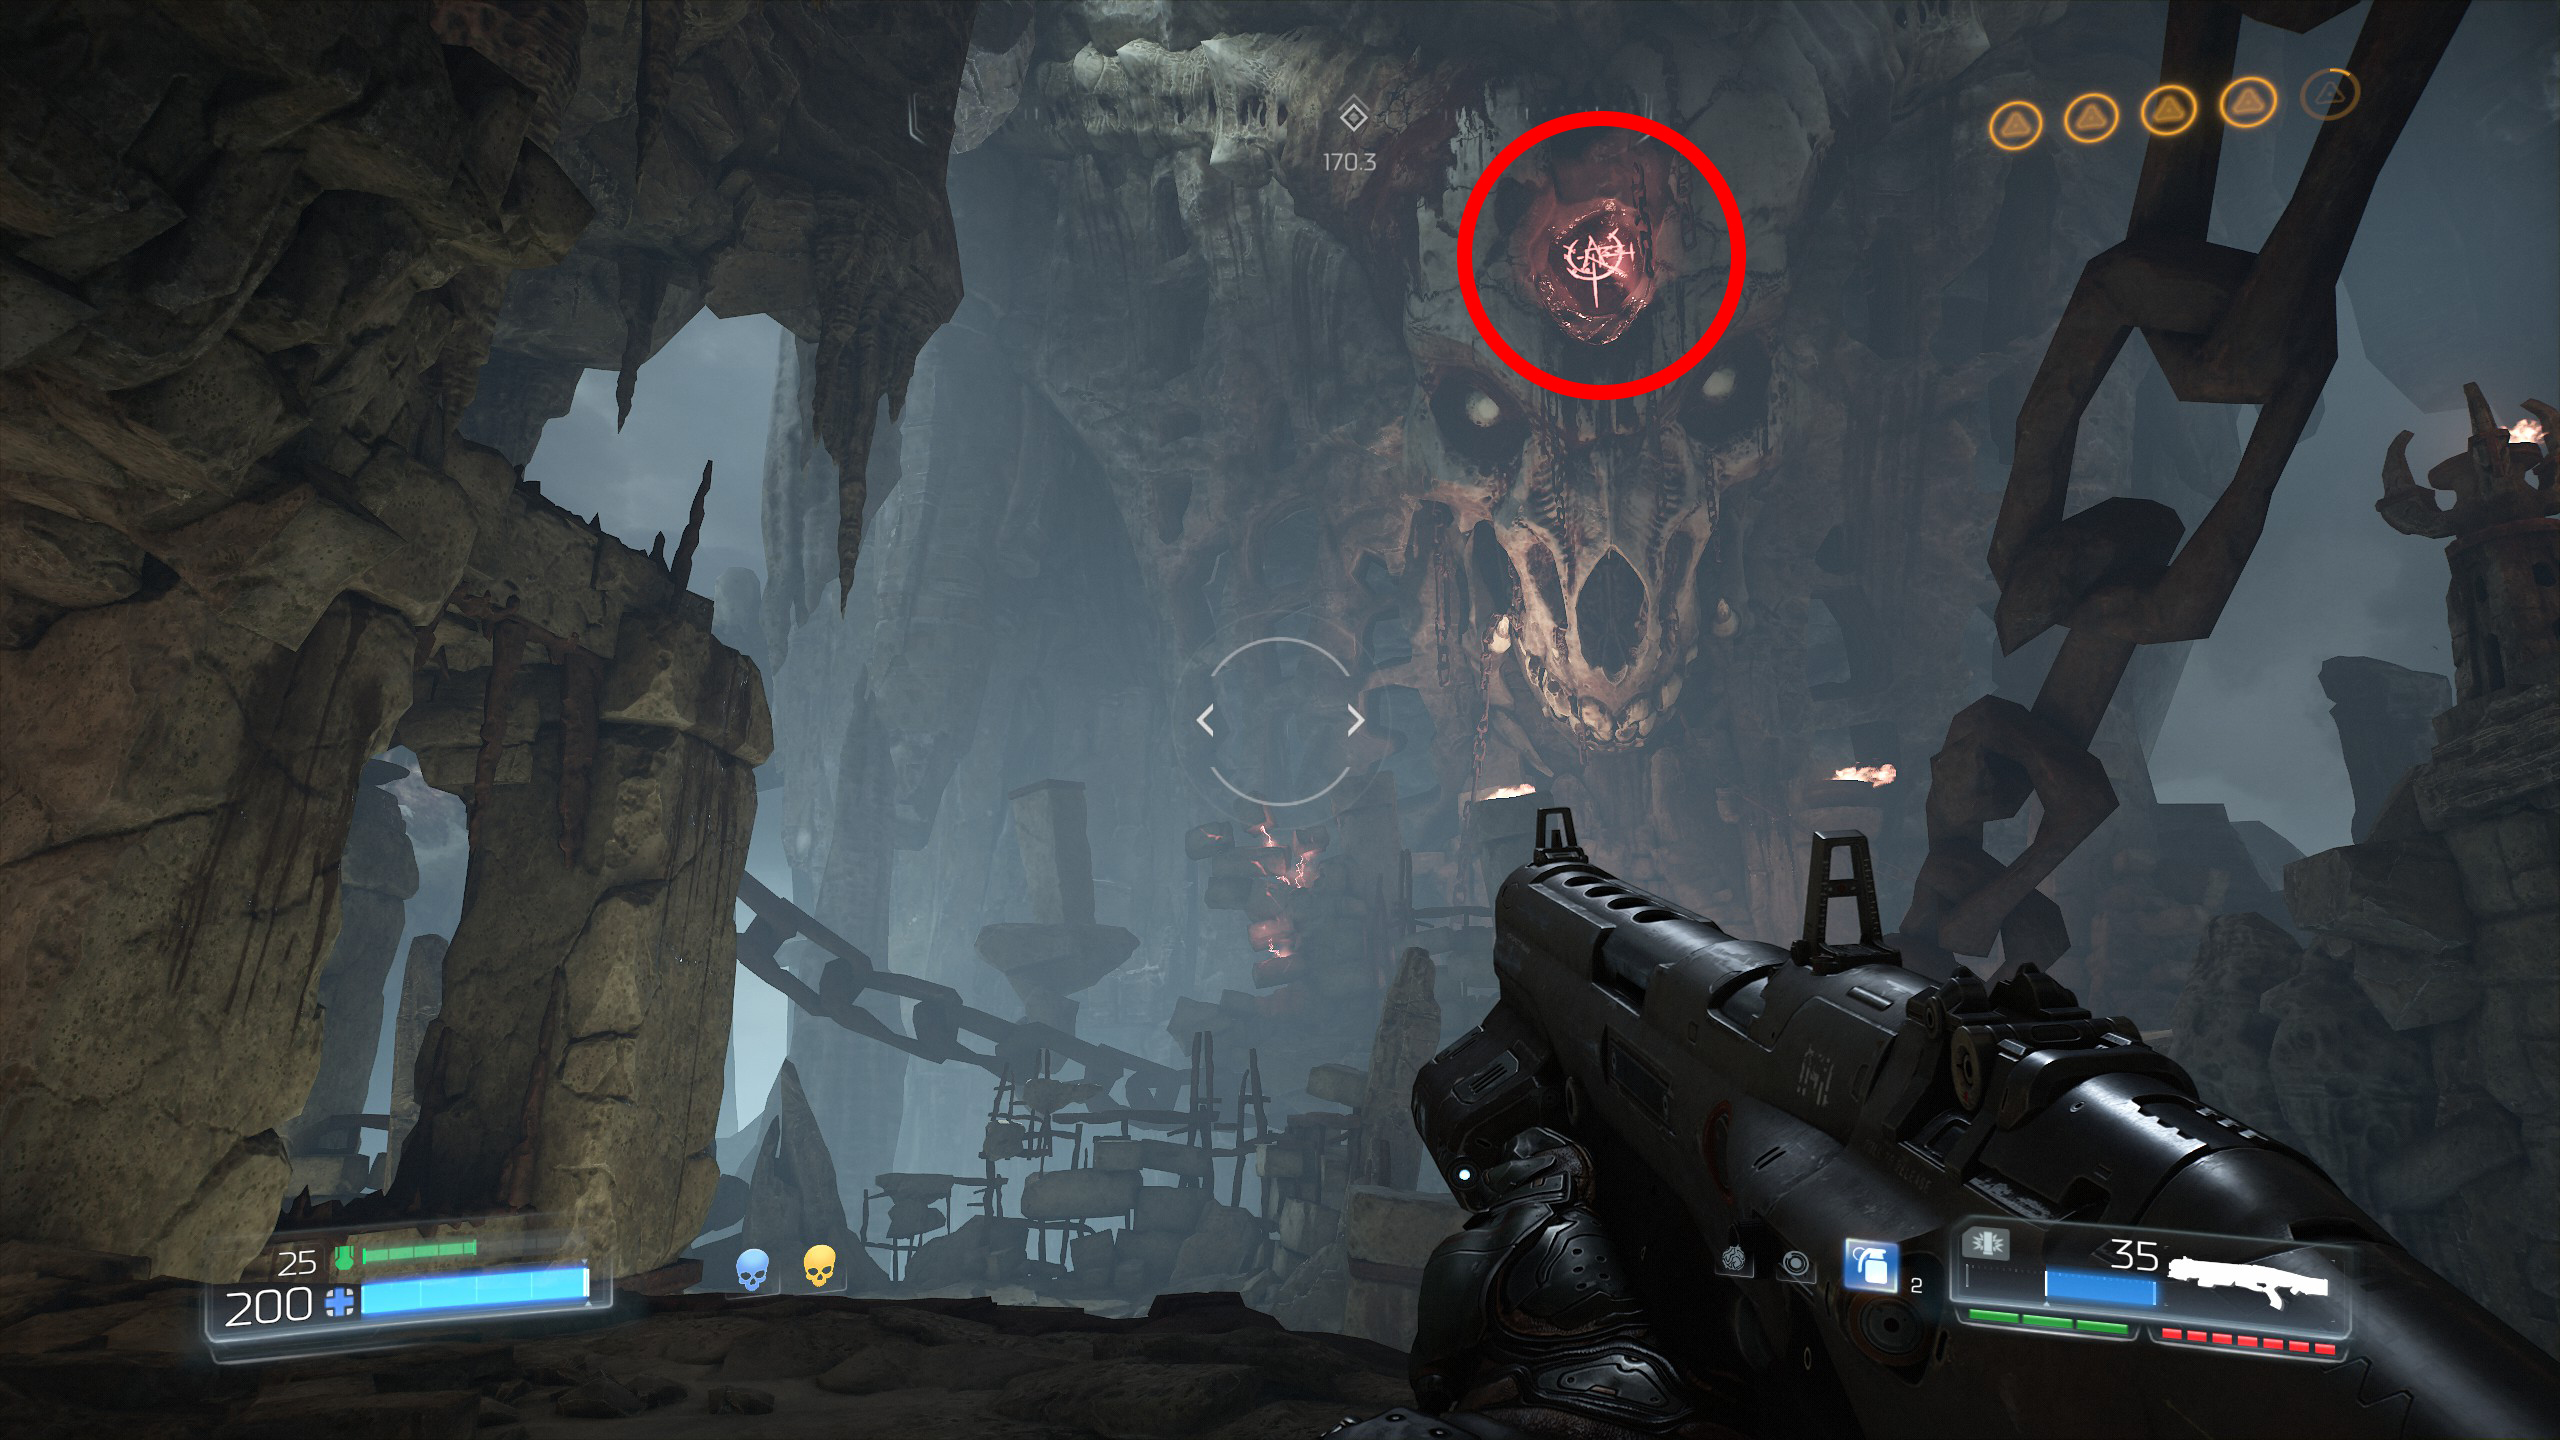
Begin the mission and make your way through the first portal and inside the next room activate the skull, once activated continue onward until you come to a room containing four large pillars with red electricity above them.
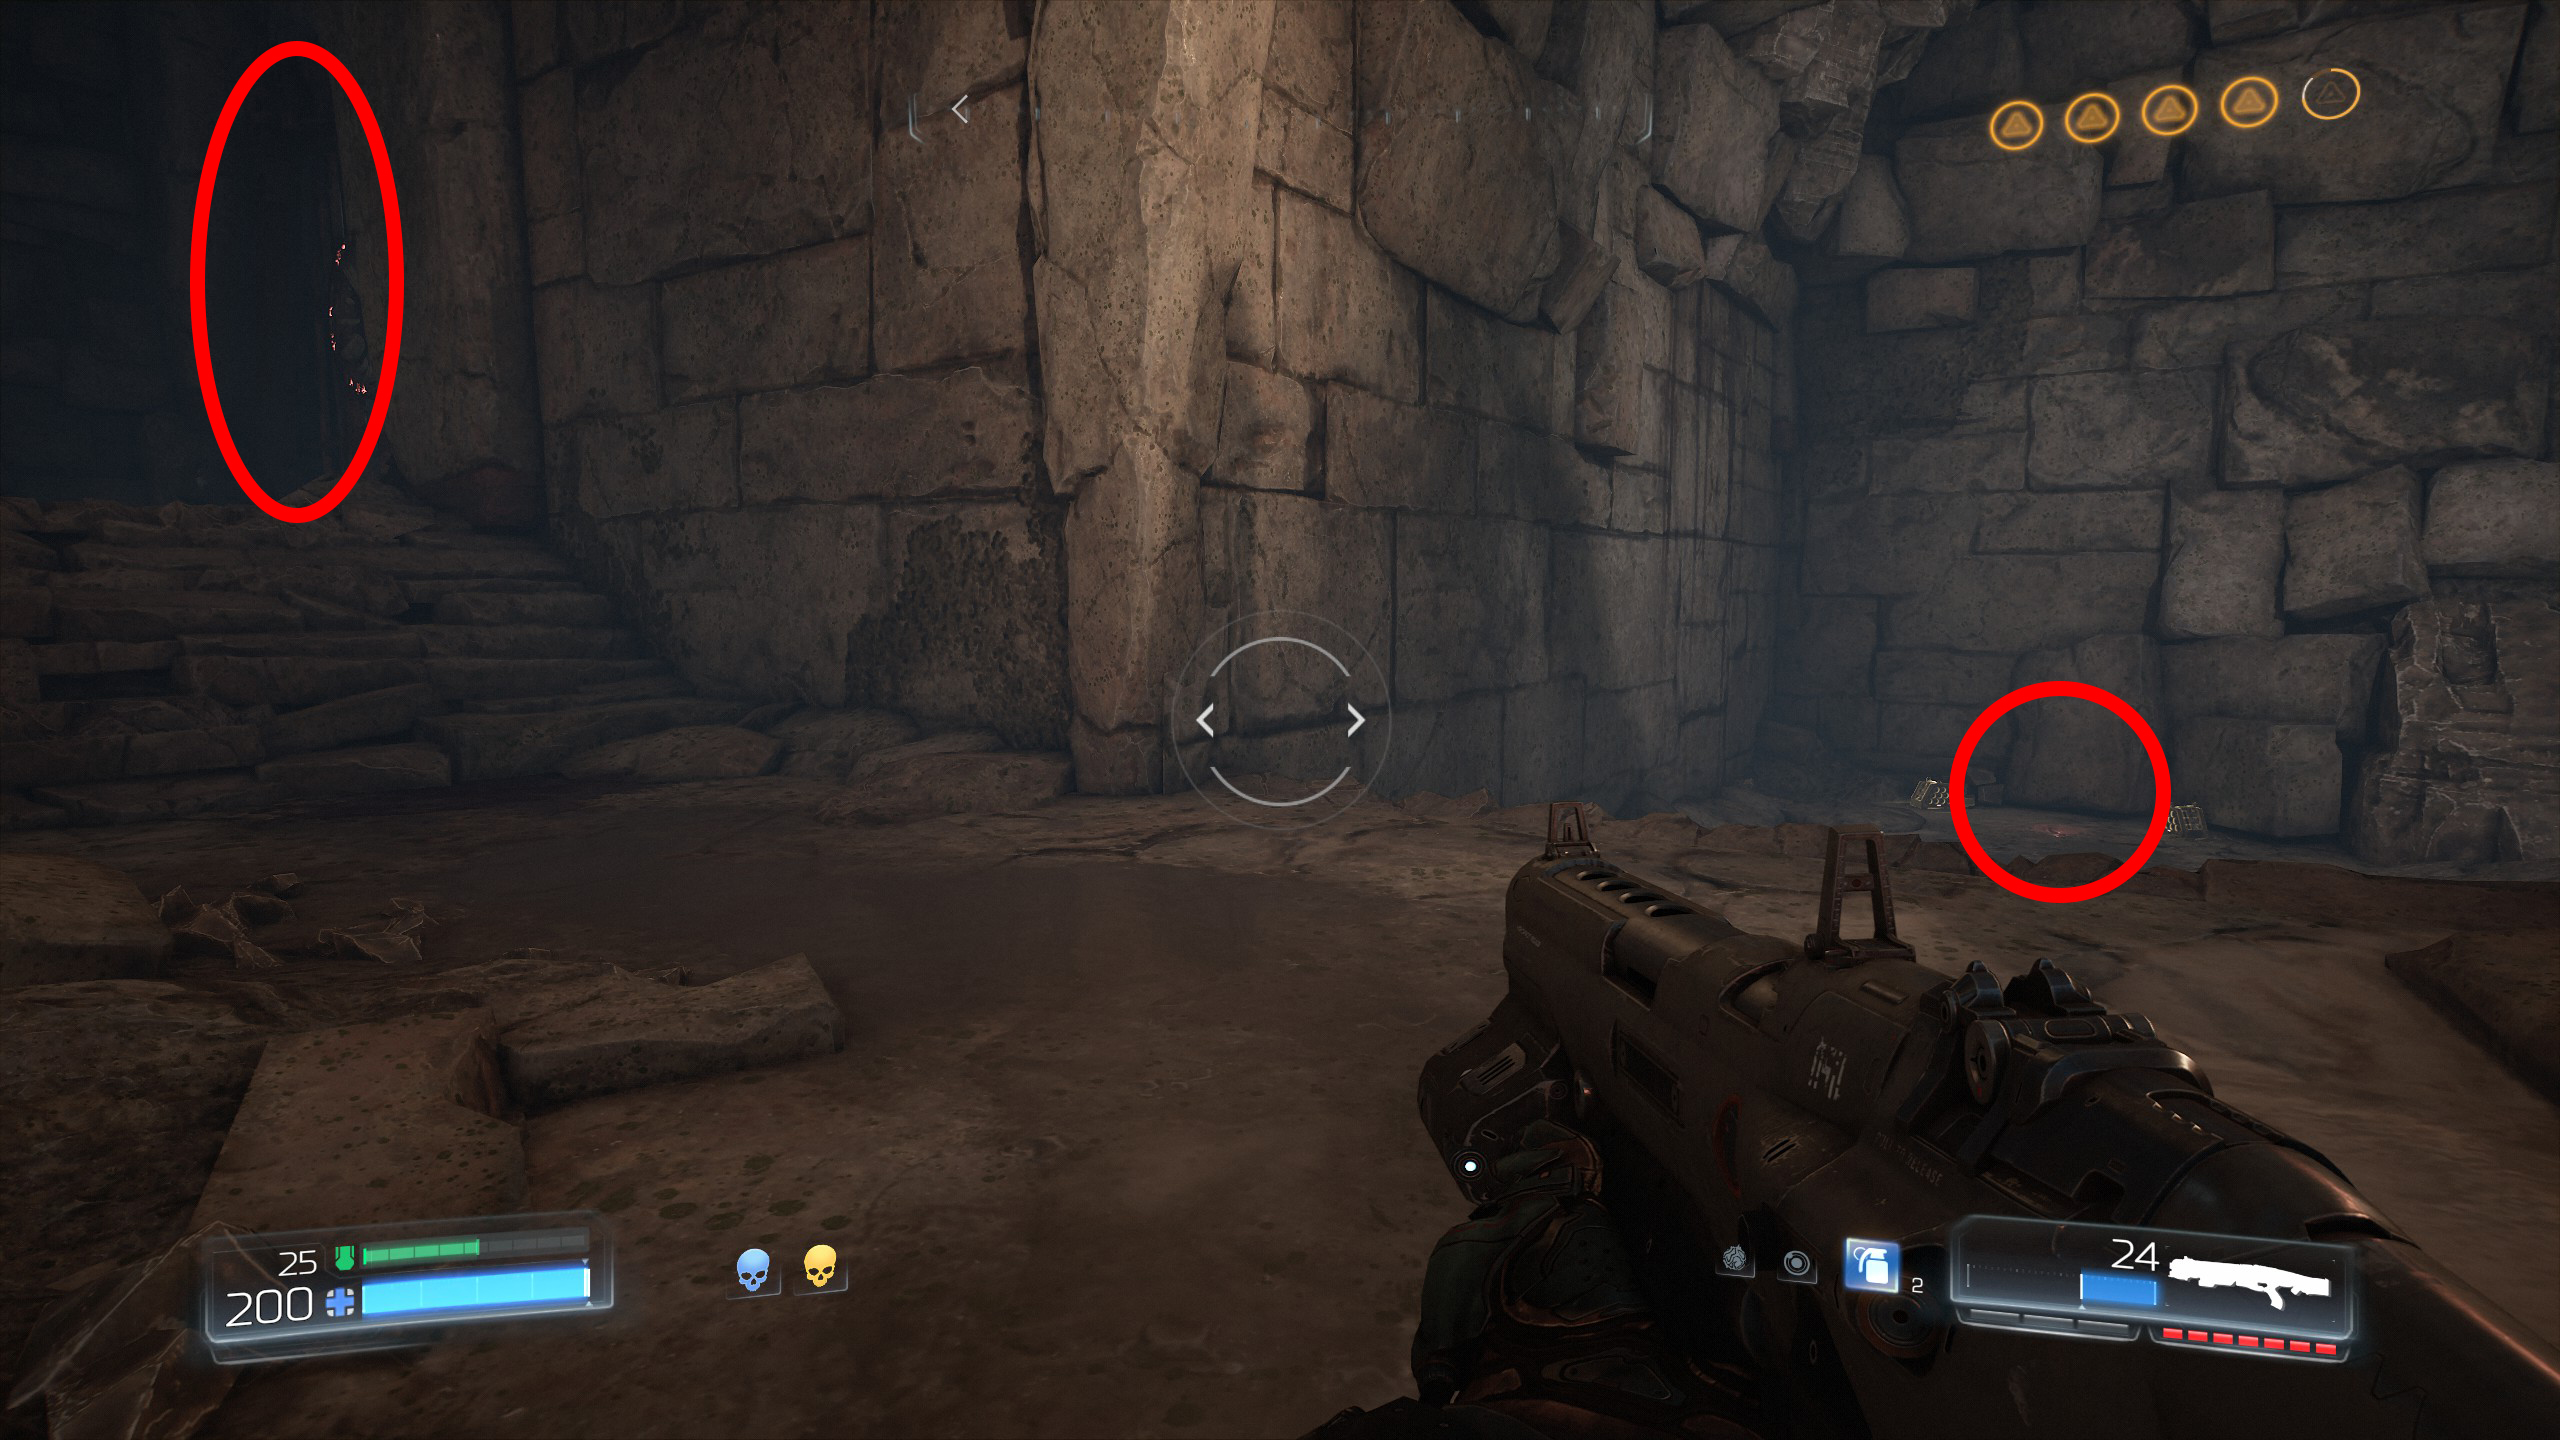
After killing all demons in the room face the portal (do not enter the portal) and notice on the right side a small opening with a lever inside that you will need to activate to unlock the secret room.
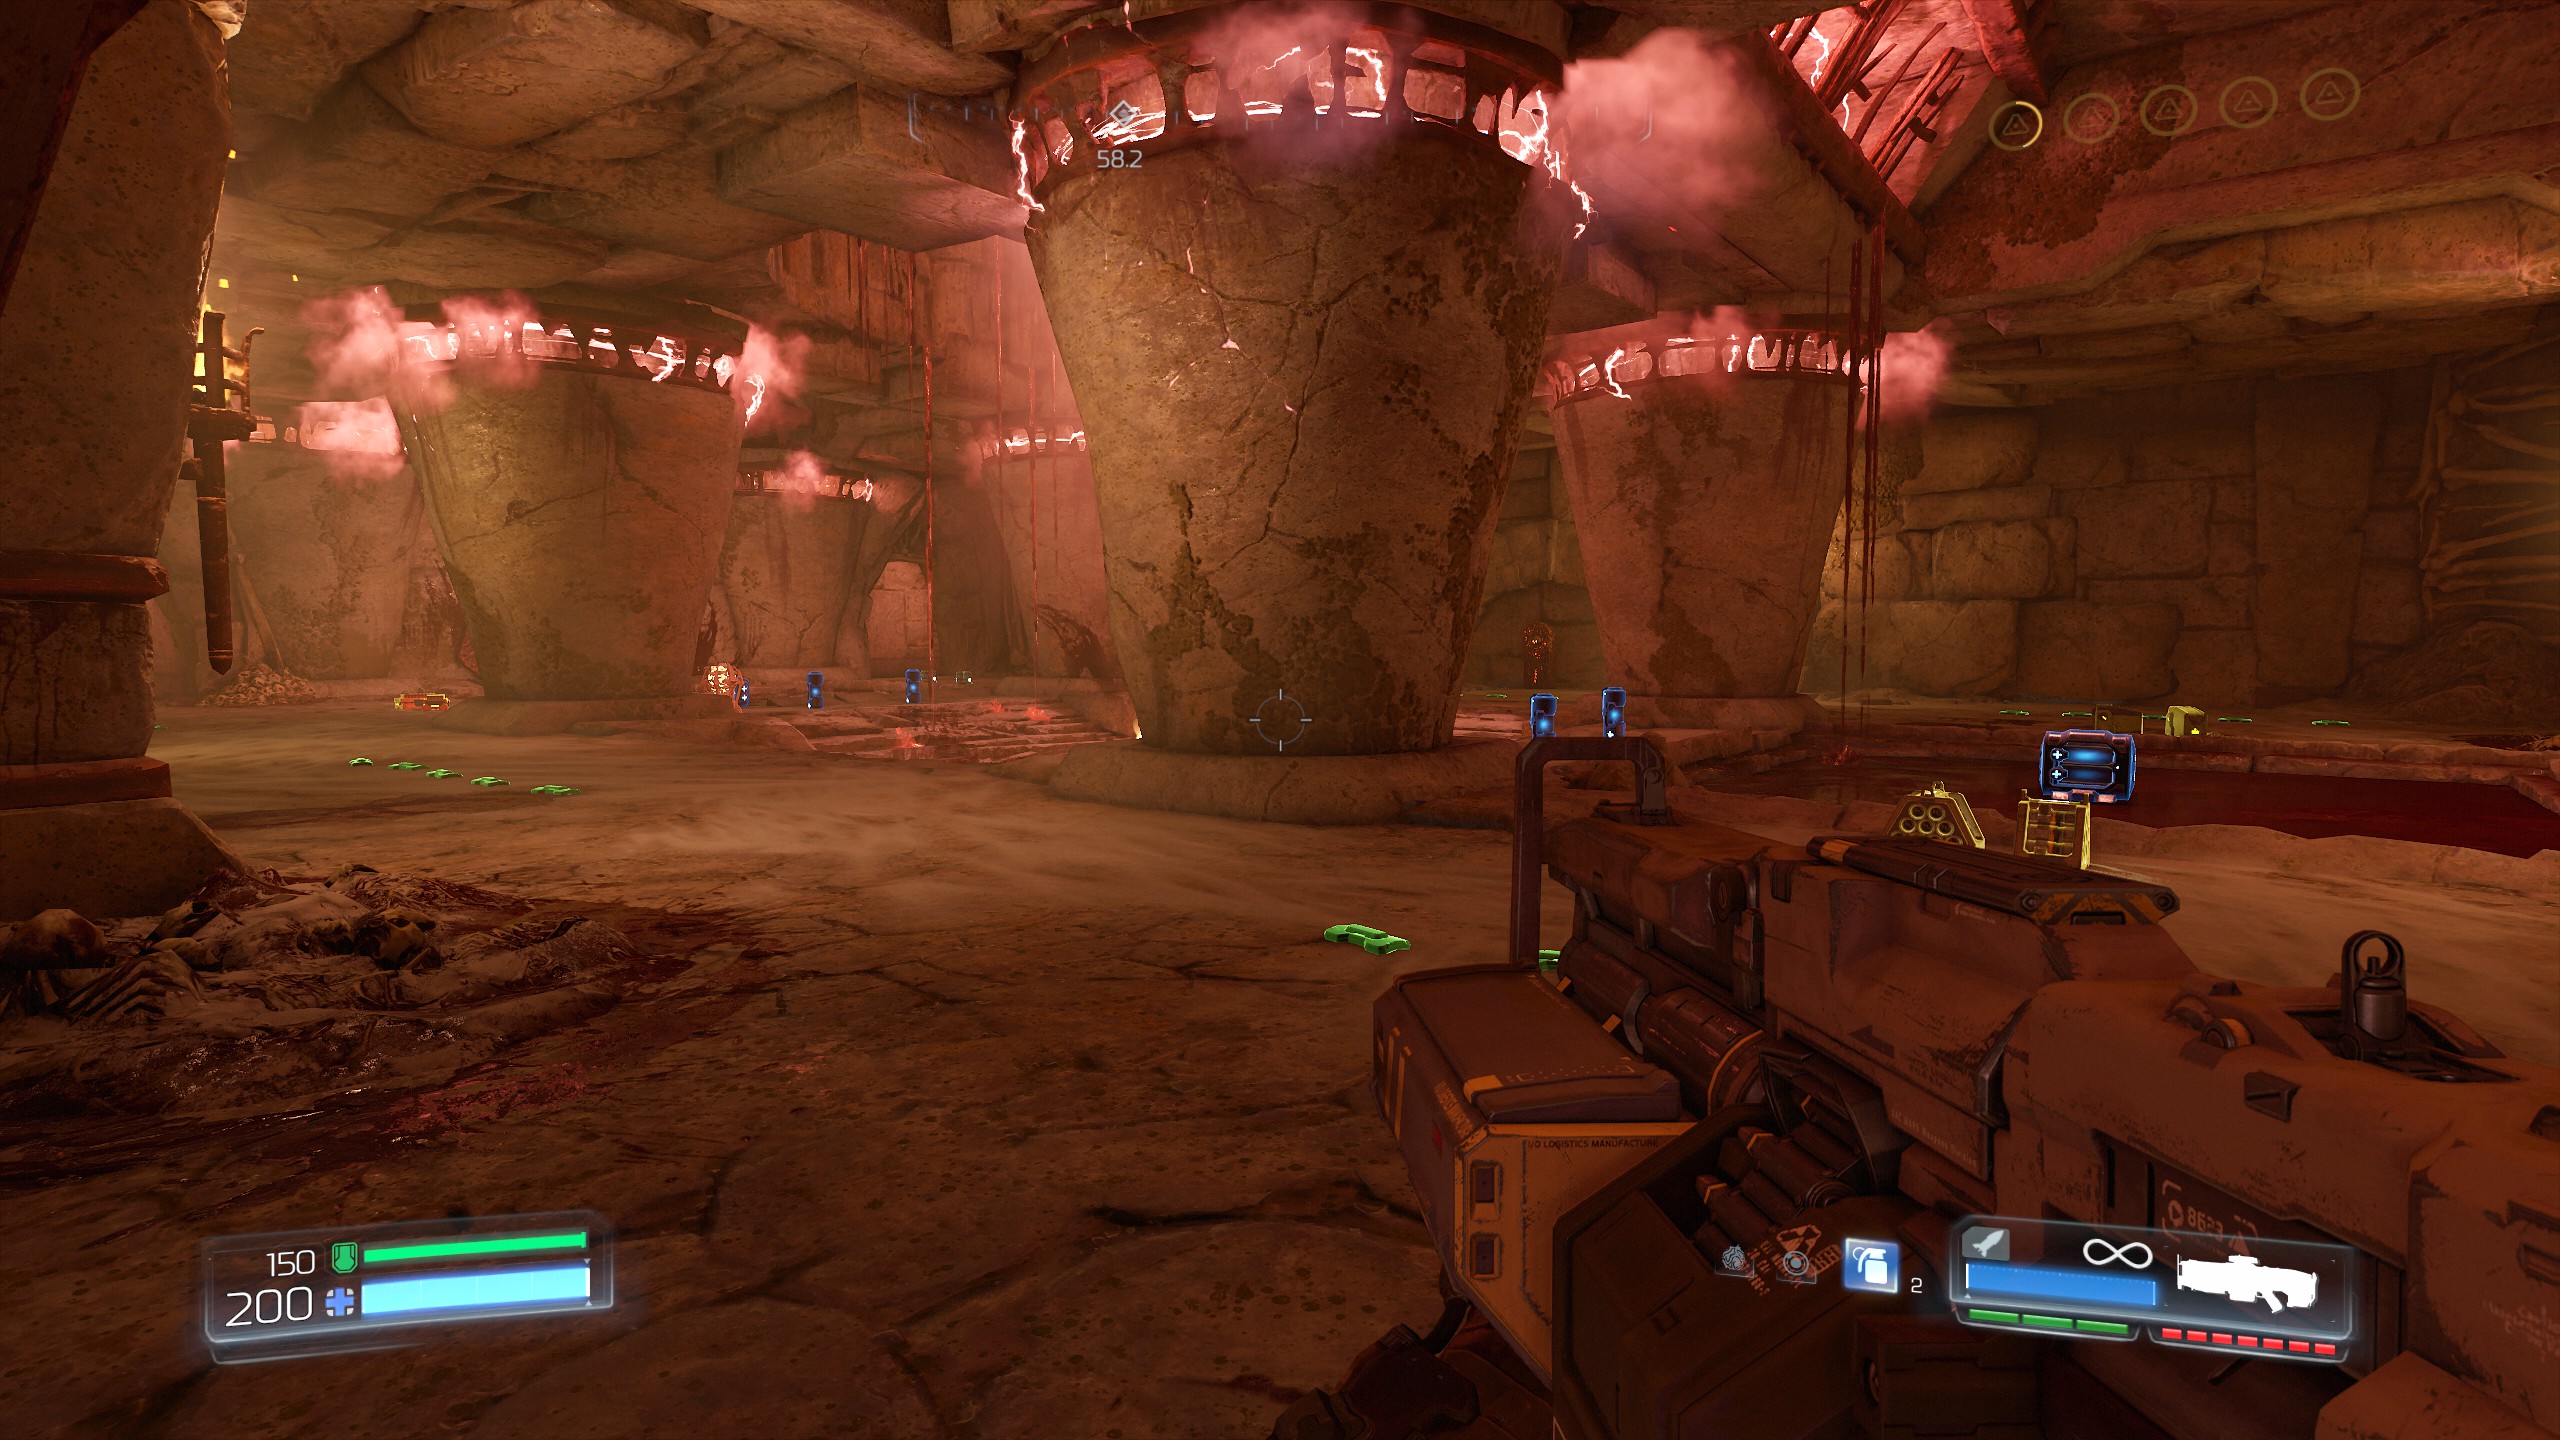
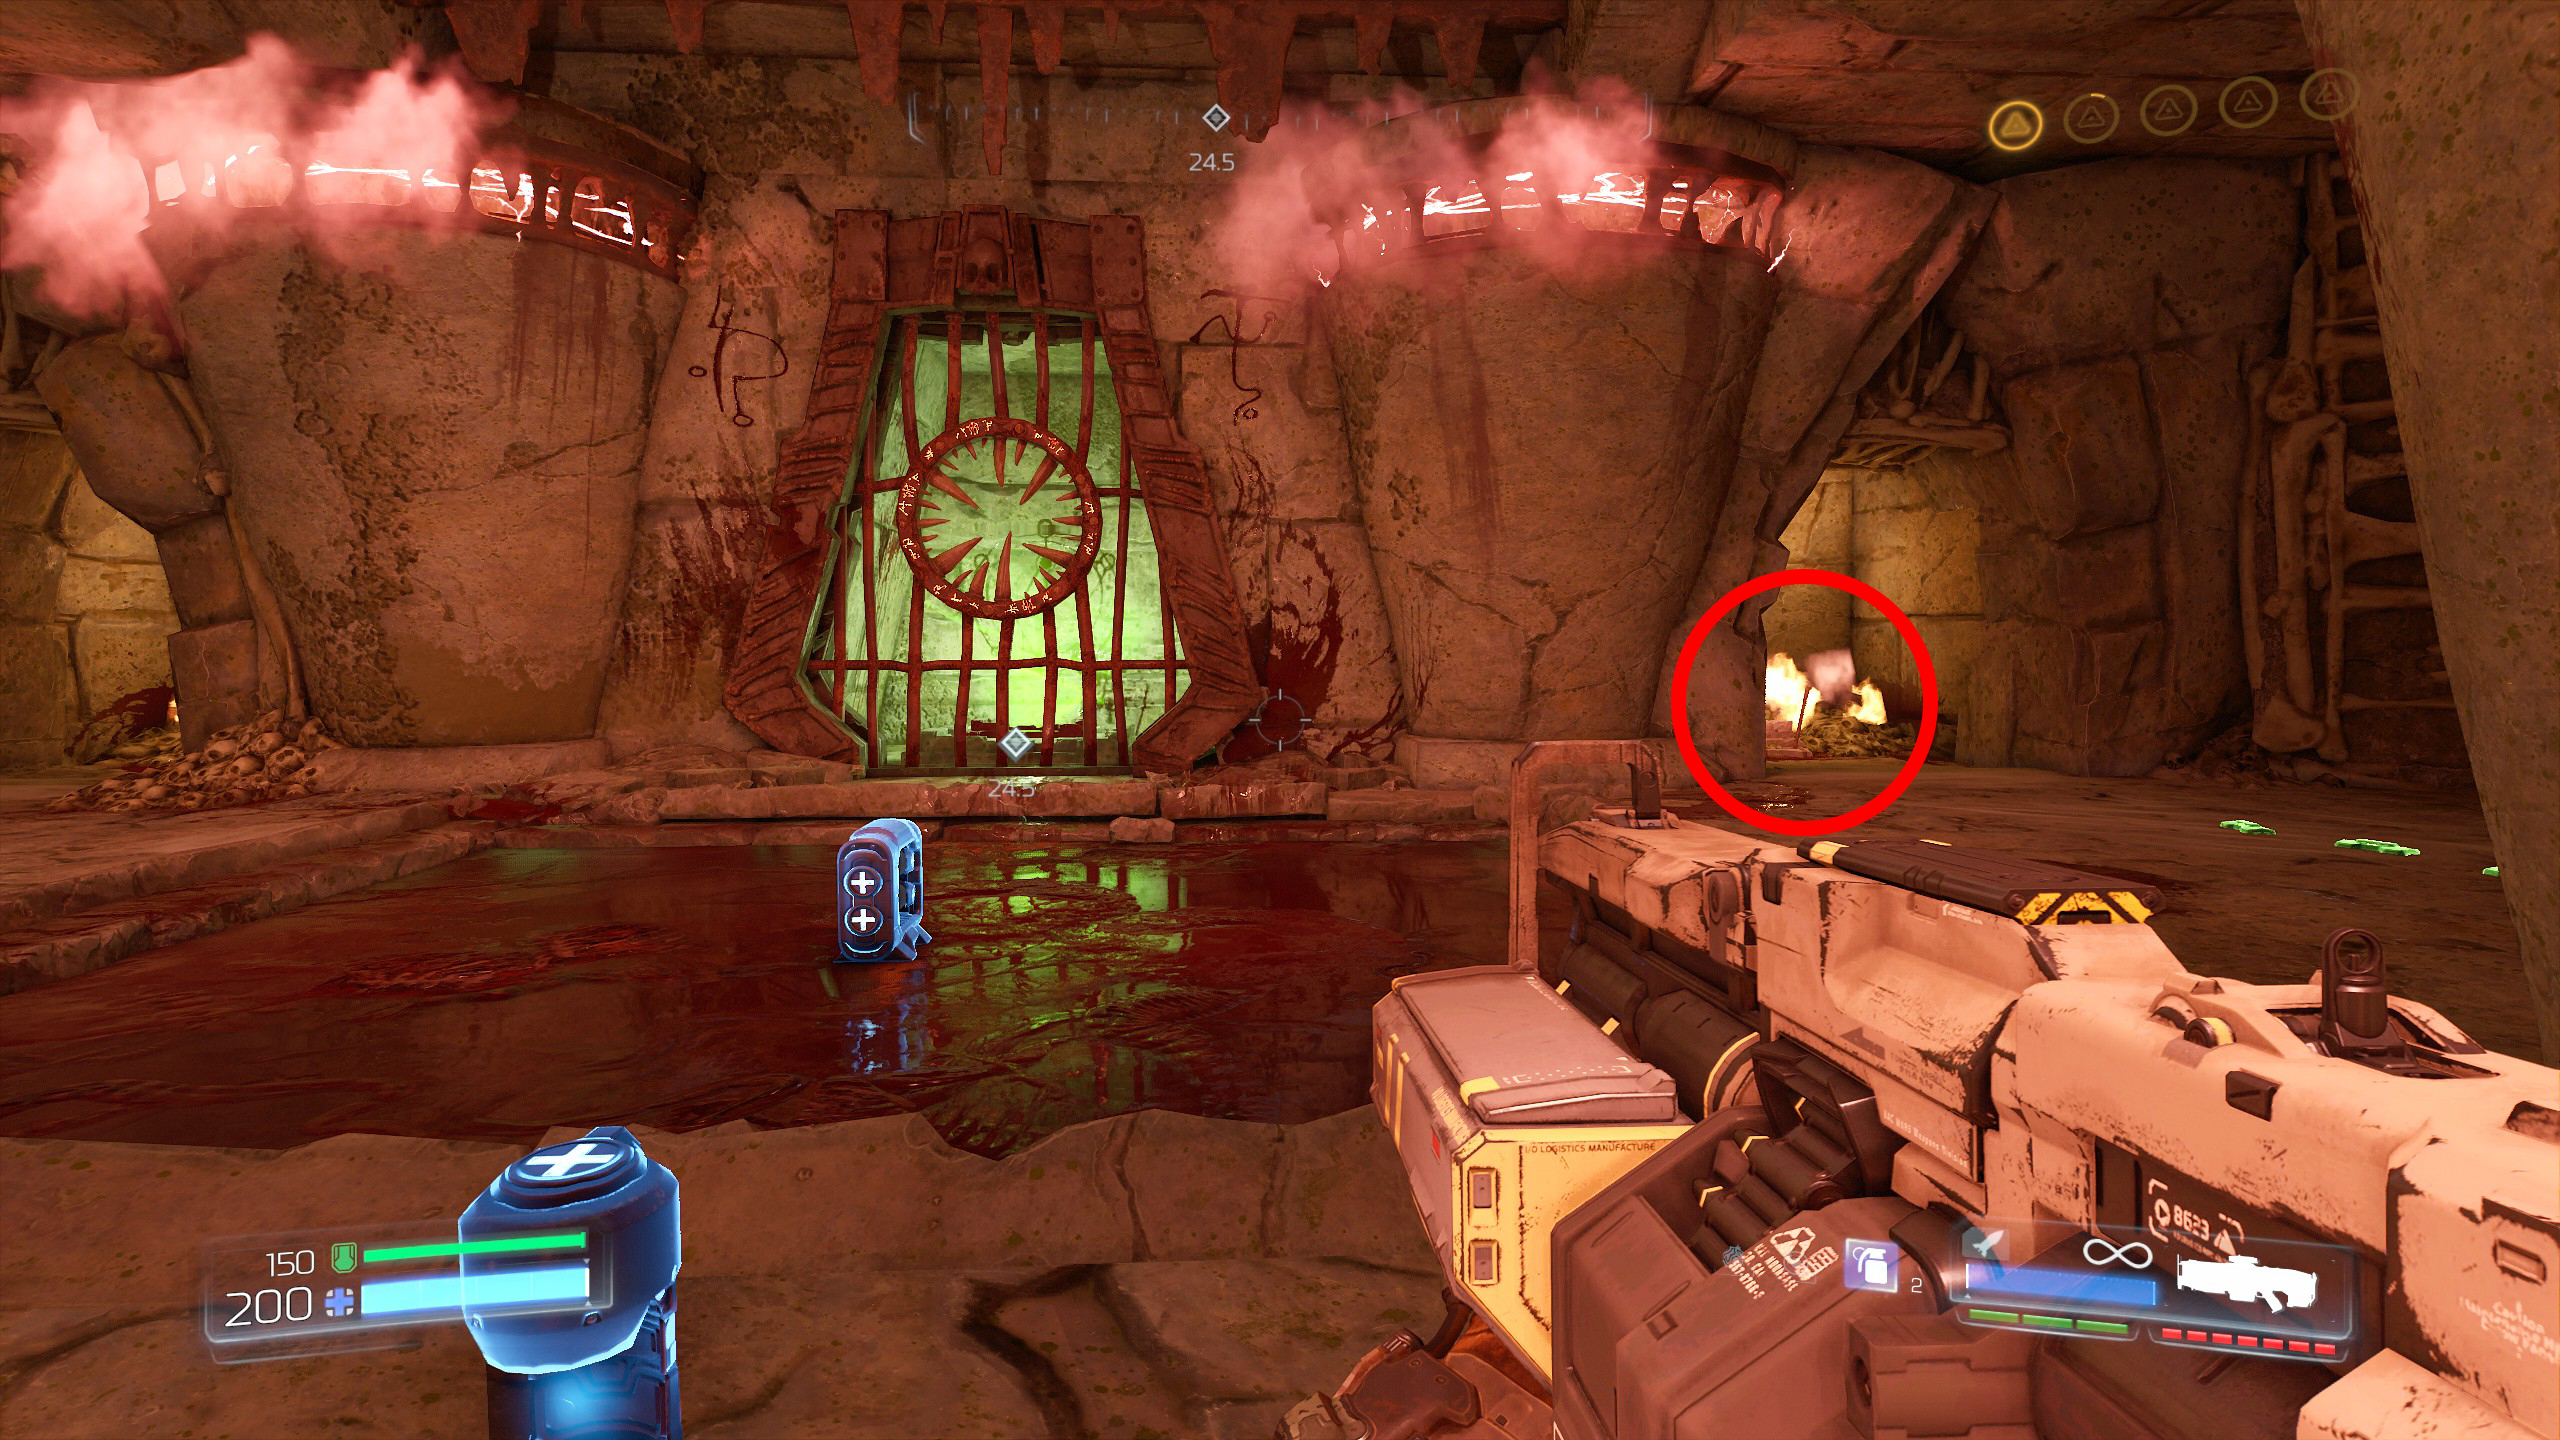
Once the lever is activated exit the room from the same way you came in (again do not enter the portal) and continue straight ahead until you reach the wall, on the right side you will find the secret room, go inside to gain secret number 1.
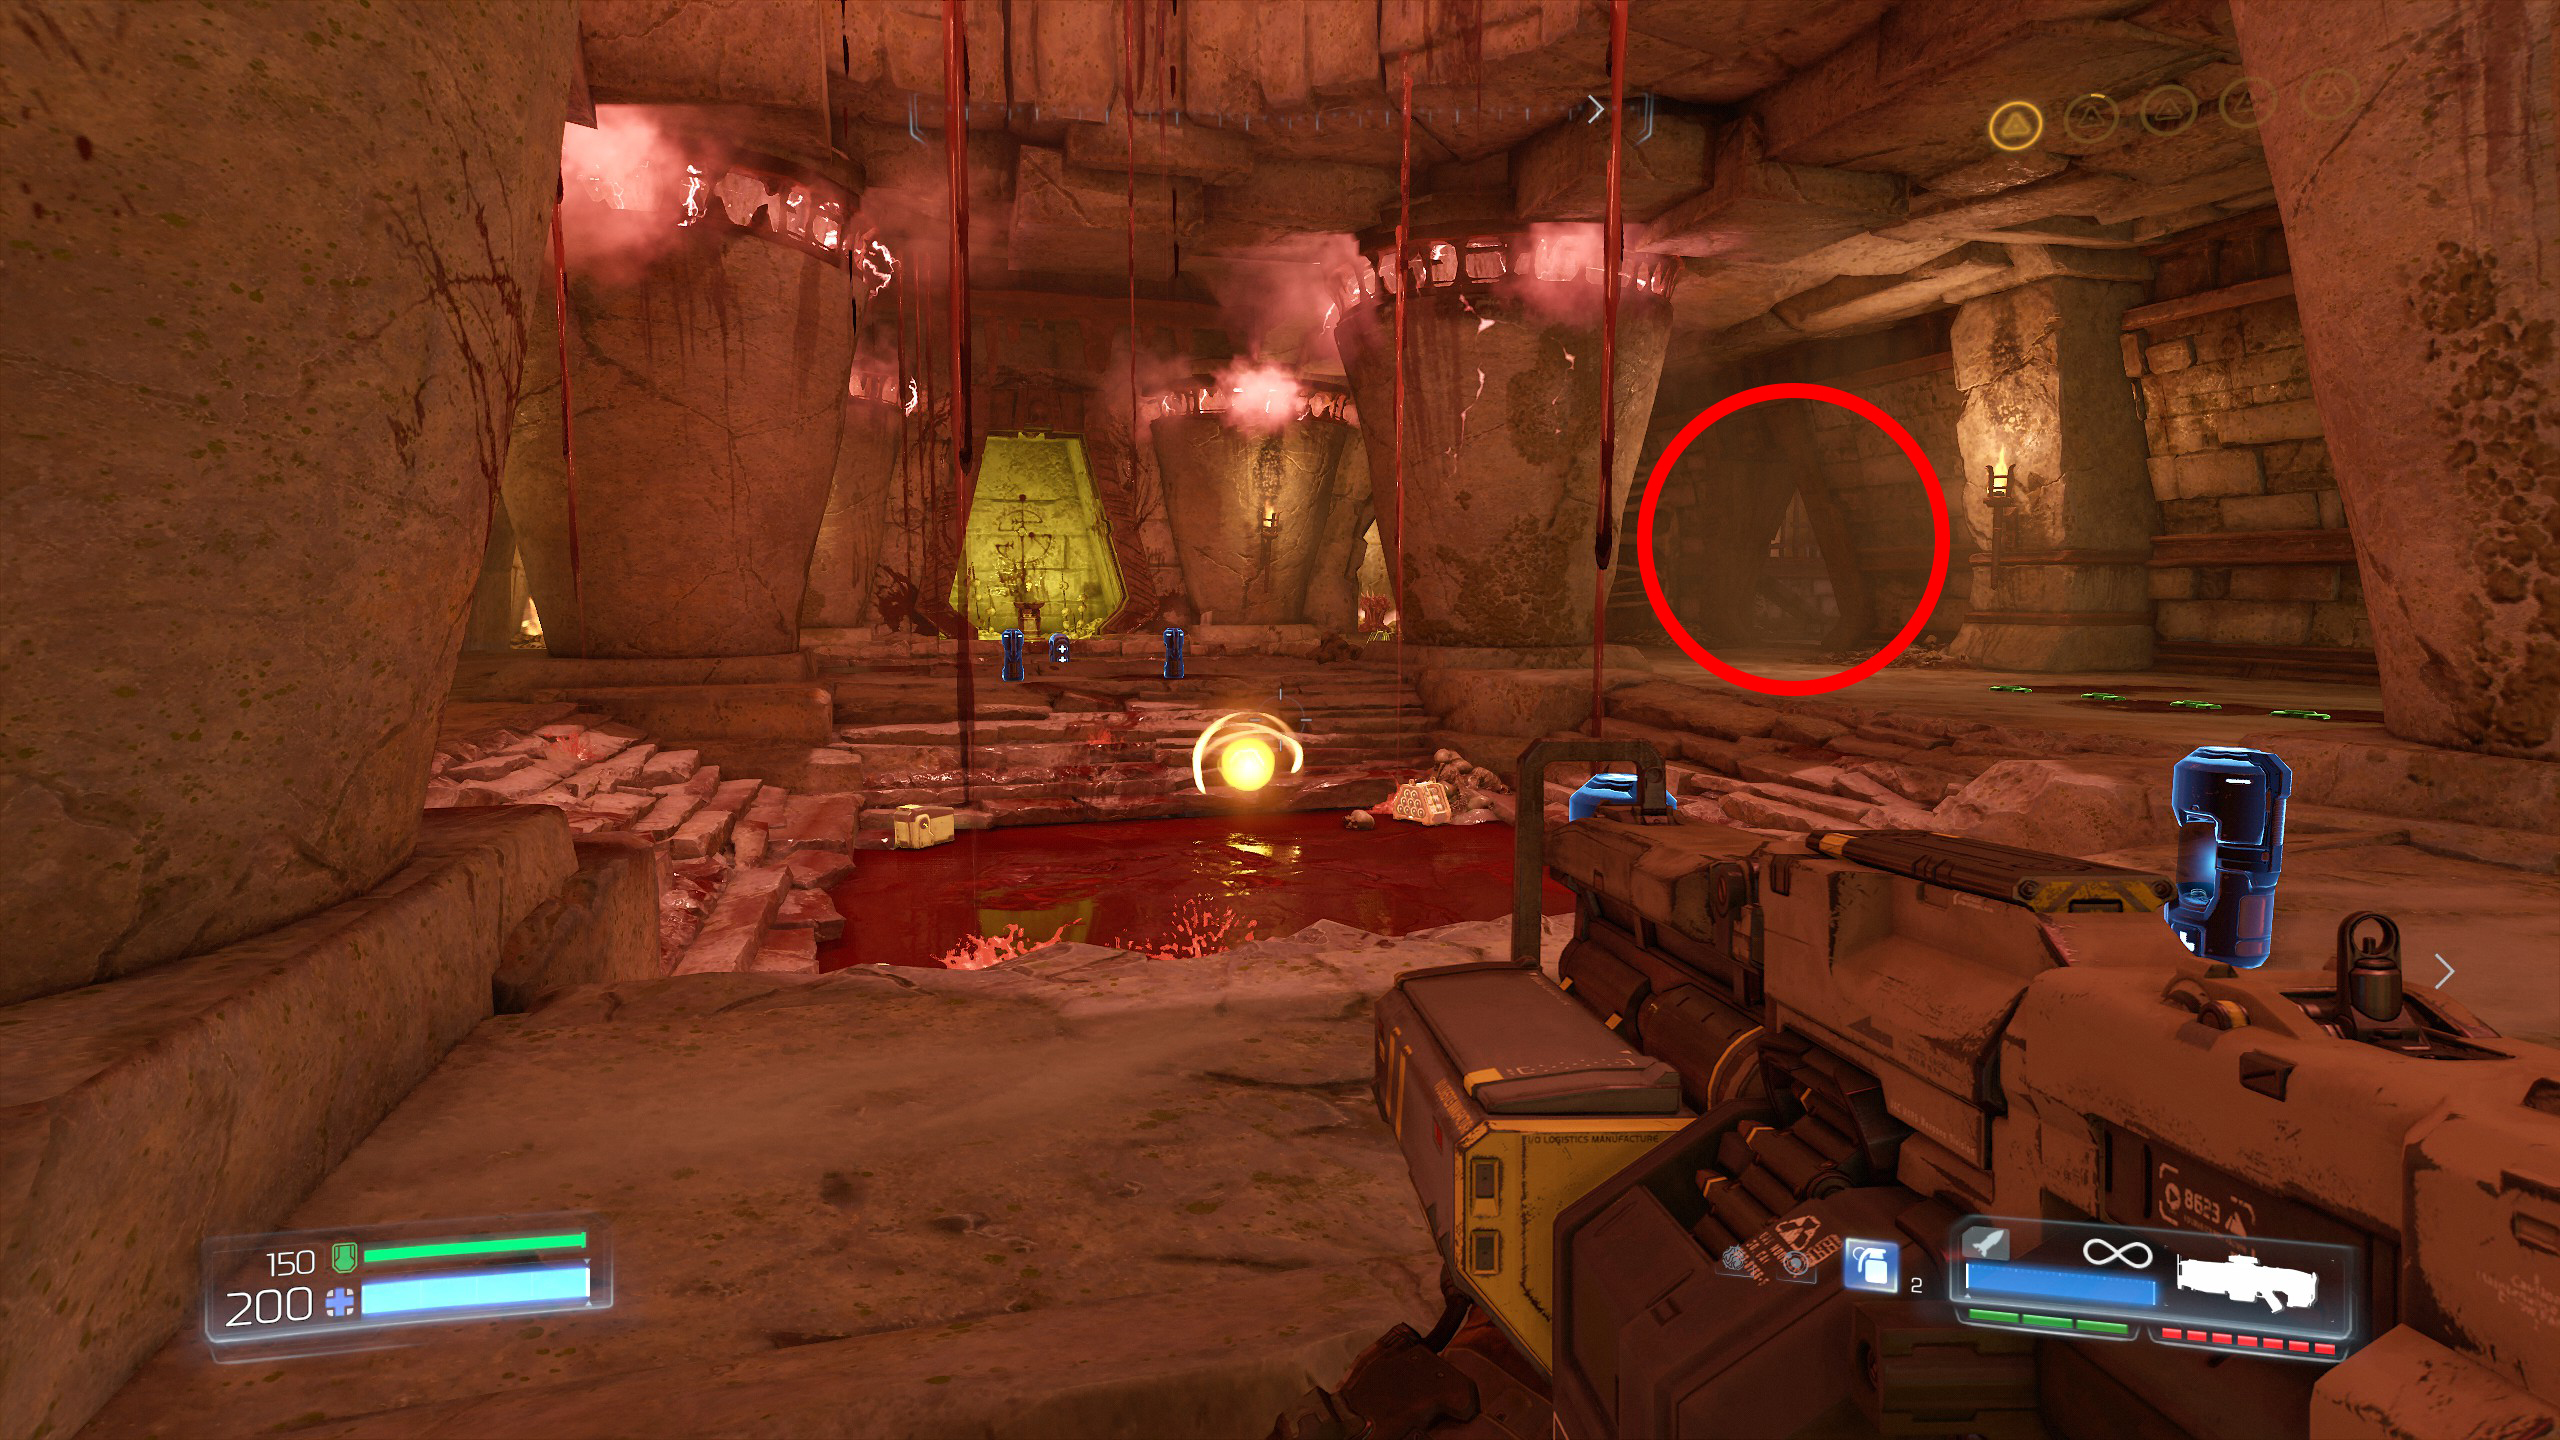
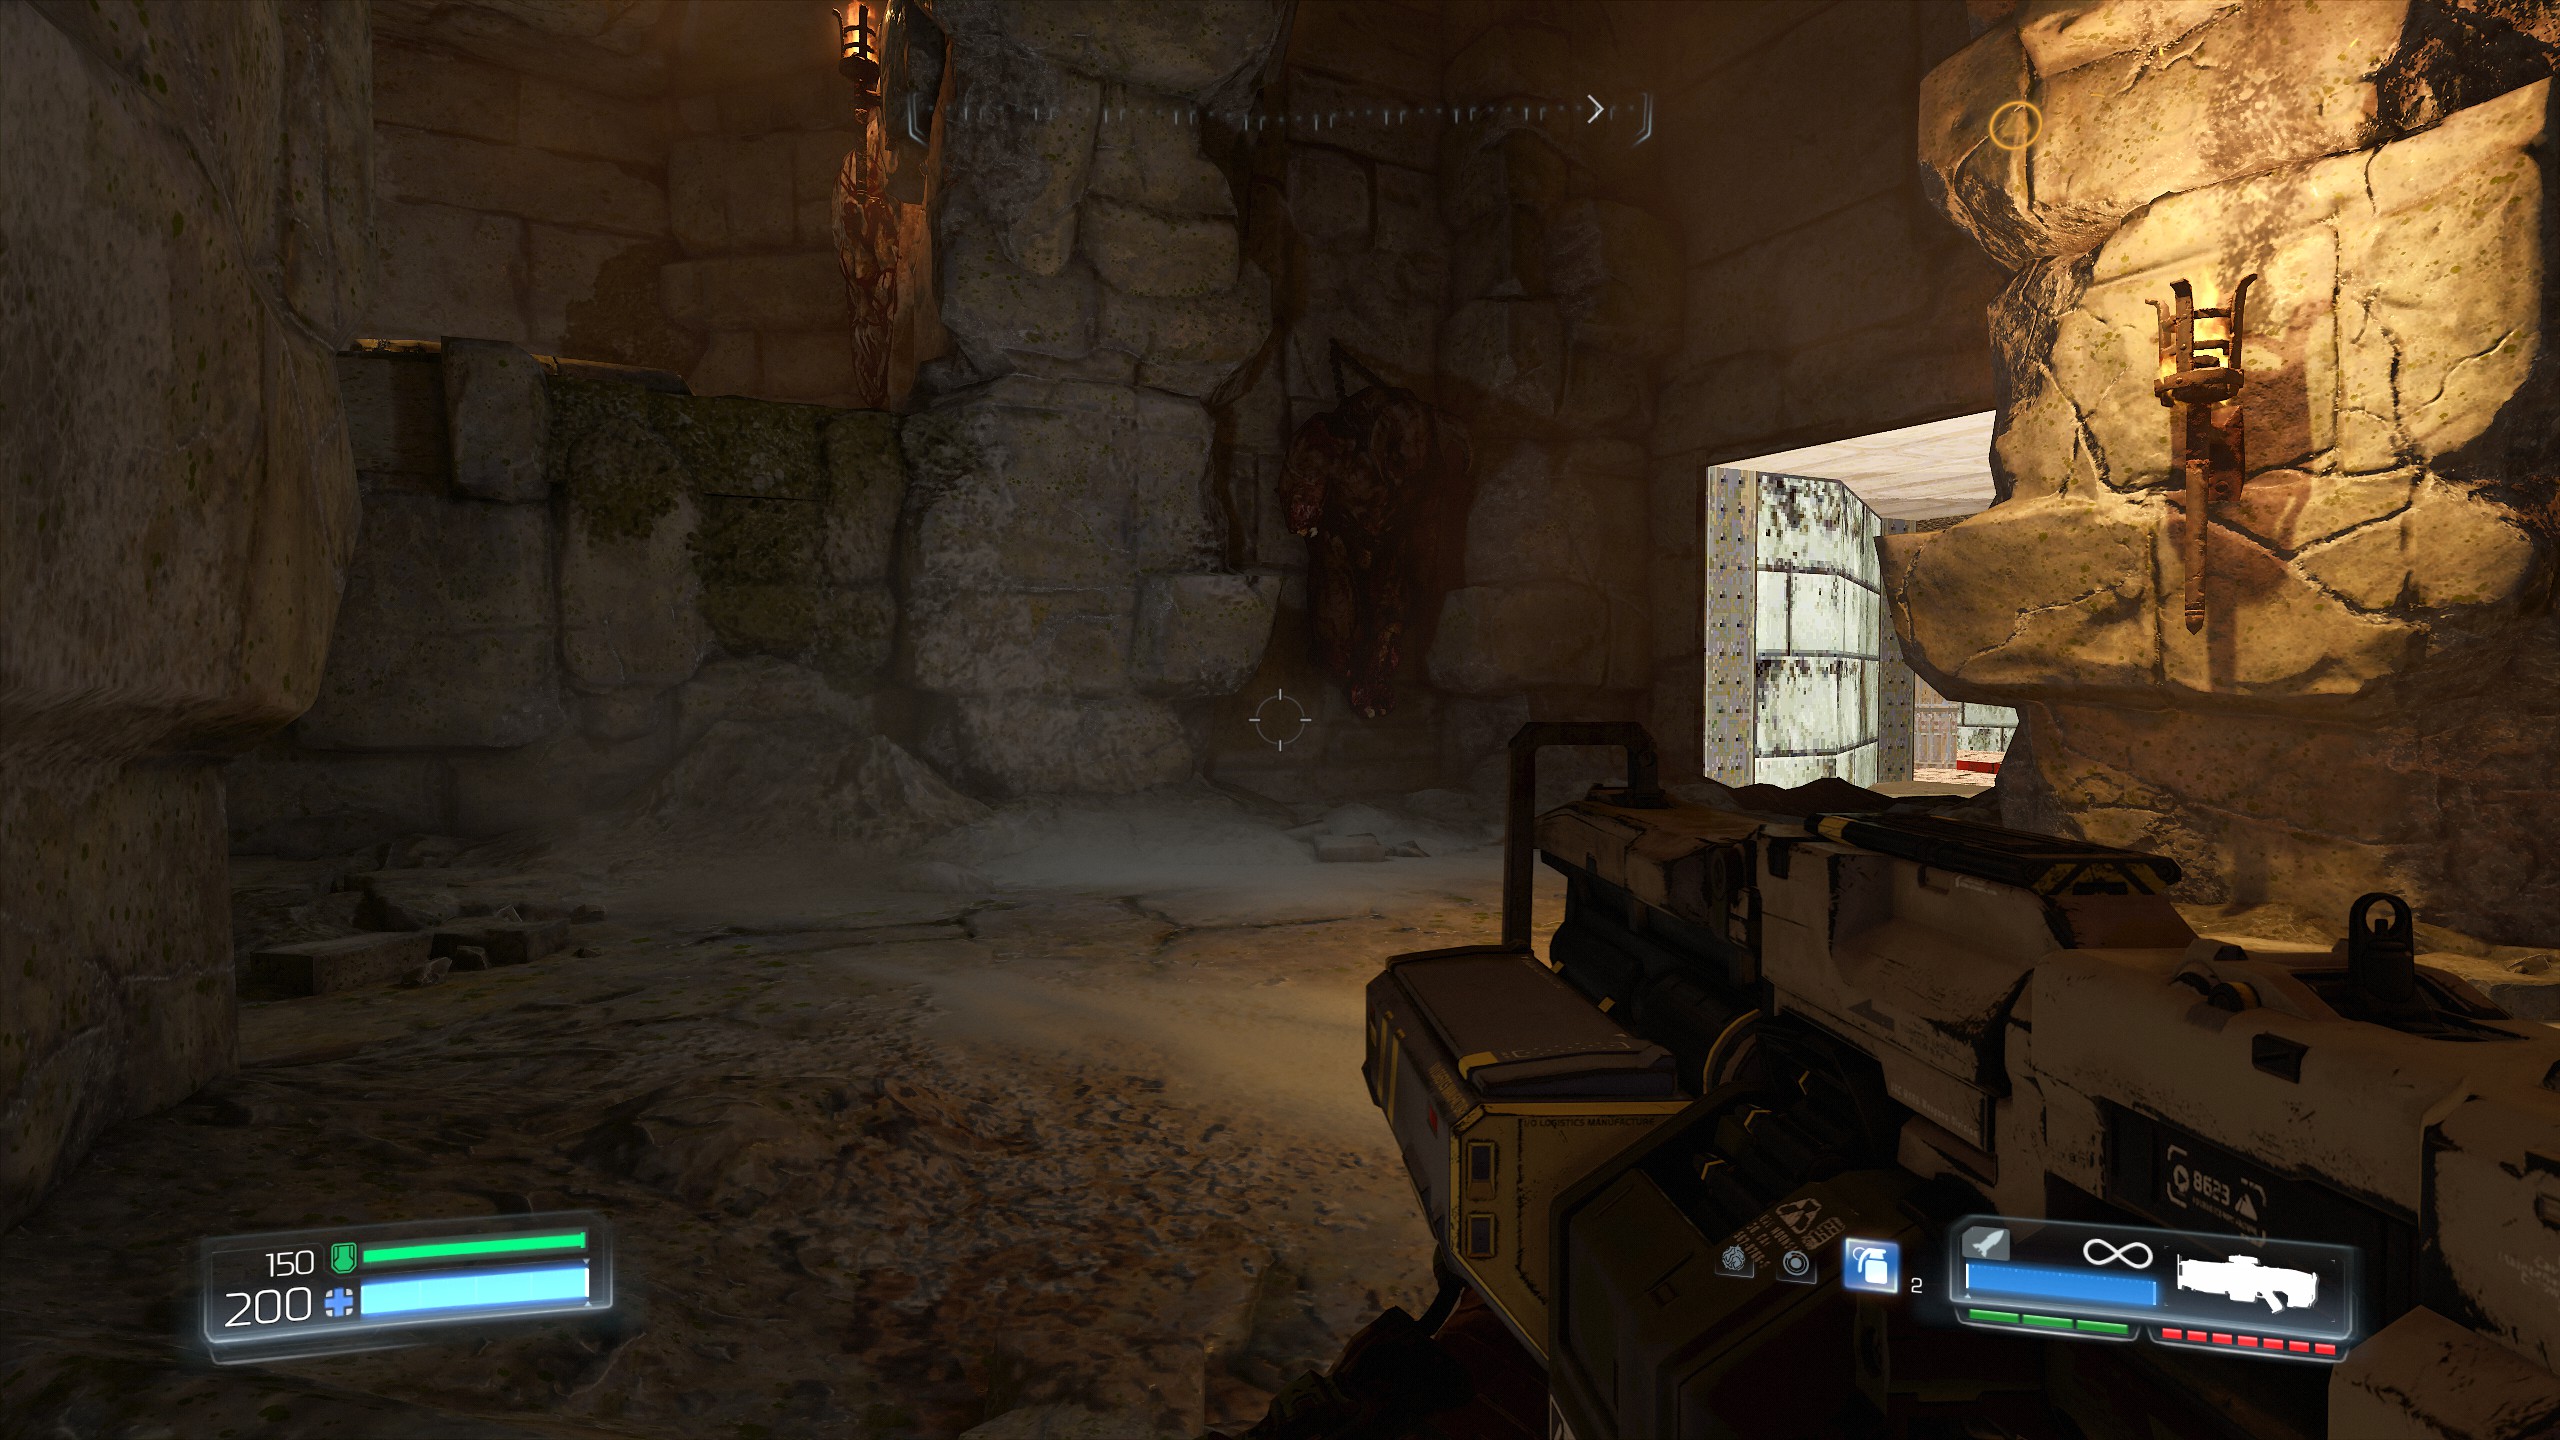
Now you can go back and through the portal to continue.
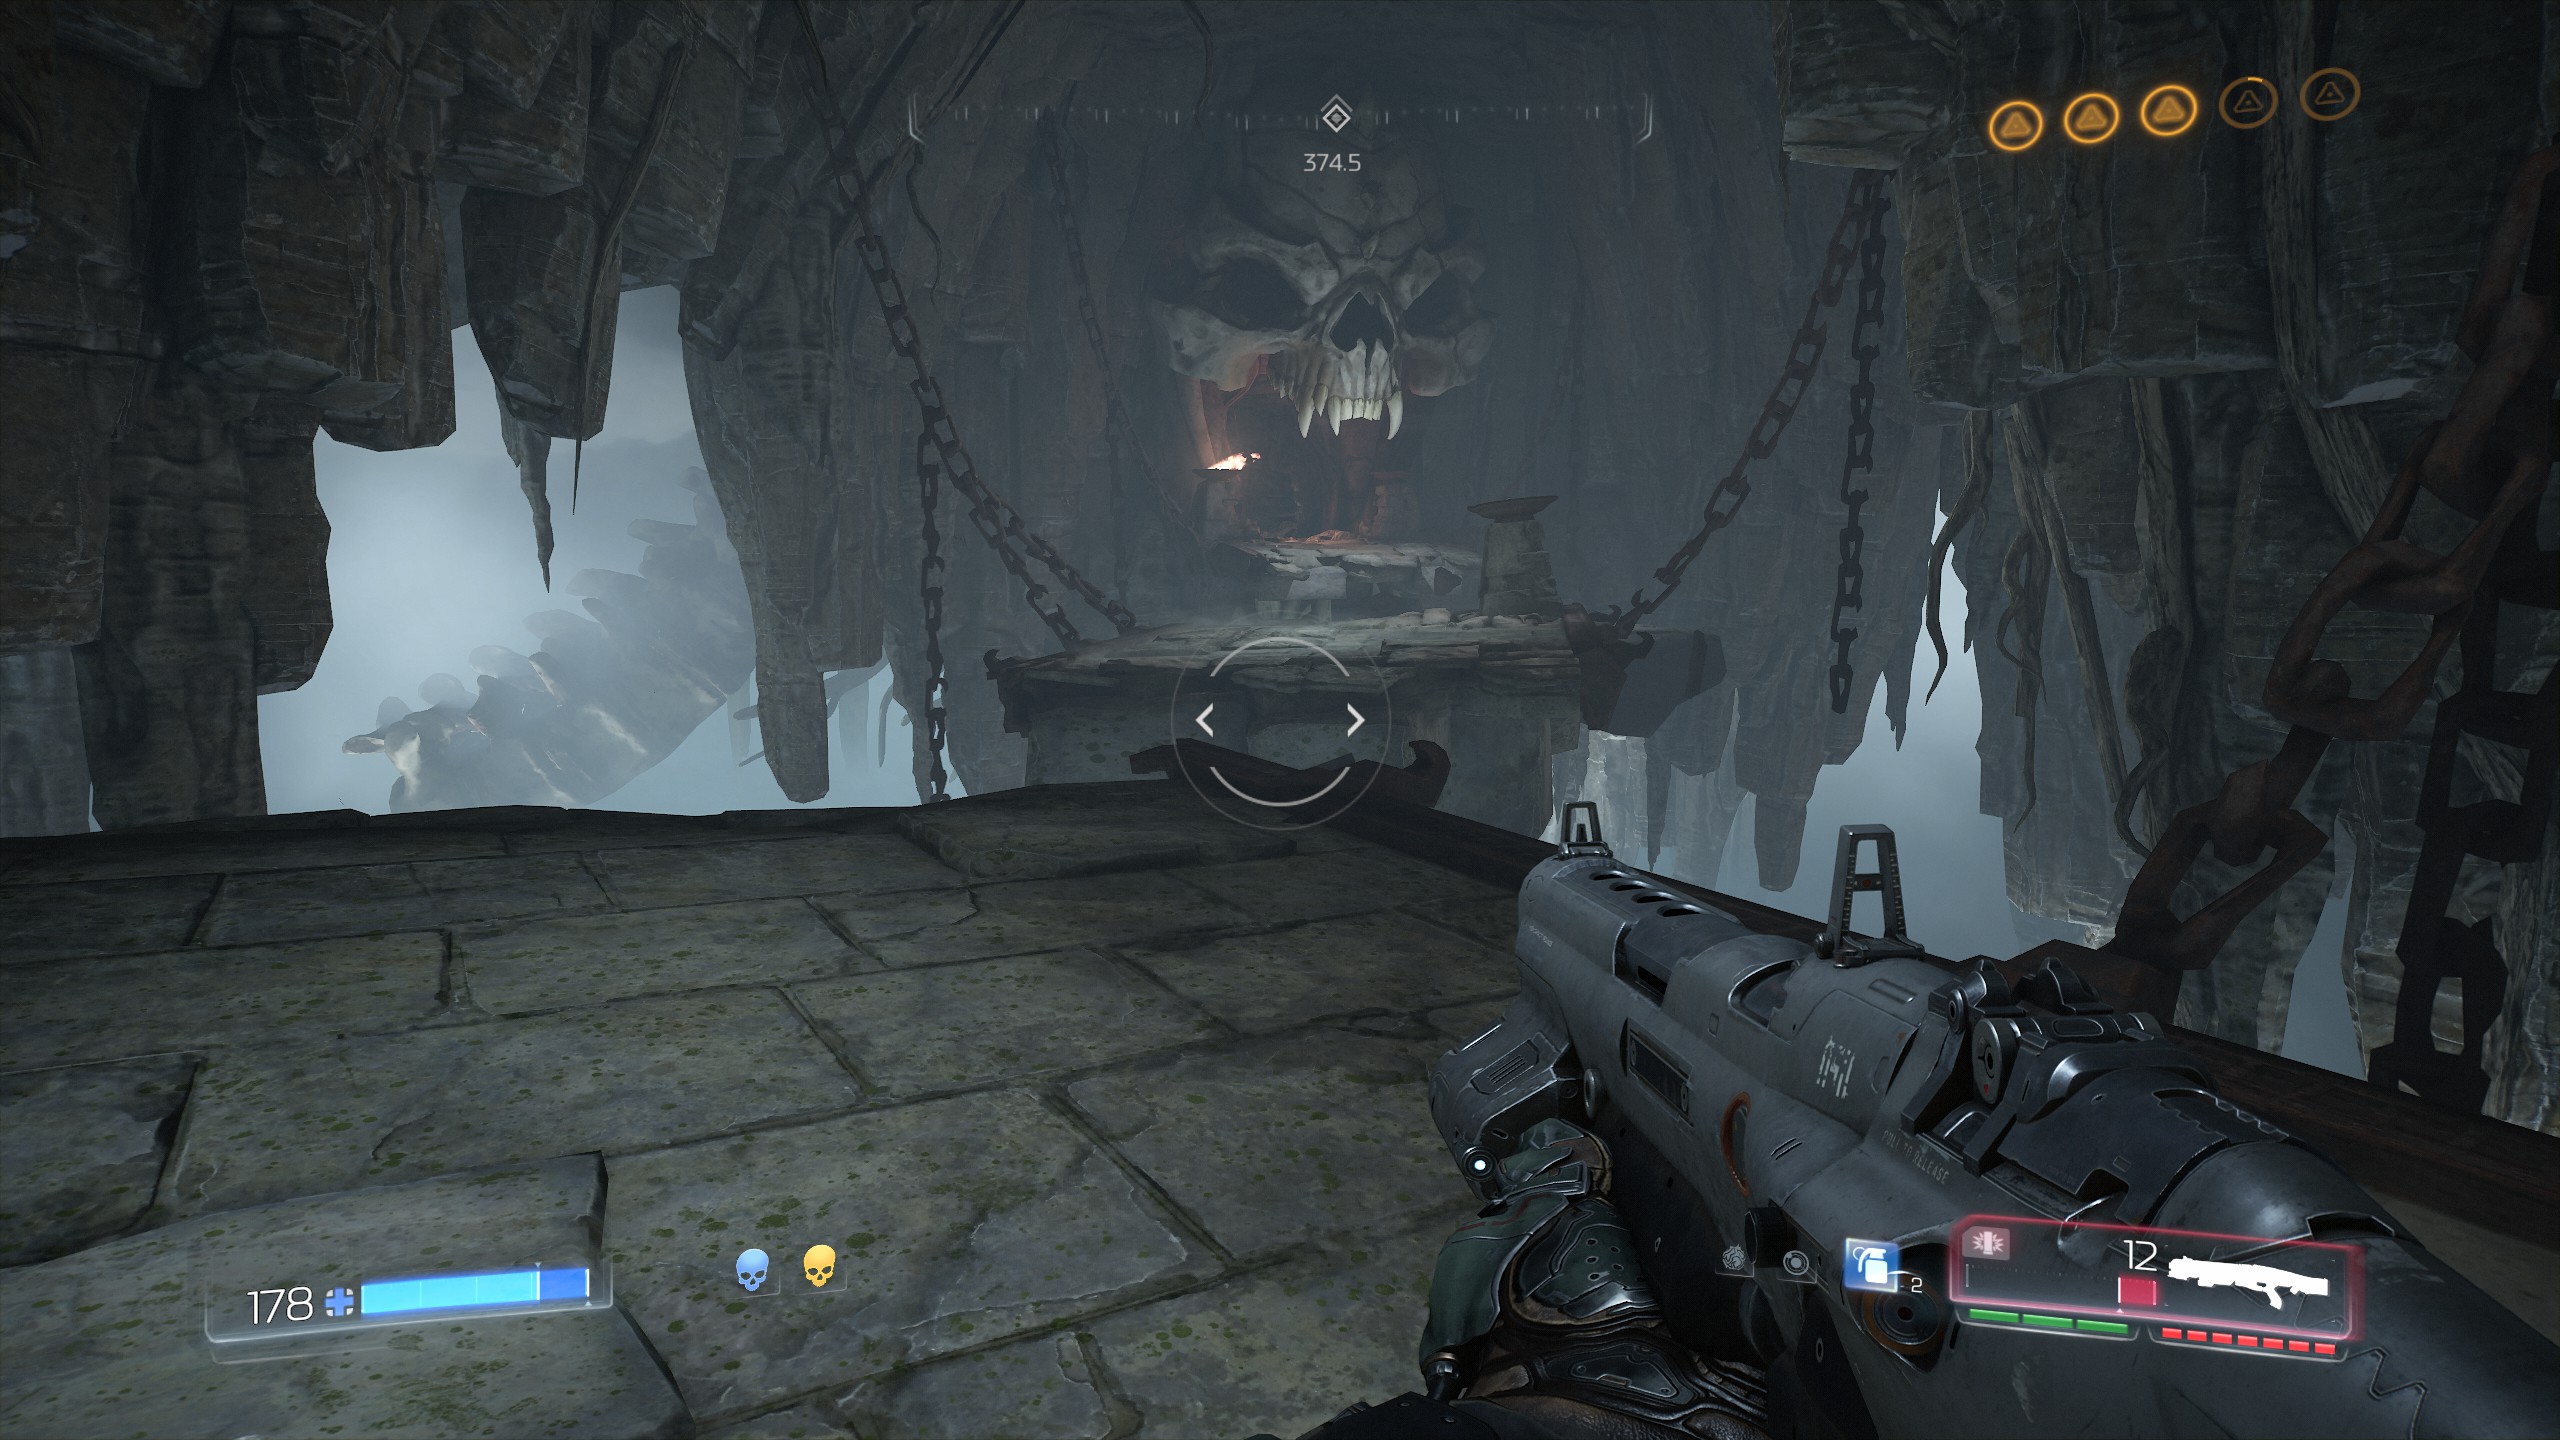
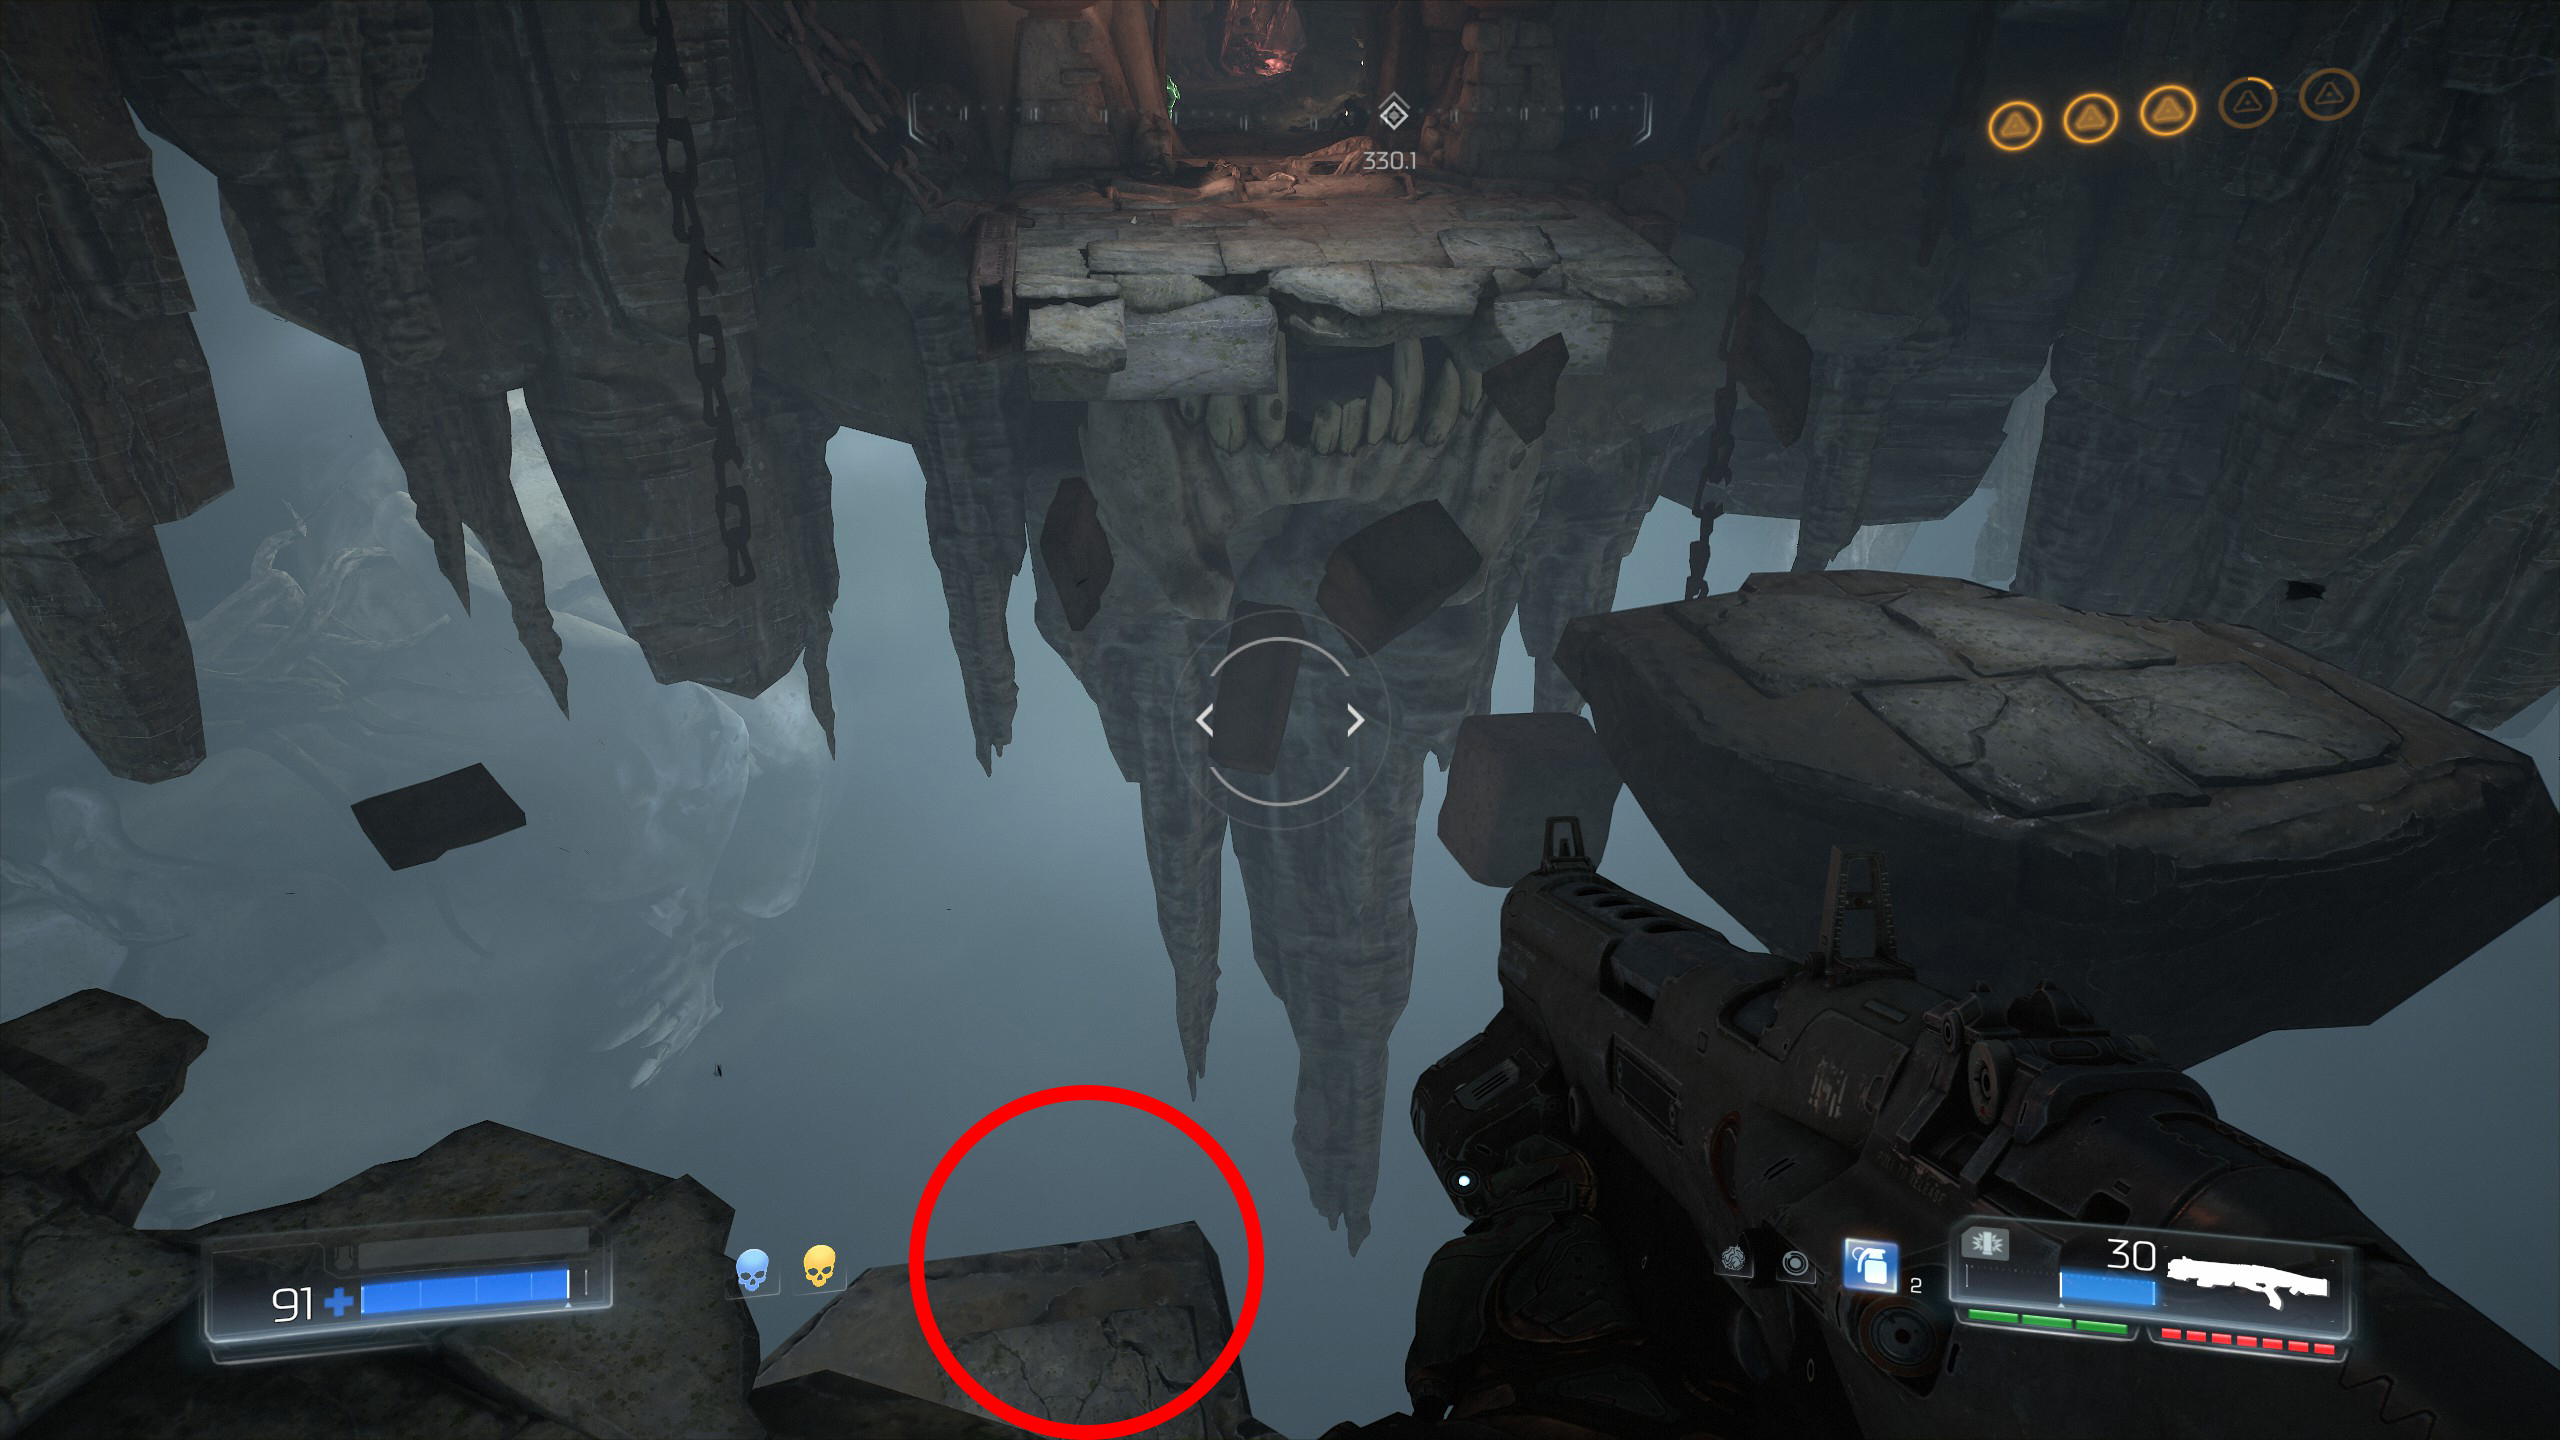
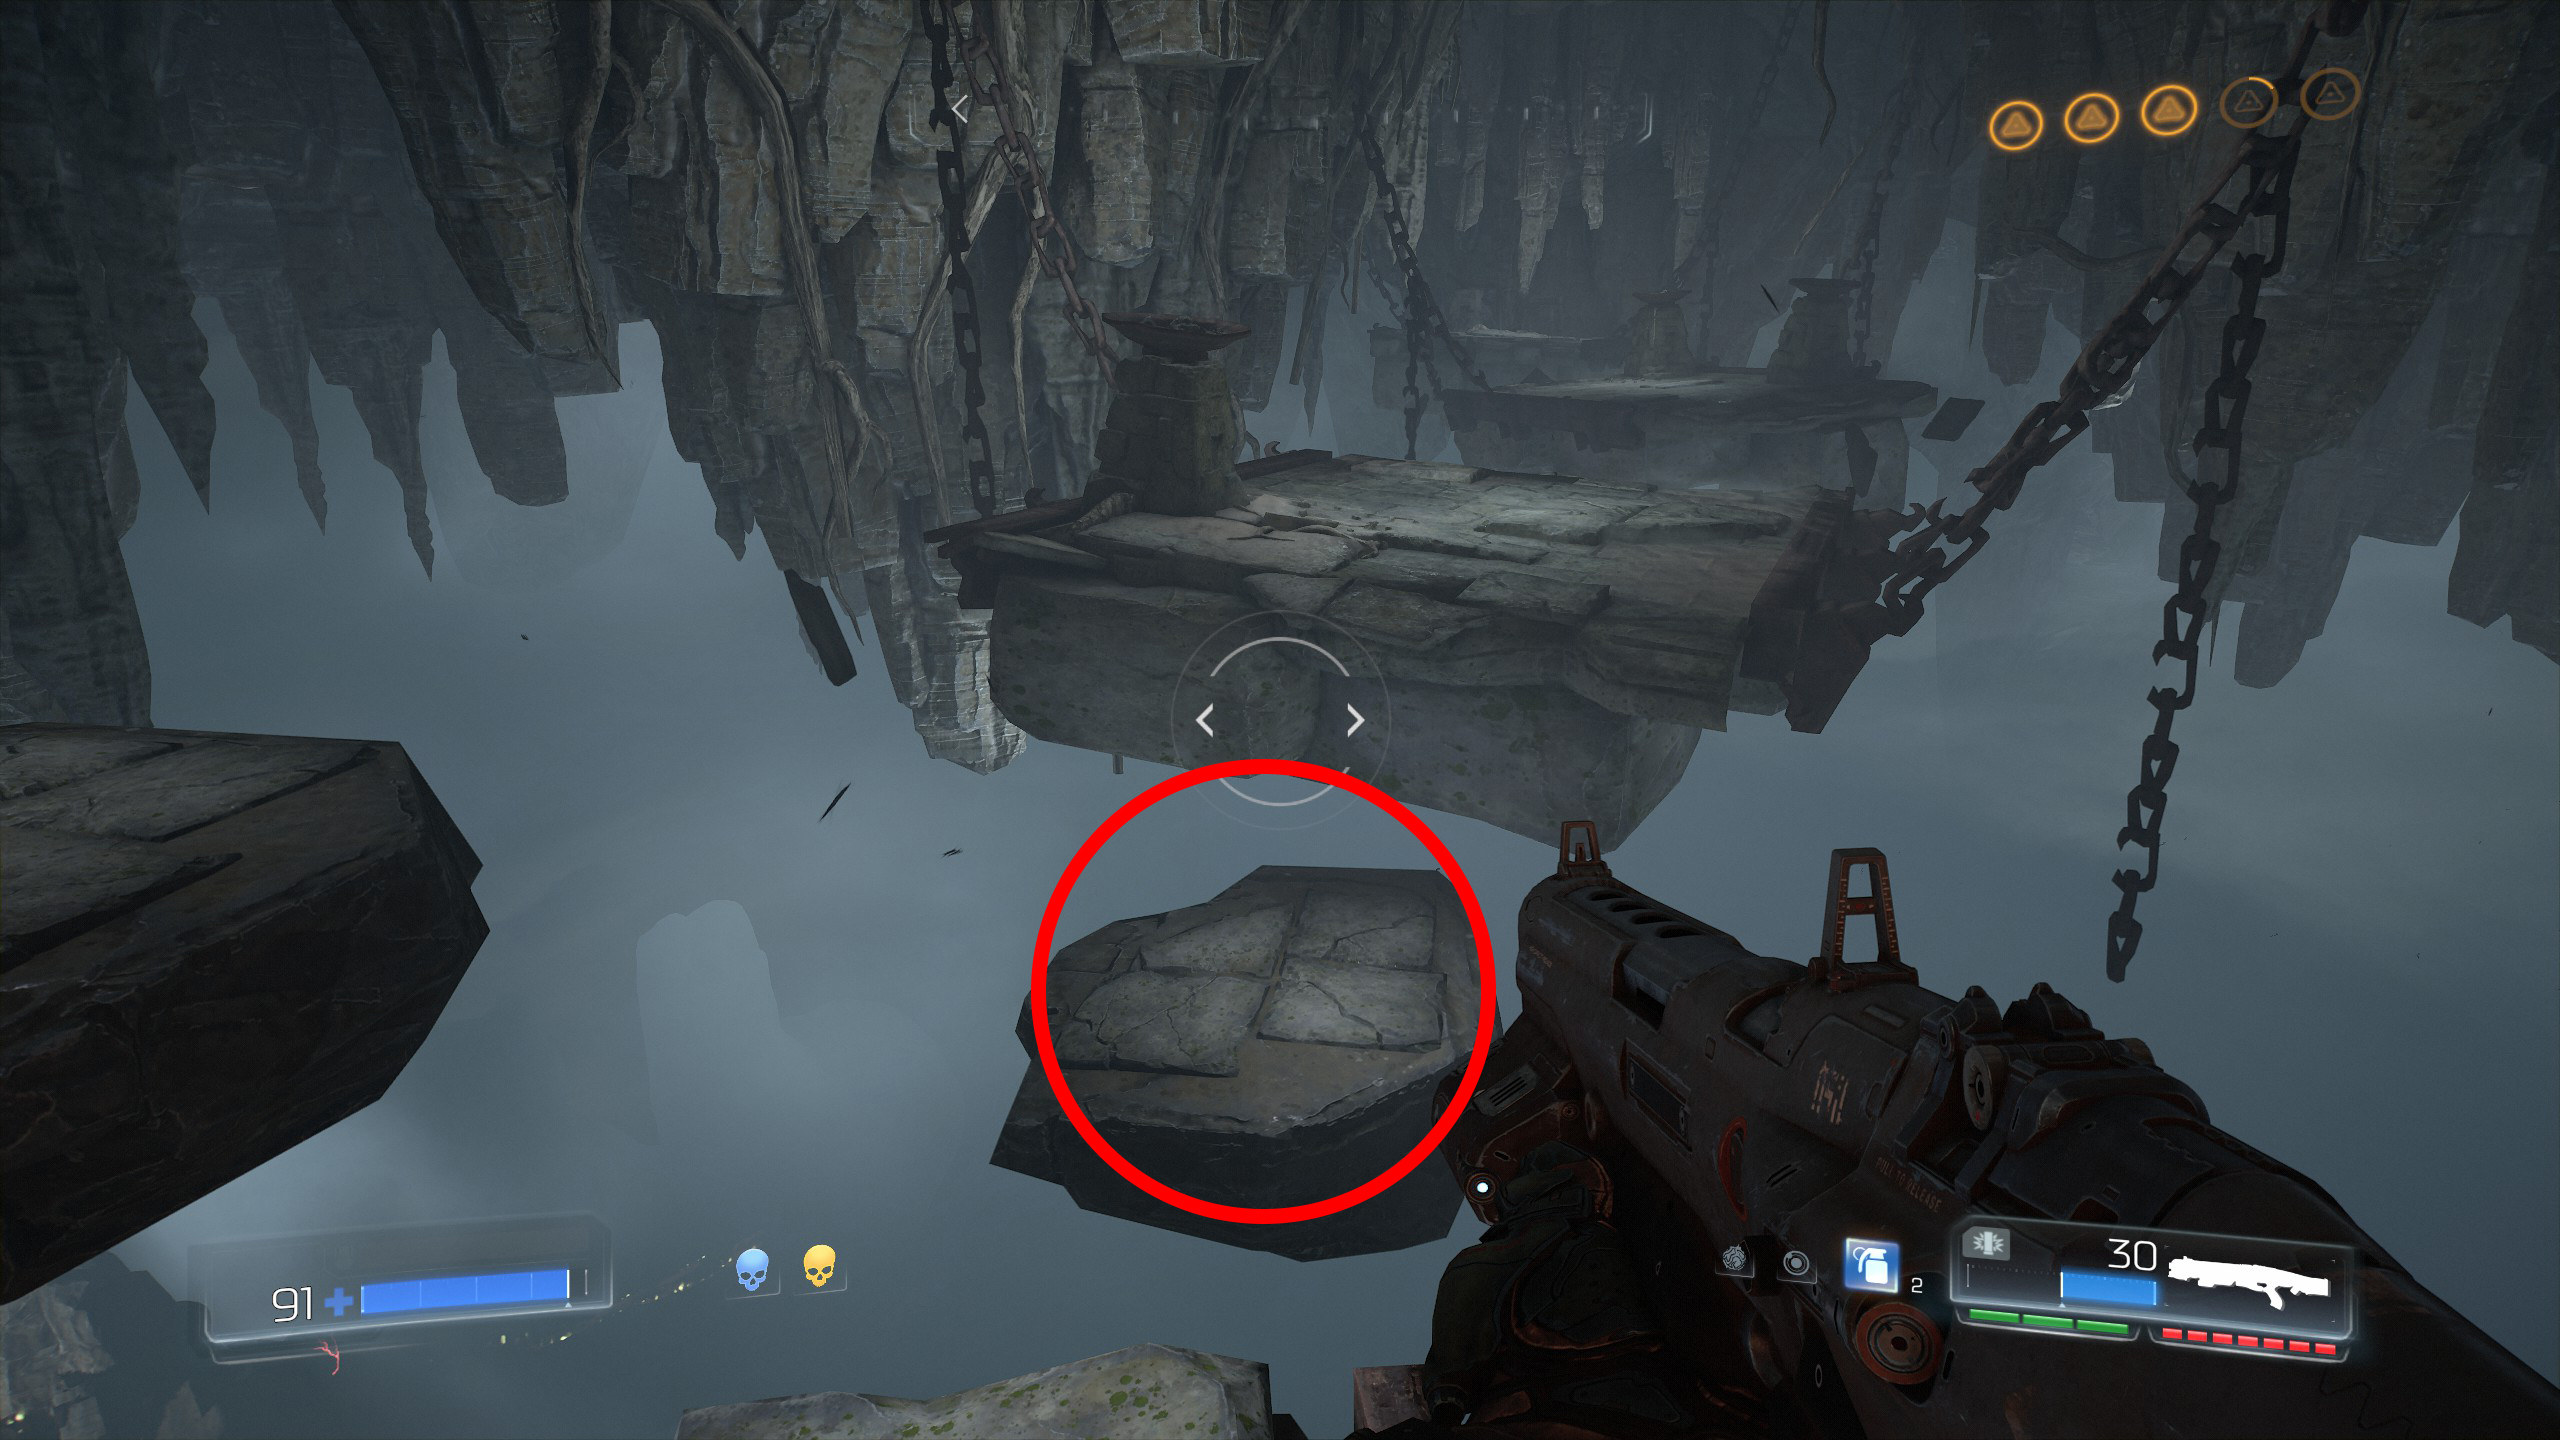
Jump over the platforms and when you reach the last of the bigger platforms ahead go to the very edge and look down in front of you, underneath on a smaller platform will be a Doomguy for secret number 2.
Mission 12 - VEGA Central Processing
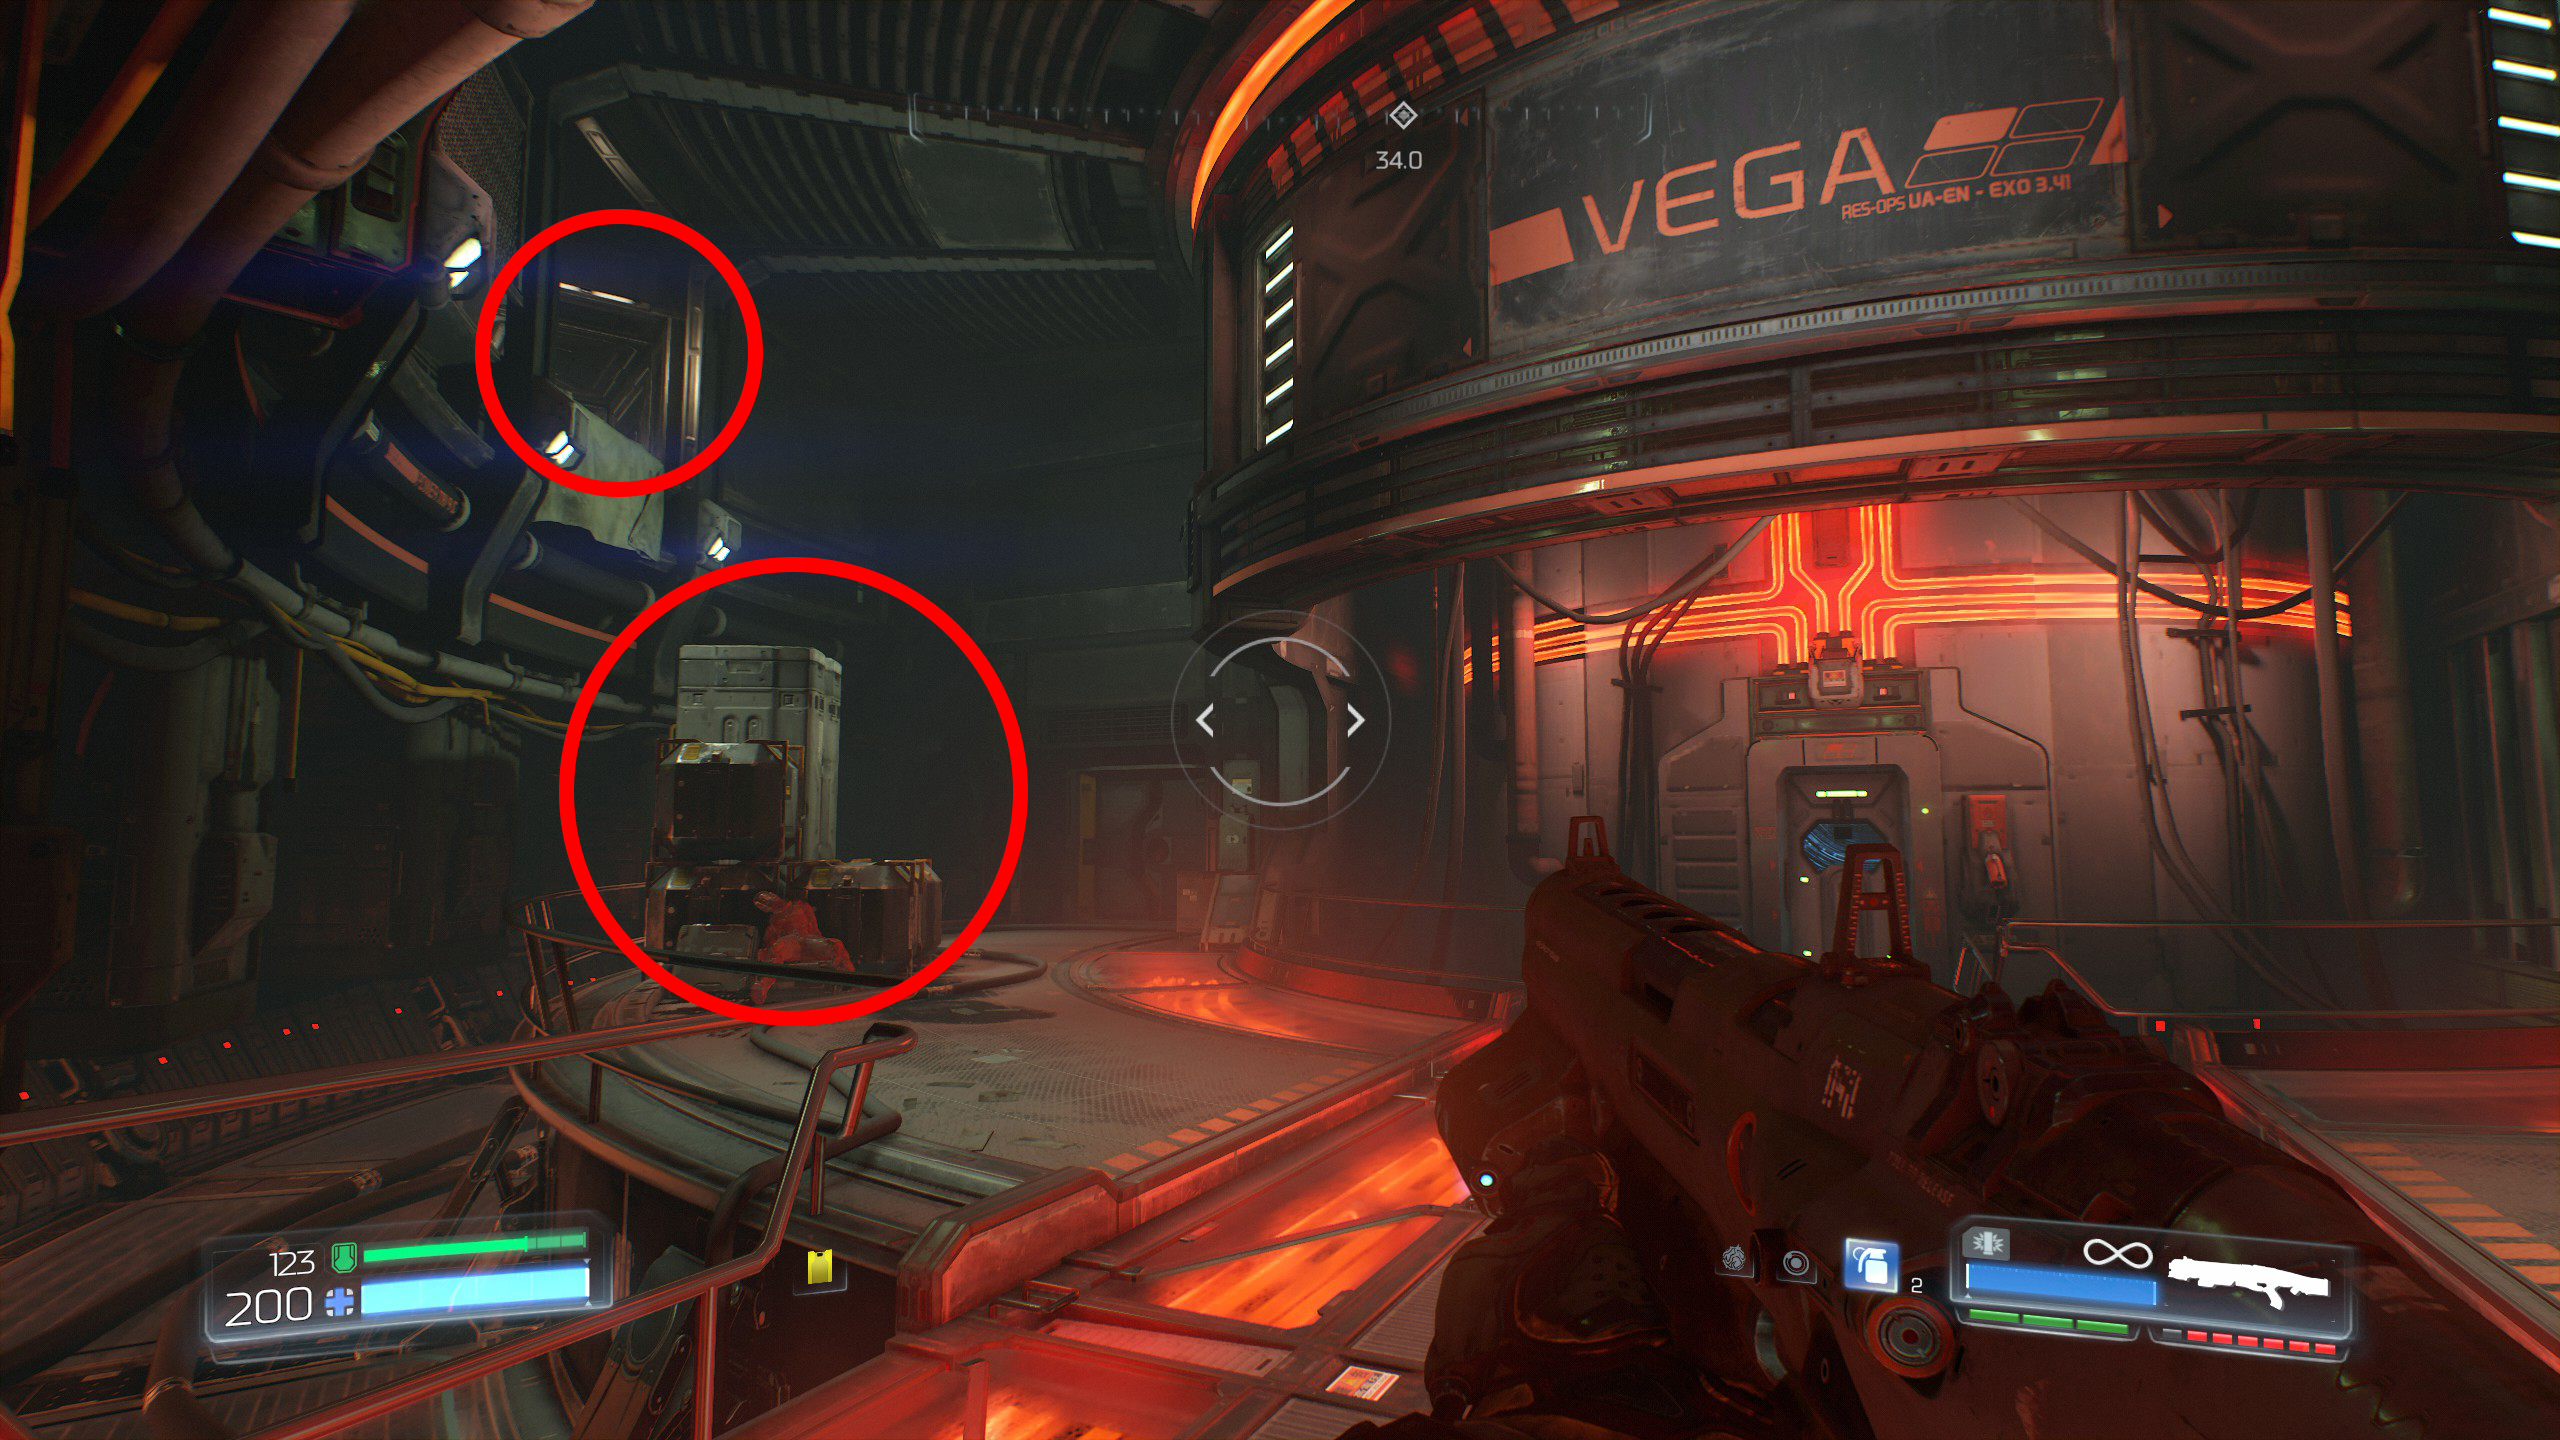
Begin the mission and go through the airlock that takes you outside, once you're outside climb up the platform ahead of you and drop down to the right side of it following the pipeline going towards a green lit door.
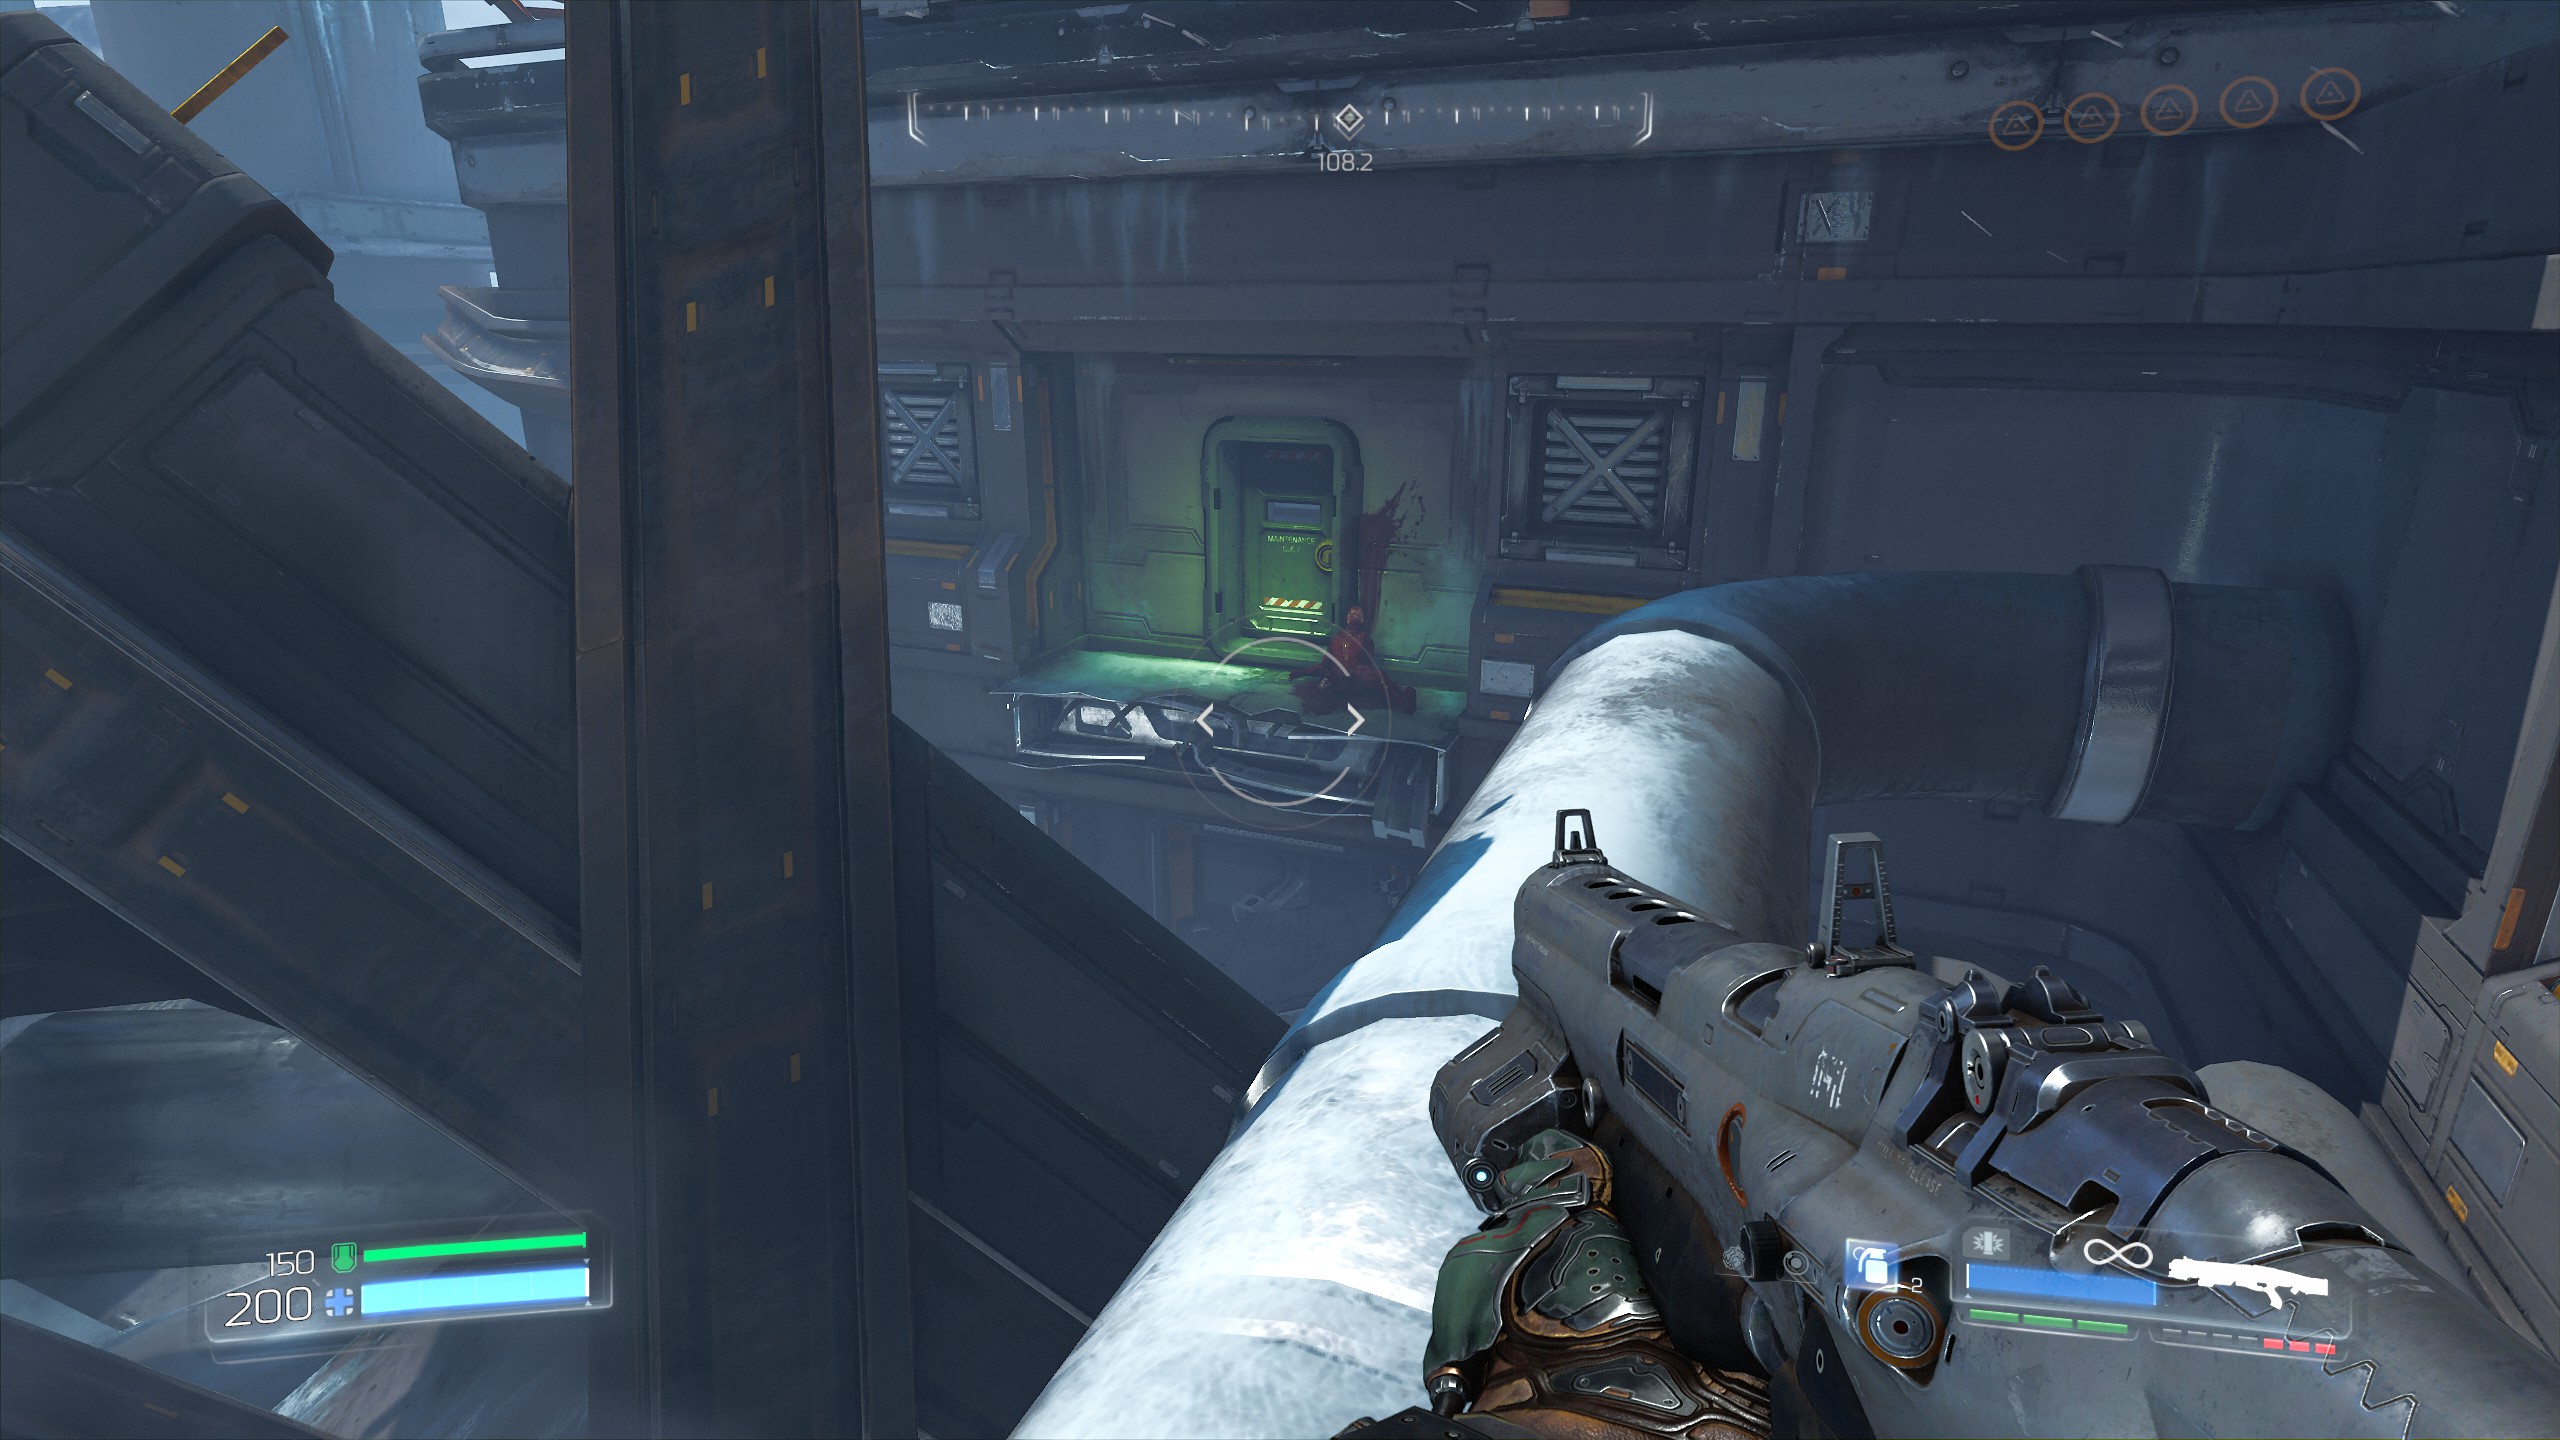
Enter the door and follow the path around making sure to take the first left and on the edge of the shaft will be your first secret, a Doomguy.
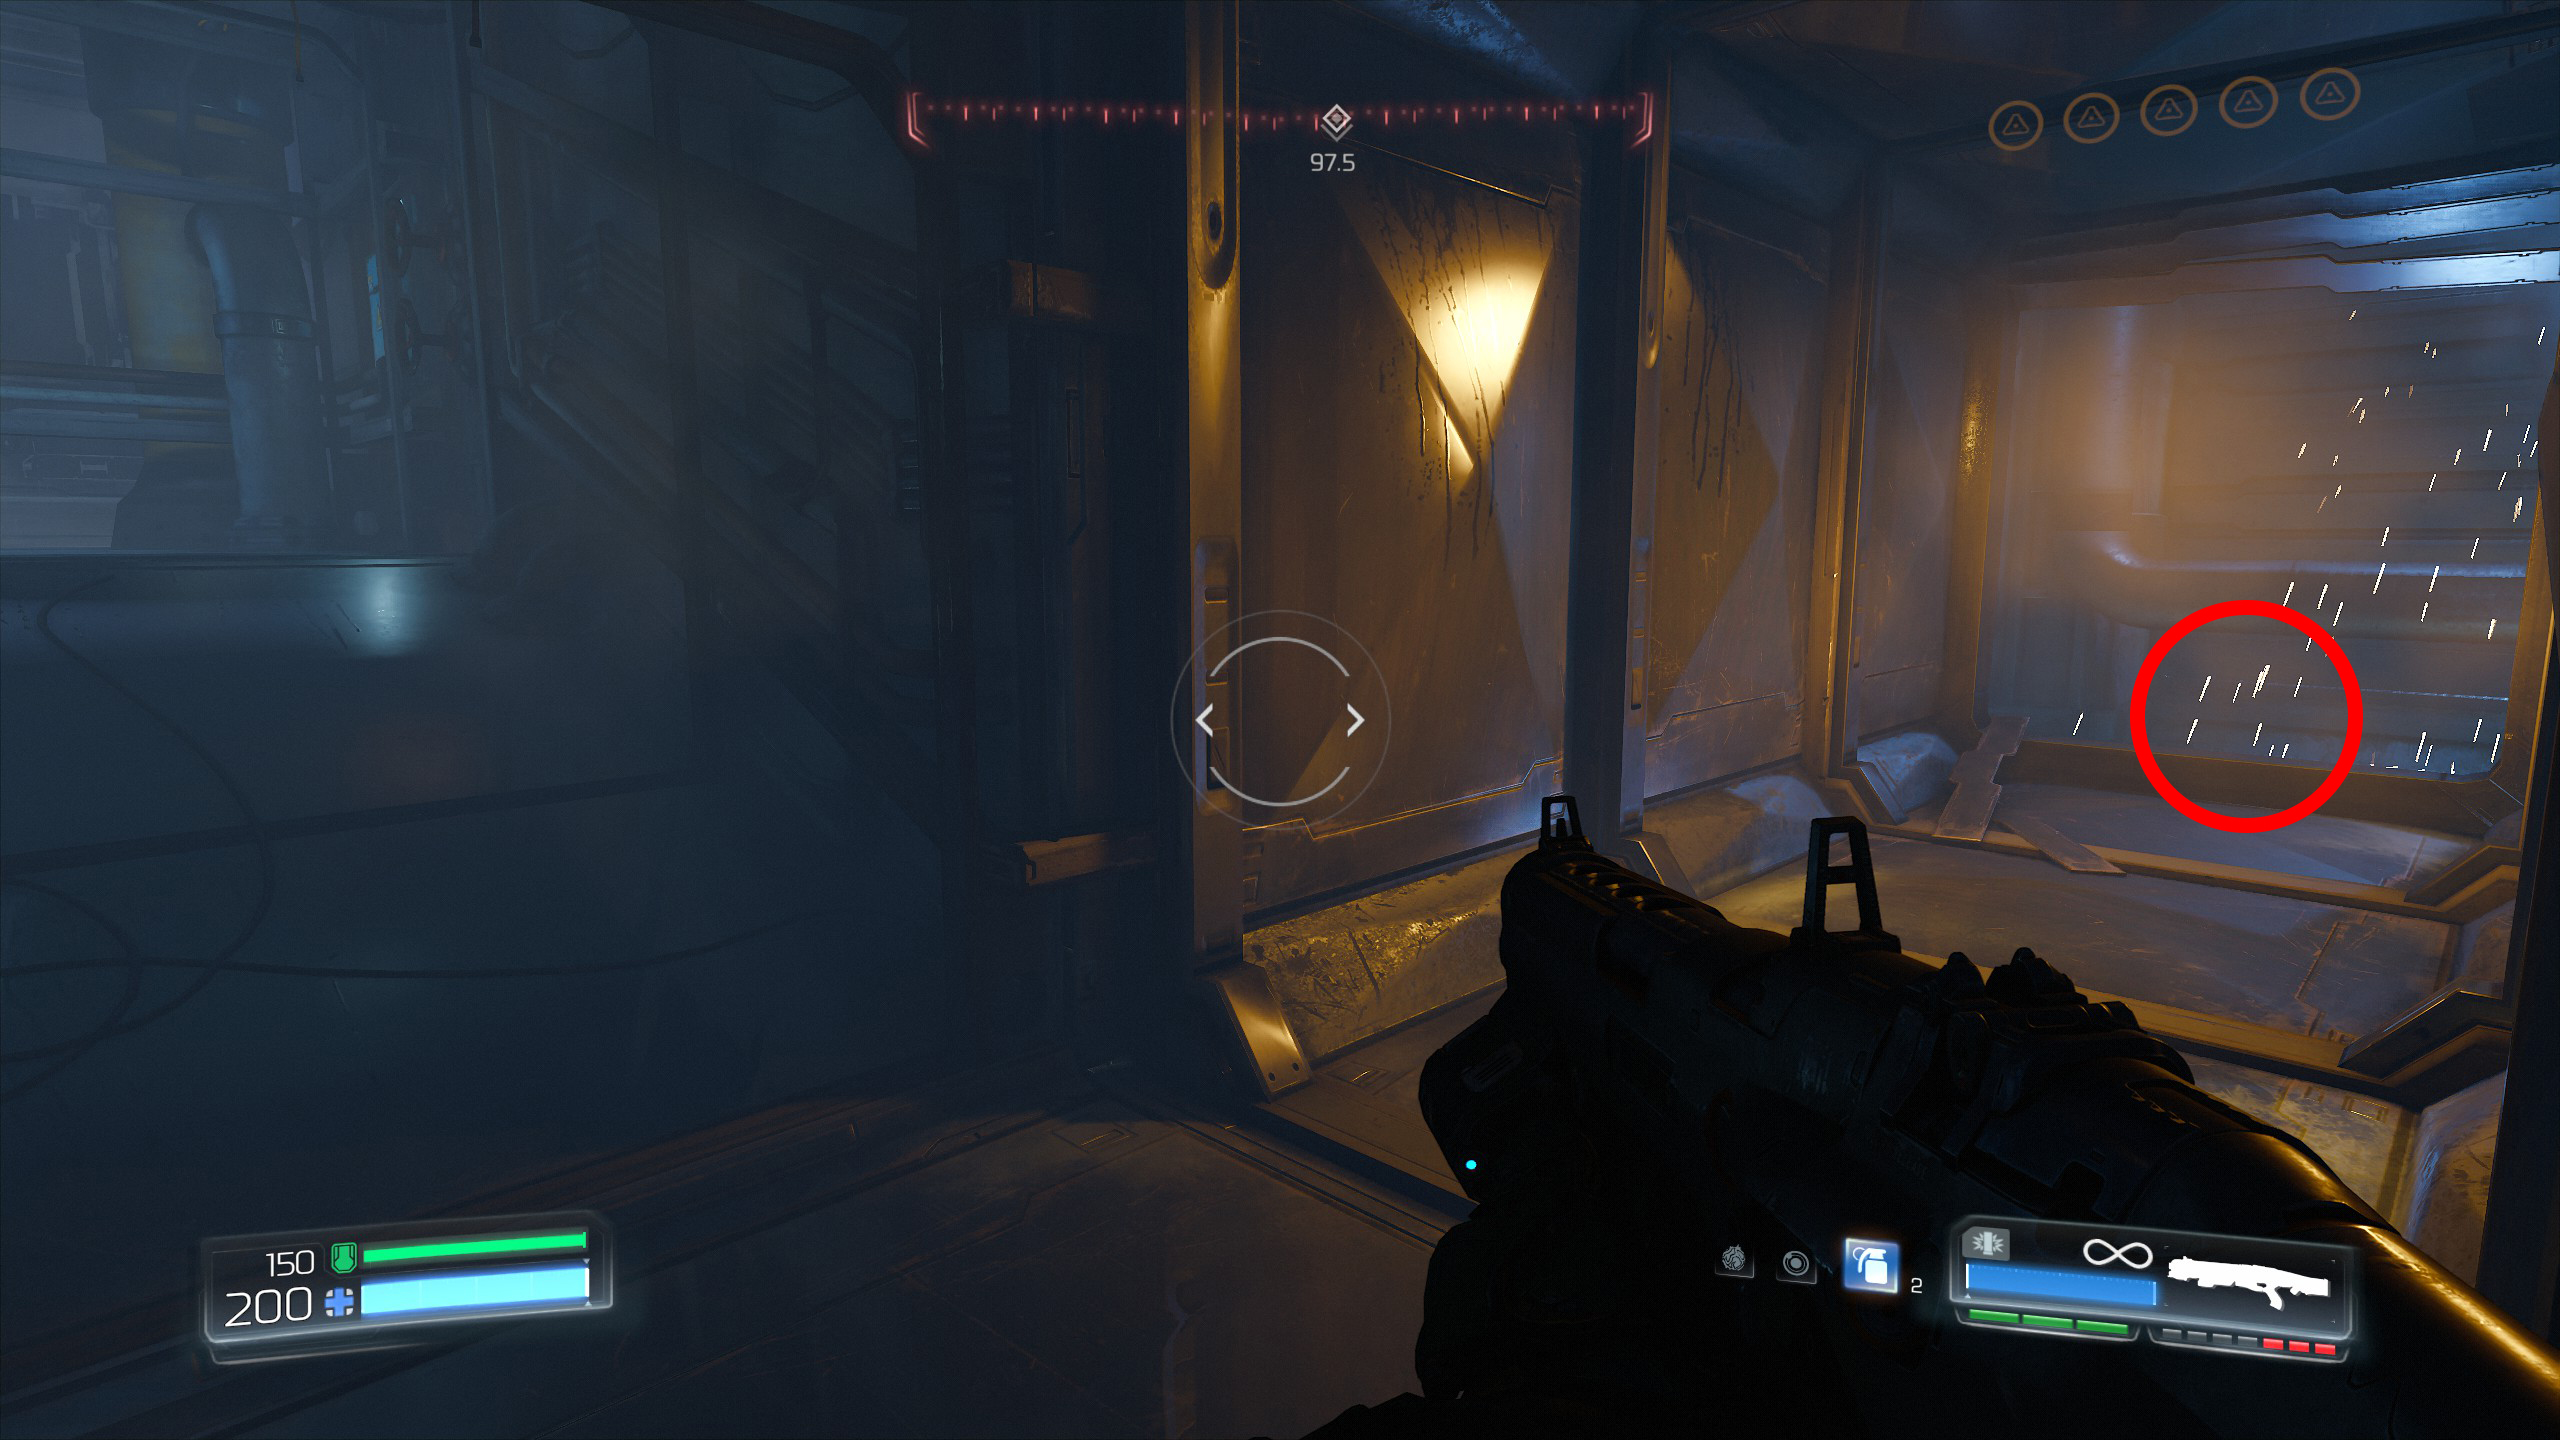
From here continue to secret 2.
WARNING: The secrets beyond this point can be difficult to navigate so please follow carefully and i will try to explain and guide you as best i can.
From secret 1 drop down from the edge of the shaft (where the doomguy was located) to the very bottom and continue to follow the mission until you come to the main room.
After turning off the security switches proceed through the UAC door, this is on the opposite side to where you entered the main room.
After entering the door continue and go through the next door, then take a left followed by another left and you will come to a few crates with a hatch hidden behind them on the floor, drop down into the hatch.
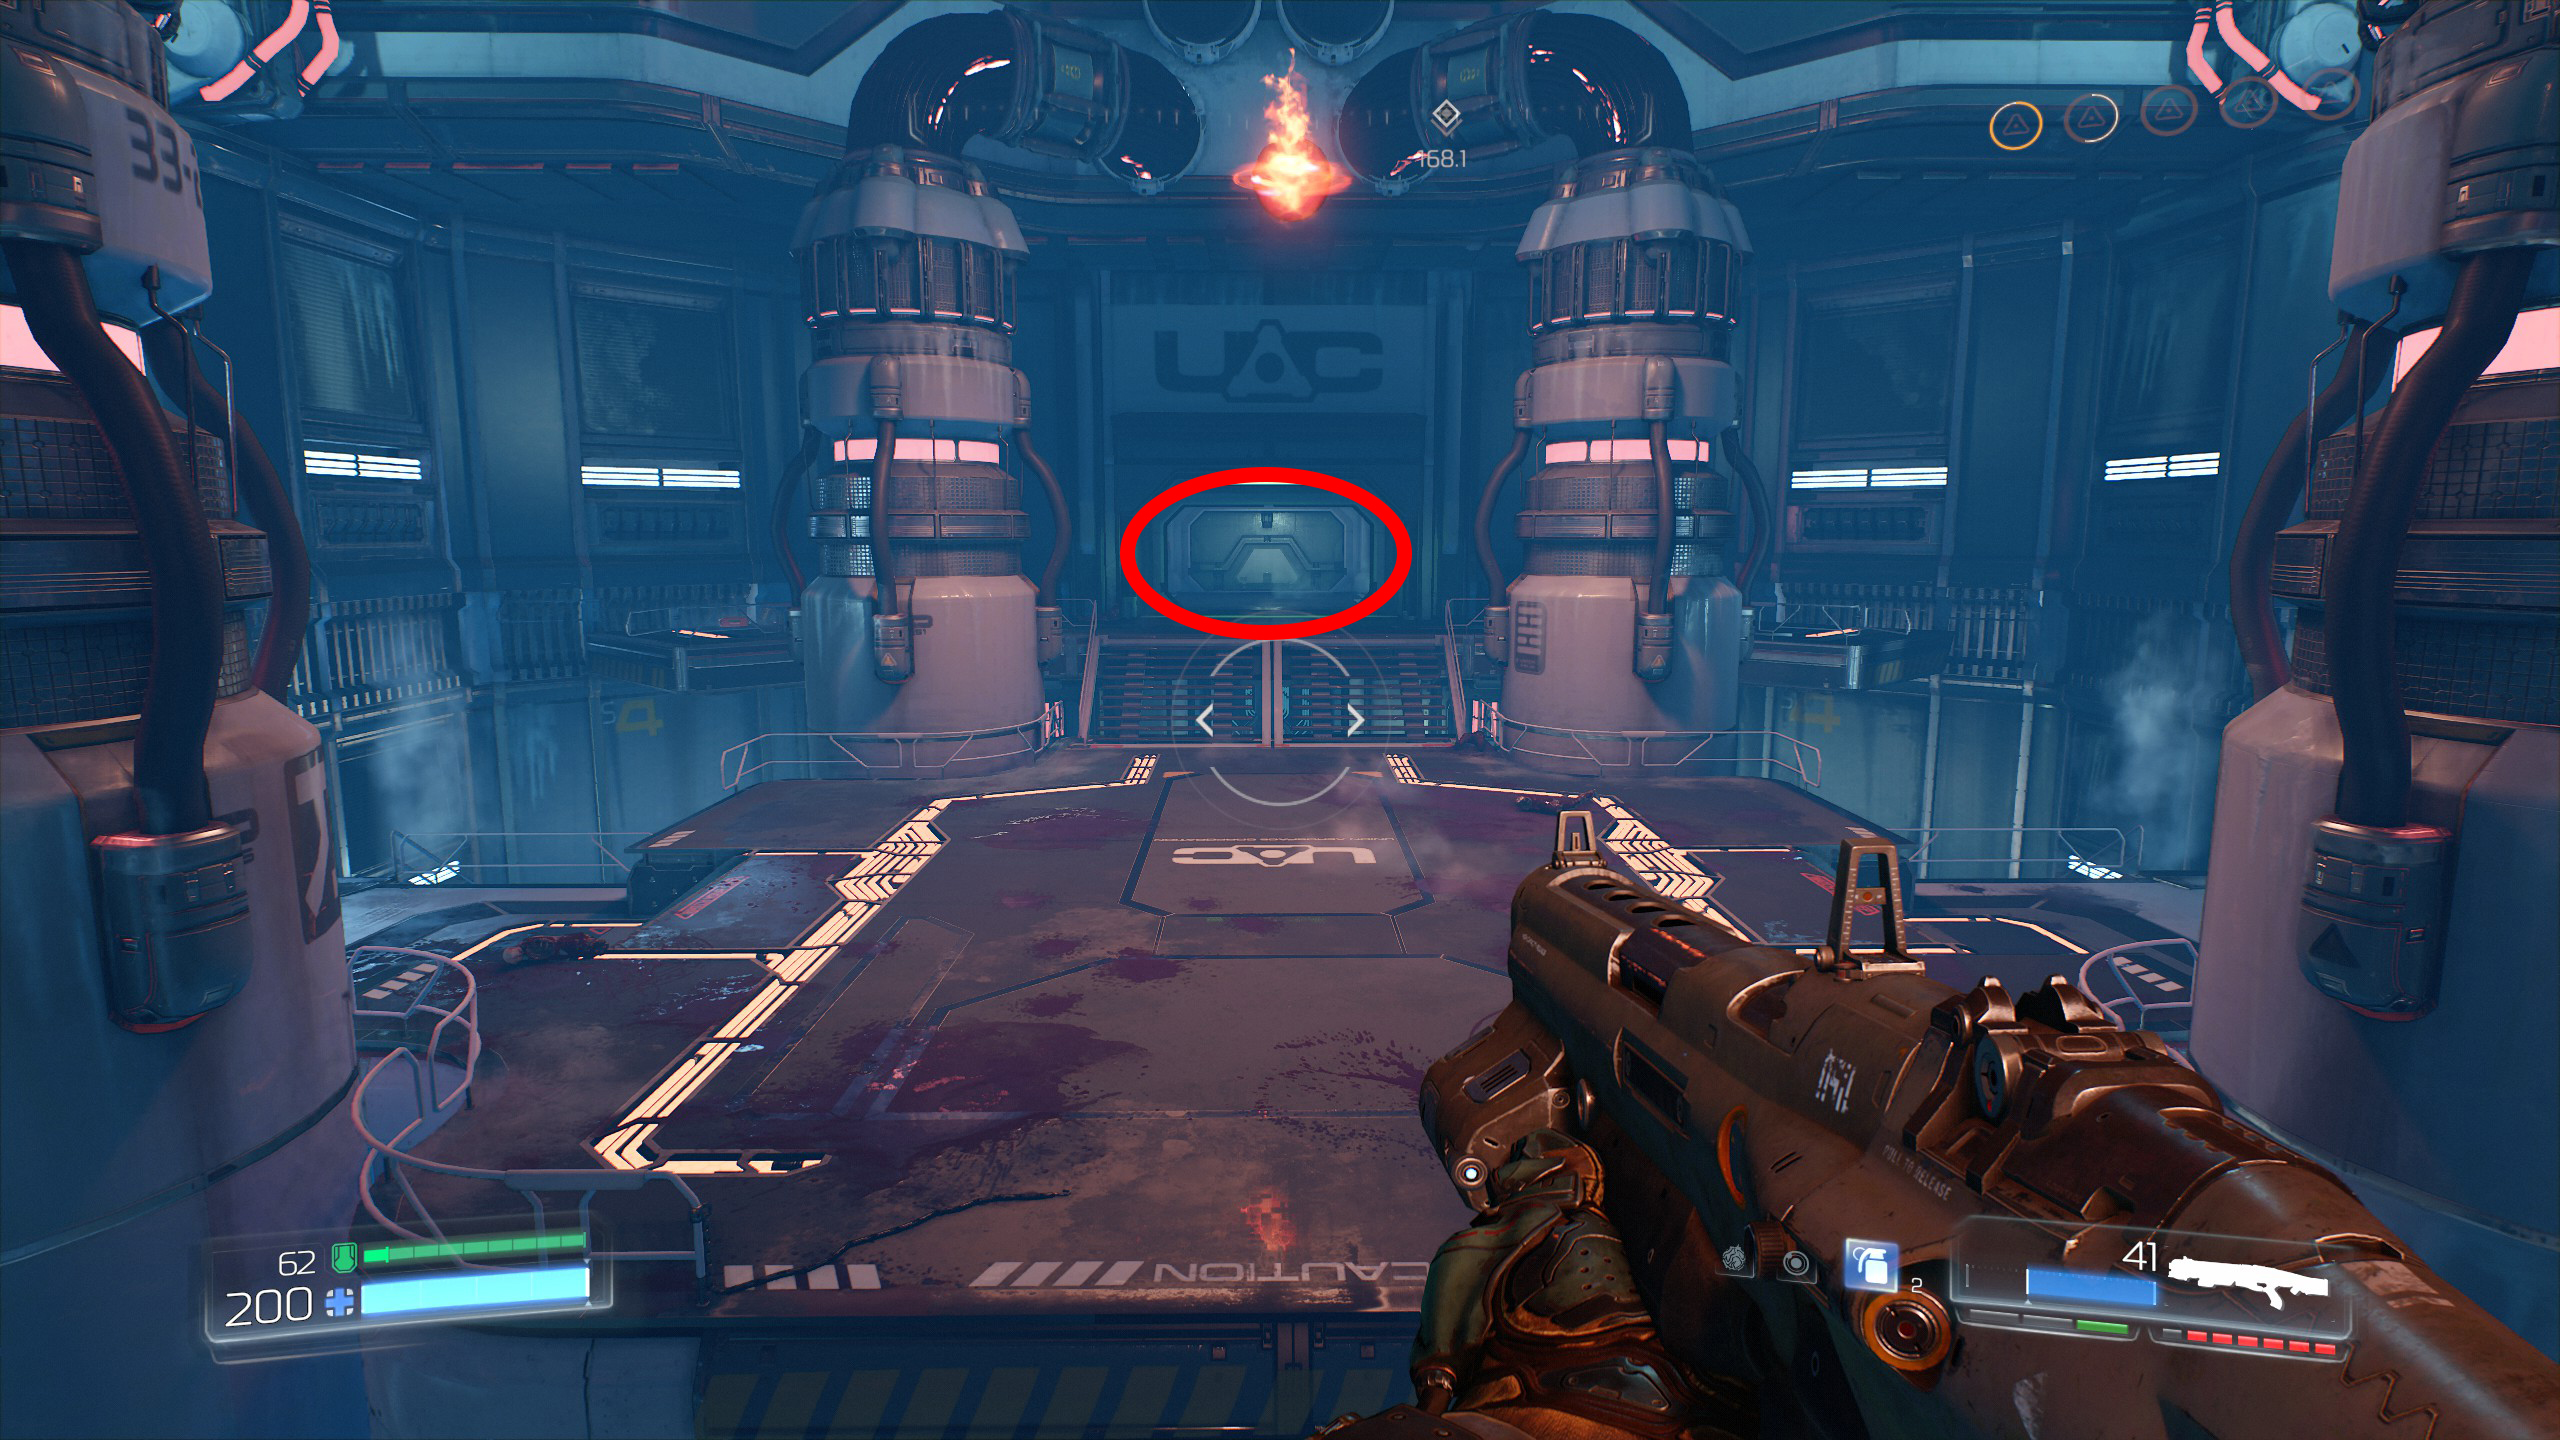
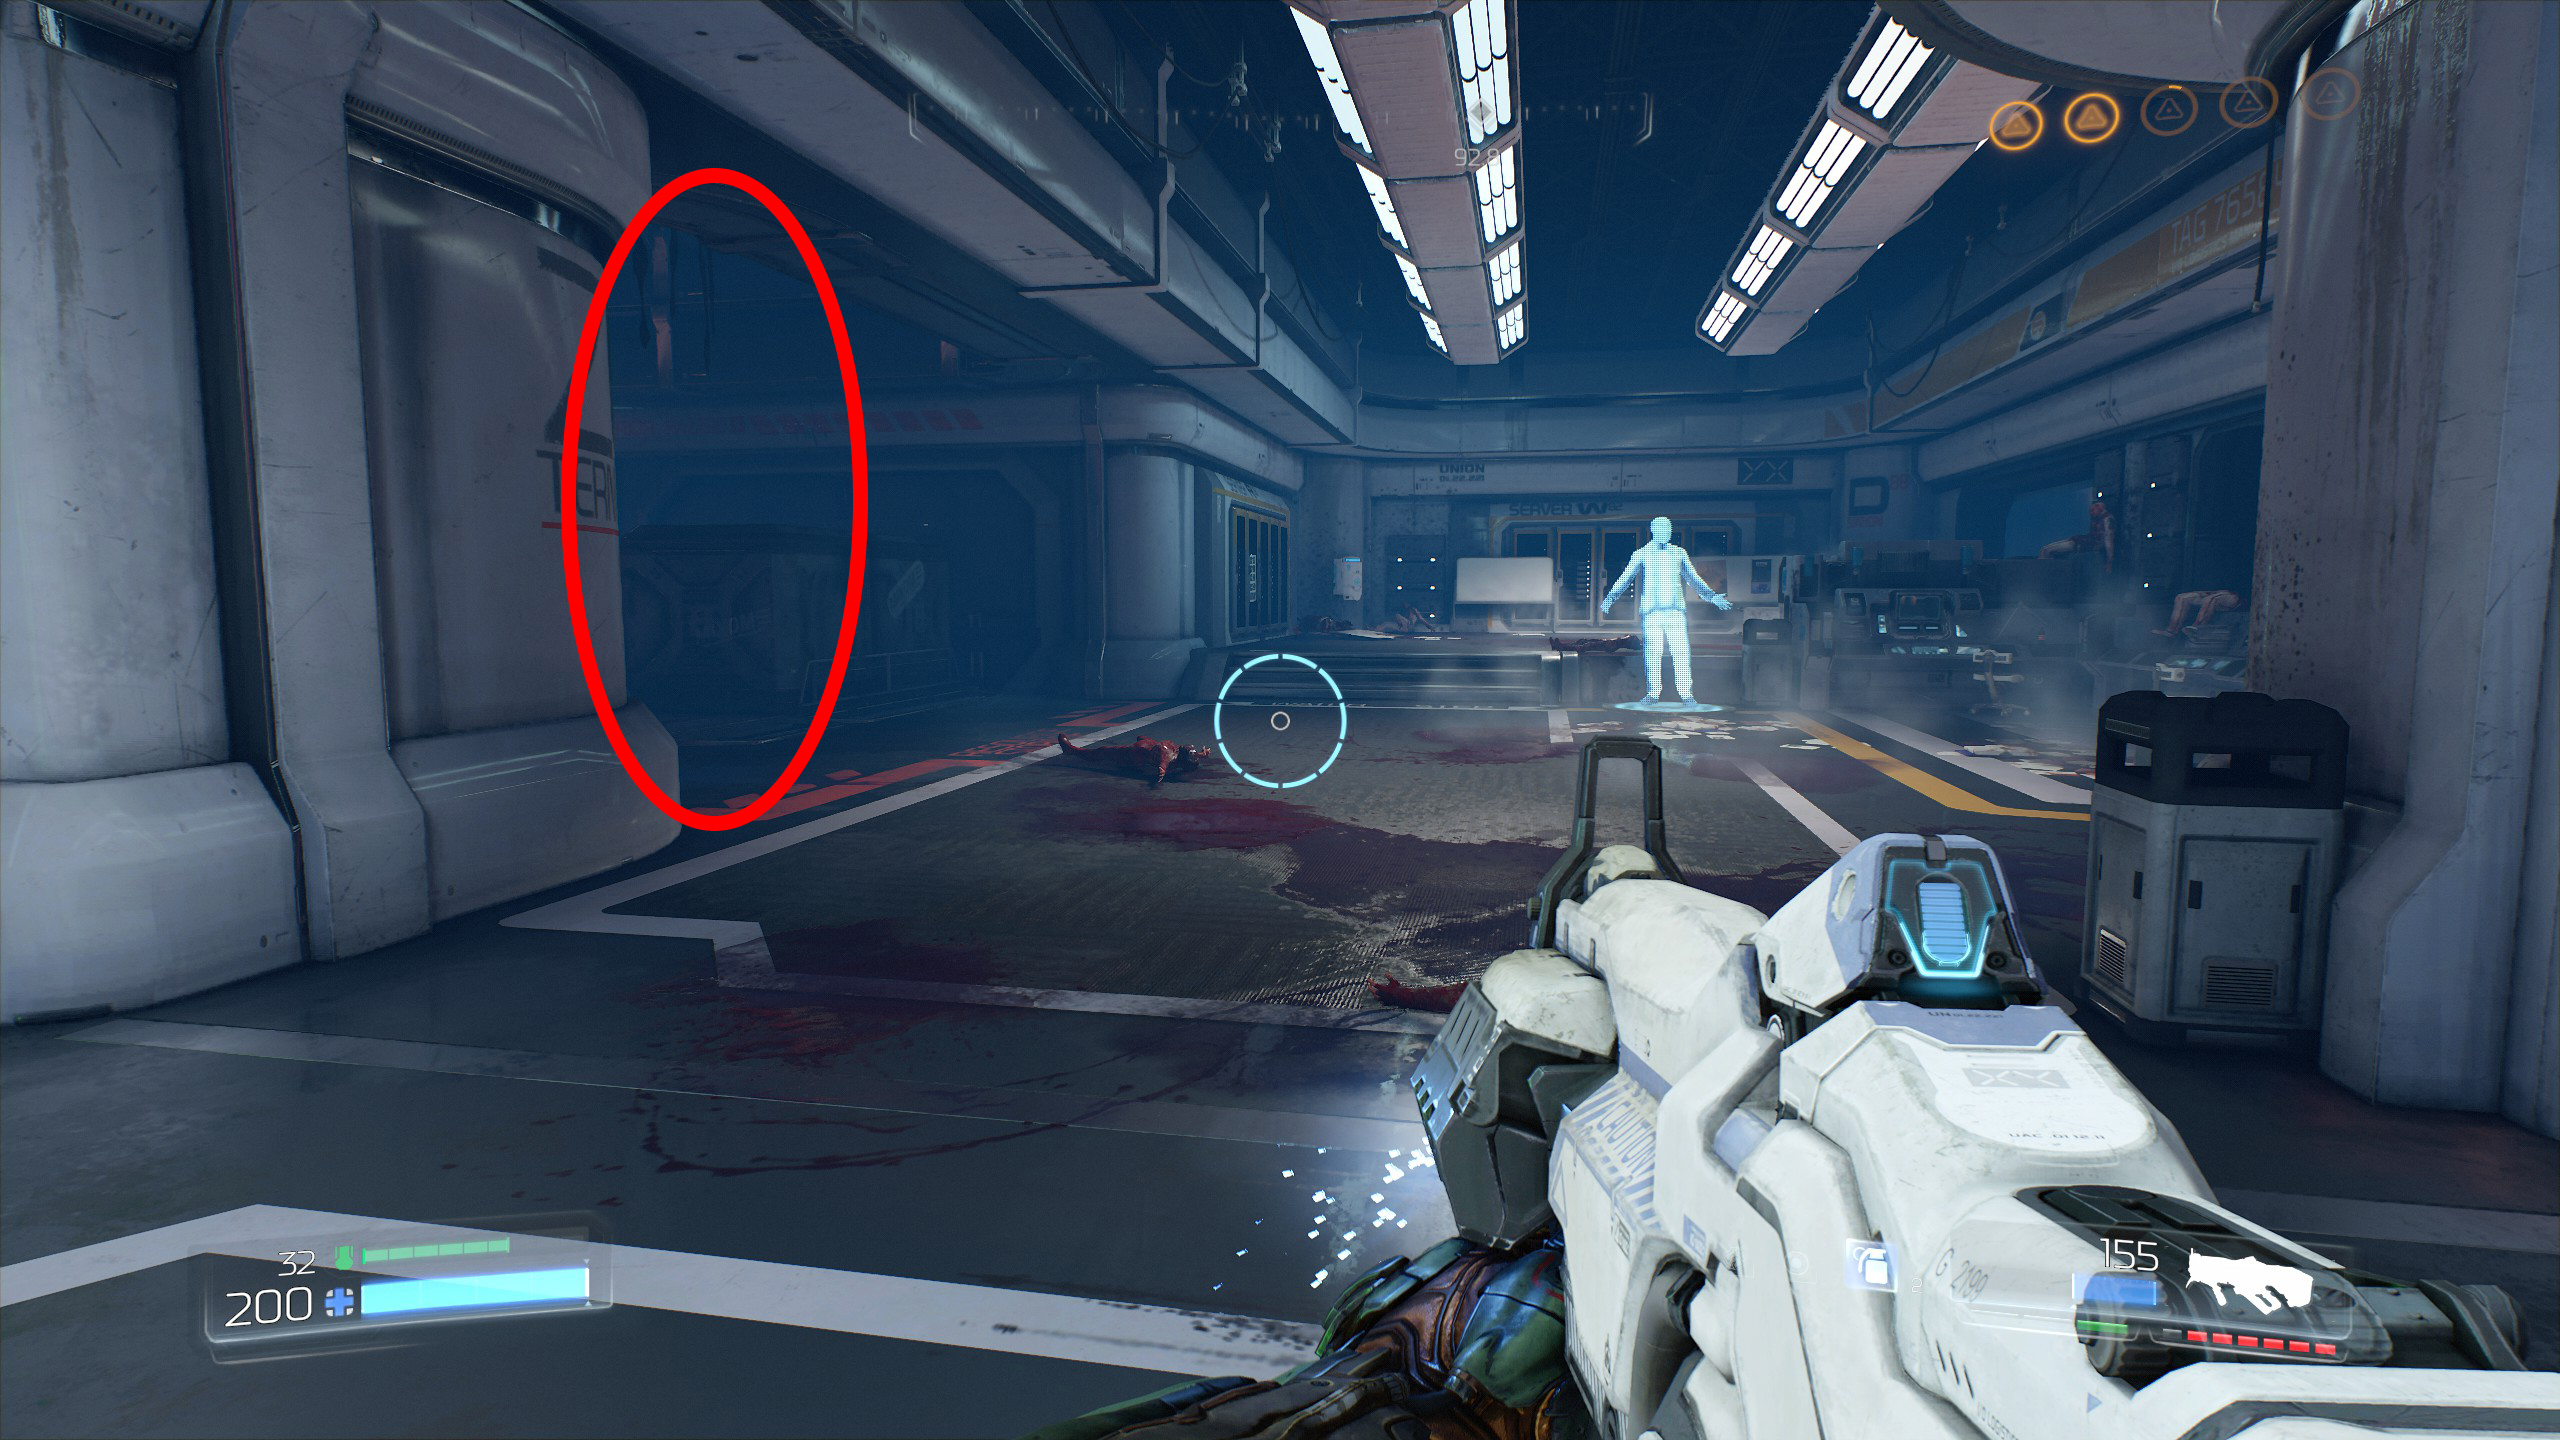
After dropping down into the hatch follow the path around until you find the blue guy with the blue key, take the key and proceed up the stairway through the blue door.
After the blue door take a left into the next room and then turn right through another blue door, straight in front of you will be an Elite Guard which will give you secret number 2.
From here immediately start secret 3.
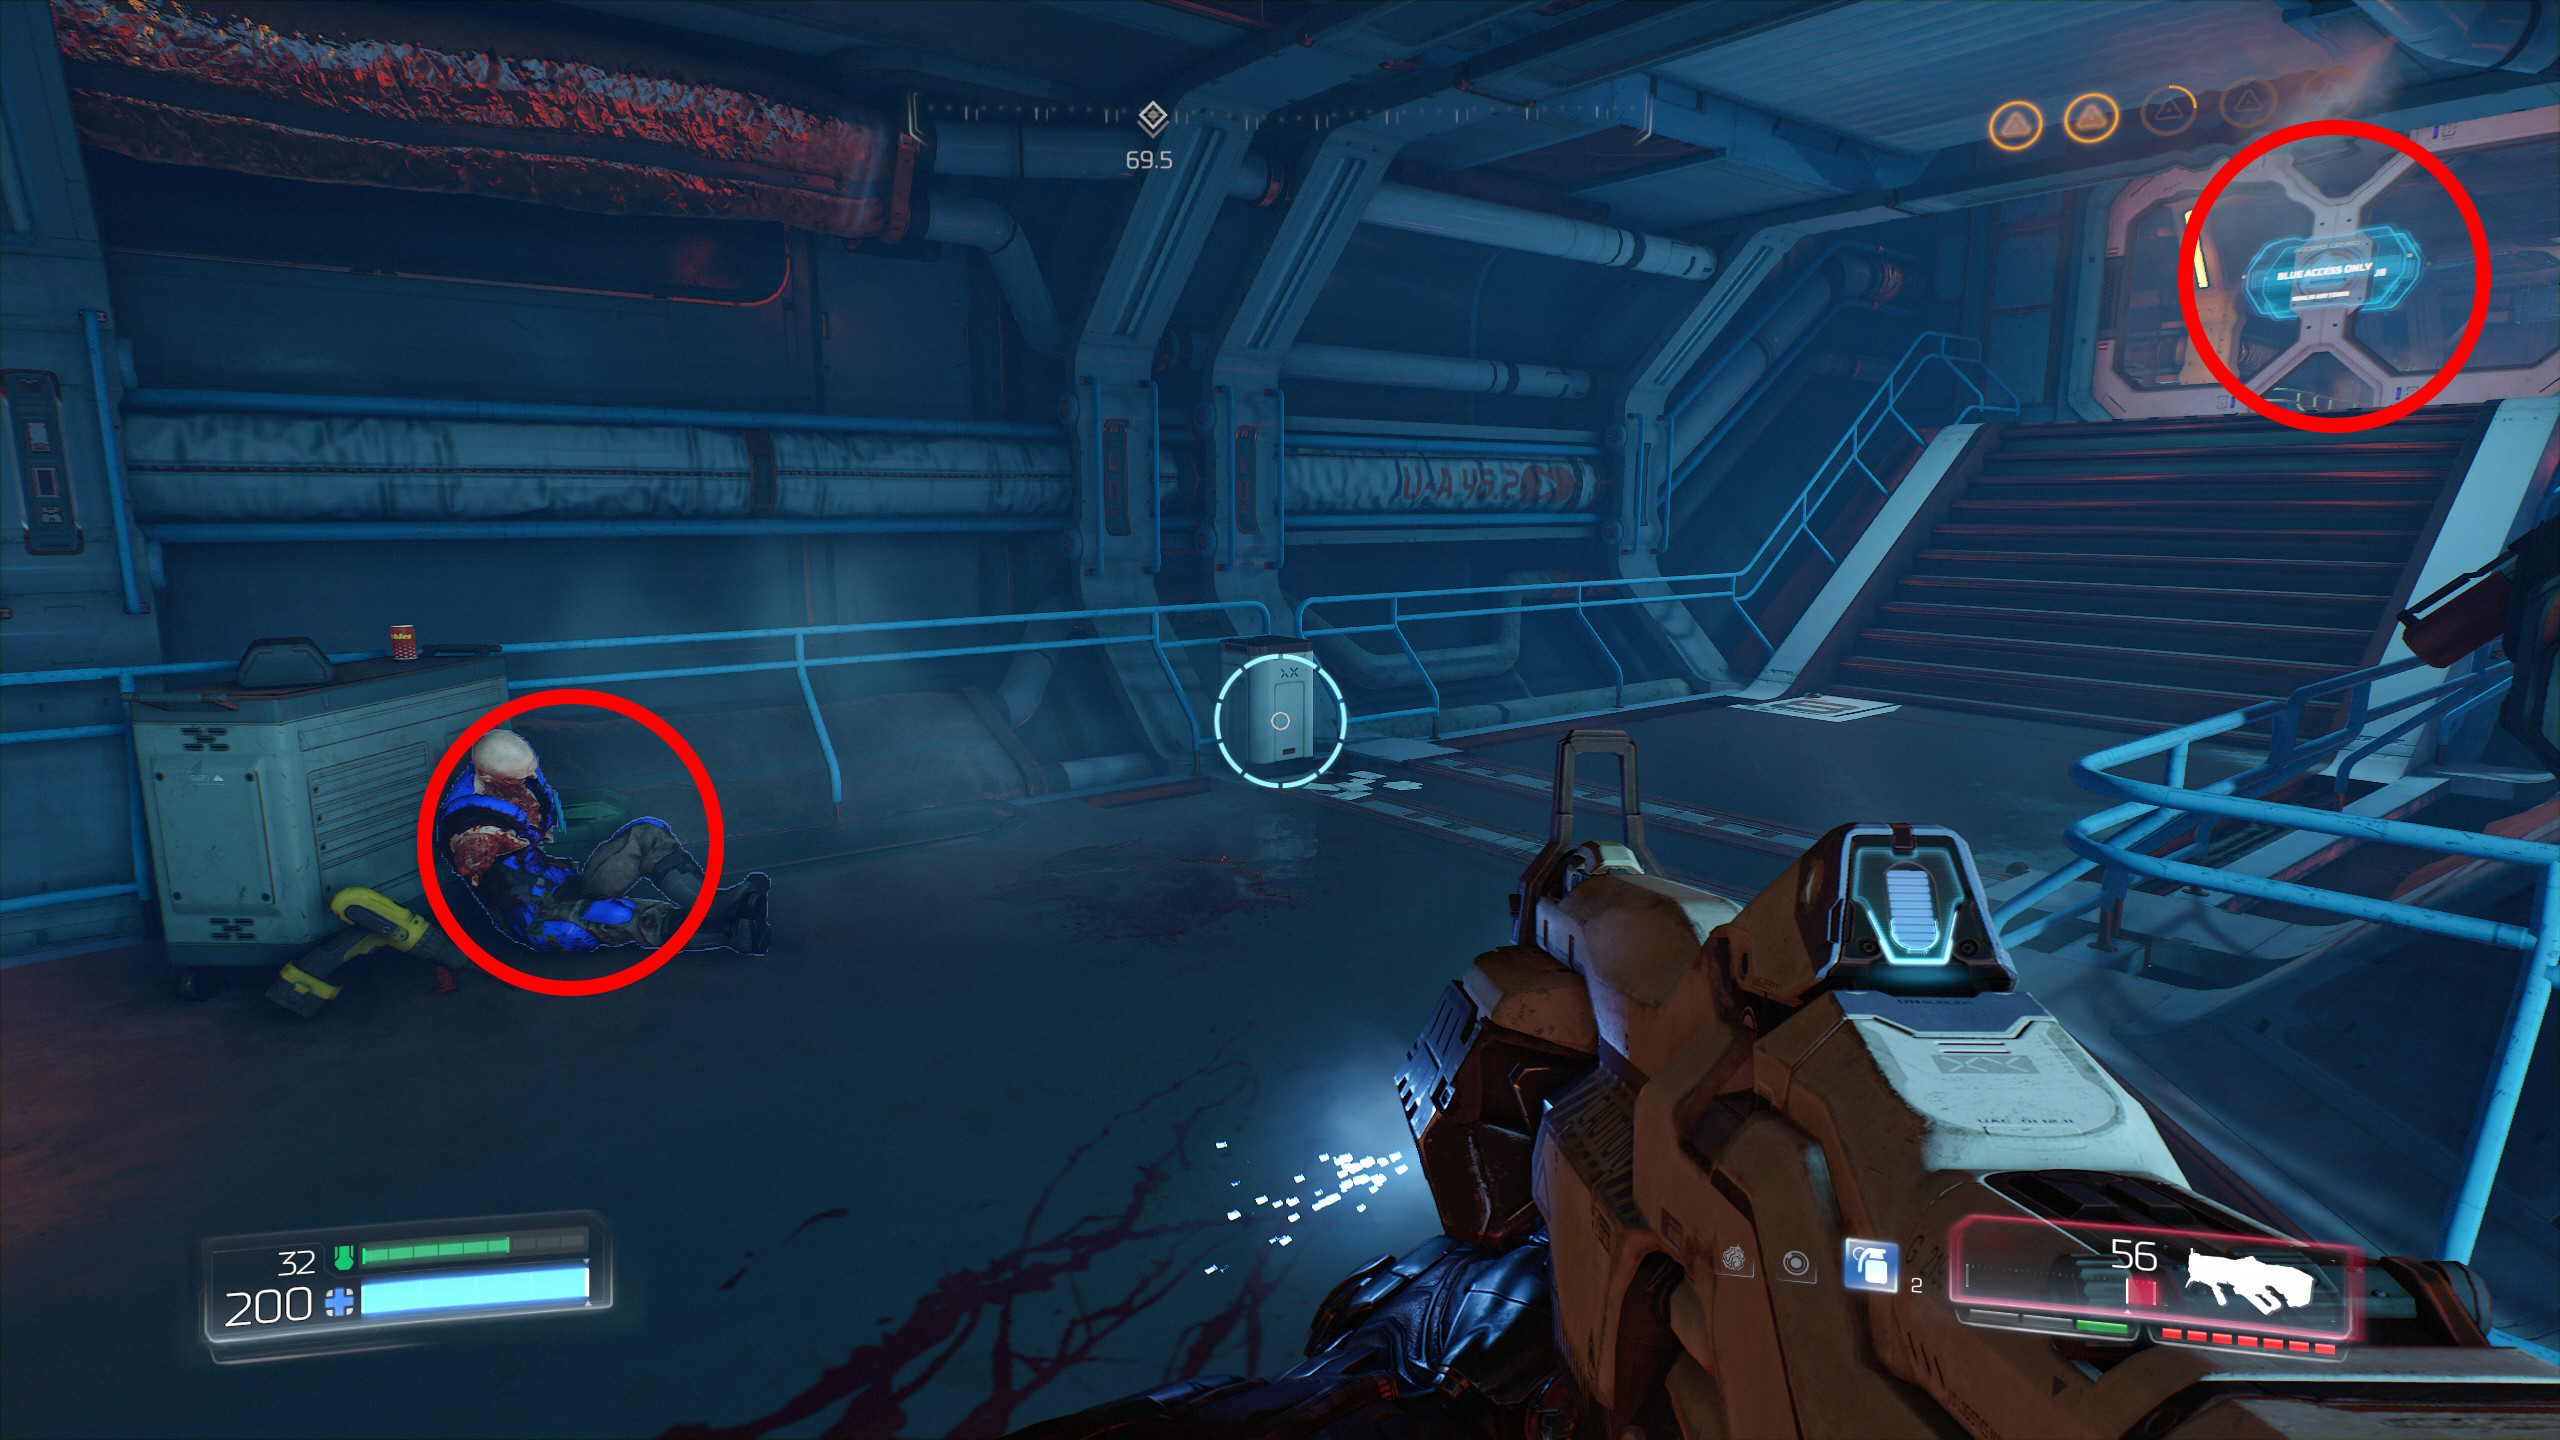
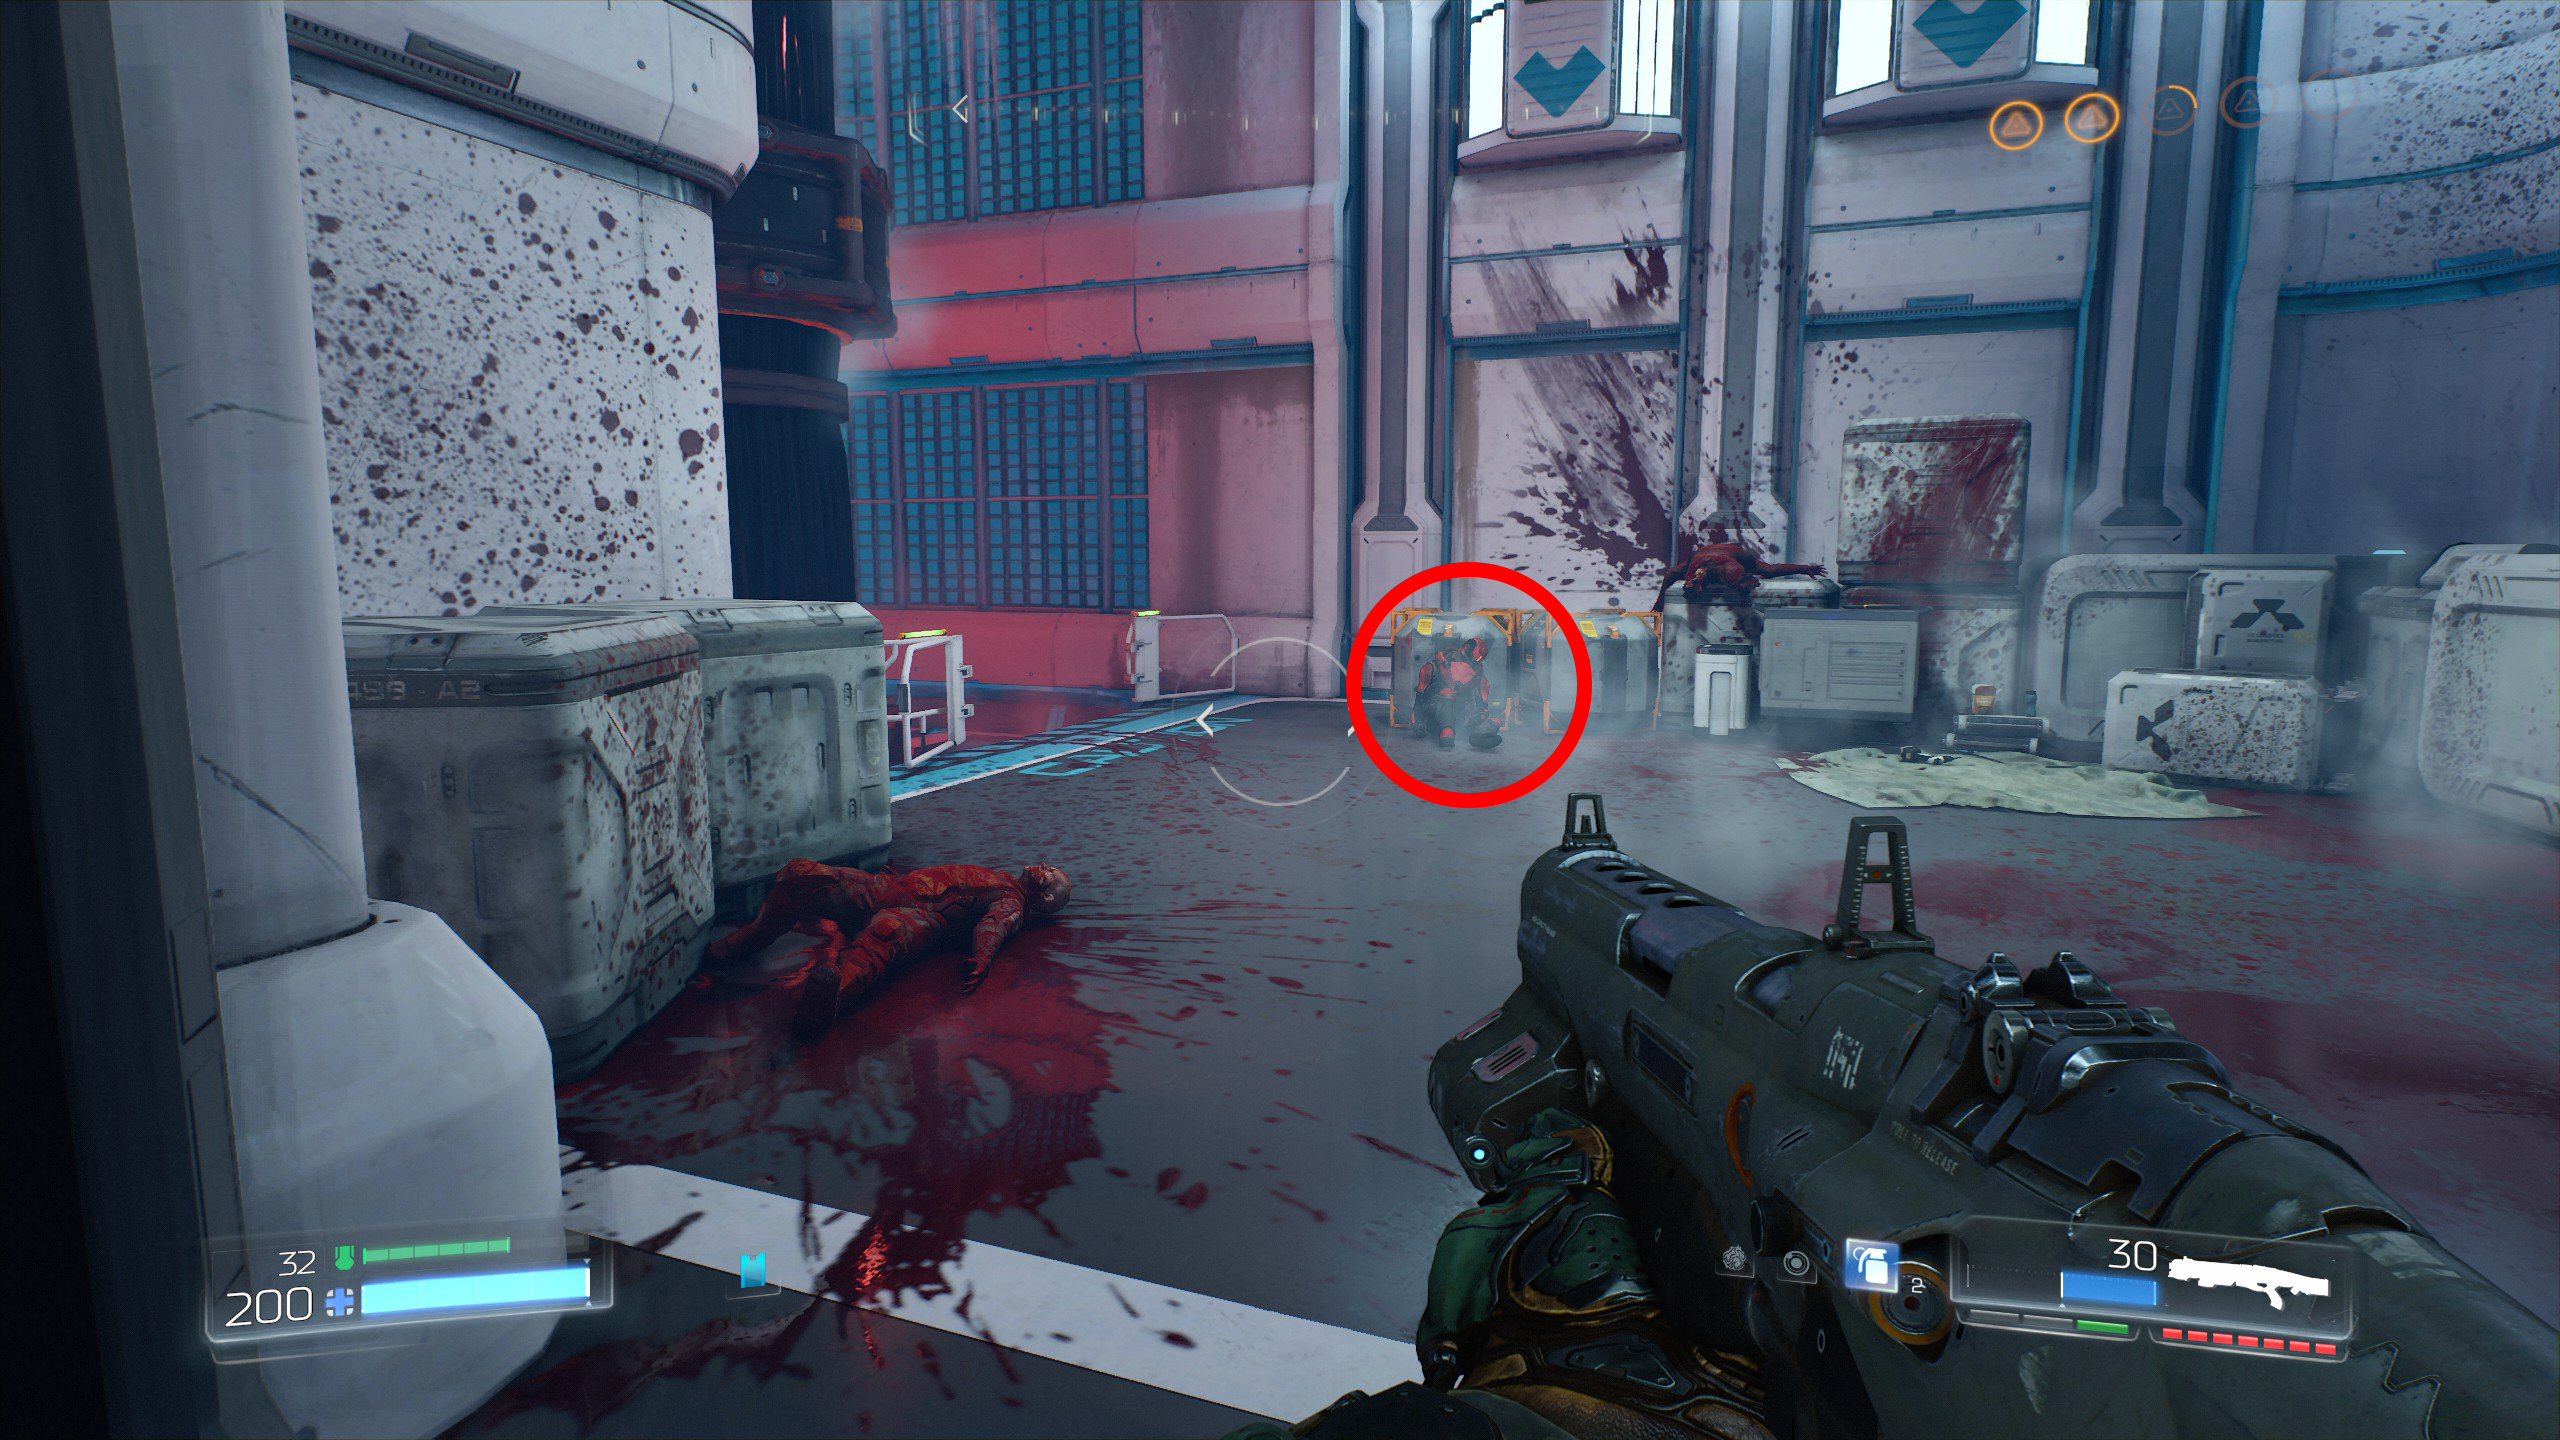
Immediately after secret 2 take a look behind the crates that are situated behind the elite guard, you will find a lever that you will need to activate to unlock the secret room, go ahead and activate it.
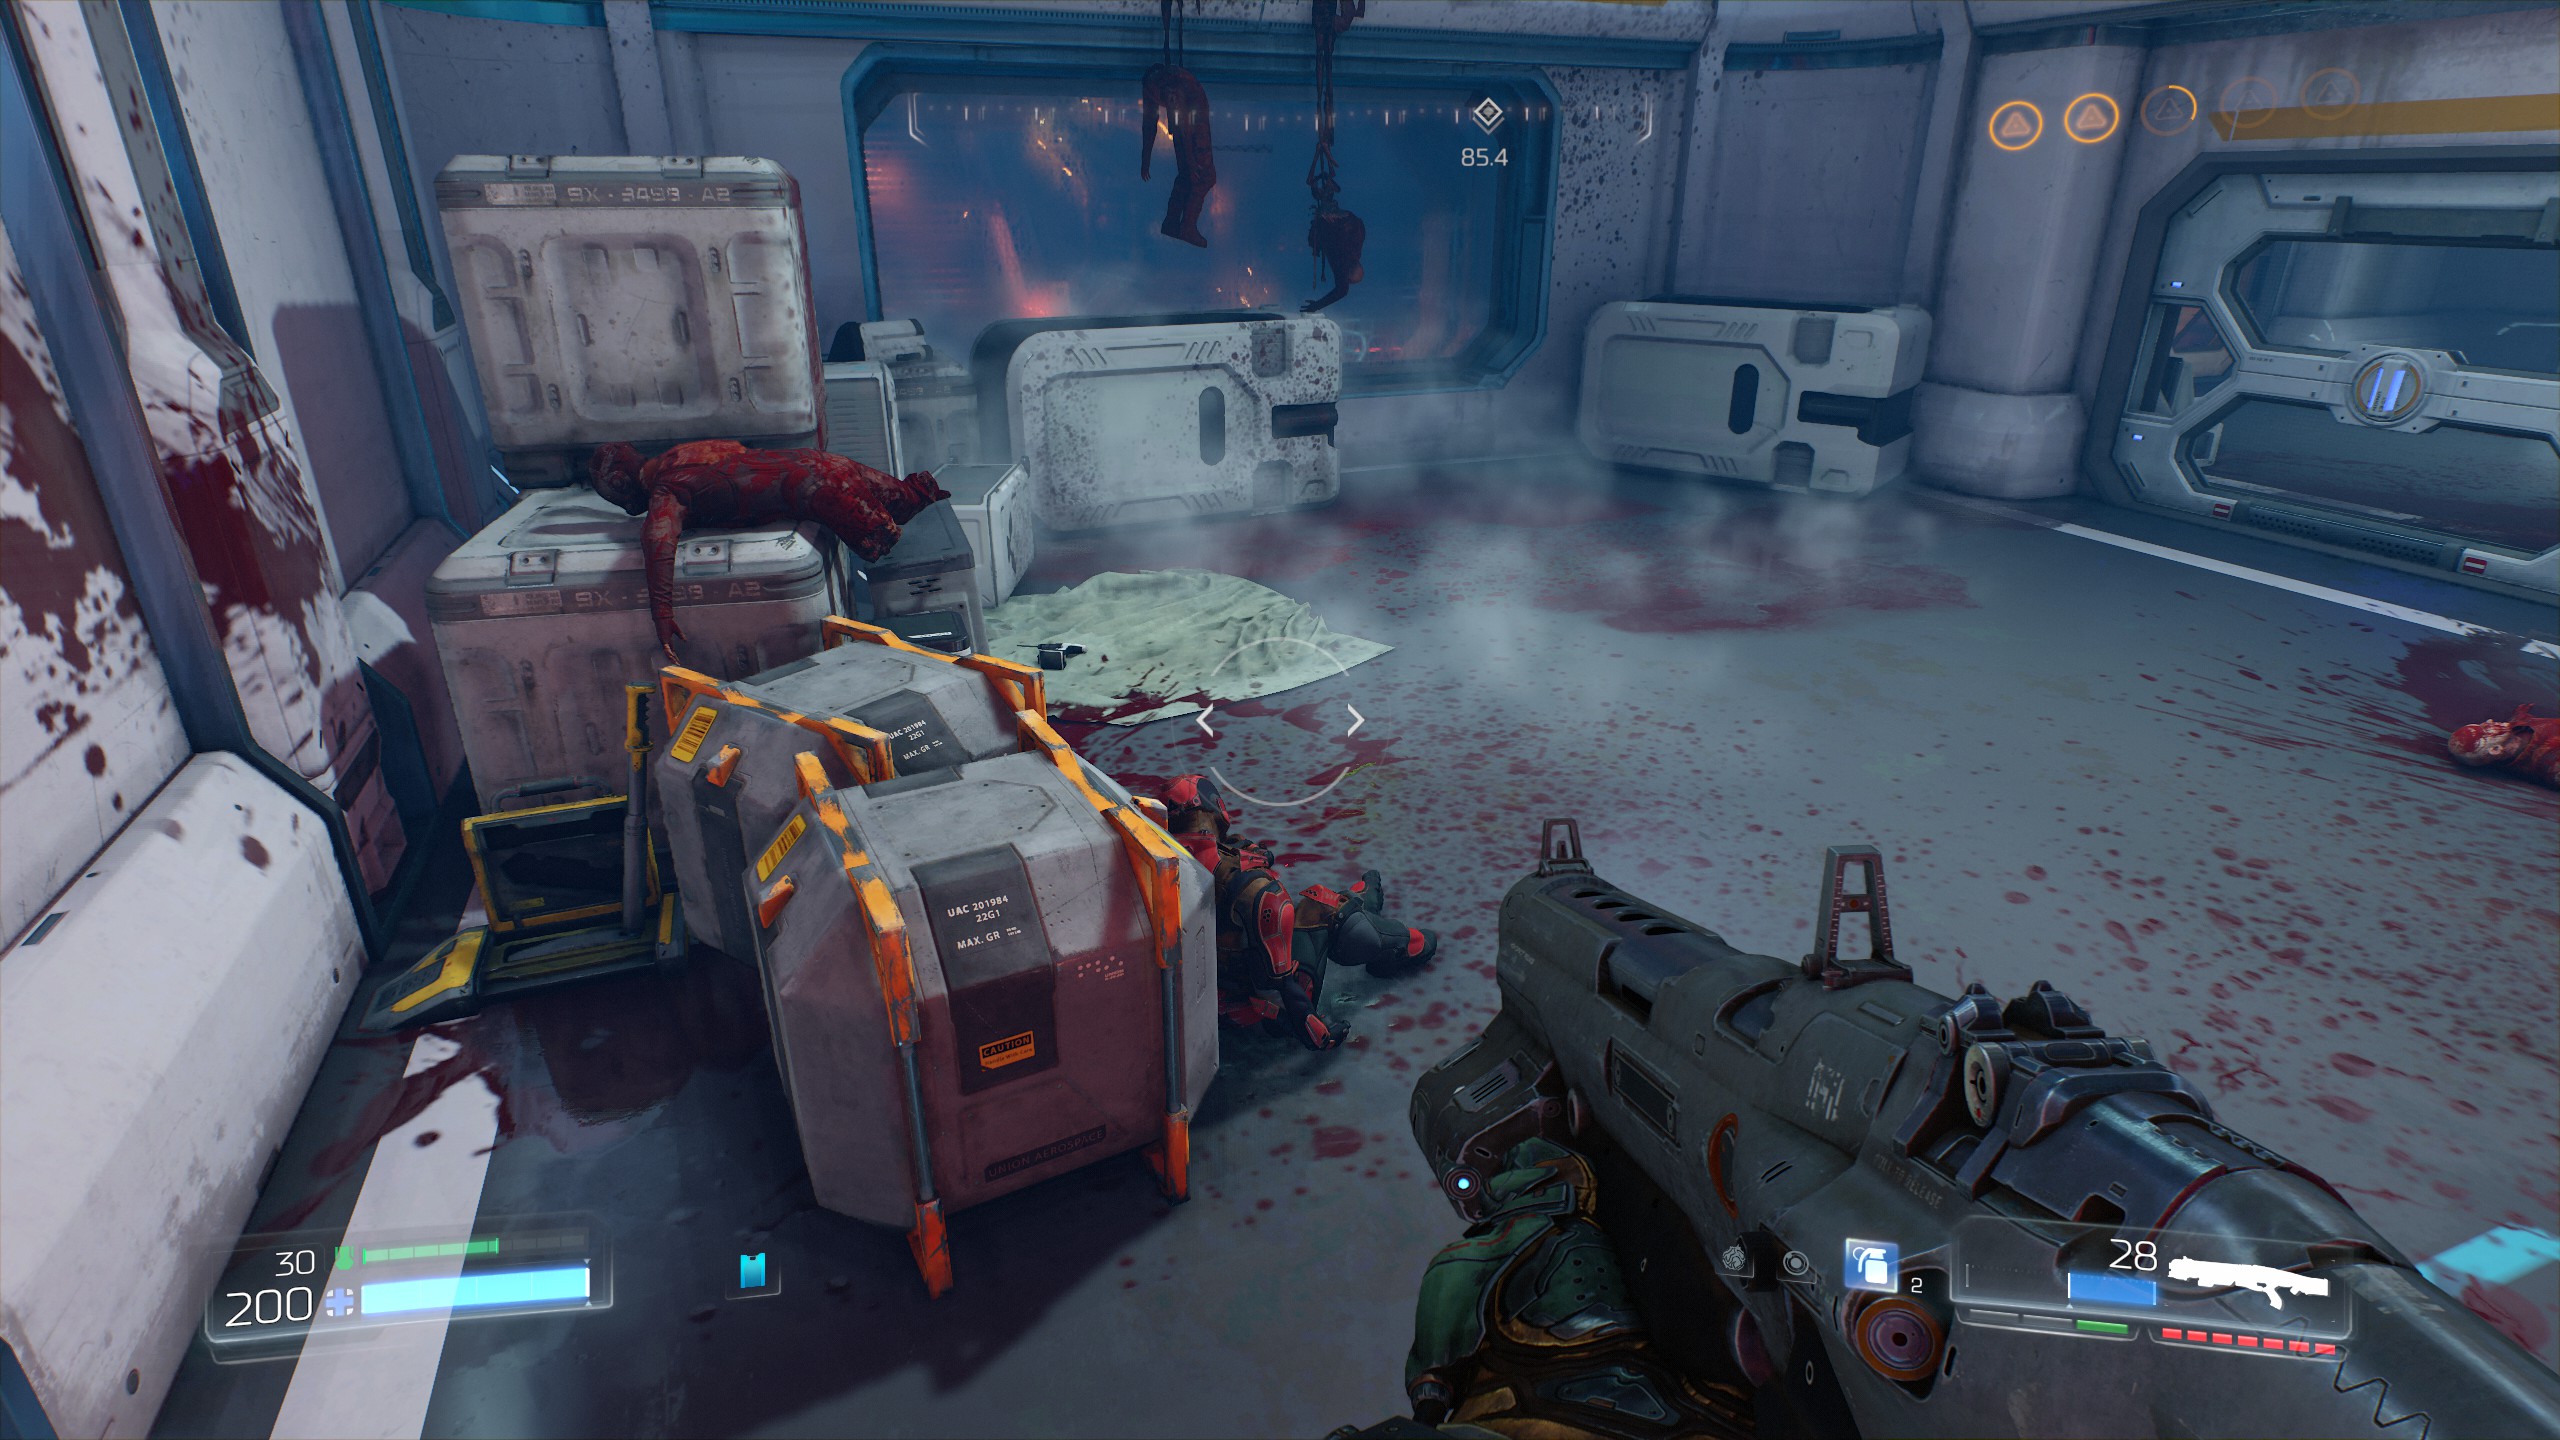
Now return back to the blue guy who had the blue key, from there follow the path around to the left and at the very end of the corridor you will find the secret room, go inside to get secret number 3.
Again from here immediately start secret 4.
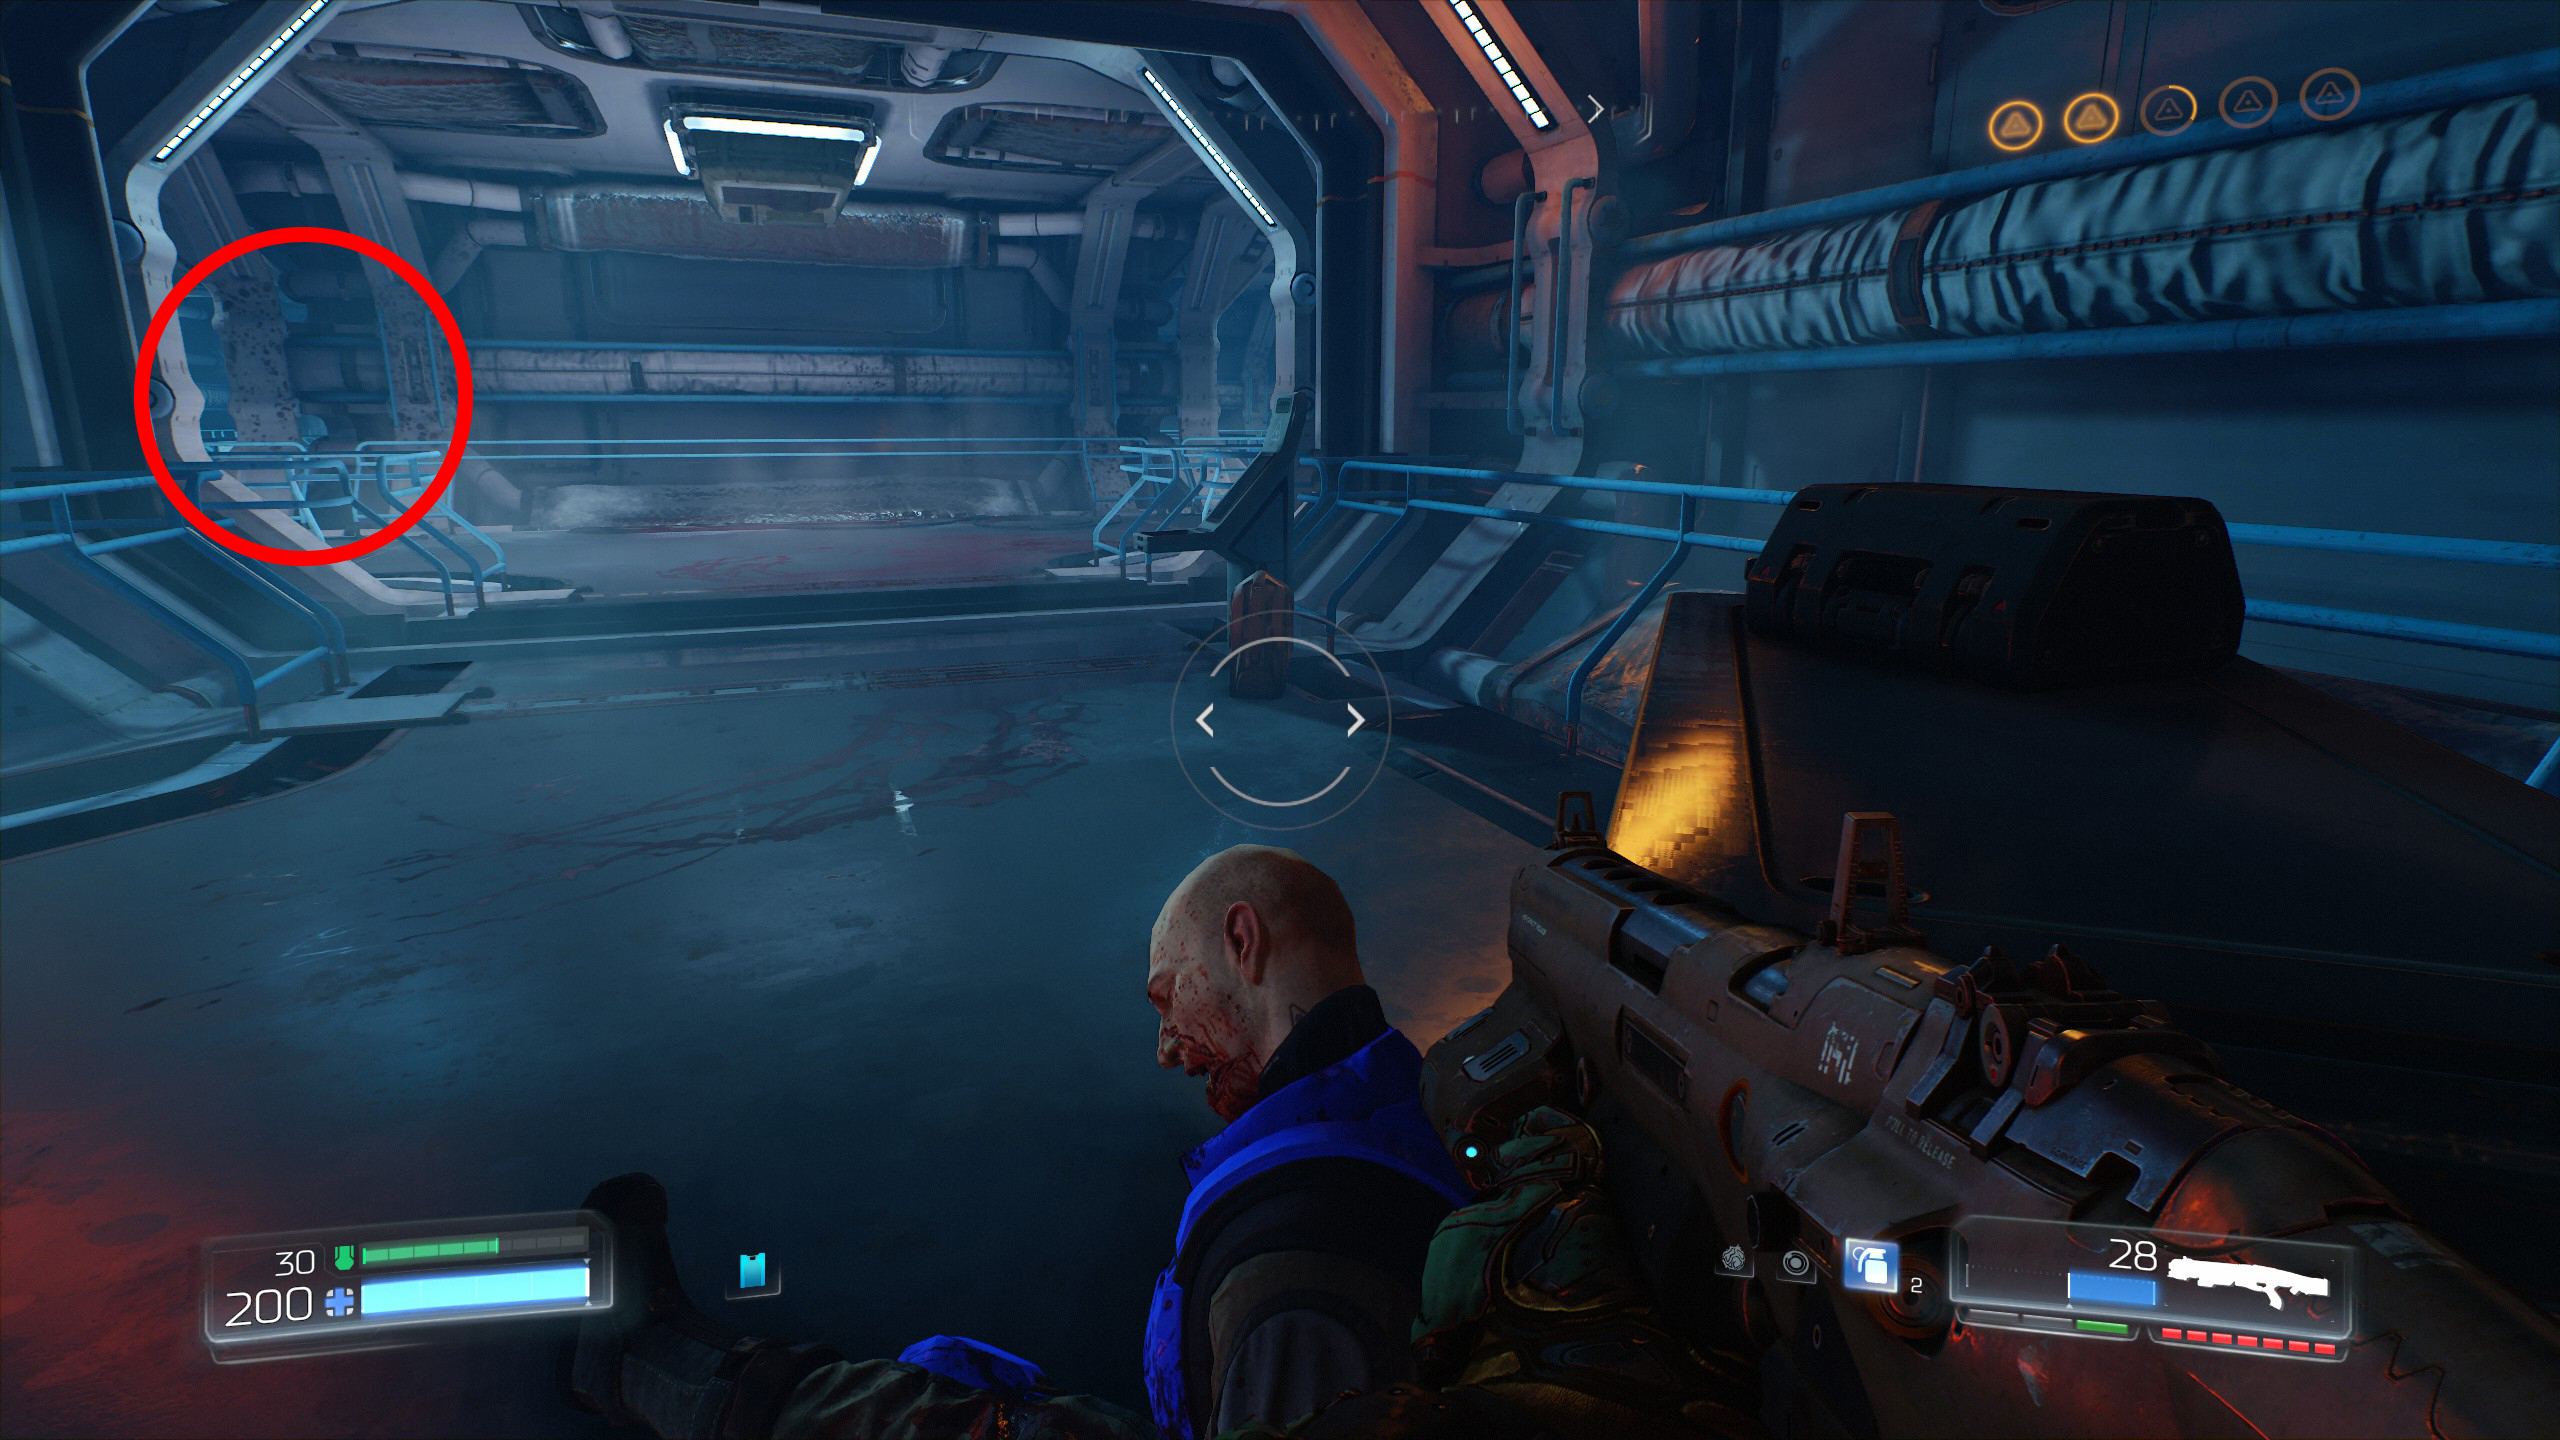
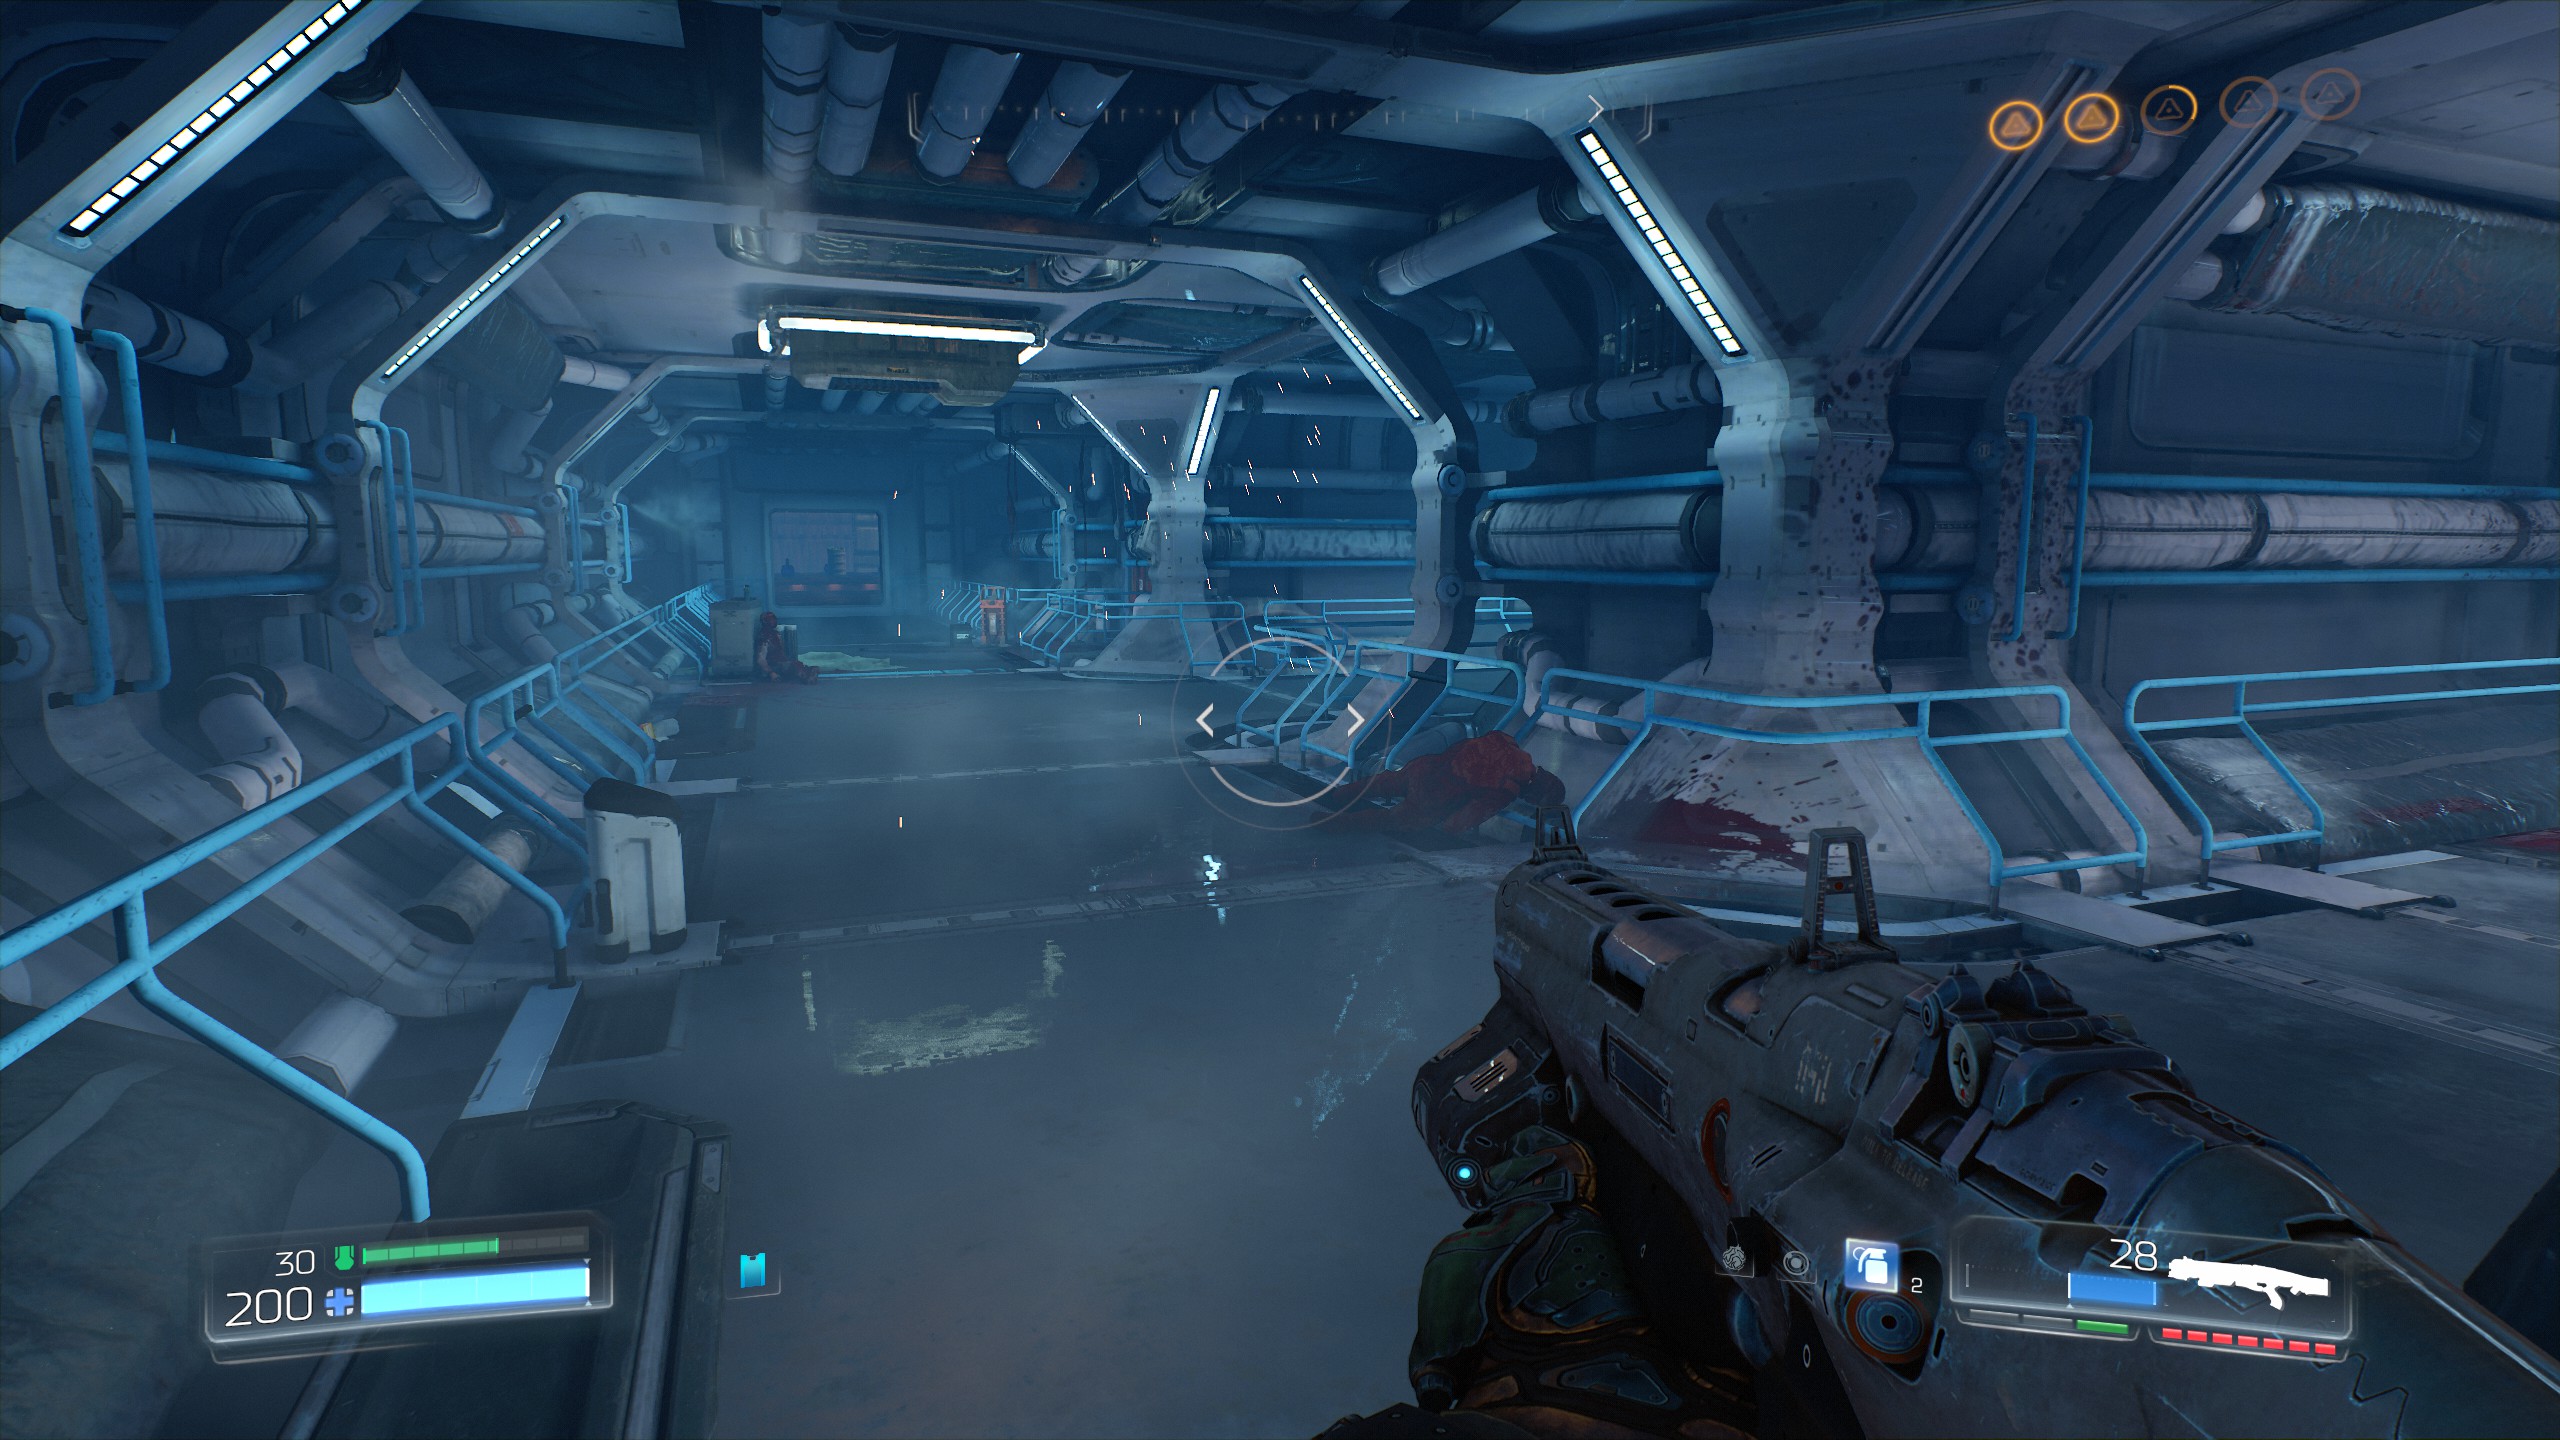
WARNING: Beyond this point you will not be able to go back and collect any previous secrets, so make sure you have them all.
From secret 3 once again return back to the blue guy who had the blue key, from there go back to the elite guard we found in secret 2.
As you face the elite guard there is a shaft on the left side that you can drop down into, go ahead and drop down but remember there is no turning back from this point onward. Once you have dropped down do not enter the building, instead turn around and look at the lower part of the yellow shaft and you will find another Doomguy for secret number 4.
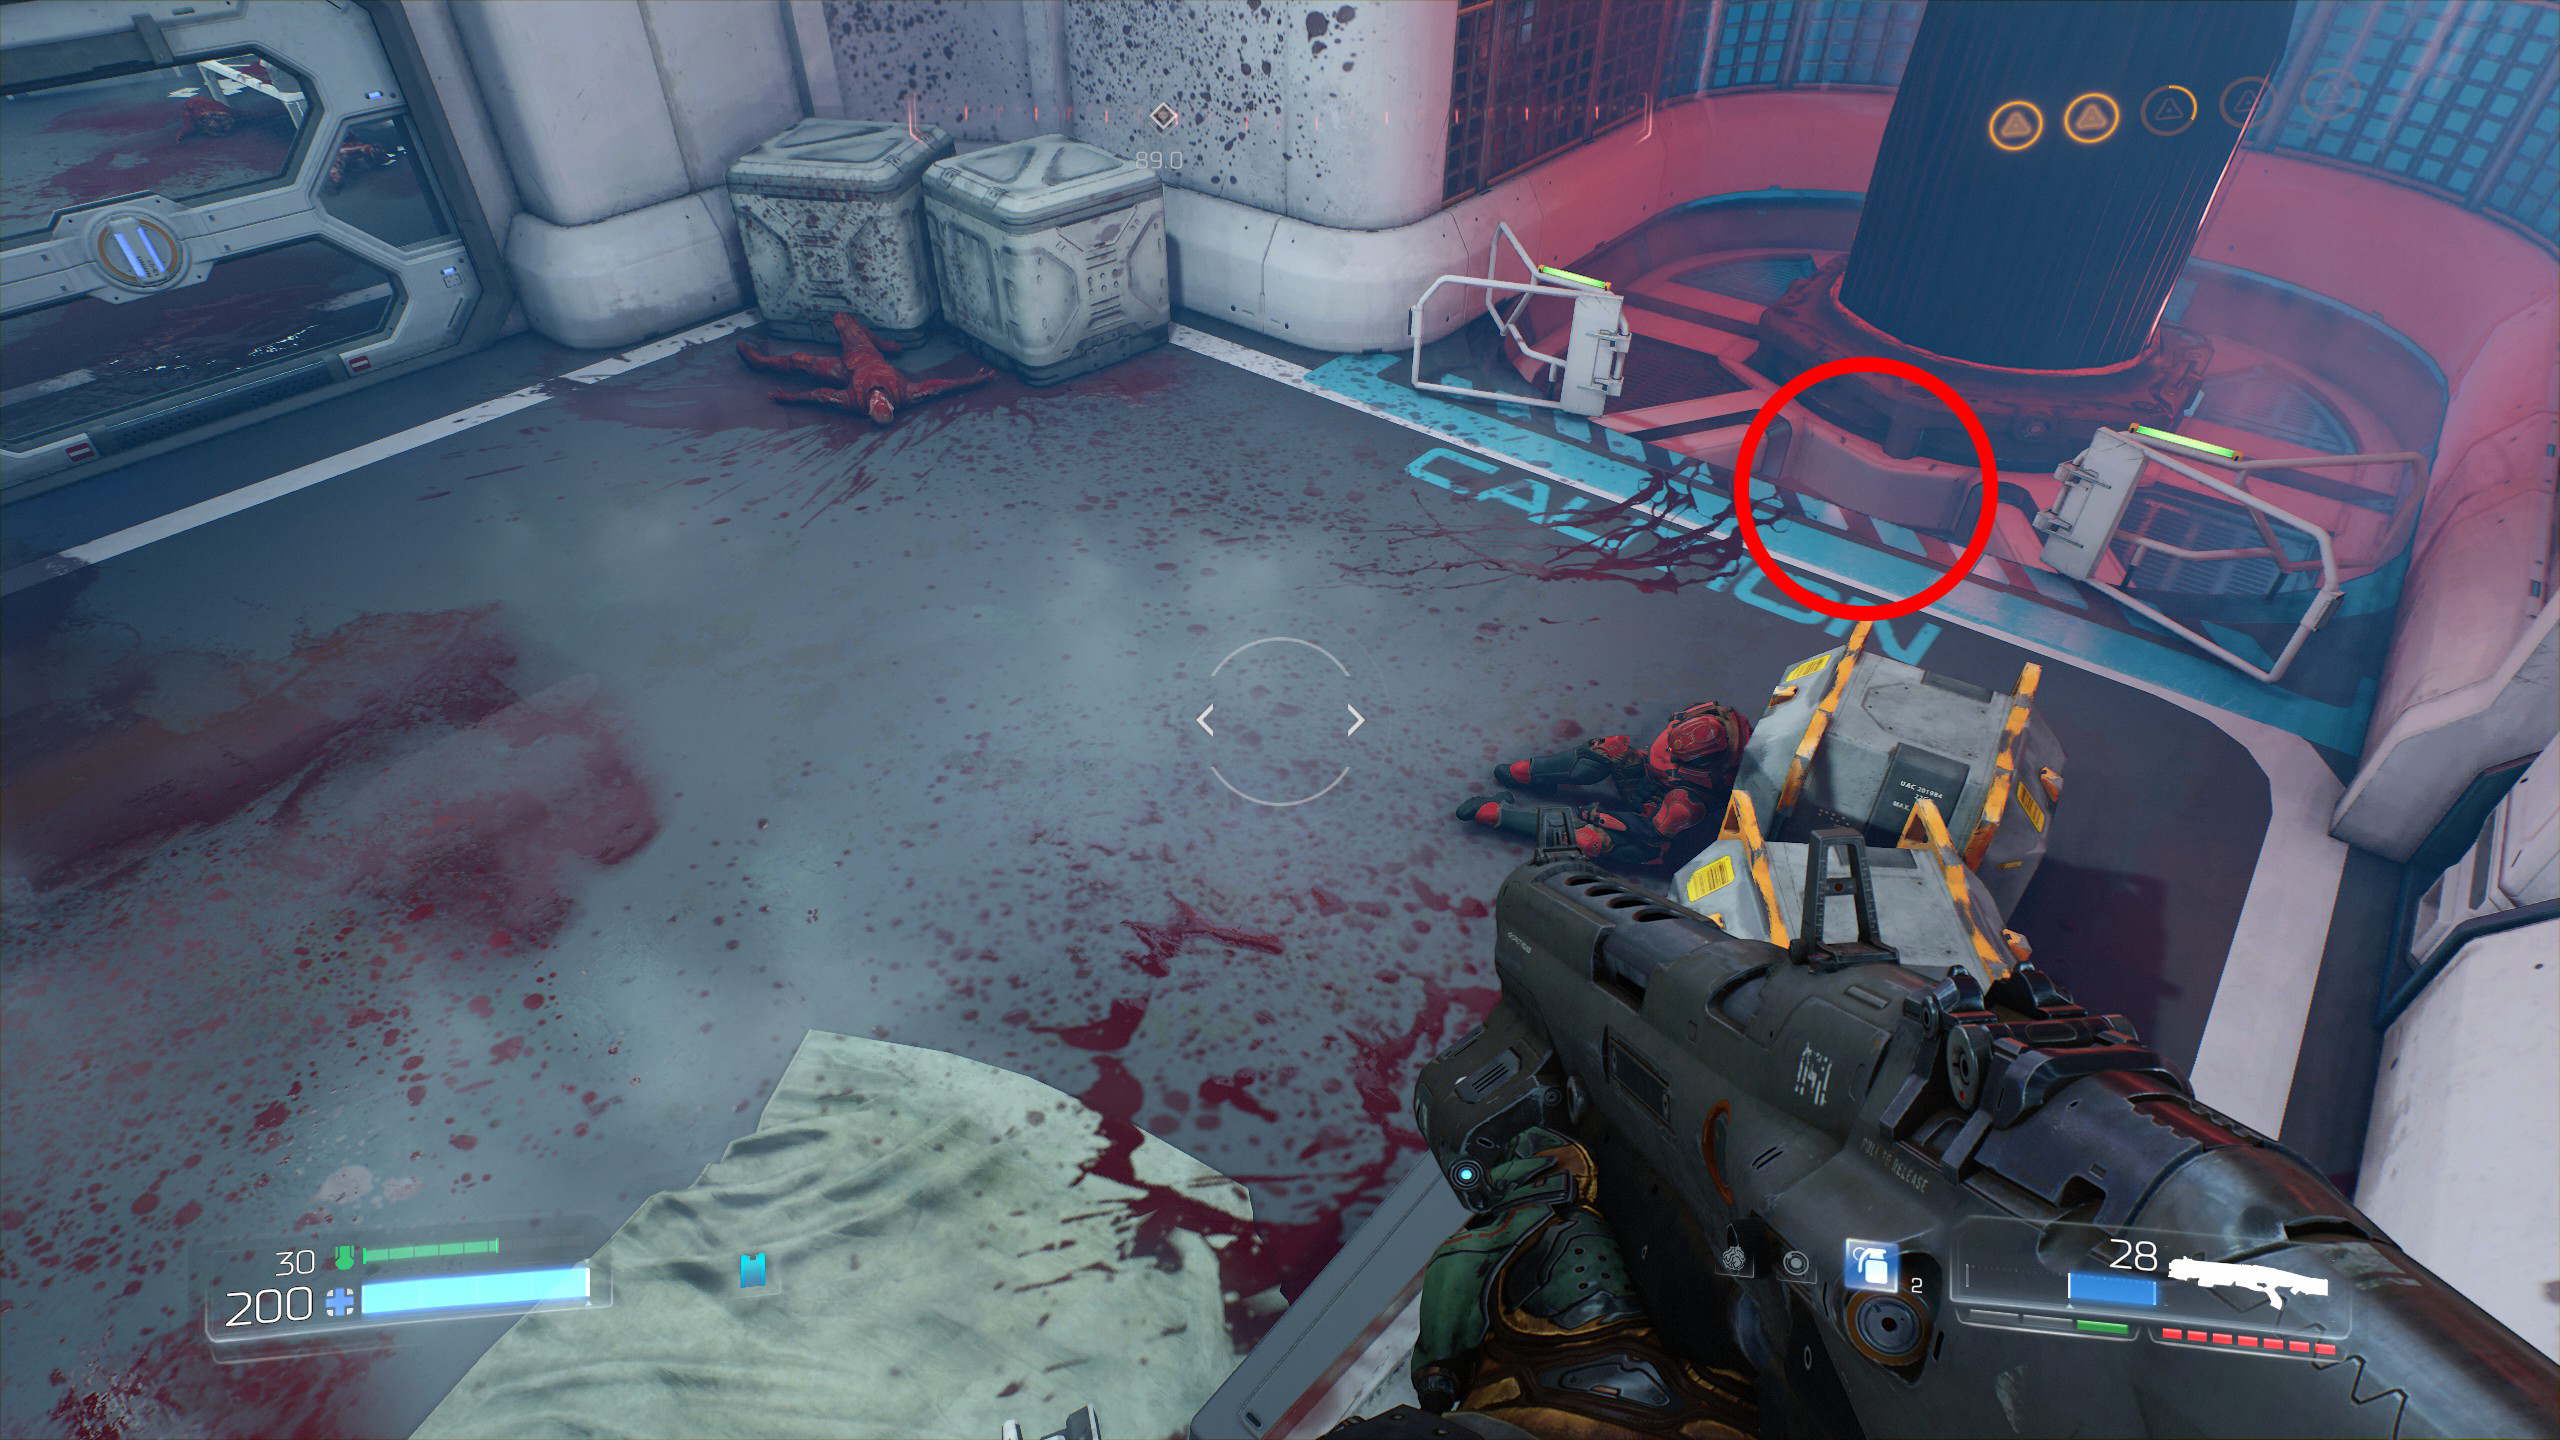
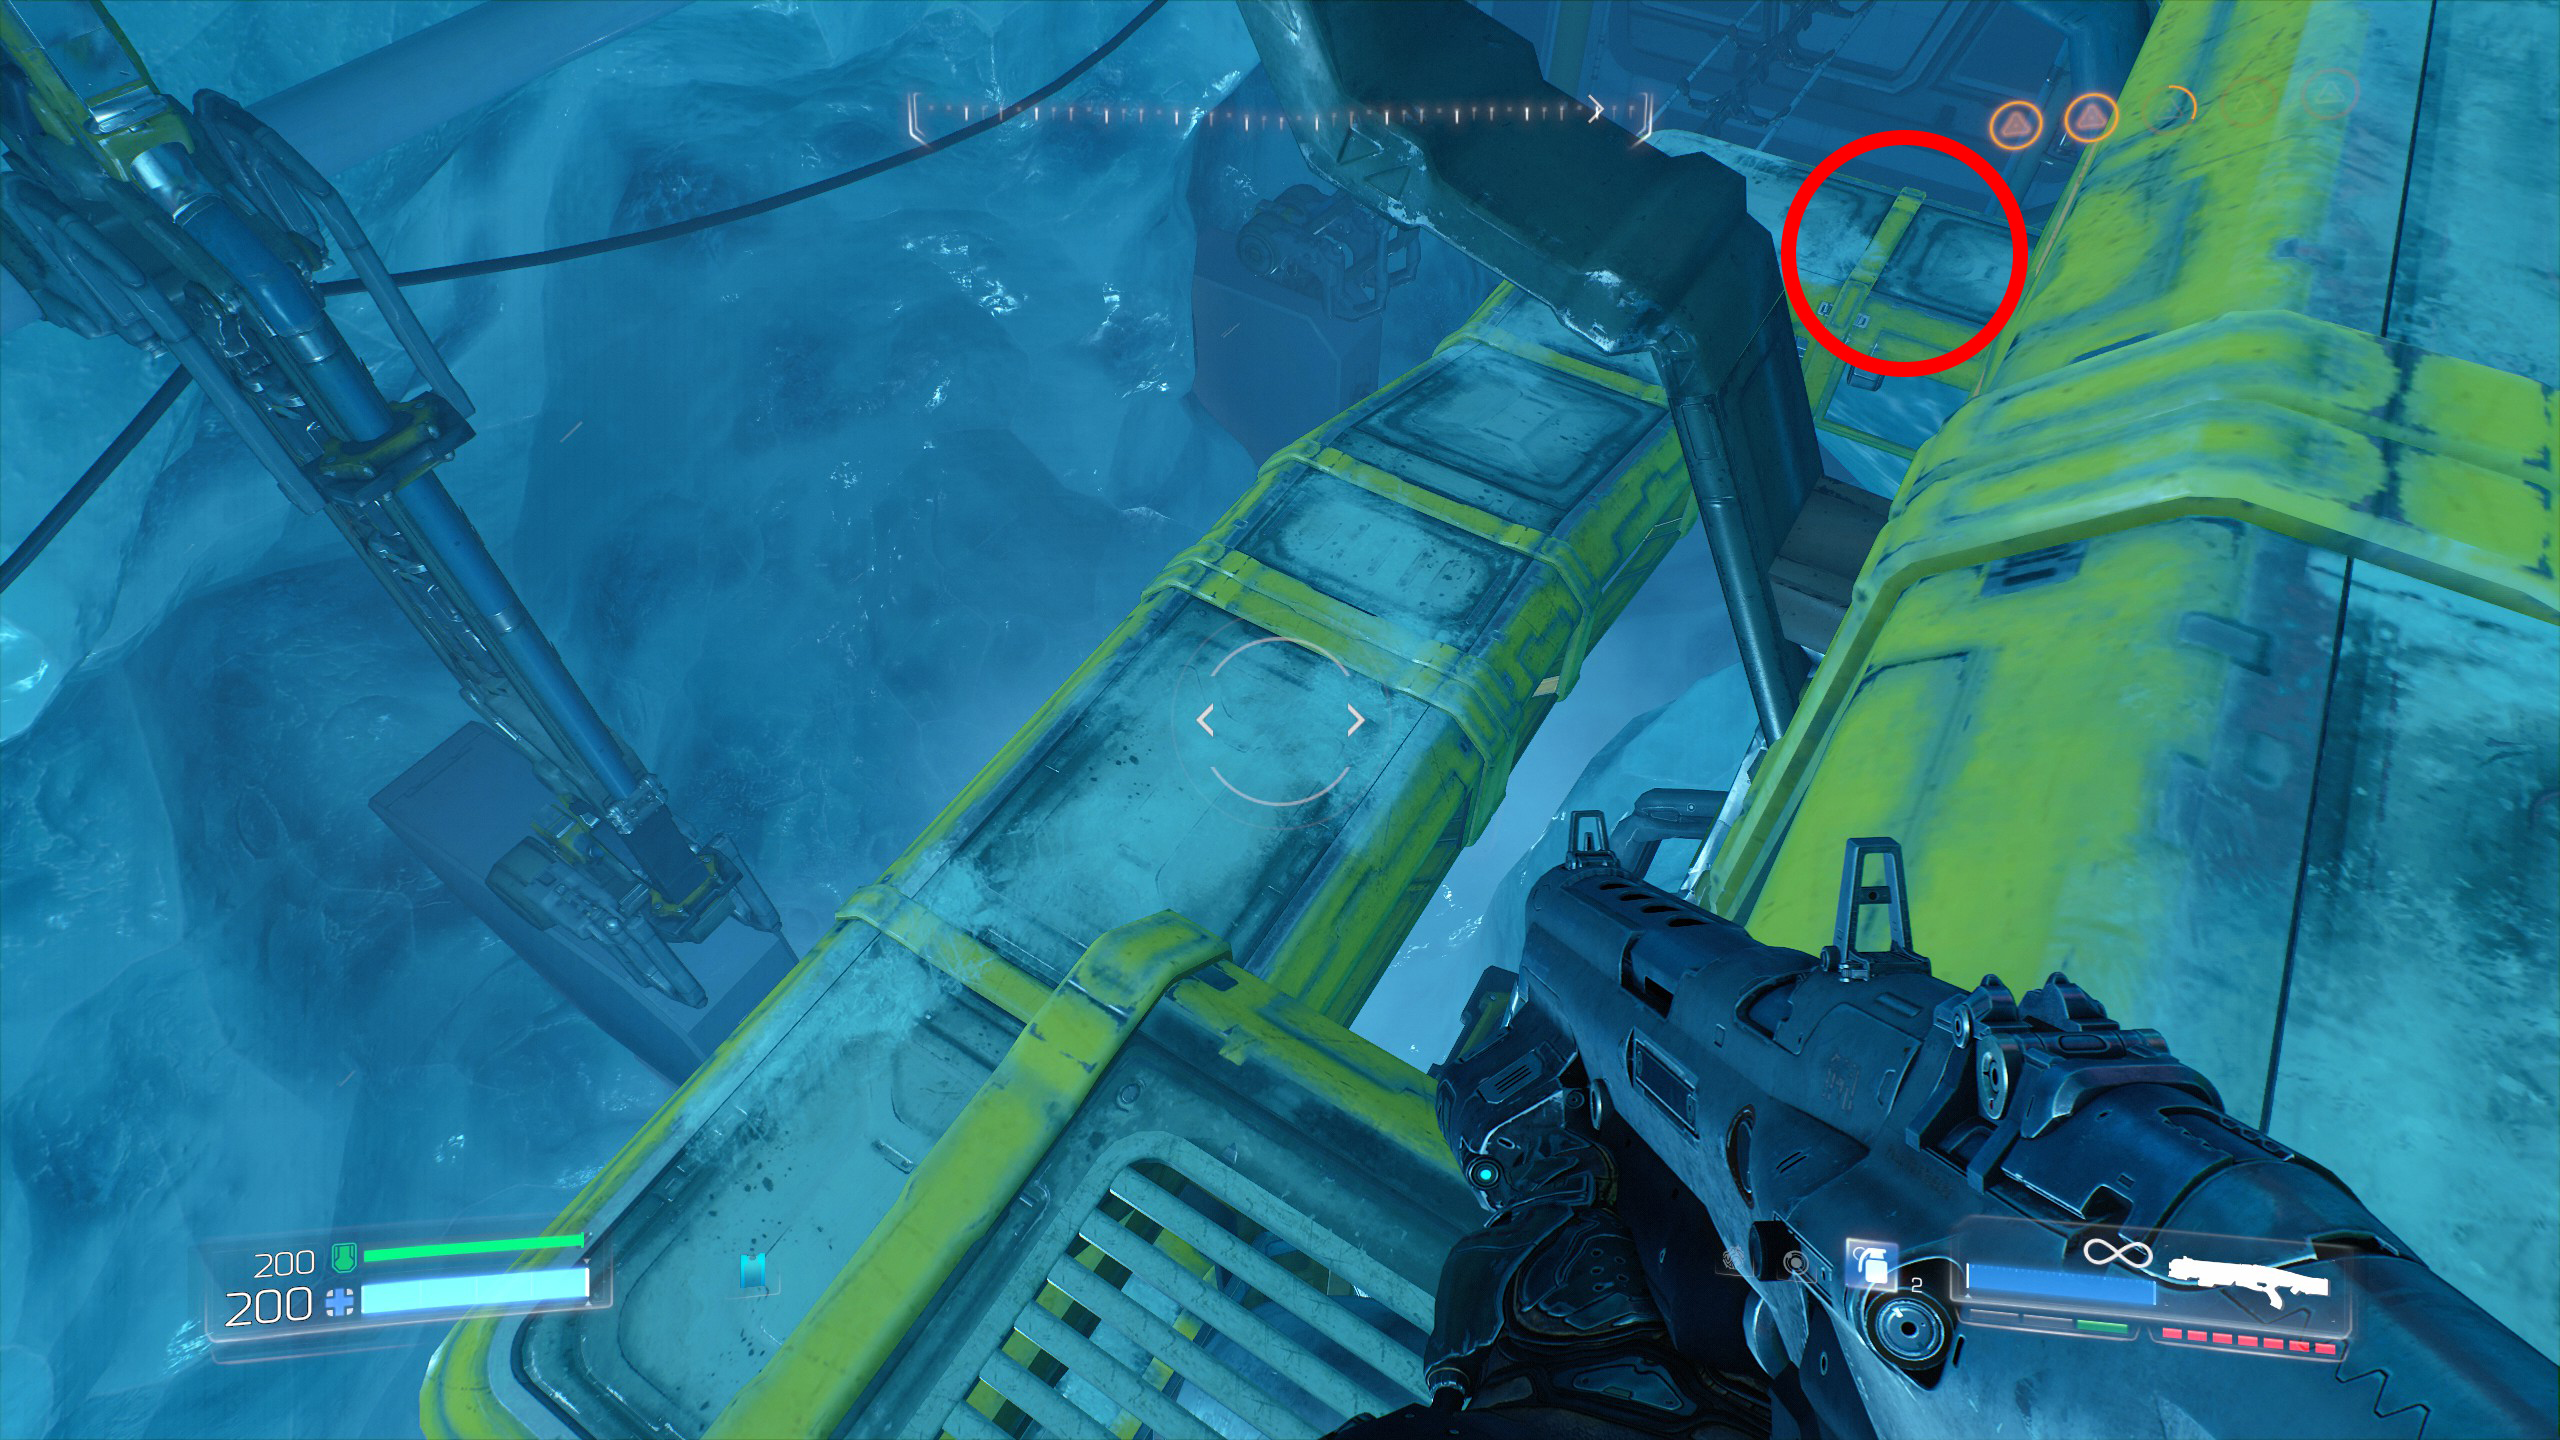
Continue the mission.
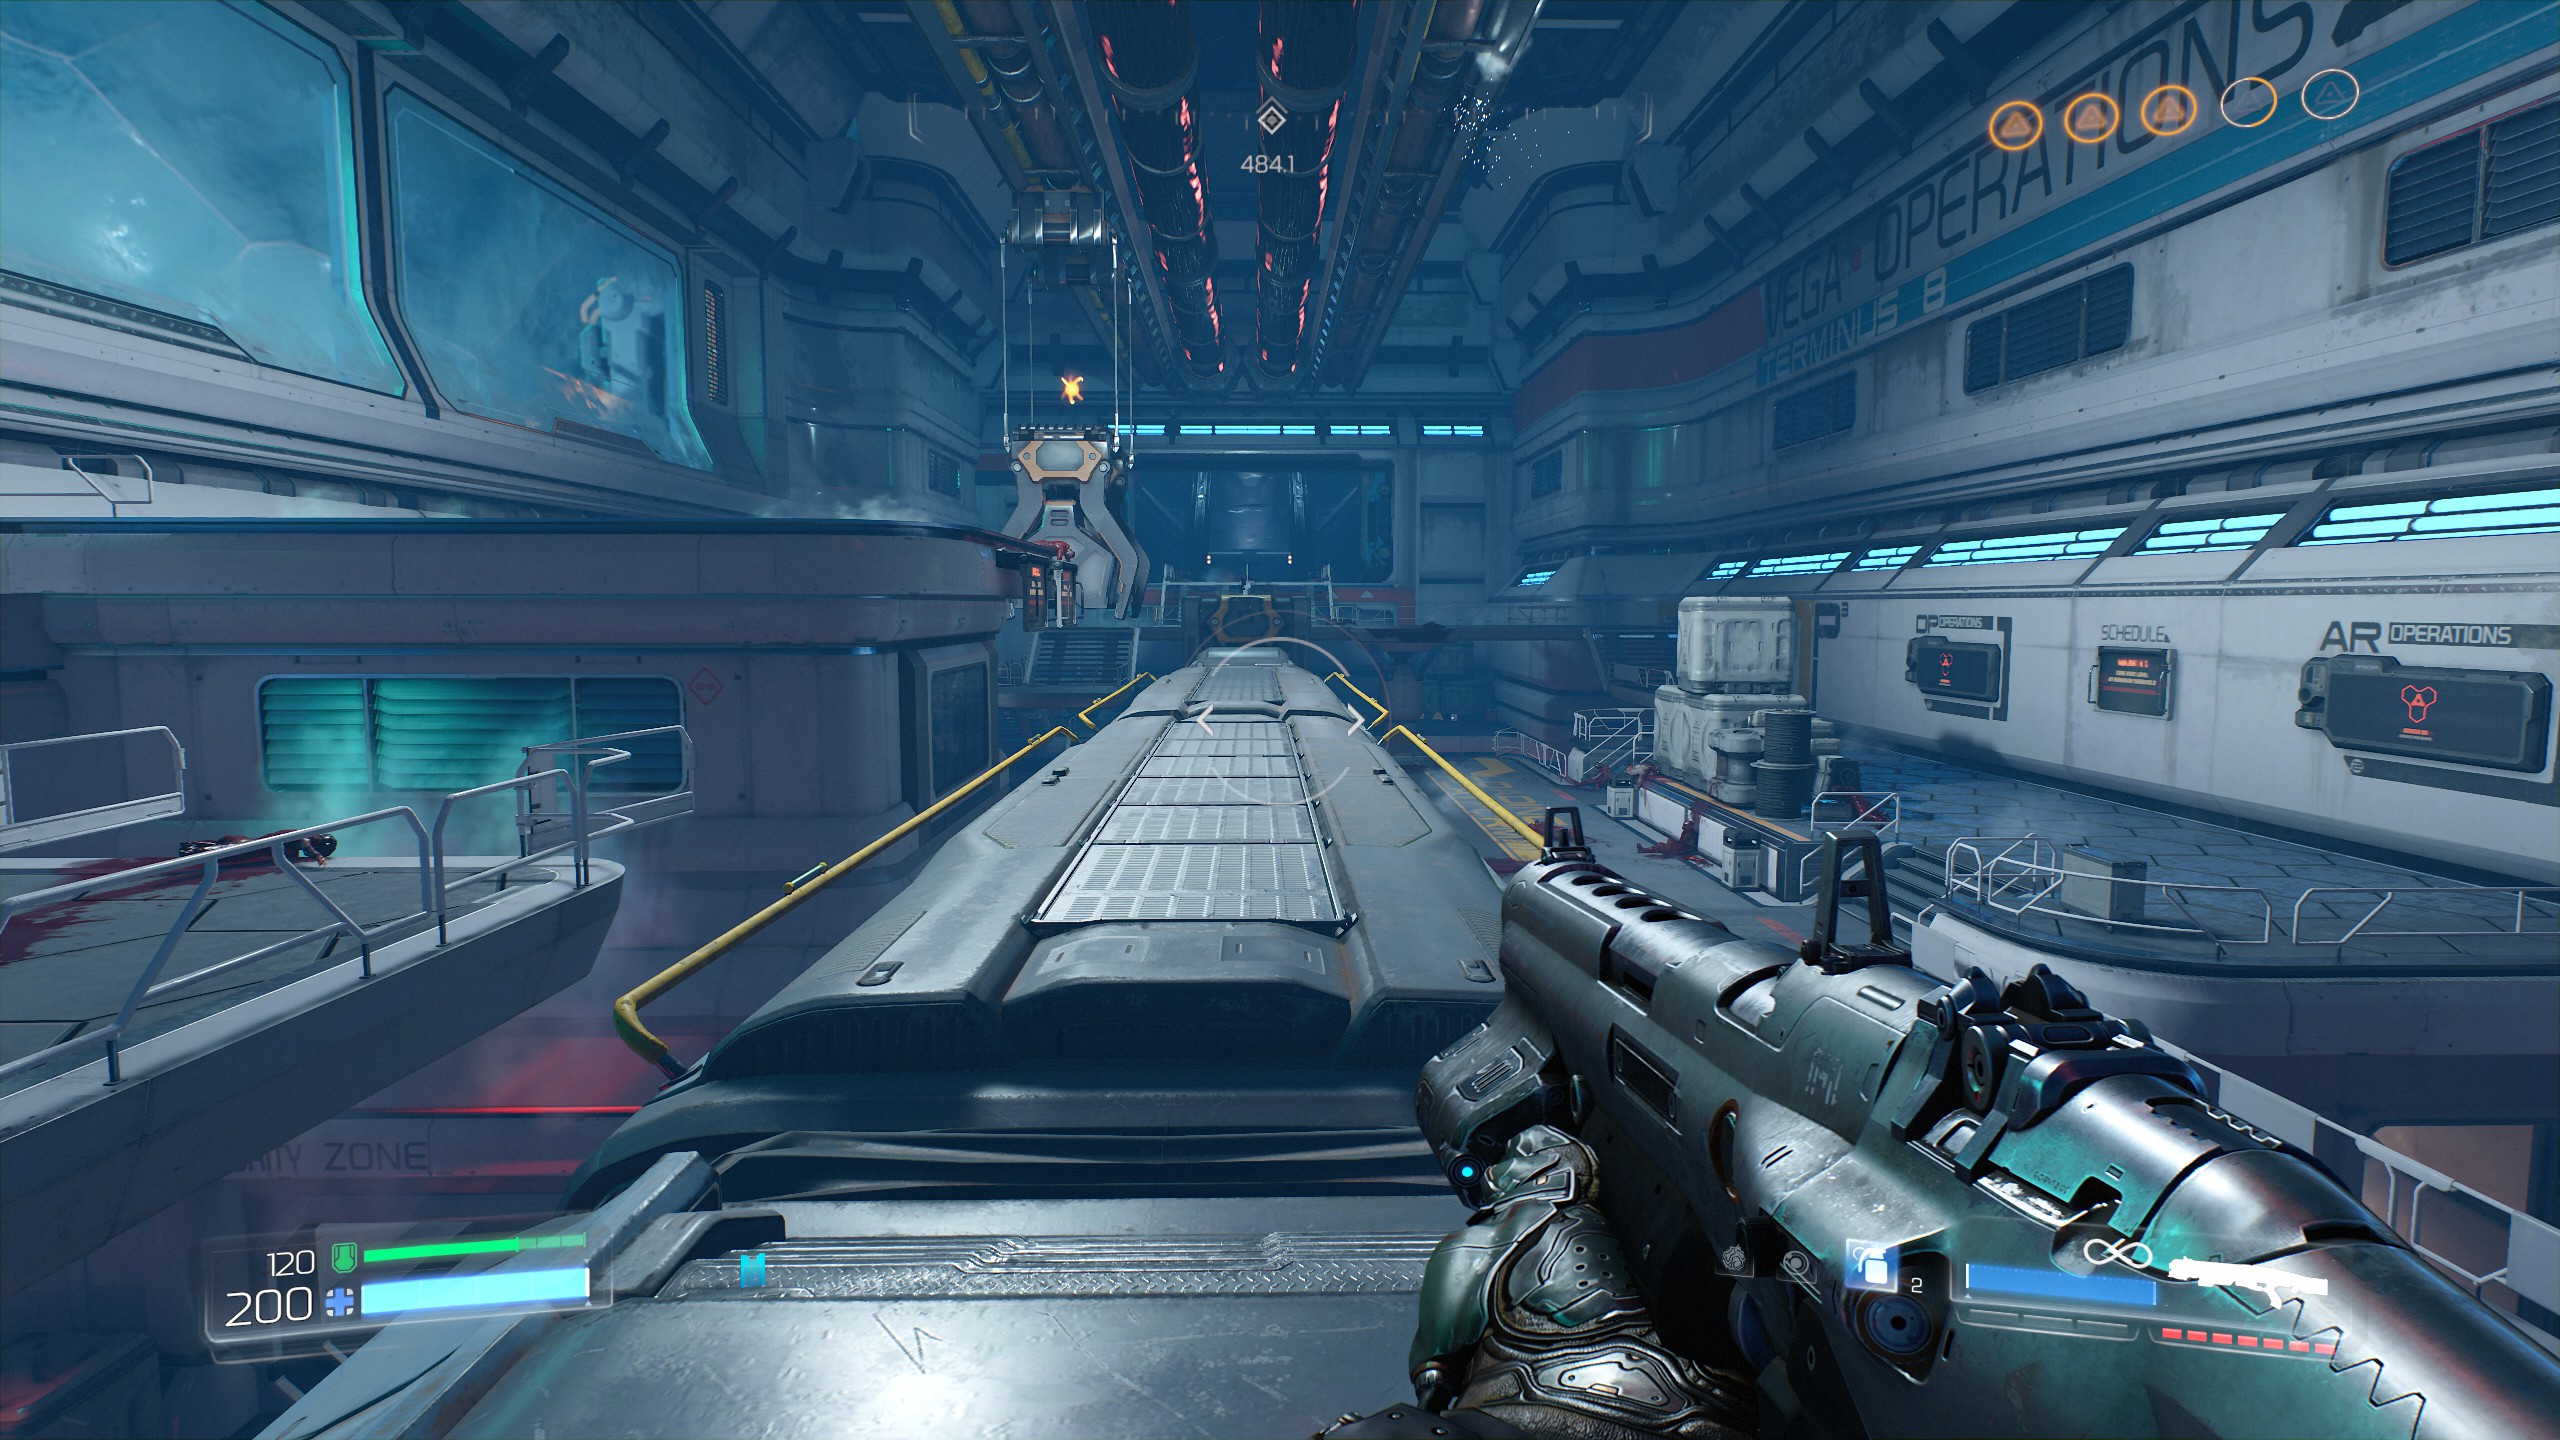
Mission 13 - Argent D'Nur
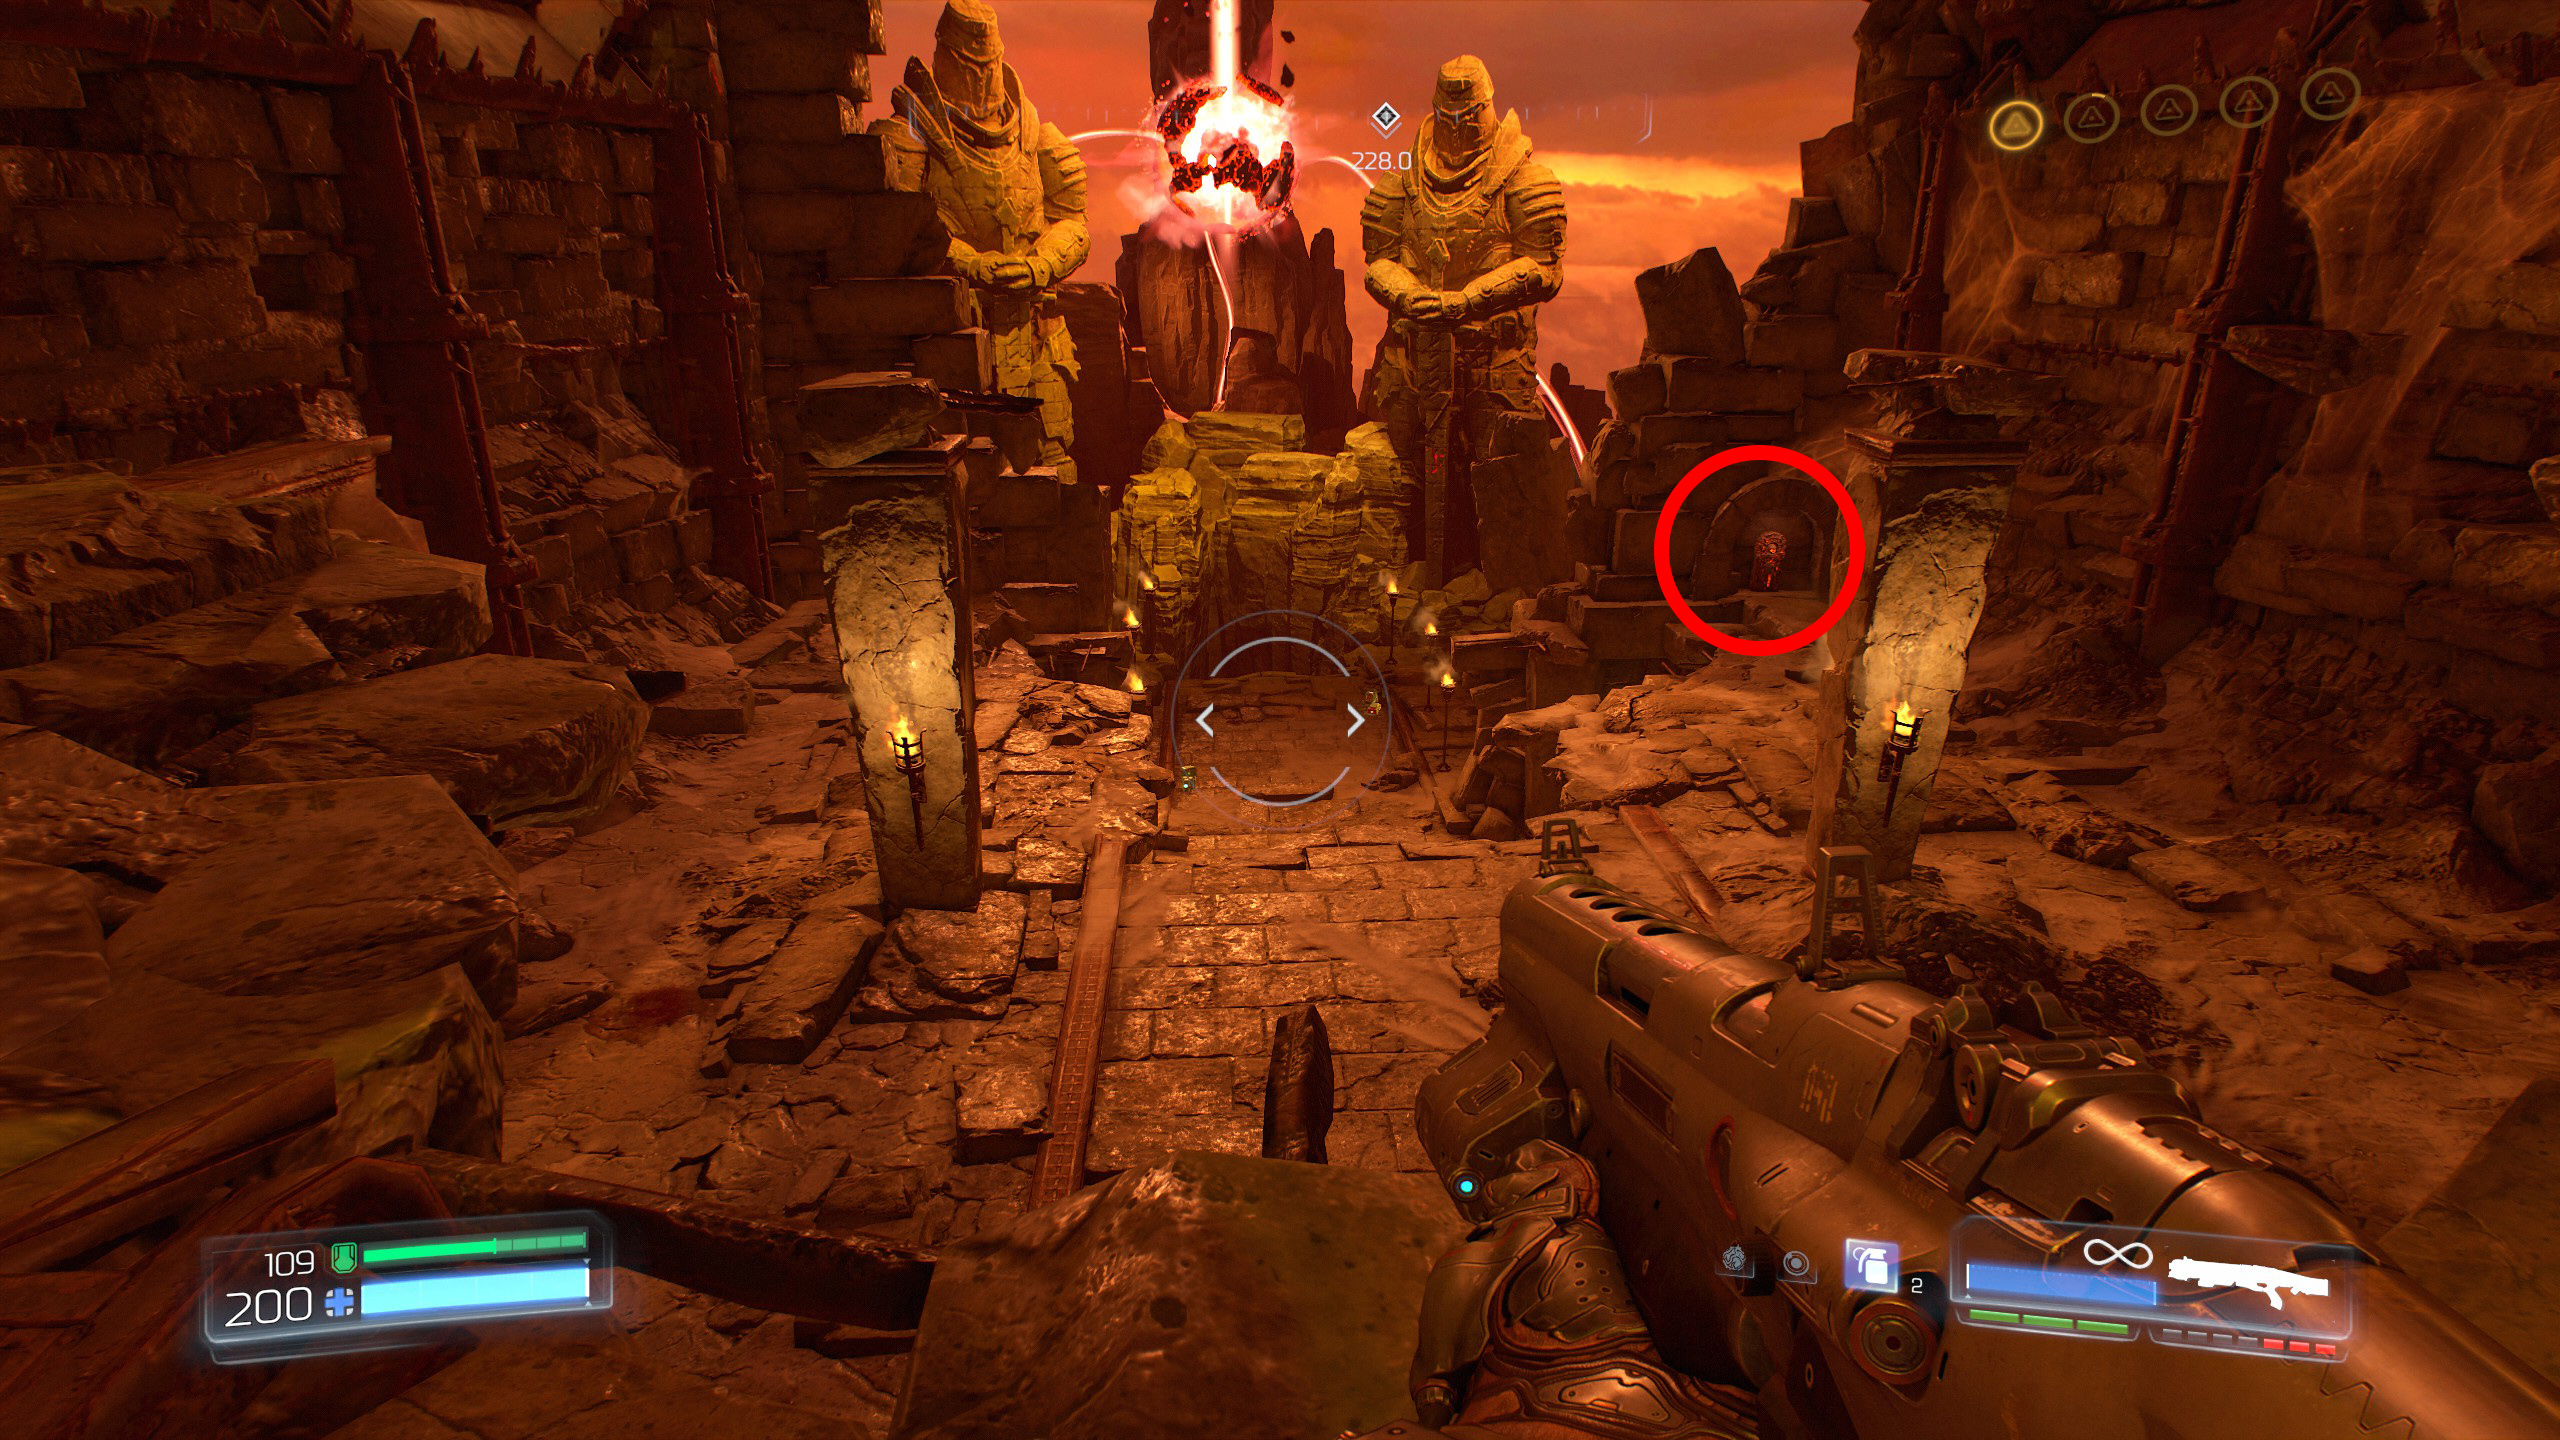
Begin the mission and make your way to the open area that contains a large red orb with two statues standing either side of it, you can't miss them.
Face the orb and situated on the right side just past the thin pillar against the wall is a skull, drop down and activate the skull, do not drop down any further or you will not be able to get back up.
Once activated face the stairway you just came from and climb back up on the right side to find an opening in the wall, go inside for secret number 1.
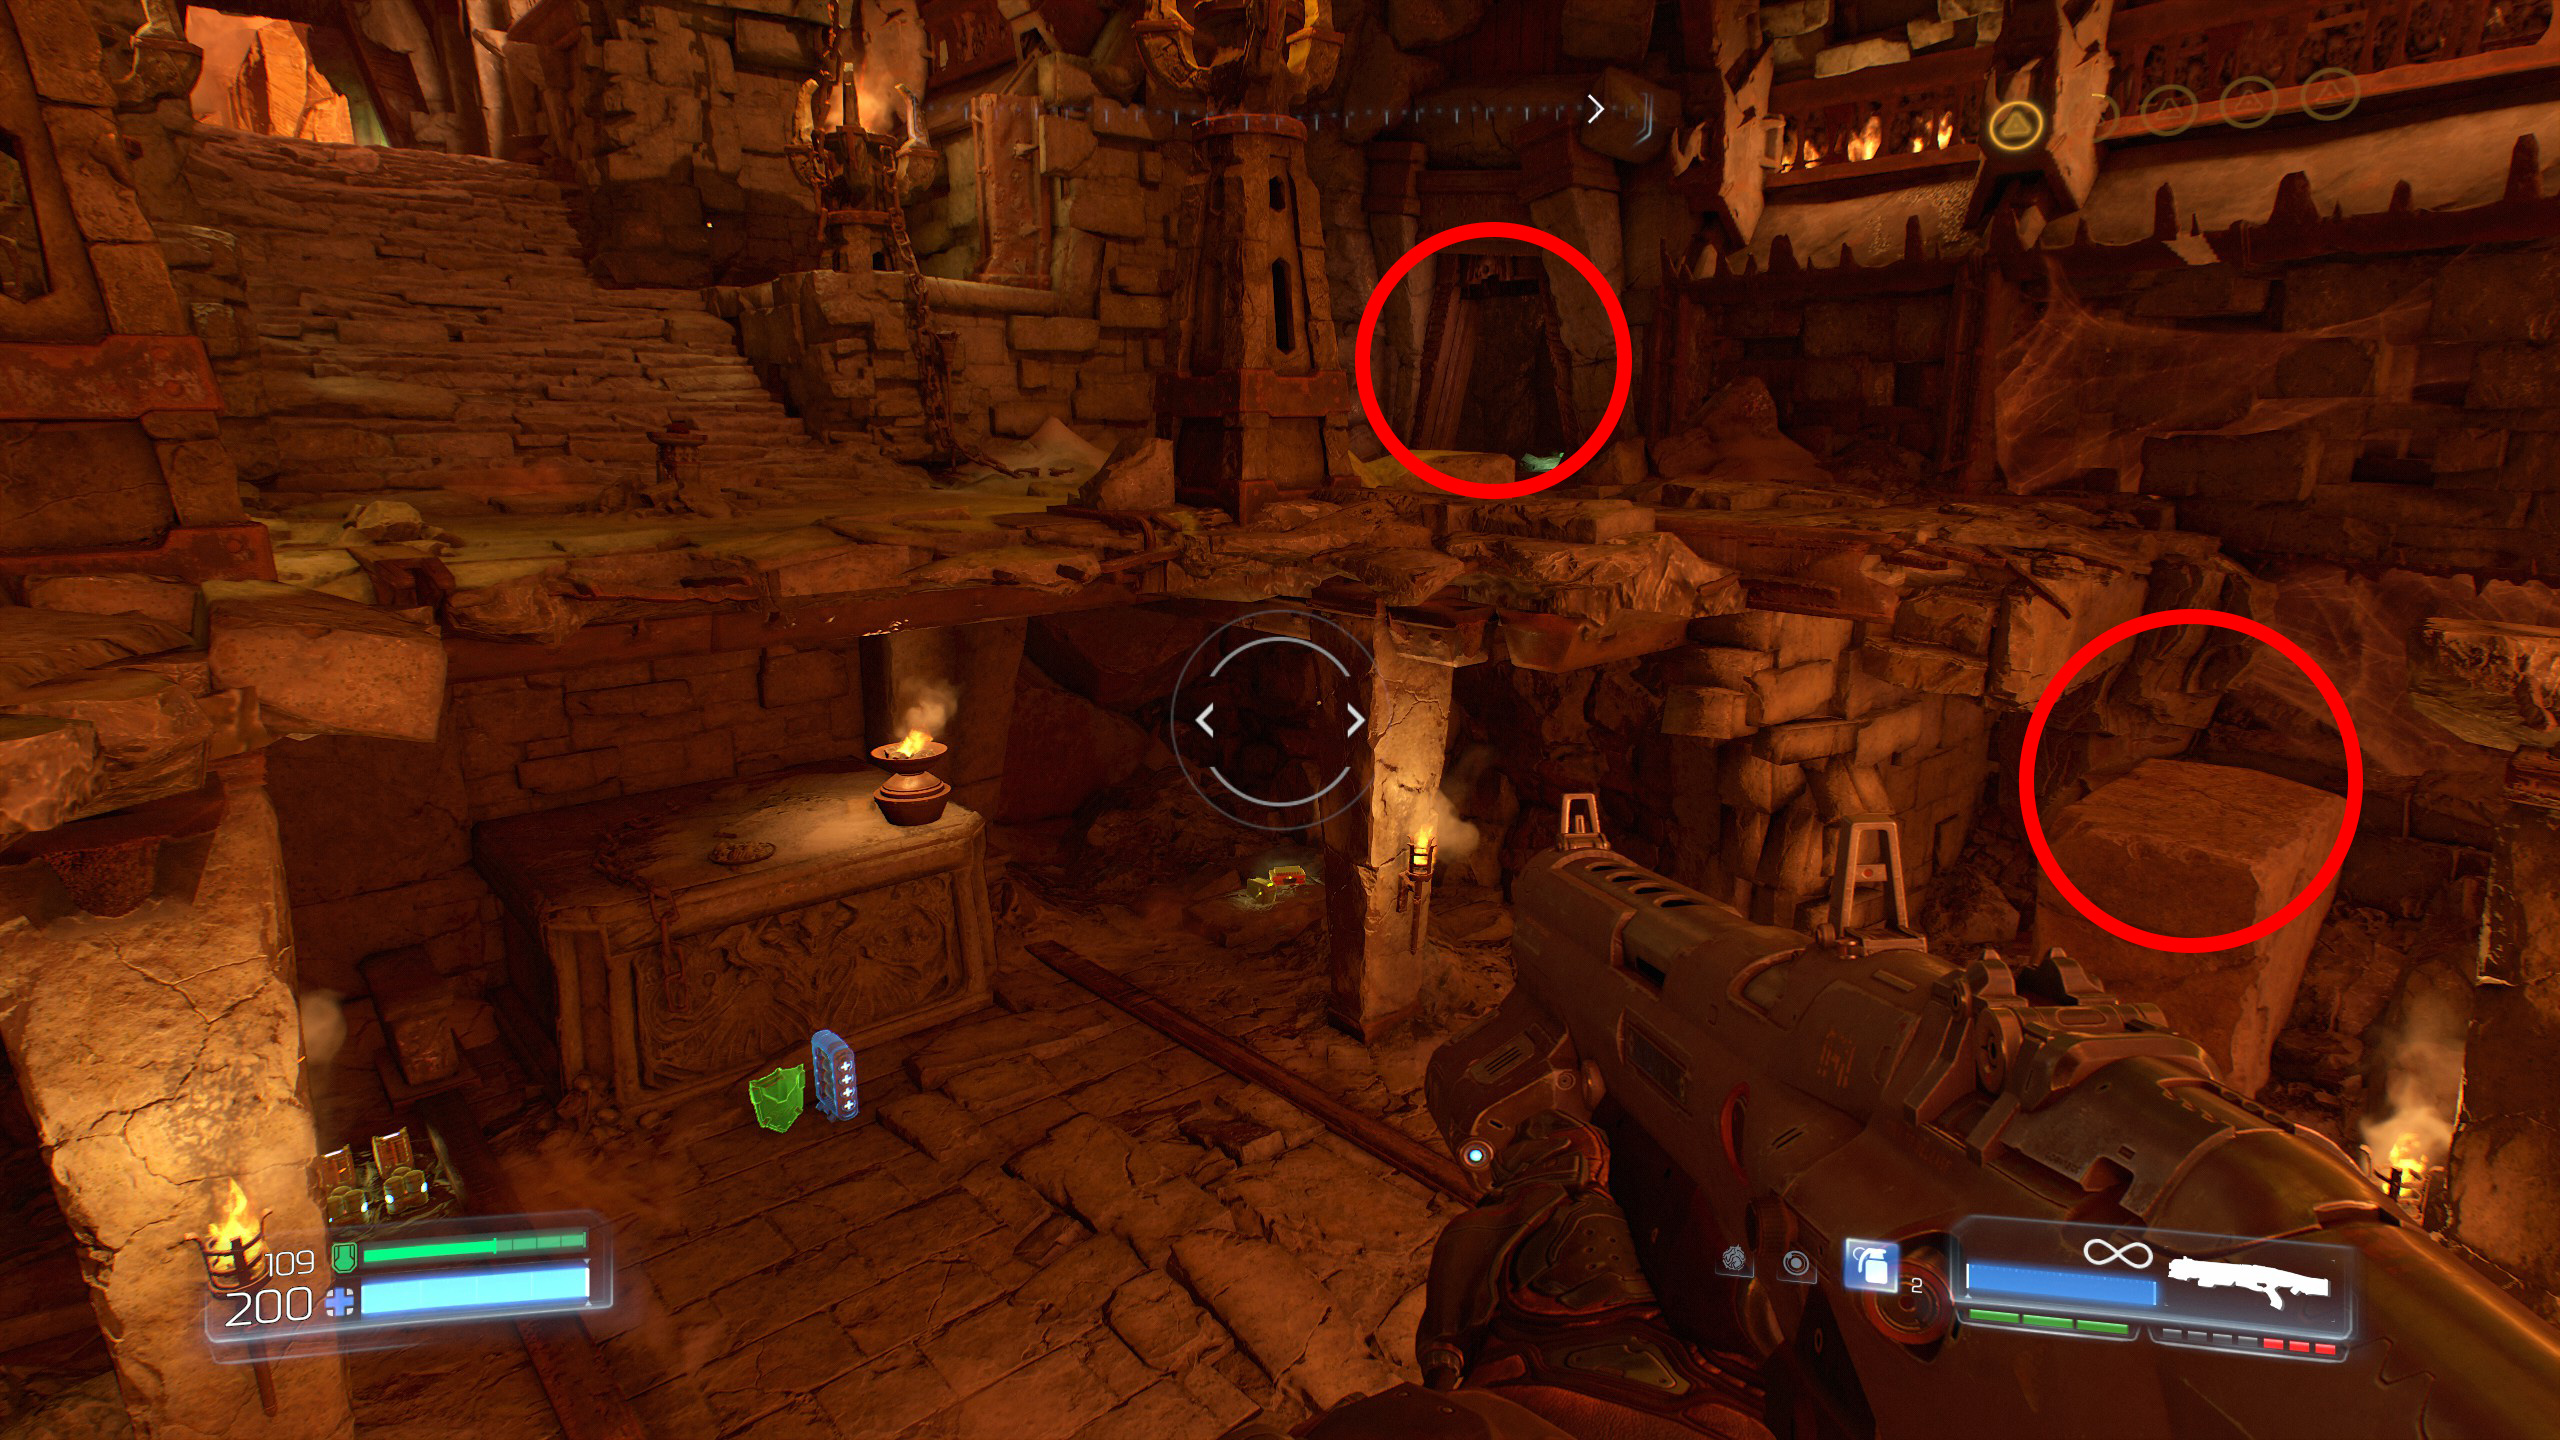
Continue the mission until you reach the first wraith soul that you have to destroy, once destroyed face the wraith soul and take the right side stairway, halfway down the stairway on the right wall is another skull, activate it.
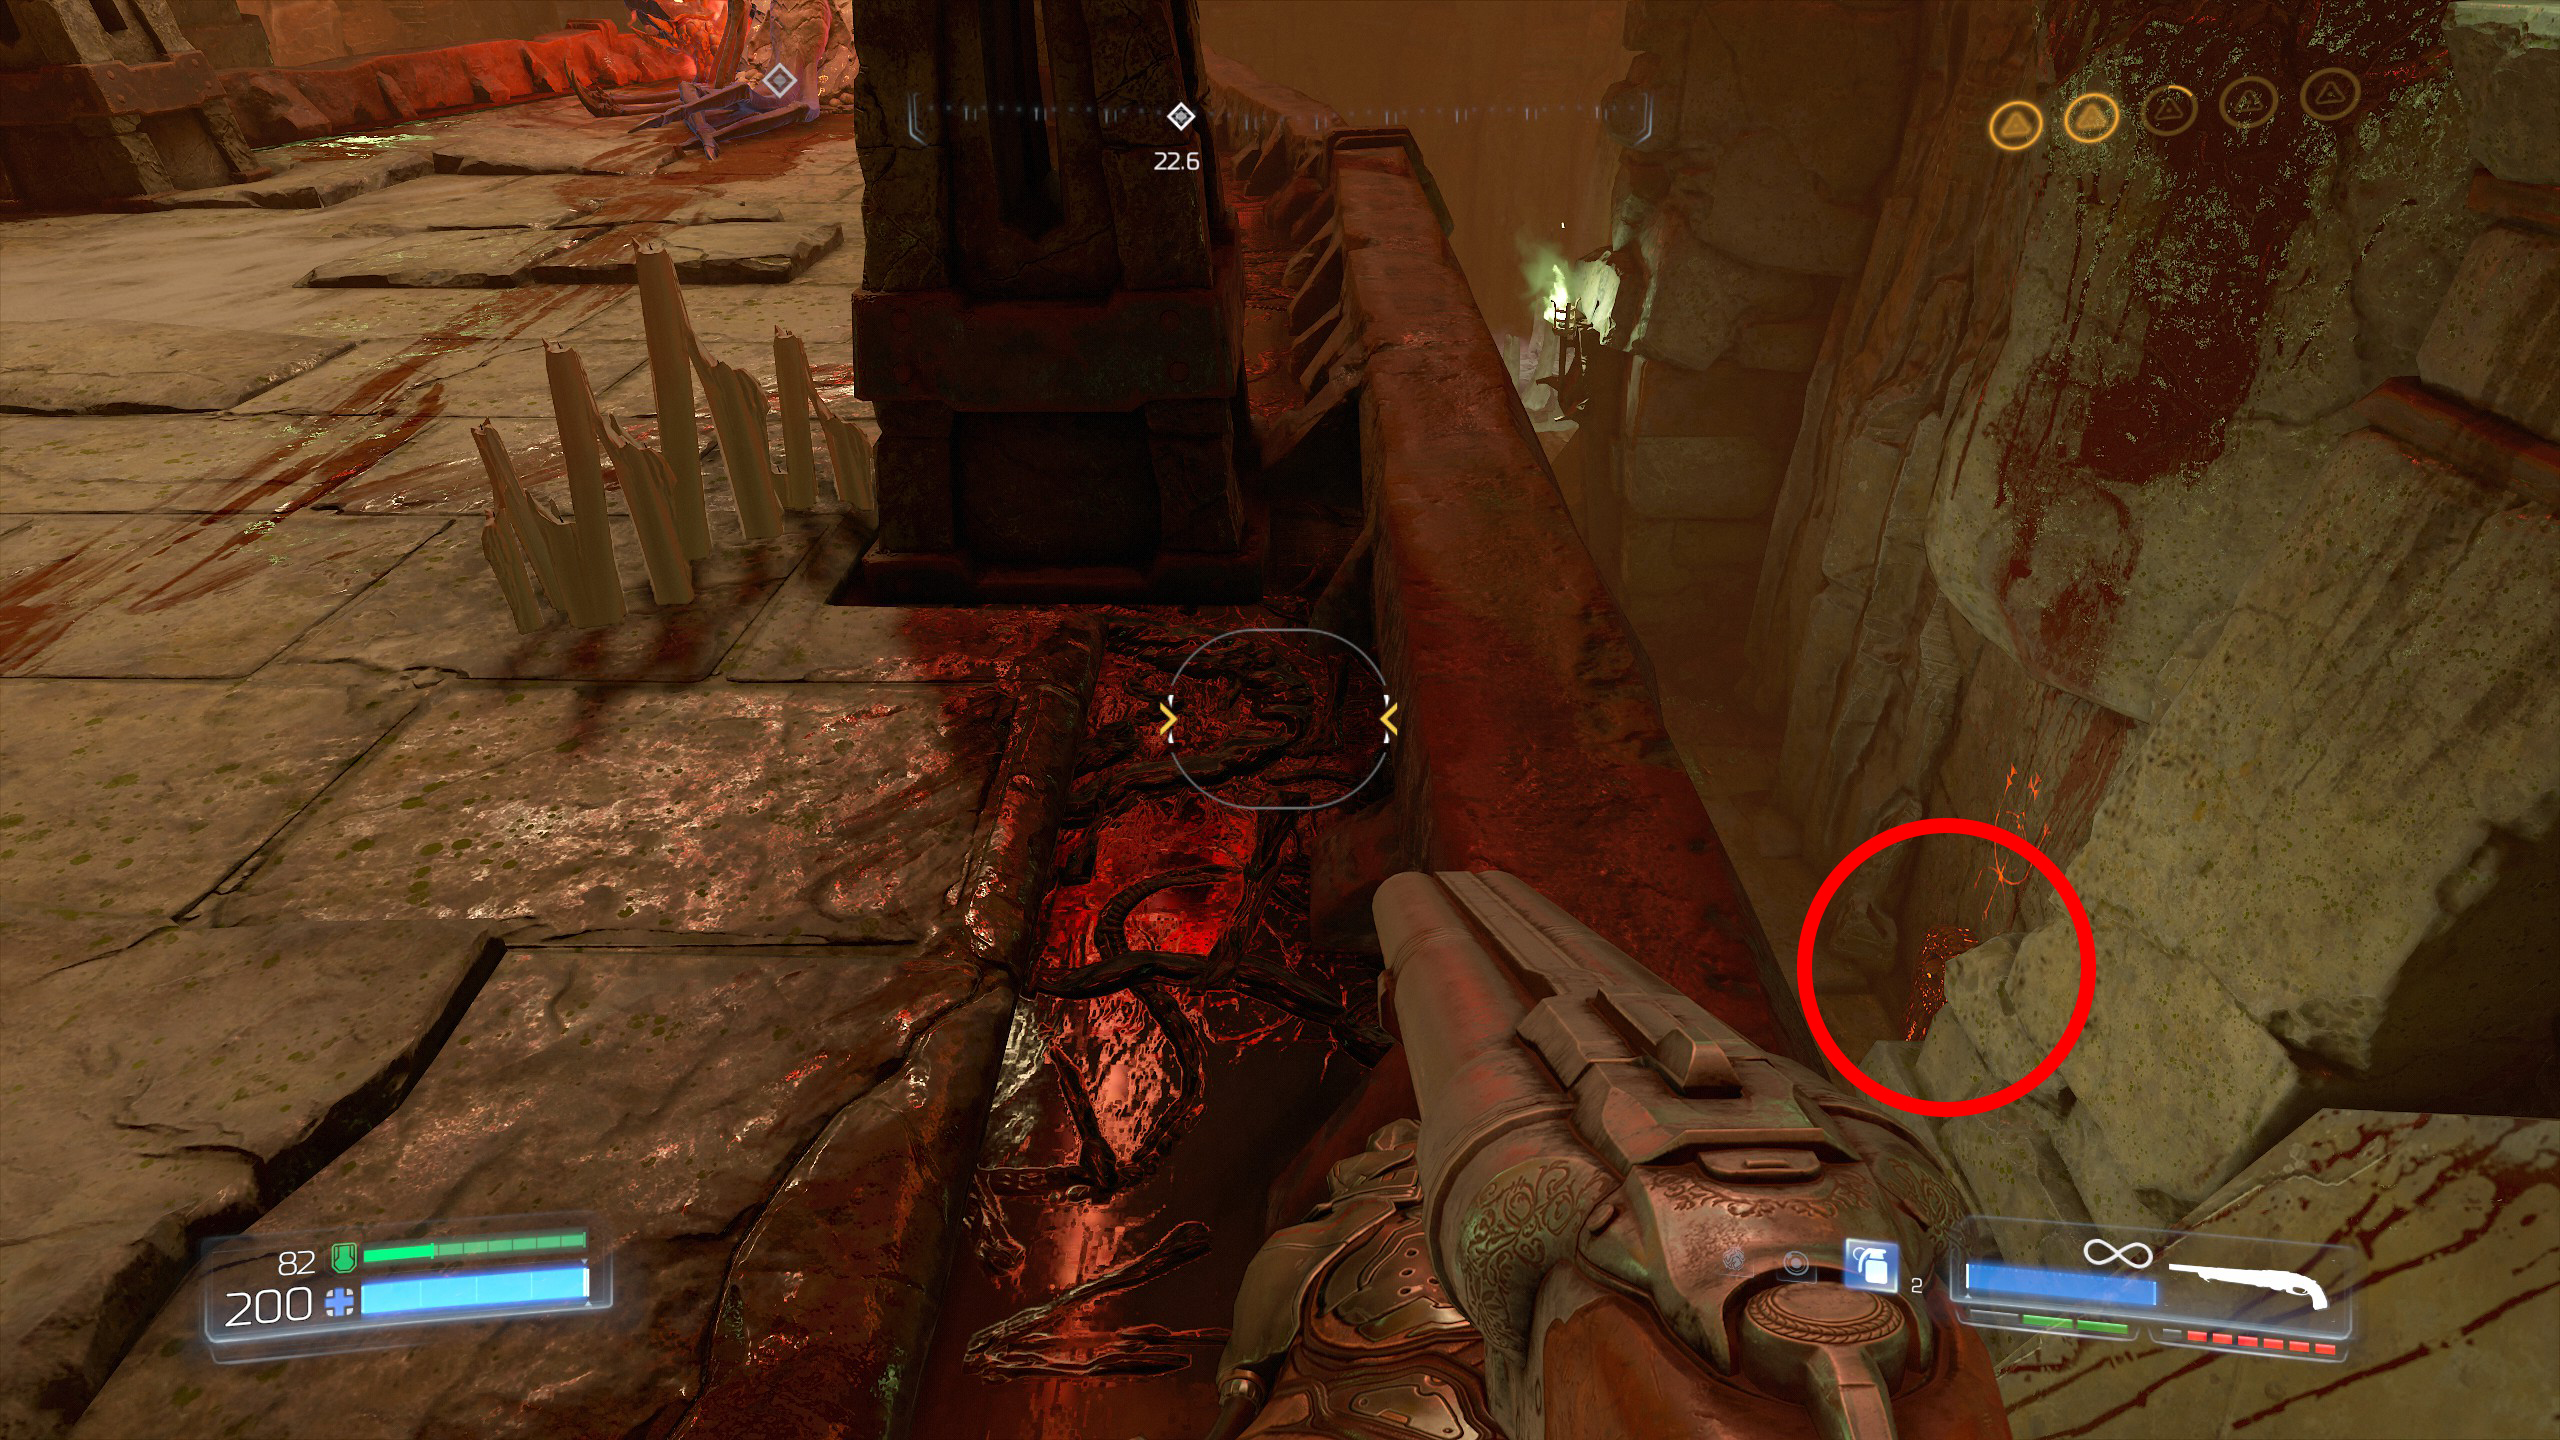
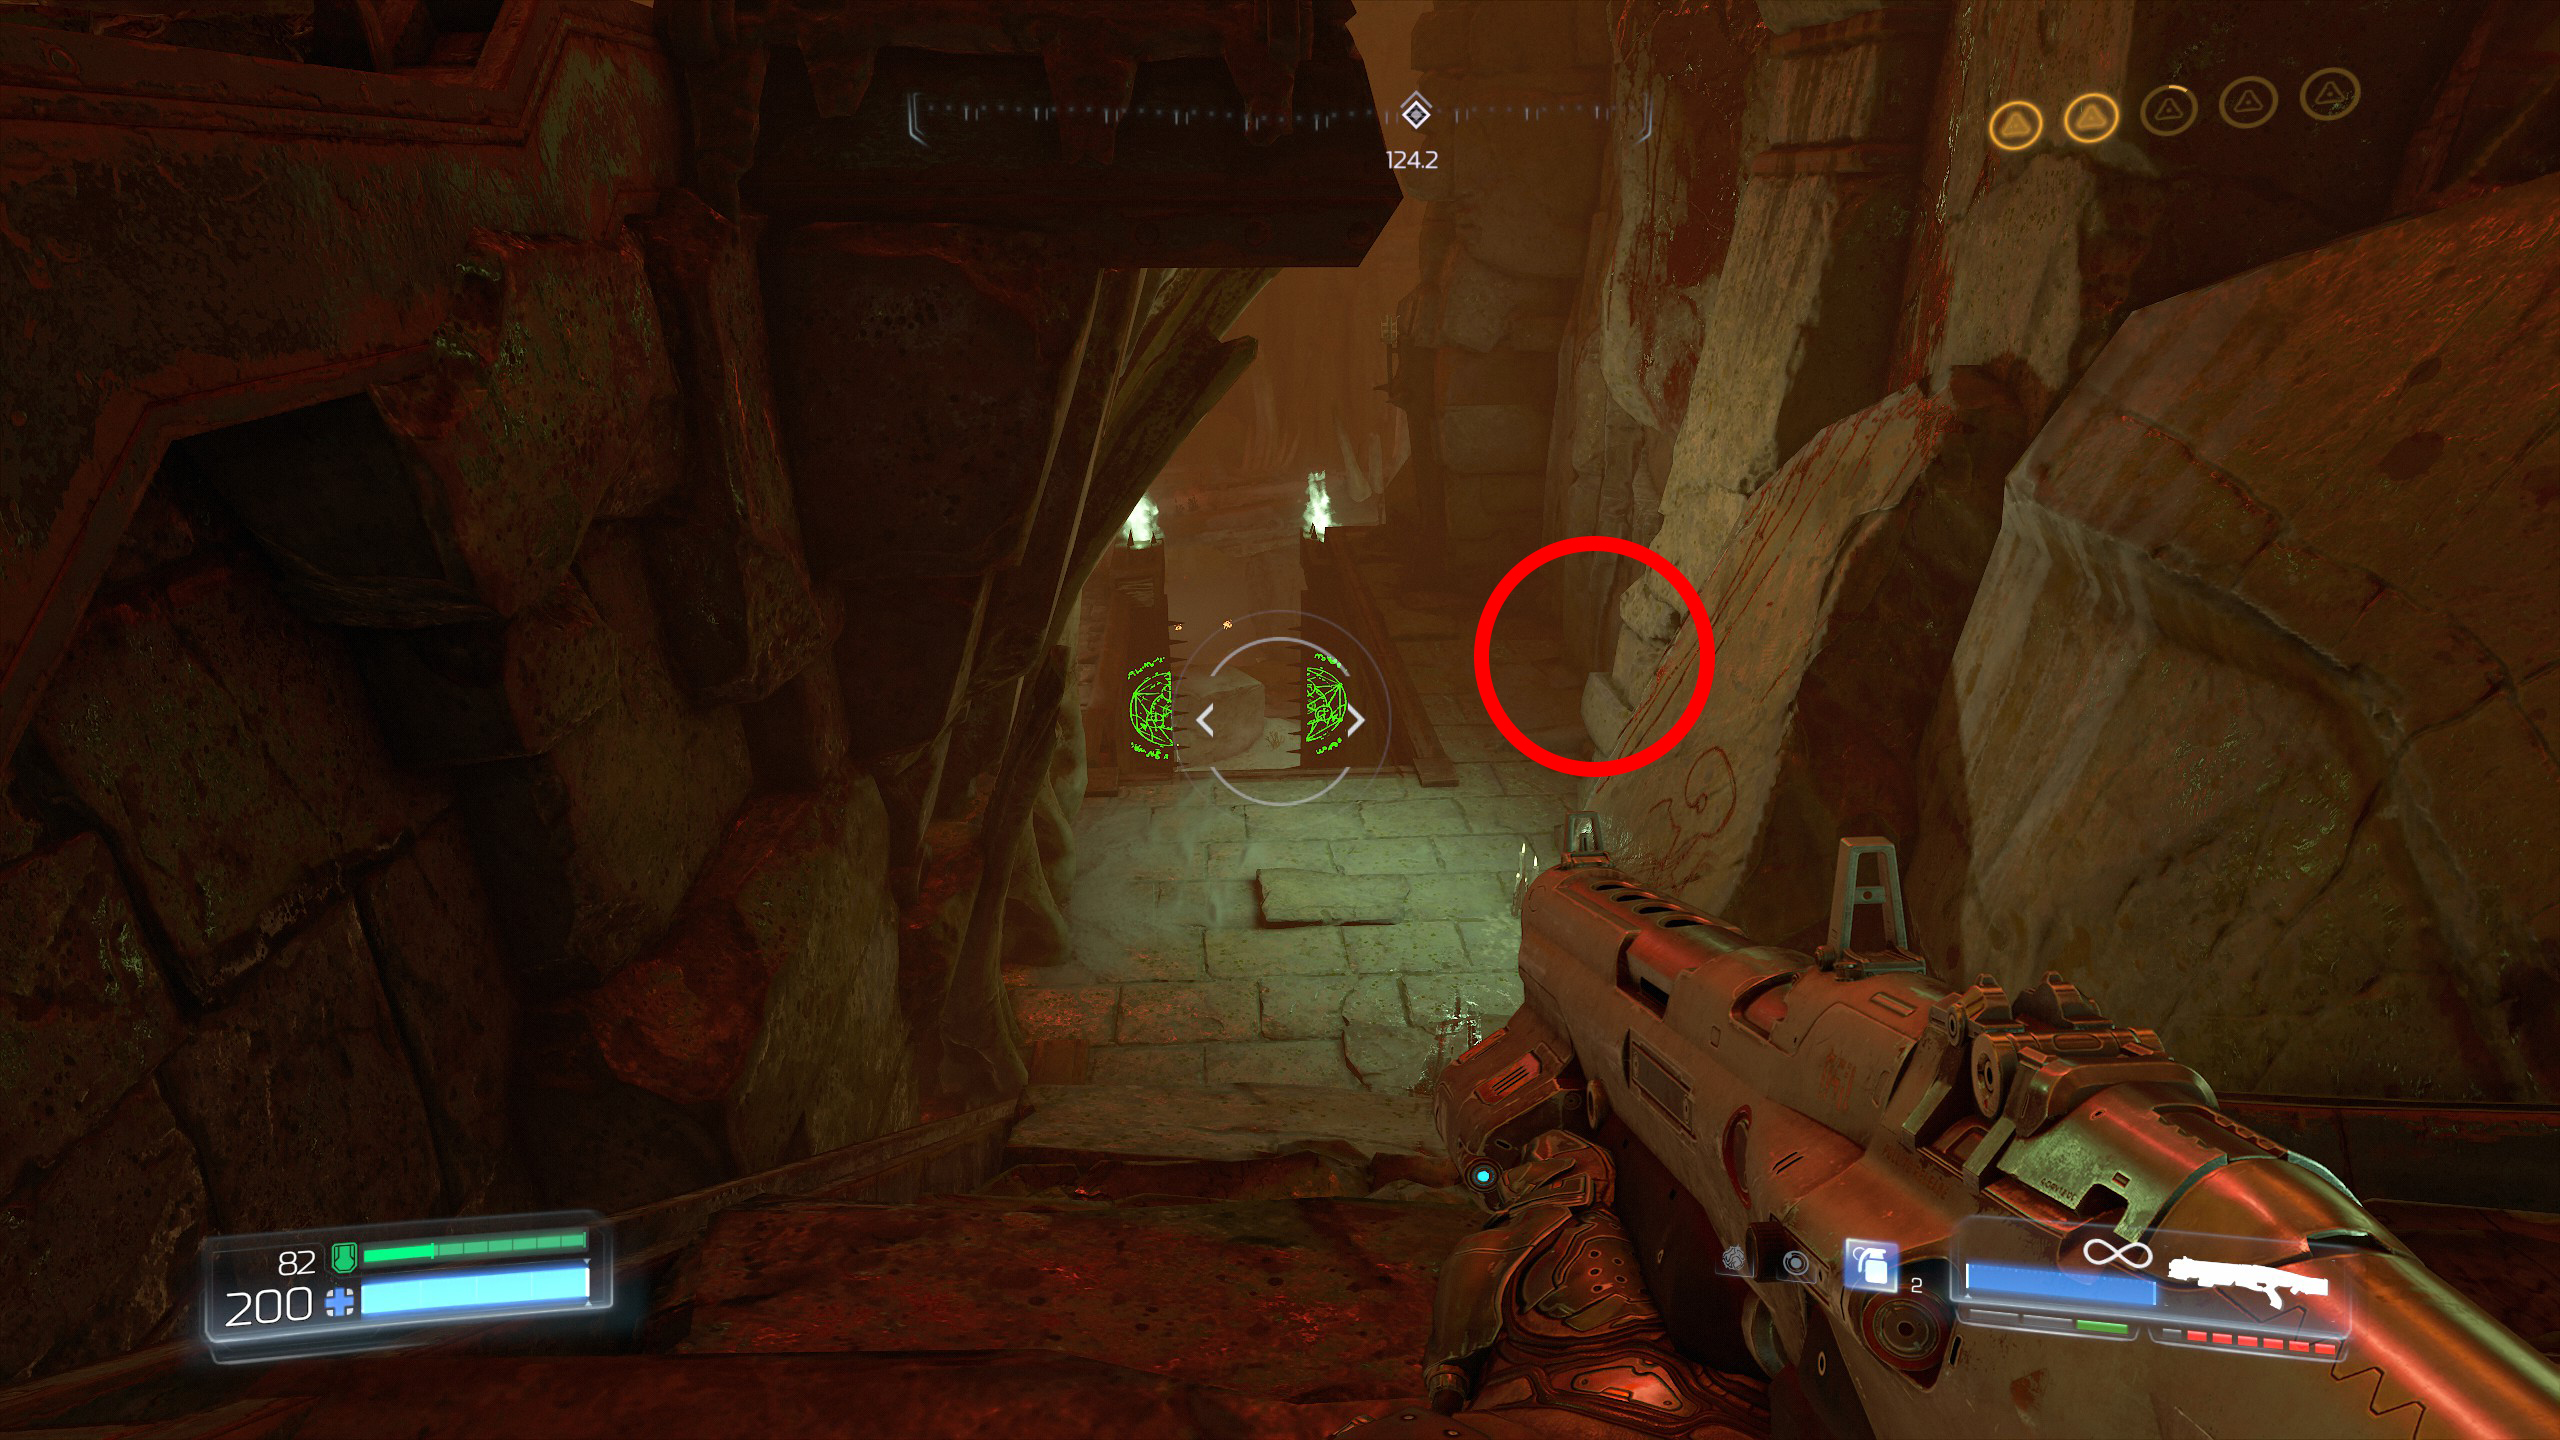
Once you have activated the skull continue down the stairway and climb up into the large skull on the upper right side of the area.
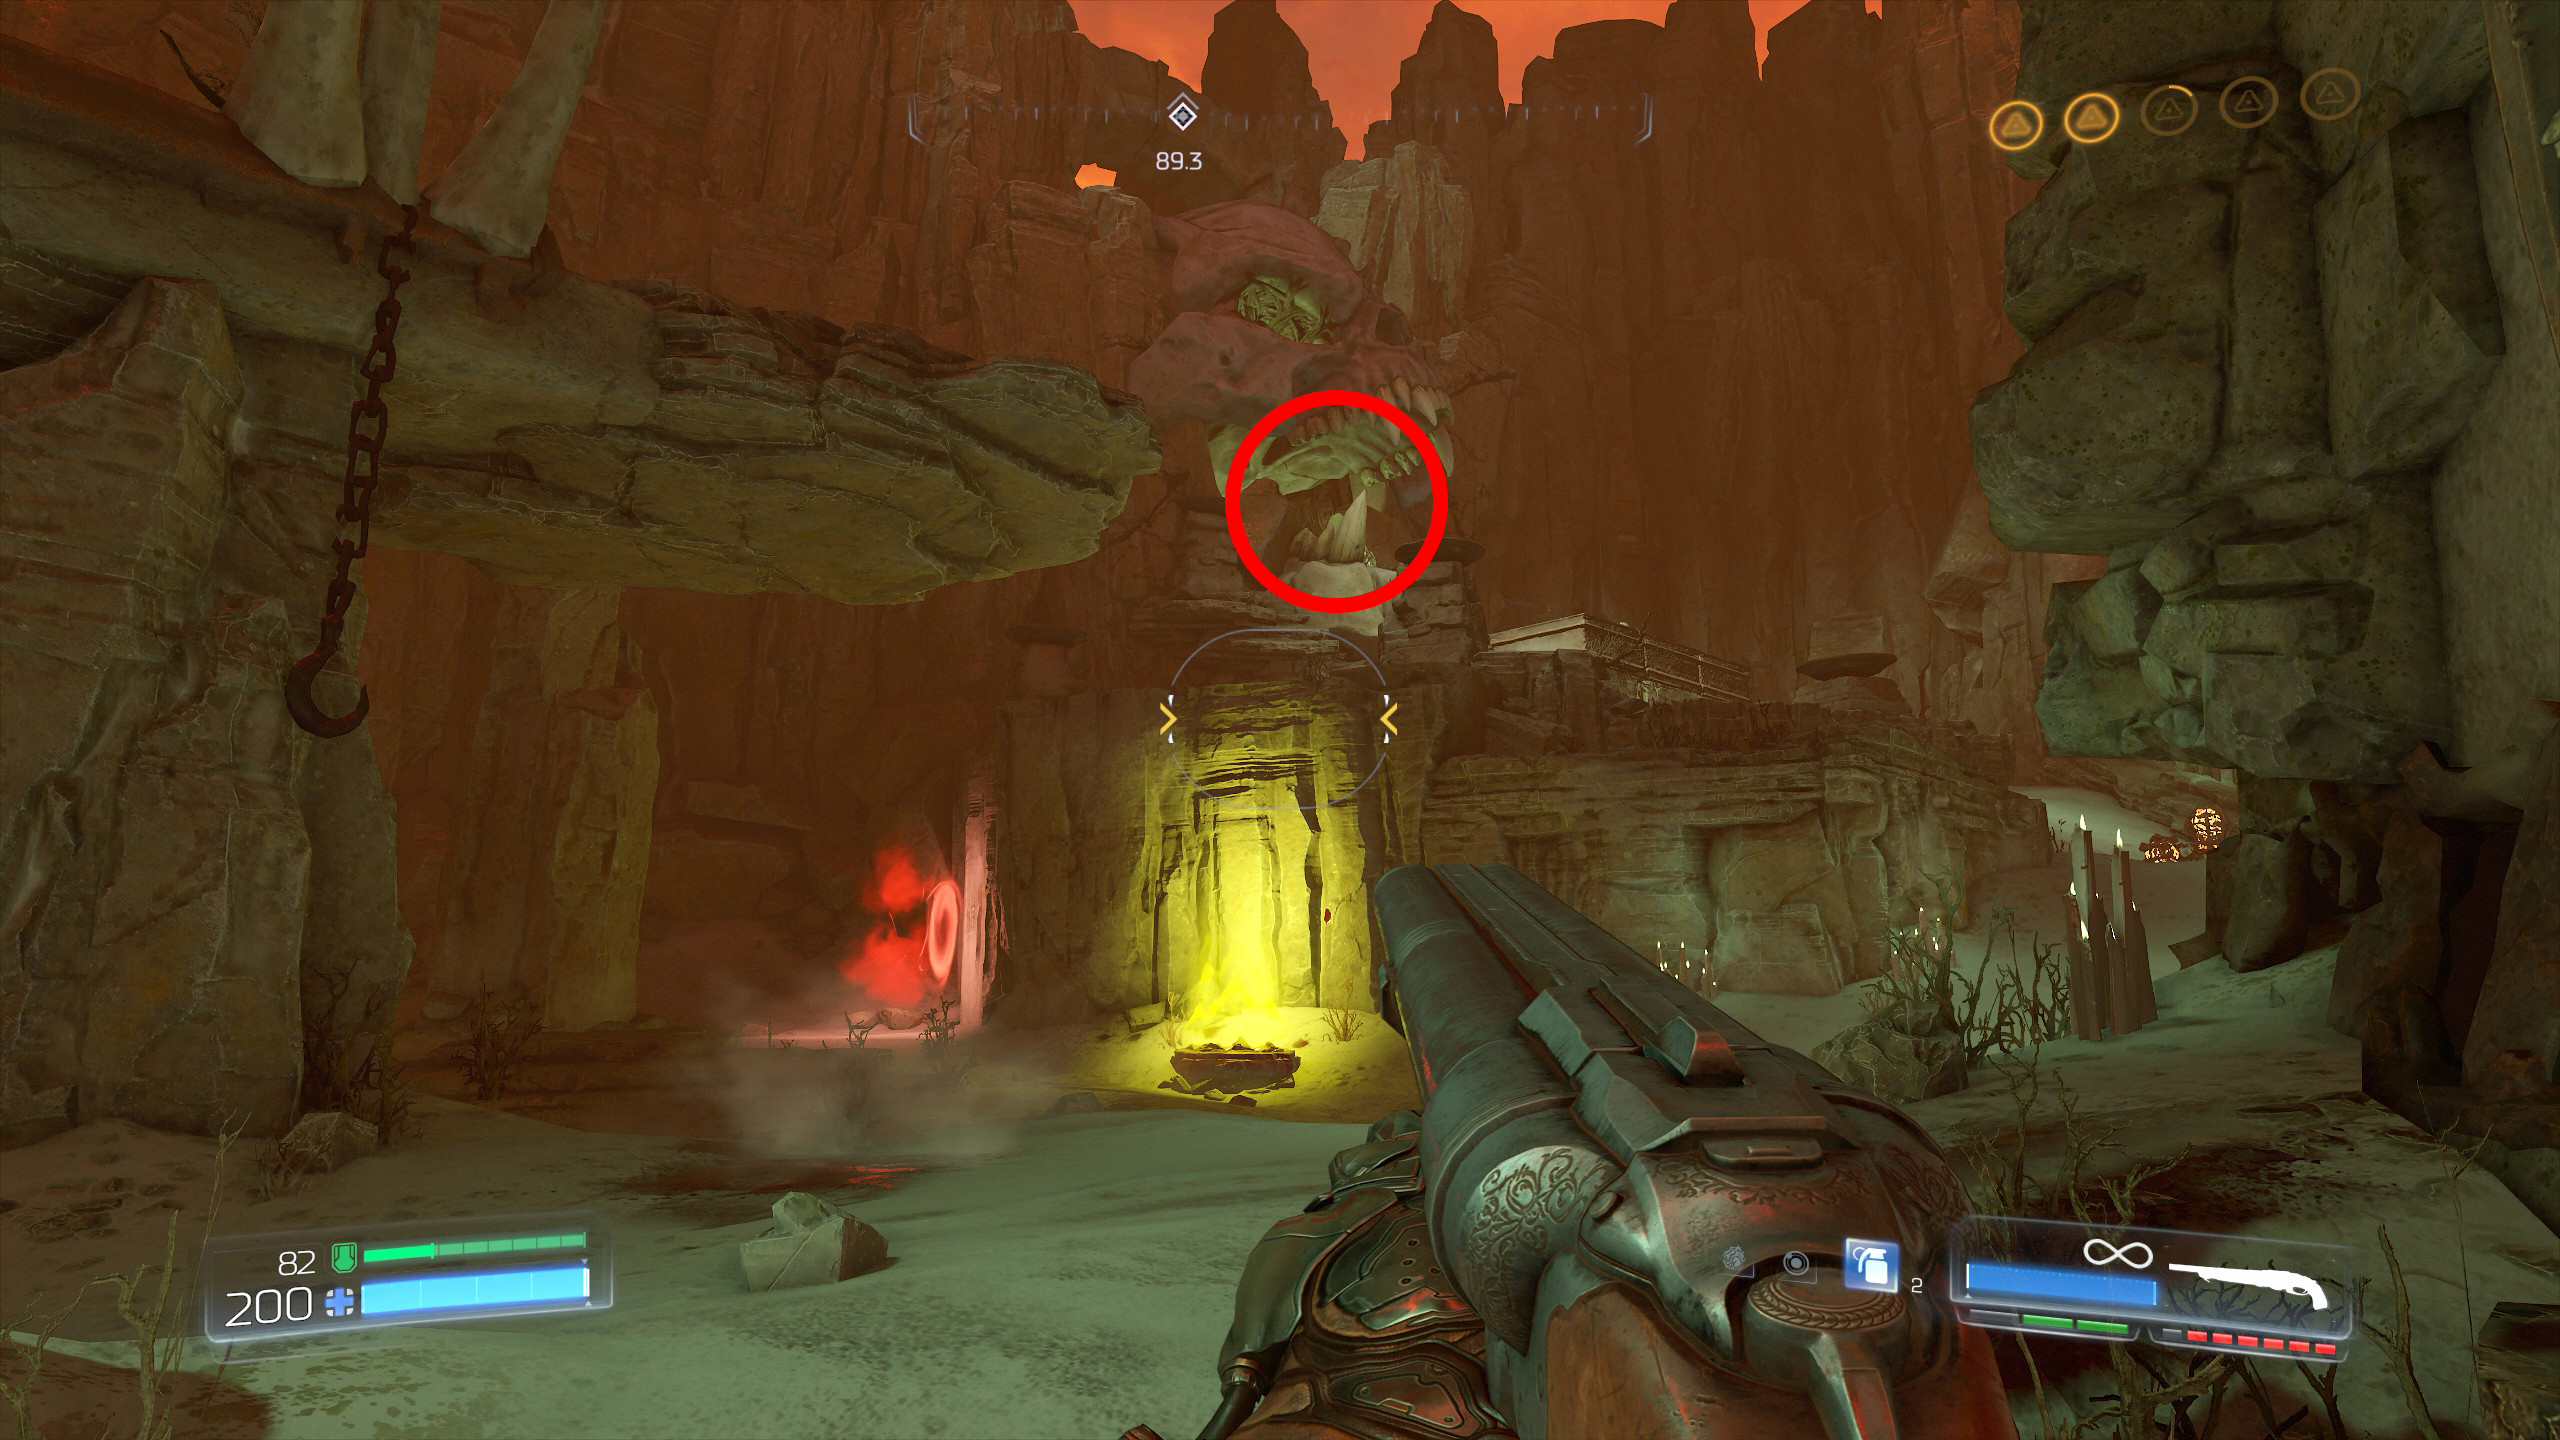
After entering the skull DO NOT follow the mission, instead take the right path through the doorway and straight ahead of you will be BFG ammo, that is secret number 2.
From here immediately go to secret 3.
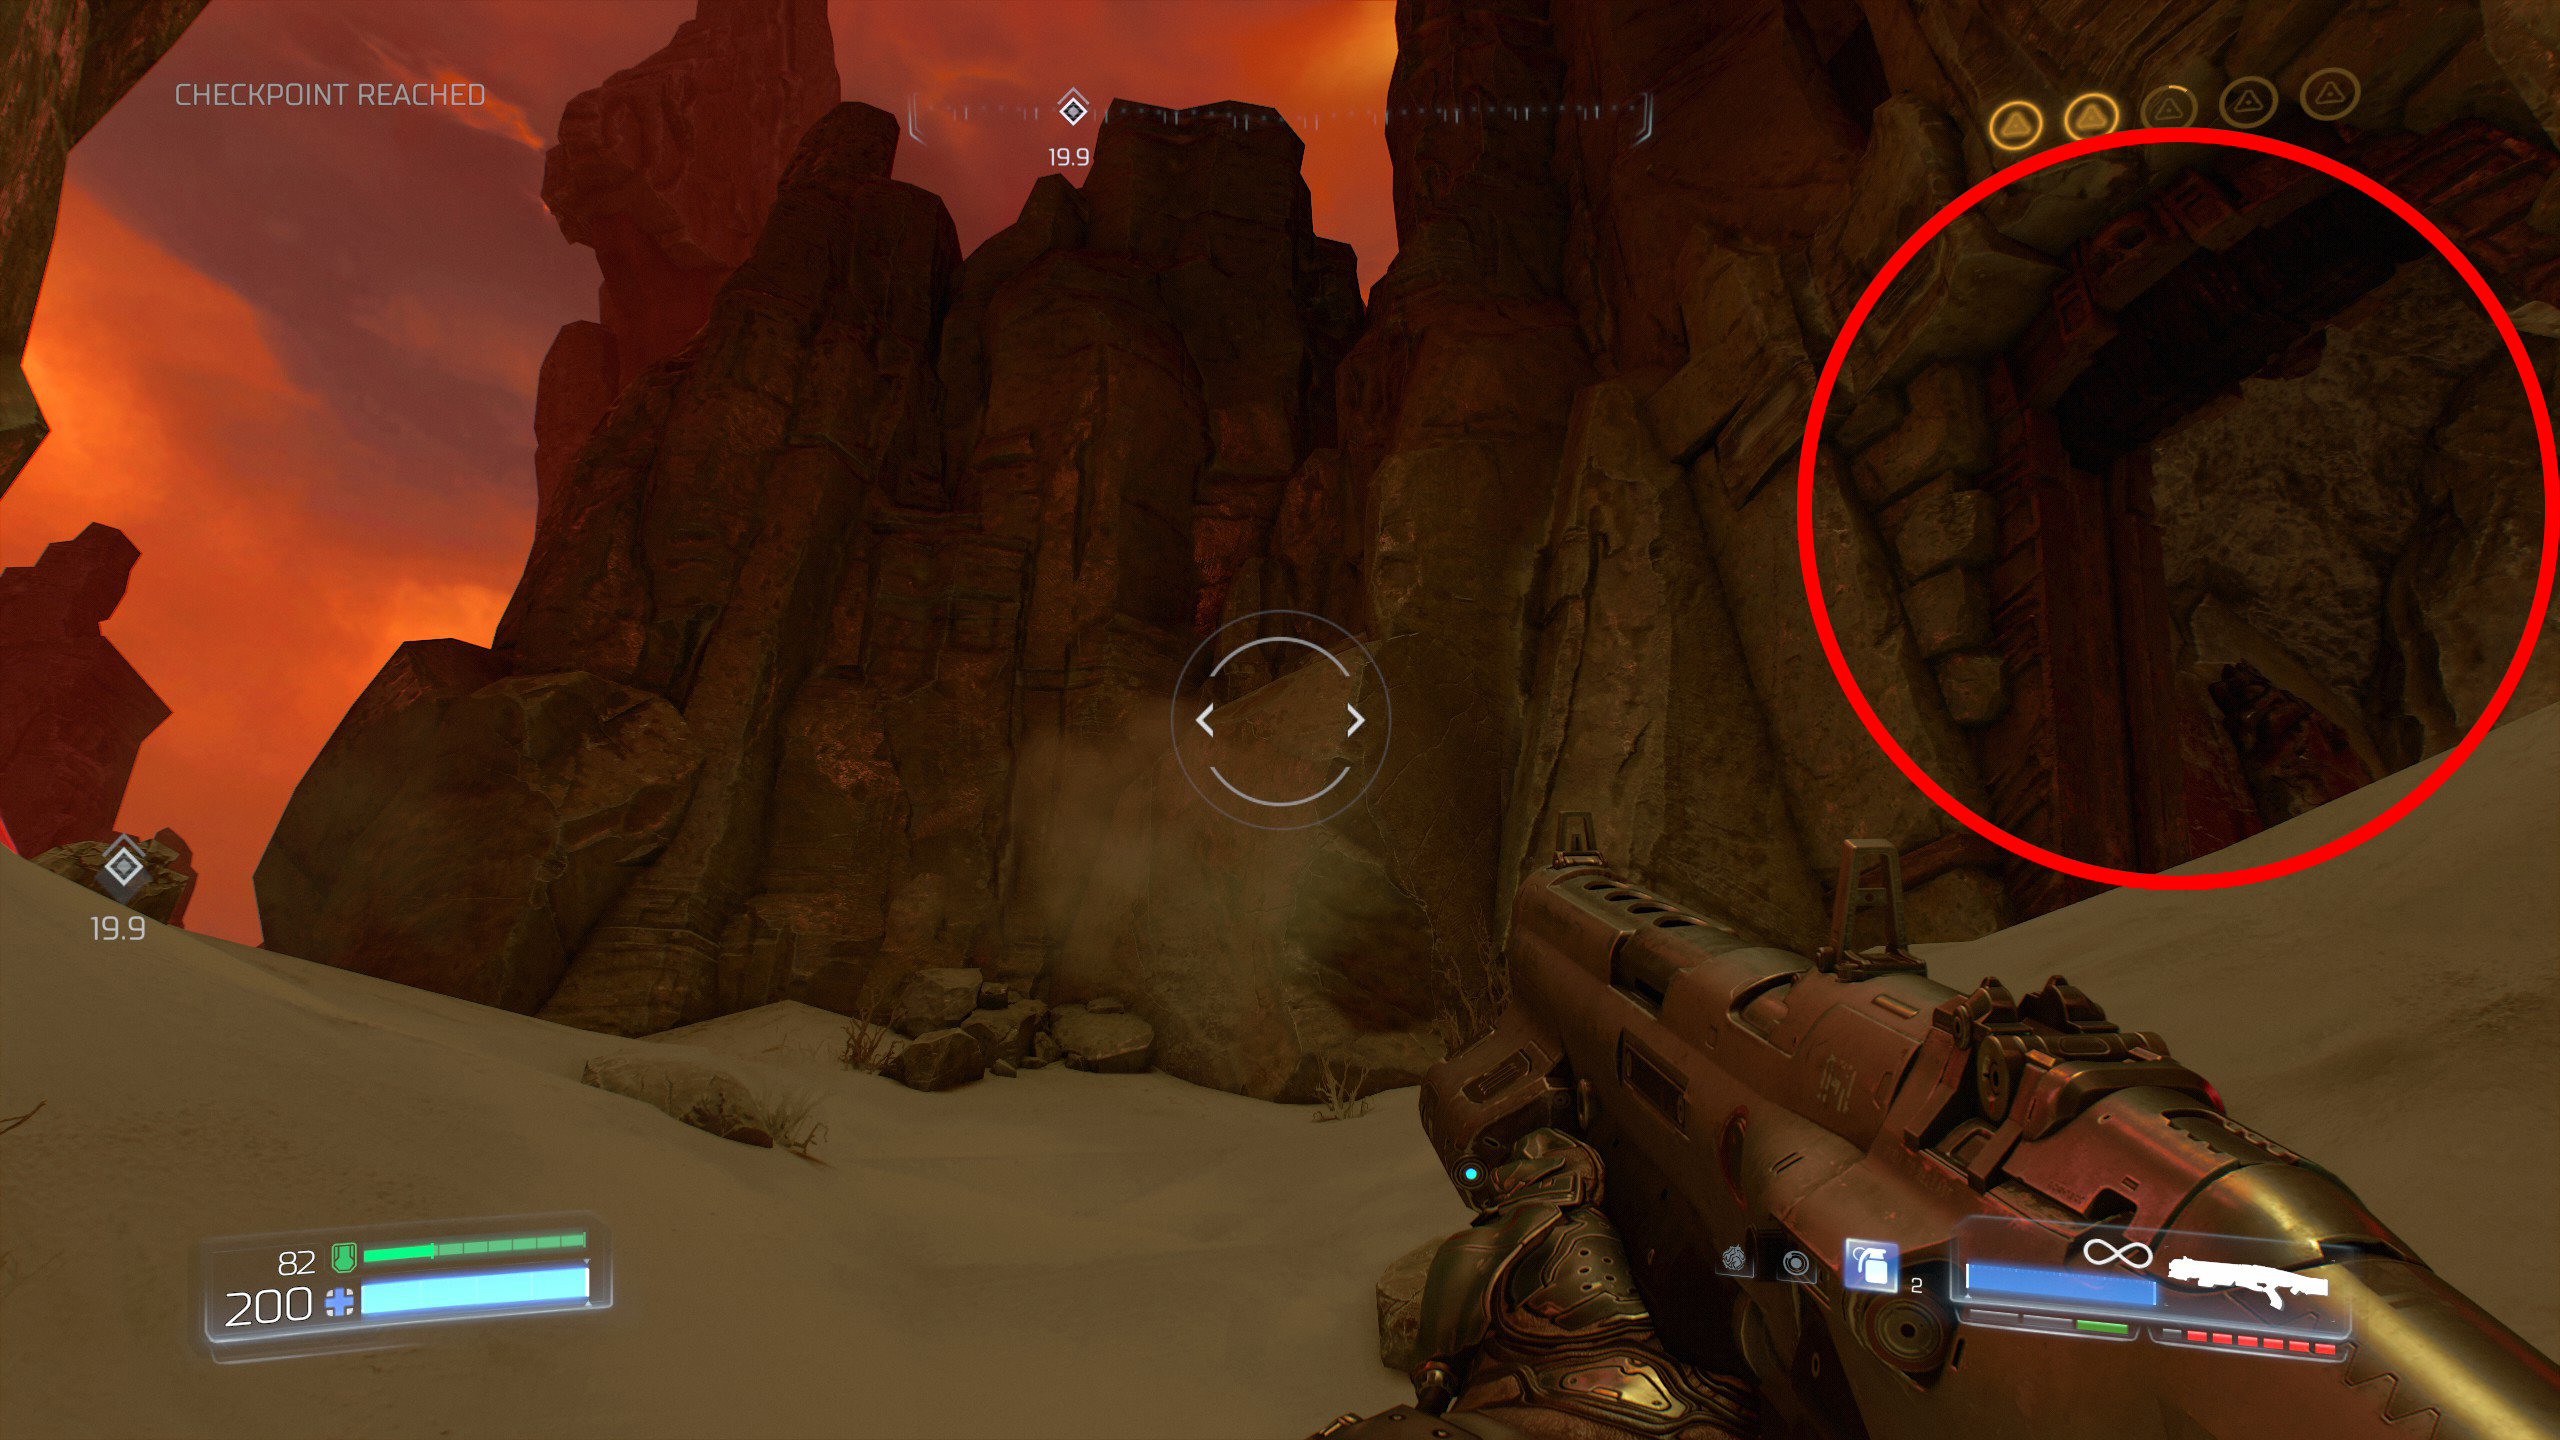
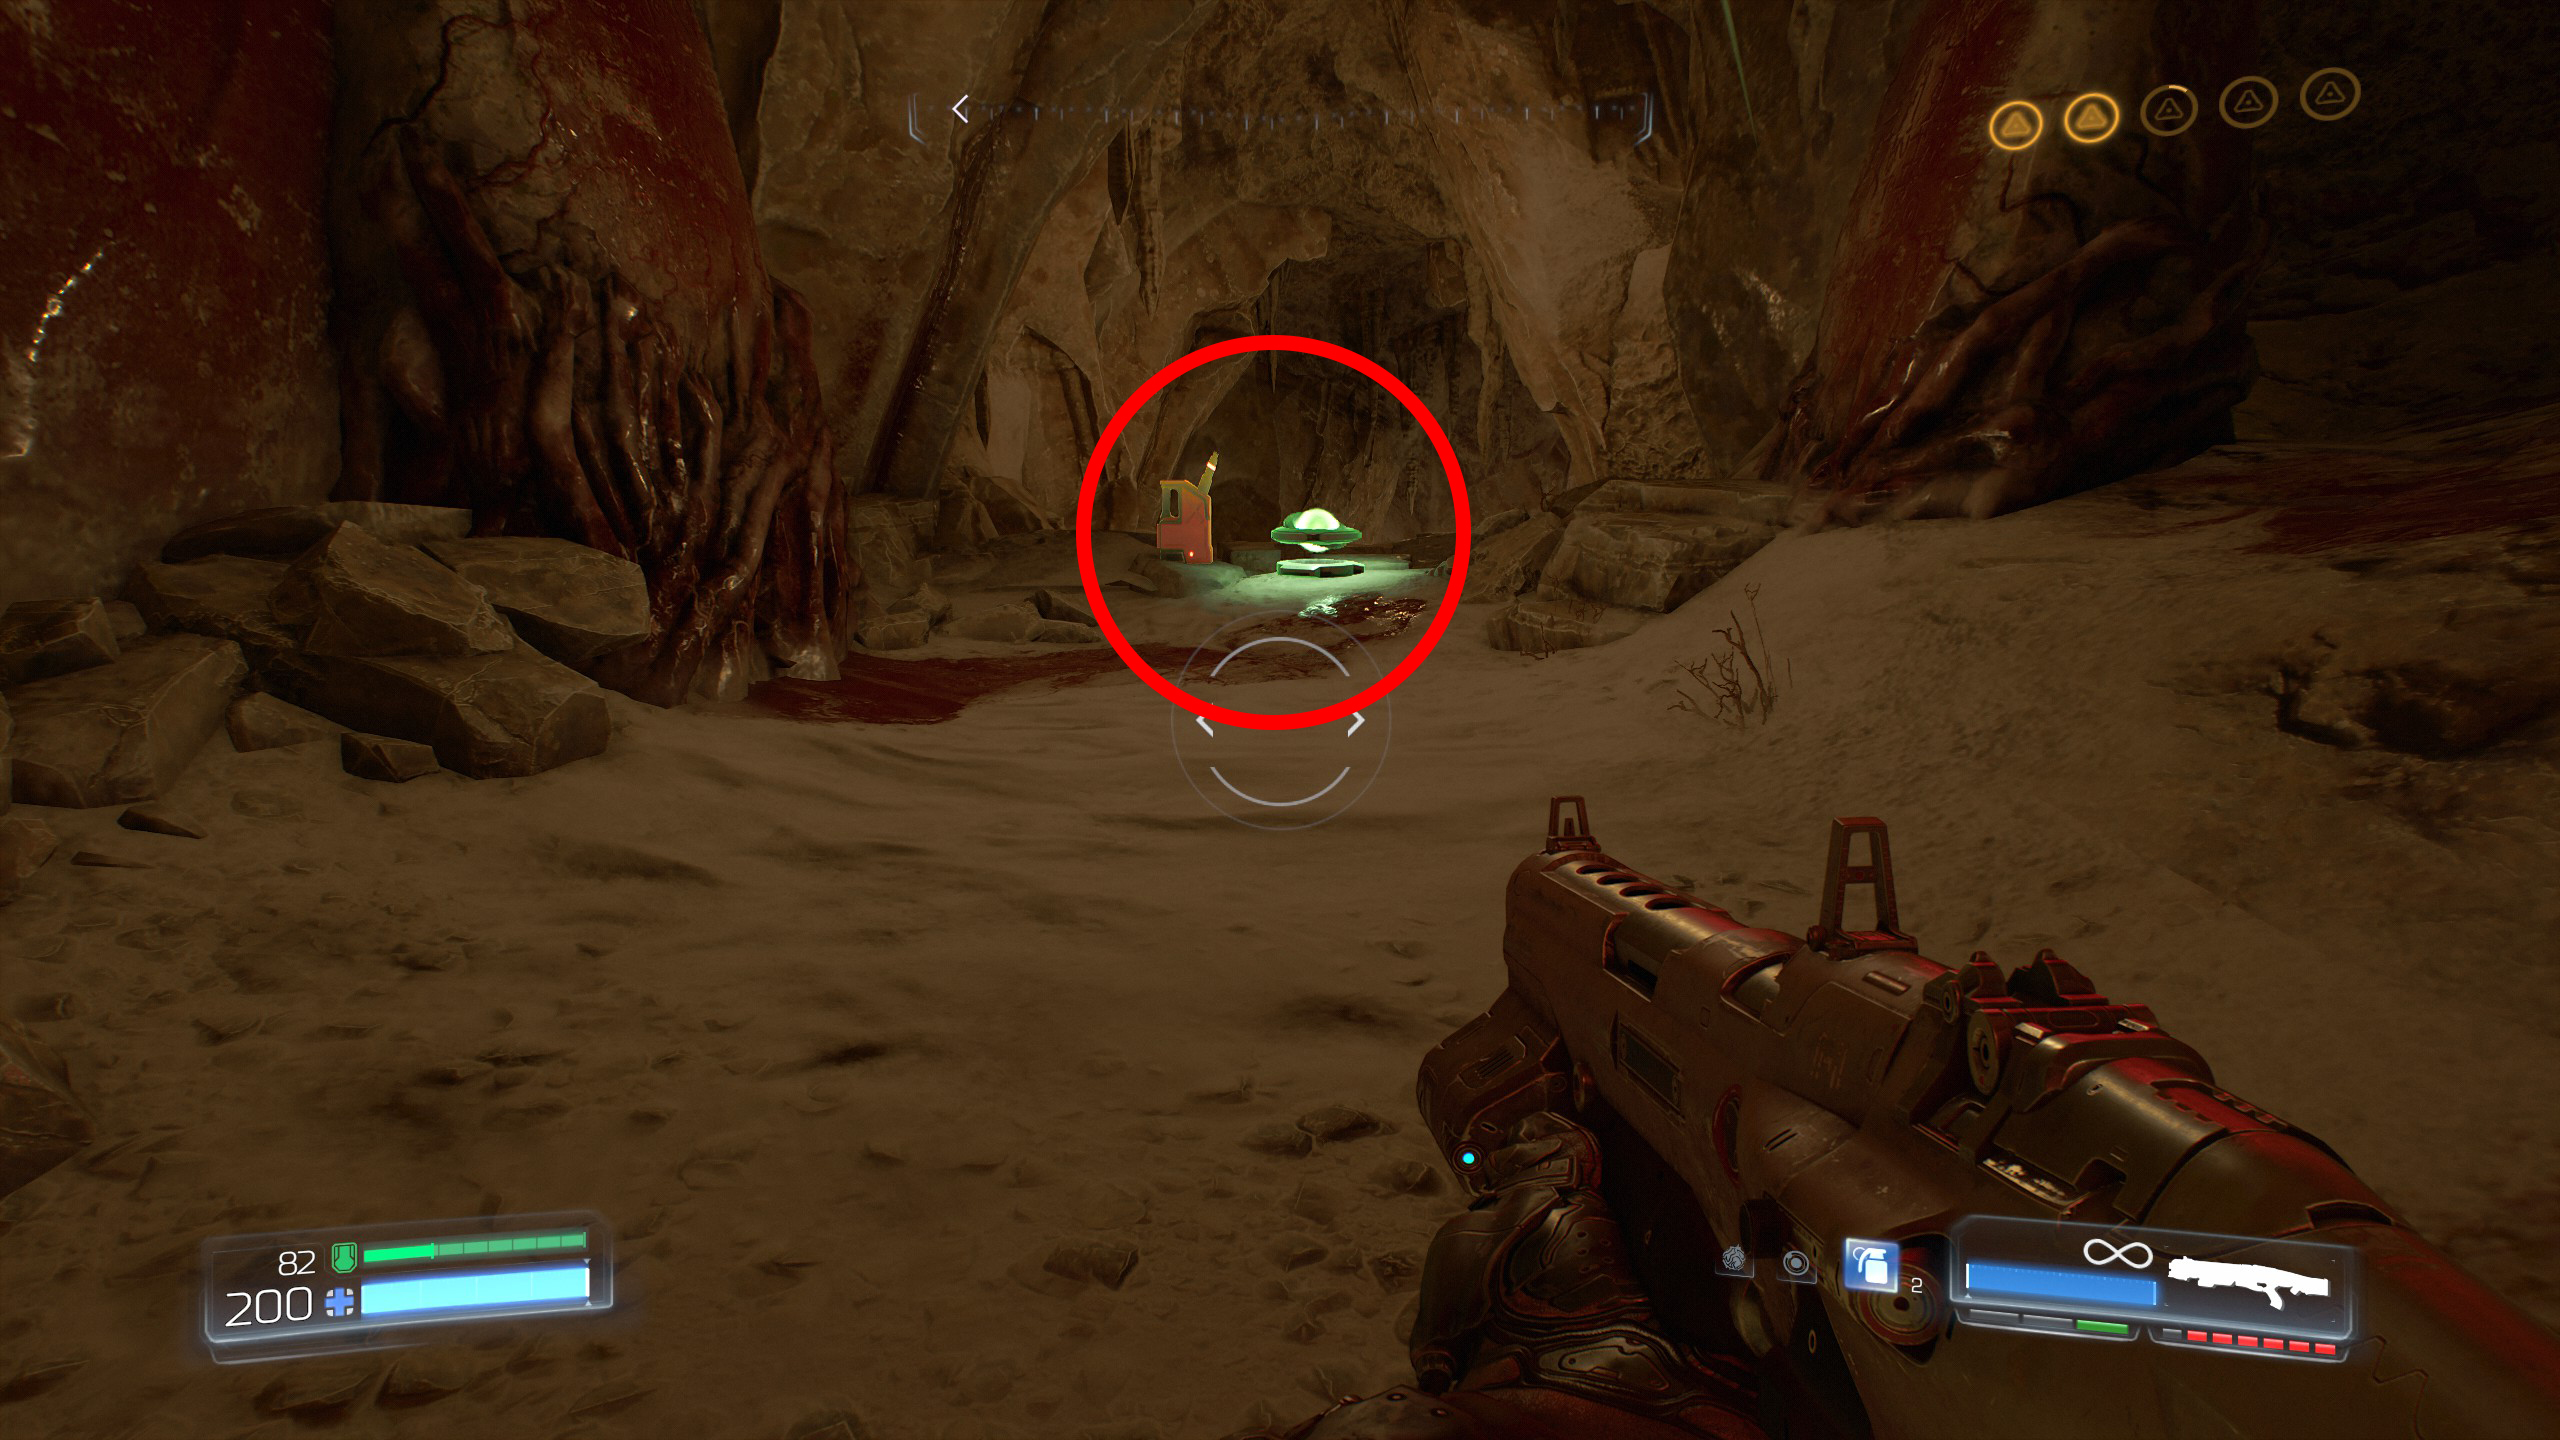
From secret 2 continue along the path away from the mission and on the left side you will come to a lever, activate the lever to unlock the secret room.
As you face the lever the secret room is on the right side, enter the secret room for secret number 3.
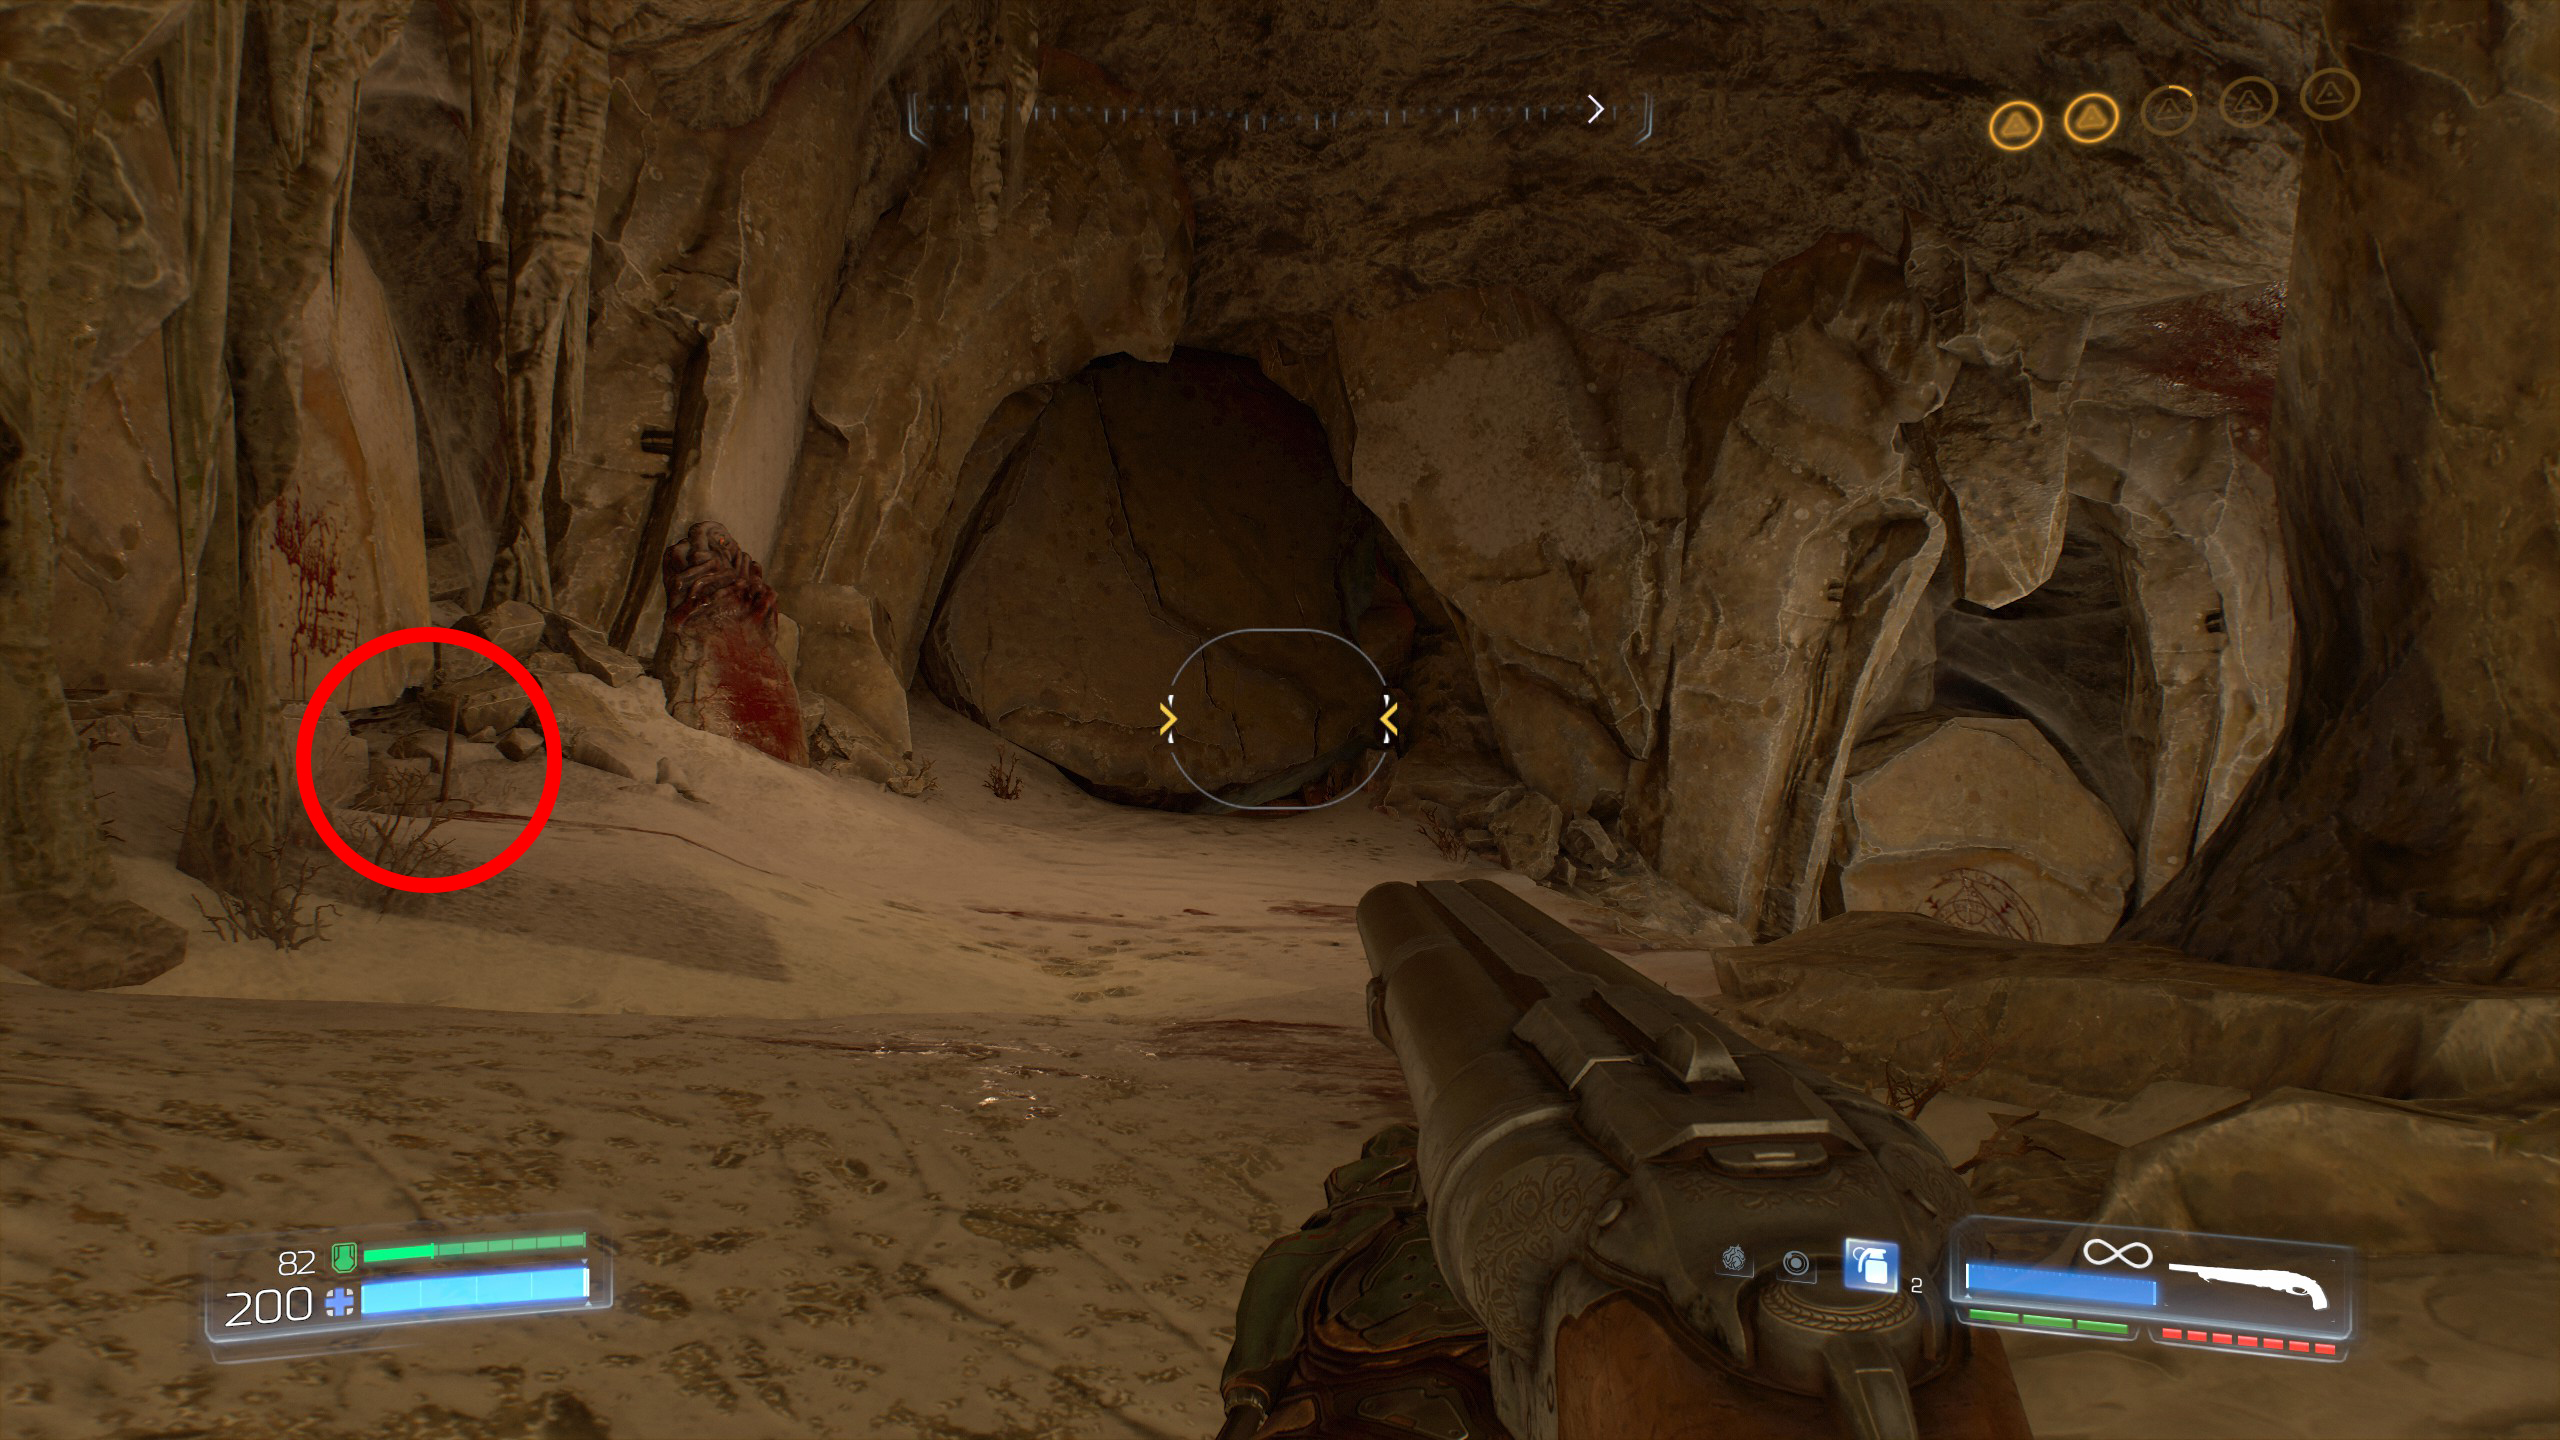
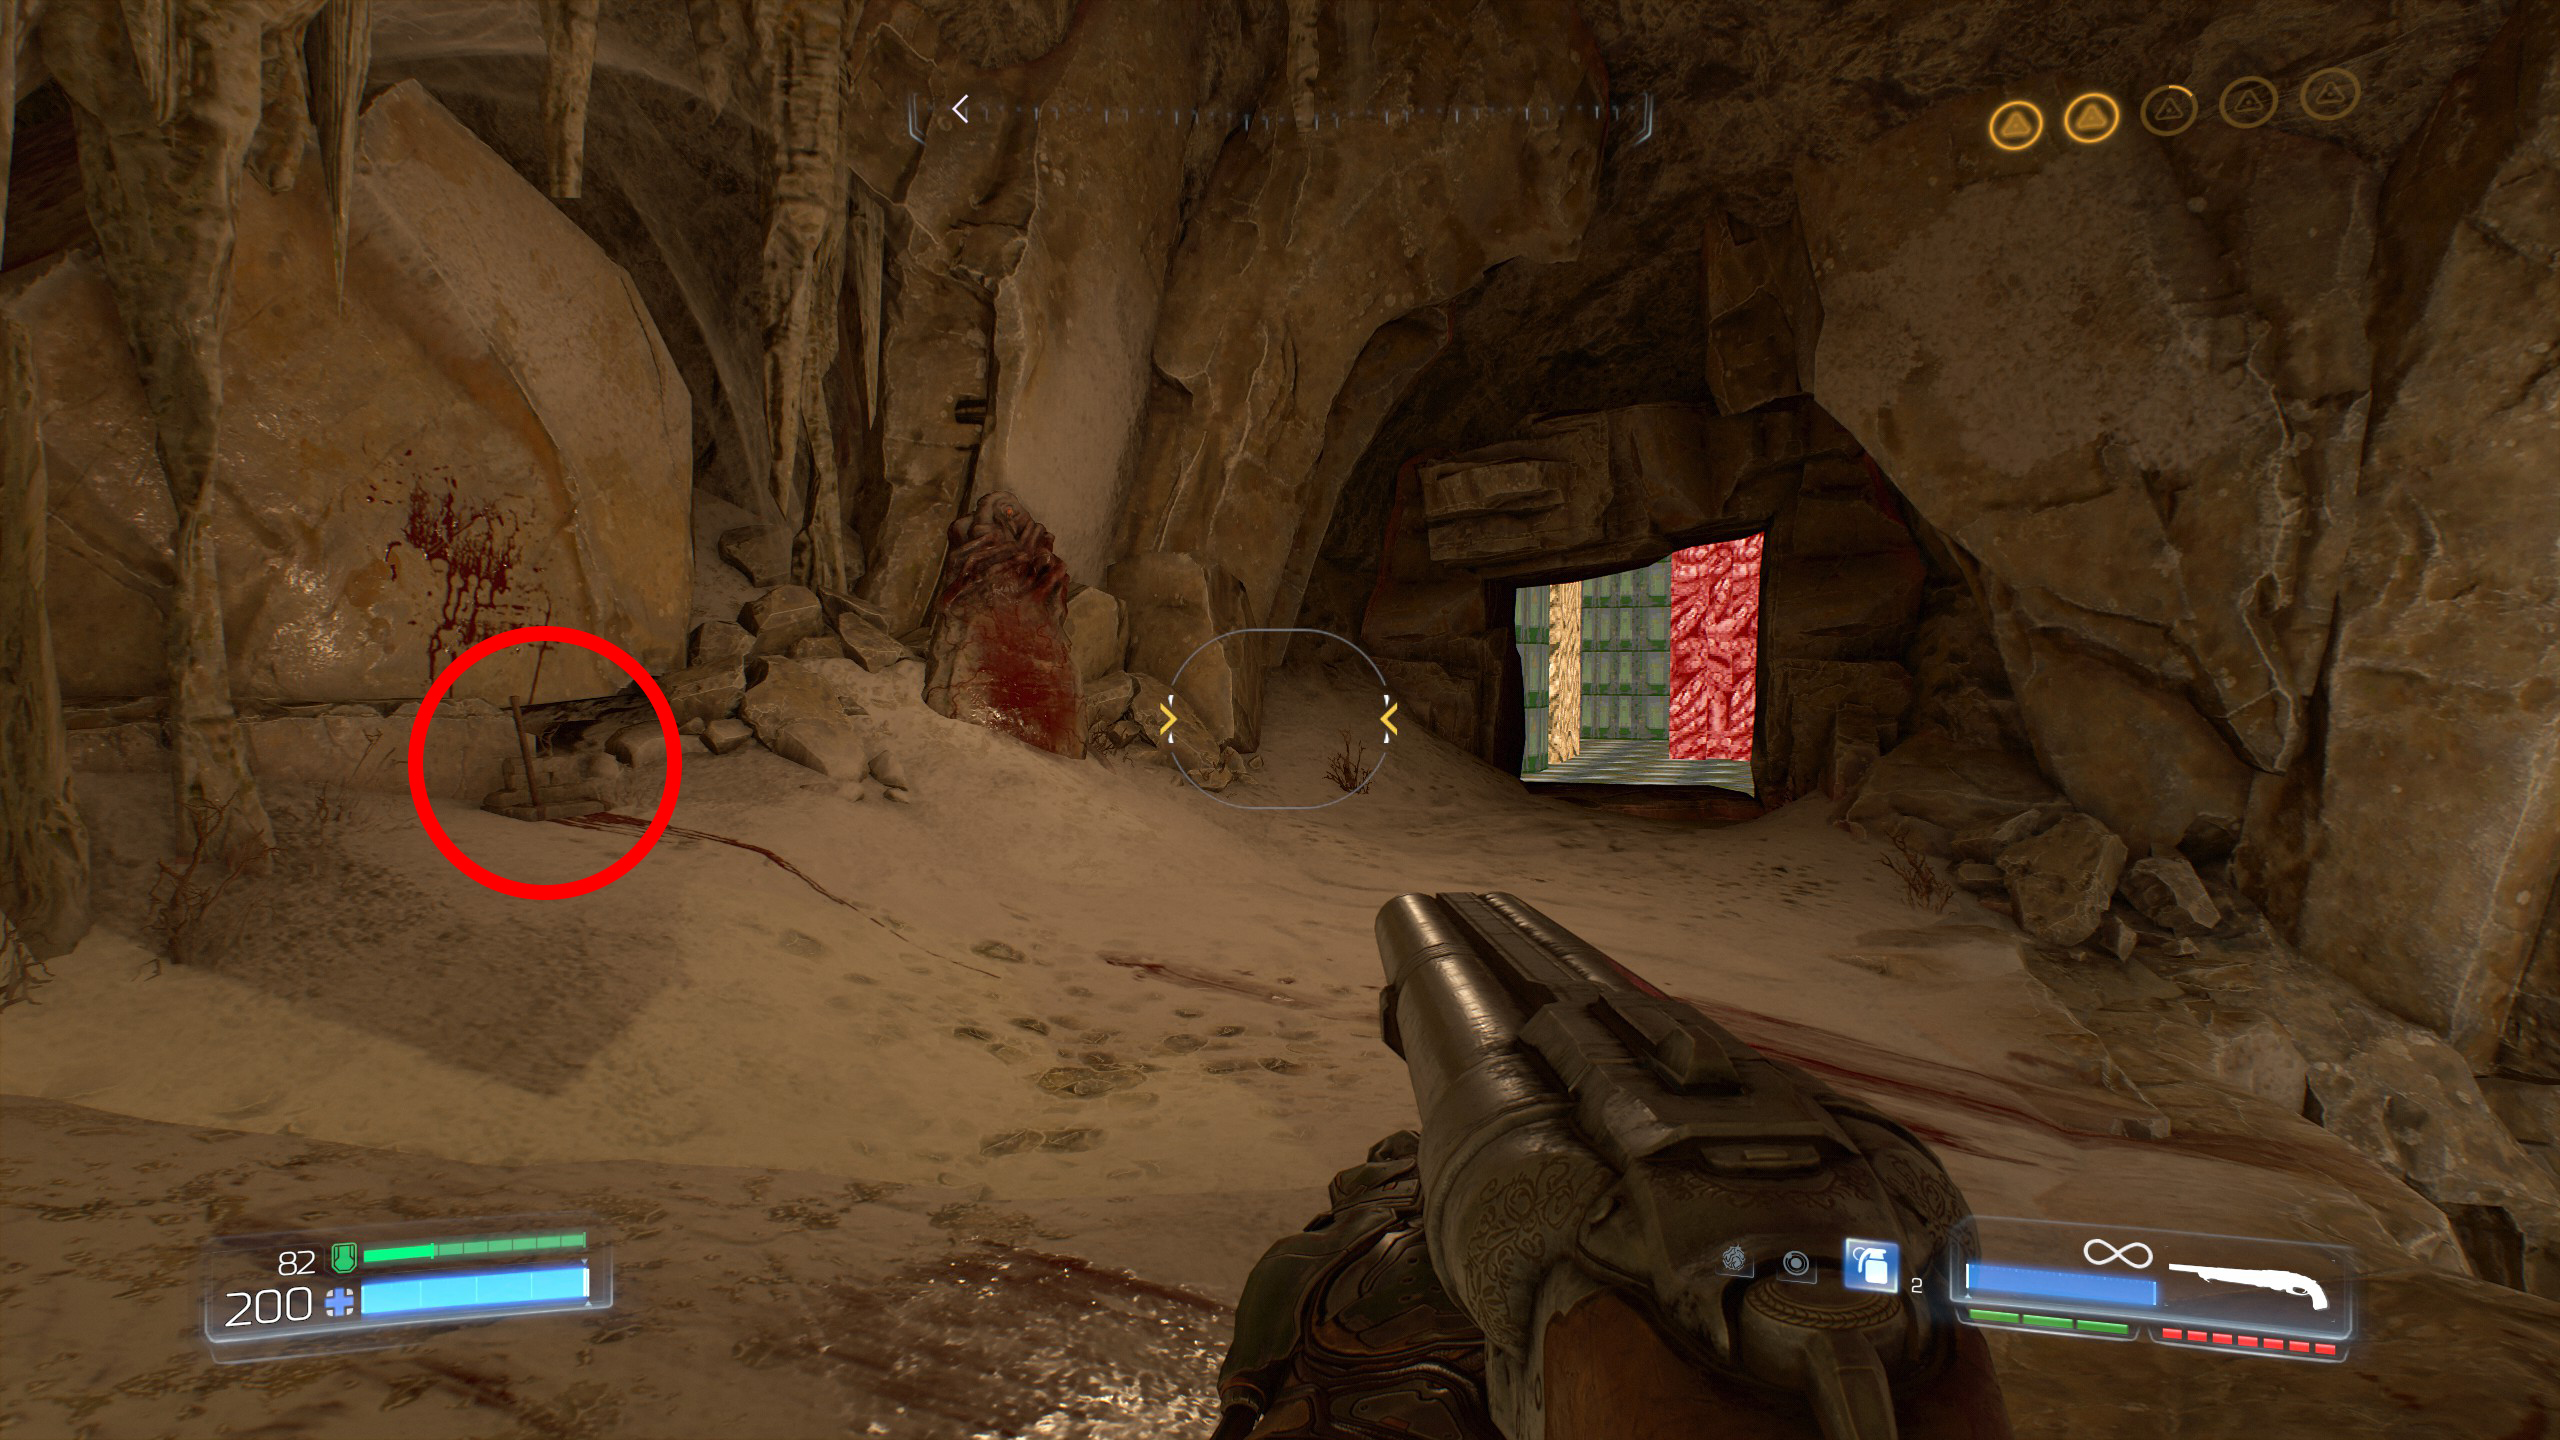
Continue the mission.
Continuing the mission into the next large area, face the two stairways leading to the next wraith soul and take the left stairway, half way up the stairway the steps are broken and behind them is secret number 4, a Doomguy.
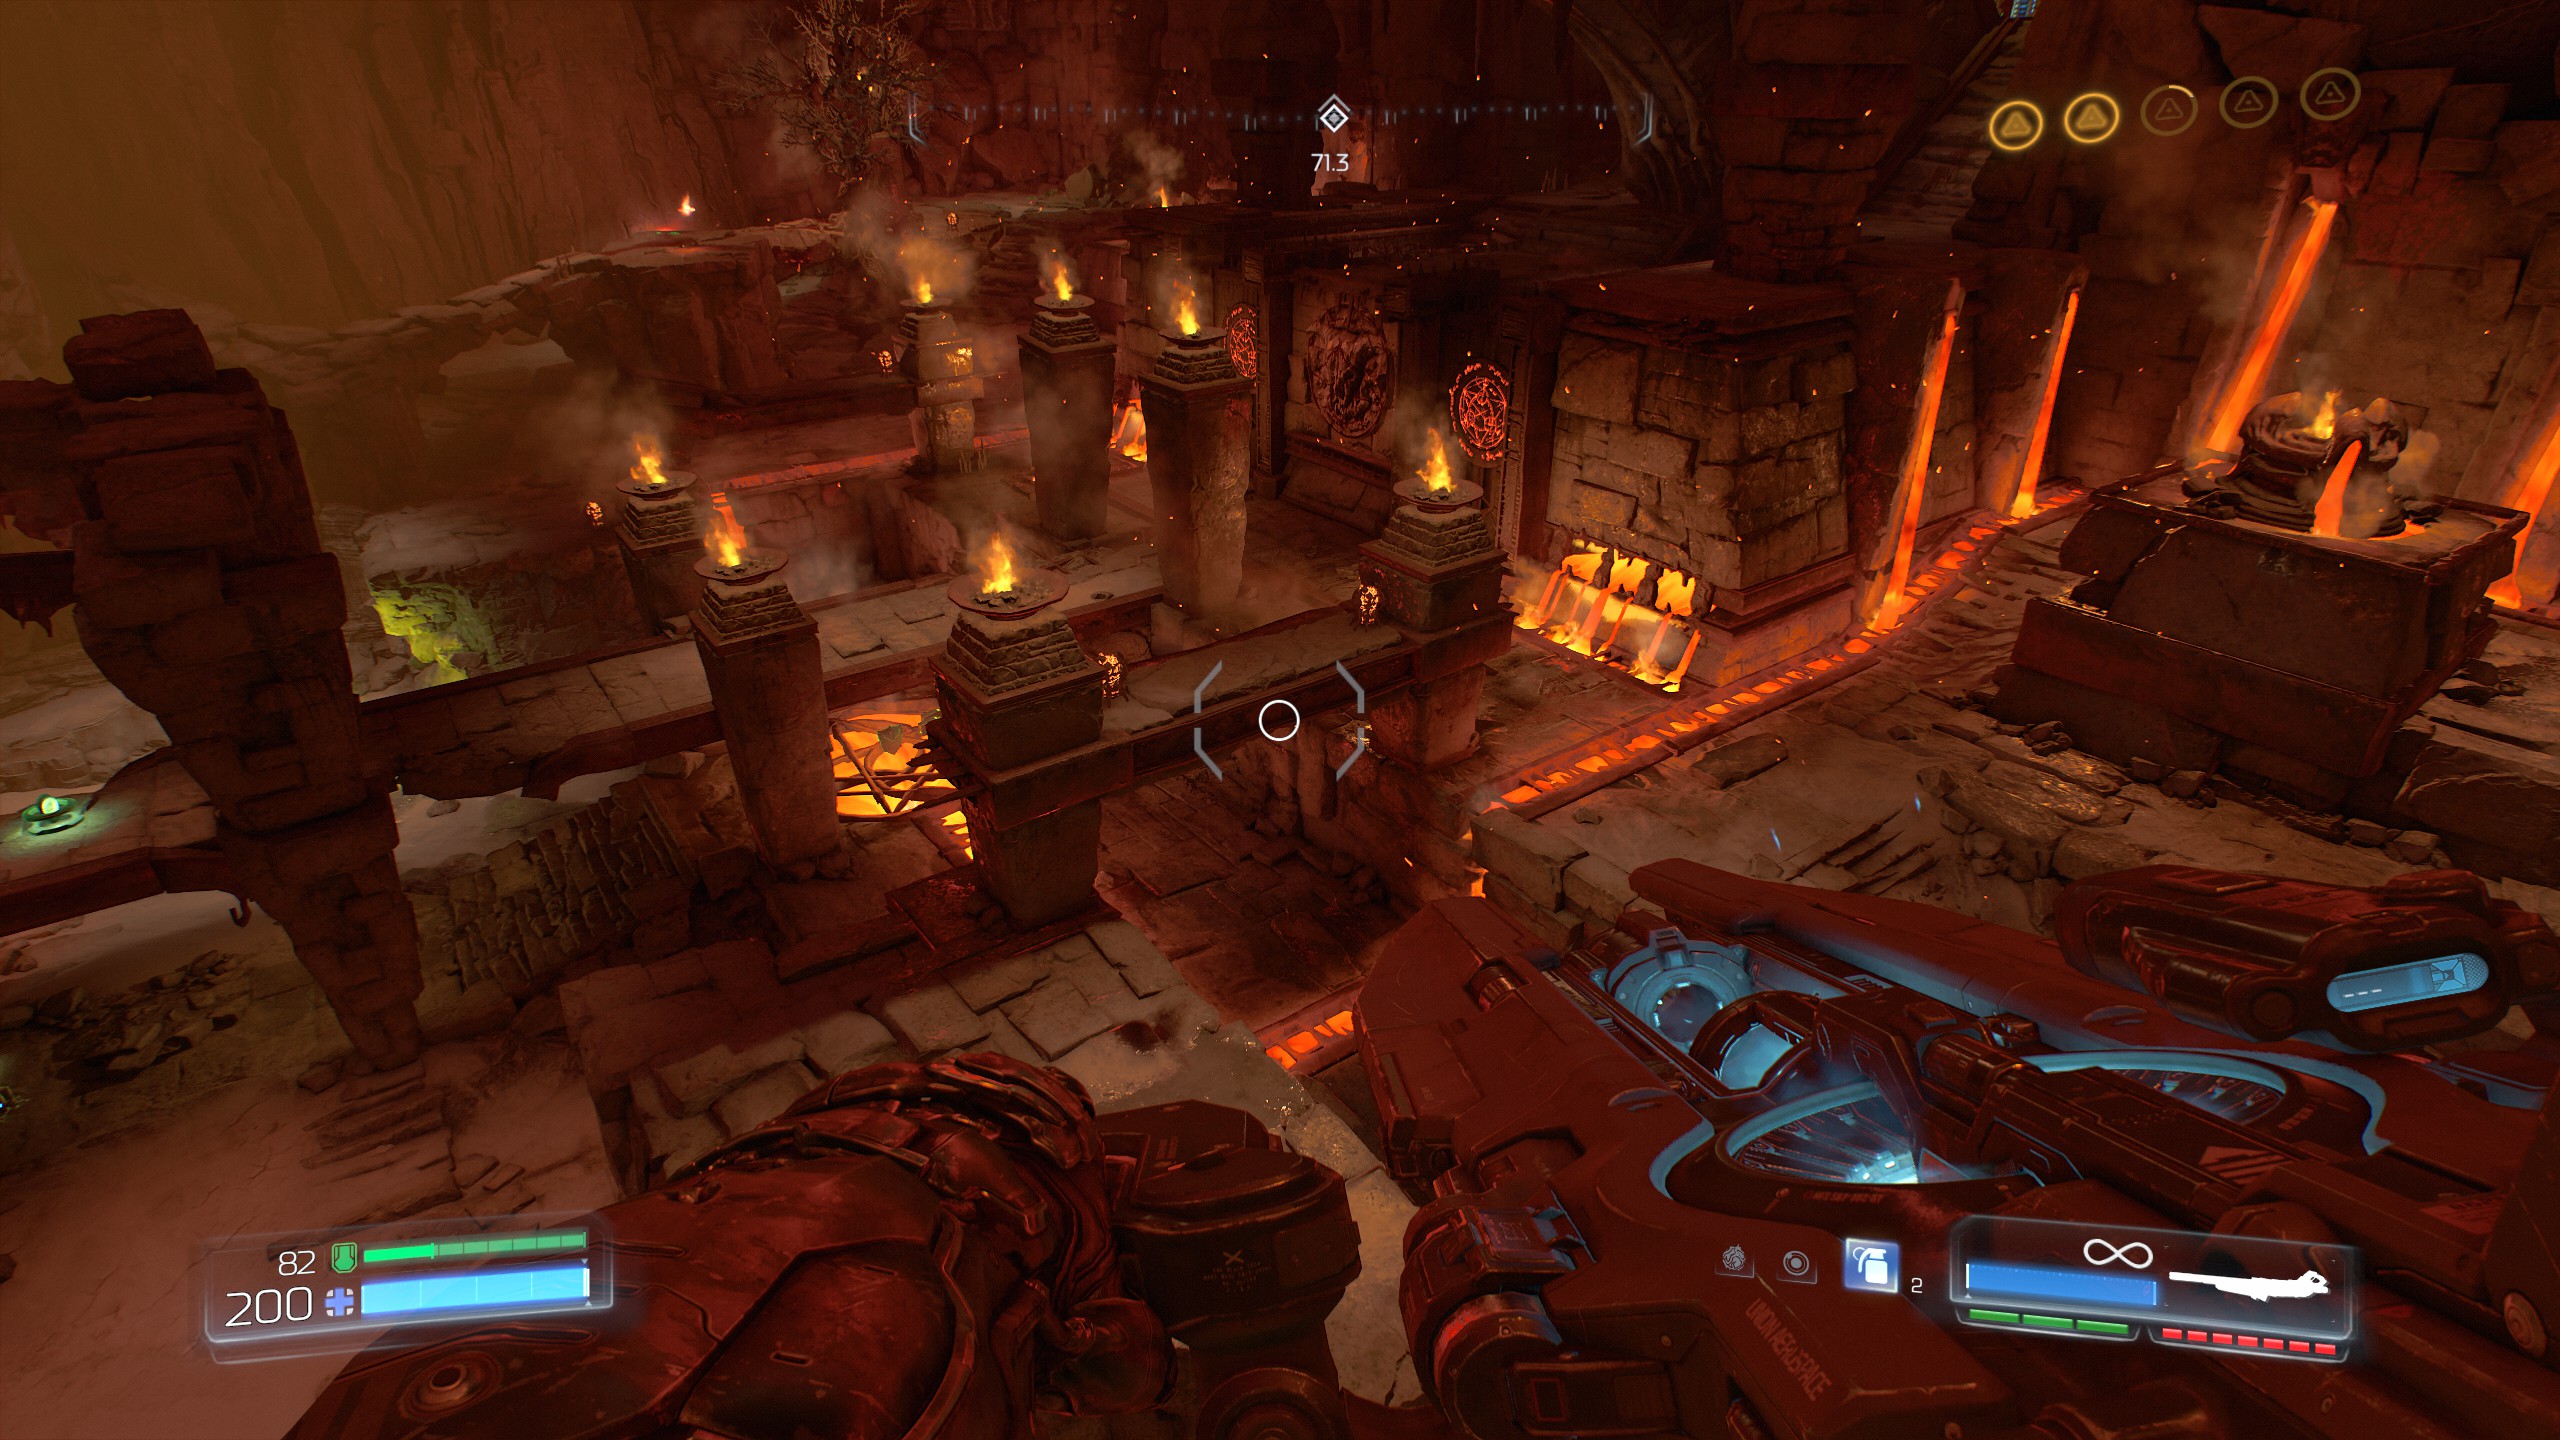
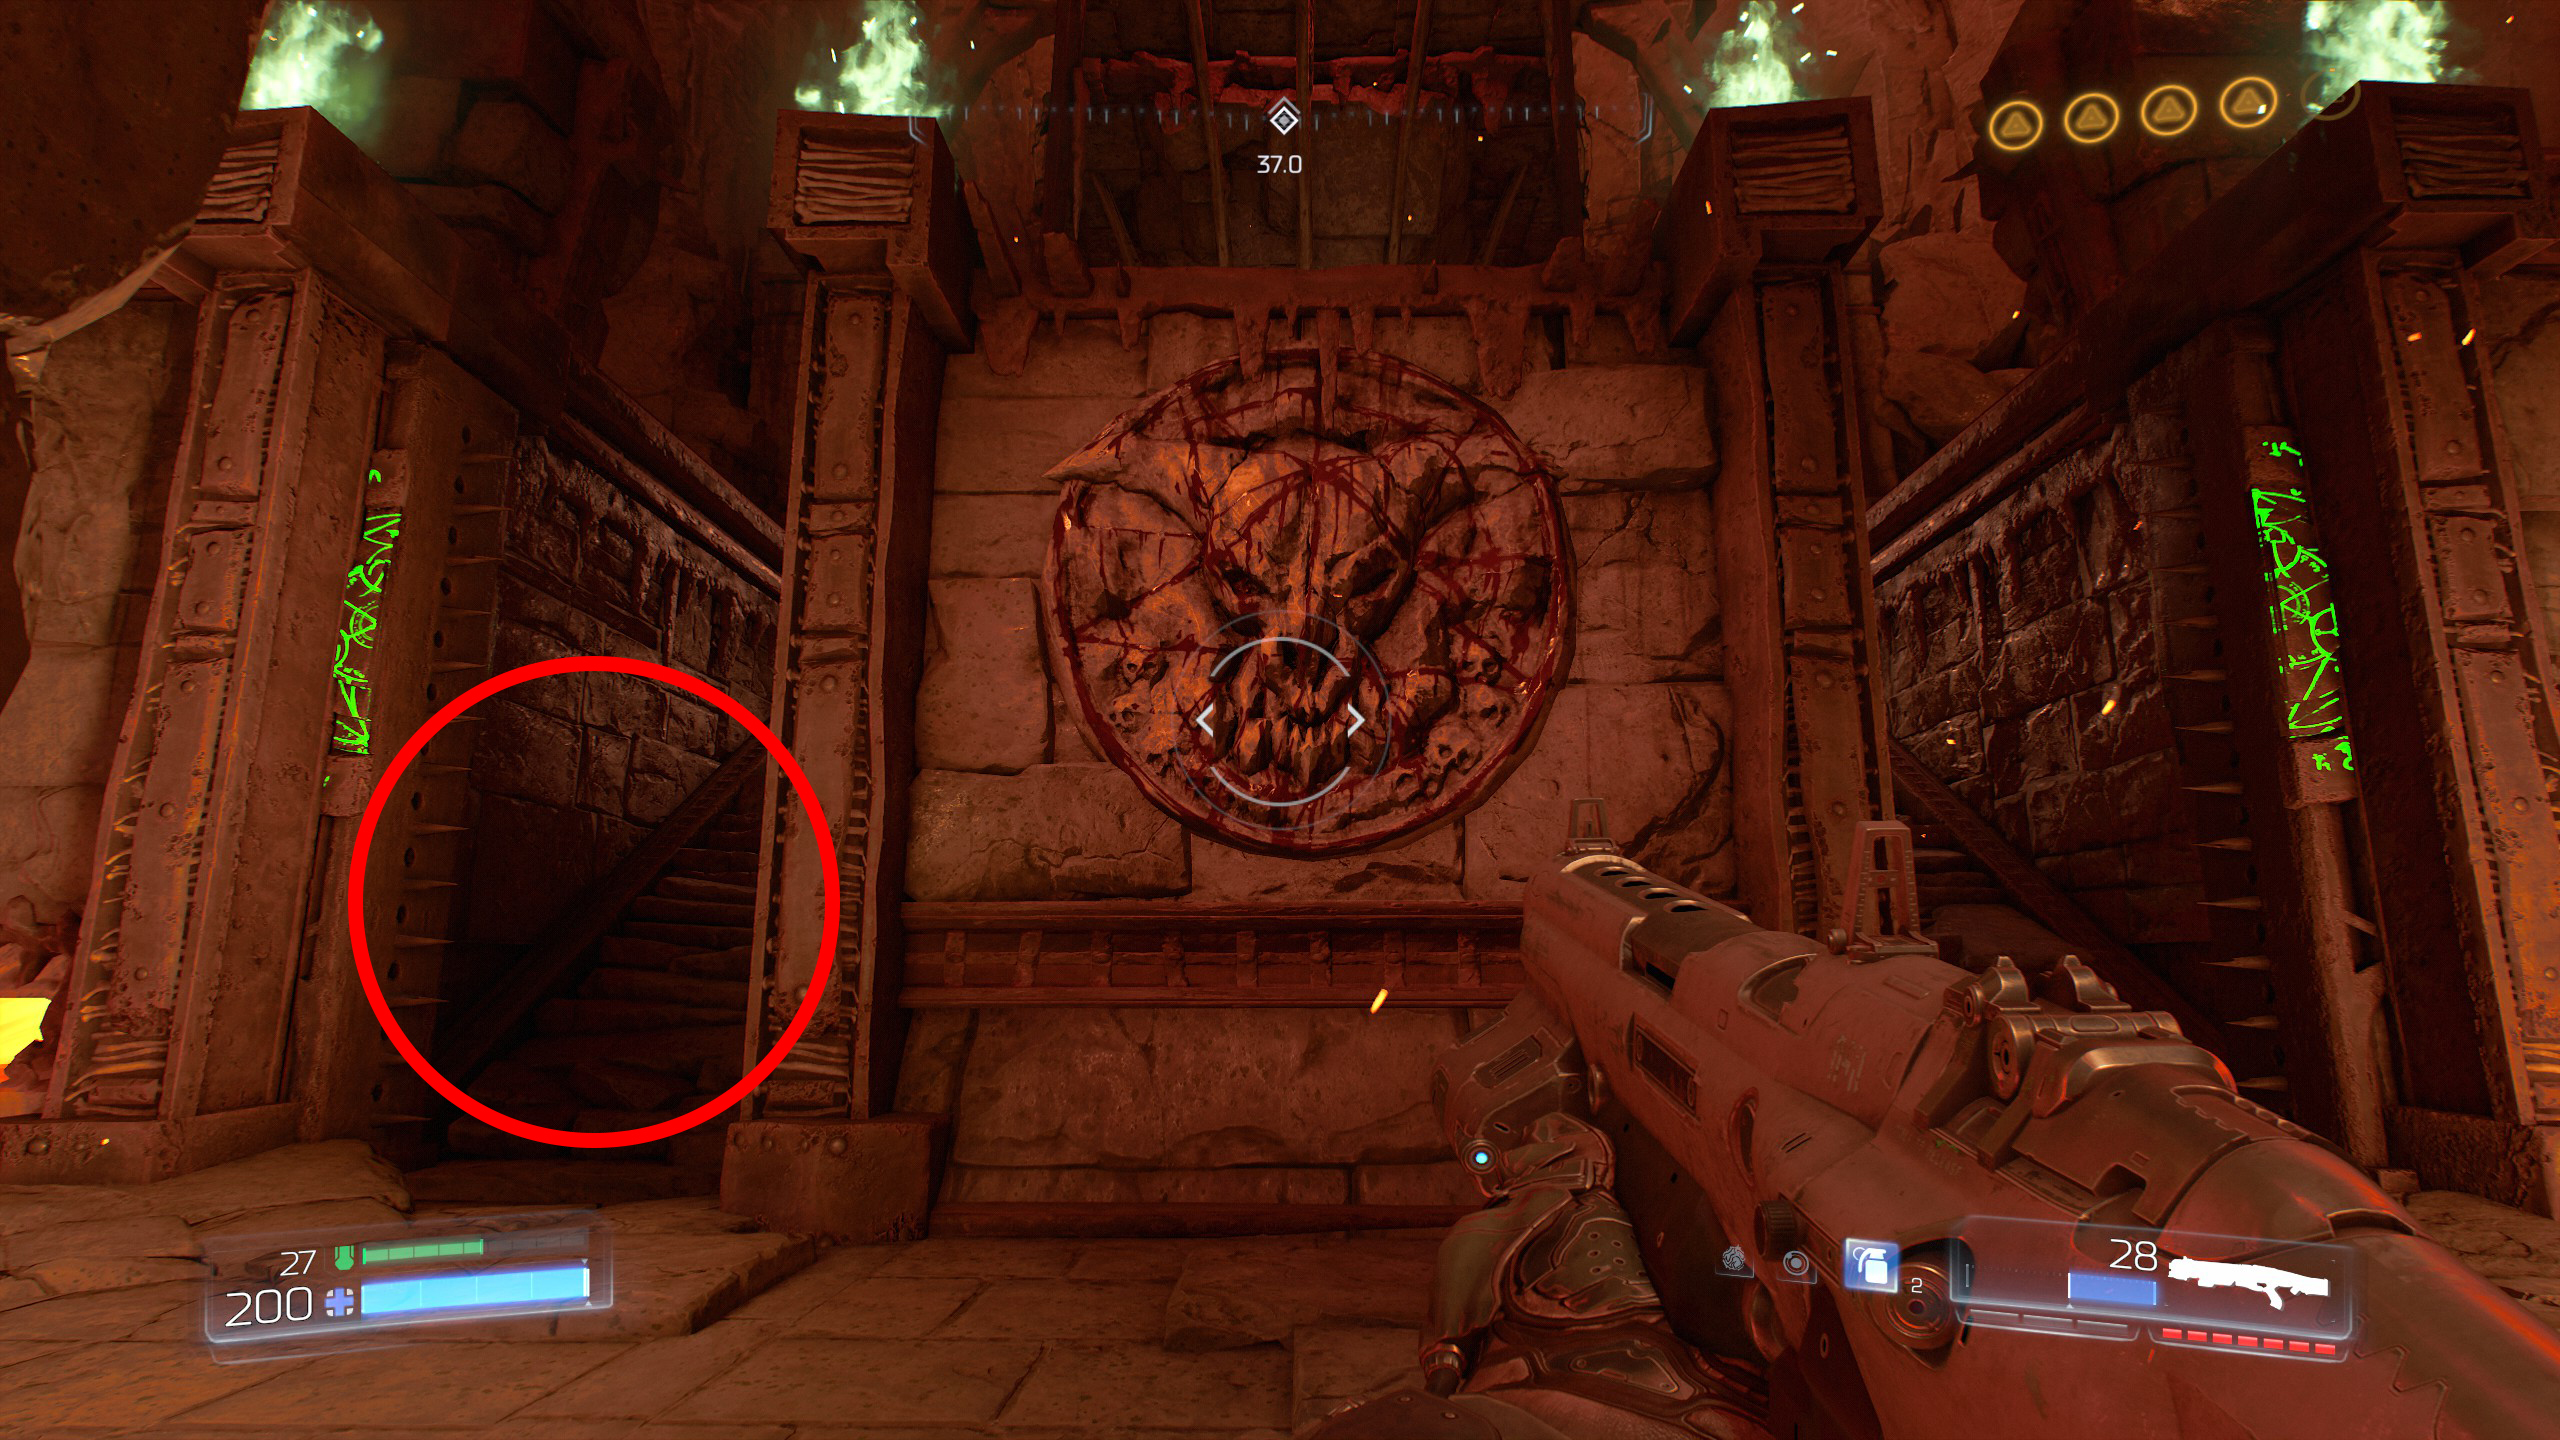
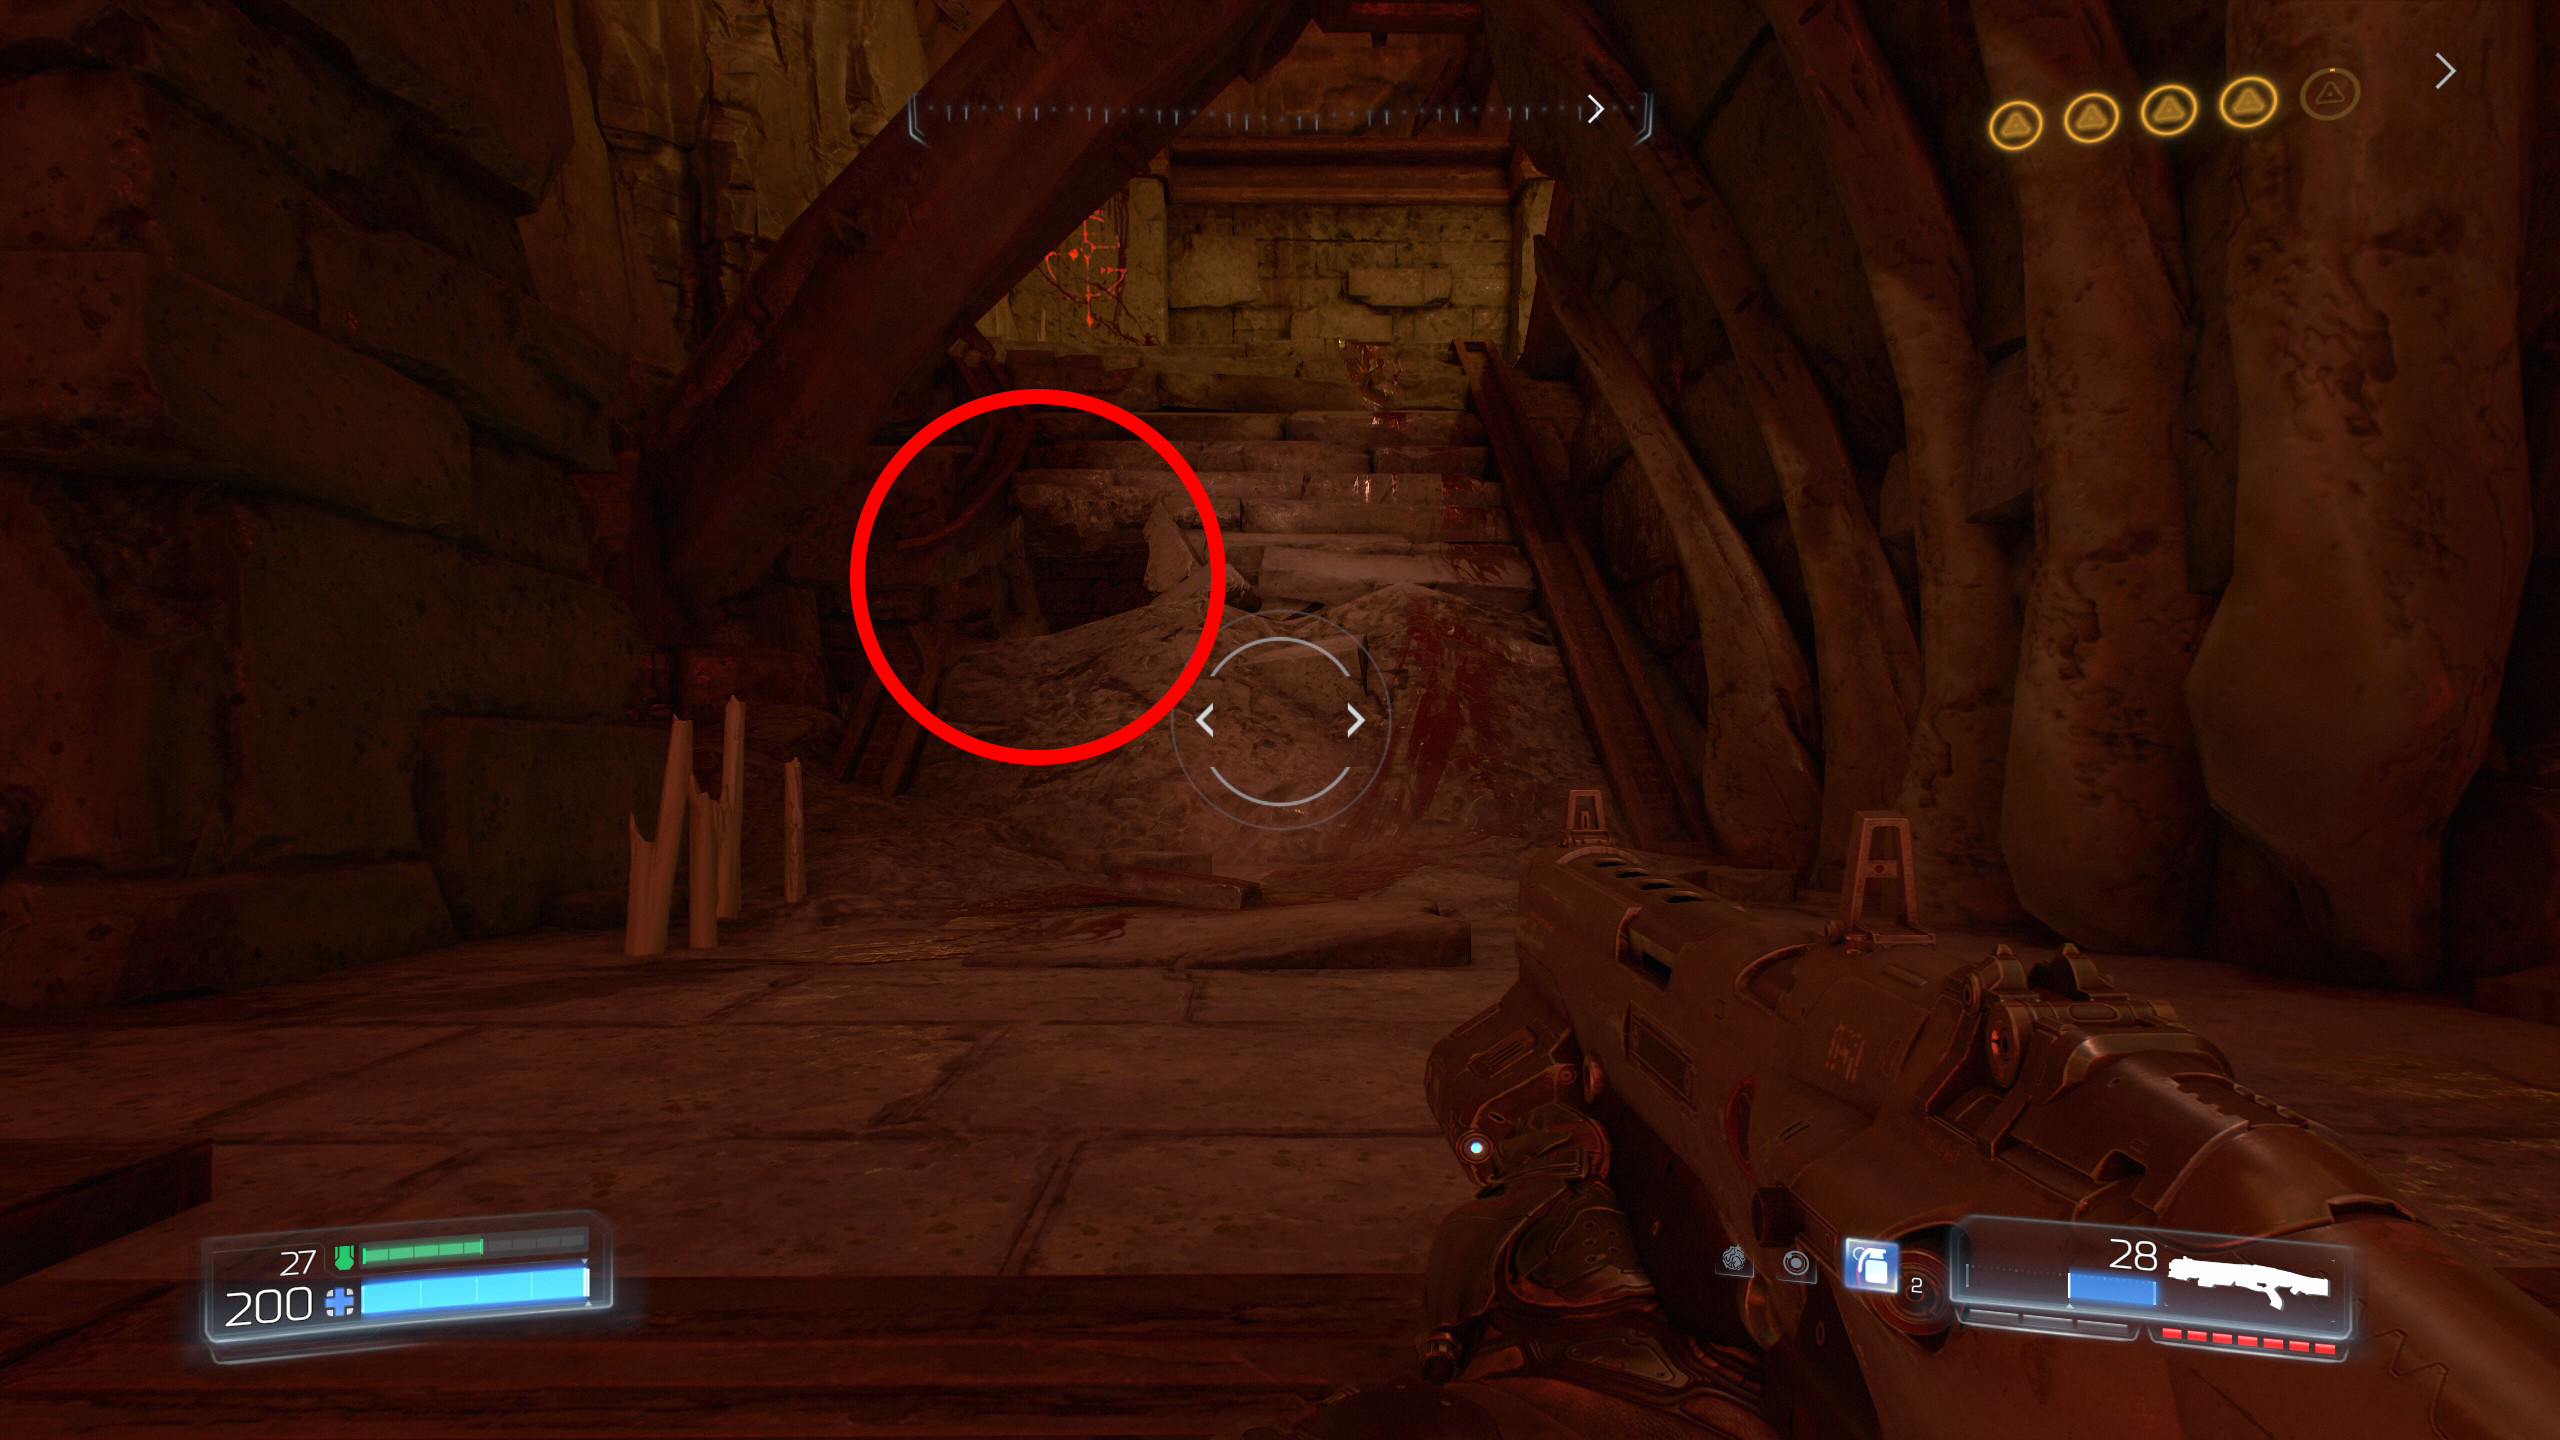
Proceed with the mission and when you drop down into the hole situated inside the skull you will land inside a cave/tunnel.
Follow the path around until you reach the skull that needs to be activated, this should be just after the lava at the next corner on the right hand side.
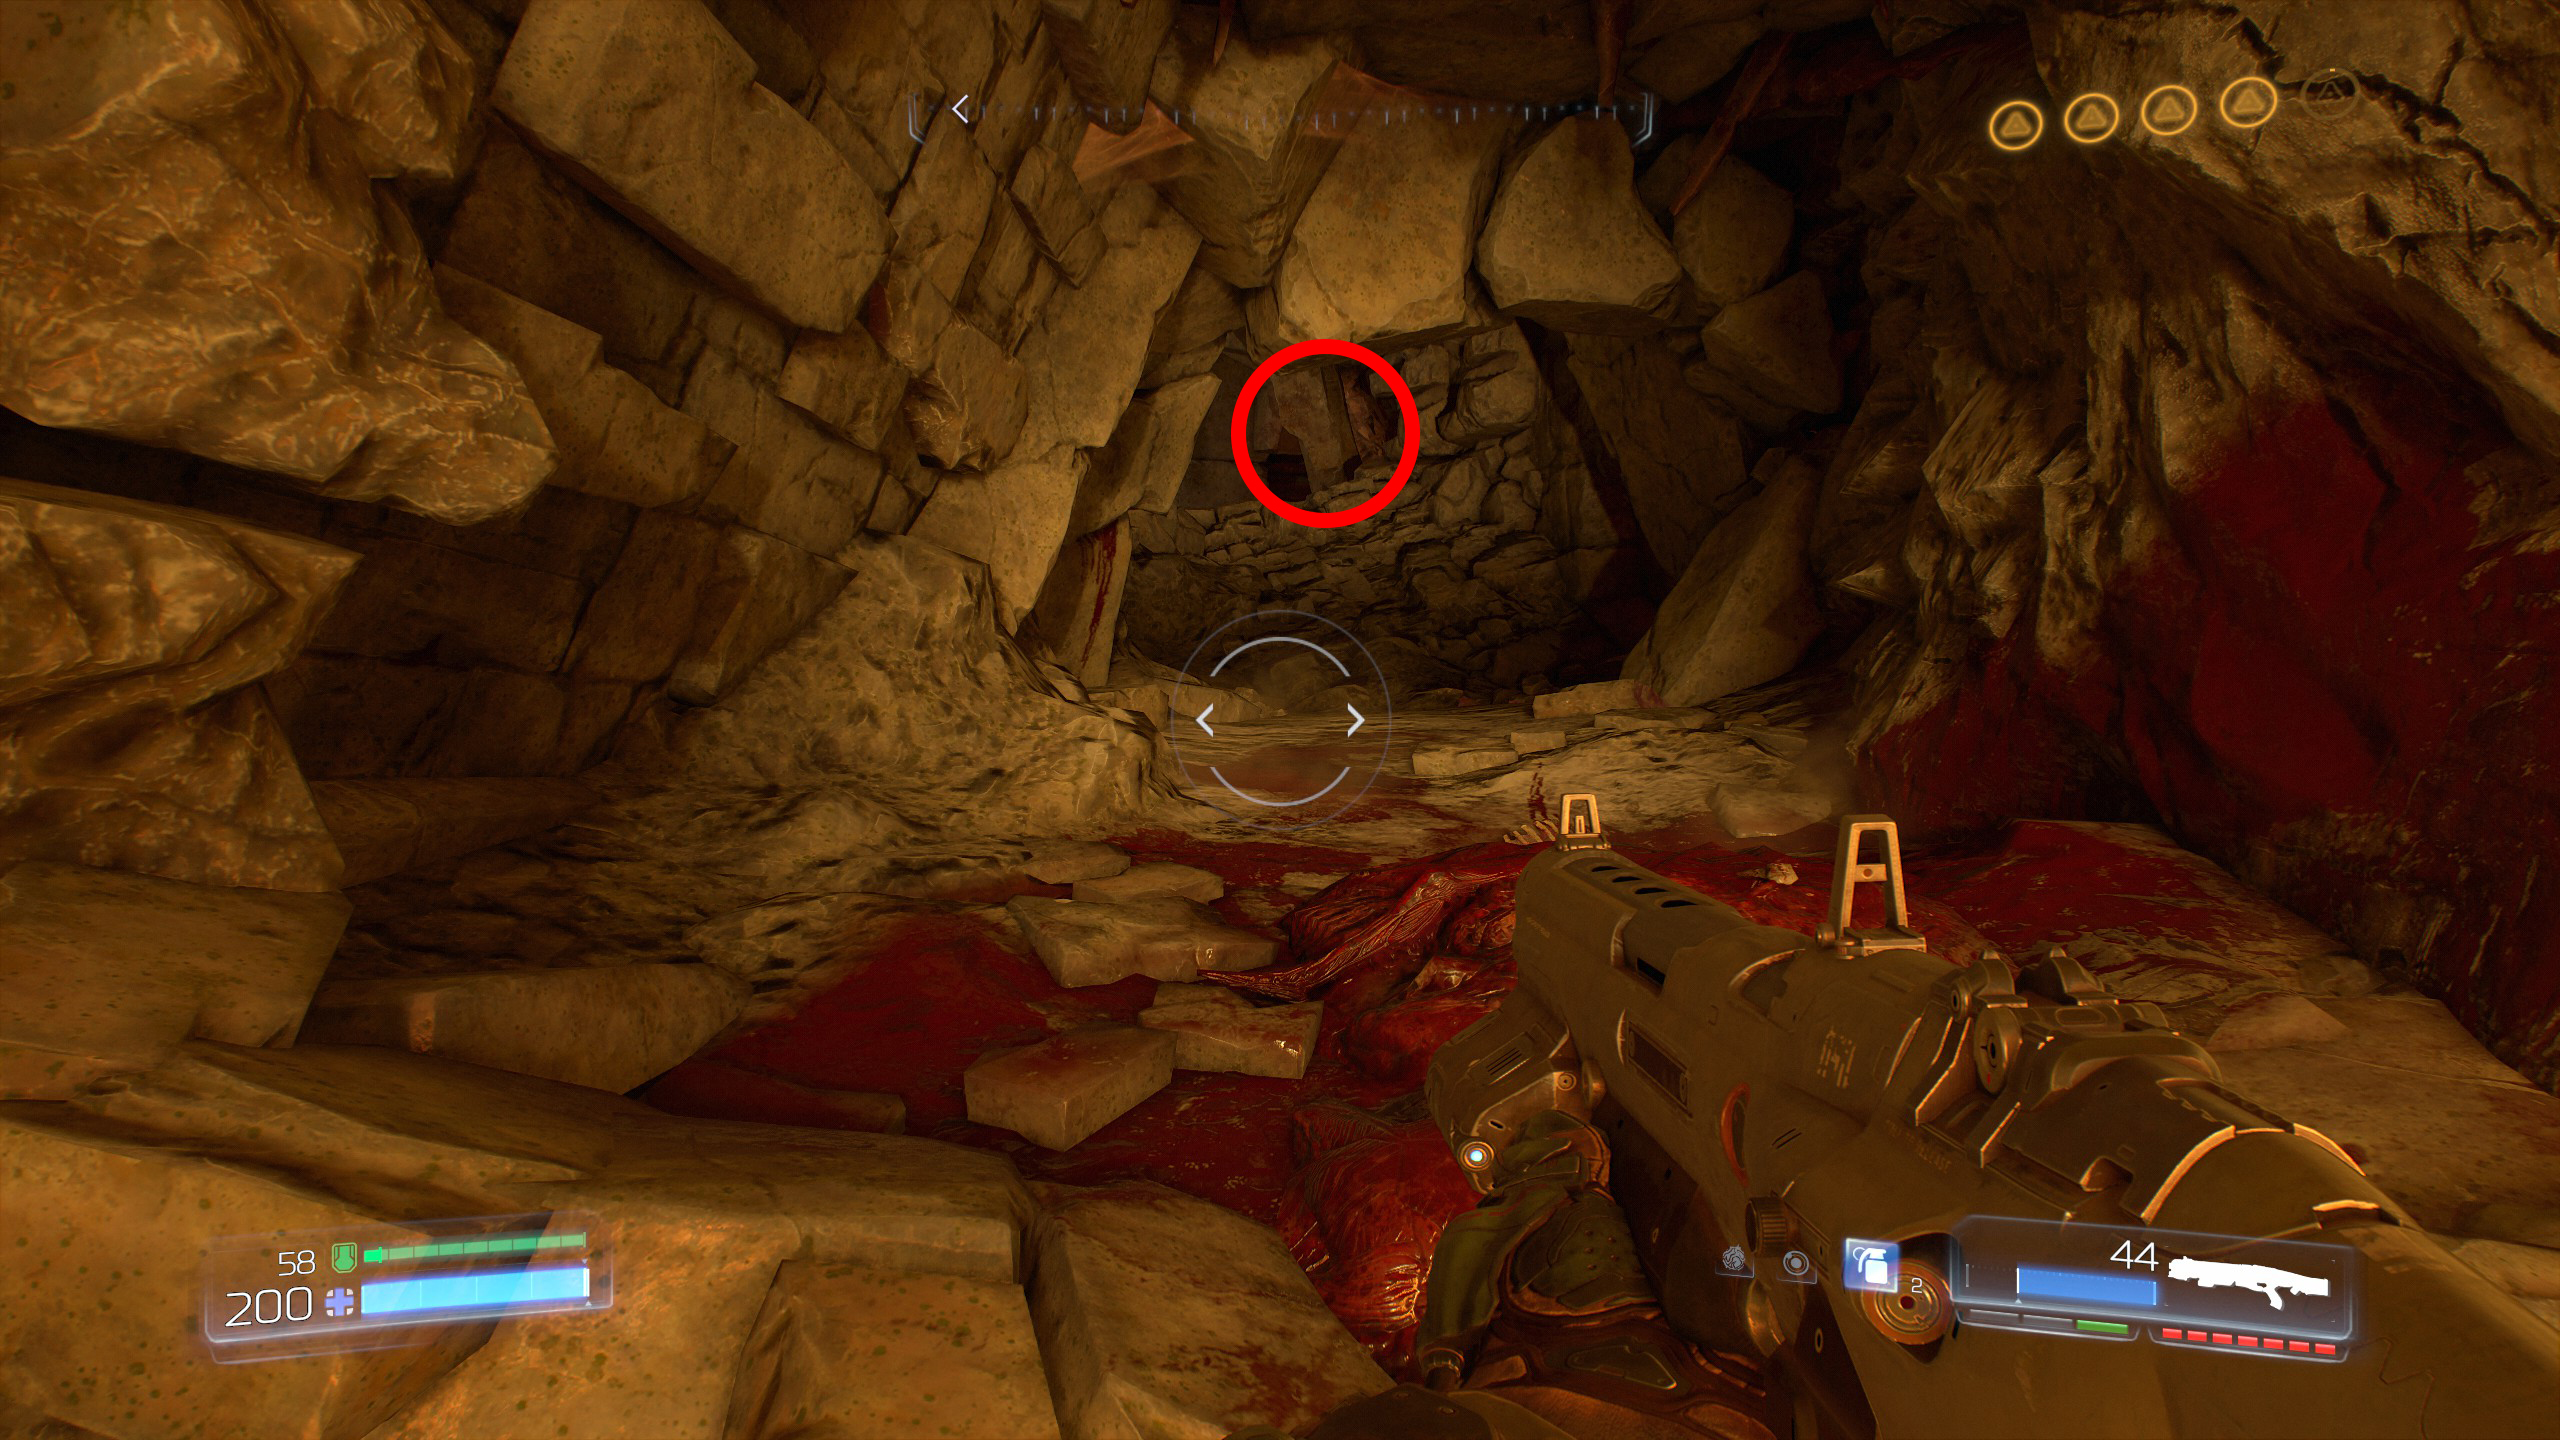
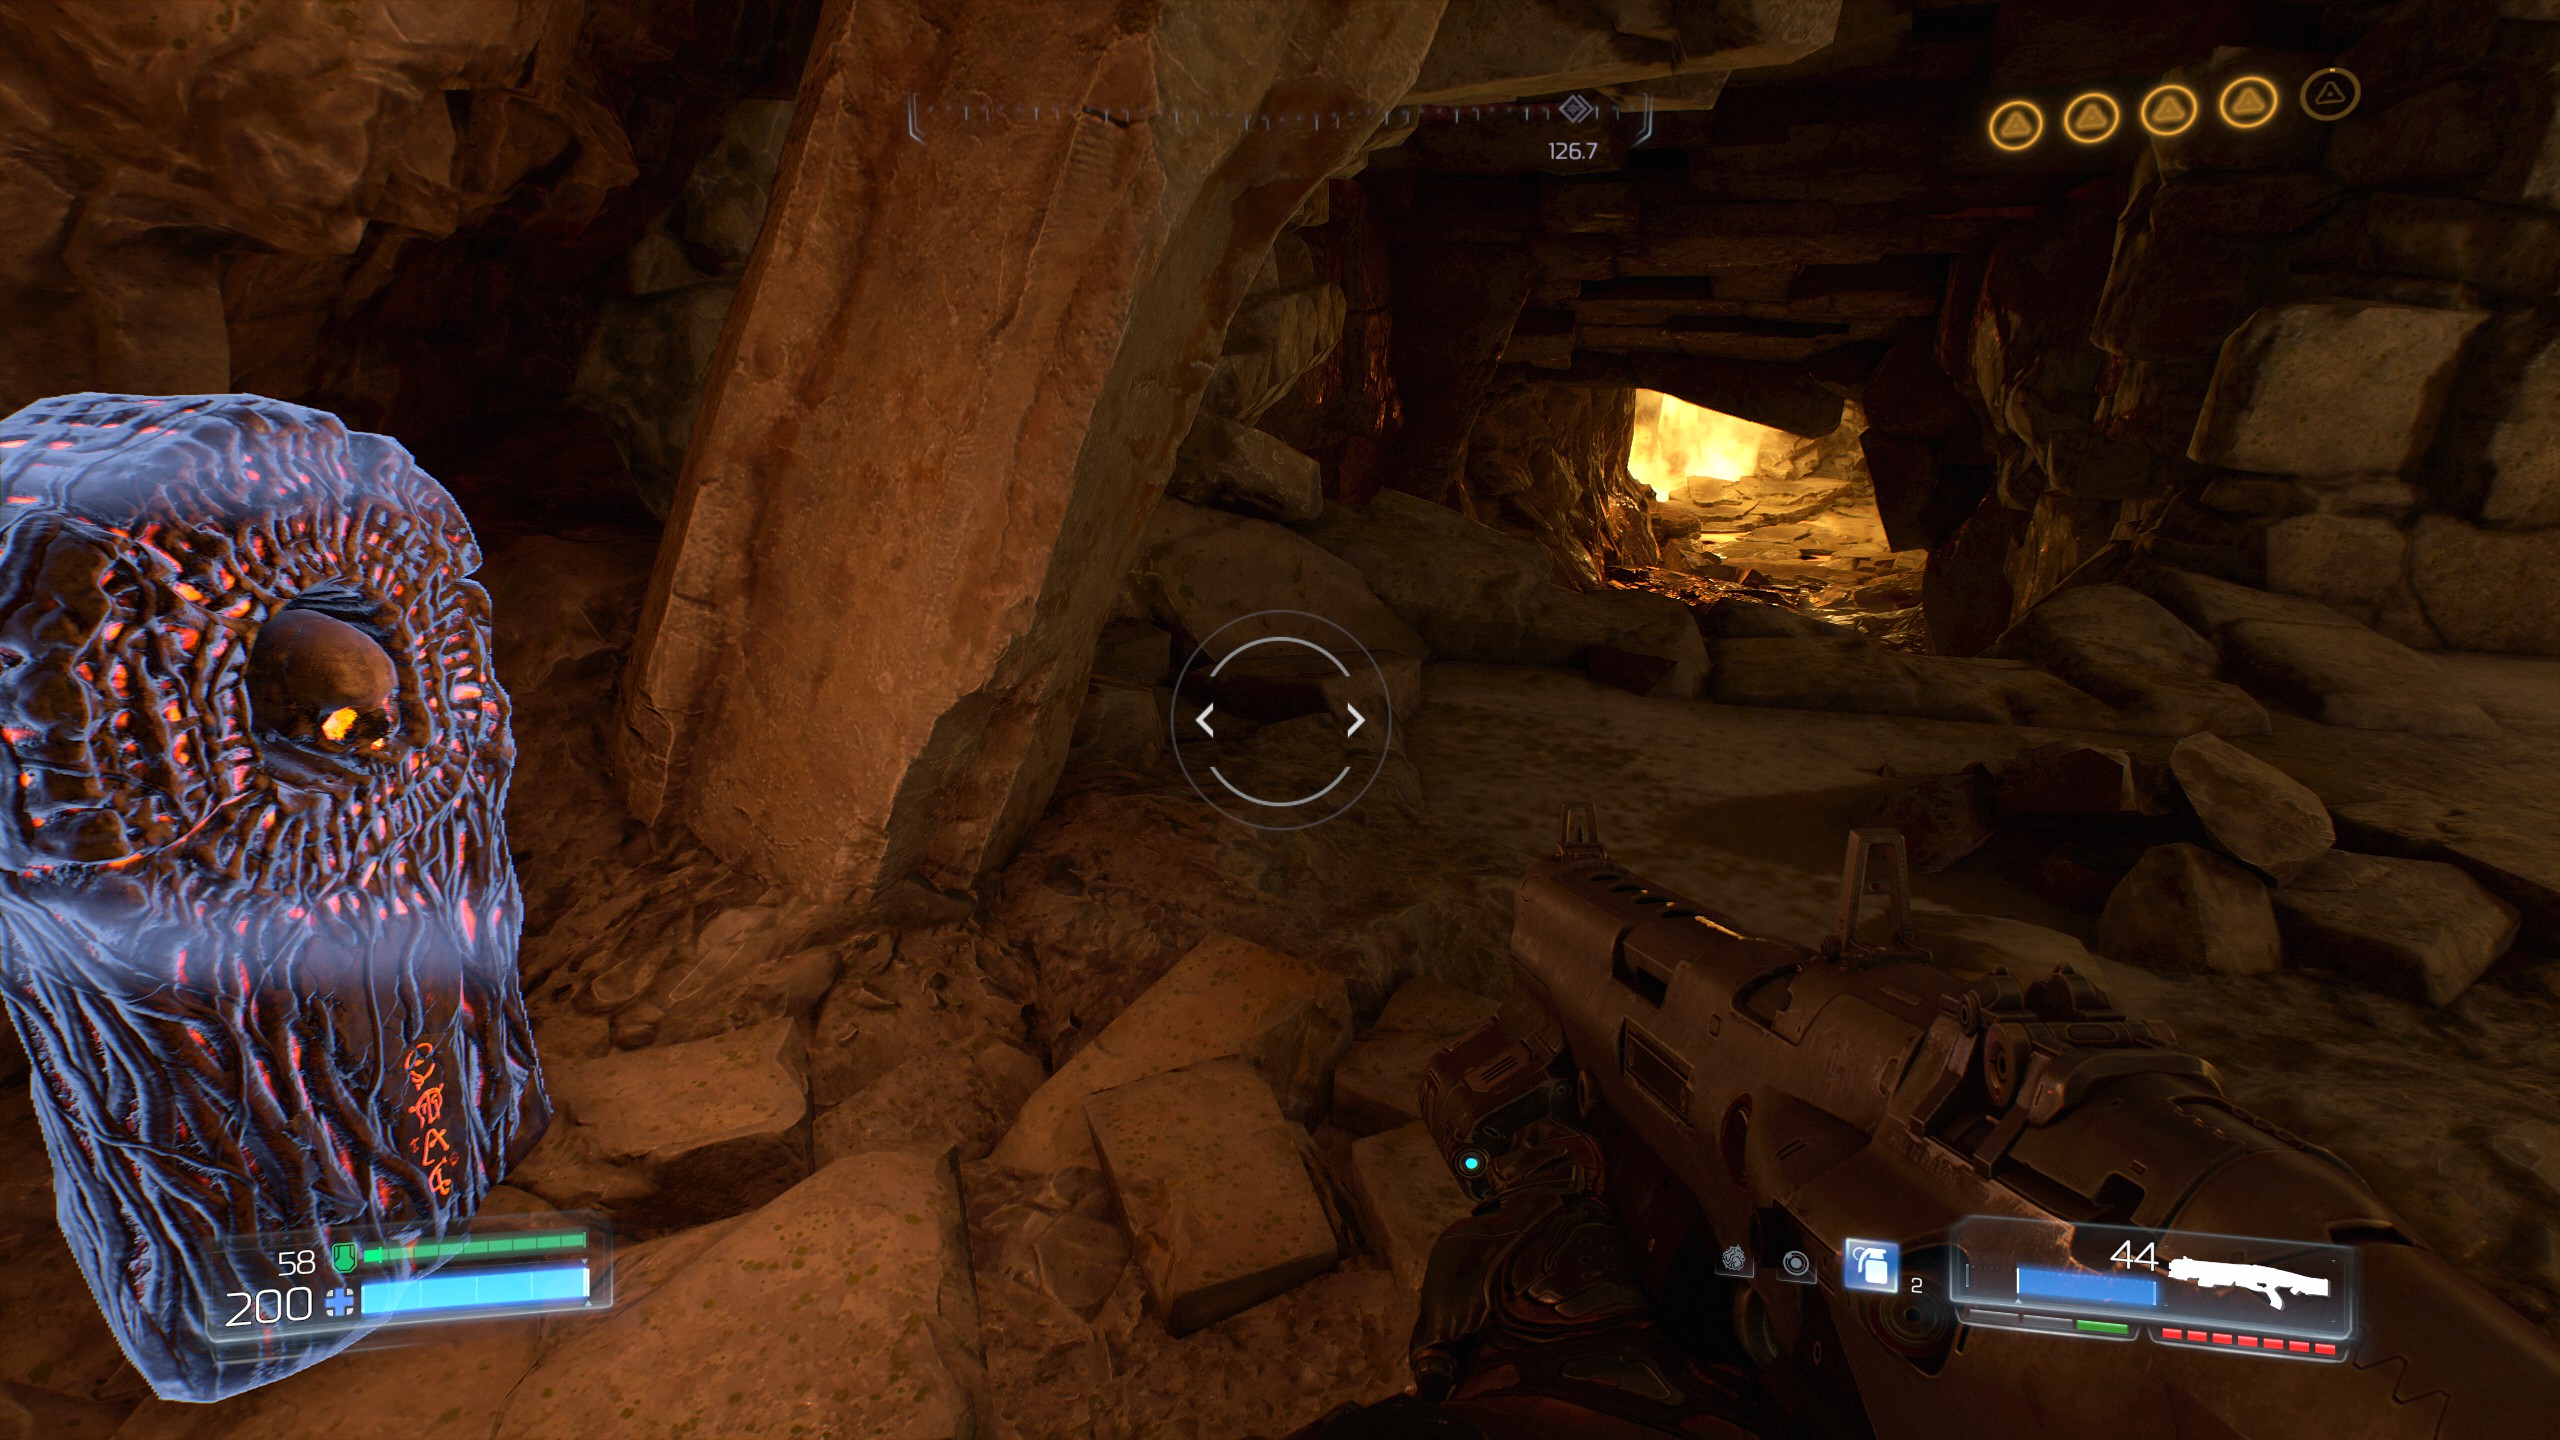
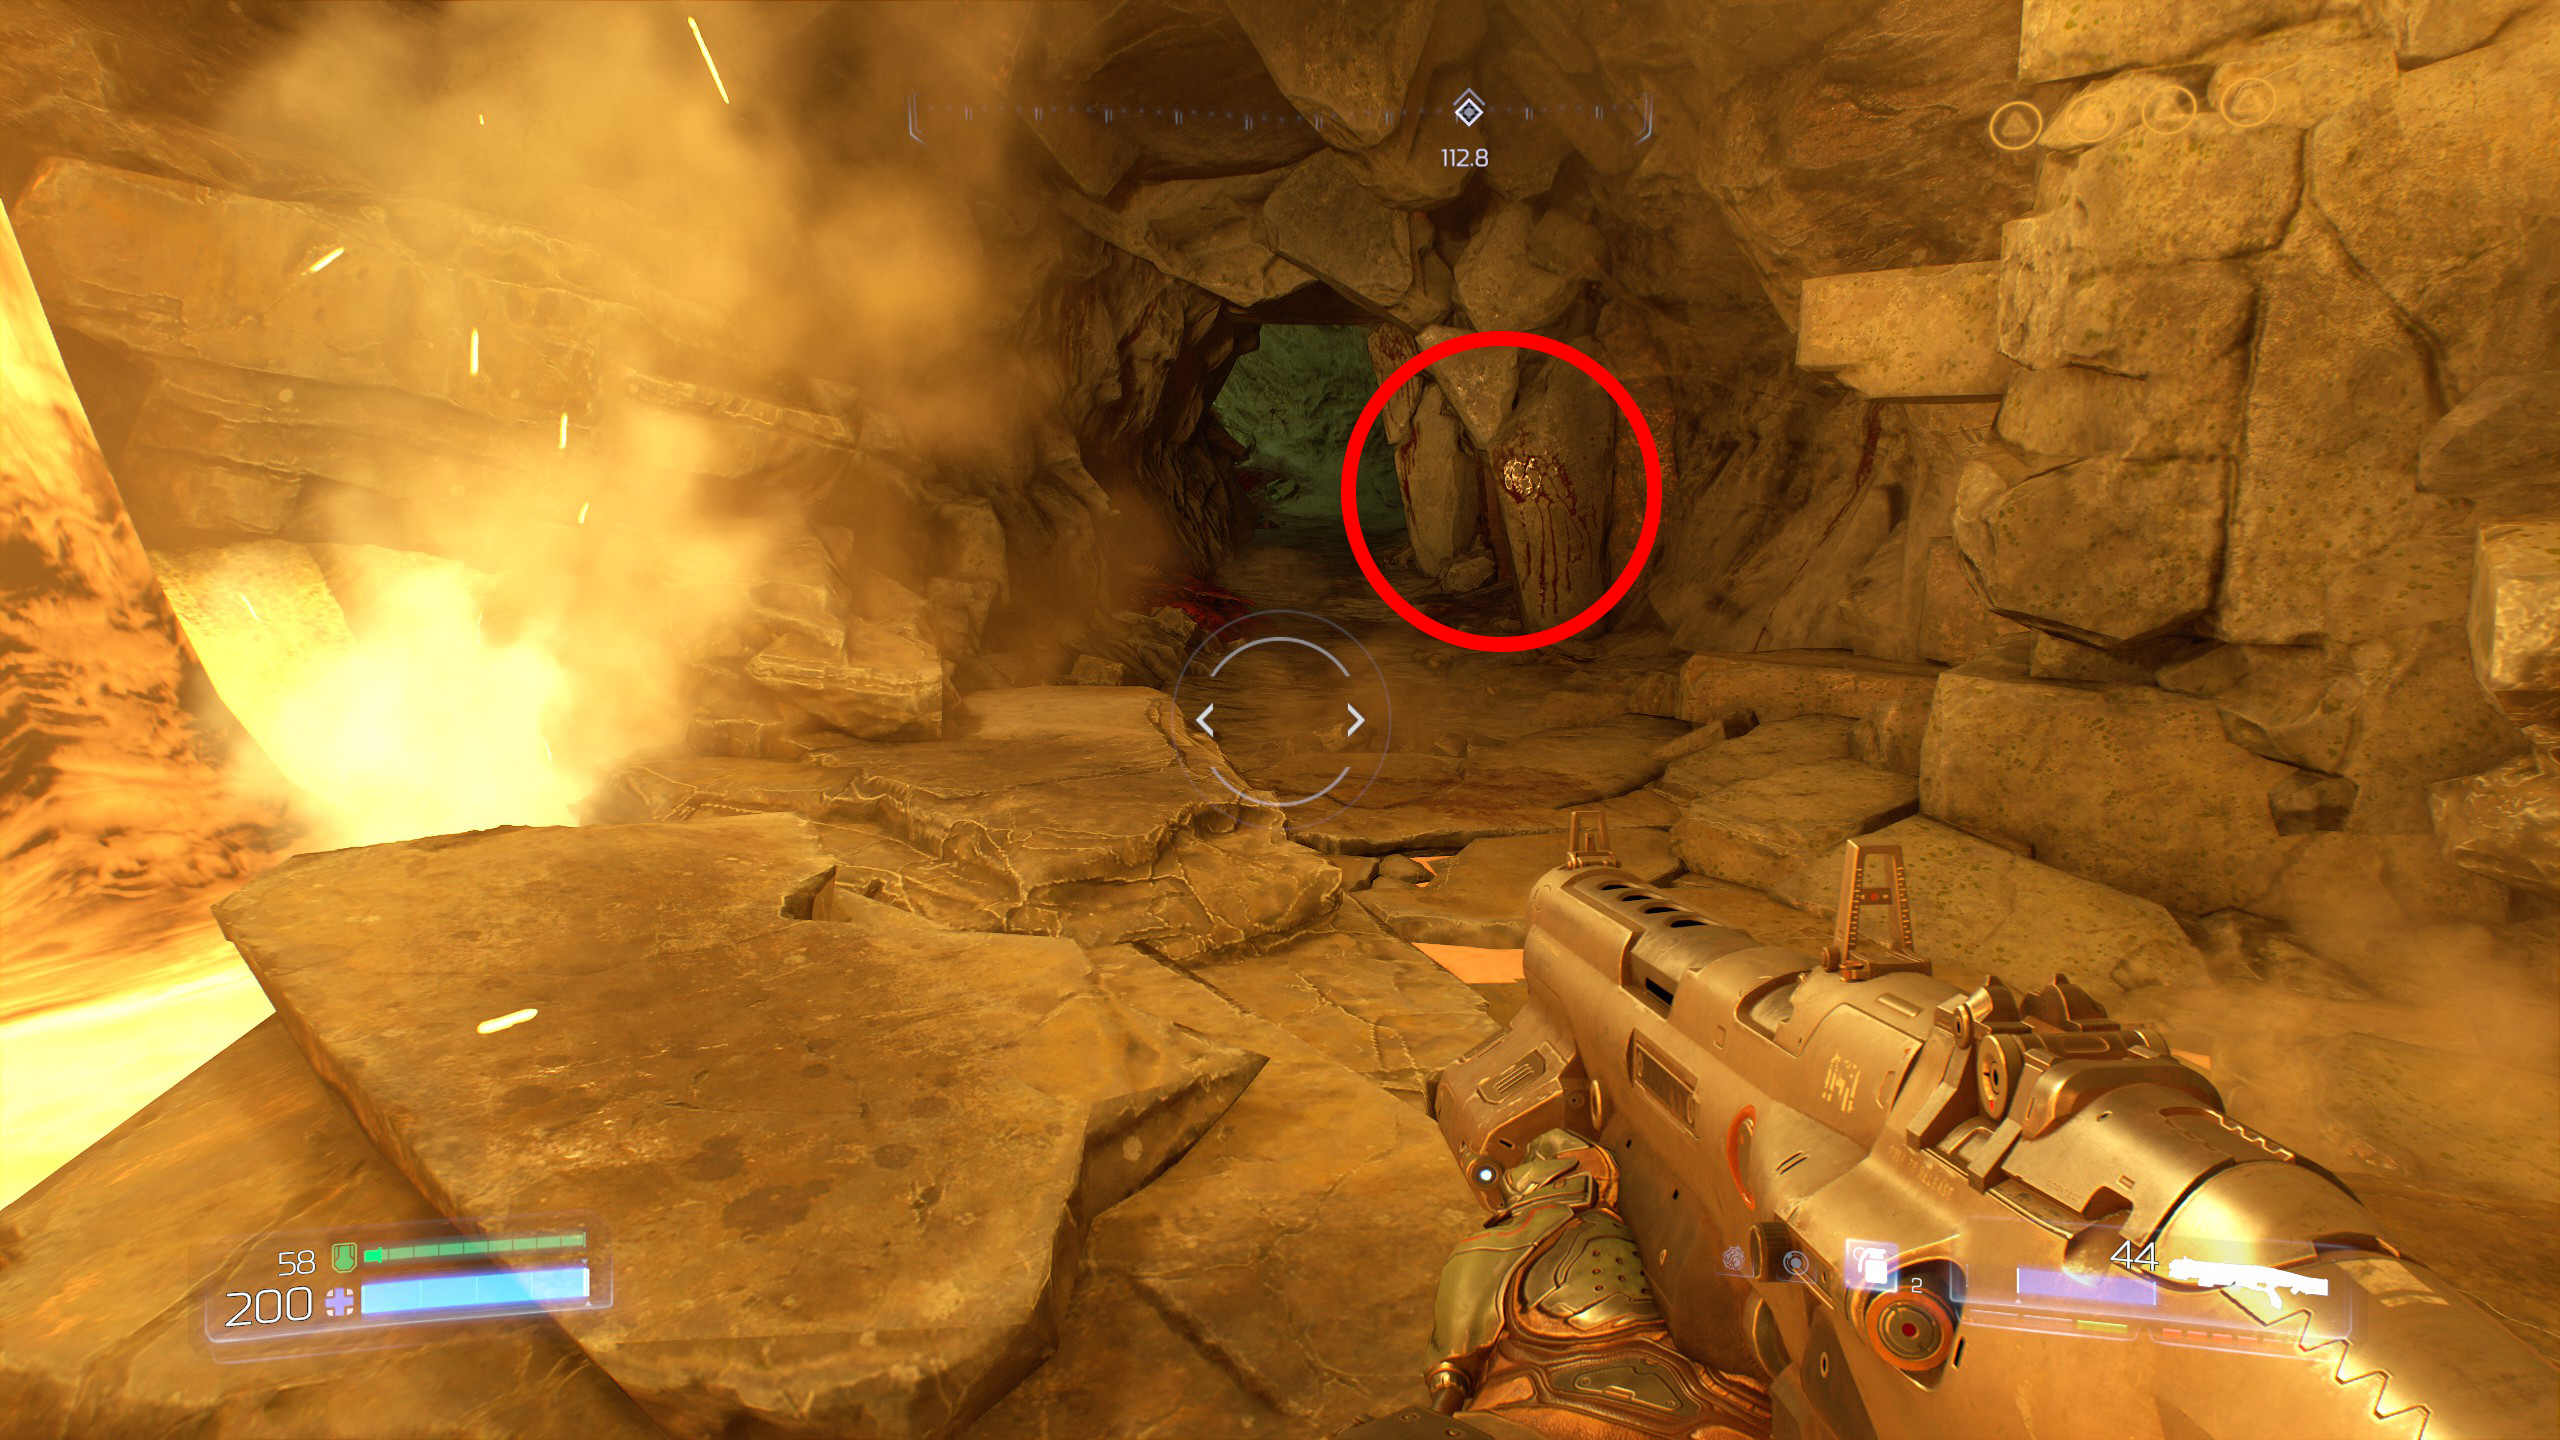
Activate the skull and then go back in the same direction you just came from, and just past the lava on the right side wall will now be a small opening which contains secret number 5, this is your final secret of the mission and the game, congratulations.
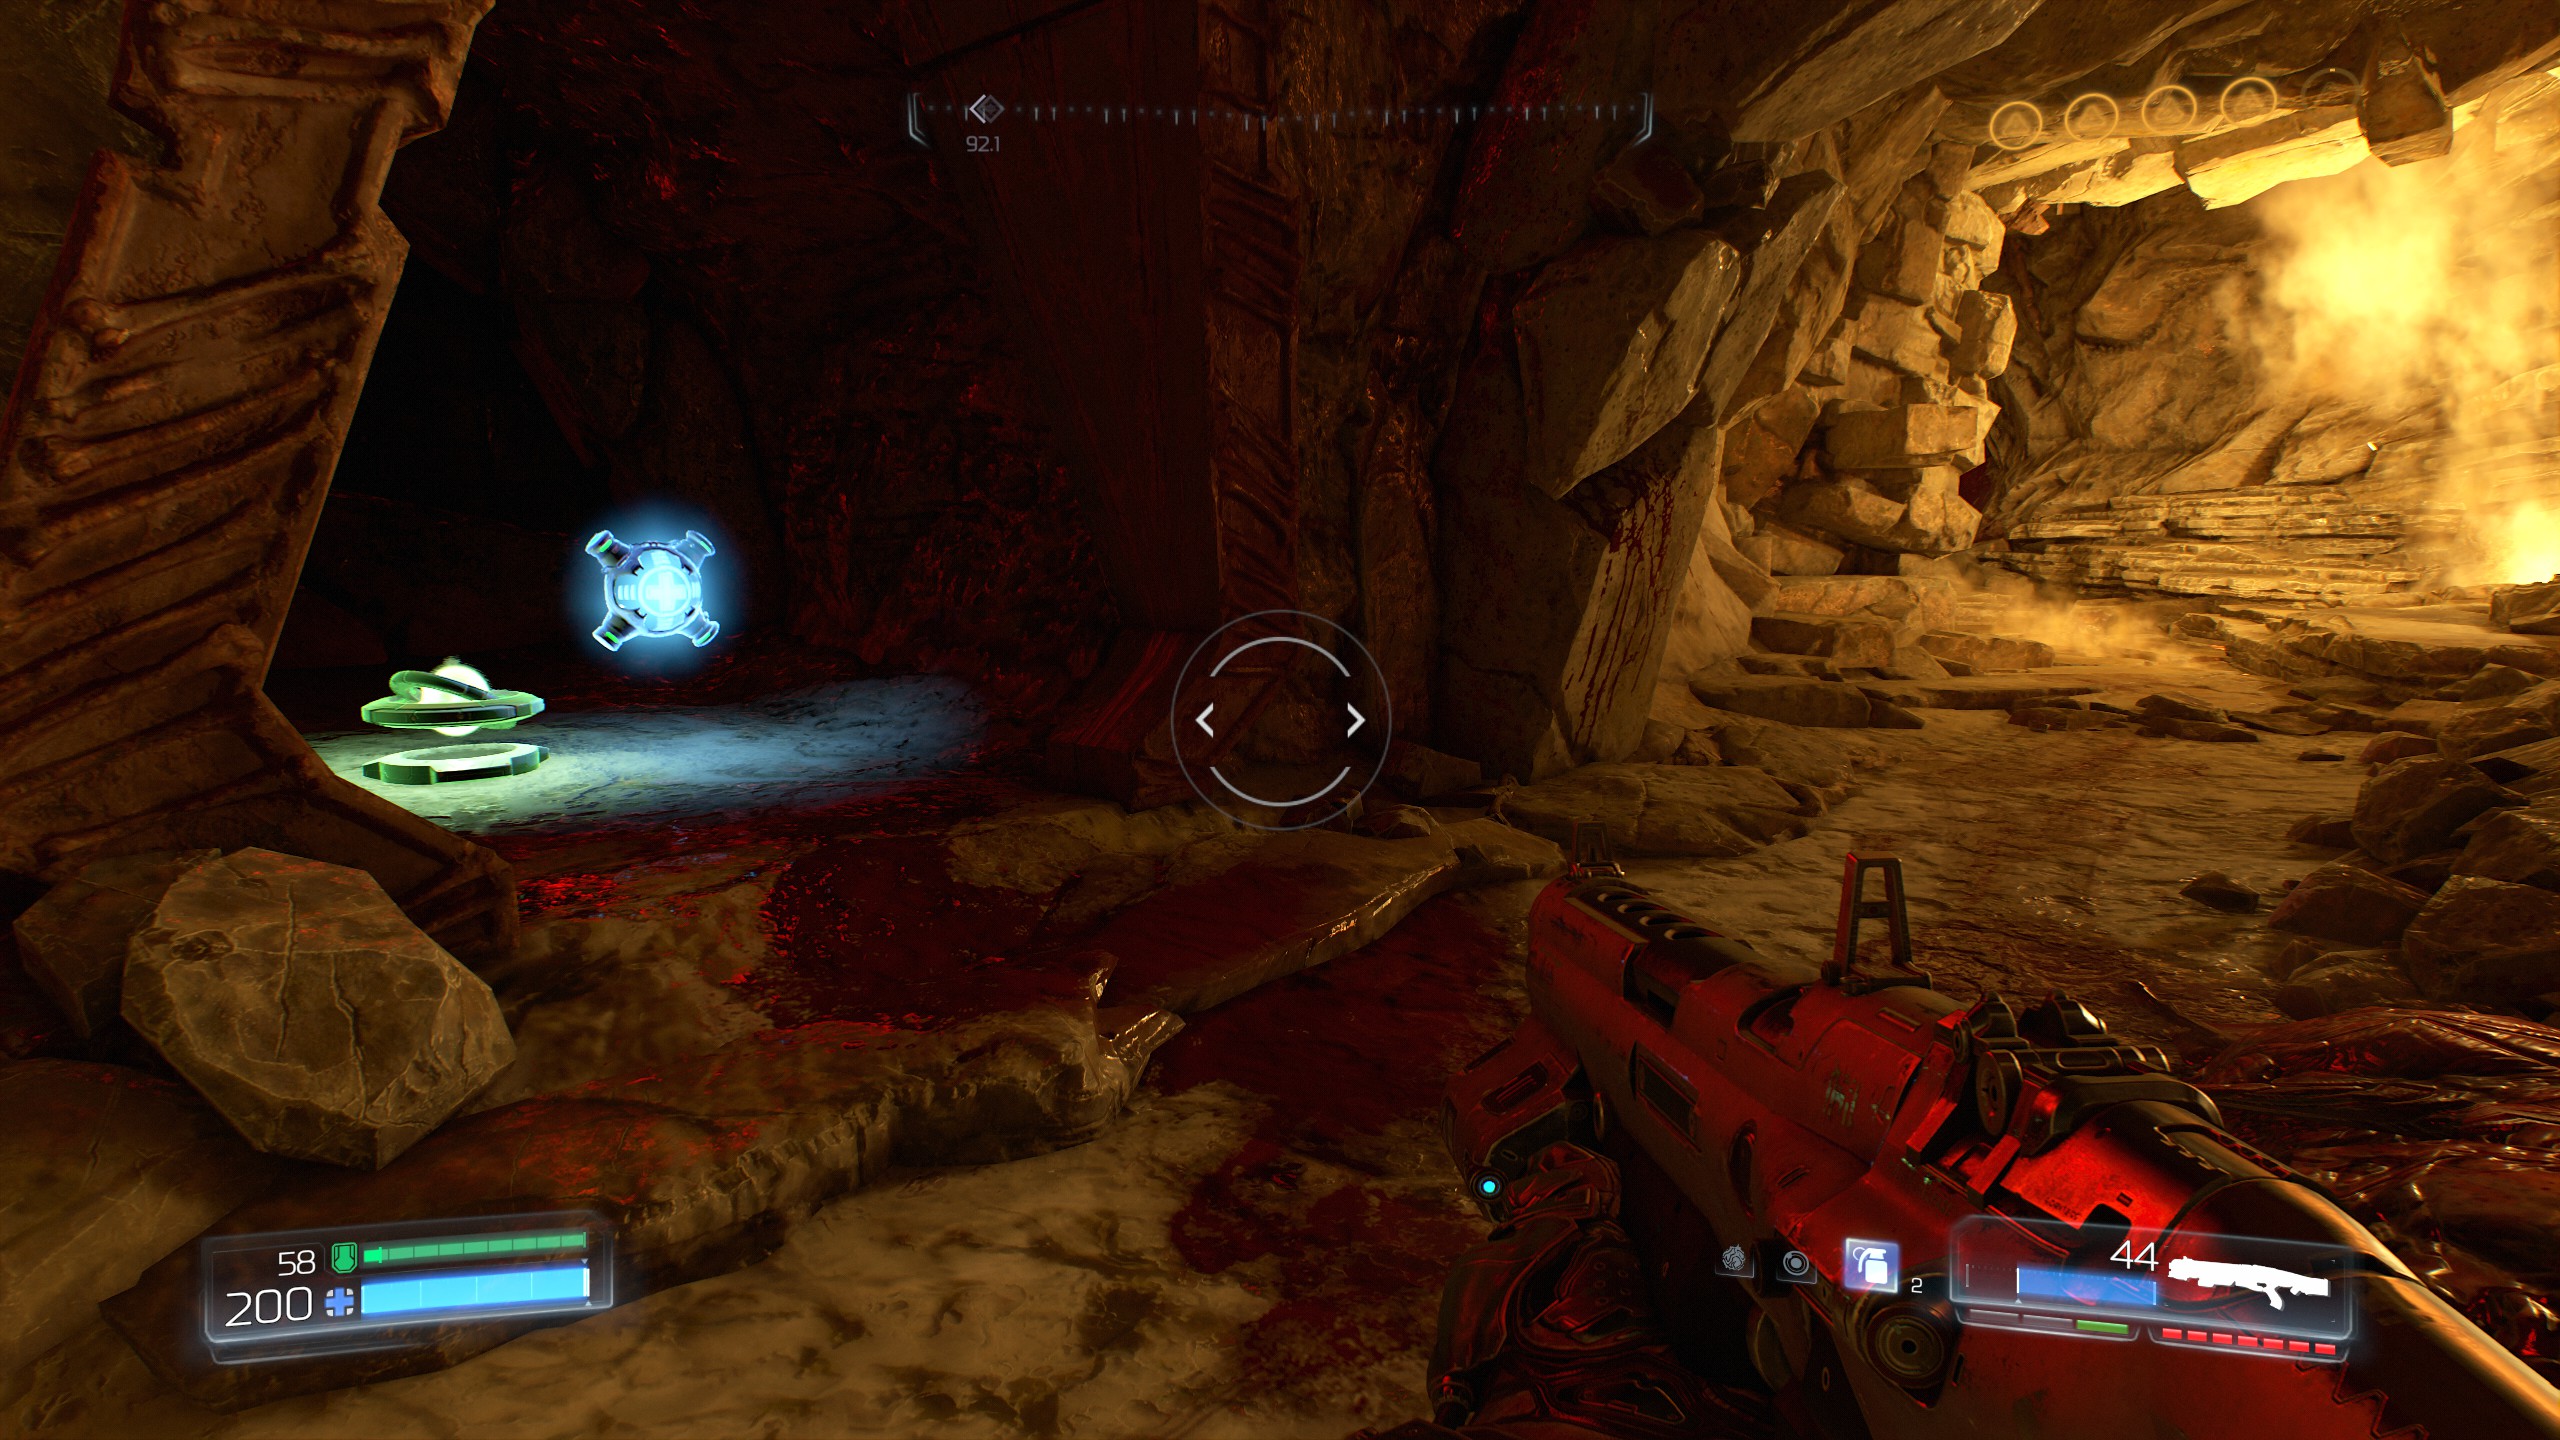
For those looking for the last Doomguy, you must kill the final boss to gain it.
THANK YOU: That completes all the secrets and Doomguys for the game, thank you for following my guide, i hope it has been a great help, much love to all you Doomslayers!
- DOOM 100% Achievement Guide★ 5 (1.5k)65k views2.8k ♥19 minUpdated 30 Nov, 2023
- Все секреты★ 5 (2.8k)54k views4.8k ♥14 minRussianUpdated 6 Jan, 2022
- DOOM Secrets & Collectibles★ 5 (1.2k)49k views2.1k ♥4 minUpdated 4 Dec, 2022
- Secret Doom Classic Level Locations + Easter Eggs★ 5 (1.5k)47k views2.1k ♥13 minUpdated 29 Jan, 2021
- Как уменьшит объем игры(лайфхак)?★ 5 (729)44k views343 ♥1 minRussianUpdated 25 May, 2017
- DOOM - 100% Achievement Video Guide★ 5 (1.6k)44k views2.8k ♥22 minUpdated 23 May, 2025



- Upgrading to PremiumTeam Fortress 2★ 5 (20k)1441k views11k ♥6 minUpdated May 11, 2022
- No More Room in Hell Official ManualNo More Room in Hell★ 5 (2.8k)569k views2.1k ♥29 minUpdated Apr 22, 2019
- NMRiH Community Hosting GuidesNo More Room in Hell★ 5 (526)351k views653 ♥1 minUpdated Aug 10, 2022
- How to 'Git Gud' Soon™MORDHAU★ 5 (2k)318k views3k ♥68 minUpdated Nov 16, 2024
- Лучшие кооперативные игры SteamPAYDAY 2★ 5 (1.5k)315k views2.1k ♥56 minRussianUpdated Apr 27, 2025
- Desert Eagle Heat Treated | Blue GemCounter-Strike 2★ 5 (1.6k)292k views1.5k ♥2 minUpdated Jan 16





This guide was created by its original author on the Steam Community. Are you the author and want it removed? Request removal.