Effective City Building
Population Requirements
There are several essential things your population needs to be happy and productive in Banished. In order of importance, these are; food, firewood, tools and clothing.
(Herbs acquired via the herbalist can be used to supplement a poor diet and increase well being)
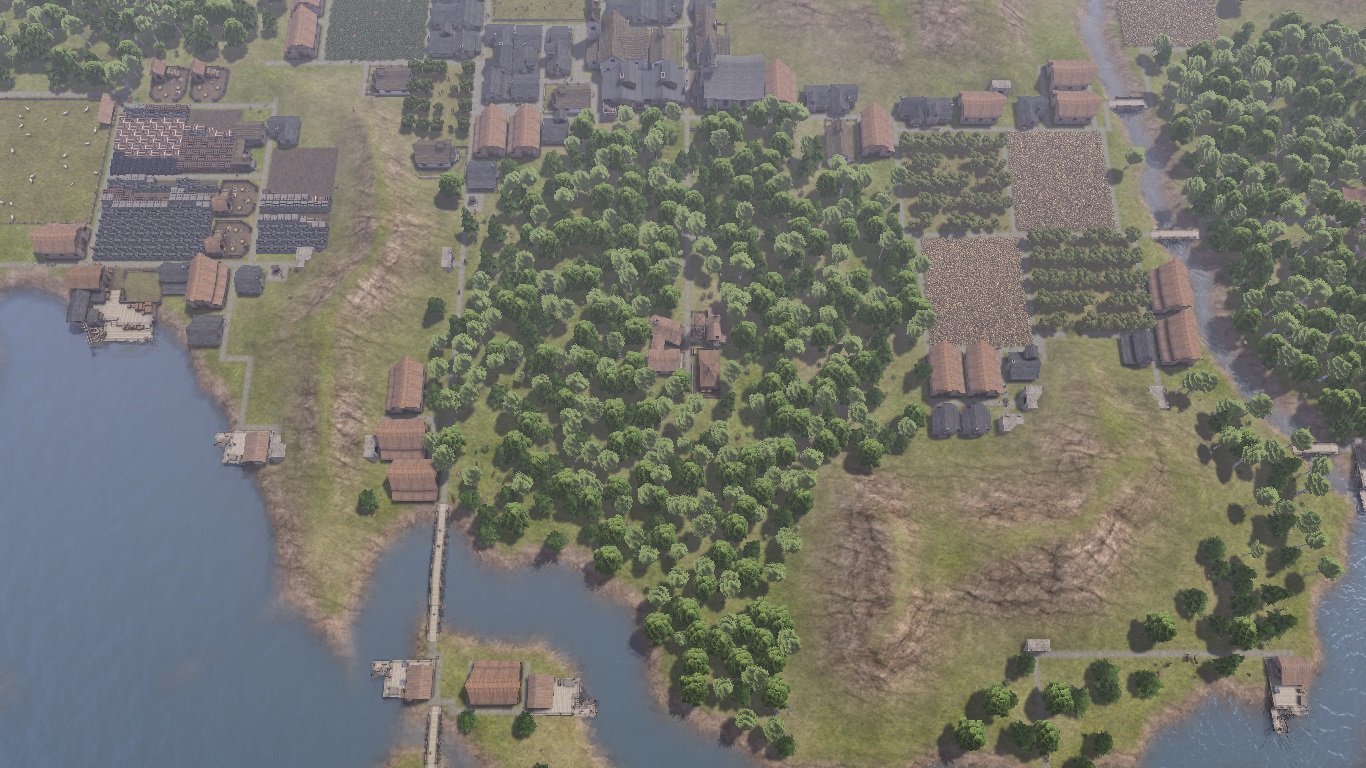
Hubs- Gatherer/Hunter/Forester
An excellent way to fulfil most of the needs of your population is via the use of Hubs consisting of Gatherer's Huts, Hunter's Lodge and Forester's Cabin. The best locations for these Hubs are flat areas away from hills, rivers and all things urban eg buildings/roads.
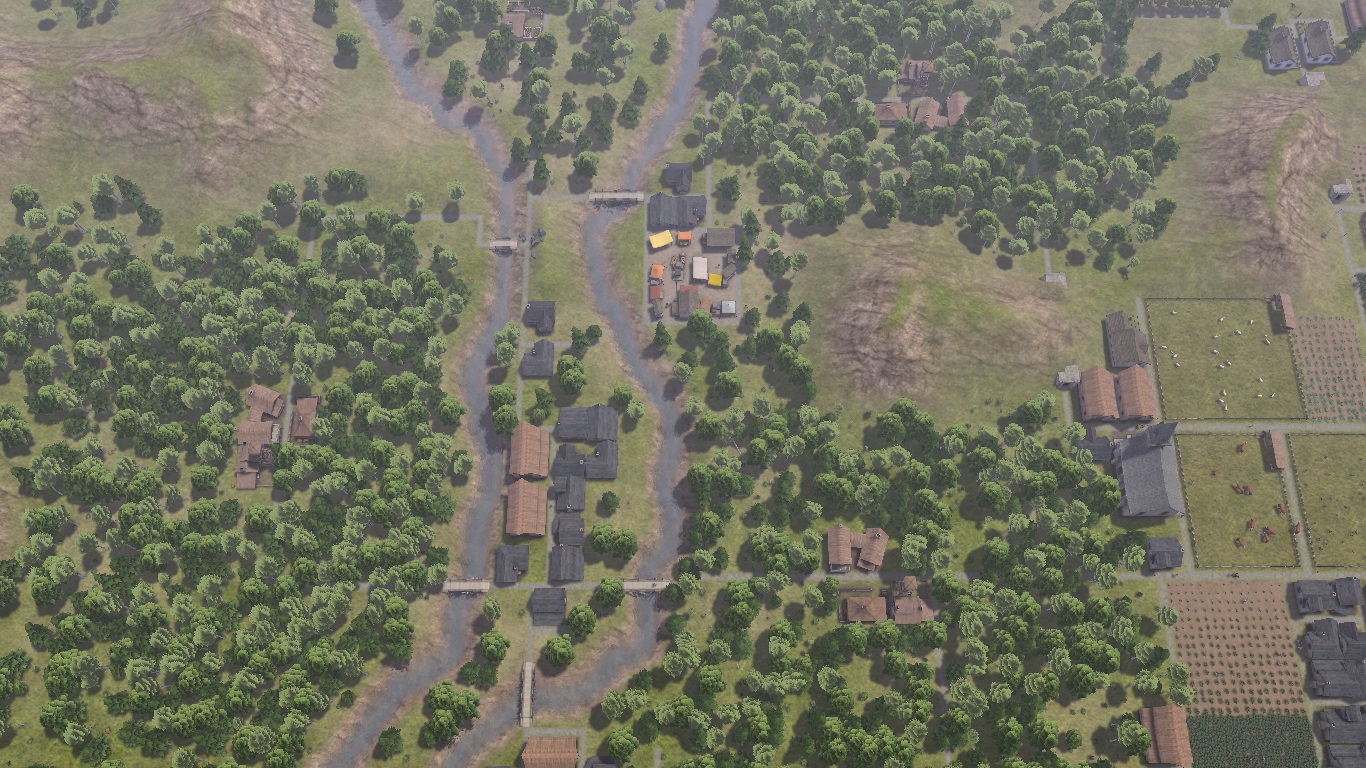
(The Herbalist must always be constructed away from the Forester's Lodge as mature trees are required for herb gathering.)
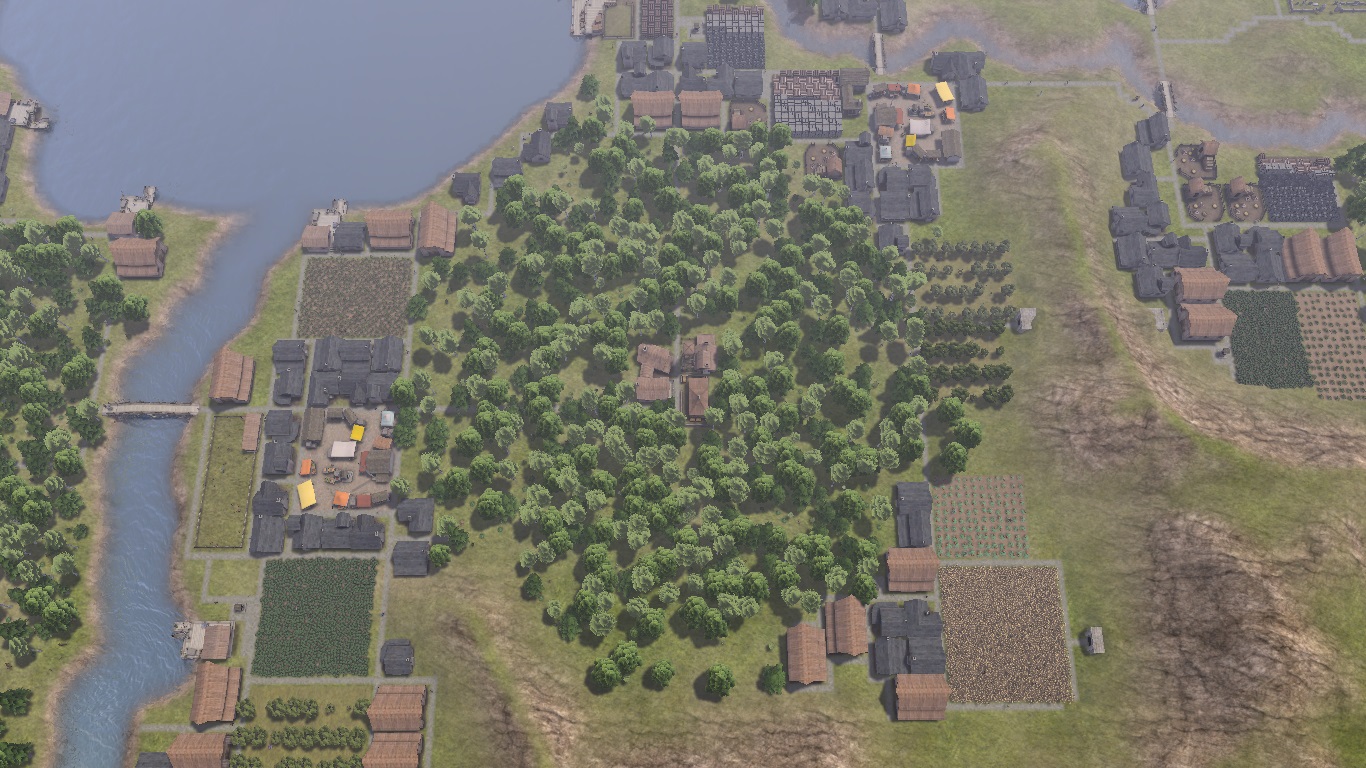 Connect Hubs via a single road.
Agriculture
Hubs are an effective means for providing a diverse food supply for your citizens, and the utilisation of space for wood production, however grains are lacking from the diet of your population. Without grains the nutrition of your inhabitants is not fully varied and their well being will suffer.
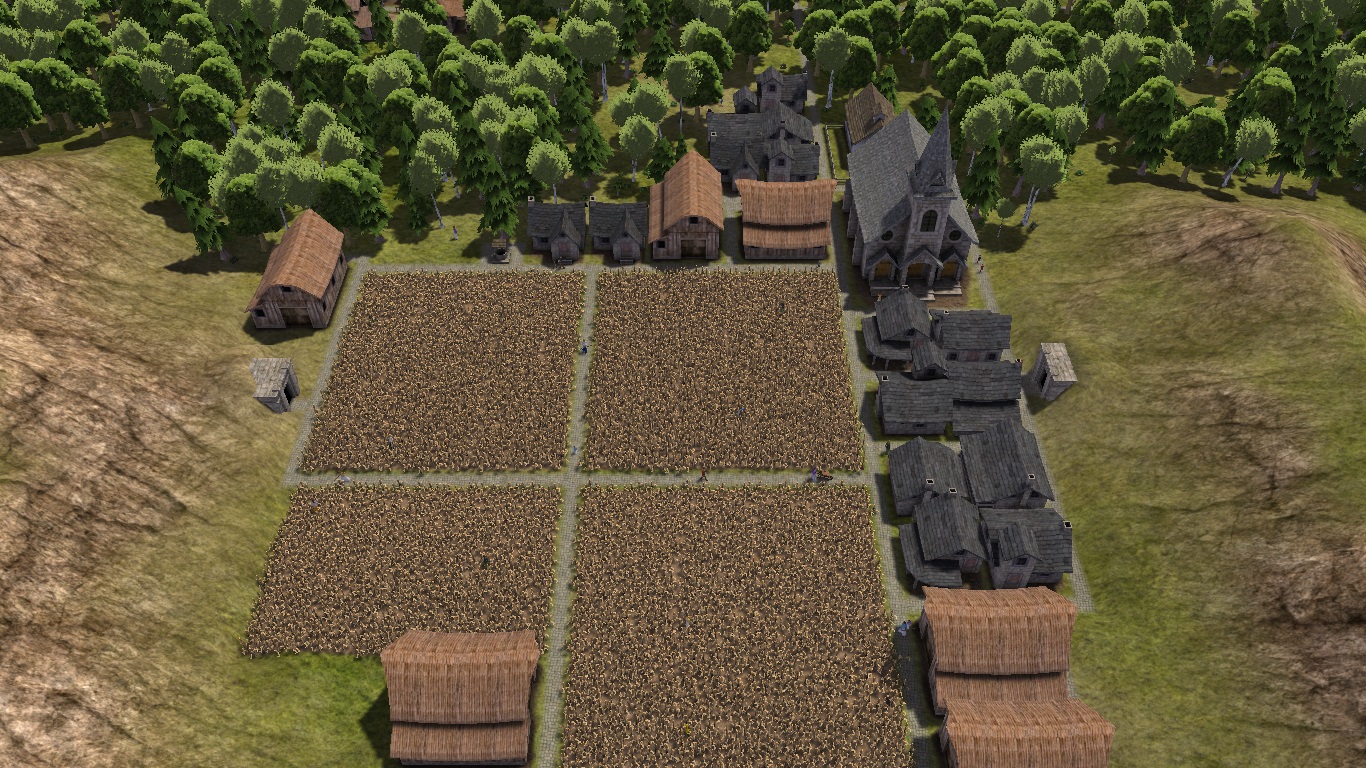
Agriculture is required to grow grains in the form of either corn or wheat. Crops are also a more productive method of food production than what can be achieved from the Gatherer/Hunter Hub.
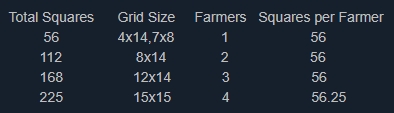
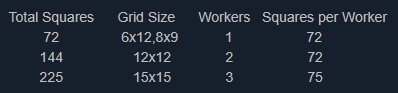
Flat areas in between Hubs are ideal for agriculture. On average, the bigger the field the more efficient each worker is, however certain grid sizes are more cost effective per worker. Any field that averages 56 squares per farmer (area divided by number of workers) is most optimal. 15x15 is the most efficient size with each worker farming 56.25 squares.
Storage Barns
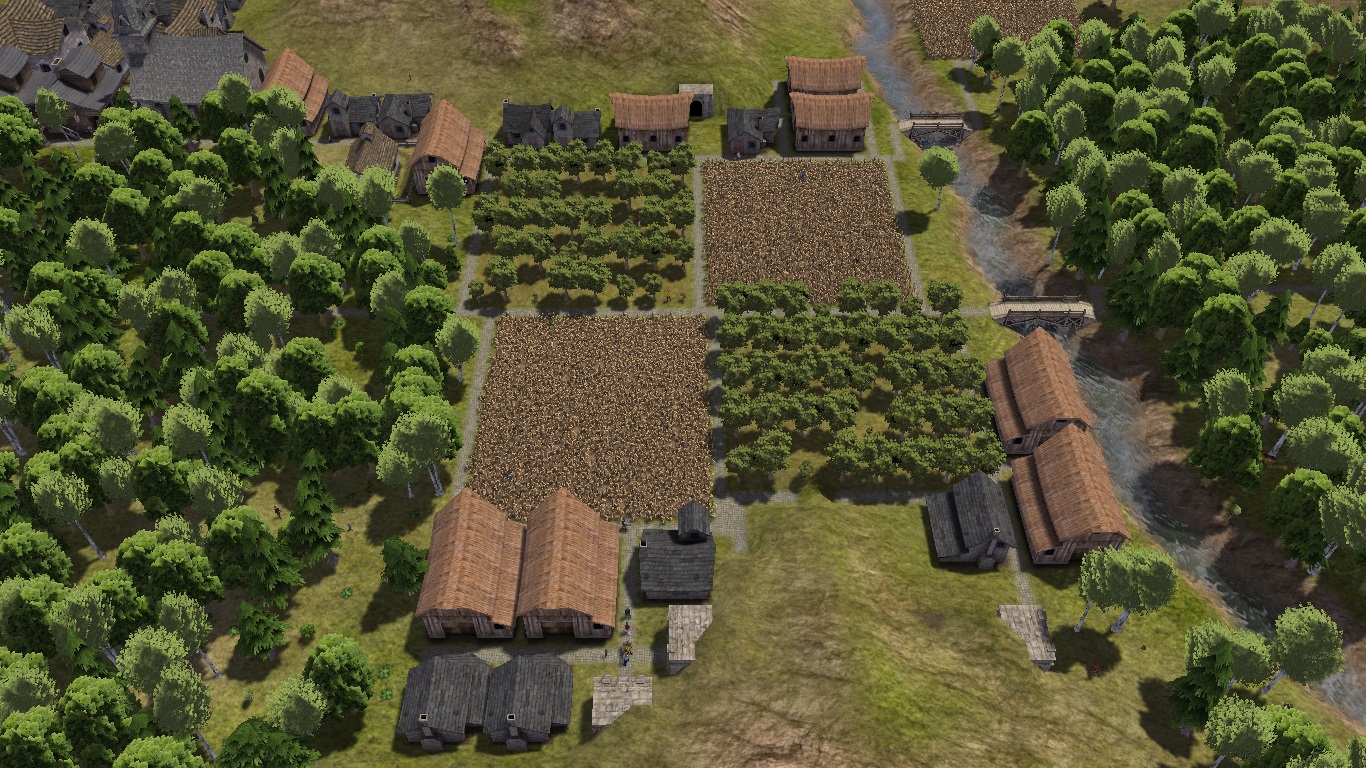
The best location for storage barns is on the outskirts of food production areas- workers have less distance to travel to deposit items. Remember not to put them within the radius of the Gather/Hunter/Forester Hubs. It is also advantageous to place storage barns closer to the market if possible.
Markets
Markets are an efficient way to distribute goods amongst your population.
As your settlement grows, production areas may be spread over quite some distance. A market provides a centralised area where inhabitants can go to collect all their supplies. Vendors employed at the market visit storage barns/stock piles and bulk transport supplies back to the market in wheel barrows. Citizens that live within the market radius, greatly benefit from a diverse diet, and can also get new tools/clothing faster.
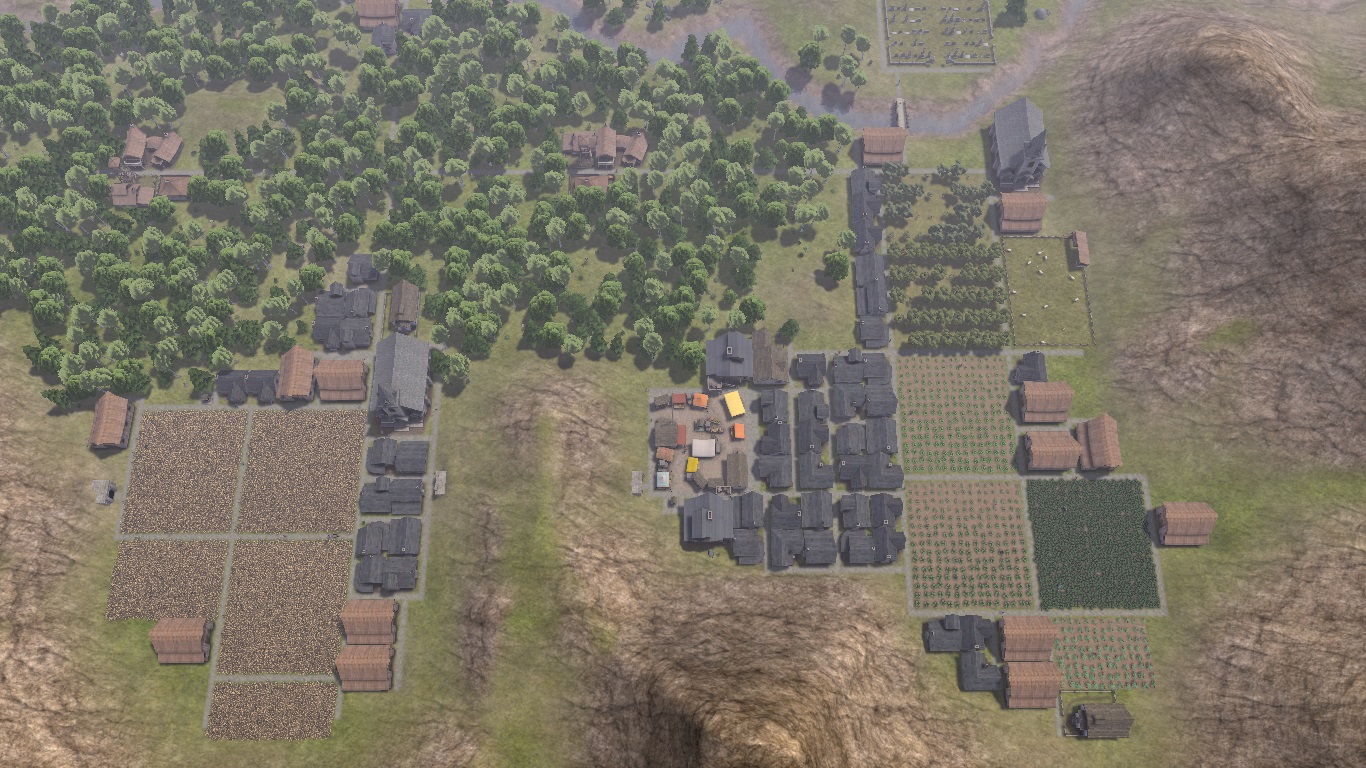
Citizens that do not live within the market's radius will prefer to visit individual storage barns for the supplies they need. As a result, those inhabitants have a diet that is restricted to what is locally produced/stored. For "out of range" citizens, they may opt to visit a market, only if it is closer than a storage barn(s), or if they are passing one. On average, their inventories will be inferior to those who are regularly serviced by a market.
It is best to spread out your markets across your settlement and try to include as many houses within their radius's as possible. It is also worth noting production buildings (eg Blacksmith, Tailor etc) can pick up their supplies at the market too (the radius doesn't matter for them- the worker finds the nearest source wherever it is).
When collecting firewood, citizens always travel to the closet collection point either stockpile or market- the market radius has no bearing.
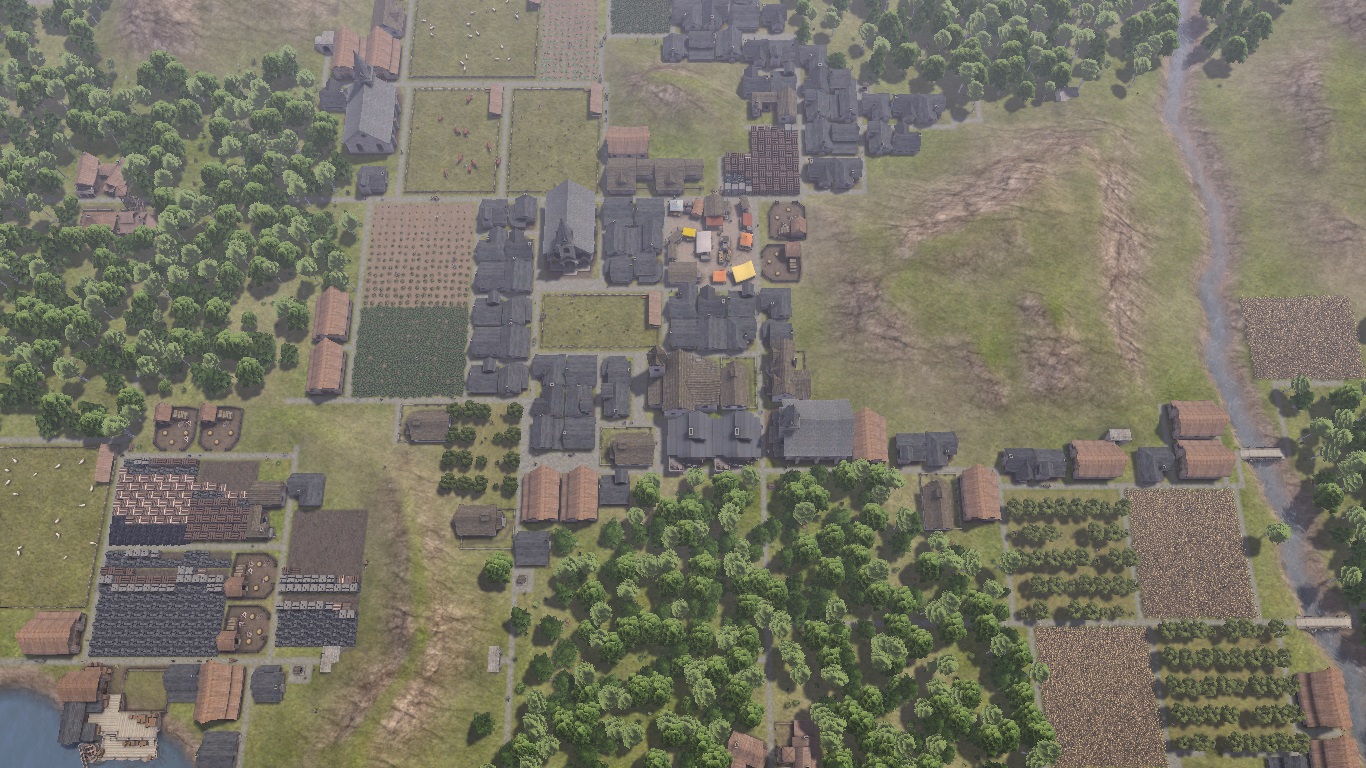
Position of Woodcutter/Blacksmith/Tailor
The Woodcutter, Blacksmith and Tailor are your 3 most important resource production buildings. It is best to position them close to where their raw material inputs are held.
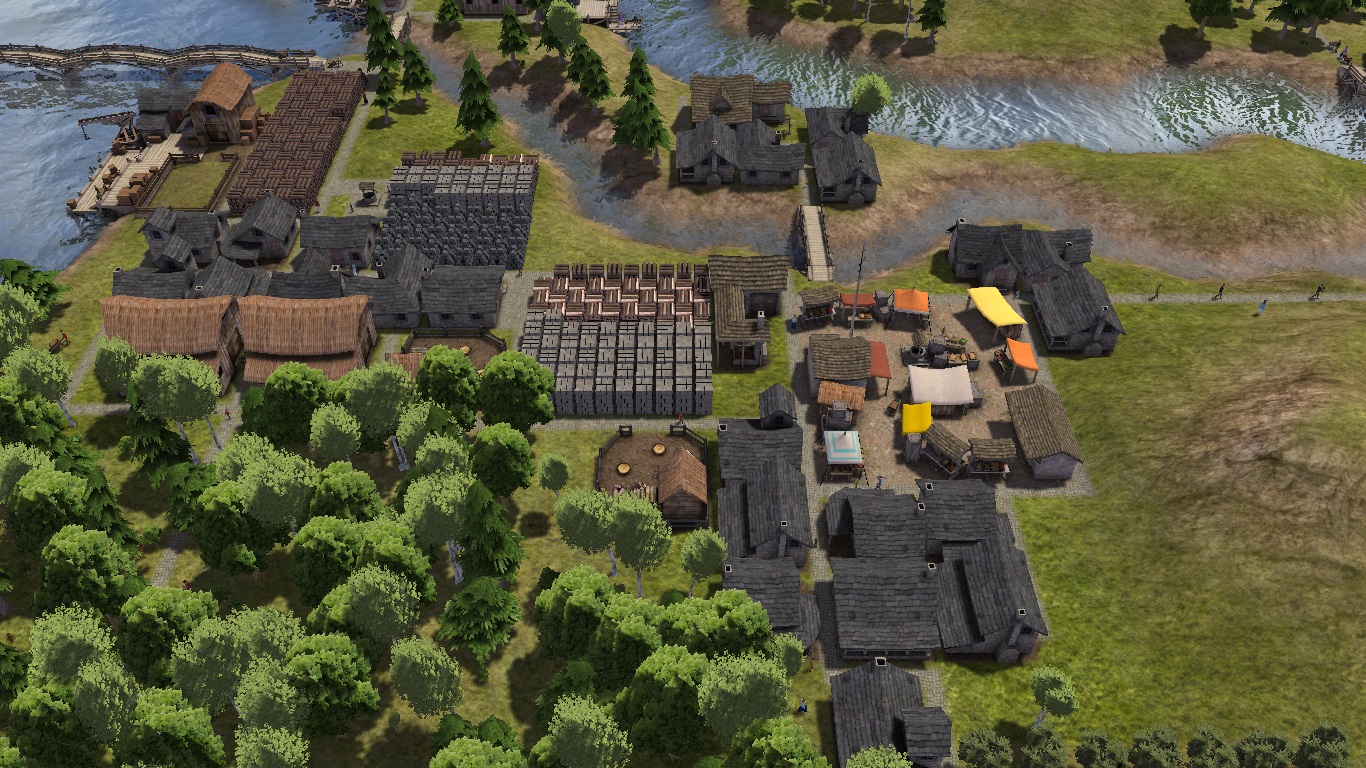
A market close to a production building can be a good way to provide the required materials in the absence of adequate stock piles or barns.
Houses
Houses should be positioned as close to areas of work as possible. The less walking, the more time is spent working and productivity is higher. Markets are key for distributing supplies around your settlement; build houses around them where ever possible.
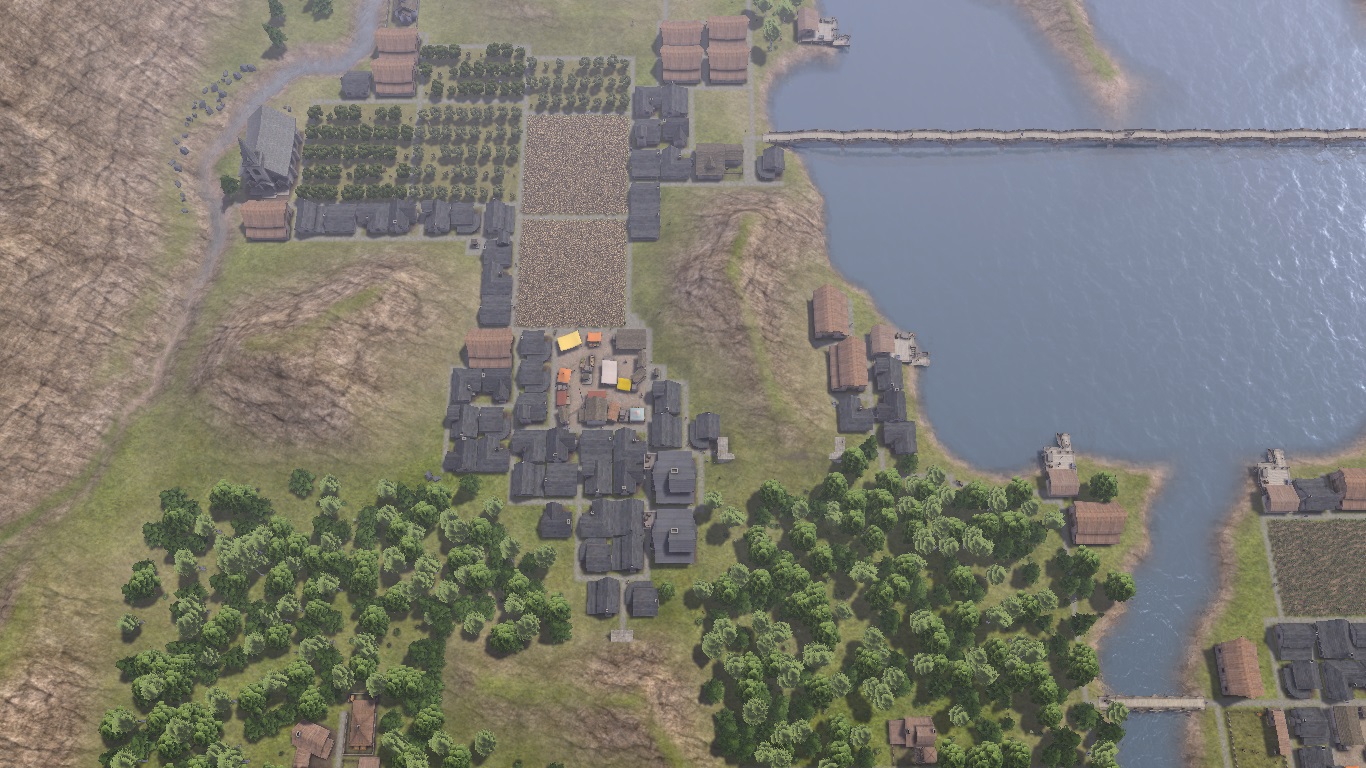
Generally, it's a trade off between either building closer to the workplace and save on walking, or constructing houses around a market, with superior supply collection but a greater walking distance. The bulk of your houses within your settlement should lie within the market radius.
For houses that cannot be built within range of a market, ensure there are storage barns close by with a diverse local food production. Access to a full diet may be an issue for those households- well being will lower over time.
Happiness
Aside from the essential things of food/warmth, workers need to be happy in order to be fully effective. The lower the happiness level, the more idle and less productive a worker will be. All workers regardless of profession, who are not busy, will help transit finished goods around your settlement.
To maintain a high happiness level, Taverns, Cemeteries and Chapels are required within the settlement. These buildings service the extra needs of the population.
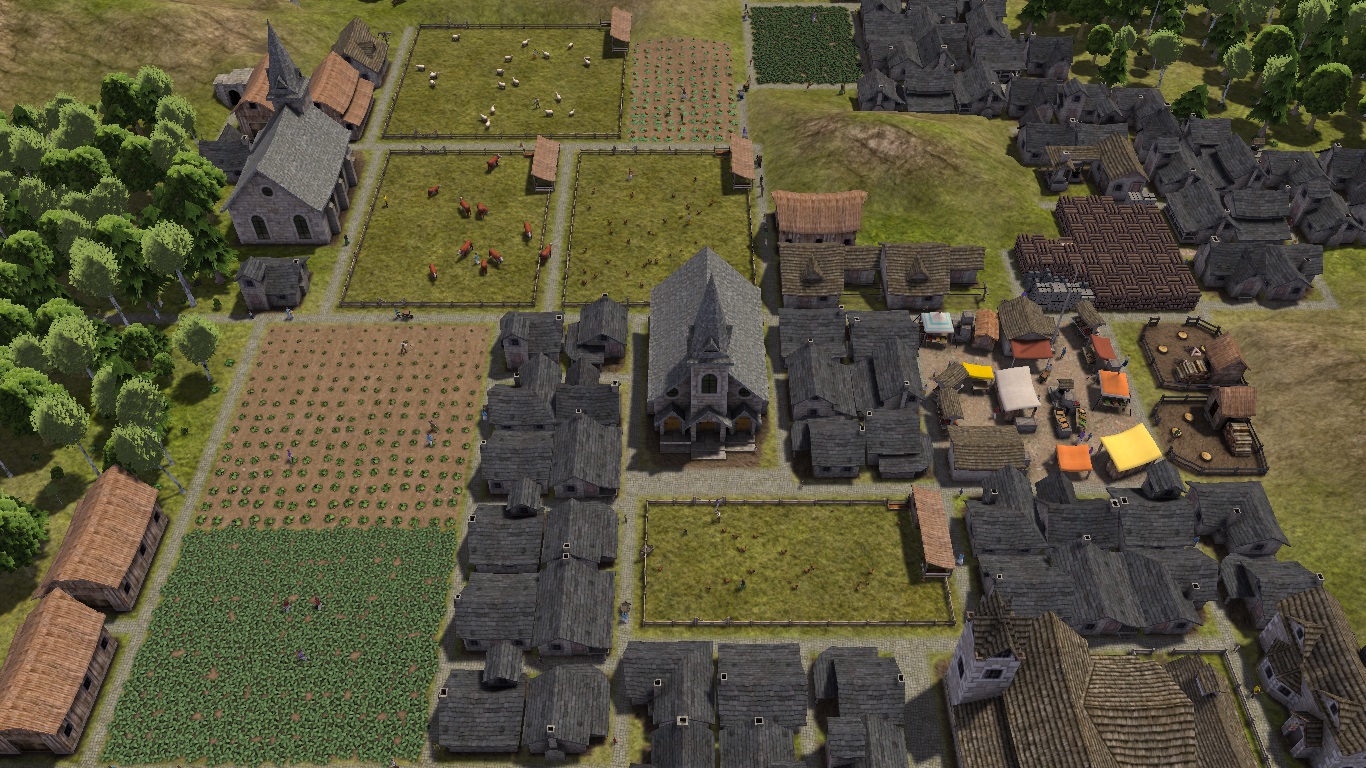
Wells, Trading Posts and Markets also have a positive effect on happiness.
Mines and Quarries lower the happiness of the population (trade for iron/coal/stone instead).
Education
Trading Post
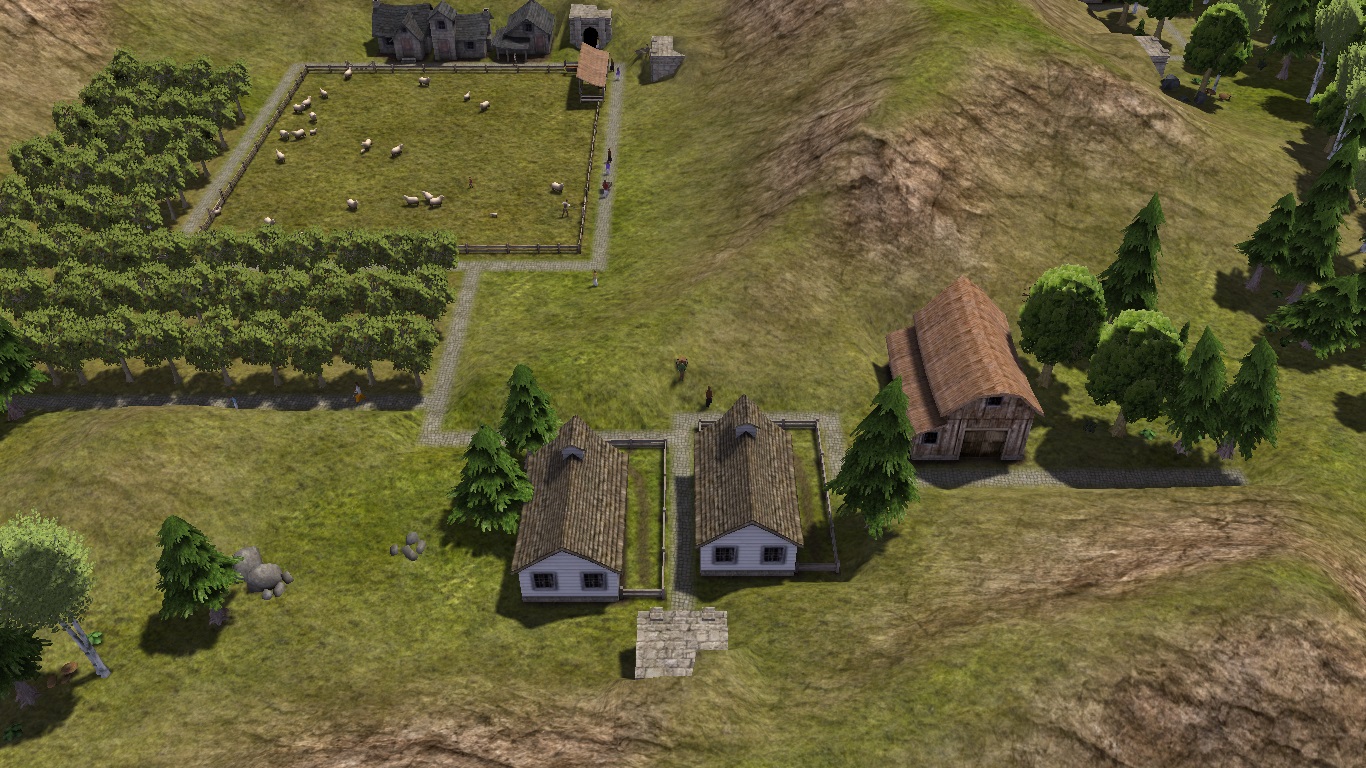
The Trading Post gives you the ability to "trade" for hard to get or un-obtainable items. The most common items that are traded for are the raw commodities of Iron, Stone and Coal (these resources eventually run out on the map). Farm animals and new seeds can also be acquired at the Trading Post.
Firewood is an unlimited resource in the game, it is also valued highly; use it to trade for the items you need at the Trading Post.
It is also a good idea to have a large Stock Pile at your Trading Post to speed up the offloading and loading of materials.
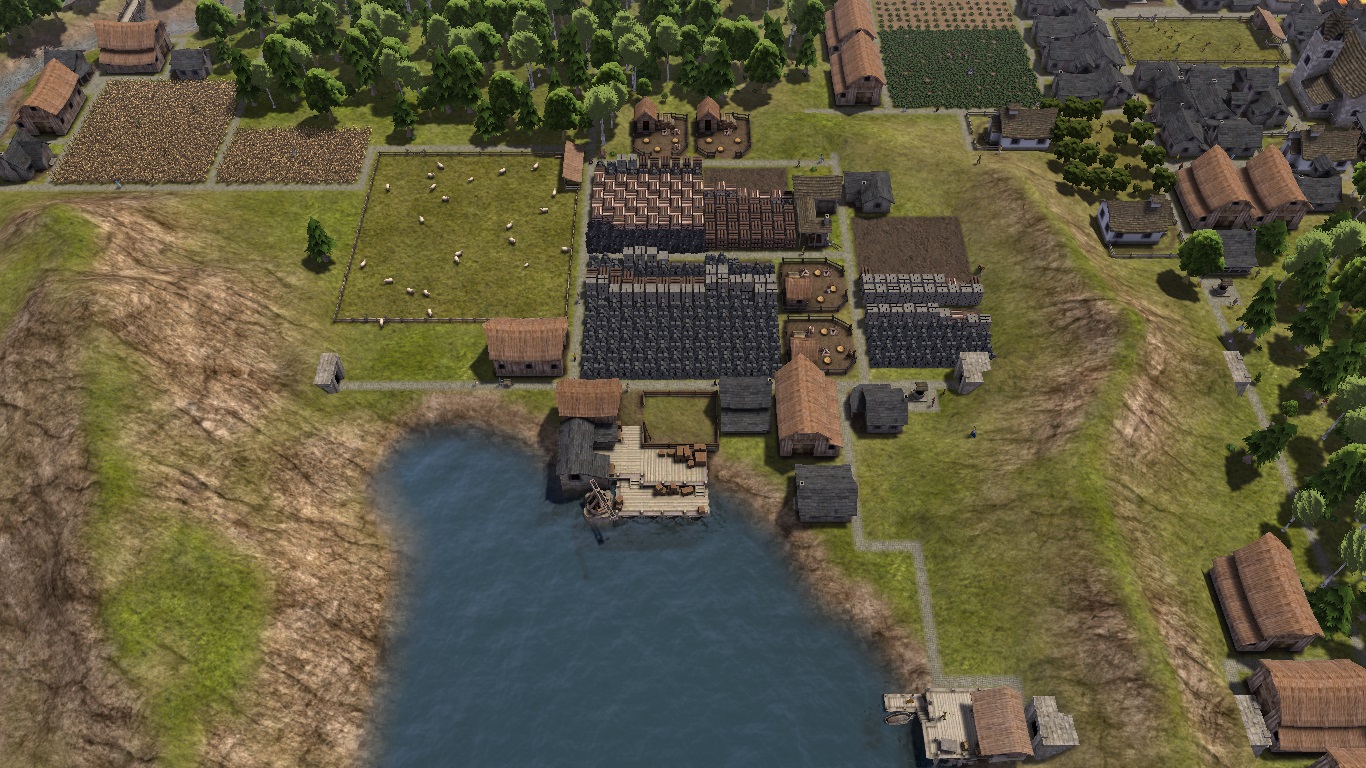
In times of a disaster, where you are short of food, the Trading Post can be used to purchase supplies and feed your inhabitants. A large inventory of firewood at the Trading Post can be seen as an insurance policy against a potential famine.
Stone- When to upgrade?
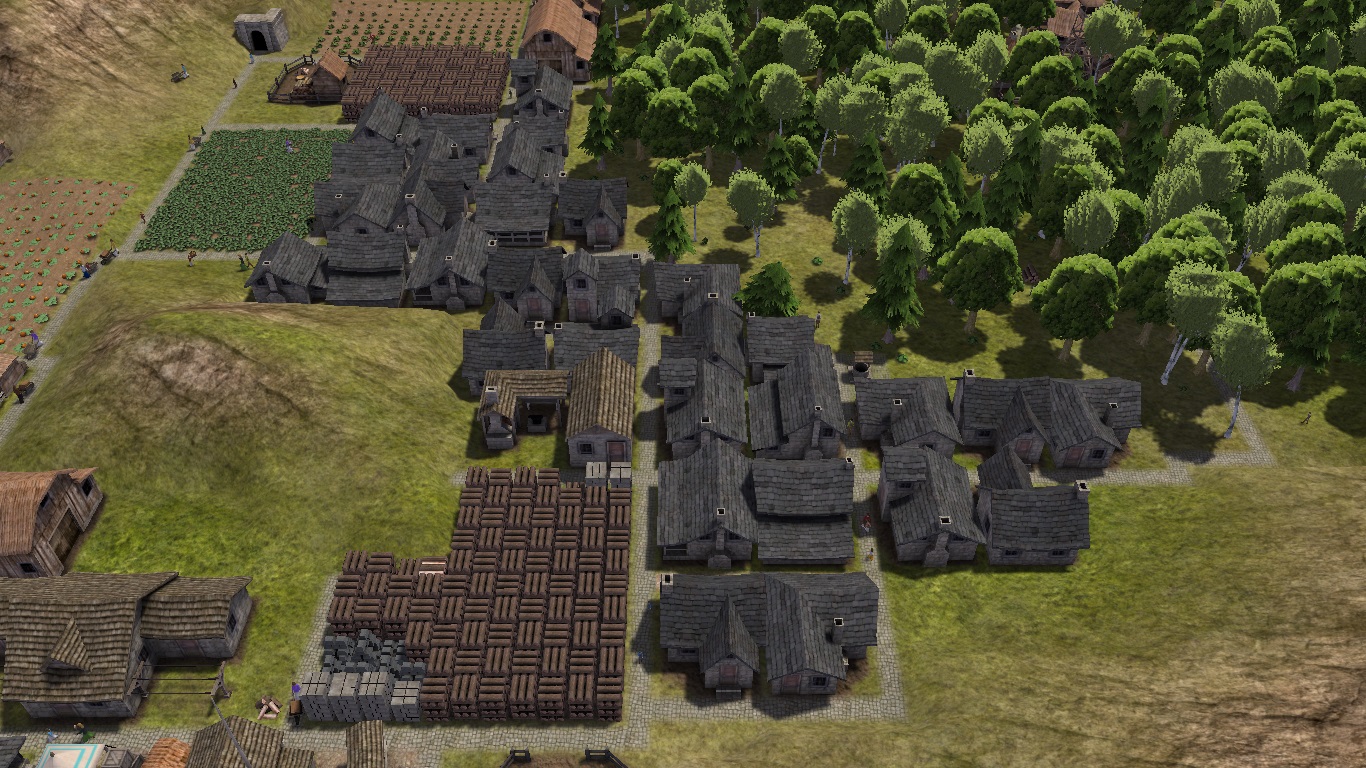
Mines/Quarries should be avoided as they adversely alter the map and increase unhappiness.
Town Hall Tools
Construction of the Town Hall provides valuable information on inventories, production/consumption rates and other data regarding the functioning of your settlement. It is helpful in identifying issues within your population for example lack of a food type, or potential problems that may soon arise.
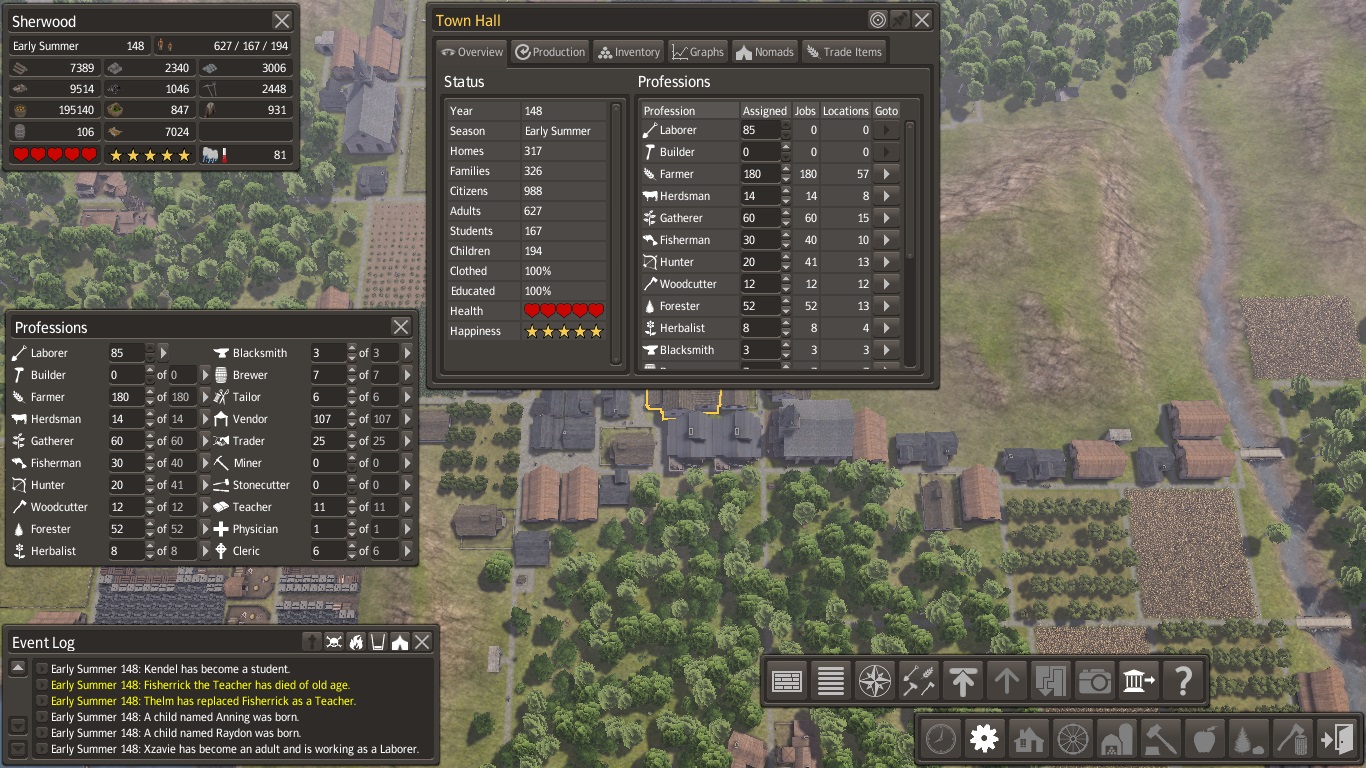
The standard information windows of Overview, Professions and Event Log are essential in optimising your settlement. The pathway function is also useful in analysing the routes your population/workers take, for example areas that need more houses to reduce travel time.
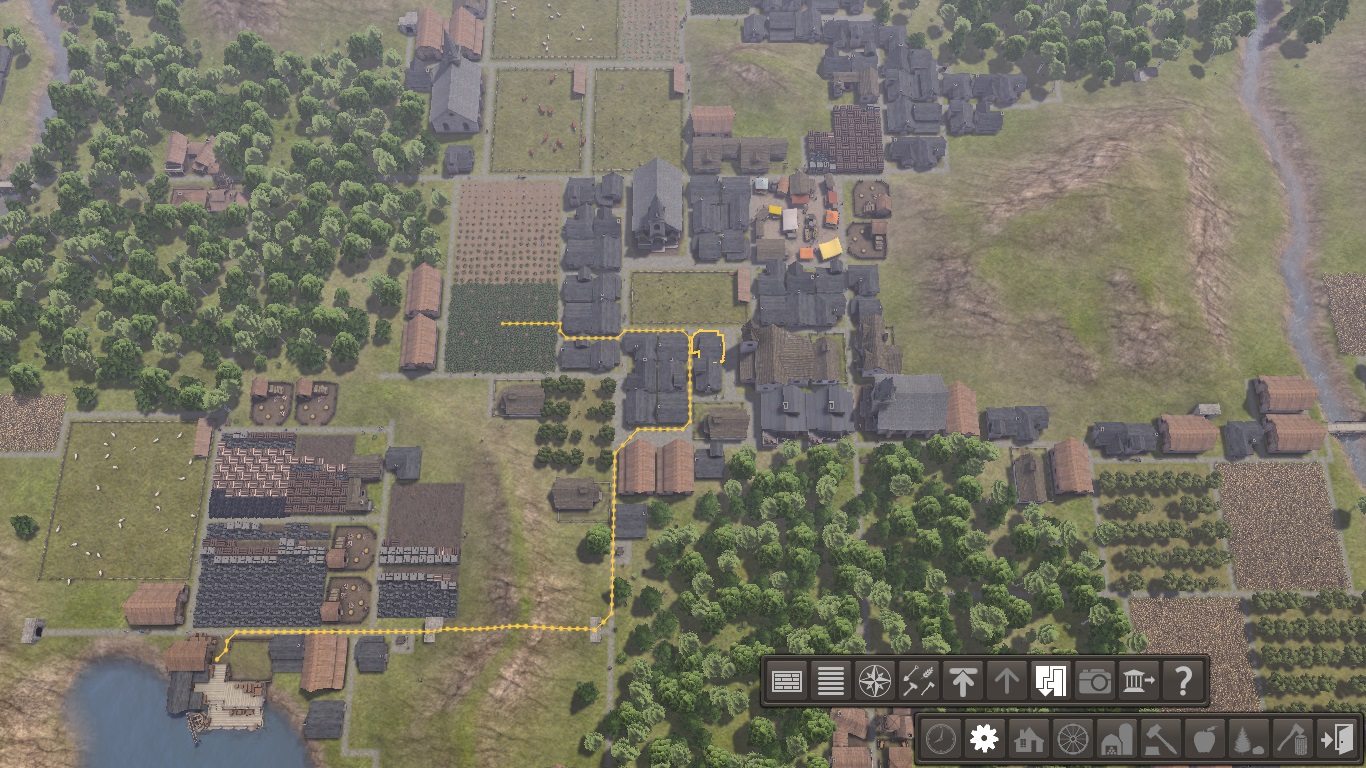
Expanding too Fast
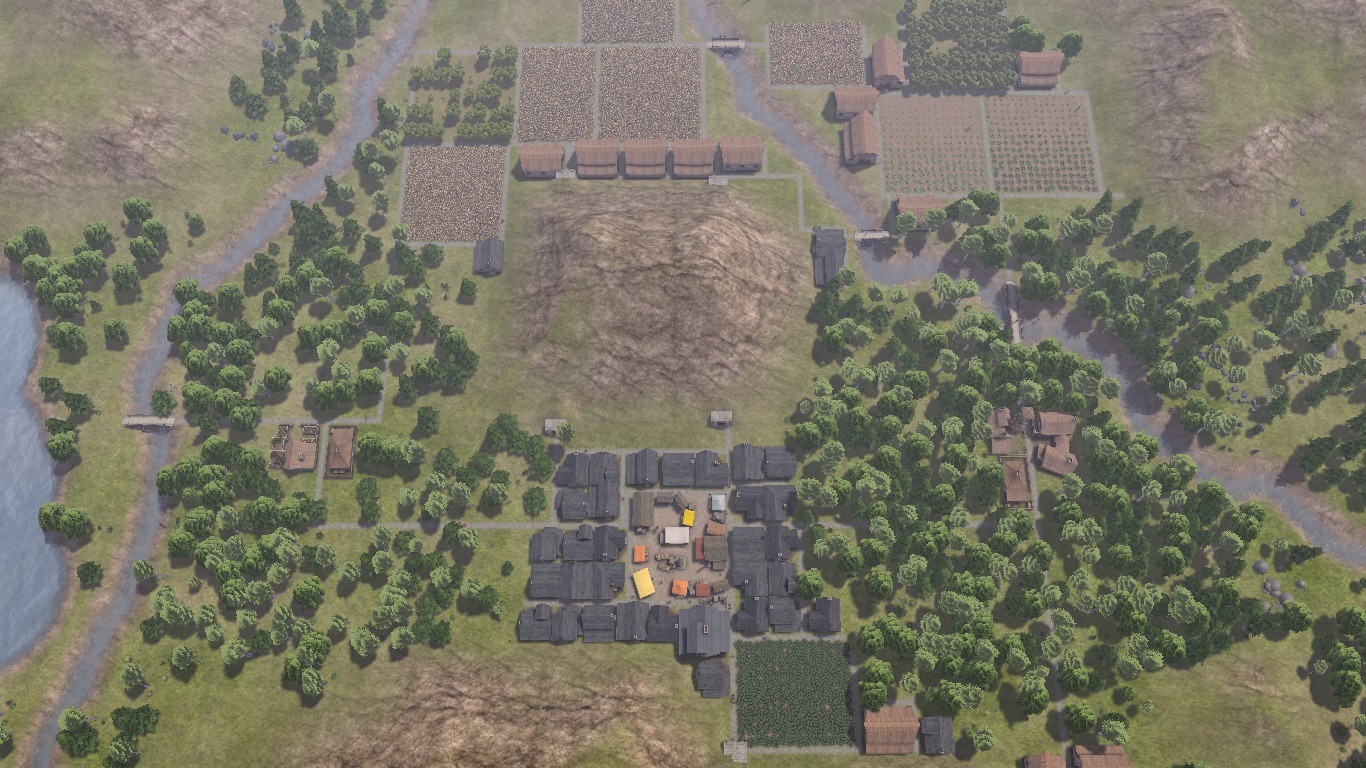
Grow your settlement slowly, making sure there are ample storage barns and additional food sources to accompany new houses.
- The Most Important Lesson in Banished★ 5 (795)87k views615 ♥4 minUpdated 2 Feb, 2015
- Quick Tips for Banished★ 5 (1.4k)69k views1.6k ♥22 minUpdated 22 May, 2016
- No More Starvation★ 5 (503)67k views270 ♥1 minBulgarianUpdated 2 Nov, 2015
- Banished tips and tricks + Easy Start Guide★ 5 (647)60k views1.1k ♥18 minUpdated 14 May, 2017
- Banished: Beginners Guide★ 5 (746)54k views1.2k ♥6 minUpdated 7 Apr, 2015
- City Planning Tips and Tricks★ 5 (733)51k views998 ♥13 minUpdated 29 Sep, 2025





- Upgrading to PremiumTeam Fortress 2★ 5 (20k)1441k views11k ♥6 minUpdated May 11, 2022
- No More Room in Hell Official ManualNo More Room in Hell★ 5 (2.8k)569k views2.1k ♥29 minUpdated Apr 22, 2019
- NMRiH Community Hosting GuidesNo More Room in Hell★ 5 (526)351k views653 ♥1 minUpdated Aug 10, 2022
- ULTIMATE GUIDE FOR GAME DEV TYCOONGame Dev Tycoon★ 5 (5.8k)326k views10k ♥4 minUpdated 23 Jan, 2014
- How to 'Git Gud' Soon™MORDHAU★ 5 (2k)318k views3k ♥68 minUpdated Nov 16, 2024
- Лучшие кооперативные игры SteamPAYDAY 2★ 5 (1.5k)315k views2.1k ♥56 minRussianUpdated Apr 27, 2025






This guide was created by its original author on the Steam Community. Are you the author and want it removed? Request removal.