Graphical overhaul mod
Mods/Features
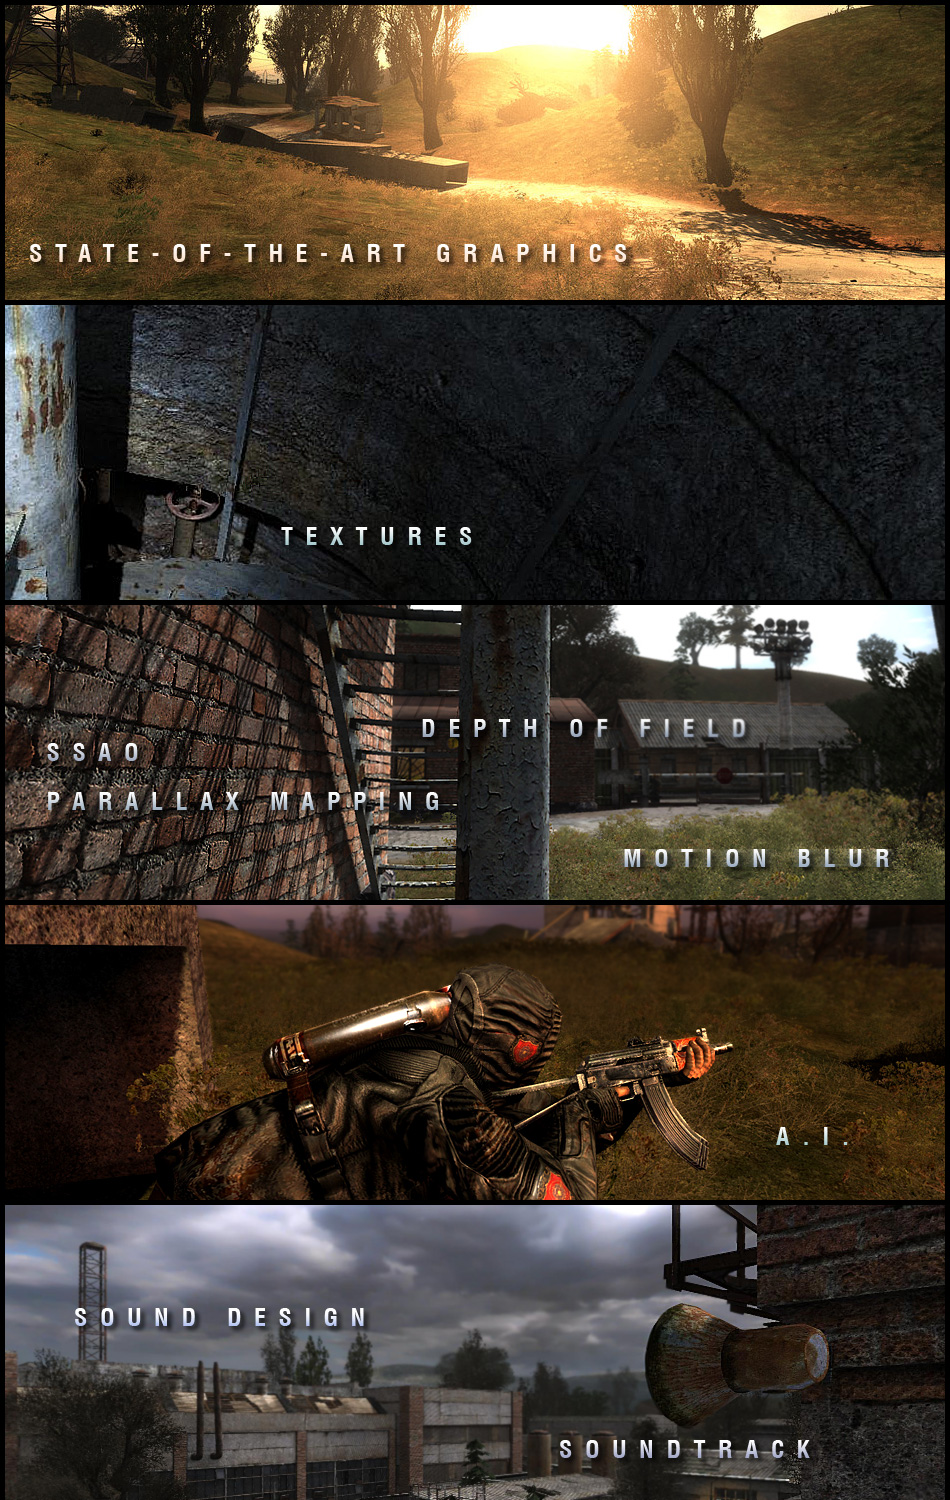
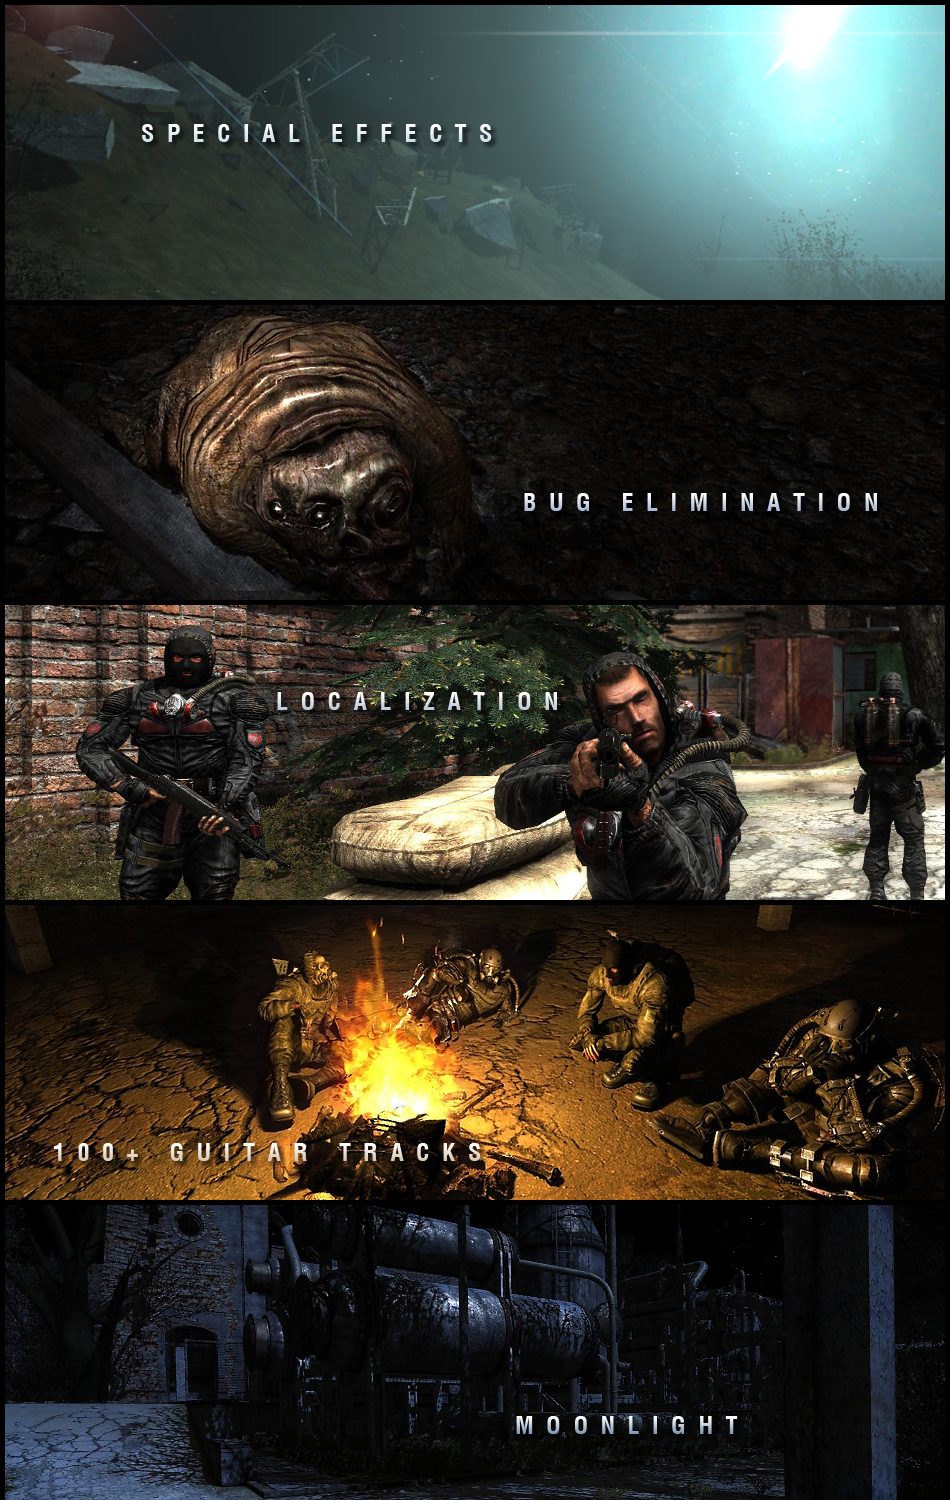
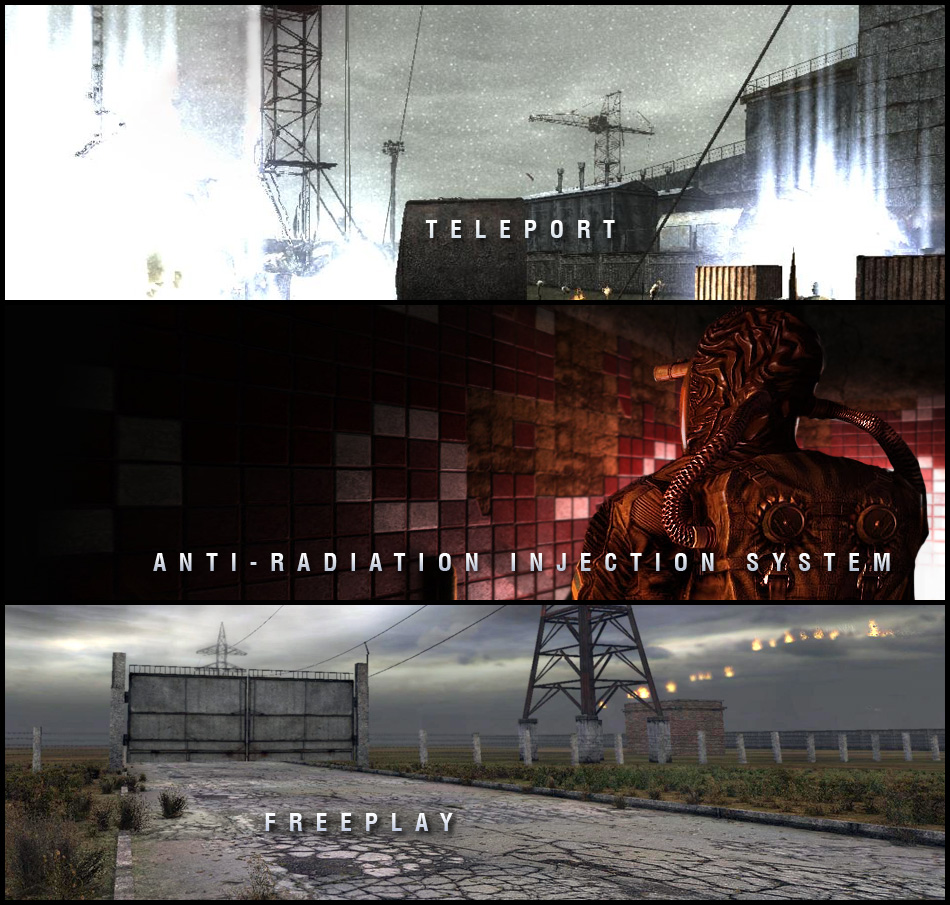
S.T.A.L.K.E.R Complete 2009 (1.4.4)[/b] ⇩DOWNLOAD⇩
The key features include:
- Natural multi-phase day and night transitions,;
- Vast distant views, creating large open world around the player;
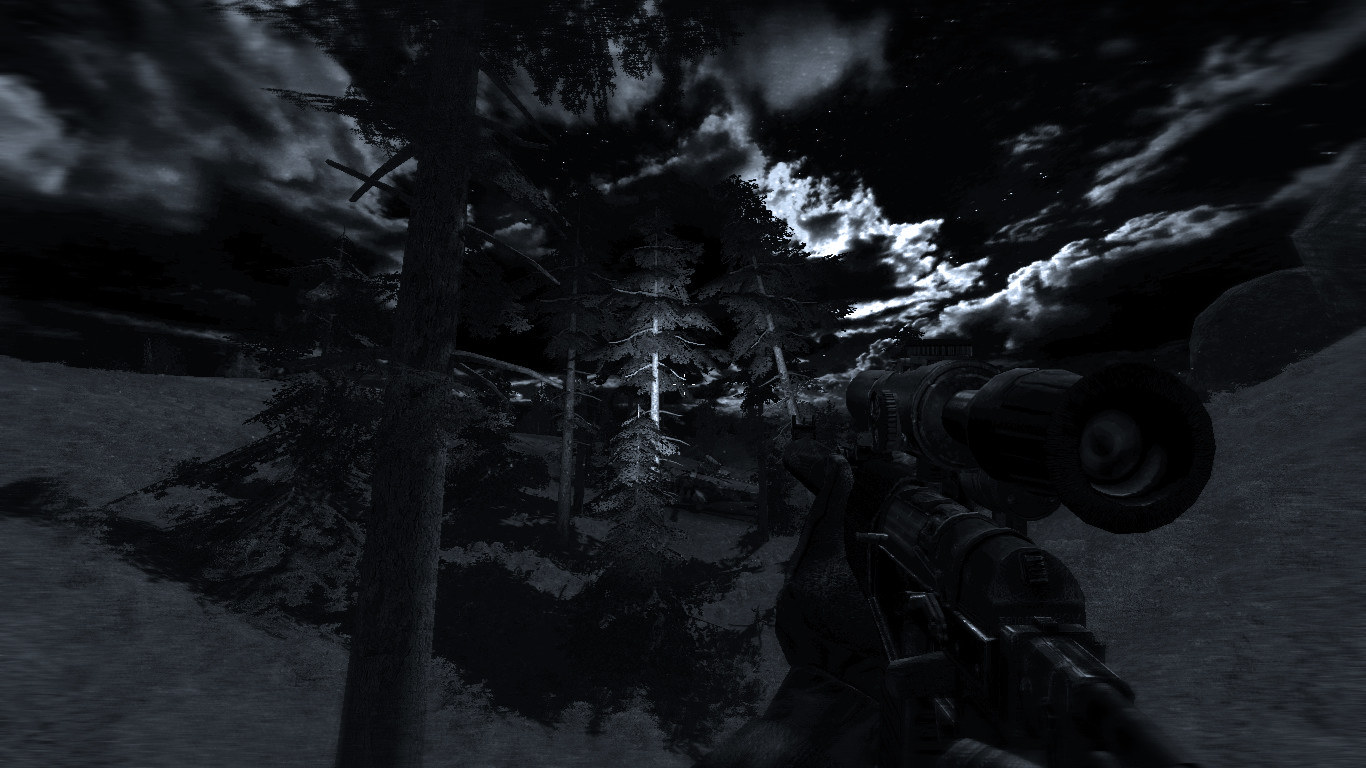
- New multi-phase moon;
- Proper sun travel;
- Enhanced High Dynamic Range lighting and Sun effects (realistic sunsets/sunrises);
- Increased weather cycling;
- Different types of storms, fast and slow;
- Wet surfaces during rain;
- High resolution nighttime constellation map;
- Improved water animations;
- New radio tracks.
- Free roaming mode after you completed the main story.
- Improved A.I.
- А ну, чики-брики и в дамки!(A nu chiki-briki i v damki!)
Photorealistic Zone²[/b] ⇩DOWNLOAD⇩ ⇩DOWNLOAD⇩ ⇩DOWNLOAD⇩
- The purpose of this mod is to improve the overall Zone looking to almost photorealistic level. It changes all environment textures and adds new bumpmaps.
FOV Switcher v1.2[/b] ⇩DOWNLOAD⇩[community.pcgamingwiki.com]
- Changes field of view to a 90° angle.
S.T.A.L.K.E.R Complete 2009 (1.4.4)
- Steam Store;
- Download and install the game from Steam
- Launch the game at least once;
- Quit the game;
- Navigate to "\Steam\steamapps\common\STALKER Shadow of Chernobyl";
- Locate the file called "fsgame.ltx";
- Open "fsgame.ltx" using Notepad or Notepad++;
- Locate this line: "$game_data$ = false | true | $fs_root$ | gamedata\";
- Change both variables in this line to "true";
- It should look like this: "$game_data$ = true | true | $fs_root$ | gamedata\".
- Save the file (Ctrl+S);
- Download and unzip "S.T.A.L.K.E.R Complete 2009 (1.4.4)";
- Copy the folder called "gamedata" you just unzipped;
- Paste "gamedata" to "\Steam\steamapps\common\STALKER Shadow of Chernobyl";
- Go to: "\Steam\steamapps\common\STALKER Shadow of Chernobyl\gamedata\textures\wpn";
- You will be presented with 3 folders called "4x3 scopes" "16x9 scopes" "16x10 scopes";
- Copy the files from the directory according to your monitor's aspect ratio: [4:3][16:9][16:10];
- Paste and overwrite the six files to:...\STALKER Shadow of Chernobyl\gamedata\textures\wpn;
- Depending on your operating system go to:
- XP users: "C:\Documents and Settings\All Users\Shared Documents\stalker-shoc\user.ltx";
- Win 7/Vista users:C:\Users\Public\Documents\stalker-shoc\user.ltx";
- Open with Notepad or Notepad++ the file called "user.ltx";
- Edit and change these lines:
- cam_inert 0.1 ;
- r2_sun_near 20 ;
- r2_sun_near_border 1 ;
- r2_gloss_factor 2.5 .
- Save the file (Ctrl+S);
Photorealistic Zone²
- Download "Photorealistic Zone²";Part 1 Part 2 Part 3
- This mod is split into three archives;
- Unzip all three archives;
- You will be presented with three folders called "textures";
- Merge all 3 folders into one
- Copy the folder called "textures" that you just merged;
- Paste the folder in: ":\Steam\steamapps\common\STALKER Shadow of Chernobyl\gamedata";
- Overwrite the existing folder and files;
FOV Swicher v1.2
- Download FOV Swicher v1.2[community.pcgamingwiki.com];
- Unzip the archive called "fov_switcher_v12";
- You will be presented with five files;
- Copy the file called "fov90_v10006" (*only works with Steam version);
- Navigate to::\Steam\steamapps\common\STALKER Shadow of Chernobyl\bin;
- Paste the file called "fov90_v10006" in the "bin" folder;
- Double click on the file called "fov90_v10006" and run the application;
- Press any key for the instalation to begin;
- If you wish to revert back to the original FOV run the application again;
- This mod might cause some minuscule clipping issues or visual glitches.
Motion blur,depth of field,ssao,parallax occlusion
- Navigate to Steam\steamapps\common\STALKER Shadow of Chernobyl\bin;
- Locate the file called "XR_3DA";
- Create a desktop shorcut of this file;
- Navigate to your desktop and right click on the shortcut you just created;
- Right click on it and hit "Properties"
- Navigate to the "Shortcut" tab;
- In the "Target" area add the next line at the end -blur
- Example ...steamapps\common\STALKER Shadow of Chernobyl\bin\XR_3DA.exe" -mblur
- Navigate to:"\Steam\steamapps\common\STALKER Shadow of Chernobyl\gamedata\shaders\r2";
- Open the file called "SkyGRAPHICS_options.cfg" with Notepad or Notepad ++;
- Edit the lines by putting two slashes in front of each entry:
- //#define IMPROVED_MBLUR // Enable/Disable Motion Blur ;
- //#define DEPTH_OF_FIELD // Enable/Disable Depth Of Field ;
- //#define PARALLAX_OCCLUSION // Enable/Disable Parallax Occlusion Mapping ;
- //#define SSAO // Enable/Disable Screen Space Ambient Occlusion ;
- By putting two slashes in front of any line you enable the corresponding visual effect;
- This will require more RAM,GPU,CPU power from your PC and might cause low FPS;
- Navigate to "C:\Users\Public\Documents\stalker-shoc";
- Open the file called "user.ltx" with Notepad or Notepad++;
- Search and edit the next line: "r2_mblur 1."
- Save the file;
- Launch the game using the shortcut you meade earlier;
- Press ` and enable the developer console;
- Type in this line (without quotes) "r2_mblur 1.000"
Screenshots
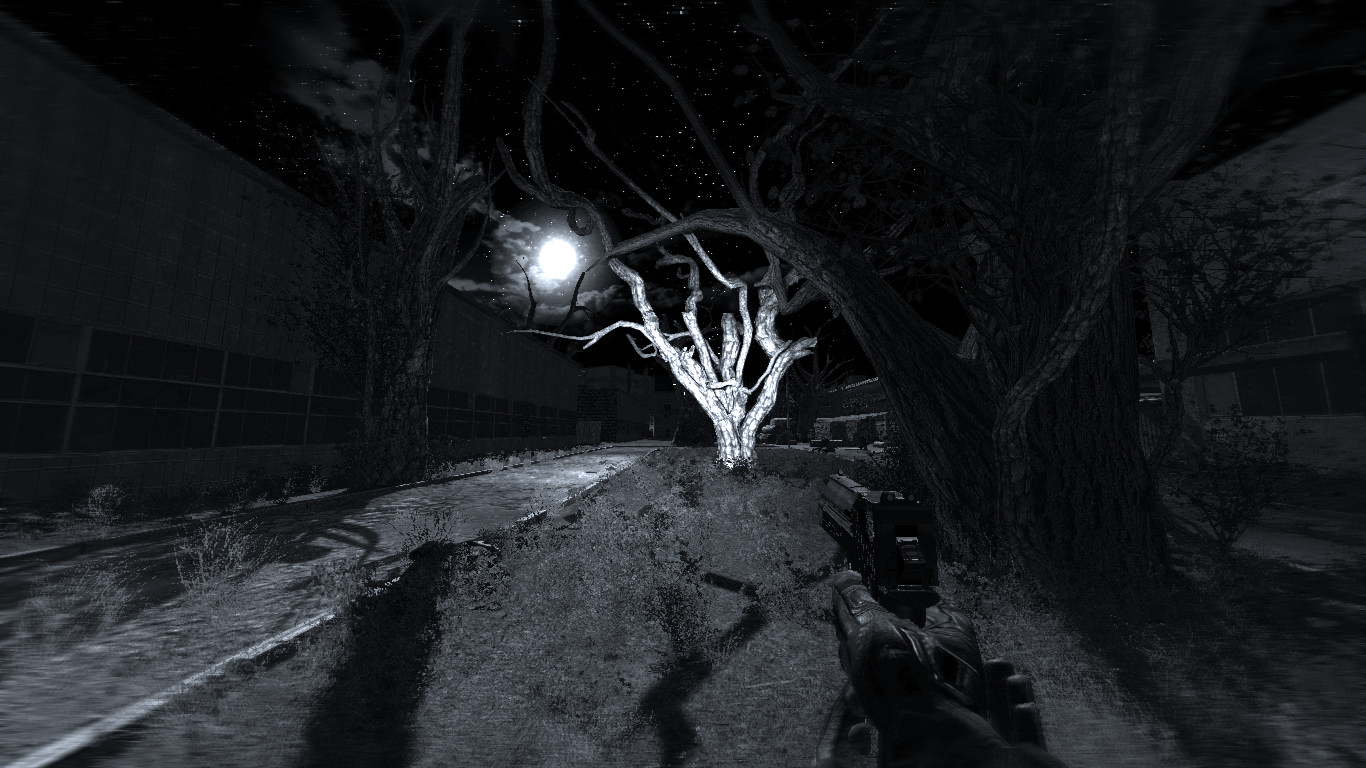
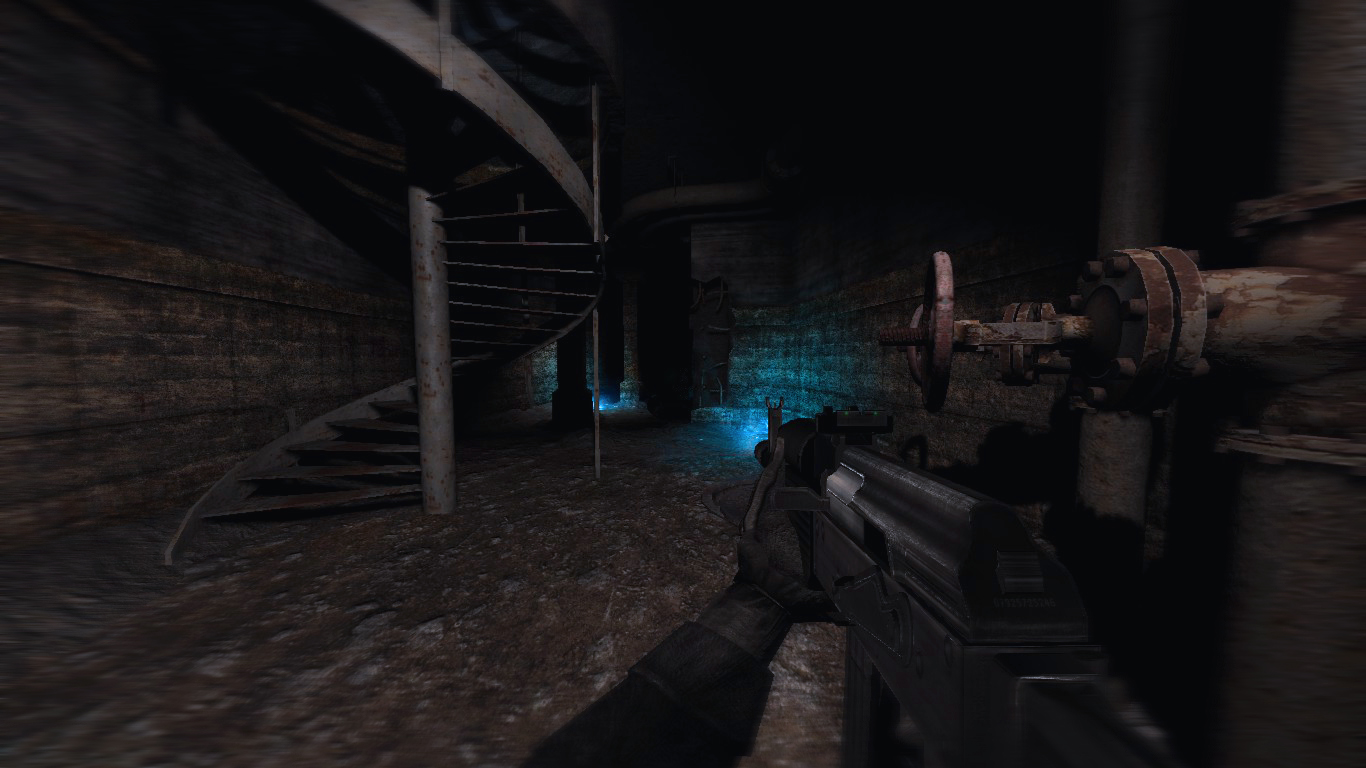
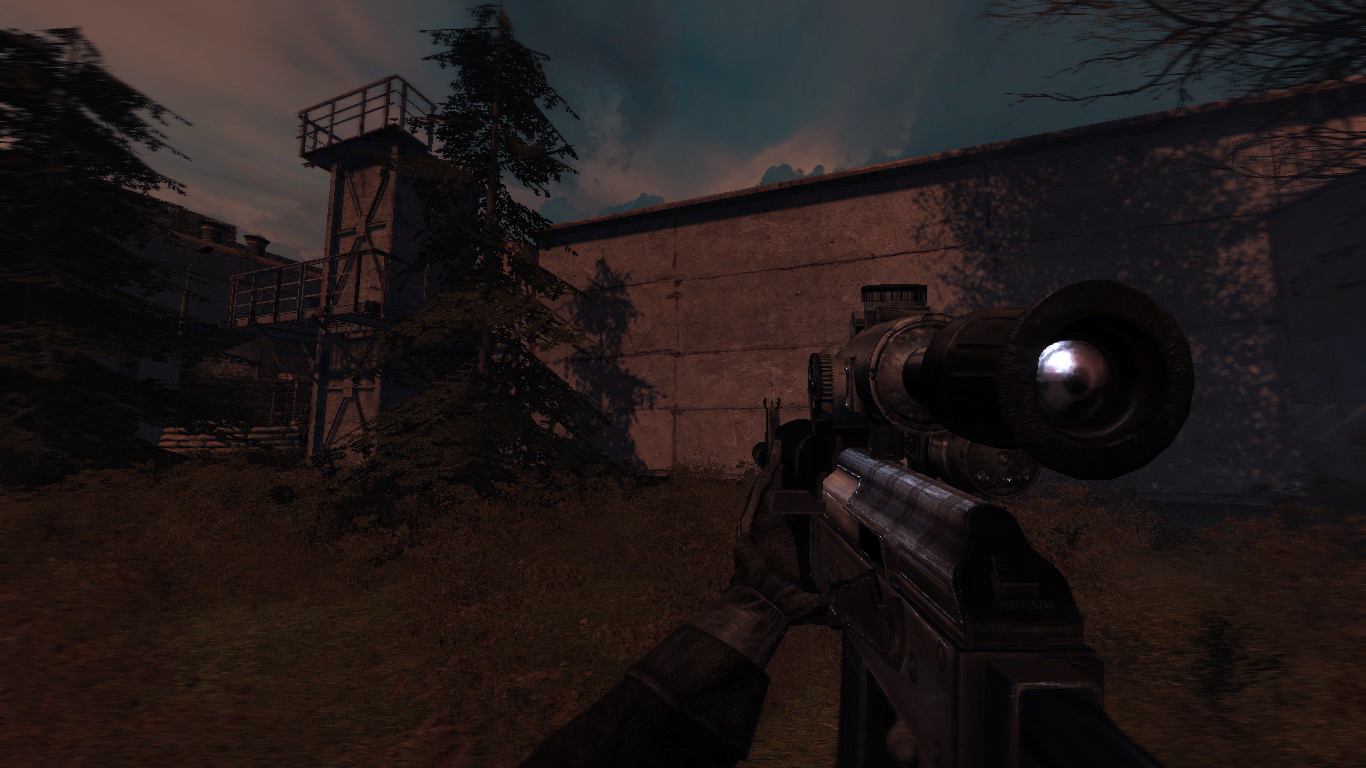
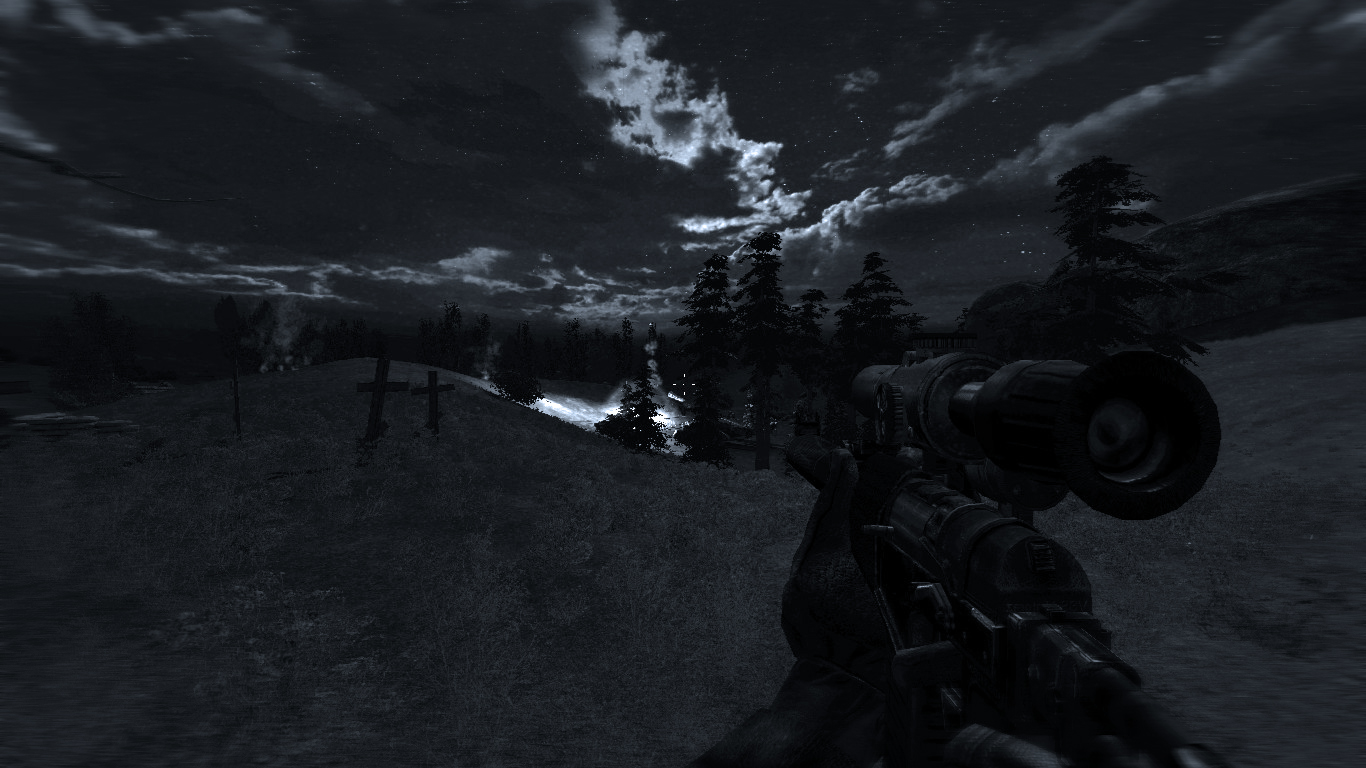
Video
More S.T.A.L.K.E.R.: Shadow of Chernobyl guides
- Shadow of Chernobyl Mod Guide by boredgunner★ 5 (646)33k views1.6k ♥14 minUpdated 25 Jun
- TIPS AND TRICKS TO PLAYING STALKER IN 2023★ 5 (386)24k views543 ♥7 minUpdated 13 Apr, 2023
- Tips and Interesting Facts★ 5 (464)16k views549 ♥9 minUpdated 15 Mar, 2024
- FIX S.T.A.L.K.E.R. SHADOW OF CHERNOBYL★ 5 (415)15k views859 ♥5 minRussianUpdated 28 Sep, 2025
- First steps to the Zone. Basic tutorial.★ 5 (317)13k views486 ♥33 minUpdated 11 Dec, 2025
- S.T.A.L.K.E.R.: Shadow of Chernobyl — Уникальные предметы и вещи★ 5 (381)13k views492 ♥16 minRussianUpdated 25 Nov, 2024


🔥 Popular guides
- Upgrading to PremiumTeam Fortress 2★ 5 (20k)1441k views11k ♥6 minUpdated May 11, 2022
- No More Room in Hell Official ManualNo More Room in Hell★ 5 (2.8k)569k views2.1k ♥29 minUpdated Apr 22, 2019
- NMRiH Community Hosting GuidesNo More Room in Hell★ 5 (526)351k views653 ♥1 minUpdated Aug 10, 2022
- How to 'Git Gud' Soon™MORDHAU★ 5 (2k)318k views3k ♥68 minUpdated Nov 16, 2024
- Лучшие кооперативные игры SteamPAYDAY 2★ 5 (1.5k)315k views2.1k ♥56 minRussianUpdated Apr 27, 2025
- Desert Eagle Heat Treated | Blue GemCounter-Strike 2★ 5 (1.6k)292k views1.5k ♥2 minUpdated Jan 16





This guide was created by its original author on the Steam Community. Are you the author and want it removed? Request removal.