Overview
How to change the Cabal UI, step by step guide
step 1: download a skin
first of all you need to download a UI skin
You can find them by searching the internet like “cabal skin”
I prefere the Shinobi Cabal Skin which can be downloaded here [link]
step 2: backup the original UI folder of Cabal
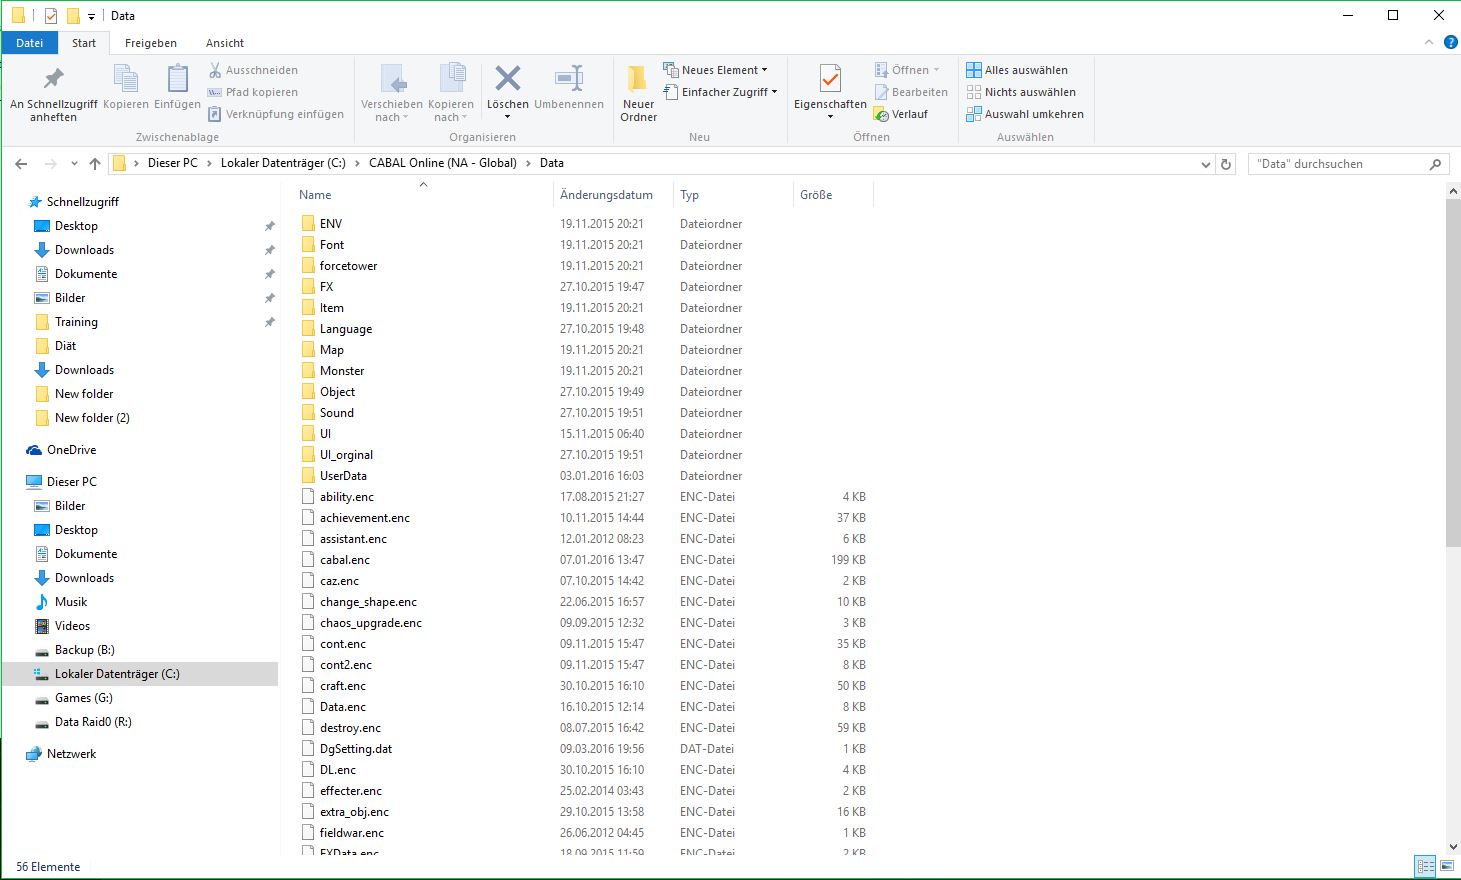
Navigate to your Cabal installfolder and copy the UI folder which is located in %cabal%Data, name the copy like UI_backup
–> replace %cabal% with your install folder where Cabal is installed on your PC
e.g. G:SteamLibrary-SSDsteamappscommonSteamCabalData
step 3: copy the skin data to your UI folder
Now open the skin folder, downloaded in step 1
Mark all items and copy them to your UI folder
It should look like this

If it asks to overwrite some data, chose “overwrite for all”
If something fails with the new Skin you can easily delete the UI folder and rename the UI_backup folder to UI, so you get the default skin back
Congrats your done, start Cabal now and enjoy your new Skin
step 4: changeing the Cabal ingame font
First of all you need to download your favourite font, good fonts can be found here [link]
My favourite is the Pokémon font: [link]
Once you downloaded the font you will get a .zip or .rar file, extracting these file to get the .ttf file
Doubleklick these .ttf file and hit the install button
Now start/restart Cabal, go to the options (pressing ESC button), go to the preferences tab and choose your font on the right side
Grats all done


