Ironbro: The Quest for Perfection
Introduction
From the way things look, Broforce will continue to be updated with new Bros and possibly, just possibly modifications to the campaign maps. I am going to come out now and say that even if this is the case, I will probably never update the guide. Now, hold on a second before you start freaking out. There is probably only a 5% chance that the campaign will be modified, since it would be a modification after the official end of the Early Access, and a heavy one at that. So don't worry, it will probably never happen anyways. But the reason I refuse to update it is because of the sheer scale of time writing and fact checking this guide took. Even my gigantic TF2 guide (Easily 3 times more text than this one) took less time to write because I could easily find out things or try them out myself. I spent a good EIGHTY hours playing through the campaign mode in Broforce over and over again. I'm actually sick of it and will probably never play it again for at least a year.
There will be notable sections in this guide, all of which are vital to the Ironbro campaign as a whole. Screw more than one of these up, and it cripples your chances of getting anywhere. I would know, most of them are mistakes I made.
All screenshots shown in this guide (Including boss intros and Zones on the map) were taken by myself, but were not publicly published to avoid spamming my friend's activity feeds. (Not including the faces of the Bros).
 .
..
Below you can find the video to the Broforce theme song. Feel free to open this up and listen to total badassery as you read this guide.
https://www.youtube.com/watch?v=Uk-87jzhVhs
How the Ironbro Campaign Works
Slightly Important Terms I Might Use a Lot
These here are some abbreviations or phrases that are not all that common outside this guide, but for the purpose of shortening segments and decreasing my general workload (I'm a lazy little ♥♥♥♥), they come in handy.
Restart Shuffle: The act of restarting the map/level multiple times to finally select the bro you wish to play the level with.
ROF: Rate of Fire. How fast a person can attack. Unlimited ROF means the character can attack as fast as you can mash the button like you are playing one of those controller-breaking rounds of Mario Party.
Mobility Bro: A Bro with abnormally high mobility in all directions. The best examples are Brocketeer, Brade, and Mr. Anderbro. Brocketeer can fly, Mr. Anderbro can fly to an extent, and Brade runs faster and jumps higher than any other bro.
Heavy/Damage/Attack Bro: A Bro with a massive attack power, like Brominator. Brobocop and Bro in Black.
Useless/Sword Bro: Any bro that doesnt have anything more than a sword to attack. Using these will get you killed a lot, use them as cannon fodder for run-for-your-life missions
Brade is NOT in this category, due to his high mobility he is still of use.
High ROF Bro: A Bro with no set limit on how many rounds it can fire off per second. These include bros from many other categories and unique to this one, like Ellen Ripbro, Indiana Brones, Brocketeer, Mr. Anderbro, and all the Stealth Bros (Mentioned Below).
Stealth Bro: Bros that naturally excel at stealth. They have silent weapons, often 1-hit-KO any normal mook and 3-hit-KO Bruisers. The only bros in this category are Double Bro Seven, The Brofessional, and the Brodator. These are your most valuable bros: Master how to use them and try not to get them killed.
Air Raid: Those oh so fun times when random bombs fly down from the sky and smite thy ruin upon the earth.
General Rules of Engagement
First things first: I hope you don't mind restarting the level.
BECAUSE YOU ARE GOING TO DO IT A LOT
It is absolutely nescessary to use a Bro suited to the level at hand: Do not just use whatever the randomizer gives you. This can sometimes mean sitting there hitting restart for a good 2 minutes or so, but it is one of the most important parts of the game. Thankfully, more often than not the randomizer gives you a good enough Bro to take down a level with. There are a few bros that should not be used very often, but we'll cover those later. For now, just general rules that apply to all levels:
Cheap Tricks That Work Hilariously Well
As with all games, there are exploits and tricks. In the Ironbro campaign, being too prideful to use an exploit will do two things:
- Make me laugh at you because you won't get anywhere.
- Make the campaign much harder.
Exploits like the ones below can simplify things immensely, and possibly save you tons of lives.
GR666 (Part of the battle)
Stealth Tank
Sky Fortress (It's possible but I haven't pulled it off)
Terrorbot
Satan: First and Second Form (This is technically possible, but the map is built so deep it might take a full 10 minutes to do, making it faster to try killing him.)
This requires using the Brommando, Bro in Black, Ellen Ripbro, Mr. Anderbro, or Rambro. Thankfully all pig spawns except one are located right at the beginning of the level, so you can easily Restart Shuffle to get a knife using character.
- Use it as an impenetrable wall of firepower
- Use all of its fuel to fly as far as you can into the level then smash down, killing all nearby Mooks while progressing you far through the level.
The flaw with the second option is the lack of knowledge about your landing zone: There is always a possibility it's over a chasm, a low section of the map or a bridge, and can kill you if you don't bail out fast enough. Another possibility is overshooting the finish entirely and falling into the abyss below.
Bros You NEED to Keep Alive
As a general rule, bosses are harder than normal enemies. As such, they tend to chew through lives like a fat kid eats candy on halloween, especially on a bad day. The bros listed below are ones you need to keep alive SPECIFICALLY for bosses.
 Bro Dredd
Dredd is a normally mediocre Bro with an average powered pistol, but a slow melee. Where this character shines is in his special. Bro Dredd can remotely control 3 rockets to almost anywhere on the map within a medium time limit. This special will be vital to the Rail Fortress boss, mentioned later, and it can also help in the Terrorbot fight as well. He can also come in handy during the Terrorbot fight, but is only essential during the Rail Fortress. Its fine if he dies after that. (Well not really fine because it's Ironbro mode, but you get what I mean.)
 The Brominator
The Brominator is one of the most powerful Bros in the game: wielding a minigun that fires more rounds per second than any other gun in the game times 3. As a tradeoff, he is slow, takes time to wind up the gun, and is not very suited to long levels with lots of enemies or explosive barrels lying around. However, he is invaluable for obliterating chunks of Boss health. This will especially come into play with bigger, immobile bosses like the Terrorkrawler, Humongocrawler, and Satan: Final Form.
 B.A. Broracus
BA wields one of the most lethal short ranges weapons in the game, the Flamethrower. While this may not be of outstanding use or purpose in Zones 1-7, BA is almost essential for the Alien Invasion missions. Aliens instakill any Bro they touch, and are more resistant to bullets than Mooks. More than 3 of them at a time can overwhelm even the most skilled of players. BA's flamethrower negates that, causing every and any enemy to flee in terror before the fire belching gas-guzzler, it is capable of carving a path of destruction through aliens like a knife through butter. Beware, however: BA is not particularly powerful against bosses, so the likes of the Terrorkrawler and normal Krawlers can and will kill him if given the chance.
 Brodell Walker AND/OR Ash Brolliams
 The reason these two need to be kept alive is because of their shotguns. Weird, right? If you think about it, it makes sense. Shotguns do insane damage close range and have an oddly high rate of fire, as well as shoot some pellets downward. This makes them excellent for tunneling downwards through levels, while also not losing any attack power. These characters will become vital in bosses like the Terrorkrawler or Terrorbot where your best chance of survival is to tunnel down.
The Ironbro Campaign: Formatting
I will list all the zones in the campaign from here on out, and they will follow a strict format, as seen in this section:
Indirect Danger Level: Danger posed by things in the boss area but not the boss itself. (Examples would be Mooks parachuting in, tons of explosive barrels, etc)
Down here would be a brief summary of the boss and how I personally handle it. Unless something way out of the norm happens, these methods will allow you to kill the boss without dying once, which really saves on lives. The walkthroughs will also have screenshots that I personally went and took to help explain them.
The Ironbro Campaign: Zone 1
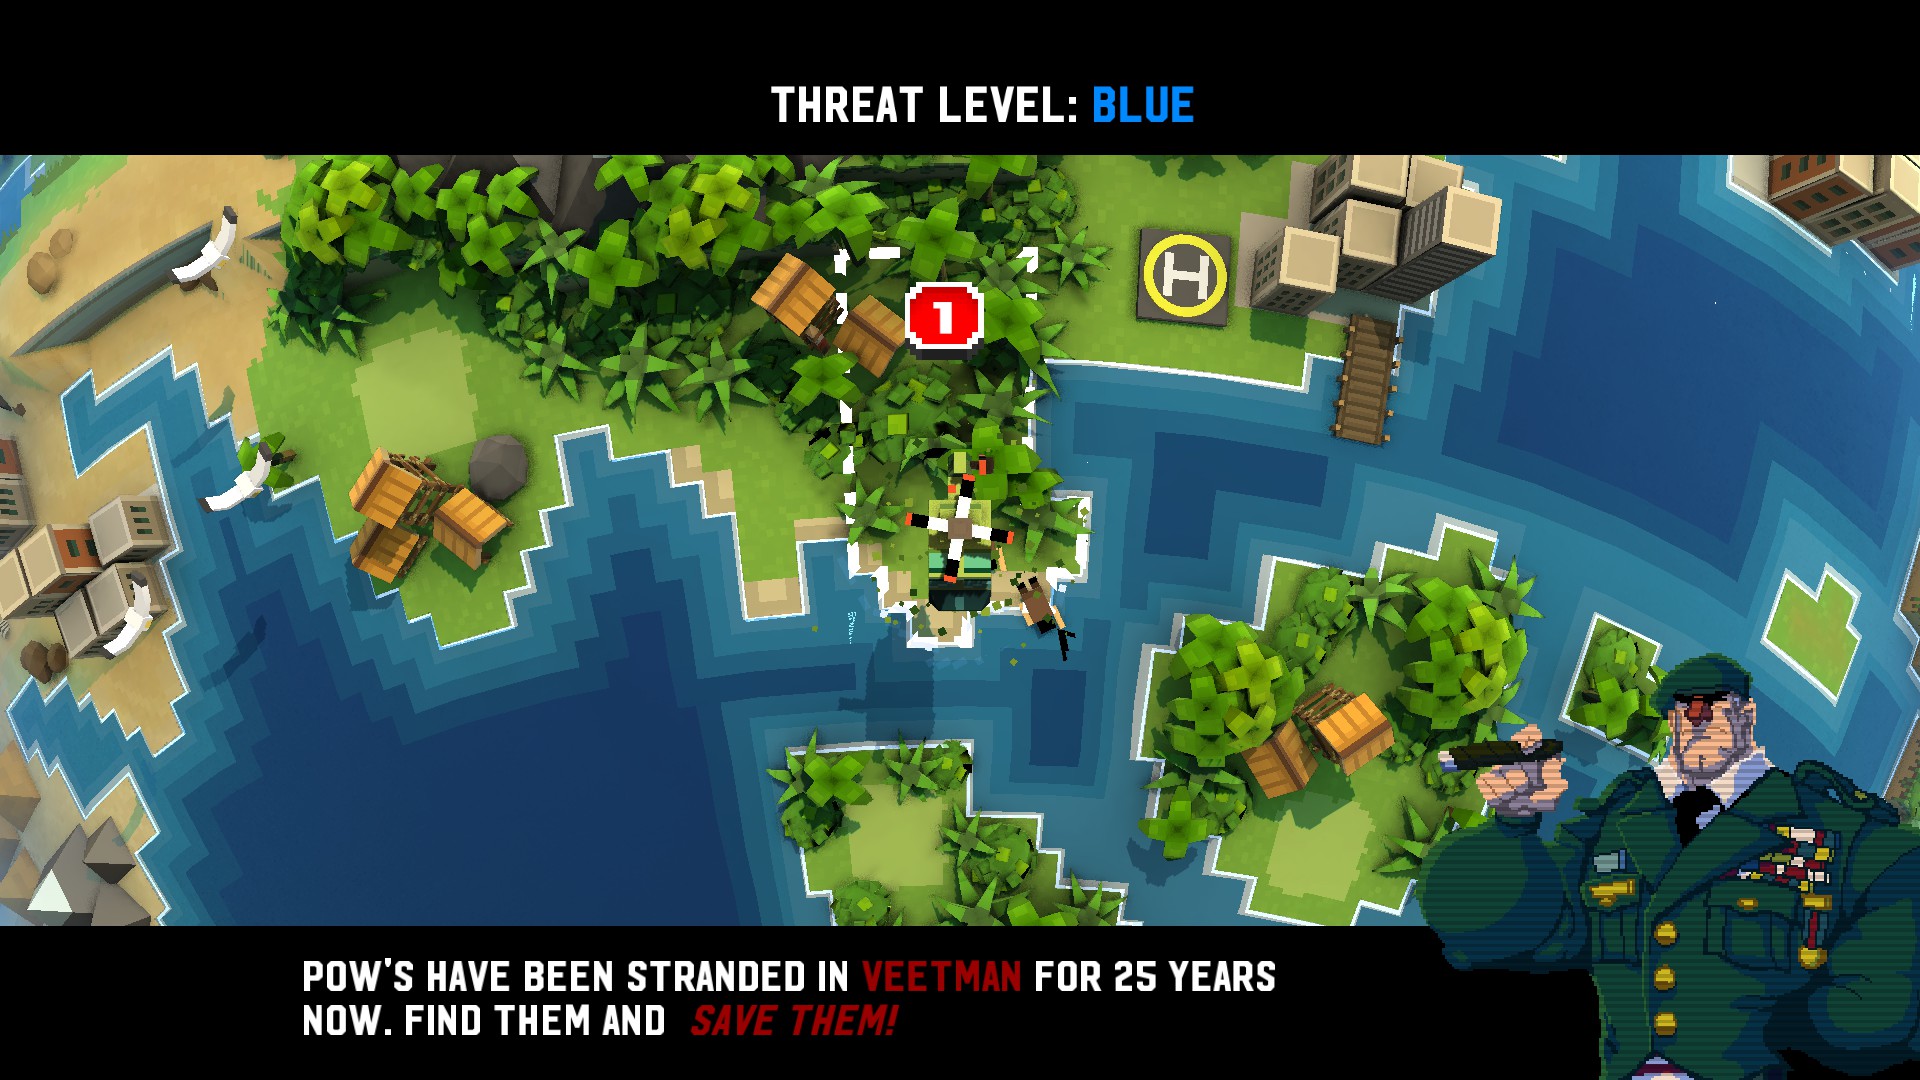
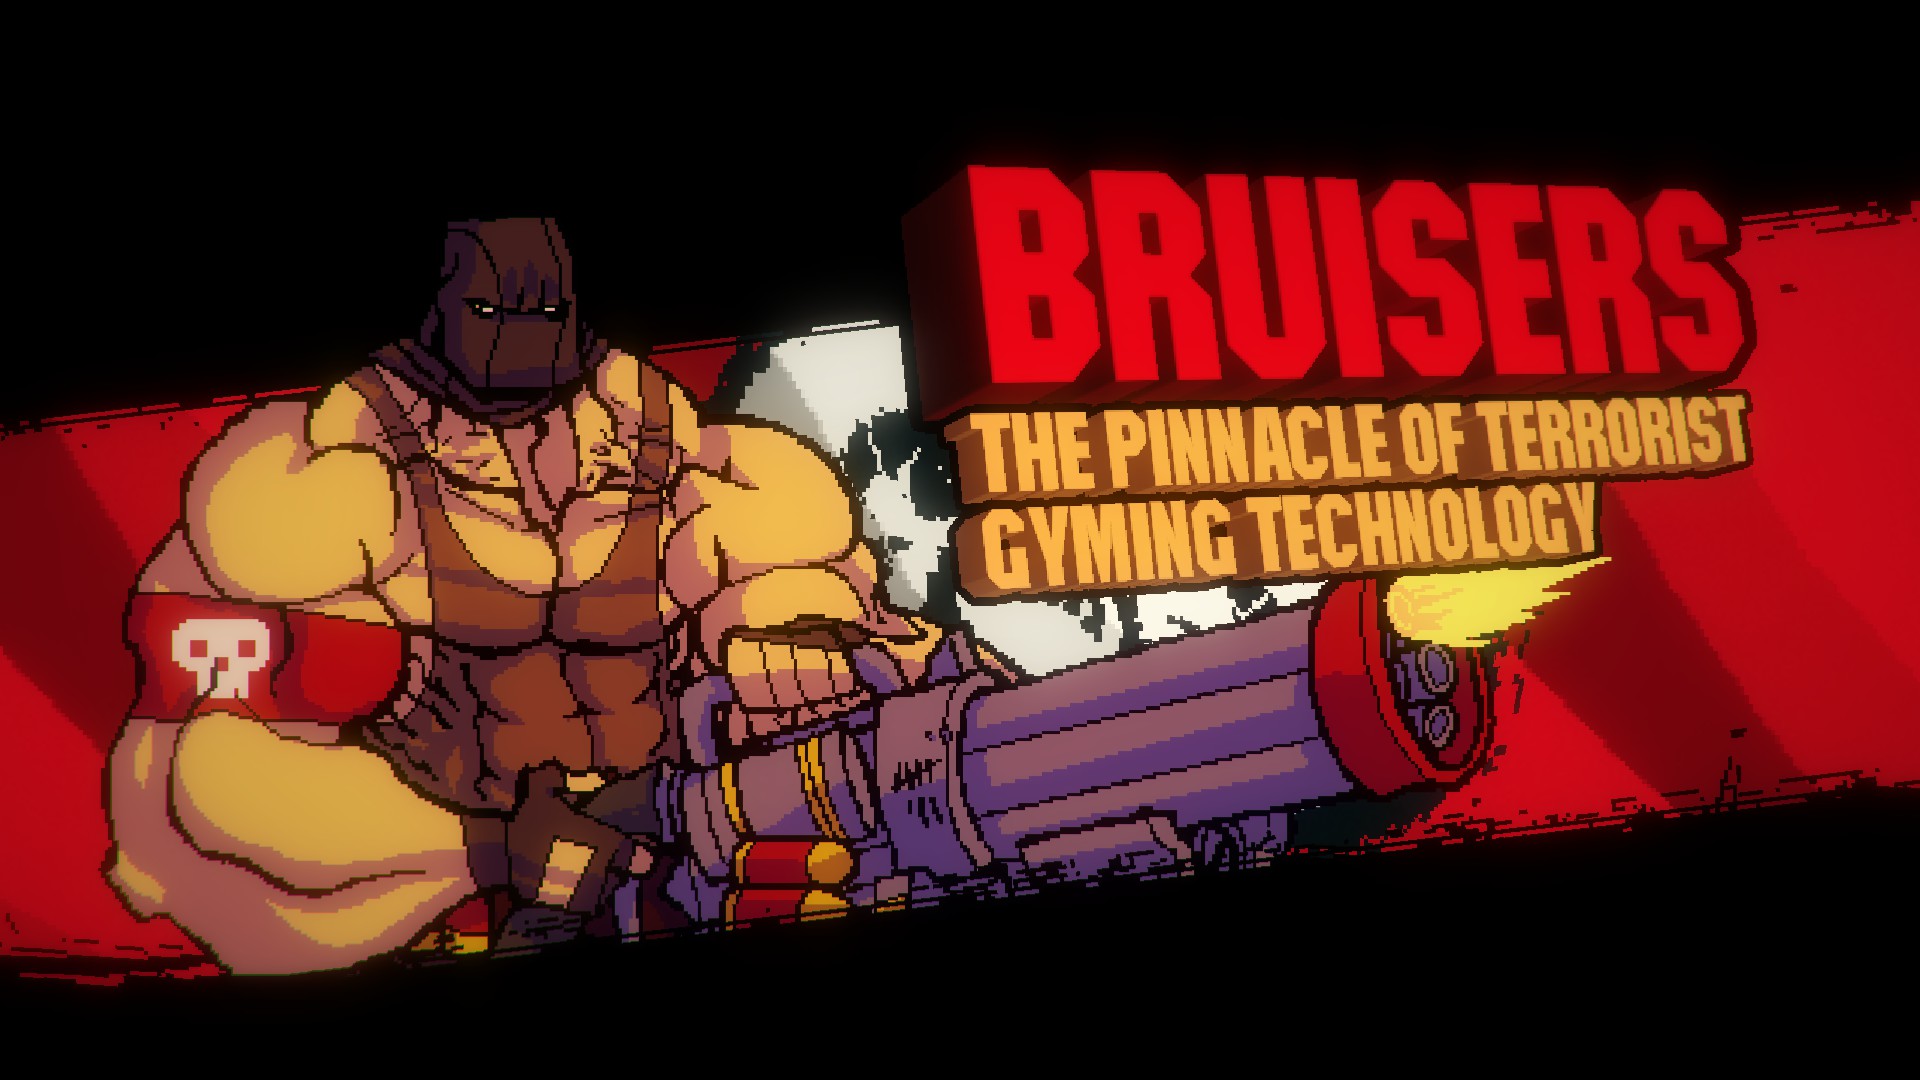 I don't really count this as a boss, mostly because it never was in the Alpha and is really just the introduction for a common enemy. Anyways, these three Big Mooks can be killed just like normal Big Mooks (B Mook), although watch out for the crossfire if you decide to go inbetween the first two. It's safer to go around on the left and climb past them to the top, shooting the top B Mook and then killing Satan to finish Zone 1.
The Ironbro Campaign: Zone 2
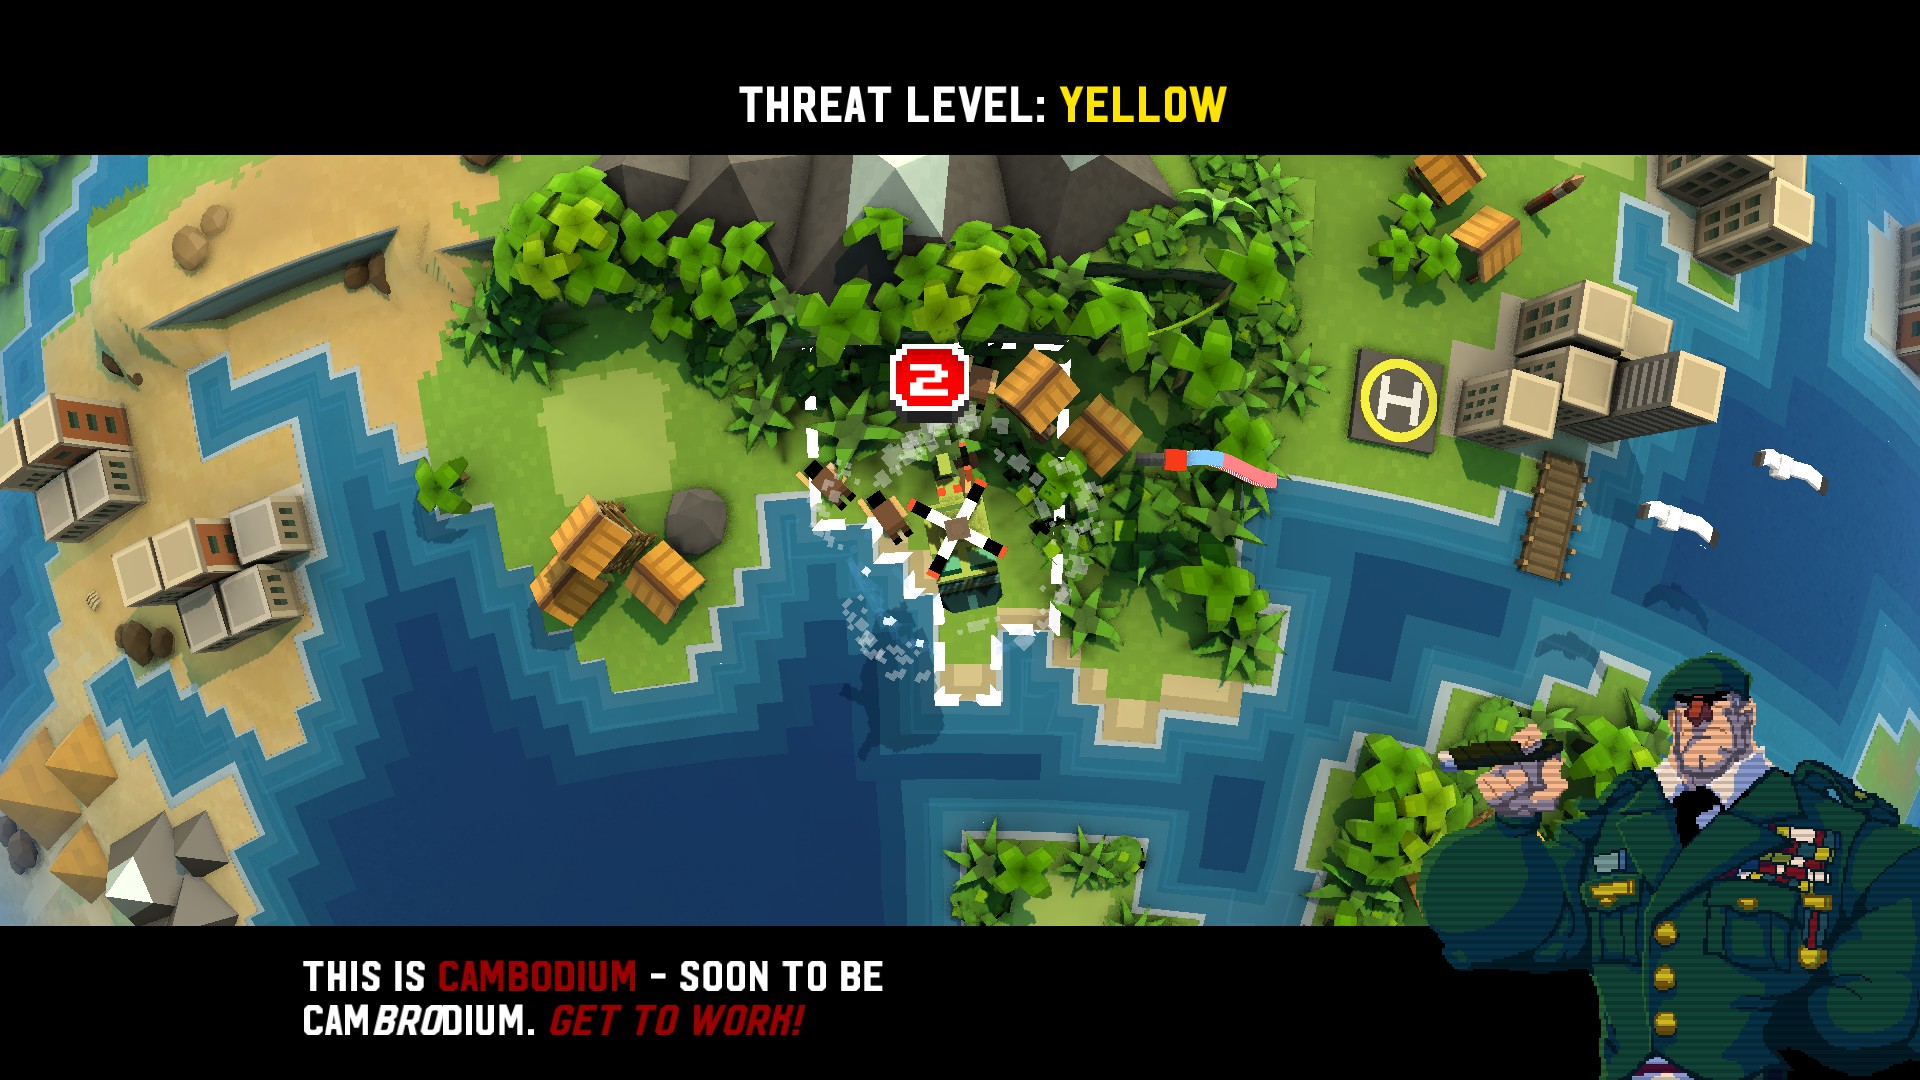
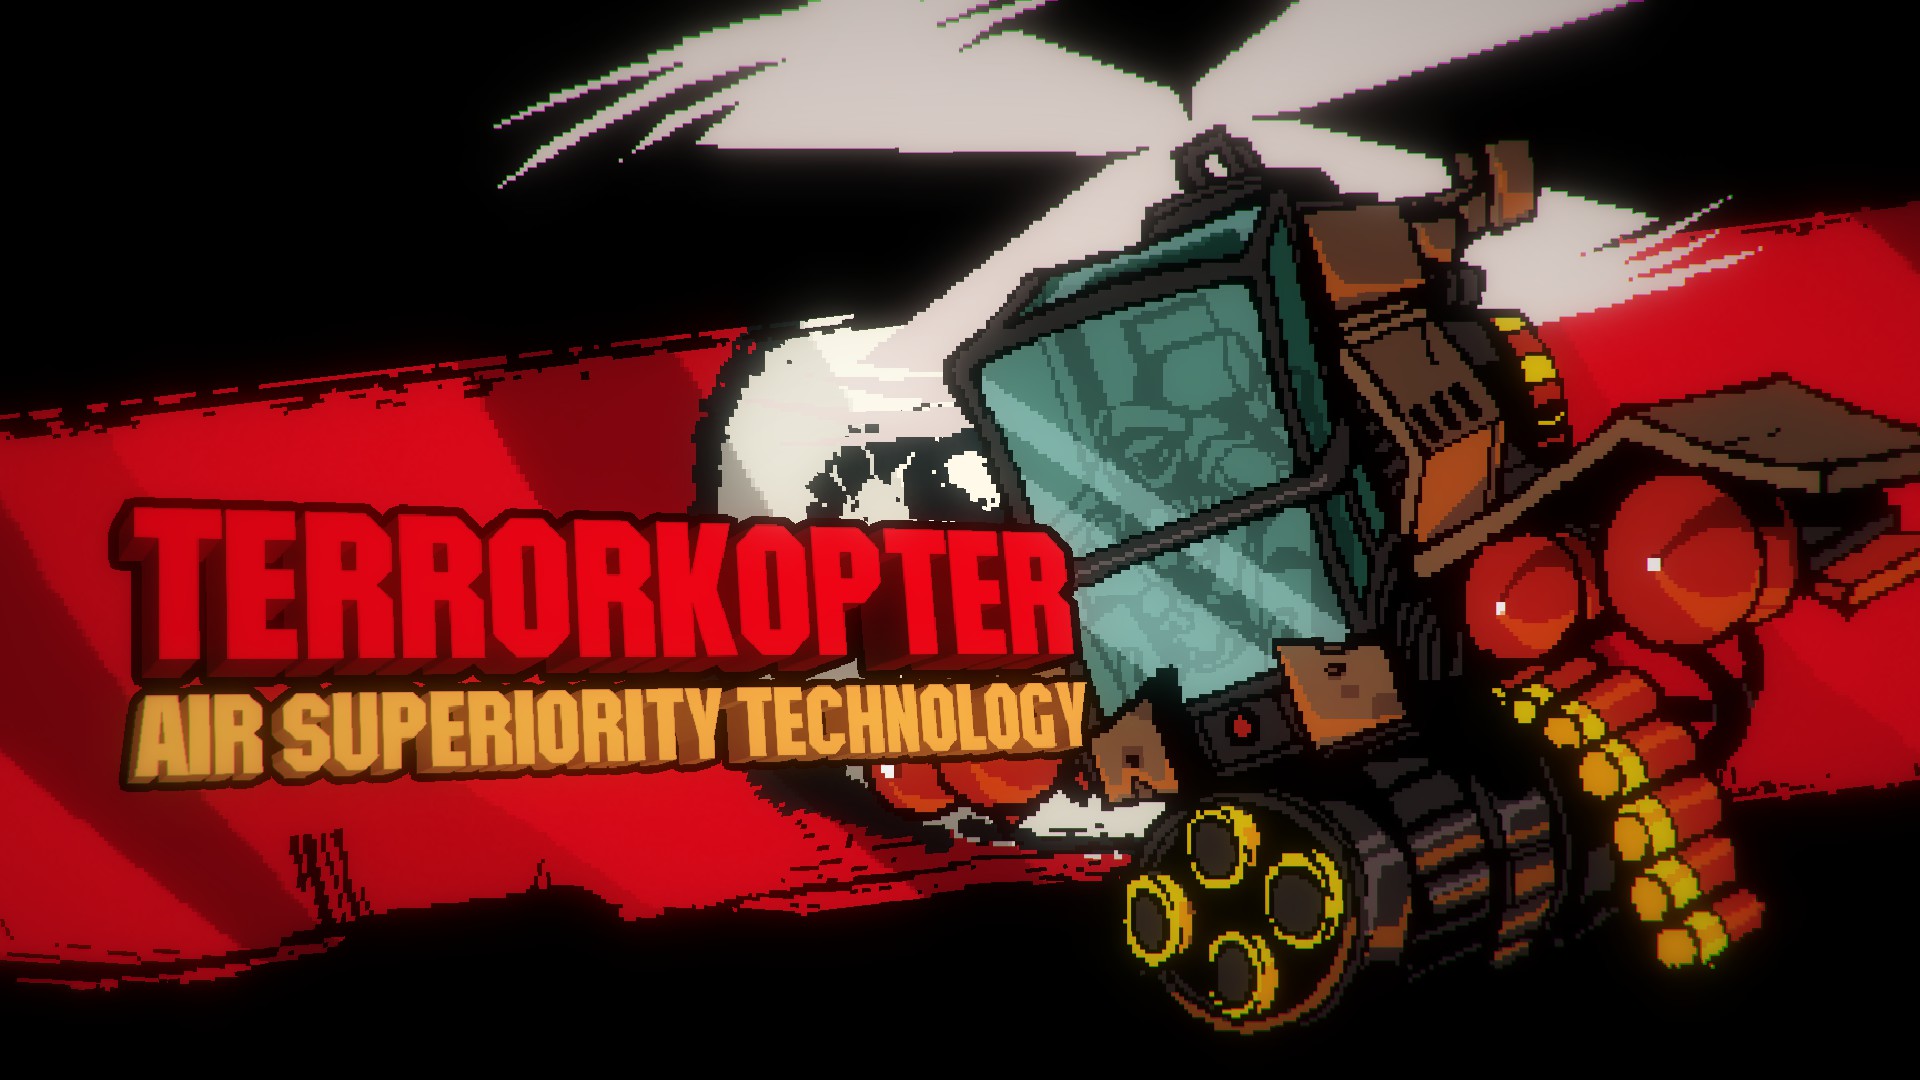 Direct Danger Level 2
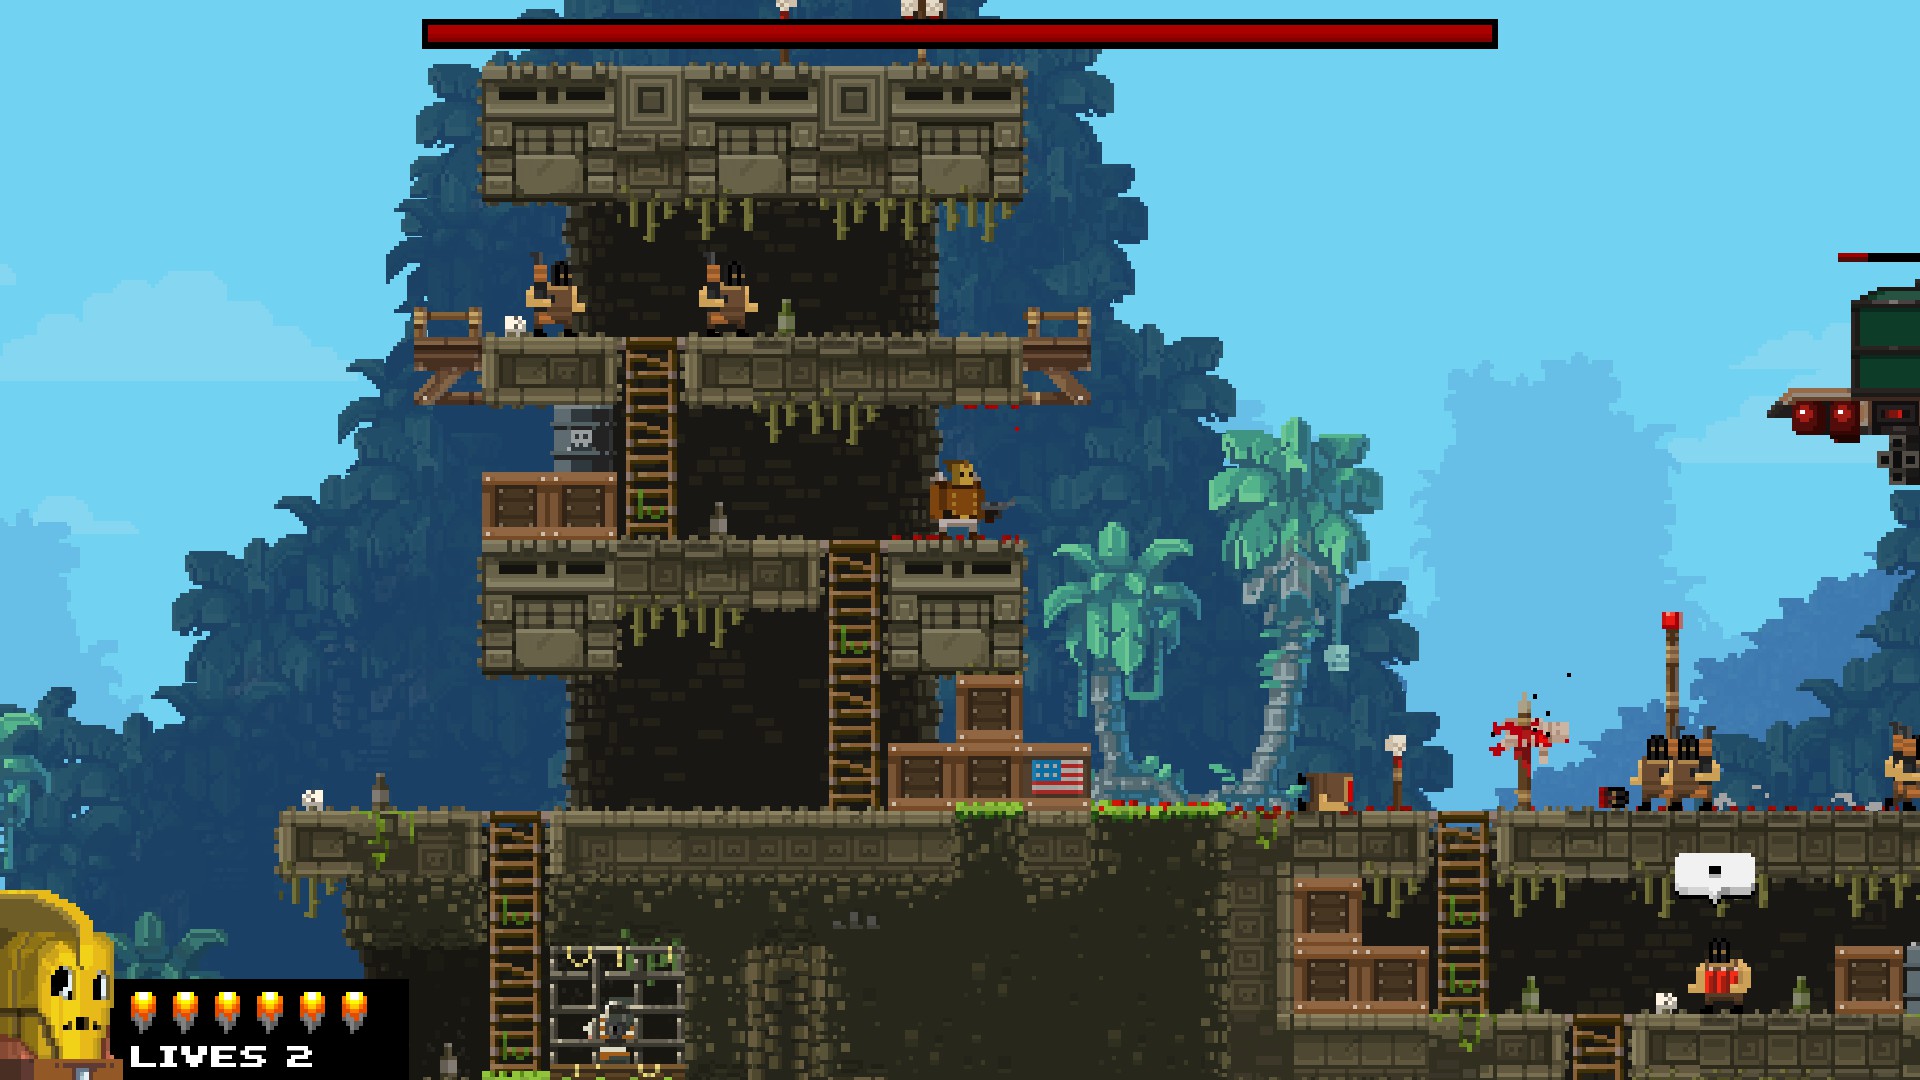
Indirect Danger Level 2: A few Mooks scattered around the level, shouldn't be a problem. The Terrorkopter is not a boss worthy of its name, as it is by far the easiest to destroy with minimal effort. Simply take up a position in the area shown below, and as the Kopter approaches, open fire. If it starts to charge its minigun, go down the ladder a bit, then come back up and keep shooting. You should kill it in under 20 seconds.
The Ironbro Campaign: Zone 3
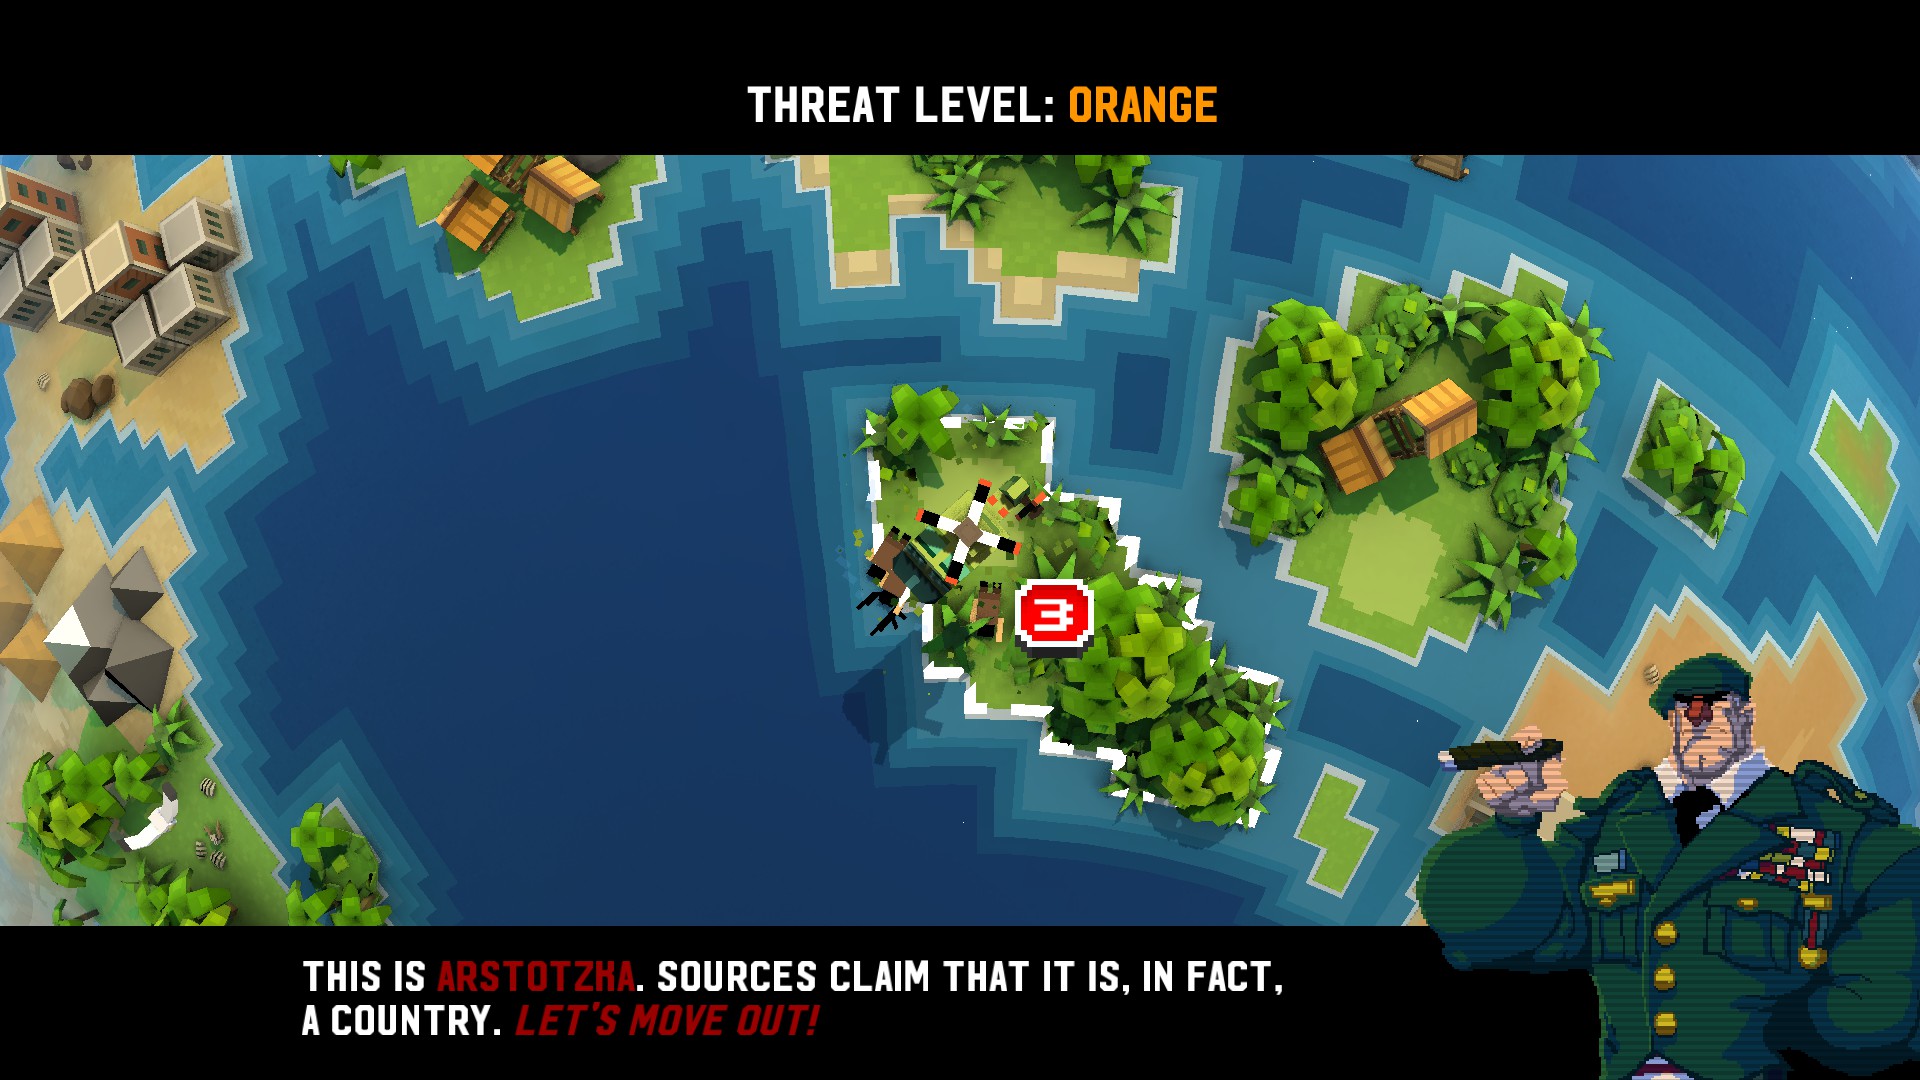
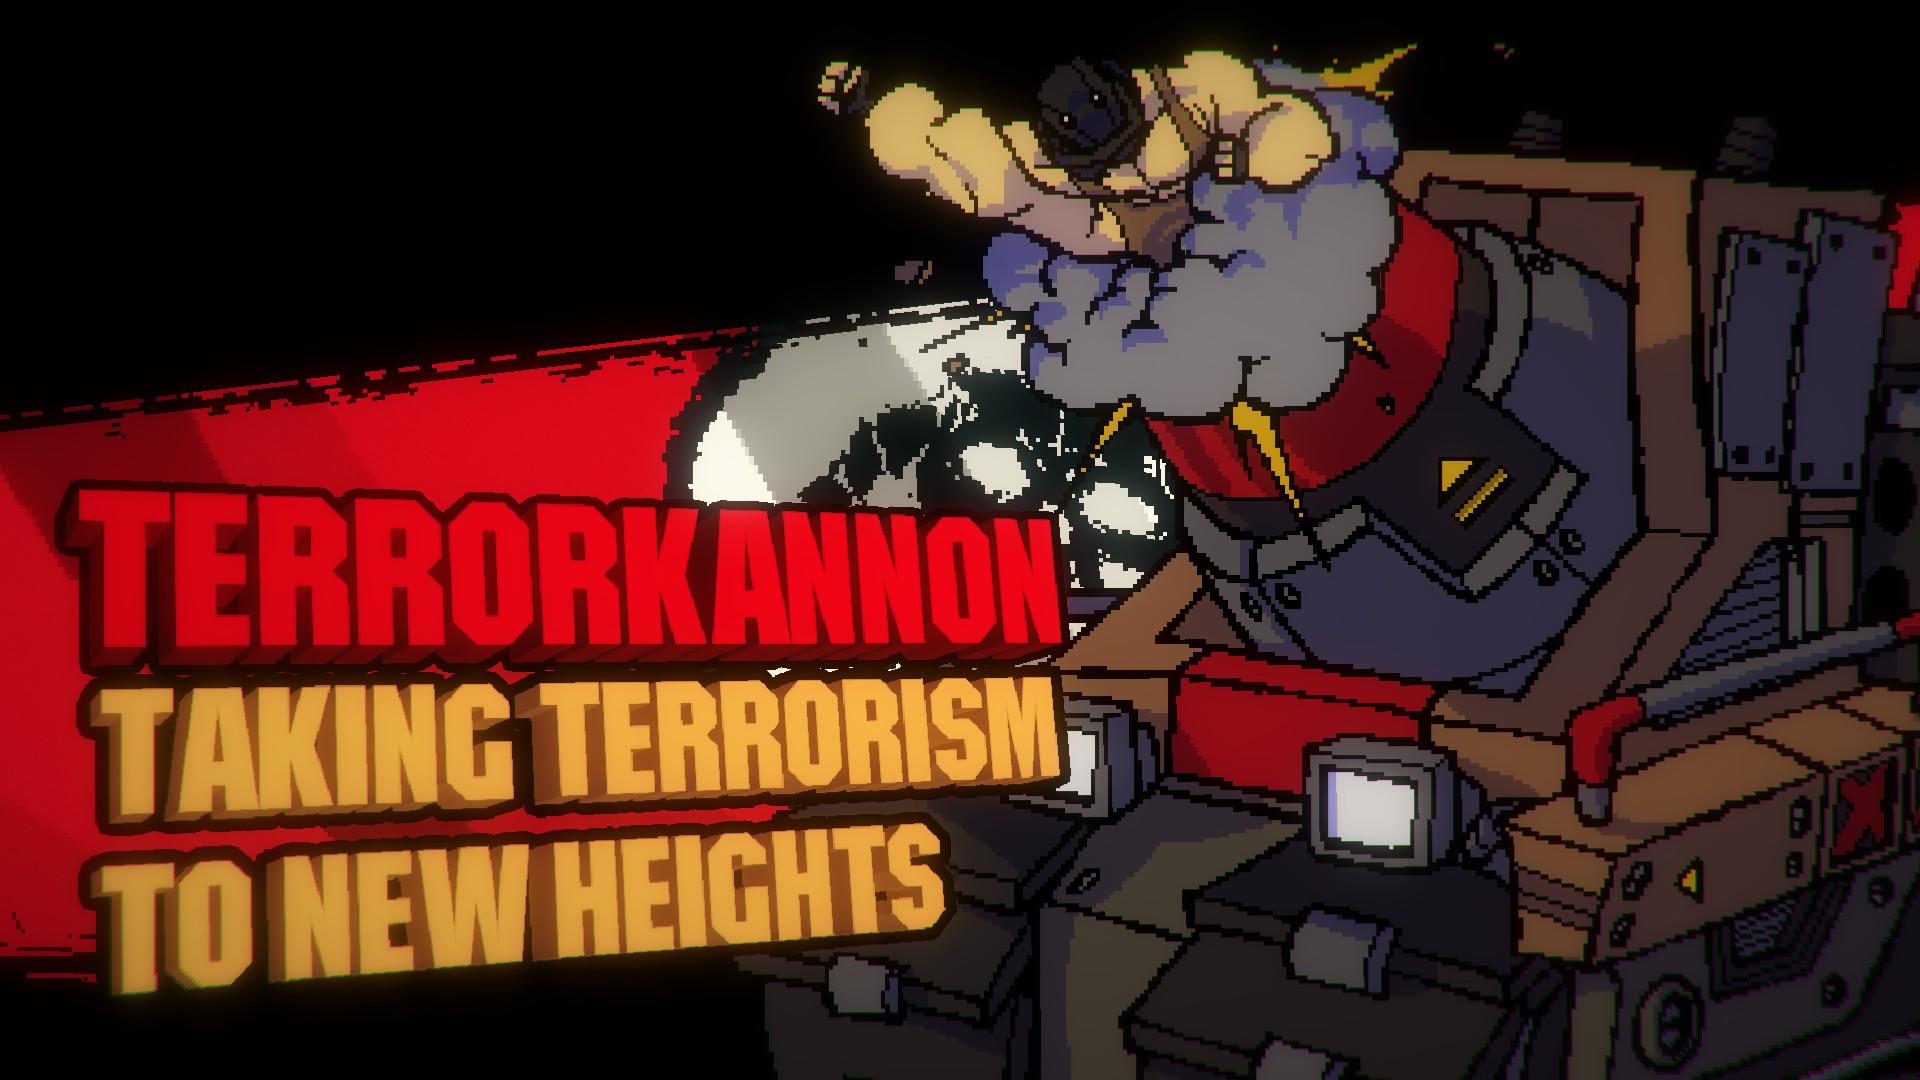 Direct Danger Level 0
Indirect Danger Level 3: Spawns Mooks all around it but usually doesn't live long enough to spawn too many
This fight is so simple and easy I dare say it is more pathetic than the Terrorkopter. Simply run up and shoot it until it dies, which it will do so very fast due to its low health. Avoid getting shot for a few second before the end of level screen shows so you don't possibly lose a life.
The Ironbro Campaign: Zone 4
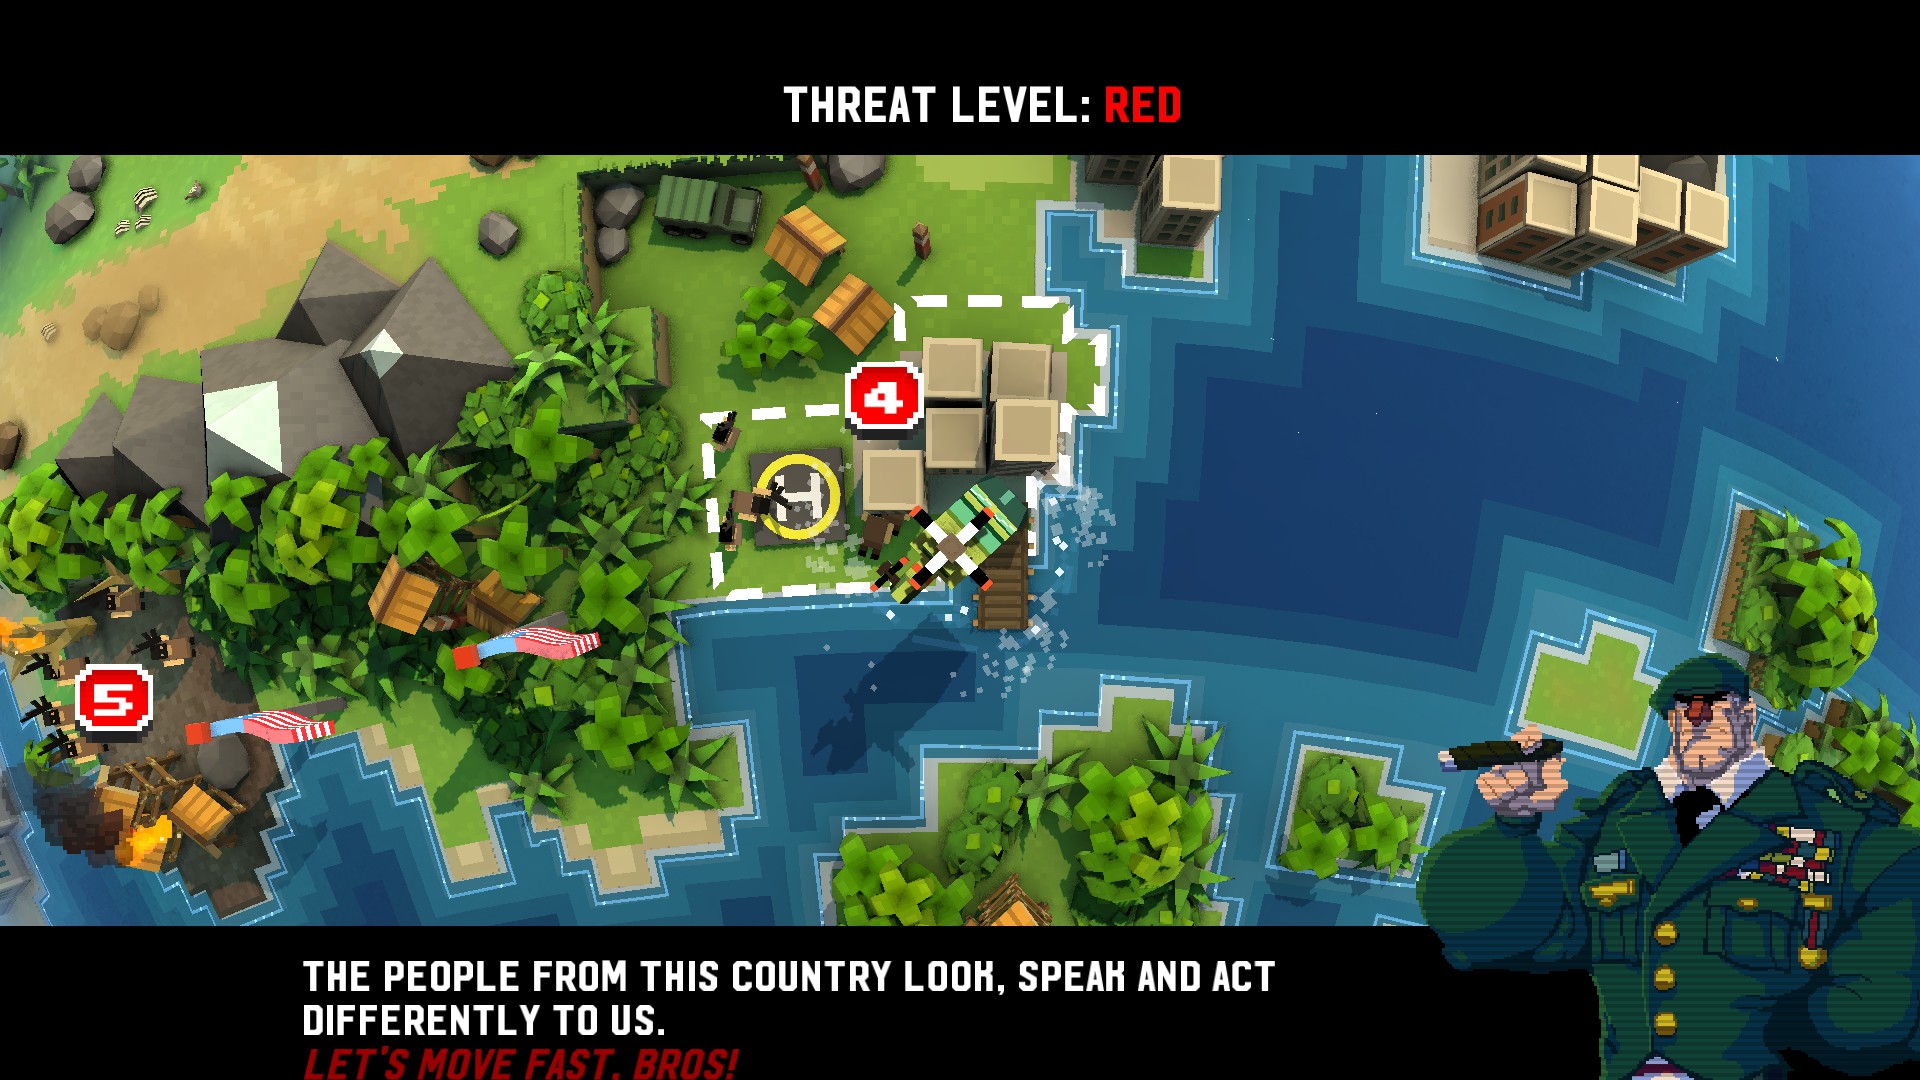
The Ironbro Campaign: Zone 5
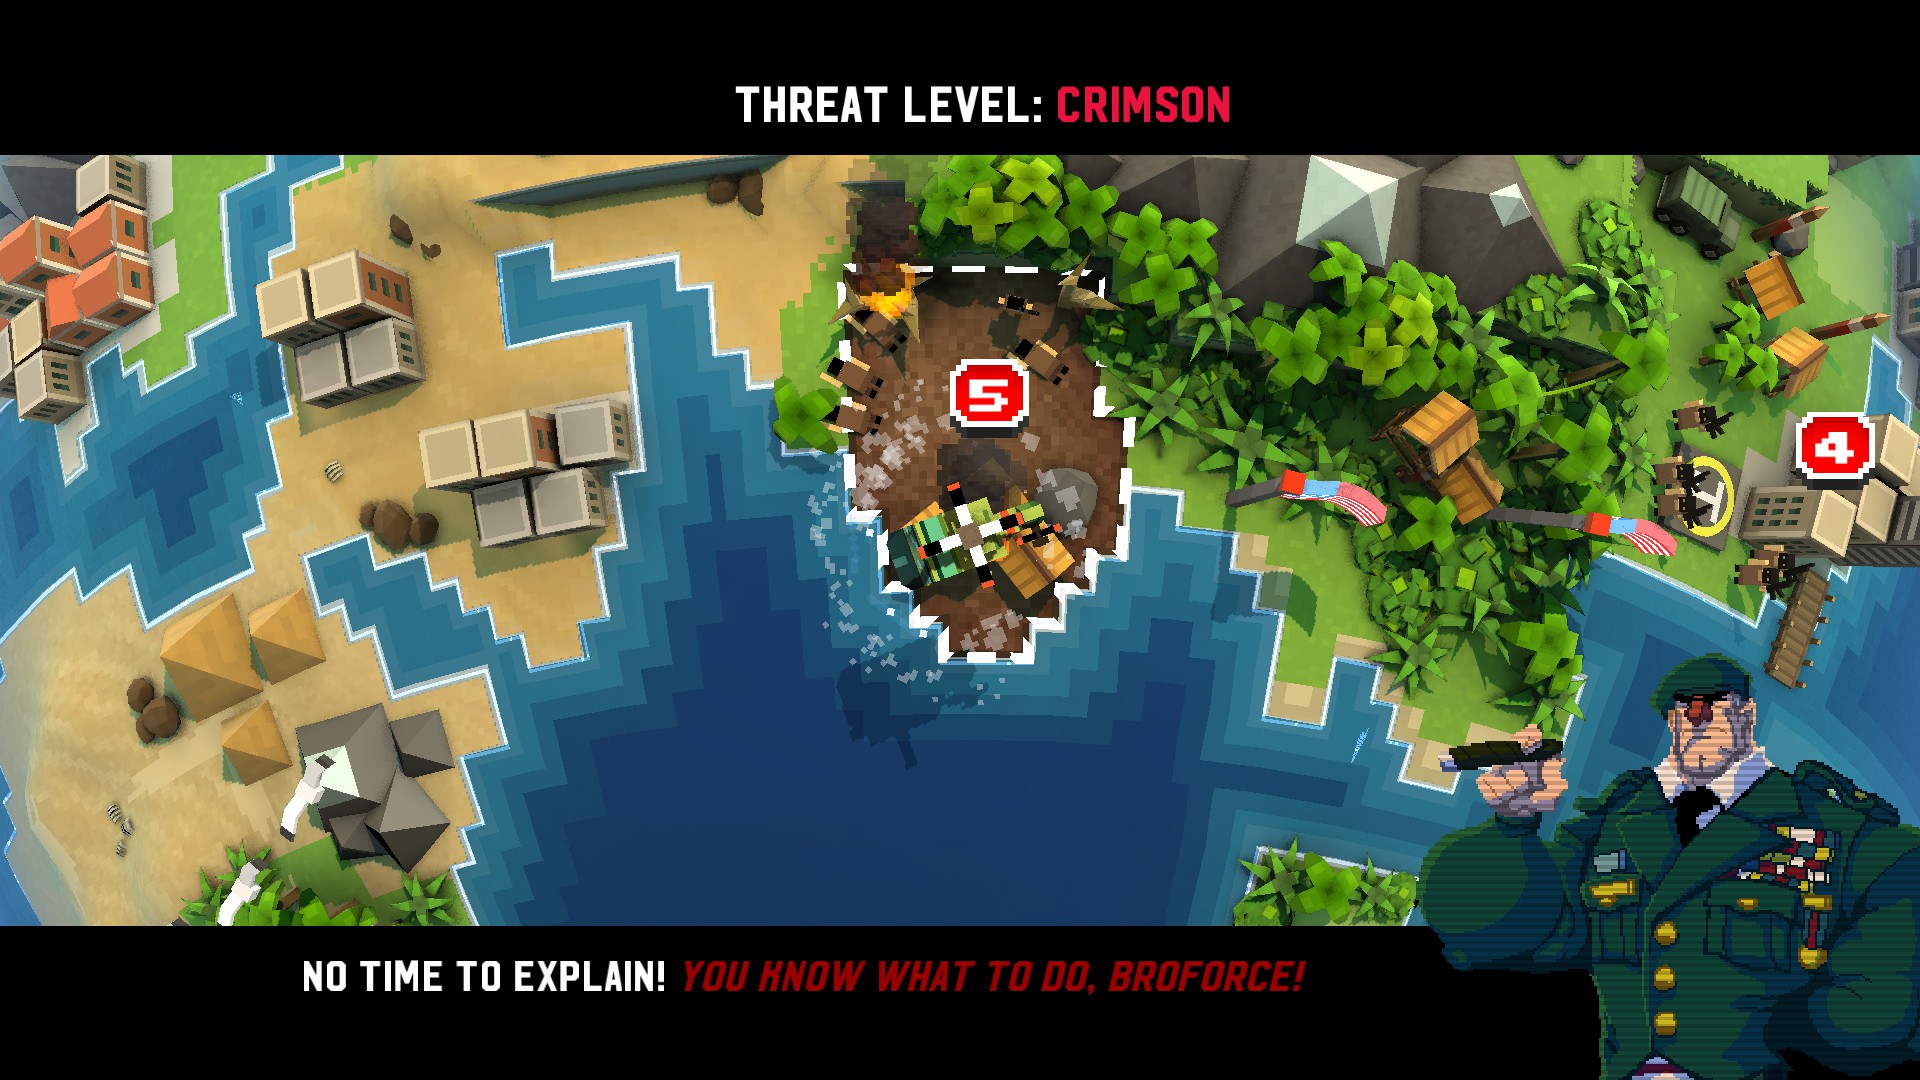
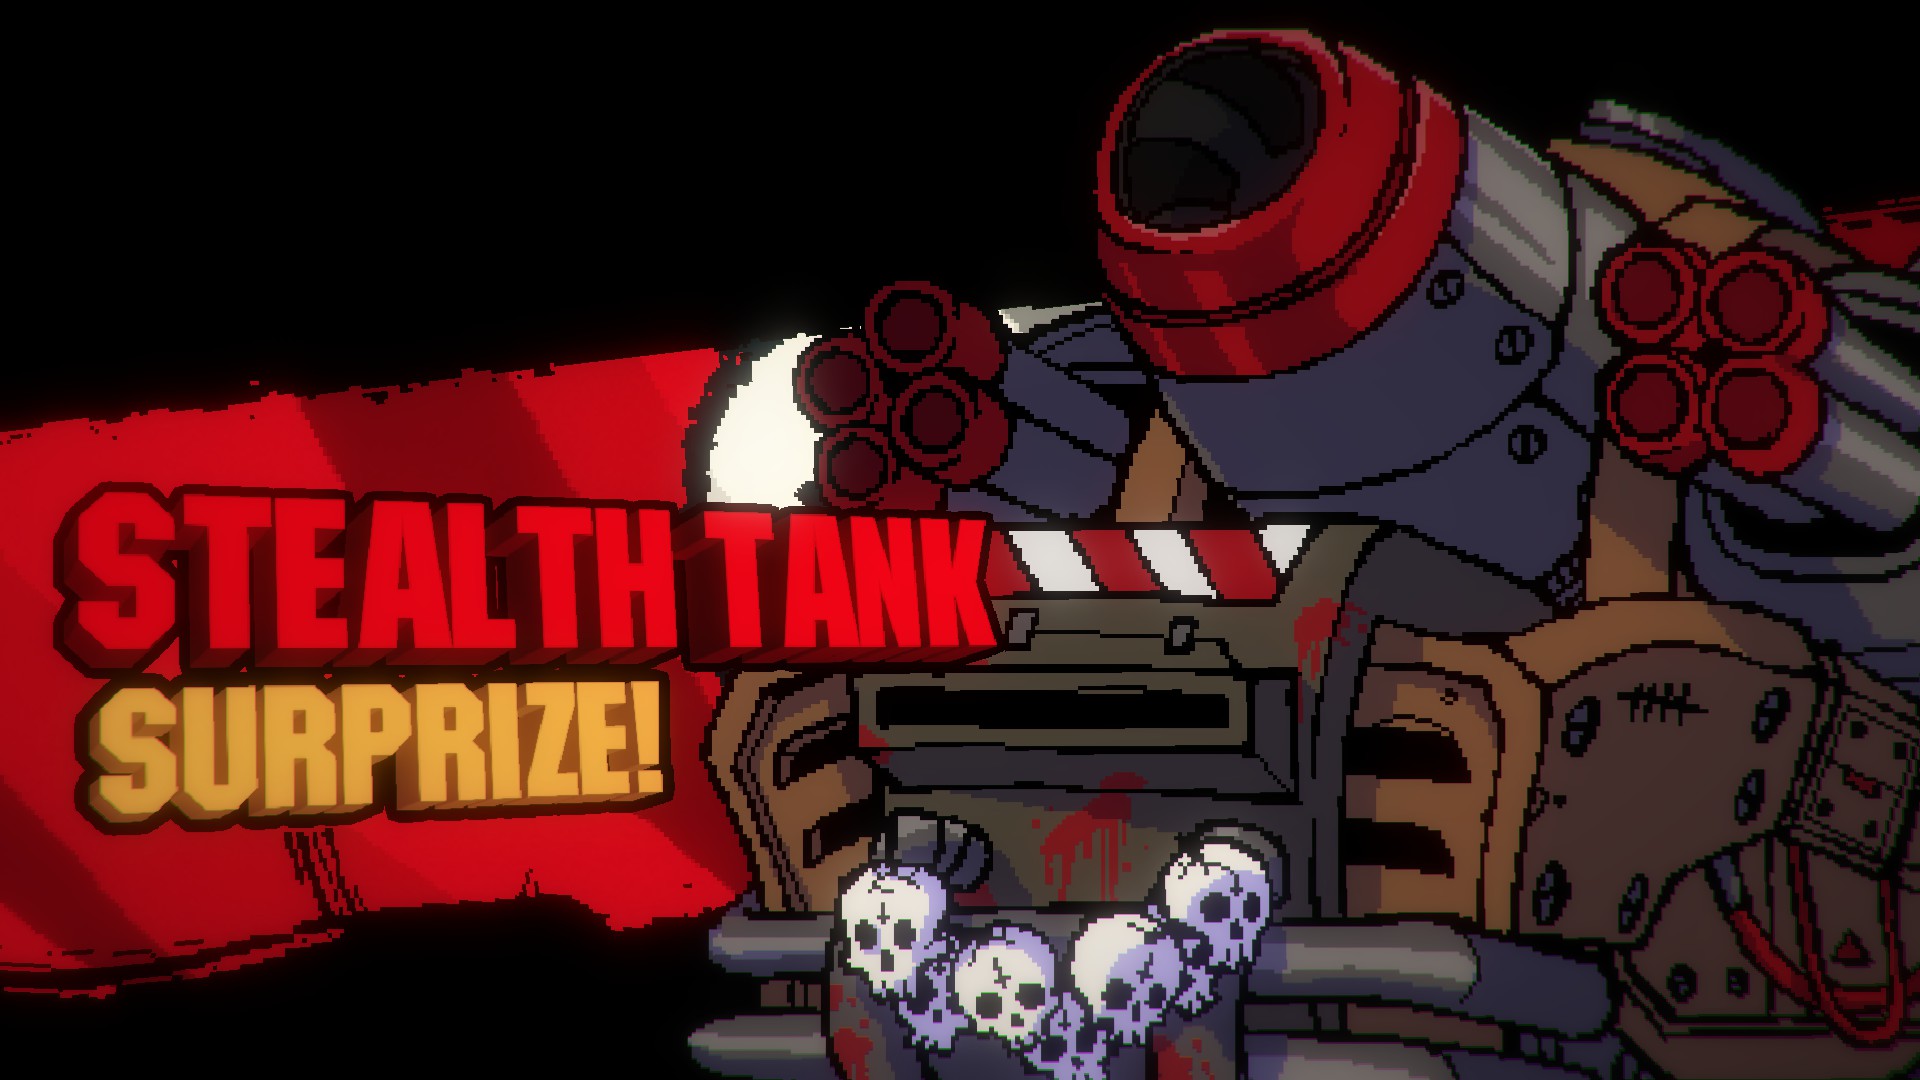 Direct Danger Level 6
Indirect Danger Level 2: A few Mooks here and there, nothing extreme
The Stealth Tank is the first real boss in Broforce. Packing more mortar rounds, an insanely high caliber minigun, and grenades for good measure, it is really a nasty piece of work trying take head on. Thankfully, I don't fight fair and this is how I killed it without dying.
Required Bro: Ash Brolliams or Brodell Walker
These screenshots were taken during different playthroughs, thus the different character and lives.
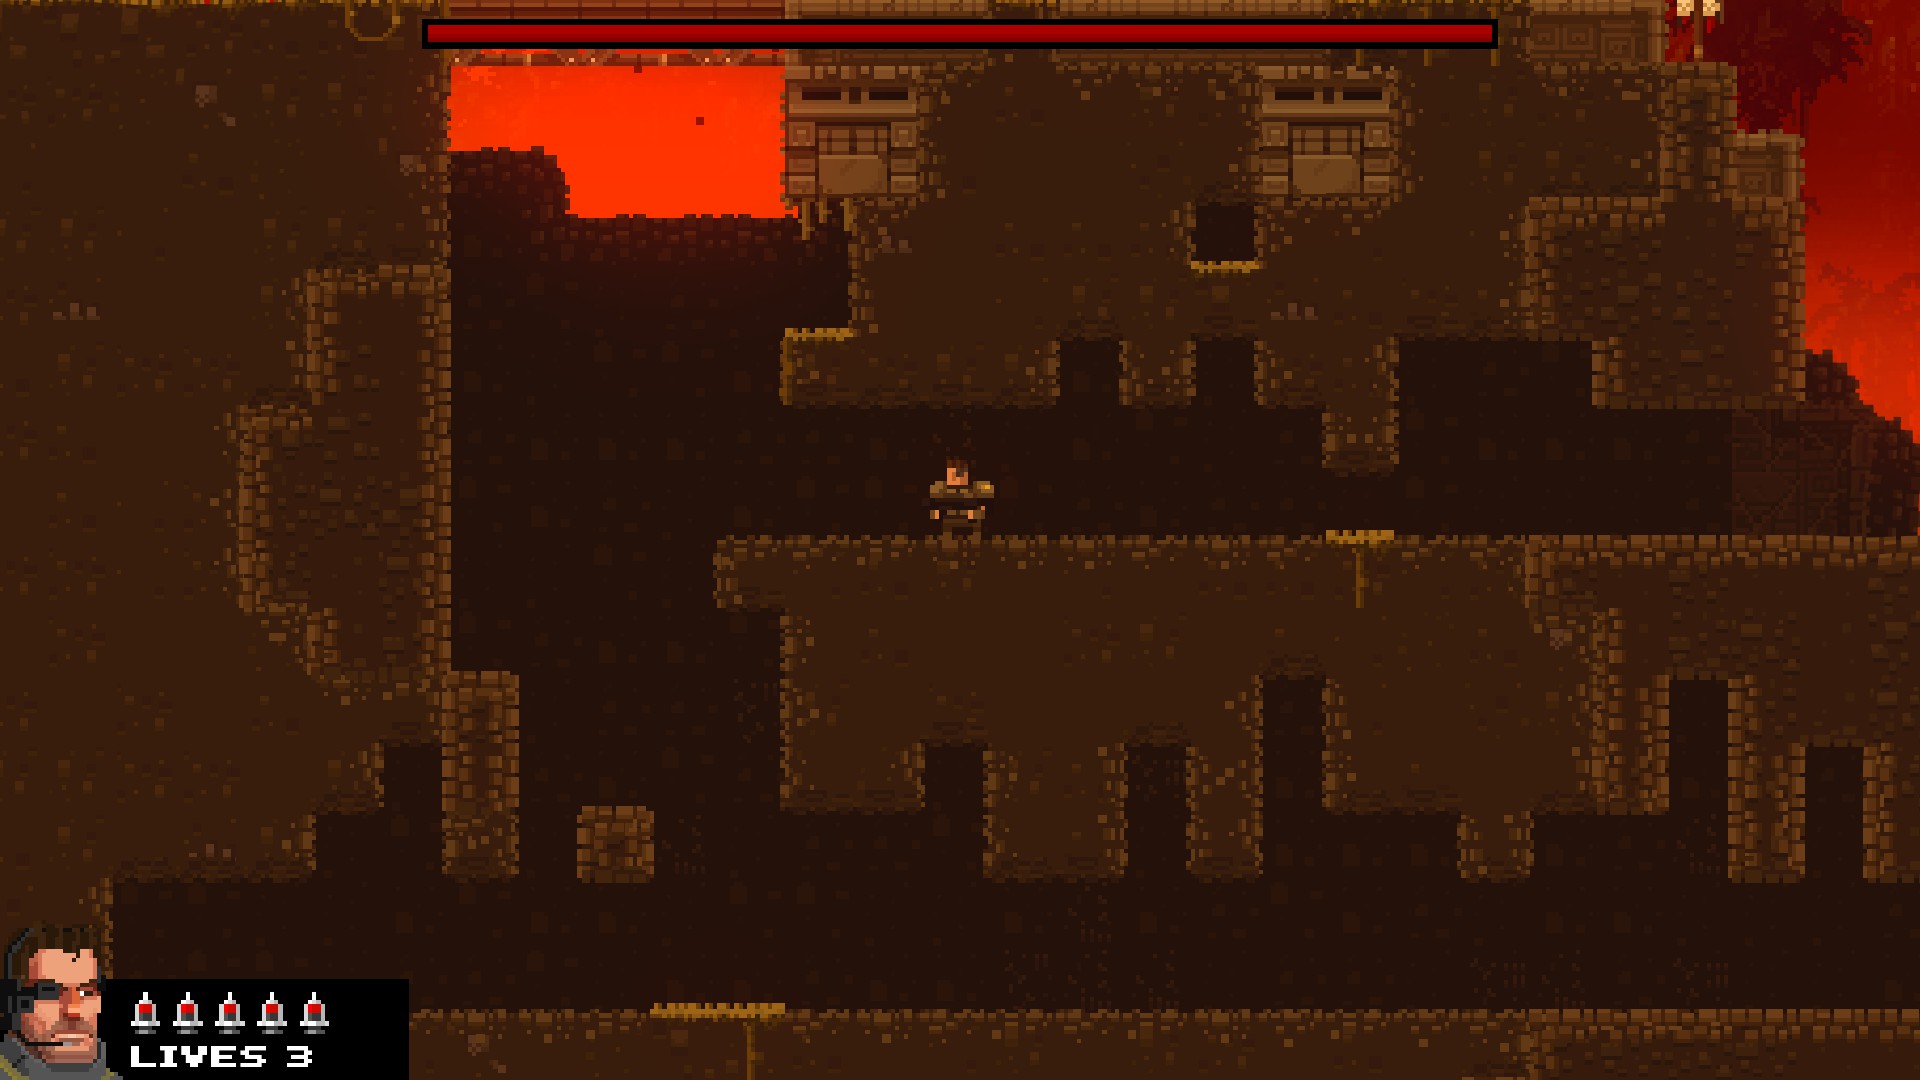 Directly after you drop down into the boss area, turn around and shoot into the wall. Eventually you will reach a natural cave area that will take you farther down. At the bottom there is another cave to your left: ignore that, going down it will kill you. Proceed to tunnel to the right until you think you are roughly below the tank. (Feel free to grab some POWs as long as you tunnel to reach them: it's free lives and it won't cause the Stealth Tank to start attacking.)
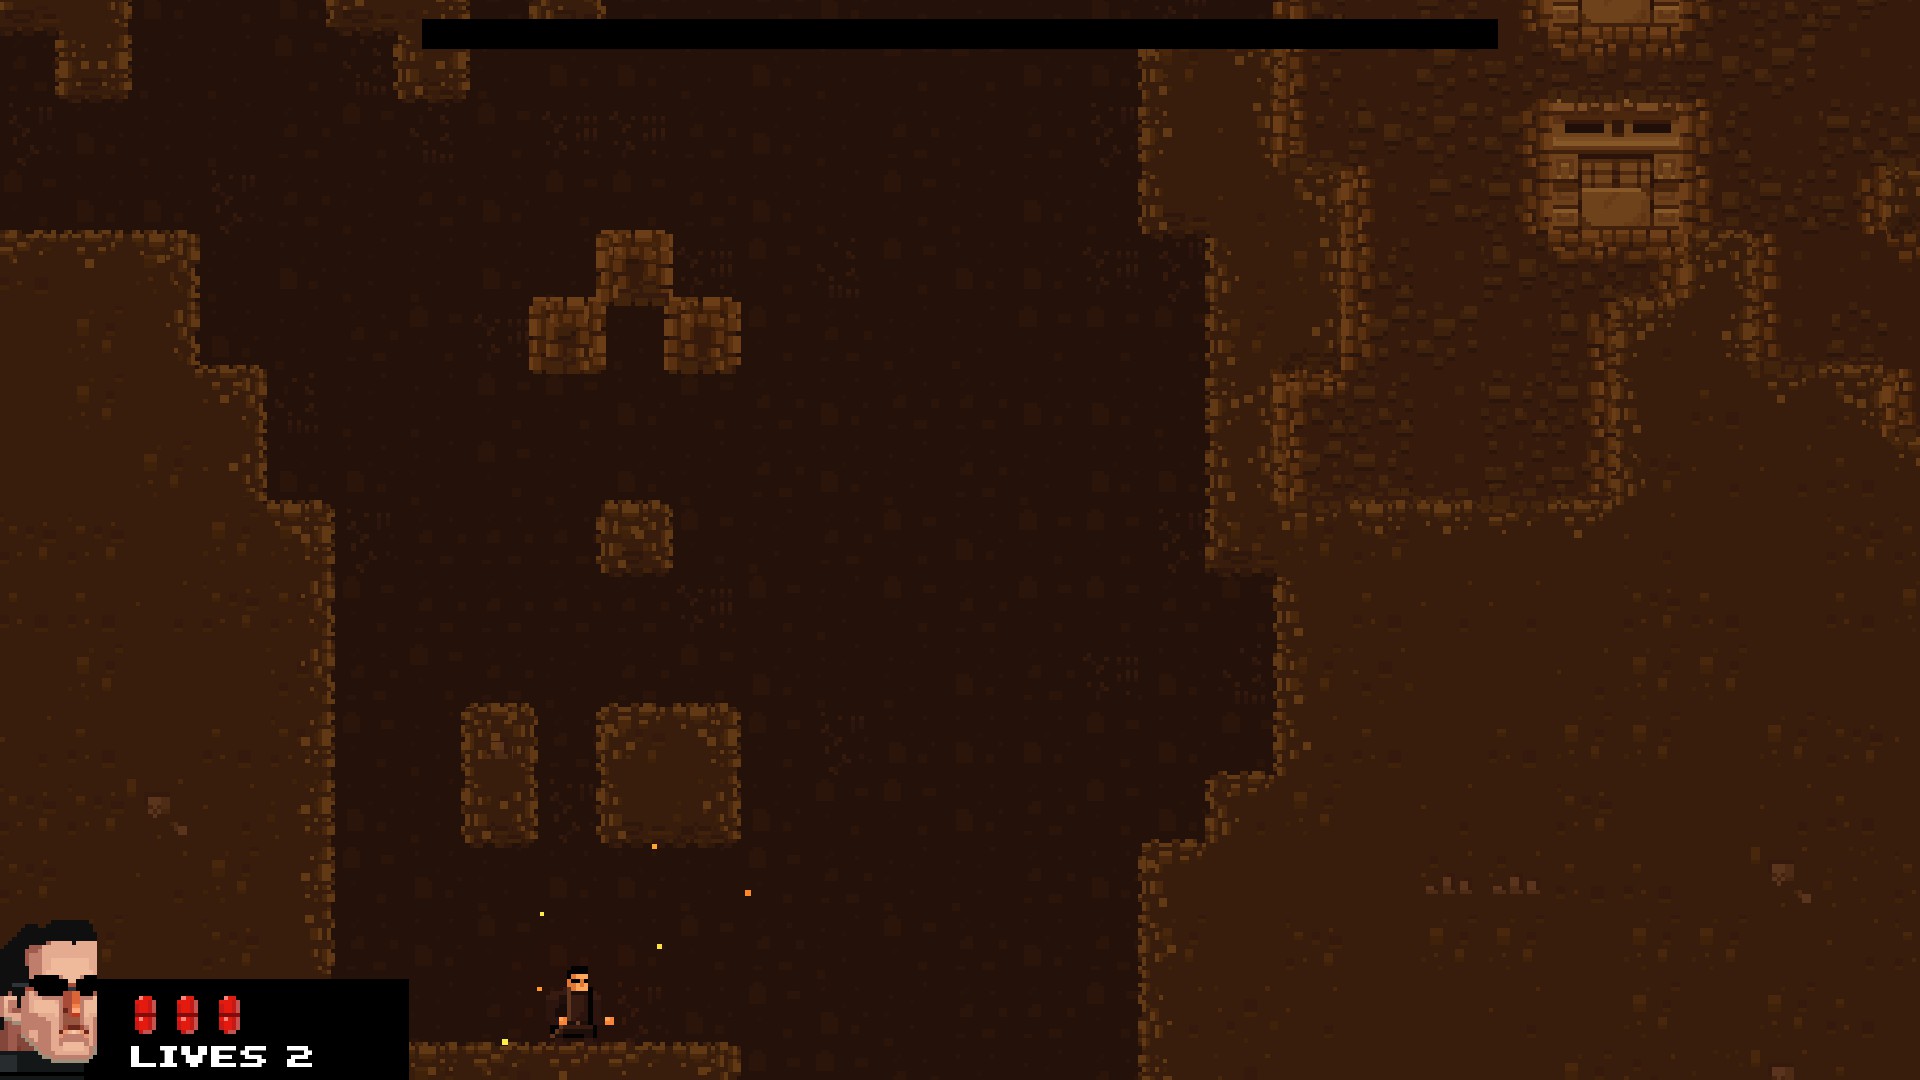 Use your shotgun to start emptying a cavern a few blocks below the tank, but leave some walls to climb back up to the top. Once your cavern looks roughly as sparce as the second picture, climb back up to the tank and shoot out the blocks you left underneath it. Make sure there aren't any blocks covering the bottom of the map! The Tank is actually not a heavy object in the game and it will land on the tiniest things between it and the bottom of the map. You may have to go down and shoot out blocks from under it. The Tank should fall all the way down through the cavern and hit the bottom of the map, killing it instantly.
The Ironbro Campaign: Zone 6
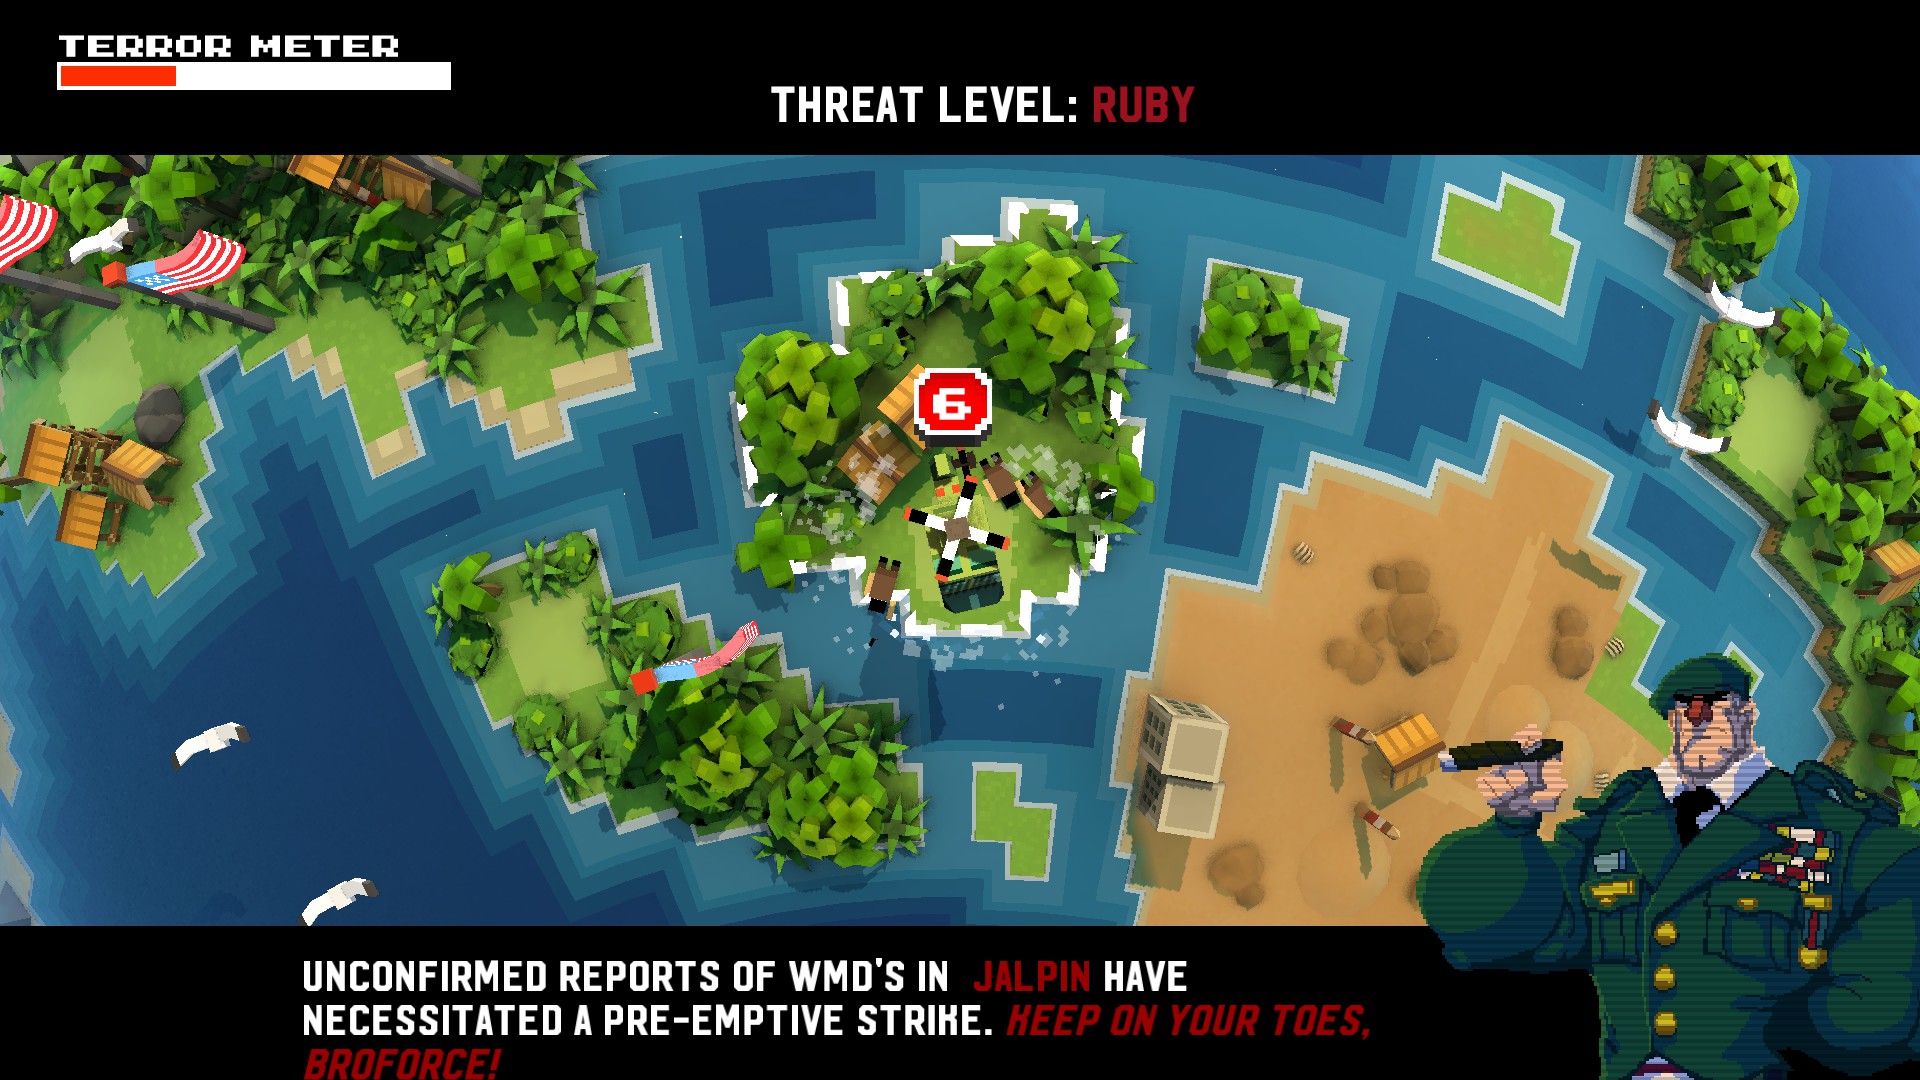
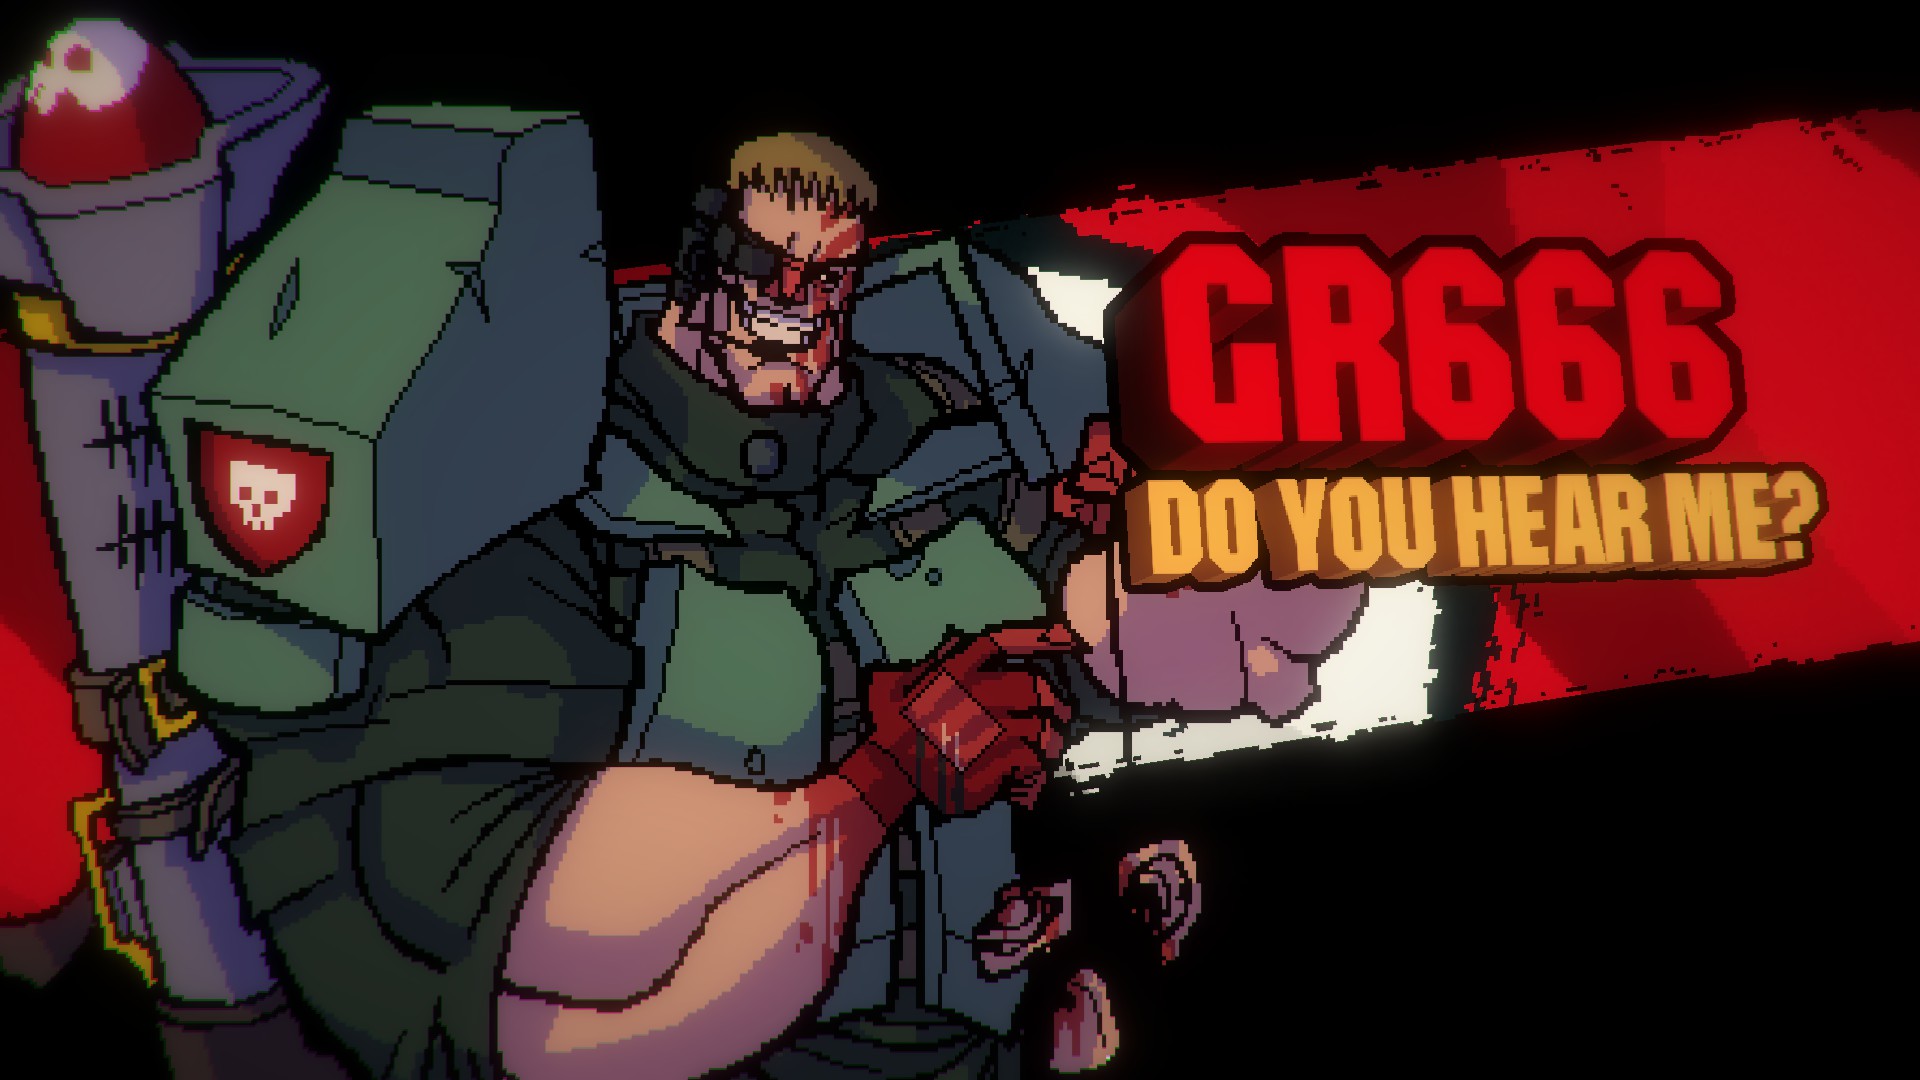 Direct Danger Level 5
Indirect Danger Level 0: Maybe 1 or 2 Mooks lying around. Often die from GR himself. GR666 is actually one of the easiest bosses that has been around since Alpha Broforce and before the Alien Update. While actually packing quite a lot of firepower (Rapid fire rocket launcher, grenades, super smash jump, and air strikes), because of a commonly known method for defeating him almost nobody dies to him anymore.
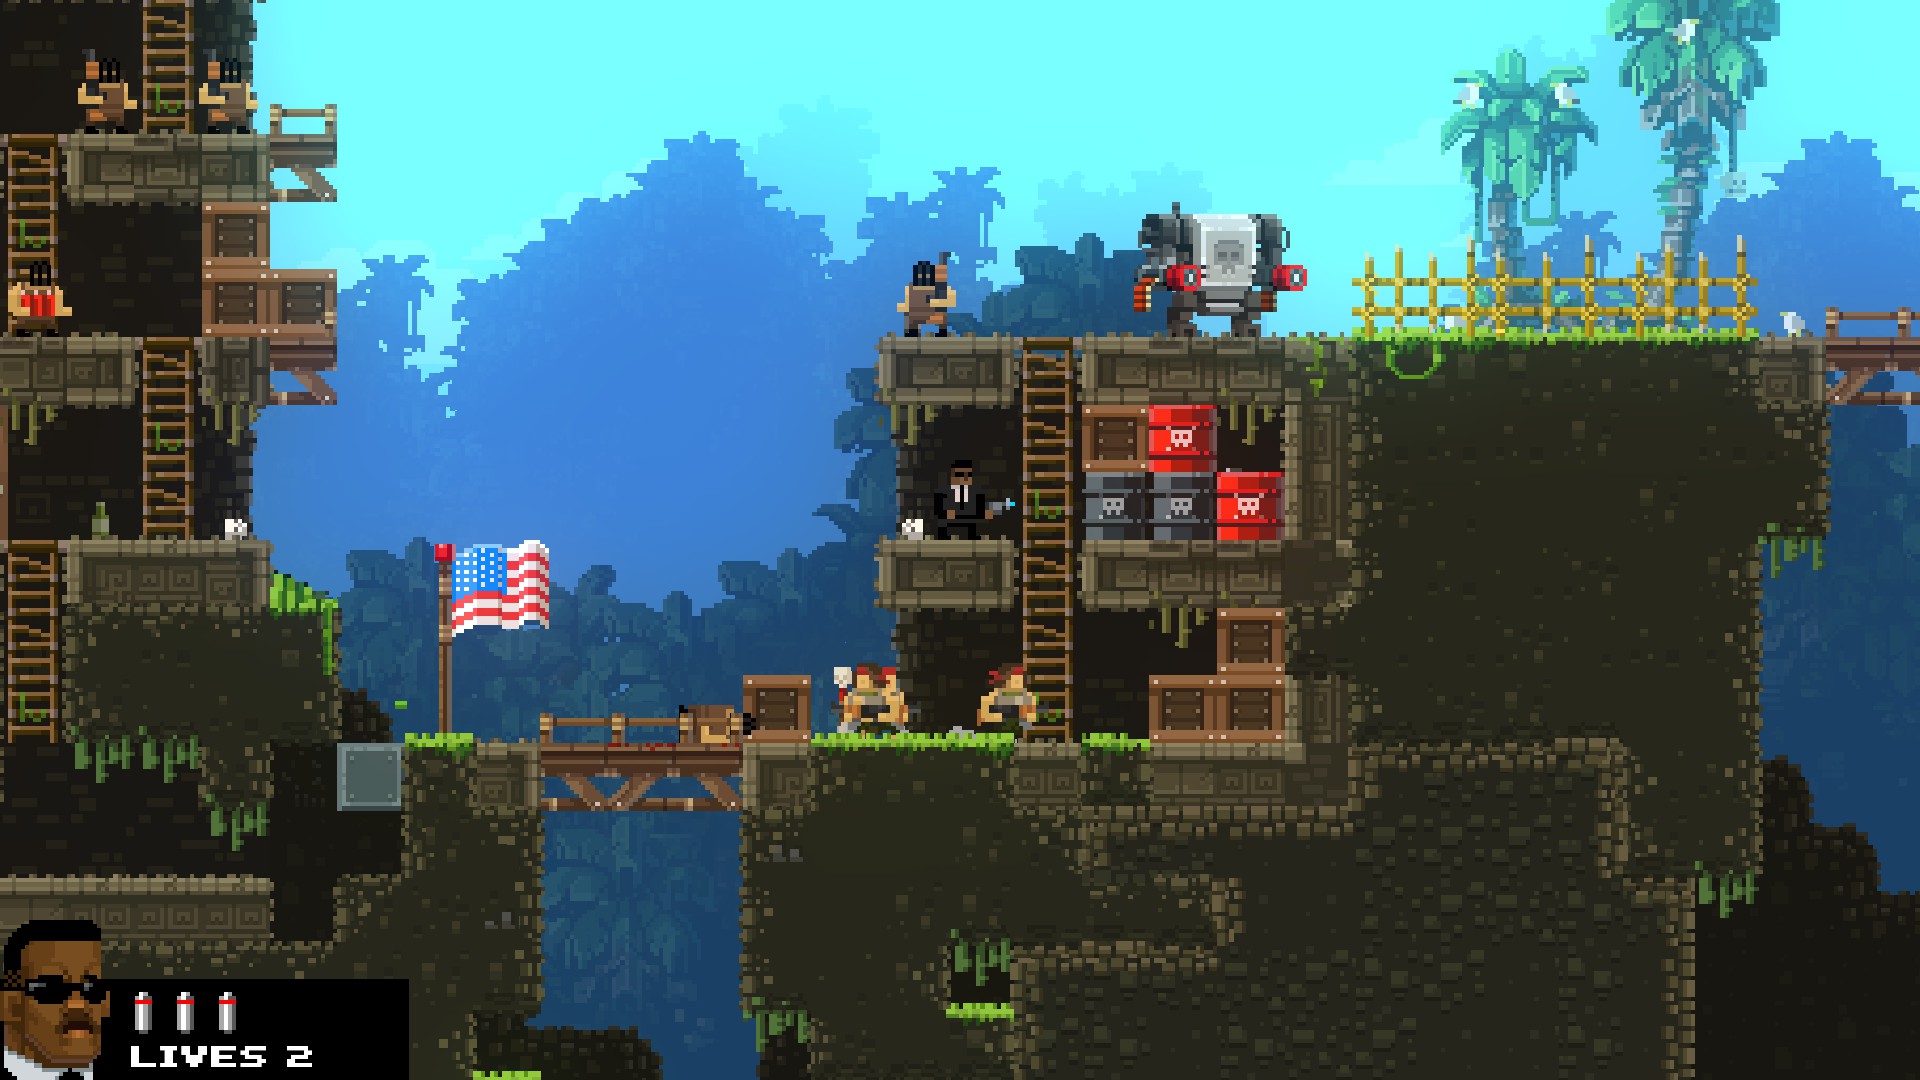 This method uses the Super Mook found in this area shown in the picture to the left. Grab the armor, fly to the start of the boss fight, then just let it rip man. None of GR's attacks can penetrate the armor, and while he will of course get back up again once you "kill" him, you can still knock him down in almost 3 seconds, then blast his body away with the twin miniguns. Remember to grab ammo refill packs from USA flag boxes to refuel your Super Mook armor's jetpack. Keep shooting him to the right until he eventually falls off the cliff at the end (Or in some cases jumps off it himself). Easy boss fight.
The Ironbro Campaign: Zone 7
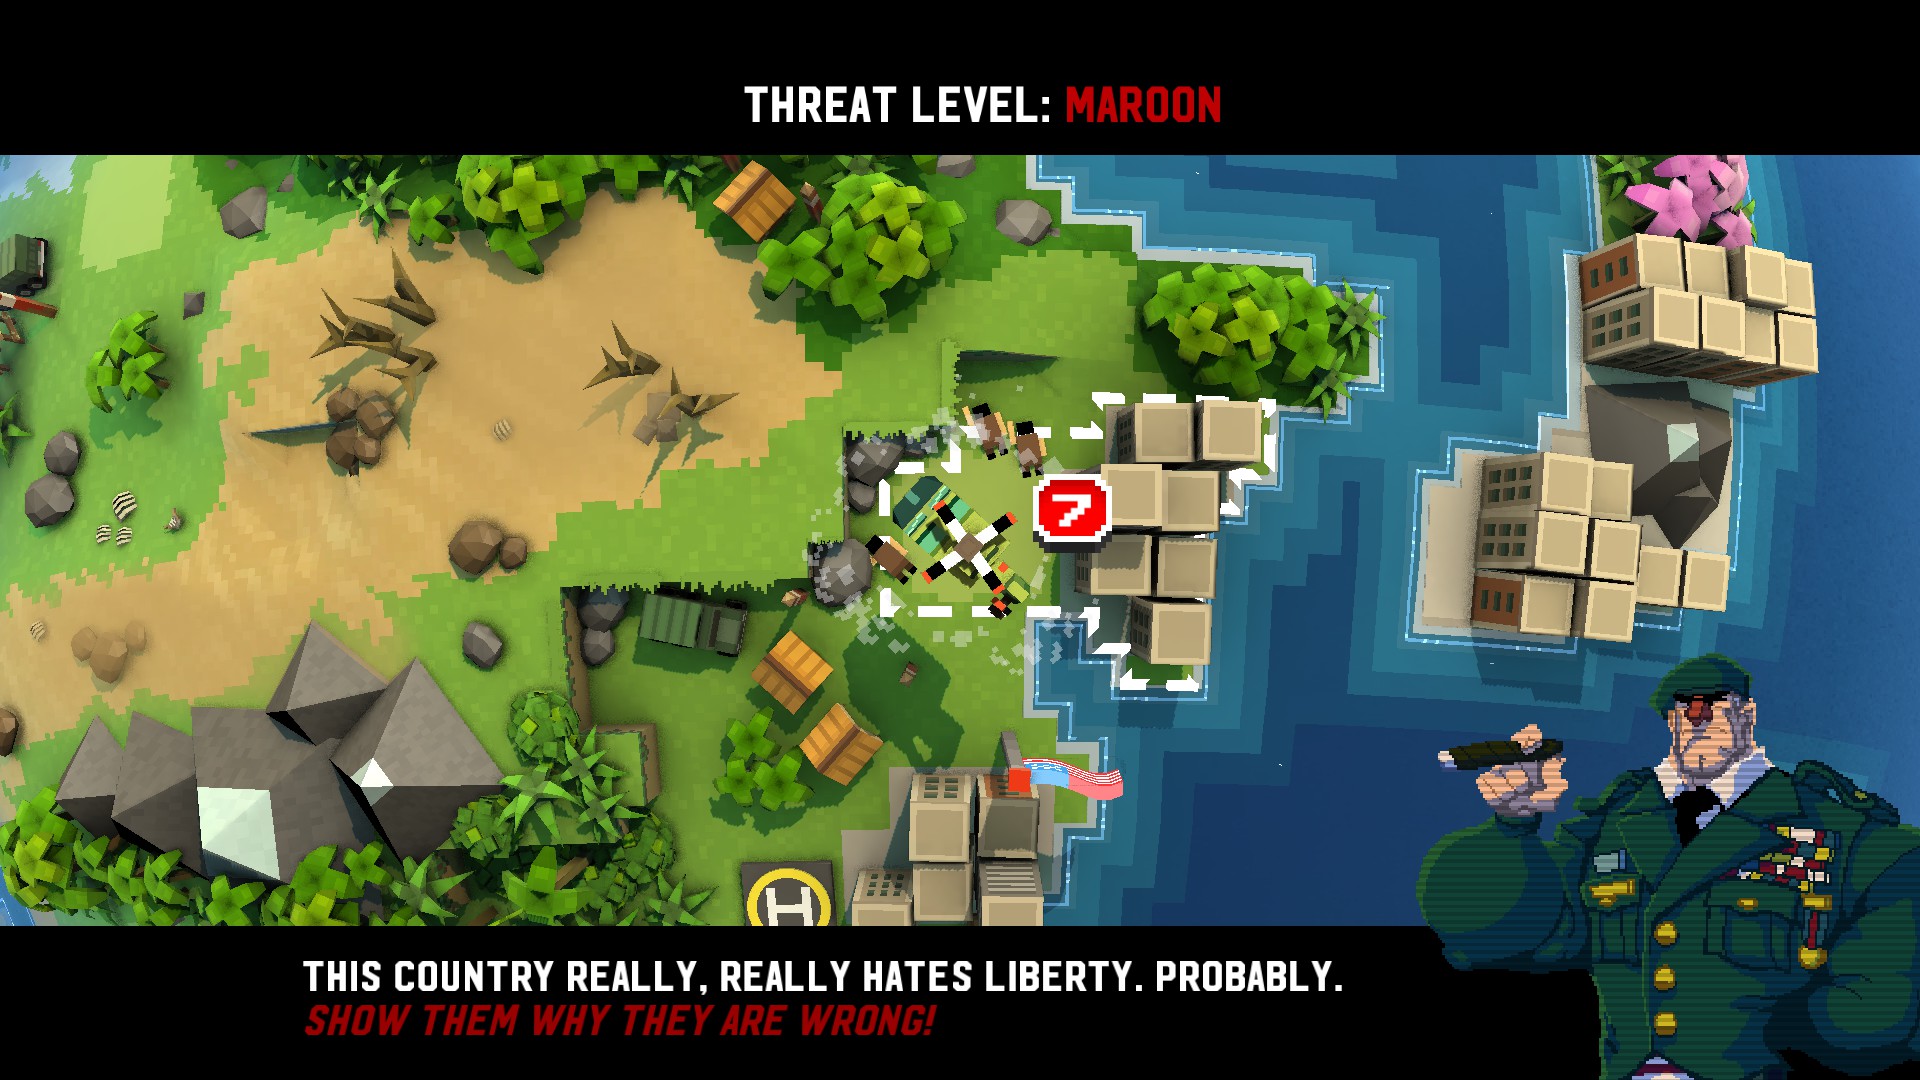
 Direct Danger Level 7
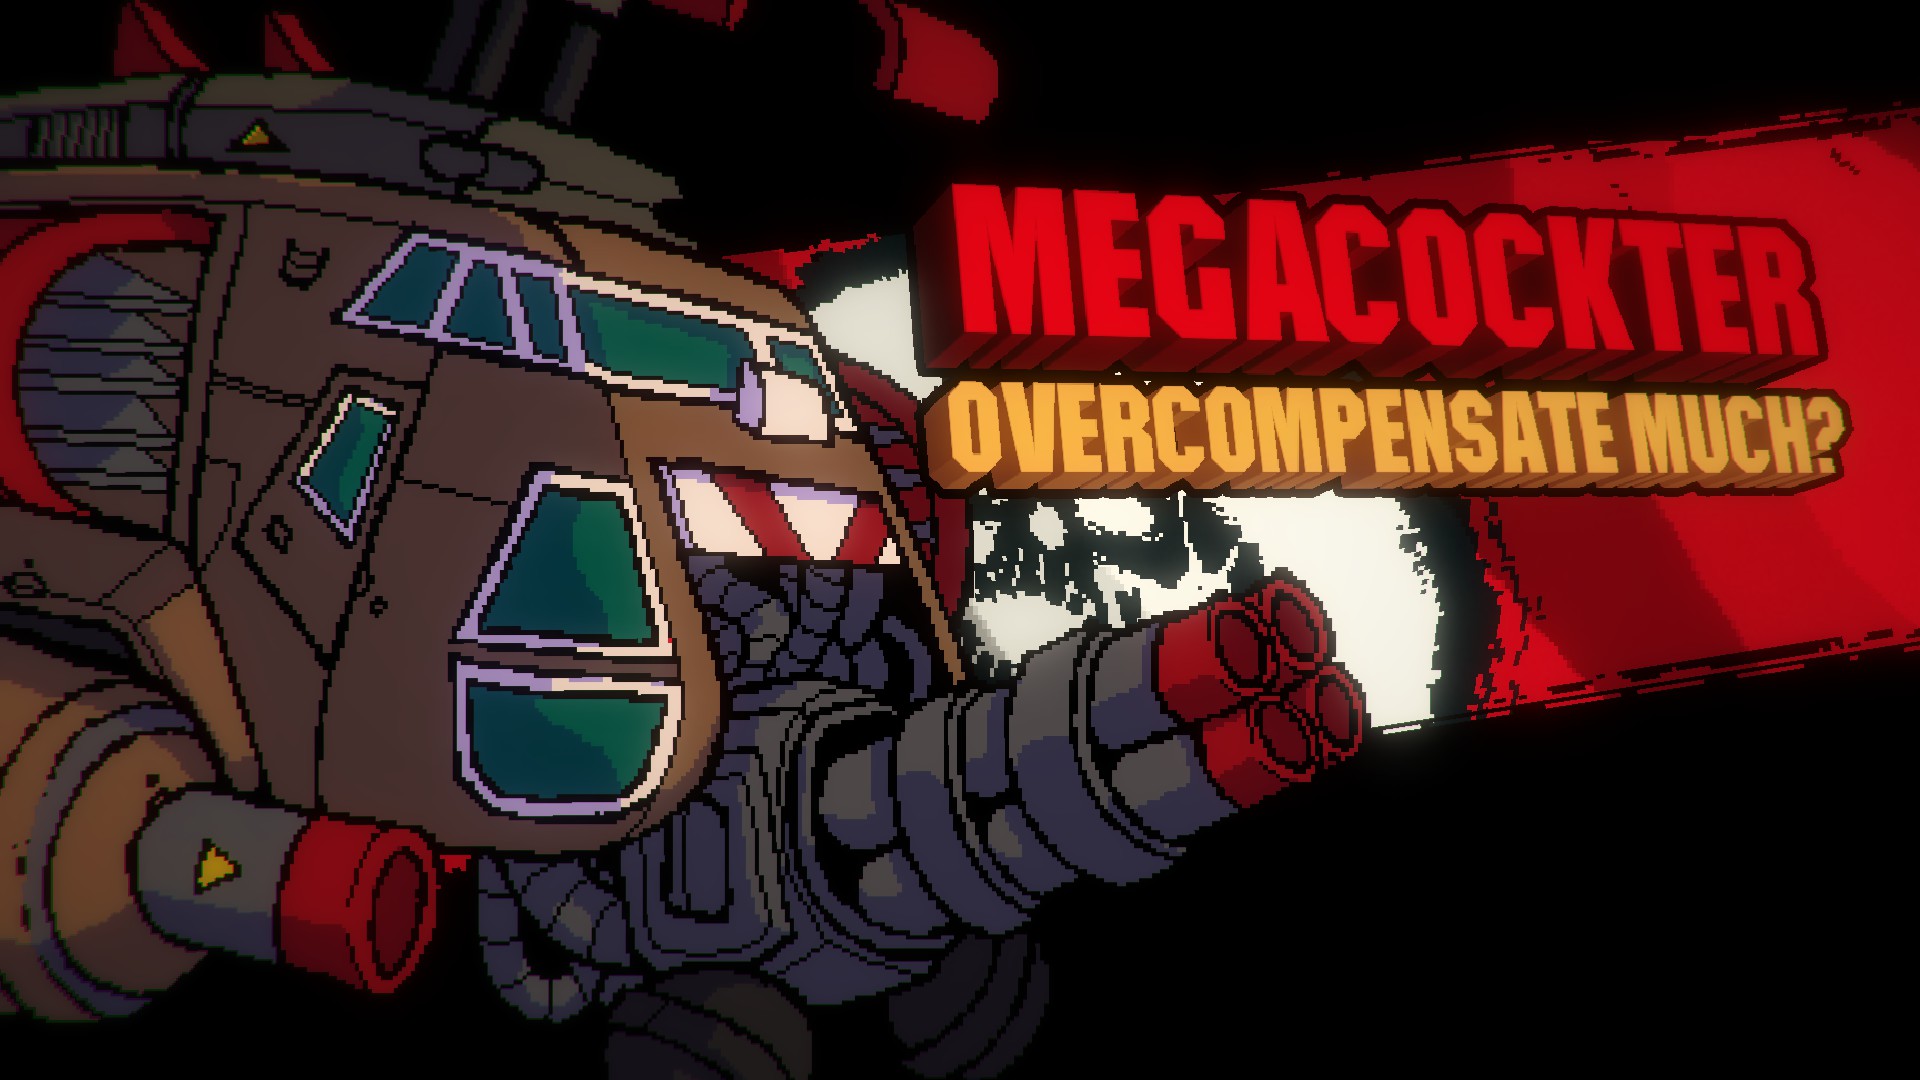
Indirect Danger Level 9: Between the bottom of the map killing you, the amount of Mooks shooting at you that you can't see, the lack of maneuvering room and K Mooks, the second part of the boss battle becomes the most deadly part of the entire game. The Megacockter battle is separated into two parts:
First Part
To begin, Cockter drops down from the sky and starts shooting up the building you just entered. This part is really simple: First, before you enter the building Restart Shuffle until you find a bro that you don't mind dying (Do NOT choose MacBrover or Cherry Broling, as they WILL die and get you nowhere in this battle.) Run up the building as fast as you can, ignoring all the Mooks in your path and grab the zipline at the top.
Second Part
This part is where things get very annoying. To begin with, if there is a K Mook on the roof across from you, destroy the box blocking its view of you and let it run to its death before the Cockter starts dropping bombs. Jump over to that roof and wait until the front of the Cockter gets just right in front of the propane tank before shooting it and running to the next one. Remember to use propane tanks on the second floor too, but do NOT GO DOWN PAST THE SECOND FLOOR. Due to a map edge glitch going on the third floor CAN be treated as the bottom of the map and may kill you, not to mention it's almost impossible to see yourself. Stay on the roof and 2nd floor. Ignore any Shielded Mooks and focus on the propane tanks and timing them. Don't just shoot them and hope for the best, try to line up your shots before you fire them off. Don't take down your guard though, and make sure there aren't any normal Mooks that have a clear bead on you. After about 5 propane tanks or so the Cockter will enter an explosion cutscene of sorts. YOU CAN STILL DIE AND LOSE A LIFE HERE, SO DO NOT MOVE A MUSCLE. Wait until the animation is done and the level beaten screen shows up before continuing.
The Ironbro Campaign: Zone 8
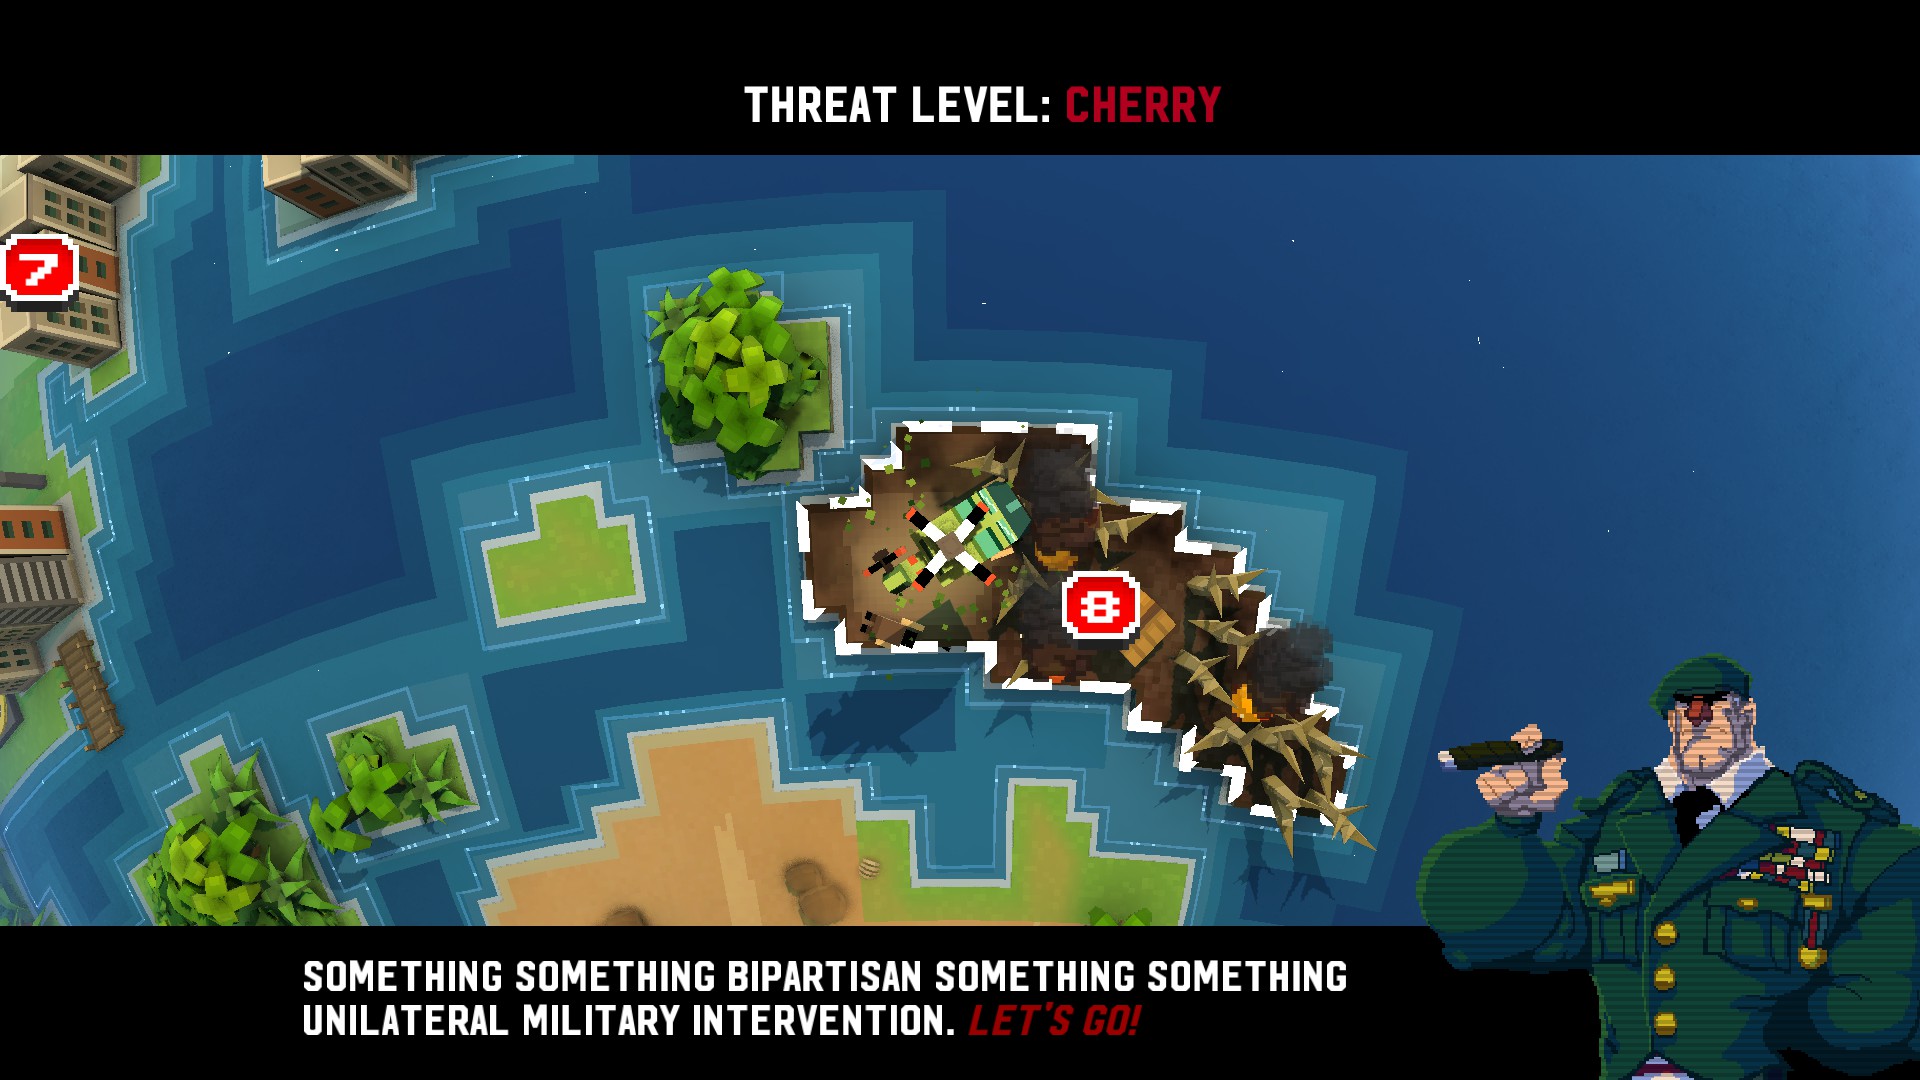
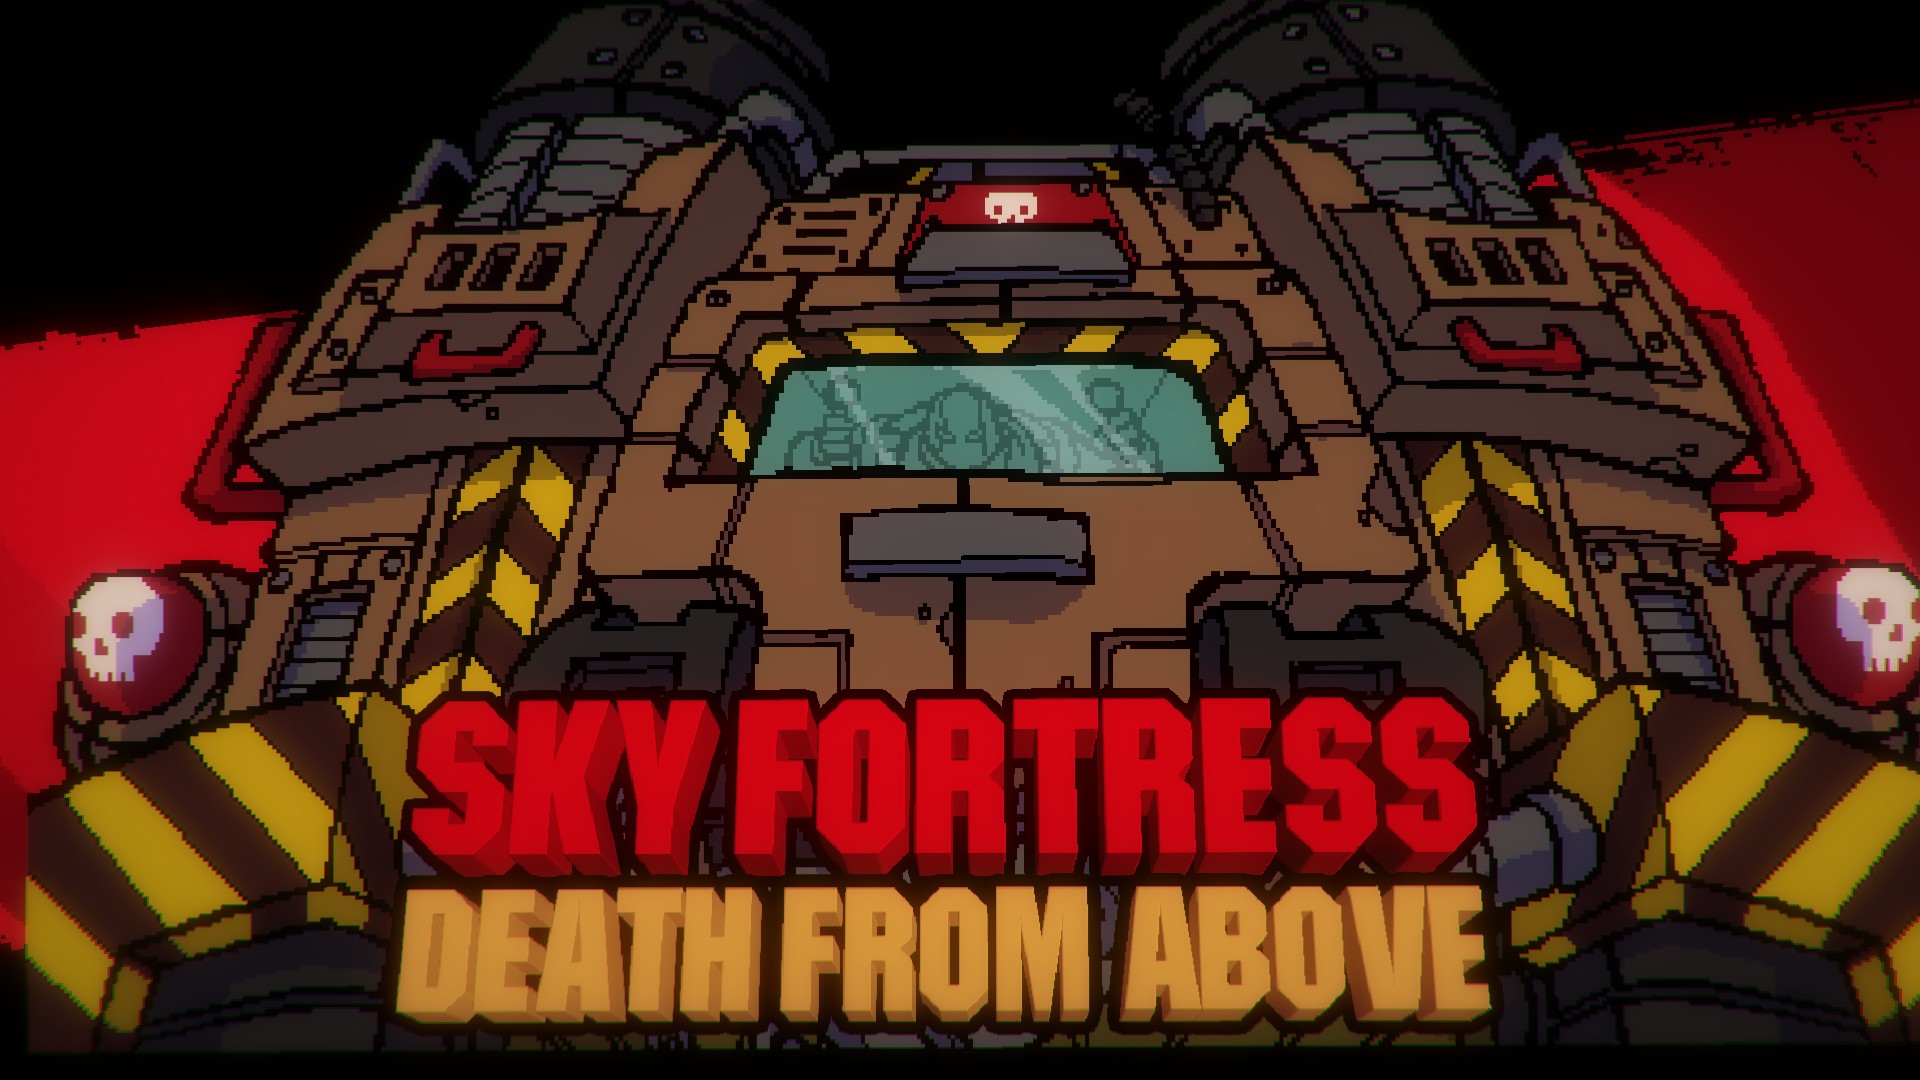 Direct Danger Level 8
Indirect Danger Level 4: Occasional Mooks lying around, after it loses its two rocket sides it will start throwing Mooks, particularly K Mooks out of the top of it, causing some problems.
What better way to finish off a zone with too many explosives than by adding MORE explosives.
The Sky Fortress is relatively easy to kill, but you need a high ROF Bro, like Brade or Ellen Ripbro. Just as the cutscene ends, haul butt over to the Fortress and climb onto the left tread, pressing yourself against the wall. This is to prevent the Fortress from shooting the three APOCALYPTICALLY sized rockets at you that you really just do not want to deal with. If you see the left wall open to reveal the cannon, immediately restart the map as this means you didn't move fast enough and are about to get 10 megatons of explosive force point blank into your face. Once against the wall on top of the left treadmill, shoot as fast as you can until the left wall is destroyed. Climb over to the right wall (Even if the Fortress is currently flying) and do the same to that side, making sure that you are right up against the wall to prevent it from firing the big bombshells. Once both walls are destroyed, the next time it touches the ground, hop off the Fortress as it will shed the two broken walls and go solo with the middle of the Fortress. Before it takes off again, hop on to the side of it and grab on. Do not let go if you can help it, as without the two walls the Fortress progresses to the right much faster and ever catching it again can pose a serious risk from all the Mooks it shoots out. Once you are latched onto the side, shoot as fast as you can again until the Fortress hits 0 health. When it starts to play its death animation, climb on top and stay there until the level ends to prevent being shot by a random Mook on the ground while waiting for the fight to finish.
The Ironbro Campaign: Zone 9
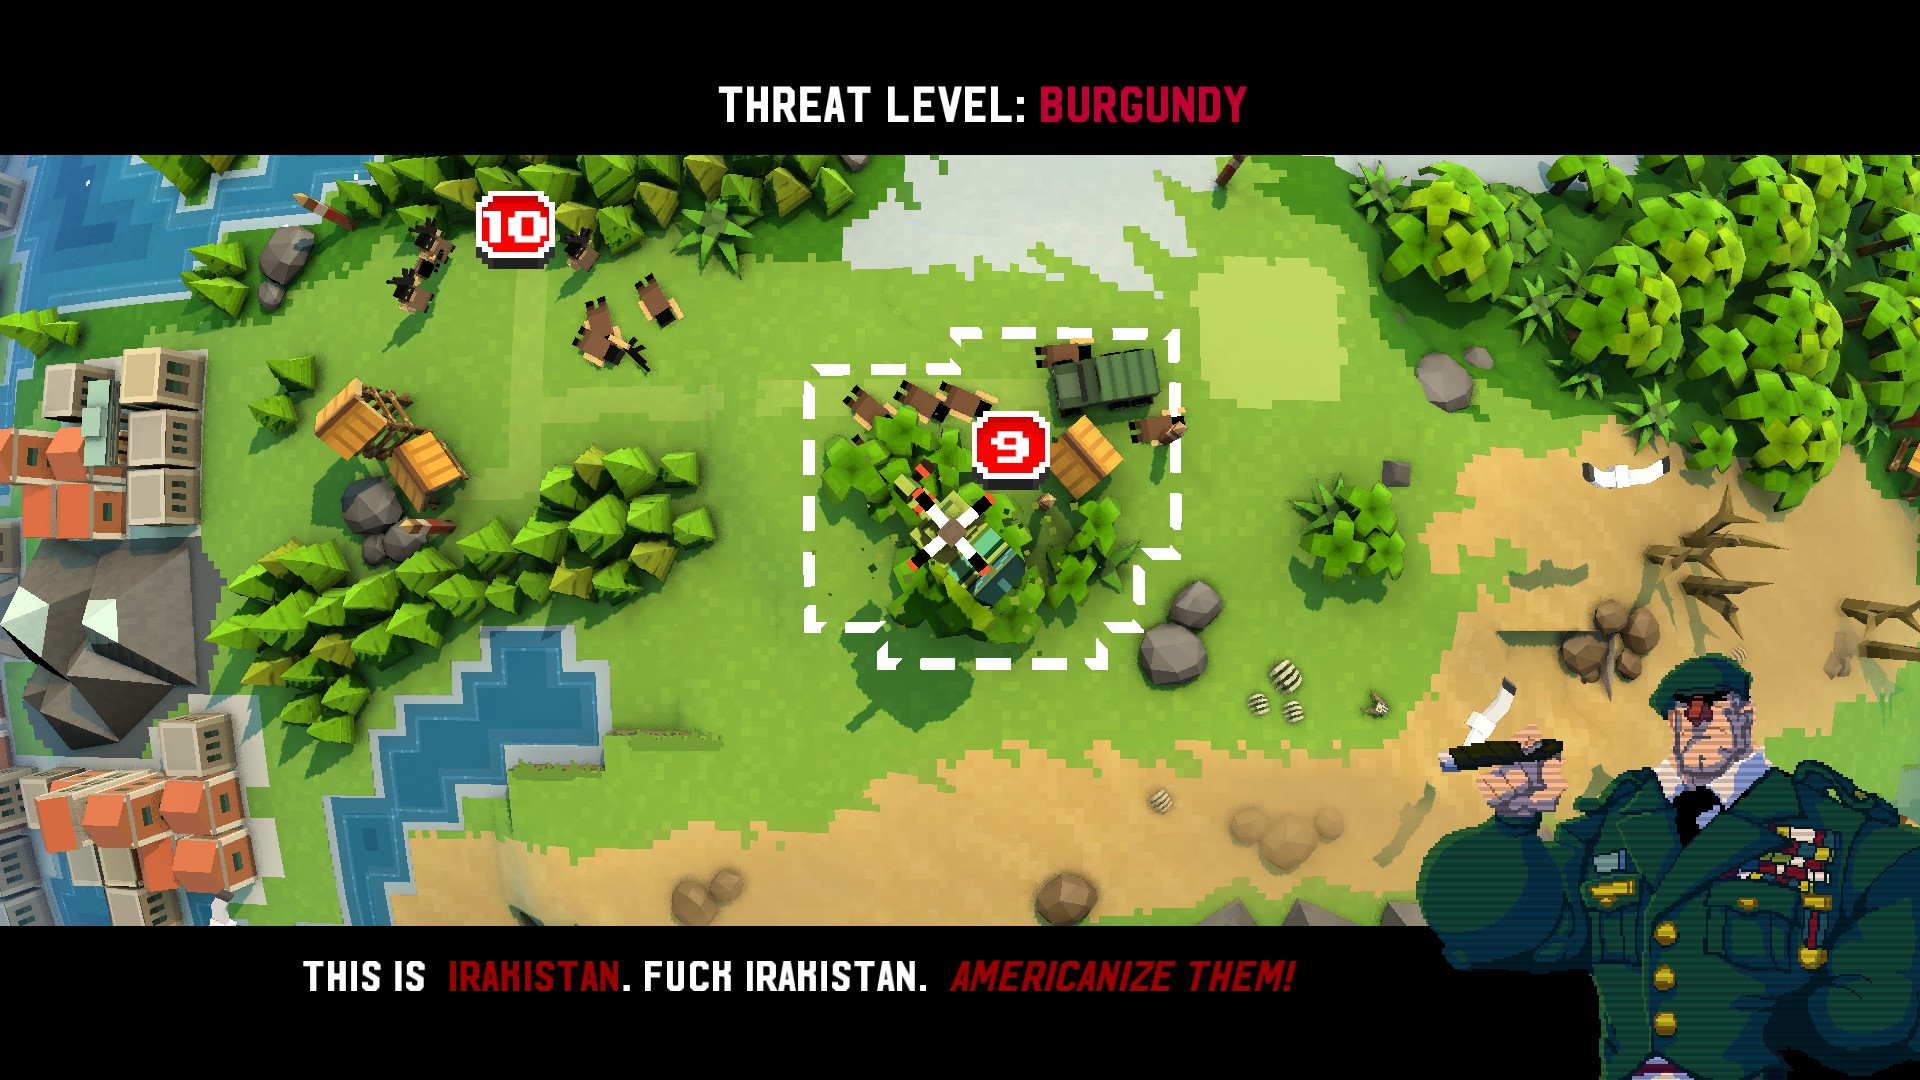
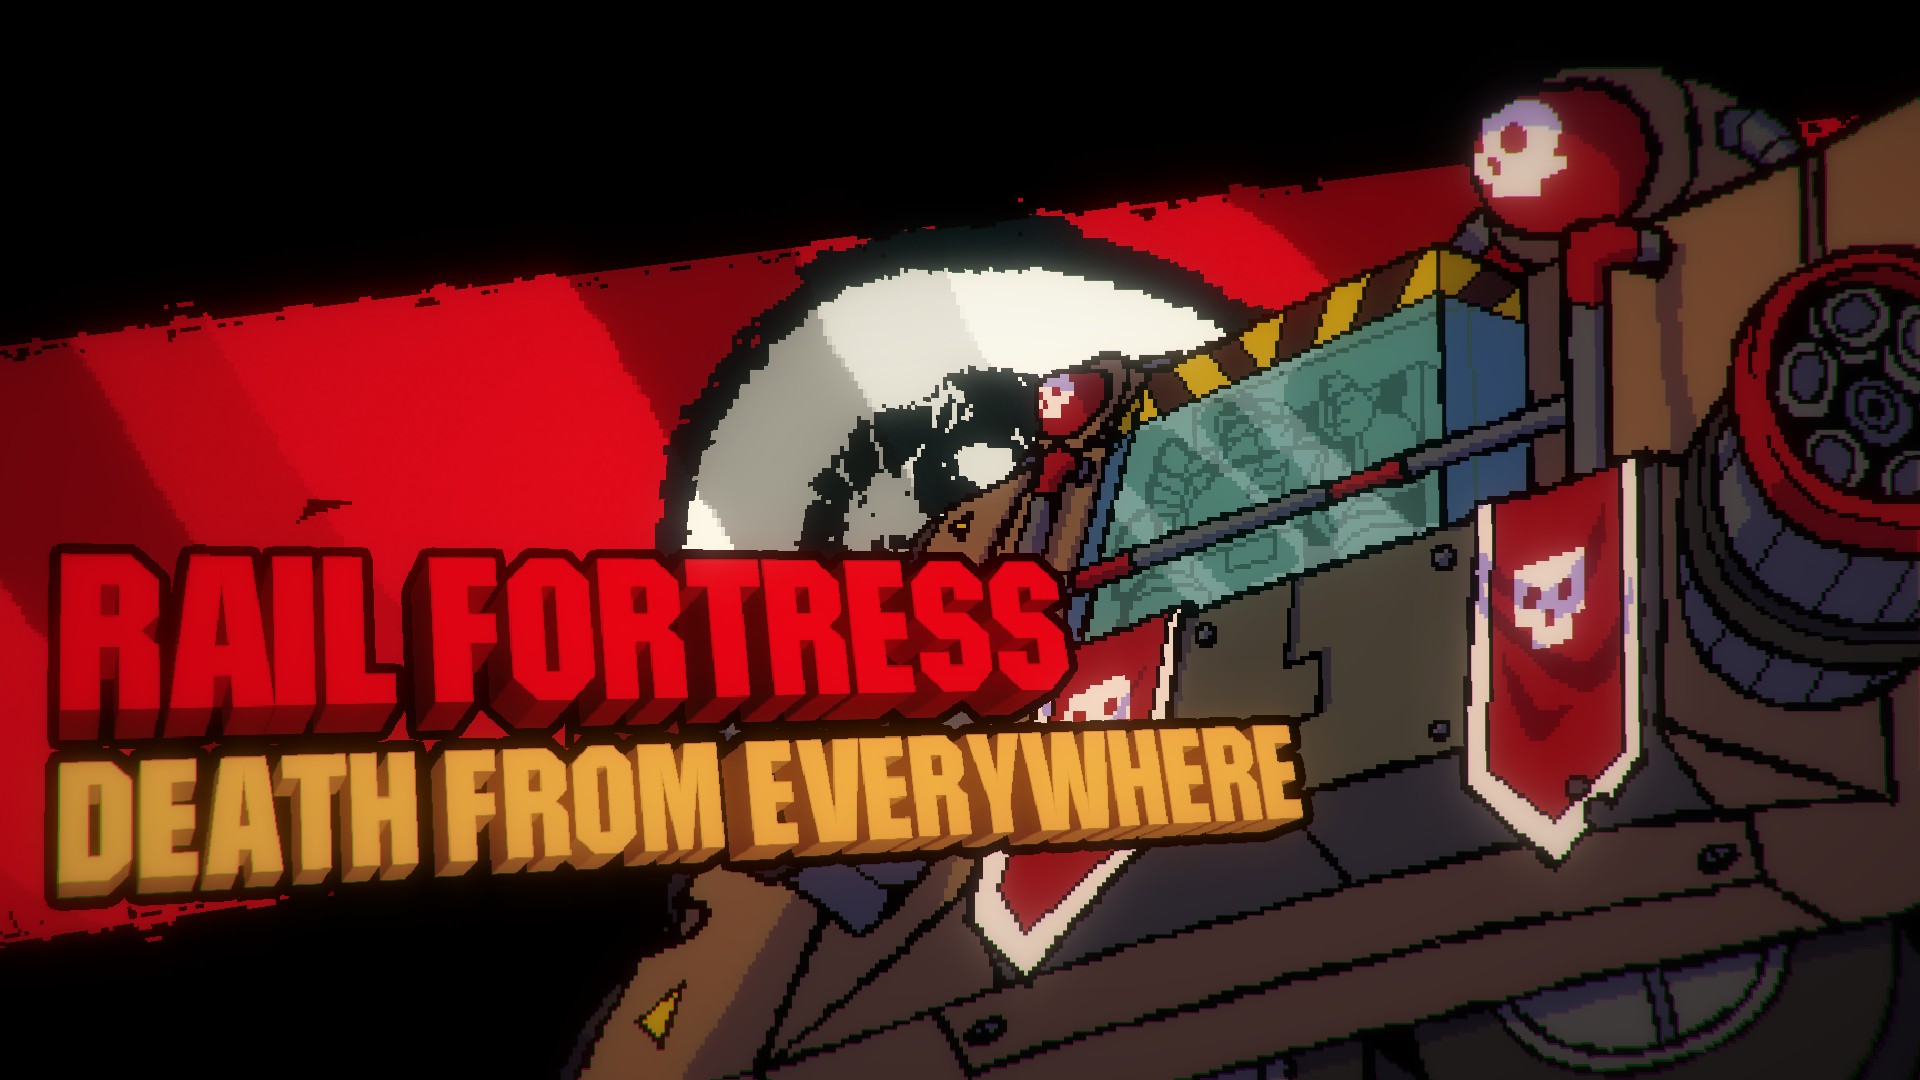 Direct Danger Level 3
Indirect Danger Level 10: Between the tons of Mooks, Sawblades, Explosive Barrels and general other crap caused by the missiles from the Fortress, simply climbing up a single story can kill a player.
Normally this would be a grueling uphill battle until you finally manage to catch up and kill the Fortress. Thankfully, there is a much easier solution.
Requires Bro Dredd
Restart Shuffle until you have Bro Dredd. Get to about the point where the cutscene plays, then don't go any higher. Use Dredd's special (Make sure you aren't facing a wall, numnuts.) and guide the rocket into one of the WALLS of the Fortress. Not the ceiling or floor, but the wall. After the hole is made, guide another missile THROUGH the hole you created and destroy the screen in the Fortress. Boom. Boss defeated with absolutely no effort or risk.
The Ironbro Campaign: Zone 10
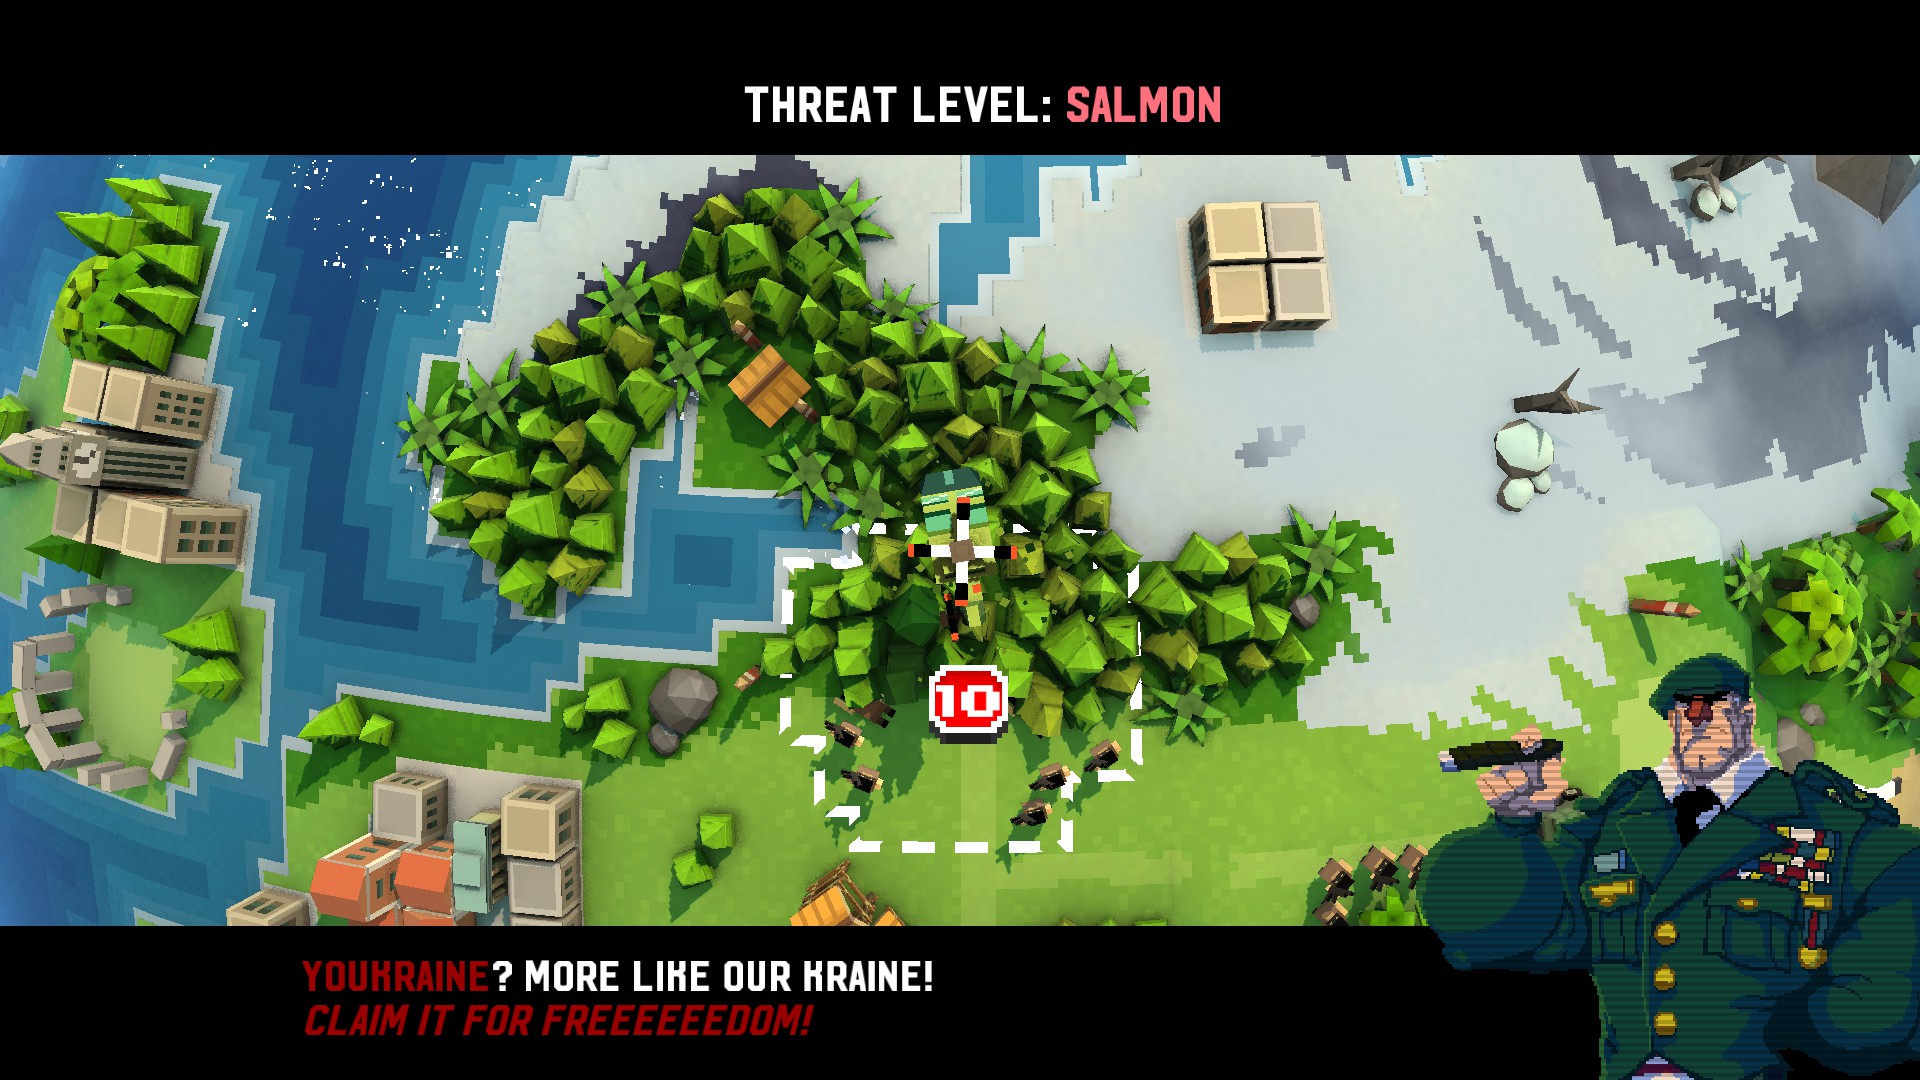
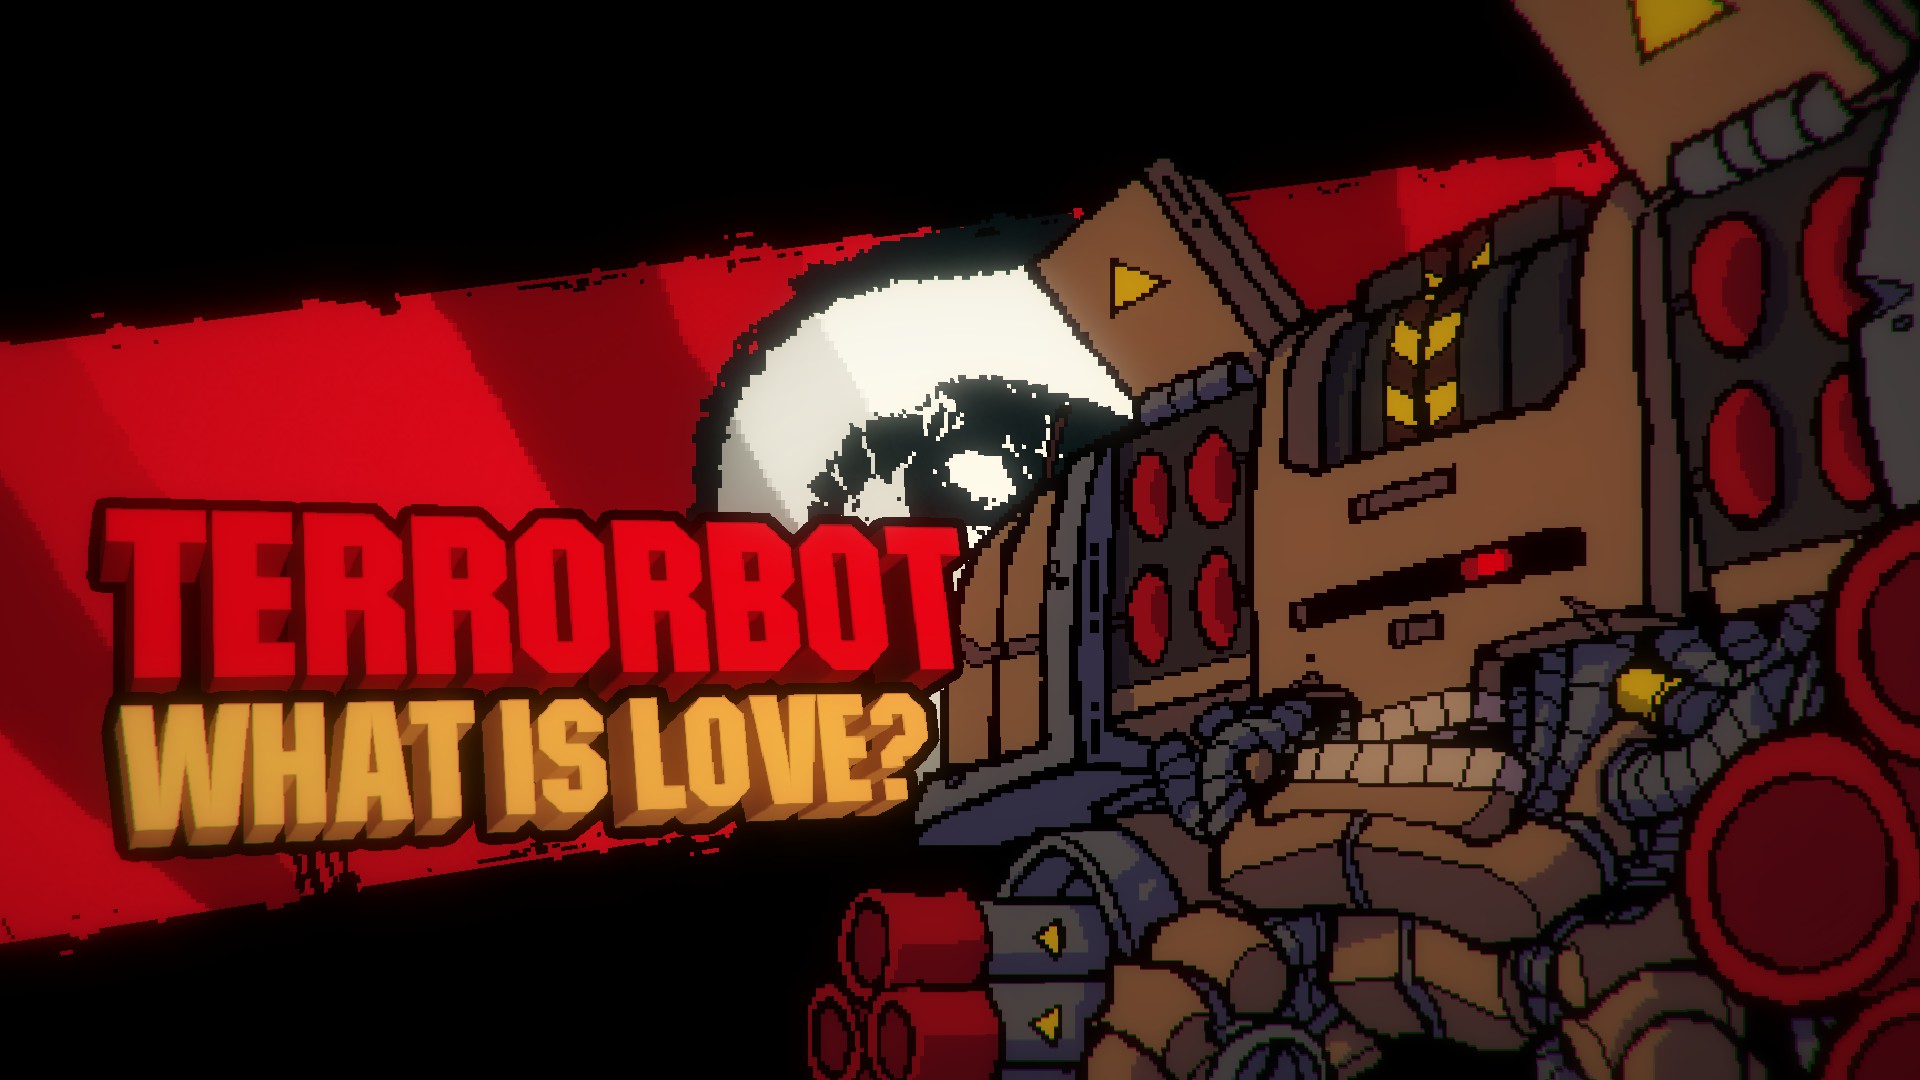
Direct Danger Level 8
Indirect Danger Level 7: Due to all the Sawblade dispensers lying around, as well as the assorted Mooks and explosive barrels, dying from the level itself is not an uncommon occurrence.
There are really two ways to do this. One is risky, the other is tedious and requires certain Bros to work.
Risky
The risky way to do this is to try and wait until it eventually stomps its way to the bottom of the map. You can help it along its way, but will also have to dodge missles, gunfire, grenades and air strikes.
Tedious
Requires either a Tunneler Bro (Ash or Brodell) or another high spread damage Bro like Brommando.
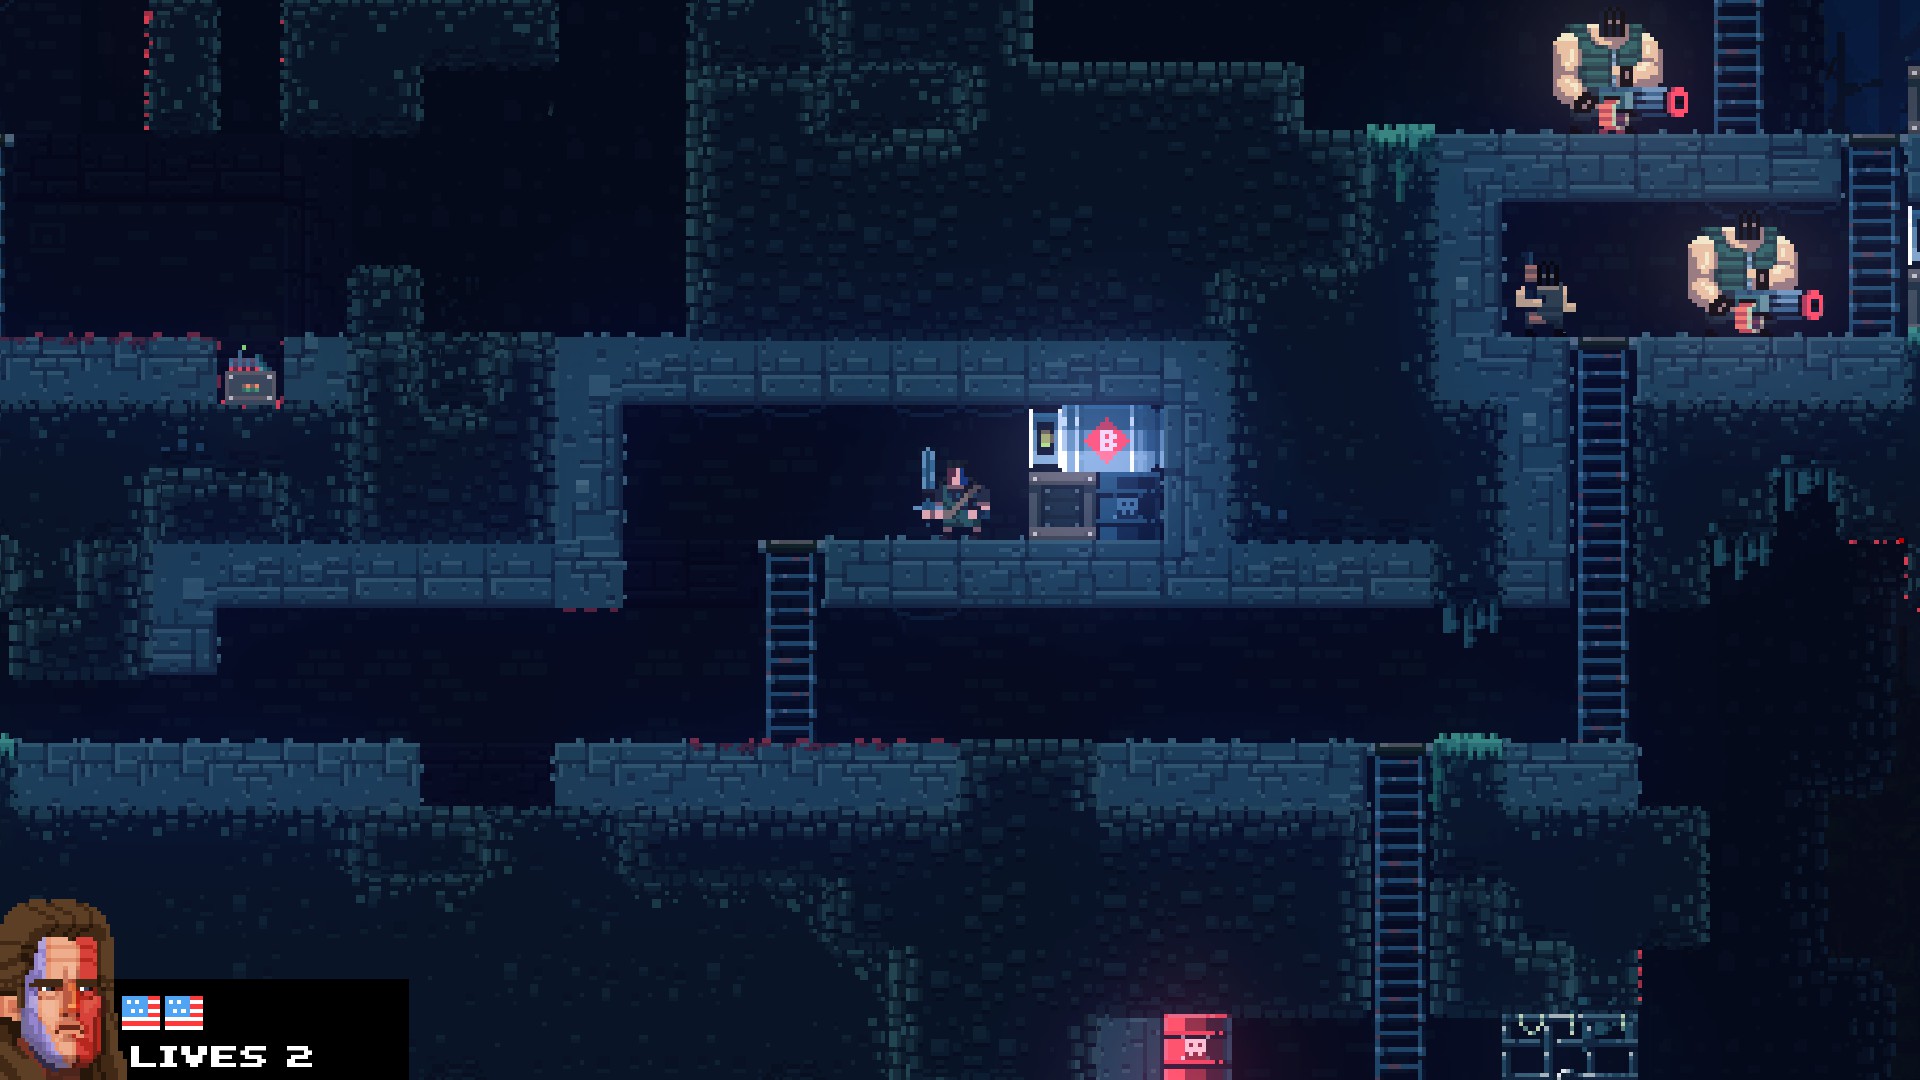 The tedious way starts here, in the picture to the right.
At around this area, you need to tunnel up to ALMOST the top of the map. DO NOT GO PAST THE 5TH TOP LAYER. IF YOU DO, YOU WILL ACTIVATE THE TERRORBOT. Once you do that, you need to tunnel down to ALMOST the bottom of the map. If you actually tunnel down to the bottom you risk falling in yourself. Once you do this, the entire middle of the map should be gone. Go up and activate the Terrorbot. Immediately after the cutscene, shoot out the ground from underneath the Terrorbot. If all goes well, it should fall straight down and smash through the bottom layer, dying instantly. If not, wait until it eventually slams down of its own accord and dies.
The Ironbro Campaign: Zone 11
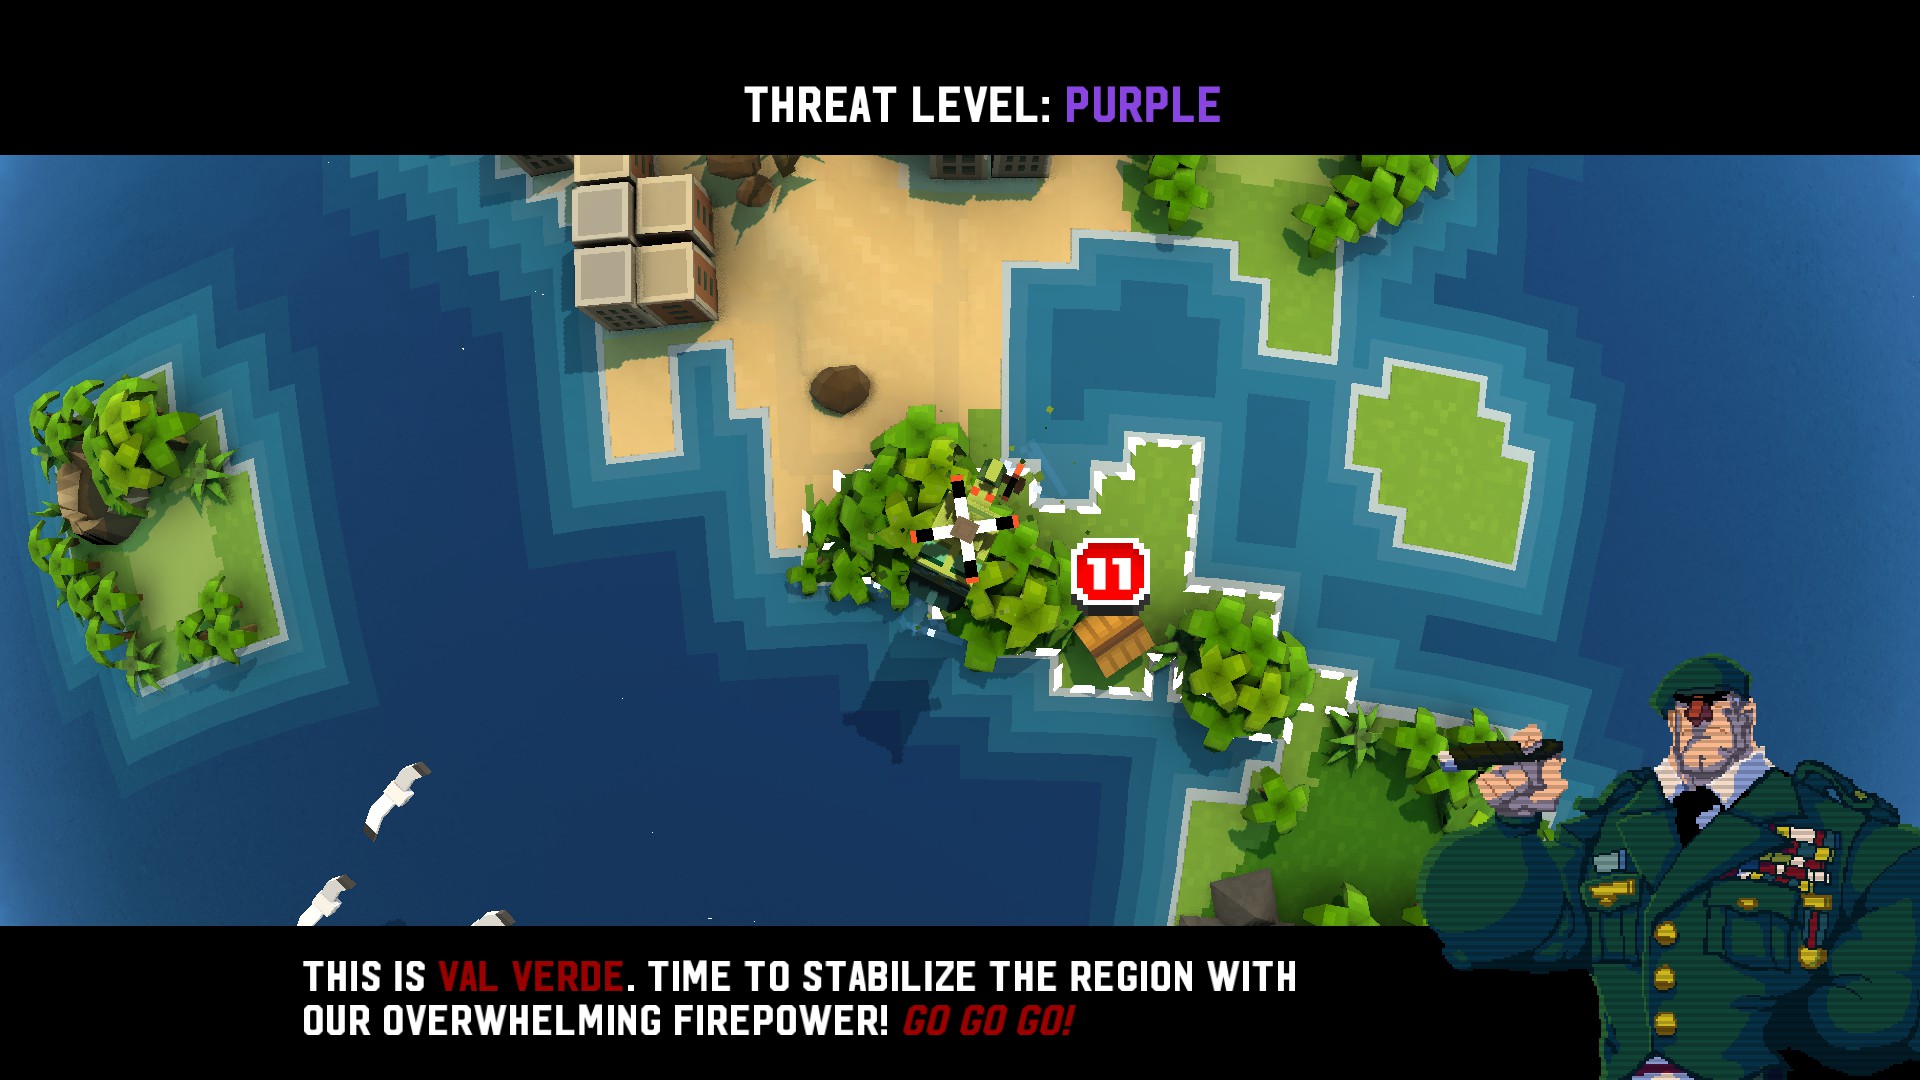
 Really, nothing more needs to be said here. Zone 11 is the introduction to my favorite enemies and levels in the game (Though not the easiest enemies and levels in the game). The aliens are a swarm based enemy, meaning you will likely never run into just 2 or 3 of them. Especially in Level 3 or 4 (Can't exactly remember and I am NOT going all the way back through campaign to find out) when there are almost ten of the f*ckers in a cave after a drop down from a hill. Here's my advice for that part: Save yourself the trouble and just run. It also introduces headcrabs, which aren't much of a threat unless you make the stupid mistake of walking under them.
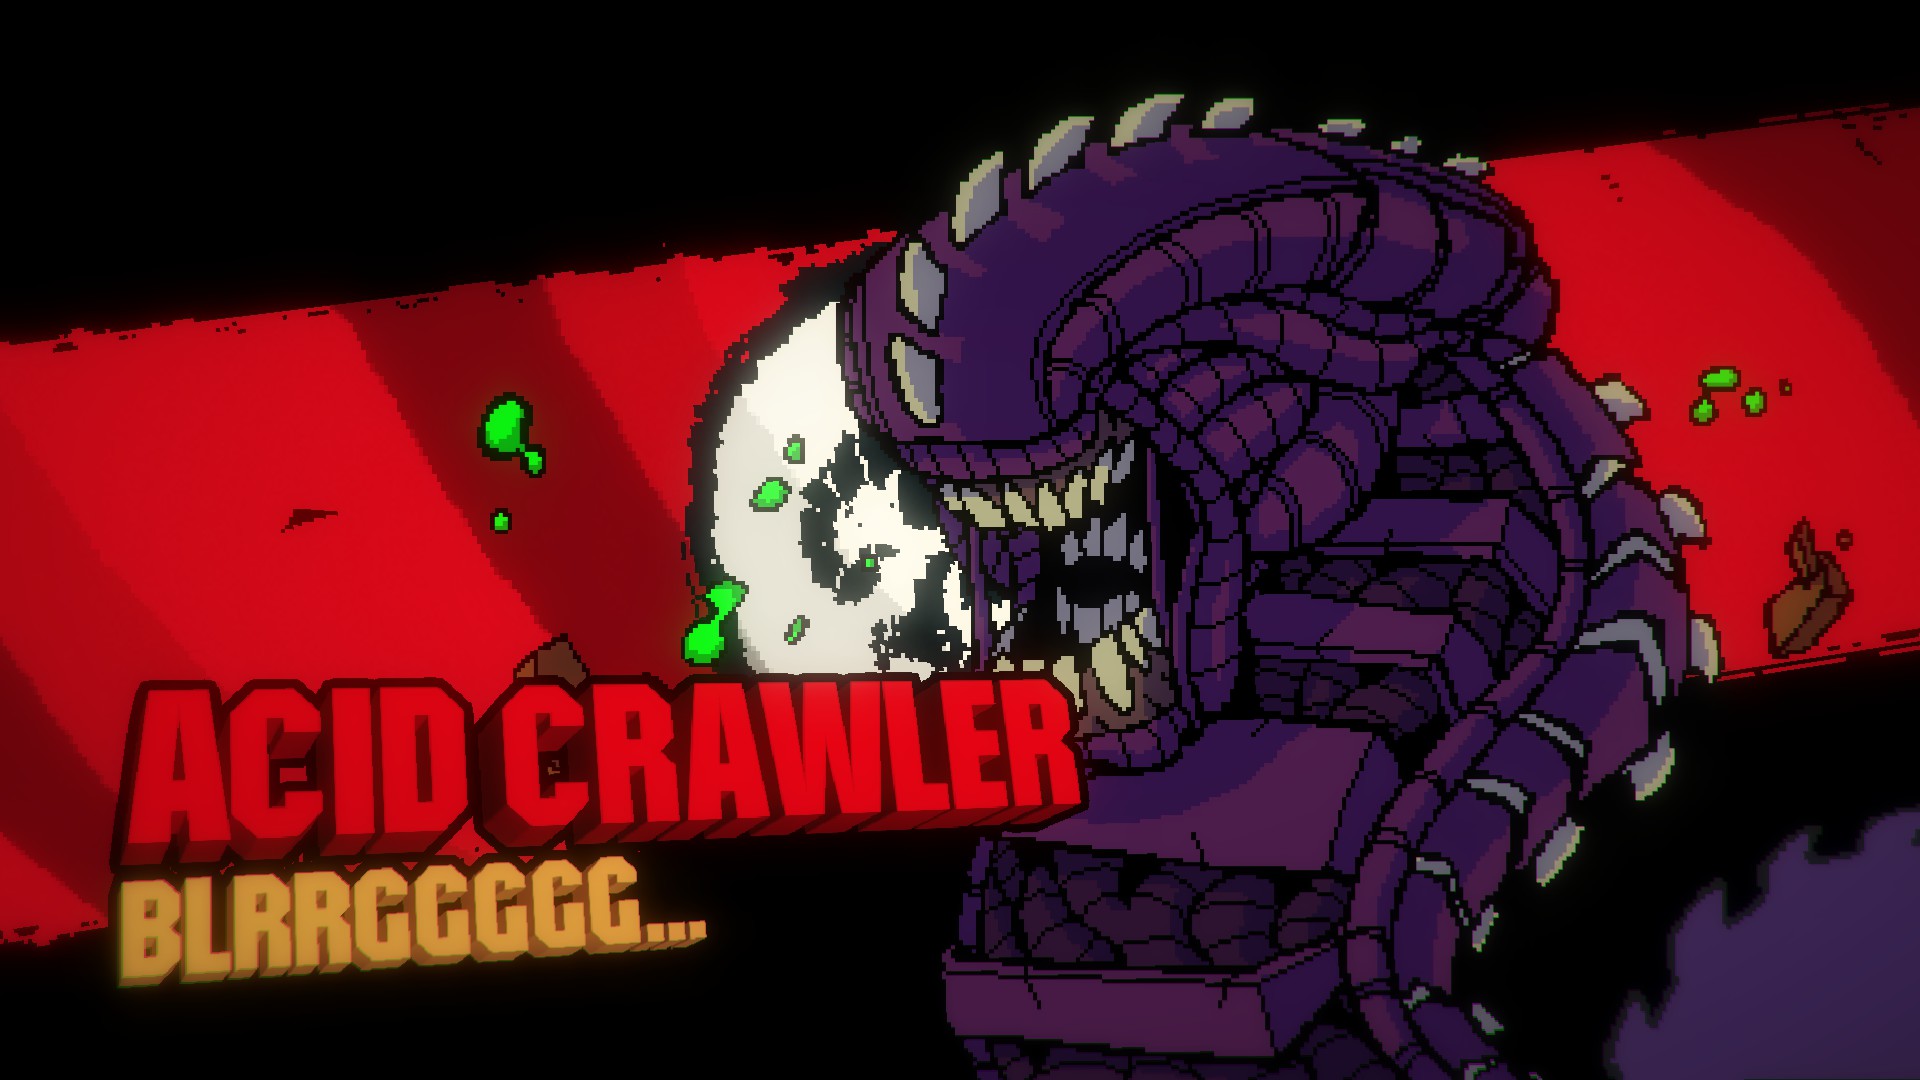 Direct Danger Level 6
Indirect Danger Level 0: Nothing else in this area except the boss. The Acid Crawler is a bit like the Bruisers back in Zone 1. It's just a buffed up version of an enemy that will appear about 2 more times throughout the alien zones. The trick to beating him is simple. Tunnel down like in the picture down below and shoot him until he dies. Make sure there are at least 4 blocks between him and you, or else the acid might eventually burn through to you.
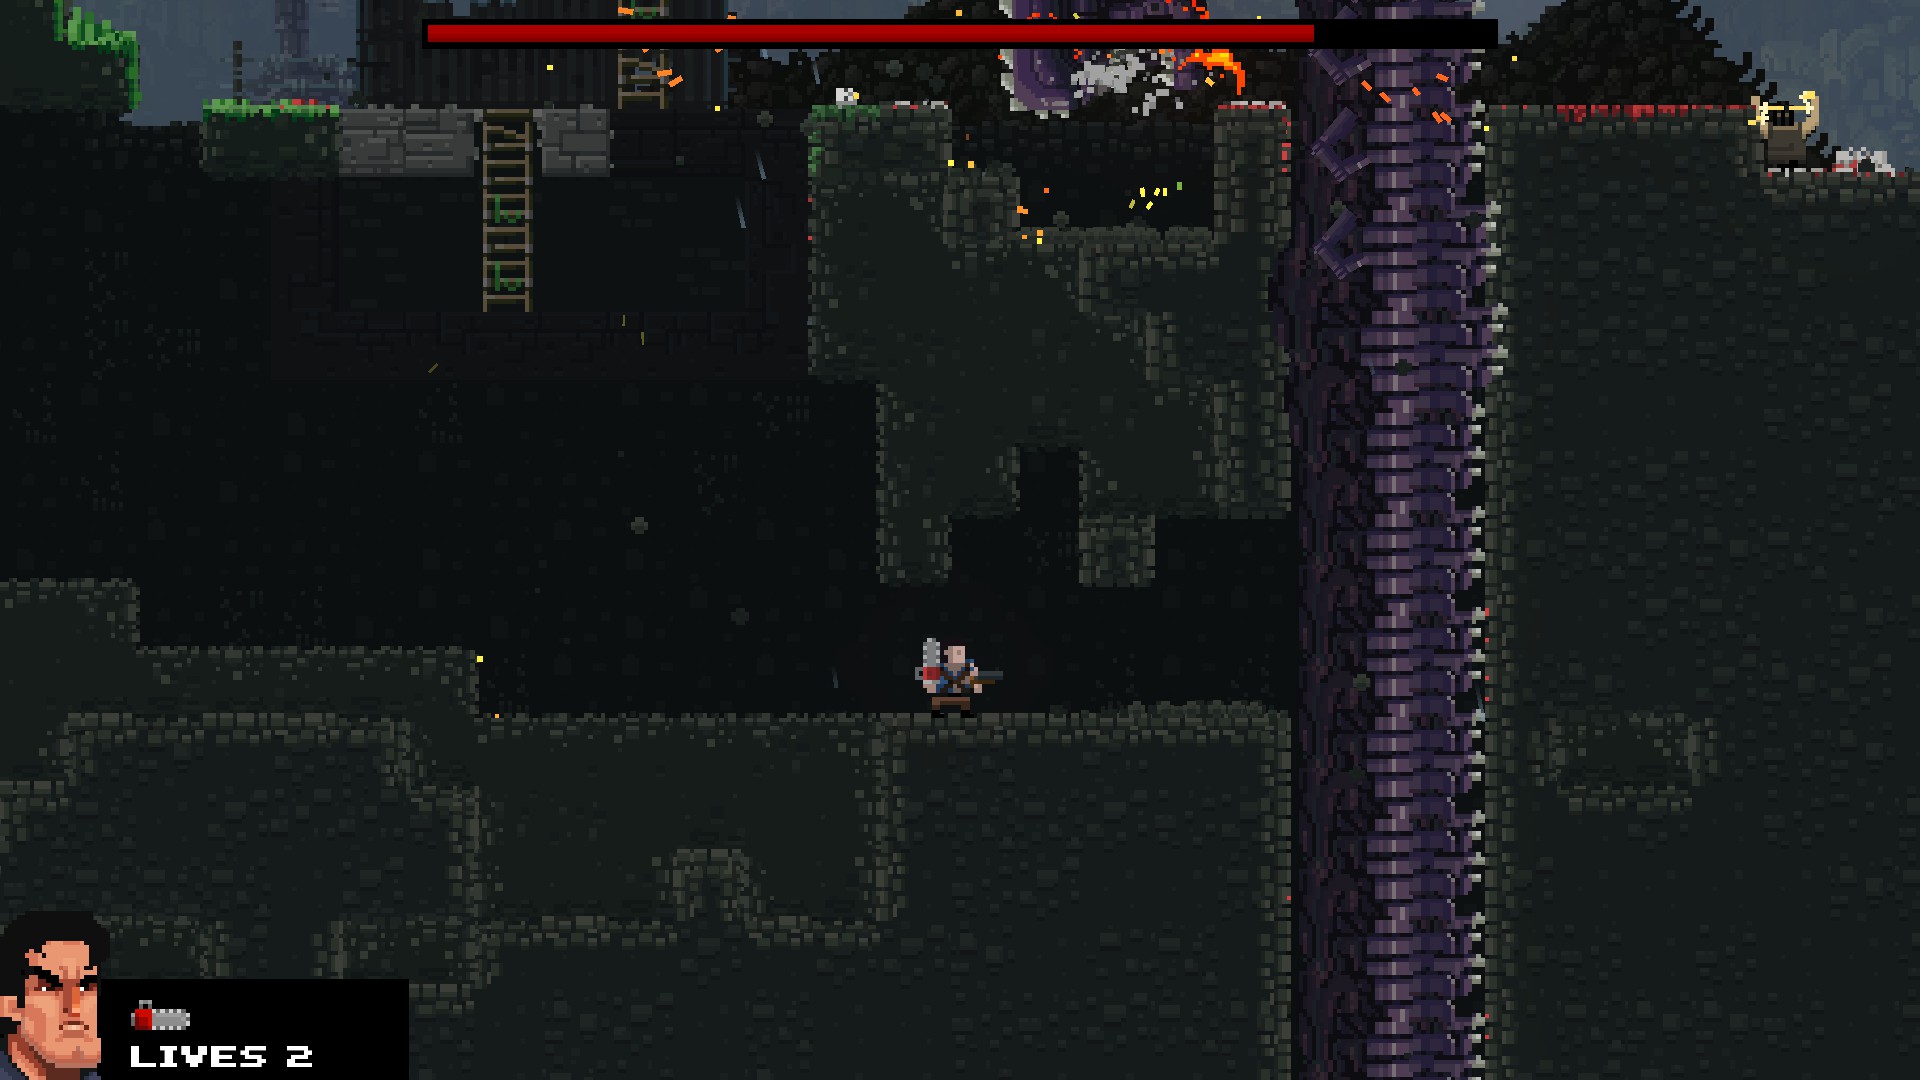
The Ironbro Campaign: Zone 12
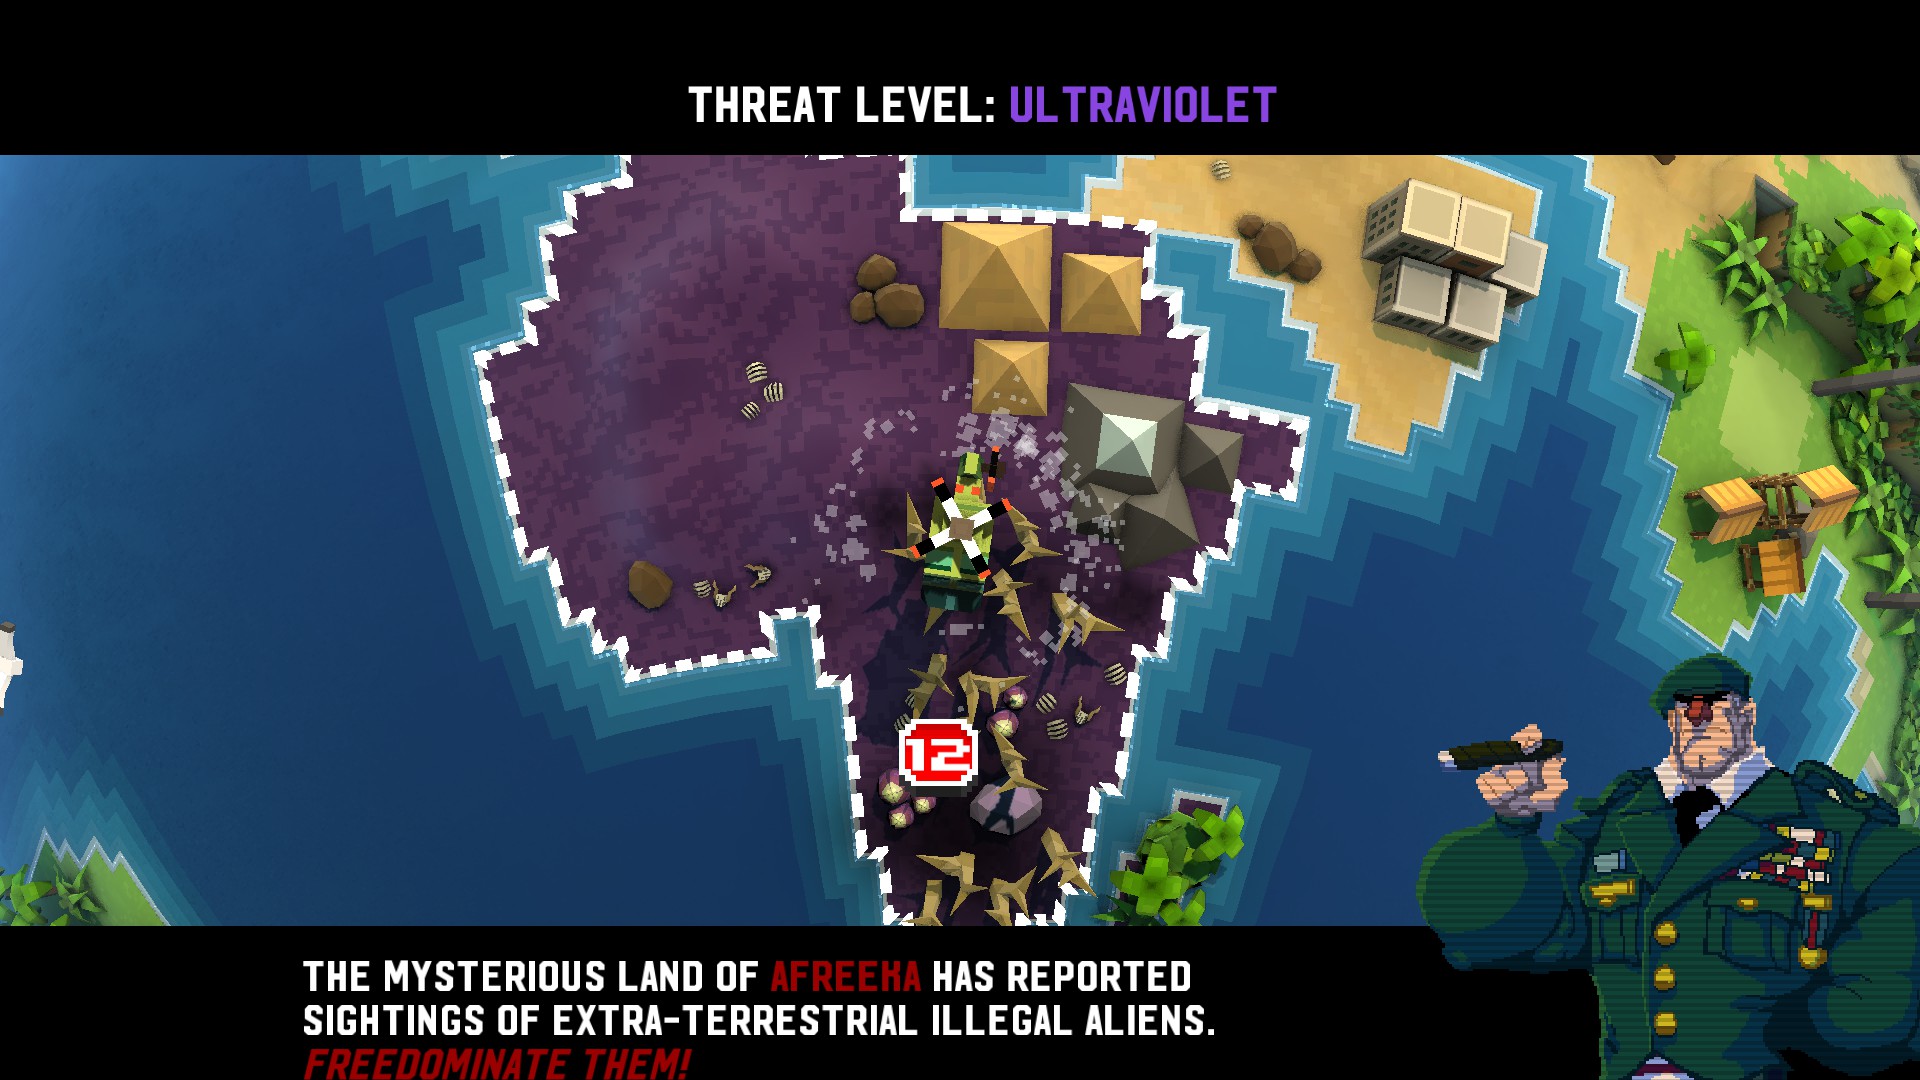
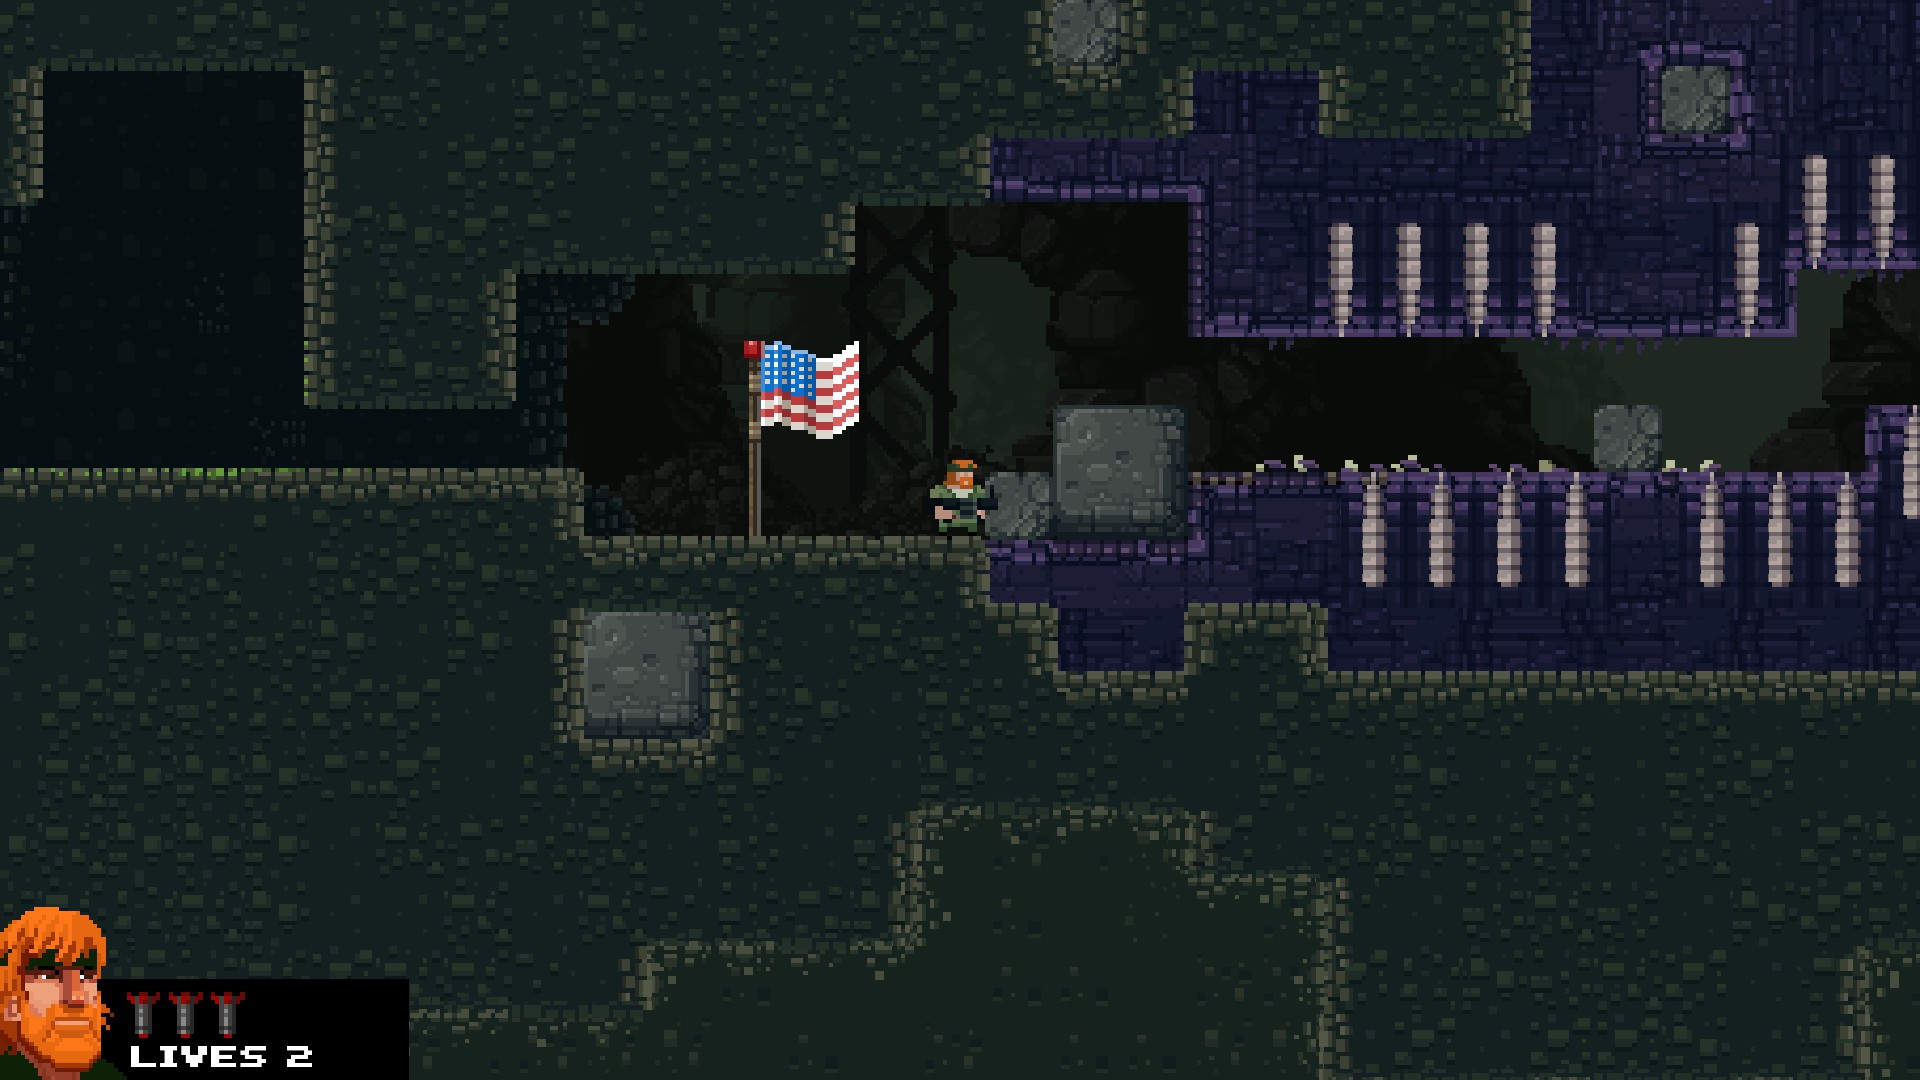
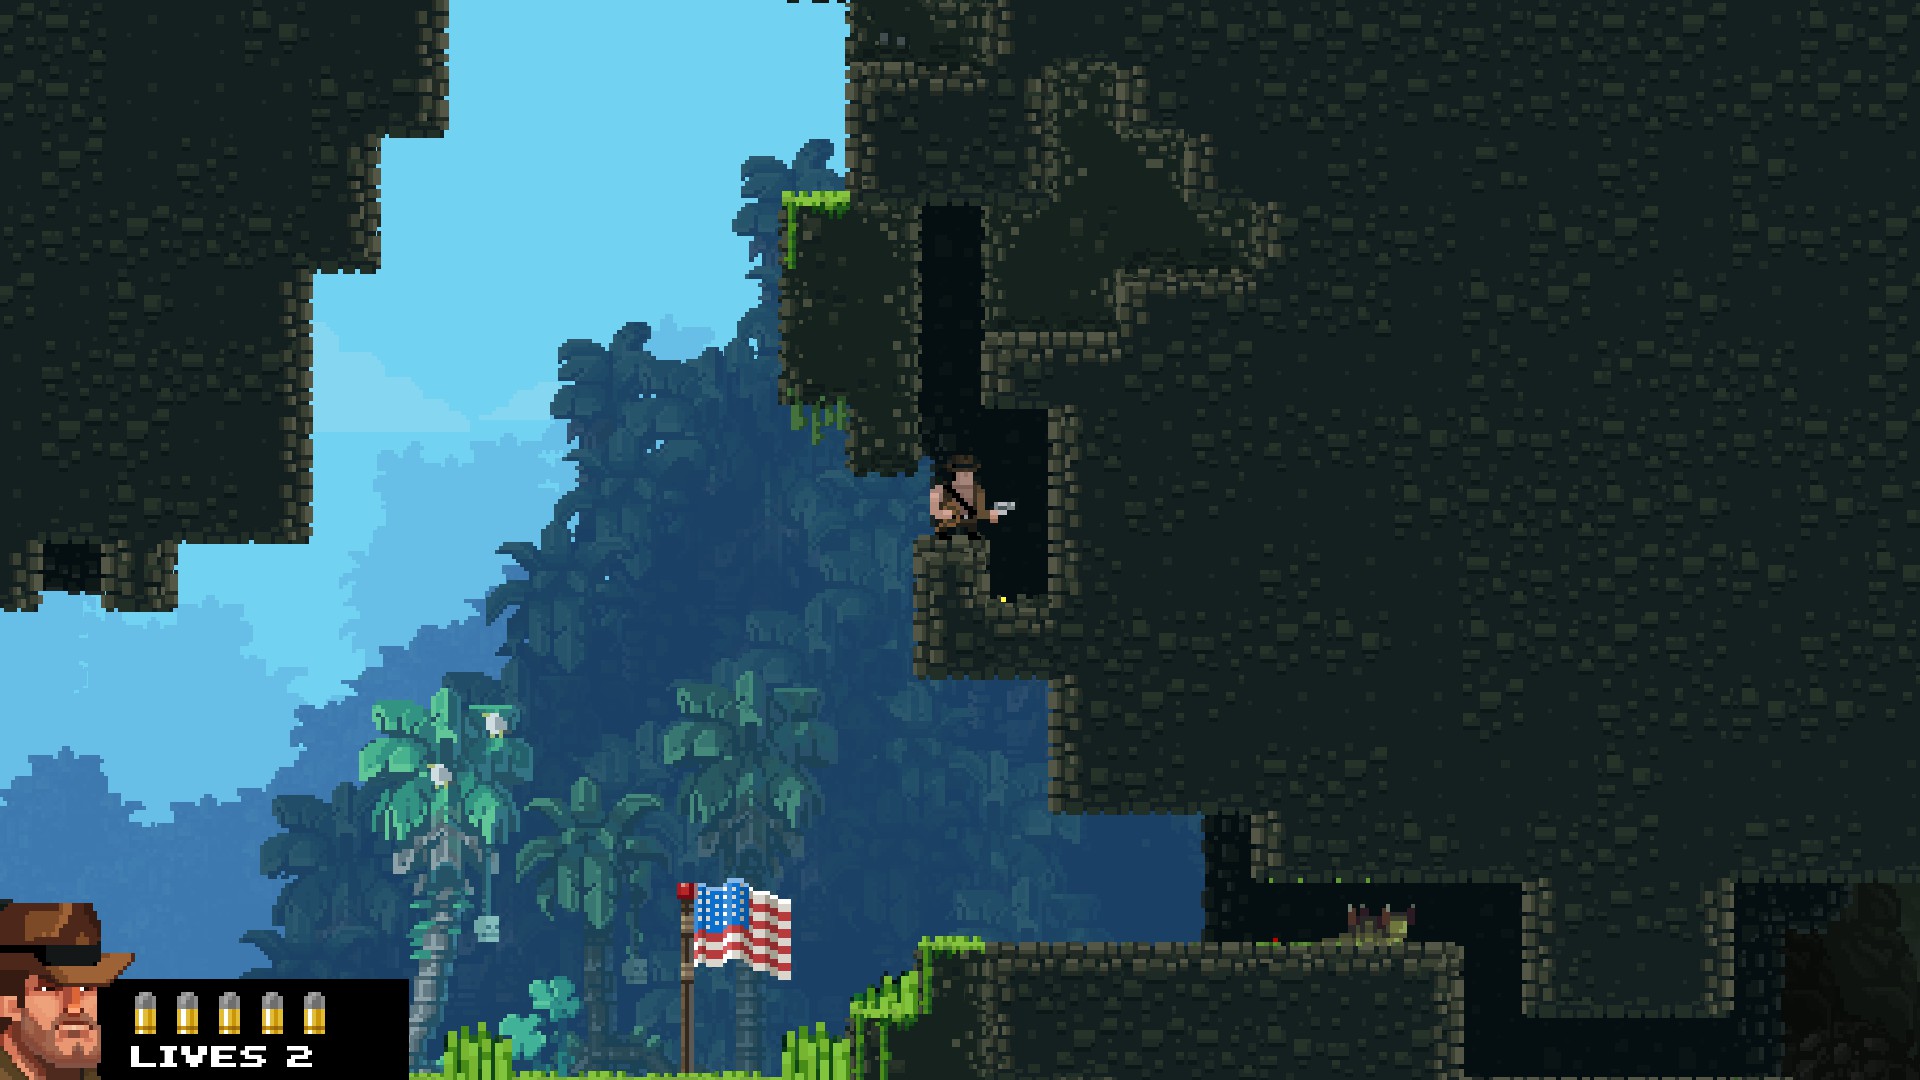 Except for this.
A hellish level designed to cause pain and death. It is filled to the brim with spikes that show no mercy in its design. Amazingly, there is actually a way to skip the ENTIRE LEVEL. You need to back up to the open area you came through and climb up the wall to the place shown on the screenshot. You then have to dig to the right a bit until you see the open sky above the spike area. Dig up and over until you enter the empty area up to. Run until you see a hole built into it. Slide down the hole, and the end of the level is right in front of you.
 Direct Danger Level 2
Indirect Danger Level 5: Rocks constantly fall from the ceiling and can crush you without warning.
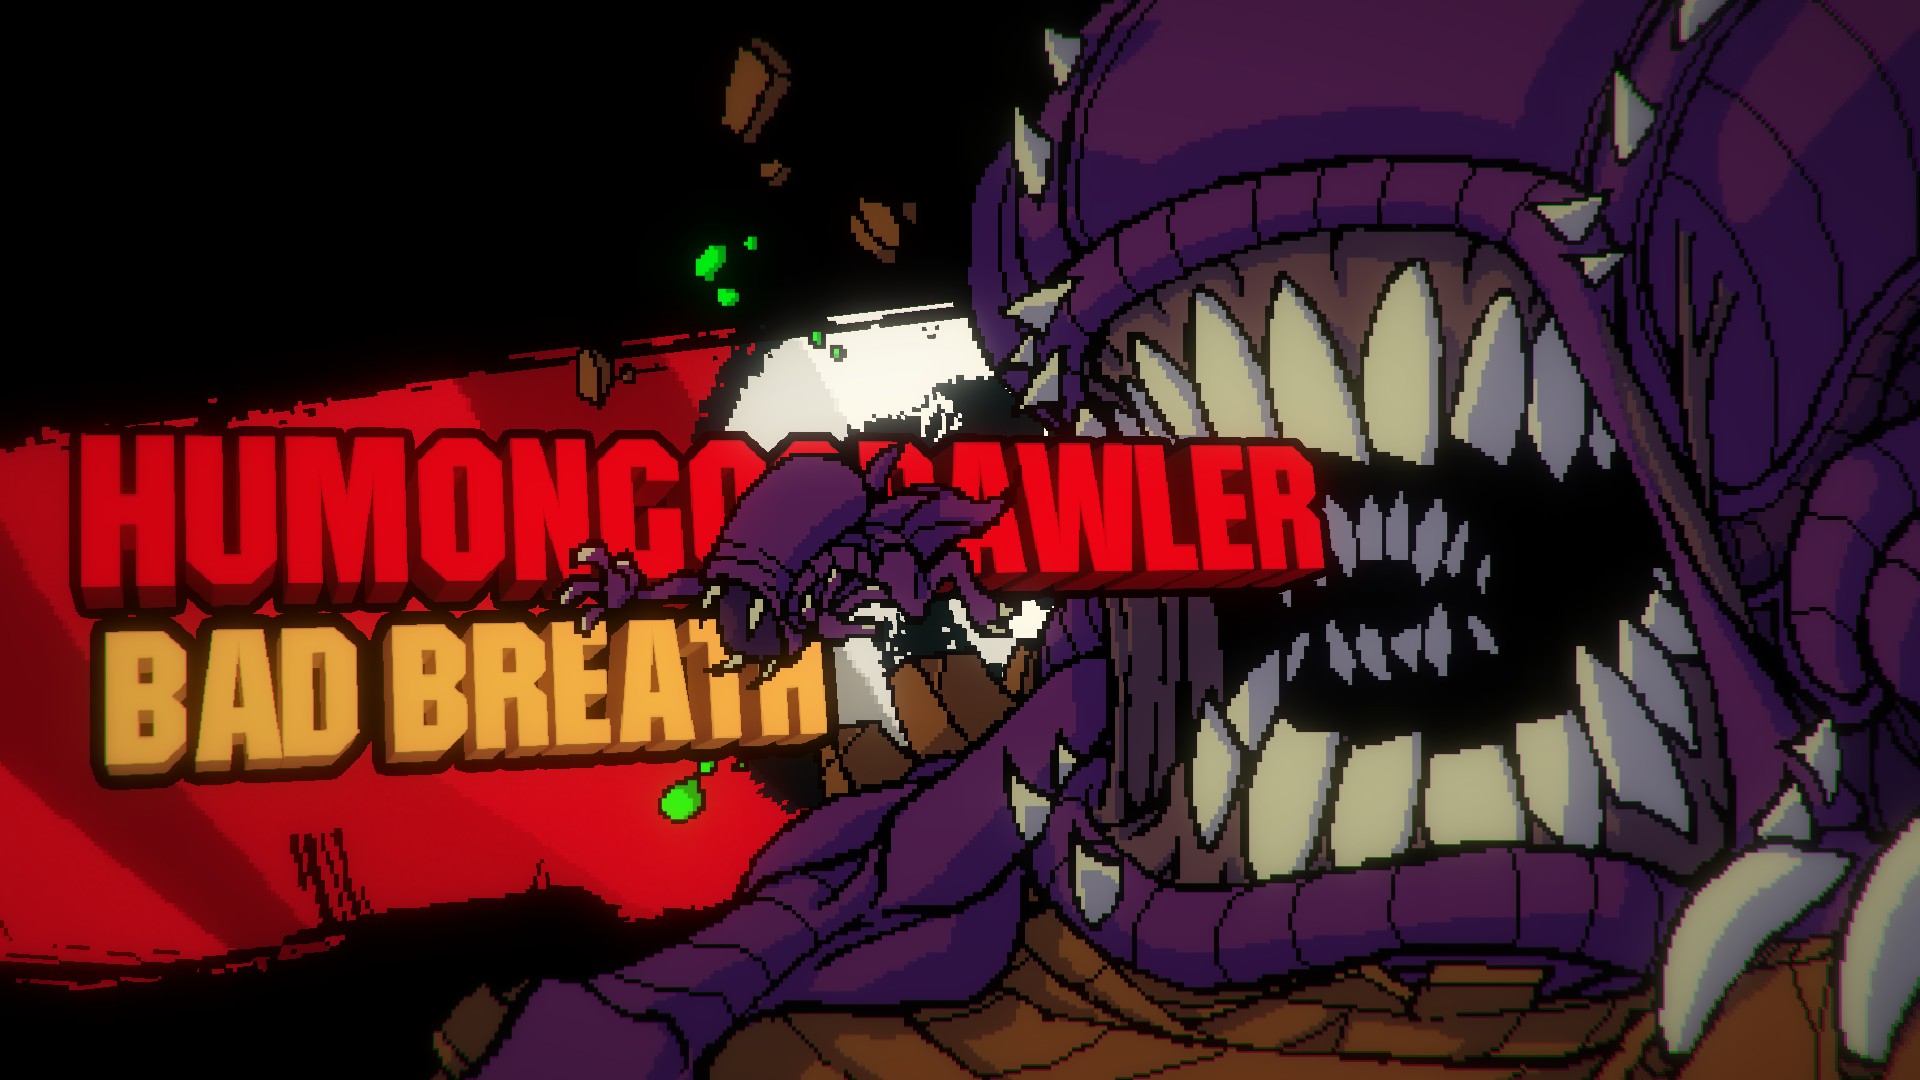
The first true boss of the alien level, the Humongocrawler (HG for short) is exactly that: a giant alien that crawls. With no true main method of attack, it simply roars like crazy, causing the ceiling to collapse and release tons of rocks which can crush you easily. Thanks to an update a while ago, it also shots three balls of acid spit in a row. While that can kill you, they are easier to avoid.
The way to defeat HG is simple, and involves strafing. Run up and shoot the thing, just like you would expect. Then, when it roars and pushes you back, instead of uselessly trying to power through the roar and possibly dying to a rock, use the roar's force to rocket yourself back to the beginning of the boss fight. Run back and repeat the process until HG dies.
The Ironbro Campaign: Zone 13
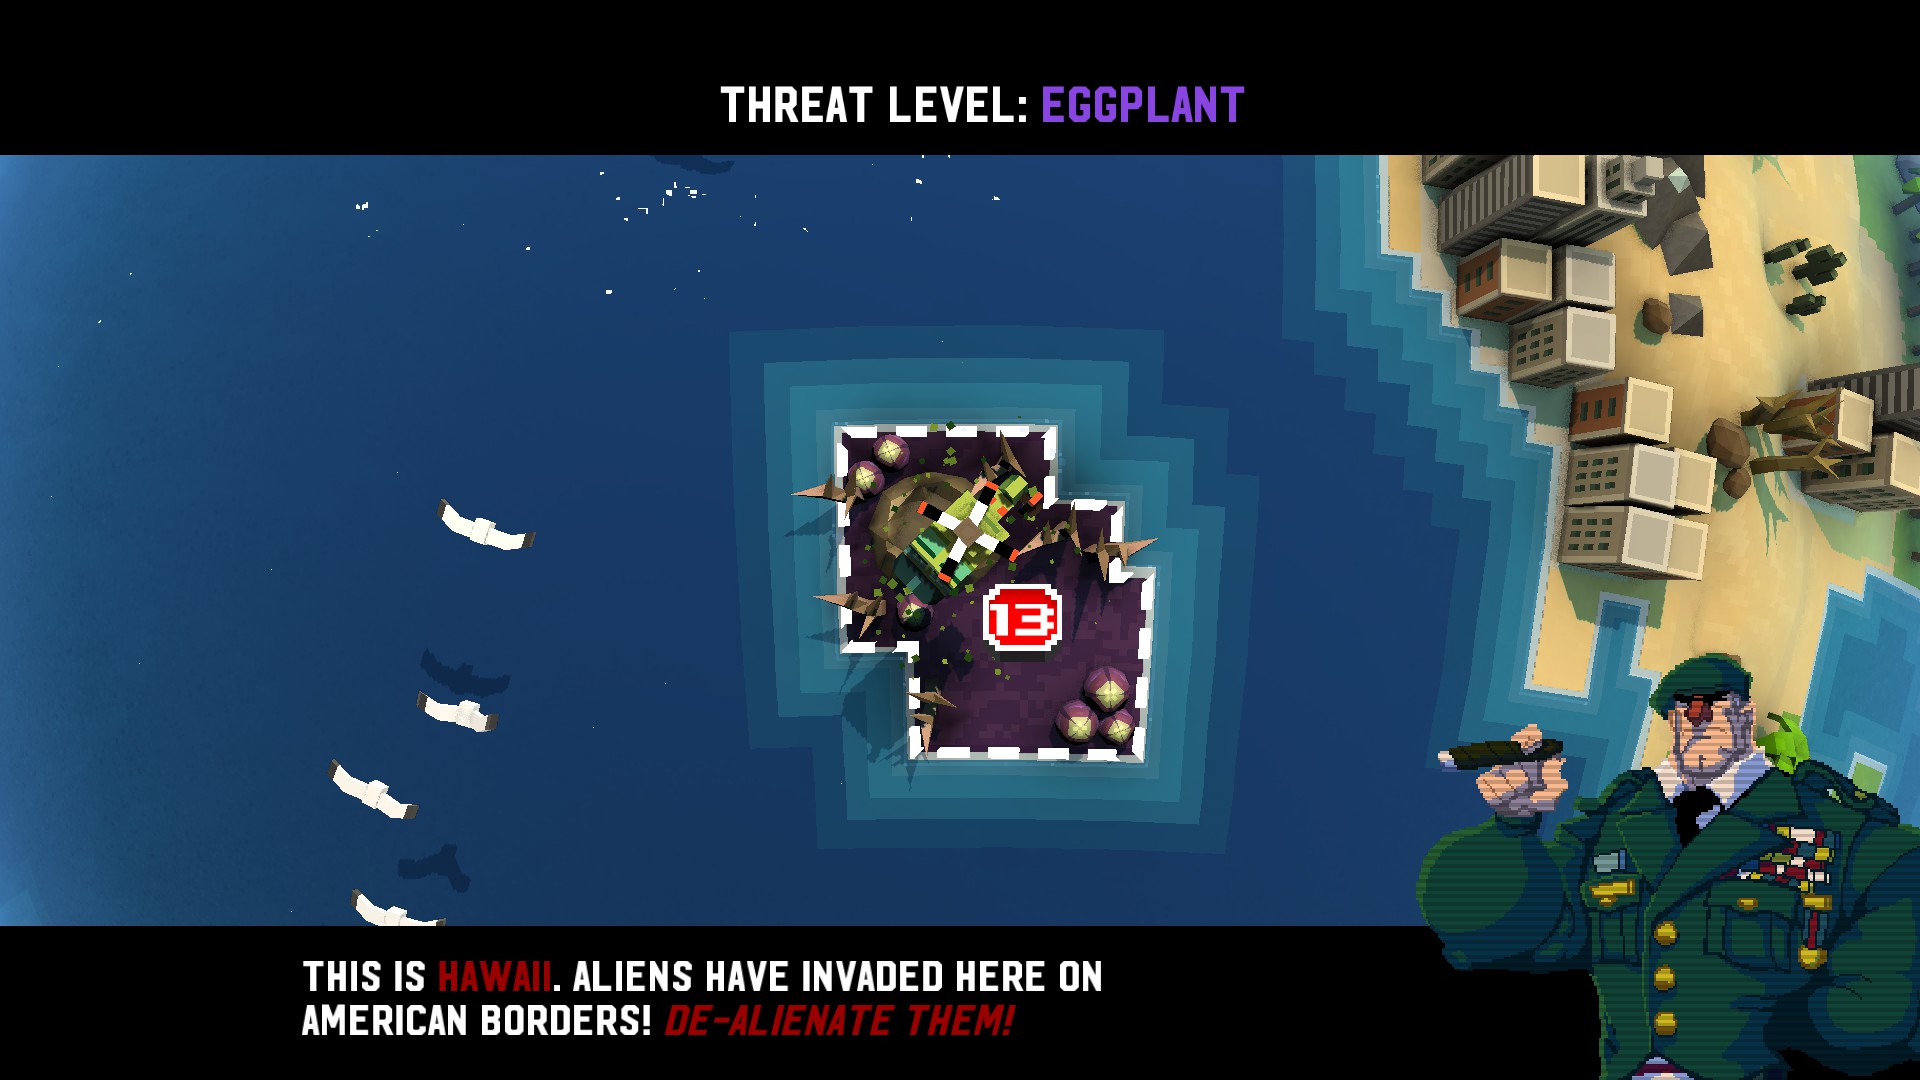
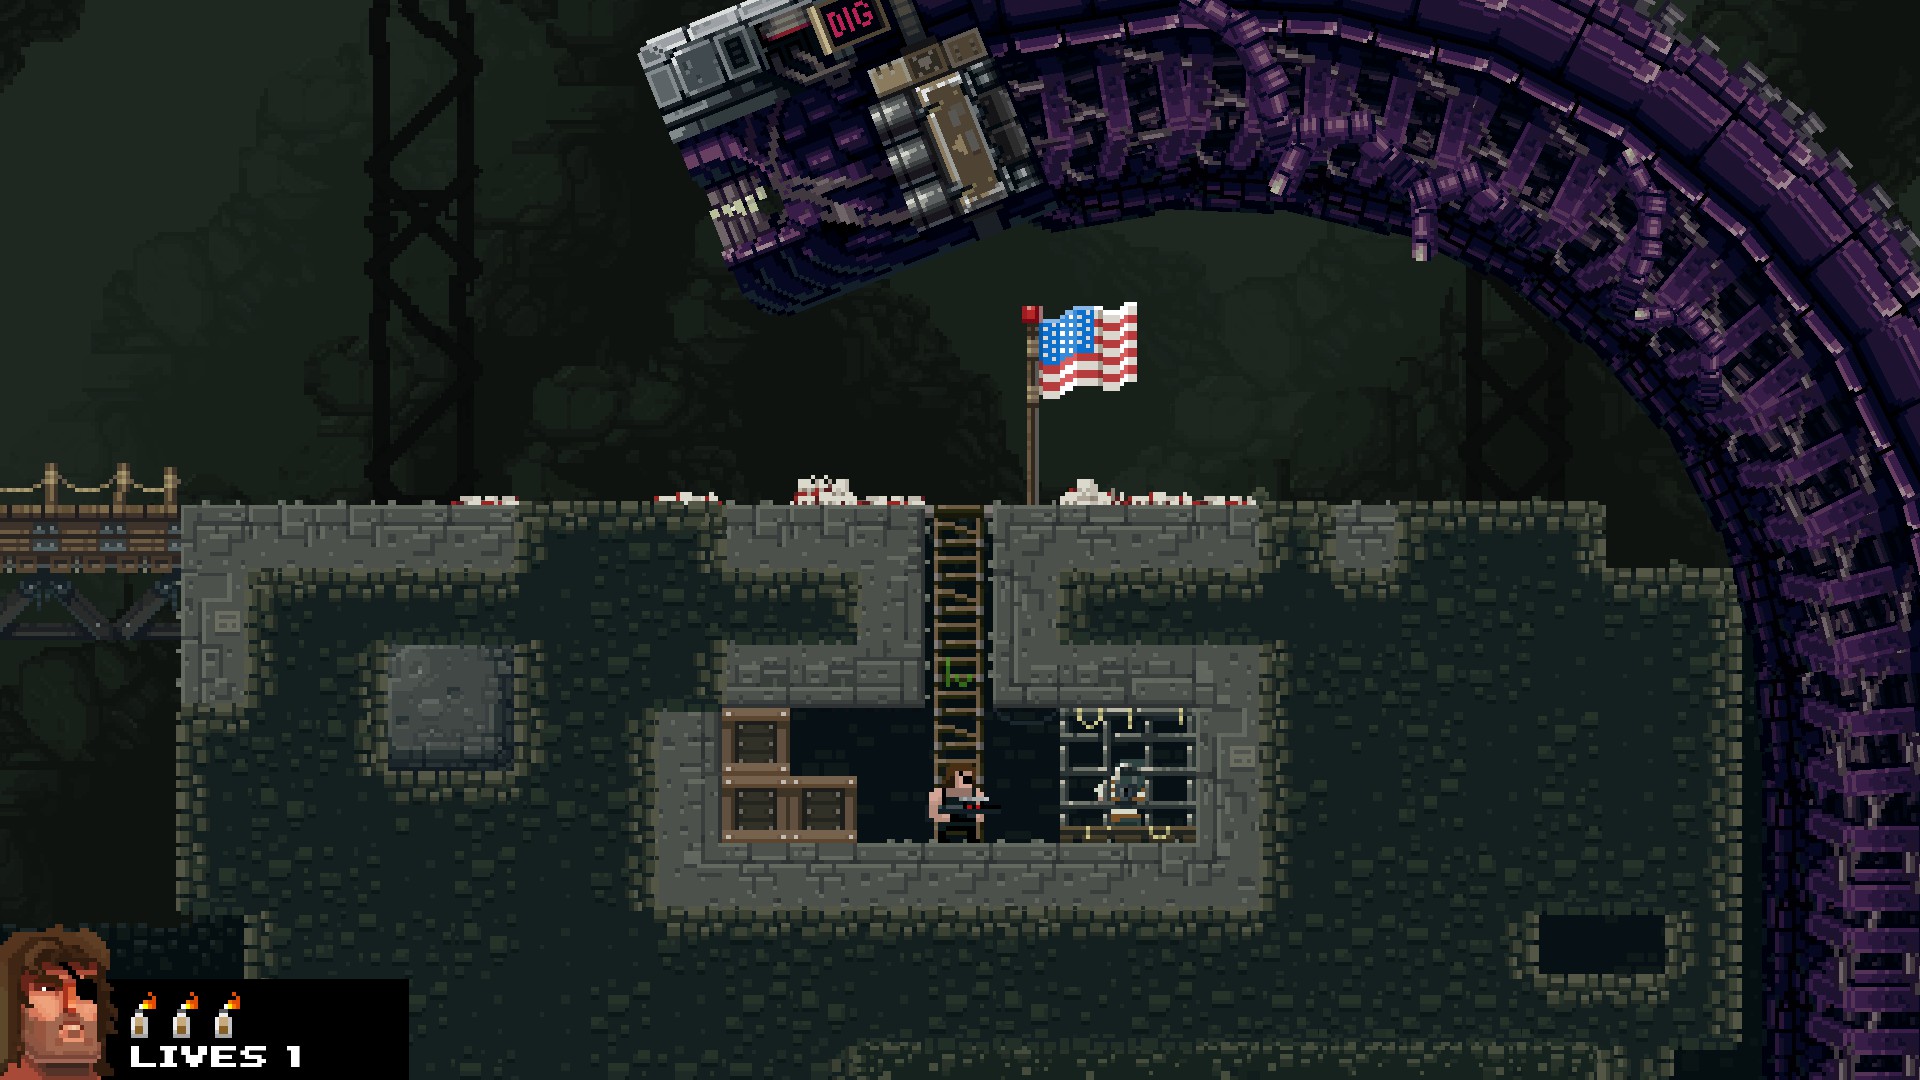 The last two levels in this campaign feature the Terrorkrawler, a monstrously large Acid Crawler decked out with missiles and twice the size of a normal one. It will proceed to randomly smash through the floor right after this area here in the screenshot. There is no way to defeat him until the final battle; just run as fast as you can, but be careful not to get hit by the Fat Headcrabs on the way there. The earlier levels feature common Terrorist Camp enemies like Sawblades and MDS.
 Direct Danger Level 9
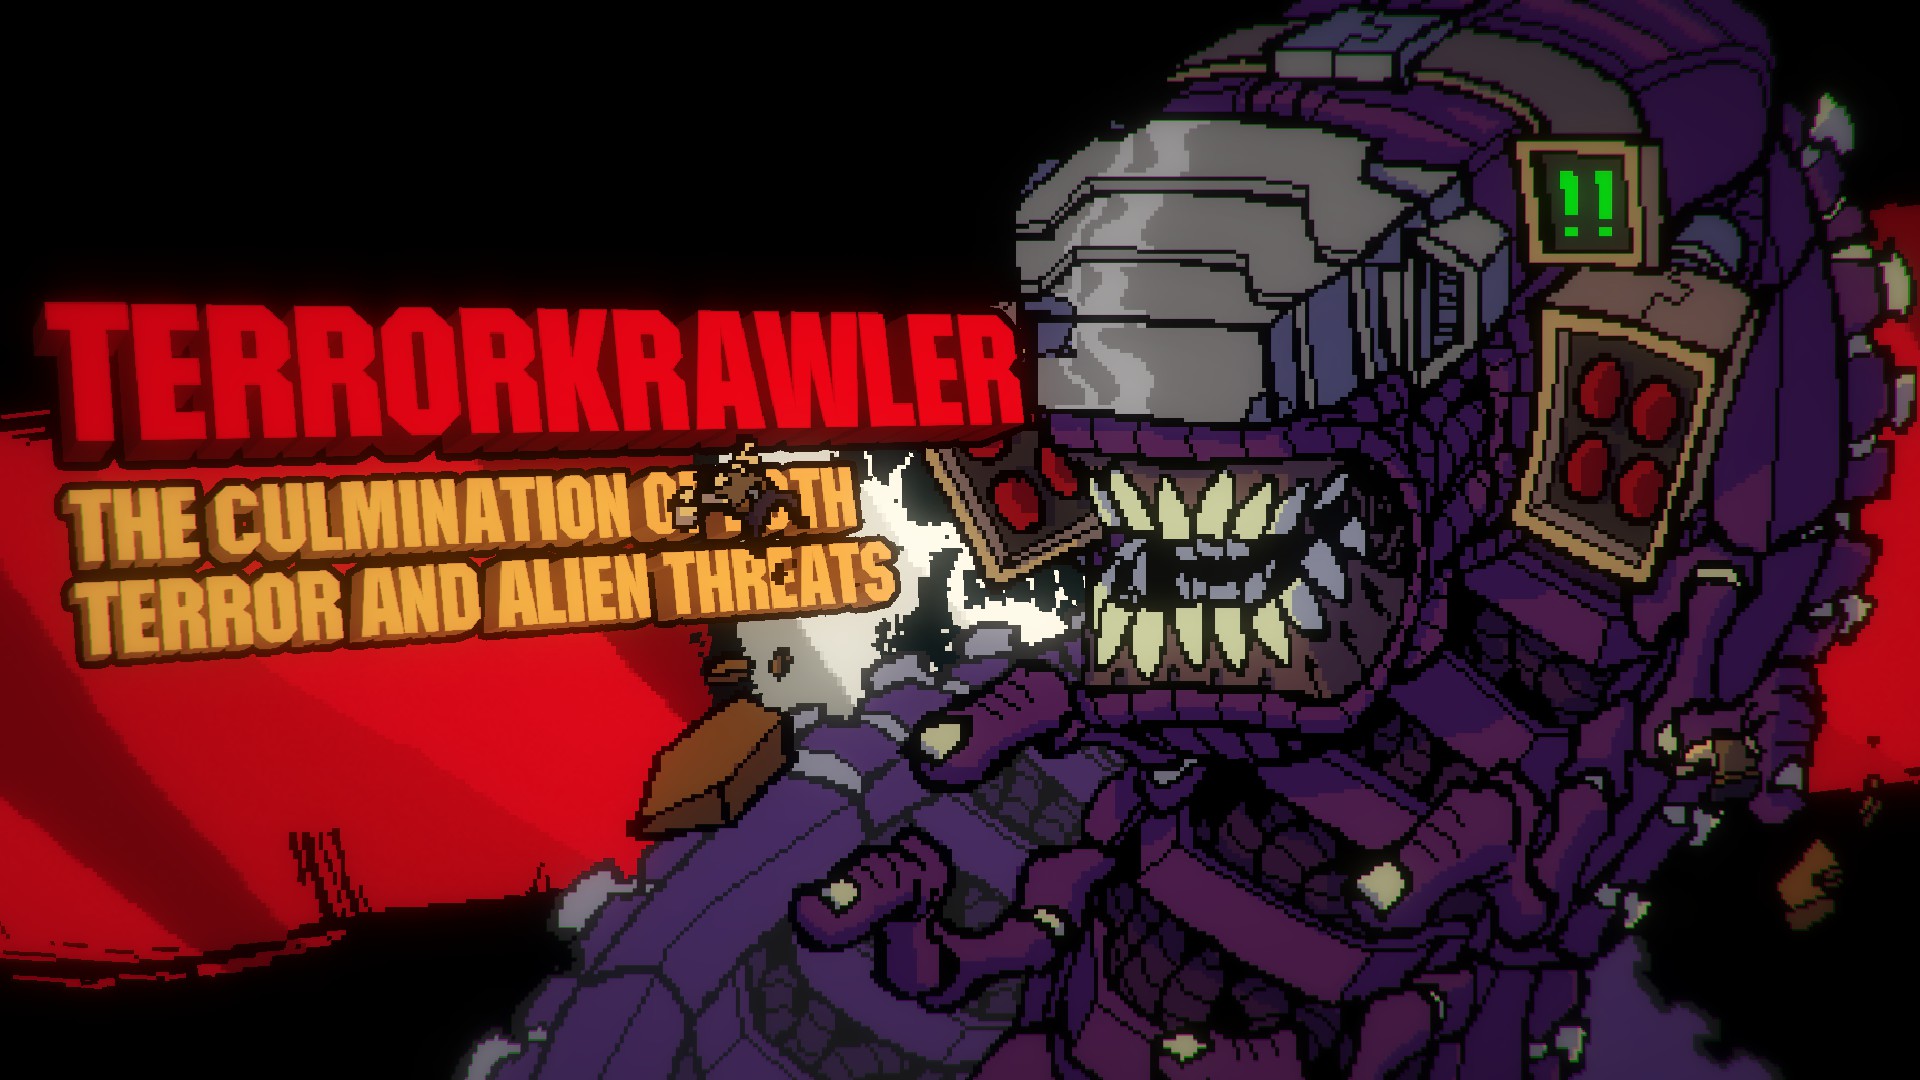
Indirect Danger Level 1: A few Mooks parachute in every now and then but quickly die from the Terrorkrawler himself.
The Terrorkrawler is my favorite boss in this game, just because of his sheer scale and the fact that he is the only boss to screw you over multiple times before the fight even starts. The method of defeating him is just like the Acid Crawlers, except on a larger scale. Make sure you stay underground at almost all times, as Terrorkrawlers acid spit covers almost the entire map at once, leaving no room for above-ground evasion. The screenshot below shows where to tunnel, but be careful, as it is possibly to fall to your death trying to do this. Make sure you know how to do this before you attempt. Once you get down below the ground just let it rip until he dies.
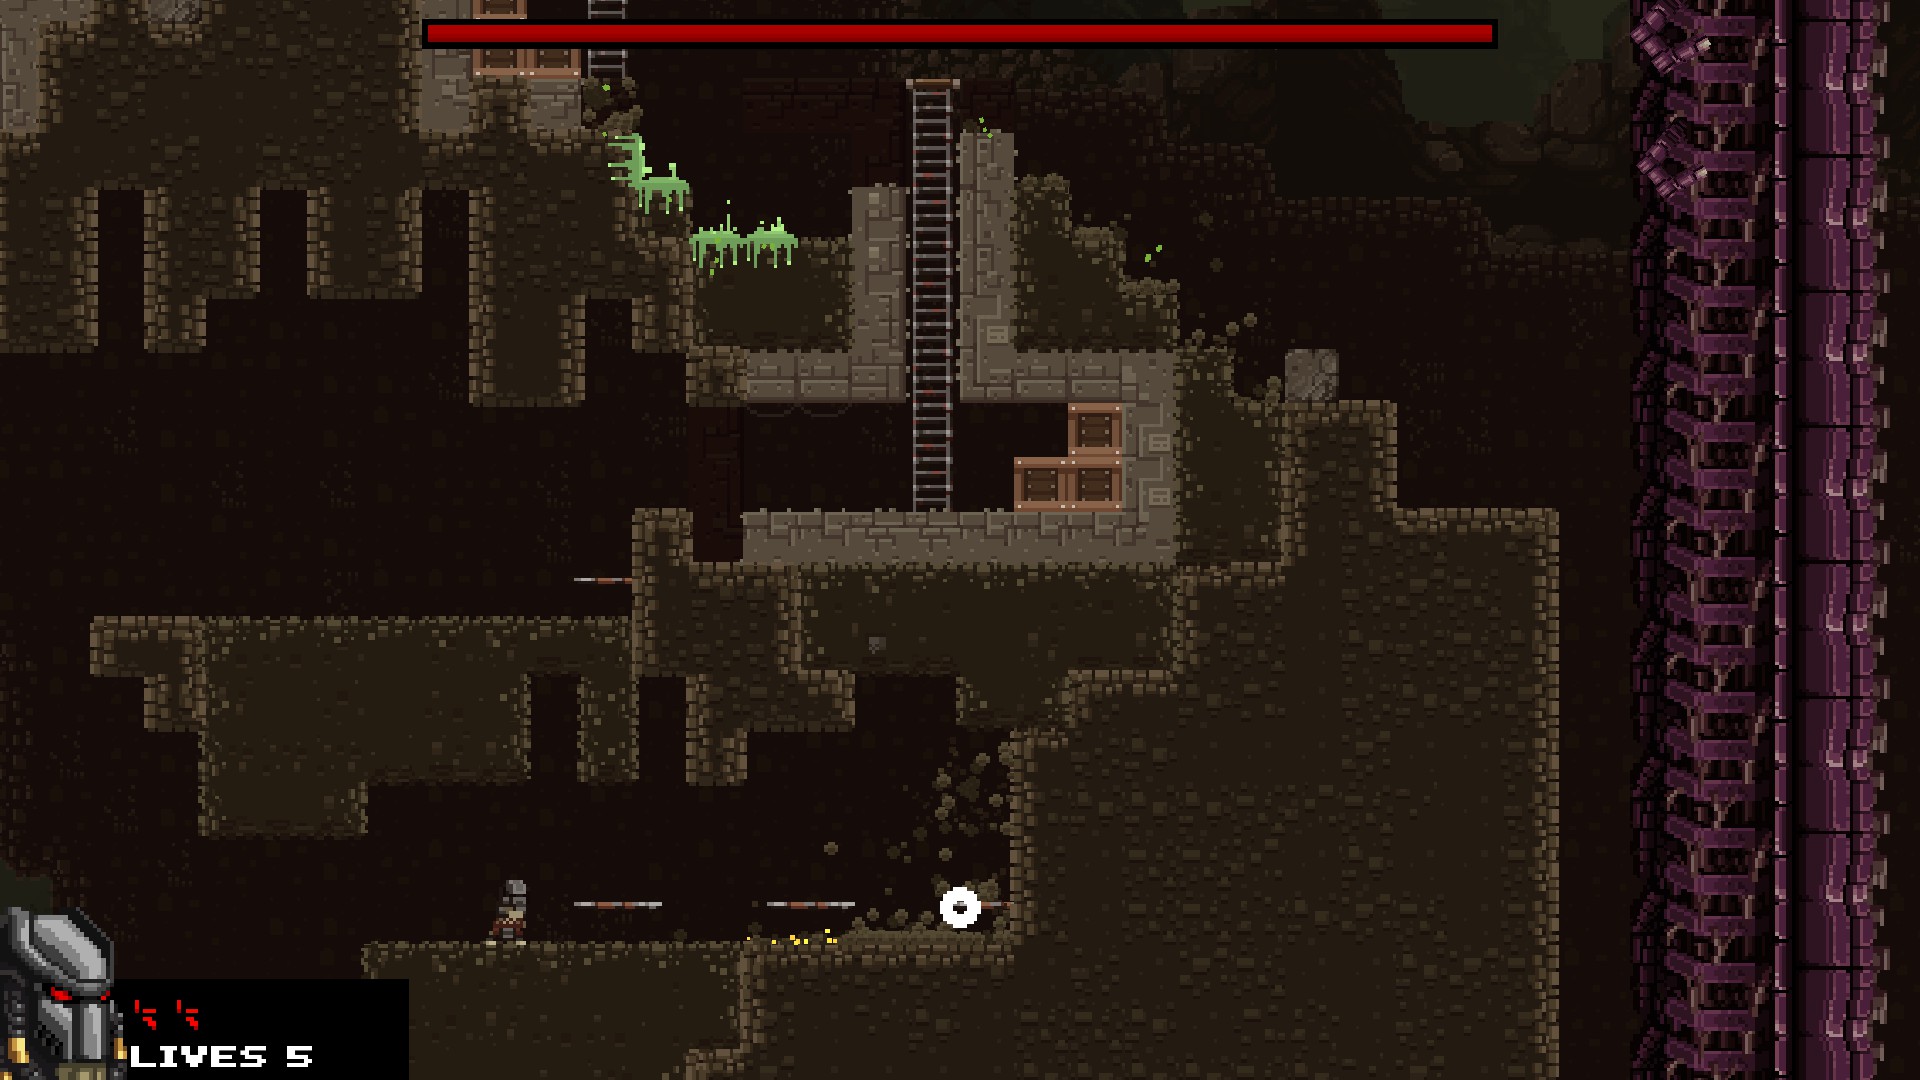
The Ironbro Campaign: Zone 14
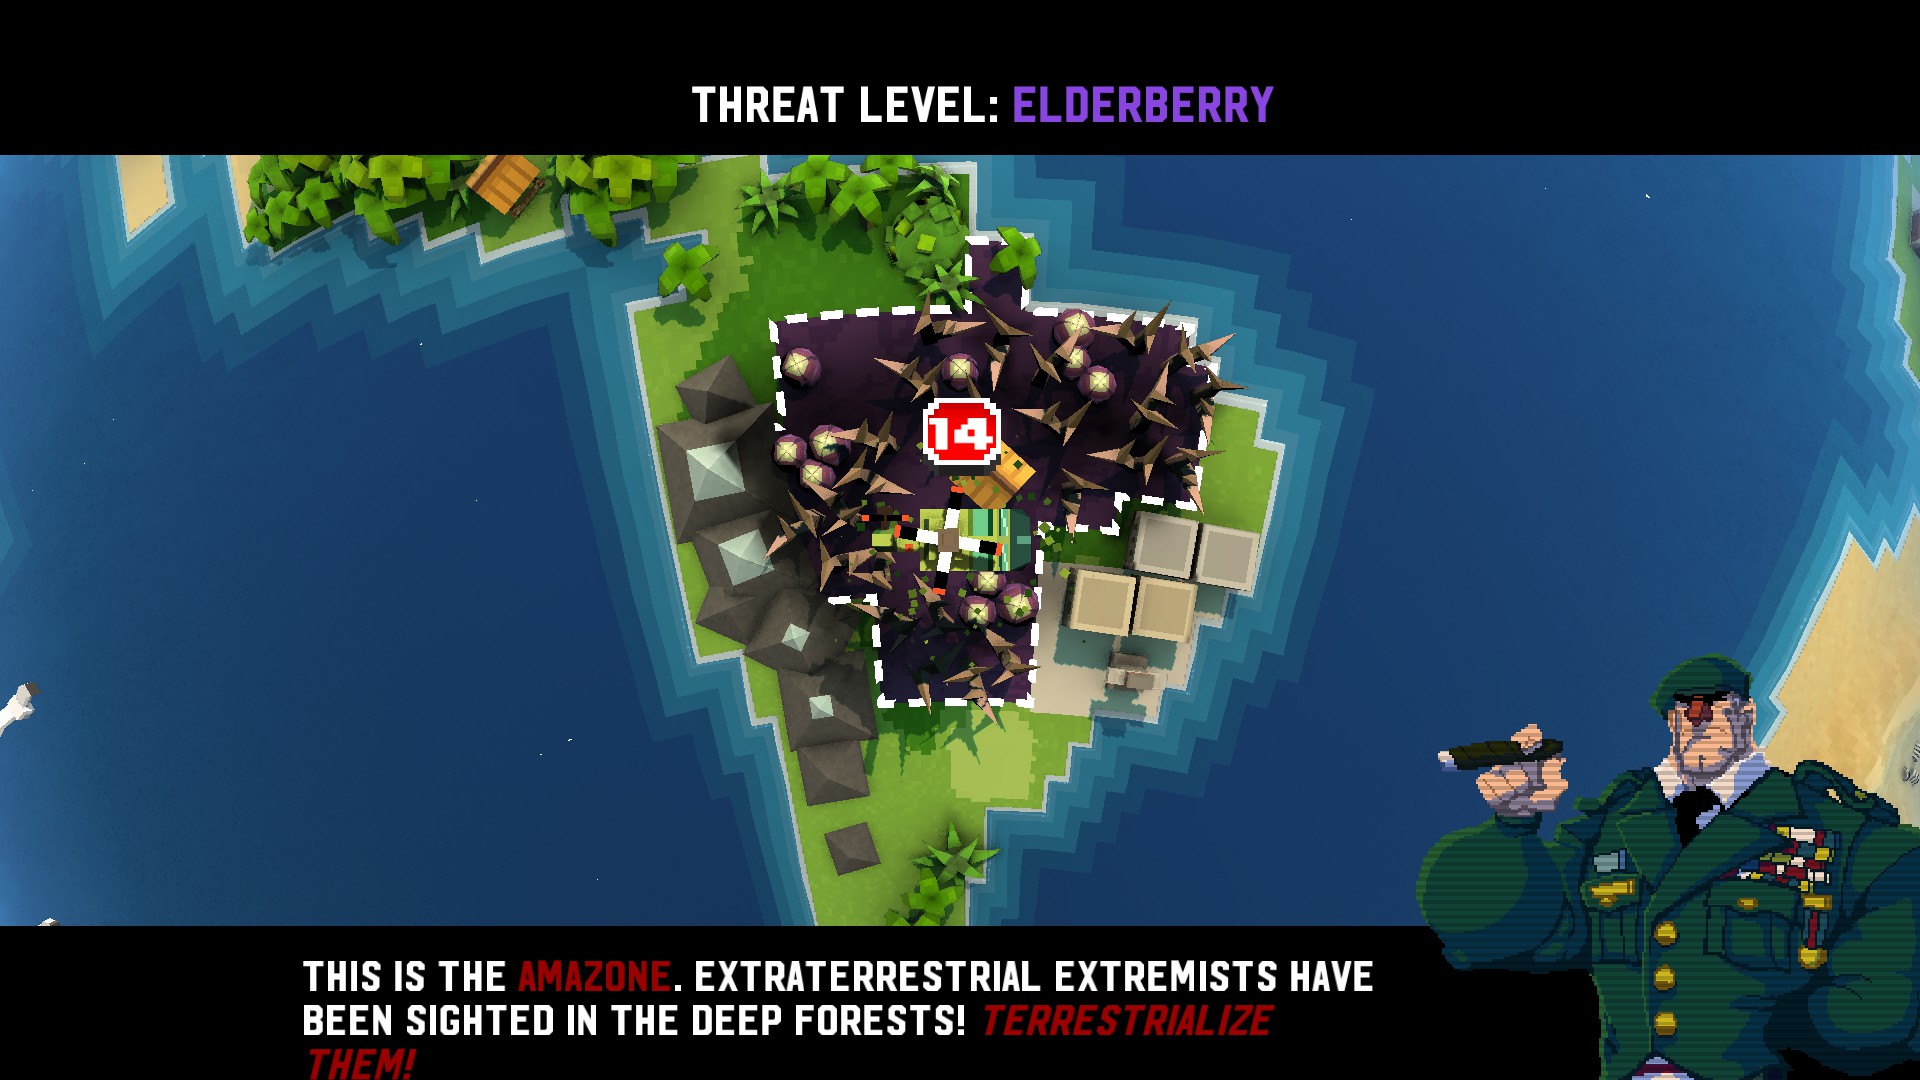
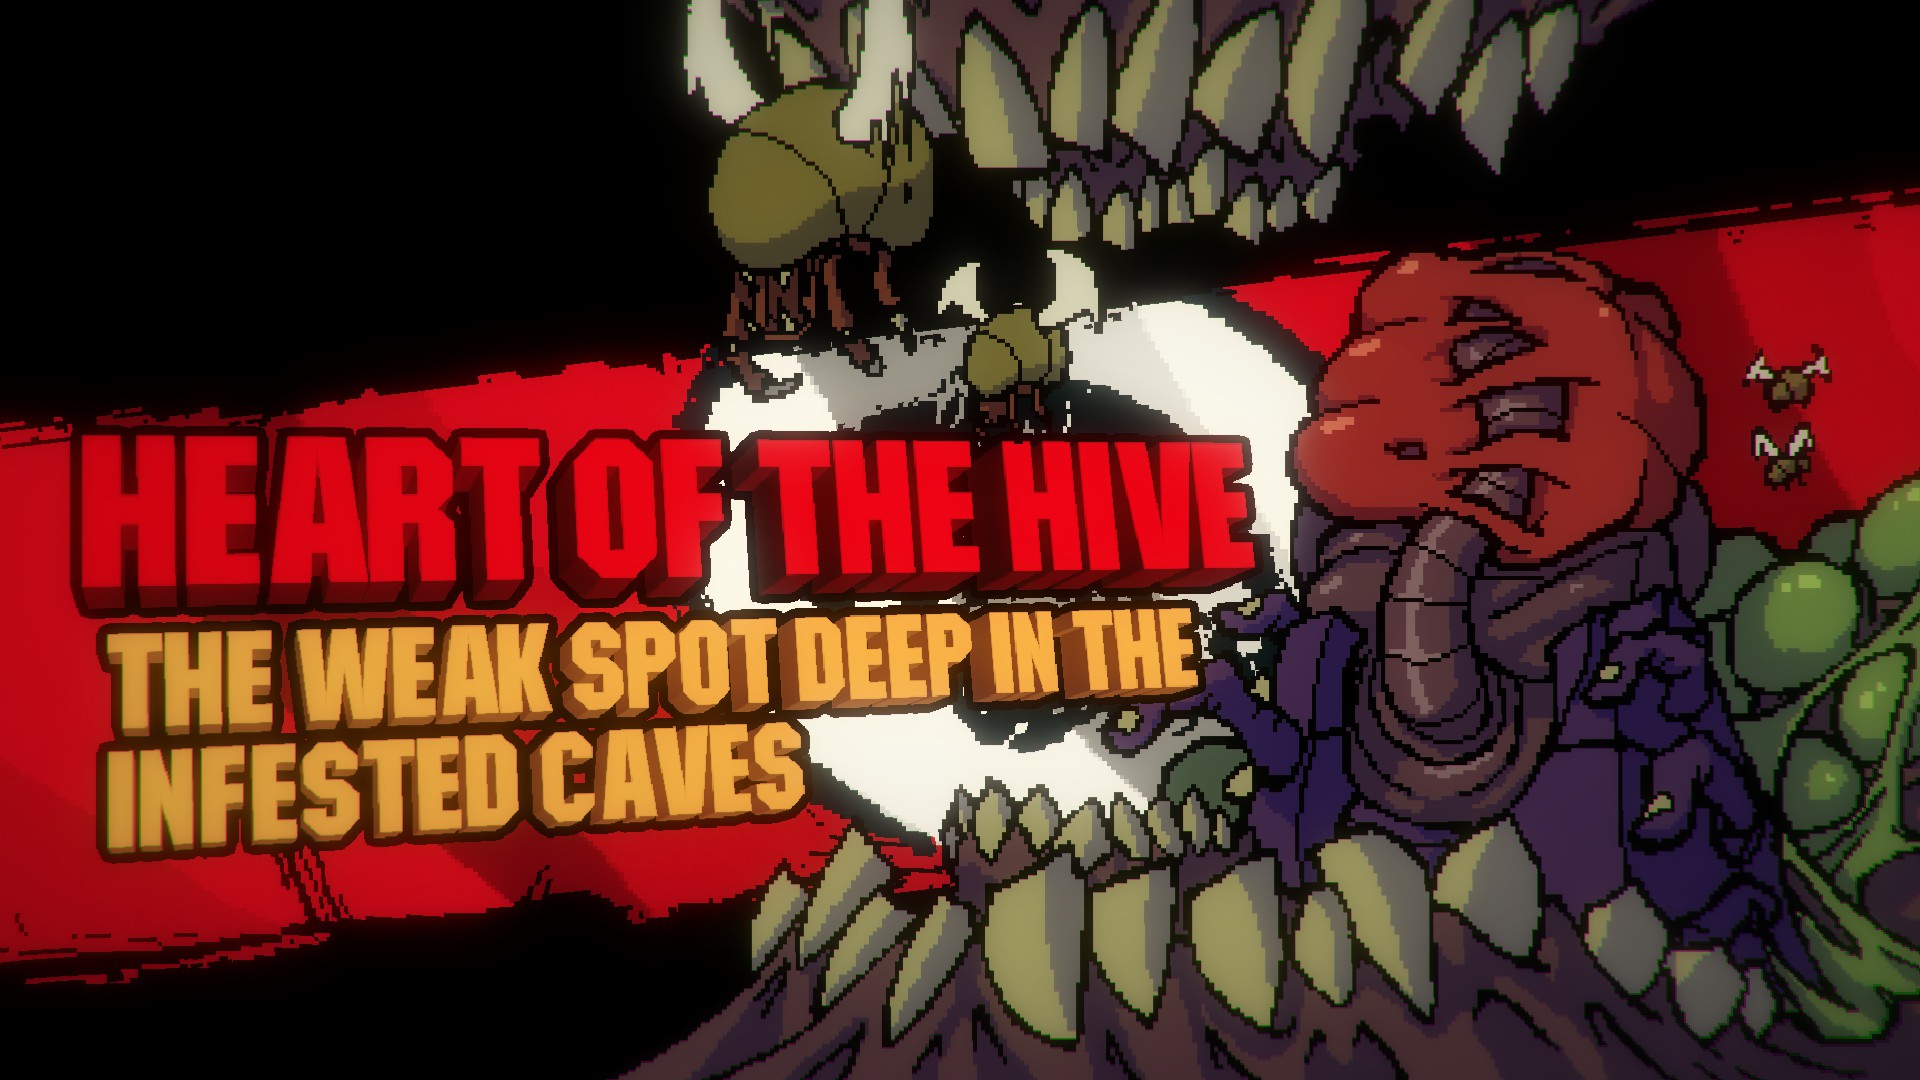
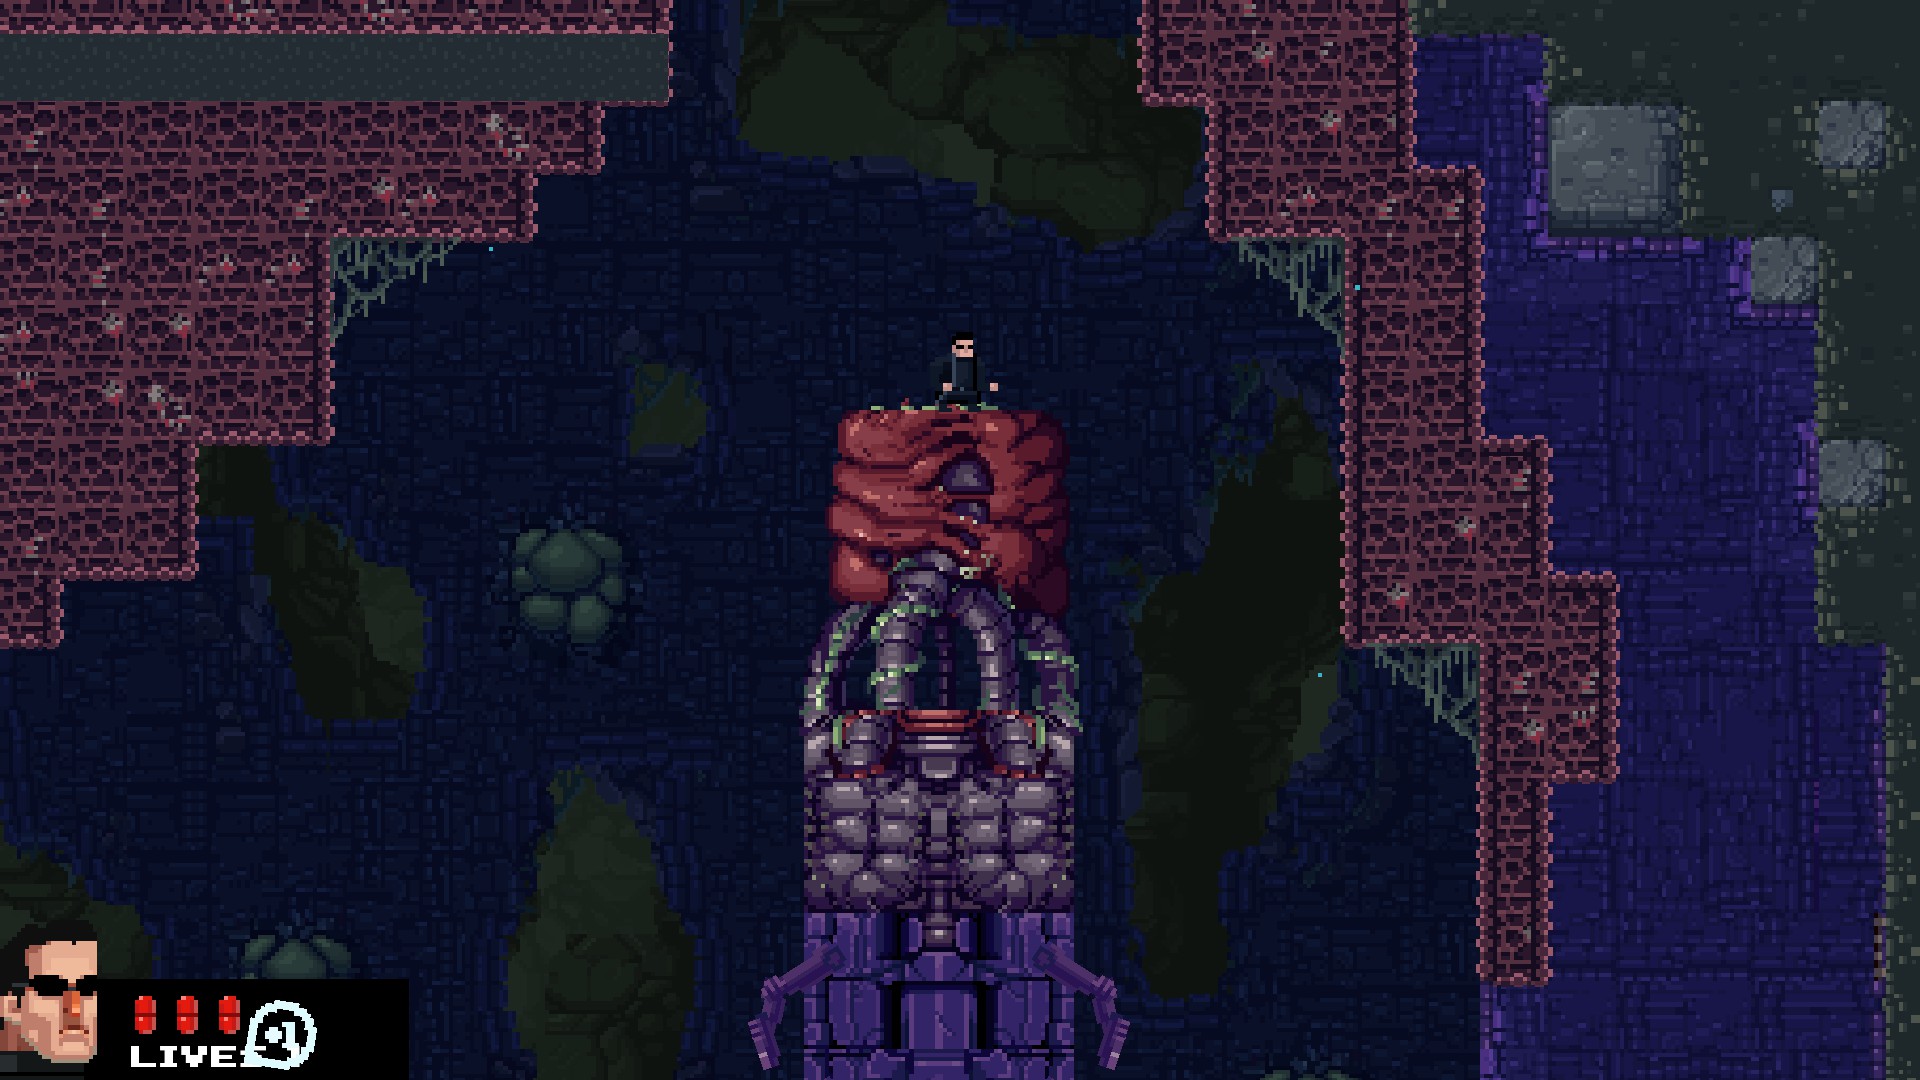
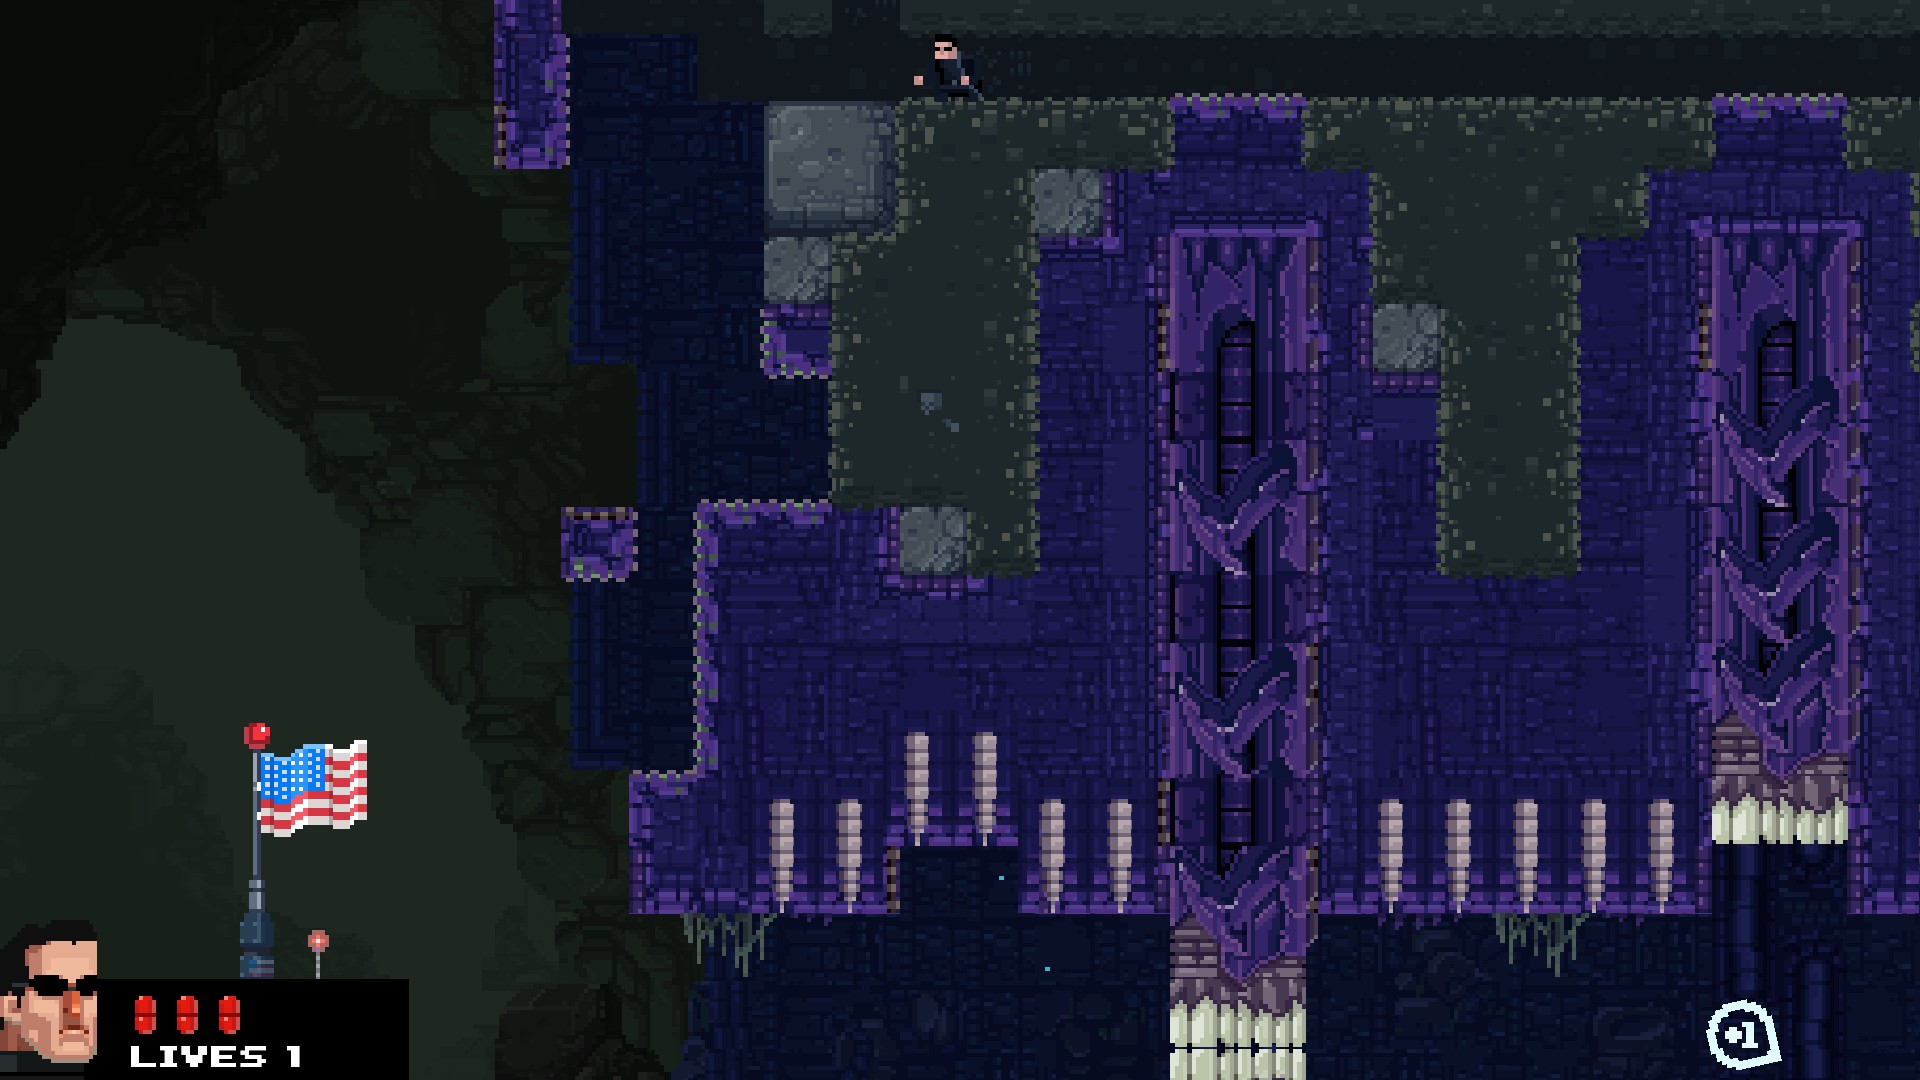
Alternate Tactic: Requires Bro Dredd
Another tactic you can use if you feel like Restart Shuffling is to use Bro Dredd's special rockets to shoot down the heart from a distance. It can minimize the risk of the organic blocks regenerating on top of you or falling short of the heart and getting mobbed by fat flying headcrabs.
The Ironbro Campaign: Zone 15
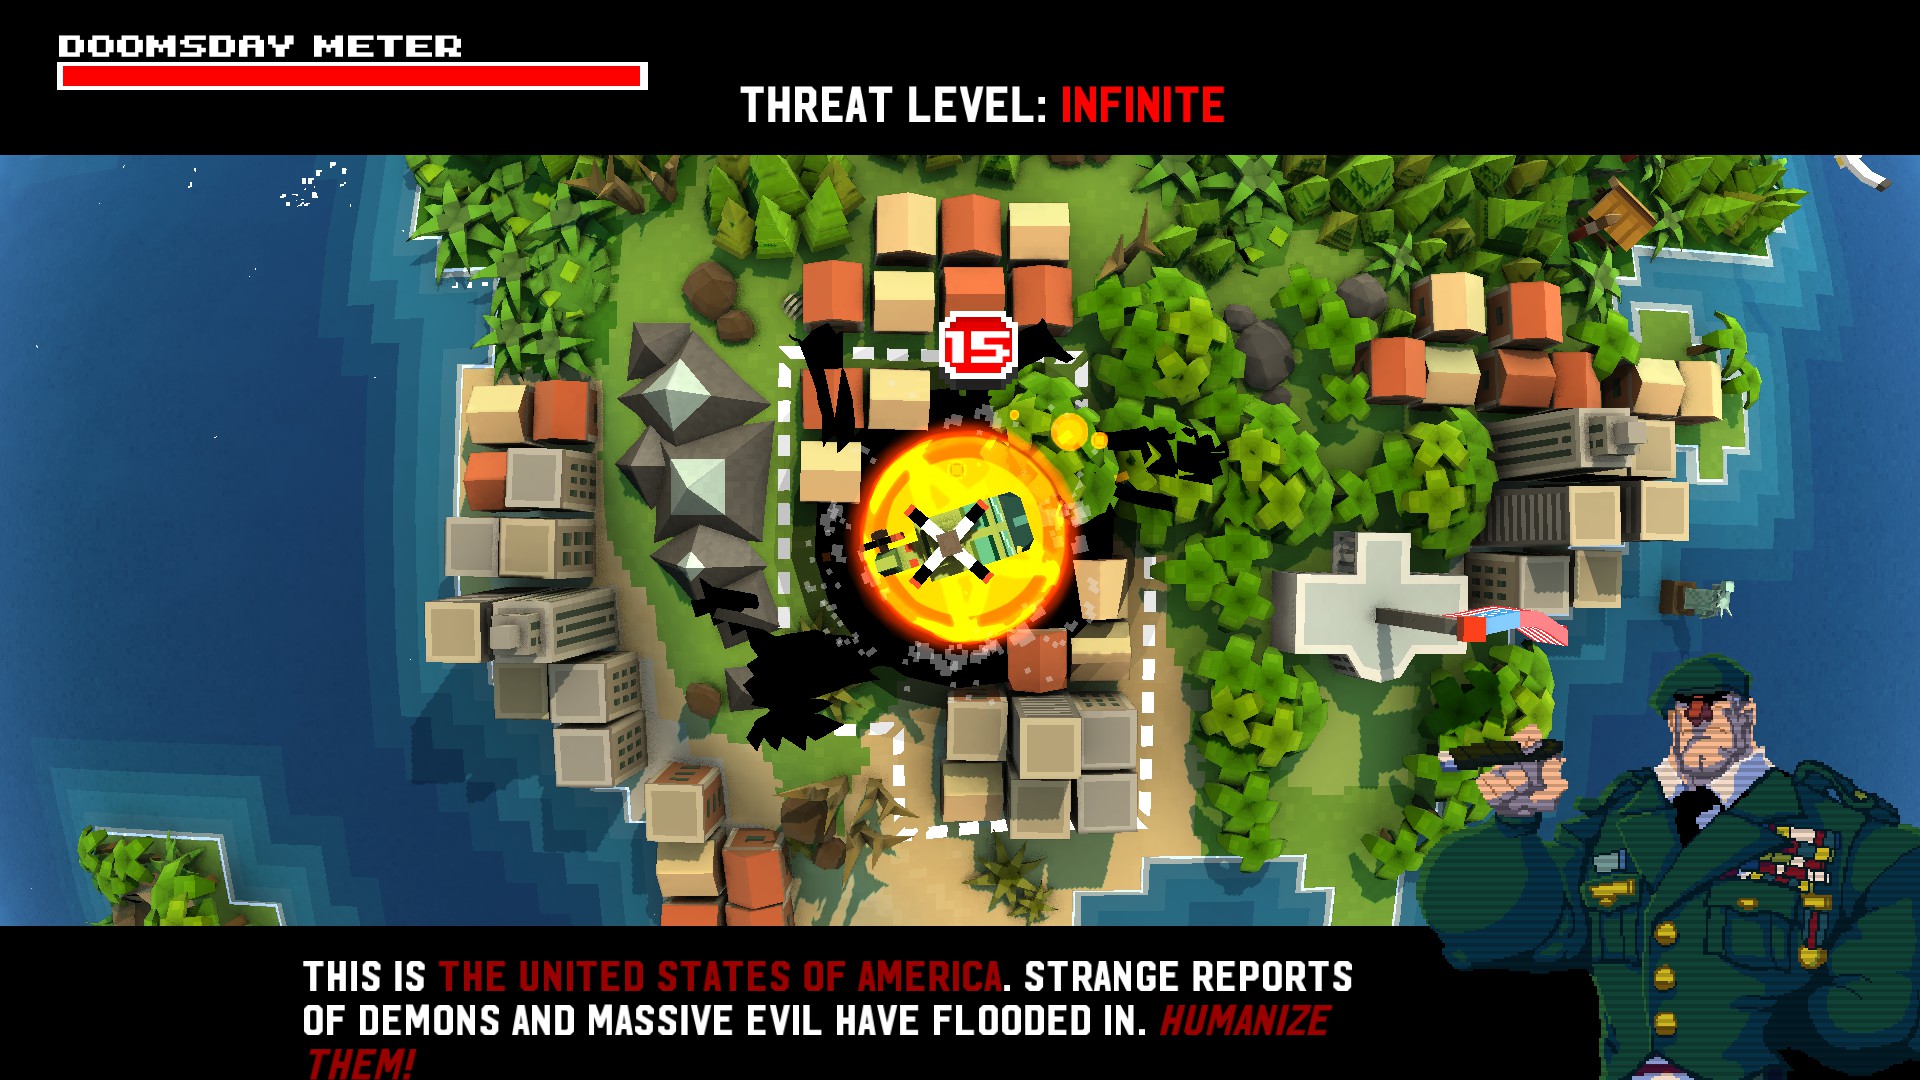
Yep.
They f*cking explode.
And they don't just explode.
They explode into MORE EXPLODING PEOPLE that then proceed to explode in a general radius around the death spot of the Spitter. This zone is the kind of stuff that Micheal Bay probably jacks off to. Then his pants would probably explode too, and kill me along with it because I swear to god I must have died 43 times trying to perfect this zone, and I failed. There's your challenge. Beat Zone 15 without dying once.
The Final Battle With Satan, Lord of Hell
Unfortunately, there are no straight evade-and-kill tactics with Satan. There is no way to weasel out of the combat; you are going to have to use all your Bros to take him down. Obviously try to stay alive as long as you can with a single Bro, but be prepared to fight down to the final life. I don't blame you if you get Satan's True Form down to 1 hp and then die, then quitting Broforce forever.
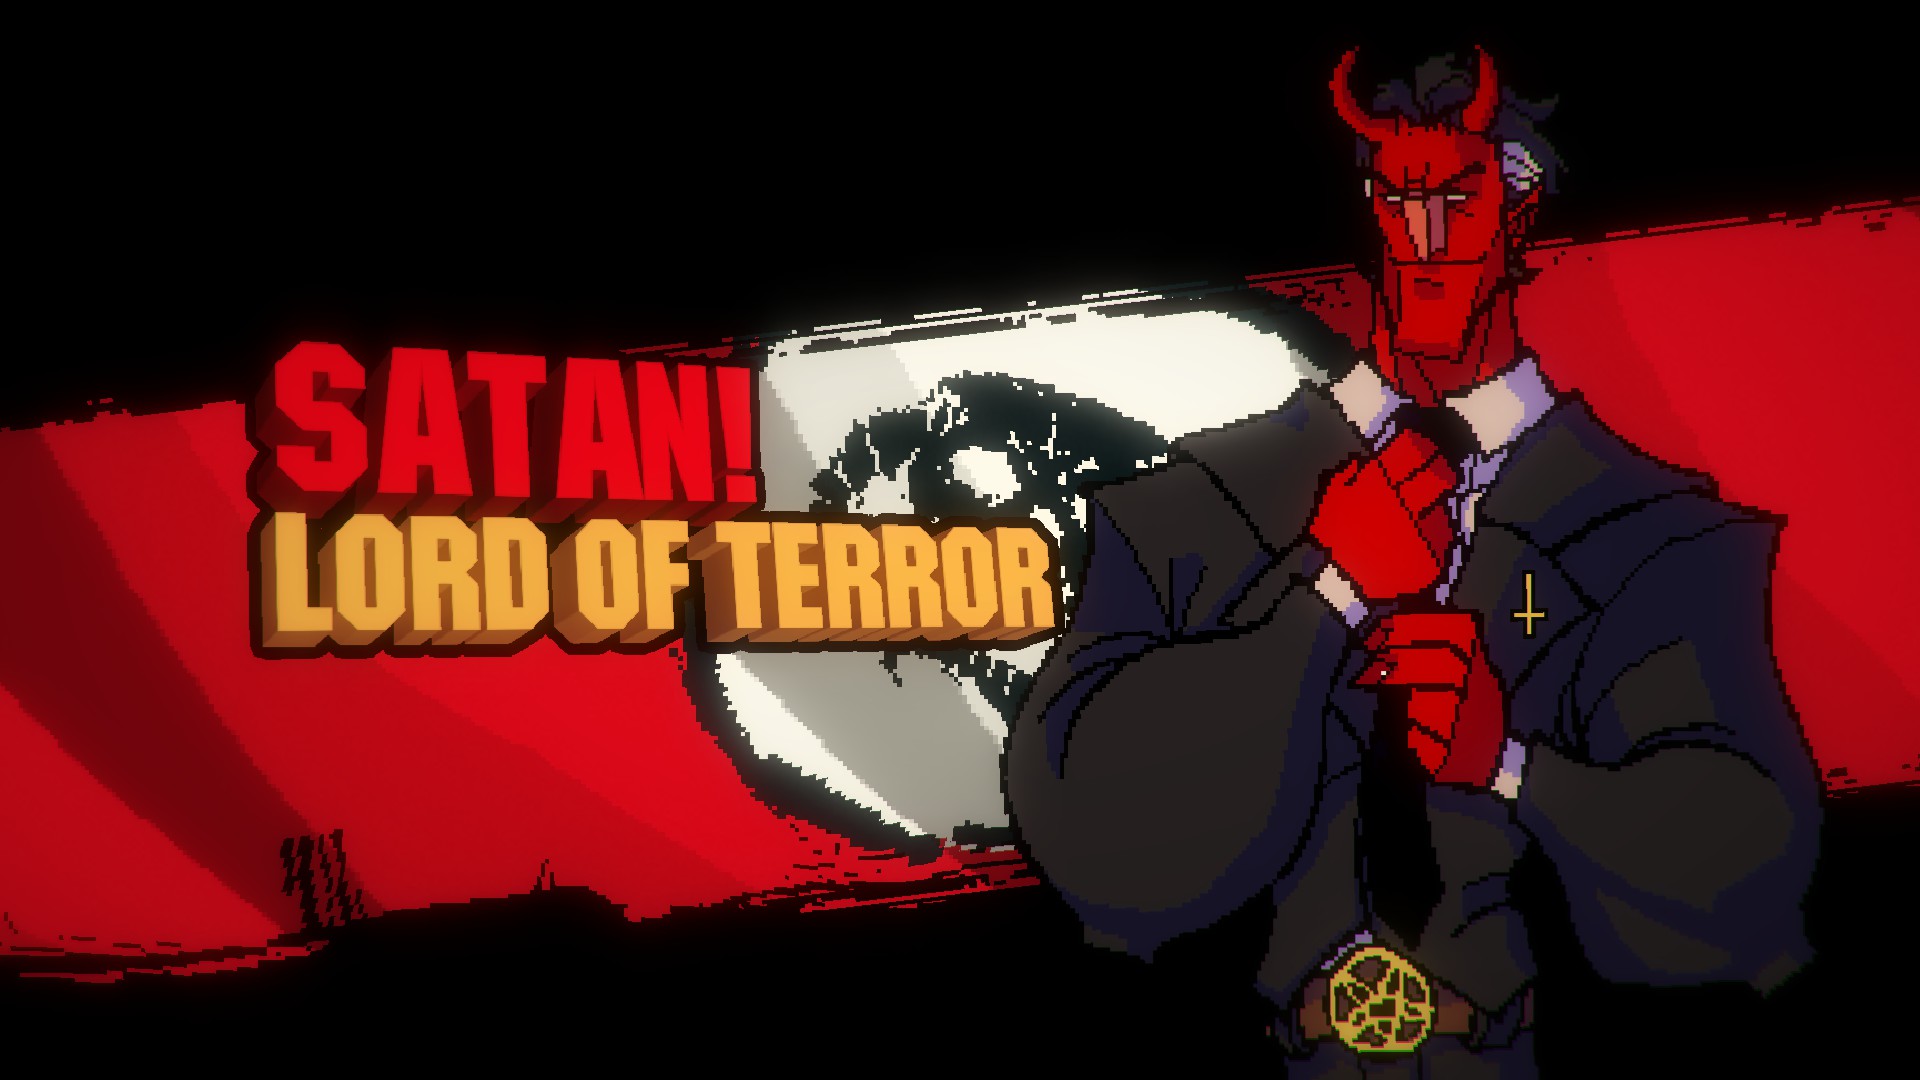
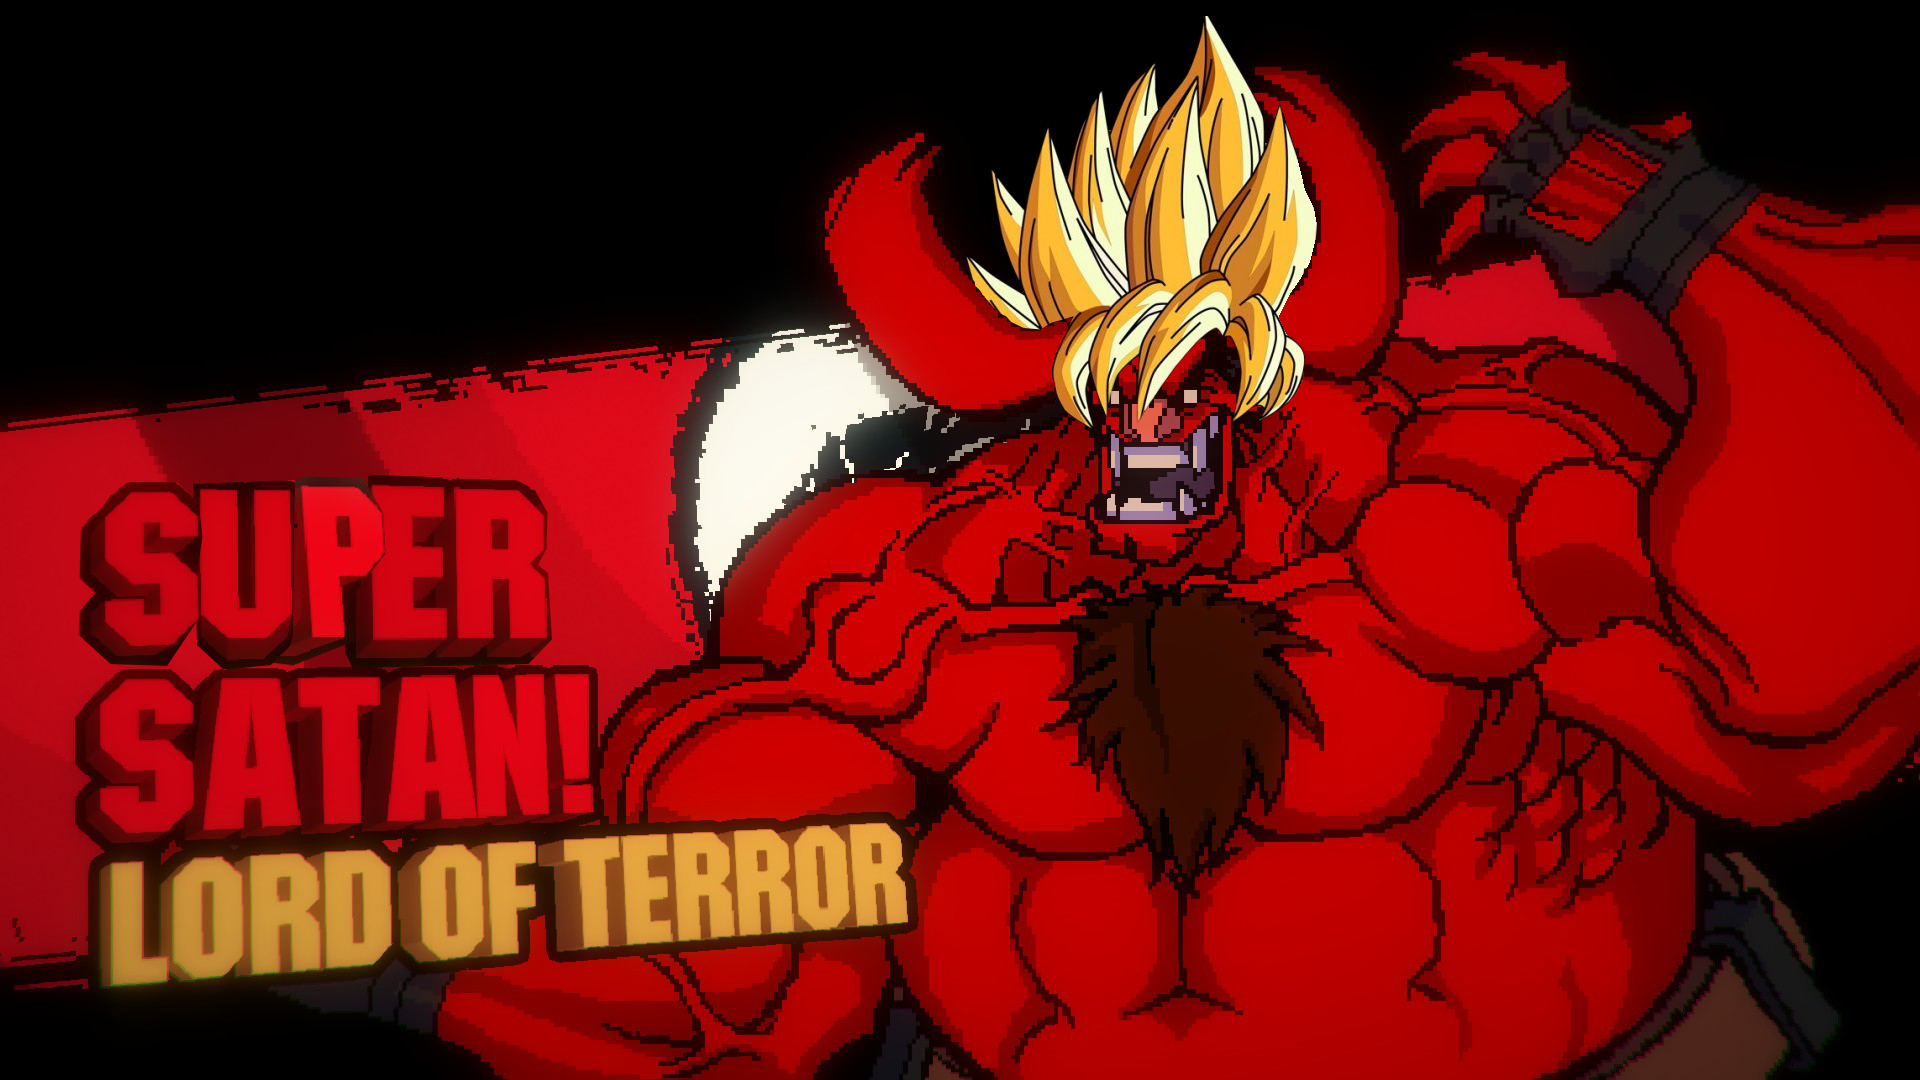
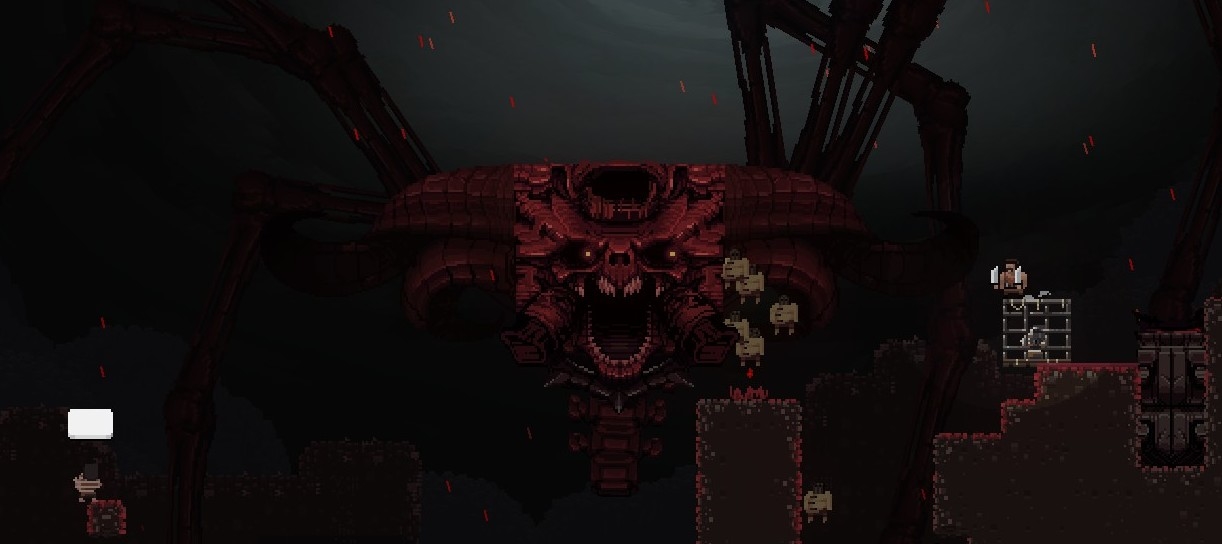
Super Satan is the first phase of Satan's battle. He's buff as hell and is wimpy as crap; the guy takes less hits to knock out than the Stealth Tank took to kill. His attack basically consist of vomiting fire at you and smashing the ground a lot, which causes an effect similar to Bronan's max charged sword. This area of damage CAN kill you, so watch out. He also creates force fields around himself (which can crush you if you get caught between it and a wall or the ground). Shooting the field enough times can break it and stun Satan for a decent amount of time. He can also shoot single fireballs at you, and fireballs rain down from the sky. Shoot his health to zero to advance to Phase 2.
Special Note: He can stunned by Bronan's charged sword attack. I'm not sure if any other attacks can do this, but I know Bronan's can.
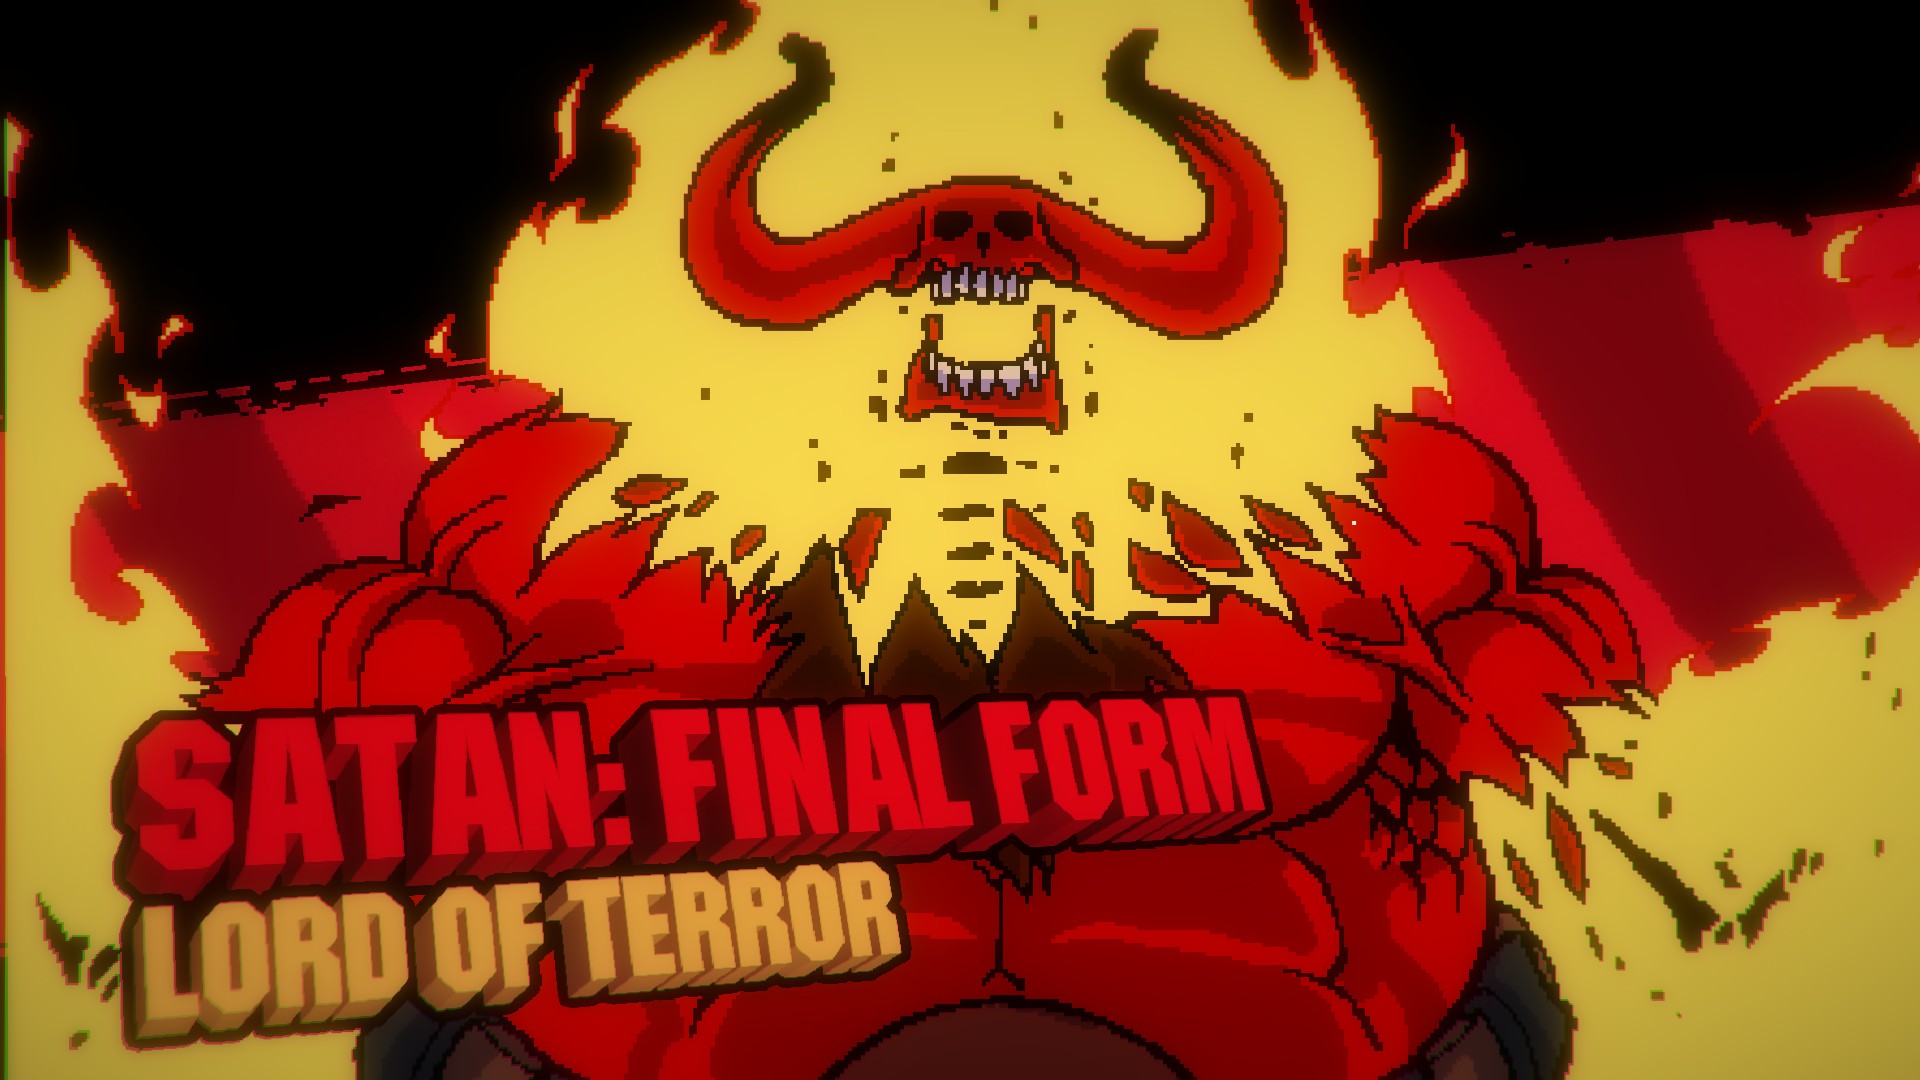
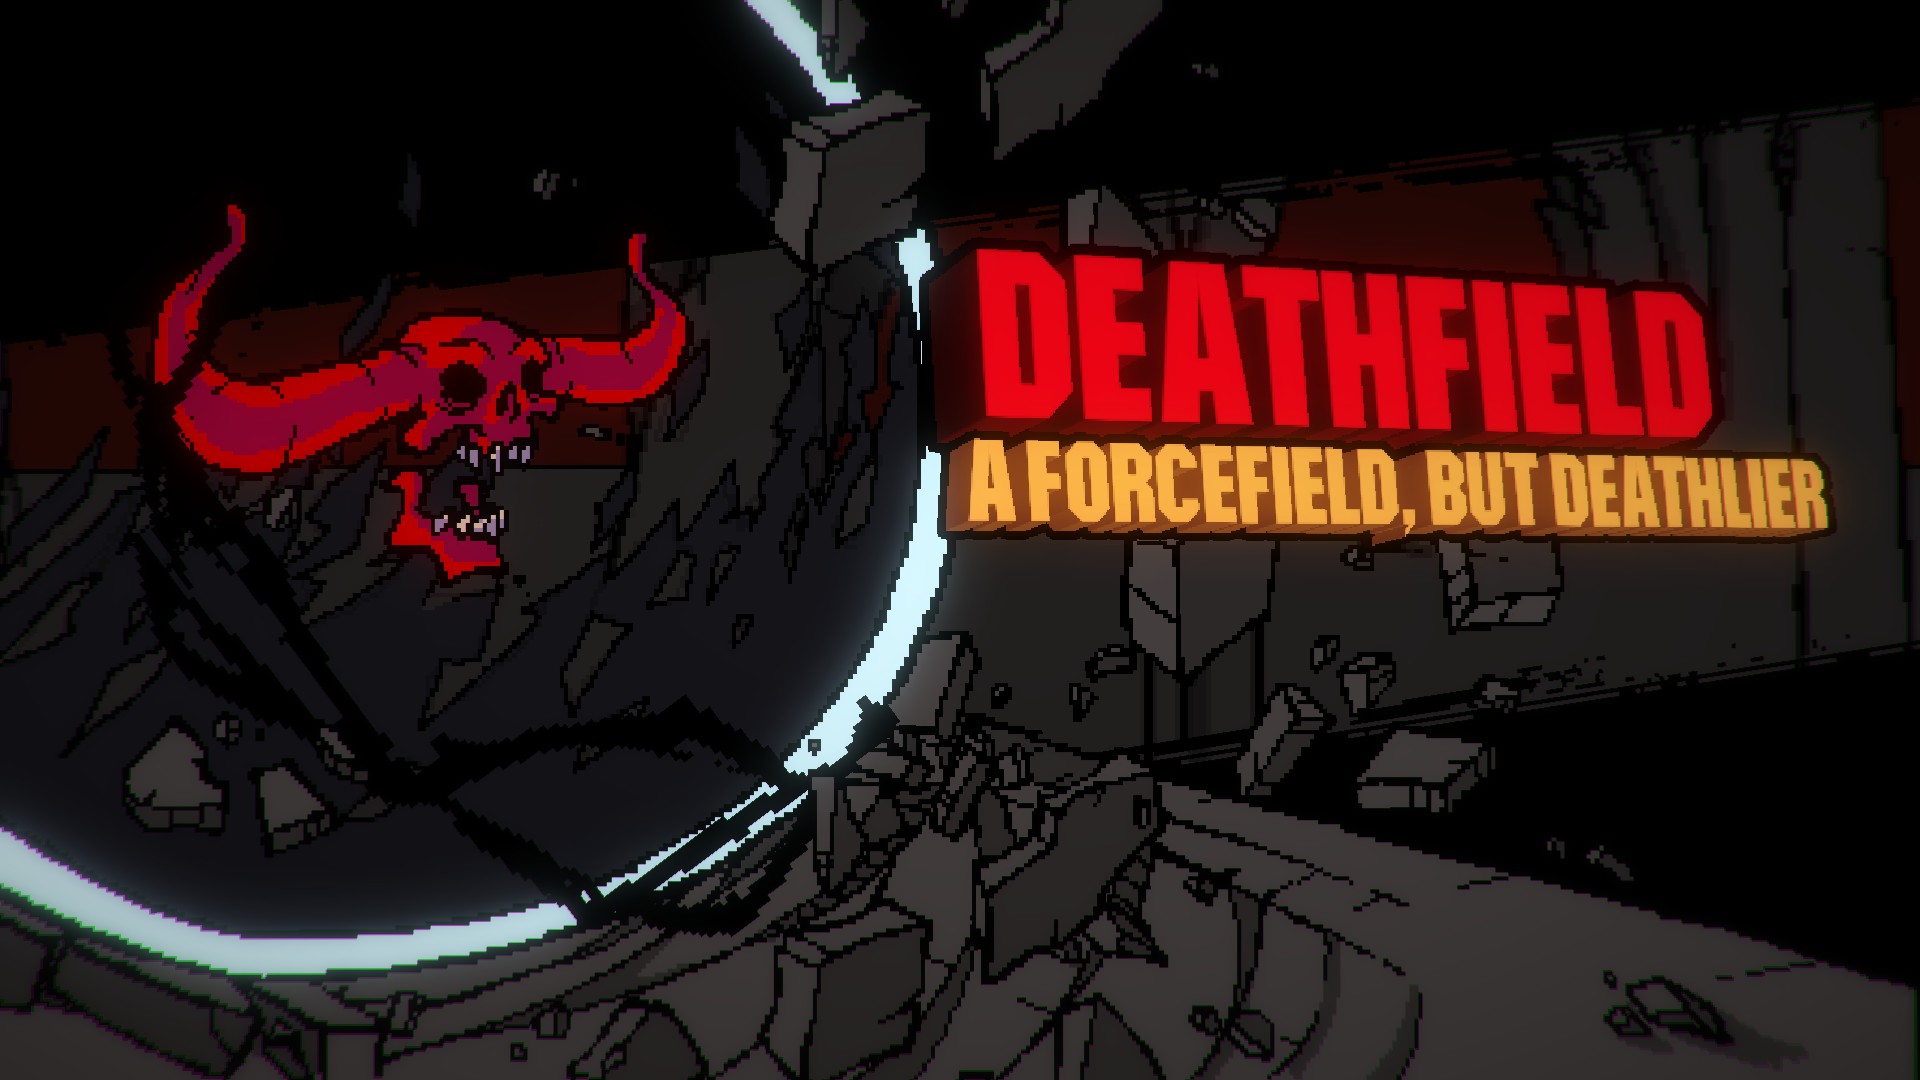
You guessed it!
EXPLODING PEOPLE! YAY!
Watch out for some of the fireballs. They are deliberately placed in areas to intercept you mid-jump and kill you, so watch out.
At the end of the level when you reach the helicopter, the chopper WILL BE SHOT DOWN. This is part of a scripted sequence that is supposed to make you fall into the pit below. MAKE SURE YOU GO STRAIGHT DOWN! DO NOT KEEP GOING TO THE RIGHT! If you manage to reach the left side of the screen as you fall it will actually kill you and not send you to the final phase of the battle.
The Final Phase of the Final Battle With Satan, Lord of Hell
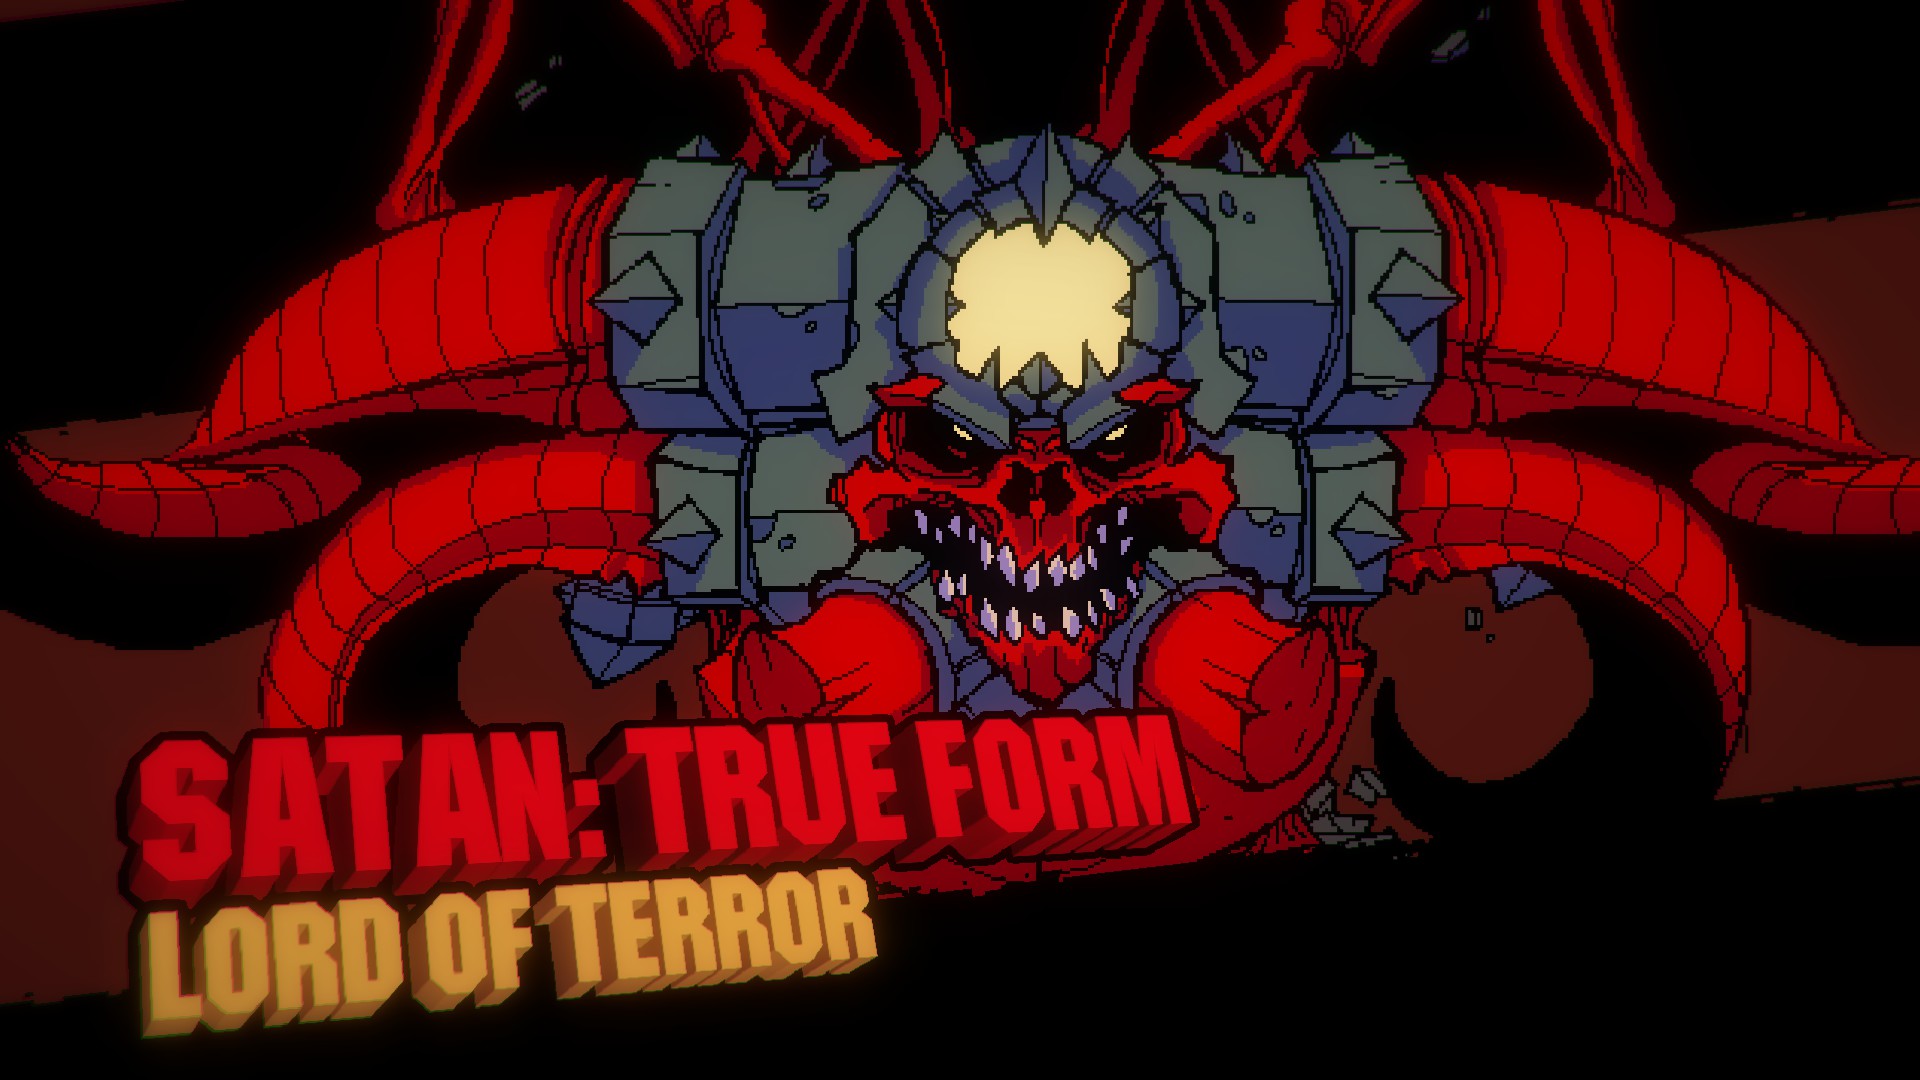
This is it people! The finale of Broforce, and my god is it amazing to behold. Satan starts out as a towering pole in the middle of the arena sided by three crusher things on either side of him. Ignore these, and try to stay off the ground or else more exploding people will start hurling themselves at you. This phase, in and of itself, consists of about 3 steps:
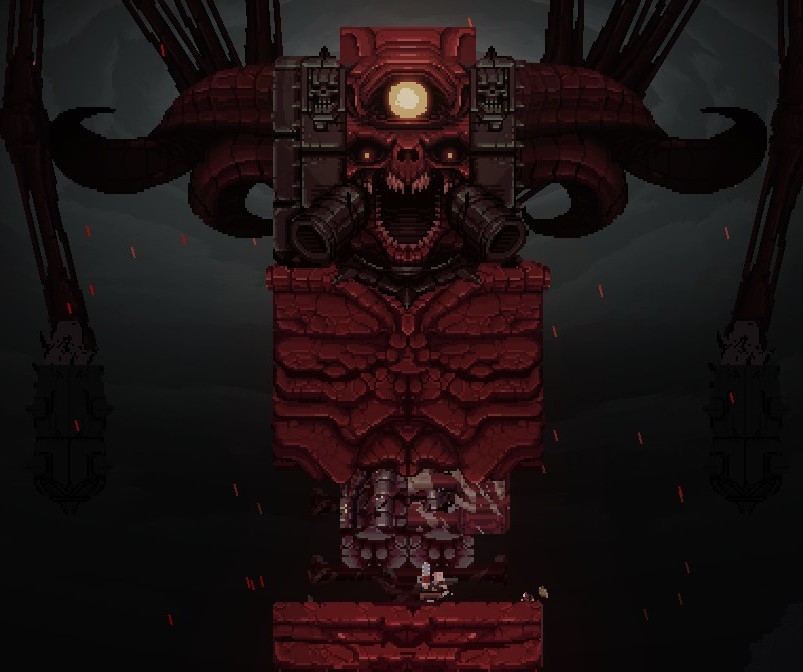
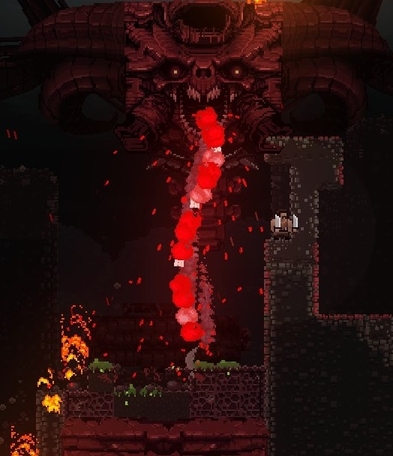 At this point in the battle stuff starts getting even more intense, if that was even possible. Instead of death beams, it's now a game of "The Floor is Lava". Except instead of lava I mean it spawns like twelve exploding people and throws them at you, just like every other stage in Zone 15. Satan has basically two attacks now: Absolute bullet hell fireballs rain down from above, and plasma-acid vomit. I believe the fireball hellstorm is summoned when Satan's head rumbles something sounding like "Bro Fire". The only safe haven from this nightmare is under something. Since touching the ground isn't an option, you have to hide under Satan's head. Well, Satan don't like that. He will attempt to vomit on you if you stand directly underneath him, which reduces you to bones immediately. Switch constantly between latching onto his head and shooting (He has a TON of health, this could take a long time), and hiding underneath him while avoiding the plasma vomit.
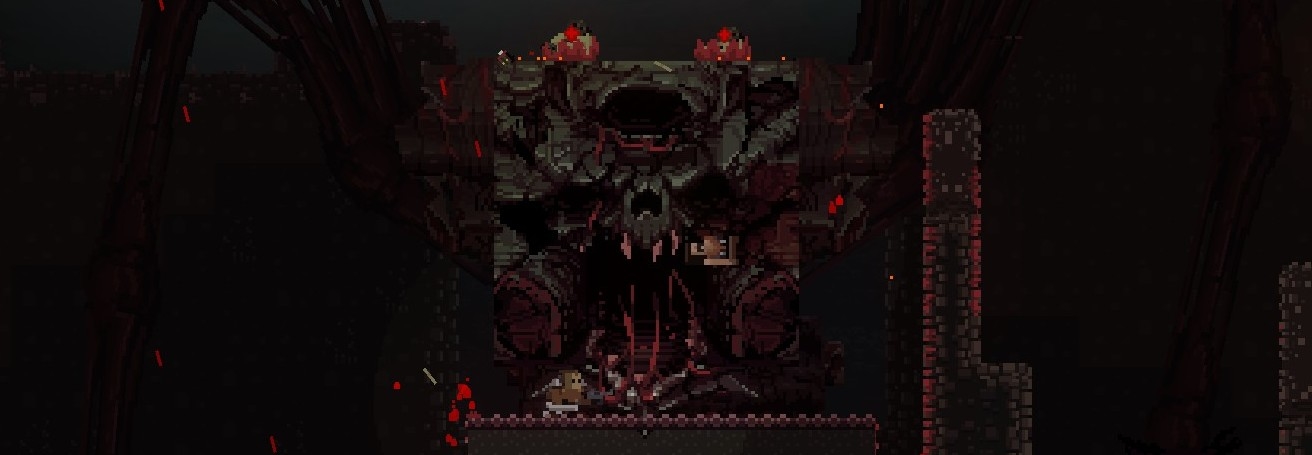
Well, This is the End of the Guide
Many thanks to those that believed in my advice and read the guide all the way to the end. I sincerely hope this guide helped you achieve your dream of completing the Ironbro Campaign, or was at least a hilariously good and informative read. I wish you all the best of luck in your future endeavors, whether they be in Broforce or in real life.
If you see an error in grammar or spelling in this guide, please inform me. I will be more than happy to fix it.
Please rate this guide with the rating you feel it deserves. I pride myself on my quality (although not so numerous) guides and I very much appreciate feedback. Your support is not lost on me.
Colonel Mustache for creating the Portbrolio guide. His Portbrolio really helped me look up the facts on all the Bros when I needed information.
Waffle for putting up with my constant harassment and for looking through the guide in its early development stages. You go man.
Whoever the guy was that made the .gif I used as the title card of this guide. Hopefully it doesn't break copyright, because it is ♥♥♥♥♥♥♥ awesome.
This dude for making the hilarious Super Satan title card I used in my guide. That's custom made too, just for this guide! Thanks a ton!
- Broforce: персонажи и их особенности★ 5 (615)24k views483 ♥17 minRussianUpdated Jul 25
- Достижения в Broforce + секретные★ 5 (614)21k views600 ♥2 minRussianUpdated May 30, 2016
- Broforce Achievement Guide★ 5 (475)21k views533 ♥2 min
- Portbrolio - A Guide to the Bros!★ 5 (448)20k views618 ♥140 minUpdated Sep 20, 2025
- Интересные факты о Broforce★ 5 (746)18k views374 ♥12 minRussianUpdated Nov 7, 2020
- How to The Brode★ 4 (204)12k views113 ♥1 min


- Upgrading to PremiumTeam Fortress 2★ 5 (20k)1441k views11k ♥6 minUpdated May 11, 2022
- No More Room in Hell Official ManualNo More Room in Hell★ 5 (2.8k)569k views2.1k ♥29 minUpdated Apr 22, 2019
- NMRiH Community Hosting GuidesNo More Room in Hell★ 5 (526)351k views653 ♥1 minUpdated Aug 10, 2022
- ULTIMATE GUIDE FOR GAME DEV TYCOONGame Dev Tycoon★ 5 (5.8k)326k views10k ♥4 minUpdated 23 Jan, 2014
- How to 'Git Gud' Soon™MORDHAU★ 5 (2k)318k views3k ♥68 minUpdated Nov 16, 2024
- Лучшие кооперативные игры SteamPAYDAY 2★ 5 (1.5k)315k views2.1k ♥56 minRussianUpdated Apr 27, 2025






This guide was created by its original author on the Steam Community. Are you the author and want it removed? Request removal.