Life Is Strange Photo Locations Guide
Chapter 1
- High School (1 photo)
- Main Campus (2 photos)
- Dormitories (1 photo)
- Girls' Dormitories (2 photos)
- Dormitories - with the flash drive (1 photo)
- Parking Lot (1 photo)
- Cliff (2 photos)
High School (1 photo)
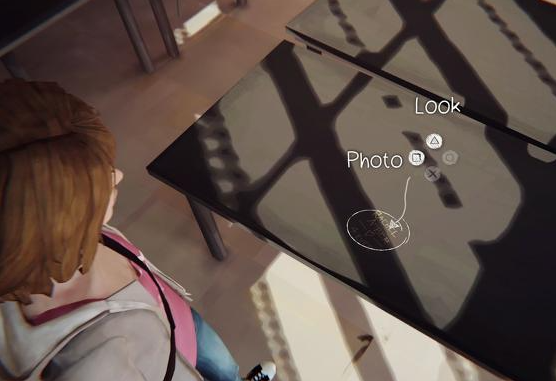
Main Campus (2 photos)
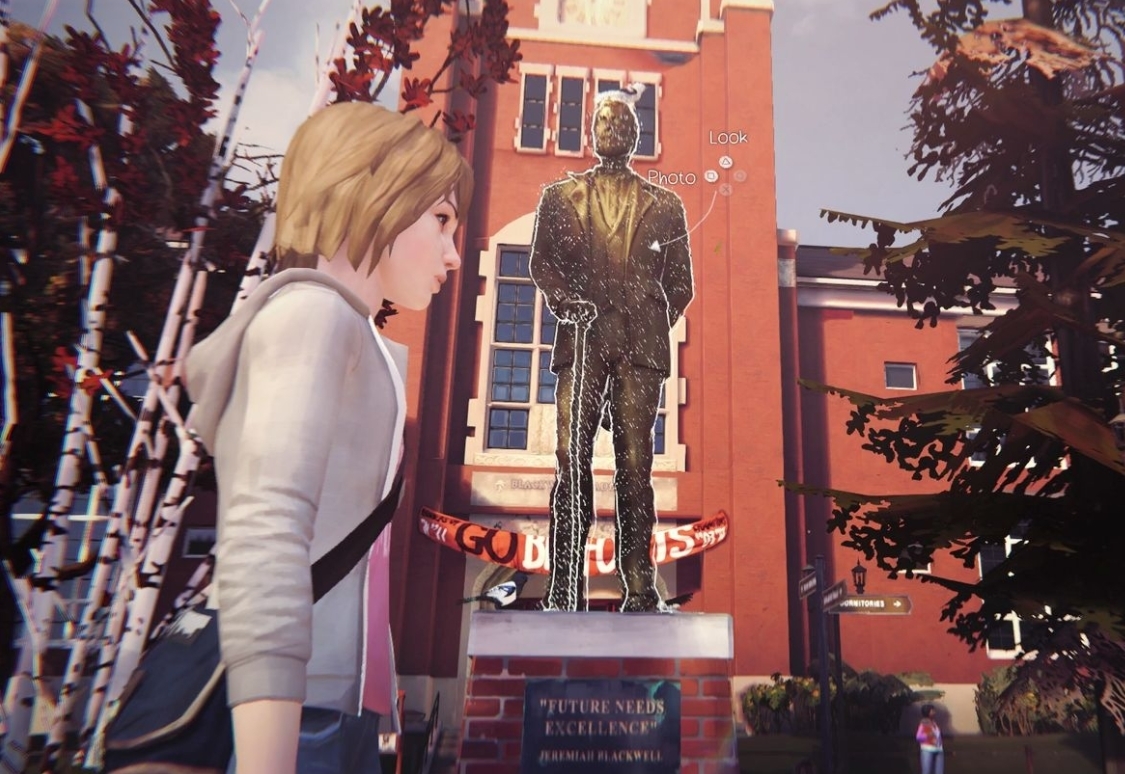
- From where you emerge there is a statue right ahead. Walk around to the front and look up at it, and the photo prompt should appear.
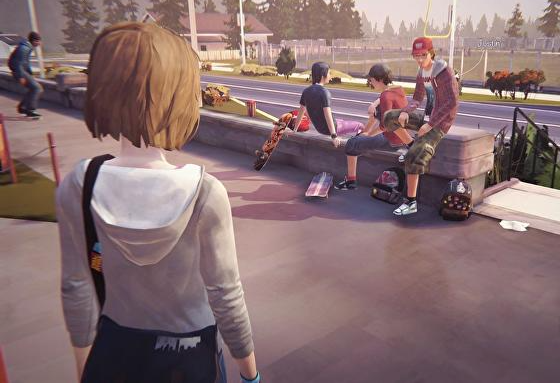
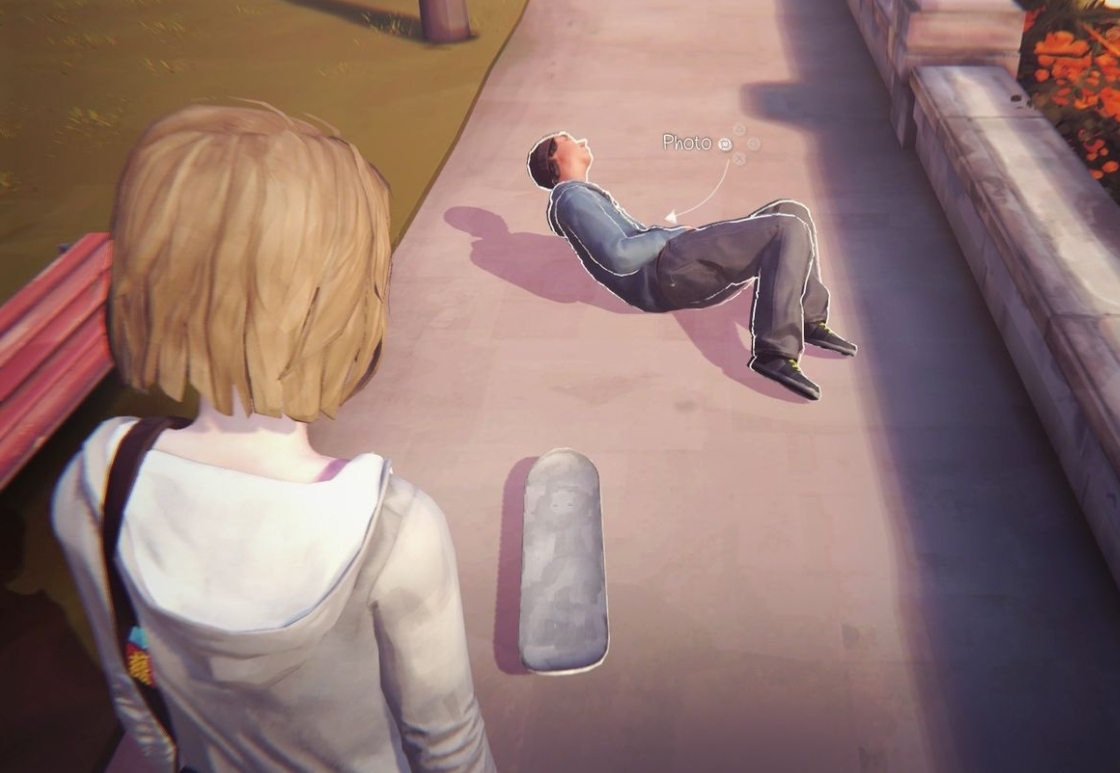
- This one takes a little work. Head to the group of skaters sitting on the wall opposite the statue in the middle of the campus, and chat to Justin.
Whatever your response requires you to rewind. Now select 'I came to Noseslide', then Tre Flip.
Dormitories (1 photo)
Girls' Dormitories (2 photos)
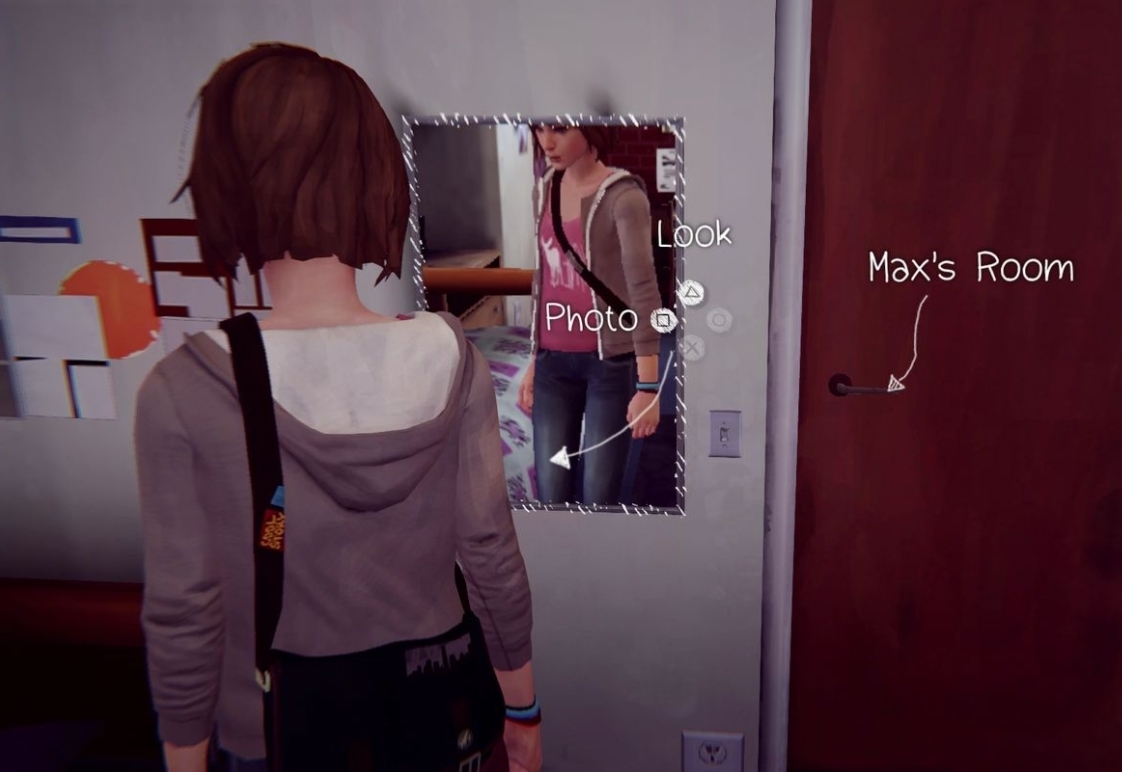
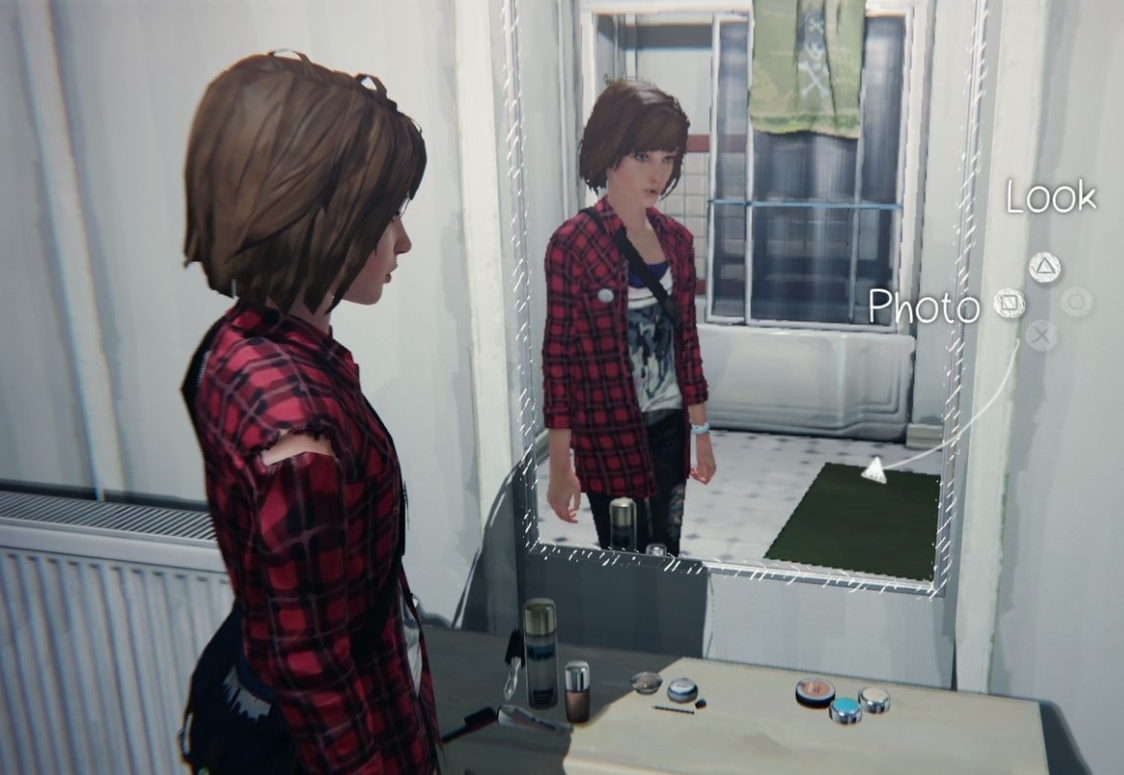
- Enter Max's room (it's on the right towards the end) and look in the mirror next to the door.
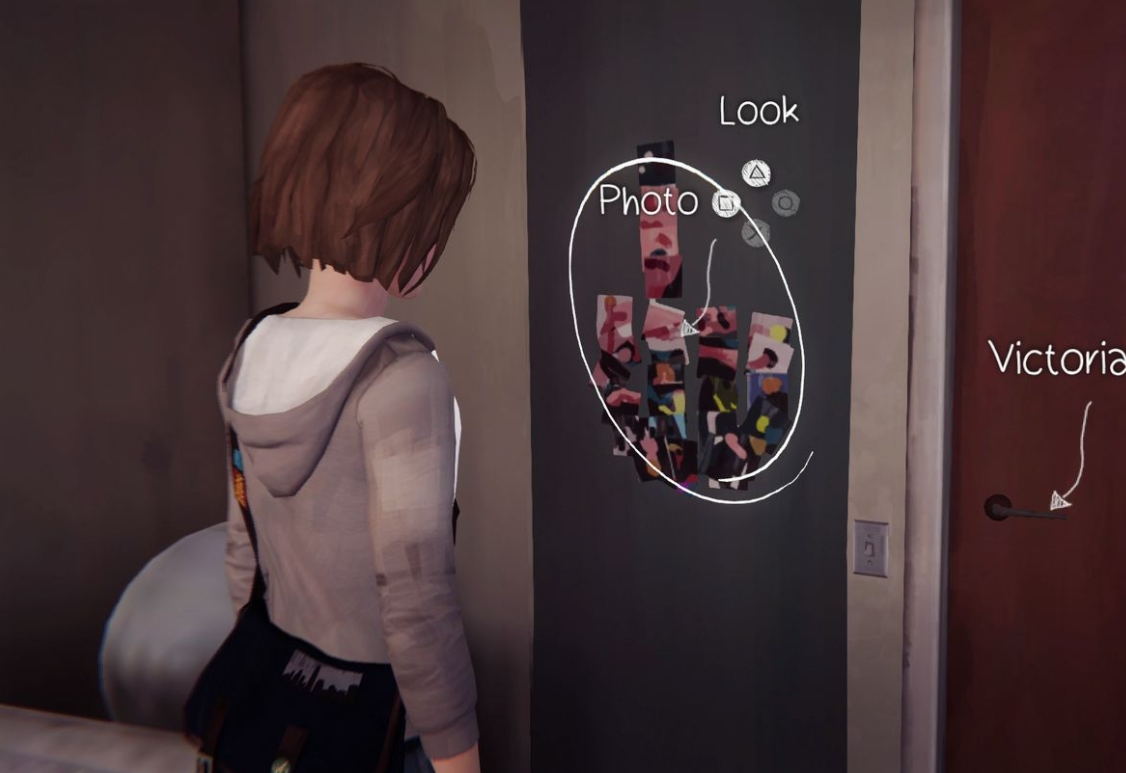
- Continue playing this section until you enter Victoria's Room (go to Max's room, read the sticky note on the desk, talk to Juliet in the corridor and respond with Juliet Watson, then go to the room) and you see a collage of photos on the wall. Select Mess Up, then Photo.
Dormitories - with the flash drive (1 photo)
As soon as you begin, rewind to stop the football from hitting Alyssa.
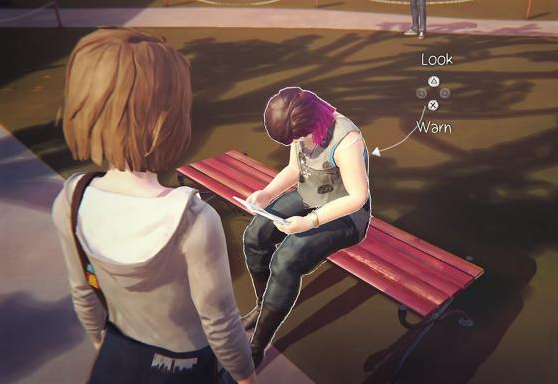
Run up, warn her, then take a photo of the window that just got smashed.
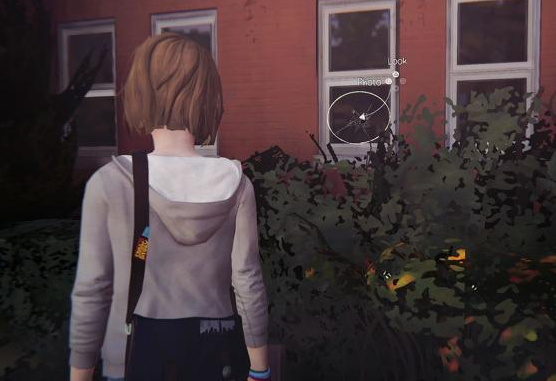
Parking Lot (1 photo)
Cliff (2 photos)
As soon as you enter, turn around and you'll see a path going down on the right.
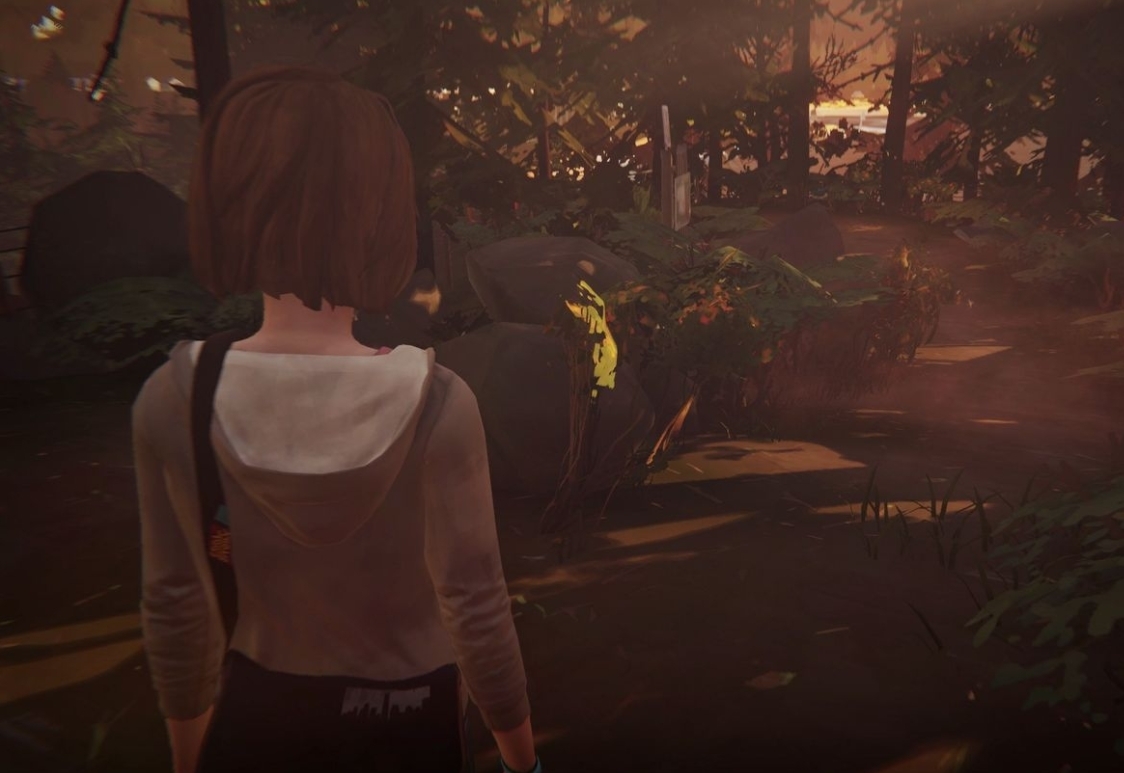
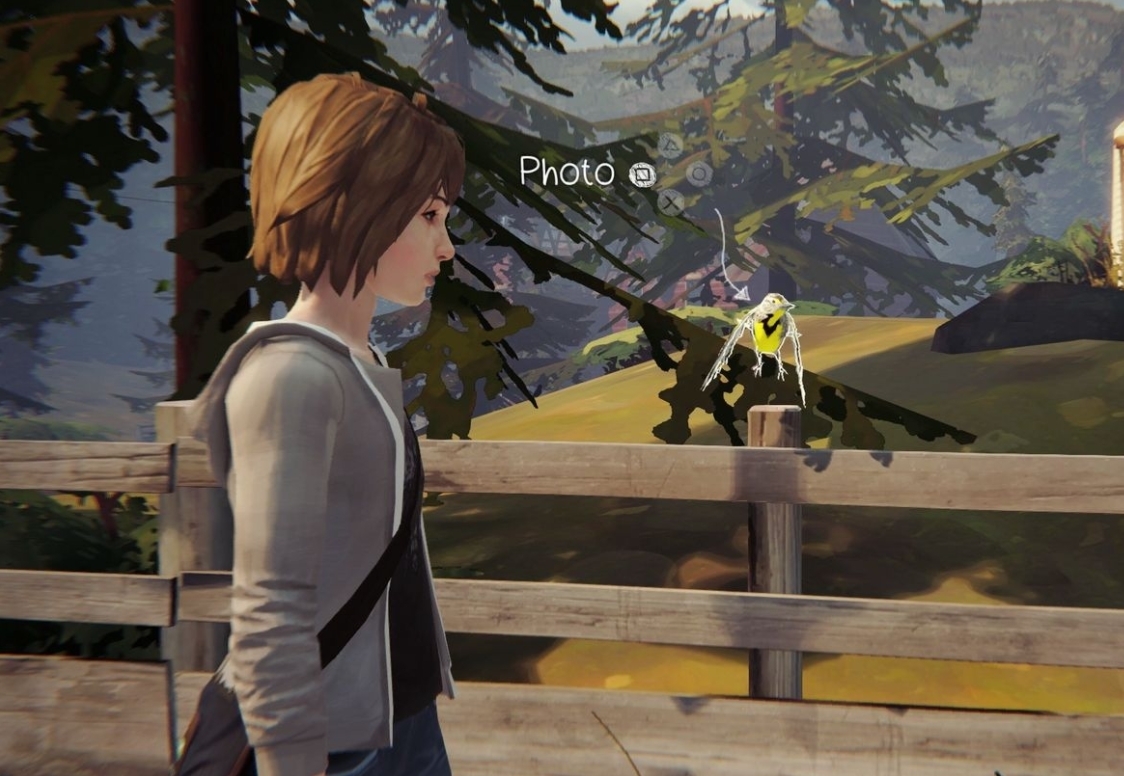
Walk down, and you'll see a boulder on the left, with a bird on top. This is your photo.
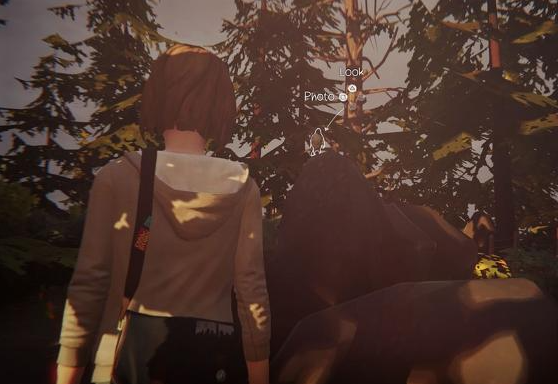
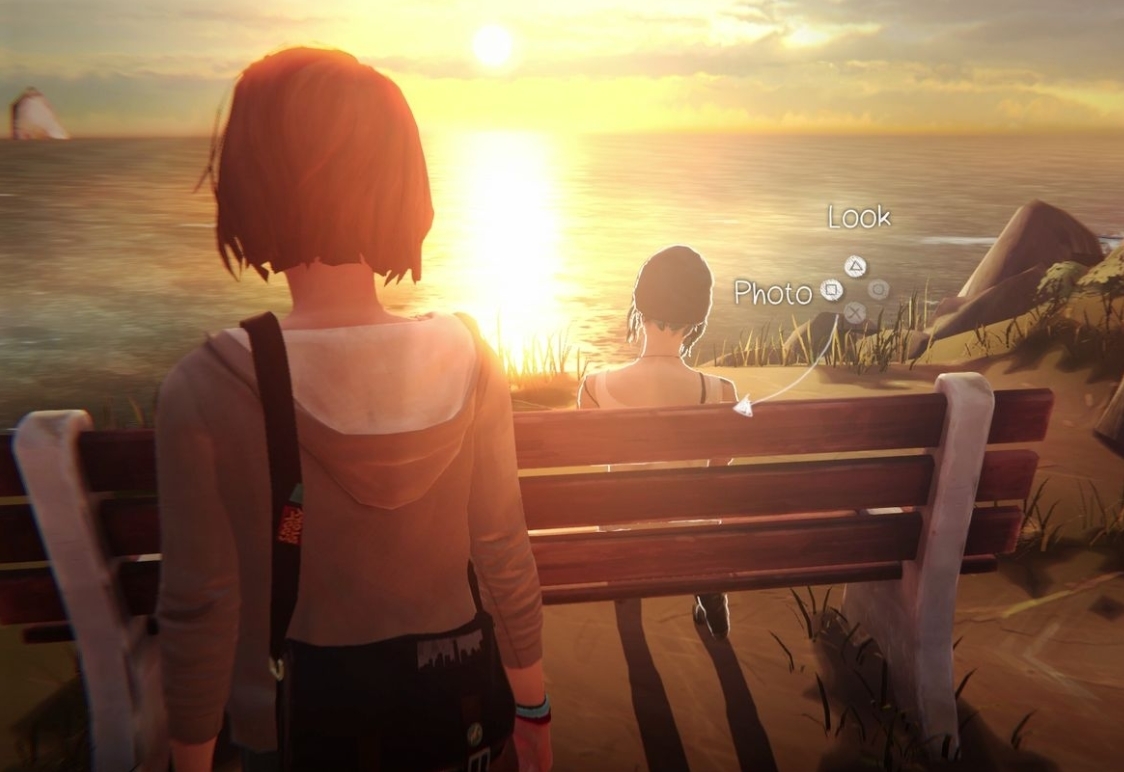
Continue up the hill as you would usually to meet with Chloe. Before talking to her, approach from behind, where you will get the prompt.
Chapter 2
- Girls' Dormitories (1 photo)
- Dormitories - Morning (1 photo)
- Diner (3 photos)
- Junkyard (3 photos)
- High School (2 photos)
Girls' Dormitories (1 photo)
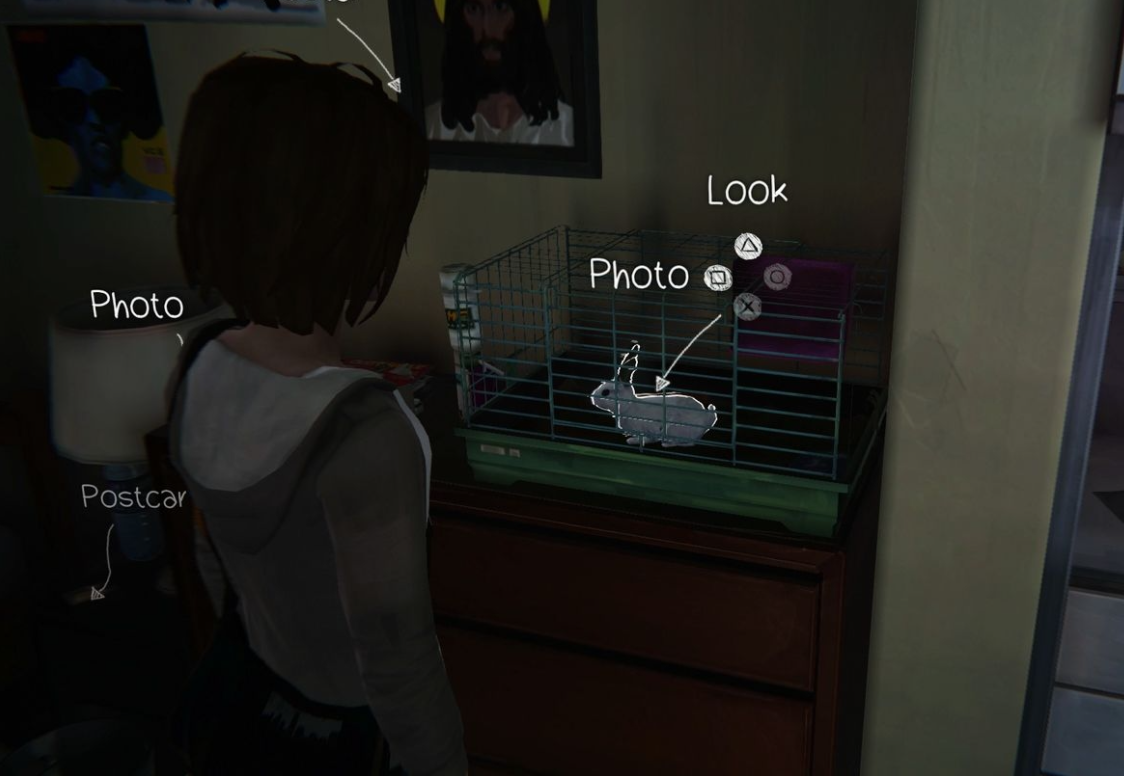
Dormitories - Morning (1 photo)
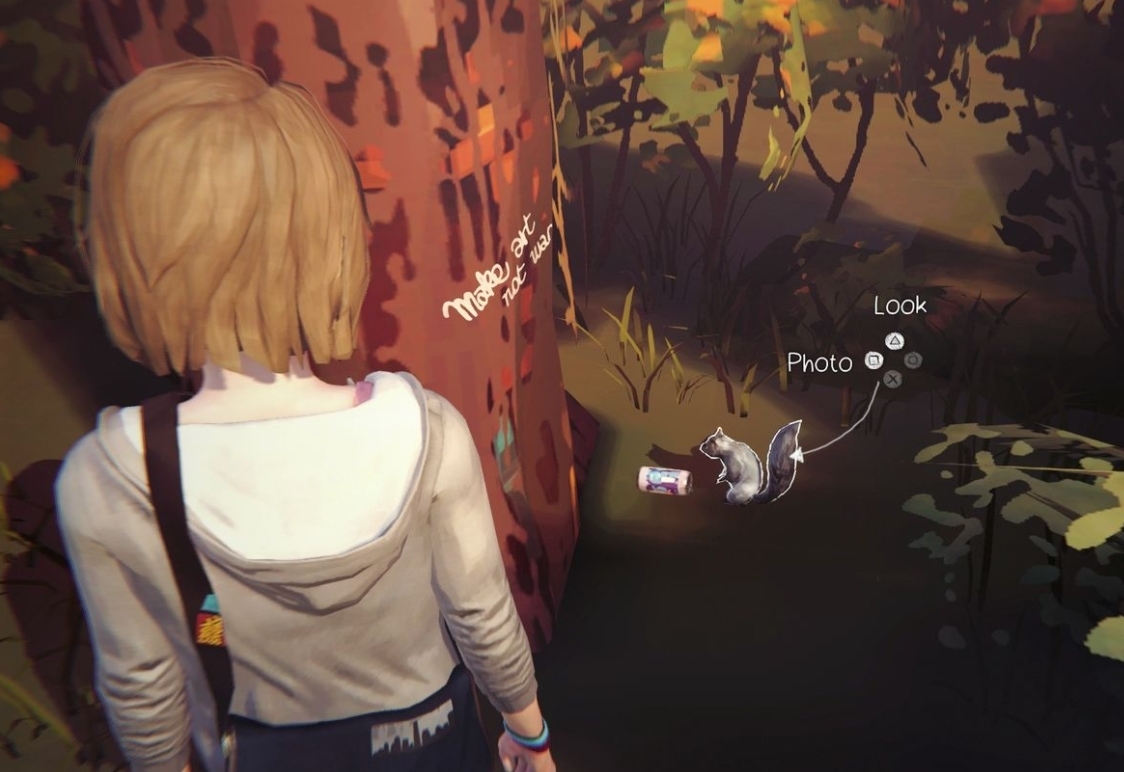
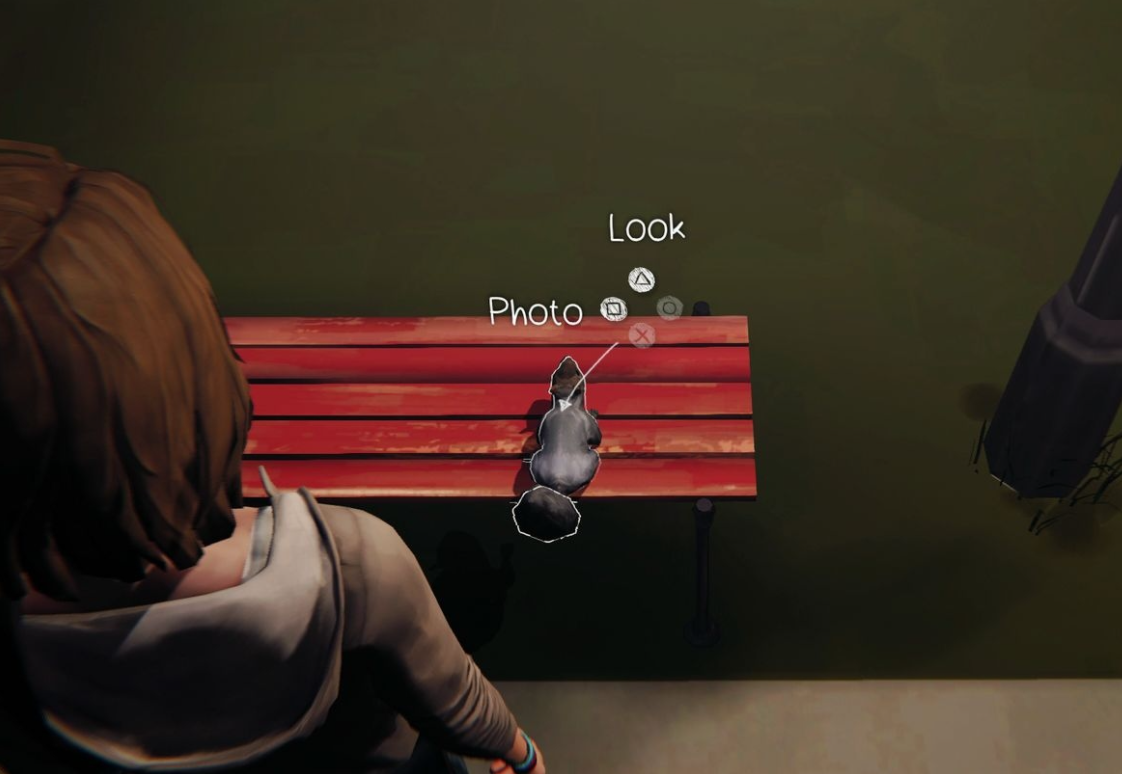
Turn right and head to the bench at the far end - the same near where you snapped the squirrel in the first chapter.
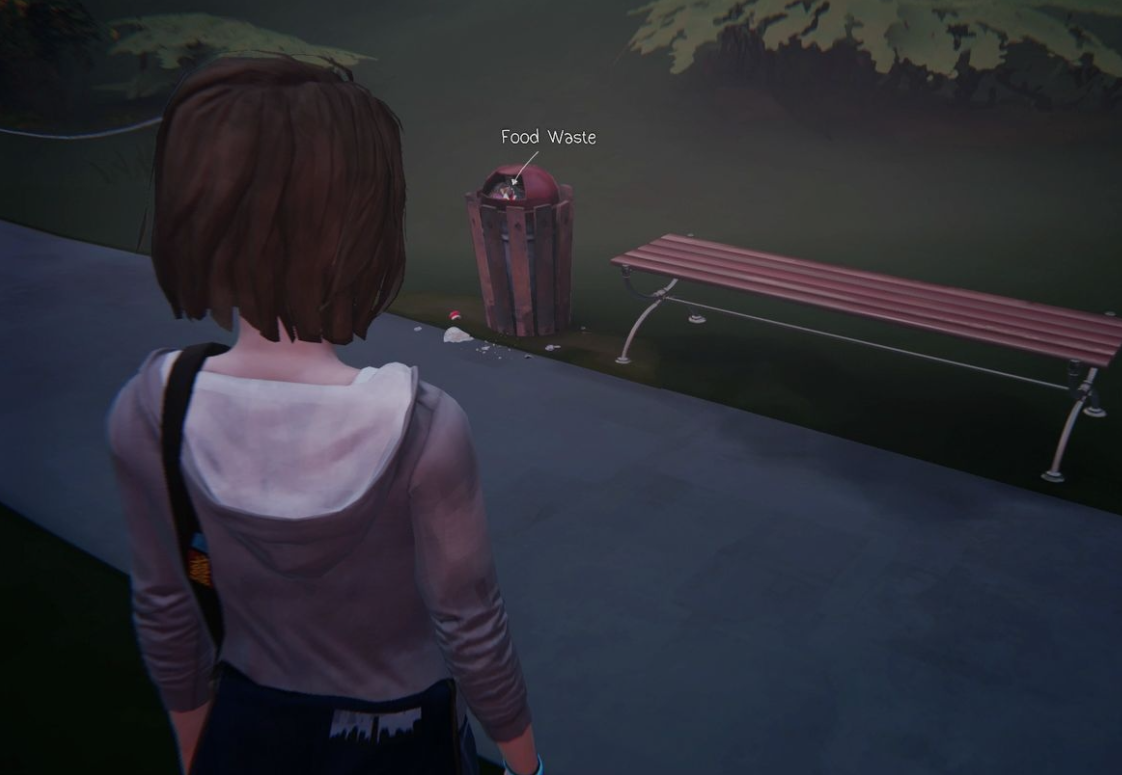
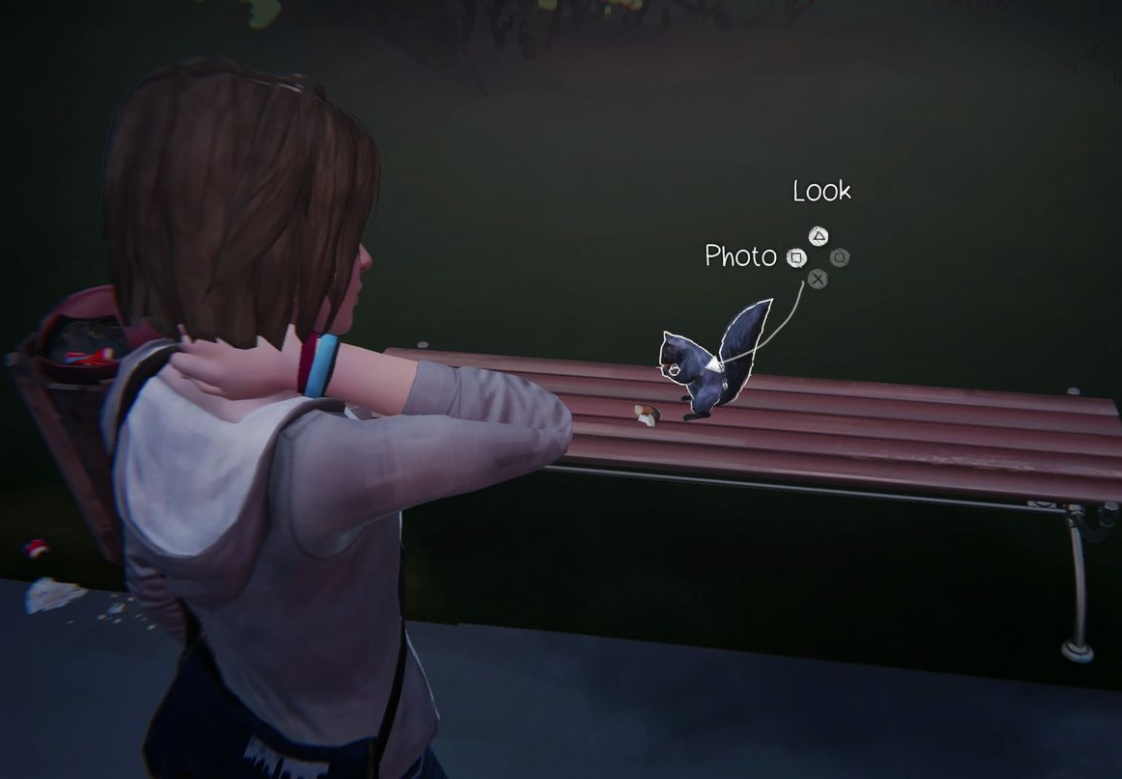
Investigate the bin, and place the rubbish on the bench. Step back until the squirrel jumps up, then approach it and snap.
Diner (3 photos)
You can get all three of these in relatively quick succession.
From where you begin, look up to the whale sign above the diner, and walk ahead. At the right angle, you'll be able to take a picture.
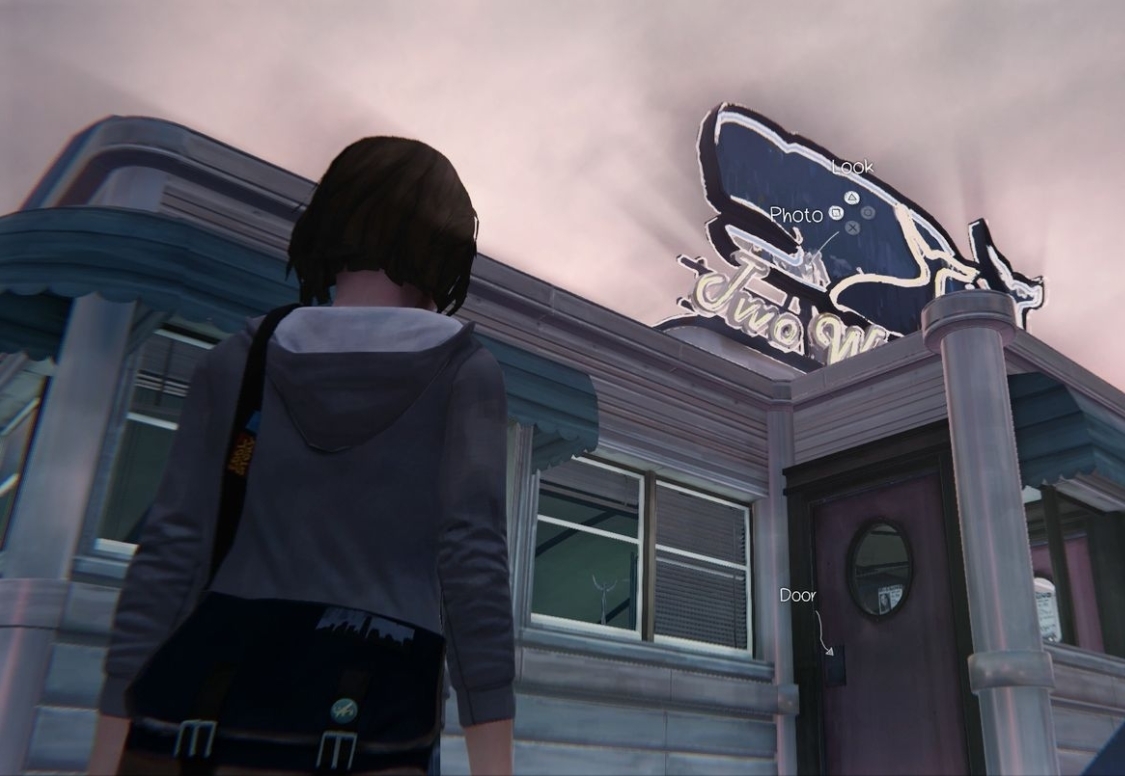
Next, run ahead along the street, take a left and past the homeless round the back of the diner
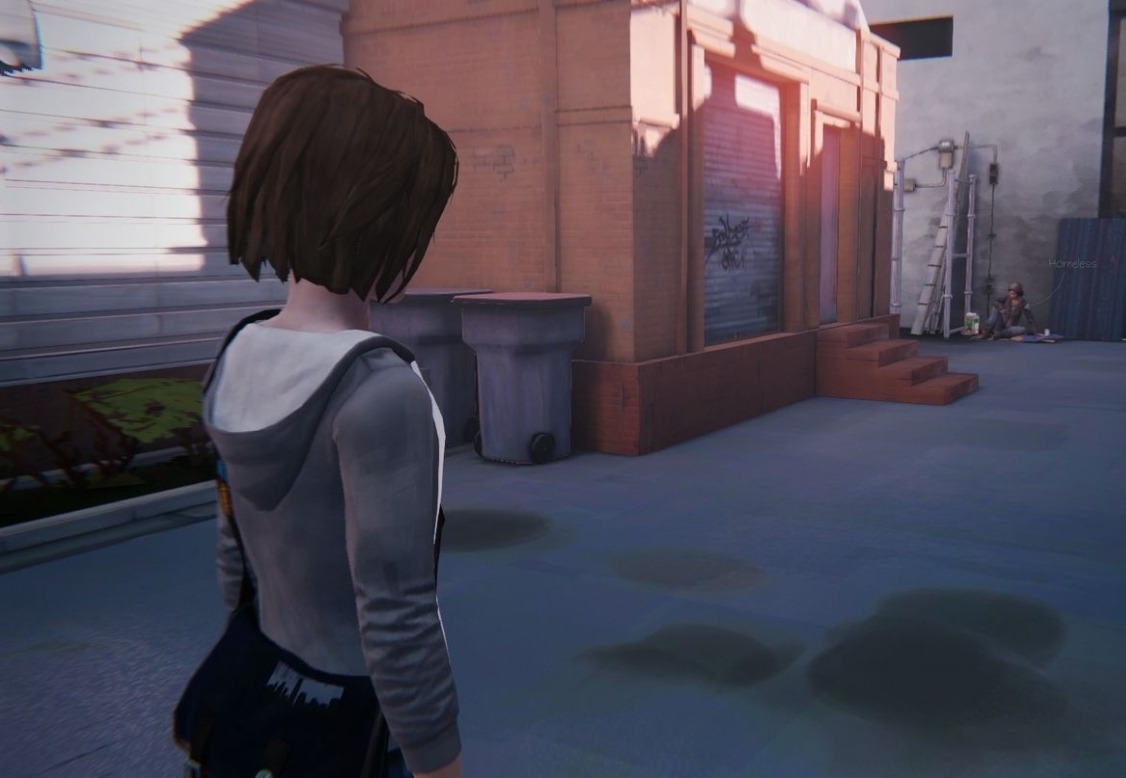
At the end is a chainlink fence, and you can see the RV and the dog. Look at the dog, and take the picture.
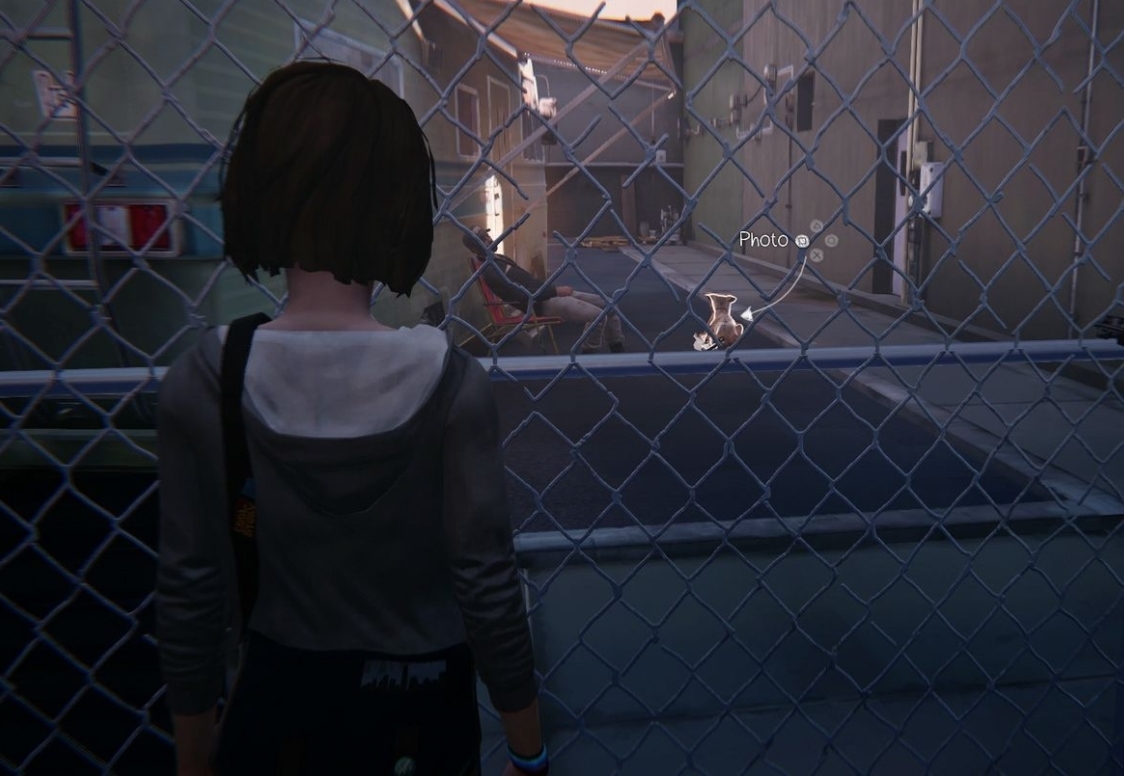
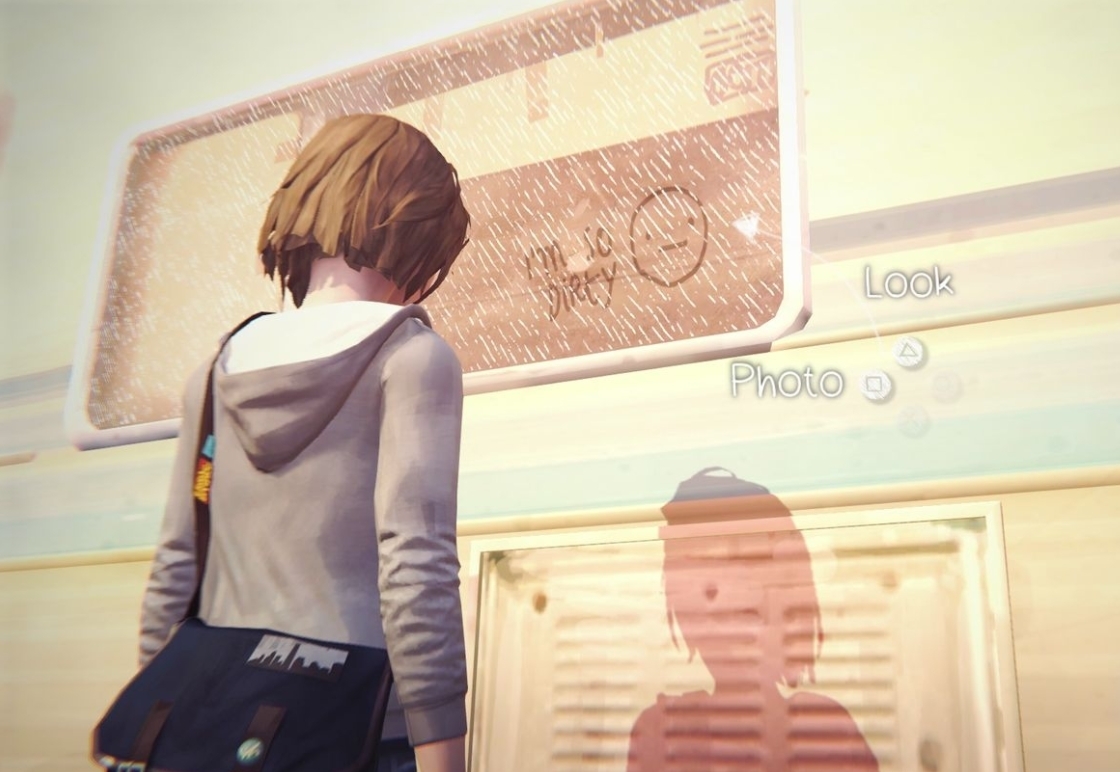
Finally, head into the diner, and go to the far left corner and into the washroom. On the right mirror is some graffetti - take a picture.
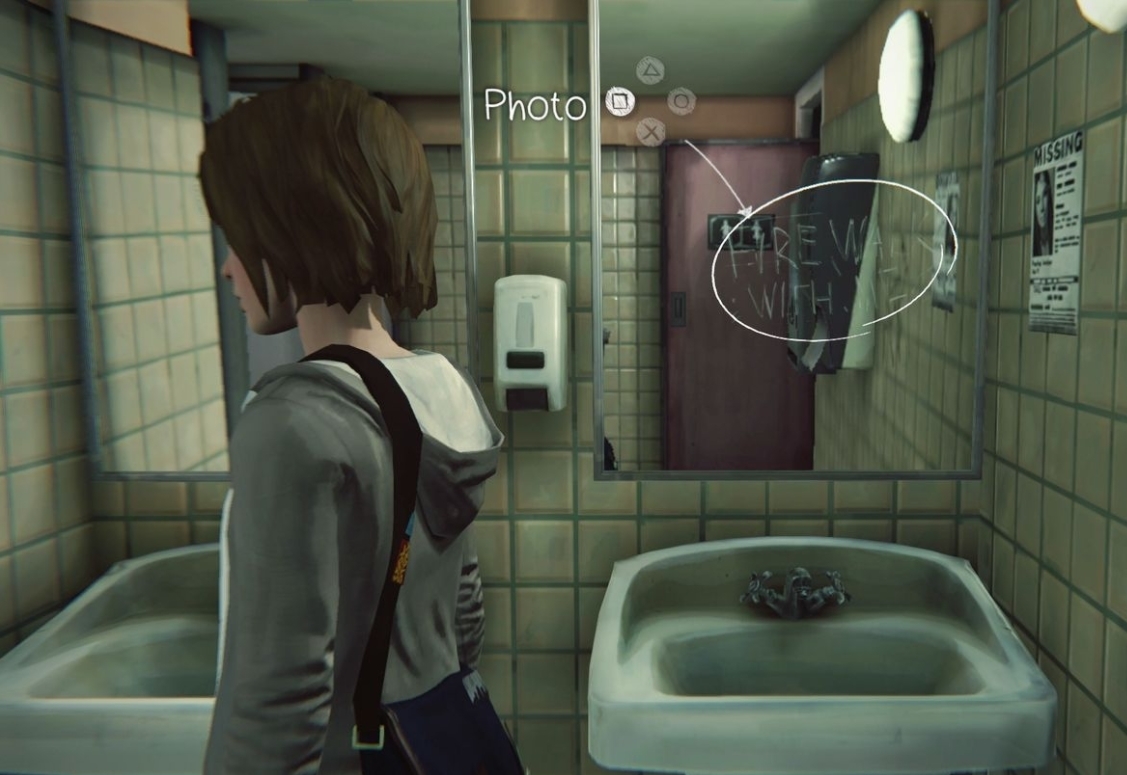
Junkyard (3 photos)
From where you begin, turn around and you'll see a school bus. Stand to the left (the same side as the front) and look at it. At the right angle, the photo prompt will appear. There's also one of the bottle locations near here, while you're at it.
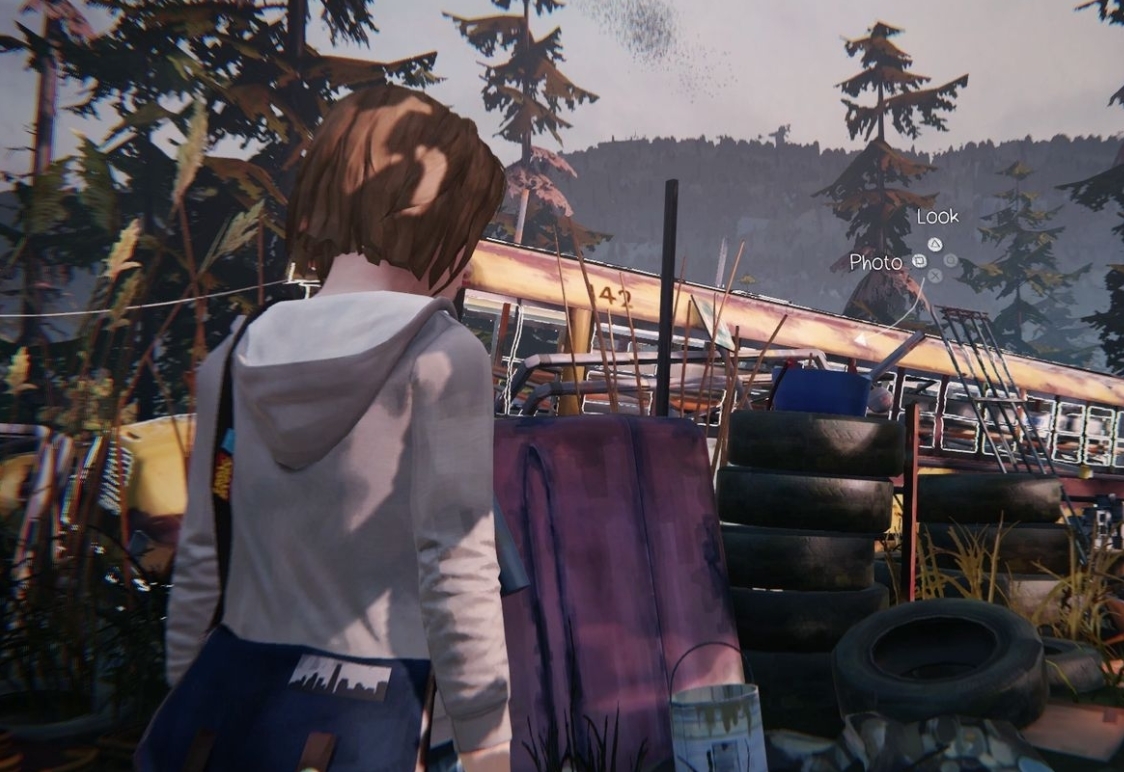
Turn right and go through the junkyard until you are on the other side of the bus. As you go, you'll notice a deer (Max will call it out, so you won't miss it) which runs to the right. Follow it and take a picture.
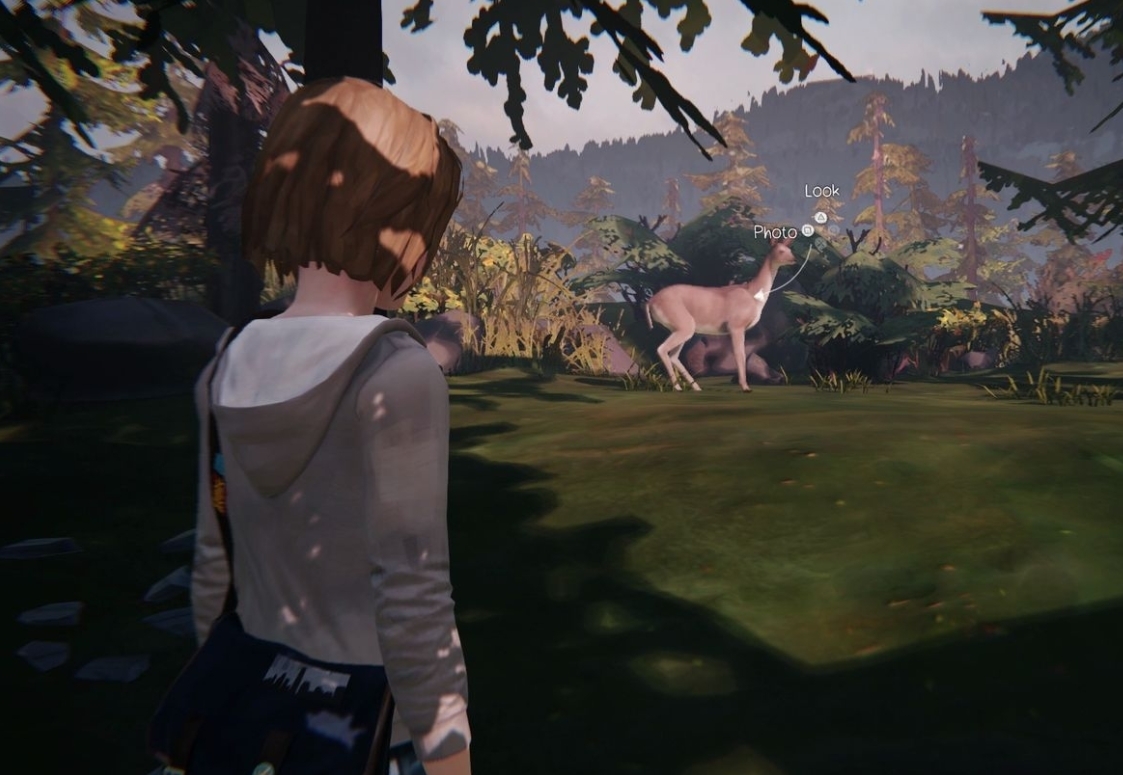
Now explore the junkyard and find all five bottles, play the gun-shooting section. Once it's over, Chloe will be lying on the car with the gun in the air. Approach from the side and you'll get your third picture.
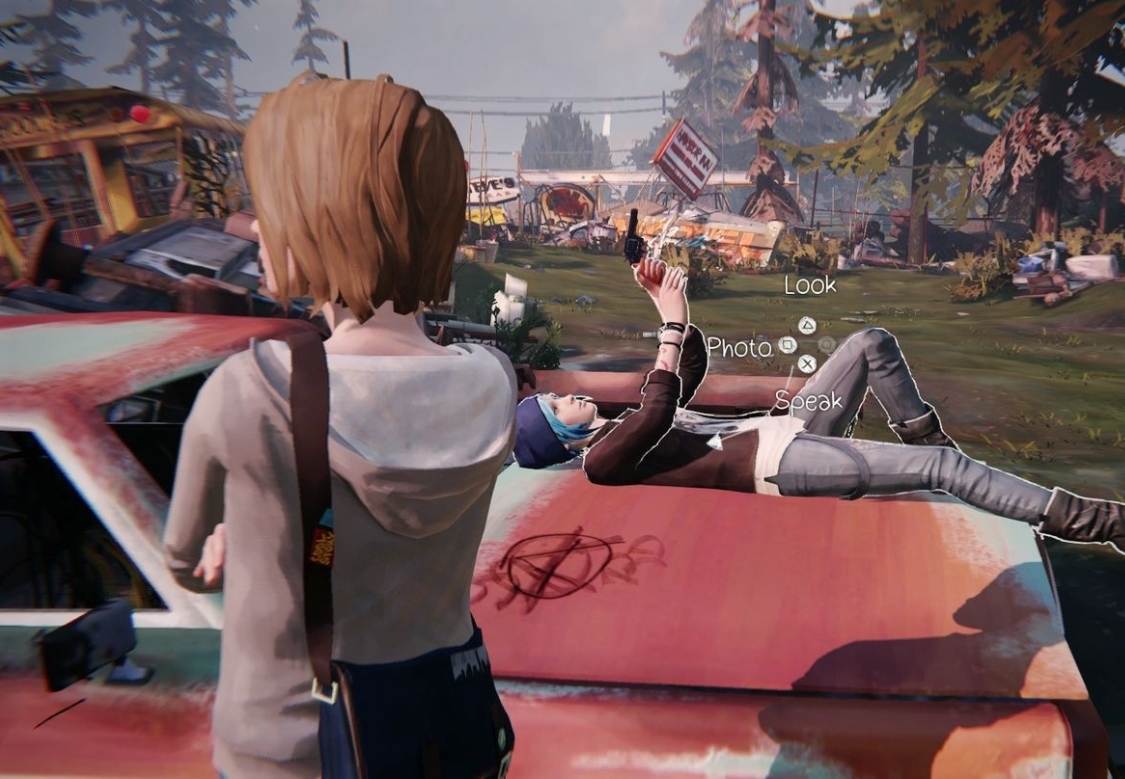
High School (2 photos)
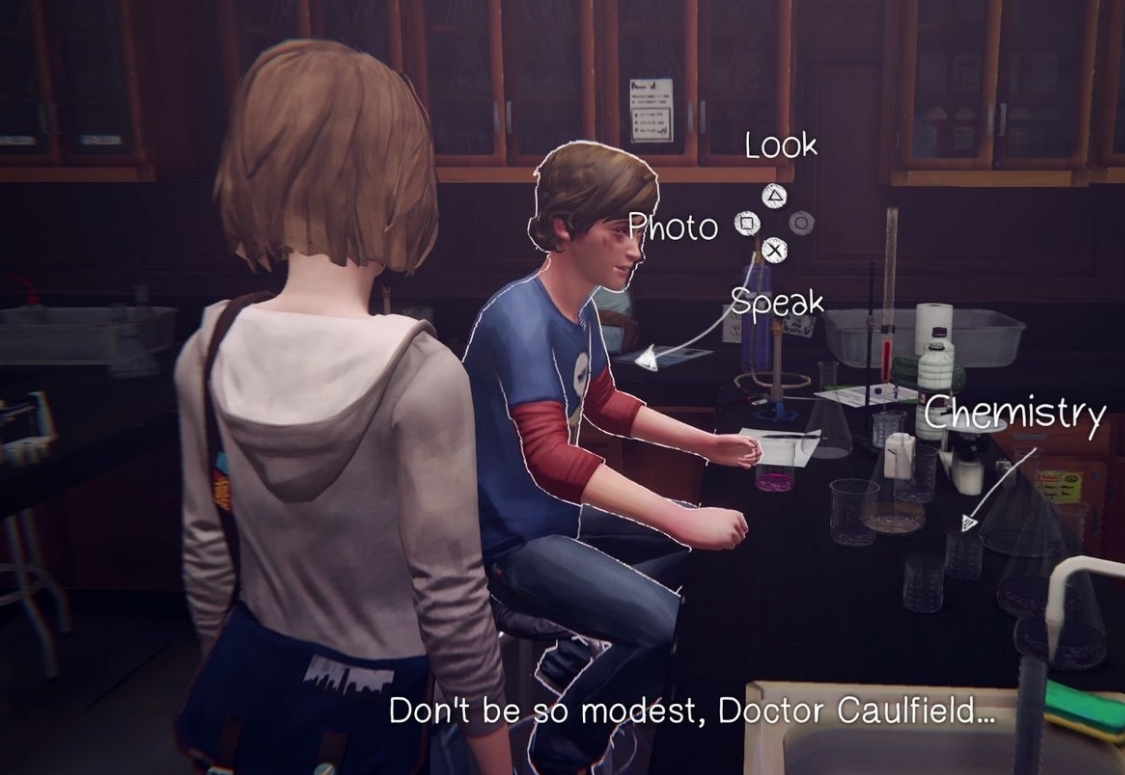
First, meet with Warren in the science lab (take a right from where you enter, past David, and it's on the left). Talk to him and suggest one of the compounds - it doesn't matter which, as the experiment will fail. Talk to the teacher and she'll tell you it's actually Chlorine you need.
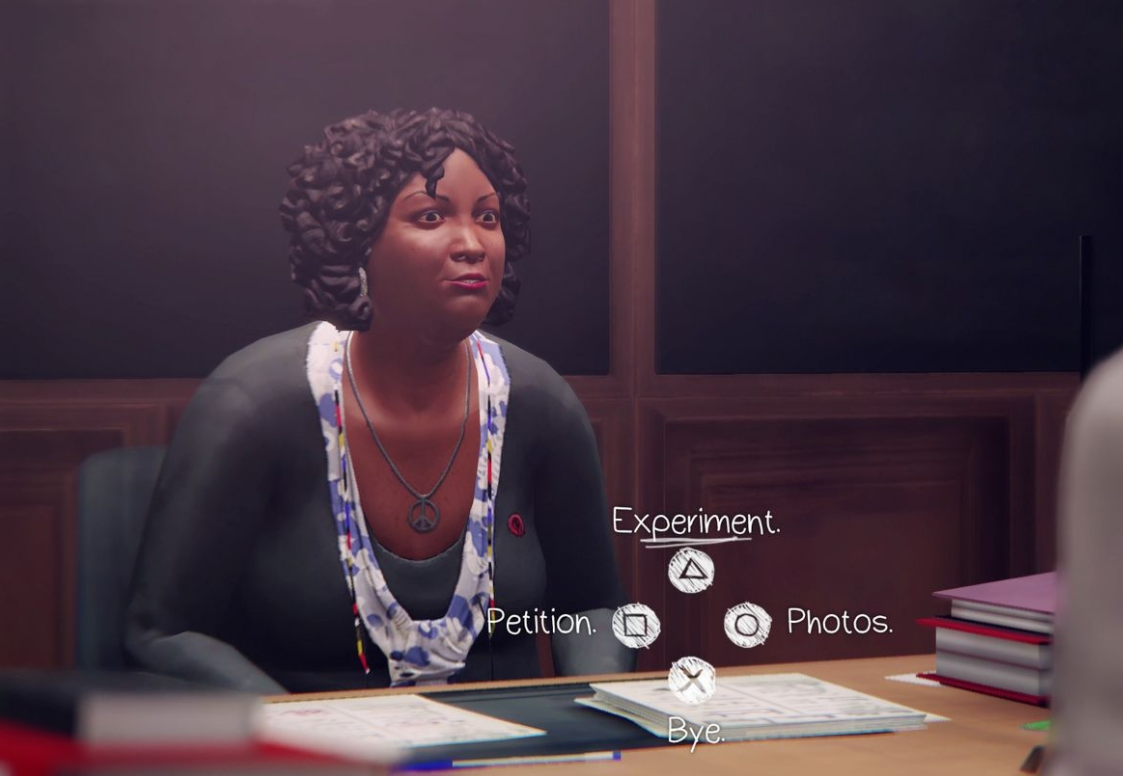
Rewind time and suggest that to Warren instead, then take his picture once it's done.
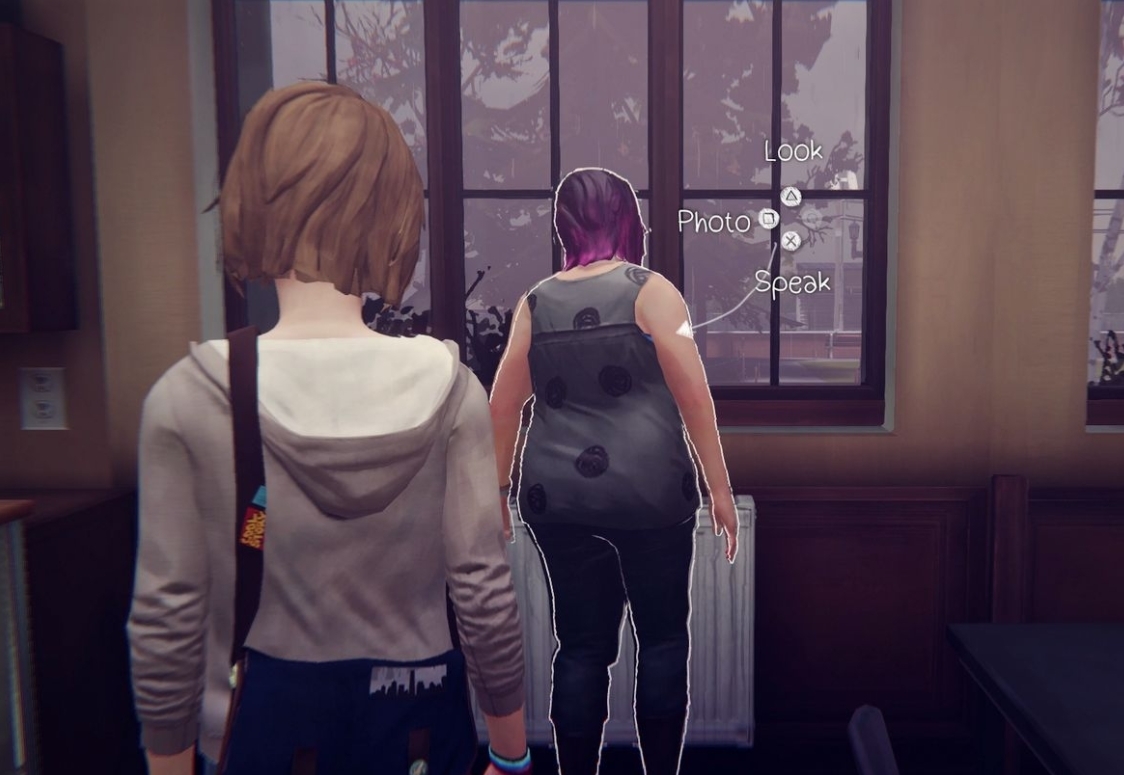
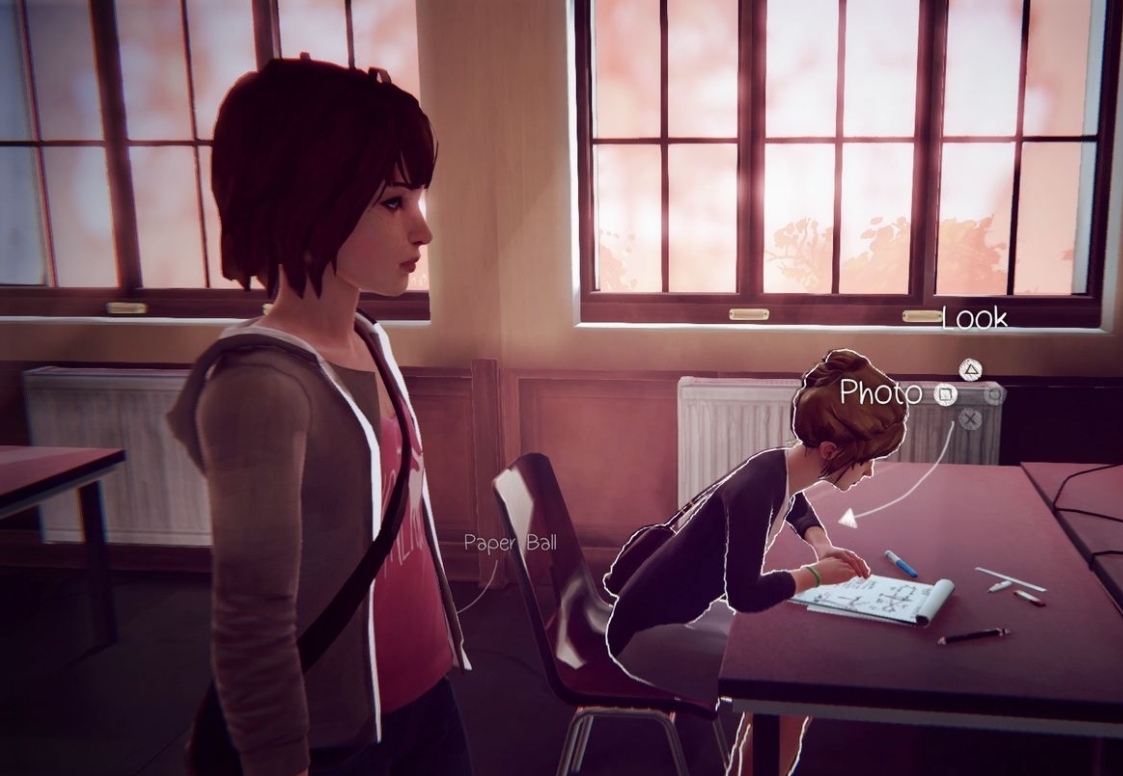
Continue playing by heading to art class (from the science lab, continue down the corridor and it's on the right) and after the chat with Jefferson outside, approach Alyssa by the window for the photo prompt.
Chapter 3
- Girls' Dormitories (1 photo)
- Dormitories (1 photo)
- High School - Evening (3 Photos)
- Chloe's House - Upstairs (1 Photo)
- Chloe's House - Downstairs (1 photo)
- Diner (2 photos)
- Chloe's House - Focus (1 photo)
Girls' Dormitories (1 photo)
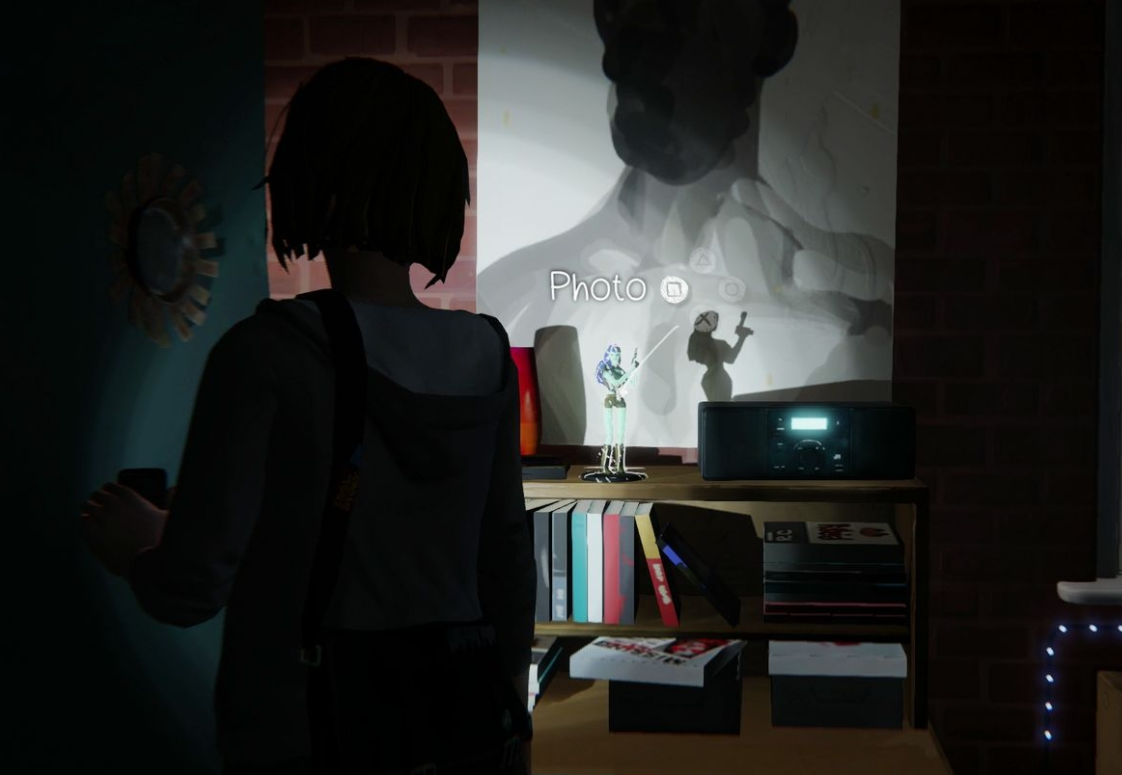
This is what you need to snap. The prompt won't appear straight away, so look at it with your light to make it glow in the dark; keep focusing on it and walk around the room a little until it appears.
Dormitories (1 photo)
High School - Evening (3 photos)
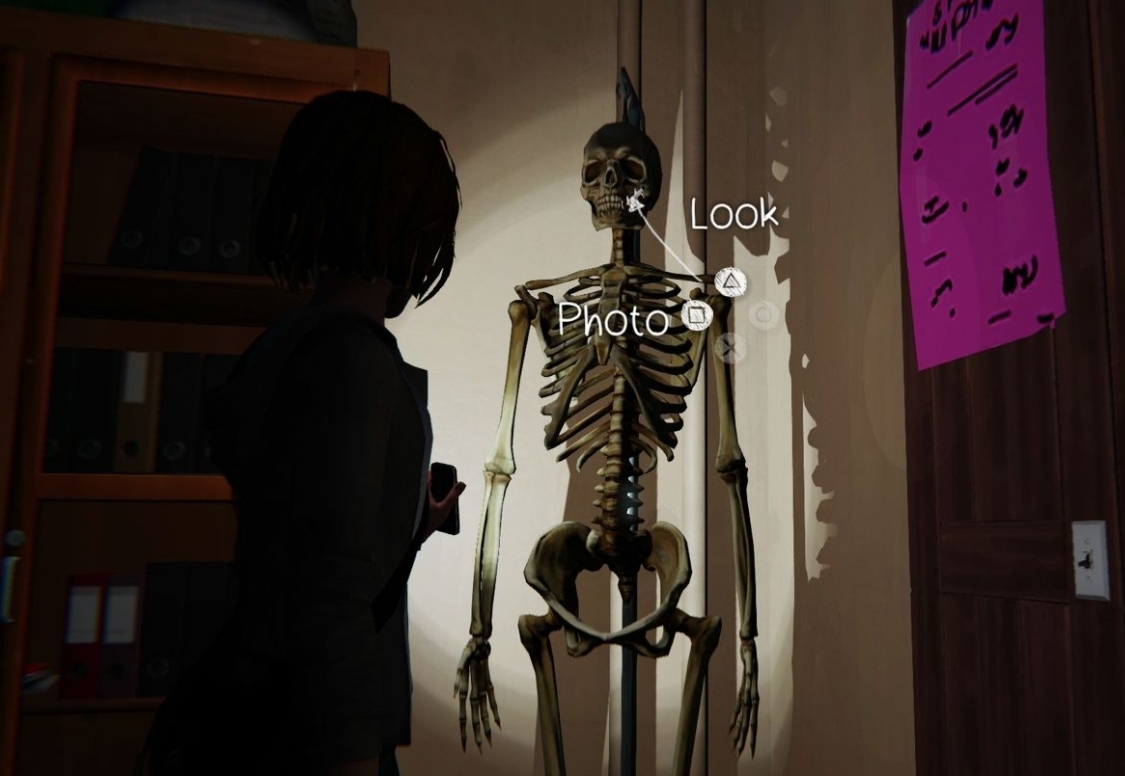
Play as normal (speak to Chloe outside the principal's office, search the office until it says there's no key, and you text Warren) then head to the science lab. Go to the far right corner, where there's a skeleton with a cigarette in its mouth (this is next to where the weedkiller is found). Take the picture.
Before you leave the lab, head to the fish tank on the long wall opposite where you come in. Investigate the tank, turn on the light, then take a picture.
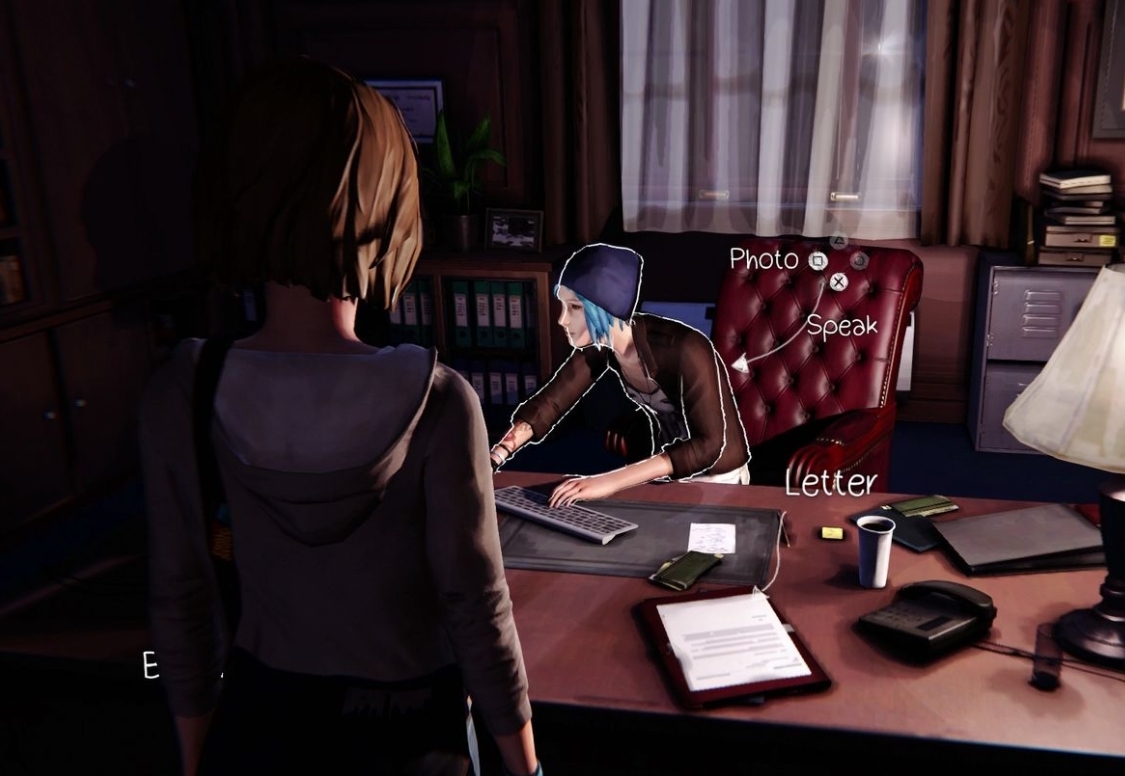
Continue playing (get sugar from the teacher's desk and weed killer next to the skeleton in the science lab, duct tape from the corner of the art room, and a soda can from the vending machine in the corridor; talk to Chloe, then stand inside the room and rewind) until Chloe is in the Principal's Office.
The photo is of her at the desk, with you standing on the other side.
Chloe's House - Upstairs (1 photo)
Chloe's House - Downstairs (1 photo)
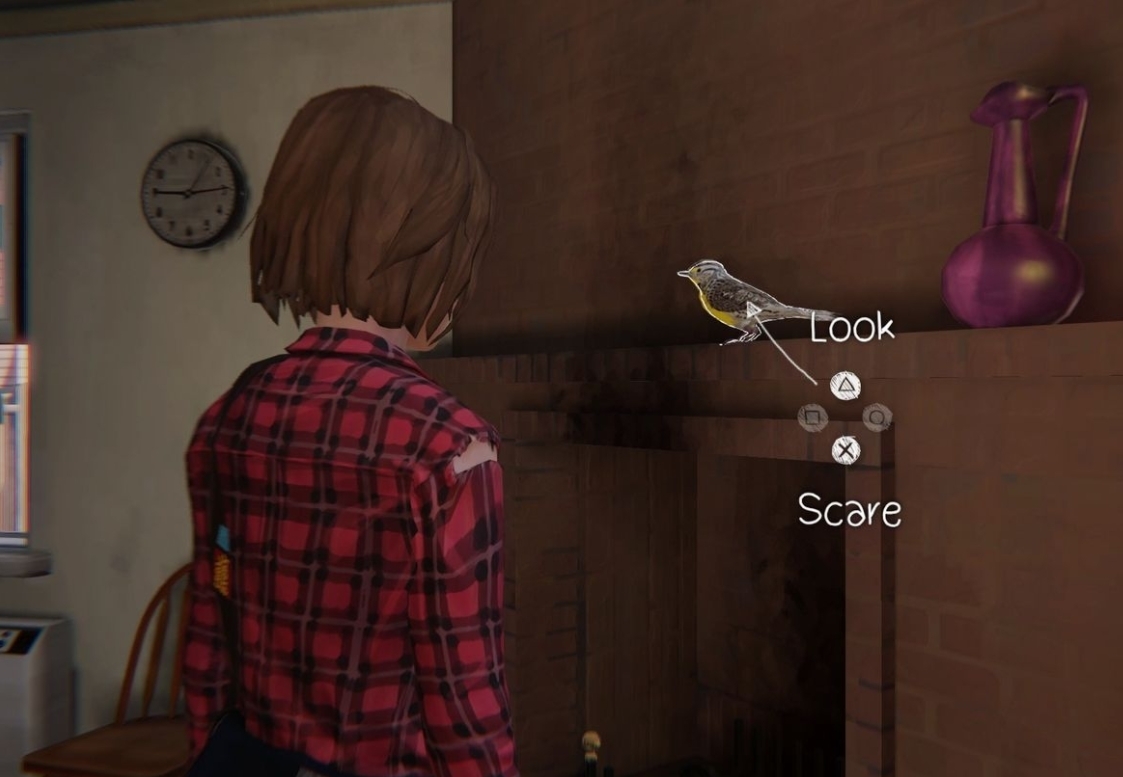
Head to the corner of the living room, where there is a bird high up on the cabinet - it's easy to miss. Approach until you can scare it.
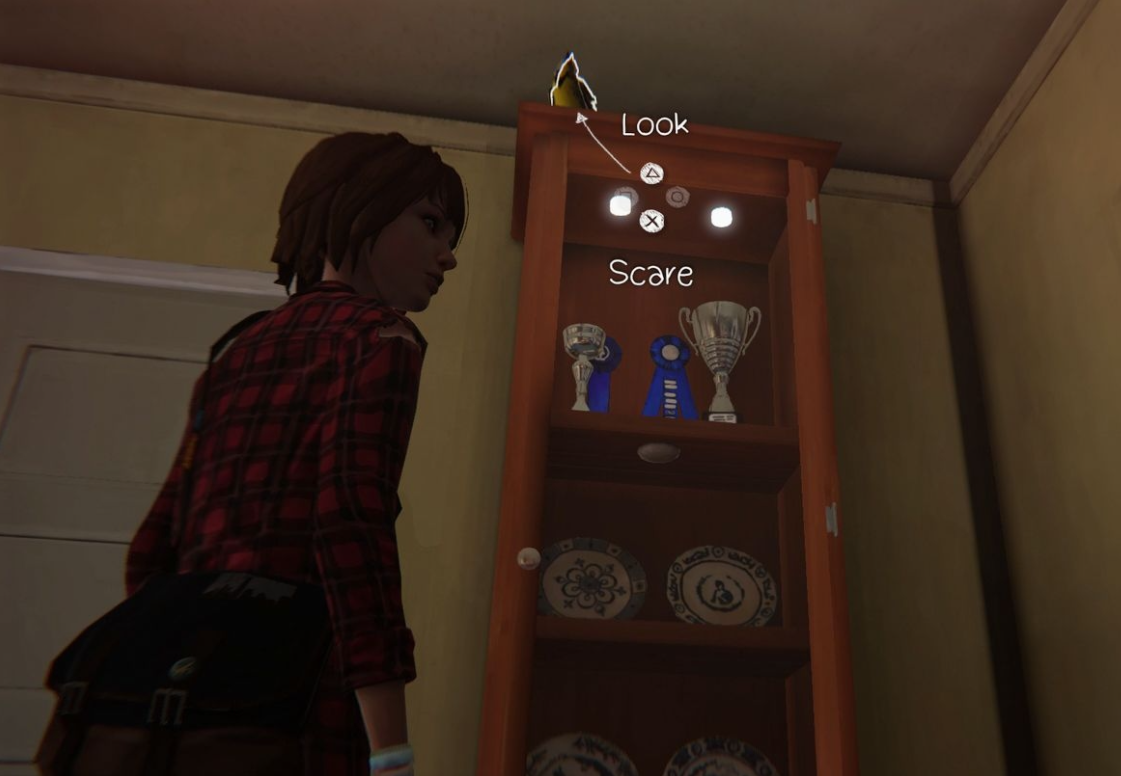
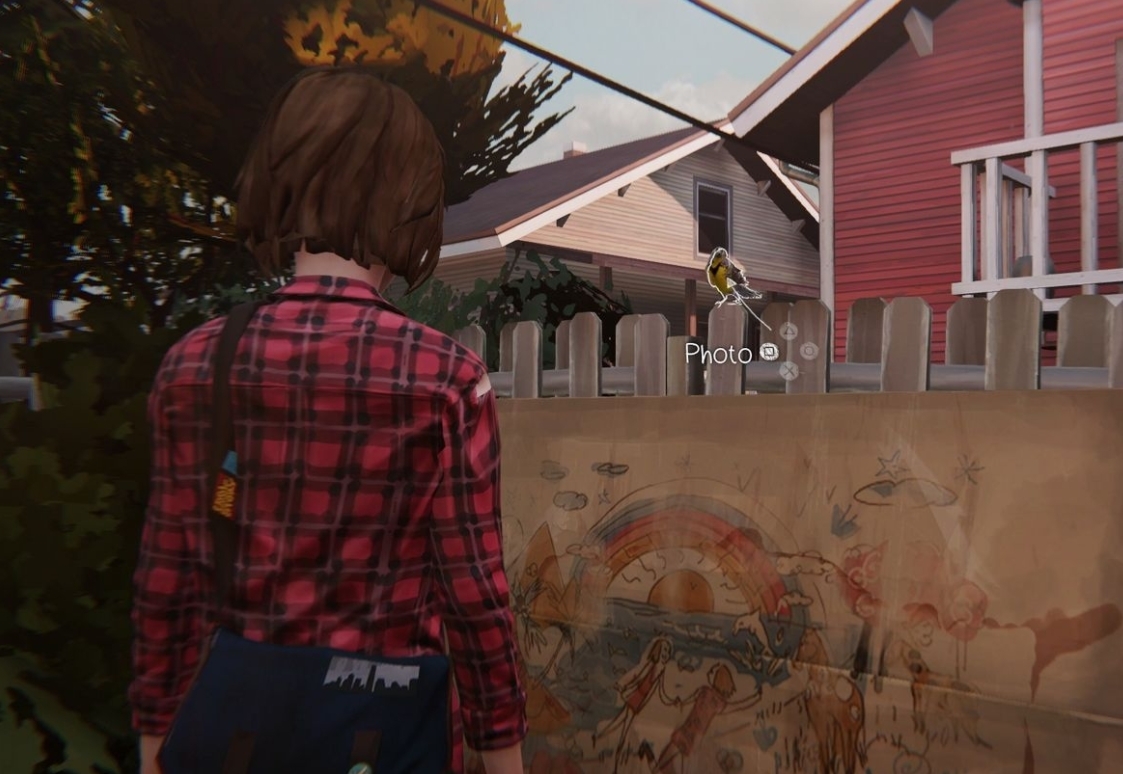
It'll then fly to above the fire. Before you do anything, open the window to the left, then scare it, so it goes outside.
Finally, head outside using the sliding door, then approach the fence on the far left where the bird is now waiting for you to take its picture.
Diner (2 photos)
Head to the diner entrance and speaker to the trucker. Strike a conversation, then rewind to reveal the response '1977 Needham'.
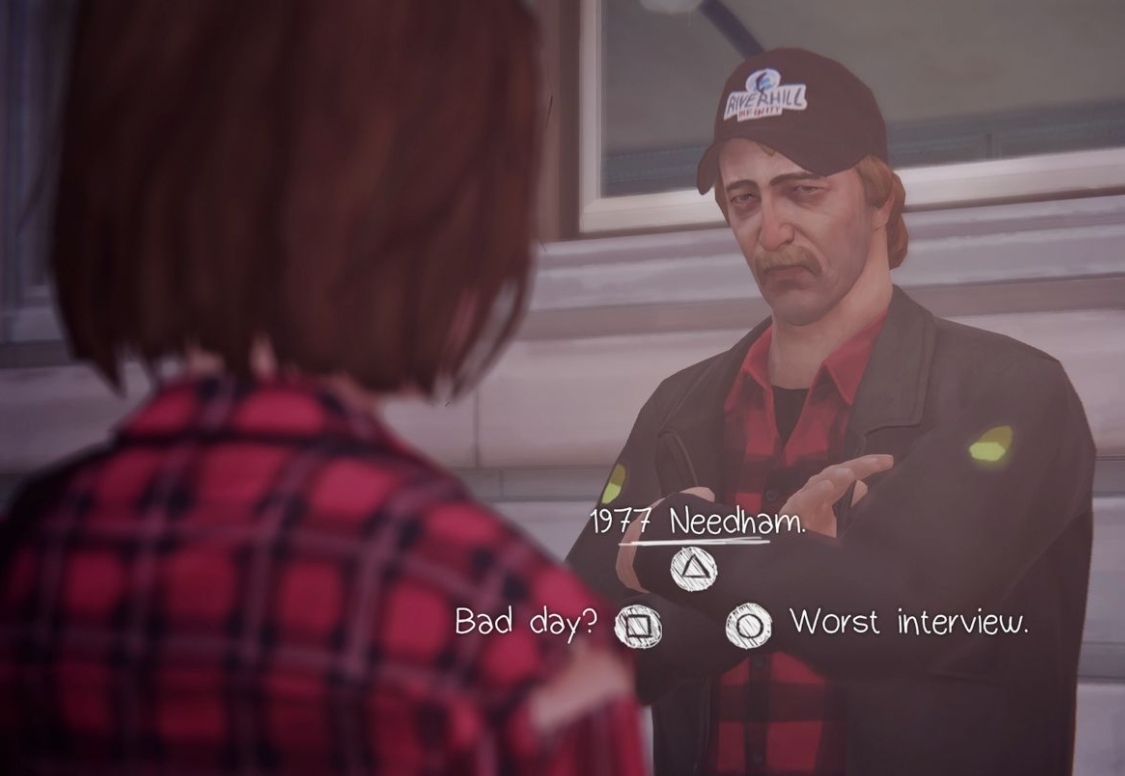
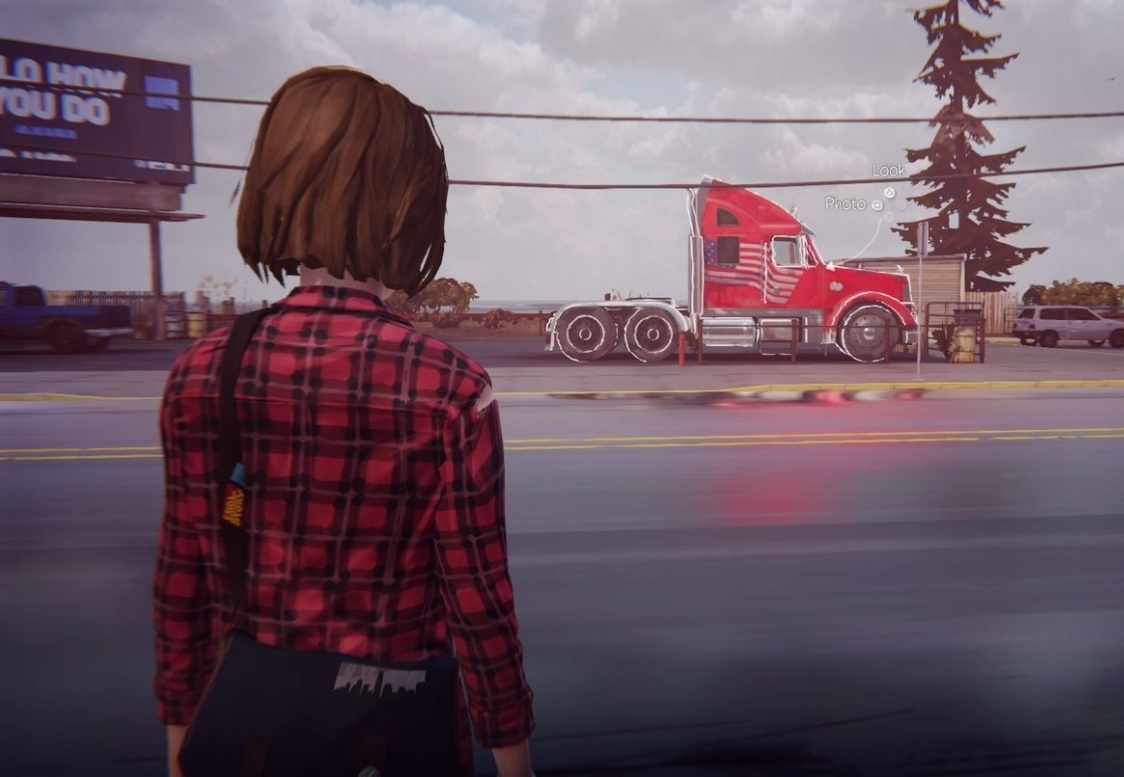
Then respond Rachel Amber. You can now take the photo of the red truck opposite.
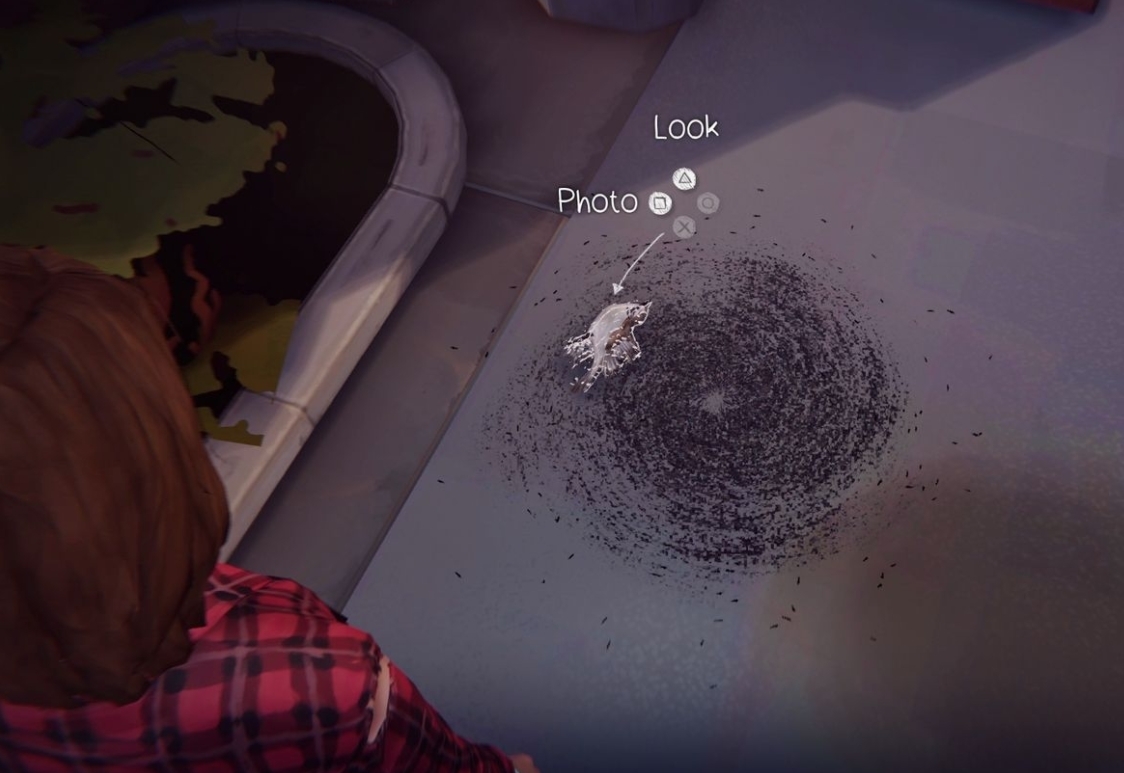
Before you head inside, continue round the outside of the diner towards the back alley. Before you reach the homeless person is a dead bird on the left, surrounded by a mass of ants - this is the second photo.
Chloe's House - Focus (1 photo)
Chapter 4
- Chloe's House - Upstairs (1 photo)
- Chloe's House - Downstairs (1 photo)
- Dormitories (2 photos)
- Boys' Dormitories (1 photo)
- Beach (1 photo)
- Old Barn (2 photos)
- Swimming Pool - Party (2 photos)
Chloe's House - Upstairs (1 photo)
Chloe's House - Downstairs (1 photo)
Dormitories (2 photos)
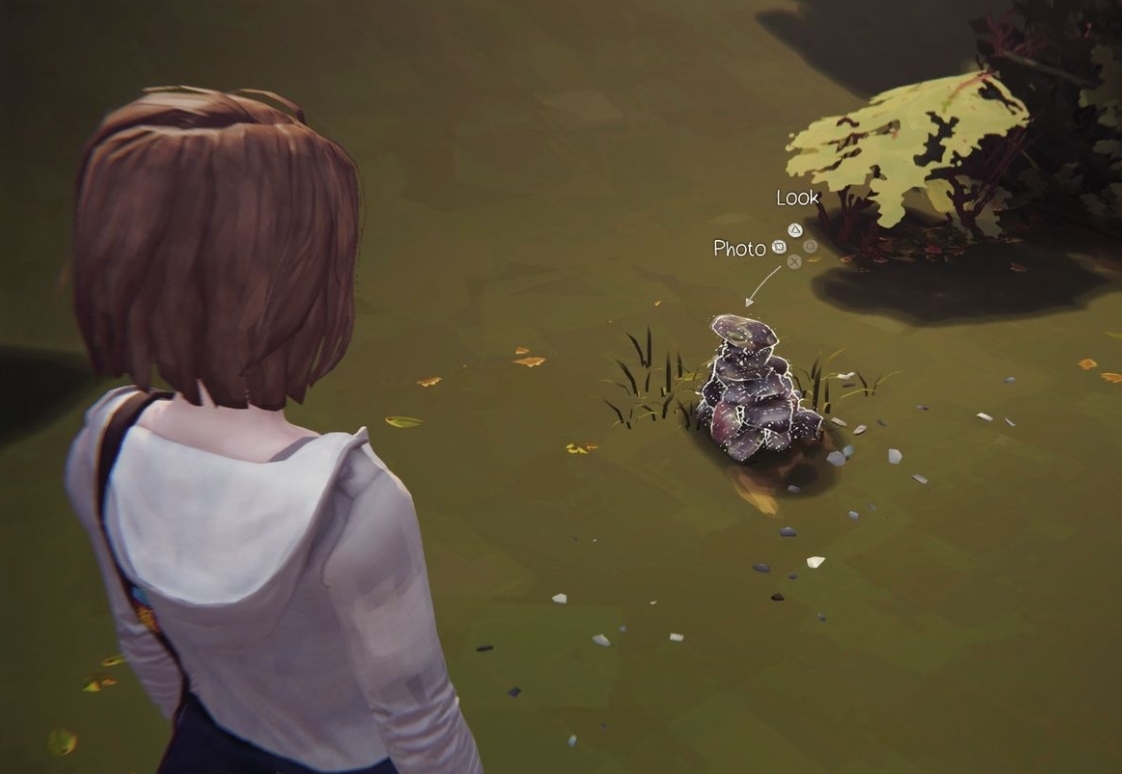
When you begin, run down the path, and cut left onto the grass where there's a Cairn. Get close enough to take a picture.
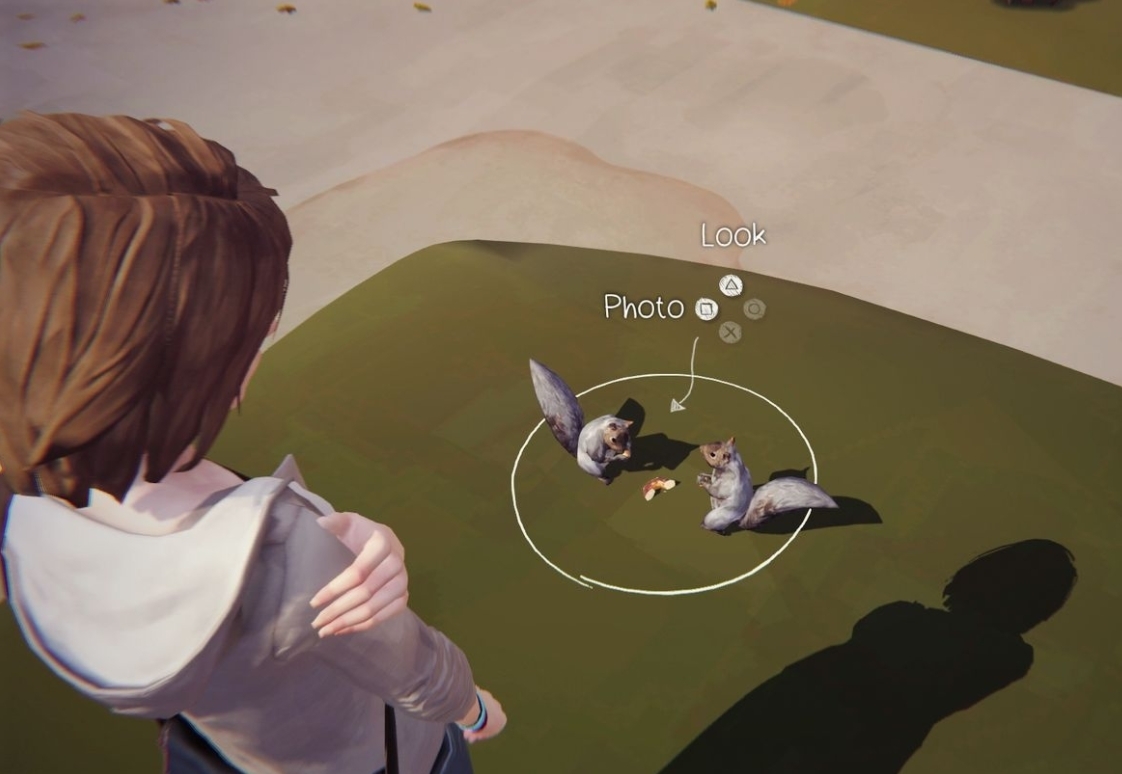
Next, chat to Samuel (who is sat on a bench next to Ms. Grant) and chat to him about Animals, then Squirrels, which sees him beckon one over with food.
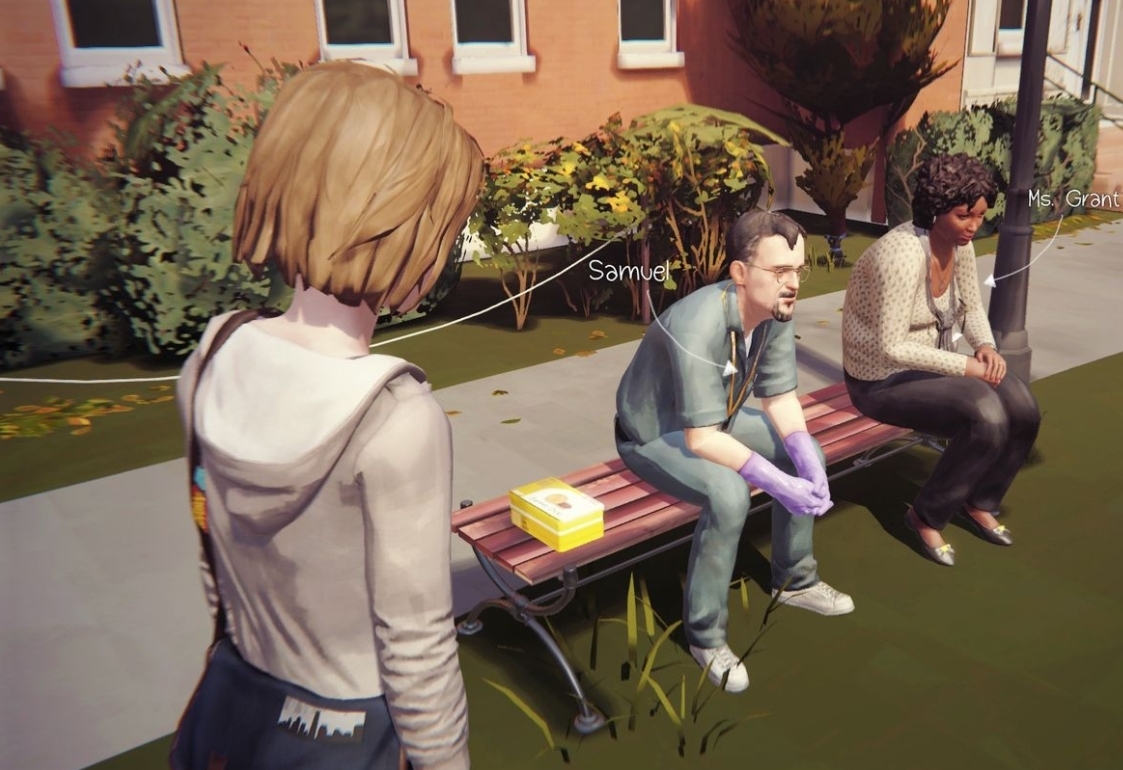
Do the same by interacting with the box of food sat next to him, and wait for another squirrel to come over. Take a picture of the two together.
Boys' Dormitories (1 photo)
Beach (1 photo)
Old Barn (2 photos)
When you begin, go left along the outside of the barn, and spot the bird on the fence. If it's not there, it's flown away (and will do anyway even if you get close). Rewind time until it appears, and quickly take its picture.
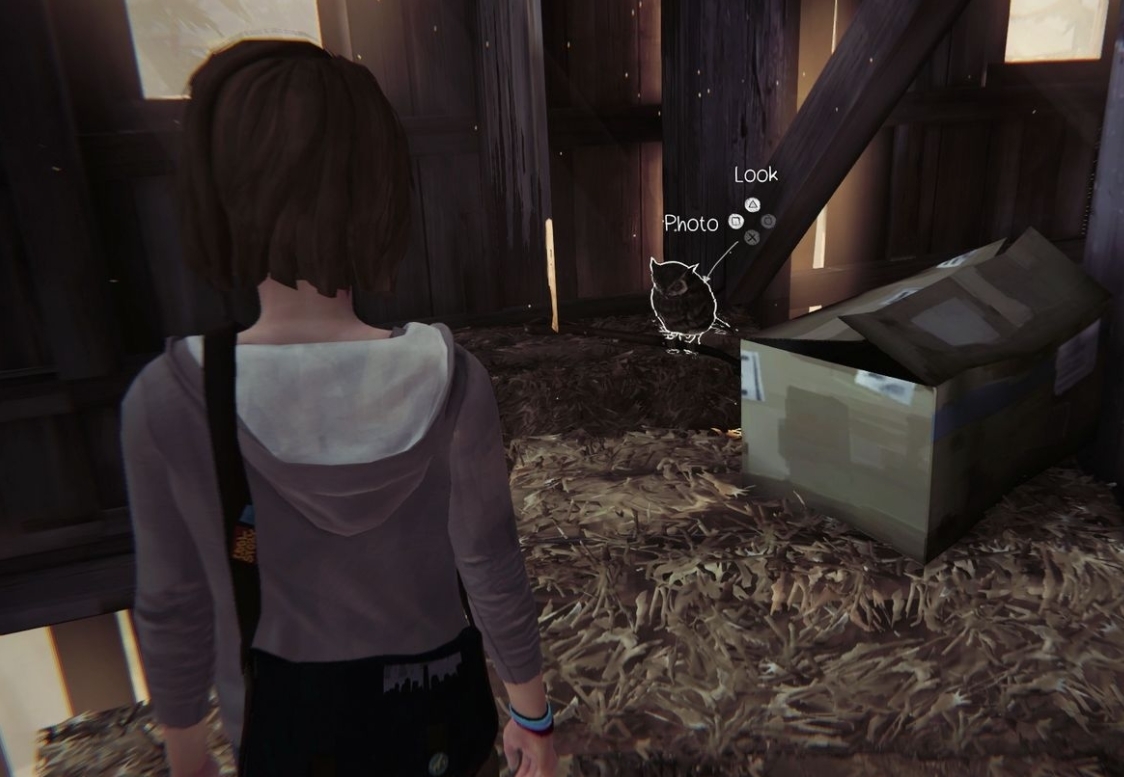
Continue playing (move the metal sheet round the side of the barn to gain access, uncover the hatch in the floor under the shelving, attach the hook nearby then climb the ledge right of Chloe, and up again) until you're in the roof of the barn. At the far end behind the hay bales is an owl - snap away.
Swimming Pool - Party (2 photos)
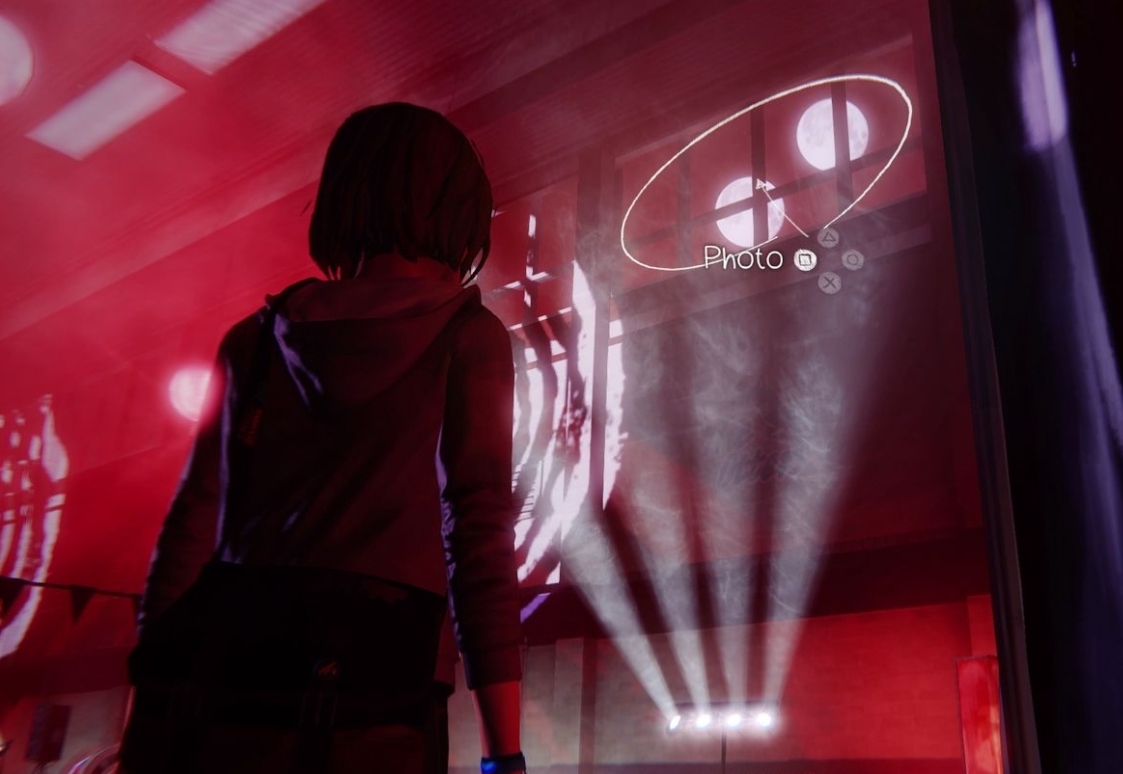
As soon as you enter the curtain to the party, turn right and look up and right to see the two moons out the window. At the right position, you'll see the photo prompt.
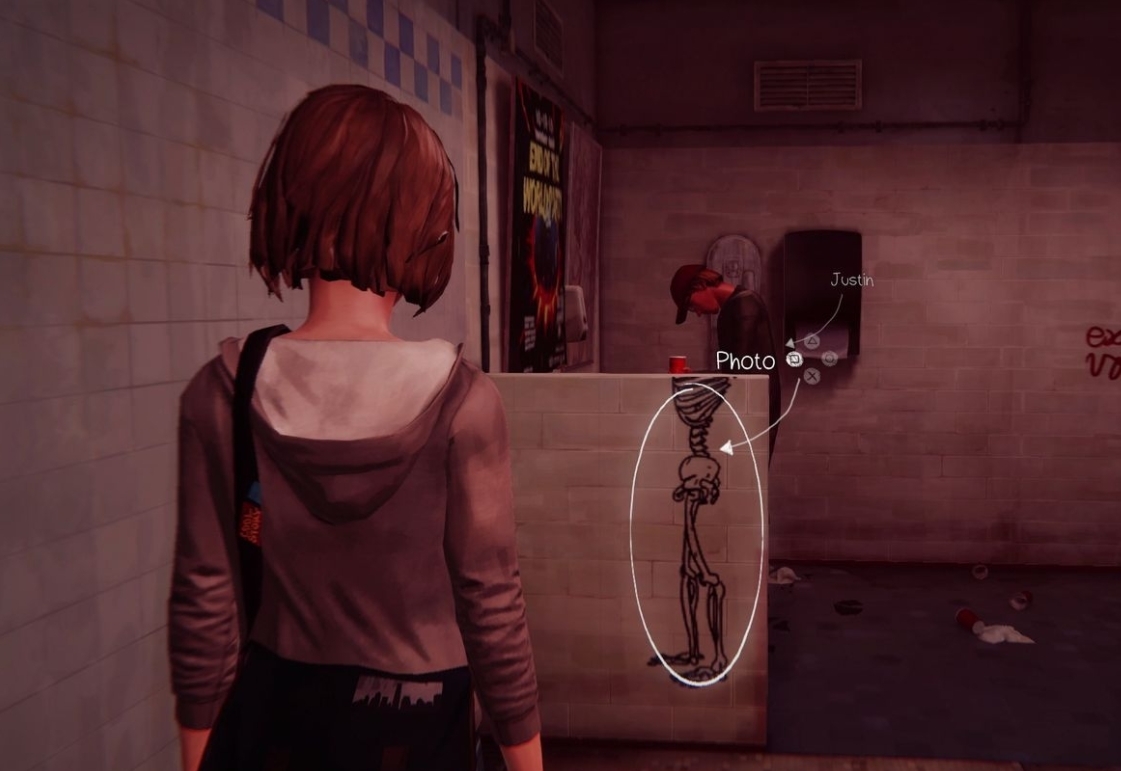
Next, head round the pool to the VIP desk, then go through the door on the left to the restroom. If you turn left again, you'll see Justin using the urinal behind a drawing of a skeleton. Get the position right and the photo prompt will appear.
Chapter 5
- Art Class - Focus (1 Photo)
- Art Gallery (1 photo)
- Dark Room - Confrontation (1 photo)
- Diner (2 photos)
- Nightmare (5 photos)
Art Class - Focus (1 Photo)
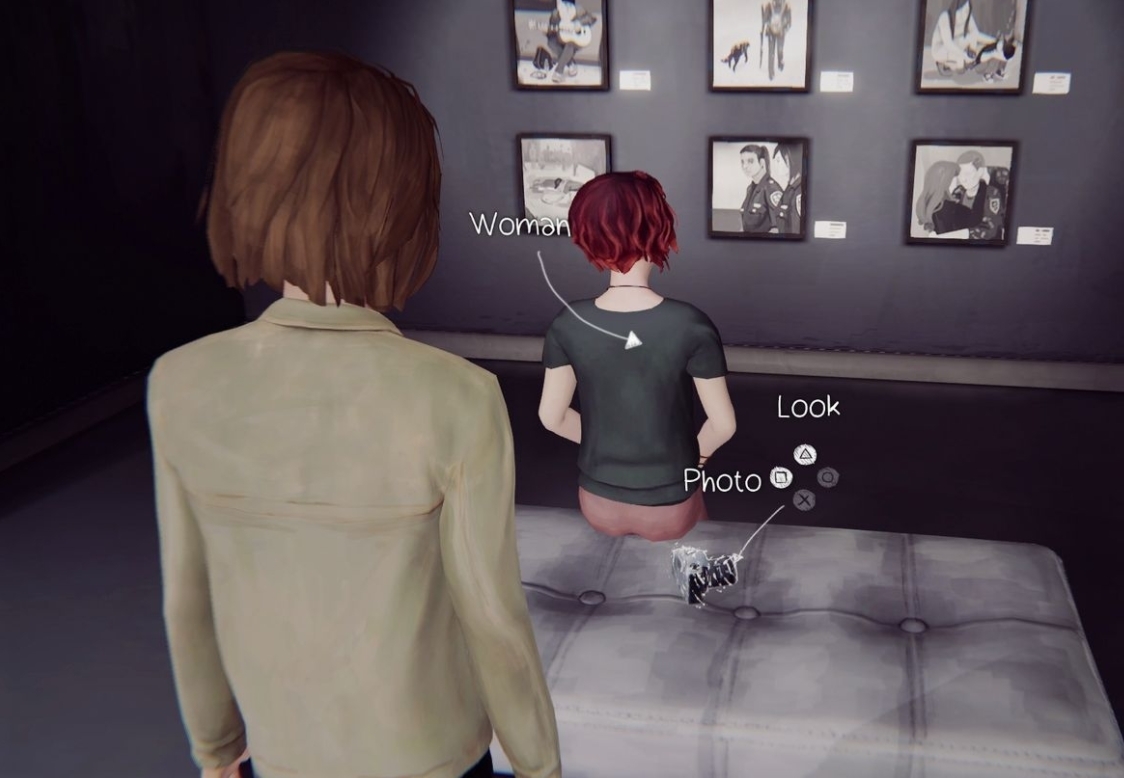
Art Gallery (1 photo)
Dark Room - Confrontation (1 photo)
Diner (2 photos)
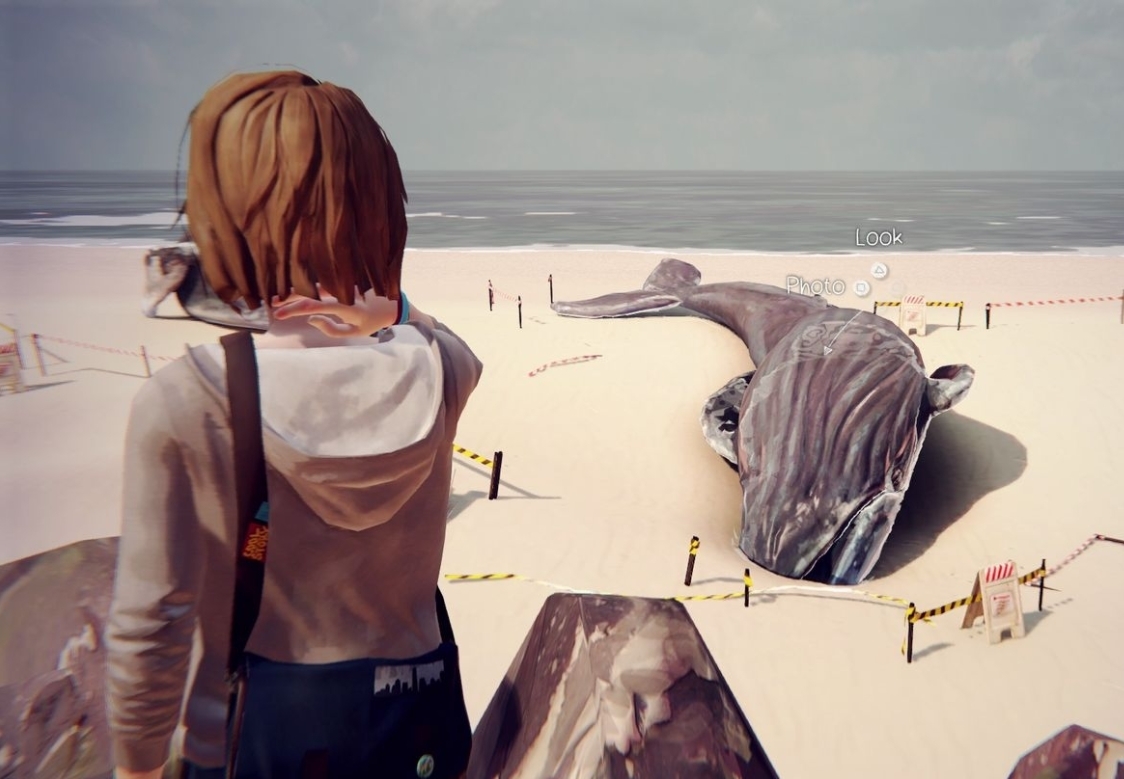
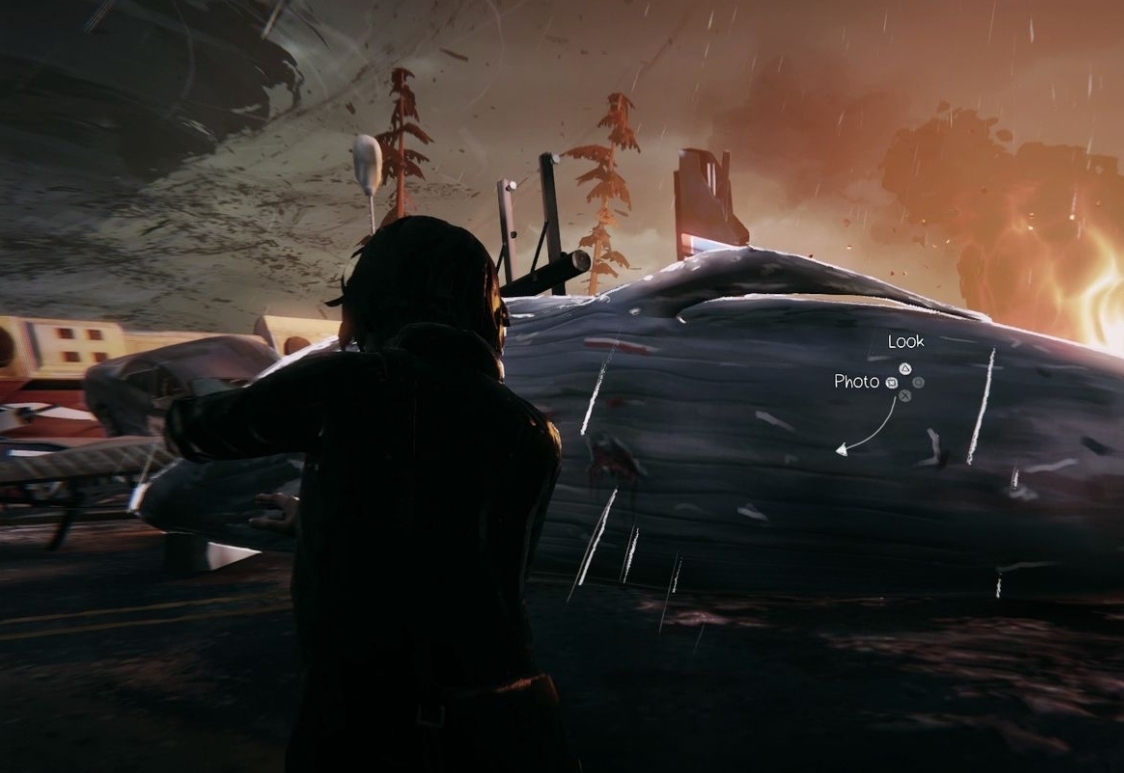
Play the section was usual until you save the diner from exploding (enter the building on the left, use the fuse box to extinguish the fire and rewind by the body and reach through the window if you want to save the person; go outside and stop the fire using the sand out the front of the diner) then turn around to see a whale in the road.
At the right angle standing in front of the diner, the photo prompt will appear.
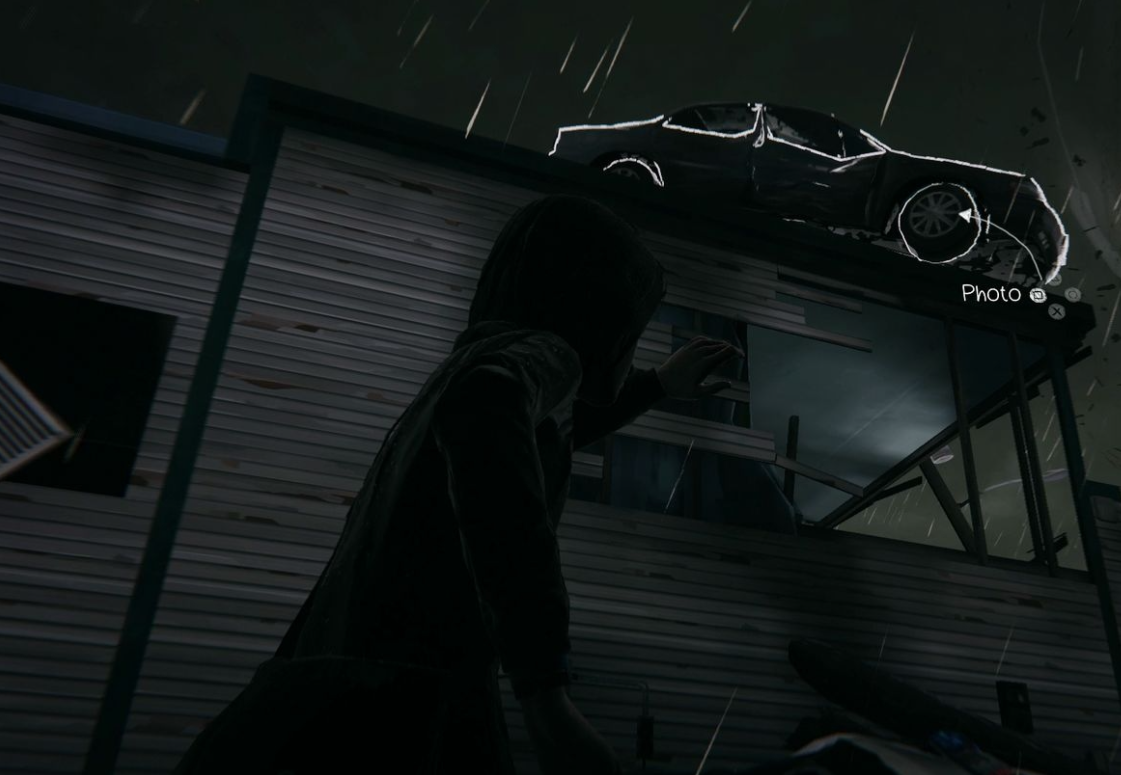
To the right of the diner on the opposite building is a car perched on the roof. Stand in the alley and look up at it for the prompt.
Nightmare (5 photos)
- Start this segment by looking at the graffiti on the desk in front of you, as you did at the start of the game. Look at it Twice, and then take the photo. (Note when we replayed we only had to look once, and the writing didn't change but the prompt still showed - either way, keep messing with it until the photo opportunity appears).
- Continue playing, whereby leaving the art room will lead to a corridor that repeats itself with subtle changes each time. Progress by:
- Speaking and following Kate
- Grabbing the key by the showers to room 218 and using that door
- The first door on the left to become Victoria
- Room 221 to become Max again
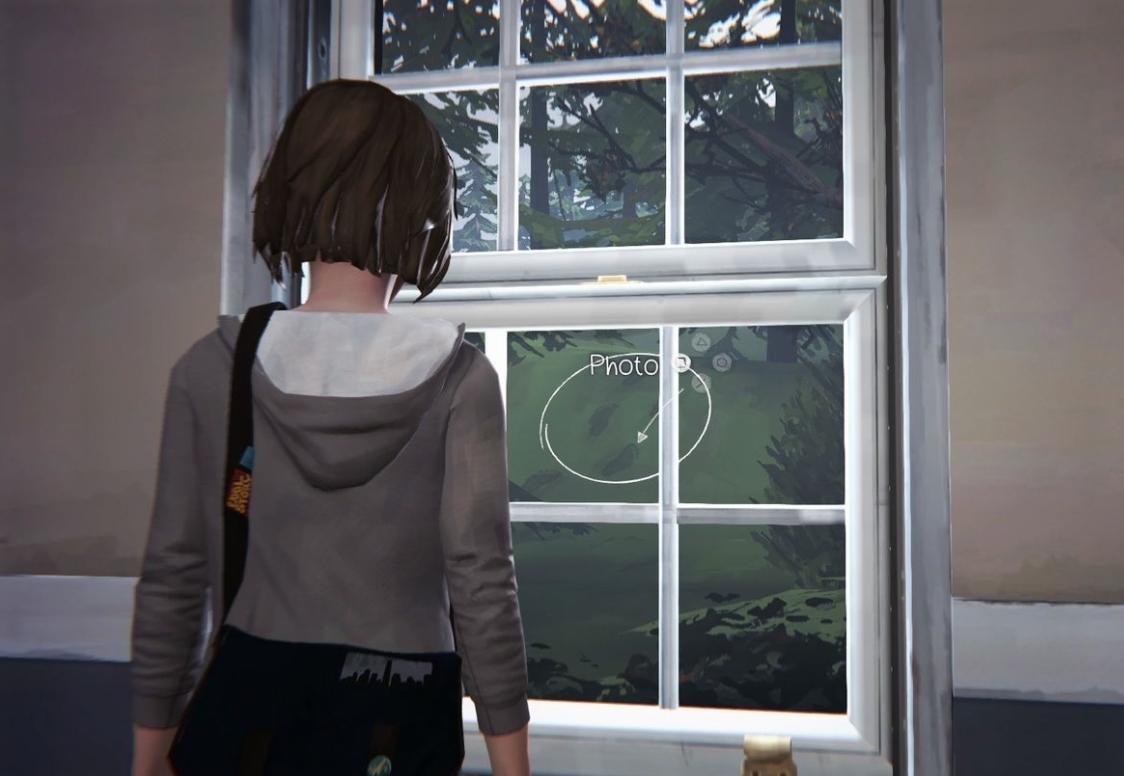
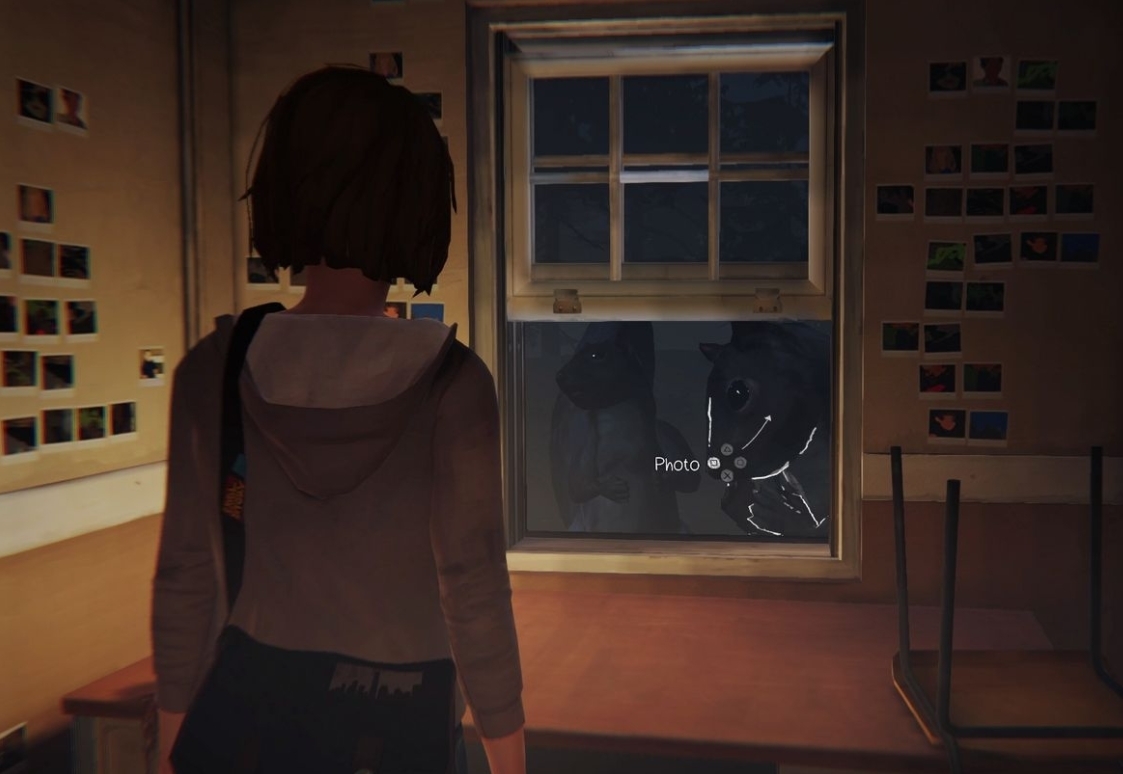
At this point, turn right to the showers and you'll notice some giant squirrels outside the window. Take a picture. - Speaking and following Kate
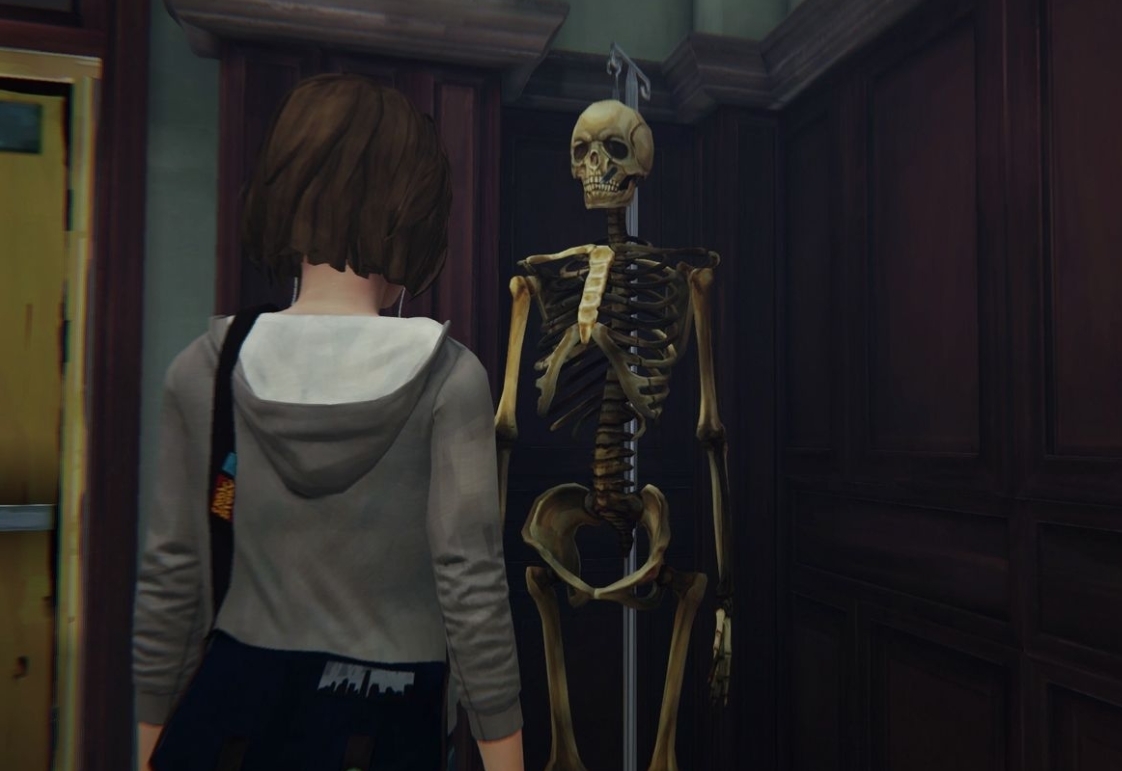
- Keep playing (from the above, you can finish the corridor by entering Max's room at the far end on the right) to reach the backwards school lobby. Here you have to go to the cross section and following the deer into the bathroom, but don't just yet; approach the skeleton in the corner opposite and you'll be prompted to open your journal - this takes the picture for you.
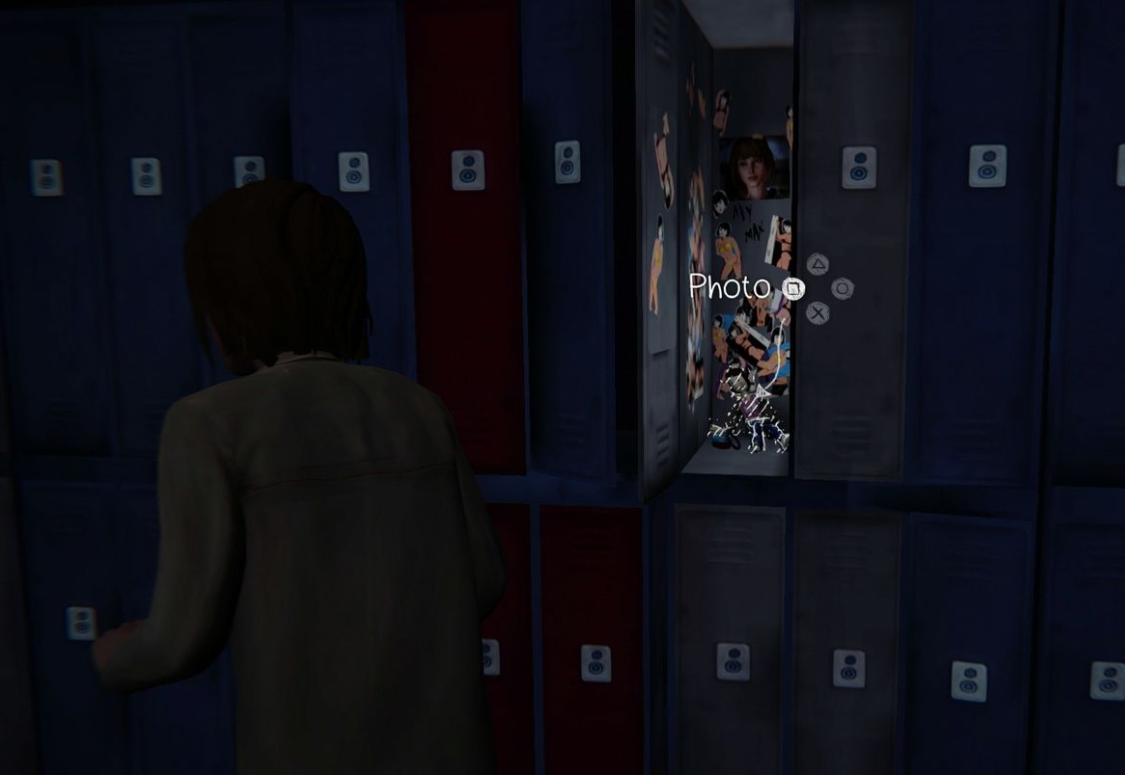
- The follow section is a stealth area with a lighthouse in the distance. Progress past the first two areas - the art gallery and rotating statue, using your rewind feature if you get caught - to reach school lockers. There's an enclosed area to the right of where you begin; to get inside, keep turning right at every corner. Investigate the locker, then take a picture.
- The final stealth section is around a junkyard, where you must find five bottles dotted around the school bus and cars while dodging sentries. It's a small area so the bottles should be relatively easy to find, and once you're done, head to the line of bottles on the right after and take the photograph.
DON'T FORGET TO LIKE US

- Русификатор Life is Strange™ PC+Mac+Lunux★ 5 (1.1k)44k views1.4k ♥2 minRussianUpdated 23 Sep, 2018
- Полная локализация Life is Strange от ElikaStudio★ 5 (1.6k)41k views1.8k ♥2 minRussianUpdated 12 Feb, 2018
- 'Life is Strange' FULL Game Guide/Walkthrough Episodes 1-5★ 5 (824)31k views1.1k ♥40 minUpdated 13 Aug, 2025
- 《奇异人生》虎头汉化 V4.1 简繁精校★ 5 (884)26k views1.5k ♥3 minSimplified ChineseUpdated 30 Aug, 2025
- 奇异人生1 汉化中文指南★ 5 (870)21k views331 ♥1 minSimplified ChineseUpdated 19 Feb
- 🏆 Life is Strange - Ultimate Achievement Guide★ 5 (858)20k views1.2k ♥16 minUpdated 31 Oct, 2022




- Upgrading to PremiumTeam Fortress 2★ 5 (20k)1441k views11k ♥6 minUpdated May 11, 2022
- No More Room in Hell Official ManualNo More Room in Hell★ 5 (2.8k)569k views2.1k ♥29 minUpdated Apr 22, 2019
- NMRiH Community Hosting GuidesNo More Room in Hell★ 5 (526)351k views653 ♥1 minUpdated Aug 10, 2022
- ULTIMATE GUIDE FOR GAME DEV TYCOONGame Dev Tycoon★ 5 (5.8k)326k views10k ♥4 minUpdated 23 Jan, 2014
- How to 'Git Gud' Soon™MORDHAU★ 5 (2k)318k views3k ♥68 minUpdated Nov 16, 2024
- Лучшие кооперативные игры SteamPAYDAY 2★ 5 (1.5k)315k views2.1k ♥56 minRussianUpdated Apr 27, 2025






This guide was created by its original author on the Steam Community. Are you the author and want it removed? Request removal.