Loot Checkpoints
This Guide
Thief has many points of no return within each chapter. How do you know if you've found all the look up to that point in the chapter? That's what this guide attempts to answer in a spoiler free a maner as possible. it won't tell you where the loot is, just the totals you should see under F1 -> Player Progression -> Statistcs at that point in the level.
Some levels require more equipment than is present in the level itself (e.g. rope arrows). You'll need to have the extras in your inventory before you start the level. Where this is the case, I've put the required supplies in spoiler tags (mouse over to see them).
This guide does NOT tell you where to find the loot, it just lets you know when in the level you missed it. To be clear, where there is a point of no returnn on a map the tables below show what your loot totals should be at that point, not the not the loot total for the end of the map (although the two are often the same thing).
Numbers in brackets indicate a hint as to where the check points are. Usually they are fairly obvious (e.g. sliding down a chute) but sometimes not.
Producing this guide is slow going and I have a full time job :-). If you want to post your checkpoint totals for levels I haven't got to yet (or you found more items than I did), please feel free to post in the comments. But please, no spoilers or 'where can I find the last 3 items on level X' requests.
Thanks and good theiving to Taffers everywhere!
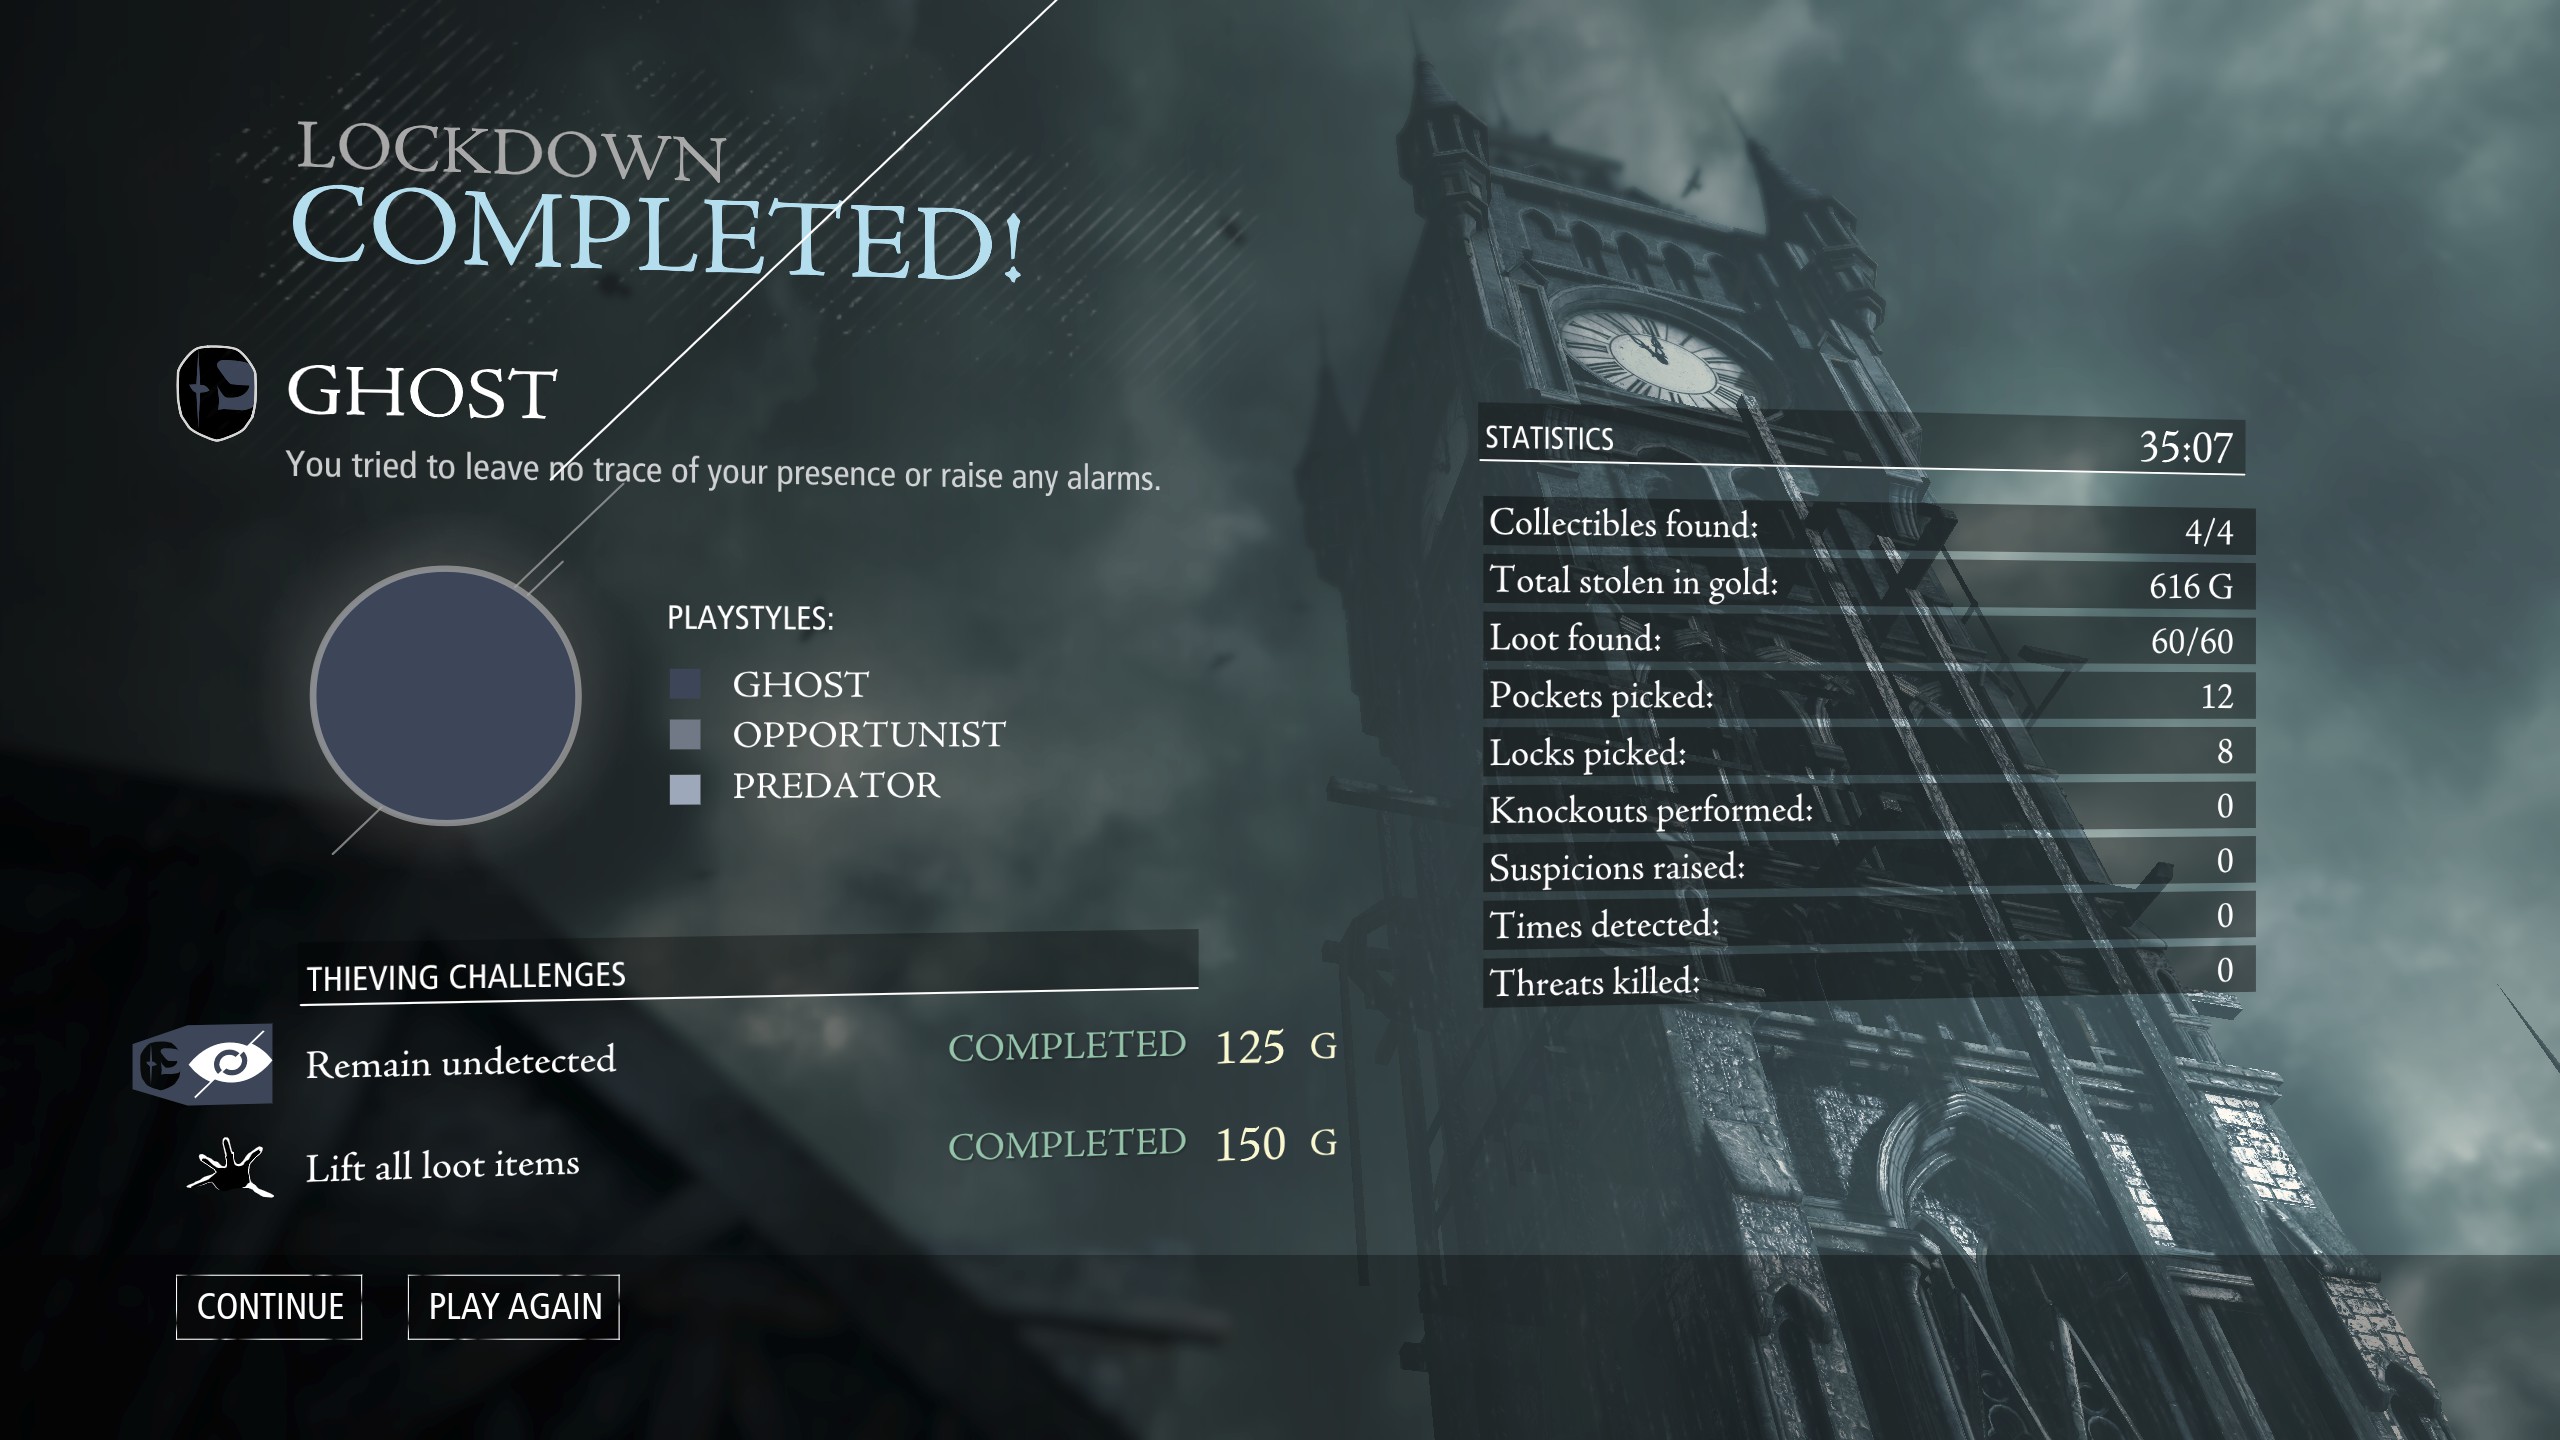
Chapter 1 - Lockdown
/ Backway (2)
(and Level)
(2) "The claw is very quiet..."
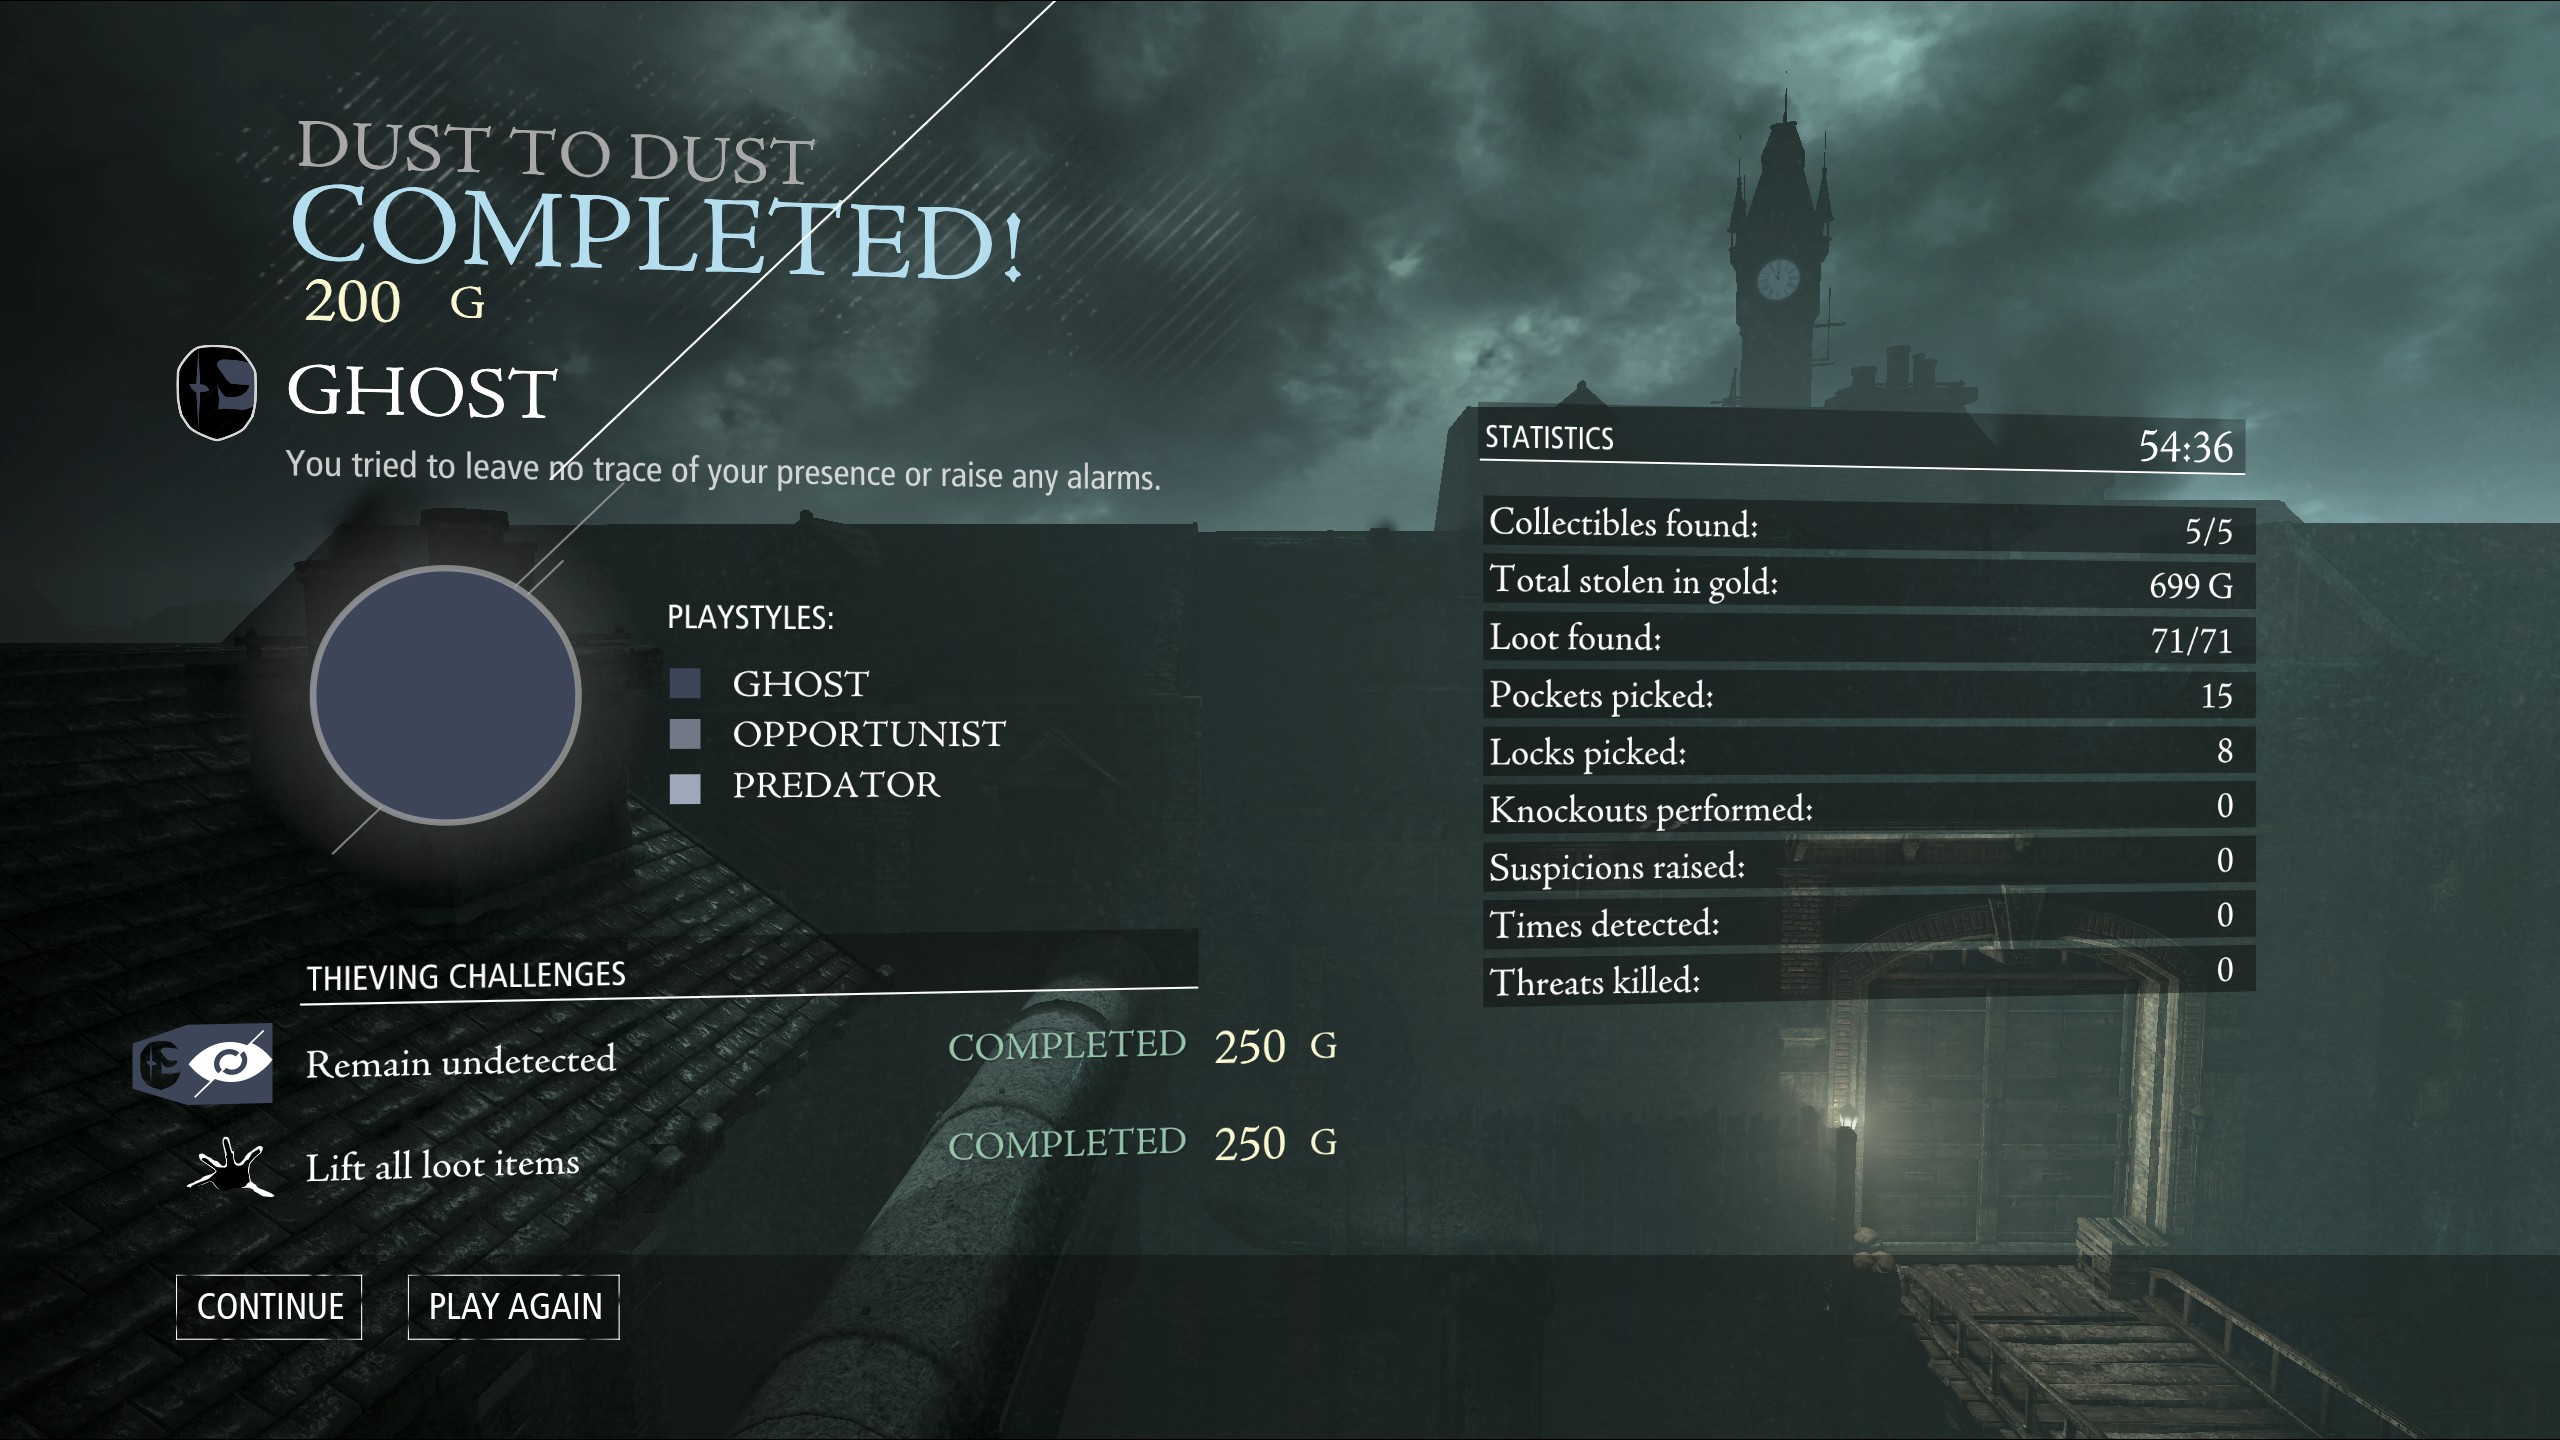
Chapter 2 - Dust to Dust
(2) Pipes
(3) Hook
(4) Hook 2
(5) Office Chute
(6) Over wall
(7) Through window
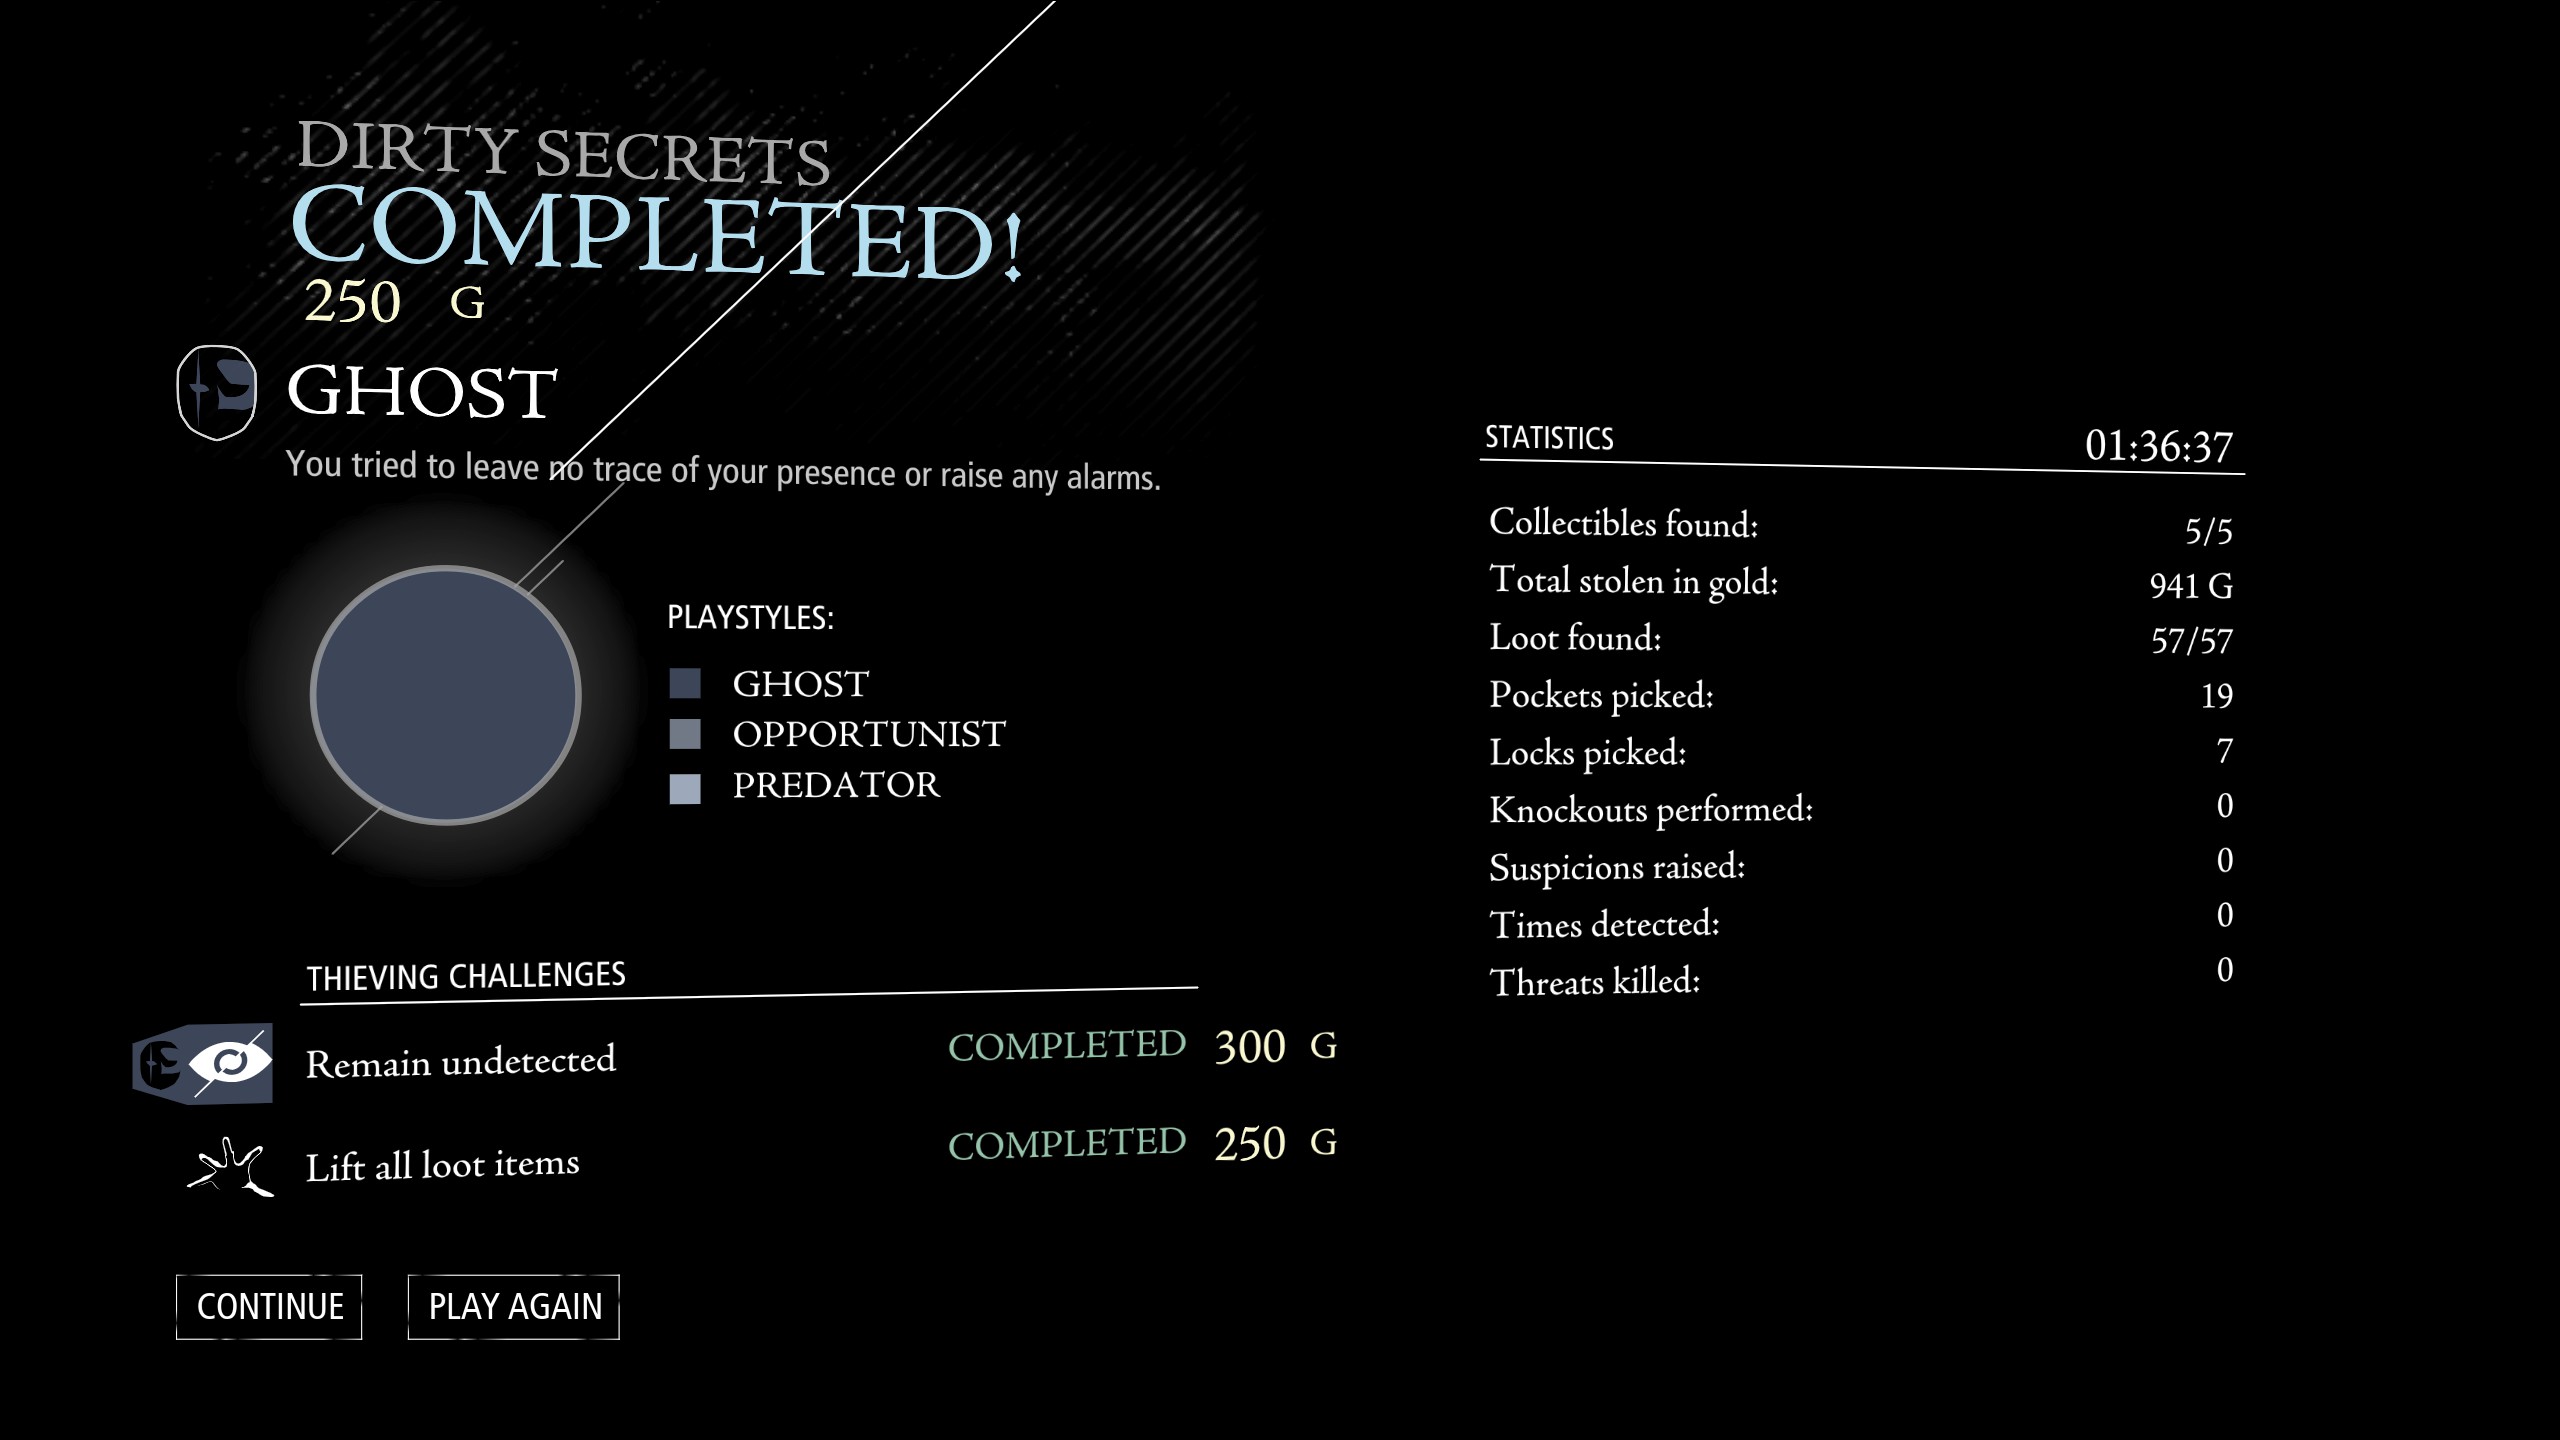
Chapter 3 - Dirty Secrets
- Where there is no loot between checkpoints, I show a row of dashes.
- More consistent use of in-game map names for areas.
- Checkpoints are now in the grid rather than a separate list
- Including more map checkpoints (in addition to point-of-no-return checkpoints)
- If there are no newspapers in the level, I remove the newspaper column
ables
(Route Choice)
(root choice makes no difference to loot / resources)
(Lower Level, including stairs)
(Upper Level)
* When ghosting, I was unable to pick pocket the two guards by the bird cage and second fire pipe undetected. If you skip these, you will be 2 bags and 12 gold light for the rest of the mission.
Update 3/6: Rapscallion reports in the comments section that he was able to successfully pickpocket here by using the body of the guard he was pick pocketing to block the view of the other guard.
** Samum managed a pick pocket count of 22 for the level. Update 3/17: Drake Ravenwolf explains:
I had 22 pickpockets on my playthrough as well, the extra one seemed to come from a guard in the very last section that didn't spawn initially but did spawn when I reloaded. He we at the top the the stairs just before the last guard in the level and starts a discussion with the guard who patrols up and down the stairs.
Chapter 4 - A Friend In Need
This is reported fixed in the 1.4 patch, but these documents are still missing in the totals below as I'm yet to replay the level.
- Turning unneeded valves (only the valve that opens the door on the Engine level has to be turned)
- Disabling traps (no traps have to be disabled)
- Playing with the fountain lever
- Throwing a bottle in order to pick pocket the last guard
- Used rope arrow in garden
- Dropped ladder in garden
On my second play through I did none of the above and got 100% Ghost.
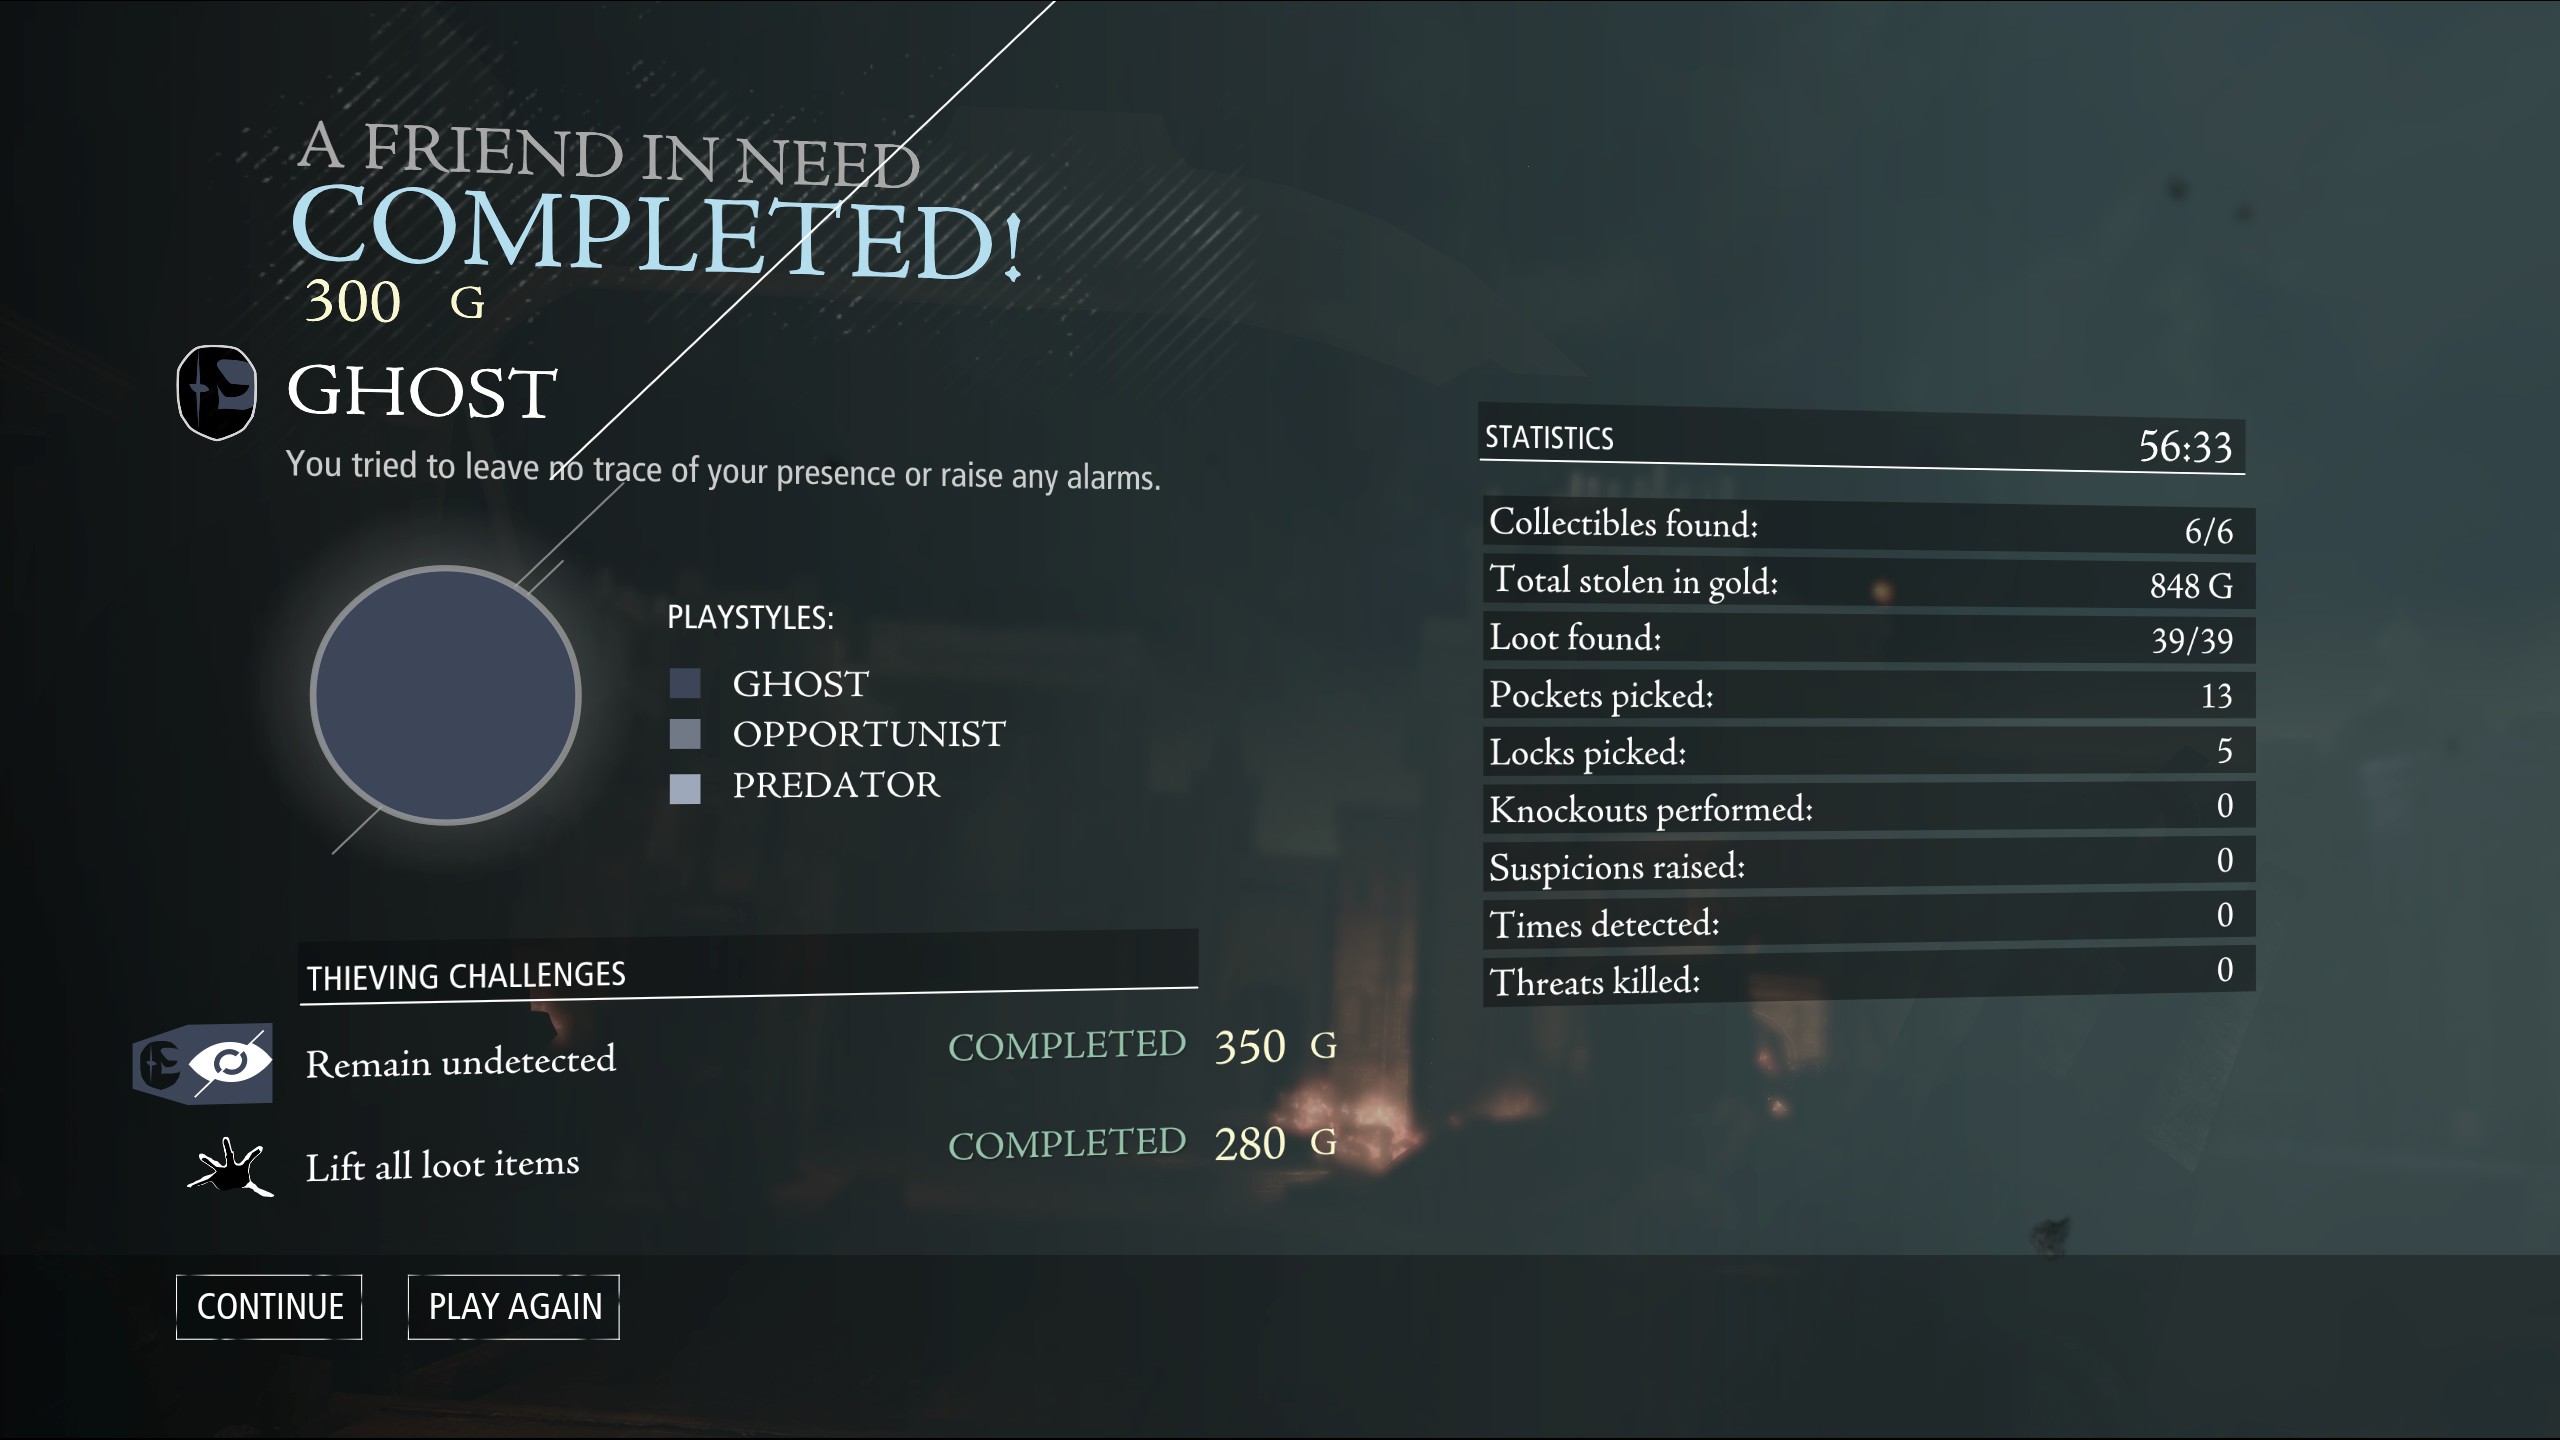 (Picked locks in the screenshot is one less than I found in the environment as I skipped the one in the Garden in my Ghost run)
Chapter 5 - The Forsaken
About a third of the way through the level a document will spawn on a map you have already cleared and have no reason to revisit. Needless to say I was a document short on my first attempt.
(first visit)
(2 of 2)
(skippable)
(cont.)
(not a point-of-no-return)
(Pipes)
is on rails
$ Pure Ghosters may want to use an Alternative Route (shown below) after this checkpoint in order to reduce the number of door valves you need to turn by one. However as this does not improve your Ghost score, it’s for the purists only..
# This extra document is tracked by the game under the Baron Northcrest document list rather than the Chapter 5 document list.
(2 of 3)
(3 of 3)
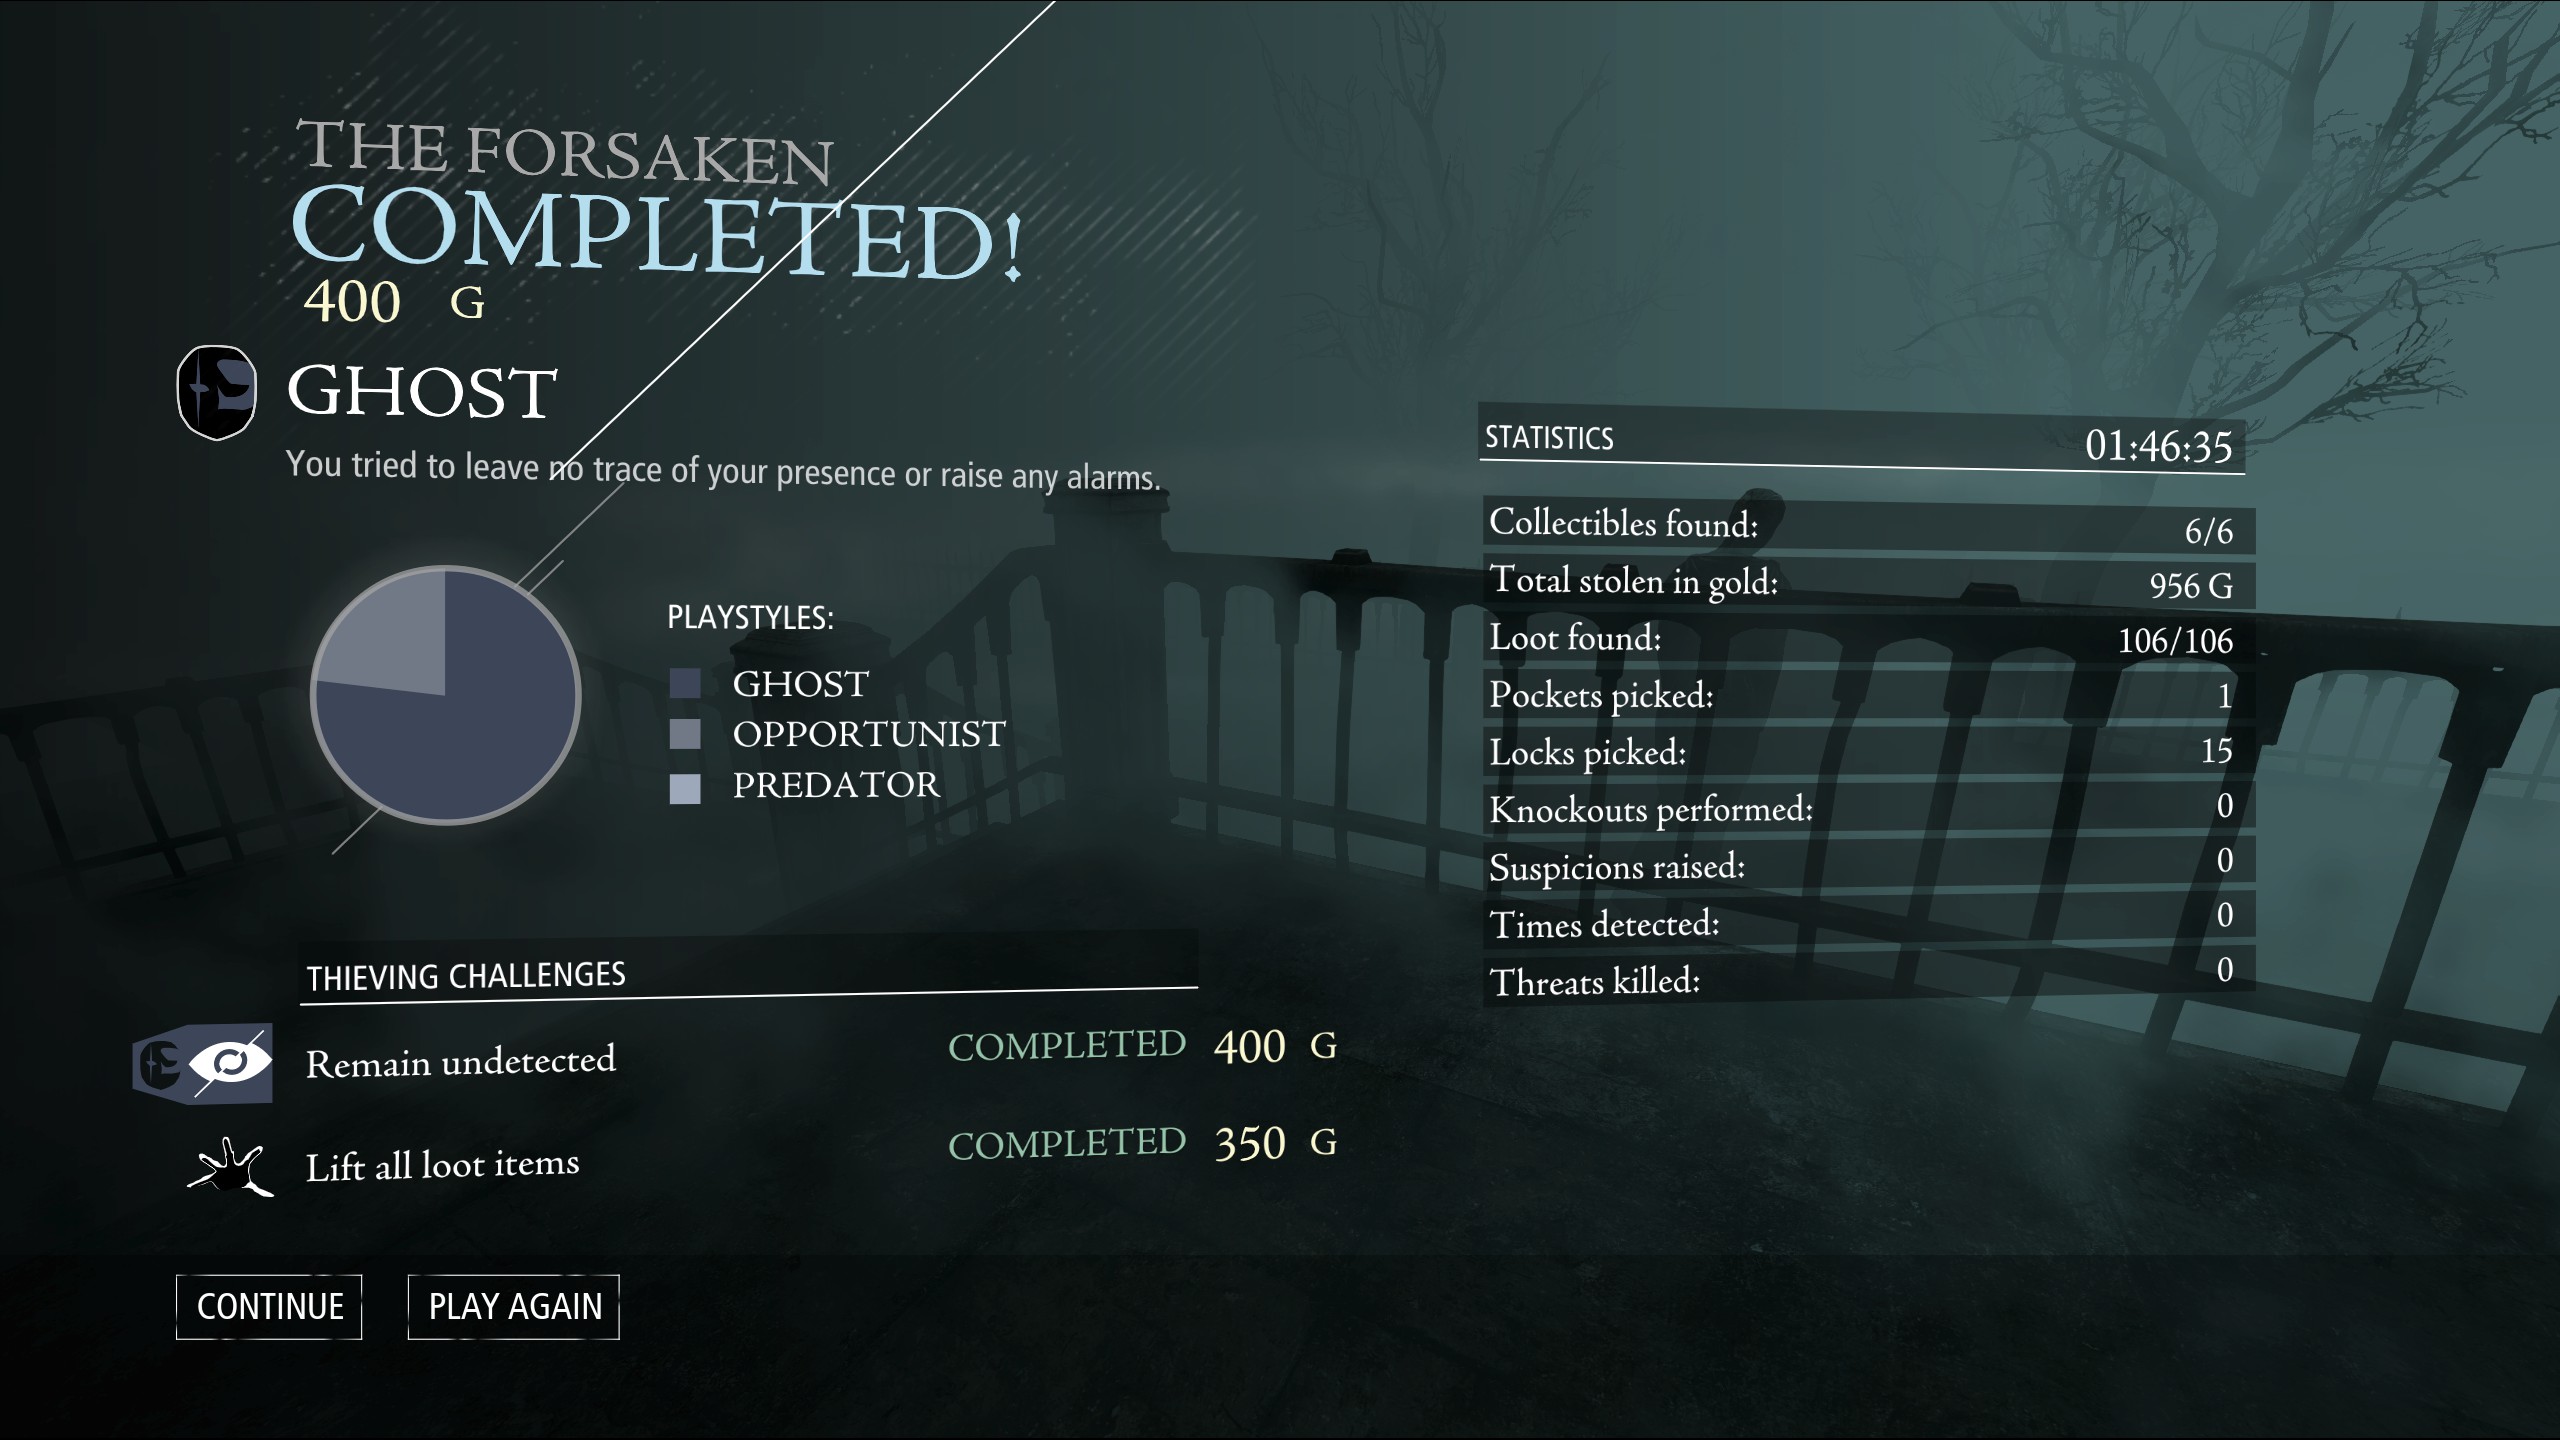 If you know how to get a zero Opportunist run on this level, please let me know in the comments.
Chapter 6 - A Man Apart
Steam limits the size of each section of the guide, so I've had to break Chapter 6 over two topics. Please see the second topic for additional checkpoints.
- Drop to pipes
- Drop to floor
Laboratory
Laboratory
(inside last house)
- 0 suspicious raised
- No violence
- Didn’tuse the valve during the escape sequenceIf you are fast enough, you don’t have to
- Only item used wasa single rope arrow and that is required to get all loot
- Didn’t disarm any traps
- Didn’t extinguish any flames, or interact with any optional items, except forthe fountain (which is required to get all loot)
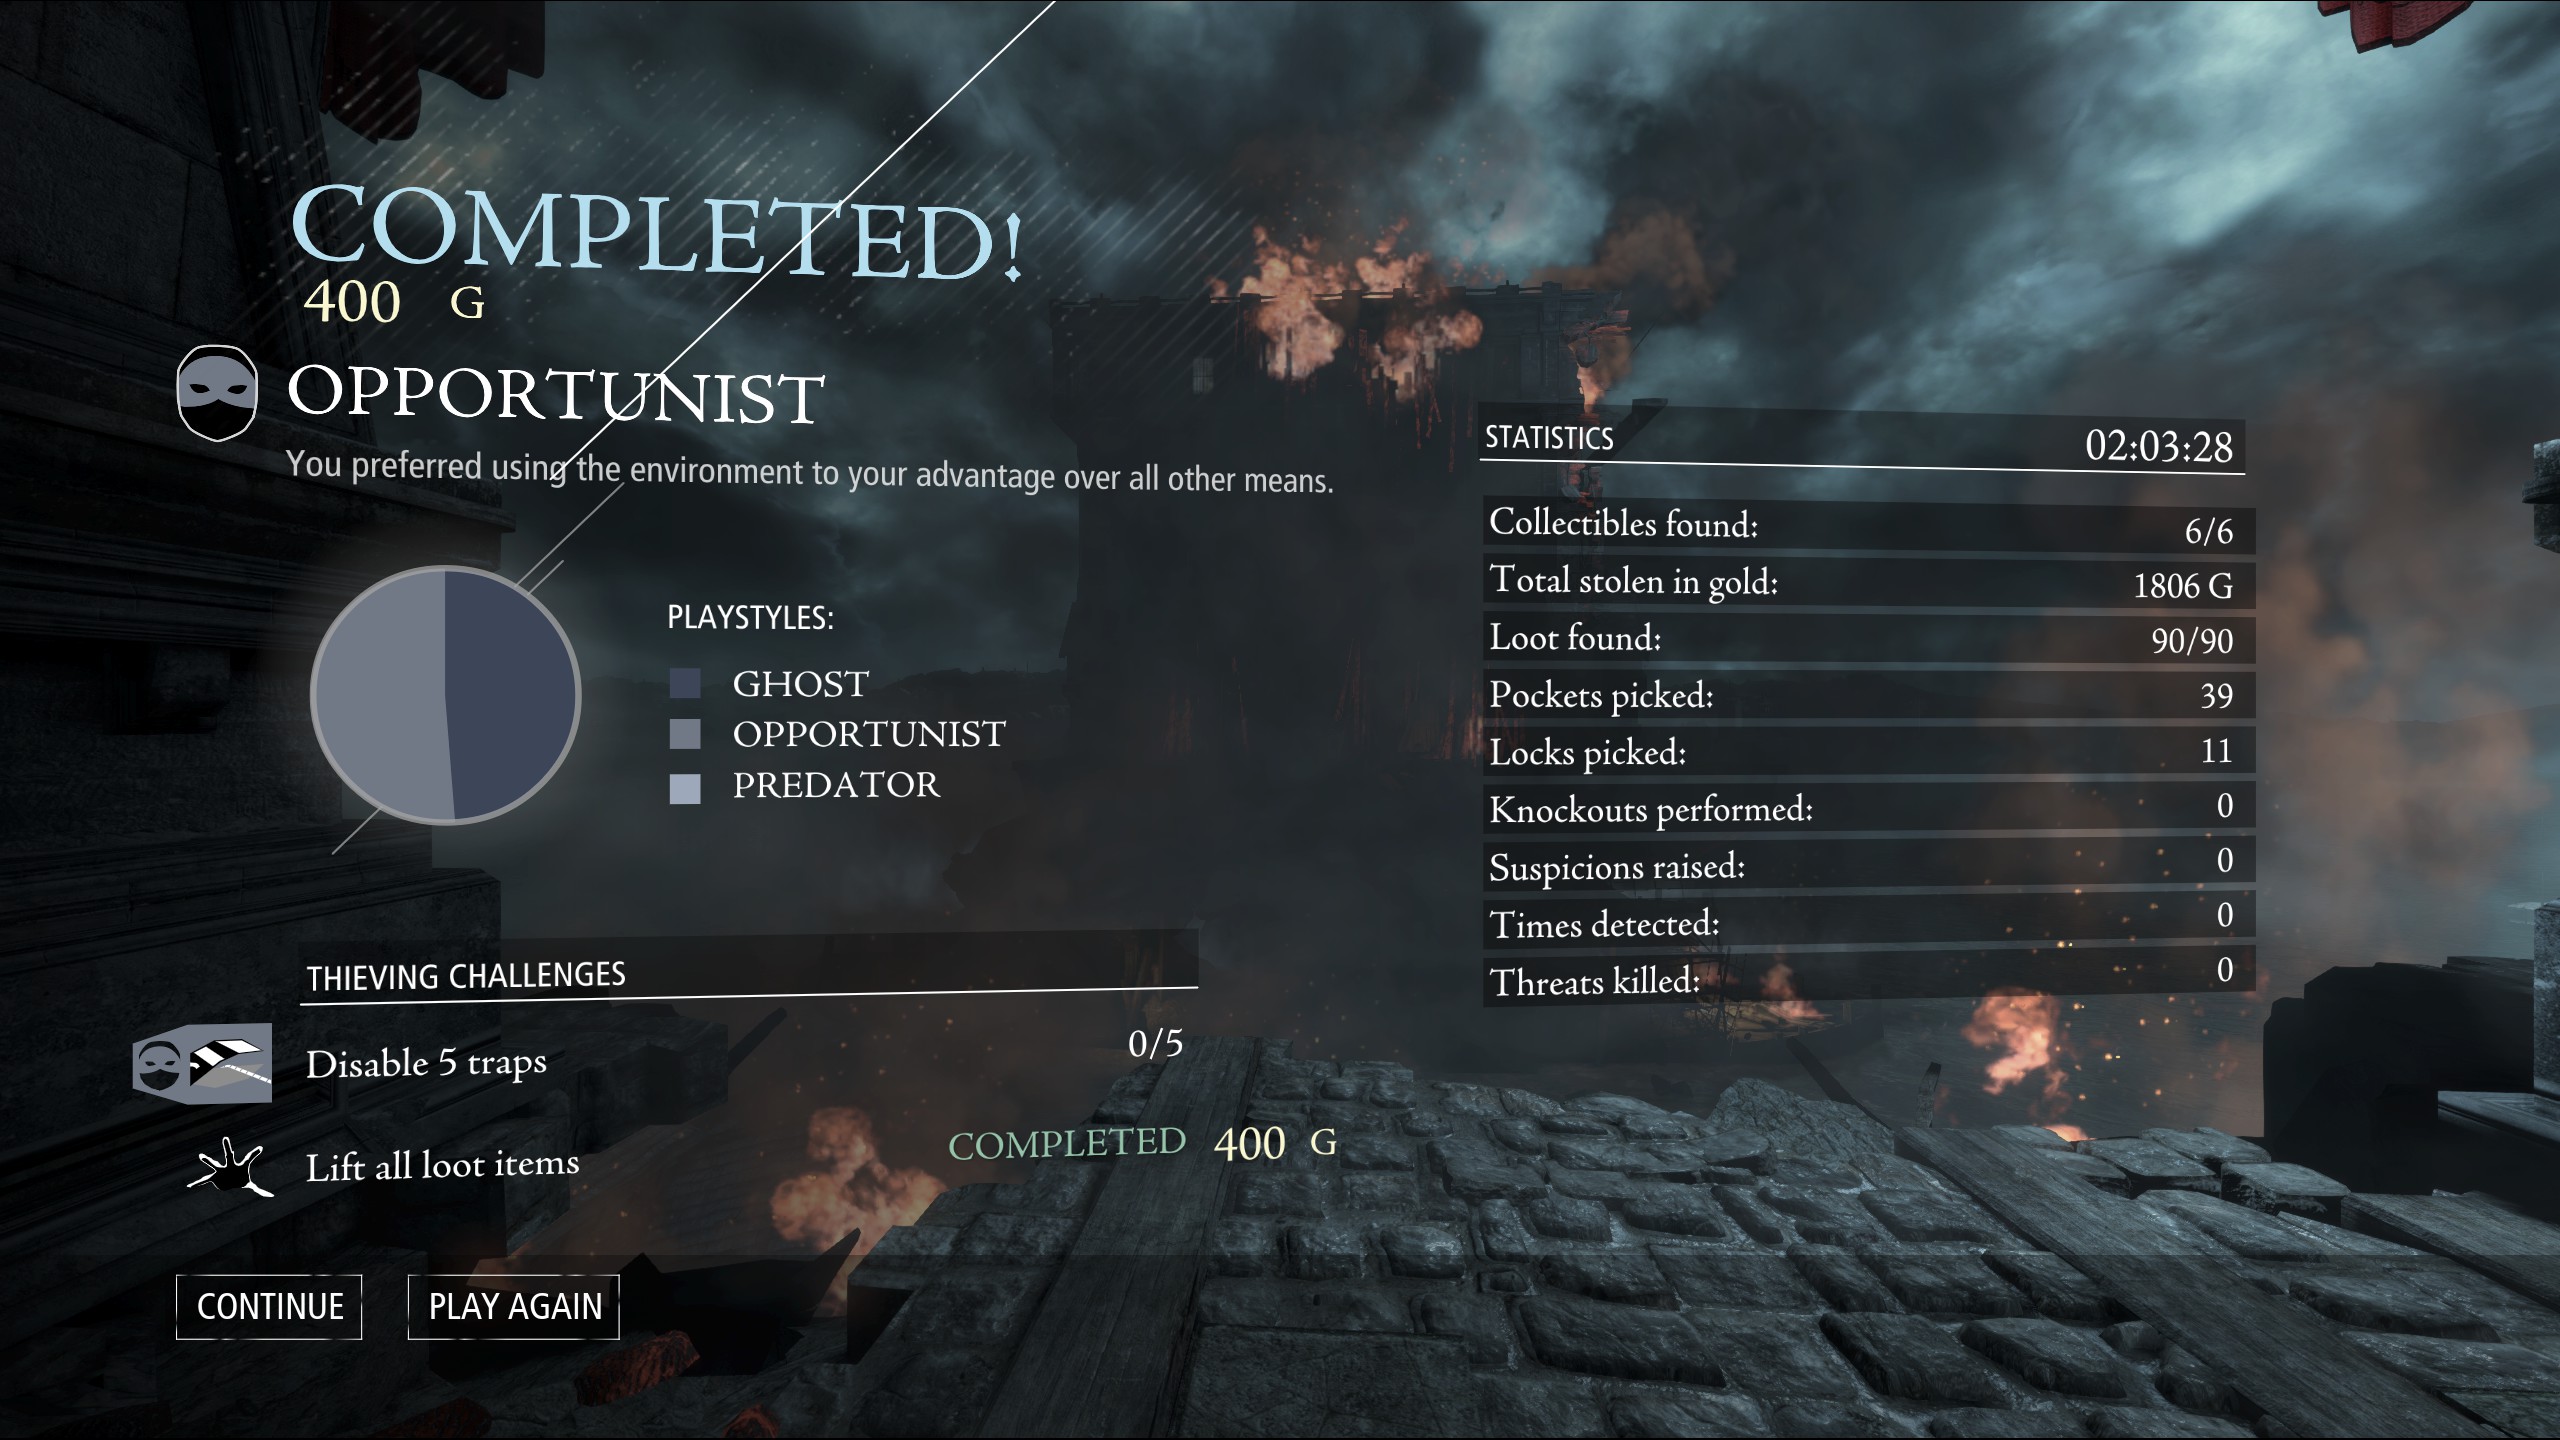 If you know how to get a lower Opportunist rating on this level (without leaving loot behind), please let me know in the comments.
Chapter 6 - A Man Apart (cont.)
Since you can do so many of the maps in so many orders, I’ve included the deltas from the previous maps in a separate line. For example:
- +560
(excluding safe)
(c)
(first floor)
(second floor)
(south library exit)
22
Chapel
25
- Drop to pipes
- Drop to floor
Laboratory
Laboratory
(inside last house)
(Foundations / Market Street)
(a) Ghost note: It is possible to grabthe perfume bottleand escape without raising the suspicion count. However I had to use focus to do so
(b1) If you are not ghosting you can pick two additional pockets here. If you are ghosting you can pick them later (b2)
(c) Patrol / pick pocket count spoiler:Opening the door to the Great hall and triggering the guard’s speech causes the two guards to go on patrol. After one circuit, one will remain in the hall, the other will continue to patrol.
(d) The guard’s patrol routes cover two maps (Waiting Hall and First Floor). For simplicity I’ve included them all in one. **TODO: When I returned from the 2nd floor, I found two additional pockets (one guard) on a first floor guard that was patrolling the First Floor and Waiting Hall. It’s unclear if I simply missed him on my the first pass through, or if his patrol route changes. For now, I’ve presumed the later and included those two additional pocket (and 10g) in the post-study tower 1st Floor map.
(e) Ghost Note: The guard will notice an opened safe, but the suspicion count is not incremented.
If you know how to get a lower Opportunist rating on this level (without leaving loot behind), please let me know in the comments.Chapter 7 - The Hidden City
Chapter 8 follows directly on from Chapter 7 (you don’t return to town). So see also Chapter 8’s equipment list.
This is reported fixed in the 1.4 patch, but these documents are still missing in the totals below as I'm yet to replay the level.
The Pit (above)
Antechamber#)
(rest of)
(Boss Fight)
# The area reachable without horizontal jumping before the big antechamber door / lever.
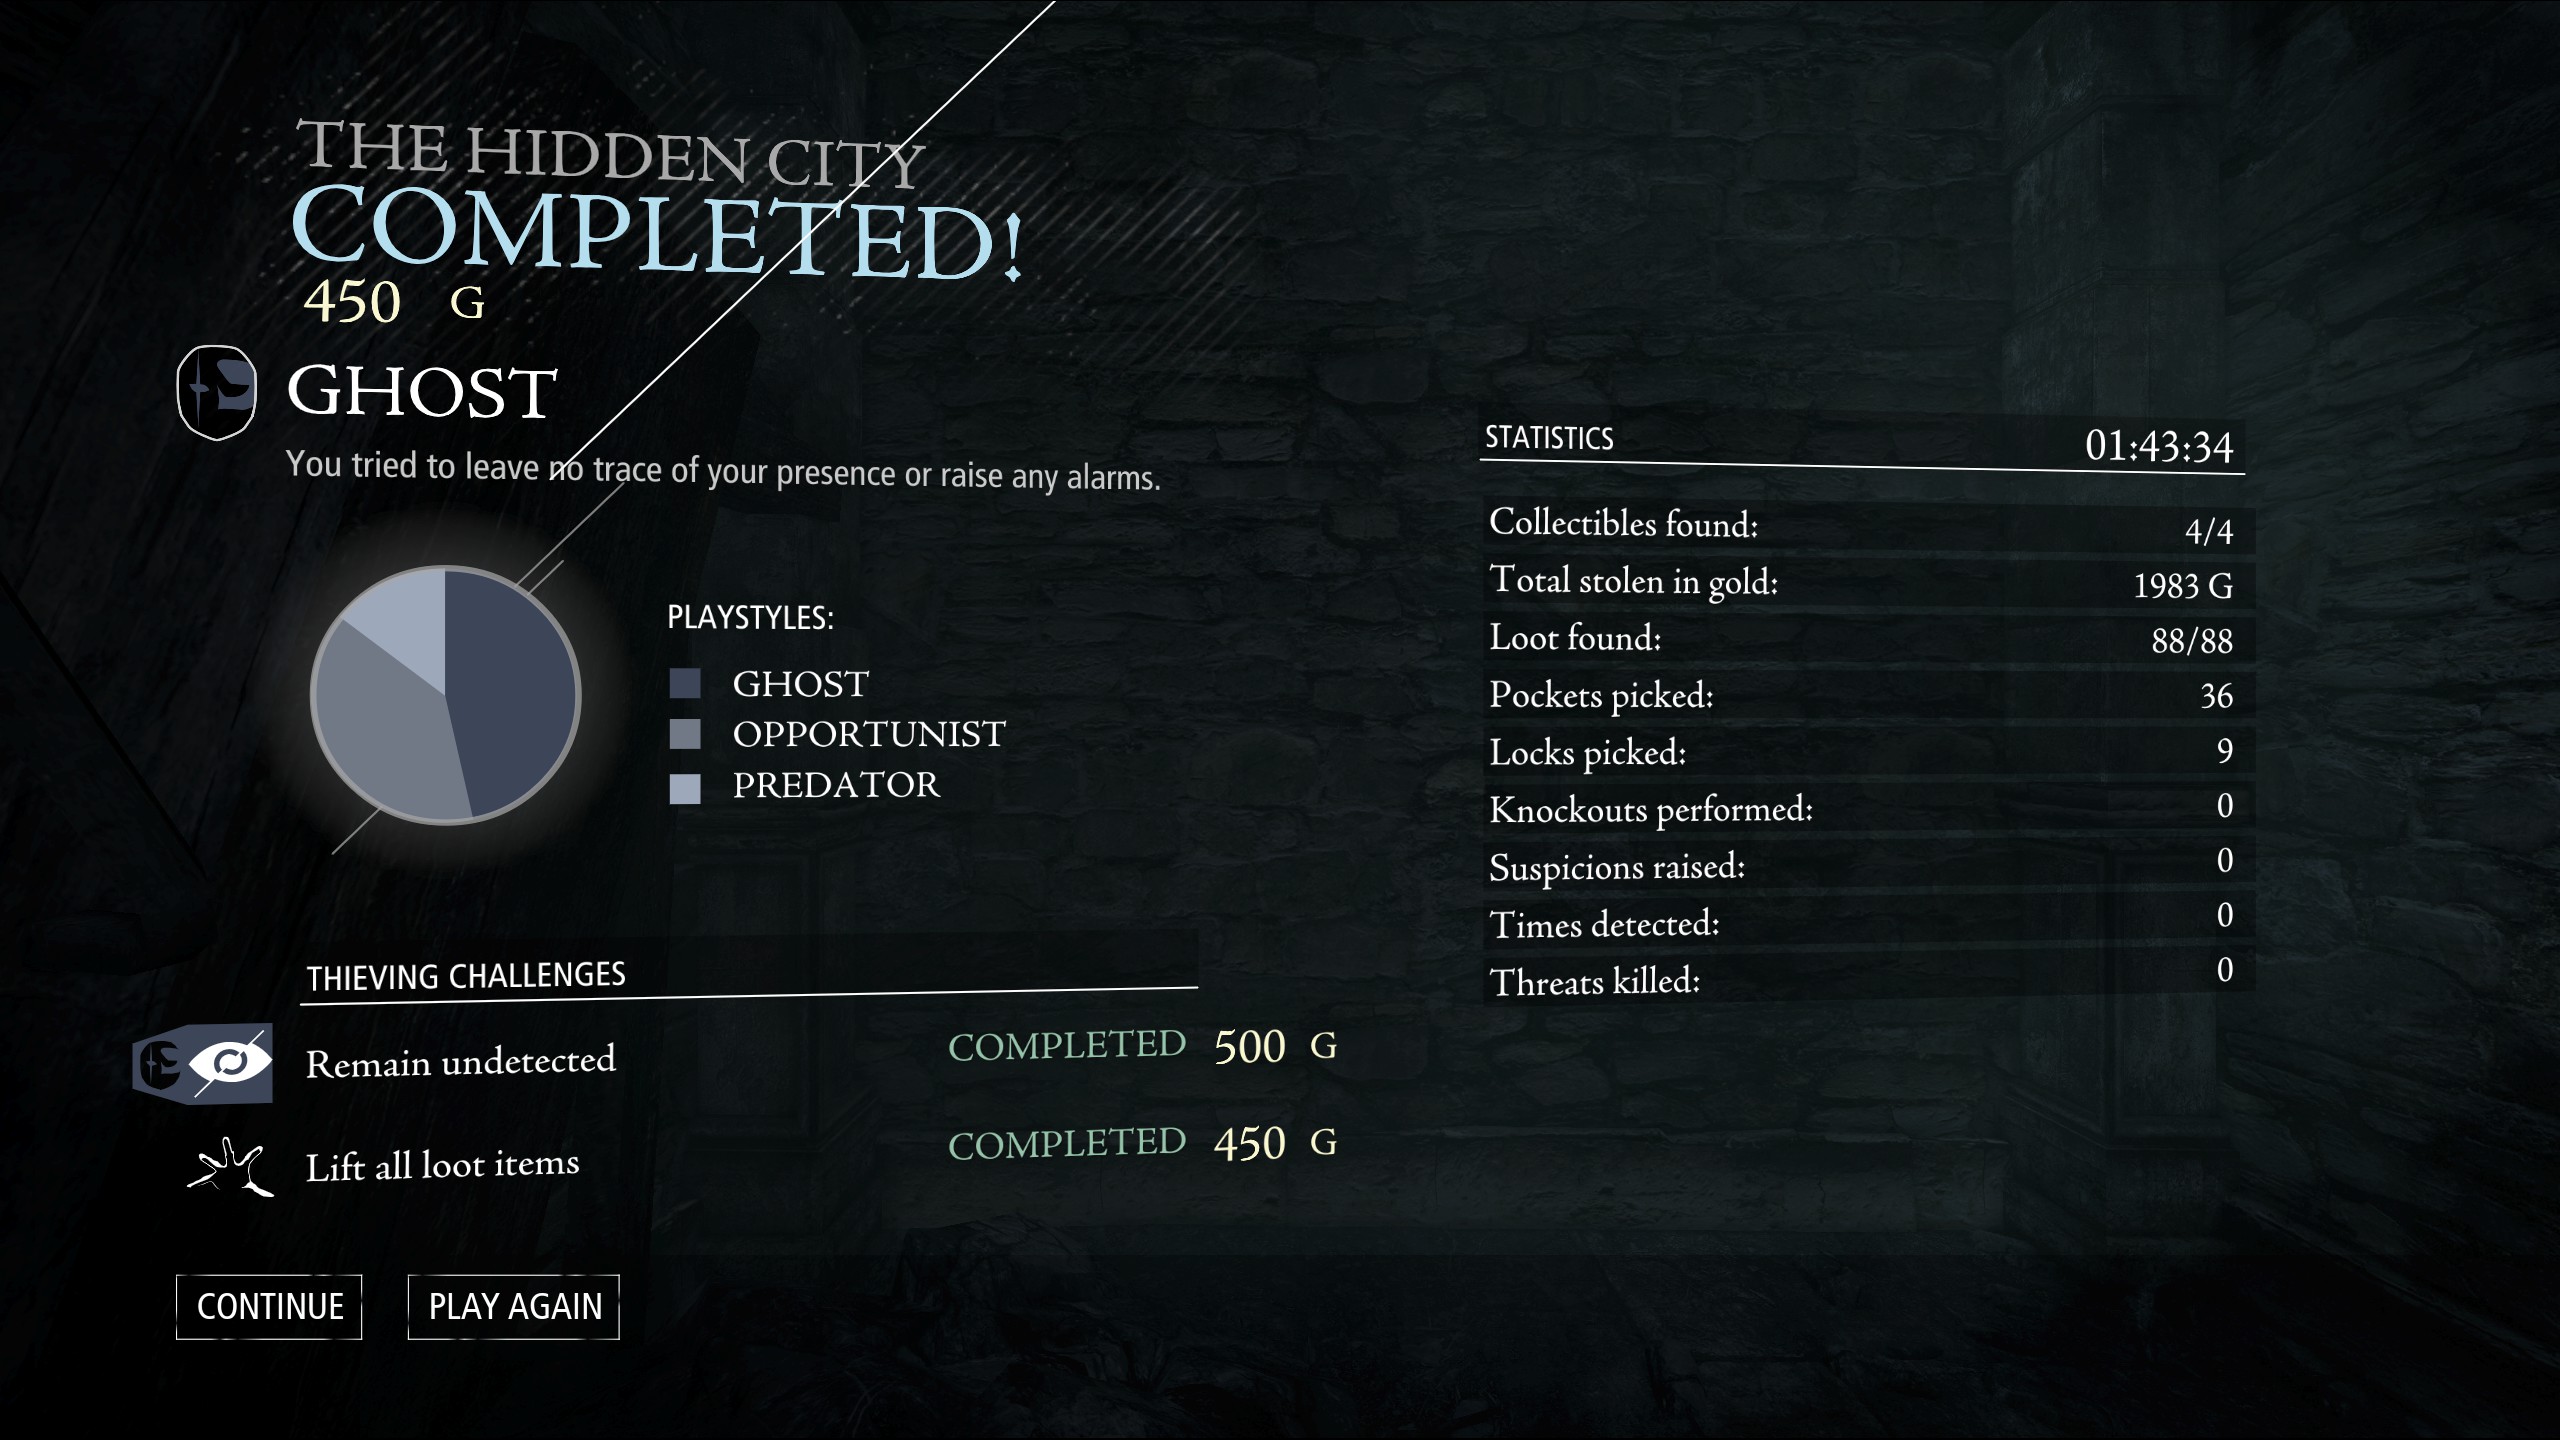 .
.I got 100% loot without raising any suspicion or alerts, knocking anyone out, killing anyone, or doing anything environmental (other than is required to get 100% loot).
If you want to know the things I did & didn’t do to get this score, look to the spoilers table below. It also includes my exploit for ghosting the Boss Fight.Chapter 8 - The Dawn's Light
Chapter 8 is probably the shortest and most straightforward chapter since chapter 1.
(Upper Deck)
(Middle Deck)
(Lower Deck)
# Value if not ghosting. Ghosters will be able to pick this lock later
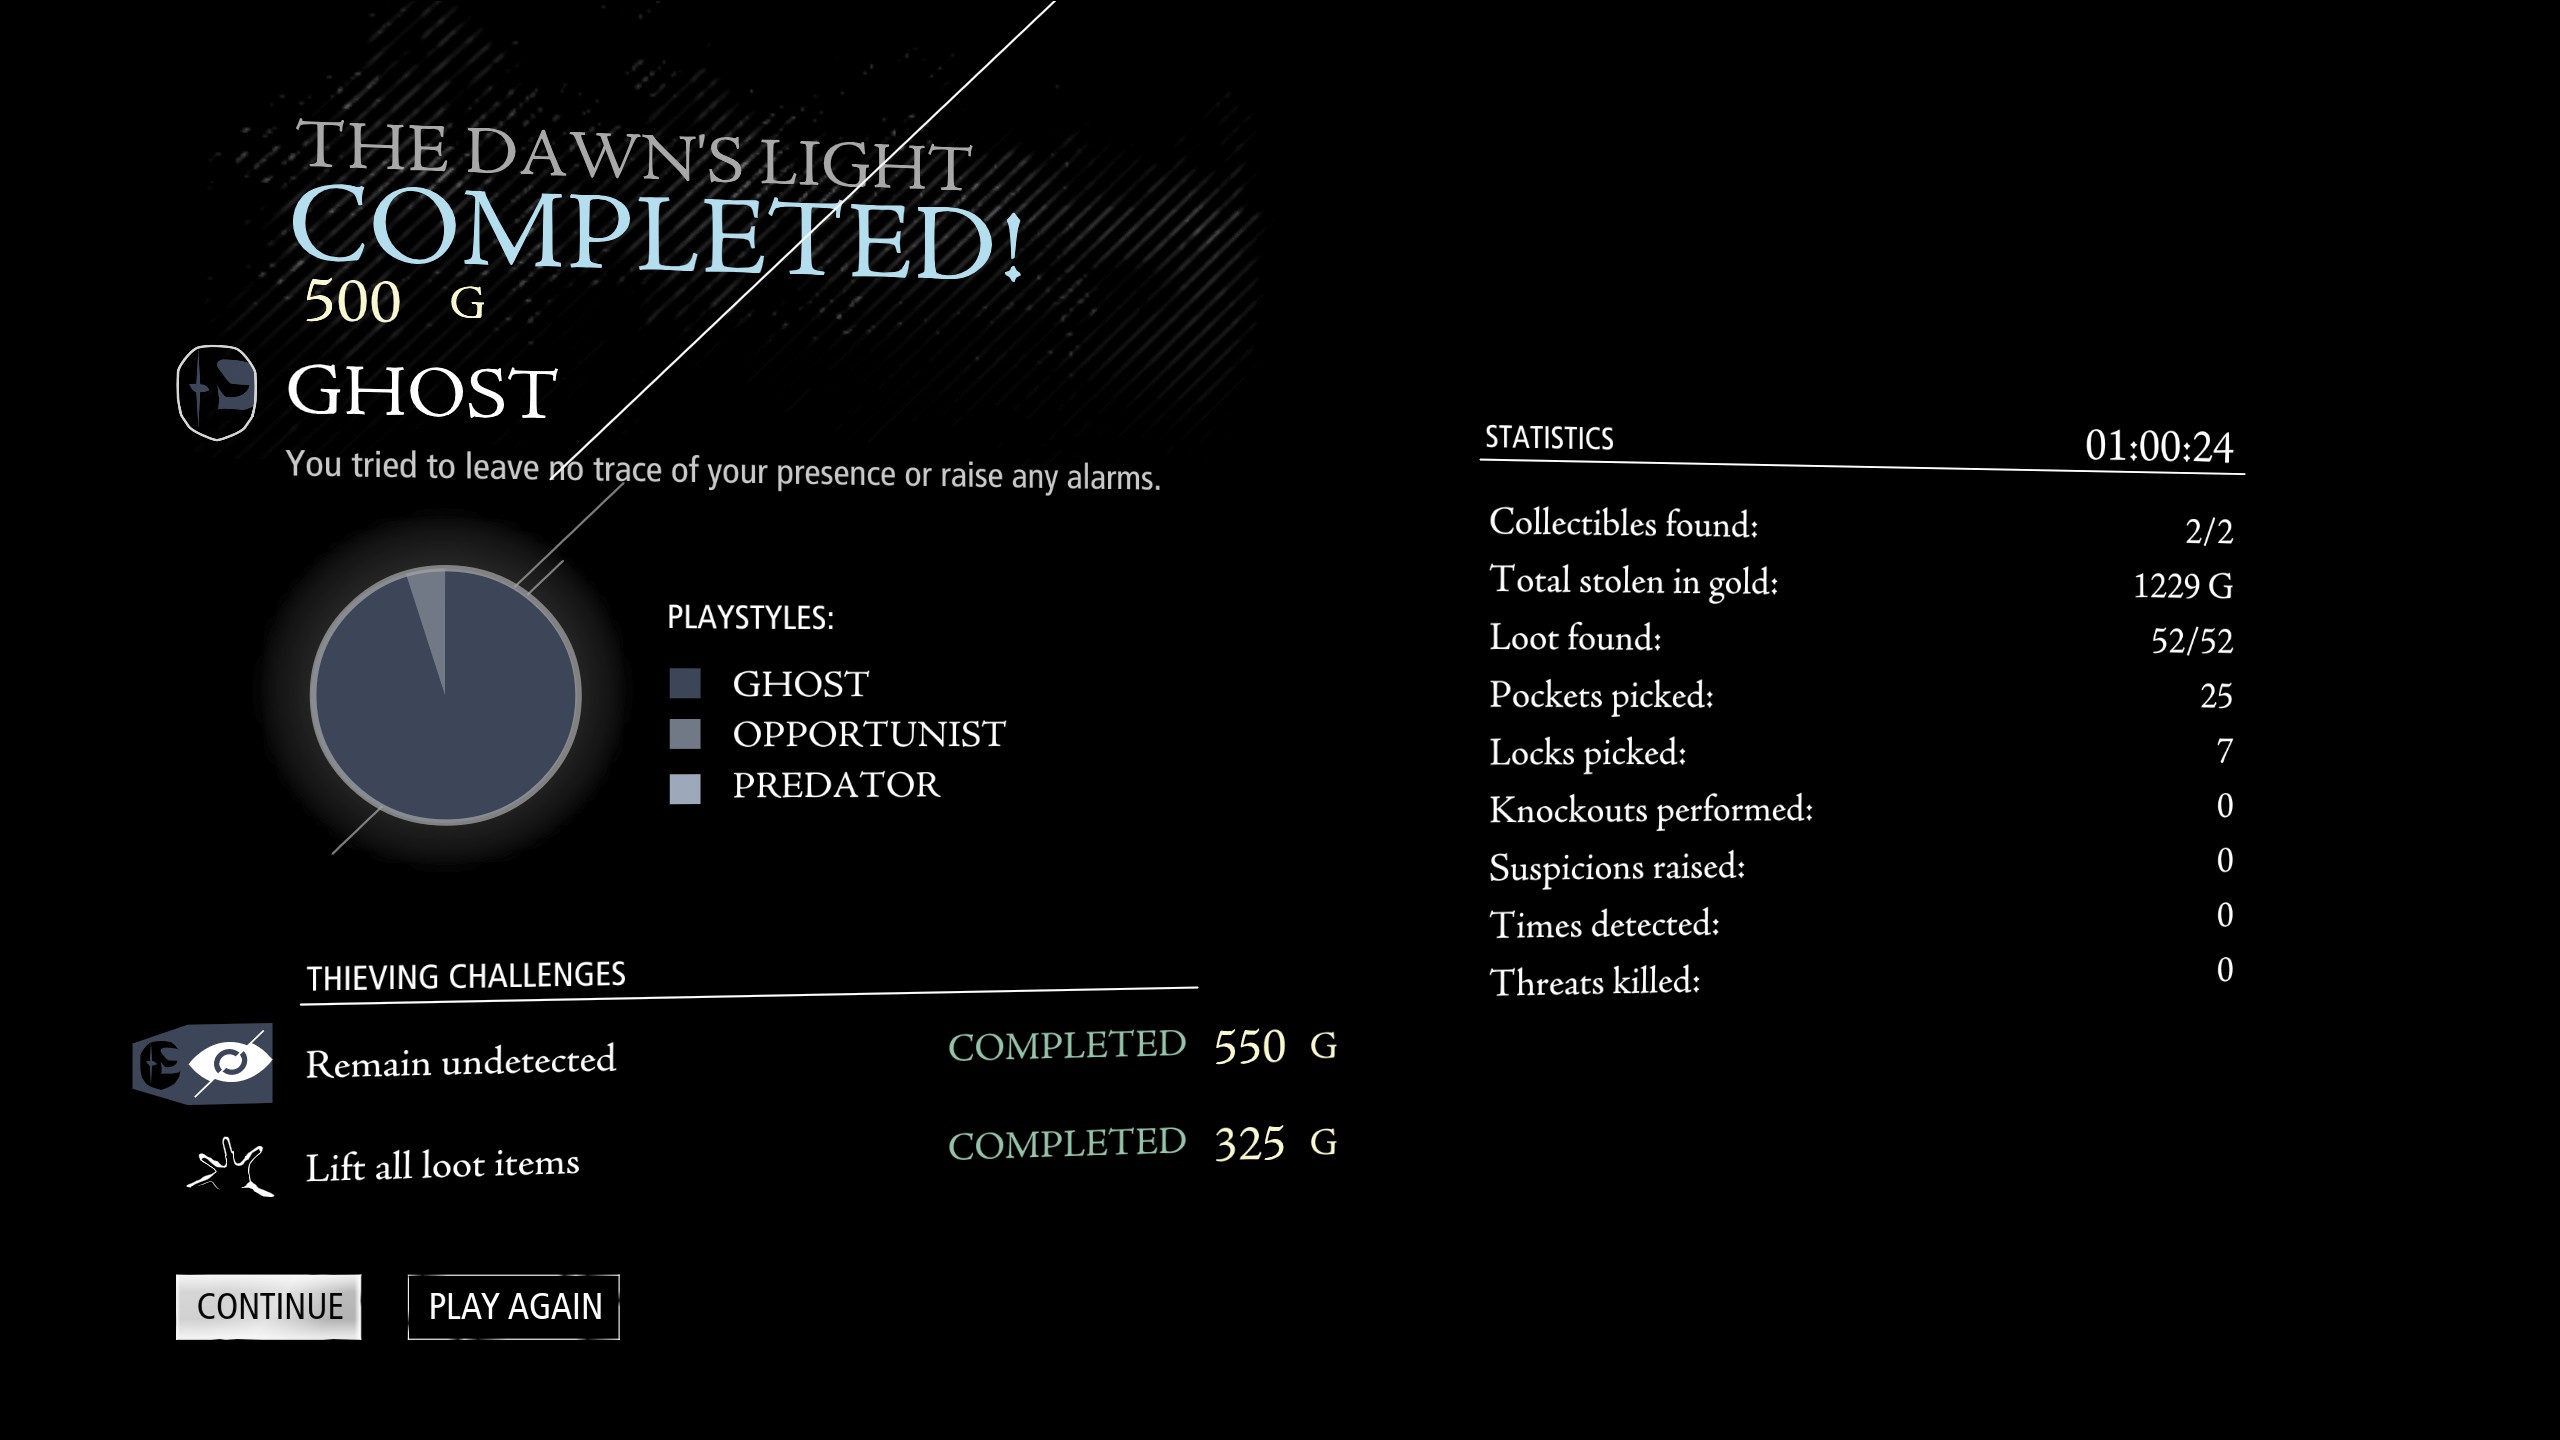 .
.- Dry Docks Ashtray
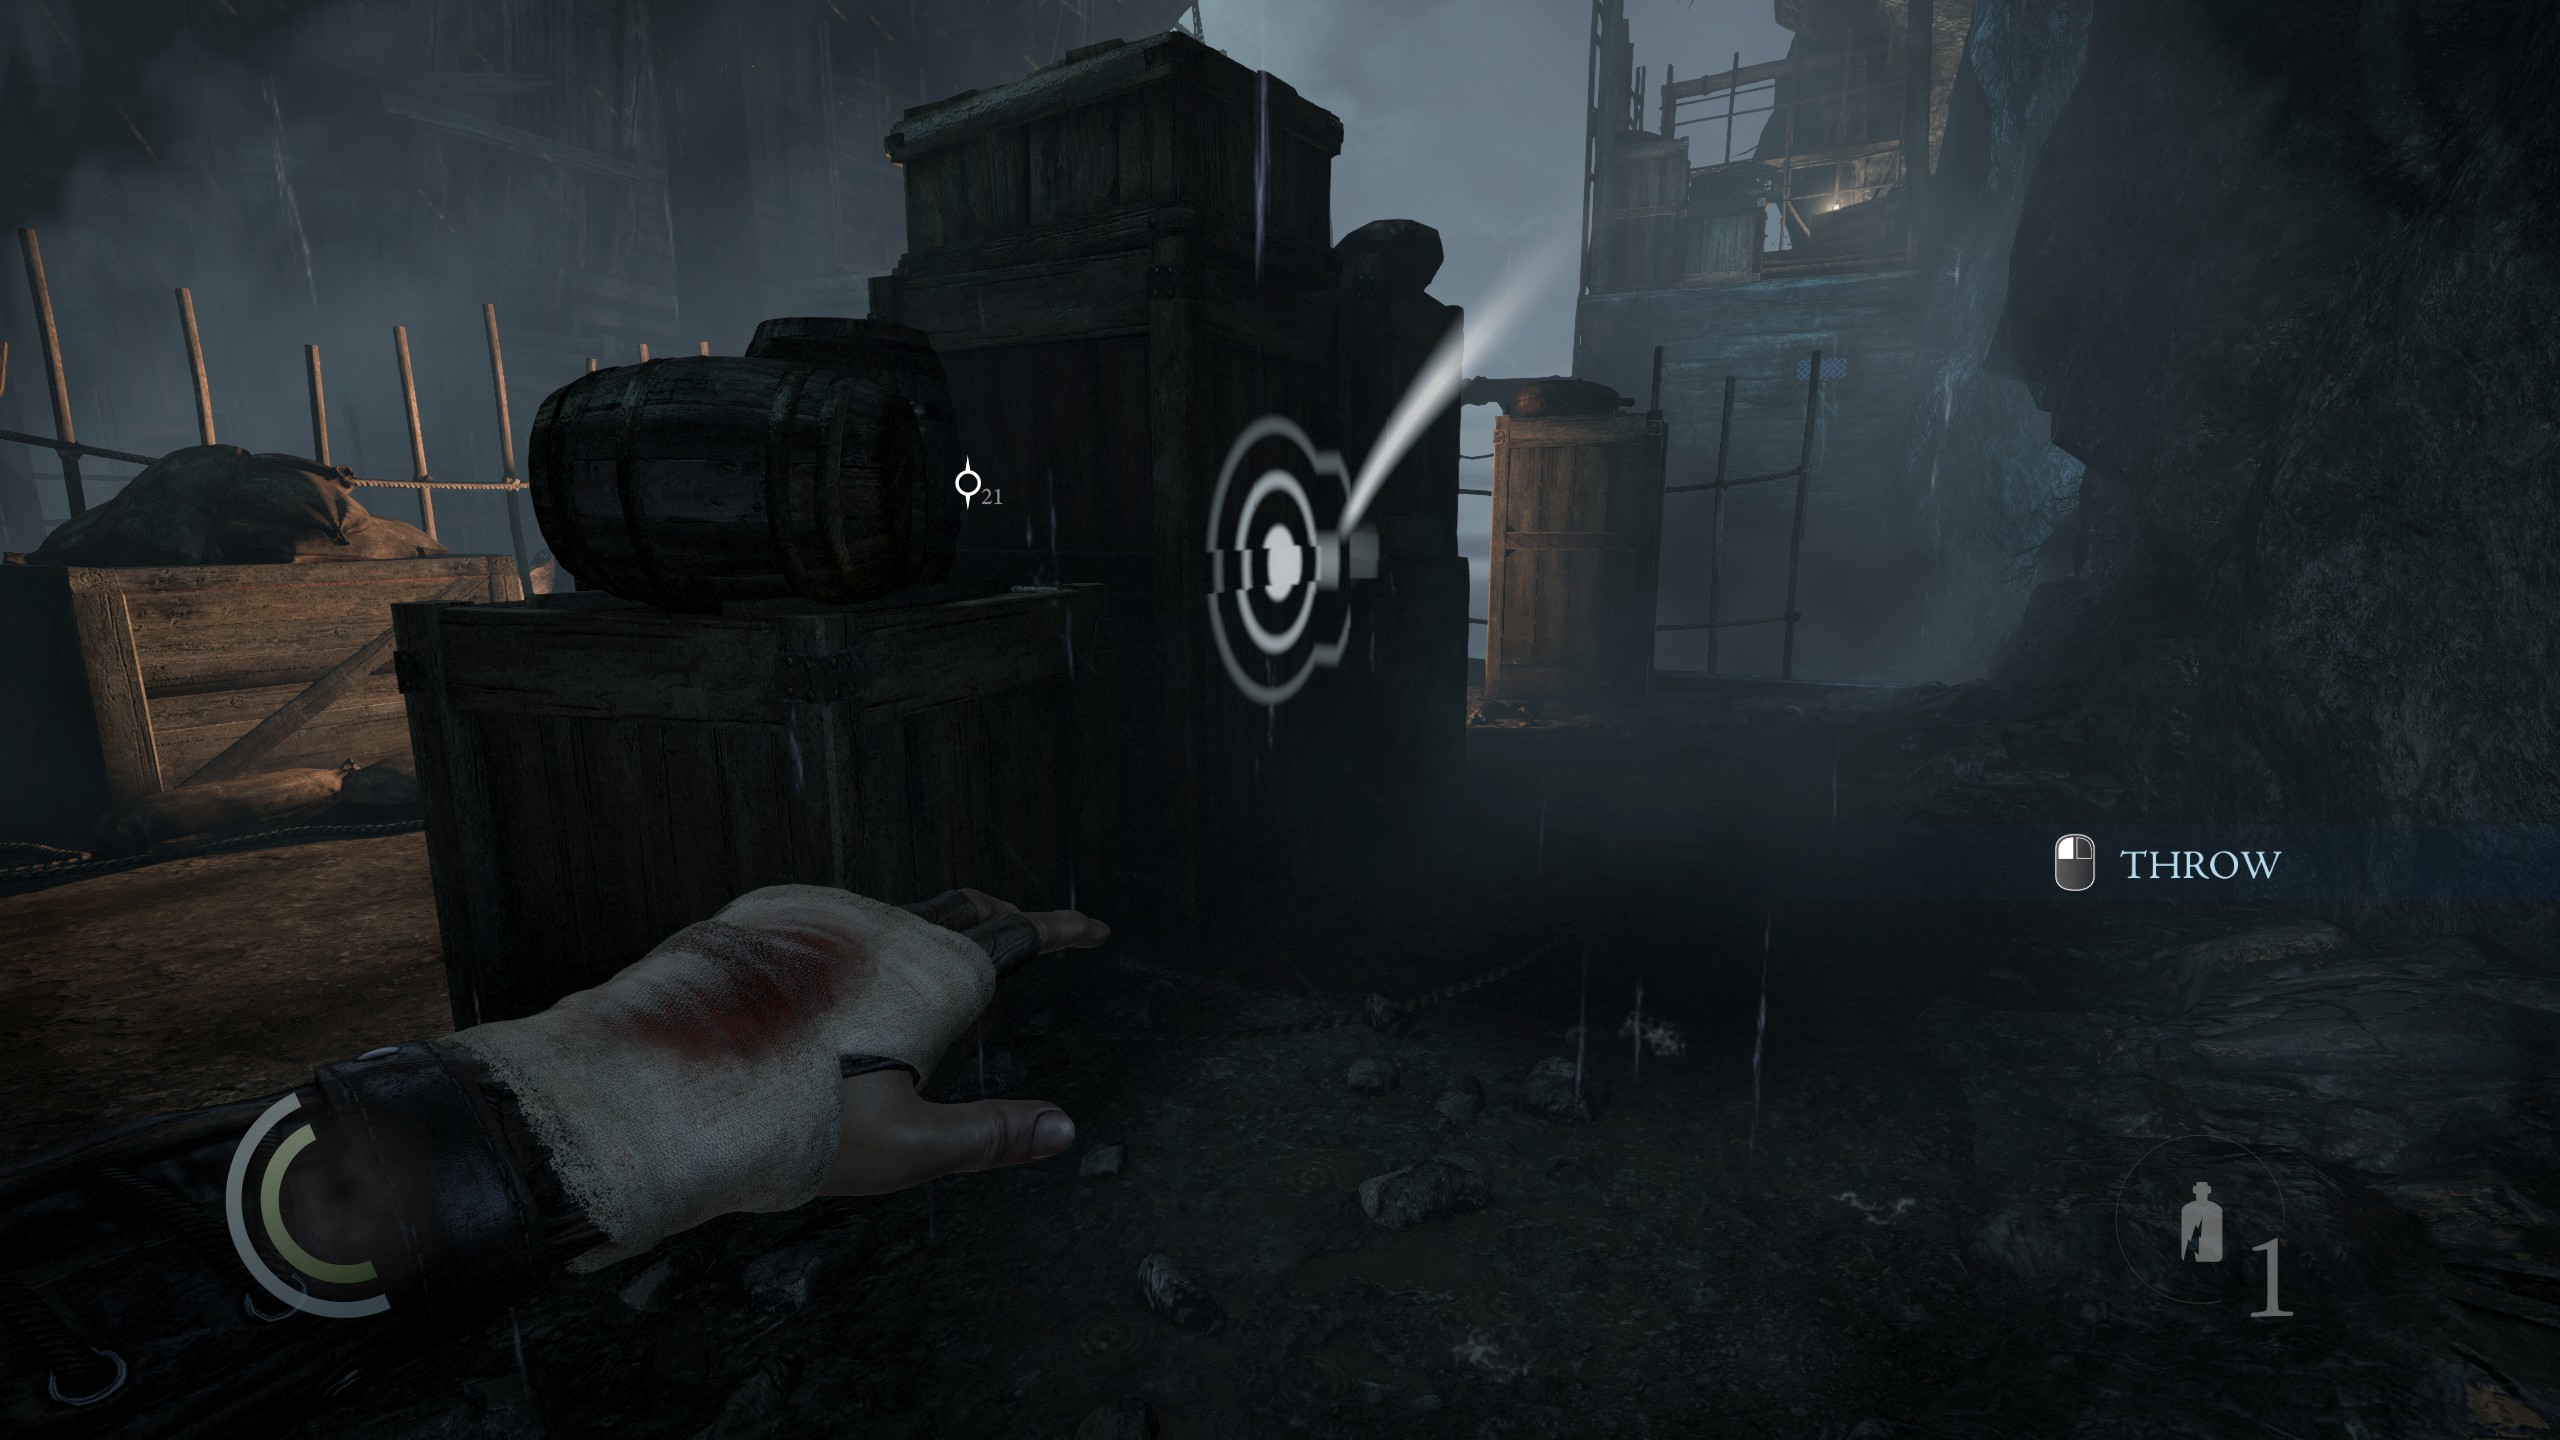
This item (circled in red) by the guard by the fire looks impossible to get. I was able to get it bythrowing a bottle as shown in the screenshot below. This is loud enough to make the guard investigate, but not loud enough to raise a suspicious count in the statistics page.
- Stowage Portrait & Loot
This pair of items looks impossible to steal because the guard is right there and never moves. I used an exploittwo blunt arrows to the face (I was out of bottles) which was enough to make him go look for me while I nipped back round behind him.
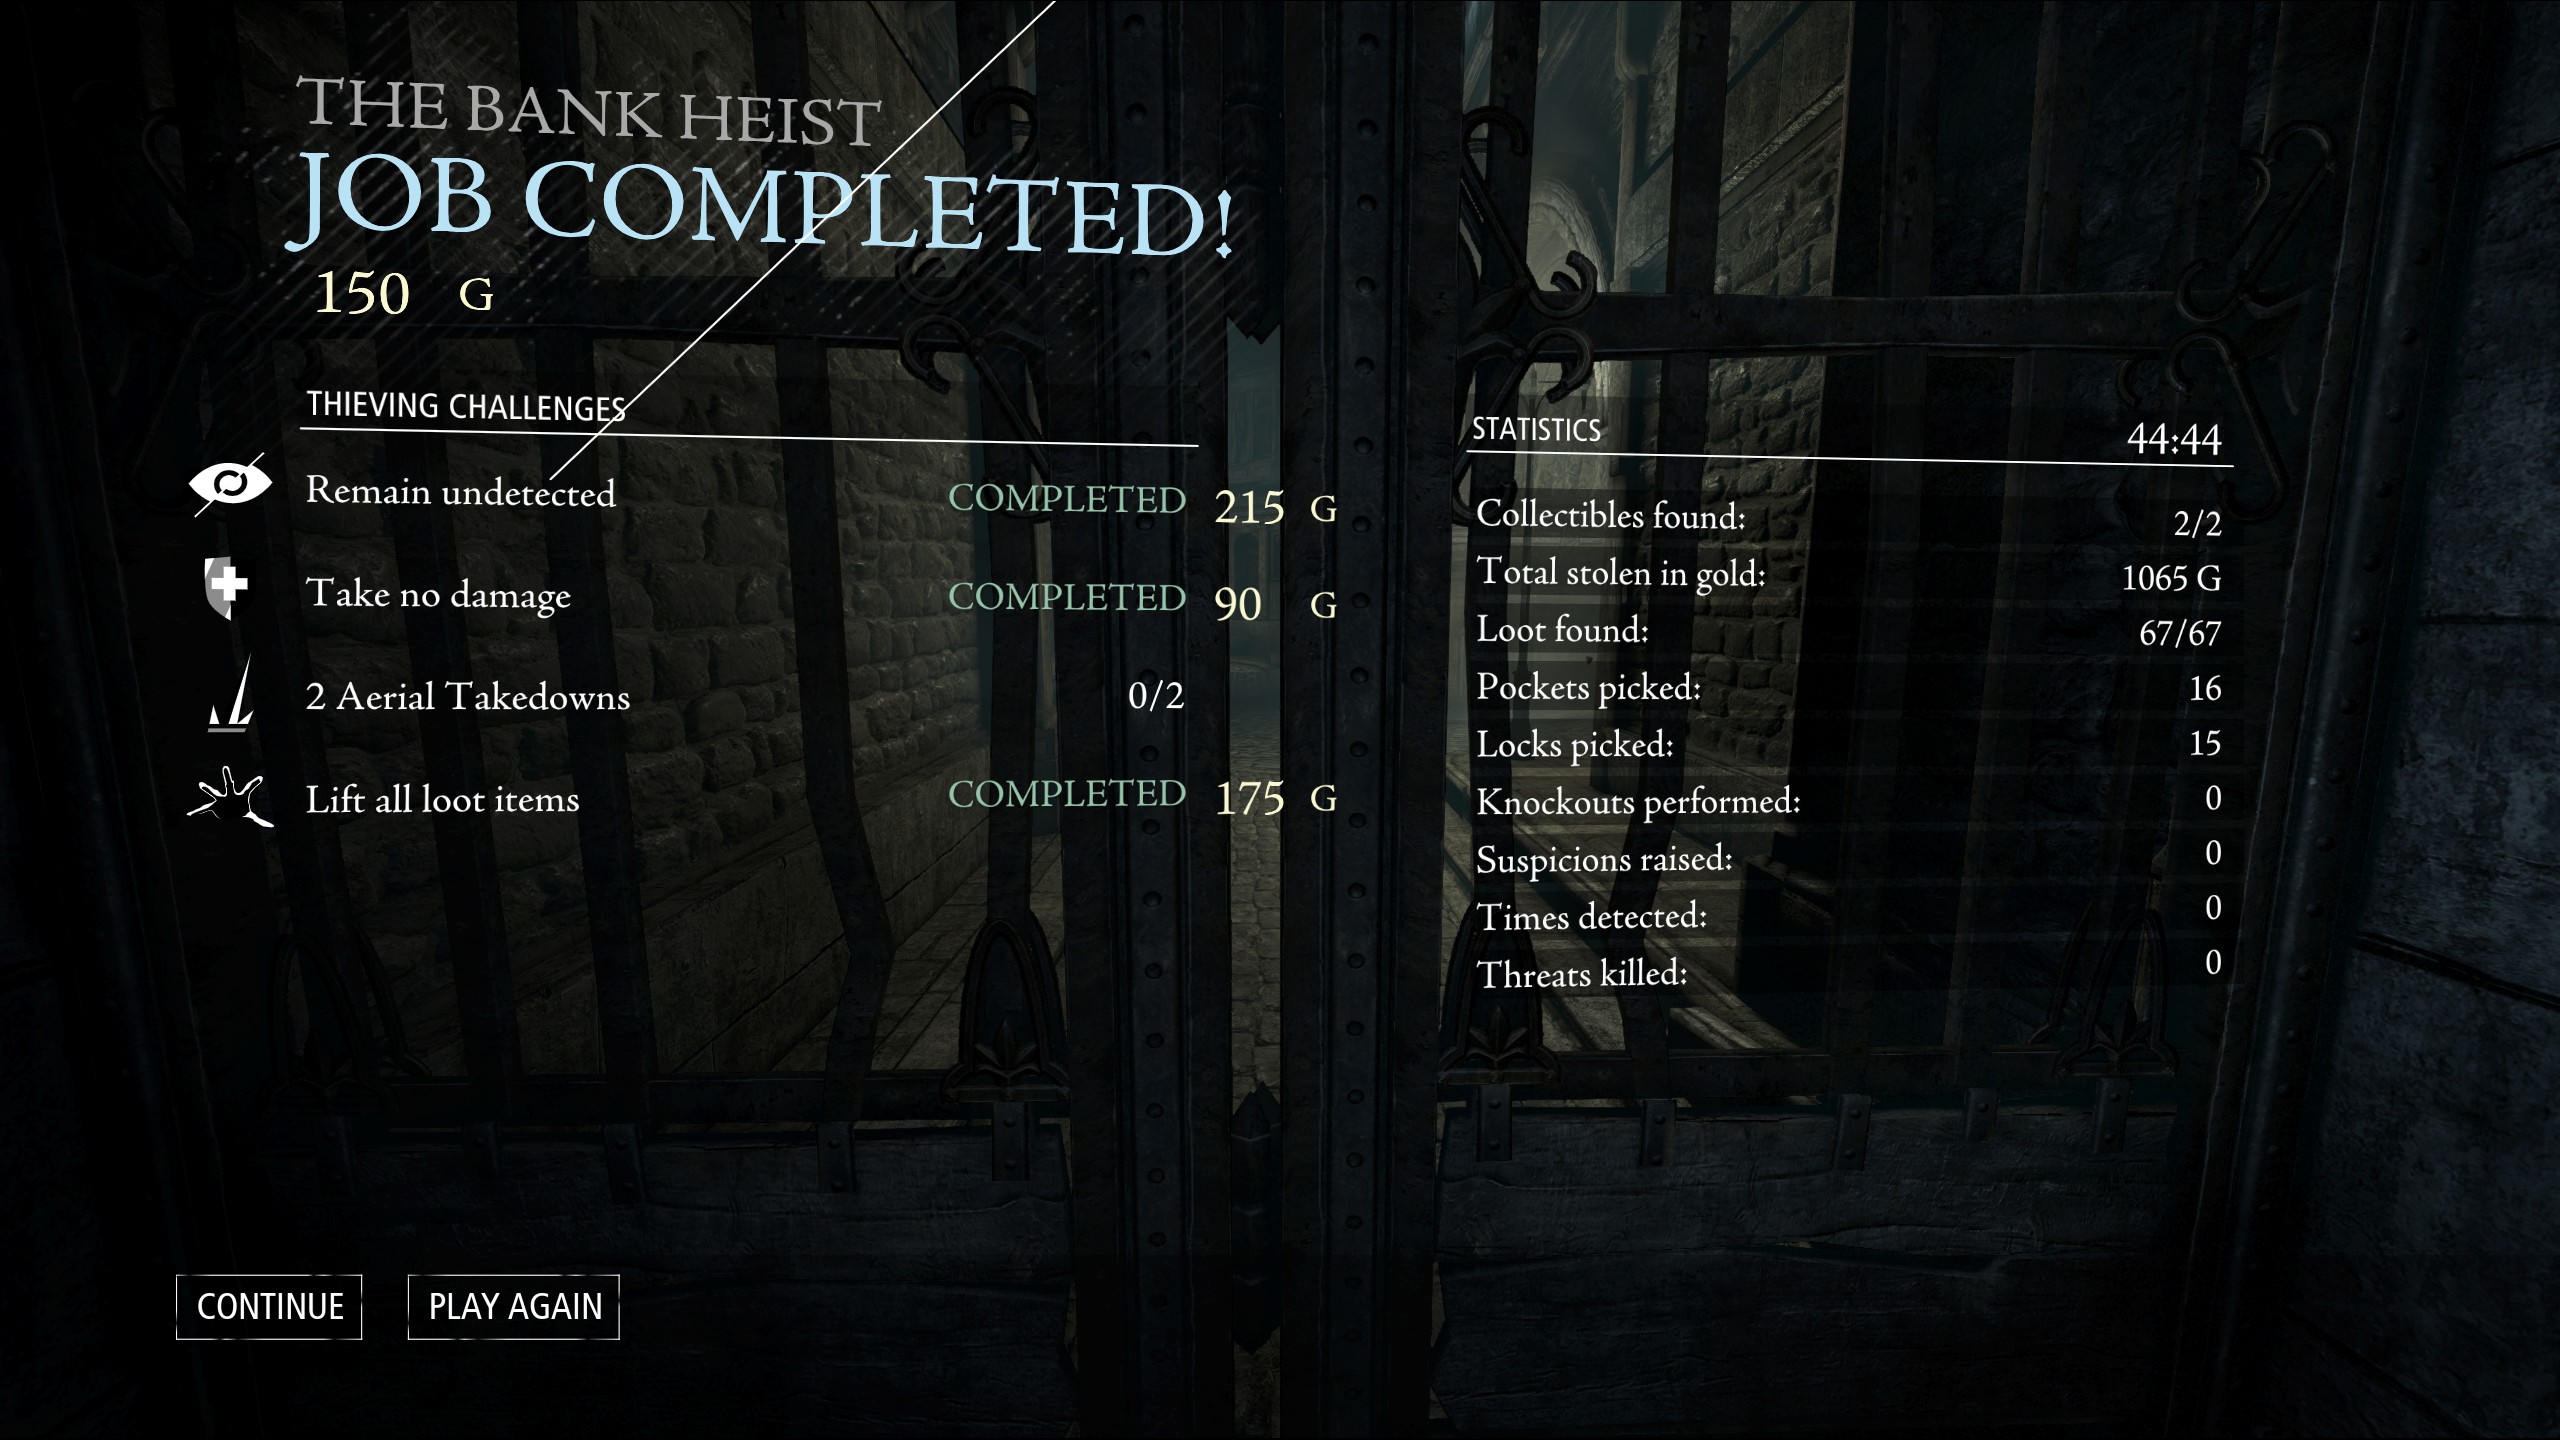
Side Job: The Bank Heist
- There are no points-of-no-return in this level.
- Loot counts represent the earliest you can get that loot, not when it’s easiest to get that loot One item in the Exterior map requires either a rope arrow or doubling back from a later map. At least two items in the Lobby area are swiped from the Lower Offices area through bars
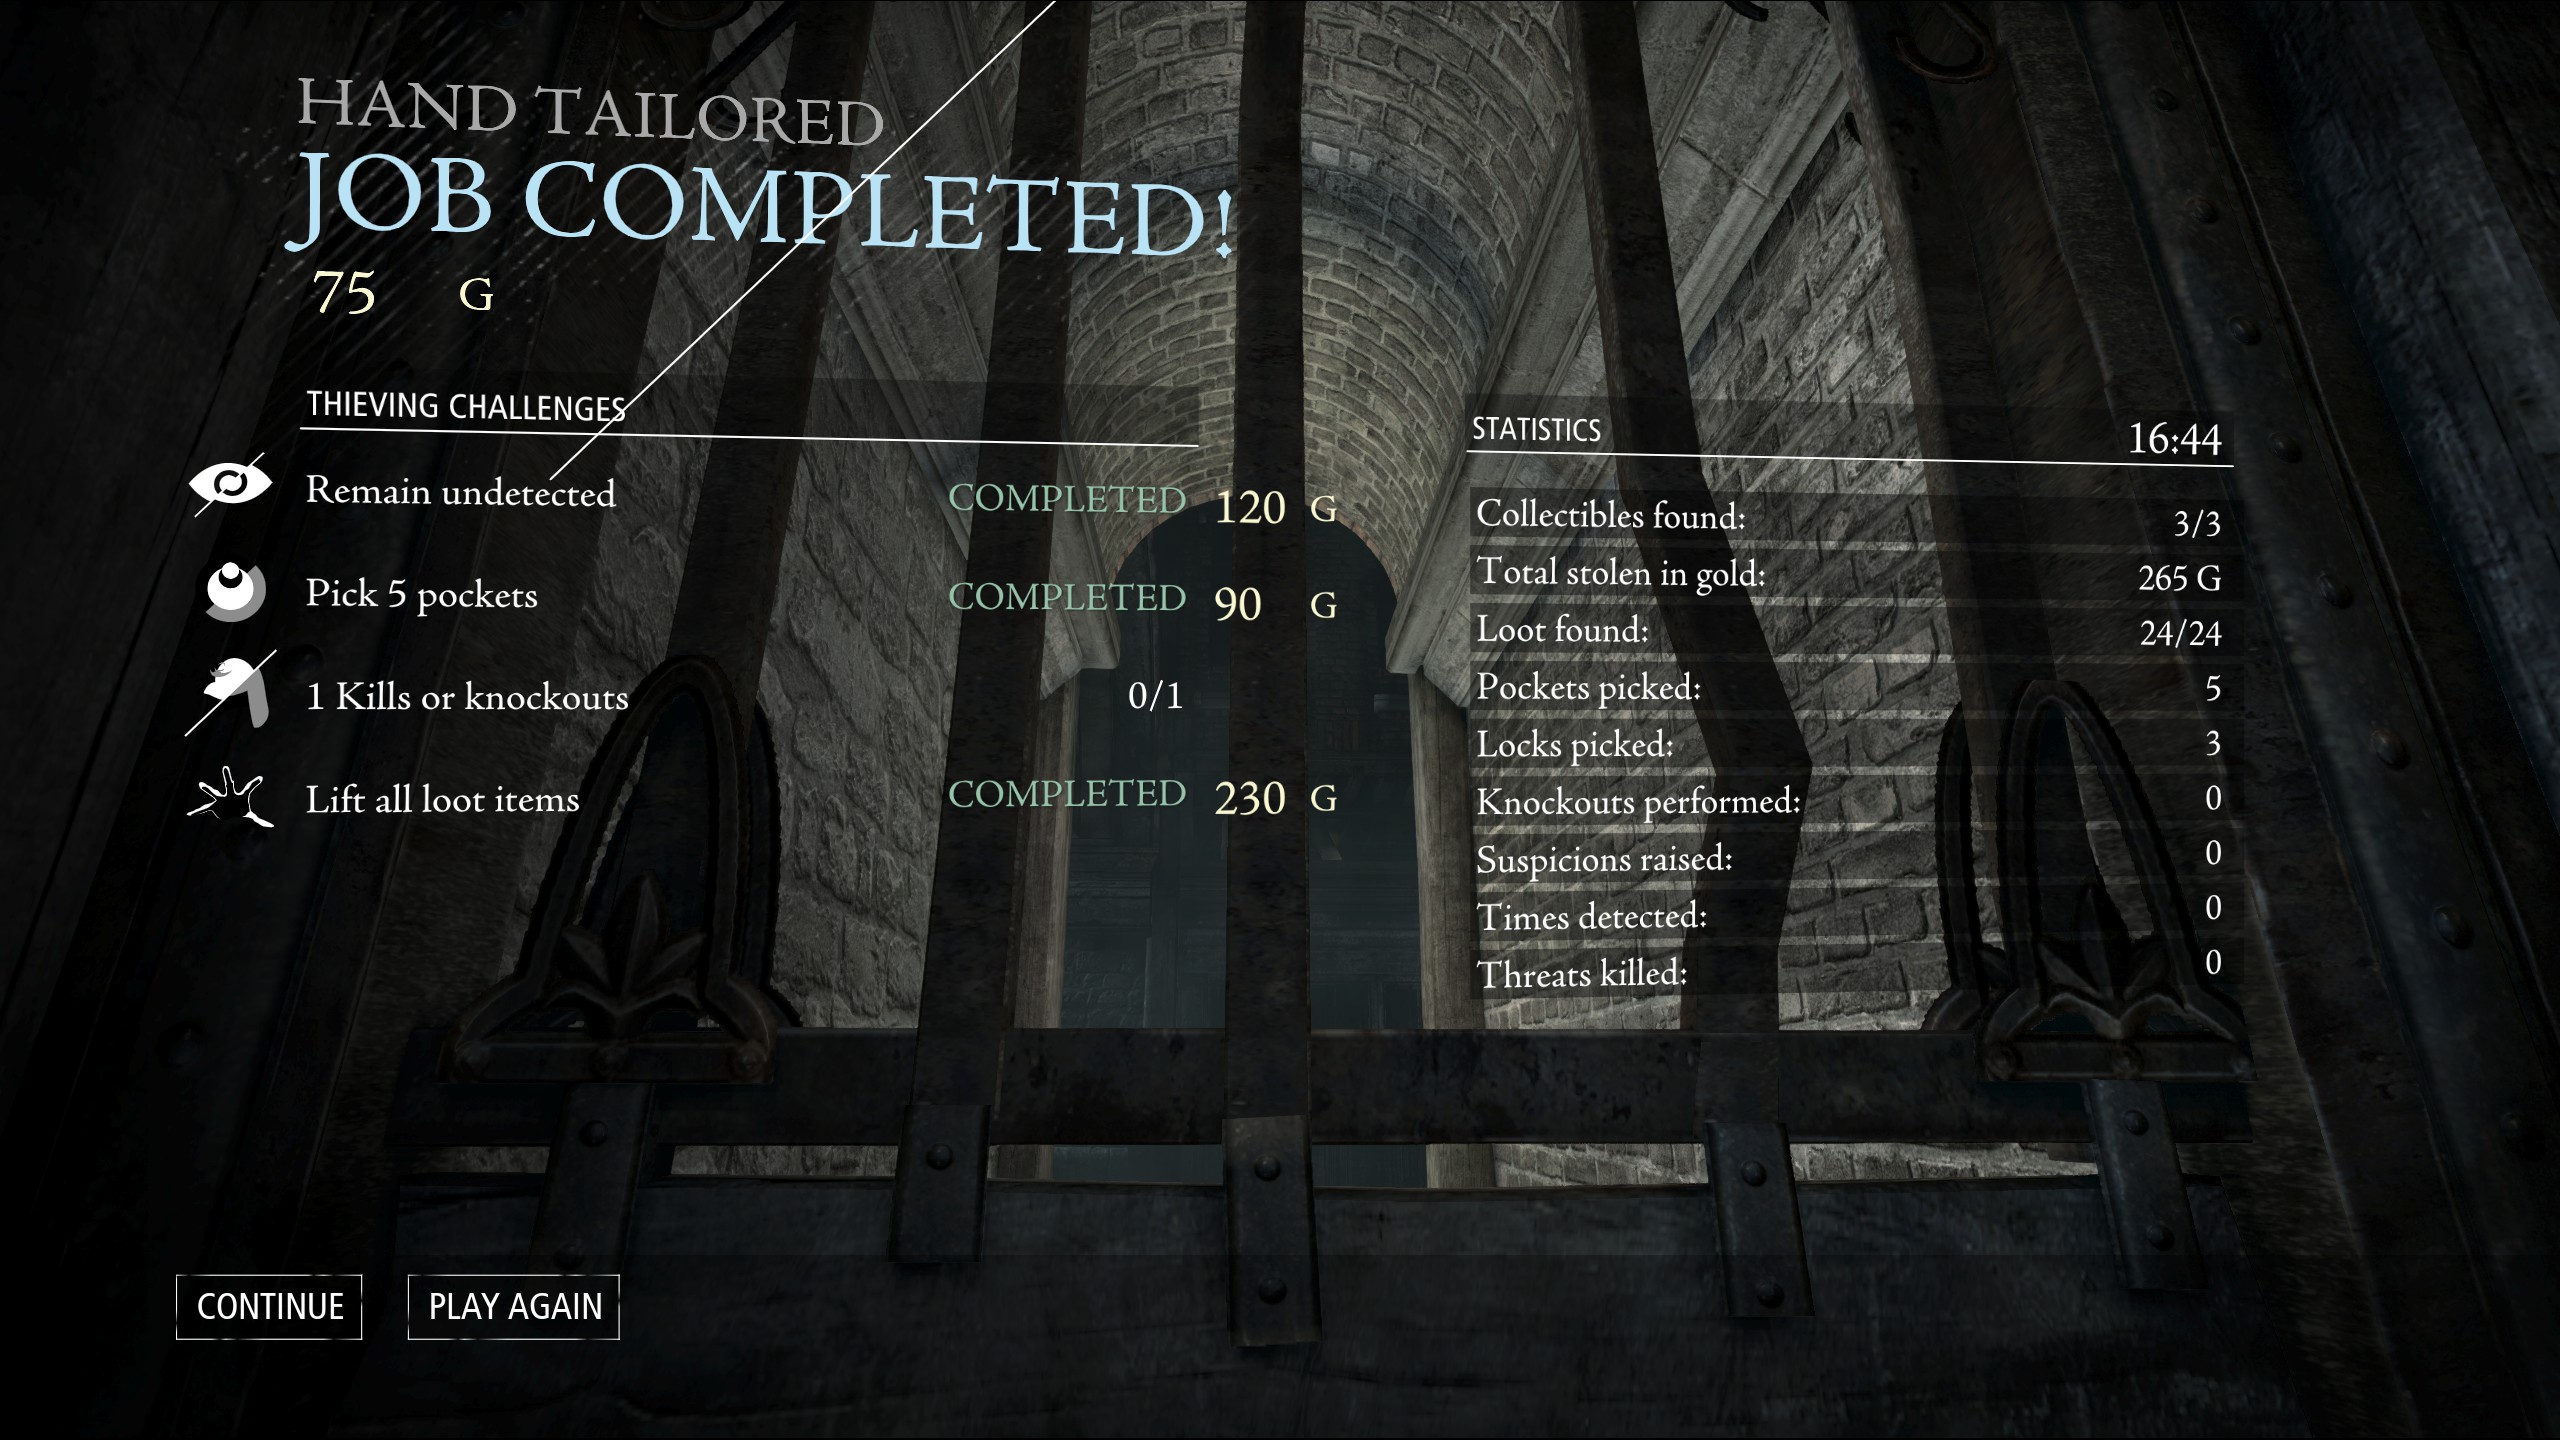
Ector Client Job #1: Hand Tailored
- There are no points-of-no-return in this level.
(aka upstairs)
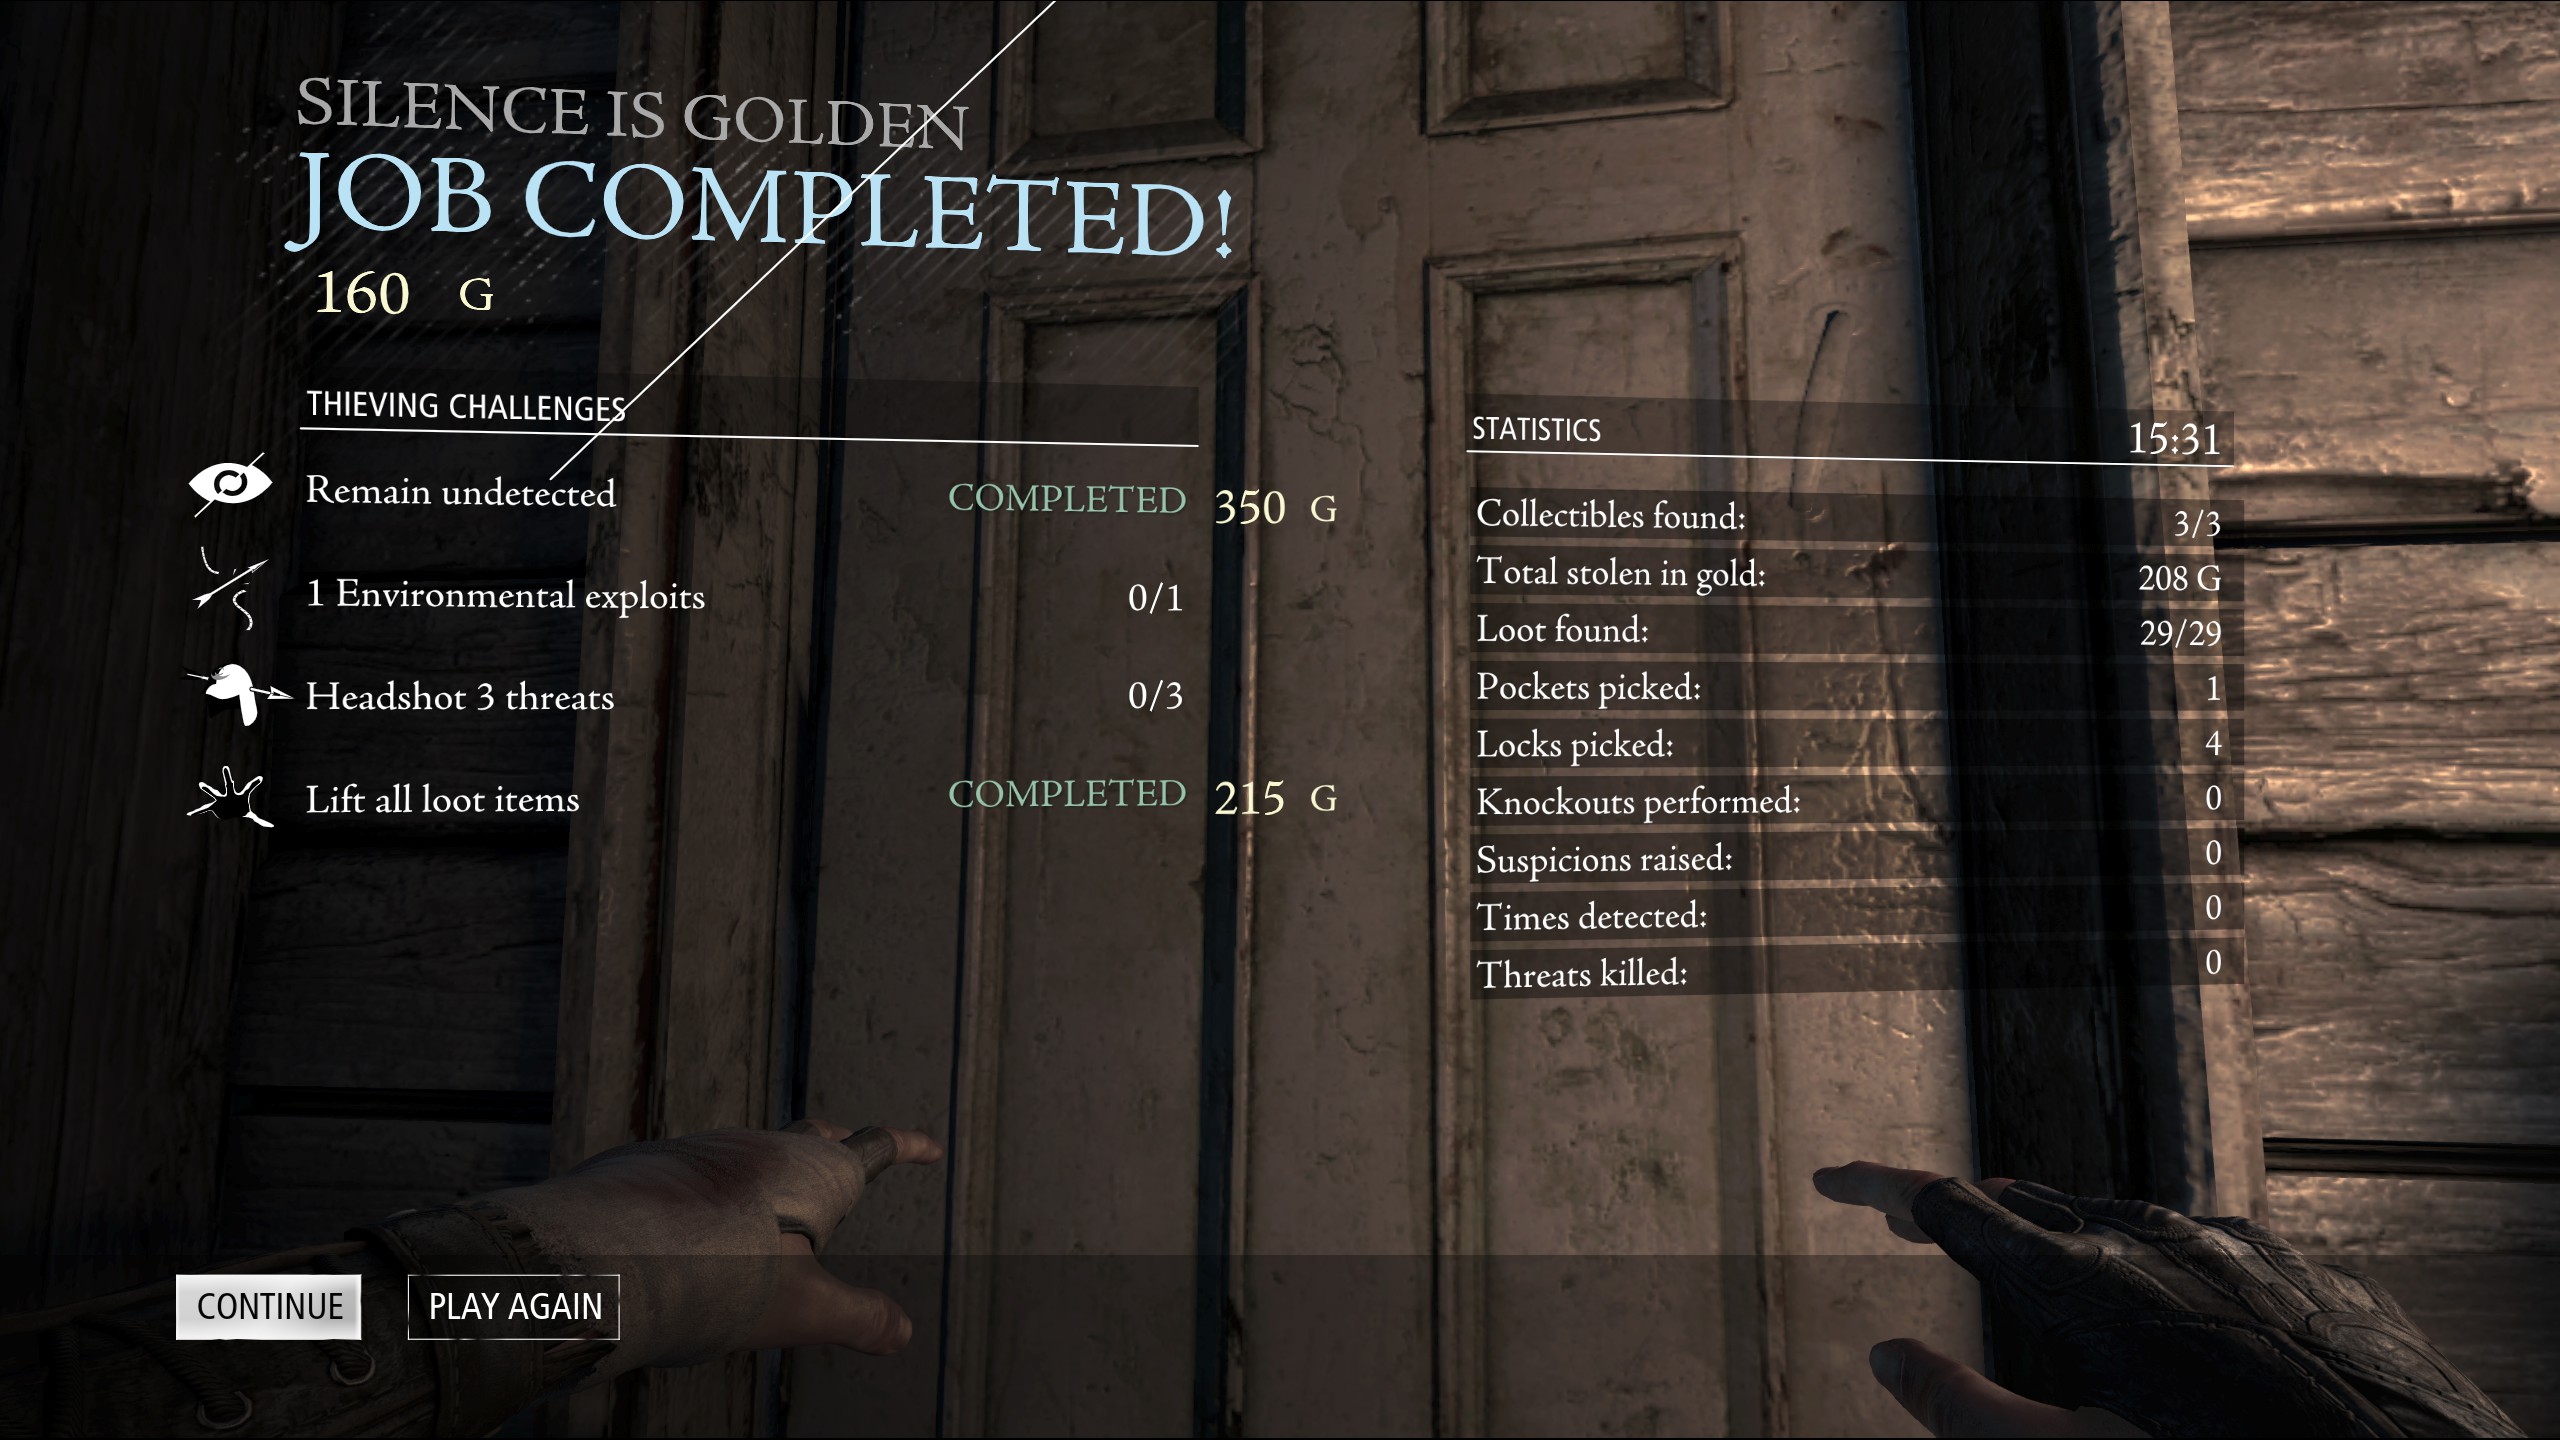
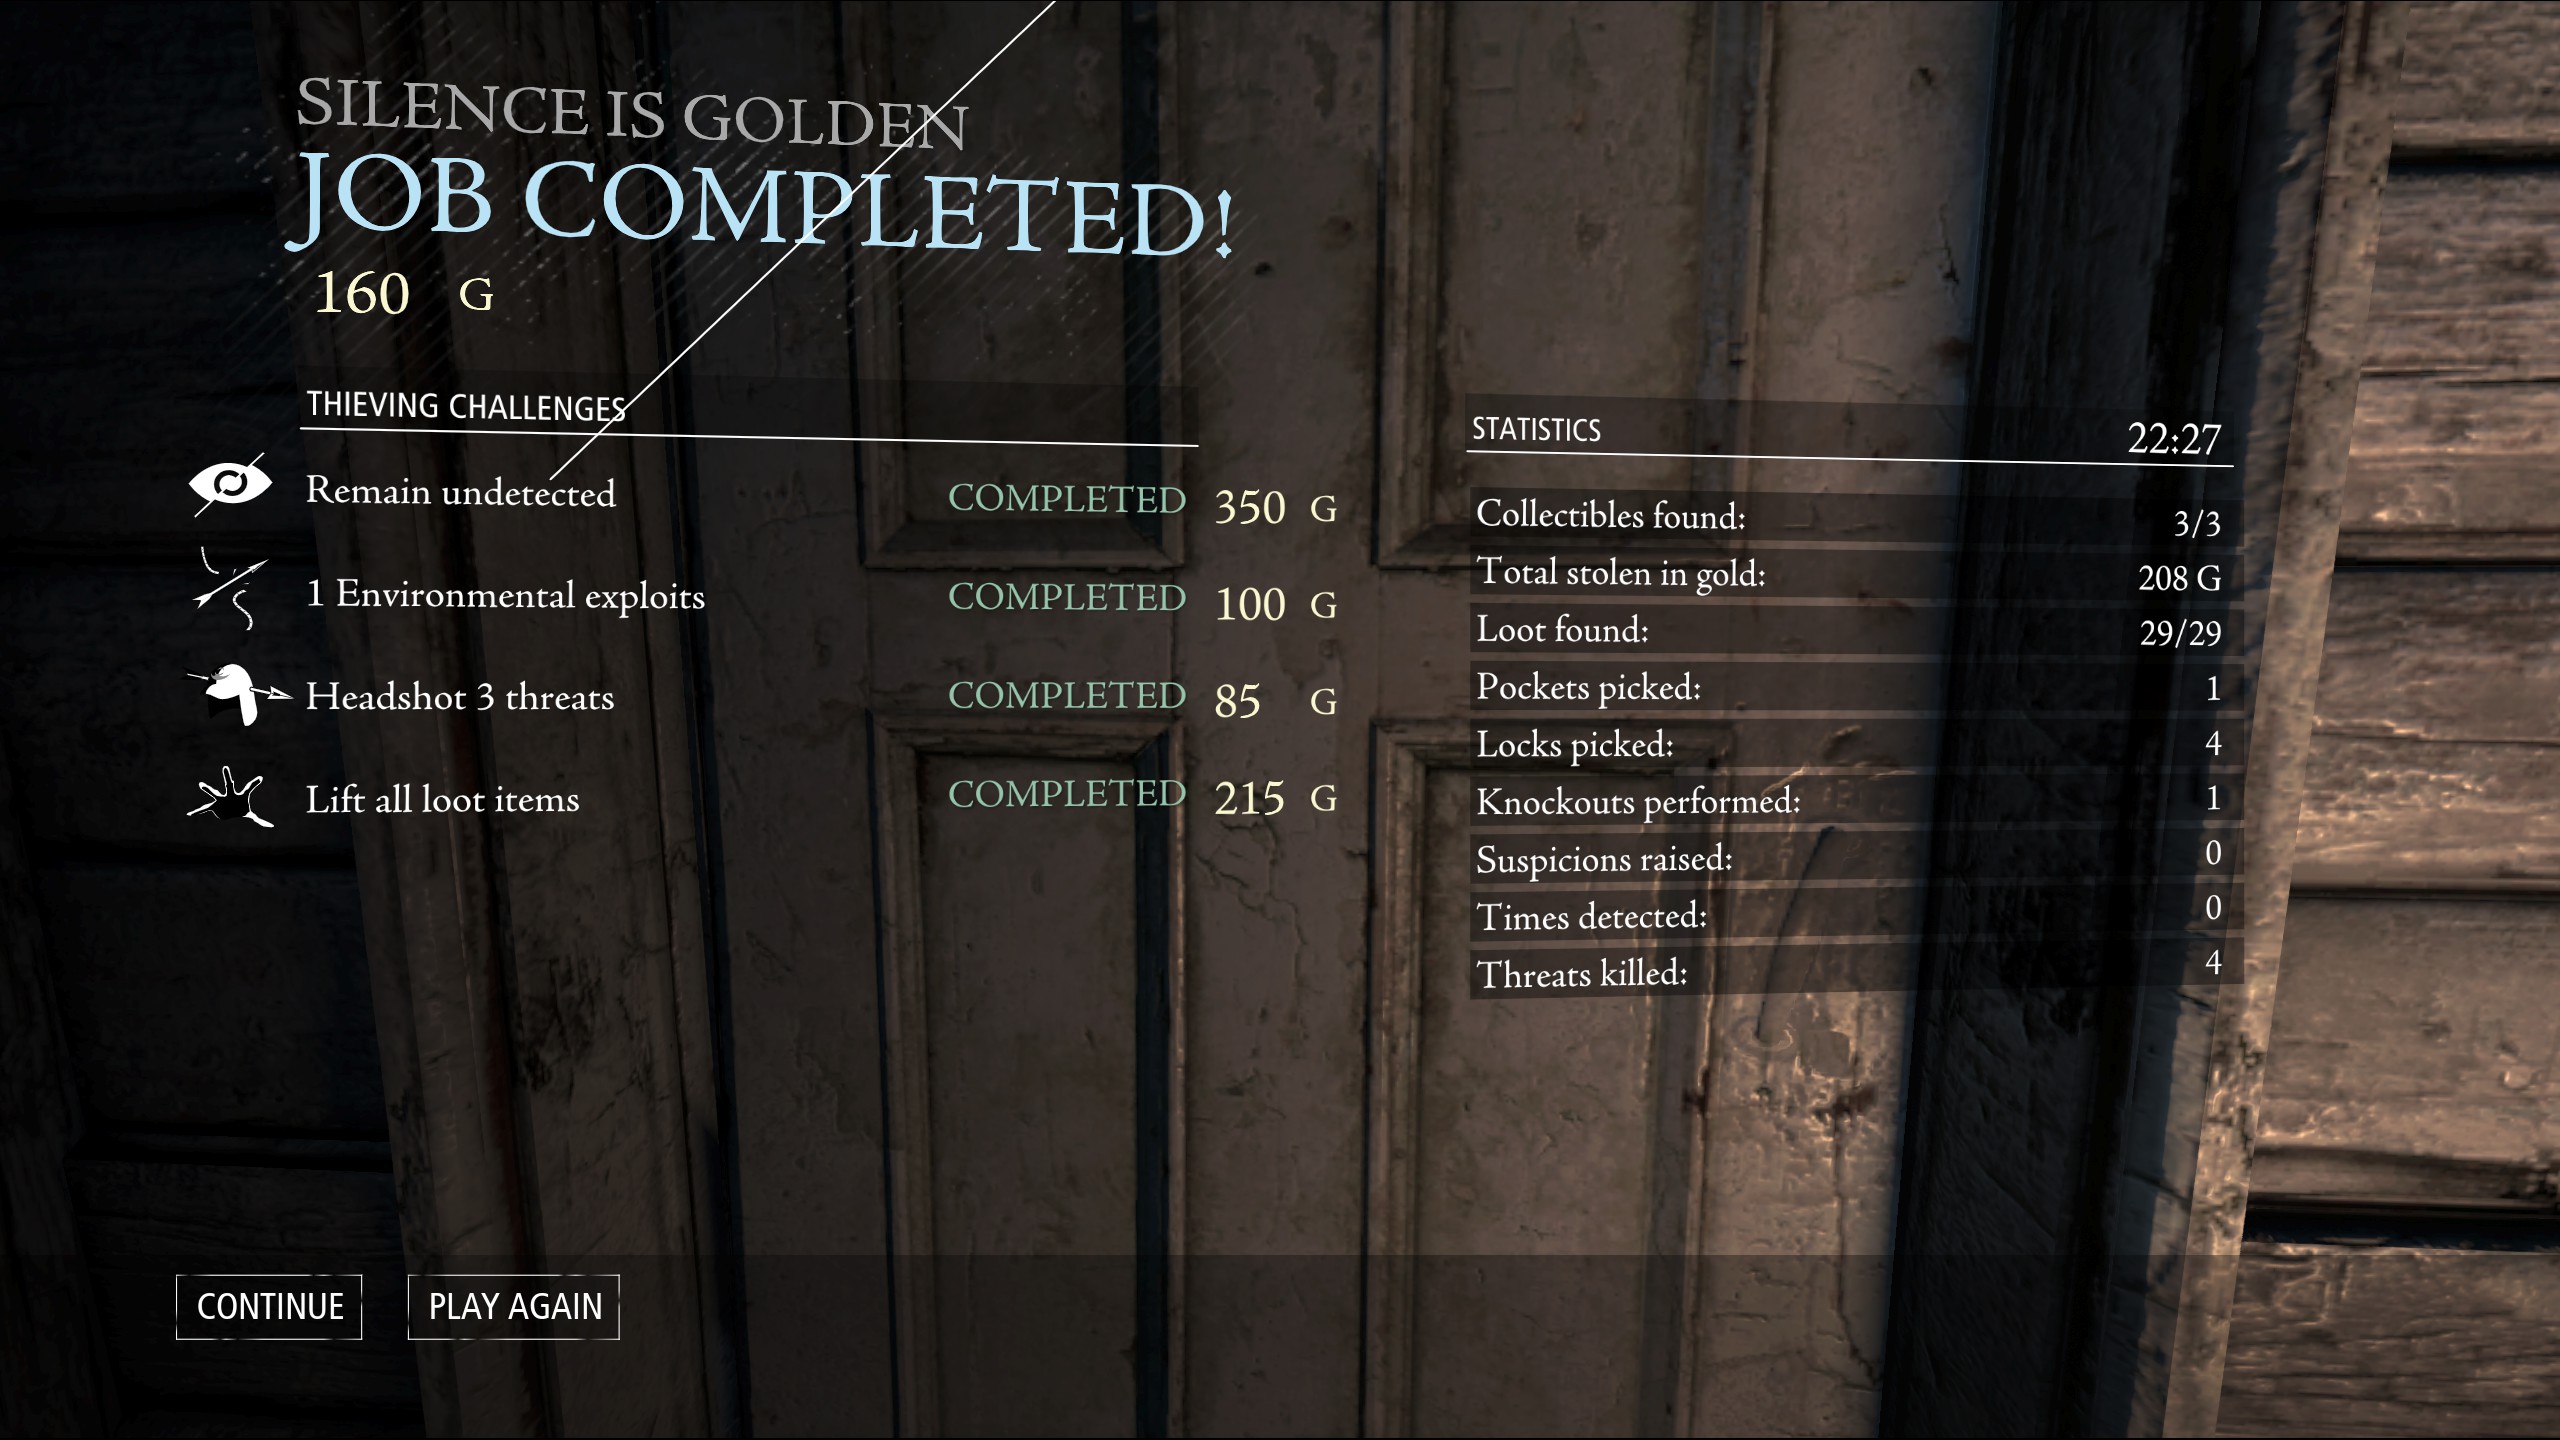
Ector Client Job #2: Silence Is Golden
- There are no points-of-no-return in this level.
- This is a horrible, horrible level to truly ghost (no detections or suspicions). It took me four and a half hours as unfortunelty the level design requires trial-and-error rather than skill to solve. For example, (minor generic spoilers) <rant> there is a particular door that if opened early in the level triggers a scripted detection event by a guard two rooms away. If you open the same door from the same direction later on in the game, you'll find the same guard is now in the room standing guard on the door itself but this time does not react to you opening the door. And don't get me started on which torches guards notice and don't notice. Or where you can and can't throw bottles without costing you a suspicion point.</rant>
- In order to get everything on true ghost (suspicion & body count = 0) I had to visit the maps in the order shown in the ghost spoilers below. it took me 4.5 hours to work out how to complete what should be a 10 minute level. For you own sanity, consider reading the Ghost Spoilers.
- Use multiple save points if you have them. This is one of those levels where restoring can cause patrol paths to change undesirably.
- The torch under the window can be extinguished with a water arrow without raising the triggering detection / suspicion count.
-
A bottle can be thrown down the stairs to distract the guards without raising the detection / suspicion count if you throw from and to exactly the right locations (see screenshot). If you hit the light switch, you can (temporarily) turn the lights off without raising the detection / suspicion count.
(first visit*)
(first visit*)
- Thief: несколько советов для играющих впервые.★ 5 (1k)27k views405 ♥1 minRussianUpdated 17 Nov, 2024
- Thief:Пасхалки,коды к сейфам,трофеи и т.д.★ 5 (1.1k)21k views1.2k ♥3 minRussianUpdated 4 Mar, 2014
- [RUS] Жизнь украдкой: достижения Thief★ 5 (1.1k)17k views1.3k ♥6 minRussianUpdated 21 Jan, 2021
- Все коллекционные предметы★ 5 (954)15k views1.4k ♥5 minRussianUpdated 28 Oct, 2025
- Thief: потерянный контент и прочие неочевидности (без спойлеров)★ 5 (755)15k views1k ♥29 minRussianUpdated 28 Apr, 2014
- Thief:коды ко всем сейфам.★ 5 (422)12k views577 ♥5 minRussianUpdated 30 Mar, 2014




- Upgrading to PremiumTeam Fortress 2★ 5 (20k)1441k views11k ♥6 minUpdated May 11, 2022
- No More Room in Hell Official ManualNo More Room in Hell★ 5 (2.8k)569k views2.1k ♥29 minUpdated Apr 22, 2019
- NMRiH Community Hosting GuidesNo More Room in Hell★ 5 (526)351k views653 ♥1 minUpdated Aug 10, 2022
- ULTIMATE GUIDE FOR GAME DEV TYCOONGame Dev Tycoon★ 5 (5.8k)326k views10k ♥4 minUpdated 23 Jan, 2014
- How to 'Git Gud' Soon™MORDHAU★ 5 (2k)318k views3k ♥68 minUpdated Nov 16, 2024
- Лучшие кооперативные игры SteamPAYDAY 2★ 5 (1.5k)315k views2.1k ♥56 minRussianUpdated Apr 27, 2025






This guide was created by its original author on the Steam Community. Are you the author and want it removed? Request removal.