MHW: Iceborne [DLC] - All Grimalkyne Photos | Lynian Researcher Requests | Outstanding Observer Achievement
Basics
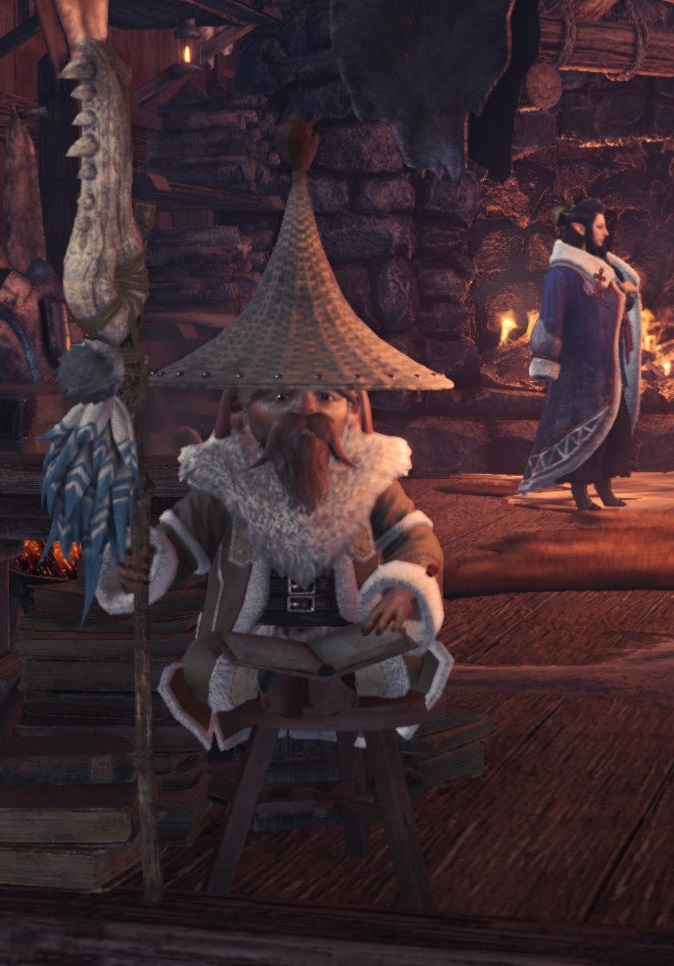 Iceborne introduced a pretty cool new feature to MH:World - the camera.
You first get it by the good lookin' fella' to the right of this text. He'll give it to you for free, pretty early on in the story of the DLC. He's sitting close to the council table and will stay there.
While the game throws a tutorial on screen upon talking to him for the first time, there are a few things, which it won't tell you.
First: How to identify the spots, where the pictures can actually be taken?If you visit an area in expedition mode and open your map, you might find this icon somewhere on the map:

This is the identifier for the majority of the photos.
For the remaining photos, which aren't identified by this, you'll find instructions just above the respective entry in the chapters below.
In order to do that, refer to the following steam guide:
https://steamcommunity.com/sharedfiles/filedetails/?id=1475736970
Or take a look at this video by youtuber GaijinHunter:
Once that's done, you can charge right into it.
Go onto an expedition and take a few shots of any of the tribes.
If your photo is suitable for any of the requests, it'll show a marker right after you shot the picture. You'll recognize it.
But there's a really easy way to check that real quick.
While still on an expedition, pull out your camera and the HUD will display the button in the upper right corner, which you need to press, to open your album.
Do so and select a picture with the orange marker. You now have the option to compare the picture to the request it's intended for.
For example:
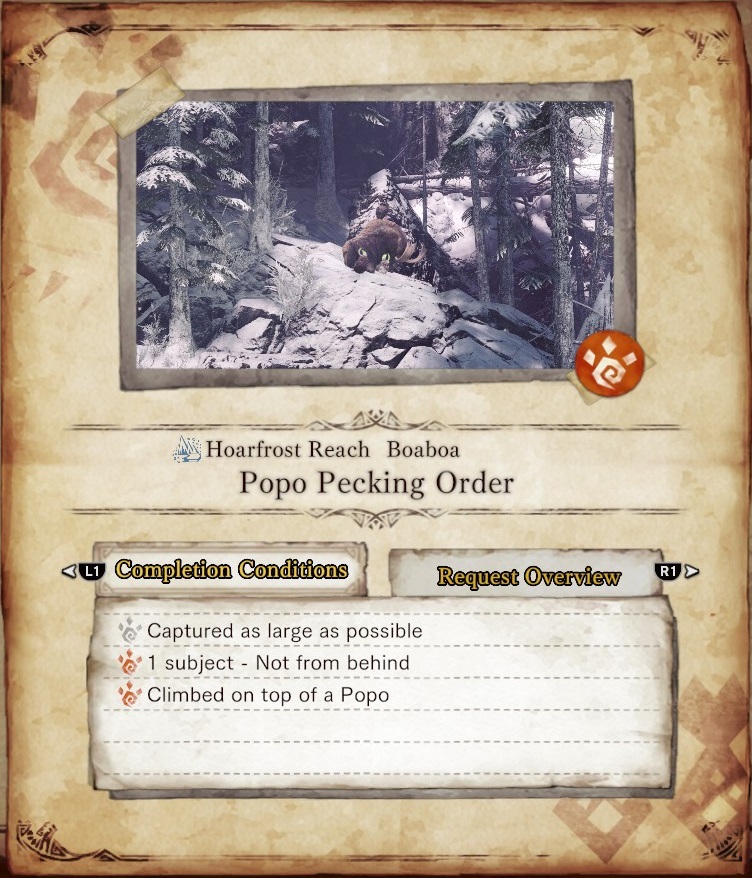
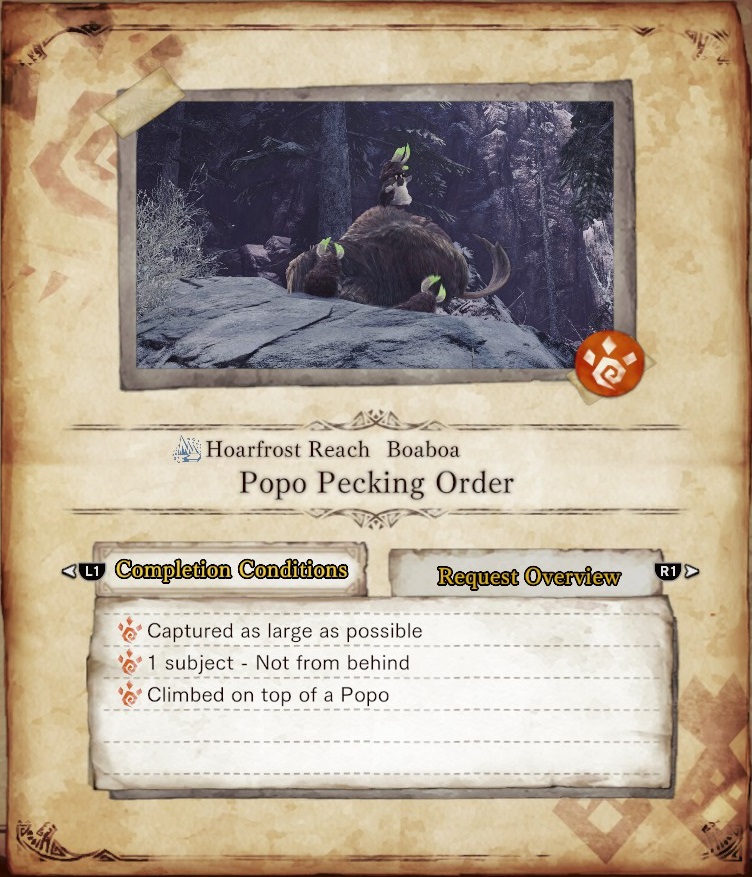
As you can see, I shot two pictures for the same request, but the left one only fulfilled 2 of the conditions, while the right one fullfilled all 3.
This is shown by the fulfilled conditions being written / highlighted in orange.
Make sure to check every picture you take against the request and do so on the spot, so that you can immediately make a better one, if needed.
Otherwise he'll describe your photo as worthless and ask you to go out to take it again.
Don't be fooled by the old man!
If you exclusively care about the achievement, then 1-paw photos suffice.
Video Guide
1 - 4 | Ancient Forest
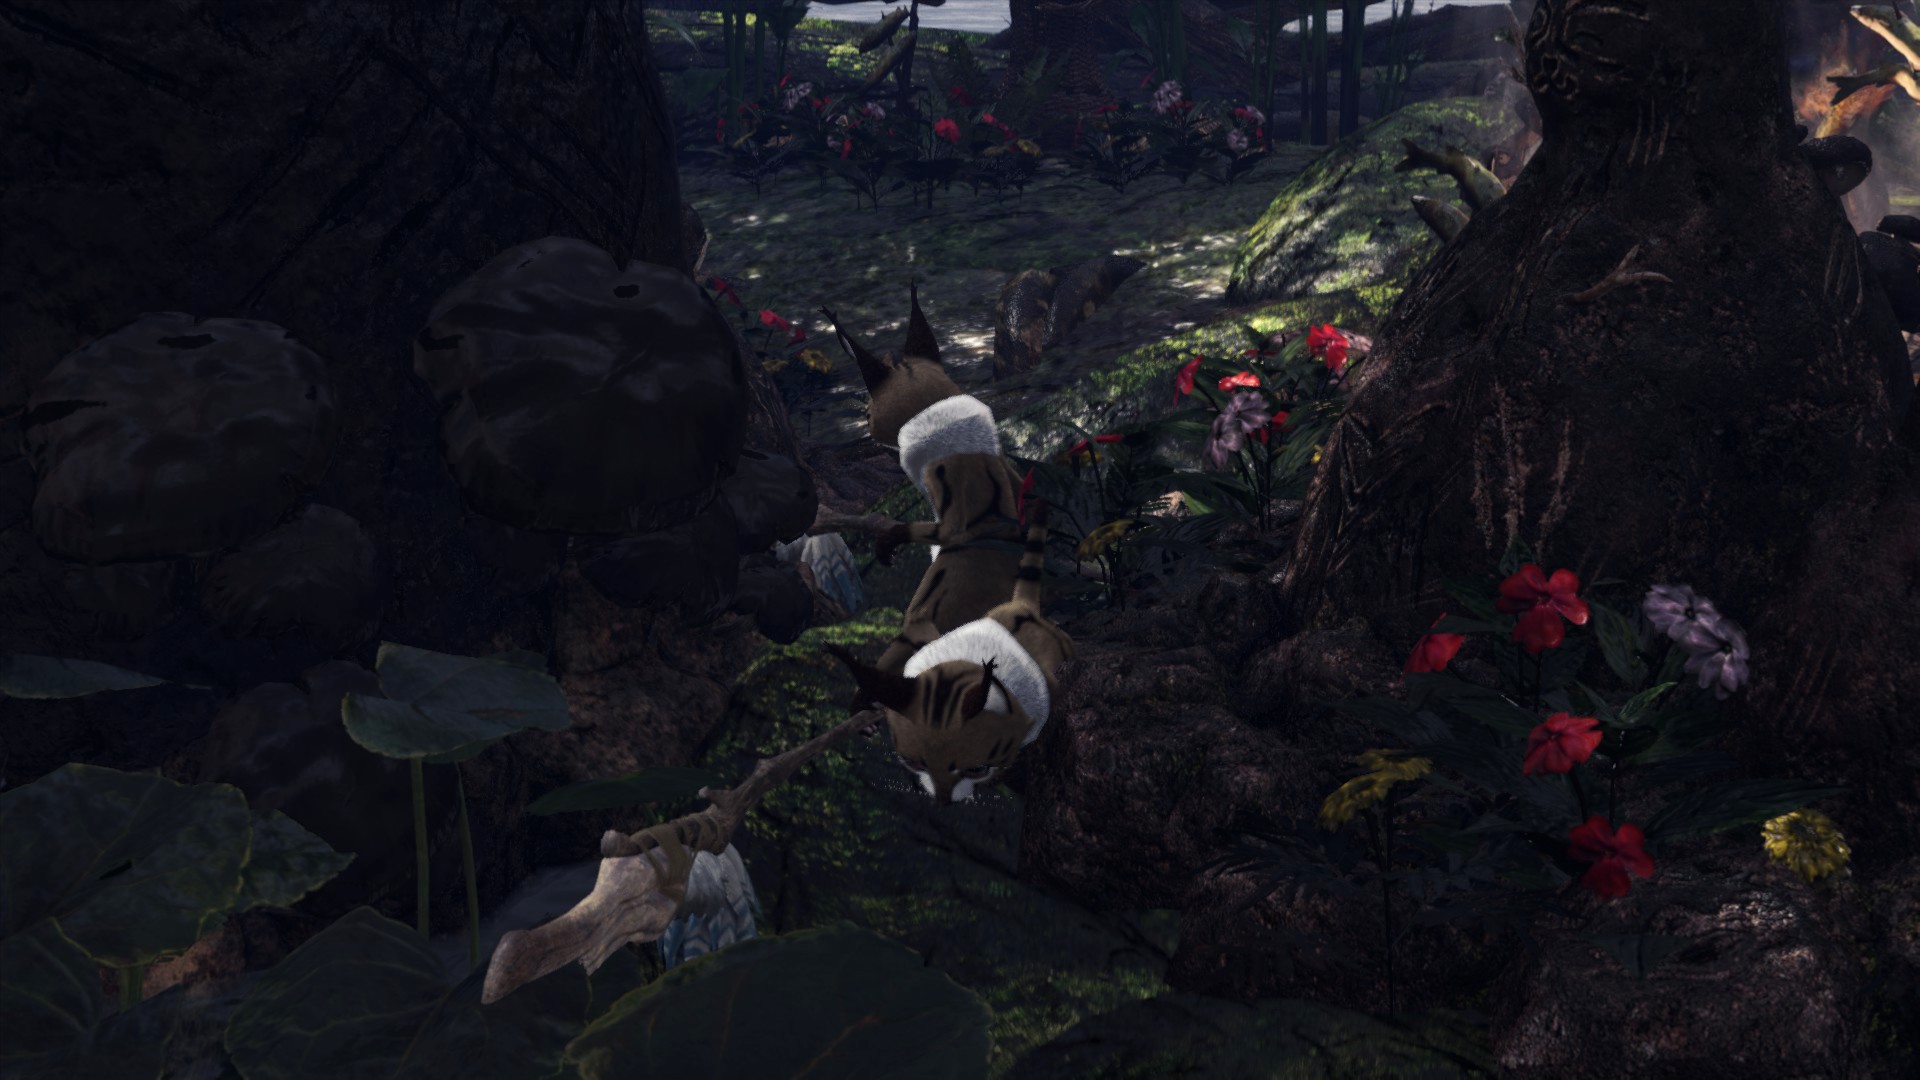
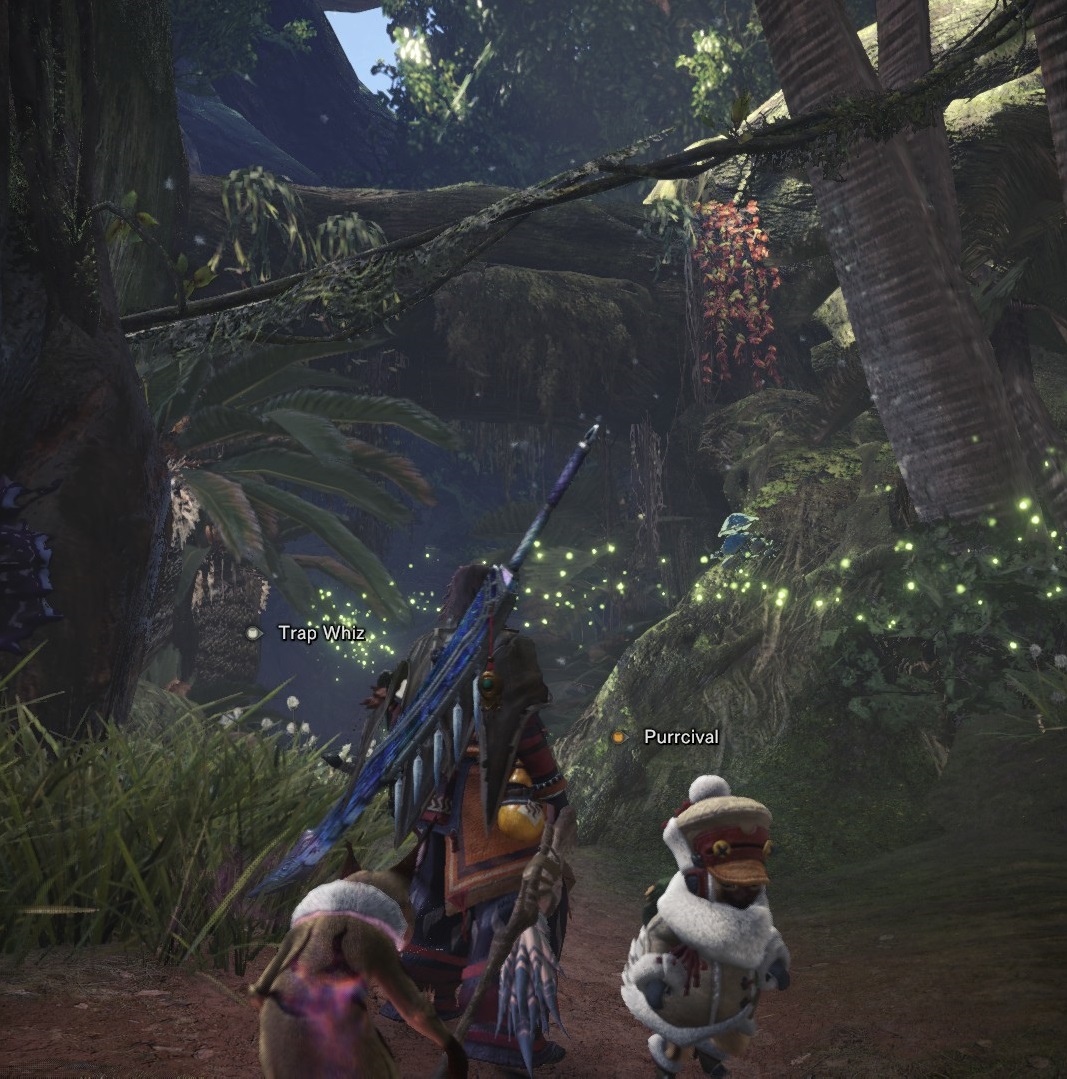 For this one, go to Area 6, where Pukei-Pukei's nest is located, and just take the northwest path. Check the northern border and you'll find the ramp illustrated on the right. From there, you should find the grimalkyne.
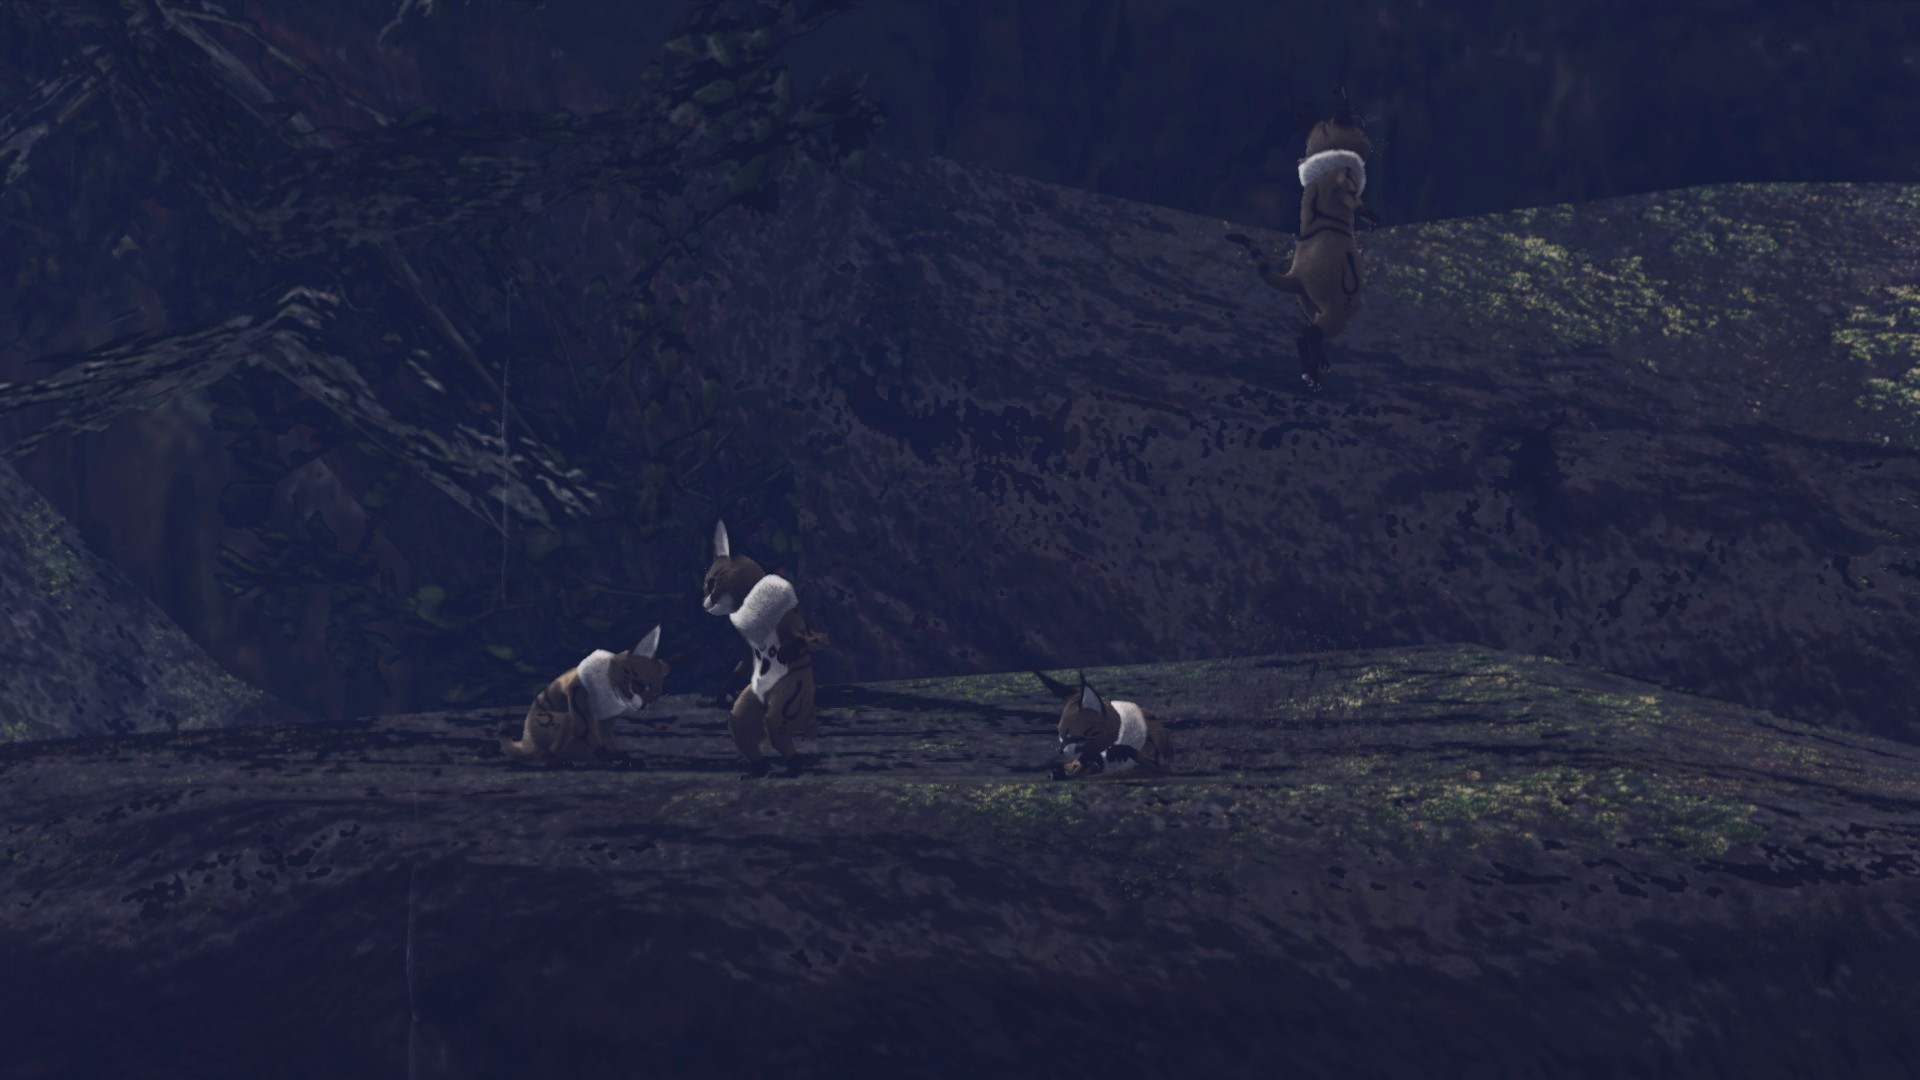
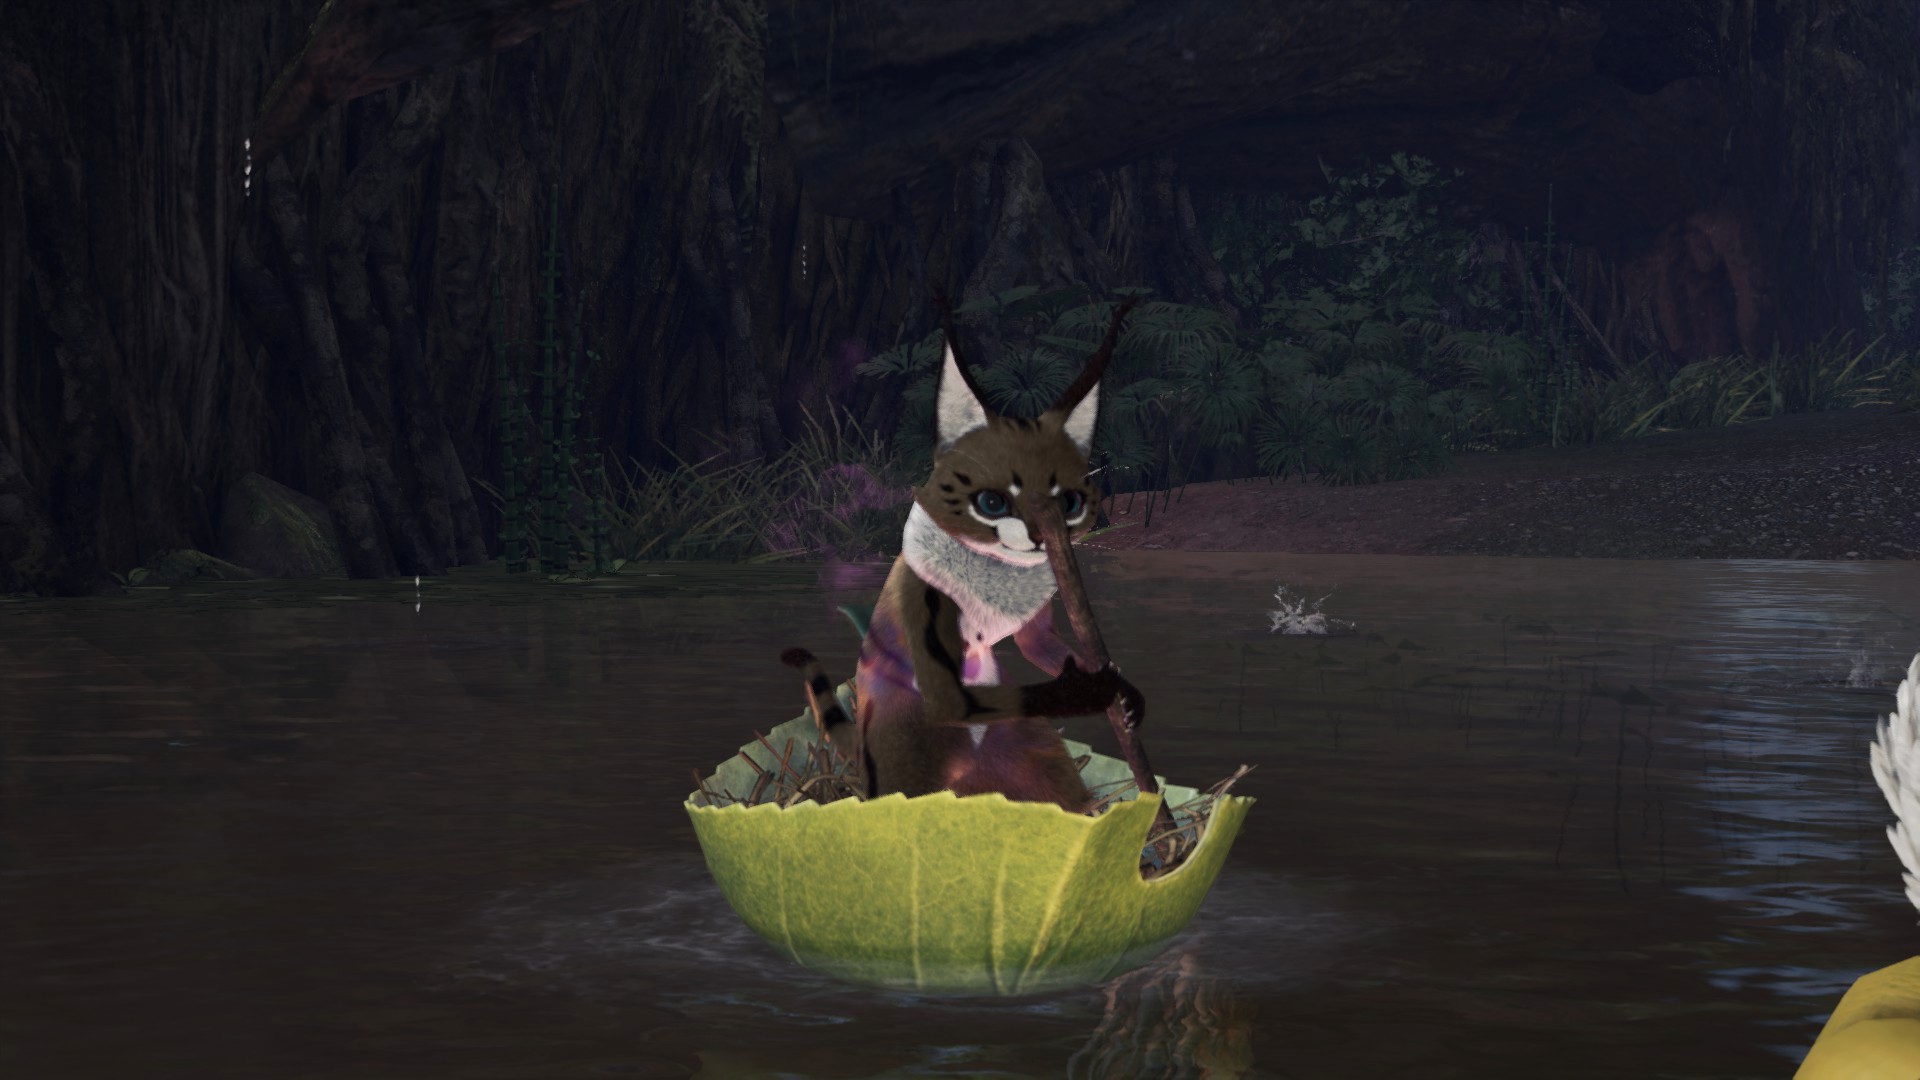
I only had them spawn in Area 6, up the ramp I've shown prior to picture 2, but you might also get them in area 4.
Once you found them, there are several different scenarios, which can play out.
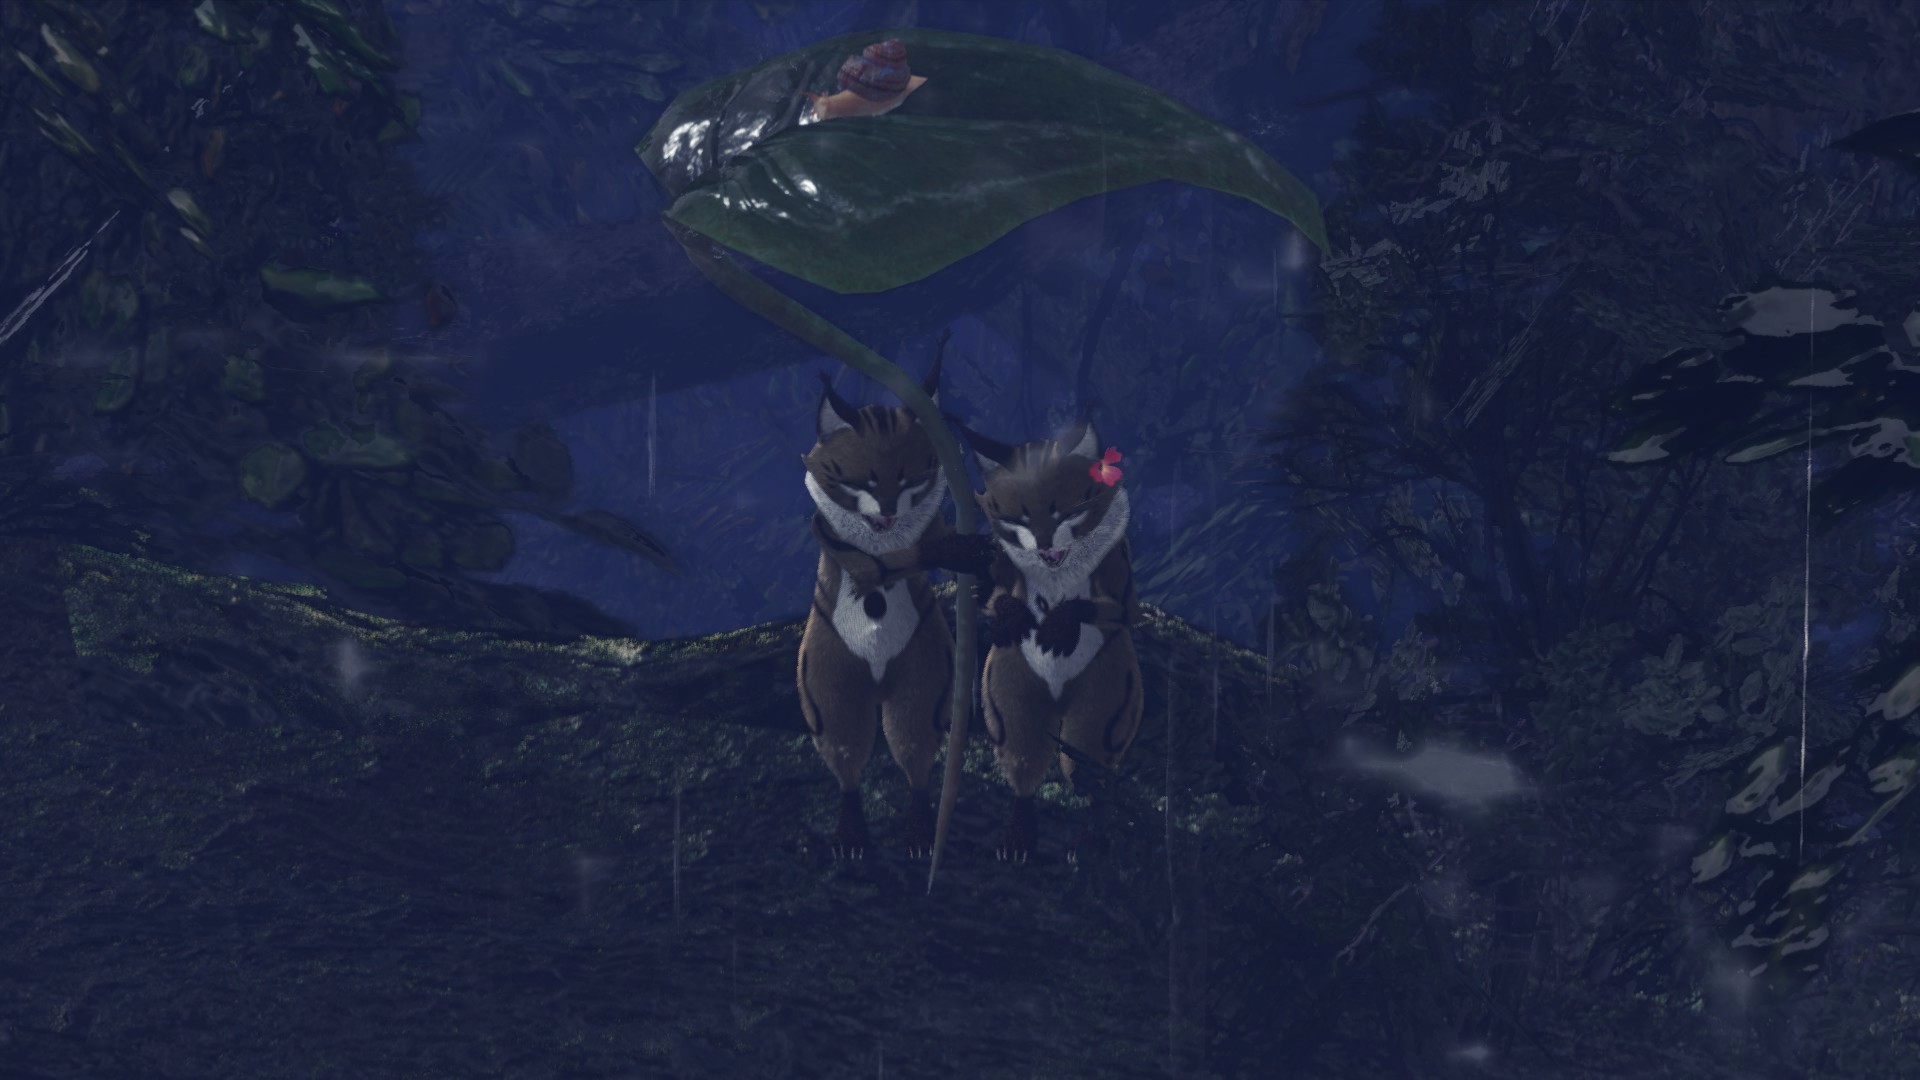
You want the one, in which there are a male and a female from the beginning. Soon after, a second dude will walk up and snitch the girl away. This will trigger the remaining one to look down in sadness. There's now a chance for a second female, with a blossom in her hair!, to come out of the bushes and pair up with him a few seconds later.
If you stumble across a situation, which does not end up like the picture just below, fast travel back to the closest camp and walk back to the scene. It'll reset with a chance to get the right one, this time.
5 - 7 | Wildspire Waste
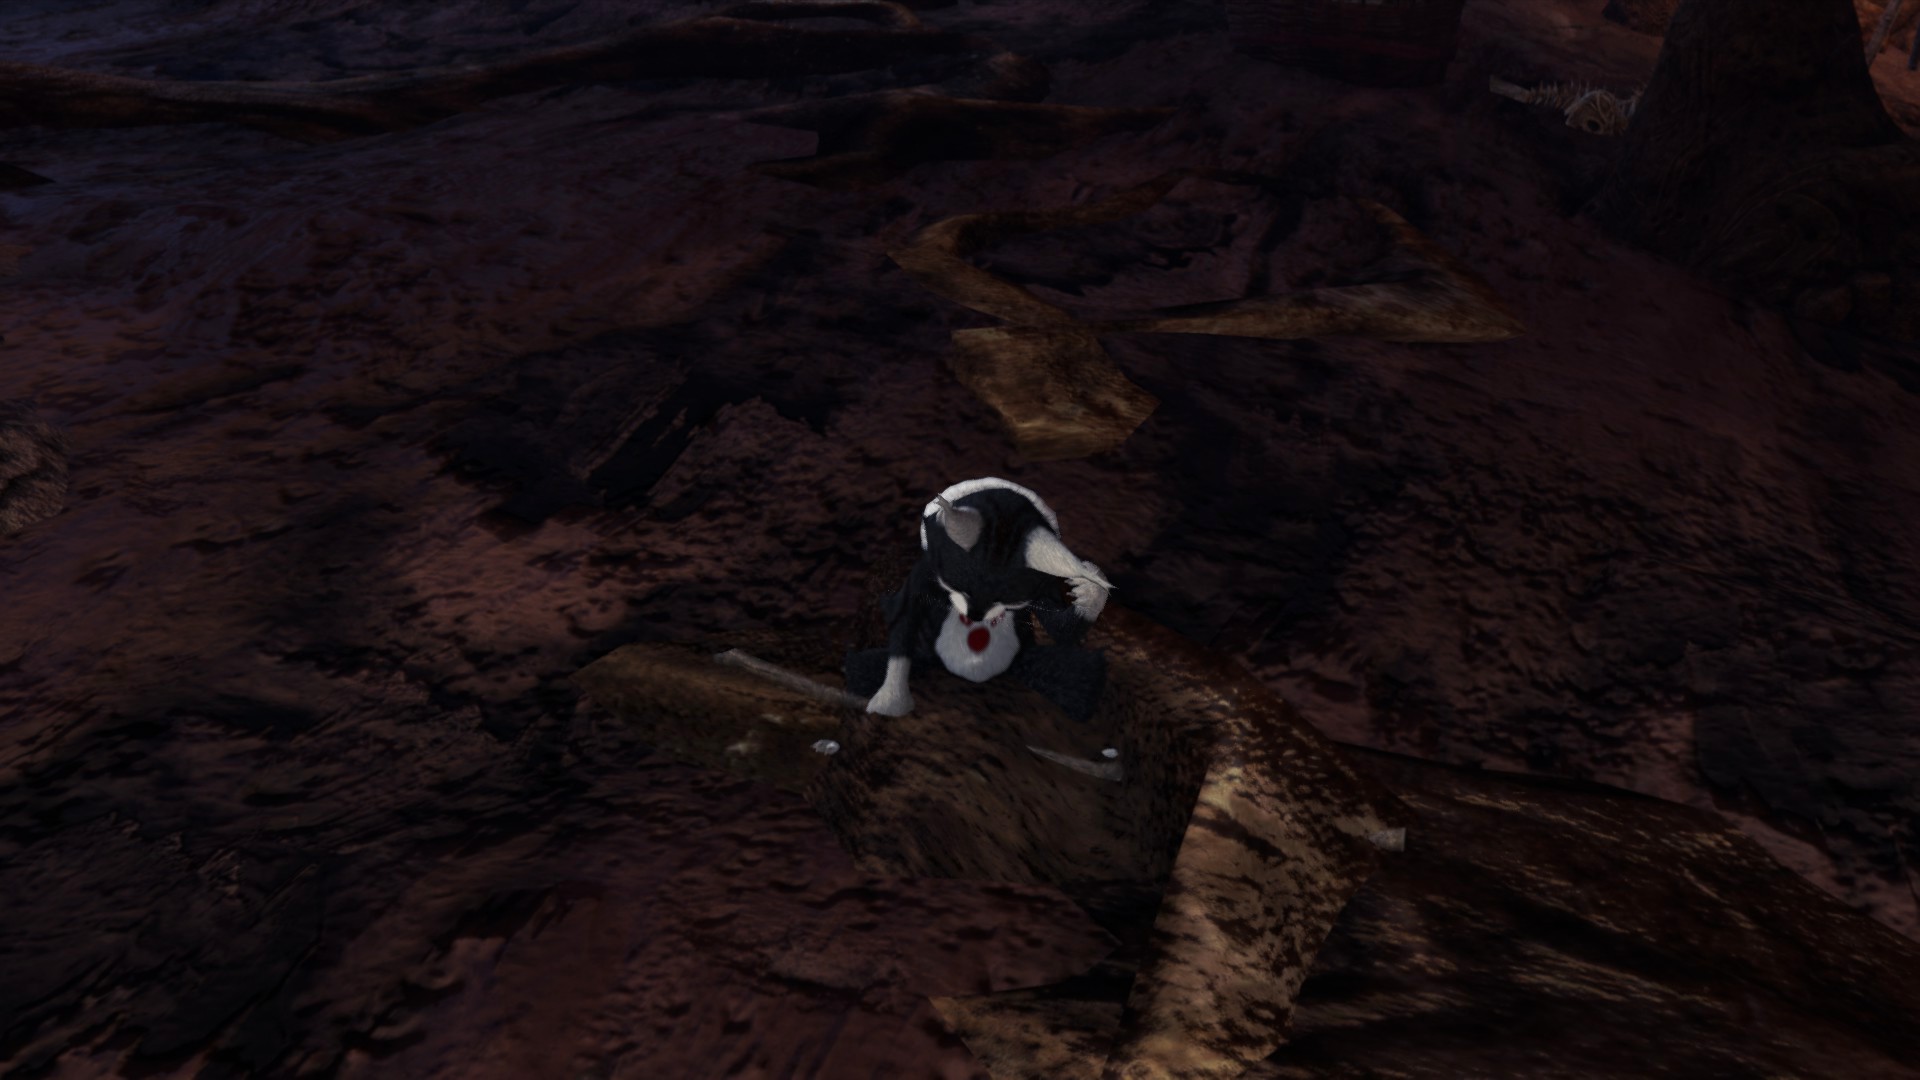
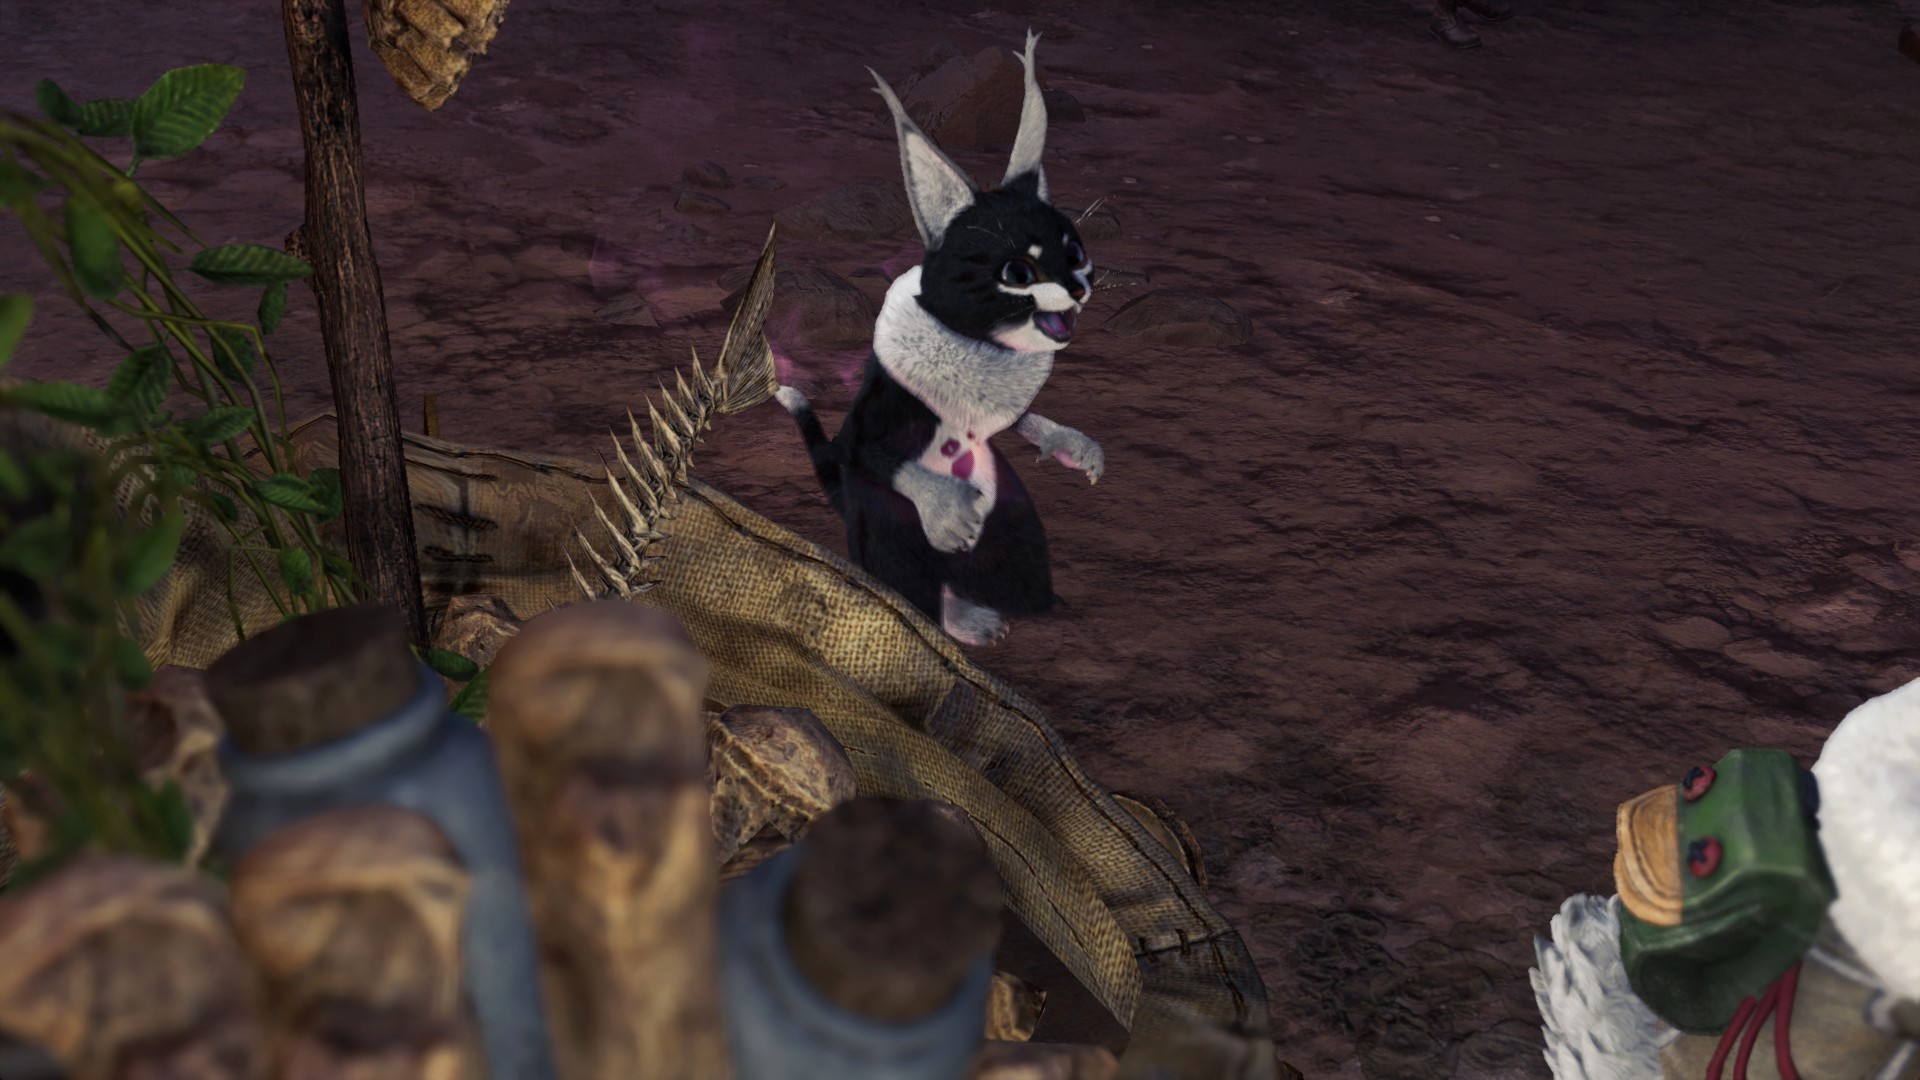
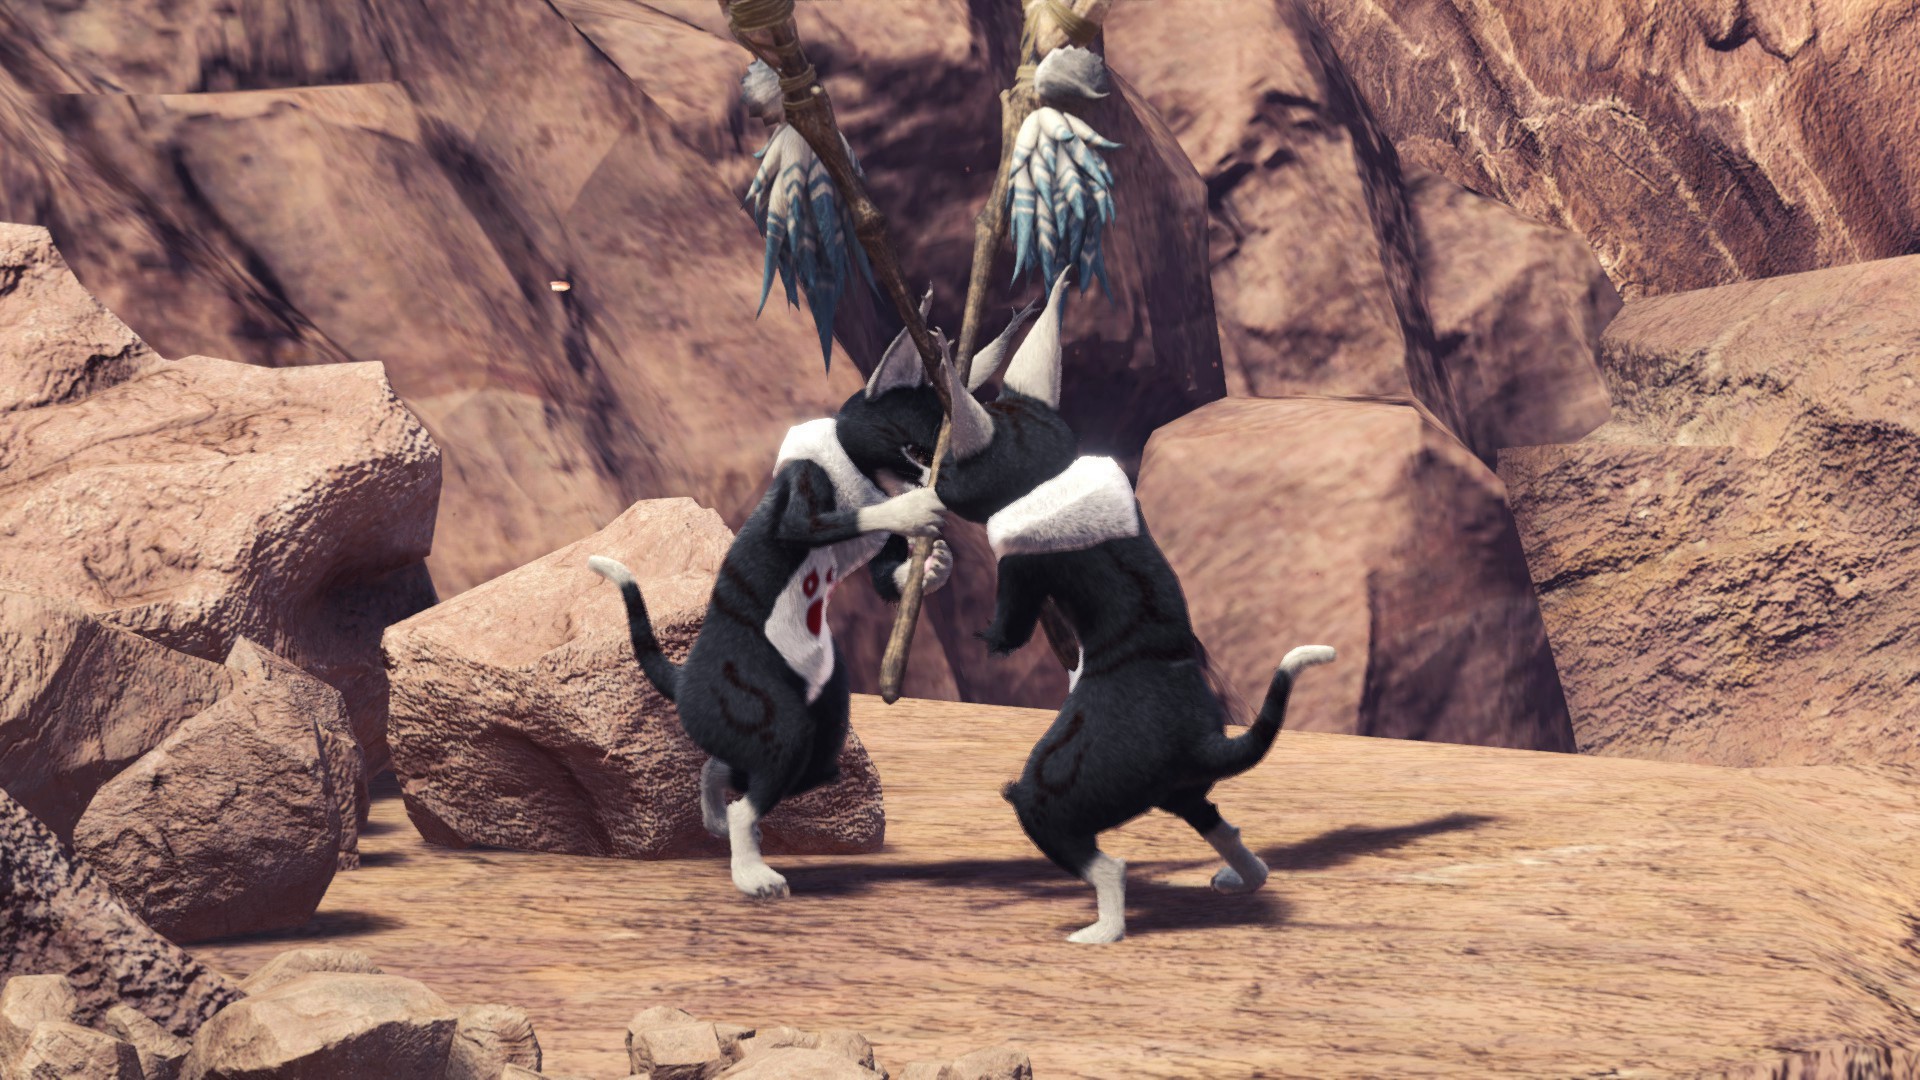
Go there and wait for the grimalkyne to scratch it's ear.
8 - 10 | Coral Highlands
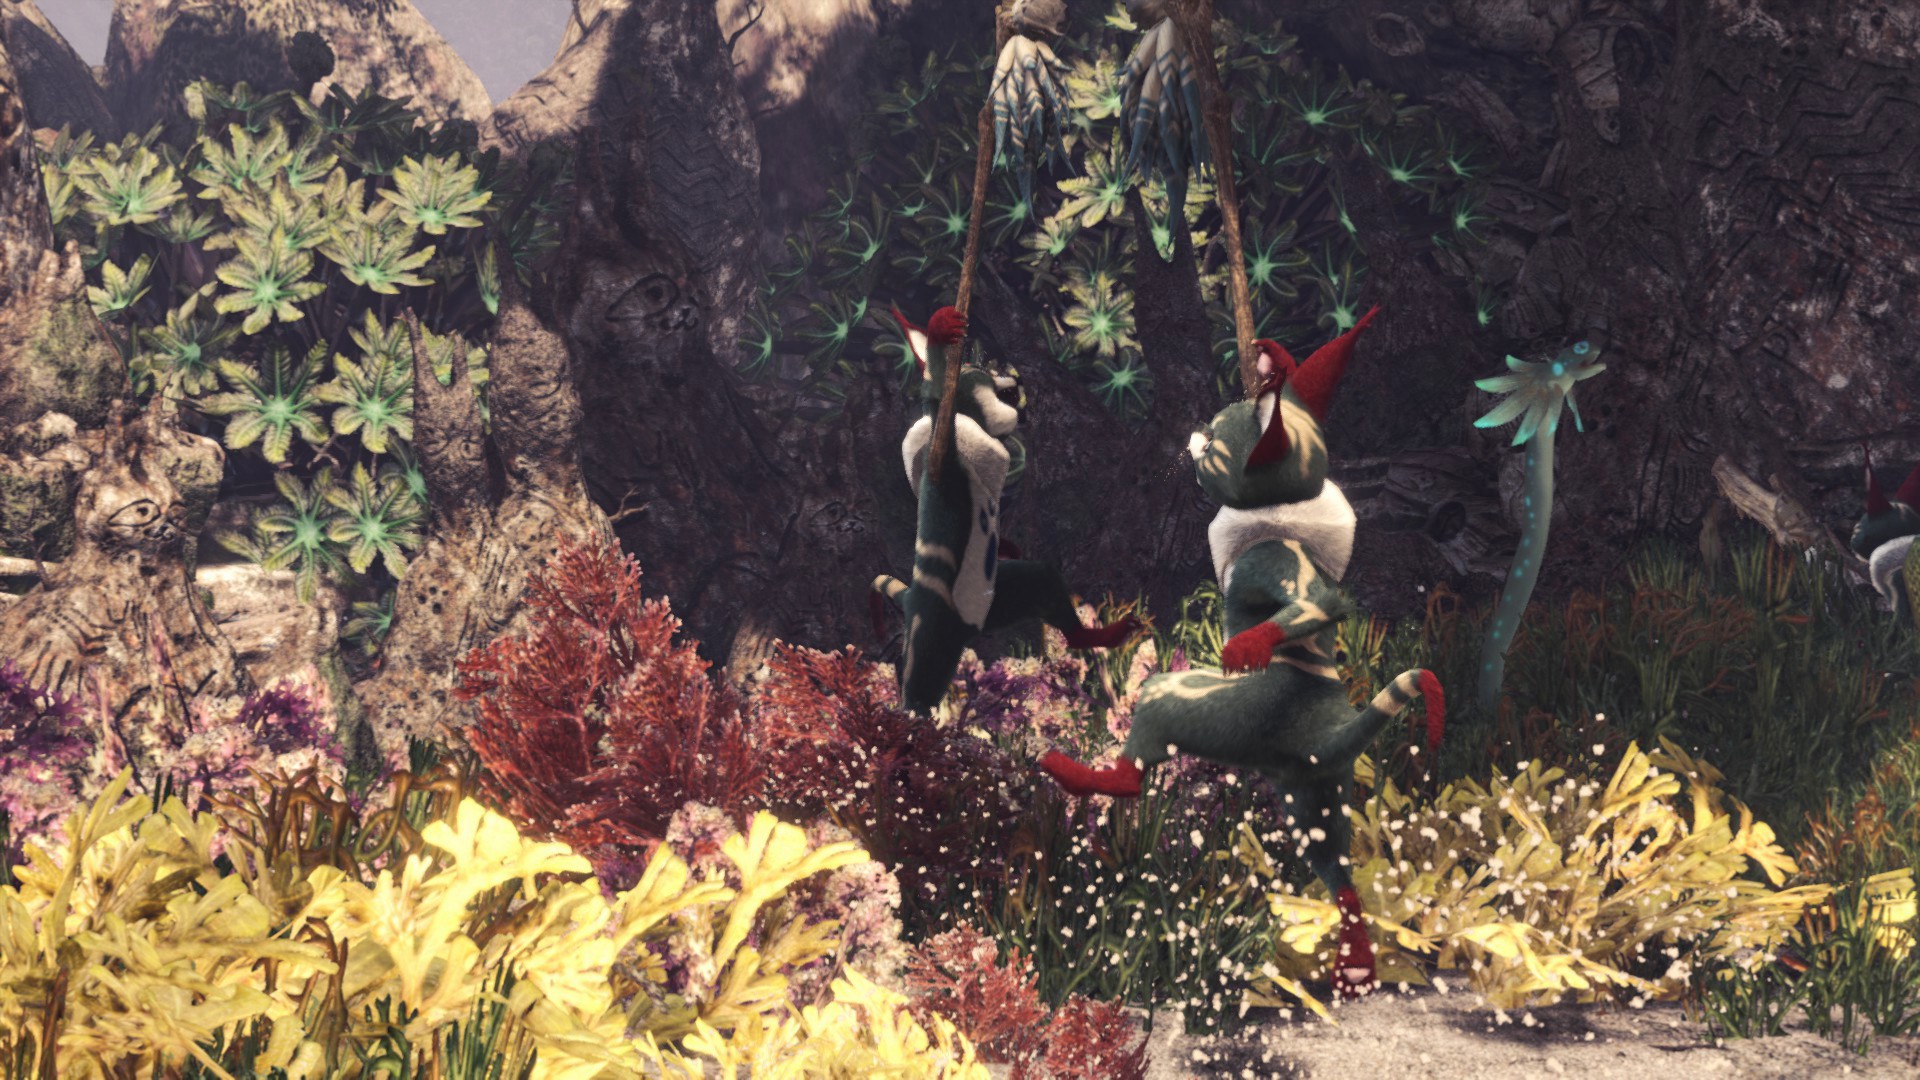
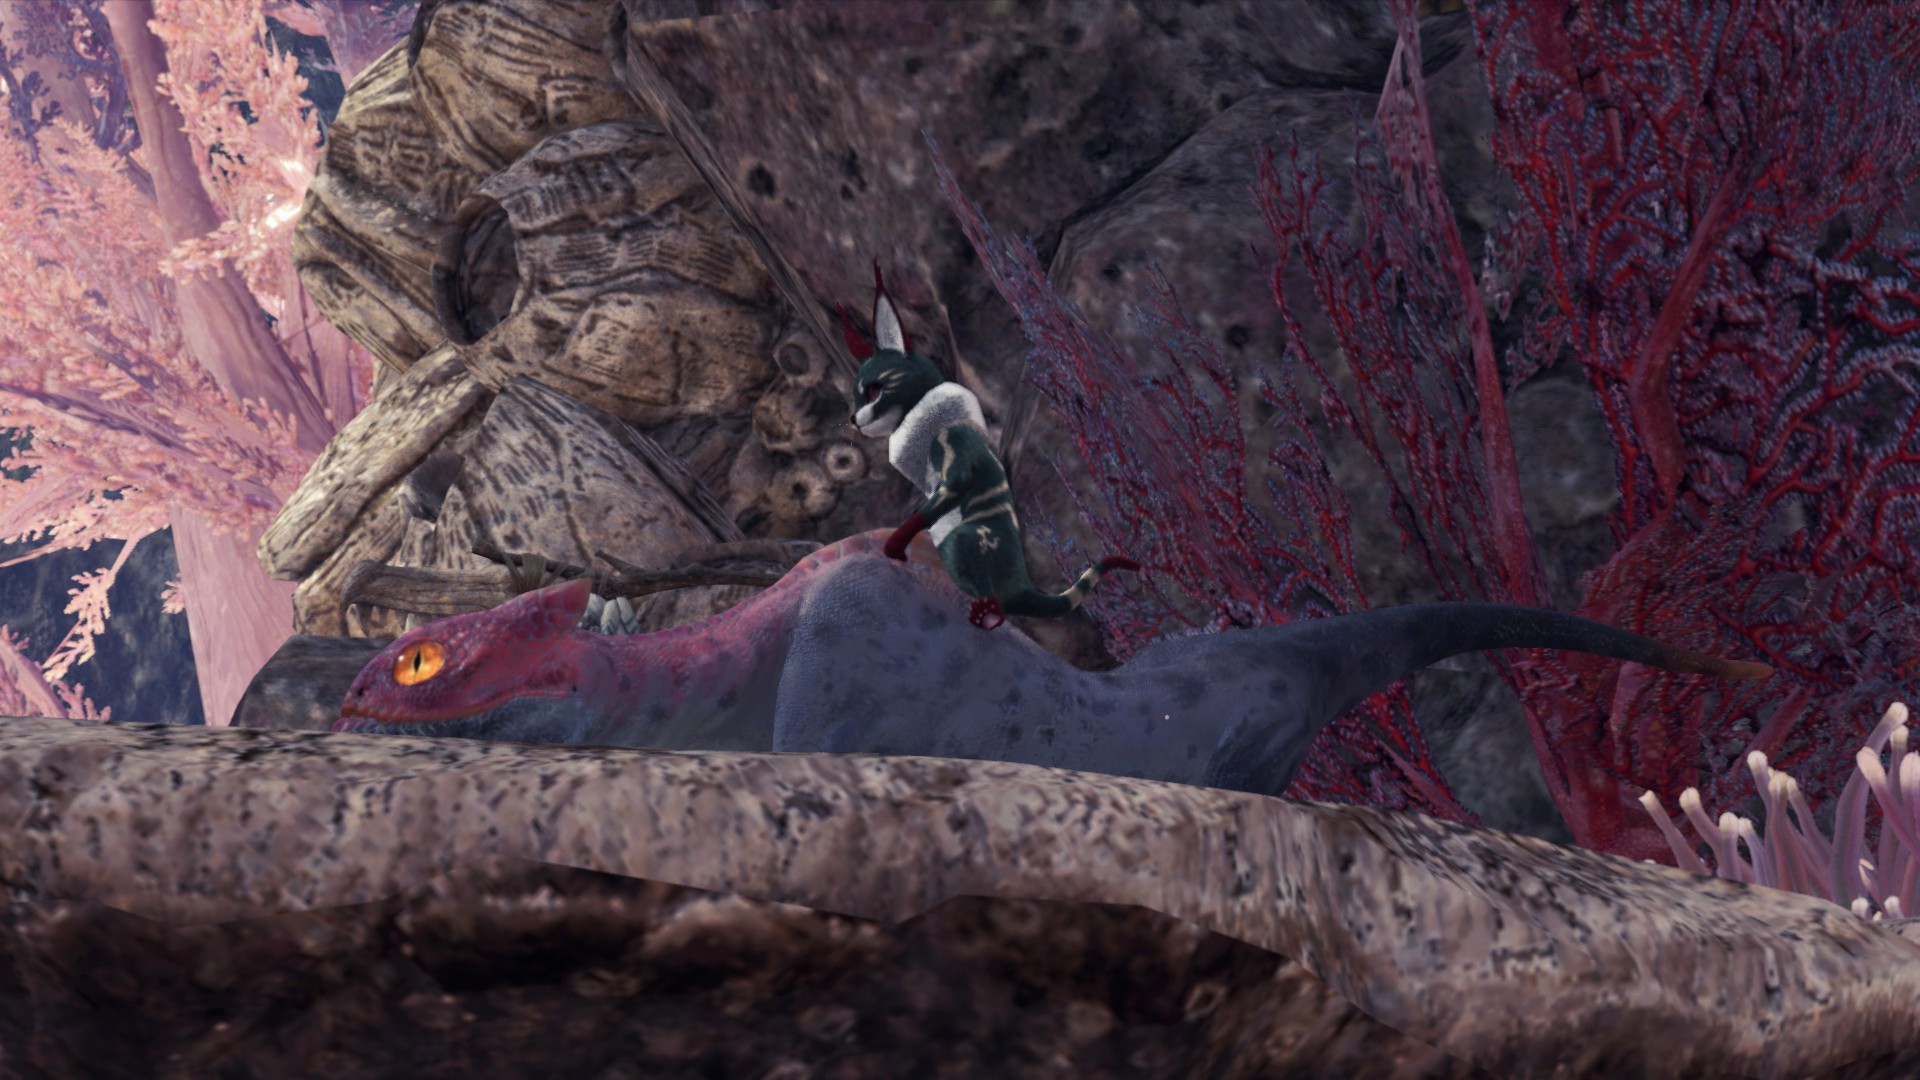
There's a good chance for them to be locked in an animation cycle, in which one of them constantly falls over, at the end of their 'concert'. This is an endless loop.
If you get it, fast travel back to the closest camp and walk up to them again! Repeat, until you get the scenario, in which they successfully finish their concert and are then happy about it.
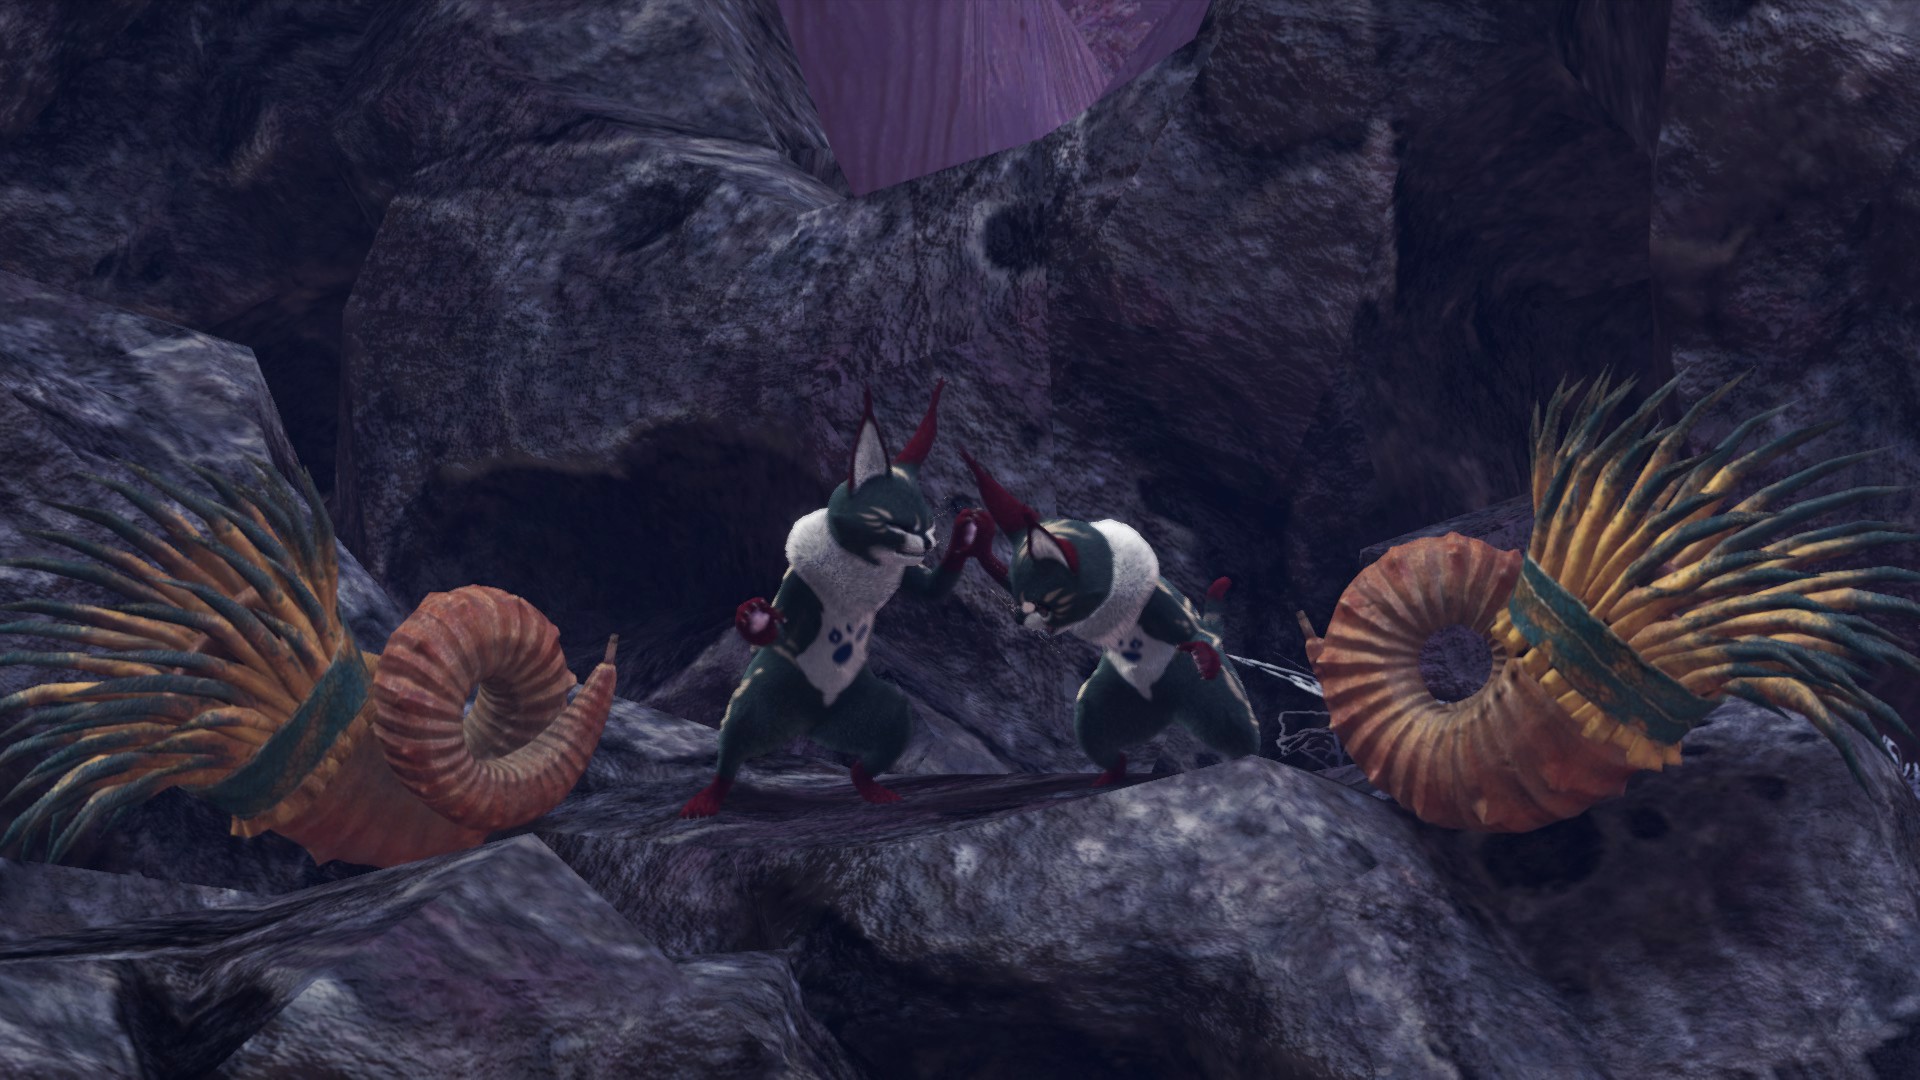
11 - 14 | Rotten Vale
With one of them by your side, walk into any of the polluted areas in the lower layer of the Rotten Vale.
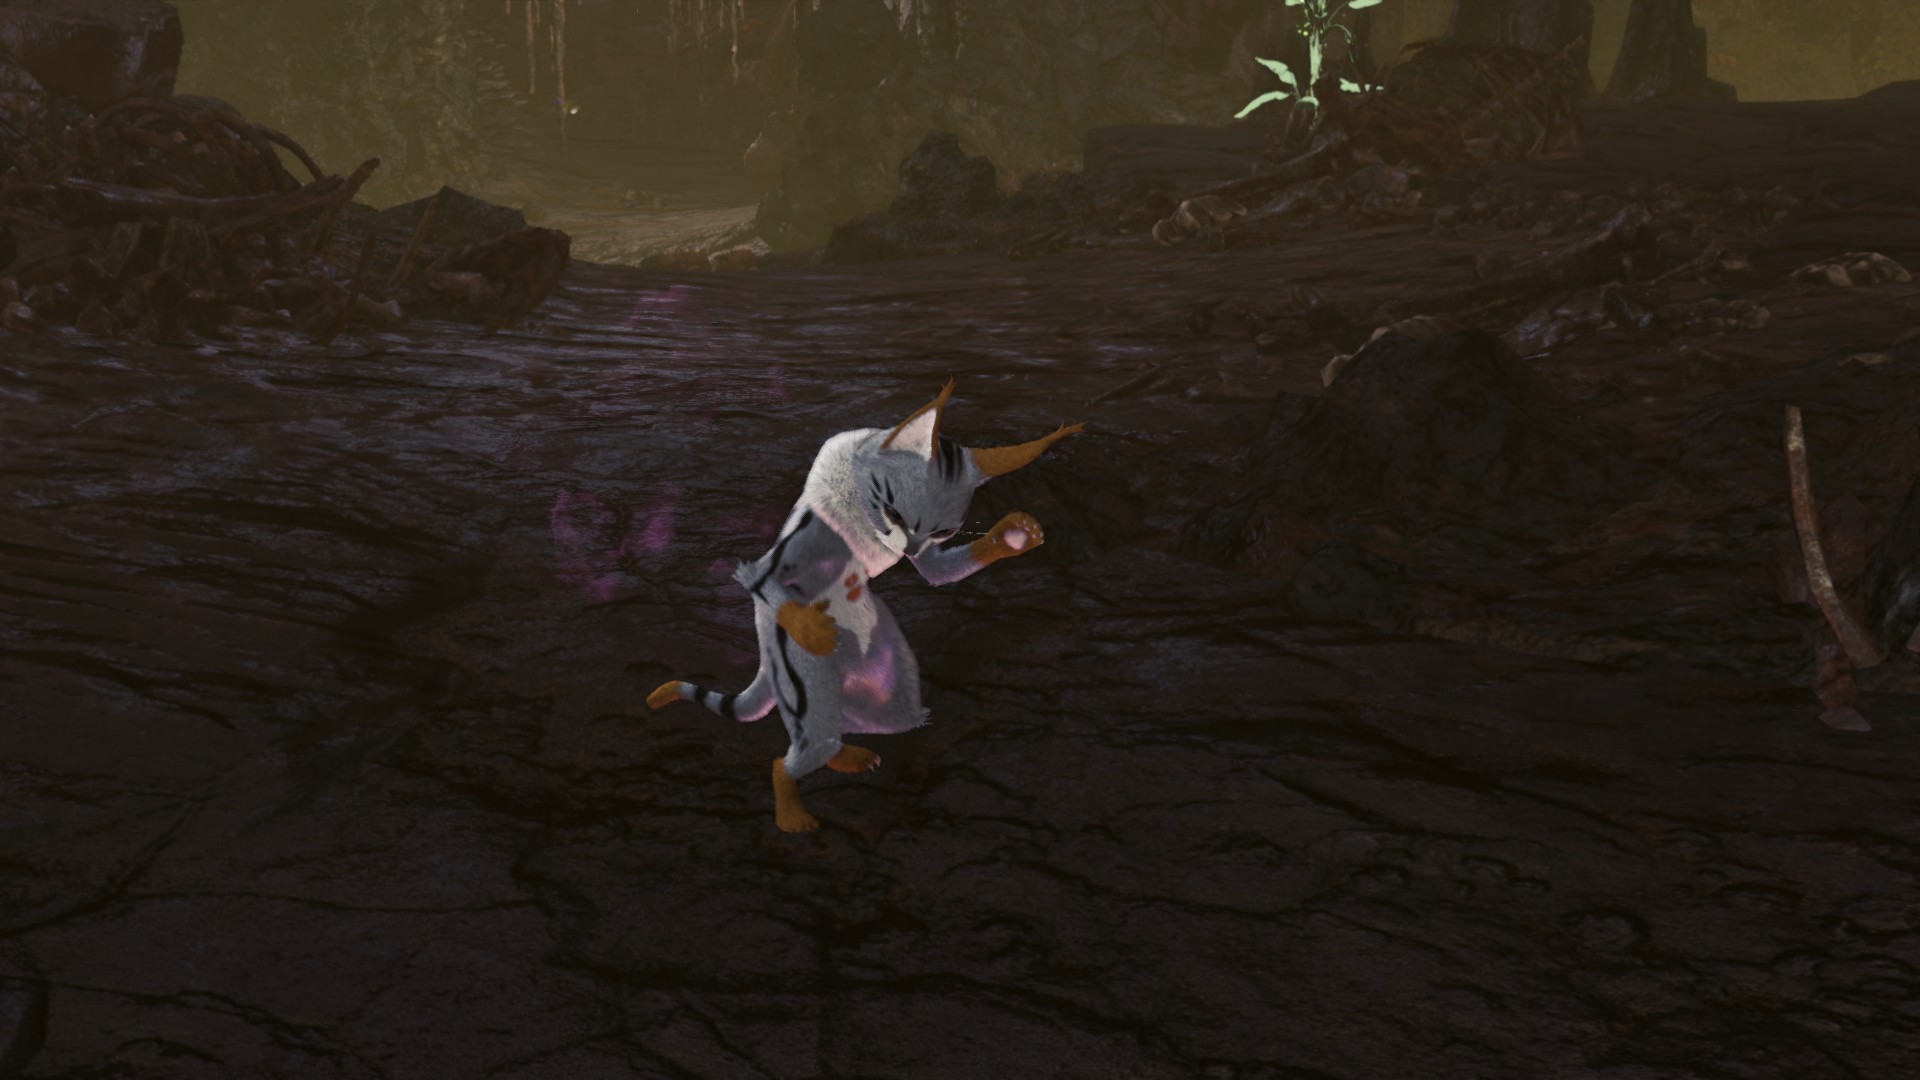
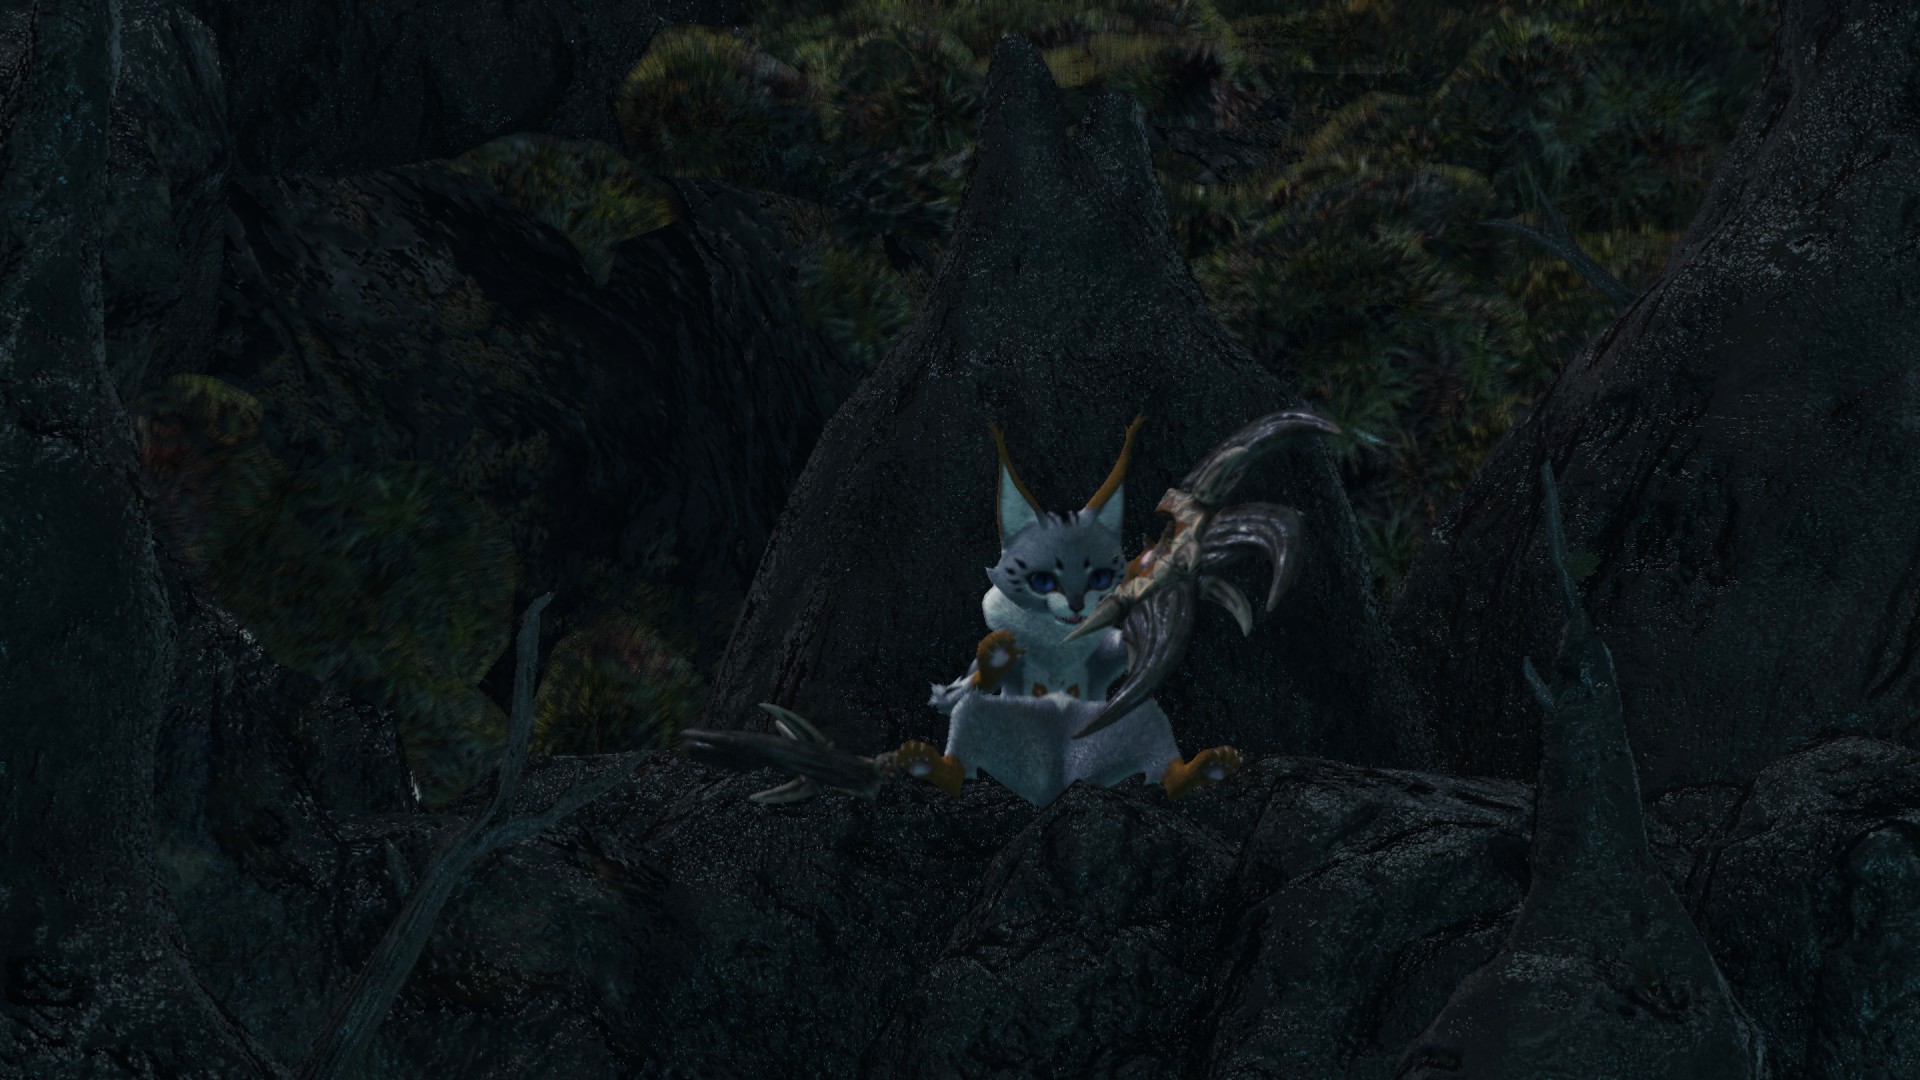
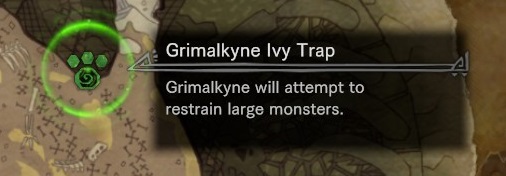 Now, this one may take quite some time to spawn!
First, it's marked by the icon on the right, rather than the usual one I gave you in the basics above.
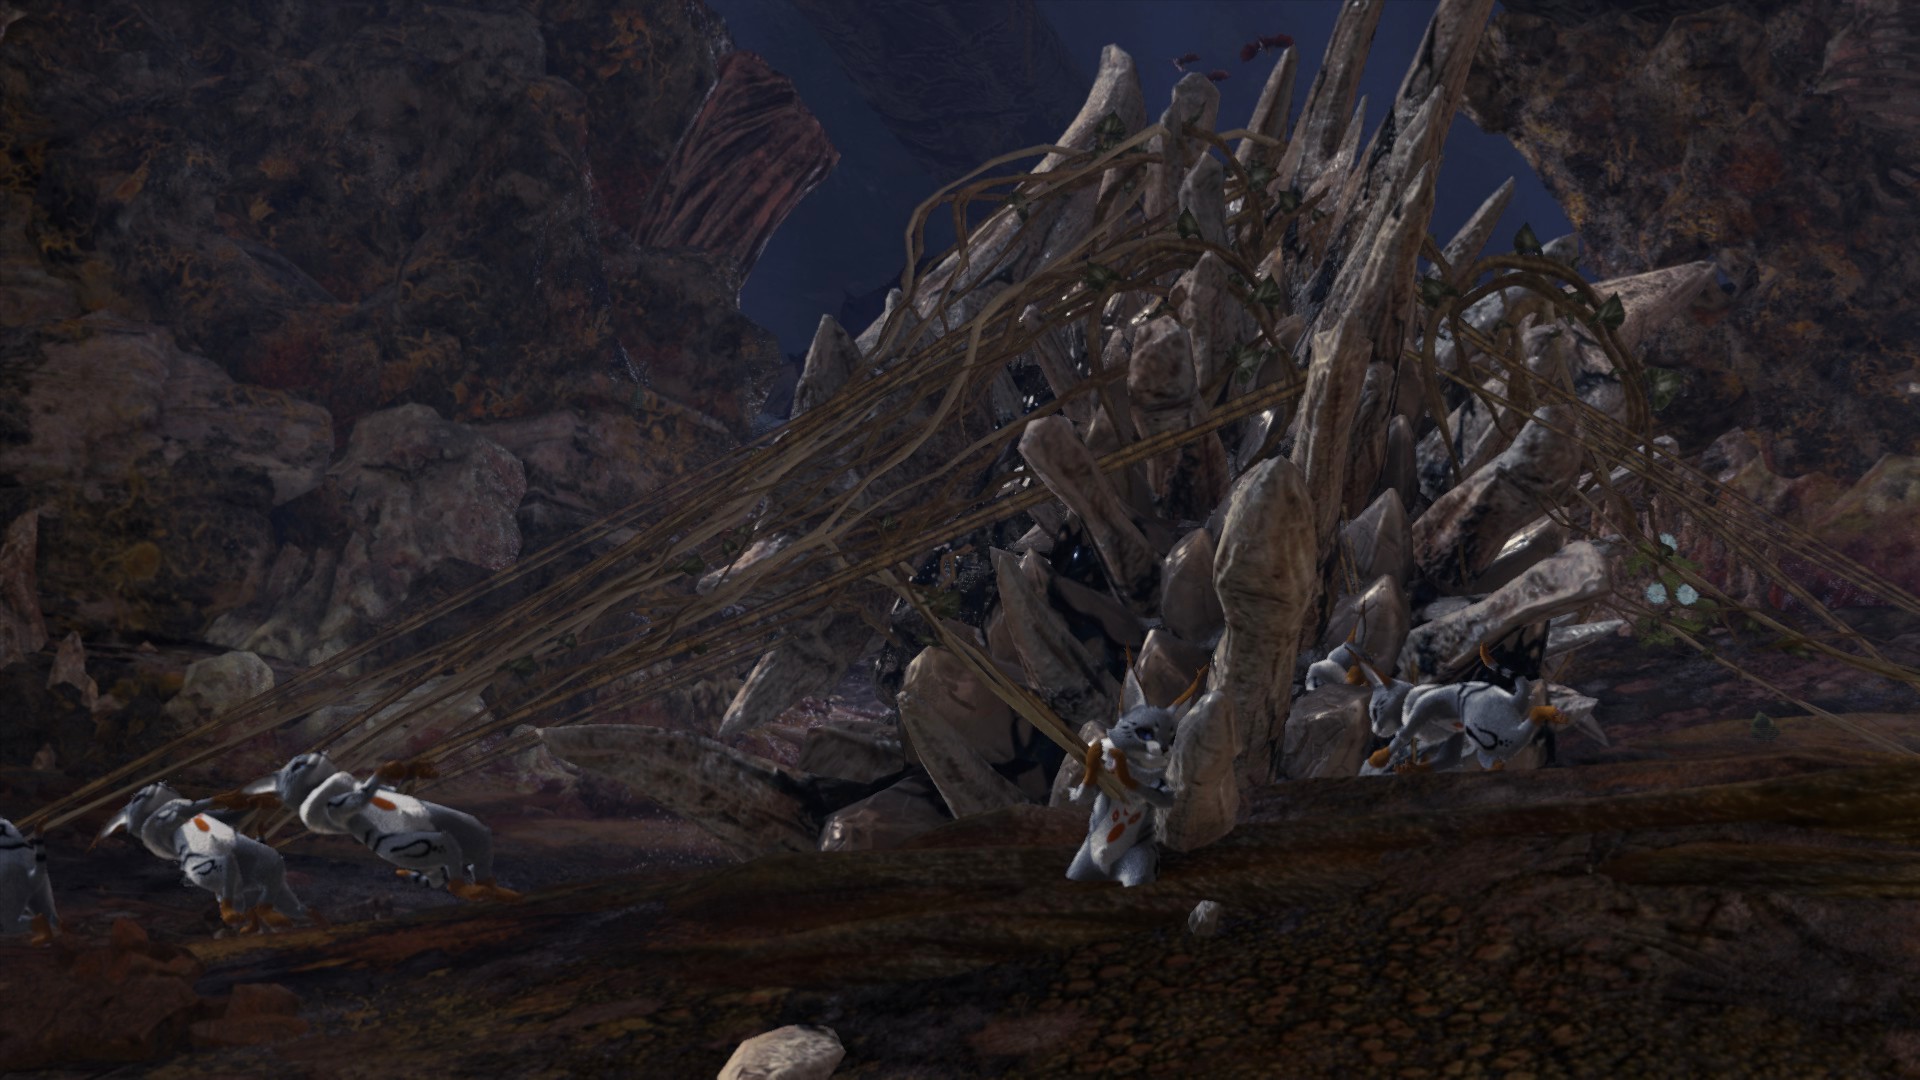
Second, you explicitly need the Plunderer tribe for this one!
The grey one with orange features. Check the pictures above and beneath.
Sadly, it is completely up to the RNG which tribe spawns, and it cannot be manipulated. You have to travel to any of the other maps / cities and come back, to reshuffle the event.
Once you got the Plunderers, just mount a monster. (You might want to use the Insect Glaive for this.)
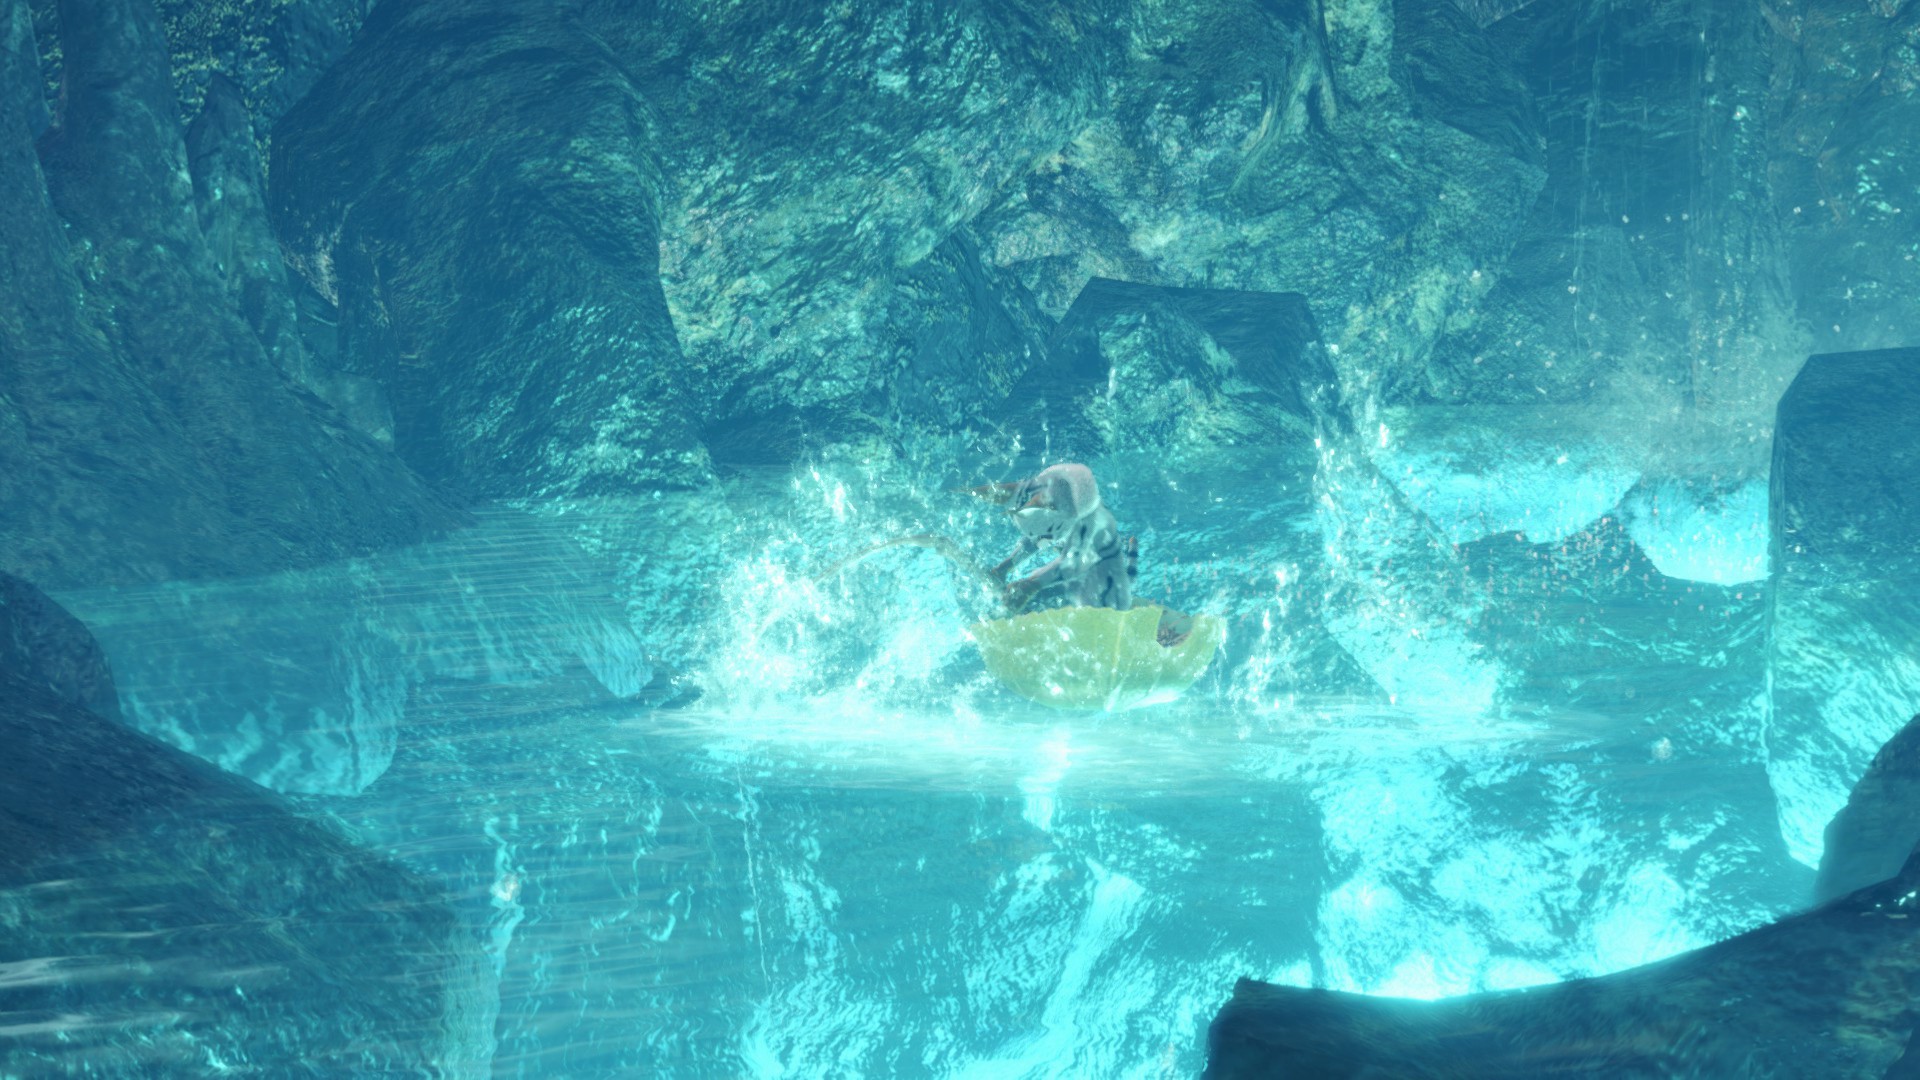
He can fish up 2 different fishes. After several Goldenfry, the event illustrated beneath will play out.
Make sure to shoot your photo while the water goes crazy! Because the fish that's about the reach the surface will draw the poor lil' fella with him into the depths.
(I haven't tested it, but if you fail to get a good photo, you should be able to reset the event by fast traveling to the nearest camp and going down to the lair again.)
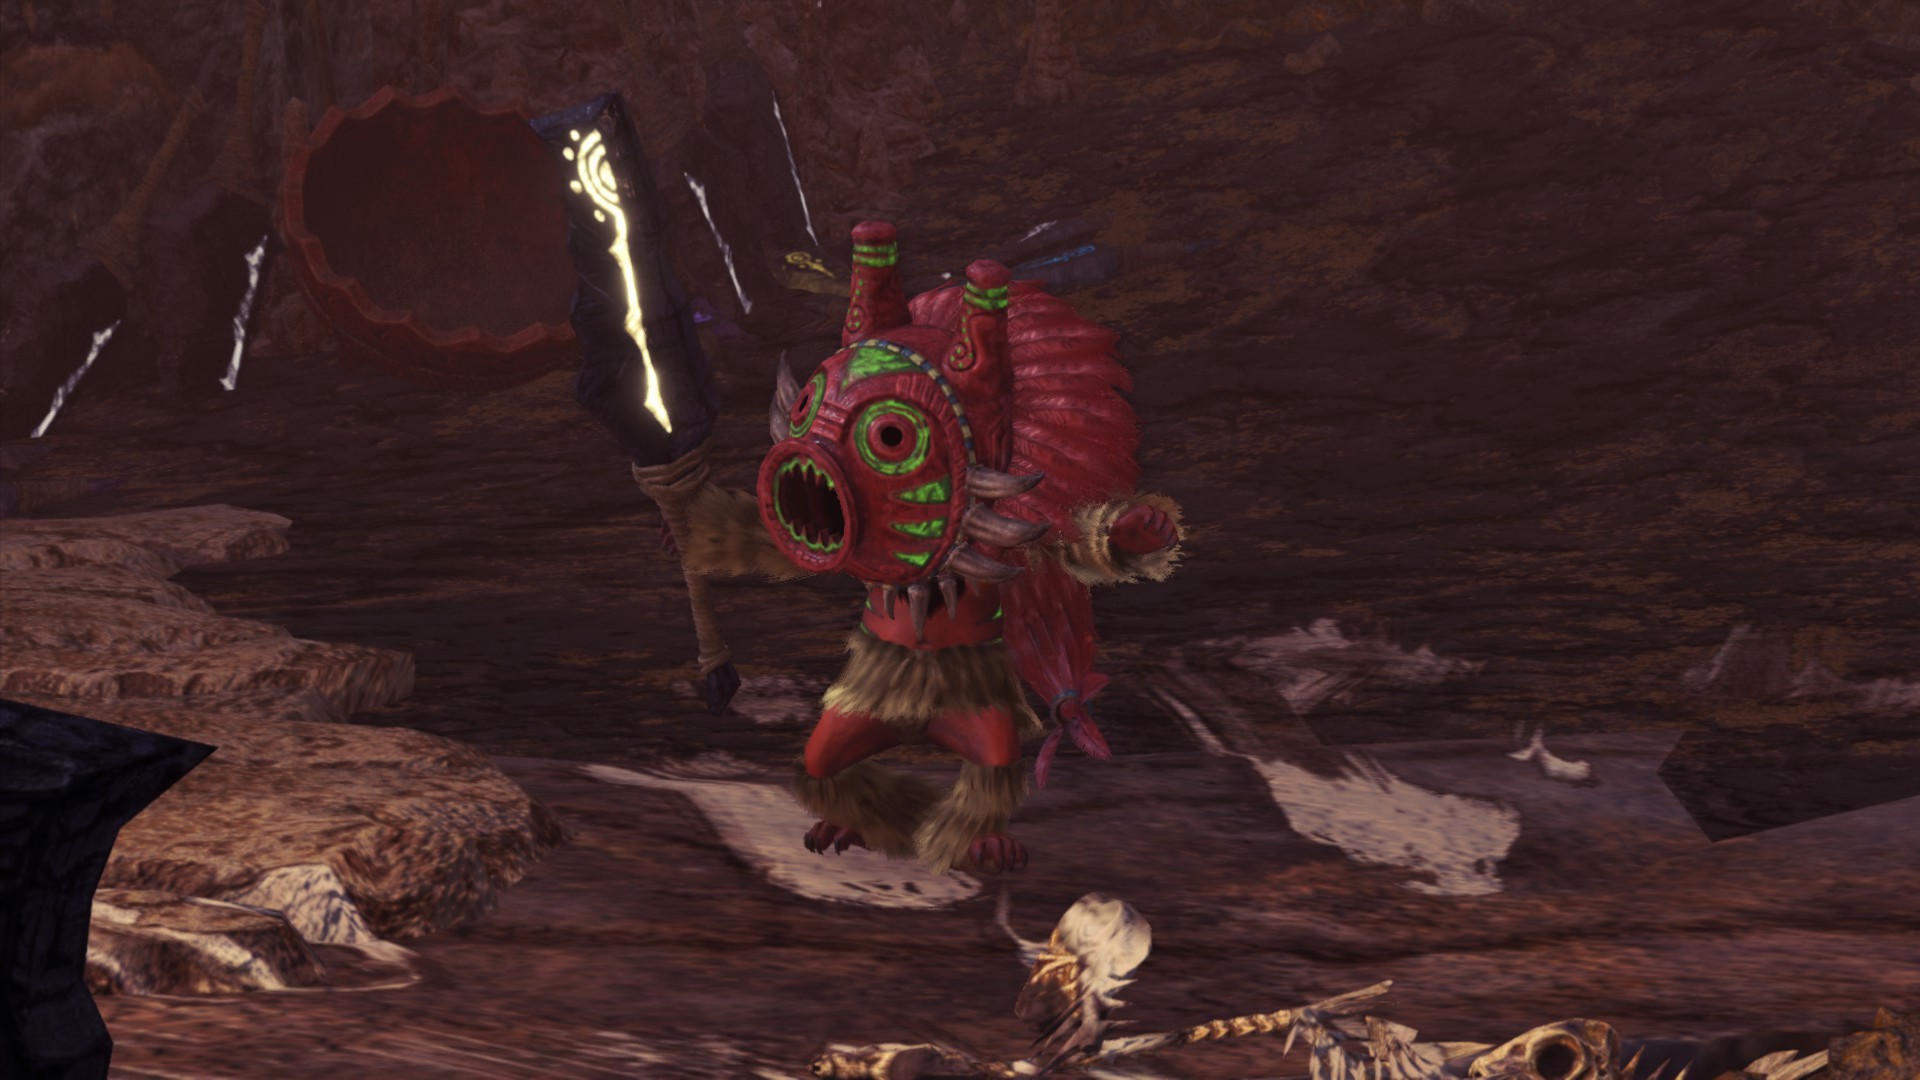
15 - 17 | Elder's Recess
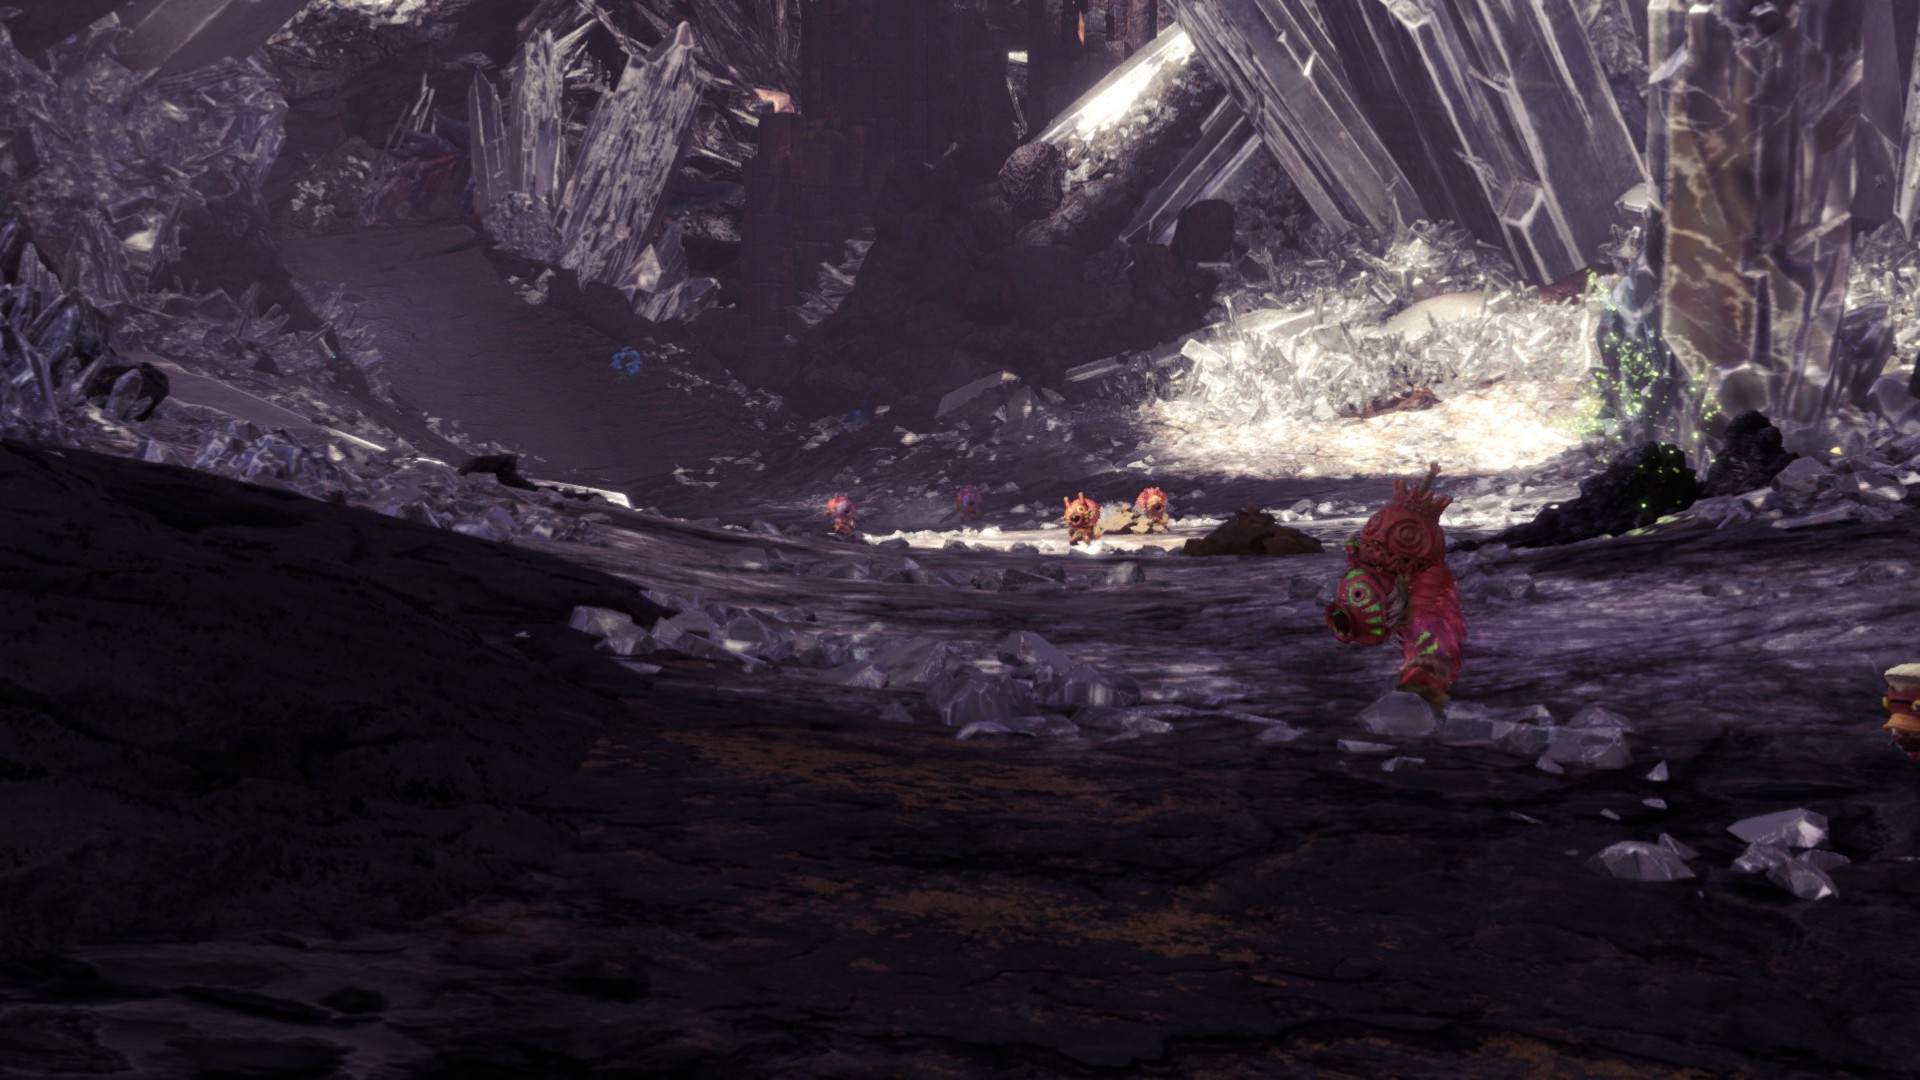
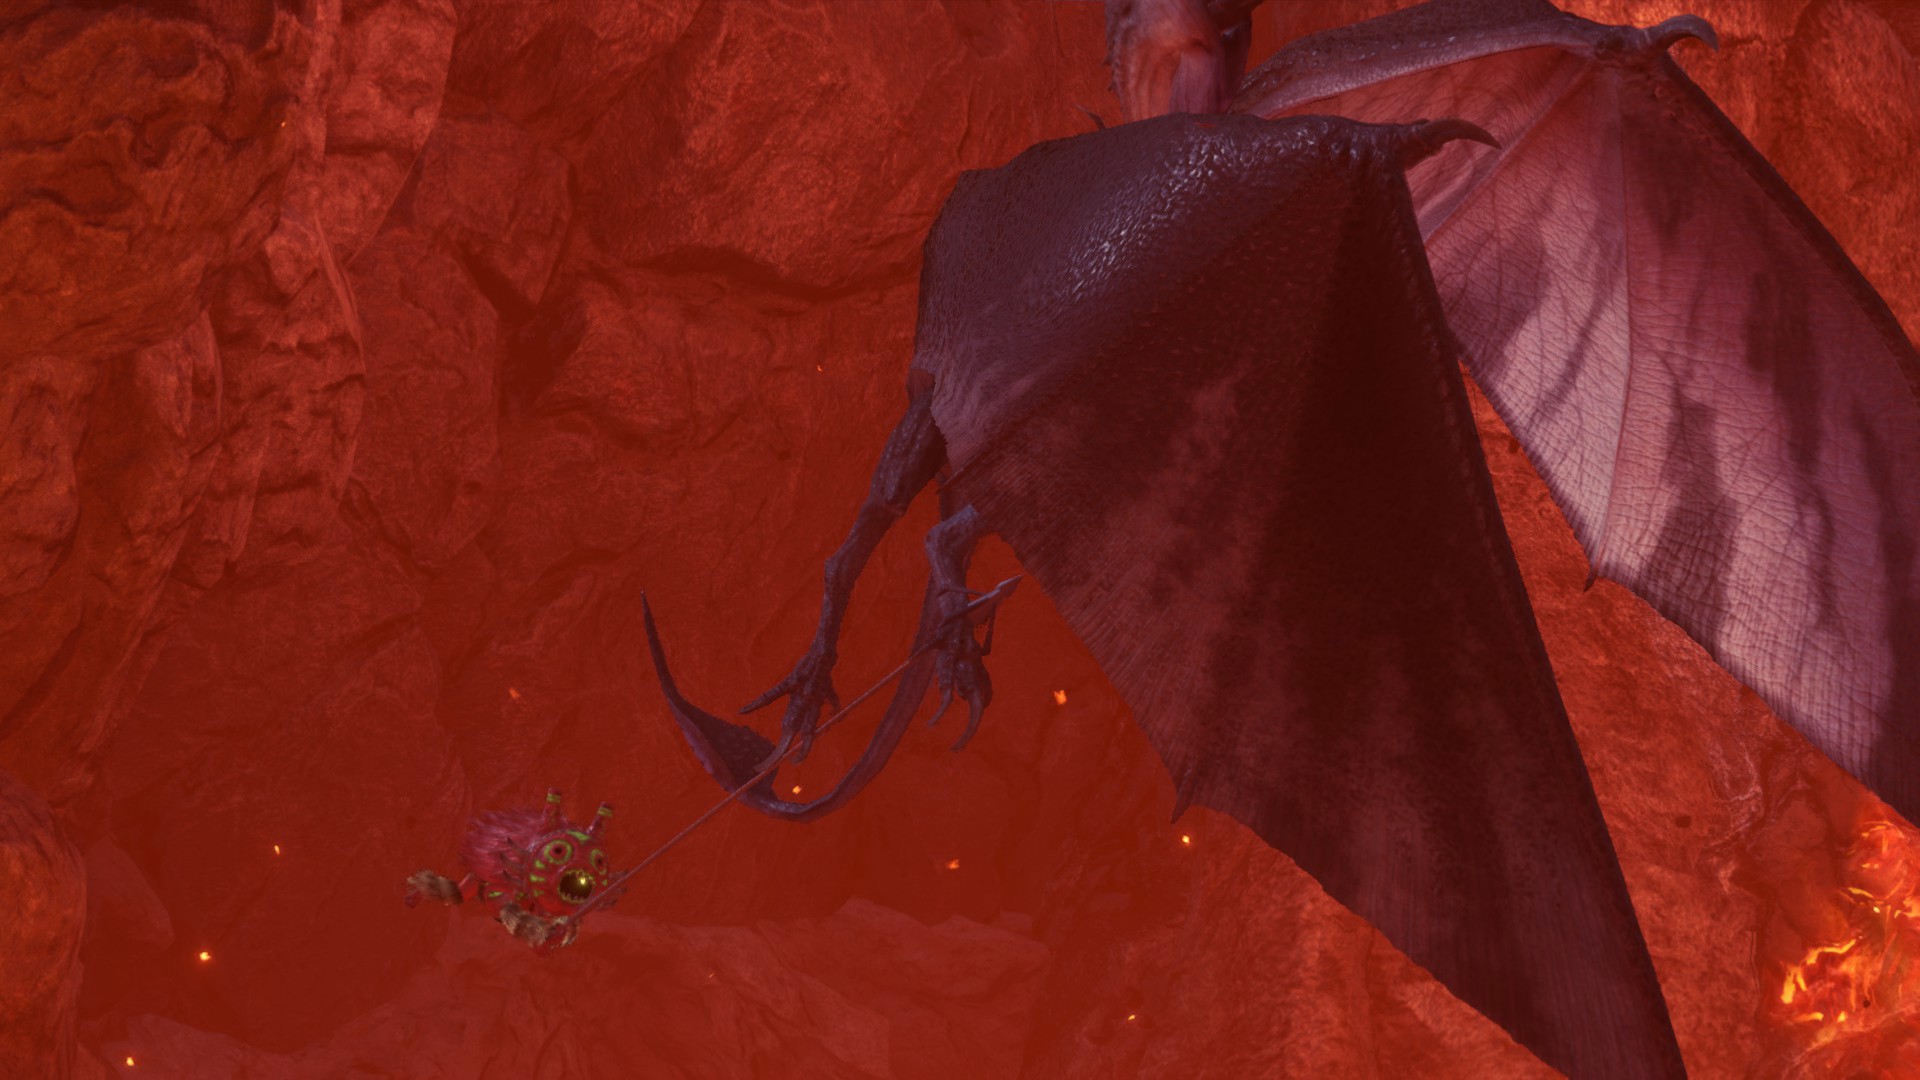
18 - 20 | Hoarfrost Reach
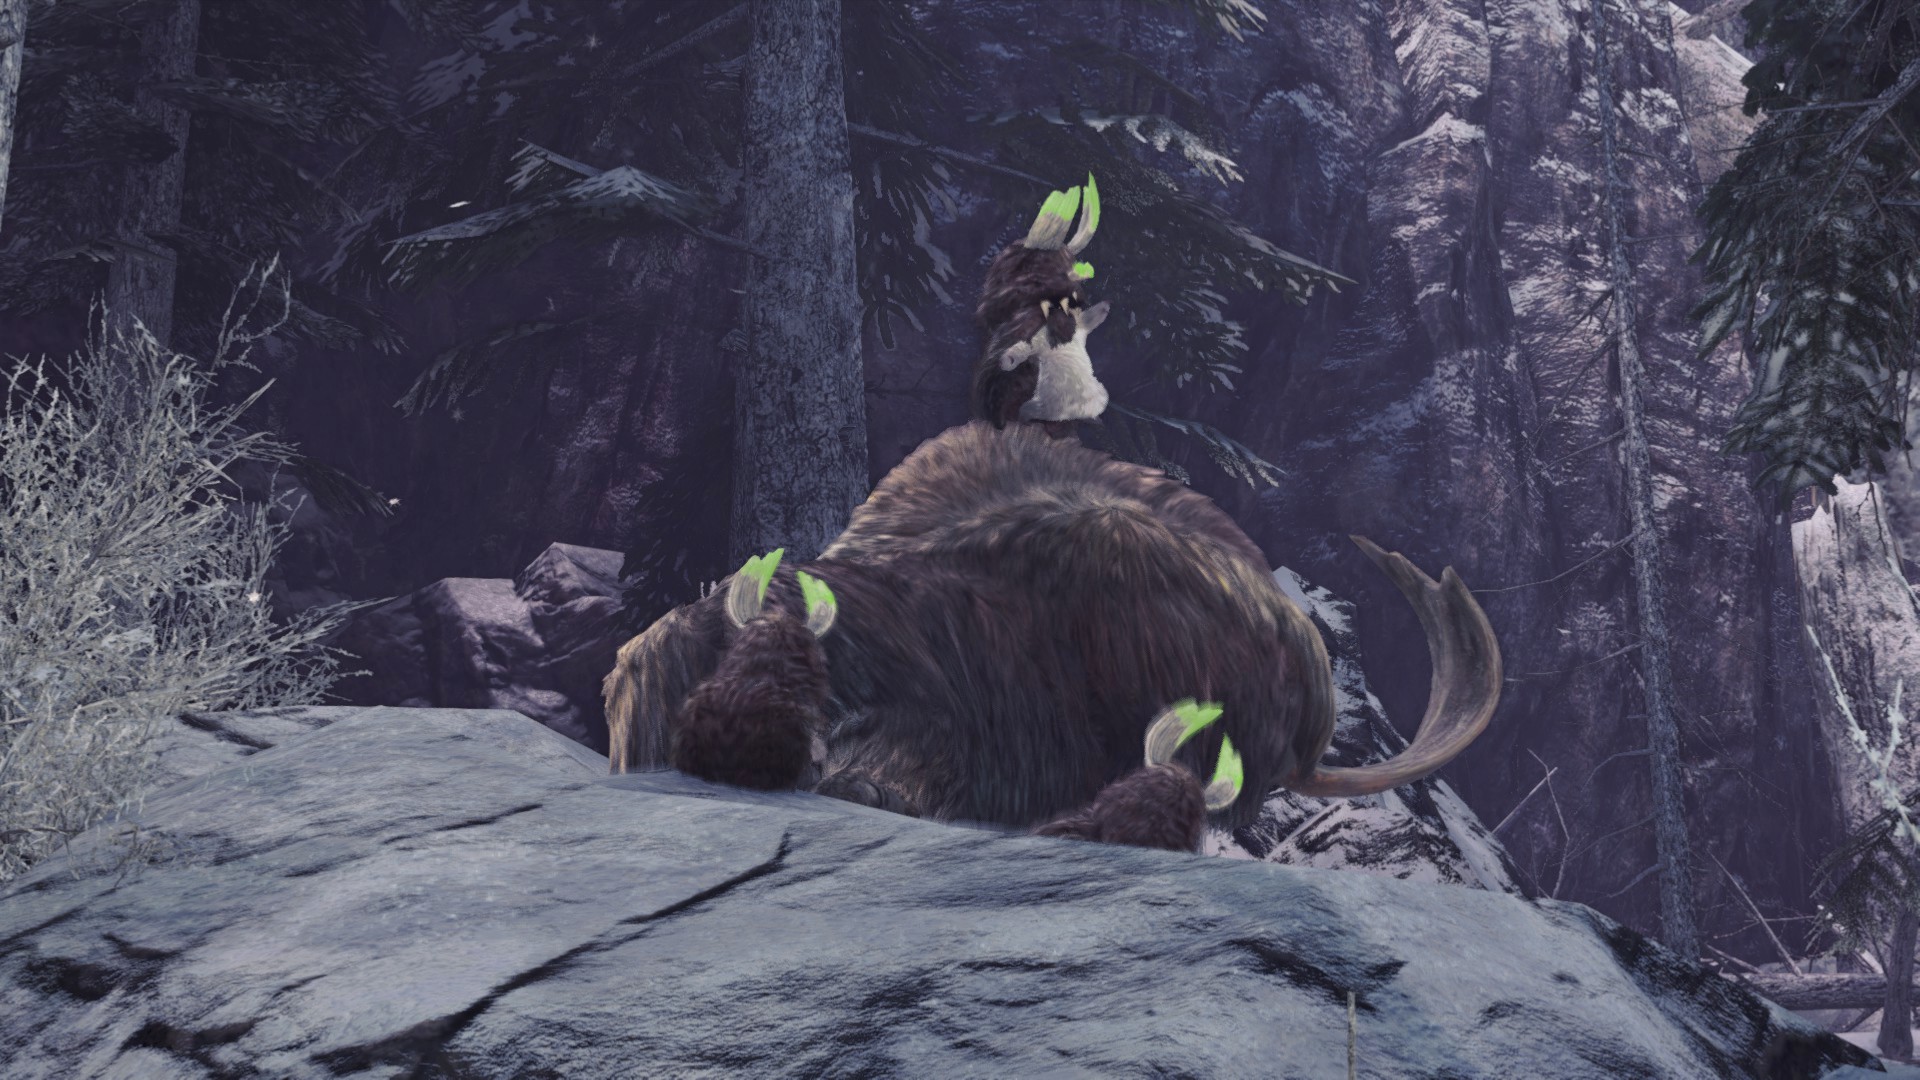
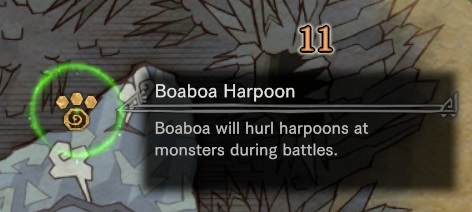 This one will be illustrated on your map with the icon on the right.
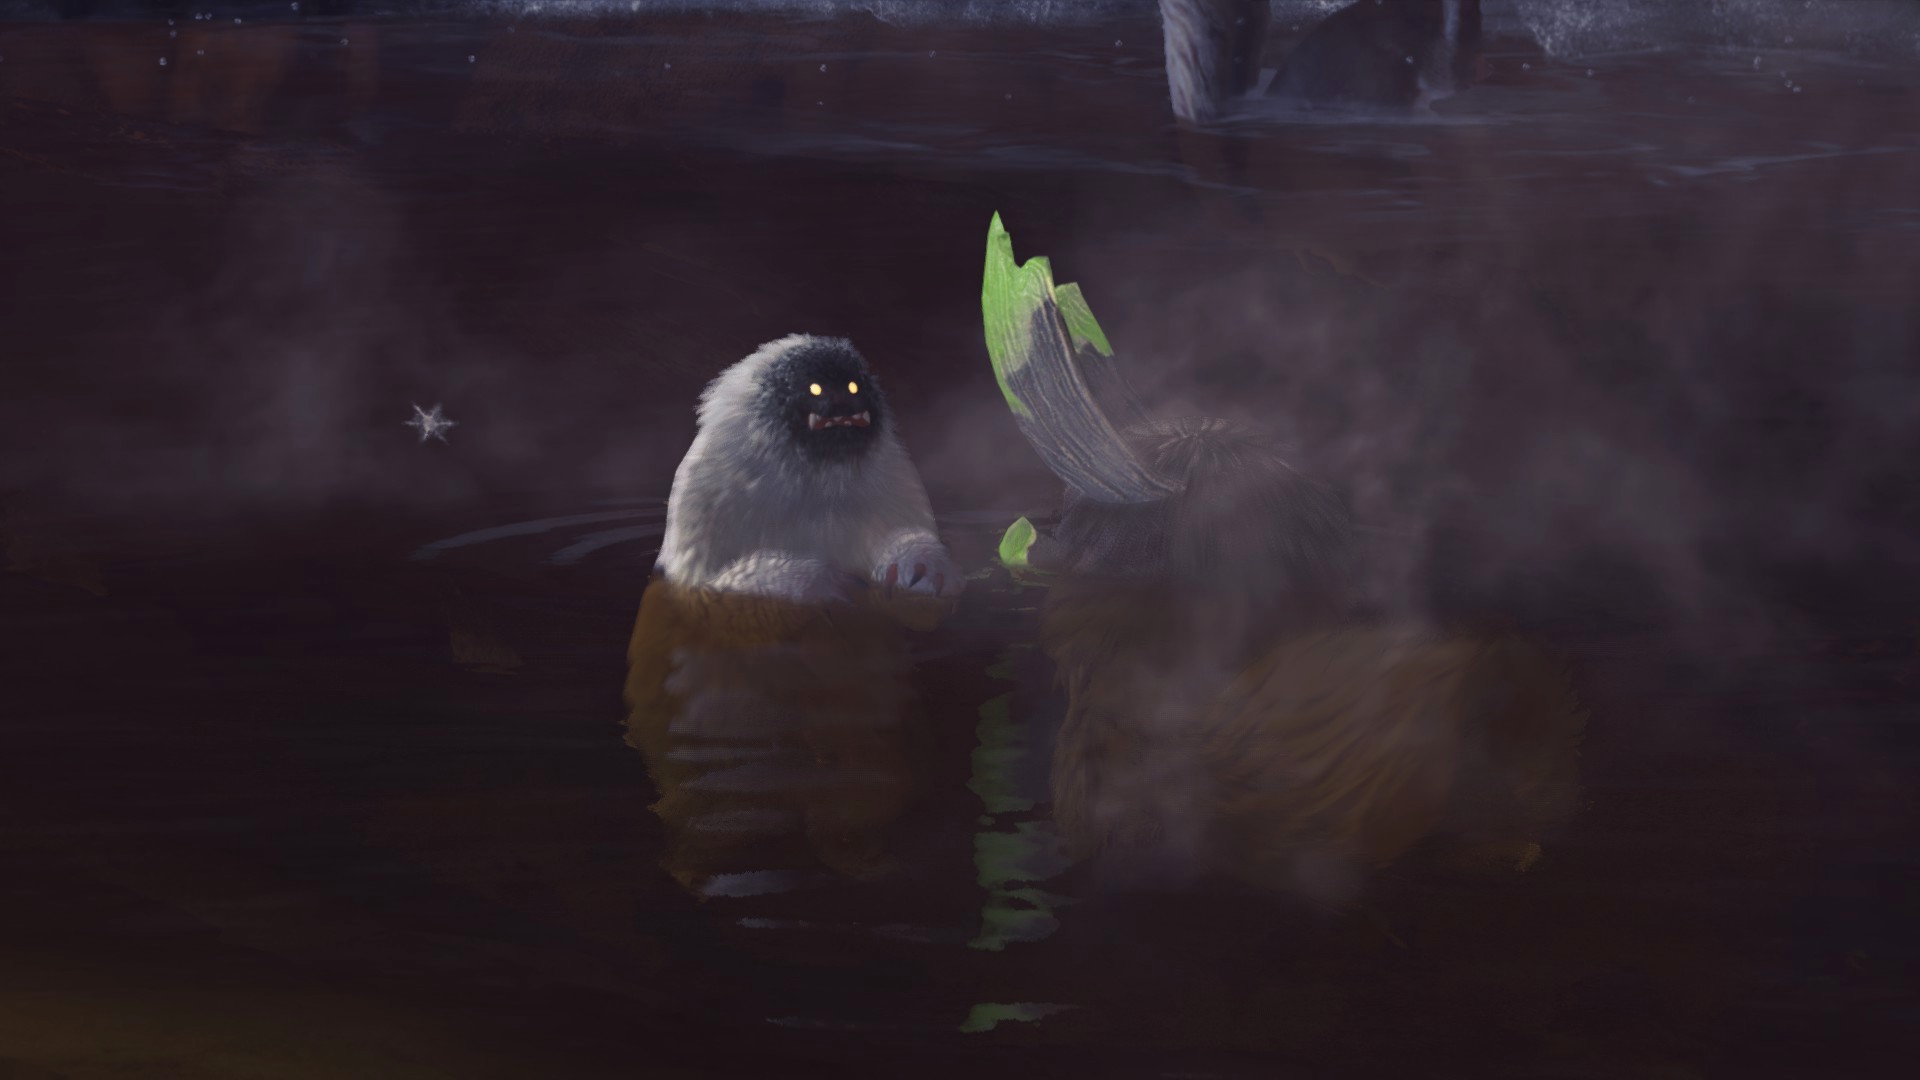
Go there, wait for a big monster to cross the area and lure the monster to the Boaboa by throwing a rock into it's face or just by attacking regularly.
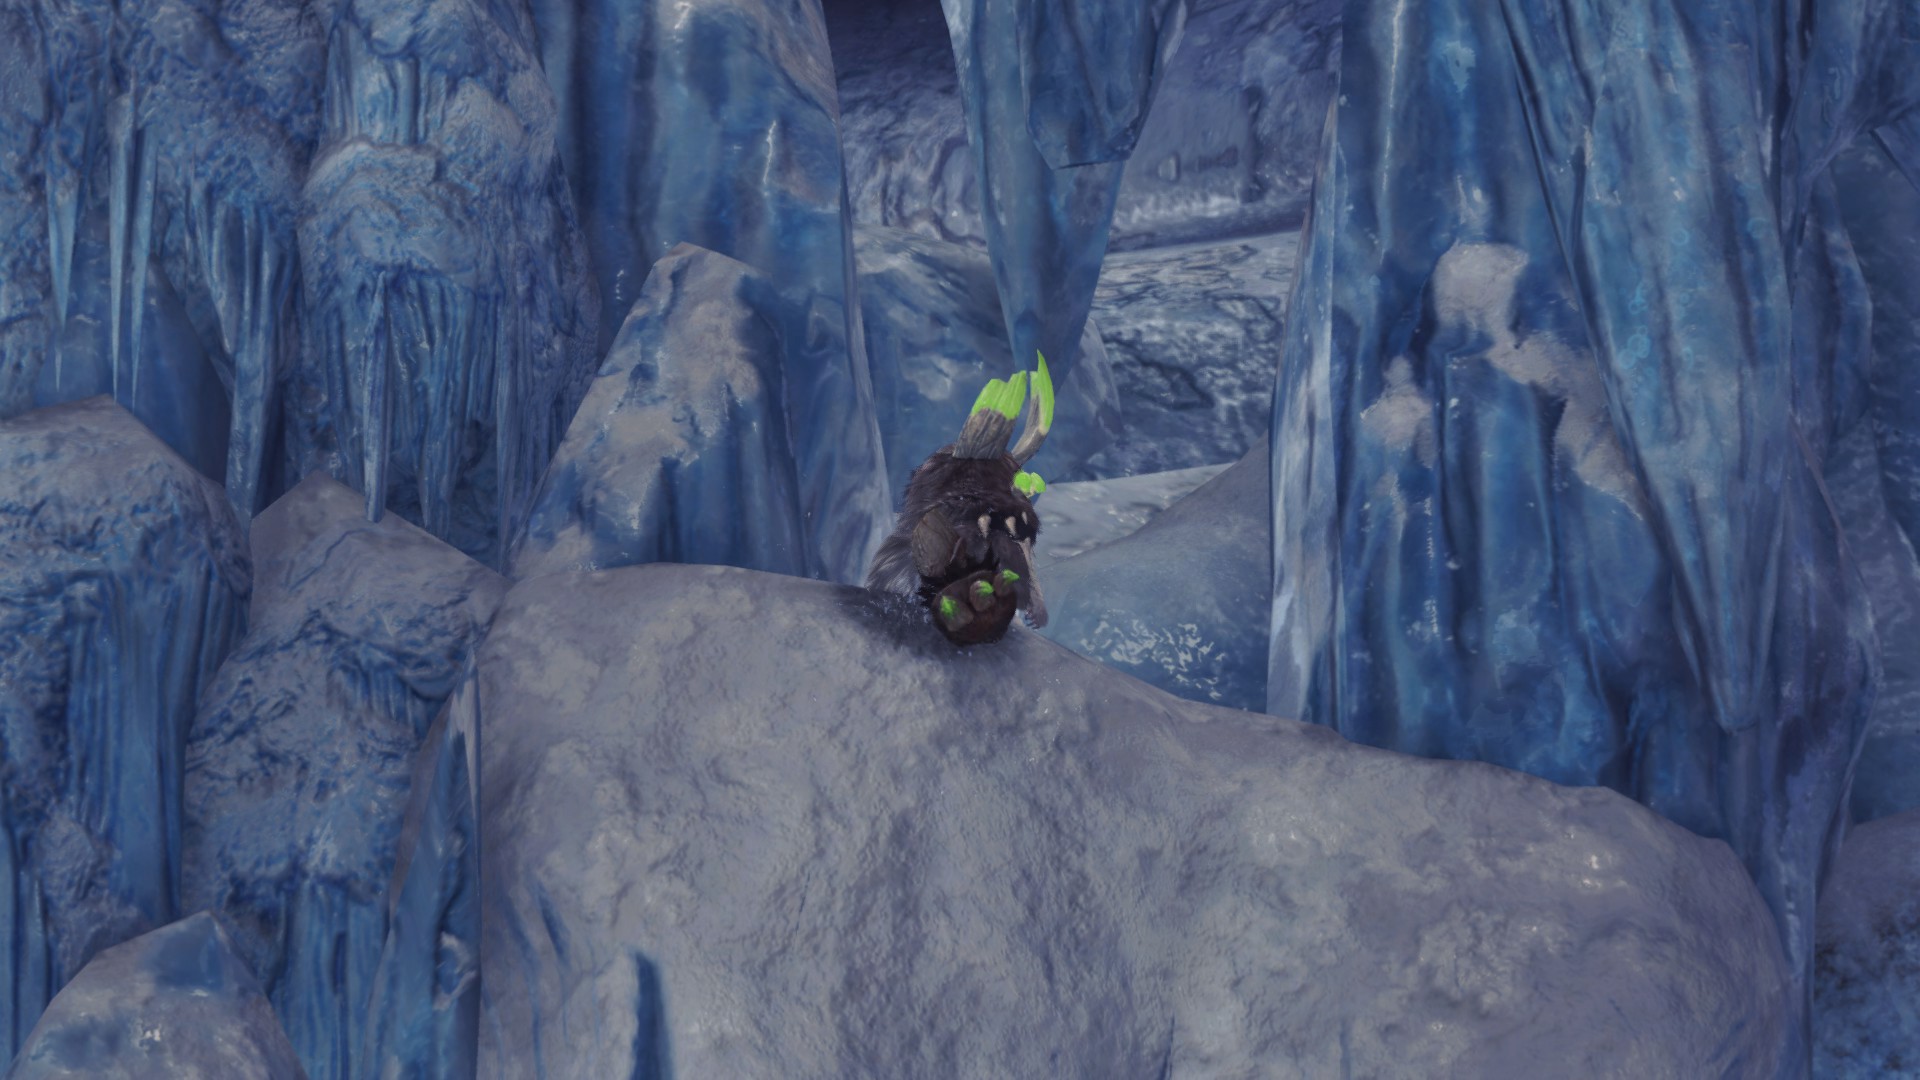
Stay as far away from the Boaboa as possible! You'll have to make use of the zoom function this time. The Boaboa will immediately flee if you approch it, even if you wear the Ghillie Mantle!
If you don't know how to get to their lair - hit one of the Wingdrakes in Area 2 with a slinger ammo or your Clutch Claw while it hasn't yet engaged in combat, then spam your 'ride' button, which you also use for your tailraider.
-----------------------------------
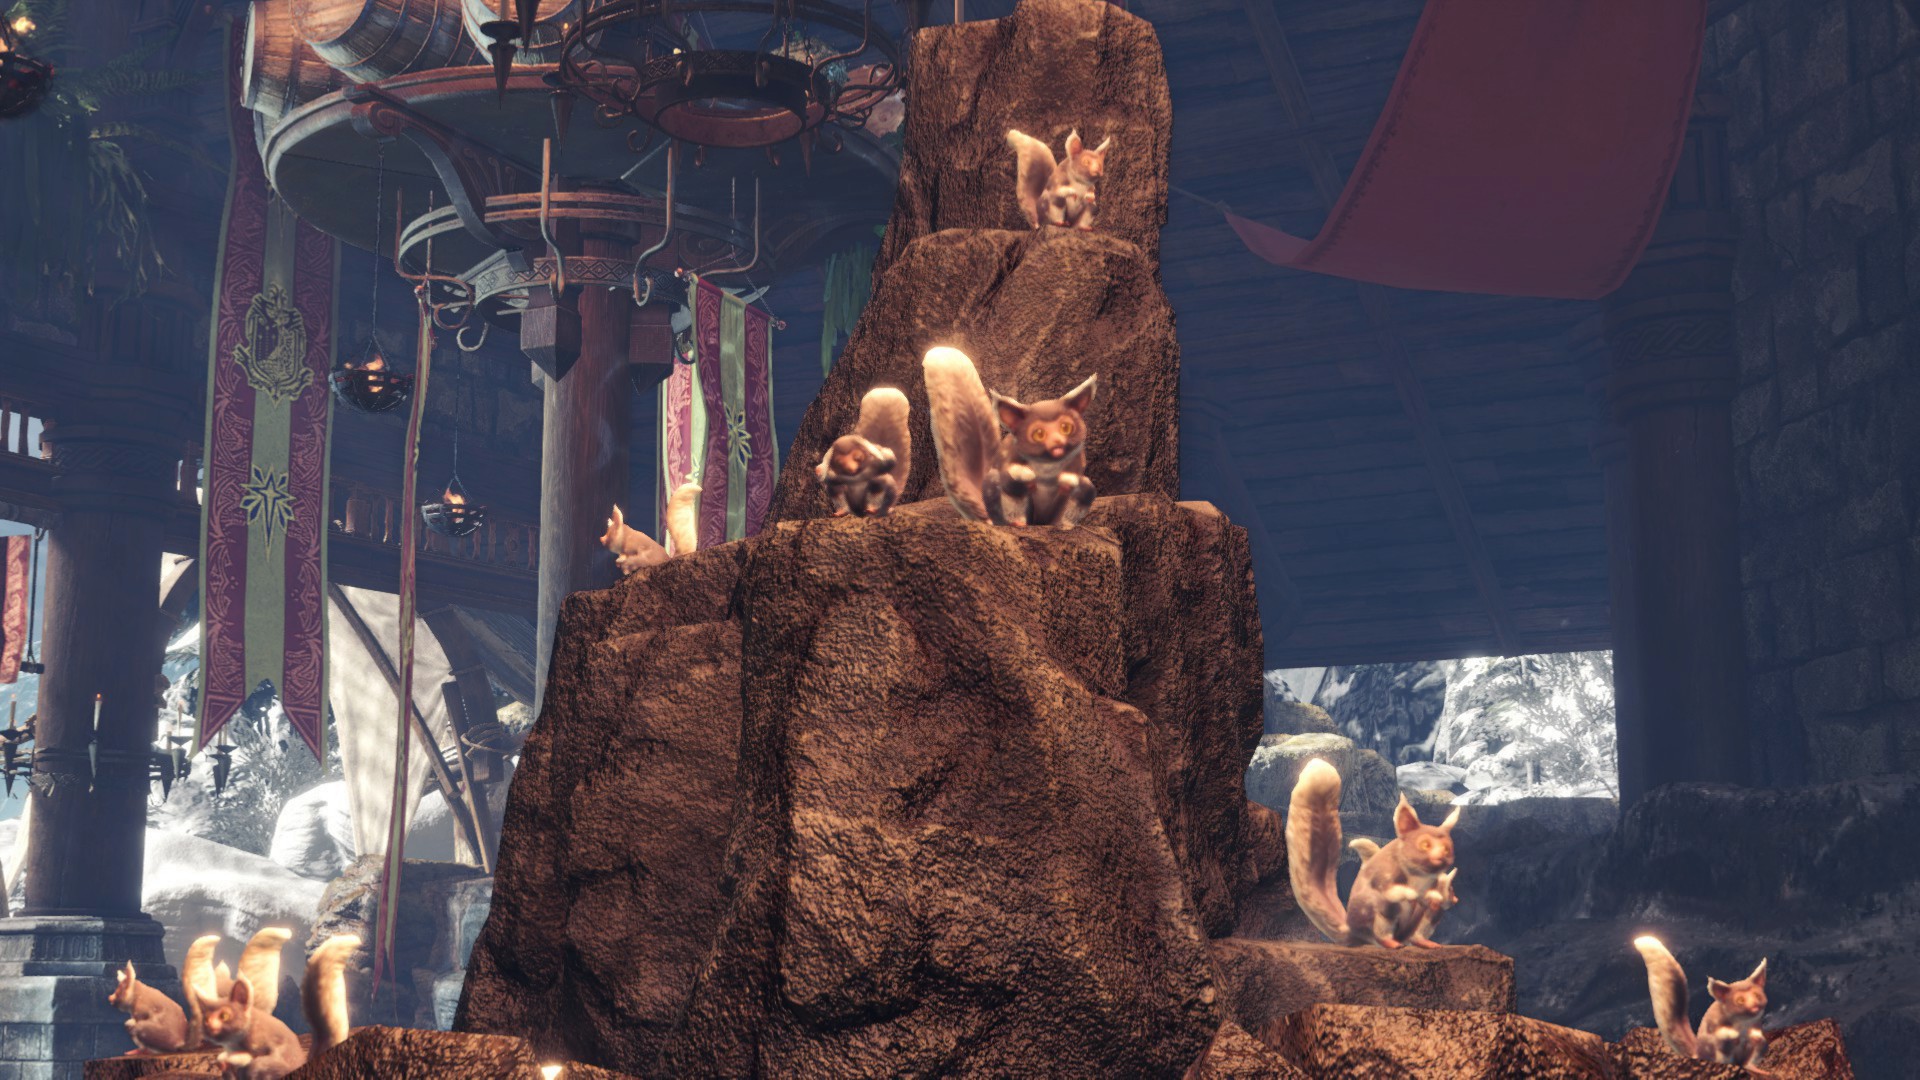
21, 23, 25 | Seliana
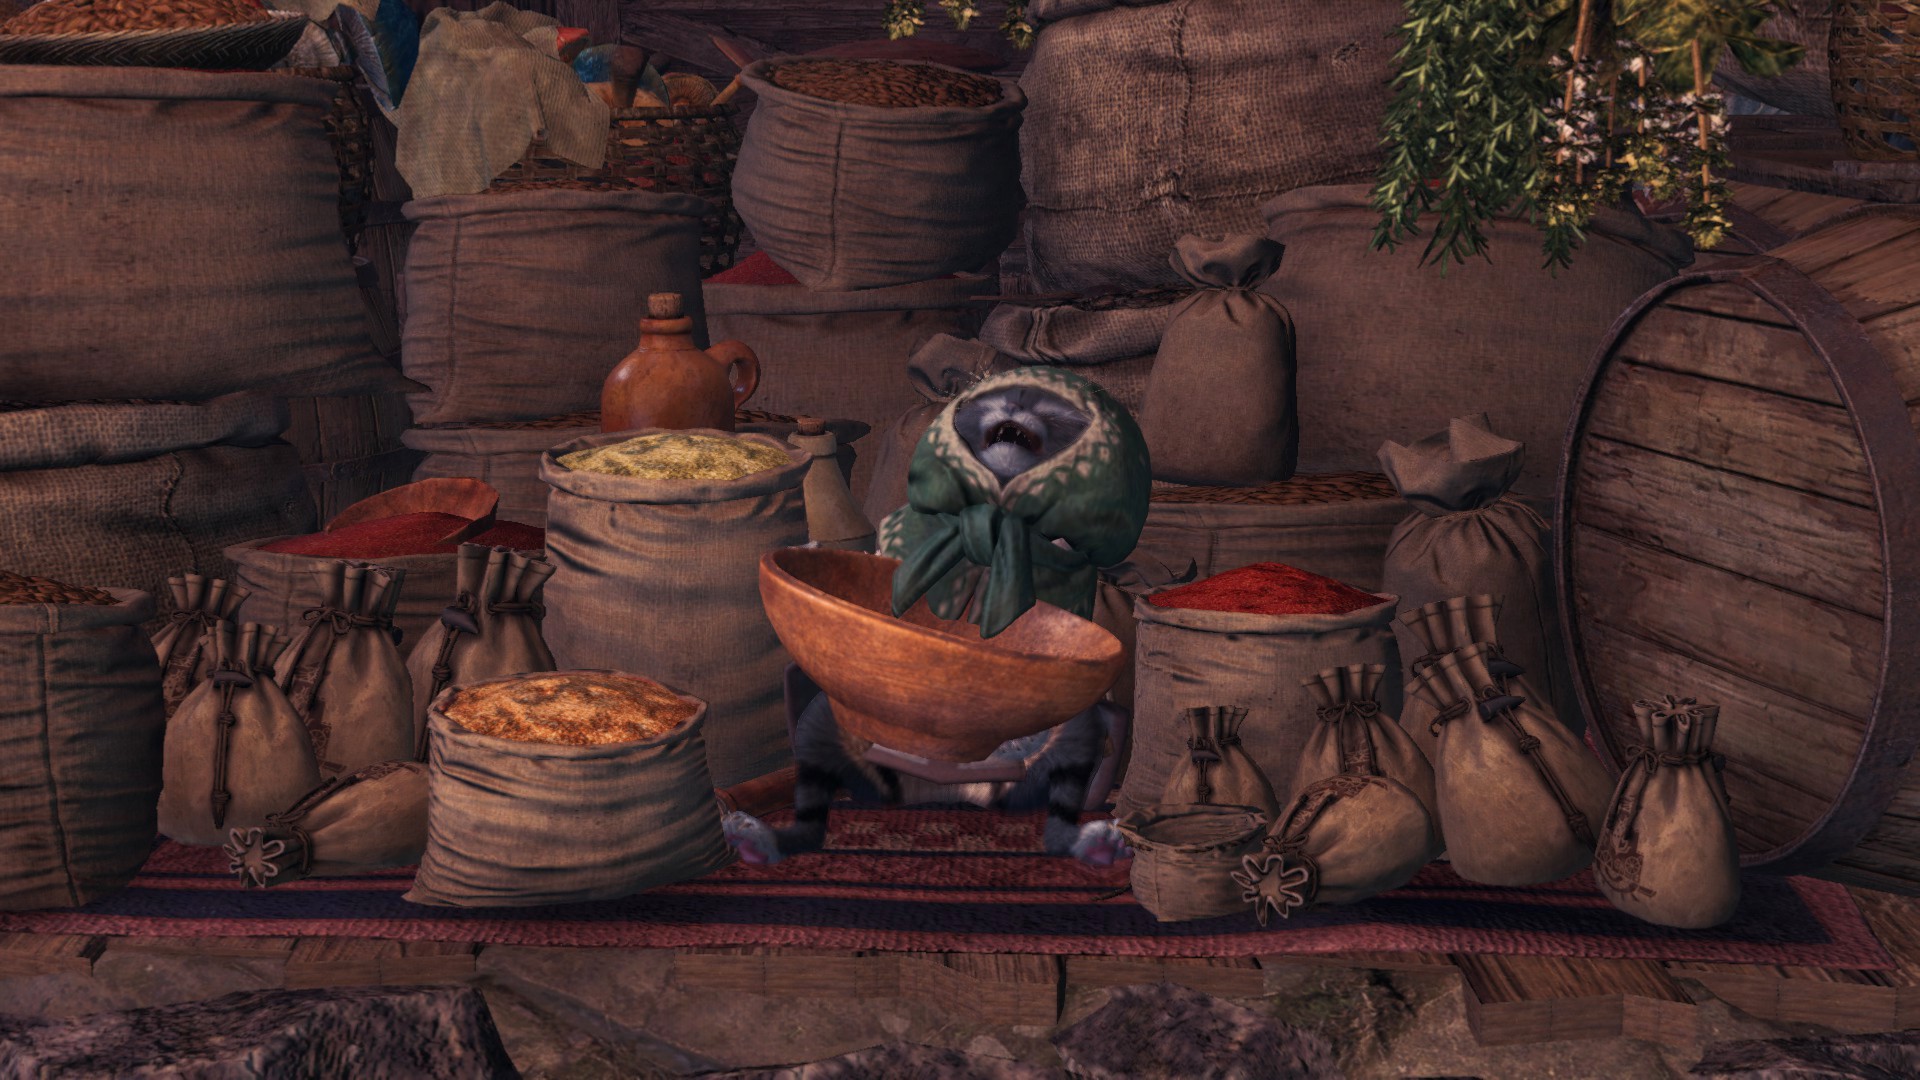
And as a little bonus:
Beat Monster Hunter: World's achievements?
Flex it — let your friends know you pulled it off.
- Guide to Modding and Recommended Mods★ 5 (1.4k)77k views2.8k ♥100 minUpdated 9 Jul
- Monster Hunter: World - 100% Achievement Guide★ 5 (2.3k)72k views5.3k ♥14 minUpdated 21 Mar, 2025
- 休闲游戏玩家 MOD推荐★ 5 (1k)45k views2.6k ♥1 minSimplified ChineseUpdated 18 Sep, 2022
- The Hunter’s Handbook: A Beginner's Guide to the New World★ 5 (1.4k)39k views2.8k ♥110 minUpdated 22 Feb, 2025
- All about Crowns 👑★ 5 (1.3k)38k views2.8k ♥8 minUpdated 18 Sep, 2022
- Monster Hunter World: Iceborne [DLC] - 100% Achievement Guide★ 5 (1.3k)34k views3.4k ♥19 minUpdated 21 Mar, 2025


- Upgrading to PremiumTeam Fortress 2★ 5 (20k)1441k views11k ♥6 minUpdated May 11, 2022
- No More Room in Hell Official ManualNo More Room in Hell★ 5 (2.8k)569k views2.1k ♥29 minUpdated Apr 22, 2019
- NMRiH Community Hosting GuidesNo More Room in Hell★ 5 (526)351k views653 ♥1 minUpdated Aug 10, 2022
- Лучшие кооперативные игры SteamPAYDAY 2★ 5 (1.5k)315k views2.1k ♥56 minRussianUpdated Apr 27, 2025
- Desert Eagle Heat Treated | Blue GemCounter-Strike 2★ 5 (1.6k)292k views1.5k ♥2 minUpdated Jan 16
- Treasure Hunt Puzzle SolutionsTotal War: WARHAMMER II★ 5 (6.9k)281k views15k ♥3 minUpdated Aug 19, 2021






This guide was created by its original author on the Steam Community. Are you the author and want it removed? Request removal.