Panau Survival Guide
01 - Controls
Whisper to another player
Reply to the last player who whispered to you
Report a player for breaking the rules - if you don't include a valid reason, your report will be ignored. See 03 - Objectives & Rules
Teleport to your respawn point (safezone by default)
02 - Quick Help
03 - Objectives & Rules
The goal is simple - compete and survive. You will first join the server with very few items and you must find other items as you go. Anyone can kill you and you'll drop items upon death. Build a base, raid other players' bases, level up and personalise your character by unlocking perks. There are many paths to success but expect to fail along the way.
Nothing lasts forever. Items will eventually break and you'll need to find more, landclaims have a limited duration, you must eat/drink to stay alive, anything you place in the world can be destroyed, and your stashes can be hacked if found. The most successful players will have a secure base, safely stored items, and will be very careful about trusting other players. Again, there are no rules against stealing or betraying.
1. You may not cheat, exploit, glitch, or bug the servers in any way. If you find a problem, please report it directly to staff and do not repeat it. This is especially important in the beginning stages of the server - please let us know if you find any bugs!
- No overly rude, vulgar, racist, homophobic, pornographic, or sexist comments (or anything of the like). We get it; you're competitive, but you don't need to engage in personal attacks.
- No spam.
- Use the designated chat channels for their designated purposes, and try to stay on topic.
- No impersonation.
- No advertising unless given permission from me.
- English only.
- No harassment. If you think something is borderline harassment, don't do it.
04 - Experience & Levels
Progression is a key part of this server. You can earn experience from various activities such as looting, combat, exploration, and raiding. This experience allows you to level up, unlocking new perks and abilities along the way. Some perks are optional and players can choose the perks they prefer and customise their character.
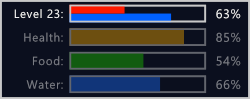 You can view your current progress in the stats box in the top right of the screen. Opening your inventory (G by default) will expand this box to show more detail. You'll see your player level and two bars. The red bar is combat experience and the blue bar is exploration experience. When the bar is full, you'll level up. To level up, you need to earn both combat experience and exploration experience.
The stats box also displays your health and food/water levels - see 07 - Loot for details.
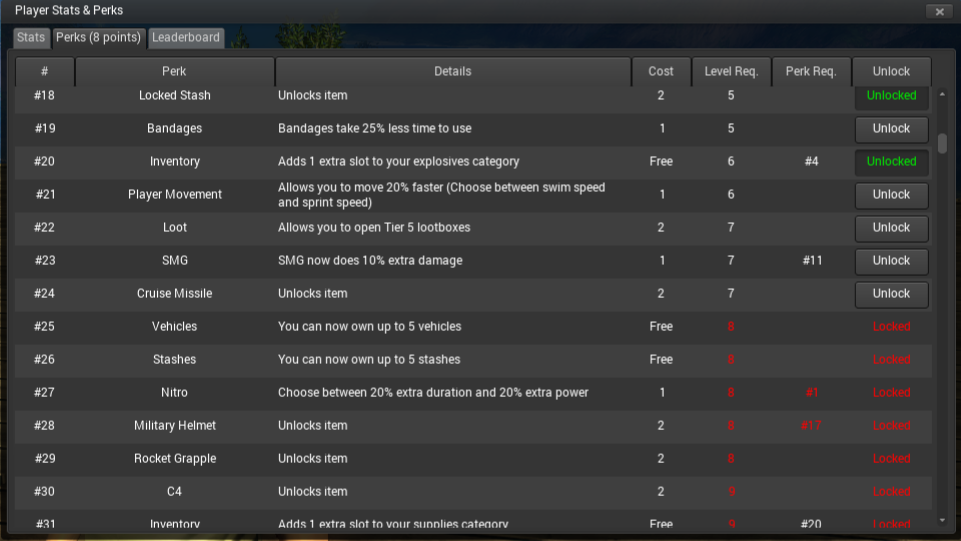
When you level up, you will be awarded 2 perk points. These points can be used in the Perk Menu (F2 by default) to unlock new perks. Some perks allow you to access areas of the map, some allow you to use new items, and some give you extra abilities. From the perk menu, the tab at the top shows you how many perk points you have.
Perks cost different amounts of points to unlock, and some require you to be a certain player level. Some perks also require other perks to be unlocked first, for example you cannot unlock the +100% grapplehook speed boost until you have unlocked the 75% grapplehook speed boost perk.
05 - Safezone
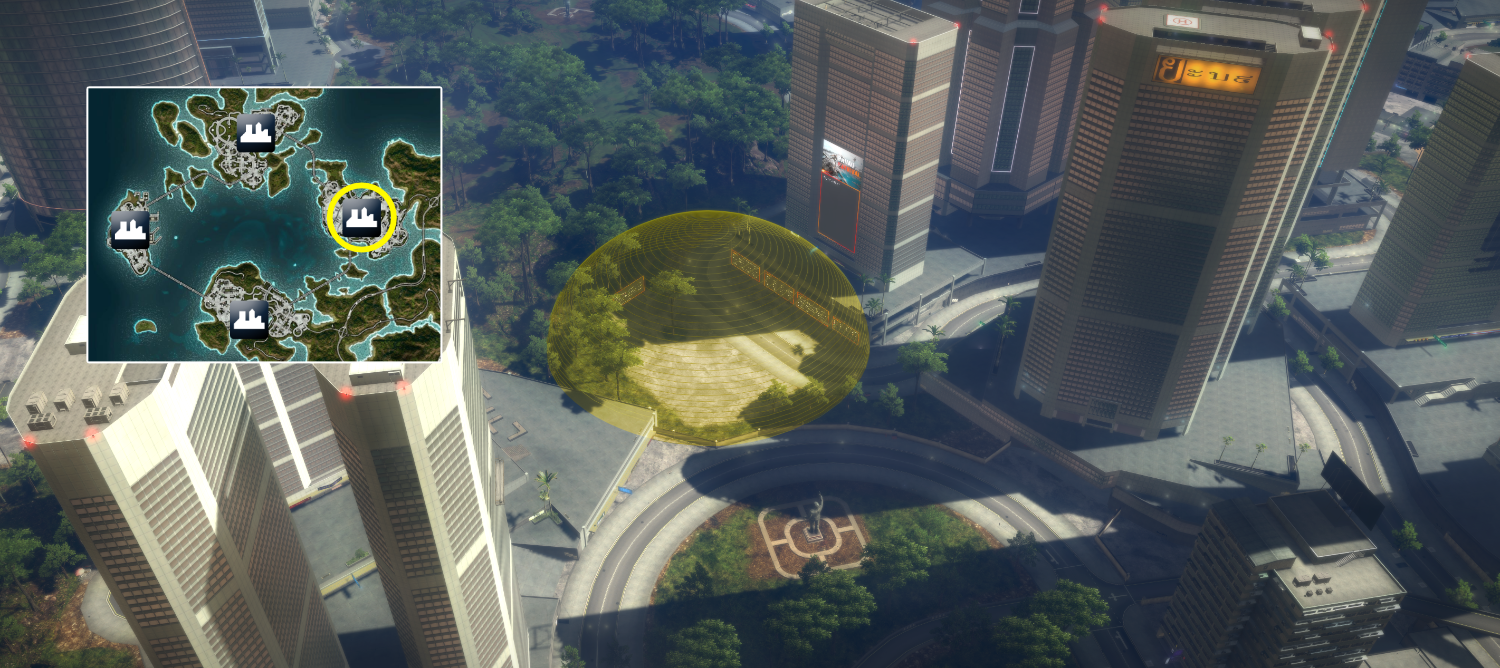
All players start in the safezone - indicated by a yellow dome in the middle of the Financial District. You cannot die in the safezone, even from hunger or thirst. This can be a convenient place to trade with other players.
The safezone also contains helpful tips for new players to get started, server stats, and links to our Discord, GitHub and Patreon pages.
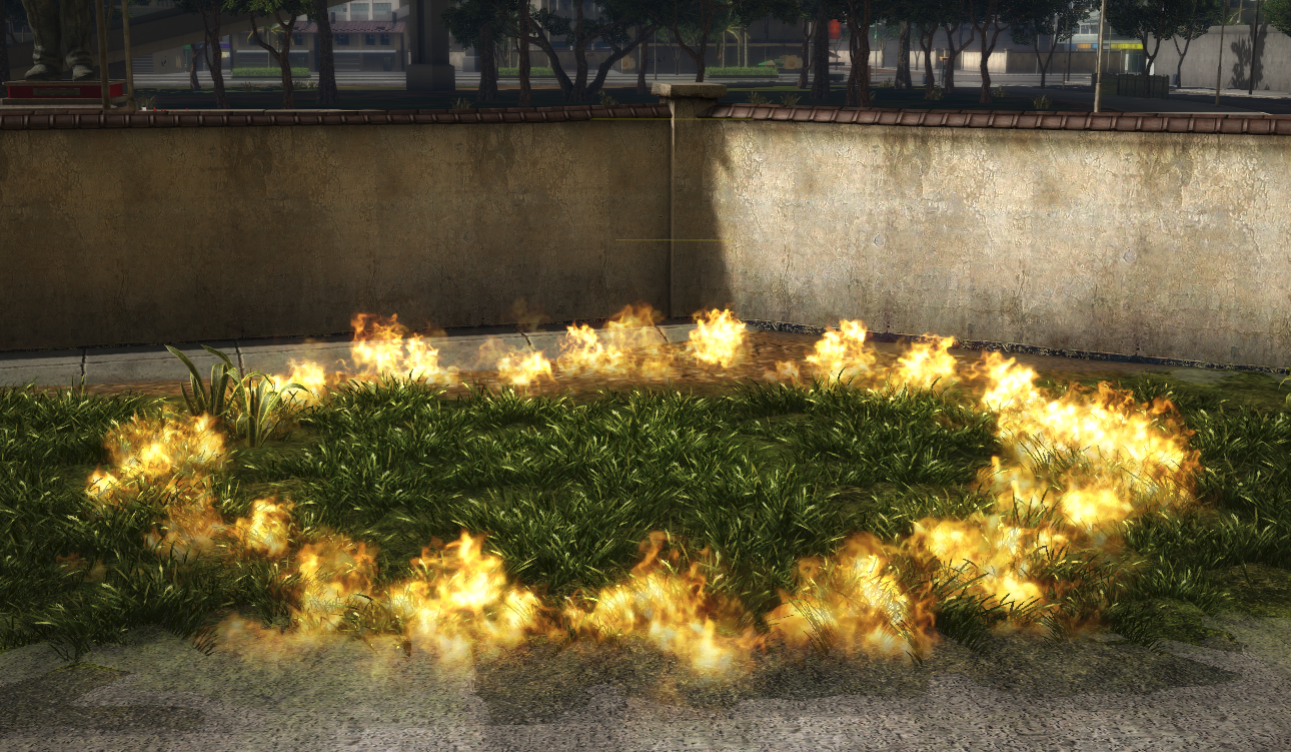
The ring of fire inside the safezone is a model changer that allows you to change the look of your character when you stand inside it. There are 9 model changers in total, 4 of which are located in the capital city. Each model changer has unique list of characters.
06 - Inventory
- Weapons - self-explanatory
- Explosives - includes grenades and airstrikes
- Supplies - includes grapplehooks, parachutes and ammunition
- Survival - includes food/drinks and armour
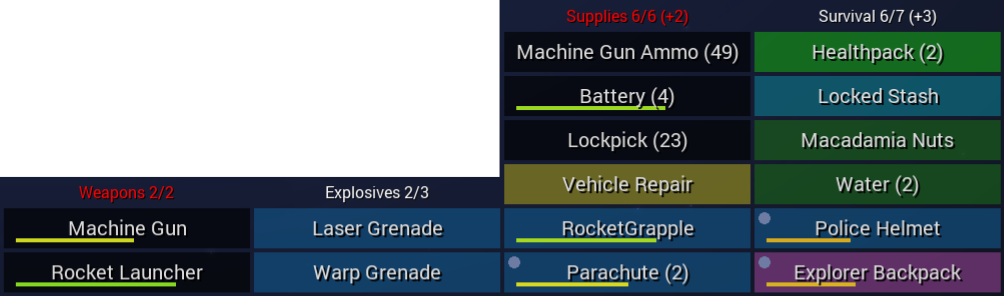


Some items have a limited durability and will eventually be destroyed. For example, grapplehooks will lose health over time as you use them. Similarly, backpacks will lose health if you take damage whilst wearing them. Items with limited durability will have a coloured bar in their inventory slot. This shows you how much health the item has.


Click an item to equip it. You'll see a white dot on the item when it's equipped. Click again to unequip it.


Open your inventory (G by default), and right click the item you want to drop. You'll see it turns red. Release G to close your inventory and your dropped item will be placed into a box on the ground that anyone can pick up. It will despawn after 10 minutes. You can drop multiple items at once by right clicking them.


To drop just part of a stack of items, right click on the stack until it turns red, then scroll up/down to select how many you'd like to drop. Close the inventory and you'll drop the number of items you selected.
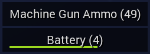
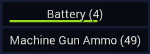
You can organise and move items around your inventory. To do this, drag any slot up or down to swap it with the slot above/below it.
 When you are killed, you will drop a certain number of items depending on your level (see 04 - Experience & Levels). The higher your level, the more items you'll drop upon death. The items you drop are random - it doesn't matter where they are in your inventory. You don't lose any items for using the /suicide command to teleport to your spawn point (safezone by default).
Some items give you extra inventory slots to hold more items. For example, if you equip a Combat Backpack, you will get extra slots for weapons and explosives. If you unequip a backpack whilst you're using the extra slots, you will automatically drop random items until your inventory isn't overflowed. If you die, and the backpack happens to be one of the items you lose, you will also drop the items it contained. Extra slots are always added to the top of the inventory - these are the slots you will lose if you lose your backpack.
07 - Loot
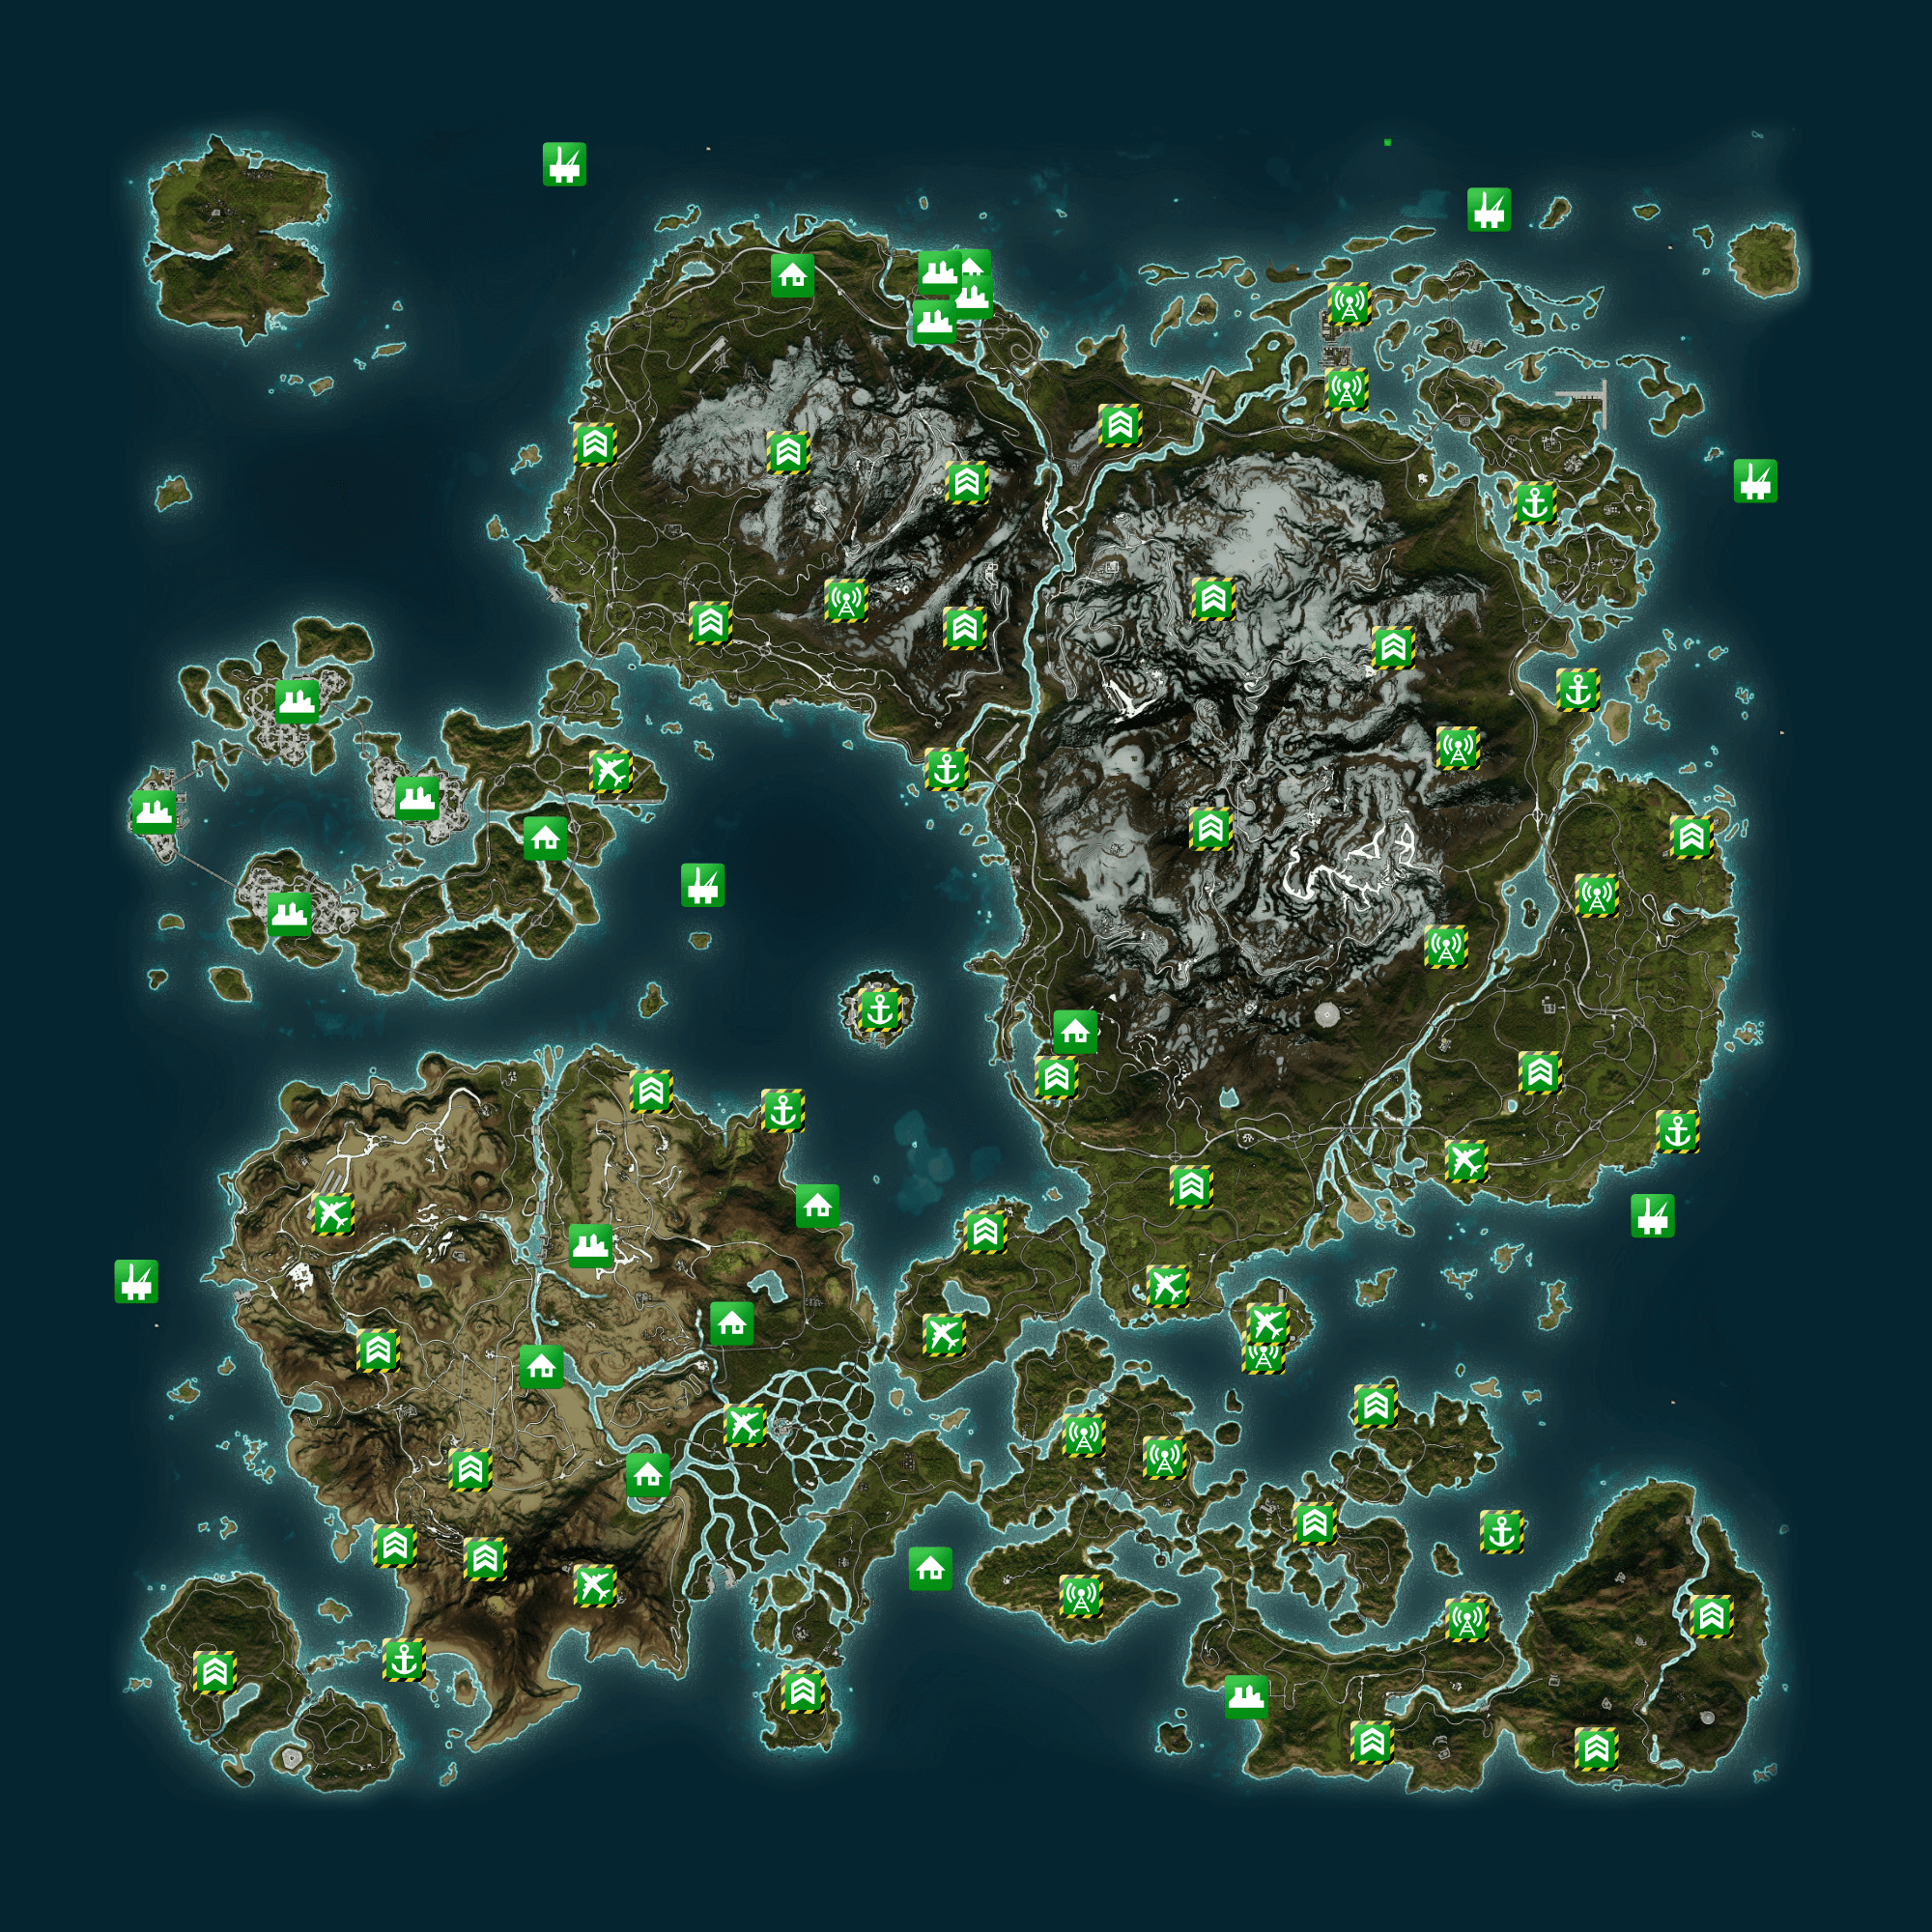
All items on the server, including the grapplehook and parachute, can be found in lootboxes throughout the map. View the map with F1 or check it out below - locations marked in green will contain loot. There are four tiers of lootbox - tier 1 are most common and contain the least valuable loot, and tier 4 lootboxes are rarer and contain much better items.
To open a lootbox, stand near it, aim at it until you see a green circle, then press E.
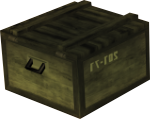 These lootboxes are very common and contain basic items such as food/drink, lockpicks, and grenades.
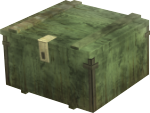 These lootboxes can usually be found near tier 1 loot but they aren't as common. They contain some useful items such as grapplehooks, healthpacks, and stashes (see 12 - Stashes).
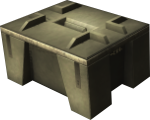 Rarer still, the tier 3 lootboxes are usually found in military bases and are fairly difficult to find. Notable items include armour, backpacks, and claymores. Note: the capital city doesn't contain any tier 3 lootboxes.
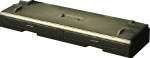 Finally, tier 4 lootboxes are very rare and contain some of the best loot in the server. This includes Parachutes, Hackers, and LandClaims (see 13 - Building). Note: the capital city doesn't contain any tier 4 lootboxes.
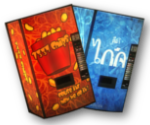
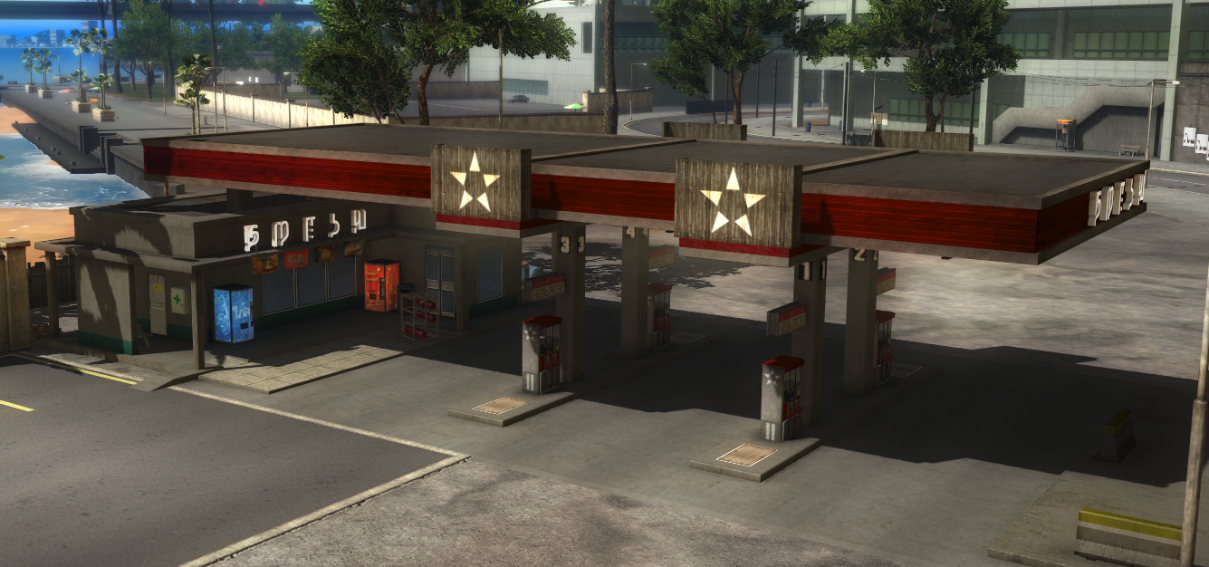
As you play, your food and water levels will drop. If they become low, you will lose the ability to sprint. If either one reaches zero, you will start to lose health. Food and drink items can be found in level 1 lootboxes, but also in vending machines located across Panau, mostly at gas stations.
Orange vending machines contain food items, whereas blue vending machines contain drink items. Open them the same way you would open a lootbox or a stash - approach, aim at it until you see a green circle, then press E. If you don't see a green circle, someone else has emptied that vending machine and it hasn't respawned yet.
08 - Weapons & Armour
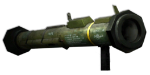
Clip Size: 3
Lootbox Tier: 4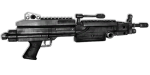
Clip Size: 26
Lootbox Tier: 4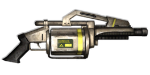
Clip Size: 5
Lootbox Tier: 3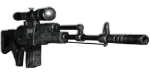
Clip Size: 4
Lootbox Tier: 3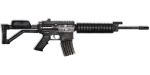
Clip Size: 20
Lootbox Tier: 3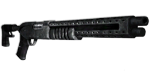
Clip Size: 6
Lootbox Tier: 3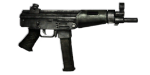
Clip Size: 30
Lootbox Tier: 1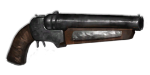
Clip Size: 3
Lootbox Tier: 1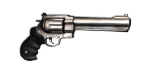
Clip Size: 7
Lootbox Tier: 1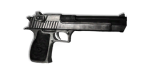
Clip Size: 12
Lootbox Tier: 1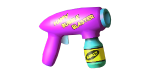
Clip Size: 100
Lootbox Tier: 1


* Backpacks can be upgraded to provide more slots as you level up (see 04 - Experience & Levels).
09 - Equipment & Food/Drink
For base building objects, see 13 - Building.
10 - Friends
You can add any player as a friend by using the Player List (F6 by default).
Click Add Friend next to a player's name to send them a friend request. Their name will turn orange to show that your request has been sent. If they accept your request, their name will turn green.
To remove a friend, find them in the Player List and click Remove Friend next to their name. Similarly, if a player sends you a friend request, you can accept it from the Player List.
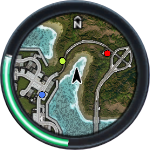 Friends will show up as a coloured dot on the minimap in the upper left corner. You will be able to see their nametag from a distance. This displays their name, health and player level.
11 - Vehicles
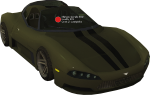 Vehicles can be found all over the map, though they don't spawn in every settlement. By default, these vehicles are locked and you must unlock them with a certain amount of lockpicks (this is the main currency in the server). The vehicle's cost depends upon its rarity and power. Civilian vehicles cost less whilst aircraft and military vehicles cost more.
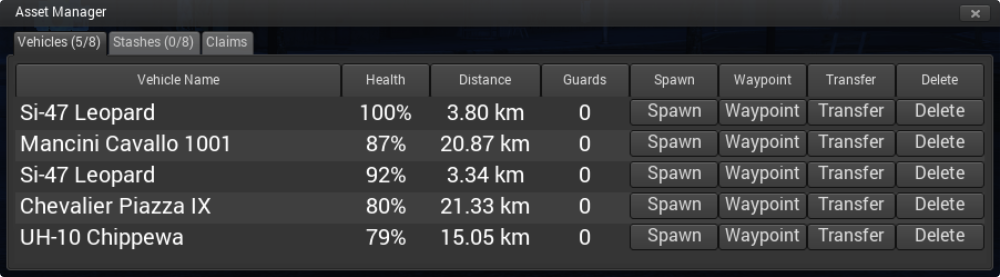
Depending on your level, you can own up to 28 vehicles (see 04 - Experience & Levels). Once you unlock a vehicle, it will show up in the Asset Manager (F7 by default). From here, you can rename them, waypoint them, spawn them, transfer them to another player, control who can enter them, and delete them. Deleting your vehicle will remove your vehicle forever - it doesn't despawn it and it won't return any lockpicks to you.
 Anyone can damage your vehicle, and the Asset Manager will display the percentage health of each of your vehicles. Provided it is not completely destroyed, you can repair it by using a Vehicle Repair item on it. Stand near your vehicle, aim at it, open your inventory and left click on your Vehicle Repair item. The Vehicle Repair will disappear from your inventory and your vehicle will be restored to full health.
You can also repair your vehicle at any Panau gas station. Drive into the station and wait - a message will show you the vehicle health as it slowly increases. You must stay in your vehicle for it to be repaired in this way.
 Whilst the Asset Manager allows you to spawn a vehicle, you cannot despawn it from here. To despawn all your vehicles (so that other players can't damage or steal them) you must log out and wait 5 minutes. When you log back in, you will need to manually spawn your vehicles from the Asset Manager.
 You can use a Vehicle Guard item on your vehicles to protect them from being stolen. If you try to steal a vehicle that has a Vehicle Guard applied to it, you will spend your lockpicks but the vehicle will not become yours. Instead, the Vehicle Guard will be removed from the vehicle and you can try to steal the vehicle again. Note that players can place up to 5 Vehicle Guards on their vehicle, and only the owner can see how many guards they have applied.
12 - Stashes
To store your items long-term, you'll need a stash. There are different types of stashes and these can be placed in the world for you to place your items inside.
Placing your stash inside a glitched location will constitute cheating. Your stash will be deleted, you will lose your items and you may also be banned.
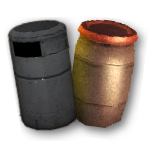
Garbage Stash and Barrel Stash items are more common and can be opened by anyone. Barrel Stashes have 10 item slots and Garbage Stashes have 12 item slots.
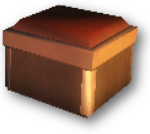
Locked Stash items are rarer but they can be locked and you can control who can open these stashes - everyone, only your friends, or only you. They have 12 item slots.
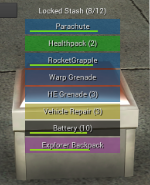 Open these stashes the same way you would open a lootbox - stand near it, aim at it until you see a green circle, then press E.
To put items in your stash, open your stash and then drop items from your inventory (see 06 - Inventory). Any items you drop whilst your stash is open will be transferred to your stash if there's room.
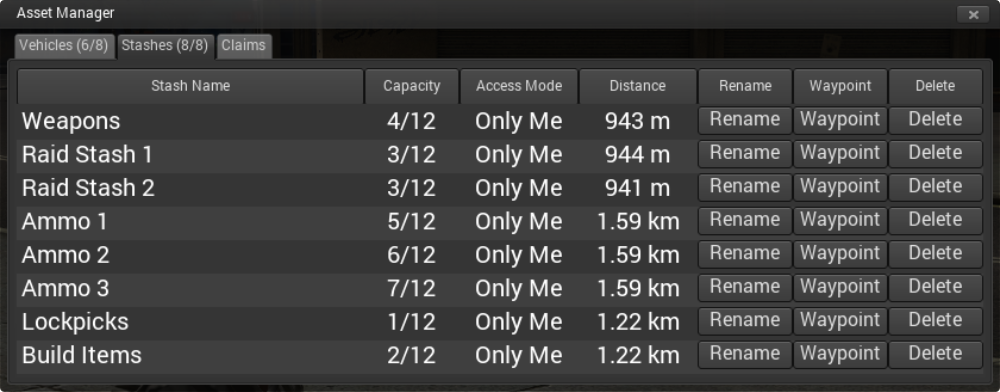
Depending on your level, you can own up to 28 stashes (see 04 - Experience & Levels). Once you place a stash, it will show up in the Asset Manager (F7 by default). From here, you can rename it, waypoint it, delete it, control who can open it, and transfer ownership to another player. Deleting your stash will also delete its contents.
13 - Building
You can build your own bases across the map. This can be a useful way to store your vehicles (see 11 - Vehicles), store your items (see 12 - Stashes), and change your respawn point.
To get started, you need an item called a LandClaim. LandClaims can be between 20m and 200m, with the largest claims being the rarest. They are single-use items that allow you to claim ownership over a piece of land on the map - you can then build inside this area. Some areas of the map are locked so you cannot use a LandClaim there.
- If you have a 100m claim and you extend it with a 50m claim, it will be extended by 15 days.
- If you have a 50m claim and you extend it with a 100m claim, it will be extended by 60 days.
Friends won't be able to edit/remove your build items - only the items that they place. As the owner of the LandClaim, you can edit and remove any build item inside your claim, even if your friend placed it.
- Wall
- Door
- Helipad
- Bed
- Light
- Sign
- A Taxi Driver's Guide To Just Cause 2 Multiplayer.★ 4 (156)9.3k views92 ♥4 minUpdated Mar 21, 2024
- Все достижения Just Cause 2: Multiplayer Mod★ 5 (322)8.6k views221 ♥2 minRussianUpdated Mar 23, 2023
- Создание официального сервера★ 4 (143)7.1k views158 ♥3 minRussianUpdated Jan 1, 2021
- Achievement guide (0.2)★ 5 (201)6.3k views158 ♥5 minUpdated Nov 12, 2015
- Что делать в Just Cause 2: Multiplayer Mod★ 3 (28)3.3k views14 ♥1 minRussian
- Uncle Denis Wants YOU!!★ 3 (38)2.6k views13 ♥1 minUpdated Dec 18, 2014



- Upgrading to PremiumTeam Fortress 2★ 5 (20k)1441k views11k ♥6 minUpdated May 11, 2022
- No More Room in Hell Official ManualNo More Room in Hell★ 5 (2.8k)569k views2.1k ♥29 minUpdated Apr 22, 2019
- NMRiH Community Hosting GuidesNo More Room in Hell★ 5 (526)351k views653 ♥1 minUpdated Aug 10, 2022
- ULTIMATE GUIDE FOR GAME DEV TYCOONGame Dev Tycoon★ 5 (5.8k)326k views10k ♥4 minUpdated 23 Jan, 2014
- How to 'Git Gud' Soon™MORDHAU★ 5 (2k)318k views3k ♥68 minUpdated Nov 16, 2024
- Лучшие кооперативные игры SteamPAYDAY 2★ 5 (1.5k)315k views2.1k ♥56 minRussianUpdated Apr 27, 2025






This guide was created by its original author on the Steam Community. Are you the author and want it removed? Request removal.