Rimlighting made easy
Adding the Light
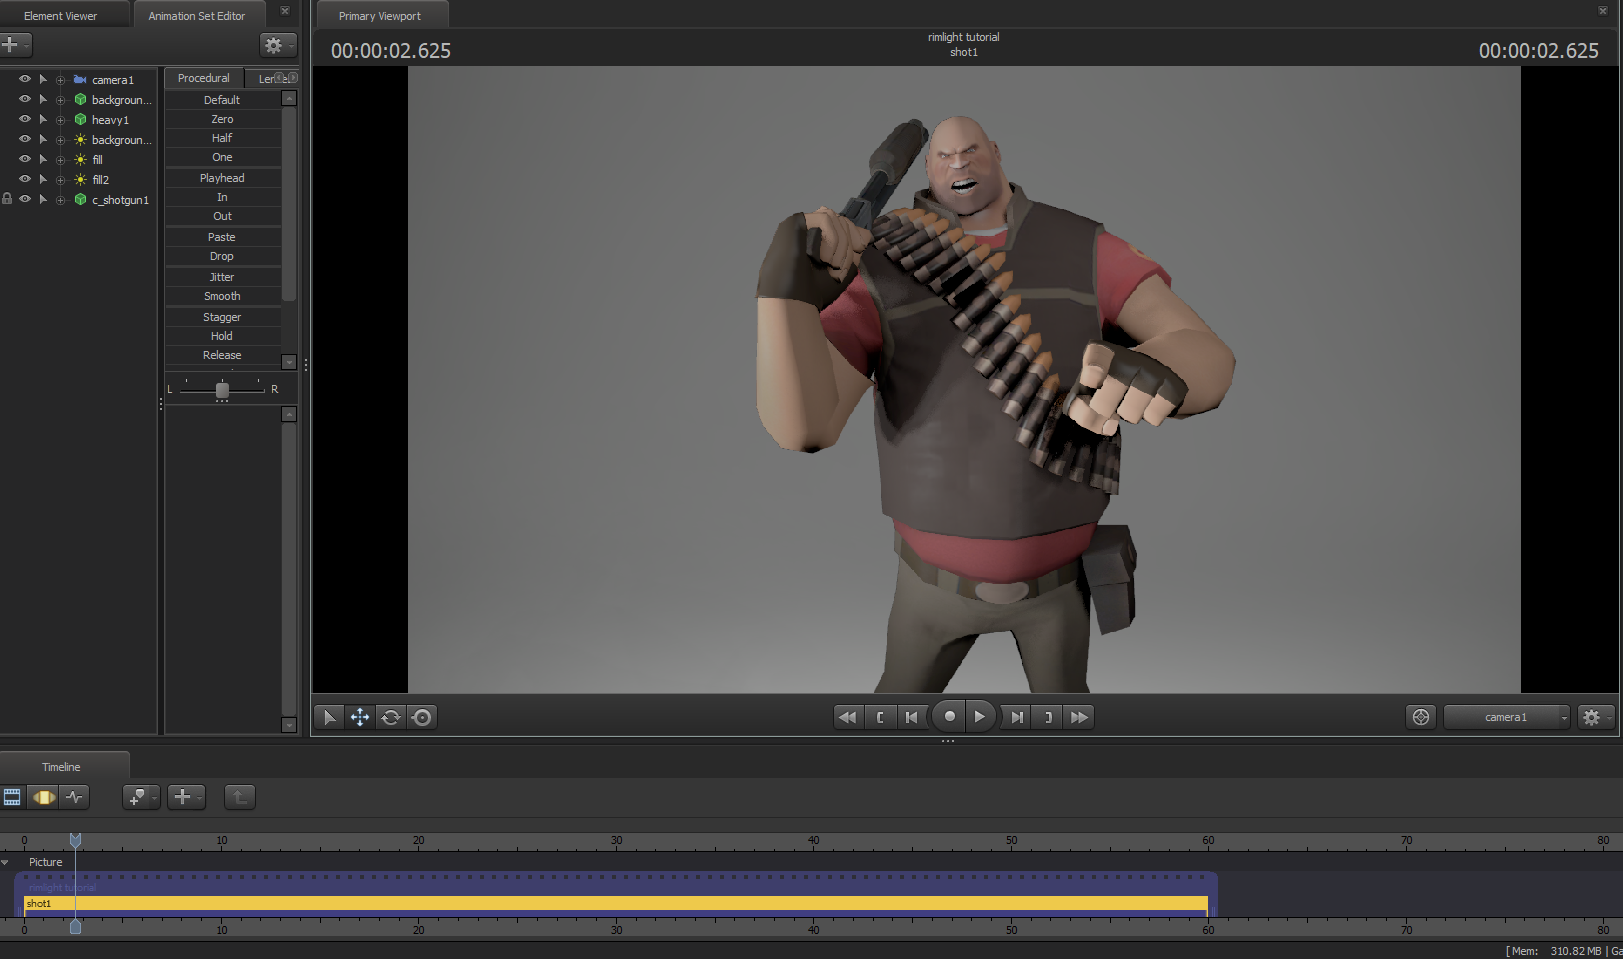 First off is the scene without any rimlights. It looks somewhat bland because rimlights stand out more. Now add a light that covers the character good.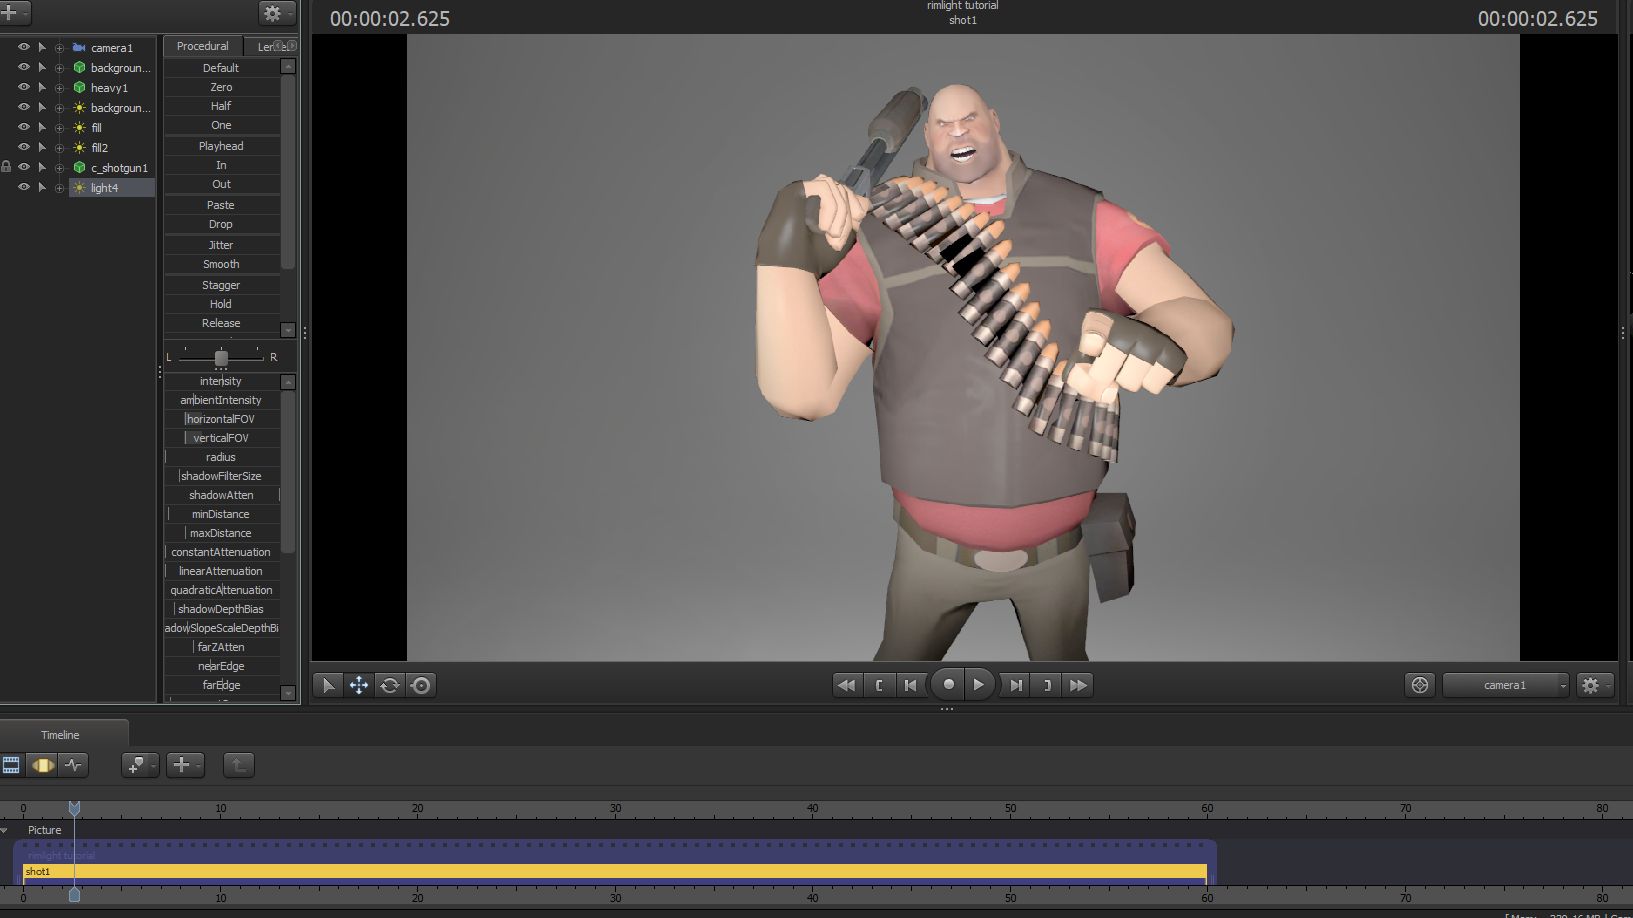
The Settings
Go over to the settings for the light. In it you will find the slider titled "shadowDepthBias", right click on it and press "Remap Slider Range".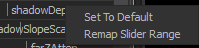
When it opens, edit the minumum amount to be -0.01 and hit ok.
Then copy my settings to make it turn into a rimlight.
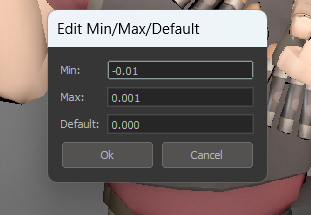
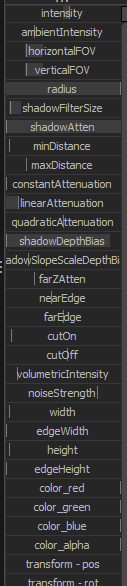
When it opens, edit the minumum amount to be -0.01 and hit ok.
Then copy my settings to make it turn into a rimlight.
Examples
This is the final version of the heavy rimlighting, as you can see it stands out and covers the area well.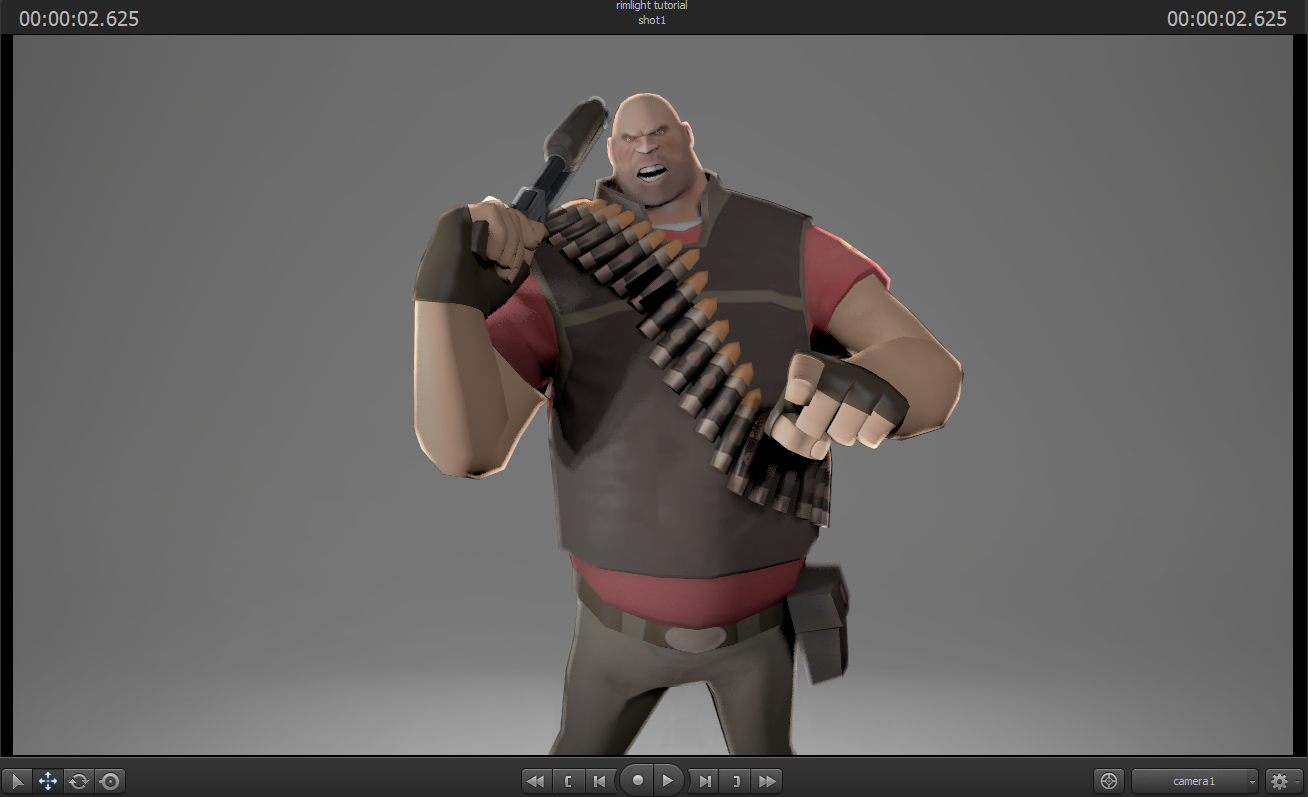
This is an example of good rimlighting:
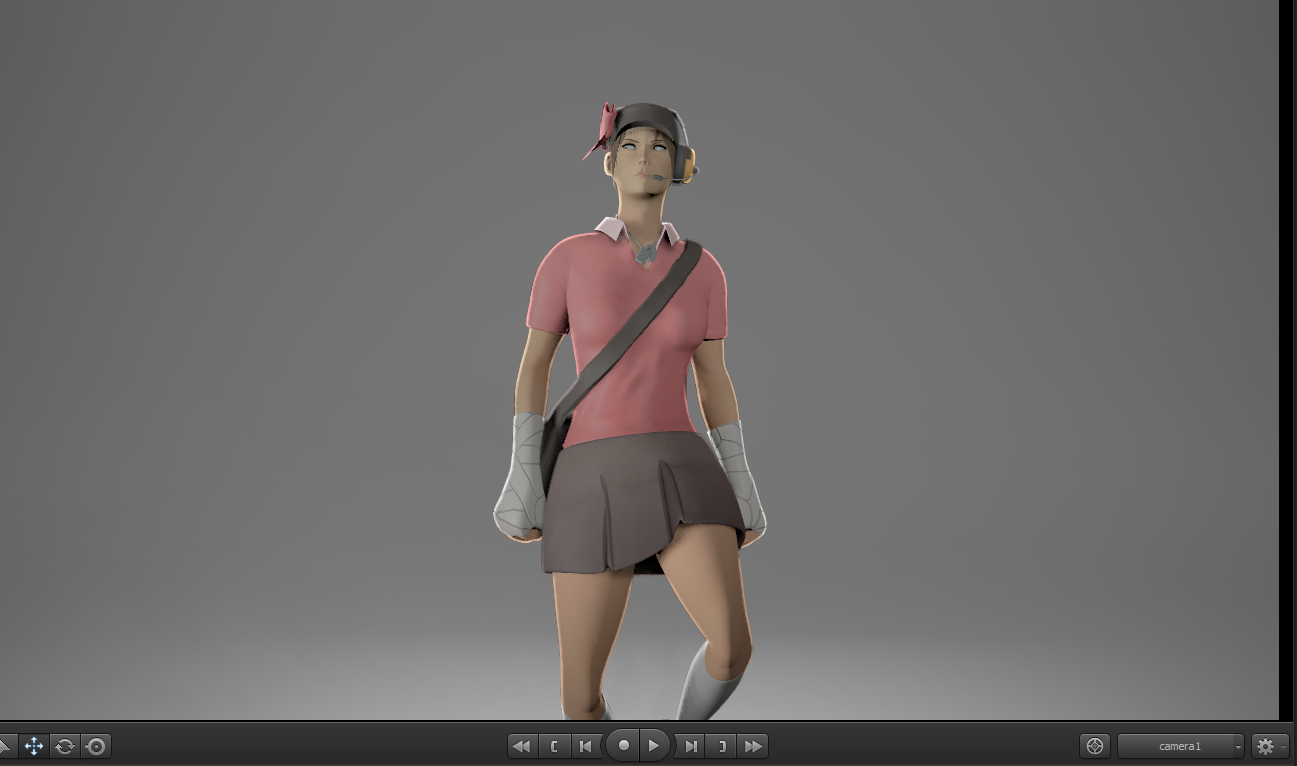 This is an example of bad rimlighting:
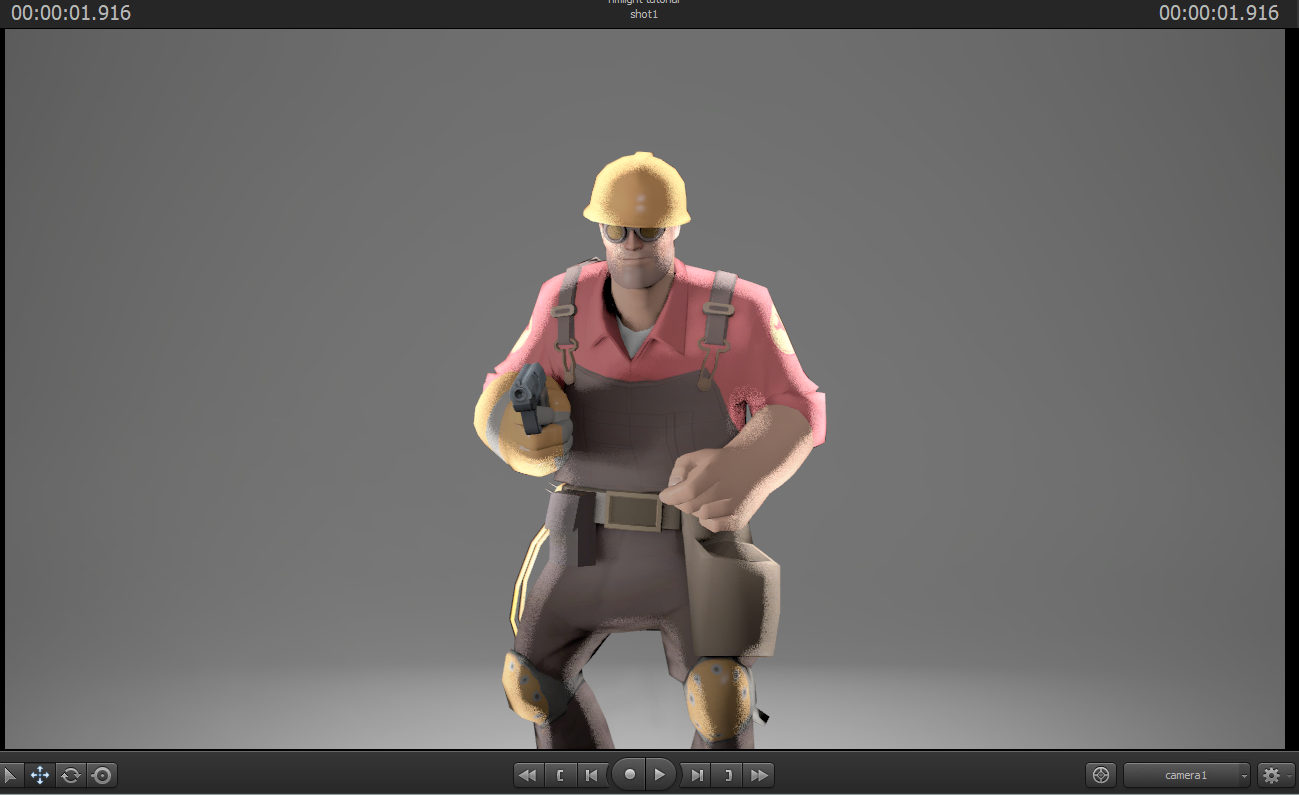
This is an example of good rimlighting:
This is an example of bad rimlighting:
Problems
In this example you can see that the rimlight is highlighting the entire area, and we dont want that.
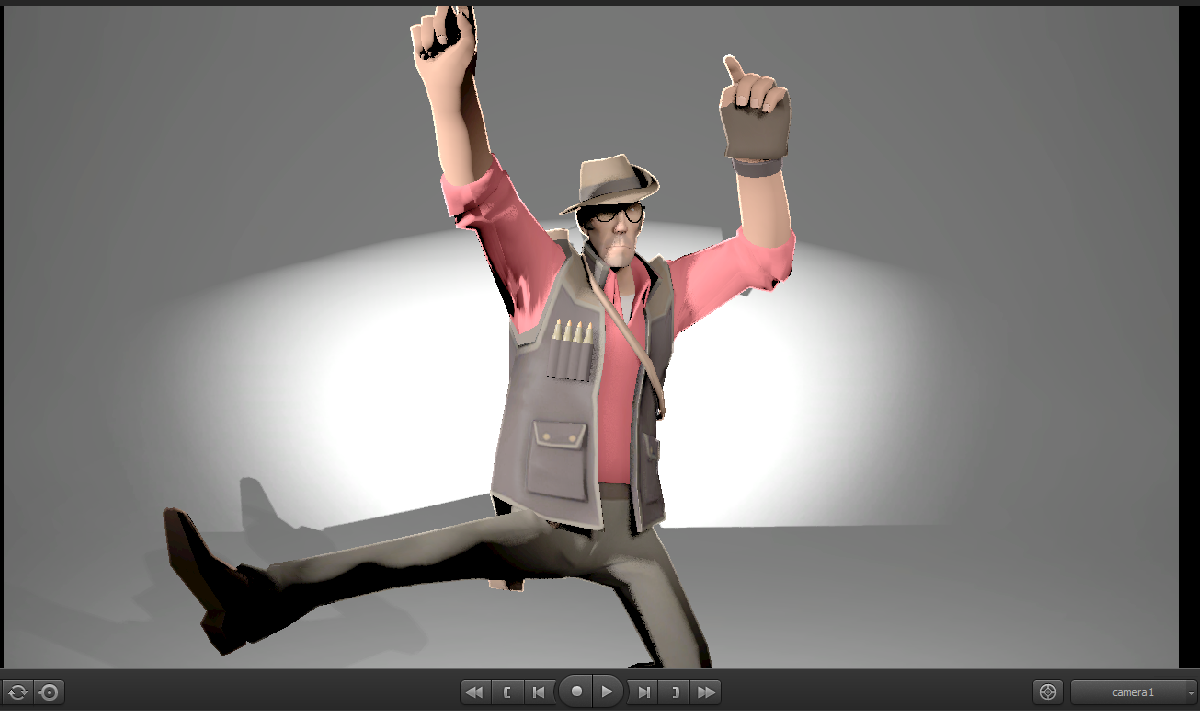 To fix this, move the light farther away from the scene until it covers only the character.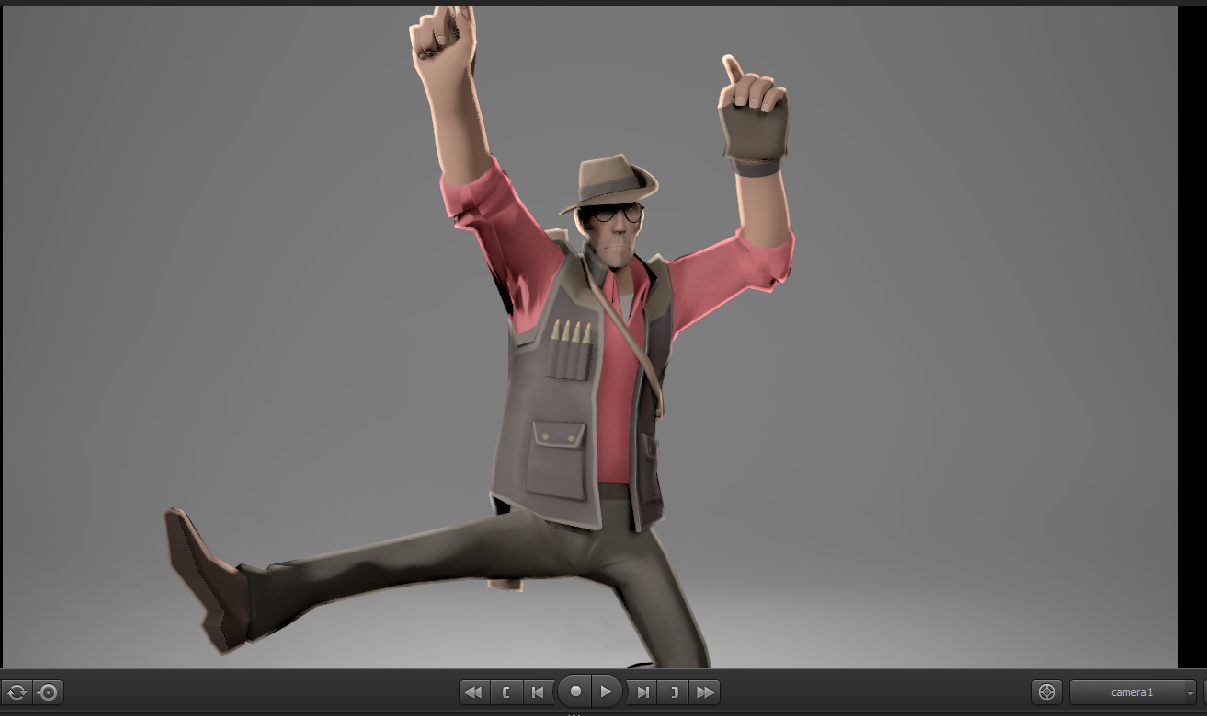
To fix this, move the light farther away from the scene until it covers only the character.
Conclusion
As always you should customize your settings to fit the scene you are creating. If you want really bright lights then edit it more. If you want the light to cover the whole area, increase the fov. Ultimately, it is up to you how you want to use this tip. If there are any issues or questions, leave them below and I will try to answer them if I can. Thanks for reading this guide!
More Source Filmmaker guides
- Changing Textures Using Material Overrides★ 5 (1.4k)41k views2.7k ♥5 minUpdated Jul 26, 2014
- The Fundamentals of SFM: For Beginners★ 5 (1.3k)25k views3.3k ♥55 minUpdated Apr 29
- Ваш первый постер★ 5 (1.1k)22k views2k ♥5 minRussianUpdated Oct 22, 2024
- Getting Gmod Workshop stuff too SFM★ 5 (509)15k views1.3k ♥1 minBulgarianUpdated Aug 4, 2015
- Улучшение качества постера в SFM★ 5 (973)14k views2.1k ♥12 minRussianUpdated Jan 17, 2020
- How to Light Characters from the Ground Up (or something)★ 5 (1.1k)12k views2.4k ♥23 minUpdated Mar 21, 2019





This guide was created by its original author on the Steam Community. Are you the author and want it removed? Request removal.