Rio De Janeiro Remastered Comprehensive Guide (wip)
BOOKS
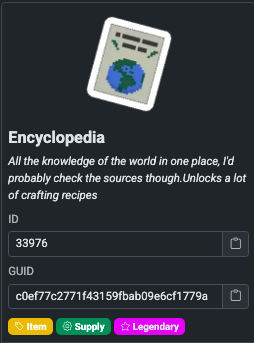 Every curated map has some set of gimmicks that notablely changes the normal Unturned gameplay that they highlight as the main defining feature(s) of that map. Books are one of the main gimmicks of this map. In order to unlock all the crafting recipes (except for Blueprint recipes, see the Blueprint section), you need to have the Encyclopedia. You wanna build a base? Encyclopedia. You want to craft meds? Encyclopedia. You want to make an industrial gas can? You get the point.
ENCYCLOPEDIA RECIPE:
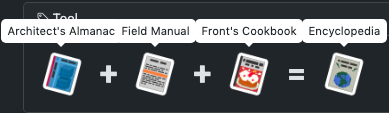
You need 3 parts for the encyclopedia recipe. How do you get each piece?
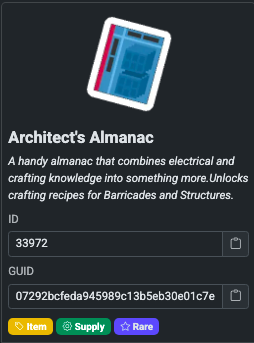
The Architect's Almanac is created using 2 sub-books
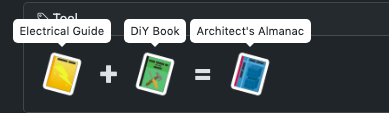
The Electrical Guide is uncraftable. To obtain it, search these loot tables:

To obtain the DiY Book, craft using this recipe:
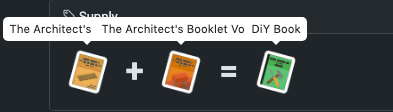
or search these loot tables:

(Note: any combination of Architect Booklet Volumes will yield a DiY book)
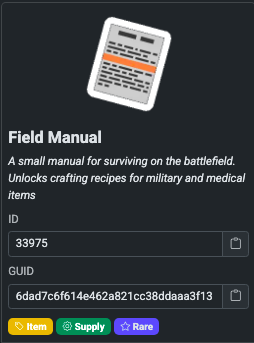
The Field Manual is created using 2 sub-books OR by finding it in an airdrop
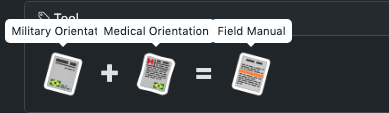
The Military Orientation is uncraftable. To obtain it, search these loot tables:

The Medical Orientation is uncraftable. To obtain it, search these loot tables:

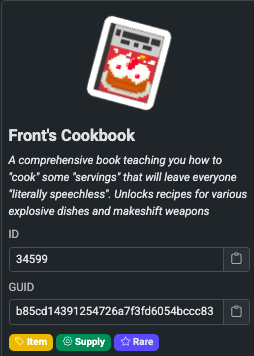
The Front's Cookbook is created using 2 sub-books
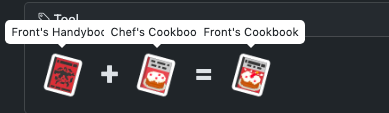
The Front's Handybook is uncraftable. To obtain it, search these loot tables:

To obtain the Chef's Cookbook, craft using this recipe:
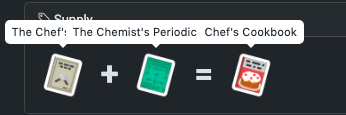
or search these loot tables:

Note: sub-books like the Architect's Booklet, Chef's Cookbook, and the Chemist's Periodic can all be found at News Stands, with the exception of the Chemist's Periodic, which can spawn in News Stands as well as medical areas (Hospitals, Pharmacies)
[INCOMPLETE] SAFEZONE / TRADING
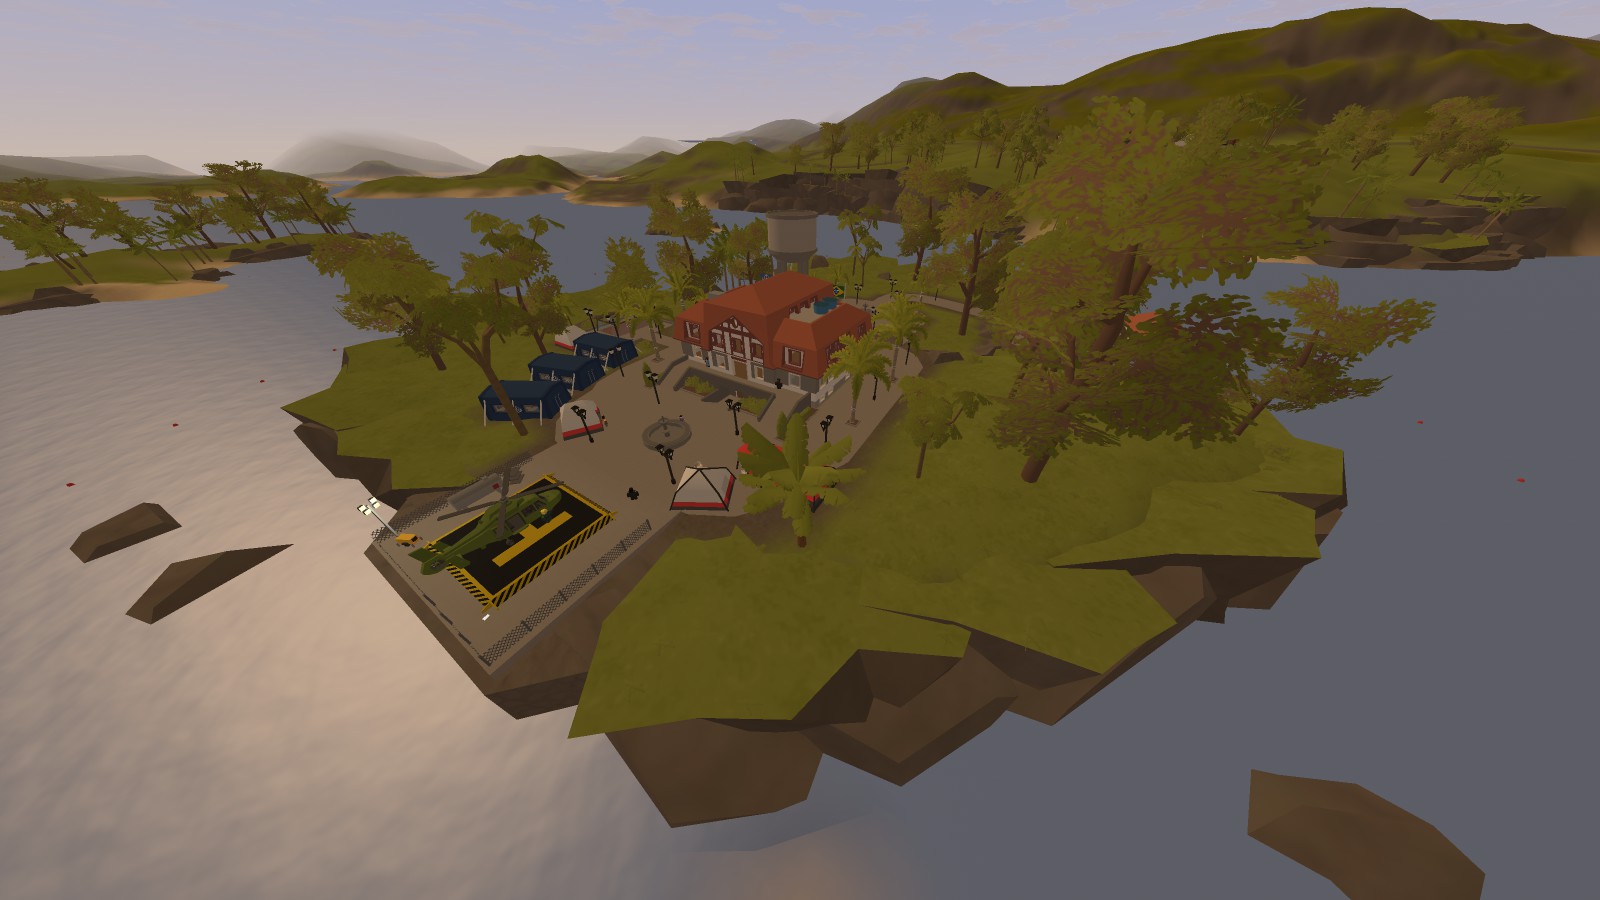
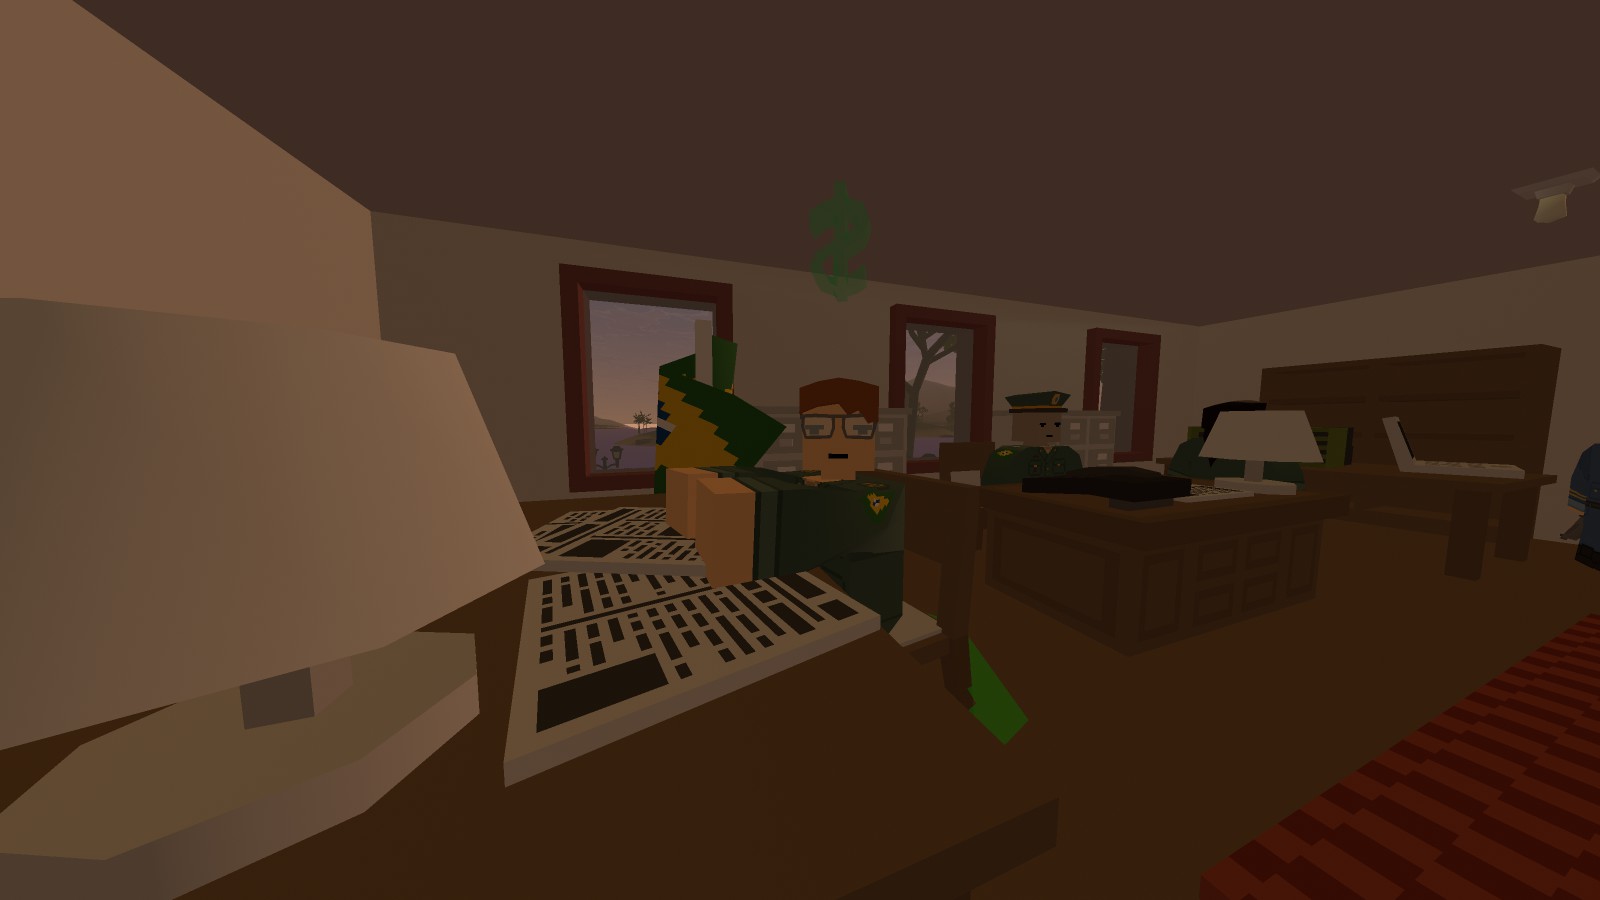
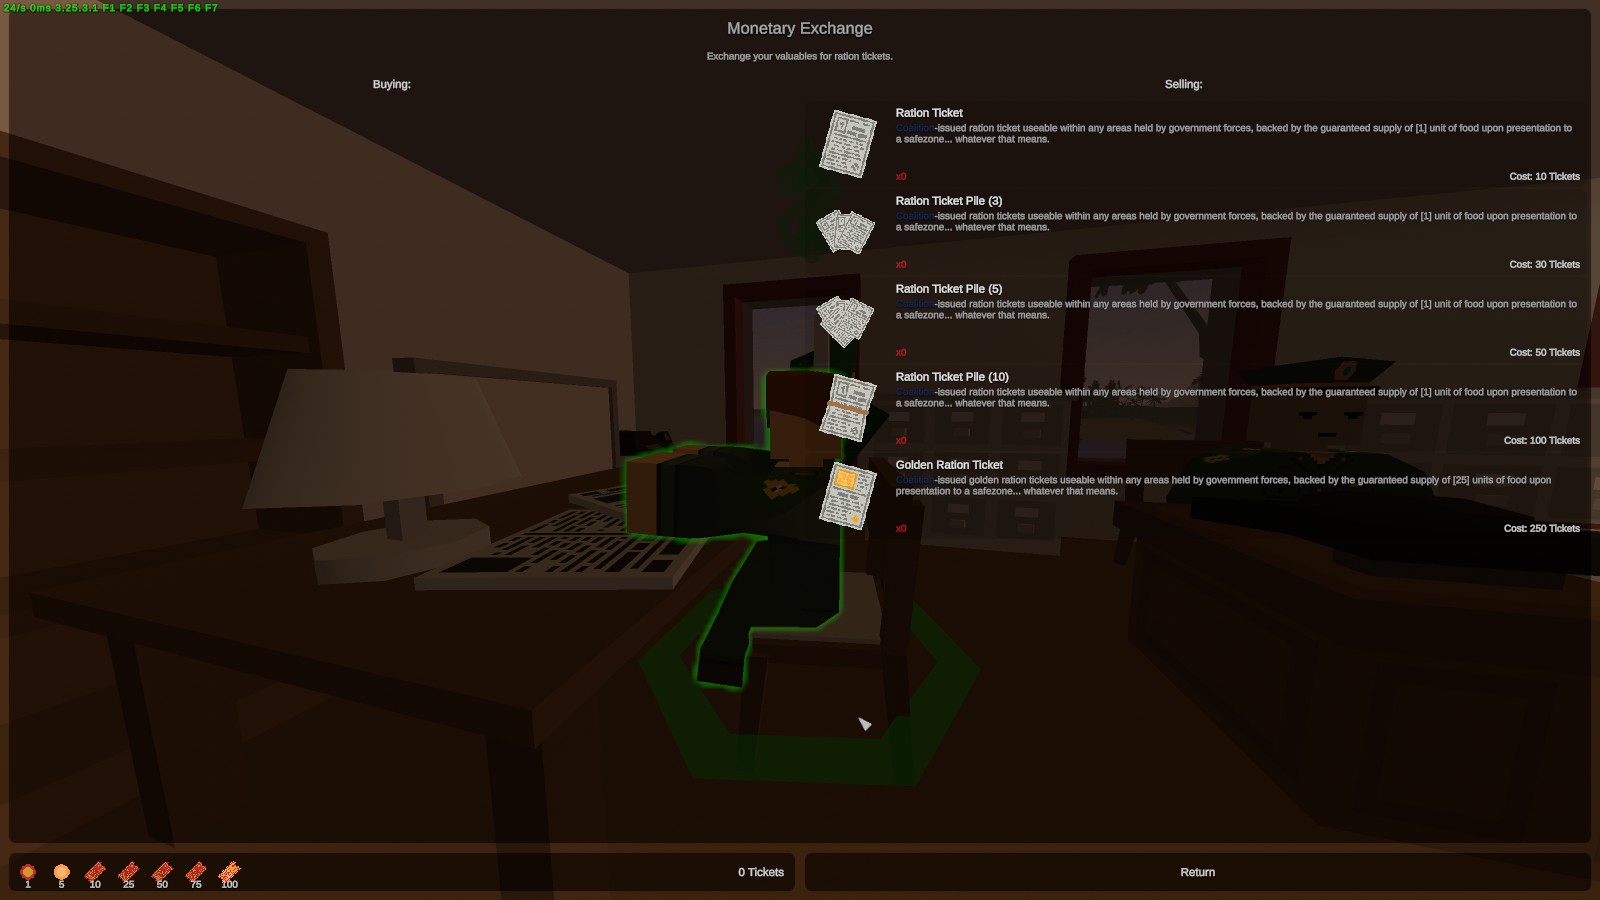
Accountant guy, converts coupons to tickets and vice versa. Will also convert BRL$ to usable currency. Name
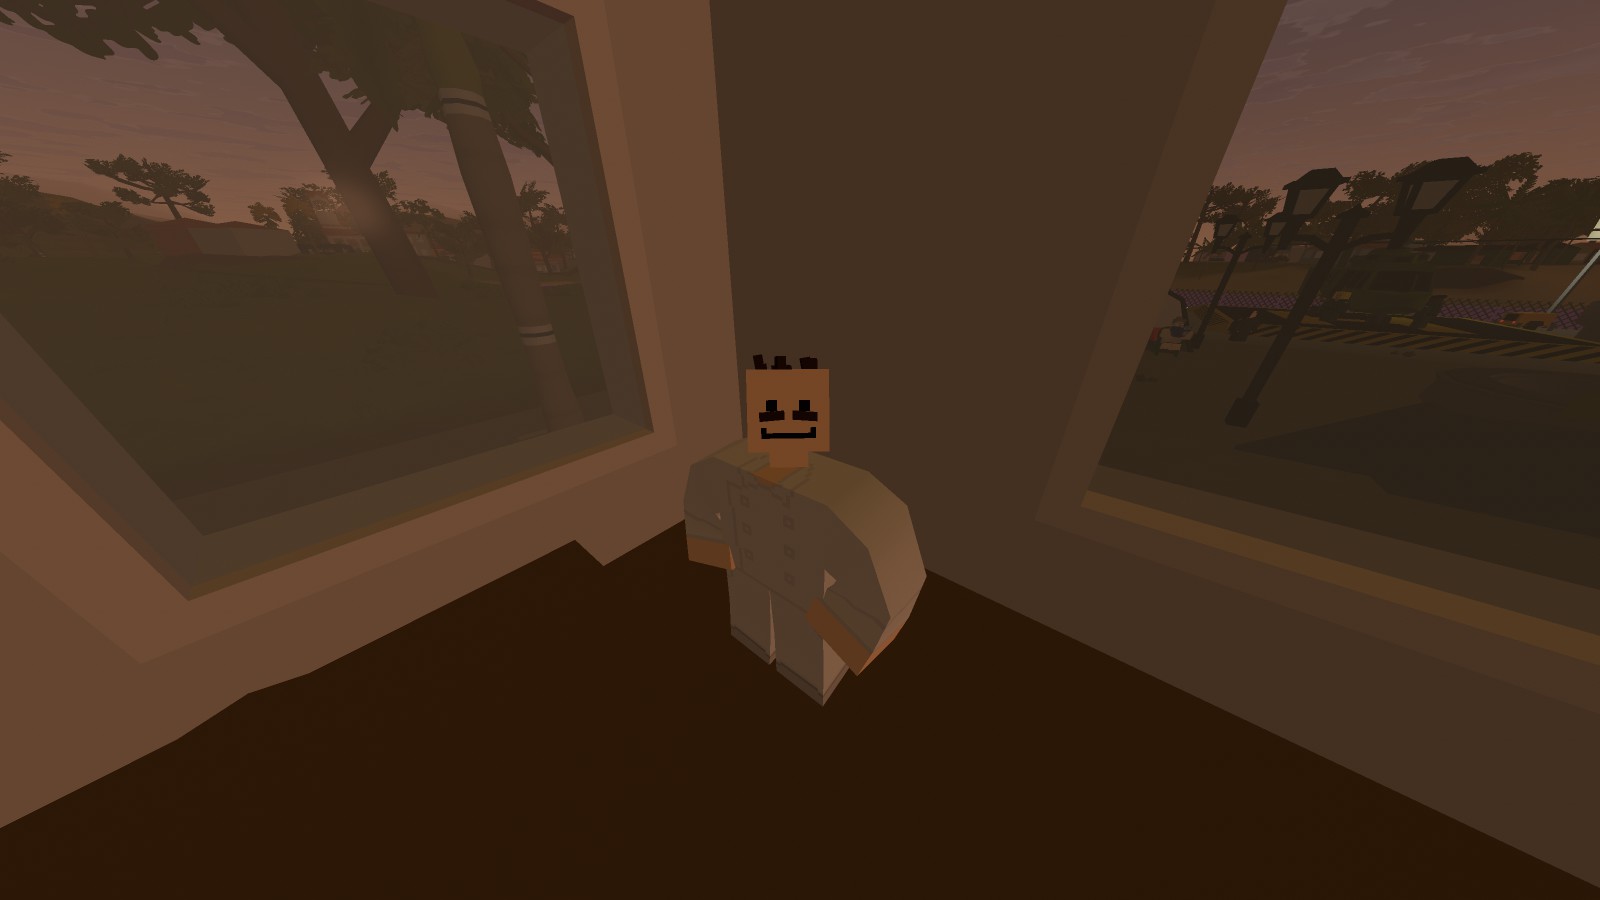 img
img
desc
Name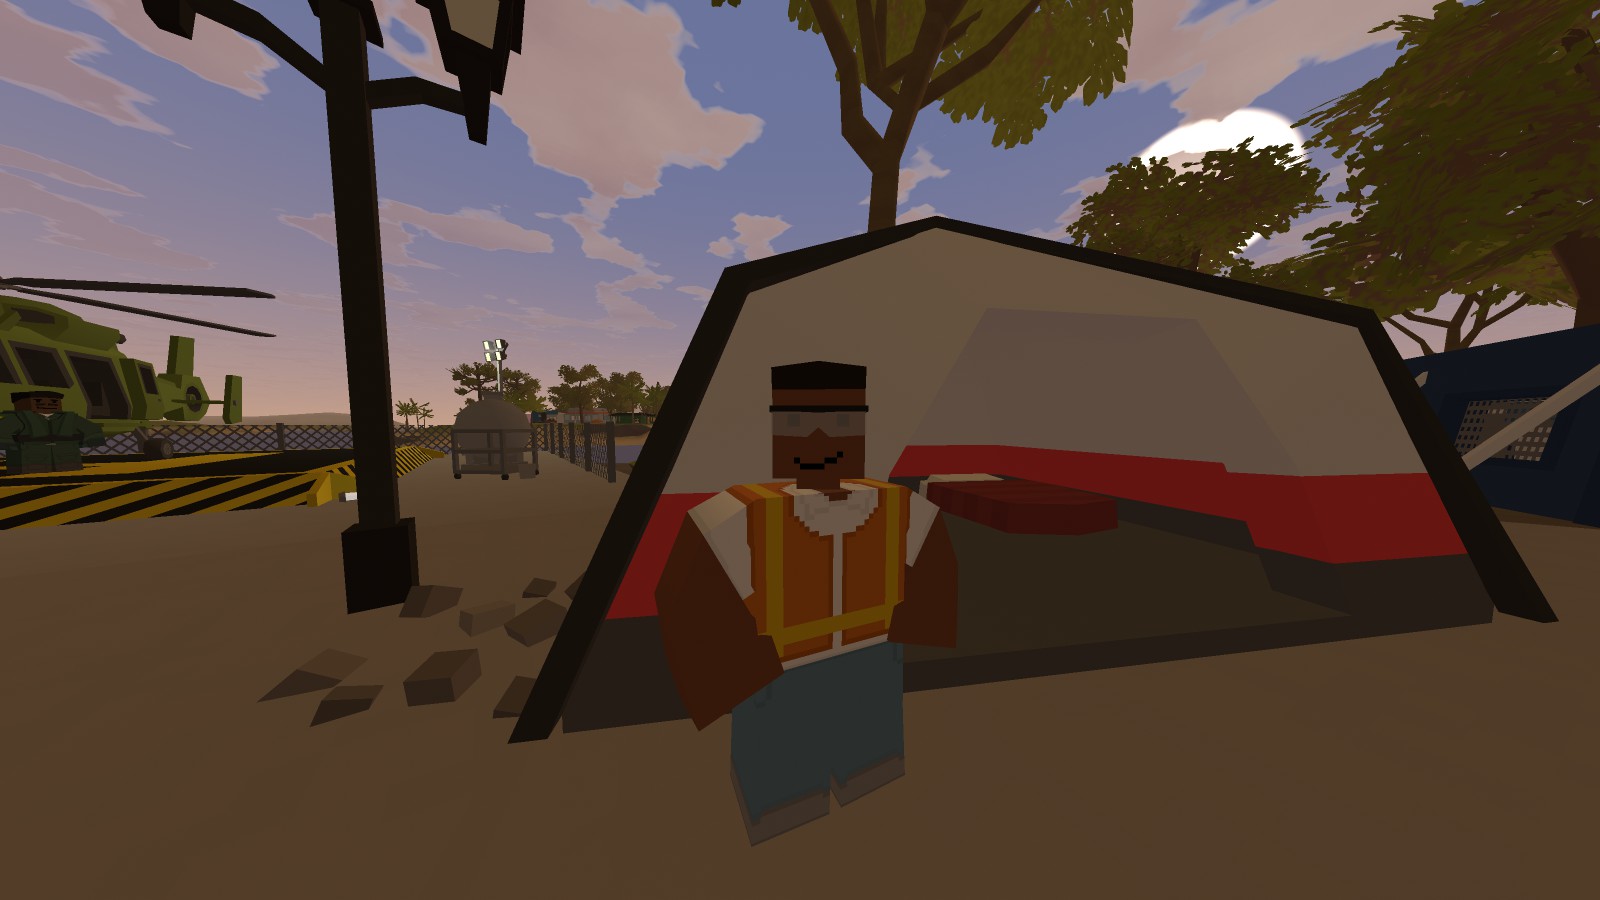 img
img
desc
Name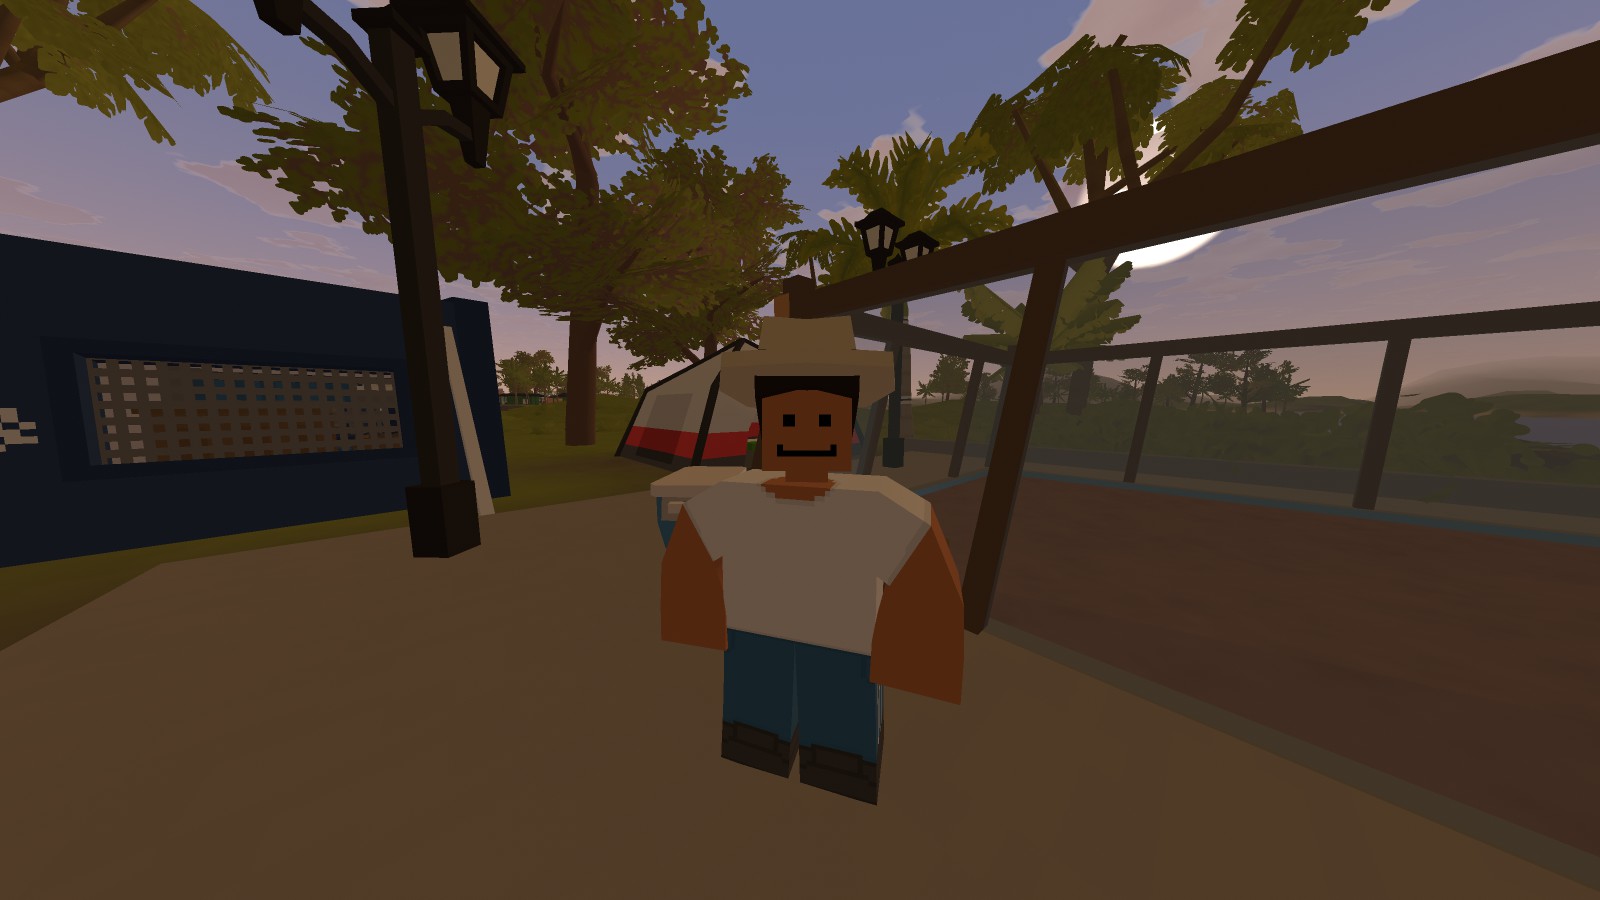 img
img
desc
Name img
img
desc
Name img
img
desc
Name
img
img
desc
Name
img
img
desc
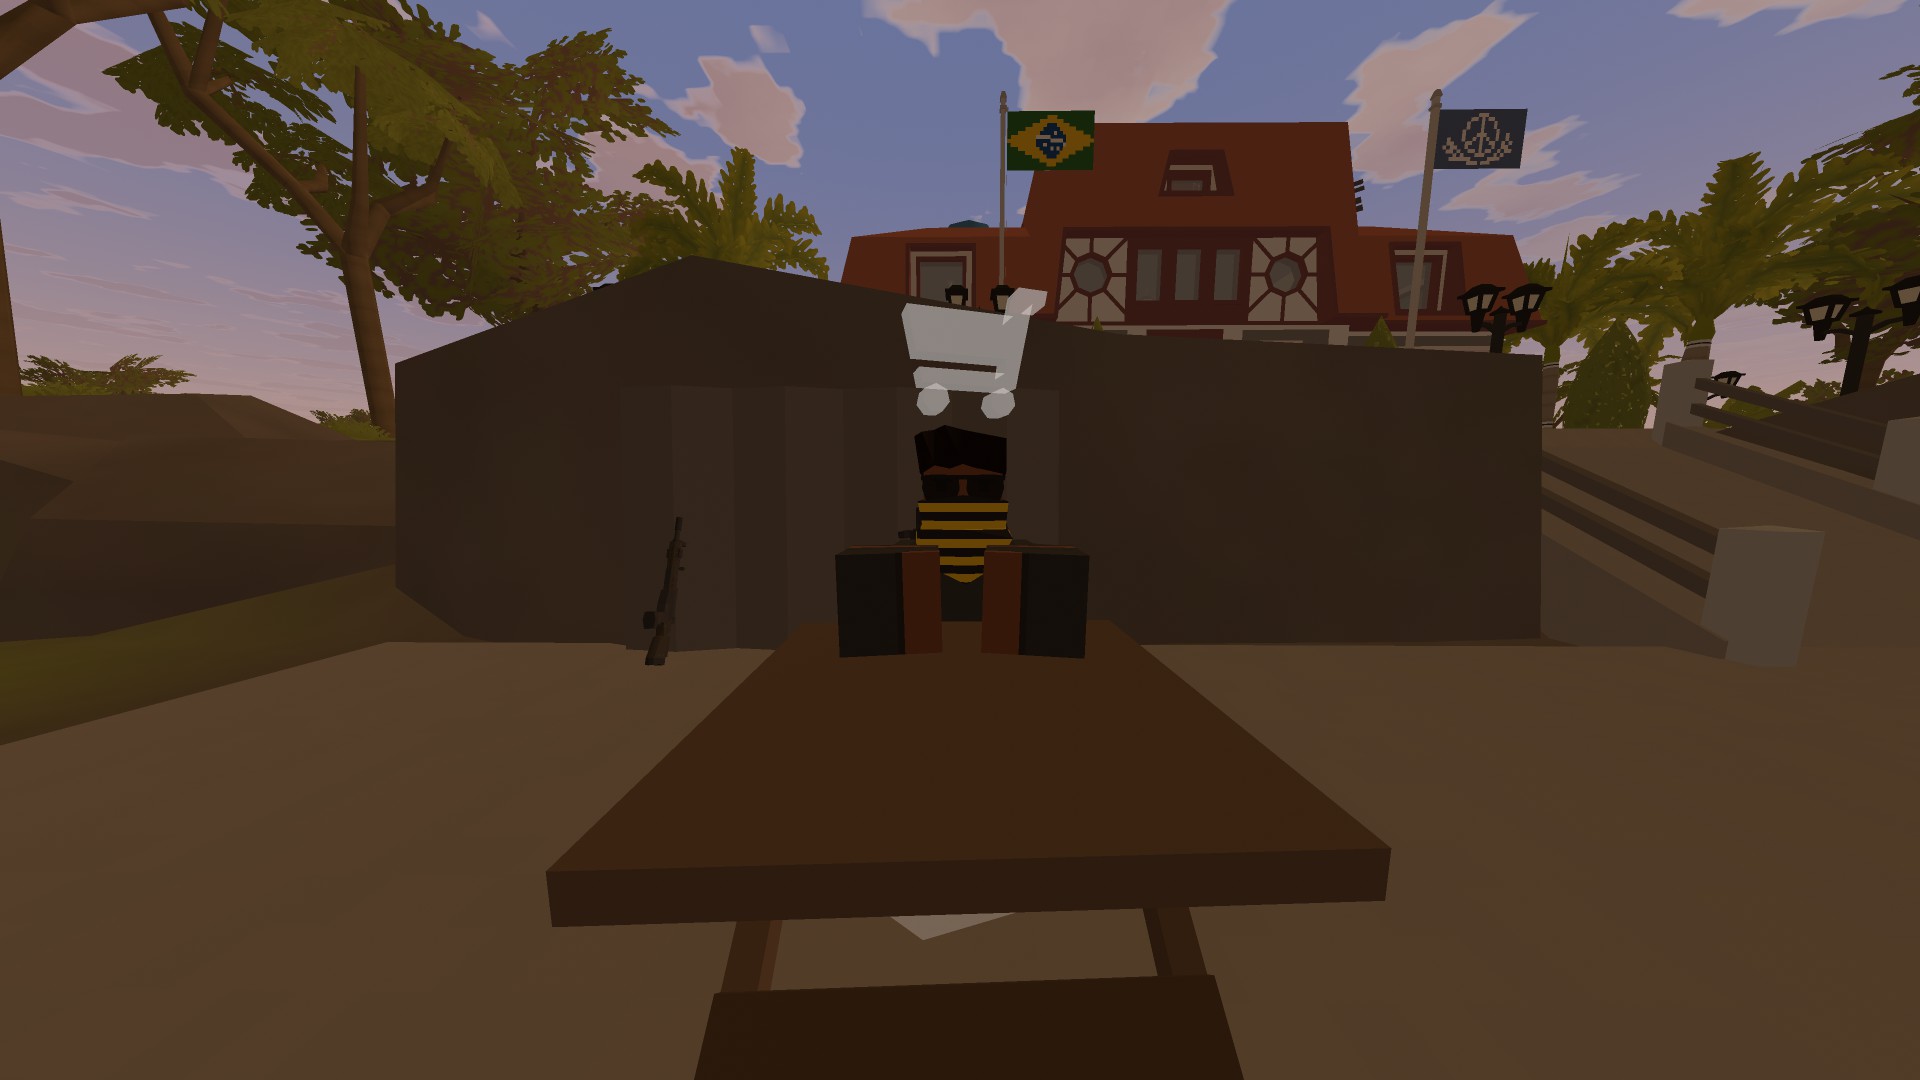
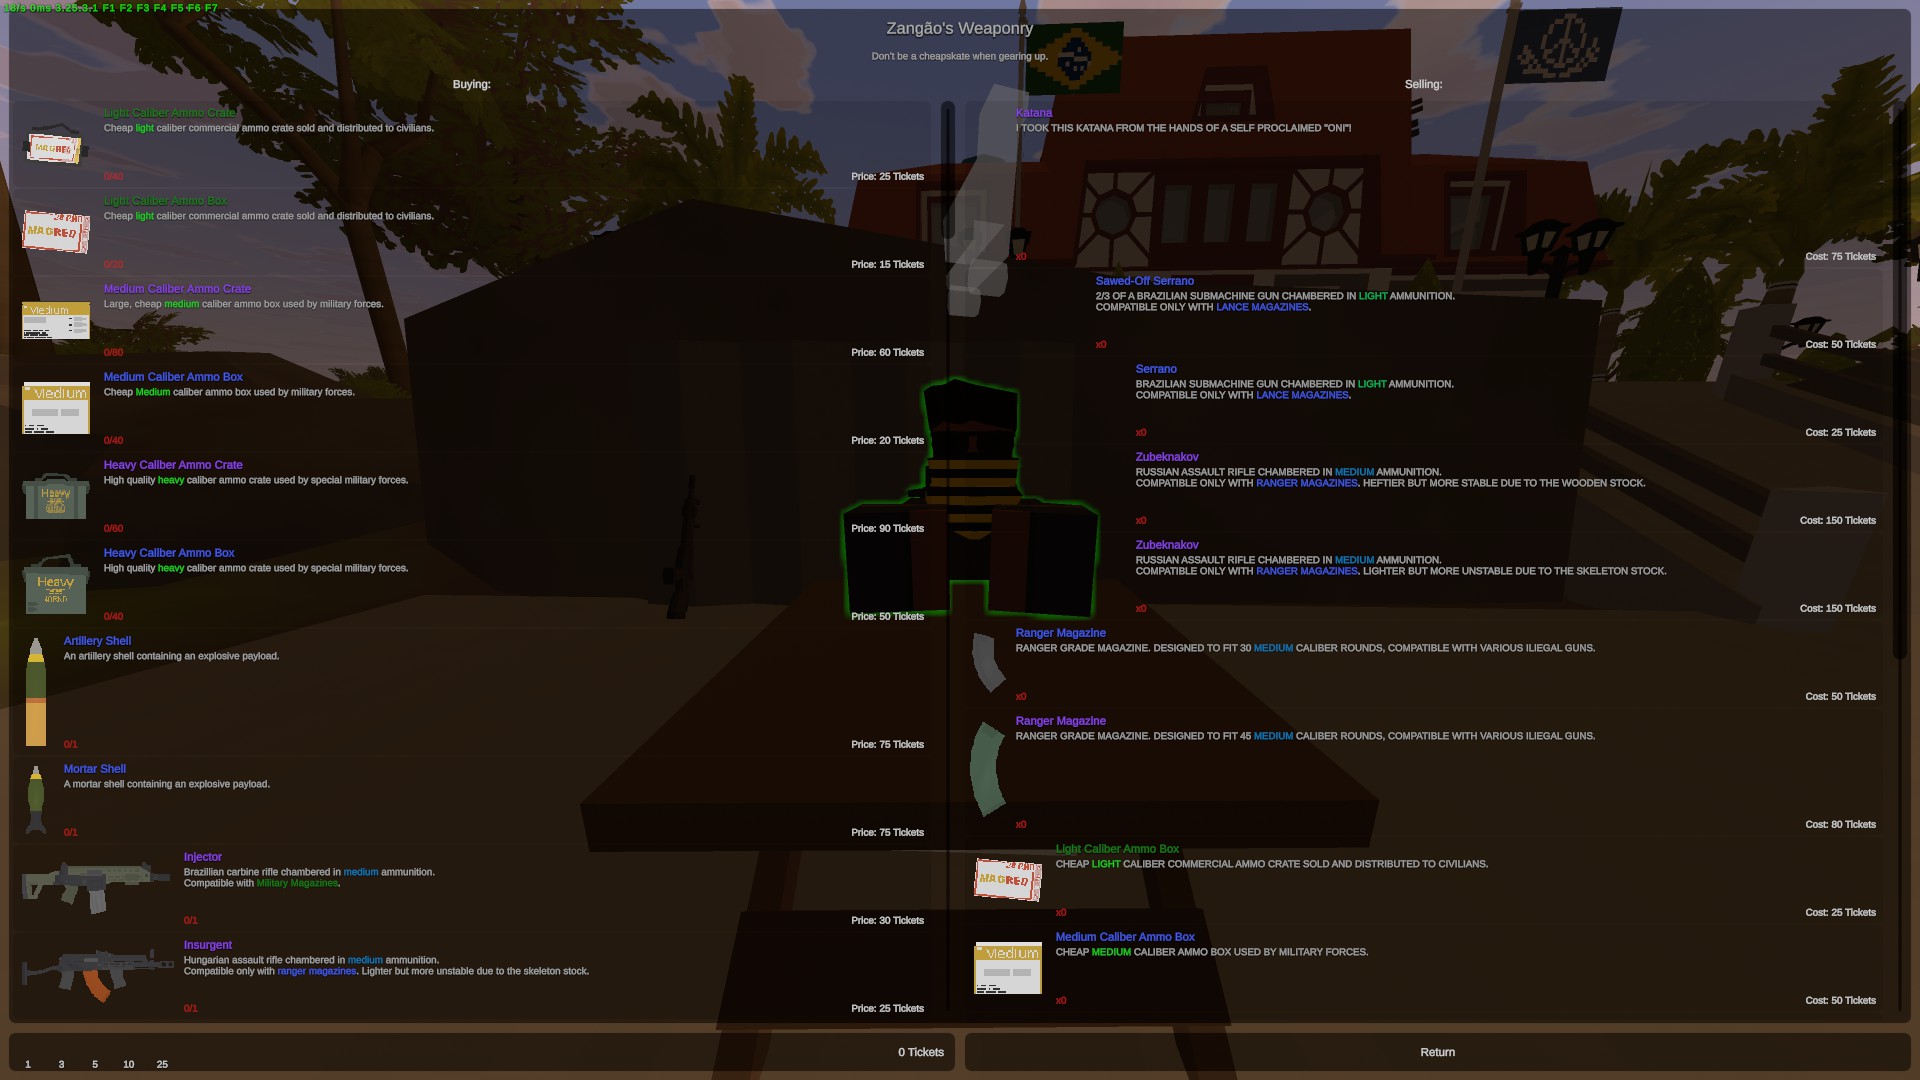
ZANGÃO IS THE MAIN WEAPON MERCHANT OF THIS MAP, MUCH LIKE RED FROM ARID OR CHUCK FROM ESCALATION. BUYS AND SELLS GUNS, AMMO, AND ATTACHMENTS
Travelling Merchant Sam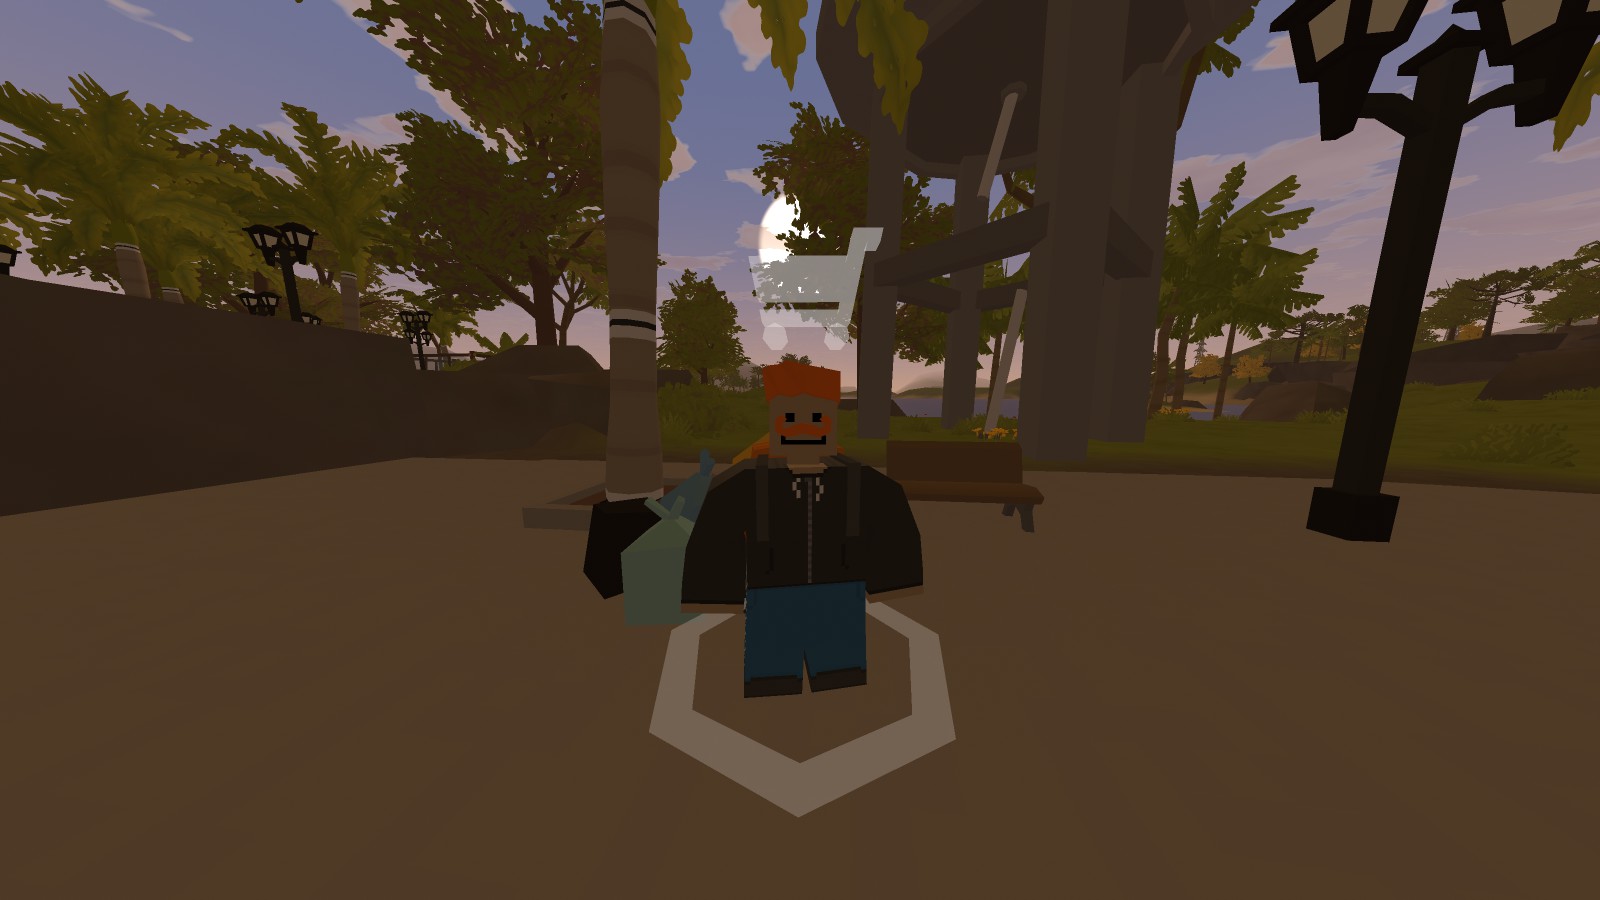
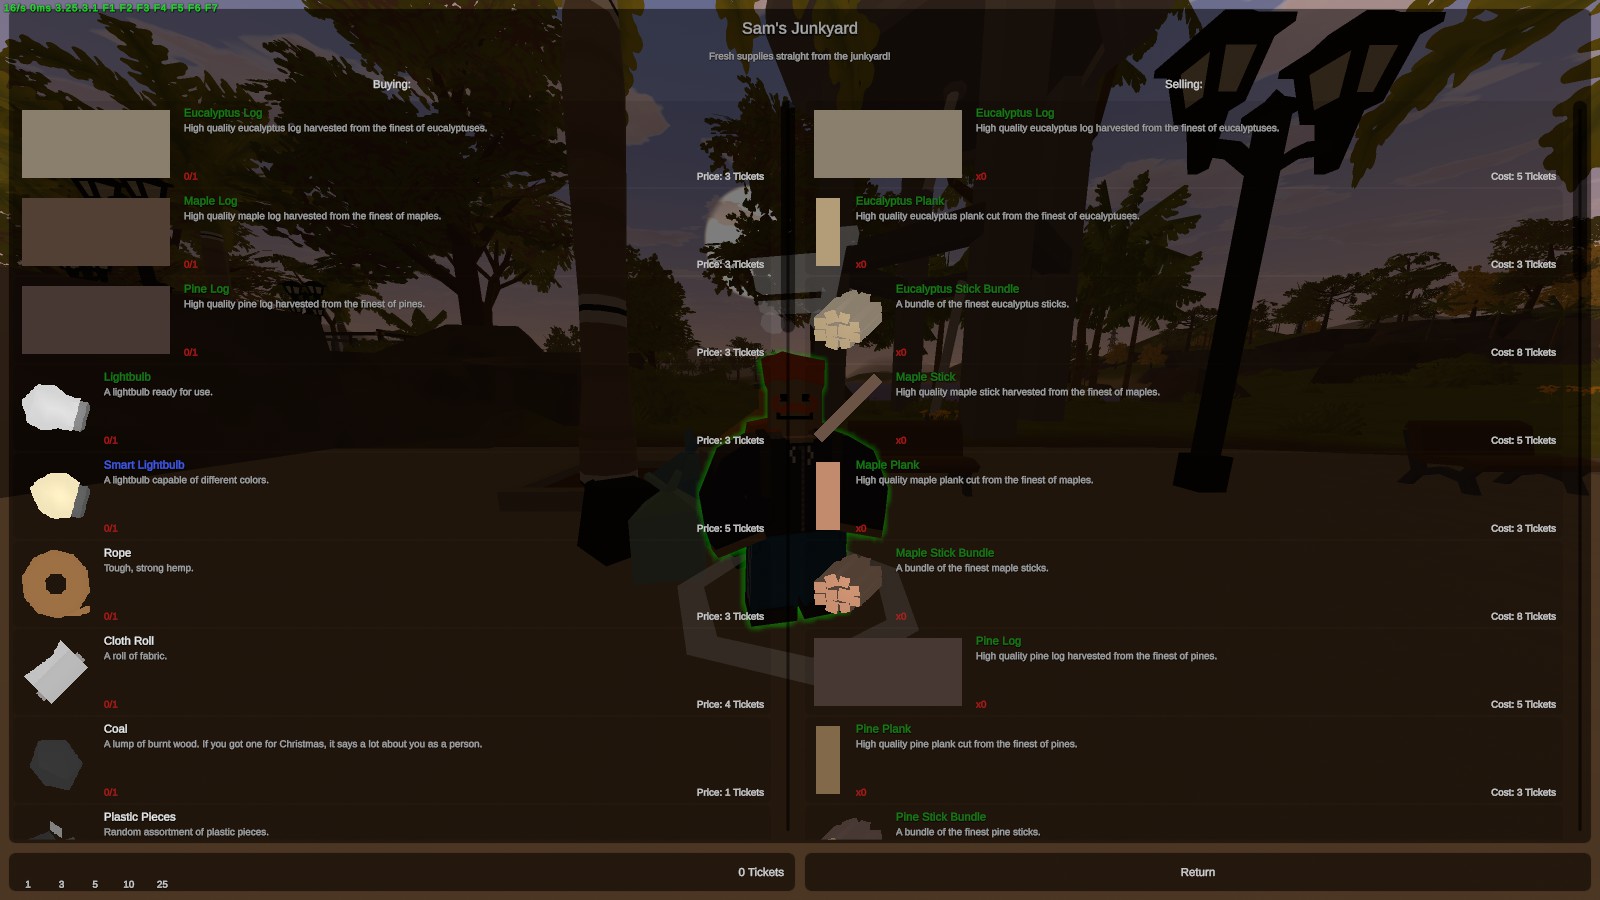
Sam buys and sells most crafting materials, much like (NAME OF DUDE THAT STANDS BY BASEMENT DOOR).
Travelling Merchant Elisa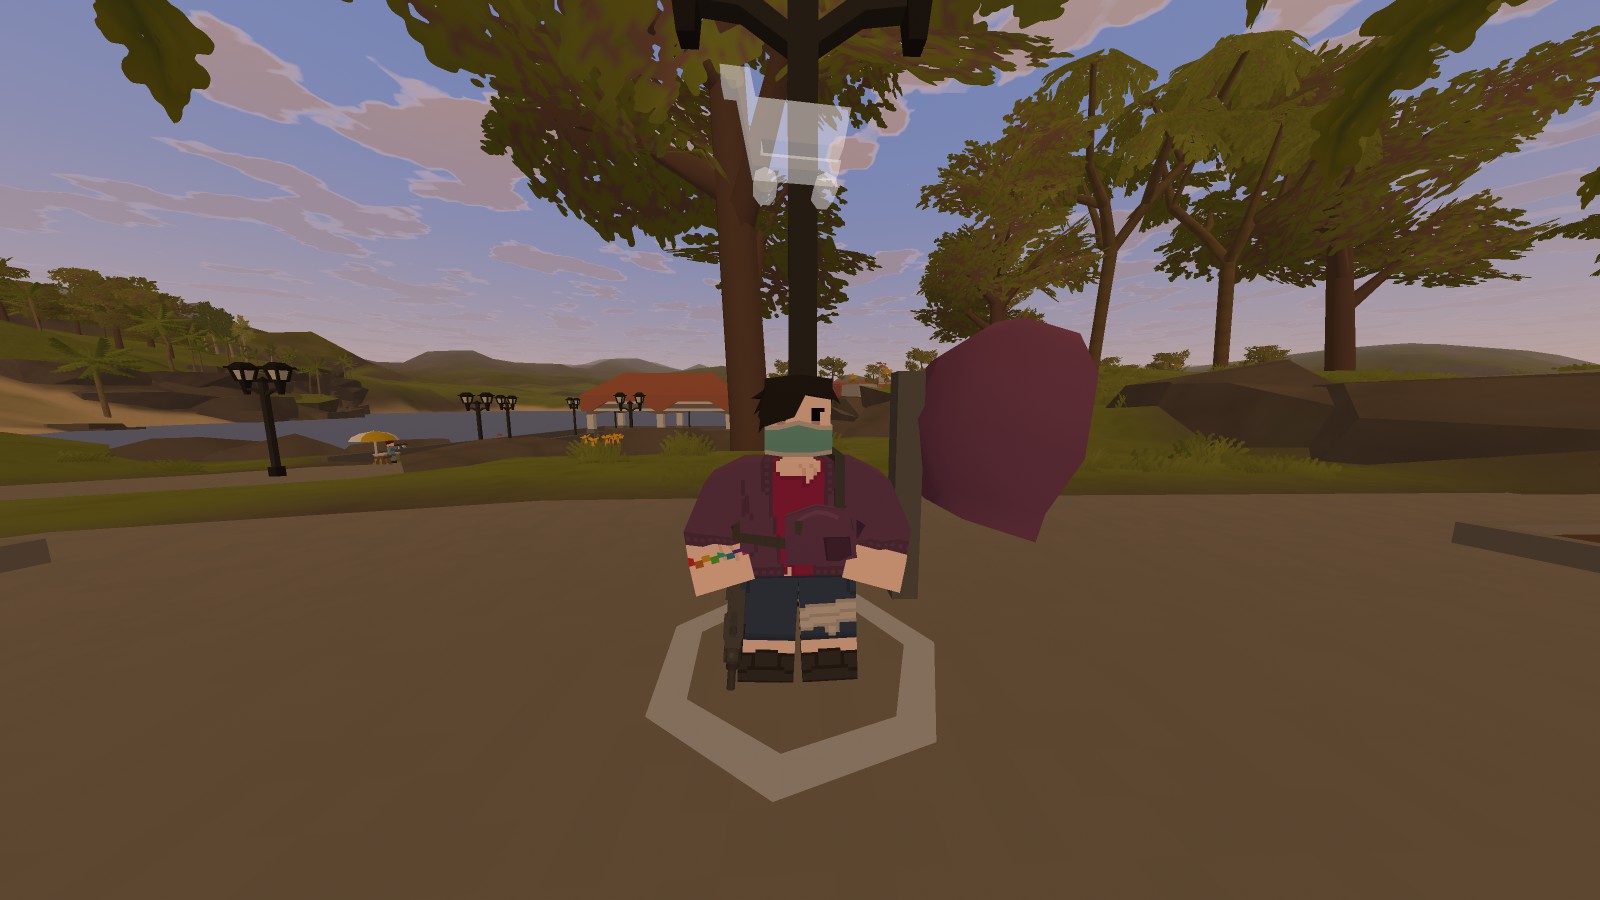
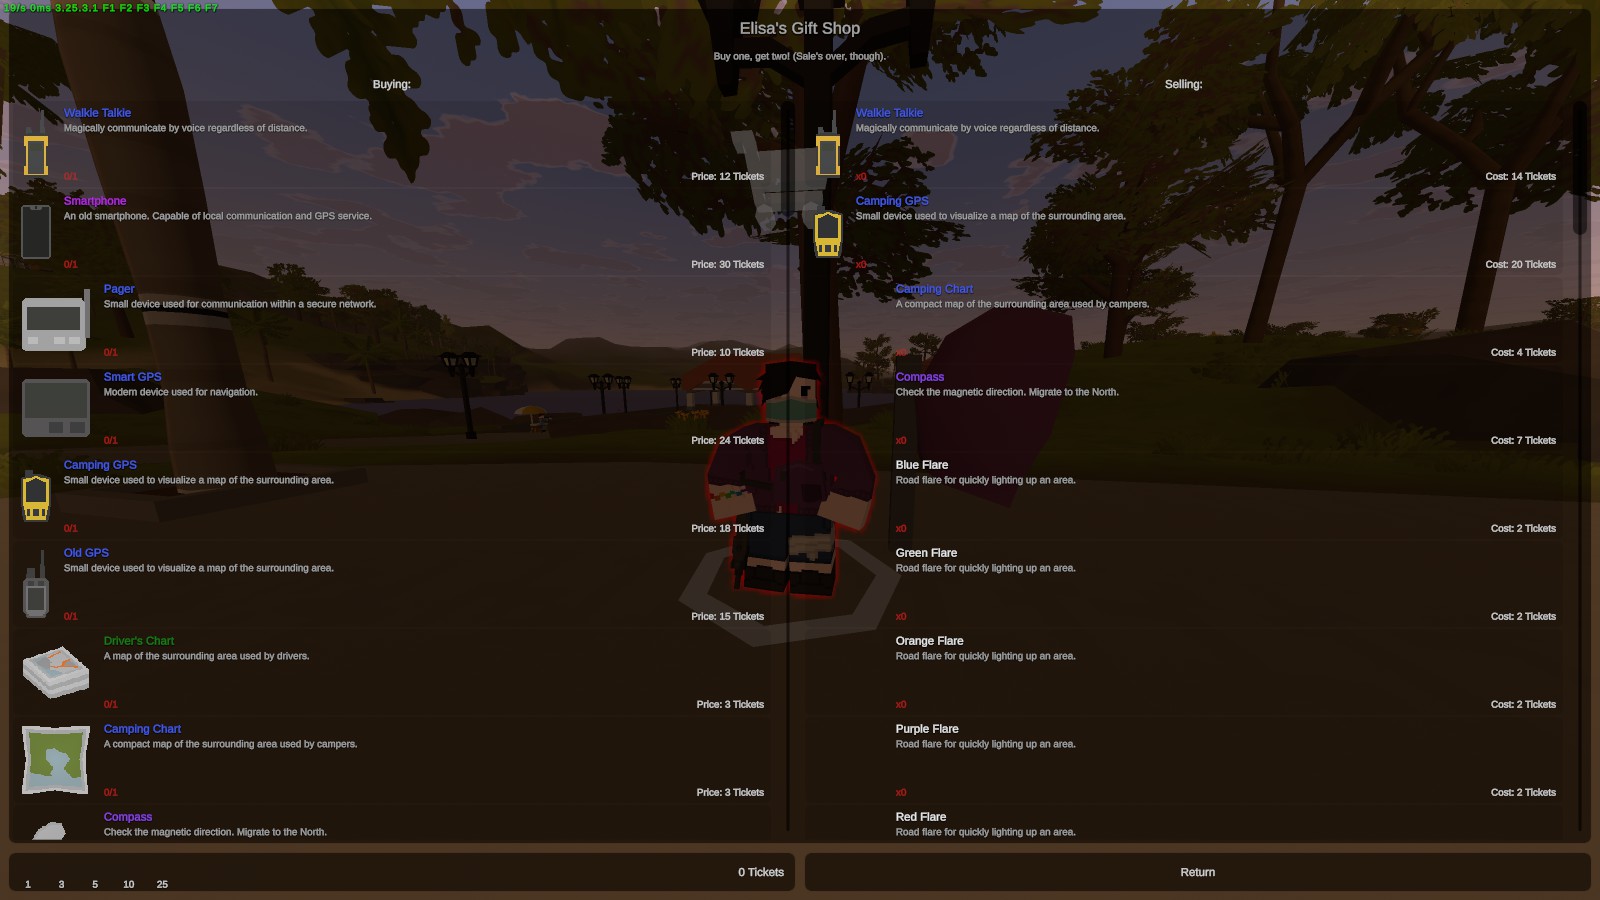
Elisa is basically this map's equivalent of Arid's Nomad. She will buy most of the junk items that you can find anywhere on the map, as well as some rarer collectibles.
Earl Eve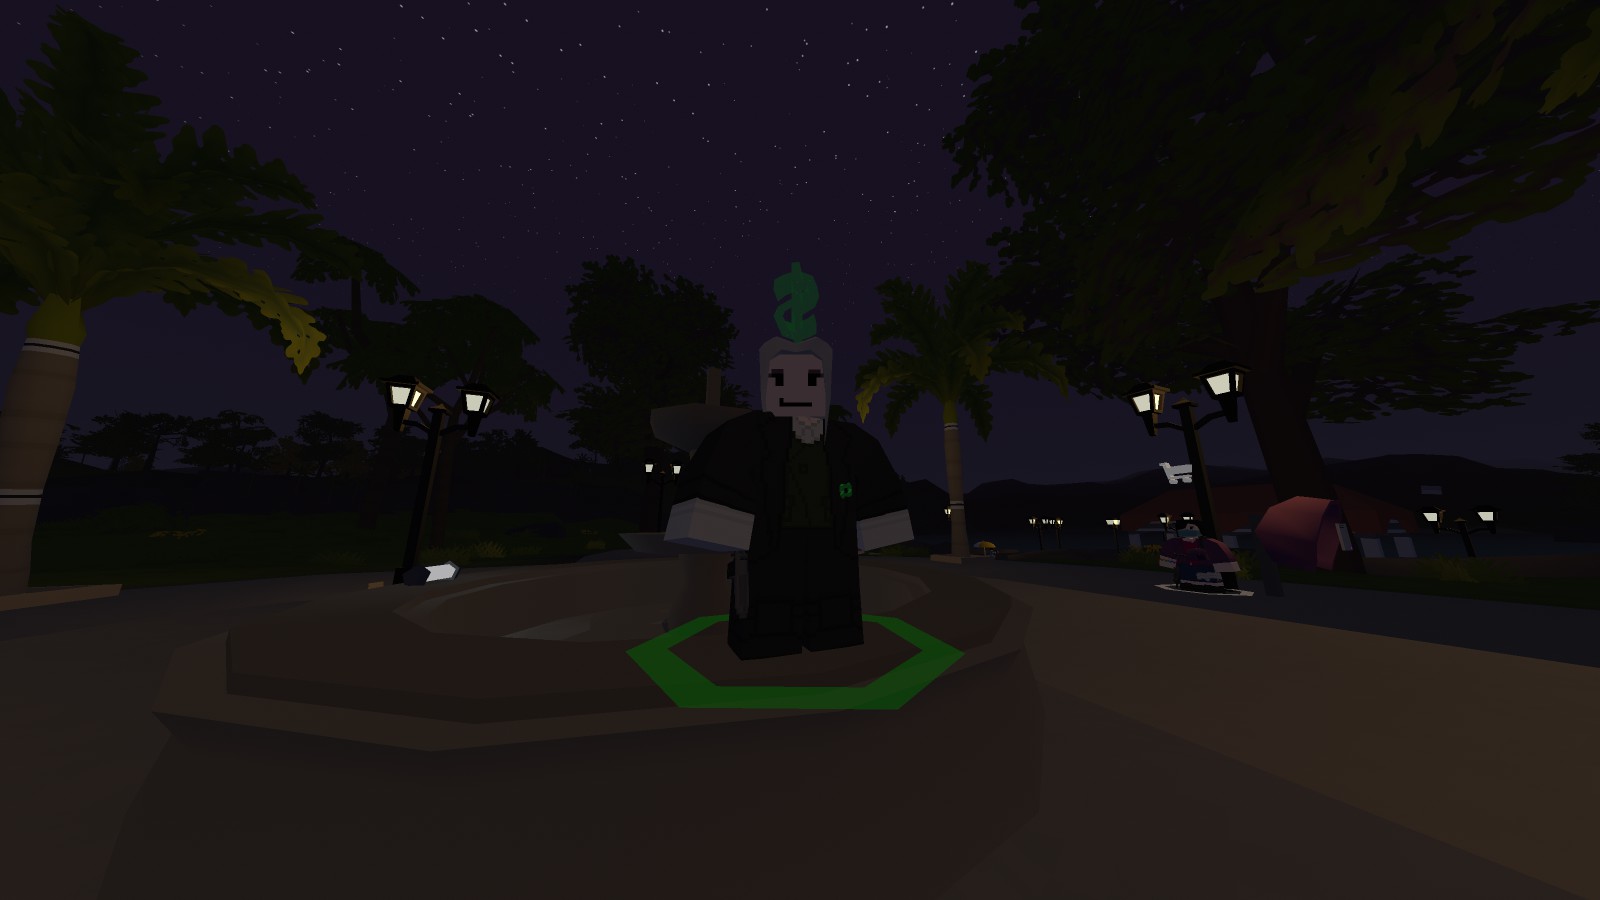
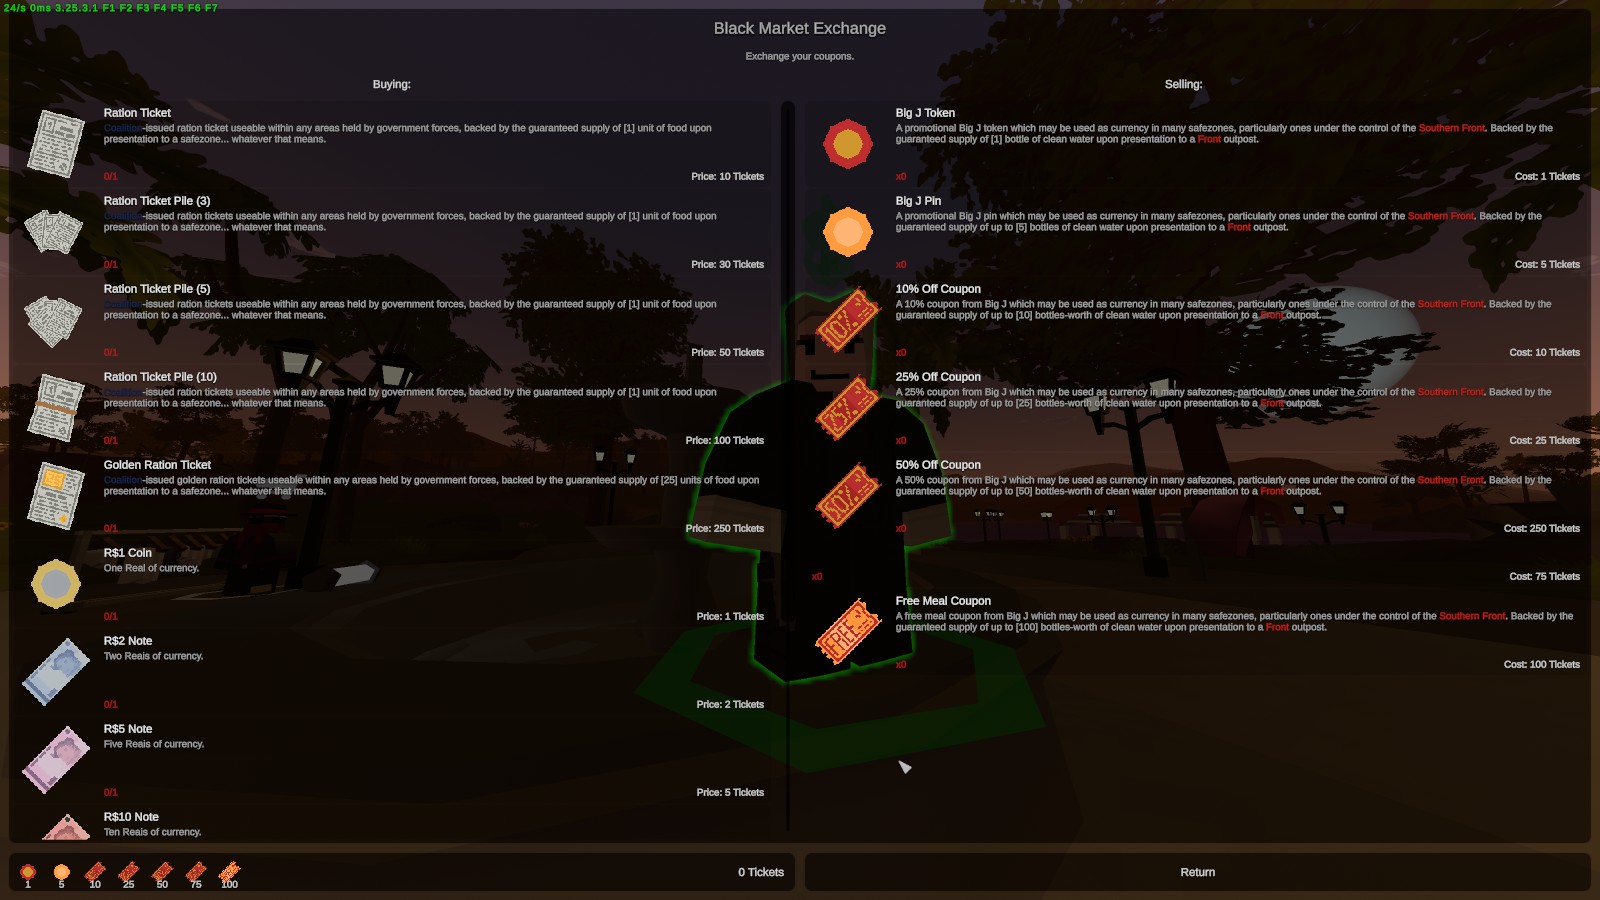
Eve basically does what Dennis does, although with a little less workaround required for conversion of currencies.
Travelling Merchant Trapo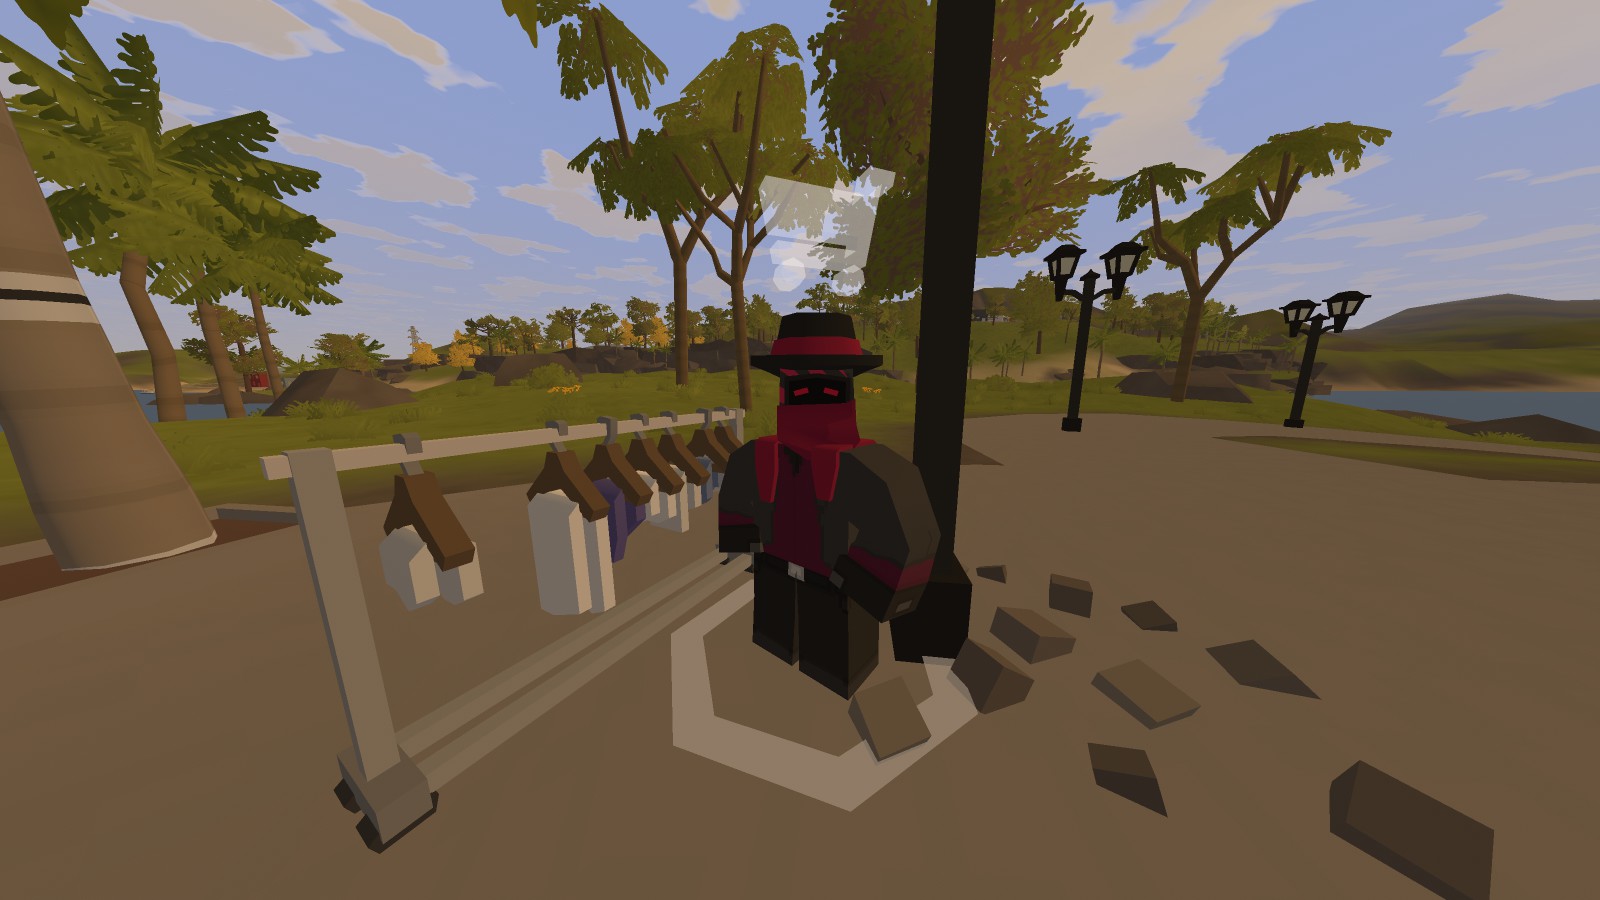
Trapo sells full sets of civilian clothes from head to toe, as well as cloth furniture, in a variety of whatever color you desire. He only buys cloth rolls, so maybe consider picking up spare cloth scrap to compress and sell.
QUESTS
https://steamcommunity.com/sharedfiles/filedetails/?id=3455229660
https://steamcommunity.com/sharedfiles/filedetails/?id=3454208686
ARMOR / CLOTHING
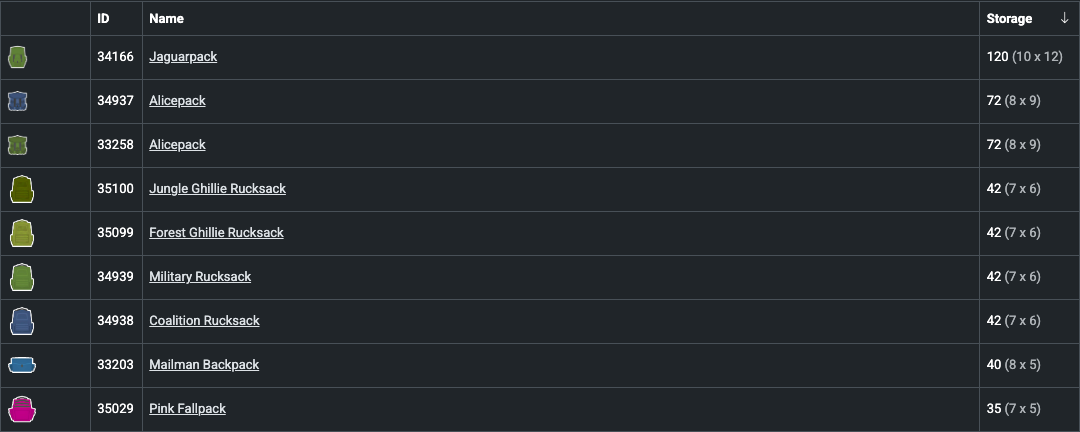
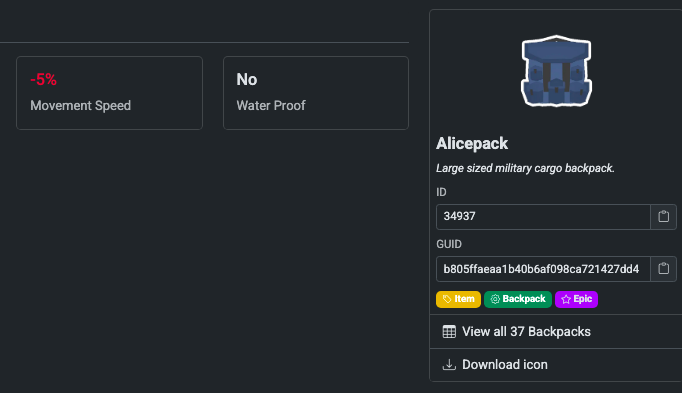
Not a full list of the armor and clothing in the map, just the best ones for their category. For a full list, check out the Items category on the Restore Monarchy page for this map.[restoremonarchy.com]
Any armor/clothing pieces that have some negative effect attached to them are noted in their section under Caveats.
 Caveats: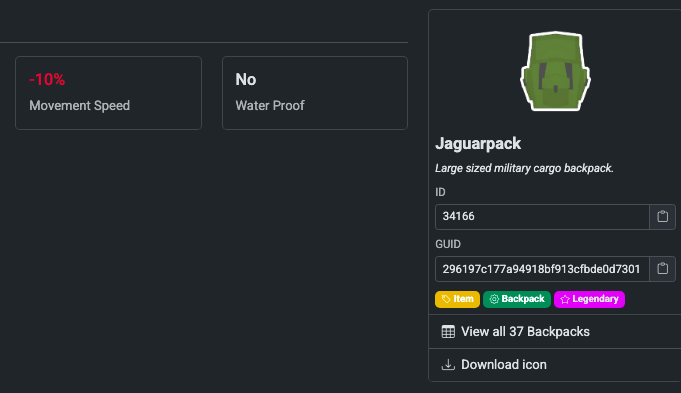
 ㅤ
ㅤ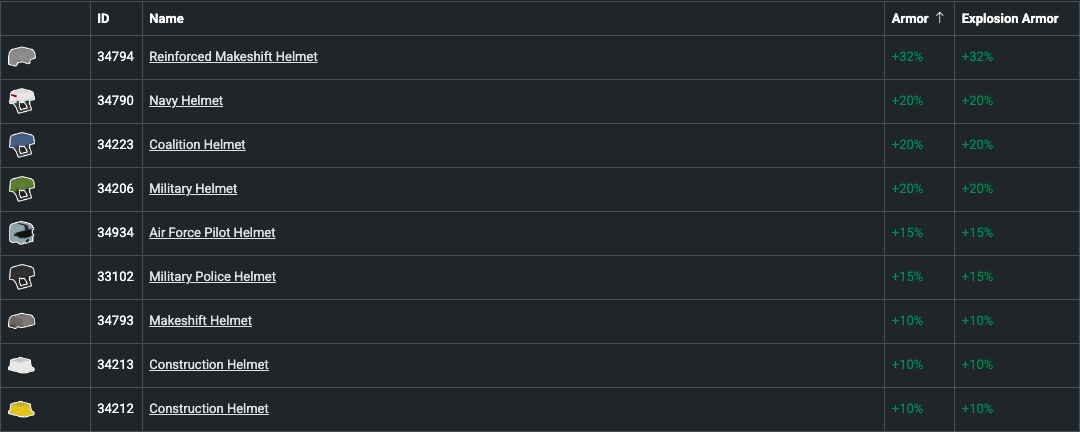
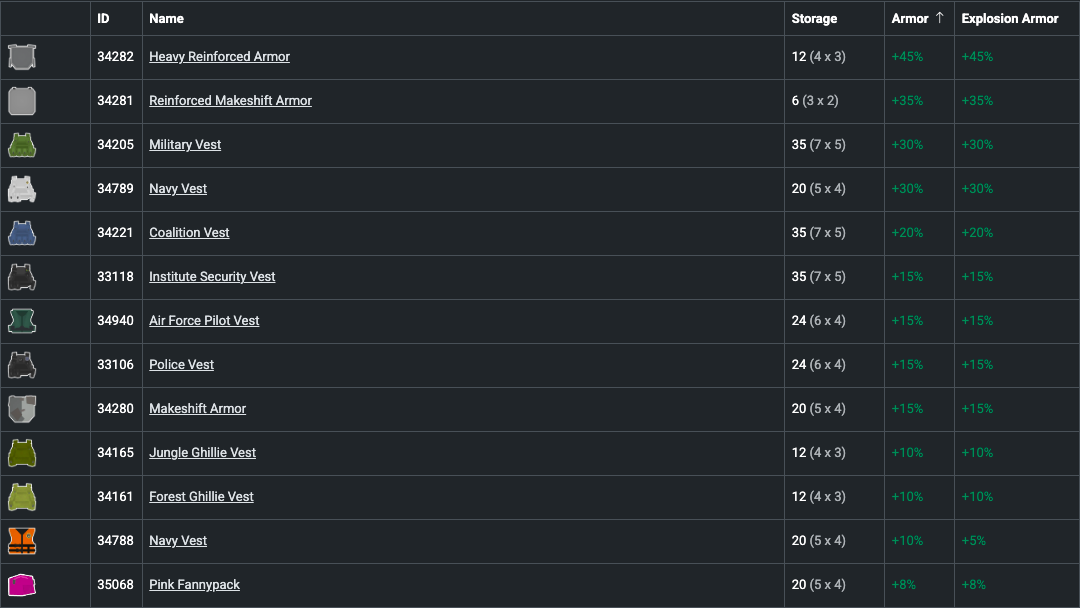 Sorted by Storage
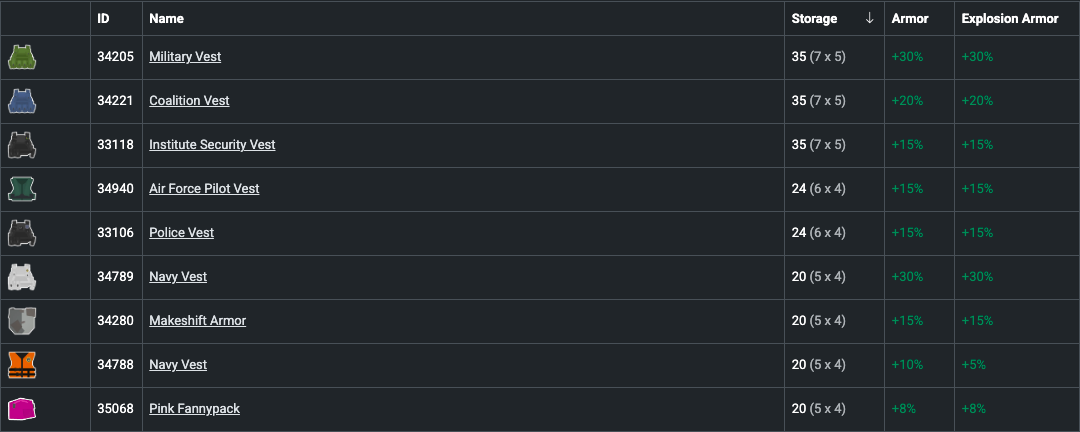 Caveats: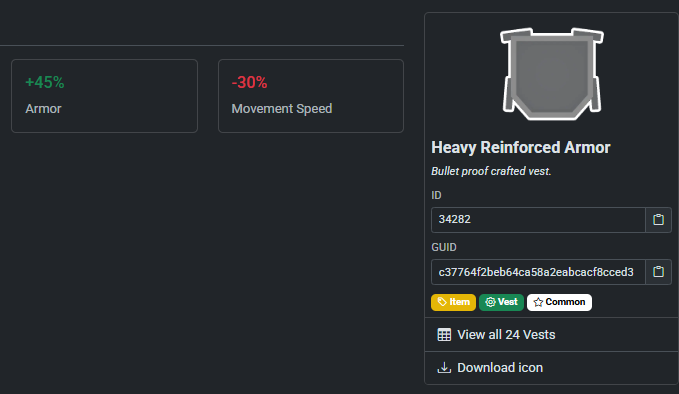
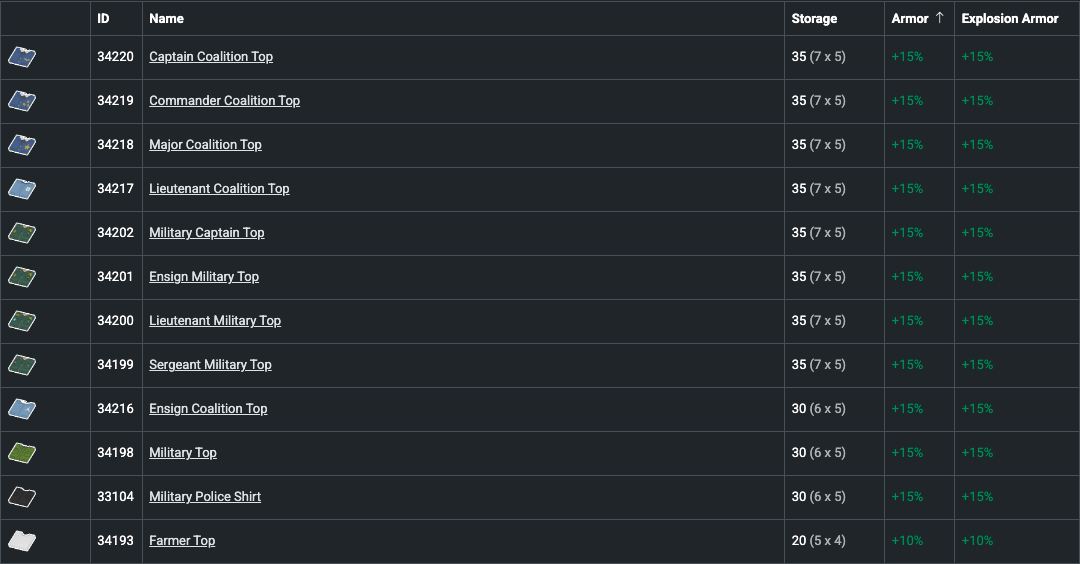 Sorted by Storage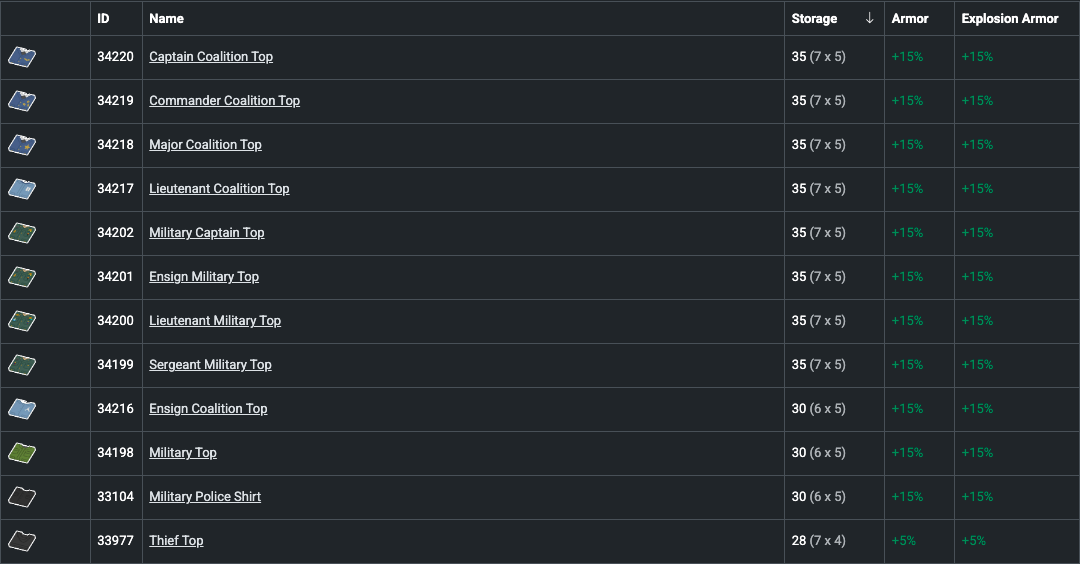
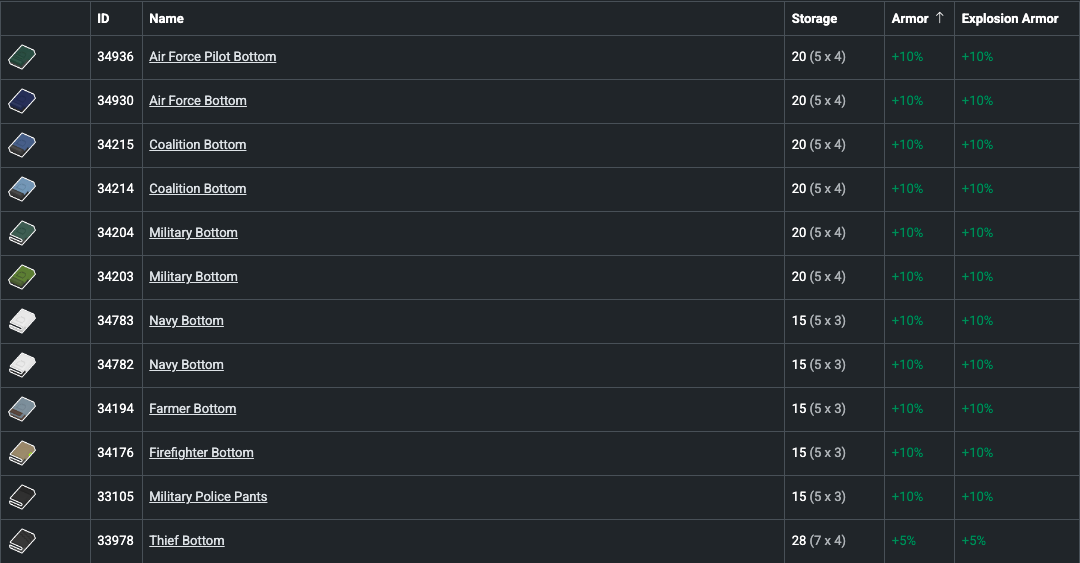 Sorted by Storage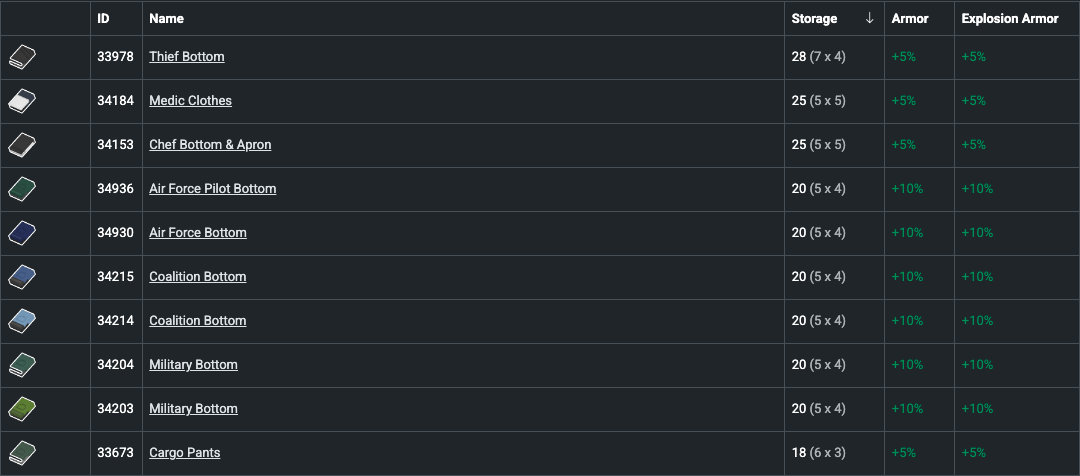
DEADZONES / KEYCARDS
This map has 2 deadzones, kind of like Escalation or Russia. There is the main deadzone at Santos Joint and a smaller unmarked deadzone situated on a navy ship in the bottom right of the map.
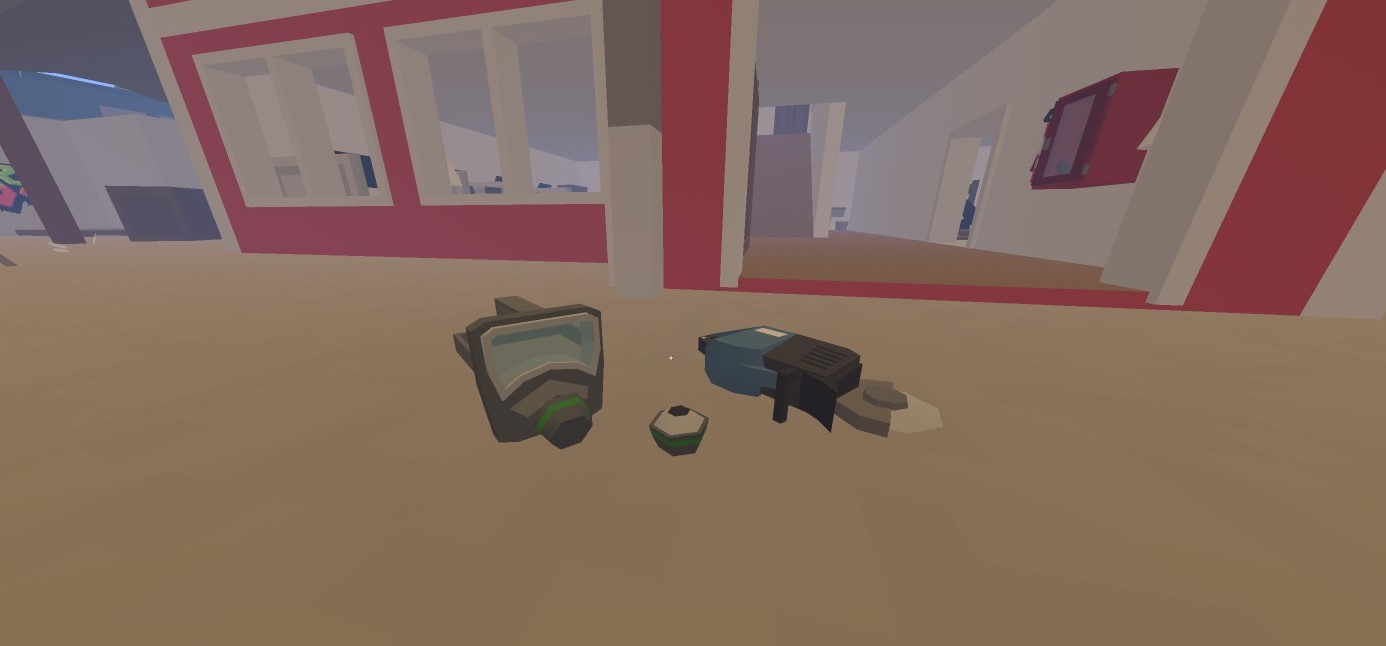
You should also look for Rescue Saws, as they will allow you to get the most out of your deadzone trips by letting you break down certain types of doors that look like this:
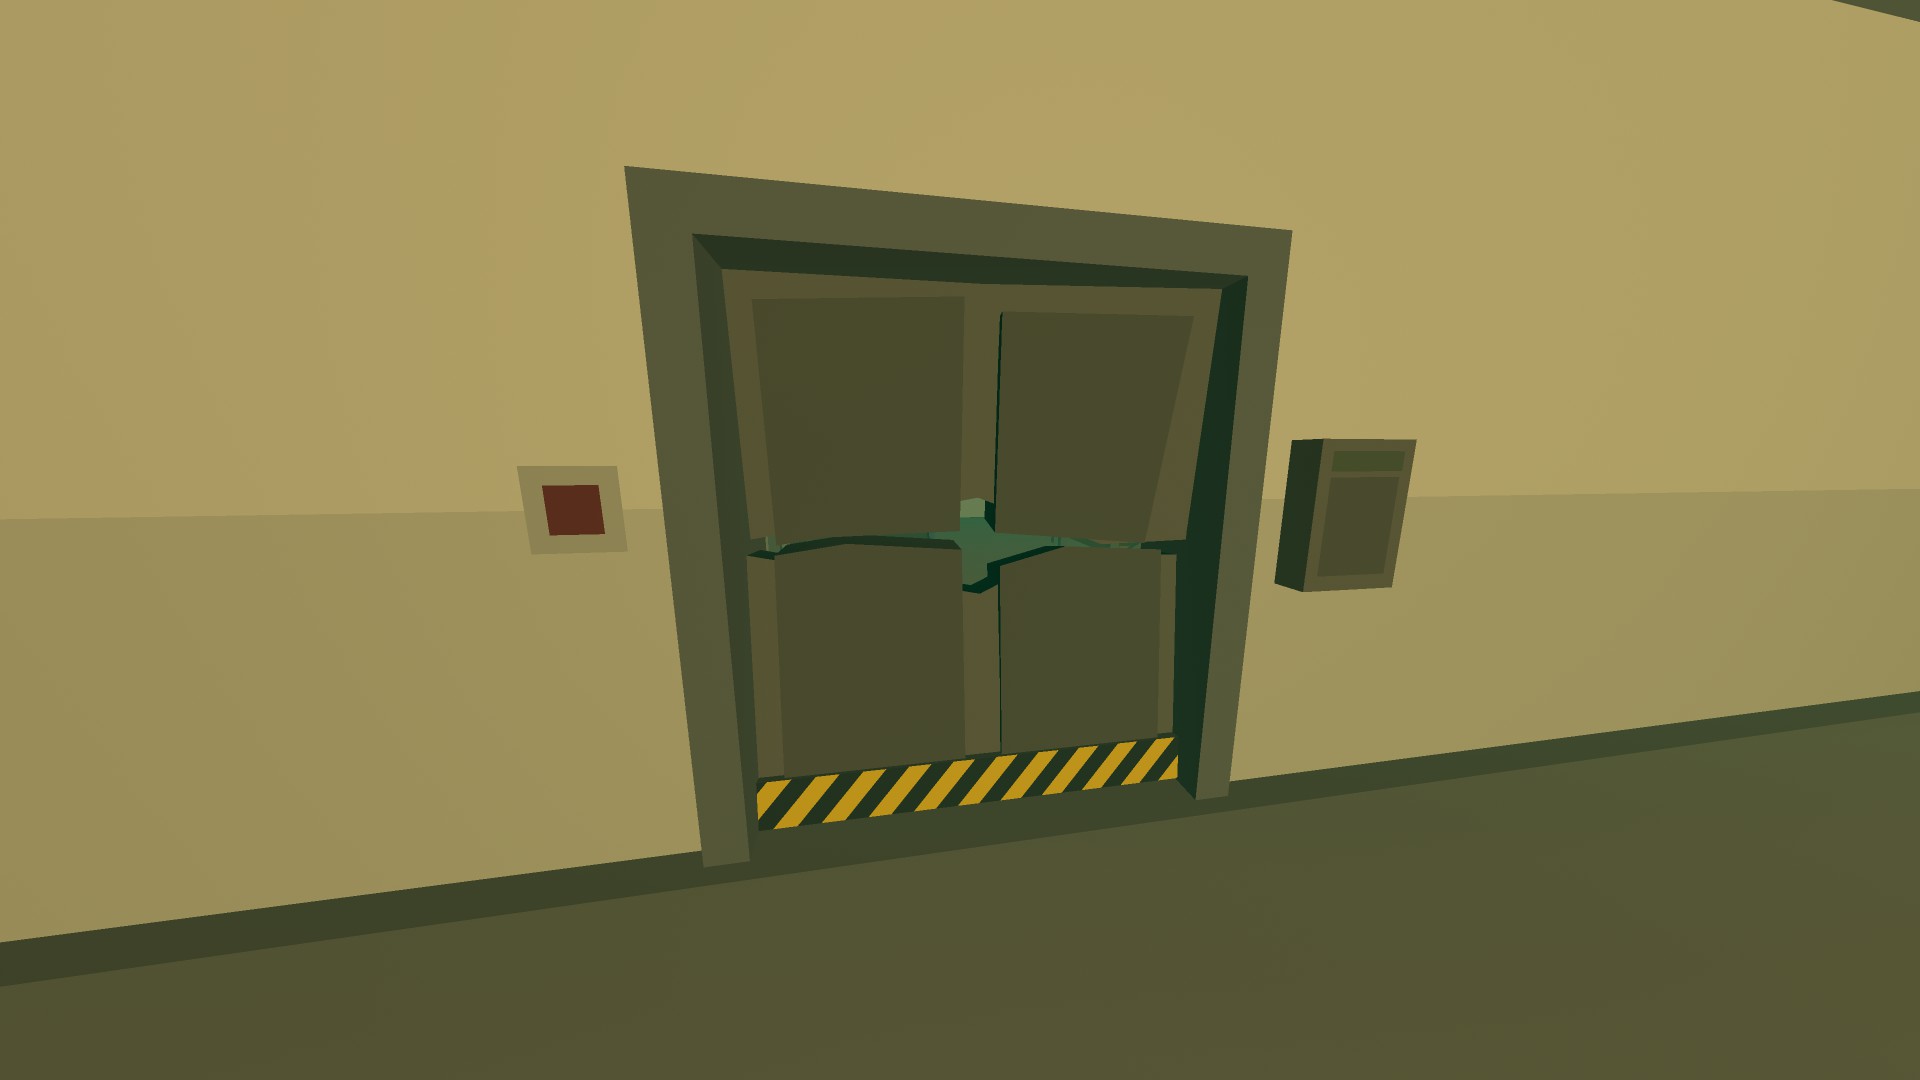
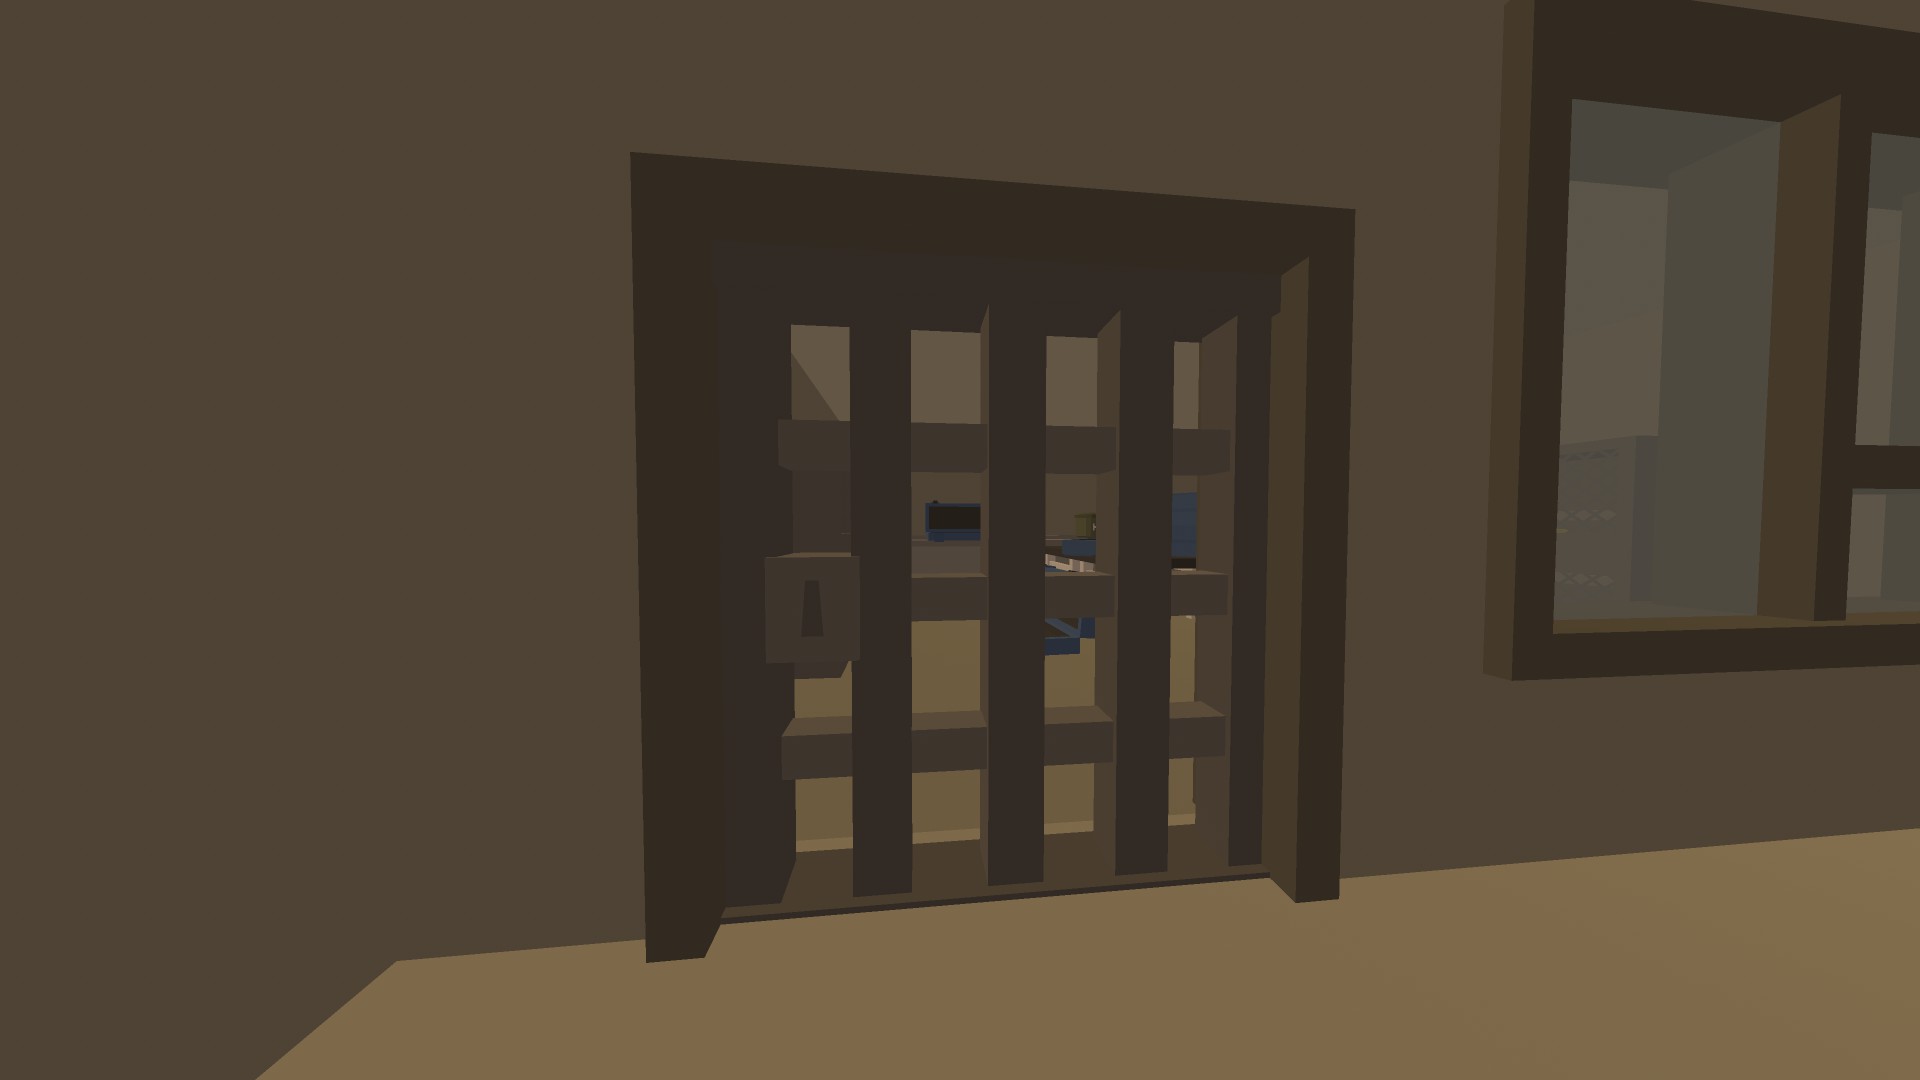 ㅤ
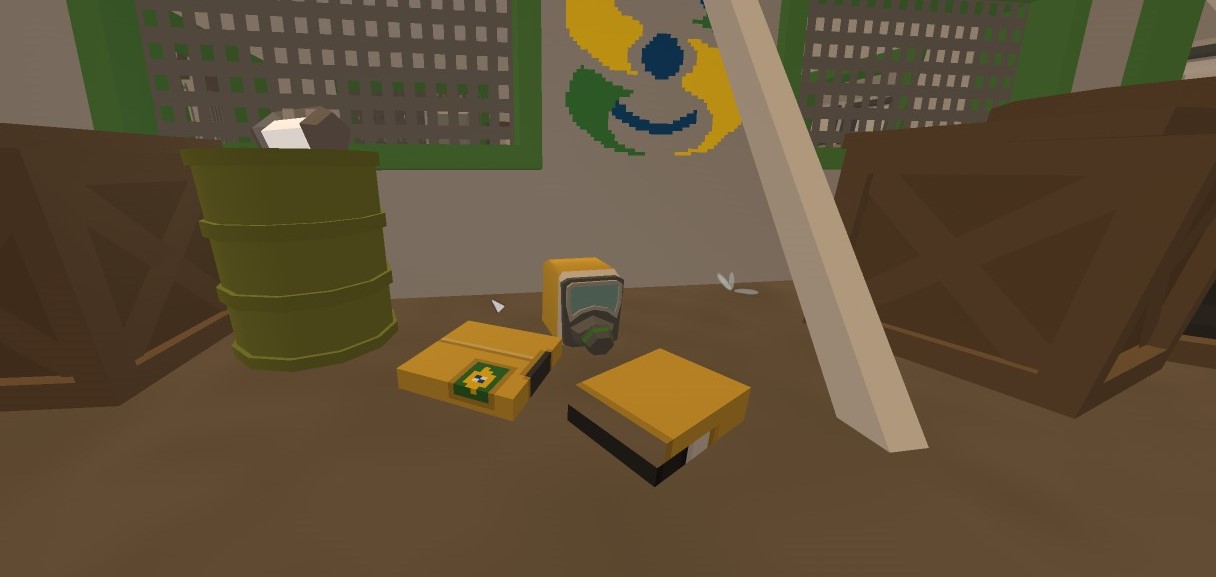
ㅤYou will also want to try and find a Biohazard Top and Bottom for certain floors of the main deadzone.
- Scientist
- Maintenance
- Security
- Admin, and finally
- Master
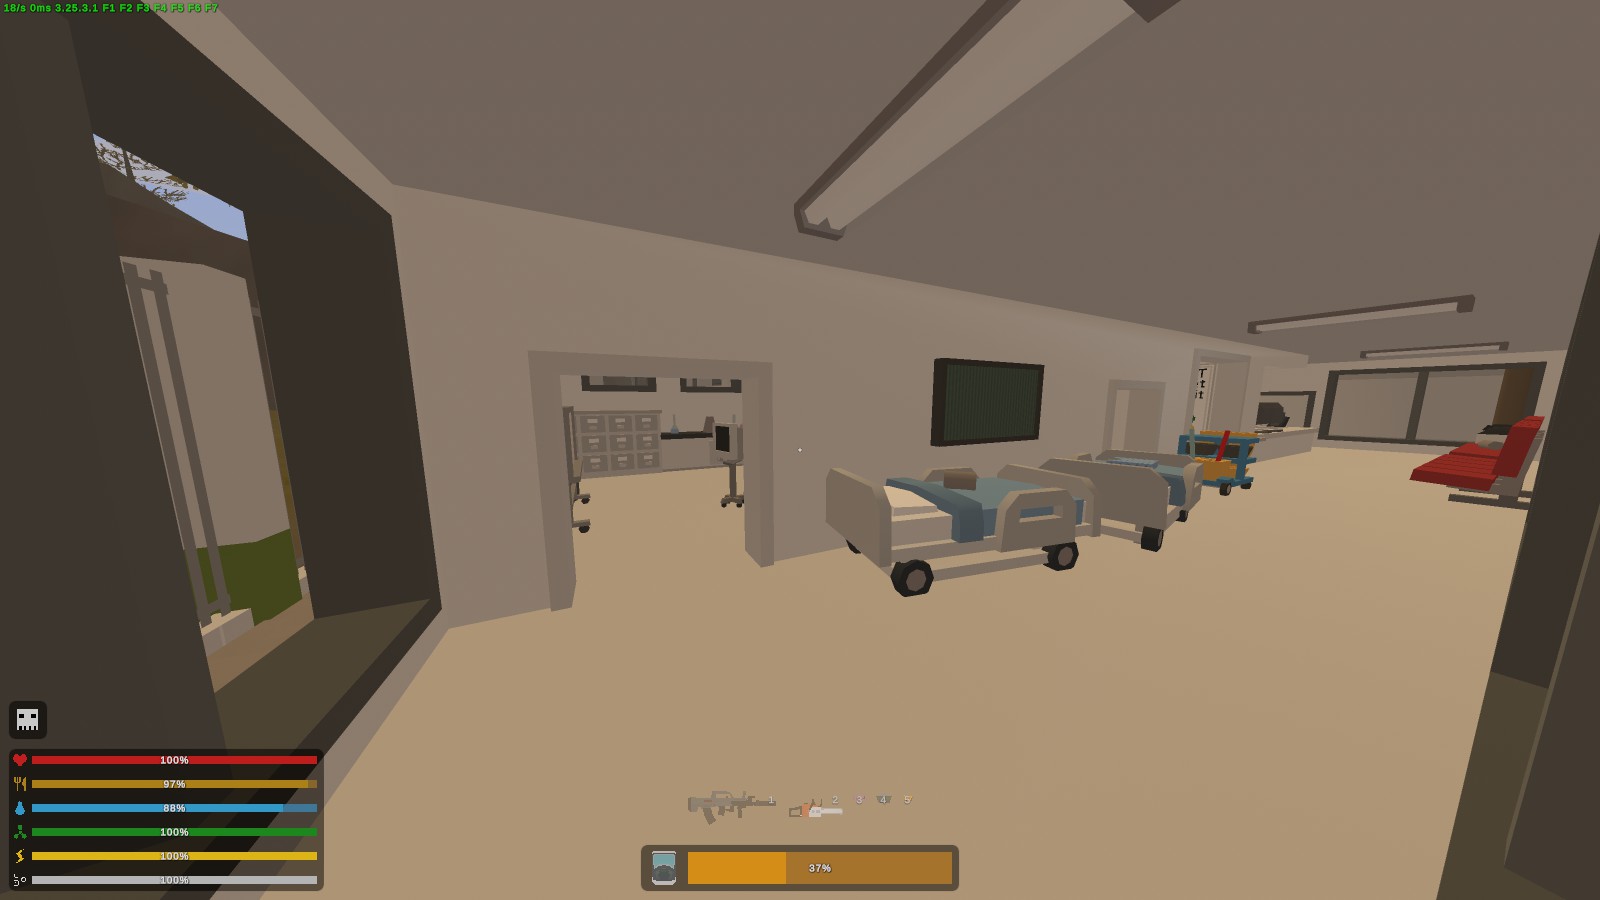
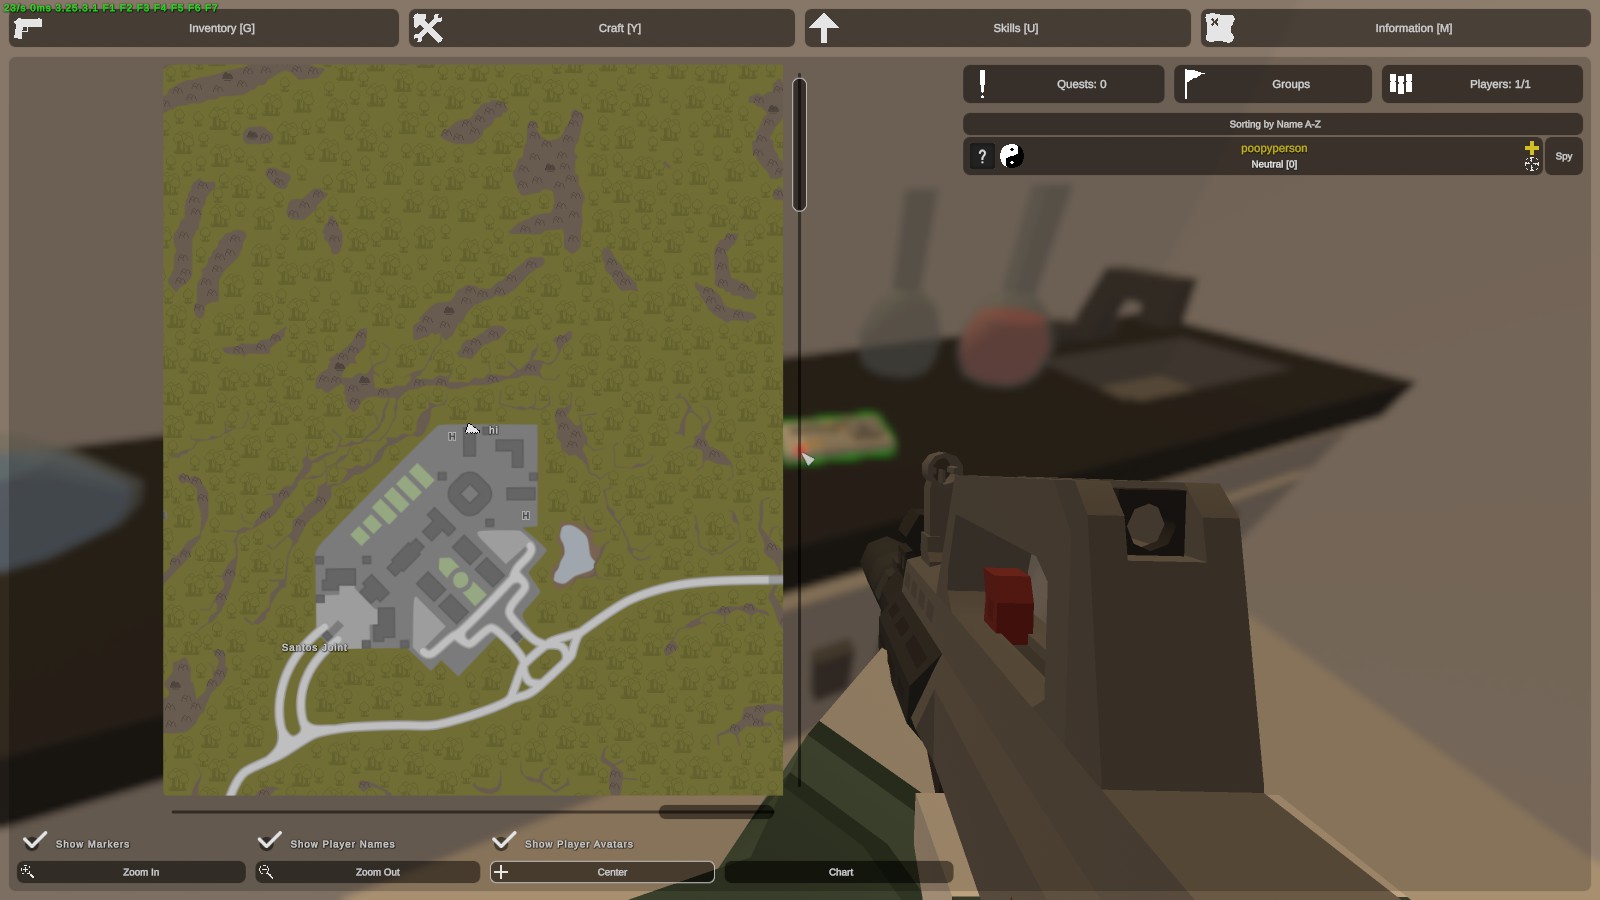
Grab that keycard and go to Underground Level 1 using the elevator. From there, find your way to the cafeteria as a reference point.
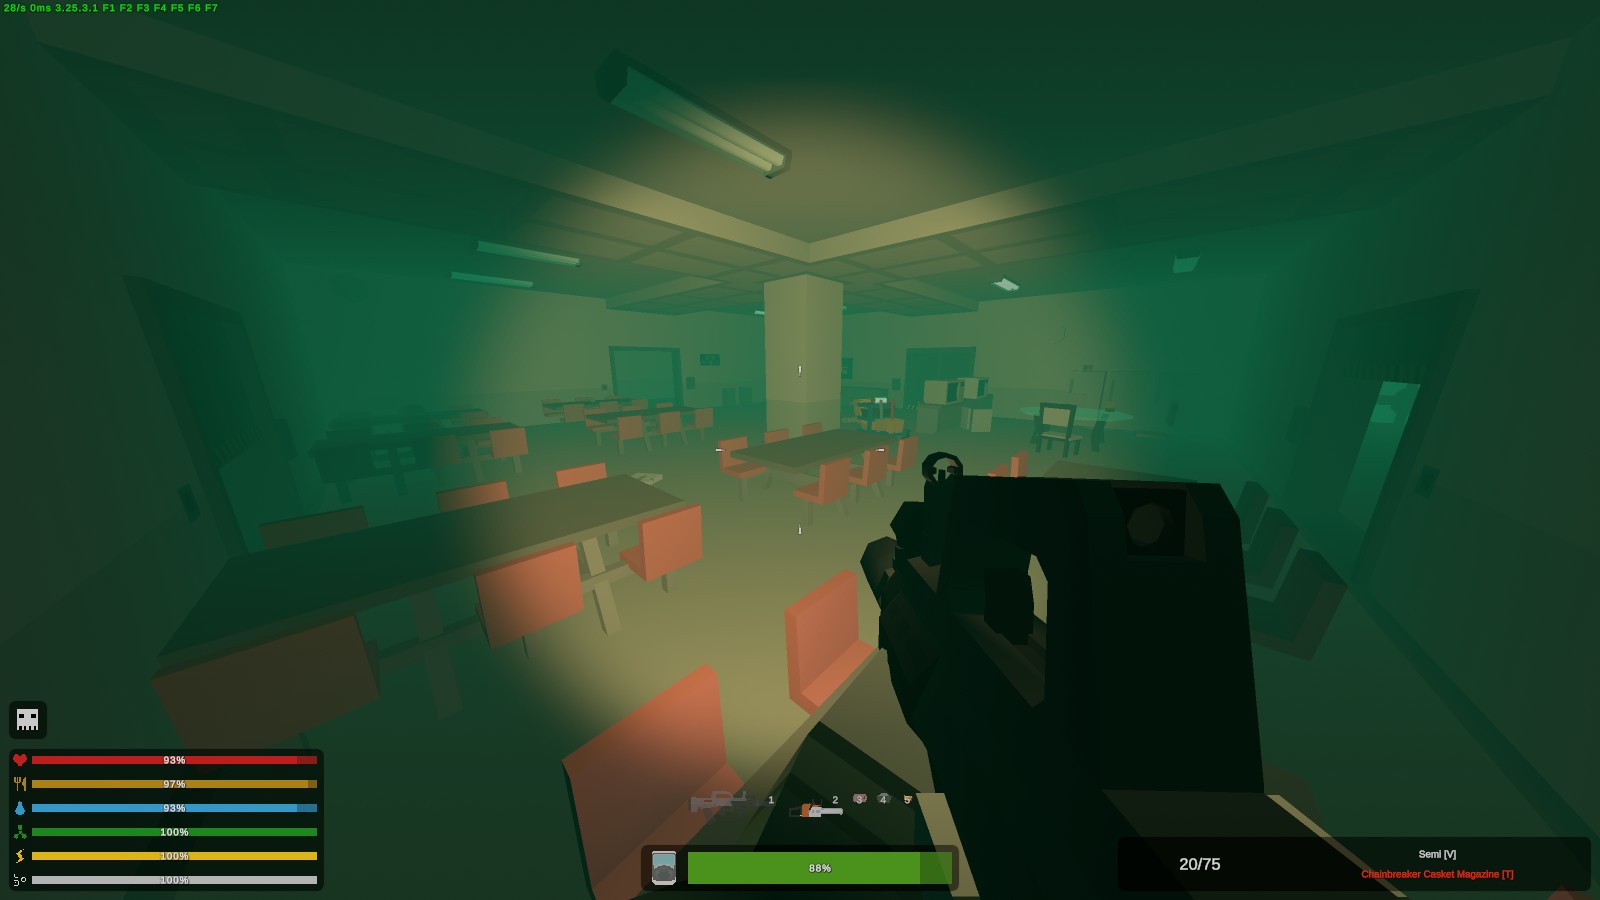
Take the door that is the least open, on the left. Right in front of you should be a scientist door that you can unlock (assuming you grabbed the Scientist Keycard before entering). Open it and go through the room.
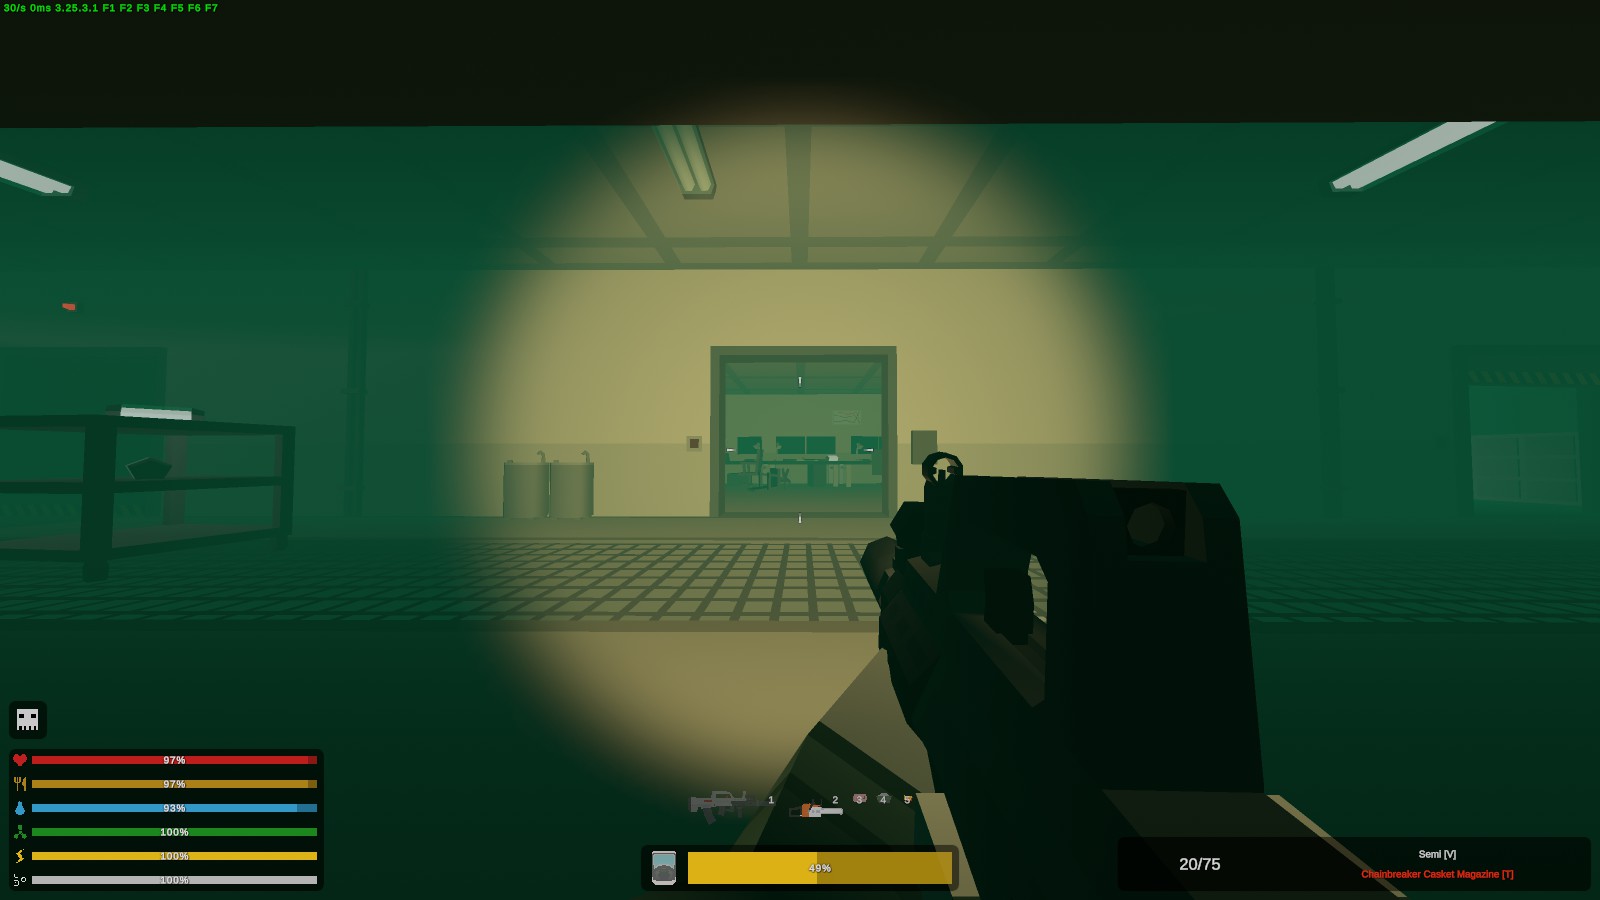
Eventually, you should end up at the end of a hallway with a janitor's bucket that has the Maintenance Keycard on top of it.
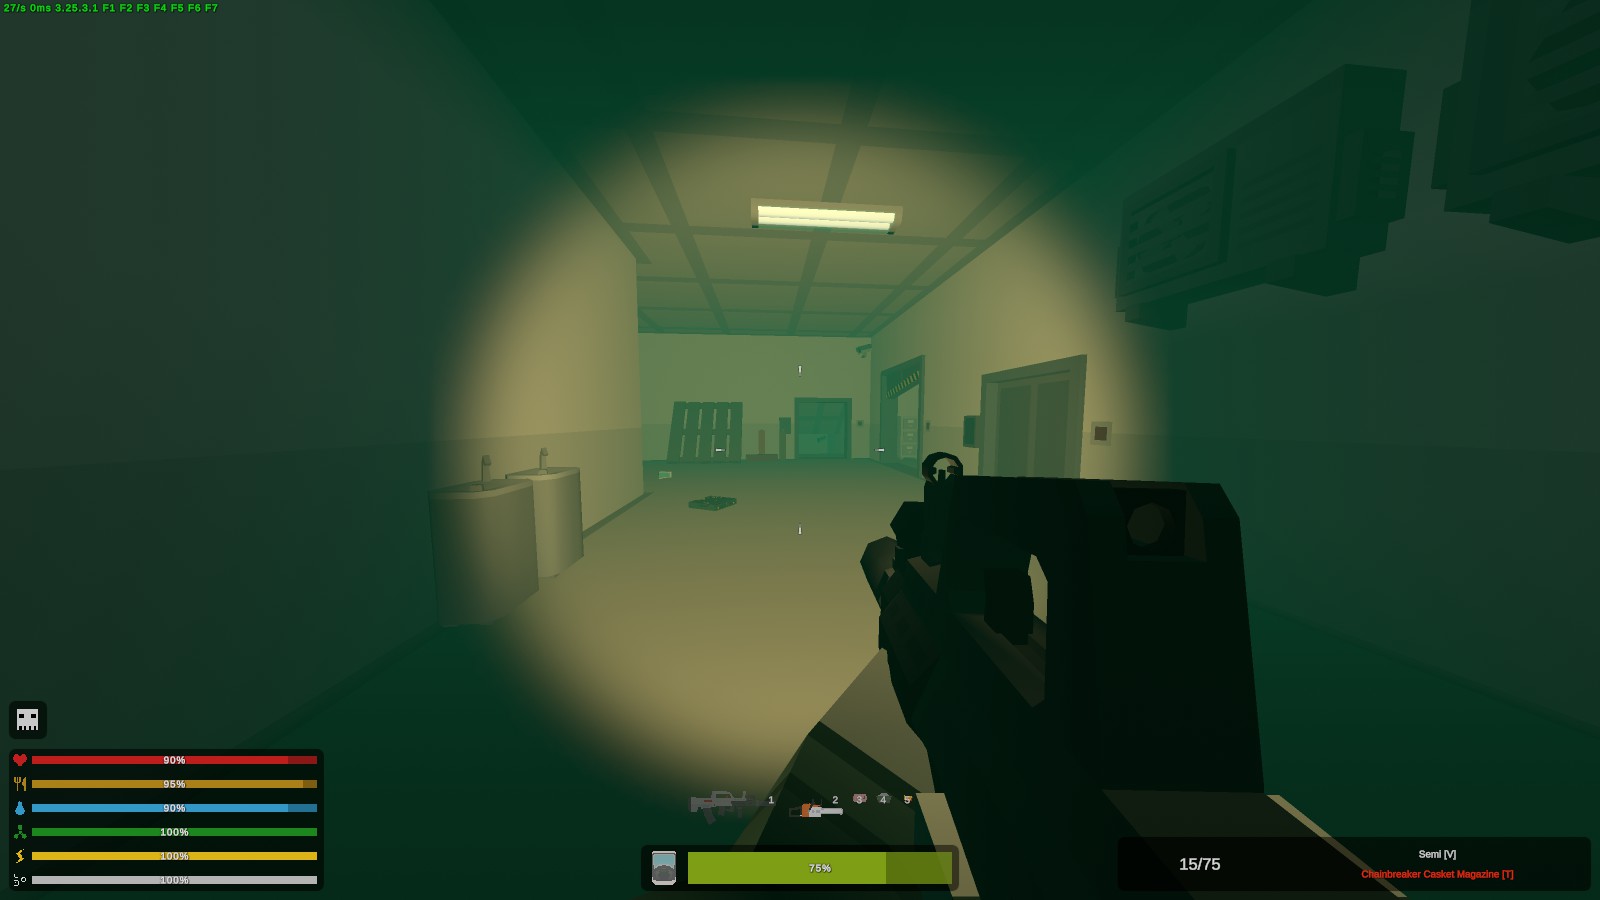
Turning back around to the cafeteria, again, take the open door on the right.
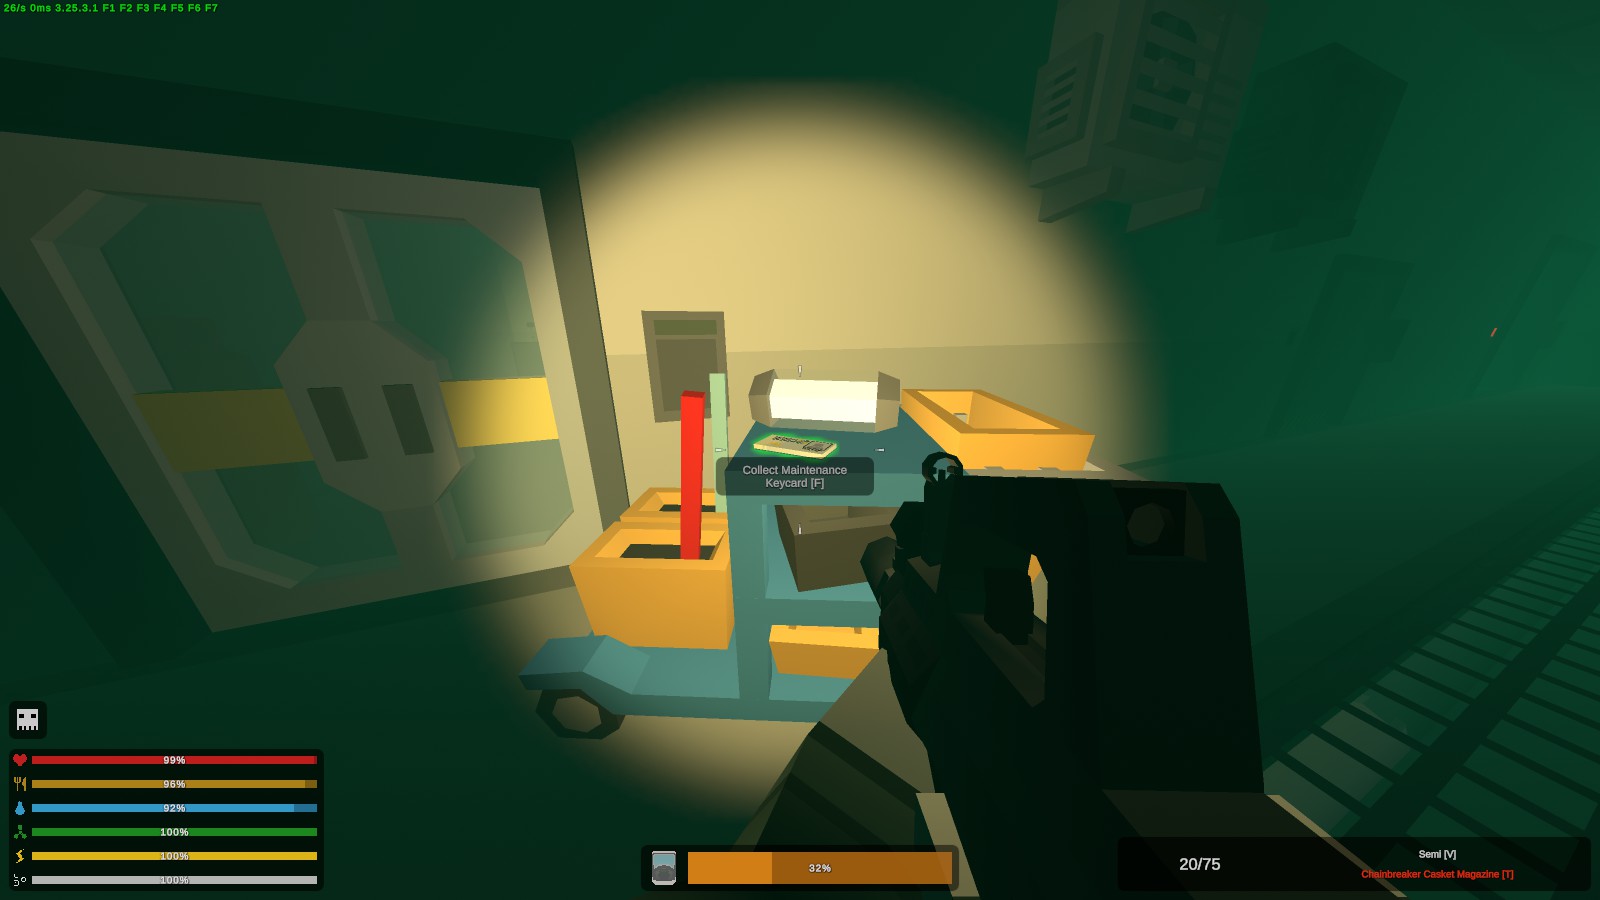
Take the door in the corner leading down, and you should come upon the Security Keycard resting on a metal cart.
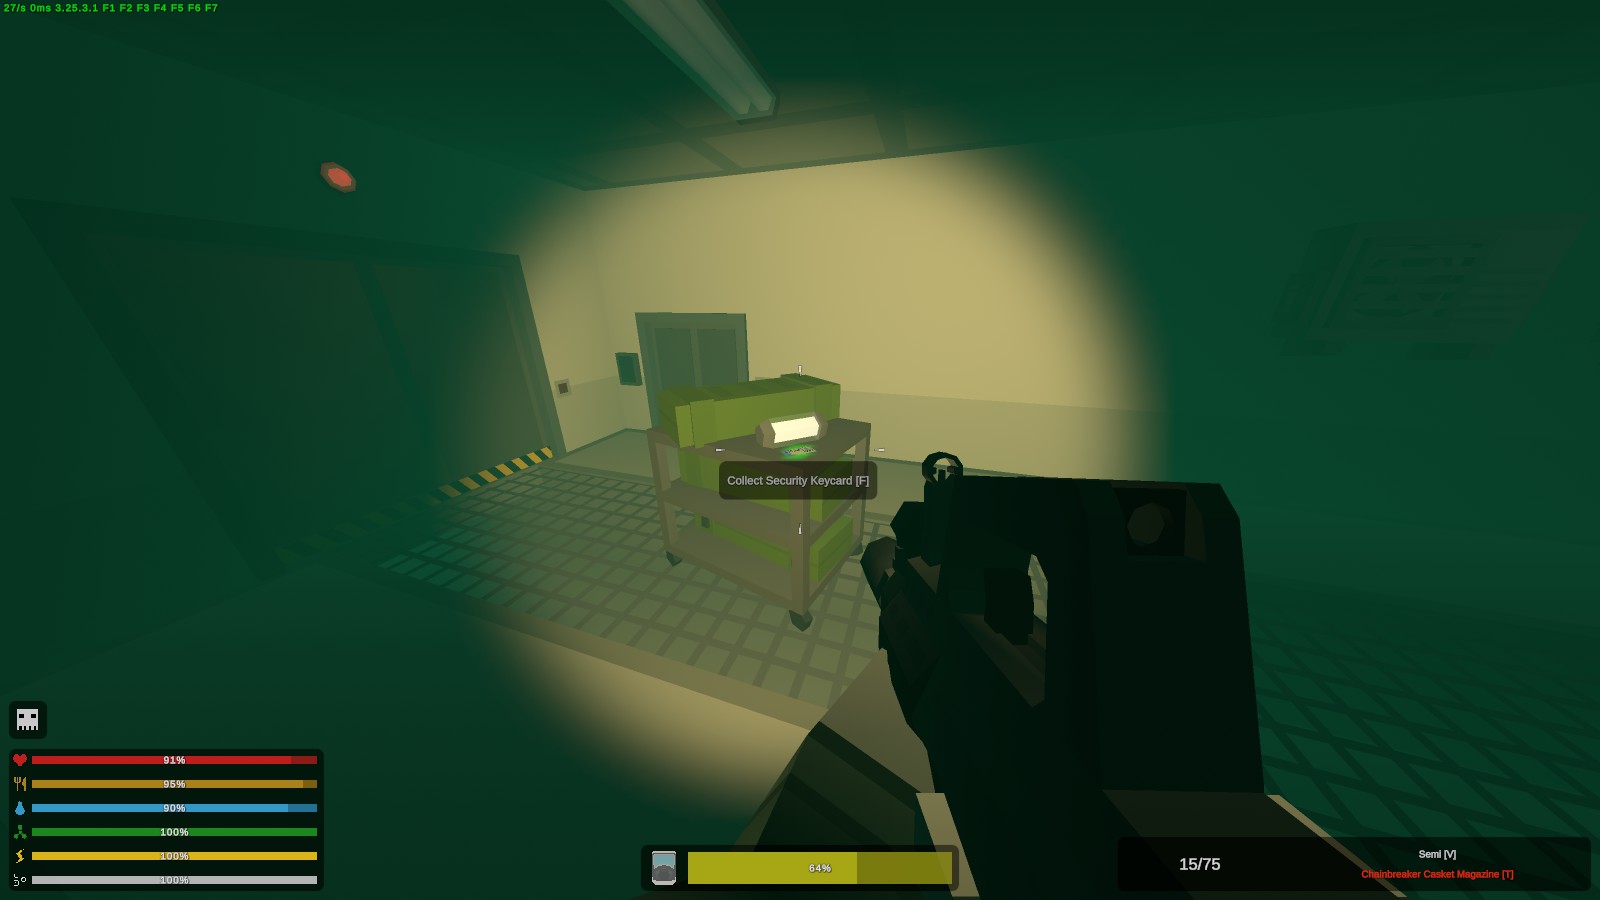
(BE WARNED! At this point, you will need a full biohazard suit. If you did not grab one already, go back and get the full set and then come back.)
Head back to an elevator and go to Underground Level 2. For reference, this is the place I ended up at with the elevator I took, with the left side after exiting looking like this:
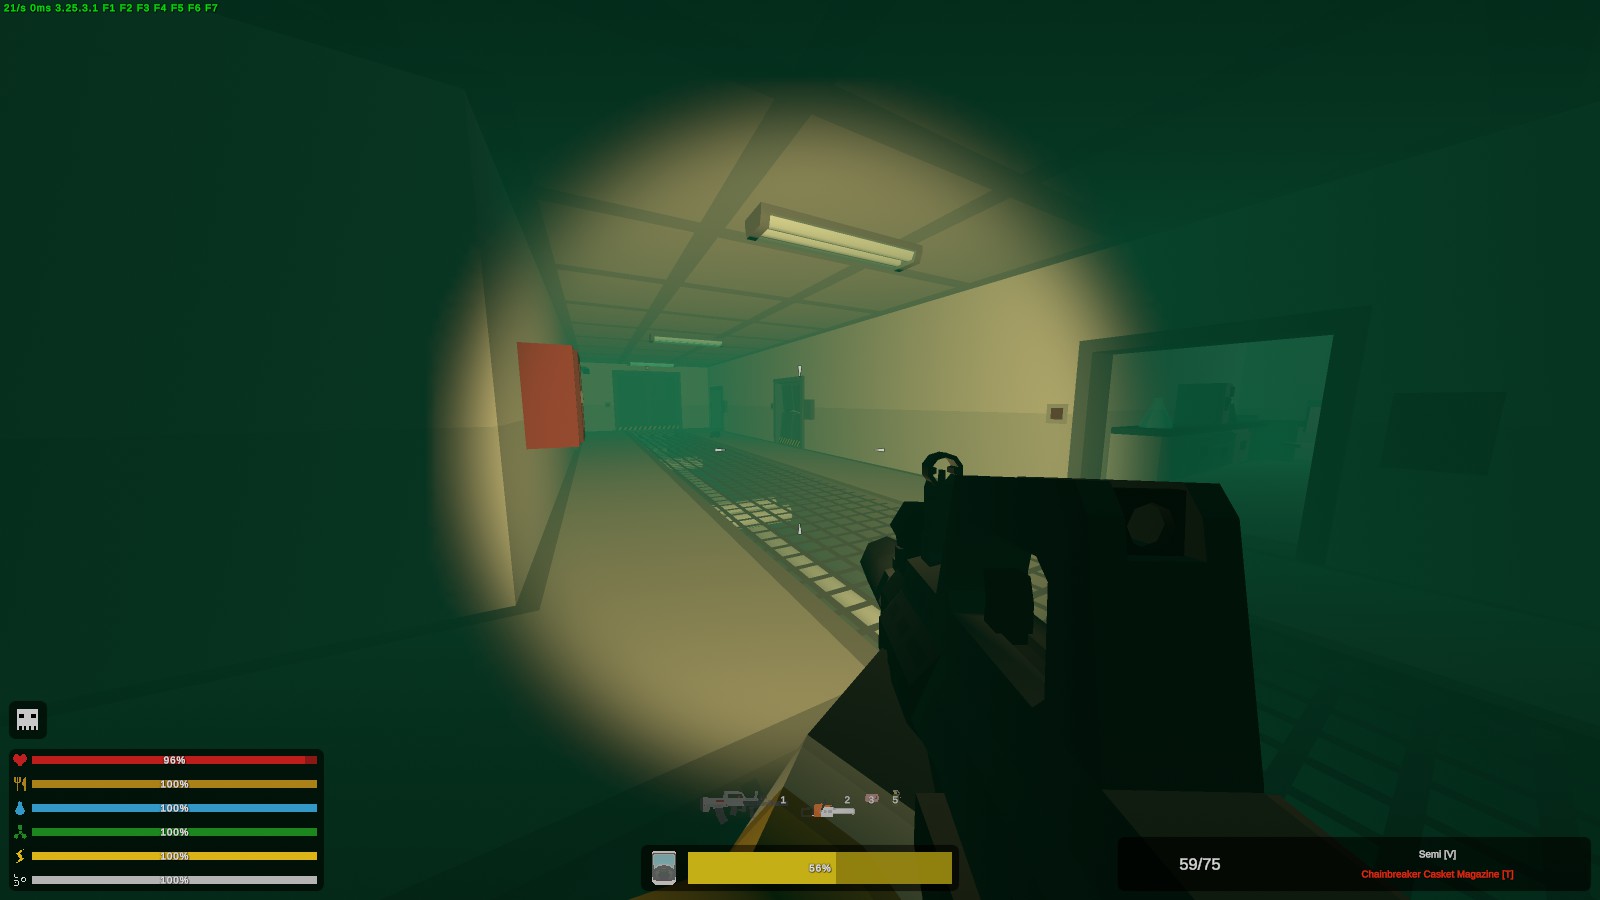
And the right side when exiting looking like this:
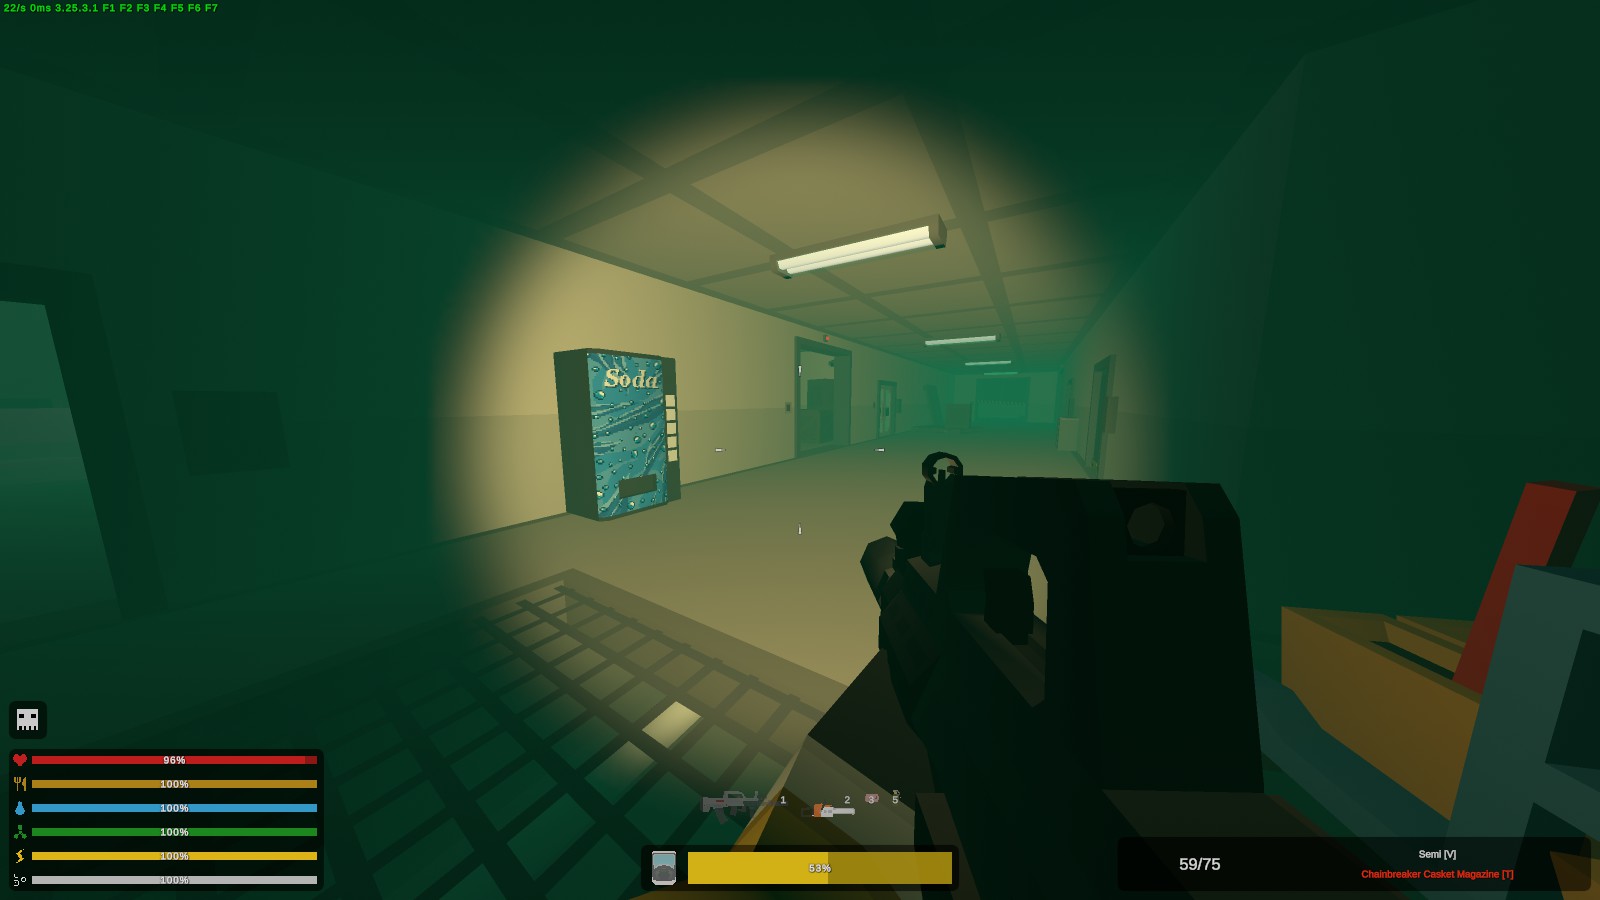
If you didn't use the same elevator I did, that's fine, just go as much east as you can and hug that wall. If you did take the same elevator as me, go right and under that slightly opened door.
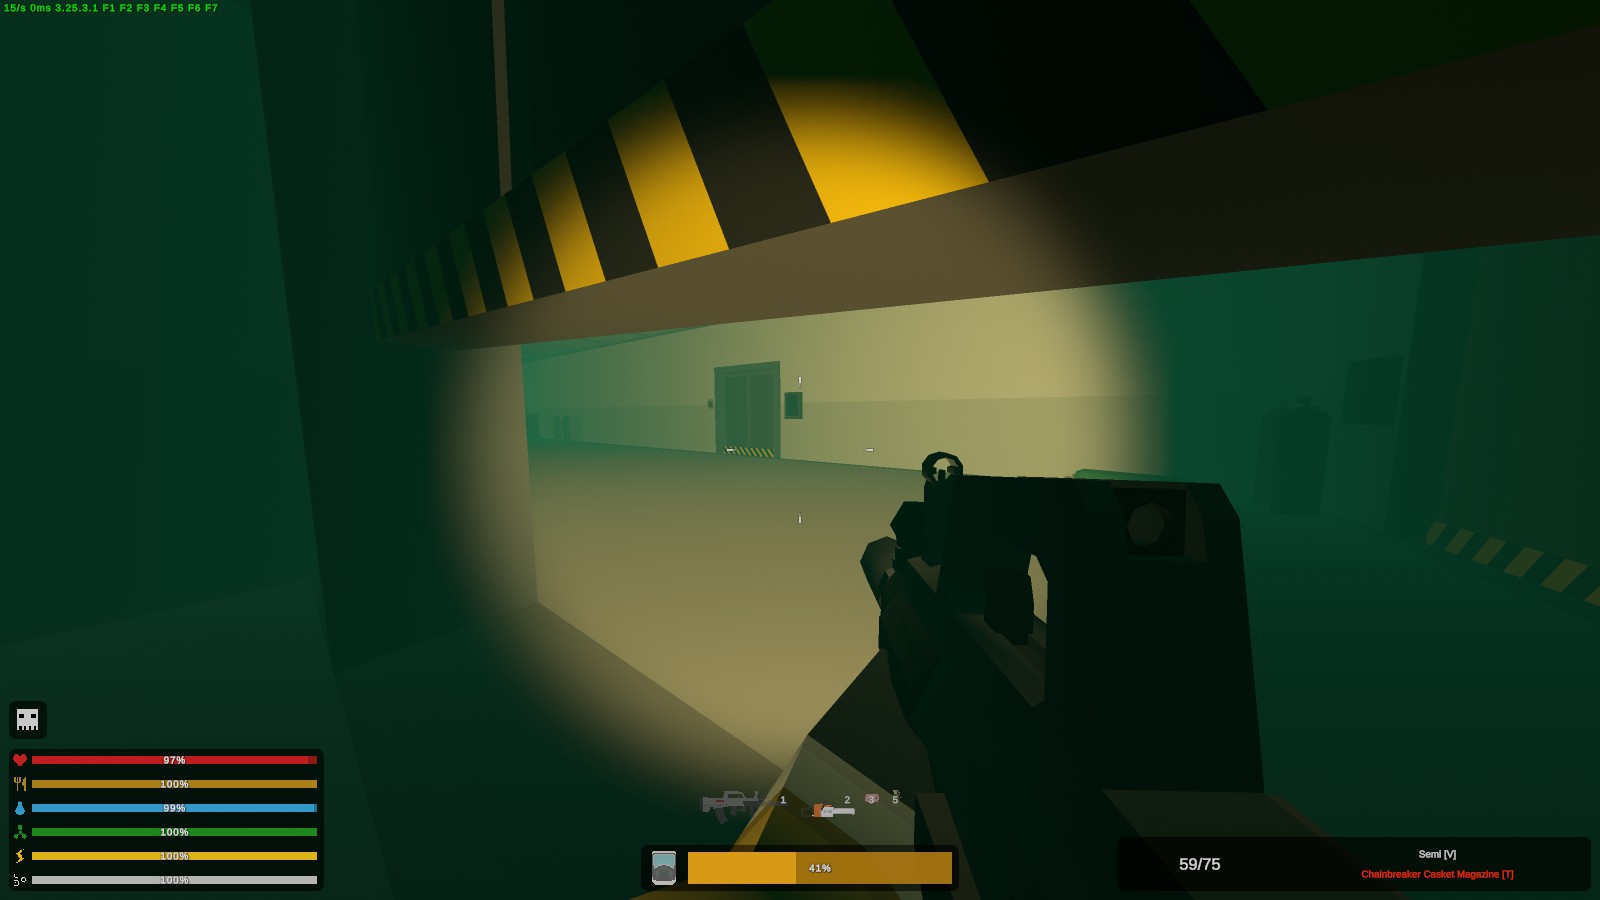
From there, you should end up in a hexagonal room. Keep in mind, a Mega may or may not spawn here. Go through the mostly opened door and enter the room on the right, and enter through the only door in there.
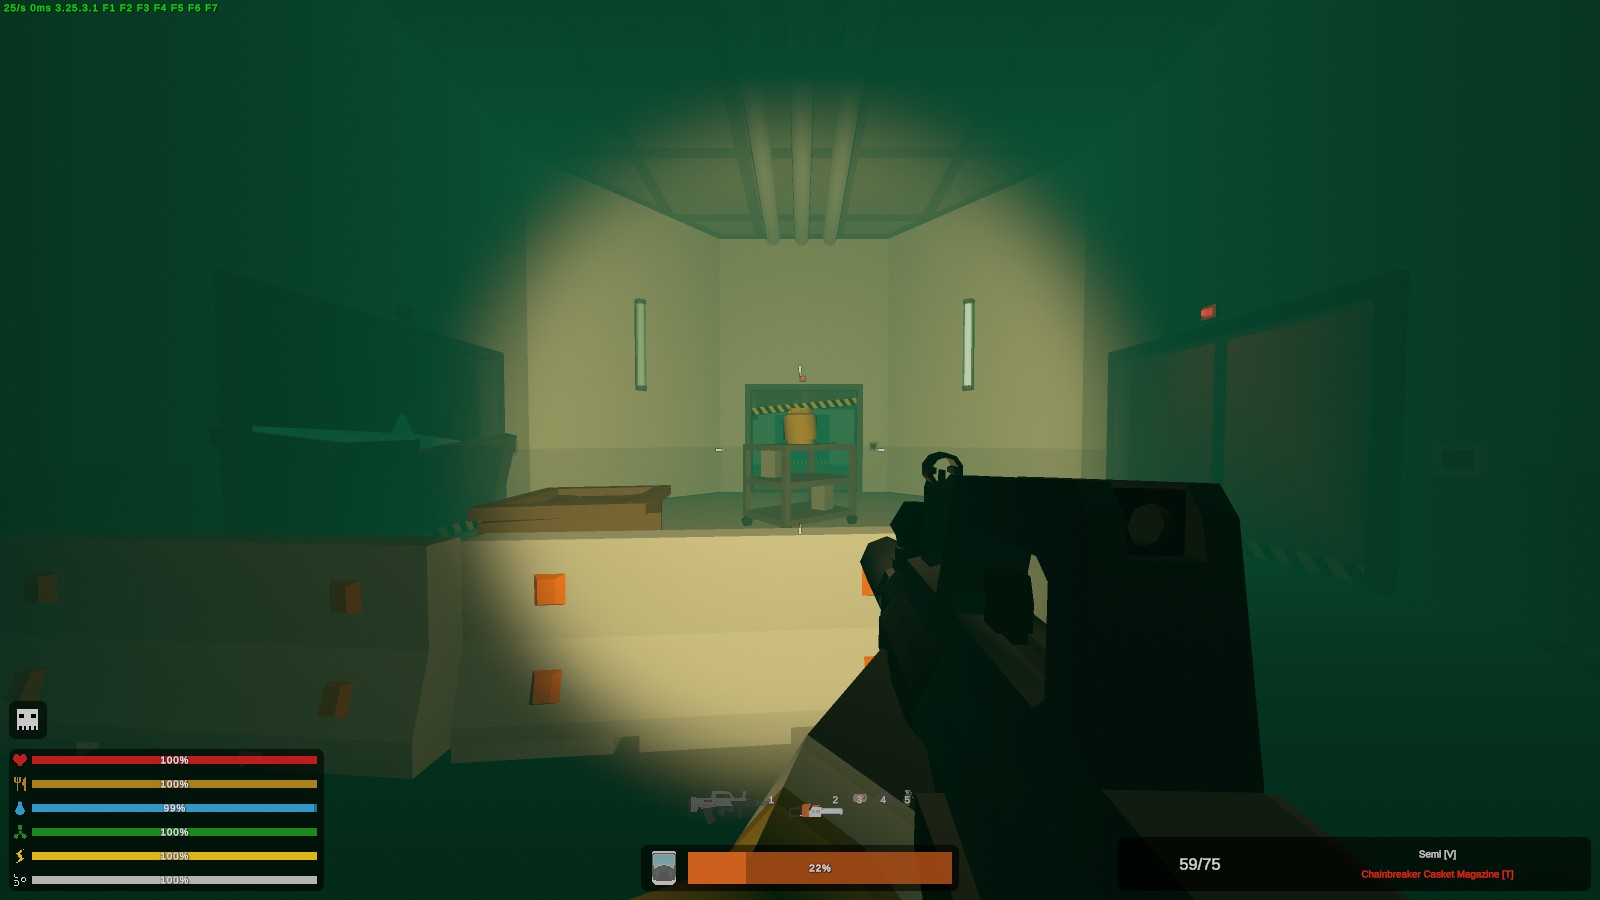
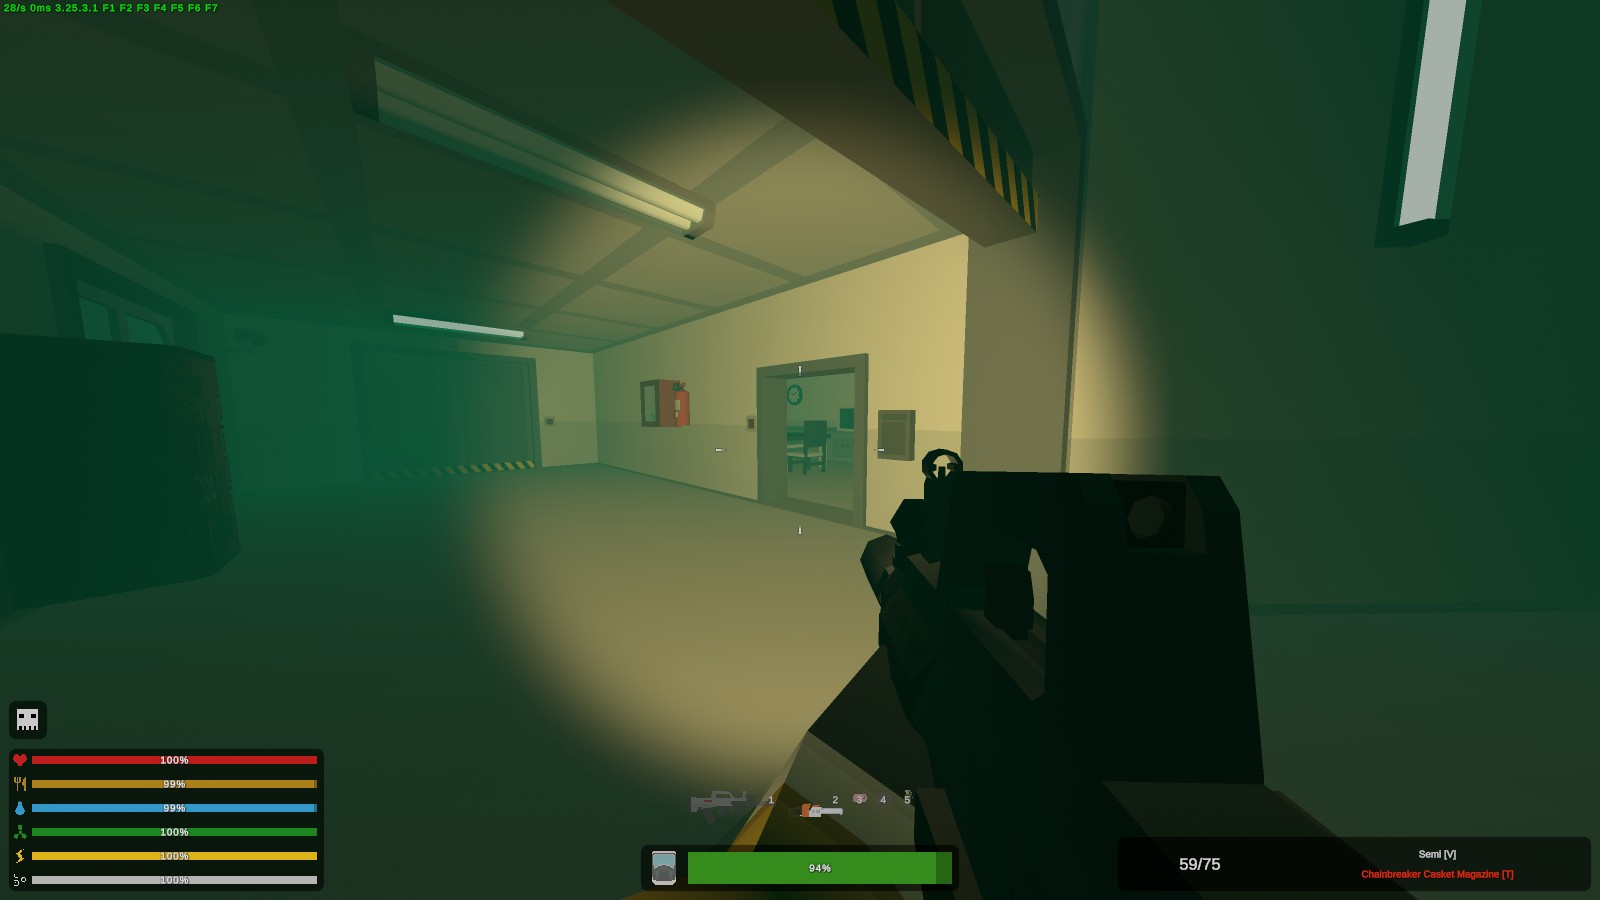
You should end up at the start of a long hallway with an Admin door close by.
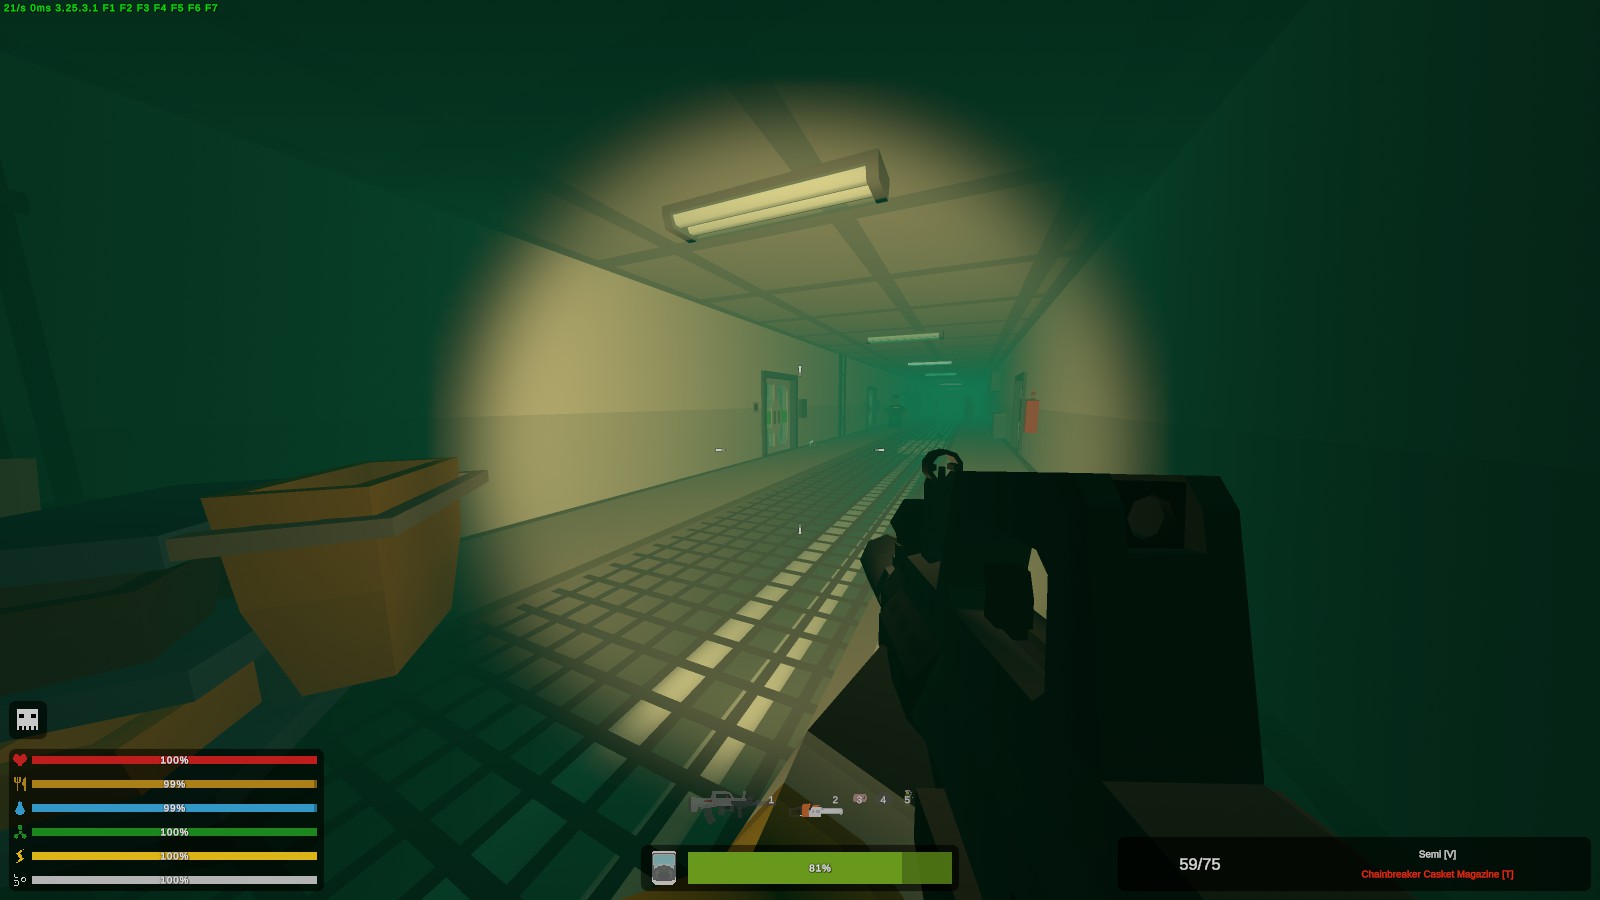
Walk up to the door and you should see the Admin Keycard right under it.
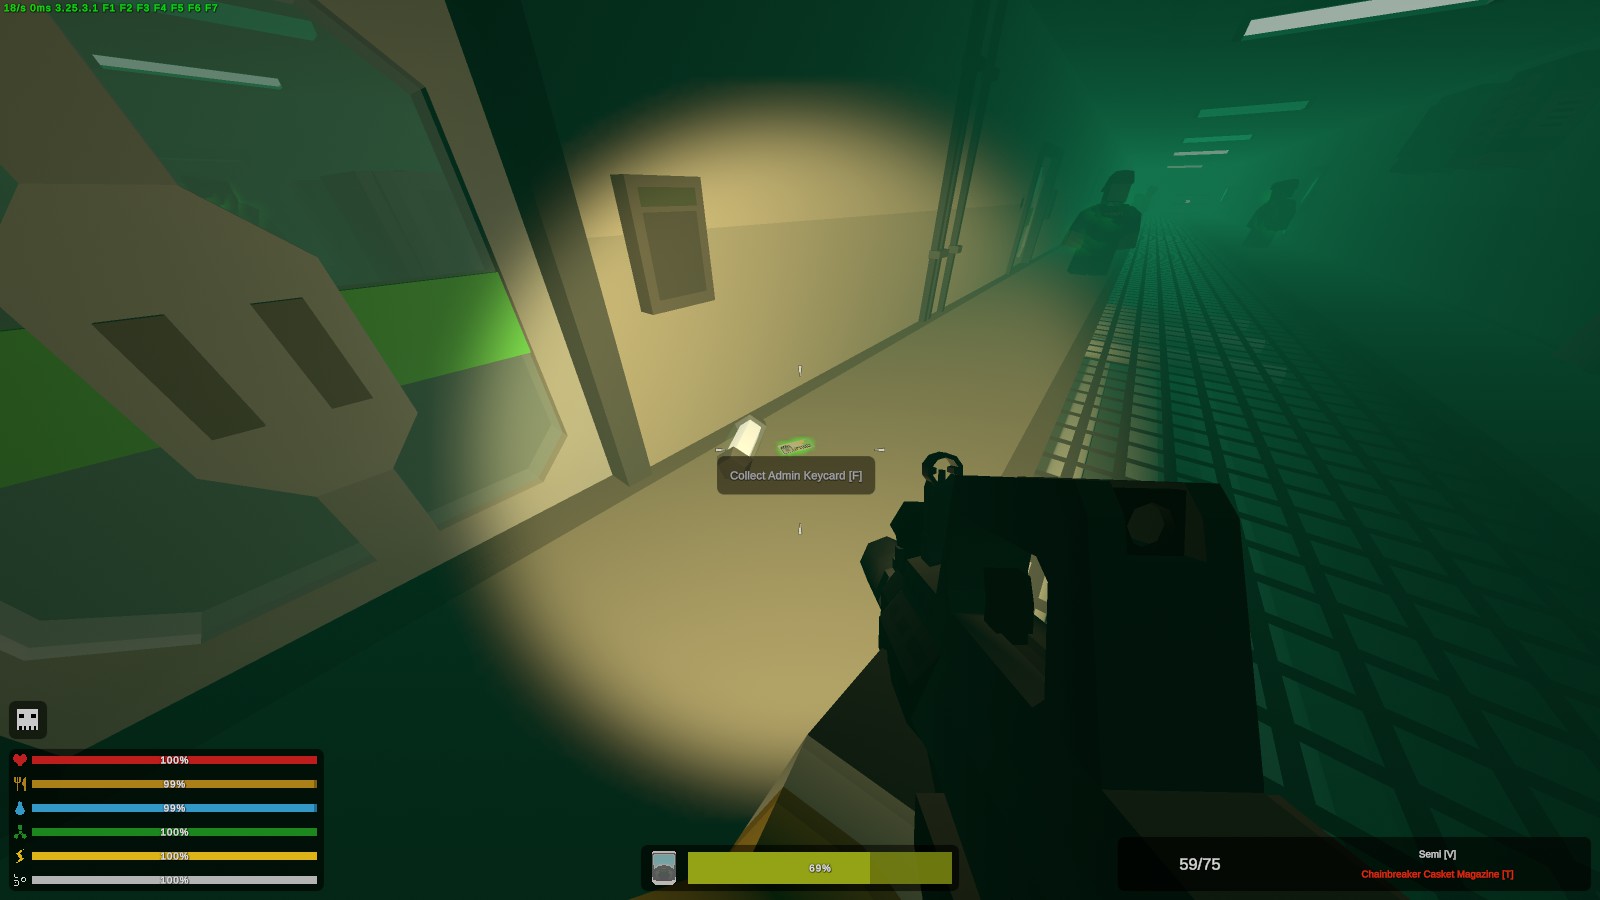
(BE WARNED! At this point, to progress you will need to enter a boss fight room that you cannot leave without completing. Stock up on ammo and medical supplies!)
Now, we make our way to an elevator again and select the new ERROR floor, where we encounter a Mega Zombie Boss, not too dissimilar to the ones from Russia and Germany. Try to keep your distance as this zombie type has multiple abilities (flamethrower, lighting strikes, shockwave, rock throwing). There is not much in terms of loot on this floor while it is in the ERROR state, so just focus on taking out the Mega Boss.
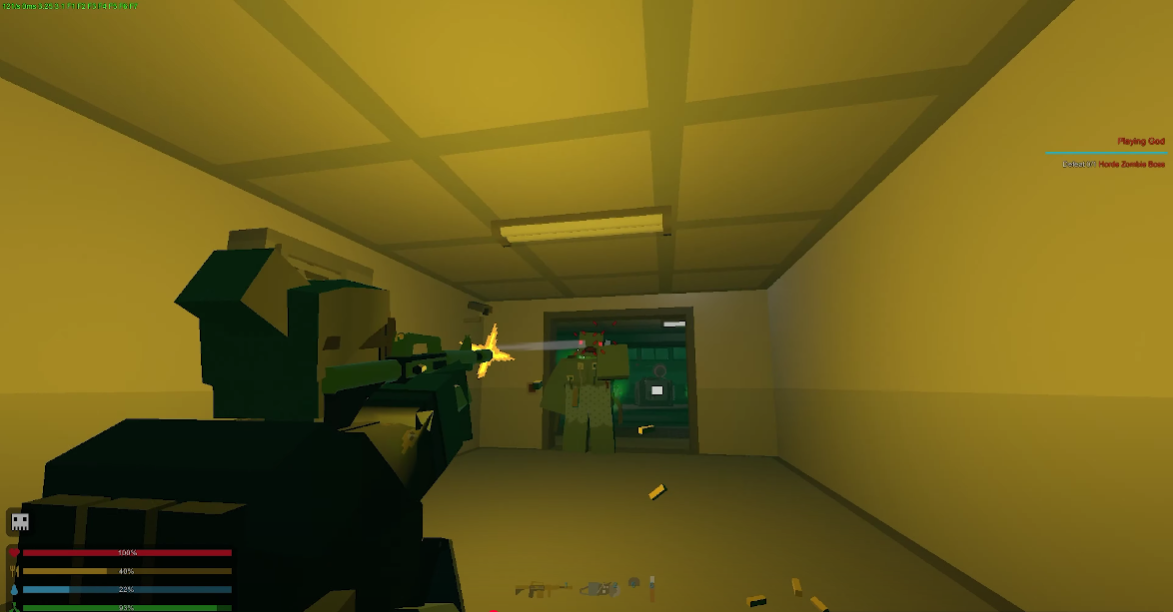 (I did not manage to get a screenshot while fighting the Mega Boss, so here's a screenshot from Sm1leeY's video. Check his video guide out!)
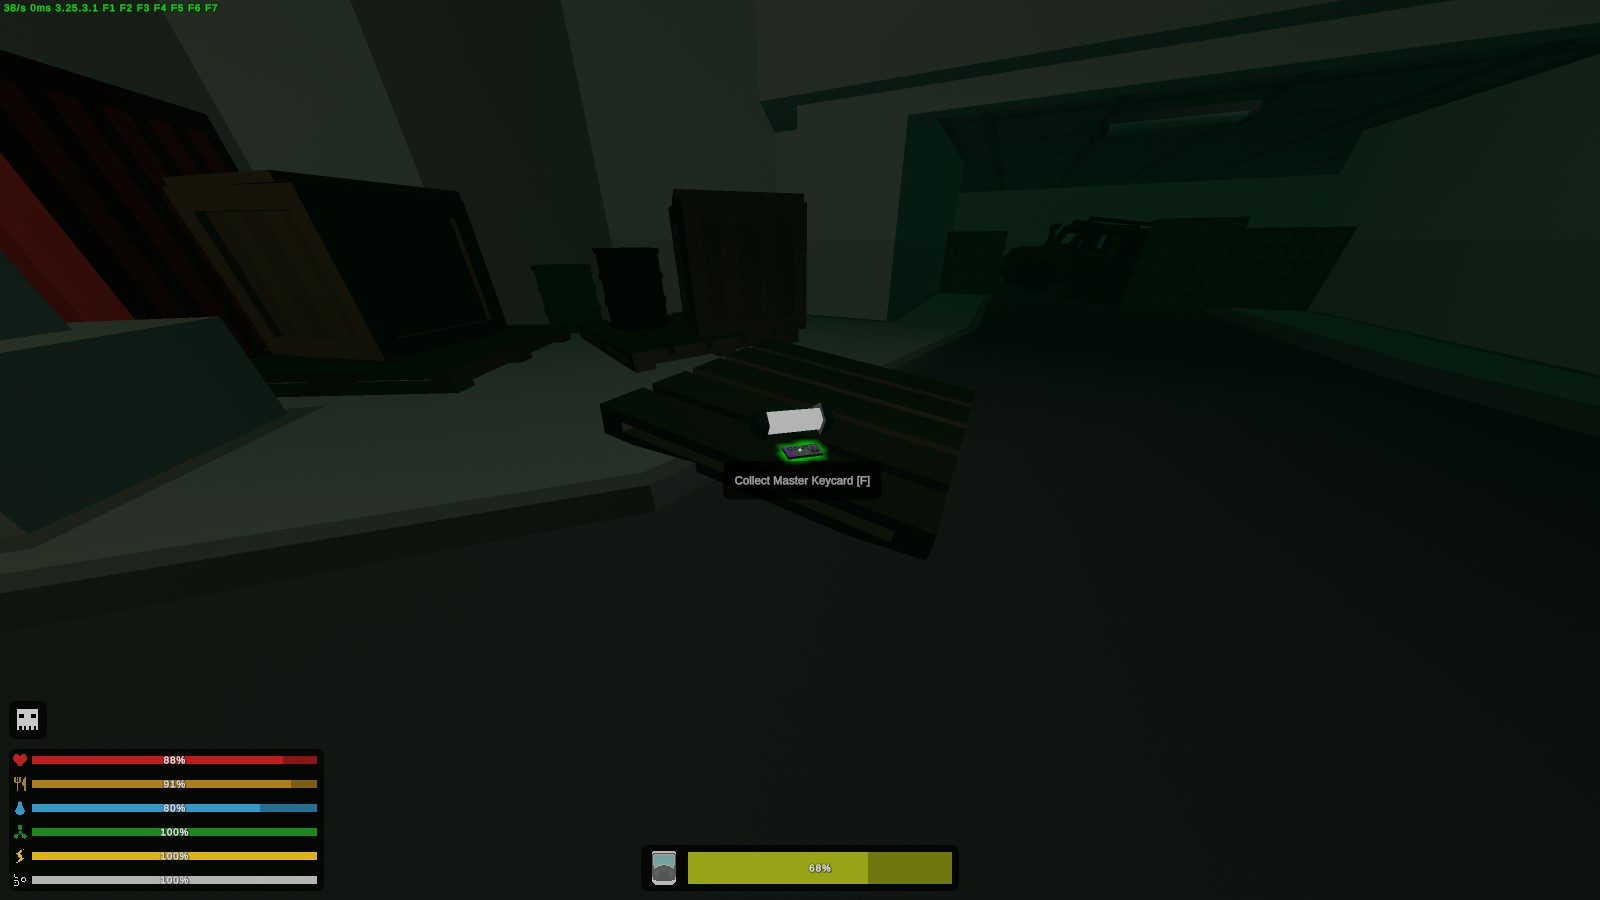
After all's said and done, you will be able to grab the Master Keycard on a wooden pallet in the middle of the arena and head back to the elevator, where the ERROR floor has now become Underground Level 3. At this point, the deadzone is full progressed. However, it is not fully completed, as there are still Blueprints and Secrets you can find.
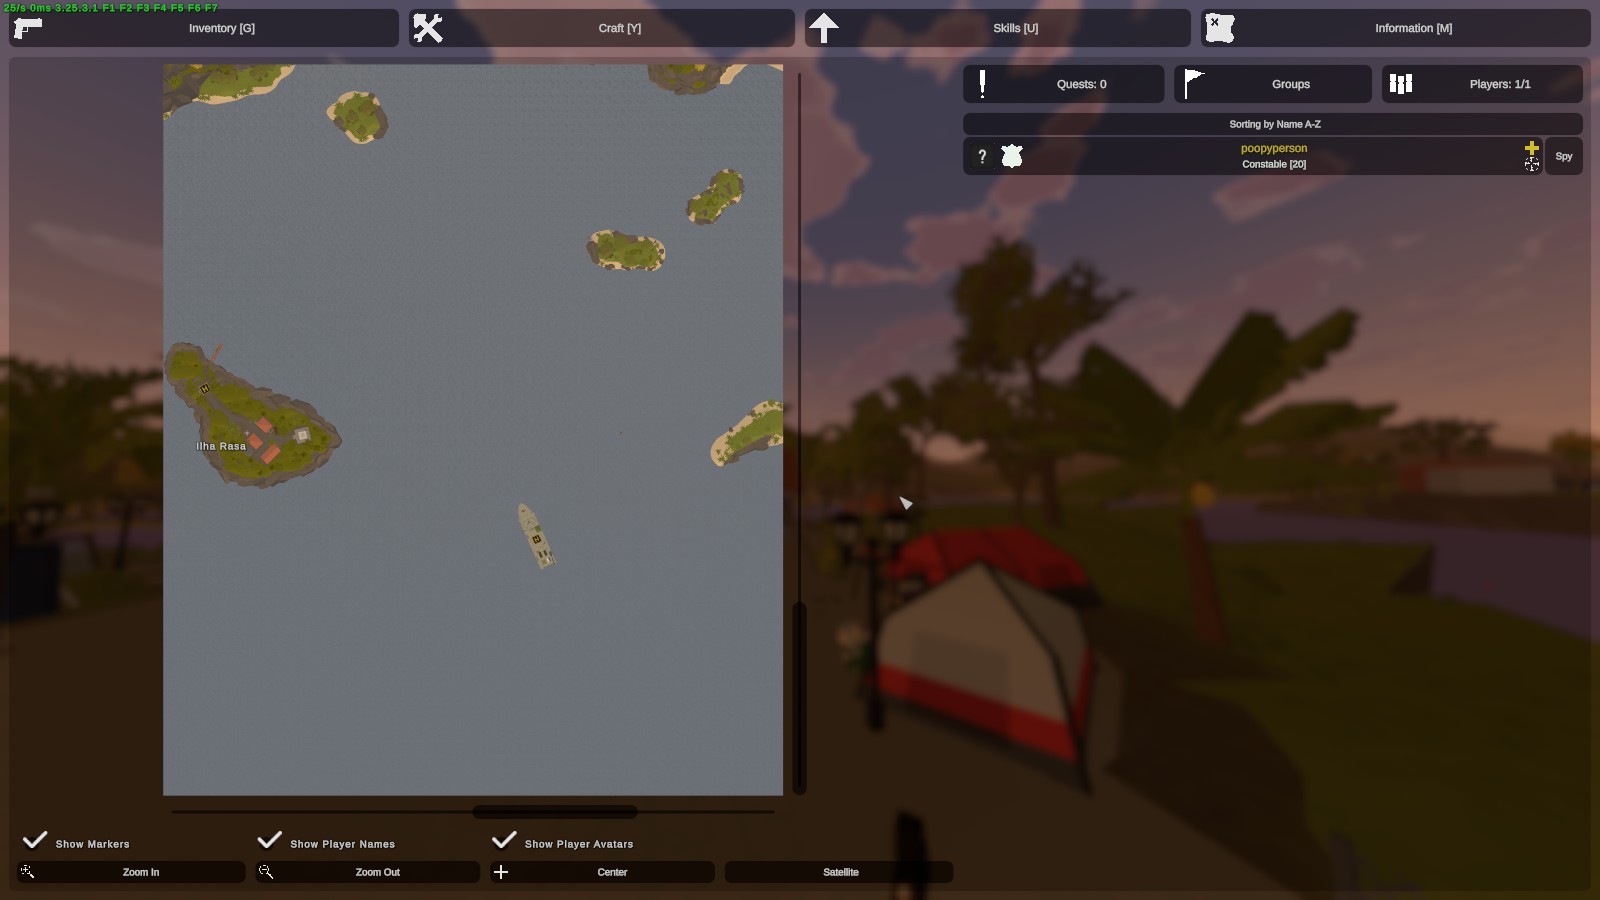
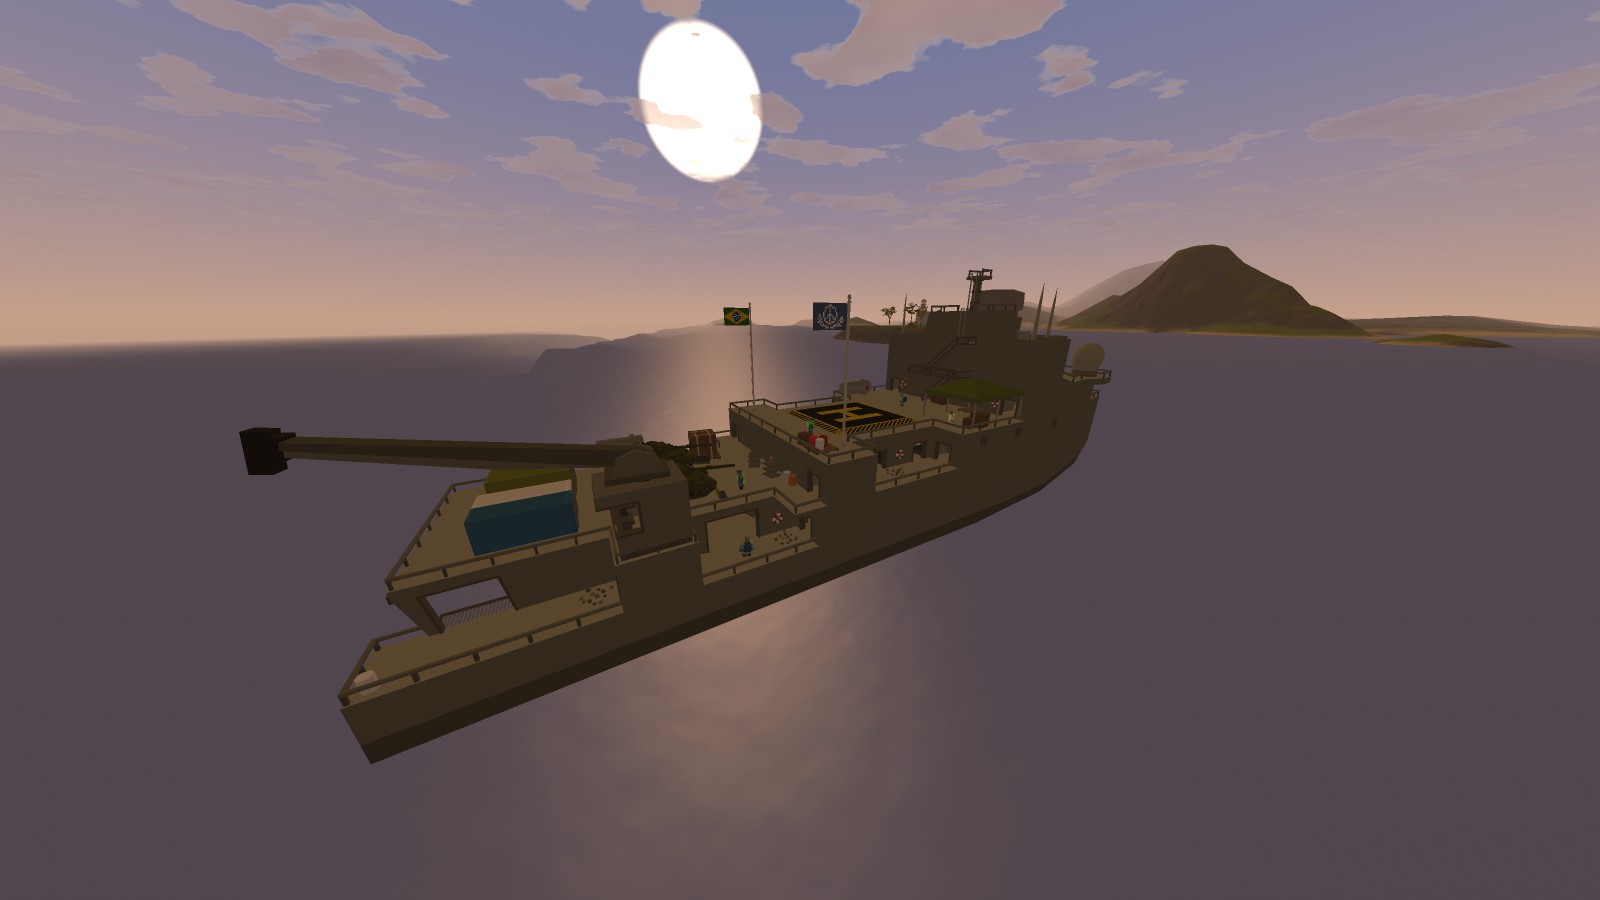
There is not much to find here aside from Navy loot, so if you're looking for something that only comes from the Navy loot table, this is the place to go.
HORDE BEACONS
Another gimmick this map has is its Horde Beacons, which are tied to the Blueprint system. Unlike other maps, this map has multiple Beacons, which besides Arid (and technically Elver), makes this one of the only other maps to include multiple Horde Beacons.
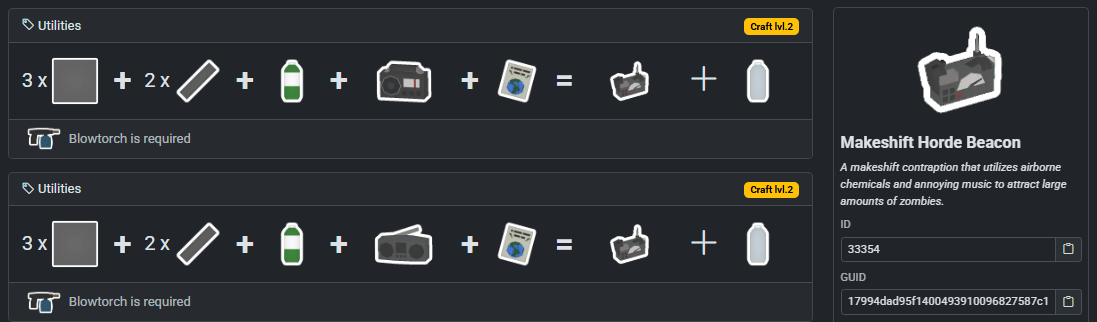
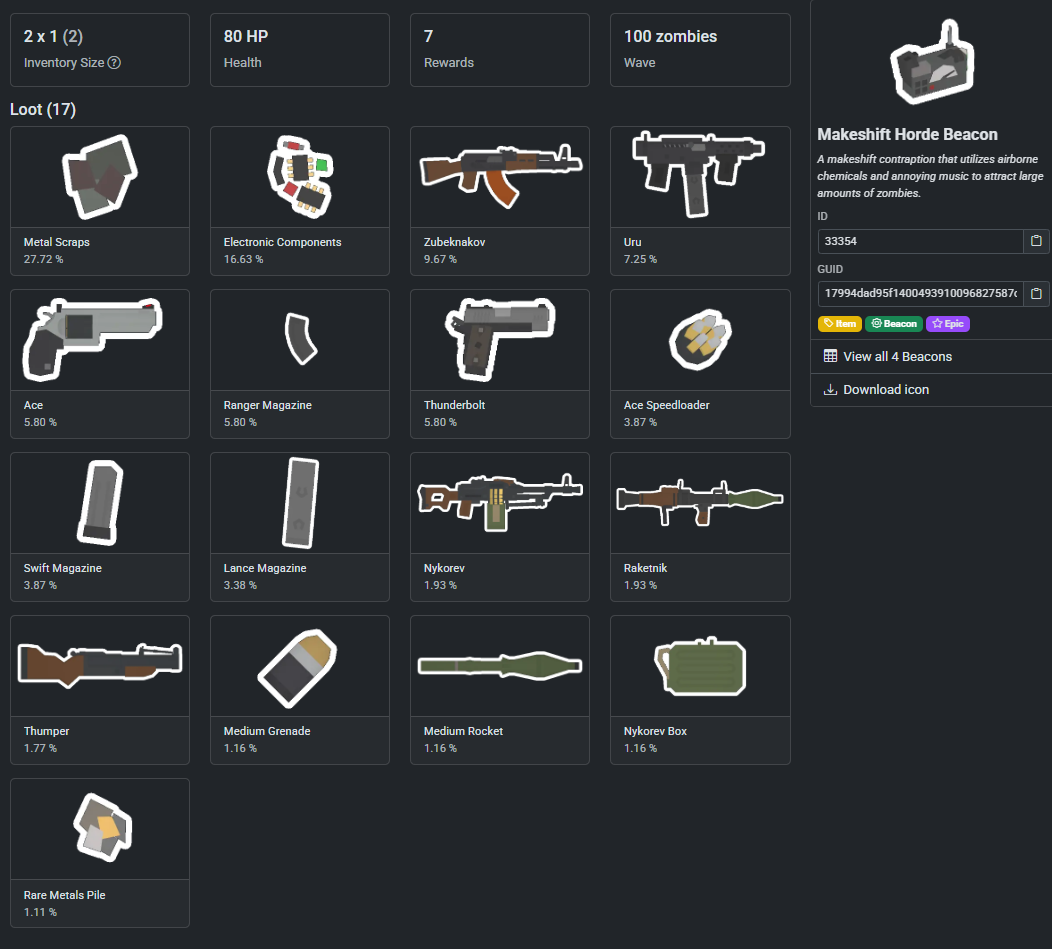
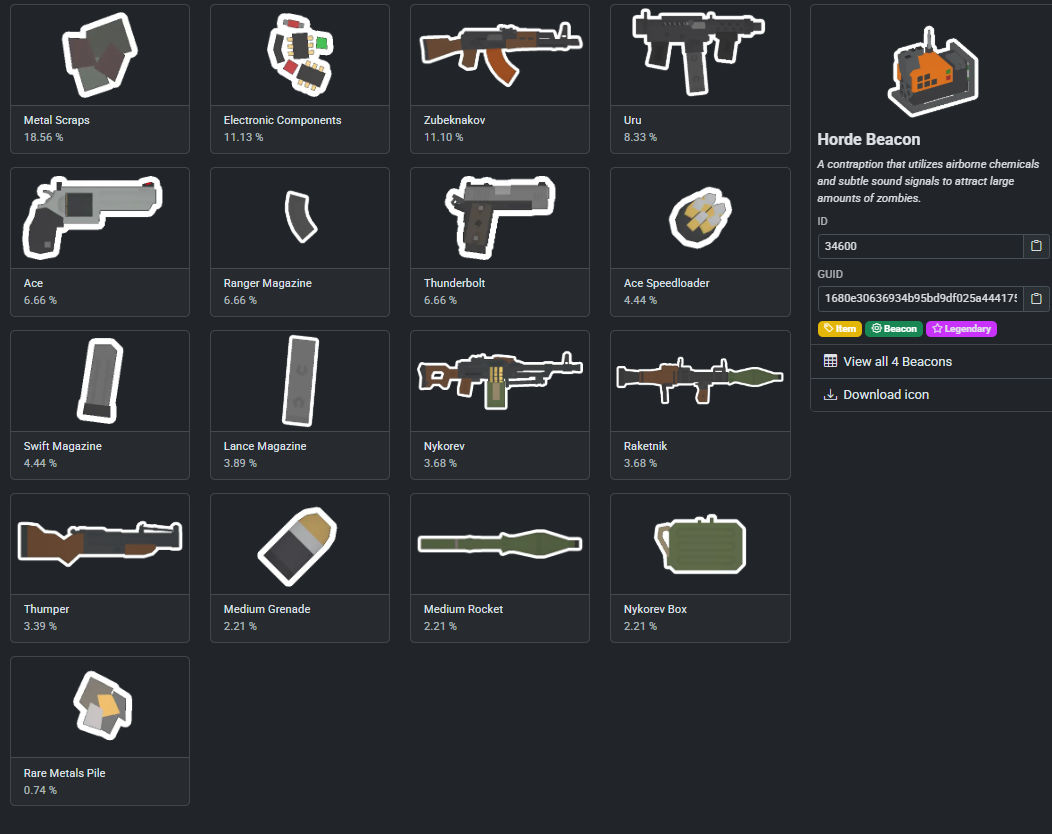
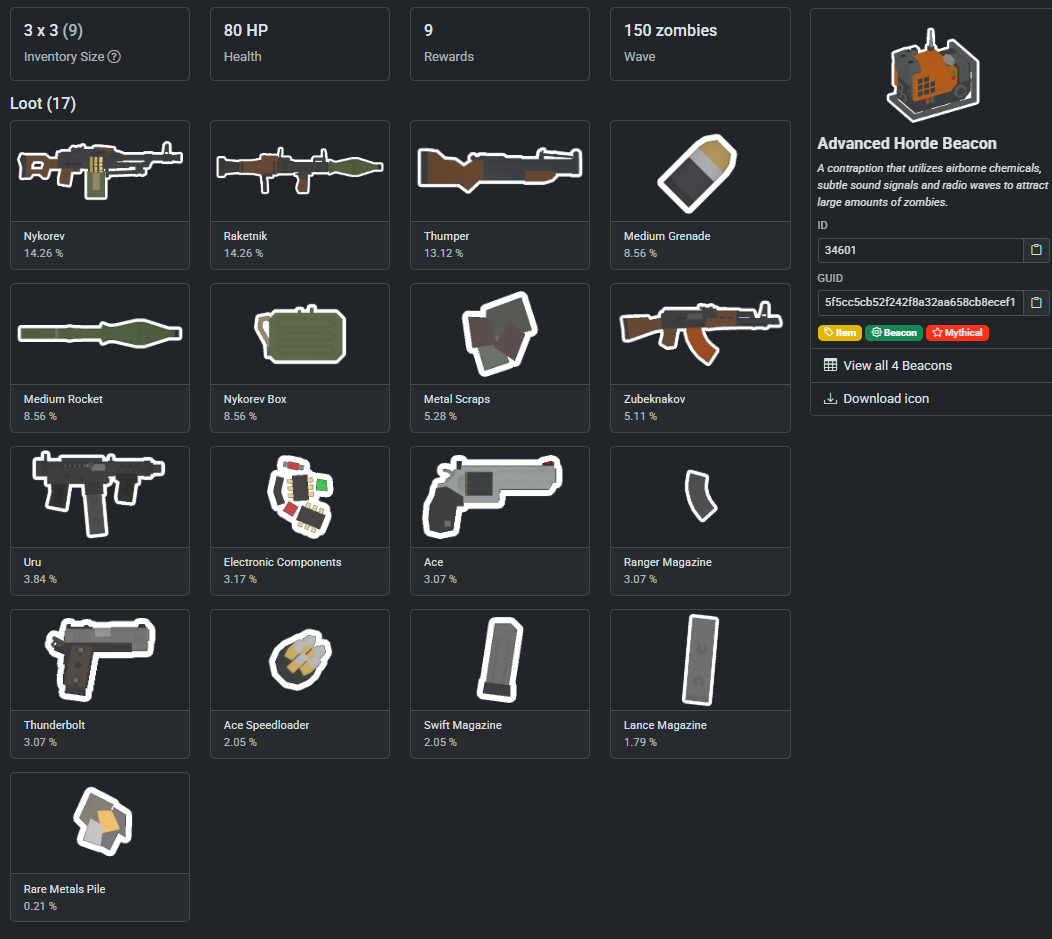
There are 4 Horde Beacons overall, with each Beacon serving as a stepping stone to the next:- Makeshift Horde Beacon
- Horde Beacon
- Advanced Horde Beacon
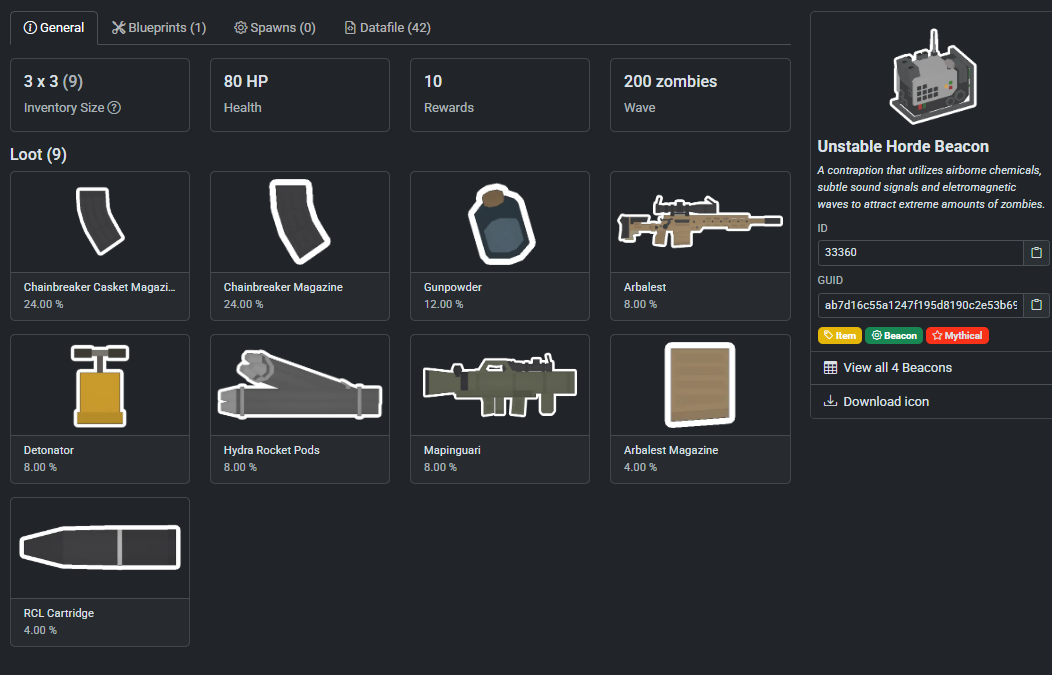
- Unstable Horde Beacon
 ㅤ
ㅤThe Makeshift Horde Beacon can be crafted with both an Encyclopedia or a Front's Cookbook, as well as an Old Radio or regular Radio

To craft the regular Horde Beacon, you will need to find its blueprint in Alto da Serra. Refer to the Blueprint section to find where it is.

You must have crafted the regular Horde Beacon at least 30 times [so 31 is the minimum] to unlocked the Advanced Horde Beacon's recipe.

To craft the Unstable Horde Beacon, you will need to find its blueprint in the Santos Joint deadzone. Refer to the Blueprint section to find where it is.
BLUEPRINTS
- Filter
- Glider
- Advanced Fishing Rod
- Unstable Horde Beacon
- Reinforced Wearables
- Reinforced Structures
- Reinforced Utilities
- Regular Horde Beacon
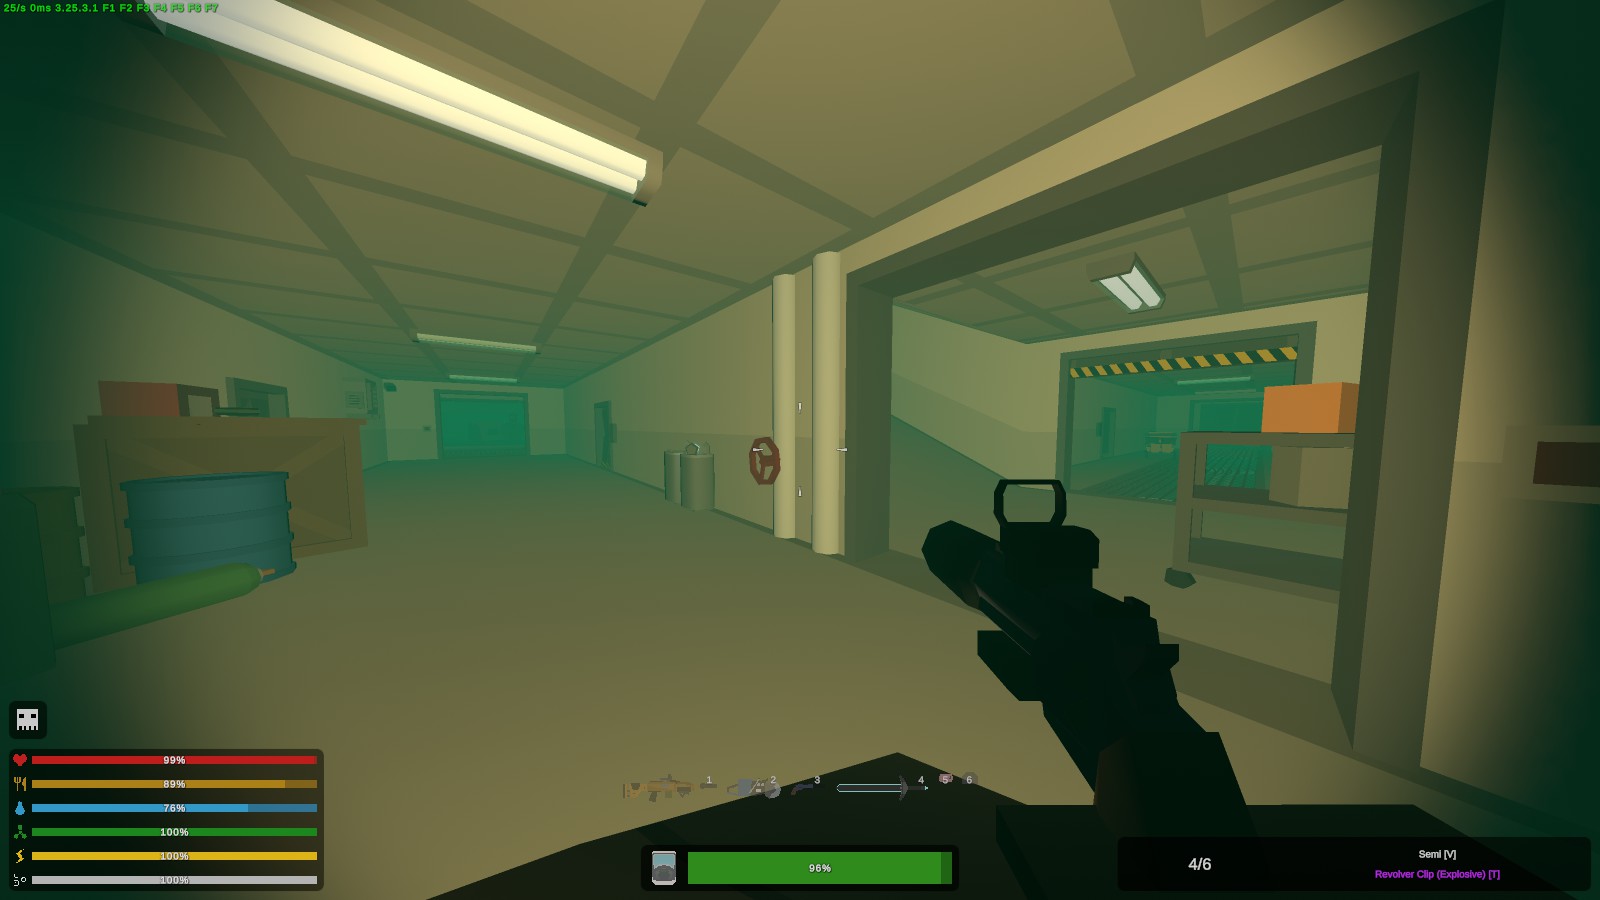
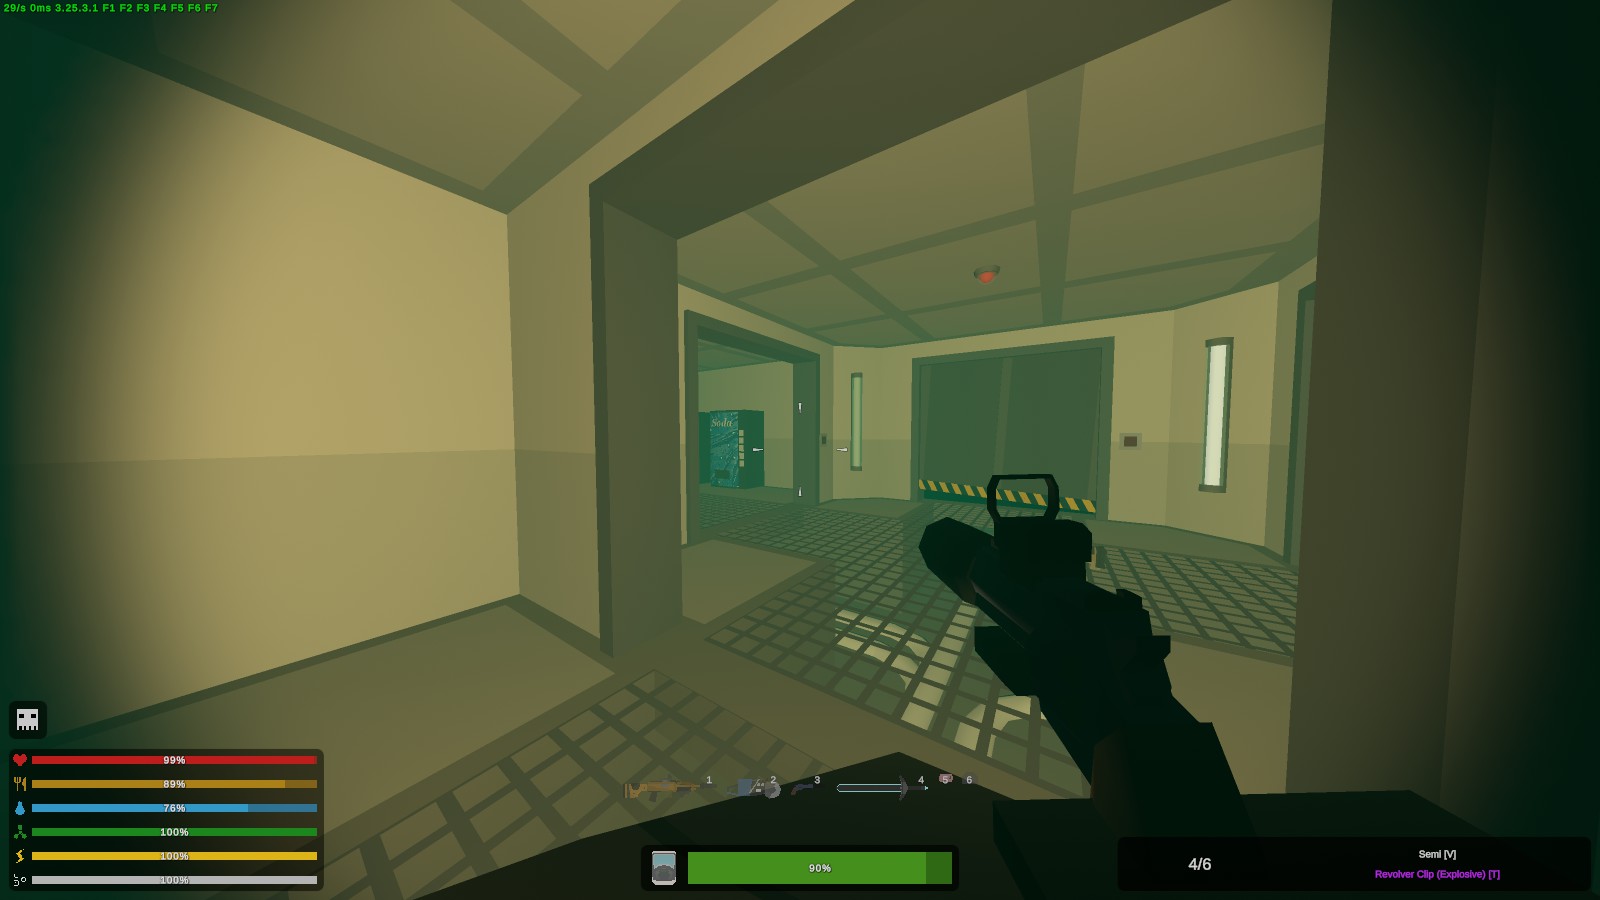
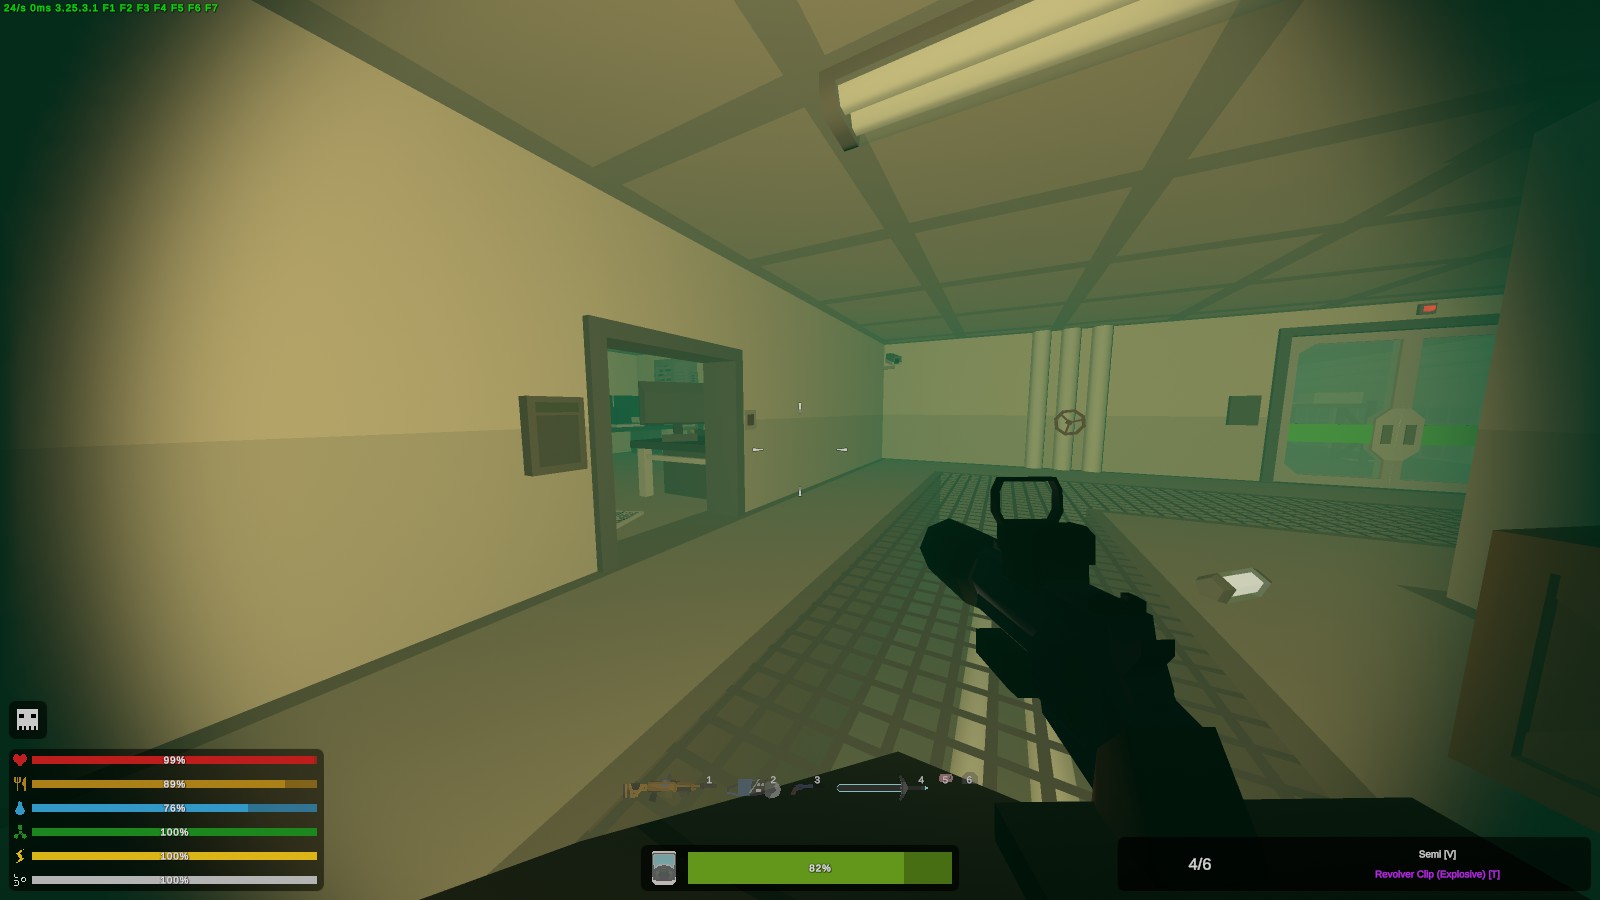 ㅤ
ㅤTake the door on the right and make your way to the stairway with the tipped over vending machine.
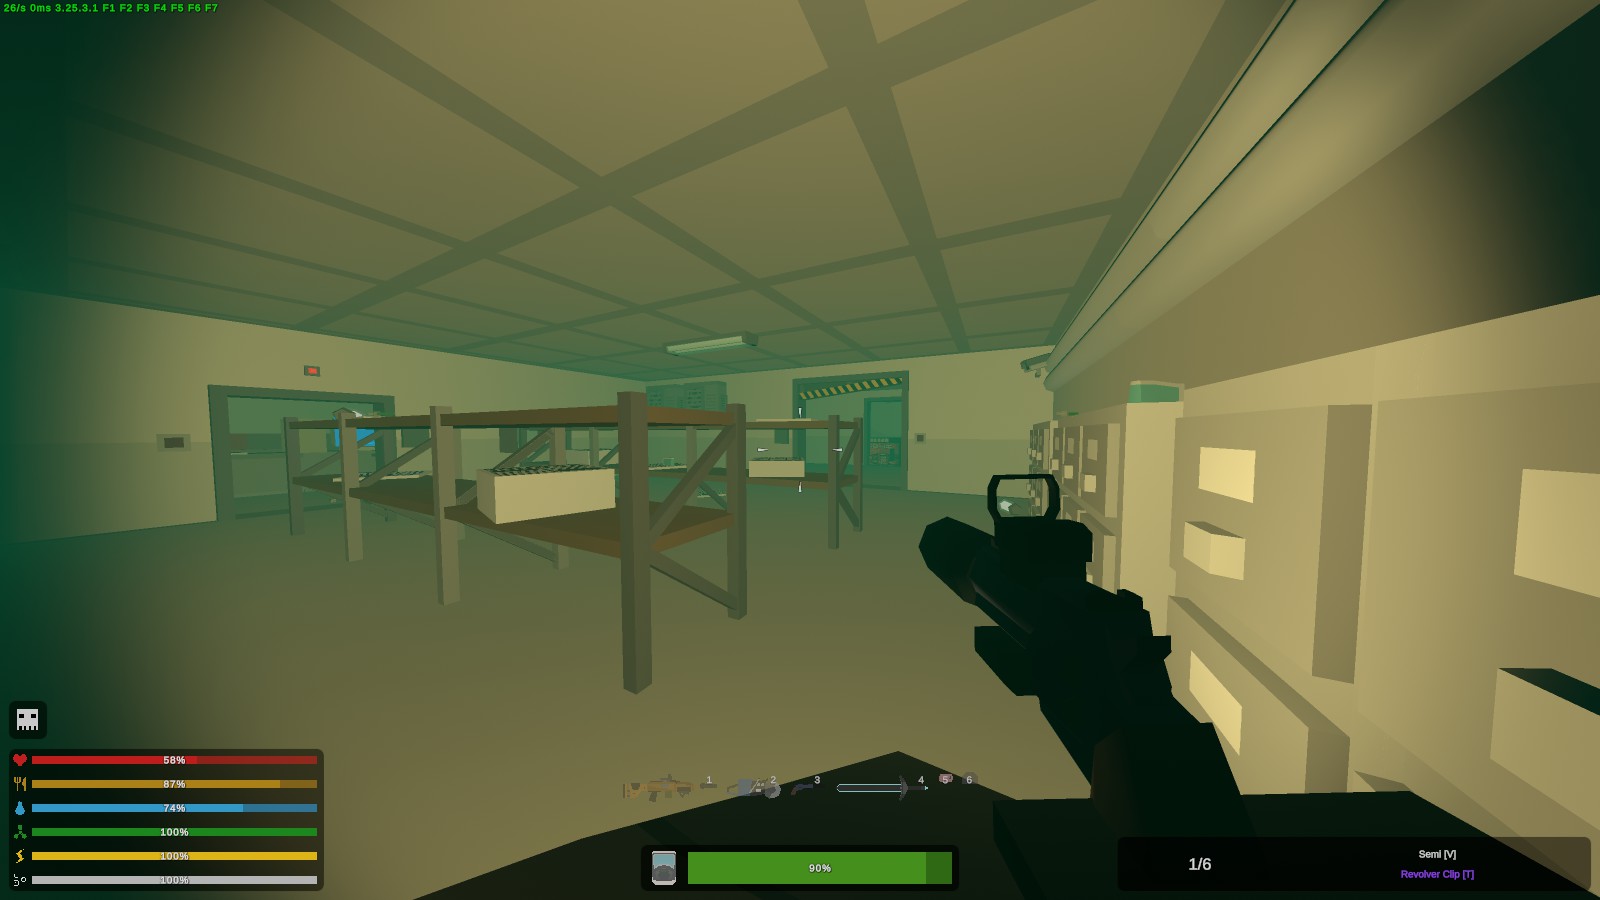
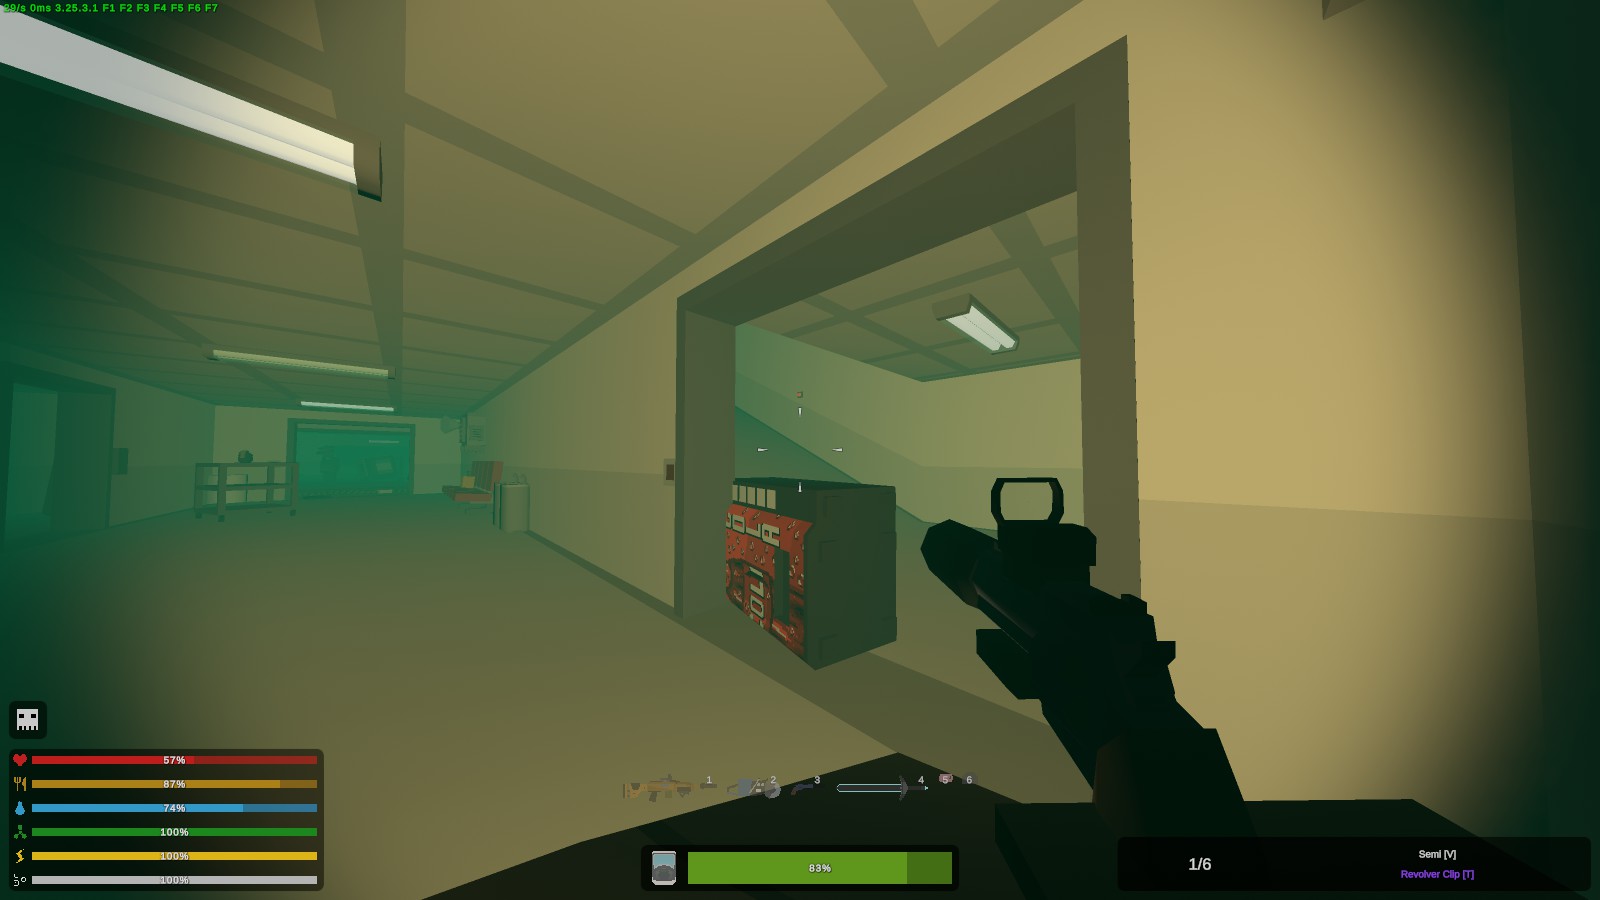 ㅤ
ㅤGo straight down the hallway until you reach the first door on the left
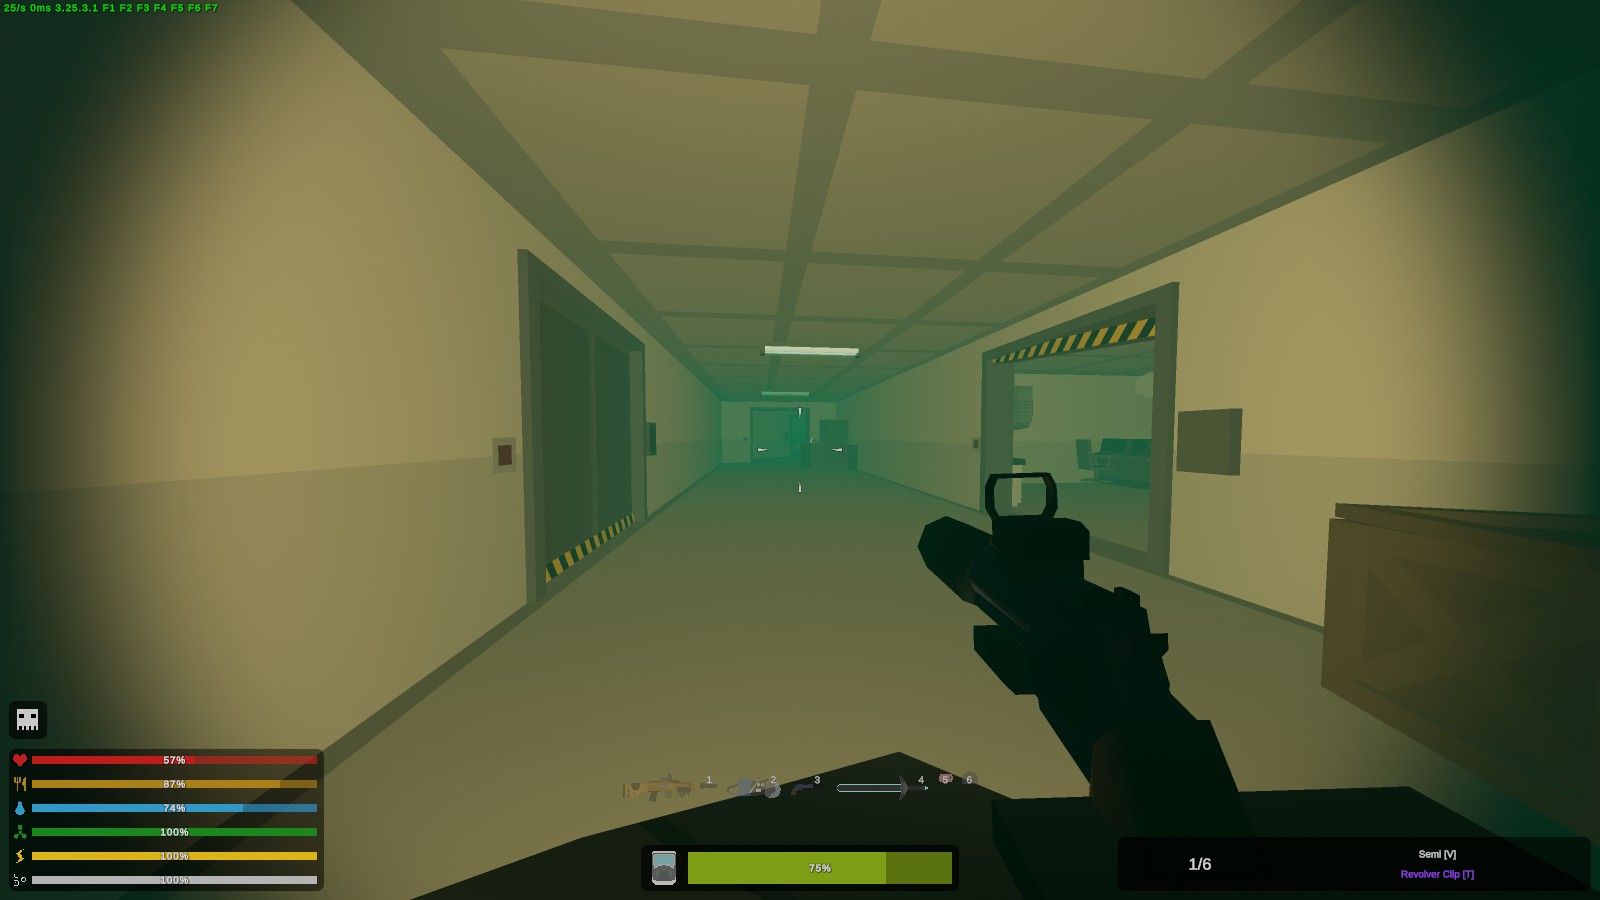
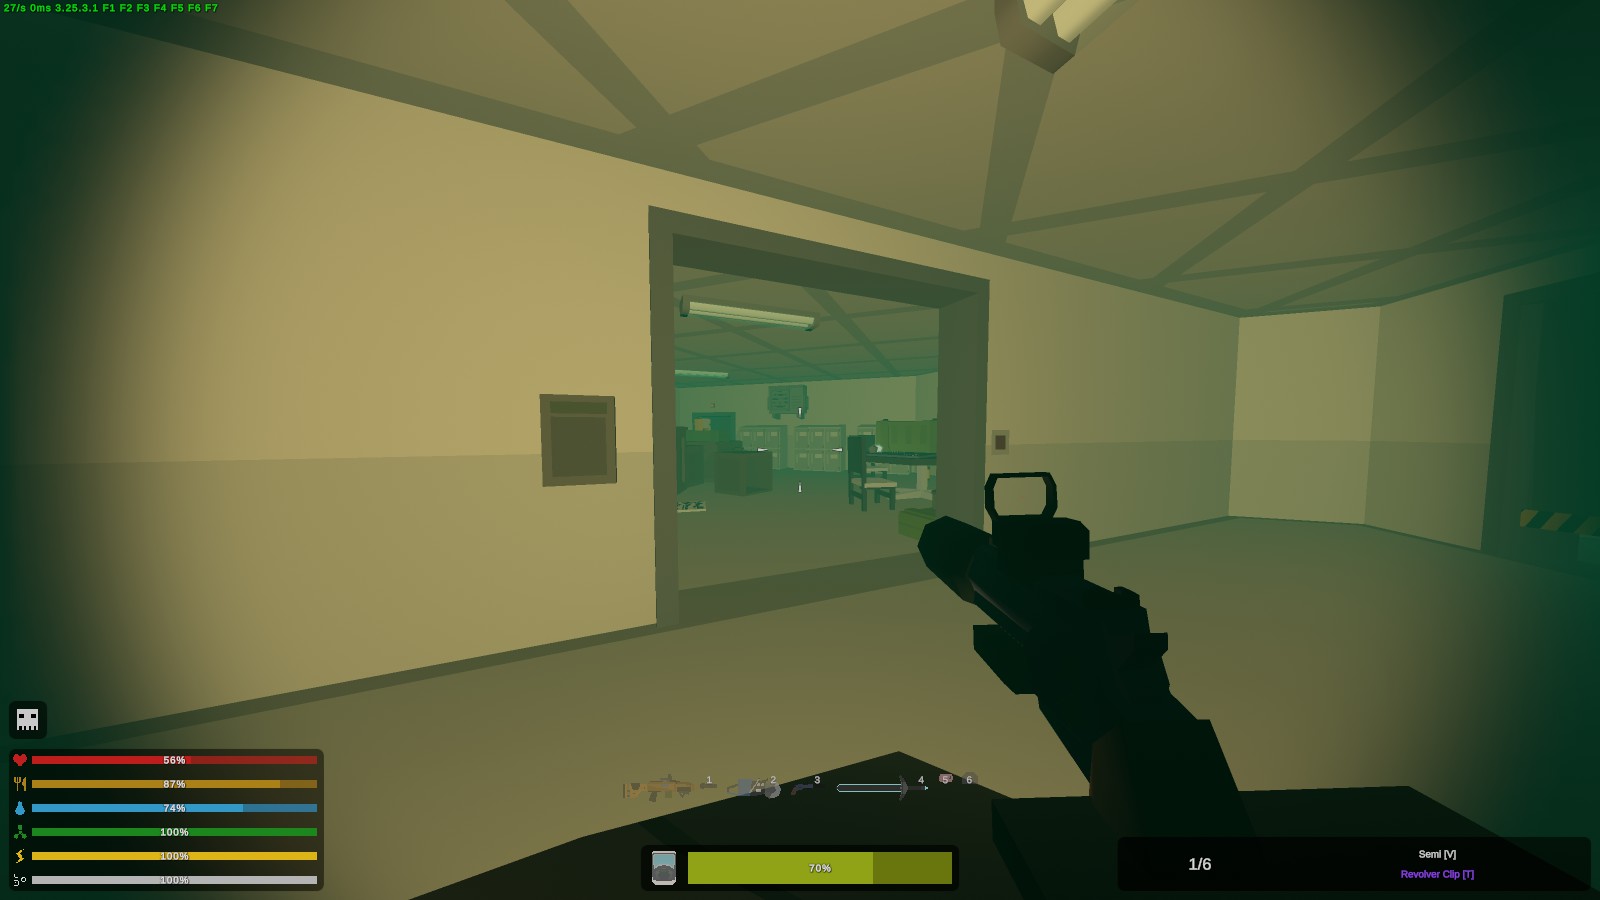 ㅤ
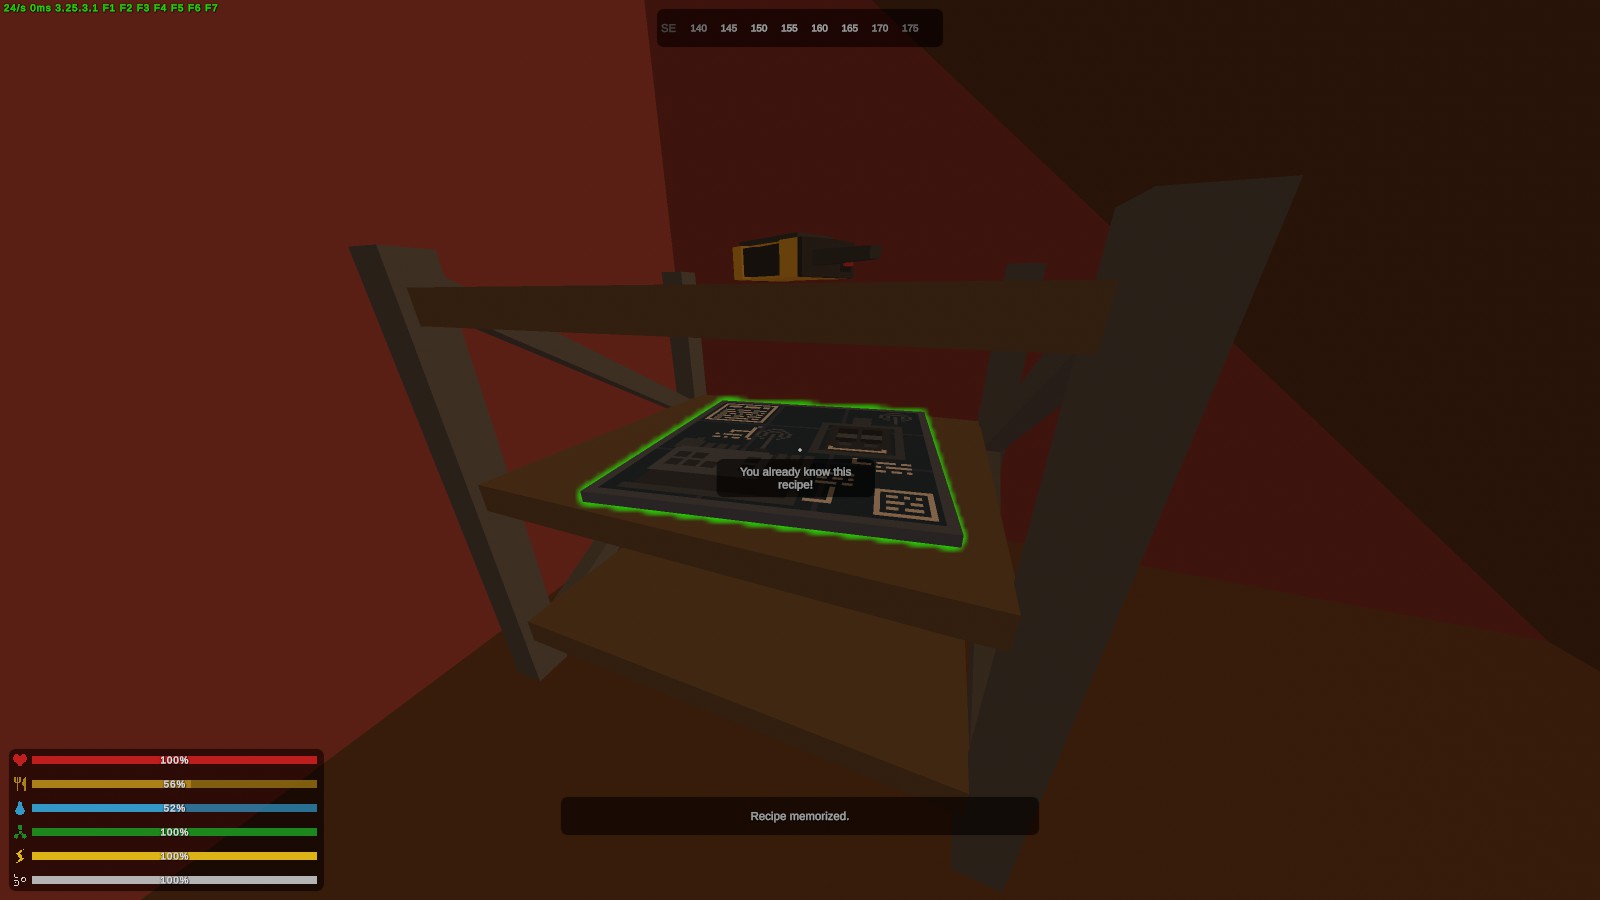
ㅤEnter that room and there should be the Filter blueprint, along with the Unstable Horde Beacon blueprint and the Chainbreaker case
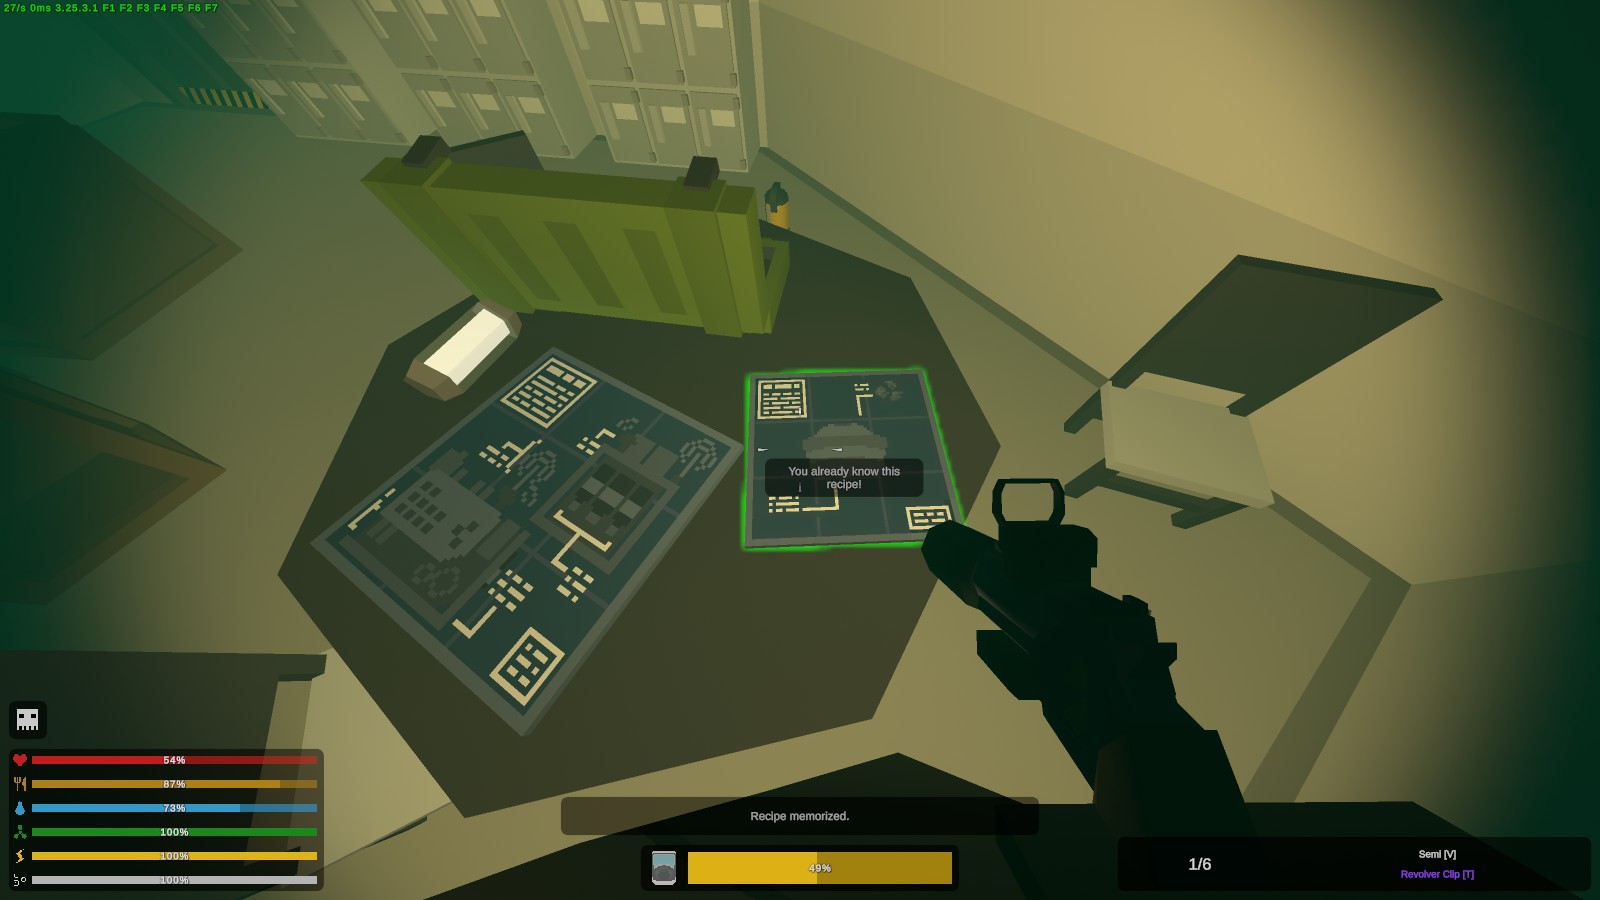 ㅤ
ㅤ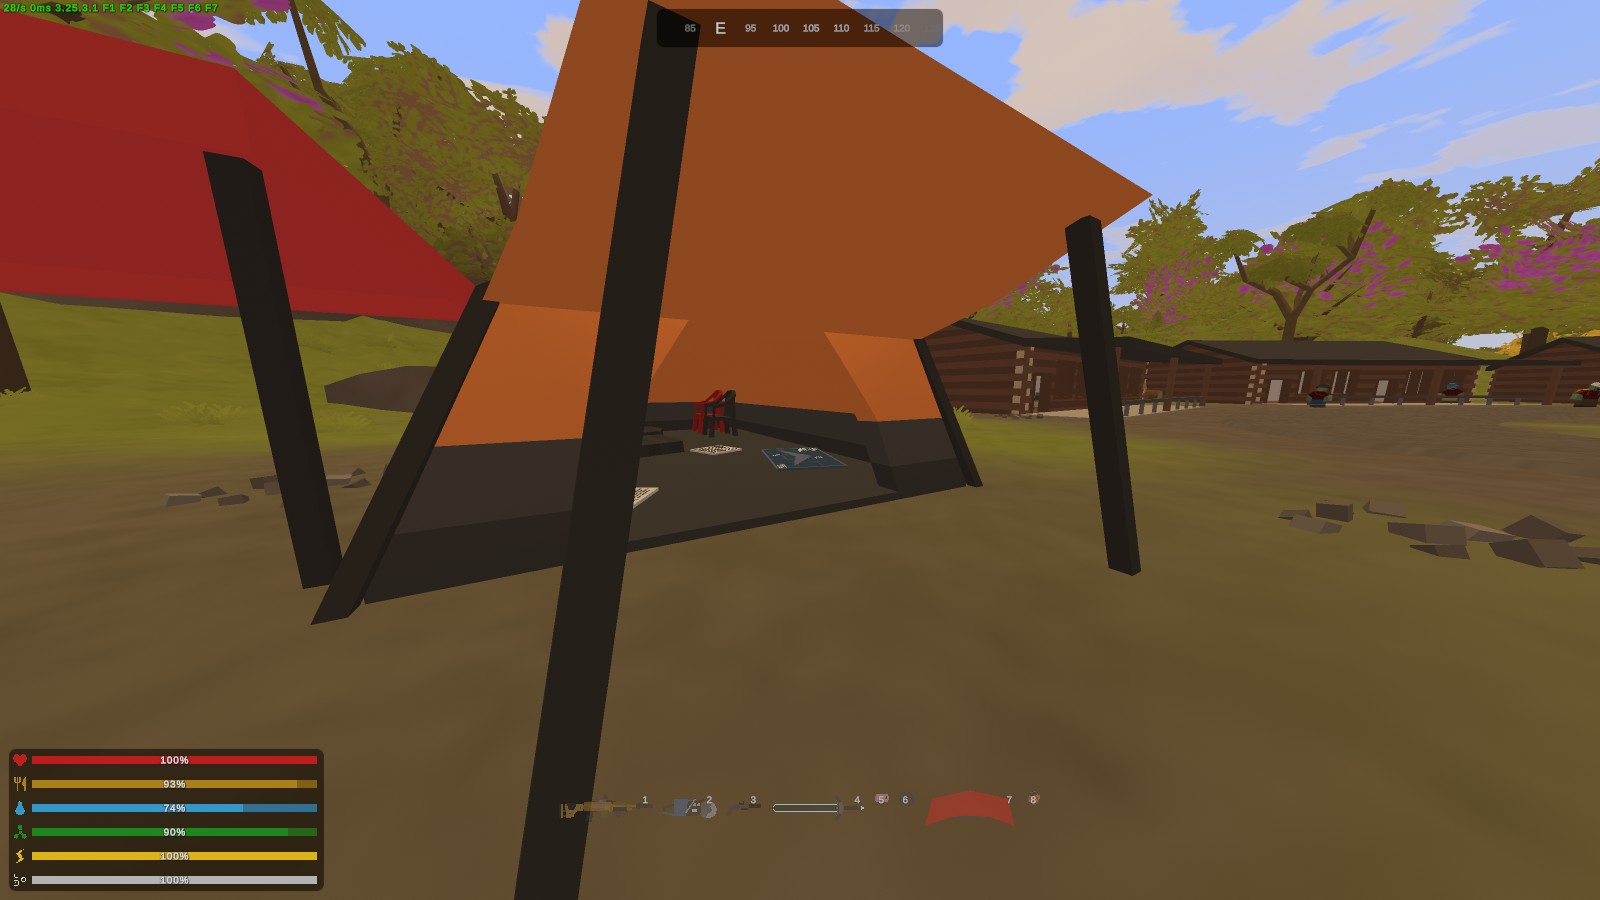
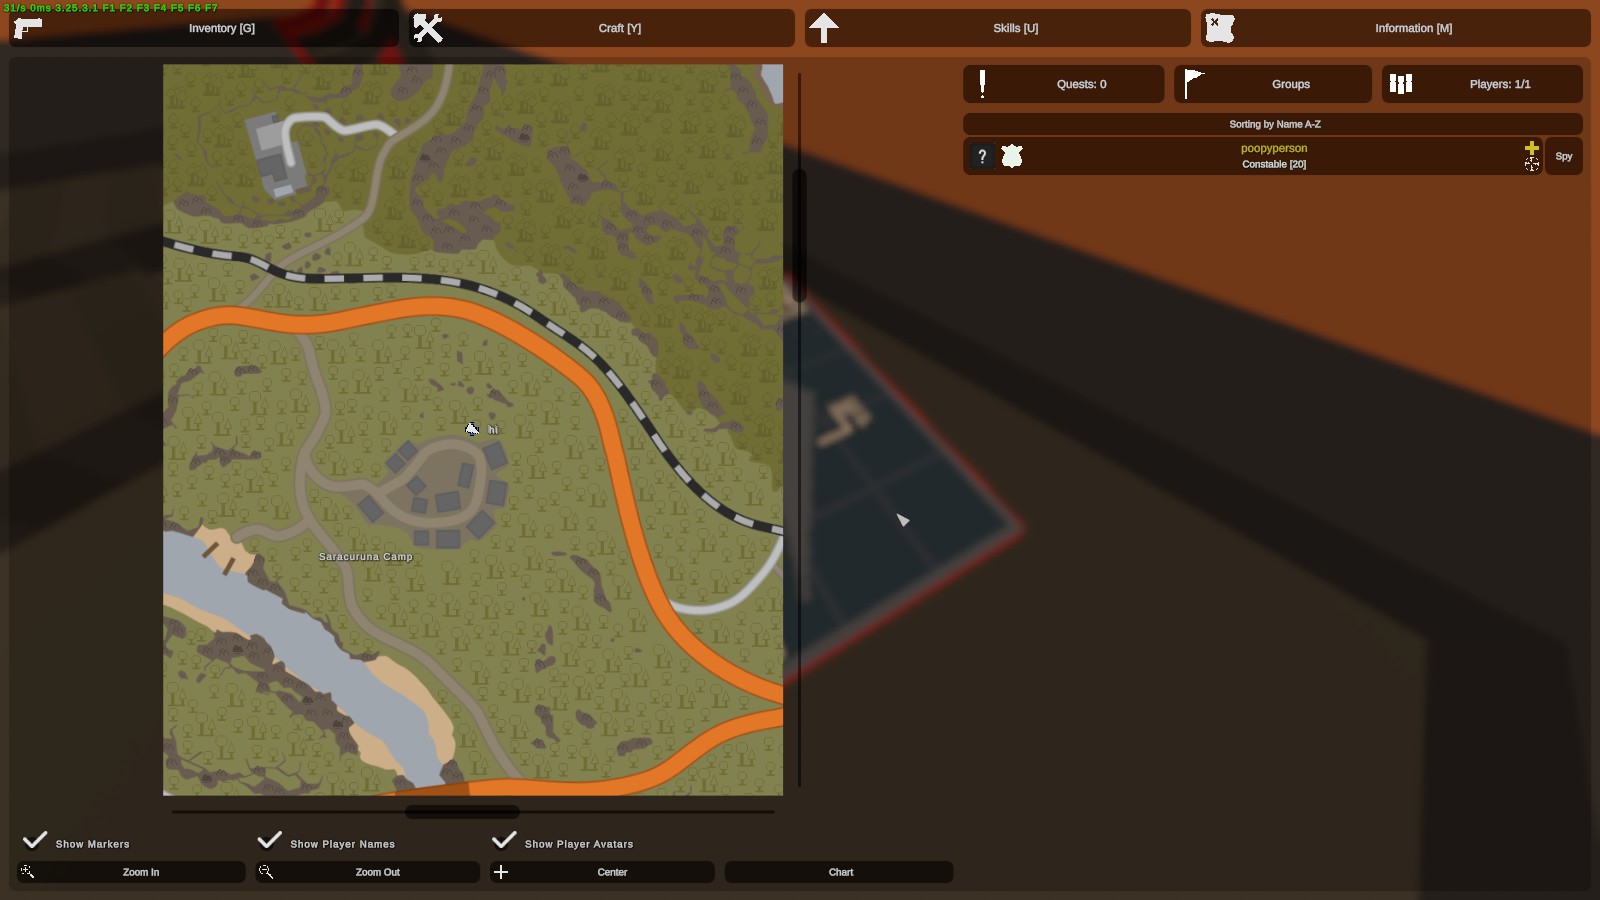 ㅤ
ㅤ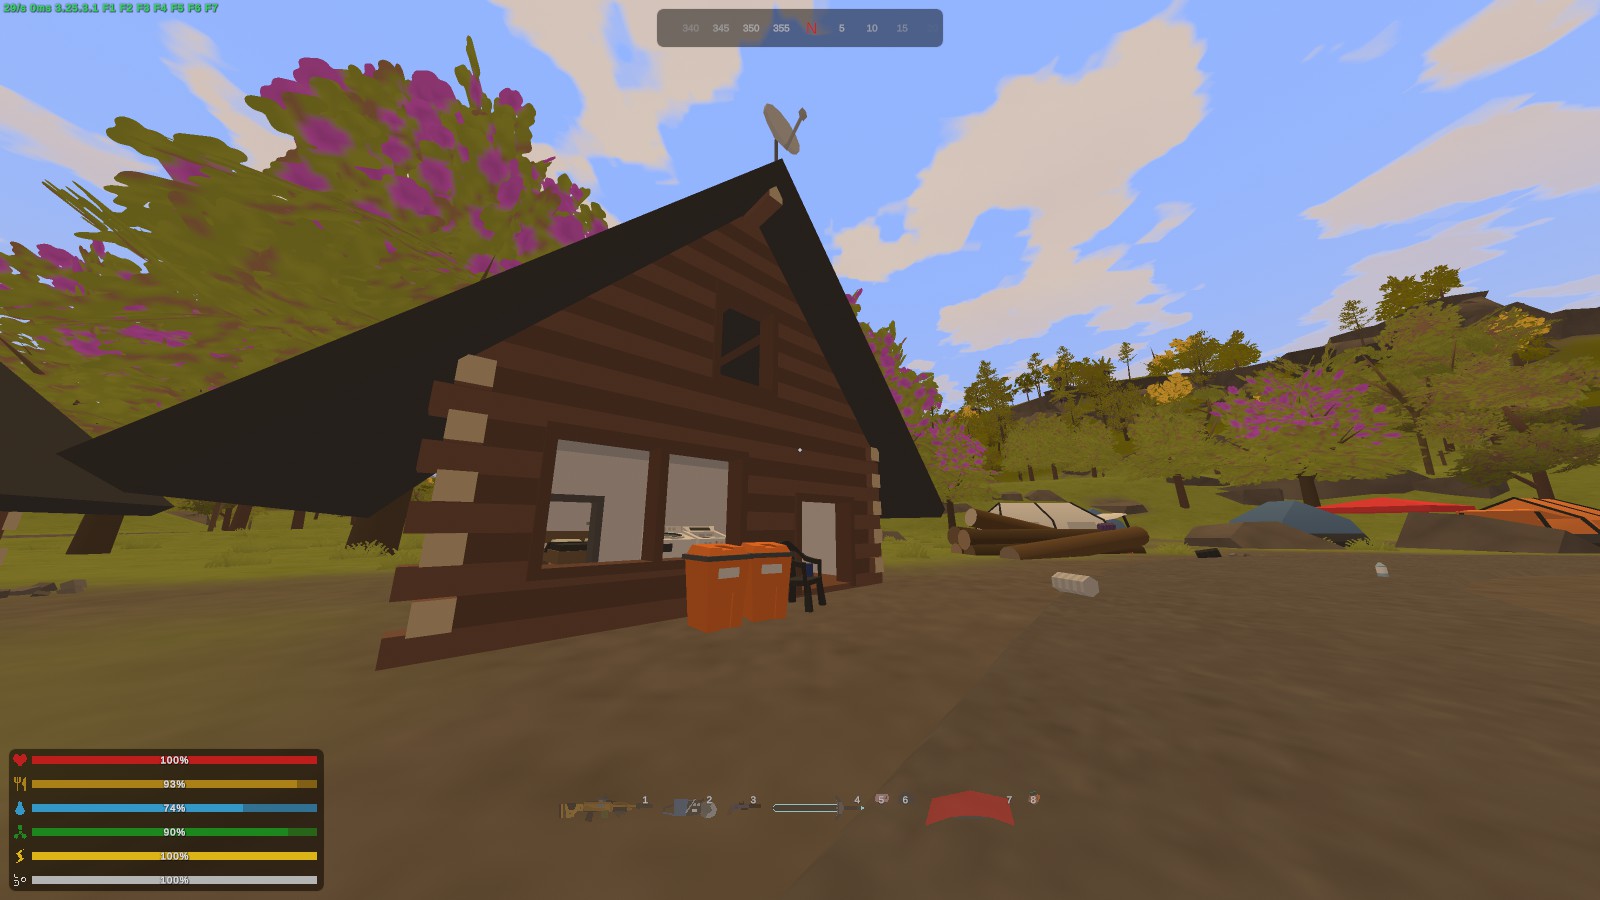
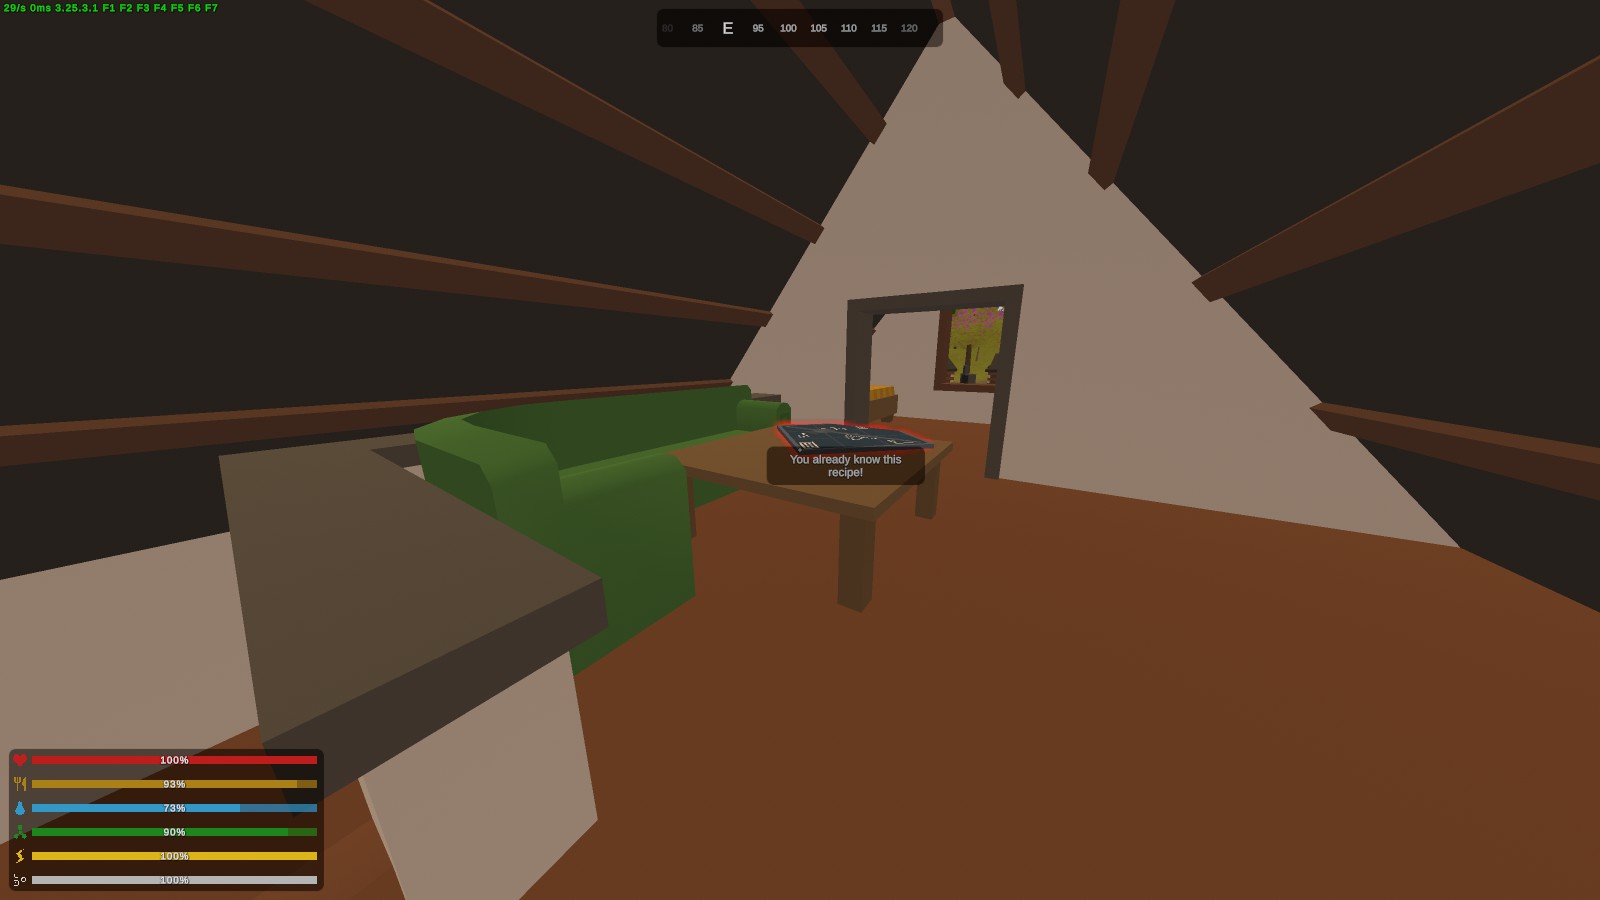 (note: the Advanced Fishing Rod actually has multiple locations, but I'm just going to mention the Saracuruna Camp spot because it's close to the Glider and it's easier to get to than the other spots)
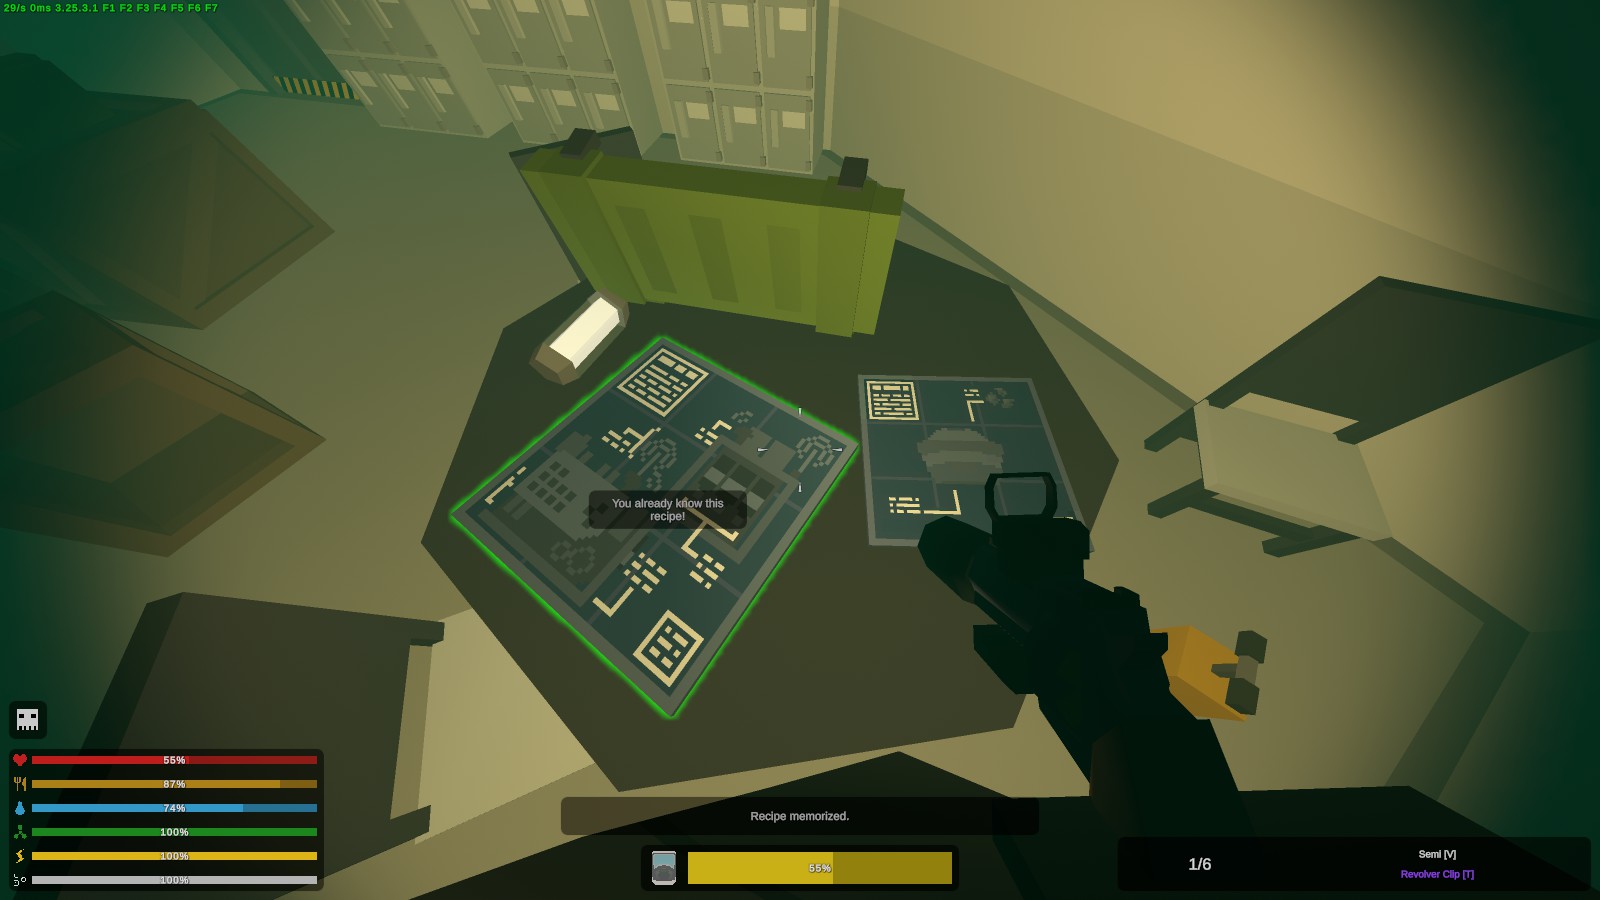 (See Filter Blueprint location)
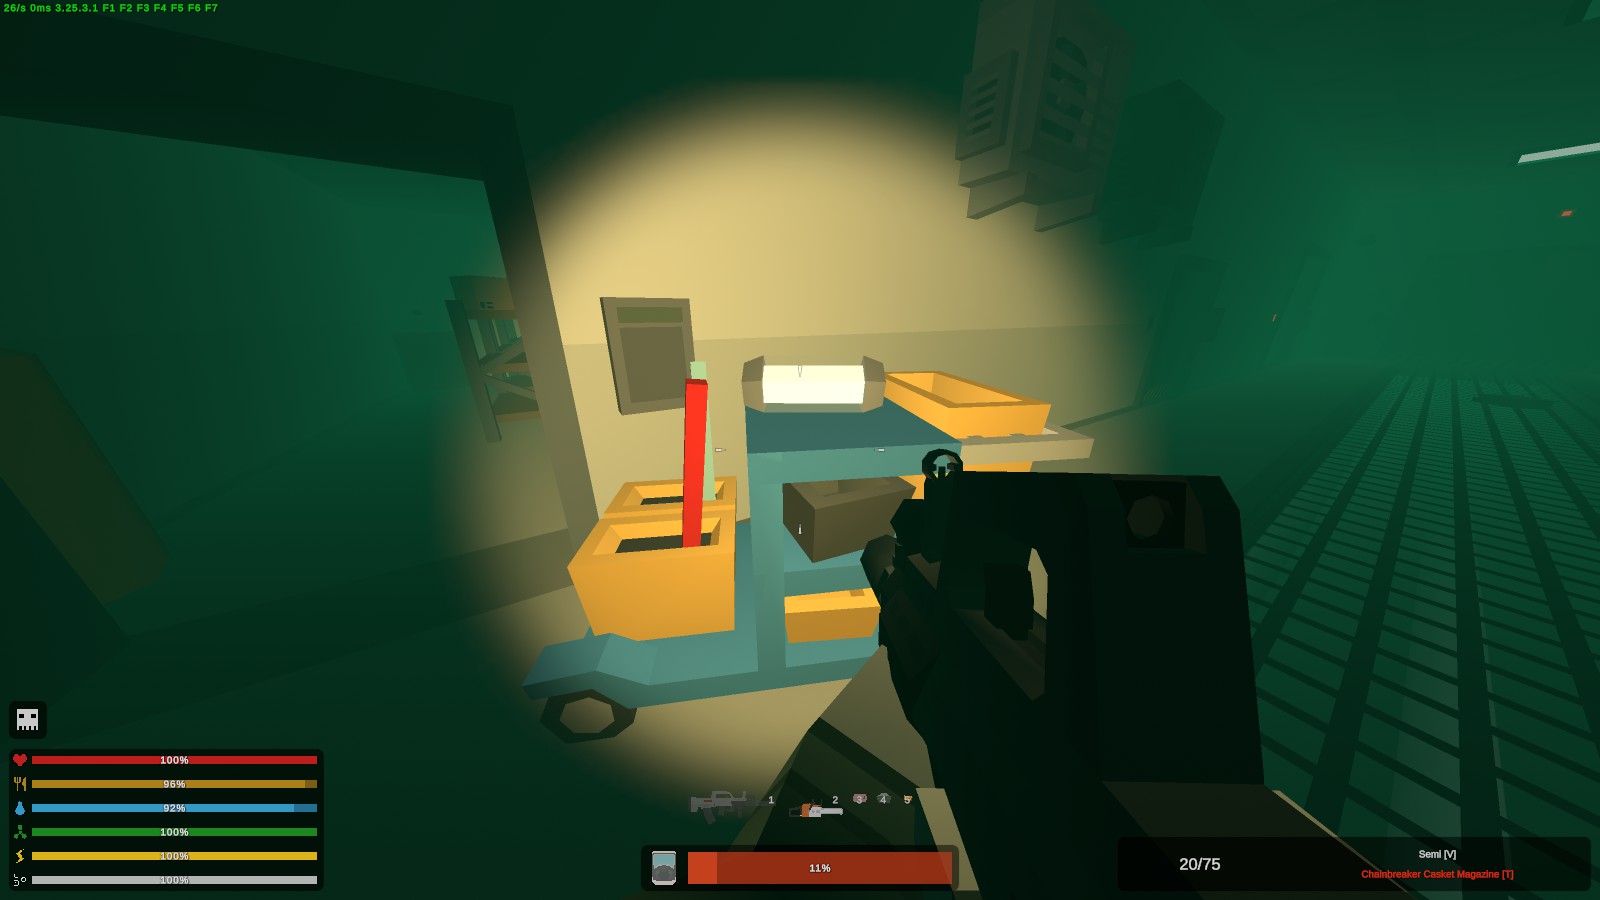
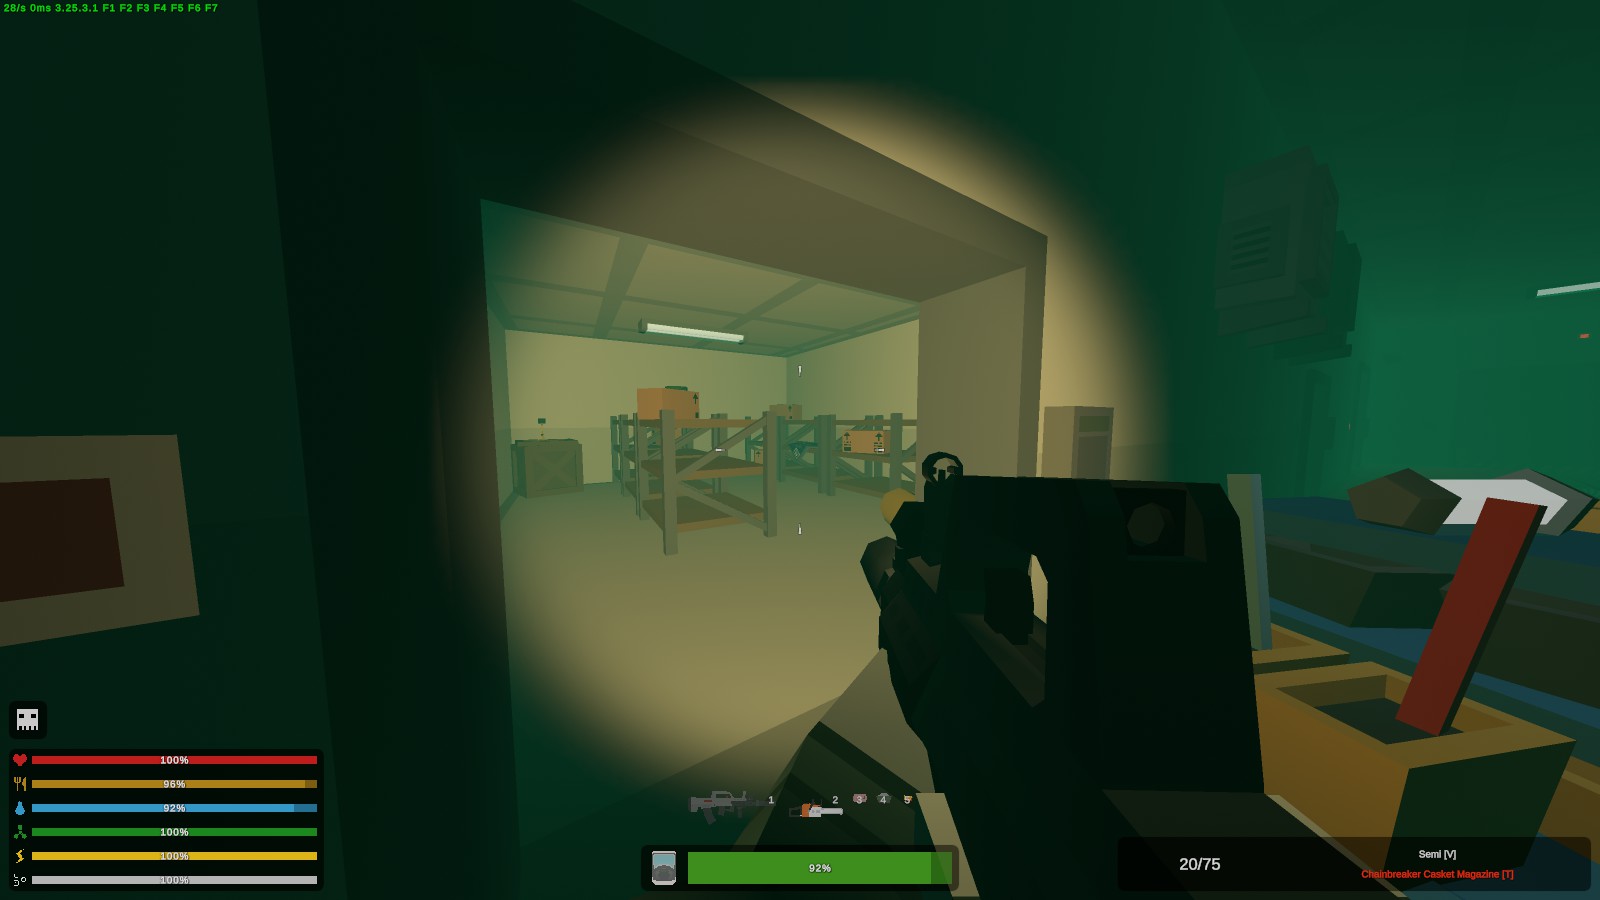
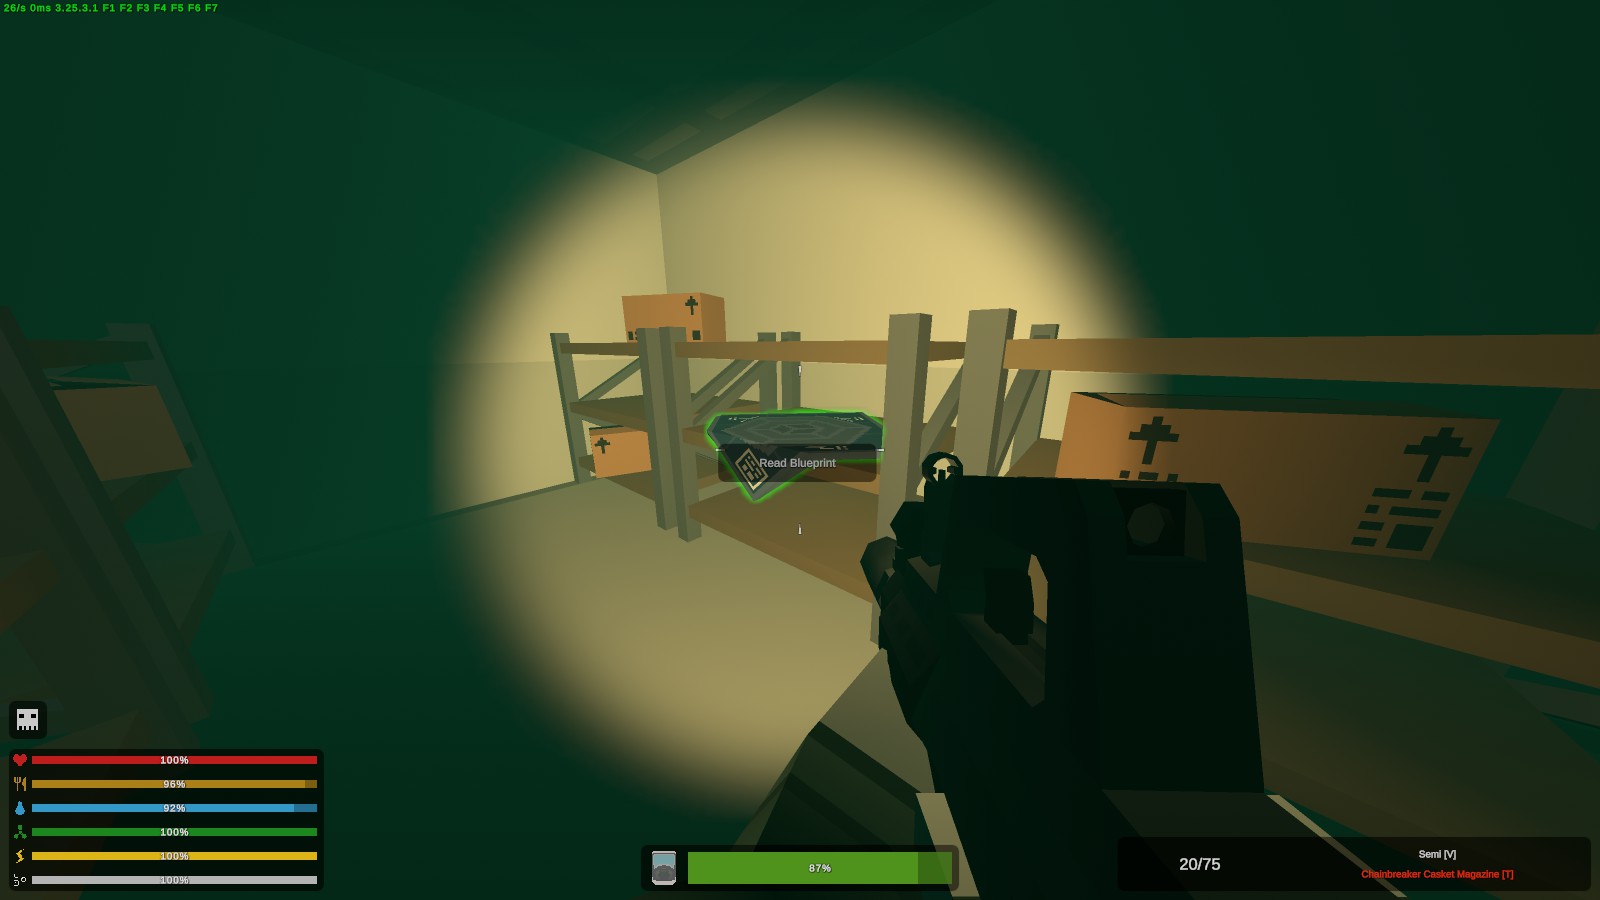
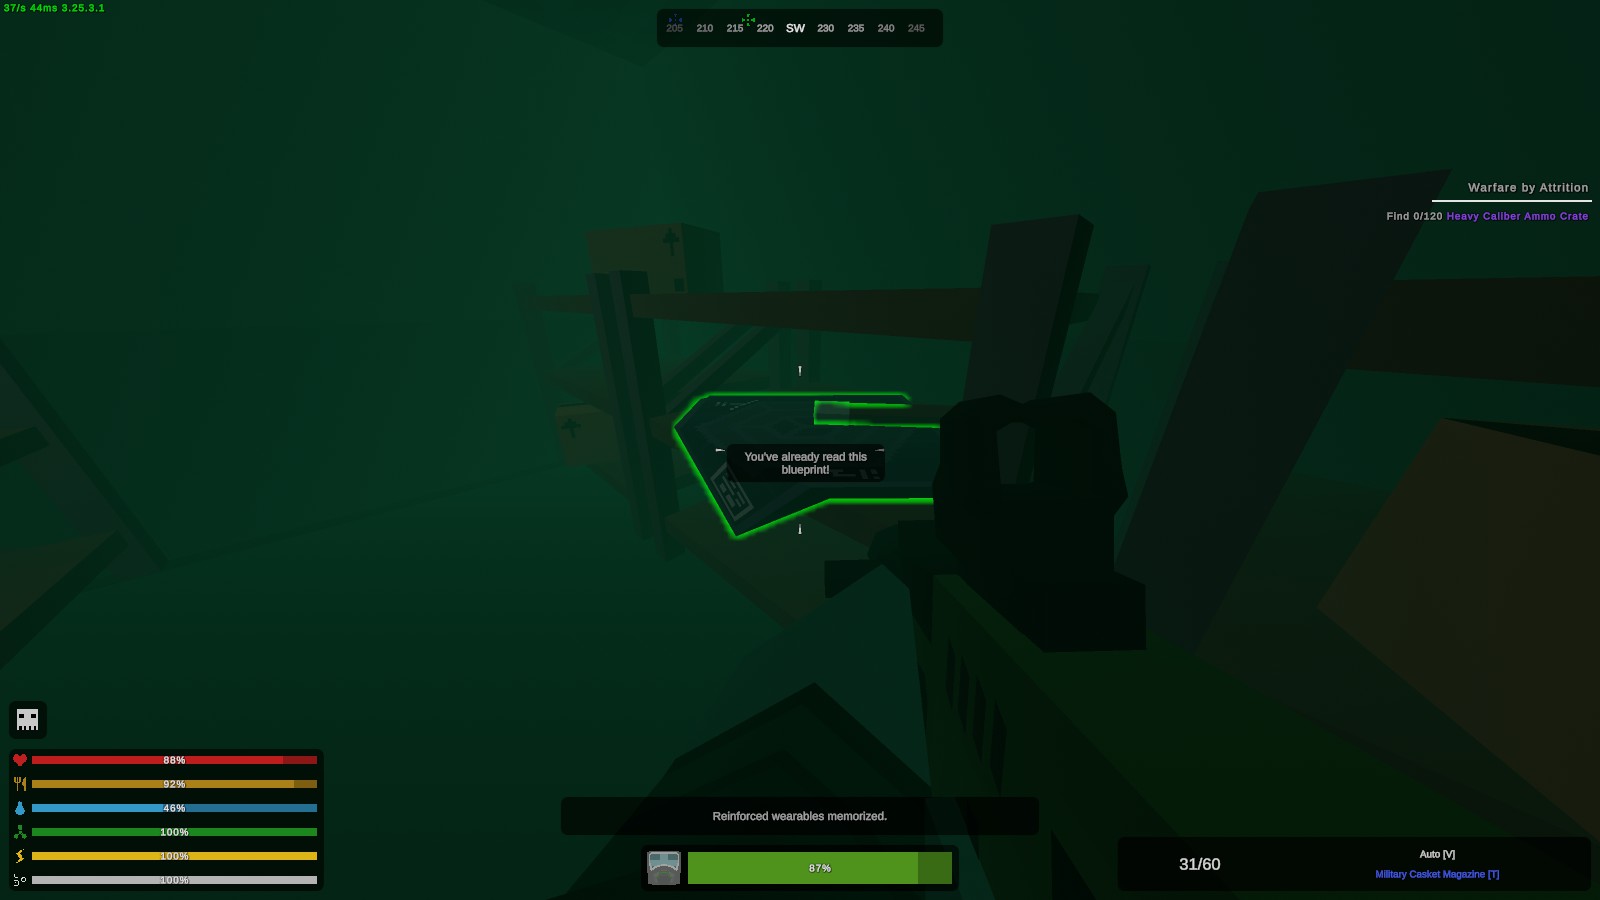 ㅤㅤ
ㅤㅤEnter the left room this time and the blueprint should be on a wooden shelf.
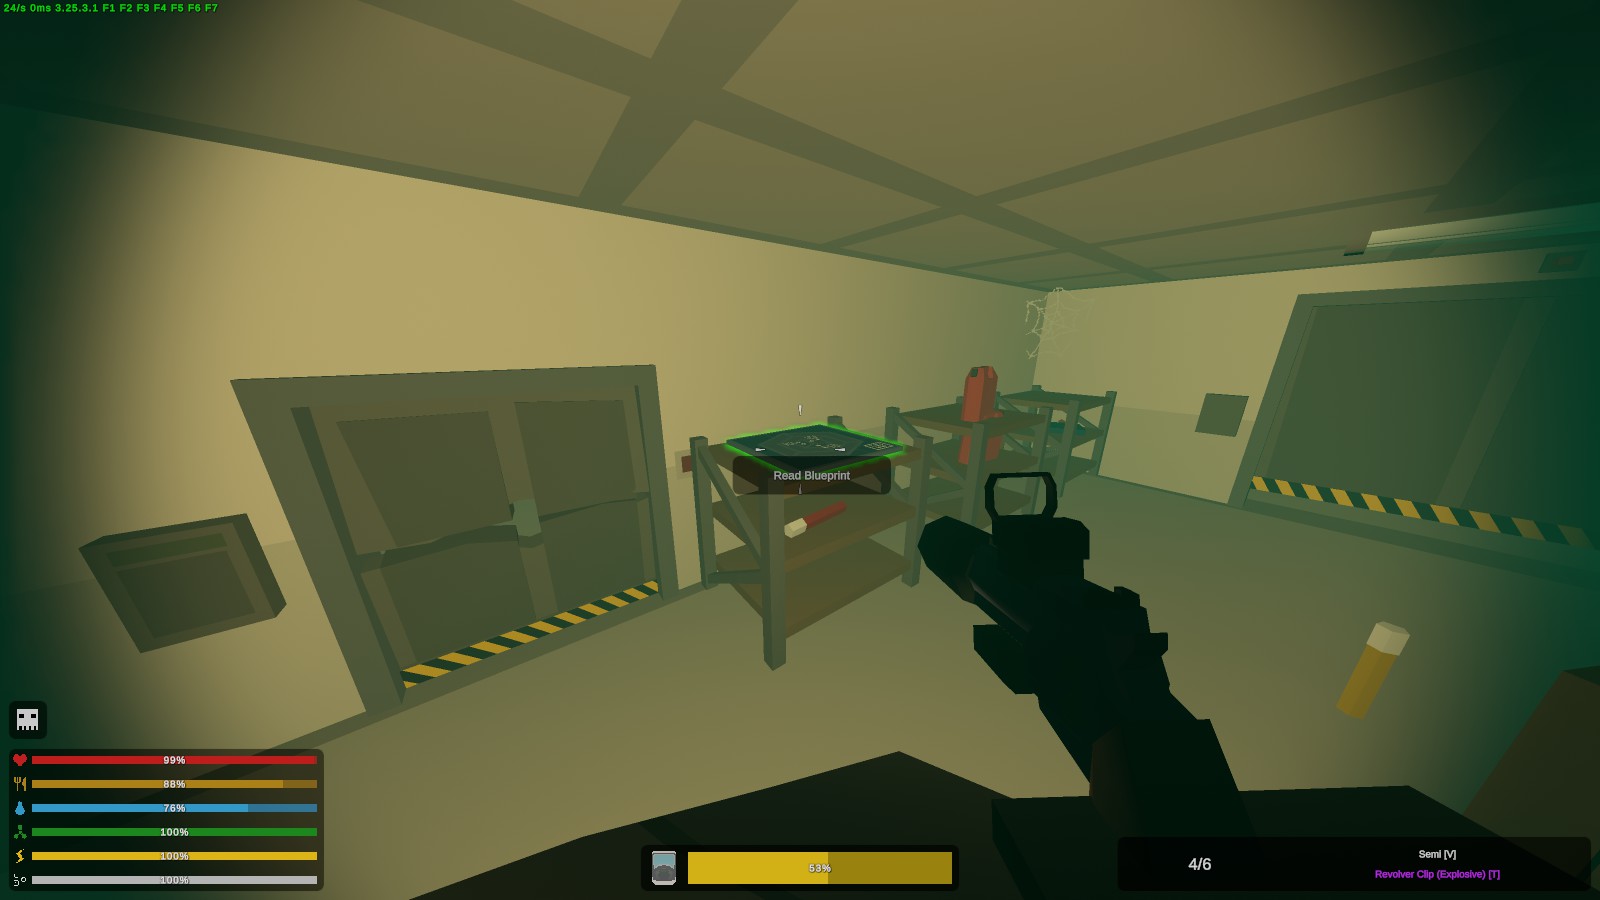
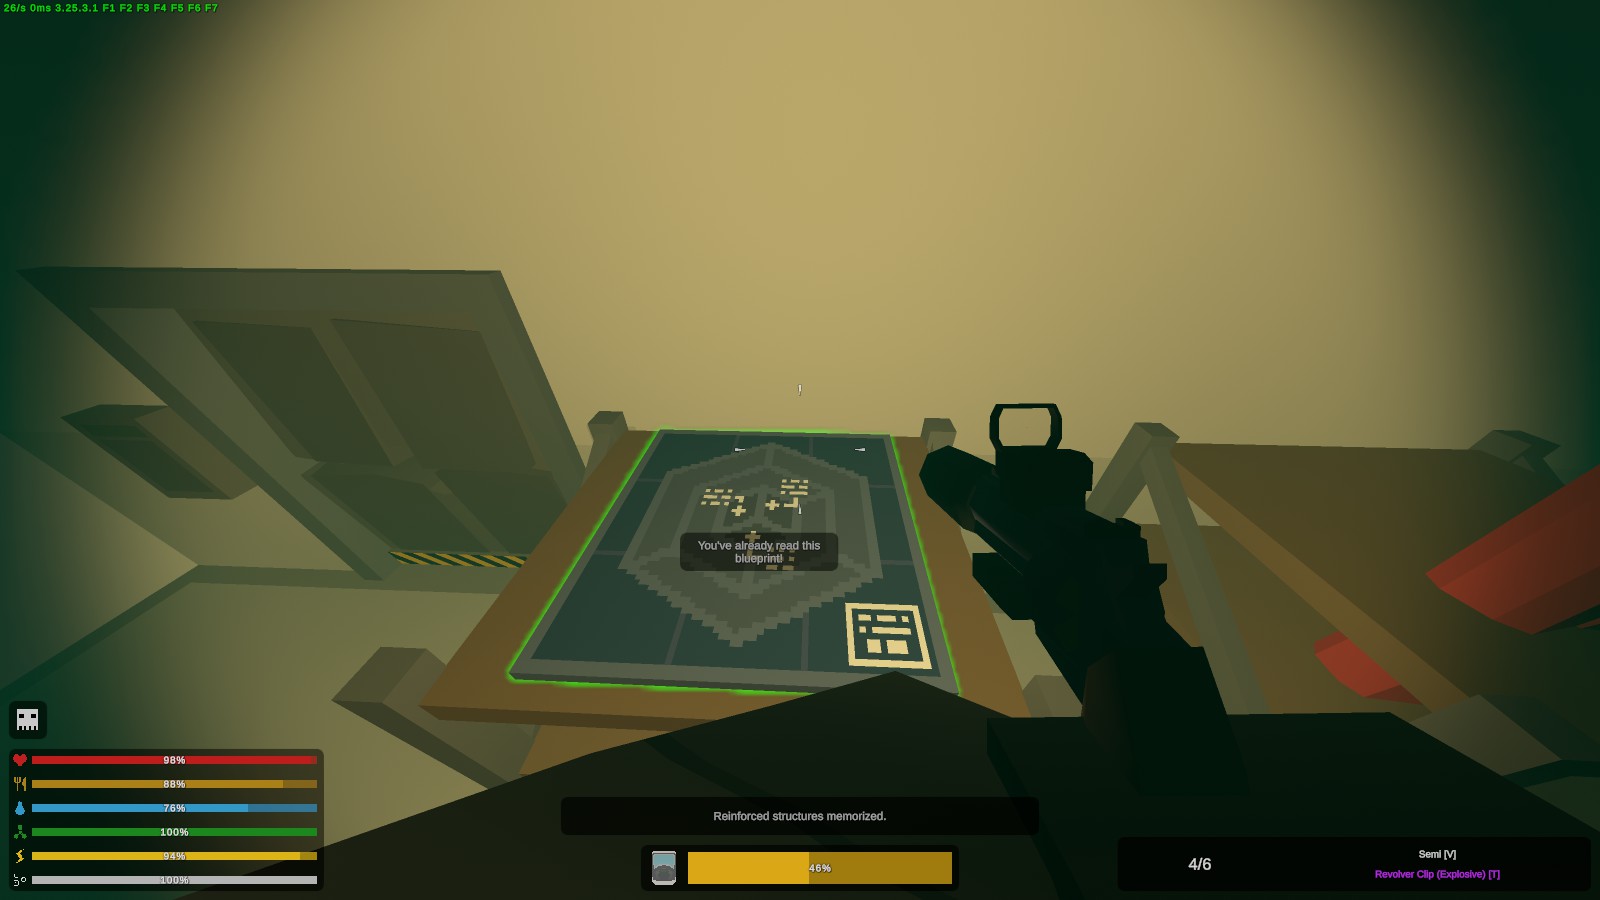 ㅤ
ㅤ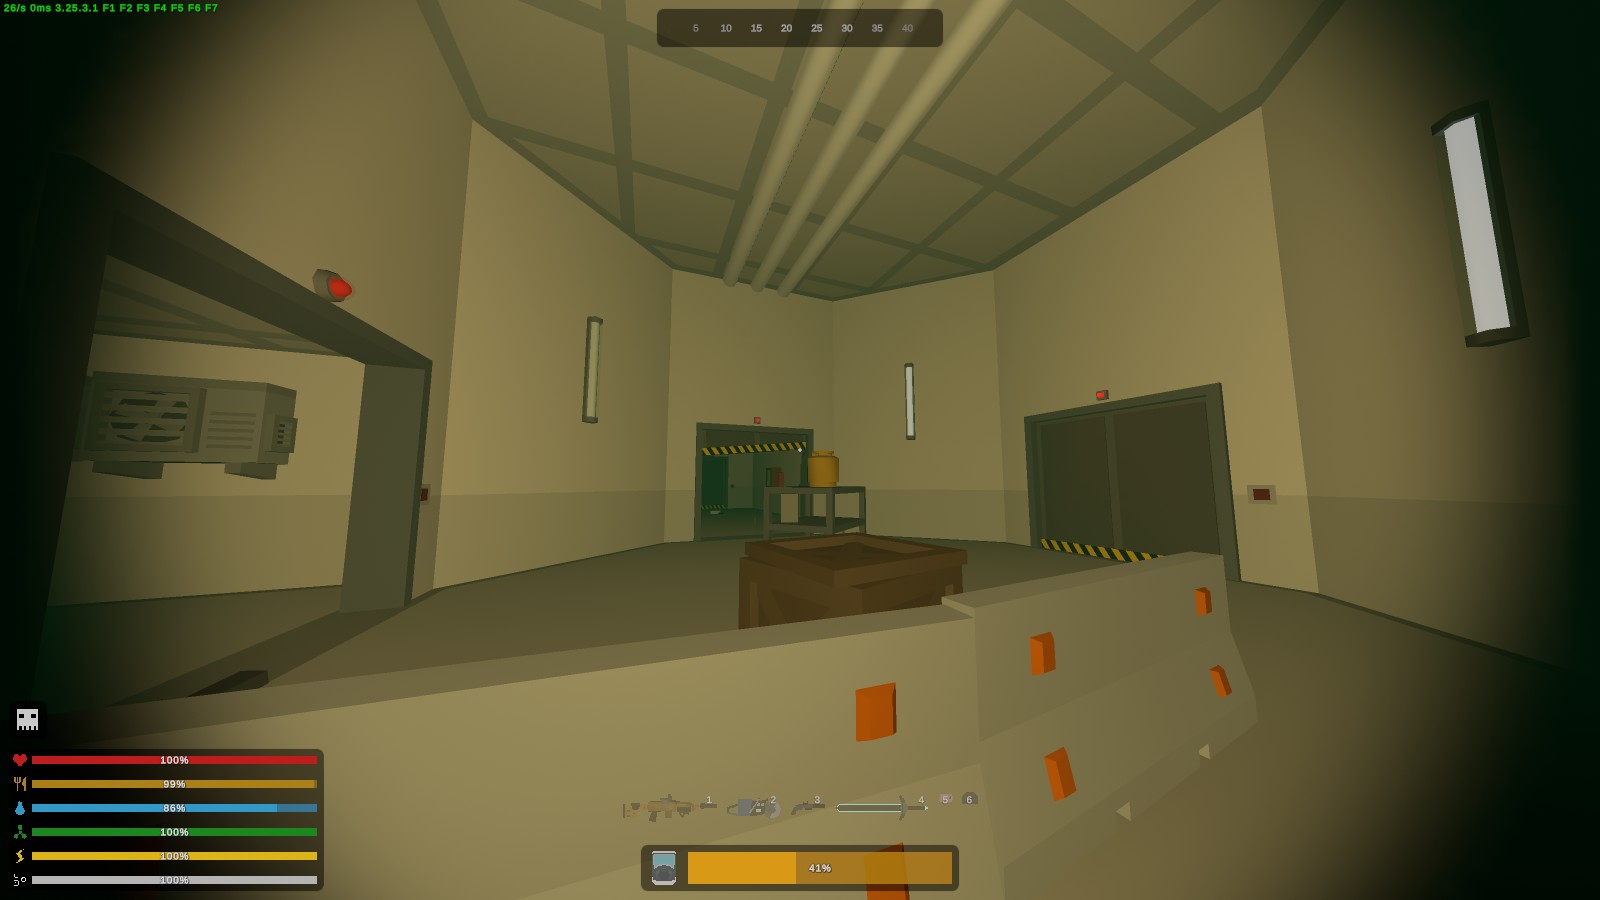
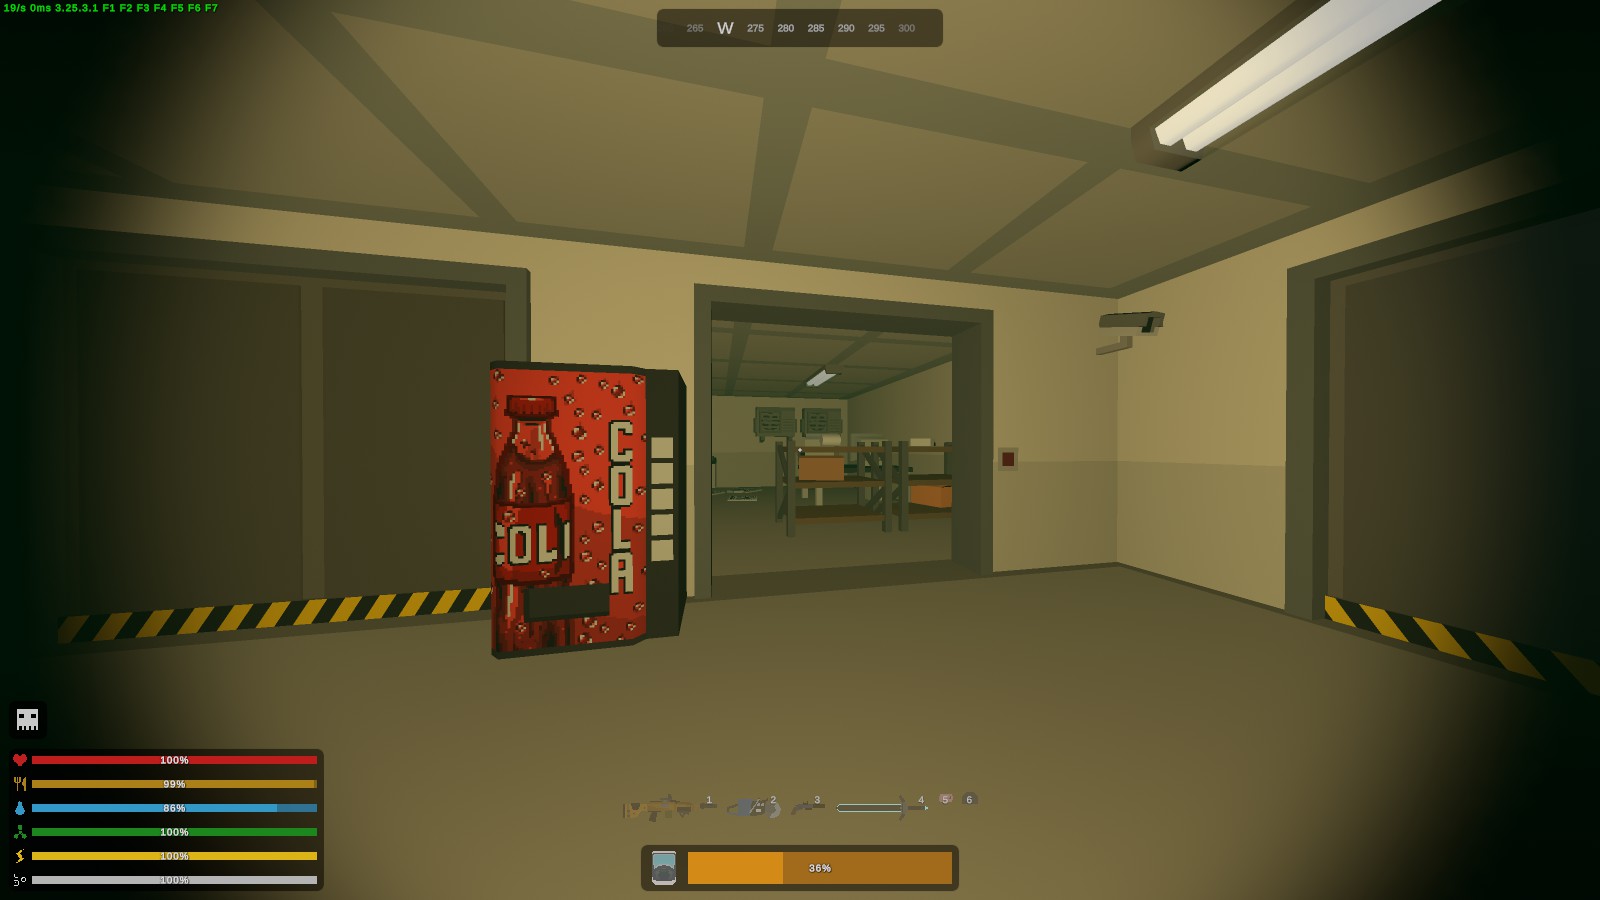
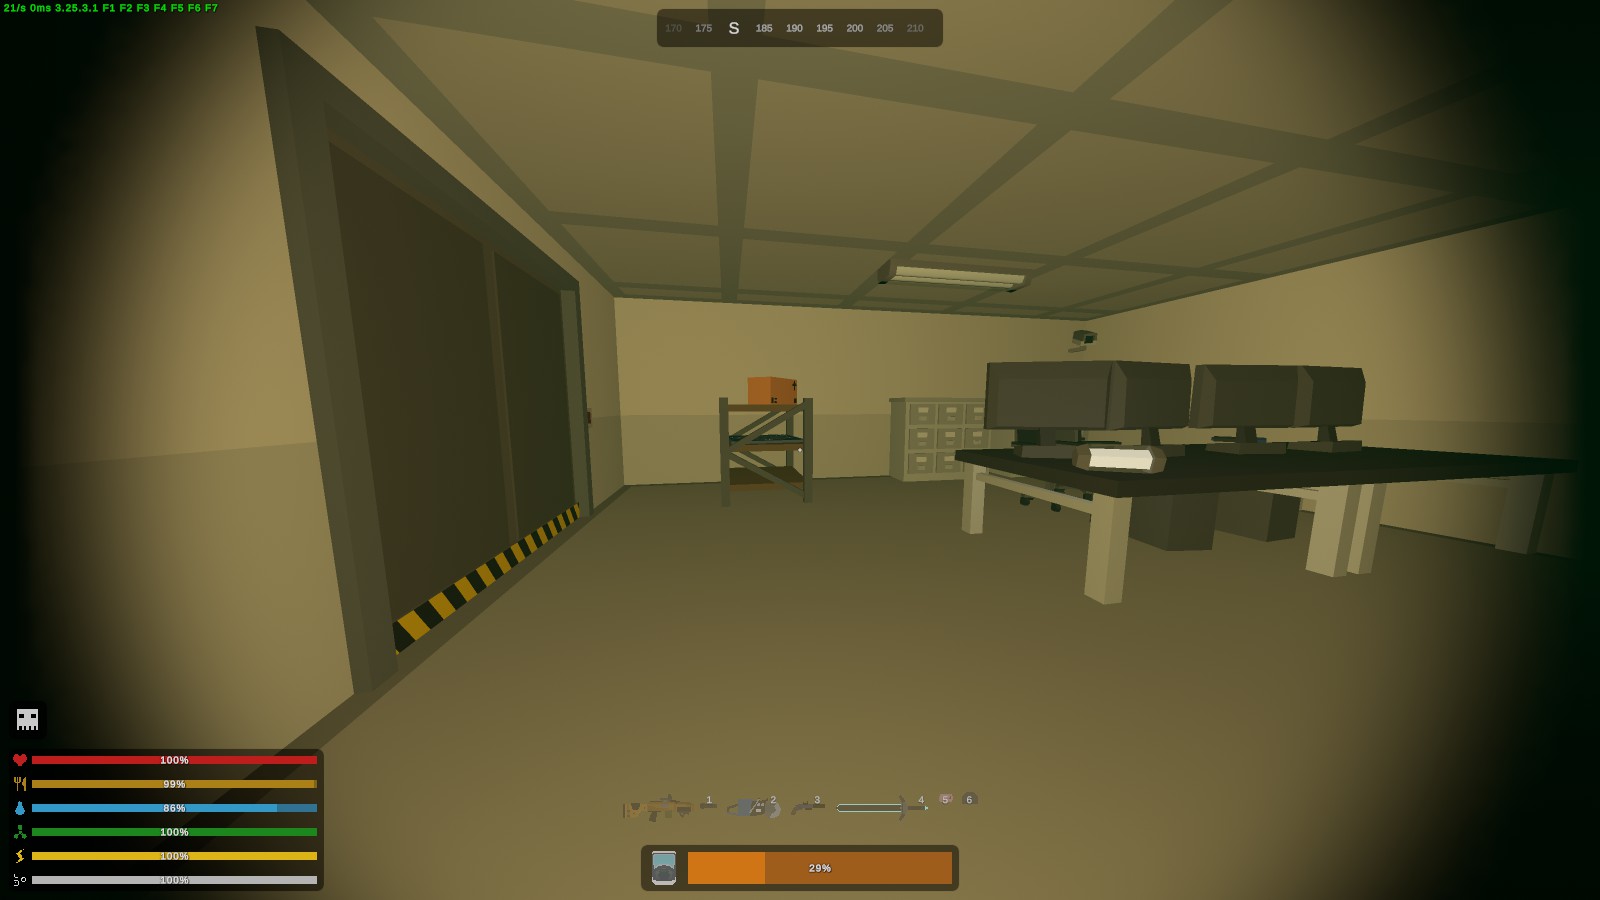 ㅤ
ㅤ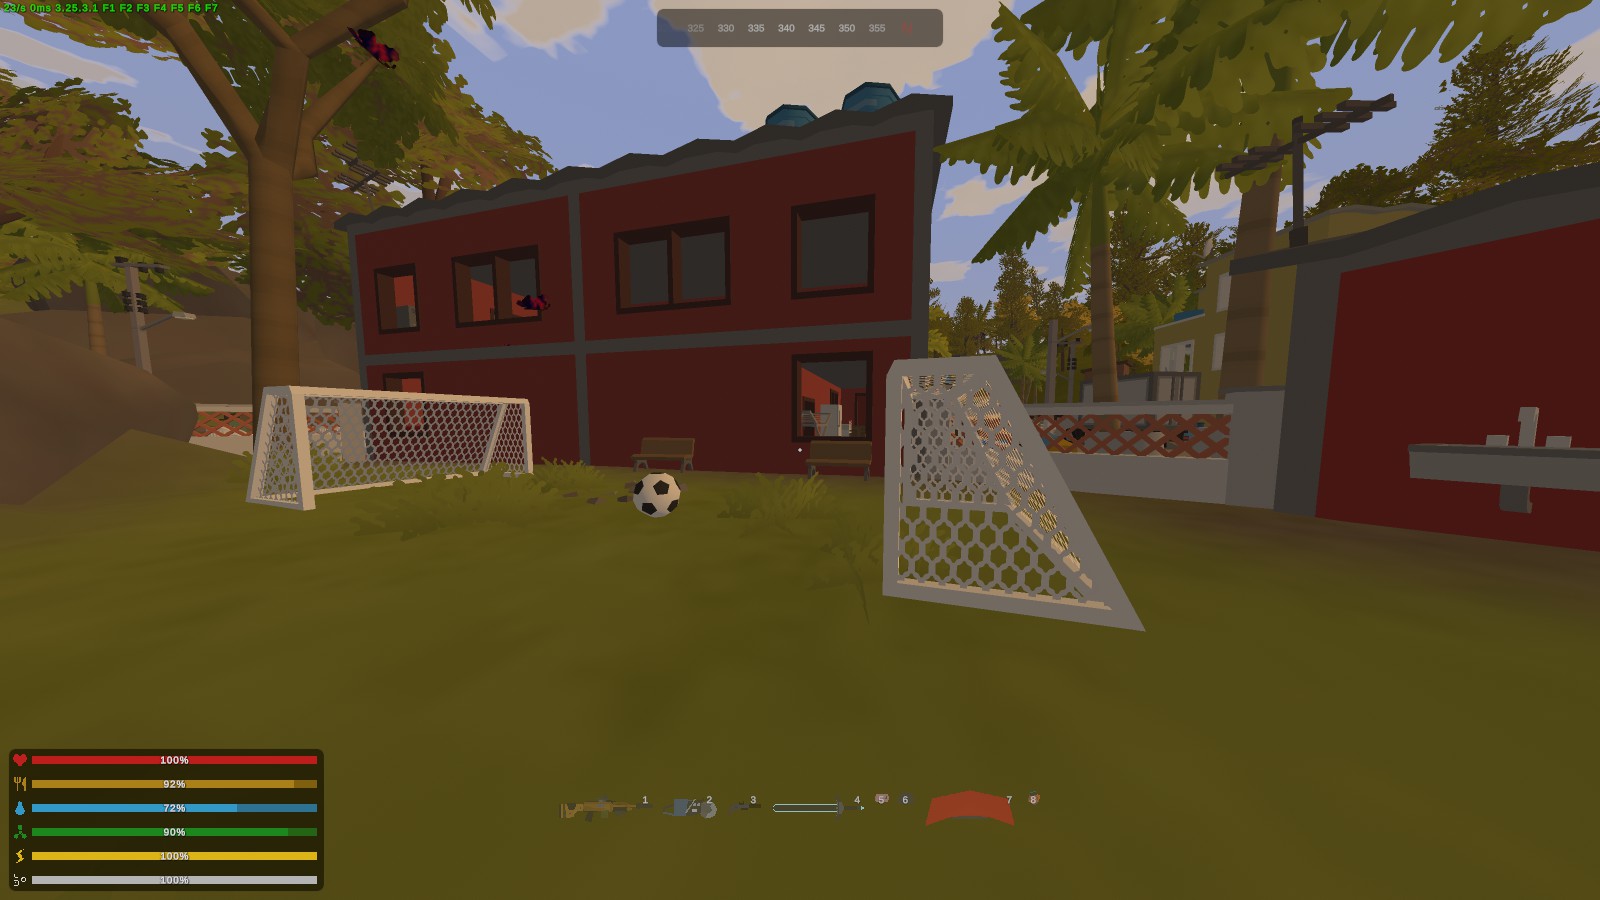
RAIDING
- Mapinguari[restoremonarchy.com]
- Thumper[restoremonarchy.com] / Sawed-Off Thumper[restoremonarchy.com]
- Raketnik[restoremonarchy.com]
- Simple Charge[restoremonarchy.com]
- Concentrated Charge[restoremonarchy.com]
- Precision Charge[restoremonarchy.com]
ACHIEVEMENTS / SECRETS

Load the map once.

Requires making an Encyclopedia. See Books section for a detailed tutorial.

Requires completion of some degree of the main questline. See the Quest section.
 Sprout Up!
See this guide by Trashes on how to collect all 12 sprouts required for this quest!
 Broken Chains
Beat the Mega Zombie Boss on the ERROR floor of Santos Joint. See Deadzone section for detailed tutorial.
 Chaos Theorem
Requires completion of some degree of the main questline. See the Quest section.
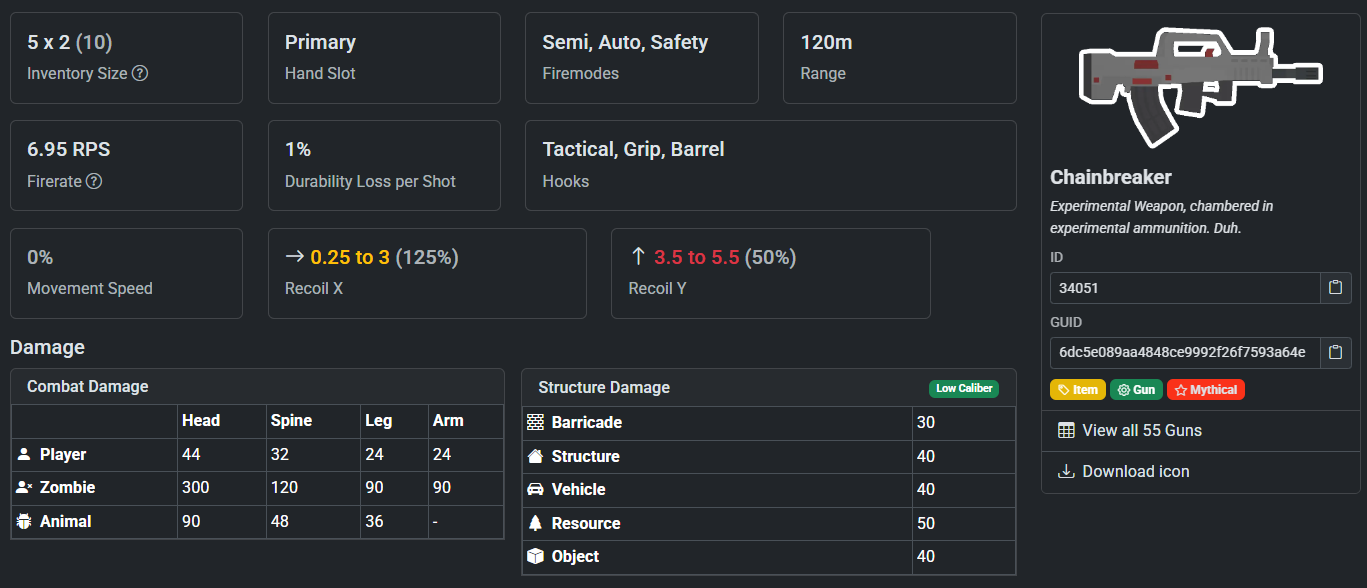
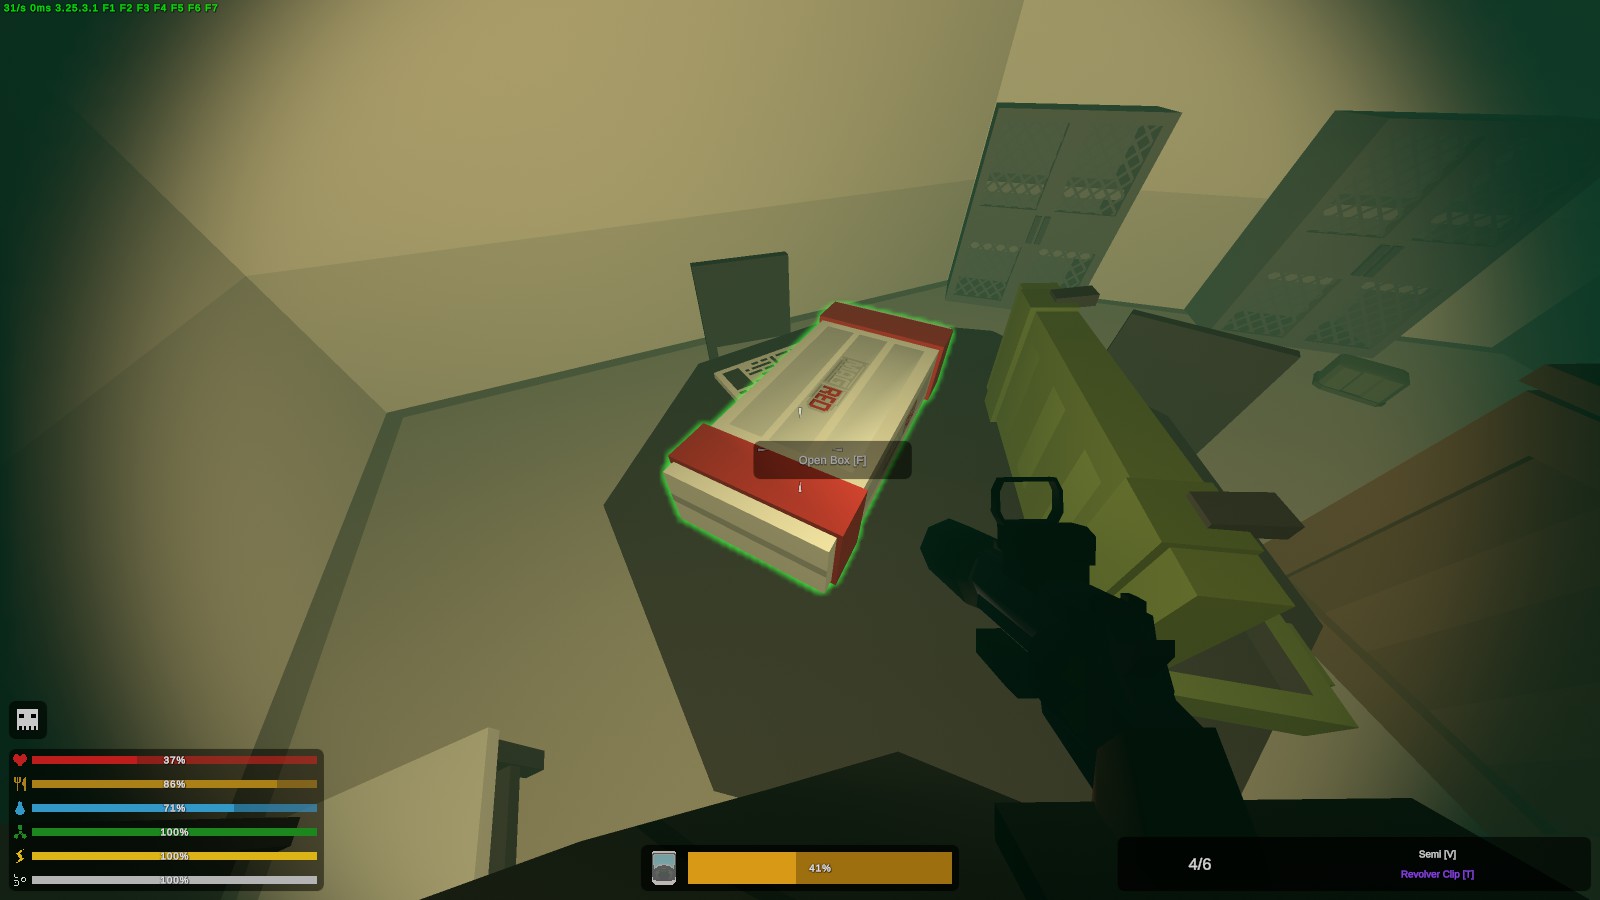
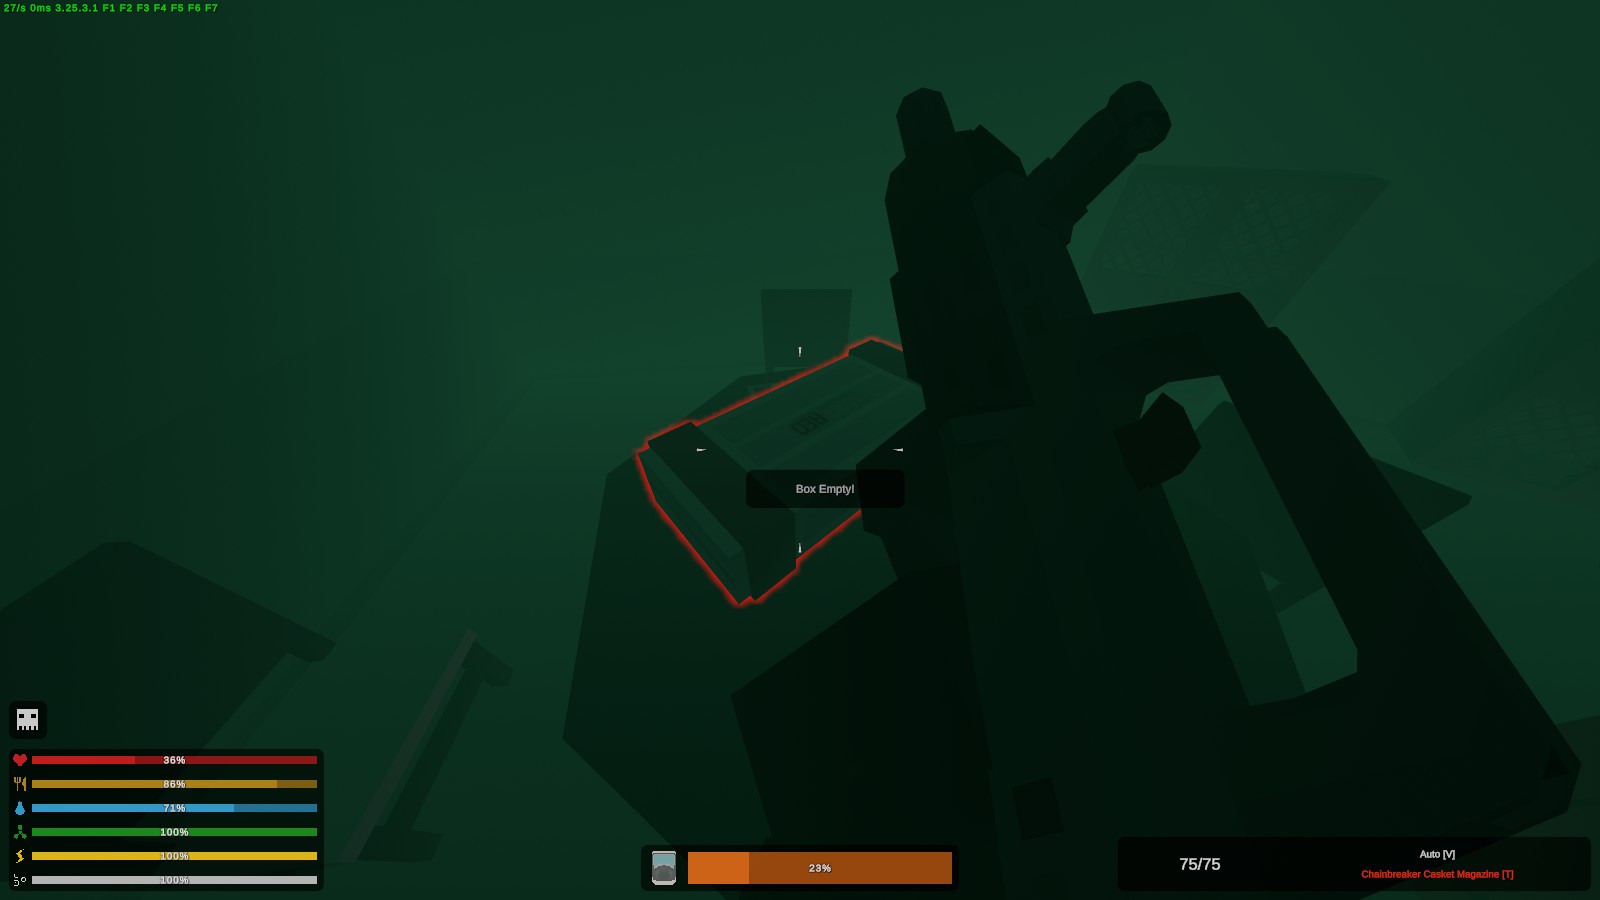
To obtain this, you need to head to the Santos Joint deadzone and have Underground Level 3 unlocked. The steps are very similar to finding to the Filter and Unstable Horde Beacon blueprints (they are literally on the same table) so I recommend you check out the Blueprints section and find the steps for obtaining the Filter blueprint.
MAPS
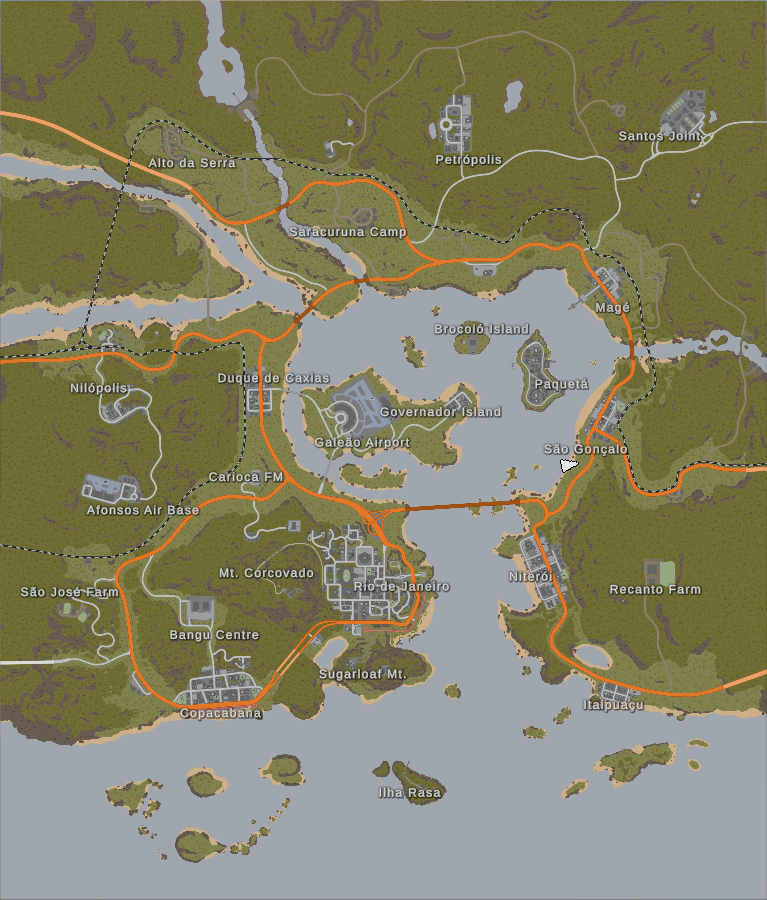 ㅤ
ㅤ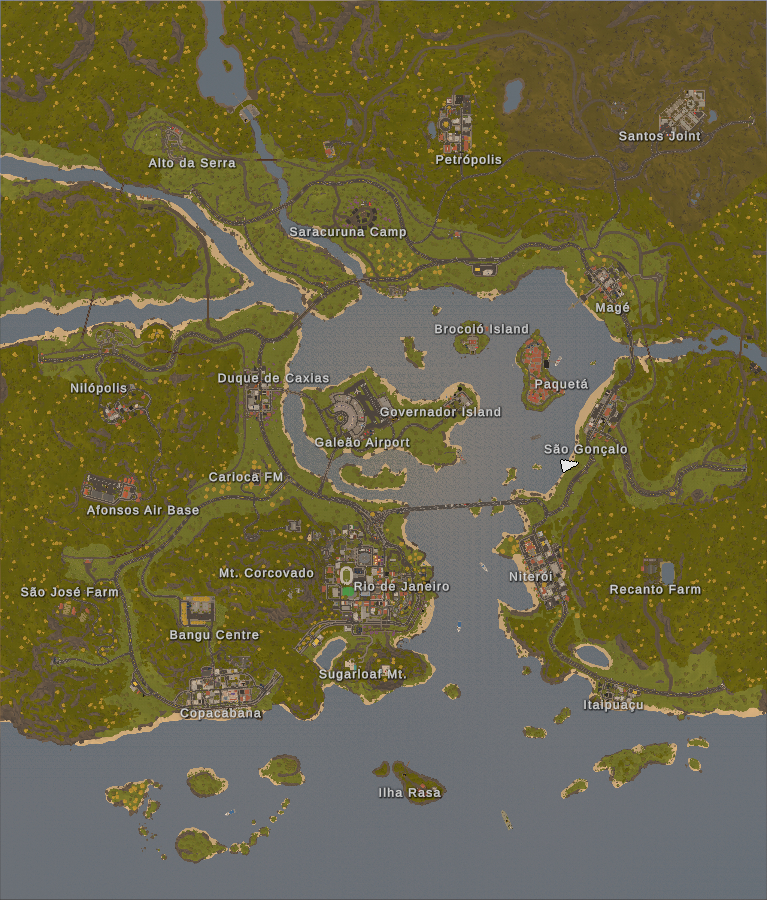 ㅤ
ㅤ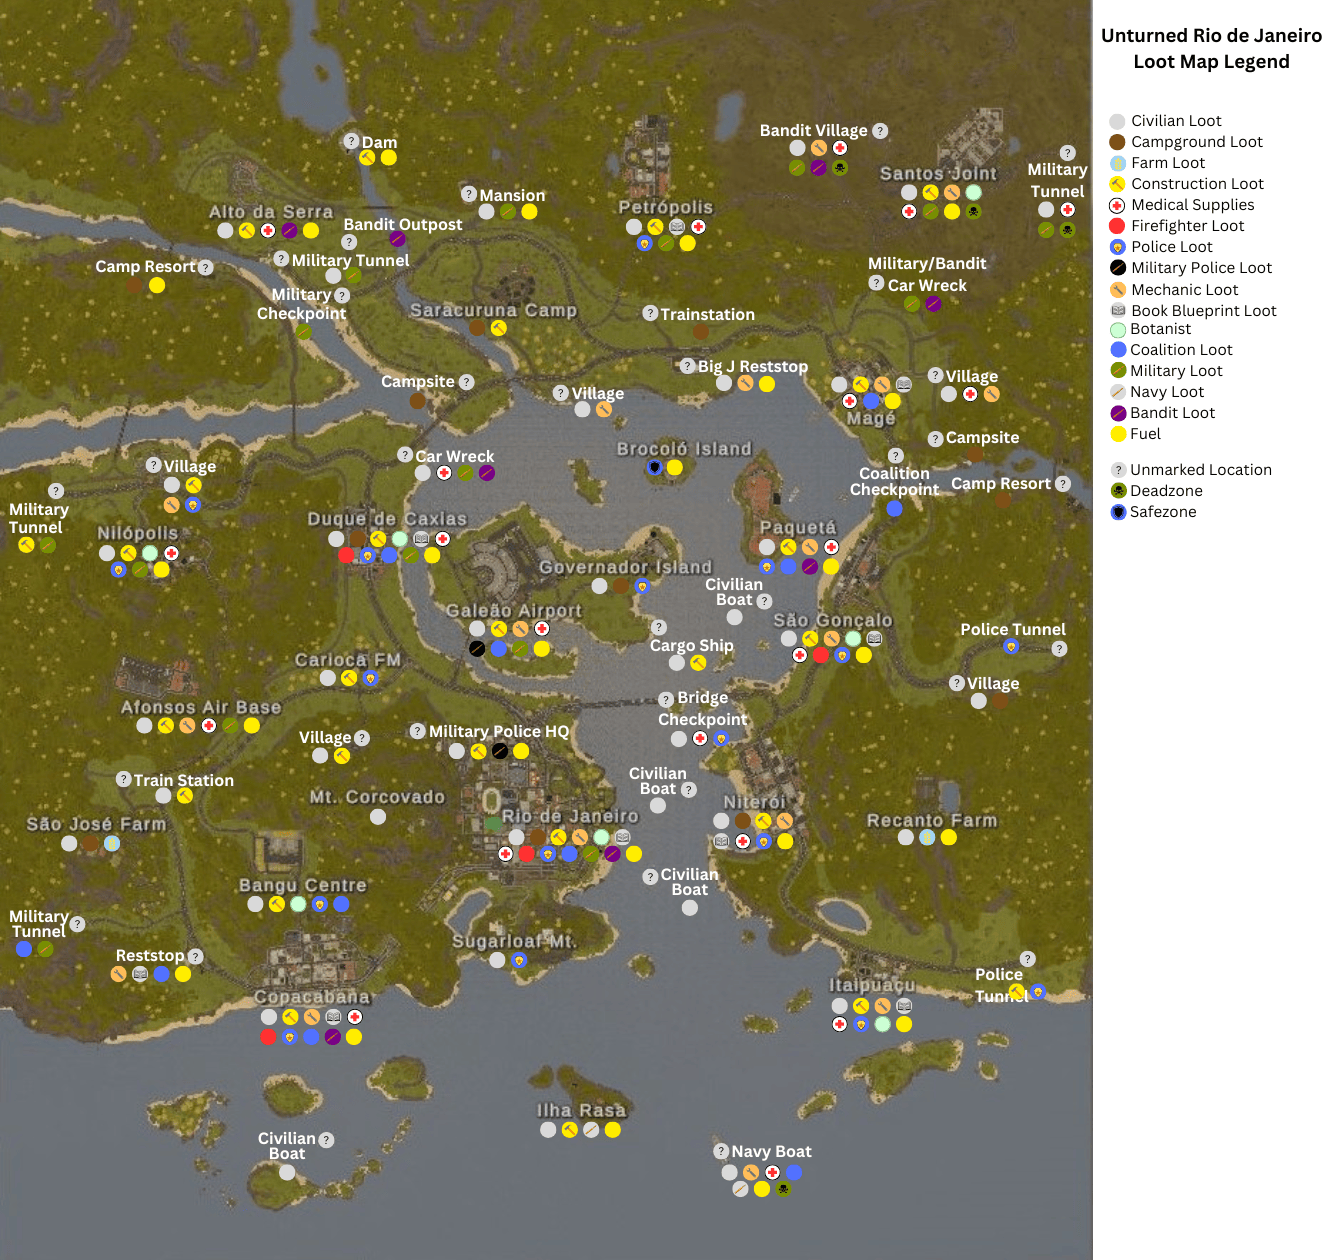 ㅤ
ㅤ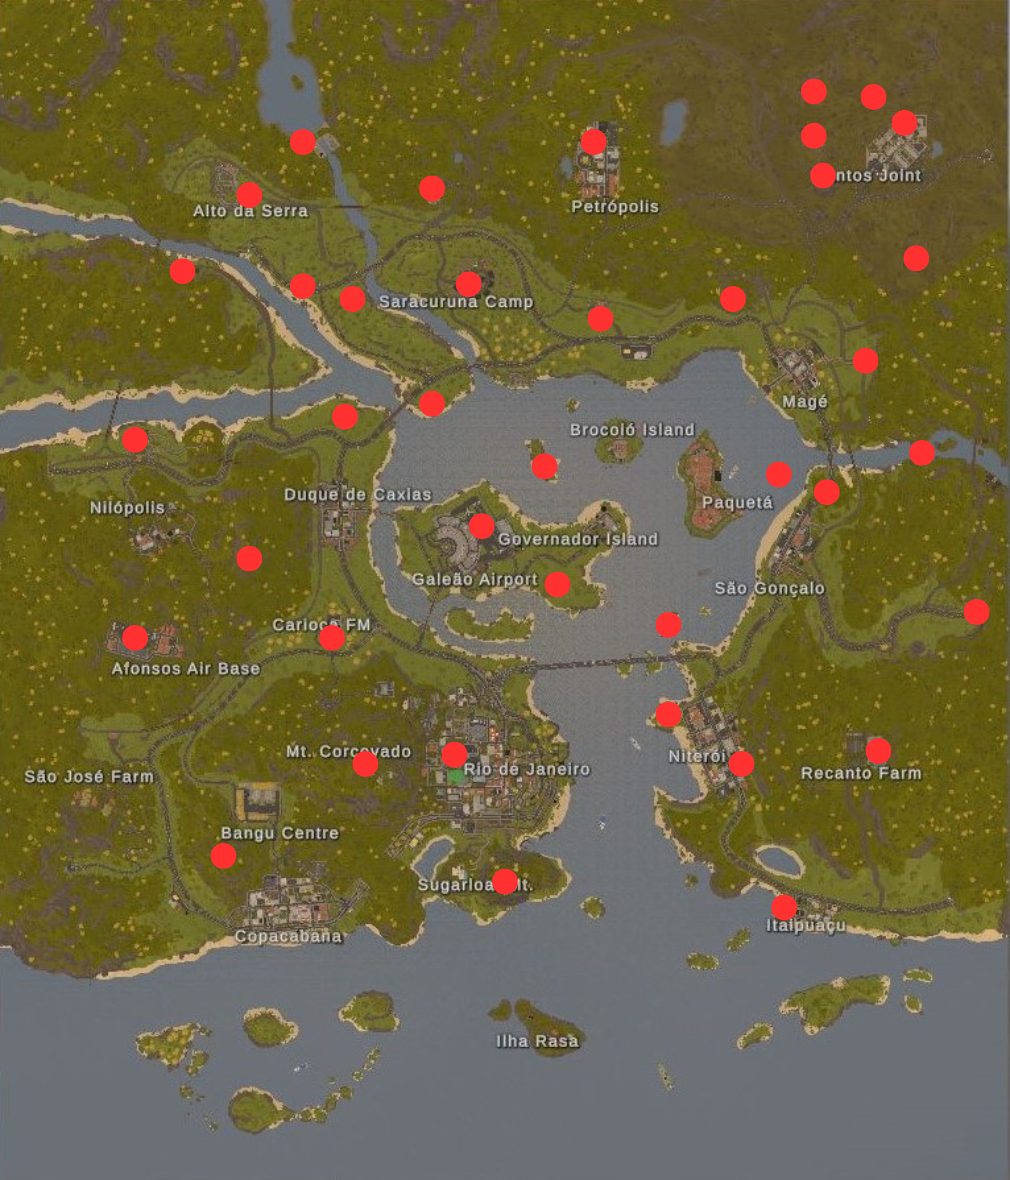
SPAWNS
TIPS
Looking for a specific item? Look it up on the Restore Monarchy page and check the Spawns tab! Reference that with the Loot Spawn map and you should've have a general idea of where most stuff spawns. Make sure to check the Blueprints tab too. If something is craftable, its recipe will be displayed at the top of the Blueprints tab above the other recipes (note: some recipes require a Blueprint. See the Blueprints section for all the blueprints on the map).
Collect any keys you find! They are important for making locked structures that only you and your group can use. Doors and other structures are not locked by default.
Try to pick up as many tool items as you can! These items will usually have some green text in their description when you inspect them indicating their function, but some times they are just regular tools with no indication of their function, like a shovel, pickaxe, axe, chainsaw, etc..
Some lower level guns spawn in with attachments on them, make sure to check them for free grips and extended magazines!
Military guns are super easy to find on this map. Consider hoarding some to sell to Zangão when he comes around the Safezone!
- Don't be scared of exploring! There are over 25+ locations to visit, loot, and fight on!
- Most lighter weapons such as pistols and knives can be equipped in any slot, but heavier weapons like SMGs or Chainsaws can only be equipped in the primary and secondary slots.
- You can salvage the seed off a vegetable by using a Kitchen Knife to slice them, preserving both the seeds and the vegetable.
- Many crashed convoys of the Biological Research and Development Institute scouted by the military can be found in highways.
- The jungle in the north is a deadzone. Bring a Gasmask and spare Filters when venturing there.
- Santa Cruz was dominated by the Southern Front, Rio's most influential rebel faction before it fell to the virus.
- You can cook some food recipes more effectively by using coal.
- Look out for special books or blueprints in locations, as they can unlock crafting recipes you might not have.
- Bricks can be obtained by finding them in construction lots, but you can also get them by crafting clay into bricks.
- Did you know the Rio de Janeiro city is nicknamed the "Marvelous City"?
- Zombies can climb on top of some broken down vehicles, so be careful when running on top of one for safety.
- You can find Açaí Berries and Pinhão Seeds by cutting Palm trees and Araucárias respectively in the jungle.
- The jungle's tall grass and thick foliage might make it a good place to build your base on, but it can be a detriment to your visibility.
- Certain items require having a blueprint book in your inventory in order for you to craft them, but do it enough and you'll memorize it!
- There are three ammo caliber types: Light, Medium and Heavy, alongside other exclusive ammo types.
- There is a group of survivors in Brocoío Island. Go there to get quests or shop for goodies!
- Occasionally, airdrops have a 50/50 chance of dropping high-tier items or low-tier items, but airdrops dropped on the deadzone are always high-tier.
- You need a hammer to salvage items like guns or broken electronic devices.
- You can compress some items into stacks to conserve storage space.
- Animals like Jaguars and Anteaters are aggressive, so it's best to keep your distance or defend yourself with a long-range weapon.
- Sometimes, travelling merchants arrive to Brocoío Island, check out their sales before they leave!
- Some props often drop supplies when destroyed, for example, punch a computer for Electronic Components!
- When you find certain blueprints in locations, you'll memorize it permanently after reading it.
- Rescue Saws can be found in Fire Departments, and can be used to open up a way to some blocked off rooms.
- If you craft a given category of items enough times, you'll begin to memorize recipes that fall under said category.
- Merging blueprint books unlocks better recipes that the individual books wouldn't unlock.
- There are many varieties of vehicles in Rio. Pick one that you like the most!
- Raid capable guns can take down Metal, Brick and Reinforced structures and barricades, however they are hard to find.
- If you lose your Encyclopedia after memorizing a blueprint from it, don't worry! Your newly unlocked recipes will be retained no matter what!
- Merge an Electrical Guide and a DiY Book to make an Architect Almanac.
- Merge a Military Orientation and a Medical Orientation to make a Field Orientation.
- Merge the Field Orientation, Architect Almanac and the Front's "Cookbook" to make the Encyclopedia.
- Merge a Front's Handybook and a Chef Cookbook to make a Front's "Cookbook".
- All Wooden structure types share the same health, and Log walls/ramparts don't require pillars to be placed.
- Some houses have window bars, which can make quick escapes through the windows hard.
- Wait... Was this purple phone booth always there?
- The fun is never over.
- Don't leave me... I need you...
- Sometimes, travellers arrive to Brocoío Island bringing stories, goods, odd jobs, or maybe just a good bunch of nothing.
- Some rockier hills tend to have more metal nodes than grassier hills.
FAQ
Any noteworthy questions I find in the comments or think people might have I will try to highlight and address here to save everyone some time.
Q: I don't see the floor I need to go to as an option in the elevator!
A: Different elevators have varying levels of access, some have a full range of access, some don't. Try entering different elevators or stick to the elevator in the middle building.
Q: Where is the Ranger loot on the loot map?
A: The original creators of the loot map use the term "bandit" to refer to all Ranger loot drops.
Q: What is that loud screaming noise I hear randomly?
A: You most likely caught the attention of a Screamer, a new zombie type specific to this map. It's technically an animal in the game's code as it's currently not really possible to add new zombies in Unturned. Basically if you get to close to it, it screams loudly which tells other zombies in a wide range your location. Scary at first, but annoying after a while. Keep your distance and watch out!
Closing Thoughts
ㅤ
- Unturned | Русификатор | Перевод | Русский язык★ 5 (6.8k)163k views38k ♥4 minRussianUpdated 4 May, 2024
- More Farming Mod Crafting Guide★ 5 (1.1k)68k views3.1k ♥64 minUpdated 21 Dec, 2023
- Русификатор + Достижения + Транспорт★ 5 (3.2k)46k views4k ♥11 minRussianUpdated 29 Nov, 2015
- How To Get Better FPS! (Optimization)★ 5 (642)42k views1.5k ♥4 minBulgarian
- Escalation IDs★ 5 (323)39k views1.3k ♥20 minUpdated 8 Nov, 2024
- 简体中文汉化包 汉化指南★ 4 (165)38k views506 ♥1 minSimplified Chinese






- Upgrading to PremiumTeam Fortress 2★ 5 (20k)1441k views11k ♥6 minUpdated May 11, 2022
- No More Room in Hell Official ManualNo More Room in Hell★ 5 (2.8k)569k views2.1k ♥29 minUpdated Apr 22, 2019
- NMRiH Community Hosting GuidesNo More Room in Hell★ 5 (526)351k views653 ♥1 minUpdated Aug 10, 2022
- ULTIMATE GUIDE FOR GAME DEV TYCOONGame Dev Tycoon★ 5 (5.8k)326k views10k ♥4 minUpdated 23 Jan, 2014
- How to 'Git Gud' Soon™MORDHAU★ 5 (2k)318k views3k ♥68 minUpdated Nov 16, 2024
- Лучшие кооперативные игры SteamPAYDAY 2★ 5 (1.5k)315k views2.1k ♥56 minRussianUpdated Apr 27, 2025






This guide was created by its original author on the Steam Community. Are you the author and want it removed? Request removal.