Story Mode/Wintermute Walkthrough
Introduction
Welcome to my guide for the Story Mode of The Long Dark! I decided to write this guide after seeing the vast number of questions on the discussion thread relating to progressing through Wintermute. So, let's get started!
- As a story mode walkthrough, there will be spoilers. Sorry, but it's the nature of things when you write a guide like this.
- I am playing the PC copy of the game. While there are no differences in terms of game mechanics between the PC, Xbox and PS4 versions of The Long Dark, there are controller differences.
- The 2017 December "Rugged Sentinel" update added difficulty options to story mode. This guide is based on the "capable survivor" difficulty level. I will not be playing through the game on all three experience modes because I do not have the time.
- As of now, Hinterland has released all five episodes of Wintermute. I am playing through Episode 5 right now and will update the guide as soon as I can. For more details on my progress, please see the Episode 5 section of the guide. As of now, the guide is current with version 2.02 of the game.
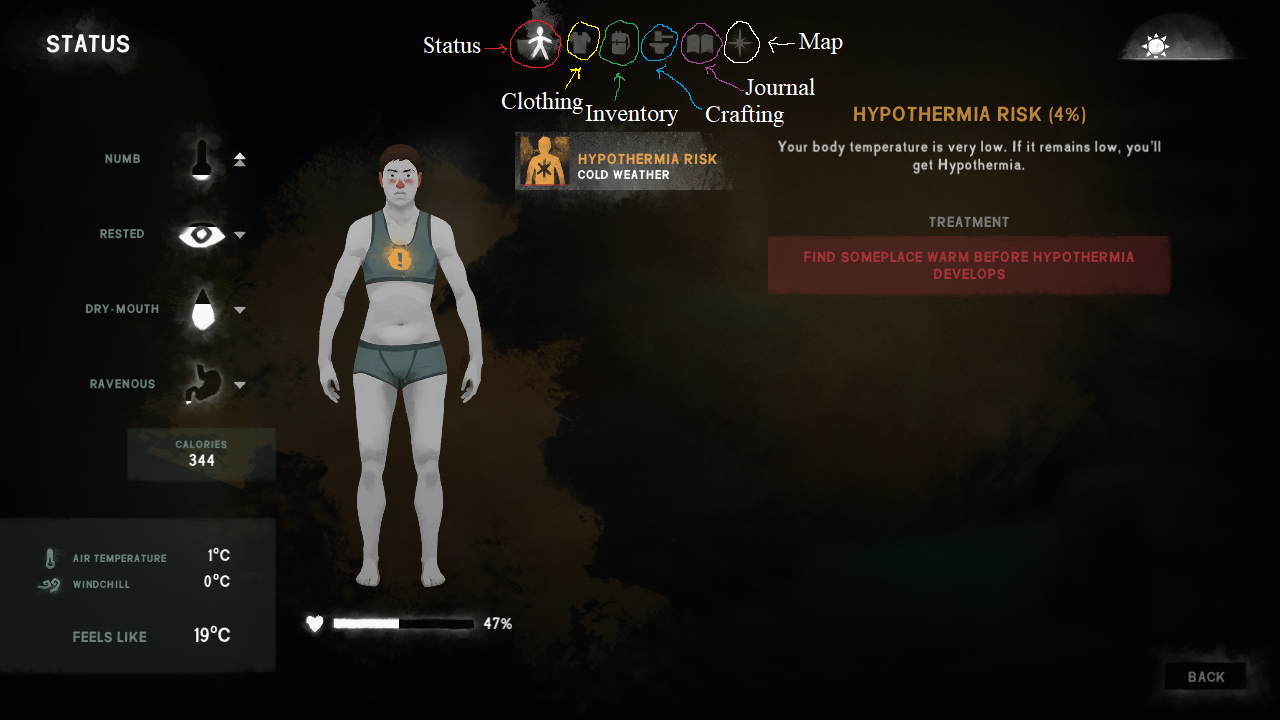
Clicking on one of the icons will bring you to the corresponding menus. Most of them are self-explanatory, but there are few things that aren't immediately obvious.
Inventory: You can filter your items by category so that you only see, say, your tools. In order from top to bottom, the categories are: All, Fire materials, Medicine, Clothing, Food/drink, Tools, Crafting materials. Some items fit into multiple categories.
Crafting: Which items you can craft are organized into the same categories as the inventory. You'll find the details about what items you need and such on the right side of the screen after selecting what you want to craft. Also, the items you can craft are limited in Wintermute compared to Sandbox/Survivor mode. You unlock the recipes by progressing through the story and by doing the side-quests.
Journal: This page will look very different in Story Mode than in Sandbox. More details will be given later but know that the journal will have all your quest objectives and background information about the NPCs you meet. It also has a progress bar that shows how much of the chapter you've completed.
- 'Tab' brings up a quick view of the current mission and time of day. It will also bring up the quick stats view if you're playing with the HUD set to "contextual".
- The 'F' key brings up your status. The status screen is where you can find more detailed information on how your character is feeling, such as exactly how many calories are in your stomach and the precise temperature outside.
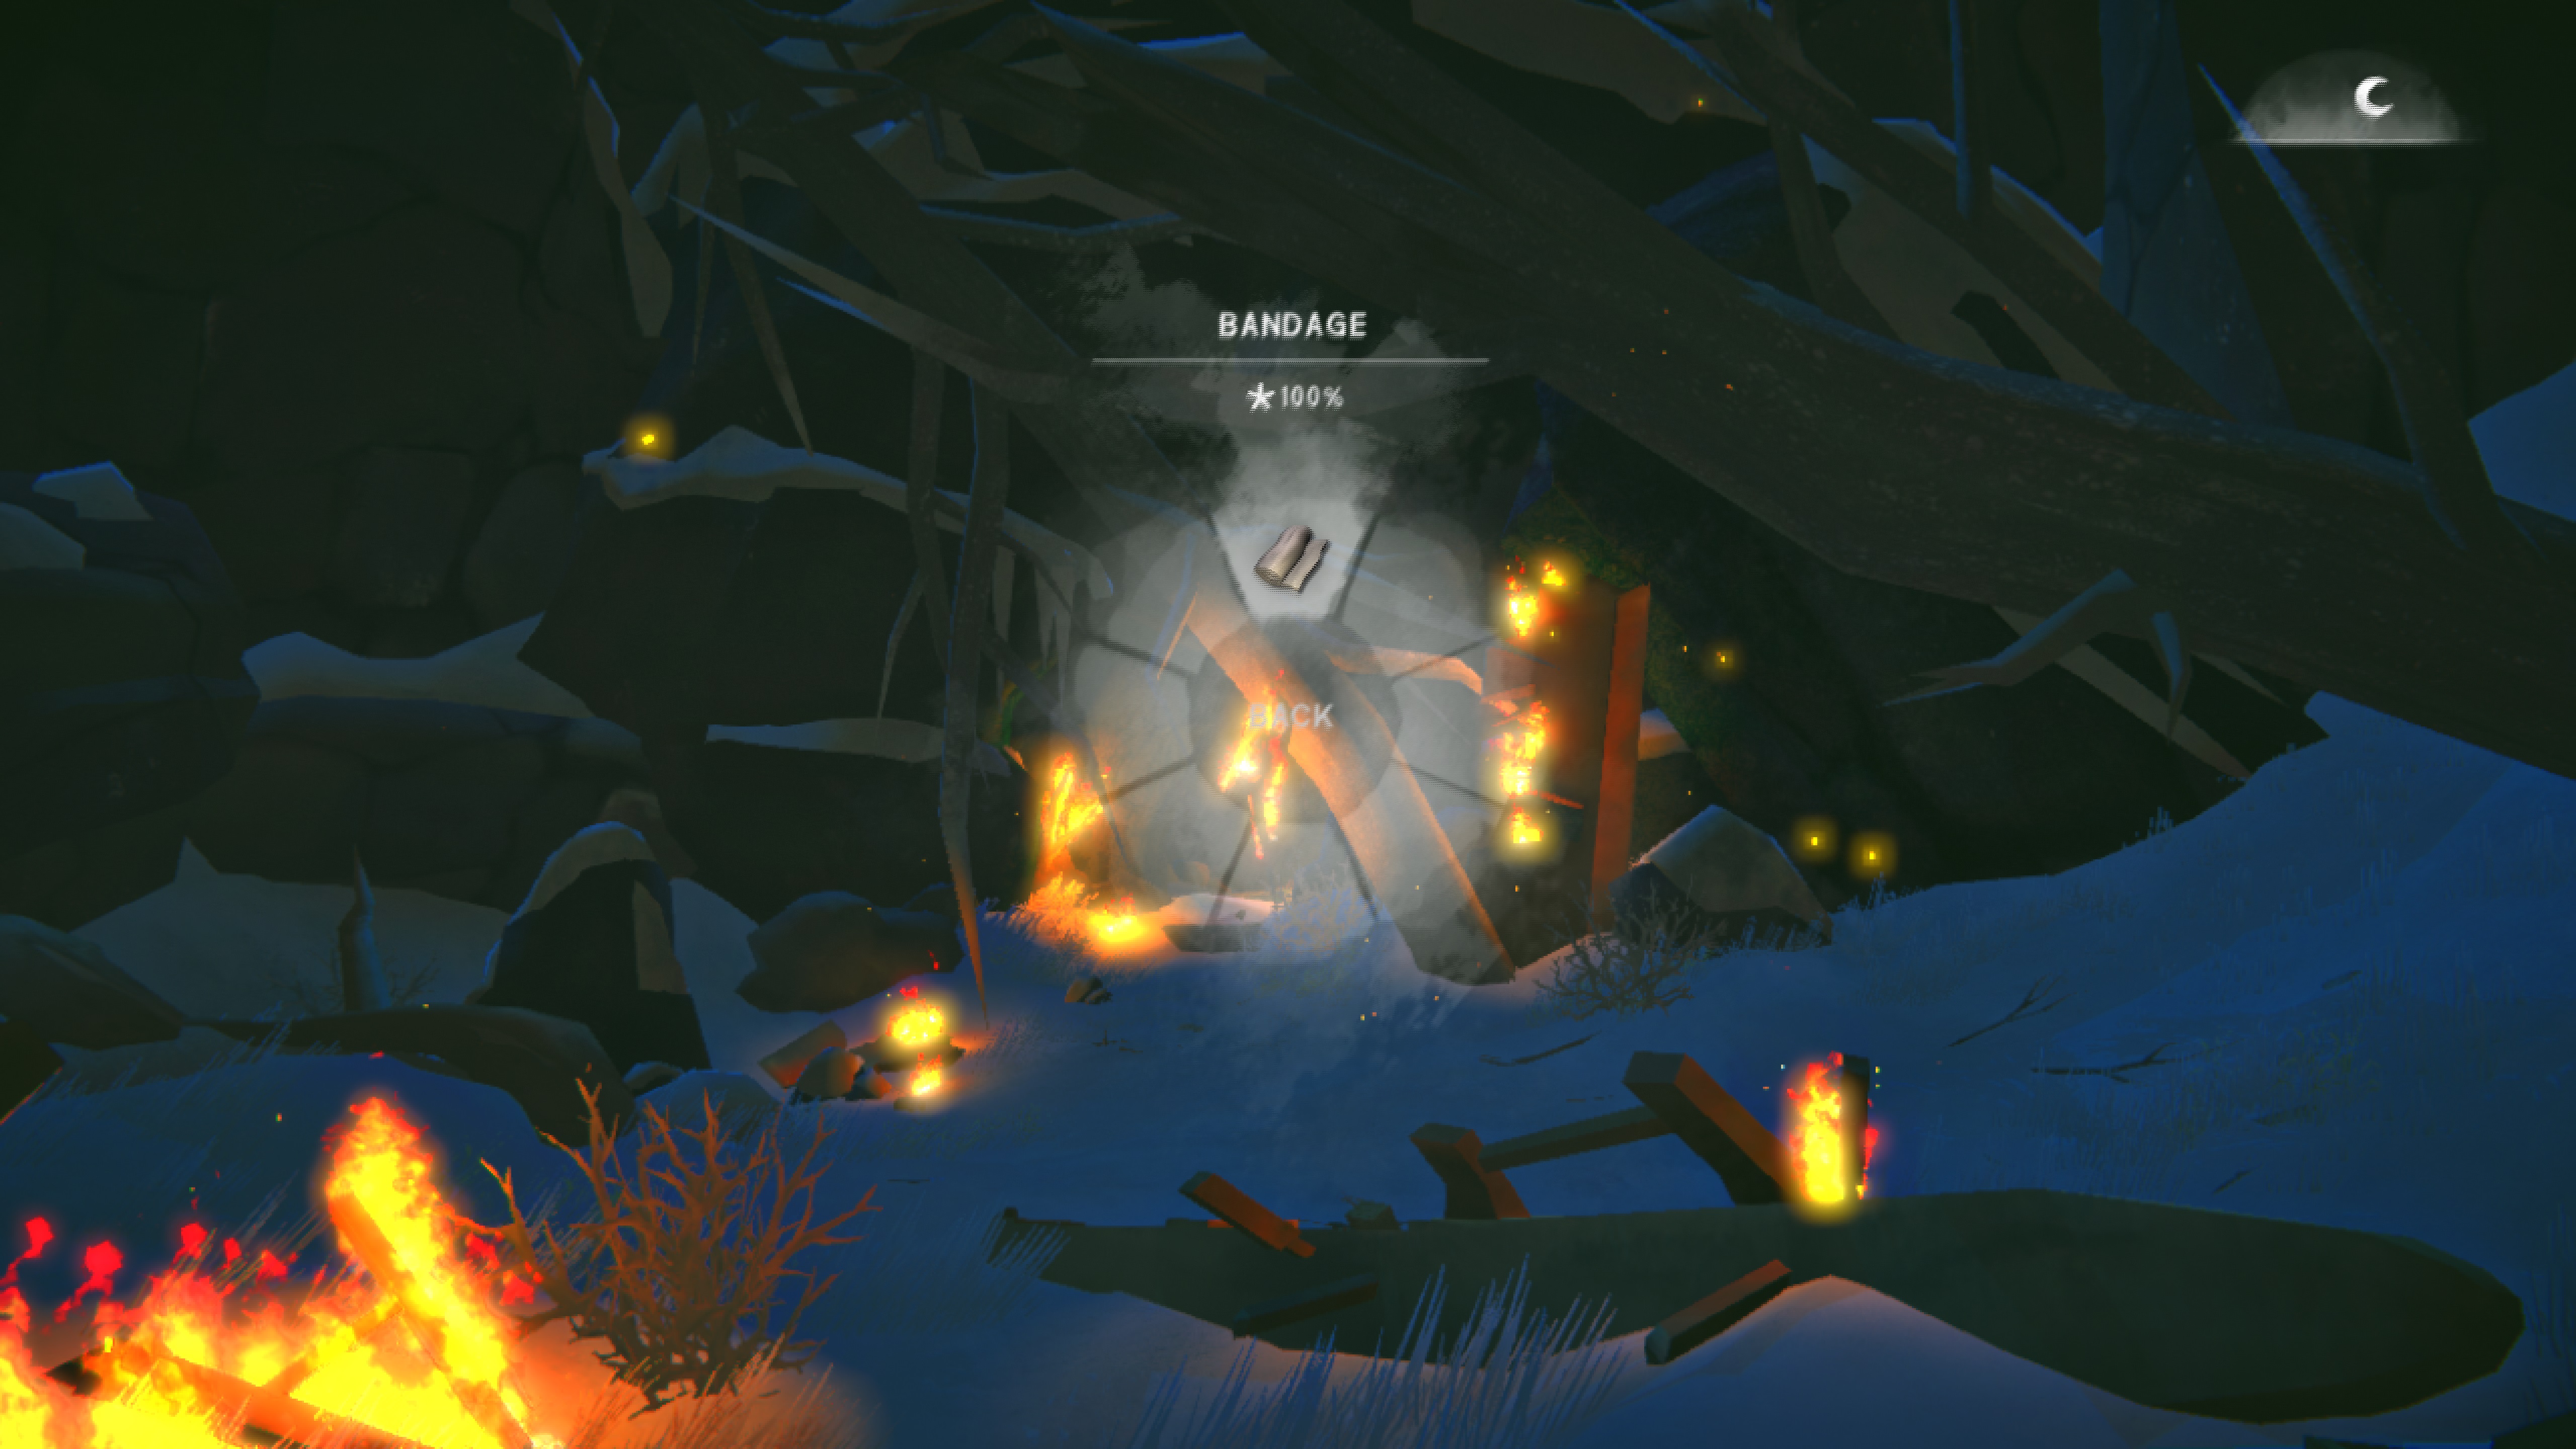
- The space bar gives you access to your radial menu. The radial menu is basically a quick access. You can eat, drink, start fires and many other things from the radial menu.
- Pressing the 'i' key will bring up your inventory. Knowing what is in your backpack at all times can mean the difference between life or death.
- The 'M' key will bring up your map. You don't have access to it immediately, but the map can be of great help when it comes to locating many of the hidden supply caches found throughout the world.
- Pressing the 'J' key will bring up your journal. Here is where you will find all the information on your current quests and goals. If you've forgotten what you're supposed to do, take a look at your journal. The journal also contains all the pop-up tips that occur during gameplay.
And remember, PC players can change any of these shortcuts through the options menu. Personally, I rebind the inventory to my 'E' key so as to have it close at hand.
I also want to give a big thank you to all the commenters who have given me tips and other information for this guide! You guys have been super helpful, especially when it comes to finding all the changes in Redux. Special mentions to Alcator and Liliel for your advice on cache locations and designing the guide to be as helpful as possible.
Episode 1: Do Not Go Gentle
While searching for supplies for himself and Grey Mother, Will encounters a strange man in the Orca gas station. The old man introduces himself as Methuselah and cryptically suggests that it was no ordinary storm that knocked Will's plane out of the sky. Instead, he describes the storm as "an apocalypse of an apocalypse".
Will encounters an escaped prisoner named Hobbs, who tells him that Astrid made it through the tunnel the night of the lights. Grey Mother then informs Will of an alternate path through the mountains and gives him some old climbing gear. Once he makes his way through the mountains, Will comes across a man being mauled by a bear and attempts to save him.
- Will recalls the events prior to the crash
- Will discovers the town of Milton and its sole resident, Grey Mother
- Will meets Methuselah, who hints at the true nature of the Quiet Apocalypse
- Will learns that Astrid passed through Milton and made it through the tunnel
- Will chooses to either help or hurt Hobbs, an escaped prisoner from the bus crash
- Will helps Grey Mother, and in exchange, she tells him about an alternate route through the mountains
- Will comes across a man being attacked by a bear and saves him
- Distress Pistol/Flare Gun: Obtained by placing the distress pistol kit in the plane's hatch during Chapter 1: Memories OR finding the secret cache on Spruce Falls Bridge. See the sidequest Highway Robbery for more details
- Mountaineering Boots: Obtained by completing the sidequest One Last Thing
- Rabbitskin Hat Blueprint: Unlocked by completing the snares tutorial. See the sidequest Basics of Survival for more details
- Rabbitskin Mittens Blueprint: Unlocked by completing the snares tutorial. See the sidequest Basics of Survival for more details
Chapter 1: Memories
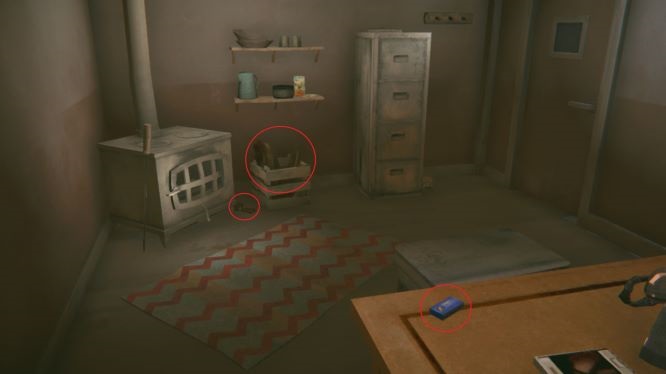
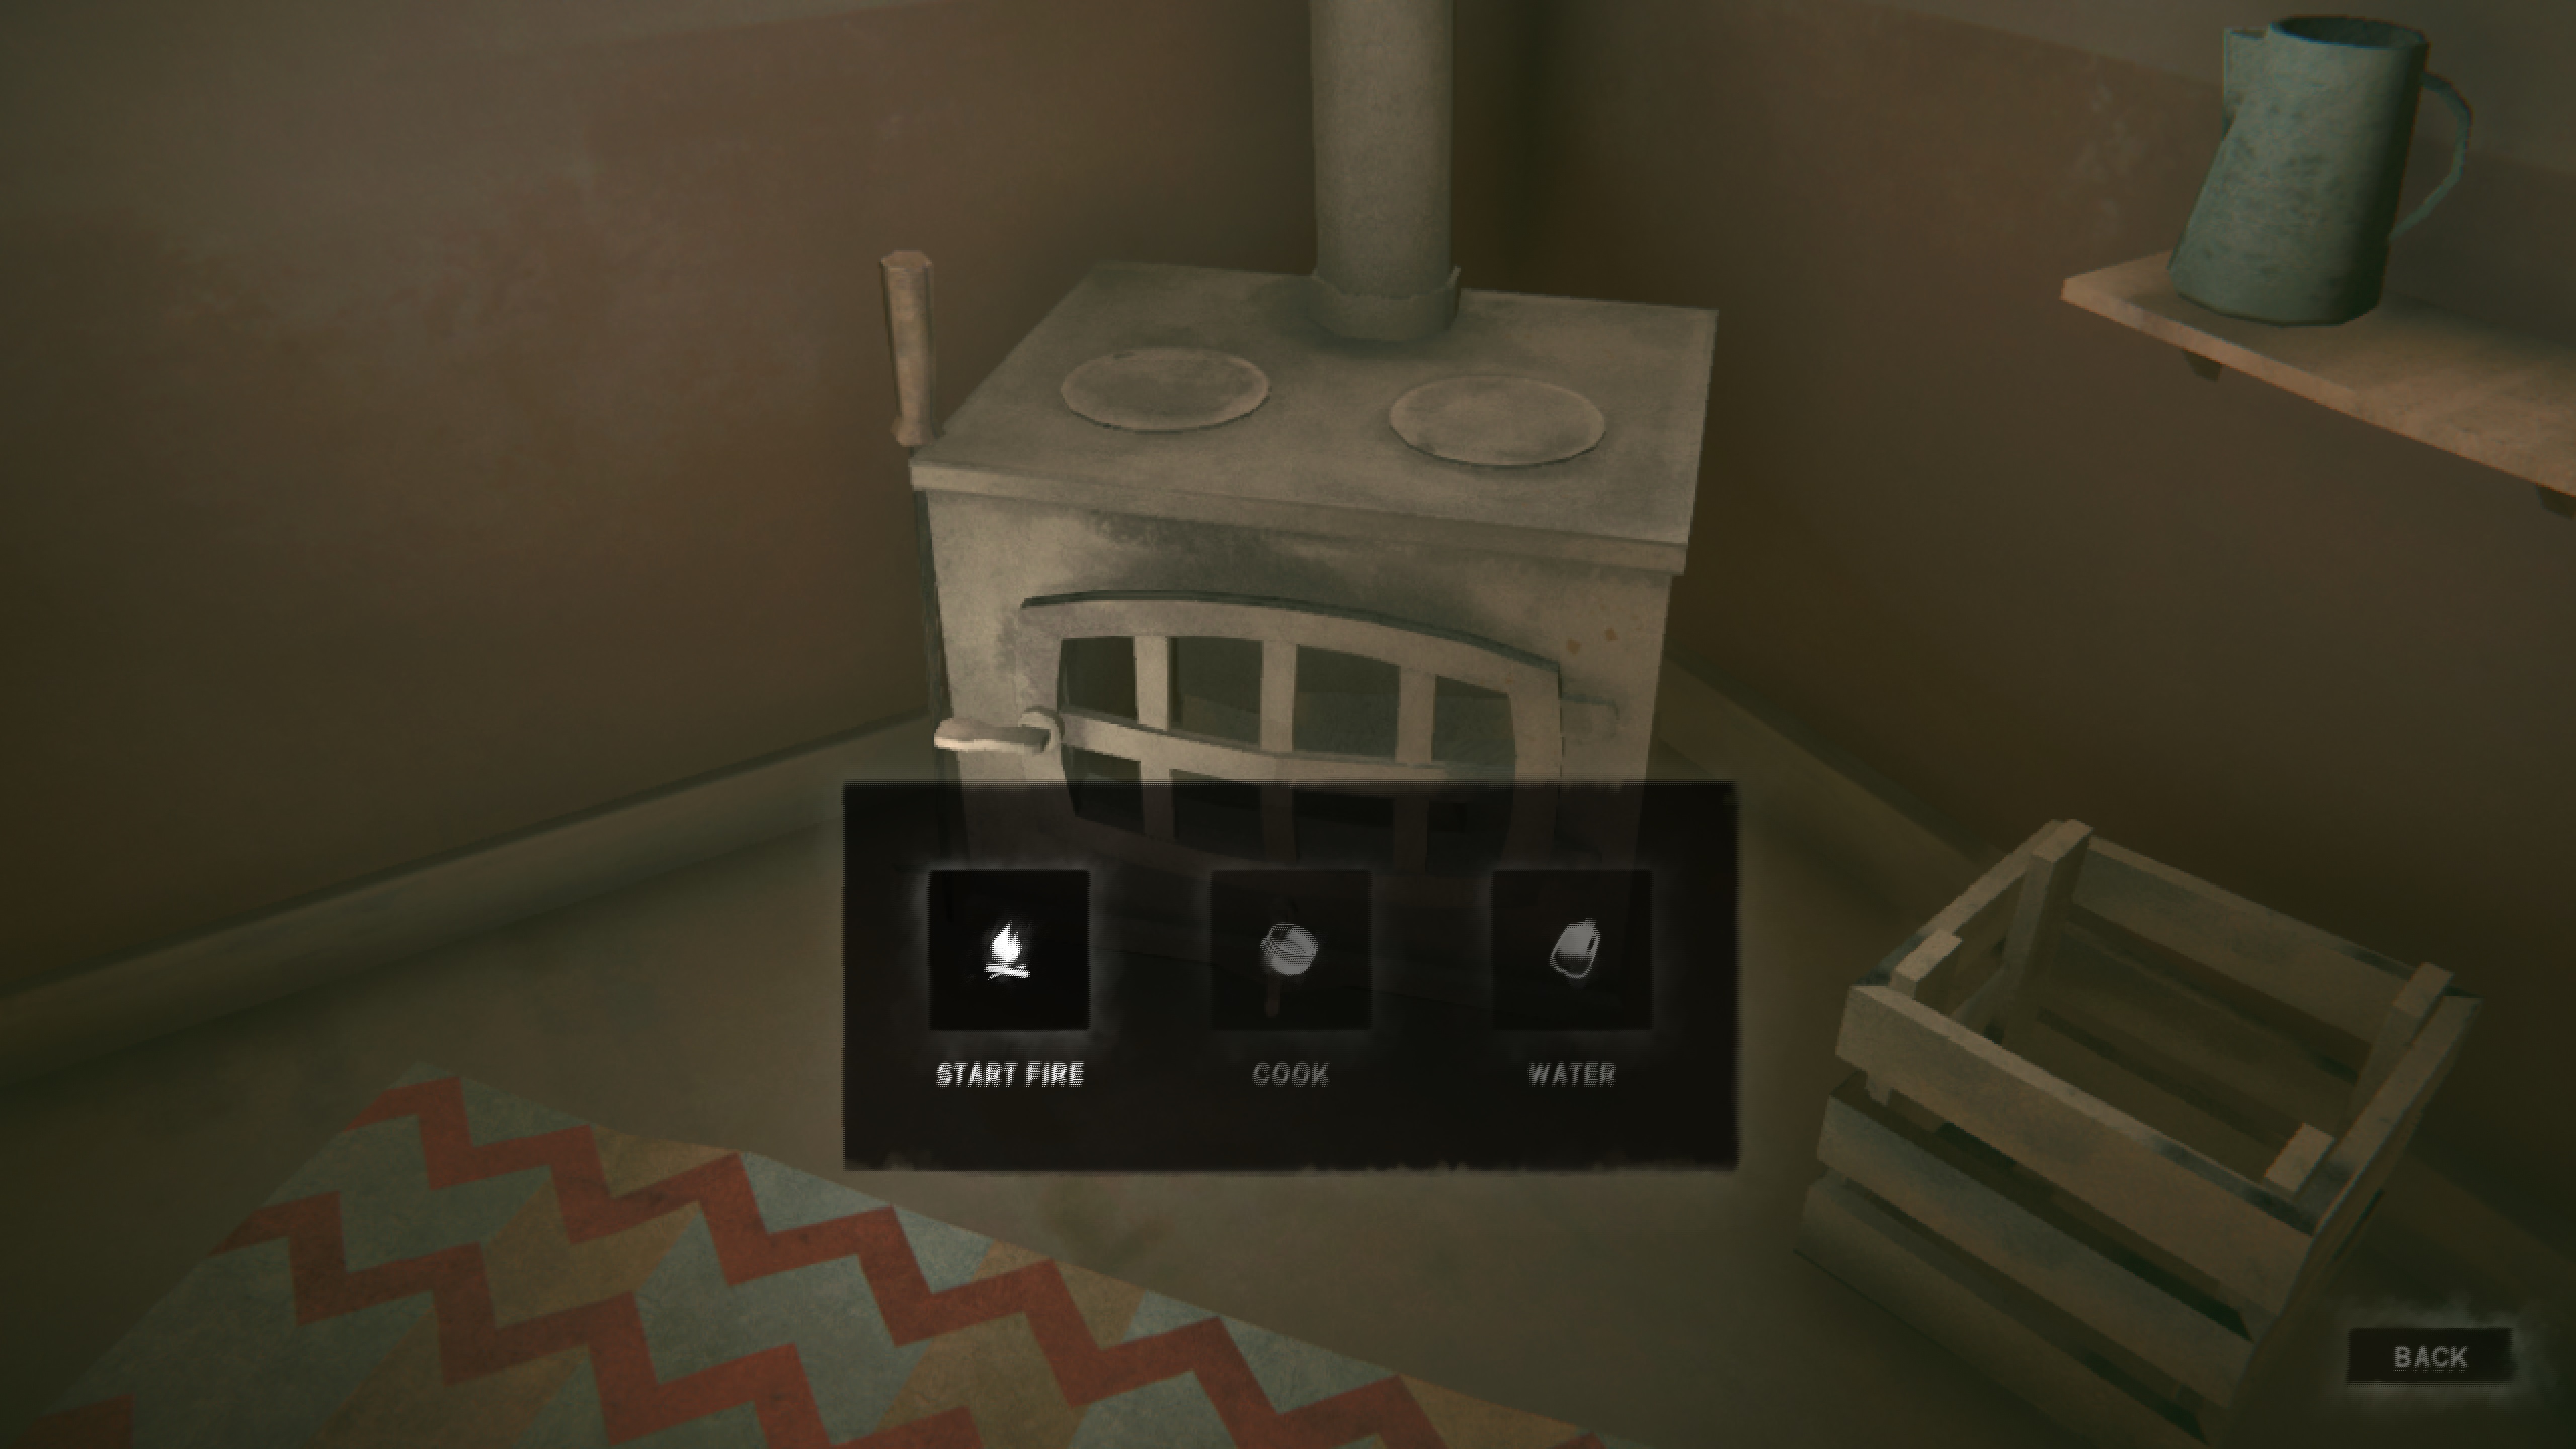
--------------------------------------------------
Once the fire is lit, your next objective is to explore the hanger. To complete this goal, you can either perform various actions (eating, drinking water) or click on items that trigger dialogue. You need to do five things to complete this objective. The items you can interact with are:- floatplane
- Will's parka
- sink in the bathroom
- hot plate
- poster in the hanger
- map in Will's office
- picture on the wall in Will's "bedroom"
- framed picture in Will's office
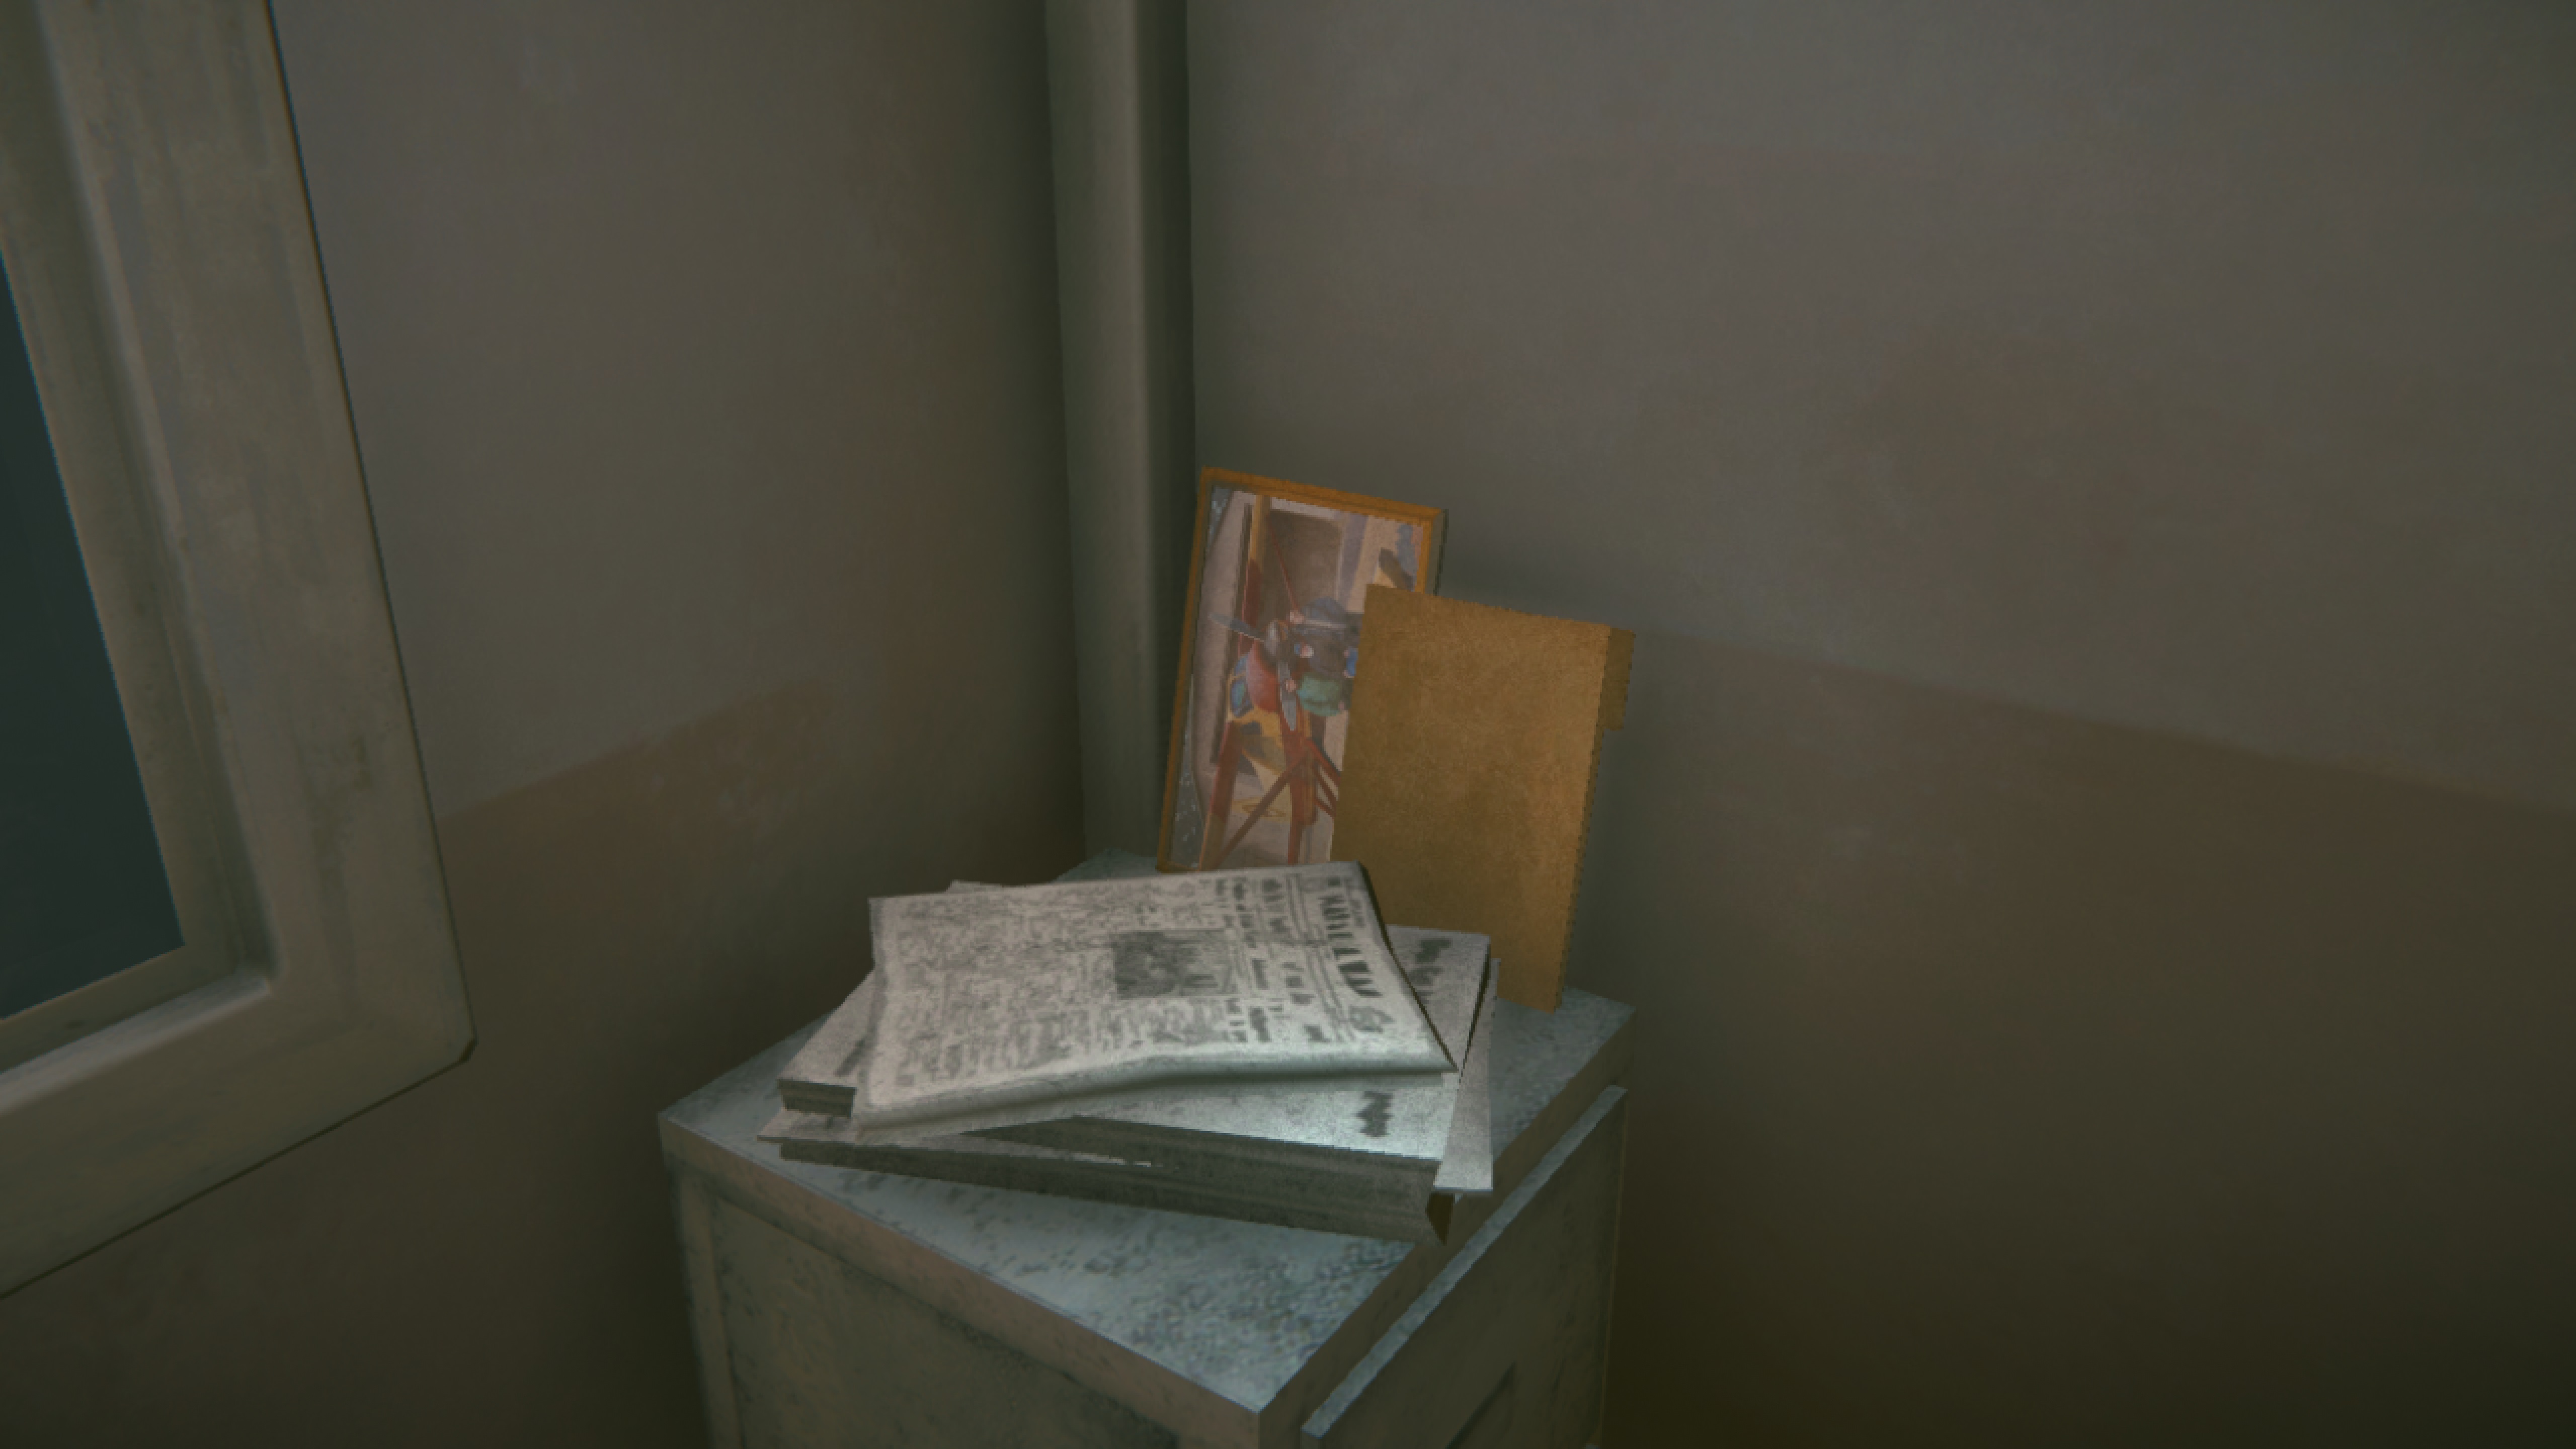
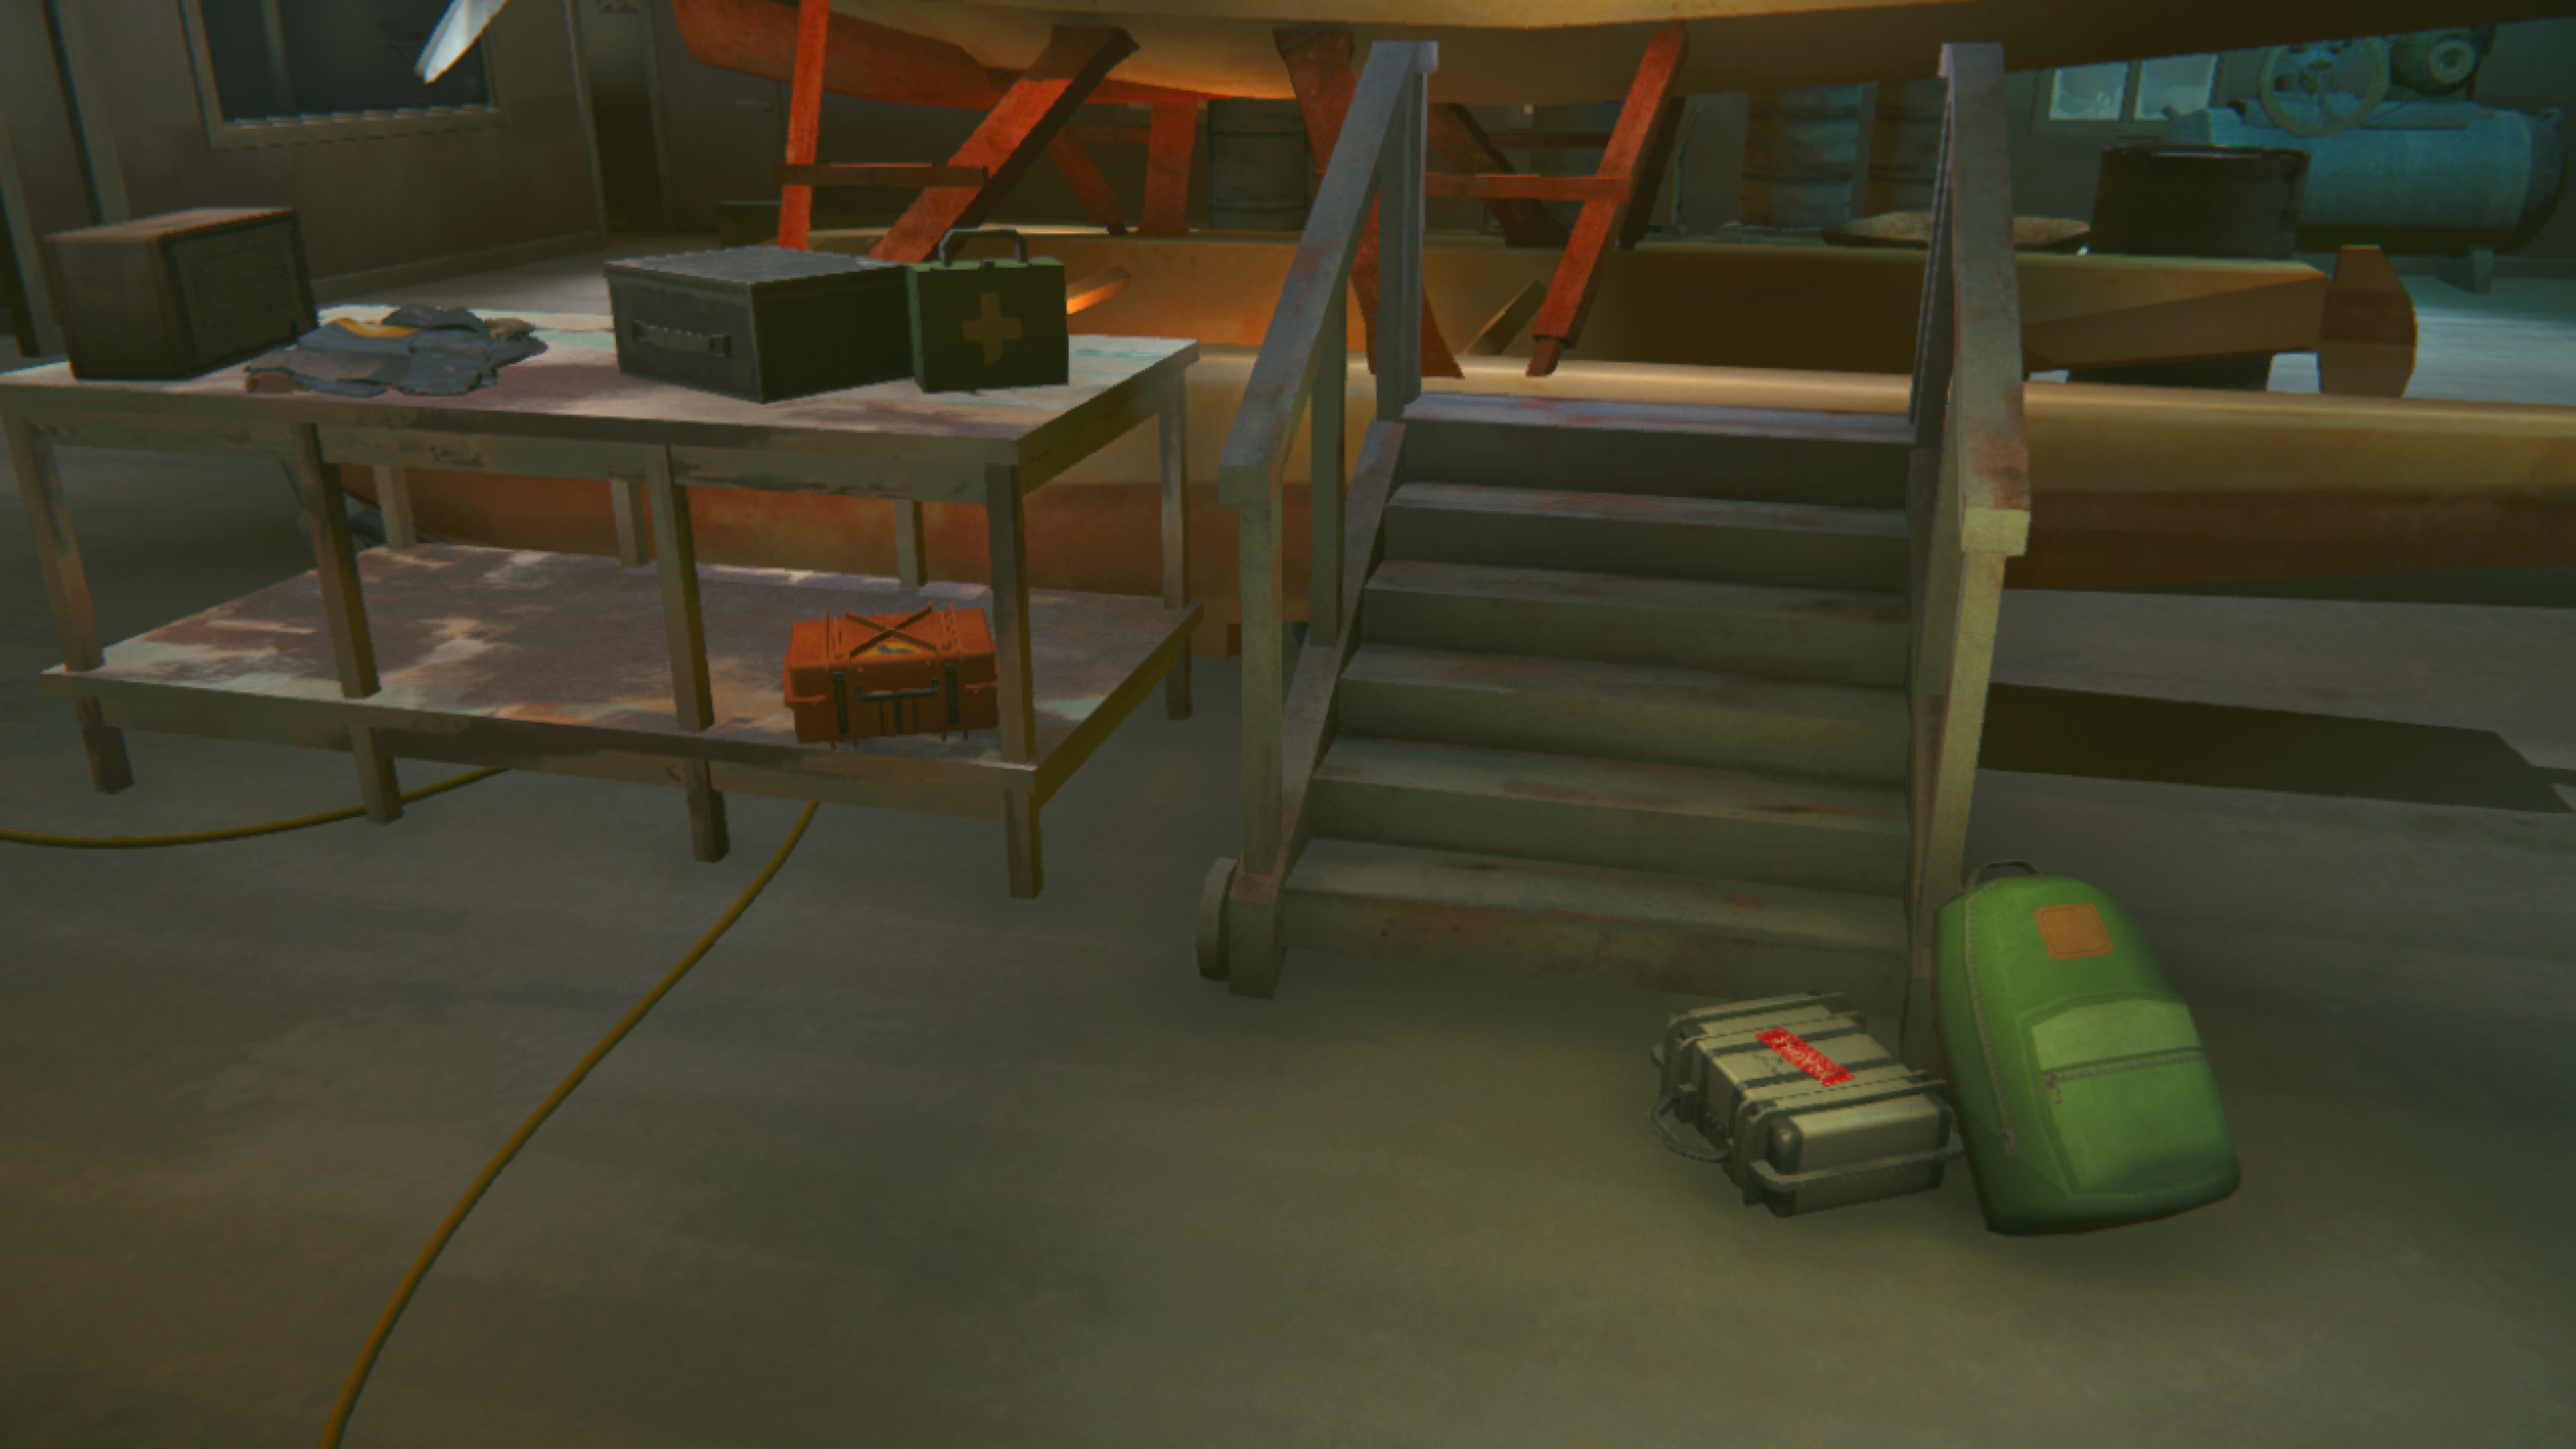
And now the phone is ringing. Obviously, your next task will be to answer the phone. Just head back to Will's office and interact with the landline. This will trigger another cutscene. Alright, time to prepare. There are two objectives, although one is optional. The first is to load Astrid's stuff into the plane. This is easy; just pick up the locked hardcase and backpack next to the plane and load them into the plane's hatch.
--------------------------------------------------
Optional Quest: Select Extra Cargo
So, there's a bit more room in the hatch for some additional gear. There are three available items: a first aid kit, a distress pistol kit, and an emergency food kit. Unfortunately, each item is 5 kg, so you can only take one. Which one you pick is entirely dependent on your play-style. The first aid kit can be handy if you tend to sprain ankles or give yourself food poisoning. The distress pistol will allow Will to scare away bears and wolves pretty much guaranteed. The food kit is good for players who run out of food quickly. And of course, you can choose none of the above, adding some extra challenge. Whichever you pick, make sure to place it in the plane hatch with Astrid's stuff.
Once you've finished packing, click on Will's parka for a cutscene and the end of the chapter.
Chapter 2: The Crash
--------------------------------------------------
Once that's done, Will decides it's a great idea to try and climb out of the ravine. You know, even though he just pulled a piece of shrapnel from his hand about 5 minutes ago. You can actually skip this objective by heading to the cave right in front of where you crashed. Doing so will automatically trigger the "start fire" quest. But if you want to check the goal off, just cross this fallen tree and try to climb the ledge (Will auto-focuses on it once you get close enough).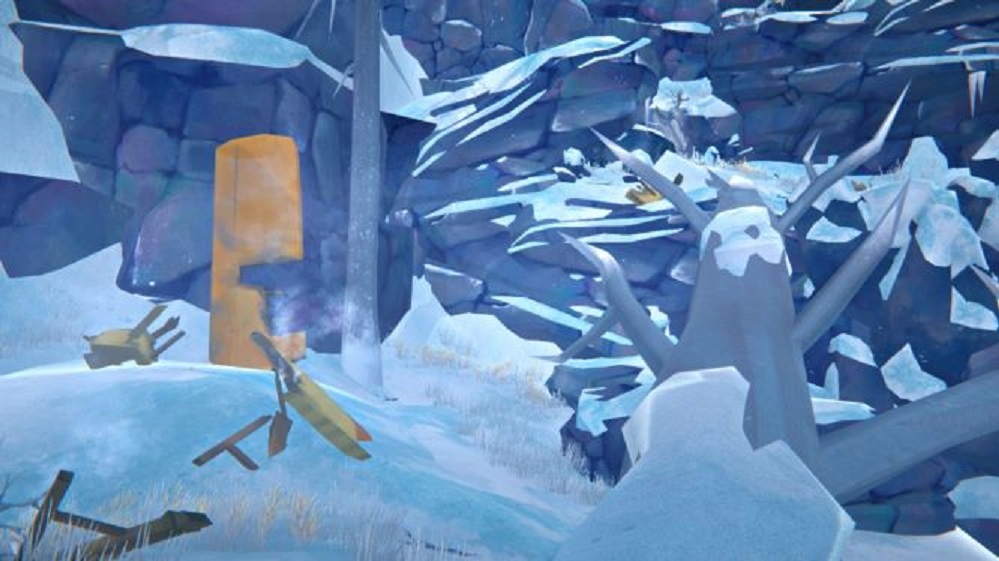
After Will fails miserably at climbing out of the ravine, you'll get a new objective to find some shelter. As I said earlier, the cave you want can be found right in front of where Will initially woke up. You'll also want to pick up some sticks, firewood, and newspaper on the way there since the next quest is starting a fire. To create a campfire, go to the Campcraft option in the radial menu and then select the fire icon.
Once the fire is lit, Will decides he needs some sleep. I recommend you wait on this. If you check your stats, Will isn't all that tired right now. Instead, spend some time making water and warming up by the fire. Once you've filled your water meter and gotten about 1.5 L of extra water, click on the "bed" (aka. pile of moss) and Will automatically sleeps the day away.
--------------------------------------------------
After waking up, Will decides he needs to try climbing out of the ravine again. I STRONGLY recommend against following the quest objective right now. Will is dehydrated, freezing, and nearly starving at this point in the game. Unless you packed the emergency food kit into the plane, you should spend some time looting the rest of the ravine. There will be a little bit of food in the metal container, and plenty of wood lying around. You may also want to re-light your fire. Cold is the biggest danger; it will kill you faster than dehydration or starvation.Once you're ready, go ahead and climb out of the ravine. The path ahead is linear. There will be three ledges to climb before you reach the remains of Will's plane. Once the dialogue is finished, you get a new objective to explore the crash site. As before, you should thoroughly explore the area, picking up sticks and other items. If you packed additional supplies during Chapter 1, those will also be somewhere around here. Make sure to pick up Will's parka, Astrid's case, and the clothing revealed from busting up the green crate below. And don't forget to put the clothing on!
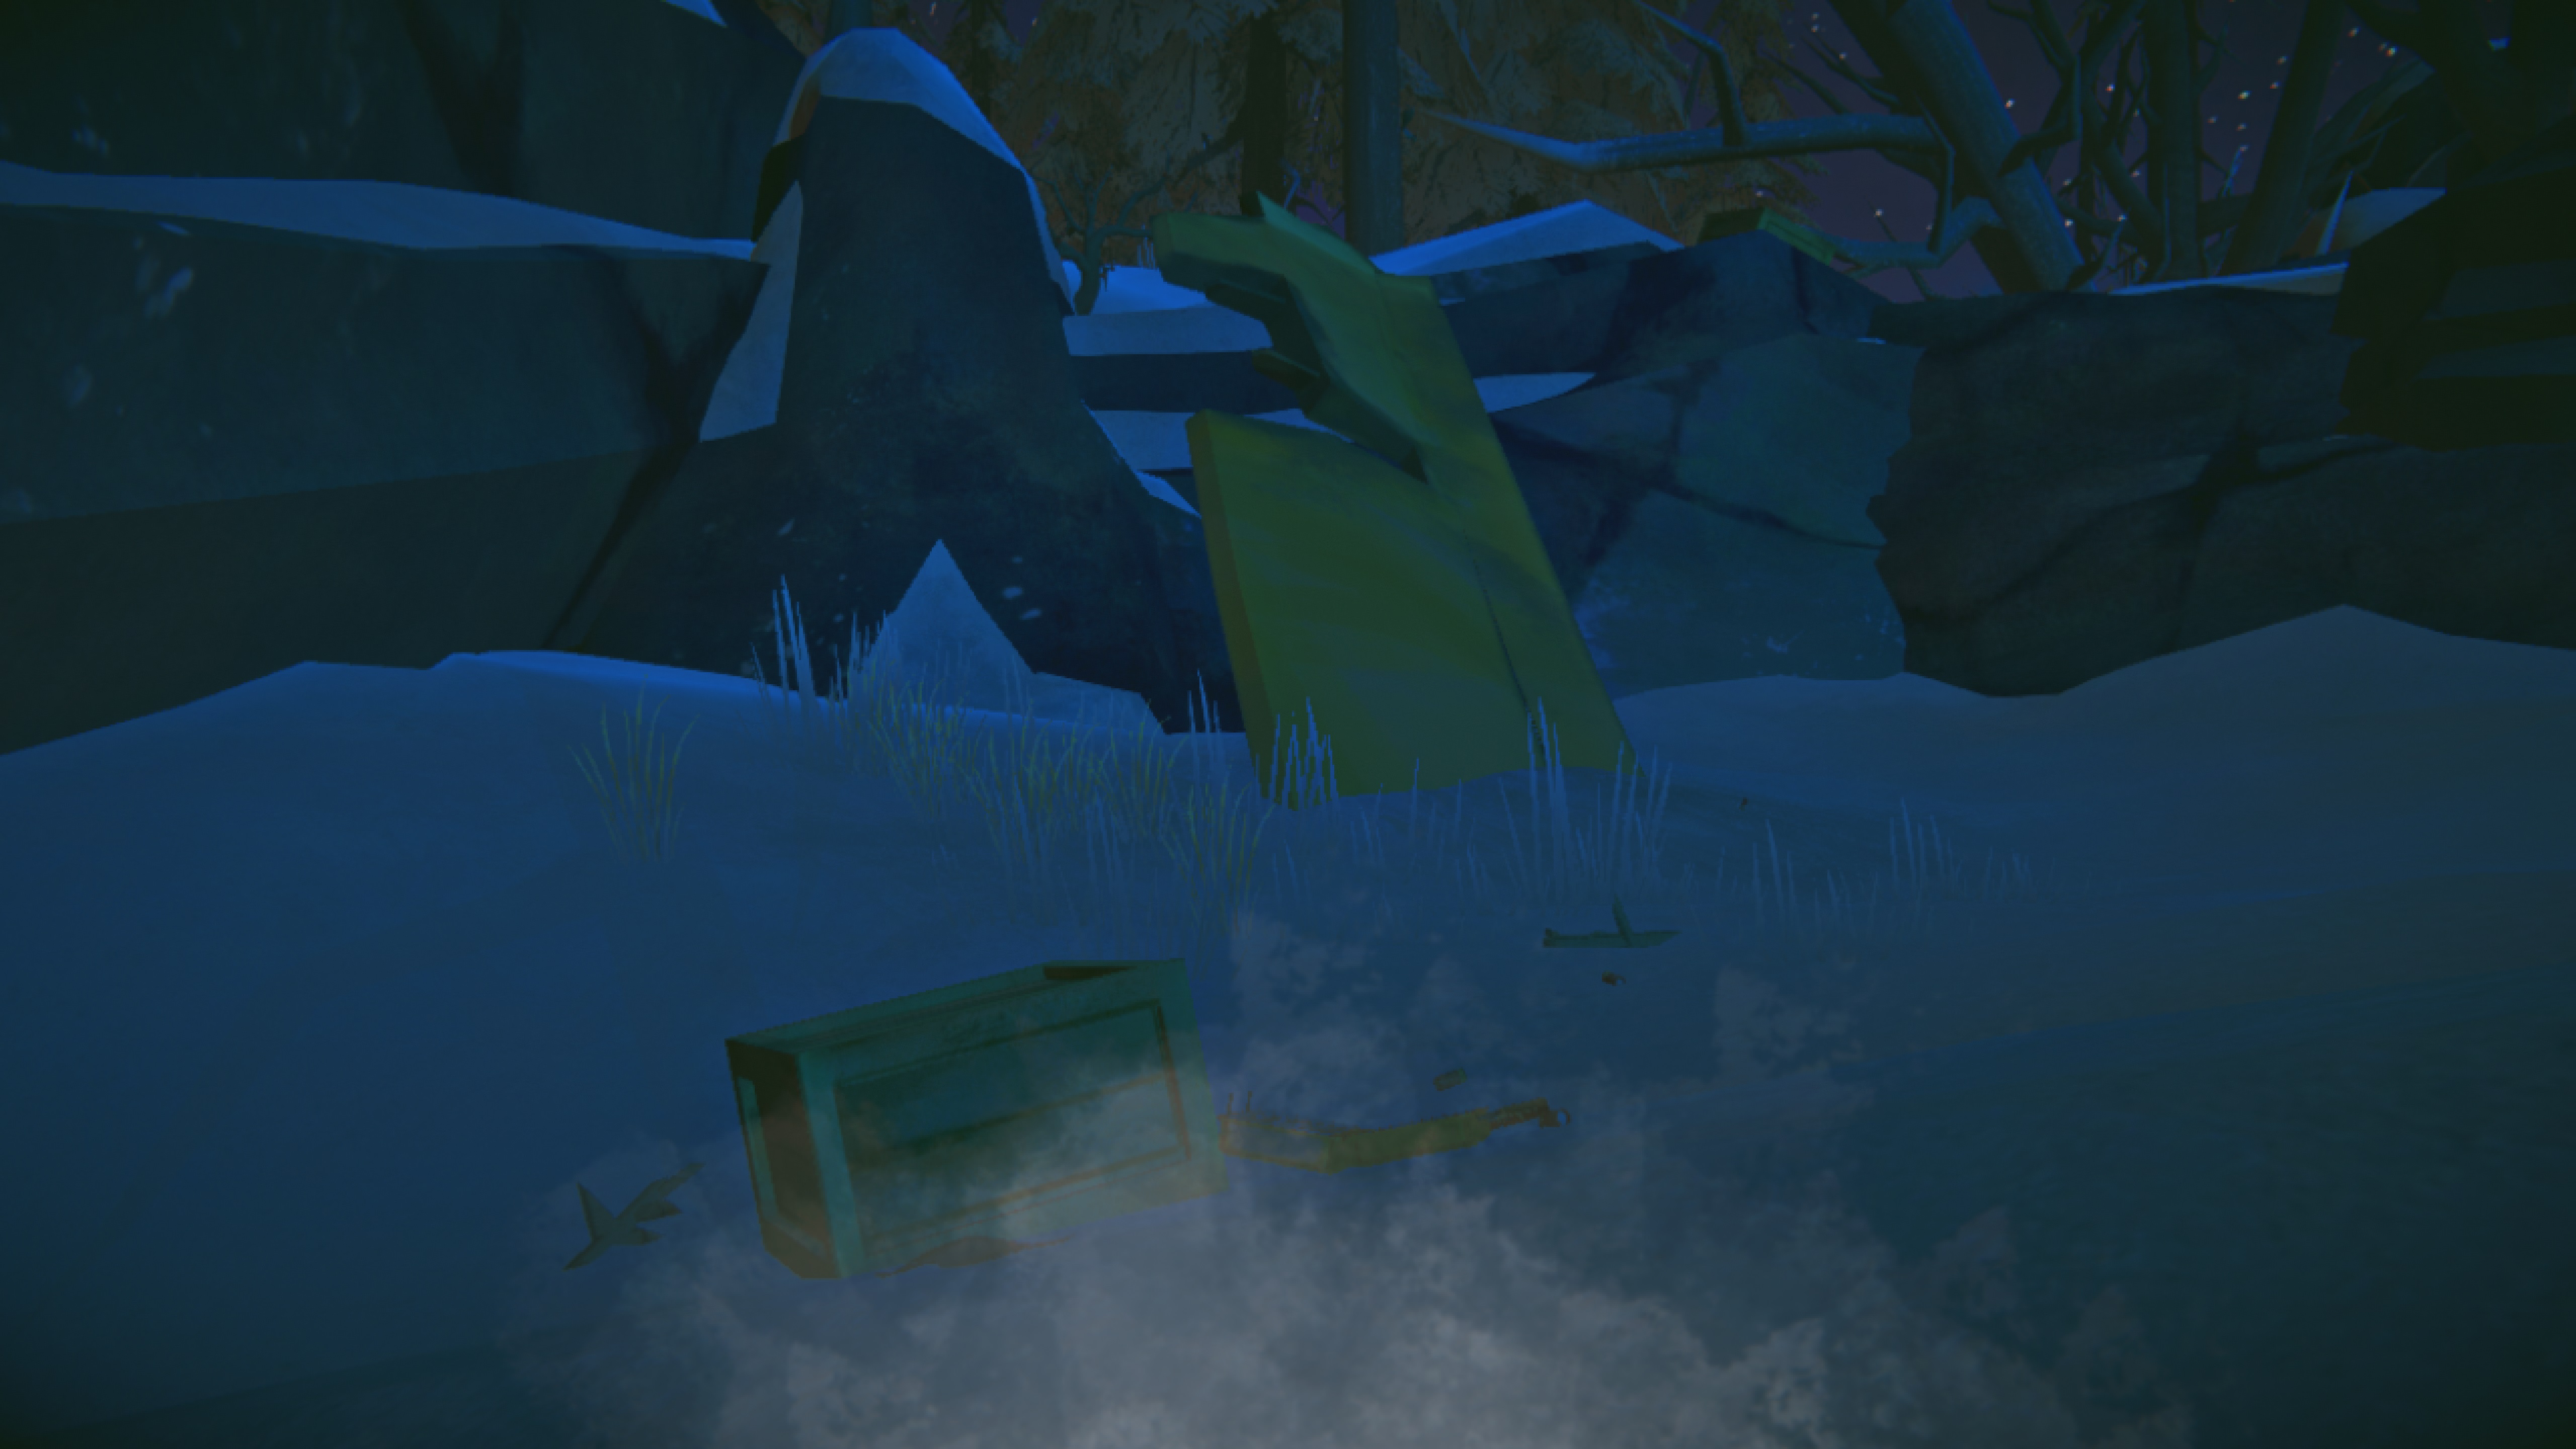
Grab Astrid's case, you'll gain a new objective: to search for clues. To proceed, just get on top of the ledge via the bit of plane wreckage shown in the picture above. Will then auto-focuses on a piece of Astrid's scarf stuck on some branches. From here, you just need to walk straight until you reach the frozen pond. There will be a burnt-out campfire that you can re-light if you need to warm up. There are also rabbits that you can stun with rocks. If you run up and catch the rabbit before the stun wears off, you get the choice to kill it. It's not the nicest thing to watch, but when you need food...
--------------------------------------------------
When you're ready to proceed, just head to the left of where you entered the frozen pond area. I've pointed out the direction you need to go in the picture below. The burnt-out campfire is circled in yellow for reference.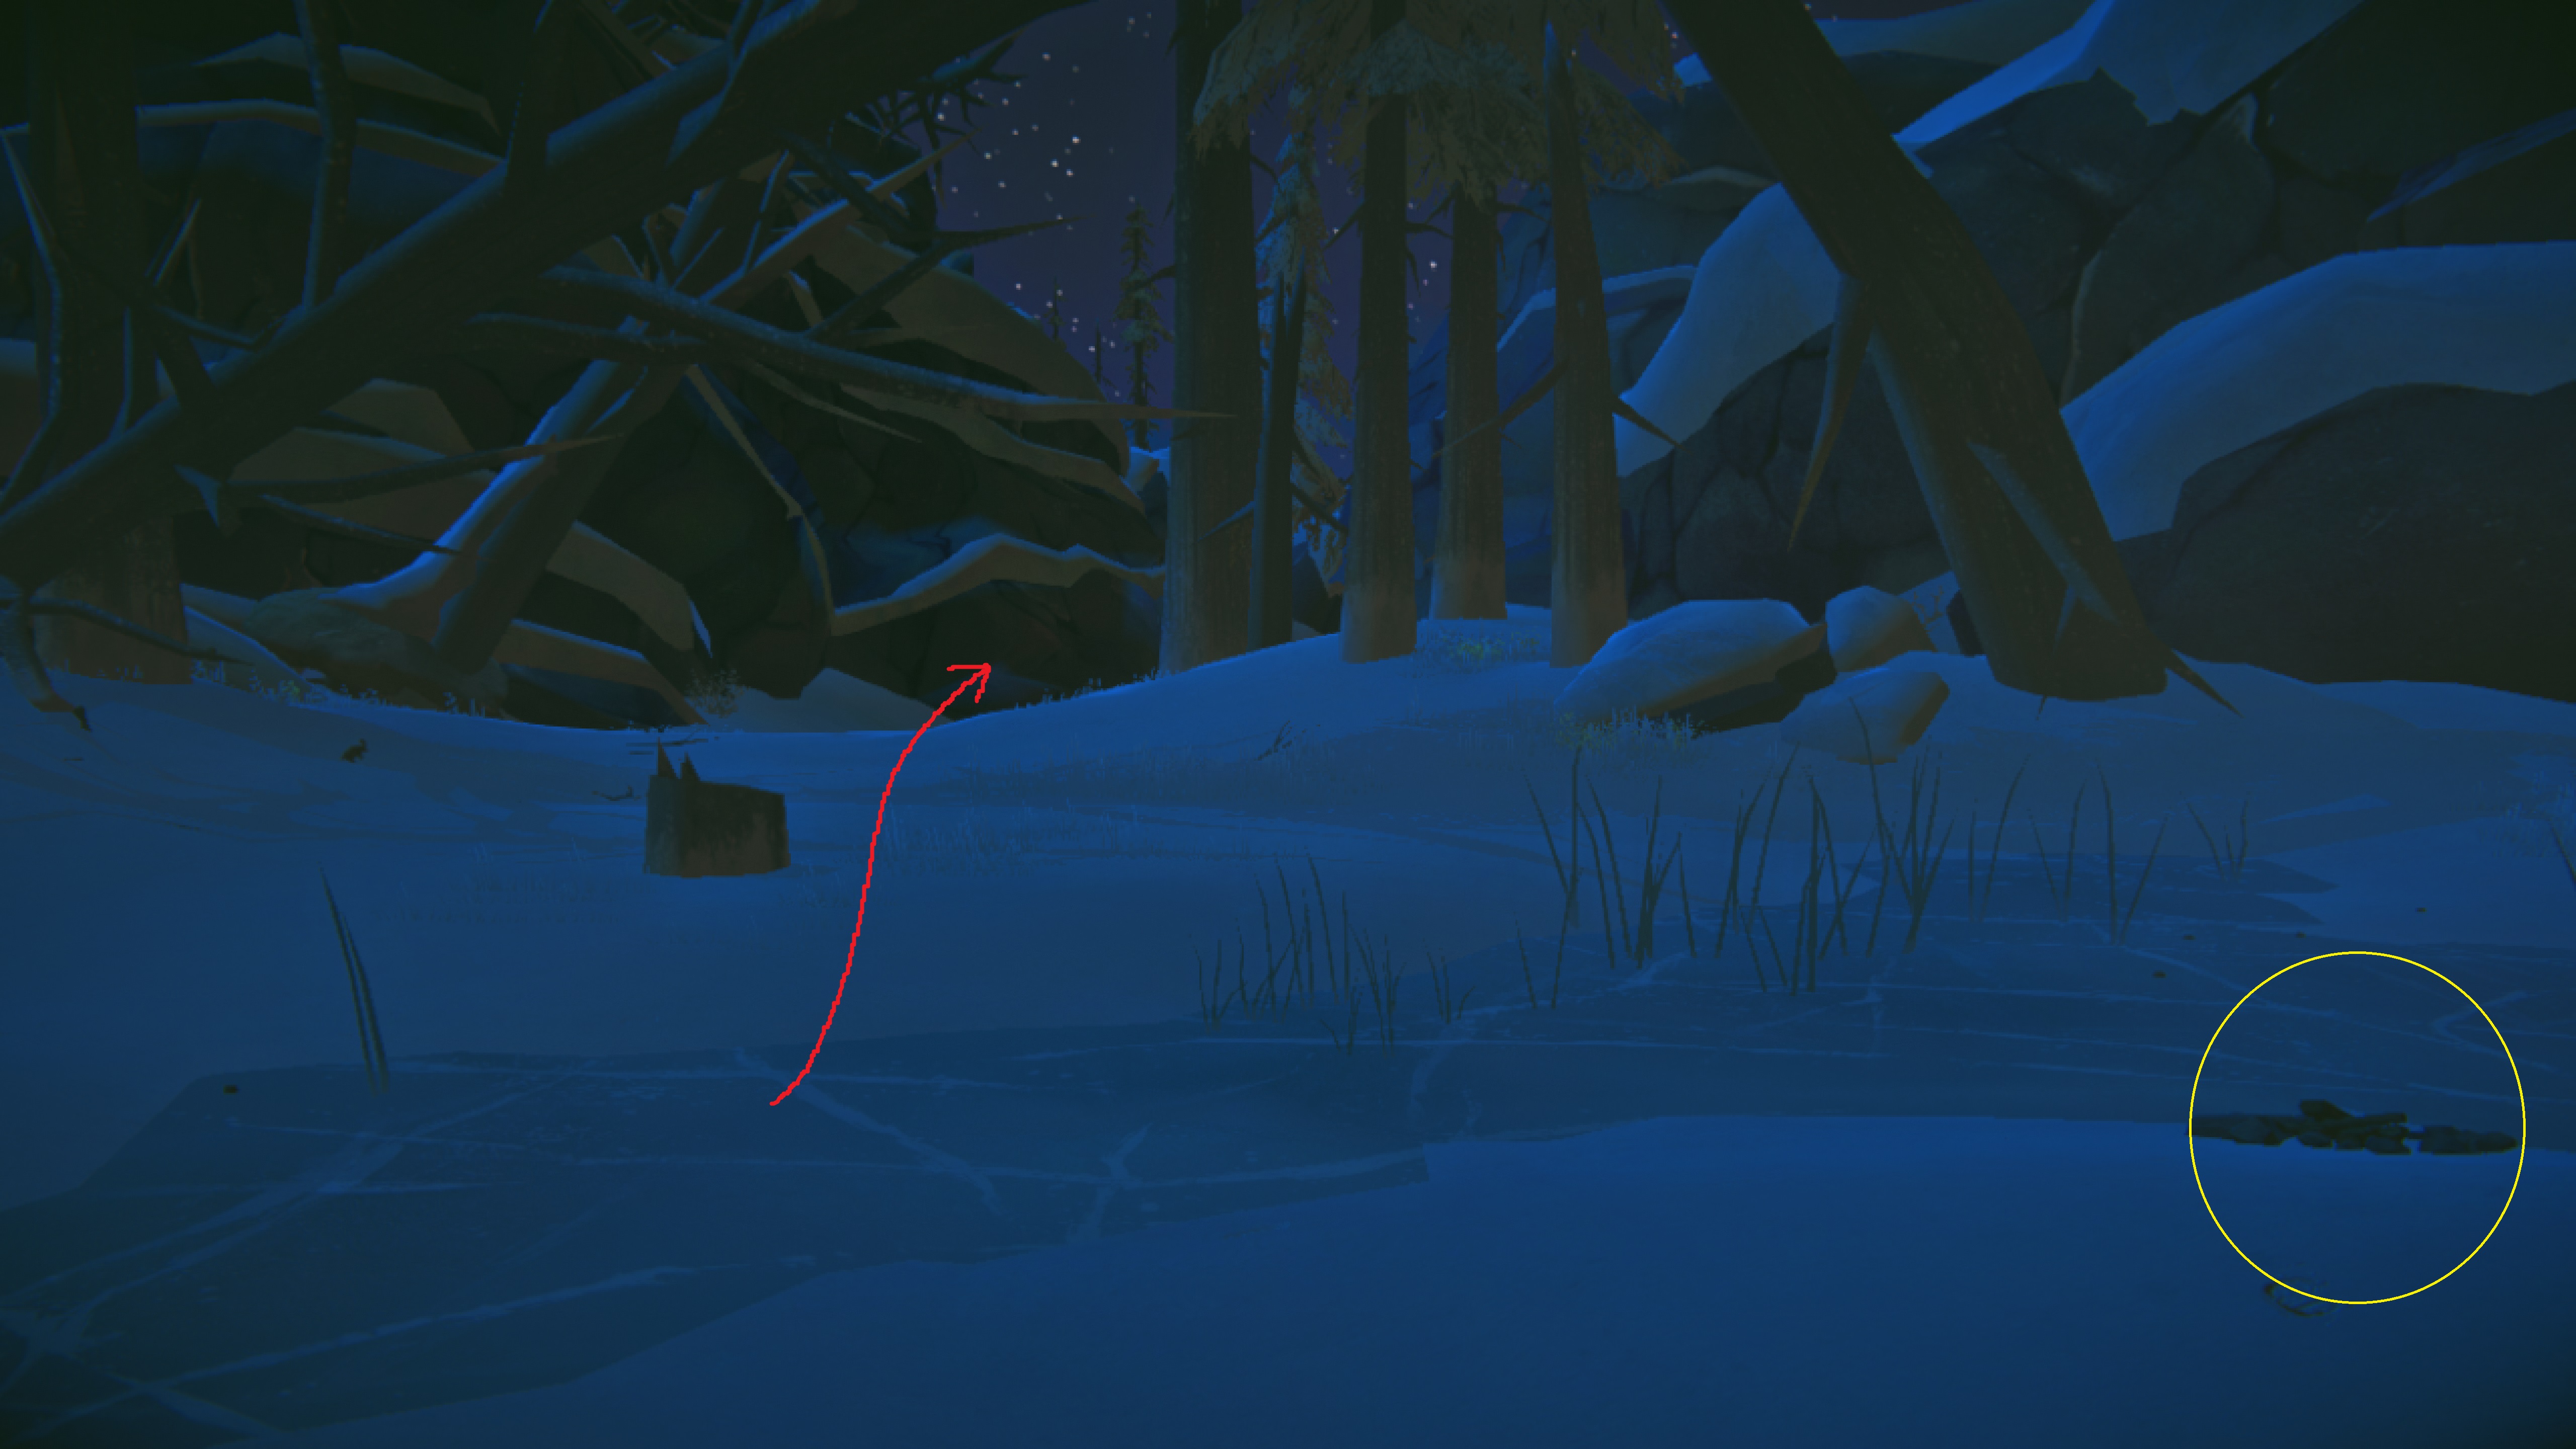
Eventually you'll come across a wolf eating a deer.
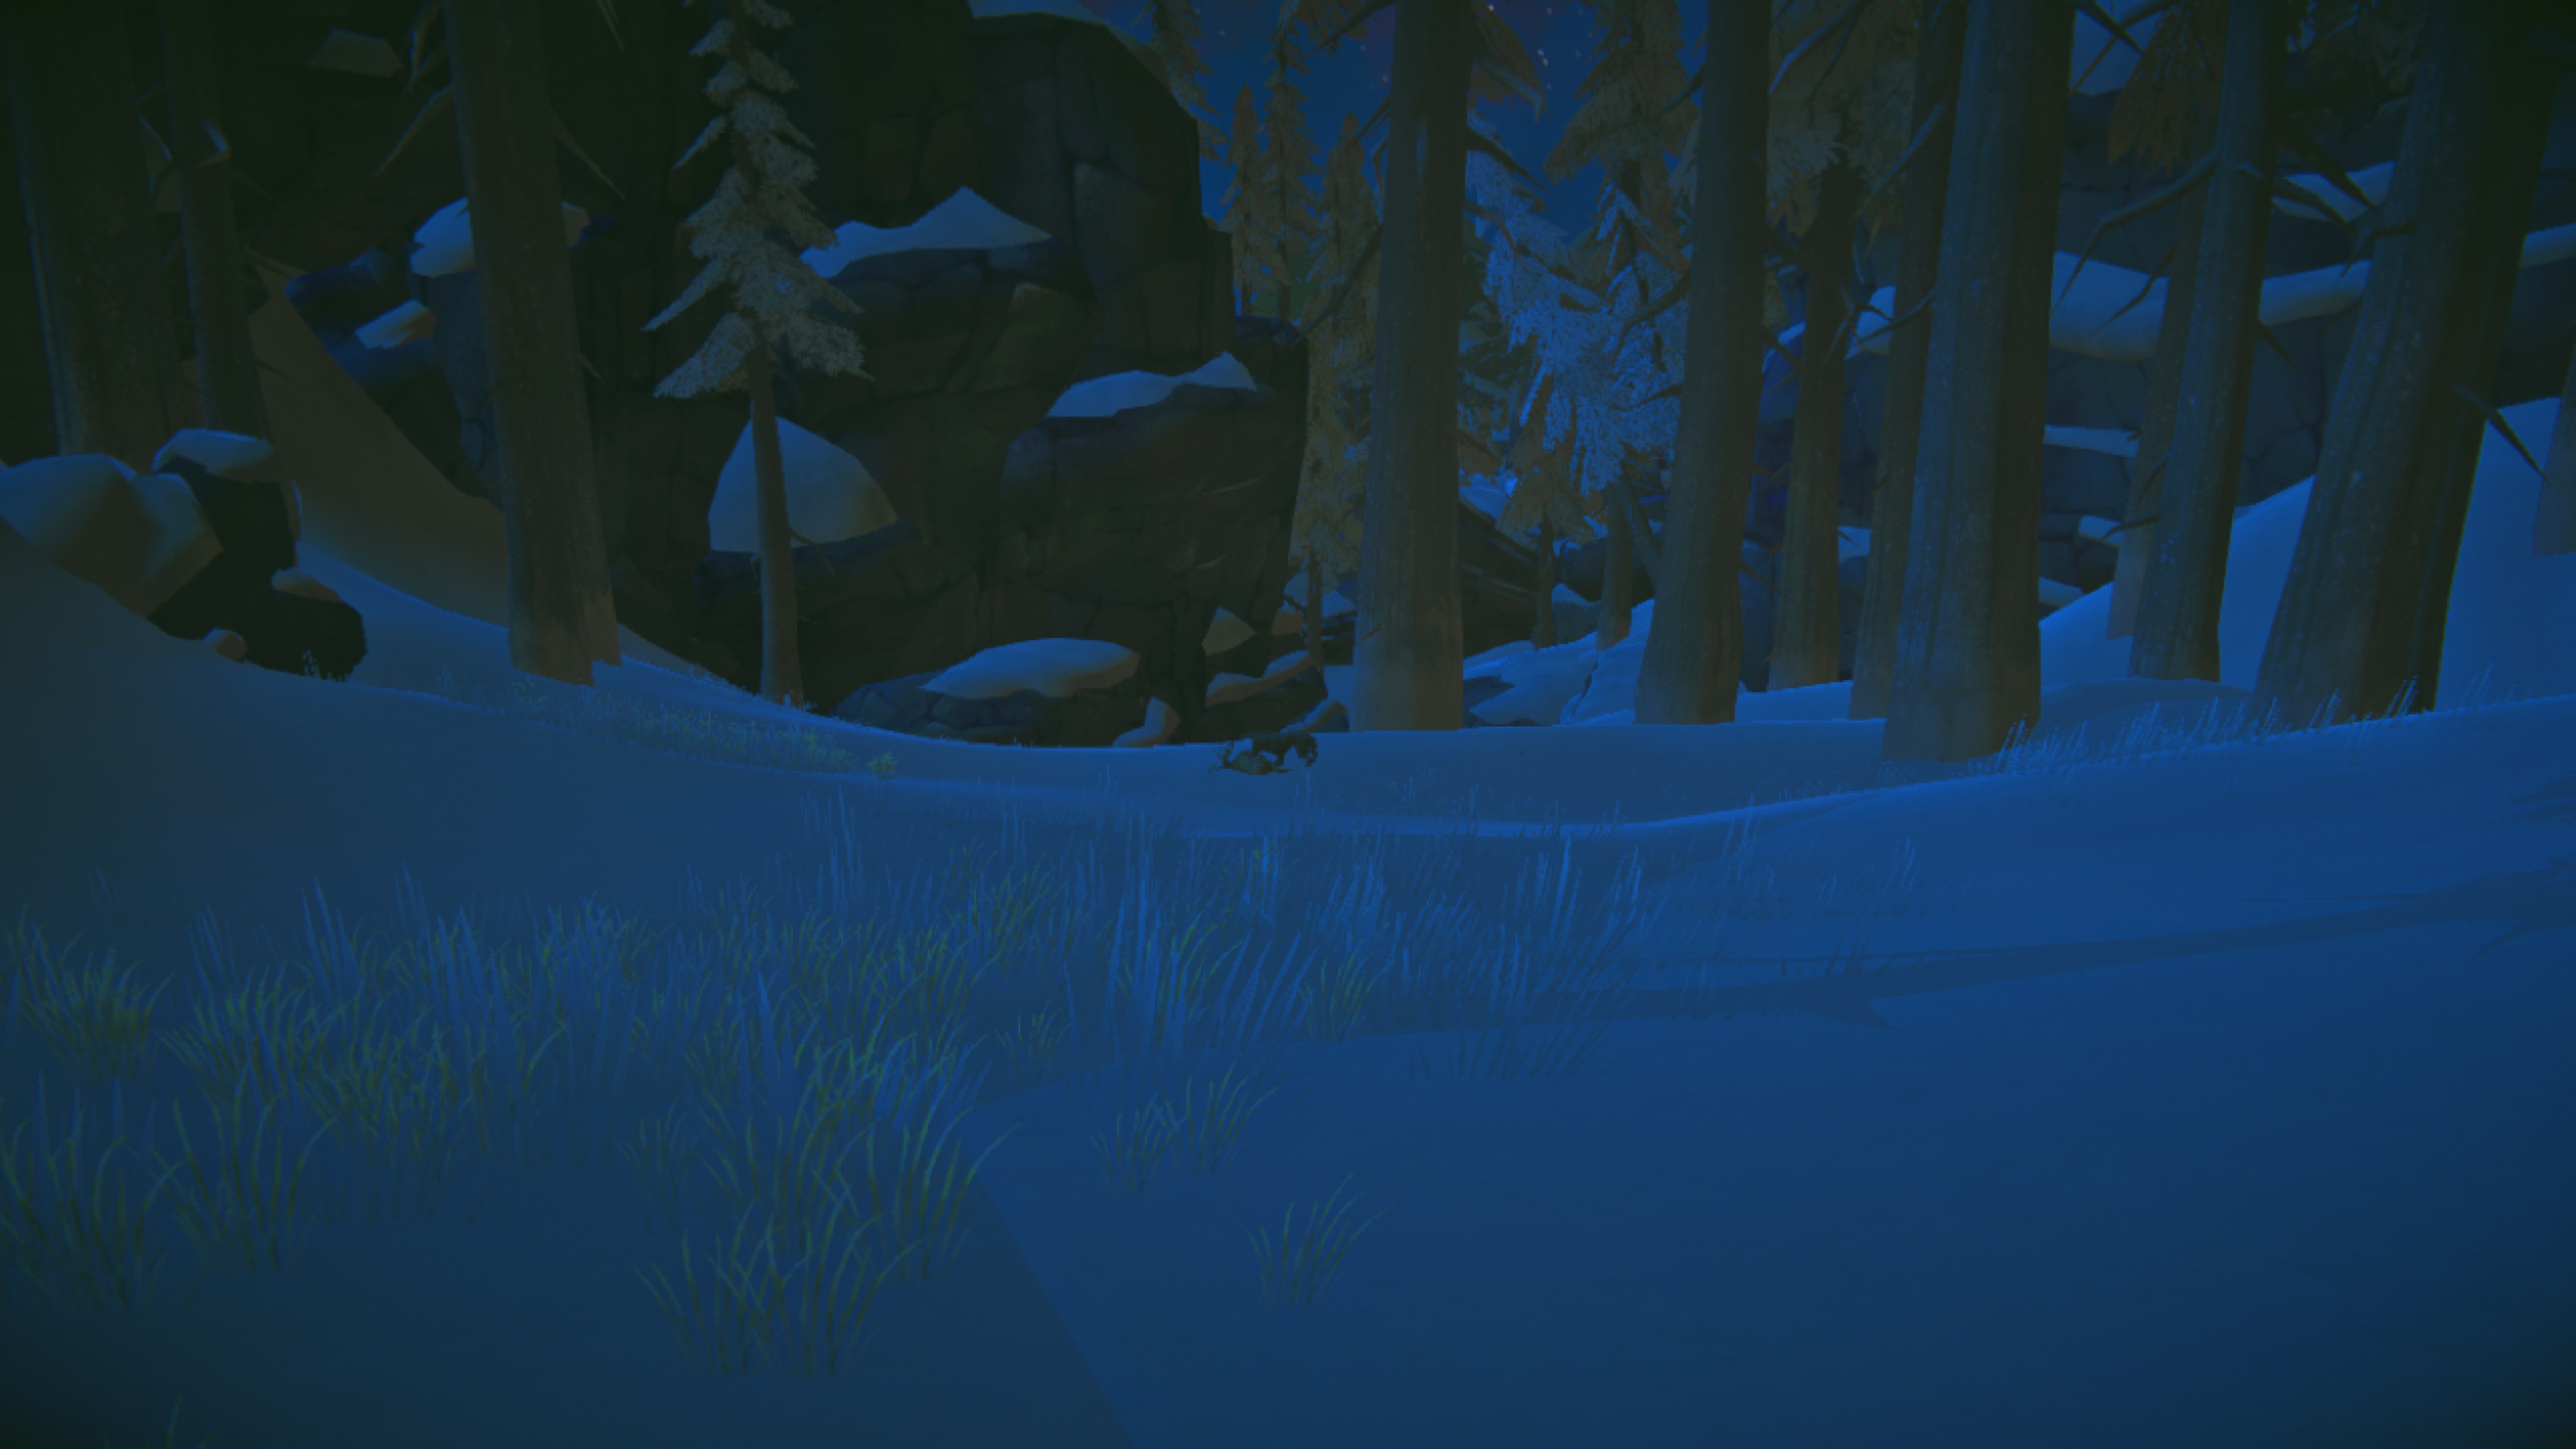
Will makes the obvious comment that you should avoid tangling with it. Thankfully, it has lowered perception while eating the deer so just give the animal a wide berth on your way around. As before, it's a straight shot from here to your next objective. You'll come across another frozen pond with rabbits and Will notes that there's a radio tower in the distance. A radio tower means civilization...and beds. So, keep moving forward!
At least until you reach the fork in the road. As you can see in this picture, there's a convenient sign showing which way you should be going to move the story forward.
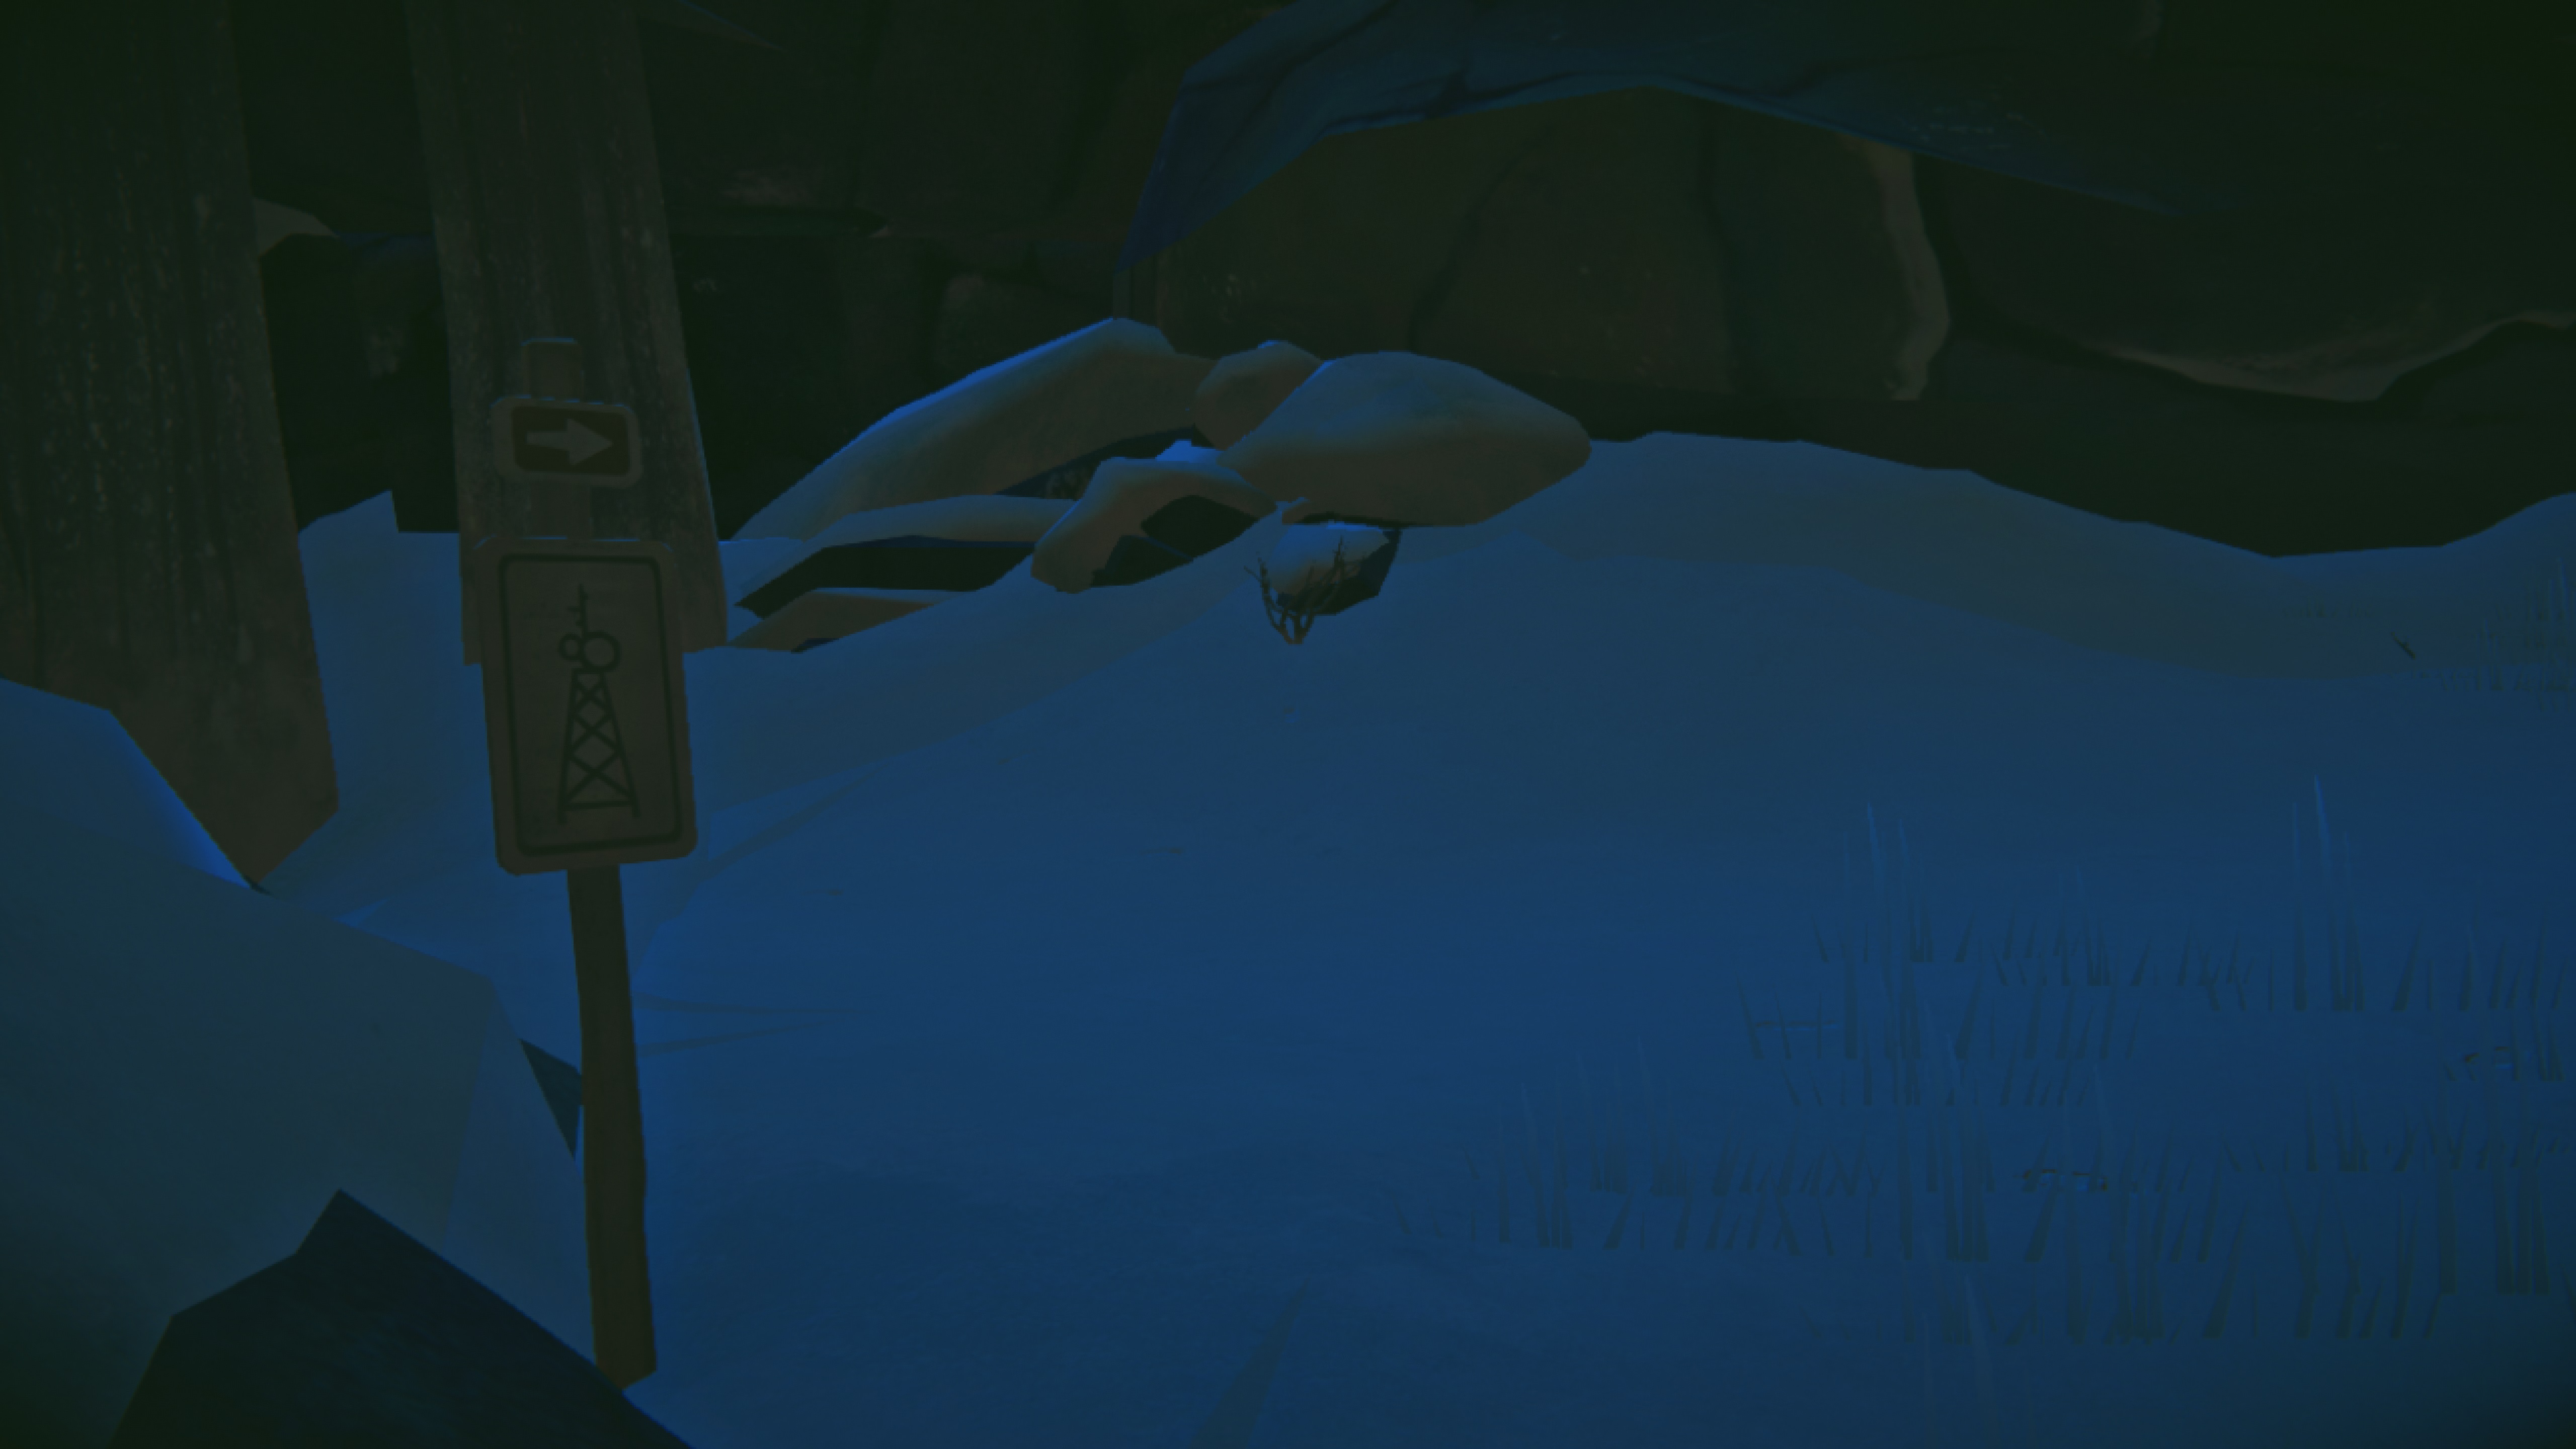
If you turn left instead, you'll find a cave. While it's not too useful (no moss bed for Will to sleep in) there is a good amount of coal for you to pick up. Coal is one of the best fuel sources in the game, raising the fire temperature by 20 degrees Celsius and adding around one hour of burn time to the fire. The only downside is that a fire needs to burn for 30 minutes before you can add coal to it. Anyways, you'll want to climb up to the radio tower and then go past it through the gap in the rocks. Eventually you'll see a house with the lights on and smoke coming from the chimney.
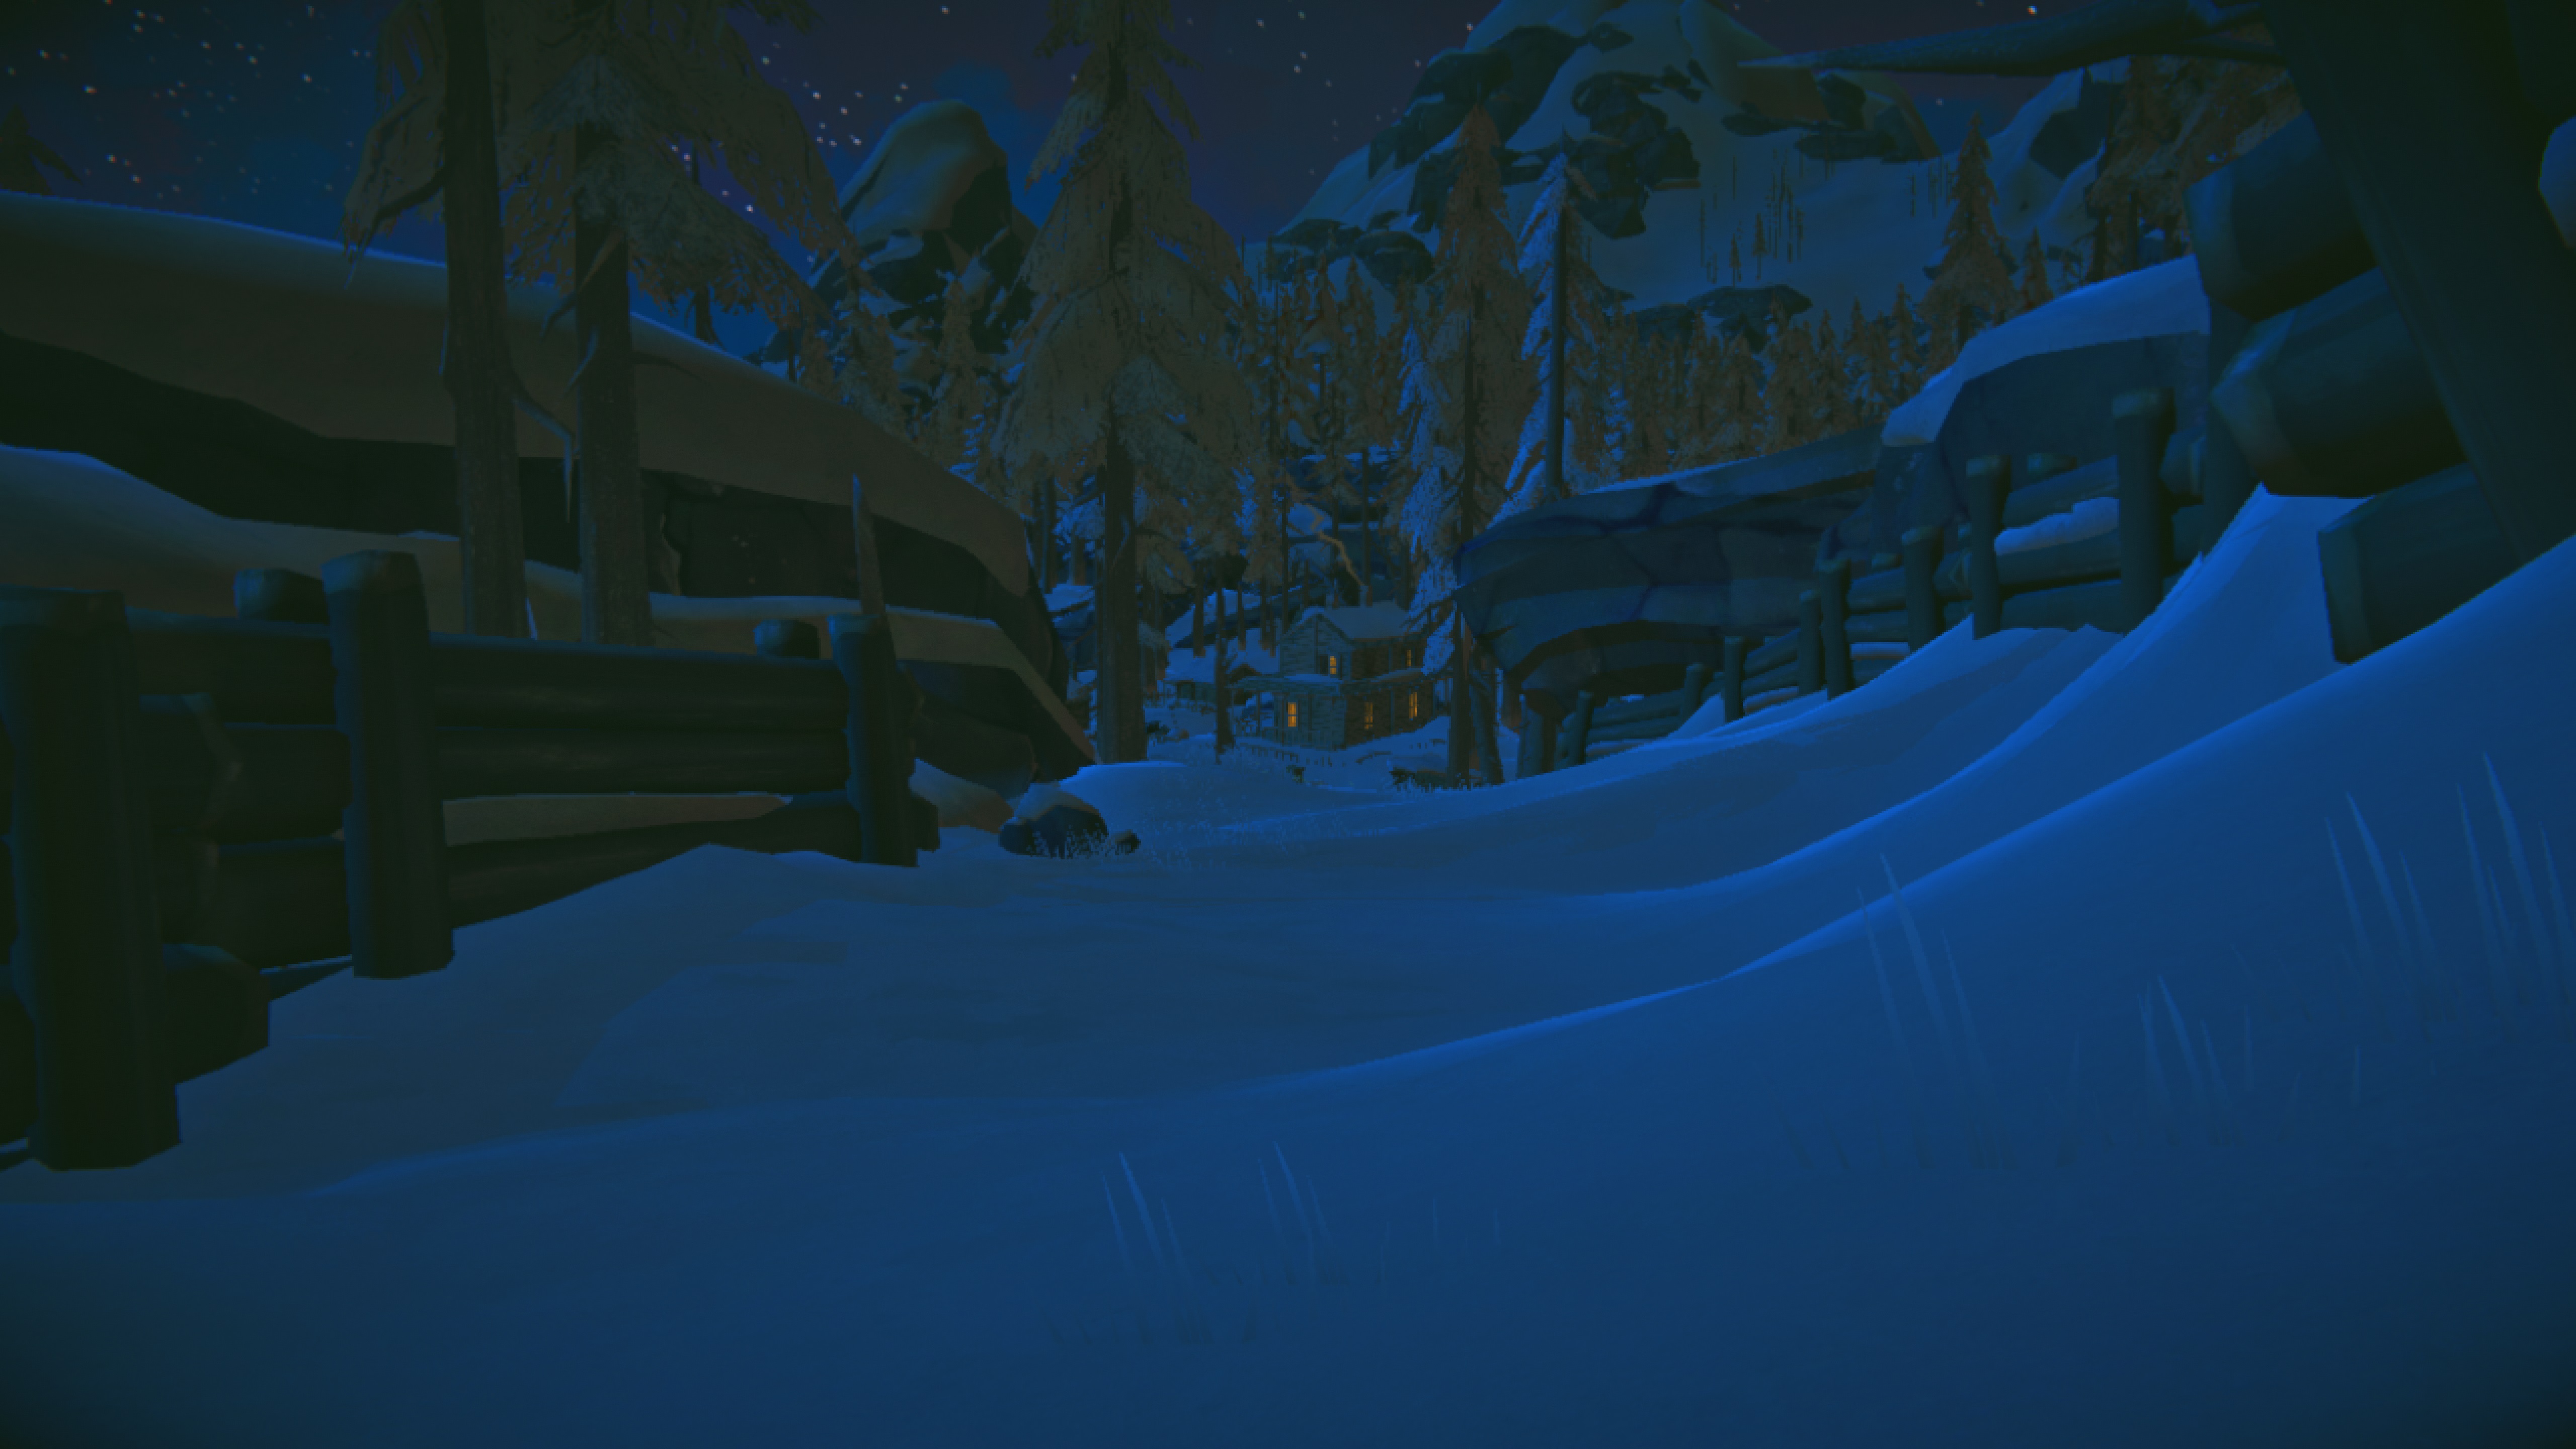
Head on inside (ignoring the blood) and talk to the woman you find there.
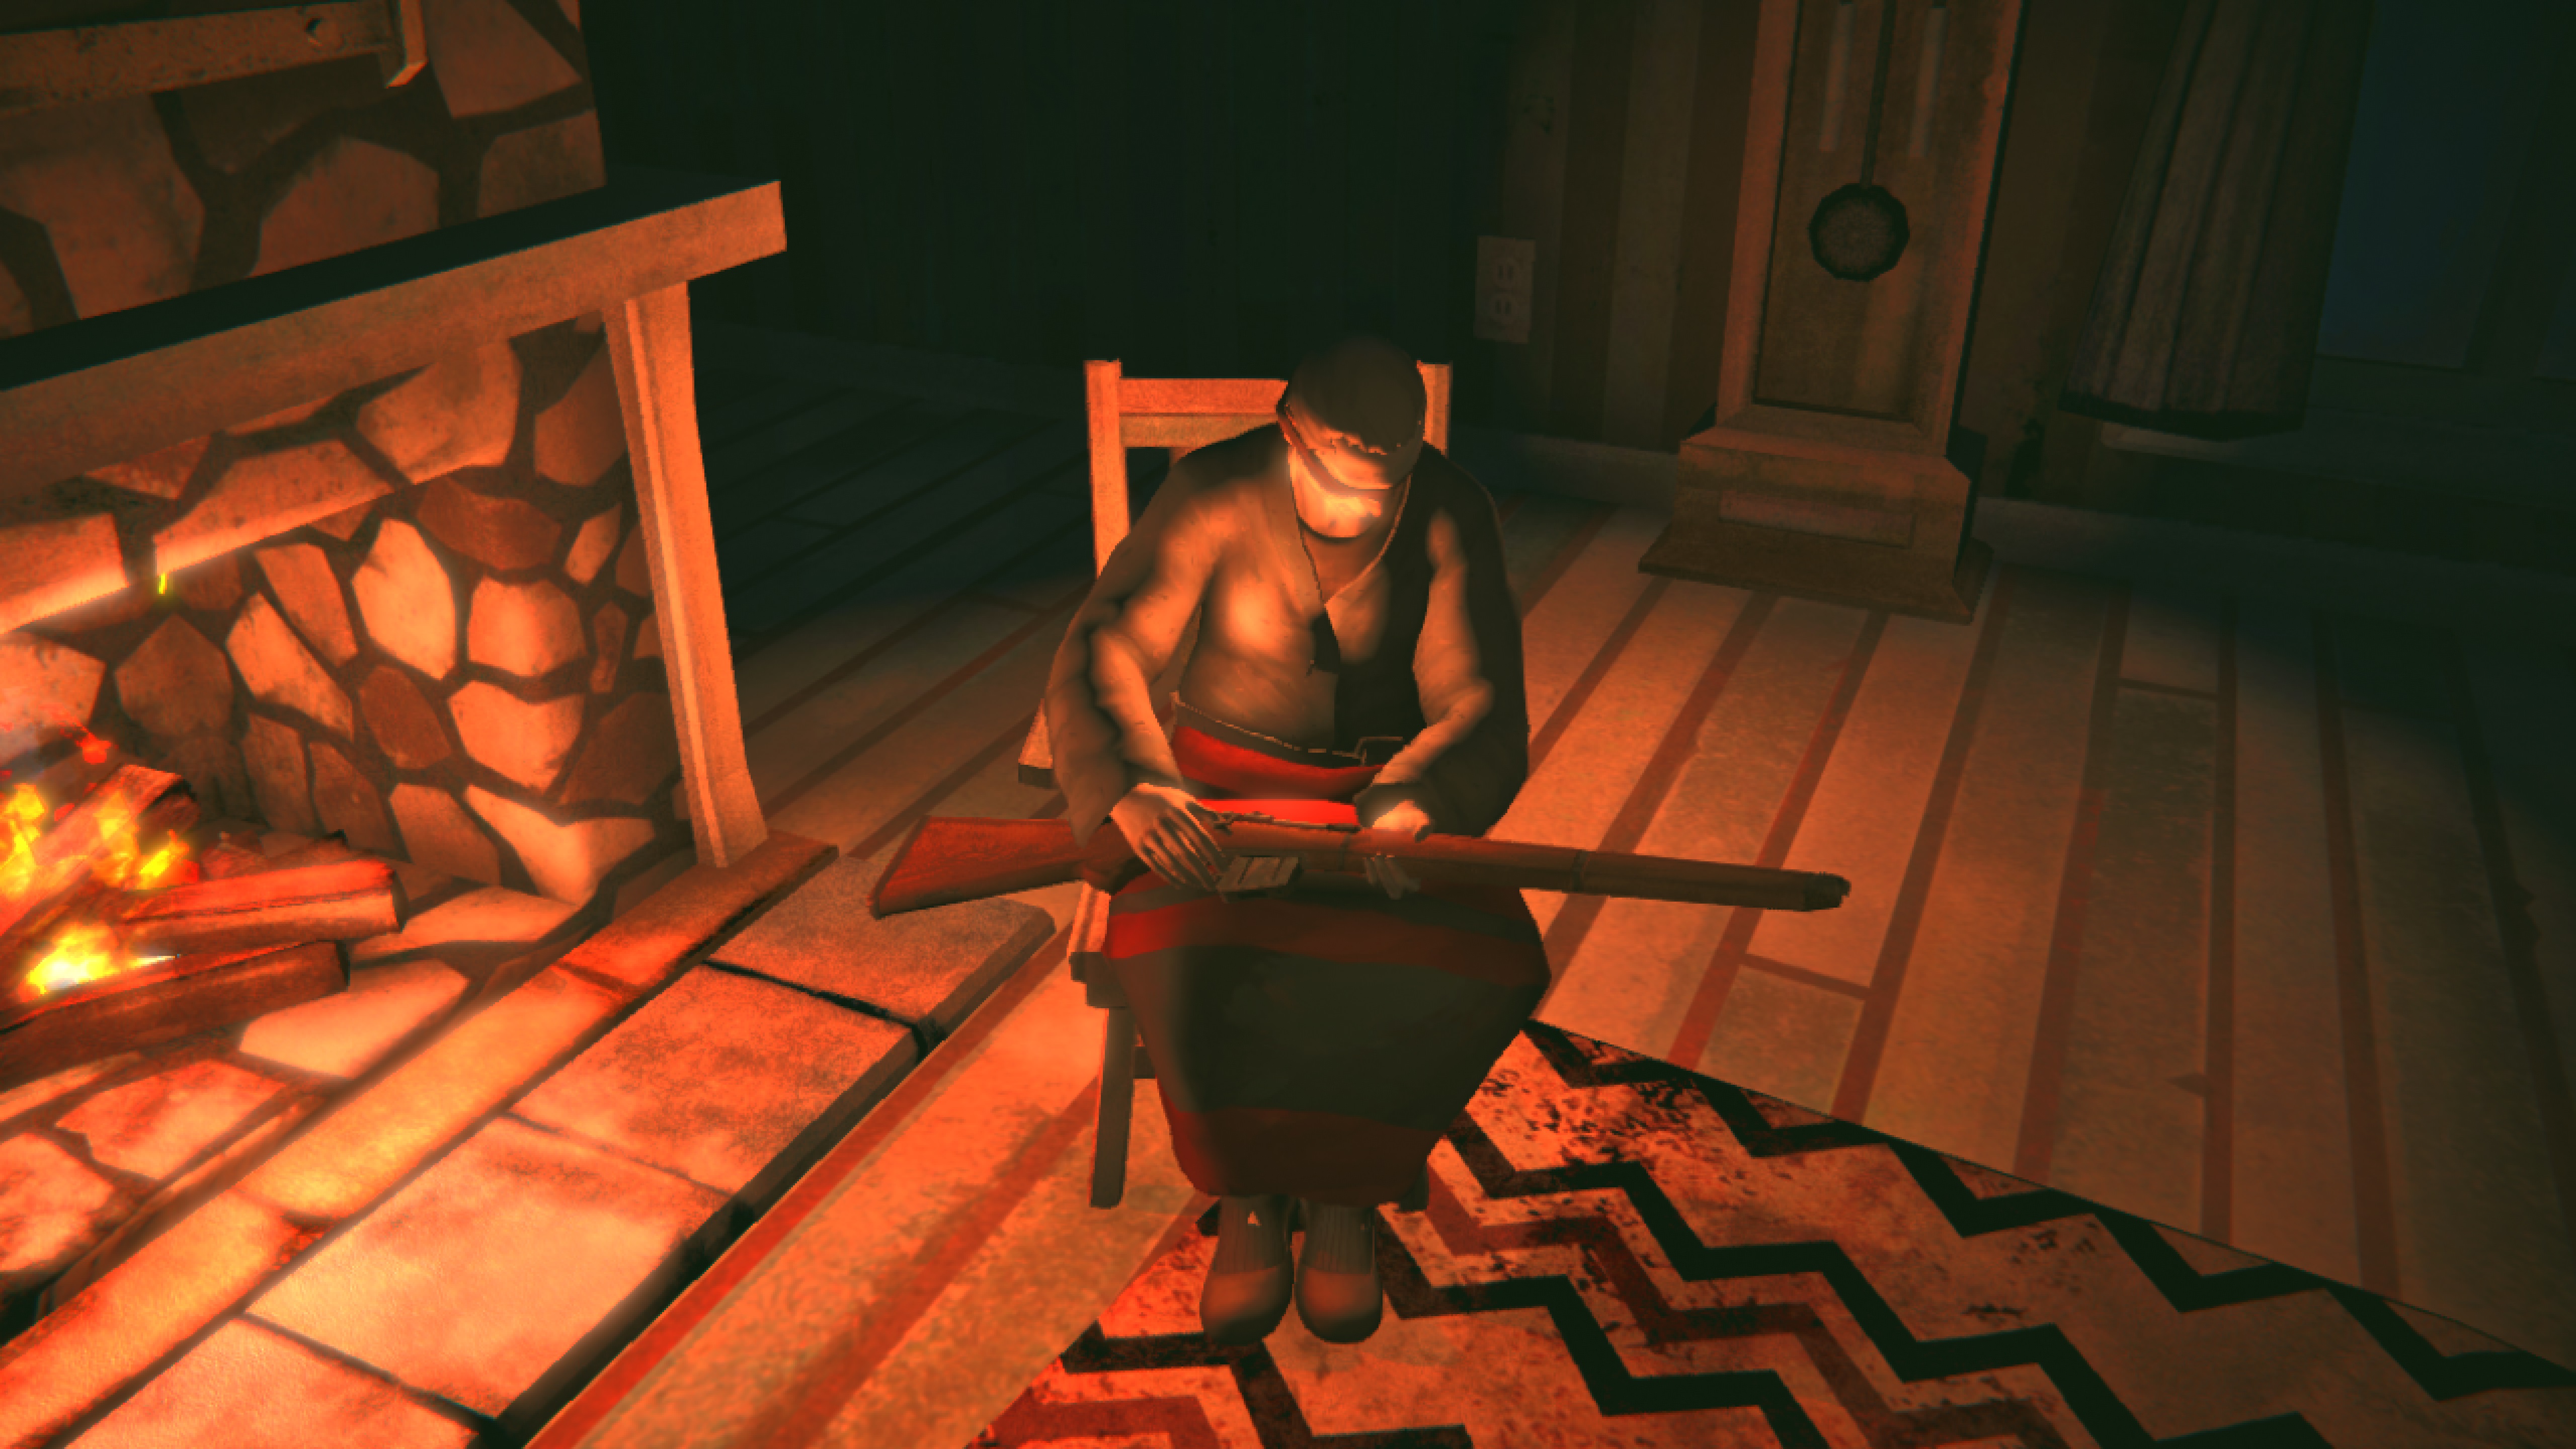
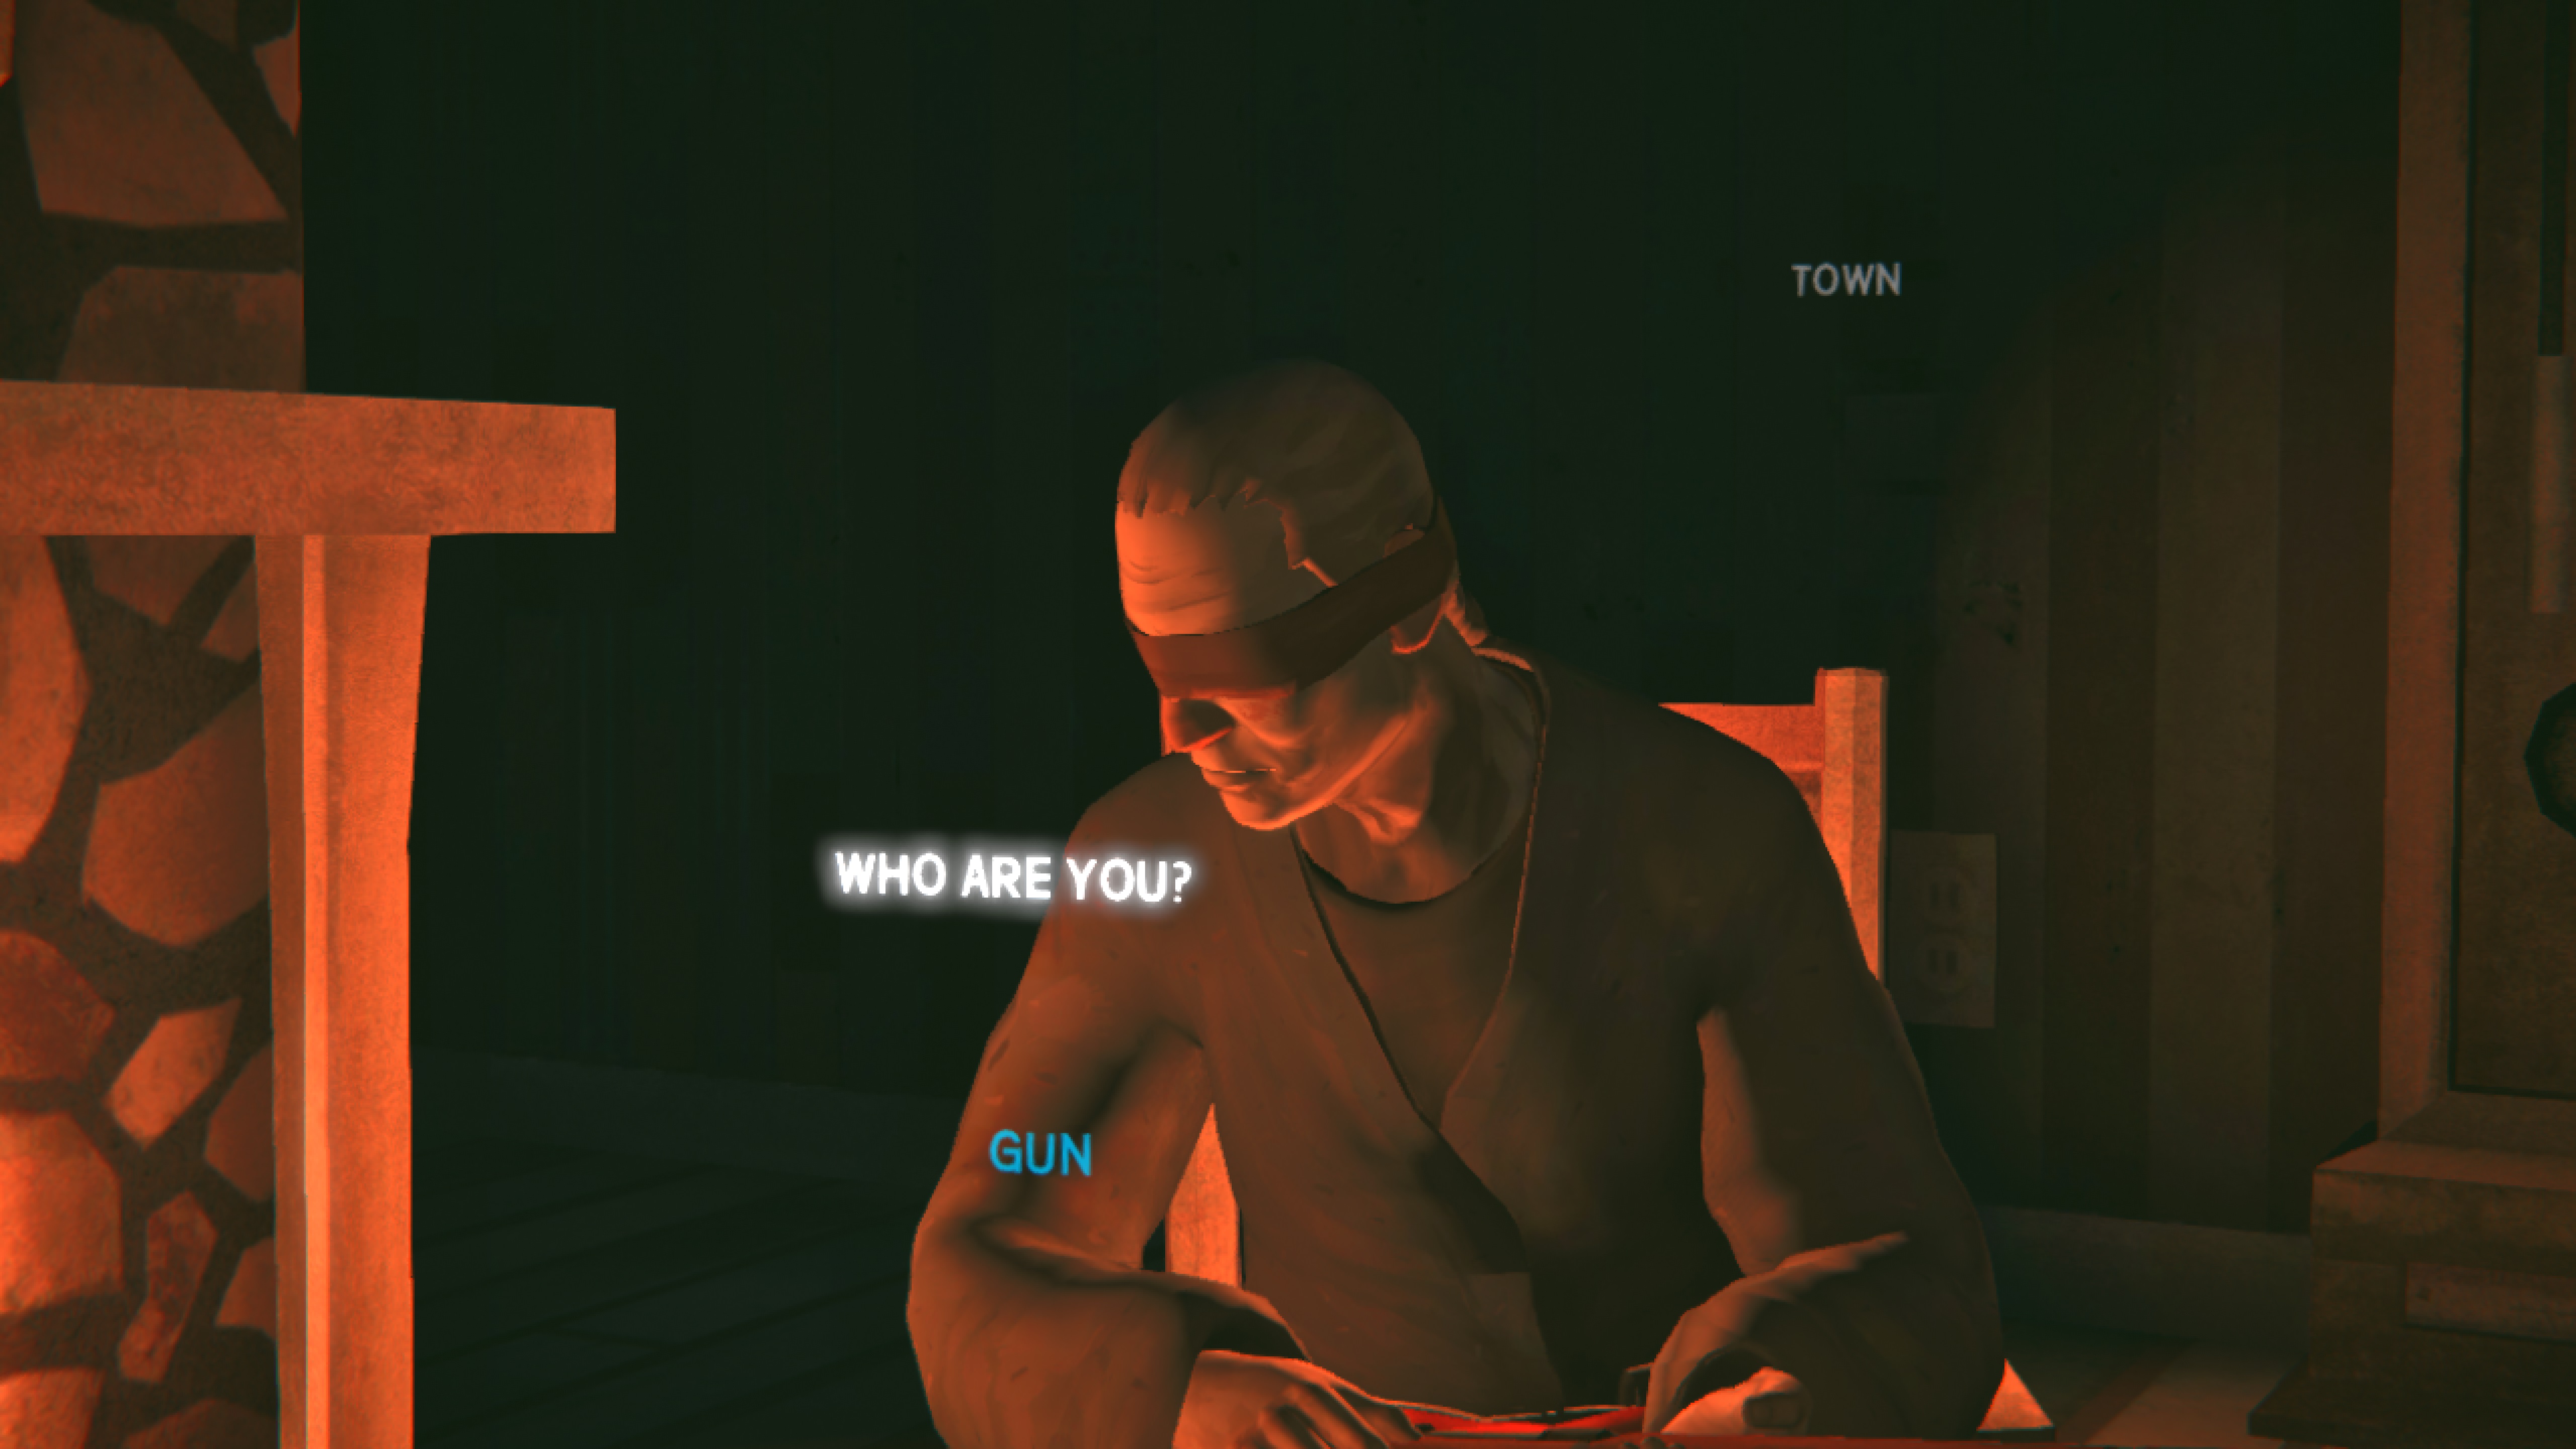
Well that was a nice welcome...it certainly clears up the question of the blood and dead body outside. Once the initial dialogue is done, you'll get access to the dialogue menu above. To choose different options, just move the mouse in the direction of the prompt. The one currently selected will be highlighted. You can listen to all of them to gain more background information, but if you want to speed through just choose the ones in blue. After going through all of them, the chapter will end.
Chapter 3: The Grey Mother
The first NPC Will encounters, and she shoots at him. Well this is shaping up to be a fruitful relationship. But at least she gave us a map, which you can access from the menu or by pressing "M" on your keyboard. Any mission objectives, story or side, will appear on the map, giving you a good idea of where you need to go.
So we now have three new objectives. Grey Mother needs food and fuel. Specifically, she needs 12 hours of burn time to be placed in the bin outside her door.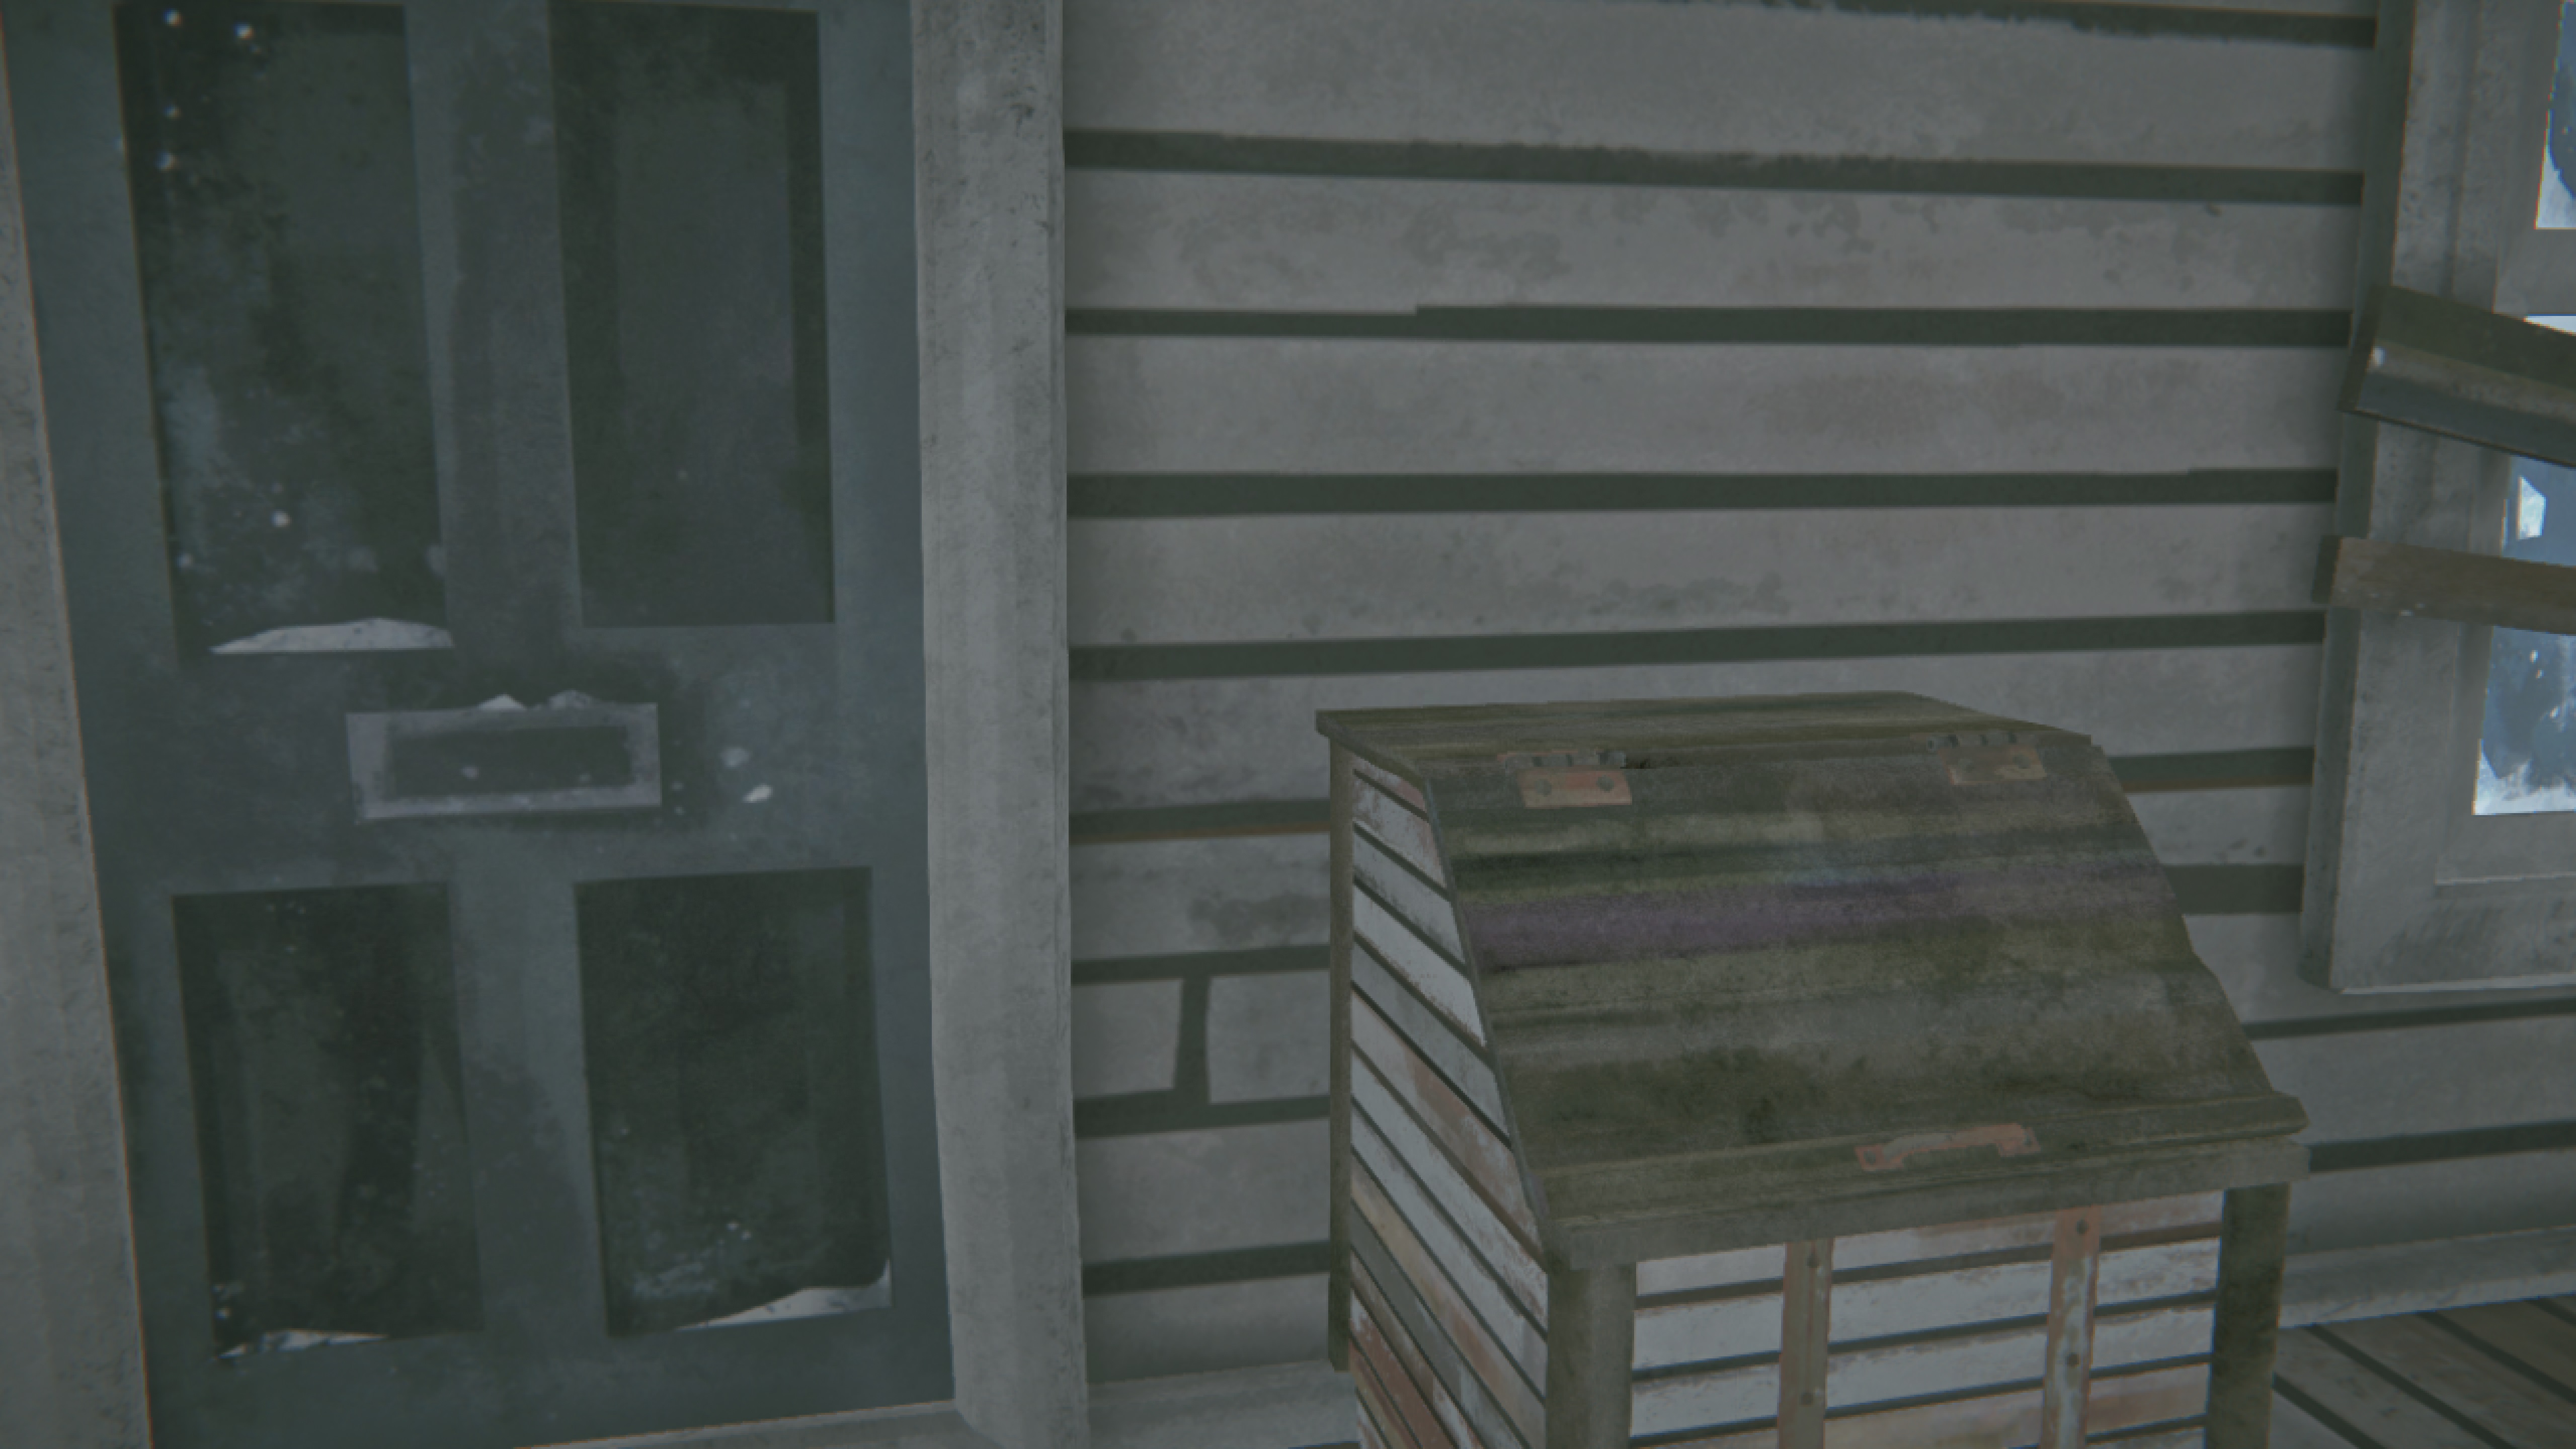 This can come from sticks, reclaimed wood, etc... so there's no real need to go chop limbs. If you explore the town, you should find enough coal and reclaimed wood to fulfill the quest. As a quick reminder:
- stick = 8 mins
- reclaimed wood = 30 mins
- coal = 1 hour
- cedar wood = 1 hour
- fir wood = 1 hour, 30 mins
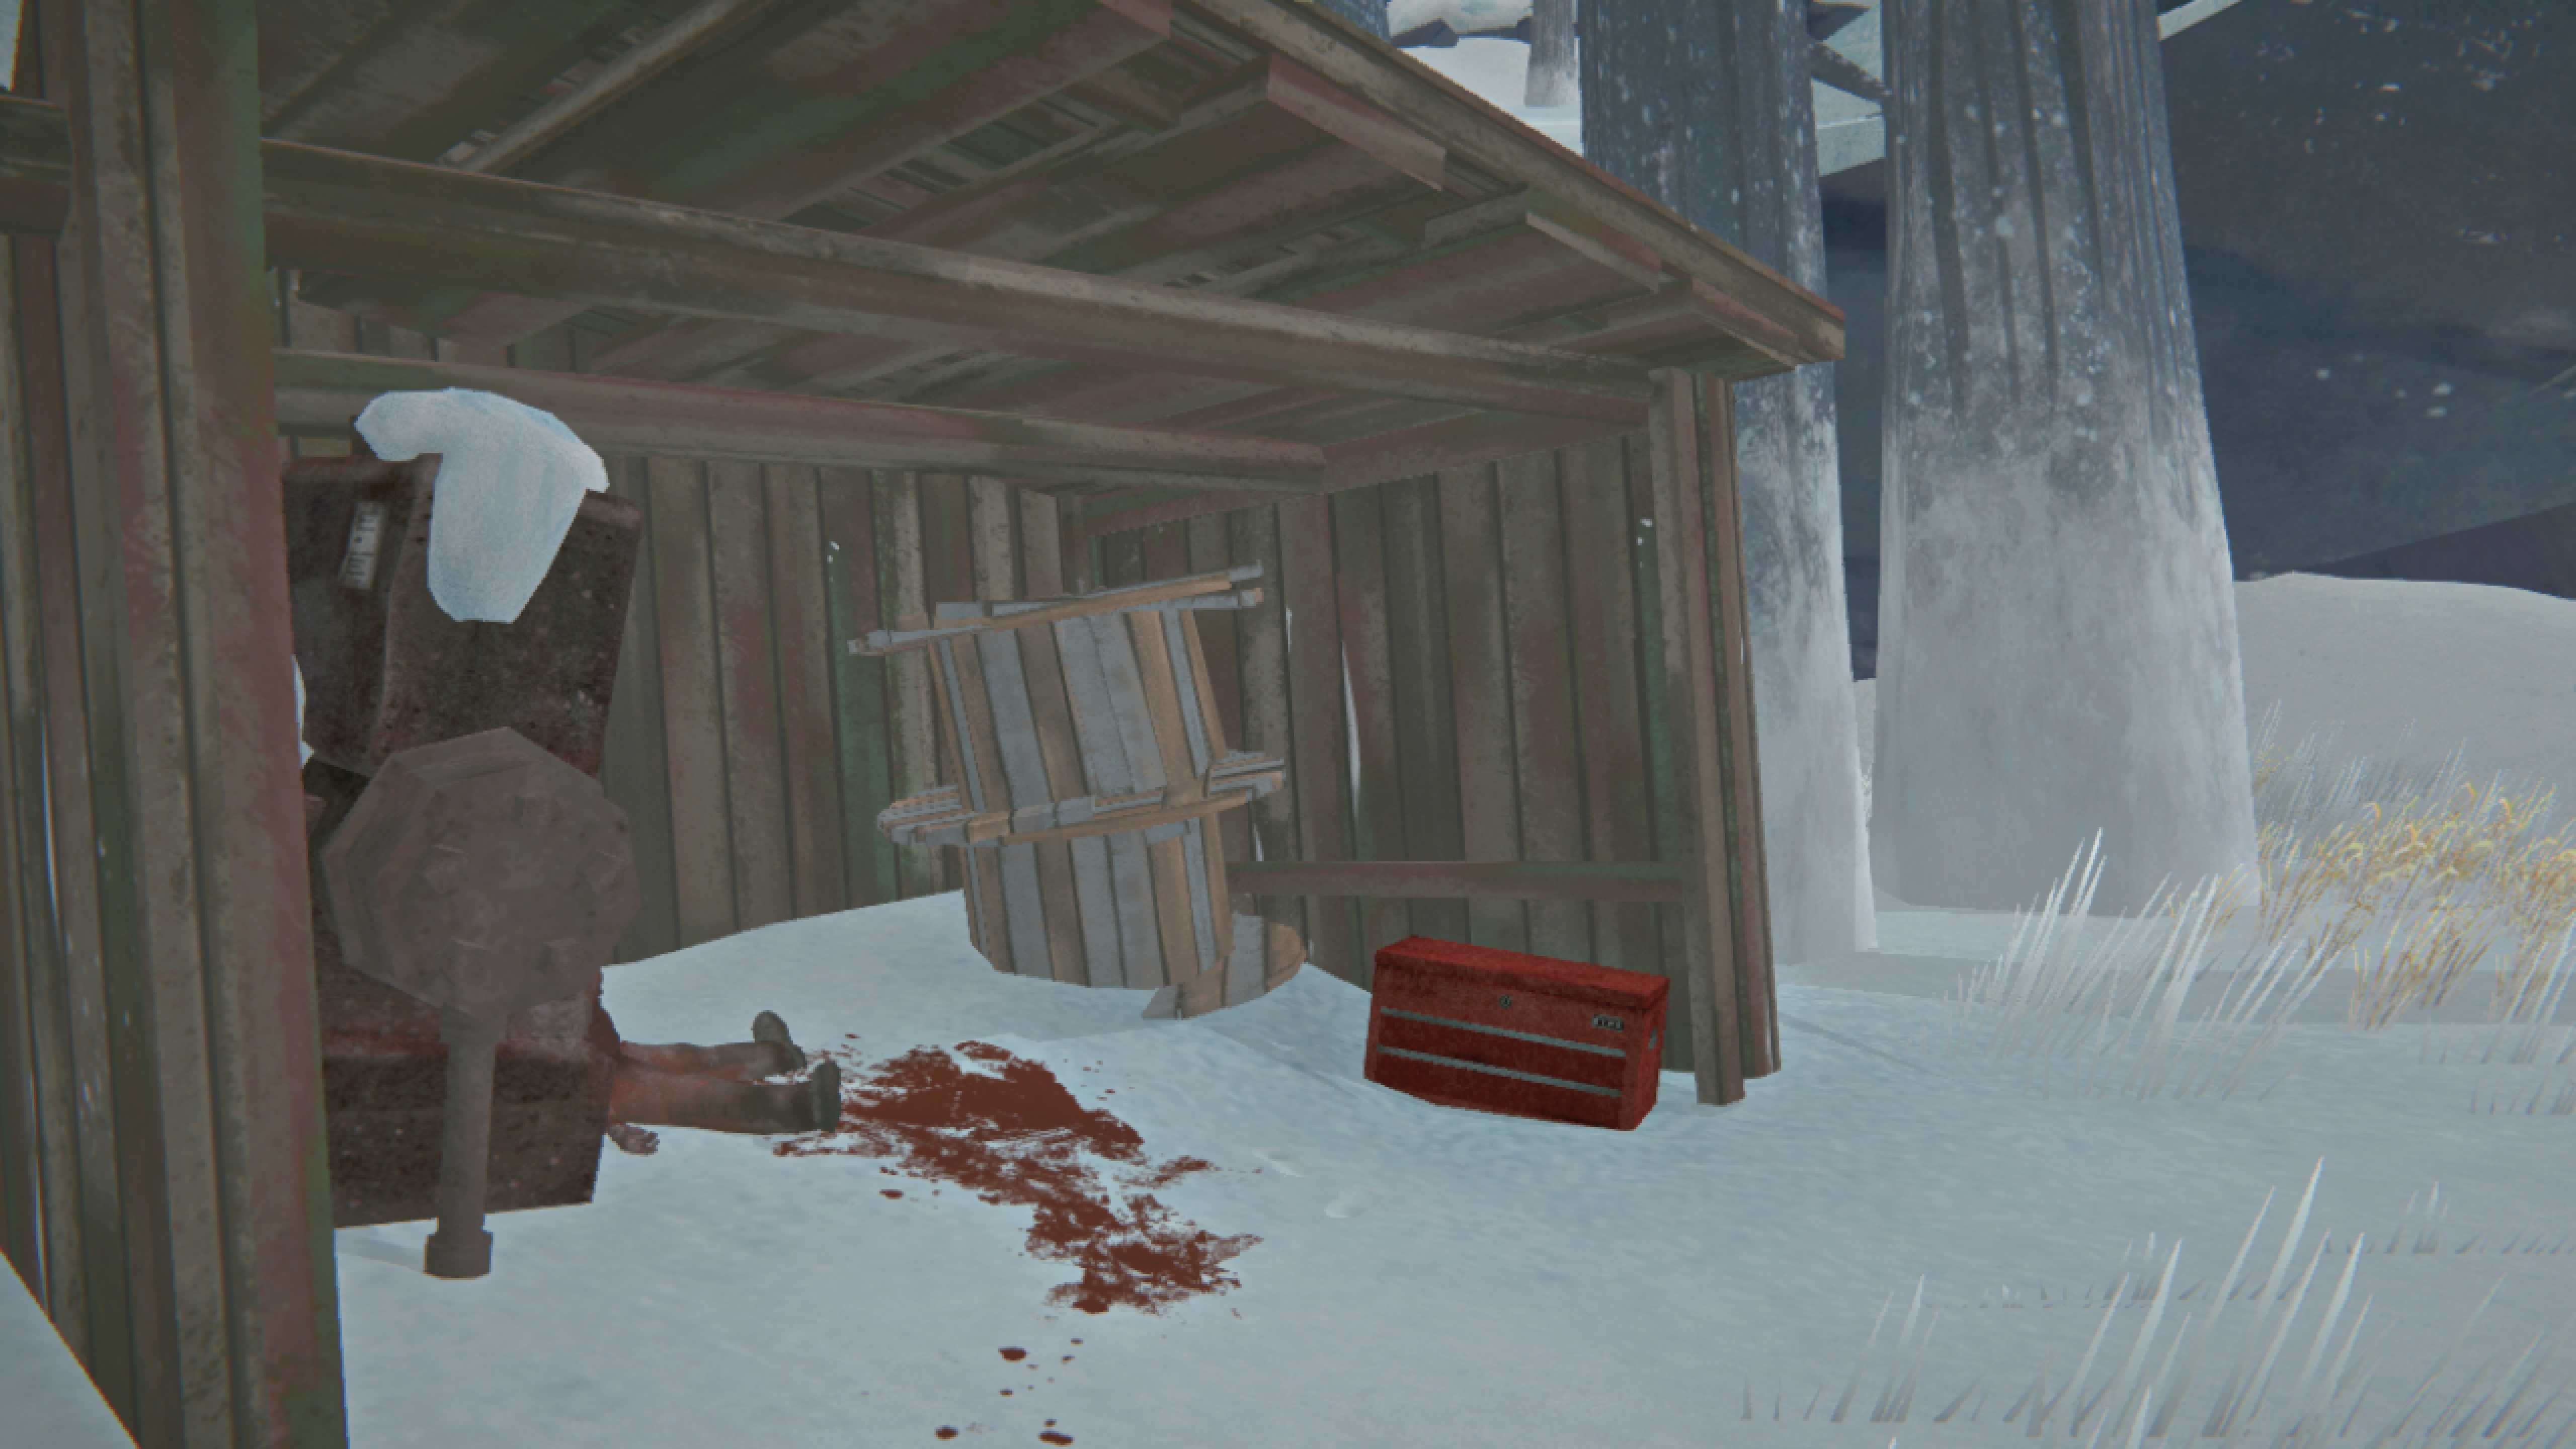
--------------------------------------------------
The second objective is to place 8,000 calories worth of food in Grey Mother's fridge. You should honestly be able to get enough by looting the abandoned houses of Milton. However, it's much easier to get food from old gas station so be sure to check it out. To get there, just turn left after leaving Grey Mother's house and follow the road out of town. The station will be on your right and it's visible in good weather. Watch out for wolves, since they tend to blend in with the tree stumps.
Once you enter the gas station, you'll meet this guy: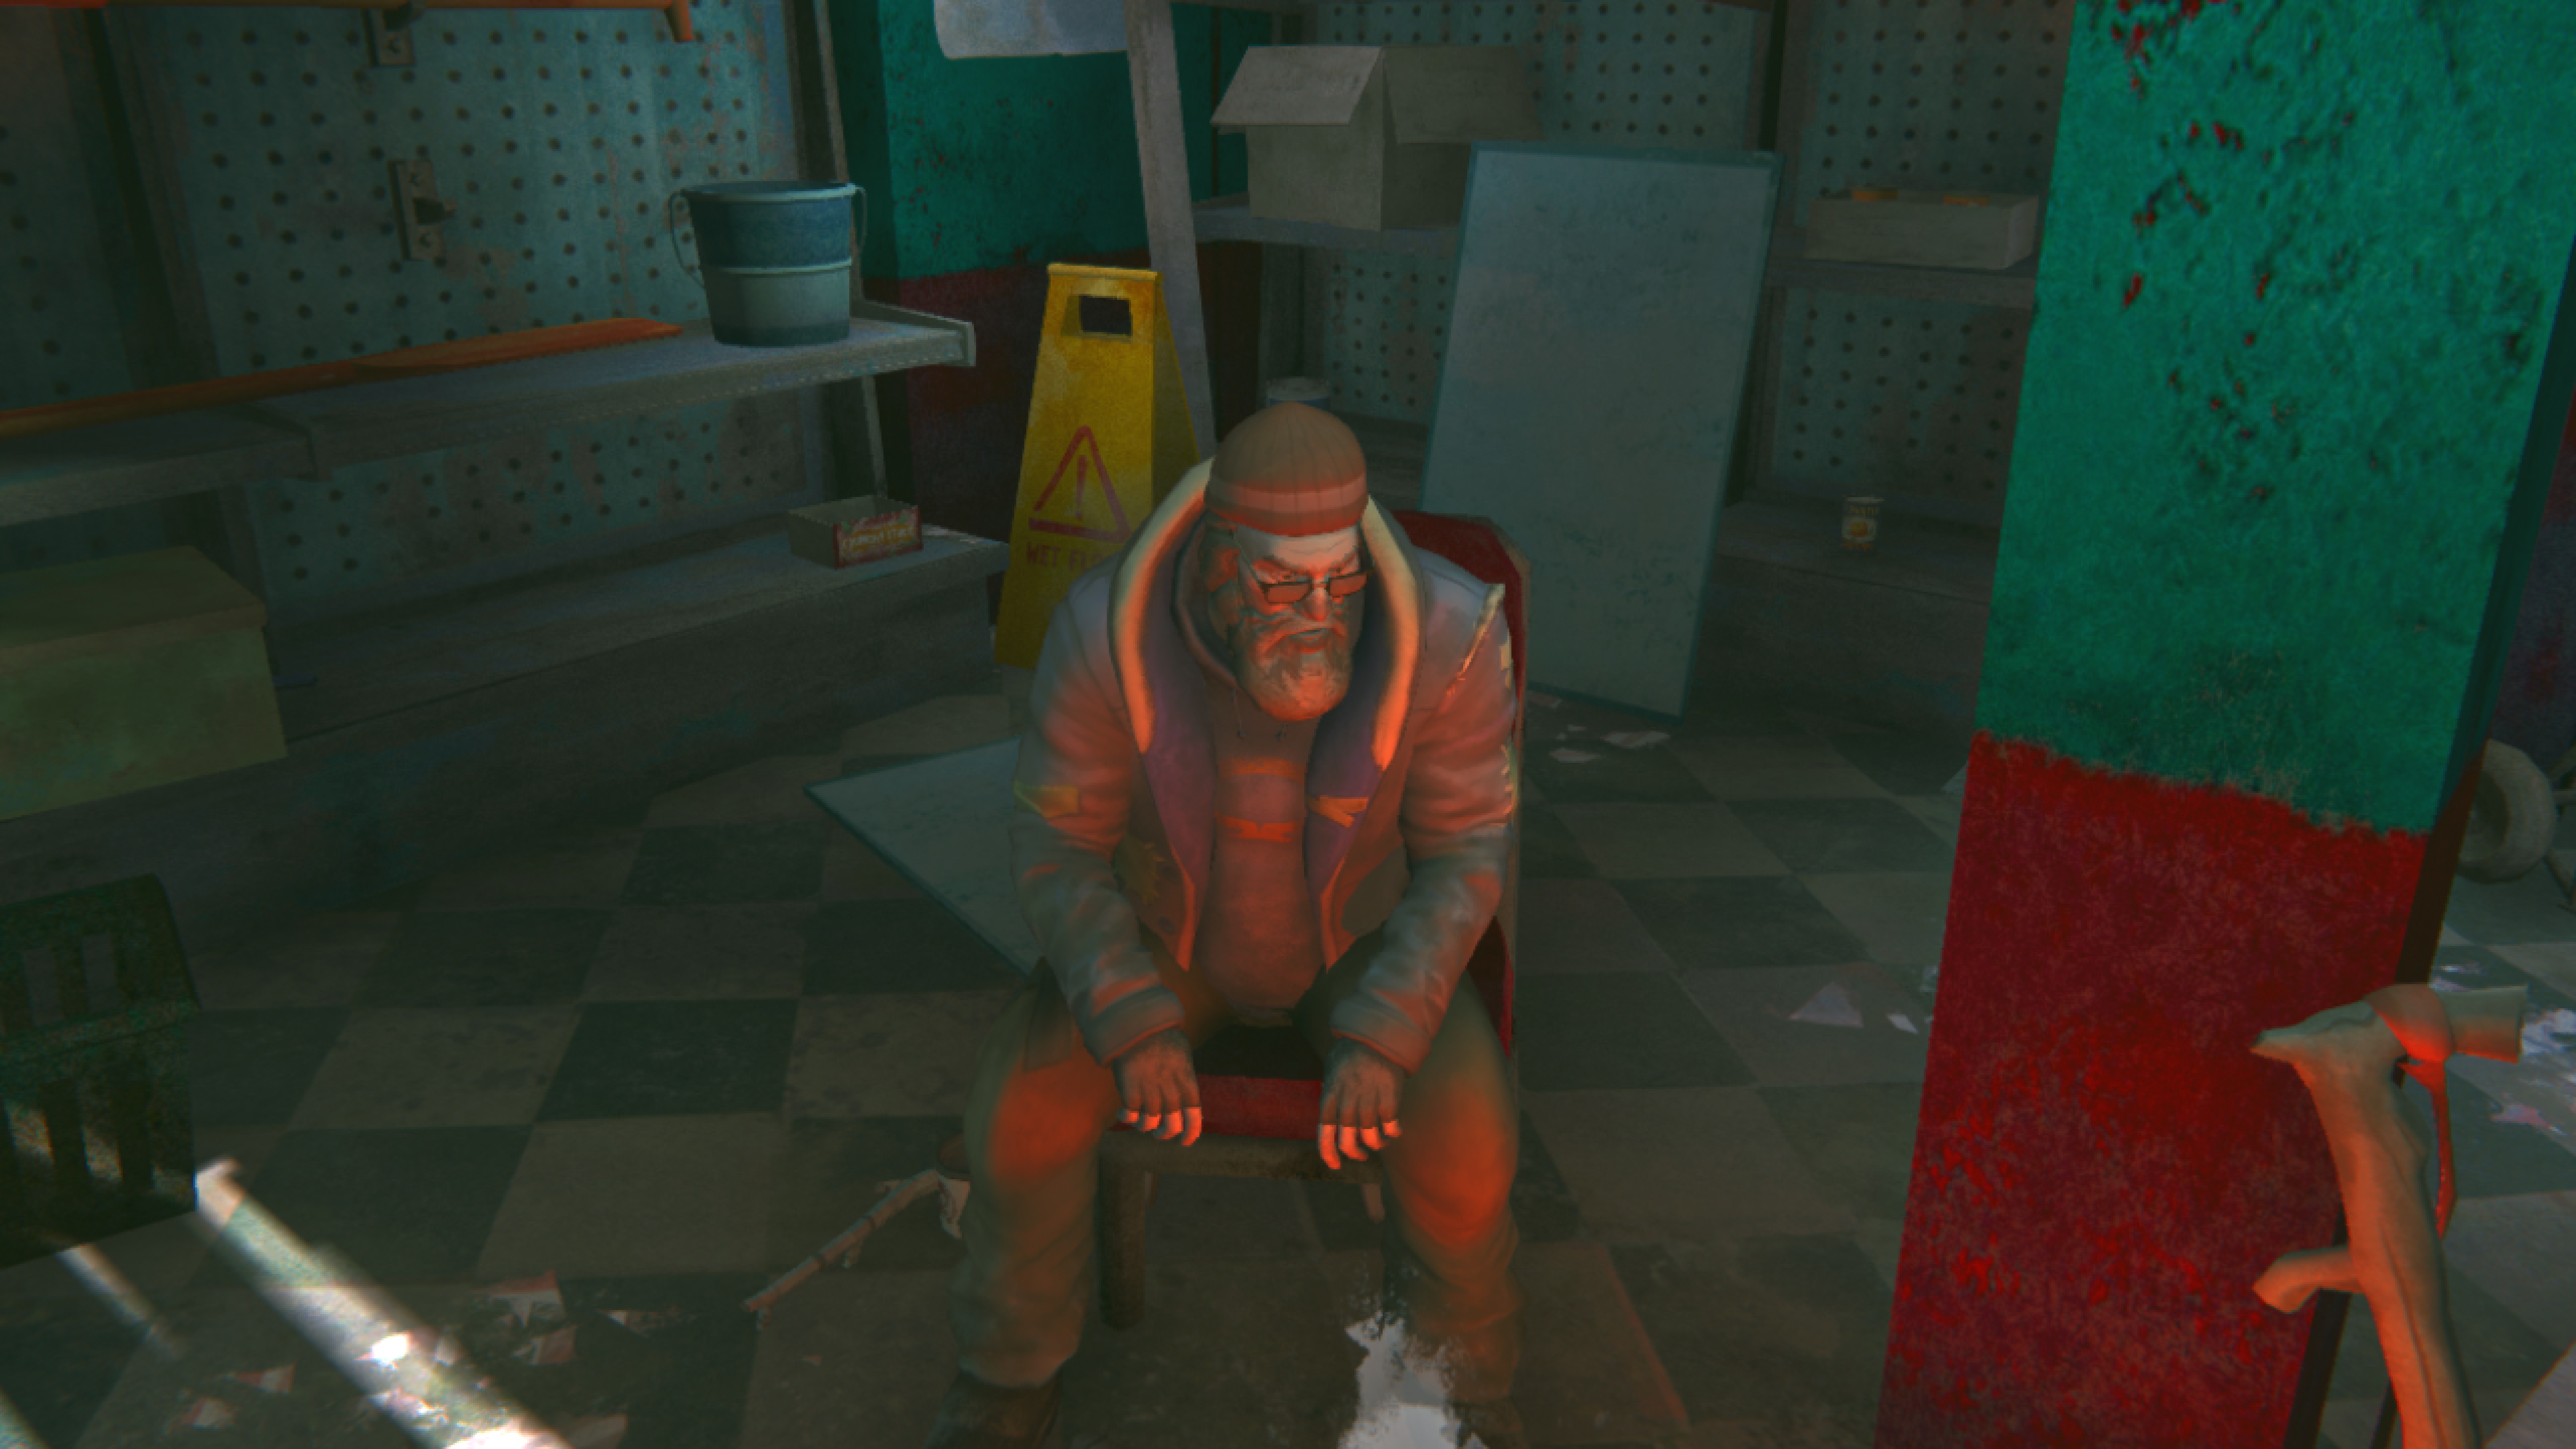 Talk to him, and he'll introduce himself as Methuselah. None of his dialogue options are required, but they do give some interesting background information about the state of Great Bear Island and the storm that knocked Will out of the sky. Plus the developers did put a lot of effort into voicing all those new lines so....
Anyways, once you're done speaking with Methuselah, raid the gas station to your heart's content. There's plenty of food to keep you and Grey Mother going. And I strongly recommend grabbing the bedroll and lantern since those will be very helpful in the future.
Talk to him, and he'll introduce himself as Methuselah. None of his dialogue options are required, but they do give some interesting background information about the state of Great Bear Island and the storm that knocked Will out of the sky. Plus the developers did put a lot of effort into voicing all those new lines so....
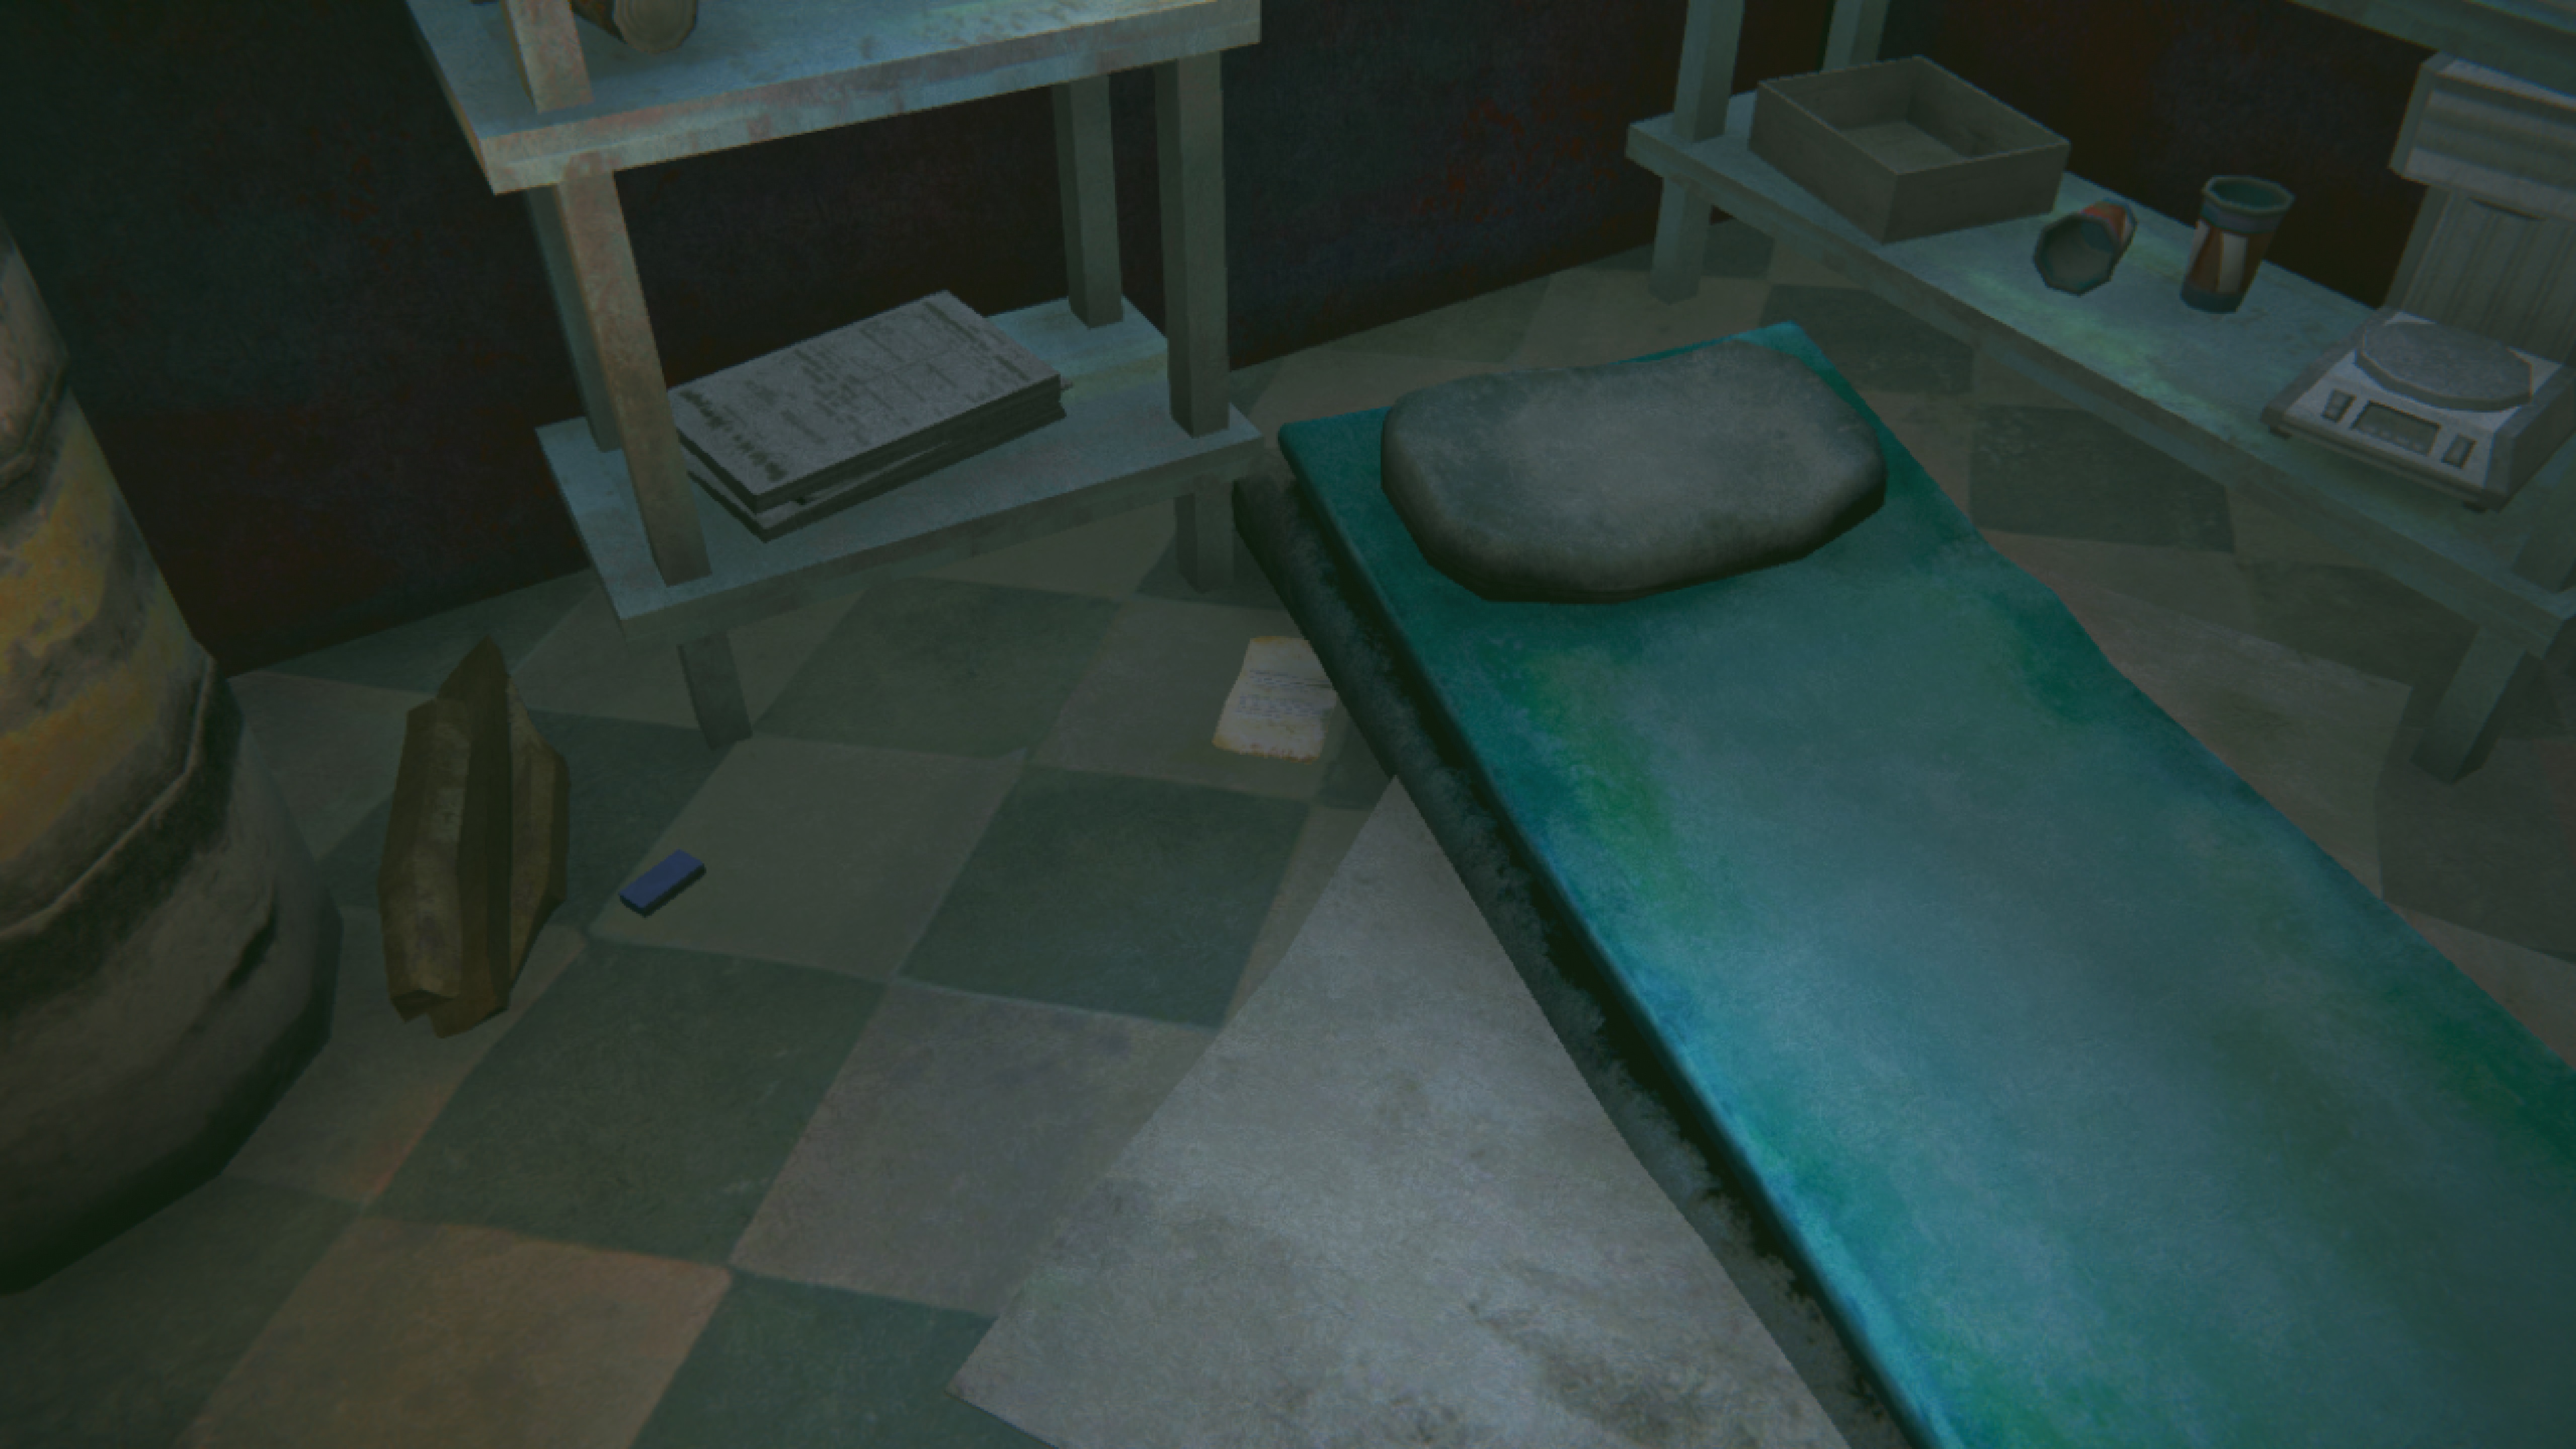
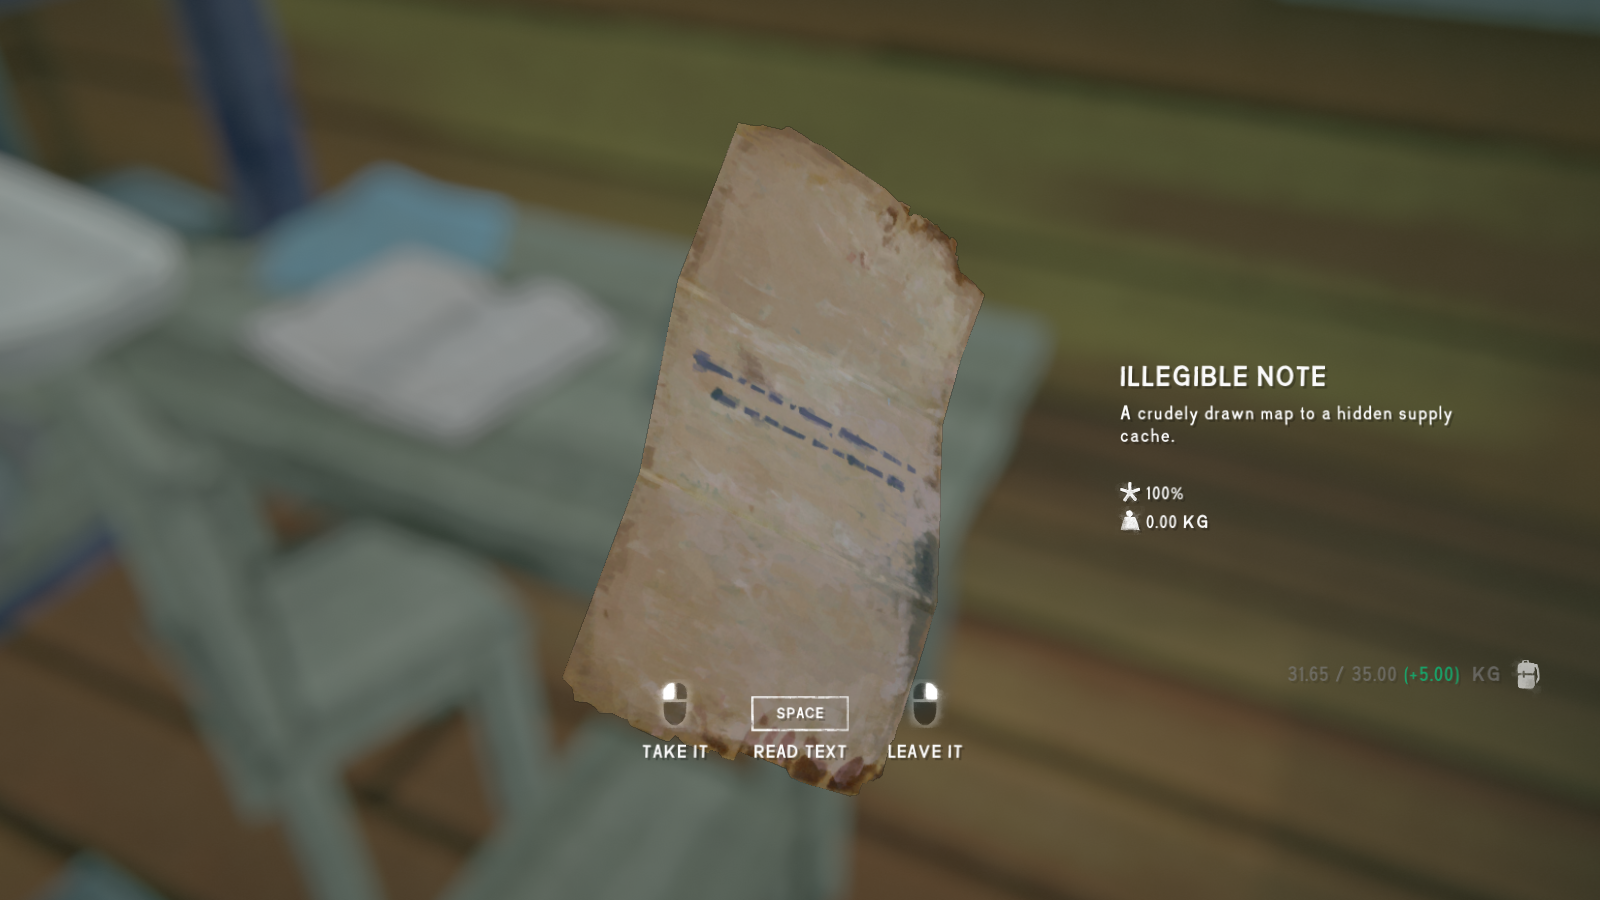
Anyways, once you're done speaking with Methuselah, raid the gas station to your heart's content. There's plenty of food to keep you and Grey Mother going. And I strongly recommend grabbing the bedroll and lantern since those will be very helpful in the future.You'll also find a note here that will start the Highway Robbery sidequest.
--------------------------------------------------
Once you've filled Grey Mother's fridge and wood bin, she'll drop some more information about the night of the lights in the sky. You can also access the optional sidequest: More Supplies. See that section of the guide for more details.It seems Astrid may have left town via the tunnel. But the way Grey Mother is talking about "being too late" is a little disconcerting. Will's next mission is to go check out the tunnel: just follow the road past the gas station and you'll find a wrecked bus.
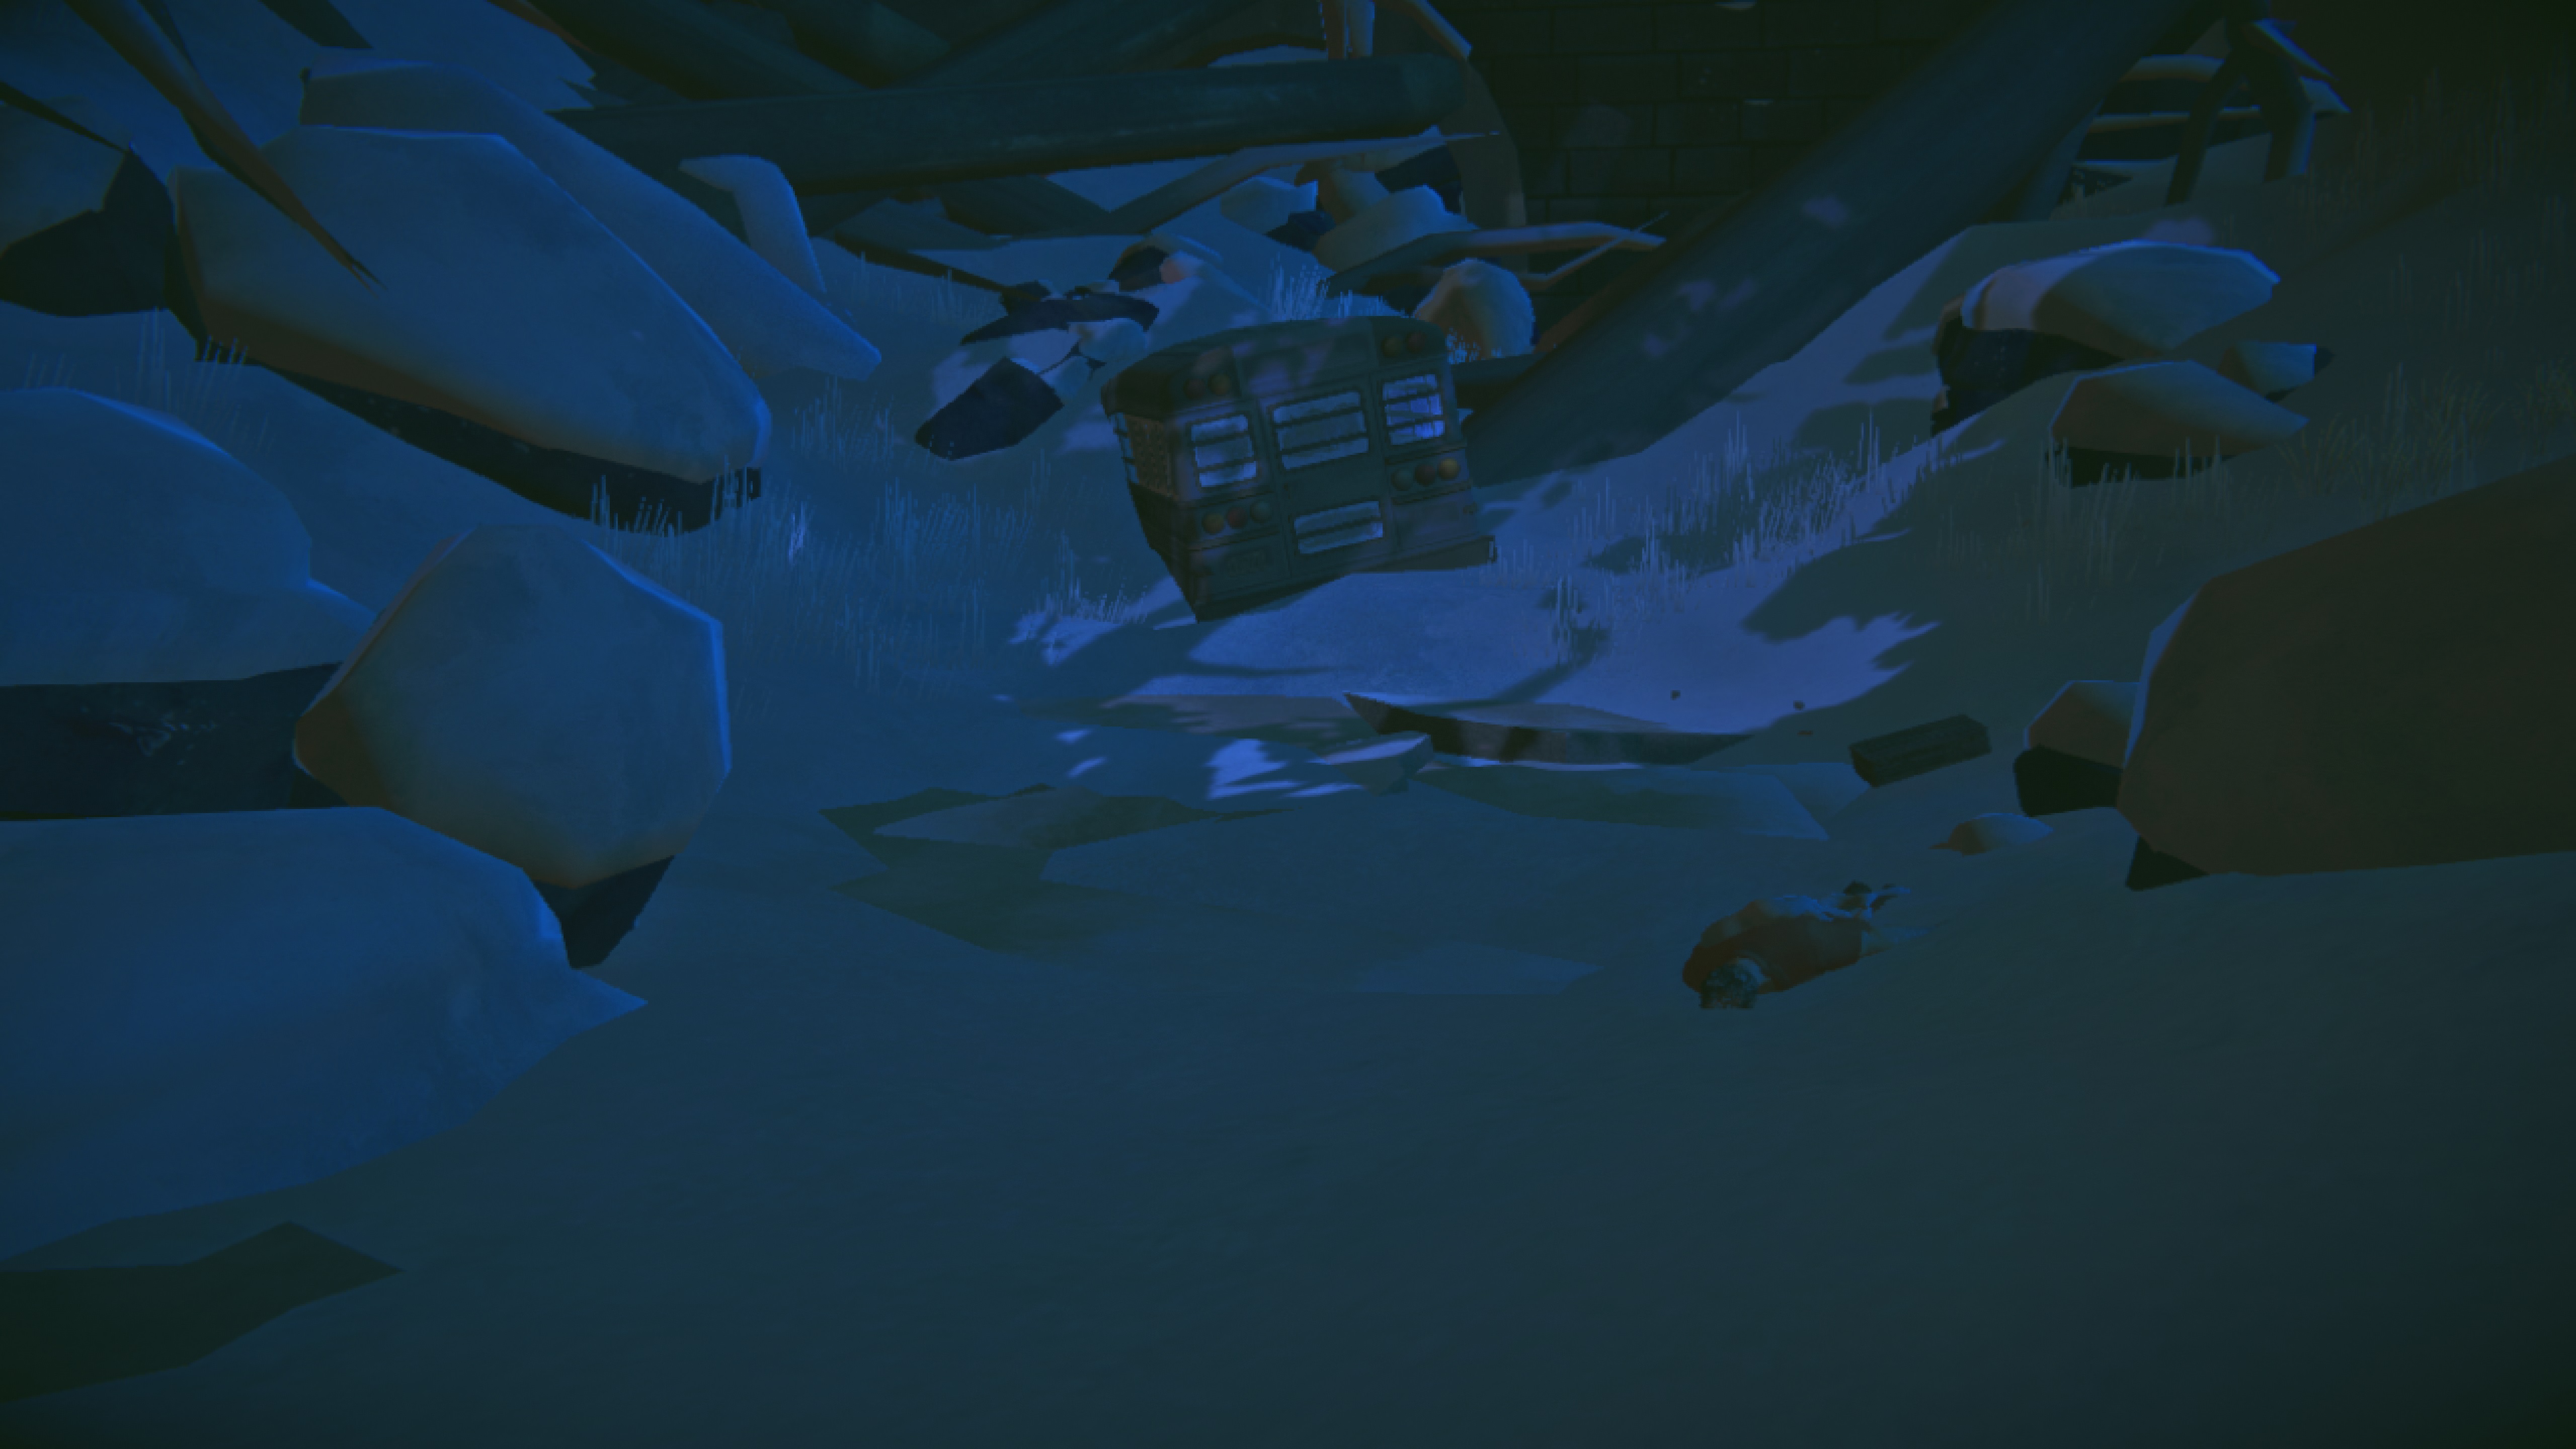 You'll then get a new mission to explore the bus. To proceed, just click on the back of the bus, where there's a large door. A small scene will play where Will wipes the fog from the windows and sees the word "Perseverance" written on the floor. After this, report back to Grey Mother.
--------------------------------------------------
Well that's sad. I'm starting to like Grey Mother...she even makes you delicious soup. But still, I'm getting the distinct impression that Grey Mother and Will are talking about completely different people. Either way, let's humor her (if only for the sake of story progression). The farmhouse has been marked on your map, so it should be easy to find. Don't forget to check the mailbox for a potential rifle round!
As you approach the farmhouse, Will notes that things do not look good, what with all the blood. Go ahead and enter the house for a very dramatic scene with Hobbs, an escaped prisoner from the bus crash. After hearing exactly what happened the night of the lights, Will is presented with a choice: you can either help Hobbs by removing the knife or you can kill him by pushing it in deeper.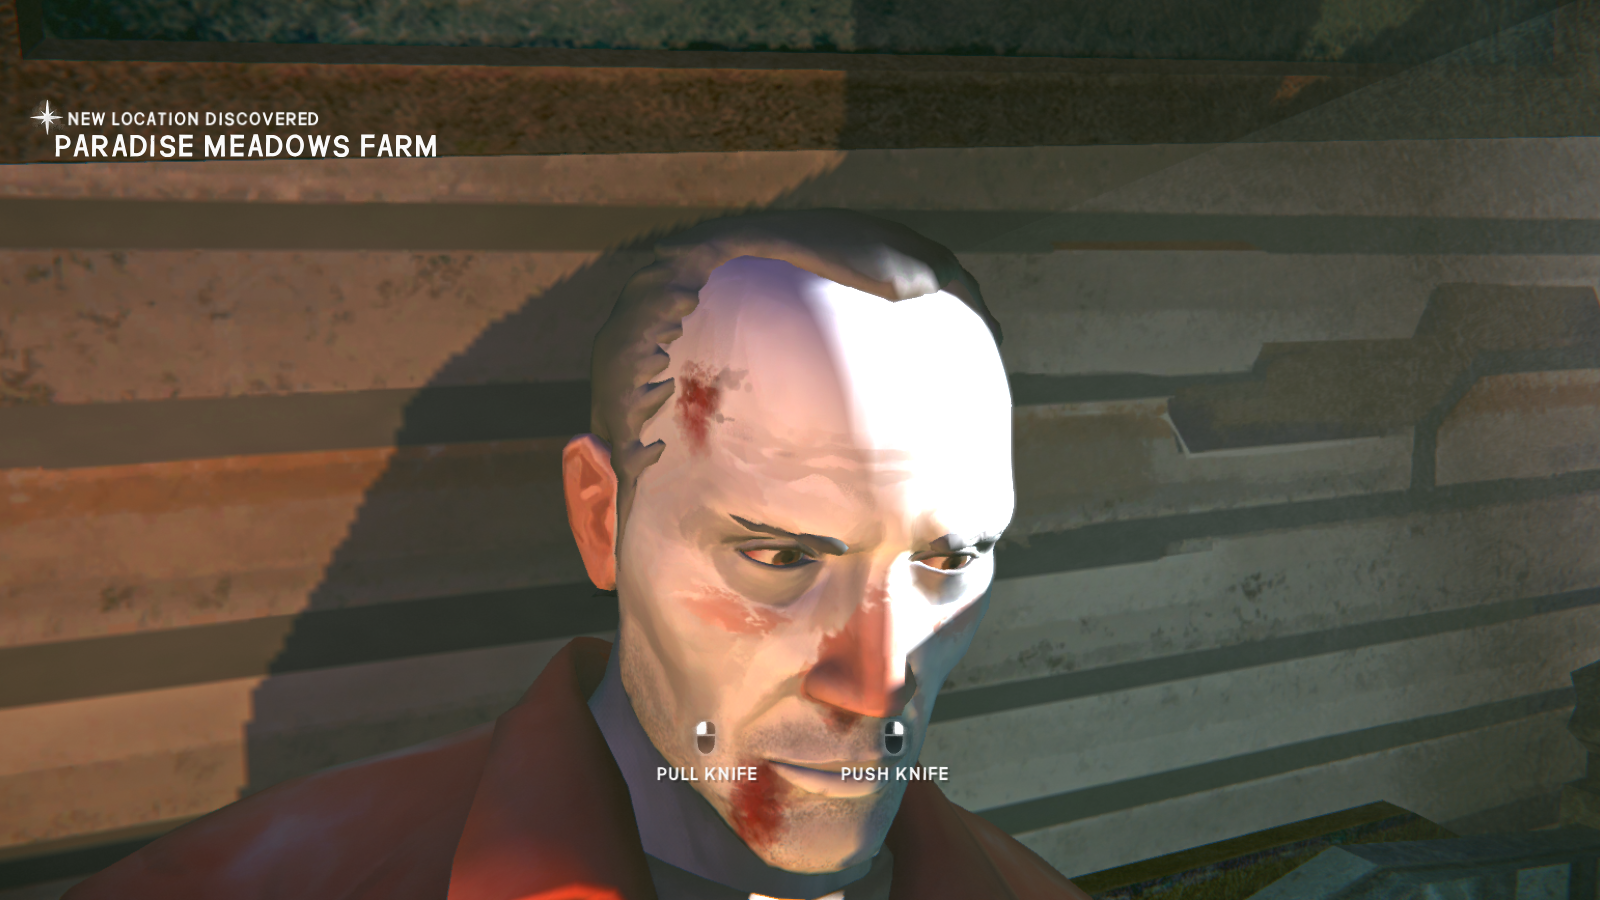 Now, this choice has no effect on current gameplay. Hobbs will either be dead, or just lay on the bench dying for the remainder of the story. HOWEVER, this choice will influence future gameplay, similar to games like Fable where your actions can cause the main character to be classified as good or evil later on. So whichever option you choose, keep in mind that it will affect how Will interacts with other survivors in the future.
Anyways, once you make your choice, grab the key in the box next to Hobbs. You'll then need to make your way to the bank. But don't forget to loot the farmhouse; there's plenty of food for you and Grey Mother, as well as some nice clothing. And if you check the building on your left as you exit the farmhouse, you'll find a rabbit snare. Just watch out for the wolf that patrols the area.
If you haven't started the Milton Deposit Box quest, now is as any good a time as ever. The deposit boxes are found in the vault at the back of the bank. The vault code is found in the bank manager's house (the one with the Canadian flag), and you need his house key to get in (found in the desk drawer of his office). For specific details, check the Milton Deposit Box sidequest.
Go ahead and open the deposit box. You get another box, which is for Grey Mother. Head on back to her place.
...and the box contained pearls? Oh dear, it seems Grey Mother confused Lily with Astrid in her old age. Still, she has revealed that there is another way through the mountains, down the climbing paths. While Grey Mother won't be able to make it, Will is capable. Once you receive the key to Lily's trunk from Grey Mother, the chapter will end.
Chapter 4: Paradise Lost
Well that was sad. I don't know about you, but I really like Grey Mother. For those who just wanted to steal her rifle from the get-go, take solace in the fact that you don't have to deal with her anymore.
Anyways! Head upstairs and unlock the chest. You'll get some nice items and the all-important mountaineering rope. Take any magic soup left out for you and use Grey Mother's magic fire to do any last-minute cooking. And talk to Grey Mother if you want to activate the sidequest "One Last Thing".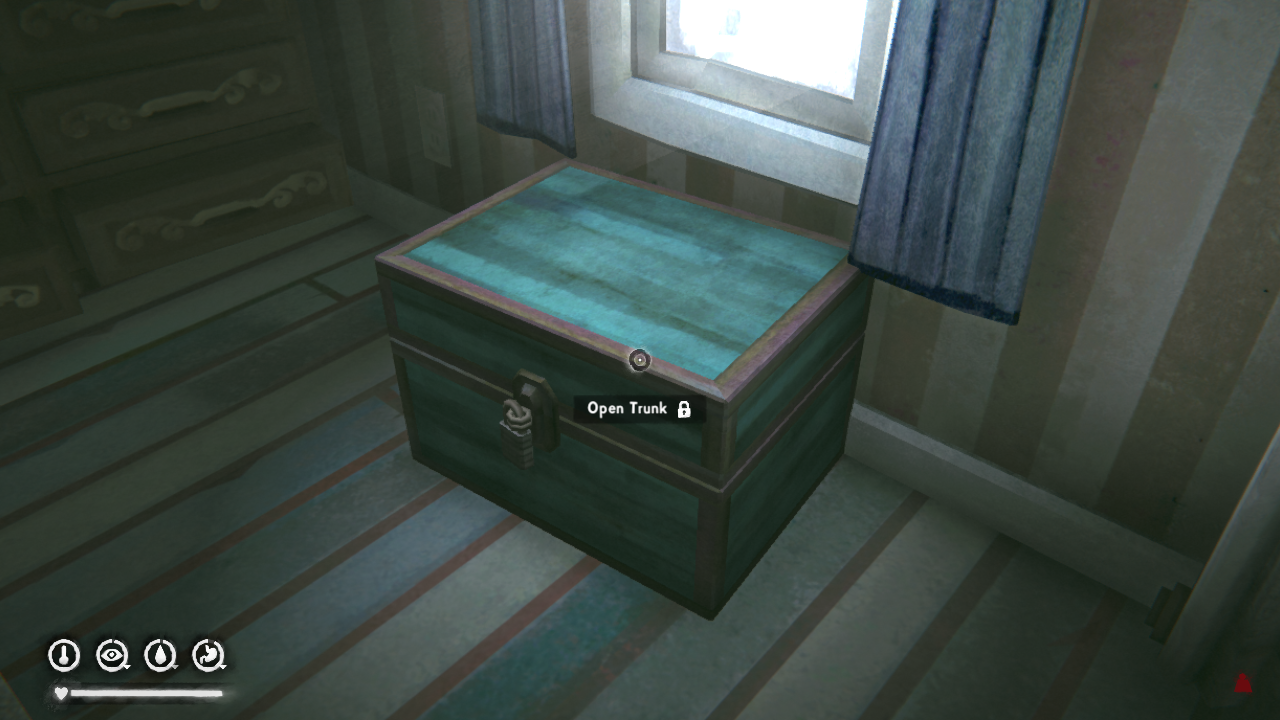
--------------------------------------------------
Time to head out! Leave Milton as if you're going to the gas station and follow the signs with the hiker on them.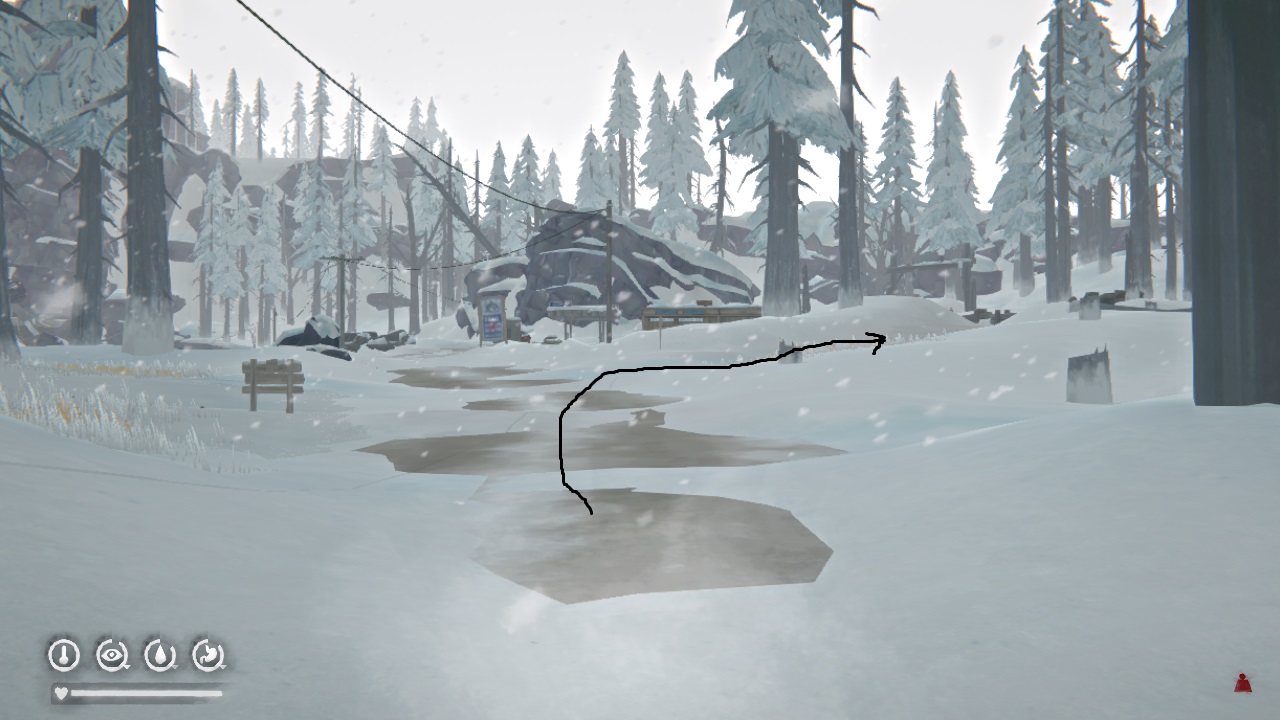 Keep going, past the ranger station until you come to a picnic area. You want to attach your mountaineering rope to the rock pictured below.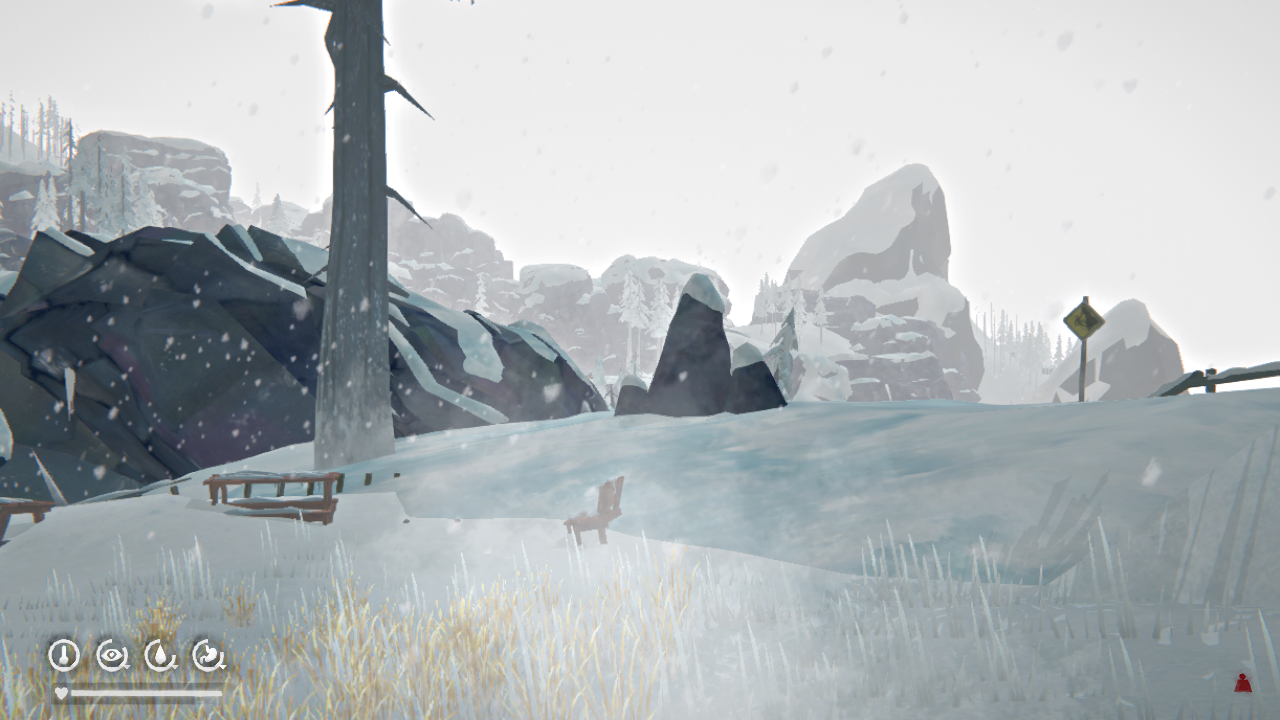
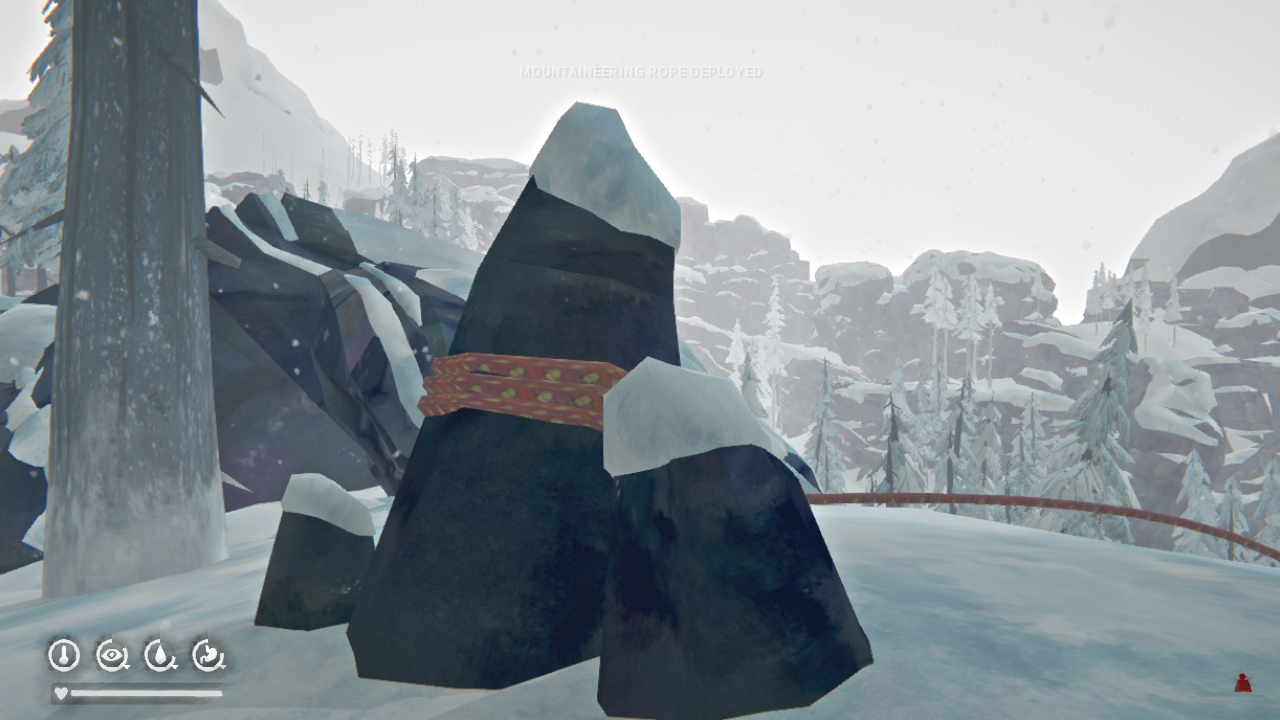
As Will says, you won't be coming back to Milton once you go down the rope. So, finish up your remaining side-quests, check every corner of Milton, etc...
You can't go down the rope if you're encumbered, so this is a good time to practice inventory management. The next area is generous with the items, so don't worry too much about messing up. Make sure your clothes are ~100% condition (cloth is heavy), and don't leave the hatchet behind! Coffee is also nice to bring. When you're ready, click on the rope and head down the cliff. Ouch. Time certainly took a toll on that rope. Well, gotta move forward. It's a mostly linear path, but keep an eye out for climbing area signs.
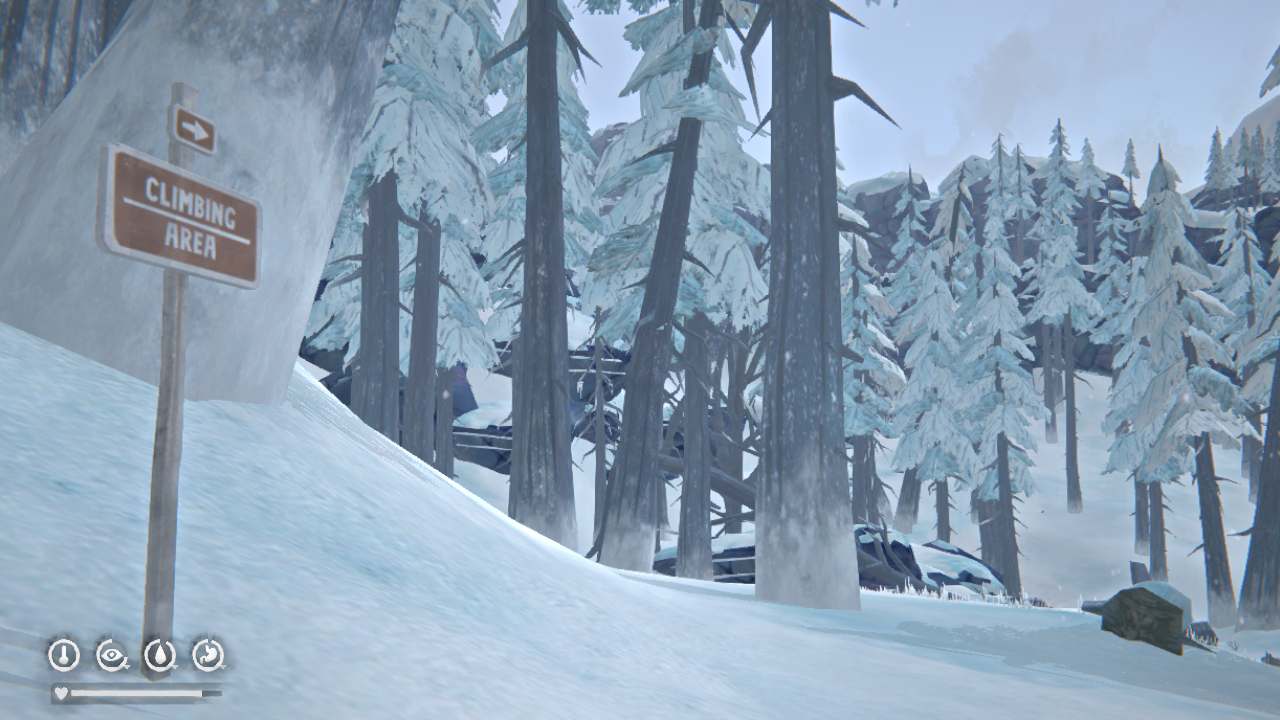
And look who we have here! It's Methuselah, who has somehow moved from the gas station without Will noticing.
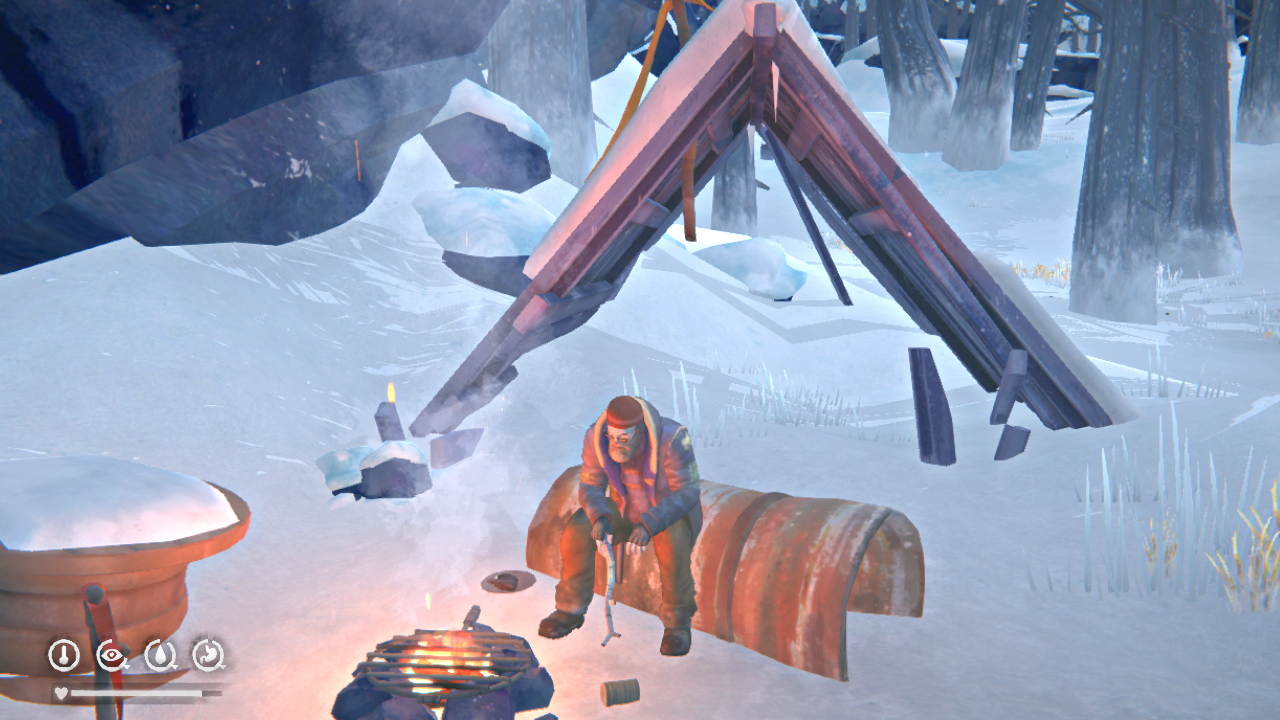 Anyways, go ahead and speak to him. The dialogue will change based on whether or not you killed Hobbs. If you spared him, Methuselah wonders if Will can maintain his merciful nature through the trials to come. If you killed him, Methuselah questions if such an unforgiving attitude is the right one to take in a world where civilization as we know it has ended.
Either way, you should keep moving. As you follow the signs, you'll eventually come across another climbing area with a rope already set up.
Anyways, go ahead and speak to him. The dialogue will change based on whether or not you killed Hobbs. If you spared him, Methuselah wonders if Will can maintain his merciful nature through the trials to come. If you killed him, Methuselah questions if such an unforgiving attitude is the right one to take in a world where civilization as we know it has ended.
Either way, you should keep moving. As you follow the signs, you'll eventually come across another climbing area with a rope already set up.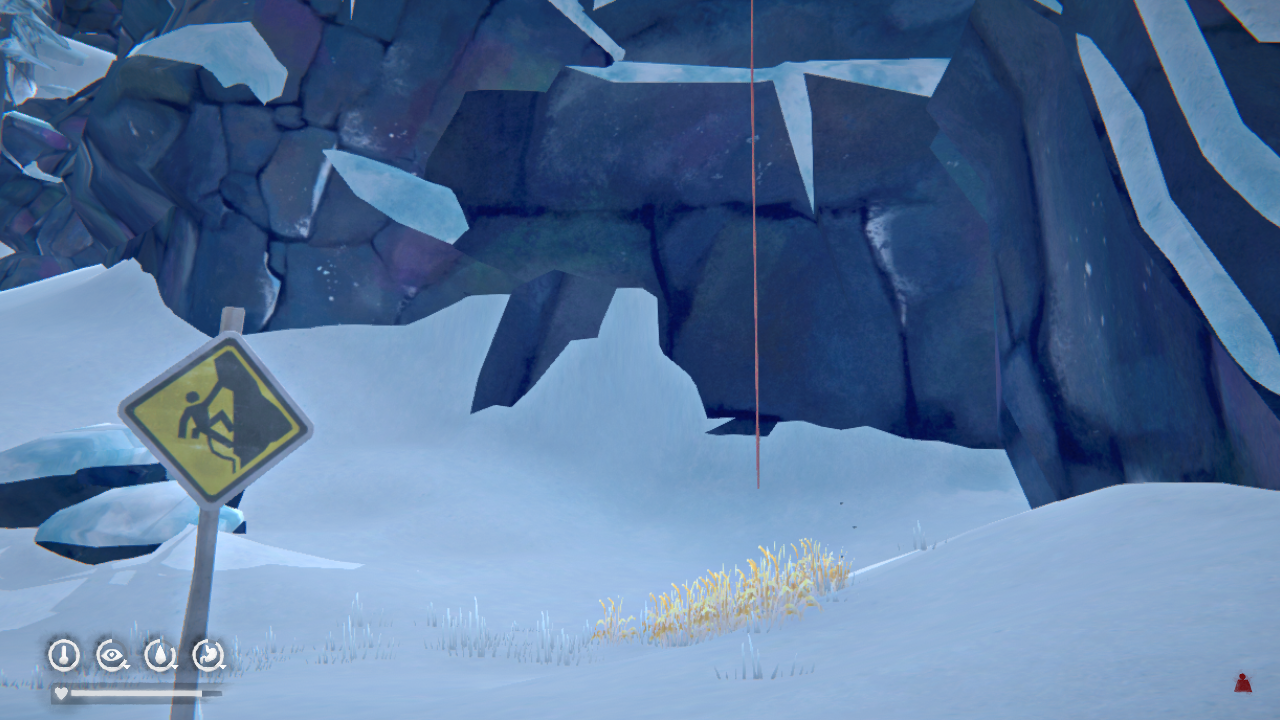 Since you're climbing up instead of down, this trip will exhaust you much more. Make sure your tiredness bar is at least half full (completely full is best). Drink any coffee if you have it, and start climbing the rope.
Once you're at the top, it's pretty much a straight shot. If you're not sure where to go, head for the waterfalls. You'll have to climb over the fallen tree to advance. After some time, you'll come across a cave. Like the previous one, this cave is linear; any detours will lead to dead ends in short order. So, keep going until you find the cave exit. There'll be an exciting scene where Will sees a man being mauled by a bear and then the episode ends (yay cliffhangers!).
Sidequest: The Basics of Survival
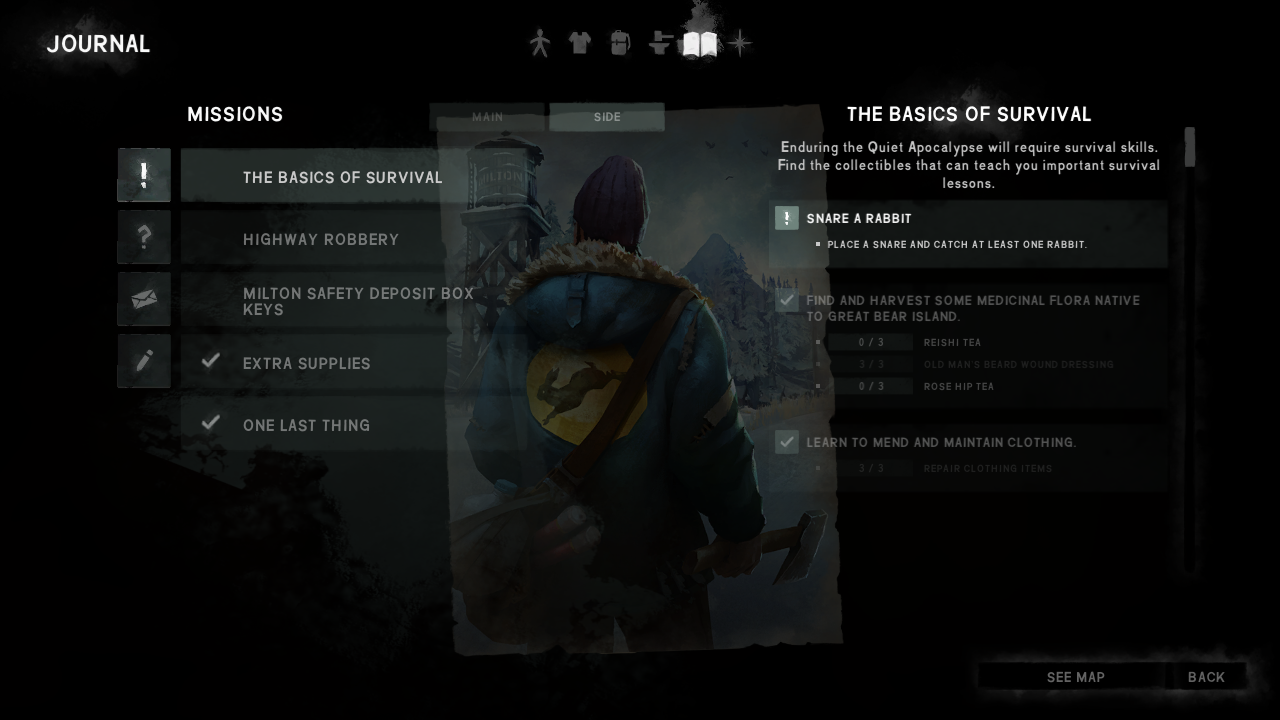
This sidequest is more for people who are brand new to The Long Dark. Each time you find a skill book, a new objective related to the book's topic will appear. Unfortunately, most of them don’t have an external reward for completing these goals. You'll usually only get the benefits that come with doing the action (ie. repaired clothing or medicinal teas).
If you complete all the skill book quests in Episodes 1 and 2 (three per episode), you'll earn the Survival School achievement.
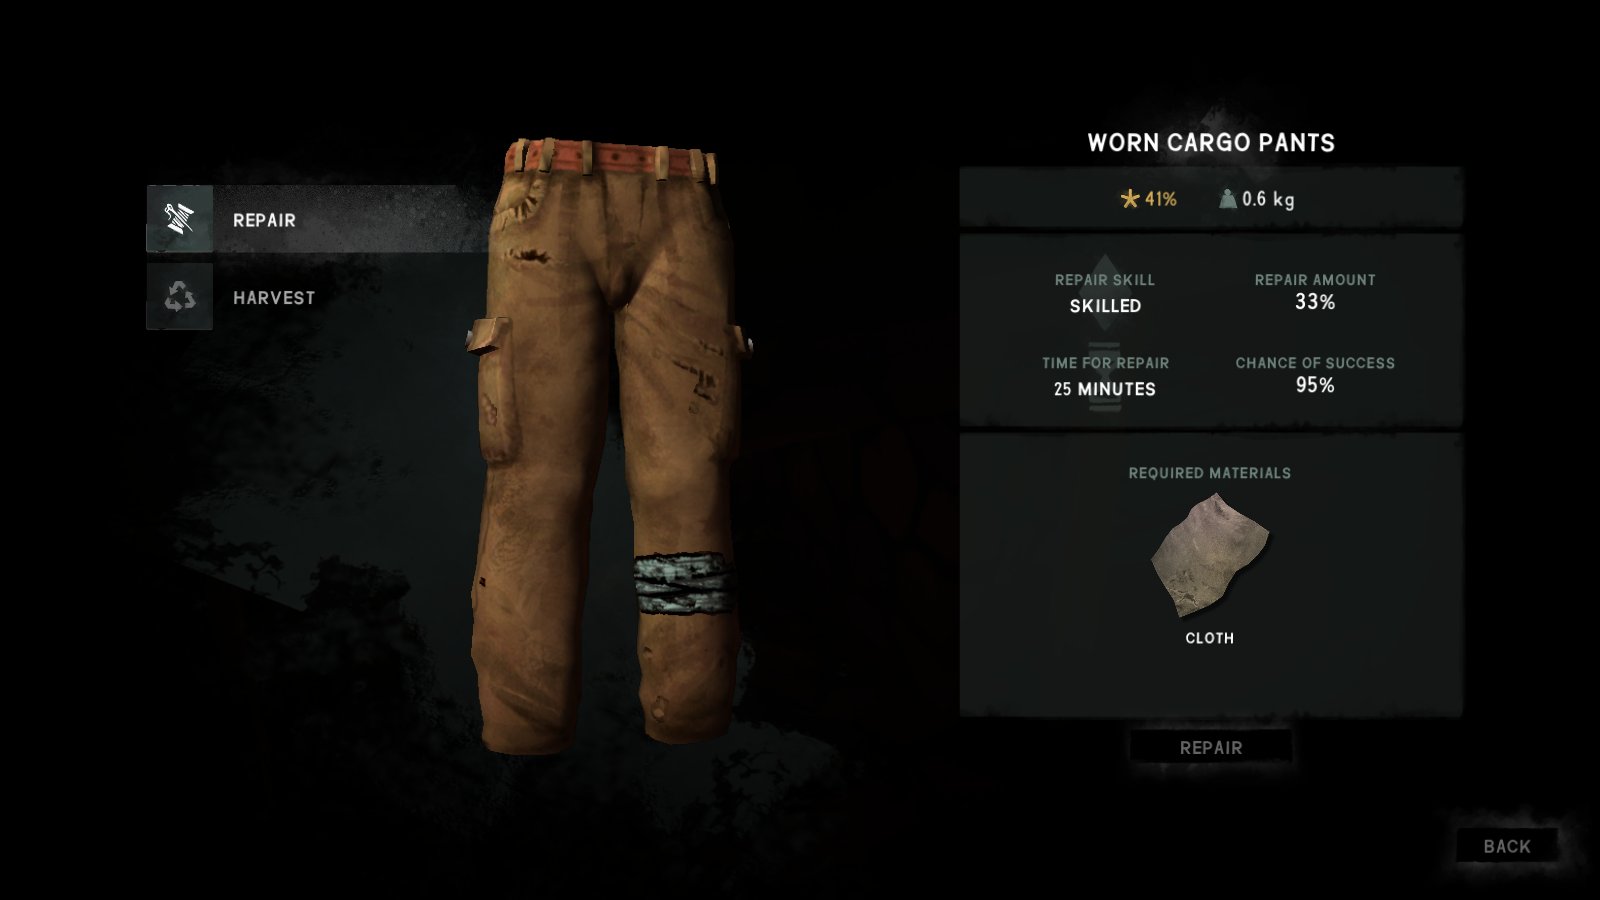
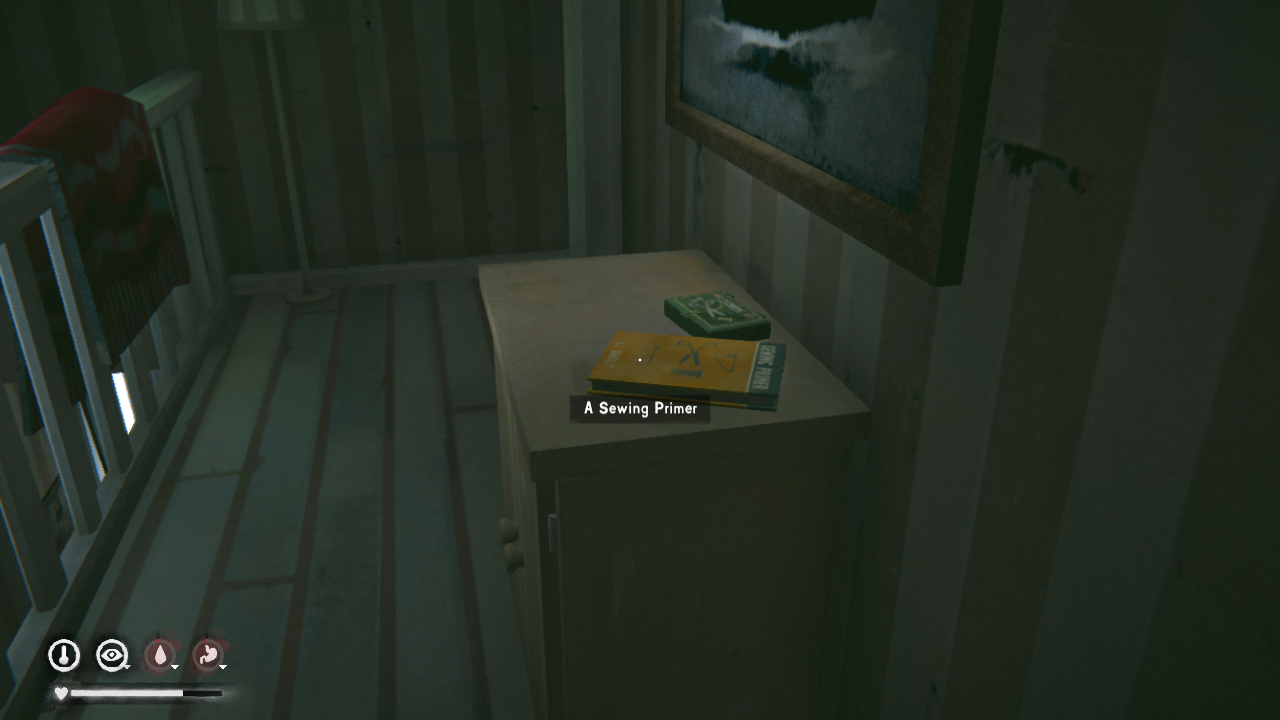 You'll also see there's a sewing kit for you. To complete this goal, you need to repair three clothing items. All you need is a sewing kit/fishing tackle, cloth, and sometimes cured leather. The leather is used for clothing items that are made of it, like boots. You'll also need some form of light when indoors.
To repair an item, just go to the clothing in question and choose the "action" button. You'll have the option to repair the item from there. The menu will tell you what items are needed for the repair and how much time it will take.
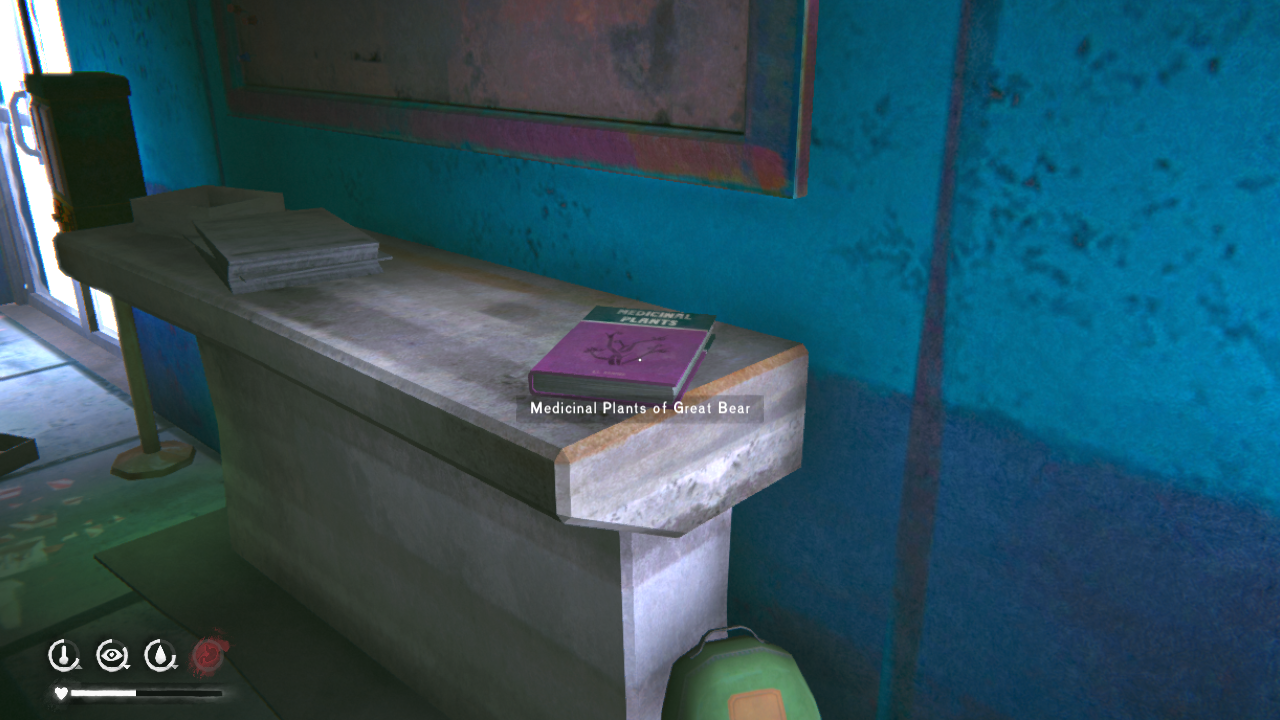 To complete this objective, you just need to make the three craftable medicines in the game: reishi tea, rose hip tea, and old man's beard wound dressing. Each one must be crafted three times to complete the quest. Old man's beard lichen can be directly crafting into a dressing. The teas must be prepared from their base state in the crafting menu. The prepared versions then have to be cooked for 10 minutes to turn them into tea.
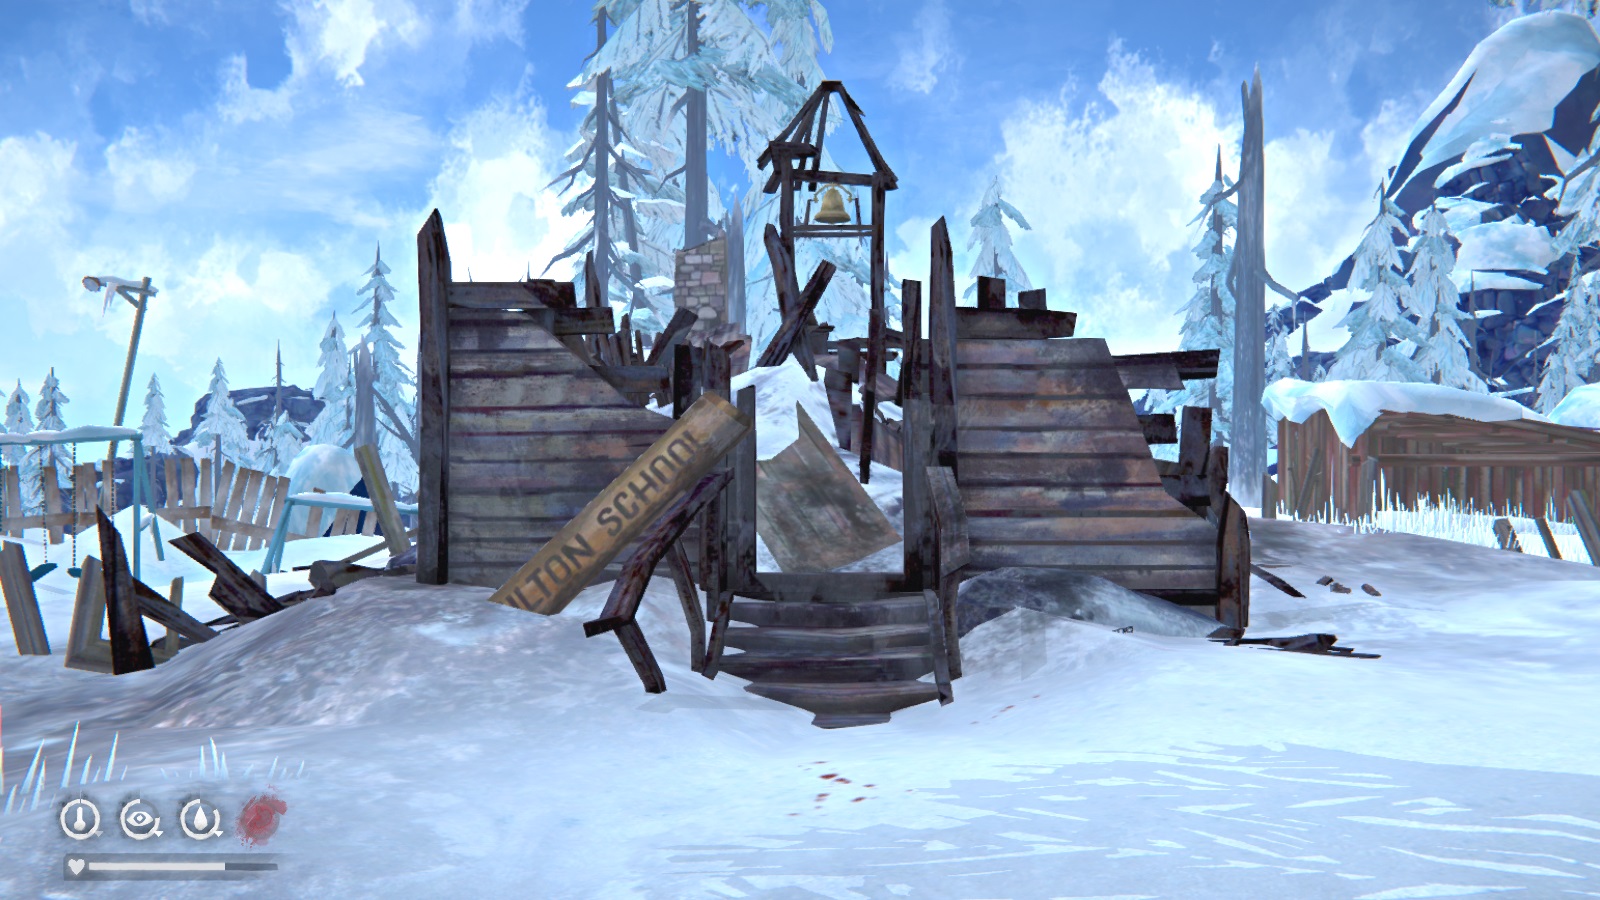
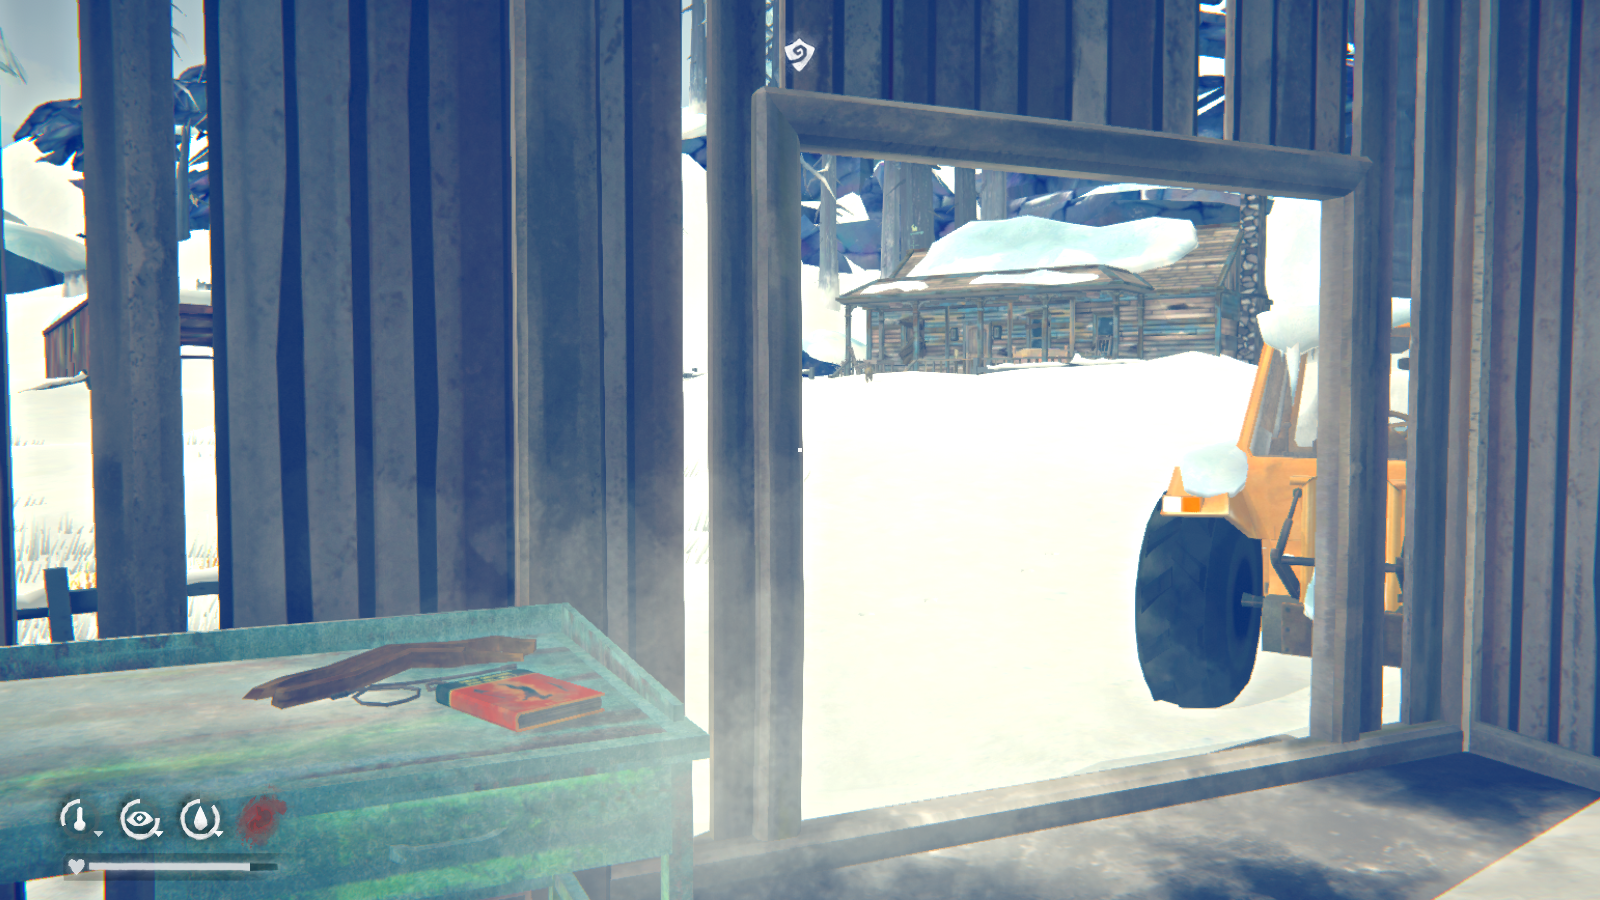 As you can see, you also get a free snare, which you'll need. Completing this goal is pretty simple; just set the snare down where you've seen rabbits and wait to catch one (go to the Campcraft option on the radial menu to place the snare). Some good places are the frozen pond near the radio tower or just in front of the burnt schoolhouse.
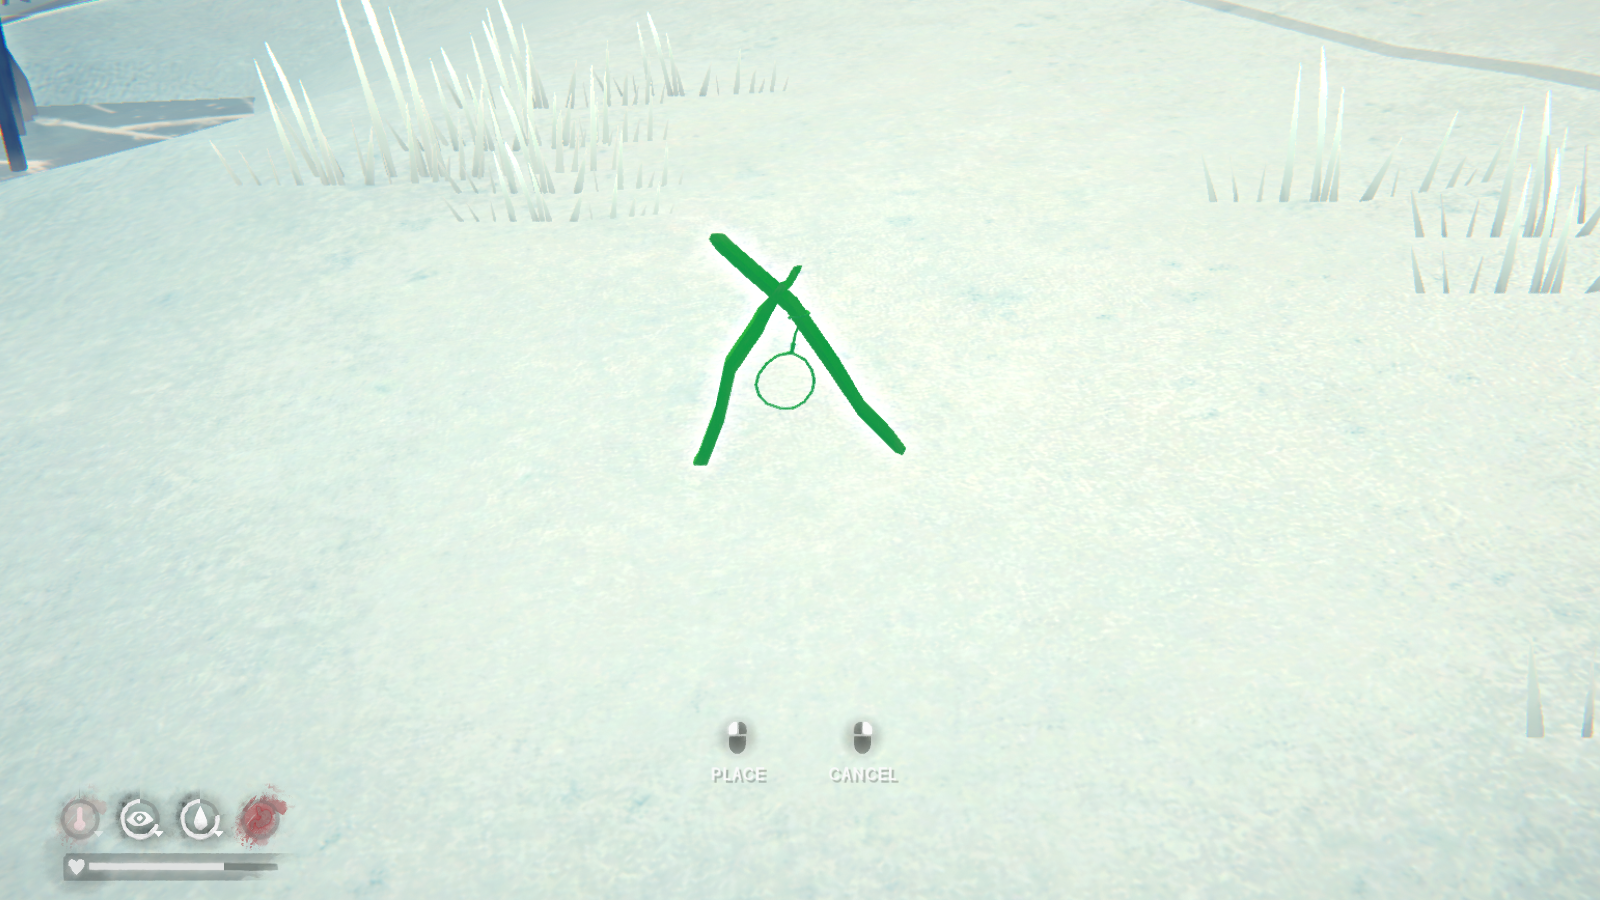 After placing the snare, you'll need to pass some time. Loot some more houses in Milton or find more deposit box keys. Whatever you do, check the snare between 12 and 24 hours after placing it. Chances are you'll see a dead rabbit lying there. If not, keep checking until you catch one or the snare breaks. The quest completes once a rabbit is killed by the snare. Unlike the other objectives in this sidequest, completing this one unlocks the rabbitskin hat and gloves blueprints. Both items are the warmest hat/glove options in-game, but they're heavier than any man-made clothing item available. You'll also need more rabbitskins to repair them.
Sidequest: Milton Deposit Box Keys
There are a few locked deposit boxes at the bank. One is unlocked as part of the story, but the rest are optional.
First, you need to gain access to the deposit boxes. They're locked in the vault at the back of the bank, and Will won't even attempt to unlock it without the combination.
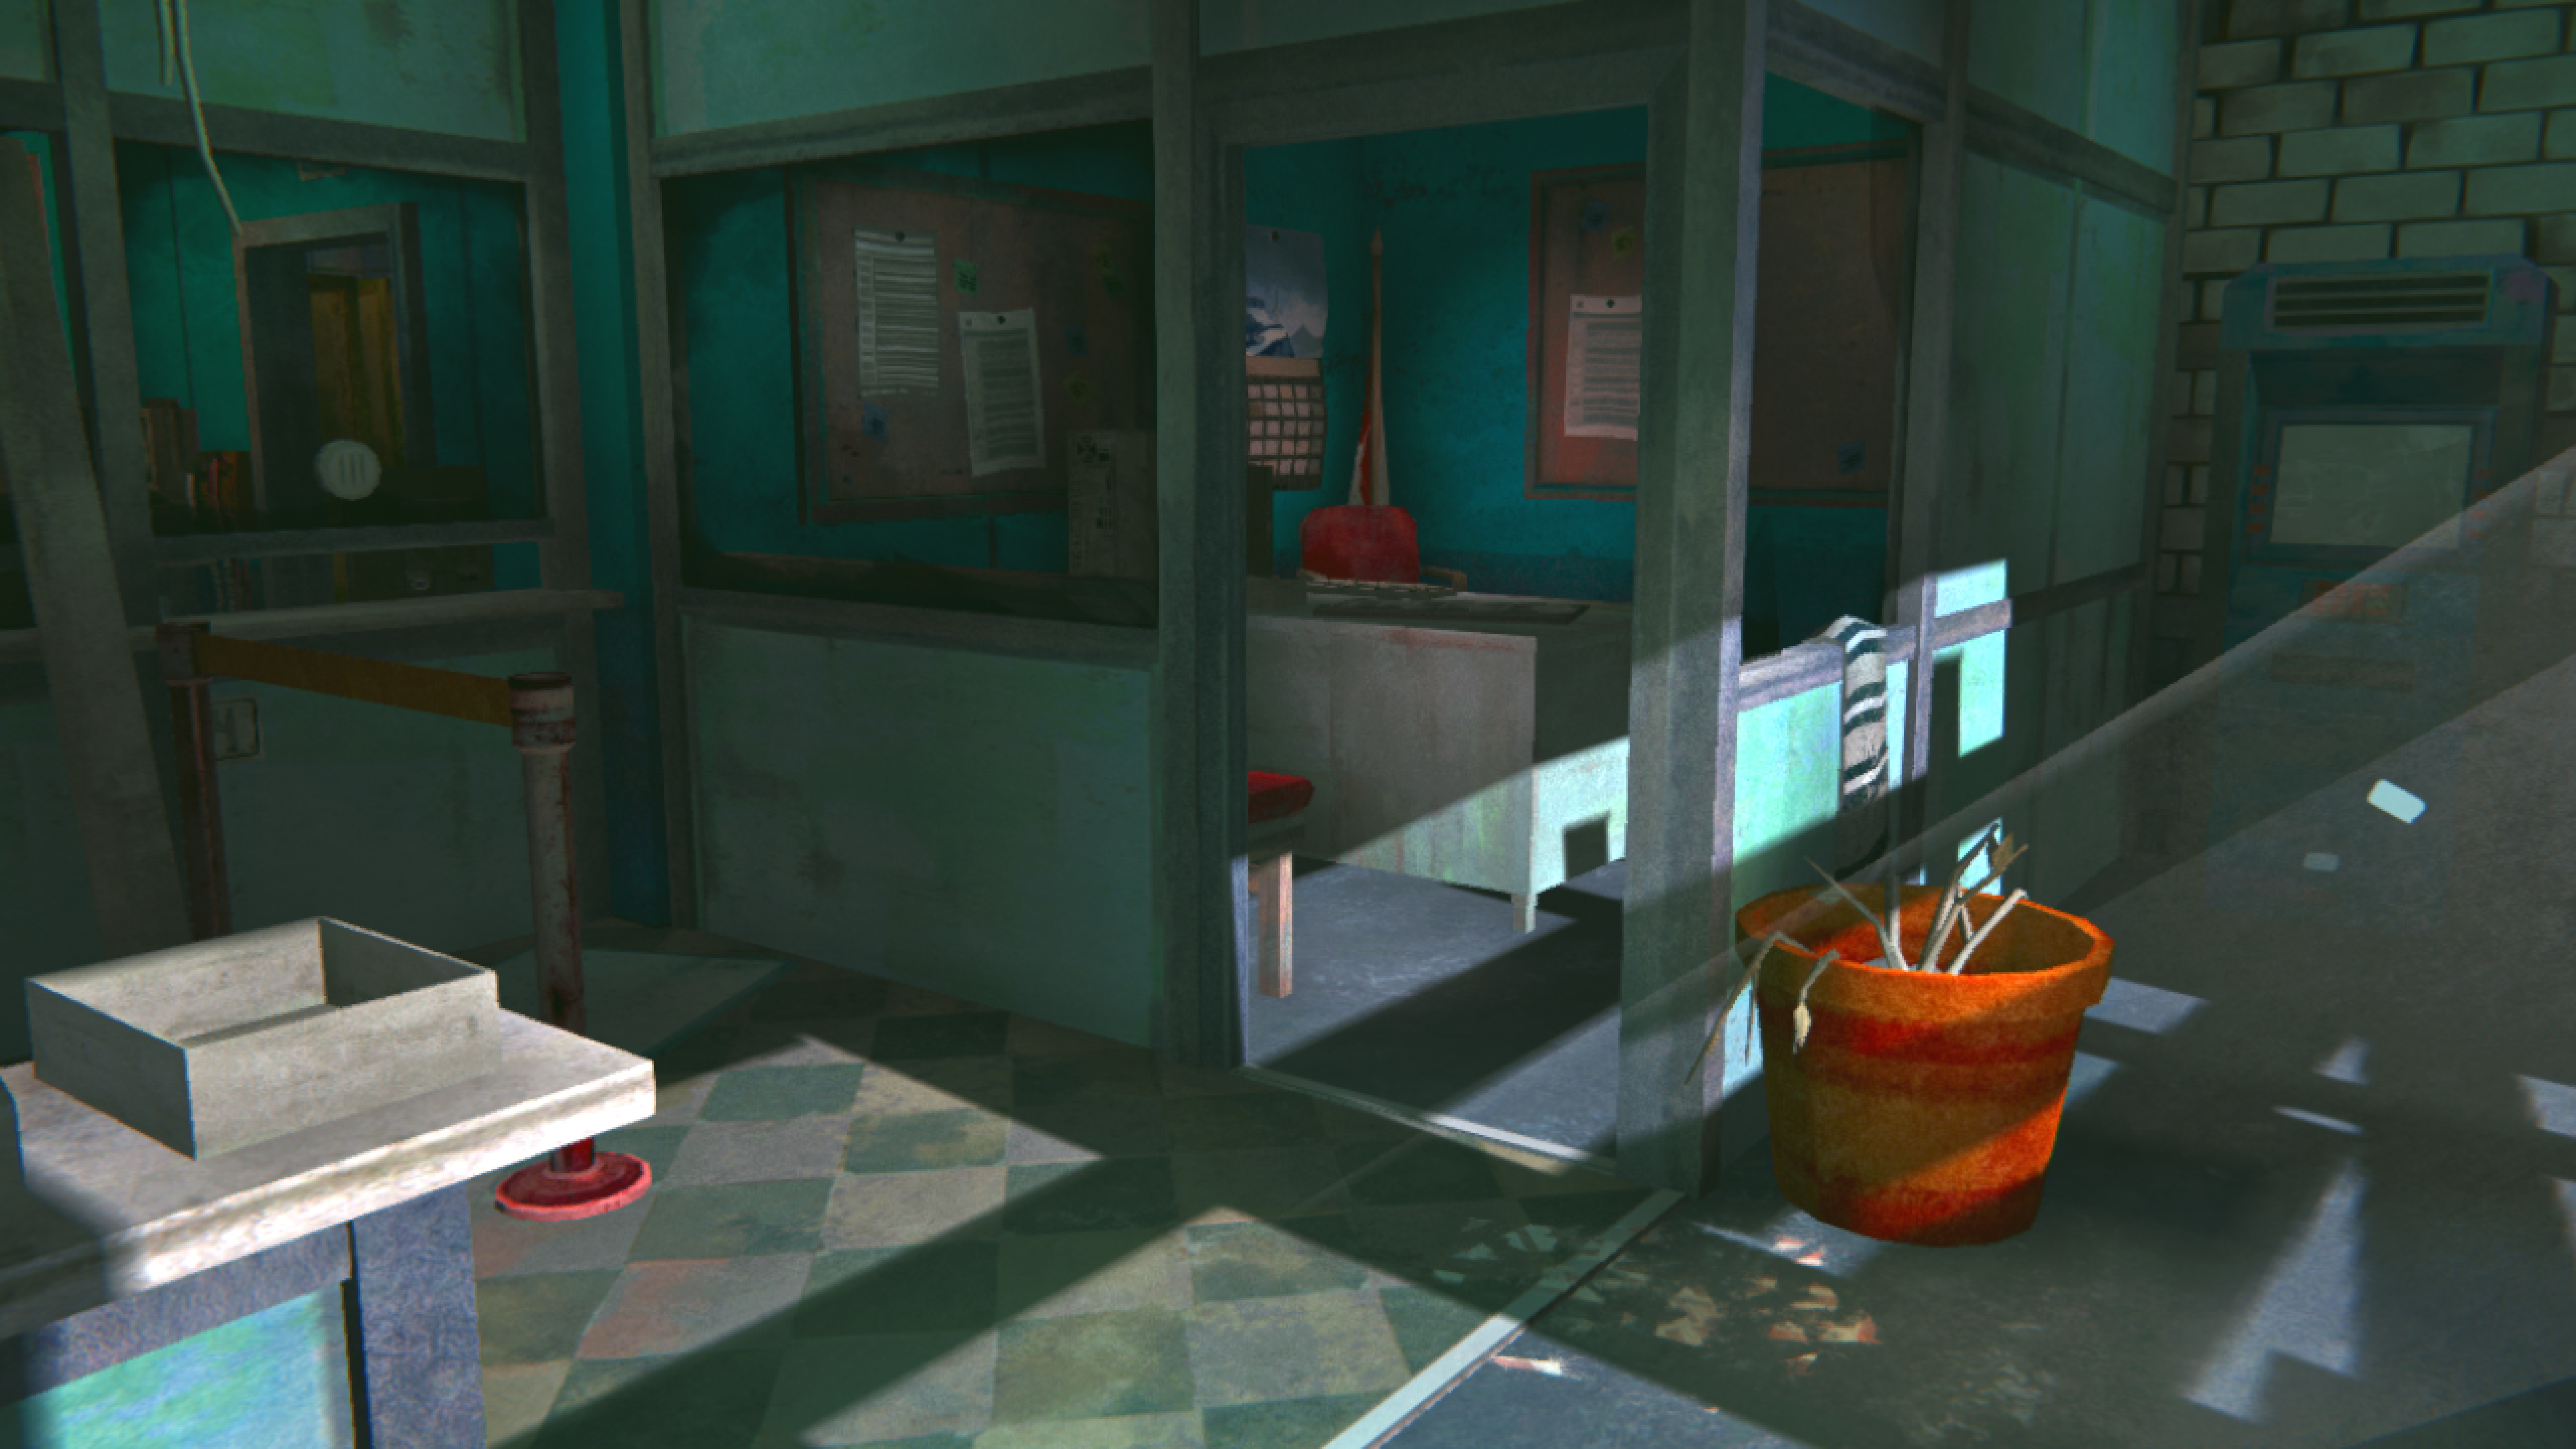
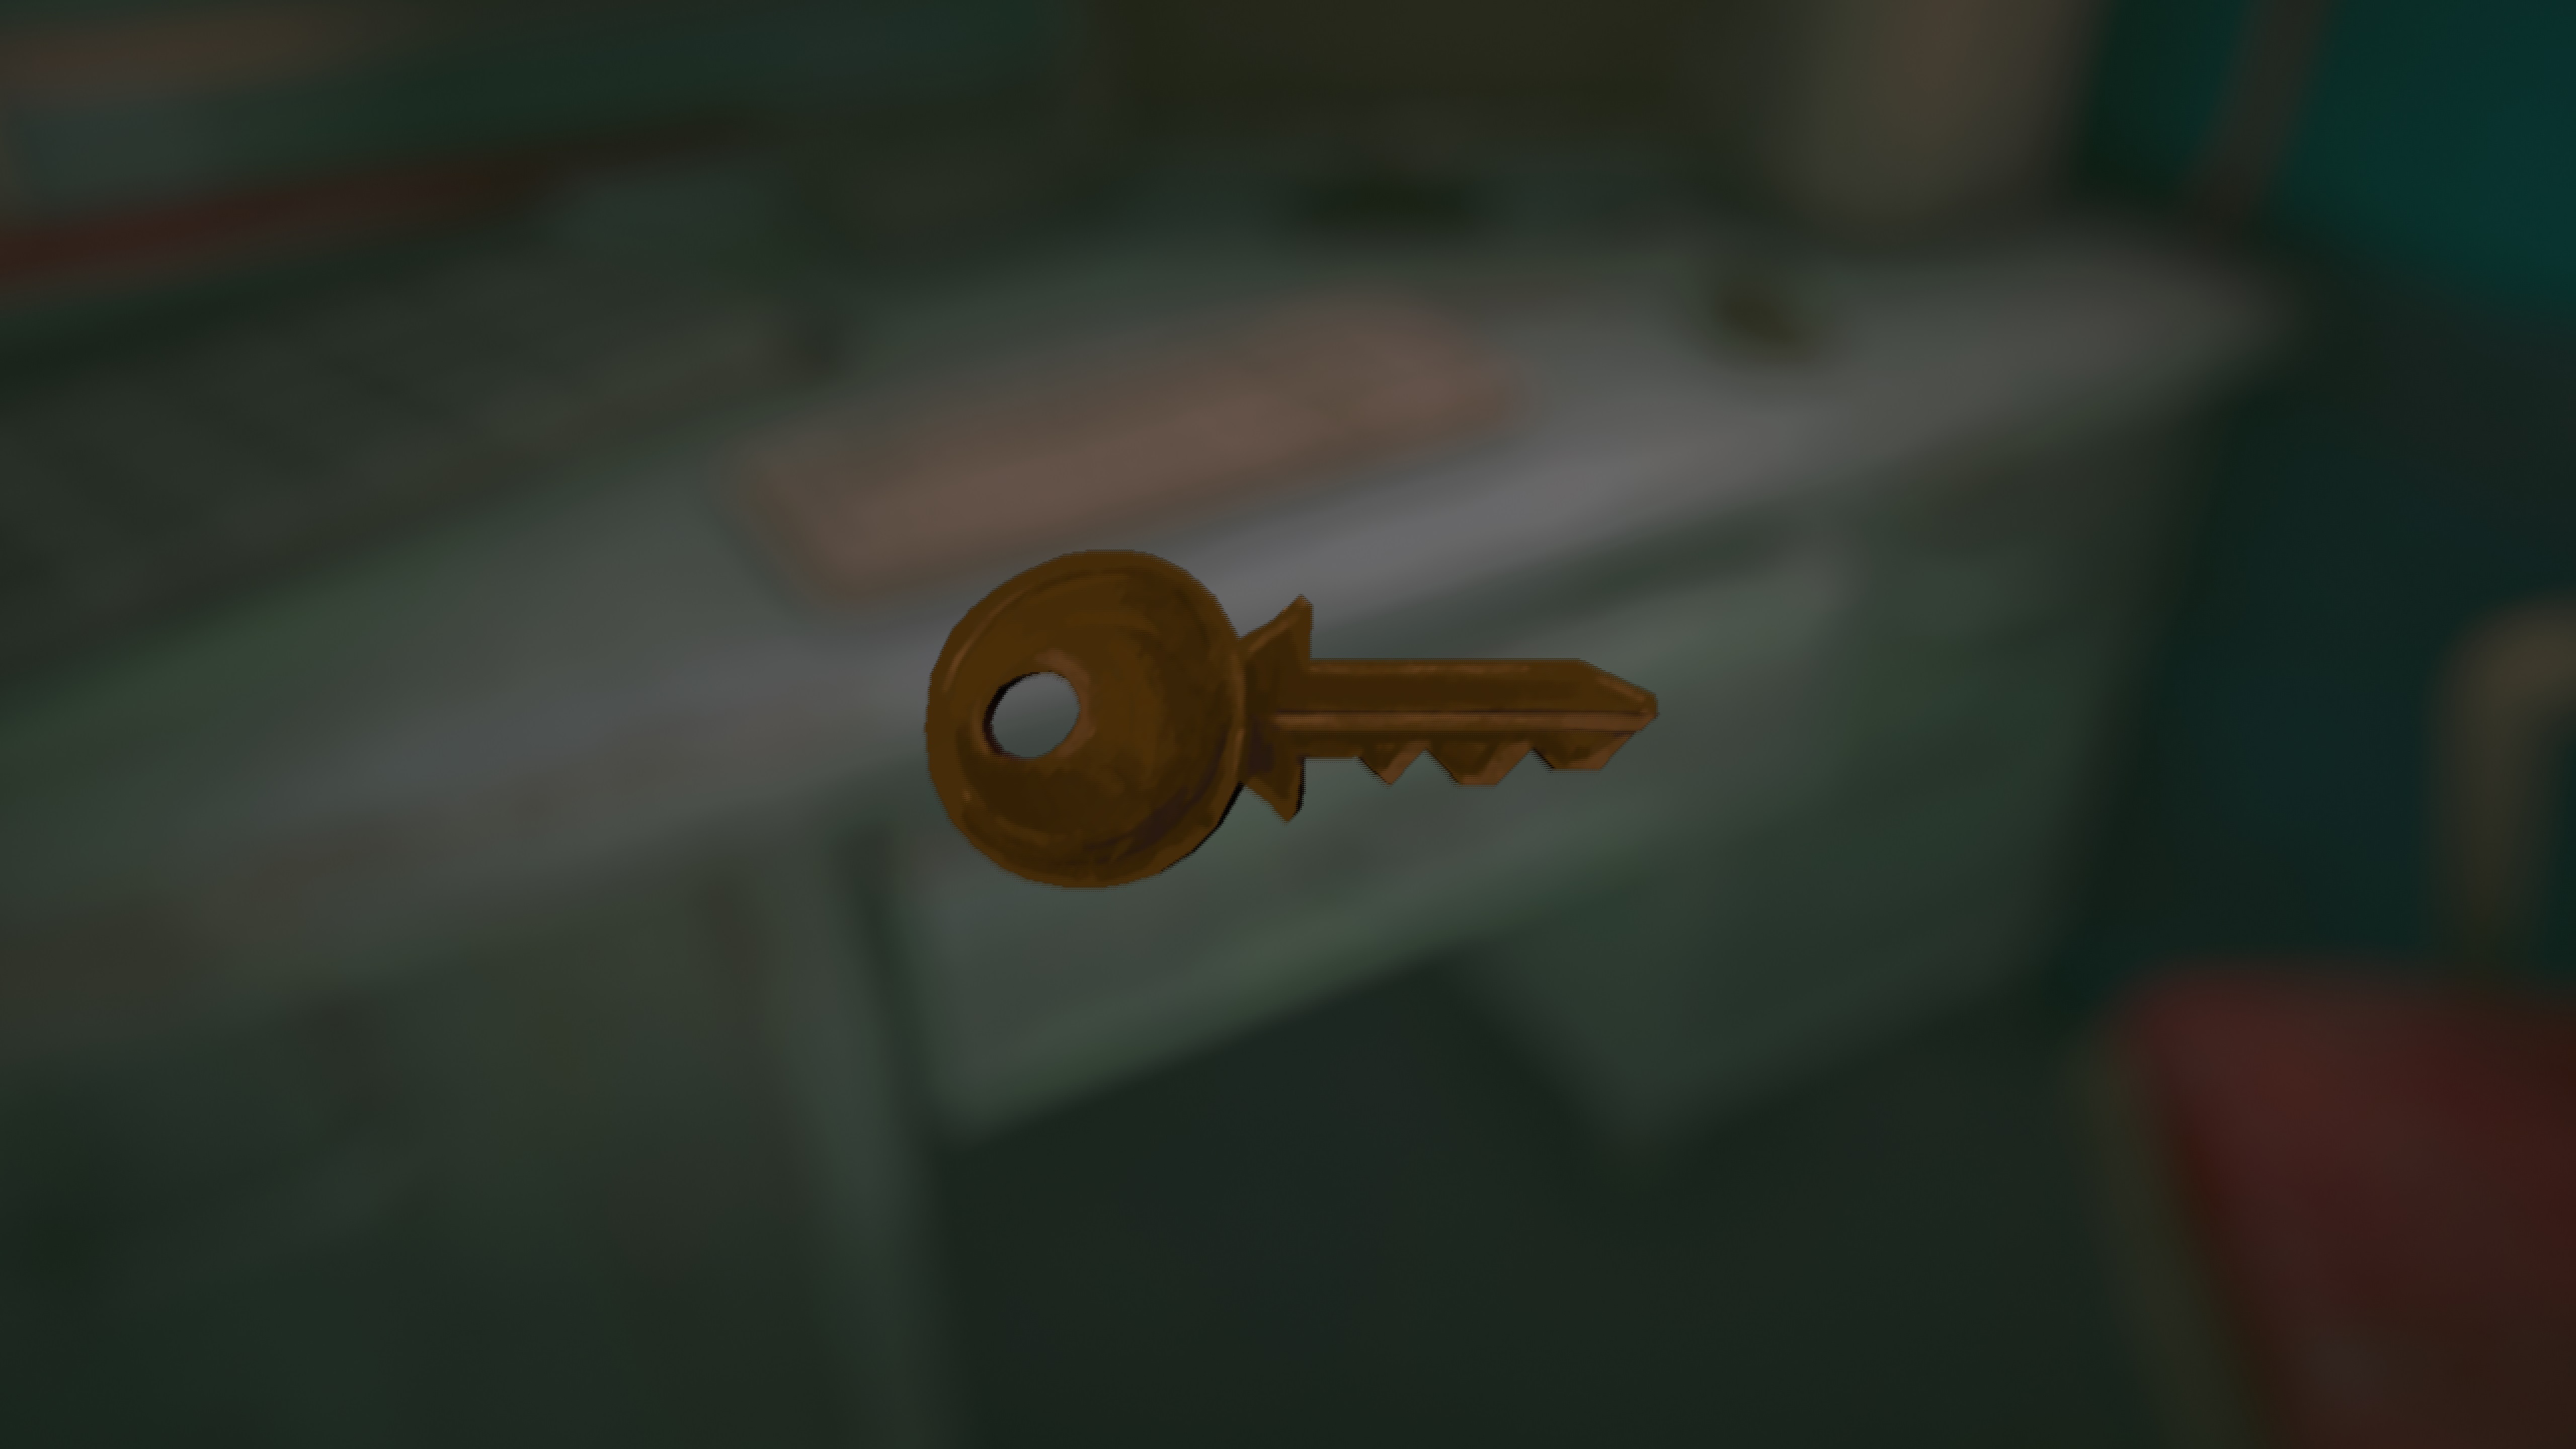
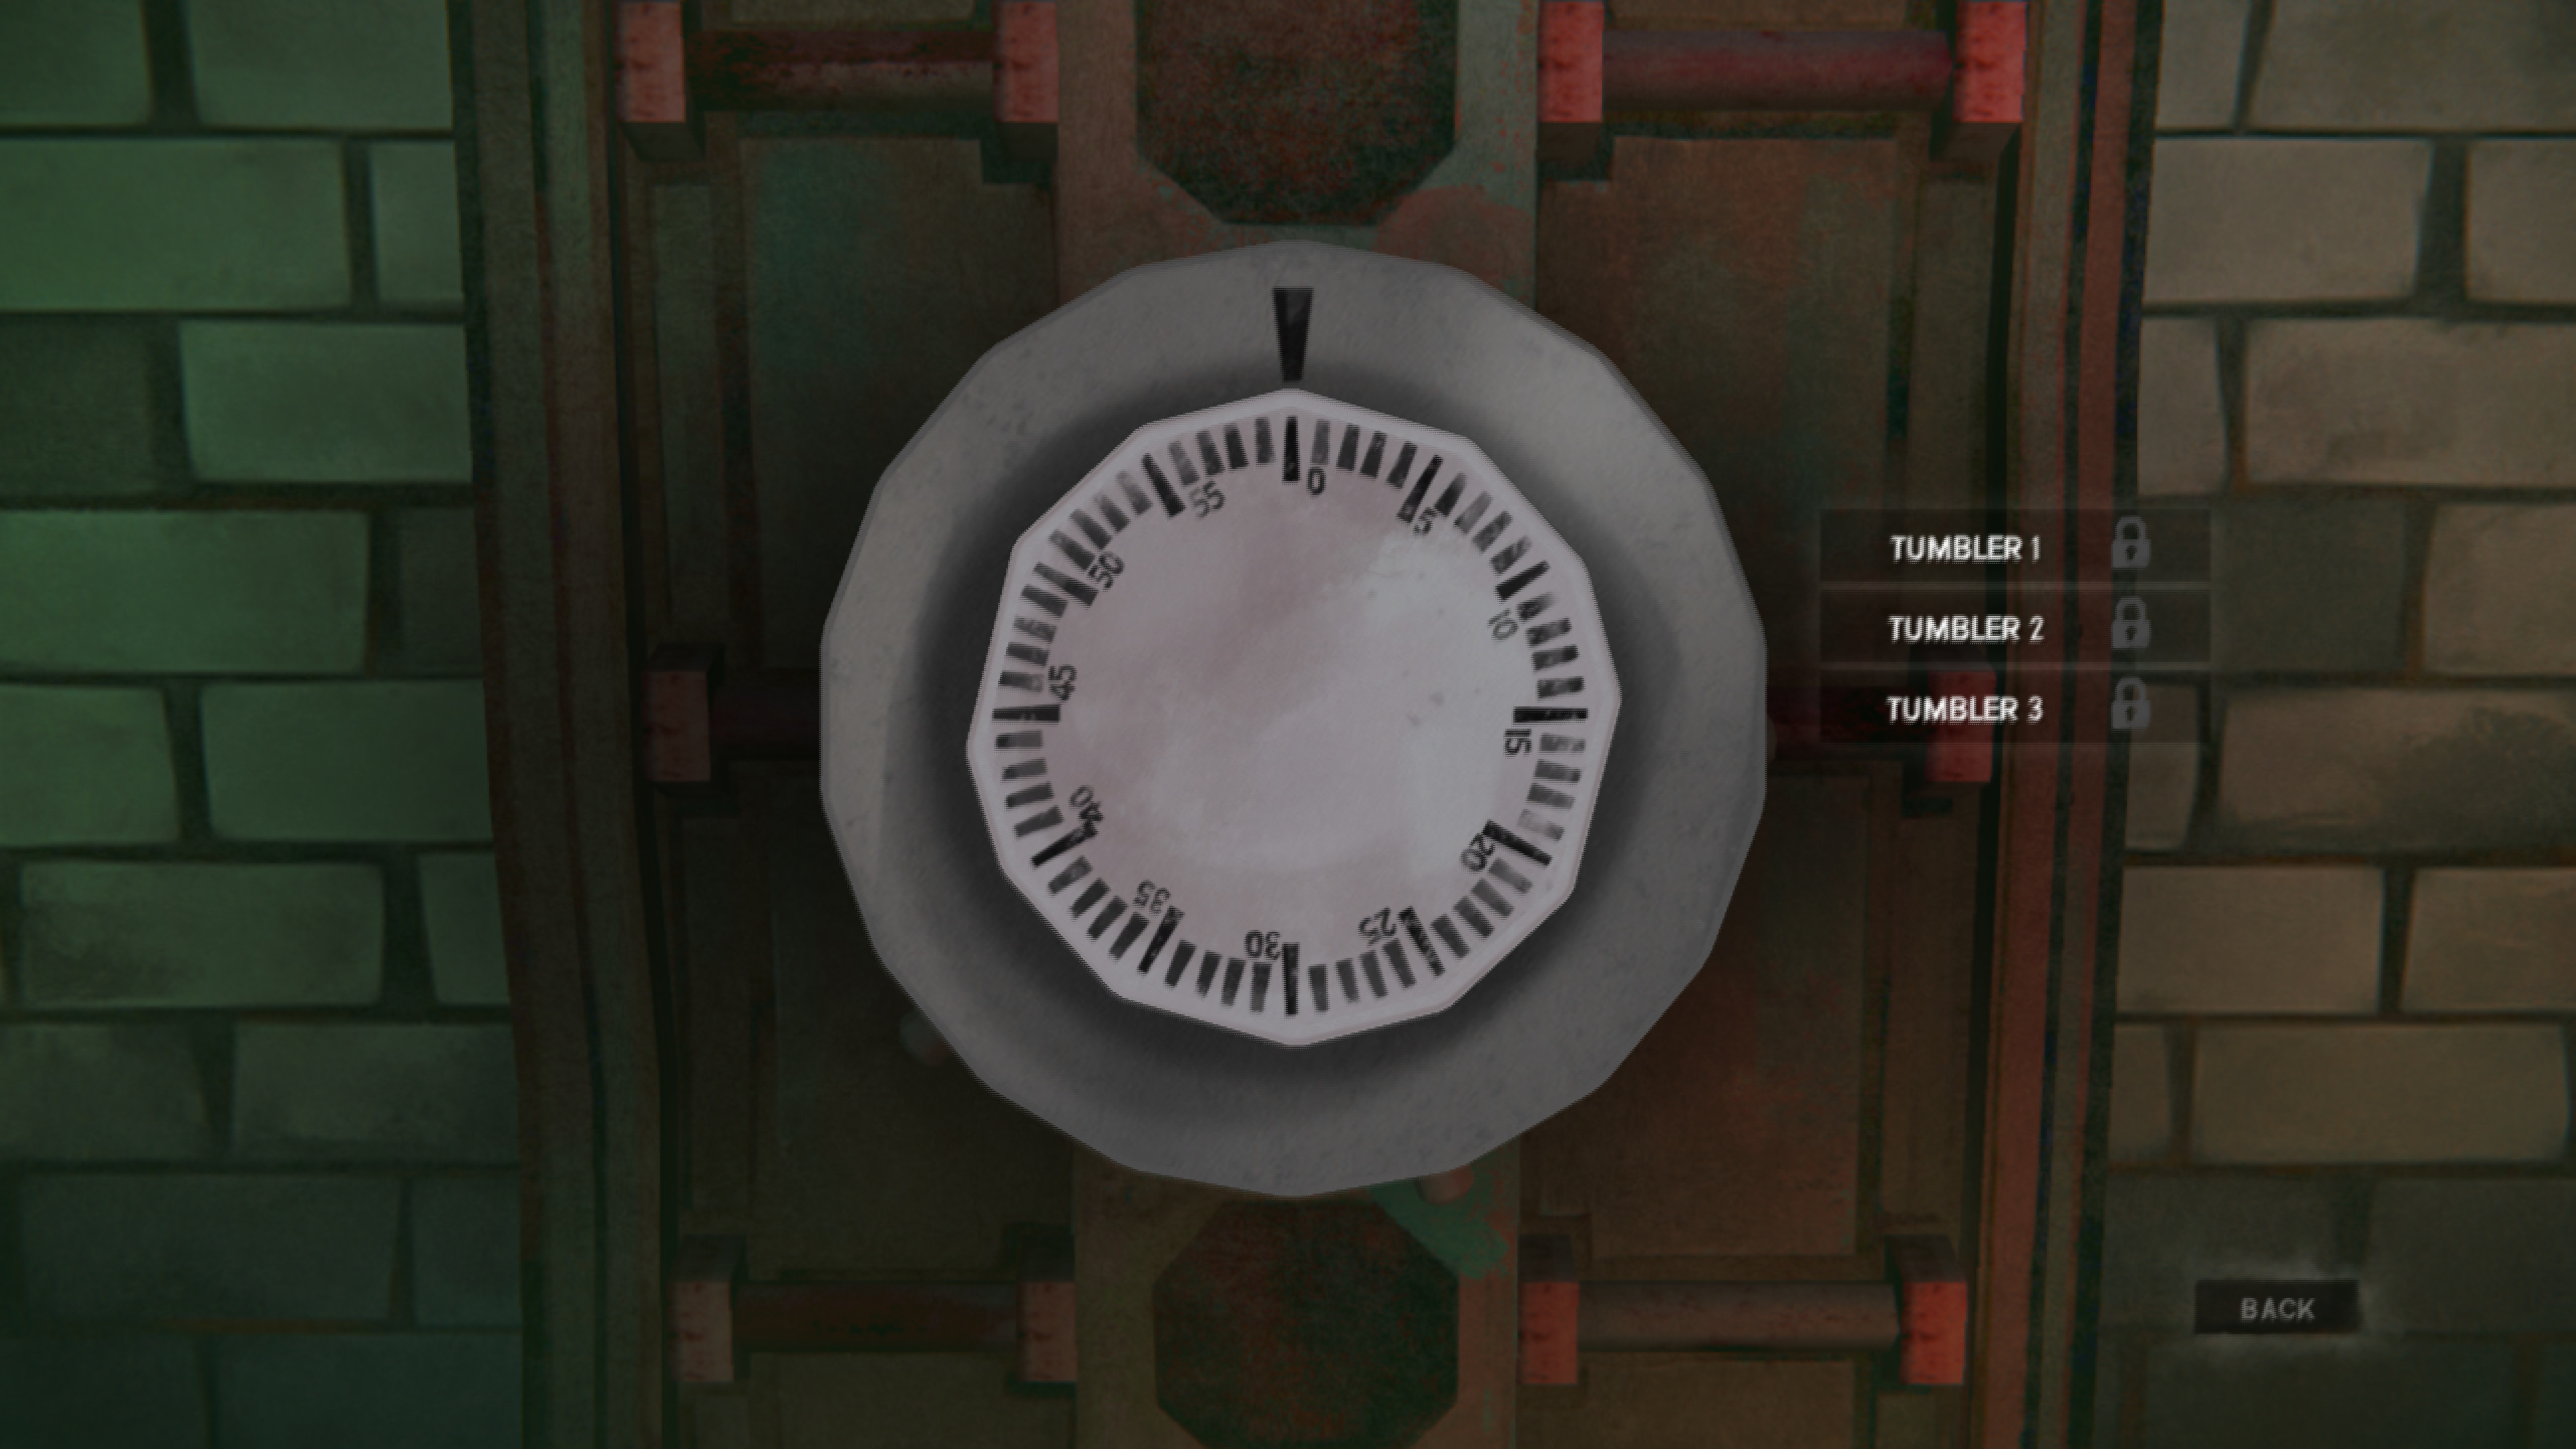
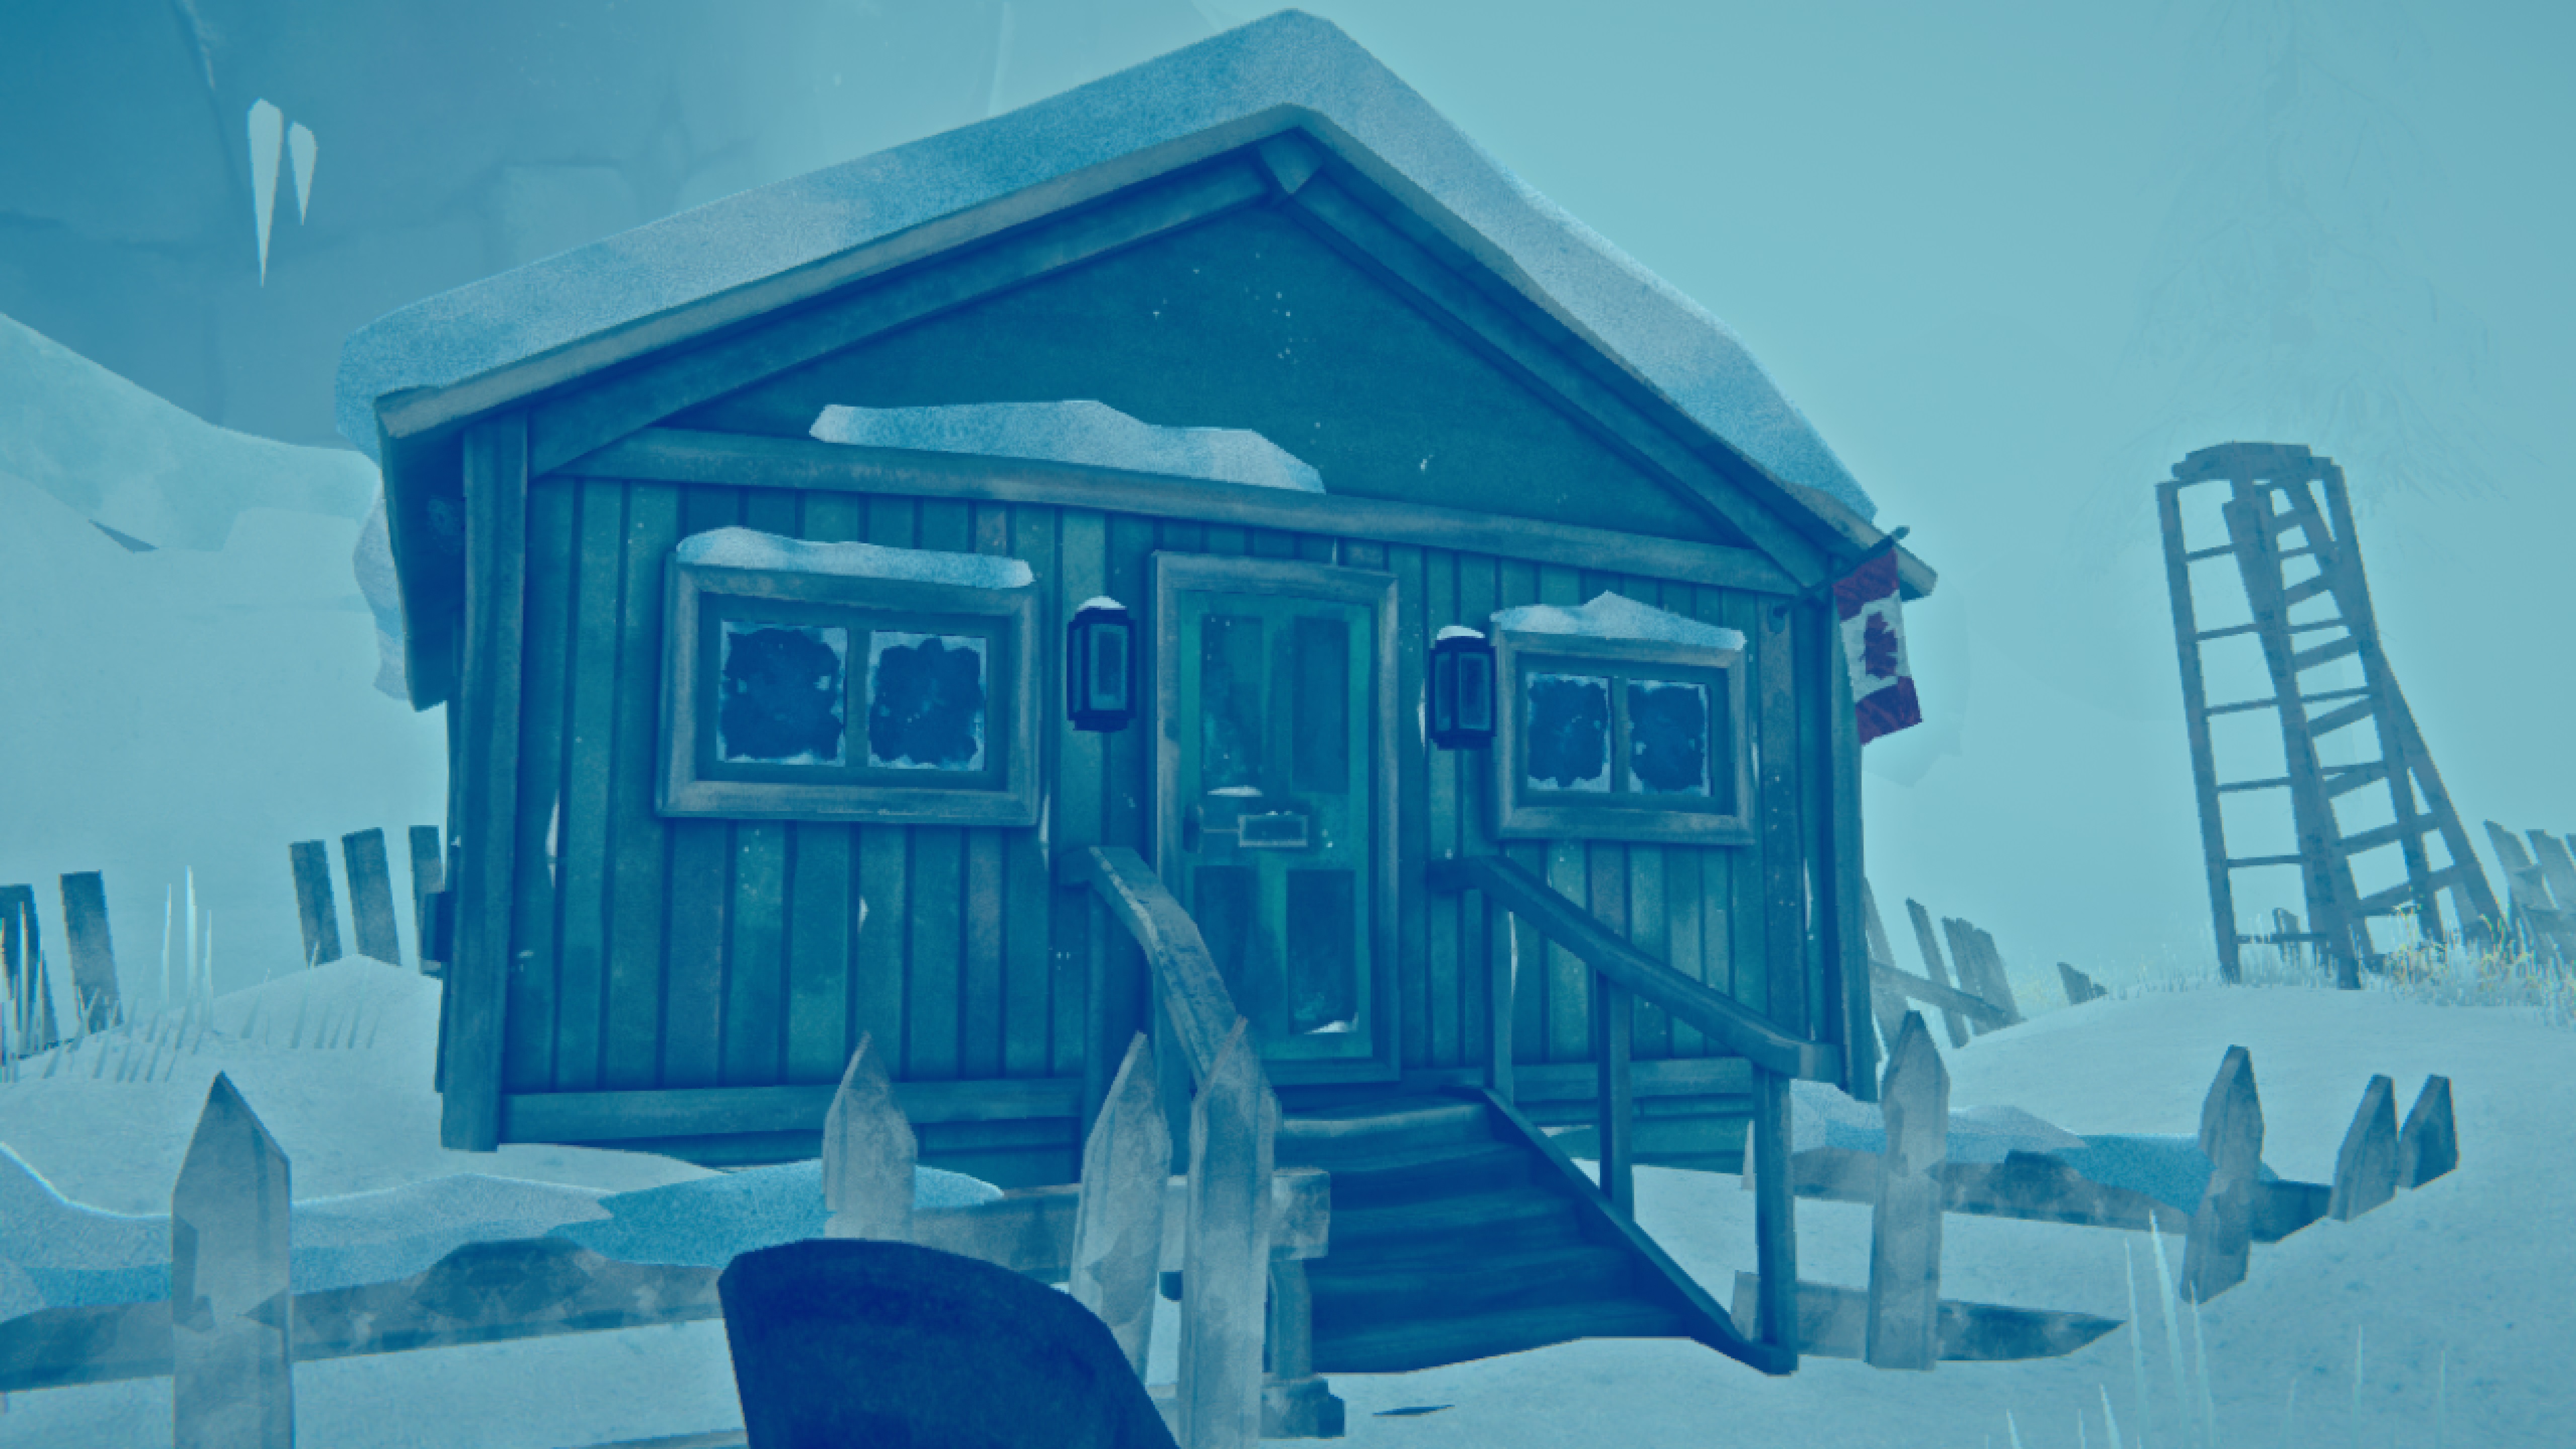 Once you're in the bank manager's house, search the bedside drawer on the right. You'll find a piece of paper with the vault code. Then just head to the vault and unlock it. The combination locks in The Long Dark open by turning the dial counter-clockwise, clockwise, and then counter-clockwise. If you've forgotten the code, it's 19-30-08.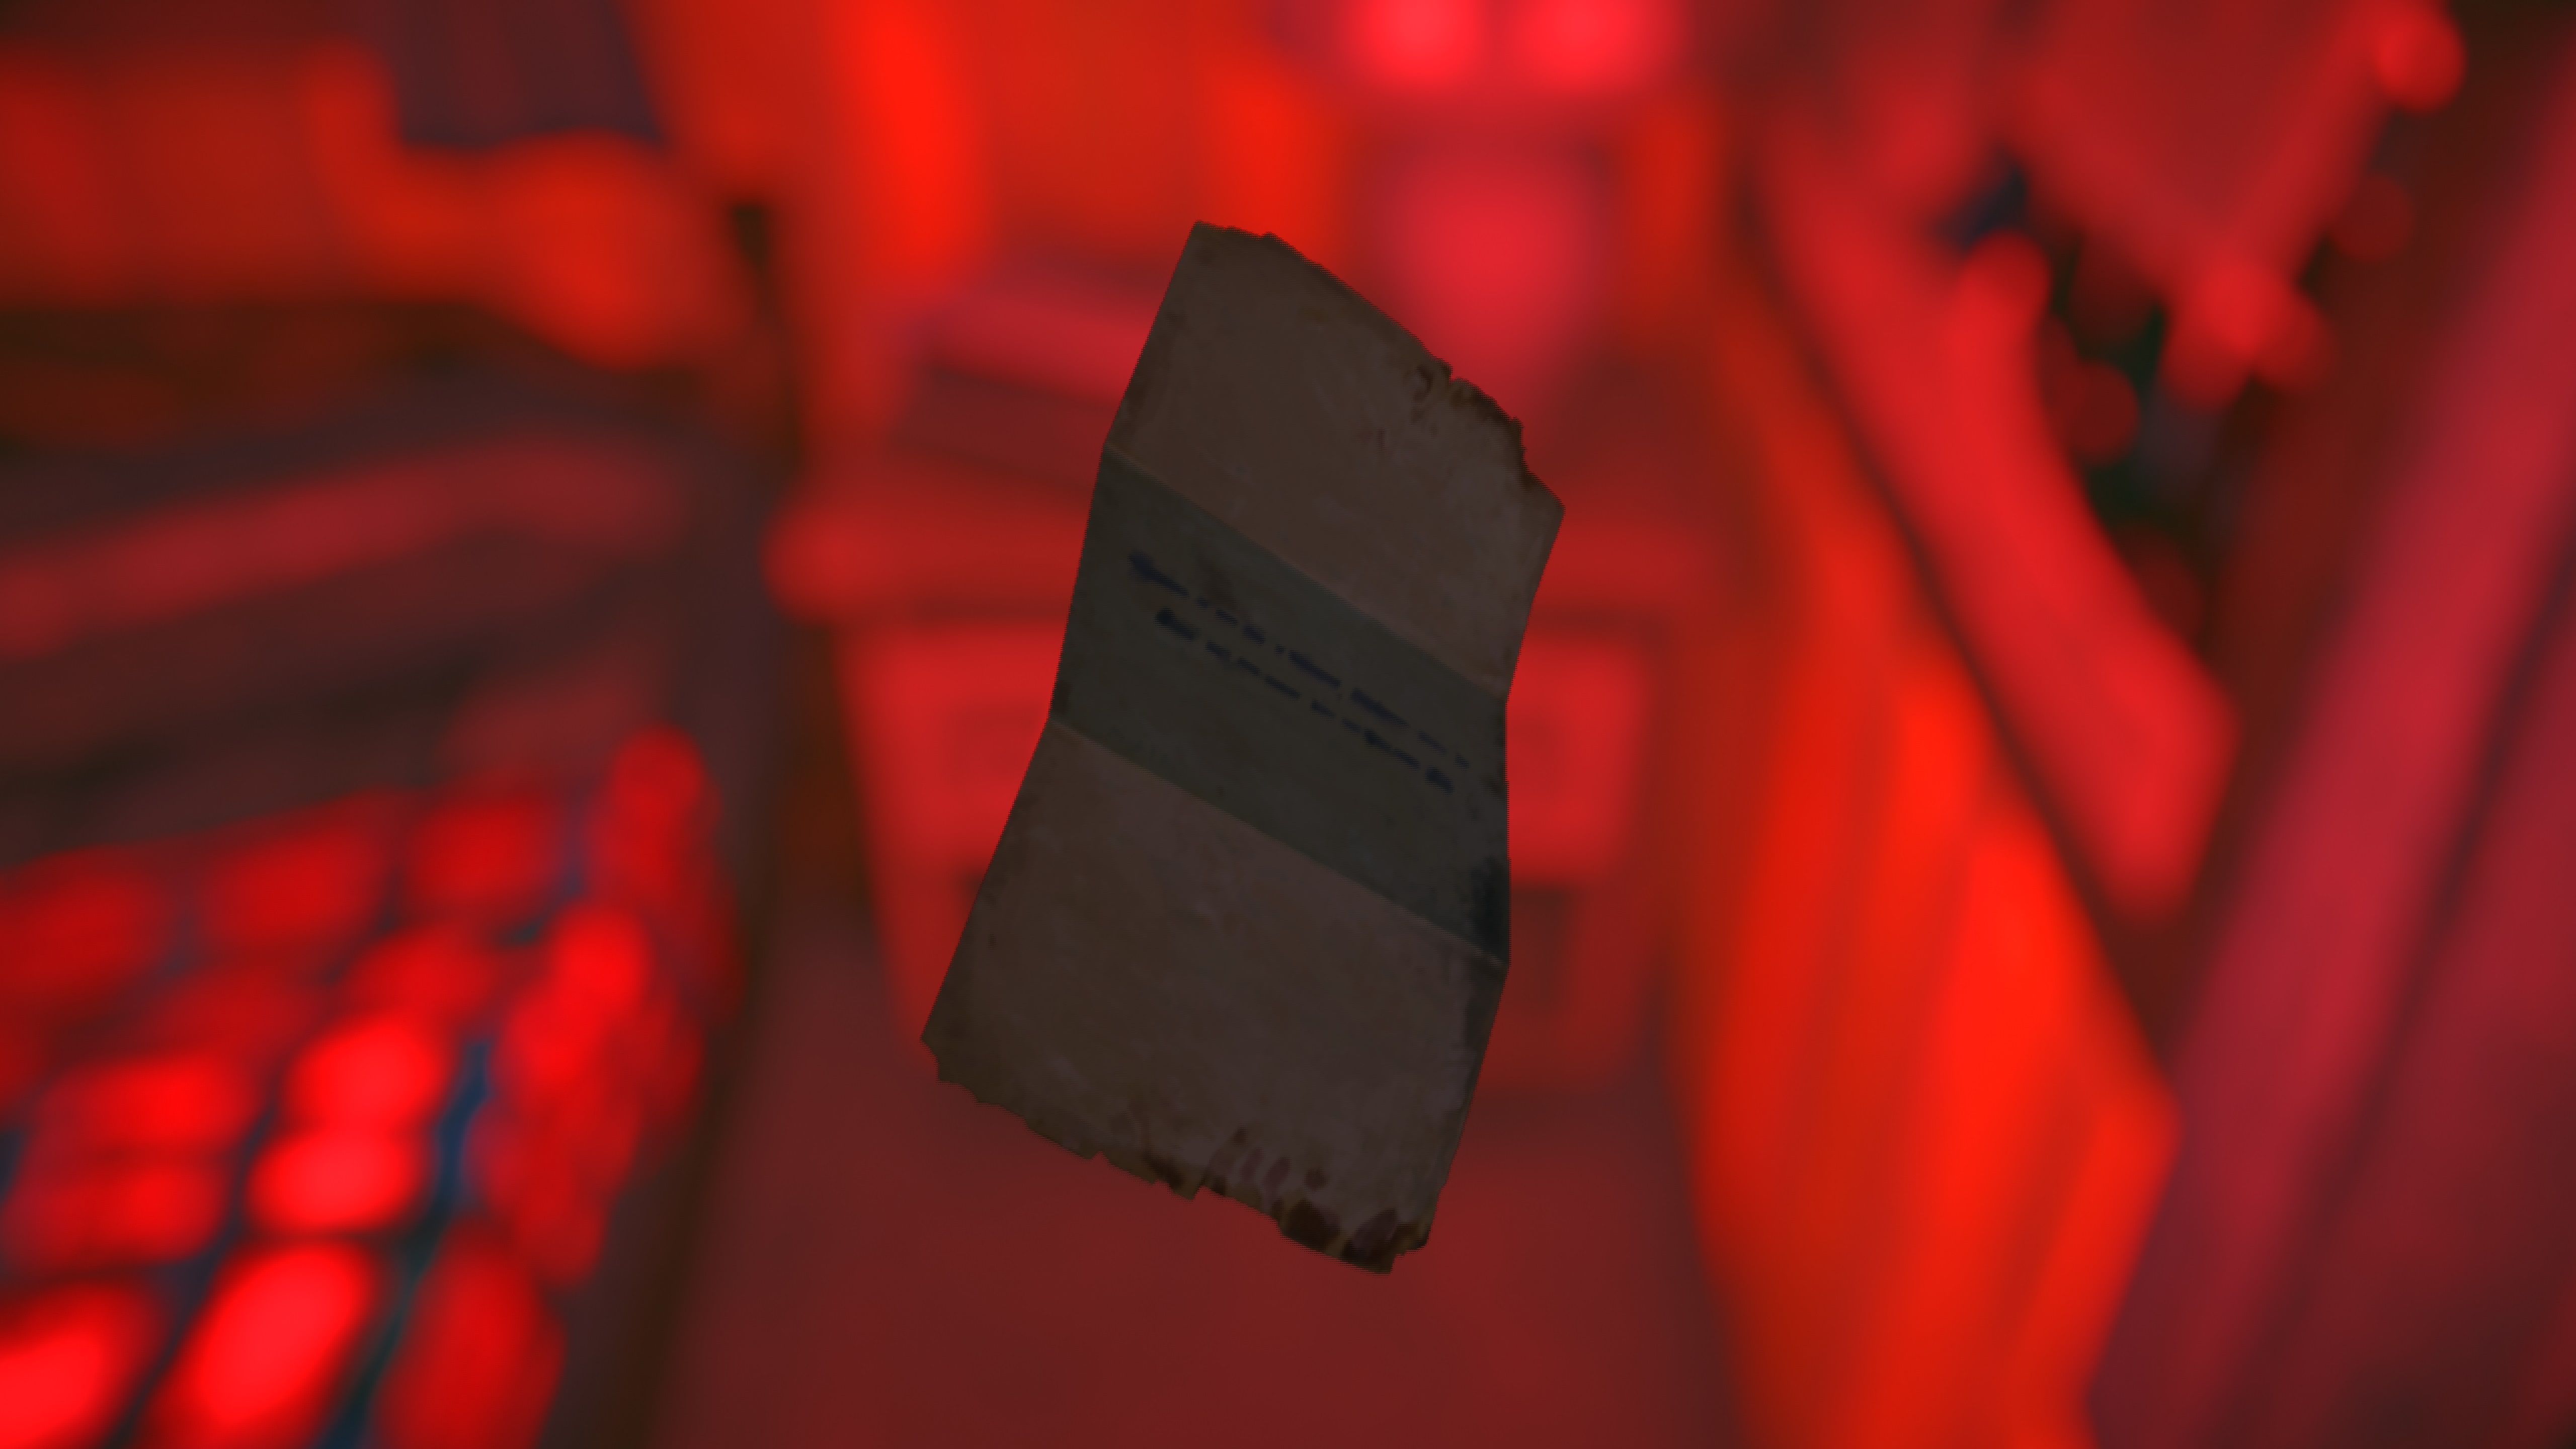
----------------------------------------
Below is the map Grey Mother gives you for Milton. I've labelled each of the deposit keys in different colors, as well as a suggested path to said key in the matching color. For more detailed descriptions, look below. Credit to Alcator for suggesting this method in the comments.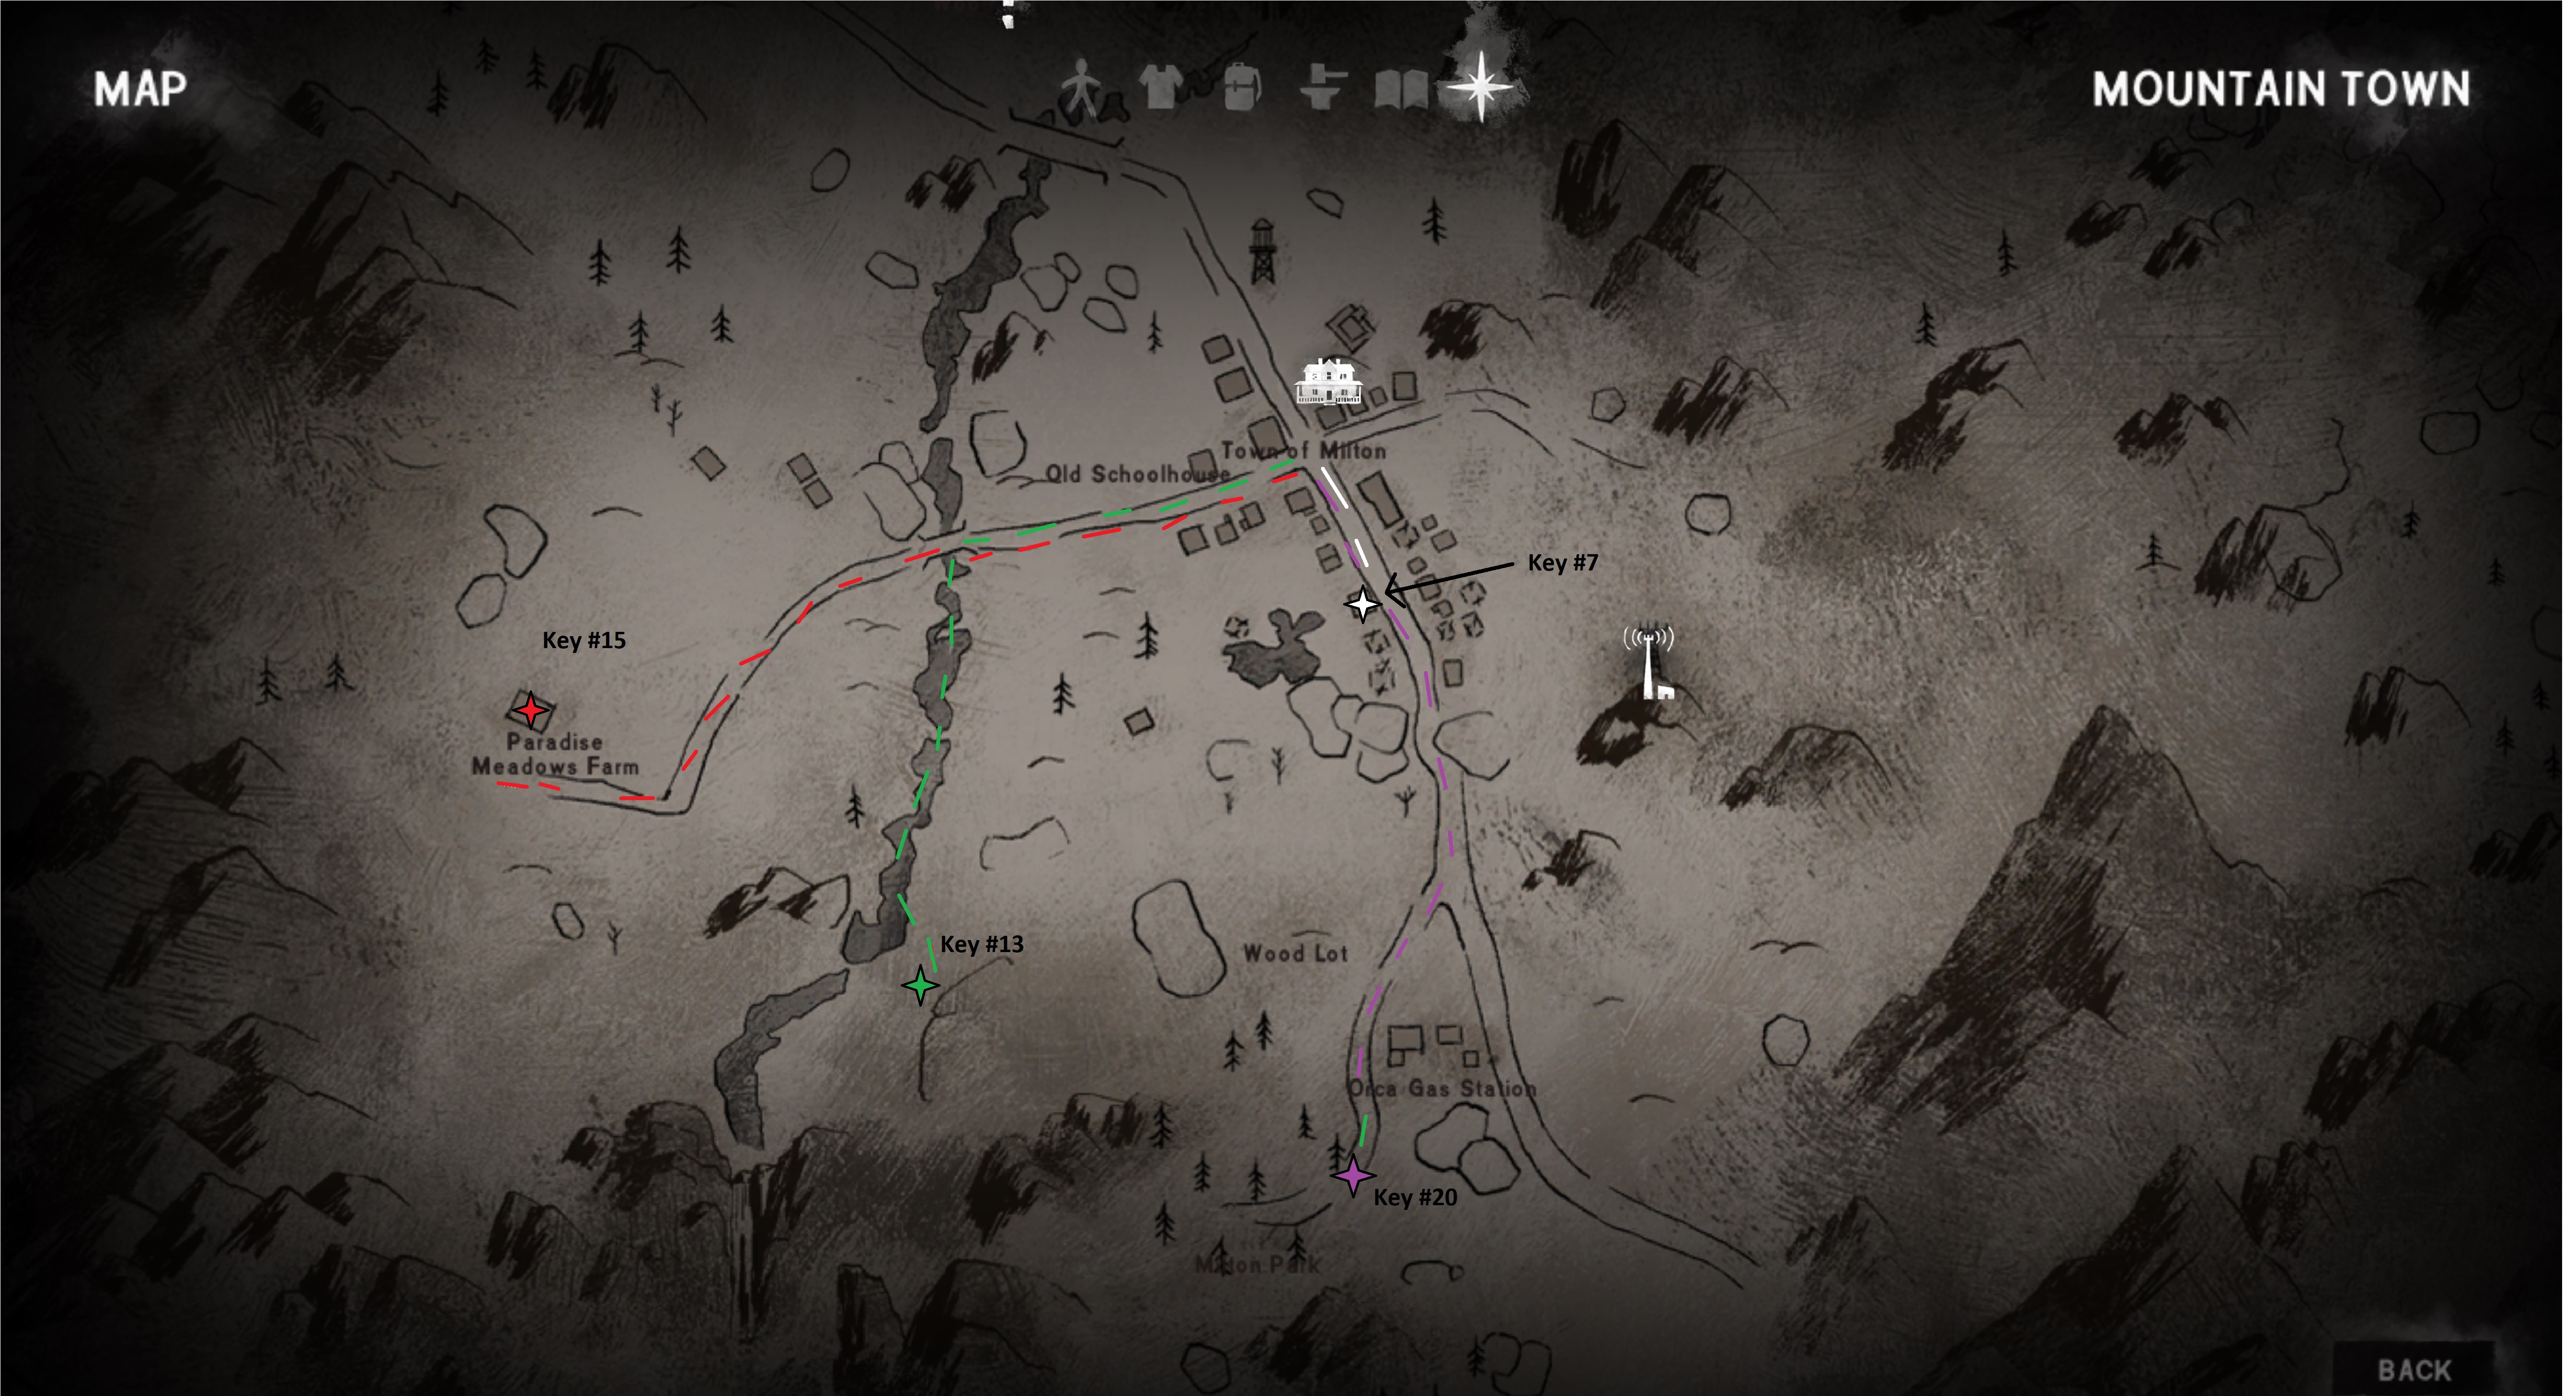 Deposit Box #7
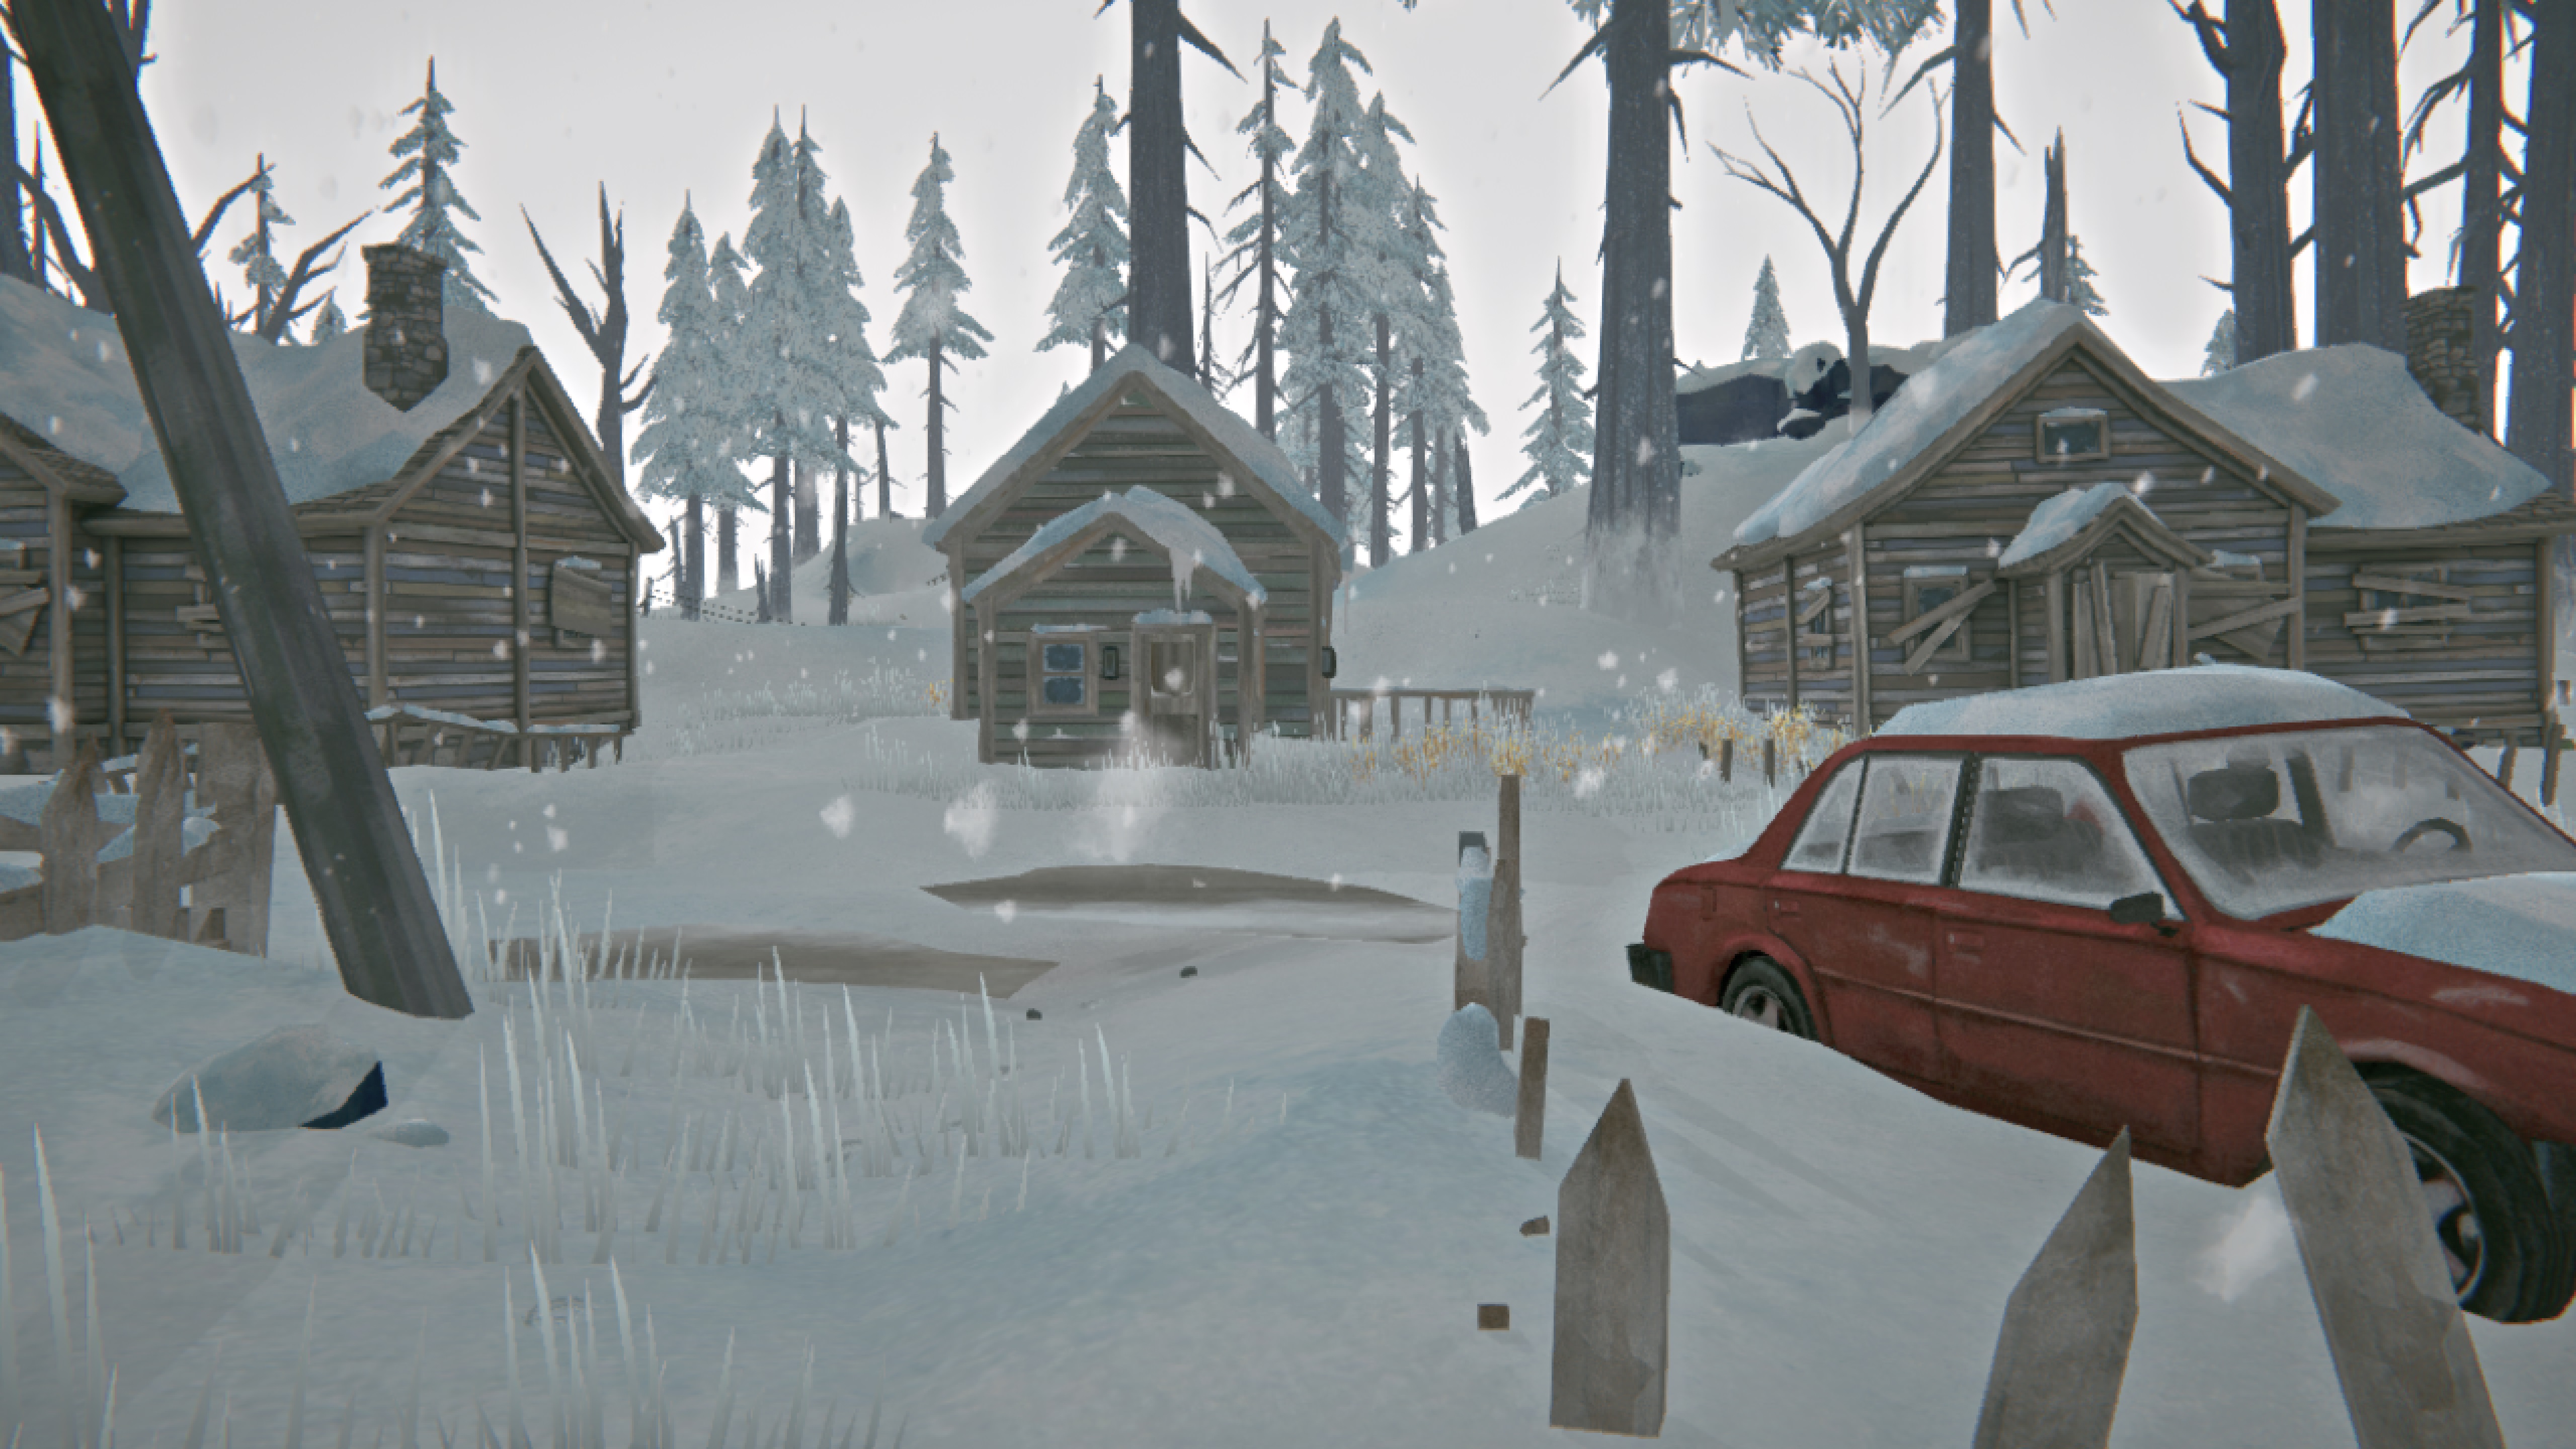
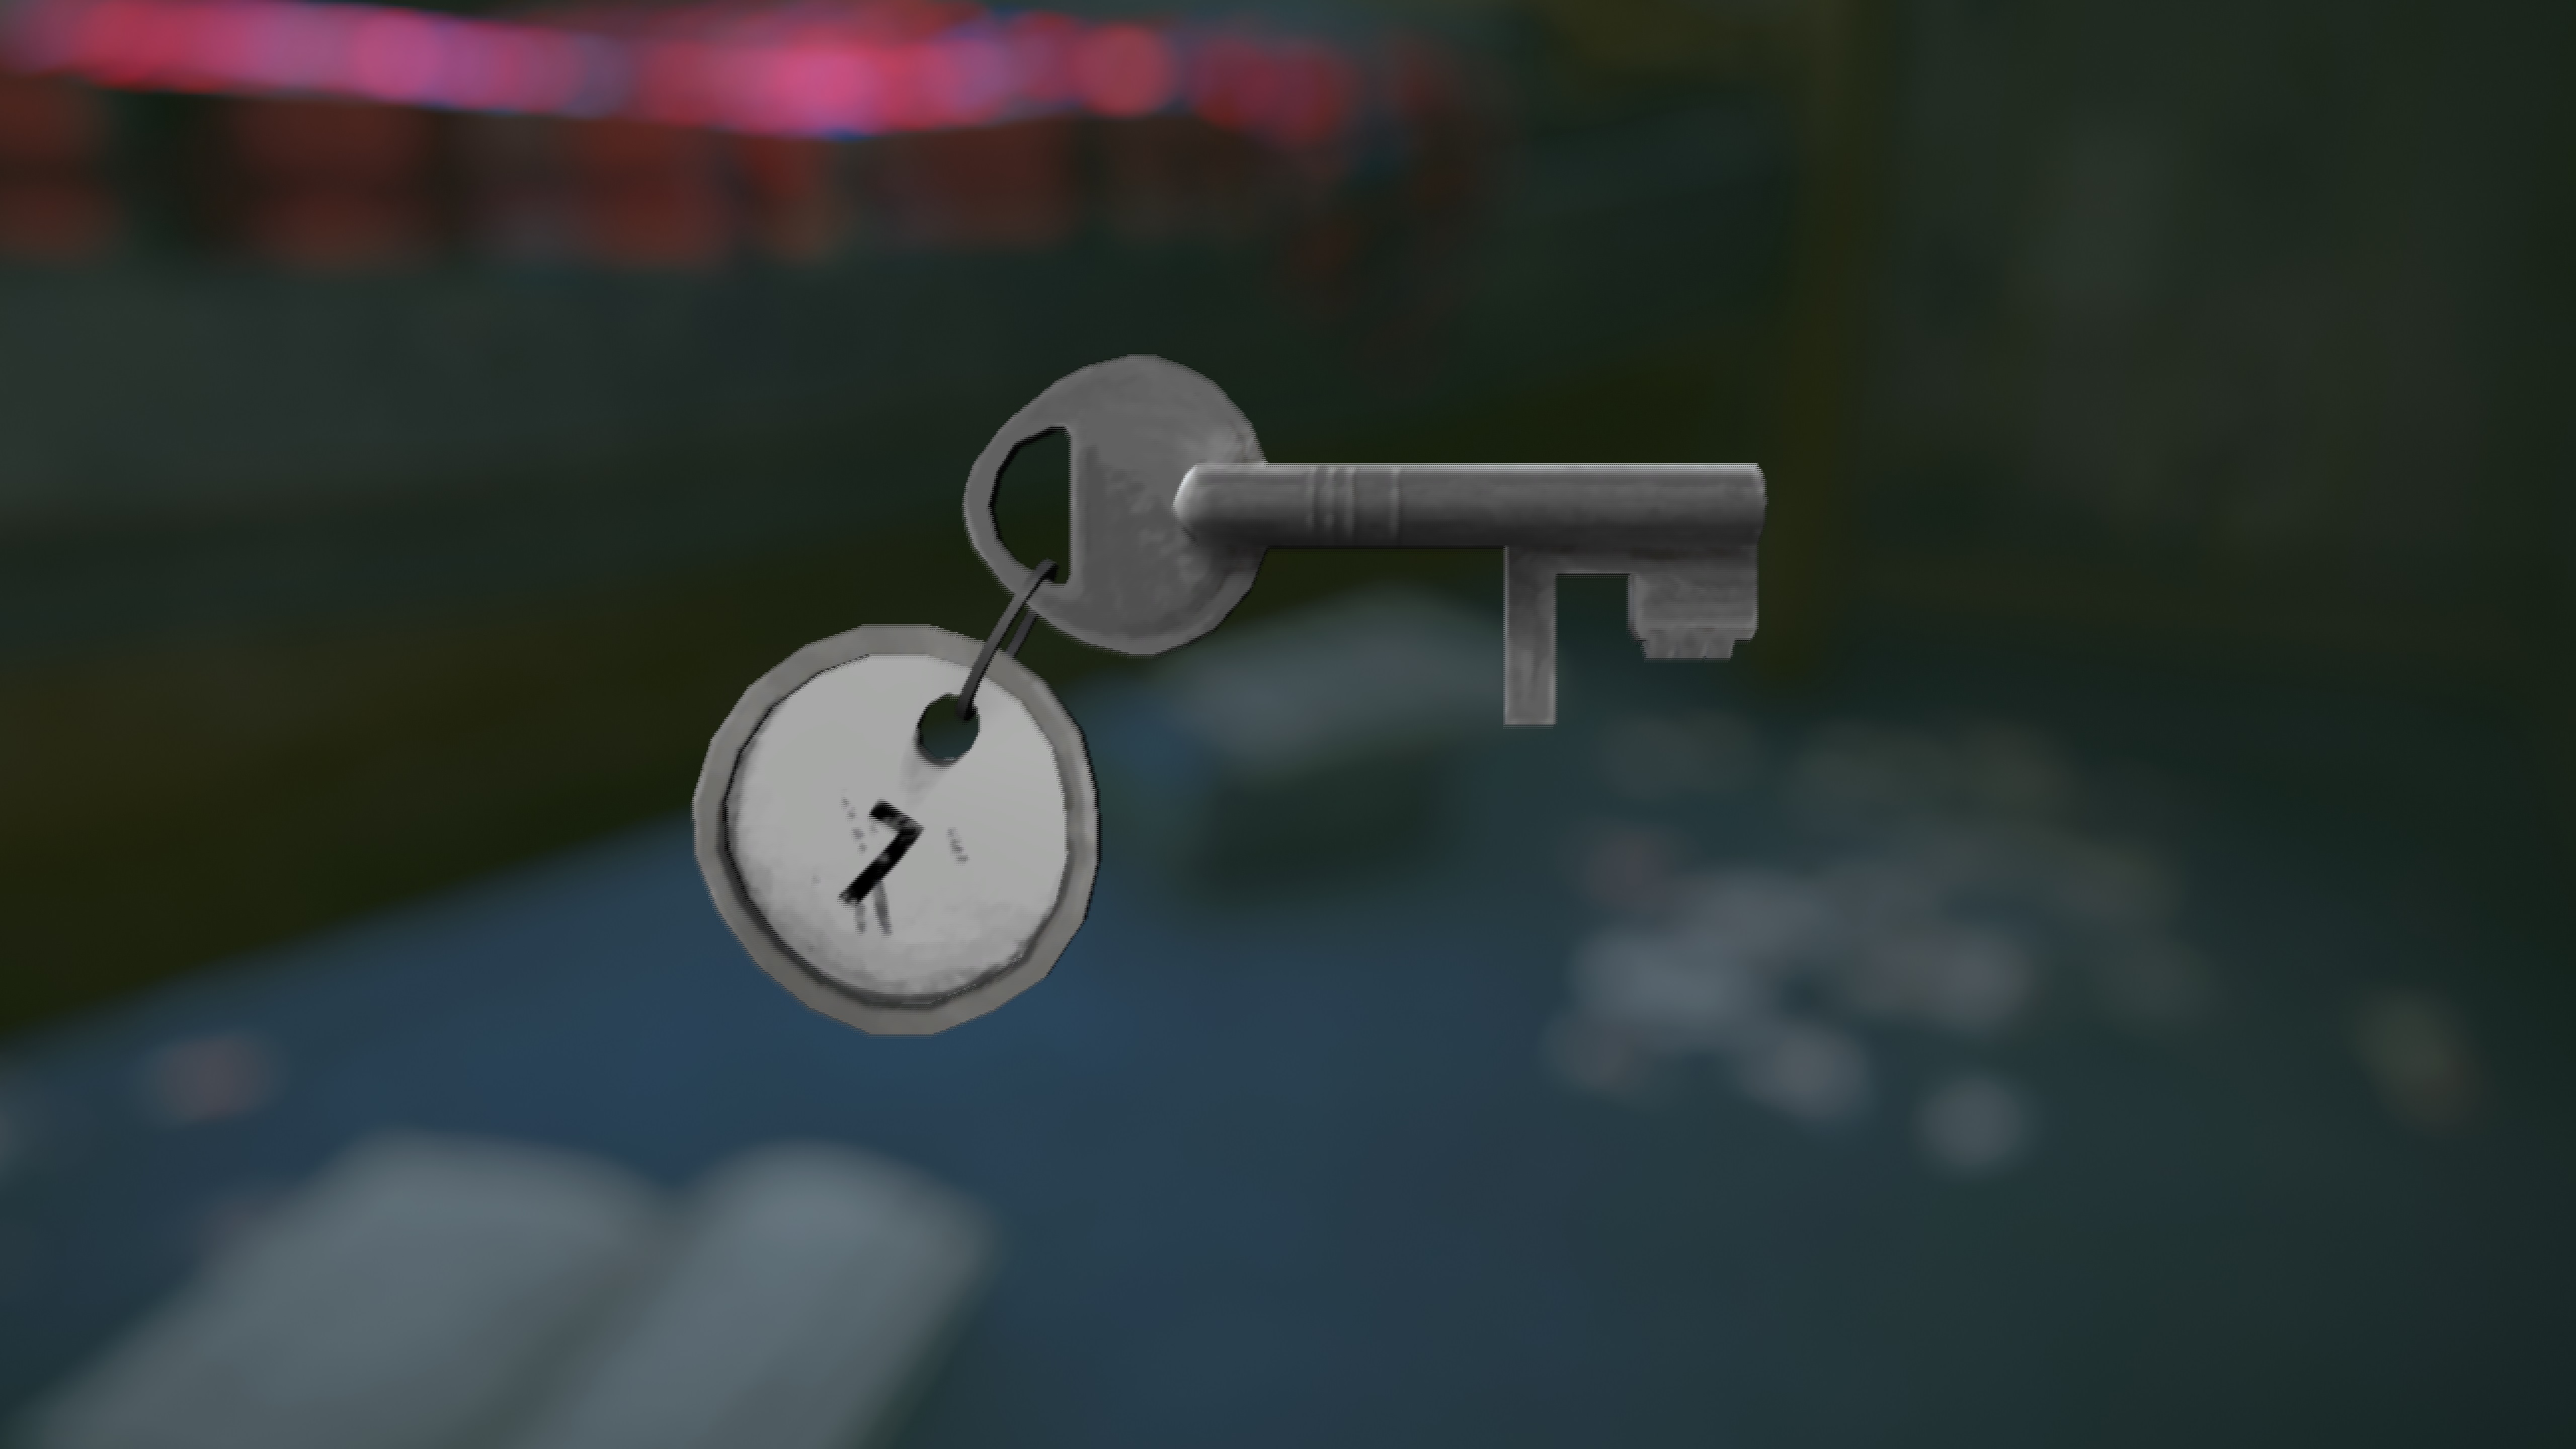
This key is in the below house of Milton. You'll find it in a plastic container, under the bed.
 Deposit Box #13
This key can be found on a corpse outside of Milton. Depart from Milton to the Barker Farm. Turn left at the wooden bridge across the frozen river and follow the river until you see this scene in front of you.
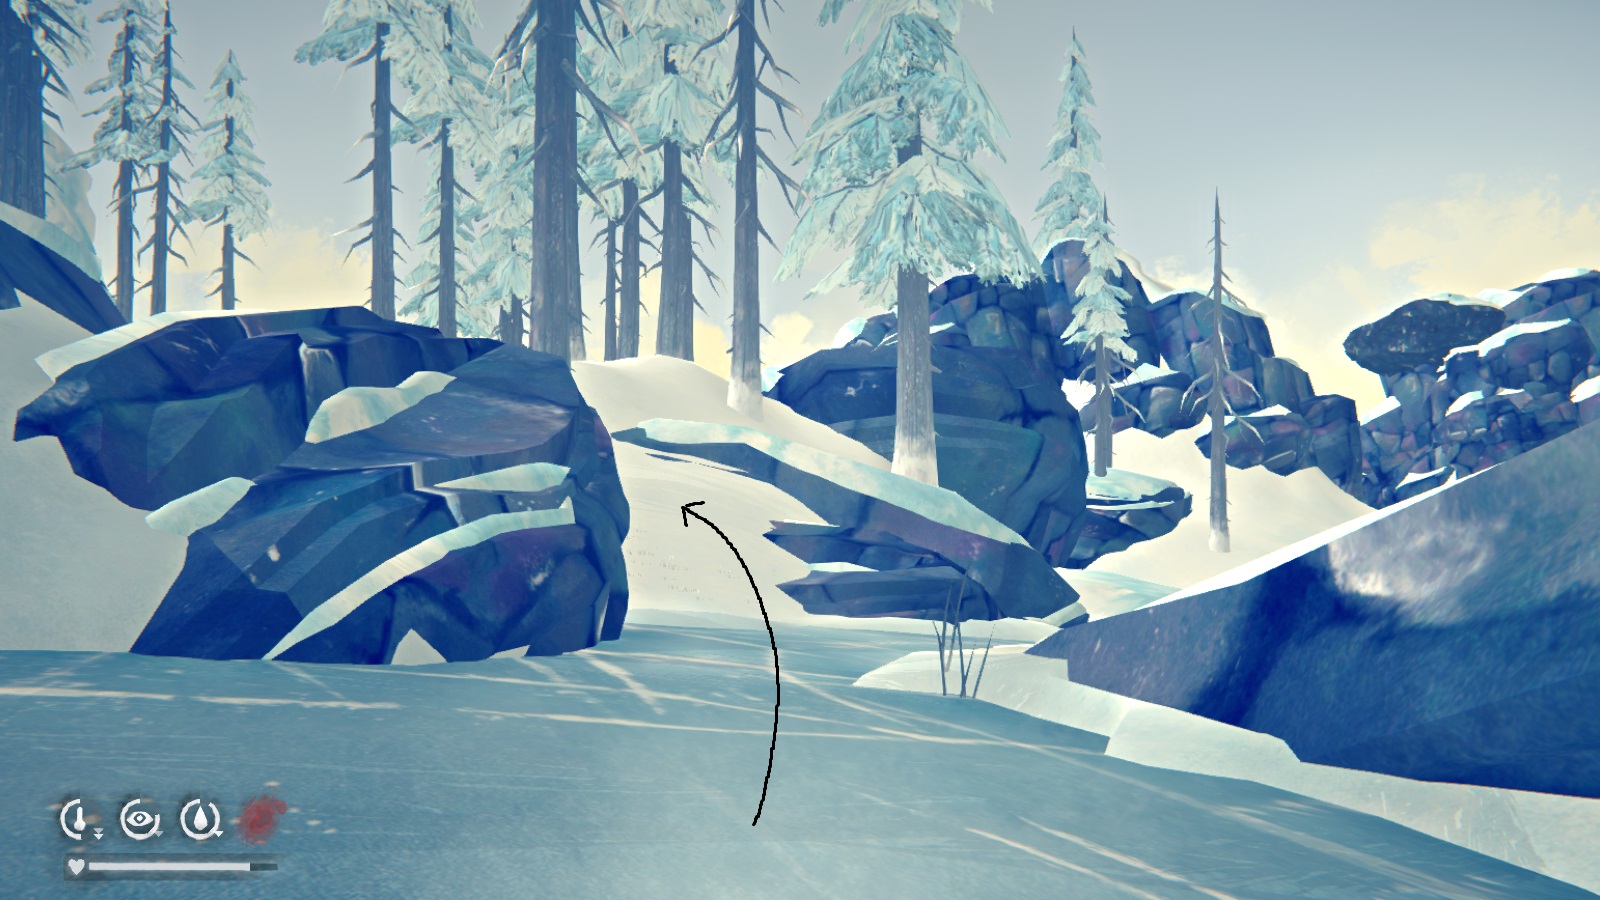 You'll want to turn where the black arrow and go up the hill. There will be a dead body with a backpack lying nearby. Search the body for the bank deposit key.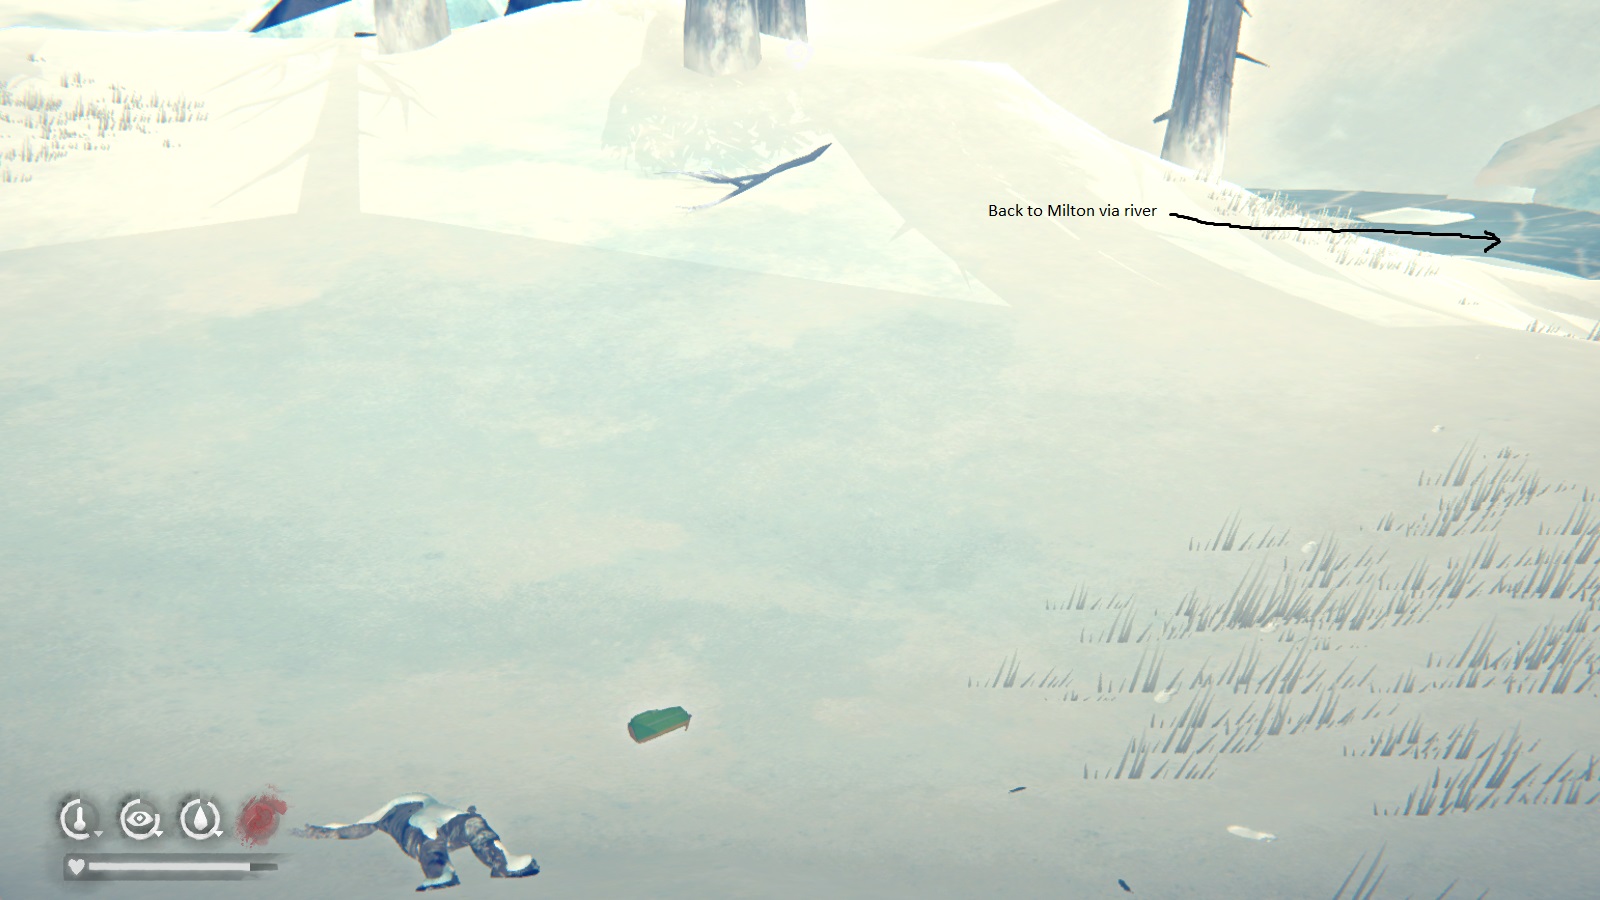
Deposit Box #15
You'll find this key during the story. It's in Paradise Meadows farm. Check the main story walkthrough (Chapter 3: The Grey Mother) for more details.
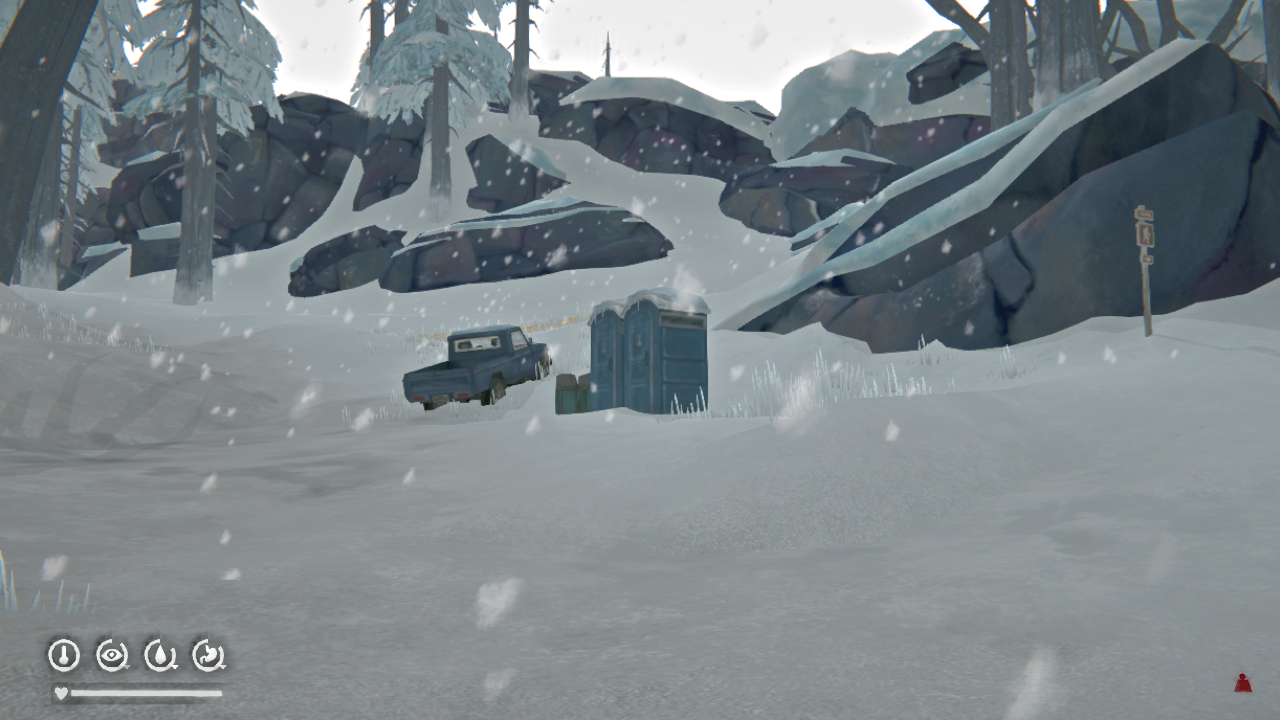
The key to this box is in the blue truck on the outskirts of Milton. You want to leave Milton as though going to the gas station, and veer right after leaving town. It's the same path you take when going to the climbing area in Chapter 4. The key will be on the dashboard of the blue truck below.
Sidequest: Milton Supply Caches
--------------------------------------------------
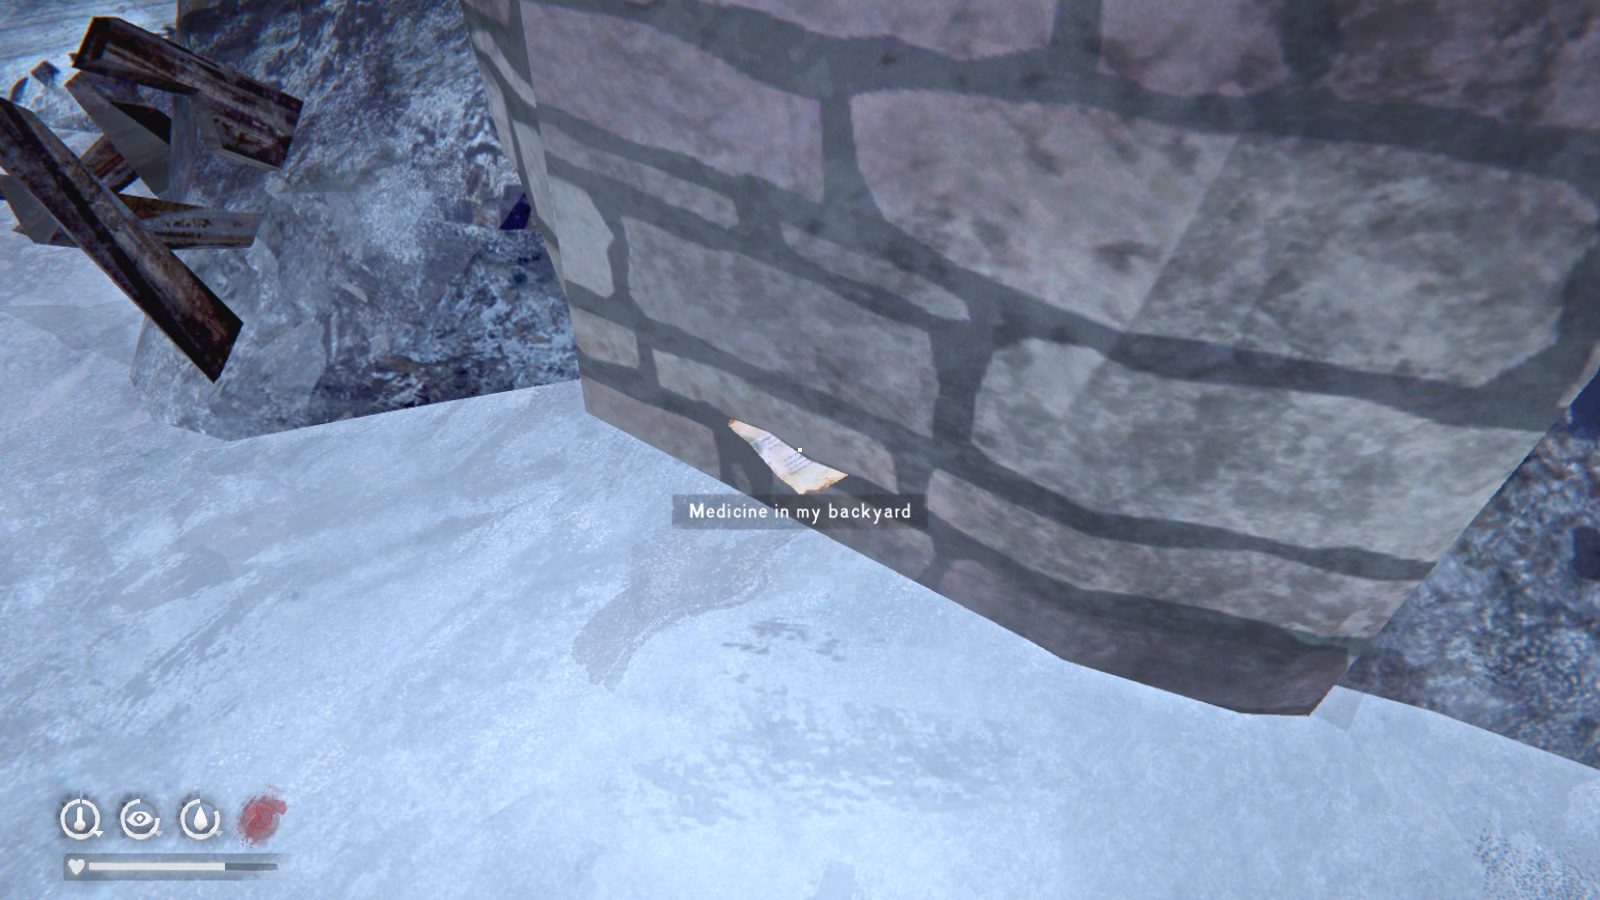
The cache itself is behind the remains of a house in town. Specifically, it's the second to last house on the right side when leaving Milton and going towards the Orca gas station.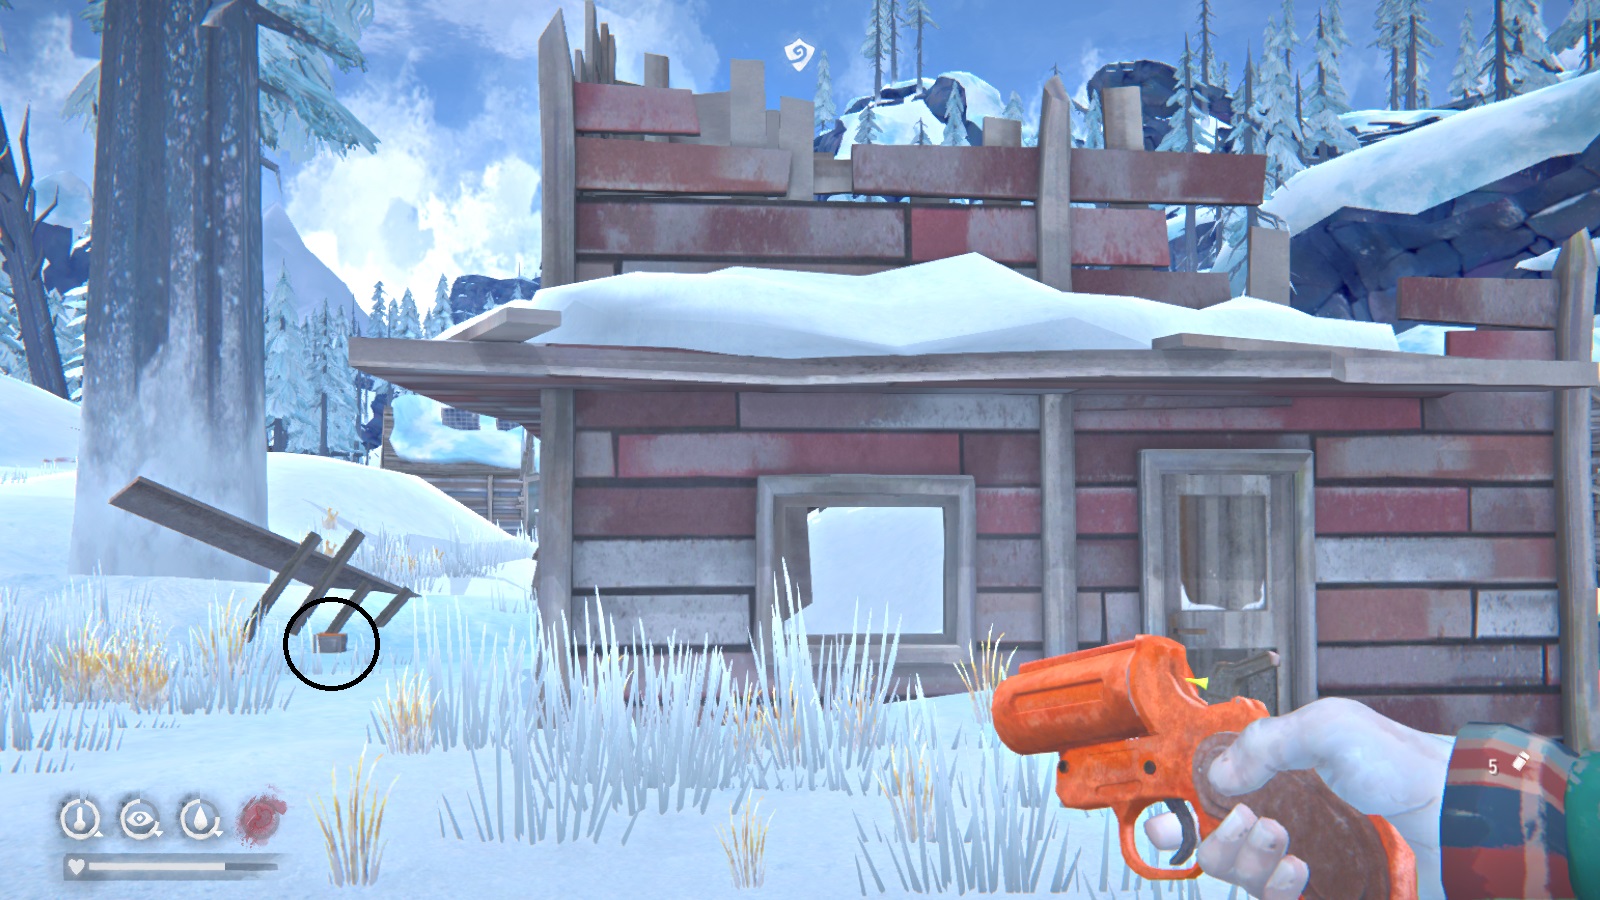 As the name suggests, this cache has medical supplies, like painkillers and antibiotics.
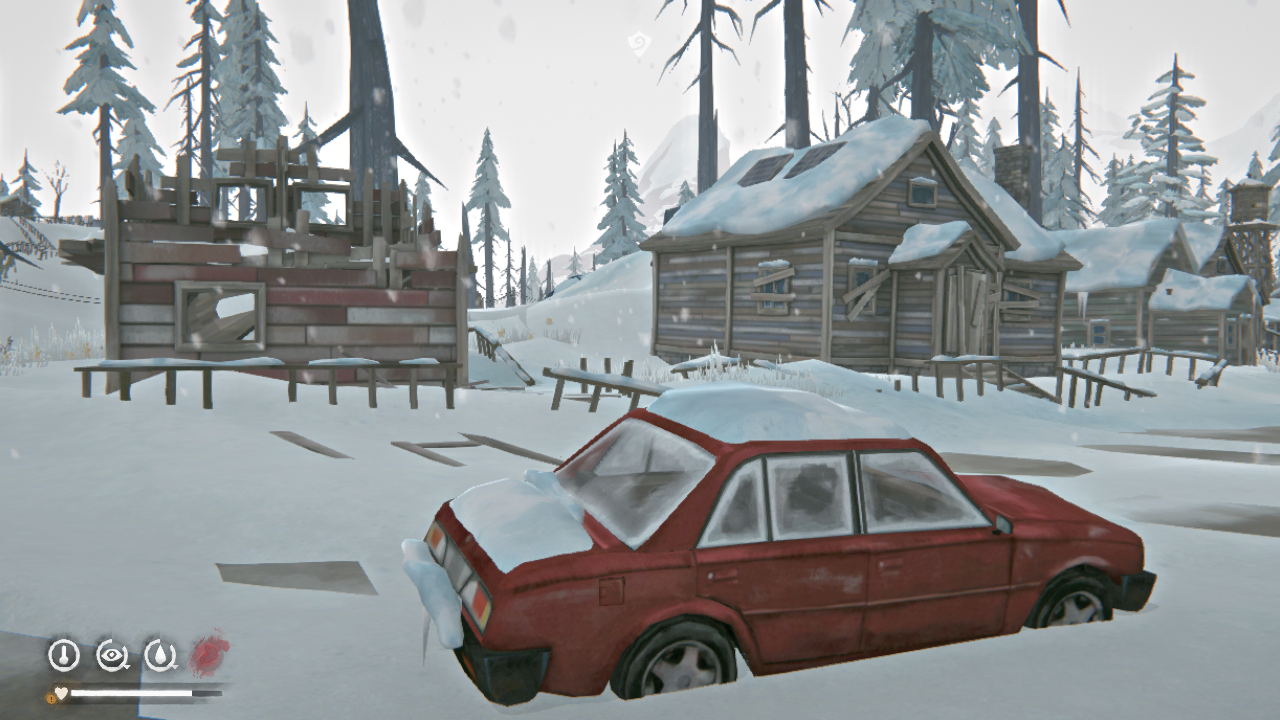
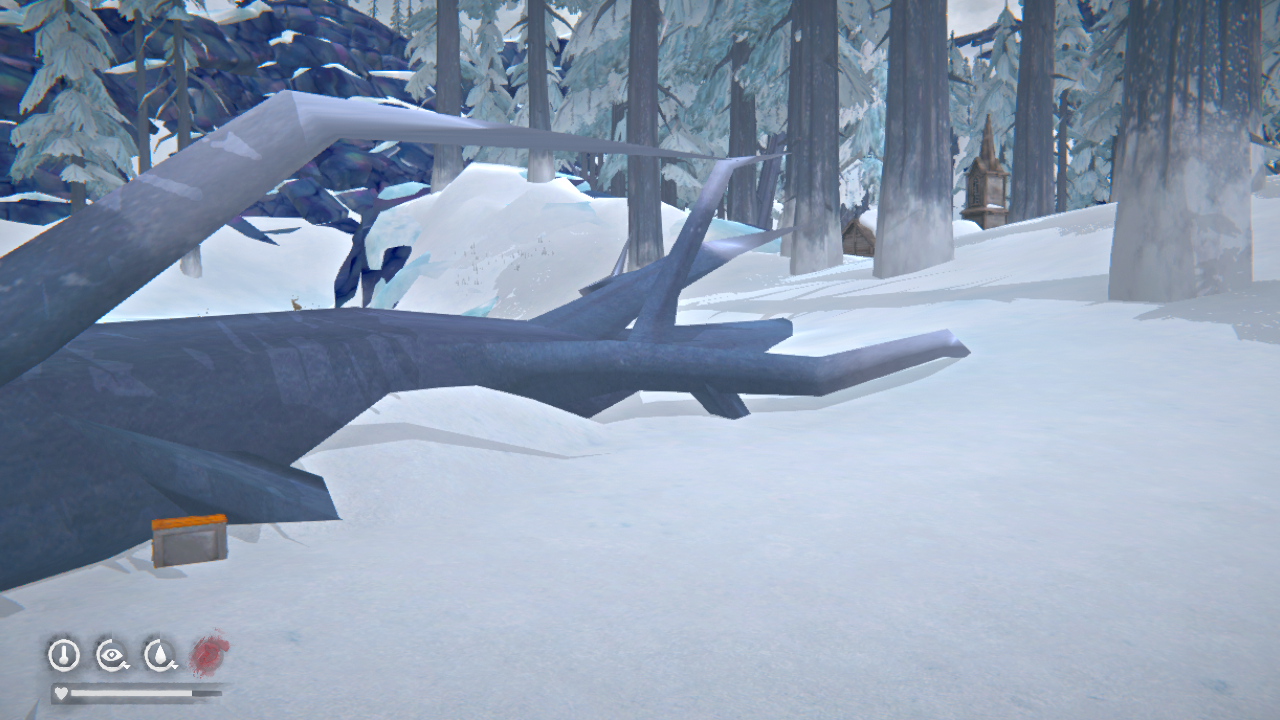
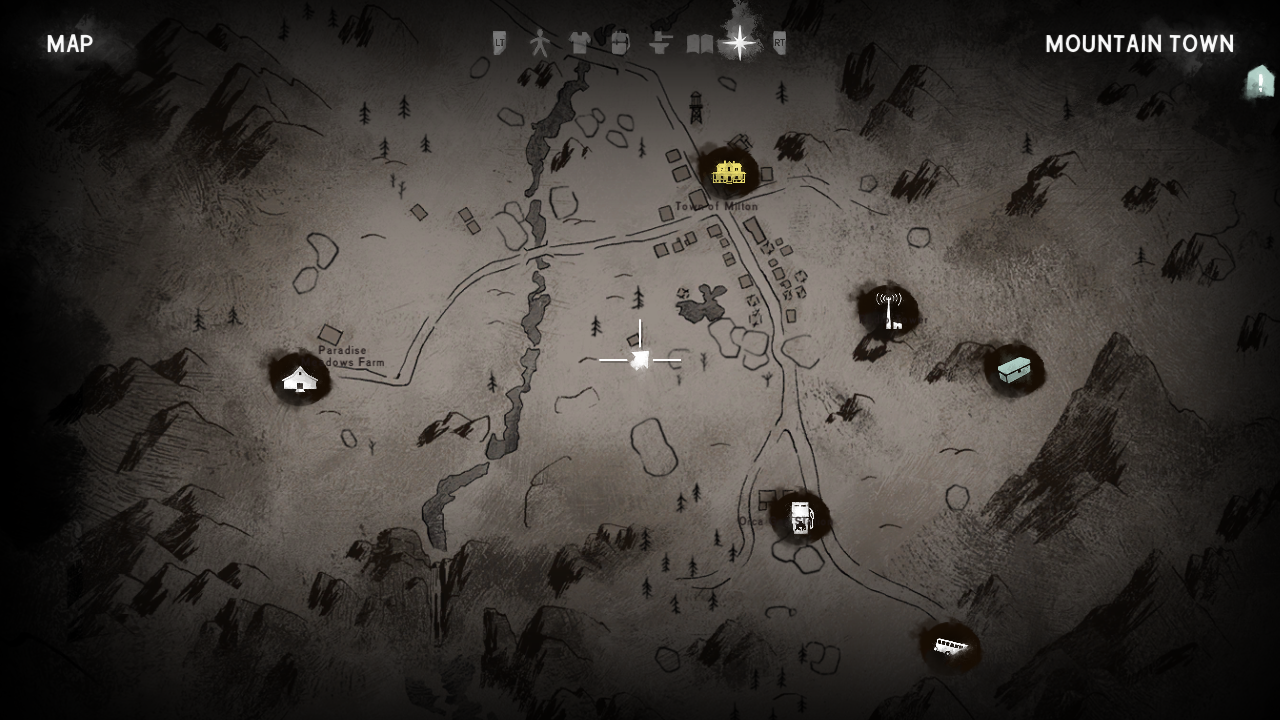
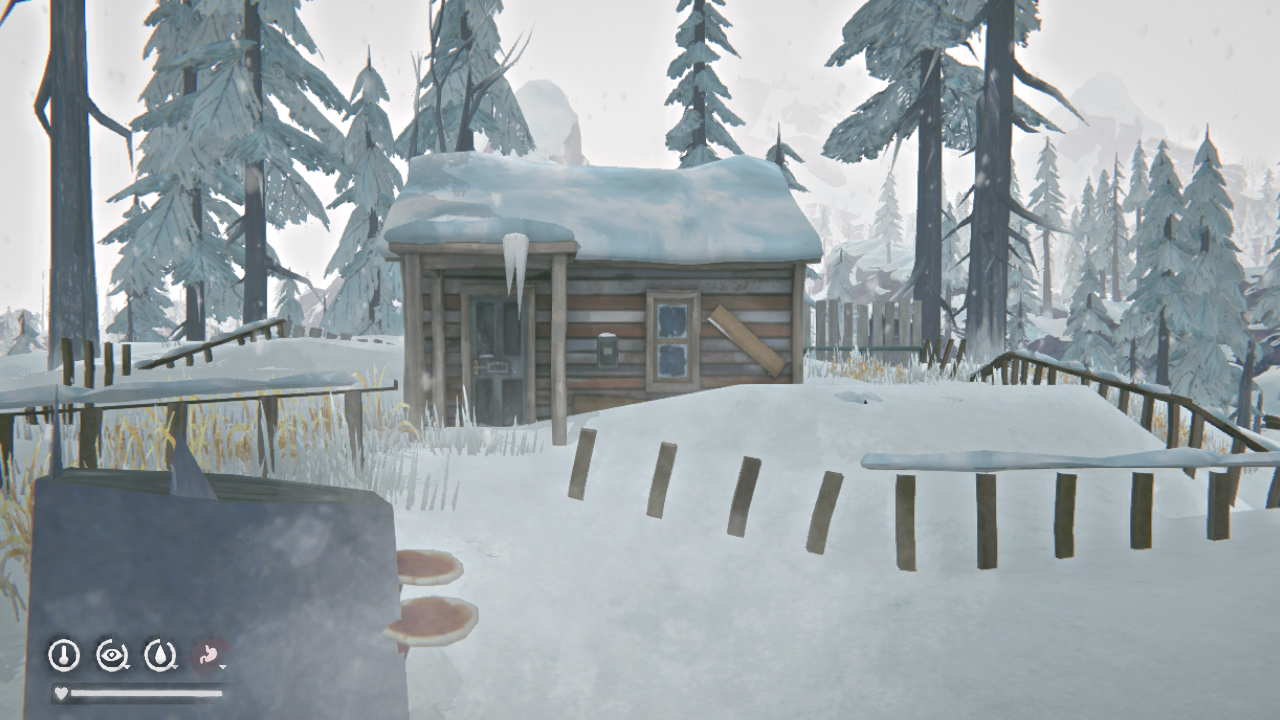
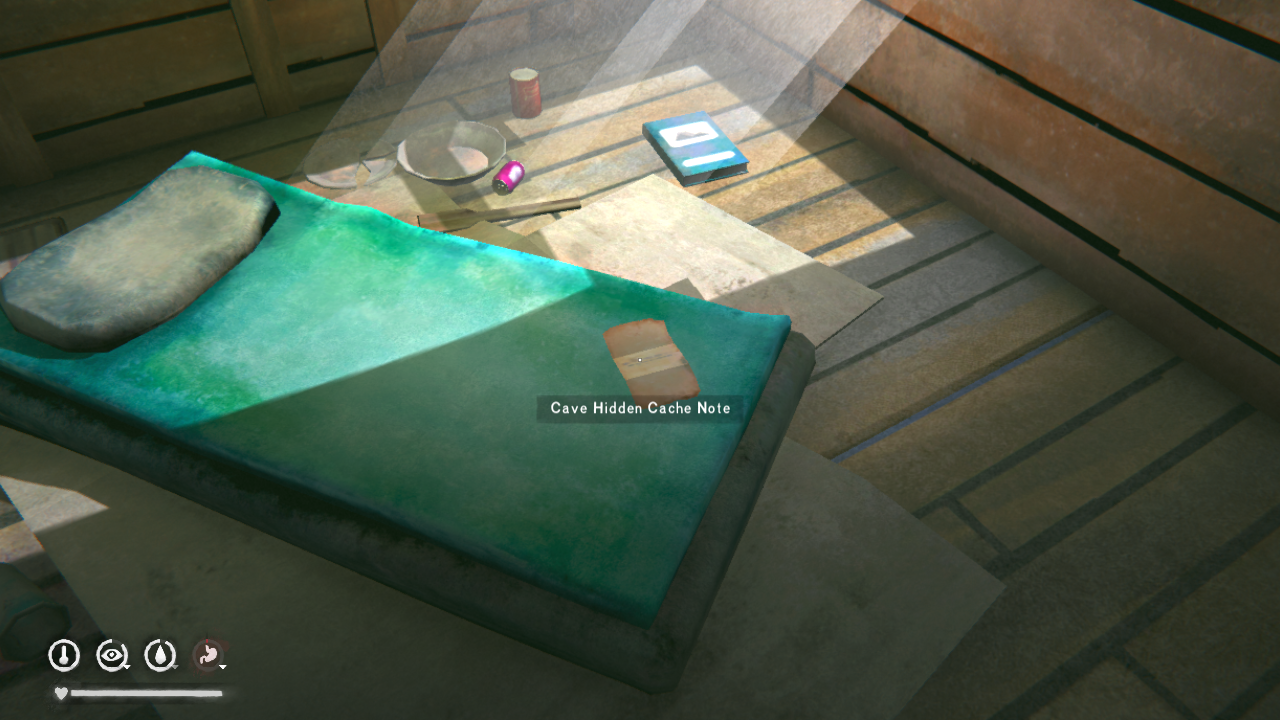
--------------------------------------------------
The cache itself is hidden in a cave near the radio tower. Head on back the way you first entered town, but go straight instead of turning to the left at the fork.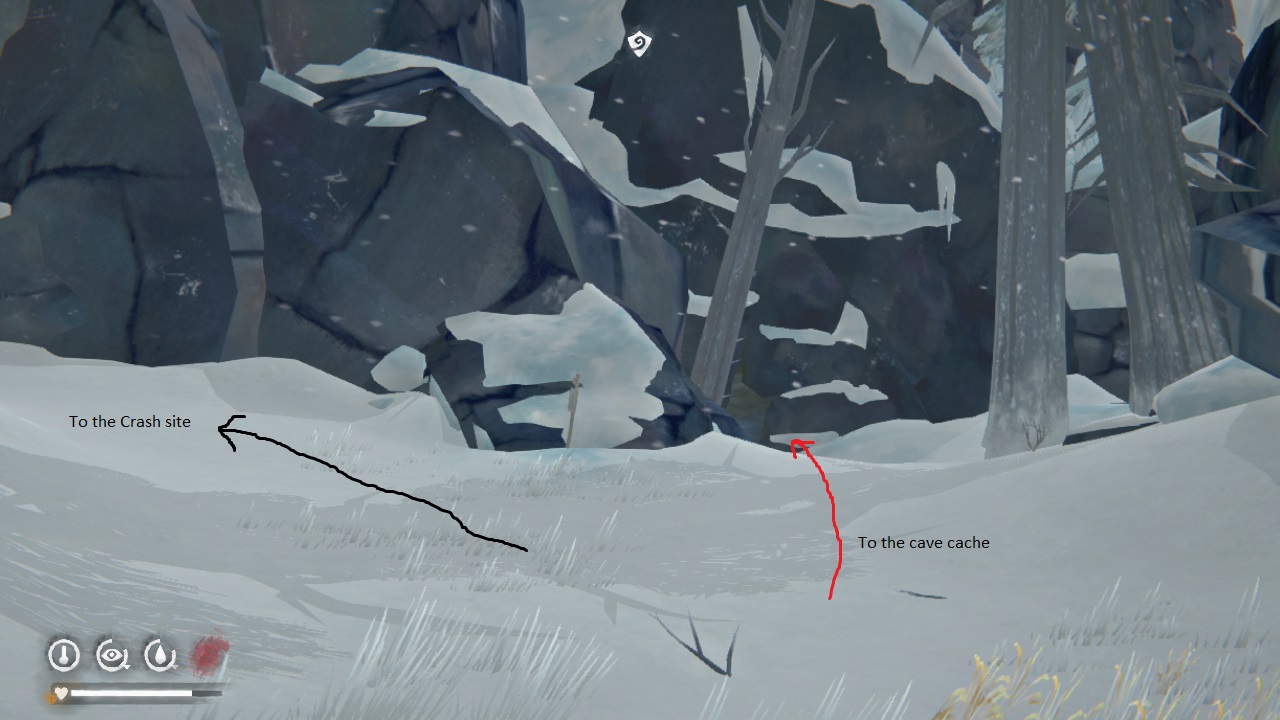 Search the big rock at the very back of the cave to find the goods.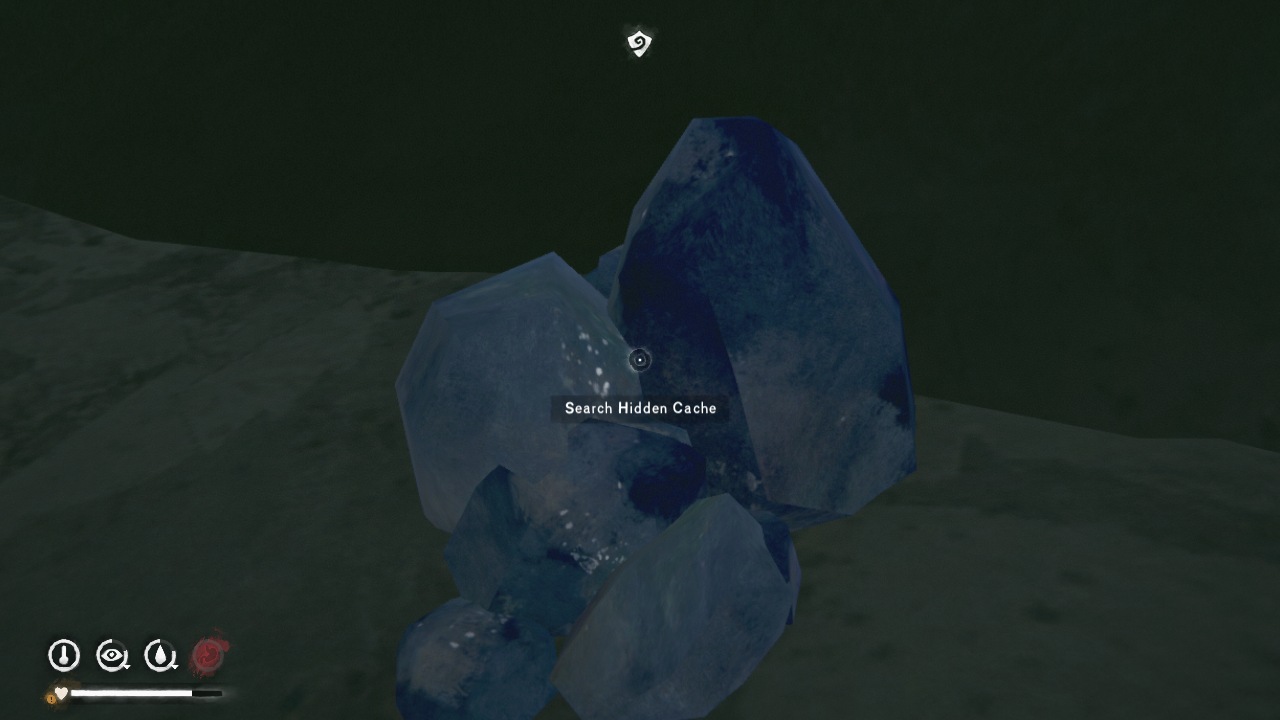
Sidequest: Highway Robbery
Hmm, seems like some rich person got stuck on the bridge into town. And it sounds like he might have some nice stuff on him.
You can check your map to see approximately where this cache is located. For those of you who have played the original Episode 1 or Survival Mode, the cache is on Spruce Falls Bridge. To get there from Milton, just take a right out of Grey Mother's house and follow the road. There are a few wolves roaming about, so stay alert.
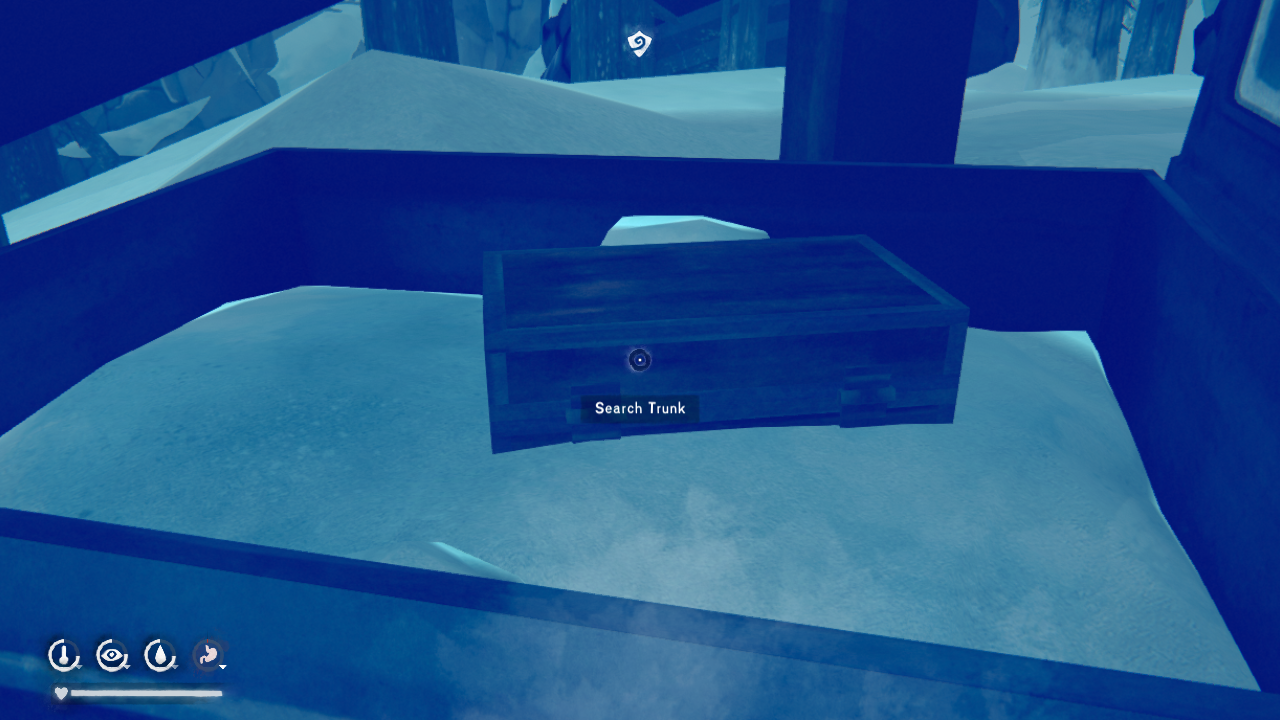
Once you reach the bridge, Will comments to let you know you're in the right place. The cache can be found in the back of the first pickup truck you see when you get to the bridge. There's some really nice stuff here, including high-calorie food and a distress pistol so be sure to check it out.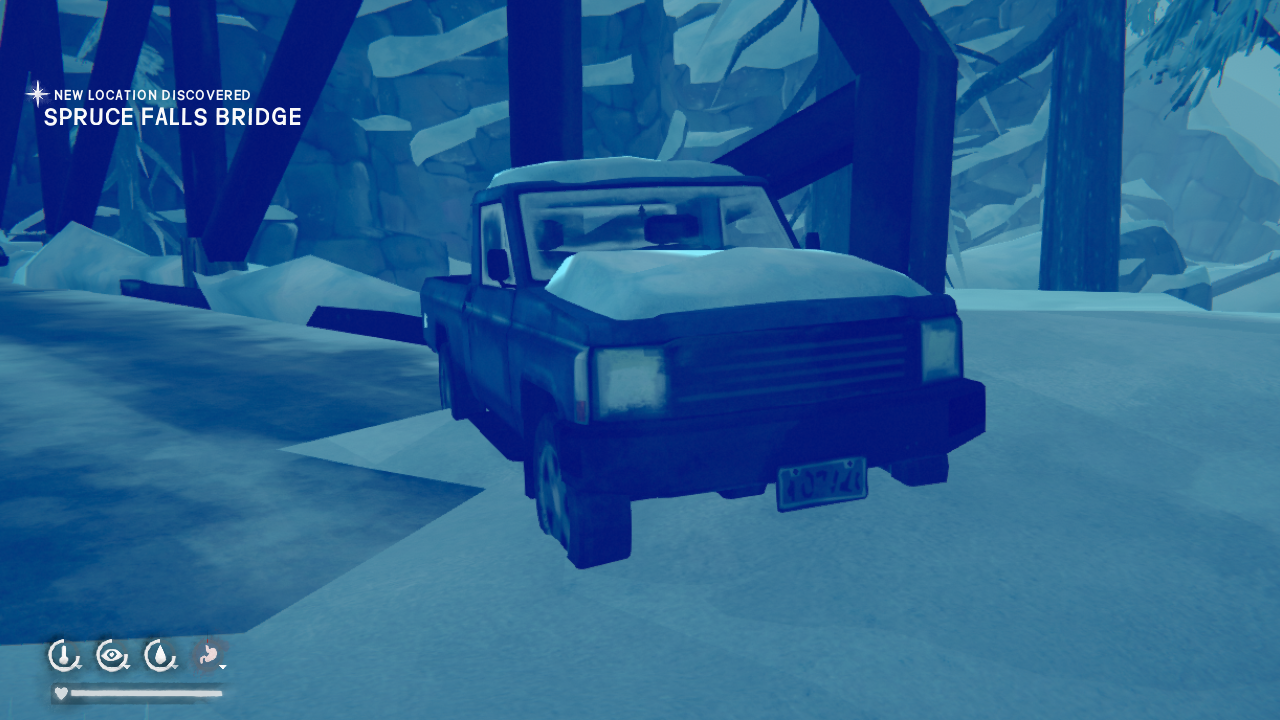
Sidequest: Extra Supplies
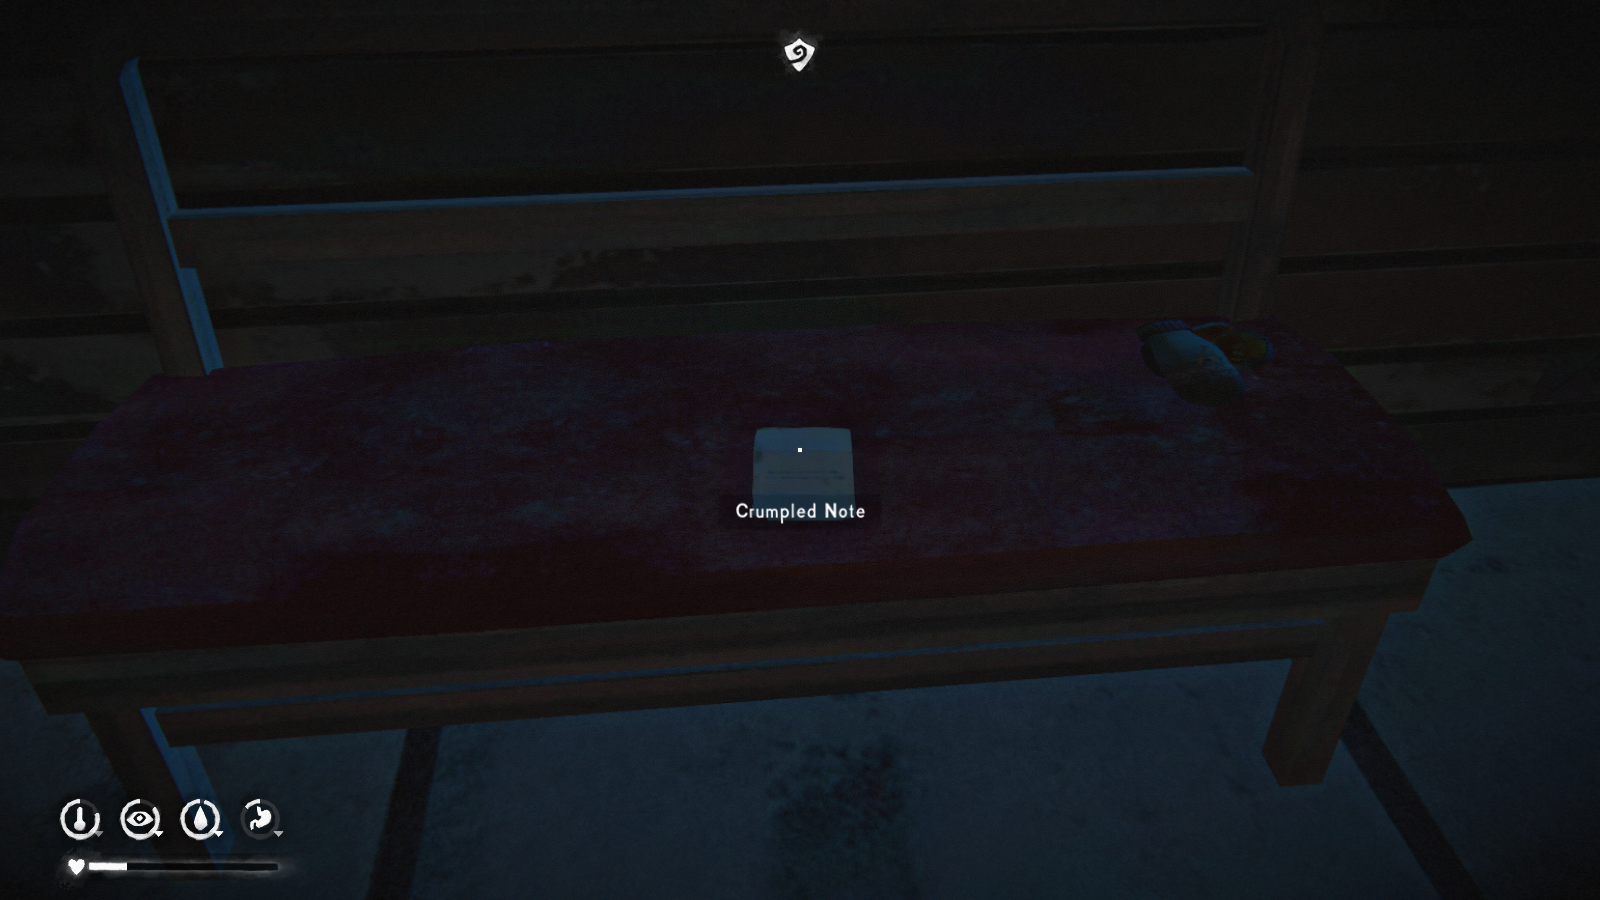
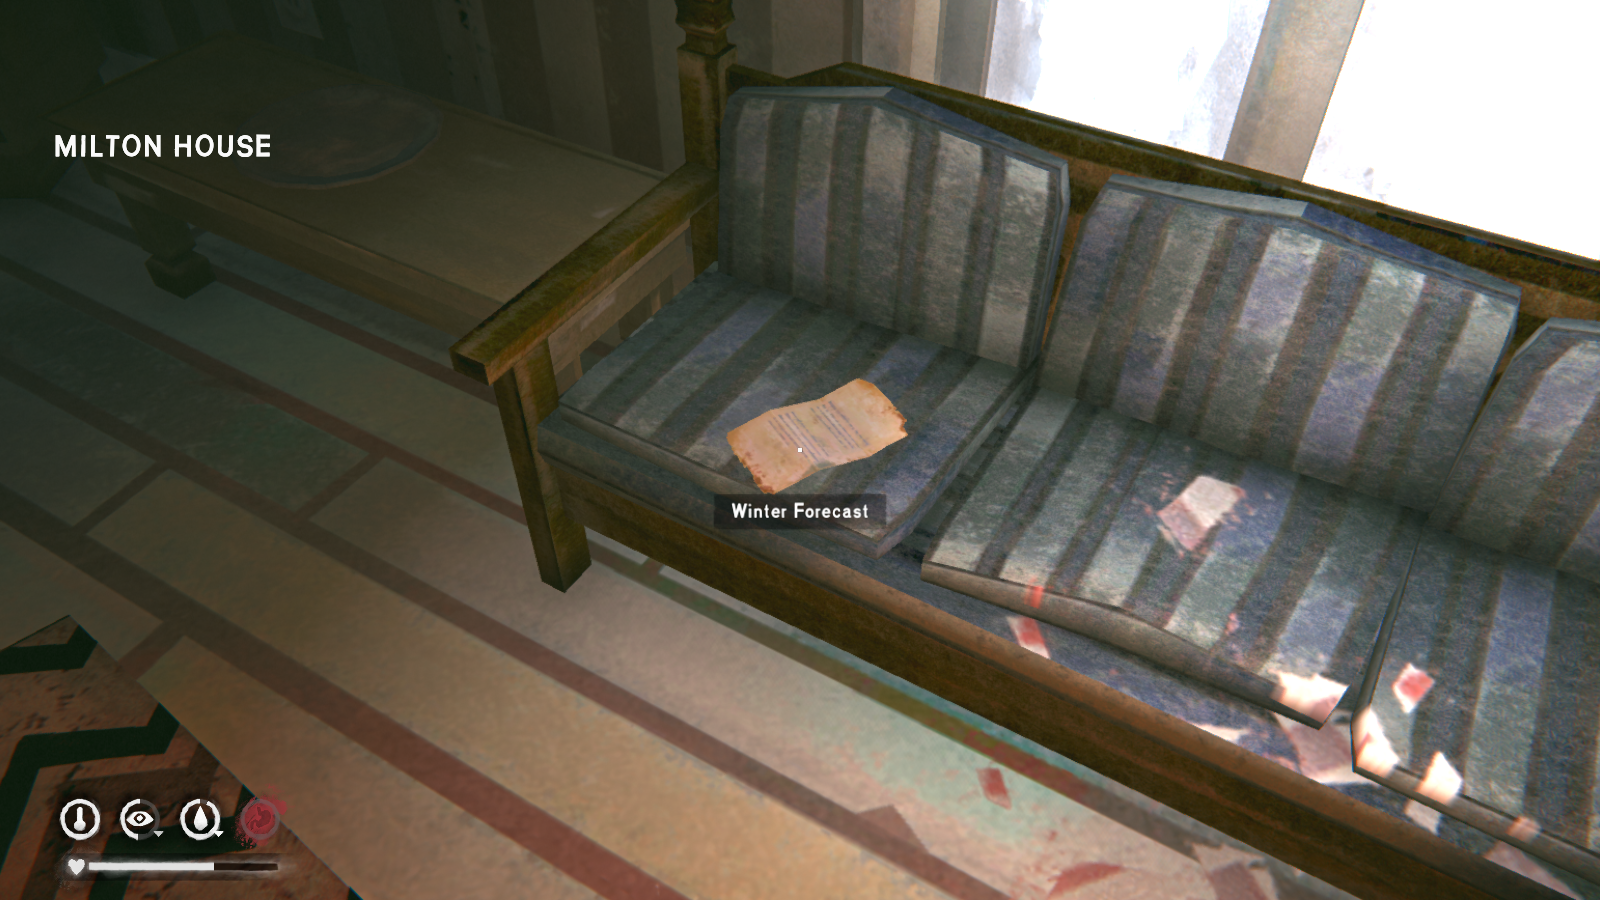 If you read the note, you'll see it's supposed to reach record cold temperatures for the next few days, and Grey Mother's going to need a lot more supplies to survive until help comes.
To complete this quest, you'll need to put a total of 36 hours of fuel into the woodbin and 20,000 calories in the fridge. Thankfully, the values stack from the first time you got food and wood for Grey Mother, so it's not as big a hurdle.
The fuel should be the easy part, since you're presumably using Grey Mother's magic fire to do any cooking. You can find some more coal in the ruins of the old schoolhouse, and there's plenty of abandoned furniture that you can break up for reclaimed wood. You can also go to the woodlots on either side of Milton and chop branches there. Just be on the lookout for wolves; they blend it with the tree stumps.
The food is where this quest gets tricky. If you haven't already, clean out the gas station and Barker's Farmhouse (you'll need to progress in the story to gain access to the Farmhouse). You can also complete the Highway Robbery sidequest for about 3,000 calories. My other recommendation is to spend some time hunting rabbits or using the wolves to hunt deer (run a deer towards a wolf, and then scare the wolf away using a flare/torch). As a last resort, hunt wolves by undressing and then getting in a fight with the nearest one. Use a bladed weapon, and then just stalk the animal until it bleeds out. By placing raw meat in the fridge, you gain some extra calories for the quest since you would normally cook that meat for yourself (which causes some calorie loss).
Once you finish this quest, check the bench where you first found the note. There will be a nice Mackinaw Jacket for Will, one of the best outerwear pieces in the game.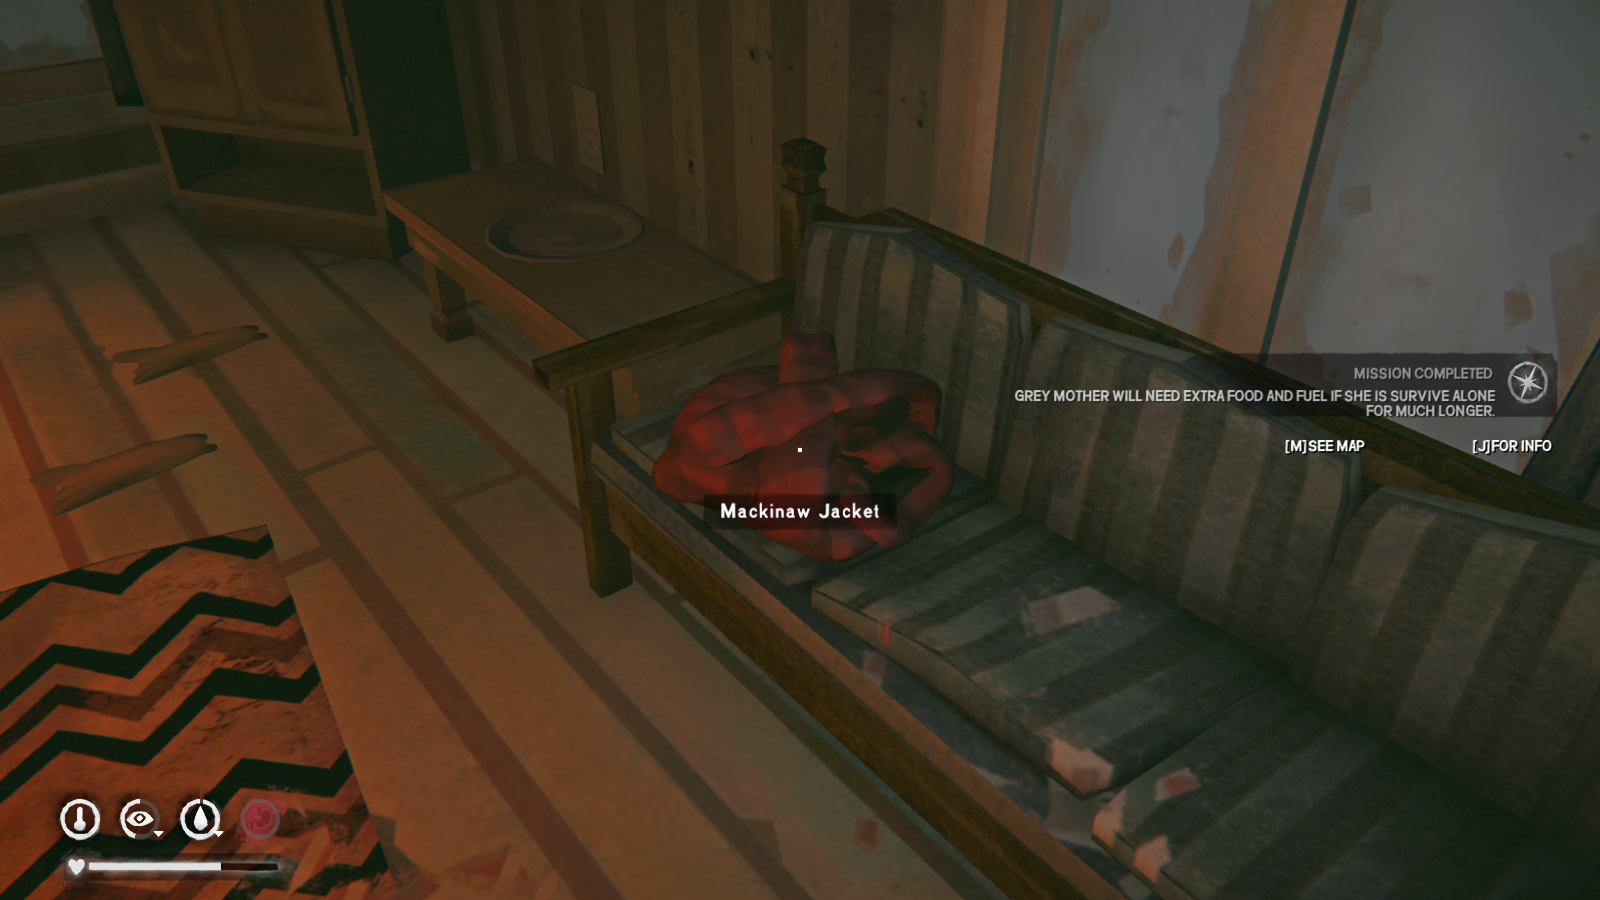
Sidequest: One Last Thing
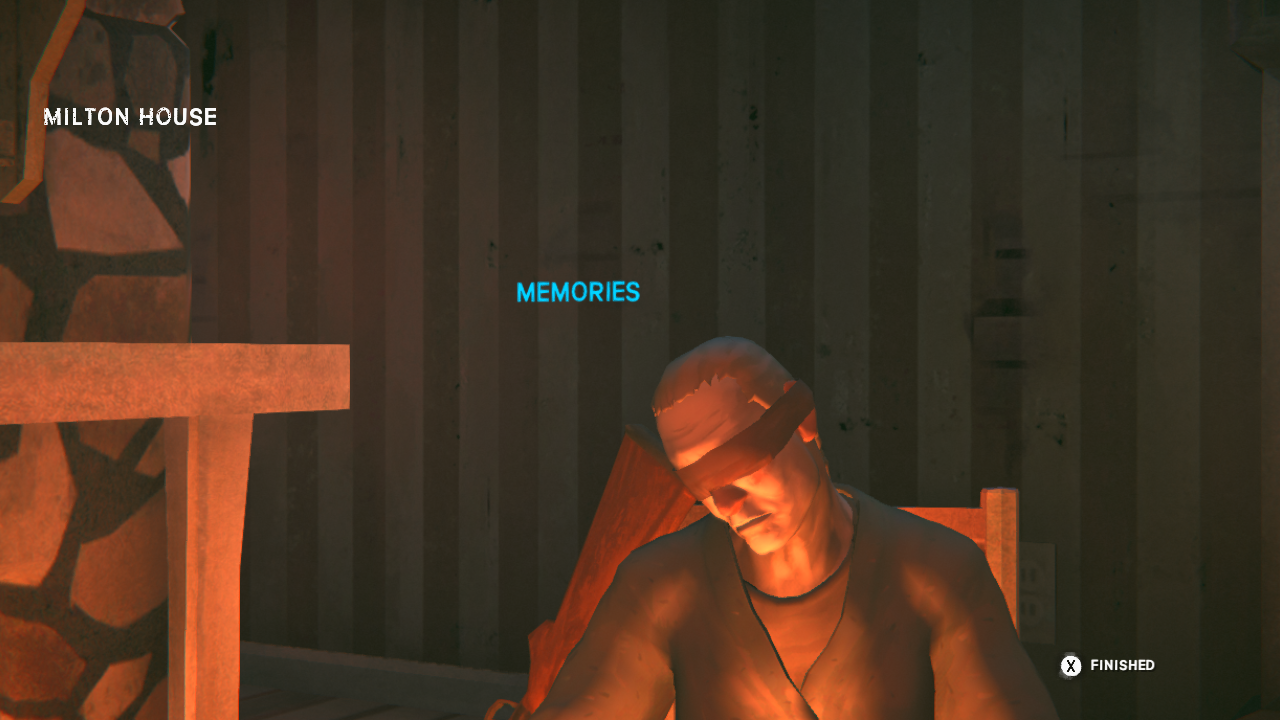
--------------------------------------------------
Grey Mother's final request is to place the pearls at Lily's grave. Head to the church, which can be found by turning right after leaving Grey Mother's house and following the road. Once you get there, head to the graveyard across the street from the church. You'll find Lily's gravestone in the back, right-hand corner.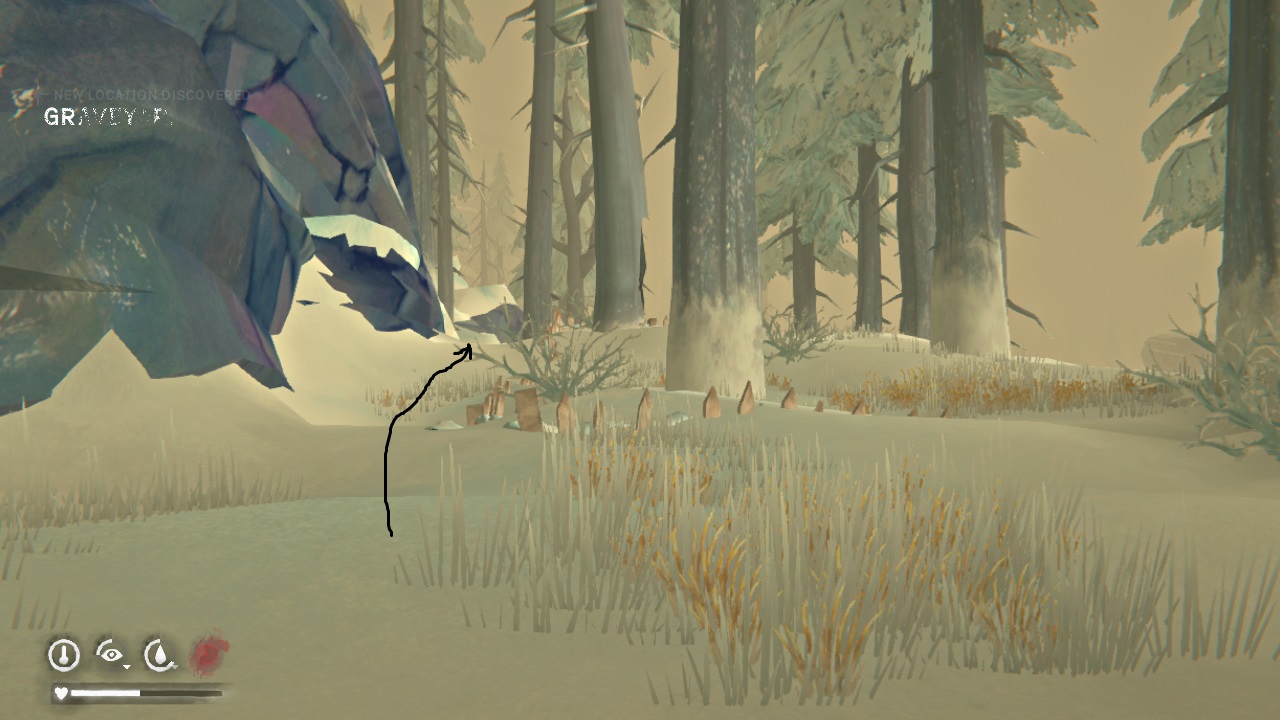
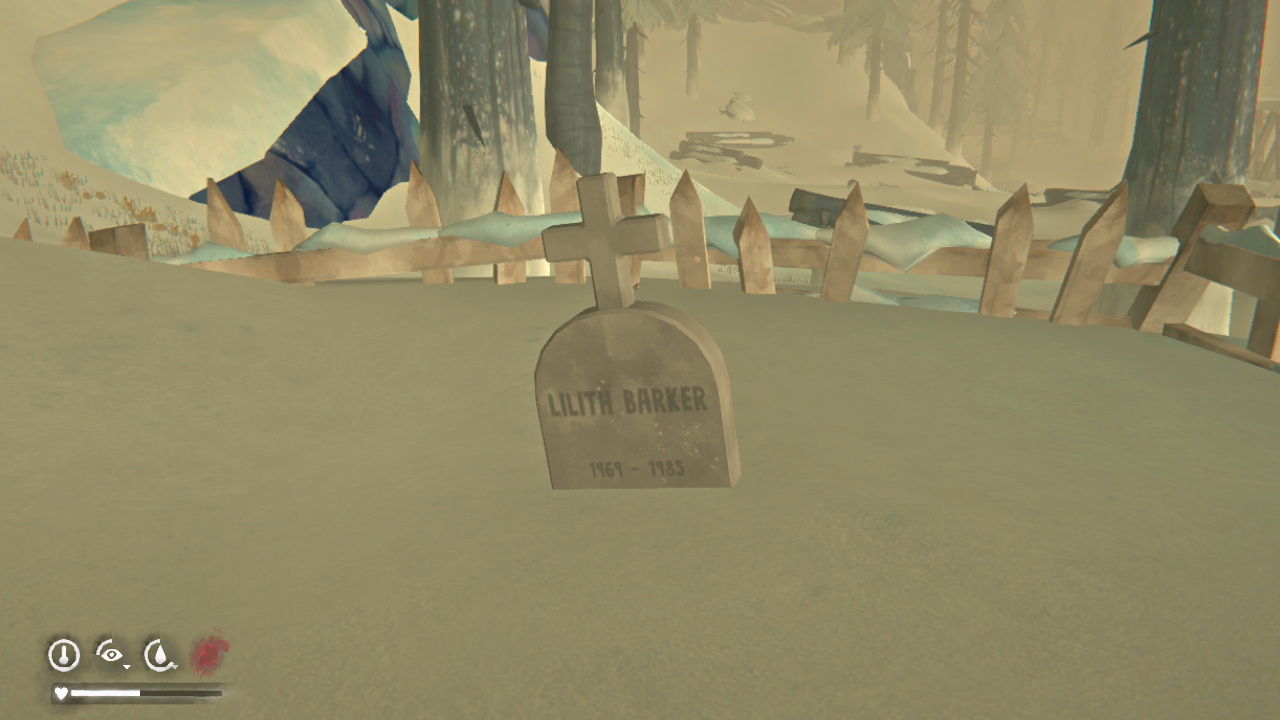
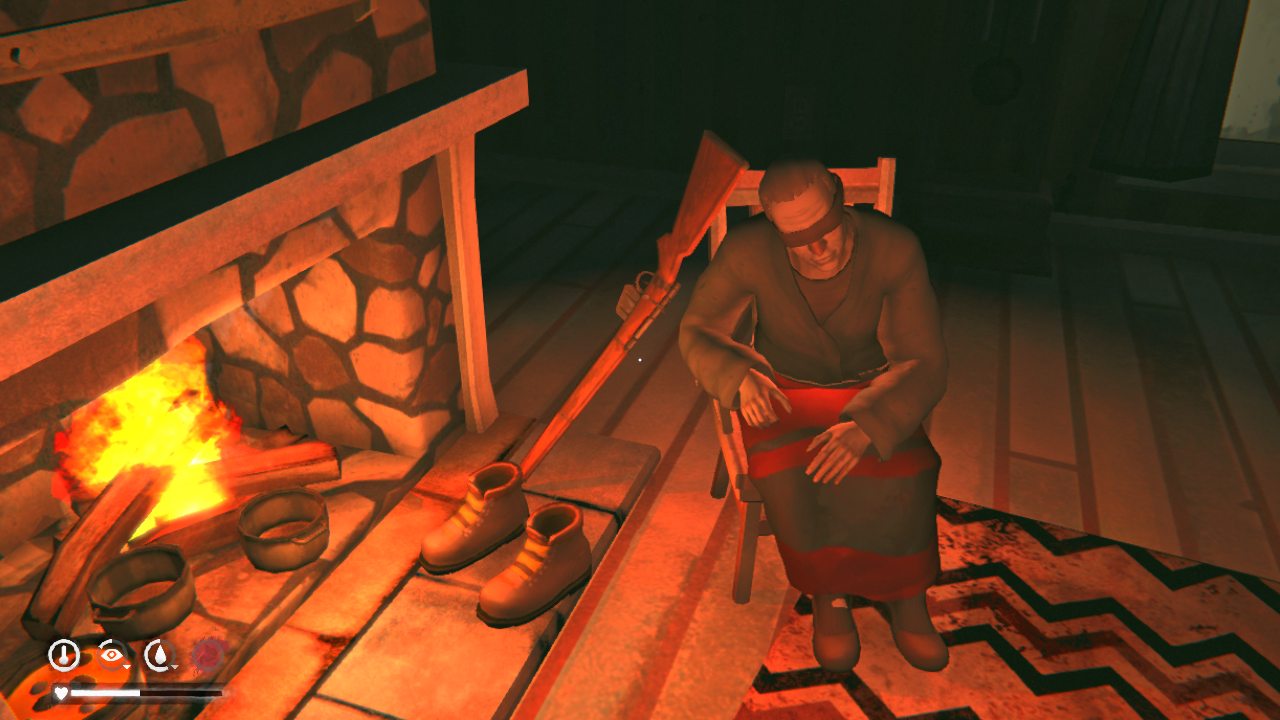
Interact with the gravestone so Will places the pearls there. Then you'll need to head back to Grey Mother for your reward. Talk to her to hear about what happened to Lily. She'll also offer Lily's old boots as a gift to Will. These are the best shoes in the game so be sure to grab them.
Episode 2: Luminance Fugue
However, the Old Bear continues to menace Will and Jeremiah. While Jeremiah fixes his radio, Will retrieves the Bear Spear of legend. Jeremiah then asks Will to fetch some transponders parts--which will boost the radio's signal--from radio towers in the Forlorn Muskeg area. In the process, Will is attacked by the Old Bear and manages to kill it in its den.
After calling Perseverance Mills, the radio breaks. In exchange for Jeremiah's help, Will agrees to relay a message using the Signal Hill radio tower in Pleasant Valley, which is on the way to Perseverance Mills. Will then travels through the abandoned Carter Hydro Electric Dam.
- Will finds prescription-strength antibiotics in the Carter Hydroelectric Dam for the injured trapper
- Will travels through the Forlorn Muskeg and Broken Railroad regions, retrieving the Bear Spear from the Hunting Lodge
- Will experiences his first Aurora
- Will retrieves three transponder parts from old radio towers in the Forlorn Muskeg region
- Will is attacked by the Old Bear and brought to its den. He recovers the Bear Spear and uses it to finally kill the Old Bear
- Will enters the Dam during an Aurora and is attacked by an escaped convict (Mathis)
- Deerskin Boots and Deerskin Pants blueprints: Obtained by completing the deer hunting tutorial. See "Sidequest: Basics of Survival: Deer Hunting" for more details
- Wolfskin Coat blueprint: Obtained by completing the wolf hunting tutorial. See "Sidequest: Basics of Survival: Wolf Hunting" for more details
- Snow Pants: Obtained by using a prybar on one of the lockers in Forlorn Muskeg's hidden bunker. See “Sidequest: Aurora Hatch” for more details
Chapter 1: The Wounded Trapper
The Trapper needs medicine, and the stuff Will has on hand isn't good enough. Fortunately, there's an abandoned hydroelectric dam that probably has some prescription-level stuff. Plus there might be some radio parts we can "borrow".
As before, the map will show you exactly where to go. I personally like to follow the railroad to get to the Dam, but feel free to get there however you want. There will be some wolves, but you can scare them away by lighting a fire or flare. You can also try shooting them with the rifle, but it can be a bit difficult to hit a wolf that's charging at you so keep that in mind. Not to mention the rifle can jam on you when it's in low condition (less than 30%).
Also, despite what the old man says, there's no risk of running into the Old Bear (aside from scripted cutscenes). So please do not shoot at any bears you might come across; it's most likely just going to cause them to maul you instead of scaring them away.
--------------------------------------------------
Once you reach the Dam, you'll find that it's properly locked up, as any industrial area should be. To get in, you need the fence key. It can be found in the left trailer (when facing them) on the desk.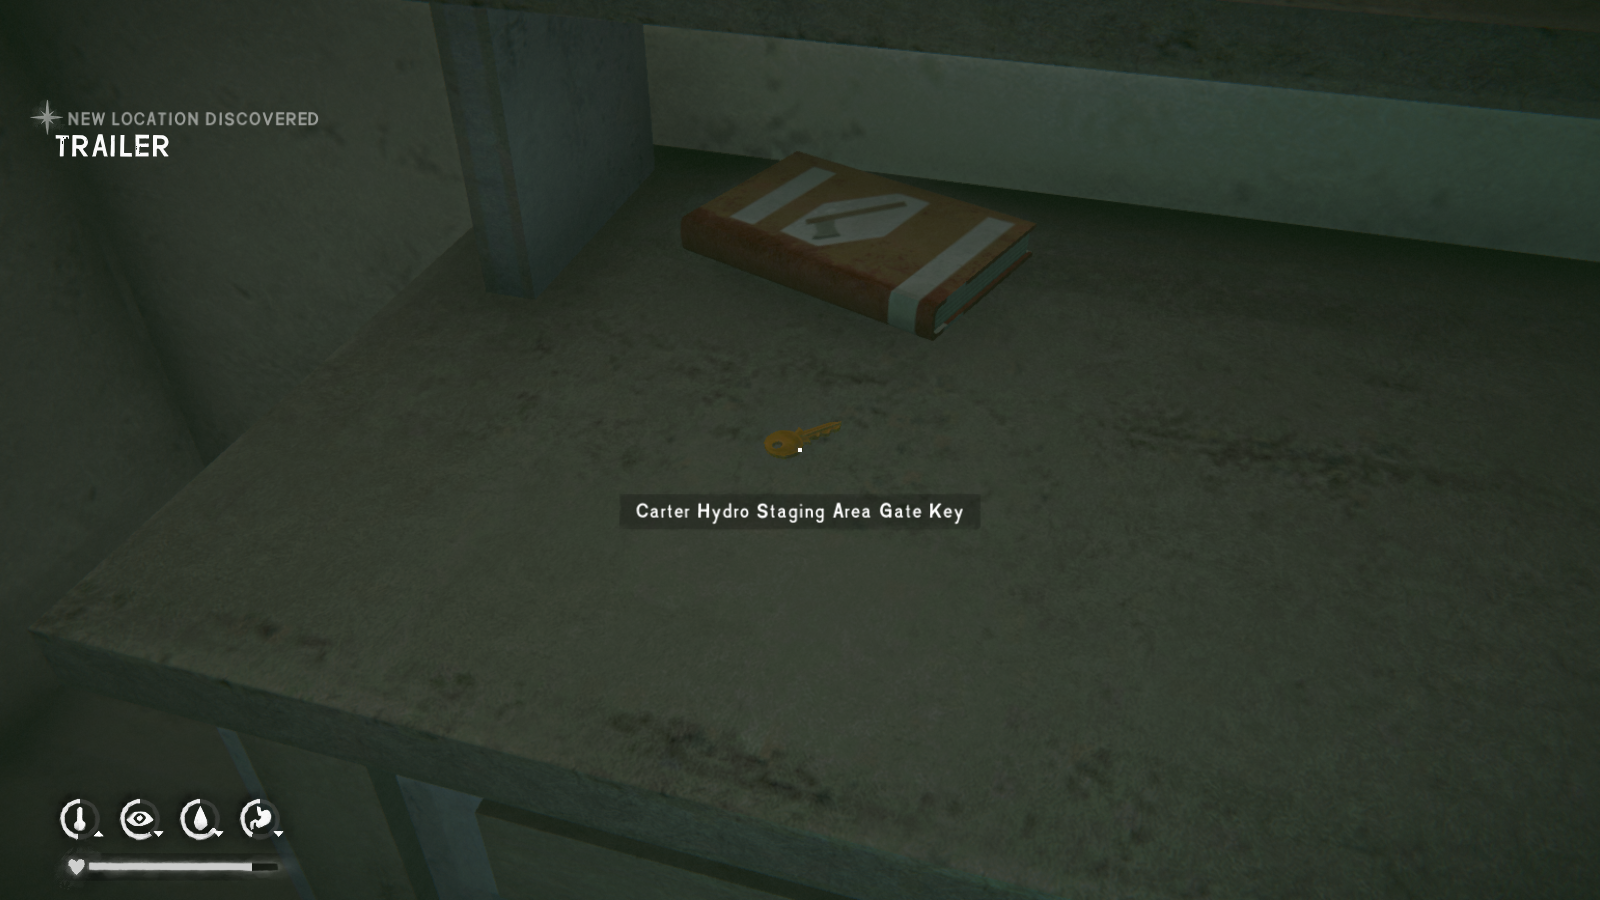
Click on the gate for a dramatic cutscene and then enter the dam to begin looking for the medication. Go ahead and loot the place while you're here, but don't bother going down the stairs; it's blocked off in story mode.
If you didn't get a distress pistol in the previous episode or are starting fresh, you can get one here. If you did get one, go ahead and open the case anyways. There are some extra flare shells, which are always useful.
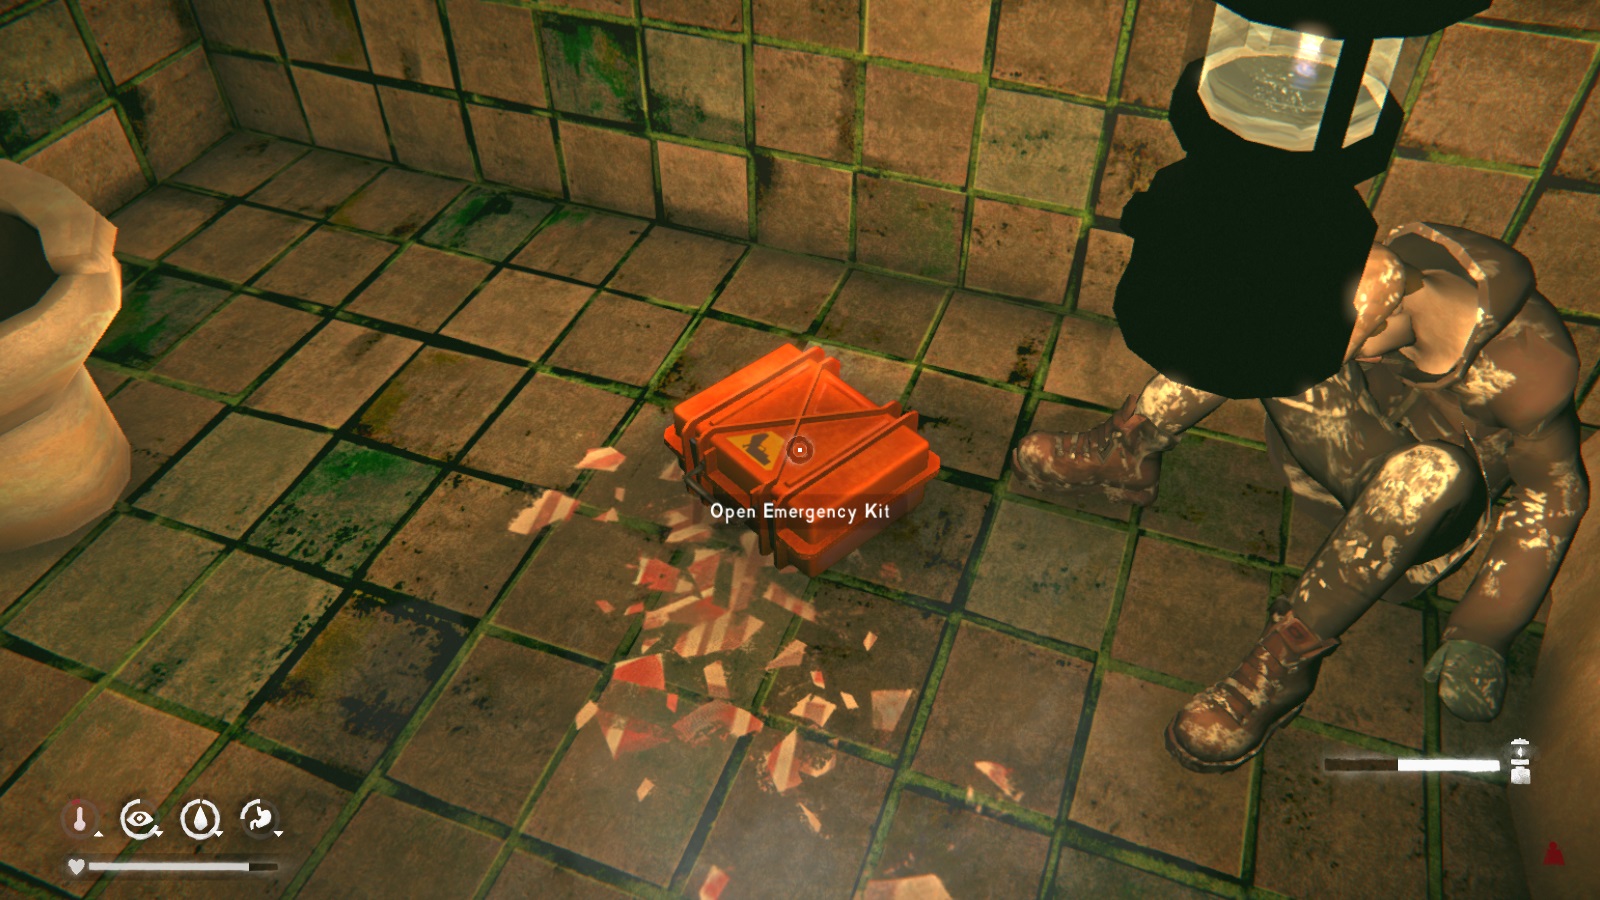 Anyways, let's continue with story objectives. To save some time, go ahead and search the body next to the distress pistol; he'll be holding an office key.
When you leave the bathroom, there will be a stairwell on your left. Head upstairs and you'll find the office area. And how lucky for Will, there's a red locker here that just screams "medical supplies".
Anyways, let's continue with story objectives. To save some time, go ahead and search the body next to the distress pistol; he'll be holding an office key.
When you leave the bathroom, there will be a stairwell on your left. Head upstairs and you'll find the office area. And how lucky for Will, there's a red locker here that just screams "medical supplies". 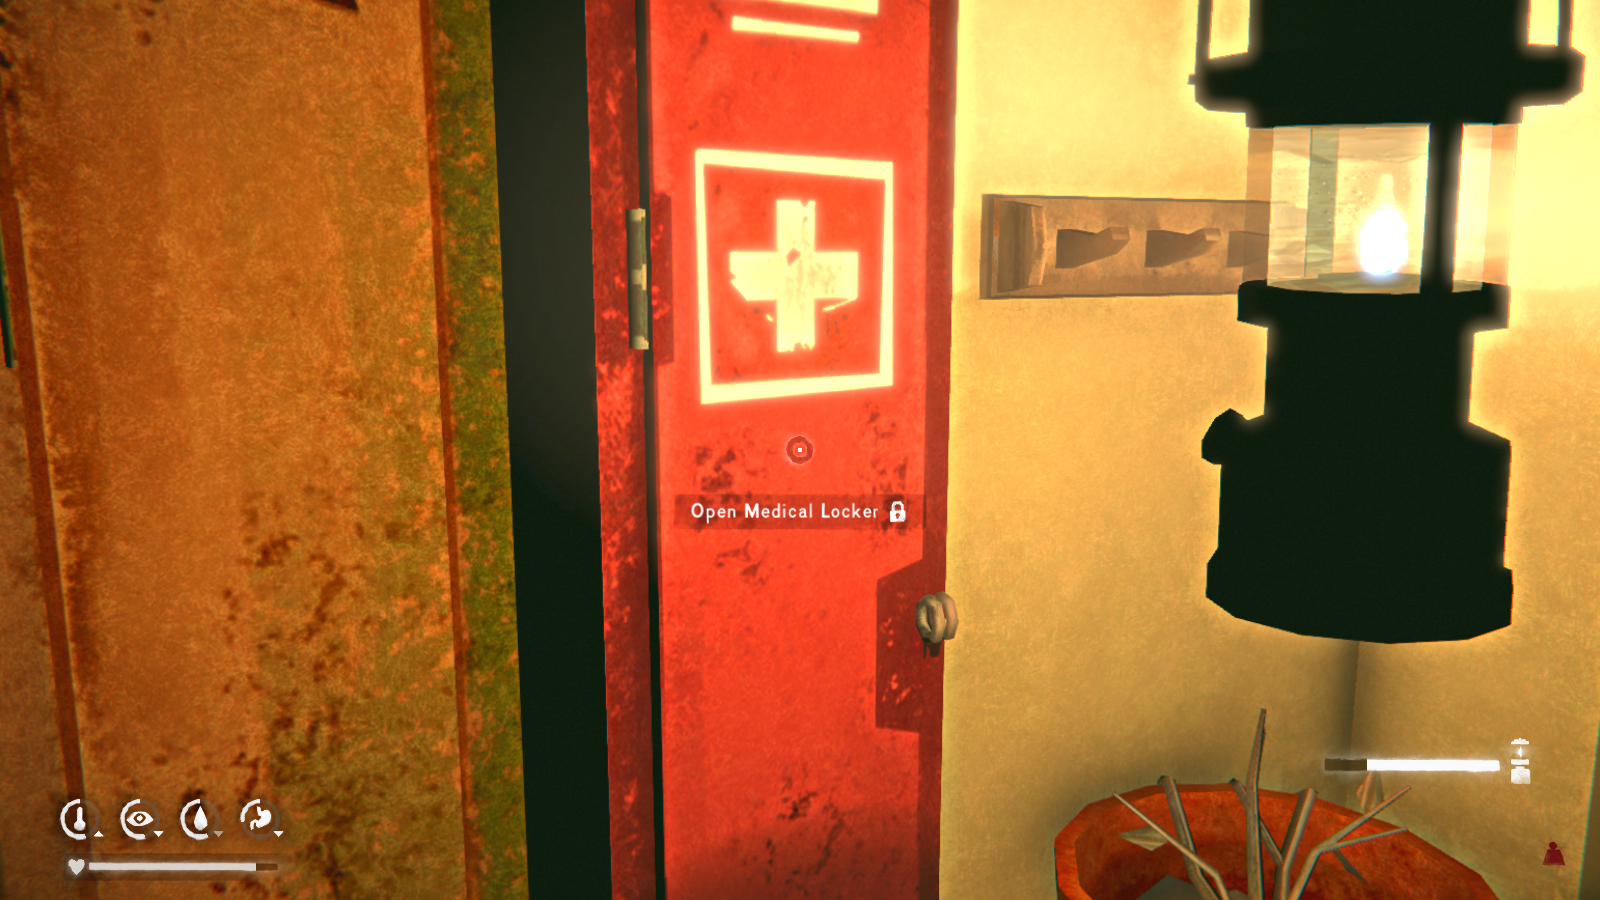 On the unlucky side, it's locked. Head to the office in the back (with an actual door instead of cubicles) and unlock it with the key you found on the dead body. You'll find the key to the medical locker on the desk. The radio parts you need will be on a workbench just outside the office.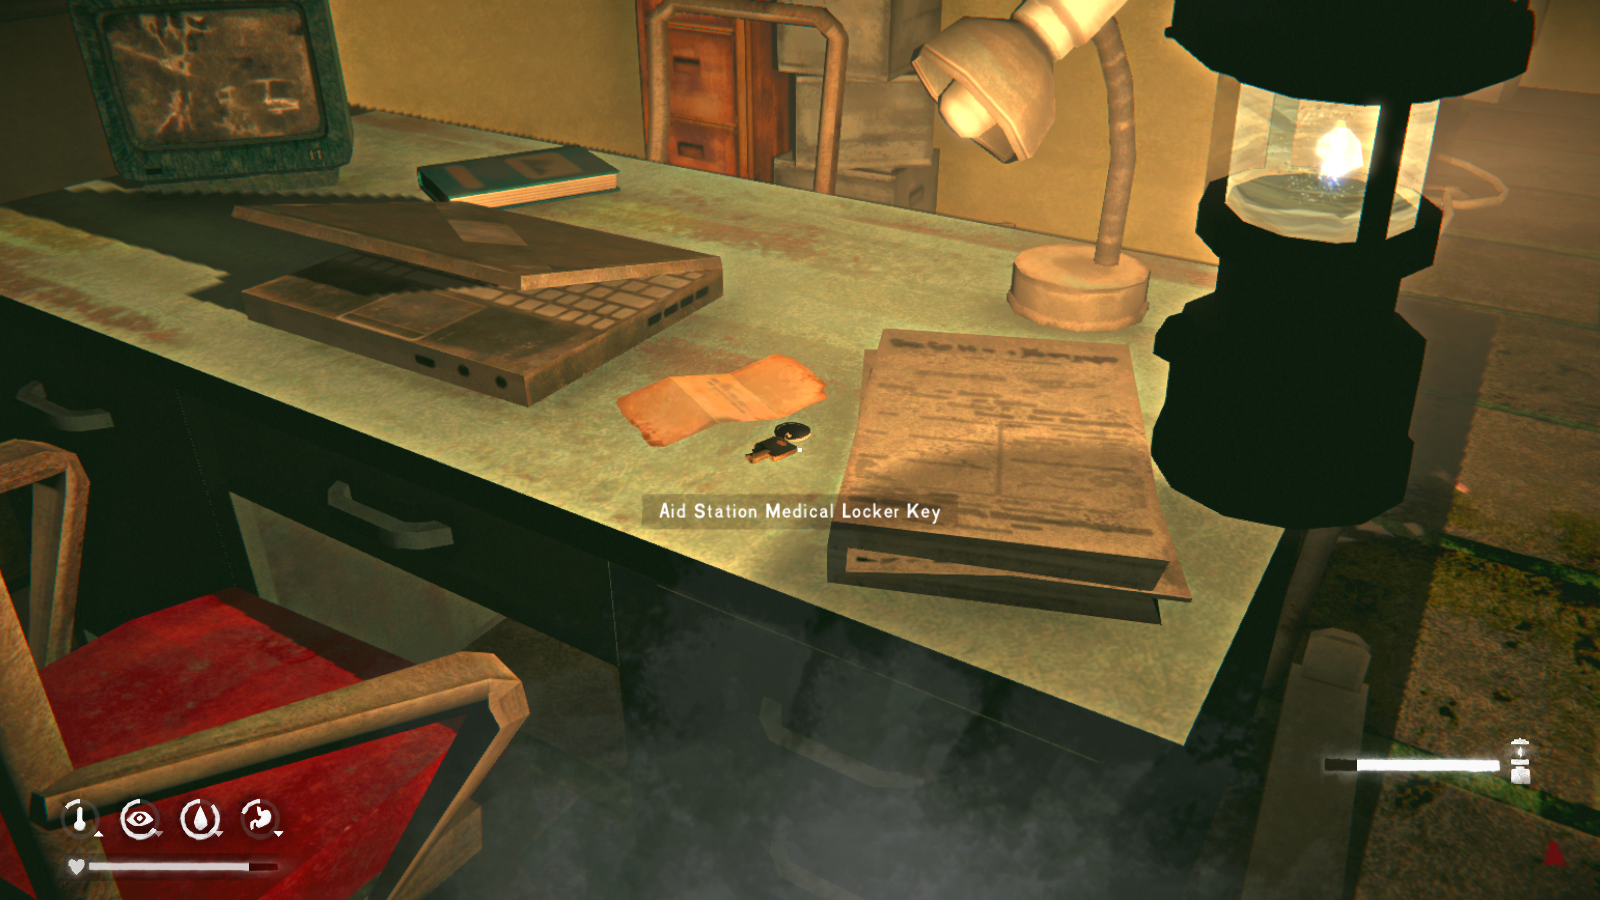
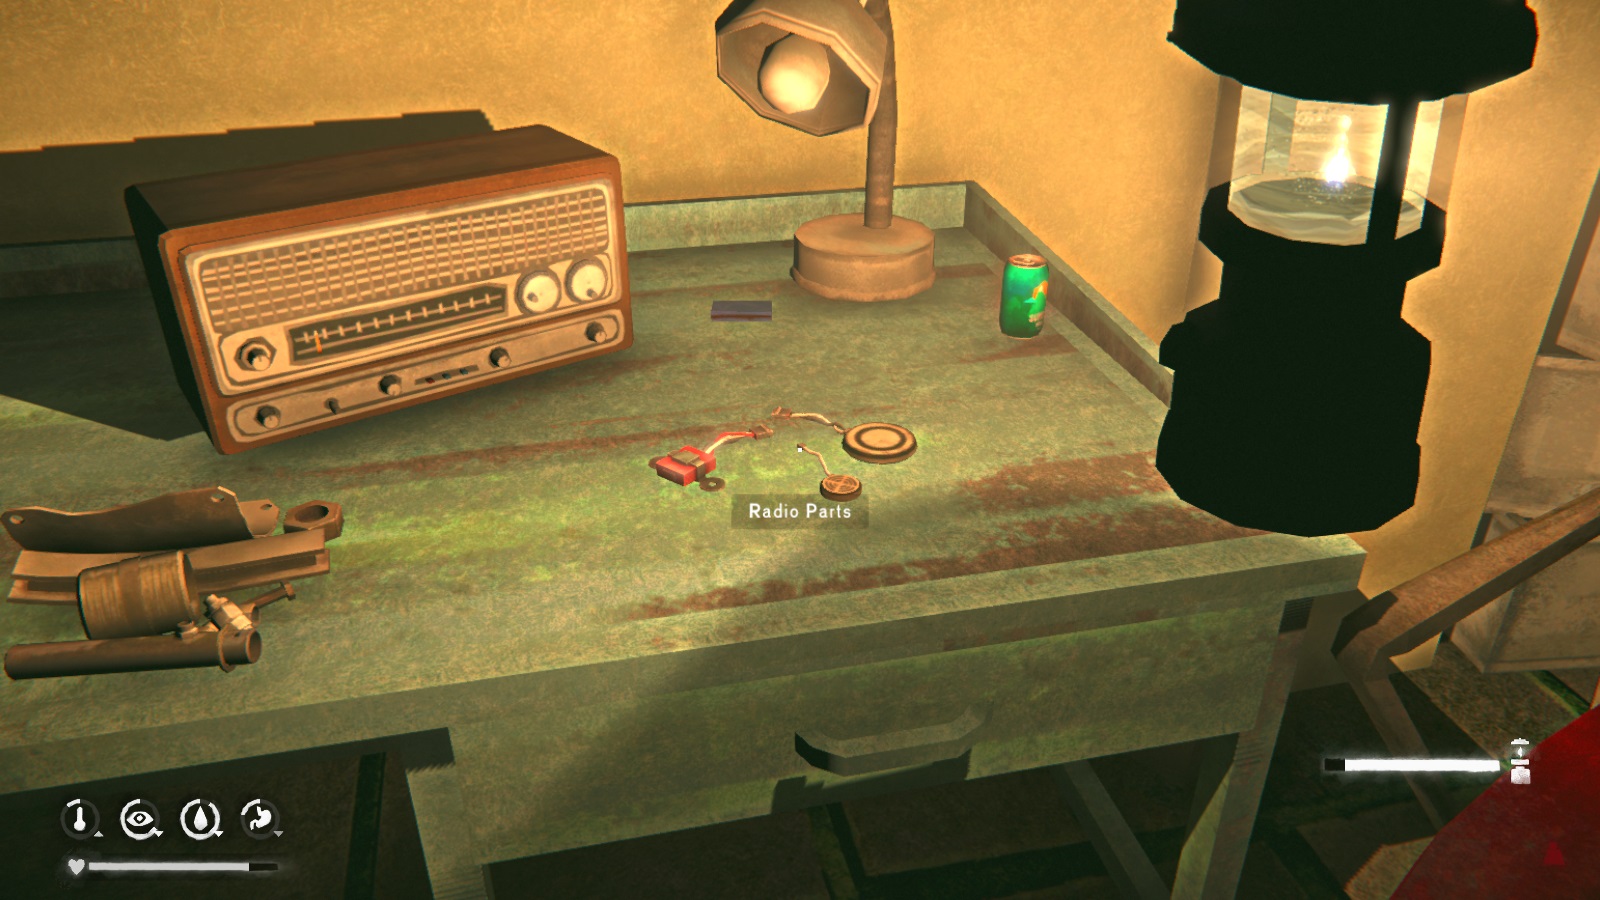
--------------------------------------------------
Once you've gotten them both and have looted the dam to your heart's content, head on back to the Trapper's cabin. There will be another scene (where Will demonstrates that he has no idea how to properly administer a shot) and some dialogue options. As before, click the blue ones to hurry the story along. However, the trapper won't talk to you again after finishing the required dialogue so click on any white-colored text that you're interested in from the beginning.
Chapter 2: The Best Defense
Well we've learned the name of the mysterious Trapper. But now we need to get a weapon that will actually kill the Old Bear. Personally, I'm not sure how much more useful a spear is compared to bullets going in at high speed, but that's story progression for you.
When you're ready, head on out. It should take you full day to reach the hunting lodge so head out with full energy in the morning. As before, there's no risk of running into the Old Bear except in pre-rendered cutscenes (although regular bears are still roaming about). The map will show you that you need to go down the railroad again, this time in the opposite direction.
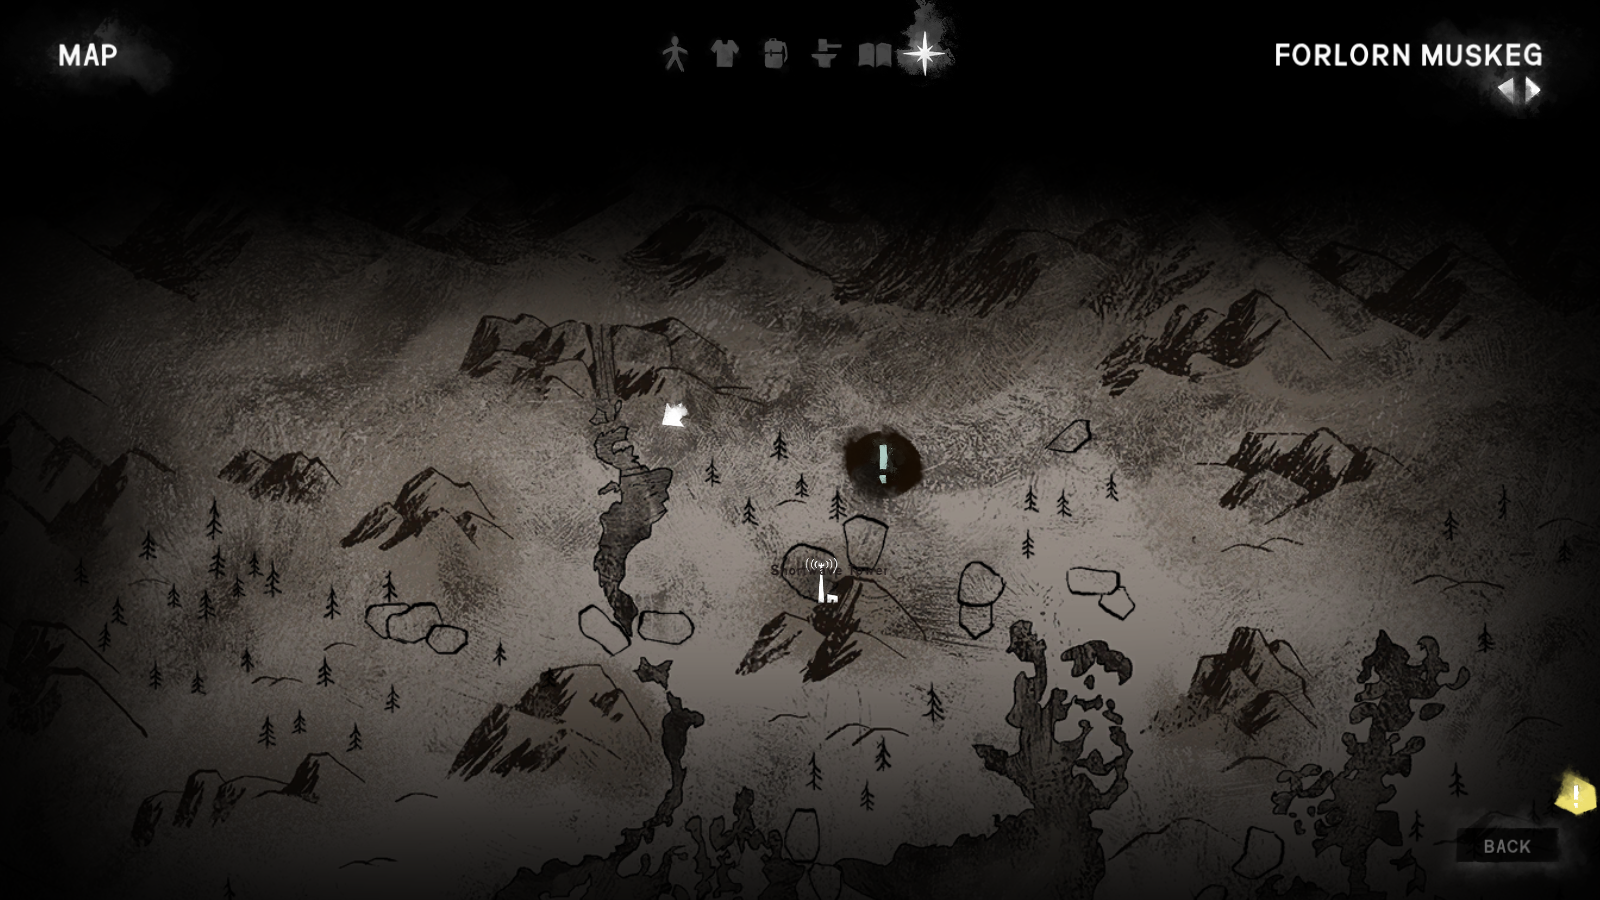
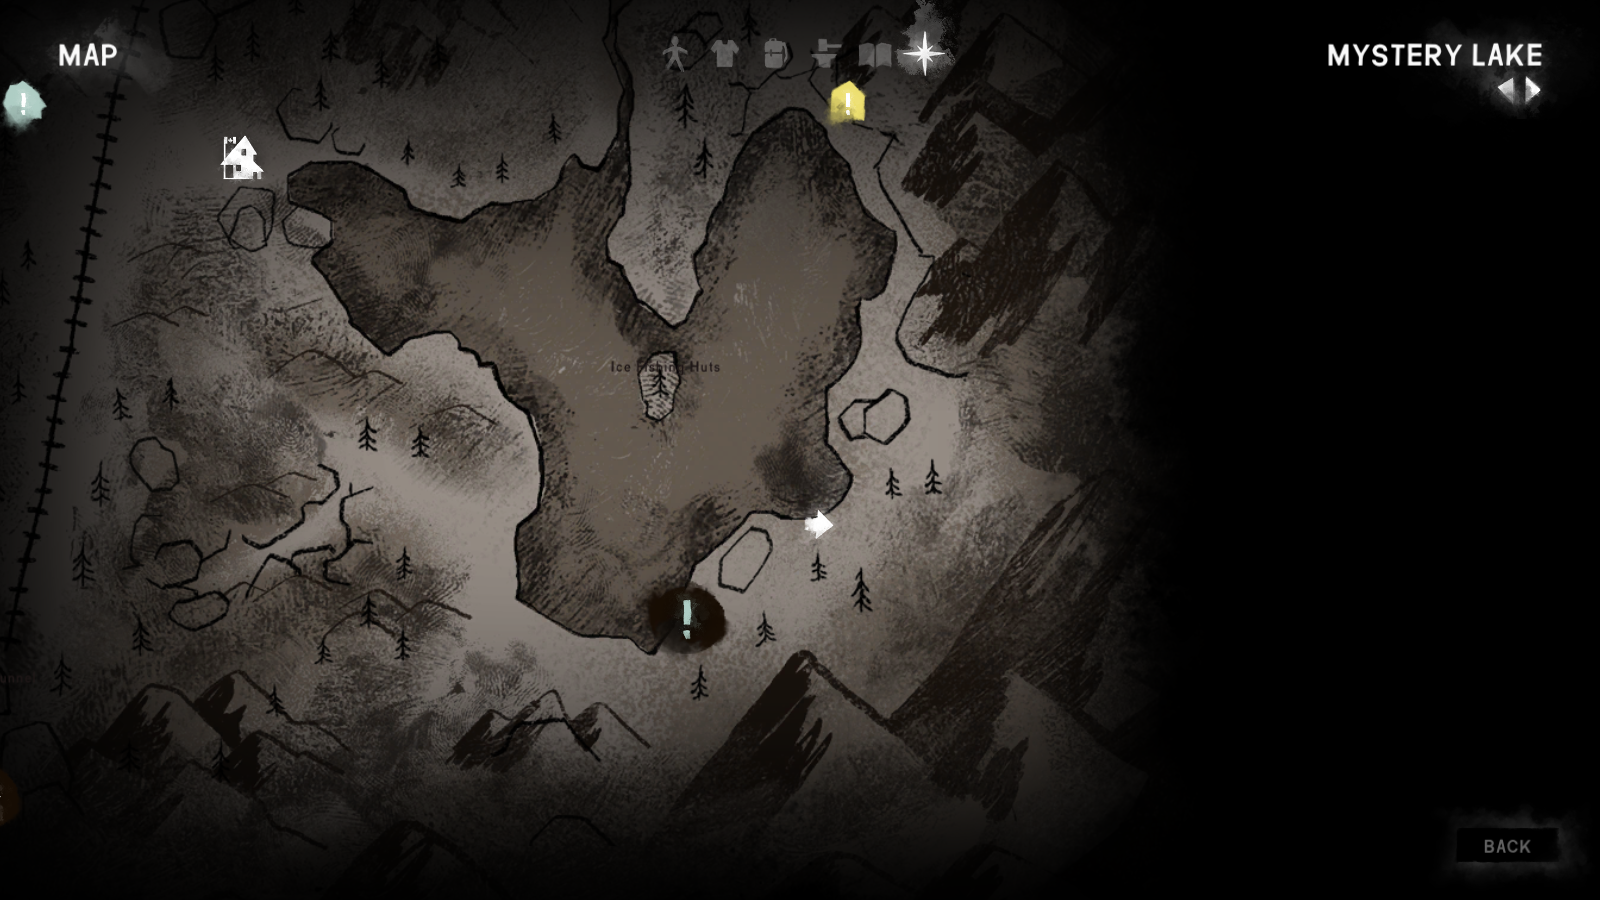
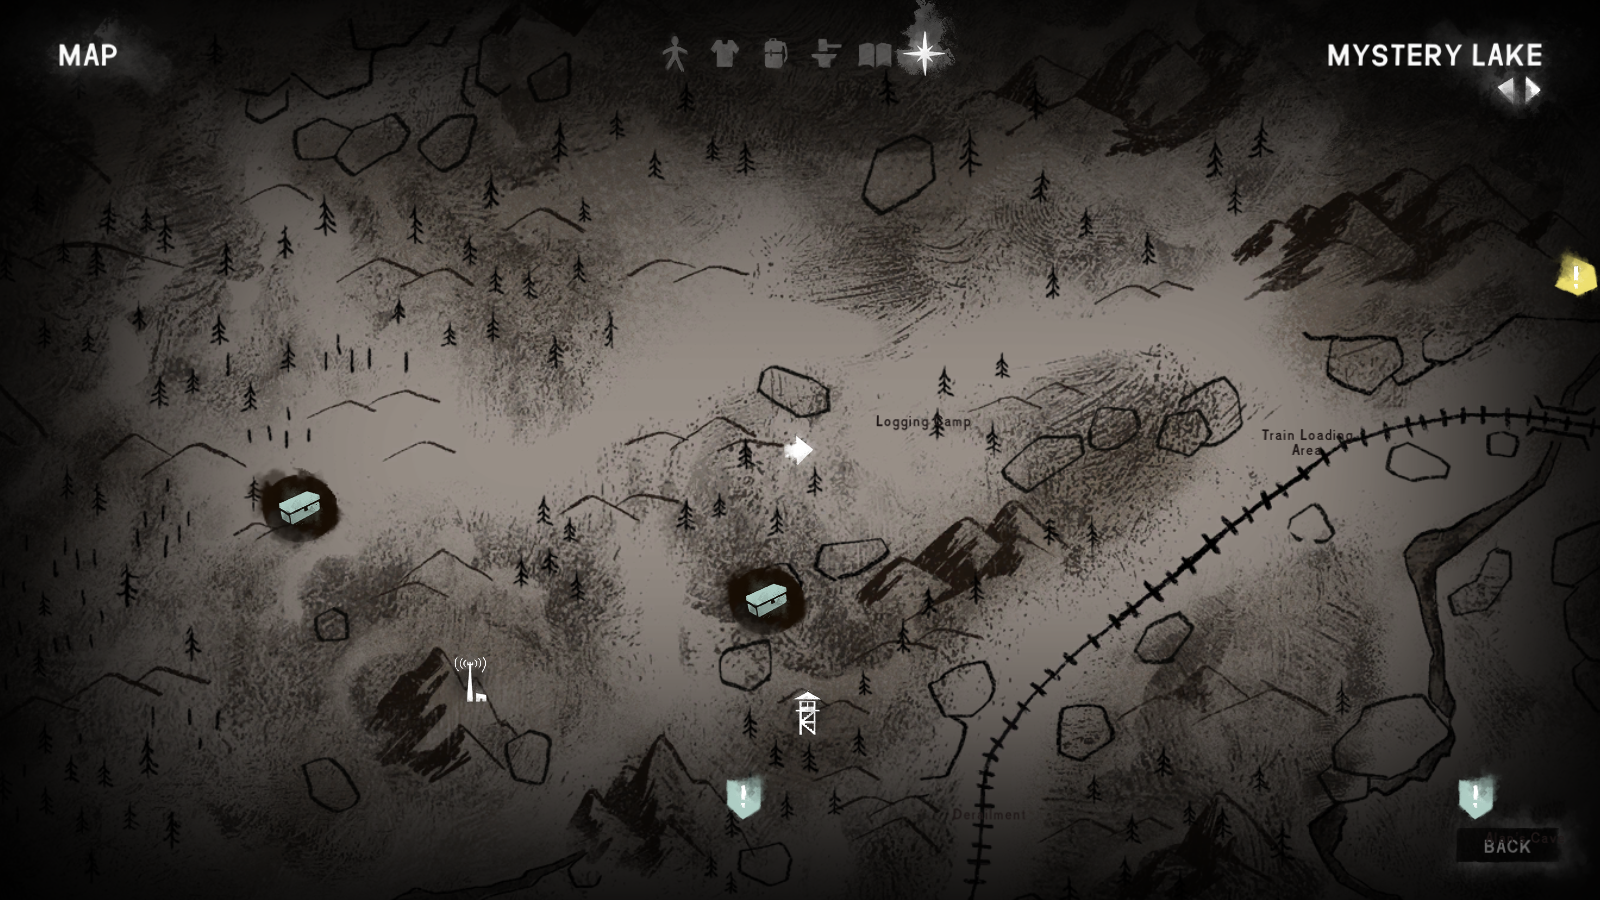
This is the first time there are multiple regions to explore in Wintermute. Just as a reminder, the region you're currently in is Mystery Lake. When you check the map, you can only view one region at a time; to switch, you hit the arrows in the top right. That's also where you'll find the name of the region your map is currently showing.
You'll leave Mystery Lake via the rail tunnel and enter a brand-new region: Forlorn Muskeg. Like Jeremiah said, just keep following the railroad. Forlorn Muskeg is full of thin ice, so you risk a dunking in icy water if you leave the railroad. If you get a "thin ice" warning, quickly back up the way you came to avoid falling through.
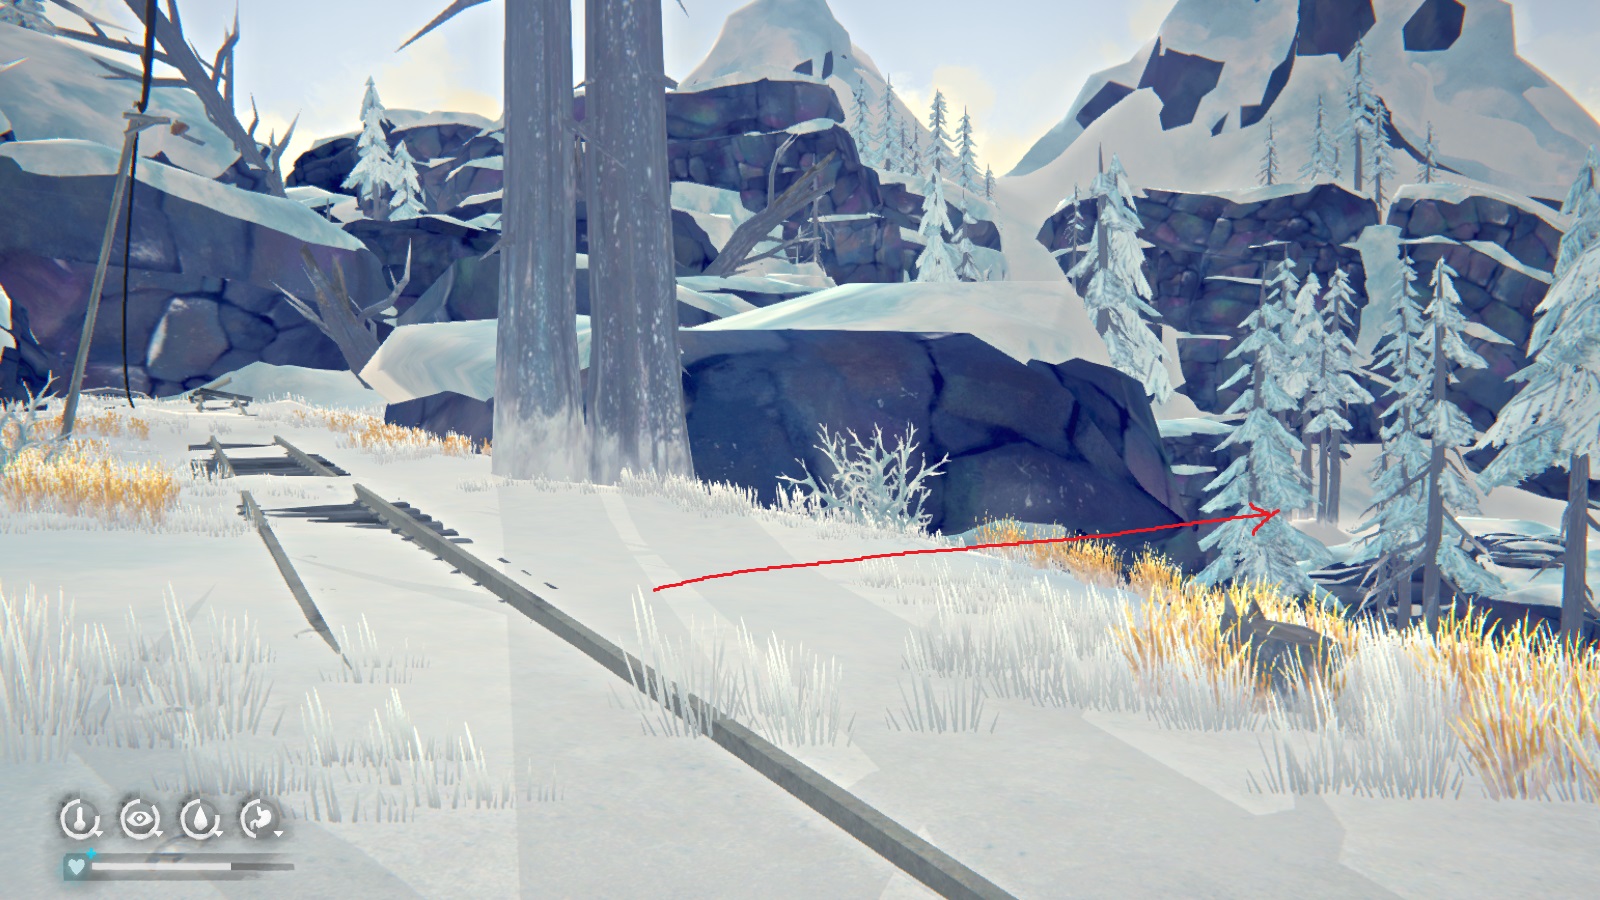 Follow the arrow to the right and you'll come across a frozen lake. you want to cross the fallen tree up onto the ledge. You can then follow the path to bypass the landslide.
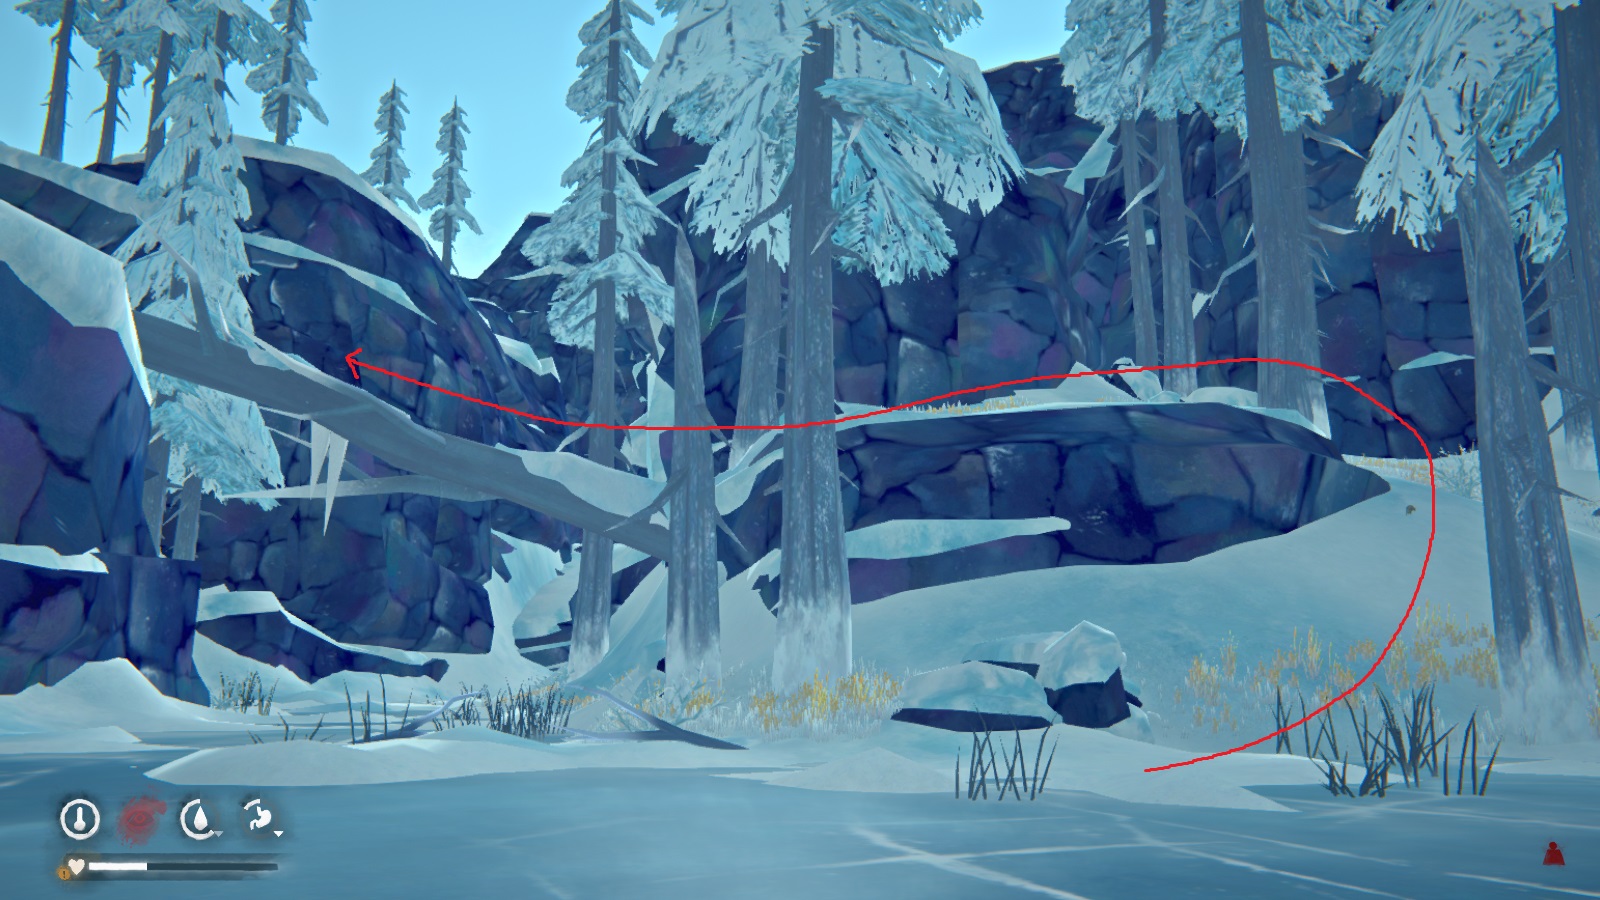 Once you find the railroad again, just keep following it until you see what looks like a broken train car. Right past it is this yellow train car that you can enter via the broken window.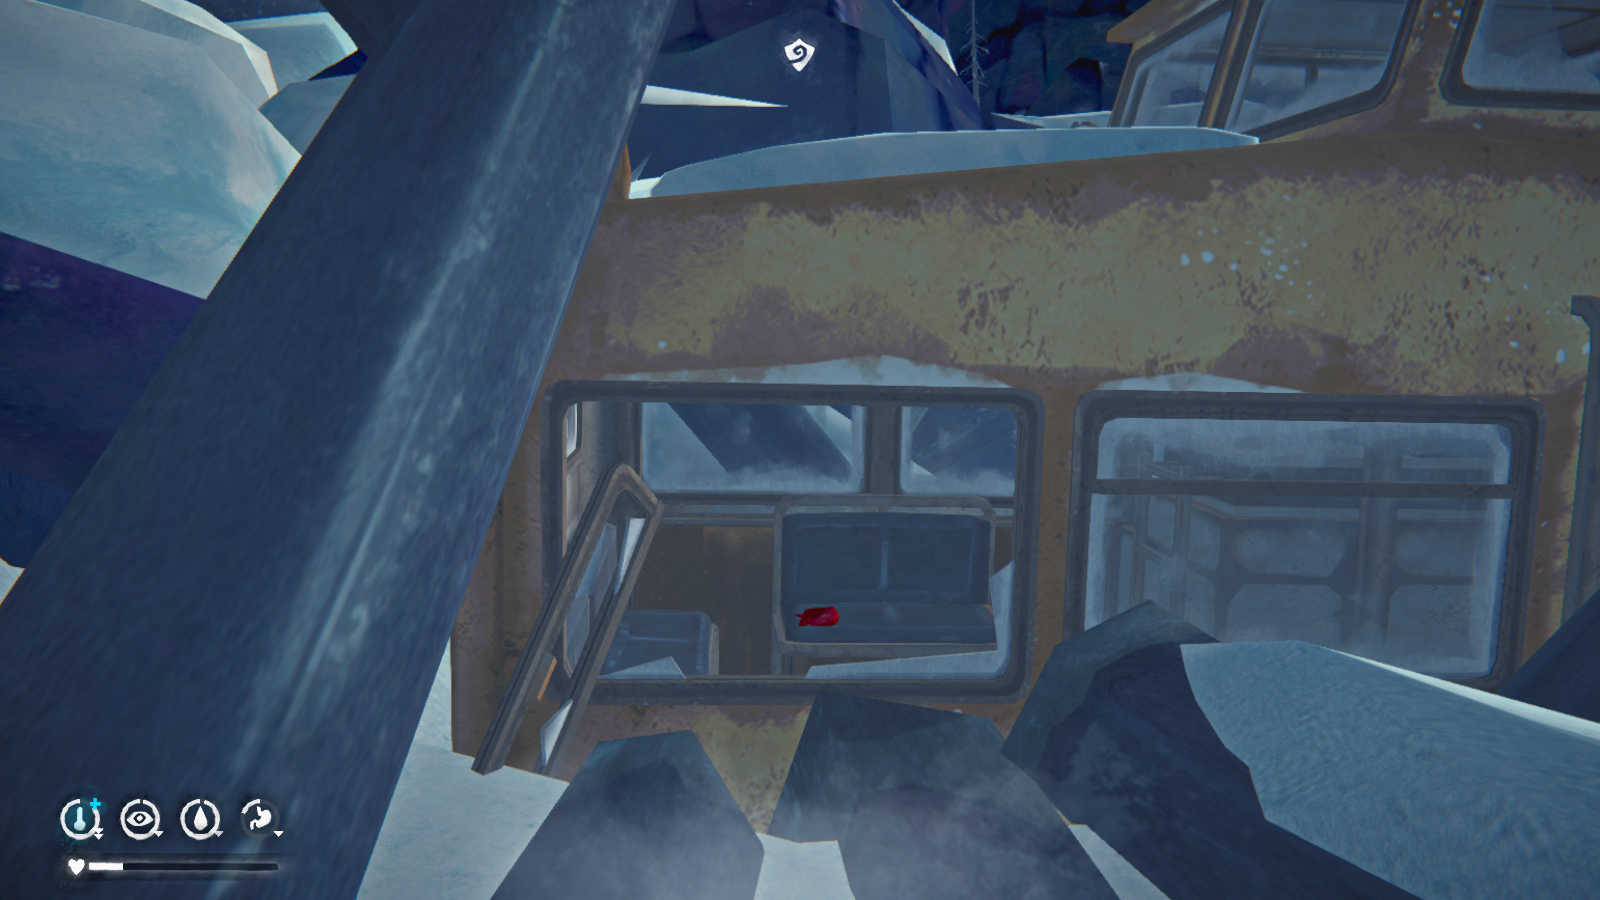
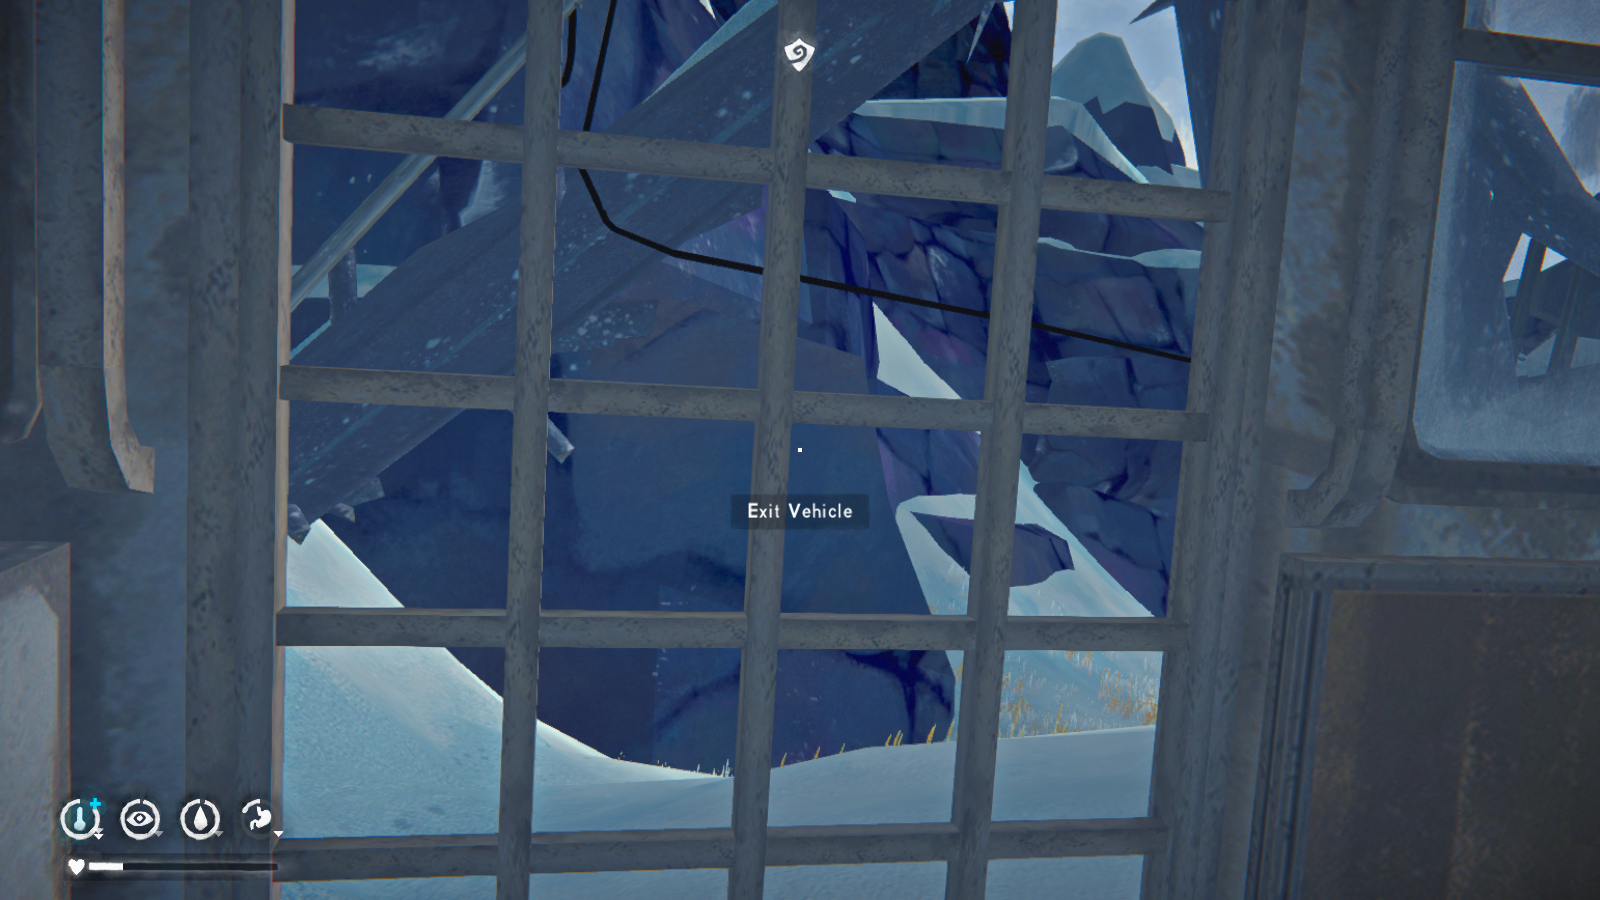
Attempt to exit via the "door" seen in the picture on the right, and the Old Bear will make his second appearance!
--------------------------------------------------
Once Will regains consciousness, you'll want to head for the fire seen below. And it's Methuselah again!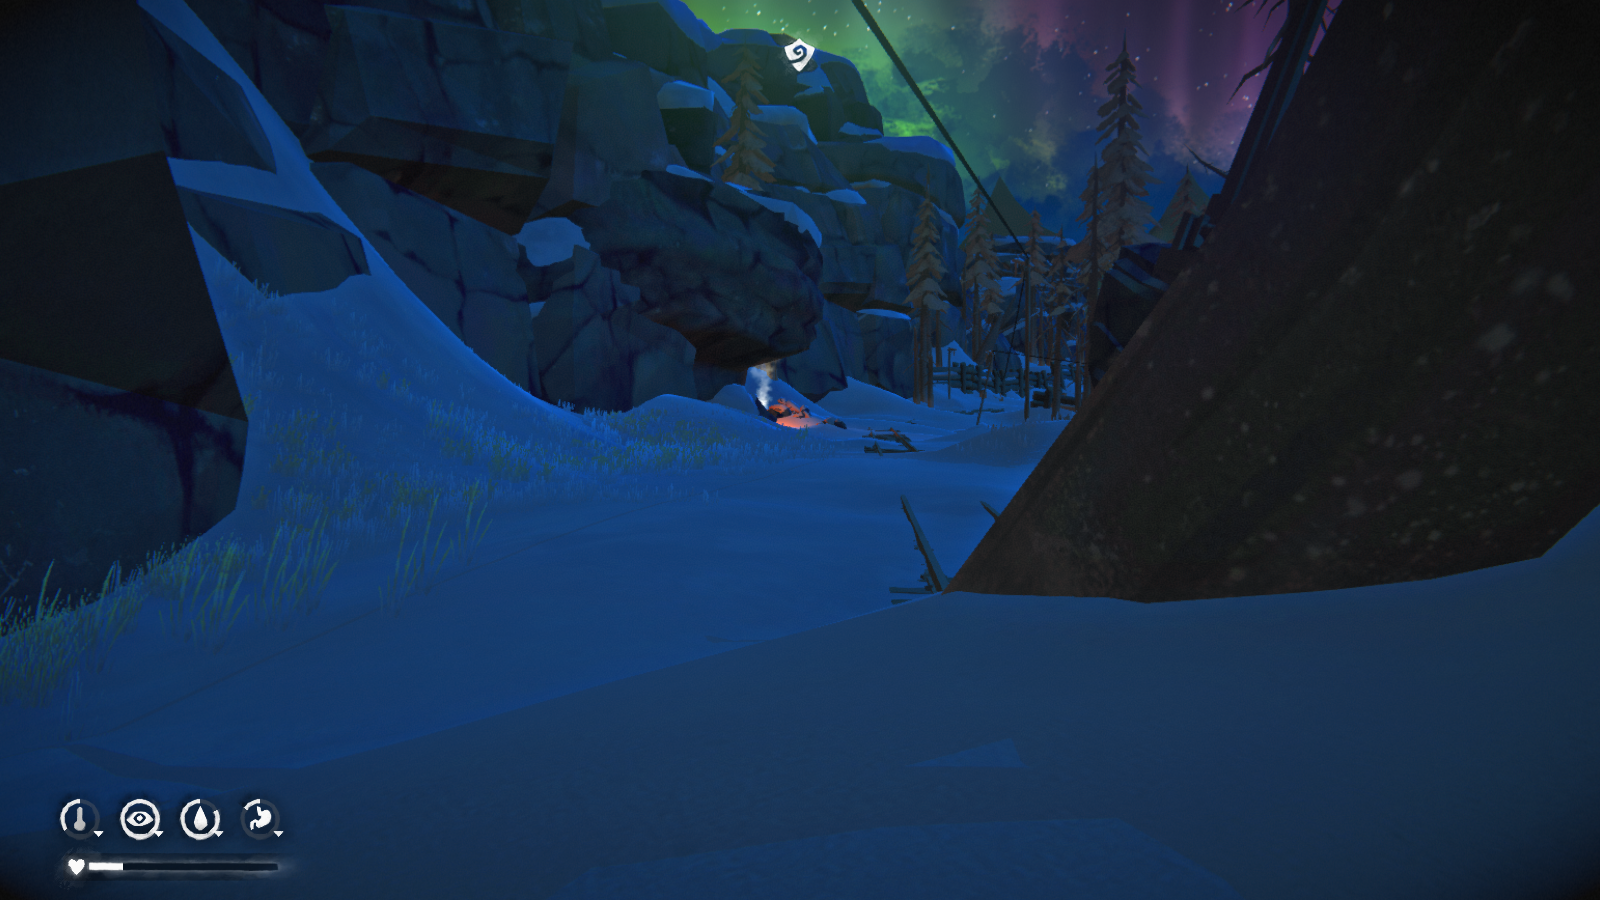
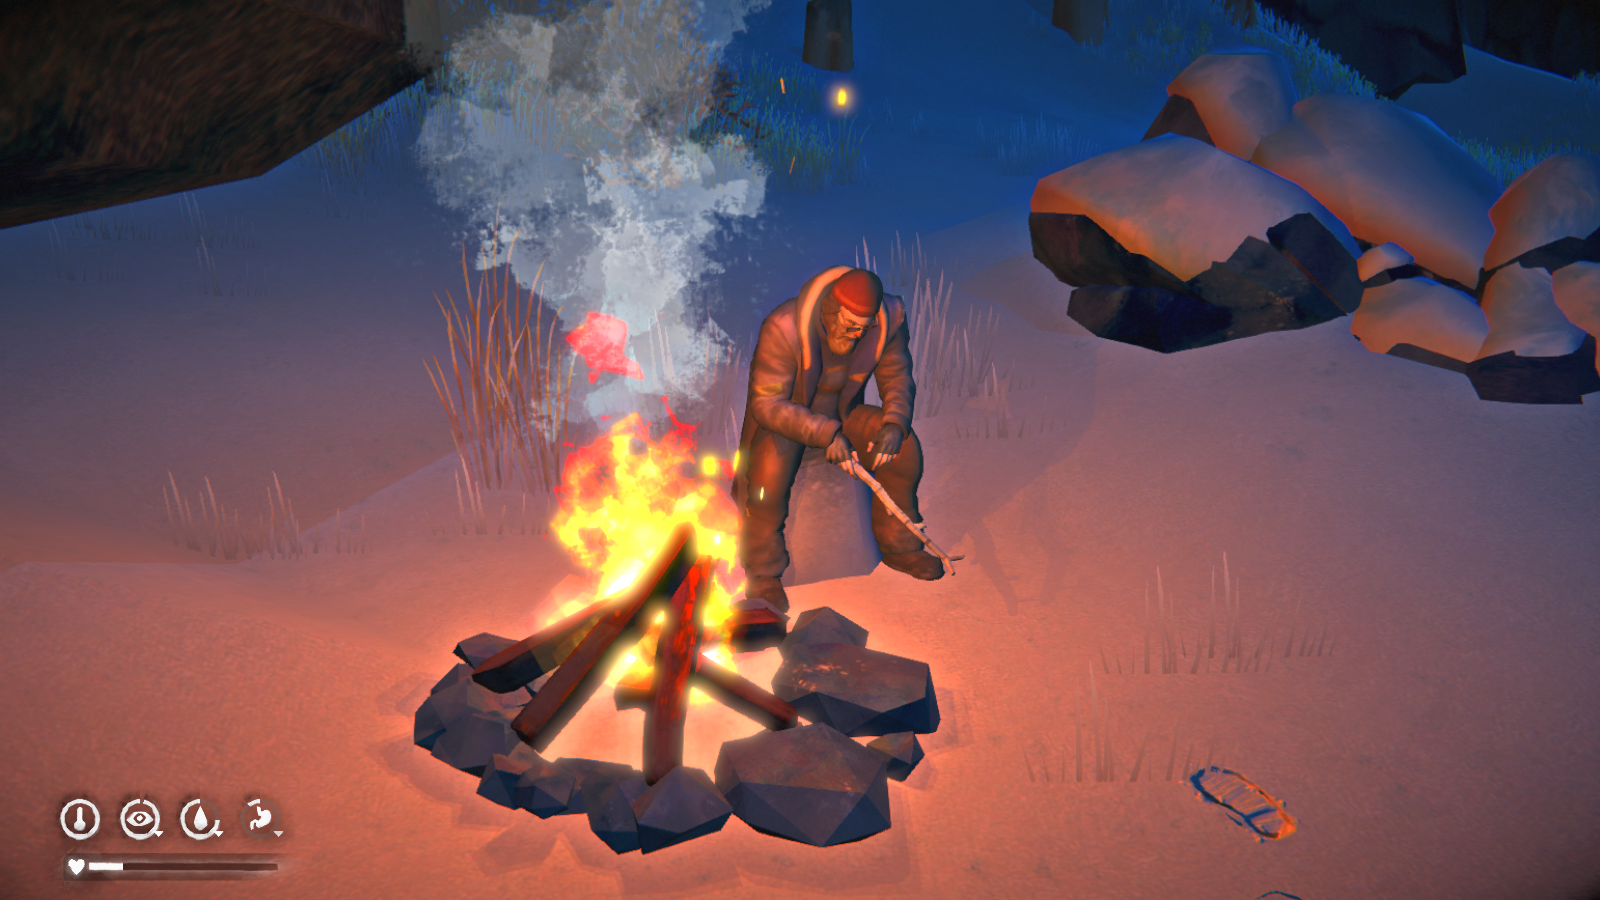
Talk to him for some information on the aurora and wildlife. If you don't want to talk to him, the info boils down to:
- the aurora powers electrical devices that are normally dead in-game
- the wildlife is not acting normal (ie. wolves fear people in real-life) and the aurora may aggravate their already bizarre behavior
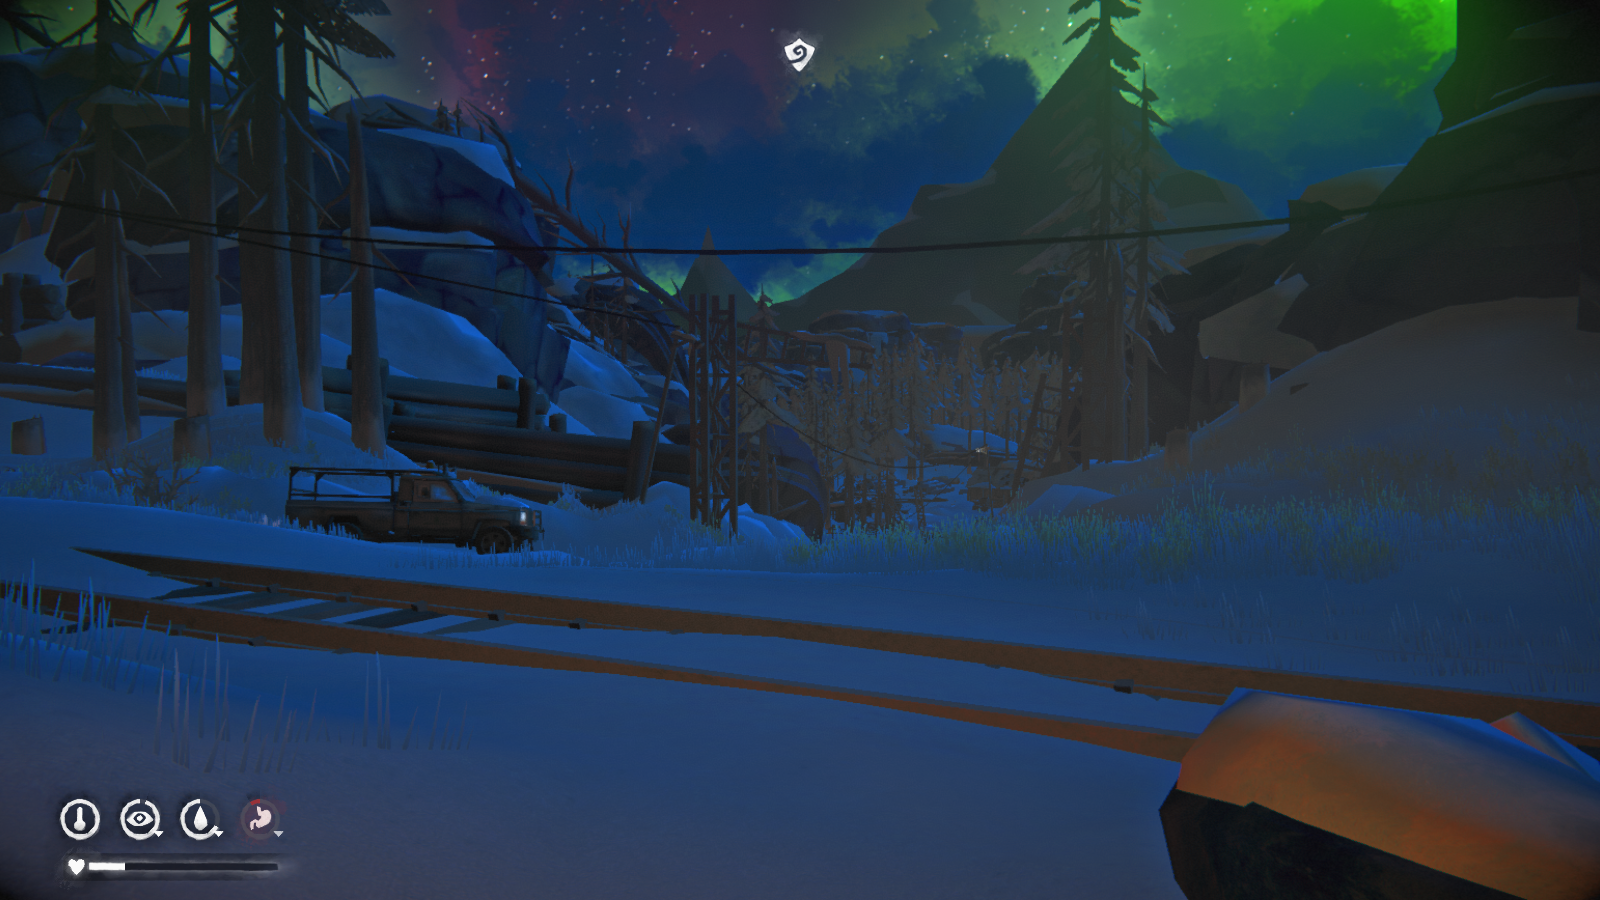 You'll notice that there are areas of light created by electric equipment, like streetlights and headlights from vehicles. You want to stay in these light areas. Sprint between them, like you're playing the floor is lava. The reason is:
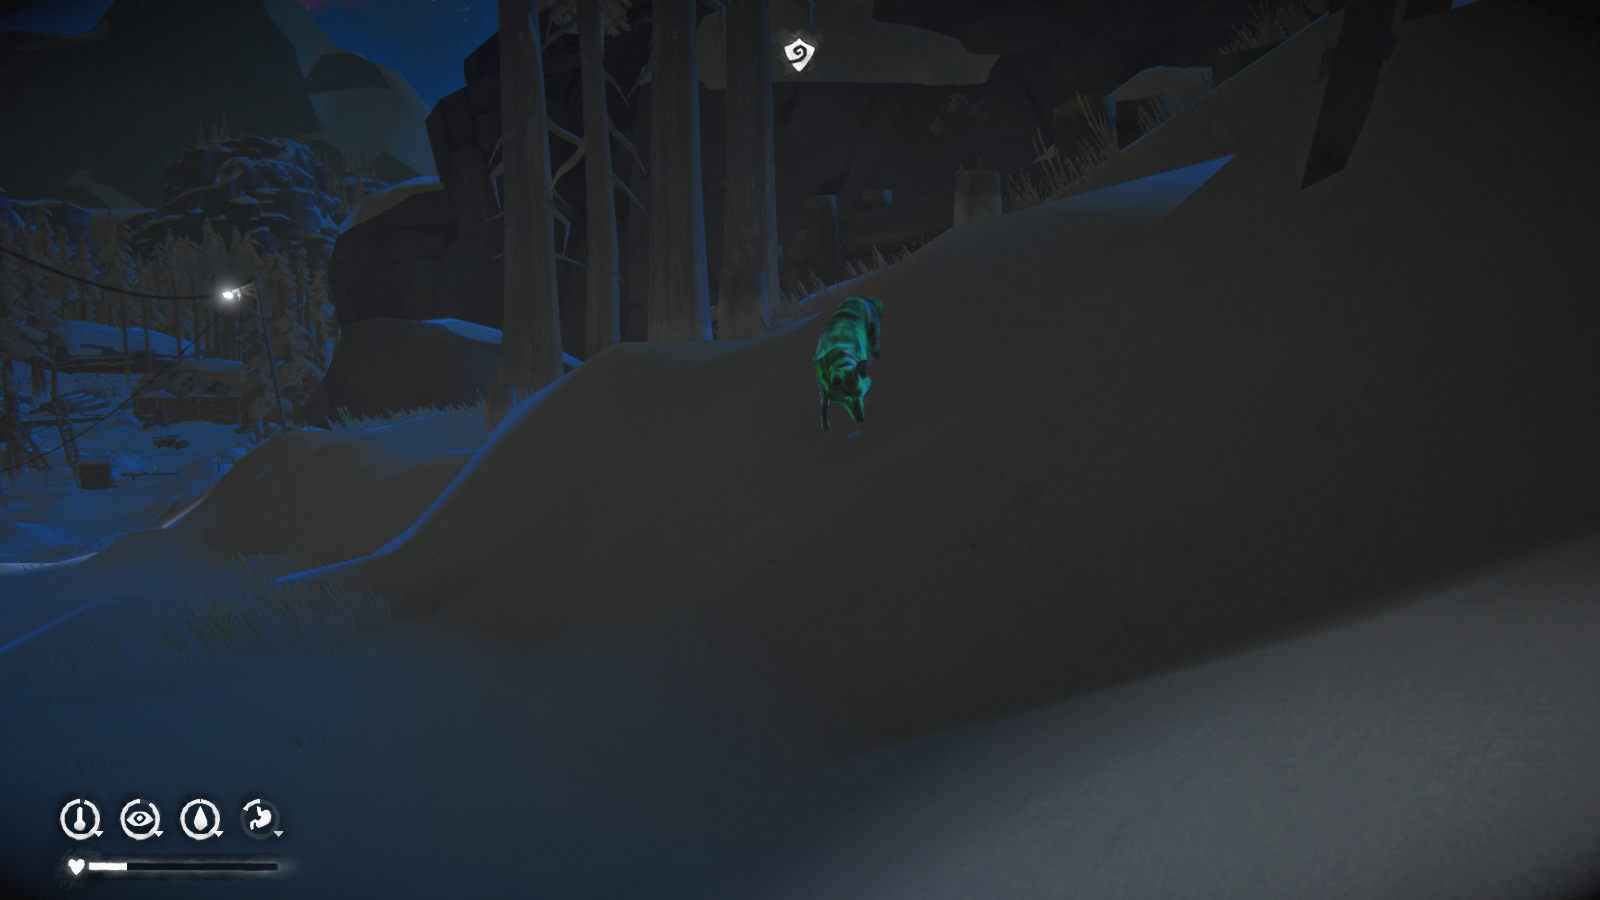 Meet the aurora wolf! Unlike the other wolves, this one won't be scared away by fire like normal wolves. Instead, you have to use the electric lights. Thankfully, there is a line of streetlights that goes straight to our goal. So just bunny-hop your way across the yard and you'll eventually come to the Maintenance Yard. Now, you have two options at this point:
- Go into the Maintenance Yard building and sleep until morning. The aurora only happens at night, so do this if you don't want to deal with the aurora wolves.
- Head to the Hunting Lodge right now
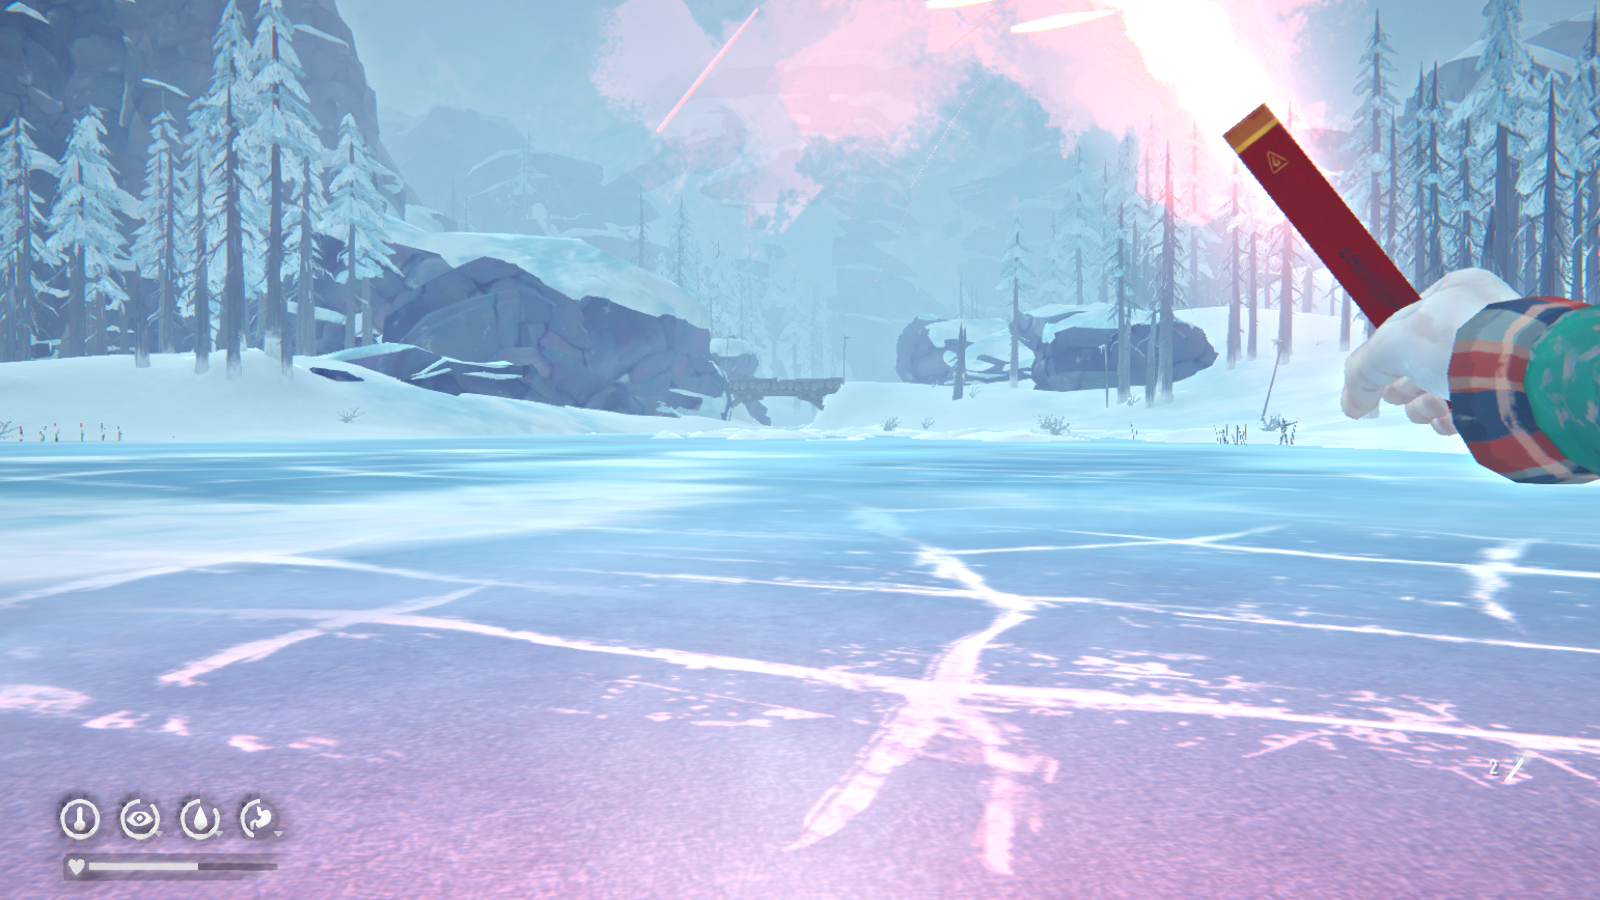 Cross the bridge to reach a metal gate (thankfully it's unlocked) From there, just follow the path up the hill to reach the Lodge.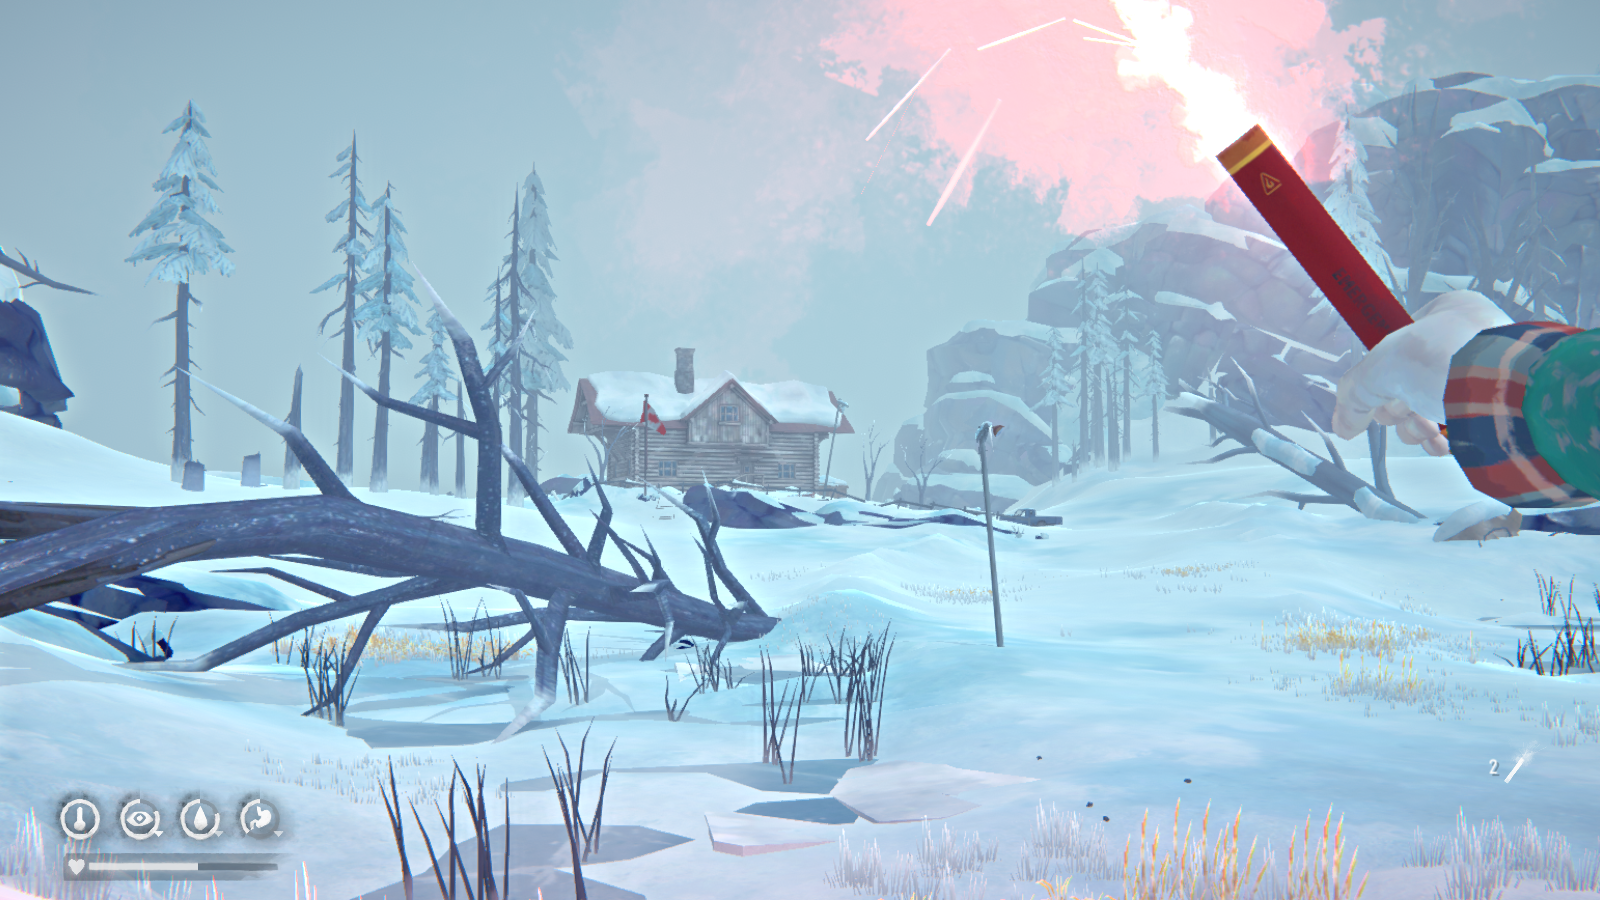
Once you enter the building, turn right to find the Bear Spear hanging above the fireplace.
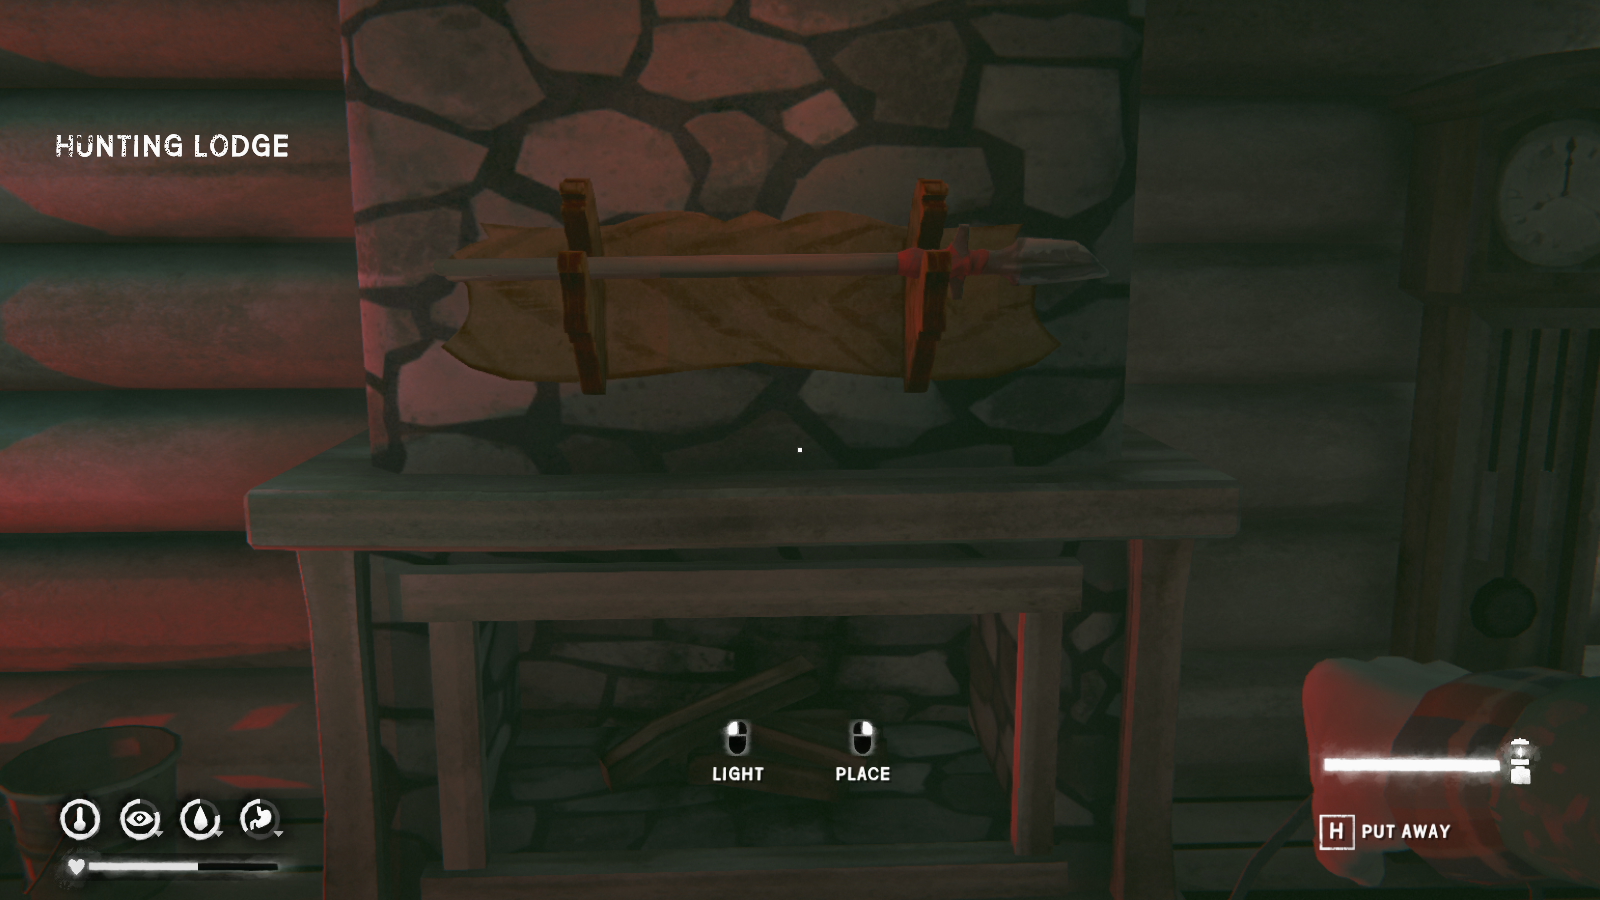 Unfortunately, it has been 150 years. The spear tip is broken, so Will needs to forge a new one at the Maintenance Yard.
But before you leave, explore the Hunting Lodge. There are a few nice items here, including a flashlight (useful during the aurora) and a Forest Talker memo (unlocks the Forest Talker cache side-quest). Plus there's lots of rifle ammunition, and a rifle cleaning kit, which you should really use. At this point, the gun is probably jamming between every shot.
--------------------------------------------------
After heading back to the Maintenance Yard building, go inside to find the forge.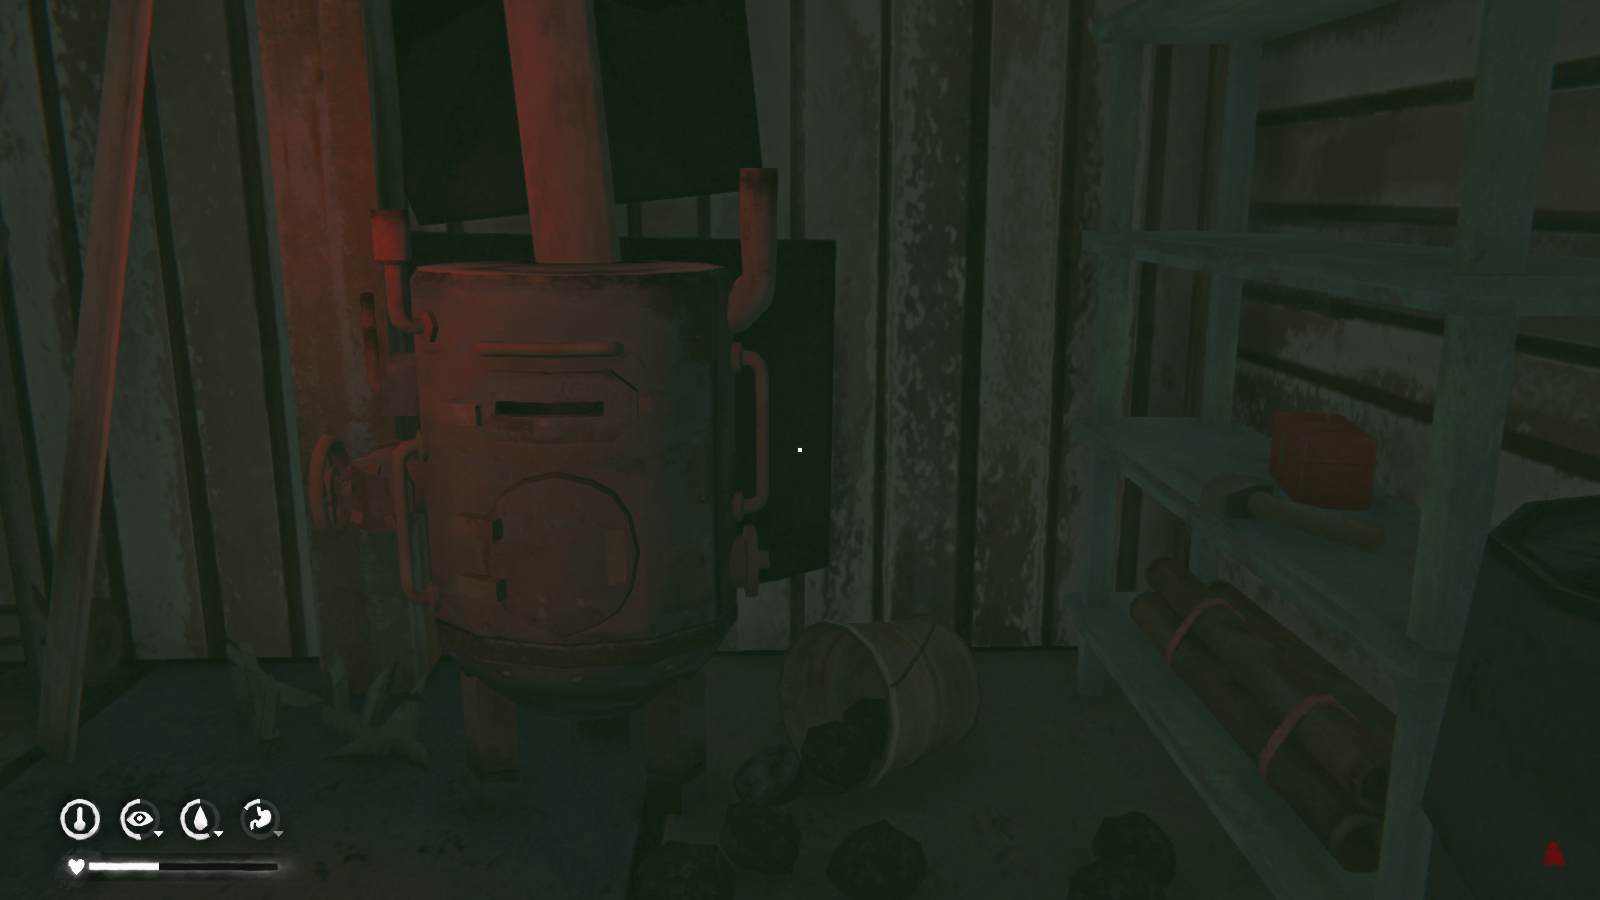 All you need to do is start a fire, and the game will automatically bring it up to the proper temperature. To make the new spear tip, just grab two pieces of scrap metal and the heavy hammer (which is on the shelf, next to the forge). There should be enough scrap metal lying around the building, but you can use the hacksaw outside to cut up metal furniture if you need to. You'll want to click on the little slit, above the door to start forging items.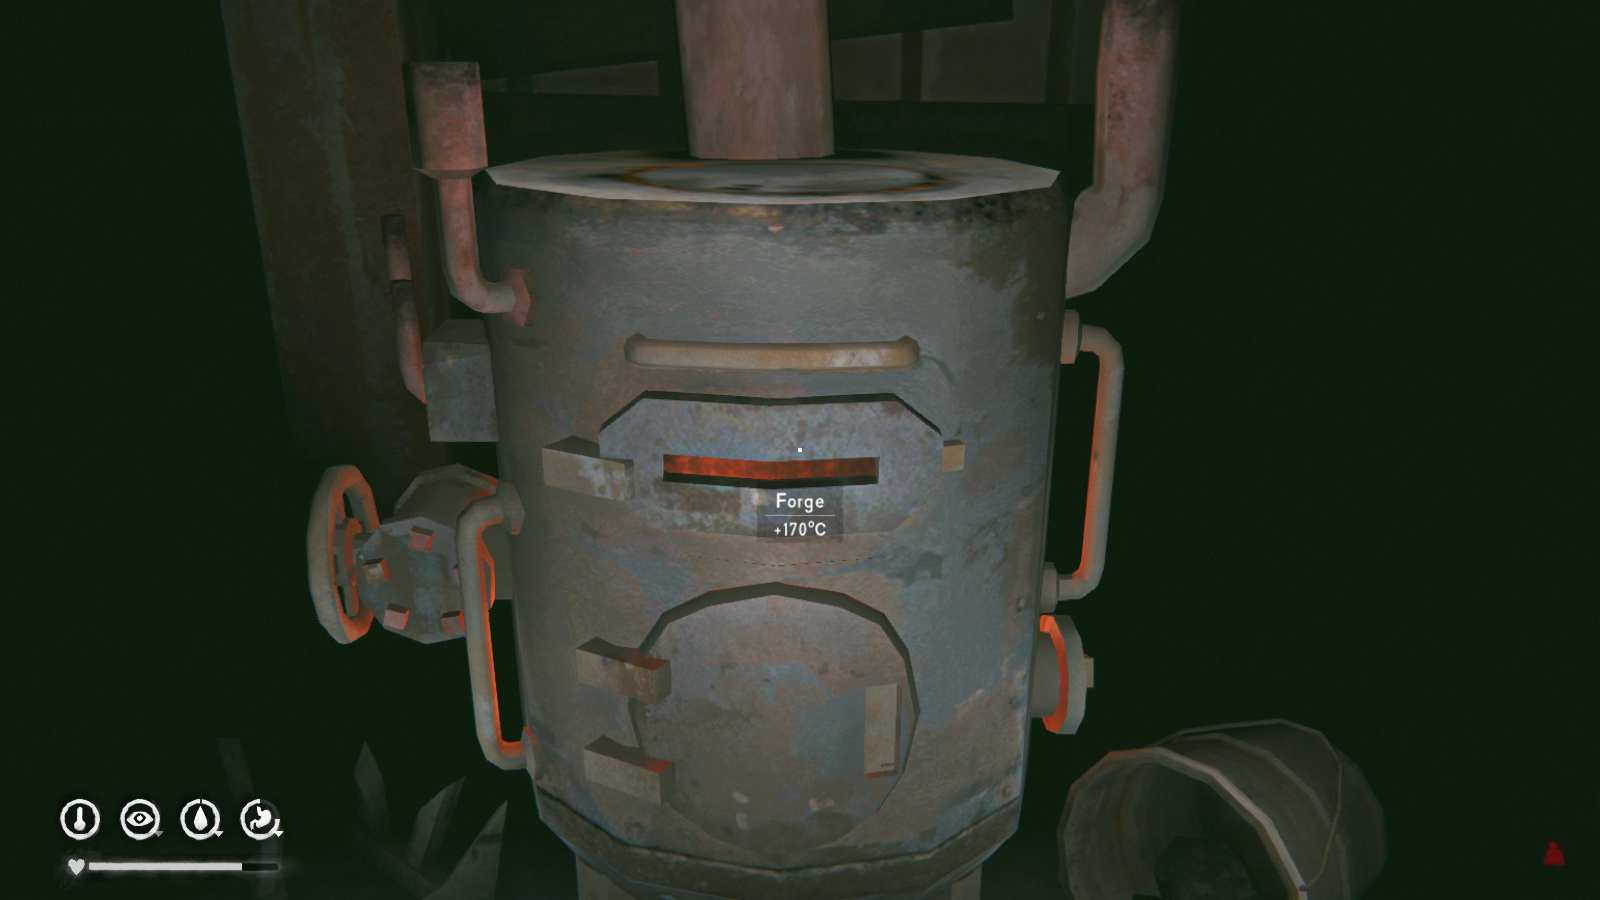
Once that's done, it's time to head back to Jeremiah. Just go back the way you came. You can get over the fallen train car via the wood seen below.
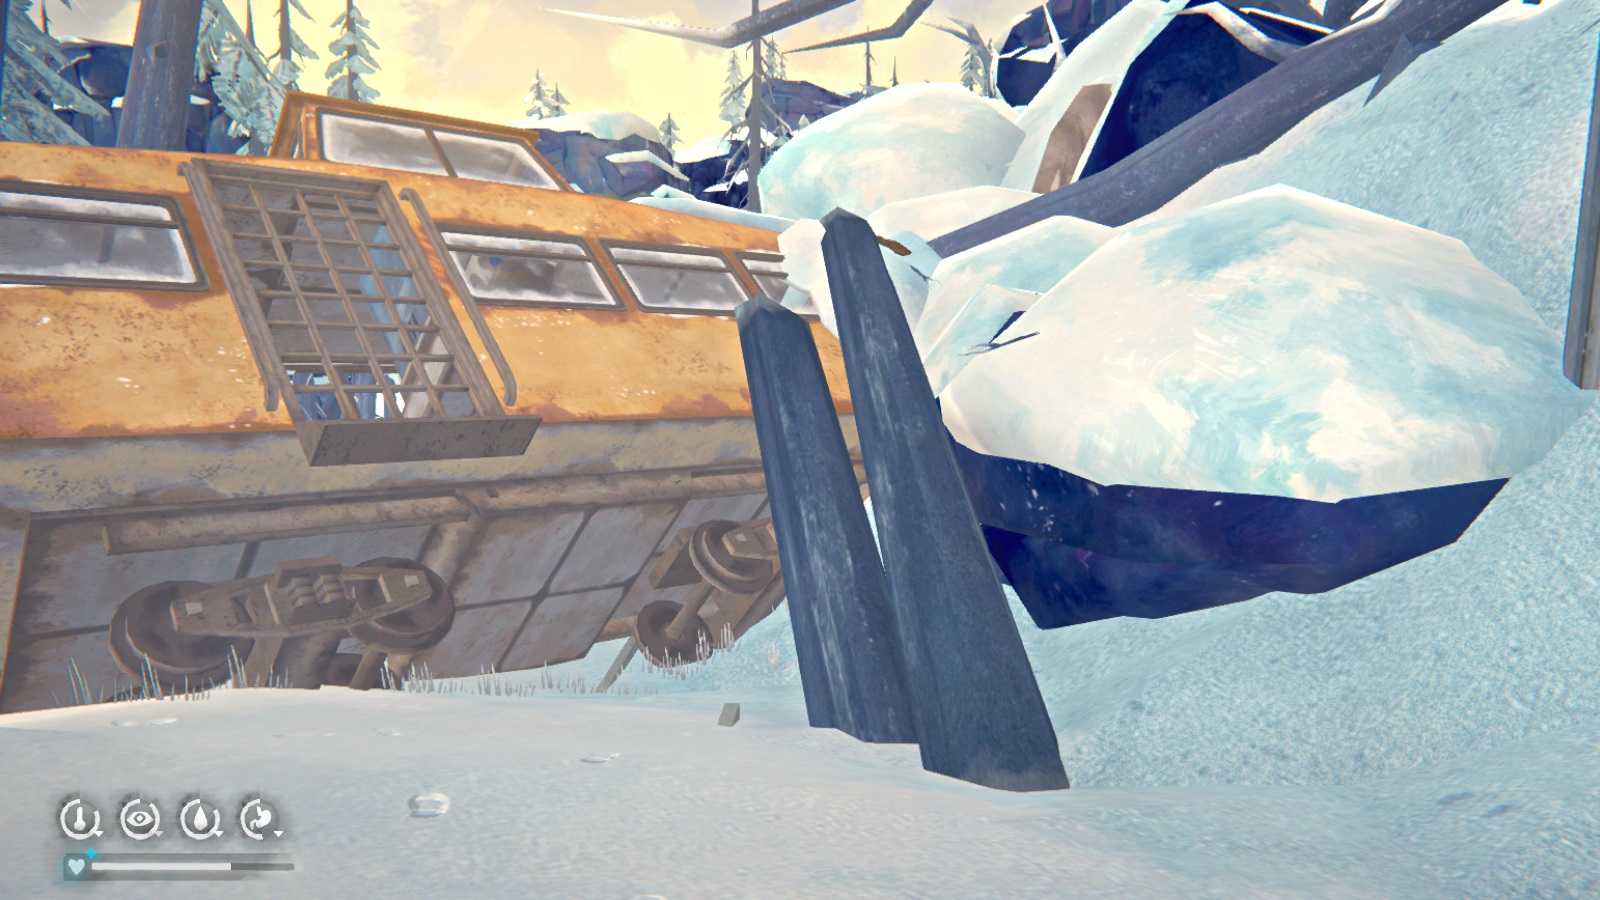 You also can climb over the landside from this direction, so no need to take the side route. Anyways, you'll have an interesting cutscene with the Old Bear right before Will enters Mystery Lake, and then it's back to the Trapper's Cabin for the last conversation of this chapter.
Chapter 3: Signal to Noise
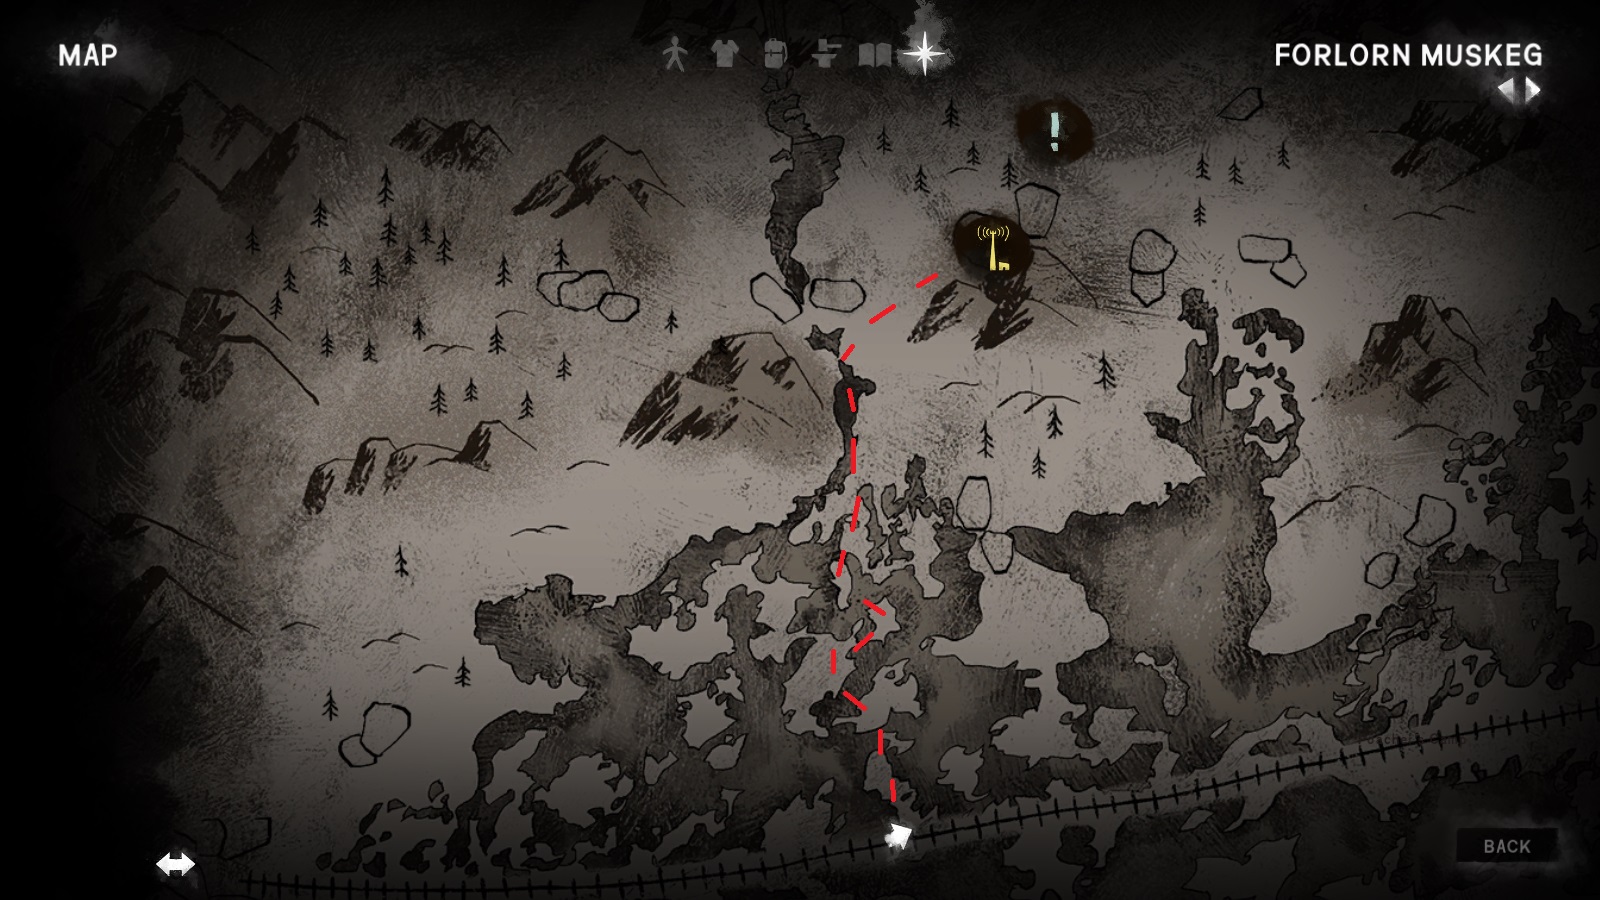
Now you can do these in any order, but this guide will be going around Forlorn Muskeg clockwise. So turn left when you first enter the region and hug the wall until you come to the first radio tower.
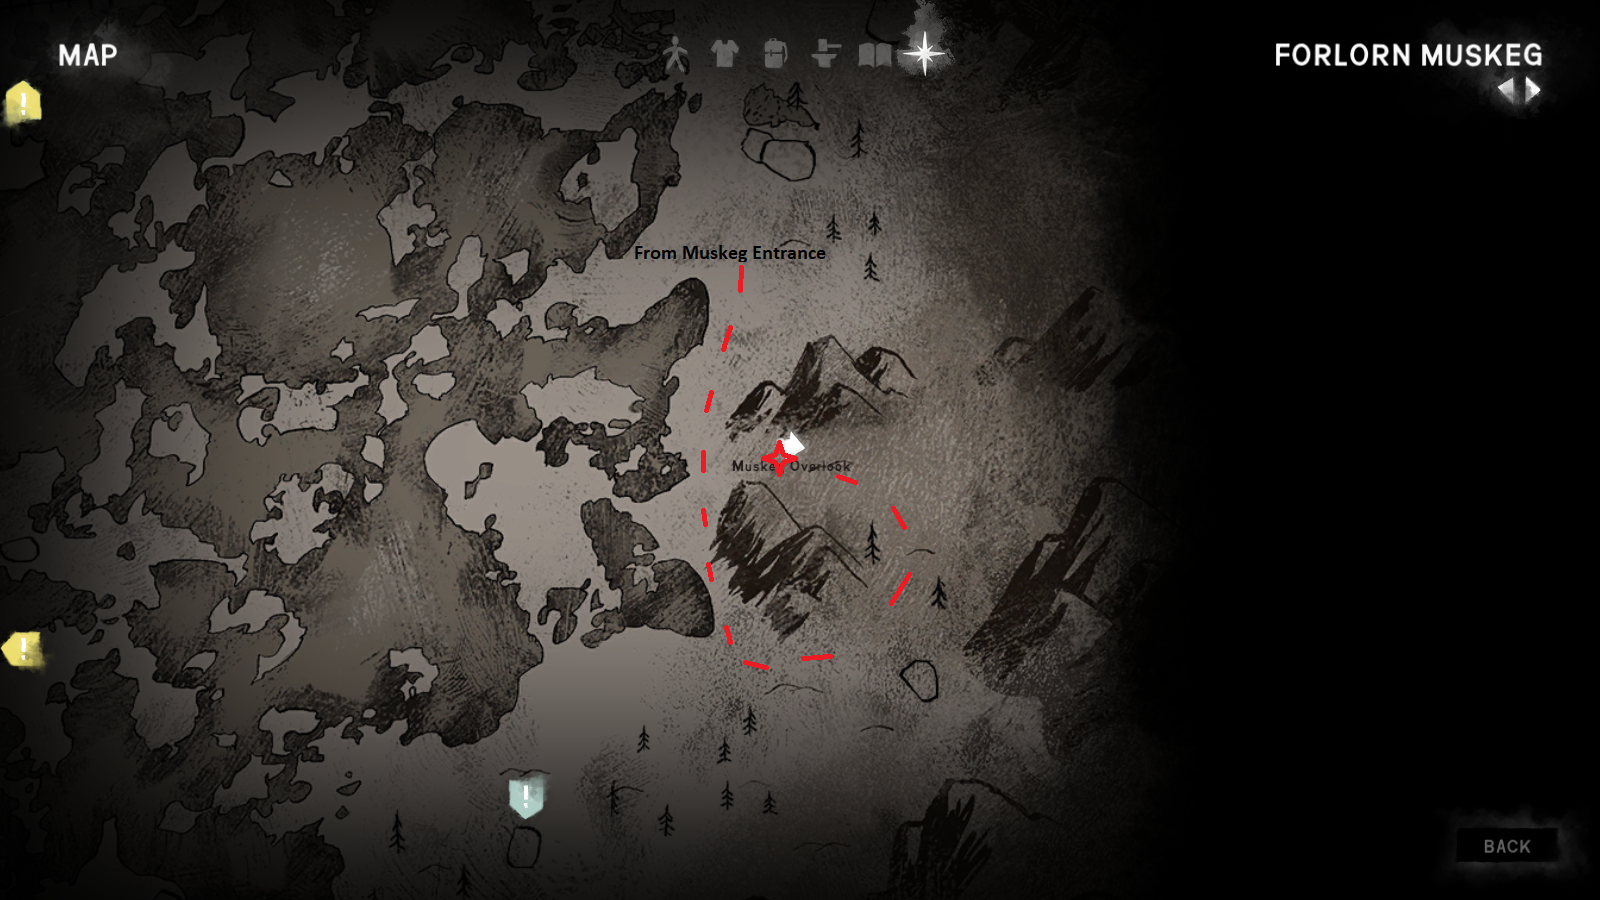
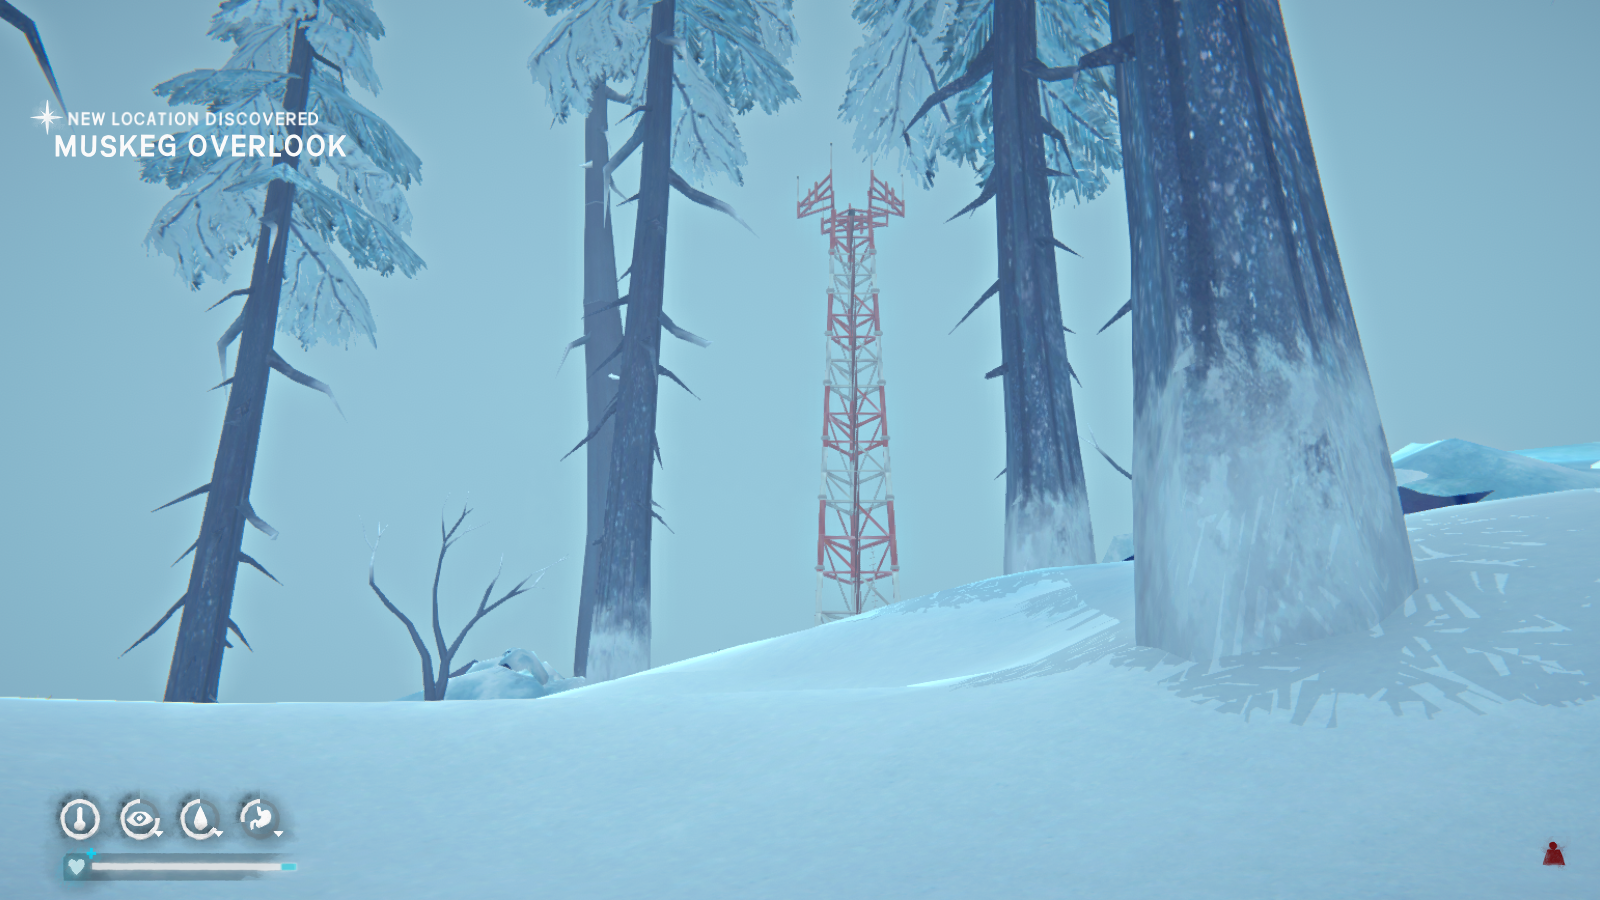
You'll have to do a little maneuvering to get to the tower, shown in the map picture above. Anyways, approach the tower and click on the box to take the transponder parts. Then it's rinse-and-repeat for the next two towers.
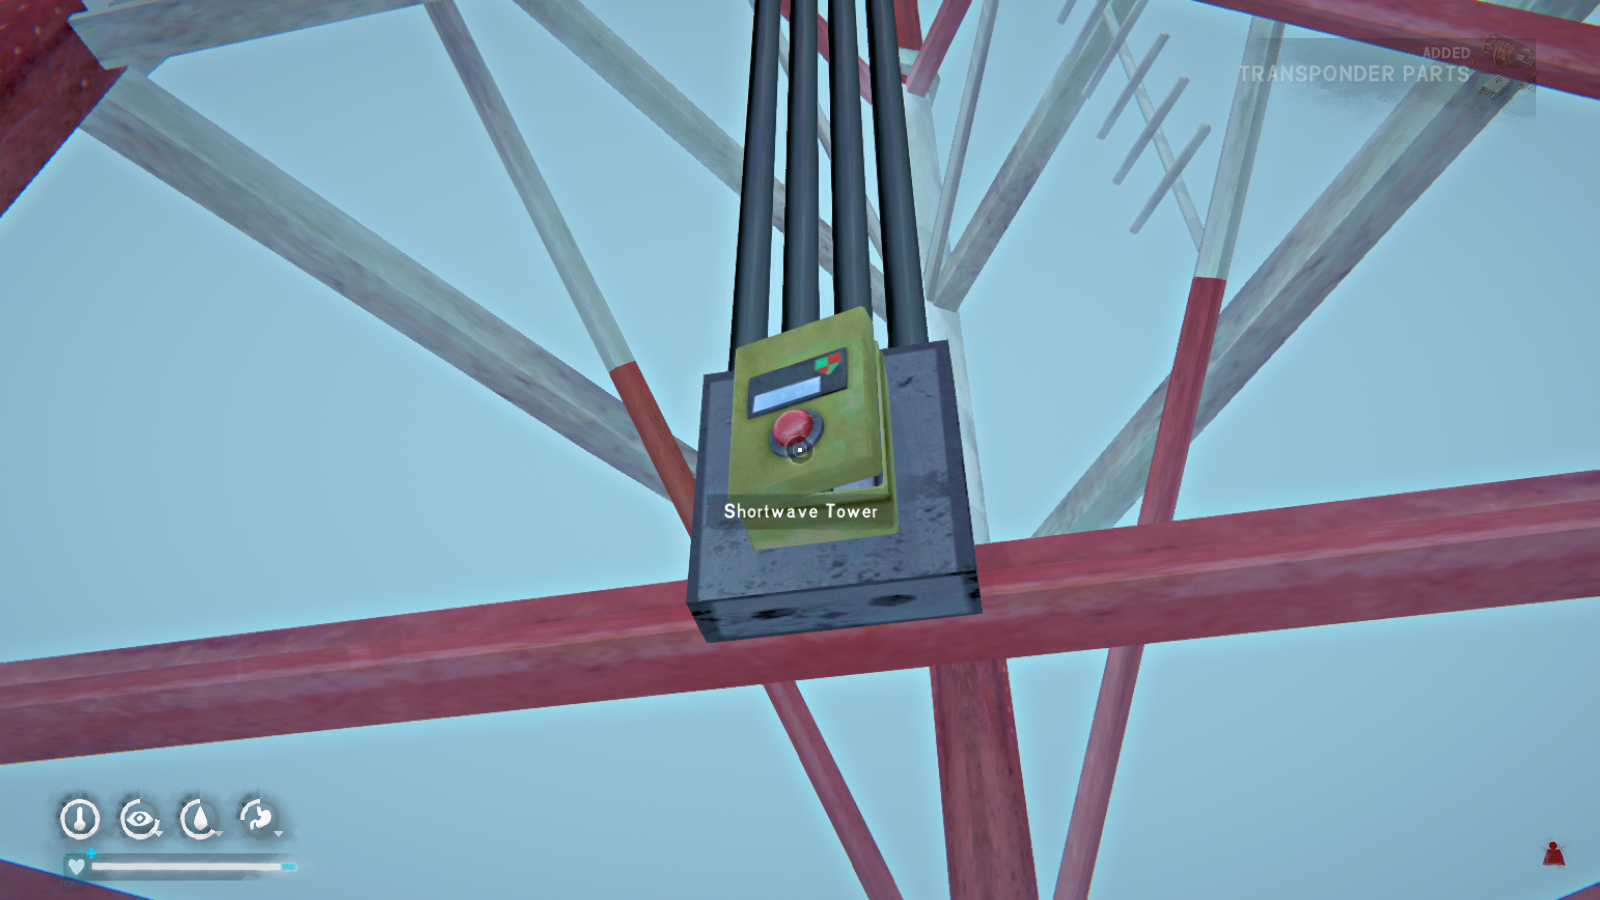
--------------------------------------------------
Except for the Old Bear encounters! When you approach your second radio tower, the Old Bear will suddenly attack.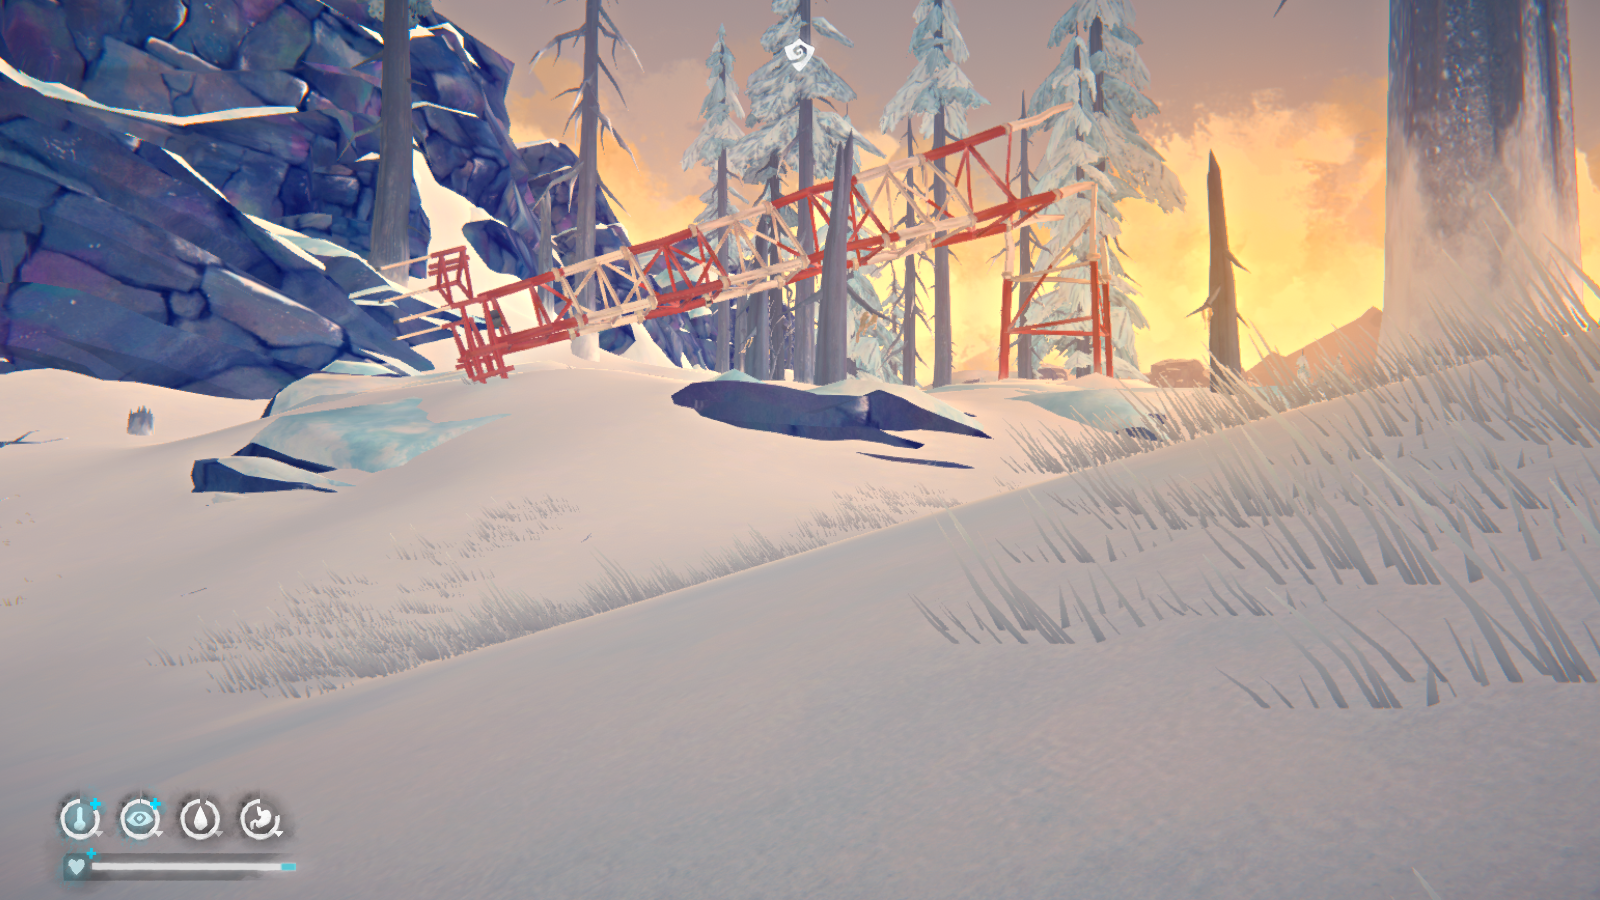
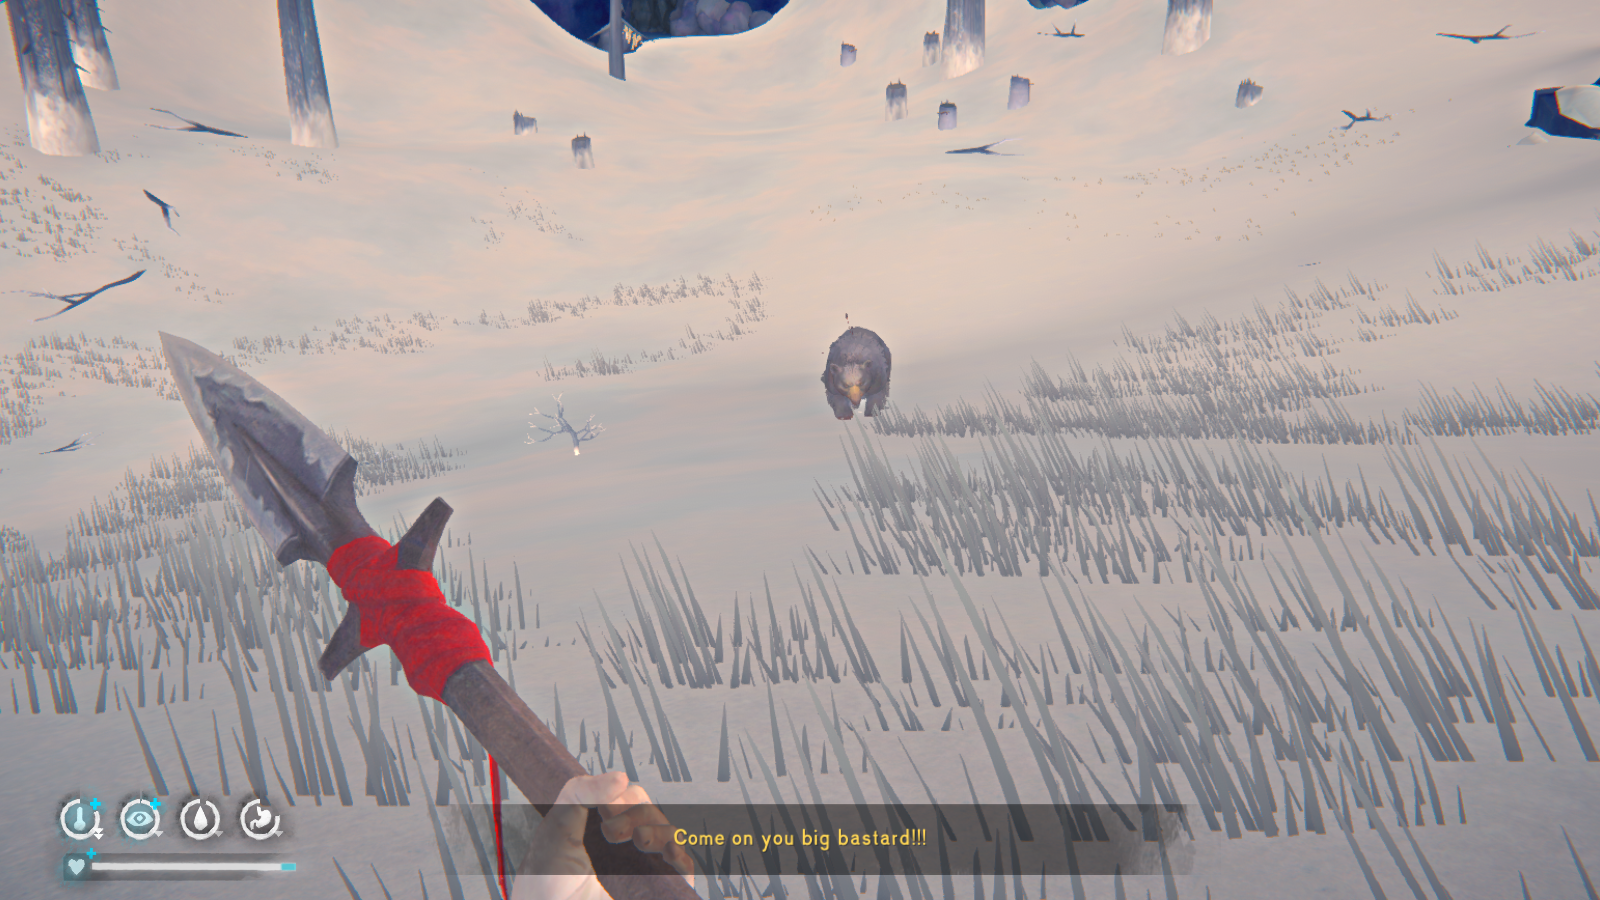
Get your bear spear ready (you can quick access it from the radial menu) and hold it out once the Old Bear starts charging. You'll get into a button-mashing game (like wolf
struggles) and filling the bar will cause Will to drive the Old Bear away. But don't put your spear away because he's still around and will charge you again.
Ultimately, your goal is to grab the transponder parts in the moments right after you've driven the bear off. Once you get the parts, get into one more fight with the Old Bear to drive him off permanently. Or you can stab him three times from the start, and he'll leave anyways. For the north radio tower, I'm going to suggest you approach from Hat Creek. It takes some zig-zagging to avoid the thin ice, but I personally find it the easiest way to reach the tower.
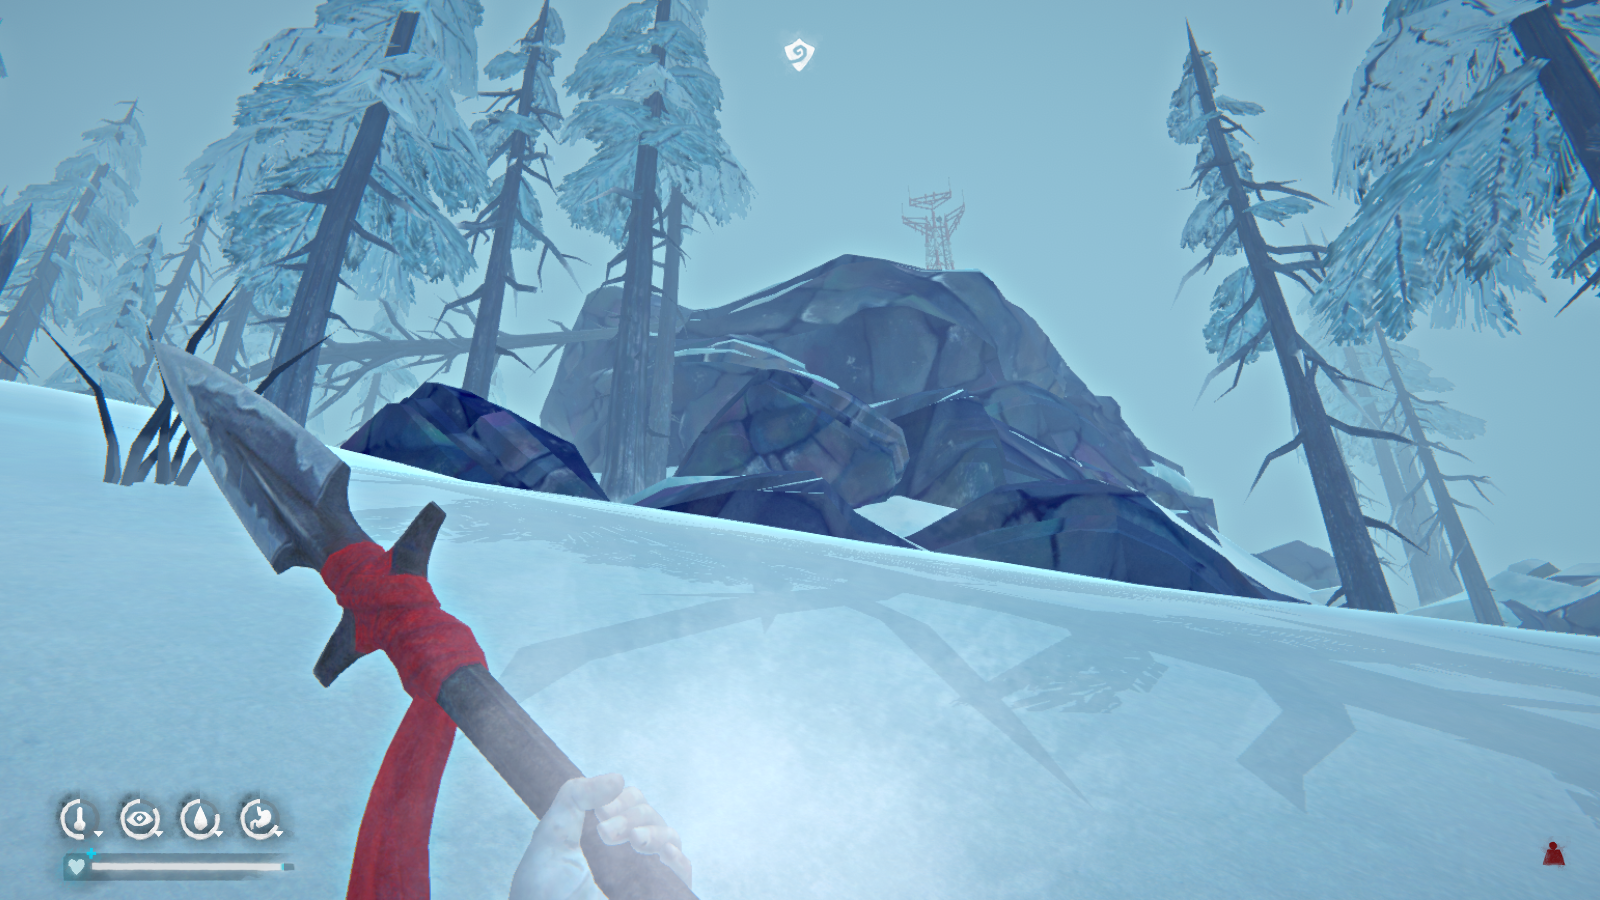
Once you approach the tower, the game will autosave because it's time for the Old Bear encounter. As before, he'll keep coming at you until you grab the transponder parts, at which point you can scare him off permanently, or you stab him three times.
Anyways, just head back to Jeremiah's. Although I will suggest you complete the Aurora Hatch sidequest while you're out here. Check that section of the guide for some tips!
Surprise! Another scripted Old Bear encounter, although you can't fight him off this time. Instead you have an ominous scene of being dragged off, similar to The Hunted Part 2.
Now the game will autosave at the start of this, which is very important because you can't manually save in this area. Essentially you're playing a stealth level right now. If the Old Bear attacks you, it's an immediate game over. Will has no weapons or anything really (except the clothes on his back) so the goal is to find the Bear Spear somewhere in this den. Thankfully the path is mostly linear. The first thing you want to do is climb up the ledge on your left. From there, crawl through the tunnels until you come to the first open area. There will be a dead body, and the Old Bear will appear from below. Like in stealth games, he'll walk a pre-set path, so stay on the ledge till you have a feel for his patterns. You'll want to crawl through the hole where the water is flowing through.
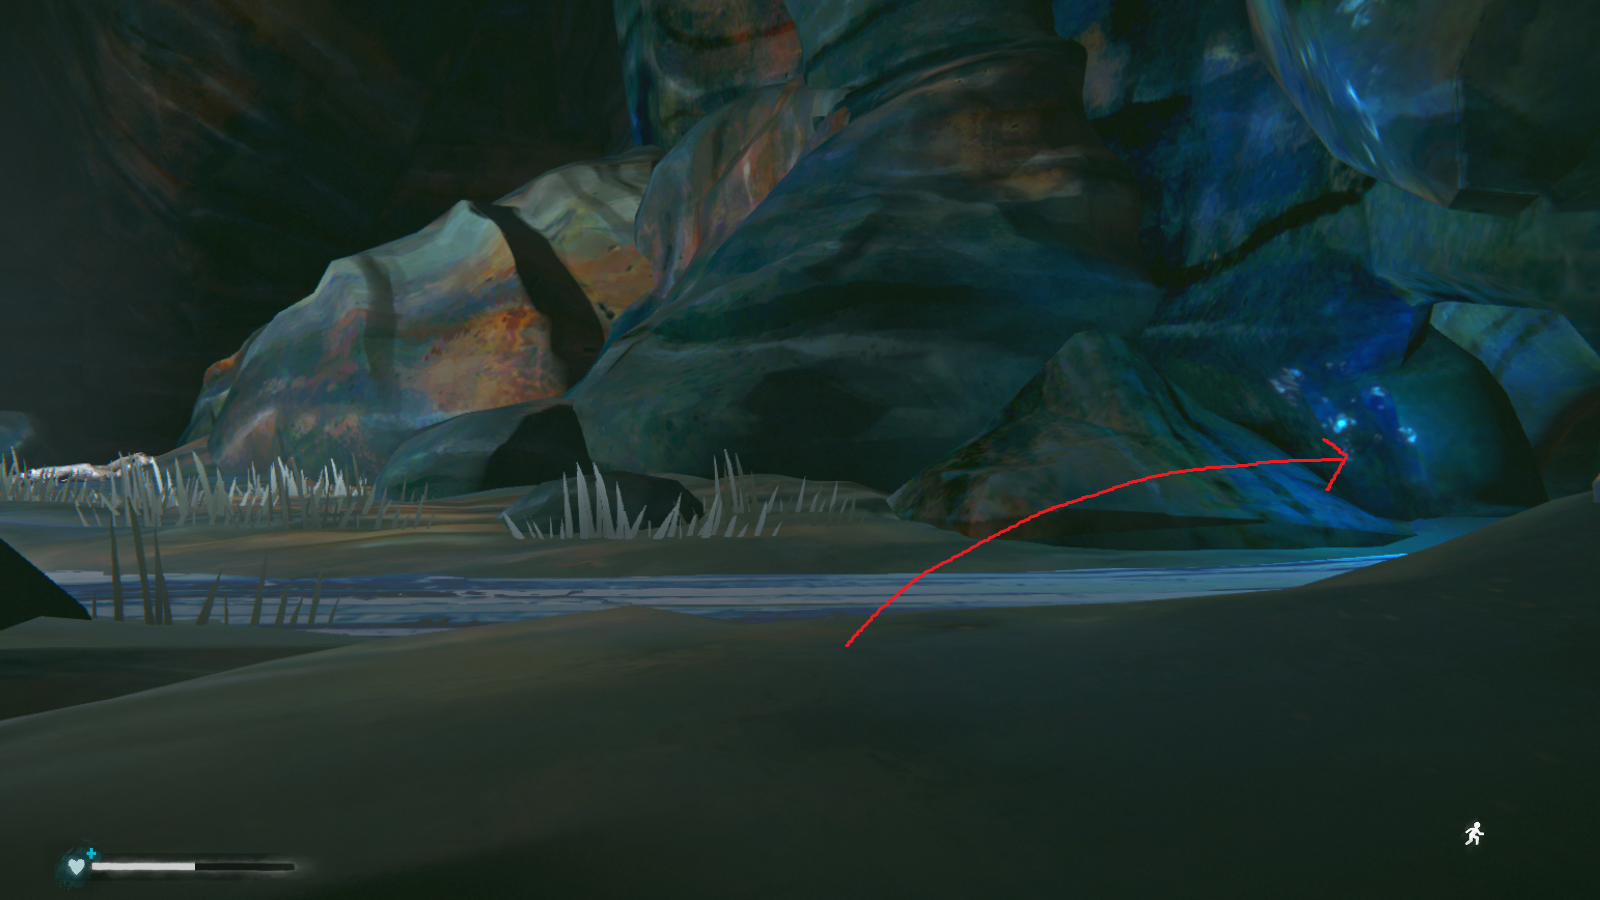 From here, just keep an eye out for the save icon on the right since the game will autosave before each potential Old Bear encounter. I'll have some pictures with arrows showing which holes to crawl through, but otherwise just follow the obvious path. My main tip is to stay crouched and in the tunnel areas. Even if the bear senses you and charges, he can't actually reach Will in those areas so you avoid a game over.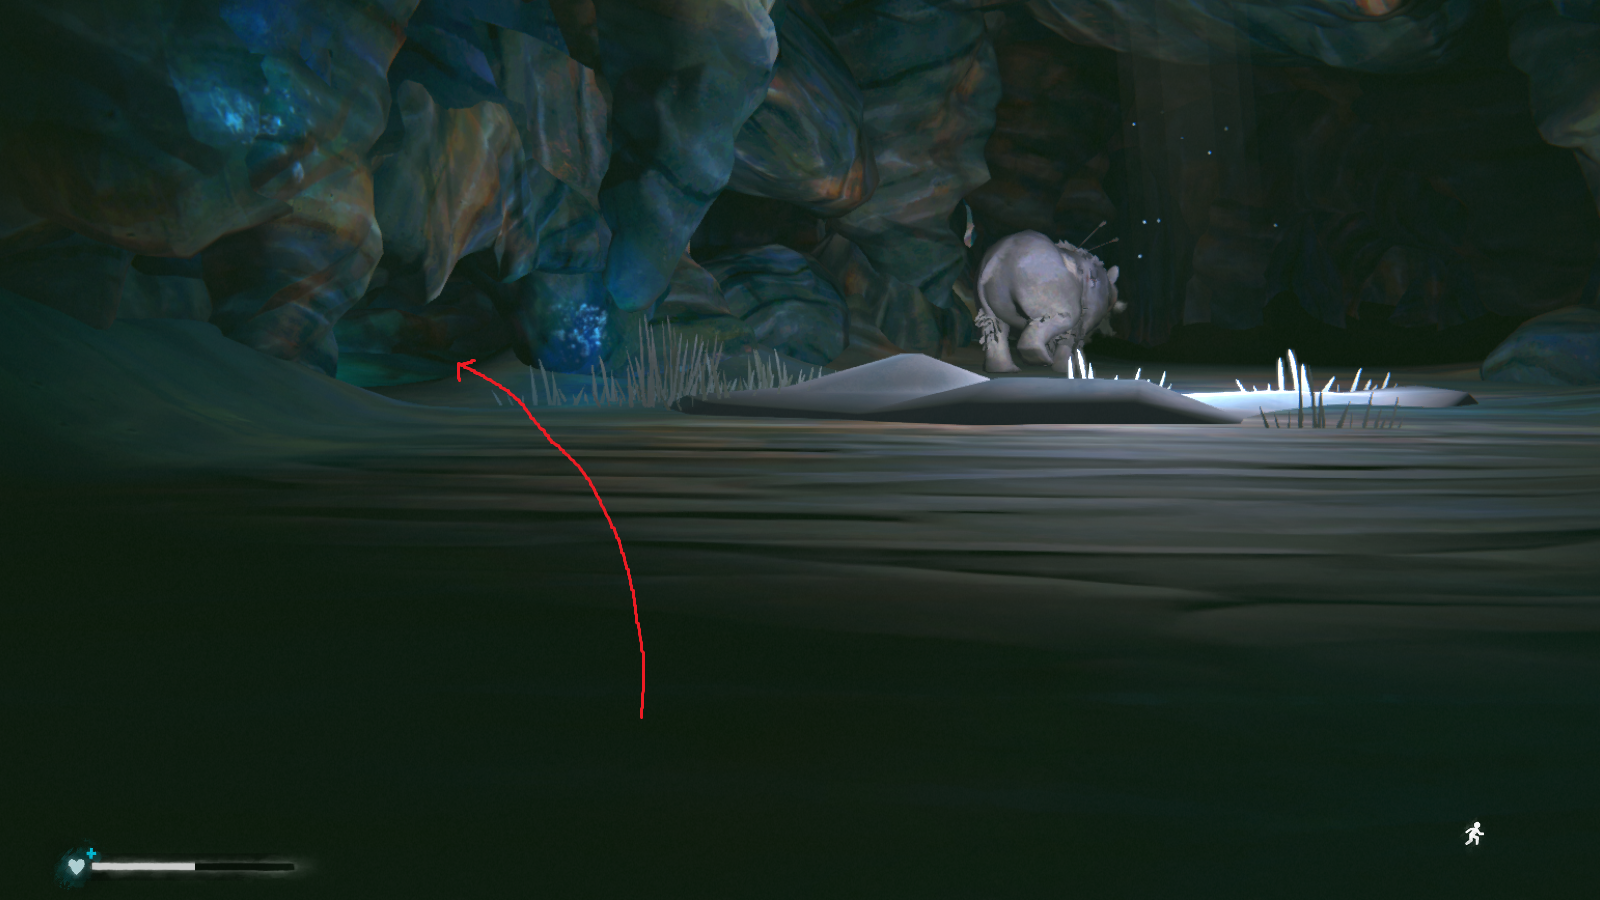
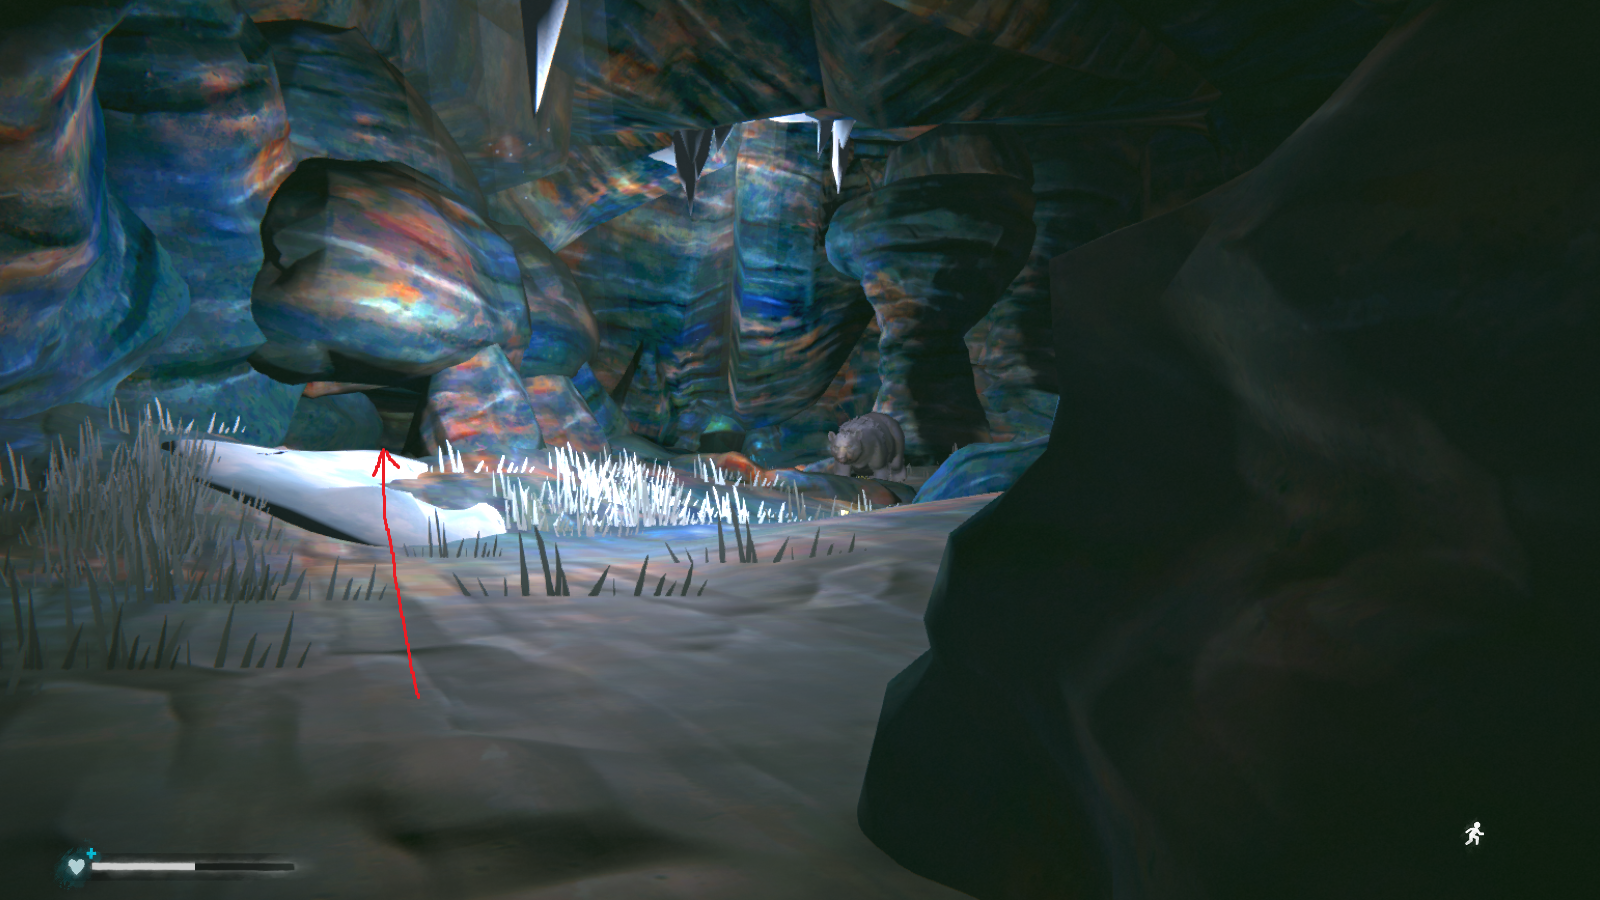
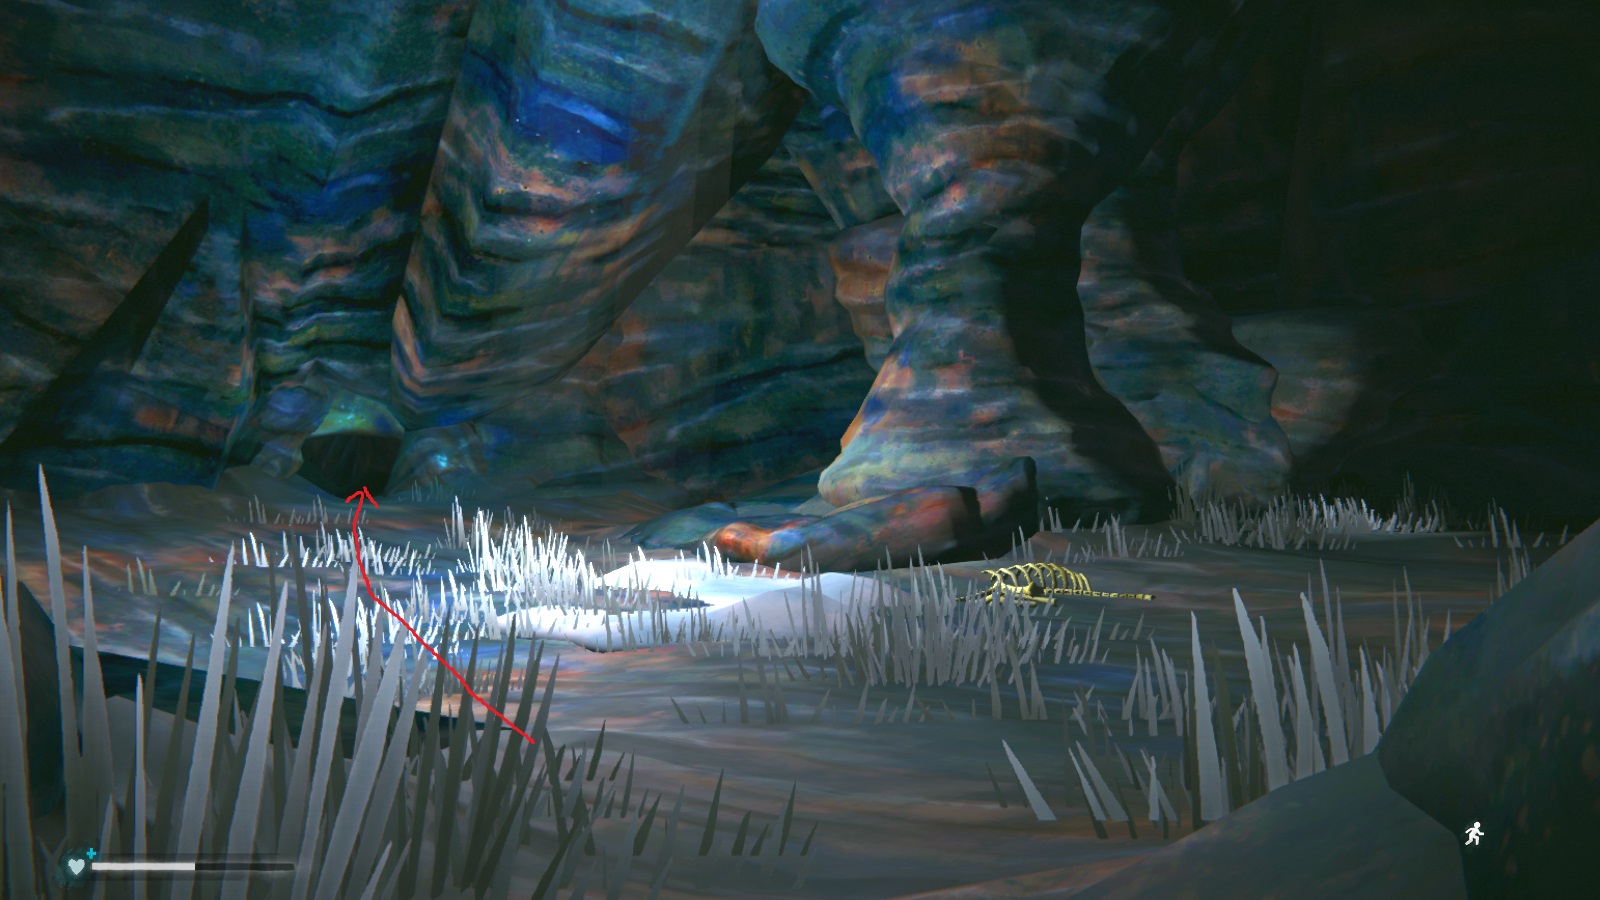
--------------------------------------------------
Once you reach the room below, Will sees the Bear Spear.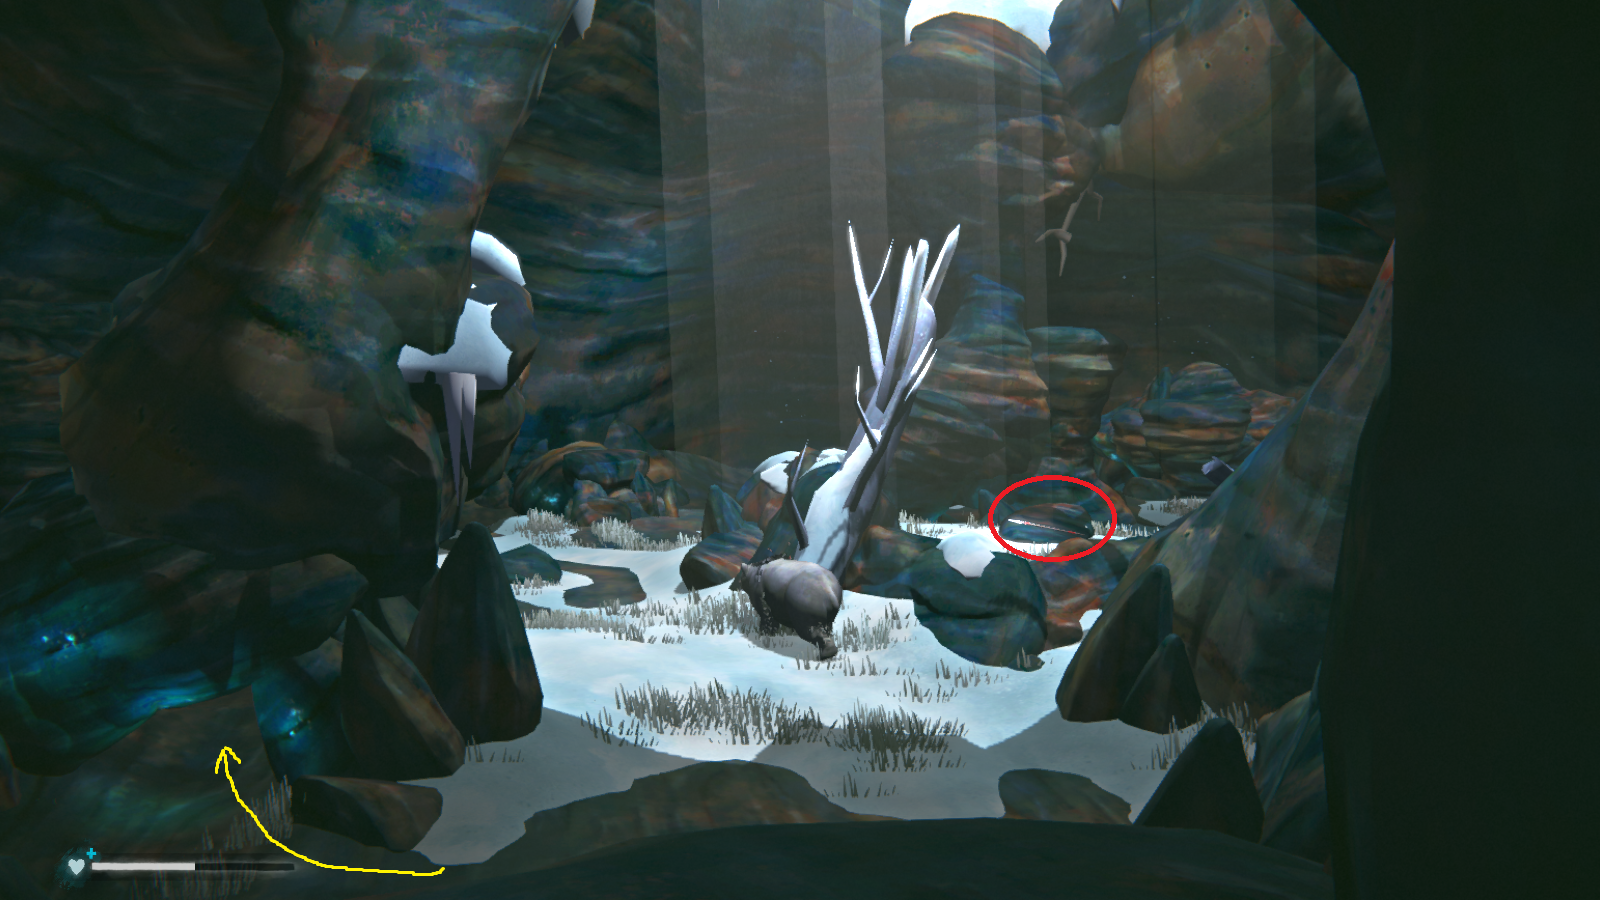 So stay up on the ledge and get a feeling for the Old Bear's movements. He has a couple of different patterns so you may want to observe for a bit. The goal is to get into the big rock in the middle (yellow arrow) and then wait for the bear to pass by it. From there, just sprint for the Bear Spear, and be ready to do a bear struggle once you grab it. There are also a few other areas where Will can crawl and hide if you don't like the positioning of the big rock.
You have to struggle with the bear three times for before Will finally kills it. It's pretty simple at this point; just point the spear once the bear starts charging at you. Will can now also take a mauling or two, so no worries if you fail at getting the spear ready once. The main problem is when the bear gets stuck on something, like so.
So stay up on the ledge and get a feeling for the Old Bear's movements. He has a couple of different patterns so you may want to observe for a bit. The goal is to get into the big rock in the middle (yellow arrow) and then wait for the bear to pass by it. From there, just sprint for the Bear Spear, and be ready to do a bear struggle once you grab it. There are also a few other areas where Will can crawl and hide if you don't like the positioning of the big rock.
You have to struggle with the bear three times for before Will finally kills it. It's pretty simple at this point; just point the spear once the bear starts charging at you. Will can now also take a mauling or two, so no worries if you fail at getting the spear ready once. The main problem is when the bear gets stuck on something, like so.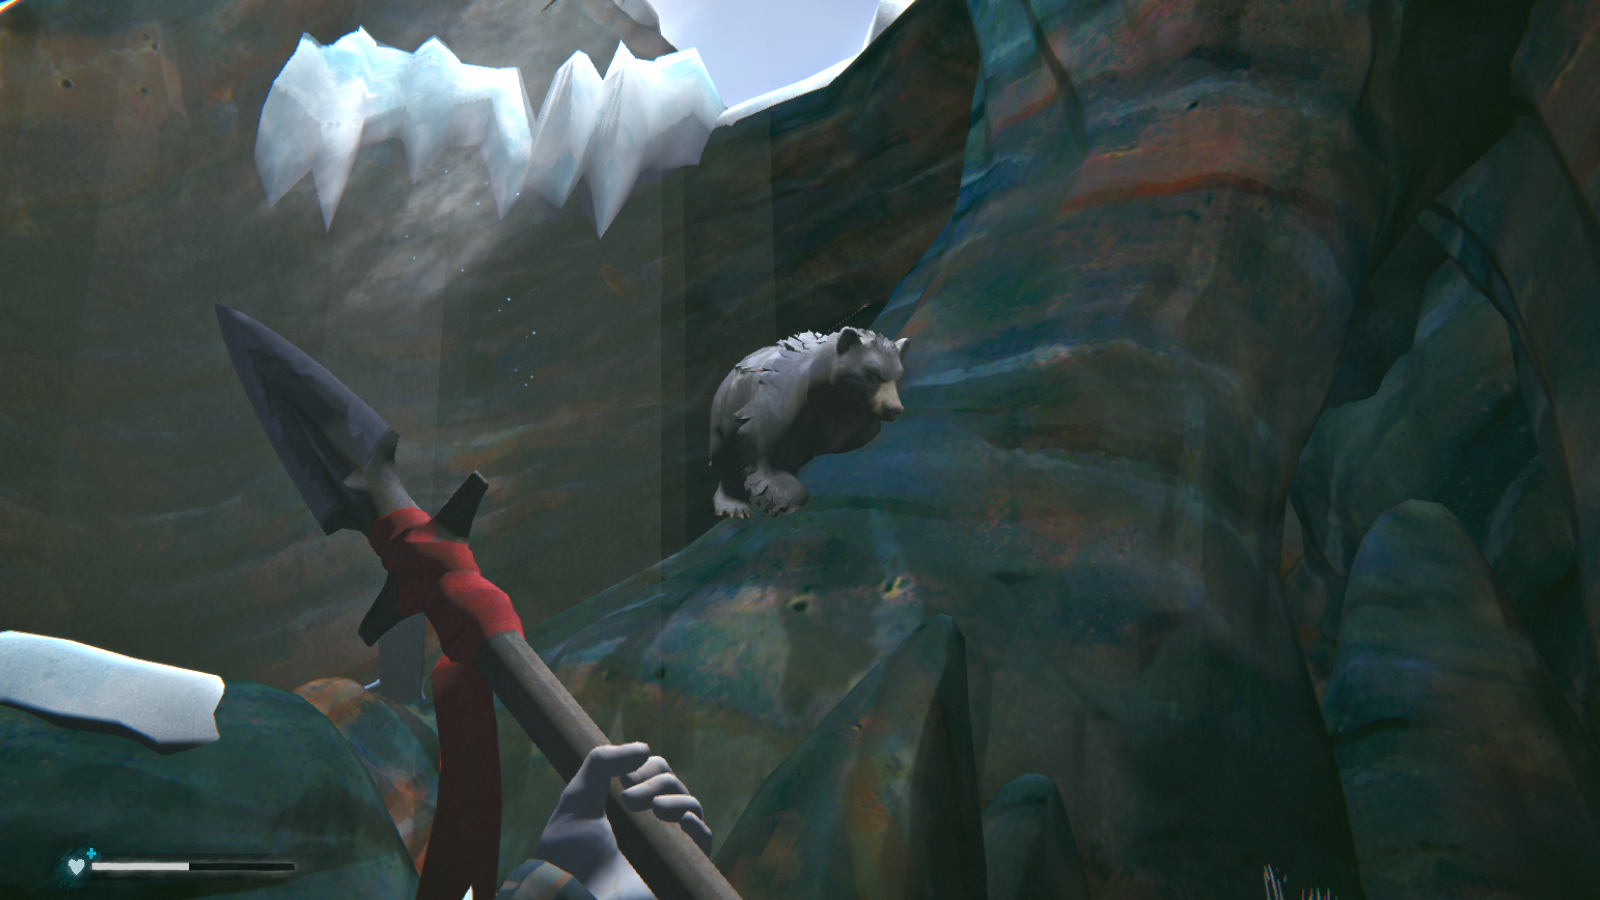 When that happens, you'll just have to reload to before you recovered the bear spear. Anyways, on the third struggle, Will has an epic cutscene where he kills the bear and then the game transports you to Trapper's Cabin for the last cutscene of this chapter.
Chapter 4: Renewed Hope
So the bad news is that we're locked out of Trapper's Cabin now. The good news is that Jeremiah didn't steal all our stuff.
So the game starts you off with full stats right before sunrise. You'll want to make a beeline the Camp Office, since you need somewhere to sort through all your stuff. You can also put it in the bin outside Trapper's Cabin if you're sure you don't need it.
Unlike most of the story quests, the aurora is not scripted. That means you're going to have to camp out near the dam until it shows up. I would recommend staying at the trailers right in front of the dam so you don't have to dodge aurora wolves. Or you can even stay in the dam itself if you have a bedroll.
Because you could be waiting for several days until the game gives you an aurora, I would recommend you use the "hibernating" tactic. This takes advantage of the fact that you restore more condition during a standard 10-hour sleep than you lose from starving all day. In this case, you want to sleep through the day and look for signs of the aurora during the night. Before going to sleep, eat exactly 750 calories (Will's calorie load is on the status screen) and drink so that the thirst meter is full.
Auroras only show up at night, in clear weather. Therefore, it is possible for an aurora to start at sundown, but then disappear by midnight. You'll want to pass time in one hour increments during the night to minimize the chance of missing the aurora. If you’re really low on resources, you can also save just before sundown and then check for an aurora throughout the night. If you don’t get one, just reload your save. Weather in this game is randomized, so you might get some aurora weather after reloading.
--------------------------------------------------
Anyways, whatever tactic you go for, head towards the Dam. Once you enter the gated area, you'll see Methuselah again. And the best part is that he has a magic fire!Go ahead and talk to him for some more cryptic words. But it does seem Will is warming up to the old man, for all his mysterious ways. This is also a great place to stay if you have a bedroll, what with the endless fire.
Once the aurora starts (Will comments on it, which helps you know it's happening), go inside the dam. You have limited time so head straight for the control room door. You'll see a keypad next to it that Will can interact with, allowing you to enter the control room.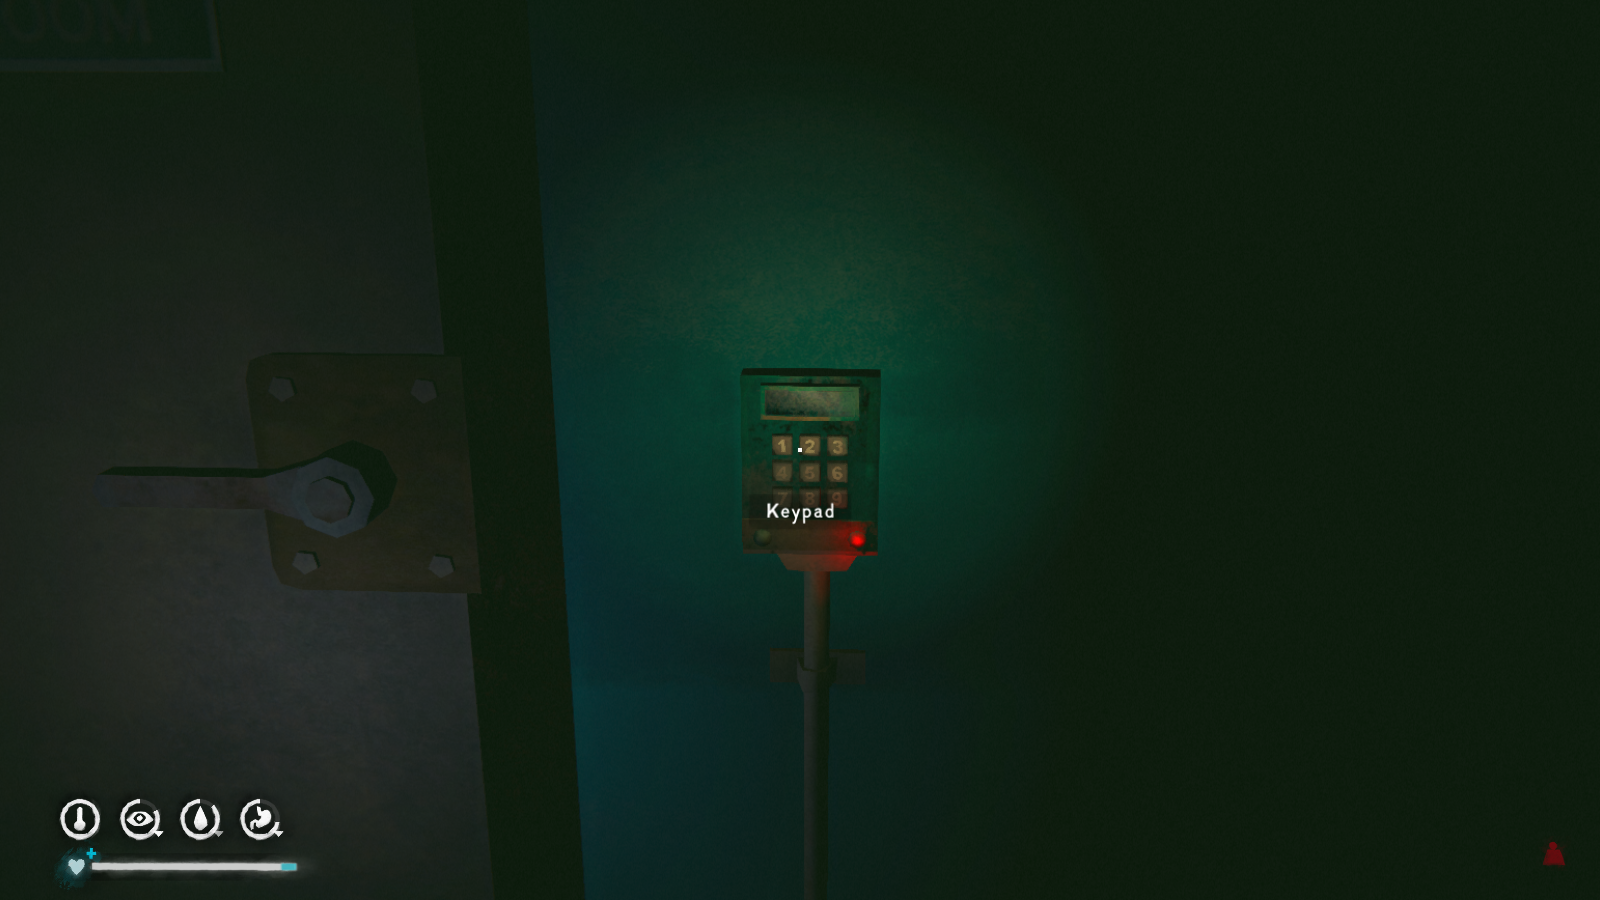 Loot what you want and open the safe if you have the time. To progress, go to the switch box in the room and turn it on; this will allow you to use the elevator in the room next door.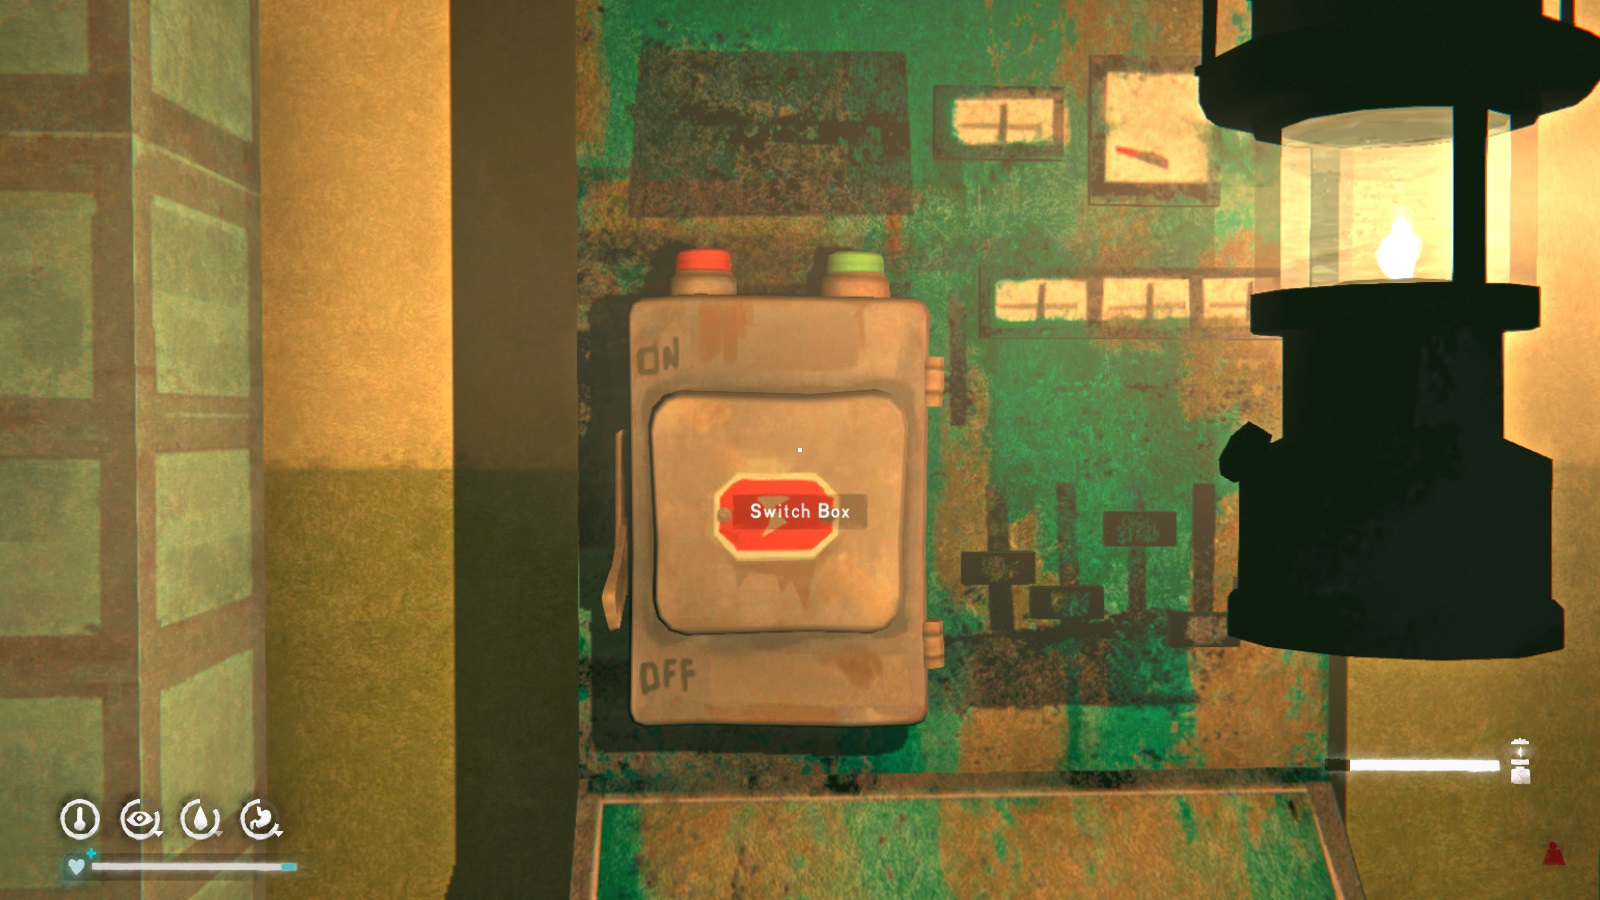
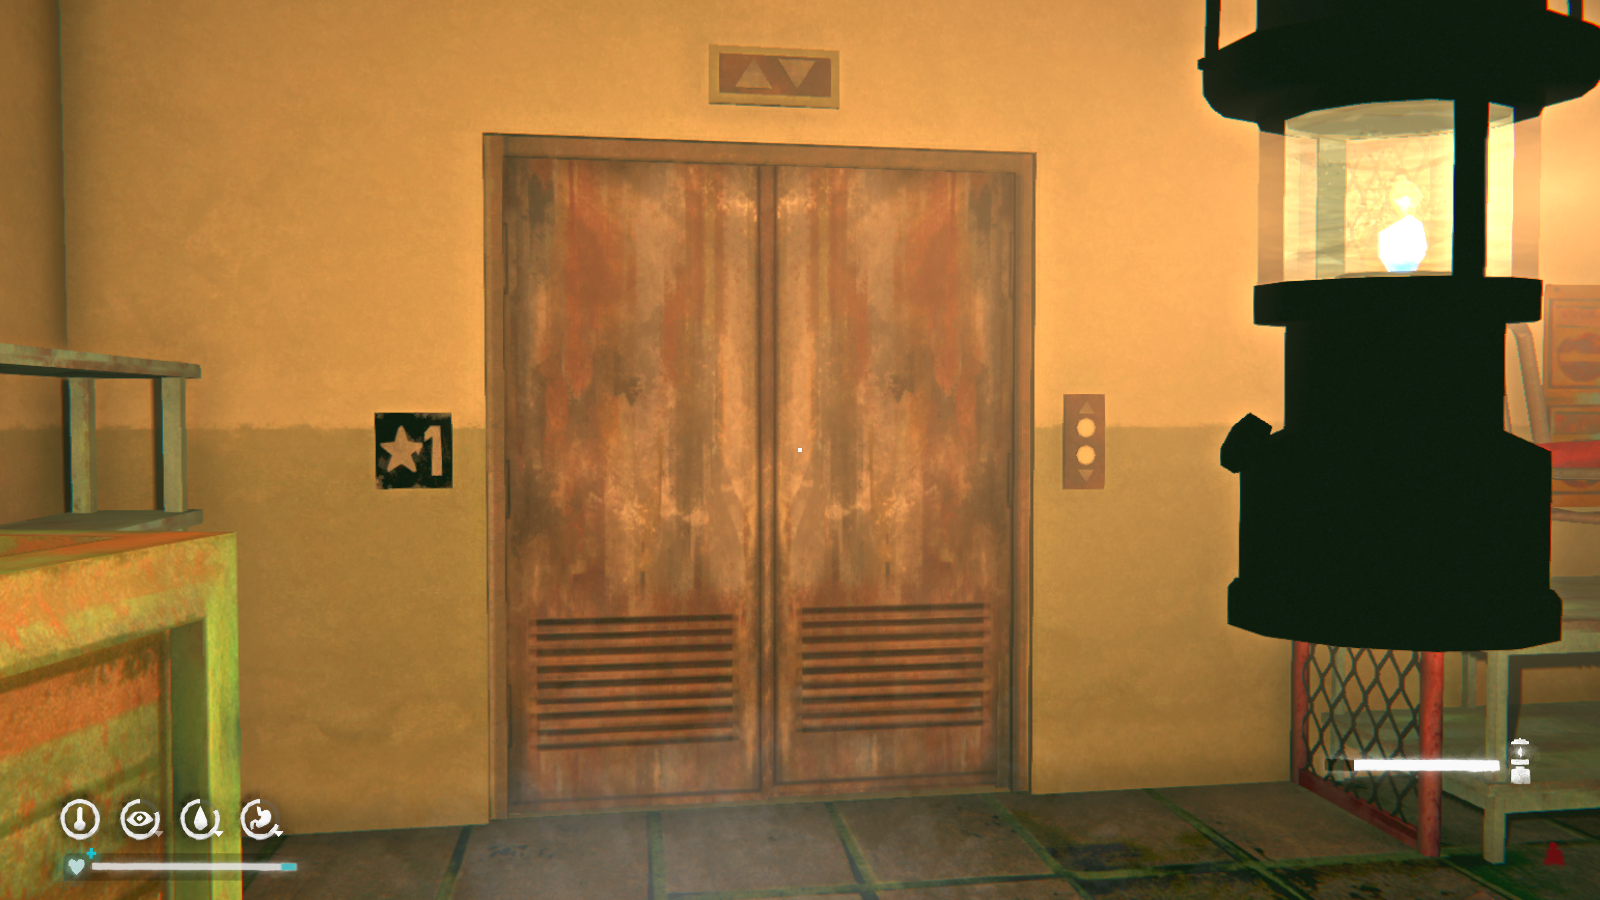
Of course the elevator breaks...there's a prybar in the backpack if you didn't bring an extra, so use that to pry open the doors. And welcome to the land of electric burns!
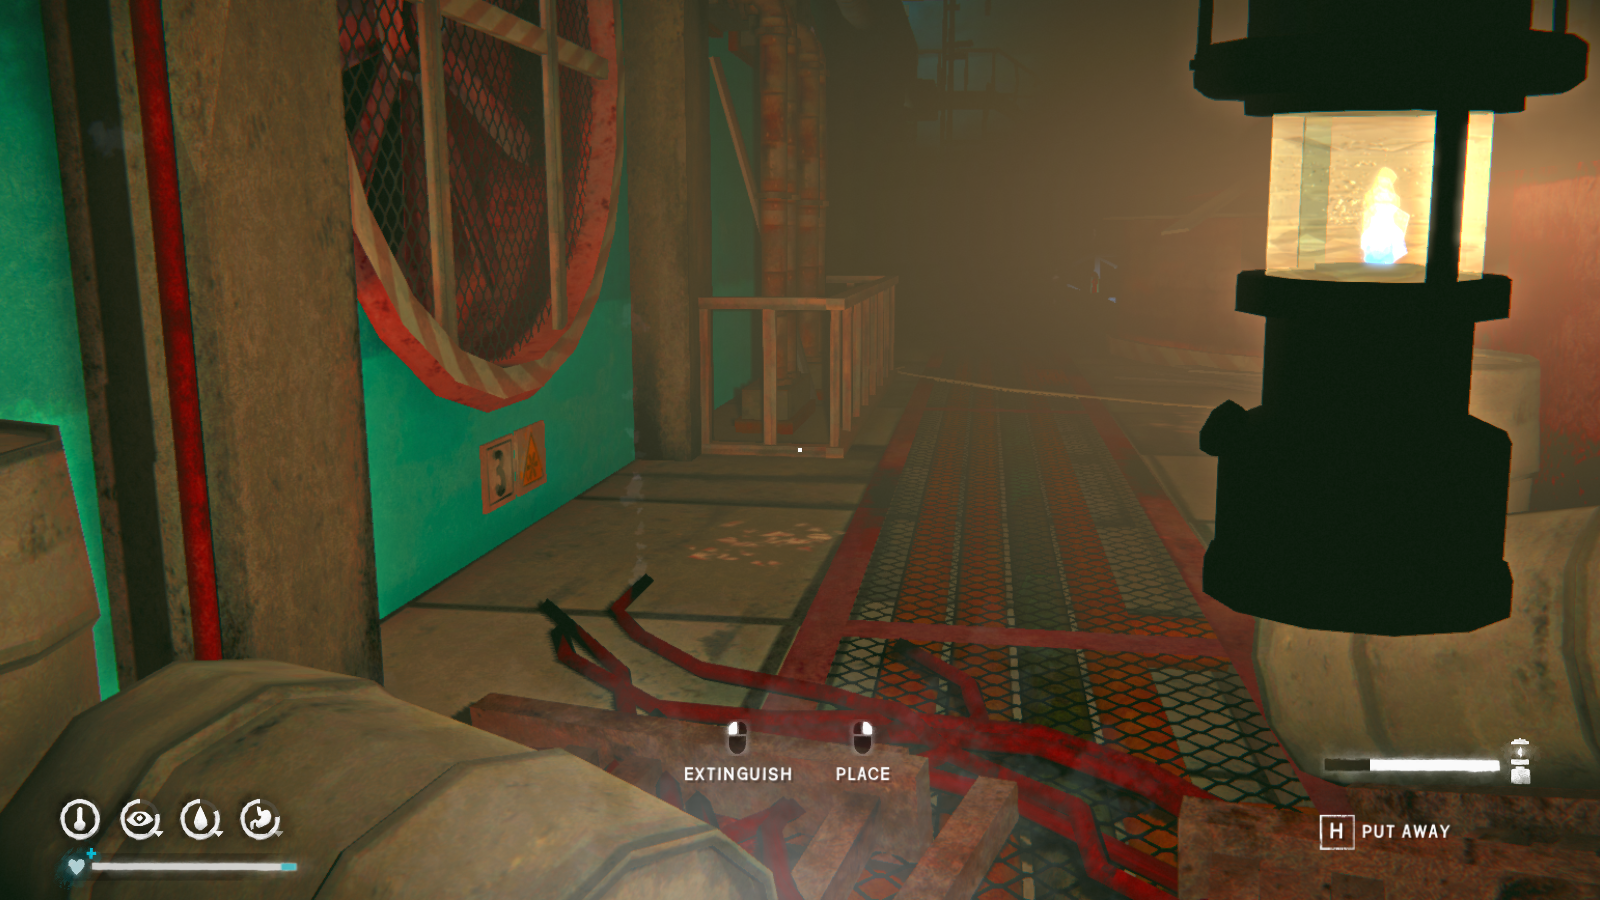 Touch any of those sparking wires and you'll lose condition and get a burn affliction. You want to make your way to the stairwell on the left side of the room when you first exit the elevator. This will let you get up on the platforms. From there, you can cross to the other side and climb down the rope to bypass the electricity.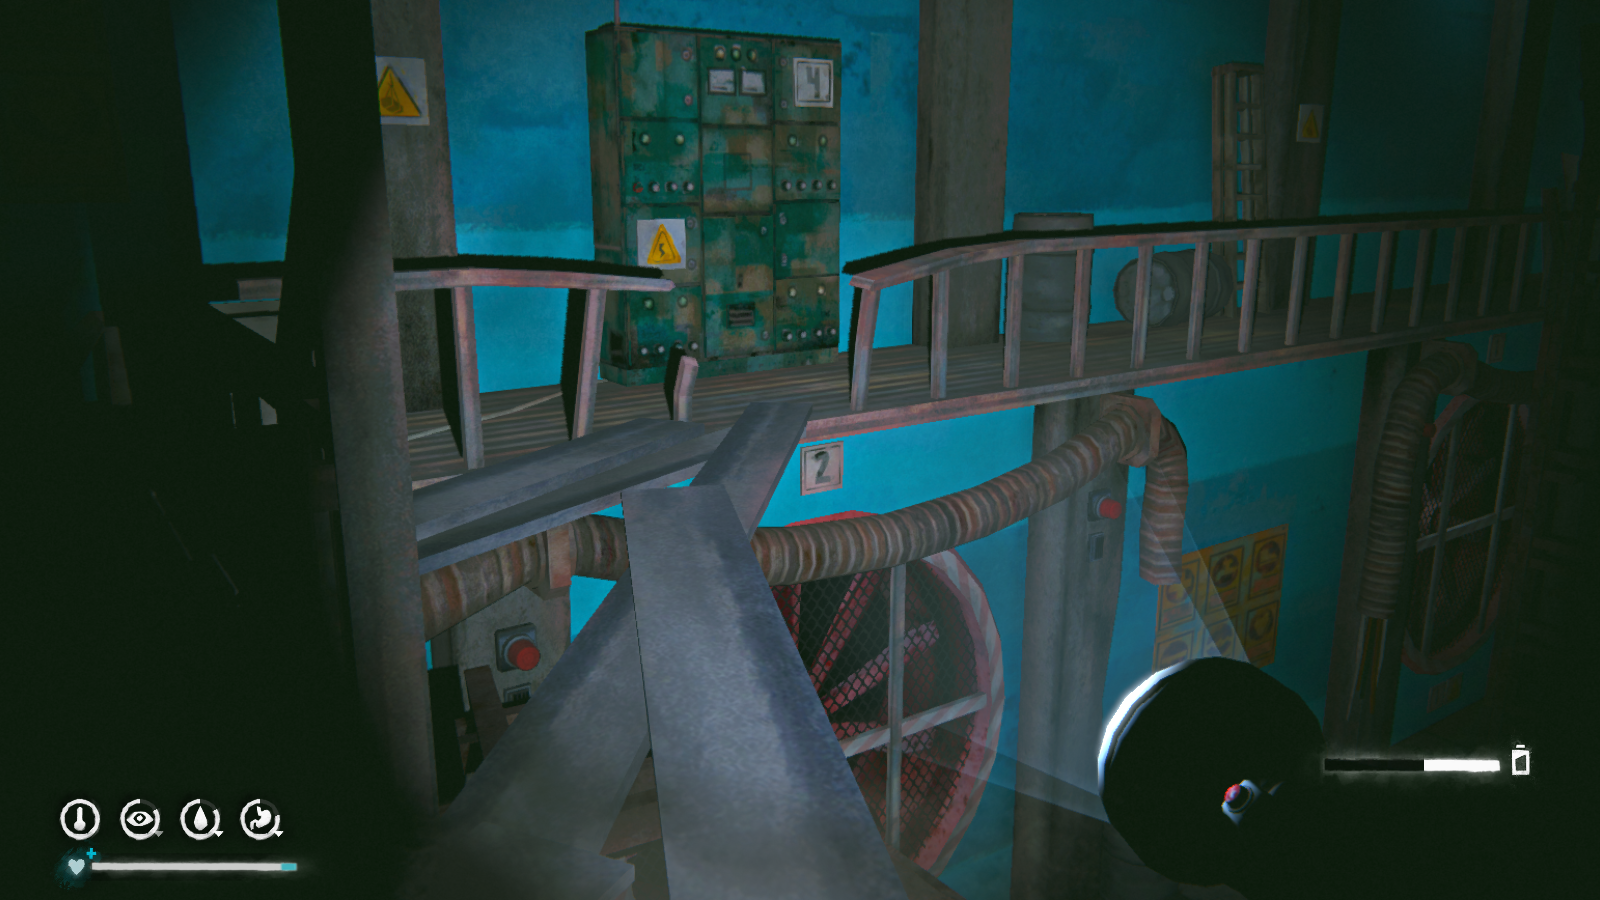
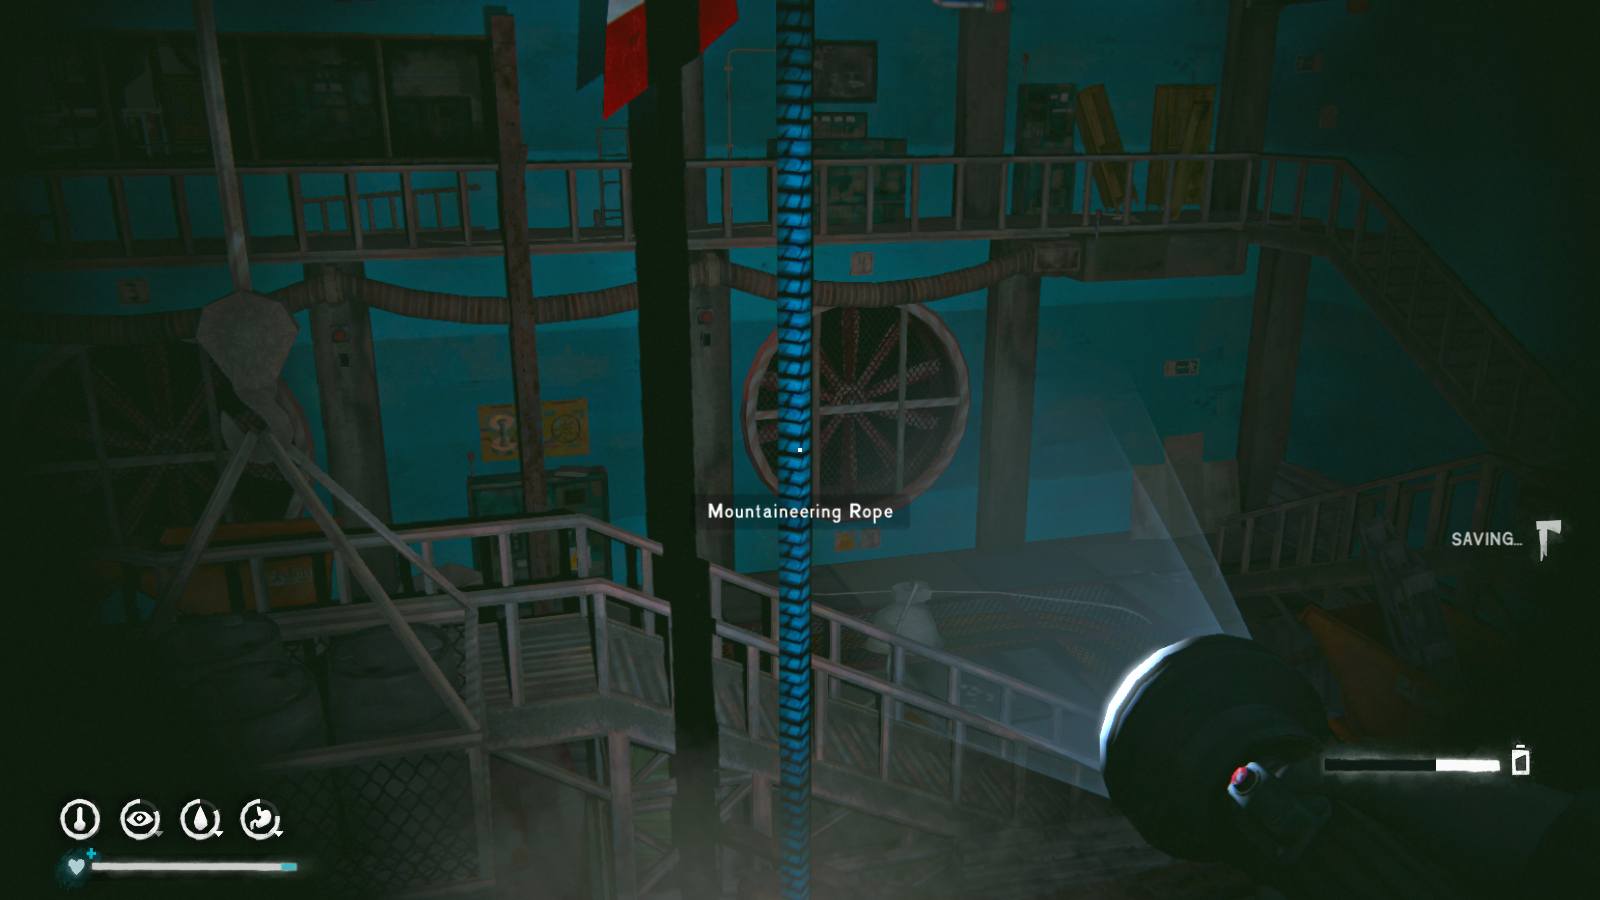
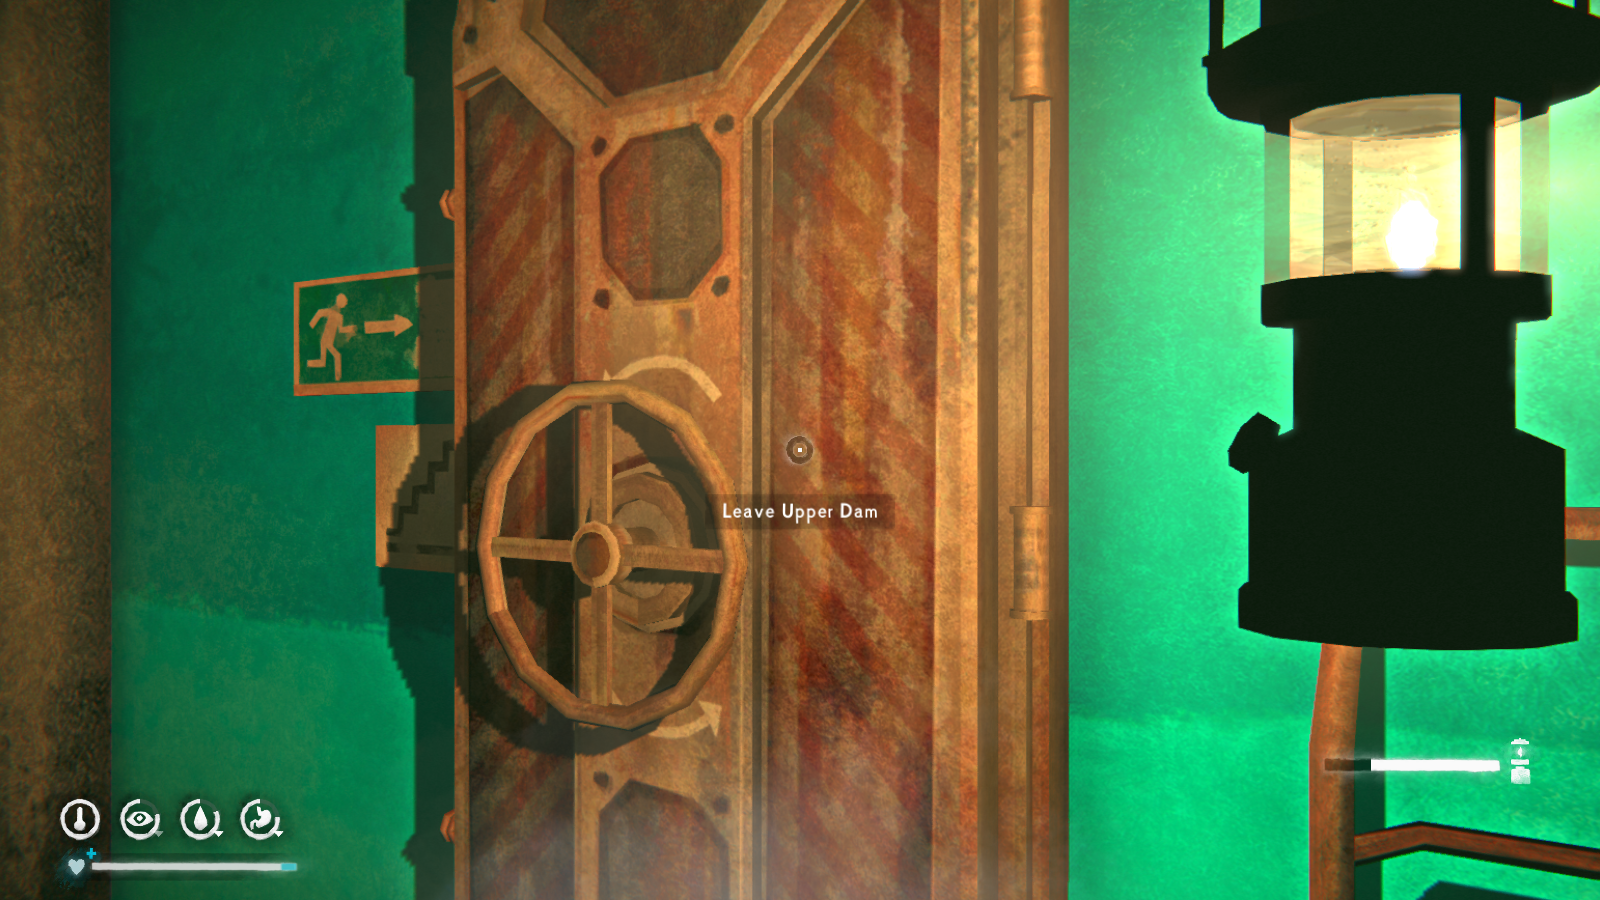
After climbing down, head to the door on your right to enter the Lower Dam area.
--------------------------------------------------
From here it's a straight shot. Once you enter the turbine room, you'll see that the path is completely blocked by wires. And on your right is a power box.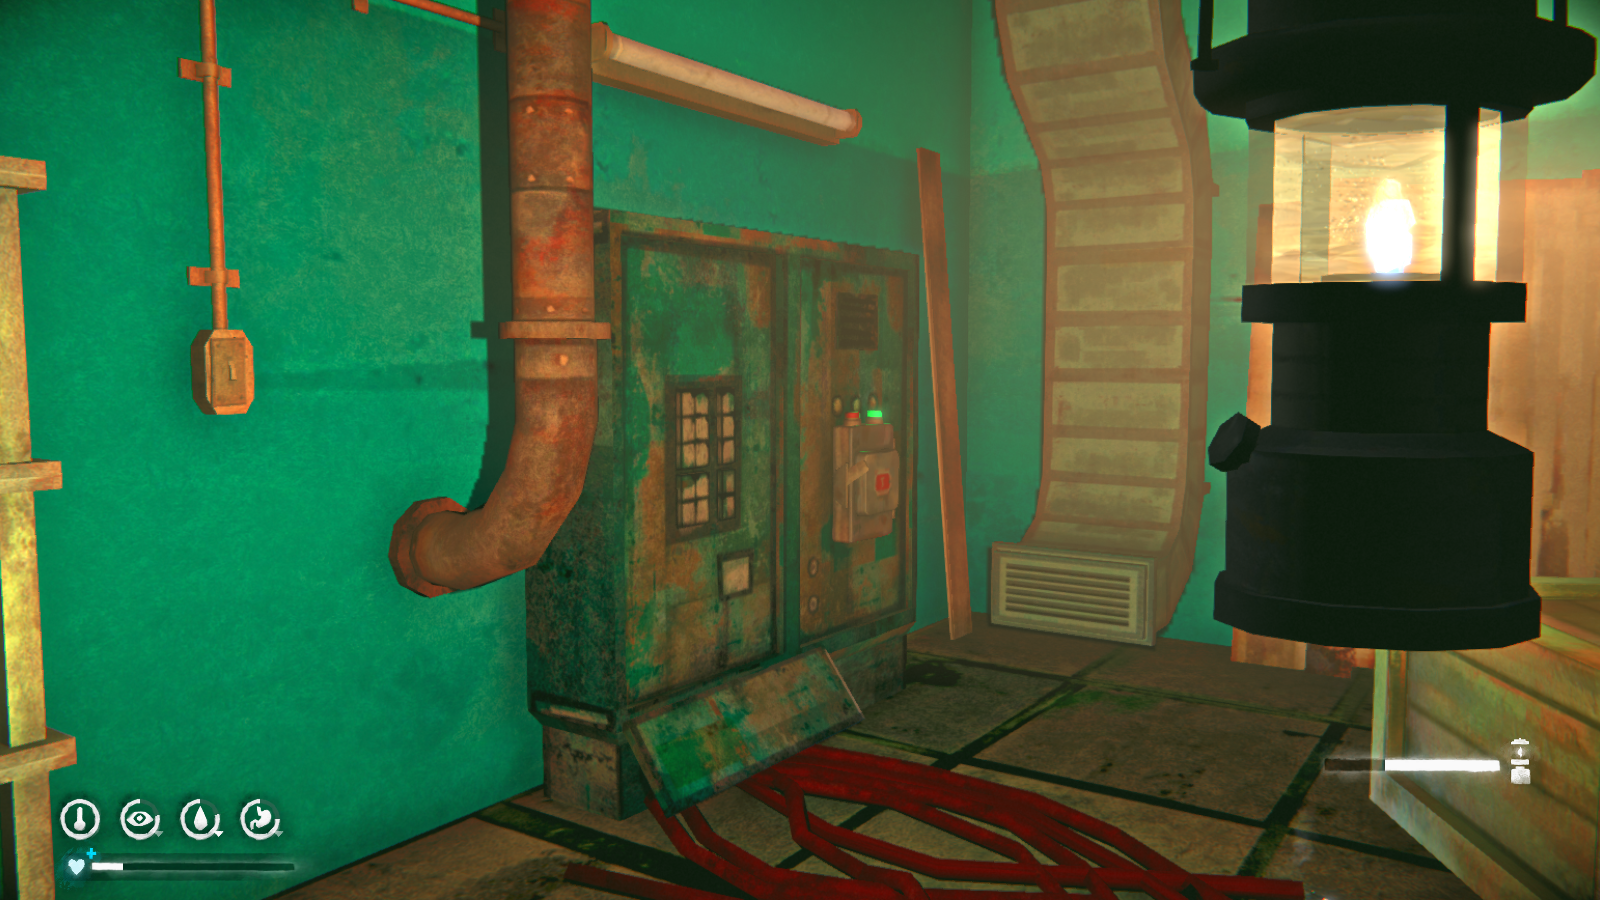 After passing the first turbine, look to your left to see some planks along the side of the wall. You can use these to get to the power box, which you can use to turn off the electricity.
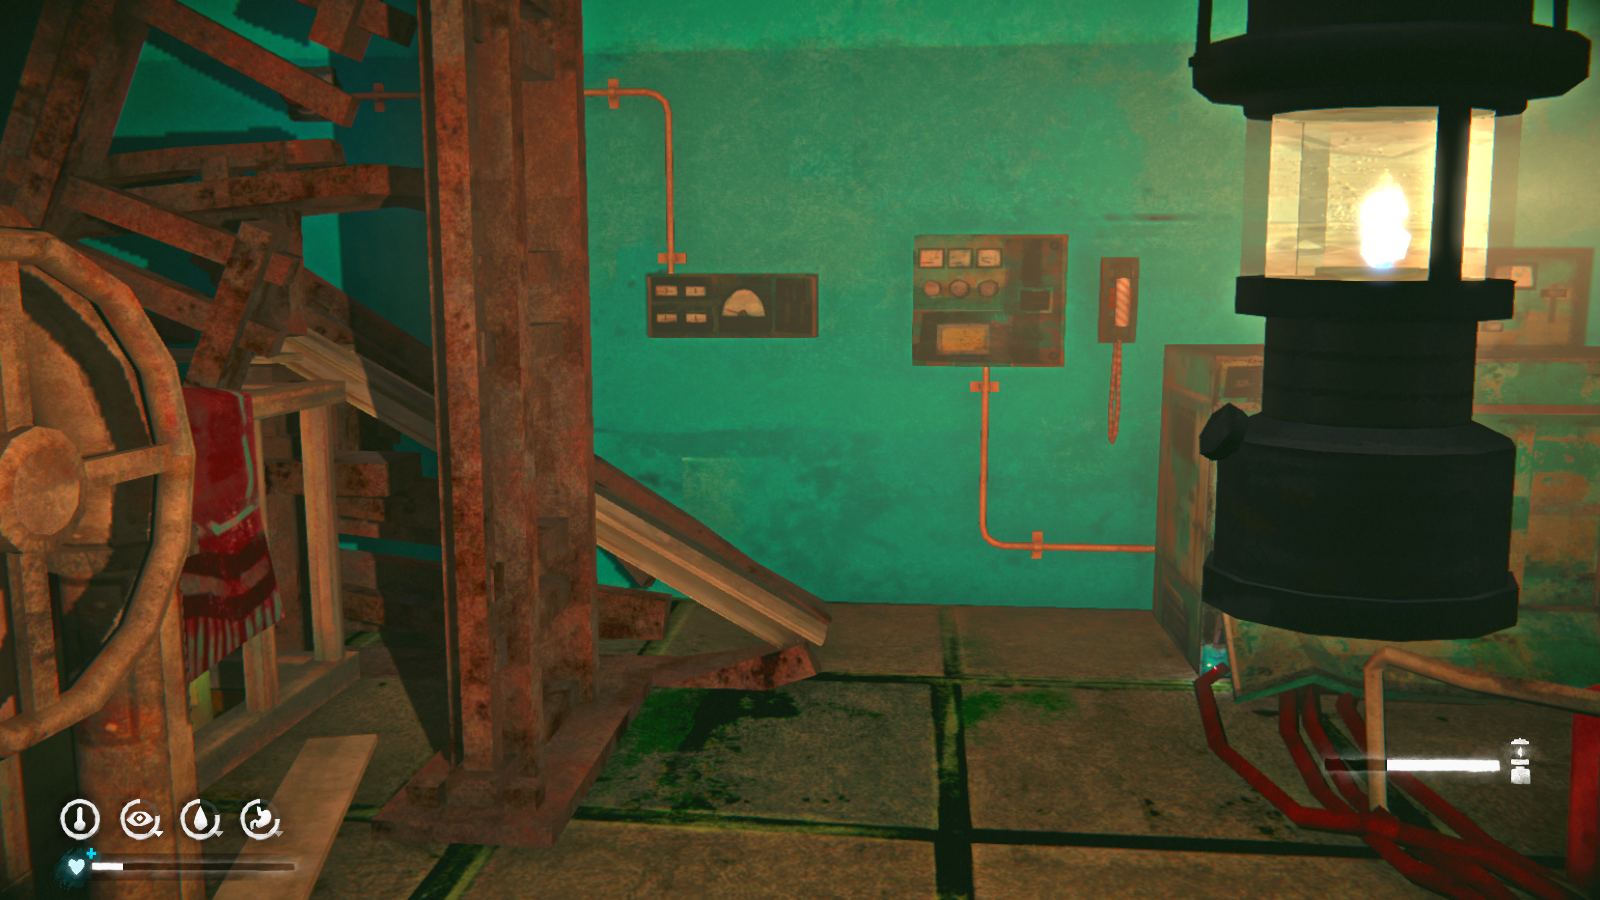 After turning off the wires, just keep going straight. You'll come to another stairwell blocked by electricity. You can wait and learn the timing of the sparks to get past, or you can tank it to go up the stairs. Keep going and you'll get your ending cutscene.... a cliffhanger...lovely...
Sidequest: The Basics of Survival (Part 2)
Hey guys, the tutorial quest is back! So obviously this quest makes its return once you pick up any of the skill books. There are also some repeat quests, in case that you skipped doing them in Episode 1. Note: For the repeat quests to appear, you need to have started a fresh Episode 2 file.
Completing all six of the survival tutorial quests will net you the Survival School achievement.
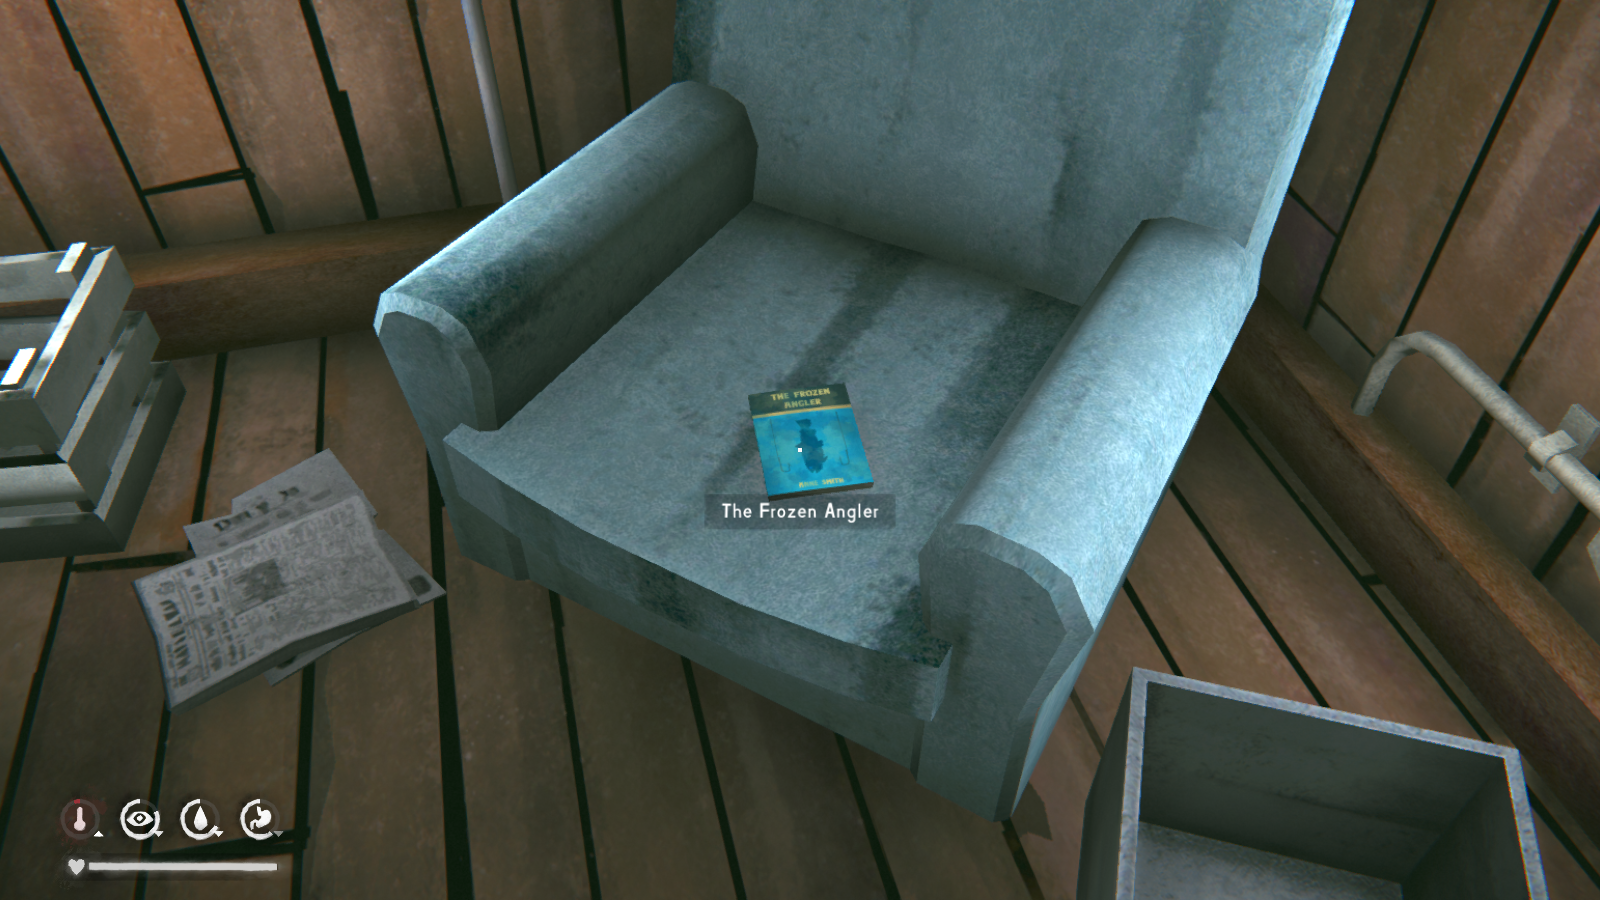
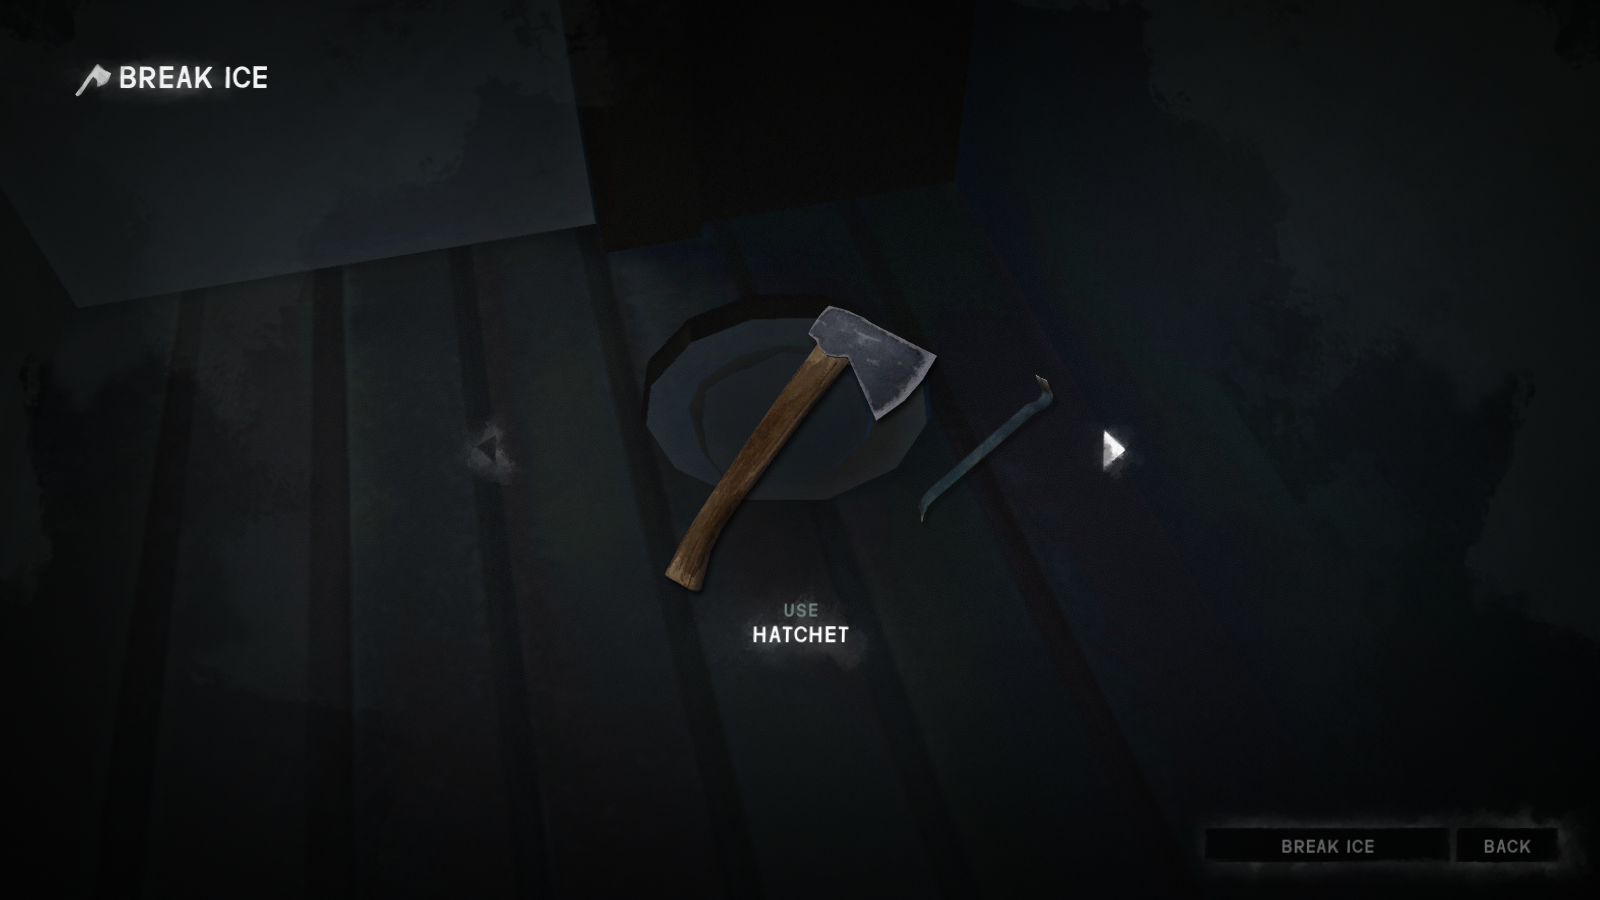
To complete this goal, you need to catch 5 kg of fish. Thankfully, everything you need is inside the Camp Office, just search around and you should find some line and a hook. Craft them together into fishing tackle and head out onto the lake. Oh, and make sure you have a hatchet or prybar on you. If you need an extra, there's one in the Camp Office, under the stove downstairs.
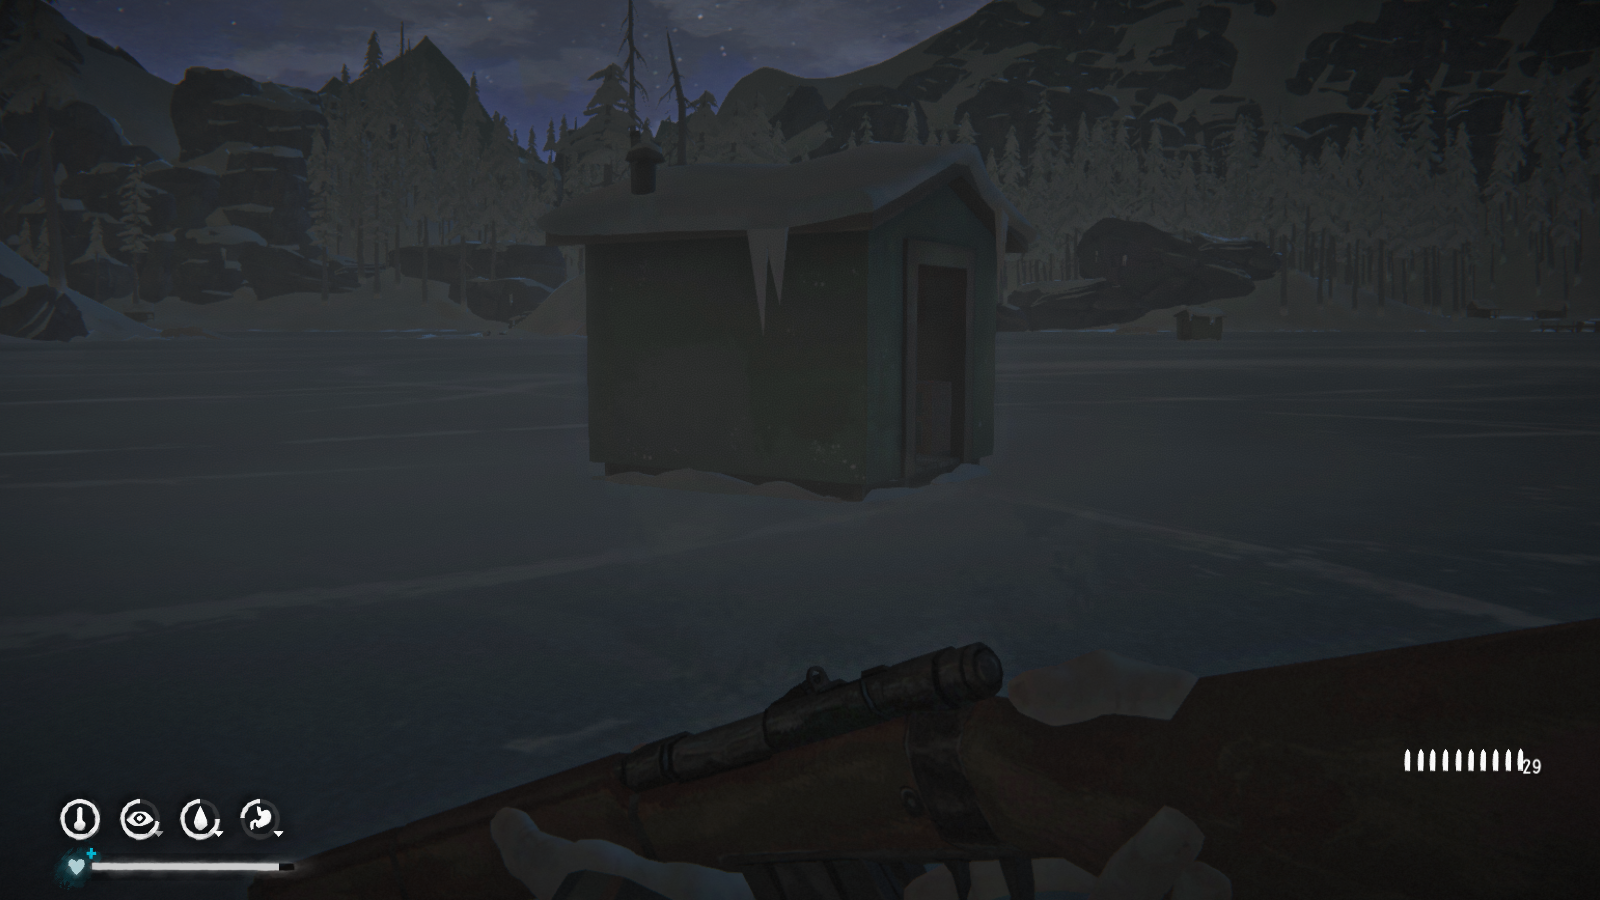
Anyways, head to the nearest ice-fishing hut. There will be a circle of ice that you have to break. Once you do that, you can fish from it. Just keep fishing until you complete the objective.
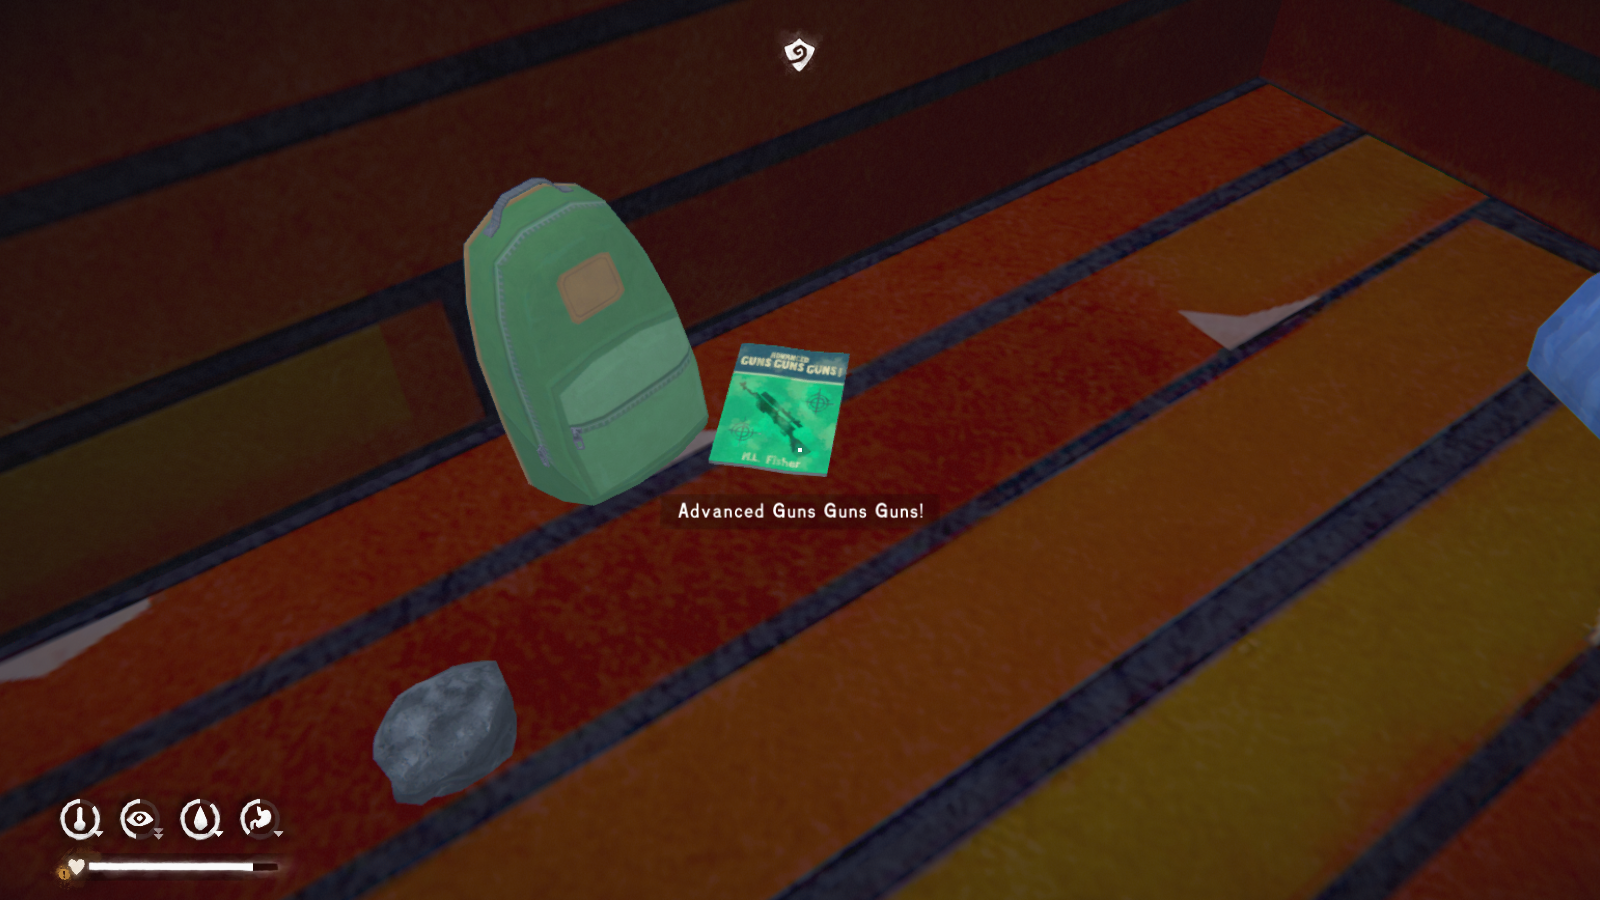
So completing this one is pretty straightforward. You just need to shoot and kill one wolf for each of the available regions: Broken Railroad, Forlorn Muskeg, and Mystery Lake. My main tip is to bait the wolf with some meat or shoot it while it's chowing down on a deer or rabbit. It's much easier to line up the shot.
Like with the rabbit snares tutorial, completing this quest will unlock the blueprint for a wolfskin coat. This is the best animal-skin coat in the game (warm, good protection-to-weight ratio and a chance of scaring wolves away), but it's still heavier than any man-made clothing option.
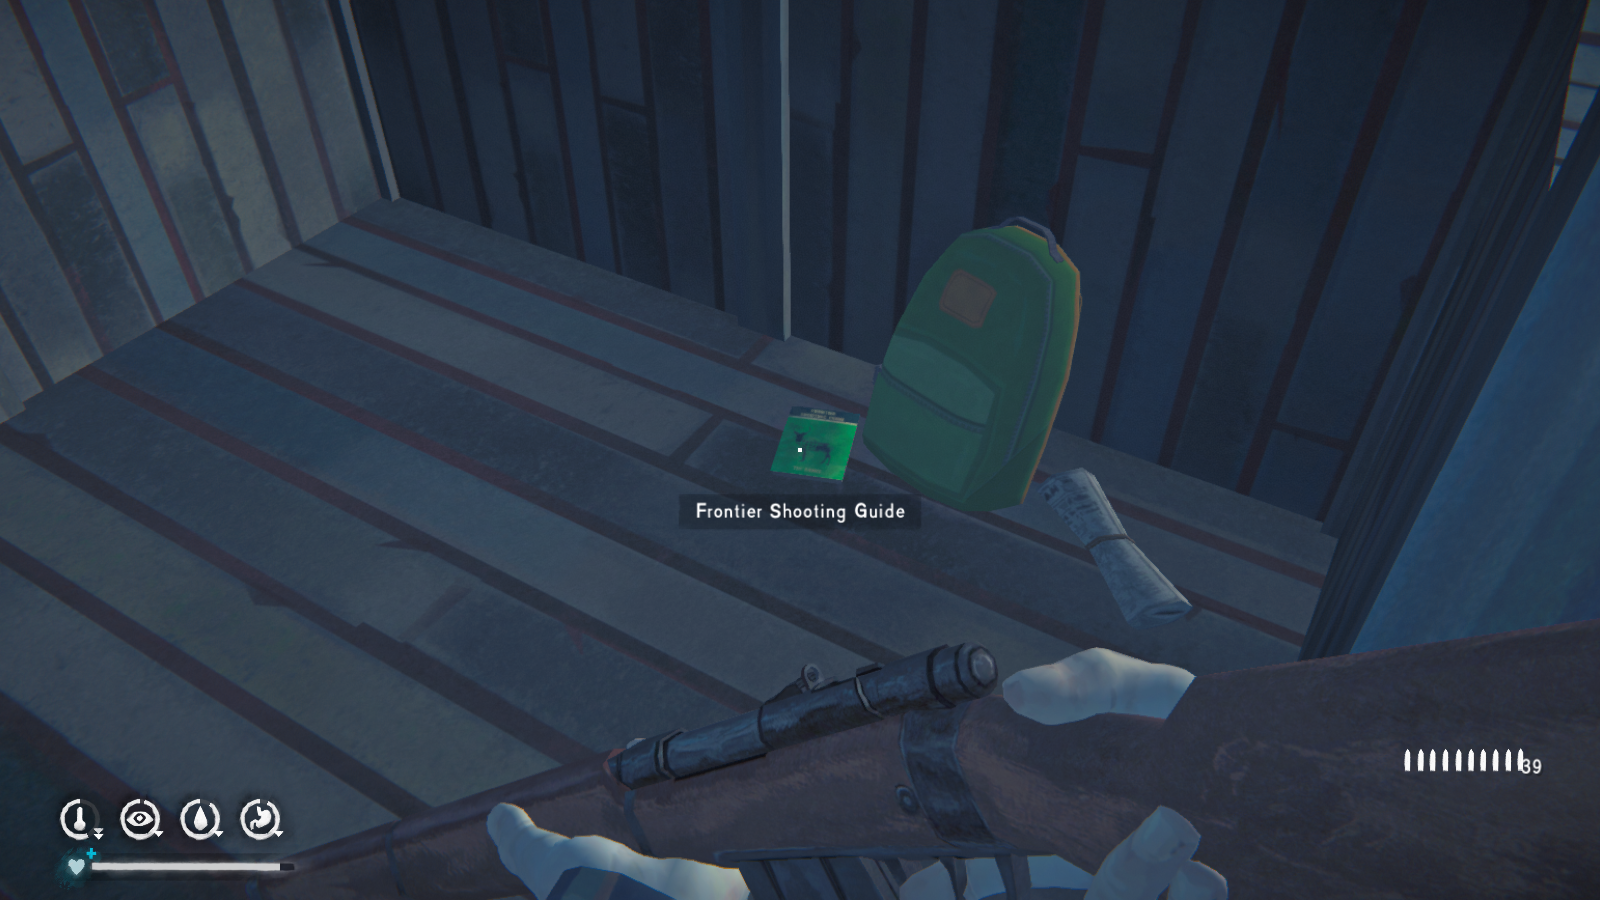 Completing this one should be pretty easy; just shoot and kill a deer. There should be some walking around the Unnamed Pond area, and they can also be found on Mystery Lake at times. If the deer doesn't go down with the first shot, check the area for a blood trail. You can then follow the blood until the deer drops dead. Or you can just shoot another one if you're impatient. Once the deer is dead, you will unlock the blueprints for deerskin boots and deerskin pants. Like the other animal-skin clothing options, these are warm but heavy.
--------------------------------------------------
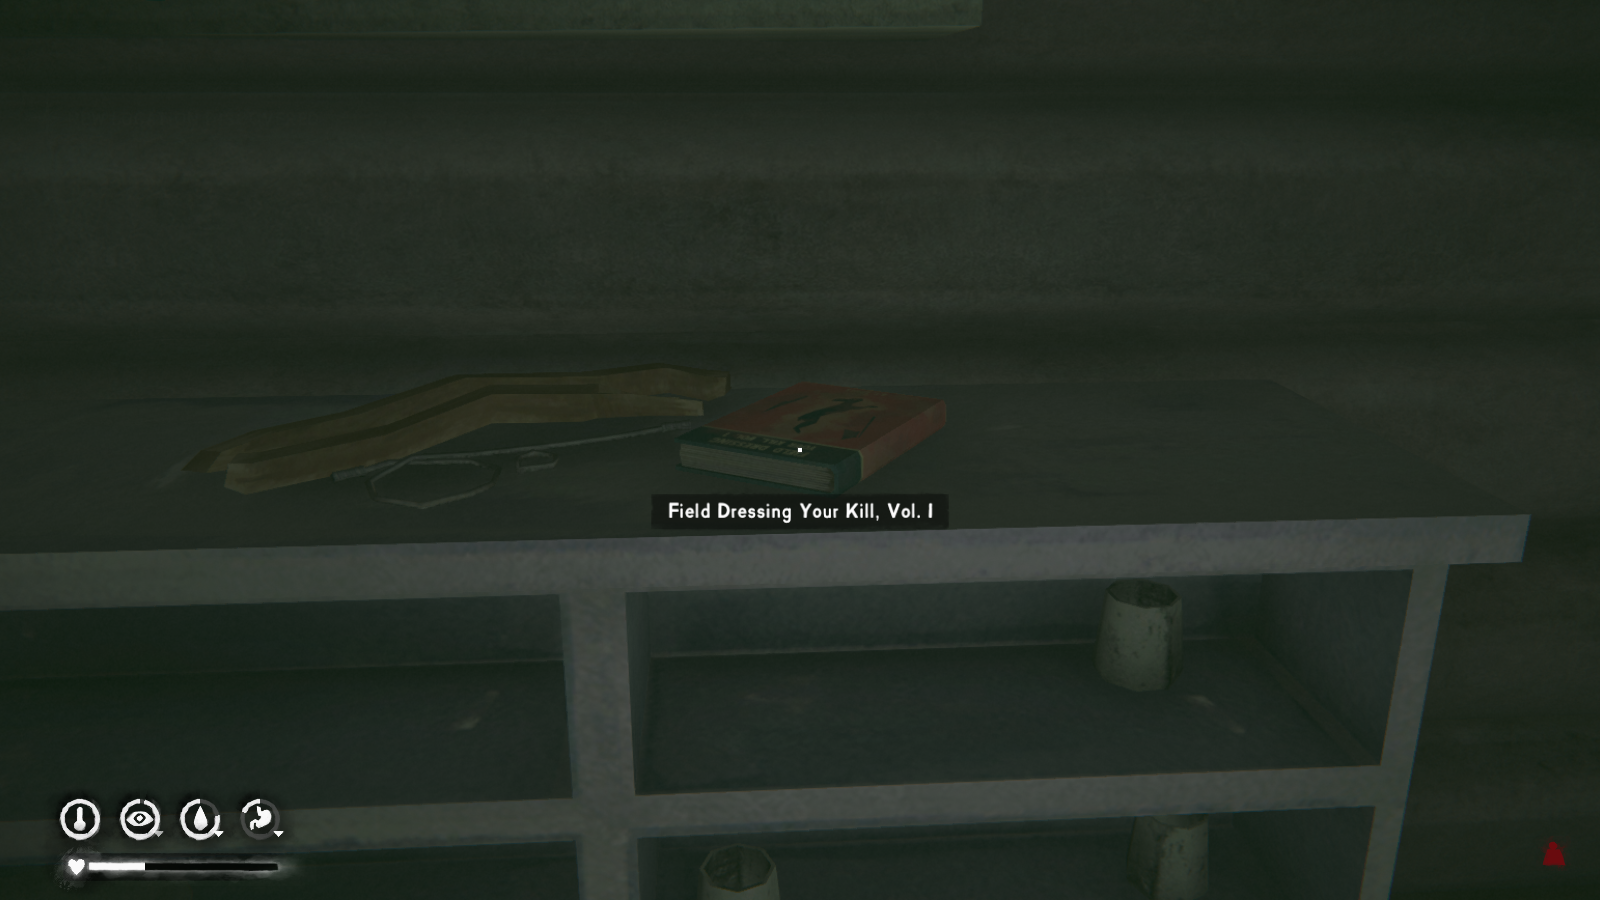
And frankly, I'm just going to copy and paste what I had in the first Basics of Survival for this section.
As you can see, you also get a free snare, which you'll need. Completing this goal is pretty simple; just set the snare down where you've seen rabbits and wait to catch one (go to the Campcraft option on the radial menu to place the snare). Some good places are behind Trapper's Cabin or the clearing just across the railroad tracks from the Camp Office.
After placing the snare, you'll need to pass some time. Look for some more hidden caches or work towards completing other sidequests. Whatever you do, check the snare between 12 and 24 hours after placing it. Chances are you'll see a dead rabbit lying there. If not, keep checking until you catch one or the snare breaks. The quest completes once a rabbit is killed by the snare. Unlike the other objectives in this sidequest, completing this one unlocks the rabbitskin hat and gloves blueprints. Both items are the warmest hat/glove options in-game, but they're heavier than any man-made clothing item available. You'll also need more rabbitskins to repair them.
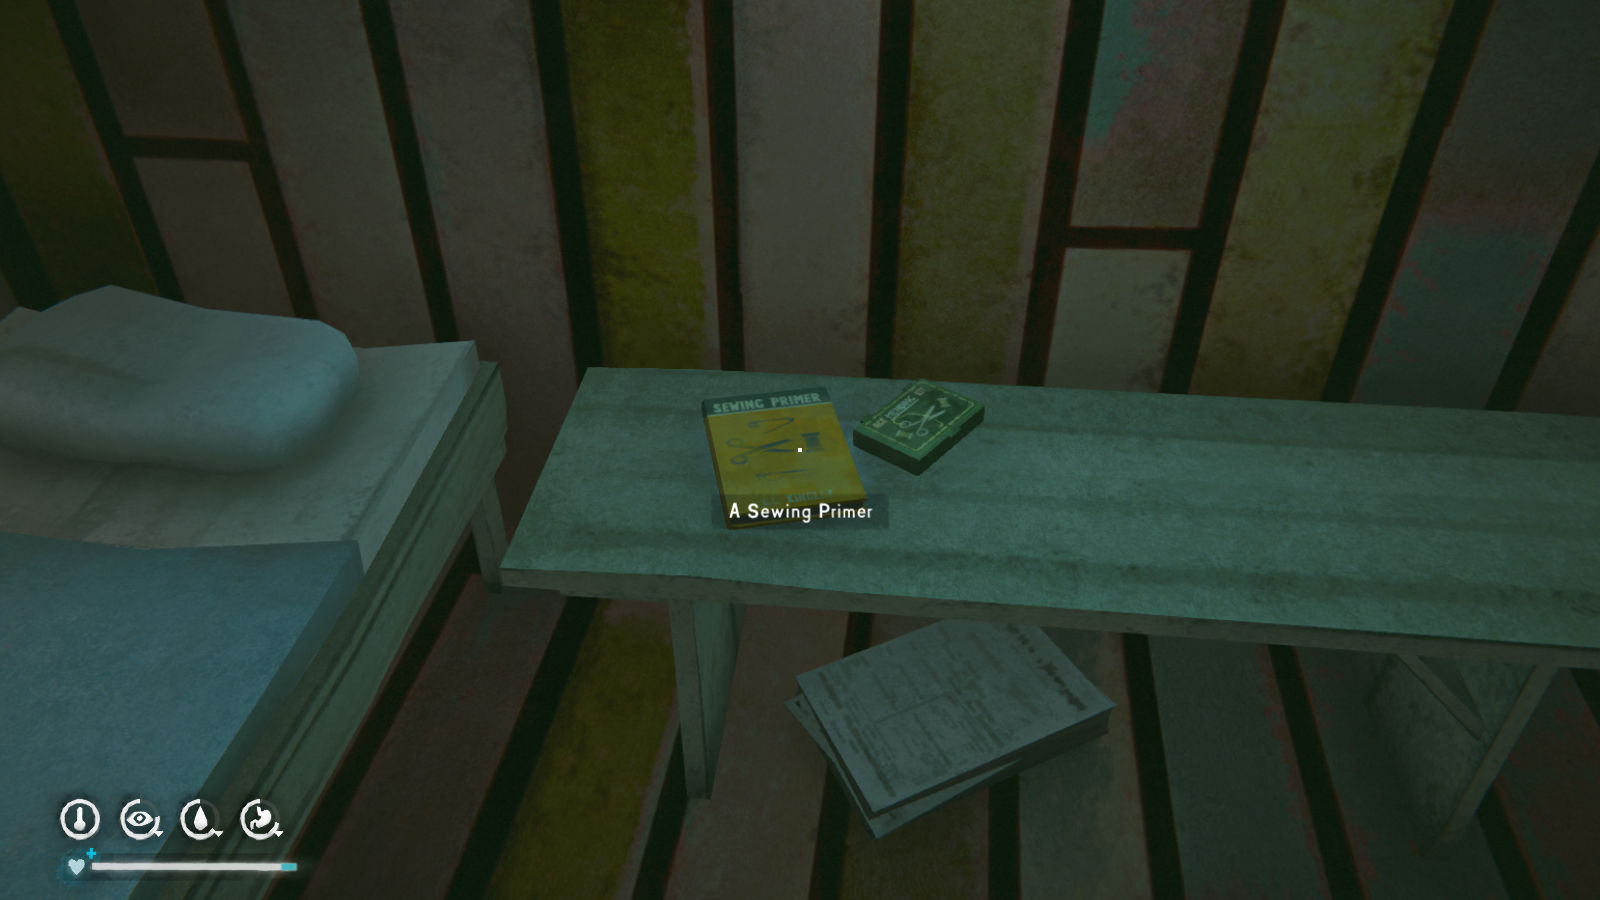 As before, I'm going to copy and paste from the first section.
To complete this goal, you need to repair three clothing items. All you need is a sewing kit/fishing tackle, cloth, and sometimes cured leather. The leather is used for clothing items that are made of it, like boots. You'll also need some form of light when indoors.
To repair an item, just go to the clothing in question and choose the "action" button. You'll have the option to repair the item from there. The menu will tell you what items are needed for the repair and how much time it will take.
Sidequest: Lake Gunshots
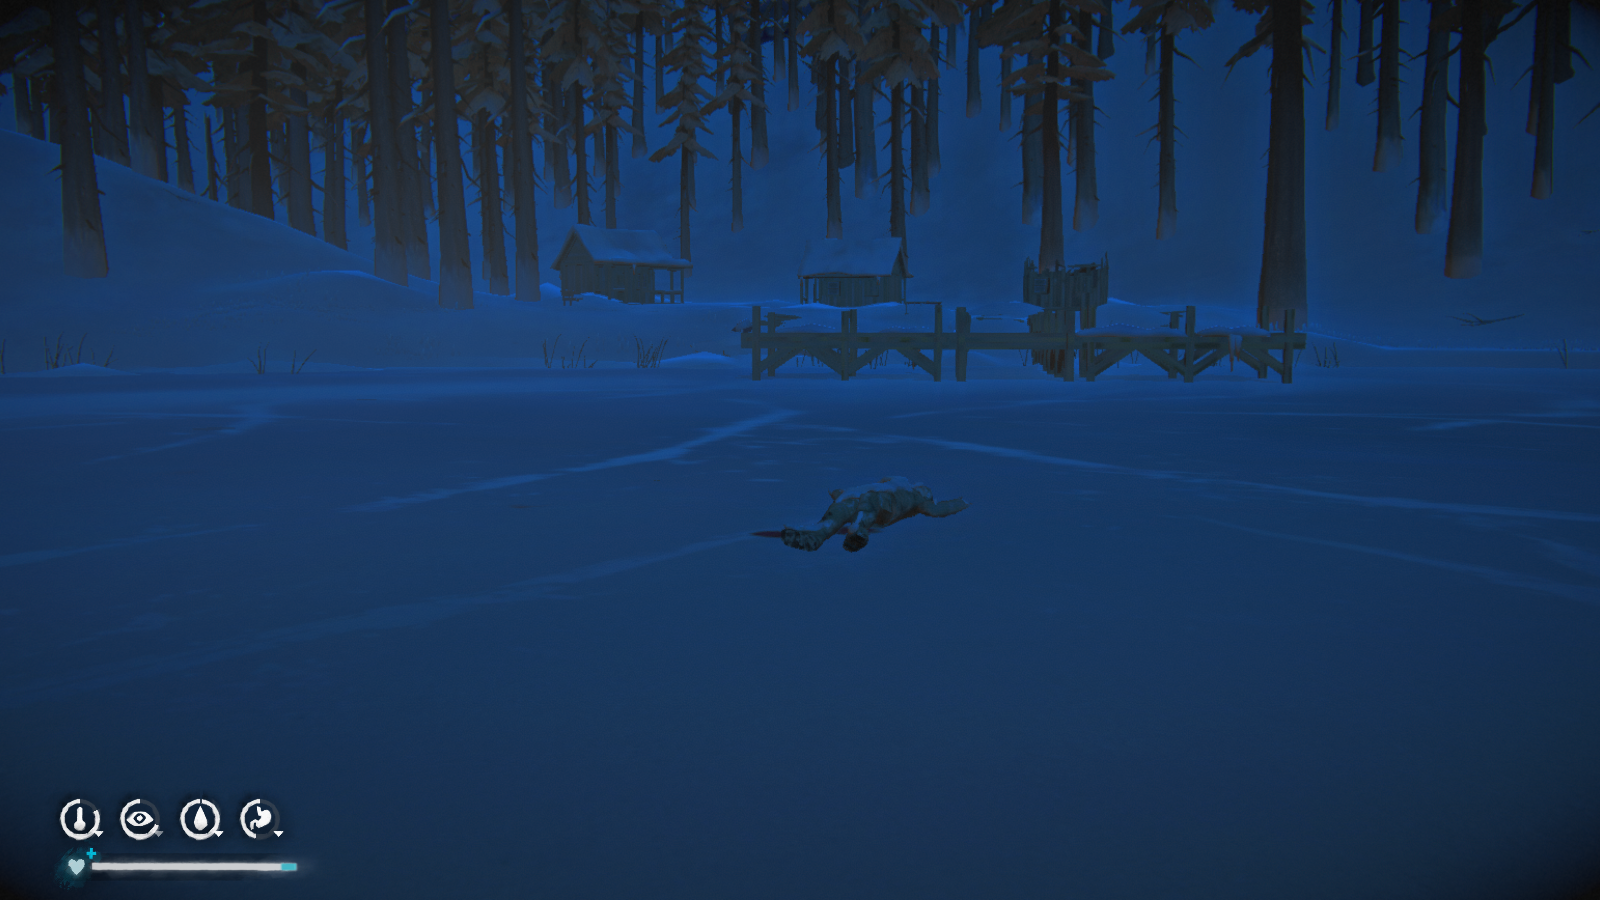
 Head over to the cabins across from the Camp Office in the Mystery Lake region, and you'll find a dead body. There's also a blood trail that leads to one of the cabins.
 Follow the trail and you'll find a Forest Talker hiding in the cabin. They don't trust you enough to let you inside, but they will tell you where secret Forest Talker documents are hidden. You've now been tasked with retrieving these plans and some hidden supplies. The Forest Talker will slide a key under the door, so remember to pick it up before leaving.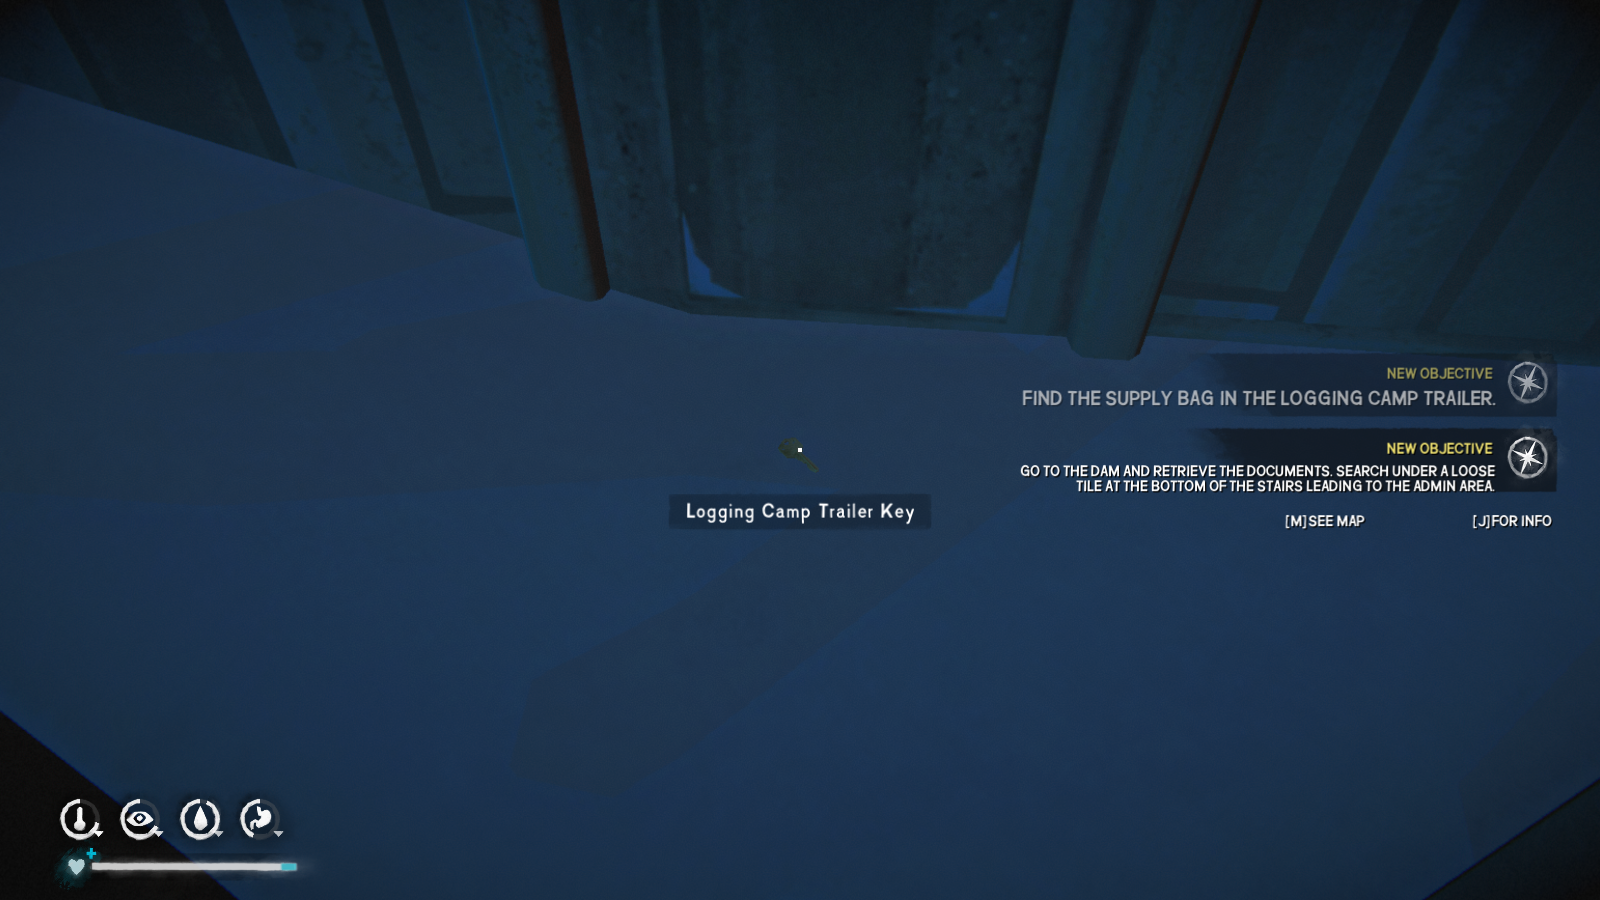
--------------------------------------------------
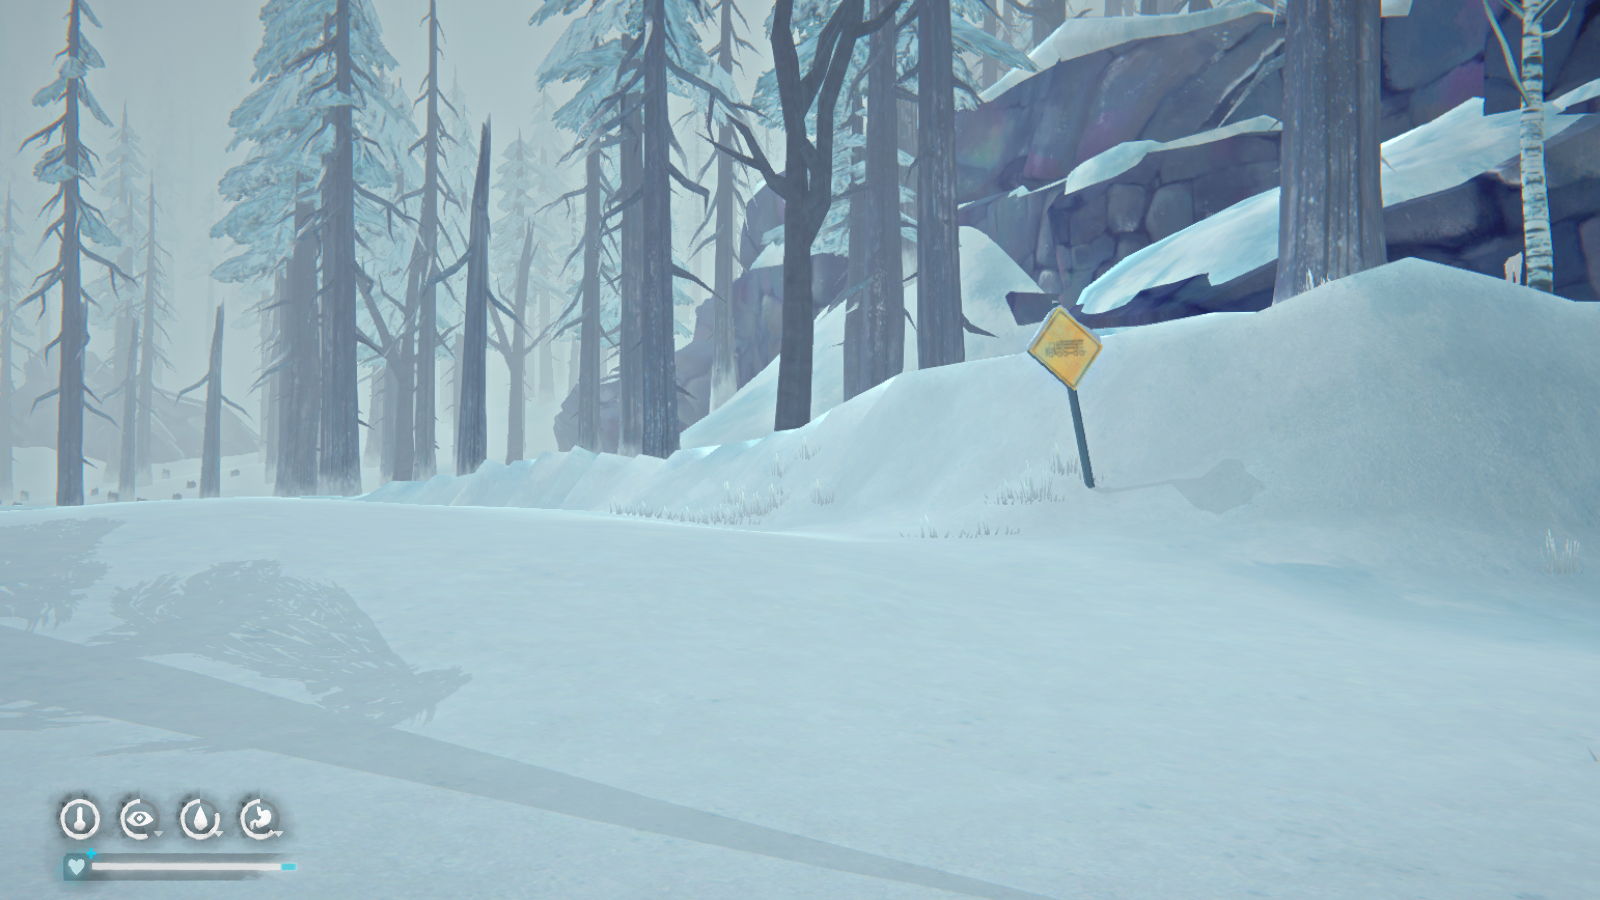
The key opens one of the trailers at the Logging Camp (Mystery Lake). To get there, you need to follow the railroad as if heading to the Dam. At the Train Loading area (the yellow car in-between the Derailment and the Dam), there'll be a large yellow sign on your left and a path that you should follow. Eventually you'll see some trailers on your left. In the locked trailer, you'll find this backpack with supplies in it.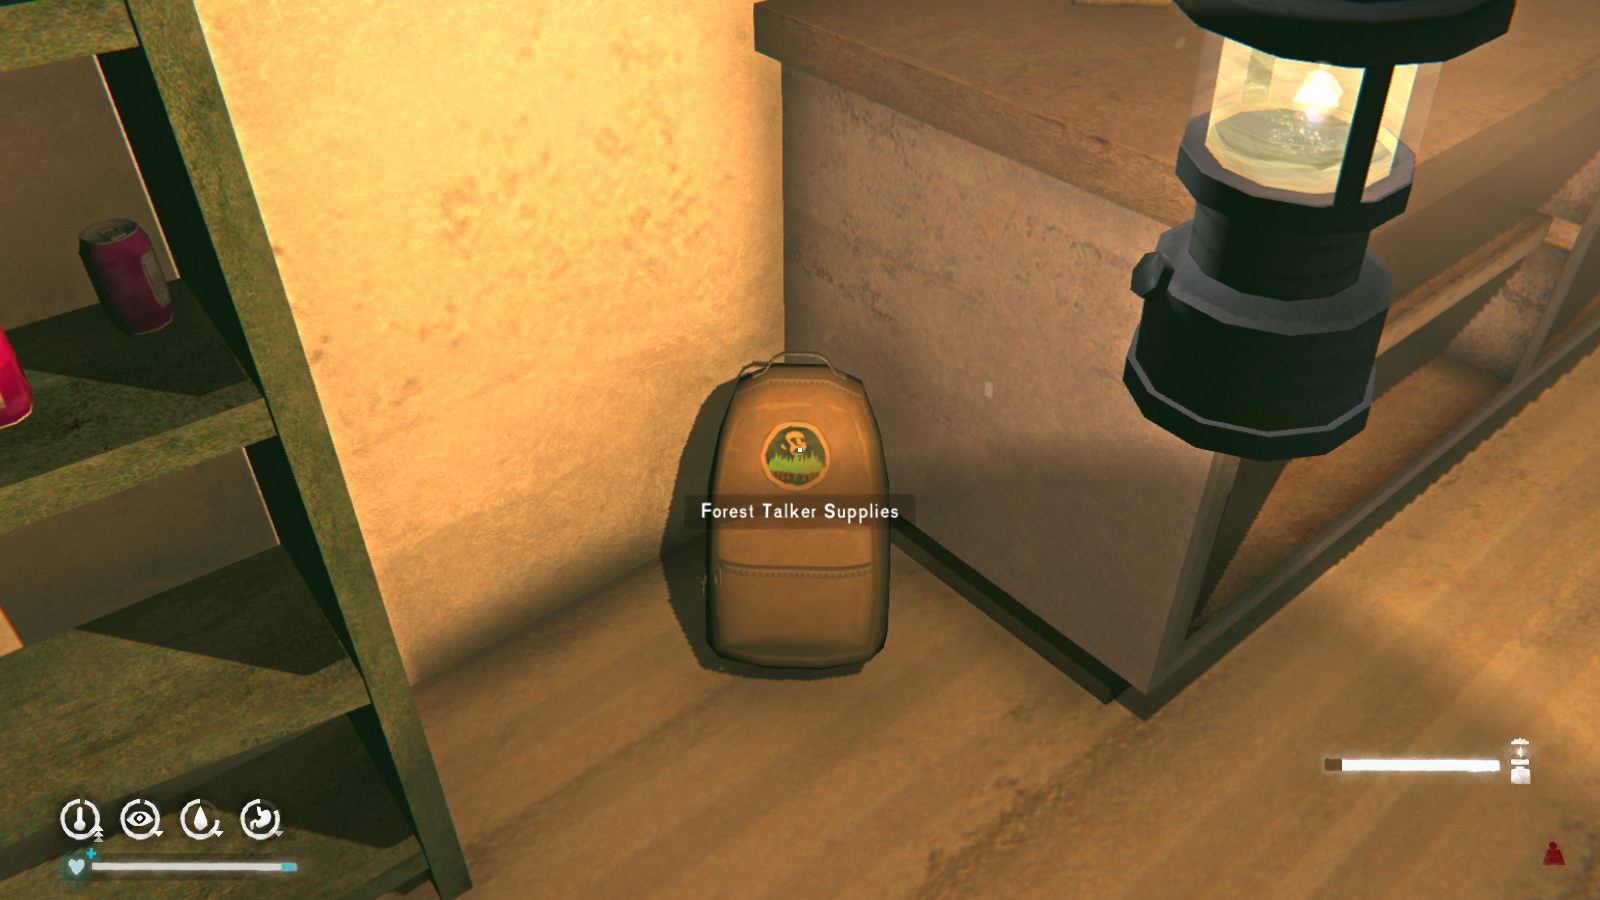 Now for the plans. You can find them in the Carter Hydro Dam (also Mystery Lake), hidden under a floor tile in the stairwell. Go to the bottom level and check this tile.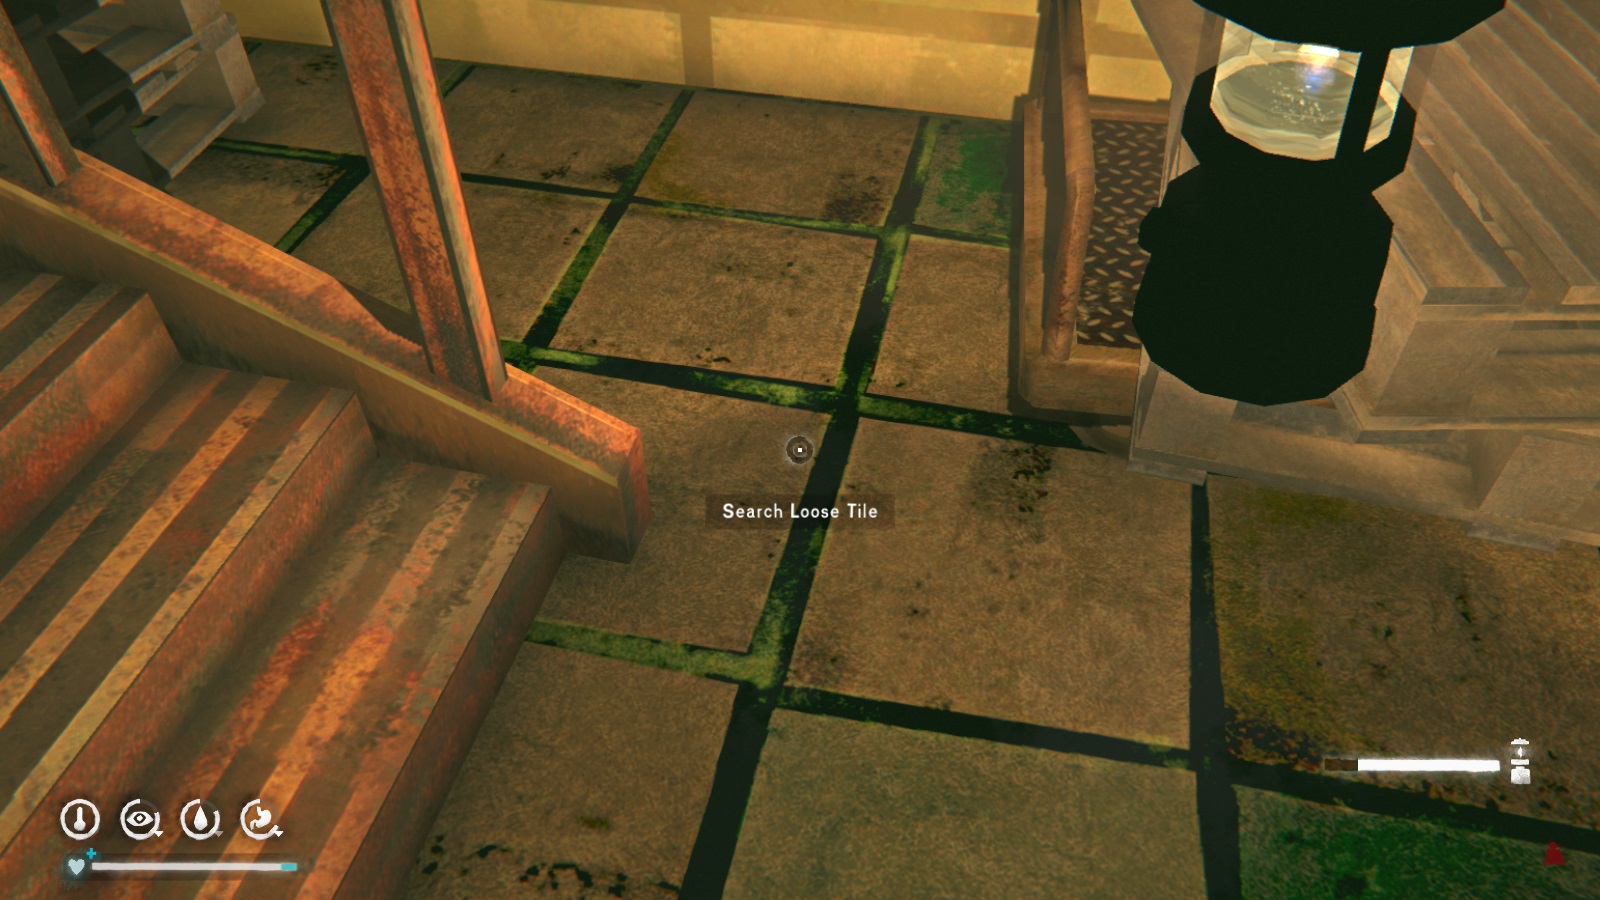
--------------------------------------------------
Once you've gotten the documents and supplies, head on back to the lake cabin. Click on the door to speak with the Forest Talker, and you'll eventually get an option to leave all the supplies or steal some rifle ammunition.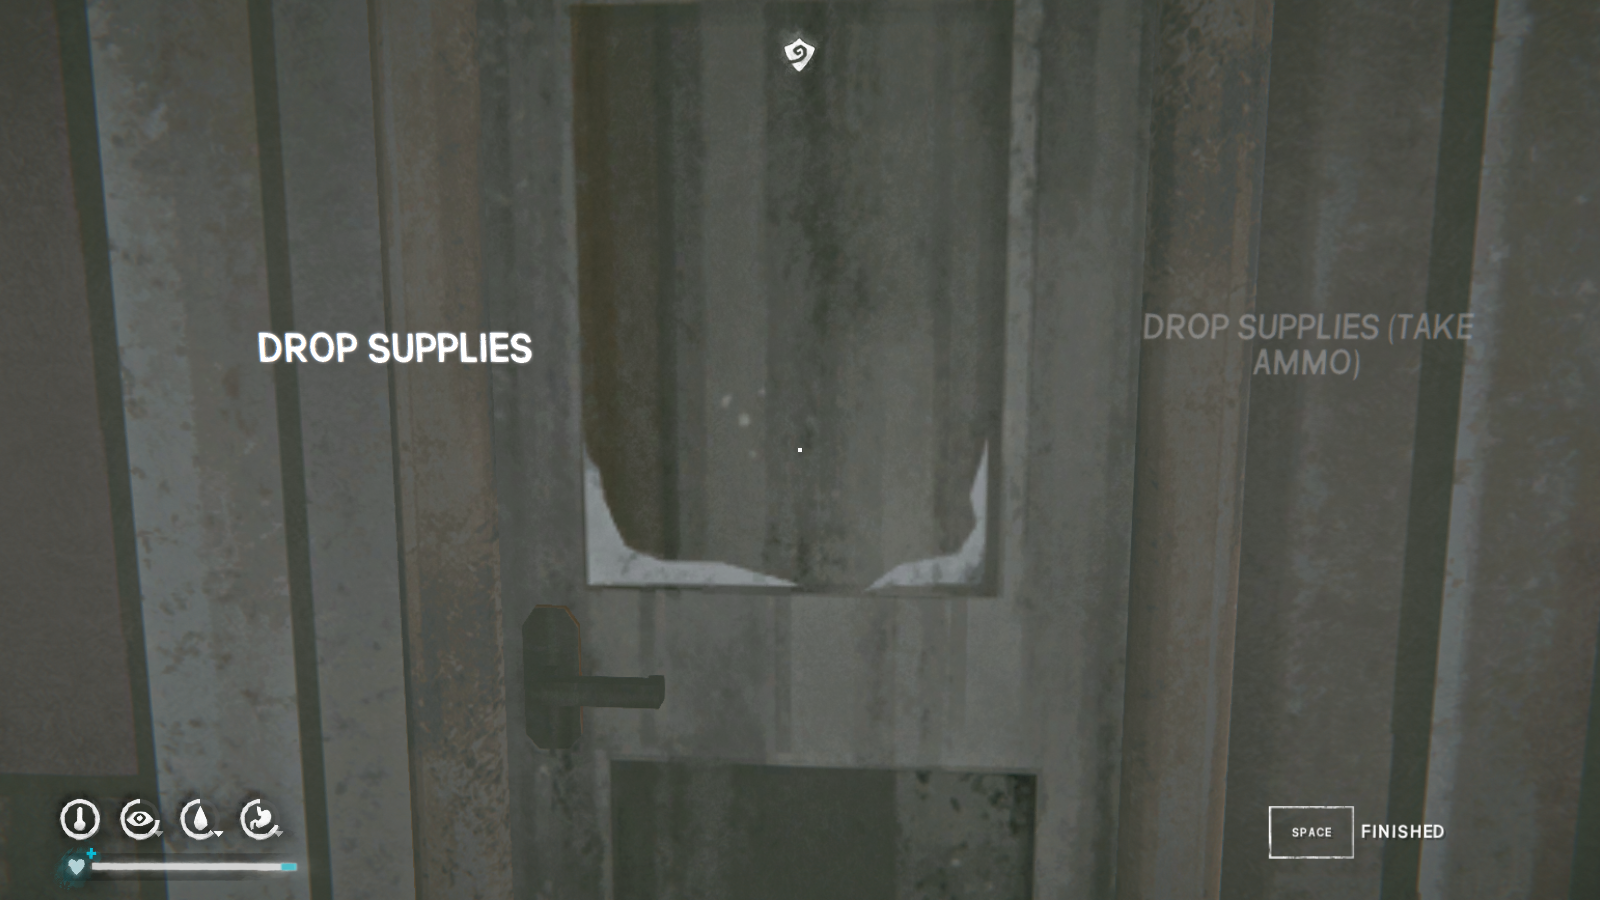 If you steal the ammo, the Forest Talker will be very upset and be dead when you return the next day. He also leaves you an angry letter inside the cabin. If you don't steal, Will is rewarded with a nice letter and some deerskin pants. So, make the call based on your needs. The pants are warm but heavy, while the ammunition may not be necessary given how much is scattered around the world already (not to mention you only get 3 bullets).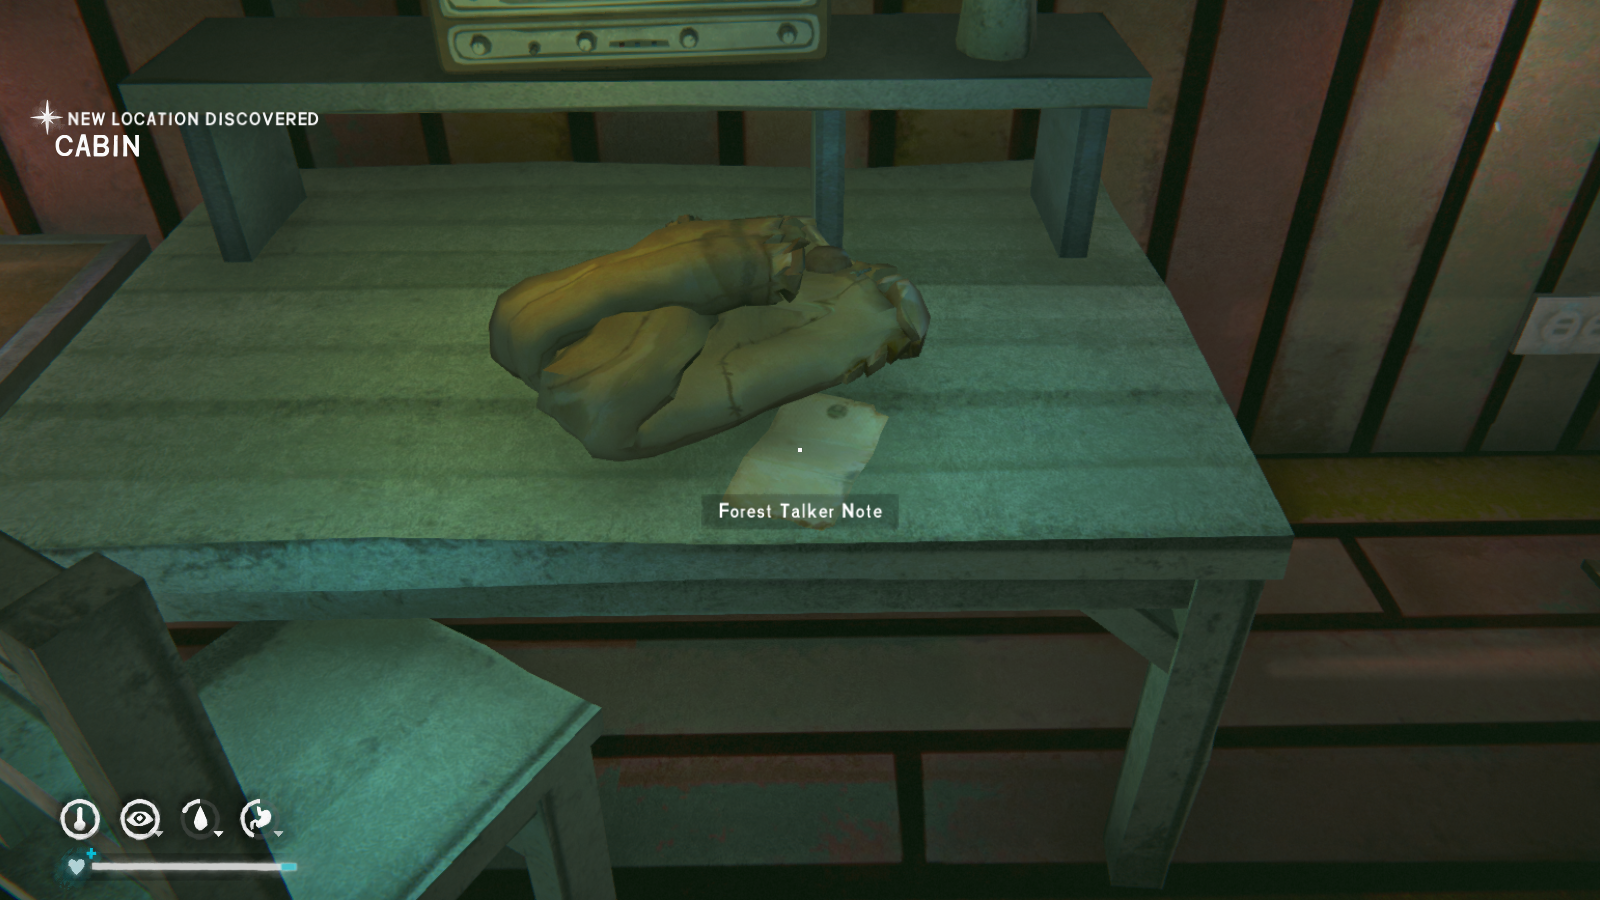
Sidequest: Aurora Hatch
You unlock this quest by finding the note in the Hunting Lodge cache (Broken Railroad region) so check the "Mystery Lake Supply Caches" sidequest for more information. The note indicates that there's a secret bunker in the Forlorn Muskeg region, although it's only accessible during an aurora.
Well back we go. The bunker is located near the north radio tower. There are a few ways to get there, but I prefer approaching from Hat Creek.Once you get to the tower, turn so that your back is to the railroad, and head to the rocks that are a little to the right. The bunker hatch is hidden behind them.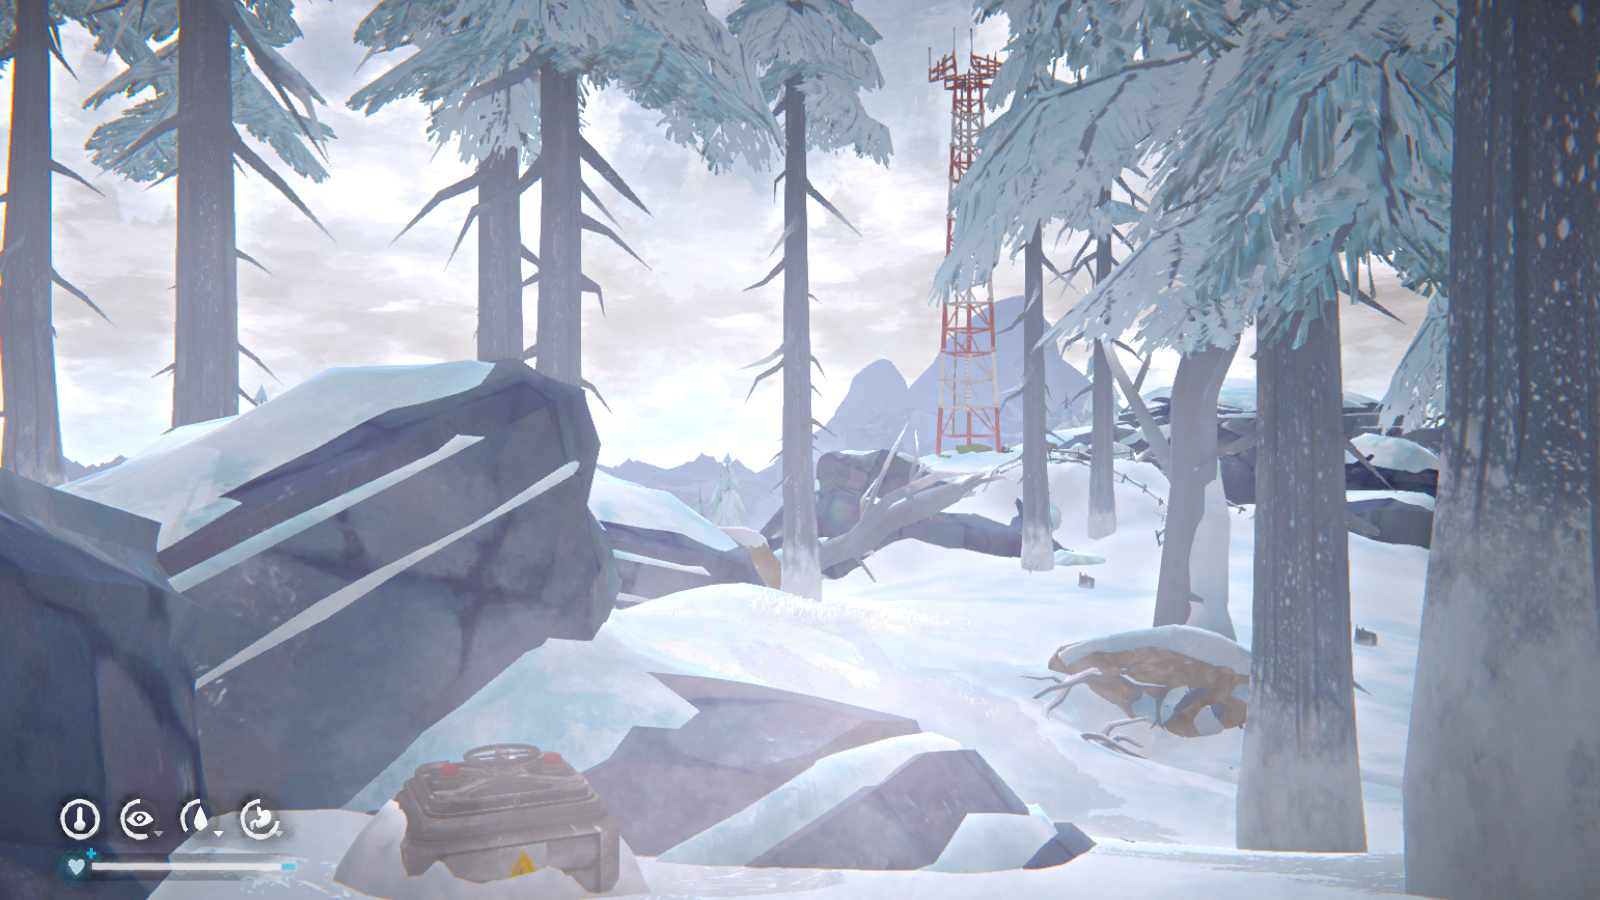 Will has to wait for an aurora to gain access to the bunker so you're just going to have to wait for a bit. Auroras can happen anytime during the night if the weather is clear. To ensure you don't miss it, you want to sleep in one hour increments during the night. There's a cave near Hat Creek (where my player maker is) if you need somewhere warm to wait, but you'll have to risk aurora wolves on the way back to the bunker.
 Another tactic is to save before sundown and see if an aurora happens that night. If it doesn't, reload your save and try again. Weather is randomized in The Long Dark, so you may get aurora weather on a reloaded attempt. My only other recommendation is to trying doing this quest during Chapter 4: Renewed Hope. The chances of an aurora are slightly increased during this chapter since it's required to progress in the story.
--------------------------------------------------
Once the aurora is in the sky, head inside. There'll be a door, which you can unlock by clicking on the keypad next to it. Once the door is open, be careful of the live wires in the hallway. You can dodge them, but it's a little tricky. Still, don't worry too much; there are medical supplies in the bunker room that you can use to heal.
There are nice goodies inside, like snow pants and a cowichan sweater, so be sure to loot the place. However, you do need an aurora to get out. I recommend leaving that same night. If you do get stuck, you'll have to wait for another aurora night. At this point, you want to practice rationing. Don't eat unless you're going to sleep for 8-10 hours, and make sure to fill your thirst meter with sodas and condensed milk before going for the water. As when you were trying to get in the bunker, make sure to sleep for only an hour at a time.
Sidequest: Hank's Hatch
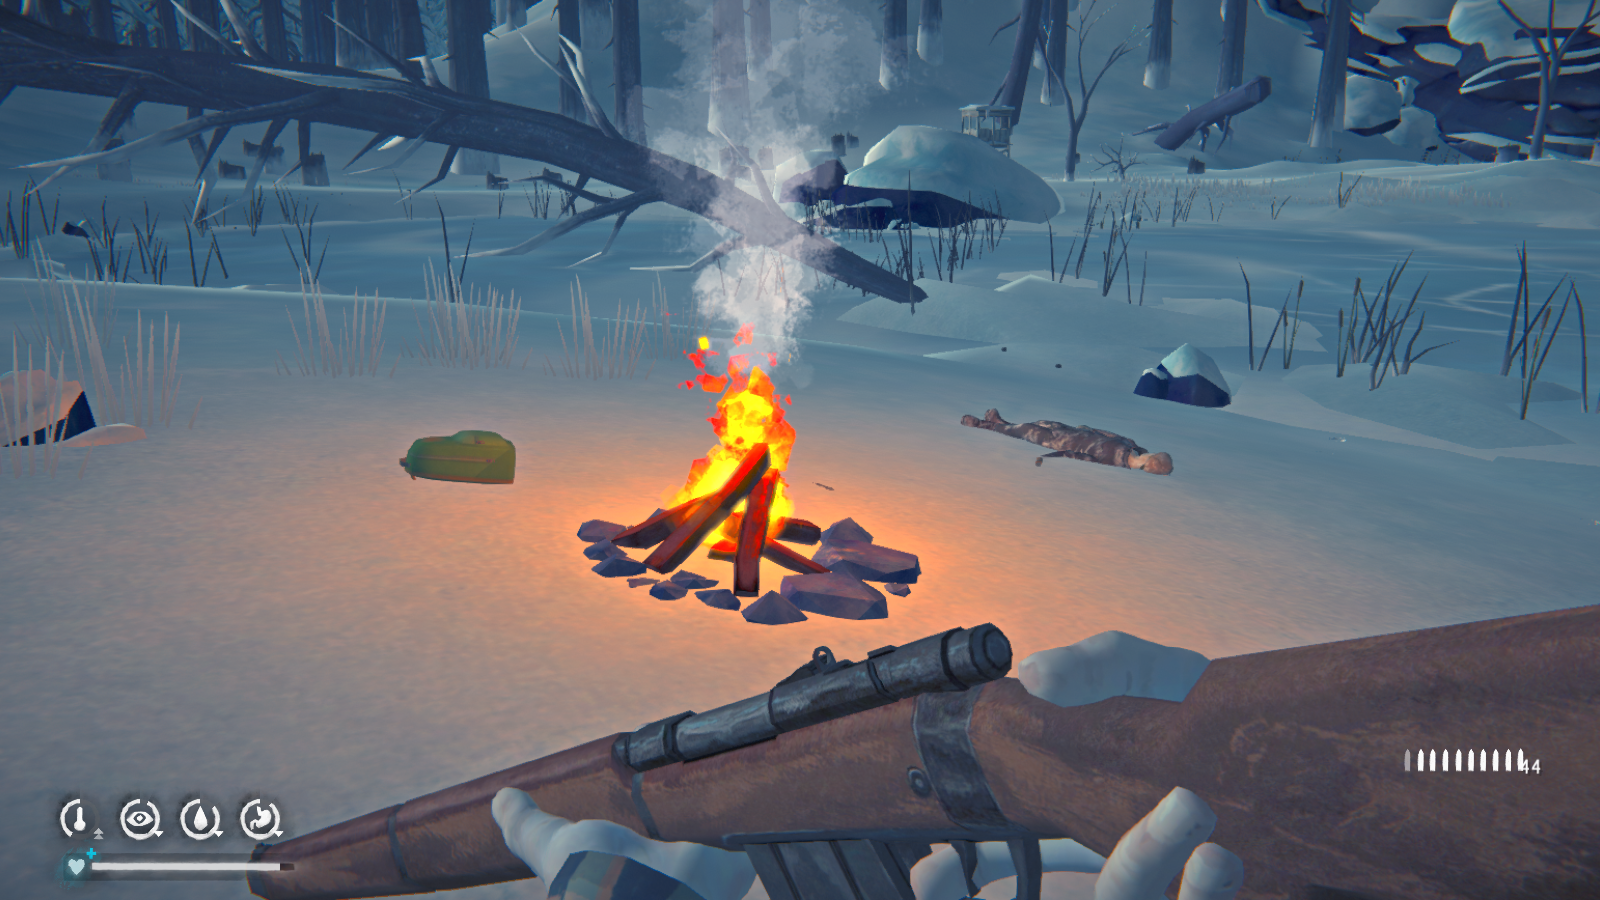 Search the body for a note and a key! This key goes to the lockbox in the Lookout. You may have found the box when exploring Mystery Lake, and now you have a key for it.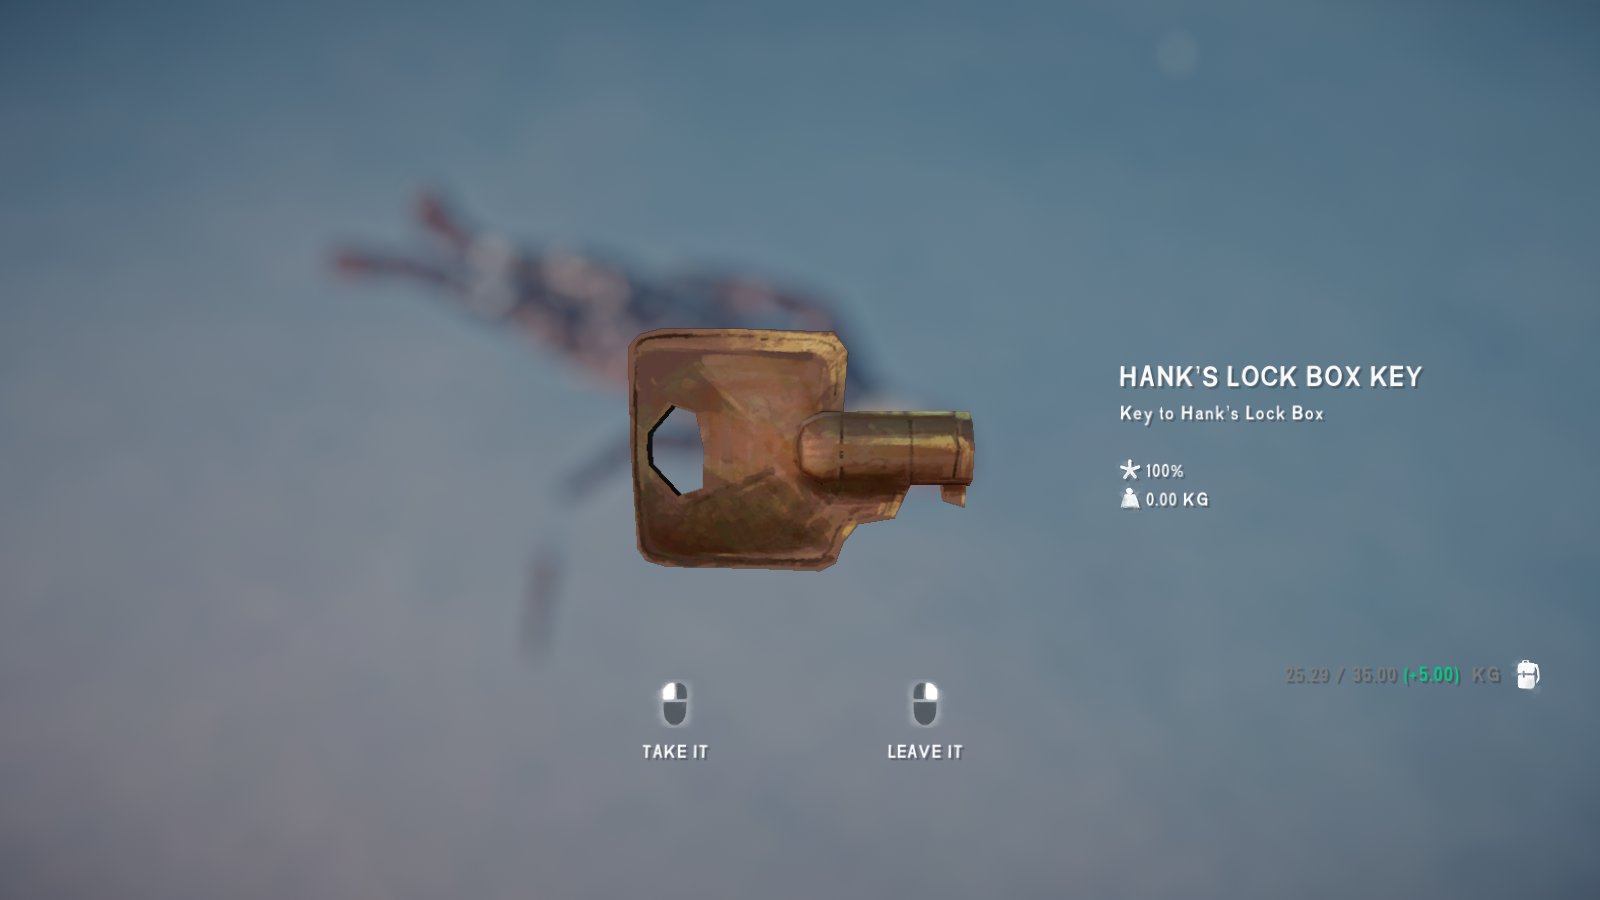
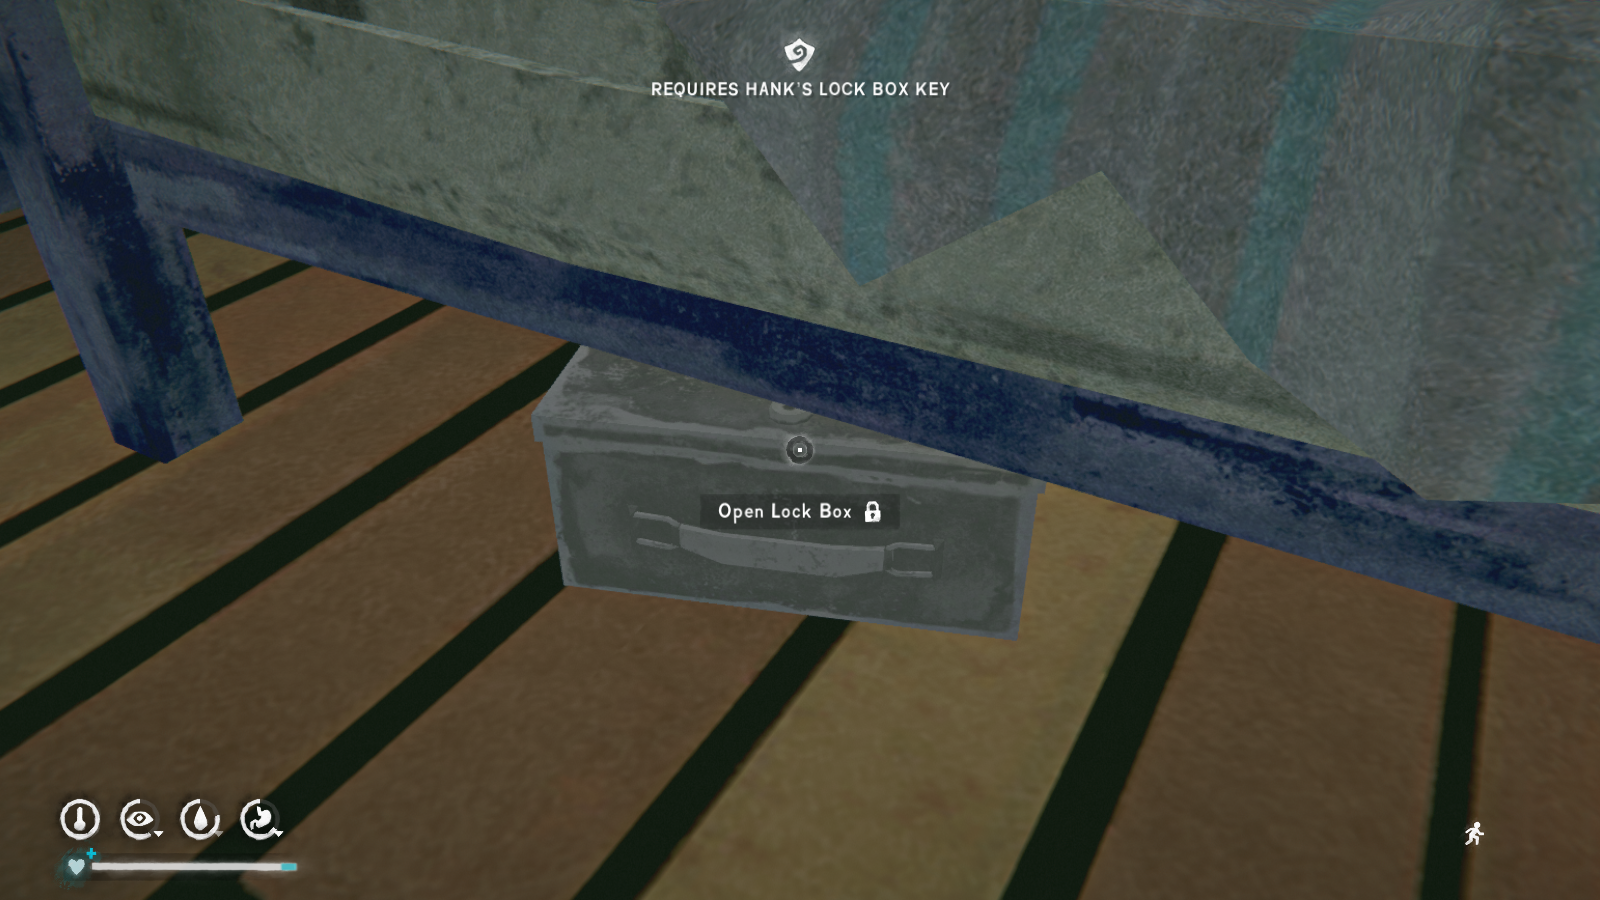
When you open the lockbox, there's a journal page and instructions on entering the prepper cache. Hank's hatch is found behind a big rock near the logging camp. Follow the railroad to Carter Dam until you reach the Loading Area (there will be a vehicle on the tracks and a yellow sign on your left). You want to turn left, and then hug the wall on your right. As with all quests, there is an icon to show you the general area of the hatch
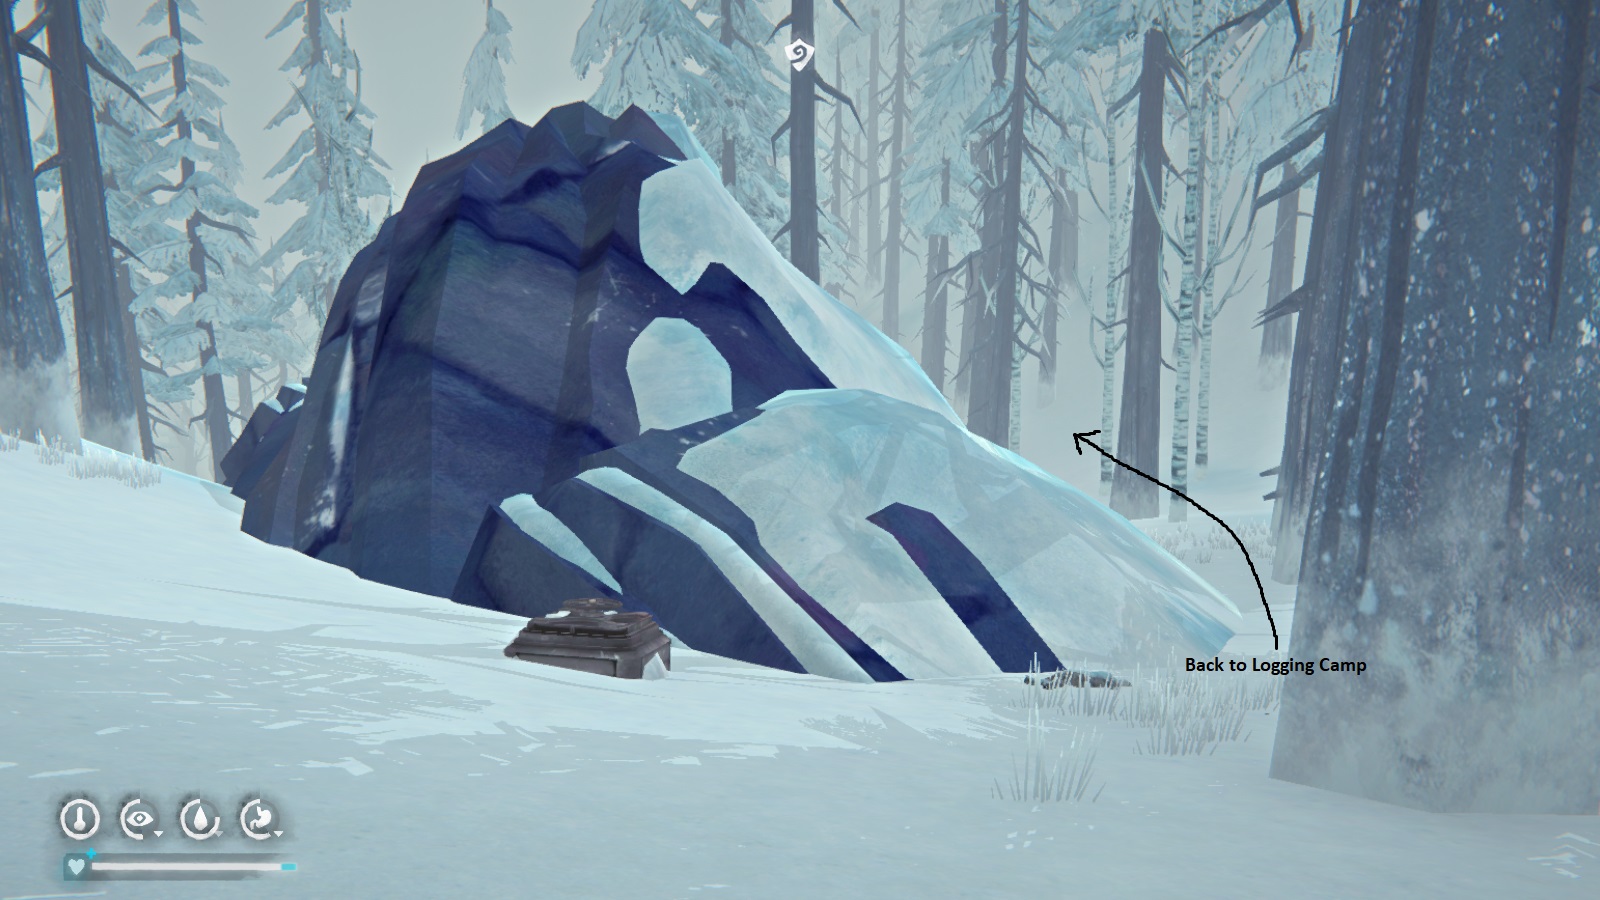
Enter the combination you found in Hank's lockbox--it's in your notes section of the journal (3rd from the top)--and you've completed the mission. The hatch has Hank's body and more of his side-story, as well as tons of supplies. This is a great mission to complete if you need food while waiting for auroras.
Sidequest: Lake Cabin Keys
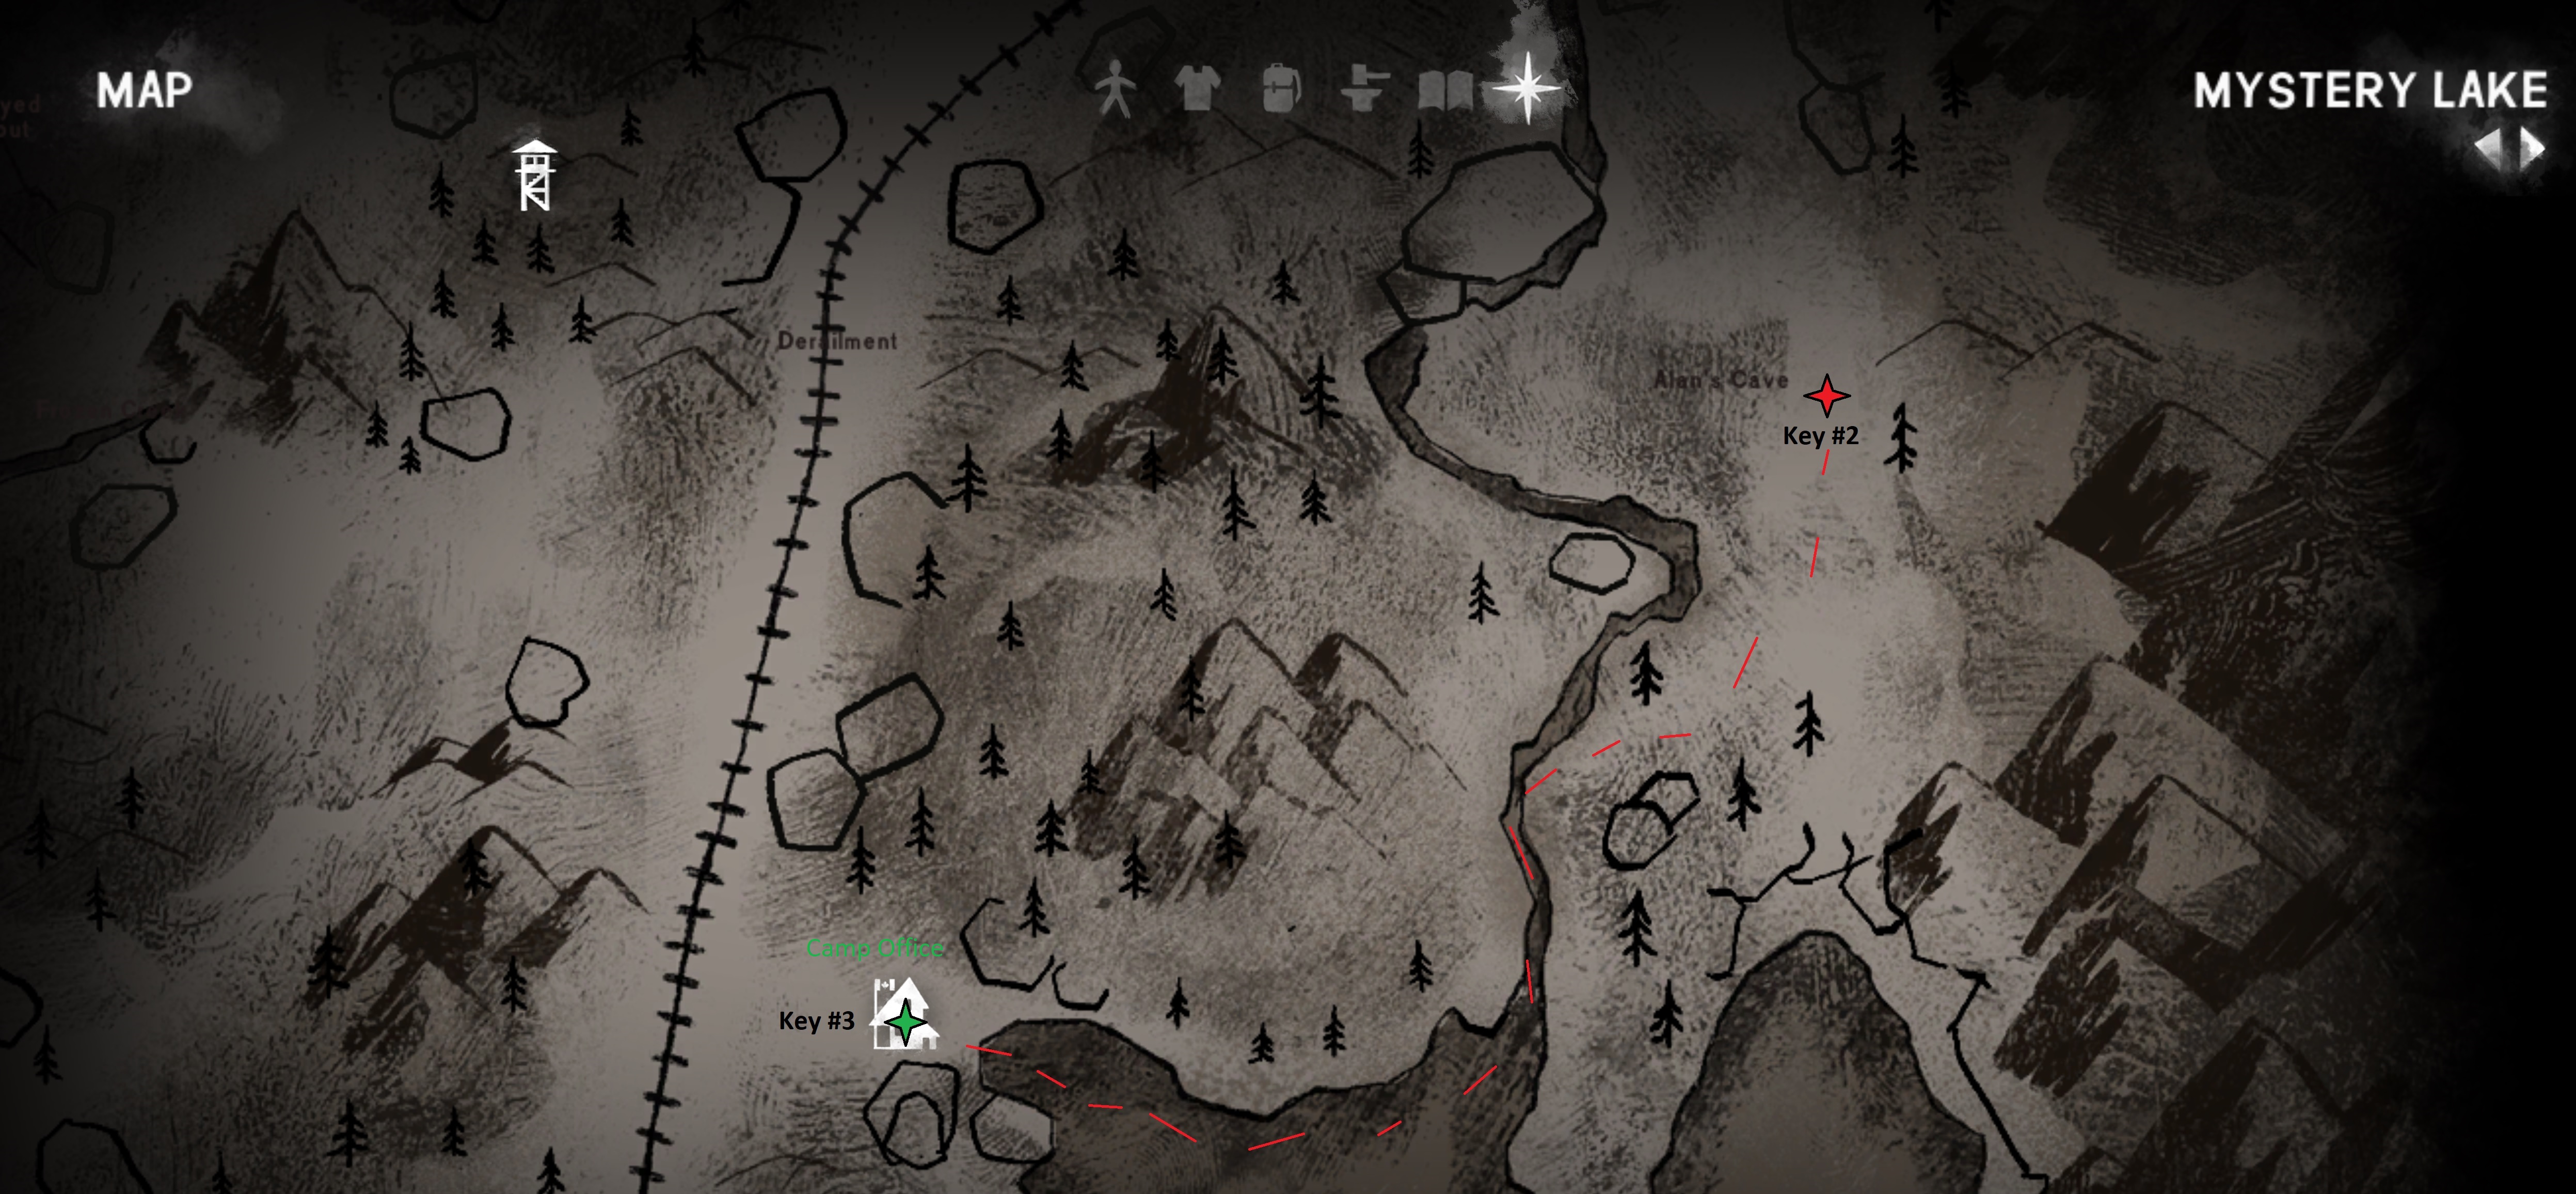
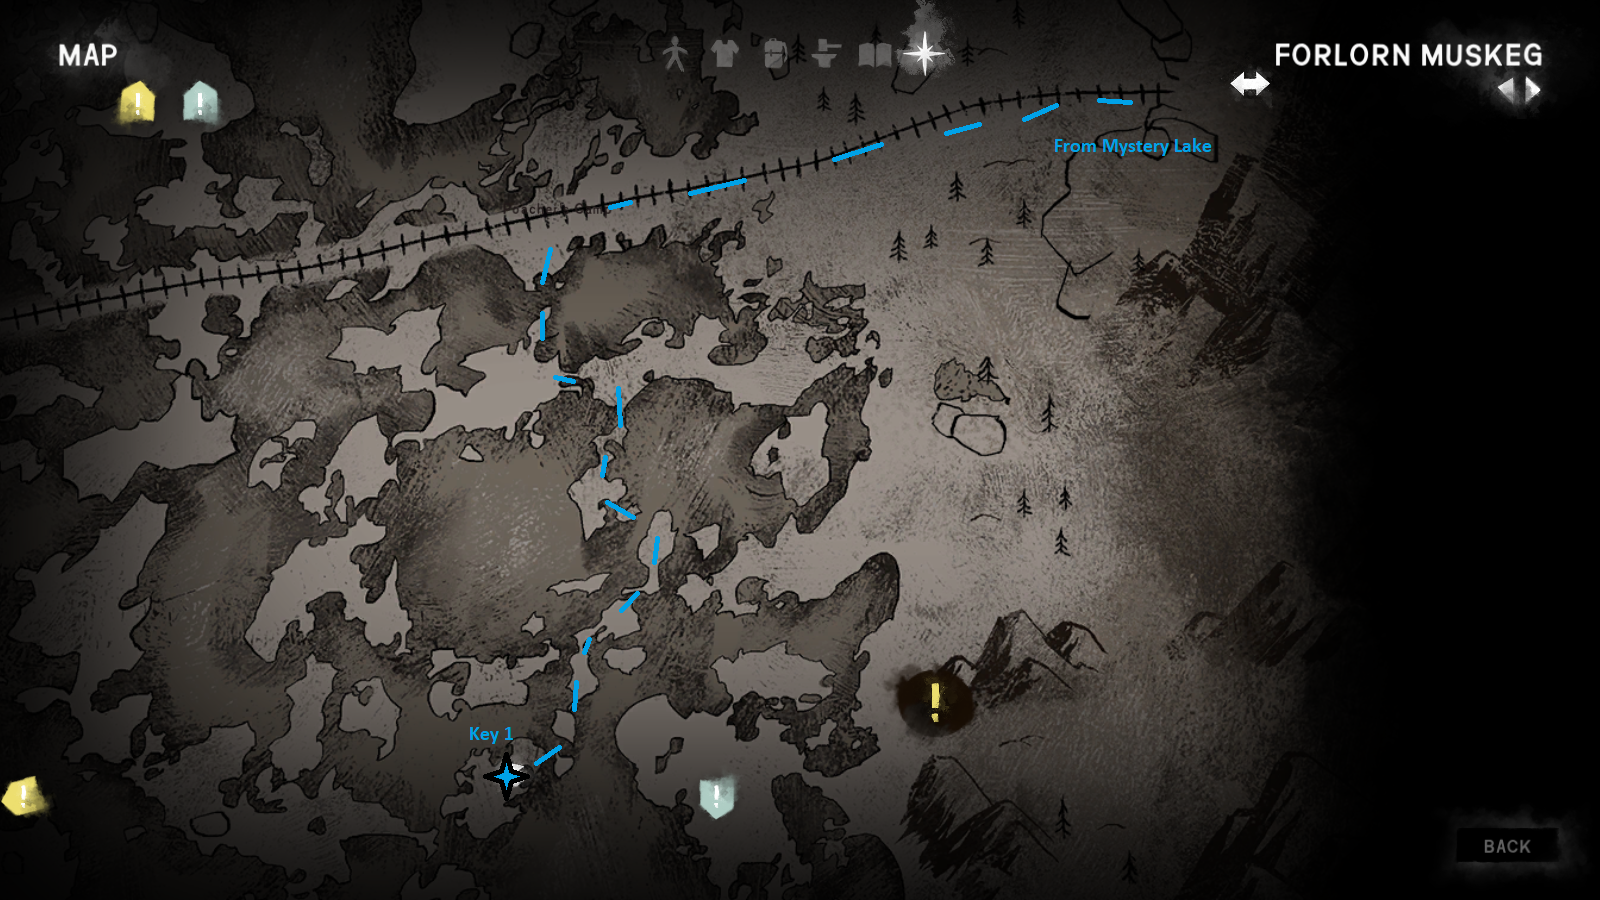 Key #1: This key is found in the Forlorn Muskeg region. Check the dead body next to the High Blind. The map above shows the location of the key and a suggested path.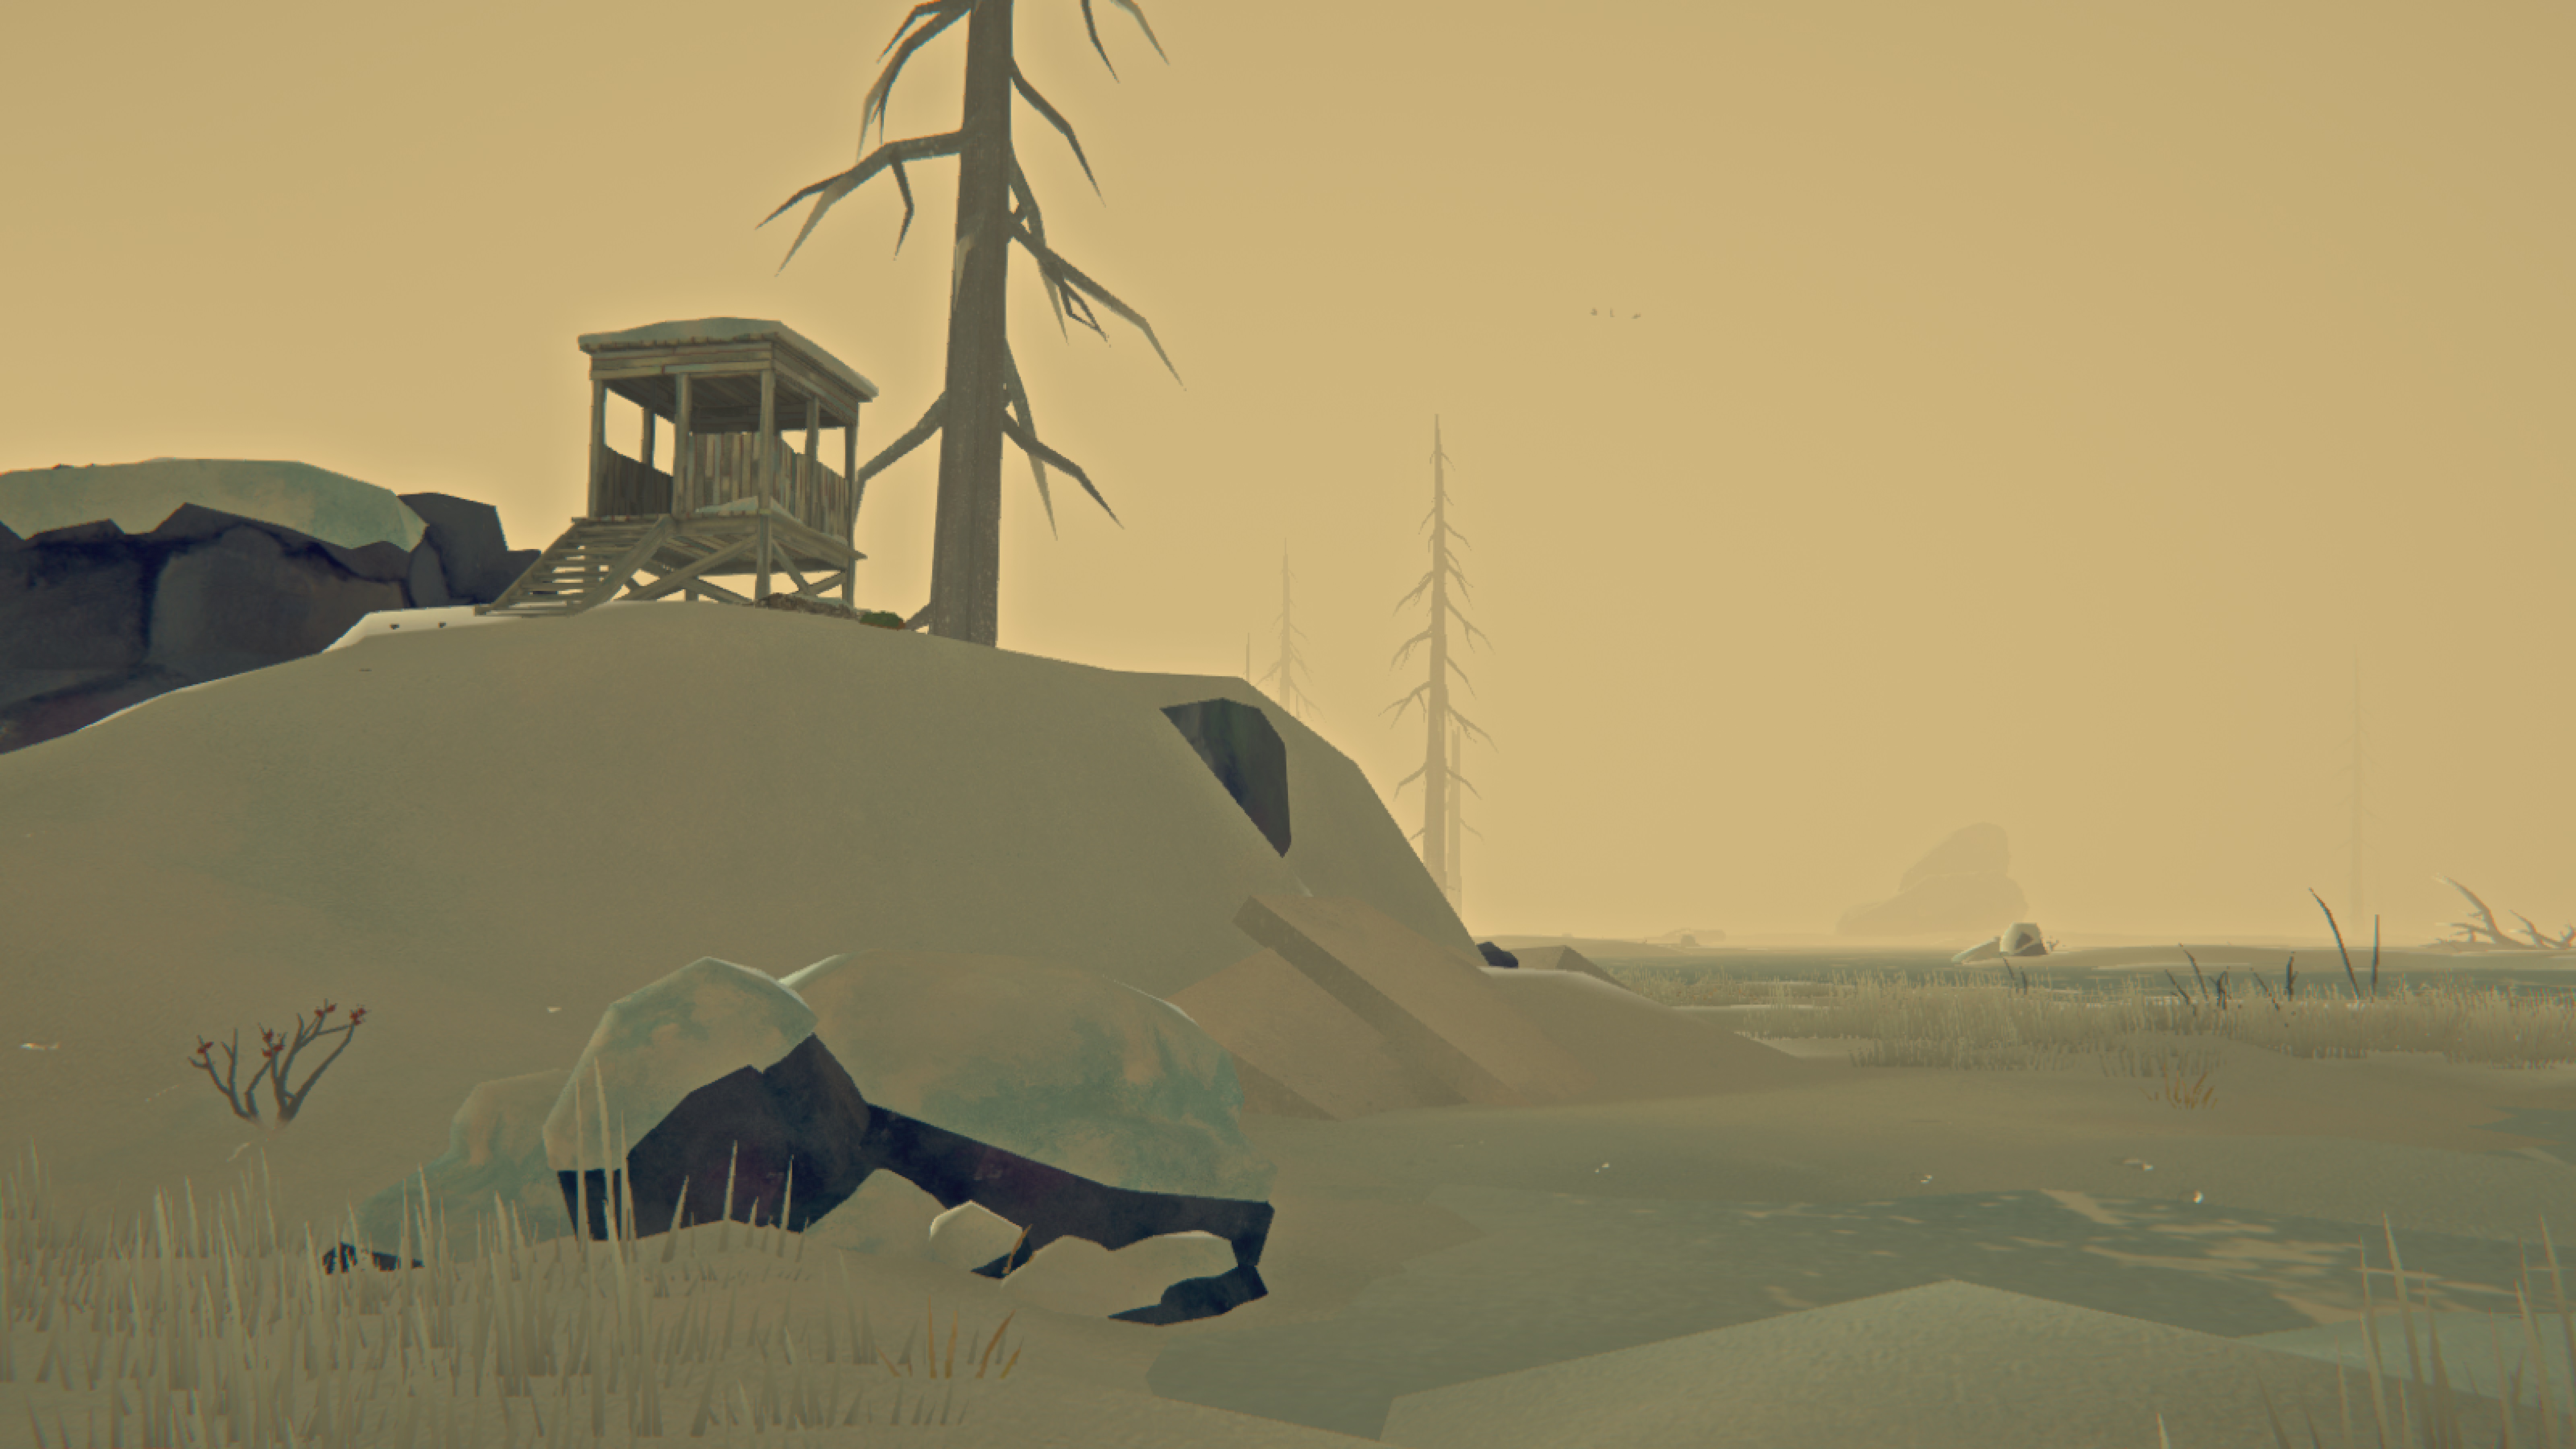
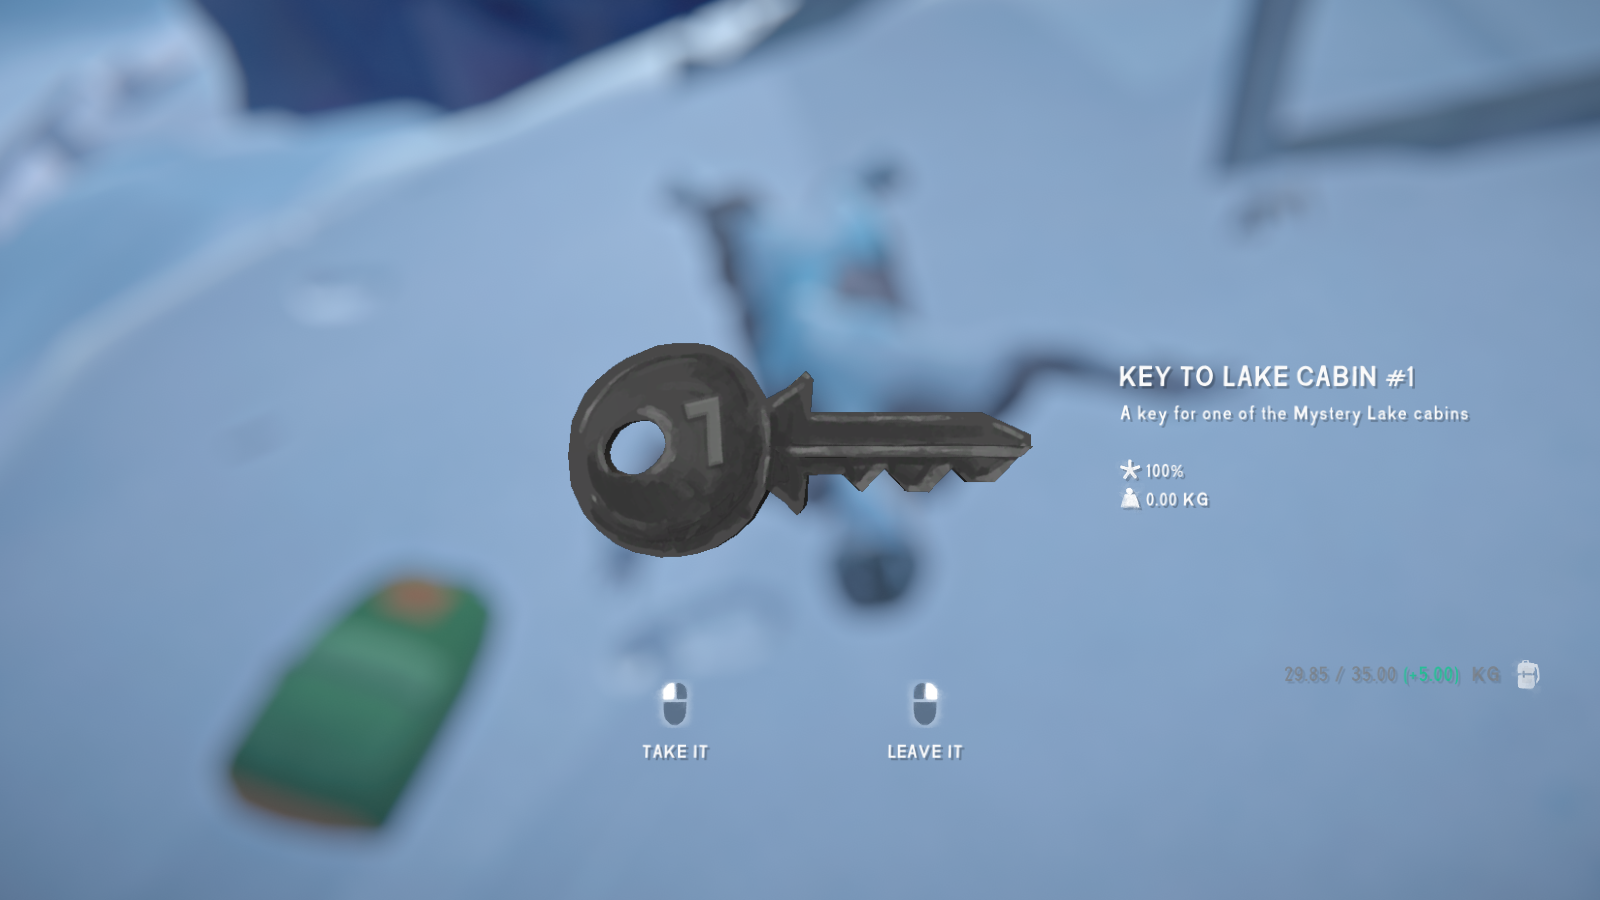 Key #2: You can find this key on your way to Alan's Cave (Mystery Lake). Search the body beside the hunter's blind.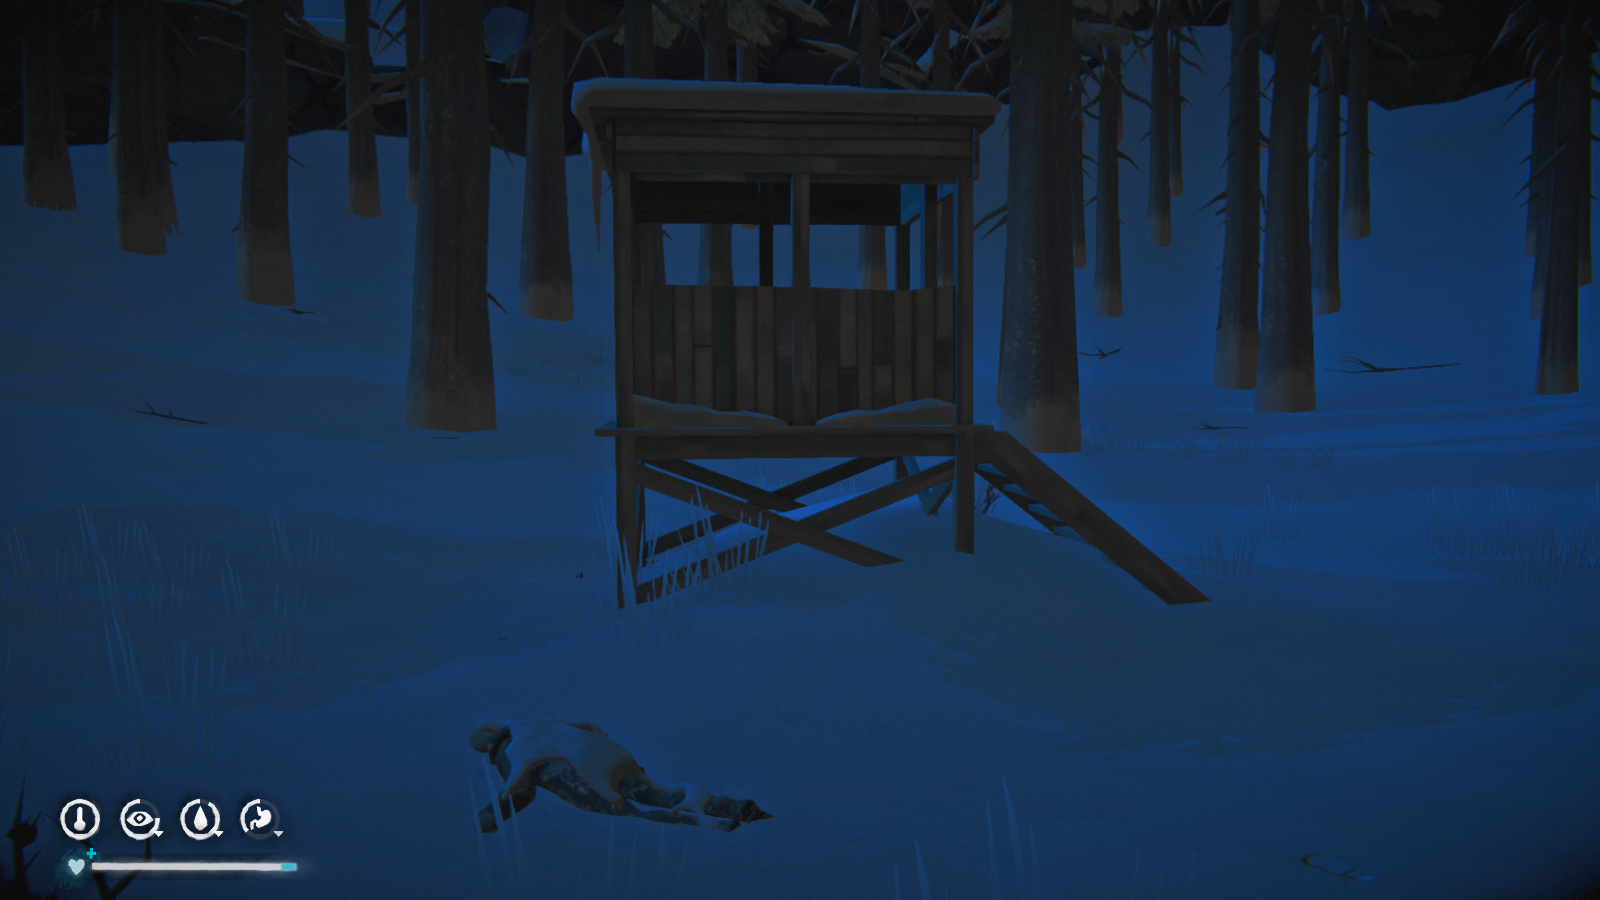
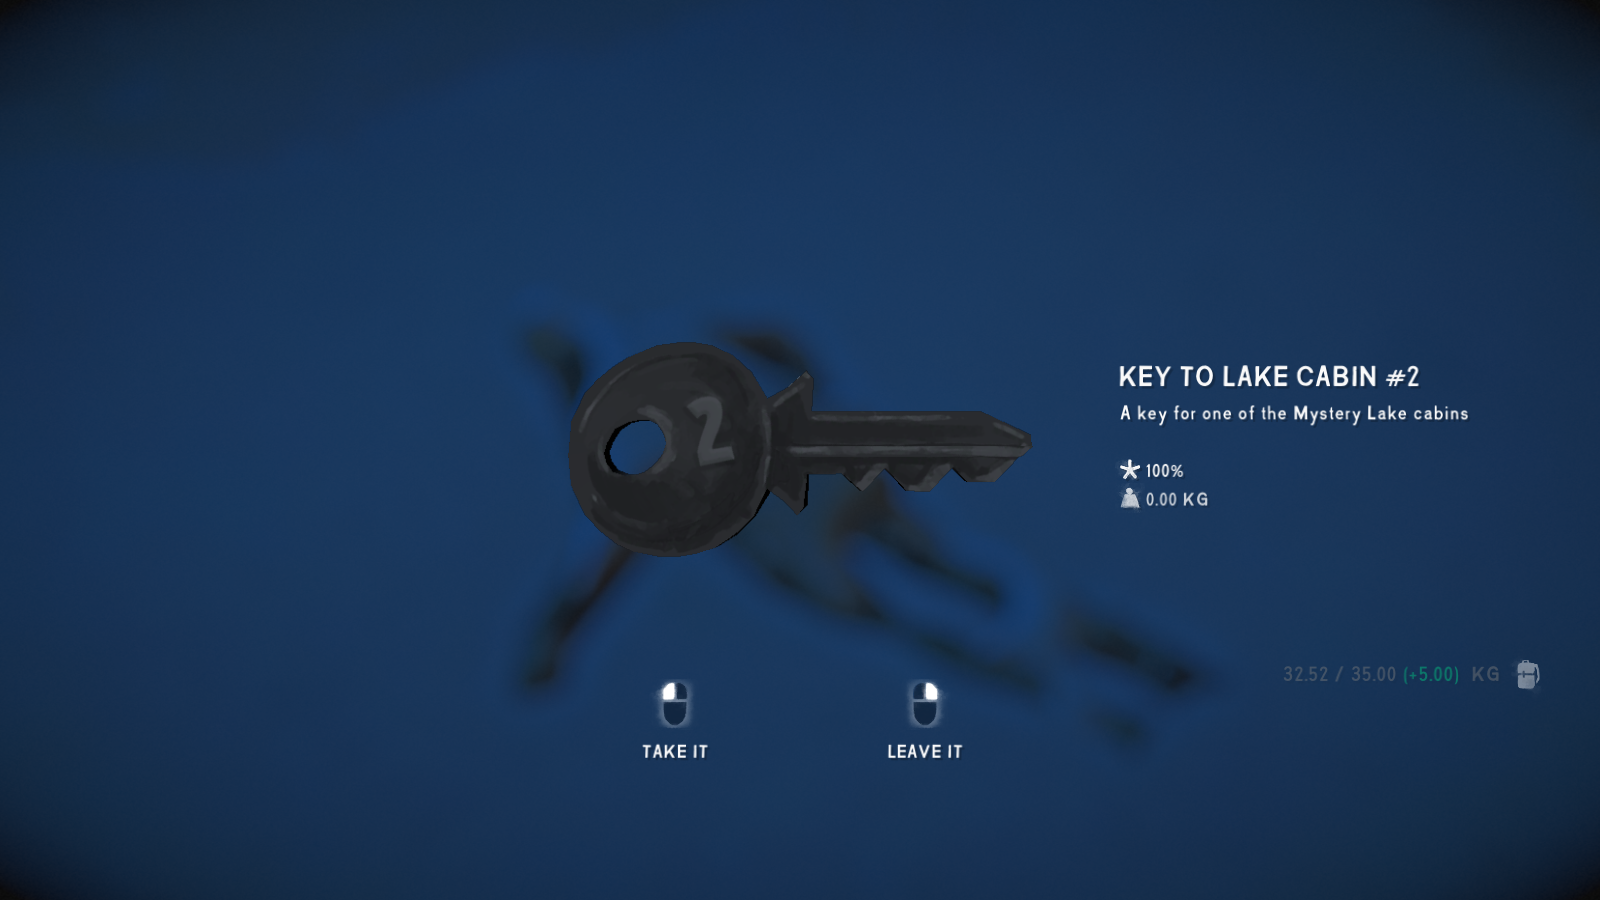 Key #3: This key is in the Camp Office on Mystery Lake. Check the filing cabinet on the first floor.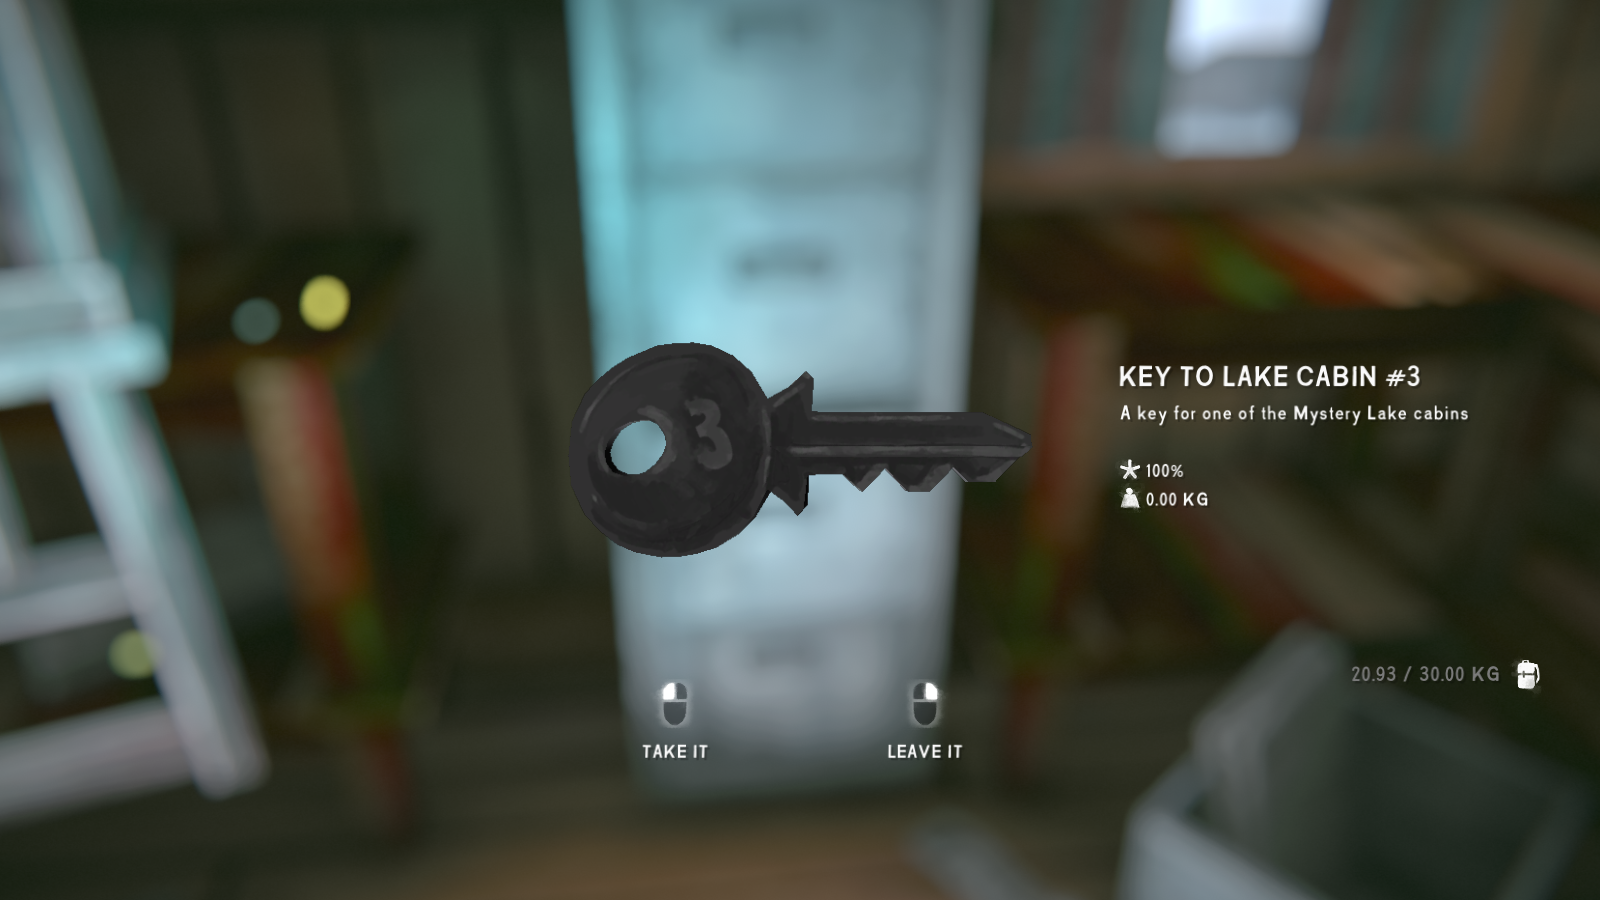
Sidequest: Mystery Lake Supply Caches
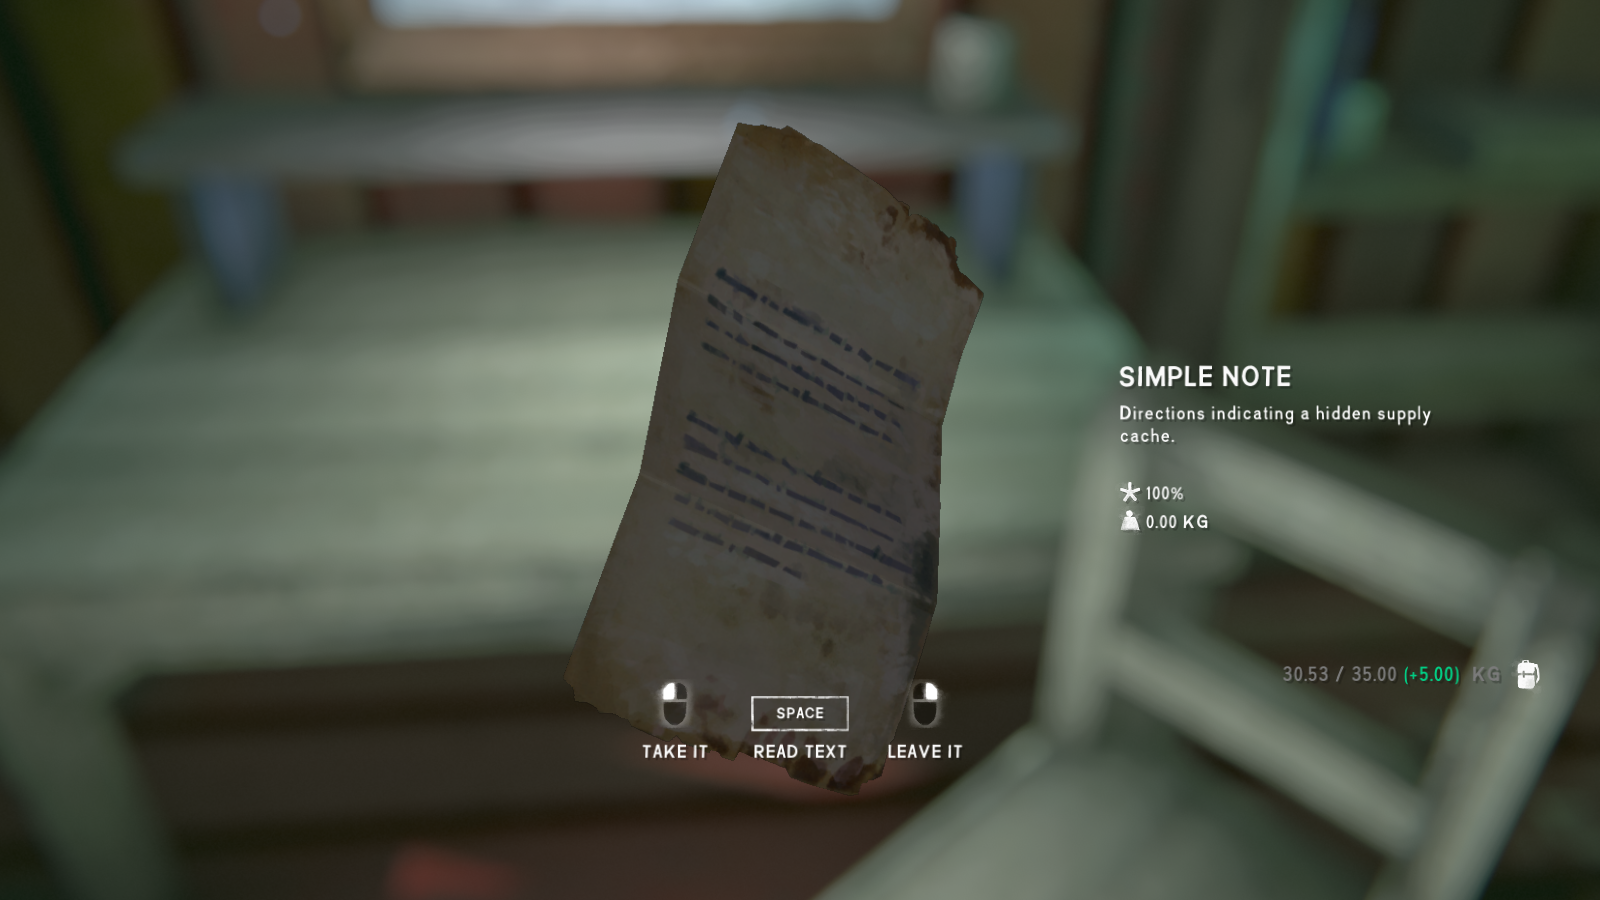
As with the Milton supply caches, you can't access these until you find the note/directions to the specific cache. You'll get an achievement if you find all of these caches and had previously found all the caches in Episode 1.
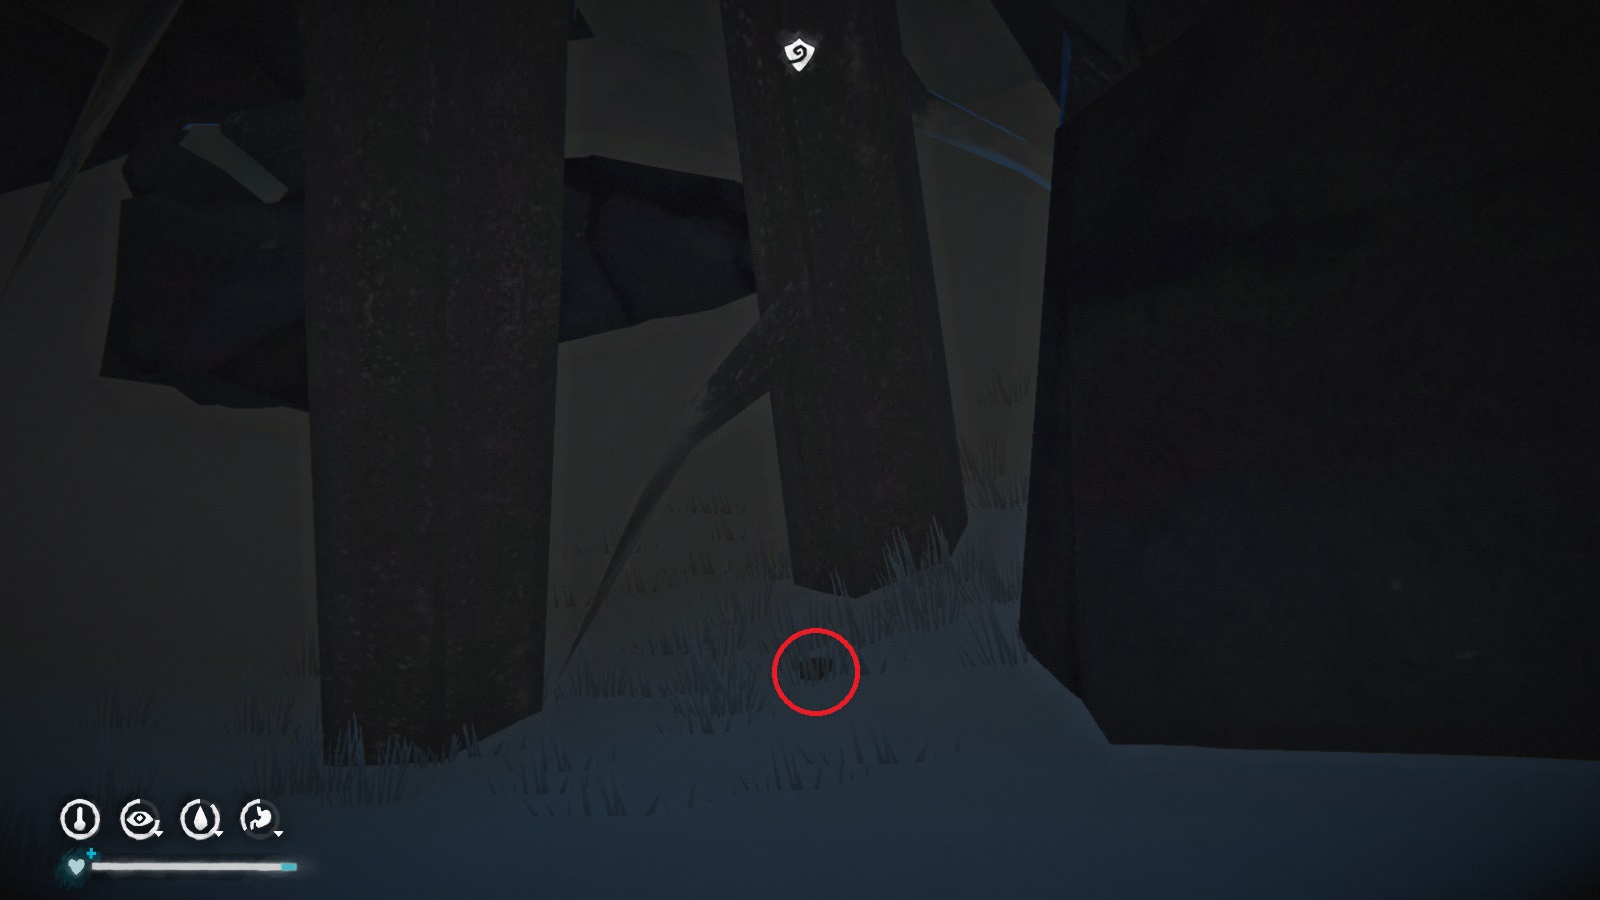
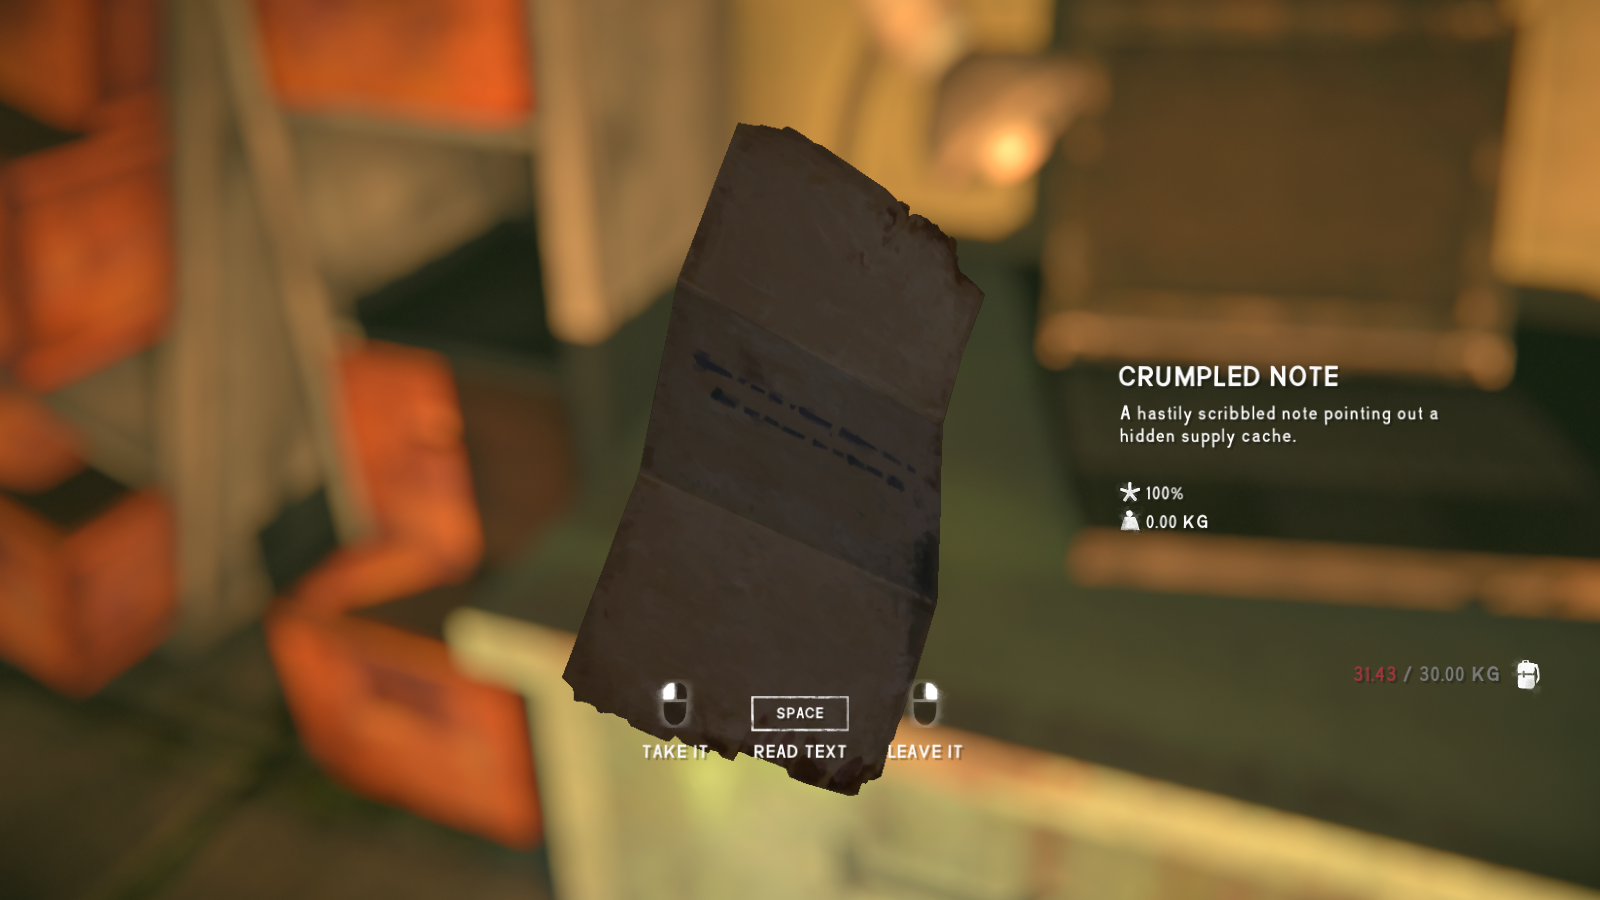 Alan's Cave can be found off the left side of Mystery Lake when your back is to the Camp Office. Follow the river until you reach an open area filled with trees. From here, you want to leave the river (circled in red) and follow the path through the snow (black arrow)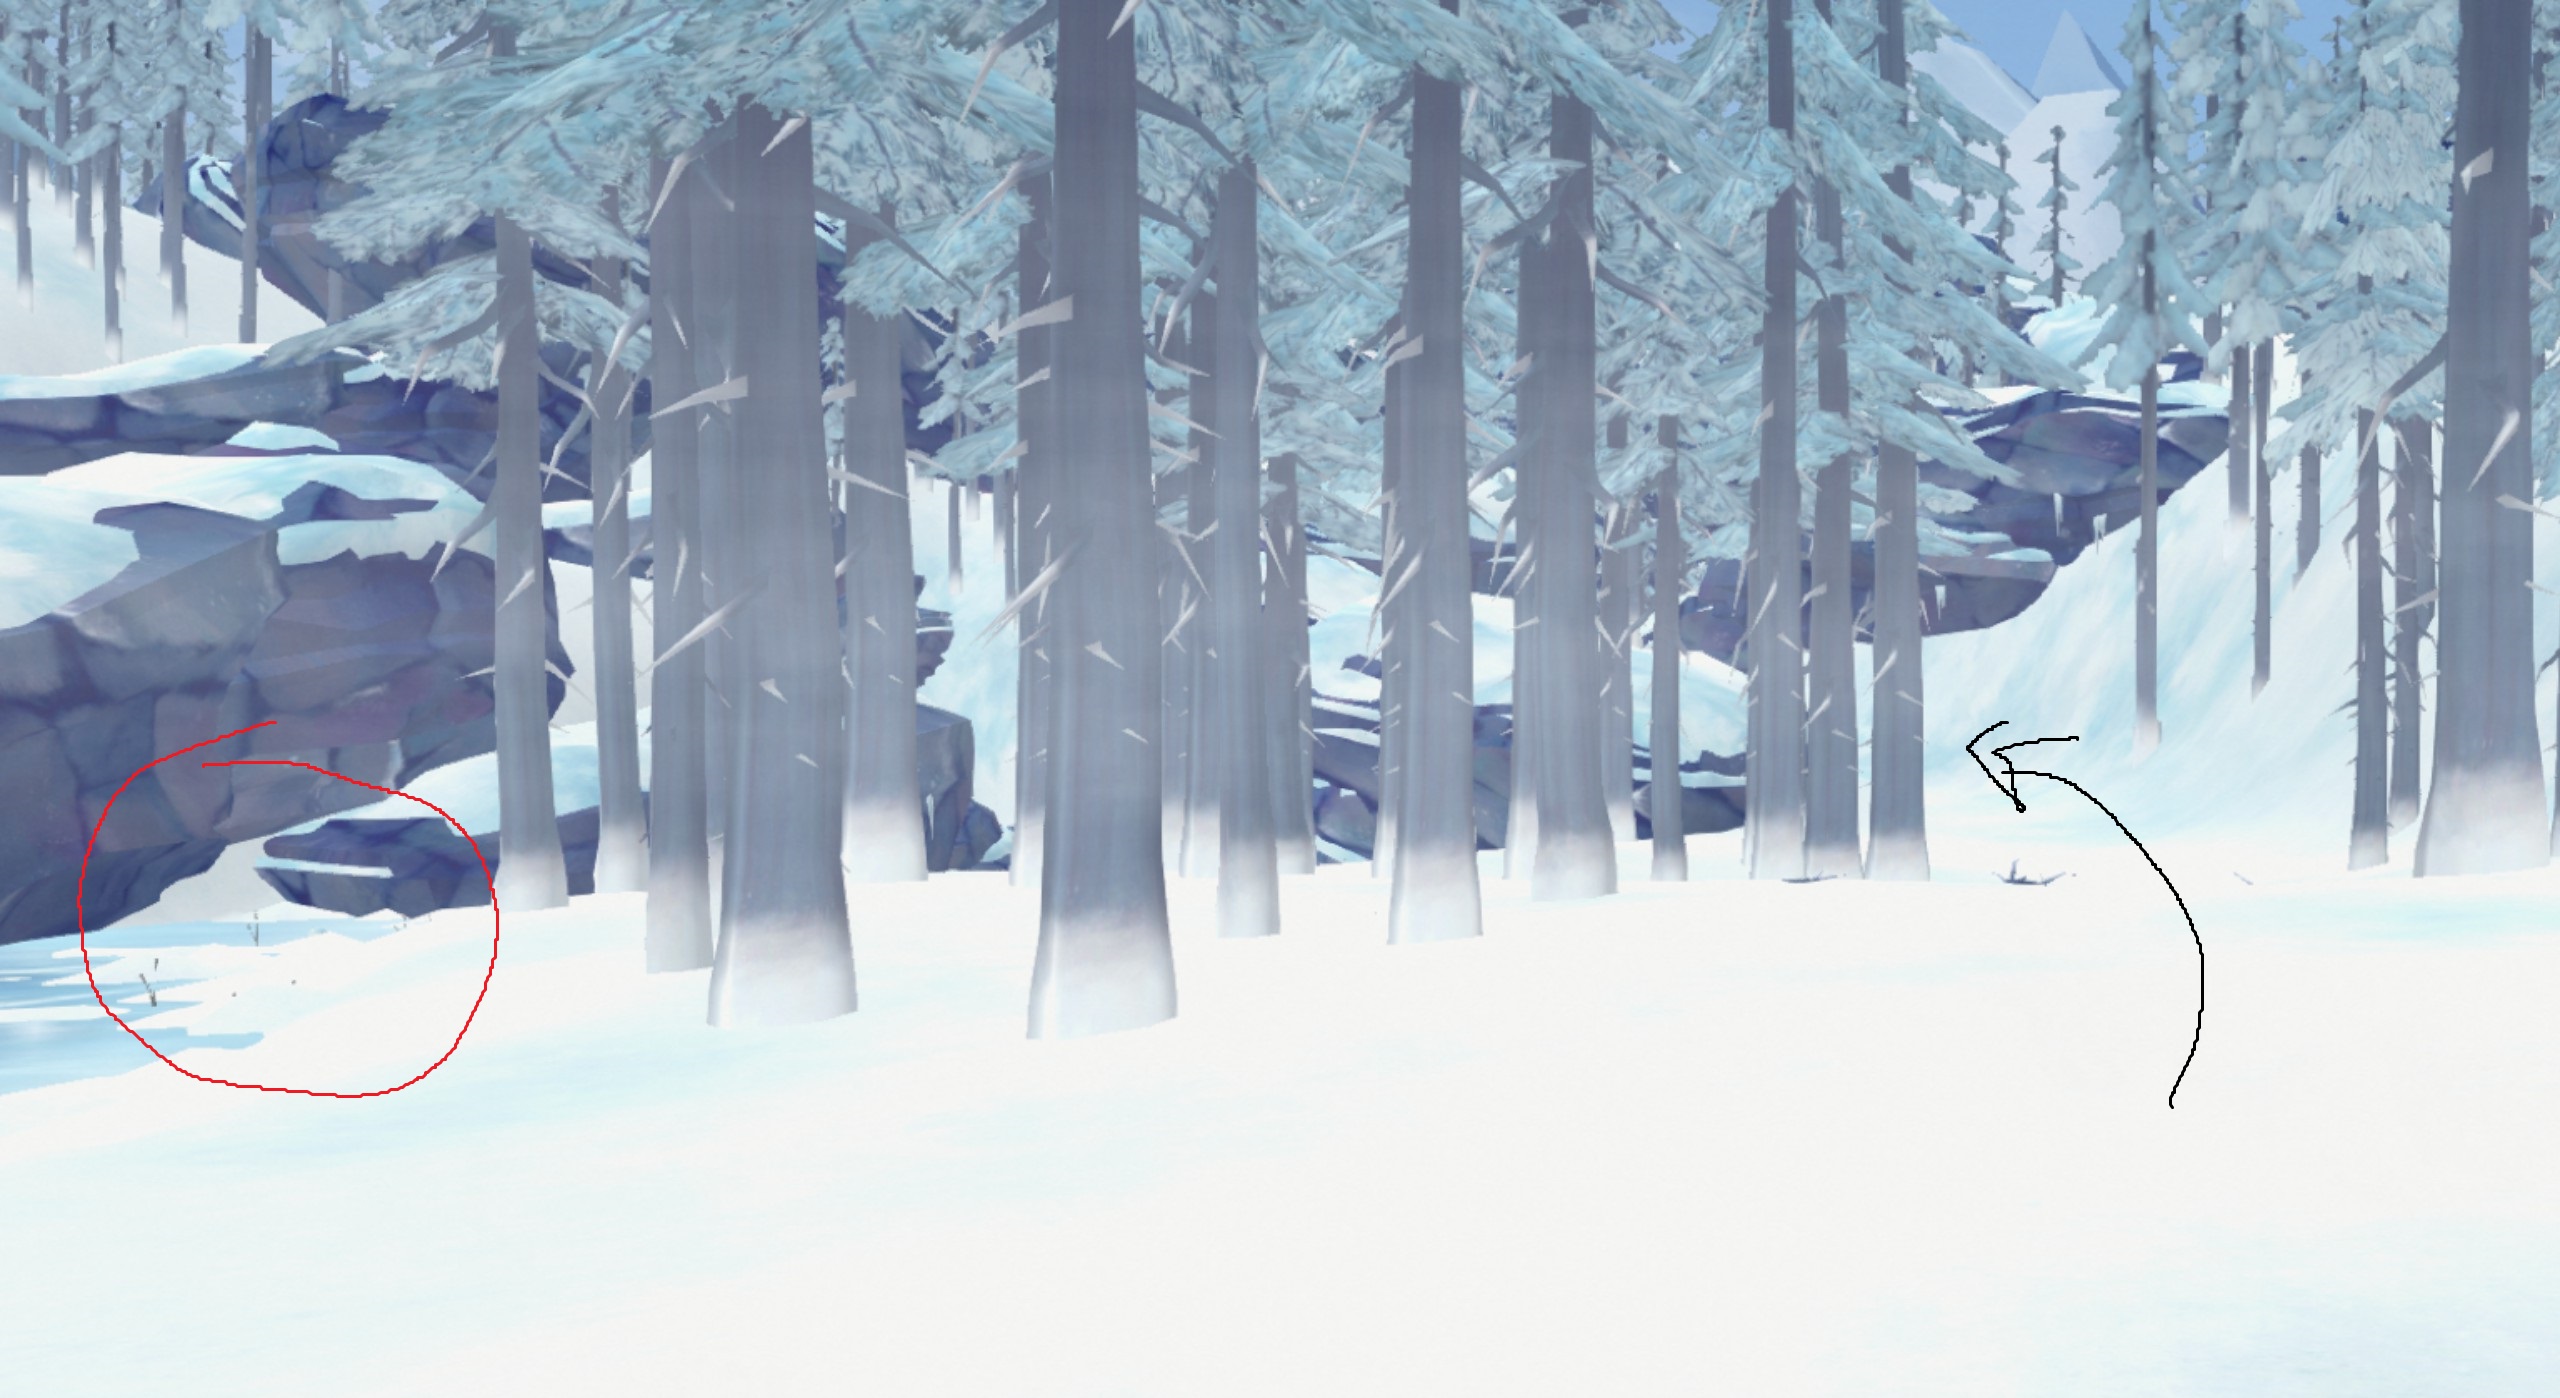
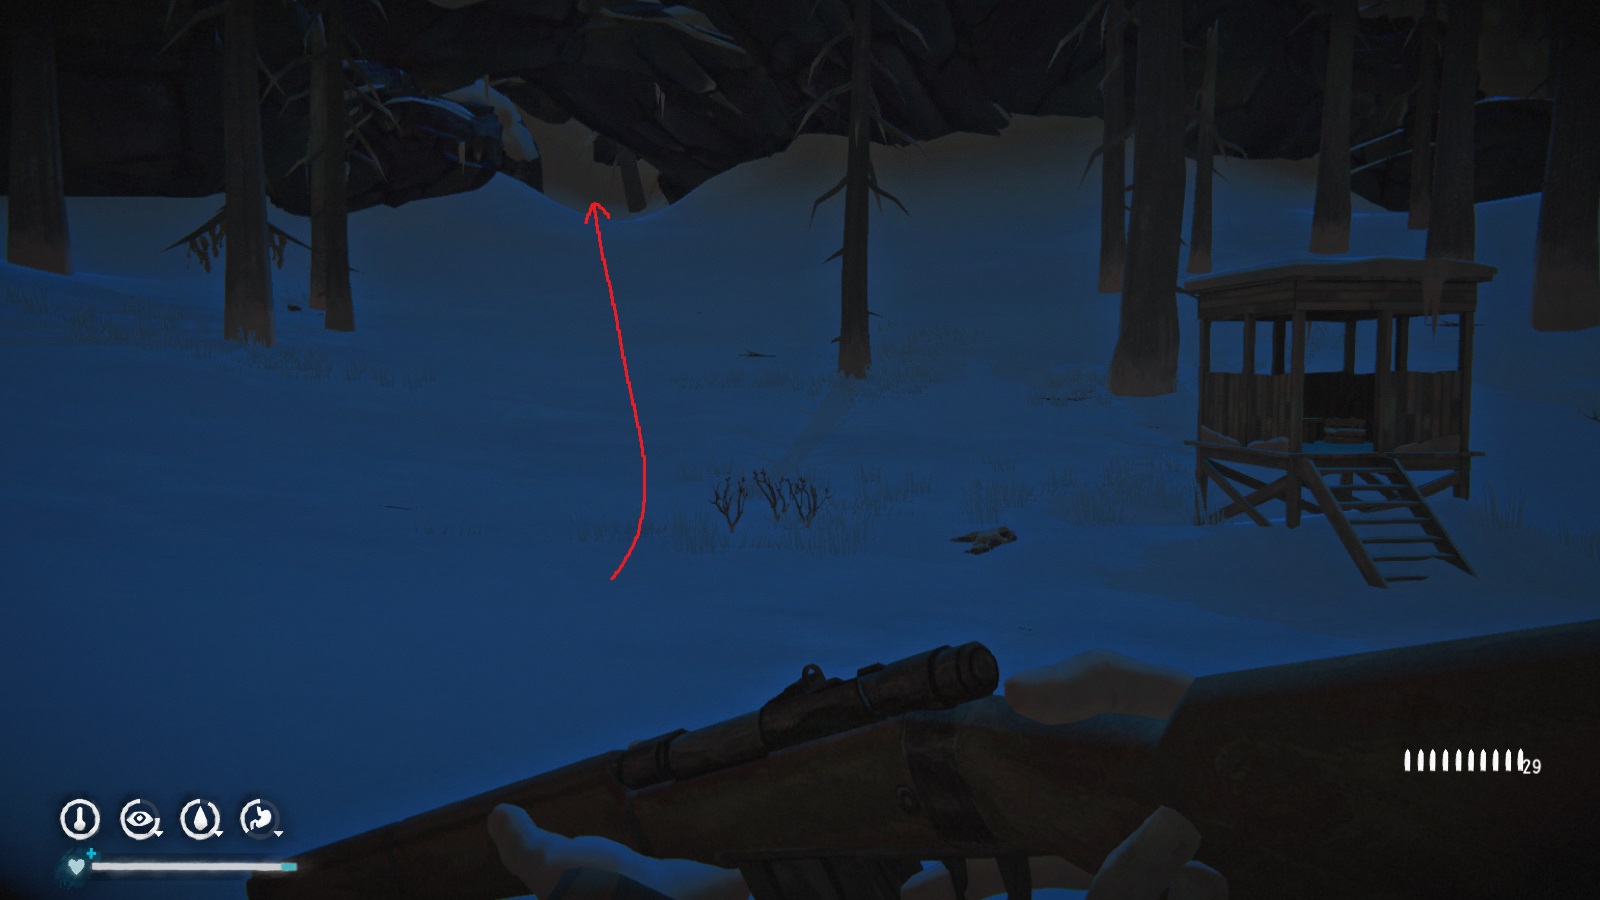
Eventually you will reach a hunter's blind. Turn left and the cave will be directly in front of you. The supply cache is near the back wall, between the trees.
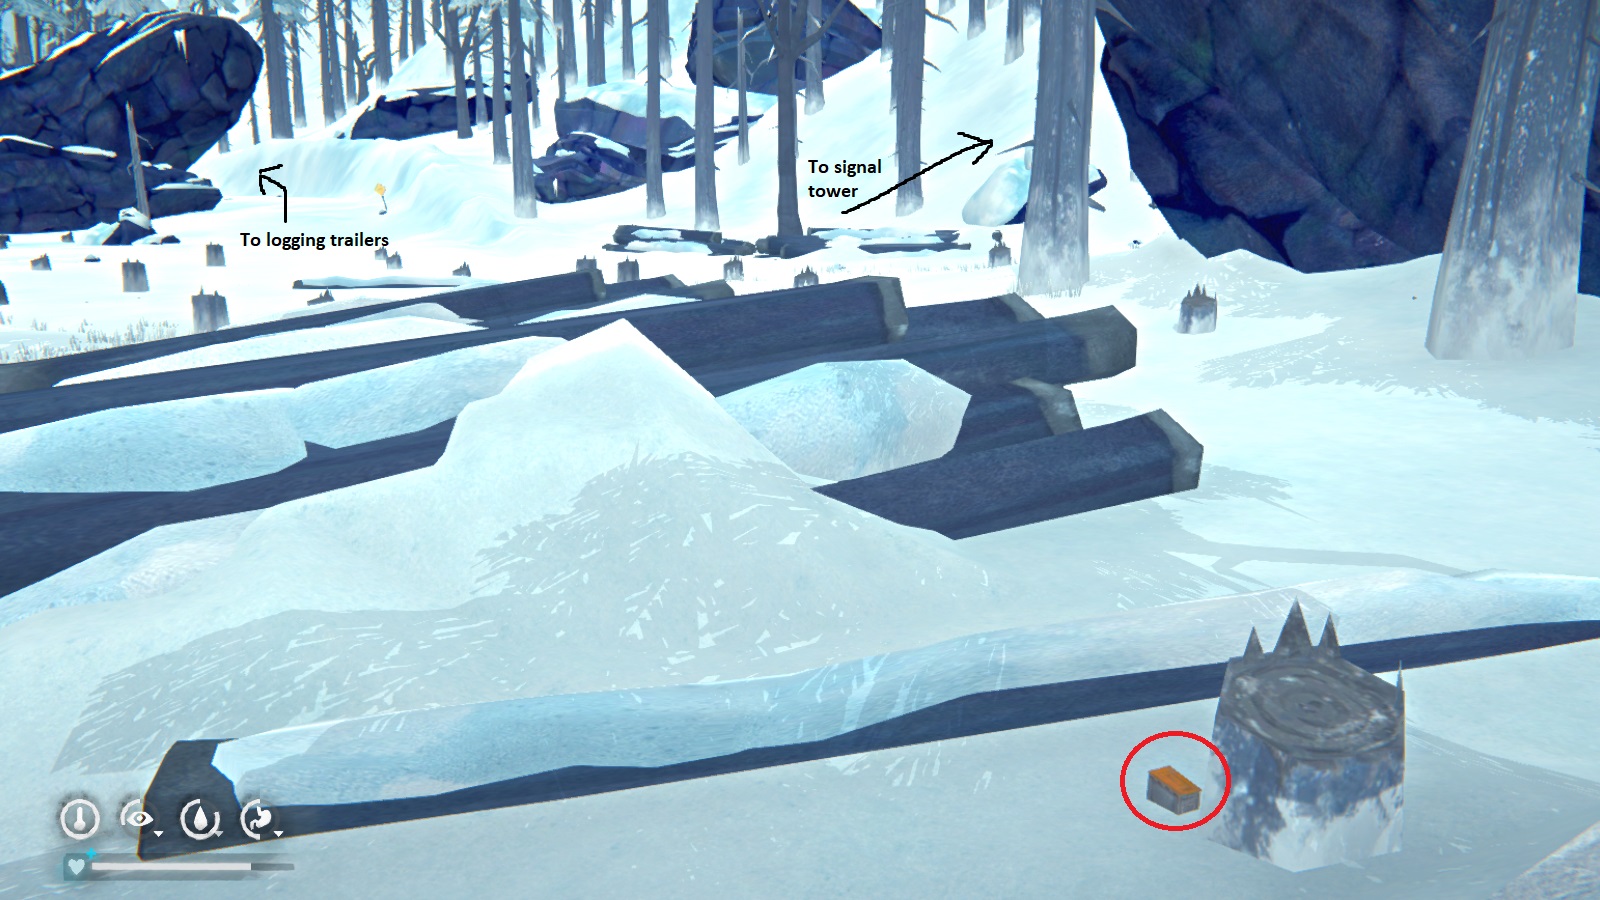
The cache itself is at the Clearcut. You can get there by following the railroad until you reach the Loading Area. There will be a yellow sign on your left that indicates another road. Just follow that road, past the logging trailers, until you see a colorful sign on your left. Clearcut will be on the right. You can also look for the radio tower on clear days; Clearcut is in the same area as that tower. The cache can be found near a tree stump between two log piles.
 To get to the cache, head to the Rail Tunnel, where you leave Mystery Lake to get to Forlorn Muskeg. The cache is next to the big rock pictured below. You can see the tunnel entrance in the top left.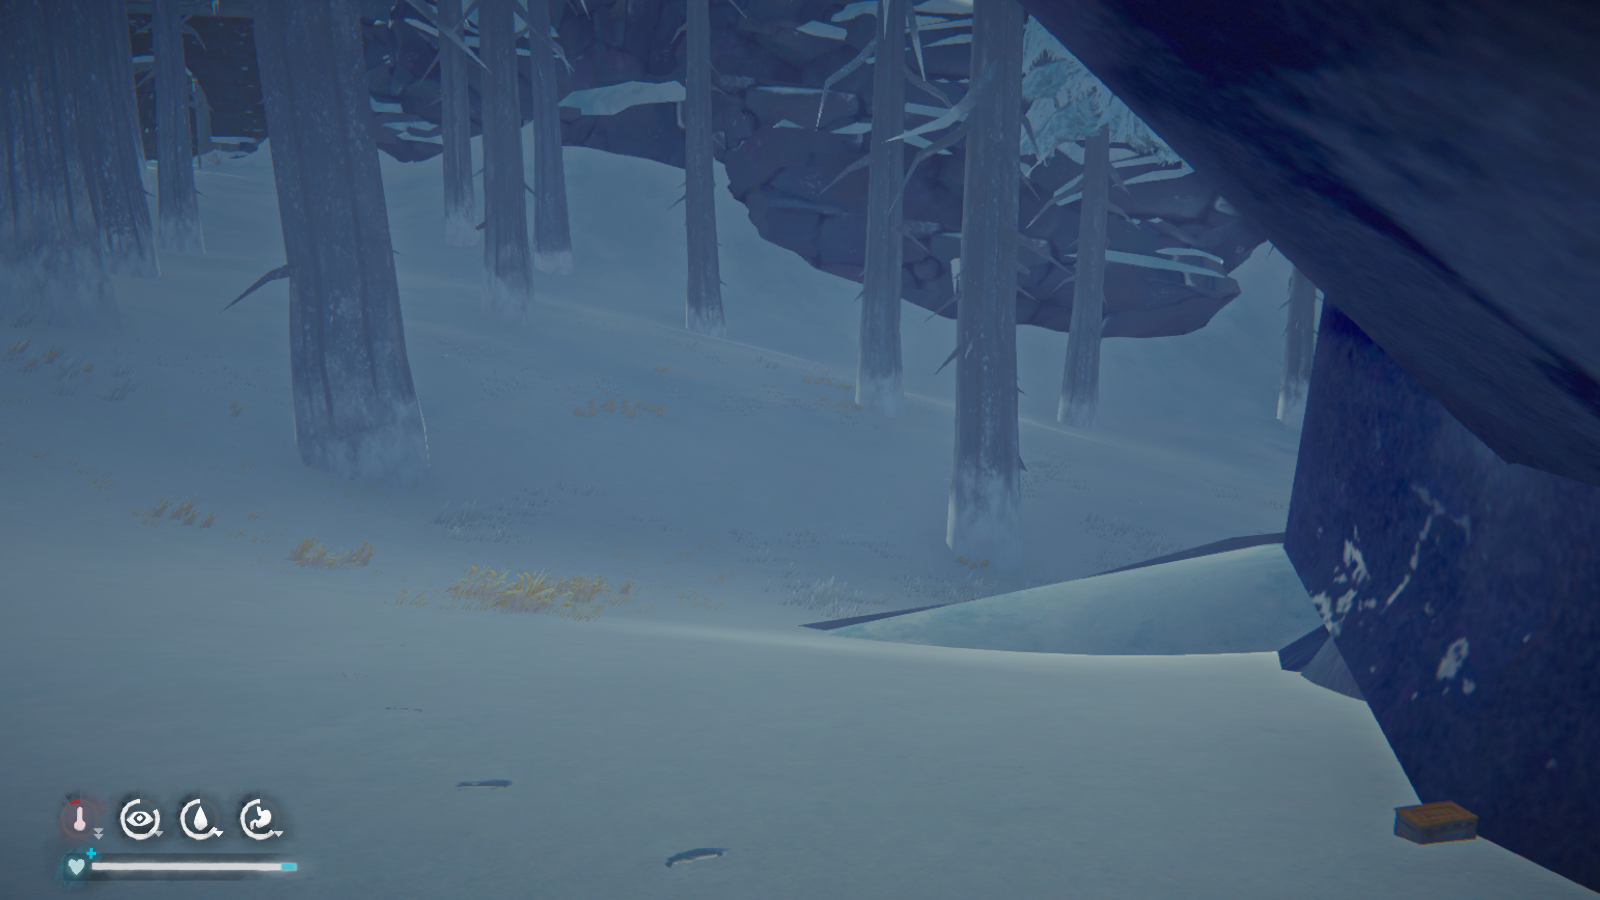
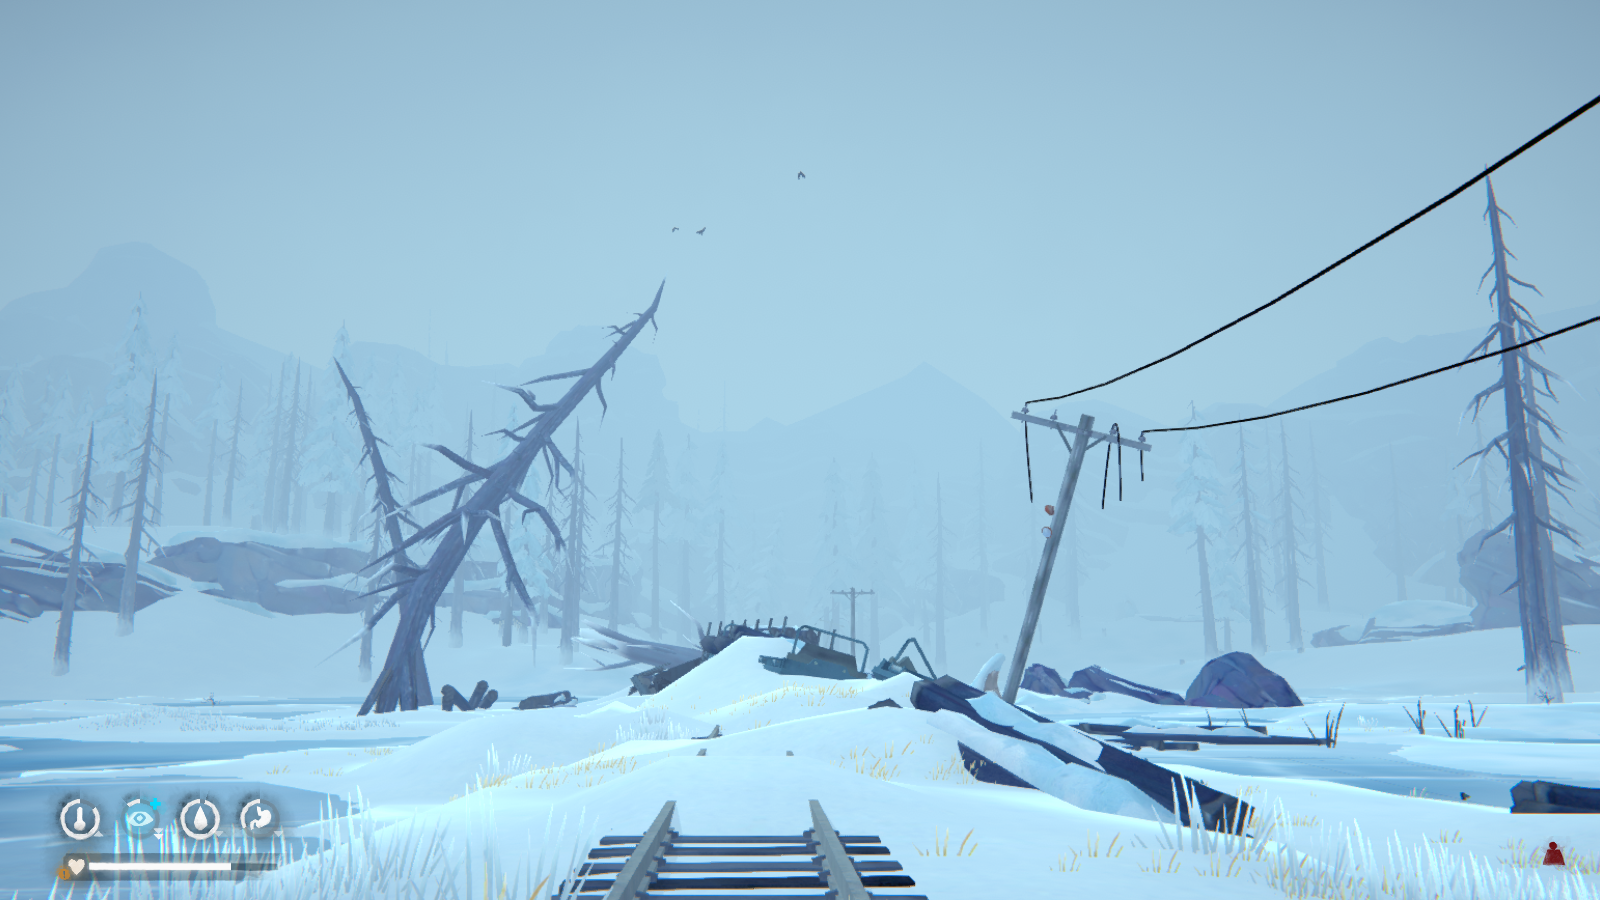
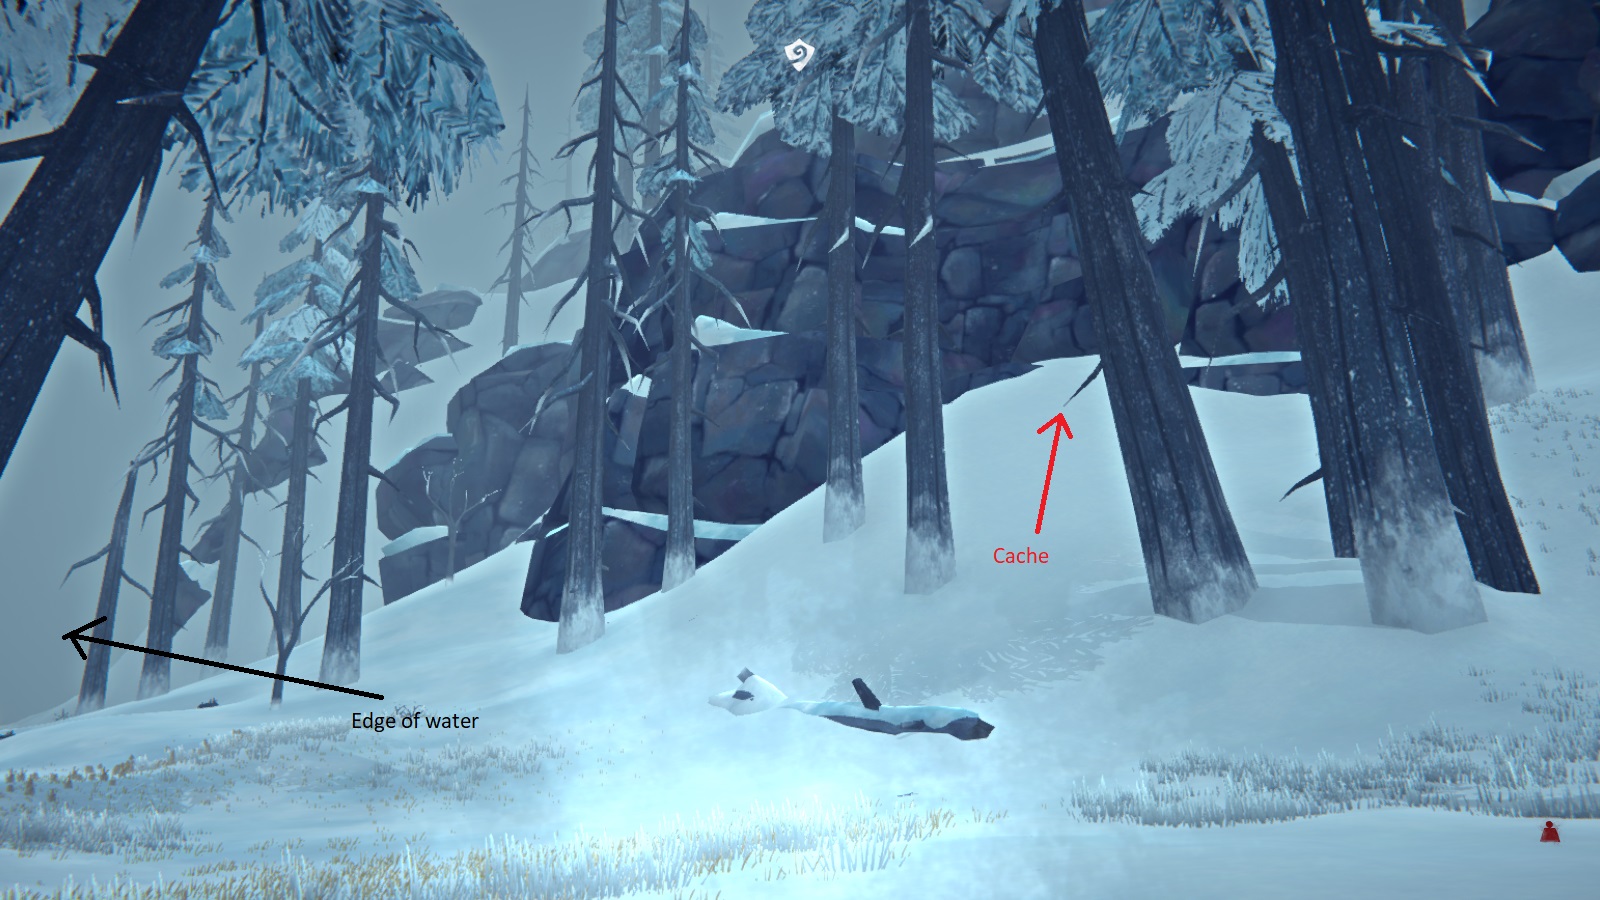
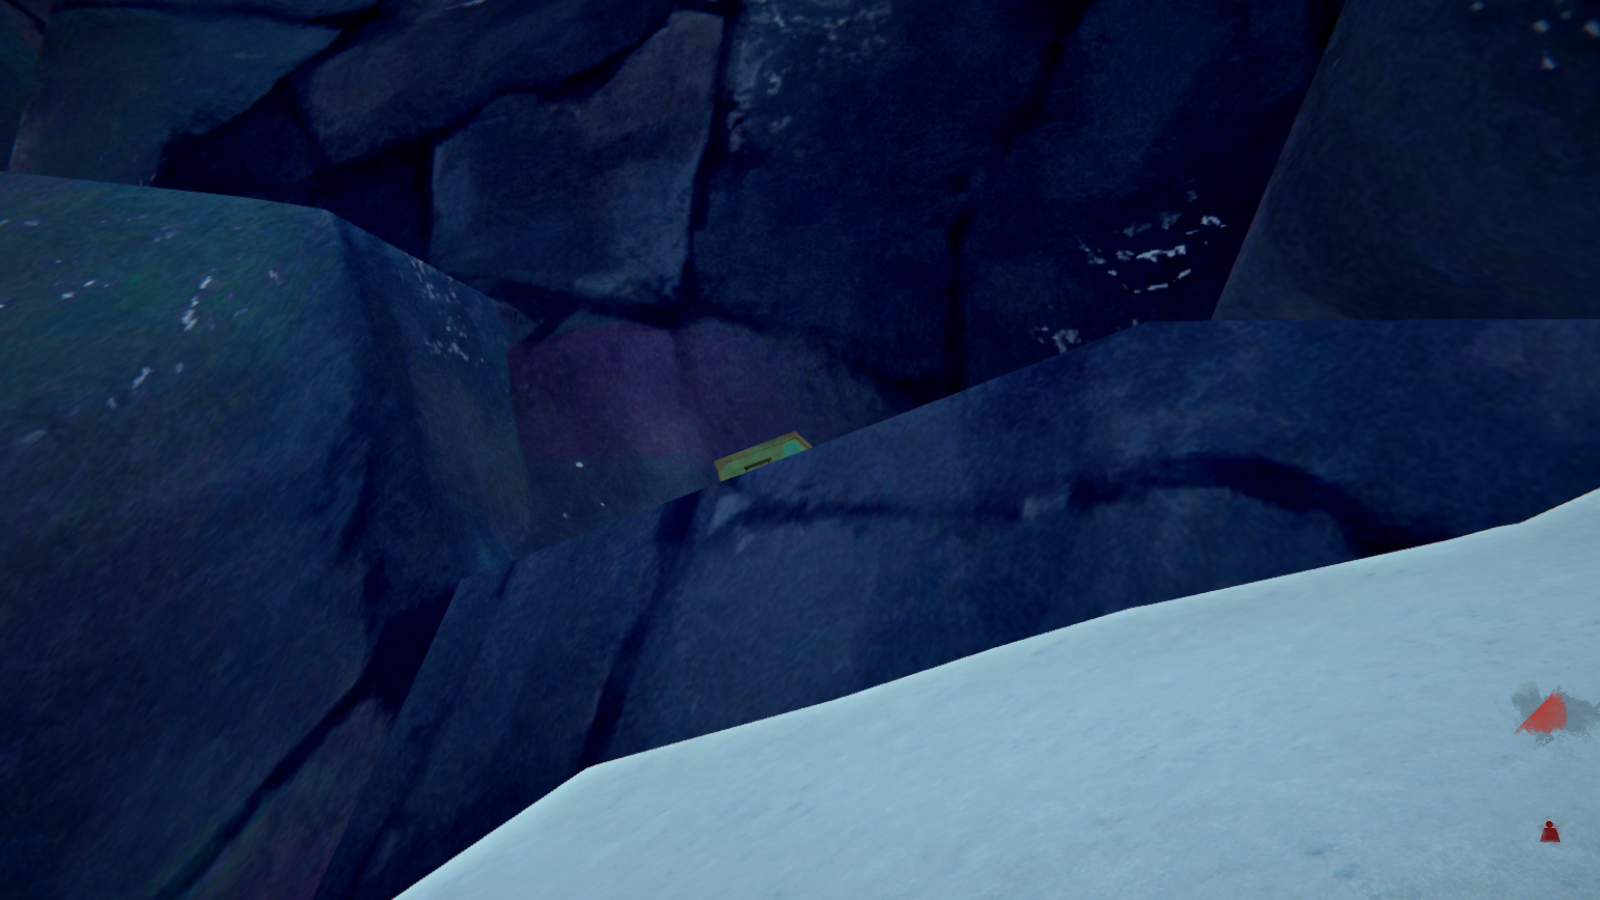
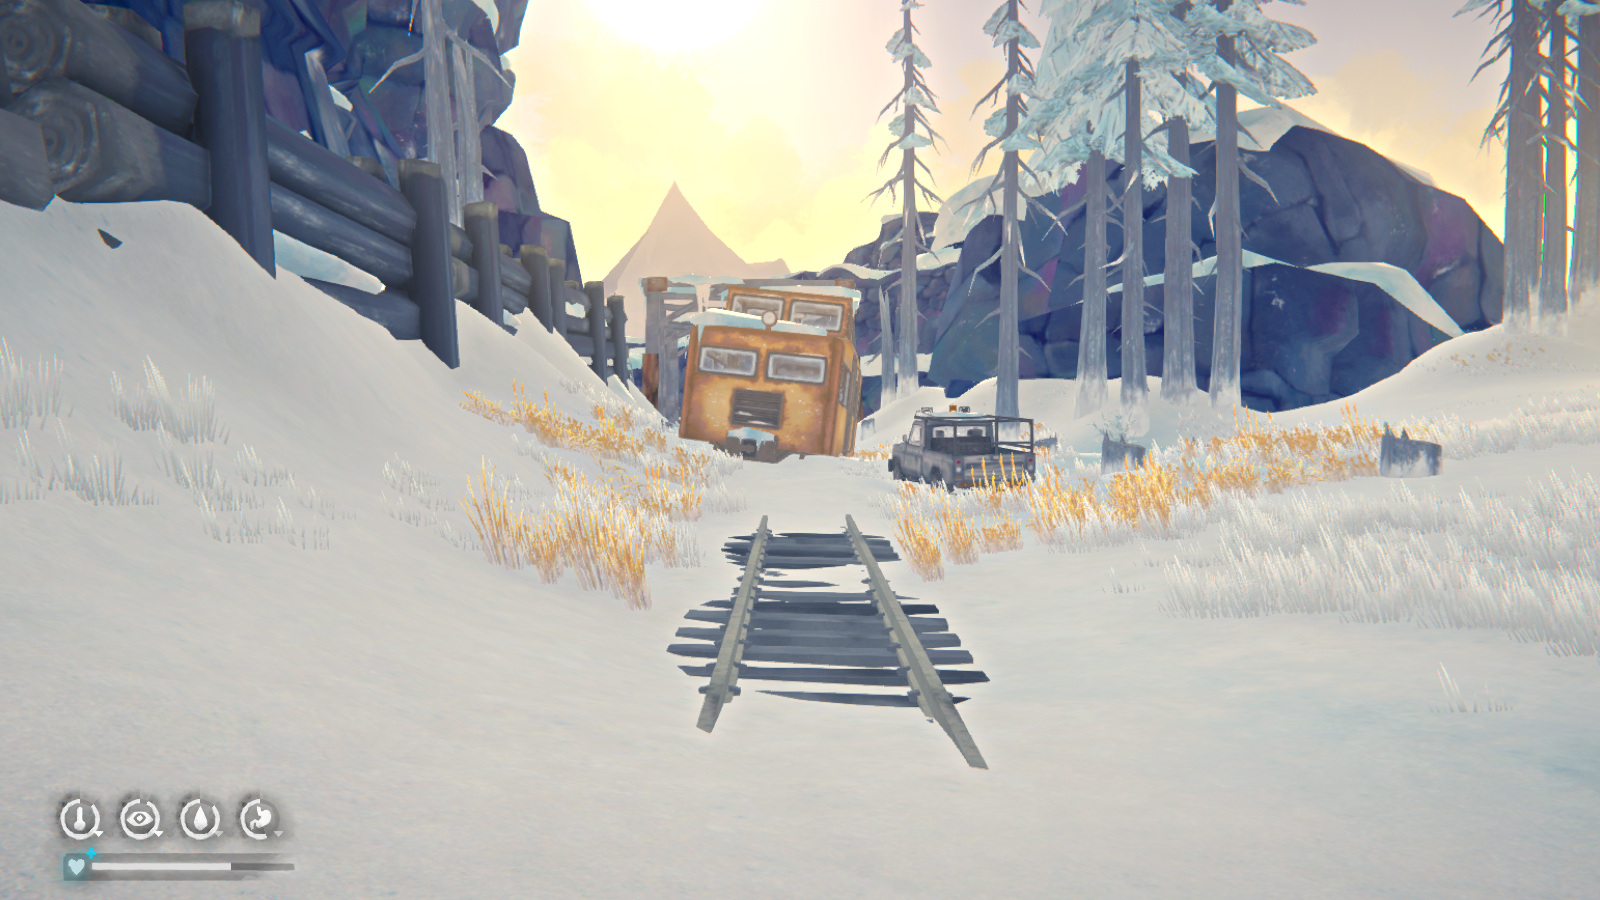 To get to the cache, head to the Forlorn Muskeg region. When leaving from the Broken Railroad region, follow the railroad but look to your right. The cache is next to the root section of the circled tree in the picture. I've also added other pictures with the Spence Family Homestead (left) and broken train (right) in the distance to help you orient yourself.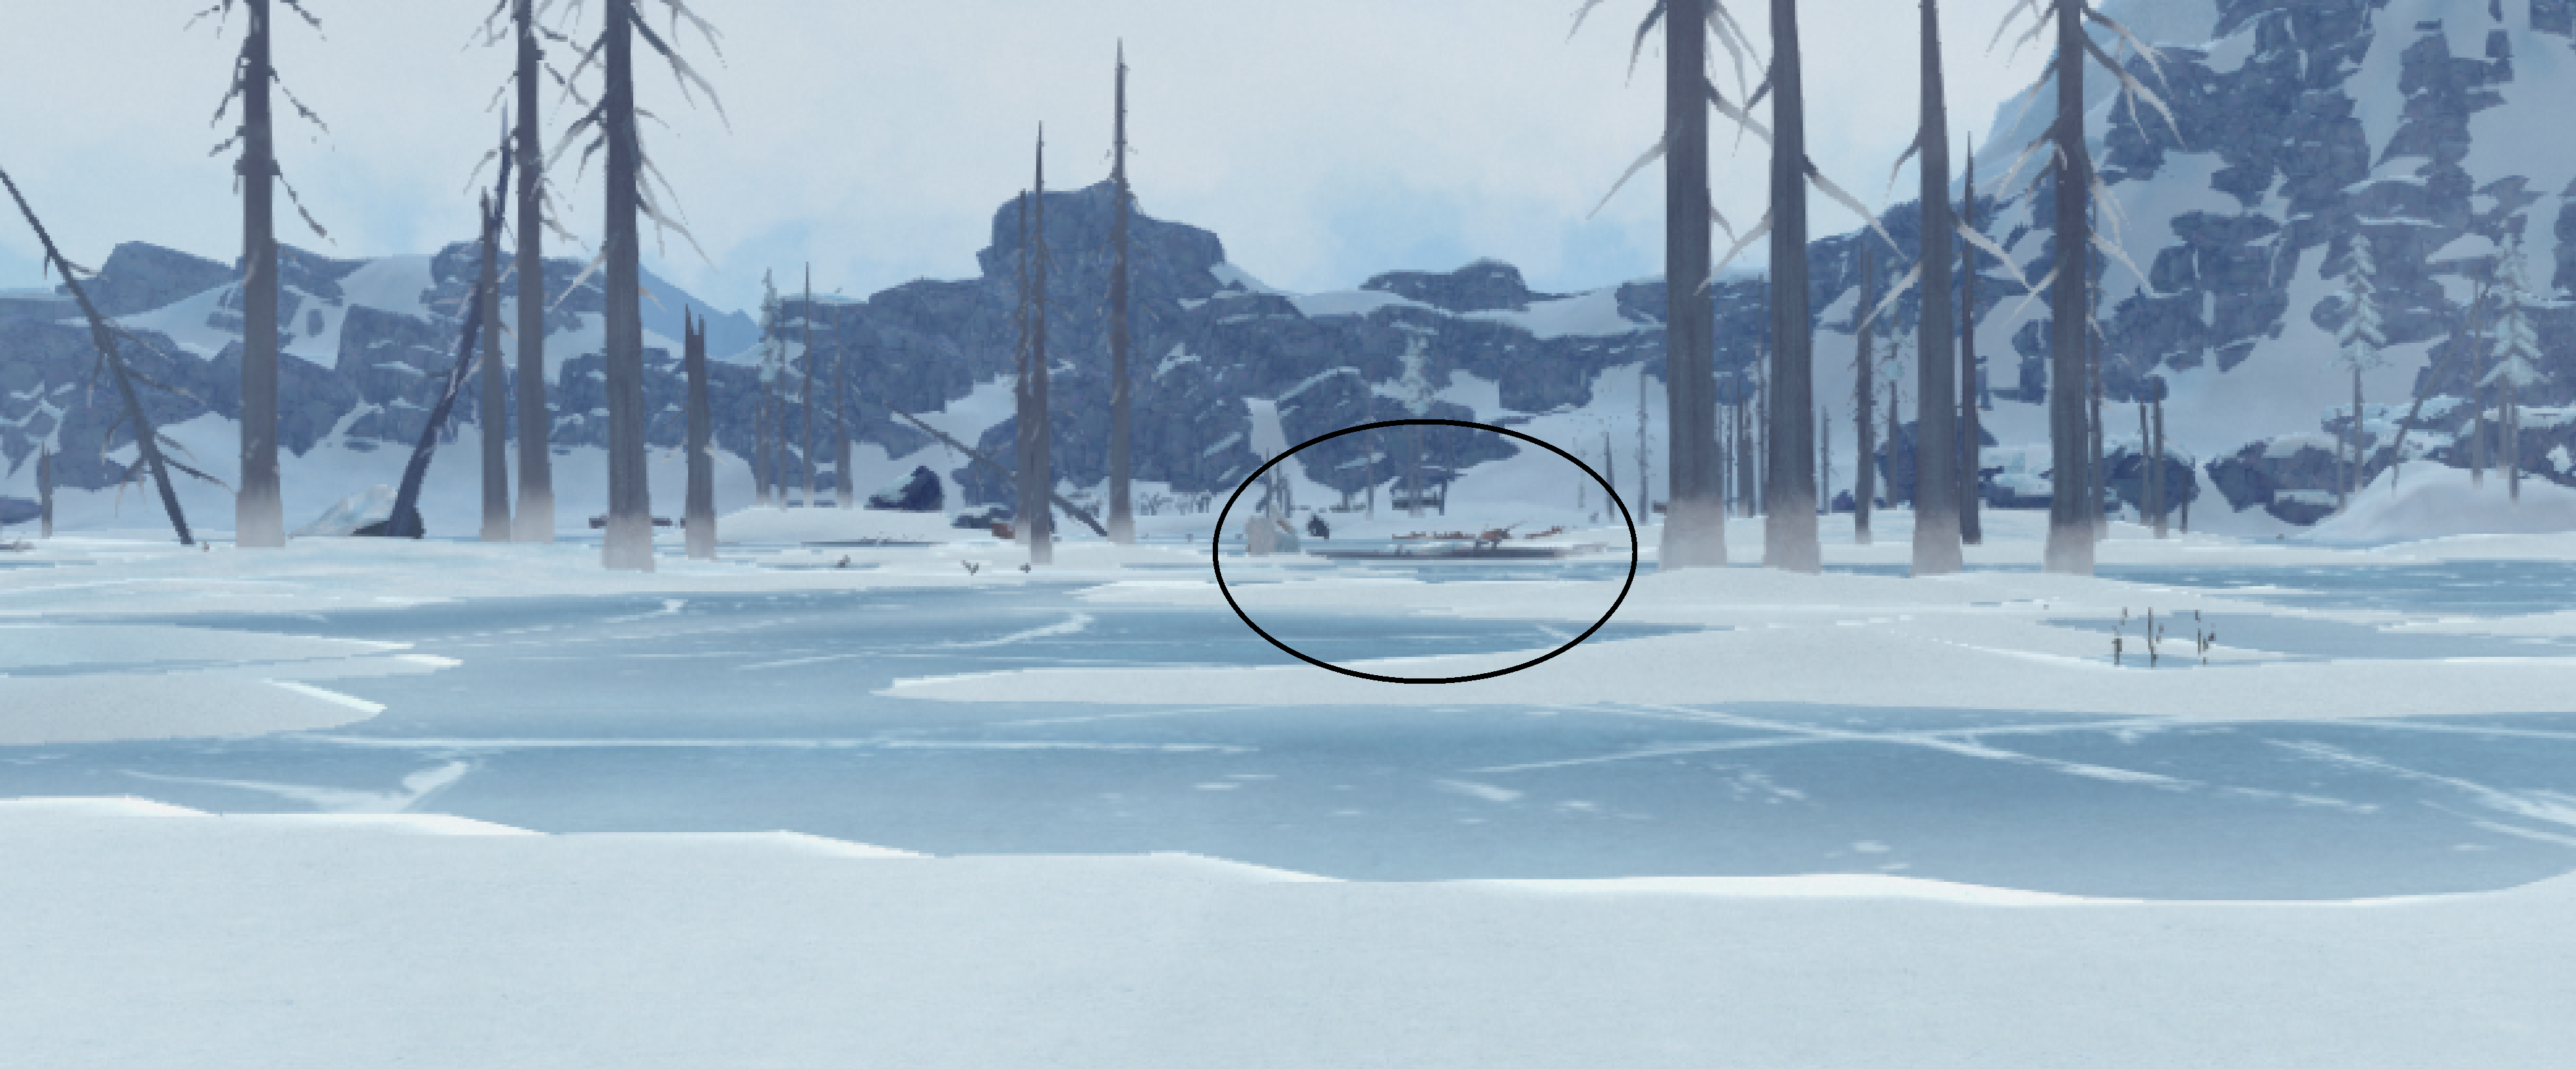
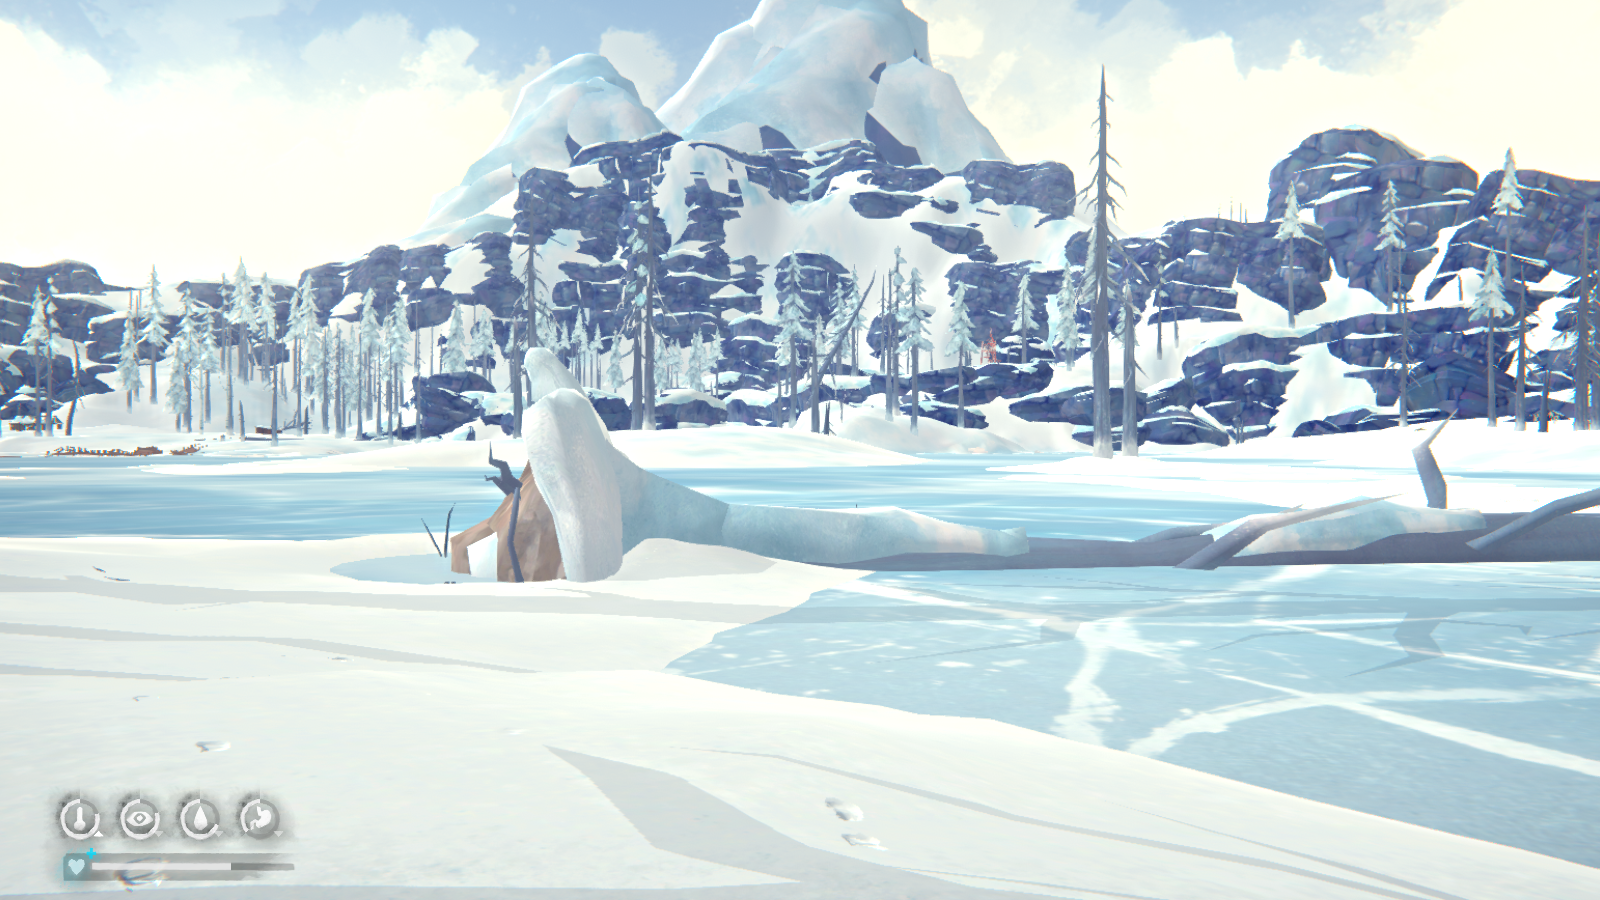
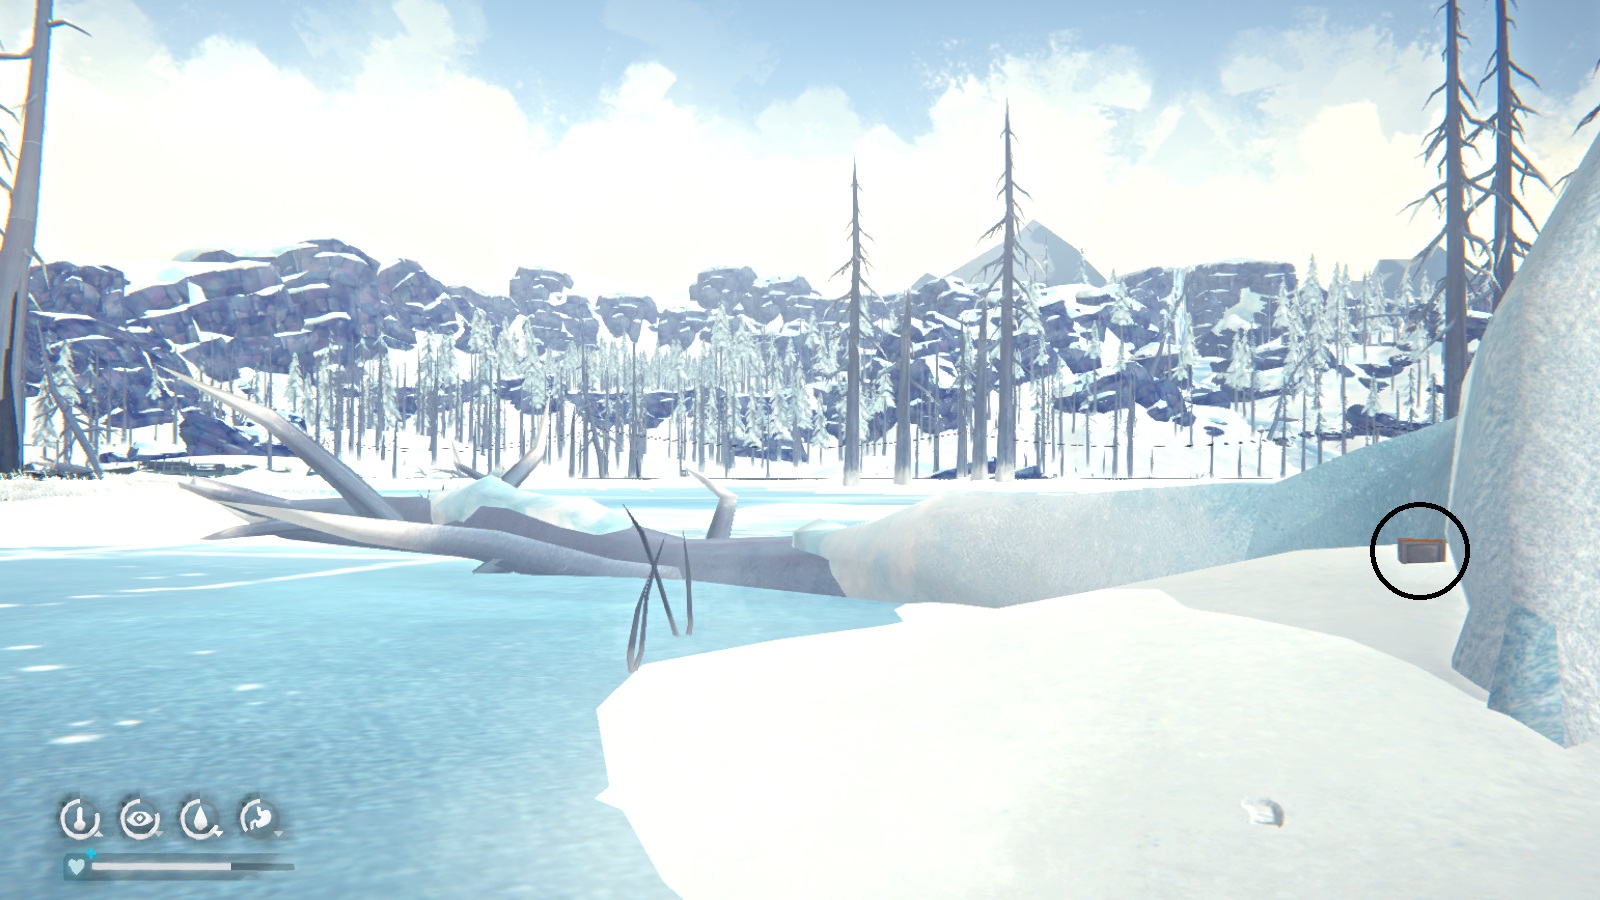
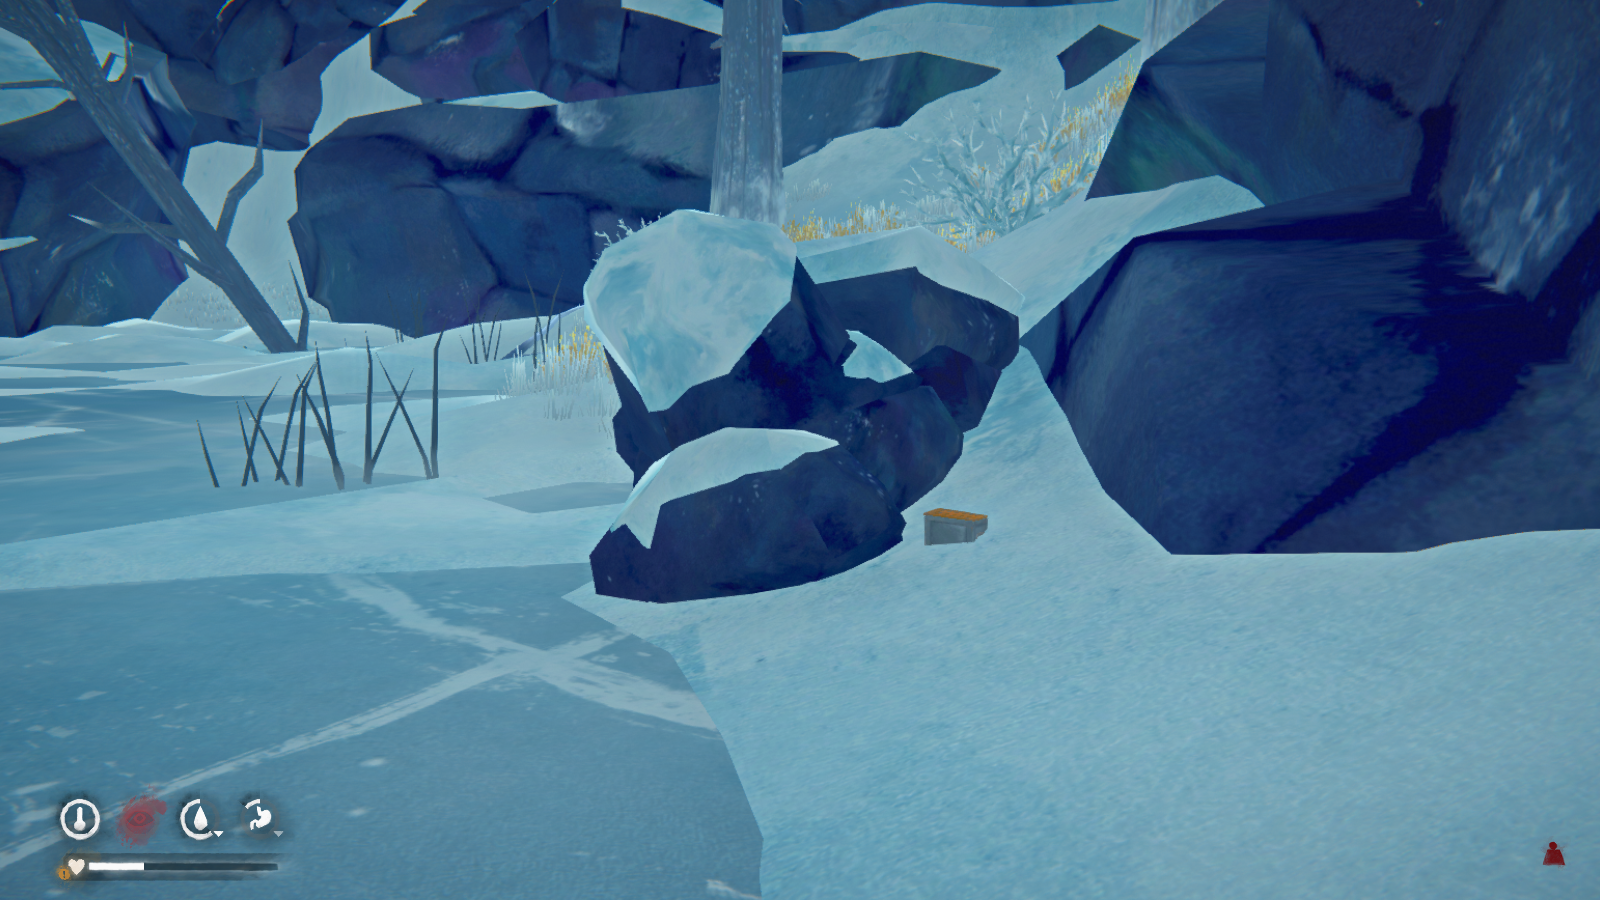
In the Broken Railroad, head to the frozen lake. You want to go under the fallen tree that leads to the Yard. The cache will be buried in a snowbank.
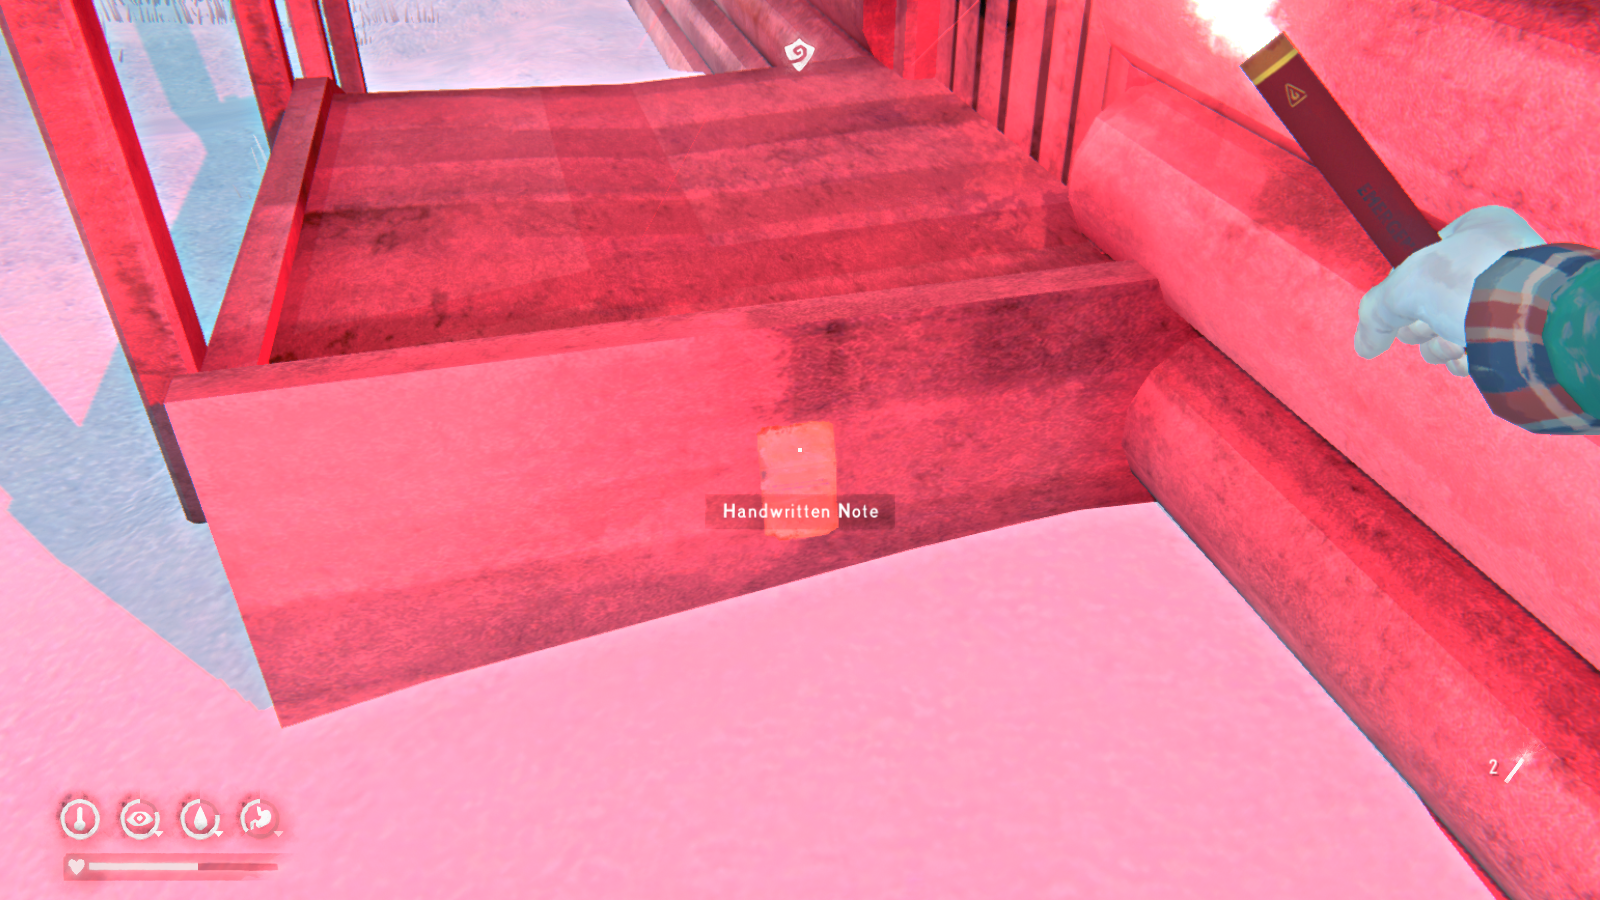
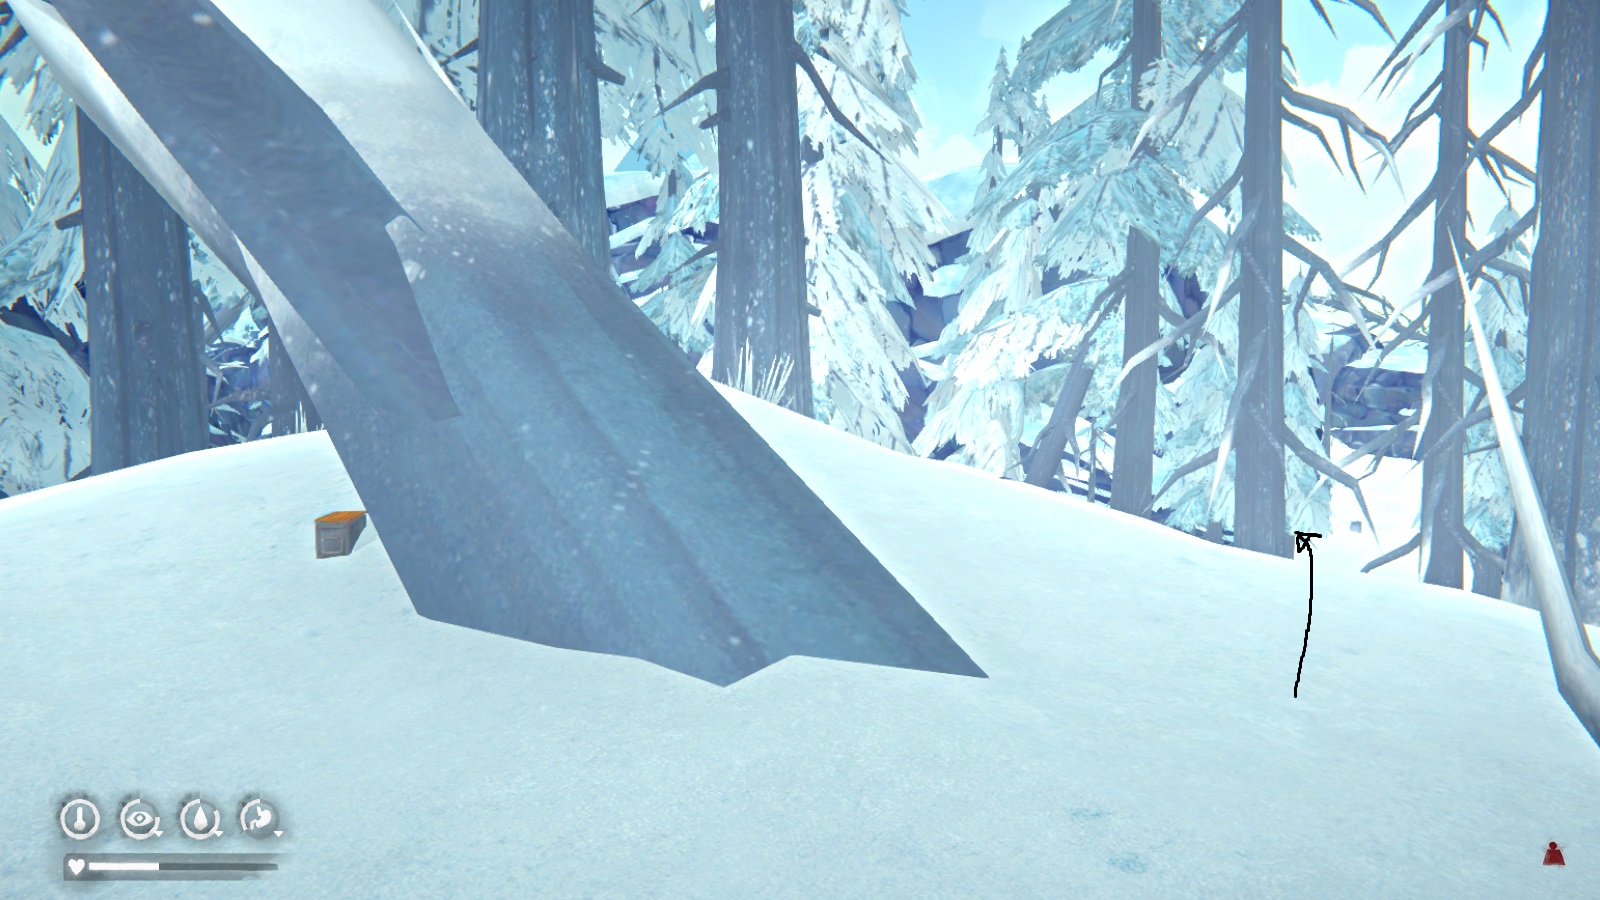
The cache itself is close to the Hunting Lodge (check the map for more details). Leave the Lodge from the front door (where you found the note) and then just go straight over the hill from there. The cache will be under a half-fallen tree (the black arrow points towards the Hunting Lodge).
This cache has some Mukluks, so I would definitely recommend it if you didn't complete the sidequest: One Last Thing in Episode 1. It also has a note that will trigger the "Aurora Hatch" sidequest.
Sidequest: Forest Talker Supply Caches
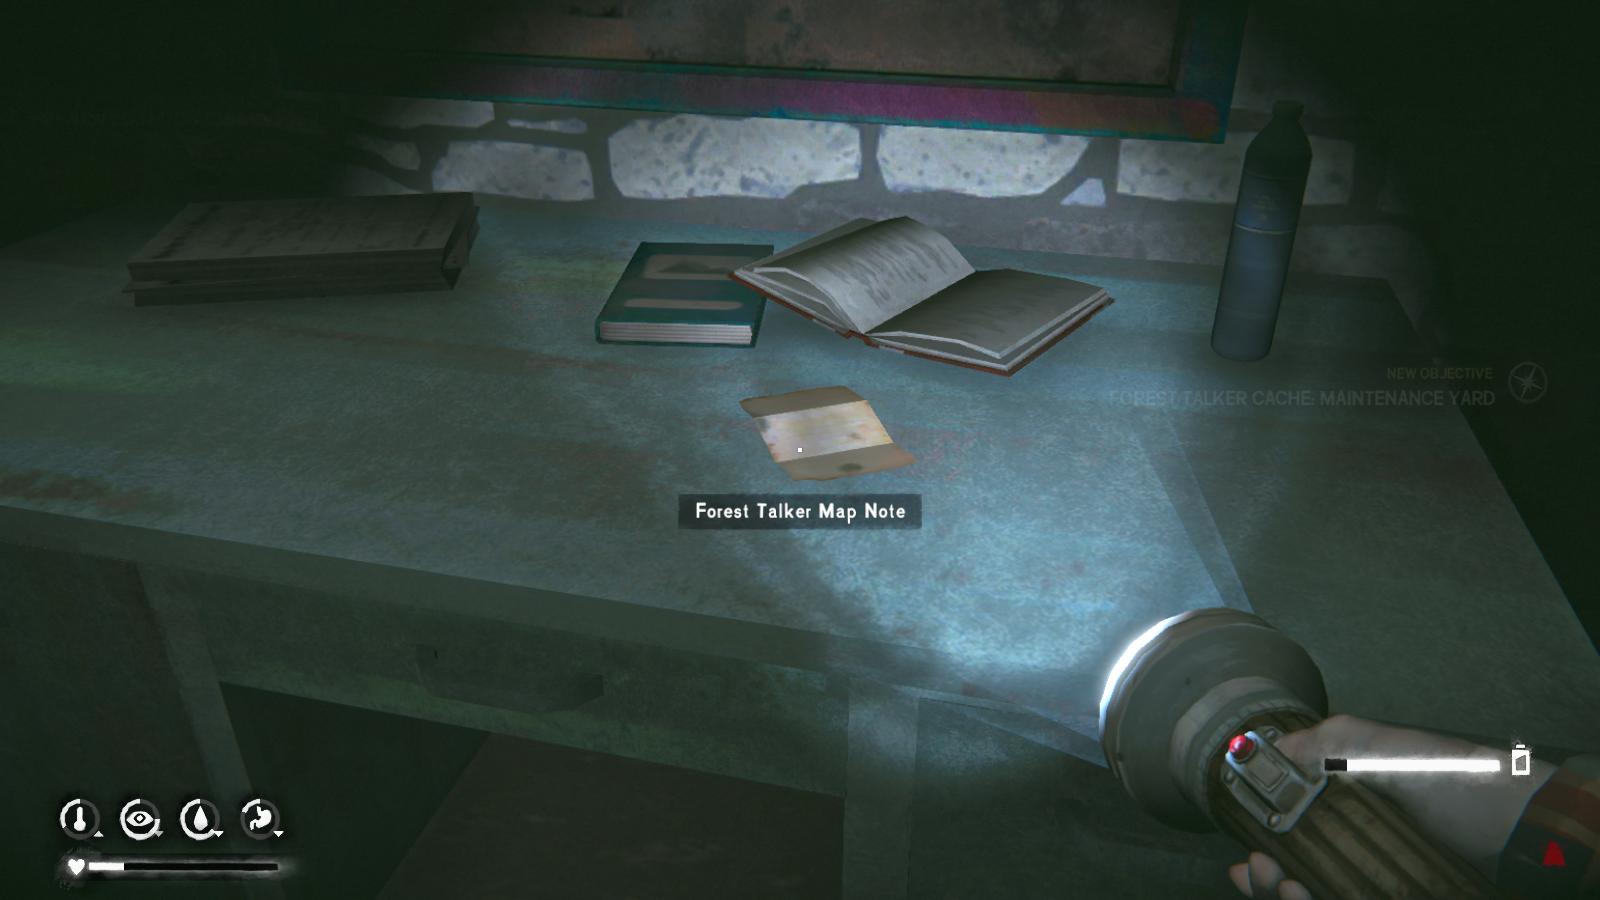 There is one cache in each region, and you get a Steam achievement for your efforts. As usual, check your map for a rough idea of where each cache is located.
Episode 3: Crossroads Elegy
Astrid reaches the barn, but with no sign of Molly. However, she does finds a flyer that directs her to the local town of Thomson's Crossing. At the town's Community Hall, Astrid meets the local priest, Father Thomas, and learns that a large airliner jet also crashed during the First Flare. She offers to check on the surviving passengers and eventually, Astrid agrees to search the wreckage of the plane crash for the one survivor's insulin and for identification of the deceased passengers. While searching the crash site, Astrid discovers that one of the passengers, Gwen, is still alive and brings her back to the Community Hall.
After finding the missing survivors and stocking the Community Hall in preparation for a large blizzard, Astrid learns from Father Thomas that the only way out of the Valley is through an abandoned mine. She also receives a call from Molly, who tells her that the large radio tower on Signal Hill may be powerful enough to contact Perseverance Mills. While the radio initially fails, an Aurora that night brings it to life, and Astrid overhears the conversation Will had with Perseverance Mills in Episode 2. Molly also calls one last time, explaining how she left her husband to die to wolves.
Finally reaching the abandoned mine, Astrid is initially knocked out when one of the earthquakes on the island causes the mine to collapse. When she wakes, there is an Aurora that powers the mine elevator. After replacing the blown-out fuses surrounding it, Astrid takes the elevator down and exits the mine into Coastal Highway. However the sight that greets her is nature out-of-control.
- Astrid is saved by a strange woman named Molly who lives at the Pleasant Valley Farmhouse
- Astrid reaches the Thomson's Crossing Community Hall and meets Father Thomas
- Astrid helps the survivors of another plane crash and prepares the Thomson's Crossing for the upcoming blizzards
- Astrid intercepts the radio transmission between Will Mackenzie and Perseverance Mills
- Astrid fixes the elevator of the abandoned mine and reaches Coastal Highway
- Revolver: Acquired during Chapter 1: Trauma
- Moose-hide Satchel: Acquired from finishing the Misty Cave portion of the Local Legends sidequest
- Rabbit-skin Hat: Reward for completing the Church Artifact sidequest
- Deer-skin Boots and Pants Blueprint: Complete the Ghost Stag part of the Local Legends sidequest
- Rabbit-skin Mittens: Found in the backpack next to the snow shelter at the Three Strikes Farmstead. See the Ghost Stag portion of Sidequest: Local Legends for more details
- Wolf-skin Coat: Find the Sasquatch mentioned in the Local Legends sidequest
Chapter 1: Trauma
Okay then, that was long scripted sequence. Now that we have control of Astrid, it's time to do some digging. As the journal prompt says, we want to look around for clues about Molly. And as the cutscene outright stated, we're stuck inside anyways until we find a key.
Now for longtime players of the The Long Dark, you might recognize this place as the Pleasant Valley Farmhouse. Unfortunately, we cannot take things as freely as we do in Survival Mode. Also, Molly might have had a point about Astrid needing more time to recover; you'll start the session with a sprained ankle, which means camera lurching and a slightly blurred screen.
Anyways, on to story progression! You need to find three clues in the house. I'm presenting them in the order that I find them.- On the desk in the office of the farmhouse (1st floor), you'll find a picture of Molly and man. It may be my screen resolution, but neither of them look very happy in my opinion.
- In the sitting room across the hall from the office, you'll find a broken rifle which Astrid says looks to have exploded at the barrel.
- Upstairs in the bathroom, you'll find a torn piece of orange fabric (which I admittedly mistook for a blood stain at first sight)
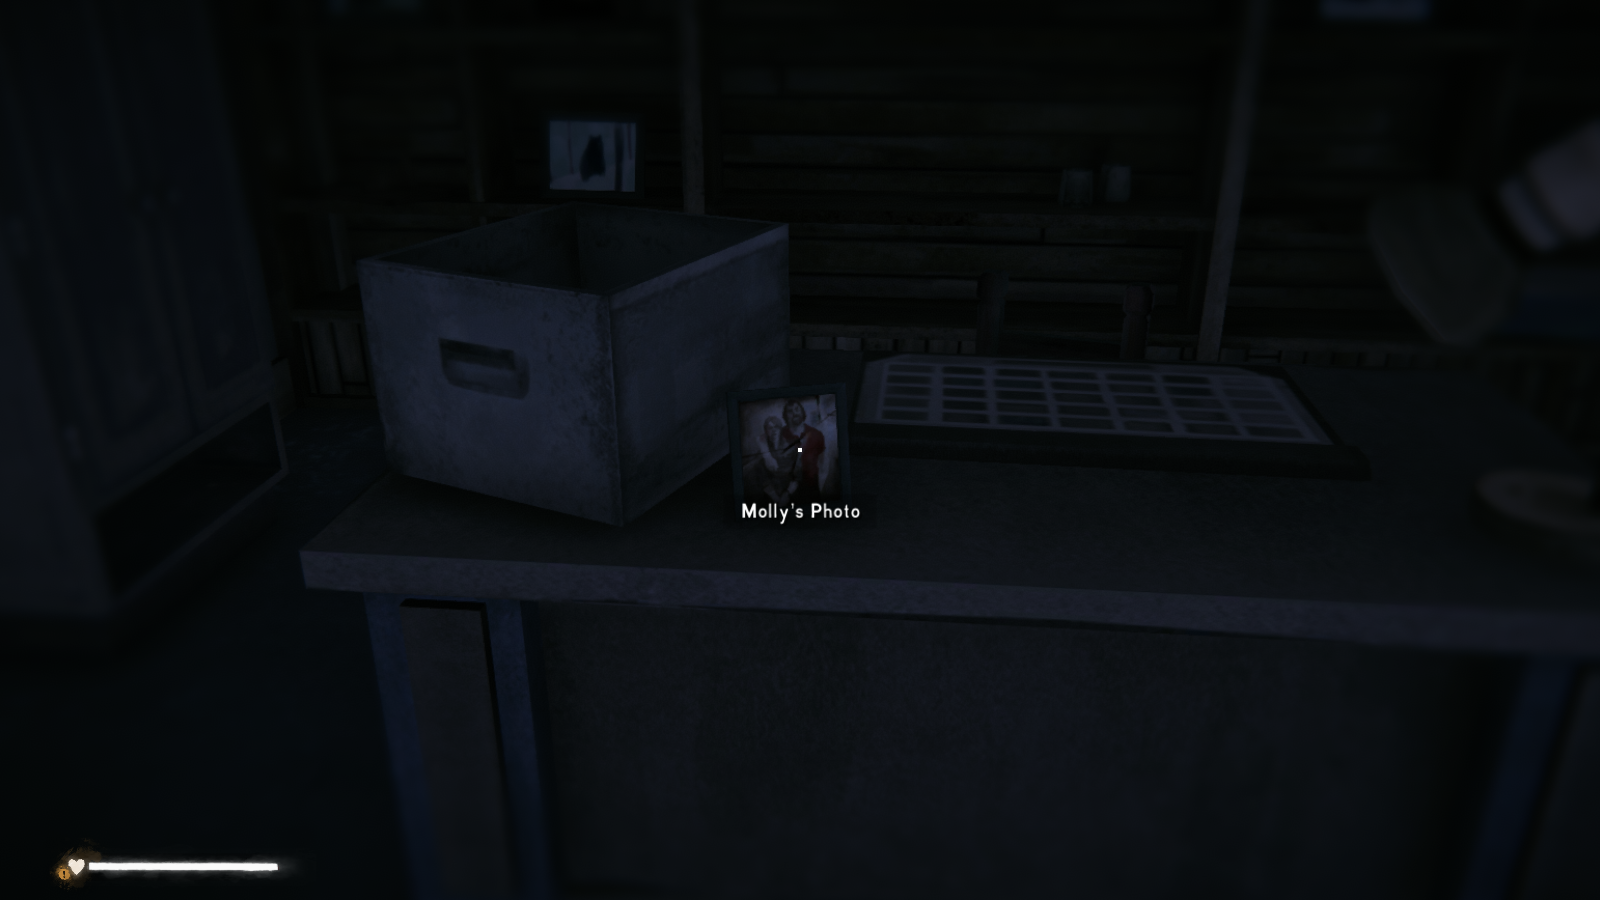
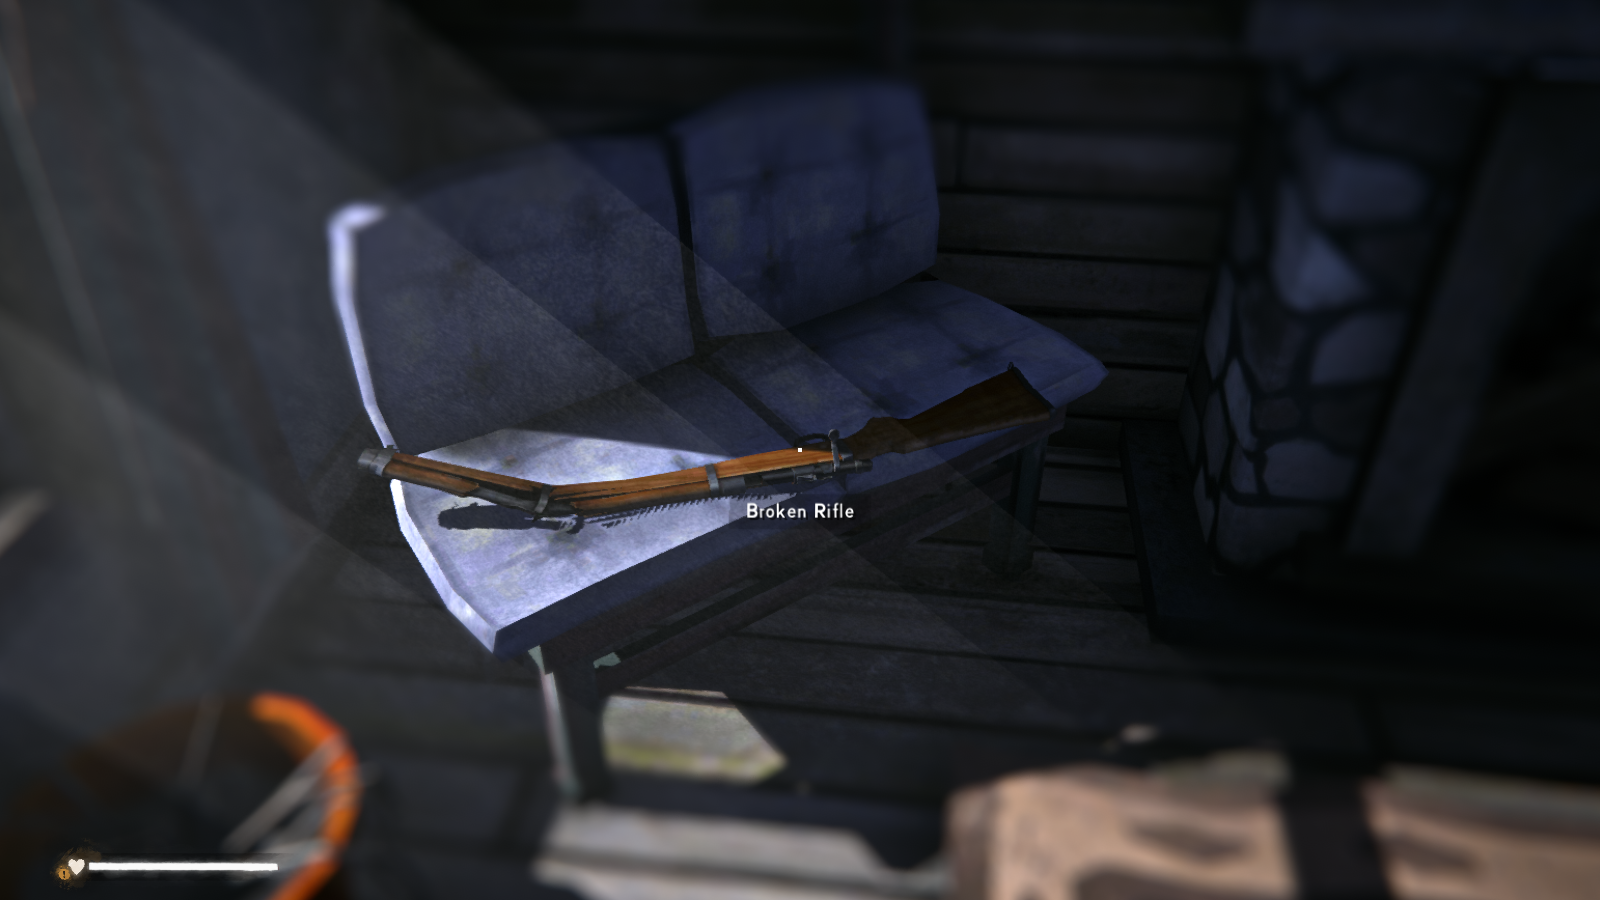
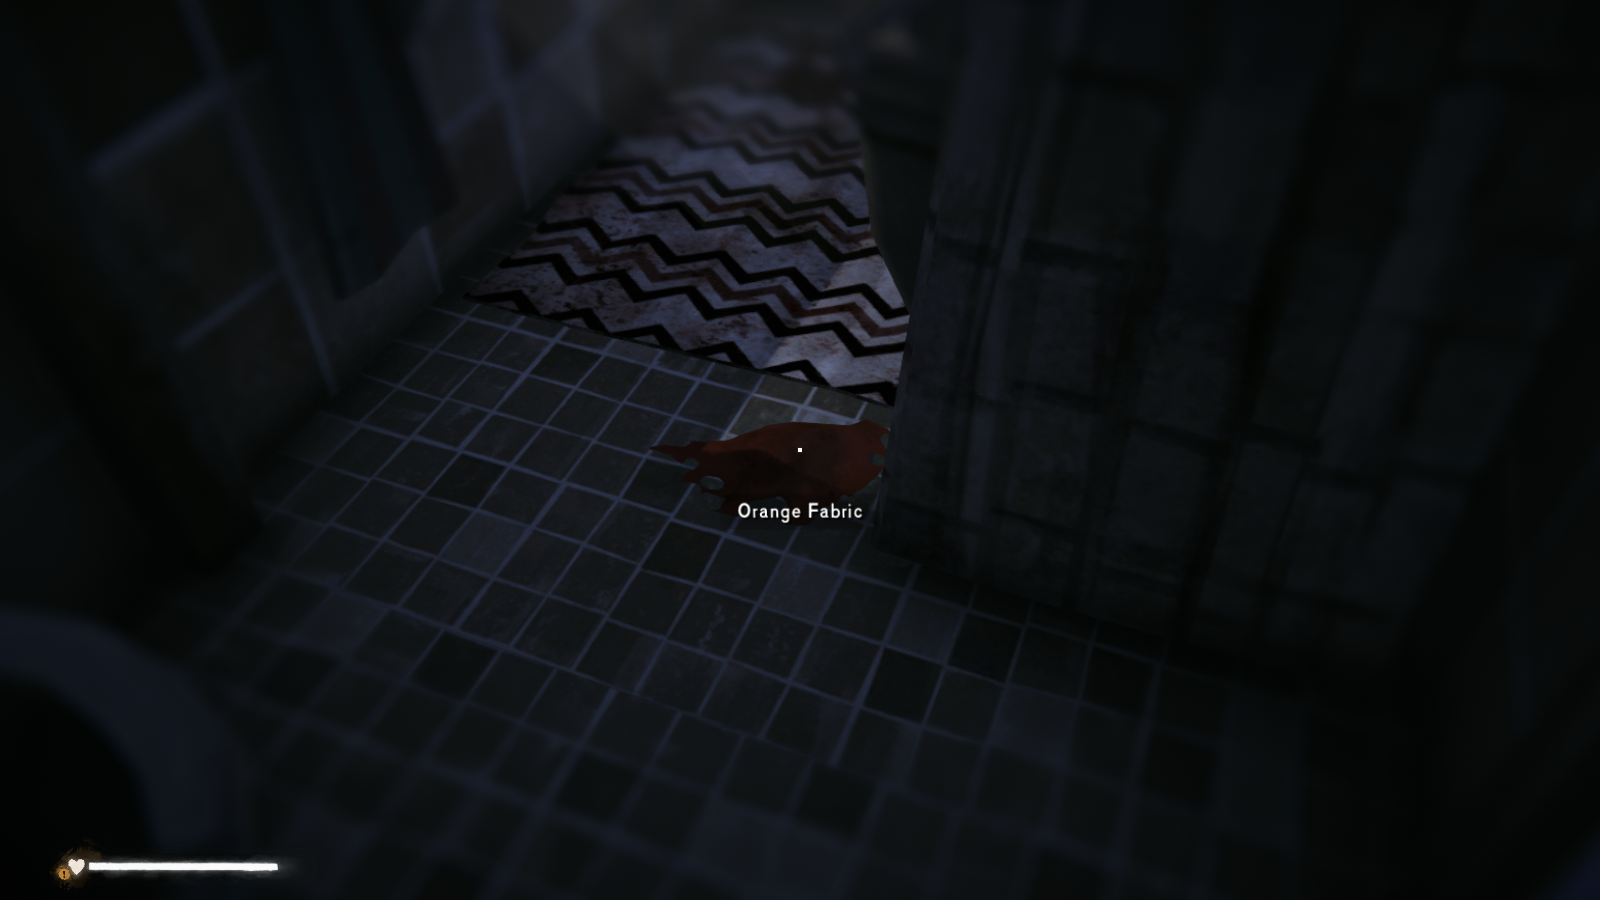
Once you find all the clues, a phone will start ringing. Thankfully, it doesn't appear to be timed and you can spend as long as you like getting to it. The phone is in the kitchen, on the wall across from the fridge. I'm assuming Hinterland will patch this later, but you can only pick up the phone when it's ringing.
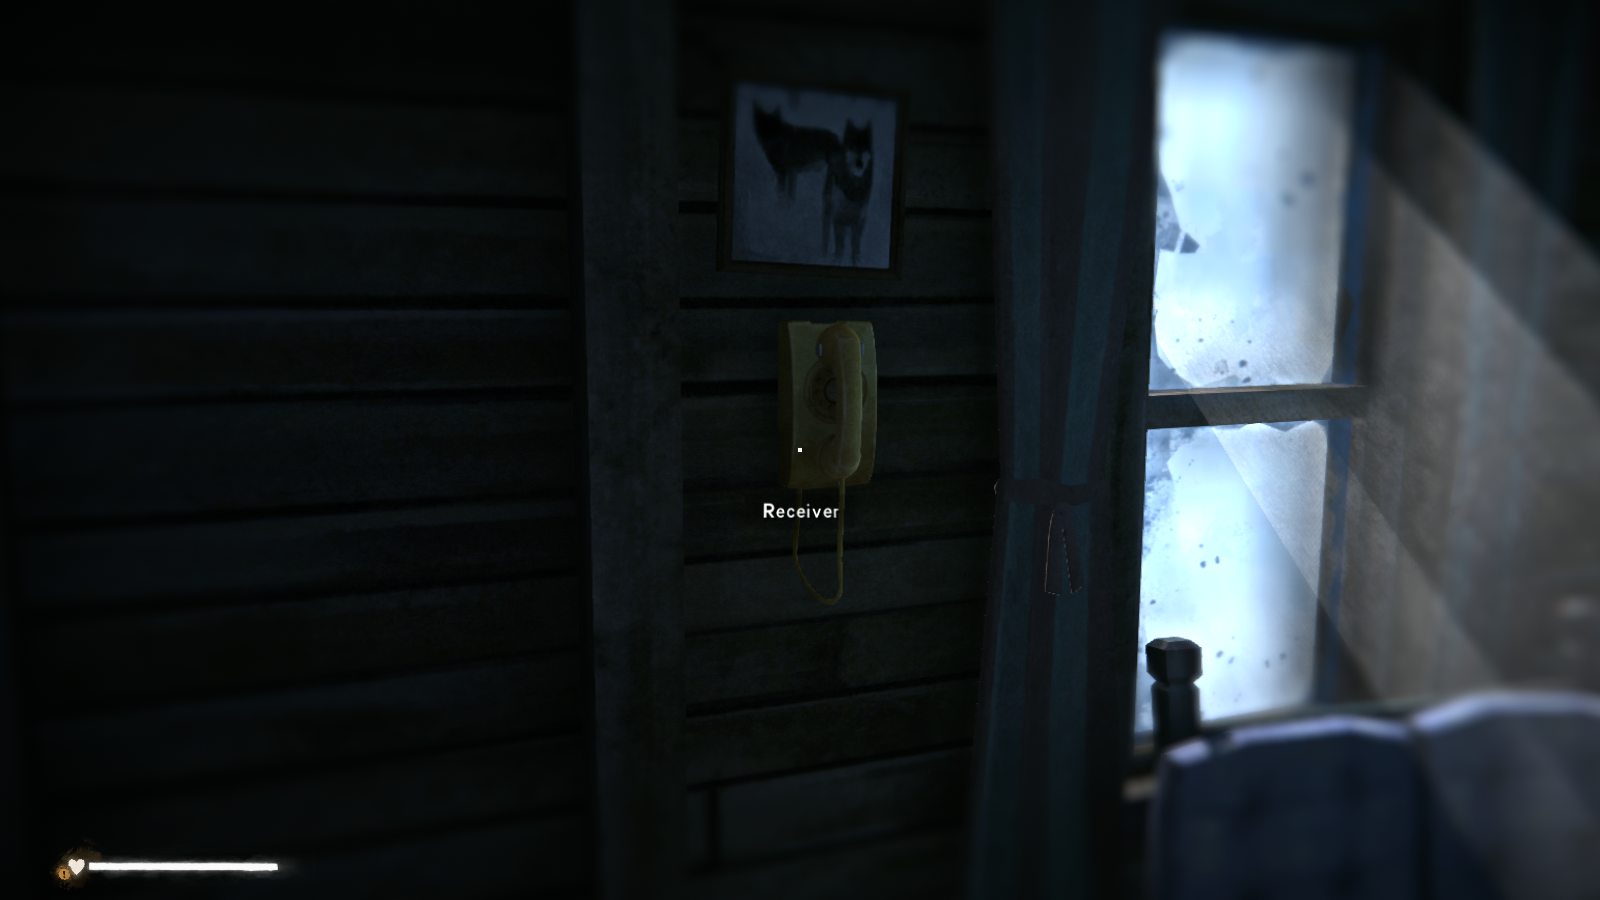 Anyways, it turns out Molly is in trouble and needs Astrid to bring her some extra rifle ammunition. As she said, the key to the basement is under a vase. For reference, it's the vase that's in the same room as the broken rifle. The basement door is in the hallway right outside that room.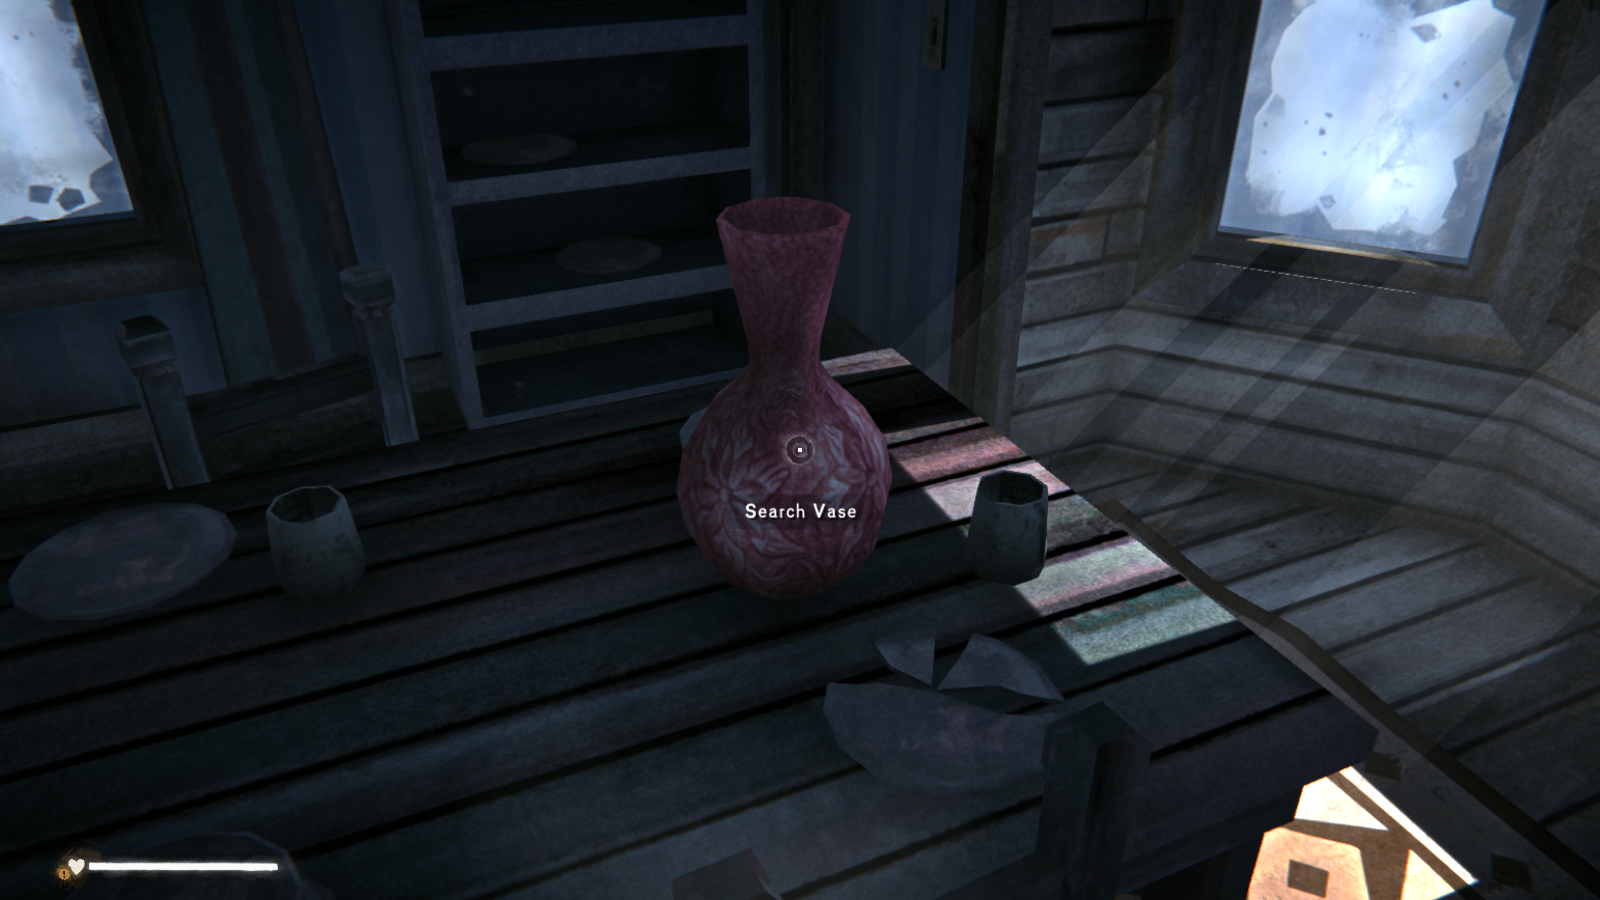
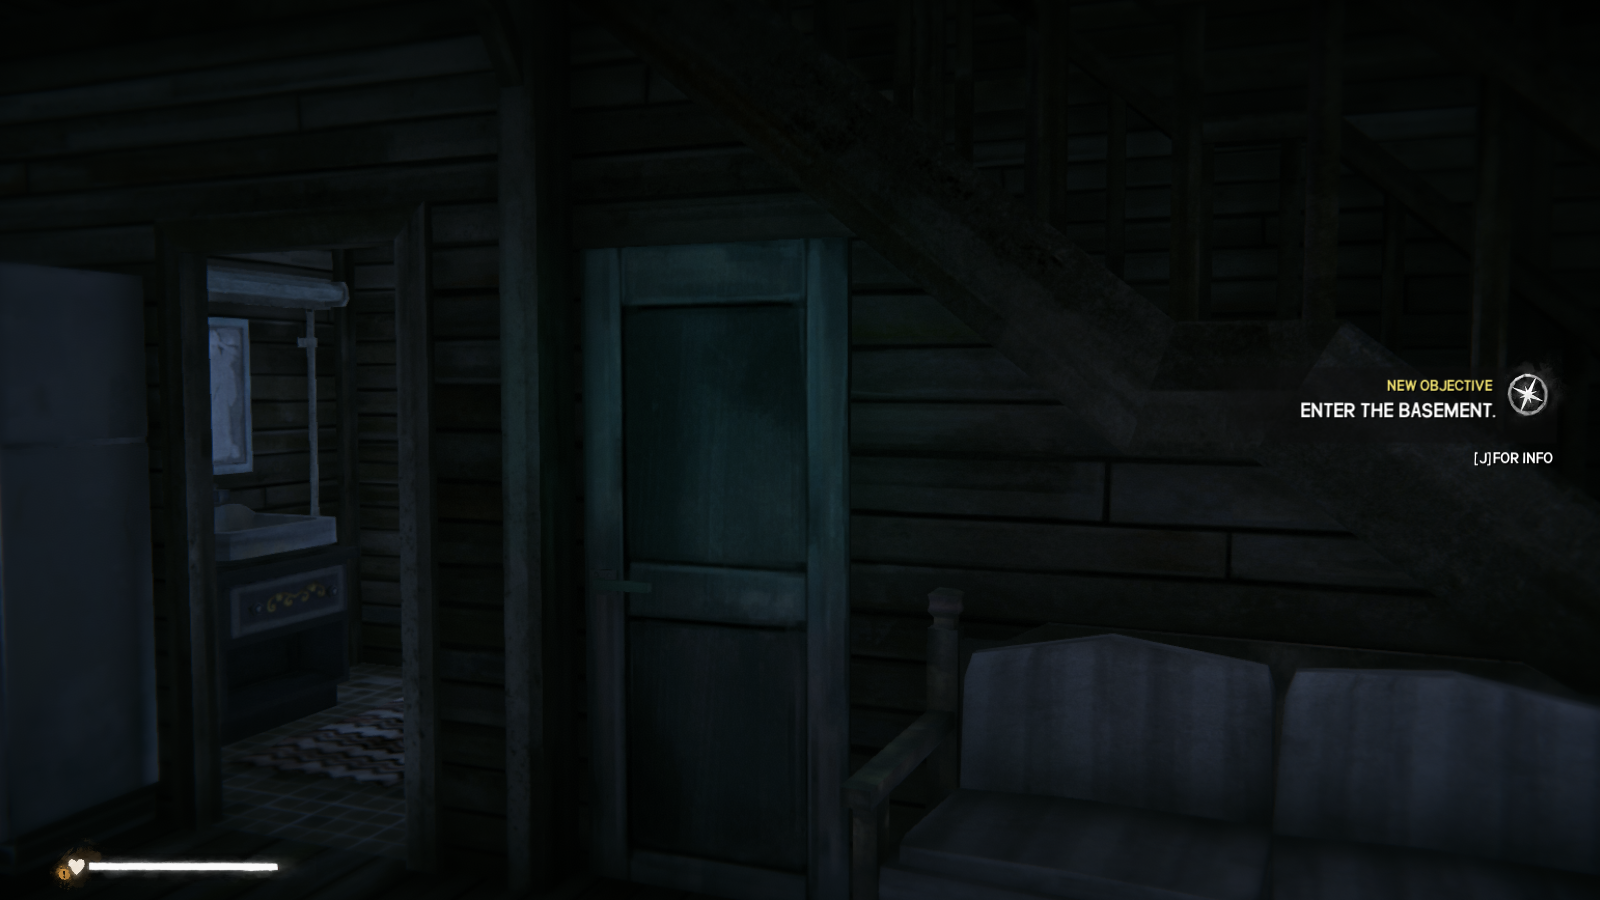
So into the basement, and things immediately start looking up. First, it seems Astrid has her own special clothing items, just like Will (okay, so maybe only I thought that was cool). More importantly, we can finally start looting things! At this point, all of your Long Dark conditioning should kick in and compel you to search all the containers you find. But once you get near the stairs of the basement, a short cutscene will play.
...uh, okay. So I was not expecting Molly to have a body in her basement. At least not in Wintermute; that sort of thing is usually only in Survival mode. Anyways, you can't do anything except be slightly creeped out, so let's just continue looking for rifle rounds. You'll find all the items you need in the metal cabinet, with the rifle and revolver rounds at the bottom.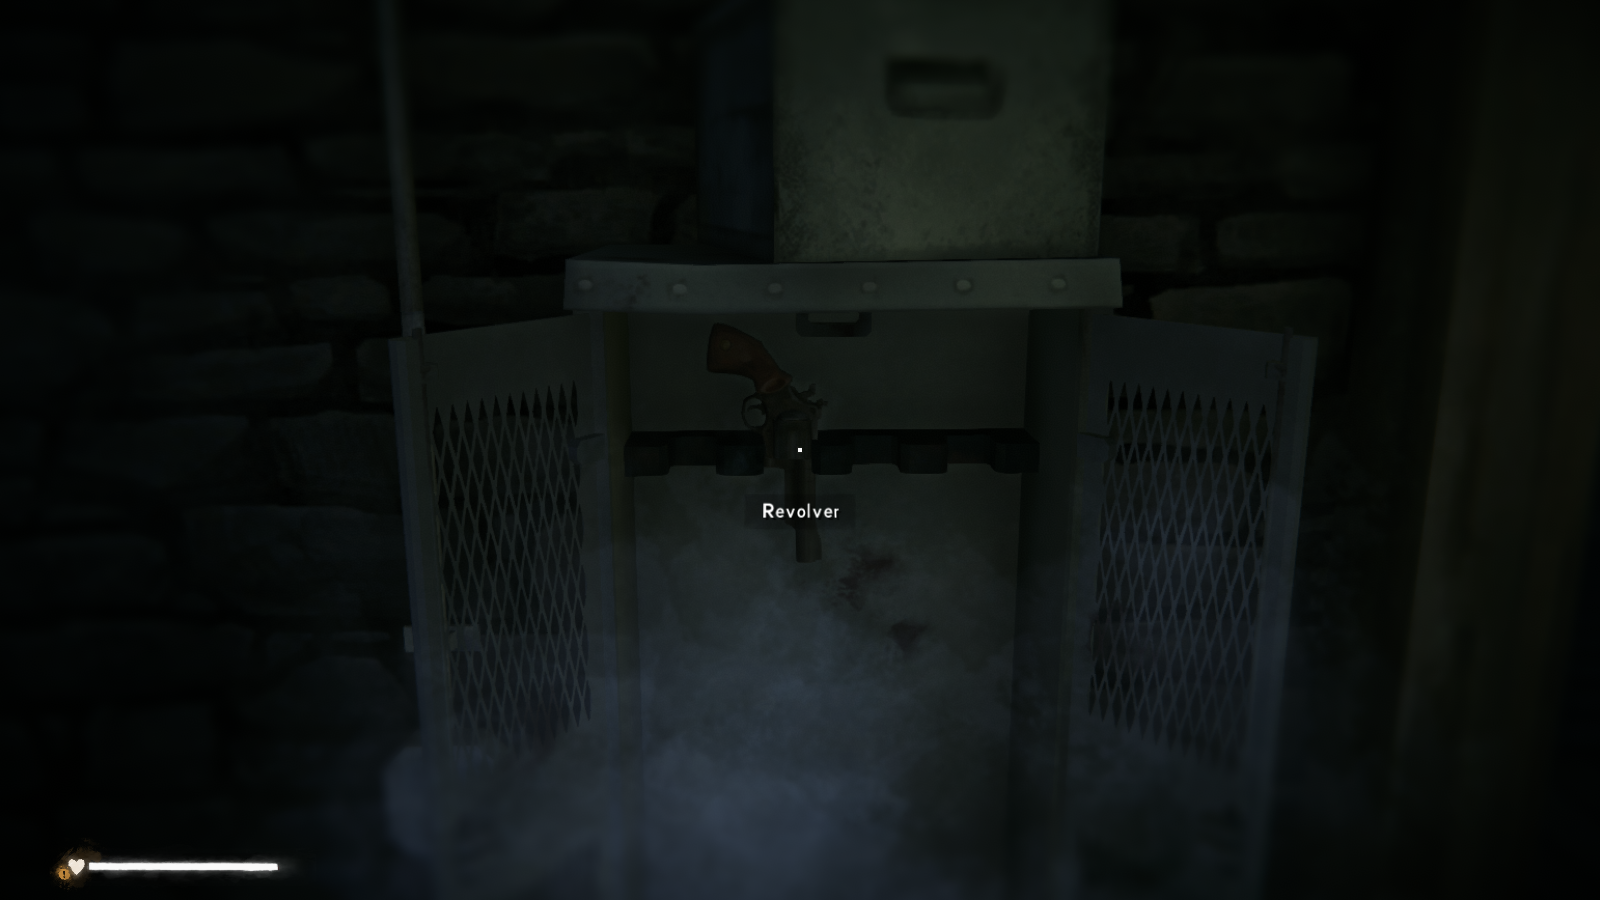 Still, be sure to explore the whole basement. You'll find some items necessary for starting fires, and some extra clothing. Once you're prepared, head outside.
Now I admit that I had no idea what Astrid or Molly meant by blizzard lines (I live in the southern US; what can I say?), but these are the things you're supposed to follow to the barn.
Still, be sure to explore the whole basement. You'll find some items necessary for starting fires, and some extra clothing. Once you're prepared, head outside.
Now I admit that I had no idea what Astrid or Molly meant by blizzard lines (I live in the southern US; what can I say?), but these are the things you're supposed to follow to the barn.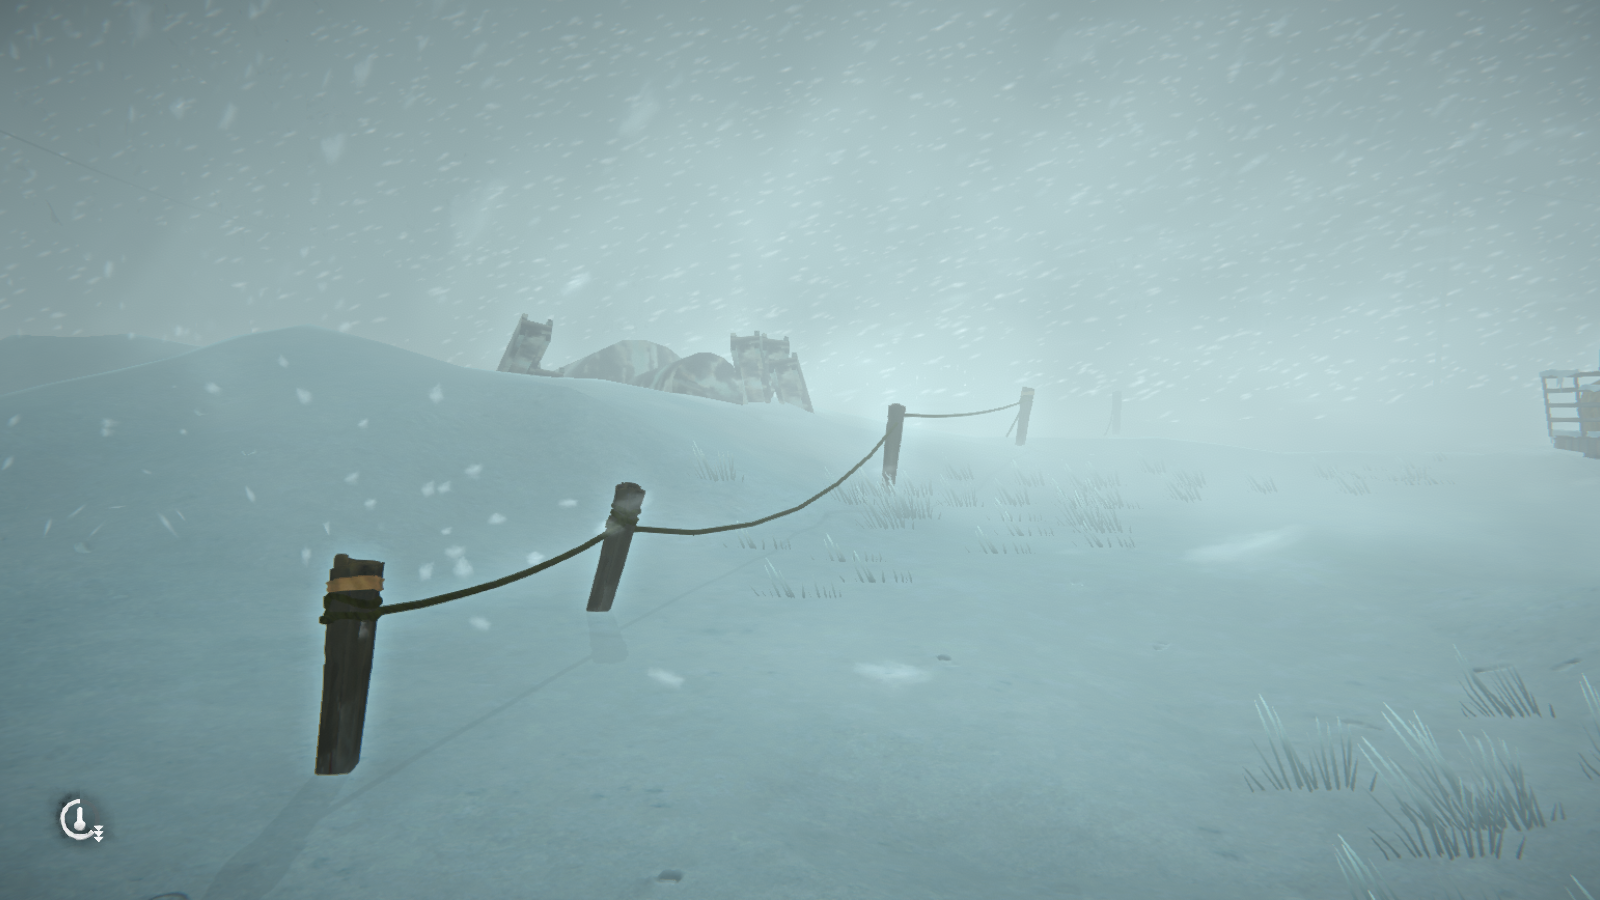 Just keep following them and move fast because the blizzard will sap your temperature fast. And have the revolver out because you will run into a couple of wolves. Thankfully you just have to fire (no aiming needed) the gun to scare them away (Note: I've seen reports that the wolves are a bit more aggressive when playing the "hardened survivor" difficulty. It sounds like they start stalking you sooner than in the other difficulties. Just keep the revolver handy and sprint for the barn door after firing it. Once you see the small building, head inside.
No Molly, just a big wolf (hello Timberwolf!) with a couple of arrows in it. Take a few steps in, and another phone will start ringing. It's by the door you came in though, and Astrid will automatically answer it once you get close. Turns out Molly can shoot a bow and managed to escape the barn without Astrid's help. But she's not too pleased that Astrid found a dead body in her basement. Still, Astrid will notice a flyer that shows the location of a nearby town. Although I think the term "town" is relative. Still, it's somewhere to start searching for Will.
----------------------------------------------
All of this will give you access to the map (finally!) so check it out for a better idea of Pleasant Valley and the surrounding area. Once you're ready, leave the barn and follow the road nearby to Thomson's Crossing (For Survival Mode veterans, it's the old Rural Crossroads).
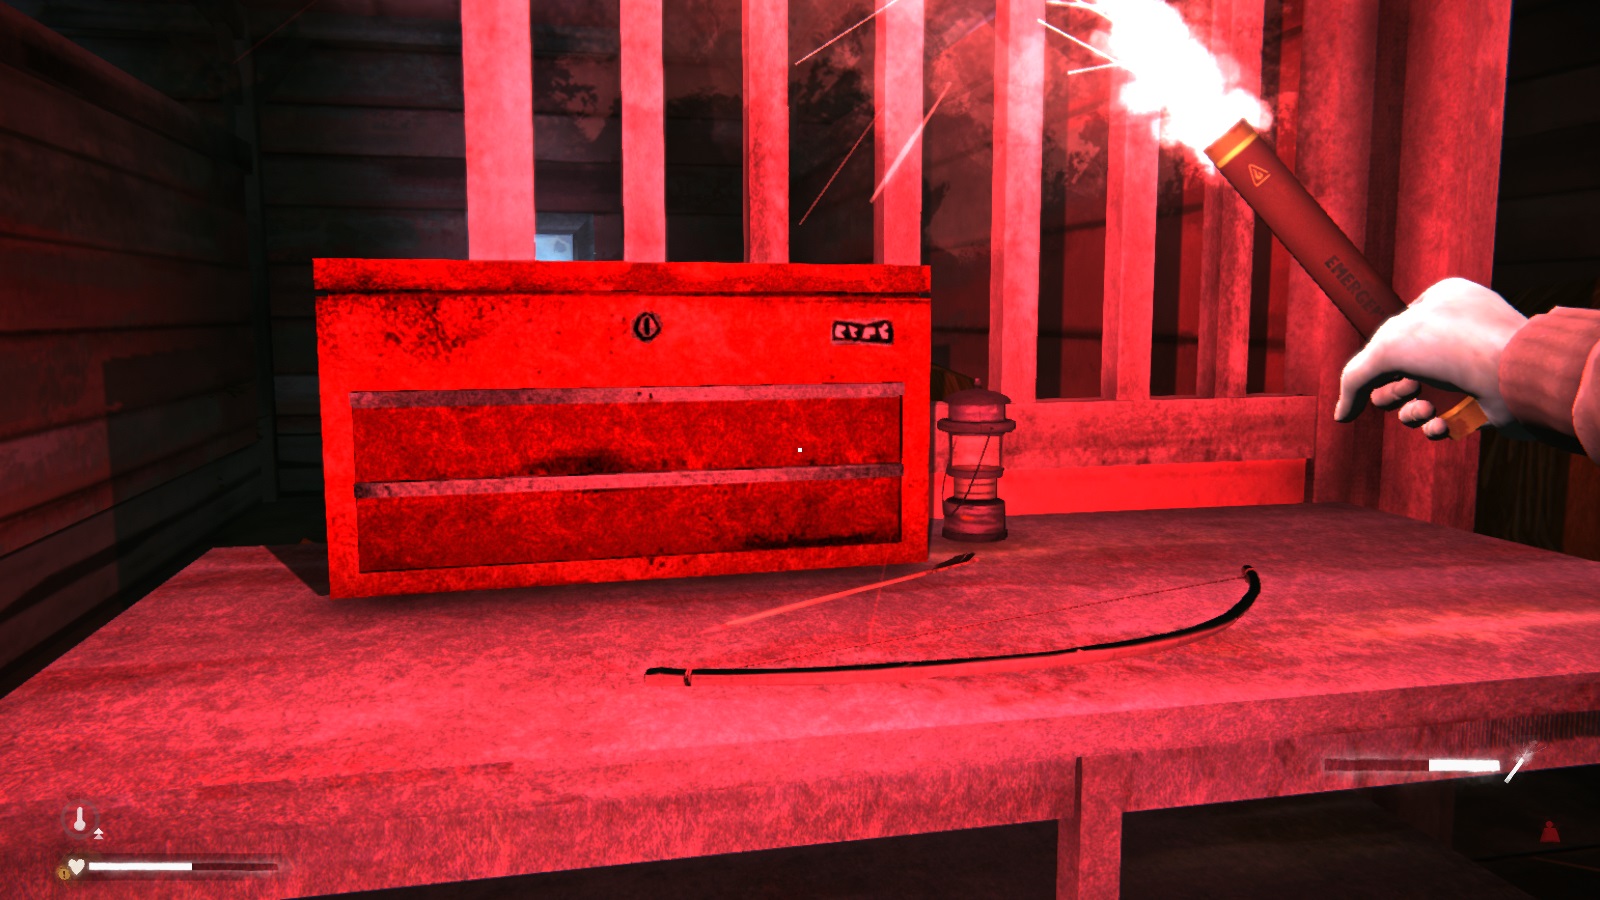
Frankly, it's pretty easy to find the Thomson's Crossing. Just follow the road and eventually Astrid will comment on the large plume of smoke rising in the distance. The only thing I'd recommend is making a detour to the Pleasant Valley Outhouse Buildings. It's the large, red barn and you want to visit because you can find some very nice stuff, including a survival bow. There is also a Forest Talker note here that will trigger the sidequest by the same name.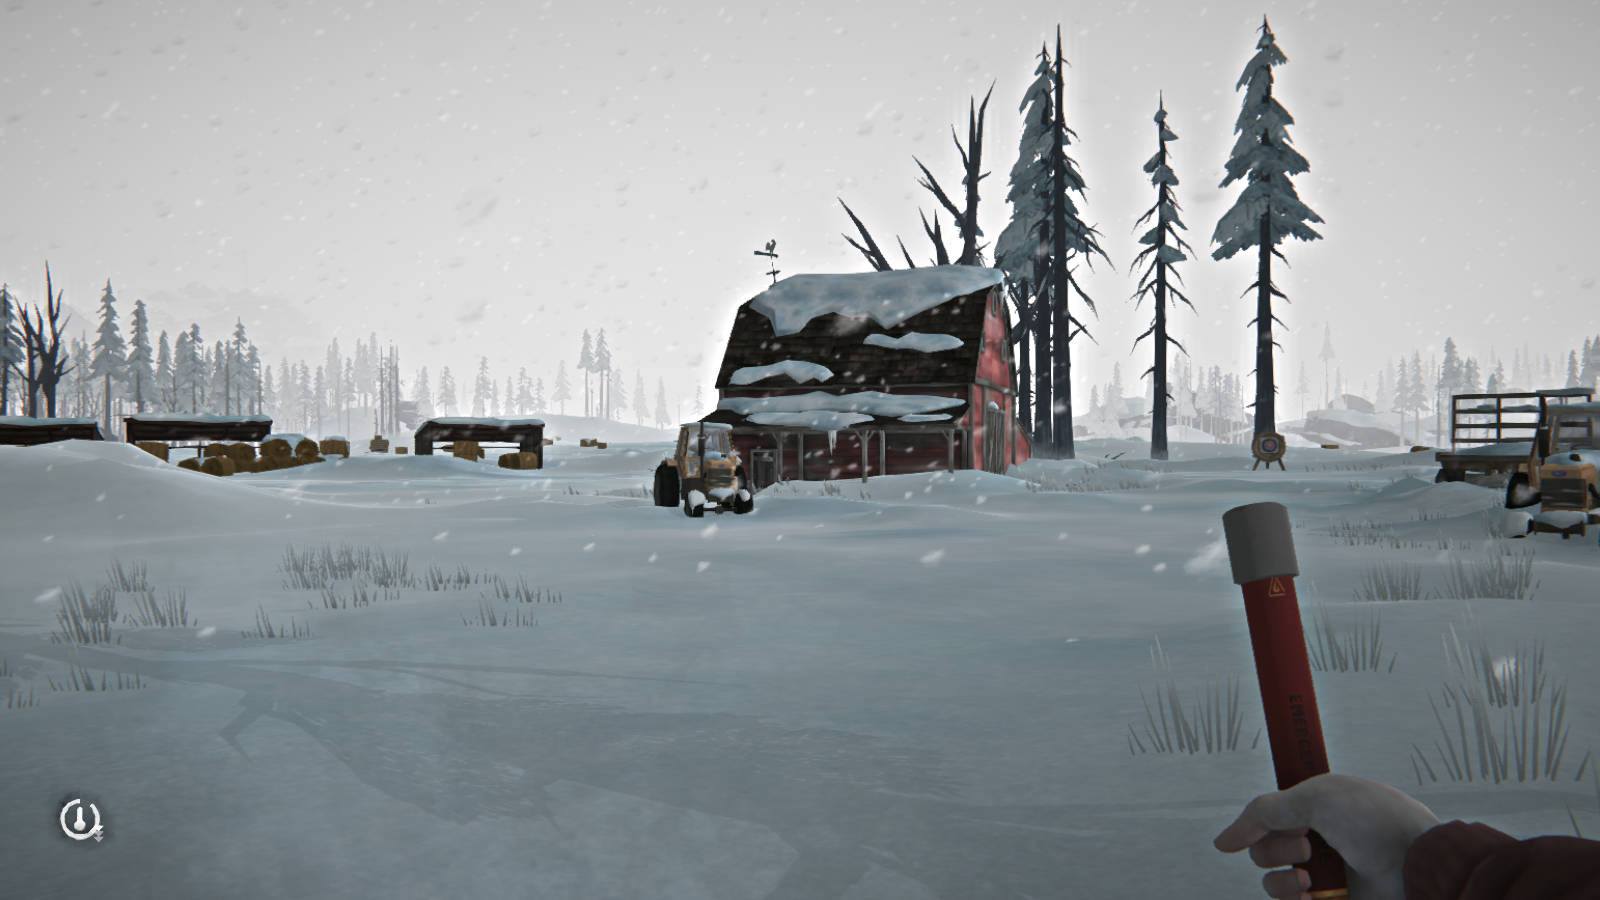
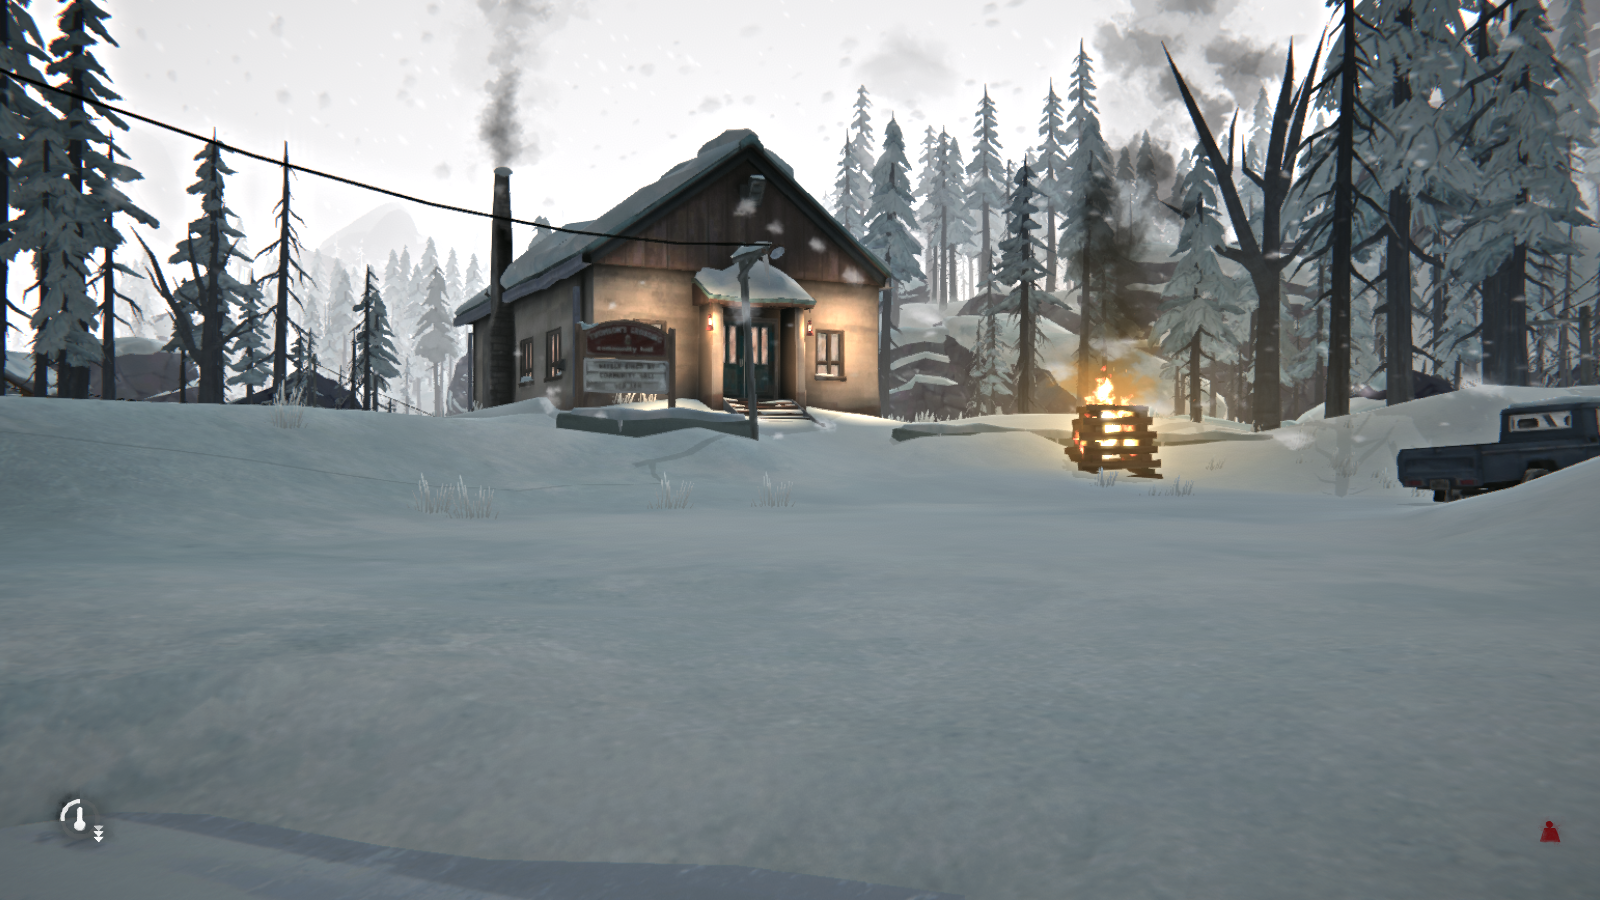
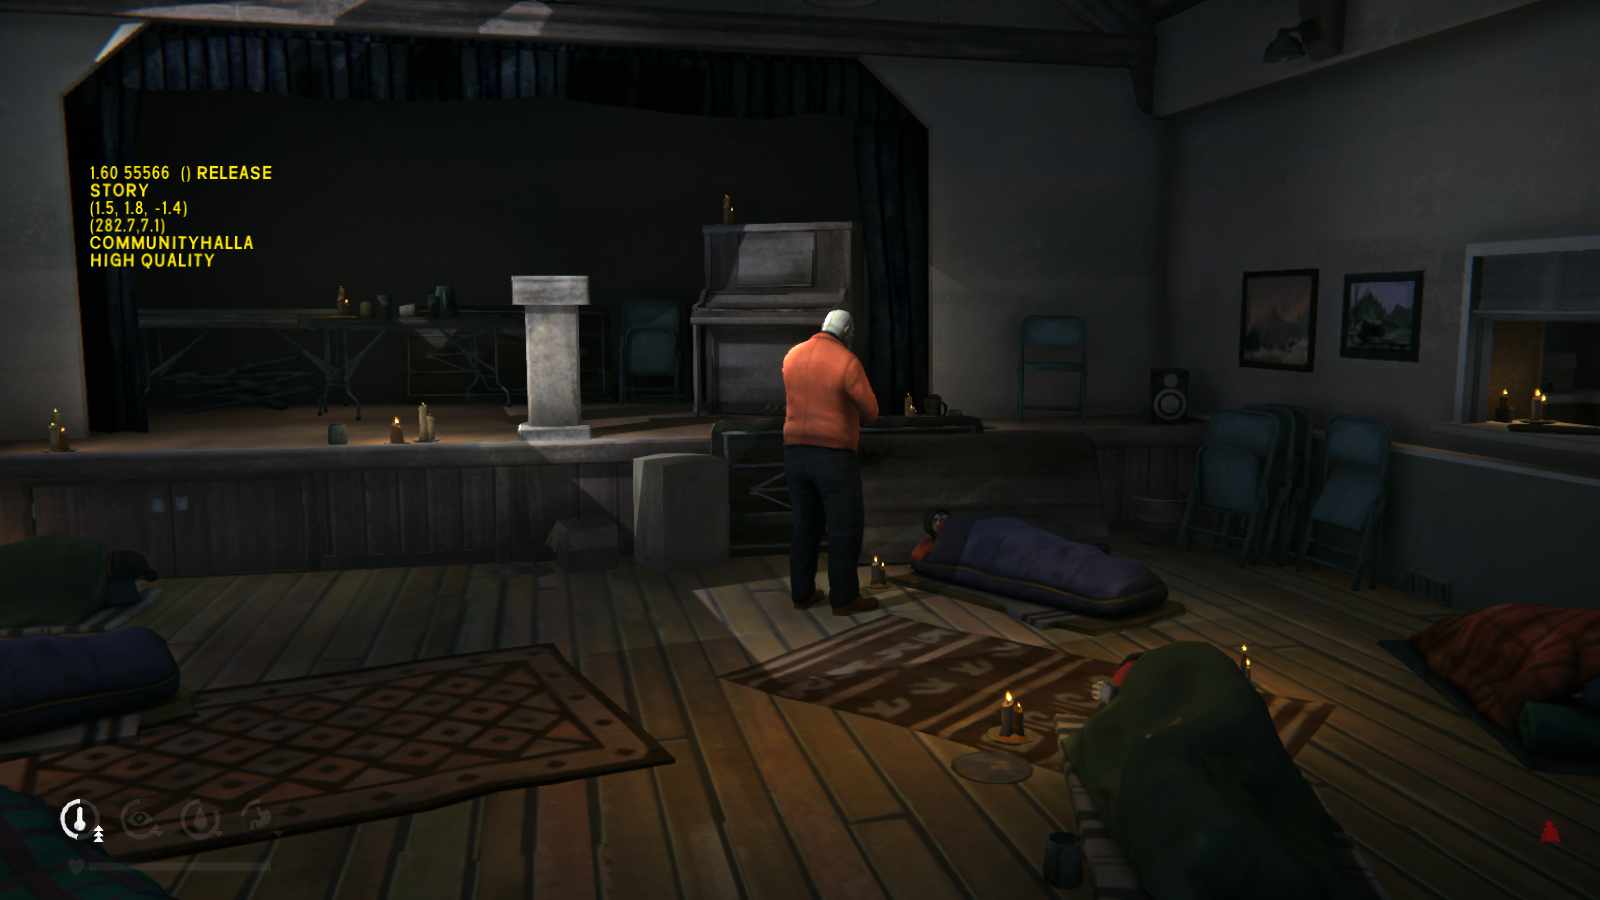
Anyways, once you get to Thomson's Crossing, just head inside the Community Hall. Once inside, you'll want to talk to the man in the red sweater to end the chapter.
Chapter 2: Fallen Star (Part 1)
So it looks like Will's plane wasn't the only one knocked from the sky during the Aurora. Even though Astrid isn't a medical doctor, she's clearly had some medical training and has offered to help check on the other survivors.
There are six survivors you need to examine. Each of them will have a name and percentage pop up when you look at them. It doesn't really matter what order you choose so just check on them all.- One is dehydrated, so you just have to give him water. If you don't have any, use the magic fire to boil some up
- Four are suffering from concussions or hypothermia, both of which can be treated with rest, warmth, and time.
- Finally, one man is a diabetic, which means he needs insulin. Unfortunately, that's not something Astrid is carrying with her at the moment.
-----------------------------------------------------------------------------
Okay, so things aren't exactly looking good for the diabetic of the group. Not to mention the "fun" task of searching an airliner crash site for information about who was on the plane and didn't make it.
Once you're ready, head out....and be interrupted by a phone call. Turns out it's Molly, who has a good read on Astrid despite only 10 minutes of conversation between the two. Anyways, she's left us a gift, which we might as well grab.
Now, let's actually leave, and immediately get attacked by wolves. But not just any wolves, as the pop-up tells us. These are the new Timberwolves (sorry for the lack of pictures. I was too busy trying to not get eaten).----------------------------------------------------------------------------
The infographic tells us that Timberwolves have "morale", which is somewhat vague (right in line with The Long Dark's philosophy). What this actually means is that Timberwolves act mostly like real-life wolves. They work in groups/packs where one member will generally try to distract you while the others come in and attack. You can chase them off by scaring, injuring or even killing one of the timberwolves.
When a timberwolf pack attacks, you'll see this bar appear at the bottom of the screen.
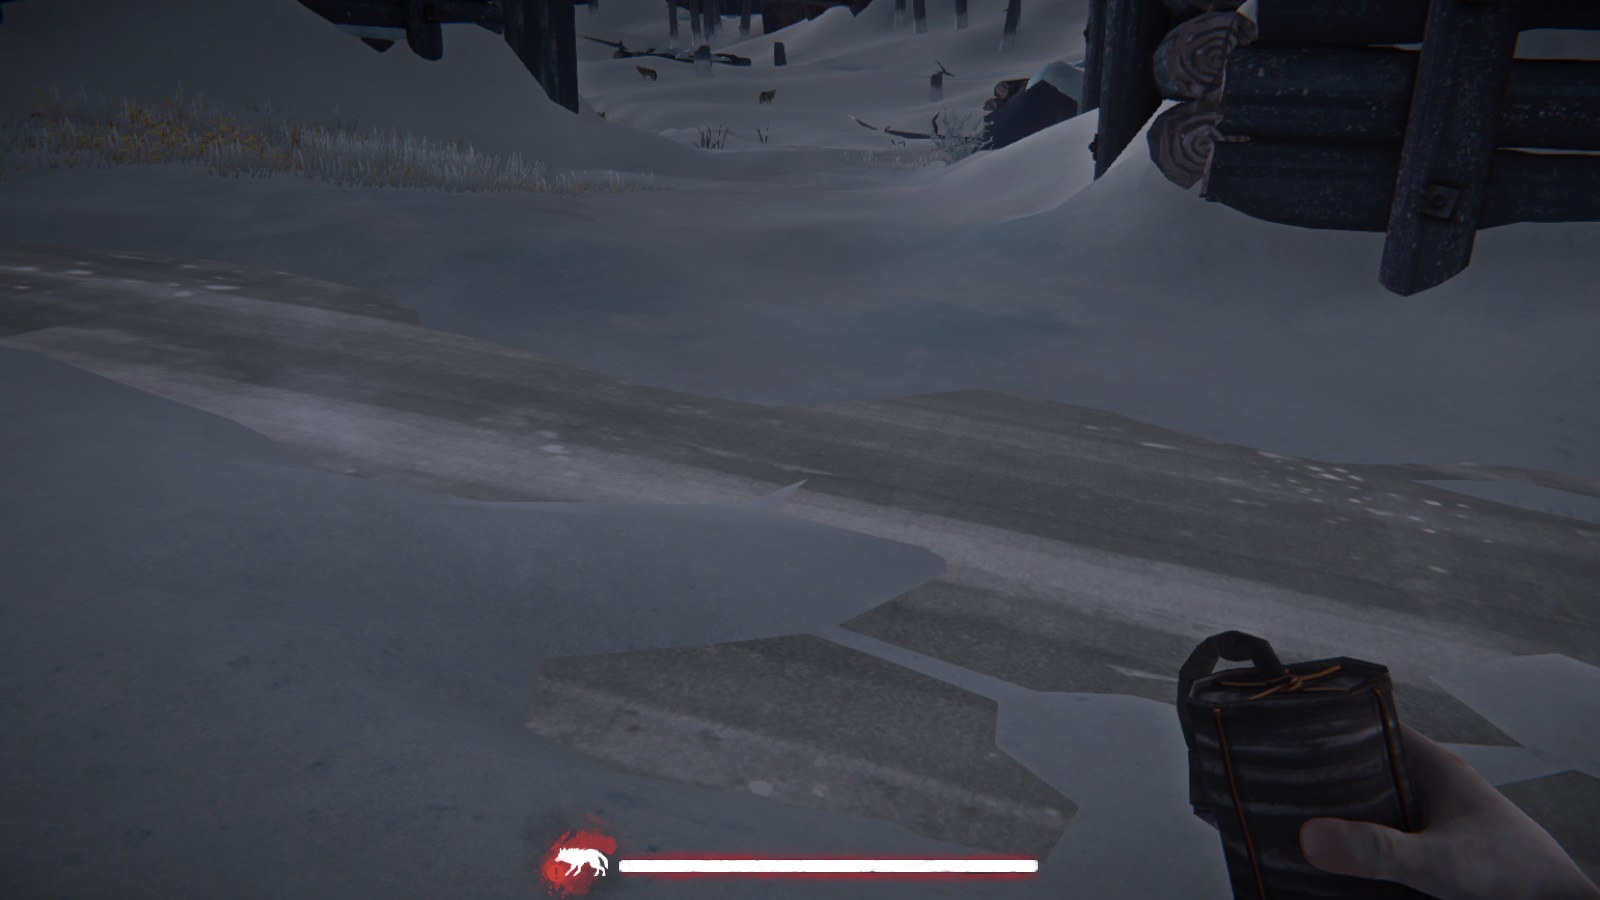 The bar indicates the pack's morale. By decreasing it, you can drive off the timberwolves. Now it's hard to tell, but I think bigger packs have a longer morale bar. In any case, a larger pack size means greater morale so it's harder to drive them off; a group of five timberwolves won't be as easily dispersed as a group of two.
The main ways to decrease pack morale are to scare, injure or even kill one of the wolves. Obviously killing decreases morale more than injuring or scaring. You can use any weapon, even rocks (although I wouldn't recommend it since rocks are pretty hard to aim and aren't fatal). Firearms are the best because the noise will scare the wolves and lower morale, even if you don't hit one. Personally I recommend the revolver, especially for smaller groups where you just need to injure one of them. It's easier to hit the wolves when you don't have to properly aim the weapon.
The other way to keep timberwolves at bay is the new marine flare item. This is a blue flare (which we don't have yet but can get soon) that decreases pack morale when thrown. It can also keep the timberwolves at bay, similar to how a campfire affects regular wolves. They don't last long and aren't very good at dispersing packs on their own, but the flares can keep timberwolves away from you long enough to get in a shot that kills or injures one of them.
----------------------------------------------------------------------------------------------
And don't forget to pick up the gift Molly left for Astrid. This is technically a sidequest, but it's so short I'm not going to bother giving it a separate section. Just head towards the Thomson's Crossing church, and on the opposite side of the road is a playground and abandoned car.
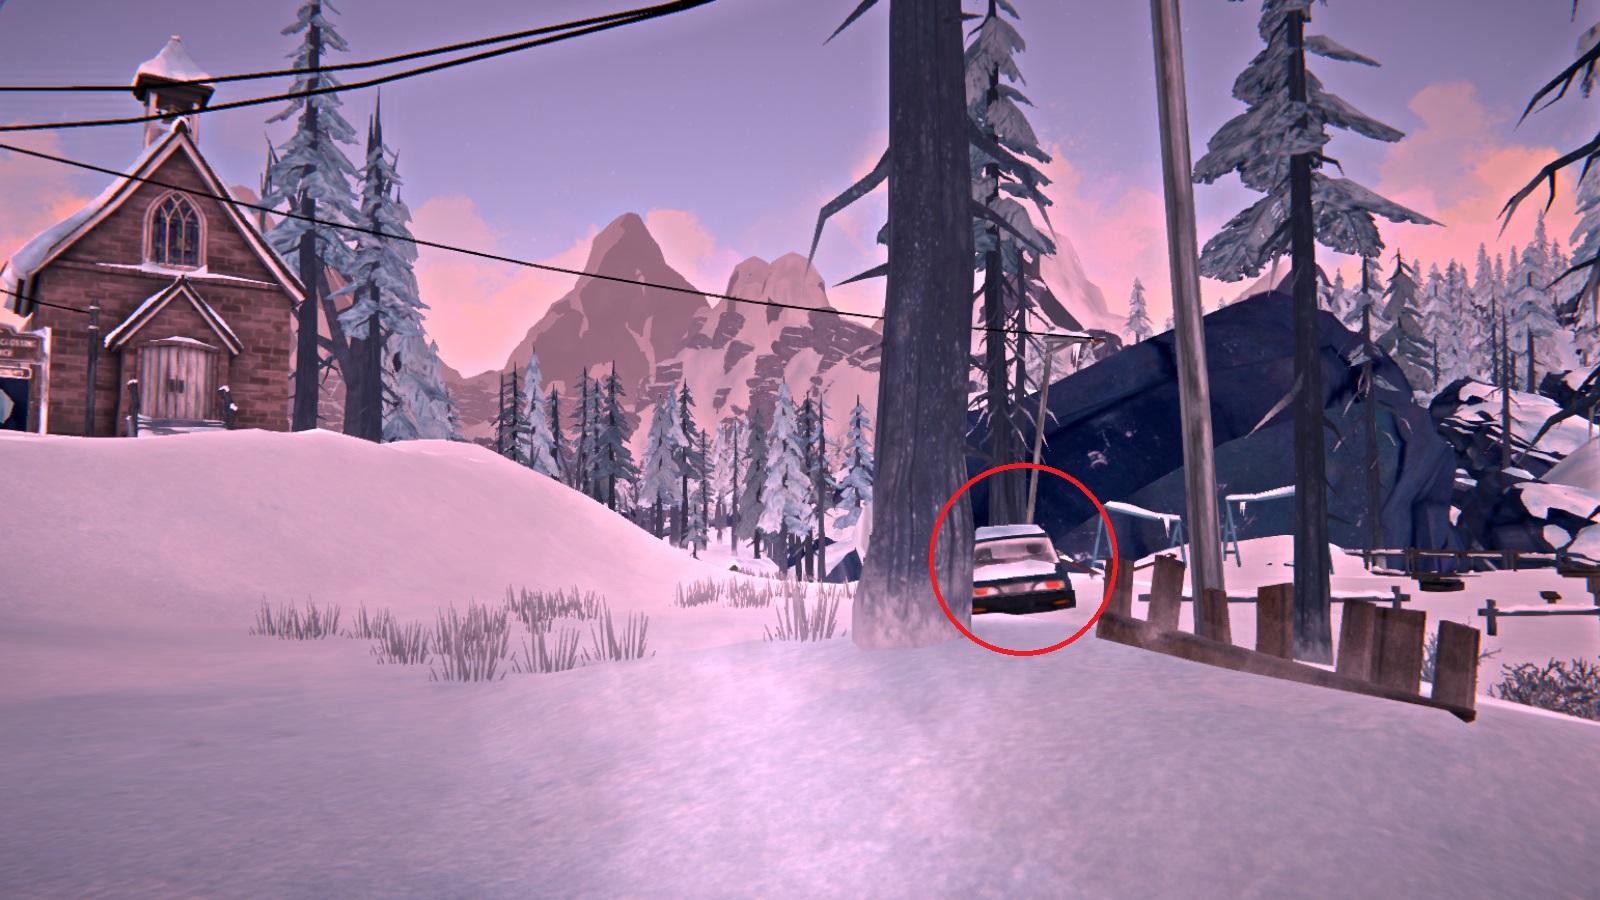 Check the trunk of the car for some marine flares, which we can use against timberwolves.
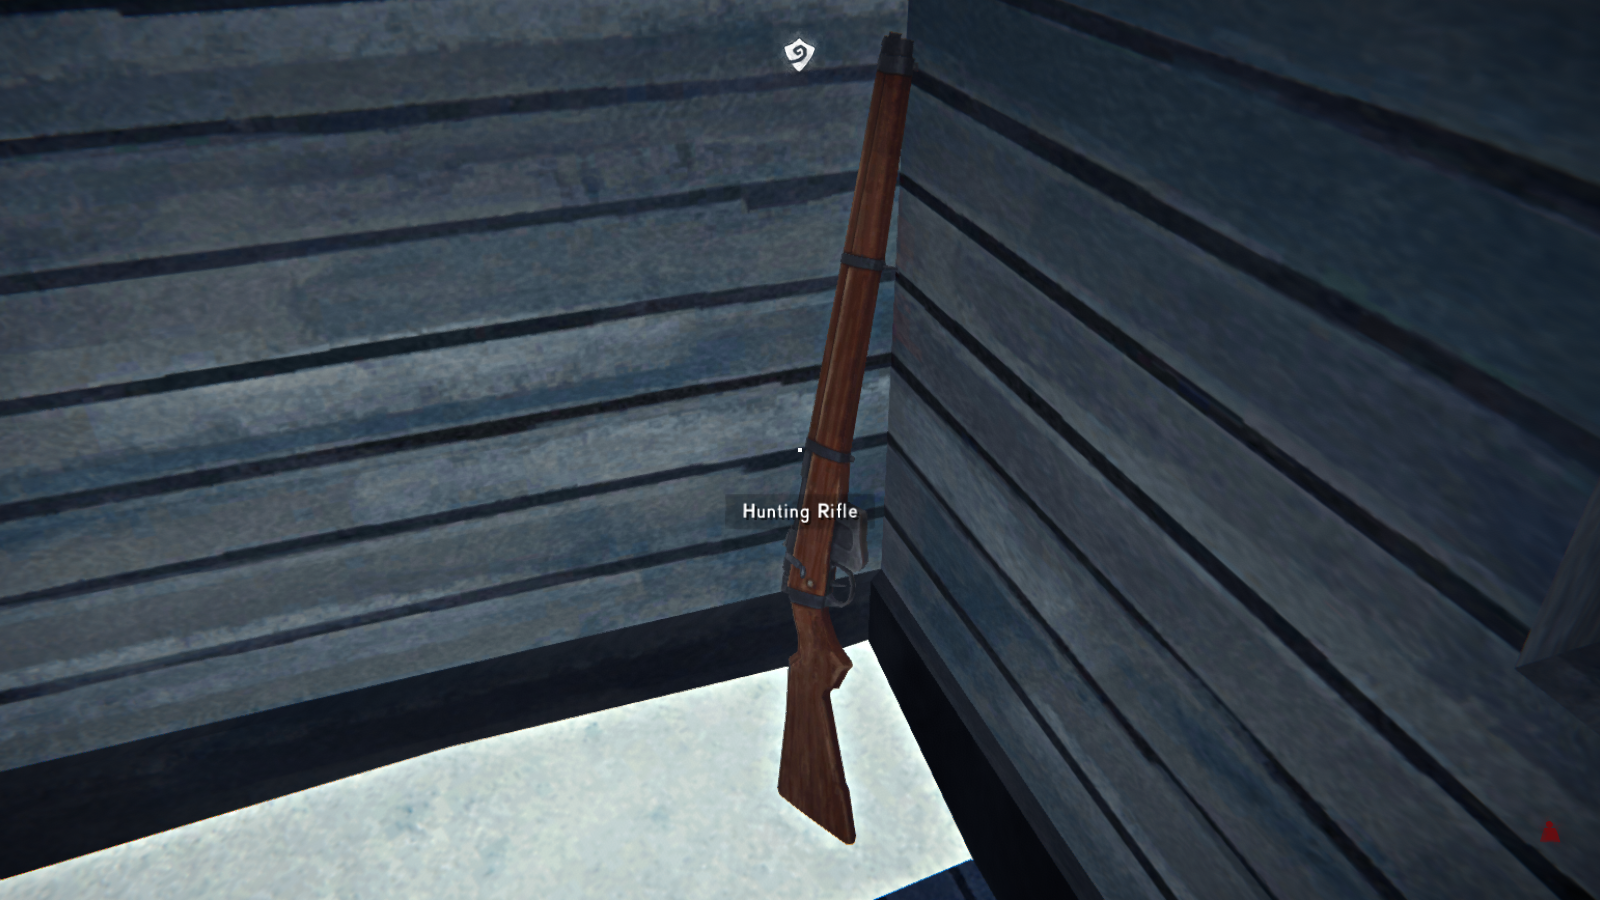
Finally, you can pick up a rifle in the small shed behind the Community Hall.
 Once you’re ready, advance the story. As for finding the plane crash, well that's easy.
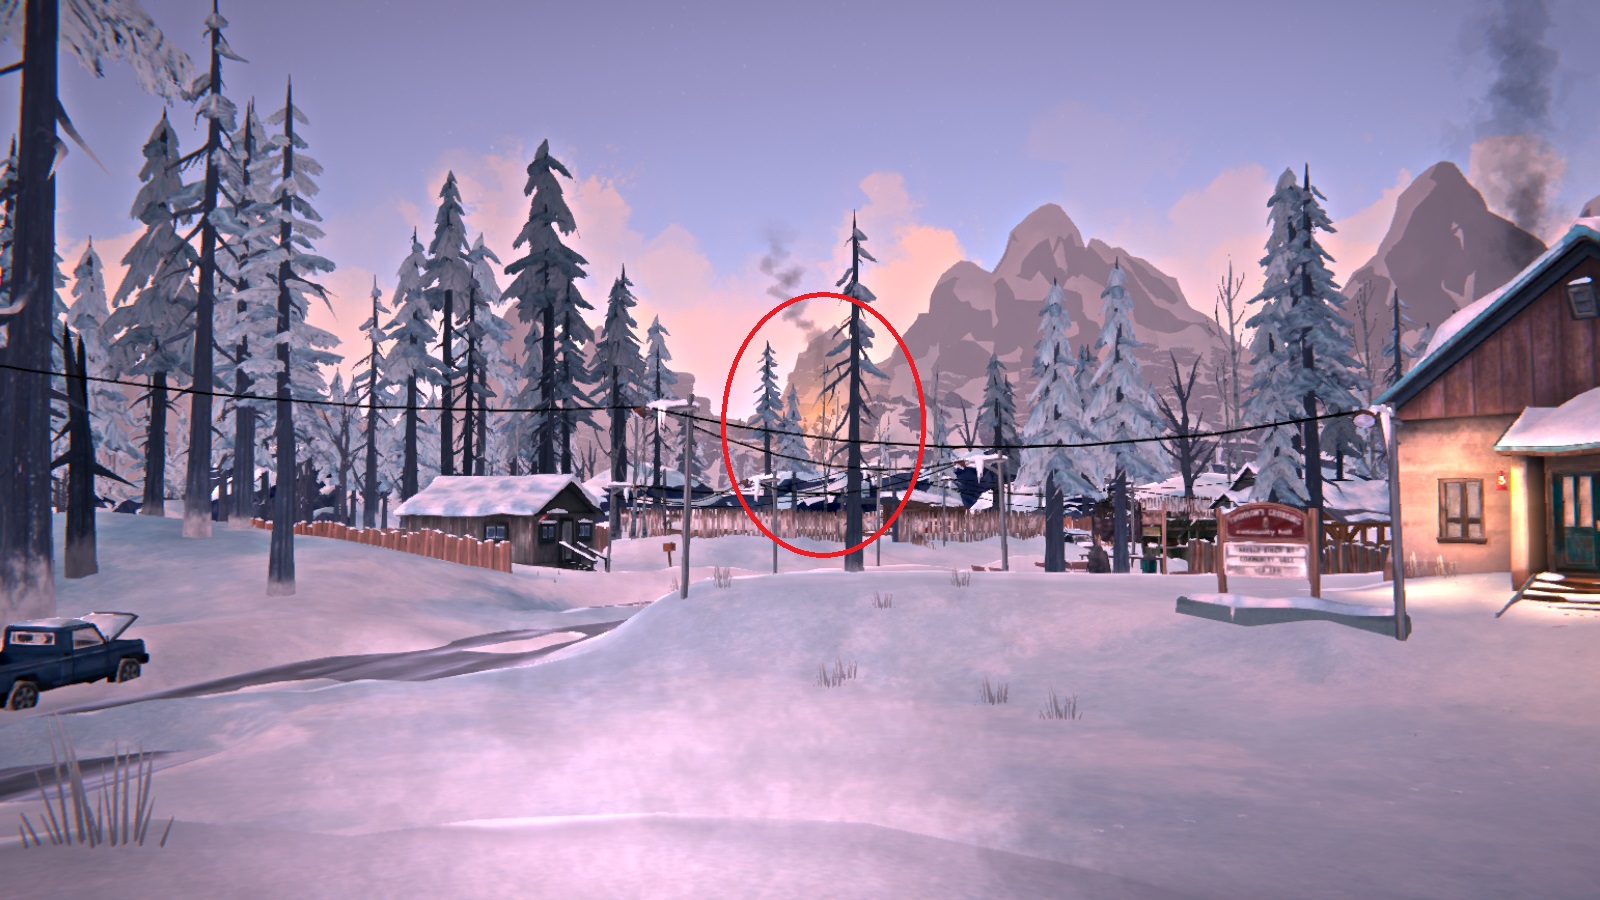 Just aim for the smoke plume in the sky. There are a number of ways to get up towards the crash site. My preferred way is to follow the road. Just turn left after leaving the Community Hall, and you'll see this bridge.
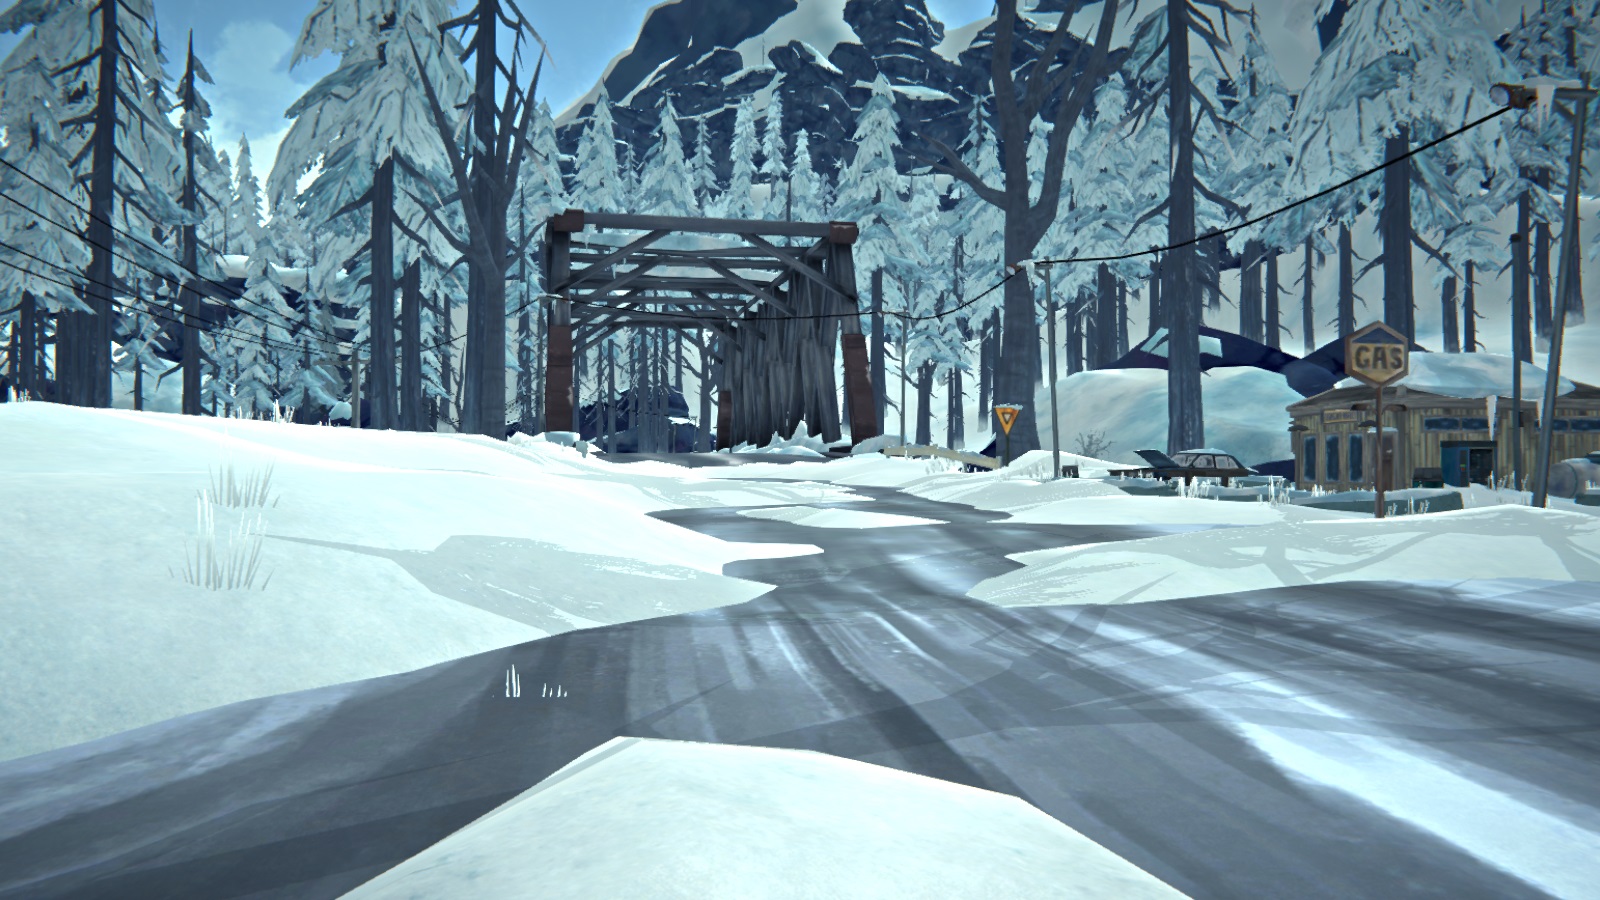 From there, just follow the road. Eventually the actual paved road will disappear, but there's still an obvious path. After a while, you'll see blackened trees and from there, just look for the smoking airplane. You can actually enter the plane by interacting with this door.
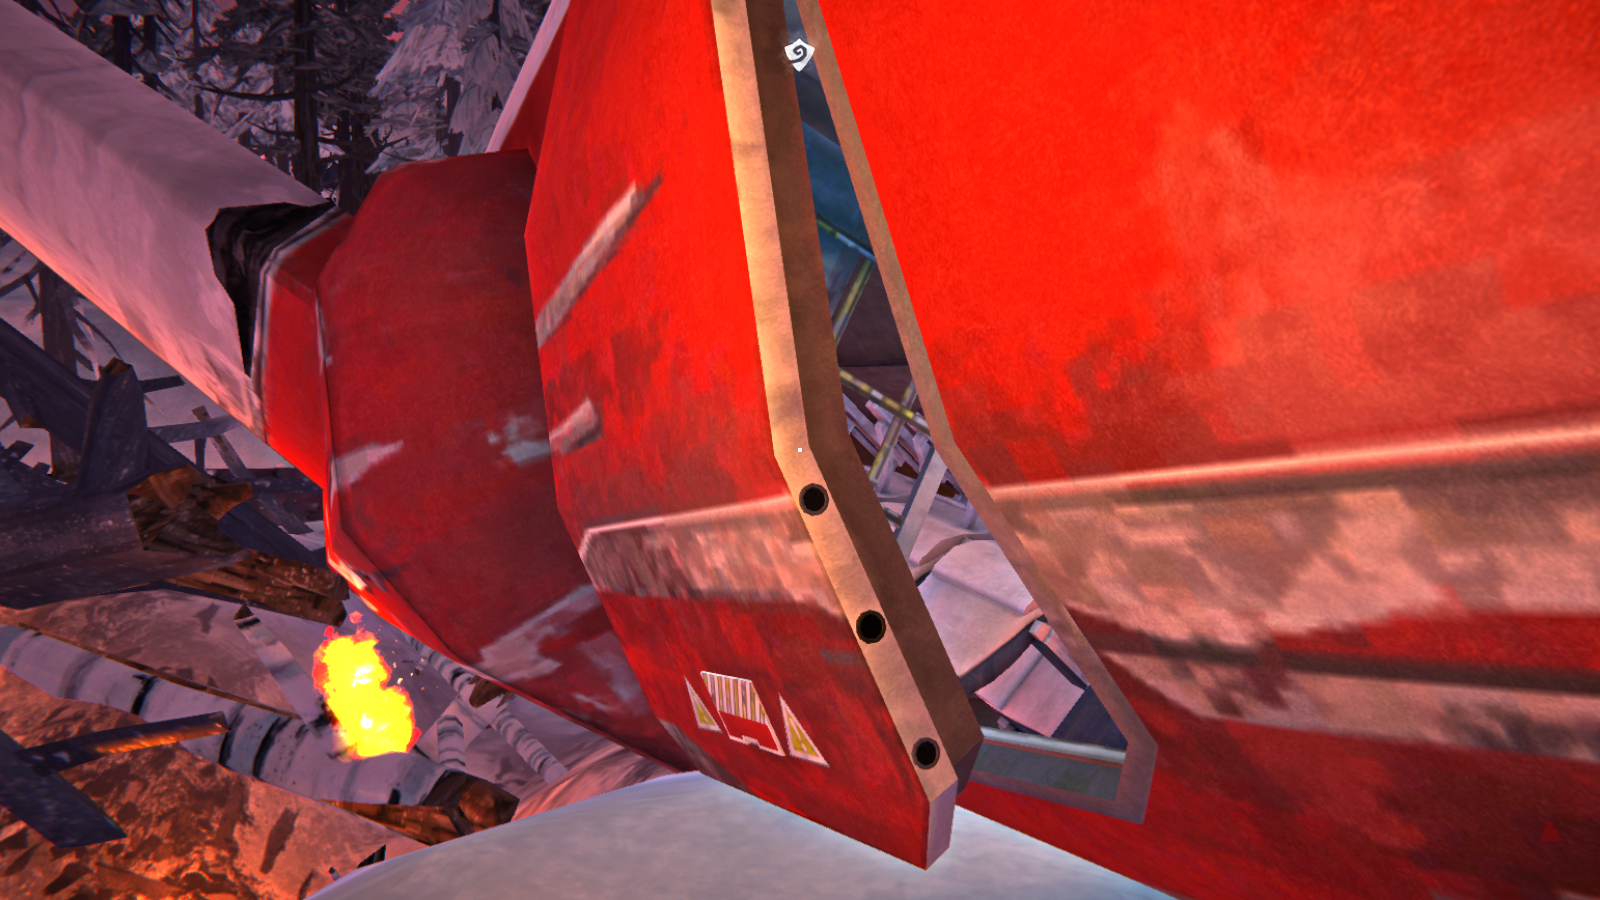 Once you come out the other side of the plane, Astrid will comment on how unlikely it is that anyone survived. From here, you now have two new quest objectives: find the insulin for the diabetic back at the Community Hall and find 10 ID cards.
-----------------------------------------------------------------------------------
Okay, so all the ID cards are on the bodies scattered about the crash. After all, the whole point of this is to confirm who has died in the crash. The following pictures contain all of the bodies that you need to search to find the 10 ID cards (Also, the woman by the fire is Gwen; I took these pictures after rescuing her).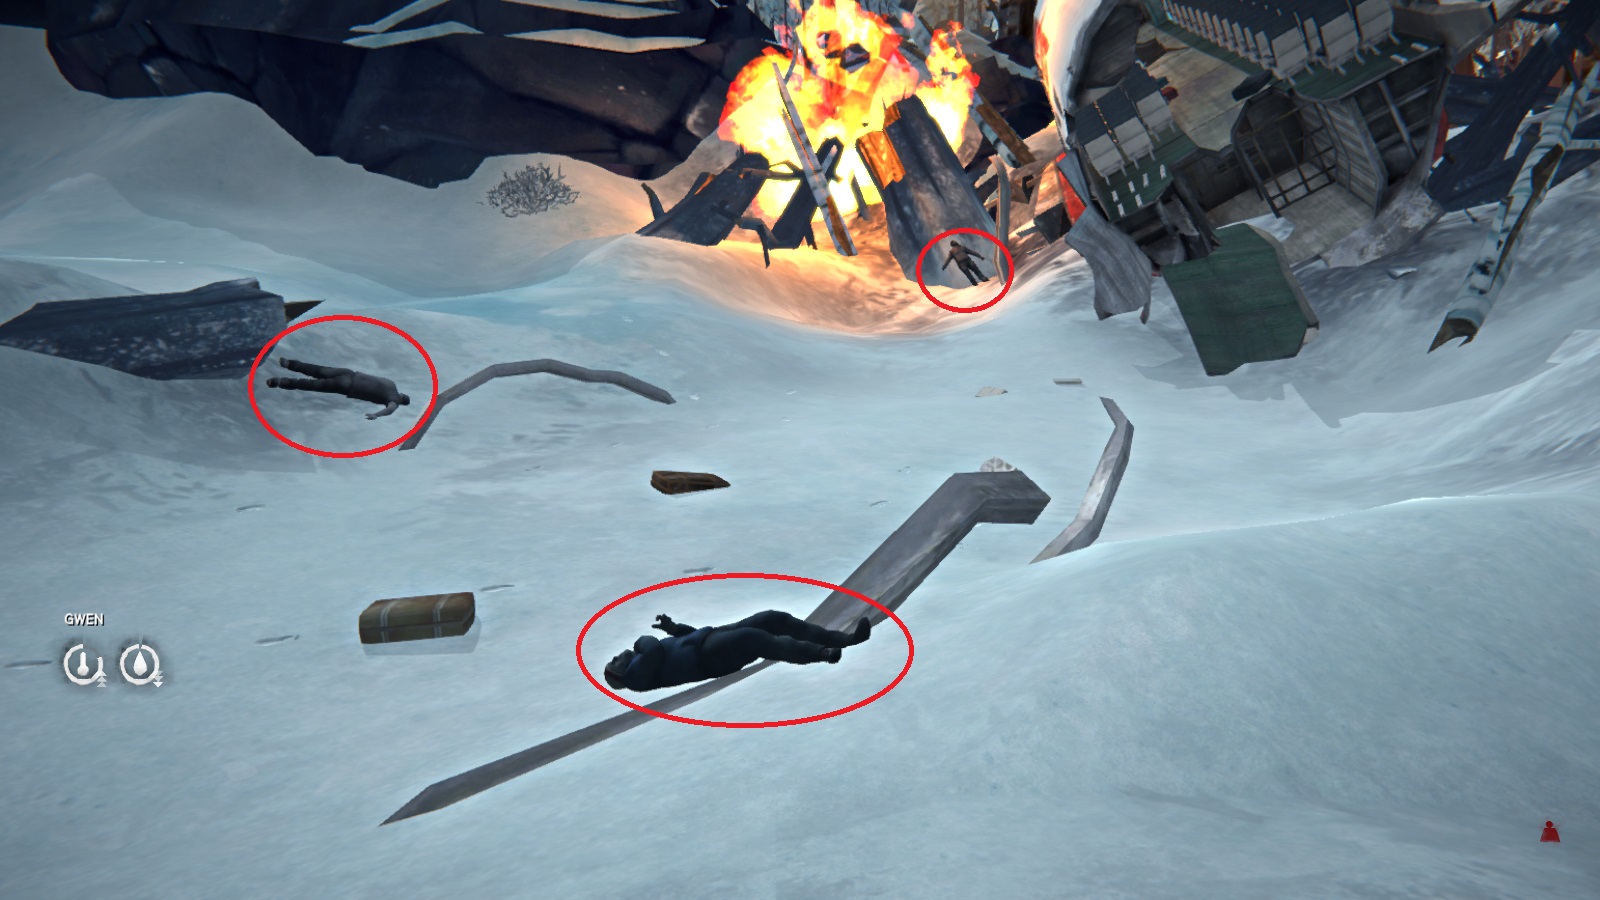
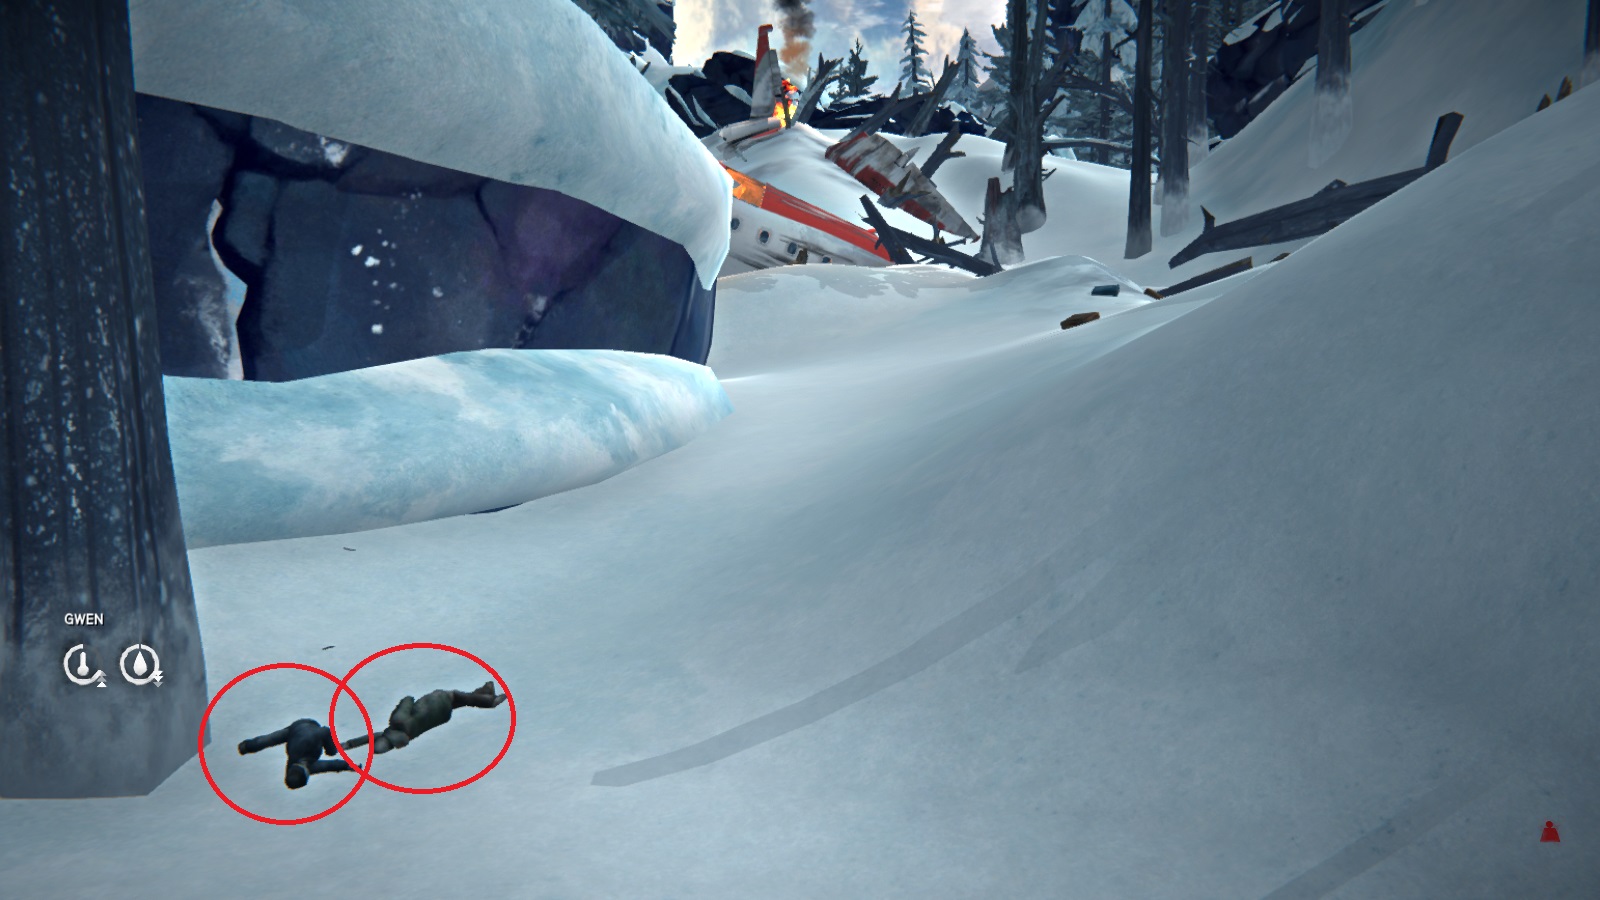
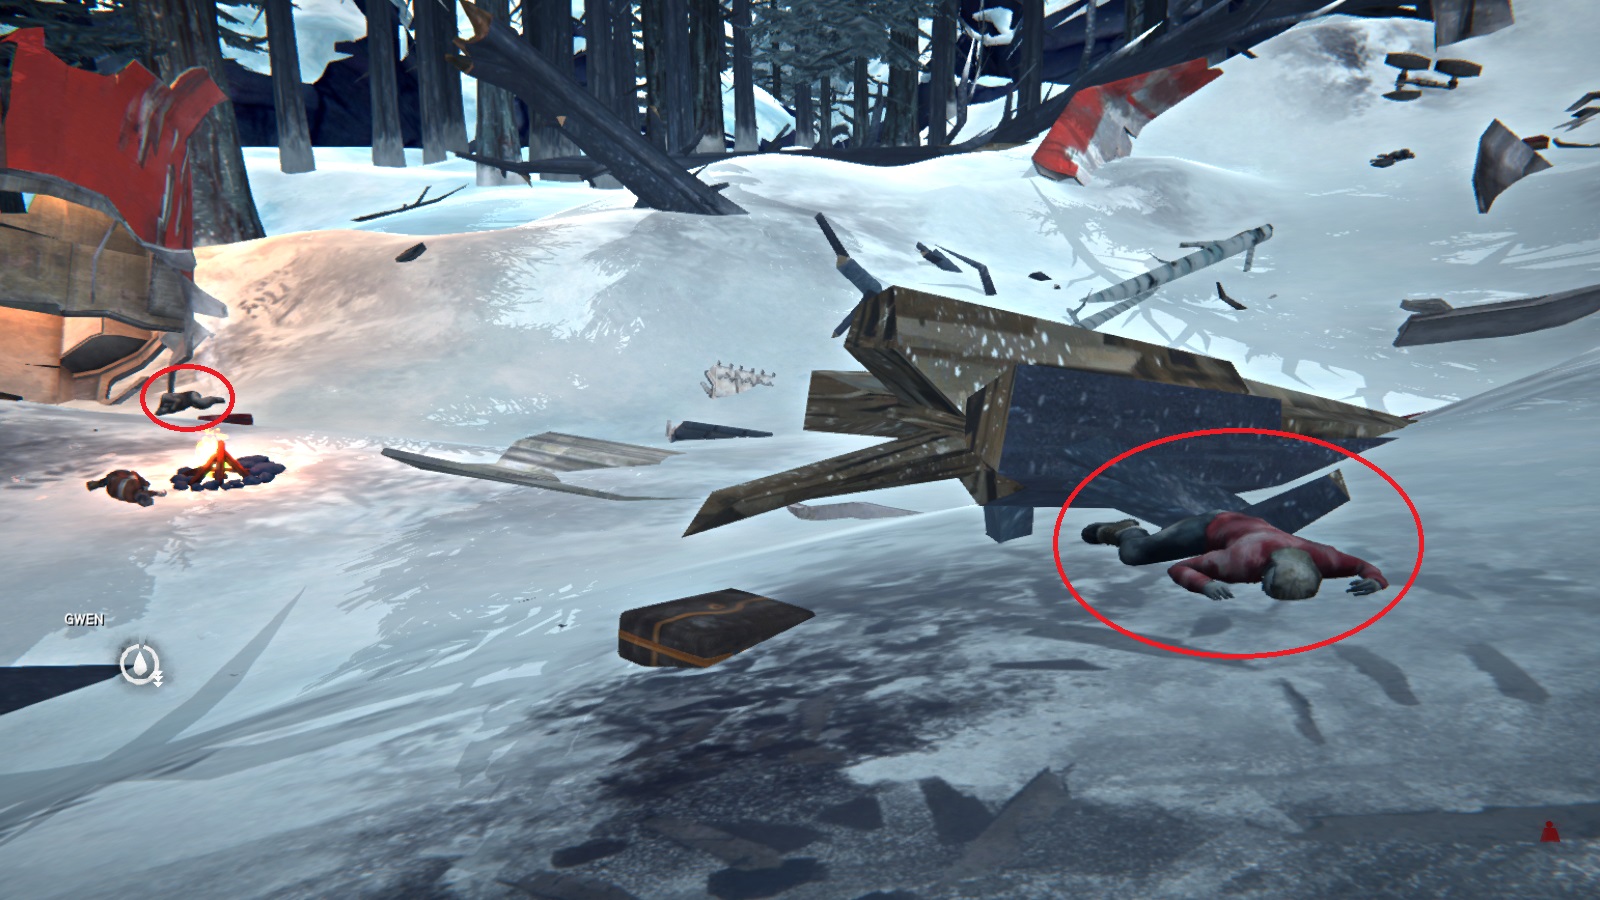
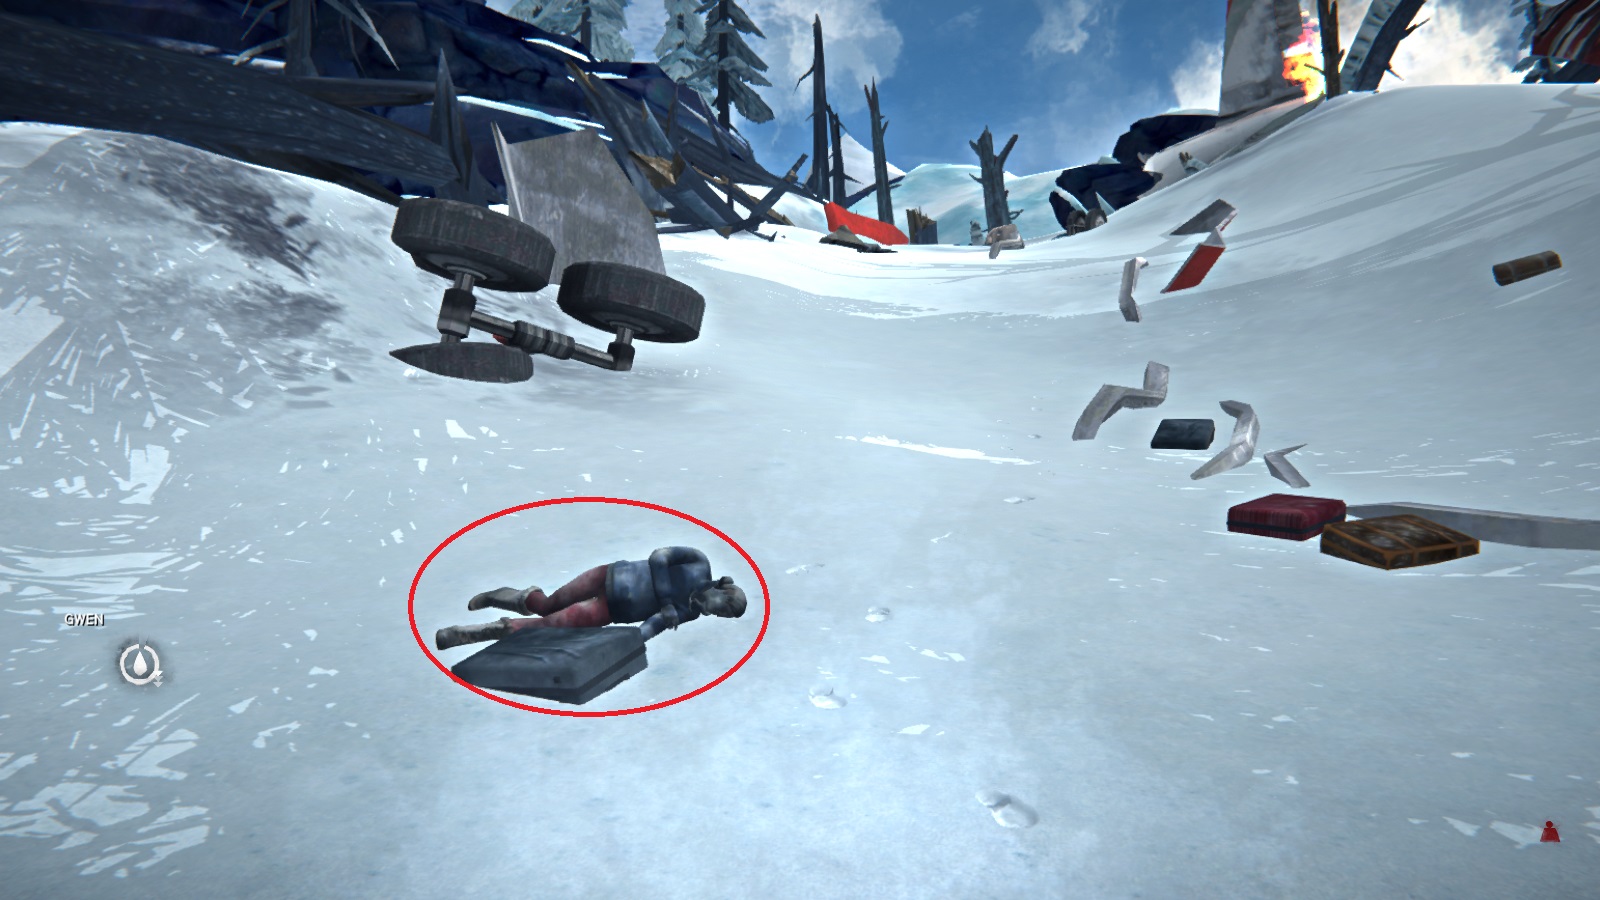
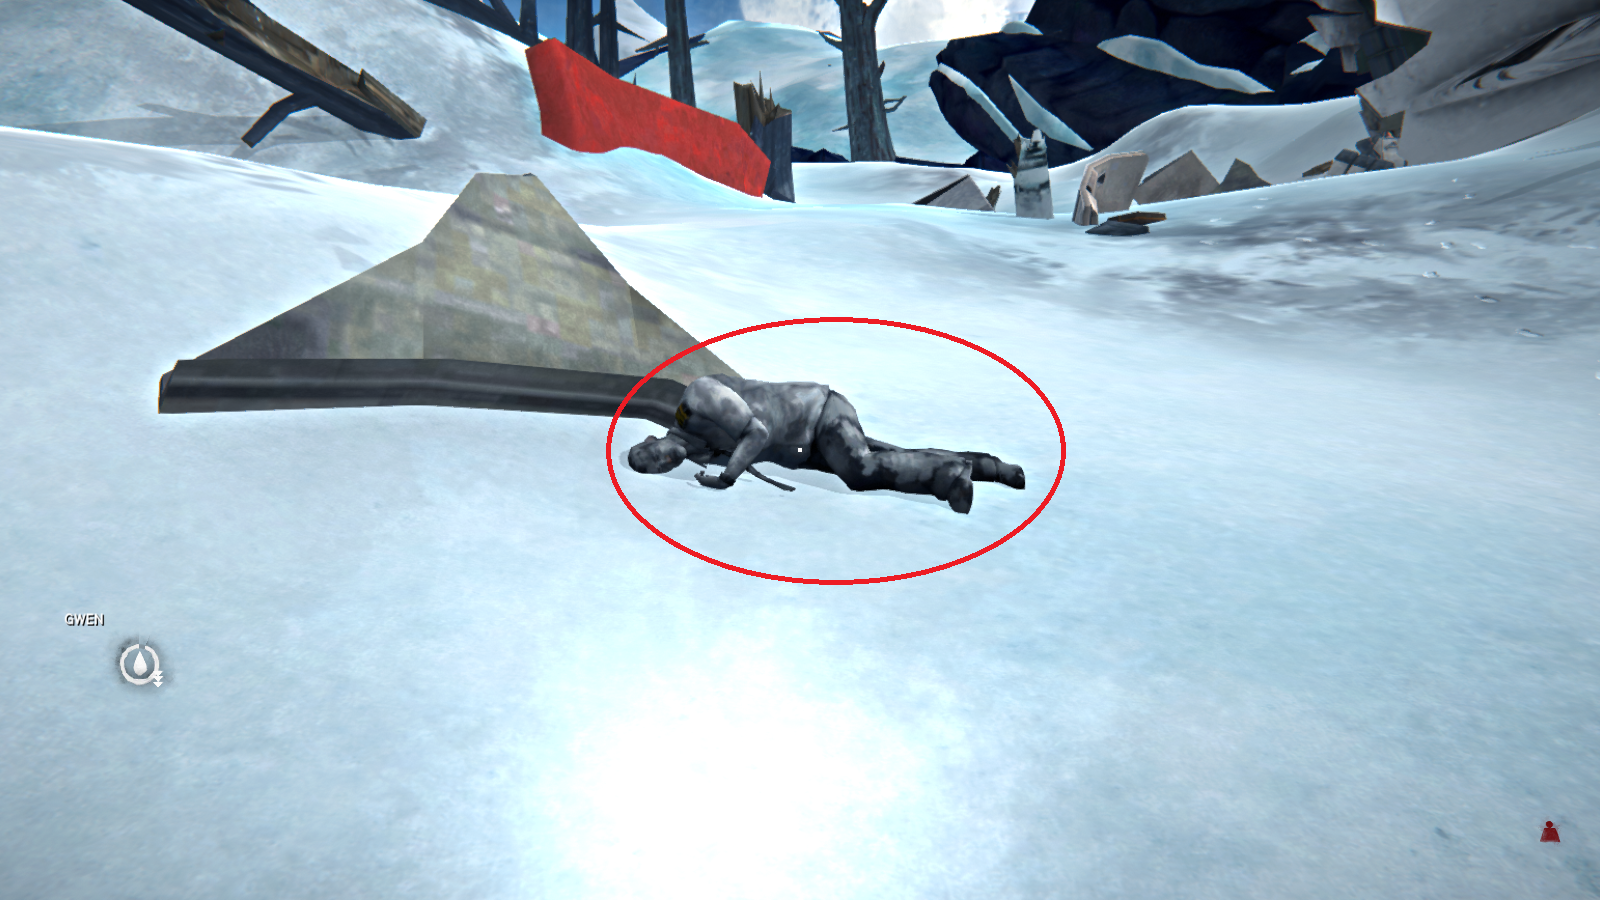
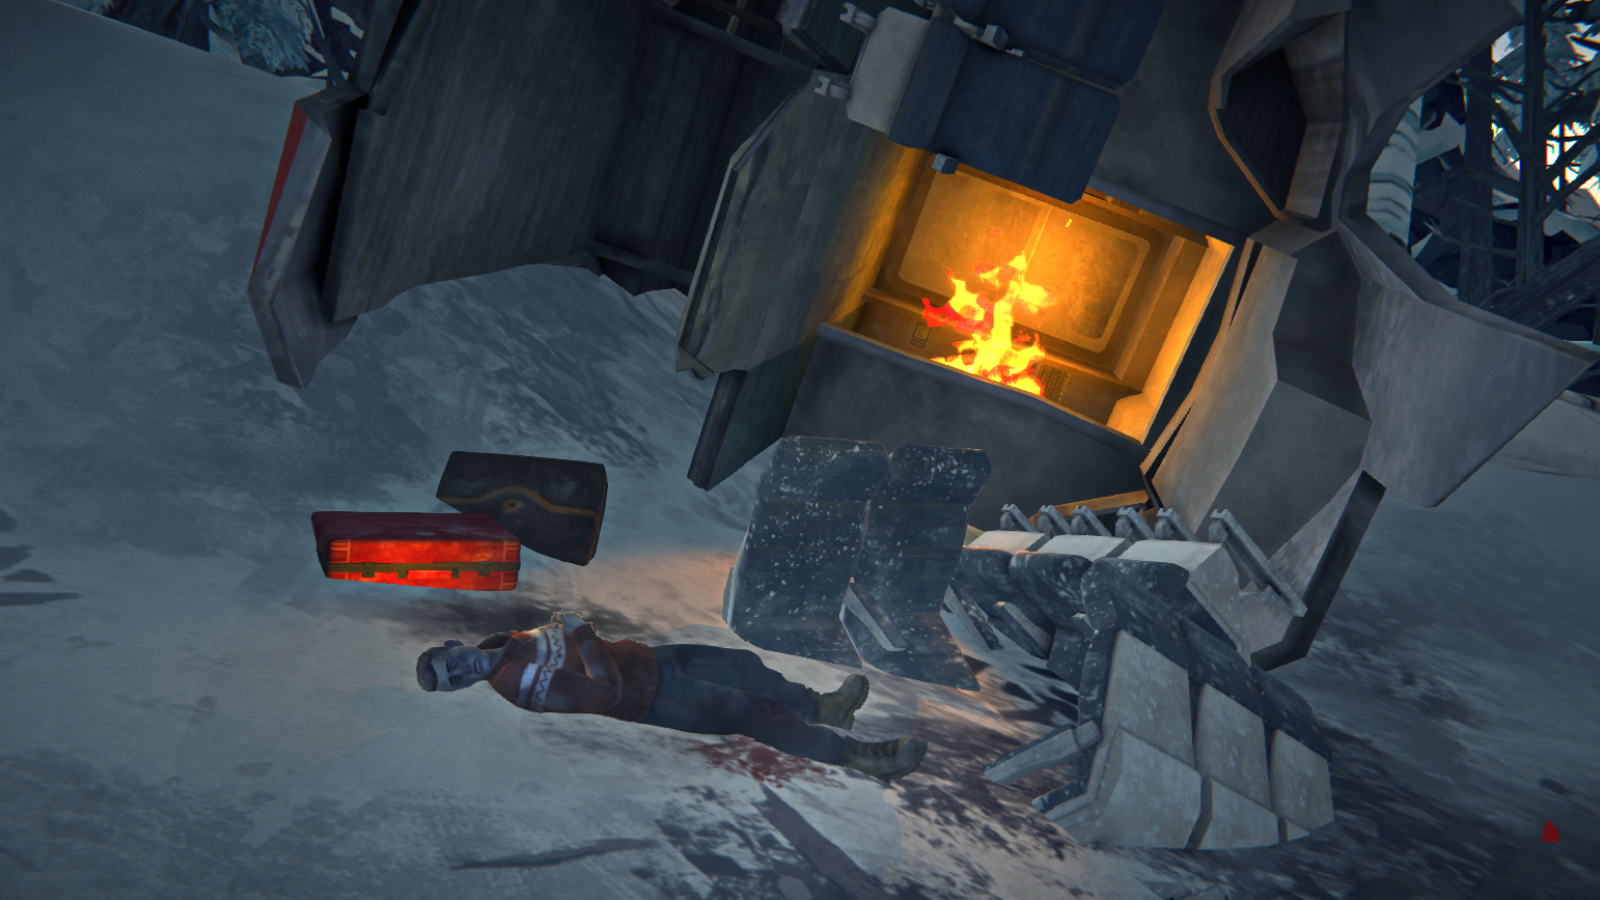
The woman in this last picture is actually still alive (the picture is from after pushing the rubble off of her). Interact with her to get a cutscene and flashback that hints as to why Astrid is heading to Perseverance Mills in the first place. Anyways, before we can help out Gwen, we need to find that insulin. Thankfully, it's in the red suitcase right next to Gwen. Search that, and then we get our next objective: get Gwen back to the Community Hall. Now we start the annoying part of this Episode. We need to treat Gwen's afflictions and get her back to the Community Hall. In the previous pictures, you may have noticed a second status bar which belongs to Gwen. Until you get her to the Community Hall, Astrid is responsible for keep Gwen warm, hydrated, and uninjured. Click on Gwen to get two options: carry and diagnose.
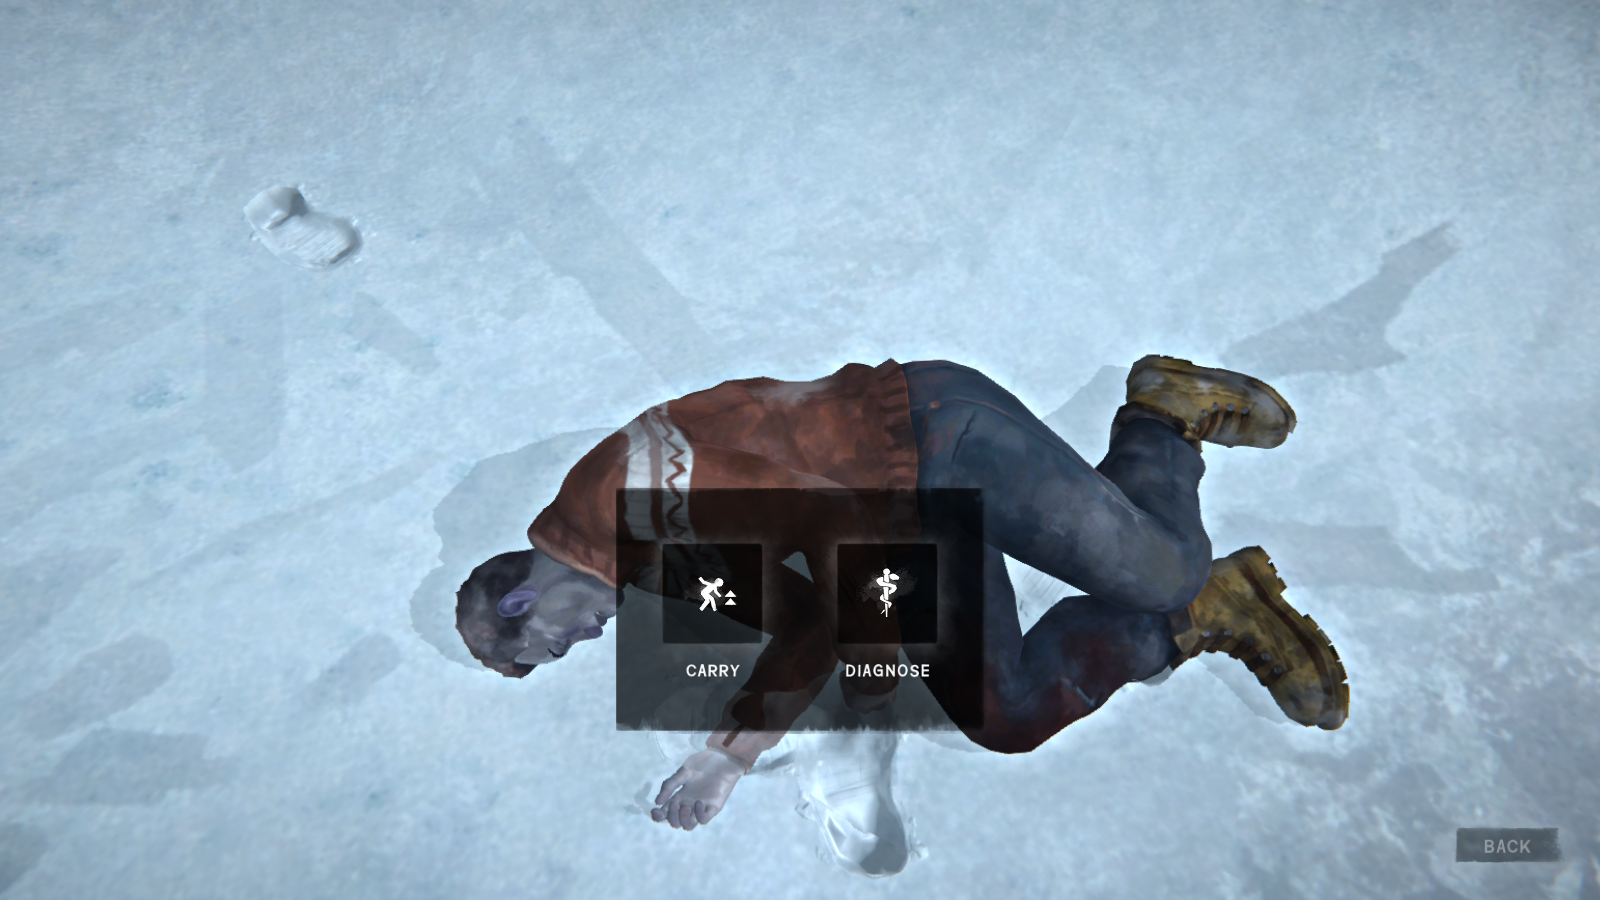 Carry is rather self-explanatory, and diagnose is how you treat any injuries or dehydration. To combat hypothermia, you just need to leave the survivor near a fire for a little bit. You should actually do this with Gwen and then search the crash site for the flare gun below (it's in the fuselage next to the body in the 3rd picture).
Chapter 2: Fallen Star (Part 2)
This chapter was so big, I had to split it into two different sections. Sorry, but blame the Steam Guide character limit.
Anyways, once Gwen is warm, it's time to get her back to the Community Hall. Unfortunately, you can't go the way we came in since Astrid is now limited in her movement. While carrying a survivor, you can't sprint or crouch. You also have to drop the survivor if you want to interact with anything in the world. There are two options for putting a survivor down: drop will just place the survivor at your feet (useful during wolf attacks) and place will act similar to when you put down a fire.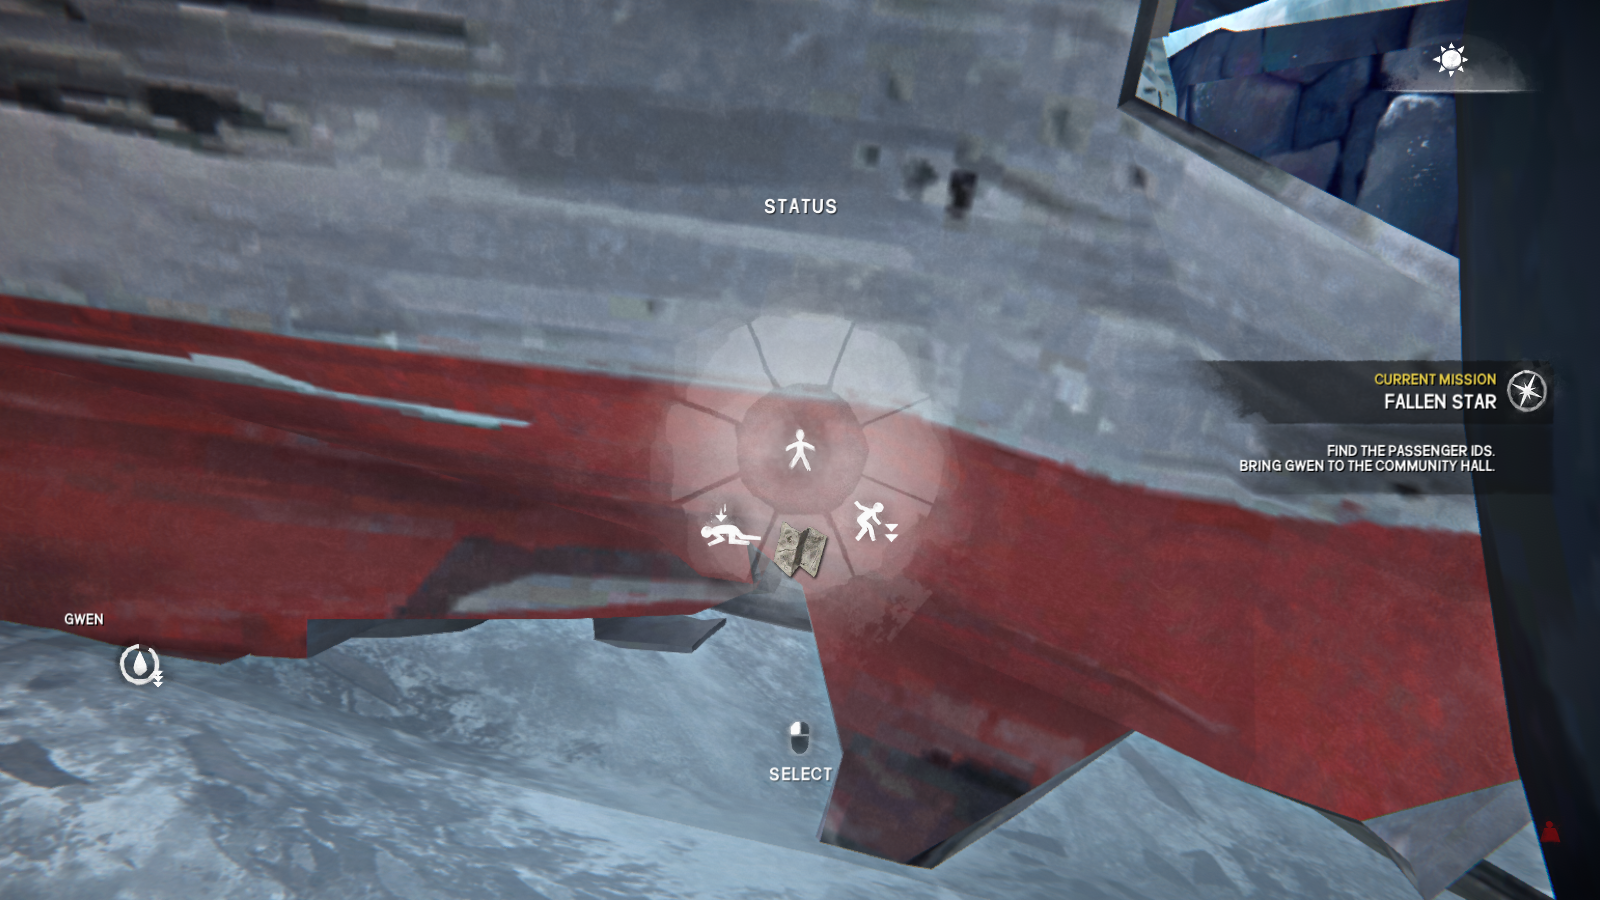
To get back down the mountain, you'll want to take a side path, which is just a little below where you found Gwen. If you're coming up the mountain from where you first entered the crash site, it'll be on your right.
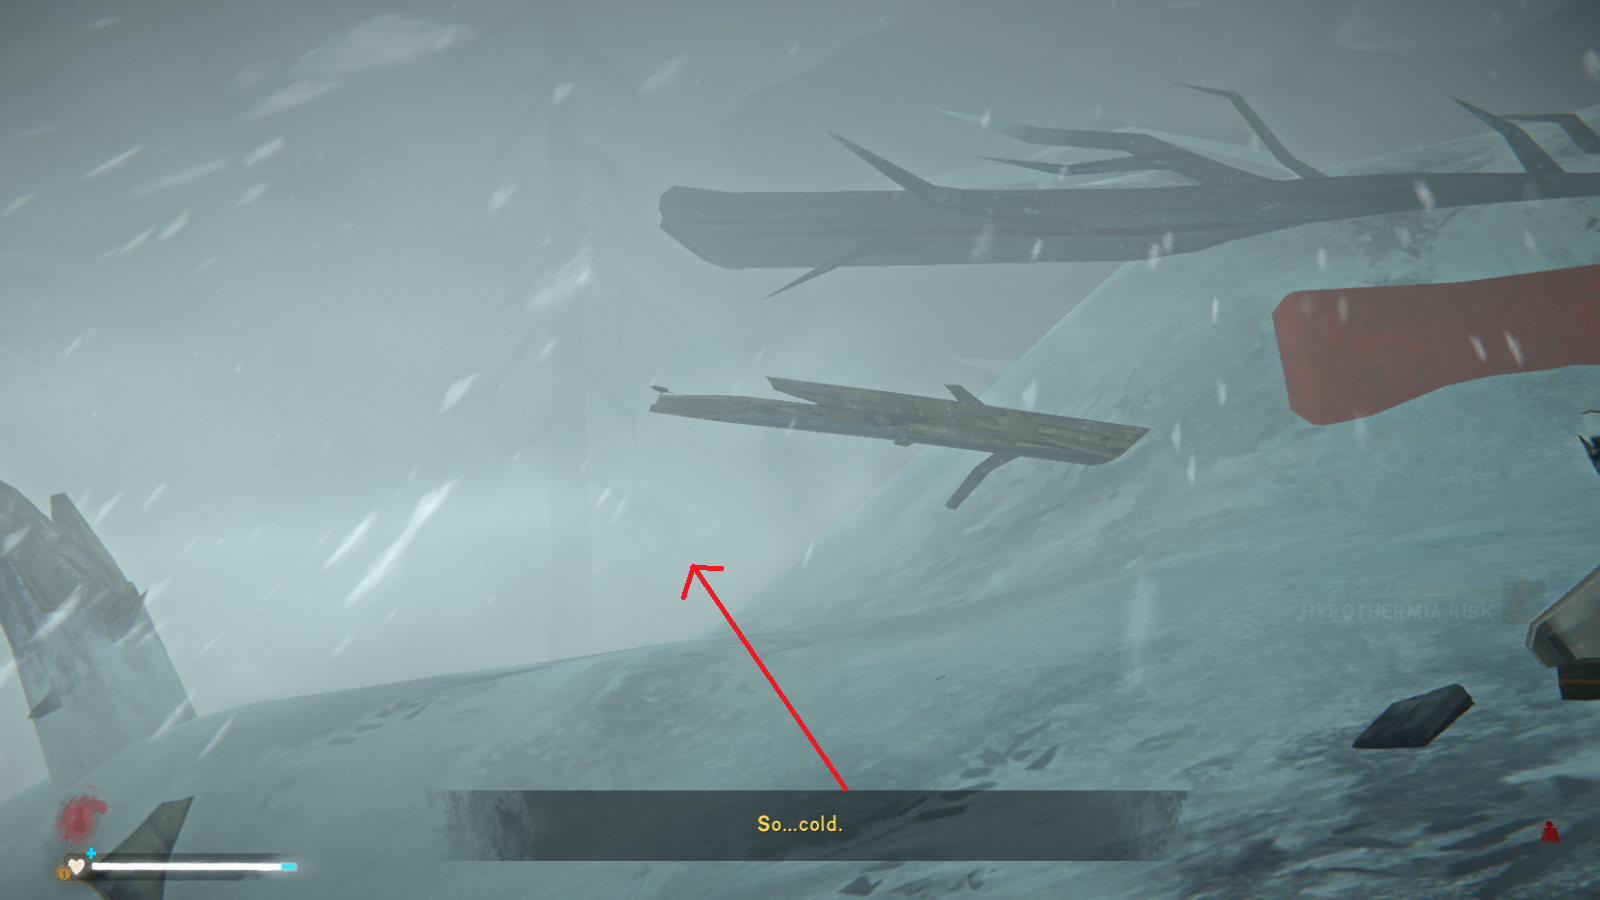 From there, the path is pretty clear. If you're not sure, just follow the stray luggage. Eventually, you'll come across a broken down house...with a still working phone?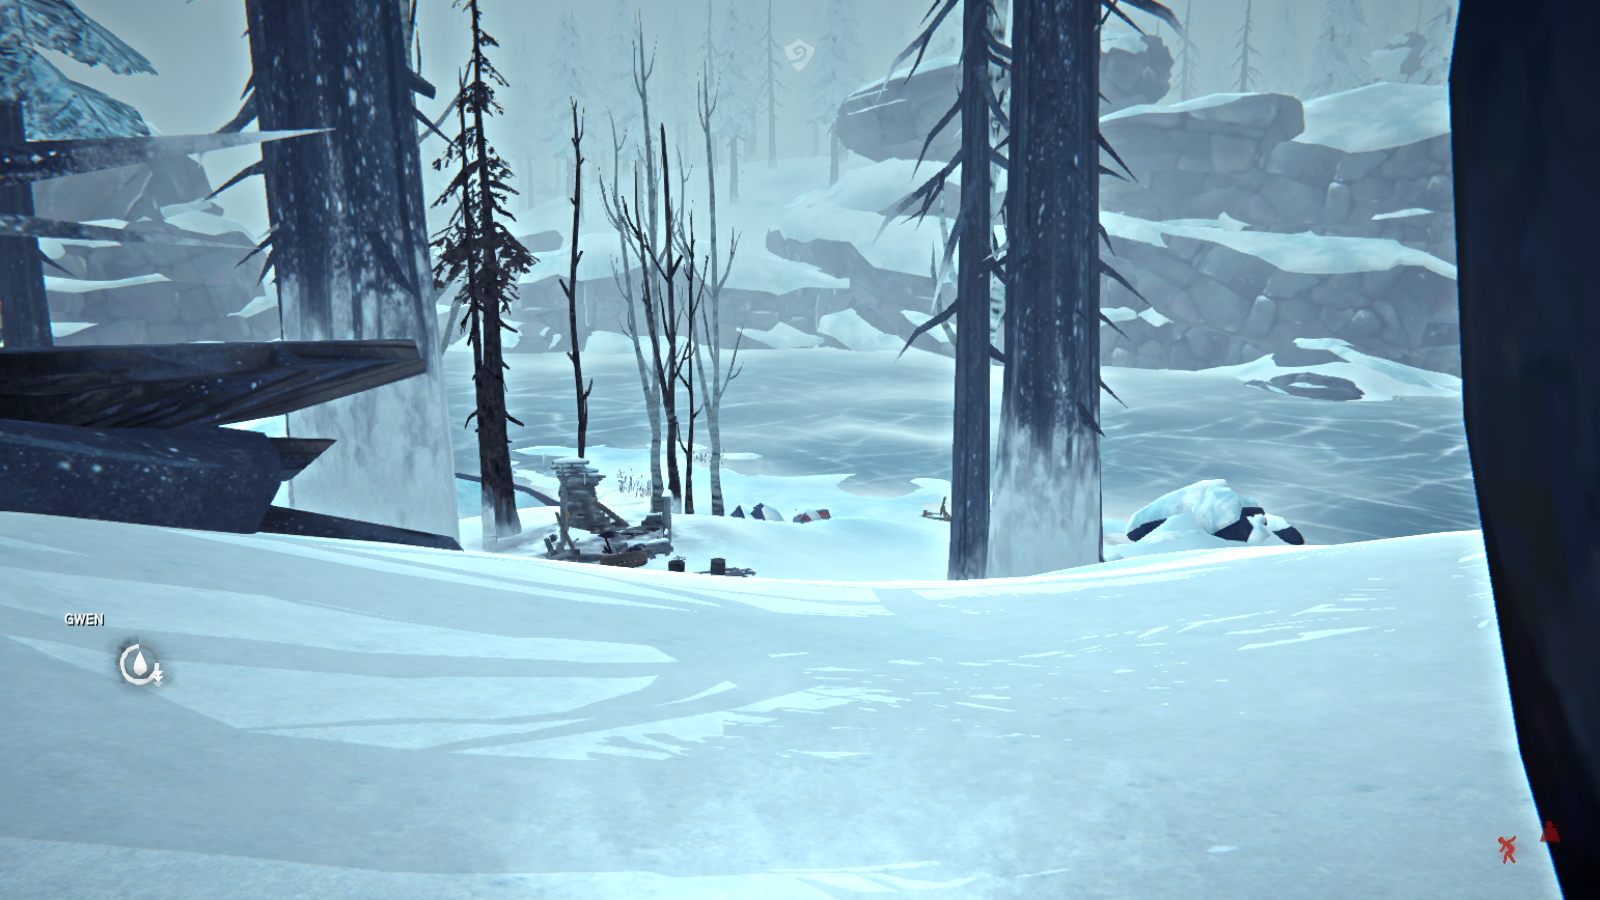
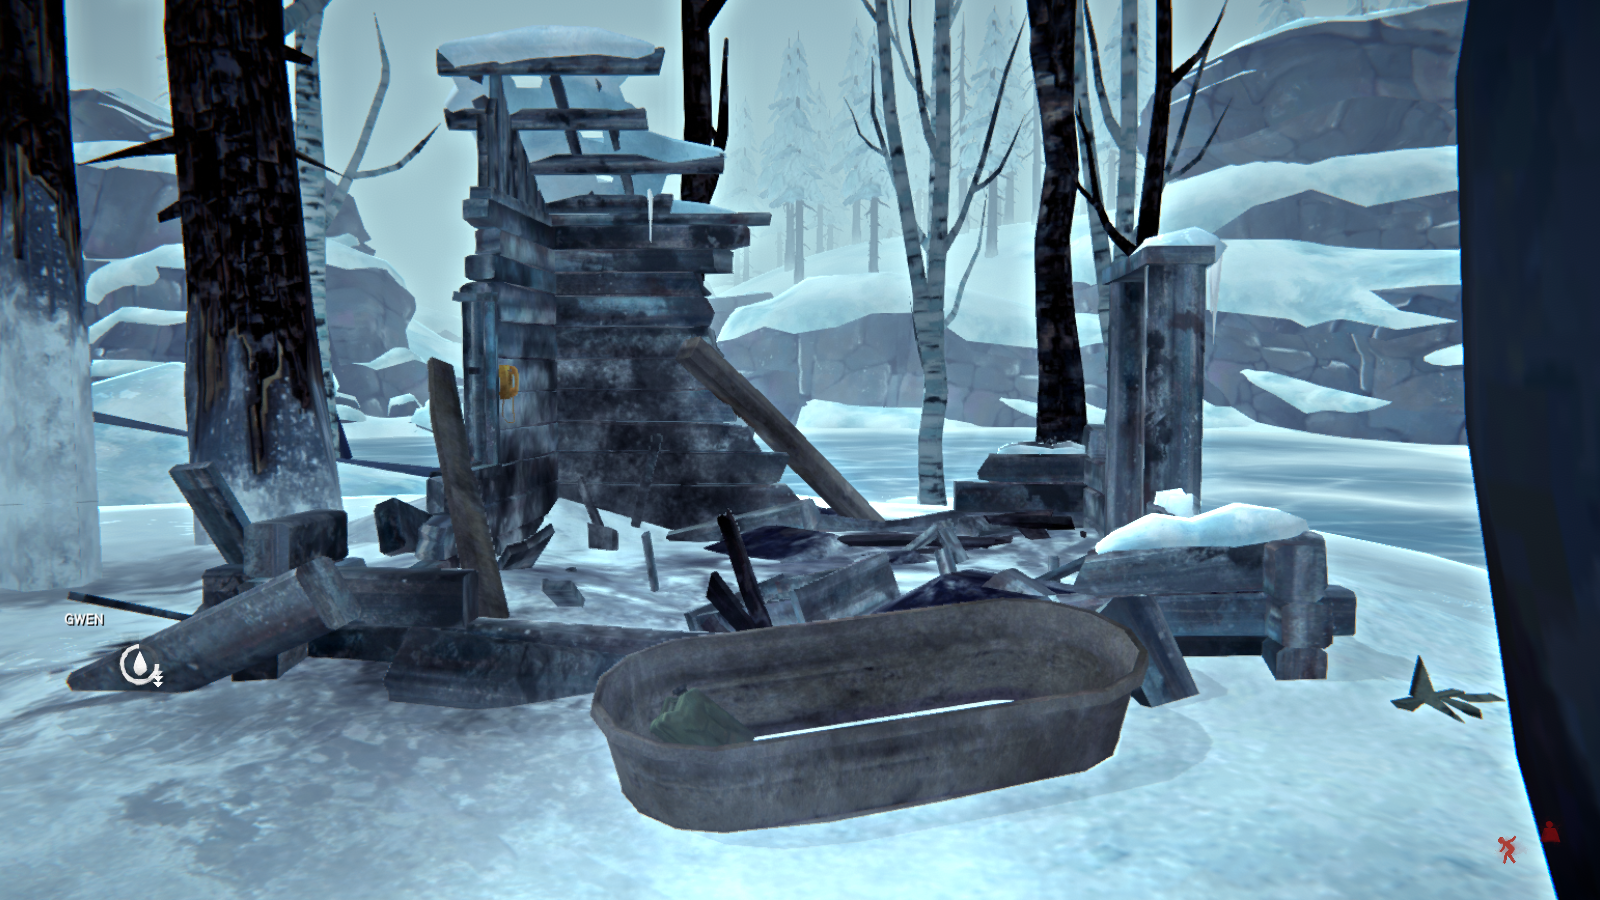
Go ahead and answer to phone to have an interesting conversation with Molly. I kind of like her, but she's also being a bit stalker-y. Not to mention Astrid could definitely use some help in transporting Gwen back to Community Hall.
Anyways, you'll see the river behind the broken down house. From here, you can just follow it back to Community Hall. Get back and place Gwen on the empty cot that has just appeared. Then you'll get the final objective for this chapter.
Now it's time to deliver the IDs to the remaining survivors. To do this, just interact with each of the survivors to see a short scene where Astrid informs that that she found the remains of their loved ones. For a couple of them, Astrid will tell them that no body was found, in which case they plead for her to look for them. If you're having trouble, make sure to target each survivor's head in order to properly interact with them.
After this is done, talk to Father Thomas to end the chapter.
Chapter 3: Coming Storm
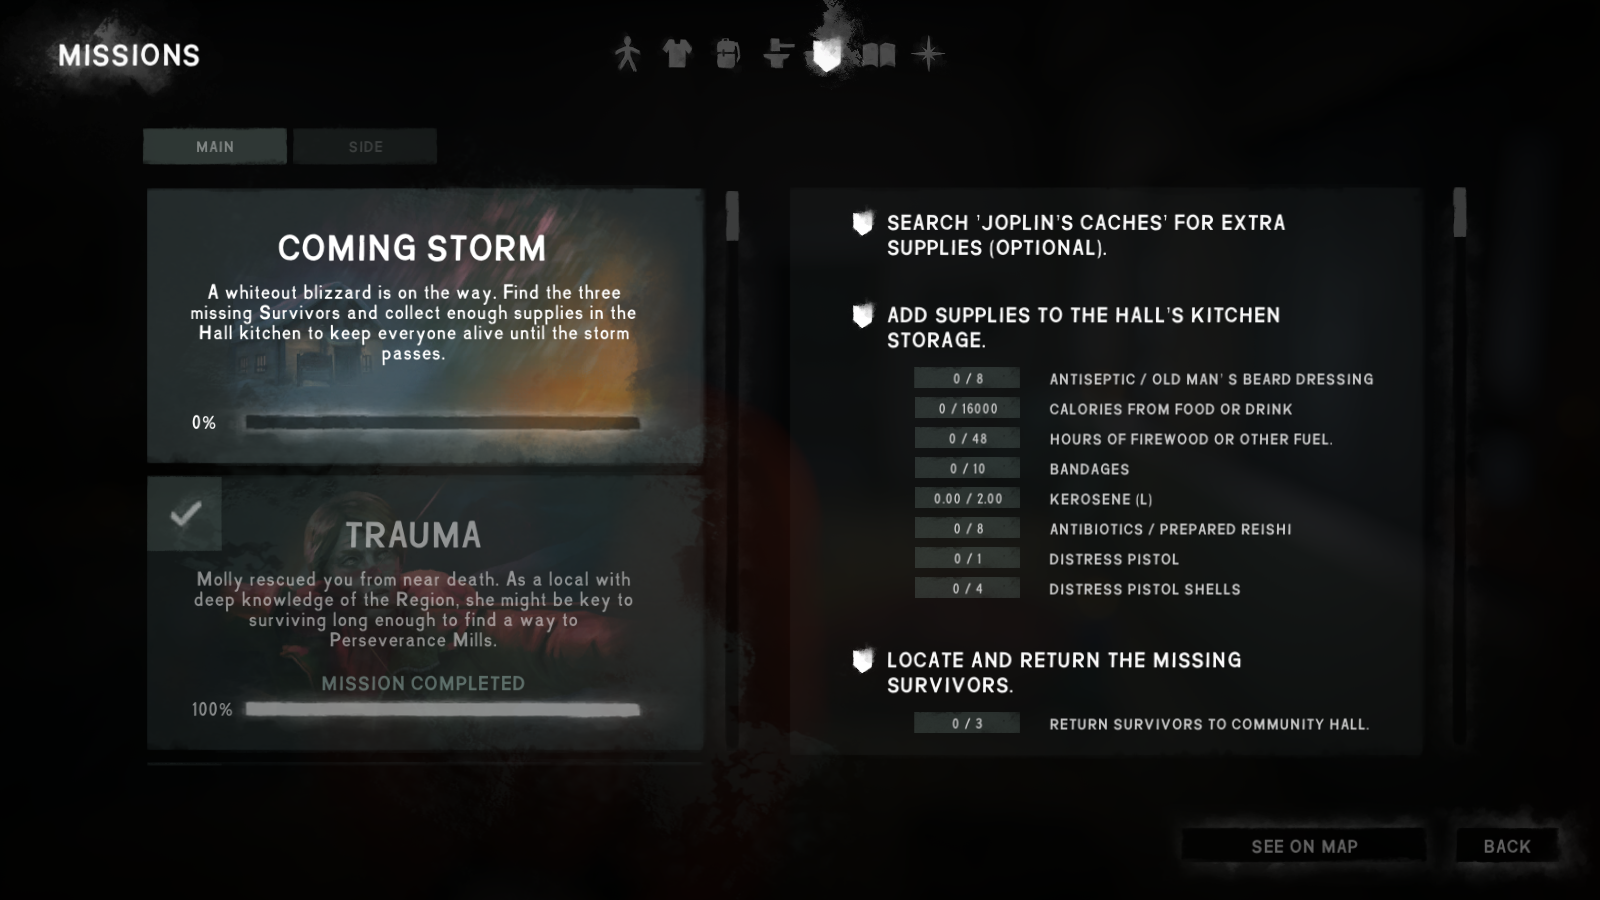 Essentially, this is a scaled-down version of the "Whiteout" challenge. The good news is there's no time limit like in the actual challenge. The bad news is that we also have to rescue three more survivors, which means more of carrying people and being attacked by scripted timberwolves.
To start, let's look at the supply gathering portion of this chapter. As the above screenshot shows, you need to gather a lot of items. Everything will go into this cabinet in the kitchen.
Essentially, this is a scaled-down version of the "Whiteout" challenge. The good news is there's no time limit like in the actual challenge. The bad news is that we also have to rescue three more survivors, which means more of carrying people and being attacked by scripted timberwolves.
To start, let's look at the supply gathering portion of this chapter. As the above screenshot shows, you need to gather a lot of items. Everything will go into this cabinet in the kitchen.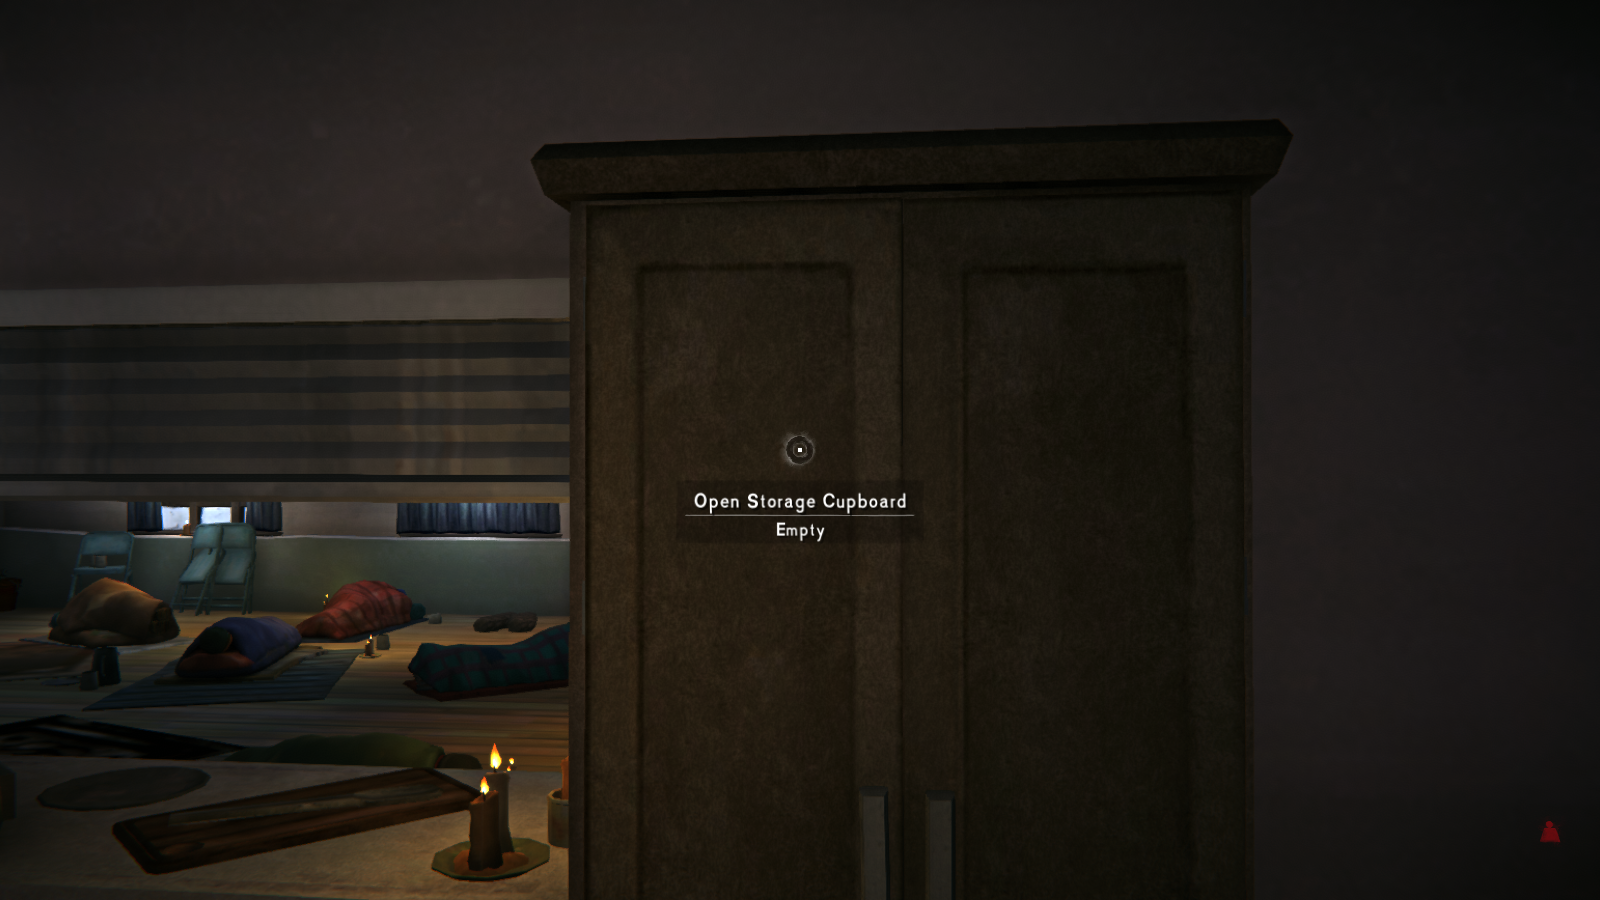 The majority of the items can be found in the abandoned houses in town. And you hopefully picked up the flare gun/distress pistol at the crash site like I mentioned earlier. If not, then don't worry. One has actually spawned in the Community Hall, but hold on to it for now.
So after cleaning out the town, the last items on the list should be firewood (maybe), food, and kerosene. For firewood, you should of course spend some time breaking down all the furniture in the houses. And if that's still not enough, there are plenty of limbs around town that can turned into fuel.
For food, you could head back to the crash site and pick up any frozen airliner food that you had to leave behind the first time you visited. But I would recommend fulfilling the optional objective of finding Joplin's Bunker since you'll be able to find the kerosene at the same time. And if you're really desperate, grab the hunting rifle and take down a couple of deer to fill the pantry.
Now kerosene is probably where most people are struggling. The easiest way to get the required amount is to visit any of Joplin's bunkers. Each one will have a large jerry can of the stuff with over 2L in it. If you don't want to do that, then you'll have to go around the island looking for storm lanterns to break down and small bottles. Or you fish until you drop because cooking a fish gives a small amount of kerosene. But seriously, just go for the bunkers.
----------------------------------------------------------------------------
Okay, on to the rescue portion of the chapter. First piece of advice is to break up each rescue with a sidequest or two. This is probably the most boring part of the game since you can't really do much while hauling a person around the island. Second is that two of the survivors will have scripted timberwolf attacks so be prepared for those with marine flares and revolver bullets.
Now for some reason, Astrid has a rough idea of where each of missing survivors wandered off to. If you check the map, you'll see a person icon surrounded by a bubble which indicates the suspected area (please excuse the missing people icons in my picture; the game didn't like my attempt to get all three people in the same shot).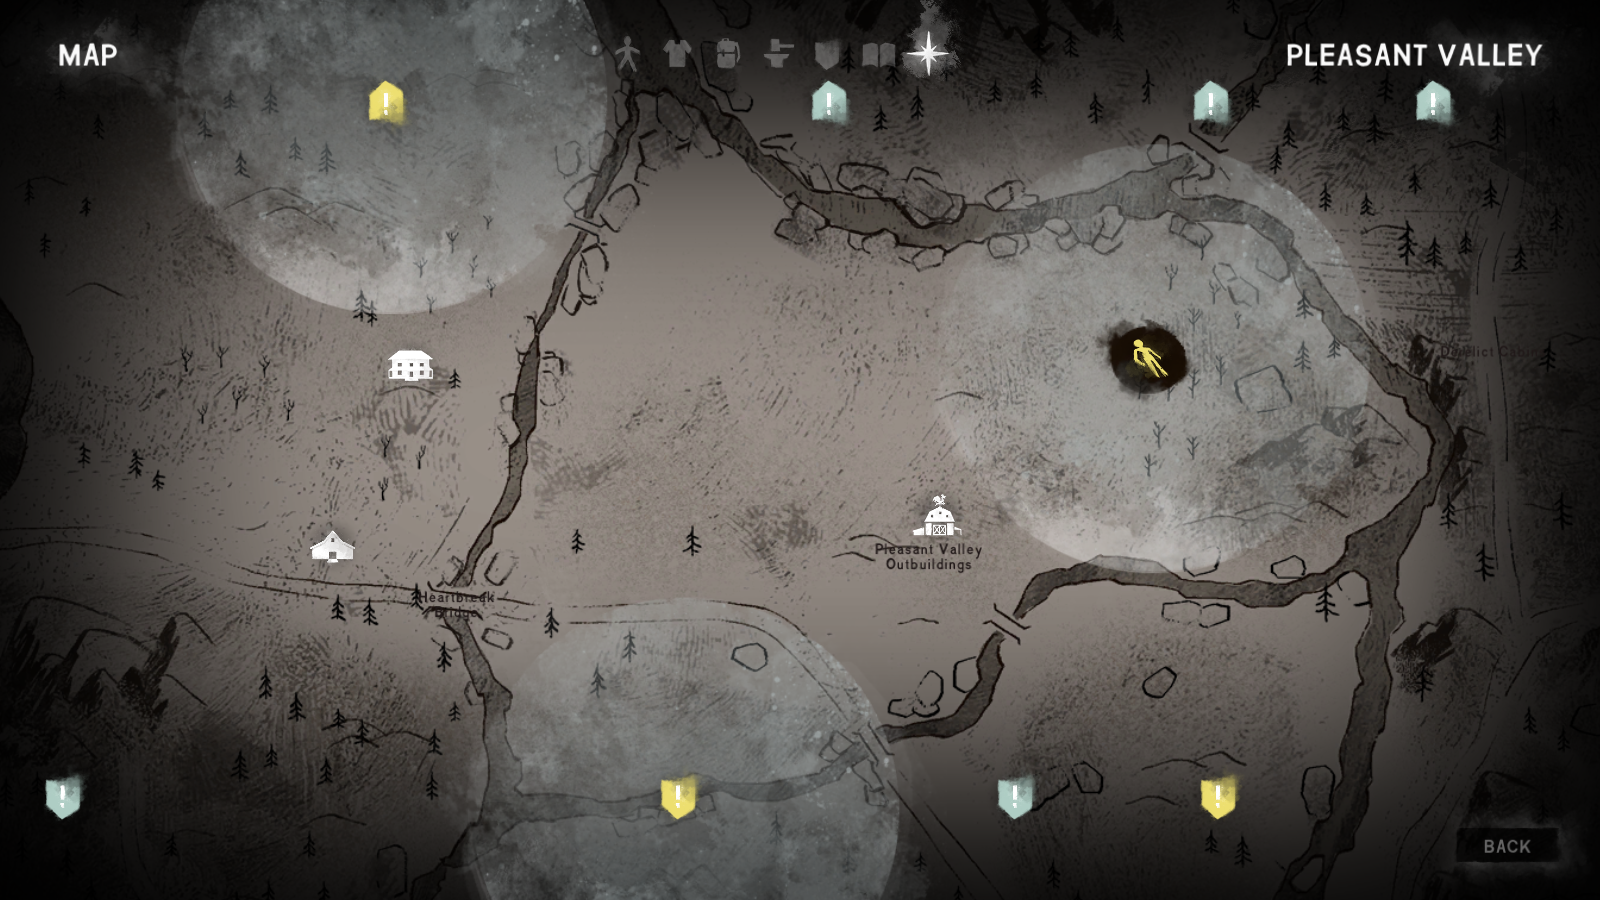 As I mentioned in the supply portion of this chapter, a flare gun will spawn in the Community Hall.
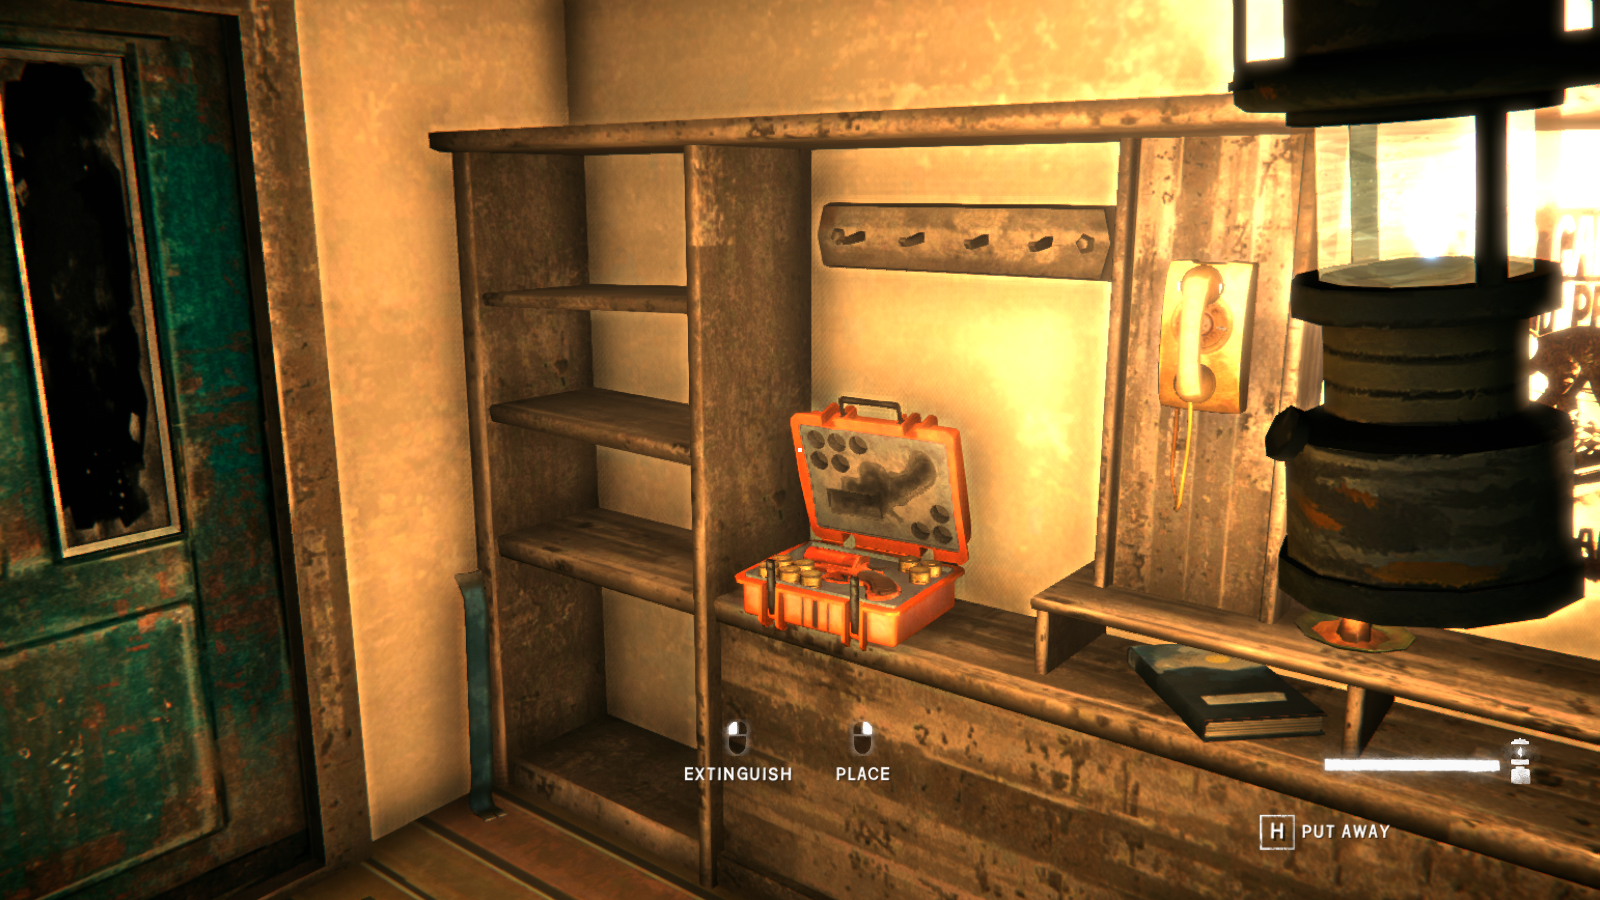 It's important to pick this up because you can actually use the gun to find each of the survivors. The first time you enter the general area of a survivor, Astrid will comment on being able to signal them with the flare gun. If you shoot a flare into the sky while inside the "bubble", the survivor will shoot a response of their own. You can then follow the flare to pinpoint their location. From there, just look for the glow or smoke of a fire since each survivor has a magic fire that's keeping them warm.
Anyways, starting from the top-right and moving counter-clockwise, these are the pictures of each survivor's campsite.
It's important to pick this up because you can actually use the gun to find each of the survivors. The first time you enter the general area of a survivor, Astrid will comment on being able to signal them with the flare gun. If you shoot a flare into the sky while inside the "bubble", the survivor will shoot a response of their own. You can then follow the flare to pinpoint their location. From there, just look for the glow or smoke of a fire since each survivor has a magic fire that's keeping them warm.
Anyways, starting from the top-right and moving counter-clockwise, these are the pictures of each survivor's campsite.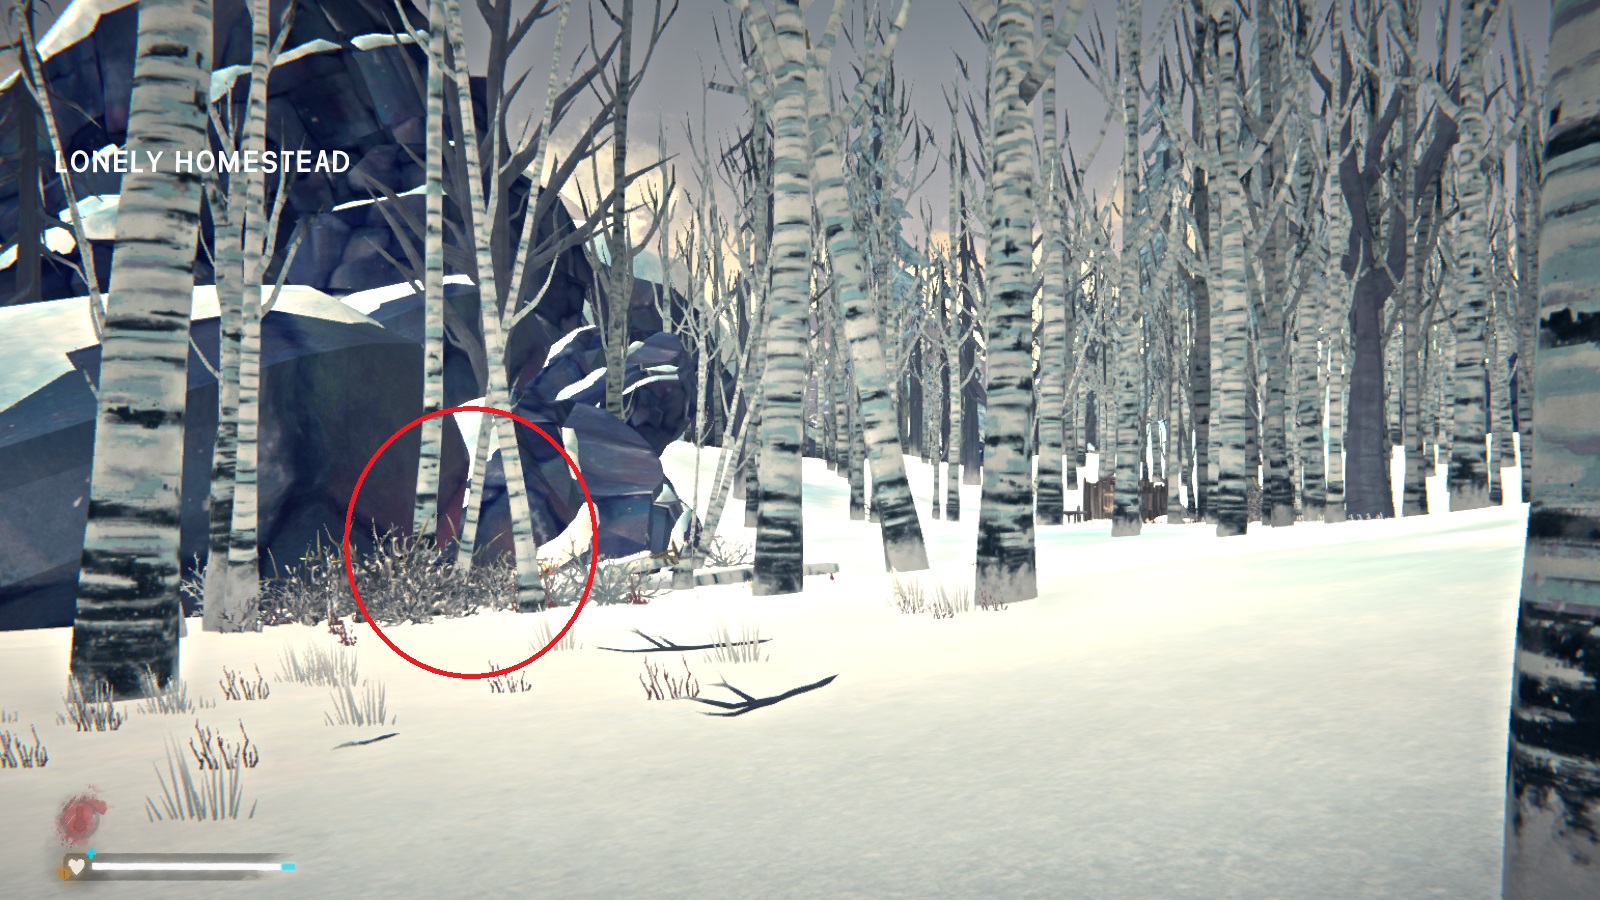
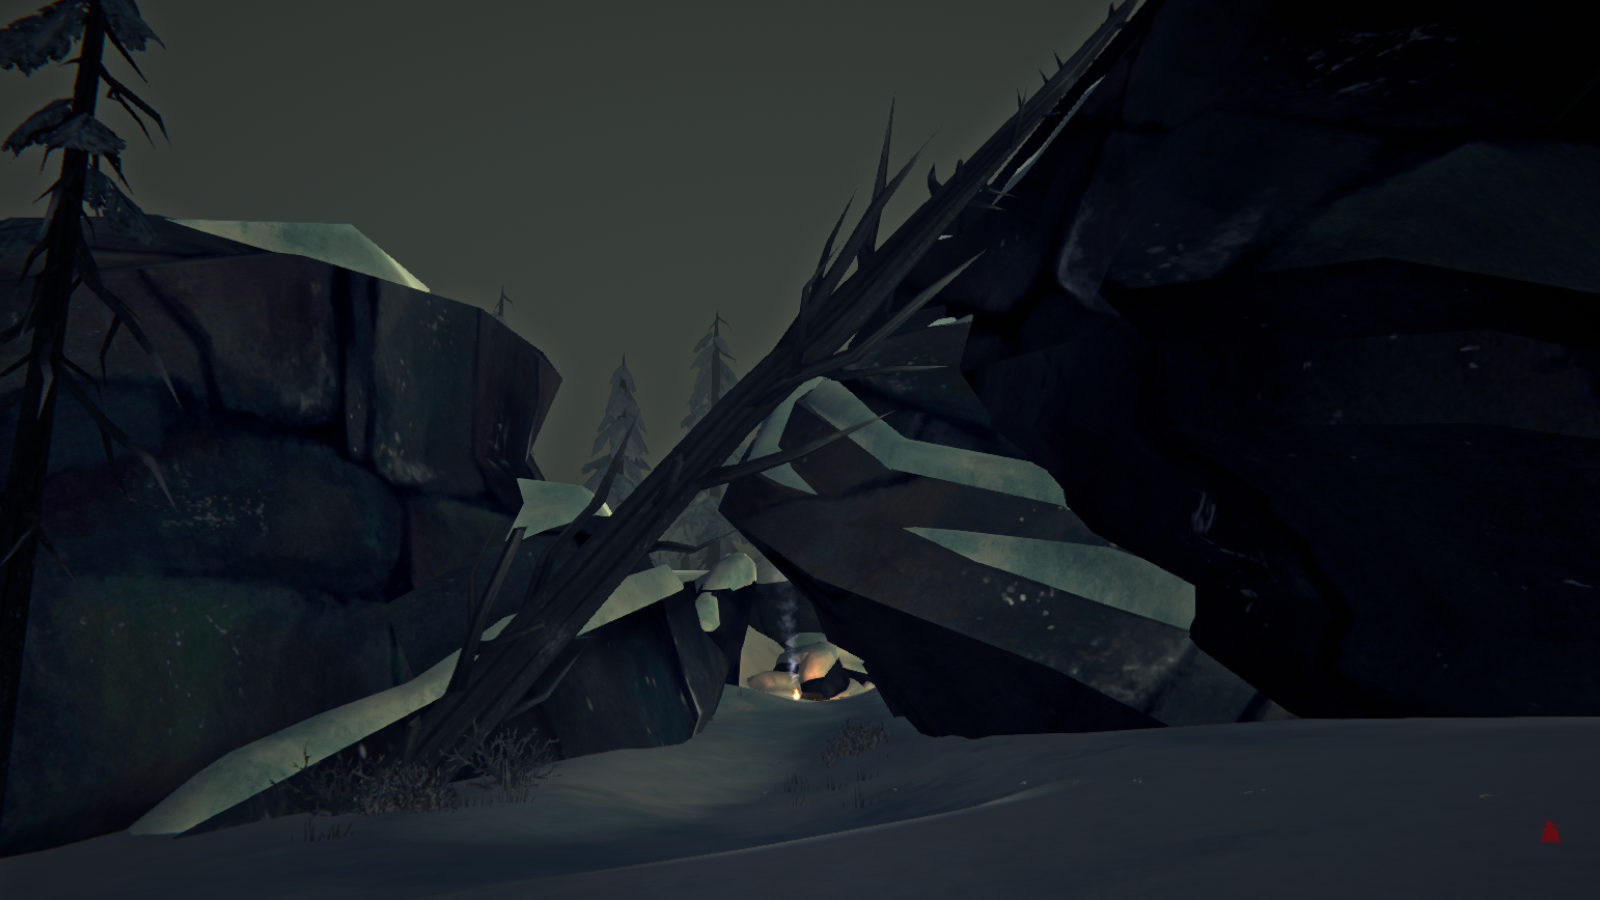
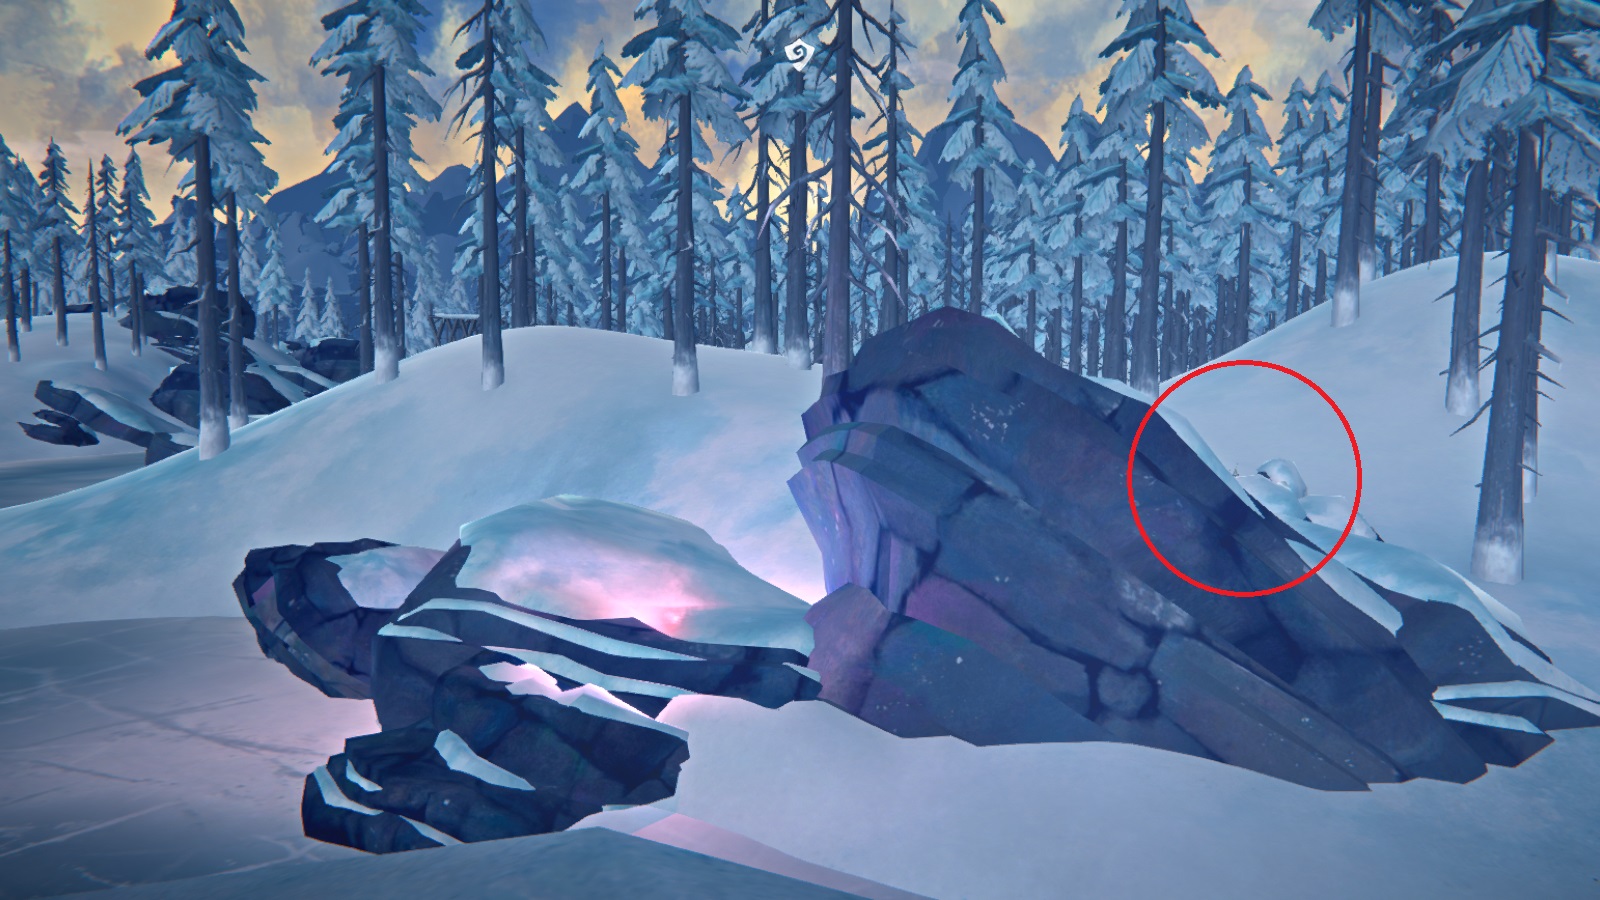 On this last picture, the survivor is in-between the large rock and a fallen tree (where the red circle is). I was approaching from the wrong direction.
Similar to when we found Gwen, you have to treat each person and then carry them to the Community Hall. And as I mentioned, for the first two, you will have to fend off timberwolves. It's a bit heartless, but you can use the survivor as bait. By leaving them on the ground and walking away, some of the timberwolves will stop and attack the survivor instead. This is a great time to line up a shot.
Each time you get to Community Hall, another cot will appear and you have to place the survivor on it. Make sure you can't pick them back up again. If you can, then the game didn't like how you put them on the cot and you have to try again (hopefully HInterland will patch soon so the survivors just "snap" onto the cots).
Once you finish stocking the pantry and have rescued all three survivors, you will get a new objective to talk to Father Thomas. Do so, and the chapter will end.
Chapter 4: Aftermath
Alright, we have finished at the Community Hall! And as we leave, it's time for the next call from Molly.
After talking to her, we now have the objective of reaching the Signal Hill radio tower. But remember how Father Thomas said a massive blizzard was coming? Well, it's here. The blizzard will stop after around three in-game days, but it's not an exact timeframe.
Once you're ready to head out, there are three ways to get to Signal Hill. If you know Pleasant Valley well, then you can just follow the road until you're in front of Molly's Farmhouse. There's foot-path up the mountain to the radio tower, and also a climbing rope option if you're not carrying too much stuff. Note this is best suited to experienced players since the footpath is very hard to find.If you're like me and don't know the area that well, the more well-marked path is to follow the road until it creates a T-junction. You want to take the southern road and just follow it around the back of the mountains until you reach the radio tower.
Finally, you can follow the road until you reach either Contemplation or Heartbreak Bridge, and then go up the river until you reach the bridge near the edge of the map. The climb from the riverbank to the road is pretty steep though, so you may need some painkillers for the sprained ankles. From there, follow the path to your right and it will go straight to the radio tower.
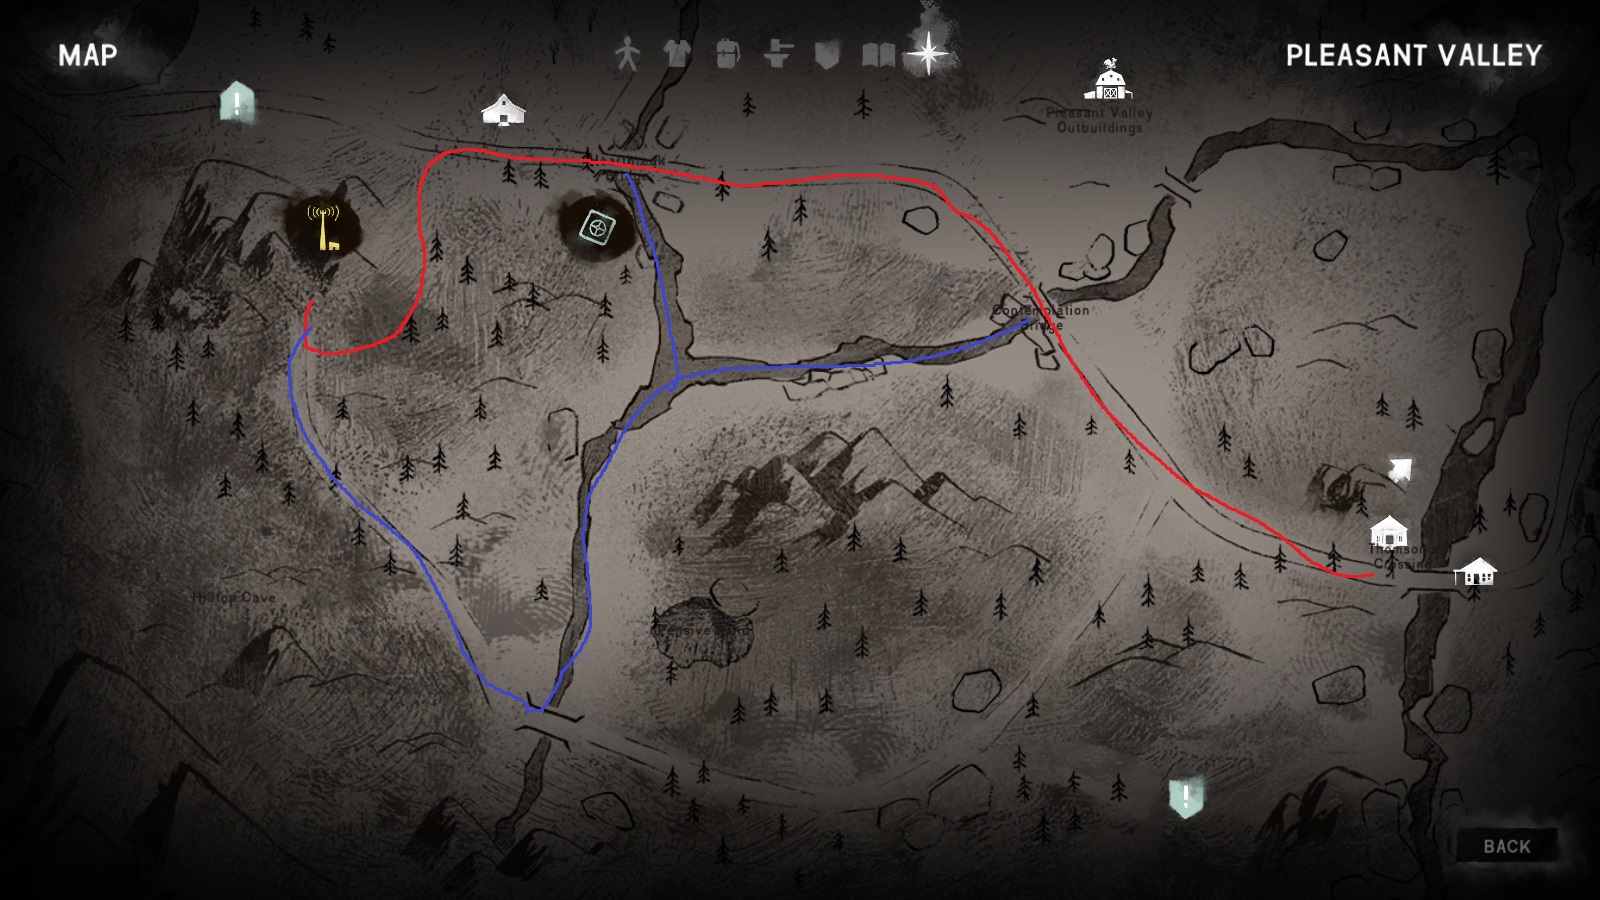 Once you get there, you'll find the body of another convict. Anyways, head inside and interact with the radio for a cutscene. After, you need to do as Astrid says and go to sleep in the Radio Tower.
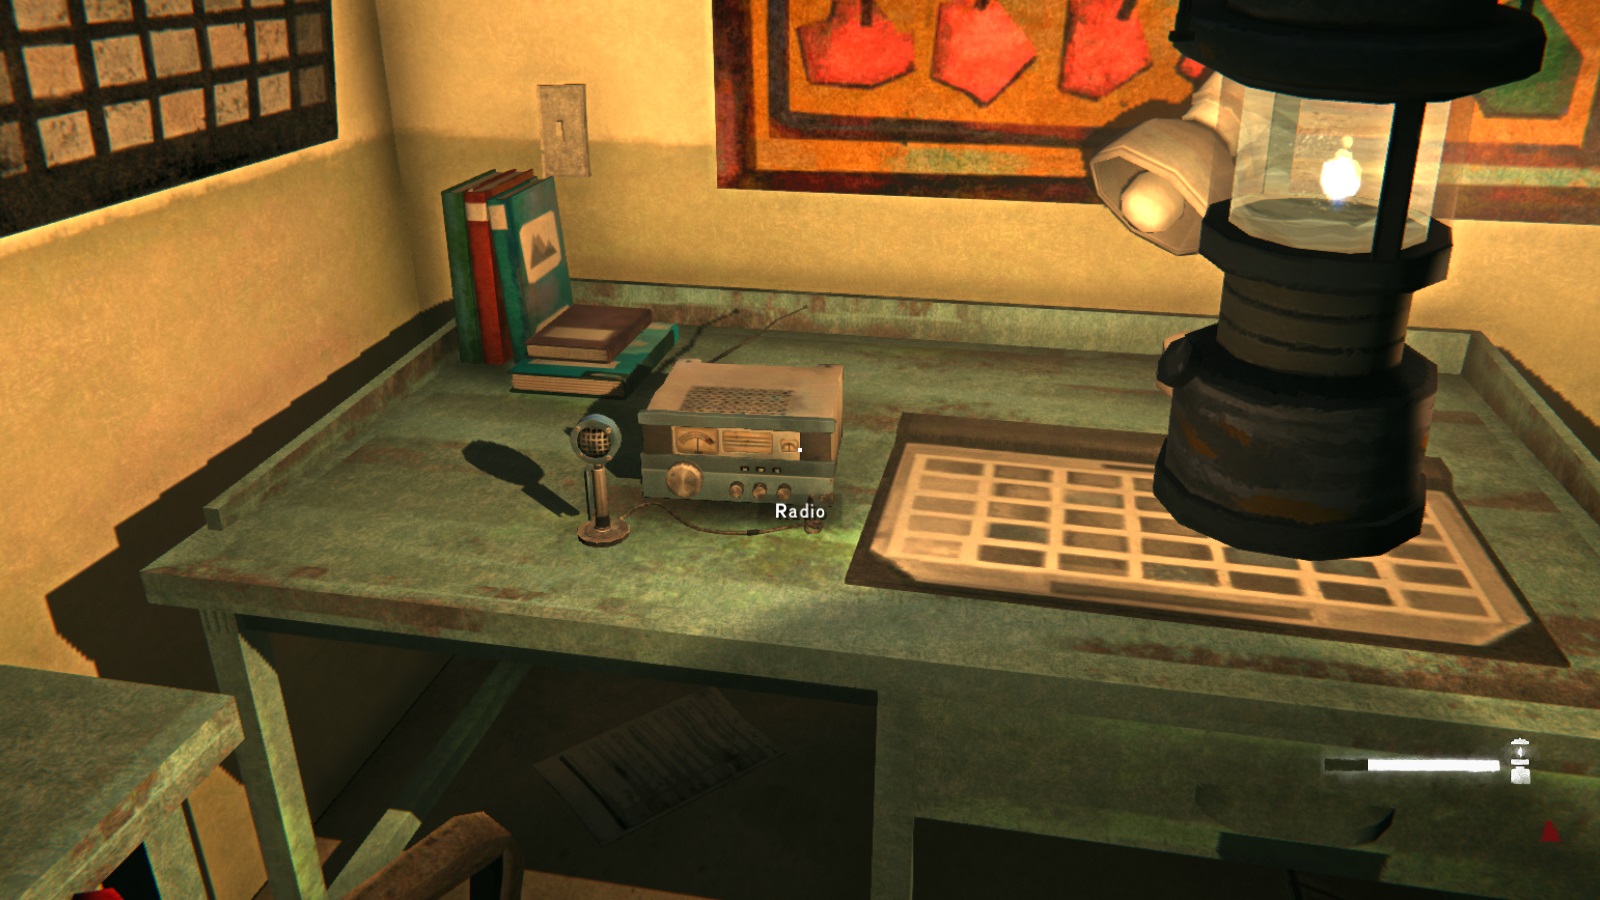 Hooray for scripted Auroras! Looks like Astrid heard all of Will's conversation from near the end of Episode 2. Once the cutscene finishes, we get another phone call from Molly.
Uh, not sure what to think of that one. I mean, just because your husband was an abusive jerk doesn't mean you should murder every man you come across. But glad to see that Astrid does care for Will. Still, the aurora will keep going even after the cutscenes end. You can head out now; it will be well lit because of the aurora, but there is the possibility of aurora wolves.
Anyways, it's back towards Thomson's Crossing because we're heading for the mines that transition into Coastal Highway. As the prompt says, once you leave the Valley, you won't be able to come back so be sure to finish up any sidequests you want to do and bring everything you need when you make the final trek to the mines.
---------------------------------------------------------------
Now getting to the mines is actually a bit tricky. You can't just walk up the cliff. Instead, you want to follow the road as if you're heading to the crash site until you see this barricade on the right.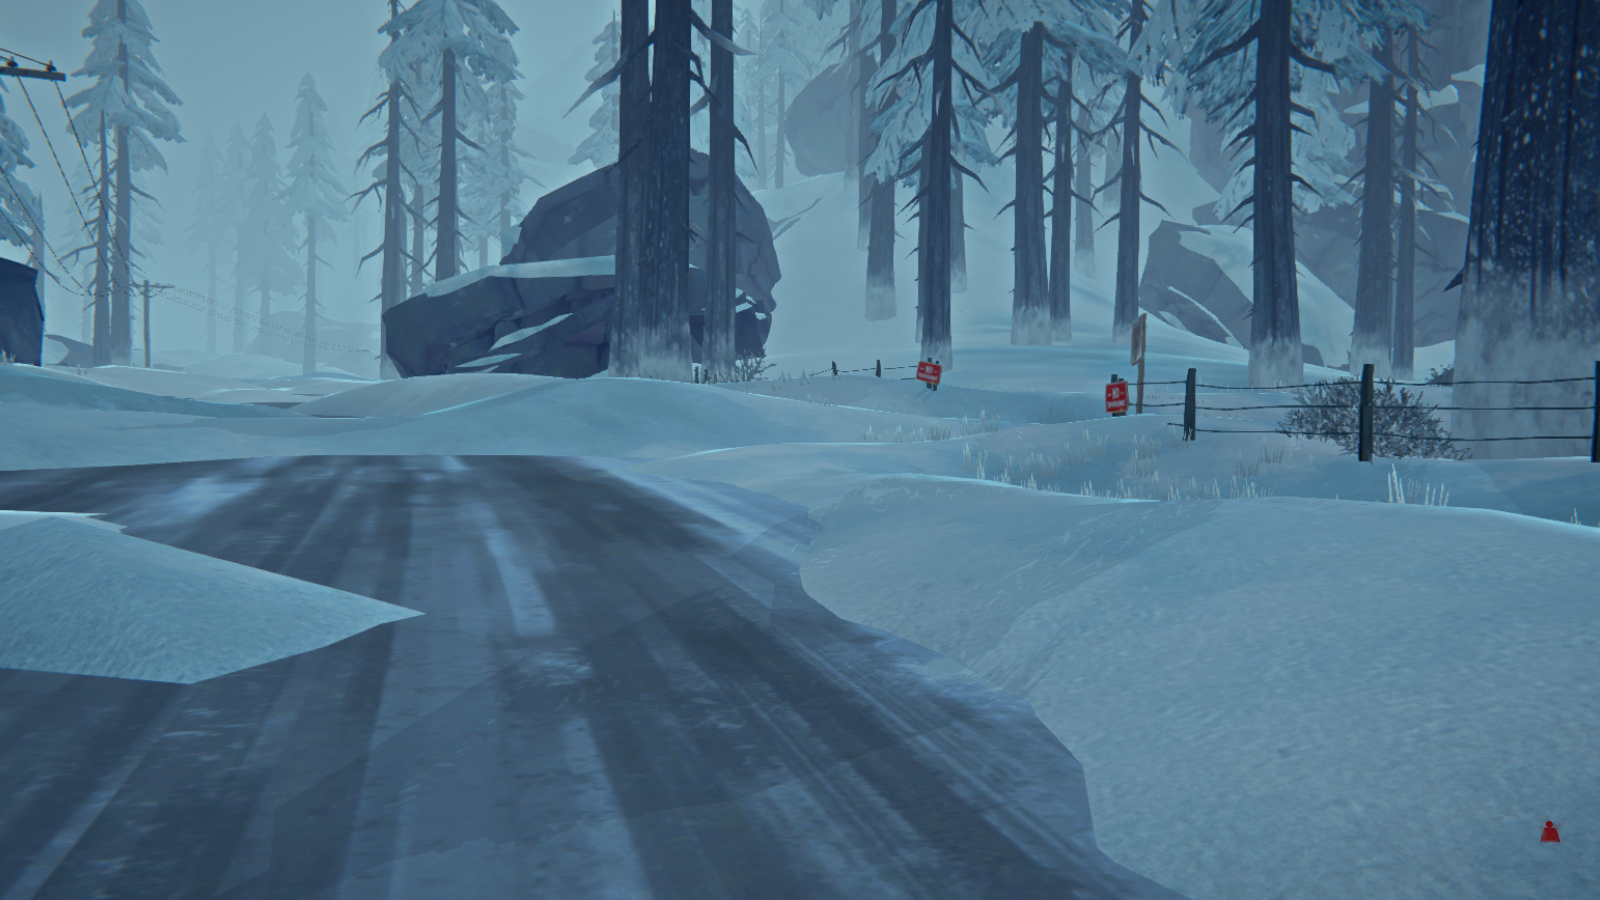 From here, just follow the path and you'll eventually come across the abandoned mine entrance. Oh, and you might have a big timberwolf attack...just a heads-up.
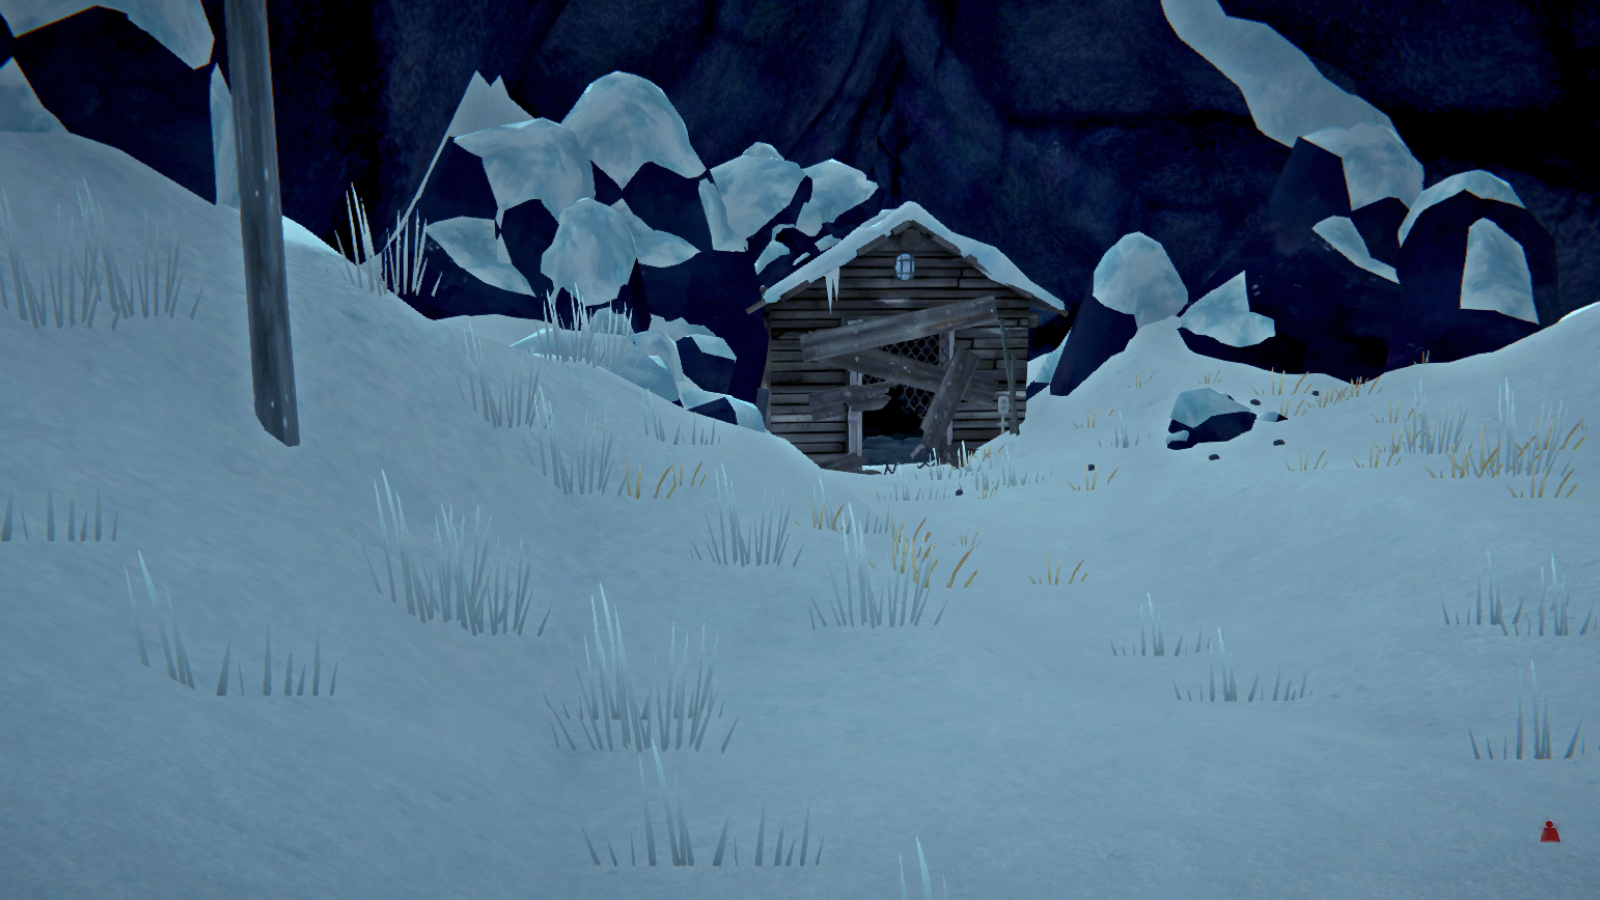 Well! The game is very kind with the warnings about reaching the point of no return. You'll want to advance in the mines until you reach a large open area with a fire barrel and workbench. From there, you'll quickly reach the no-return part when one of the many earthquakes finally collapses the mines on Astrid's head. And some advice: be sure to put away your lantern if you had one out.
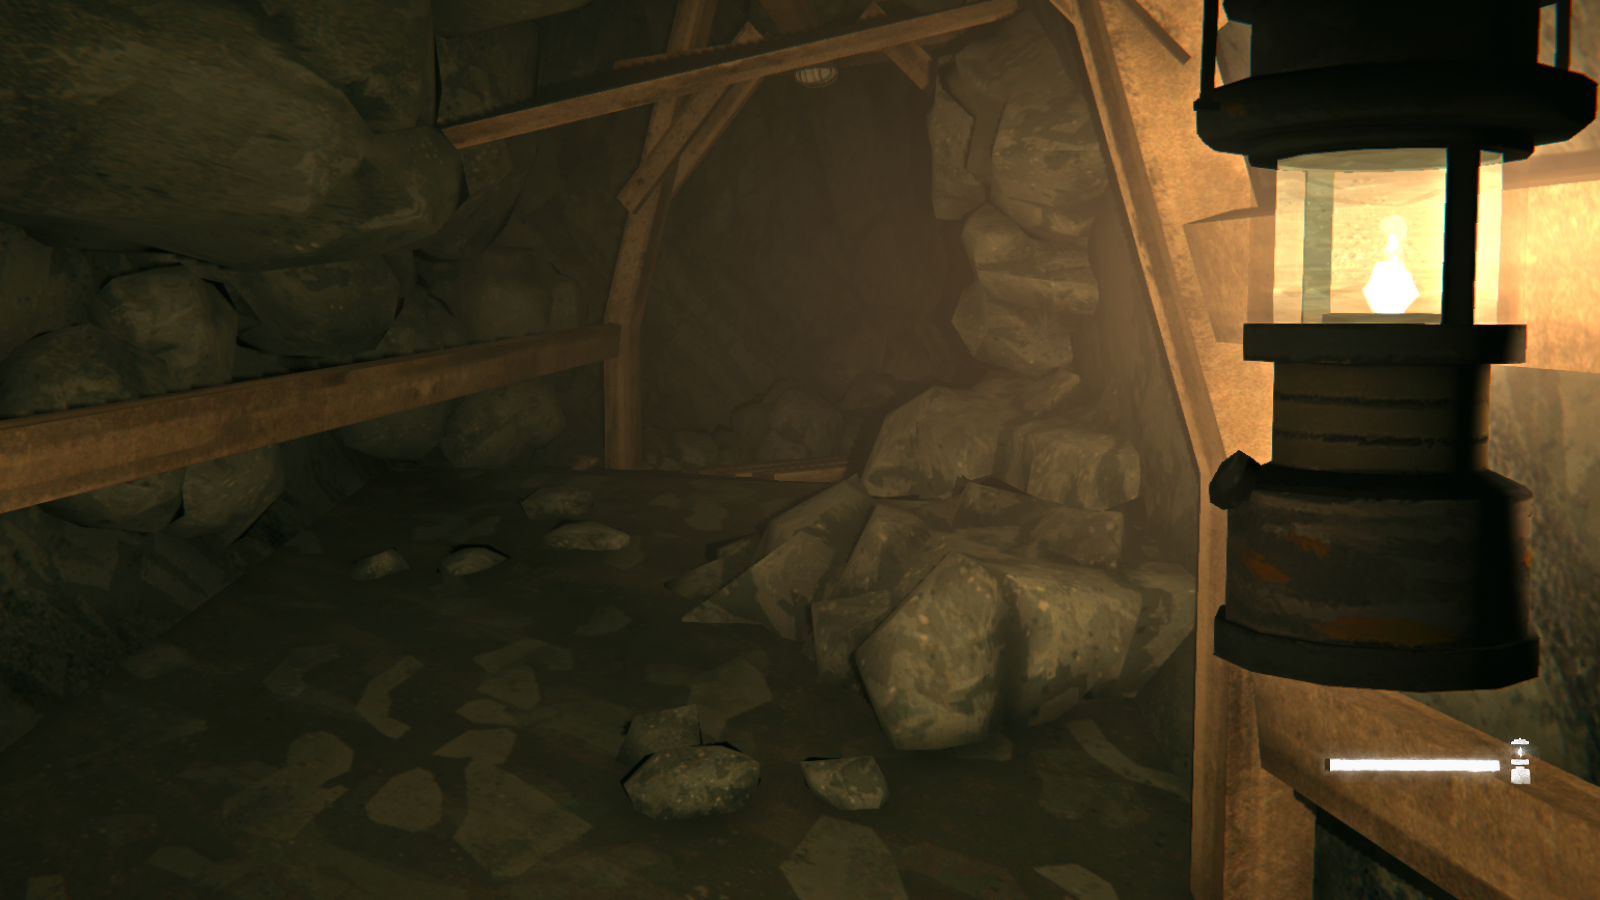 Ouch. Well, at least you only have a few sprains instead of the very probable concussion and broken bones. From here, there's only one way out. If you had your lantern out, then you won't have it anymore since Astrid dropped it after getting beaned in the head by some rocks (this is why all my pictures have flare lighting).
Soon you'll come across some water and electrical wires. Hooray, more electrical burns!
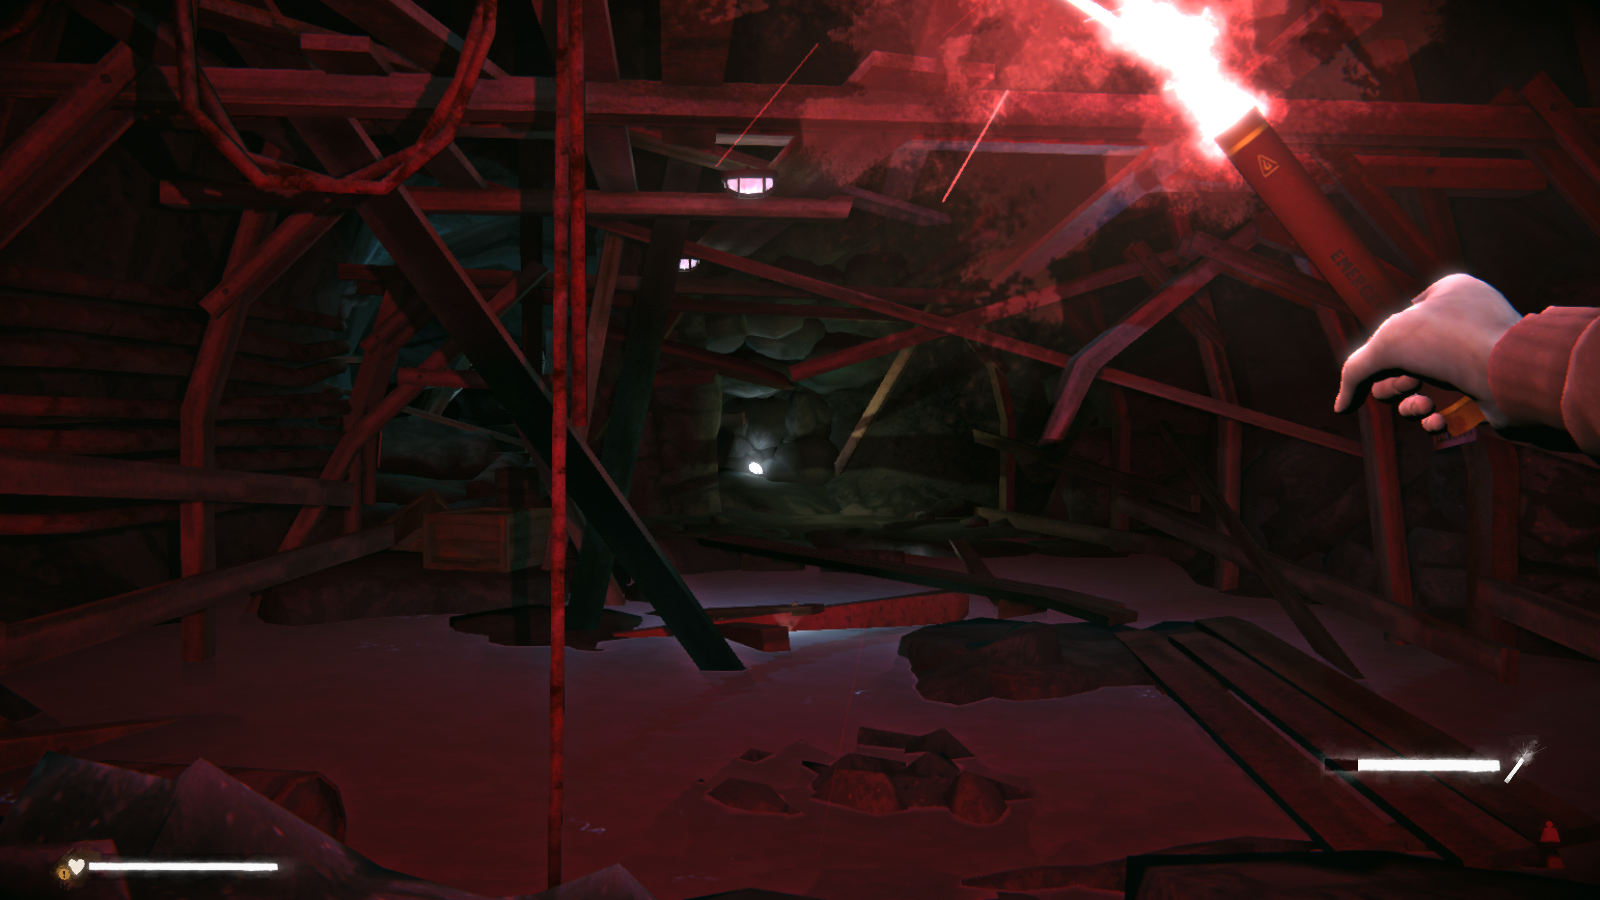 Now as the game says, you don't want the touch either the open wires or the water that has been electrified by them. Anyways, keep going to see an elevator. The game will prompt you to try and use it, but the fuses are burnt out. So now you have to replace them.
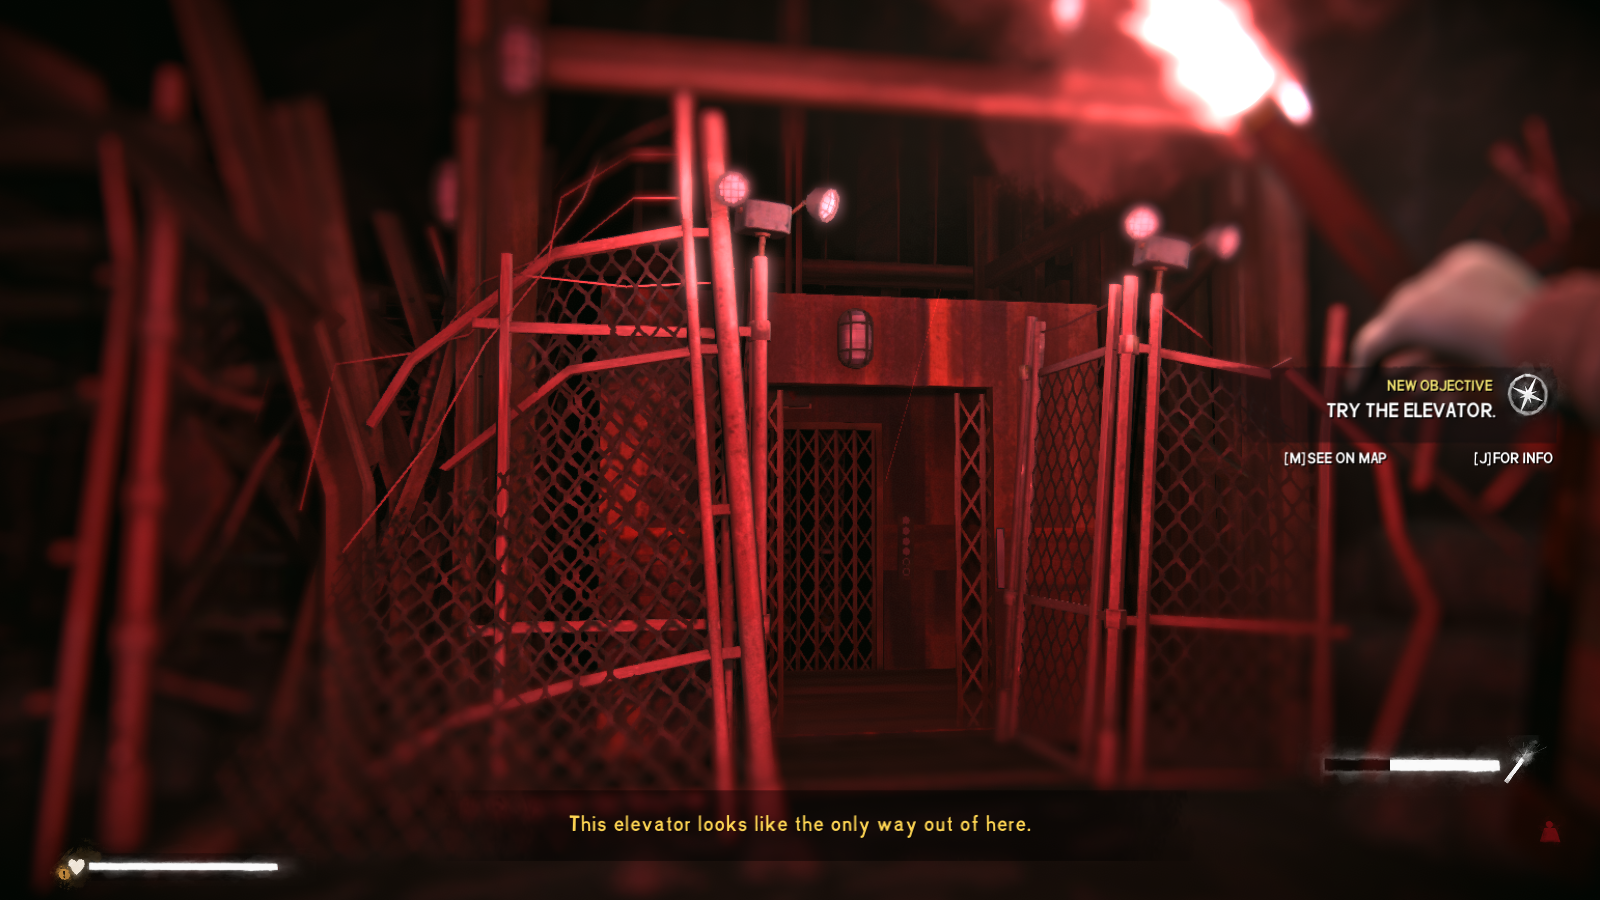 But before we do that, you want to check out the area behind the elevator for some nice goodies, most importantly a flashlight.
 Anyways, back to the burnt out fuses. There are three fuse boxes that need to be fixed before the elevator will work.
 - The first was actually on the right, when you first crossed the water before reaching the elevator.
- The second is down a corridor of the mine. It will be to your left when facing the elevator. The box itself is on the right.
- The last box on the scaffolding above the elevator. There's a metal stairway up. This is also the way you need to go to proceed.
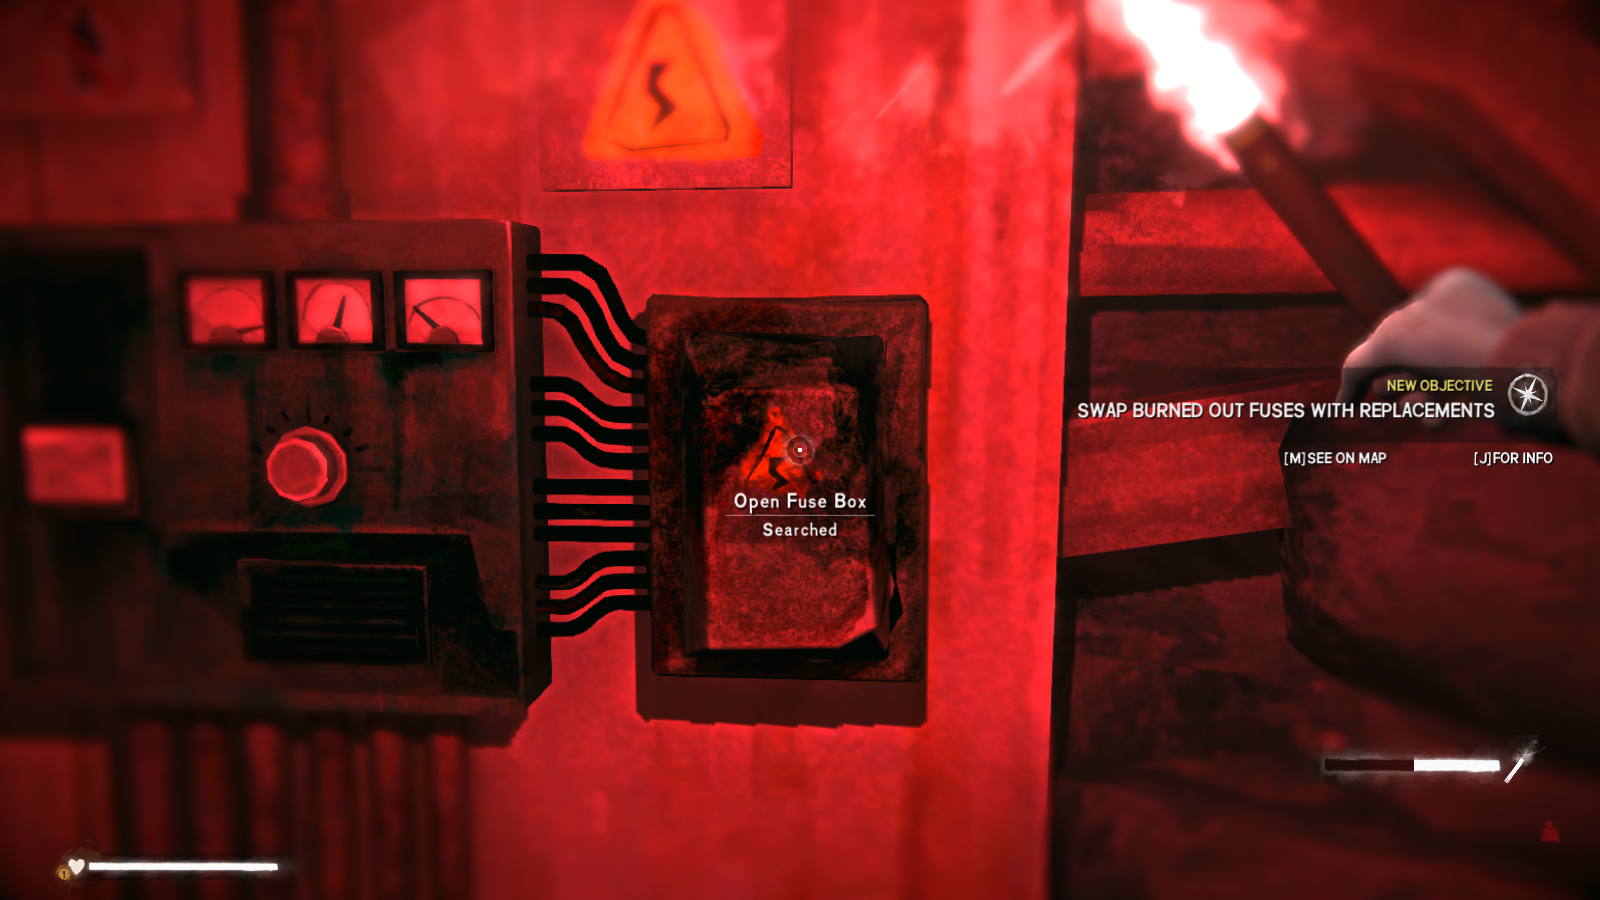
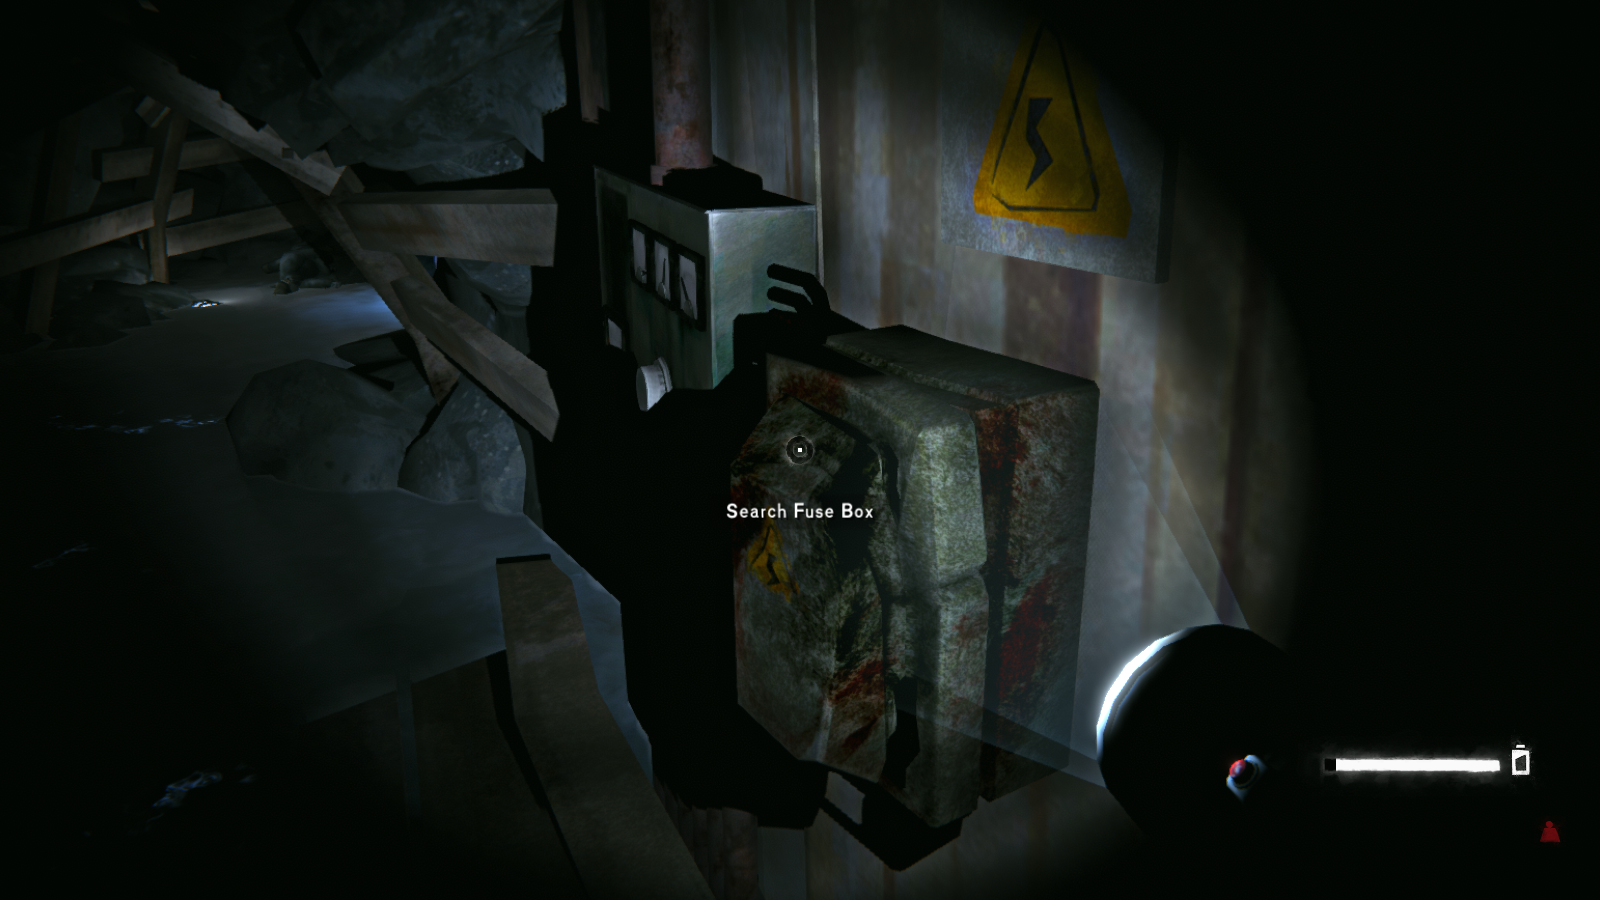
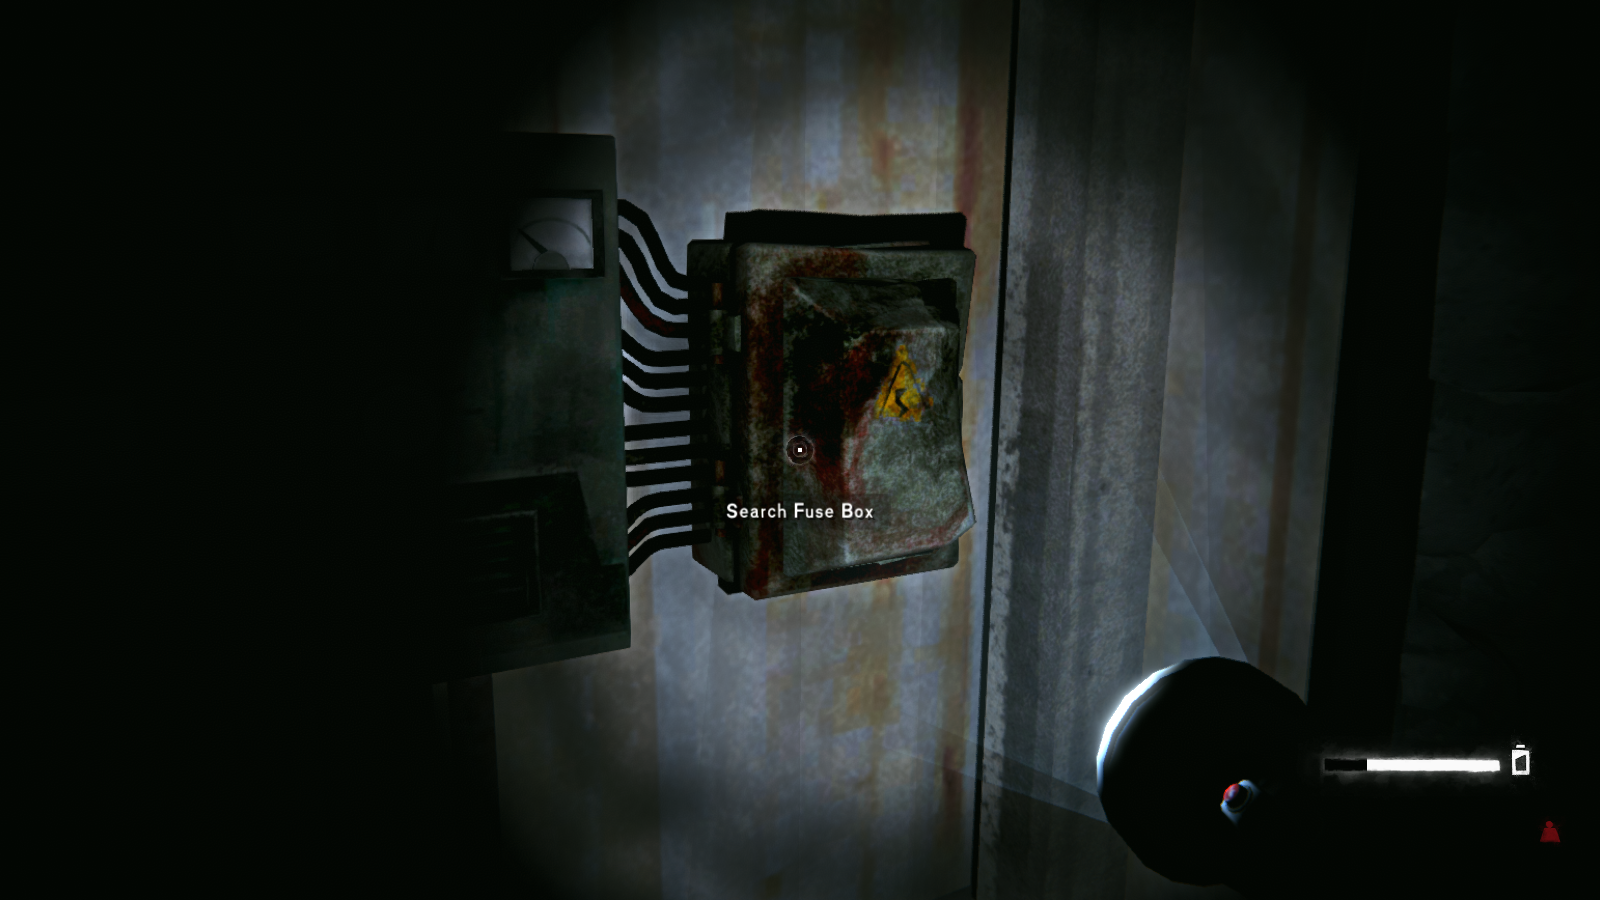
Each of these boxes will have a burnt out fuse. You should go ahead and take them out because there has to be room for the new fuses. But the items are useless, so just drop them on the ground. On to finding replacements! Head up the stairs, past the third fuse box, and just keep following the path. Eventually, you'll come to a pond of water with a gate at the end.
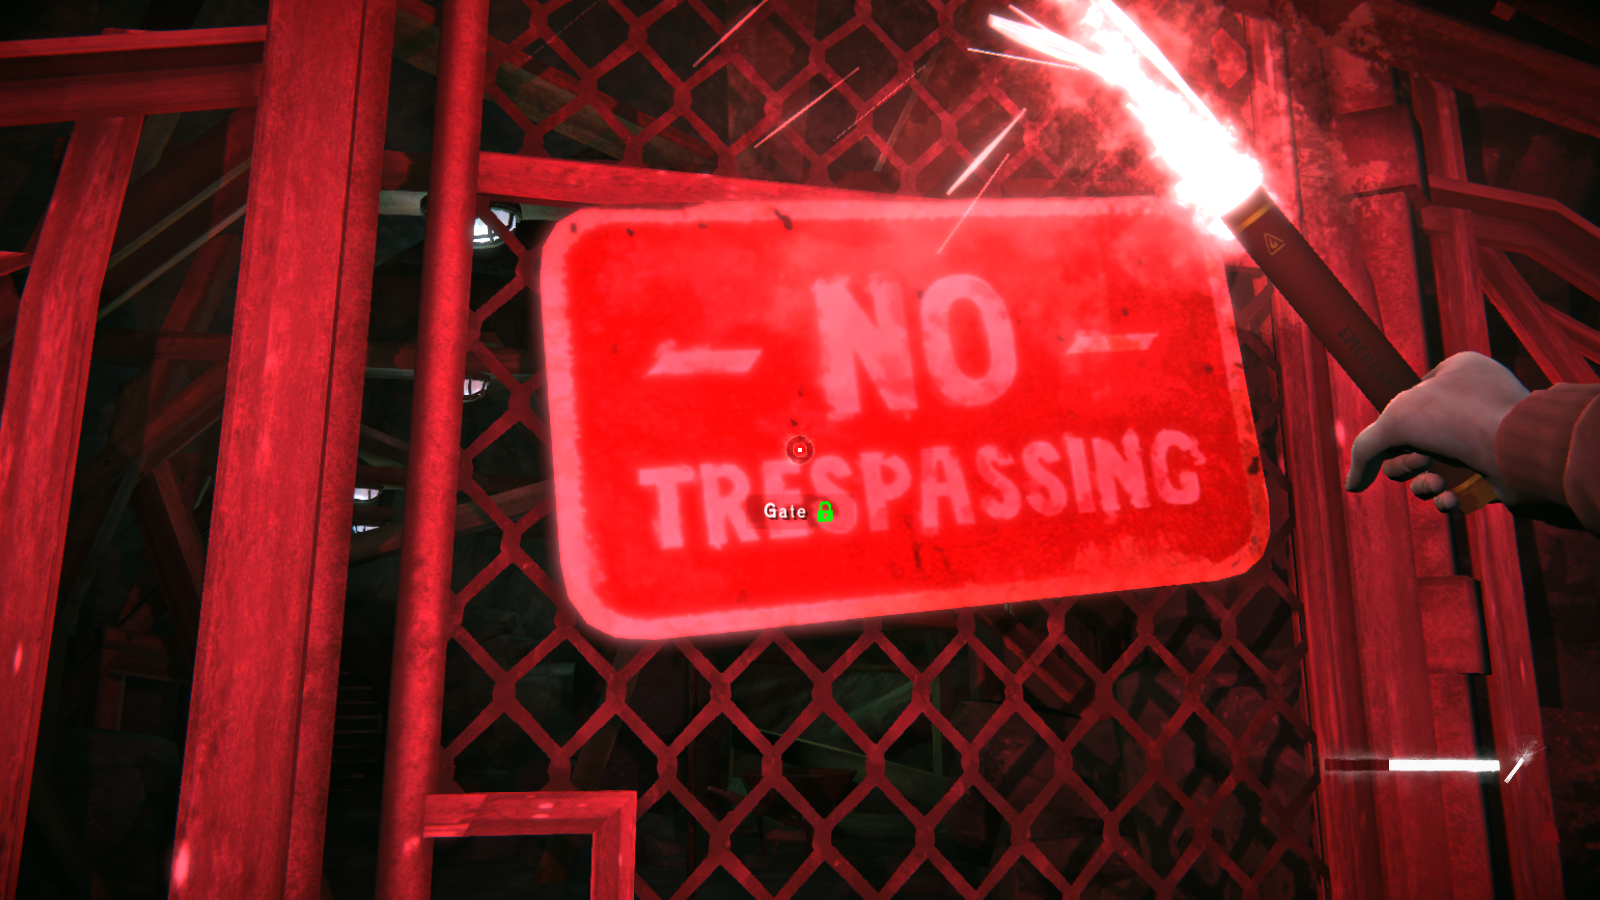 At the moment, this is a dead end. You'll need some bolt cutters to get inside. But if you turn around, you'll see there's another path we can take.
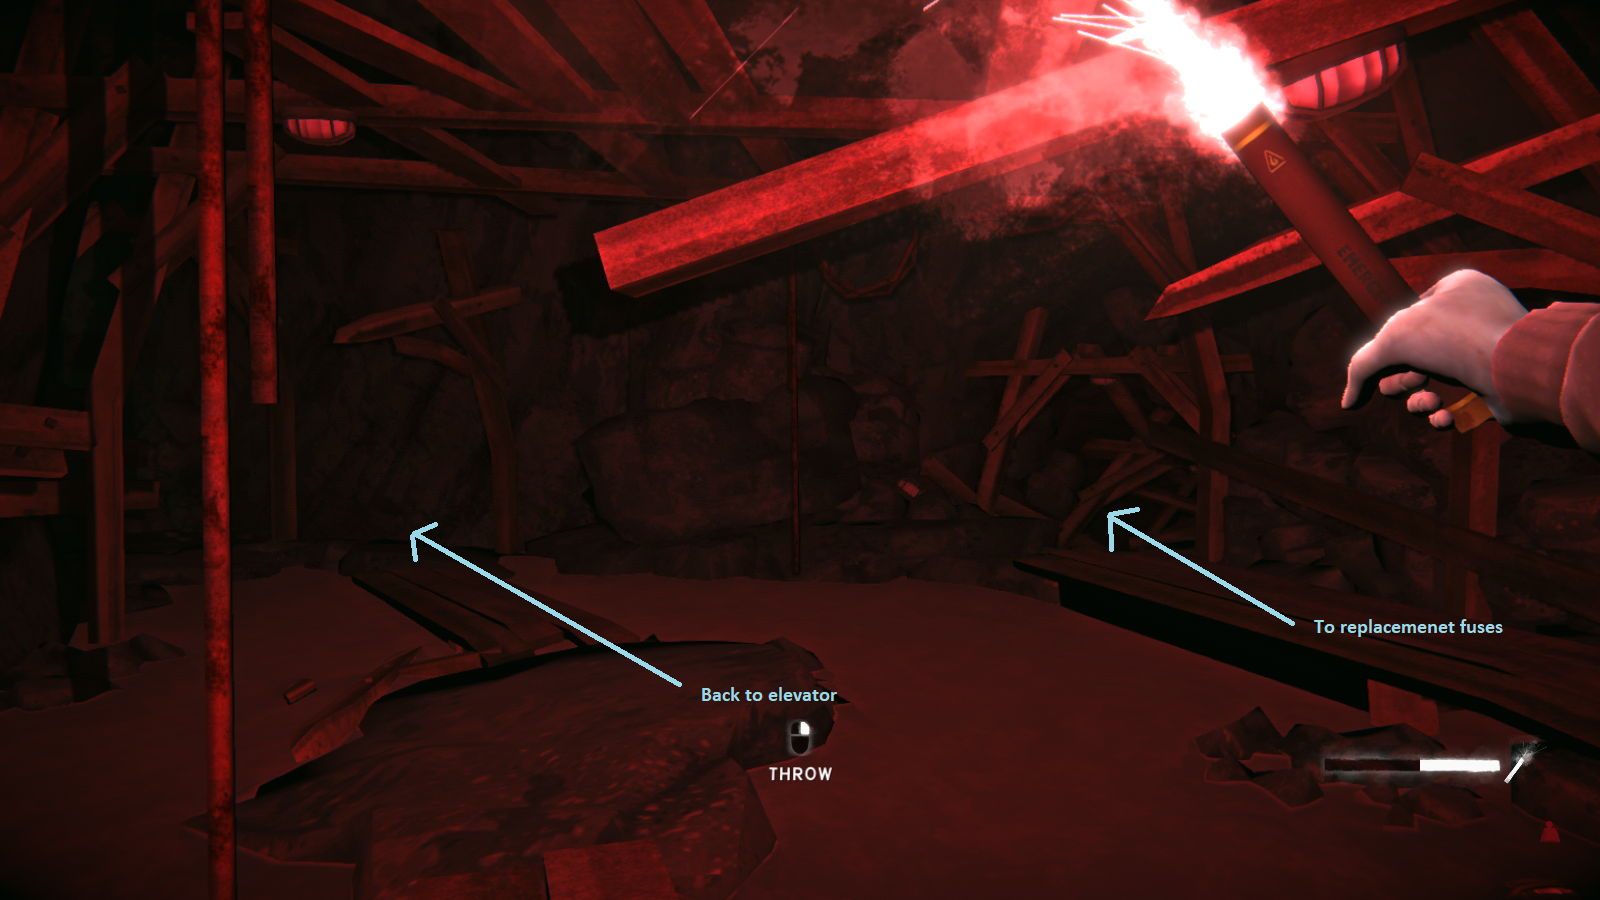 Follow it, and you'll soon reach a large room. From here, you can reach two of the three replacement fuses and the bolt cutters.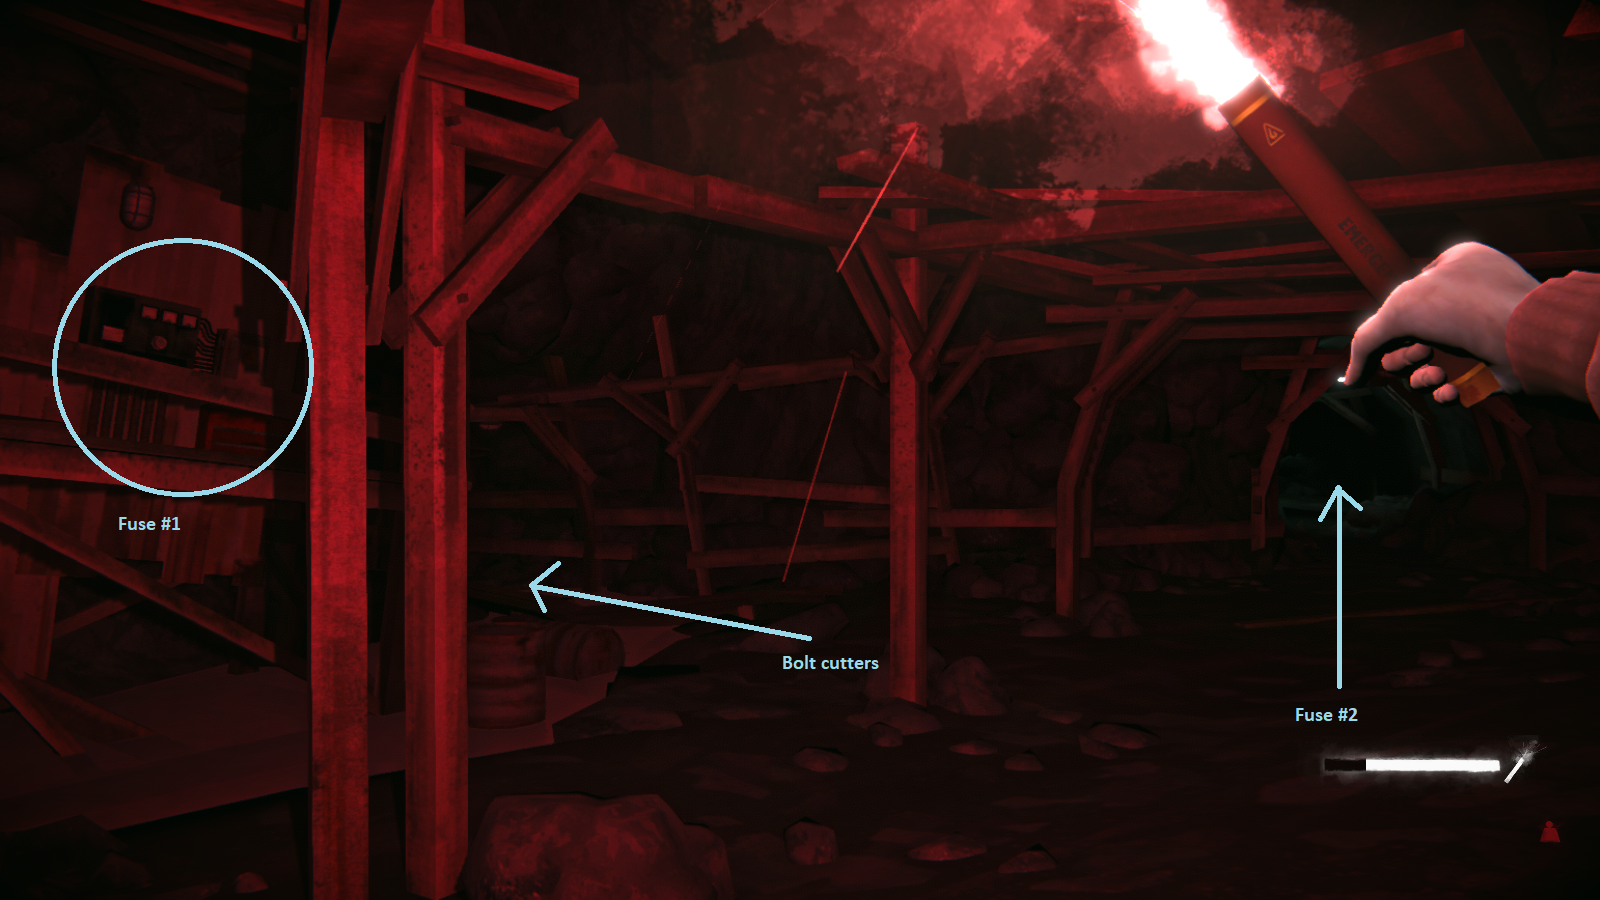
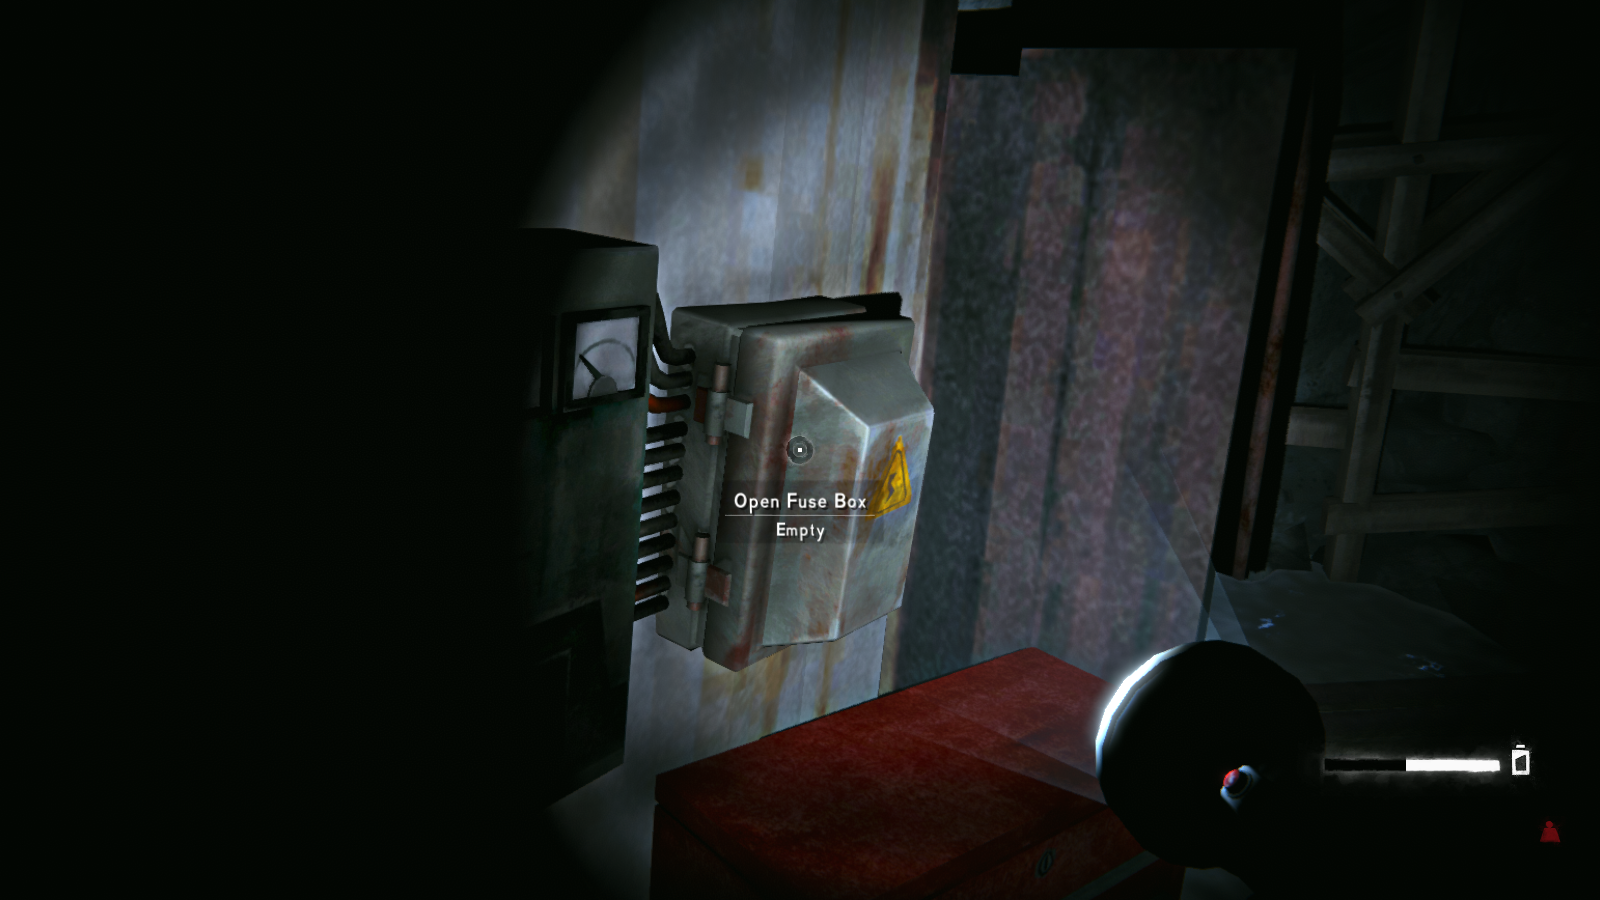
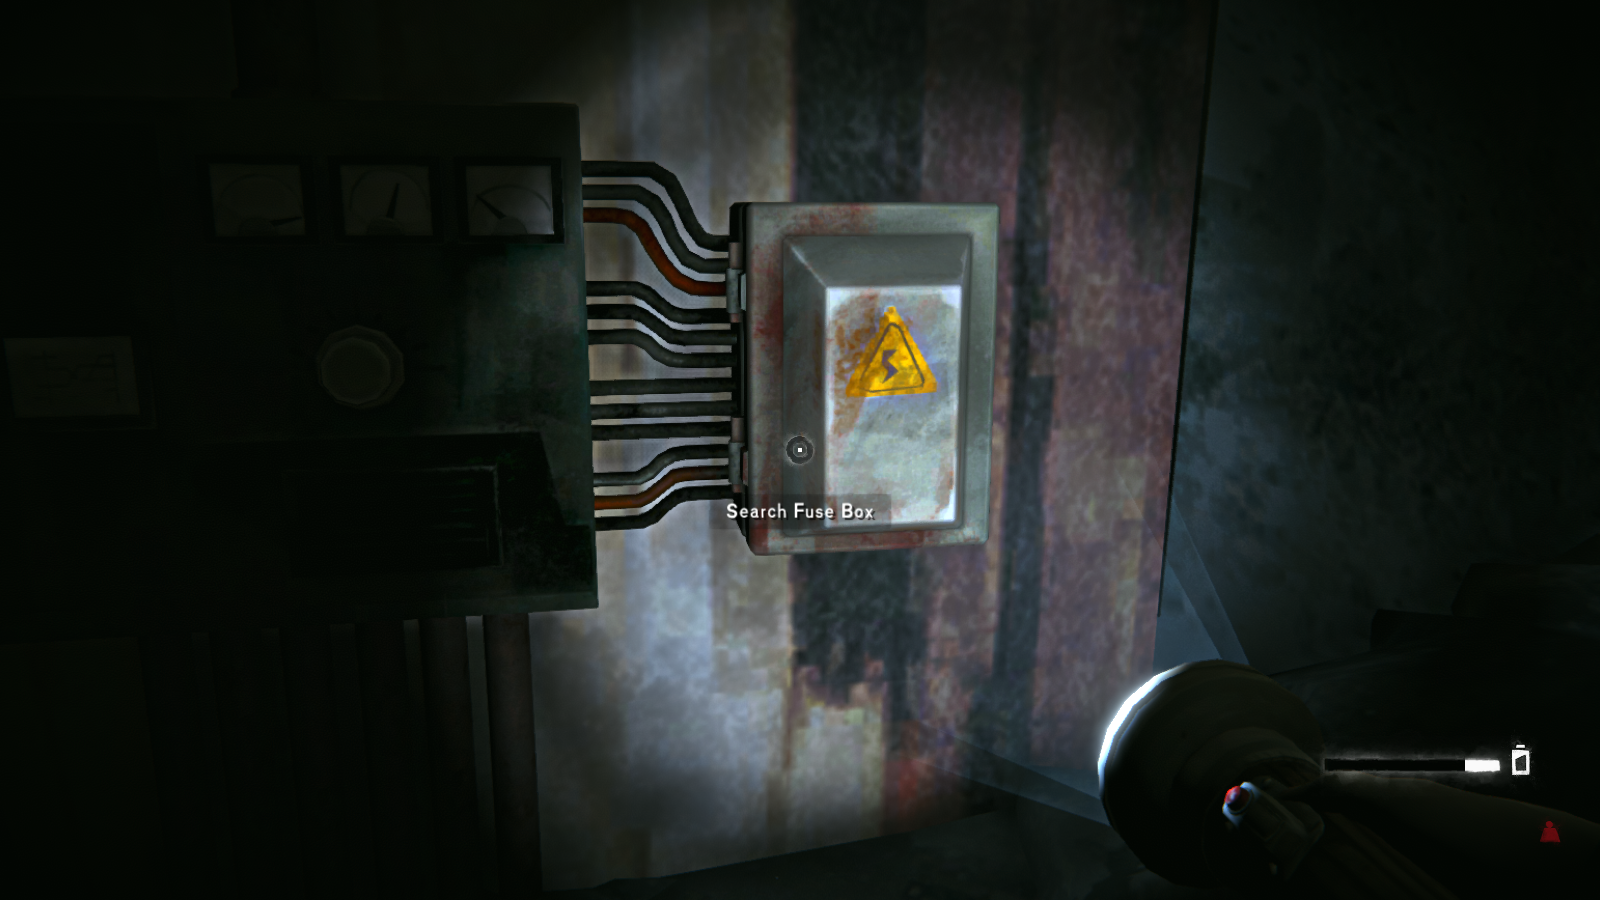
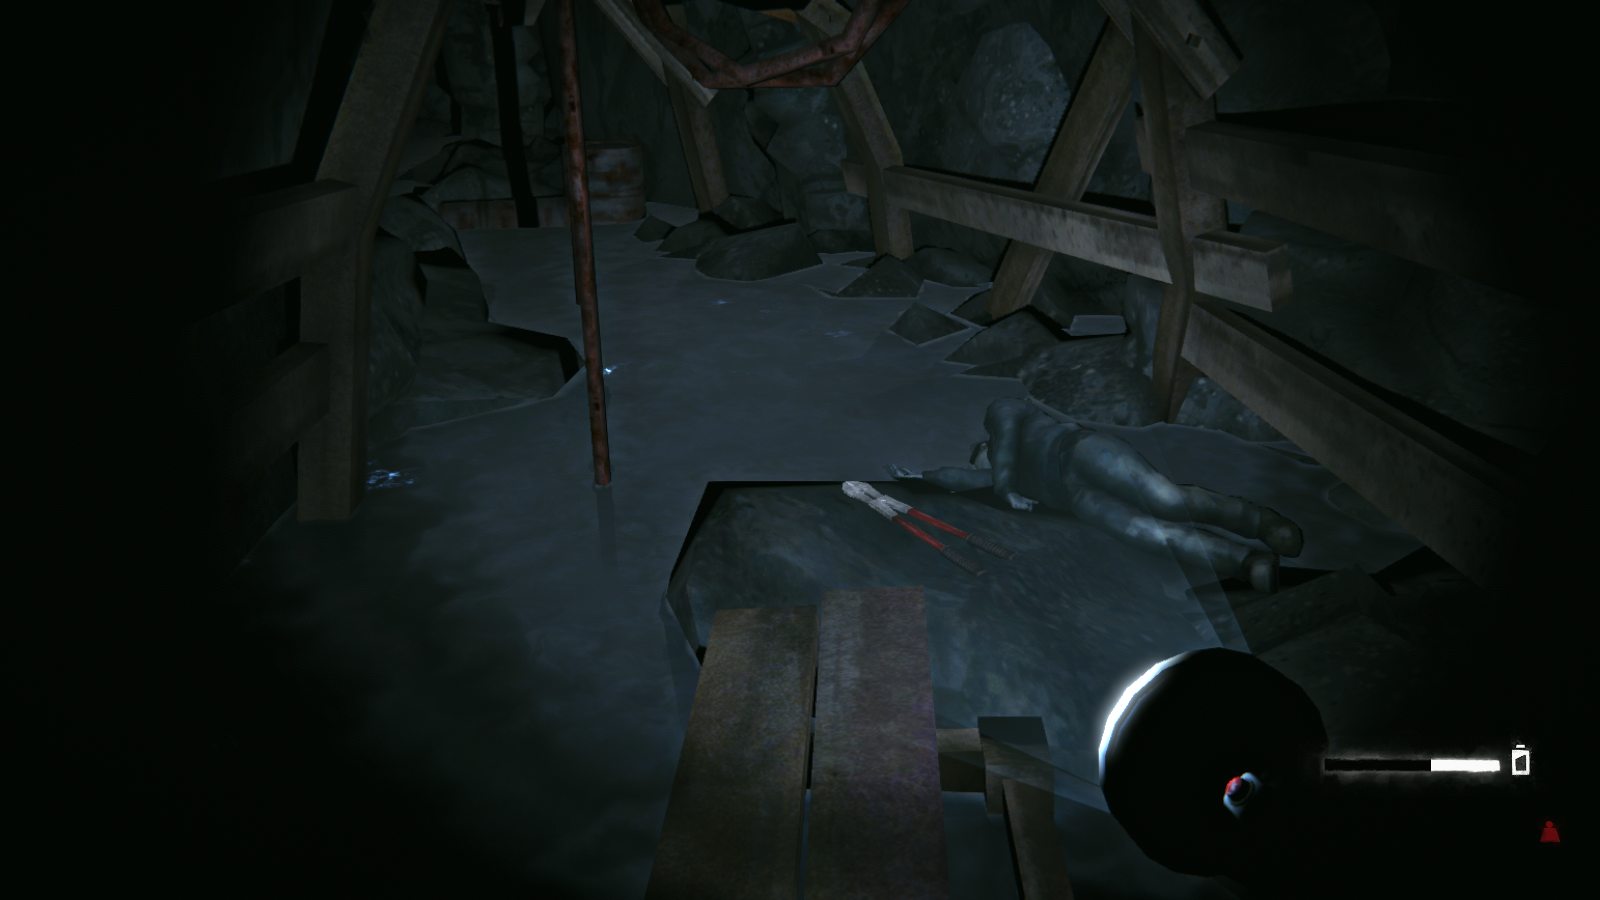 Grab everything you need from here. Each time you remove a replacement fuse from the box, all the electricity in the area will turn off. This is a good way to remember where you've already been. Once you have two of the fuses and the bolt cutters, head back to the metal gate. You'll be able to open it with the cutters, and the last replacement fuse is in the box at the end of hall.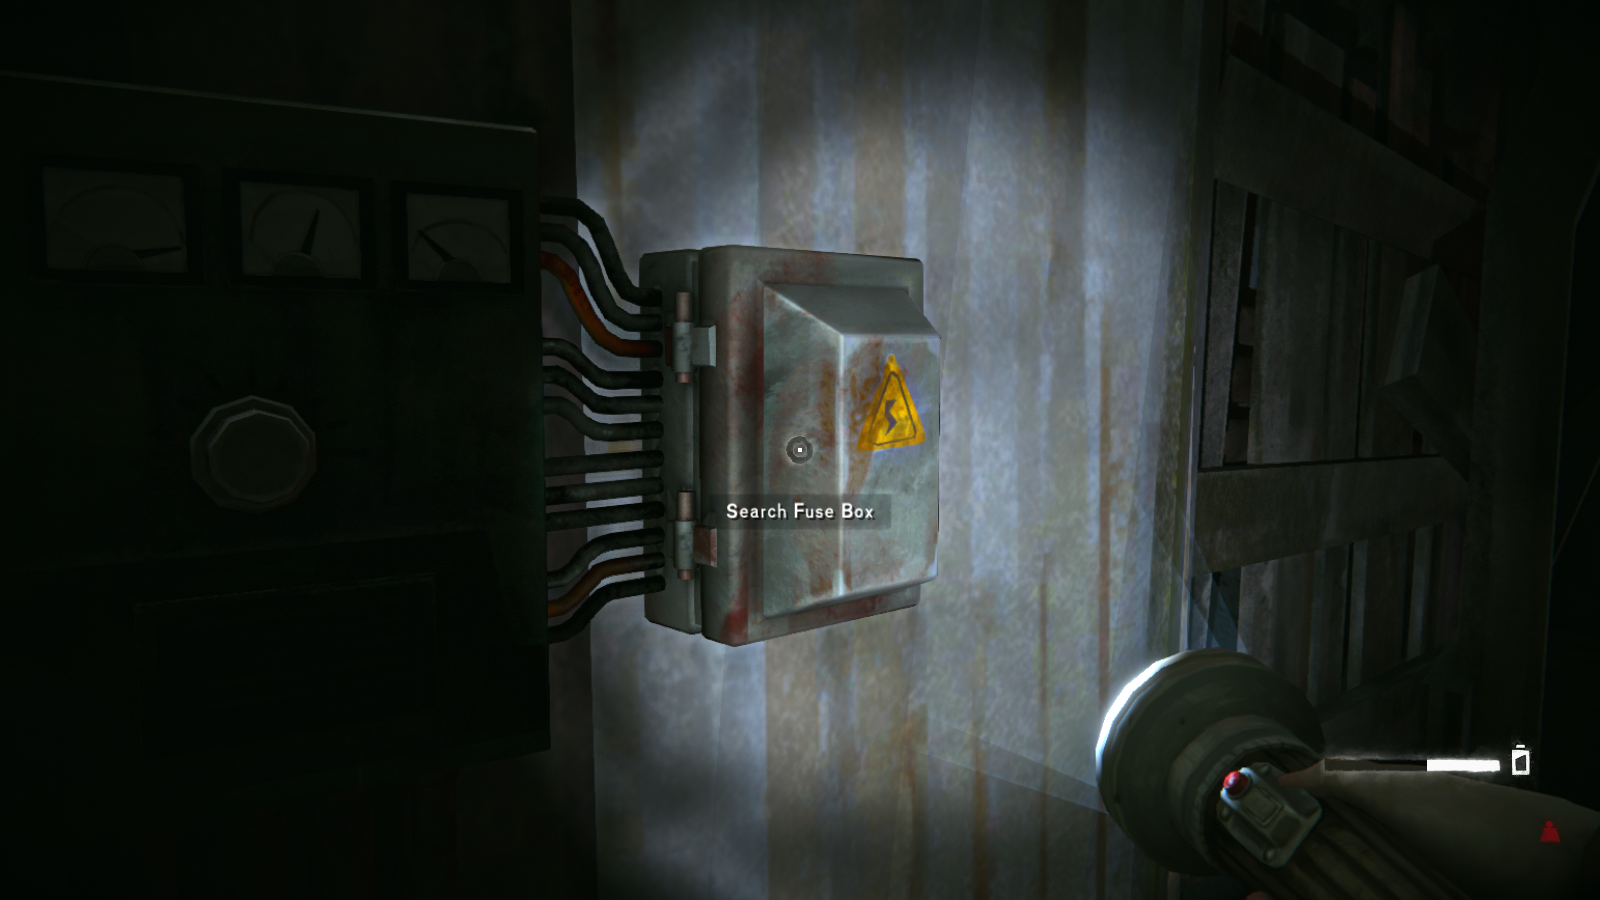
Now, you just need to back-track and place the new fuses into the three boxes surrounding the elevator. Once that's done, just click on the elevator button for a short cutscene. The screen will go black, but you do have control after your cursor disappears (just a heads-up since I waited on this screen for way too long). From here, it's a straight shot to the exit of the mines and the ending cutscene.
Sidequest: Blackrock
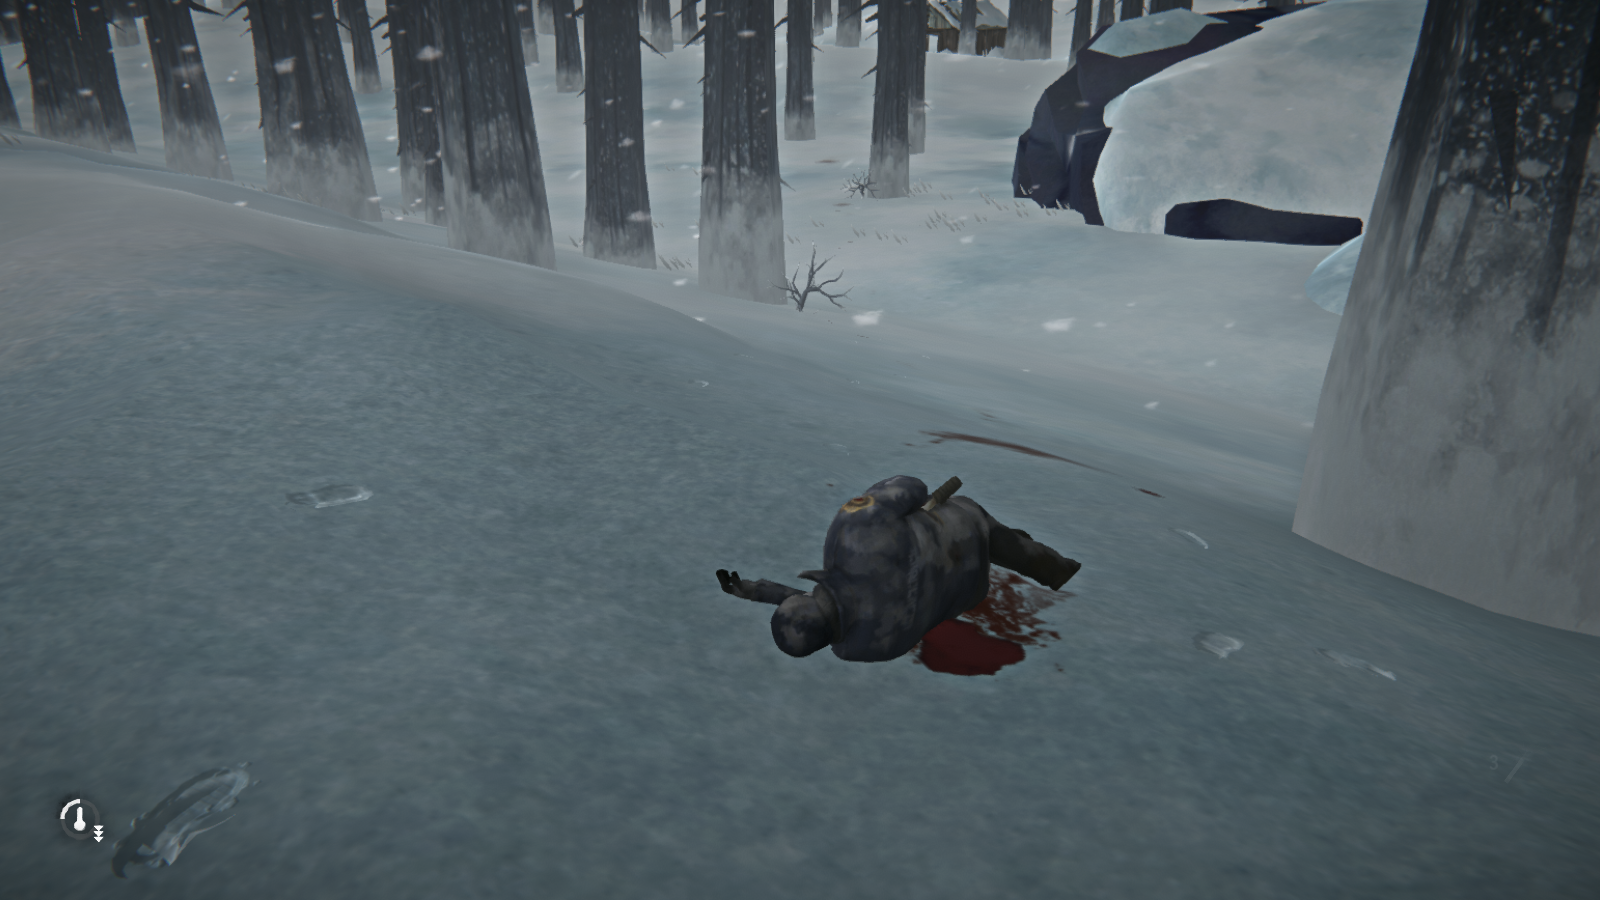 Once you see it, Astrid will comment on the fact that it's a prison guard. You'll want to search the body for a letter indicating that the guards were aware that transport might be difficult. You will then get an objective to search the surrounding area.
Given that there's a trail of blood leading from the dead guard to our next objective, I'm not going to bother with more pictures. Just follow the trail until you come across a small building where you'll find a dead convict.
Once you see it, Astrid will comment on the fact that it's a prison guard. You'll want to search the body for a letter indicating that the guards were aware that transport might be difficult. You will then get an objective to search the surrounding area.
Given that there's a trail of blood leading from the dead guard to our next objective, I'm not going to bother with more pictures. Just follow the trail until you come across a small building where you'll find a dead convict. 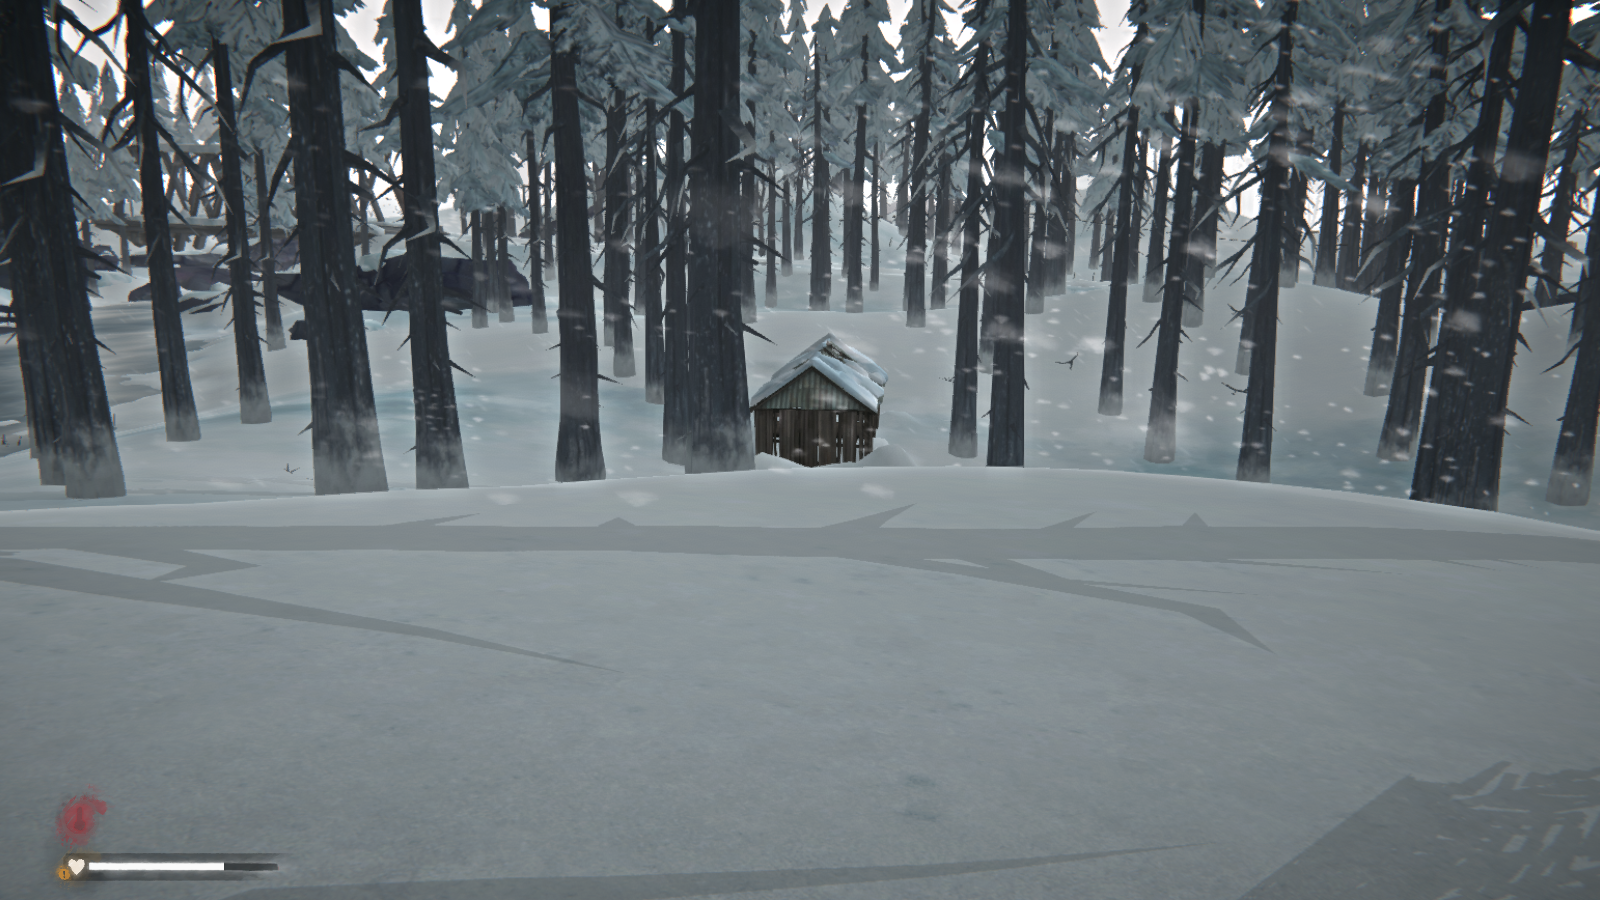 Search him for a note which seems to be some kind of last confession. In it, he'll mention Mathis (spoiler: that's the guy who attacked Will at the end of Episode 2). You'll then get a new objective to search the area for more clues about the convicts.
Now you can check the map for details on where exactly you need to go. I know this is a sticking point with some of the fanbase, but it does make writing this guide a lot easier on me. The nearest point of interest is just across the river from the small building with the first convict. Follow the arrow until you come across the rock formation below.
Search him for a note which seems to be some kind of last confession. In it, he'll mention Mathis (spoiler: that's the guy who attacked Will at the end of Episode 2). You'll then get a new objective to search the area for more clues about the convicts.
Now you can check the map for details on where exactly you need to go. I know this is a sticking point with some of the fanbase, but it does make writing this guide a lot easier on me. The nearest point of interest is just across the river from the small building with the first convict. Follow the arrow until you come across the rock formation below.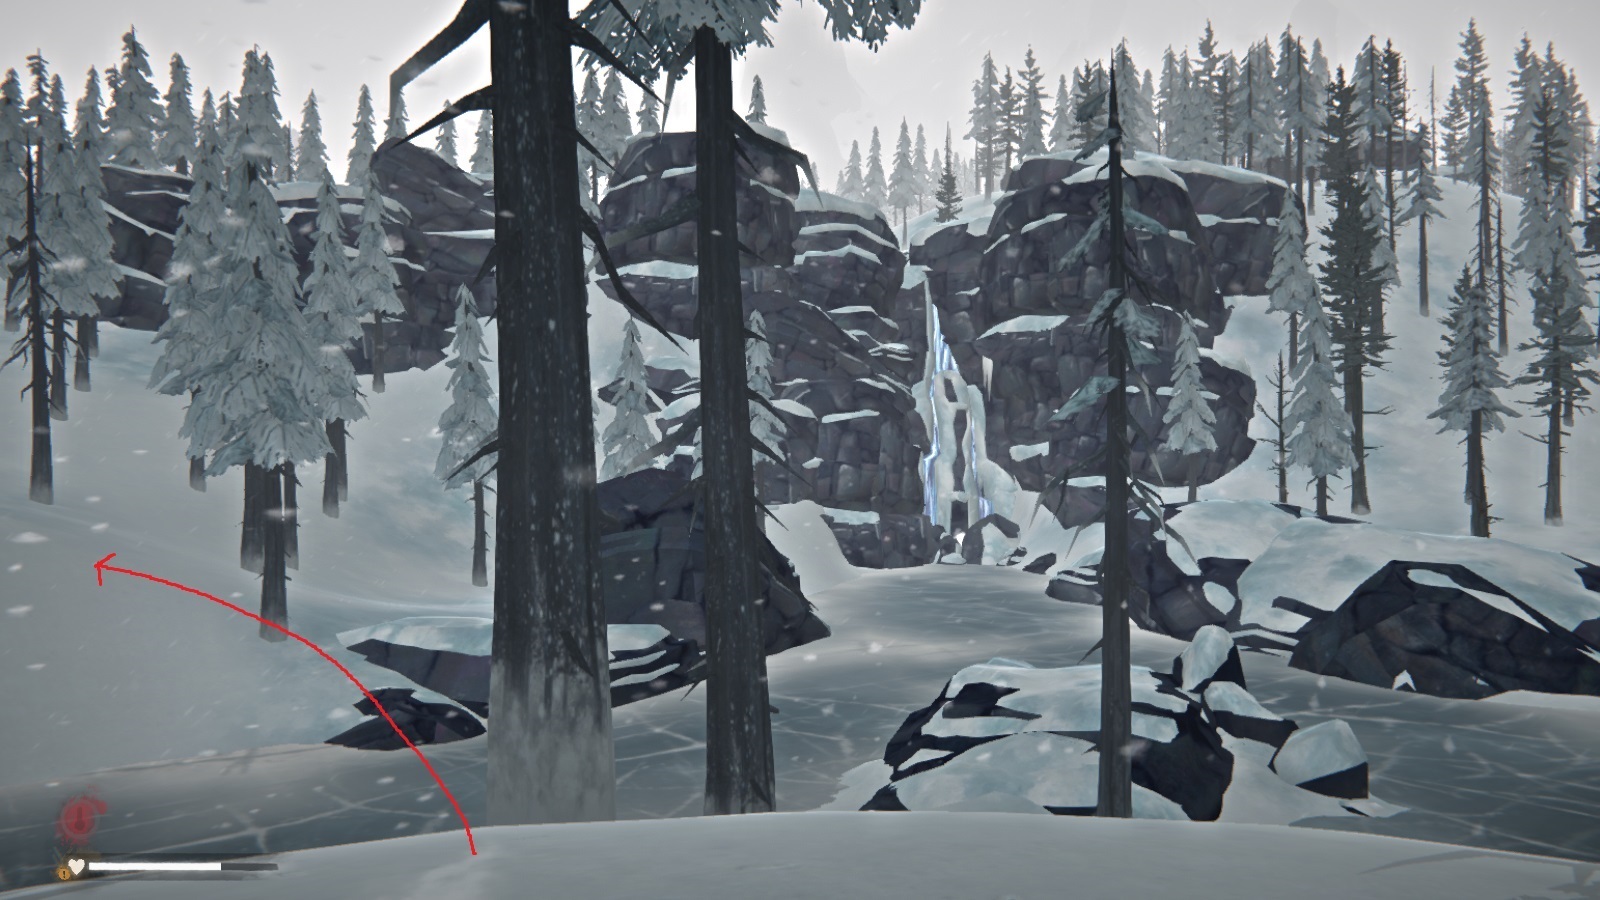
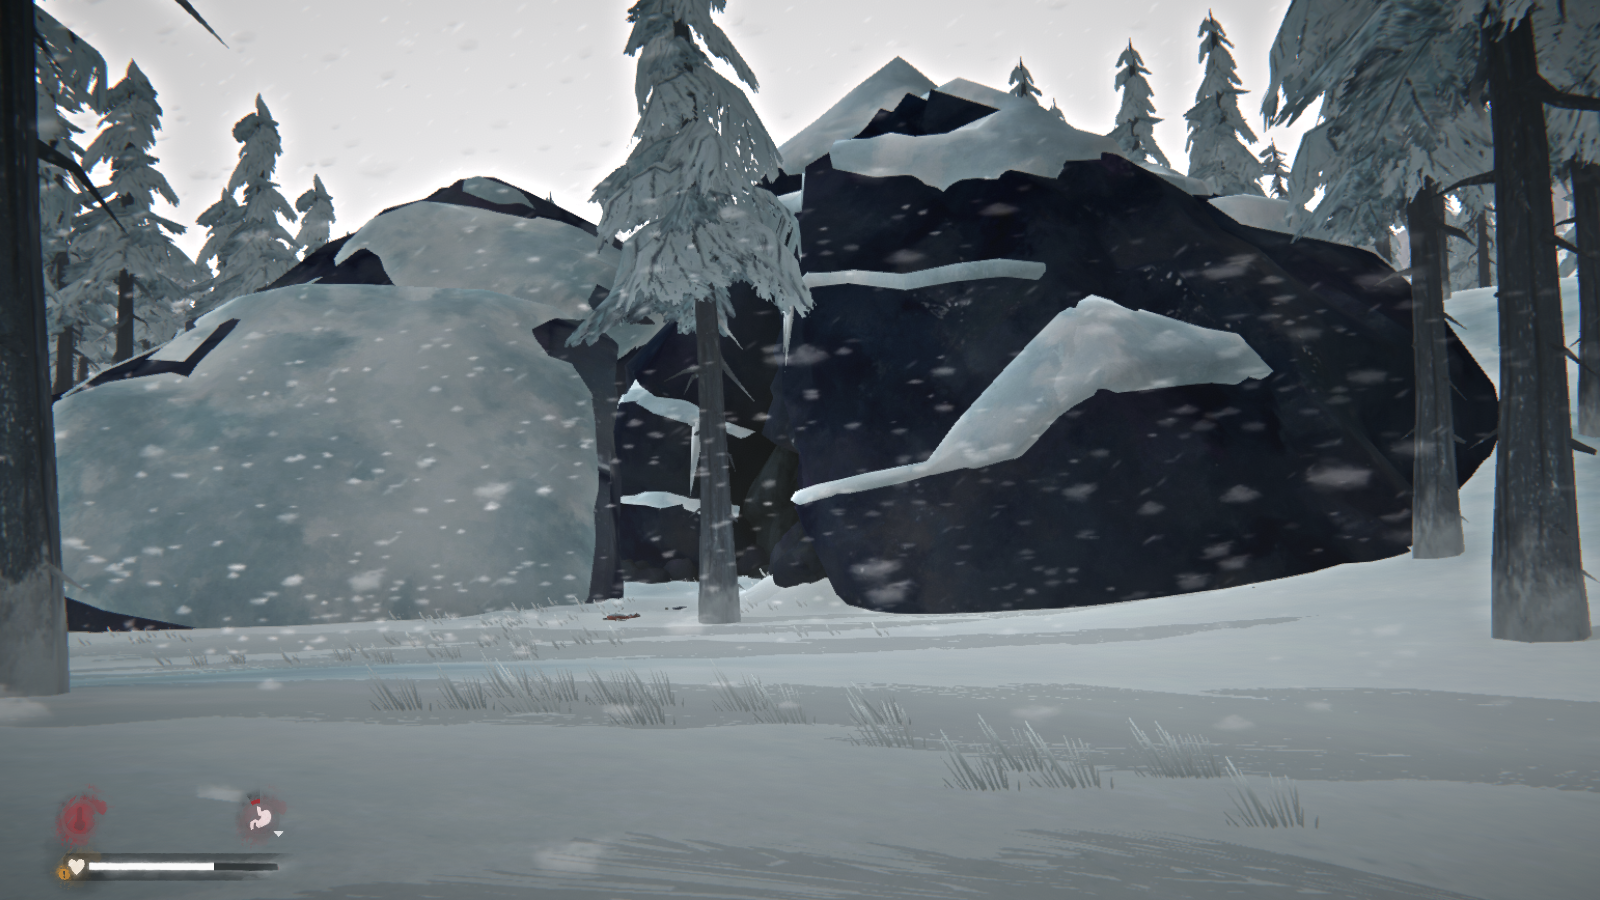
Search the area and convict for a note. Looks like something is hunting these guys. For the second convict, you'll want to follow the river until you see a bridge. Head right and up the hill until you find a cave near some mushroom stumps.
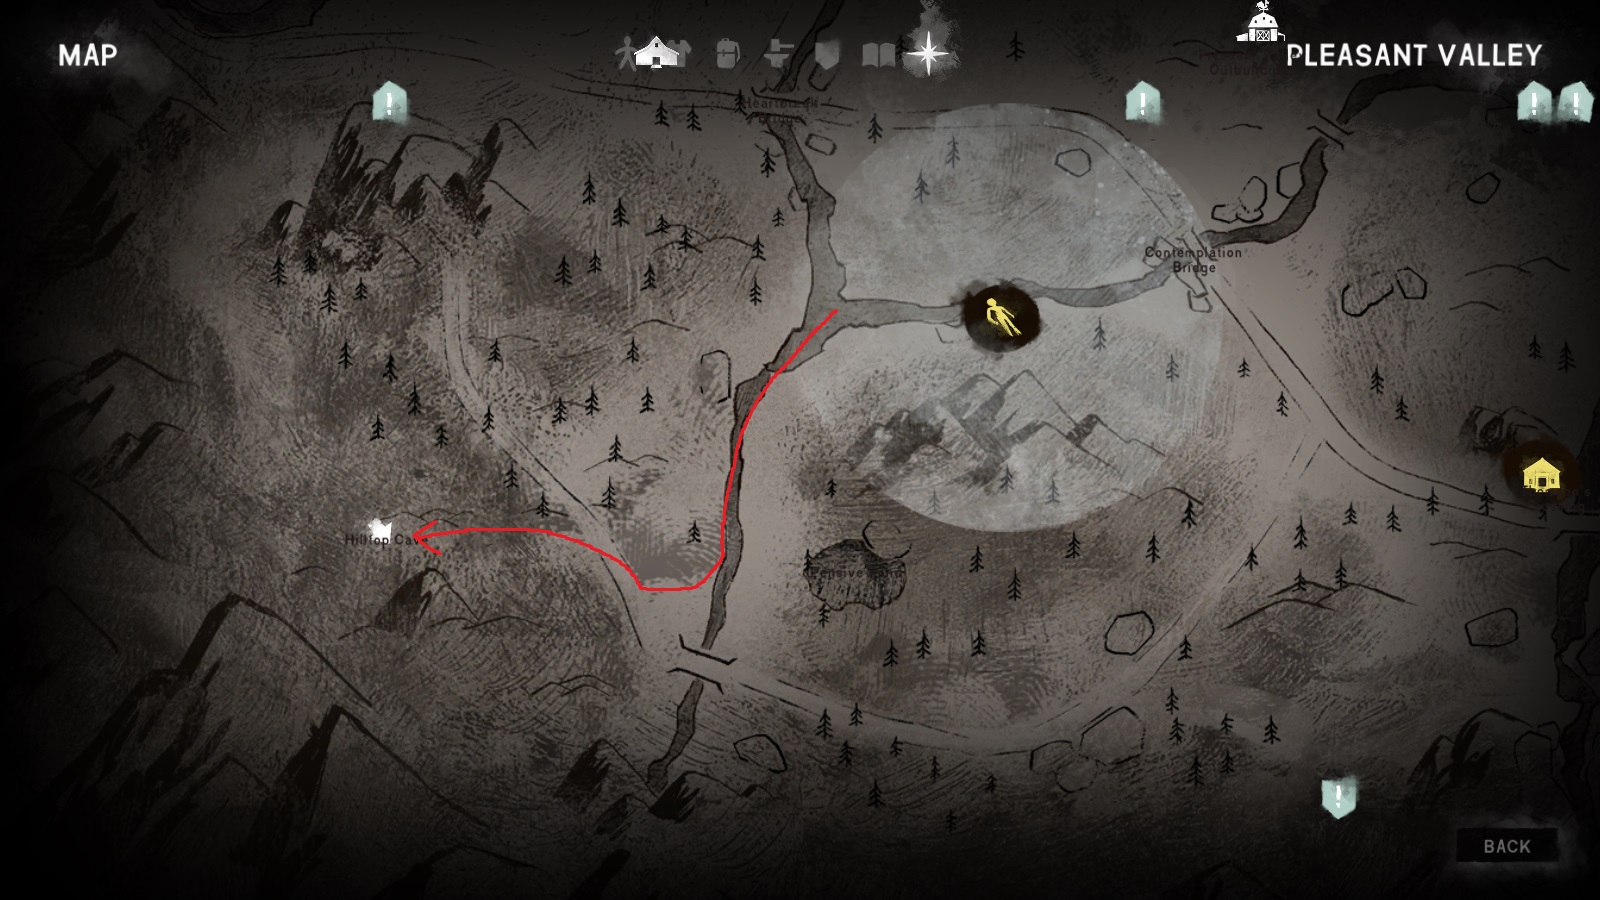
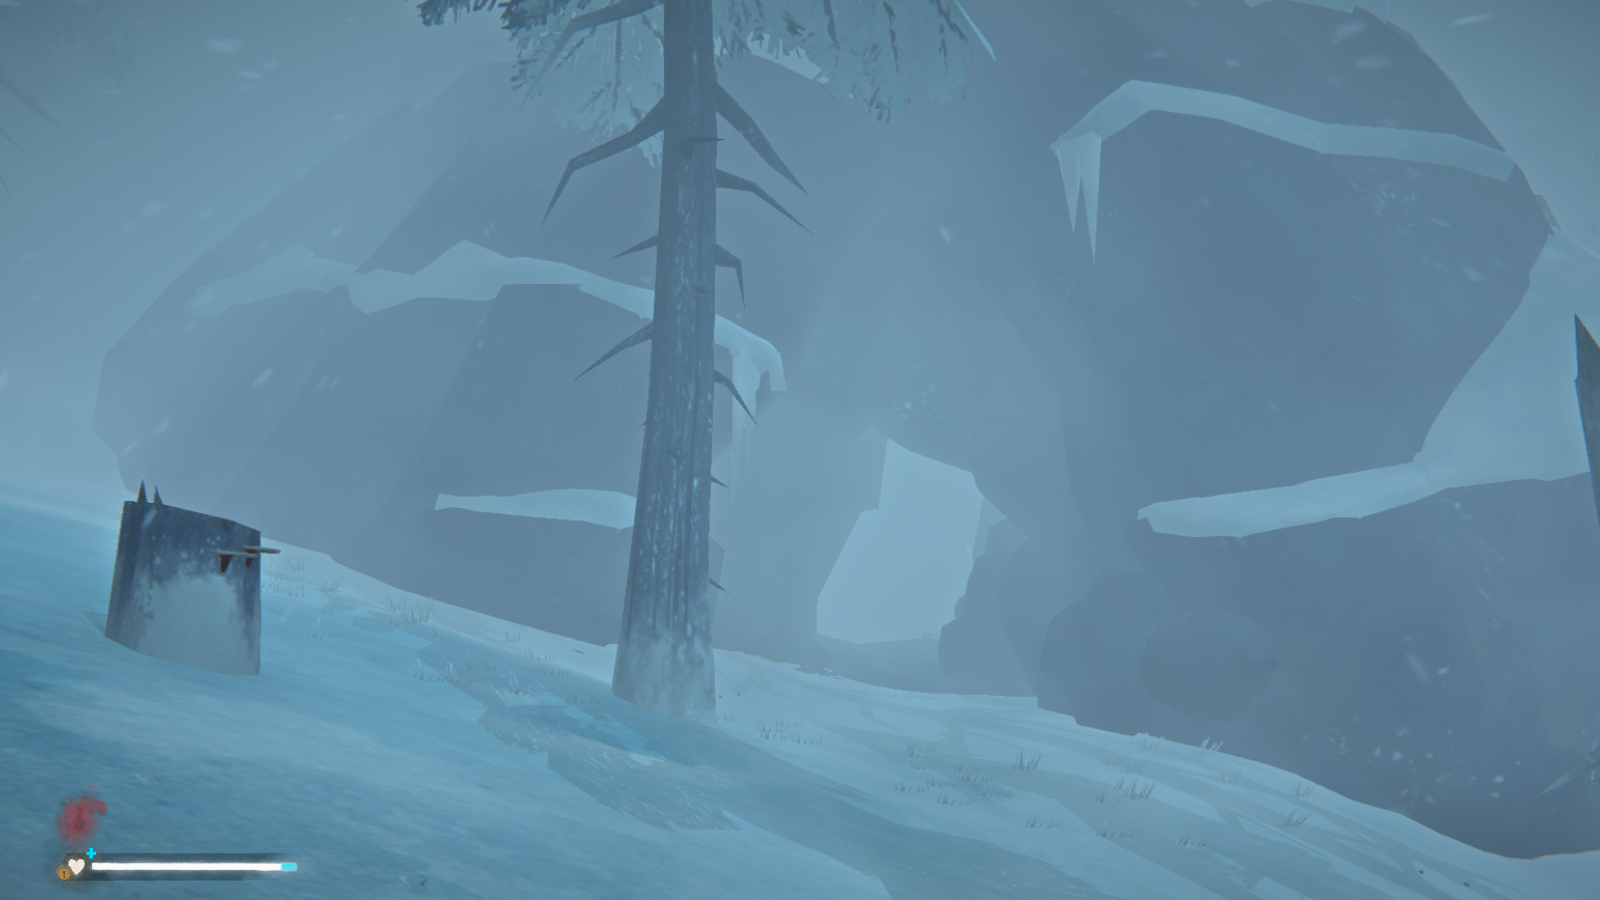 Search the backpack in the picture for another note that hints at a secret cache. The cache itself is in the back of the cave. It has two boxes of revolver ammunition, so definitely look into this quest if you need more of the stuff.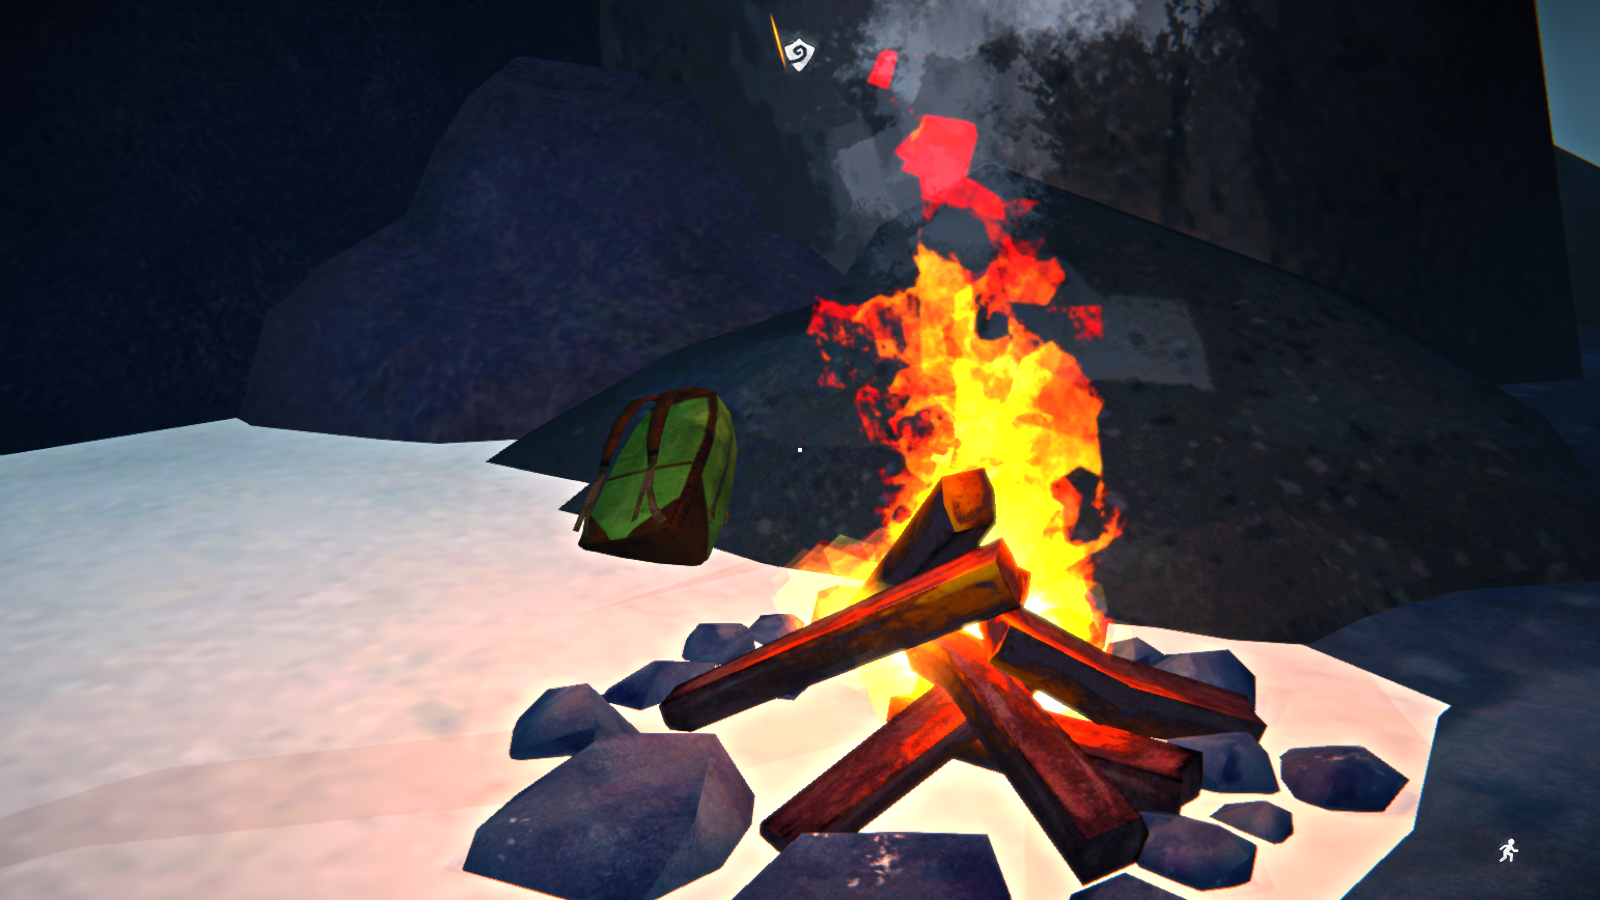
Sidequest: Forest Talkers
This sidequest is triggered by picking up any one of the six notes related to it. The main reward is a Steam achievement, but you also learn more about the Forest Talkers and how the locals of Pleasant Valley viewed them.
Pleasant Valley, Collectible OneYou'll find this note in Thomson's Crossing. Head inside the store just across the street from the Community Hall and check the bulletin board.
 Pleasant Valley, Collectible Two
So there is conflicting information on this note. I personally found it in the office of the Community Hall. It was on the desk of the room on your immediate right when you first enter.
 HOWEVER, the forums and discussion posts say that people have been finding this note in the cabin at the Point of Disagreement. I didn't see it there, but I also wasn't looking (having already found it). Just in case, you get the Point of Disagreement by following the road up towards the plane crash. You'll eventually see a cabin.
Pleasant Valley, Collectible Three
HOWEVER, the forums and discussion posts say that people have been finding this note in the cabin at the Point of Disagreement. I didn't see it there, but I also wasn't looking (having already found it). Just in case, you get the Point of Disagreement by following the road up towards the plane crash. You'll eventually see a cabin.
Pleasant Valley, Collectible ThreeThe final note from the Pleasant Valley locals is found at Signal Hill. However, you can't access the area until you progress in the story and get the objective to visit Signal Hill. The note is inside the control station.
 Forest Talker Collectible, Part One
To get this note, you must find the Three Strikes Farmstead. I've marked out a potential path below.
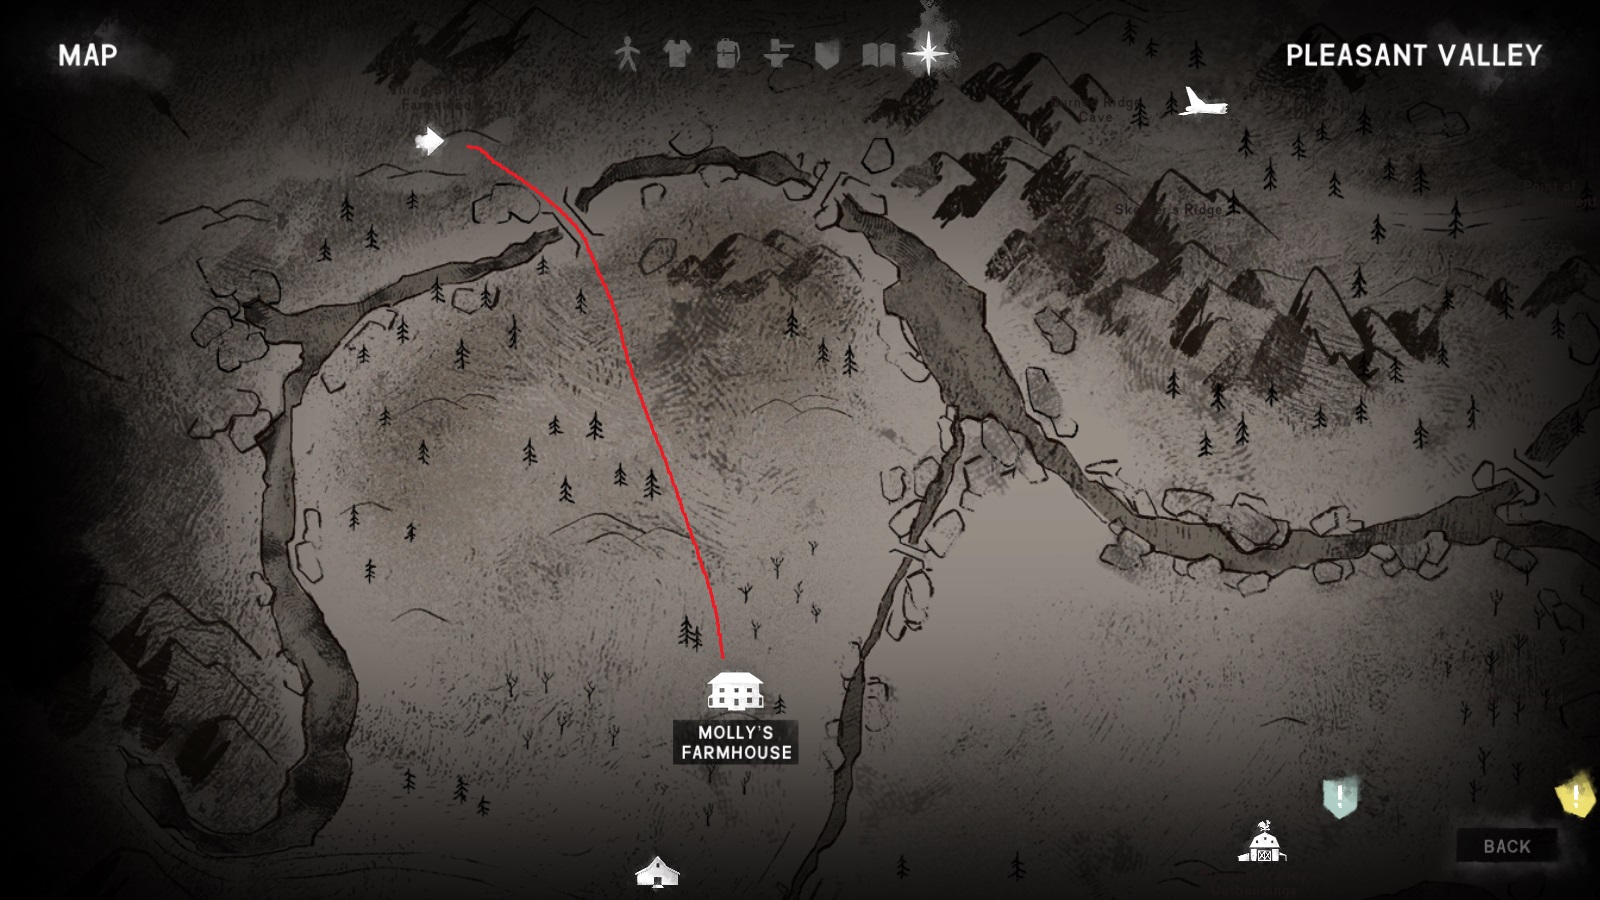 The note itself is next to the small pile of Forest Talker supplies inside the hay storage building.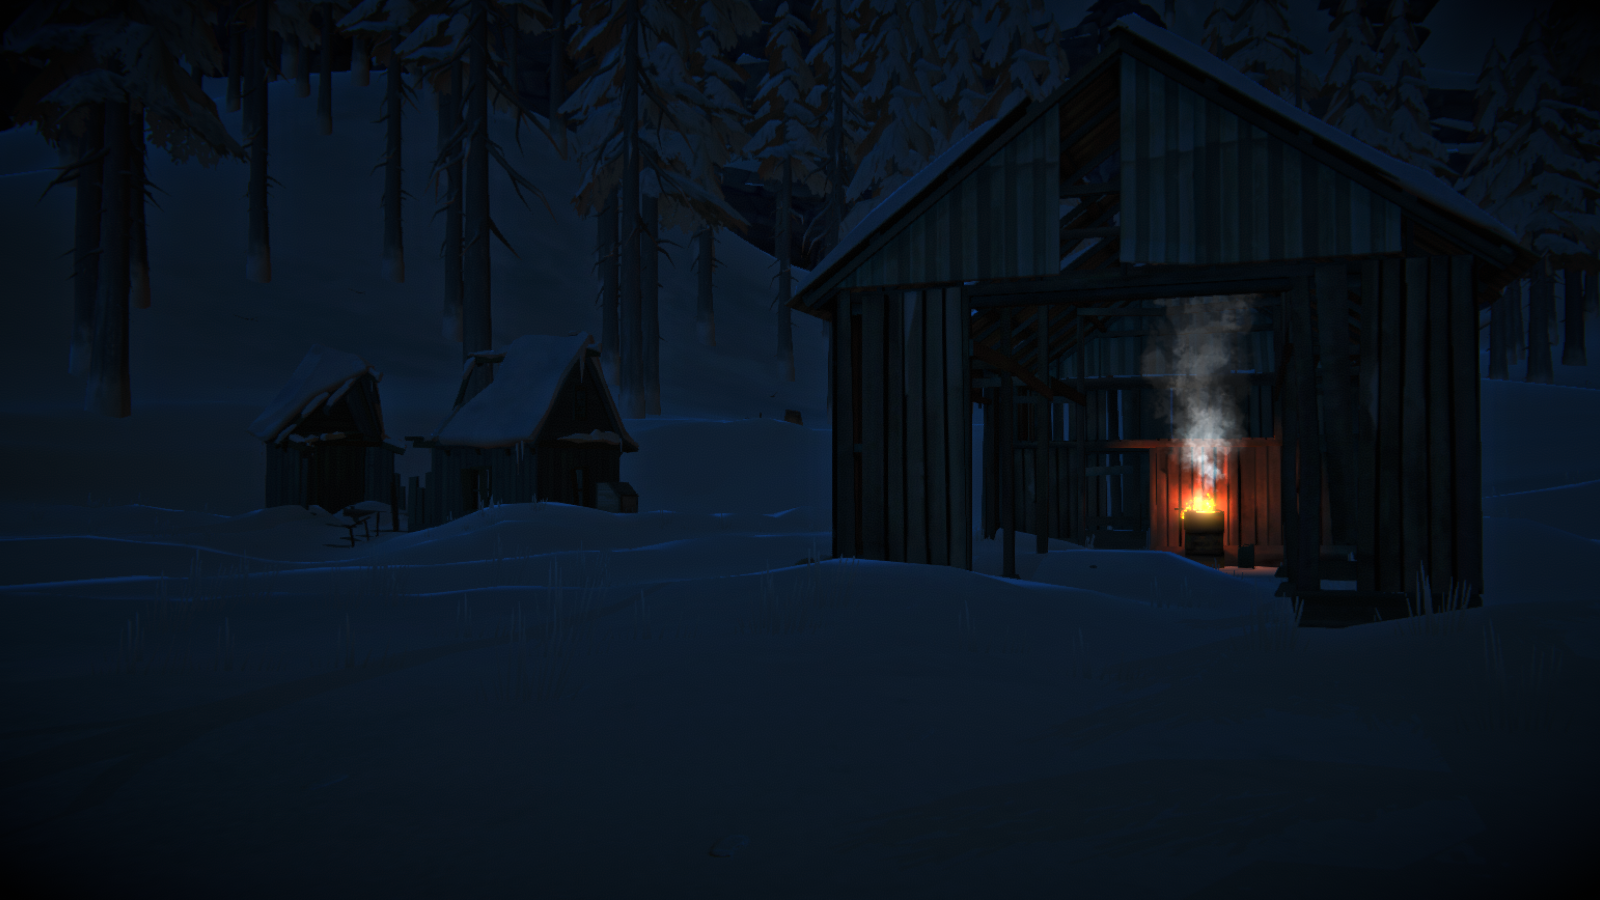
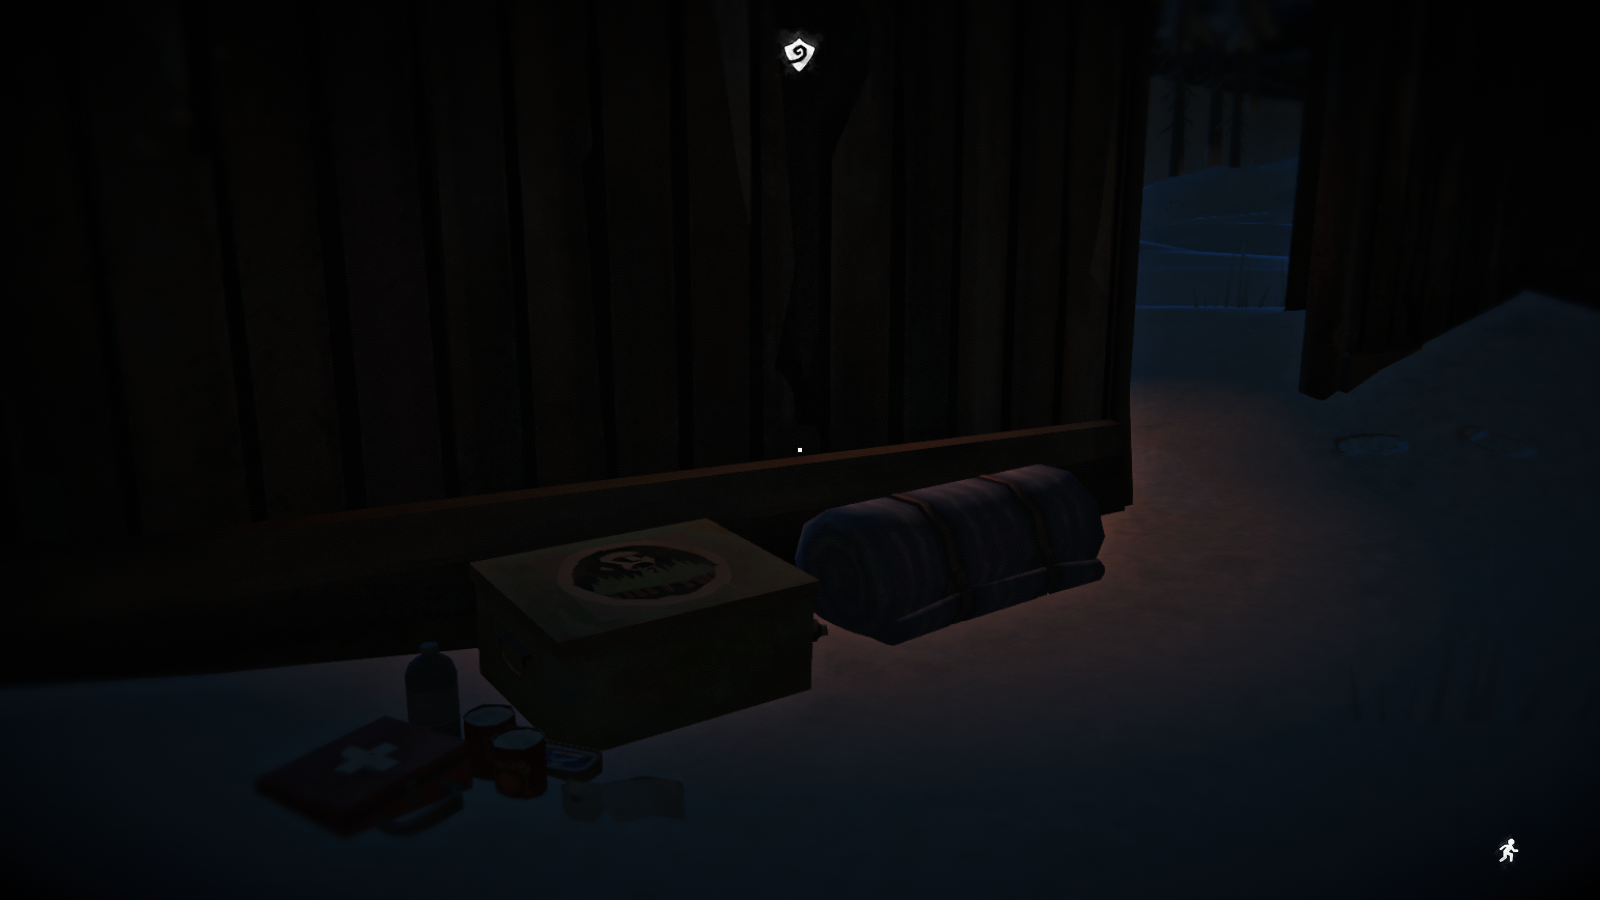 Forest Talker Collectible, Part Two
This note is found in the Pleasant Valley Barn, in-between Molly's Farmhouse and Thomson's Crossing. It's a pretty obvious building (stereotypical red barn). You'll find the collectible upstairs, next to the box on the floor.
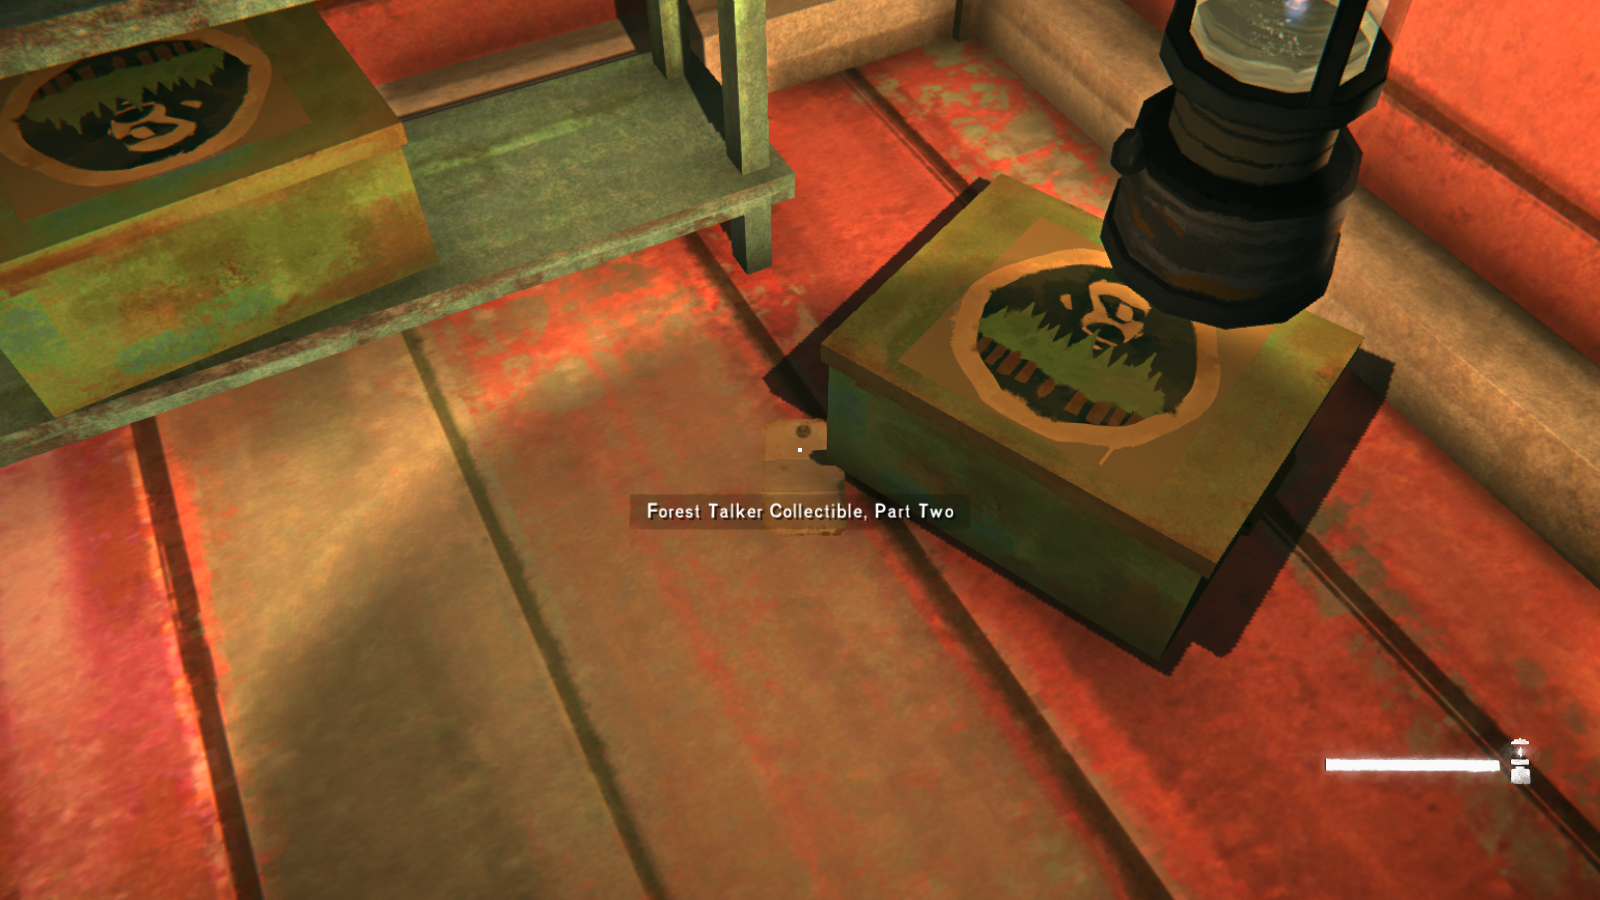 Forest Talker Collectible, Part Three
The final note by the Forest Talkers is found at the first of Joplin's Shelters. To get there, check the Shelter Raid sidequest section of this guide. The note itself is found on the bed.
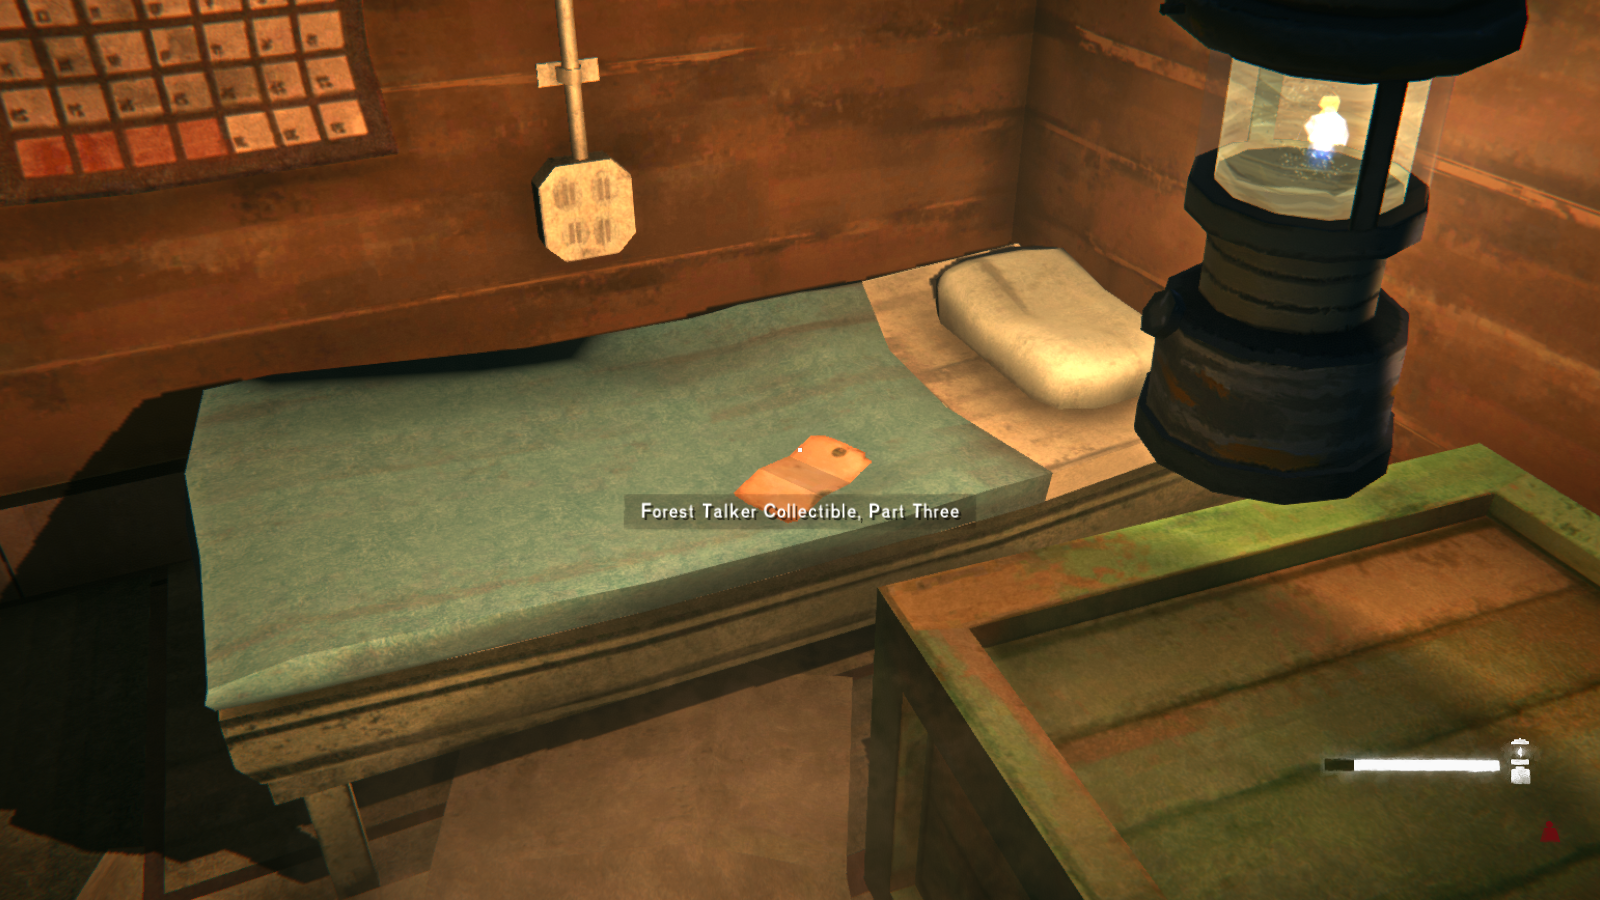
Sidequest: Church Artifact
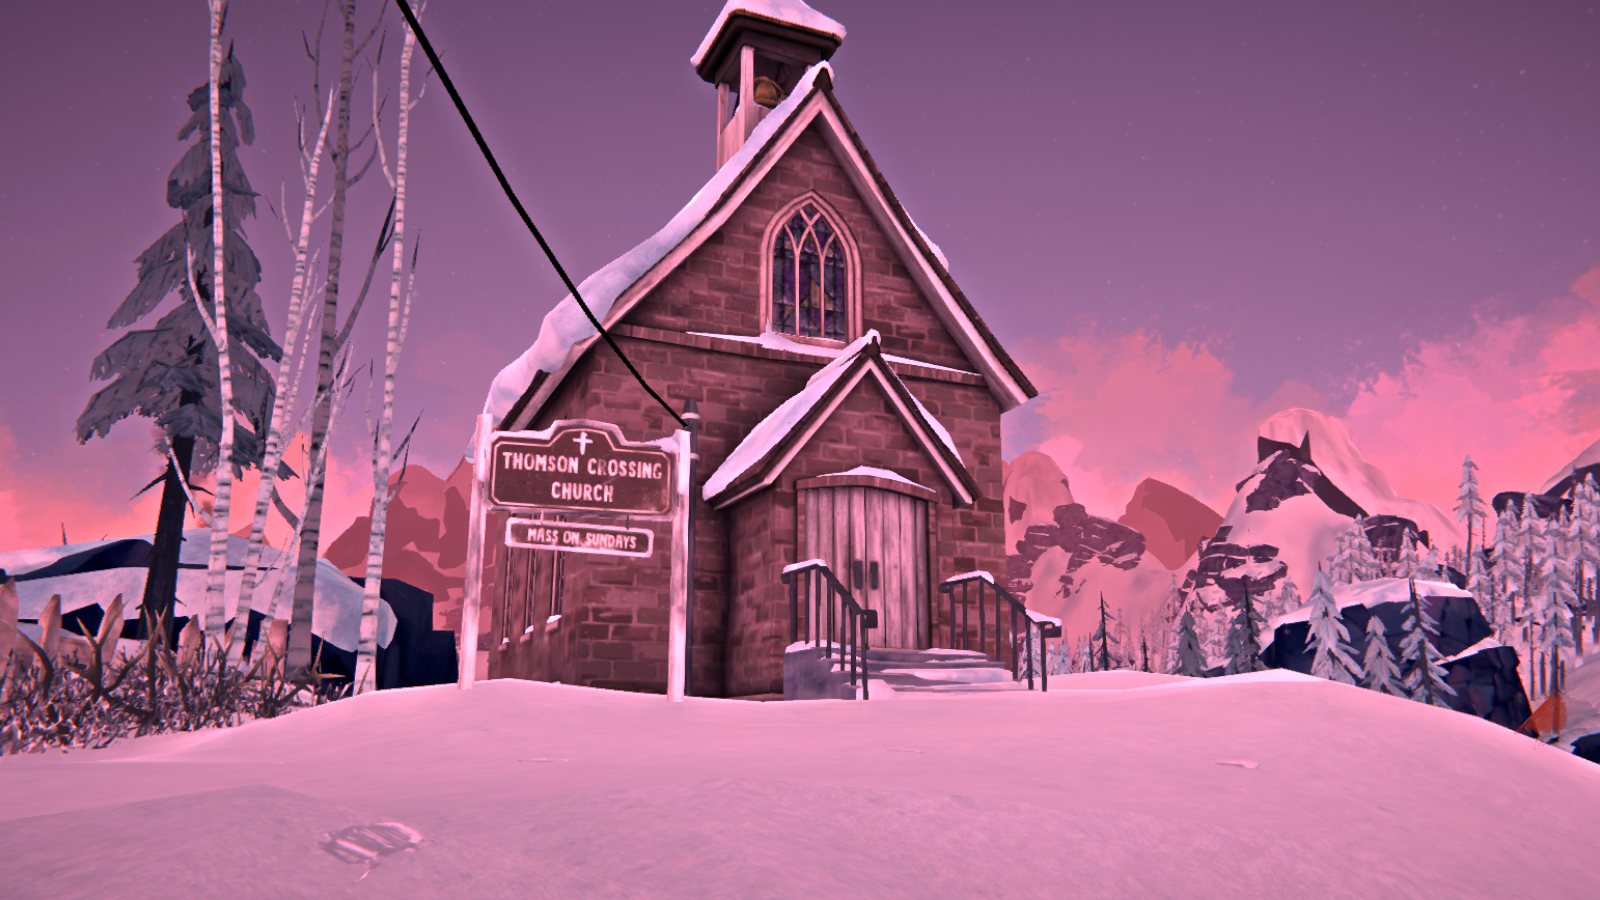
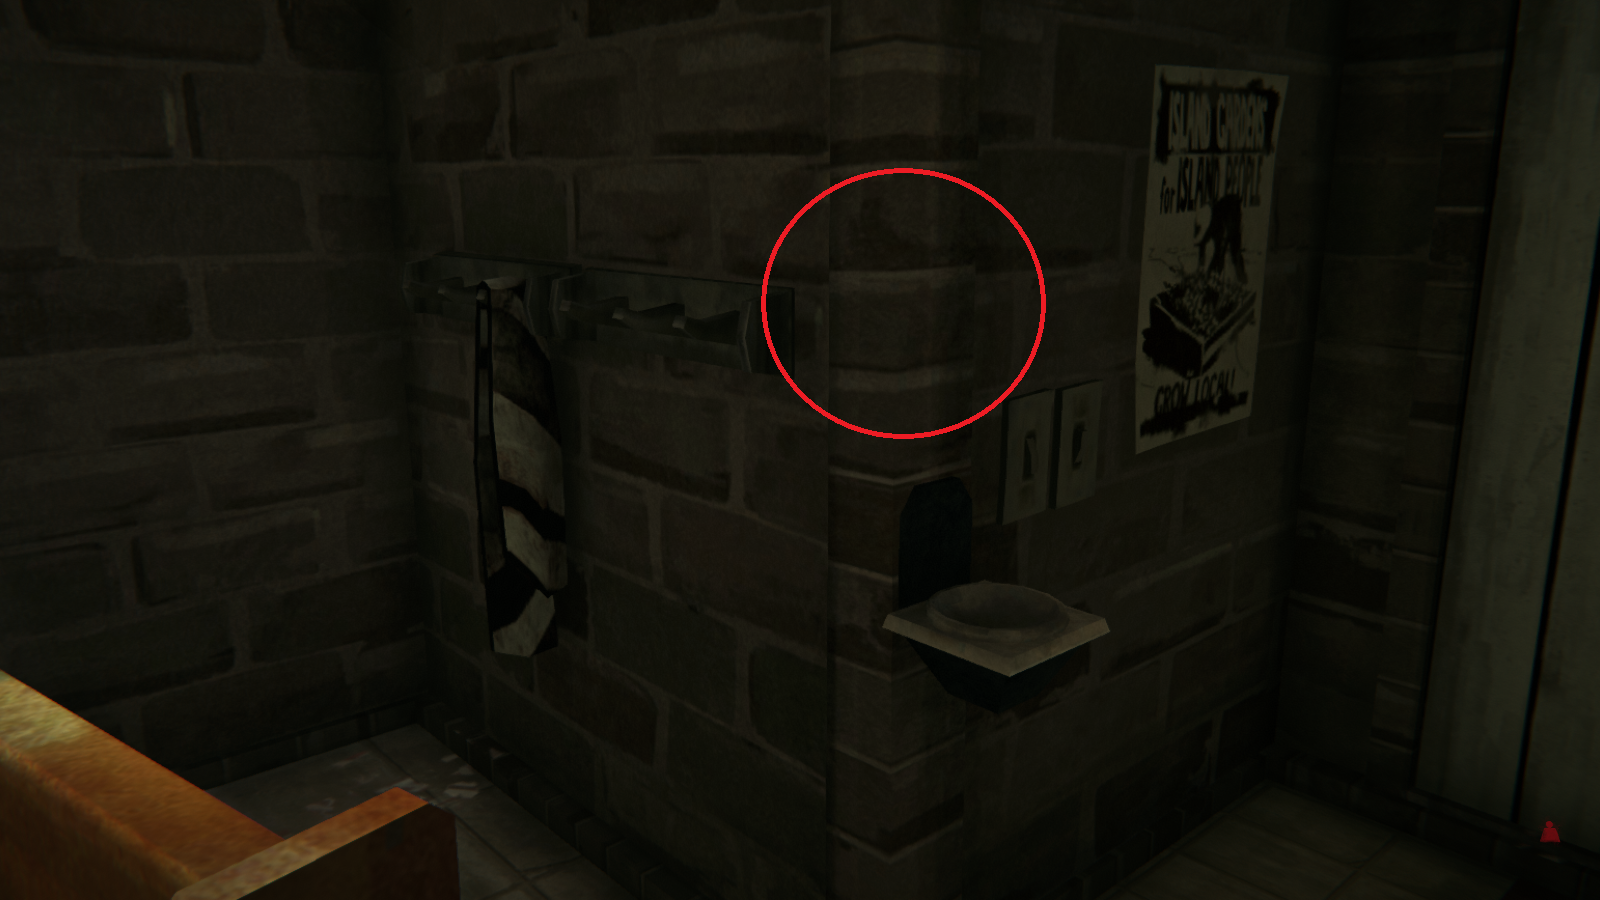
Anyways, it looks like some person stole a priceless church heirloom. You are then tasked with finding more information. Pick up the note on the pulpit stand to learn where it might be.
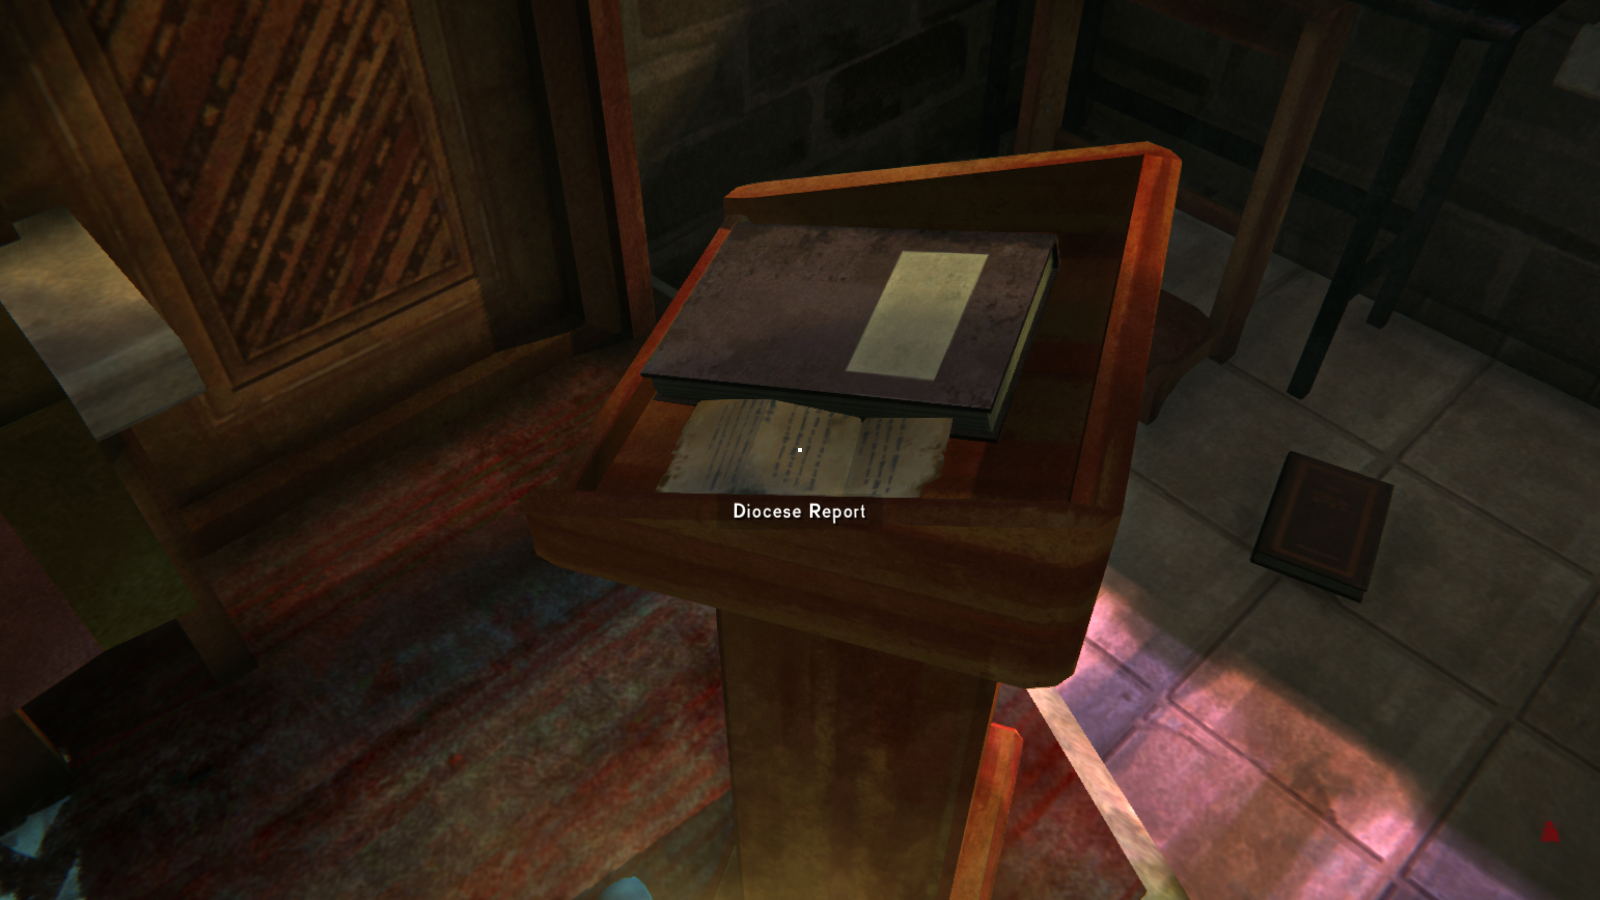
From here, you'll be sent to the base of Skeeter's Ridge. If you've played Survival Mode, it's inside the Draft Dodger's cabin.
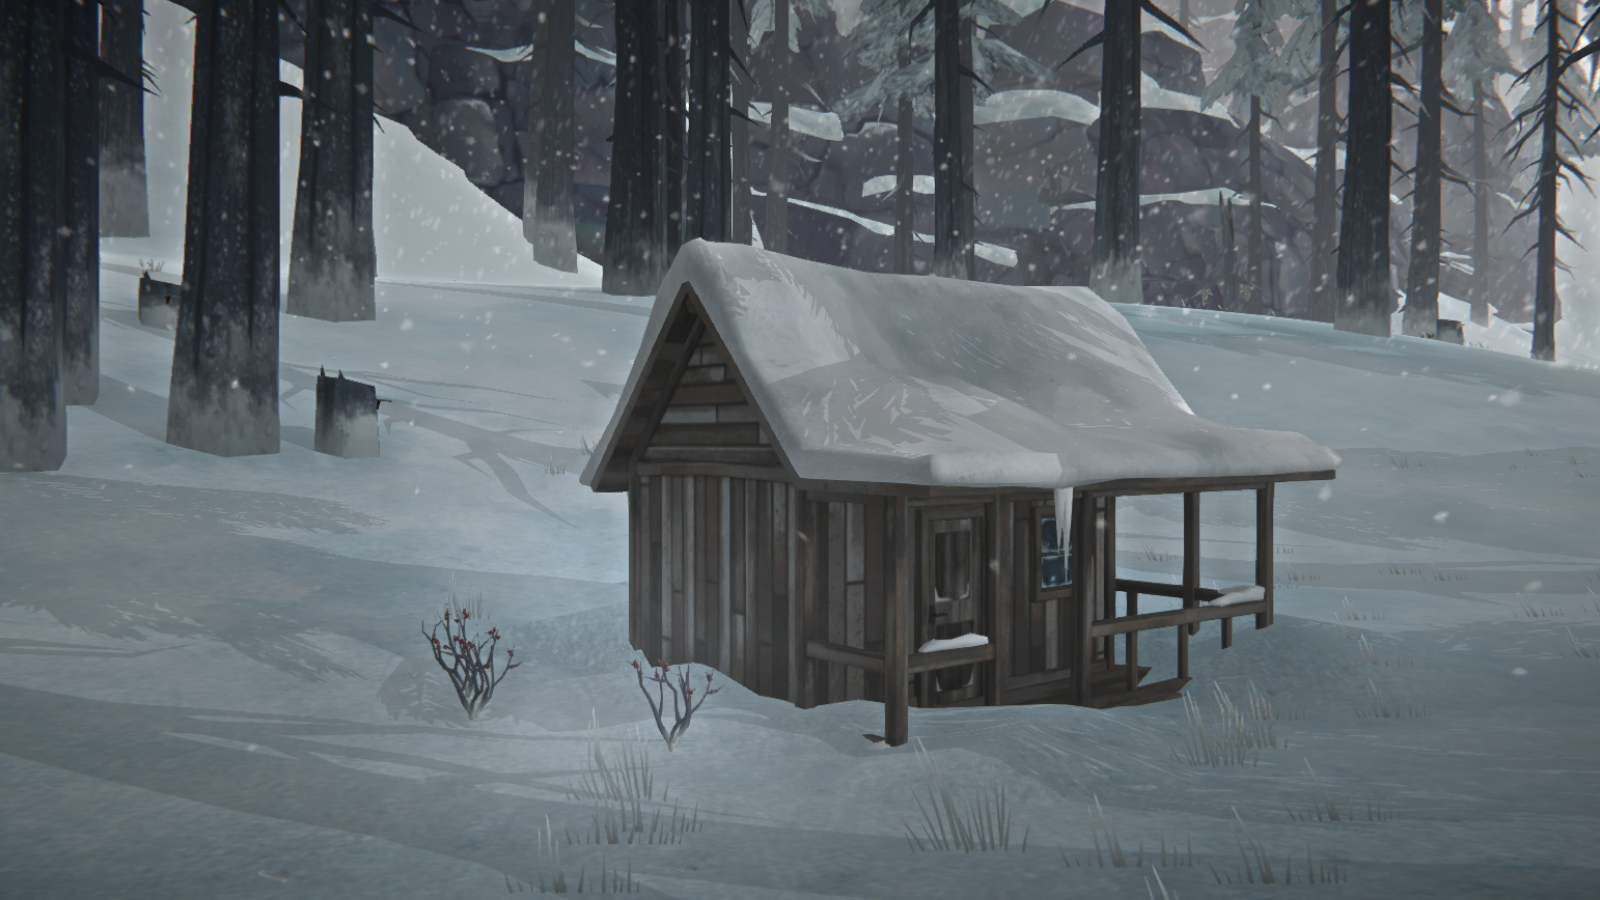
To get there, just follow the river until you're close to the map marker. You can then head up the hill and it's pretty obvious. Now the confusing part. The note inside will direct you to the Skeeter's Ridge Basement. Unfortunately, the climbing rope leading up from the cabin may not be pre-placed so you'll have to take the long way. Plus if you're used to Survival Mode, the main path that most people take has been blocked by the giant crash plane.
It's actually easy to get there, but you need to avoid the storyline. When you first approach the crashed plane from the road, you want to ignore it and keep heading straight (follow the red arrow).
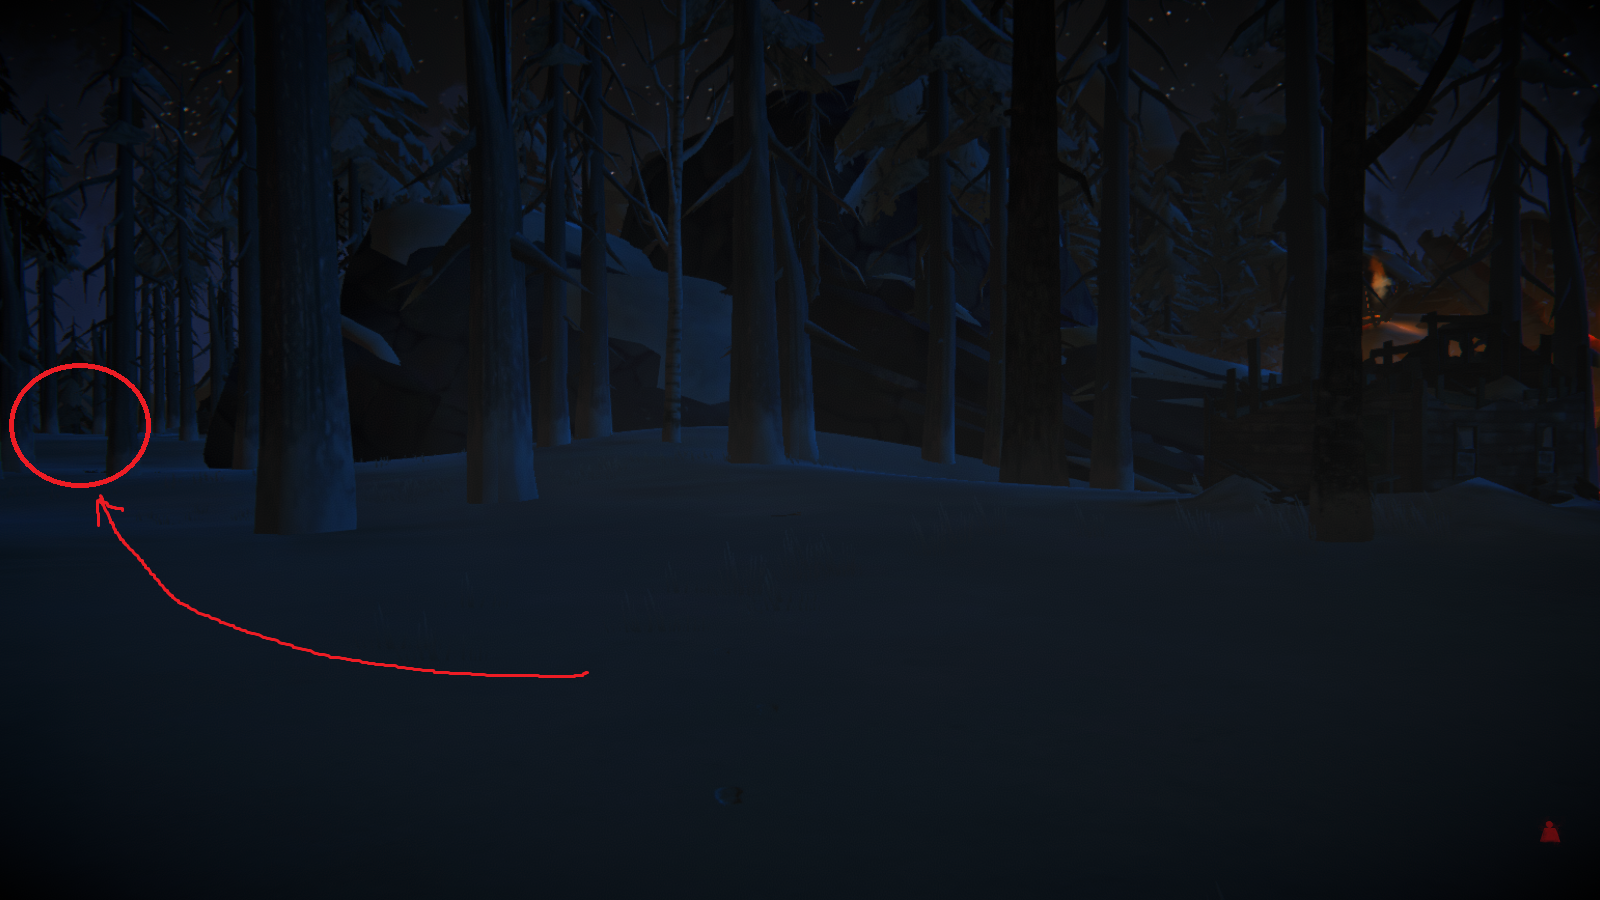 You'll then find two destroyed buildings, one of which has a intact basement.
 Once inside, you'll get a new objective to search the loose floor boards for the artifact. Now I had some trouble finding the floor boards, so here's a picture of the correct ones.
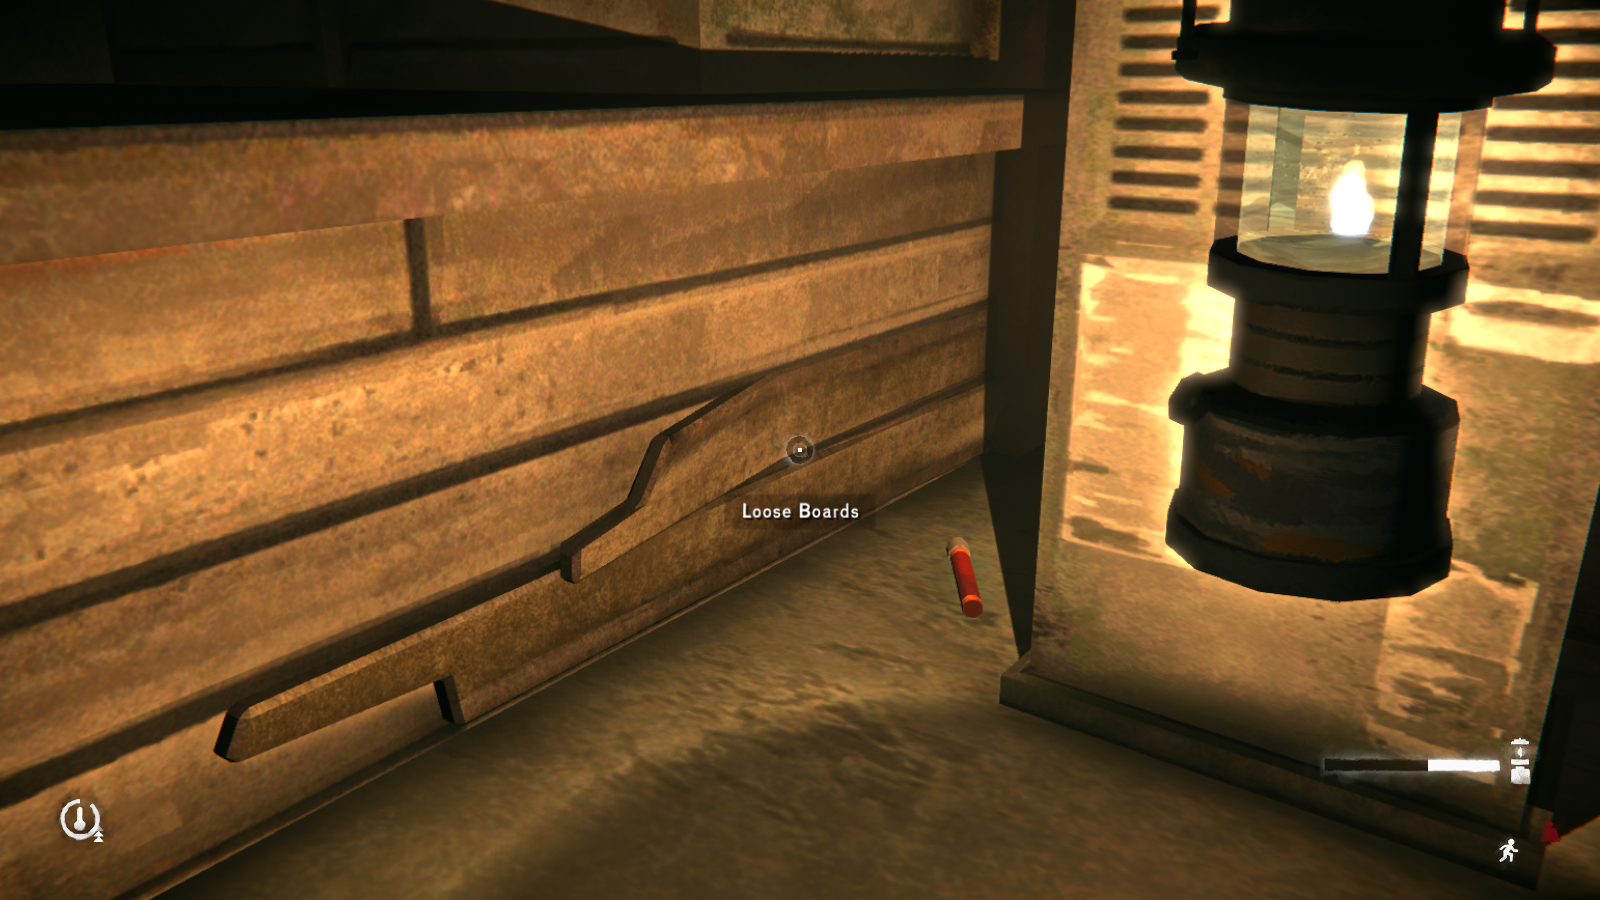 You'll get the artifact, which is apparently a very fancy cross. Anyways, be sure to grab the stuff in the basement. I believe there's a fair amount of firearm ammunition (rifle and revolver), and there may be a rifle too (my memory is a bit fuzzy...sorry).
You now need to return the artifact to the church (for some reason, we can't just give it to Father Thomas directly). If you're not encumbered, there's actually a climbing rope next to the other destroyed building that you can deploy on a nearby rock. That will let you drop down next to the Draft Dodger's cabin. Or you can just mountain goat down the cliff and endure some potential sprains.
You'll get the artifact, which is apparently a very fancy cross. Anyways, be sure to grab the stuff in the basement. I believe there's a fair amount of firearm ammunition (rifle and revolver), and there may be a rifle too (my memory is a bit fuzzy...sorry).
You now need to return the artifact to the church (for some reason, we can't just give it to Father Thomas directly). If you're not encumbered, there's actually a climbing rope next to the other destroyed building that you can deploy on a nearby rock. That will let you drop down next to the Draft Dodger's cabin. Or you can just mountain goat down the cliff and endure some potential sprains.Once you're back at the church, you need to place the artifact in the alter. You then have to wait a day for your reward. Come back, and there will be a thank you note and a rabbit-skin hat for your efforts. The hat is very warm, highly water-proof, and the most durable hat in the game.
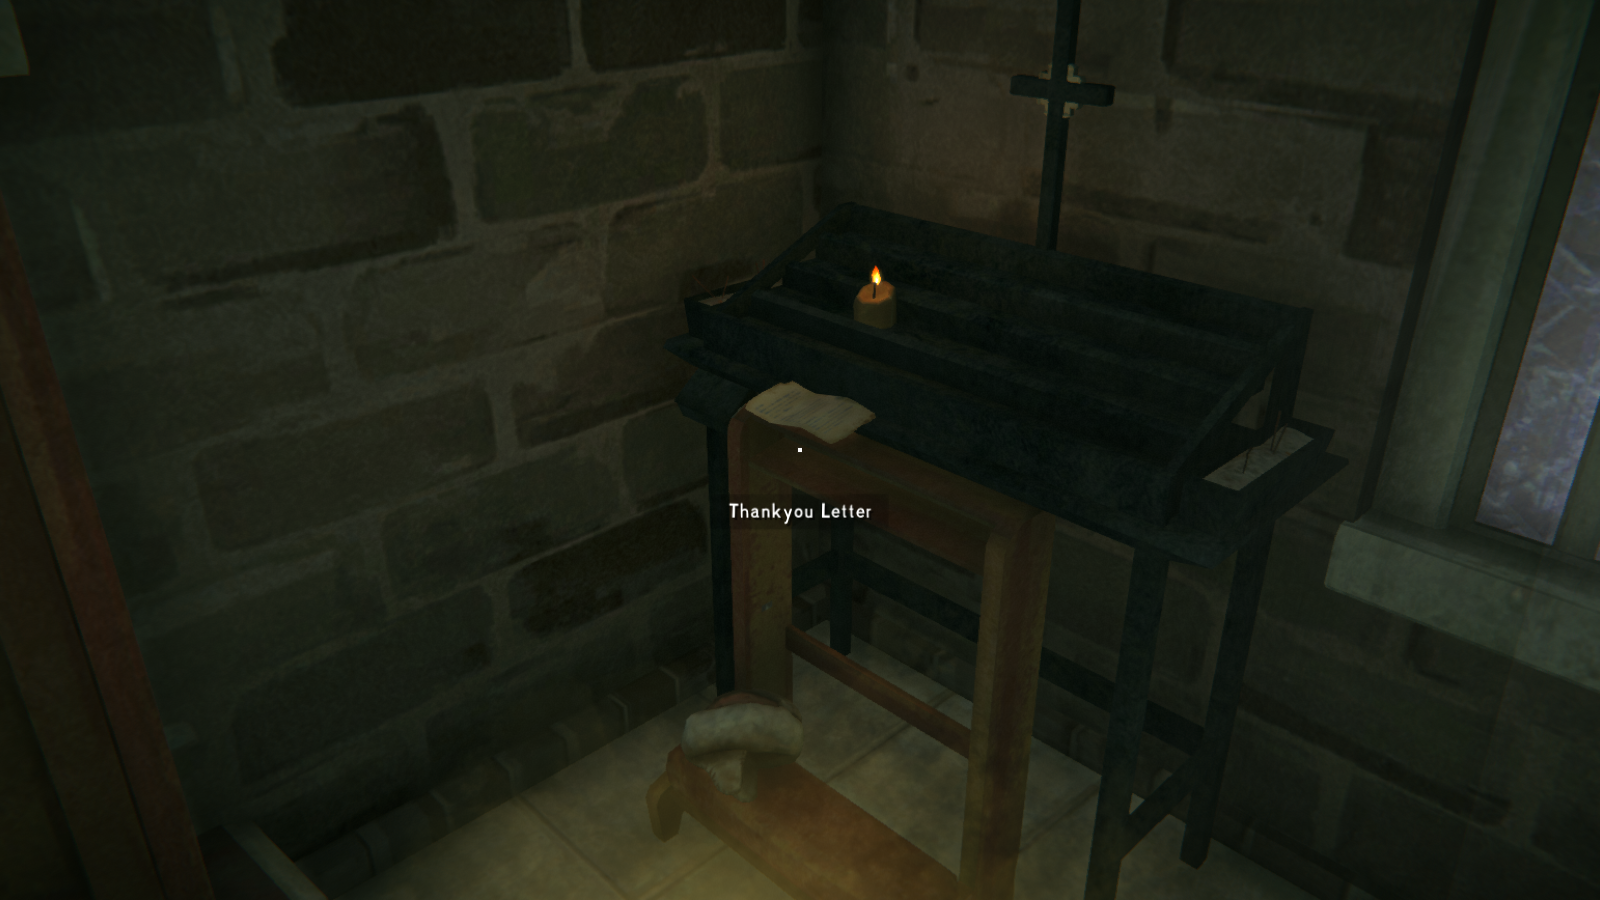
Sidequest: Joplin's Shelter Raid
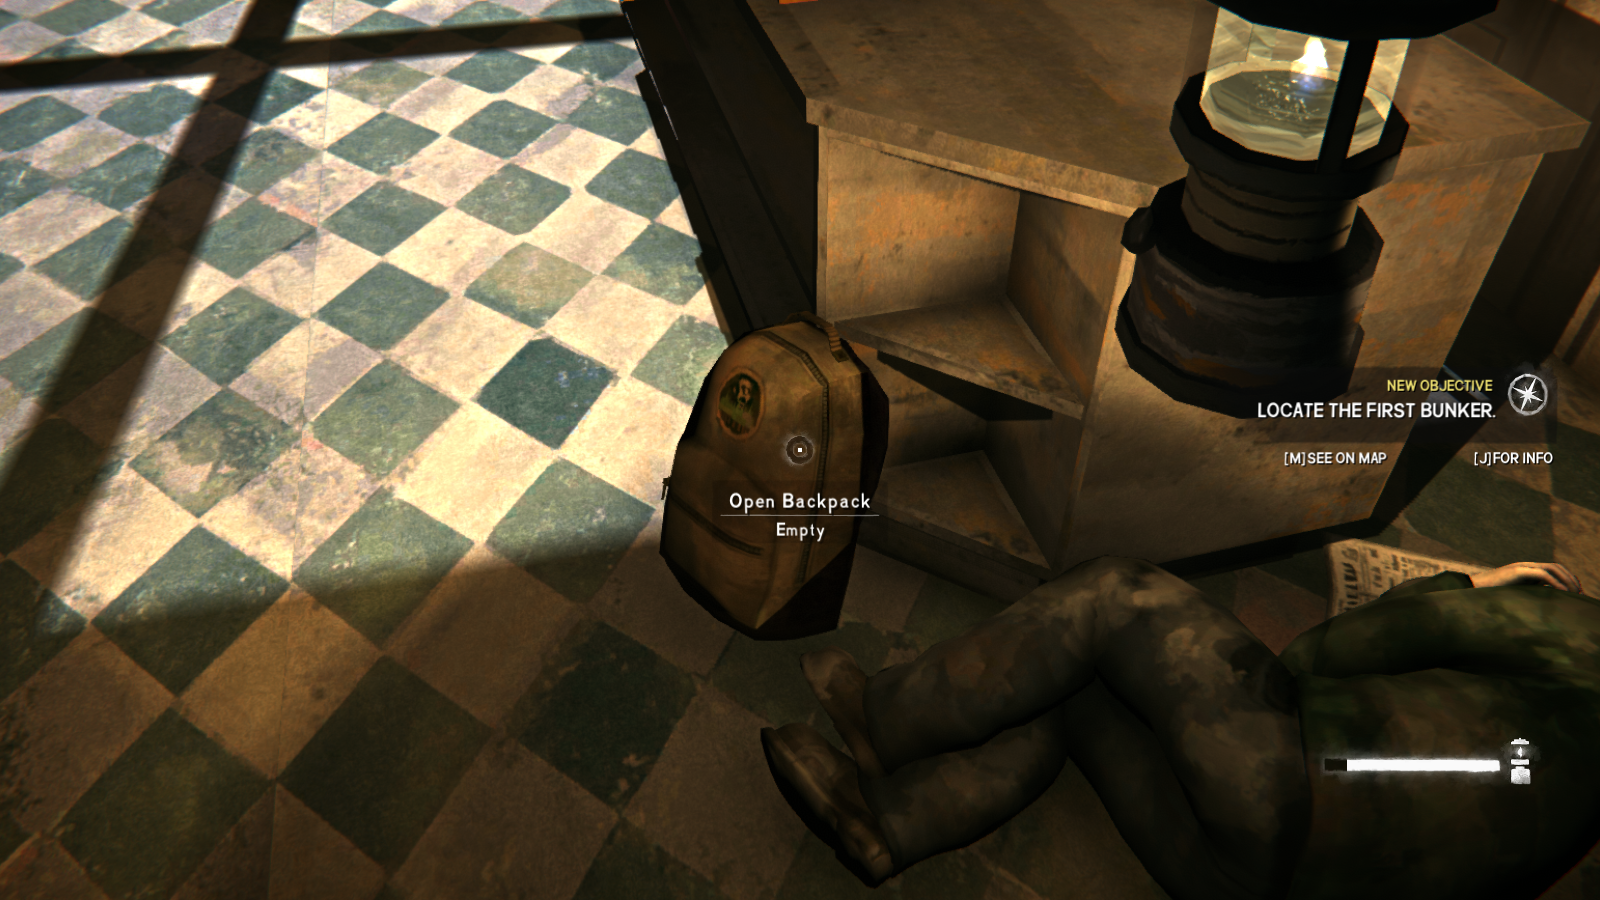 Note: If you're playing in Hardened Survivor difficulty mode, the quest trigger will be at a different location. If you follow the road out of Thomson's Crossing (turning left after leaving the Community Center), you'll eventually come across a couple of broken-down cabins. These are the Derelict Cabins, and the dead body is in the cabin on the left. (Thanks to Max Noskill for telling me where the dead body was moved to in Hardened Survivor)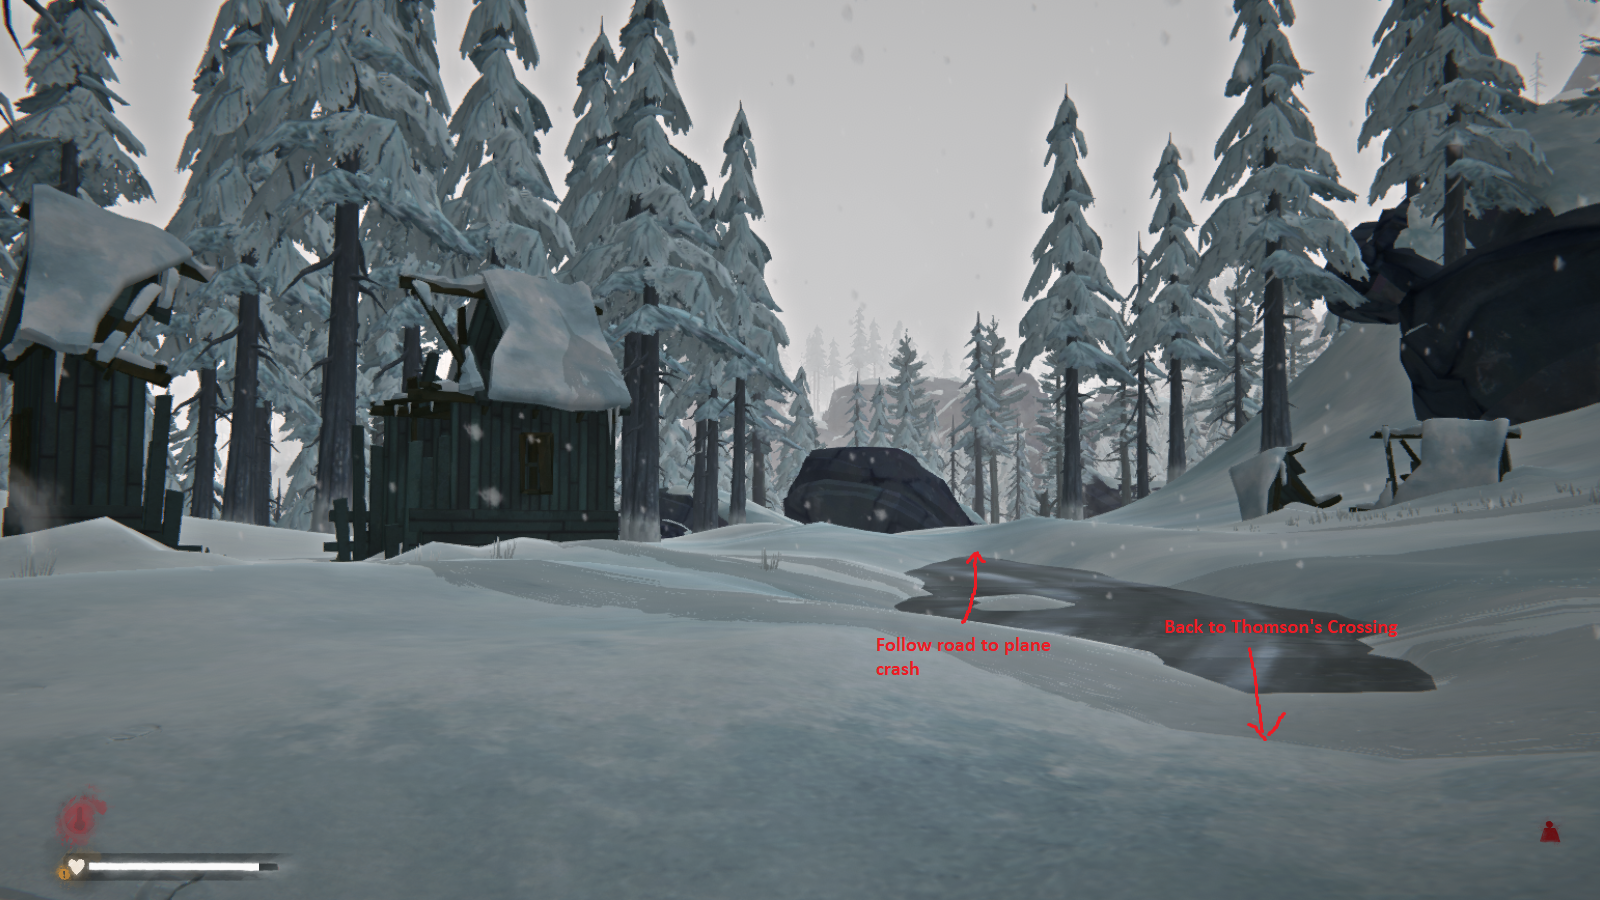
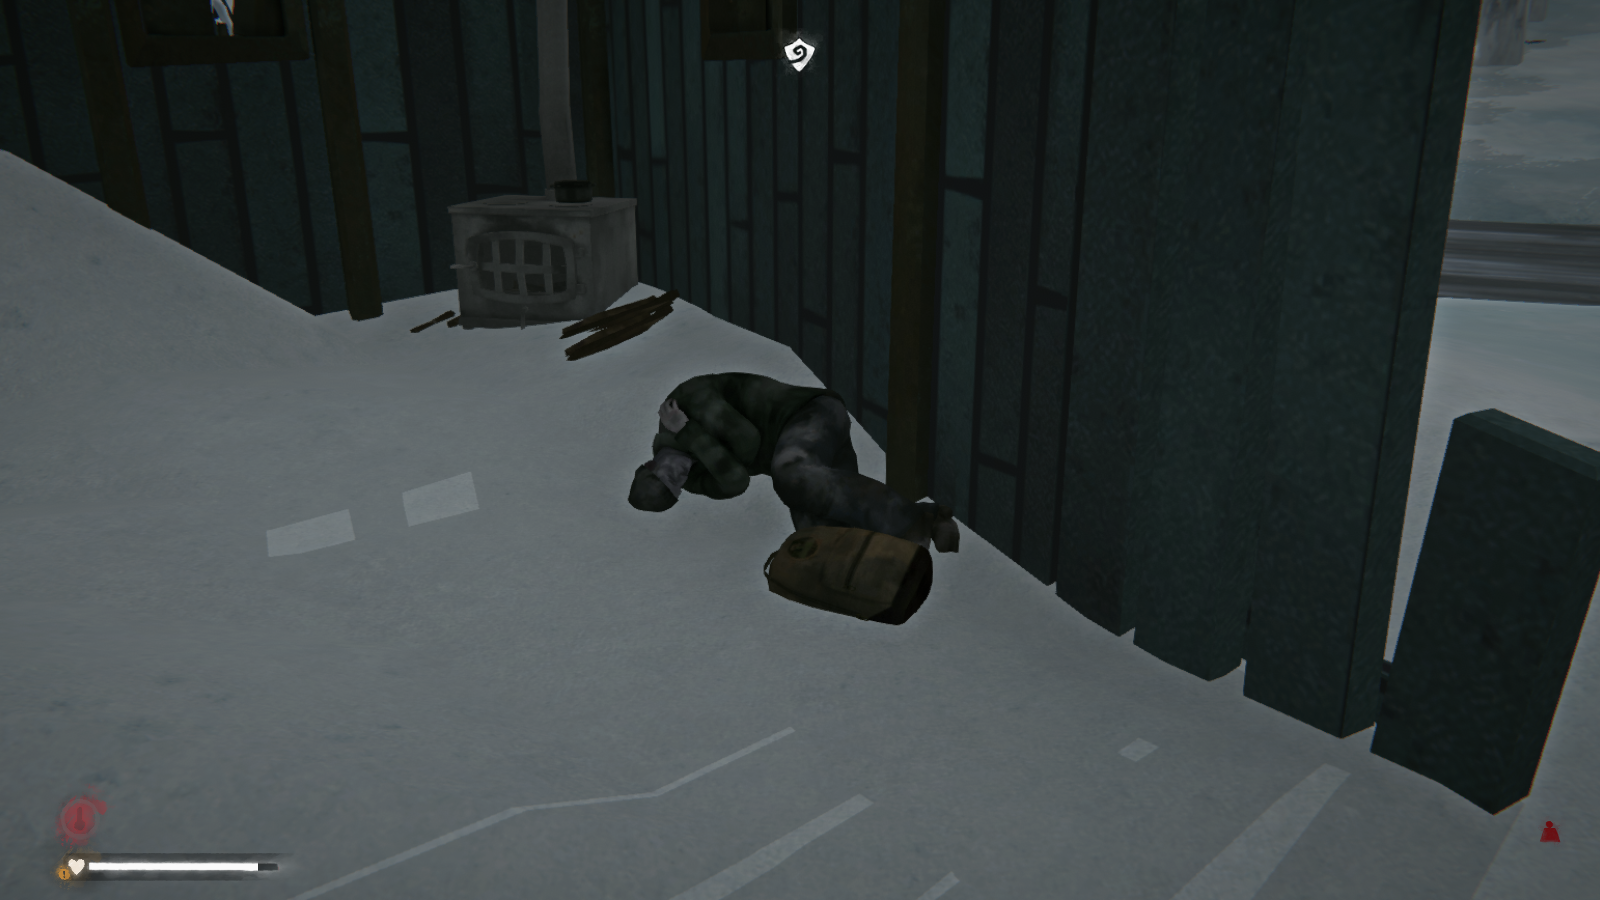
-----------------------------------------------------------------------------------------
The first shelter is found up in the mountains of Pleasant Valley. If you play Sandbox/Survivor Mode, it's actually near the transition point to Timberwolf Mountain. Head towards the icon on the map and you'll eventually find the buildings in the picture below.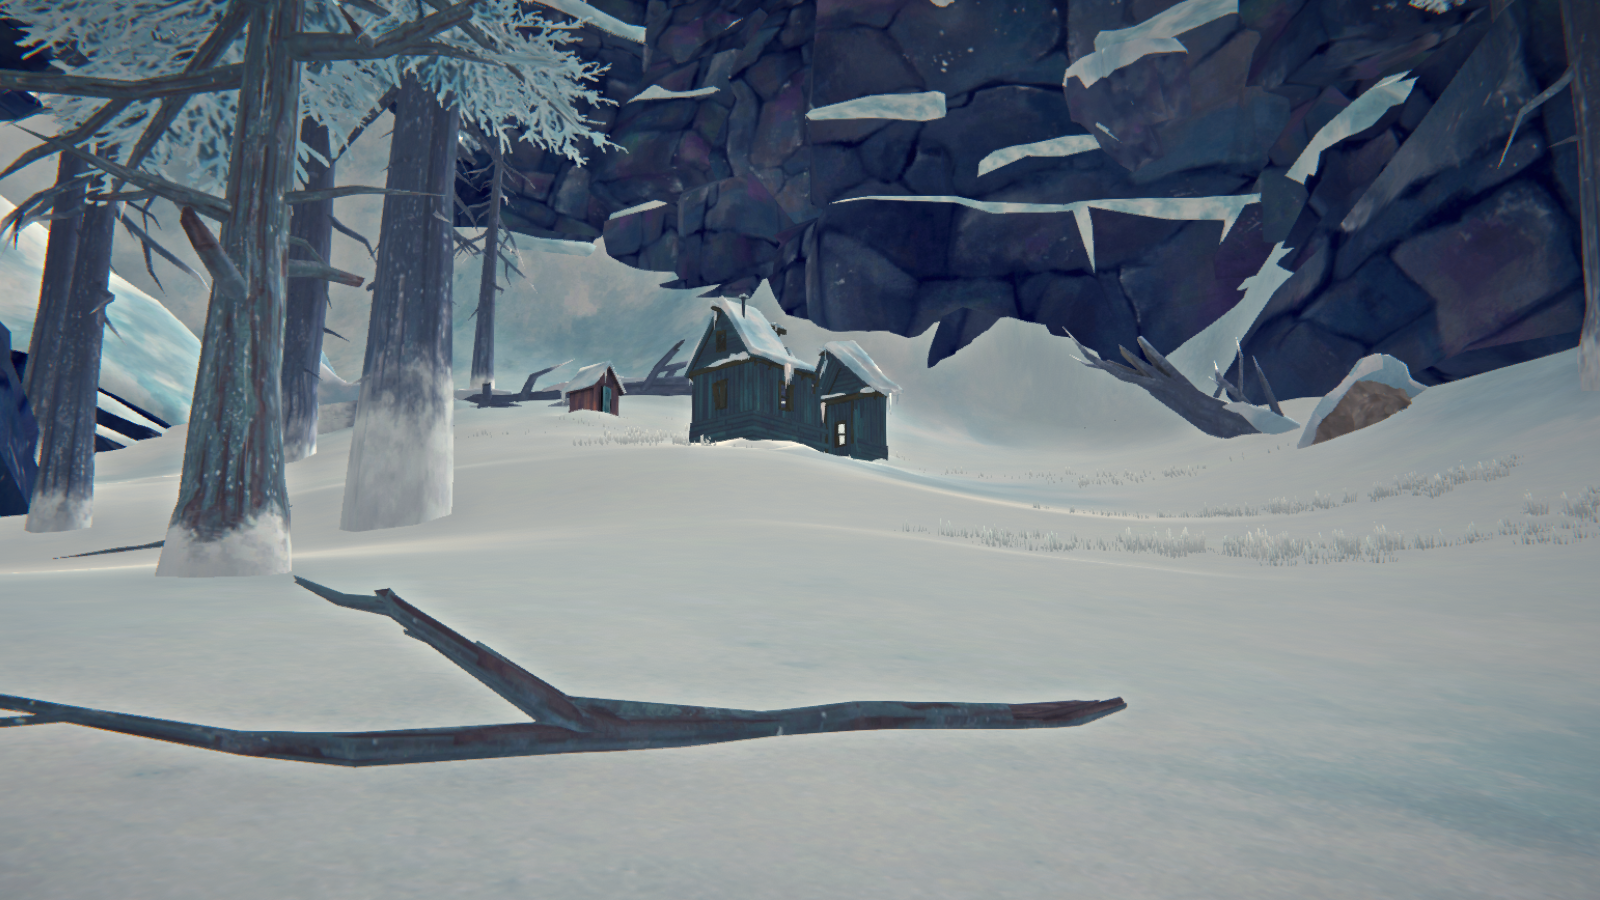 Look behind the fallen tree to find the hatch entrance. From there, you'll need to search the grate in the top right of the bunker for the next note. Pick this one up to get the location of bunker number two.
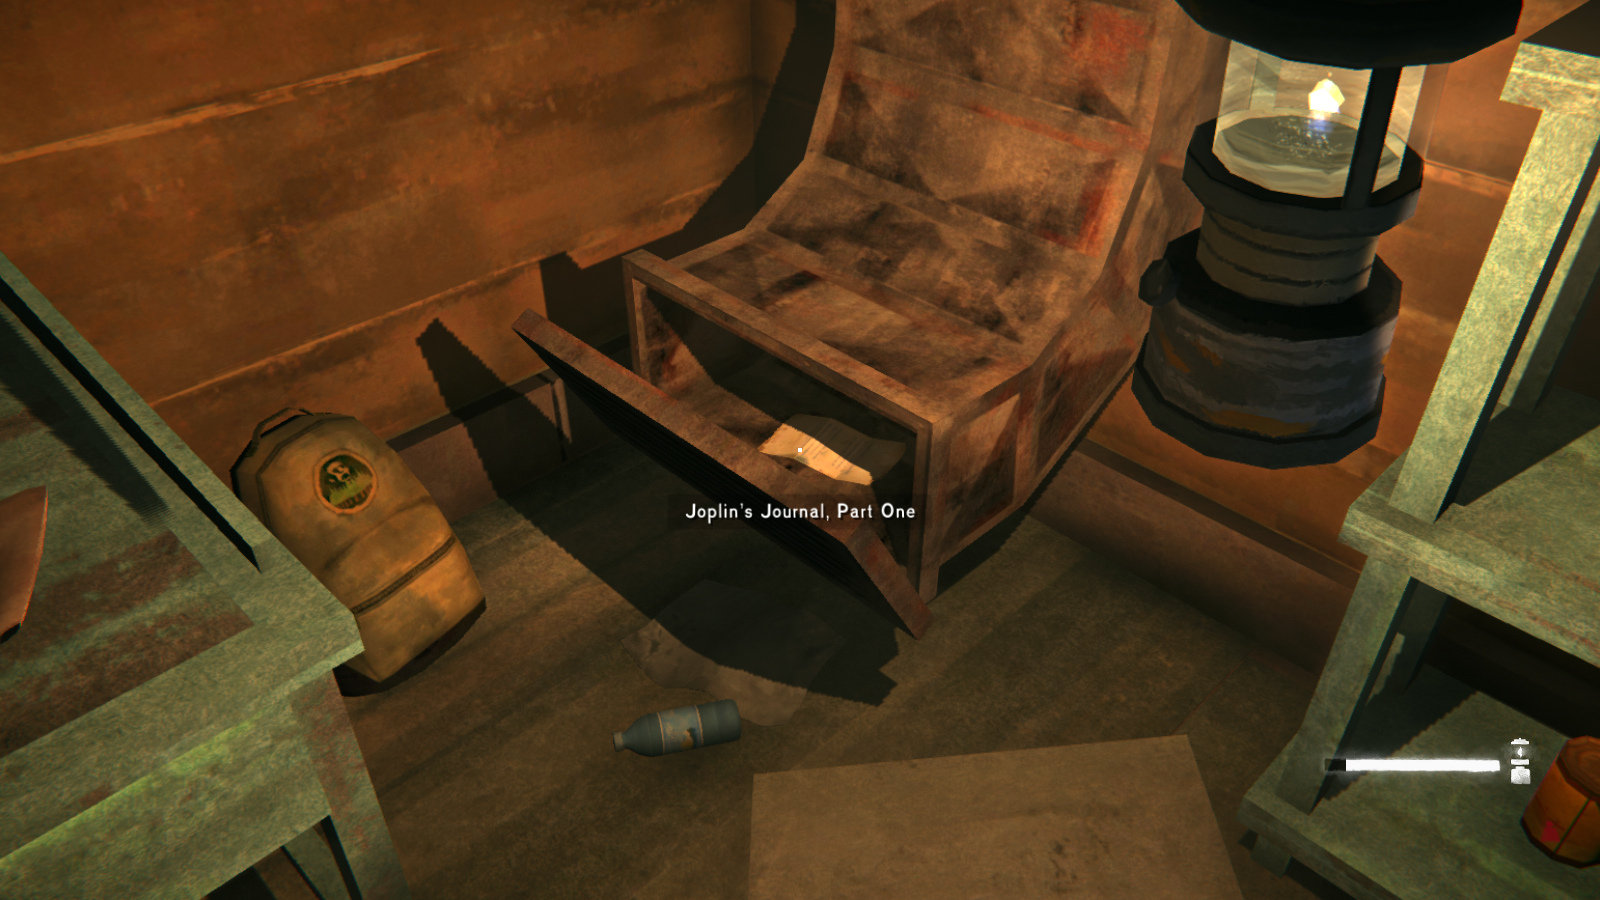 And of course, be sure to thoroughly loot this bunker for all its goodies. You'll get some amazing snow pants, a rifle, and plenty of ammunition, just to name a few of things here. And don't forget to pick up the note on the bed for the Forest Talkers sidequest.
--------------------------------------------------------------------------------------------
On to bunker two! This one is a little behind Heartbreak bridge, behind some rocks.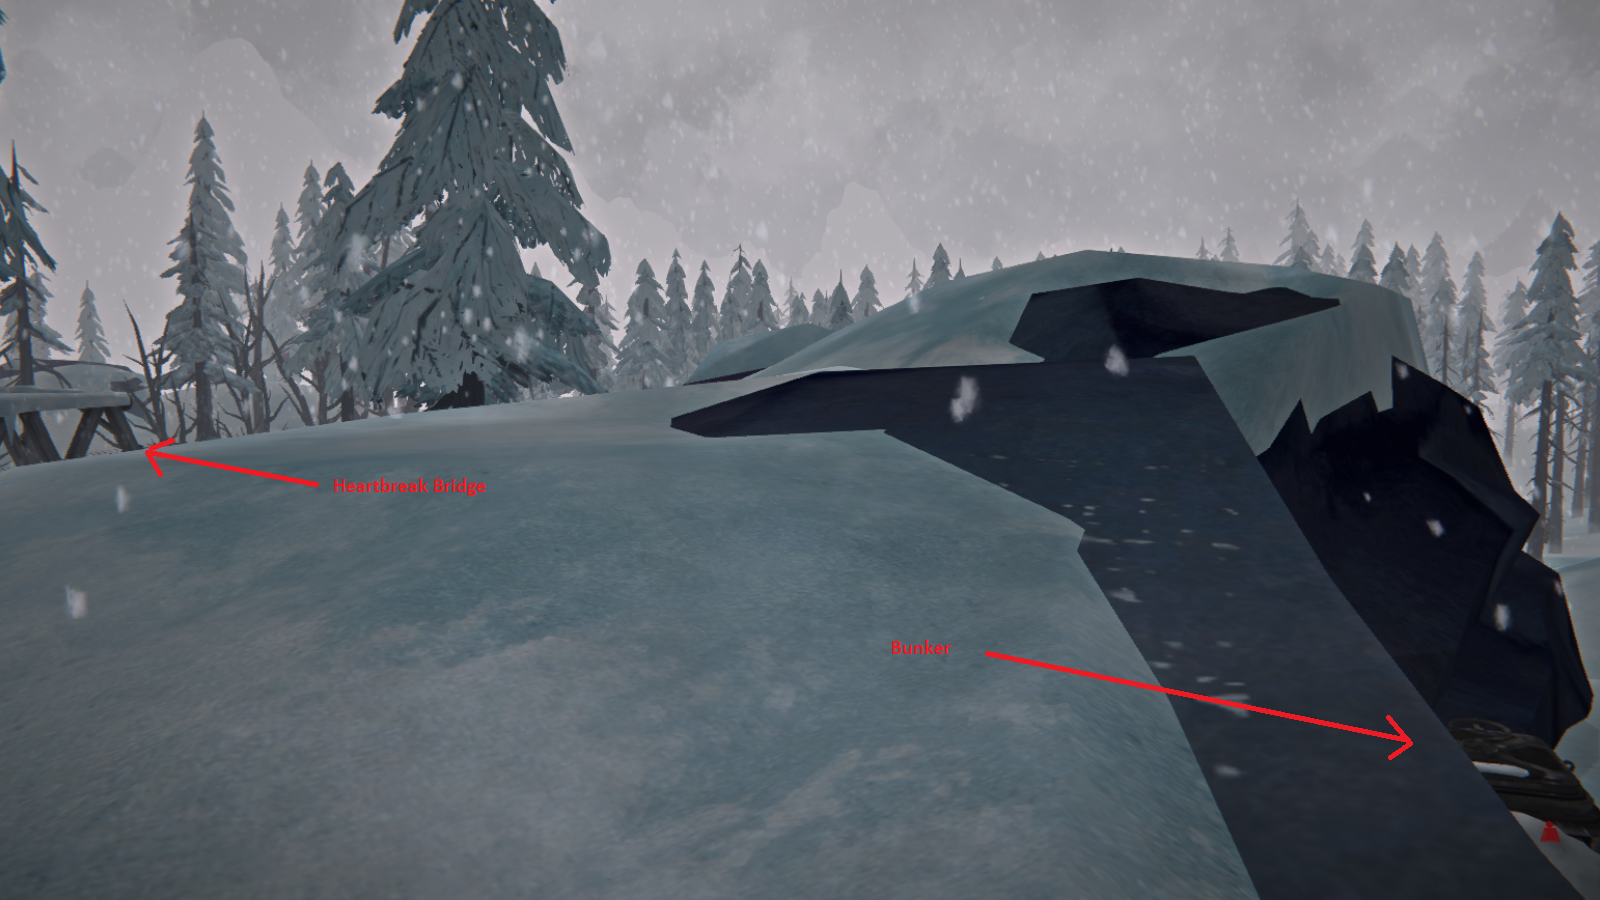 The big item to pick up here is a flare gun kit, with a fair number of shells. The next note is, surprise, inside the grate again. You'll then be directed back towards Community Hall. And don't forget to pick up the Local Legends book while you're here!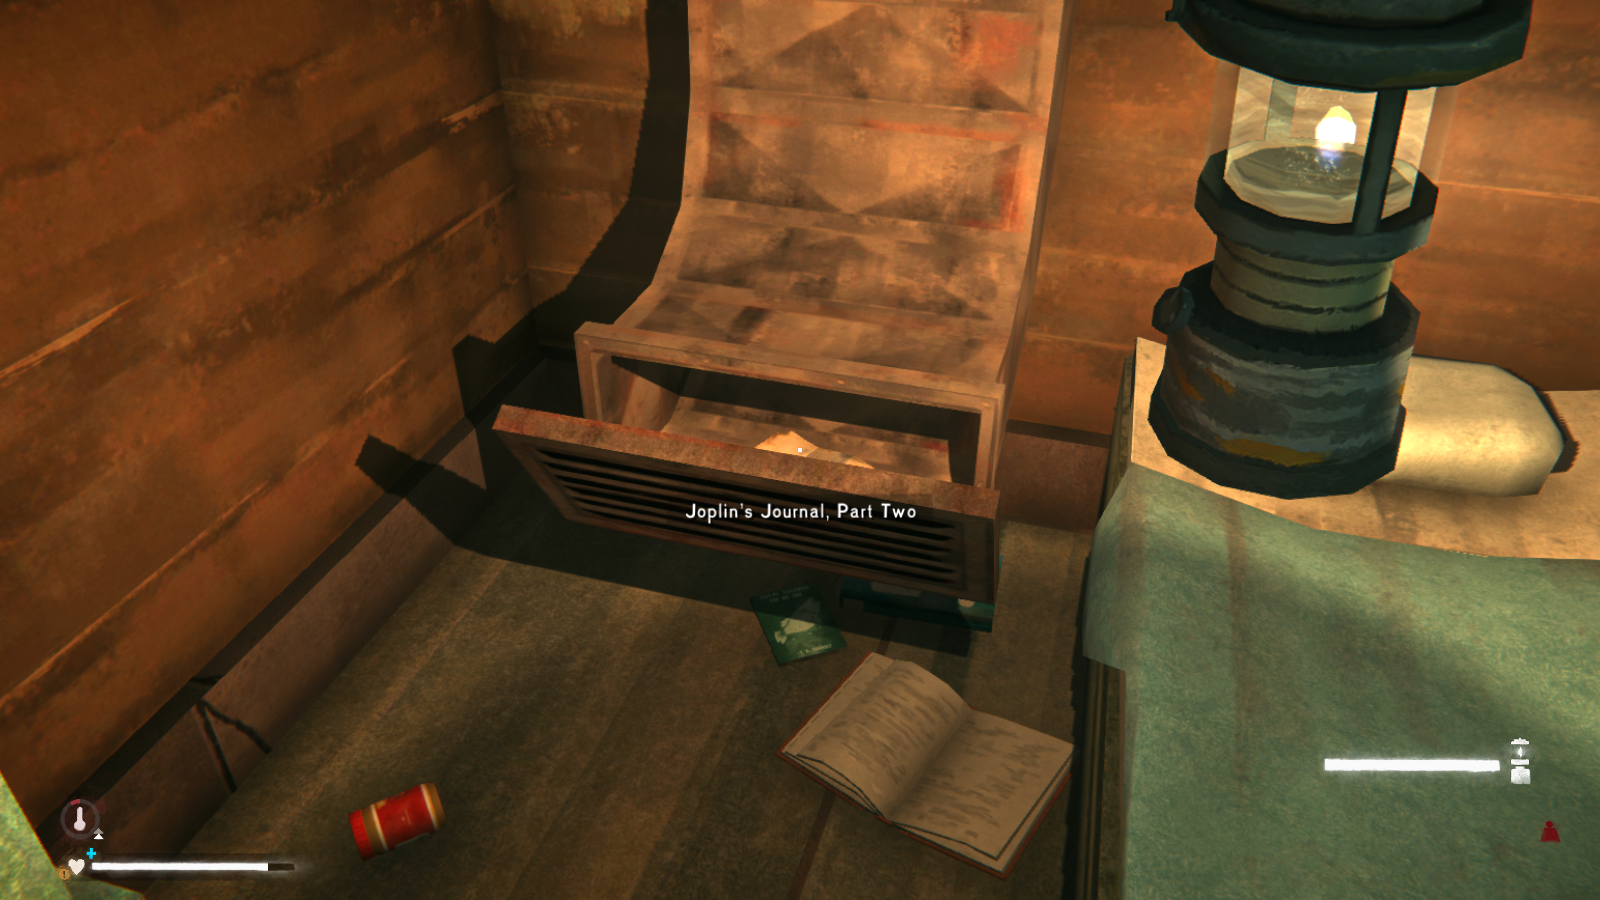
--------------------------------------------------------------------------------------------
For the last bunker, head under the bridge to the left of Community Hall, and then follow the river up the hill. You'll eventually reach a waterfall. While facing the waterfall, turn left and the bunker will be behind a bunch of large rocks.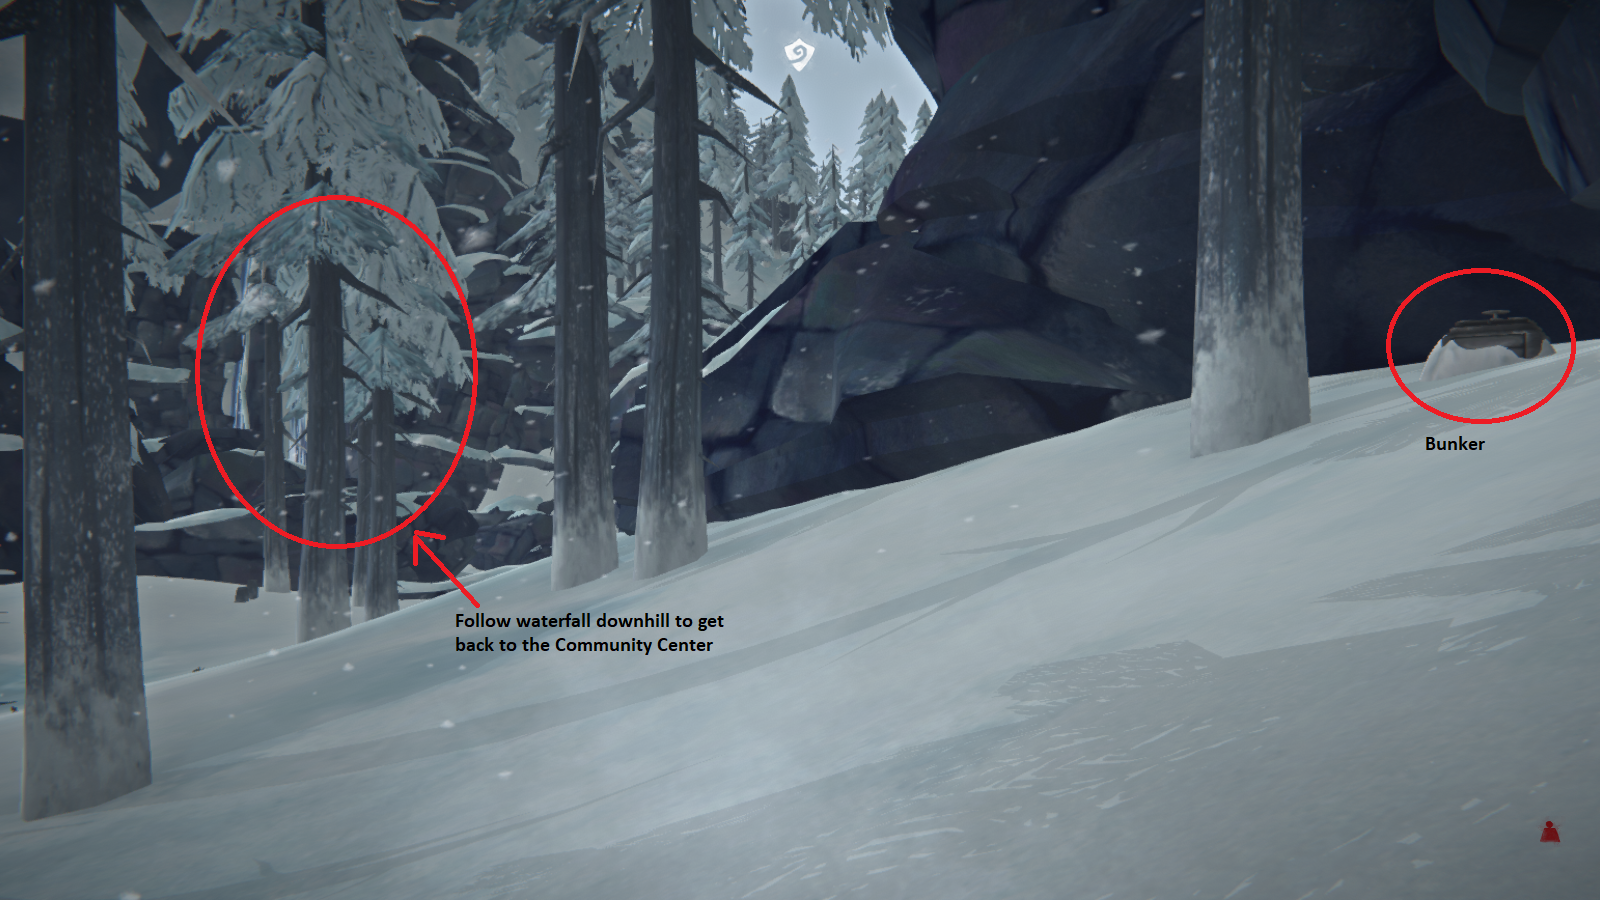 The last bunker has so many good things I won't list them all. But to name a few, you can get Mukluks, wool ear-wraps, and a second revolver. There's also a ton of food, if you're still struggling to feed Community Hall.
Sidequest: Local Legends
So this sidequest is triggered by picking up any one of the four books below. As the name suggests, Astrid has the chance to look into some of the local legends around Pleasant Valley. Completing all of them nets you an achievement, and each quest has some nice goodies at the end so they're worth your time.
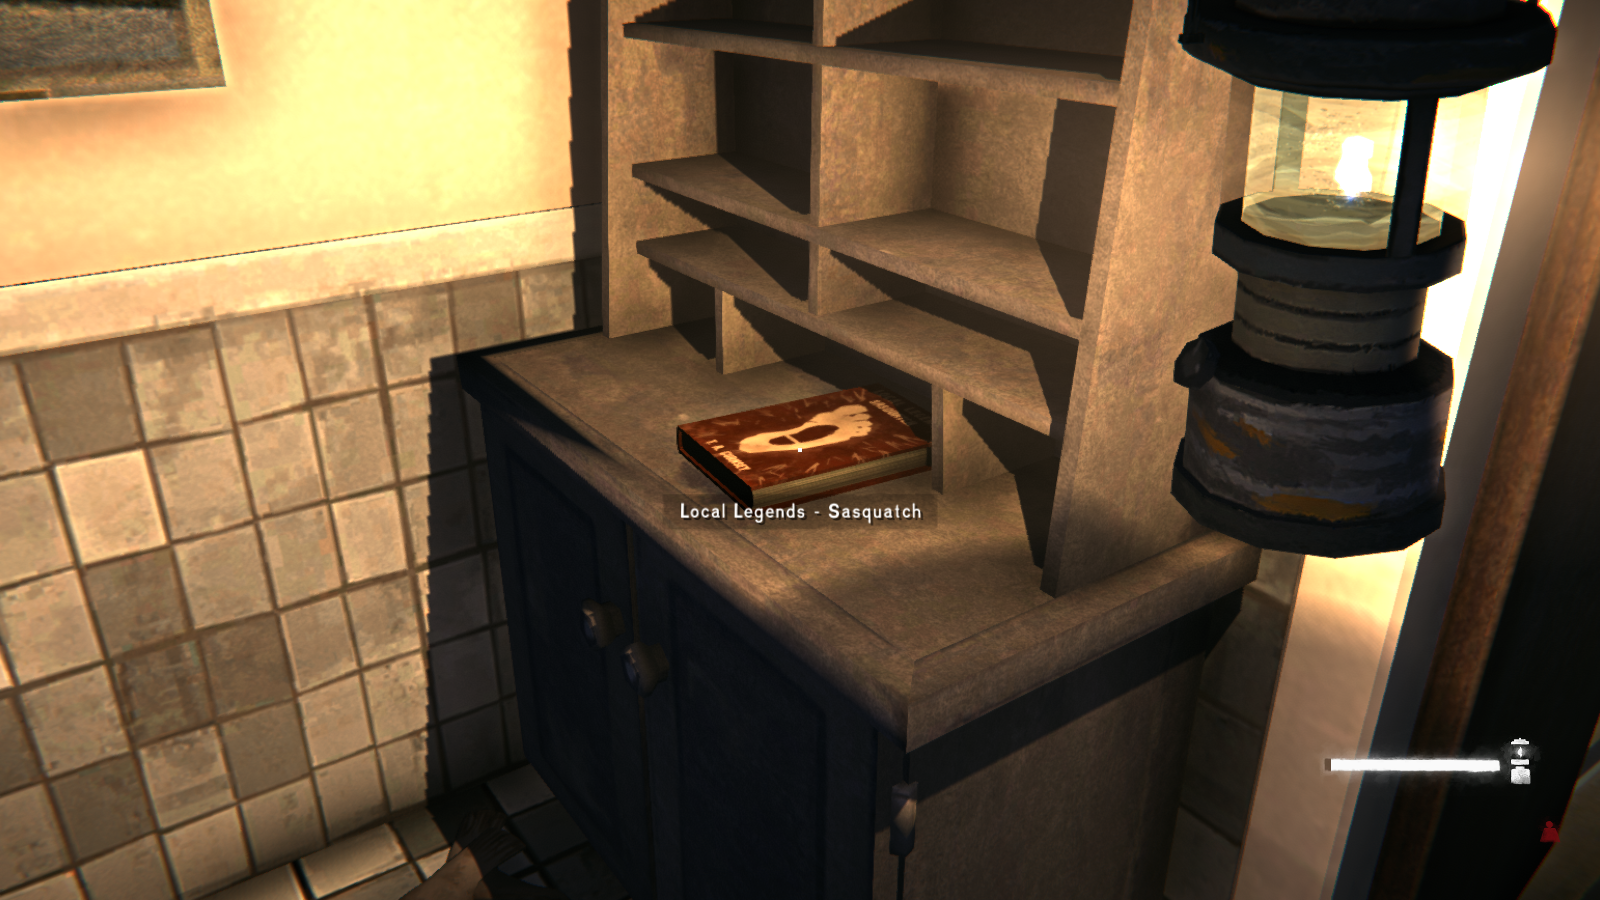 As always, go towards the map marker. The cave can easily be found by crossing the road after leaving the Community center and just hugging the wall while heading to your right. You might get a sprain or two from walking on a steep slope, but there are a lot of pain killers in this region.
Anyways, you'll eventually come across a cave with a dead deer outside and mushroom stumps.
 Go inside to trigger the next objective of searching the cave. You'll quickly find a dead man with a sweet coat.
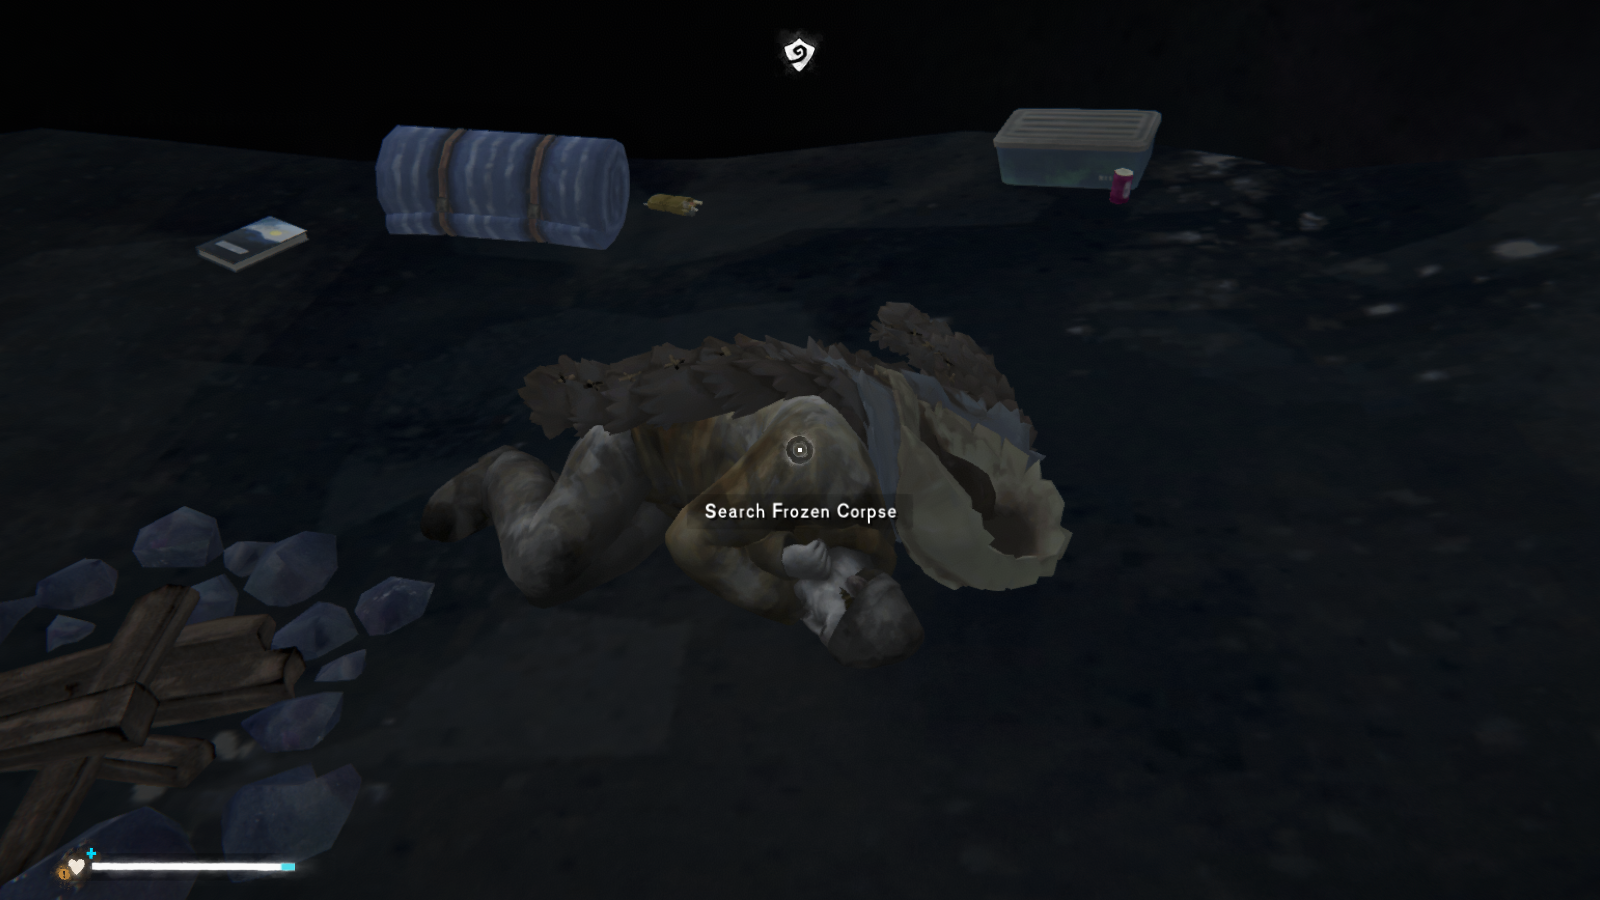 Search him to get yourself a wolfskin coat. This is a pretty warm animal skin coat with good defense and a small chance of causing wolves to run from you. And frankly, I'm just glad there wasn't a bear in here.
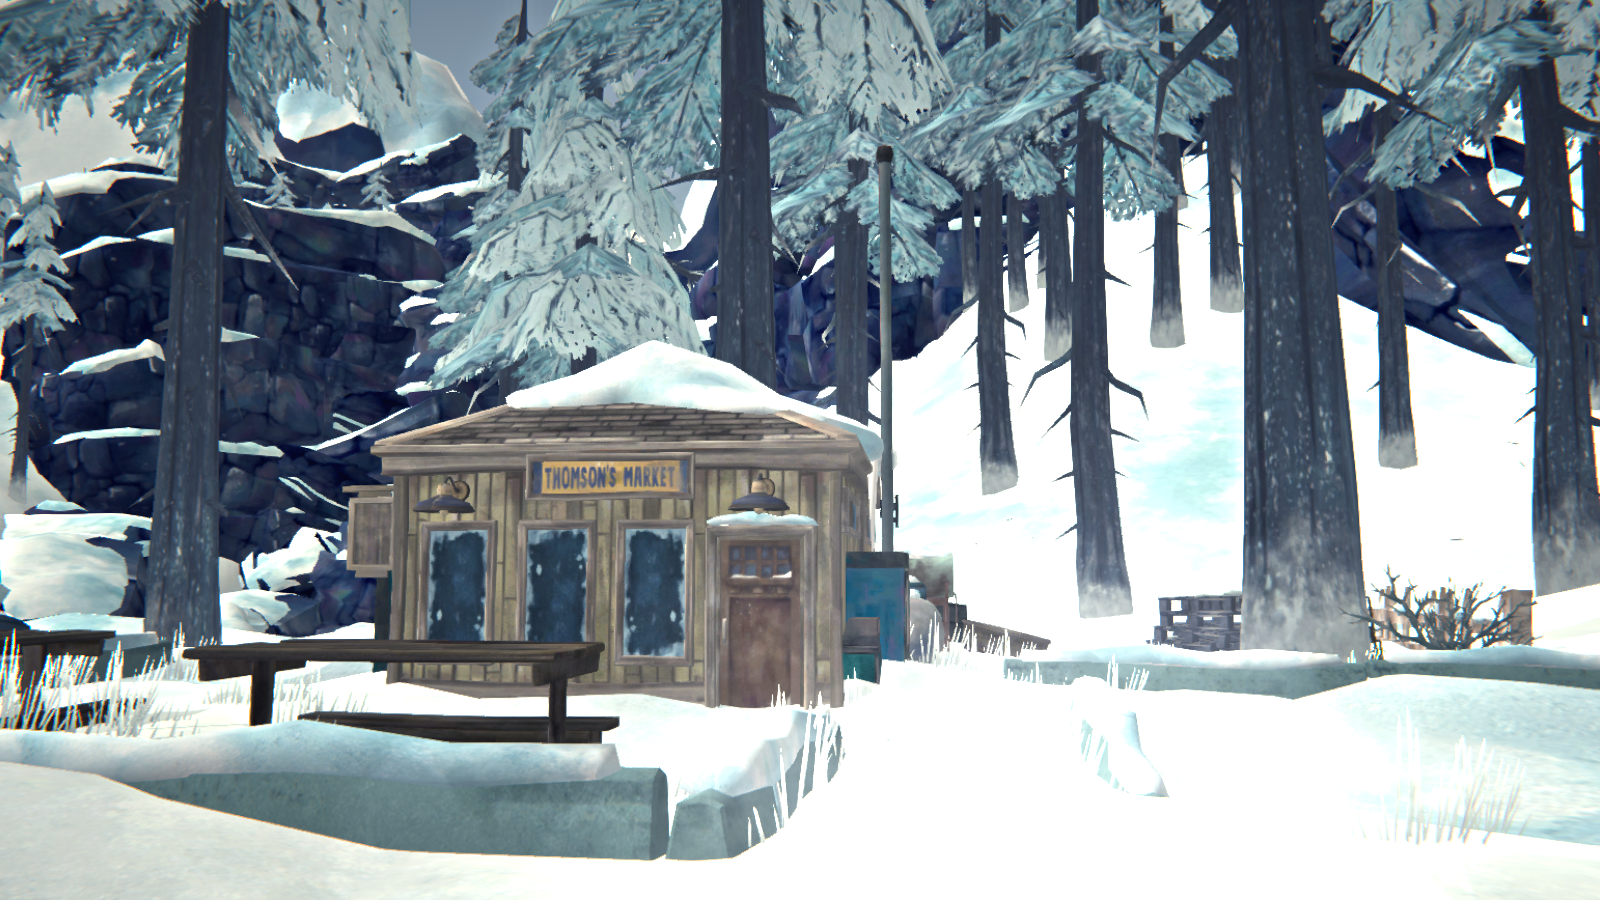
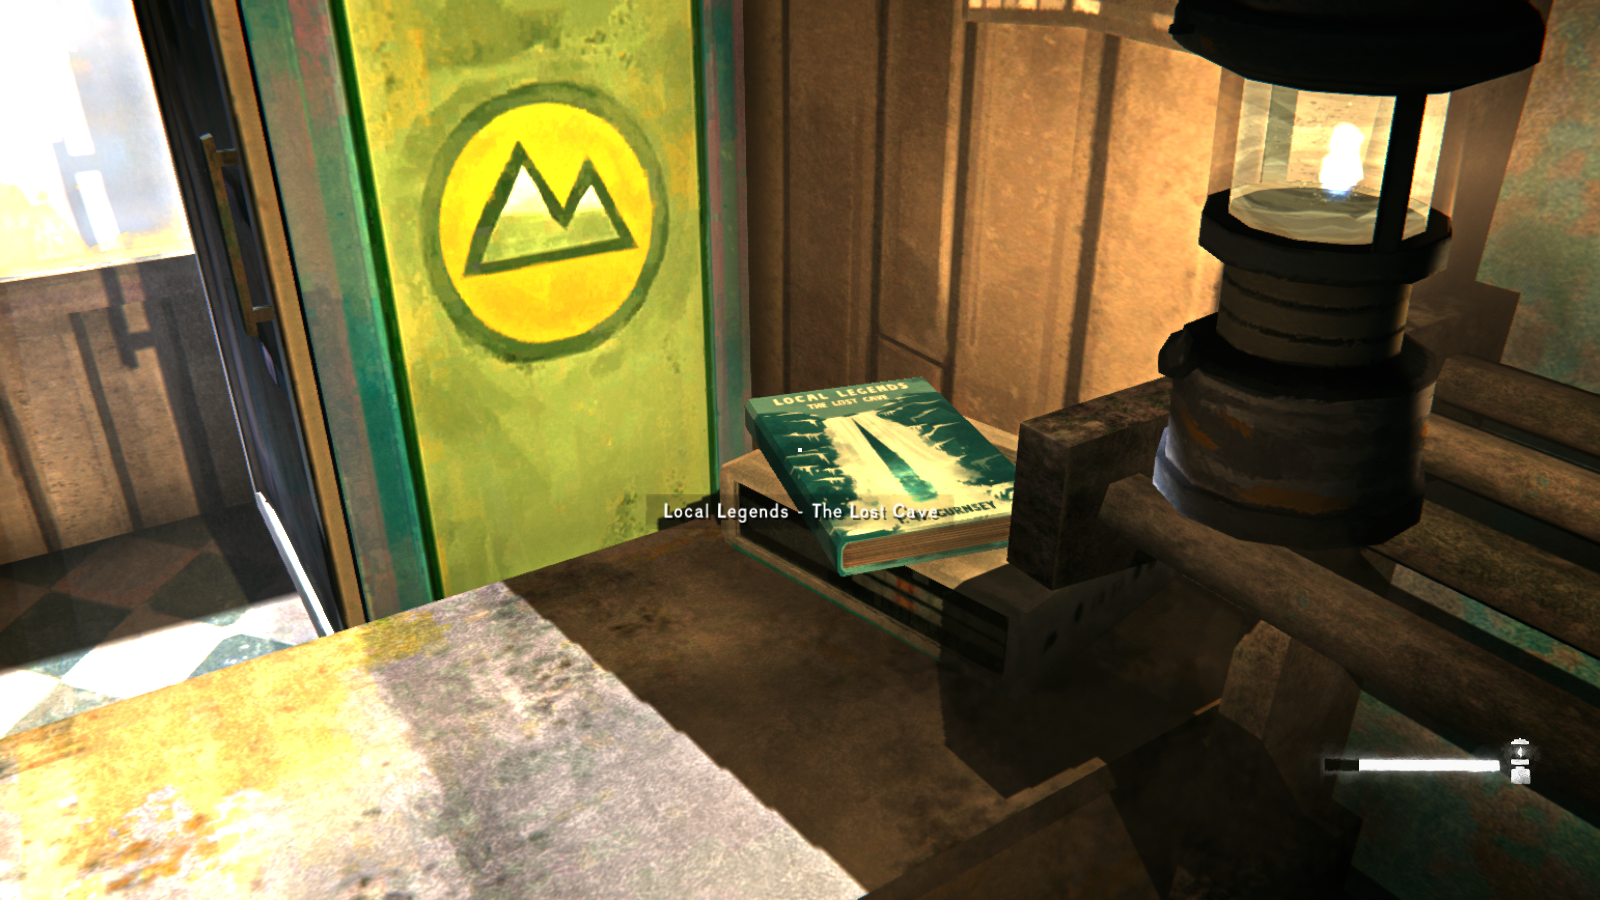 As with all quest objectives, a marker will appear on your map. You'll actually want to follow the river as if you're heading to the plane crash. But you need to follow it until you reach see the waterfall. From there, keep going until you see a campground on your right (and yes, the picture is from a different angle since I came a different way). While it may not look like it, there's actually a cave entrance hidden behind a large rock.
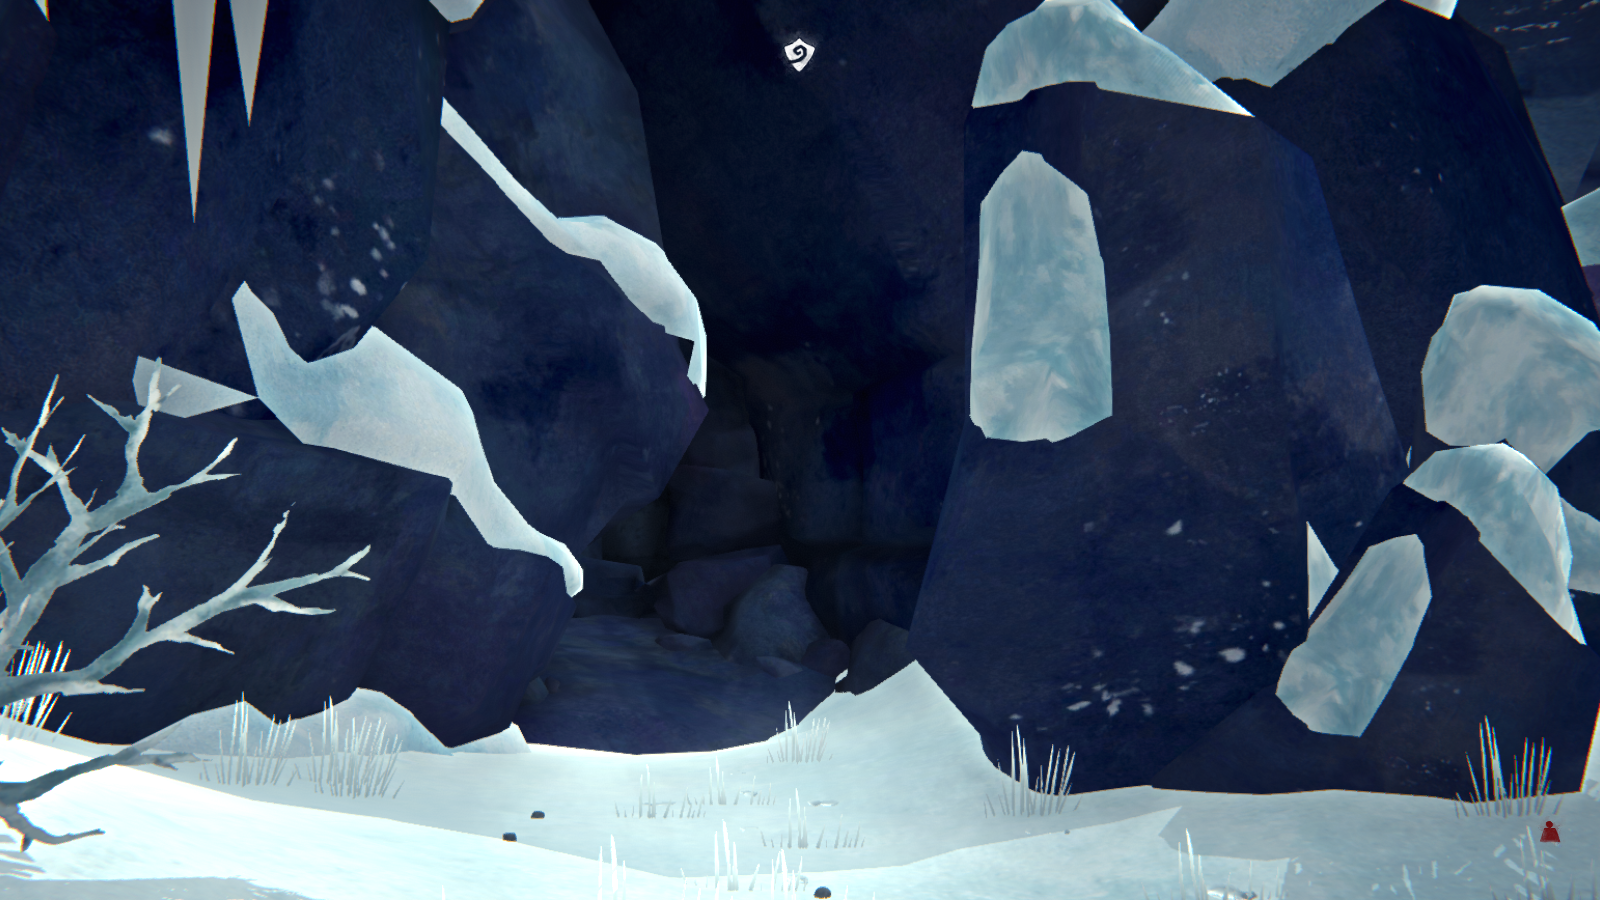 After entering the cave, you'll be asked to find the secret waterfall. Thankfully, this cave is a giant loop. Keep going until you hear the sound of rushing water and see the small entrance in the picture below.
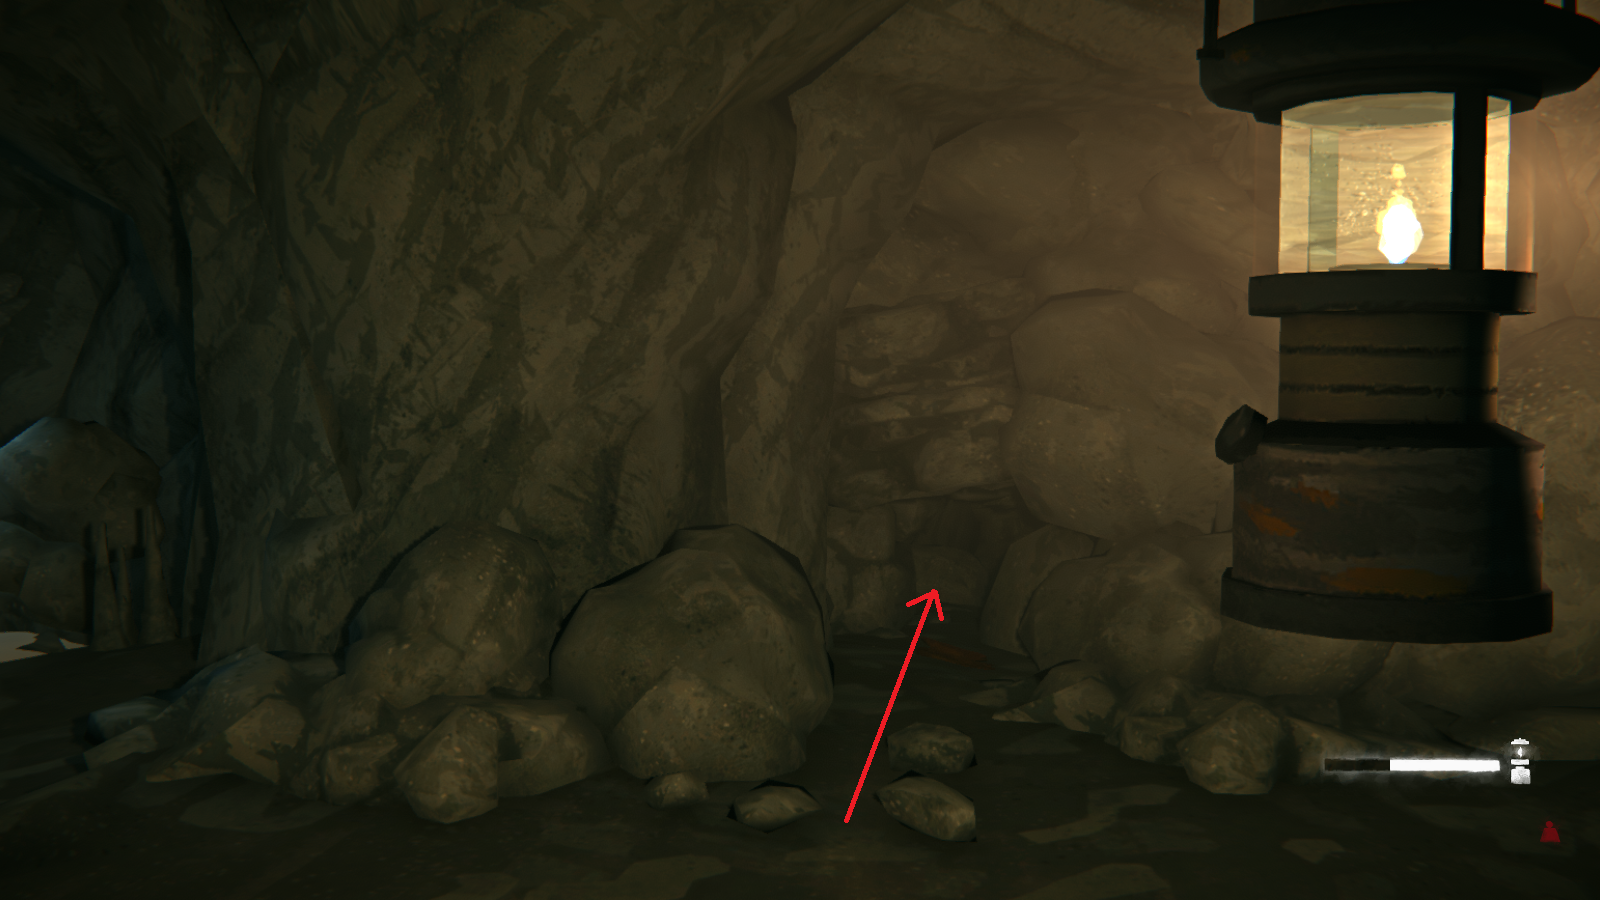 You have to crouch to crawl through the hole, but eventually you'll get through and see the waterfall. Go through it to finish the objective...and see a rather sad sight. As a side note, going through the waterfall is guaranteed to get all of your outer clothes wet and give you hypothermia, so you may want to take them off beforehand.
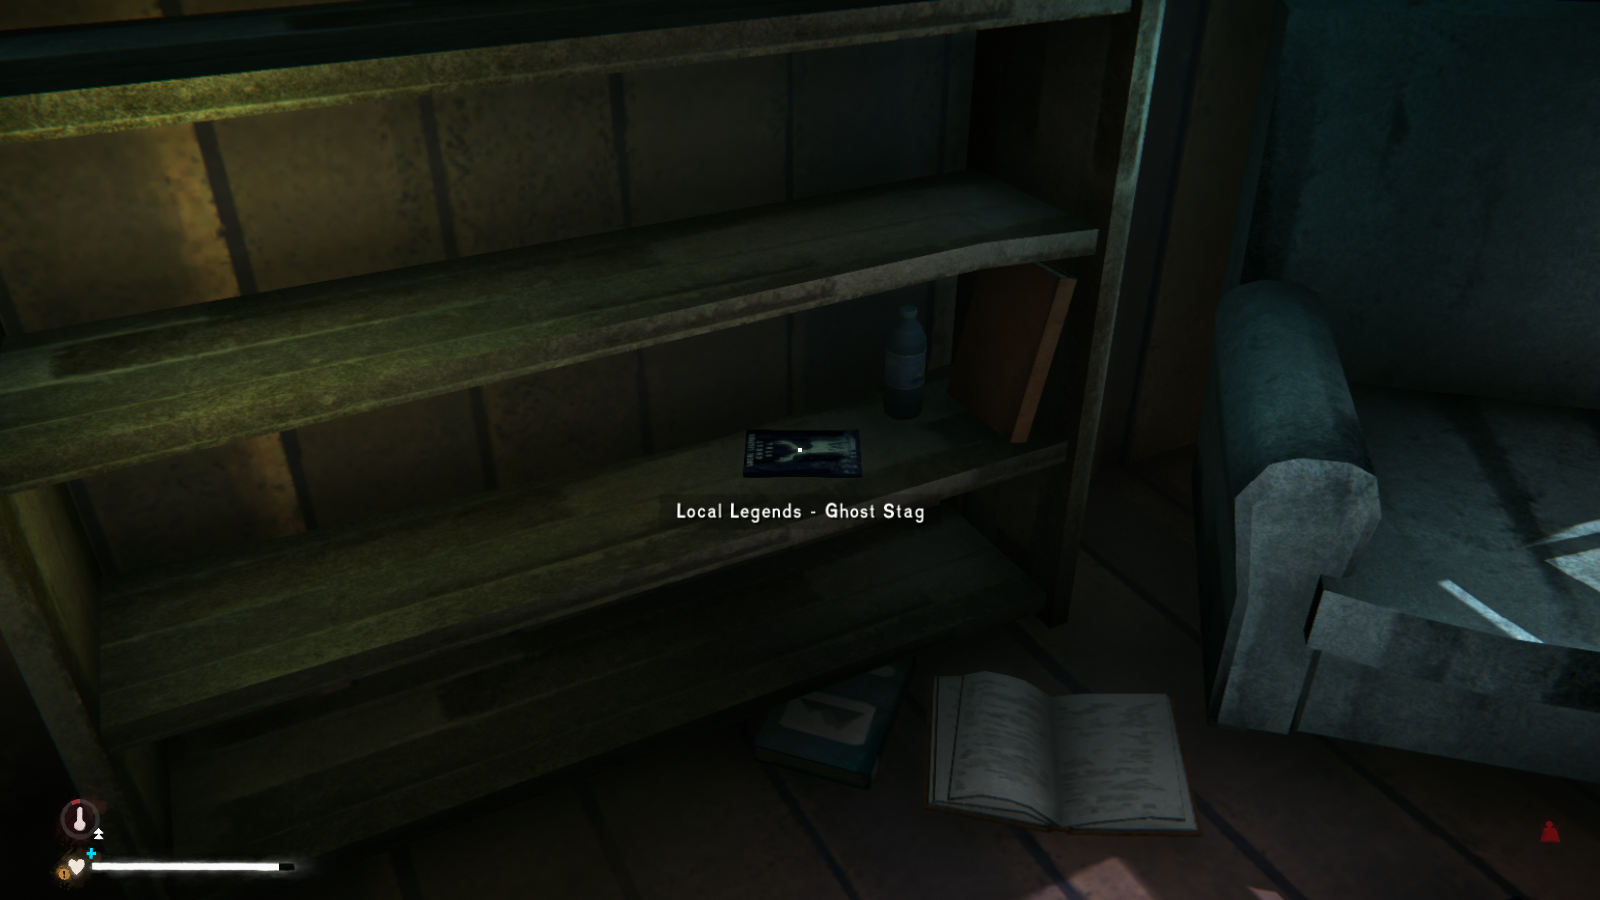
To see this special stag, you need to heard towards the Three Strikes Farmstead. As always, just head towards the map maker; it's pretty easy to get there. Once you cross the bridge, head to your left and you'll find a snow shelter.
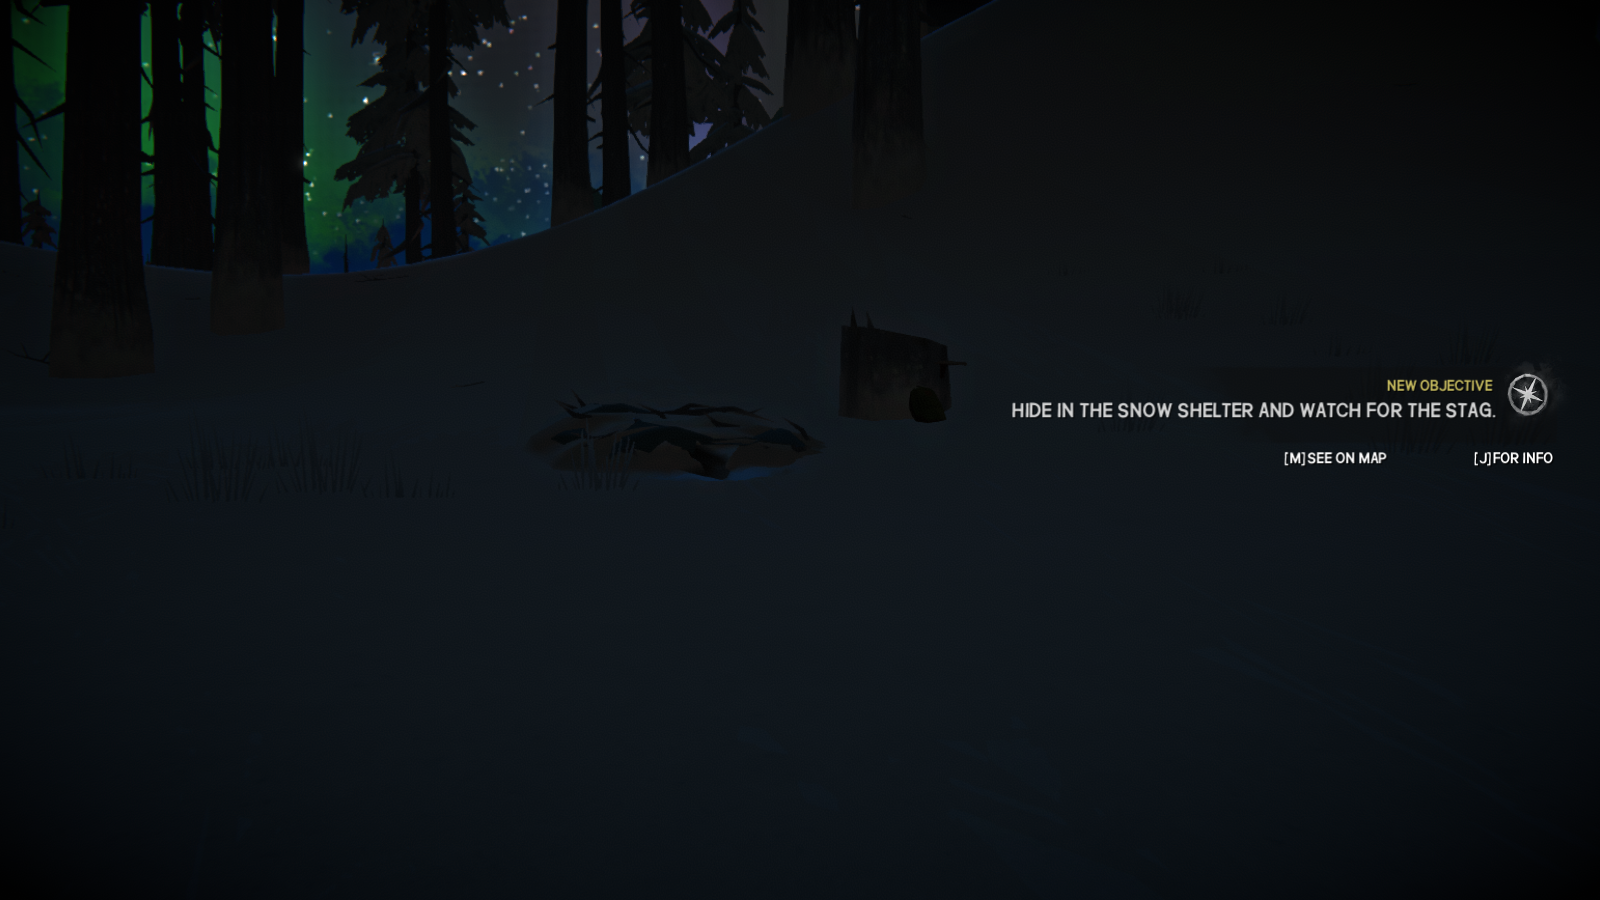 Get close enough, and the game will autosave and then prompt you to hide in the shelter until the stag appears. Oh, and be sure to search the nearby backpack for some Rabbit-skin mittens! Do as it says, and the game will fast forward until the dusk. You will then see the majestic white stag.
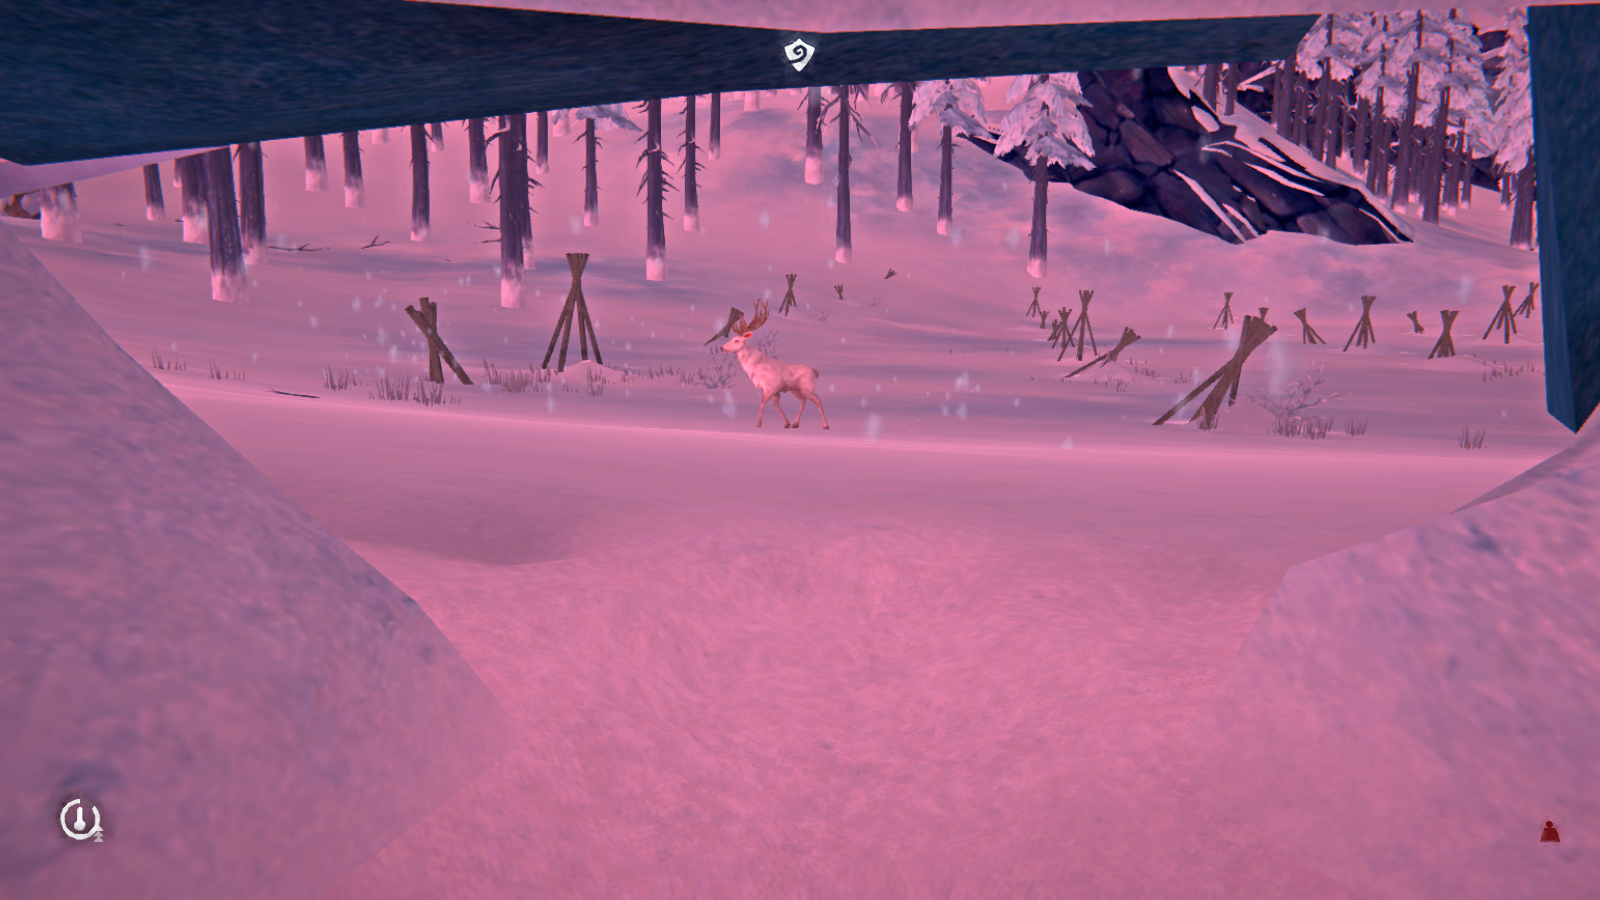 This will unlock the blueprints for deer-skin boots and pants. While you can take a shot at the deer, it won't be injured or die. And why would you do such a thing to such a beautiful creature?
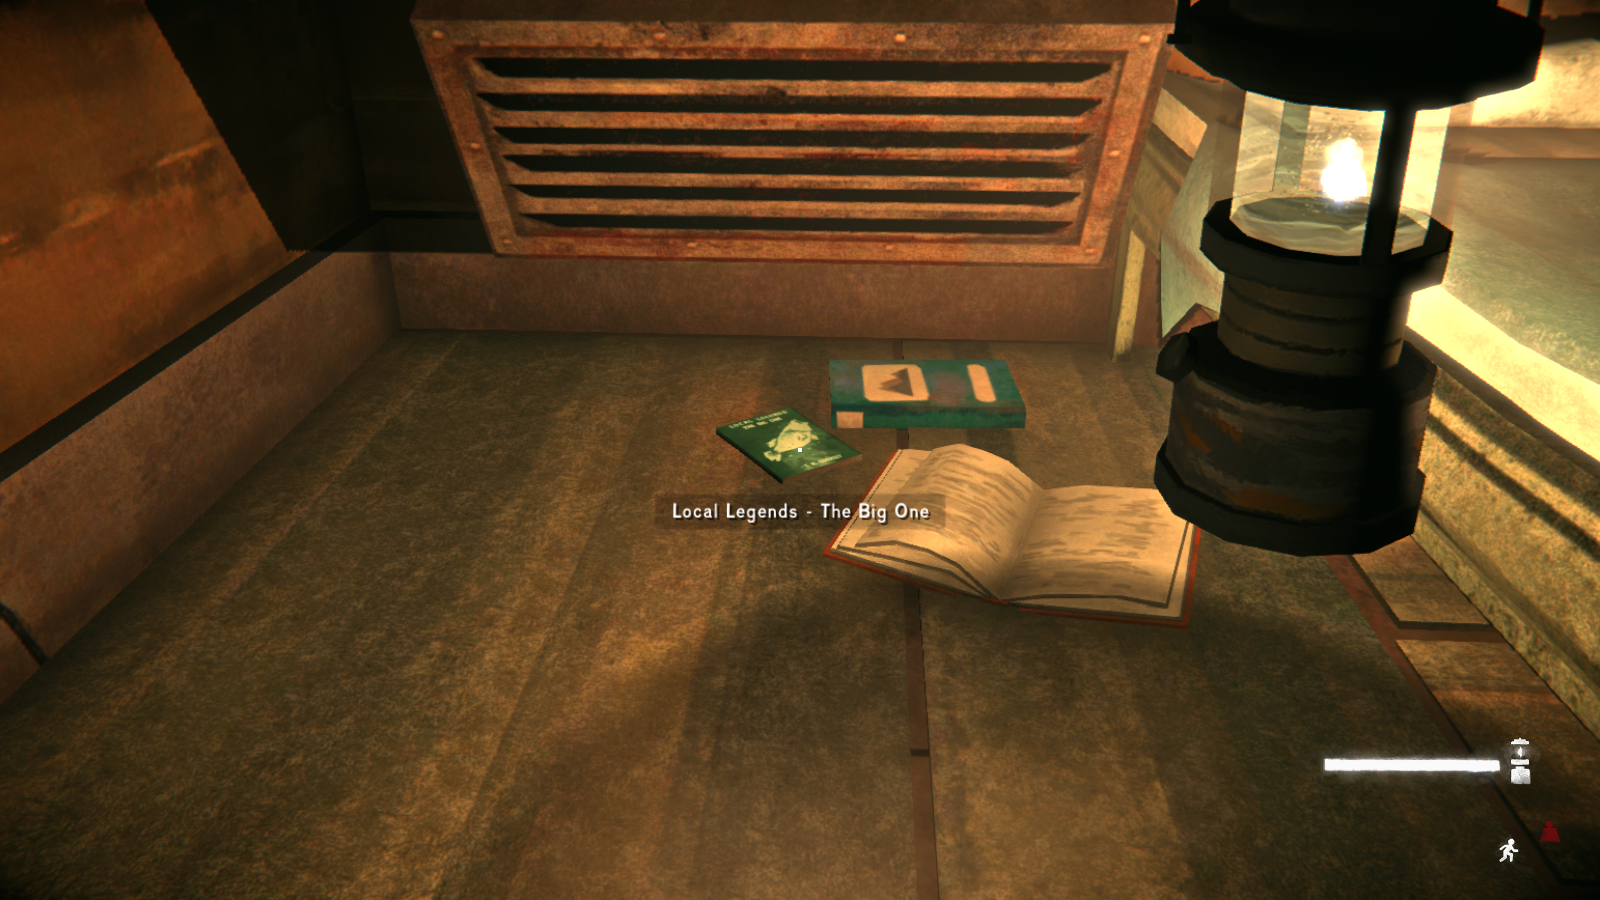 You'll want to do some prep before heading out to Pensive Pond. Make sure you're wearing your warmest clothes. Try to wear get enough that you can stand in a sheltered area without your temperature dropping. If you can't manage that, then you need to bring a tool that can break down wood or a lot of fire fuel. Also bring any fishing tackle that you've found beforehand. There will be some at the Pond, but it's always good to be prepared. Finally, try to drop enough gear that you can carry at least an extra 15 kilograms on the way back.
Once your ready, head out towards Pensive Pond. The easiest way to get there is to just follow the river and then head up the bank when you get close. Anyways, it's a pretty obvious area.
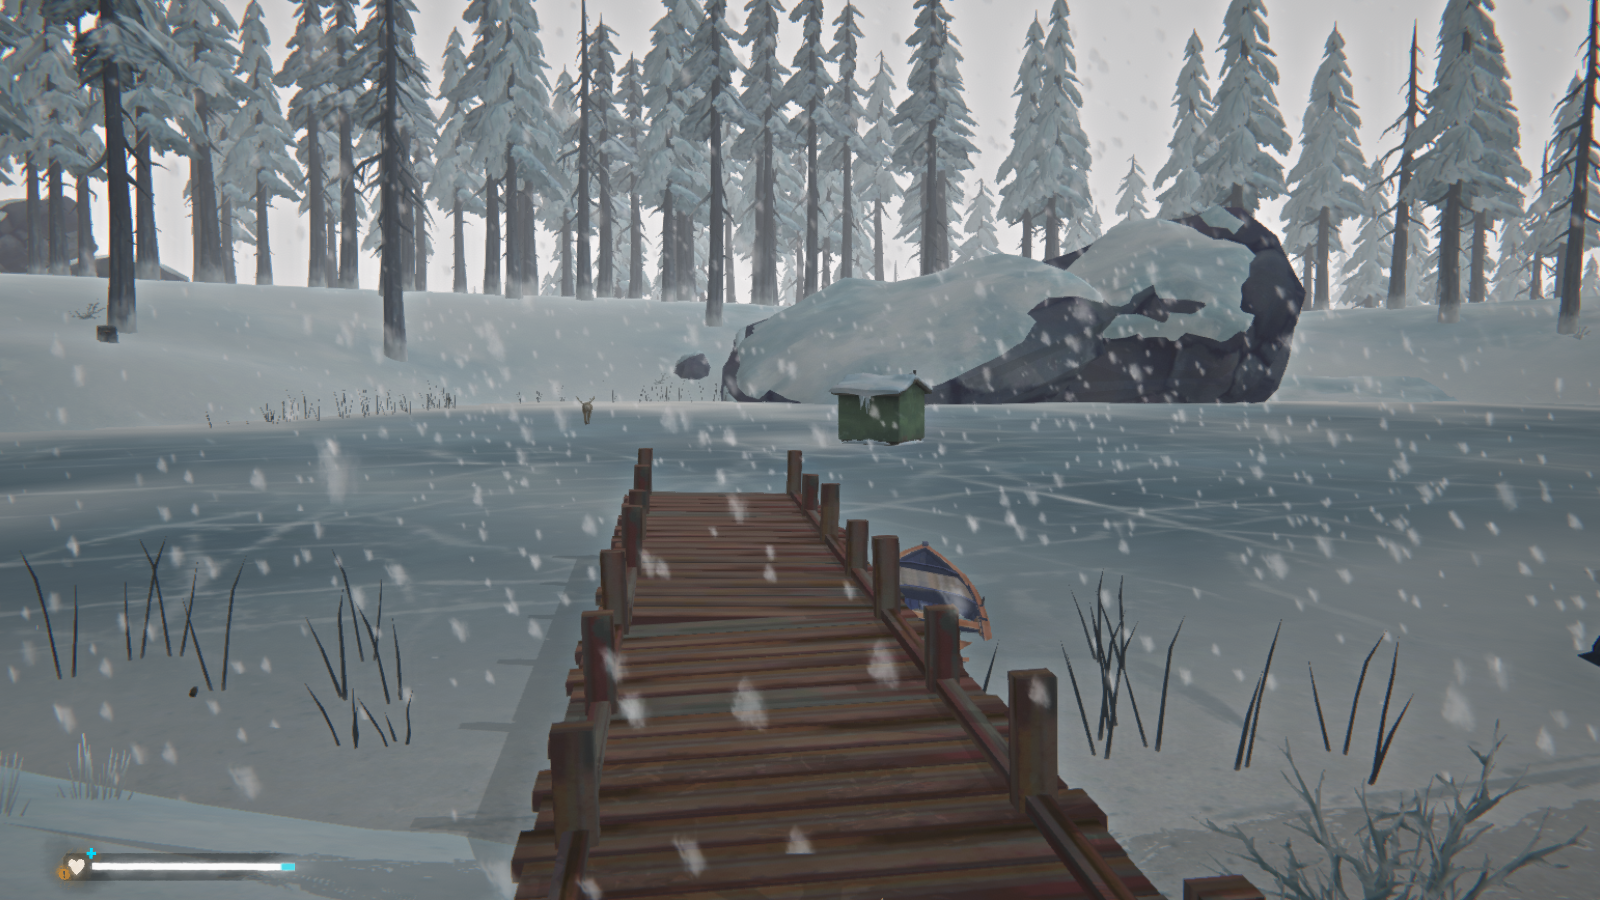 Head inside the fishing hut and search it. There will be a bedroll for you and two fishing tackles in the drawers/cabinets. You can then begin fishing for the giant bass. Now getting it is completely random. I've heard some people found it on the first cast, while others fished four days straight without getting it. But once you catch it, it's clear that this is a BIG fish.
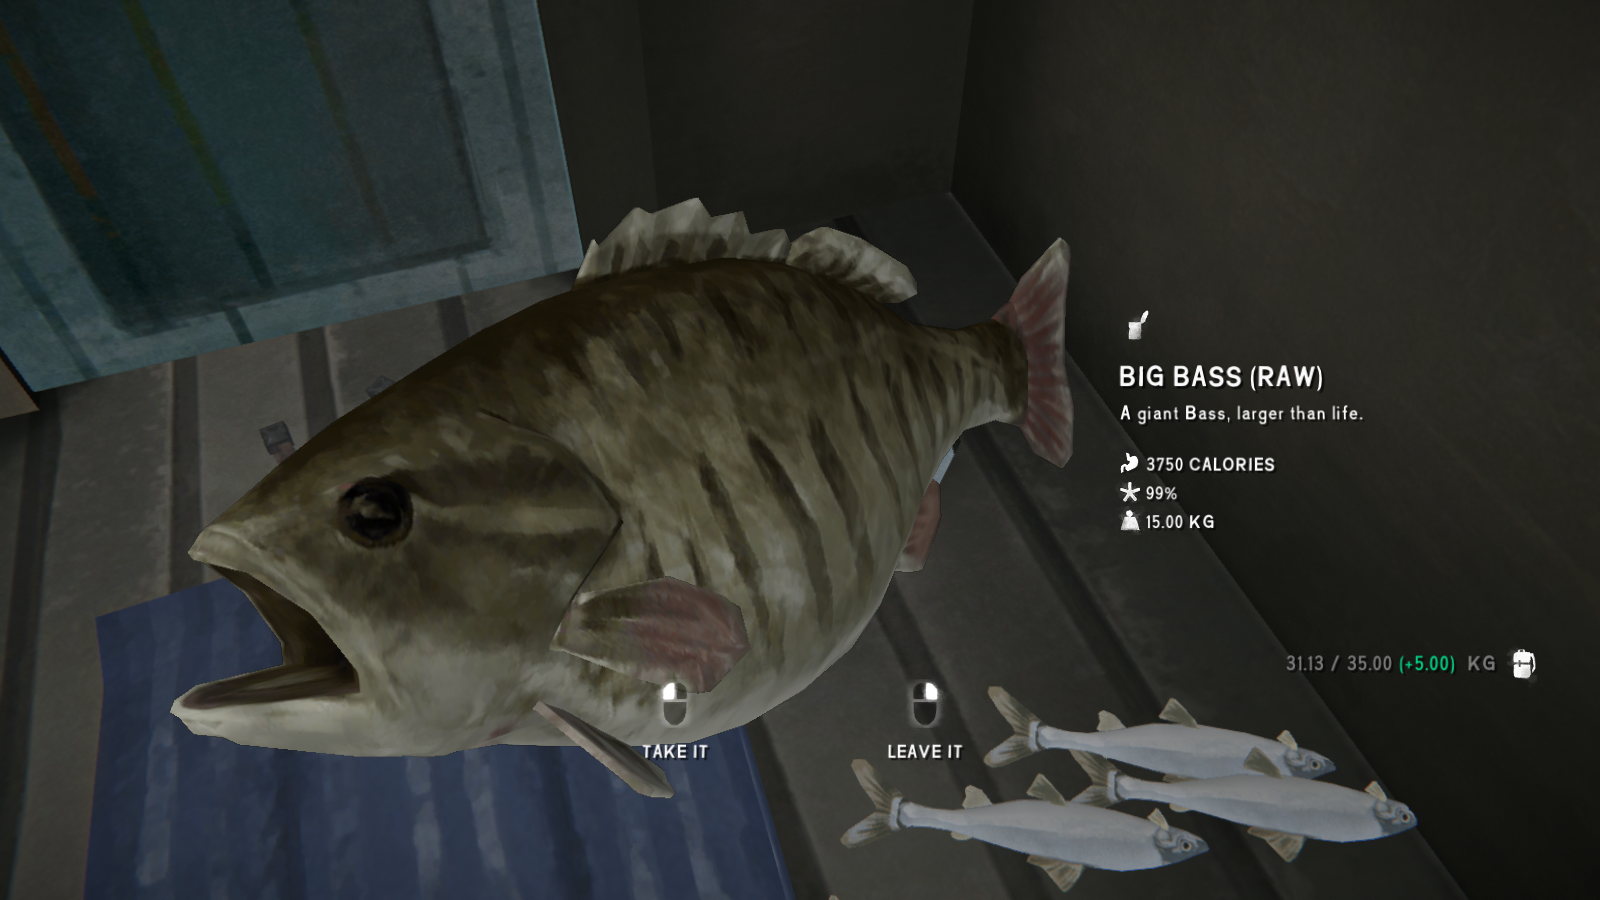 As I said, if you want to take it with you, you'll need an extra 15 kg of carrying capacity. Not to mention the other fish you've probably caught during this. You can always let it go to swim another day. But if you're still need food for the Community Hall pantry, then this fish is a great addition. Your choice.
Episode Four: Silence, Then Fury
Mathis loses his temper and beats the warden to near death. Will then bargains for temporary freedom in exchange for getting medication for the warden. Will gains entrance to the prison infirmary and discovers that the last of the antibiotics and morphine has been taken down the road by one of the guards prior to the First Flare. He also picks up a phone call from a mysterious person who claims to be the reason Donner is still locked in solitary.
After retrieving the medication, Will returns to the prison and helps patch up the warden. Mathis reveals that he knows Will was let out and agrees to the situation under the condition that Will does his bidding. He then sends Will out to fix the power plant that supplies the prison. Once he reaches the power plant, Will is contacted again by the mysterious person, who reveals their name is Jace. After talking, Will agrees to help Jace sabotage the door mechanism that controls the solitary door.
Will then enters the steam tunnels and find the solitary door mechanism. He breaks it, and makes his way back to the prison. Inside, Mathis is furious that they can't break Donner out, and reveal to Will that he knows someone is sabotaging the convicts. He intimidates the warden into revealing that there are old detonator caps at a nearby abandoned mine that could be used to ignite the old dynamite that Mathis found. As Will is let out to retrieve them, Mathis begins beating up the warden.
After getting the detonators, Will receives another call from Jace. She reveals that she is an astrophysics student studying under Doctor Atwood. Will learns that Atwood is at a research facility about 15 kilometers away, and the research there may provide an answer to the strange happenings since the First Flare. But neither of them come up with a solid plan to stop Mathis from using the dynamite.
Will returns to the prison, where Mathis reveals that Franklin told him everything about Will and Jace sabotaging the prison break. But before Mathis can kill Will, the dynamite explodes prematurely. Will then escapes with the help of Jace, and he makes his way to the warden's office. After retrieving the hardcase, Will escapes to the power plant via the steam tunnels. He meets up with Jace, but they are cornered by the convicts. After a short fight with Mathis, Will and Jace make their escape via the river.
- Will is imprisoned by Mathis's gang of escaped convicts at the Blackrock prison
- Will makes contact with the mystery person opposing the convicts
- Will retrieves the medication for the warden and is recruited by Mathis to explore the region
- Will learns that the person sabotaging the convicts is named Jace and agrees to help her.
- Will breaks the steam mechanism that controls the solitary door.
- Mathis reveals that he has dynamite and sends Will to get detonator caps for it.
- Will learns that Jace is a student under Dr. Atwood, who can be found at a research facility
- Mathis's plan to use dynamite to break Donner out backfires and the prison catches fire
- Will retrieves the hardcase and meets up with Jace at the Power Plant
- Will and Jace escape the convicts by jumping into the river
- In the credits, Astrid makes her way to Perseverance Mills via a boat
- Distress Pistol/Flare Gun: Found next to the body near the powerline at the intersection of the power plant and trailer. See Chapter 2: The Power Plant (Part 1) for more details.
- Revolver: Found in the Powerline convict cache as detailed in Sidequest: Convict Caches OR next to the body of the power worker in the trailer--see Sidequest: Lost Power Workers for more details--OR in guard locker #8 as explained in Sidequest: Guard Lockers.
- Moose-HIde Satchel: Found in the suspicious person's bunker. See Sidequest: Blackrock Rumours for more details.
Chapter 1: Blackrock Blues
Anyways! After that very exciting cutscene, we now have to escape the convicts. Well, it does make sense when you think about it; not much survival gameplay to be had when you're tied up by criminals.
Escaping is easier than you think. Mathis and his fellows will never find you no matter how long you stand in one place. And all your stats are frozen, so there's no risk of dying from hypothermia while you're hiding. The path is also extremely straight so no getting lost.
After you watch a cutscene where Mathis's goons chat, the path will eventually open up from the narrow ravine you start in. It's still a straight shot, so keep going until you see a run-down cabin on the left. There will be a saw stuck in the tree trunk out front that Will wants to use to cut the rope on his hands.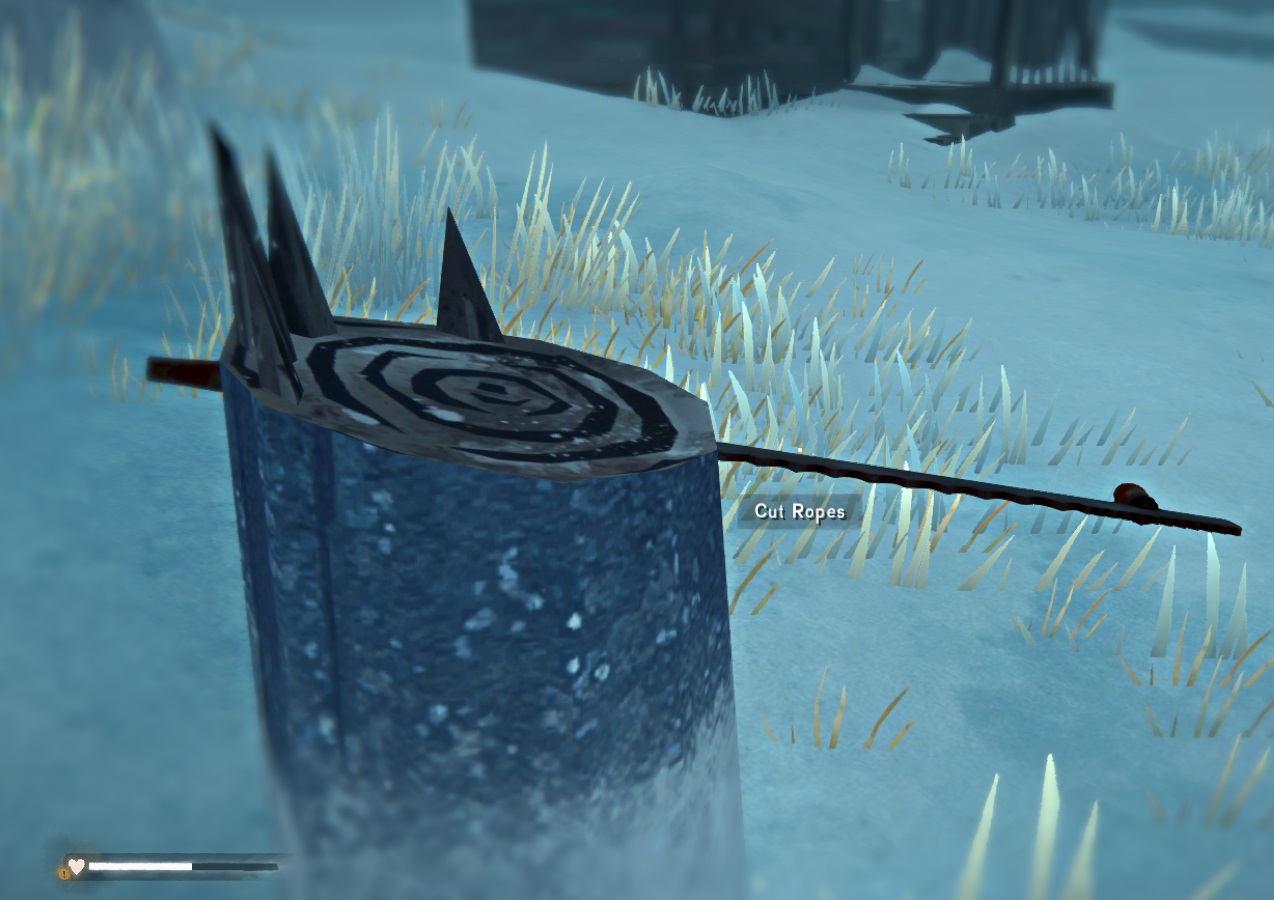
Now that your hands are free, it's time to play the game we all know and love. Your stats are still frozen so you have to time to putz around and gather rosehips. When you're ready to progress, continue on the path and climb up the vine-covered cliffs.
And it's Mathis....well that was a short escape sequence. Ah well, on to the chapter proper!
The prison entrance gates are locked so turn left to exit though a small chain fence. On the left is the infirmary that Will has so graciously volunteered to get medicine from.
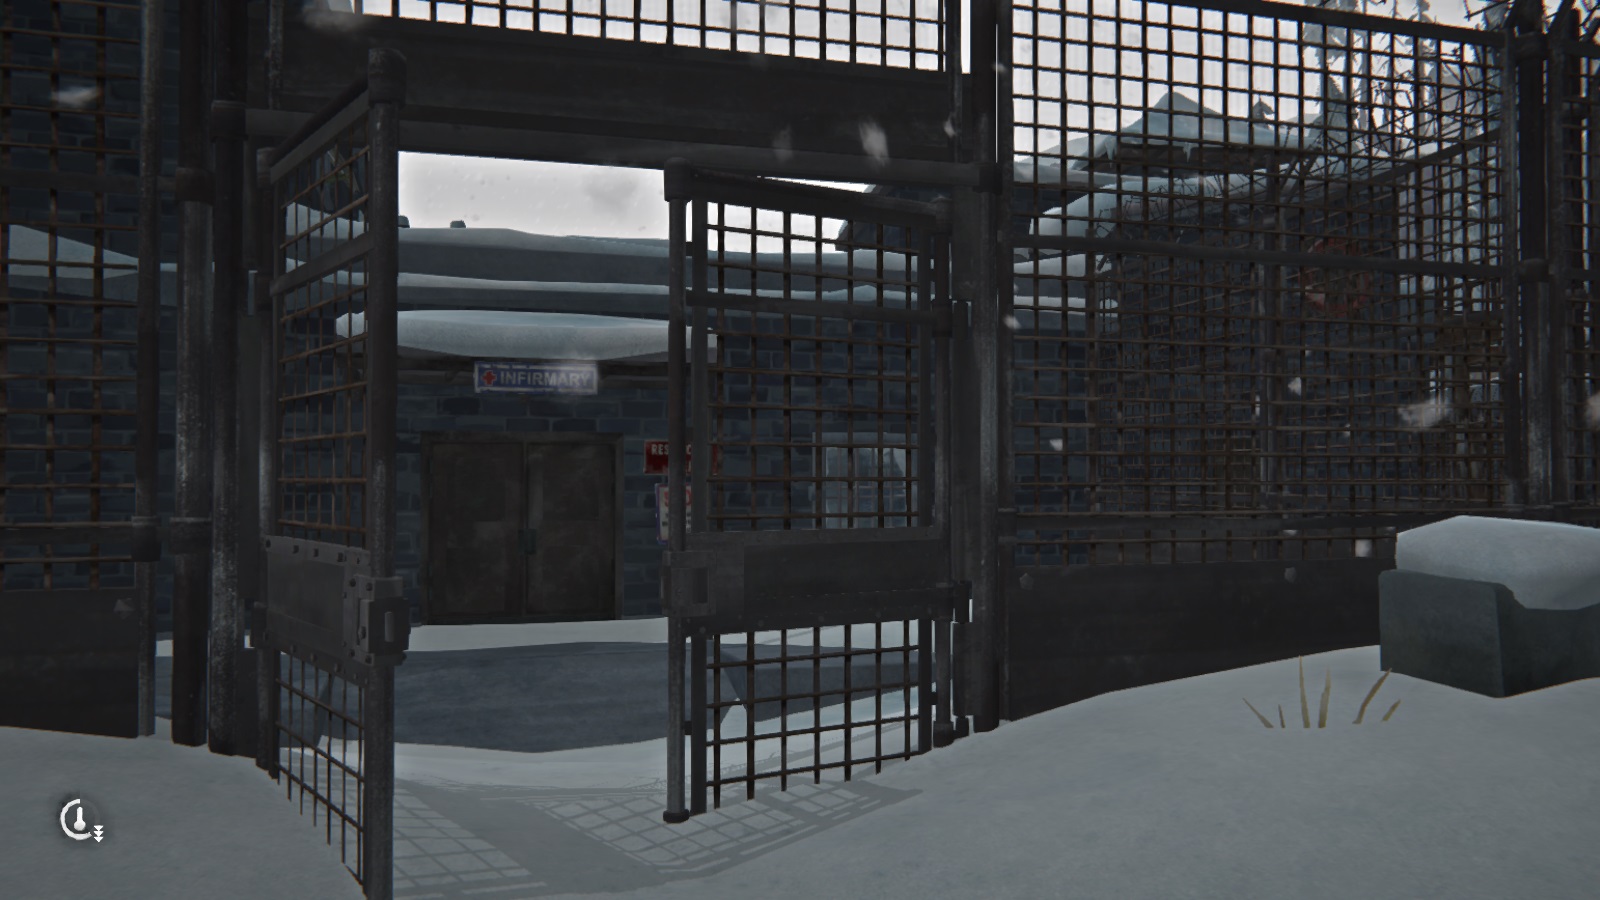
Unfortunately....it's locked. So head right into the maintenance area to pick up some more goodies, including a prybar. You'll also find a workbench, which you might want to use to make a torch. All the necessary materials are in the surrounding area and it will be on the only weapon against the many wolves stalking the prison. When you're ready, exit the prison area entirely. Be careful, there's a wolf eating a deer carcass right outside. Now we could try and book it into the wilderness, but without any of our gear, it's not a good idea. Not to mention the three wolves stalking the area. So instead turn left and hug the walls of the prison. Eventually you'll come to another fence gate that will open and let you back into the complex (close the gate after you enter to keep the wolves out). Enter the building right in front of you and loot it for all it's worth.
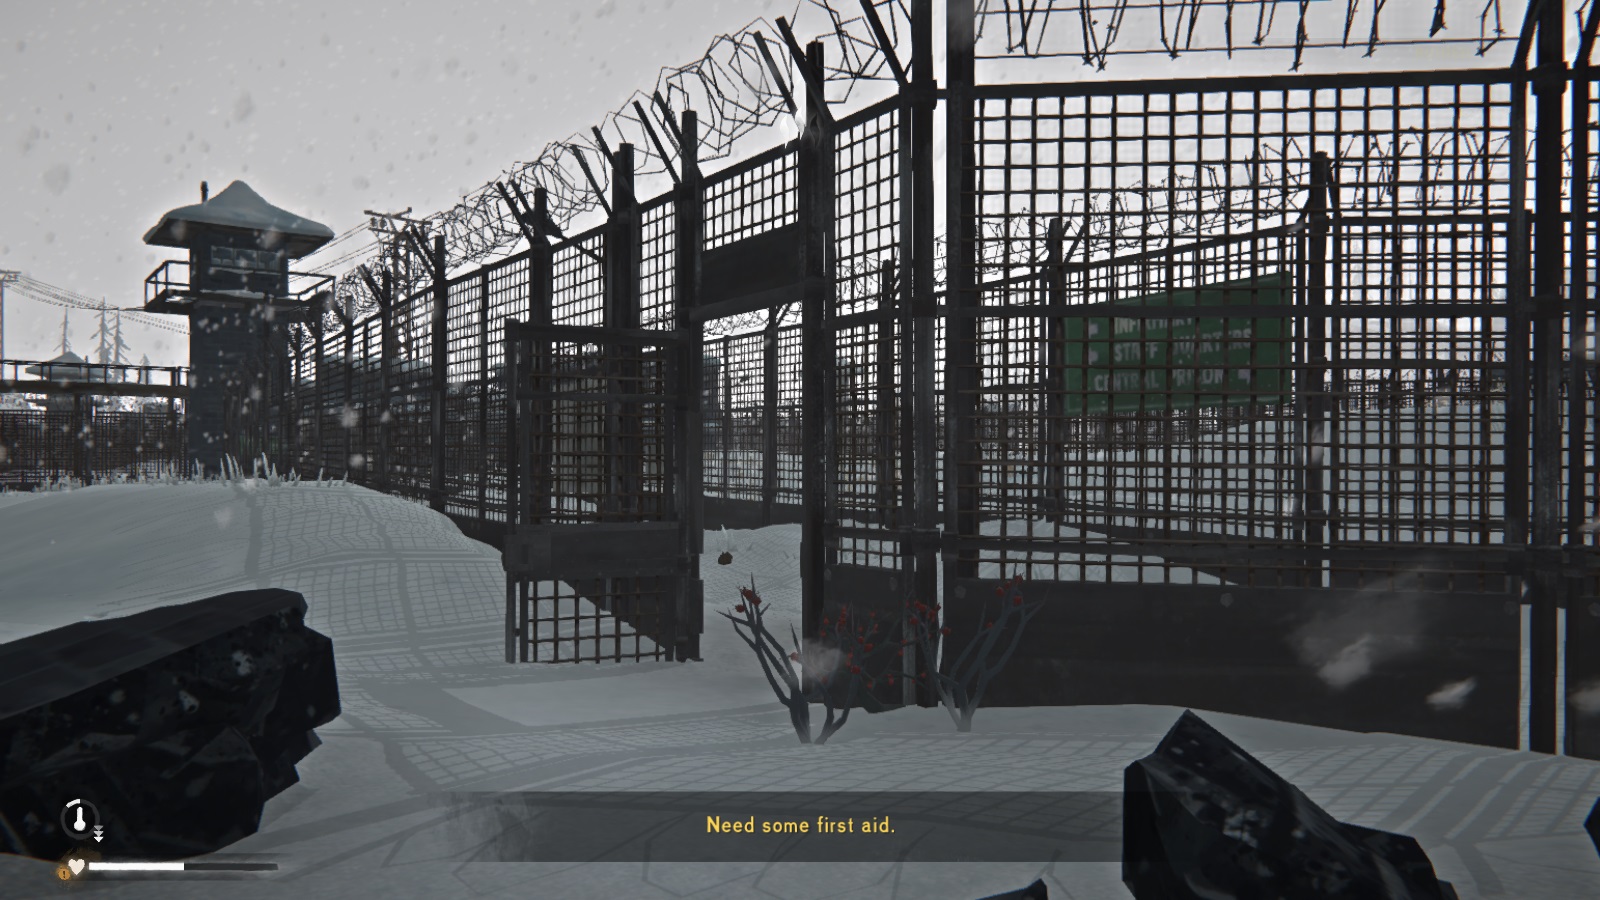
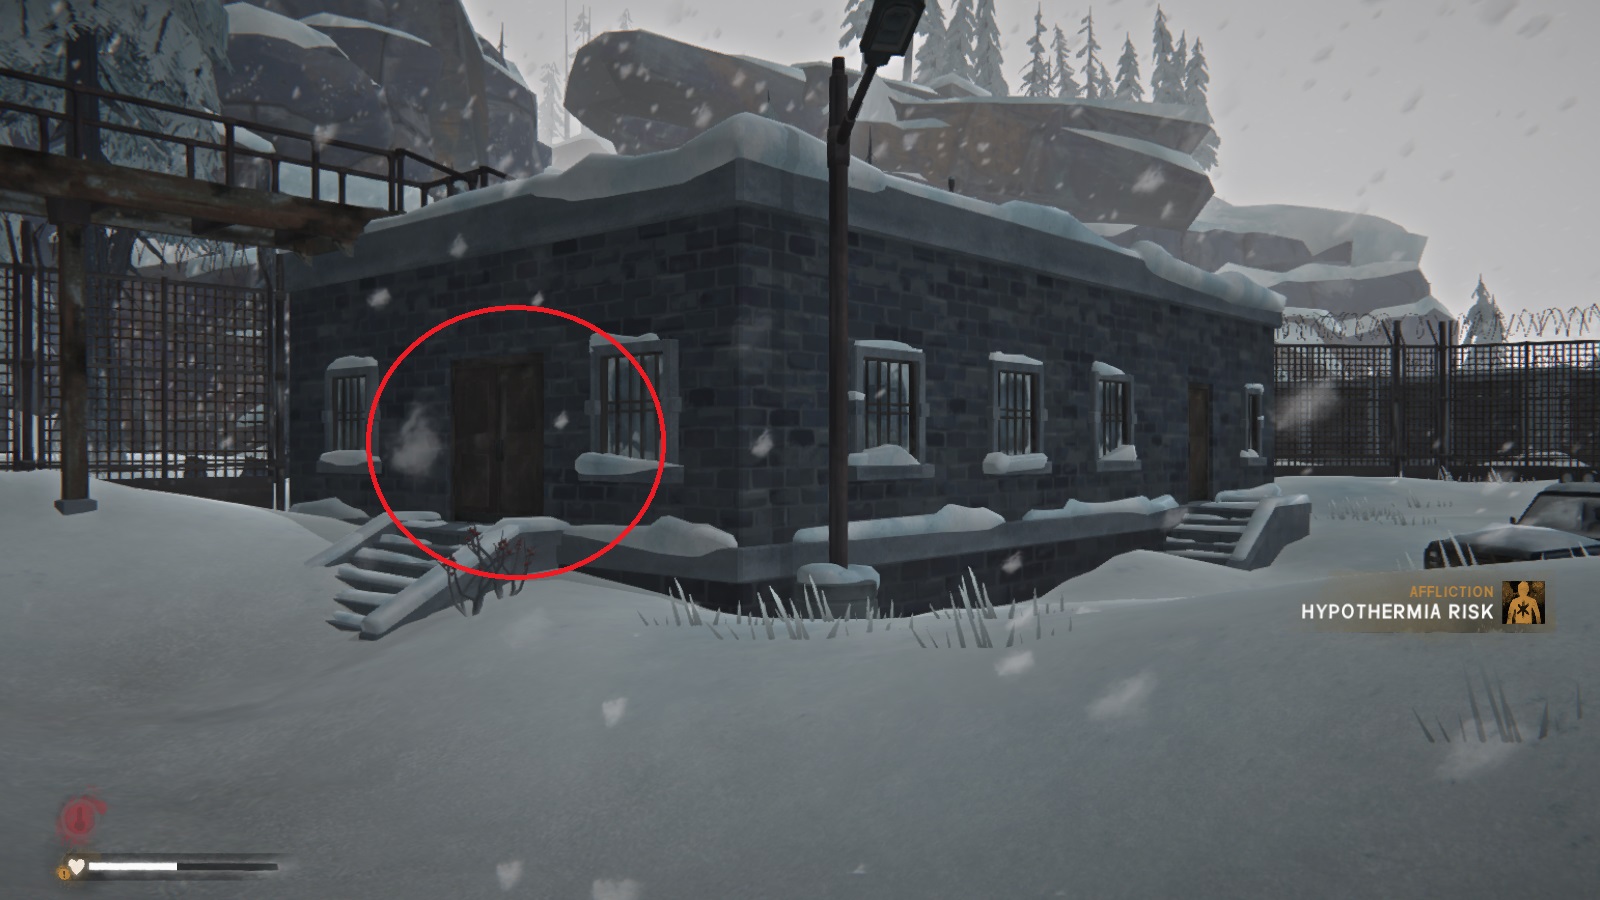 From the looks of it, this is probably the guards quarters. And the all important empty cans area in the kitchenette area. Once you're done getting all the good stuff (and maybe patching up your clothes), head upstairs. You'll come out on the roof and since this is a big-time prison, there are catwalks connecting all the buildings. You'll just need to follow the walkways until you get to the roof of the infirmary. There isn't a roof-top access door, but someone has graciously left the window open for Will to climb through.
 Once in, you'll want to search the area for more good stuff. To proceed with the story, turn right to find the nurse's office and the medical storage area. Once you enter, the phone in the office will start ringing so go pick it up.
 Ah, how familiar. Some mysterious woman calling from the internal telephone lines. While I don't think it's Molly from the voice, the two do have a somewhat similar sound to them. Anyways, the conversation will play out, leaving Will confused, and then it's back to the objective. Pick up the note in the medicine cabinet and you'll learn that the Blackrock staff had the brilliant idea to take their last remaining medical supplies and drive out into the wilderness with them. Genius guys...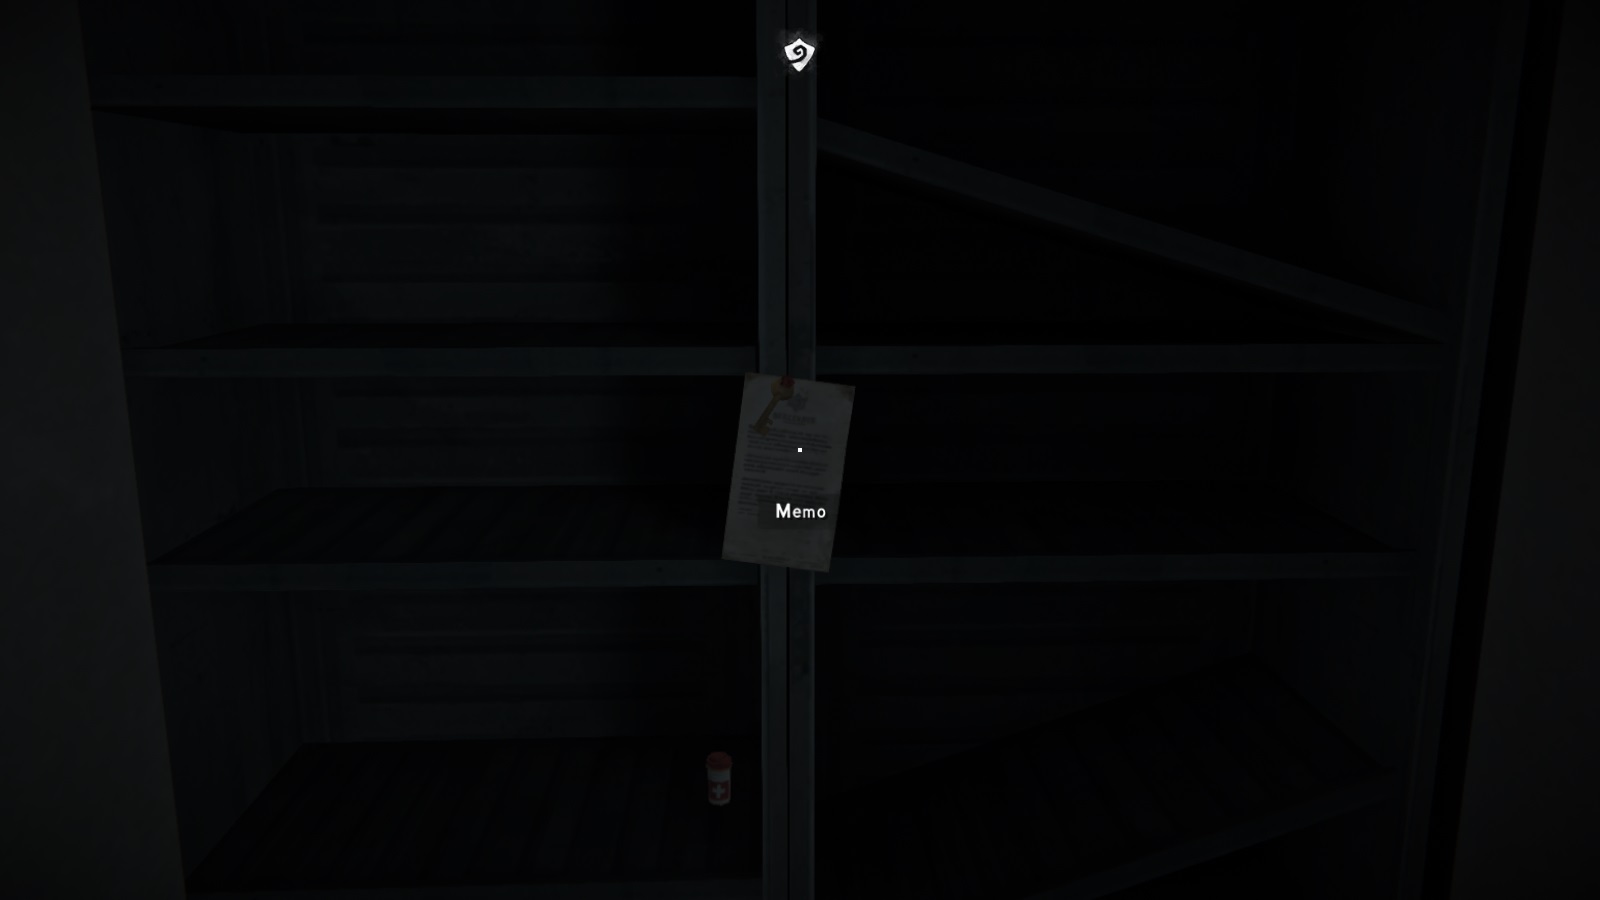
--------------------------------------------------------------- From here, you'll need to head back to the front entrance of the prison. Thankfully, you can leave via the normal door that was locked from the outside, so no having to dodge the wolves. The key to the prison entrance door was attached to to the note you got earlier. If you didn't take the time earlier, go back to the magic fire outside the prison doors to do any prepwork before leaving the prison complex via the door below.
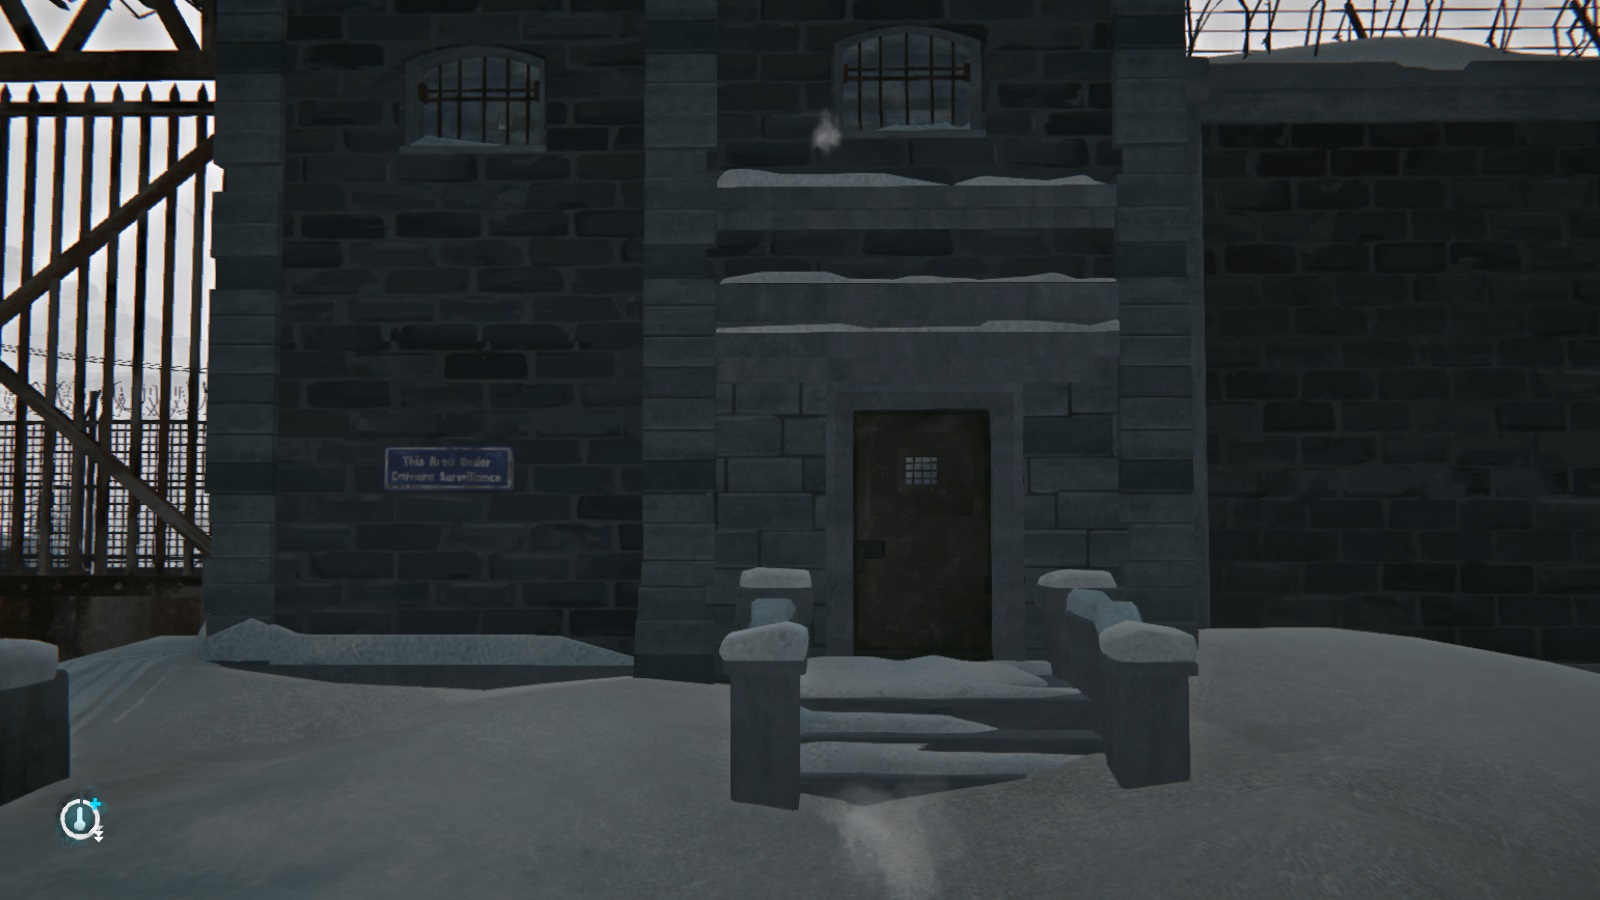 This leads to a little guard station. Make sure to check the weapons cabinet for a flare gun and some noisemakers. These are like little firecrackers that you light and then throw before the fuse runs out. While I don't think you'll be able to injure any wolves with them, the noise will scare all the animals in the vicinity. You'll also get a blueprint for them so you can make more at a workbench. There are also a few notes that you can pick up to unlock more sidequests.
Anyways, back to the main quest. When we picked up the note in the infirmary, that also unlocked the map so take a look if you're confused about where to go. But there's only one road so you frankly shouldn't get that lost. Just follow the road, making sure to search the first truck you come across for a hunting rifle, until you reach a fork. Go left and you'll eventually come across a couple of cars and a climbing area sign on your right. Exit at the sign and you'll immediately see a large bloodstain near a backpack.
This leads to a little guard station. Make sure to check the weapons cabinet for a flare gun and some noisemakers. These are like little firecrackers that you light and then throw before the fuse runs out. While I don't think you'll be able to injure any wolves with them, the noise will scare all the animals in the vicinity. You'll also get a blueprint for them so you can make more at a workbench. There are also a few notes that you can pick up to unlock more sidequests.
Anyways, back to the main quest. When we picked up the note in the infirmary, that also unlocked the map so take a look if you're confused about where to go. But there's only one road so you frankly shouldn't get that lost. Just follow the road, making sure to search the first truck you come across for a hunting rifle, until you reach a fork. Go left and you'll eventually come across a couple of cars and a climbing area sign on your right. Exit at the sign and you'll immediately see a large bloodstain near a backpack.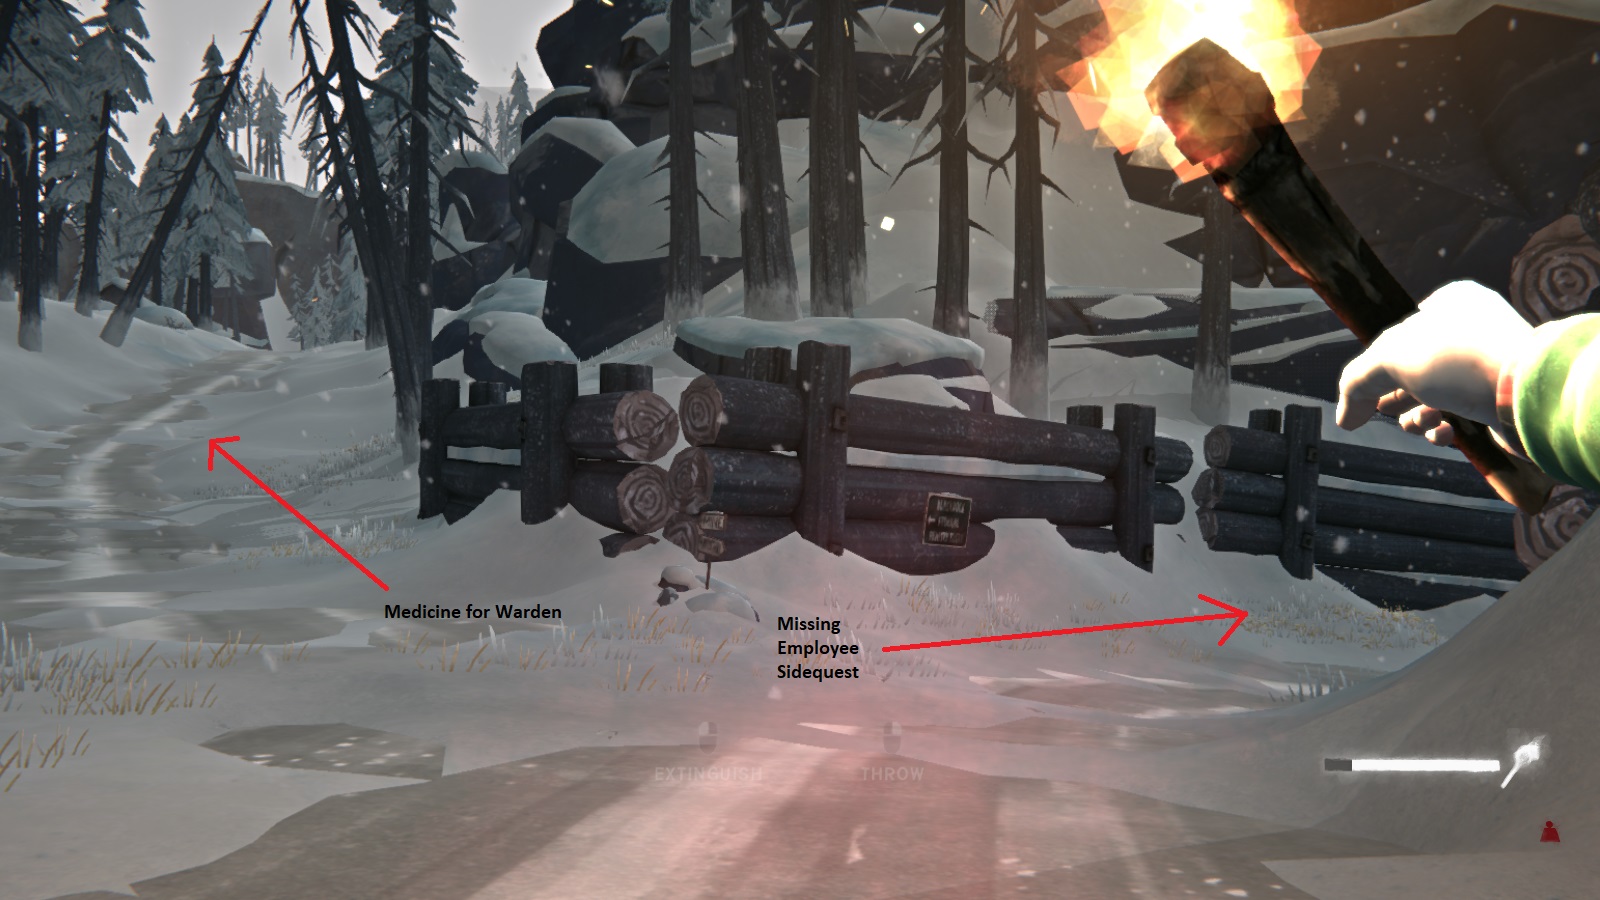
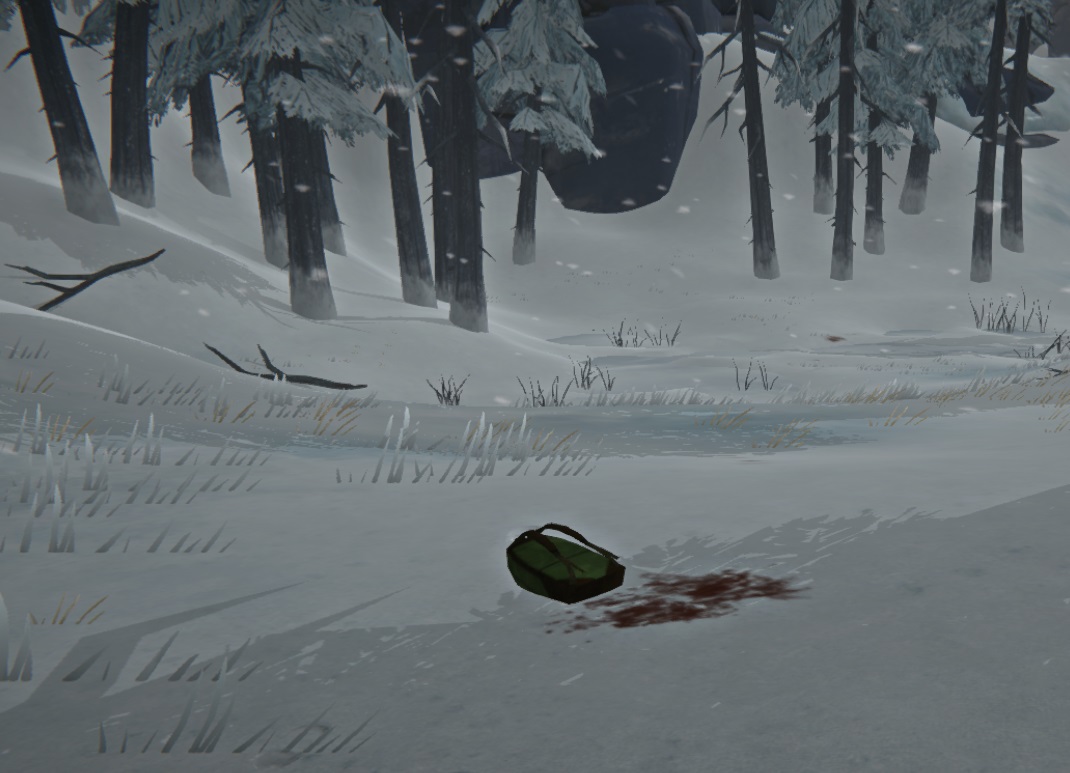
From here, it's basic follow the blood trail. There are three wolves that are roaming the area here, so it's a good place to practice with the noisemaker. Eventually, the blood will lead you to an area with a climbing rope and cave further ahead.
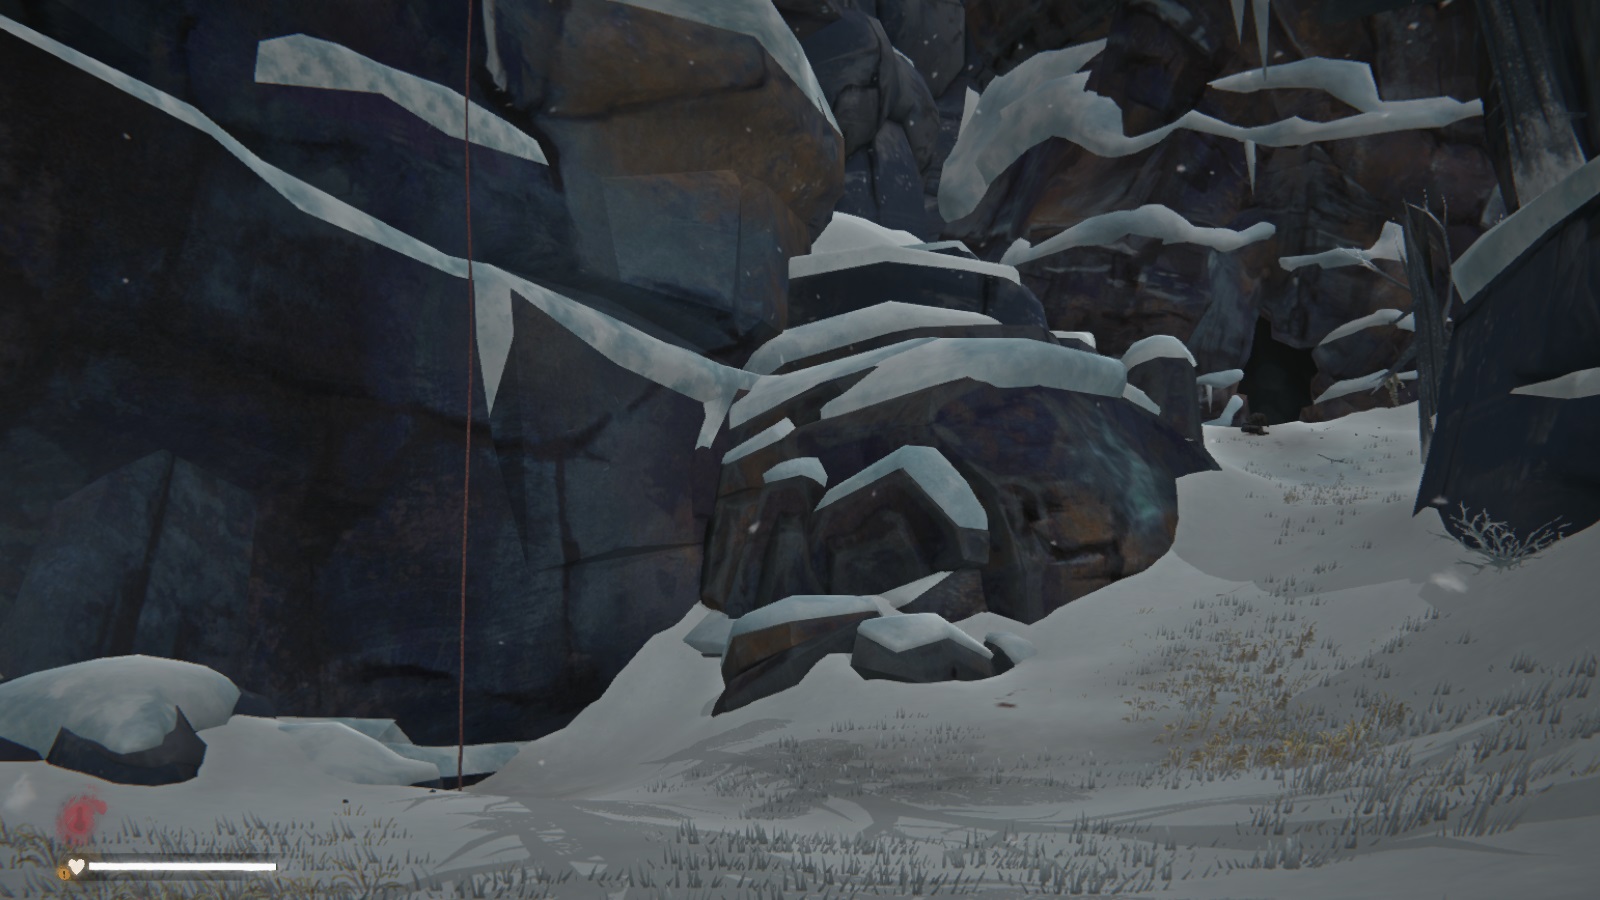 Go for the cave. In front of it, you'll find a dead prison guard (possible being snacked on by a wolf) and medical kit next to him. Search it for the precious antibiotics.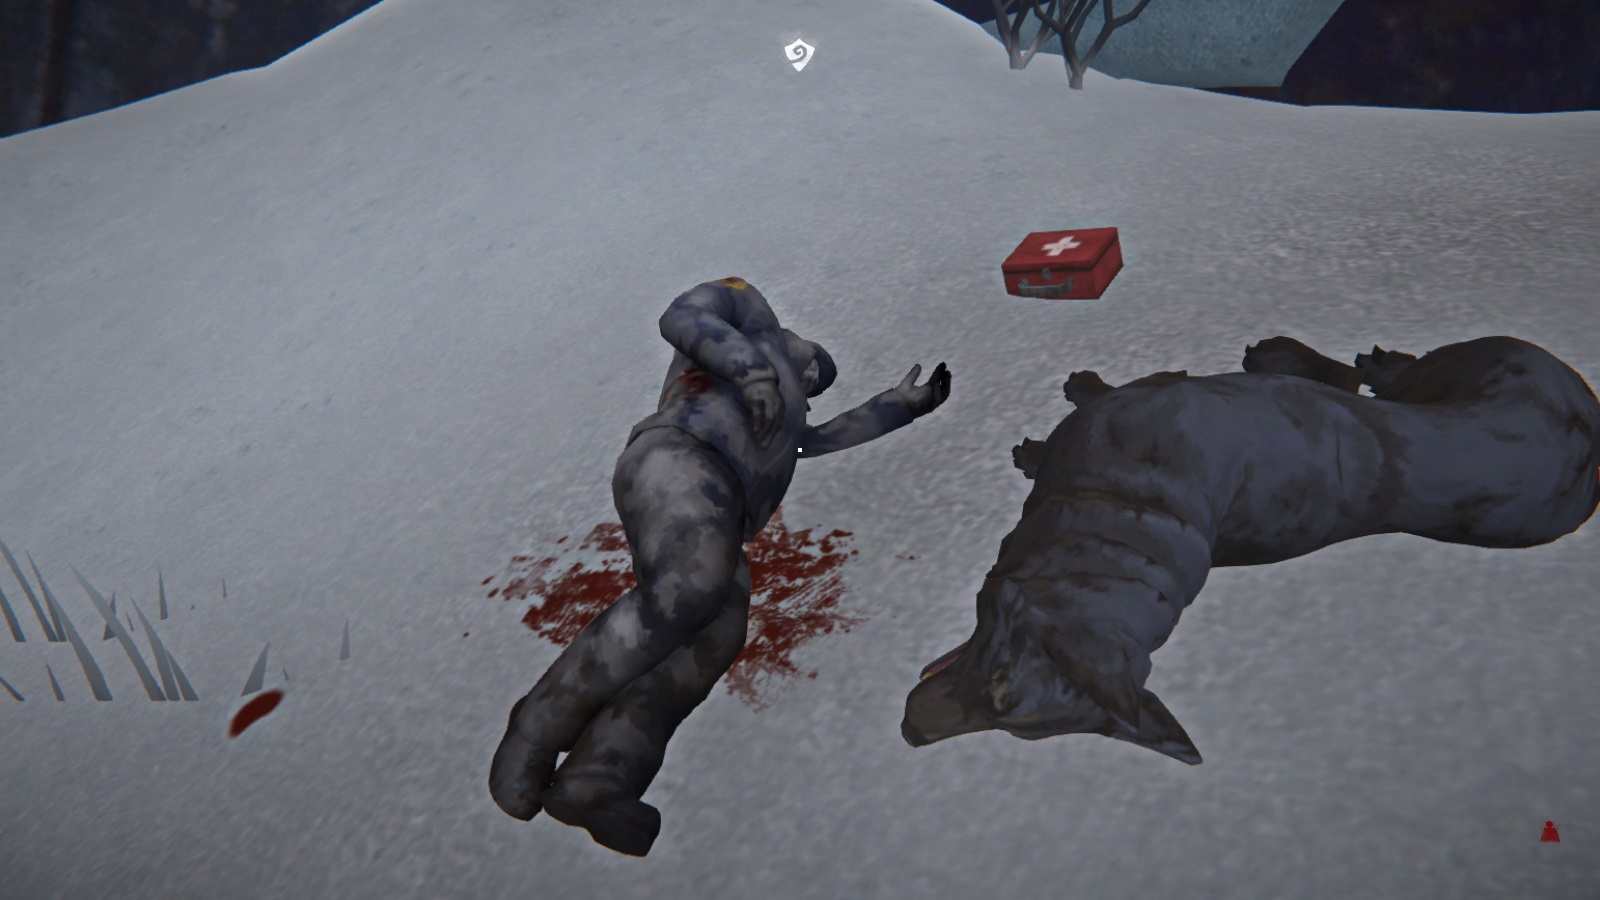
Now you just need to head back to Blackrock. If it's getting late and/or you're tired, feel free to take a rest inside the cave. There's a moss bed that you can use to sleep if you haven't found a bedroll.
As you approach the prison, a pop-up will inform you to hide your gear to prevent the convicts from confiscating it. You have to put most items in some kind of container, but there isn't any risk of being caught in the act so feel free to hide it any any convenient one. And things like guts and hides can be left on the ground to dry. But be sure to drop ALL your gear, not just items you'd expect them to take away. I tested with all my clothing on, and they took my hat, gloves, and outer jackets.
Once you've stripped, approach the doors and end the chapter.
Chapter 2: The Power Plant (Part 1)
Well, at least Mathis didn't beat us up for going outside. Our next mission is to check out the power plant that supplies the entire prison complex. I do wish they hadn't let us out in the middle of the night, but not much you can do. At least we have a new map icon showing where we need to go.
Once you've picked up all your gear, head out the main entrance. As you walk away from the prison, turn back and look up; you'll see a large tower with power lines extending from it.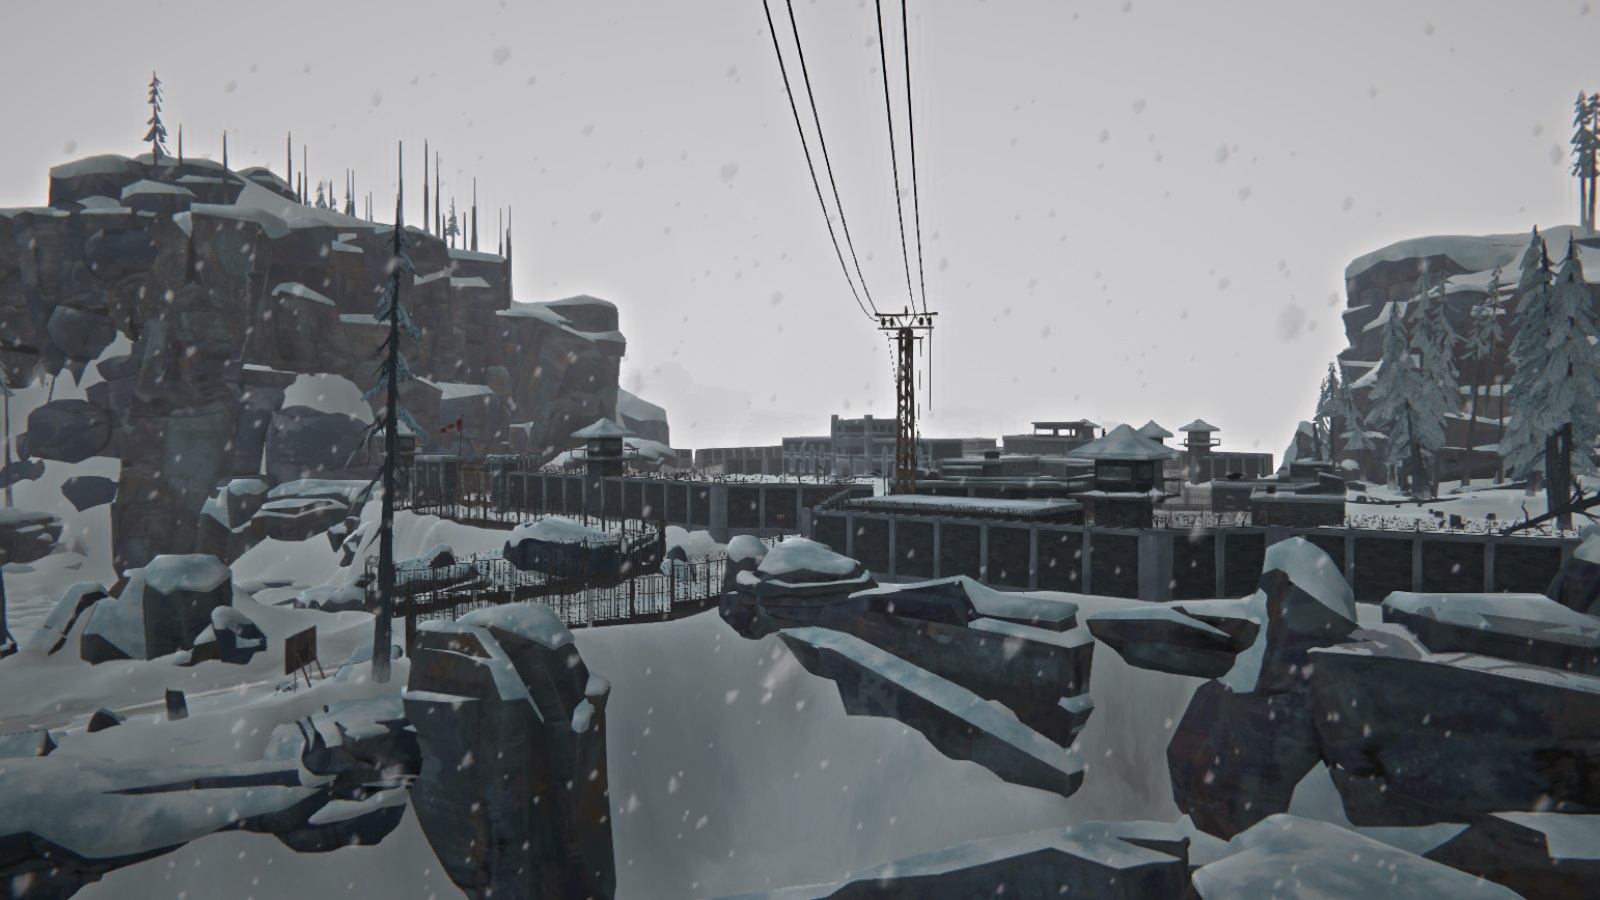 This is what the game means when it says to follow the high voltage power lines. If you're not a fan of the map, you can just follow these lines to the Old Substation. That will lead to to a climbing rope which descends to behind the substation. You can also just follow the road like we did in chapter 1, but turn right at the fork instead. From here, just follow the road until you see the truck below.
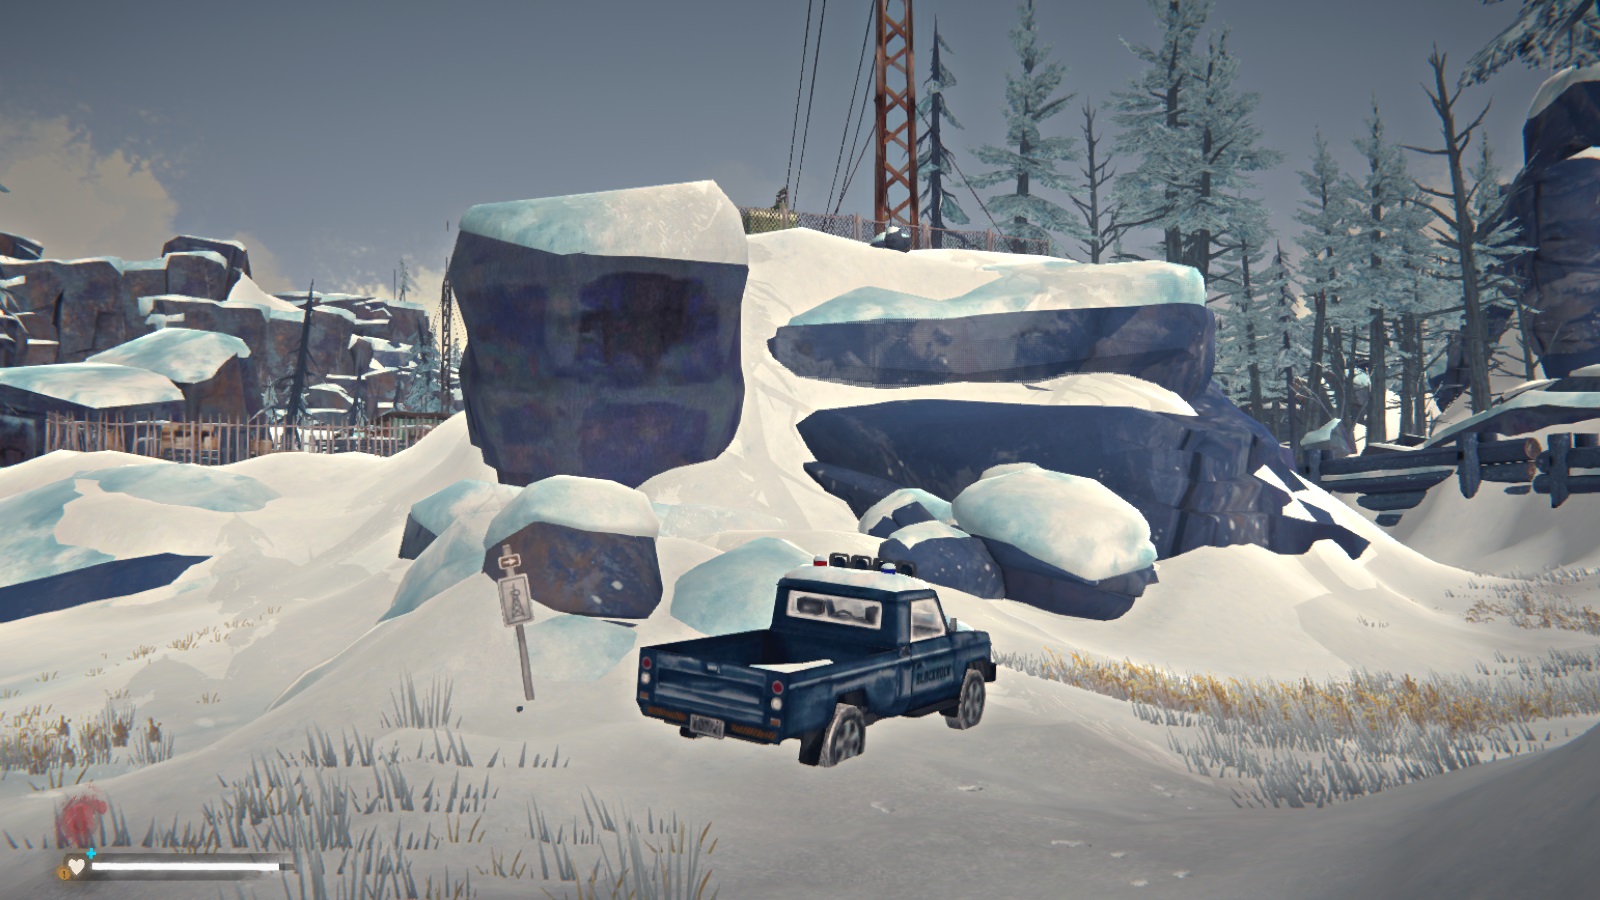 The Old Substation is just behind it.
Now, there isn't anything story-related inside the station itself, but I'd check it out anyways since there's a lot of good stuff inside. There's also a bed if you need to take a rest. Once you're ready to head on, go back to where the truck is and take the left path. It will lead you to a bridge that you'll want to cross.
The Old Substation is just behind it.
Now, there isn't anything story-related inside the station itself, but I'd check it out anyways since there's a lot of good stuff inside. There's also a bed if you need to take a rest. Once you're ready to head on, go back to where the truck is and take the left path. It will lead you to a bridge that you'll want to cross.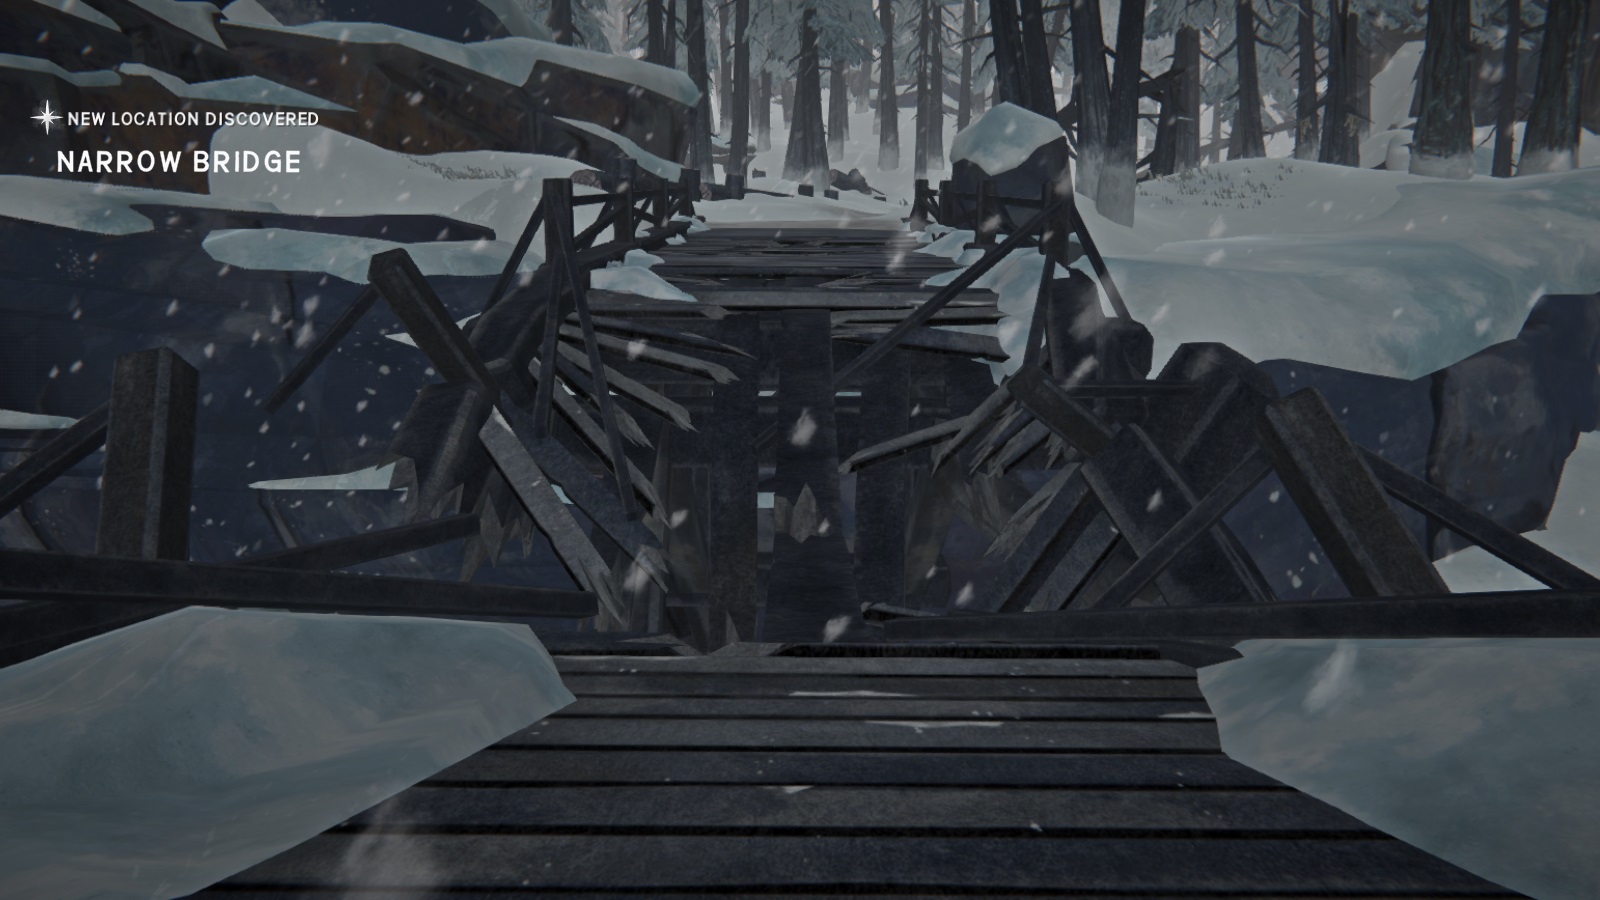 If you had come here during Chapter 1, the bridge would have been broken. From here, just follow the road. You'll eventually come across a cave-like entrance. This is actually a landslide that Will needs to bypass. Just veer off to the left and head up the hill.
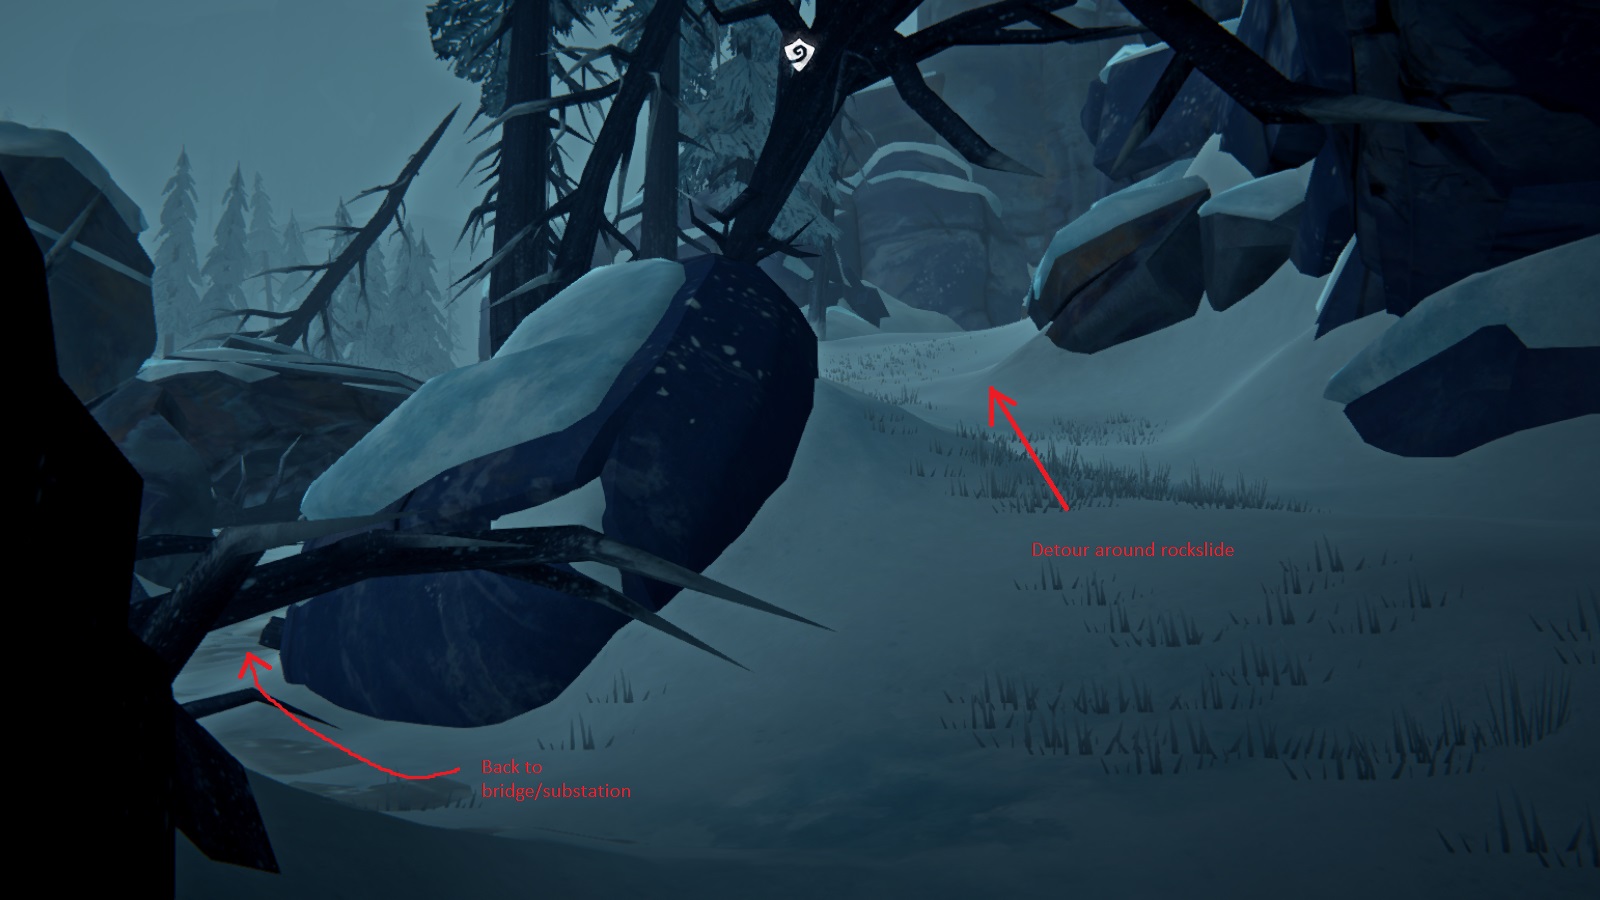 Honestly, this part is extremely linear. The big thing is to go right at the T-intersection if you've gone up the hill indicated in the picture. Going left will take you back to the bridge since there was an option to leave the road earlier. You're on the right track if you see this fallen log bridge.
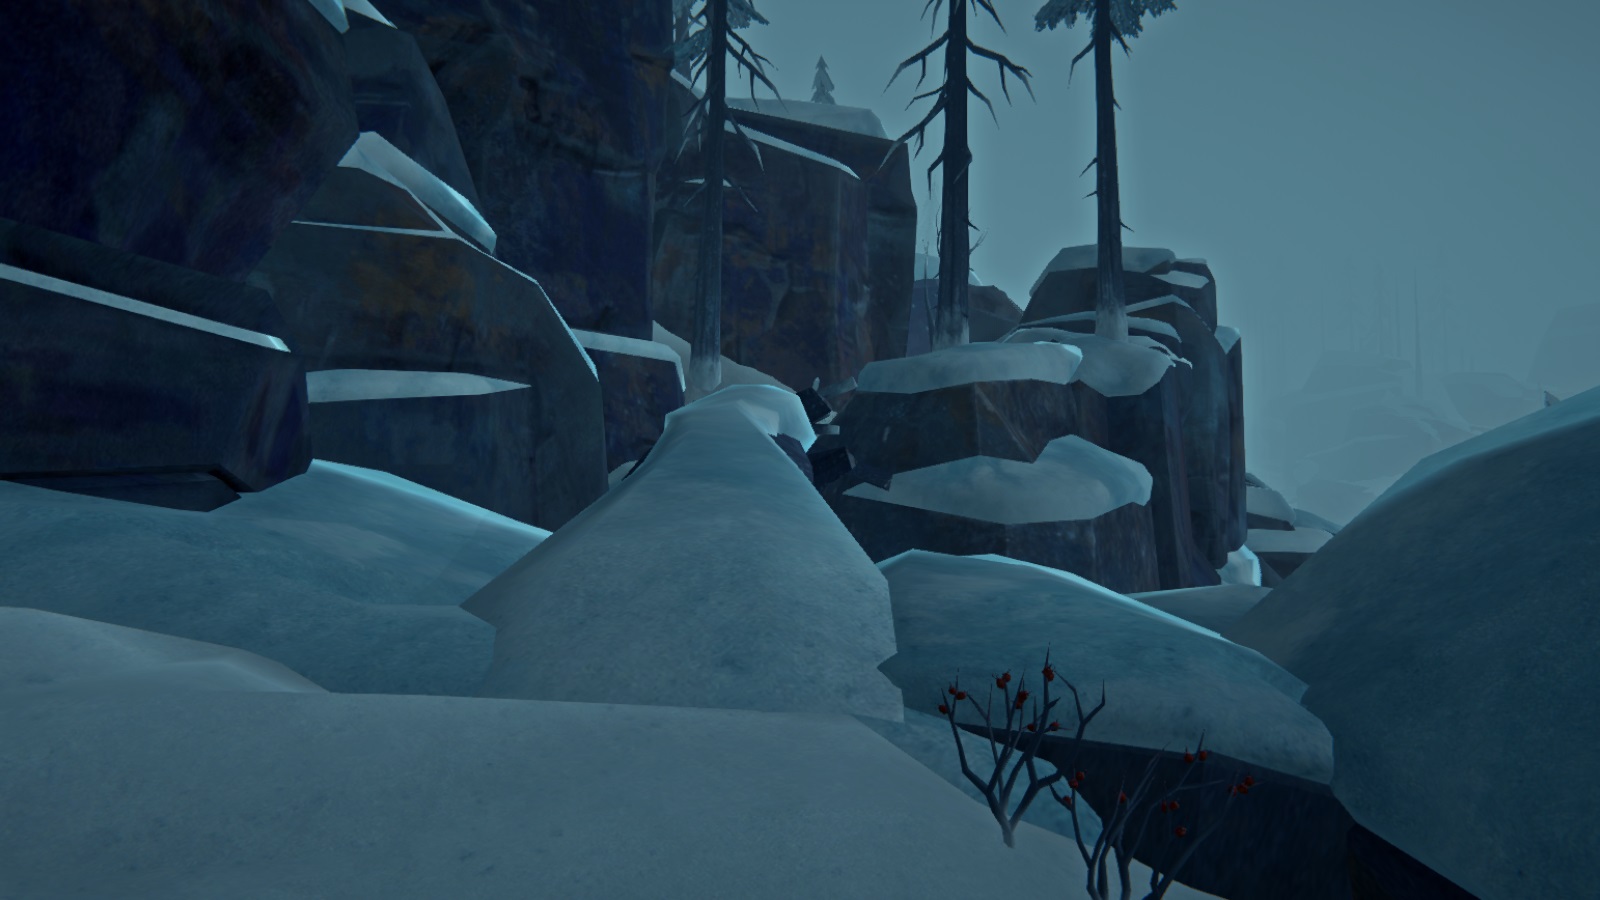 After crossing, just keep going where the game directs you. There will be some mini cliffs that Will needs to climb and more tree bridges. Eventually you'll find the mini frozen pond below.
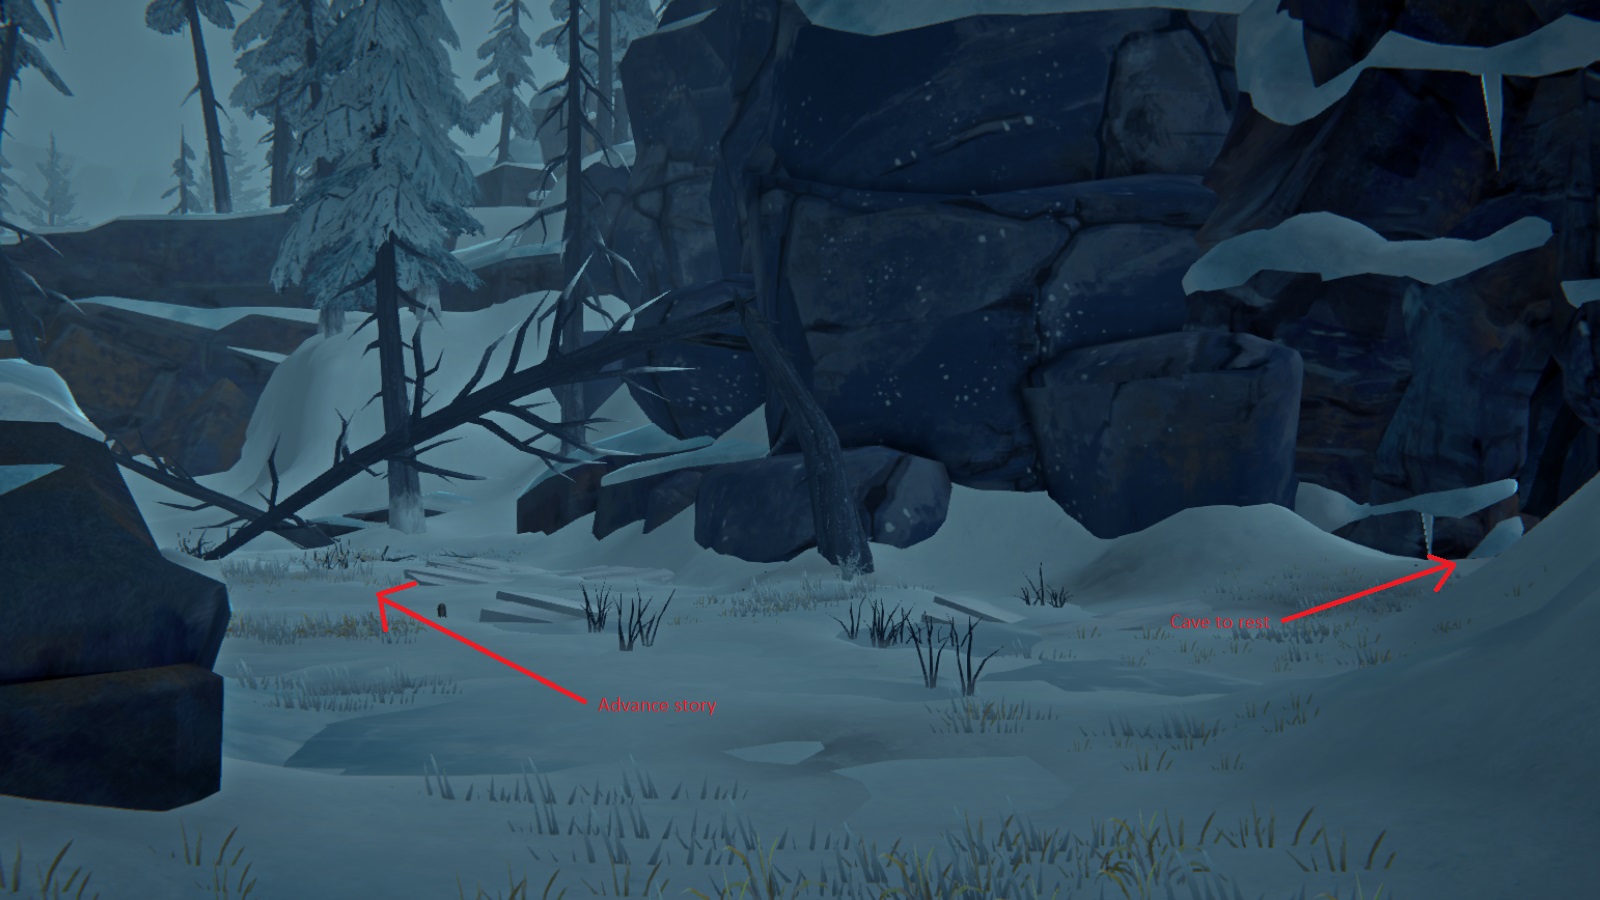 As labelled, go right if you need to take a rest in the cave or shelter for a little bit. Anyways, just follow the path until you reach a climbing rope. Go down it and straight ahead to find the road again.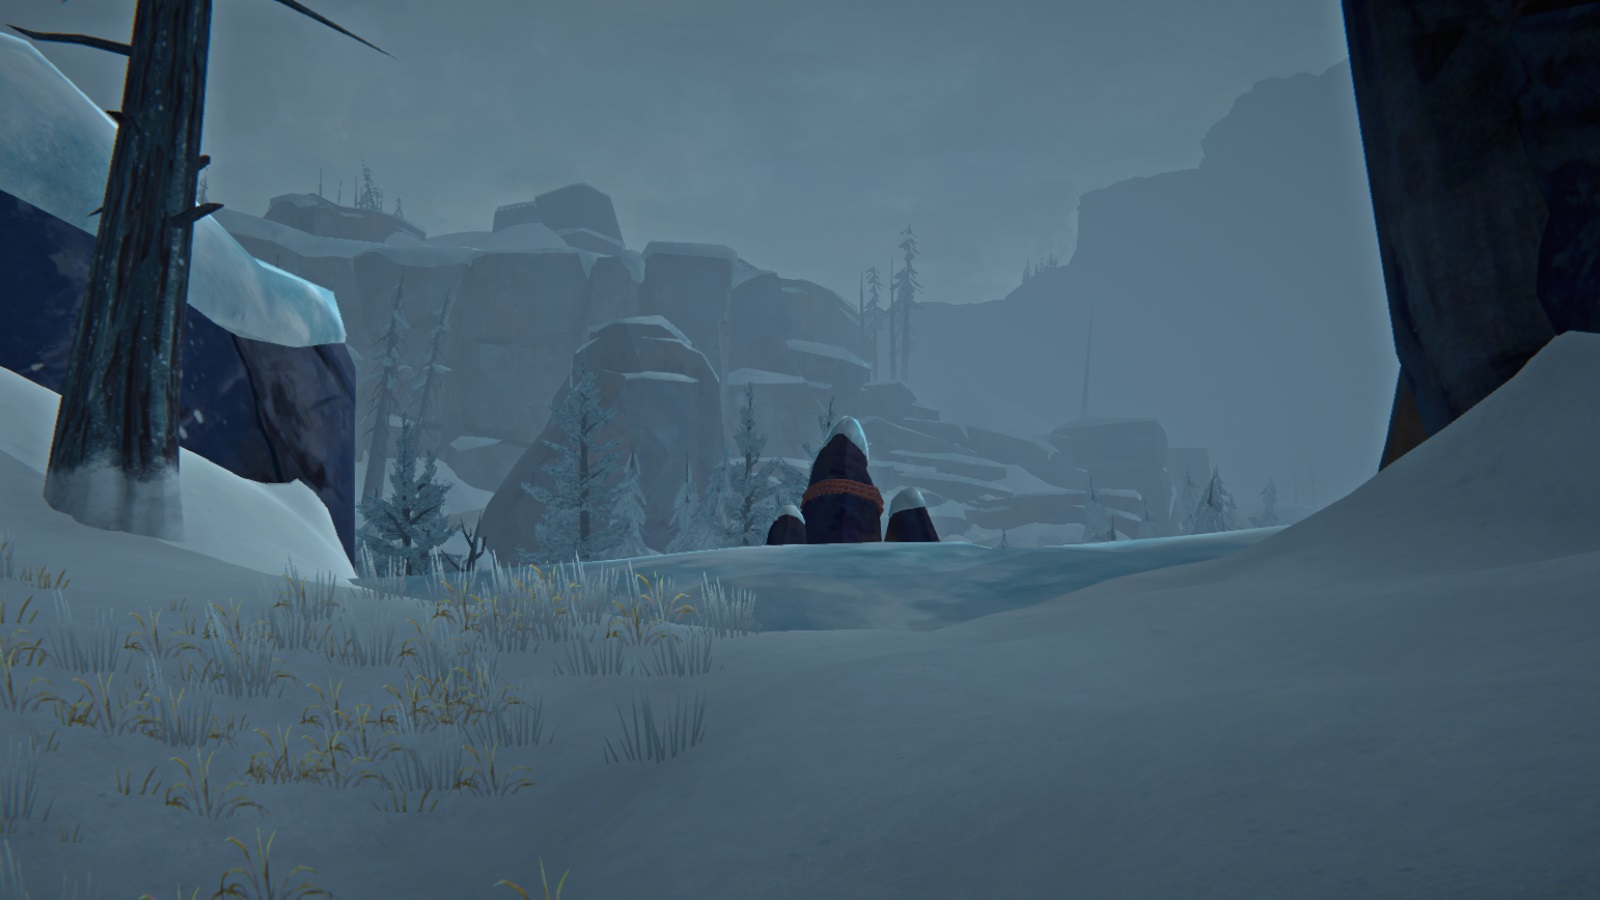
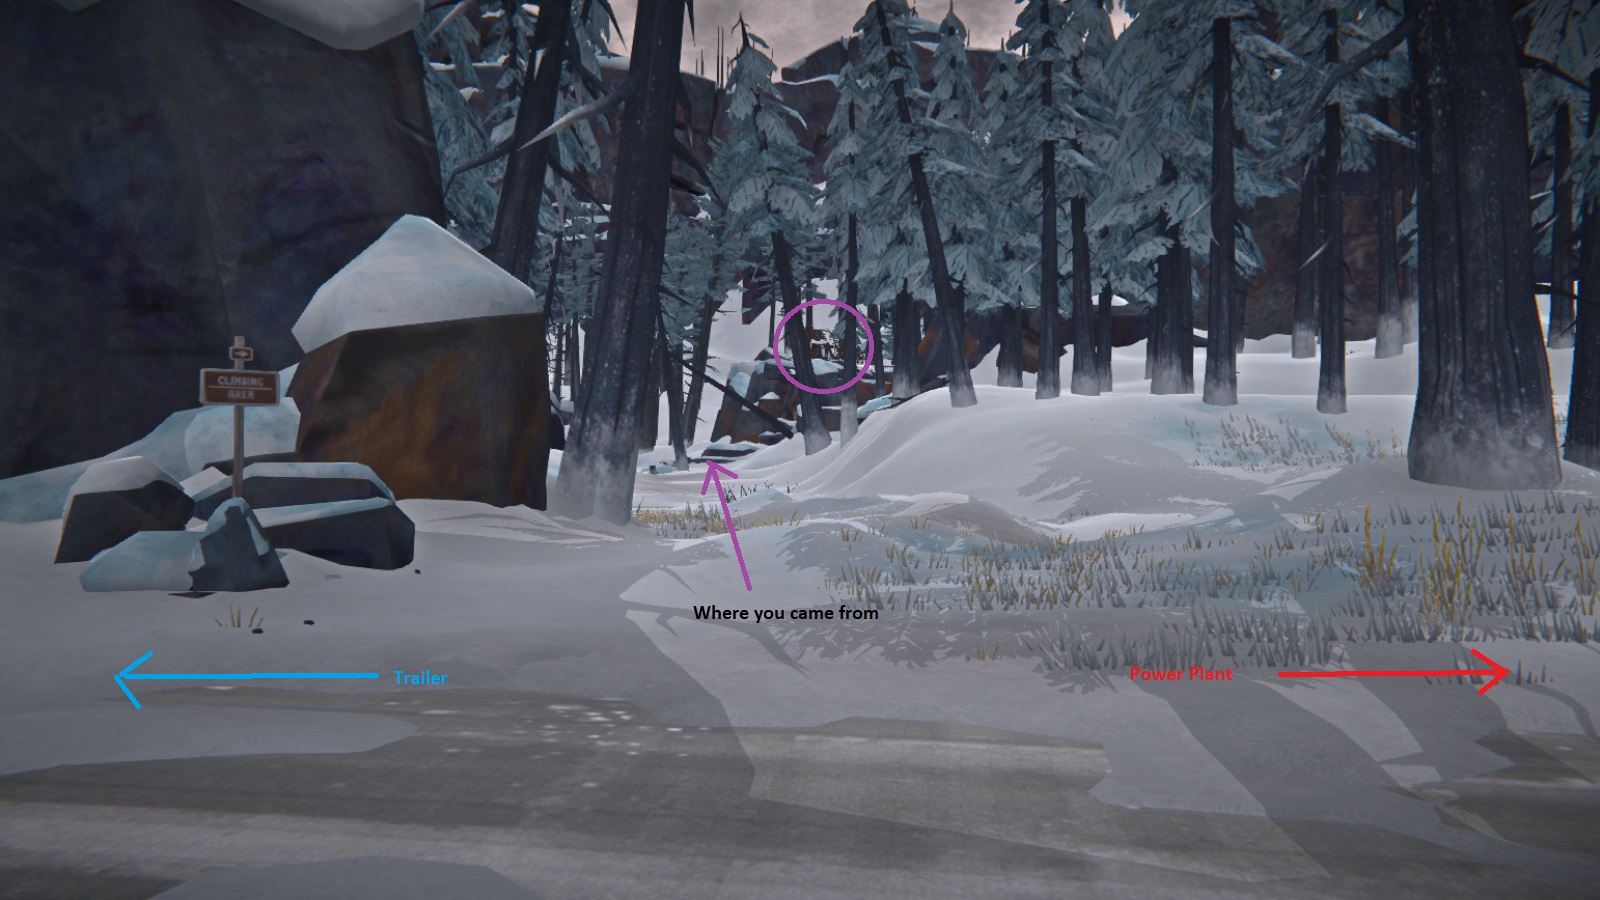
If you look to your left immediately after descending the rope, you'll find a burnt down cabin (circled above). The important part is the workbench (if you need more noisemakers) and rifle that seems to spawn in all difficulties.
You may also want to climb up to the powerline shown in the picture below. There's a guaranteed distress pistol spawn next to the dead body at the top.
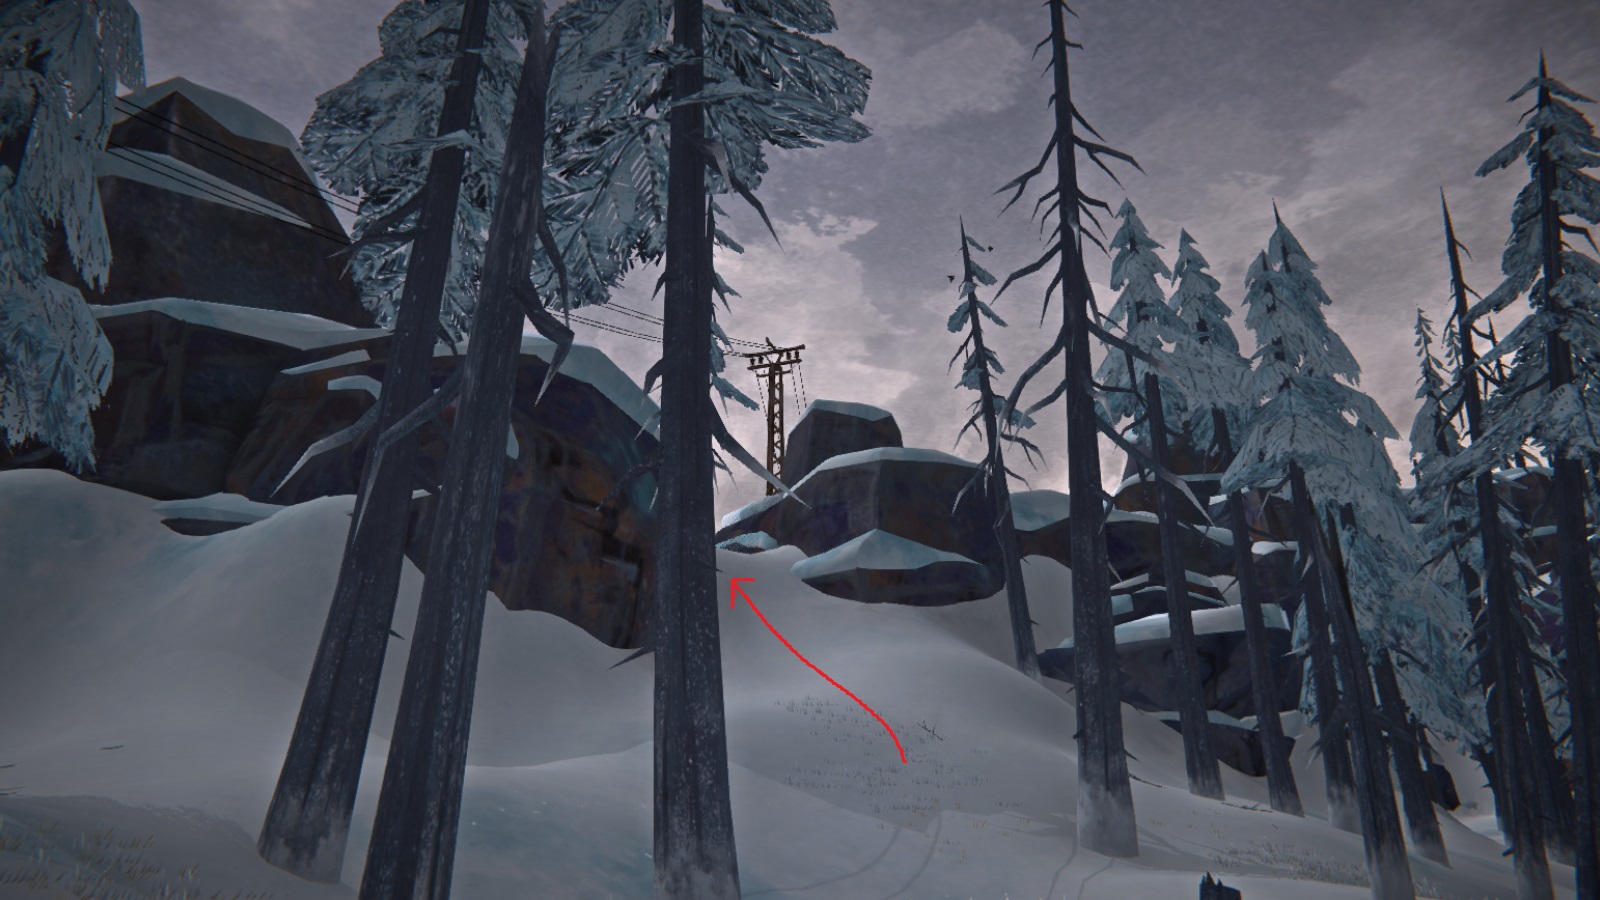
Back to the story. To get to the power plant, turn left once you reach the road and follow it. The power plant will come into view soon.
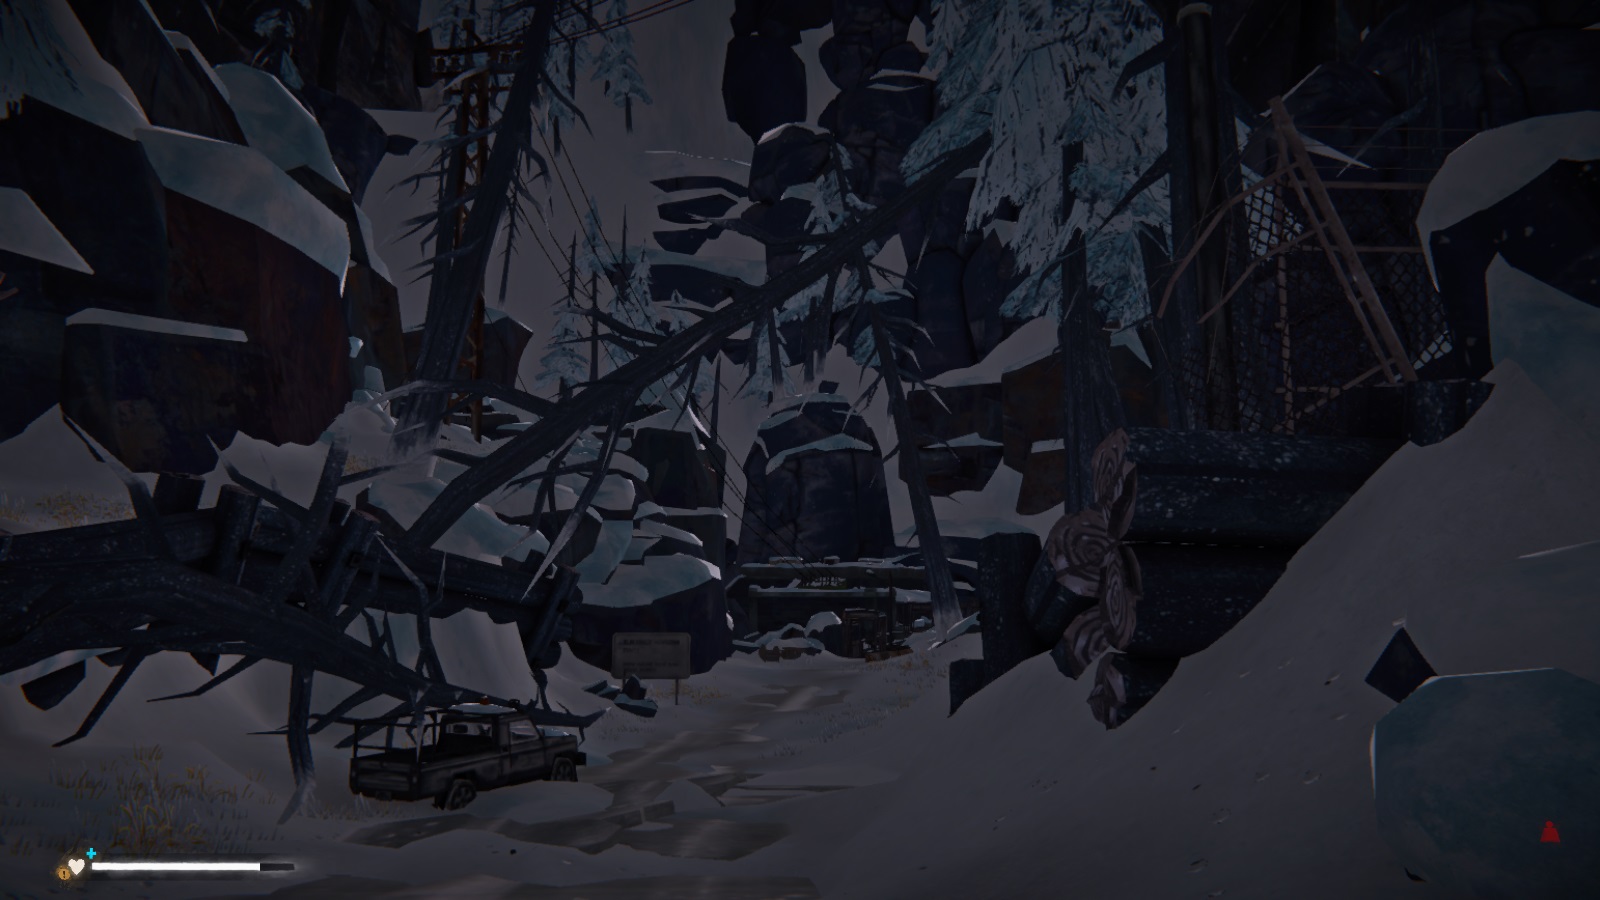 The gates to the external catwalk are locked so just head in via the front door. Once you take a few steps, the phone will ring. Pick it up to have a longer conversation with the mystery person. She reveals her name is Jace and that she were stranded here after the First Flare knocked out her car. Will agrees to prove that he's trustworthy (and keep the psychopath Donner locked up) by breaking the door mechanism to solitary. Hopefully this will ensure the doors stay locked, even if the convicts find the button that opens it.
To leave, you need to exit via the circled door below.
The gates to the external catwalk are locked so just head in via the front door. Once you take a few steps, the phone will ring. Pick it up to have a longer conversation with the mystery person. She reveals her name is Jace and that she were stranded here after the First Flare knocked out her car. Will agrees to prove that he's trustworthy (and keep the psychopath Donner locked up) by breaking the door mechanism to solitary. Hopefully this will ensure the doors stay locked, even if the convicts find the button that opens it.
To leave, you need to exit via the circled door below.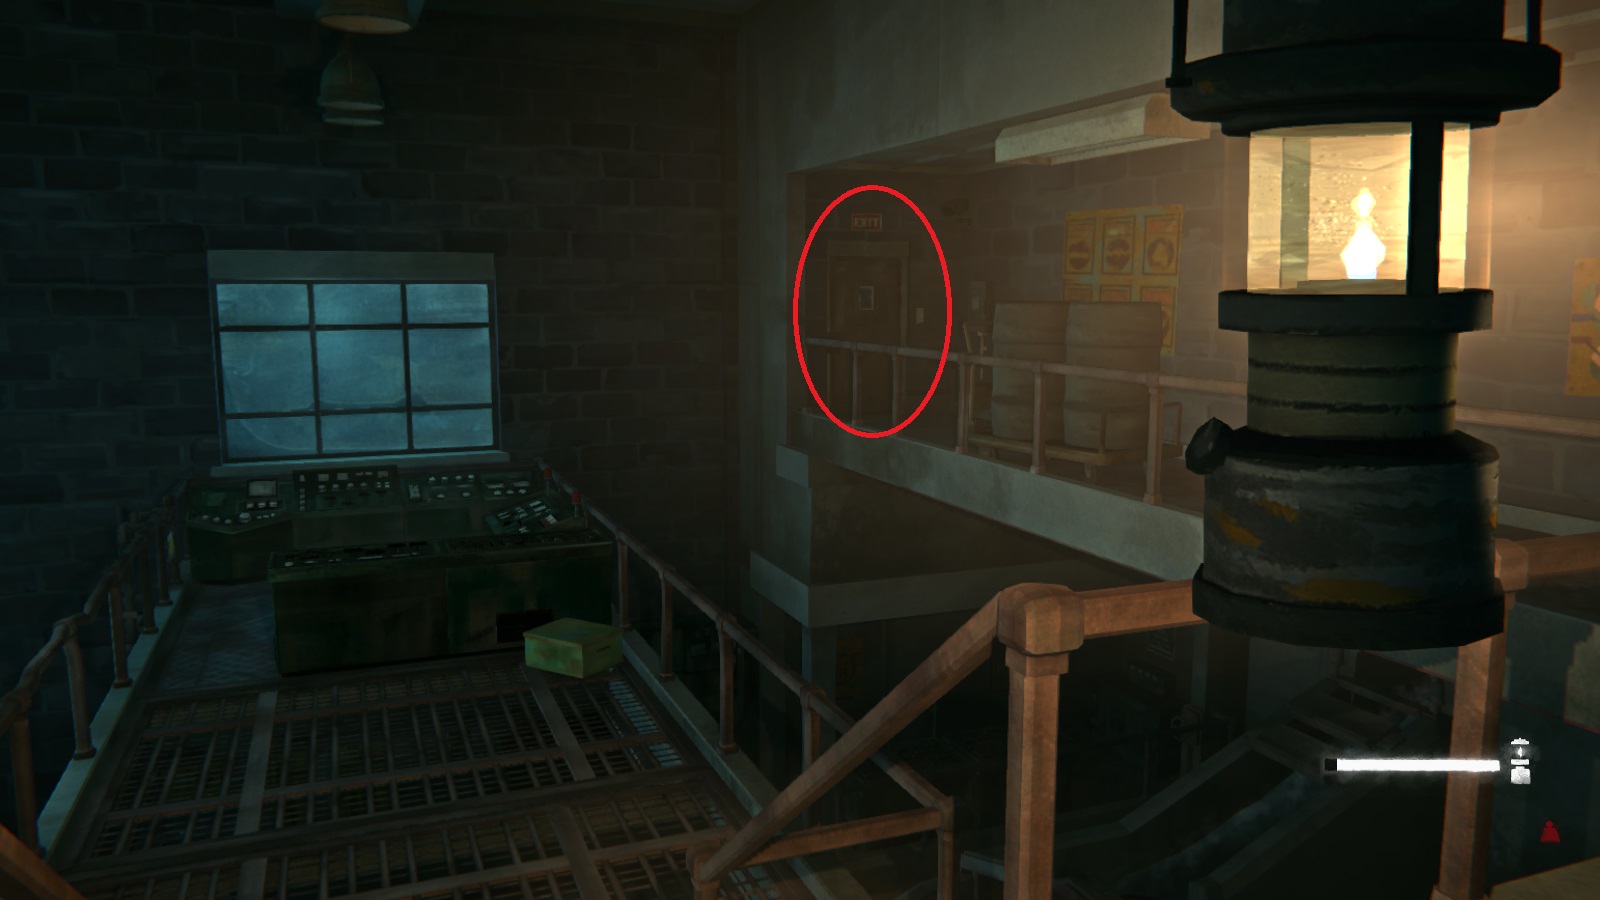
Chapter 2: The Power Plant (Part 2)
Stupid character limit....
Just a short walk away is the door to the maintenance tunnels. Head inside and just follow the tunnels until you reach the first open room. On the right you'll find a bedroll and note that explains the steam tunnels are having pressure problems. You'll also find a frozen door, which will introduce you to the basics of this area's puzzle mechanic.
So, the basis of the upcoming puzzles is that the steam pipes and/or valves have frozen from the cold. Will's job is to direct enough steam through the pipes that the valves and/or doors that the pipes lead to defrost. After the first tutorial door, you'll enter an area with the door below in front of you, and two hallways to the left and right.If you go down the hallway to the left, you'll find the control room door, which is where we want to go. As you can see, it's completely frozen solid. You'll also see some pipes on the wall, but ignore those for now.
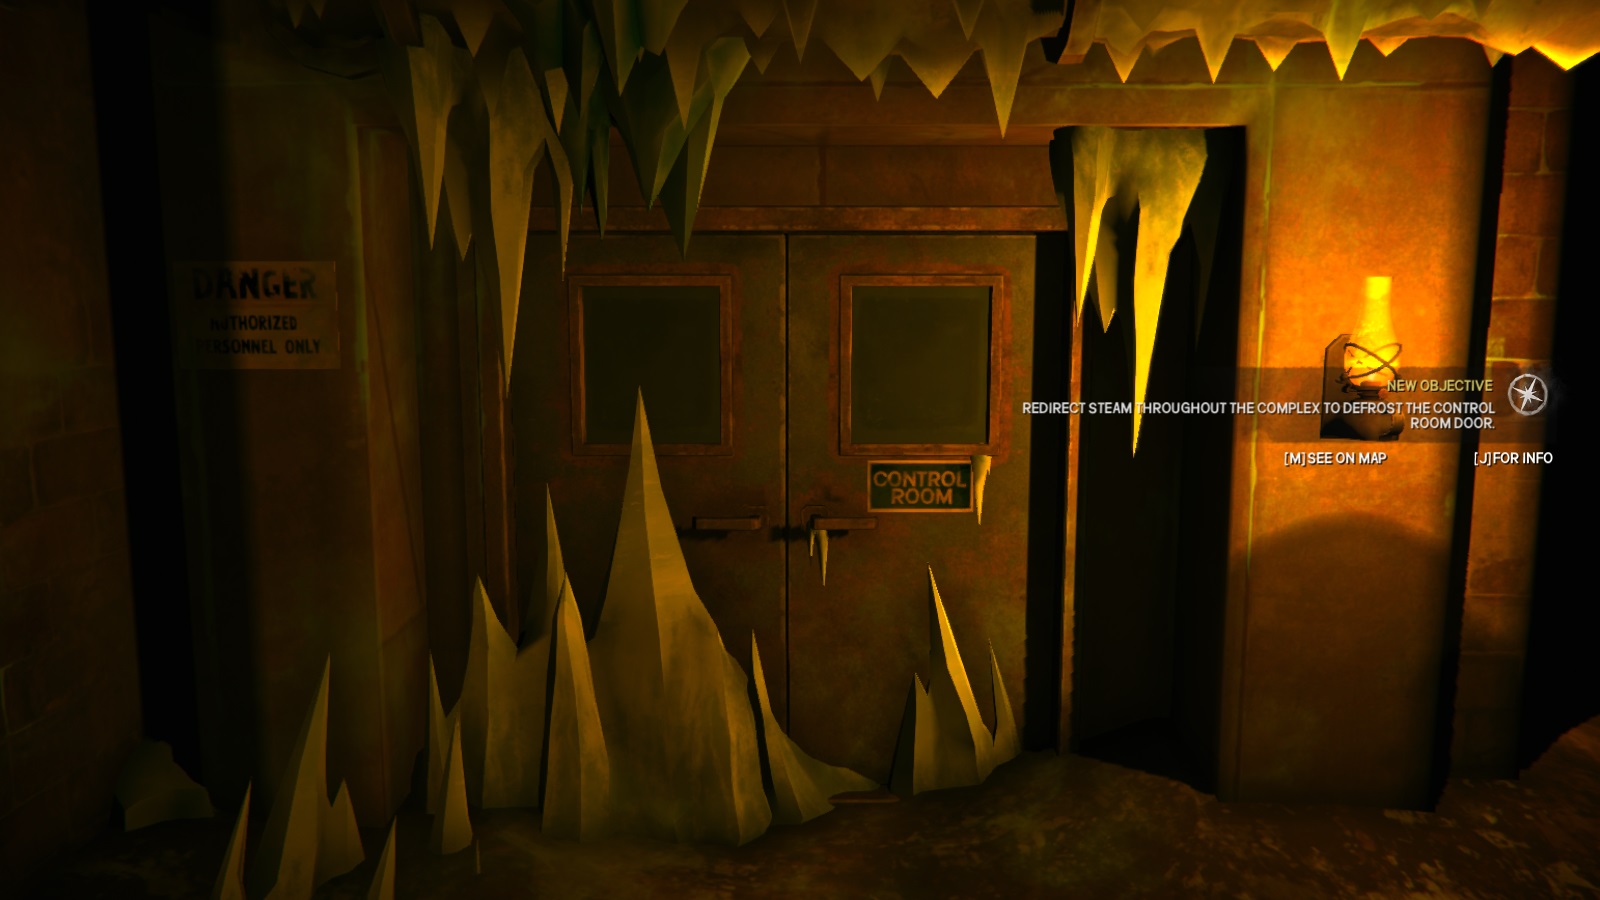 Go down the other hallway on your right, and you'll come to another big room with the following machine.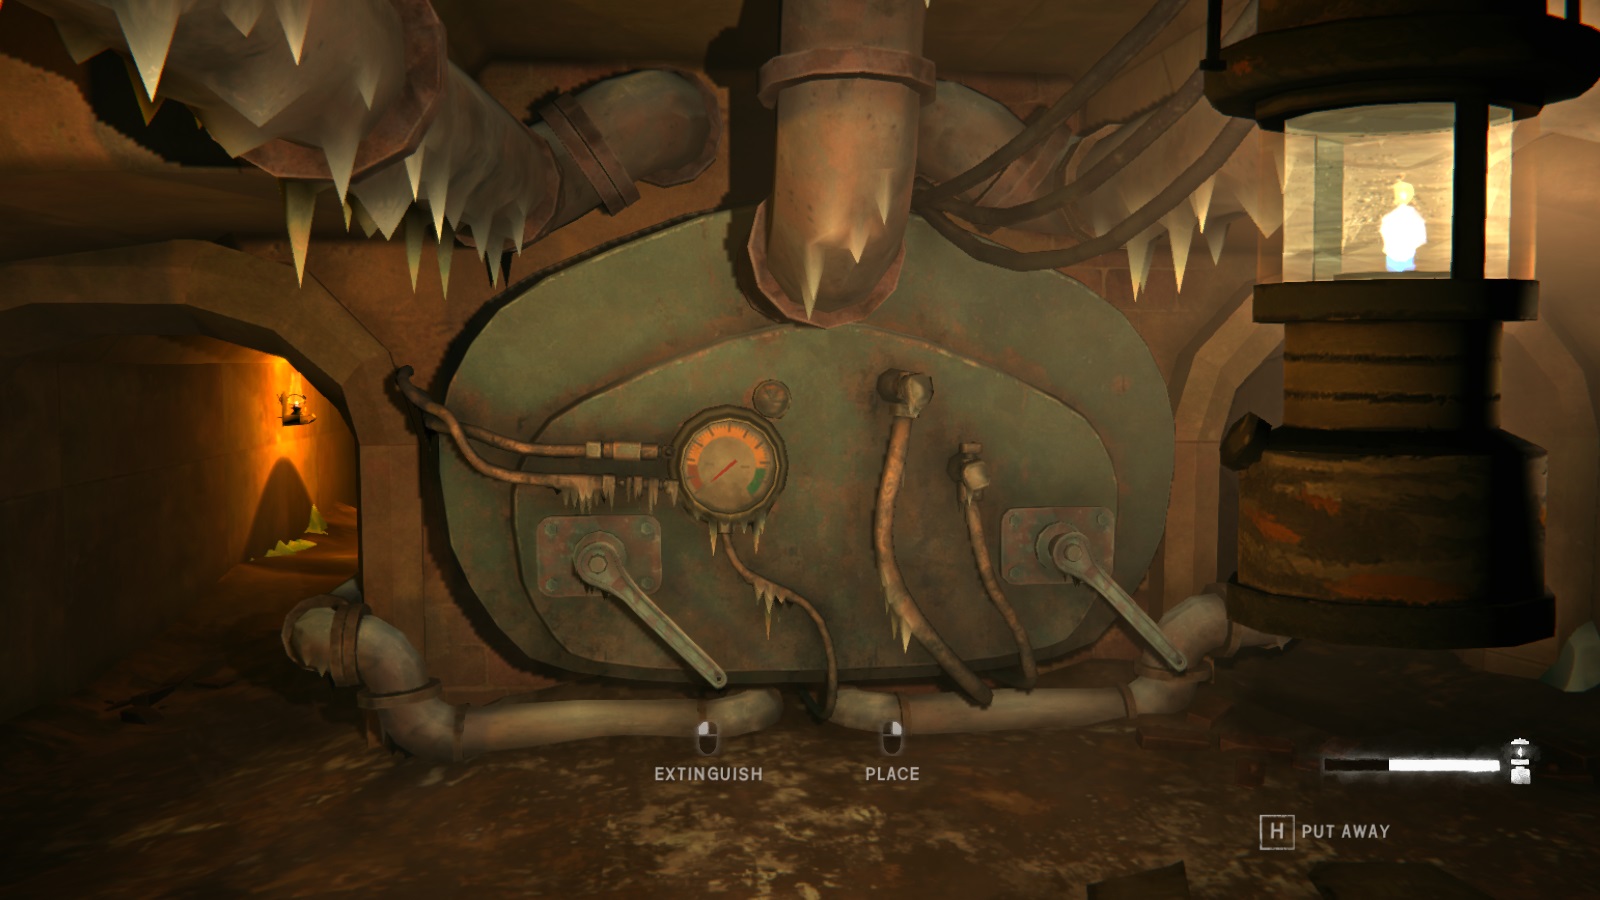
Okay. Puzzle time. From the big room above, go down the hallway on the left. You'll come across a mess of pipes and levers.
The good news is that there are only two big sections like this. The bad news is that the physics don't make complete sense. As you can see from the pop-up in my picture, the goal is to make the gauges reach green. That indicates there's enough steam to melt the ice. But the flow of steam doesn't always fit how flow physics works. To combat this, I've taken two pictures; a before and after of the pipes. This will show the exact layout you need to melt the ice on the door(s). I will also list a step-by-step for the pipes since you will sometimes have to mess with the levers a bit just to get them all defrosted. The levers are labelled with the numbers used in the instructions on the before pictures.
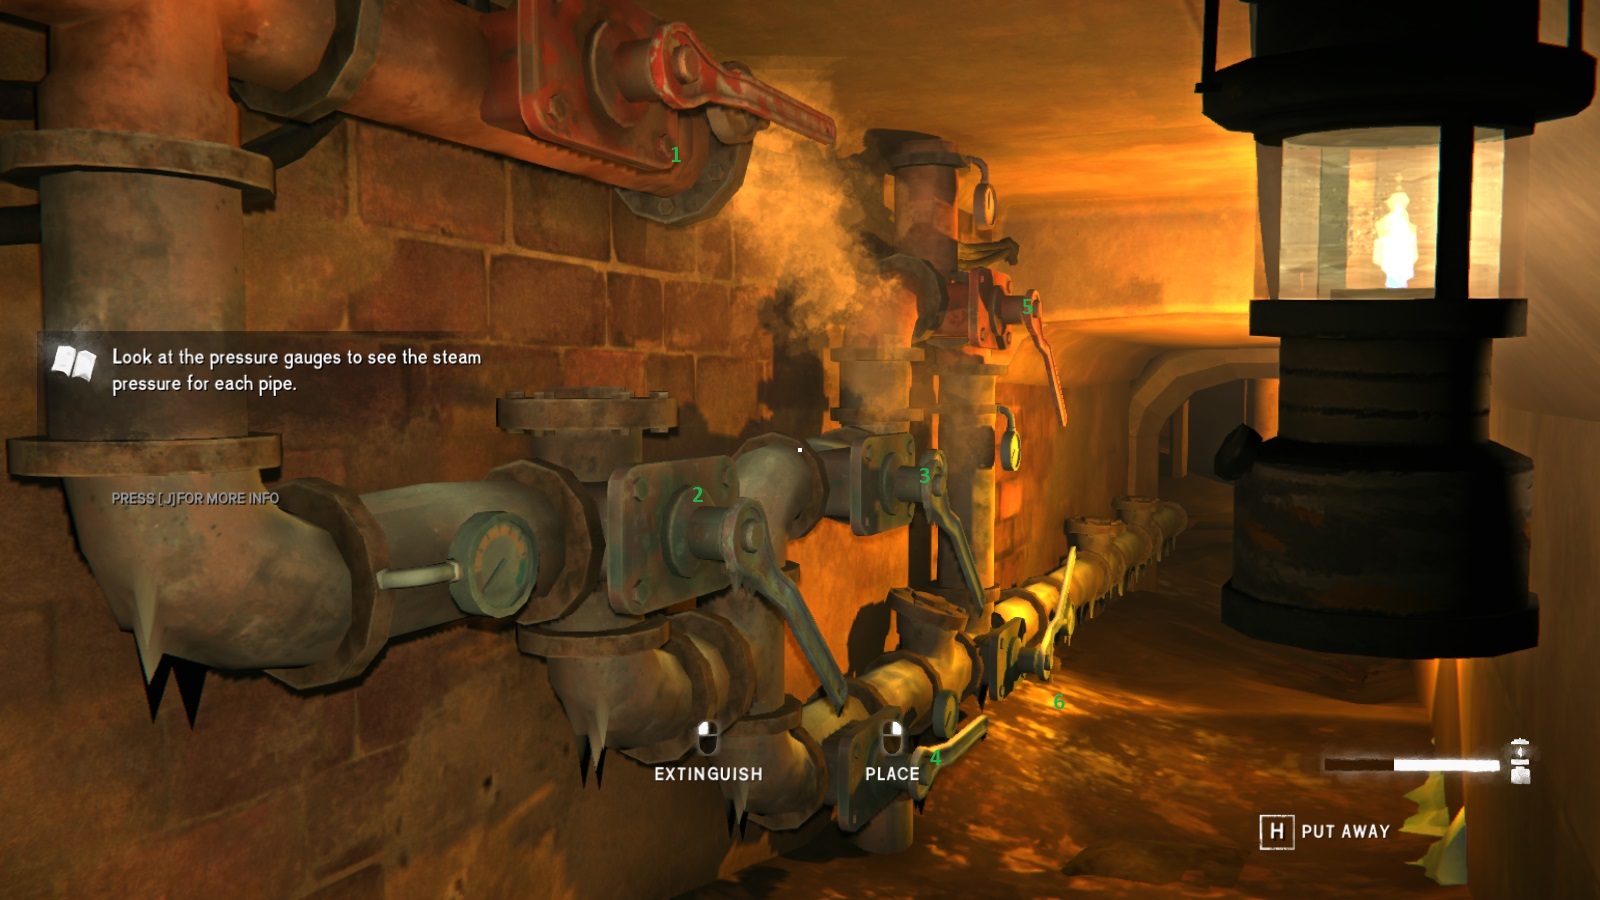
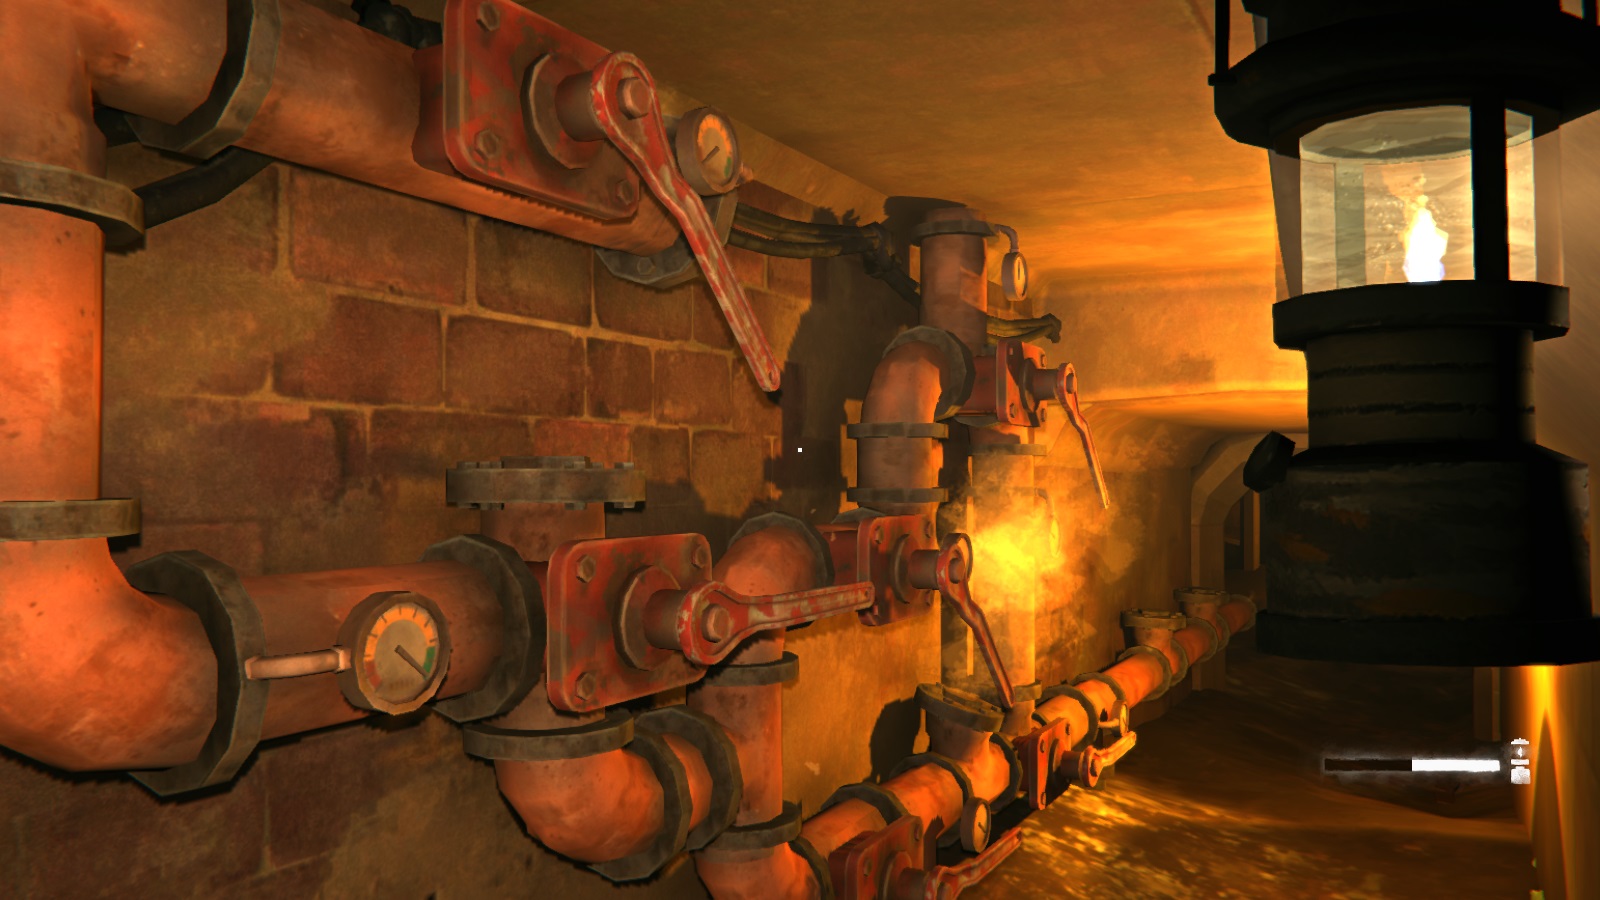
- Close lever 1
- Open lever 2
- Close lever 4
- open lever 3
- Open levers 5 and 6
- Close lever 3
- Open lever 4
After finishing that puzzle, return to the room with the big machine to find that the left side's lever can now be opened. Do so, and the make your way back to the control room hallway, watching out for the steam gushing out of the pipes. Pipe Puzzle 2
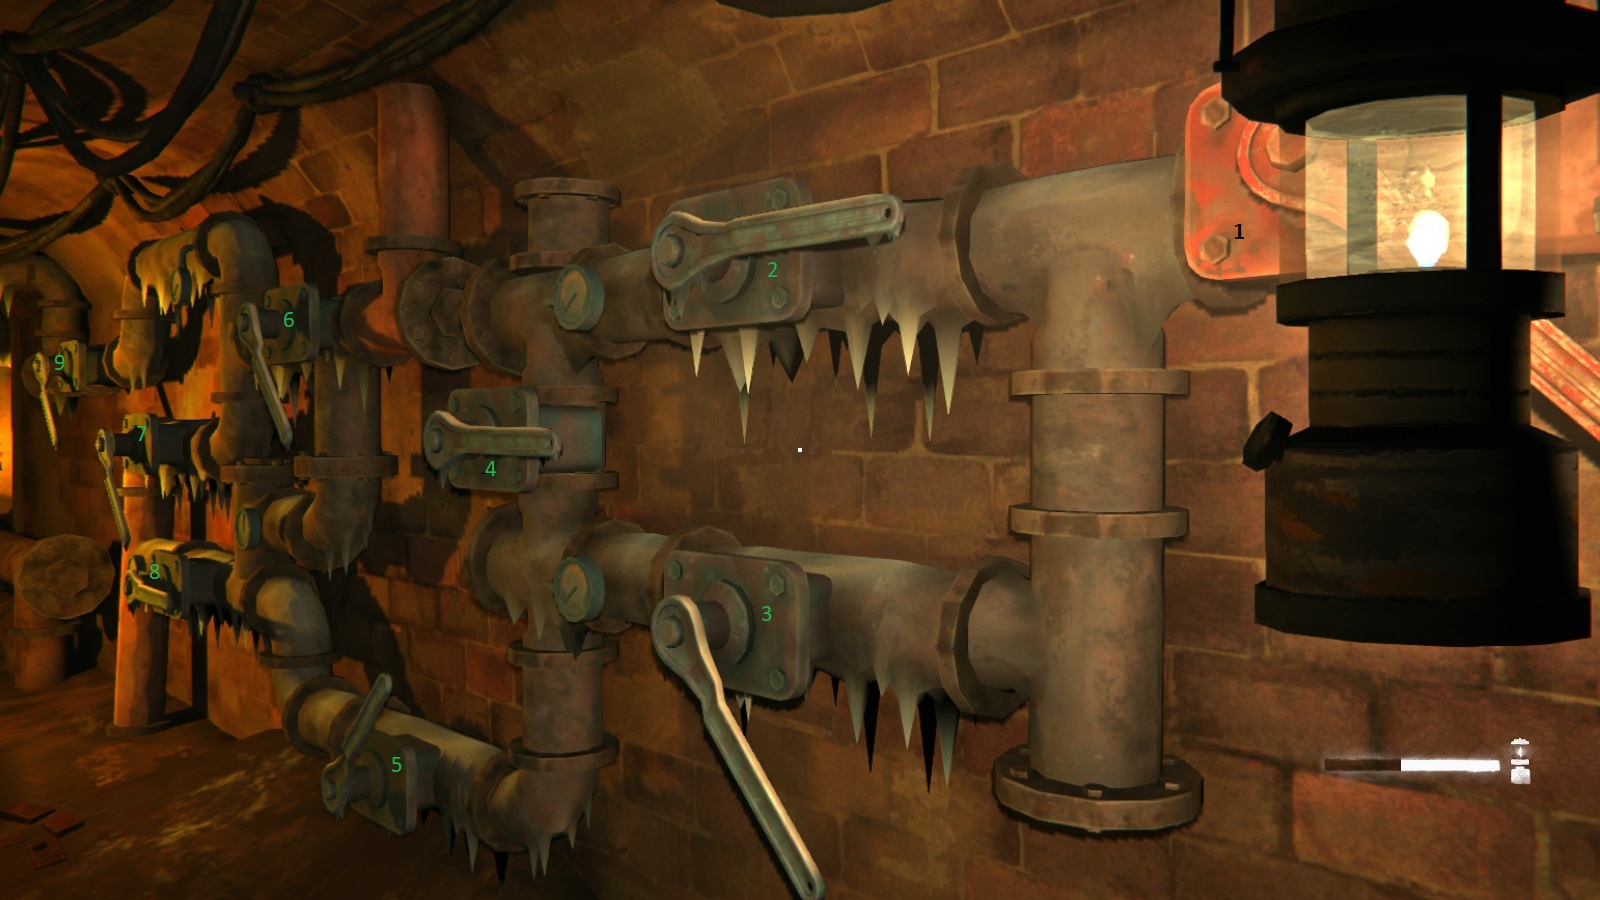
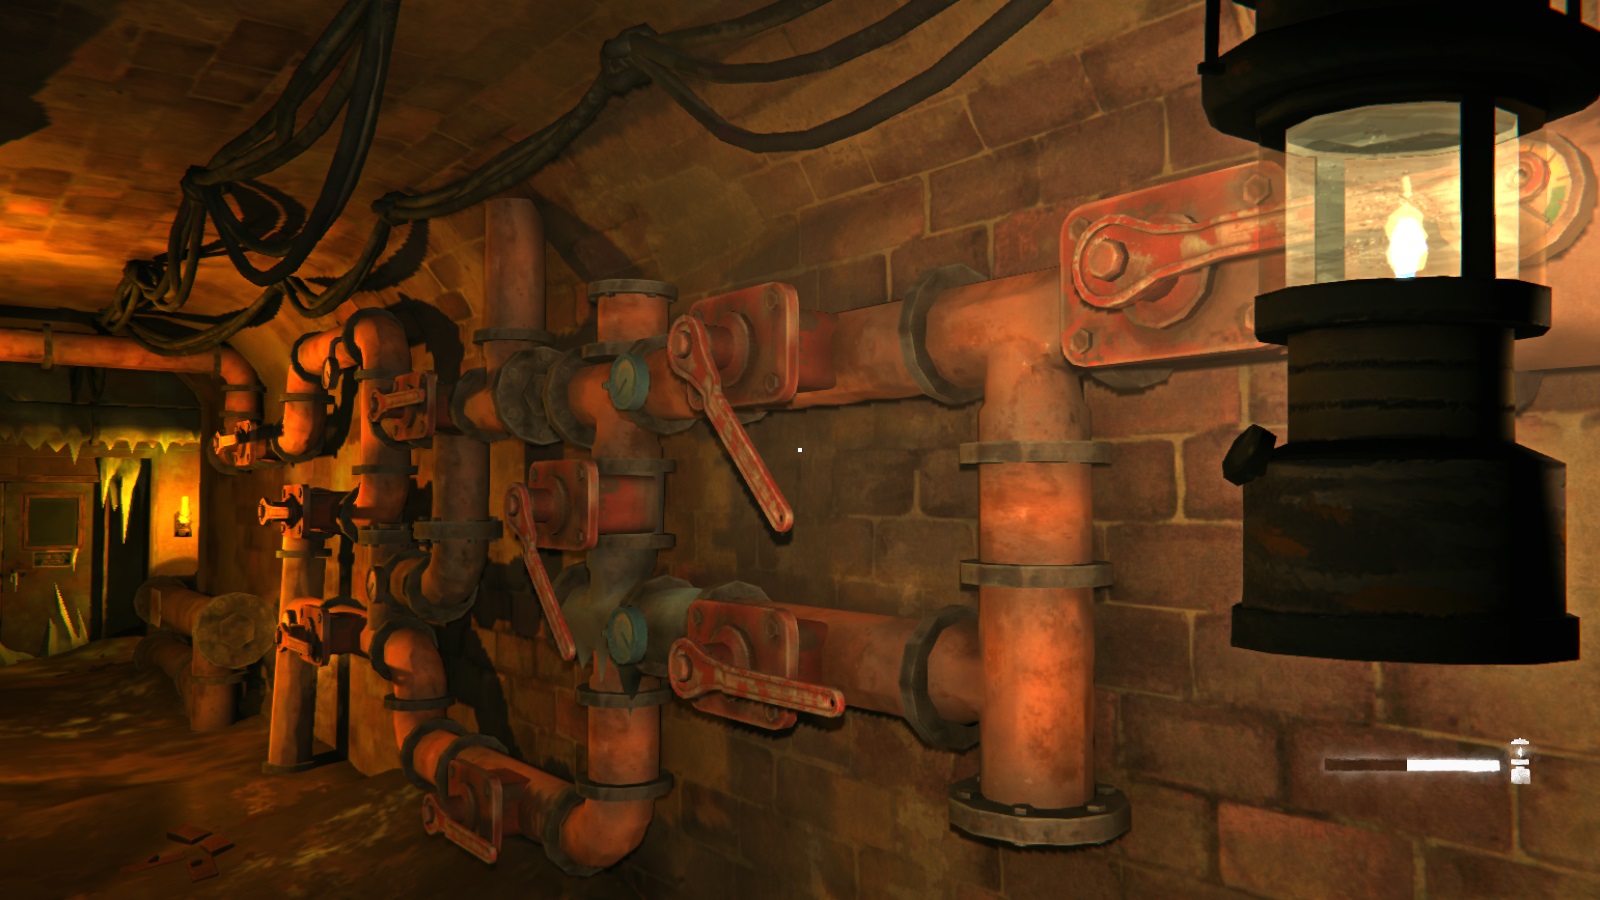
- Open lever 1 (the only one you can manipulate)
- Close lever 2
- Open lever 3
- Close lever 4
- Open lever 5
- Close lever 8
- Open levers 6 and 8
- Open lever 7
- Open lever 9
After this puzzle, go back to the room with the big machine. Now the right side's level will be defrosted. Pull it, and go back to room with the lockers. You'll find that the first door's lever is defrosted. Pull it to unfreeze the door and head on through. Here you'll find more lockers and the following lever. Pull it.
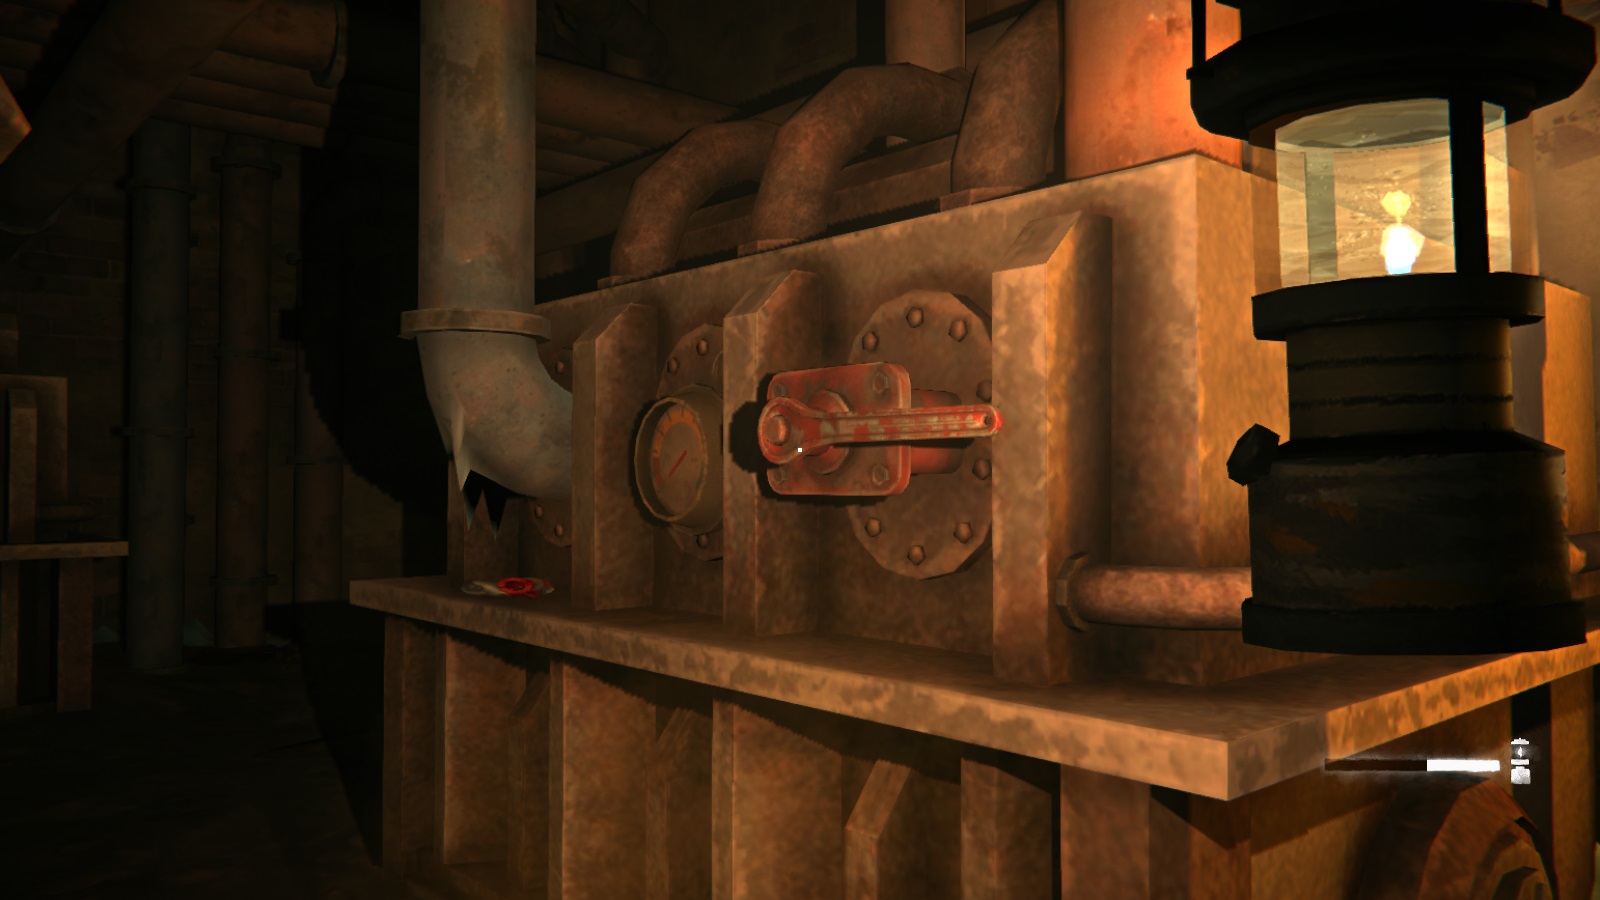 From here, head left from the new lockers you should find the door circled below. Go through it and down the narrow hallway to find the second lever you need to pull.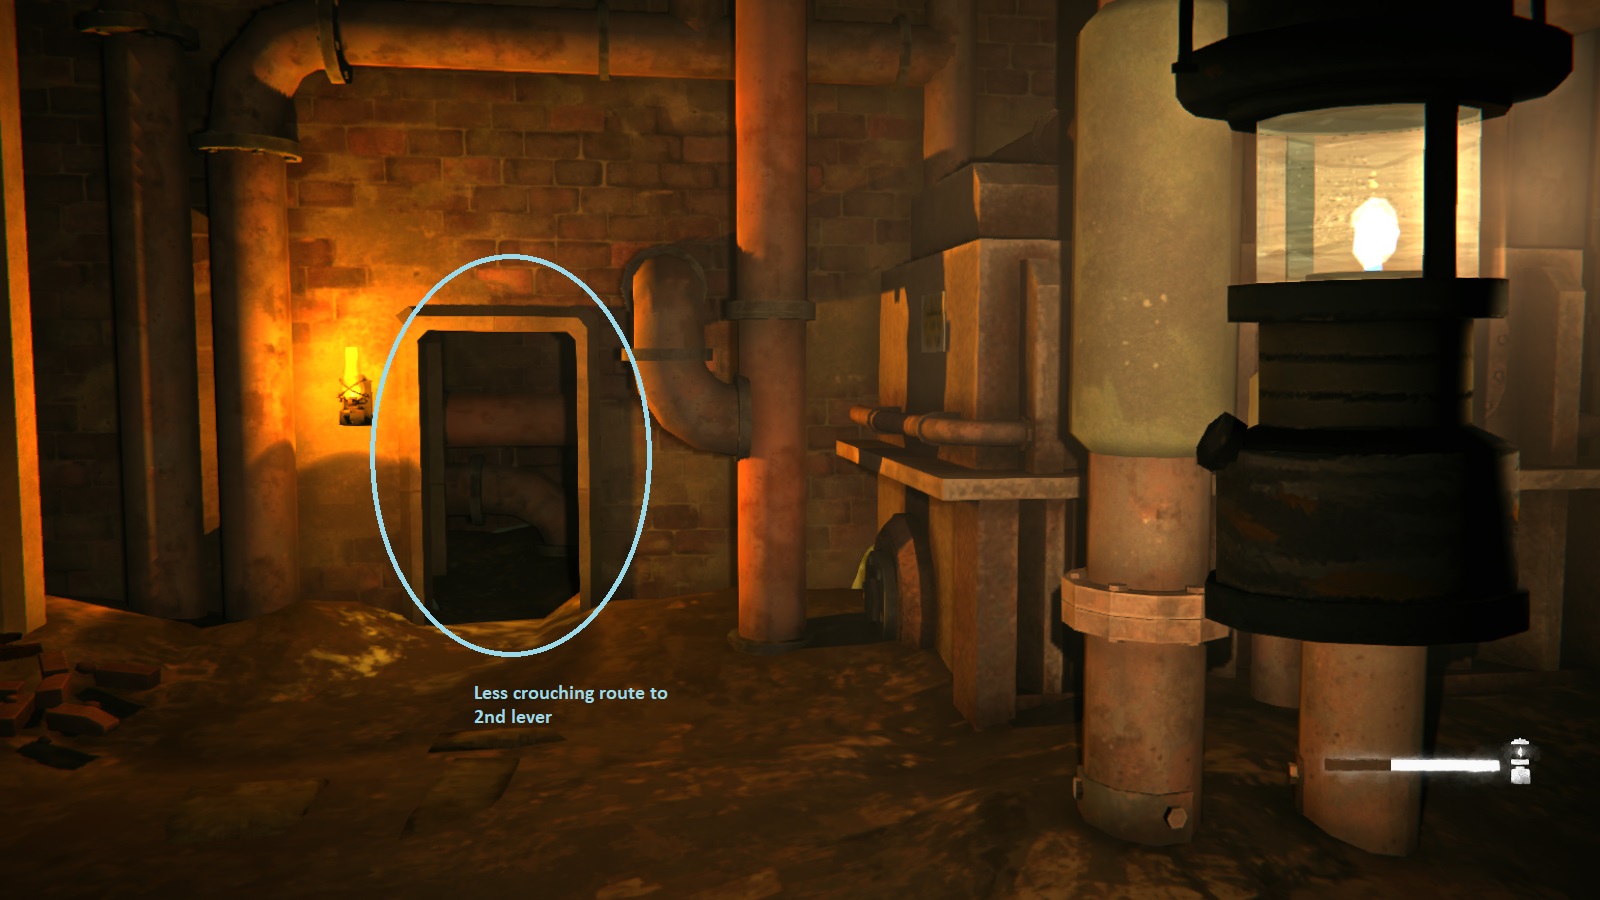
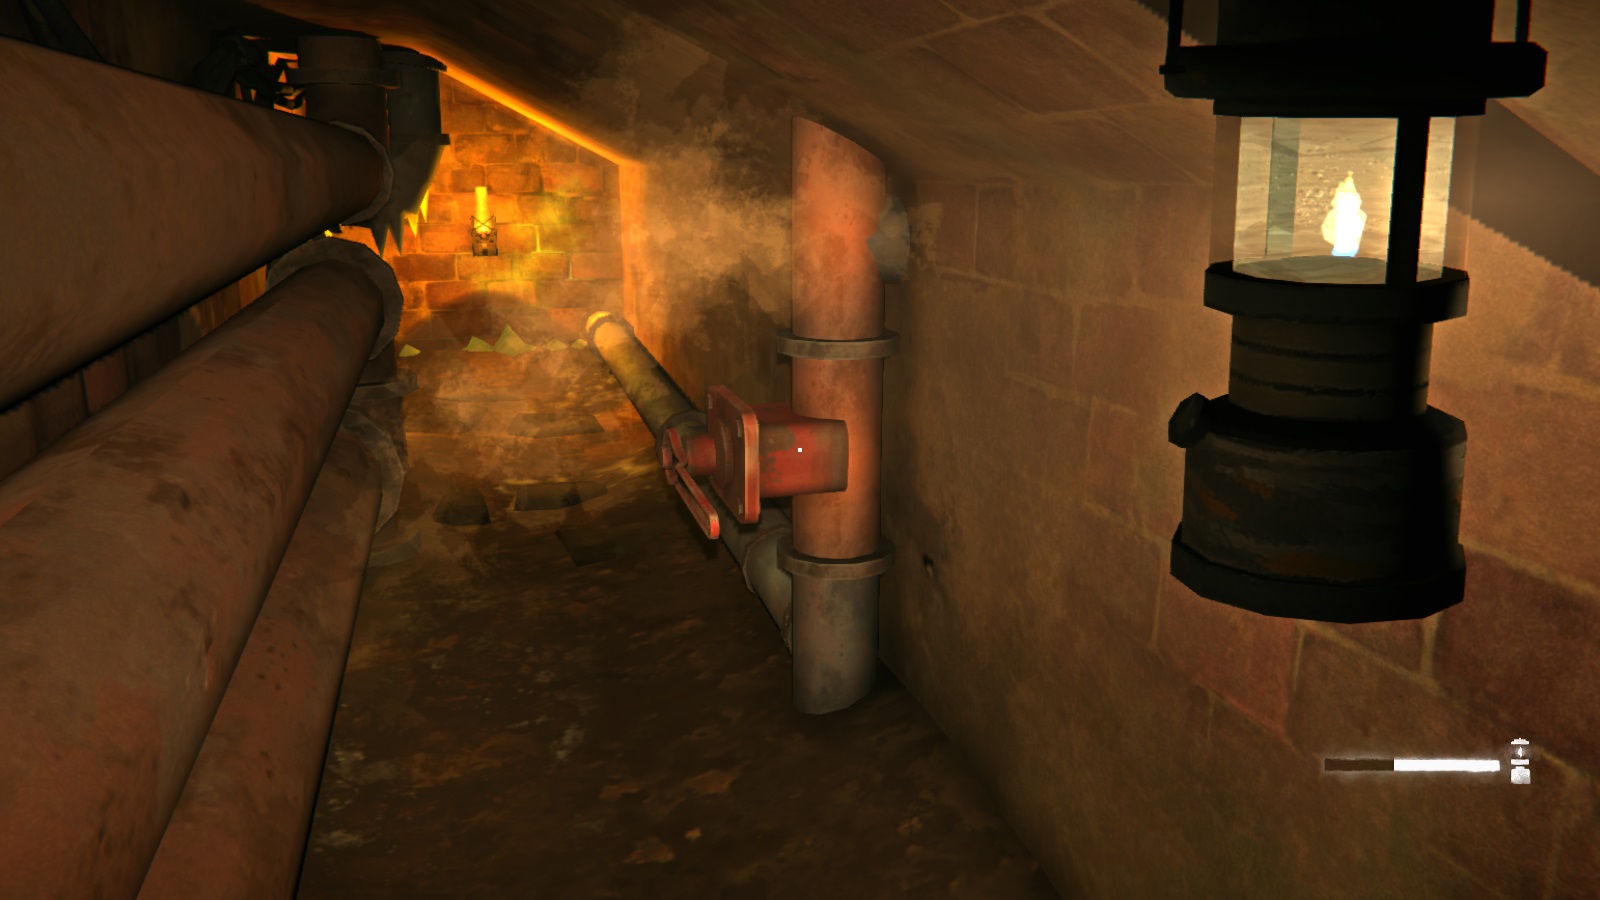 Pull it. The lever from before defrosted it. Now, you want to backtrack and go to your left when facing the door above. There will be a hallway with pipes splitting it down the middle Find the small hole on the left side and crawl through it.
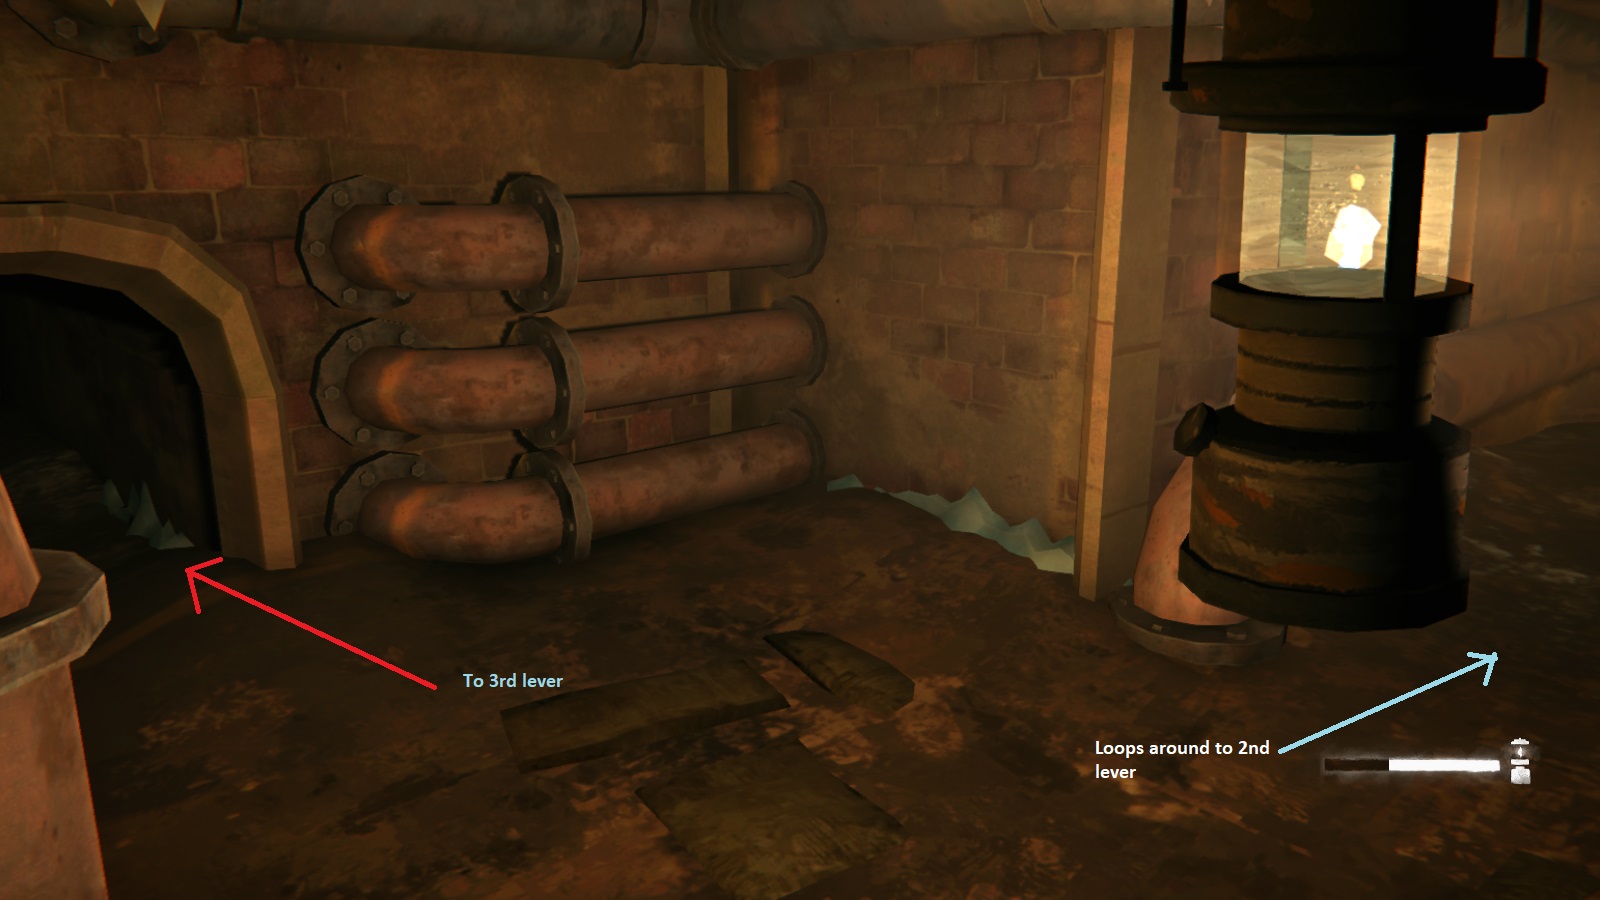 It will lead you to another door for the control room, but this one is locked with a padlock. Still, the important part we want is the lever next to it. Oh, and pick up the heavy hammer on the shelf.
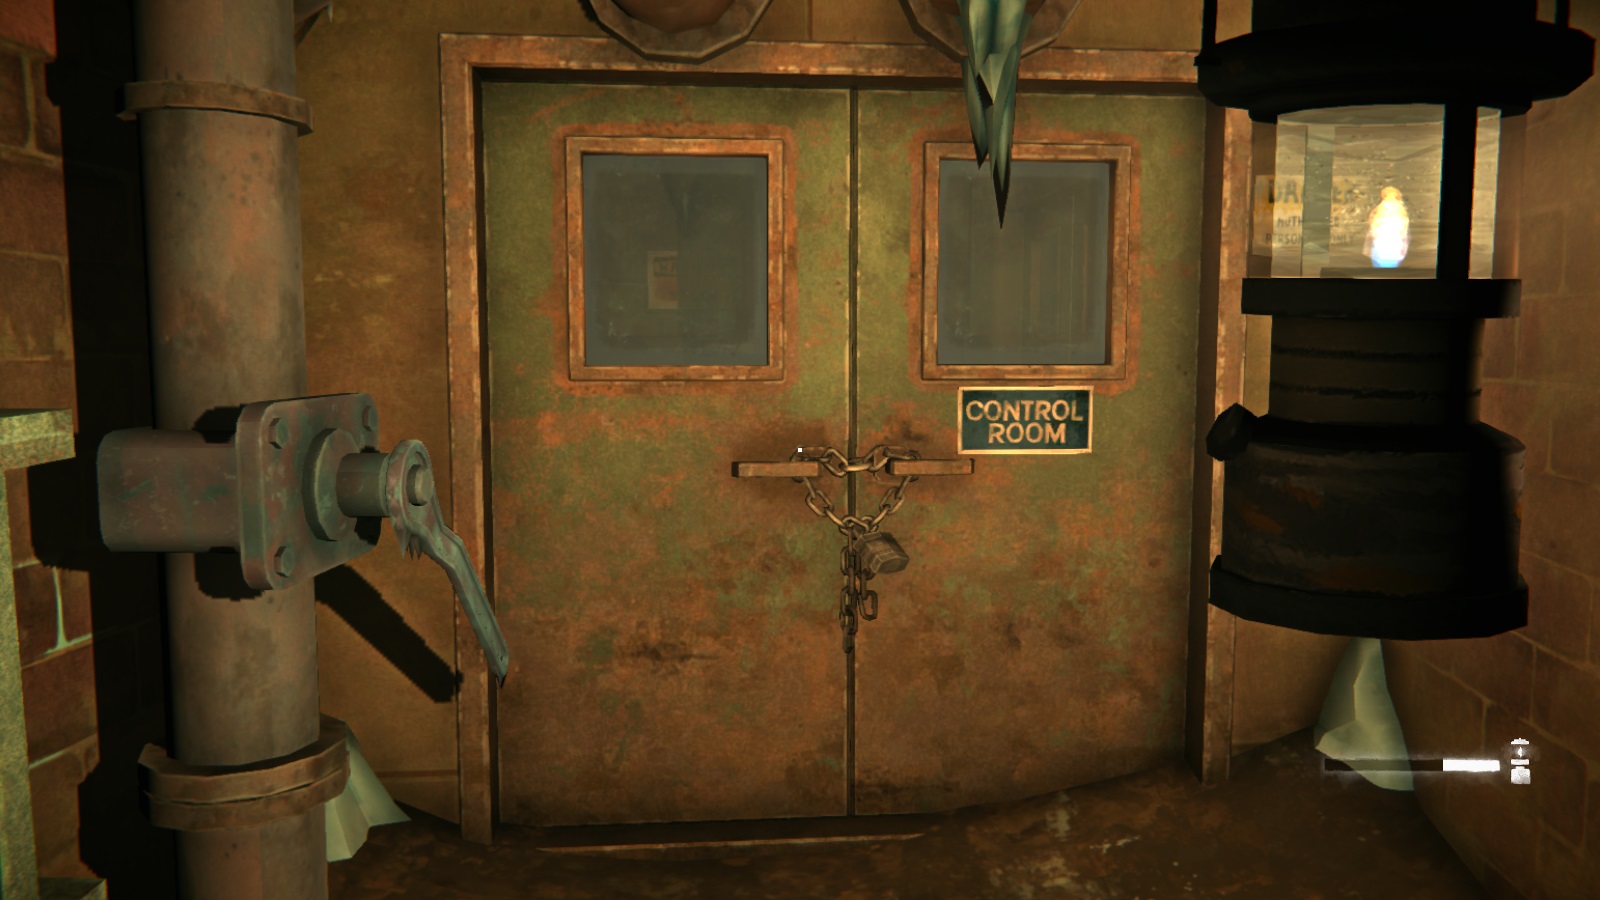 Like before, pull it. Even though it's not immediately obvious, you're done. Head back to the original control room door to find that its lever has been defrosted. Pull it and head on through.
The machine we want to break is on your left and pretty obvious. If you didn't pick up the heavy hammer from before, go back and get it since Will can't destroy the machine without it. You'll be treated to a nice cutscene of Will most likely venting his frustrations at the convicts. Once he's done smashing up the machine, you'll be given the prompt to return to the prison. And the cool thing is that there's a nice shortcut via the tunnels. First, grab your stuff from the lockers. Then, head back to the control room. If you just go straight from the entrance we opened, there's another door we can go through (the door on the right is the padlocked one).
Just head on through and follow the linear path. You'll eventually come to a stairwell (search the green box before ascending). At the top is another door that leads out to the maintenance yard portion of the prison. This also unlocks the door so you can go back through to reach the steam tunnels/power plant.
When you're ready, head back to the prison entrance. And don't forget to hide all your gear.
Chapter 3: The Detonators (Part 1)
I don't know about you, but I have a bad feeling about Franklin....
Oh well, back to the game. Now Will mentions something about a blizzard, but I wouldn't worry to much. From what I can tell, it pretty much stops by the time you get all your gear sorted. To get to the mines, you need to to just follow the road like we did in Chapter 1, but without veering off at the prison truck.
Important Note: This is the chapter of no return so be sure to finish any sidequest you want to complete before bringing the detonators back to the prison. Mentioning it now because there are a fair number of sidequests that can be completed on the way to the mines.
Anyways, back to the story. Honestly, you can just follow the road all the way to the mines. In fact, there are little mine signs dotted along the way. As a warning, you'll probably want a flare gun with at least two shells because the road does pass right by a bear den. Also, be sure to bring at least 4 noisemakers. There are a stupid number of timberwolf packs between here and the mines.
At the end of the road, you'll find a swaying rope bridge. Be careful because you can fall off and die. Just past, you'll find the entrance to the abandoned mine.
 Alright, head in while veering to the left and you'll eventually come to the large "doorway". Once through, you'll see a wooden staircase to the left and a passage to the right. Don't bother with the staircase, but underneath it, near the painted orange square, is a door that you can investigate to trigger the Forest Talker Supply Cache sidequest.
We want to go to the right, where there will be a couple of signs saying "elevator". After a while, you'll come to a small tunnel where you need to crouch. After going through, you'll come to the below area.
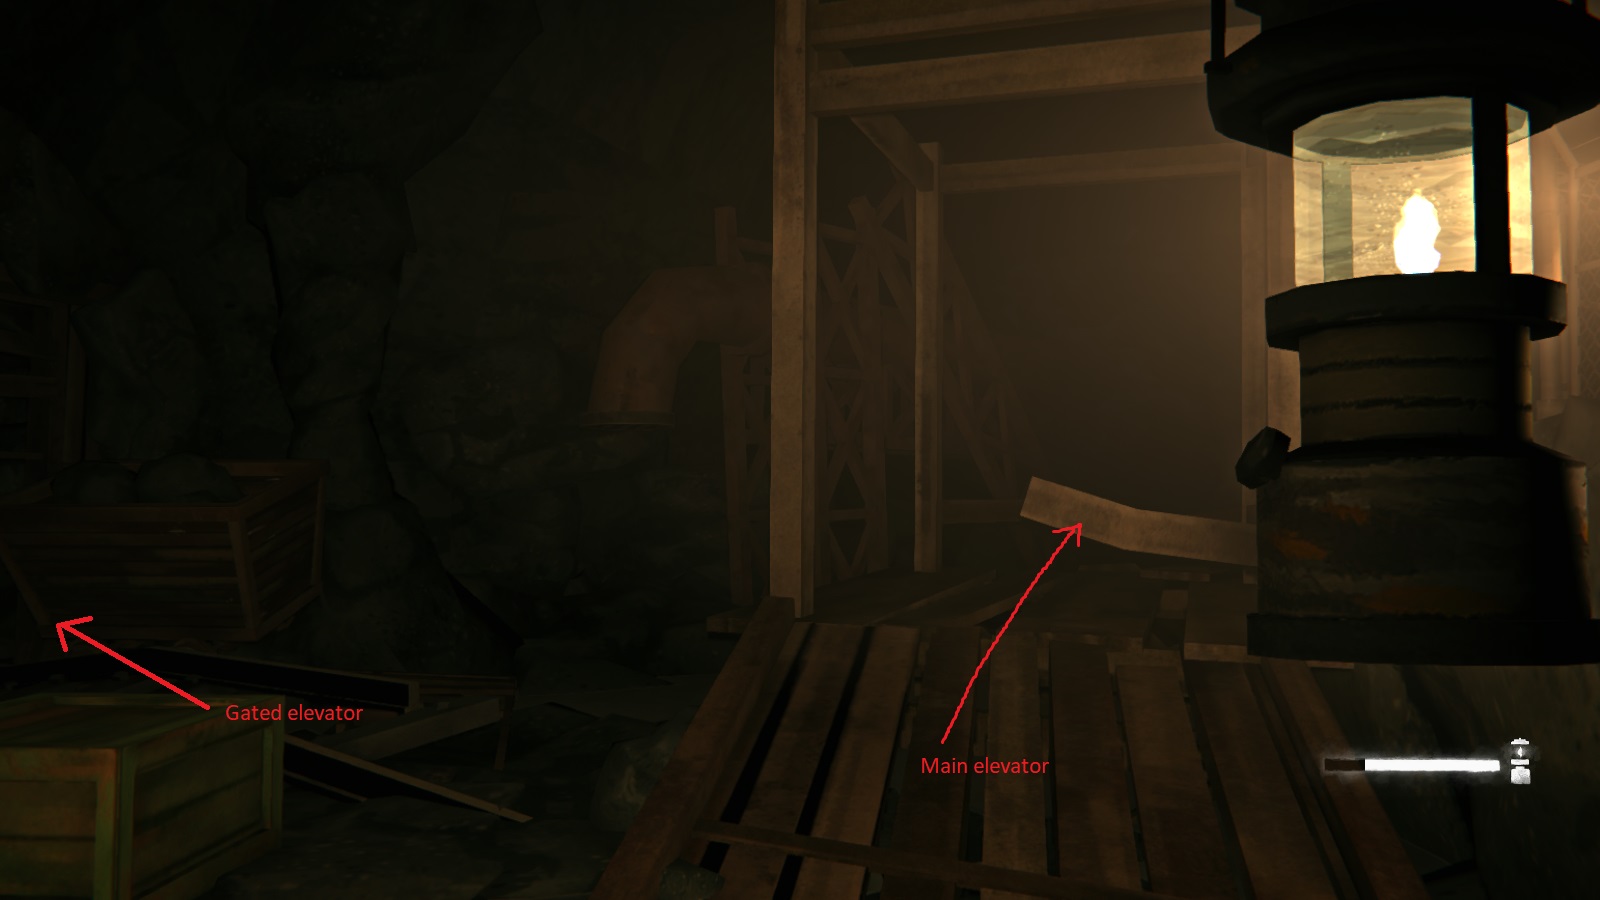 Head up the wooden platform and you'll eventually come to the mine's elevator. Sadly, it's a manual handcrank elevator. On the plus side, the crank is in the locker area just off to the right.
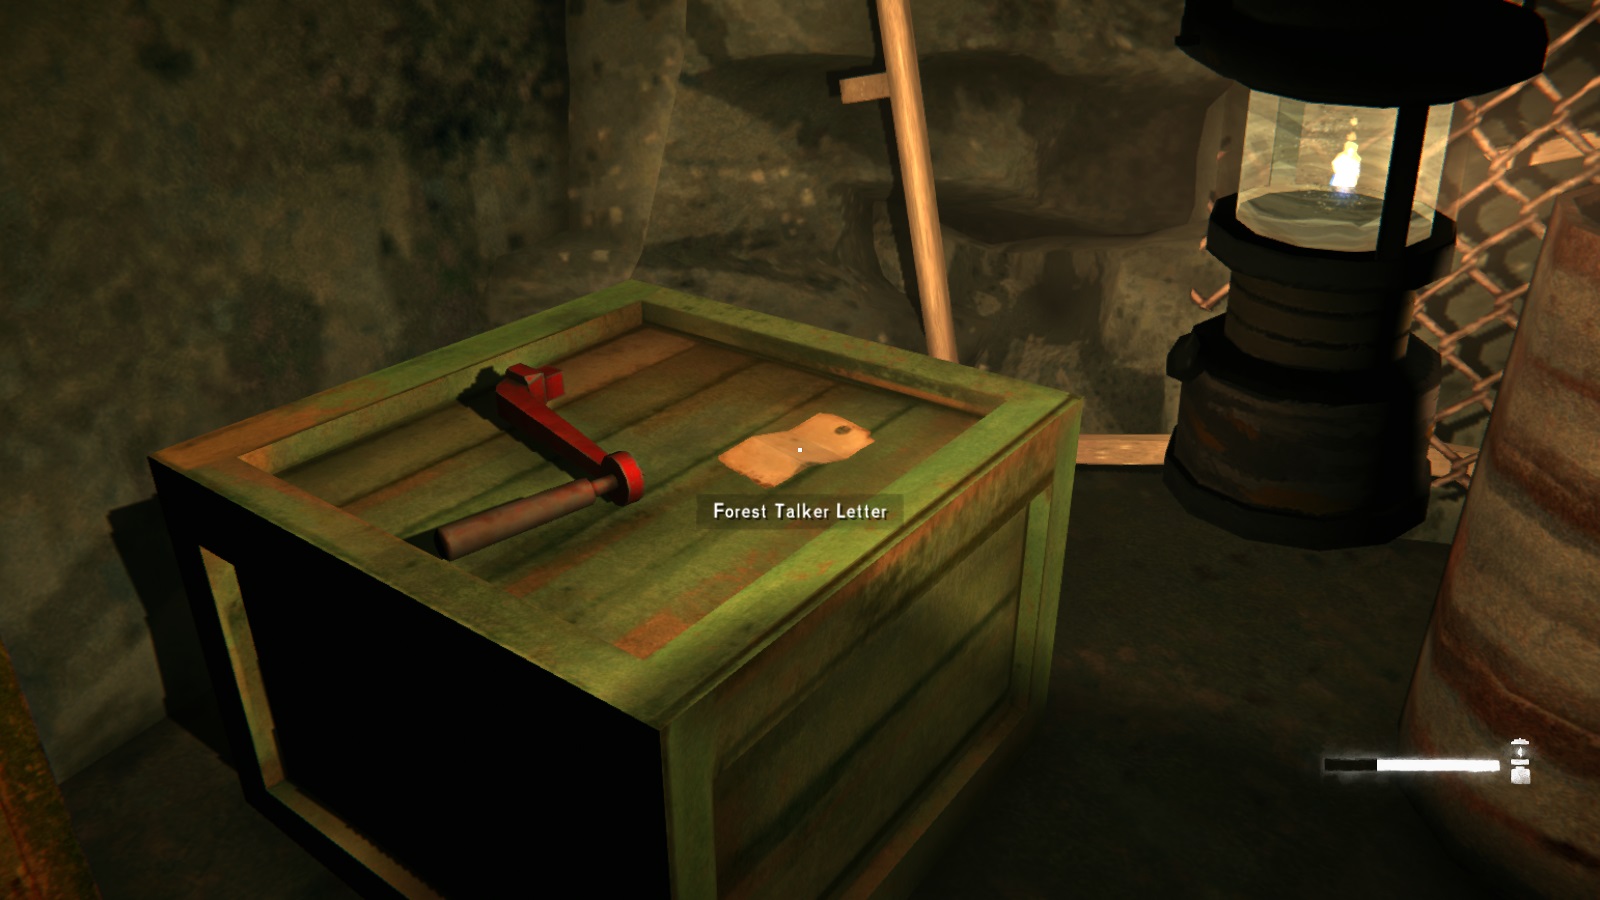 Now, you'll want to search and take advantage of the lockers here. Up ahead, there are some areas that require Will to move fast. Even when you're not encumbered, you still move slower when you have 28 kg vs 15 kg. Plus you'll burn through your sprint stamina faster when carrying heavy loads. So take the time to temporarily drop any excess gear. Stuff like guns and firewood are good to shed weight.
Once you're ready, head back to the elevator and take it down to floor 3. Oh, and turn off the lantern if you want to conserve fuel.
Now, you'll want to search and take advantage of the lockers here. Up ahead, there are some areas that require Will to move fast. Even when you're not encumbered, you still move slower when you have 28 kg vs 15 kg. Plus you'll burn through your sprint stamina faster when carrying heavy loads. So take the time to temporarily drop any excess gear. Stuff like guns and firewood are good to shed weight.
Once you're ready, head back to the elevator and take it down to floor 3. Oh, and turn off the lantern if you want to conserve fuel.After leaving the elevator, you might have noticed some signs about toxic gas, as well as the mine notice on the front of the elevator on floor 1. Well, here's what the gas looks like.
 Entering it gives Will the "suffocation" affliction. The lung icon on the left shows how long until Will dies from lack of oxygen. You either need to get out or pipe in some clean air to remove the effect.
 Speaking of piping in clean air, you'll notice there's a red lever on the ground in the above picture. Picking it up and placing on the valve next to it will allow you clear the toxic gas from this area (remember to actually open the valve after placing the lever). This makes up the main puzzle mechanic of this chapter.
After clearing the gas, grab the lever (it can be removed), and keep going. You'll come to some more toxic gas, and there will be another valve just a little further in.
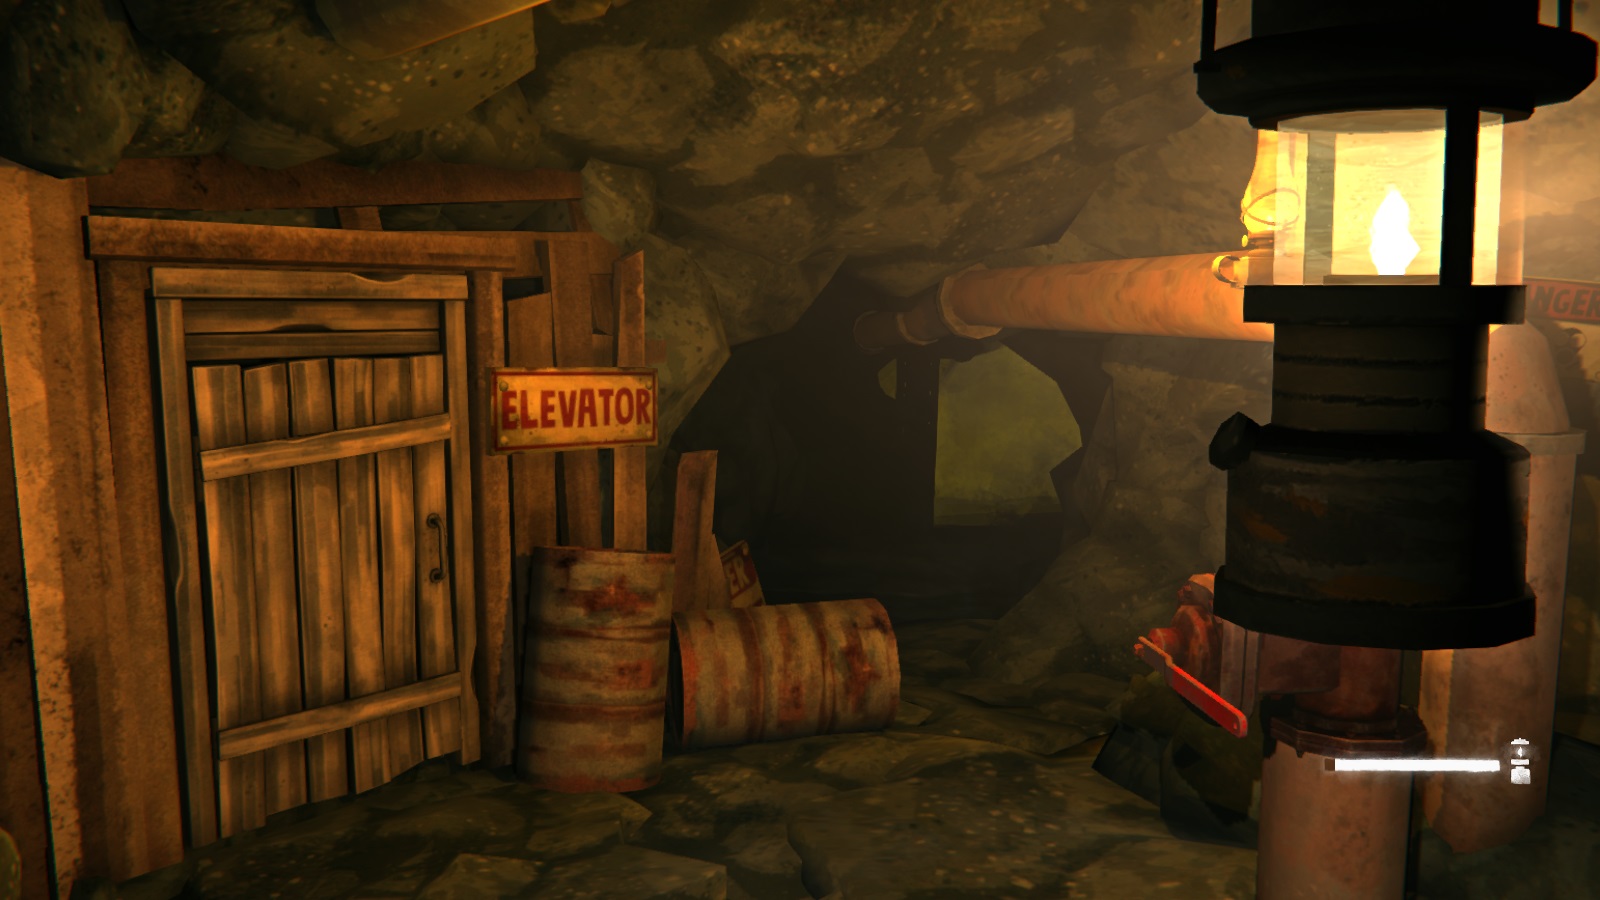 Sadly, this time the lever will stick, so no more instant clean air for Will. If you look around, you'll also see a wooden door to the other mine elevator. Spoilers, that's where we need to go. Unfortunately, you need a mine key first, so further in we go.
And some more toxic gas...To get through this, you need to run for the area in the below picture.
Sadly, this time the lever will stick, so no more instant clean air for Will. If you look around, you'll also see a wooden door to the other mine elevator. Spoilers, that's where we need to go. Unfortunately, you need a mine key first, so further in we go.
And some more toxic gas...To get through this, you need to run for the area in the below picture.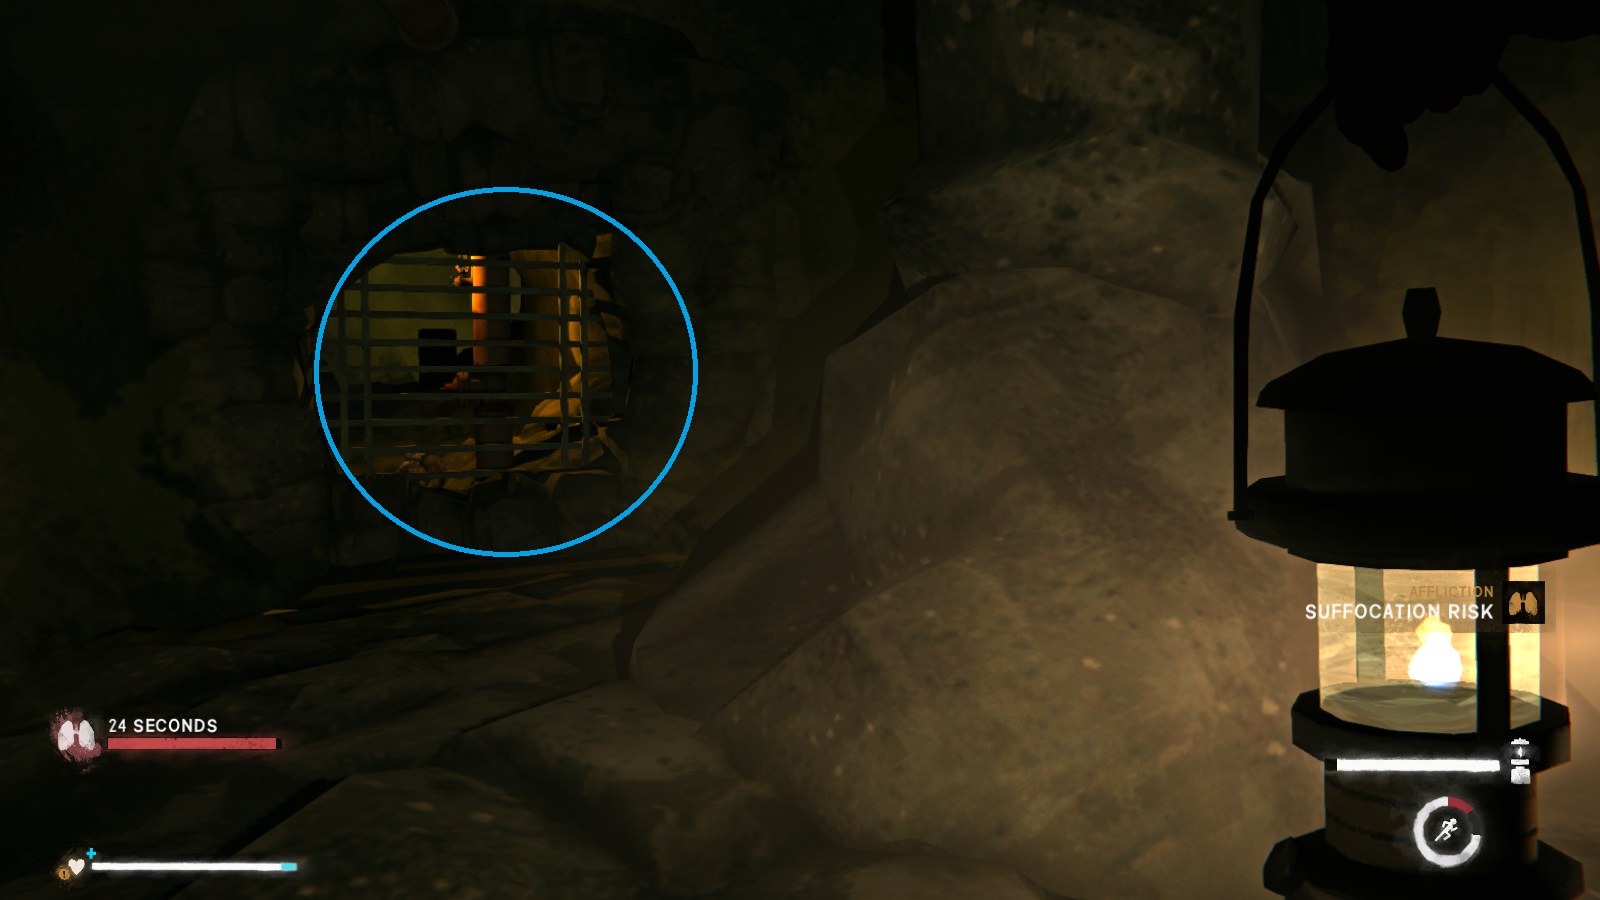 This is an "air pocket" as Will puts it. If you look through the bars, you'll notice that there's another lever. We need to get that, and here's where the inventory emptying from earlier comes in. Getting to the other side of the grate will basically take almost all of Will suffocation meter. And if you're encumbered, you probably won't make it. Or you'll make it, but be stuck.
Another side effect of suffocation is that, as the meter drops, Will's energy level (the eye icon on the stats menus) will drop faster as well. If you have any energy drinks, take them. Will's vision will also start to blur once the meter reaches about the halfway point. And it gets worse the lower the meter. Once you're ready, sprint through the wooden arch on the left. Thankfully the path is completely straight. After you reach the other side, pick up the lever and search the body. The guy will have the mine key and another Forest Talker letter.
Once you're rested, head back to the wooden door and open it. You'll come to an area where you need to crouch and, oh joy, there's also toxic gas. The thing to keep aware of where you can stop crouching, since that will let you start sprinting. Your goal is the valve below. Use the lever as usual and take some time to recover. There will be another valve further on, so rinse and repeat.
You should also take the time to rest if Will is getting tired. In the picture above on the right, you'll see my tiredness meter is just below half. While I can make the next stretch, I'll need a nap pretty soon.
Now, you might have noticed that there's an elevator in that toxic gas. That's right, you'll have to do elevator cranking while suffocating...joy. At least this one's short. We're heading for floor 2 by the way. So floor 2 is thankfully free of toxic gas. Head on and you'll come to an open area.
 The gate is locked, so you'll have to climb the planks to the left. This will drop you down to the area behind the locked gate.
From here, turn right and walk toward the locked gate. On your left will be a mining pit. Climb the wooden plank to find the detonators.
The gate is locked, so you'll have to climb the planks to the left. This will drop you down to the area behind the locked gate.
From here, turn right and walk toward the locked gate. On your left will be a mining pit. Climb the wooden plank to find the detonators.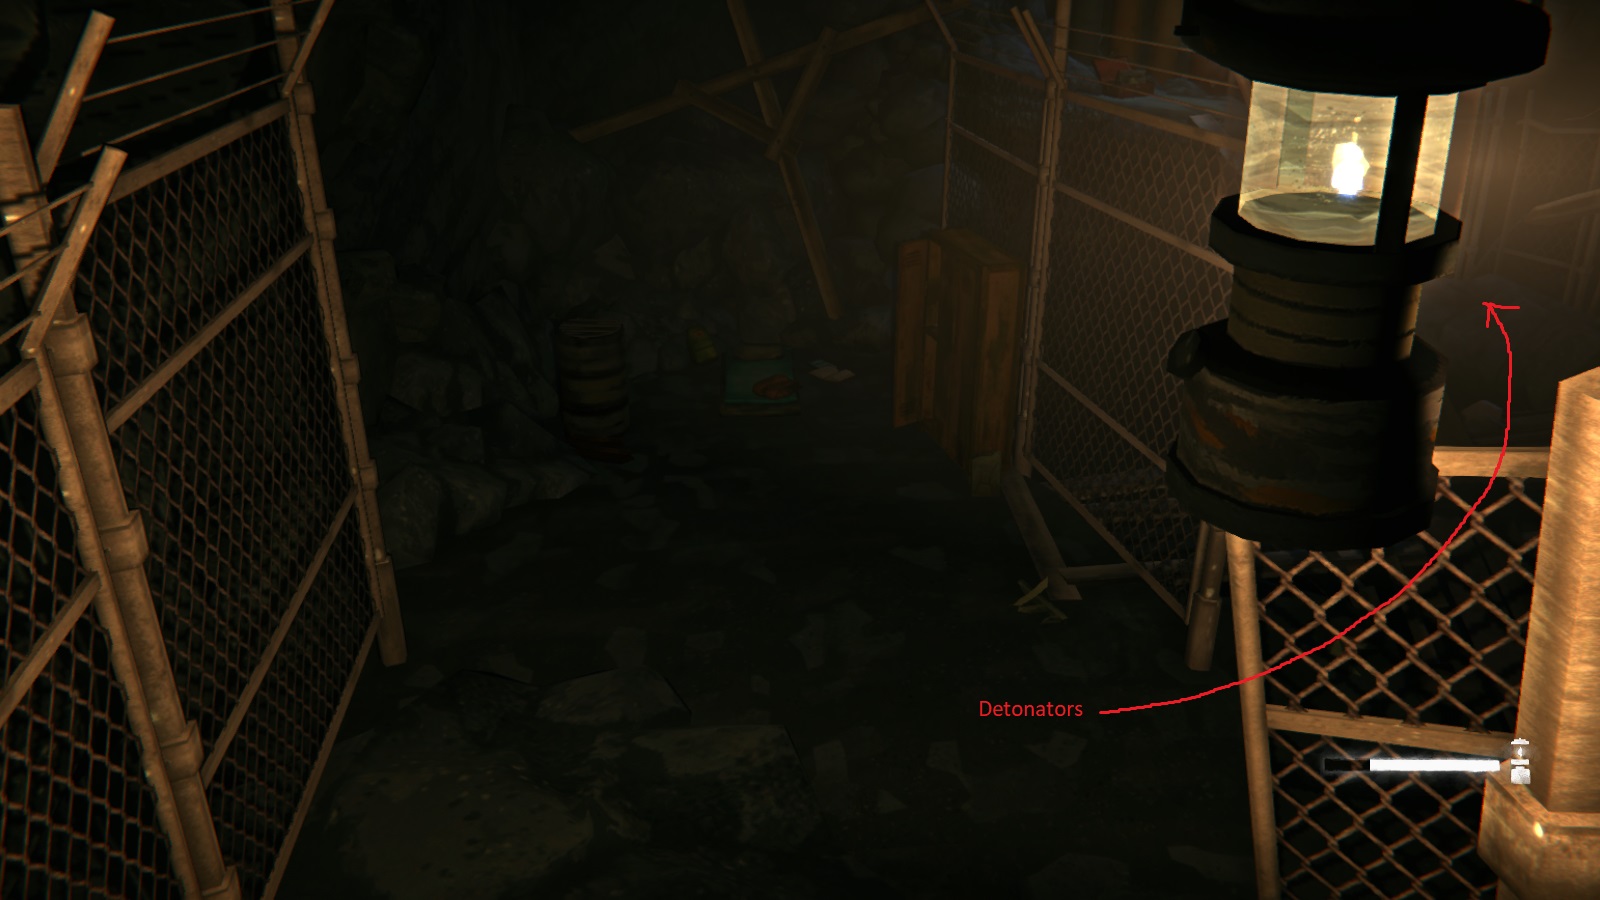
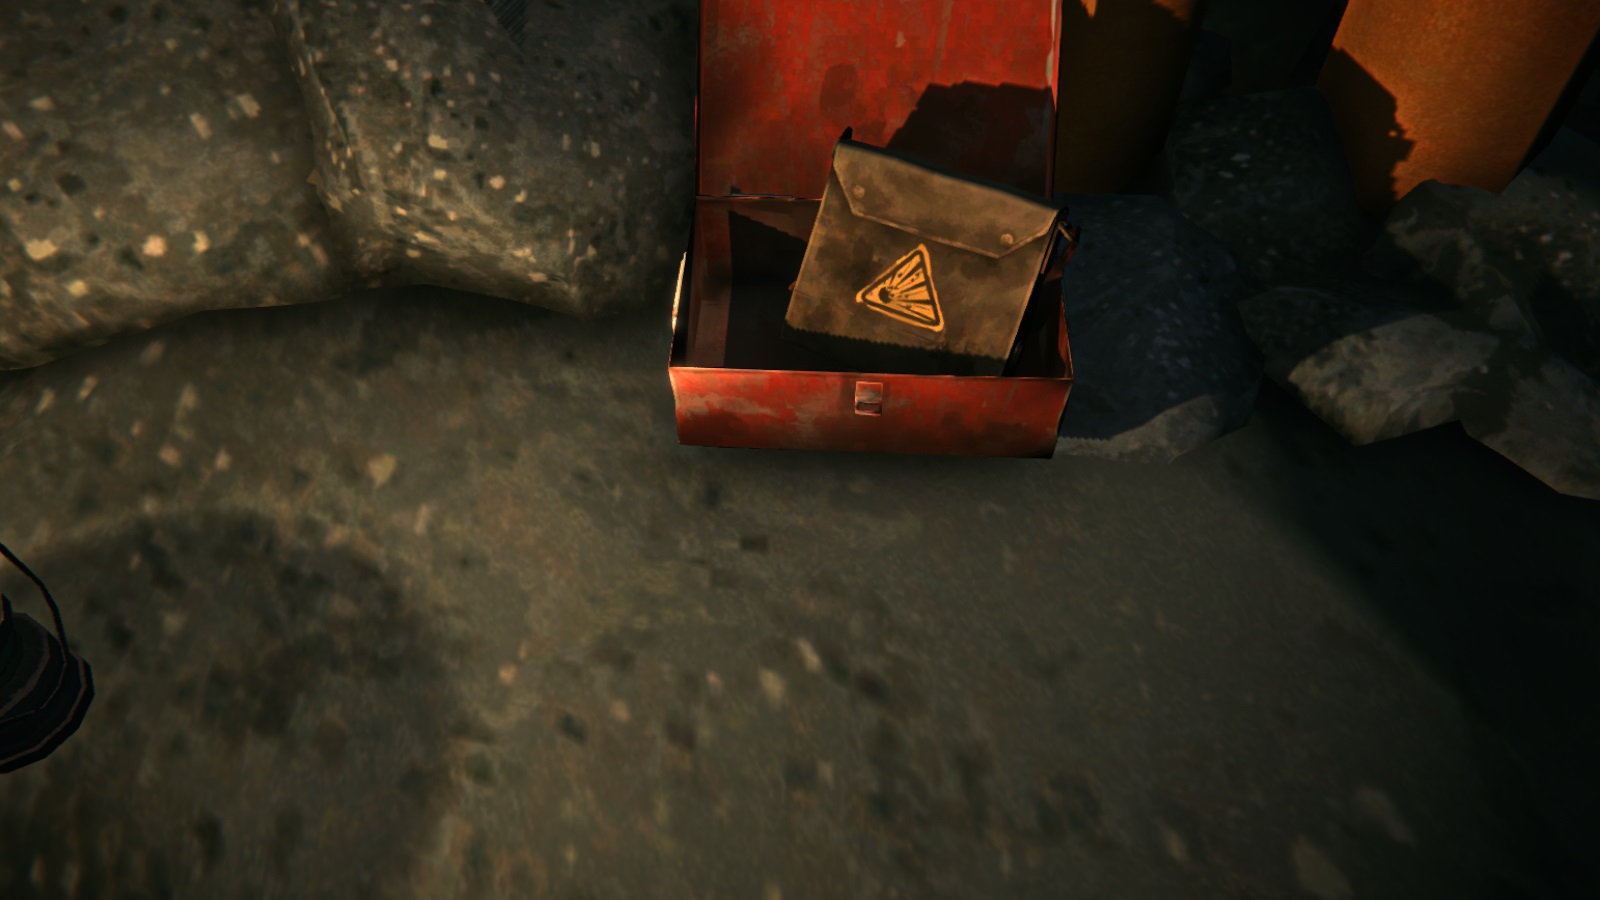 Awesome! Time to leave. But before that, you actually want to go up the staircase that's just past the detonators. You'll find some bolt cutters on the nearby toolbox, which means no backtracking through toxic gas.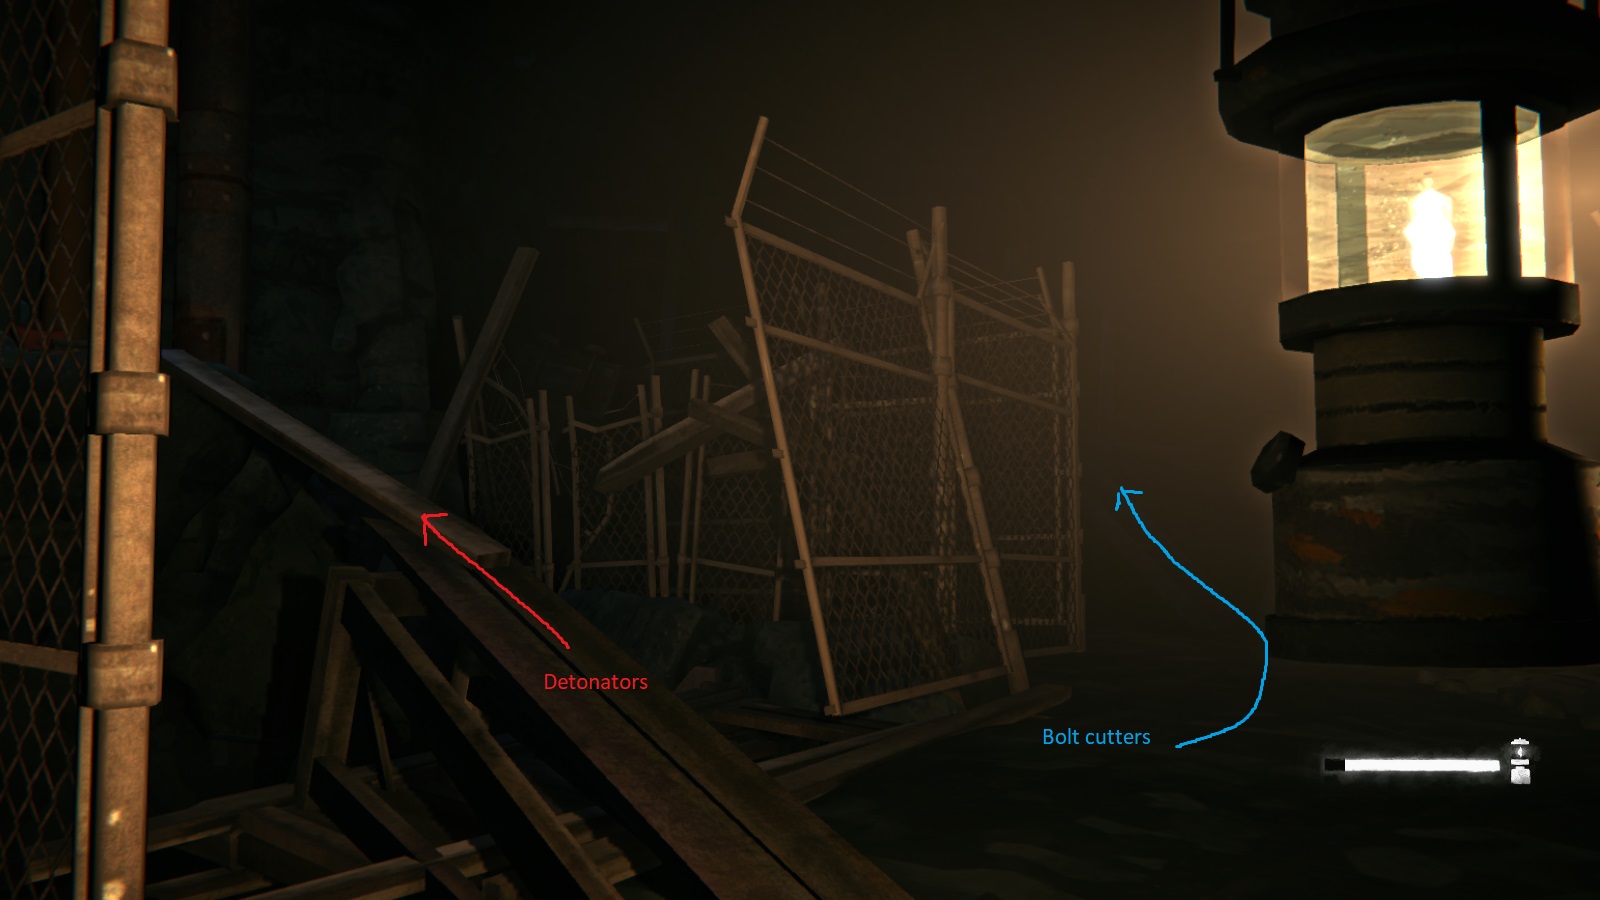
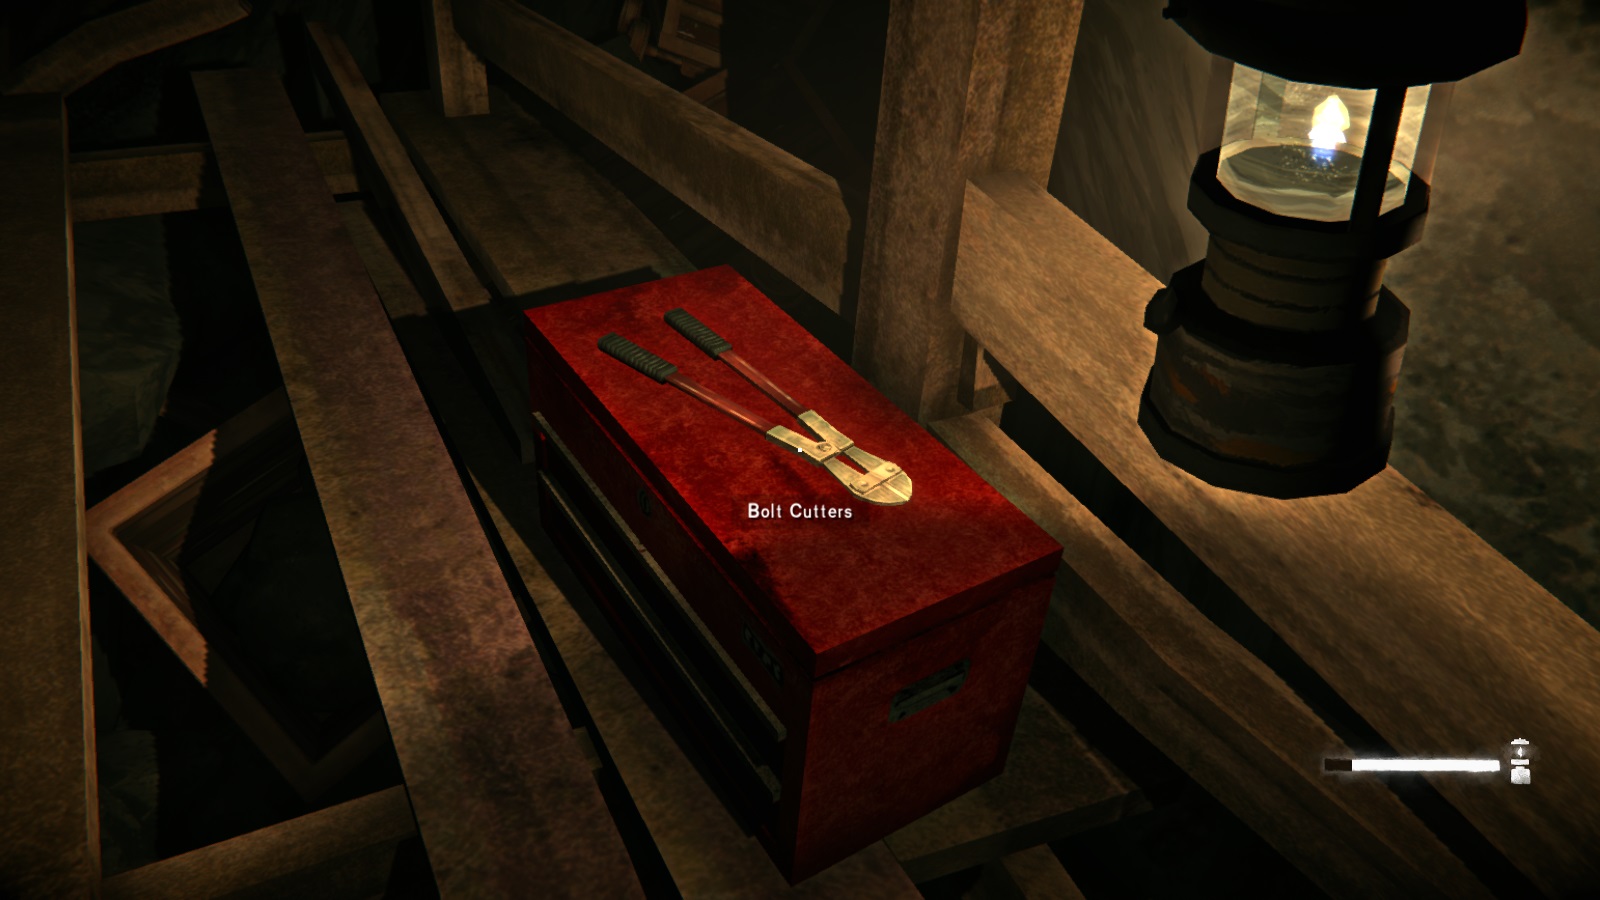 After picking up the last two Forest Talker clues (see that part of the guide for more details), head on back to the elevator and take it up to the 1st floor. From here, you can use the bolt cutters to open the gate, and the path will take you back to wood platform just before the main elevator (the picture above where I marked "gated elevator"). Grab your stuff and head out.
Chapter 3: The Detonators (Part 2)
Aw man, I was so close too. The character limit strikes again...
As you leave, the phone will start ringing. Pick it up to have a sobering conversation with Jace. Neither she or Will has any idea how to stop Mathis this time. You also learn that Atwood is an astrophysicist and Jace's thesis advisor...very interesting.
After that somewhat depressing conversation, head on out....only for all the shaking to finally pay off and cause a mine collapse. At least Will came out better than Astrid; no injuries at all. But the main mine entrance has been blocked. Thankfully, just head on back toward the Forest Talker cache. Take the stairs and you can exit from there.
From here, it's a pretty linear path back to to the prison. You can't take the road, but instead you'll be led to a couple of climbing ropes that drop down into the ravine. At the bottom, there are two wolves, but you can easily scare them away with a weapon, aurora or not. Just follow the natural path of the ravine, and eventually you'll come across a fallen tree that you can "climb" up. This will lead you to another climbing rope, close to the prison. Use it, and you'll come out overlooking the "lake" that surrounds the prison.
The game will again warn you to finish any sidequests that you want to complete. This is the last point where Will can freely explore the region.
IMPORTANT
Any clothing you want to keep must be stored in the maintenance yard. Just throw it into the toolbox next to the workbench.
Once you're ready, walk up to the prison entrance for a rather ominous ending cutscene.
Chapter 4: Donner
Ugh, what a fine pickle Will is in right now. And while it's sad that poor Franklin is dead, I am a little annoyed that he ratted use out to Mathis. Oh well.
Head on out of your cell and go left. You'll see Mathis, and getting close enough will trigger a cutscene. Gotta say, not looking forward to seeing how Mathis gets revenge on Will in Episode 5.
So, here's the part of the chapter I was dreading. Remember that suffocation mechanic? Yeah, it's back. And there are no air pockets here. Instead, we have to navigate a prison, on a timer, while it's on fire. Fun. The main positive is that we have a little more time on the meter since it's fire smoke instead of toxic gas.
Honestly, it's actually not that bad, but only if you know where you're going. Making this run blind, you're pretty much guaranteed to have at least one death since the vision blurring can really screw you in trying to find the correct path. Because of this, I have made a video of this section showing the way out.
The main thing that I want to stress is that you NEED to pick up the prybar on the way out. It's very important as the convicts have stripped you of all gear and there are a couple of wolves between you and the maintenance yard, especially on Hardened Survivor mode.
Once you make it through the emergency door, you have a little breathing room. Go to the warden's office, and you'll see the hardcase. Don't grab it just yet. Instead, head for the kitchenette/bathroom and pick up all the supplies around. There are insulated boots which you might want, although I would recommend not putting them on just yet.
When you're ready, grab the hardcase. The phone will immediately start ringing. It's Jace. Unfortunately, while she started the lockdown, she doesn't seem to have much control over it. It's only a matter of minutes before Mathis and his goons find Will. And just on time, here they come.
You need to book it! Any stalling at this point will lead to Will's capture by the convicts and a game over. Below is another video of the path you need to take.
Once you hit the ground, you can slow down a bit. There's no risk of the convicts catching you if go a little slow (obviously don't take the time to sleep or anything like that). But you do need to avoid the spotlights. If one catches you, the convicts will start shooting at Will, and you could die that way.
After you loop around to the maintenance yard (watch out for wolves), grab your clothes. The game actually deletes anything that's not clothing at this point. I had stored all my gear here earlier, and as you can see, the drawers are empty of anything that's not clothing.
Anyways, the goal is the maintenance door that leads to the steam tunnels. After all, we need to meet Jace by the Power Plant. Be sure to click that door as soon as you can. It's scripted for Will to be seen and shot at as he approaches, and if you take too long you will die.
So like everything else at Blackrock, the steam tunnels are also on fire. I've got another video for you, although I don't think this is as confusing as the prison escape portion.
I suspect that you might be able to find some goodies in those lockers that I passed by, but I was a little concerned about the suffocation. If you want, just backtrack after reaching the fresh air since the suffocation timer will have restarted.
Anyways, just exit the tunnels and enter the power plant for the final cutscene(s) of this chapter.
Sidequest: Darkstar
This sidequest can be activated by picking up any of the Blackrock archival pages found scattered around the prison. Reading all the notes will give you more insight into life at Blackrock prison prior to the First Flare. You'll get a Steam achievement for finding them all, but no physical reward.
As an aside, all of the reports are just called "Archival Report" so I'm giving them personalized titles based on the contents.
This will probably be the first page you find, activating the quest. The note will be lying on the backseat of the prison bus parked in the maintenance area of the prison. You'll pass by it on your way to the infirmary during Chapter 1.
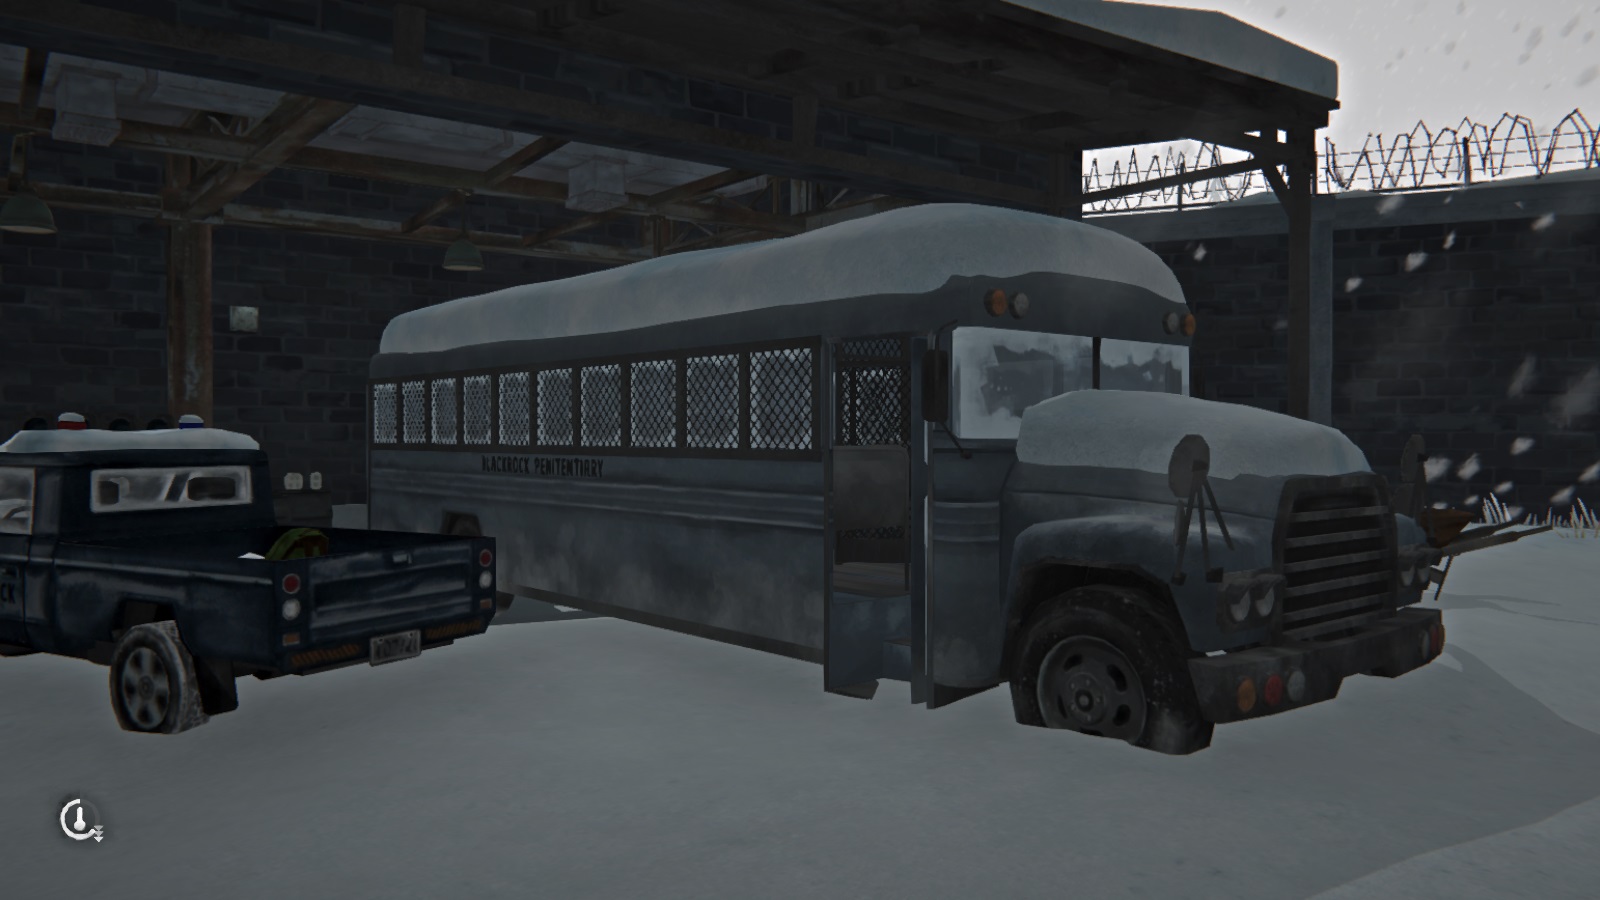
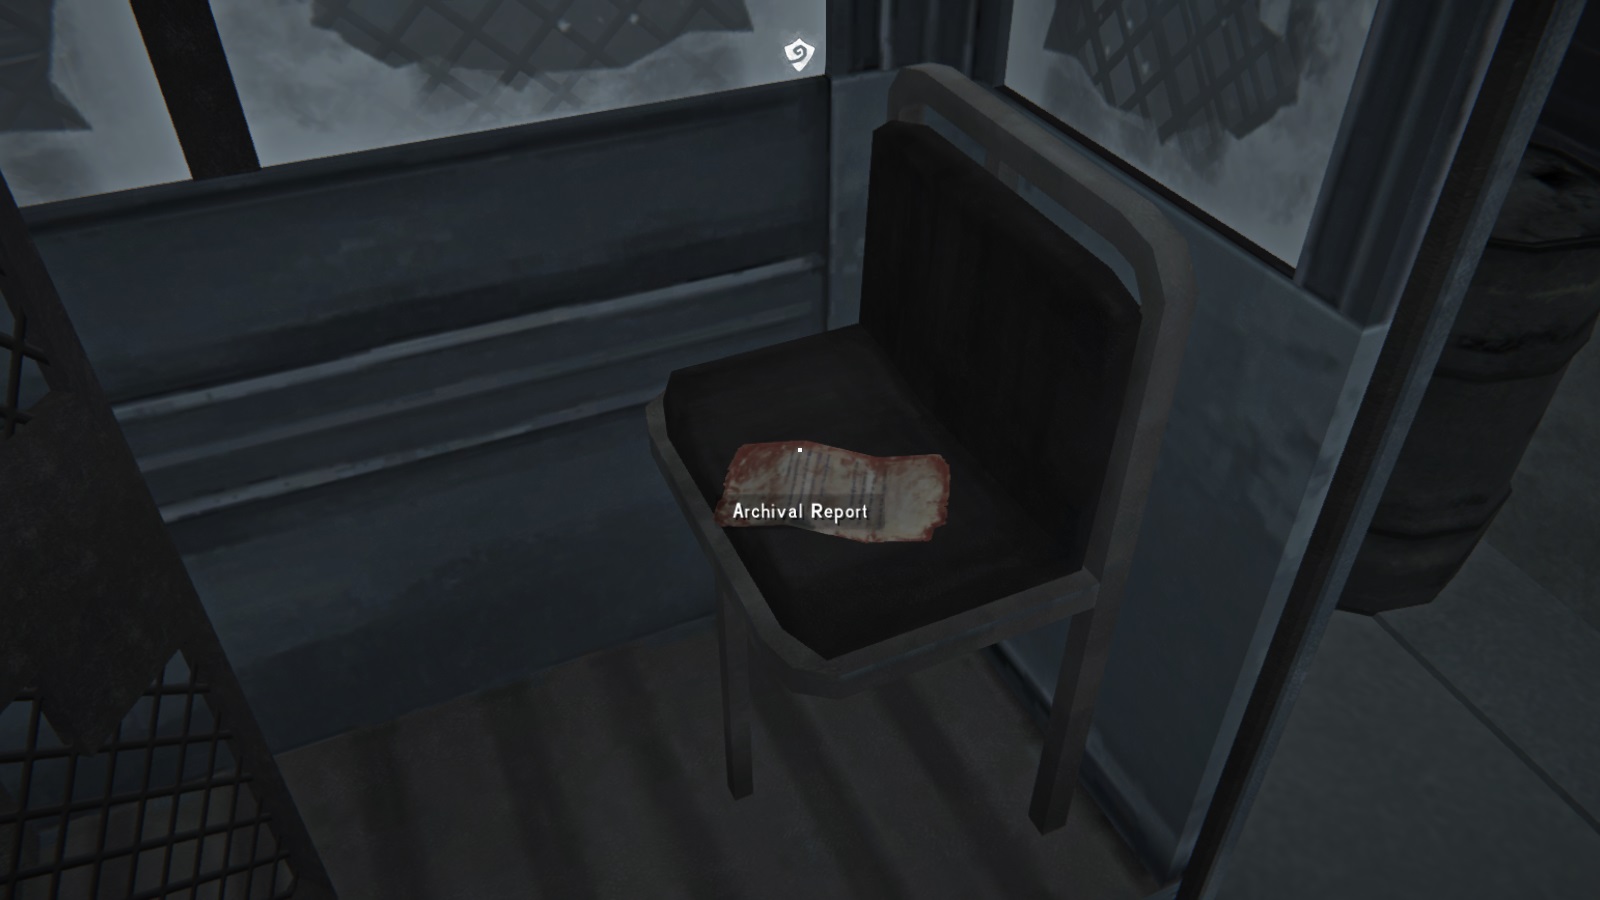 Building of Blackrock
This report can be found in guard locker #3. See Sidequest: Guard Lockers for more details.
 A Cook's Thoughts
This page can be found once you start chapter 2. The paper will be on the desk of the office in the power substation. This location will be highlighted on your map. Please see Chapter 2: The Power Plant for more details.
 Memories of a Guard
The mostly likely last page can be found in the trailer at Foreman's Clearcut, a little down the road from Cook's Farm. You'll reach it either by following the road or by heading right through the field of cut trees just after you pass the farm. Inside, you'll find a workbench with the report lying on it.
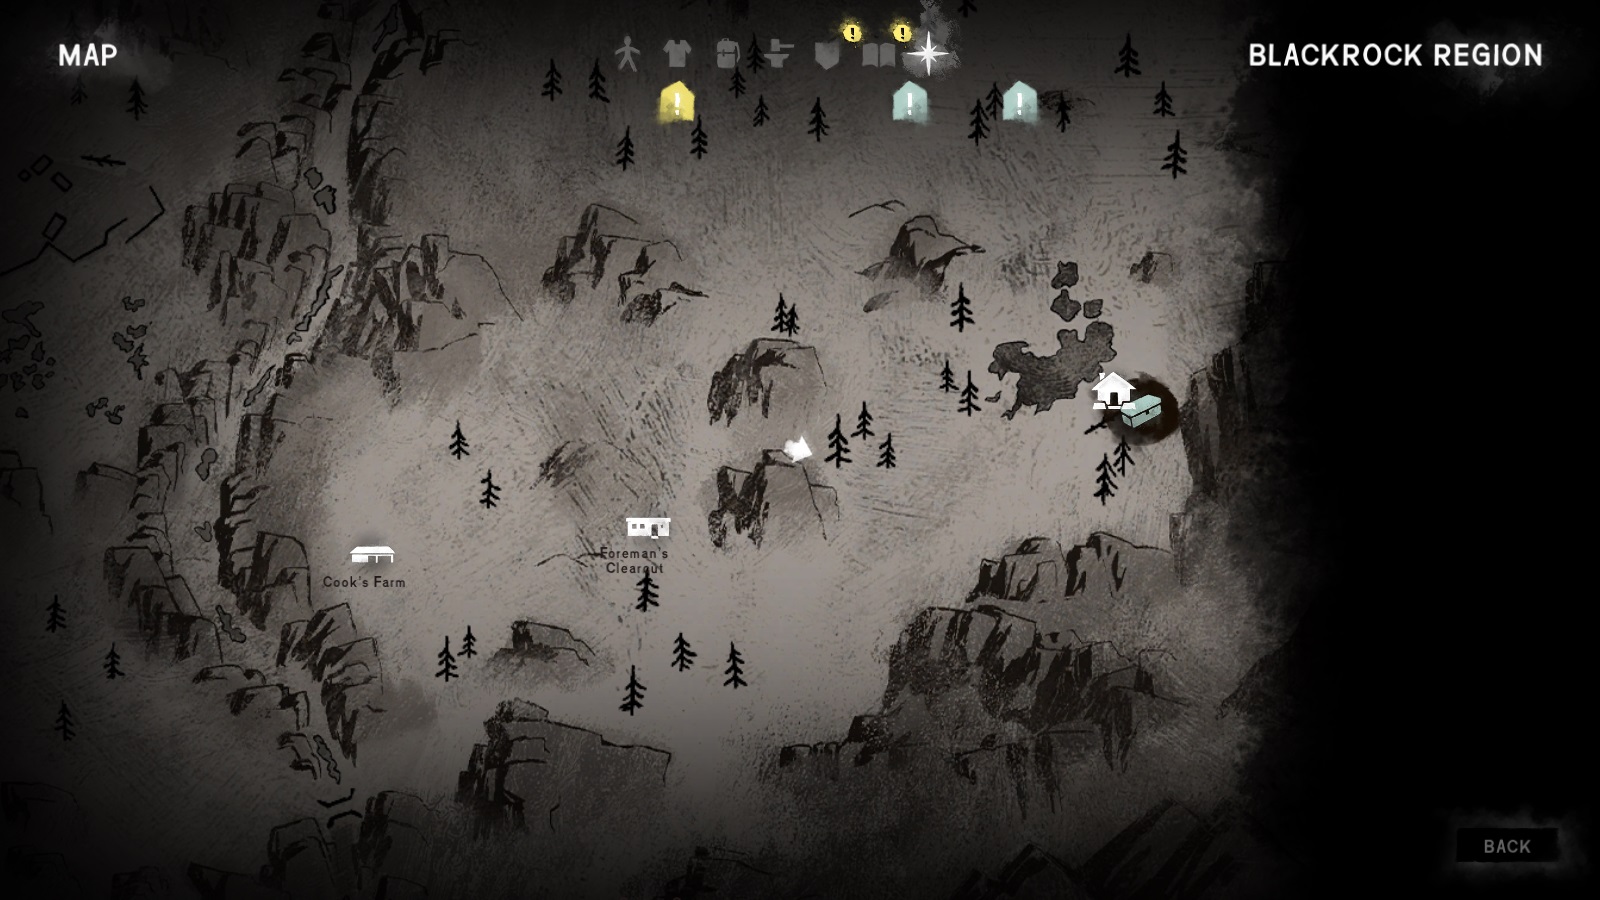
Sidequest: Blackrock Rumours
Yet another multi-part sidequest....yay. Unlike the one above, this sidequest deals with all the weird things that happened at Blackrock. You'll get various items from each mini-quest, and I'll note the important things below.
Missing EmployeeThis will probably be your introduction to this set of quests. You can activate it by picking up the memo on the floor of the nurse's office in the infirmary.
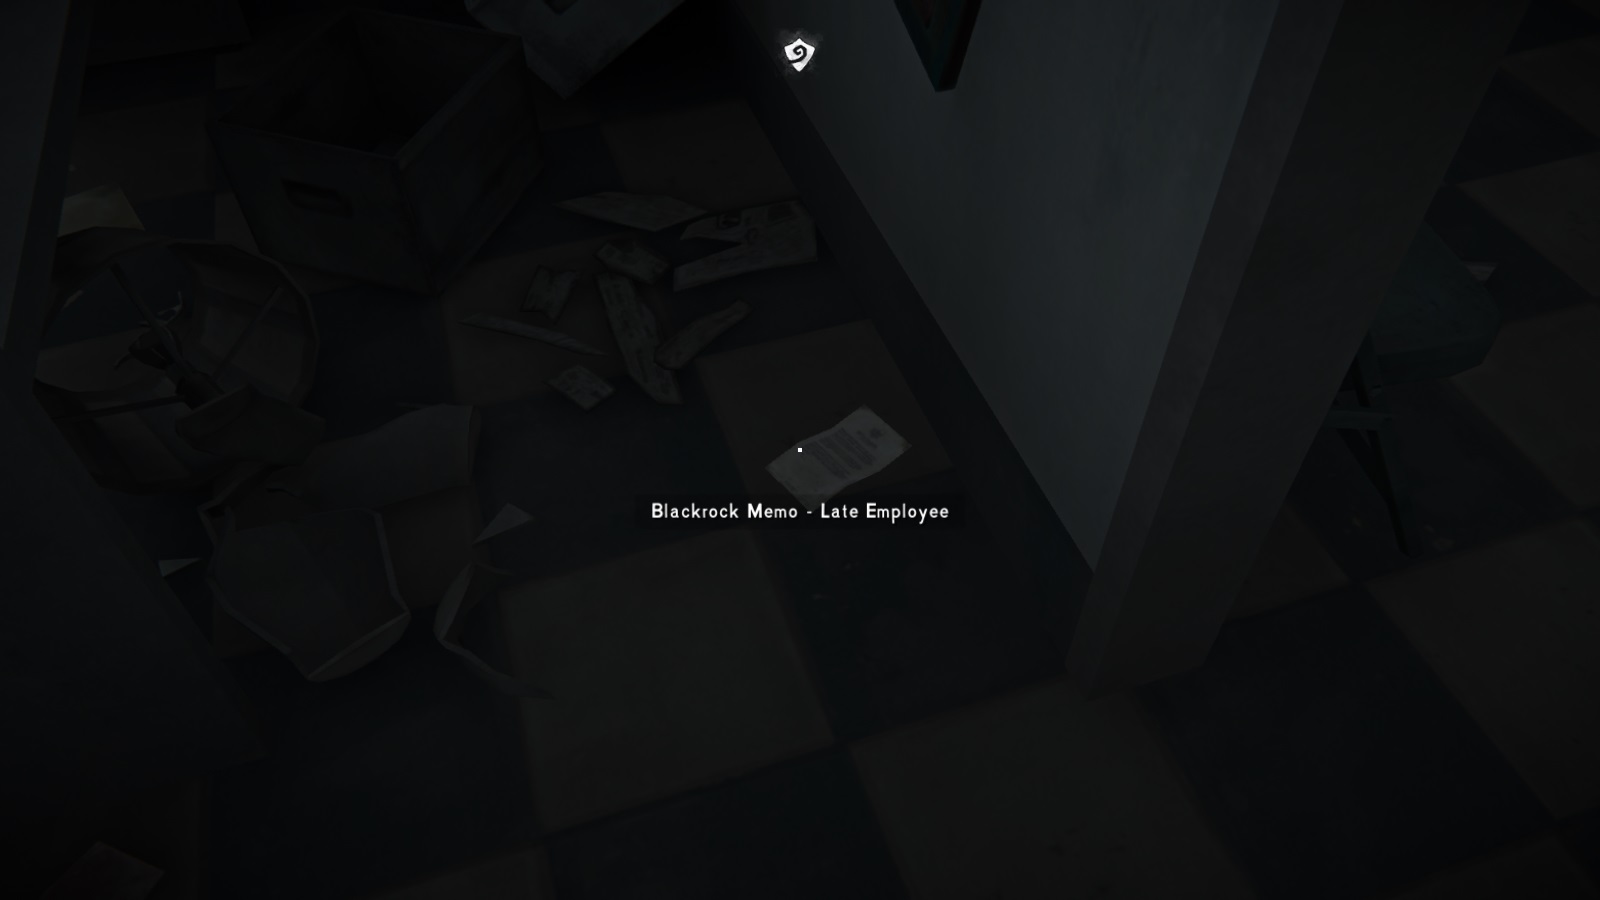 To find the employee, you need to head down the main road away from the prison. Then, when you reach the fork, go right. Head a little further down, and you'll eventually come to a ranch-like arch on the left.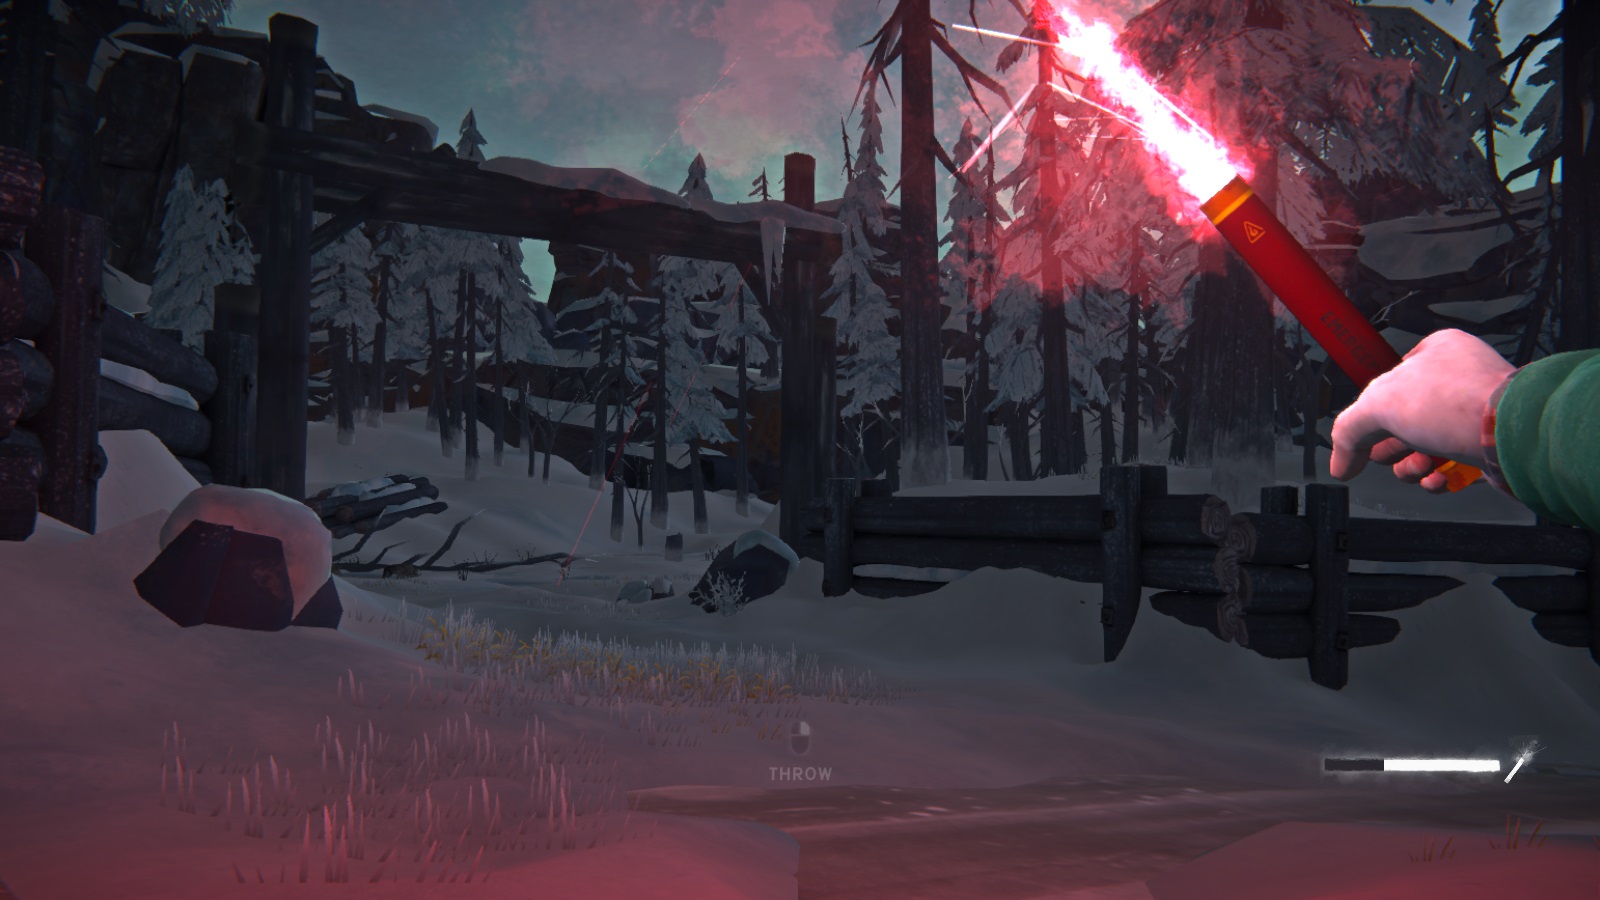
Go through and keep following the road to the left where there are a couple of ruined buildings. Search the buildings for some important early game loot and when you're done, go past both of them until you reach a ravine.
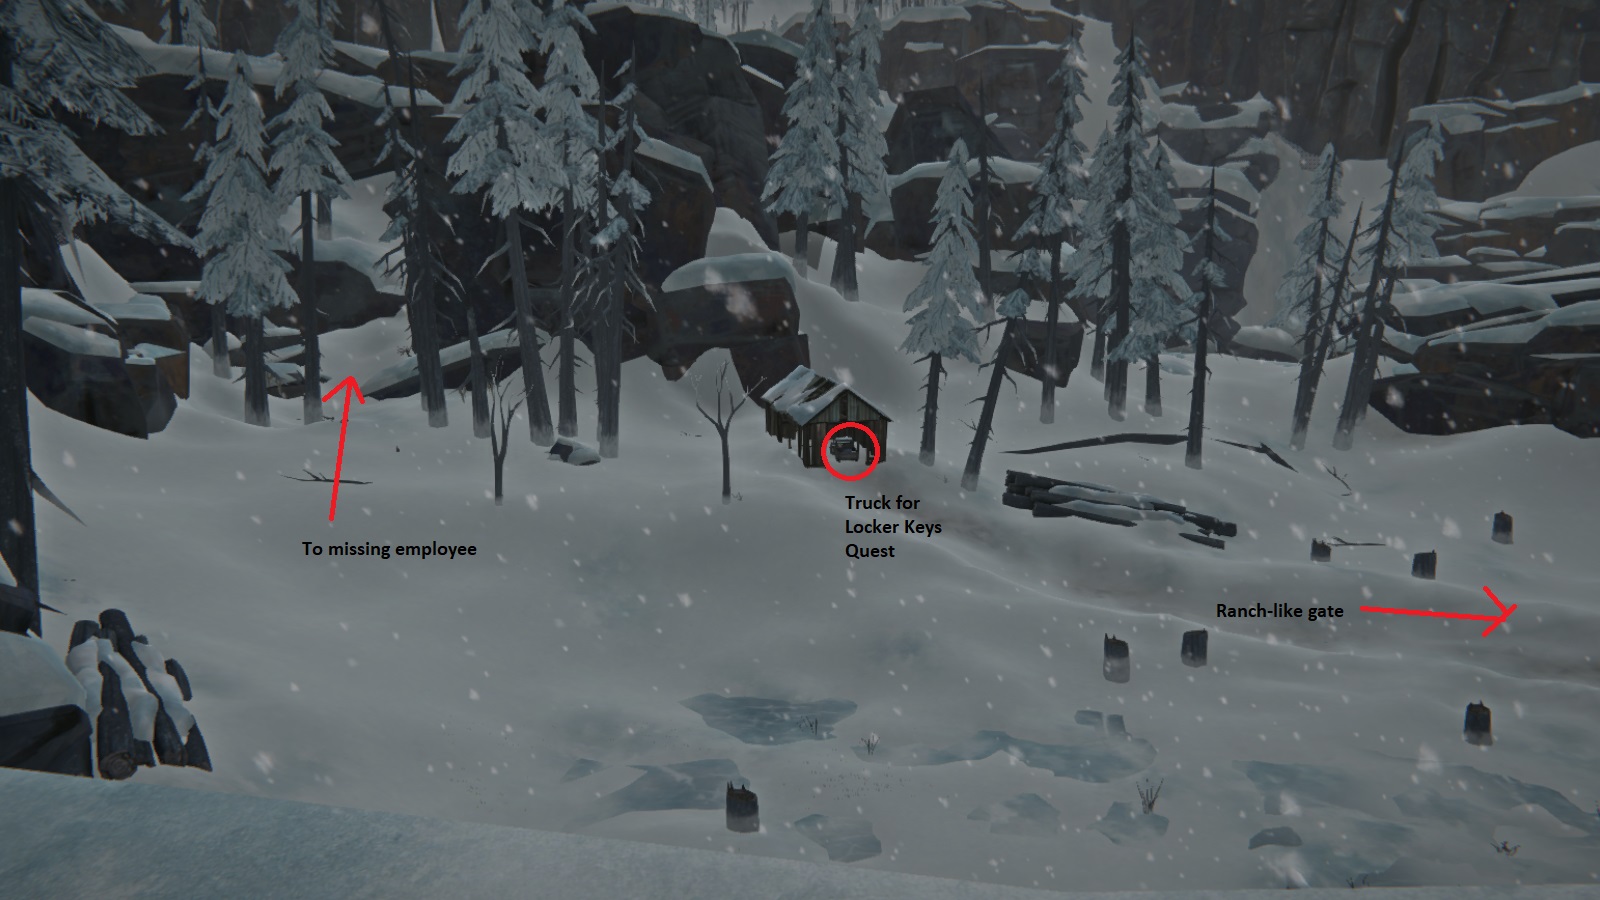
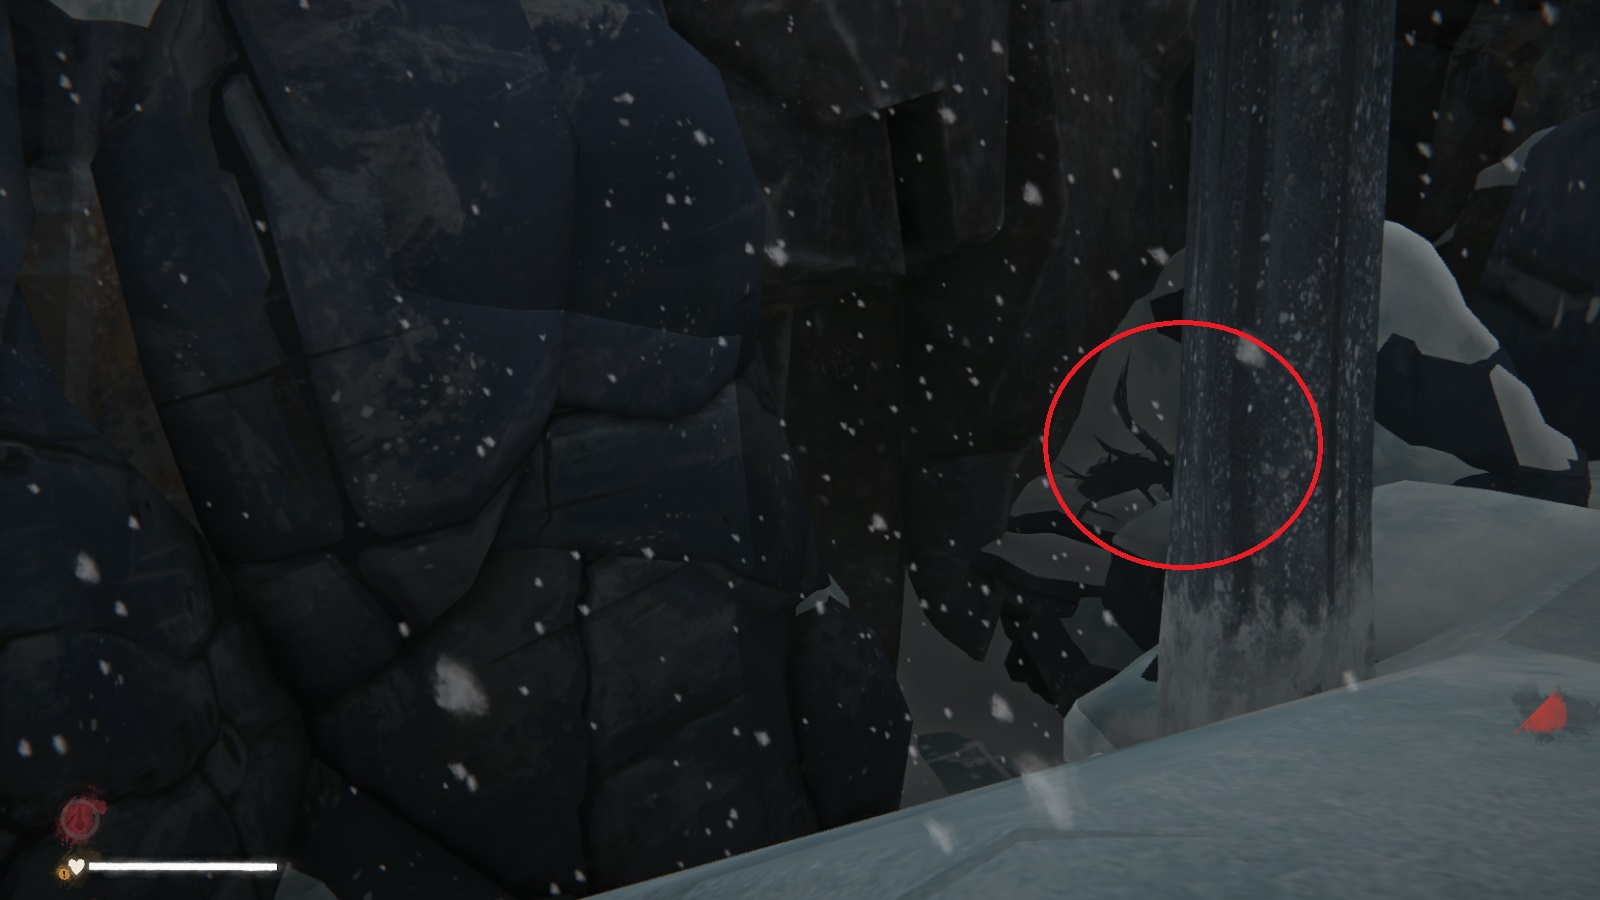
If you head to the right, you'll eventually come across a fallen tree trunk that you can cross, allowing you to walk down into the ravine. Go right from when you first entered the ravine, and you'll eventually come across a dead body. Search it to discover that this is the missing employee and he has a lockbox key on him.
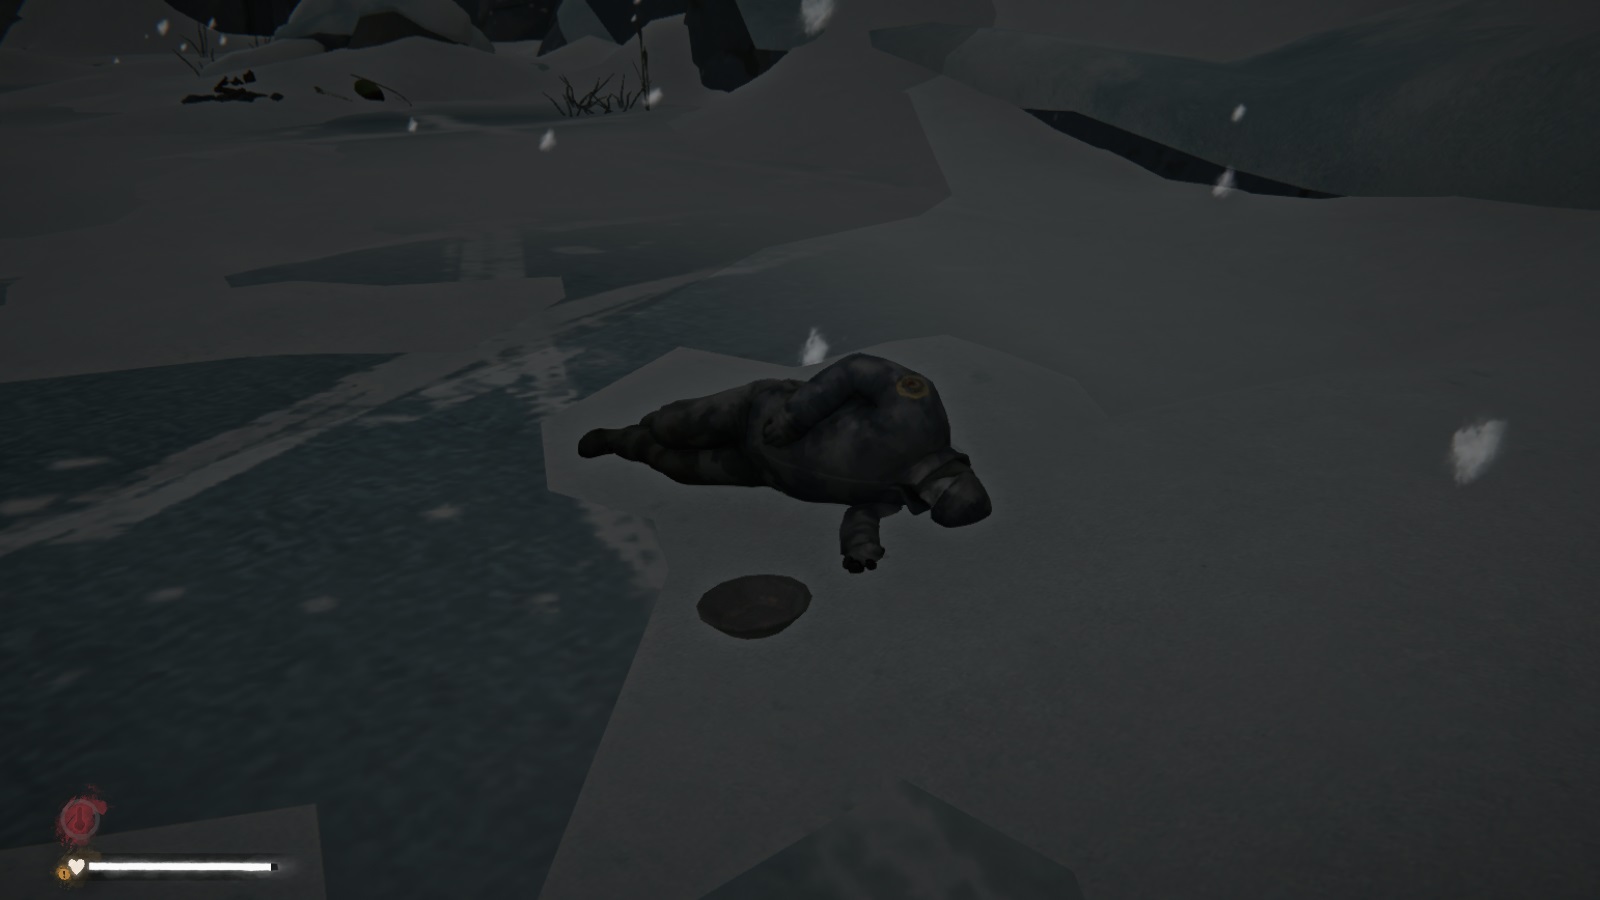 That key goes to the lockbox in the guard quarters near the infirmary. Head back there and use it to find a gold nugget (key item) and rabbitskin hat.
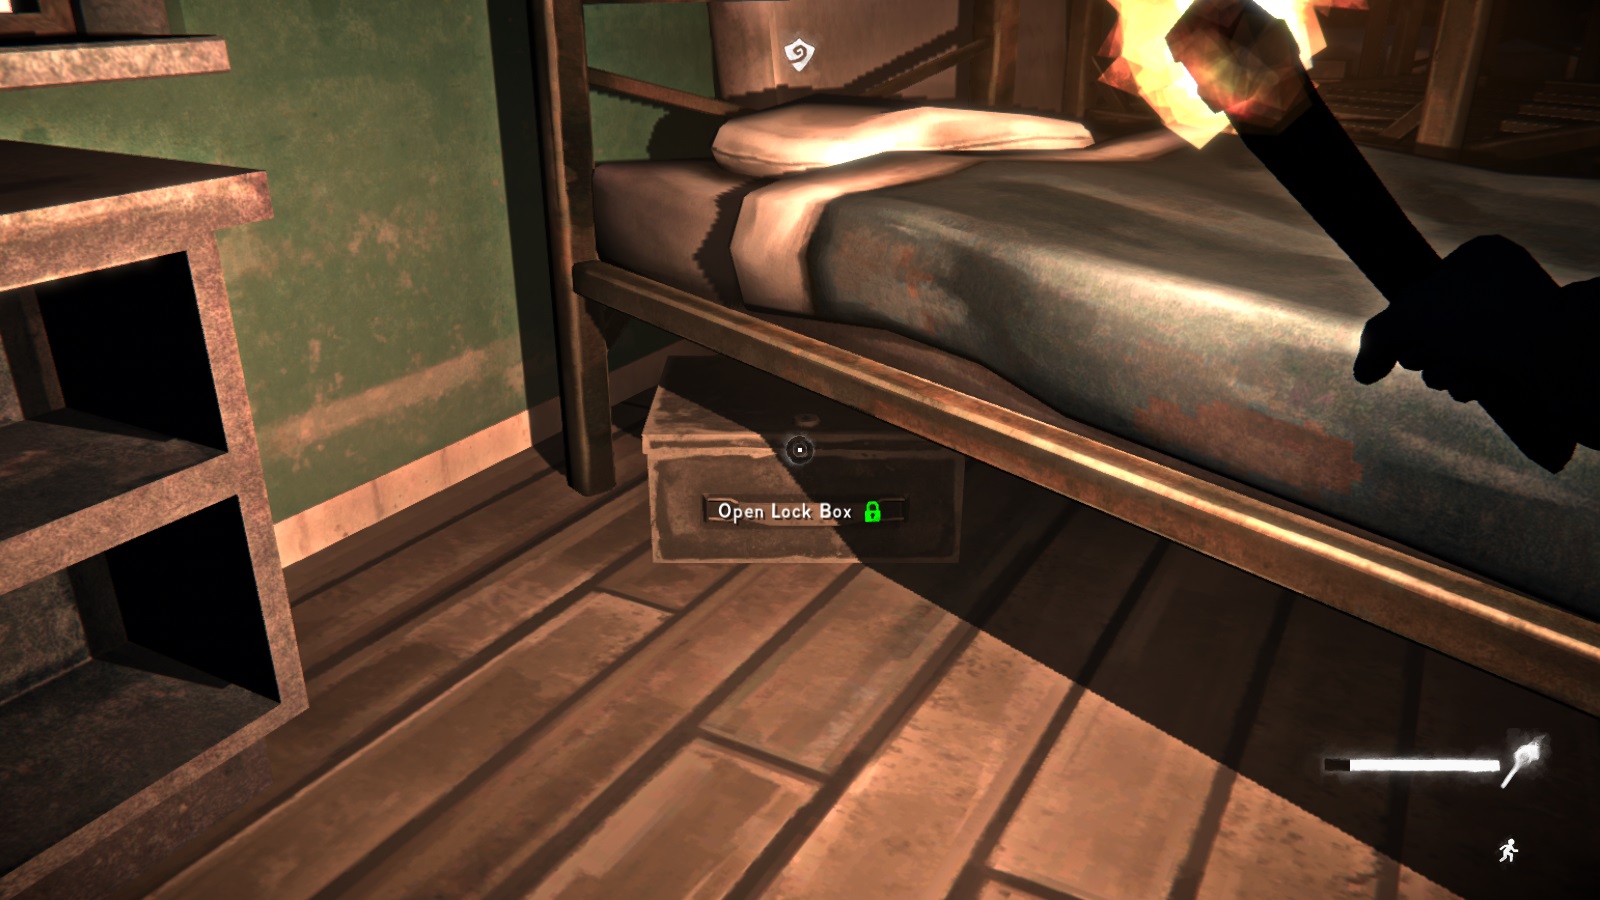 ------------------------------------------------------------
Aggressive Wolf
Ugh, what is it with Will and highly aggressive wildlife? I really didn't need a wolf-equivalent to the Old Bear. Ah well, you can trigger this quest by picking up the memo in the locker at the guard office that allows you to exit the prison complex.
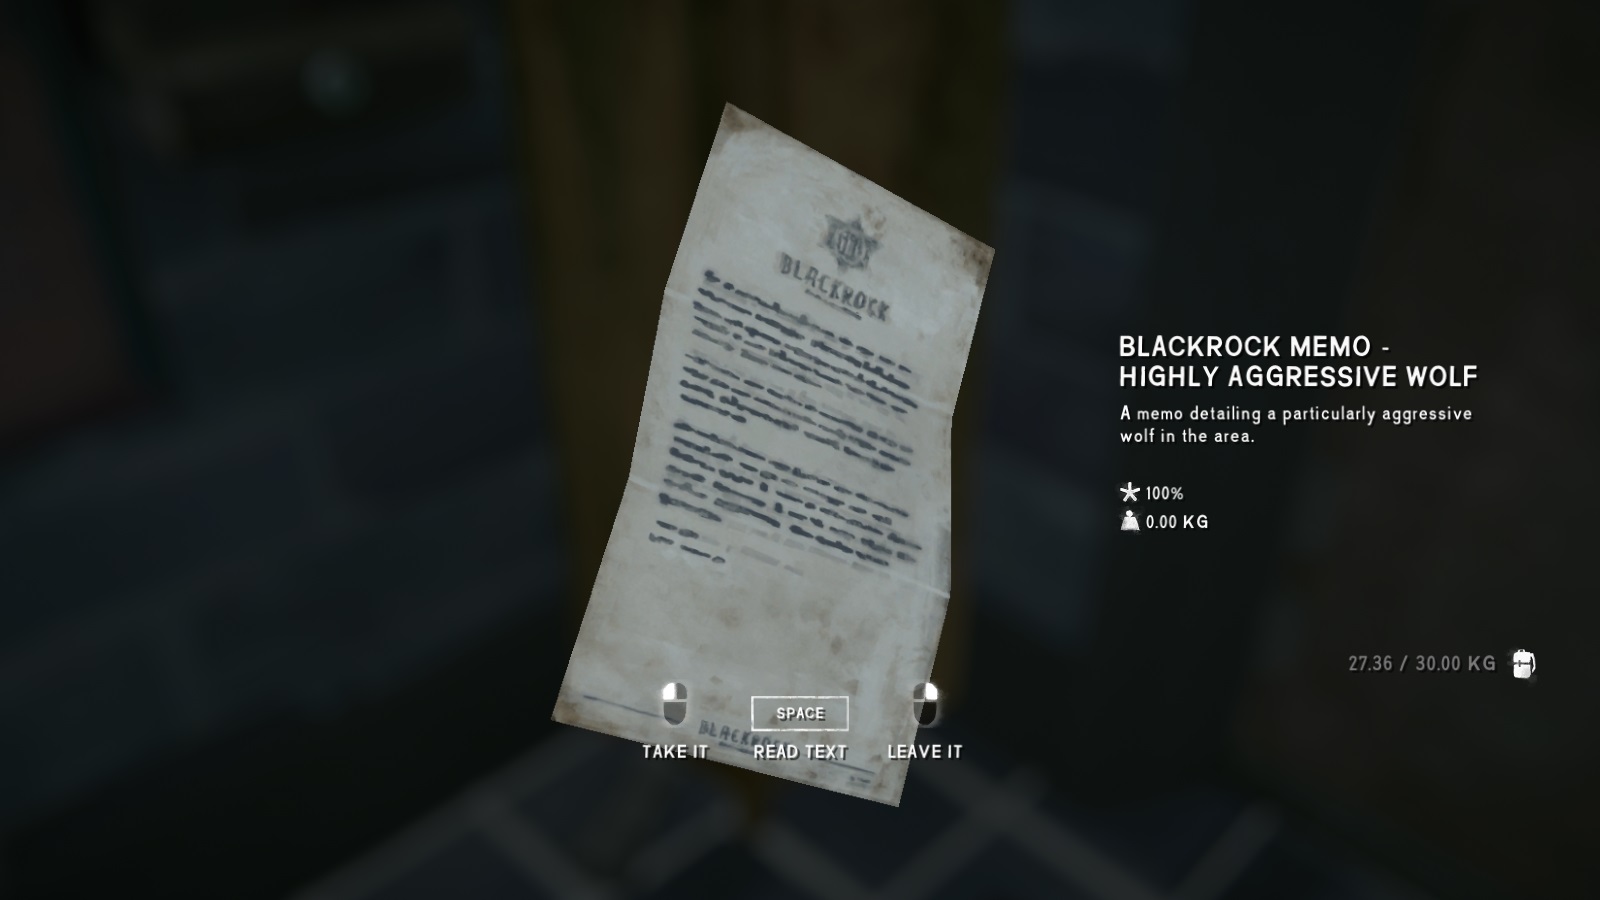 Apparently there was an overly aggressive wolf bothering the Blackrock staff even before the First Flare. And for some reason, Will has decided it's a great idea to try and find its den. I think the idea is to find it there and kill it, but there are so many aggressive wolves in this game that I'm not sure killing one will do much to help.
To get to the wolf, you'll have to head to the top of the map, following the road to the old mine (See Chapter 3 for more details). Once you get close to the marker on the map, there will be a cave to your left. To be honest, it's a straight shot if you're following the map, although here are a couple of pictures.
Apparently there was an overly aggressive wolf bothering the Blackrock staff even before the First Flare. And for some reason, Will has decided it's a great idea to try and find its den. I think the idea is to find it there and kill it, but there are so many aggressive wolves in this game that I'm not sure killing one will do much to help.
To get to the wolf, you'll have to head to the top of the map, following the road to the old mine (See Chapter 3 for more details). Once you get close to the marker on the map, there will be a cave to your left. To be honest, it's a straight shot if you're following the map, although here are a couple of pictures.
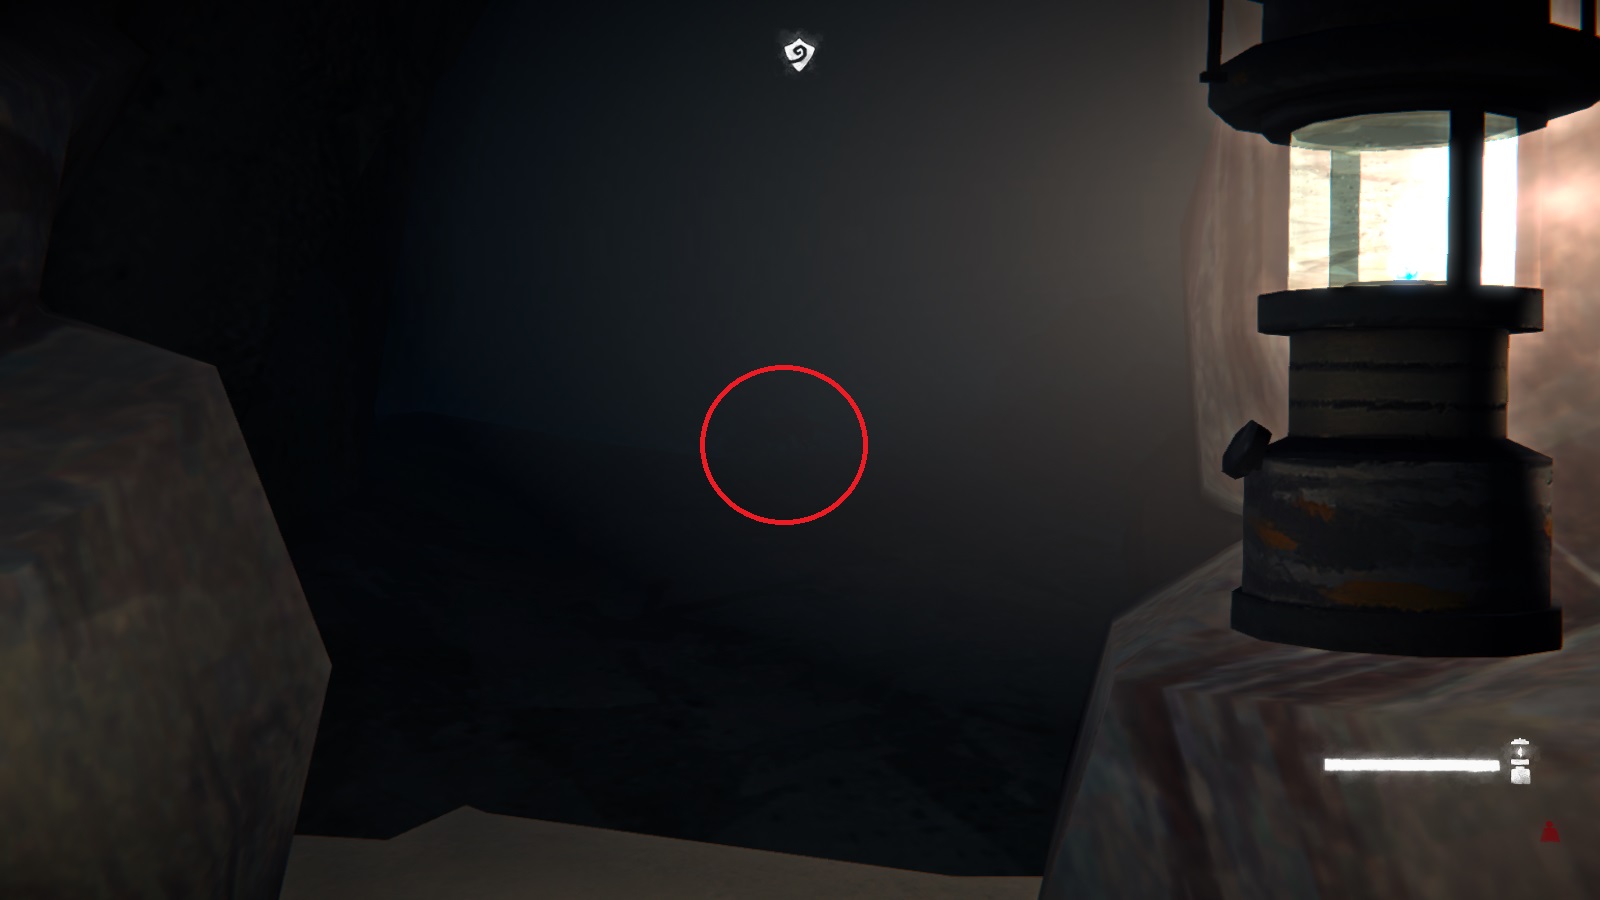 So I idiotically made the approach at night in the middle of a blizzard, which is why the cave photos are so dim. But I've circled the aggressive wolf in question; he's chowing down on a deer carcass. Go ahead and shoot him, but be prepared for a potential attack if you don't kill him immediately, especially for those on hardened difficulty. Once you've killed/scared him, check the back of the cave to find a dead body.
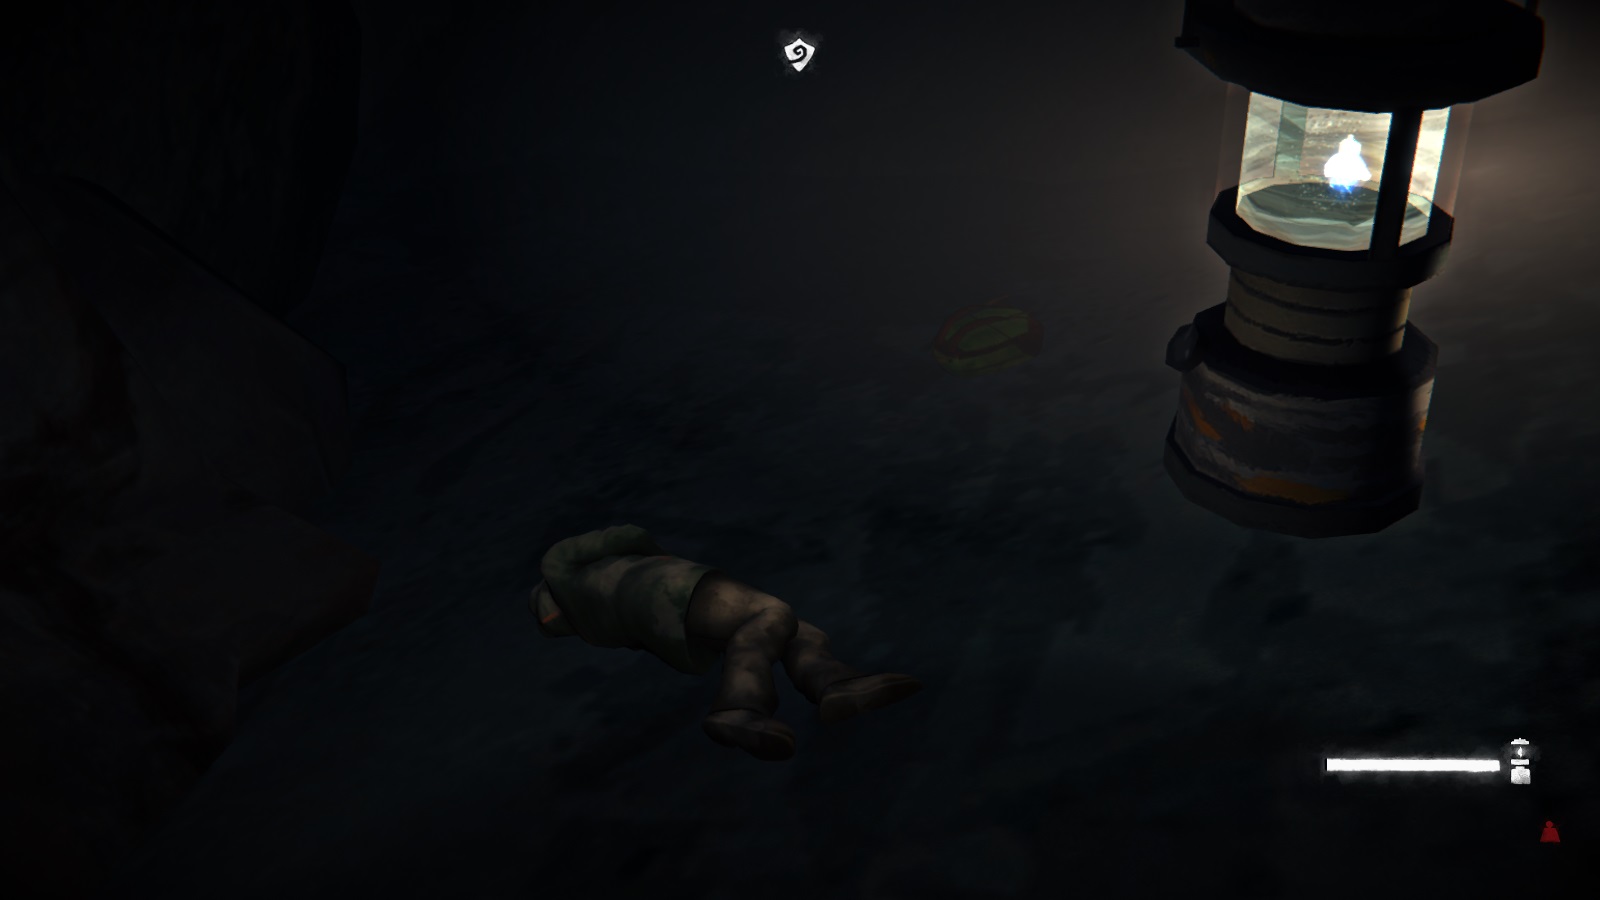 Search the body to discover that this is the wildlife expert sent to deal with the wolf. Clearly he wasn't paying very close attention while in the middle of its den. Nevertheless, that will complete this part of the sidequest.
----------------------------------------------------------
Suspicious Person
This quest triggers when you pick up the note in the truck just outside the substation. As a reminder, this is where the power lines lead to when you're looking for the power plant in Chapter 2 (check there for more details if you're lost).
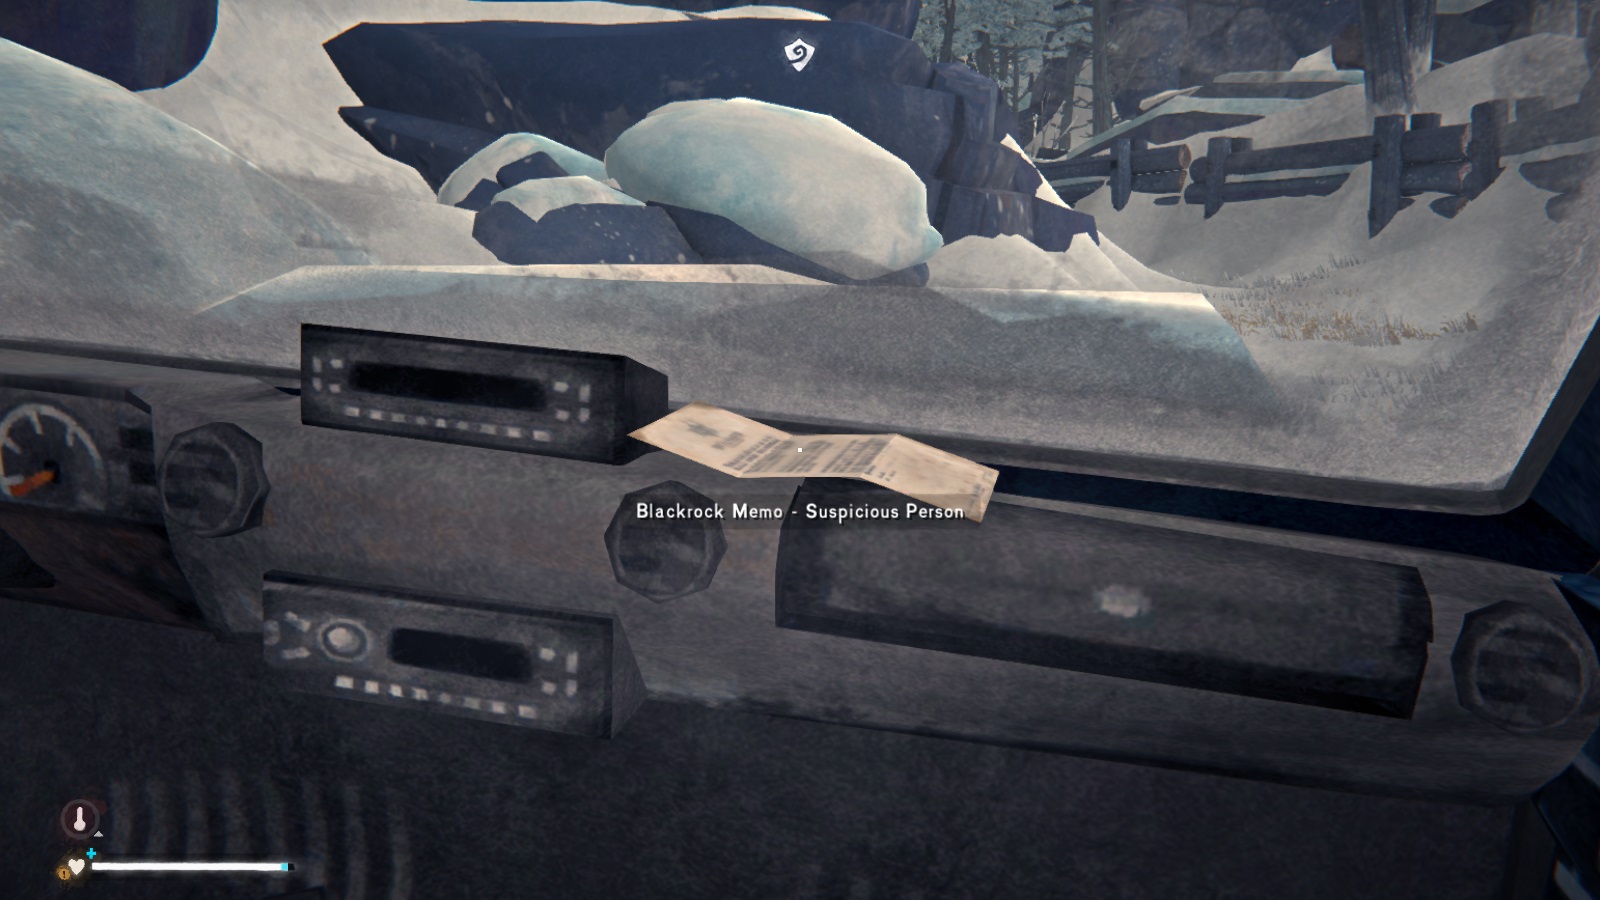
To proceed, head down the road like you're going to the mines (see Chapter 3 for more details). On the way, you'll eventually see a path to the right that leads to a cabin on the frozen lake.
Now what we want is actually behind the building so climb up the snow back and you'll see there's a hidden cache.
And as an aside, please resist the urge to kill the moose that frequents this area. I know it's really tempting, but I promise there's a much better reward the sooner you finish this quest.
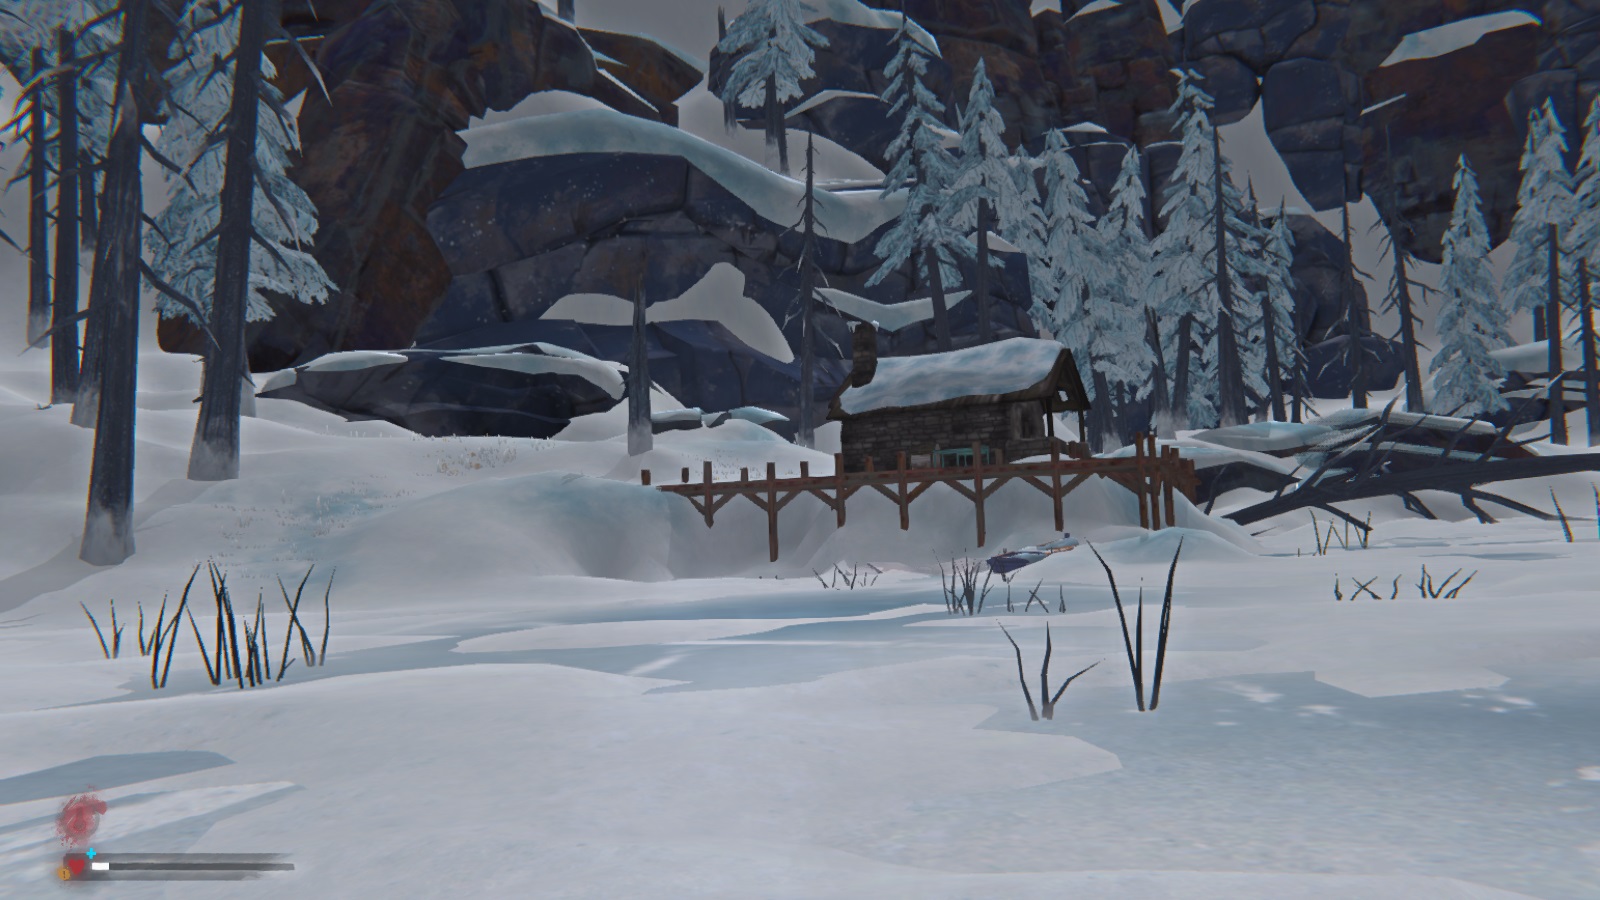
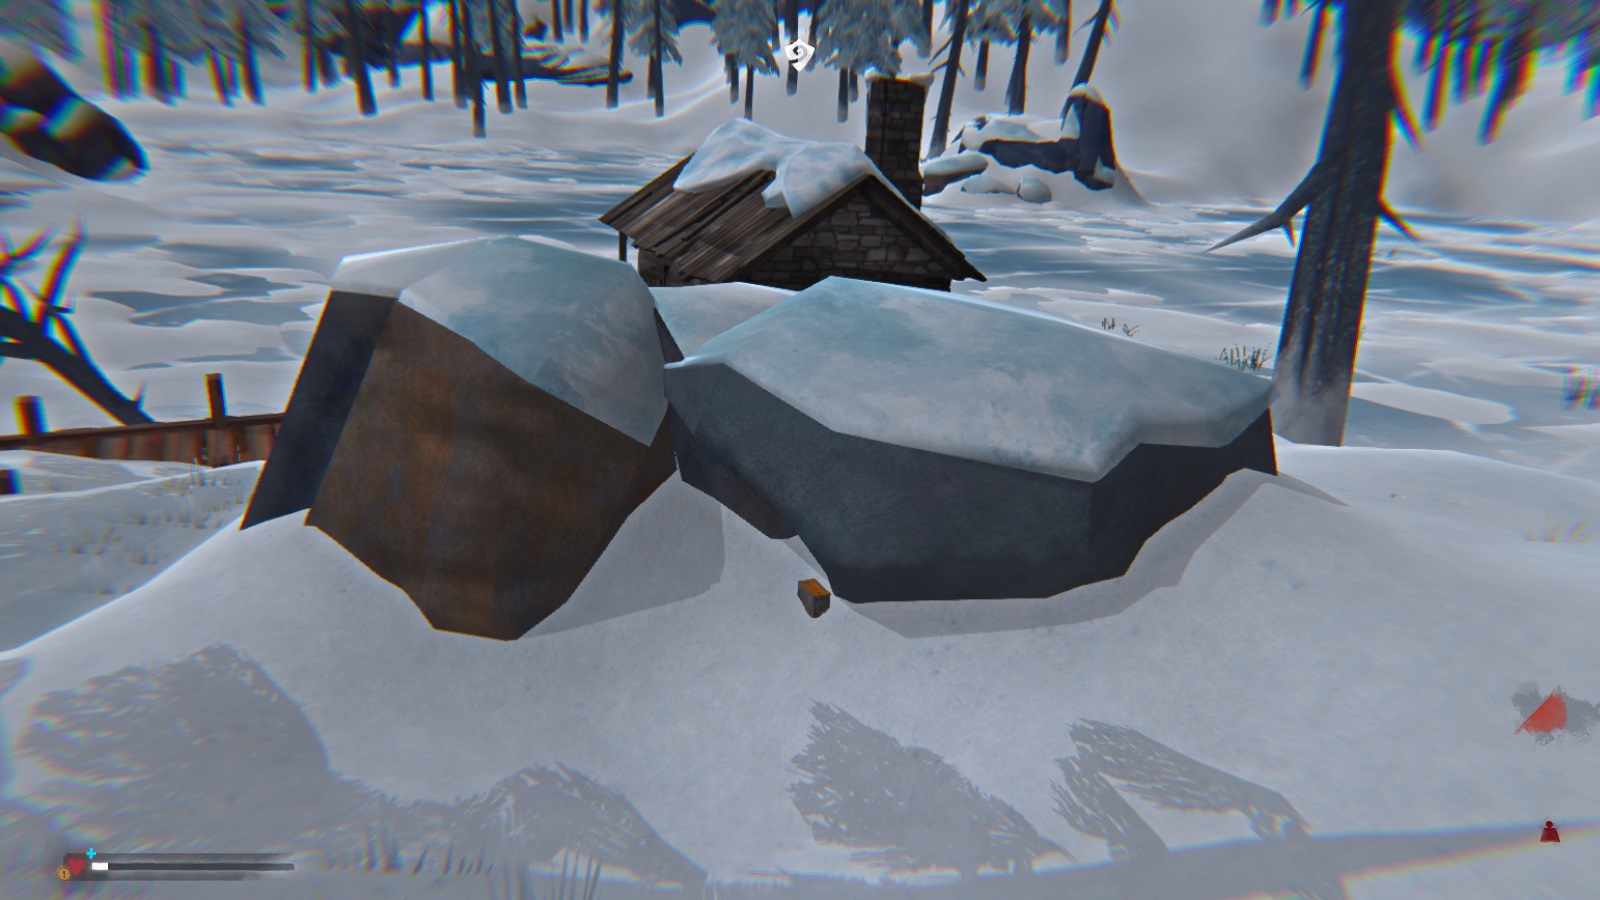 Searching it will give you another clue to the real secret bunker. Now for anyone who like puzzles, you can try and figure out where the bunker is from the note alone. For everyone else, the game has graciously placed an icon on the map.
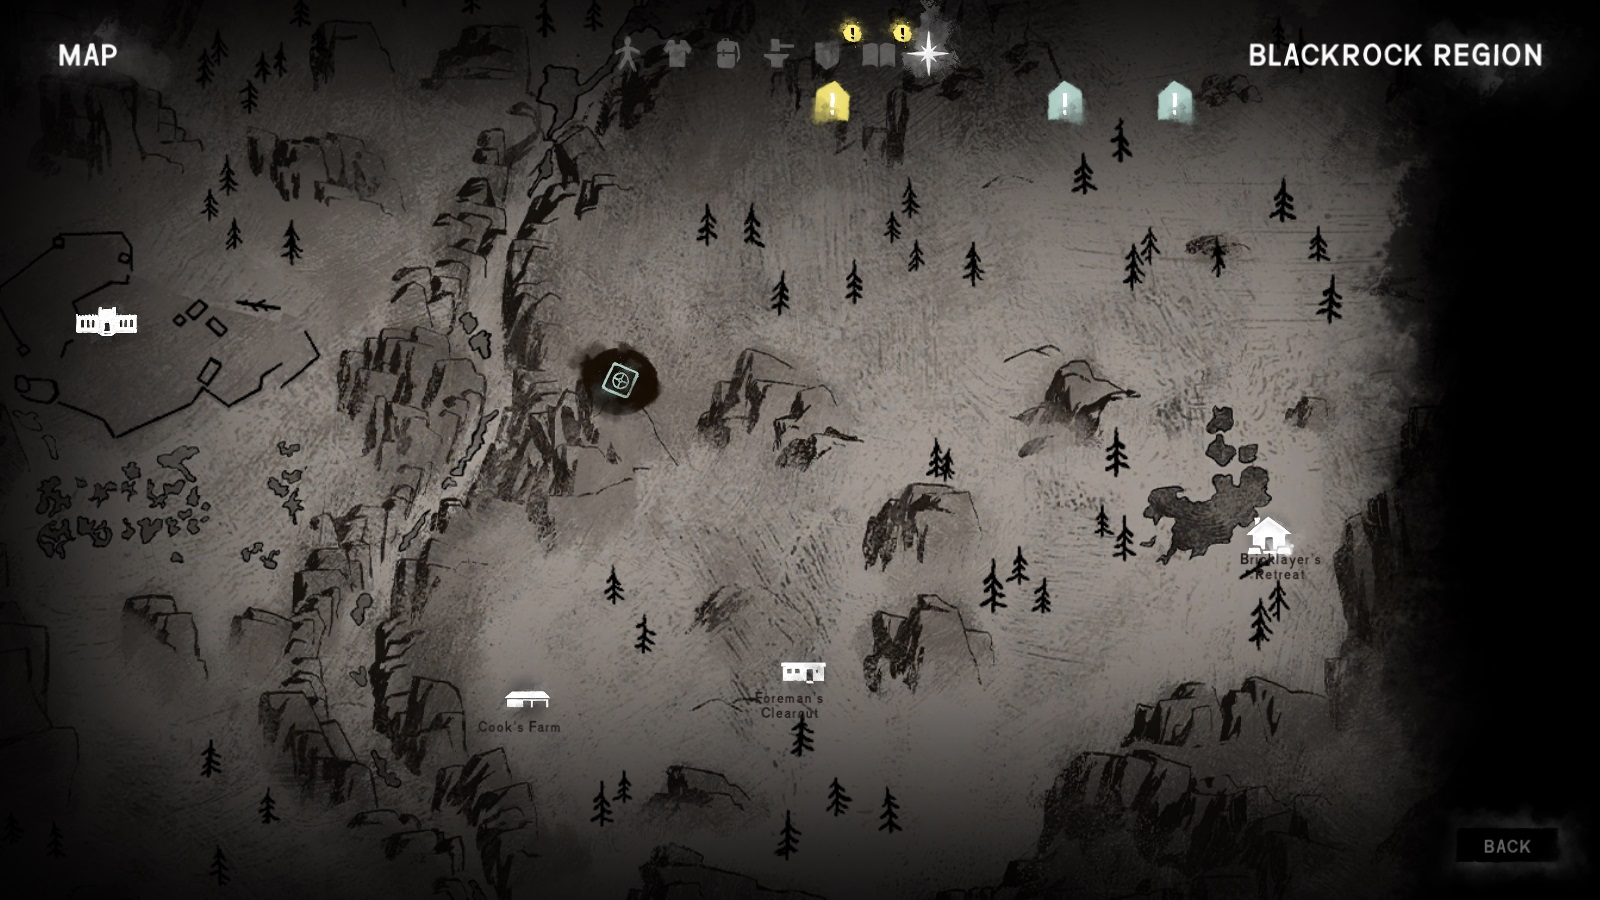 What you're looking for is the below branching path off the road surround by tall rocks and trees. When you go through, the entrance to the cache will be immediately to your left.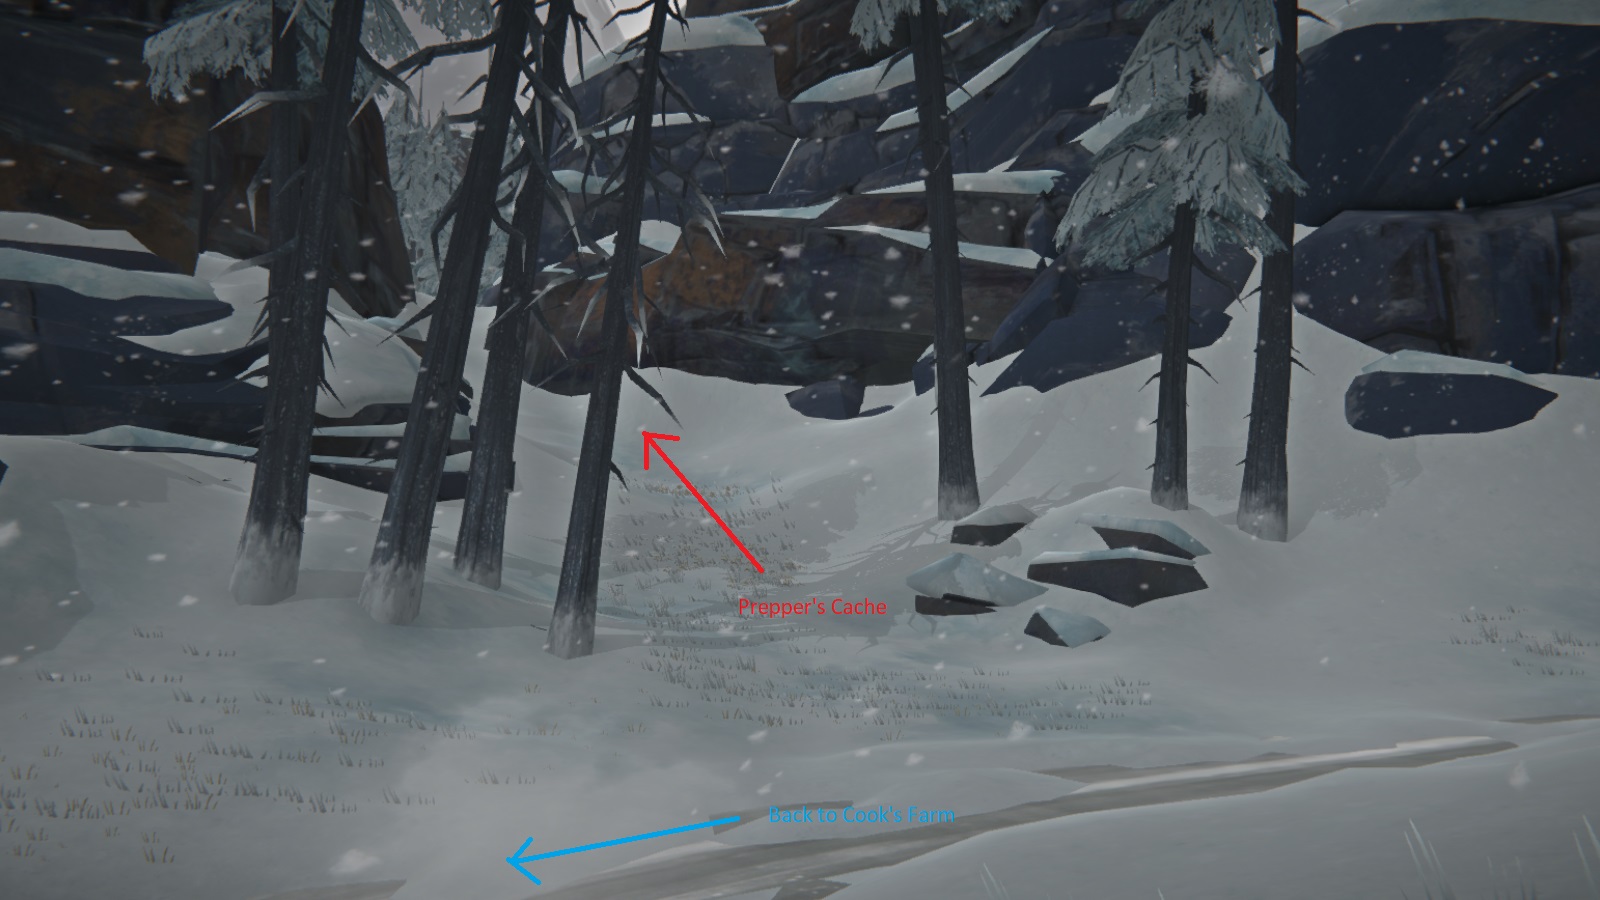
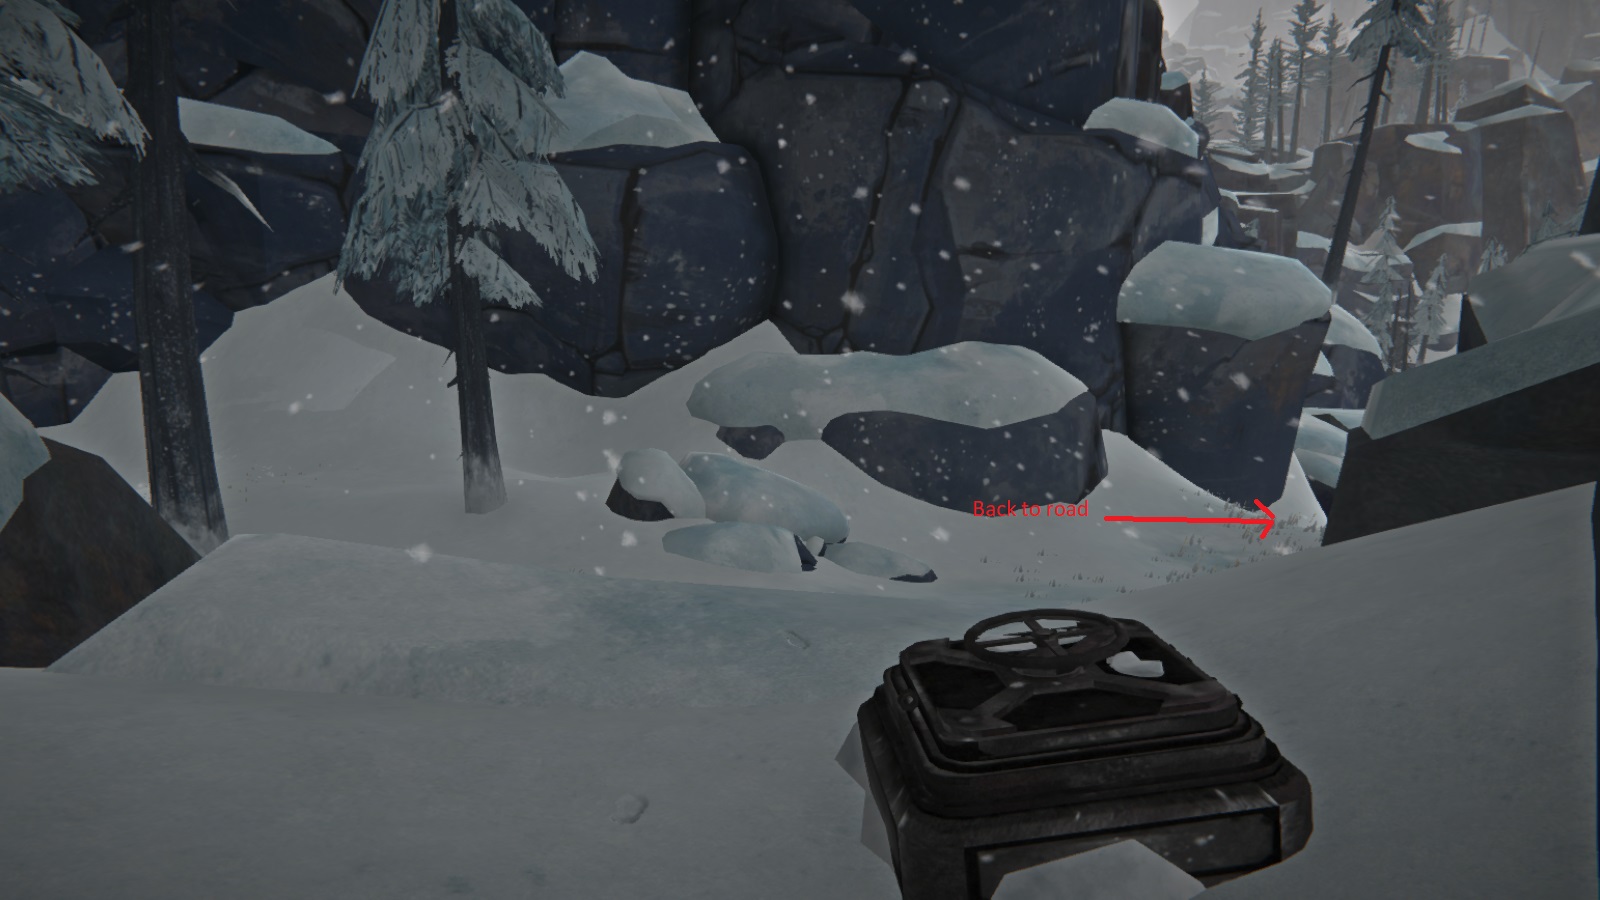
Inside are the things you'd normally expect in a prepper's cache: food, fire materials, and a small cot. The real prize in the moose-hide satchel so be sure to pick it up. Also grab the note on the bed to officially complete the quest.
Sidequest: Convict Caches
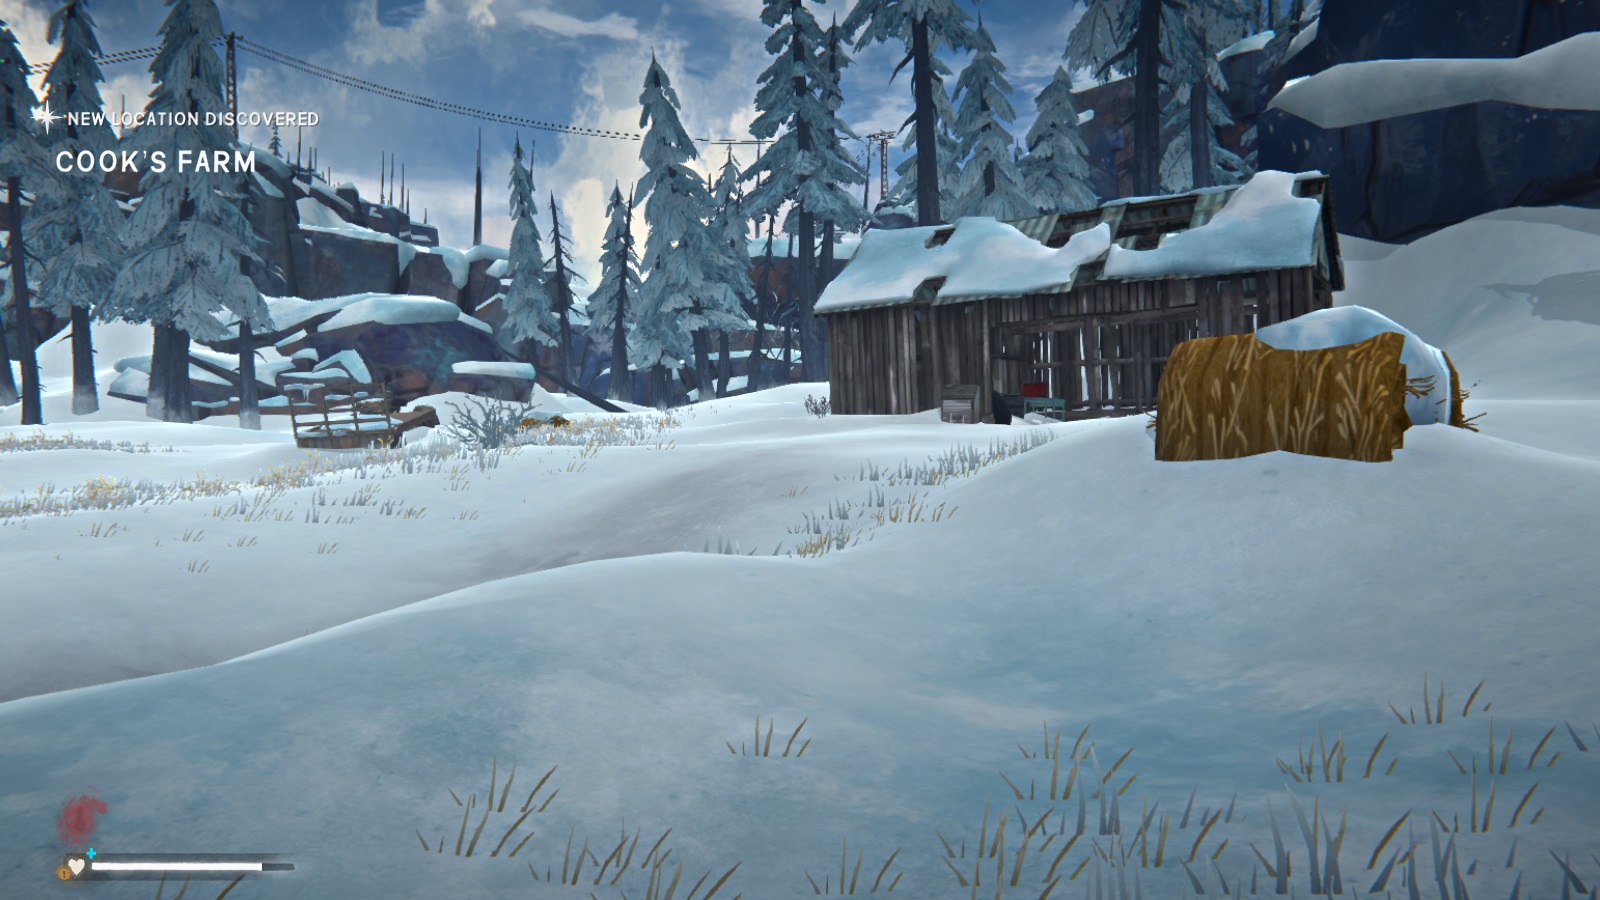
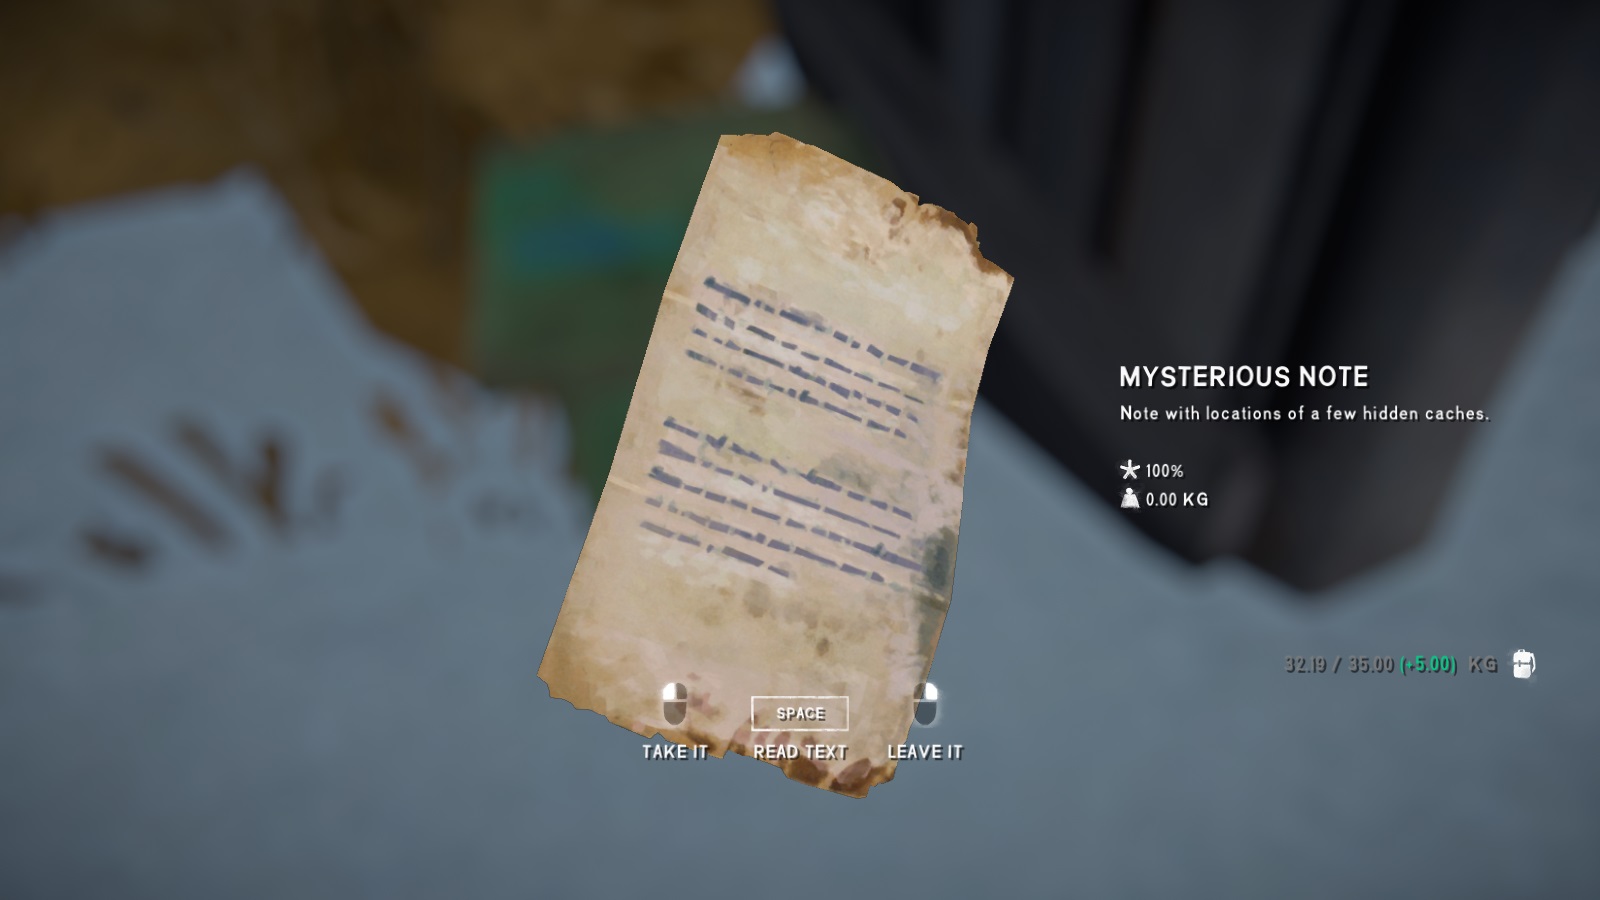
Like the ones from Episodes 1 and 2, the caches themselves won't appear until you trigger the quest. And sadly they aren't obviously named, so I'll have to name them myself. Going left-to-right on the map:
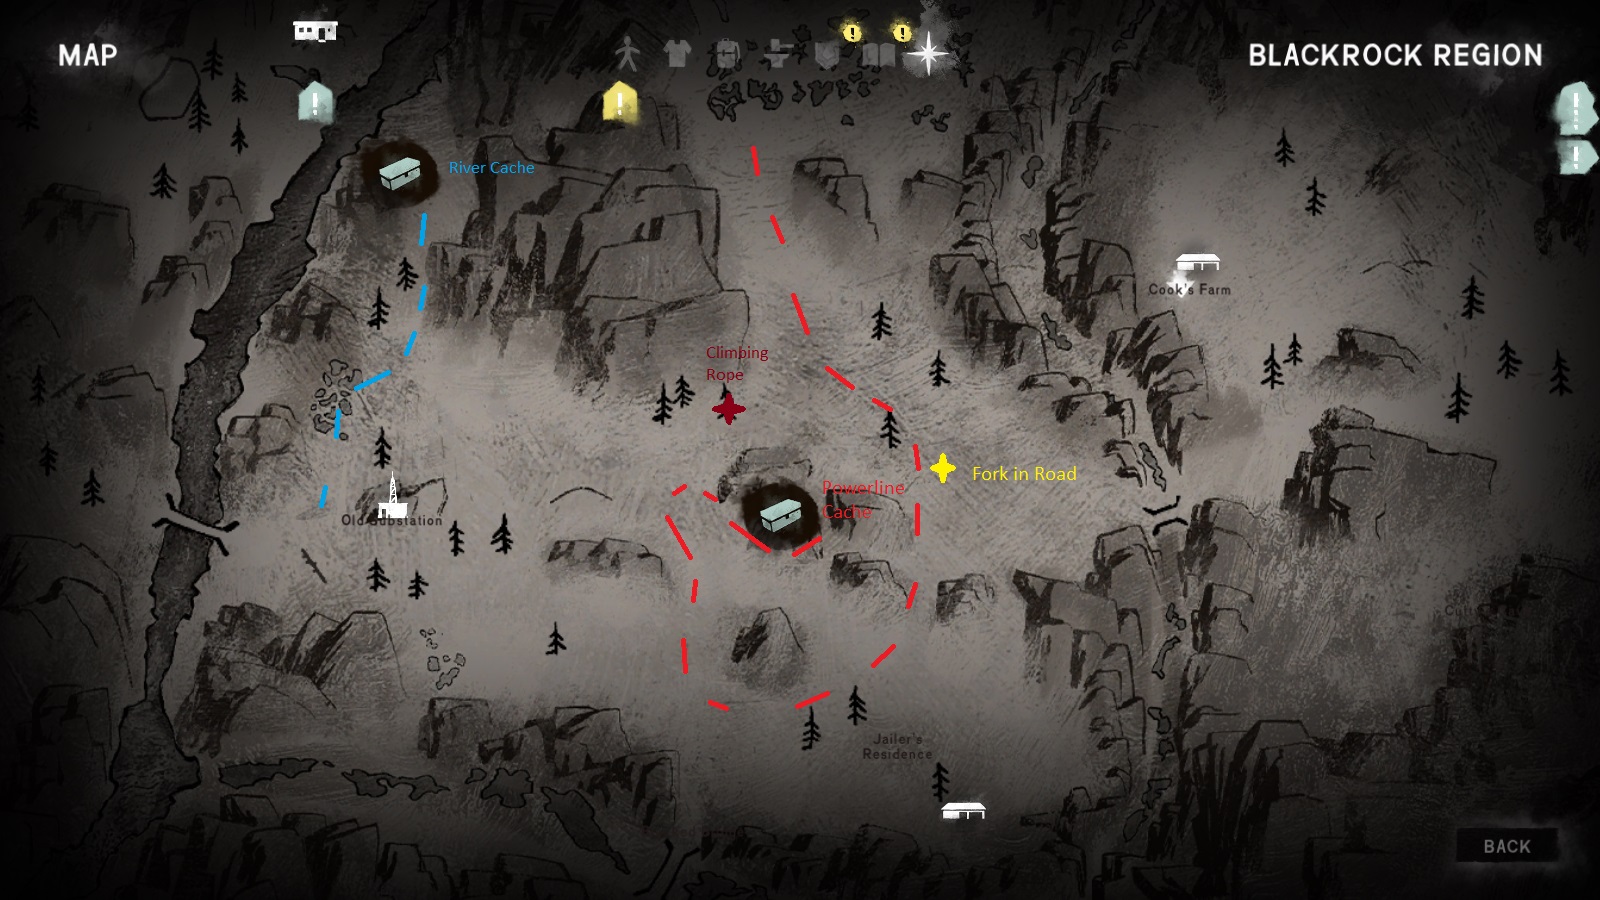
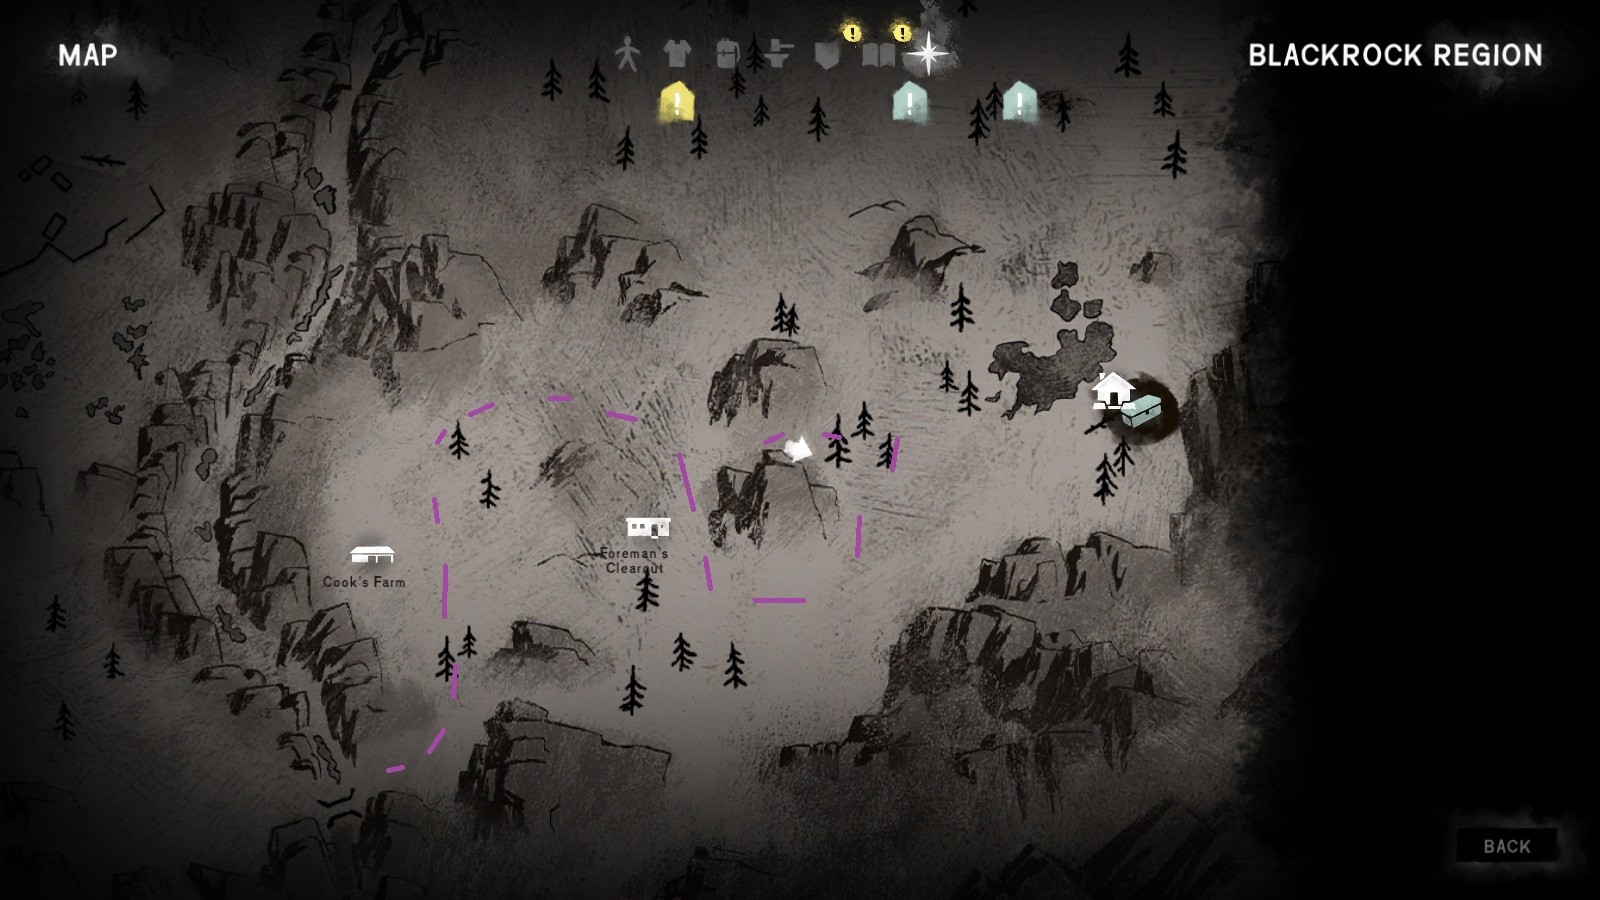
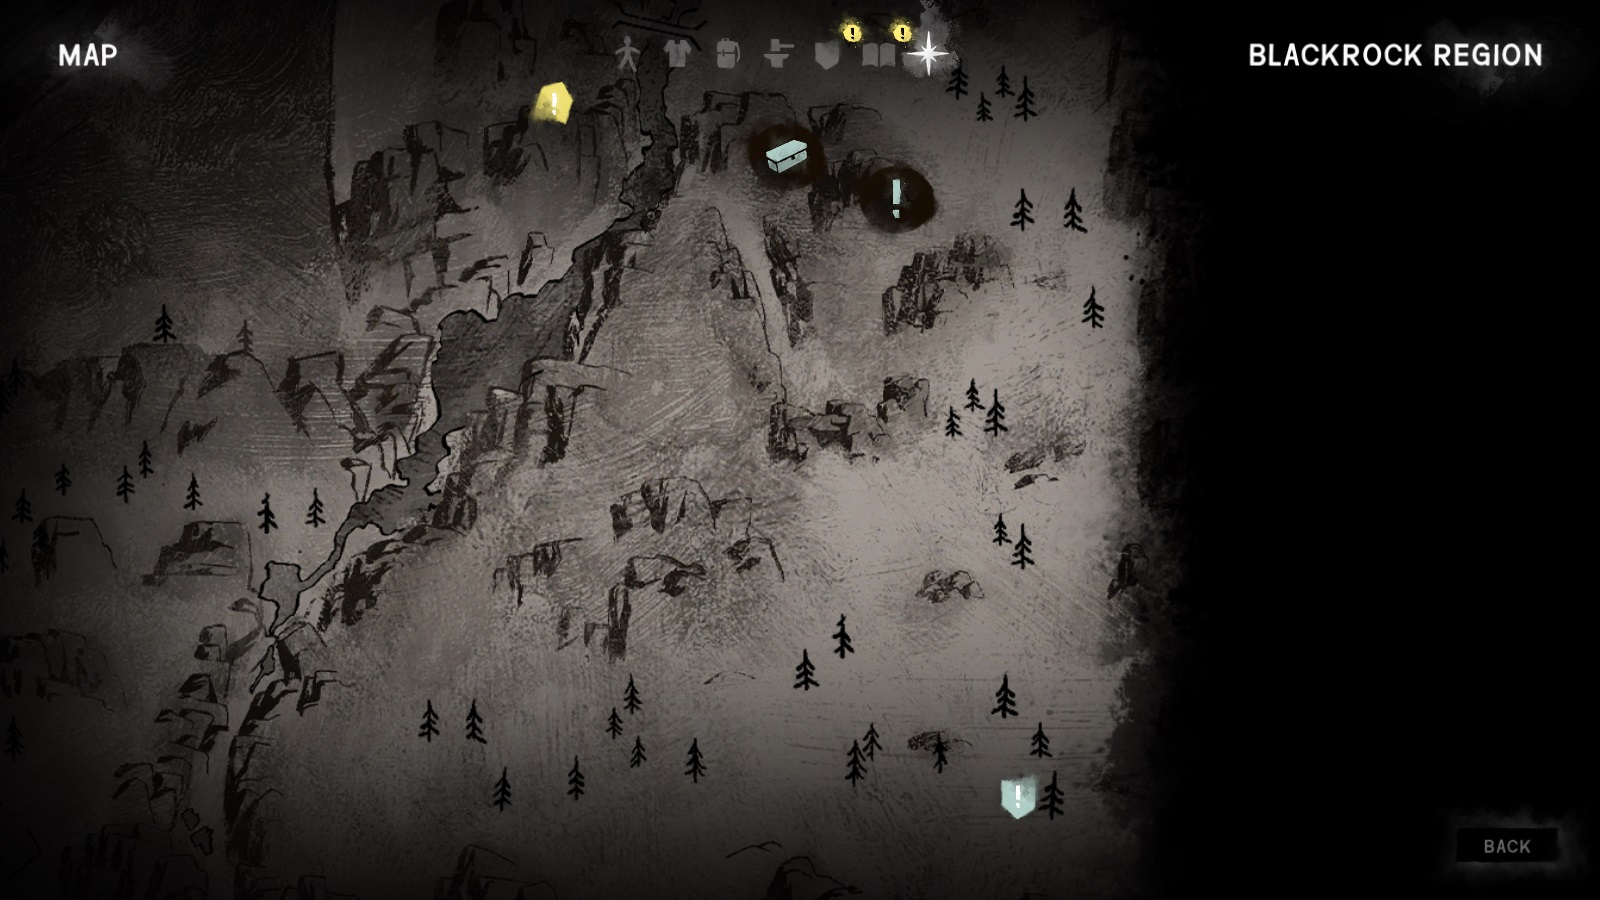
--------------------------------------------------------------------------------------- River Cache
So this cache can be found pretty close to the sub-station building. Essentially, you'll want to follow the river upstream. Be sure that you have not crossed the bridge when you do this. The cache itself is tucked in a snow bank near the cliff that separates the sub-station from the prison.
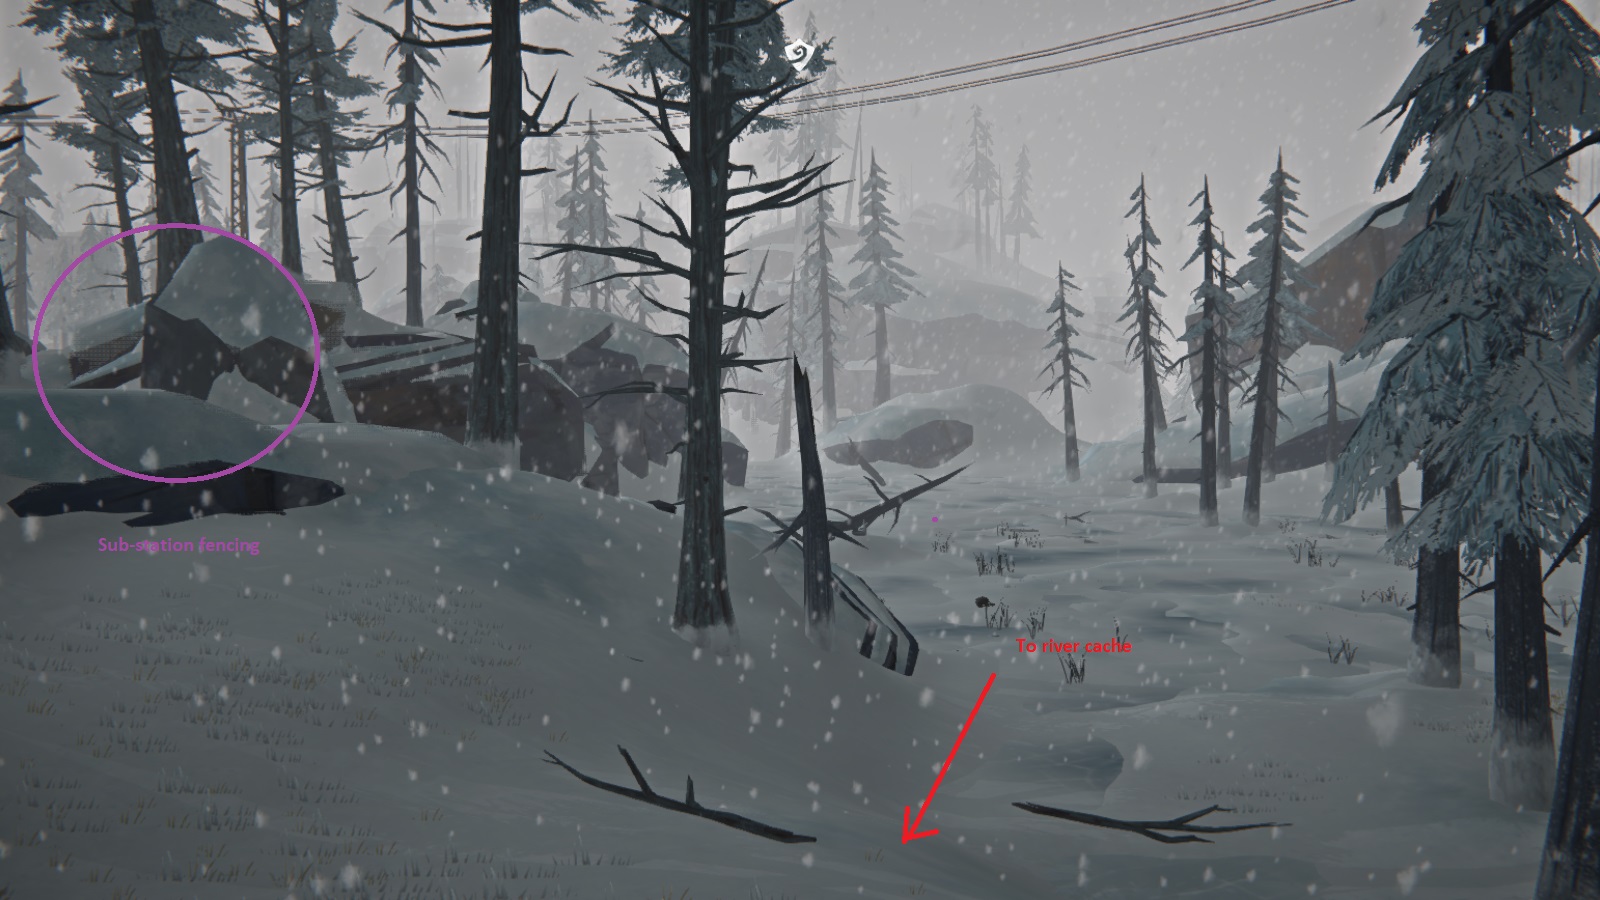
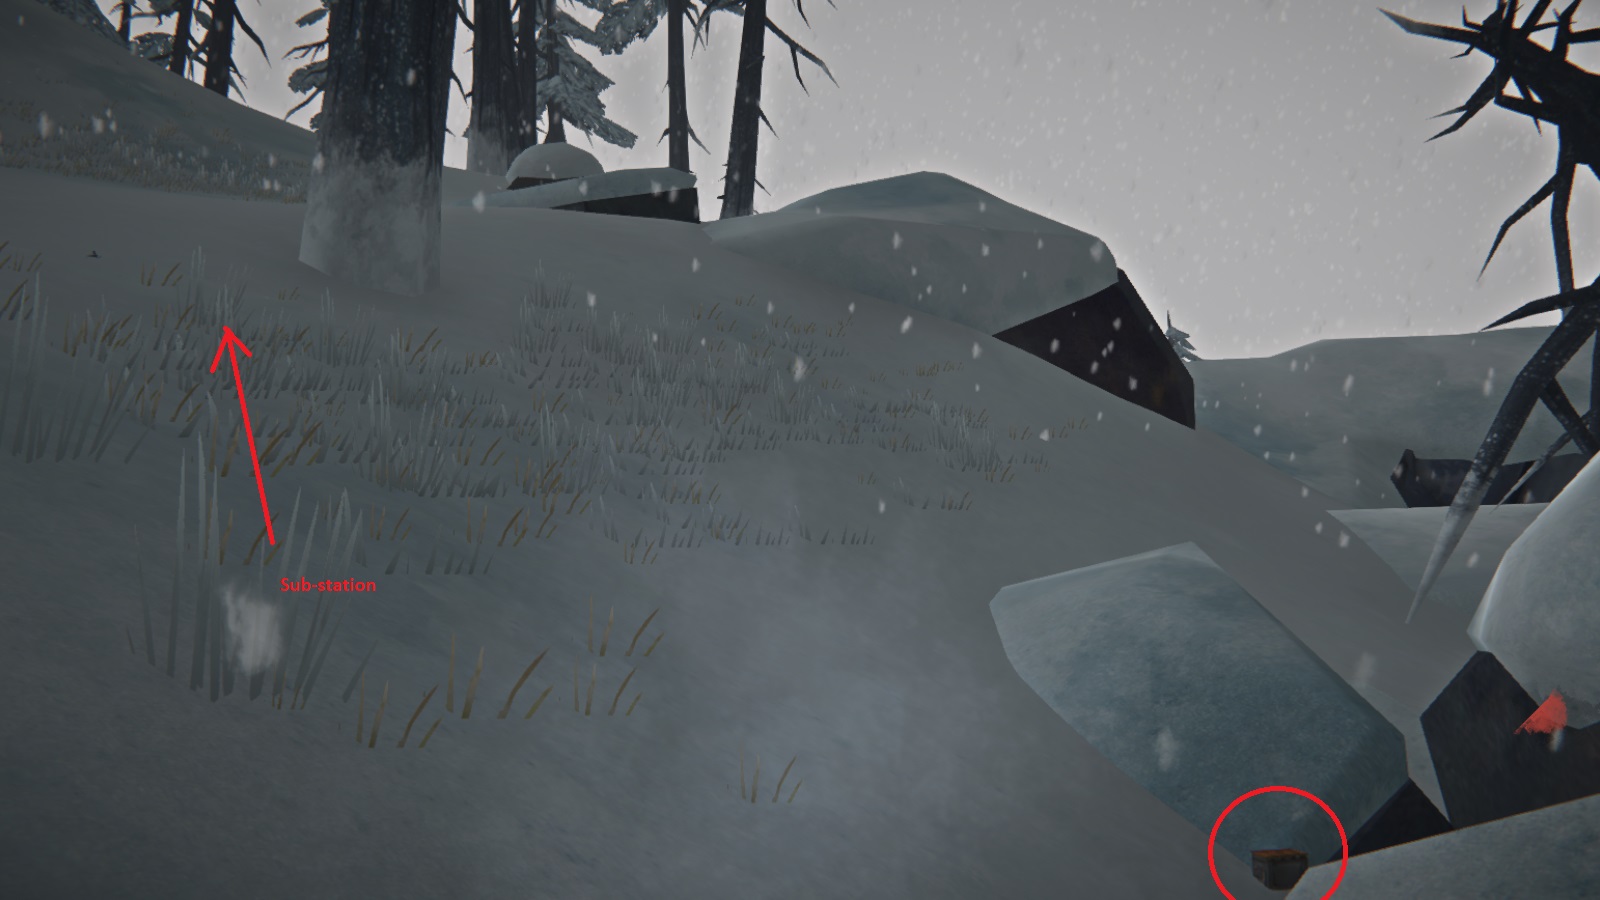 Inside, you'll find the awesome balaclava (now Will can fit in better with the convicts) and both types of gun ammunition.
Powerline Cache
Inside, you'll find the awesome balaclava (now Will can fit in better with the convicts) and both types of gun ammunition.
Powerline CacheThis cache is a little tricky to get to as it's on top of a sheer cliff. To get there, head down the road like you're going to the sub-station. After you pass the staff quarters area (where there's a timberwolf pack) there will be an abandoned car on the road. Veer to the right and climb the hill. There will be an alcove to your right (where there's a climbing rope that leads back to the main road before the fork), and you want to take the small foot path that you see below (the climbing rope is to the left in the picture). You can also climb down the climbing rope mentioned if you're not encumbered when first leaving from the prison.
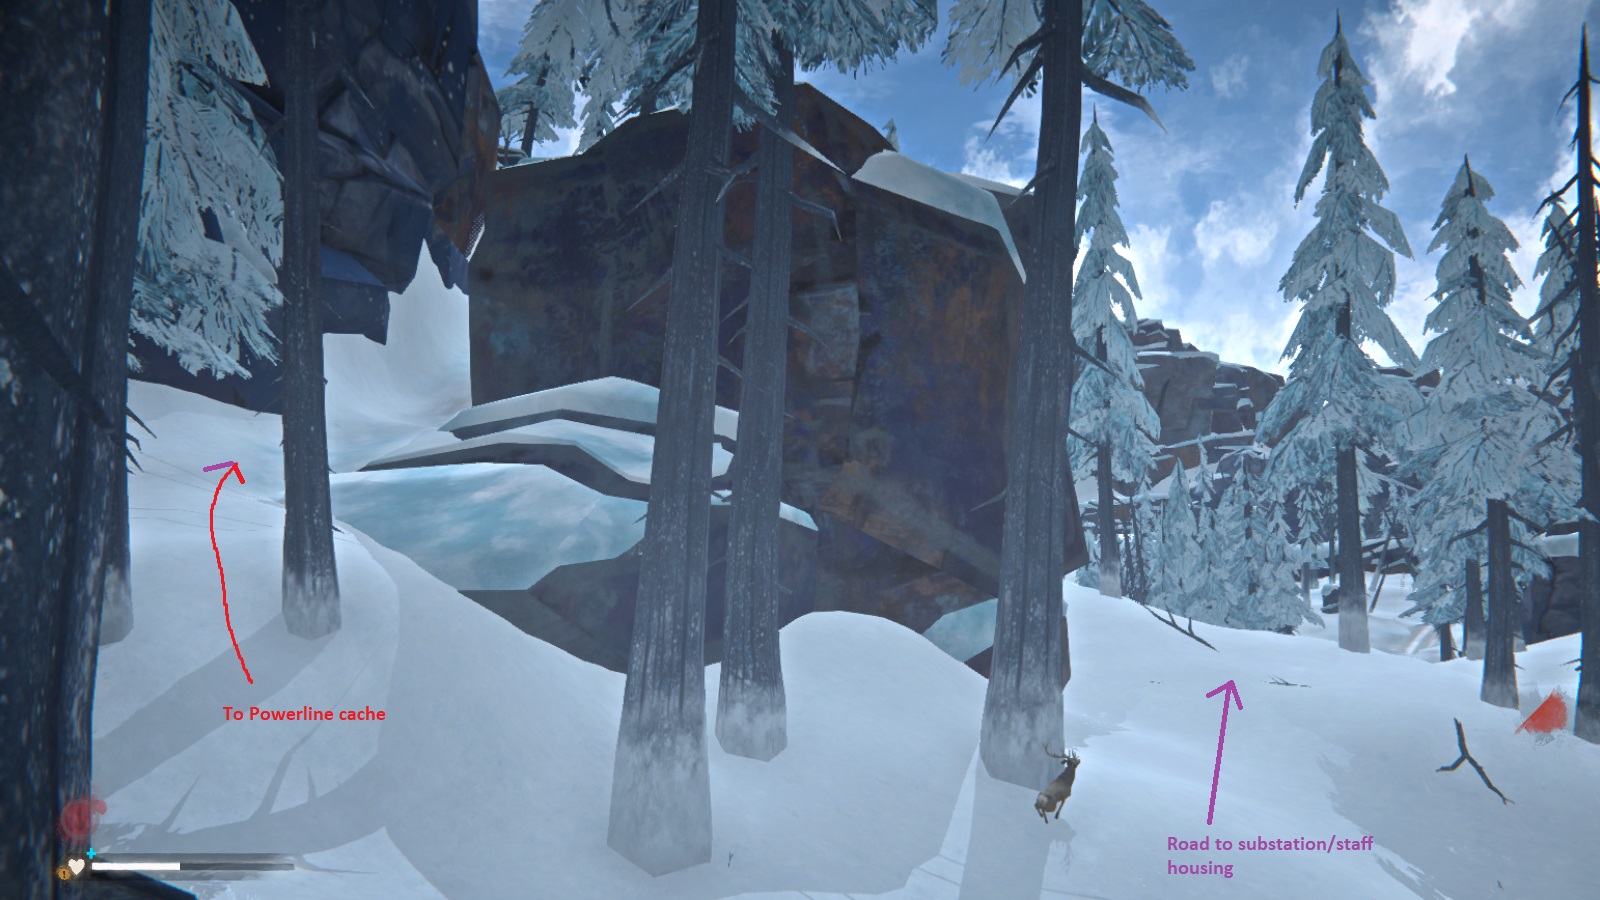 After you get to the top of the path, there will be a powerline tower. The cache itself is in a snowbank nearby.
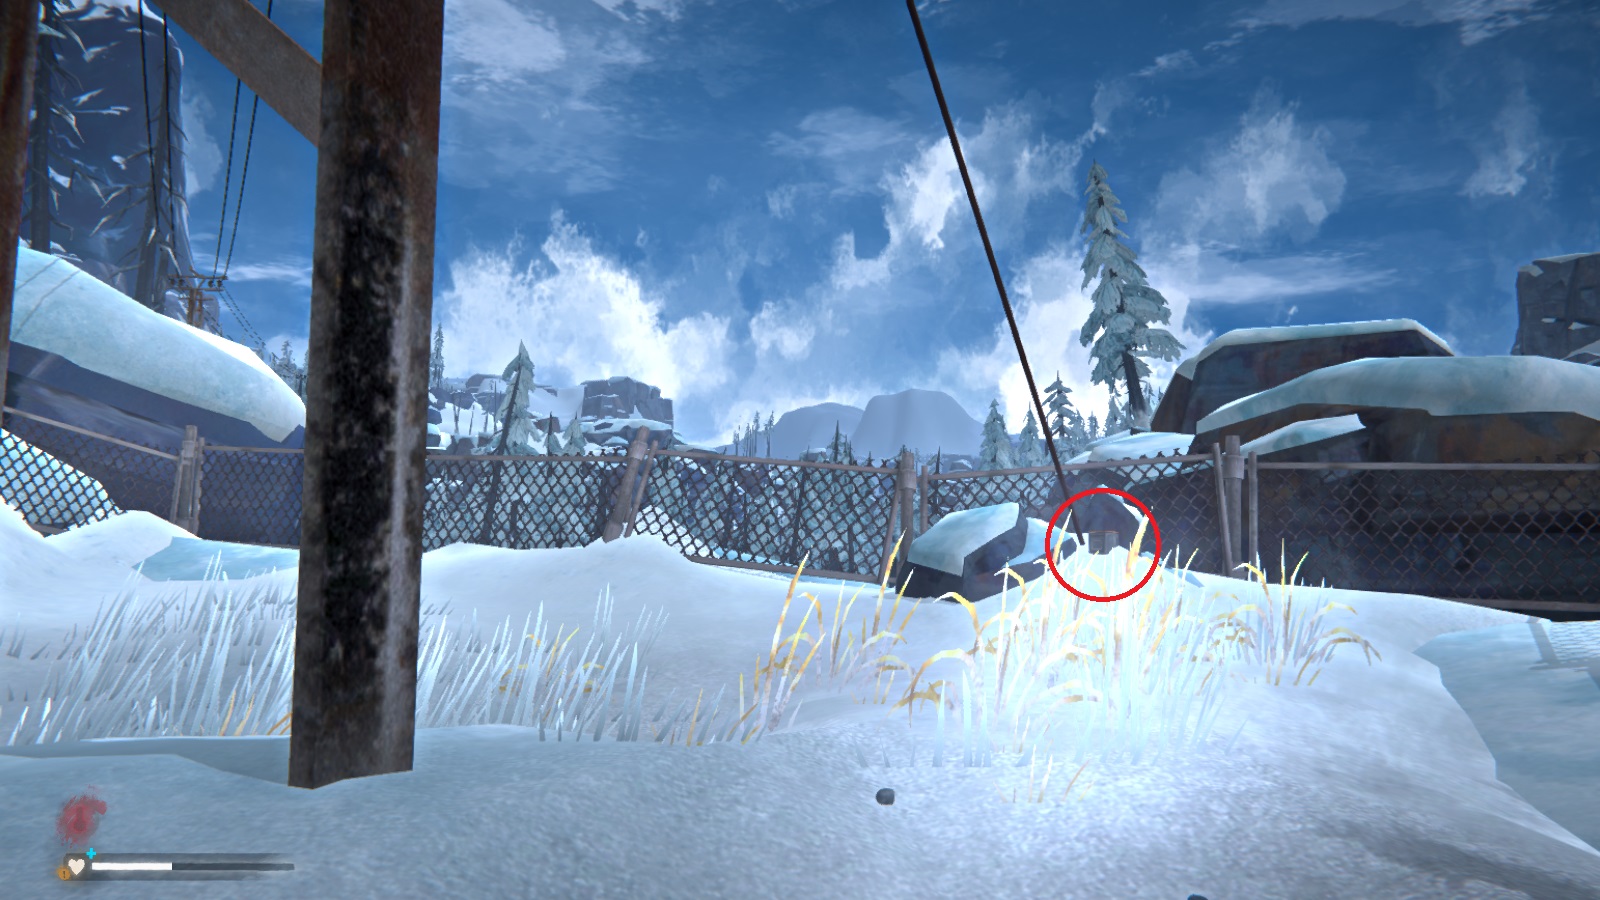 This cache contains a revolver with ammunition and climbing socks. There are also some flare shells.
Clifftop Cache
This cache contains a revolver with ammunition and climbing socks. There are also some flare shells.
Clifftop CacheThis cache is easy to find but annoying to reach. If you follow the road past Cook's farm, you'll eventually see a lake to the right (where one of the Blackrock Rumors is located). On the left, is a tall cliff that you'll need to climb. The cache is hidden at the base of one of the trees. In the map above, it's where my player icon is (because I screwed up when trying to take a picture before picking up the cache).
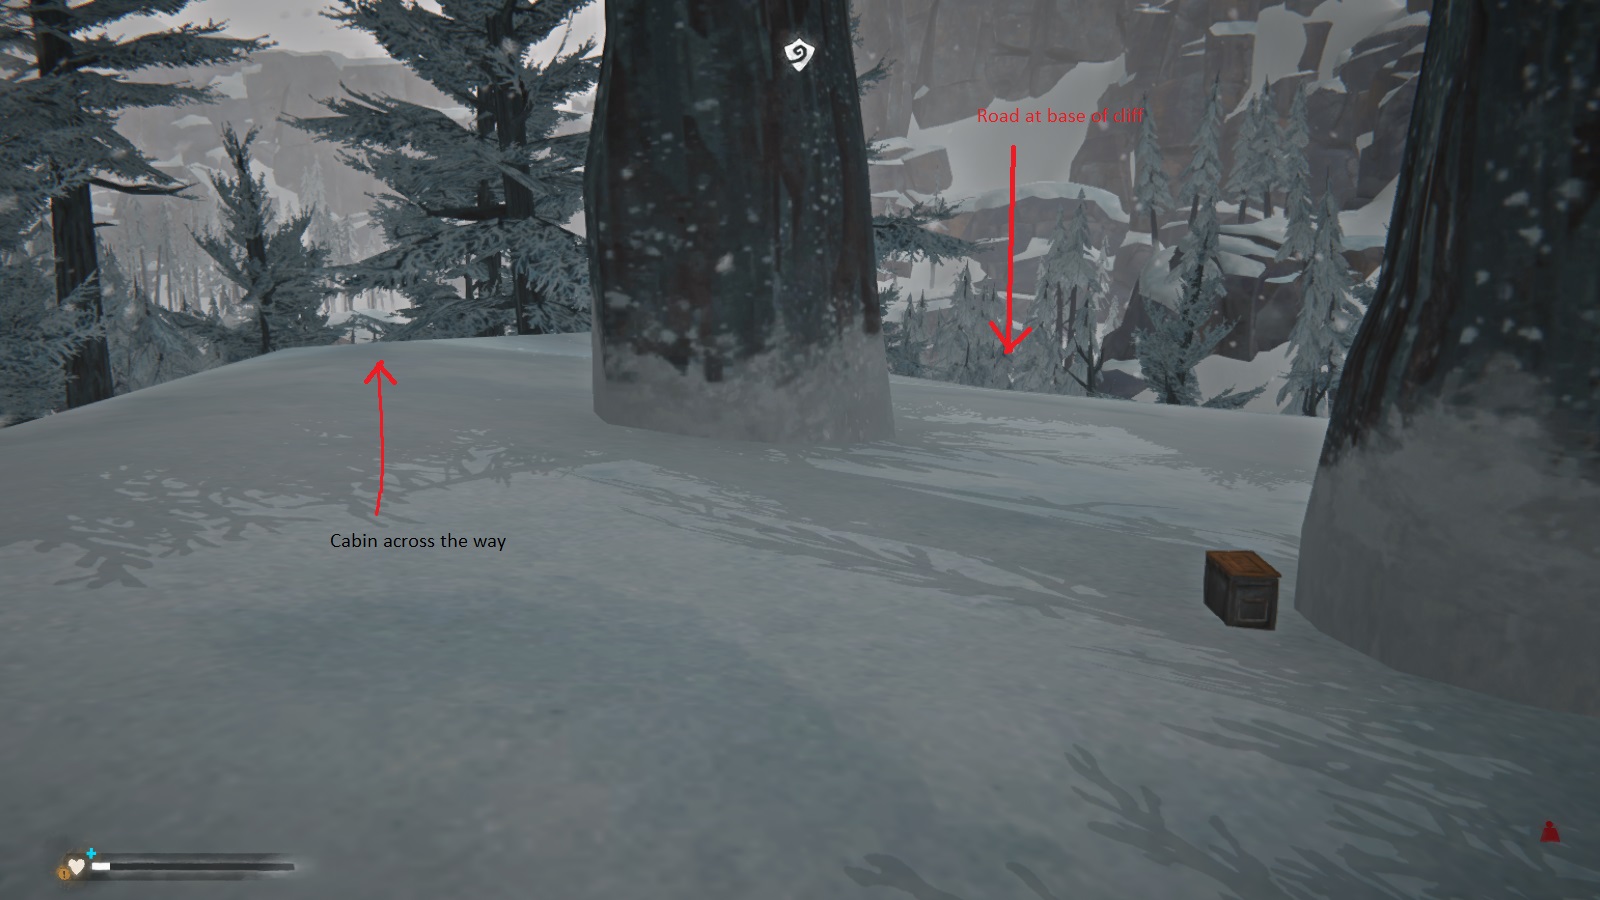 Inside, you'll find a couple of flare shells and some rifle ammo, as well as a emergency stim.
Cave Cache
Inside, you'll find a couple of flare shells and some rifle ammo, as well as a emergency stim.
Cave CacheThis will probably be the last cache you find as it's so far out. Head down the road like you're going to the abandoned mine (see Chapter 3). You'll eventually see a "cave" on the left, which has a very distinct fallen tree over the top. Head inside and there will be a standalone rock your right. Look behind it to find the cache.
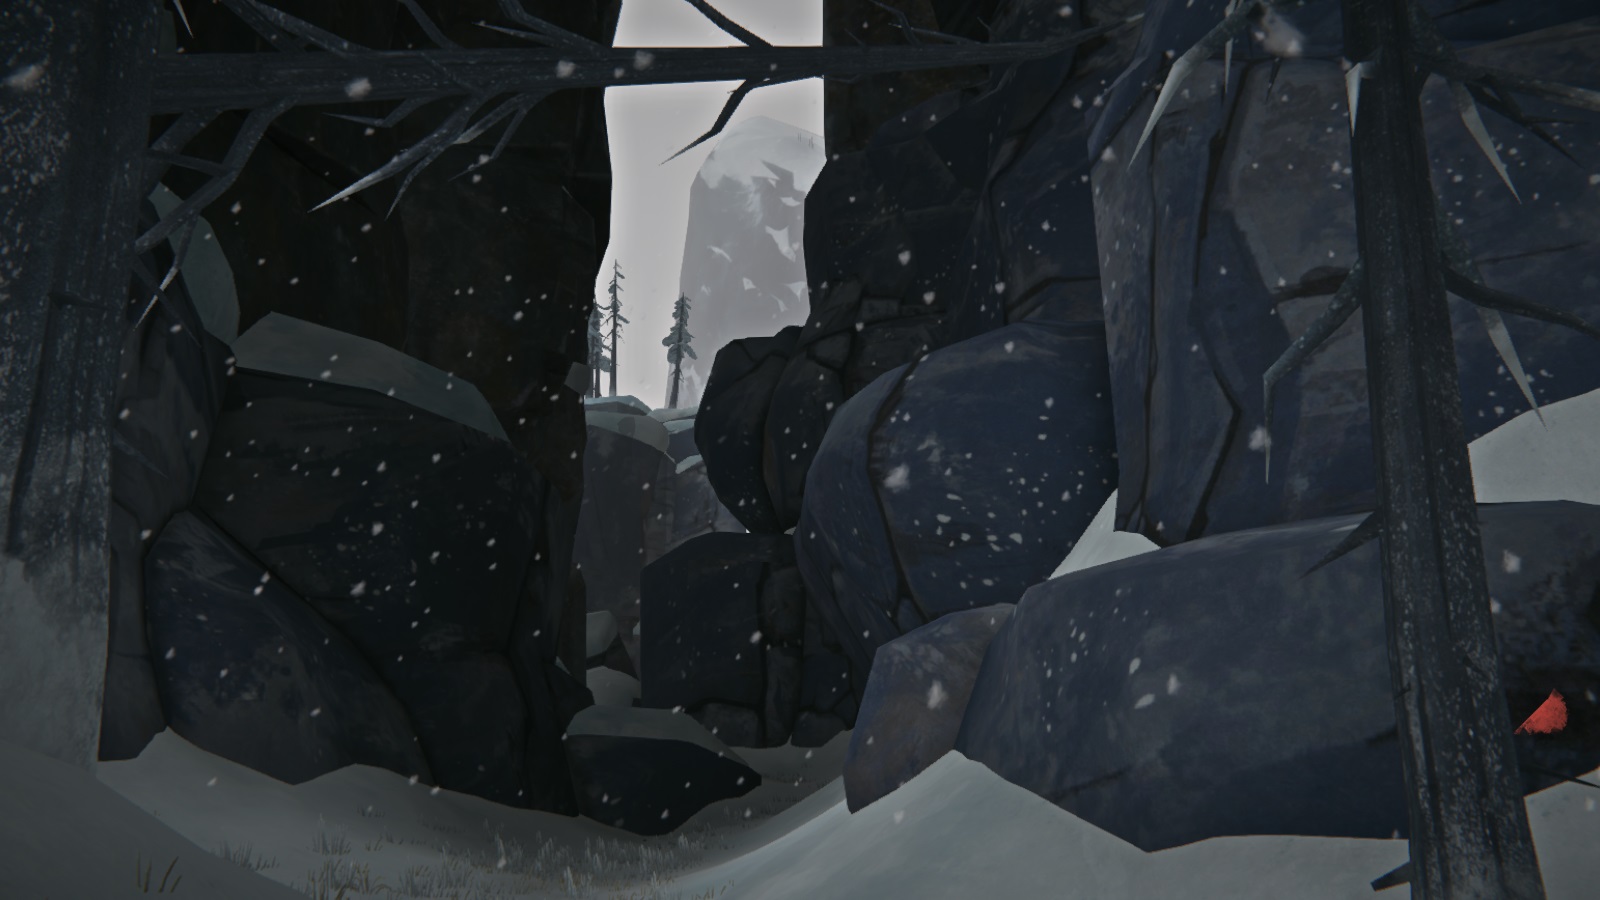
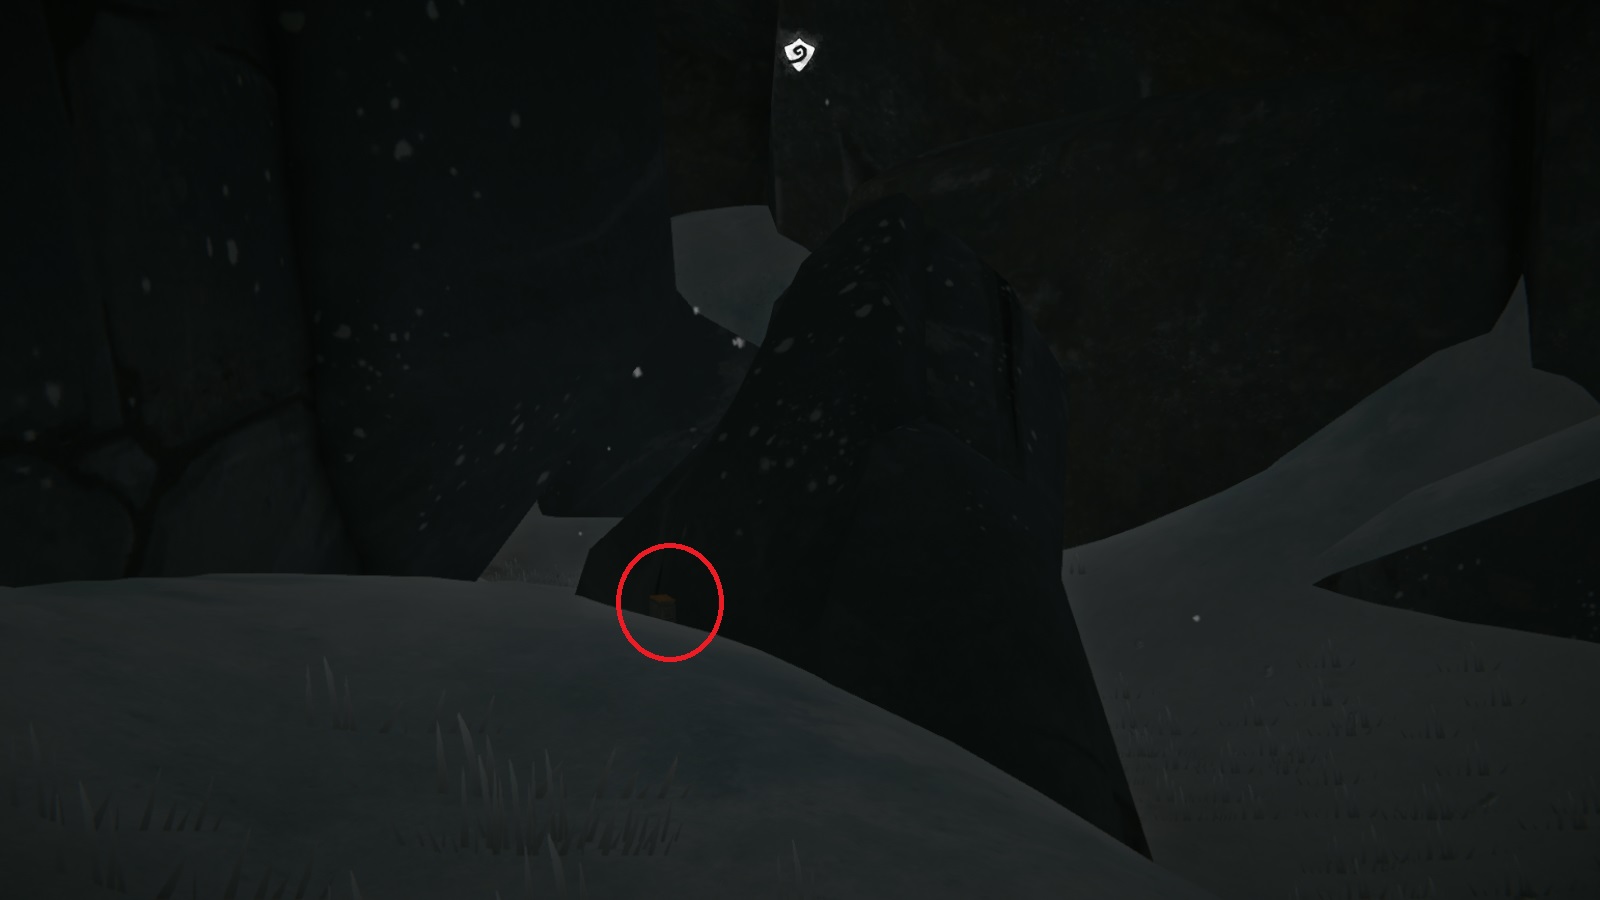 Inside, the standout loot is a fire-striker and more revolver ammo.
Sidequest: Guard Lockers
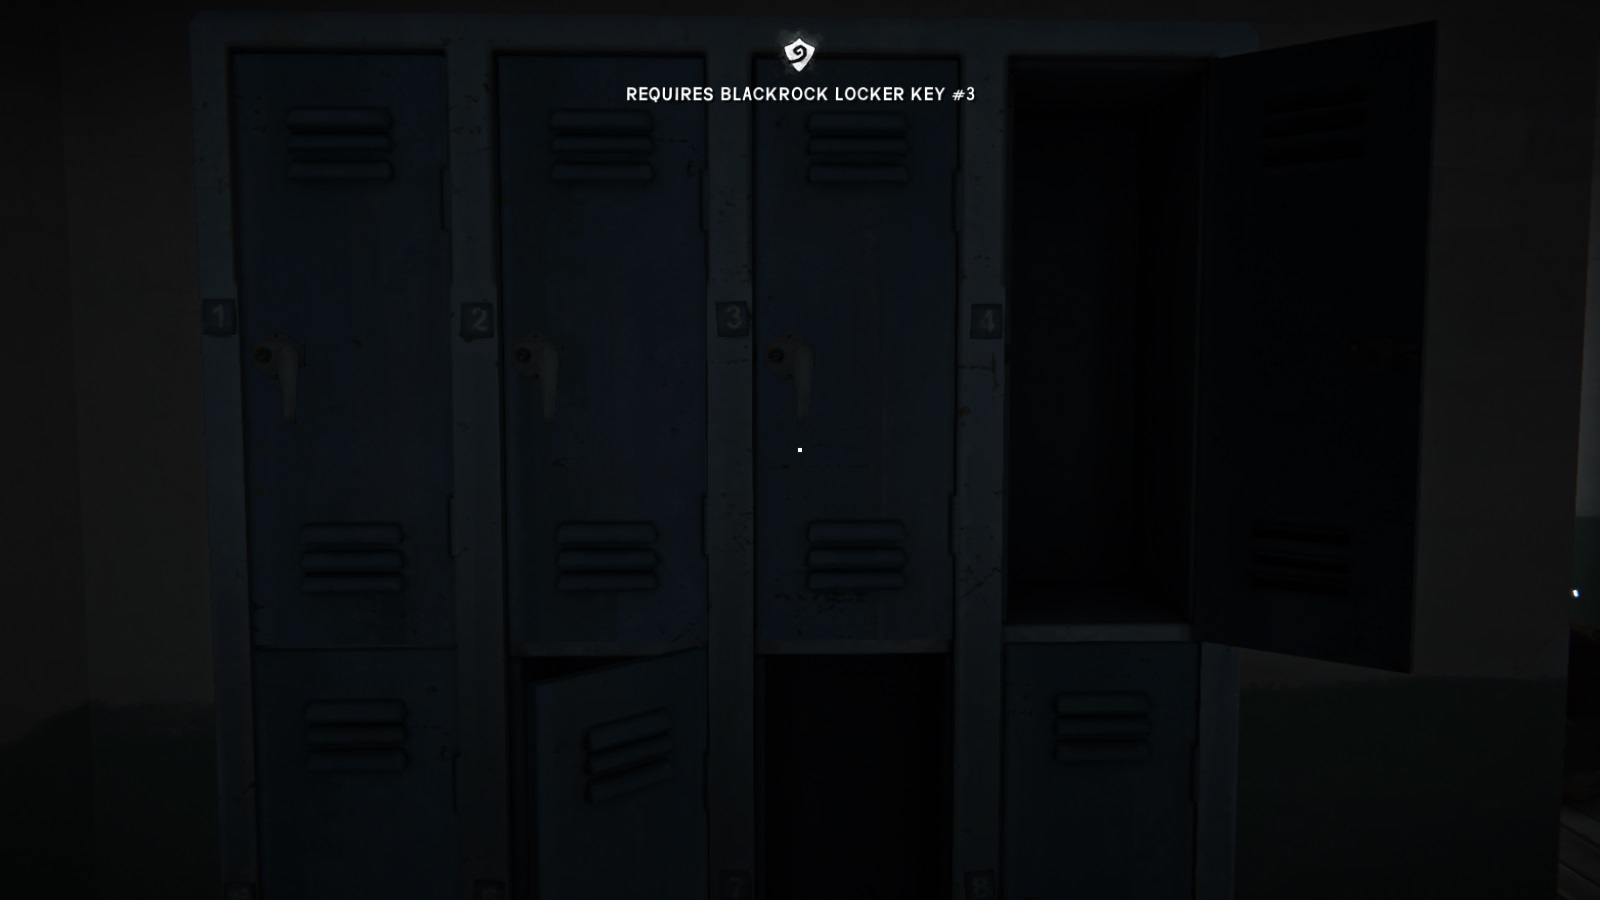
Each of these lockers as various goodies in them, which will be detailed below. And competing all of them will get you a Steam achievements. Locker Key #2
This key can be found on a dead guard just outside the prison's perimeter gate. When you leave via the side-entrance (where the wolf is chowing on the dead deer), just keep going straight. You'll essentially be hugging the wall on your right. Eventually you'll come across a small clearing with a dead body. Search it for the key.
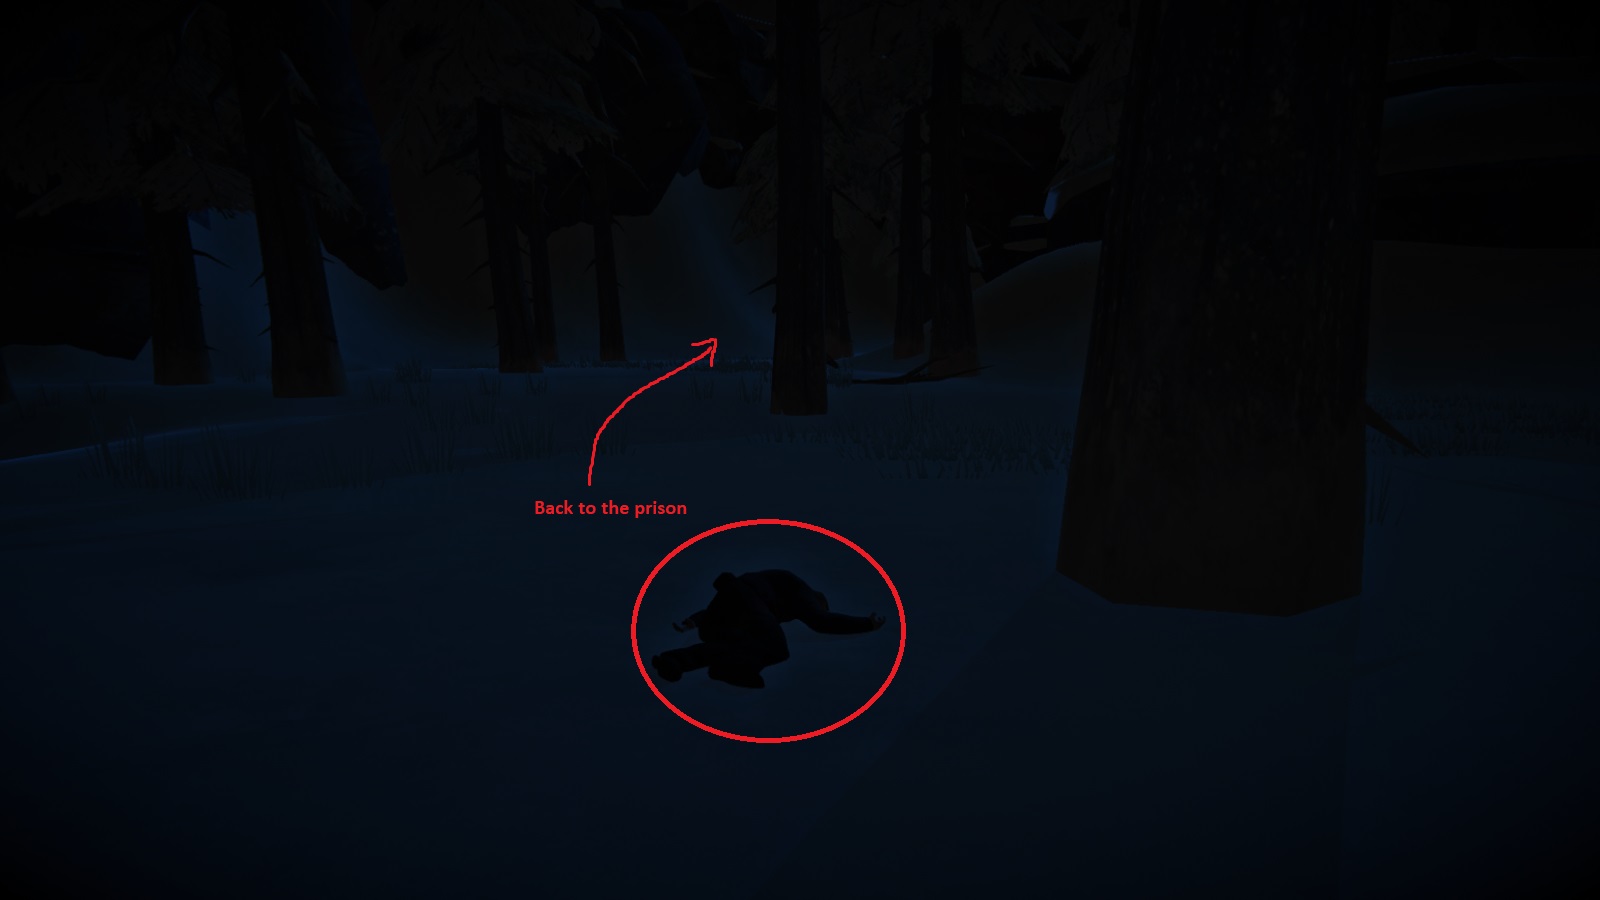
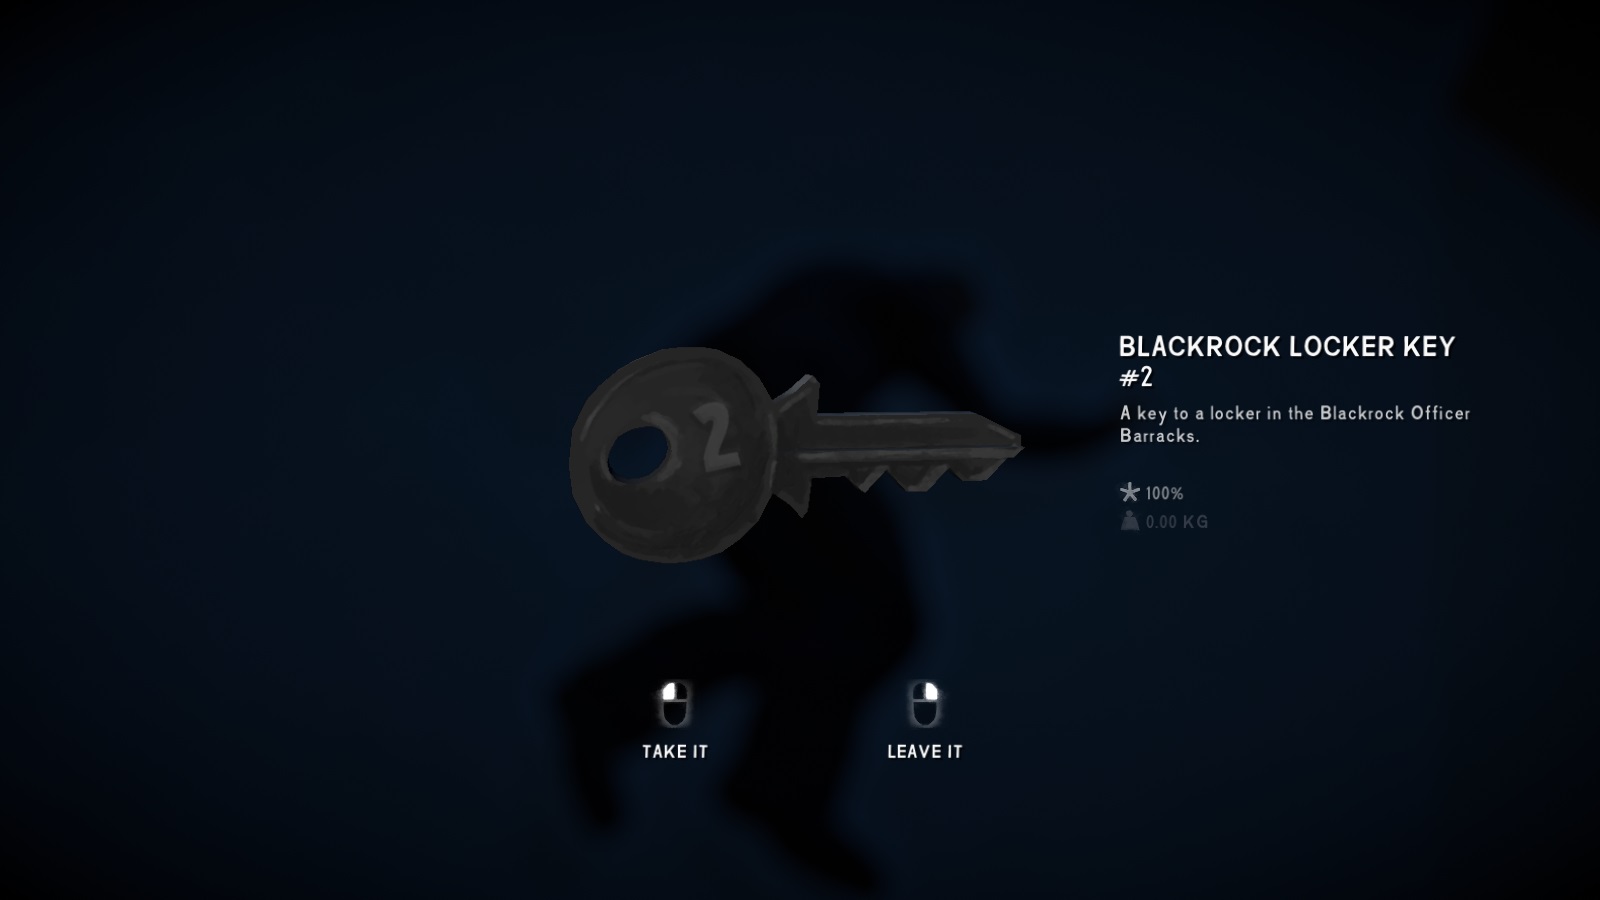
Opening this locker will net you some rifle ammunition, combat pants, and a military parka. These are great clothing items, especially at the beginning when you don't have much defense against the wildlife. Locker Key #3
This key can be found in the abandoned staff housing area outside the prison complex. You can reach it by following the road out of the prison and going right at the fork. The entrance to the hamlet will be on your left.
As in the above picture, you want to aim for the building farther back. The key is in the circled truck's glove compartment.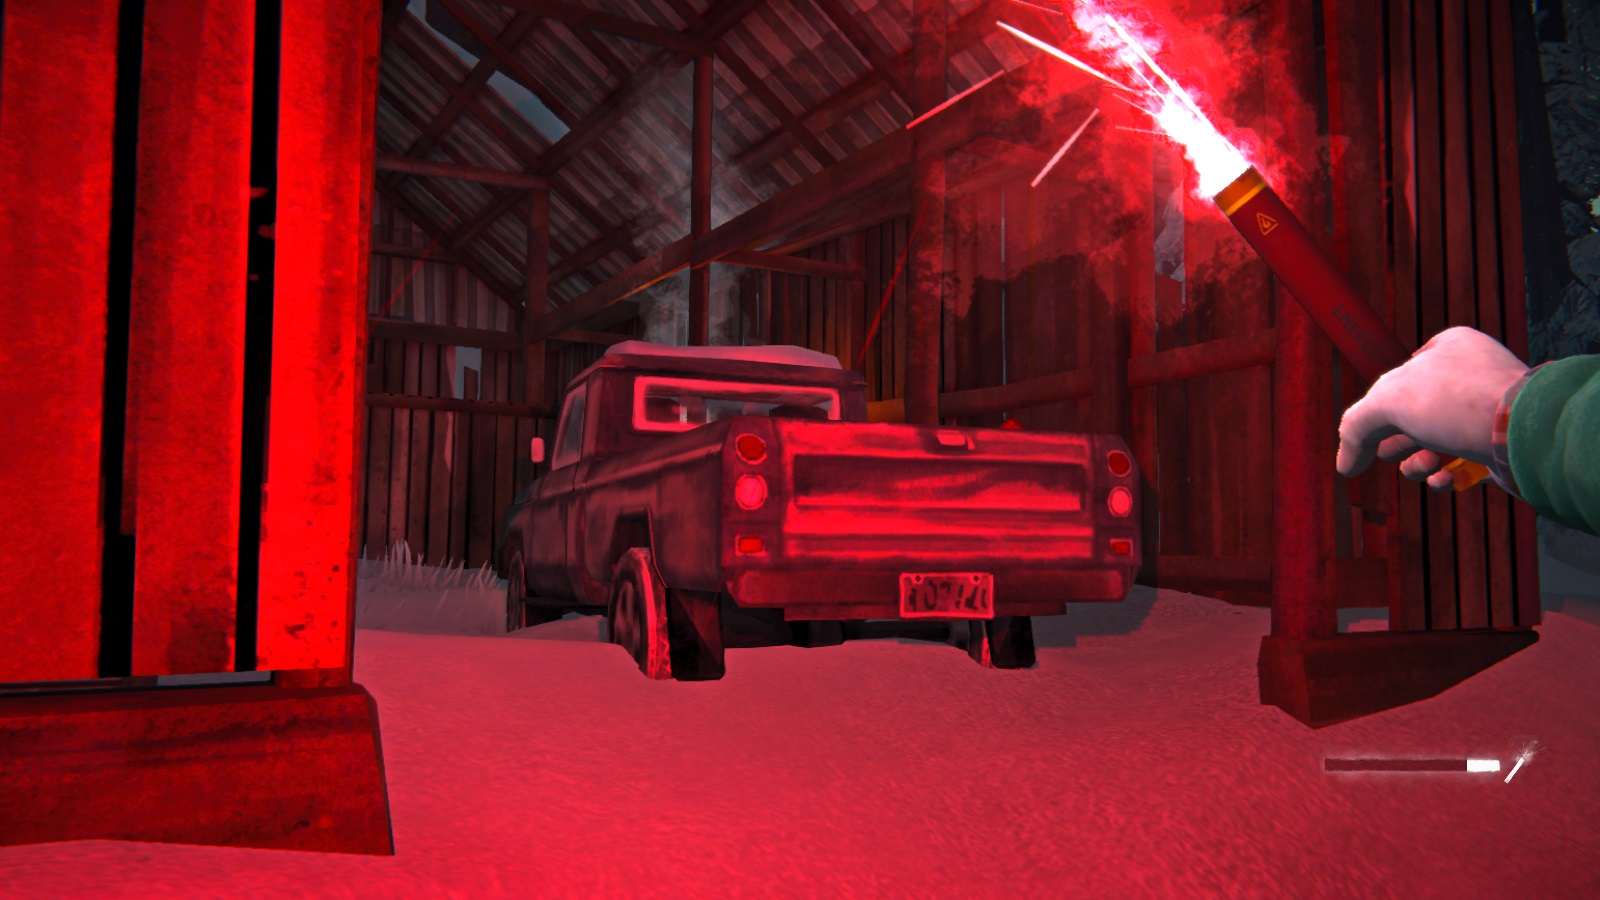
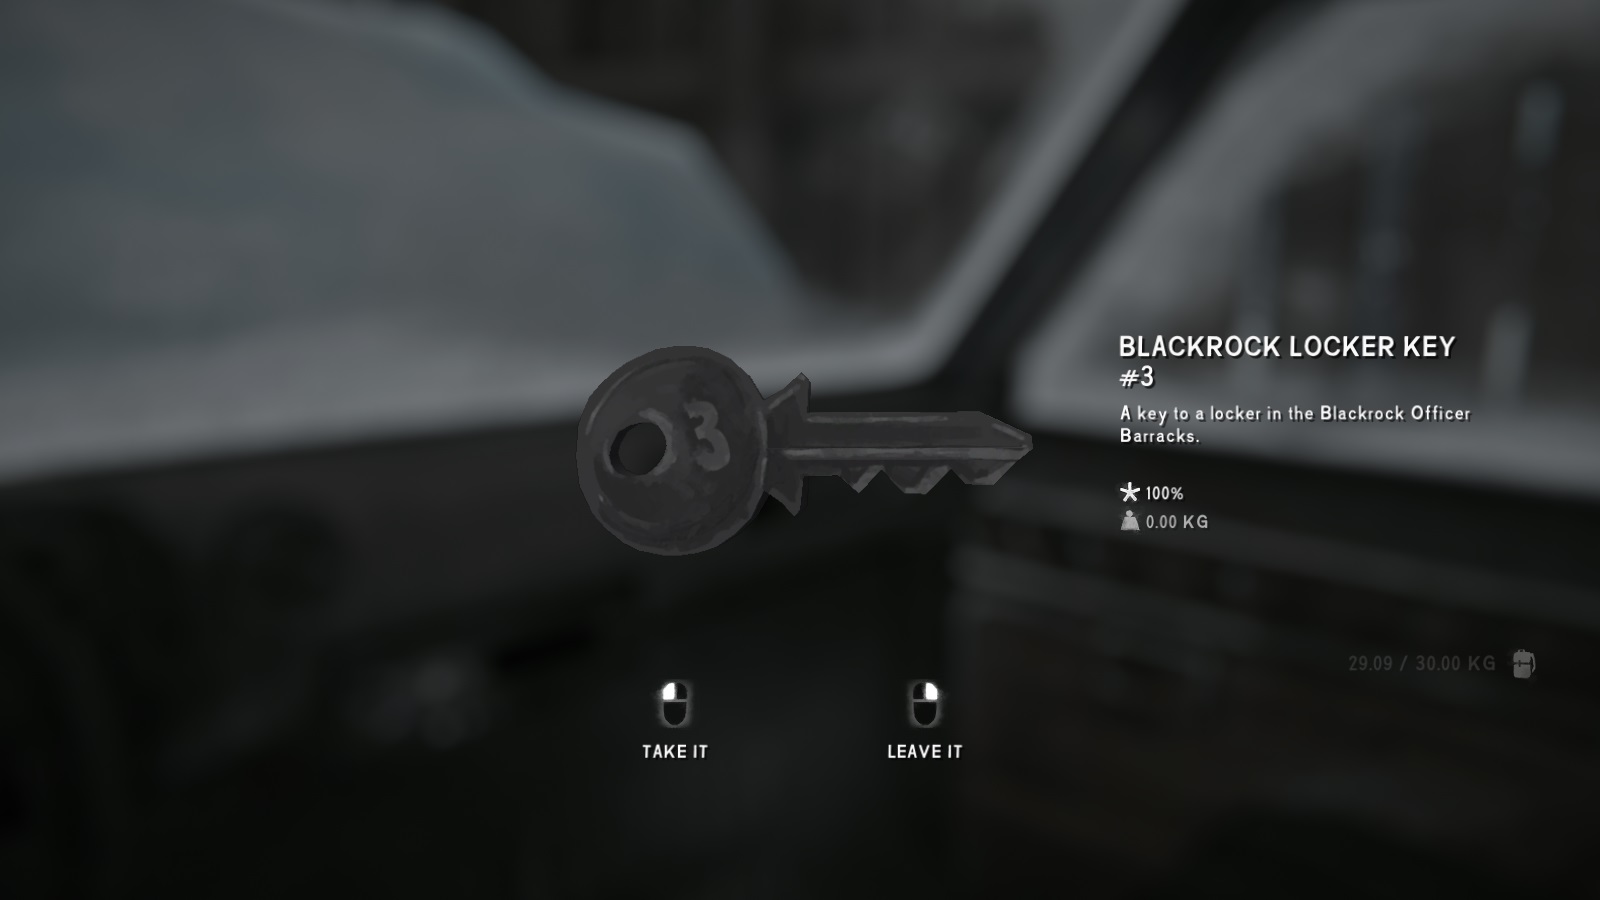
Head back to the guard quarters and unlock the locker to get a hunting knife, emergency stim, and more rife ammunition. You'll also get a Blackrock archive report, which is necessary to complete the sidequest Darkstar. Locker Key #8
You can only get this key after reaching Chapter 2: The Power Plant. It can be found in the steam maintenance tunnels, after you finish breaking the locking mechanism (see that section for more details). At the bottom of the stairwell that leads back to the prison, there is a metal box. Search it to find the locker key.
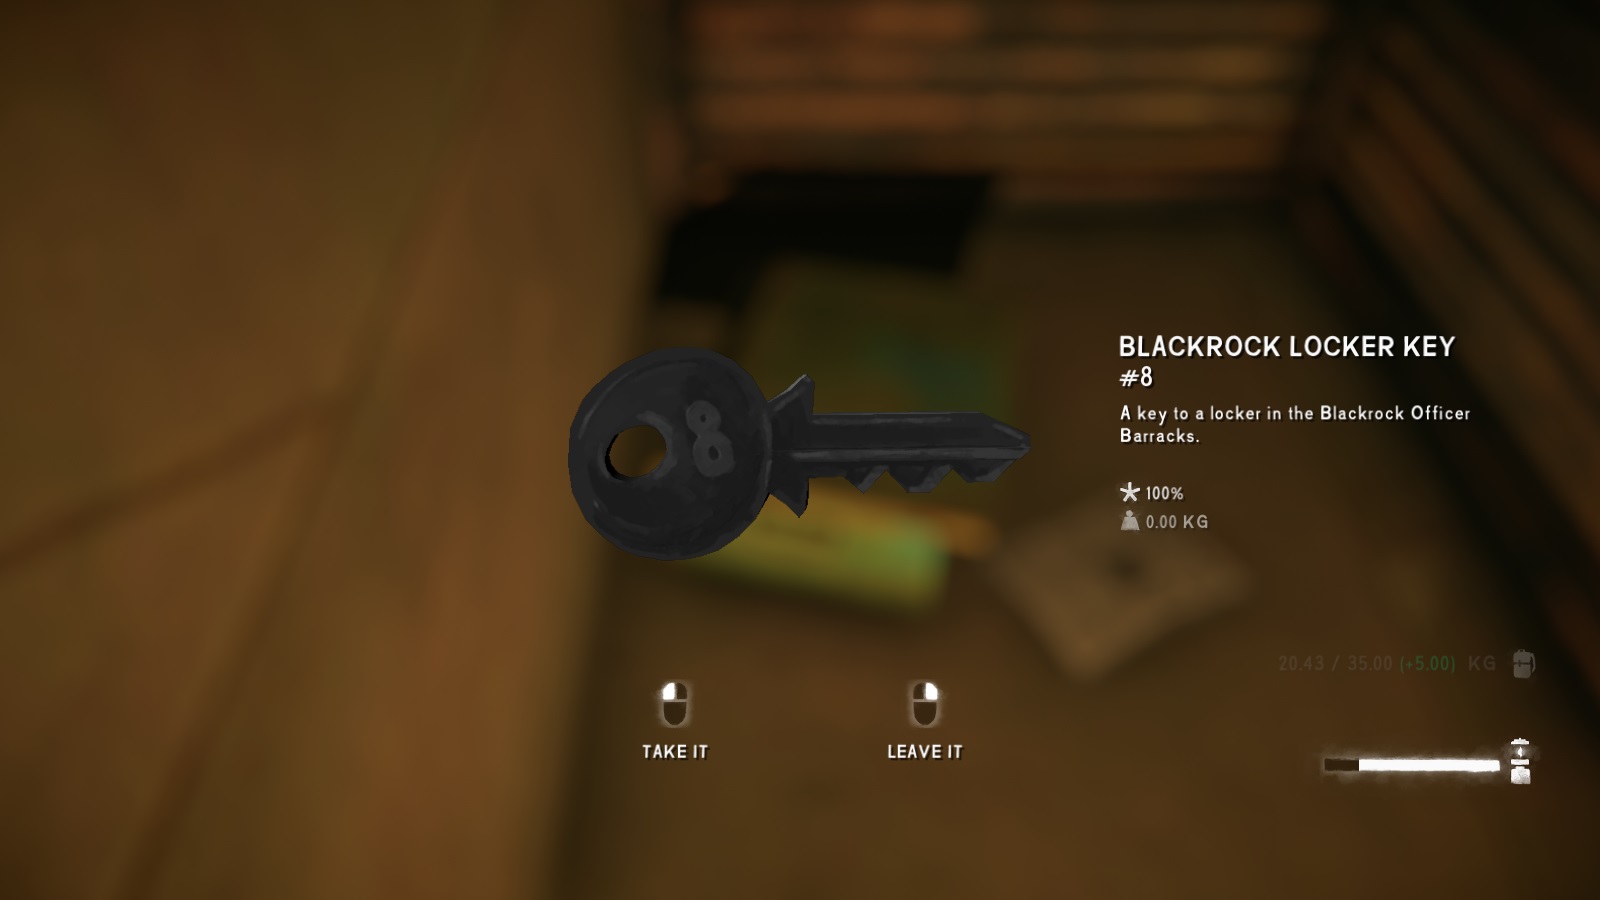 This locker has a revolver and some ammunition.
Sidequest: Lost Power Workers
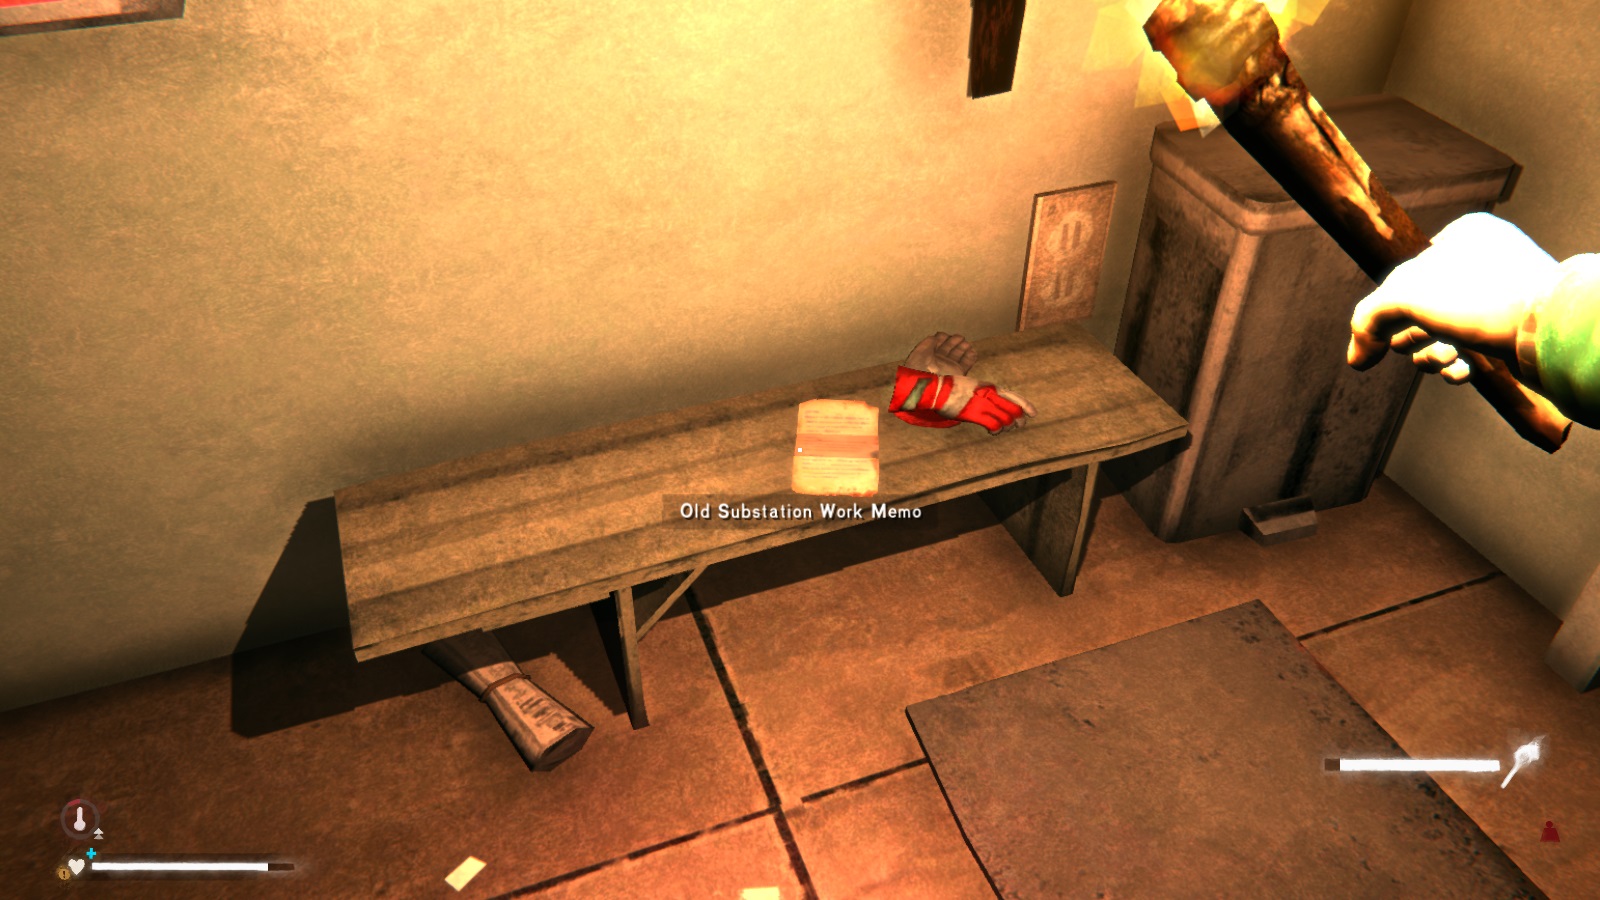 Turns out a couple of workers went missing at some point and now Will is going to try and locate them....or at least their bodies. The first one is a bit tricky to get to though.
If you check your map, you'll see that worker #1 is lost pretty close the the prison. Sadly, he's down a very steep ravine whose entrance is somewhat hidden. To get there, follow the road out of the prison. You'll eventually come across an abandoned truck on the left. Go past it, and then immediately go left off the road. The footpath will then lead you to a hanging bridge. You'll take another left to find some small cliffs that Will can climb down (like the ones from the Prologue).
Turns out a couple of workers went missing at some point and now Will is going to try and locate them....or at least their bodies. The first one is a bit tricky to get to though.
If you check your map, you'll see that worker #1 is lost pretty close the the prison. Sadly, he's down a very steep ravine whose entrance is somewhat hidden. To get there, follow the road out of the prison. You'll eventually come across an abandoned truck on the left. Go past it, and then immediately go left off the road. The footpath will then lead you to a hanging bridge. You'll take another left to find some small cliffs that Will can climb down (like the ones from the Prologue).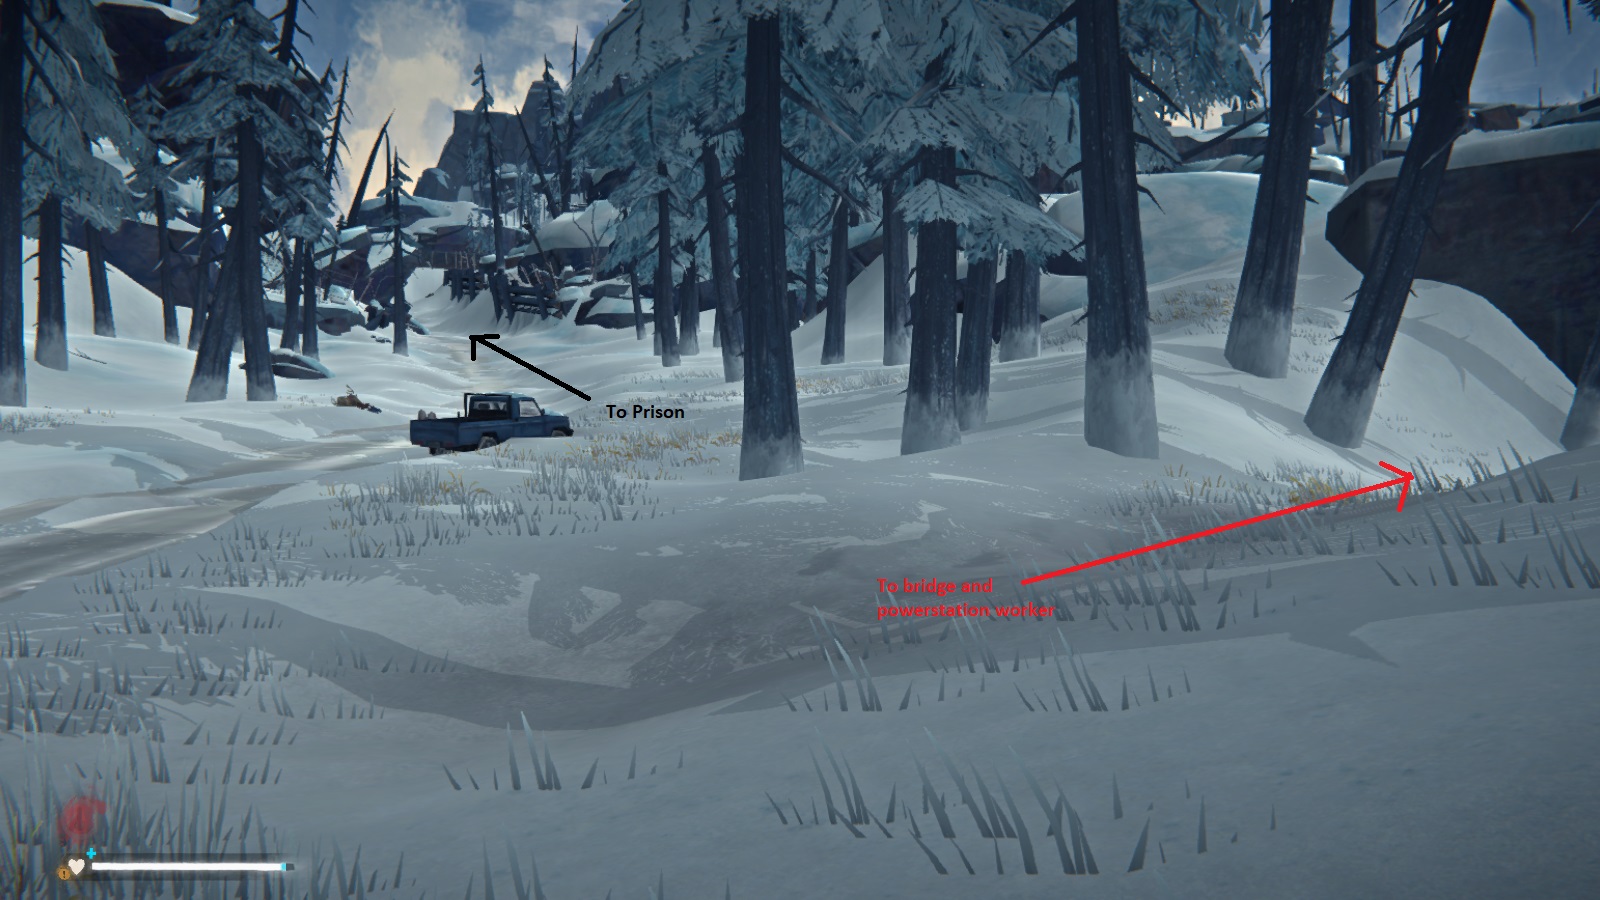
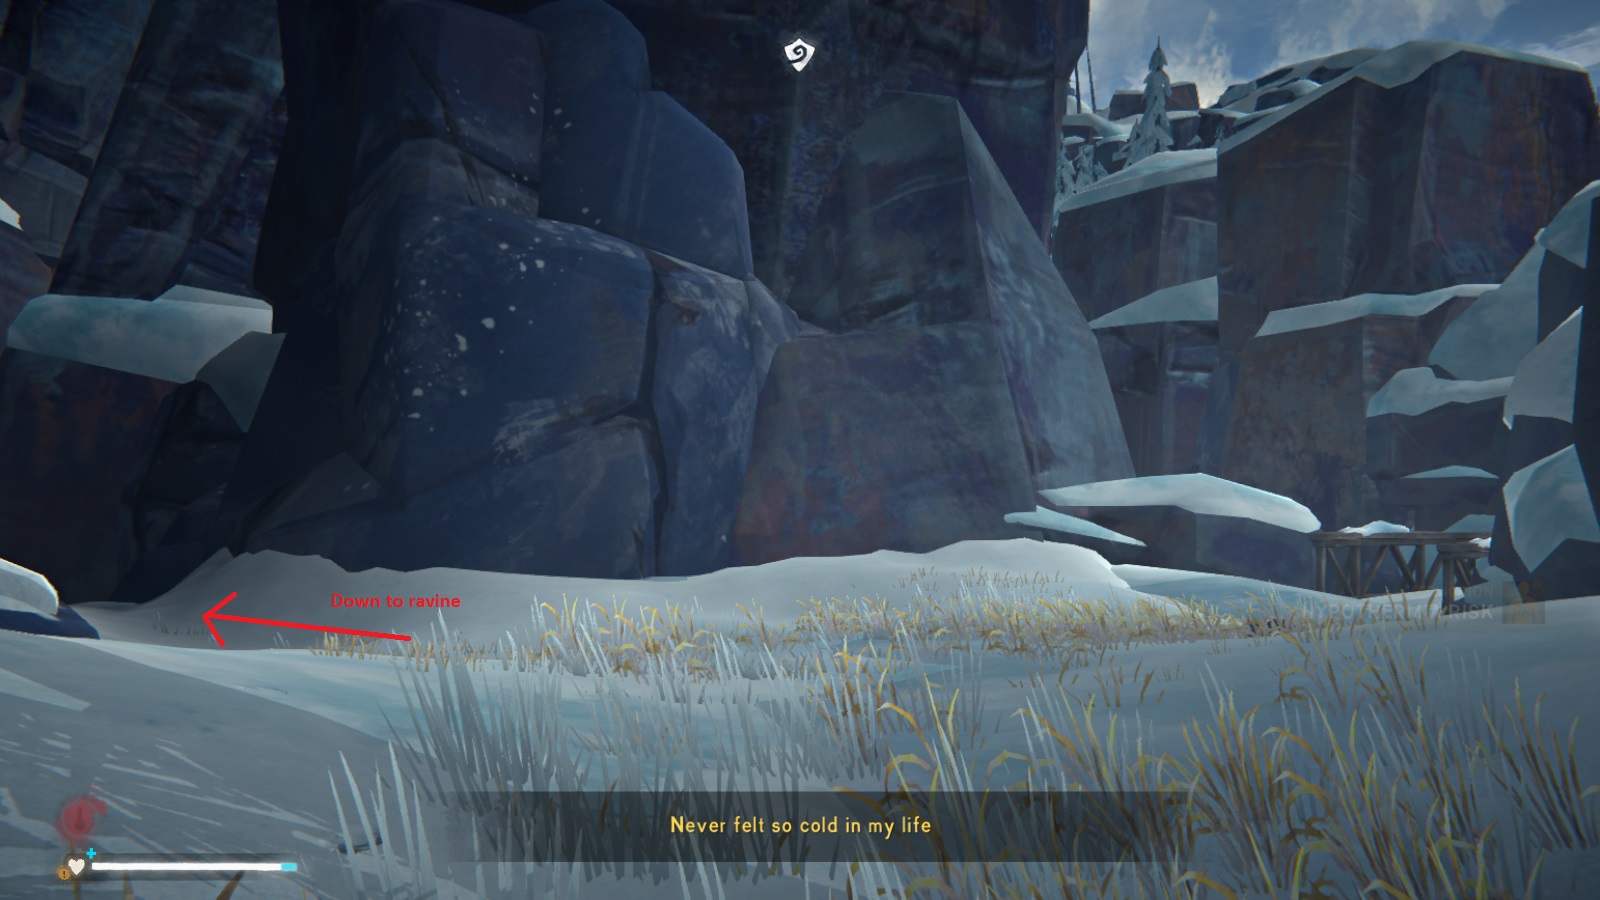 After you climb down and walk into the ravine itself, you'll see a mini-waterfall behind you. Turn around and go up the waterfall; there's a small footpath on the left.
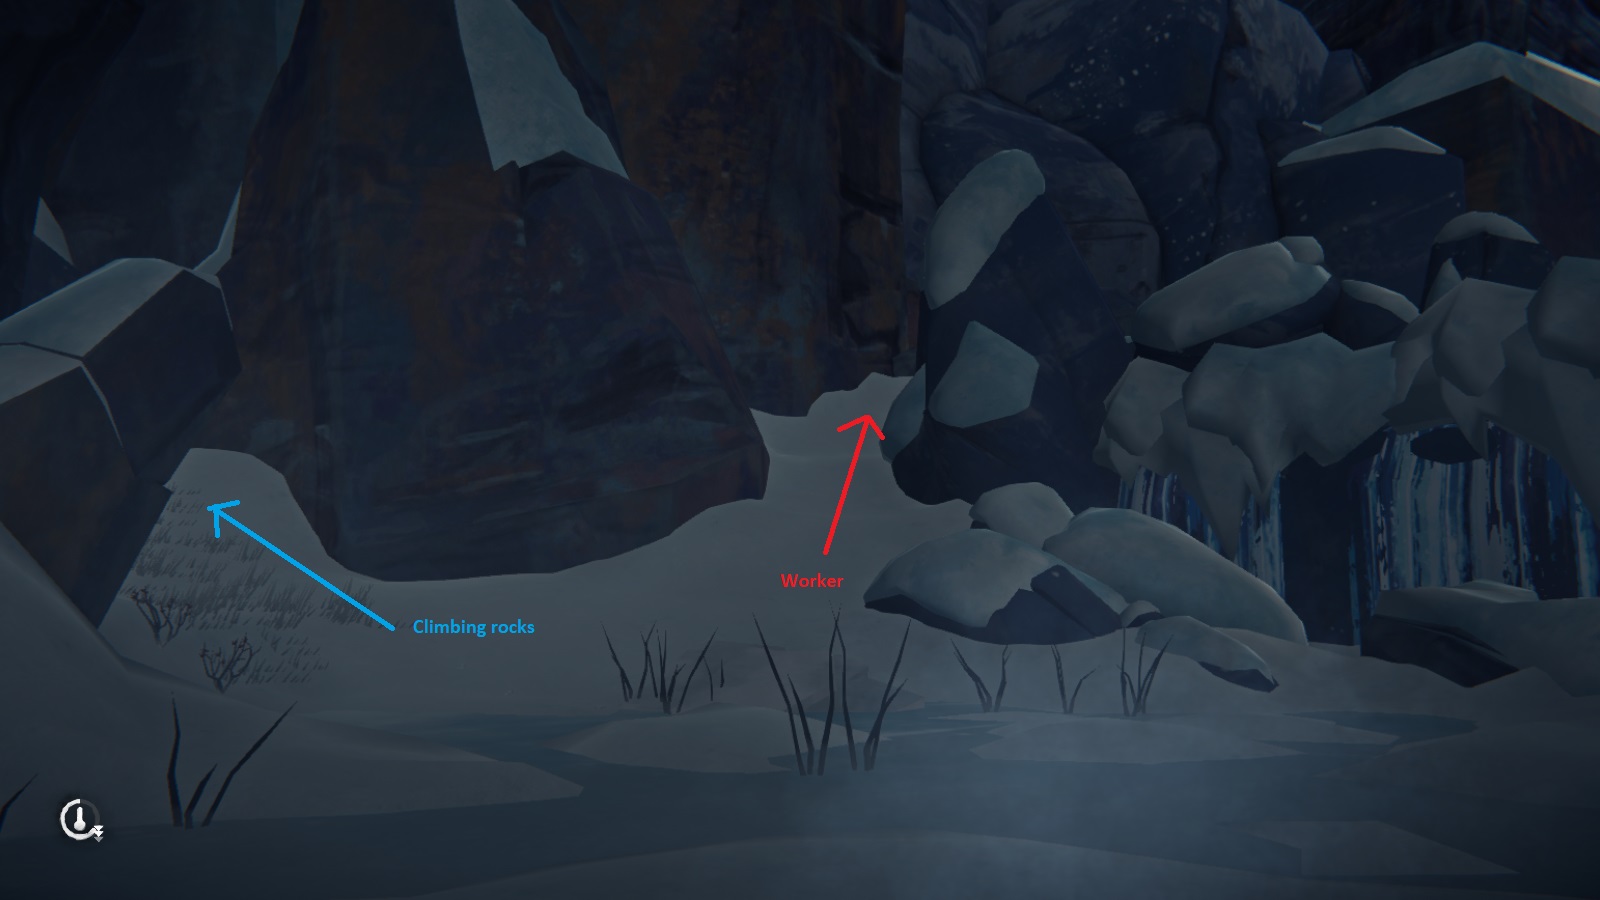 Keep walking down the ravine and eventually you'll come across a backpack and, a few more feet away, the missing worker. Be sure to search the worker's body to complete part one of the quest.
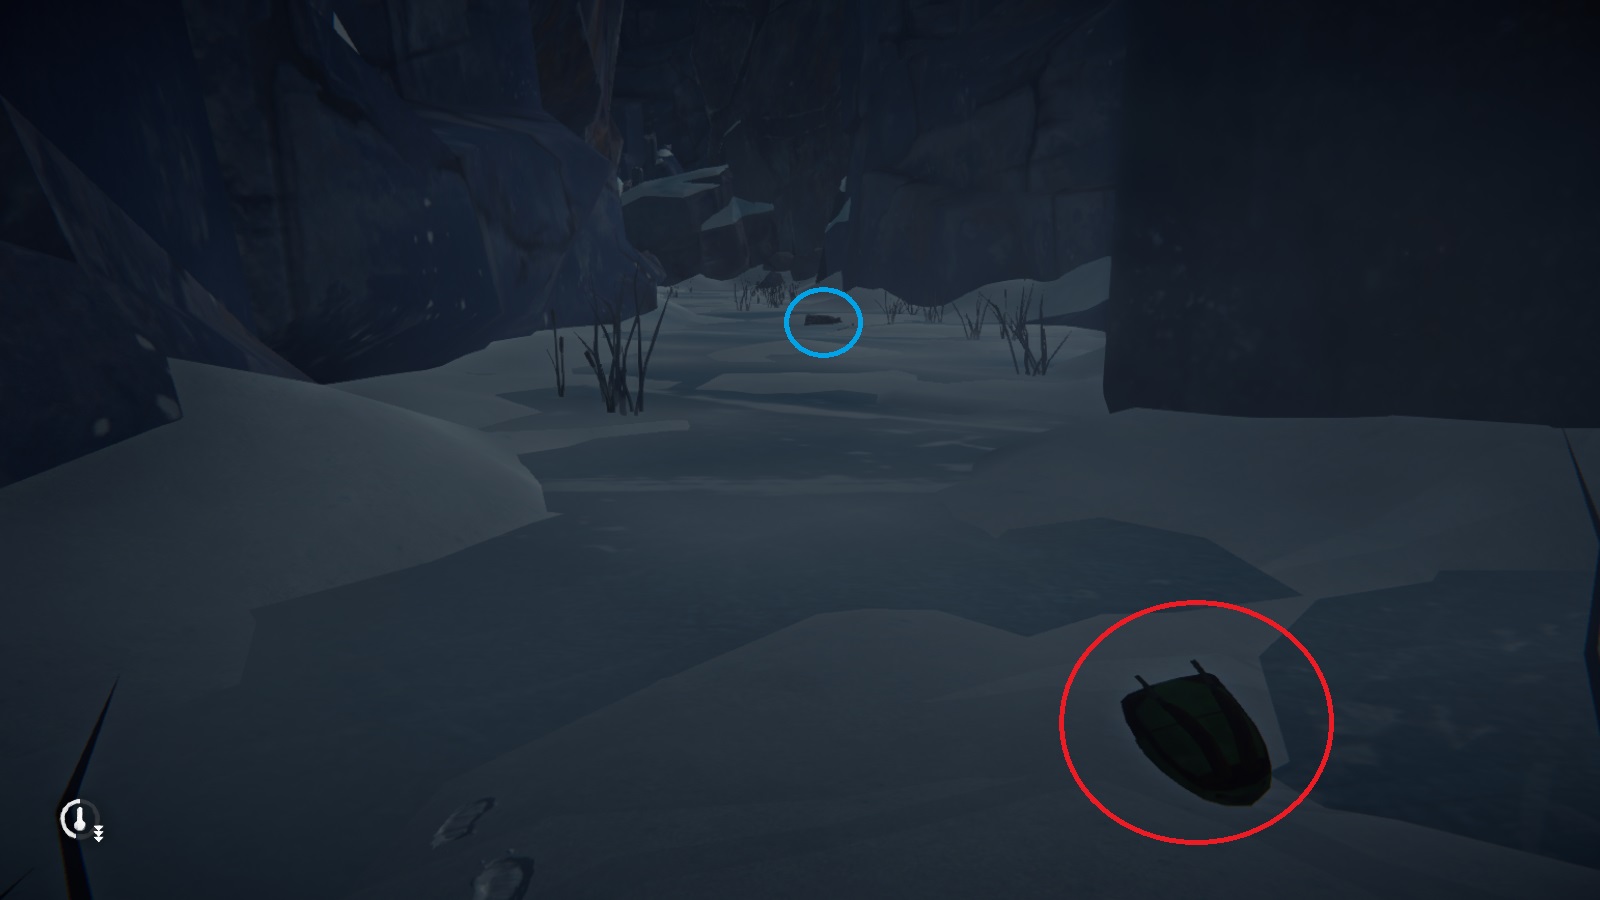 Now on to worker #2. Now the map doesn't show us a person icon like before, but that's why I'm here. To find this worker, you need to be in at least Chapter 2. This will repair the bridge to the trailer which, spoiler, is where the worker is located.
Now getting to the trailer is a trek, but pretty straightforward. You'll follow the same path that takes you to the power plant (see Chapter 2 for more details), but instead of turning left when you reach the road from the climbing area, you'll turn right. Just follow the road and the trailer will come into view on the left. Head inside and you'll be greeted by this shocking sight:
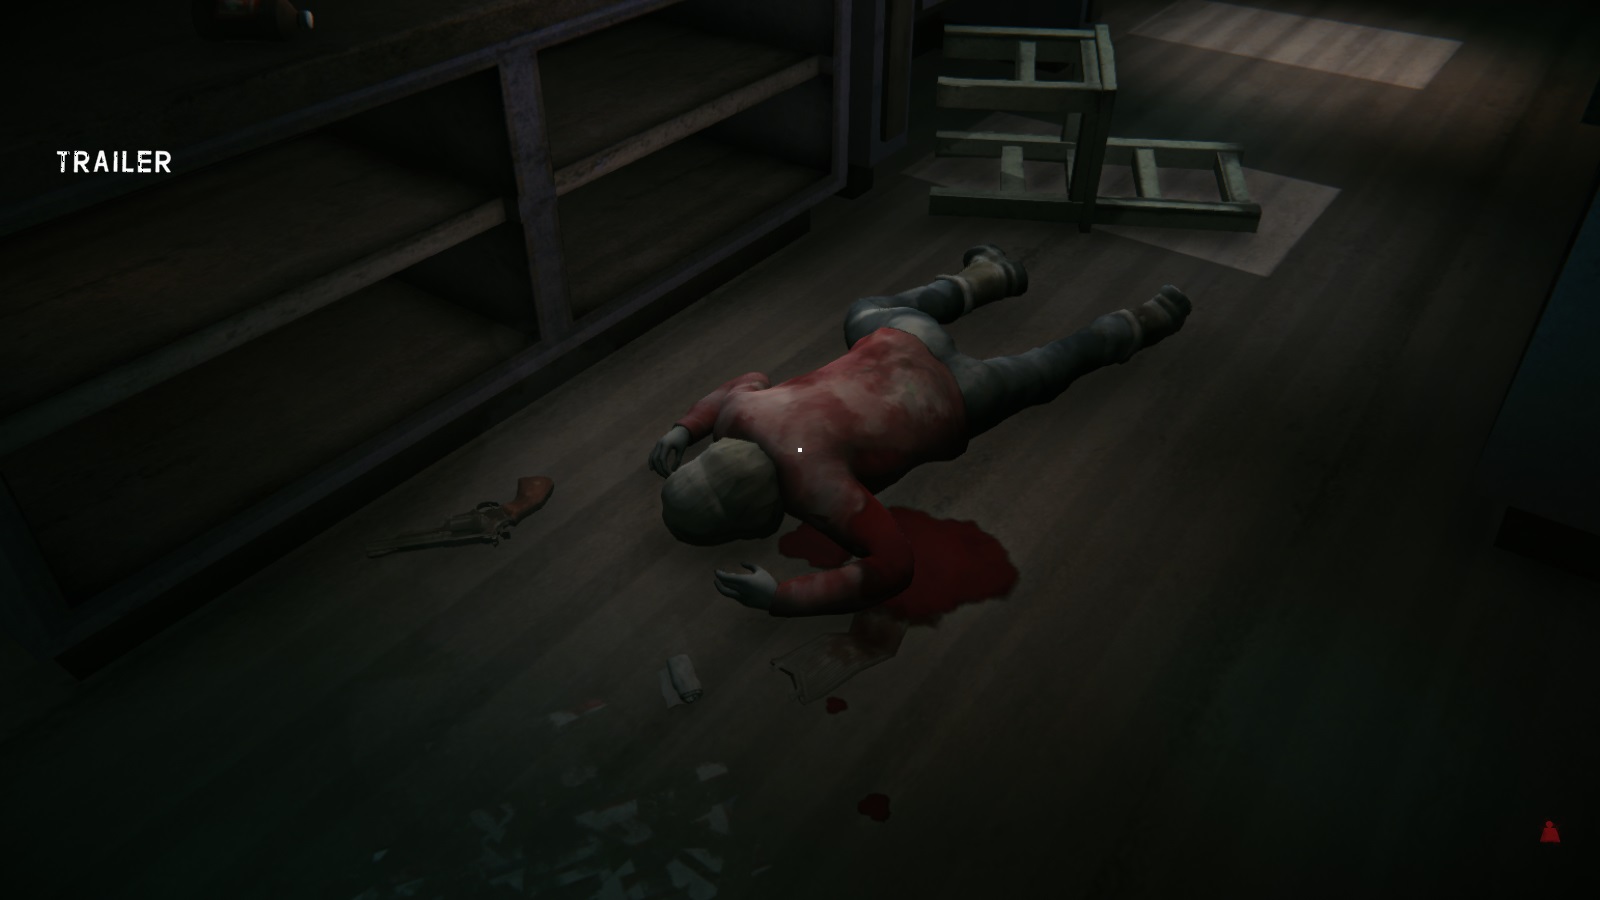 ....there are a couple of possible explanations for this, but neither are good. Anyways, search the body for another ID badge and the mission will be complete.
Sidequest: Forest Talker Mine Supply Cache
To trigger this one, examine the locked door under the stairs in the abandoned mine.
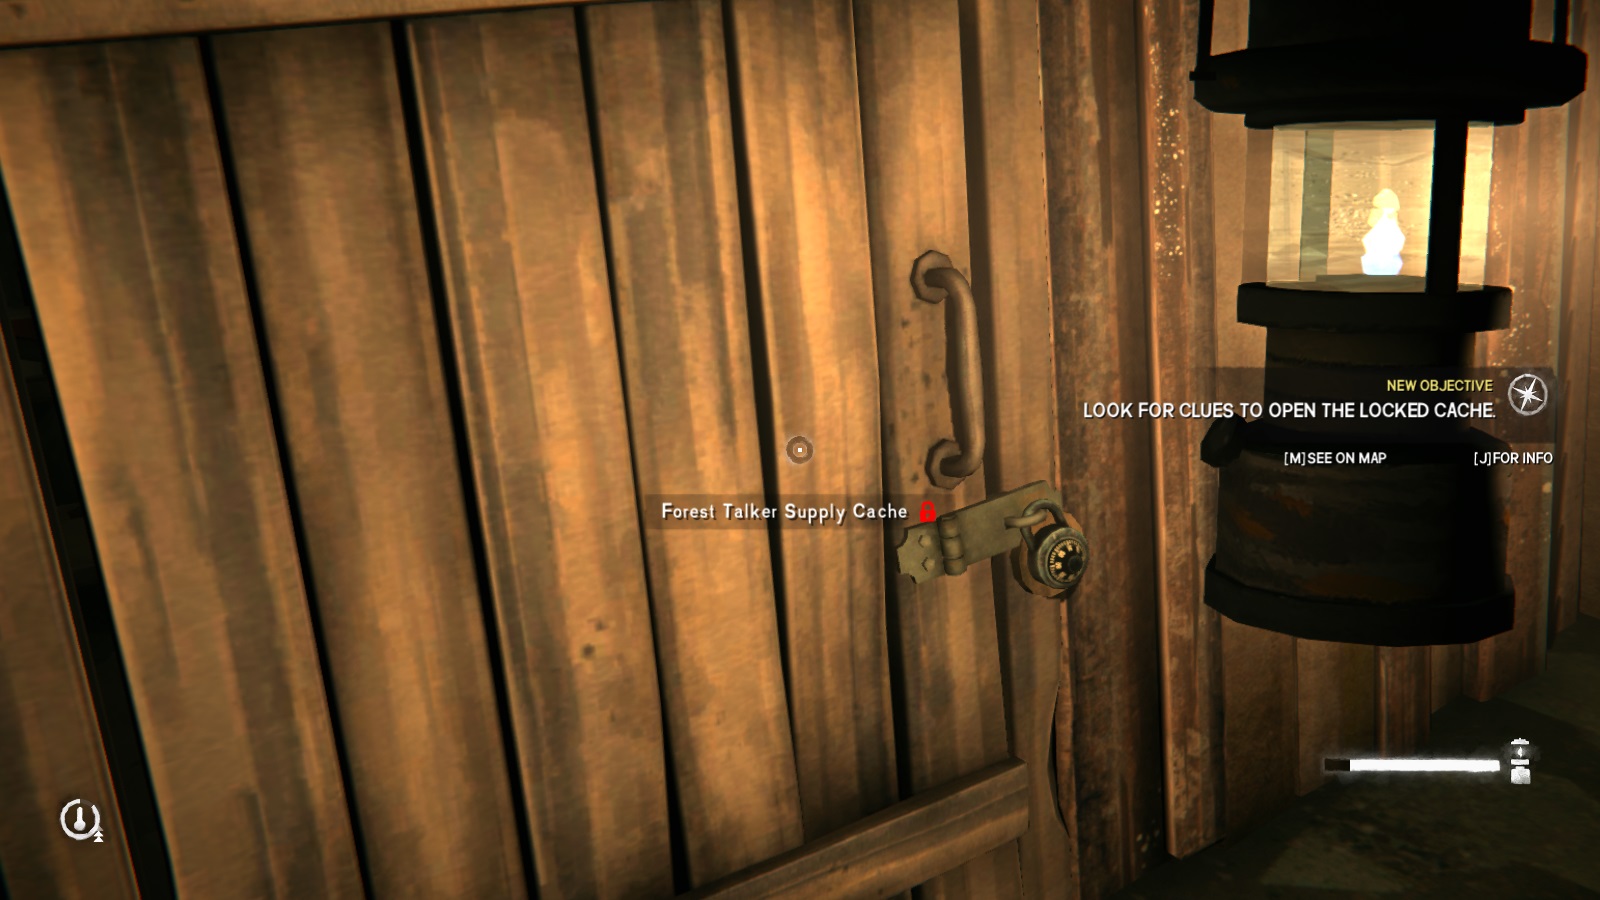
So this is a three-digit combination lock, like the safes in-game. While the code is always the same, you have to find all three clues to even access the padlock. The first clue, which is oddly the last number in the combination, is found right next to the elevator crank.
The second clue is split into two parts. The first involves finding the note on the dead body next to the grate and lever that you come across during Chapter 3.
Reading it will tell you that you need to get to the second floor and find an X. Well, the X is right next to the dead body and toolbox that has the bolt cutters.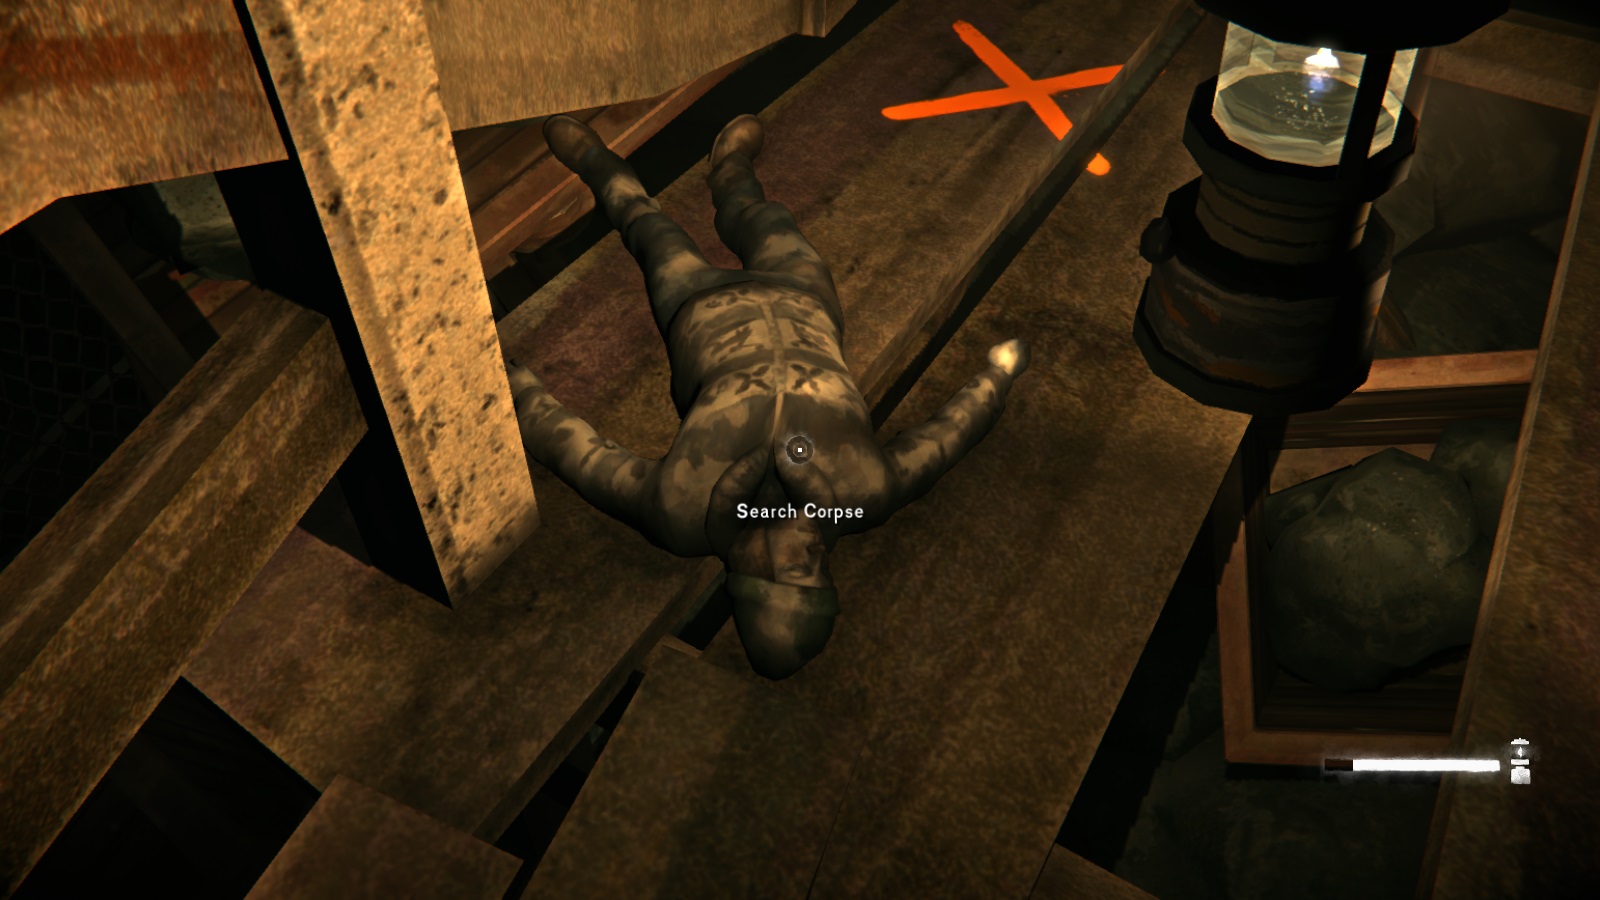 Approaching it causes Will to automatically start focusing on a flickering light in the distance. There's not some hidden writing, but pay attention to how many times the light flashes.
The last clue is a pain in the butt. To get it, head down the mining pit on floor 2, circled below. At the bottom, you'll find a dead body. Search him for the final Forest Talker note.
Approaching it causes Will to automatically start focusing on a flickering light in the distance. There's not some hidden writing, but pay attention to how many times the light flashes.
The last clue is a pain in the butt. To get it, head down the mining pit on floor 2, circled below. At the bottom, you'll find a dead body. Search him for the final Forest Talker note.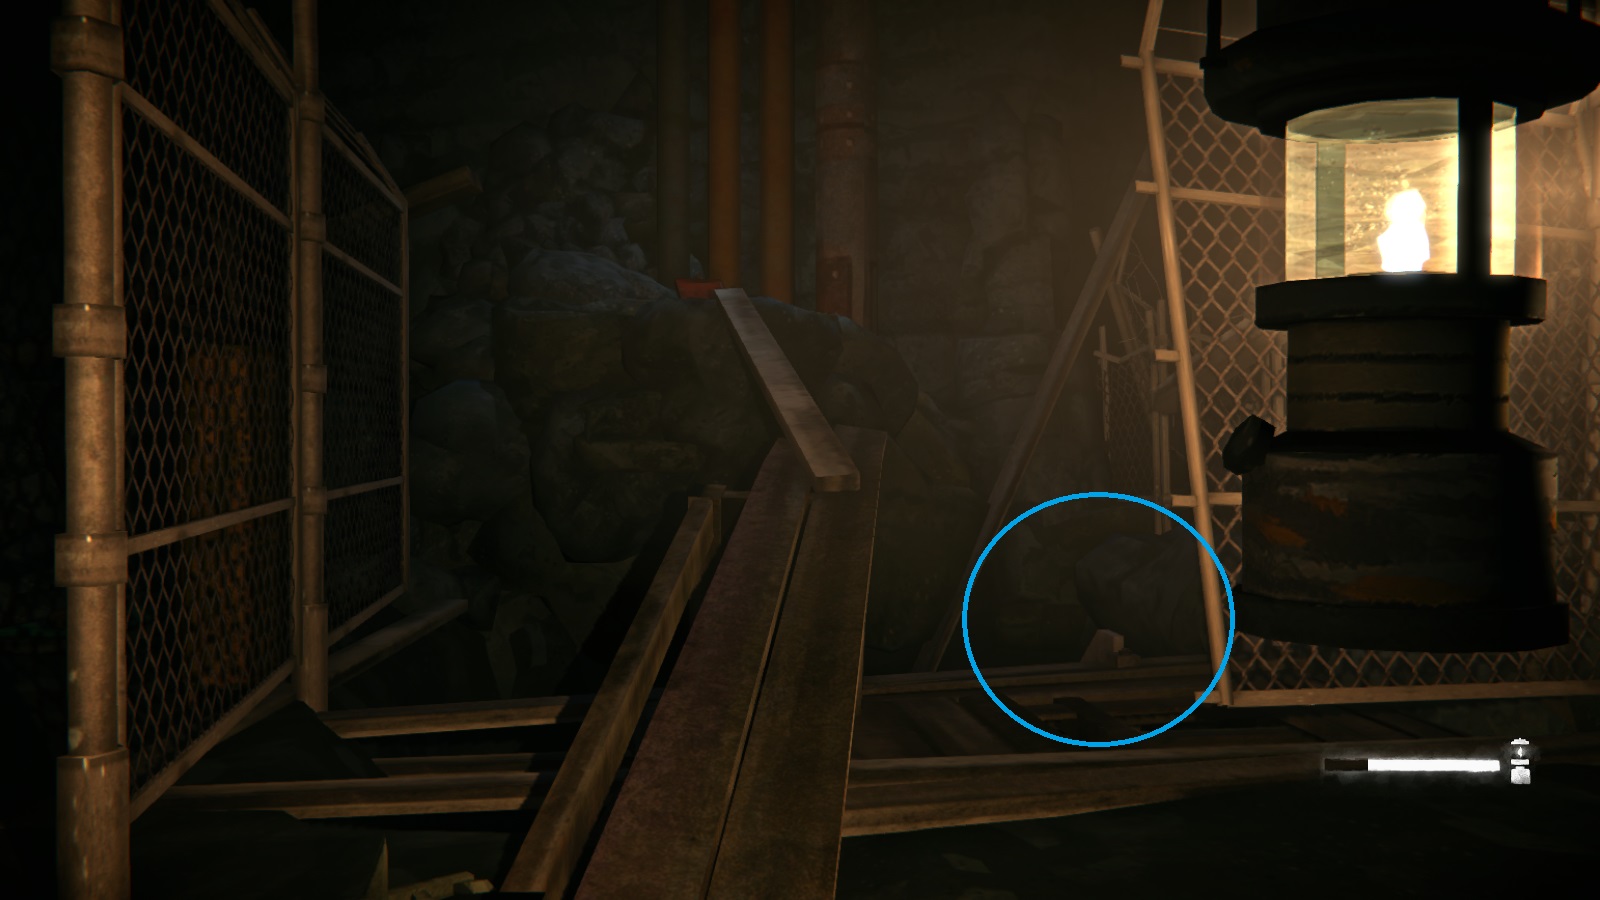
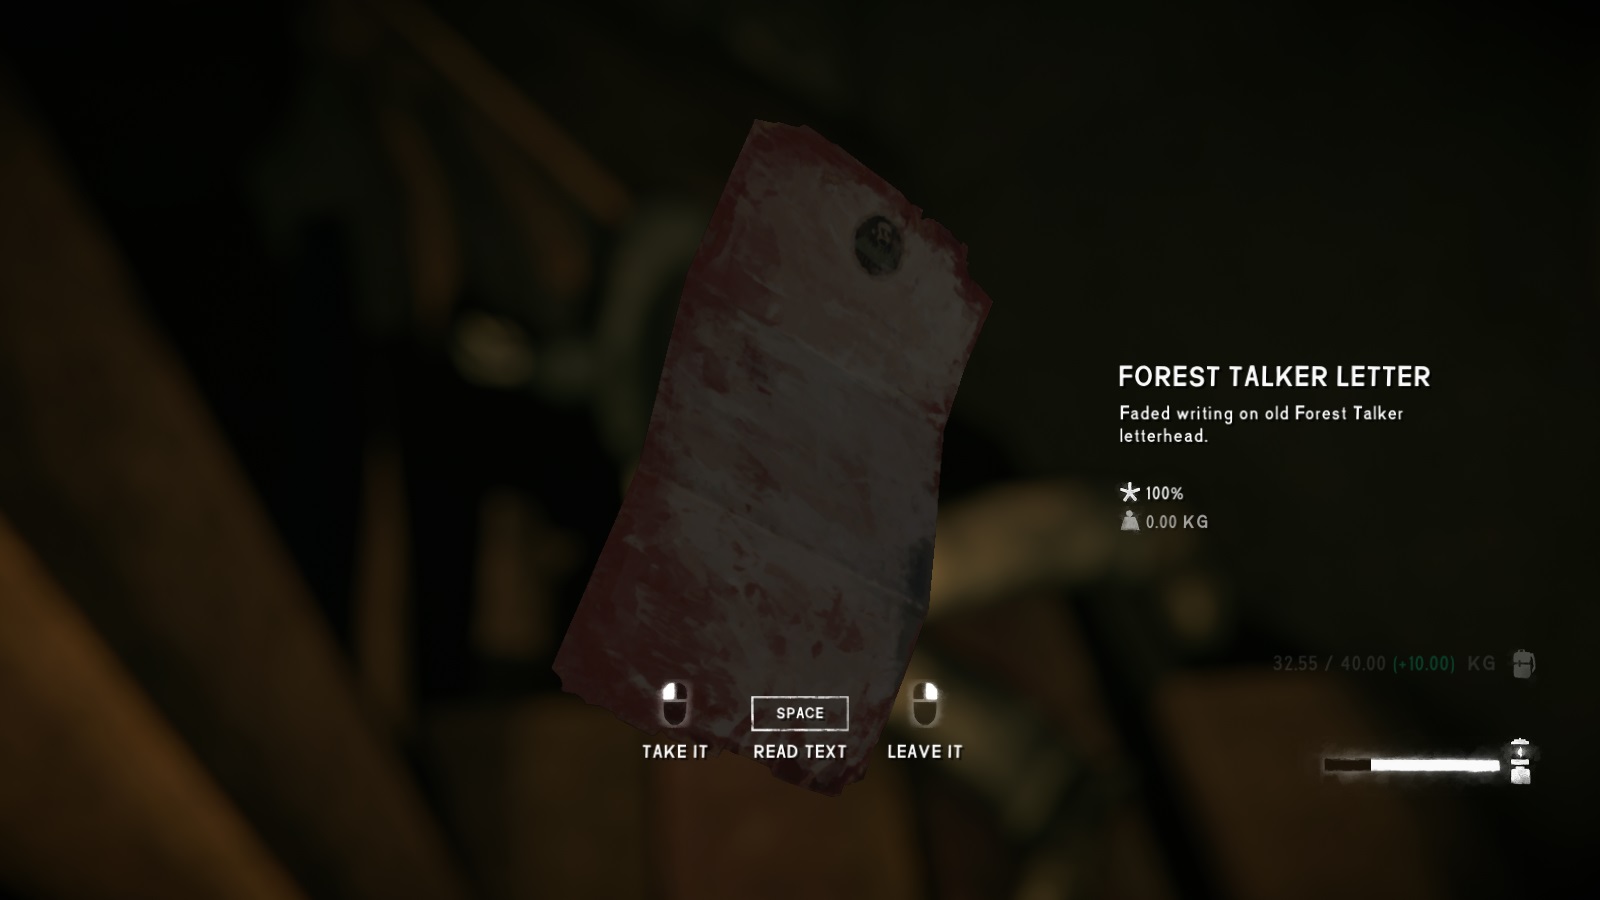 The annoying part is that the note doesn't actually tell you the number. No, instead you're supposed to have paid attention to the signs all through the mine and noted which letters have been crossed out, like so.
 Then you have to (presumably) unscramble the letters into a number. Ridiculous.
Now, I have not seen a single person actually figure out the puzzle this way. Instead, they use the usual method of opening combination locks in the game and just slowly move the dial until the lock opens. Anyways, head back to the wooden door and input the code: 12-7-18
Walk inside to complete the sidequest. There's a fair amount of canned food and some gunpowder, but the main prize is the combat boots. There's also a rifle and and ammunition, which is good if you used most of yours getting rid of timberwolves. Plus a few noisemakers.
Episode Five: The Light at the End of All Things
Will they finally uncover the mystery of the Aurora, and what it means for the world?
4/12: Just started playing Episode 5. I thank you for your patience while I play through the game. Updates will come as I complete each chapter of this episode.
7/11: I apologize for how long it's taken. Got a new computer and took a bit longer than expected to get set up. Work is also kicking my butt so progress is going to be slow.
Chapter 1: Perserverance
So it’s time for the finale. A rather intriguing cutscene that sheds a bit more light on what Astrid’s been hiding since Episode 1. But onwards to actual gameplay, so let’s start by going to this bar that’s near the doctor’s clinic.
Just kidding! Before you leave for the bar, first turn around and head straight back into Jane’s house. The game has rather rudely failed to save any of your stuff from the last time we played as Astrid, so you’ve only got the bare minimum. But we can go into Jane’s house and “borrow” some things, specifically extra clothes and basic medical supplies from the guest bedroom and bathroom that Astrid woke up in at the start of the chapter. You could also raid the rest of the house (Jane is sitting with Freya and won’t come out of the child’s bedroom), but that made me feel a bit sleazy, so I didn’t personally.
Anyways, back to the story. As mentioned before, you’ll want to head towards the bar that’s on the way to Dr. Larsen’s clinic. It’s this building here: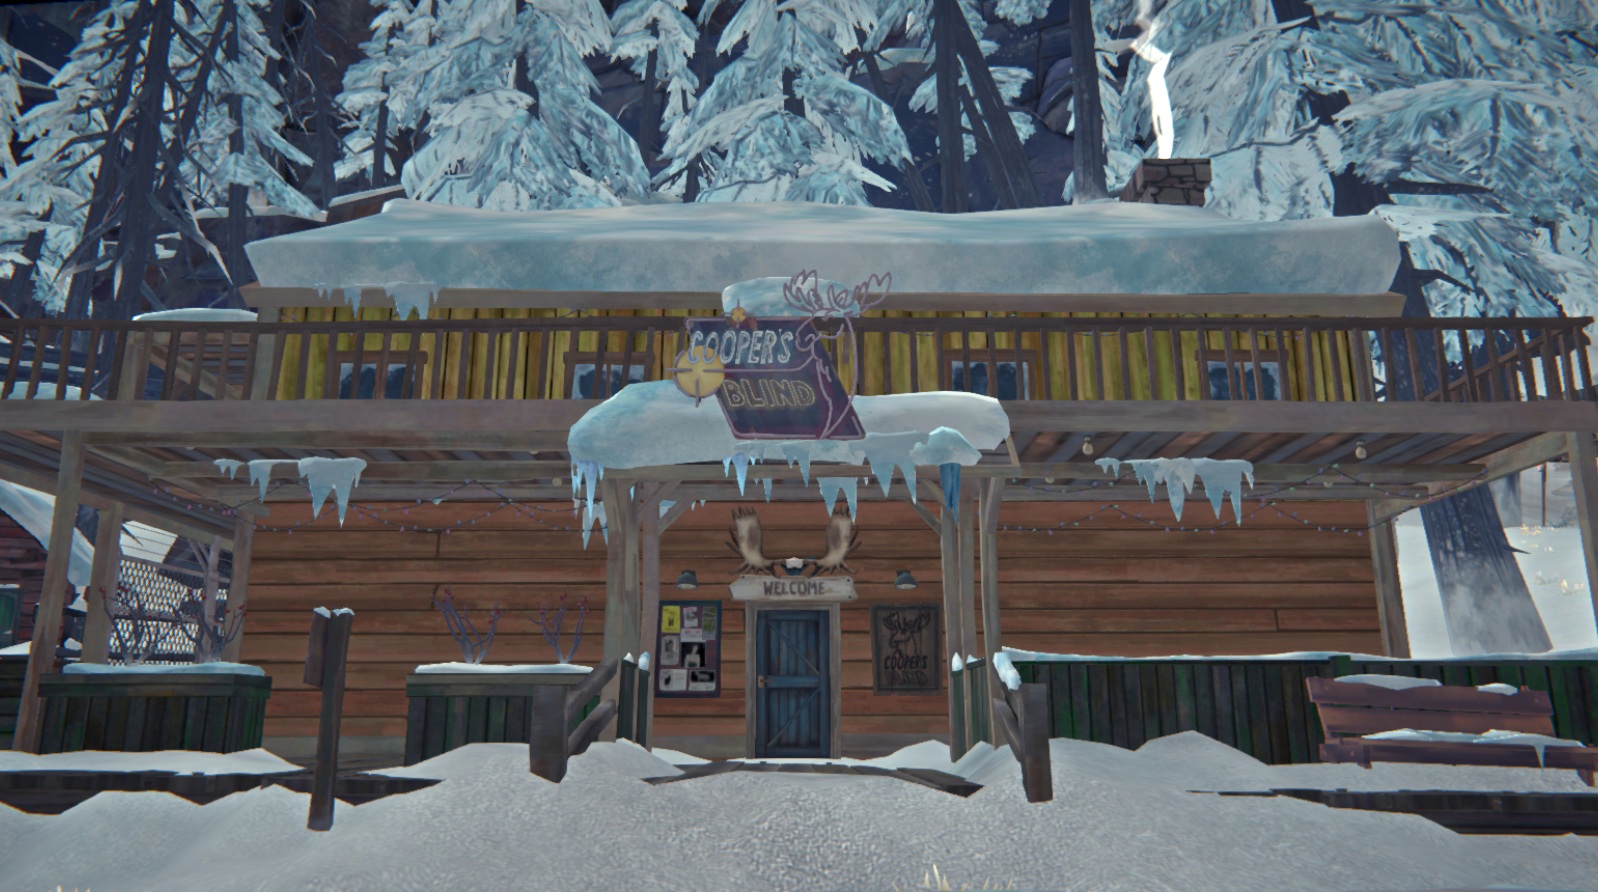 The path is a straight shot down the road so you shouldn’t get too lost. You can also take some time to raid the abandoned houses in town, but note that most of them seem to have people still living inside and will have a locked symbol when you try to open the door.
Once you enter the bar, you’ll hear some chatter from the patrons currently inside. Pause to take a listen if you’d like (they stop after about 5 lines of dialogue), and then walk up to the bartender for a cutscene.
And that gave us the key to Dr. Larsen’s clinic, and a couple more objectives to check out. Thankfully, they’re all on the main road we’ve been going down so just leave the bar and keep going down the road. And you can stick around the bar to eavesdrop on the patrons some more if you want. Not super relevant, but I like flavor text.
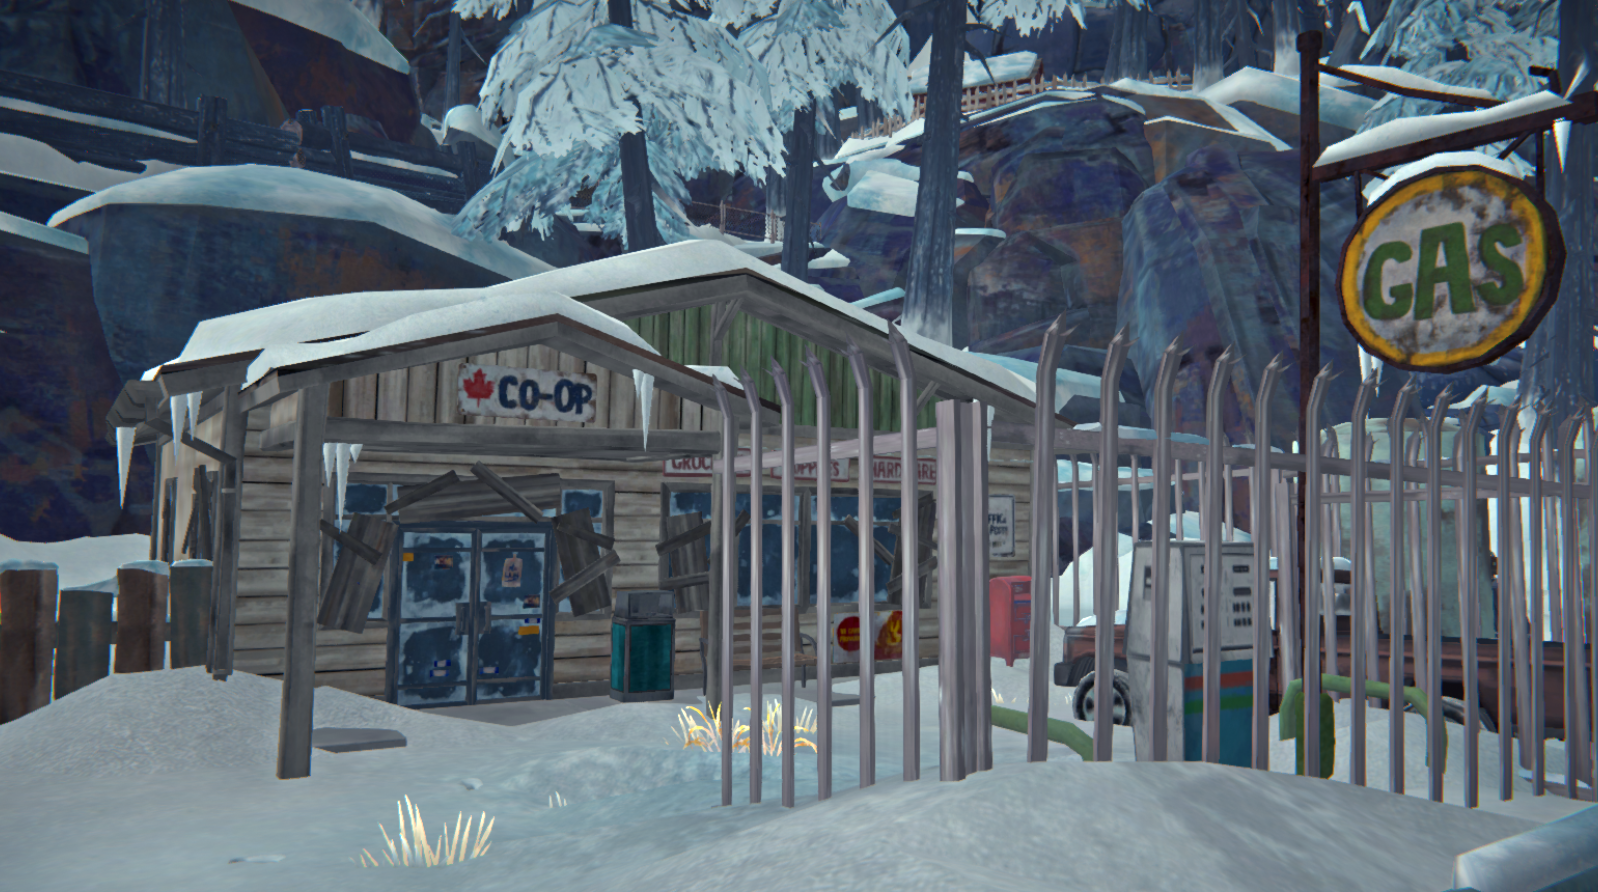 When you enter, a pop-up will inform you to look for clues. What you want is the handwritten prescription note found on the shelf next to the safe (forgive the lack of note in the picture. I didn’t know what I was looking for until I’d already picked it up).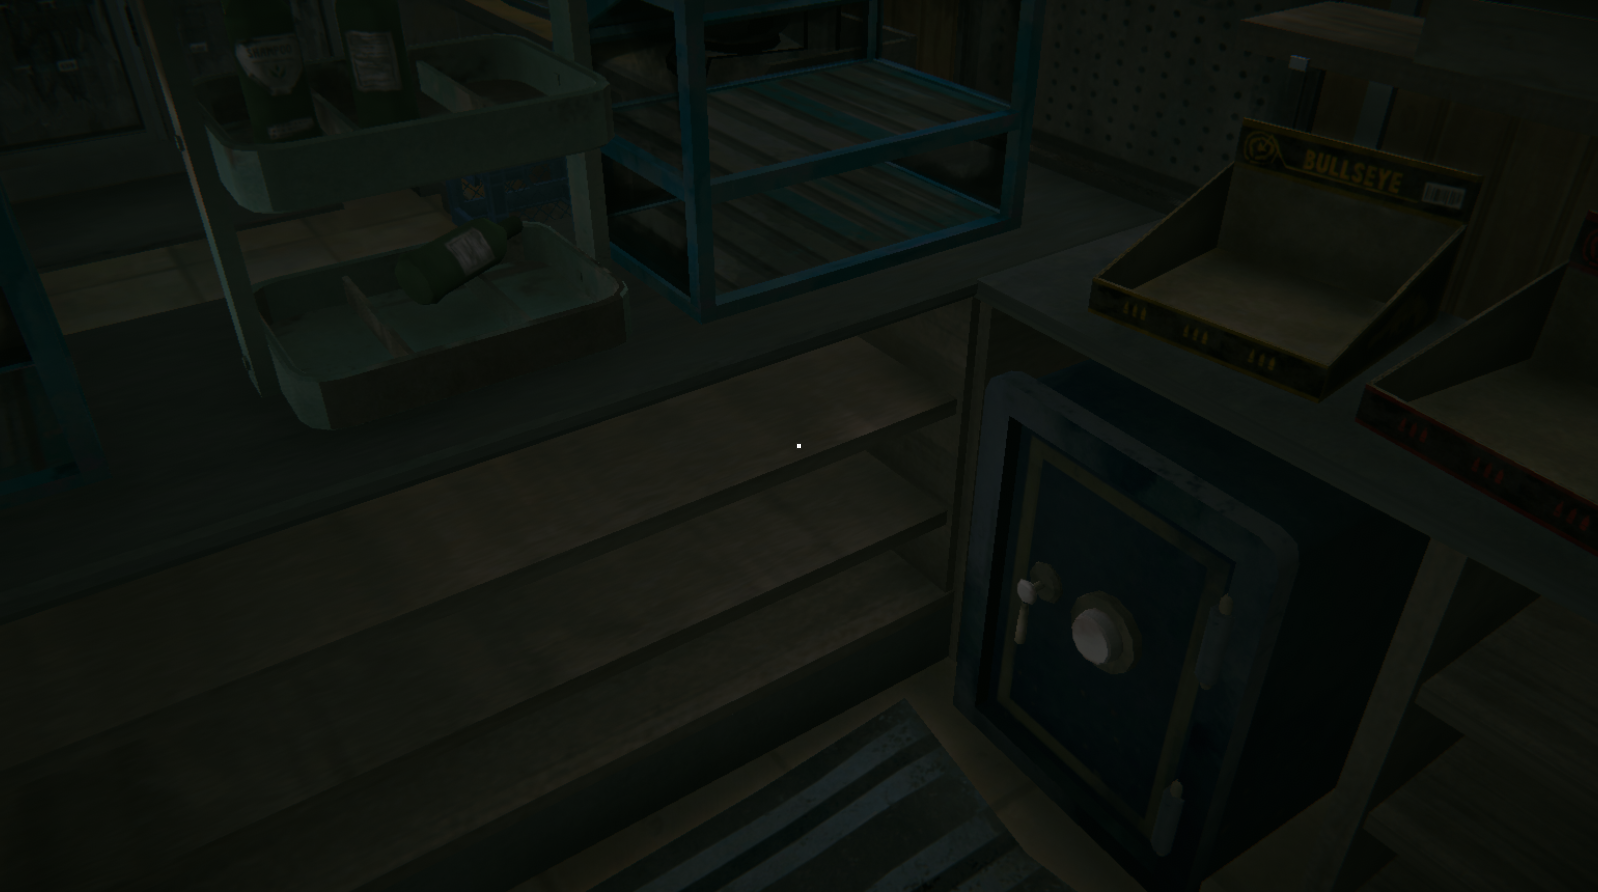
From there, you’re done with the Co-Op. You can search it for loot, but there’s not much besides some newspapers for tinder so I didn’t bother. Onto the next place! The clinic is up next, and I’m going to be lazy and not include a picture since it has the words “Medical Clinic” written on a sign out front. It is going to be on your right though, if that helps. Heading inside, we again have to find clues. There are two that I’m certain of, and one that might not be, but I picked it up before getting the all clear on the HUD so I’ll include it. The first is a clipboard near the computer with Dr. Larsen’s medical notes. The potential second is a locked door in the doctor’s office, which has a note pinned to it. The note says that the constable has the spare key to this locked room so keep that in mind for later. And the third clue can be found in the top-left drawer of the doctor’s filing cabinet.
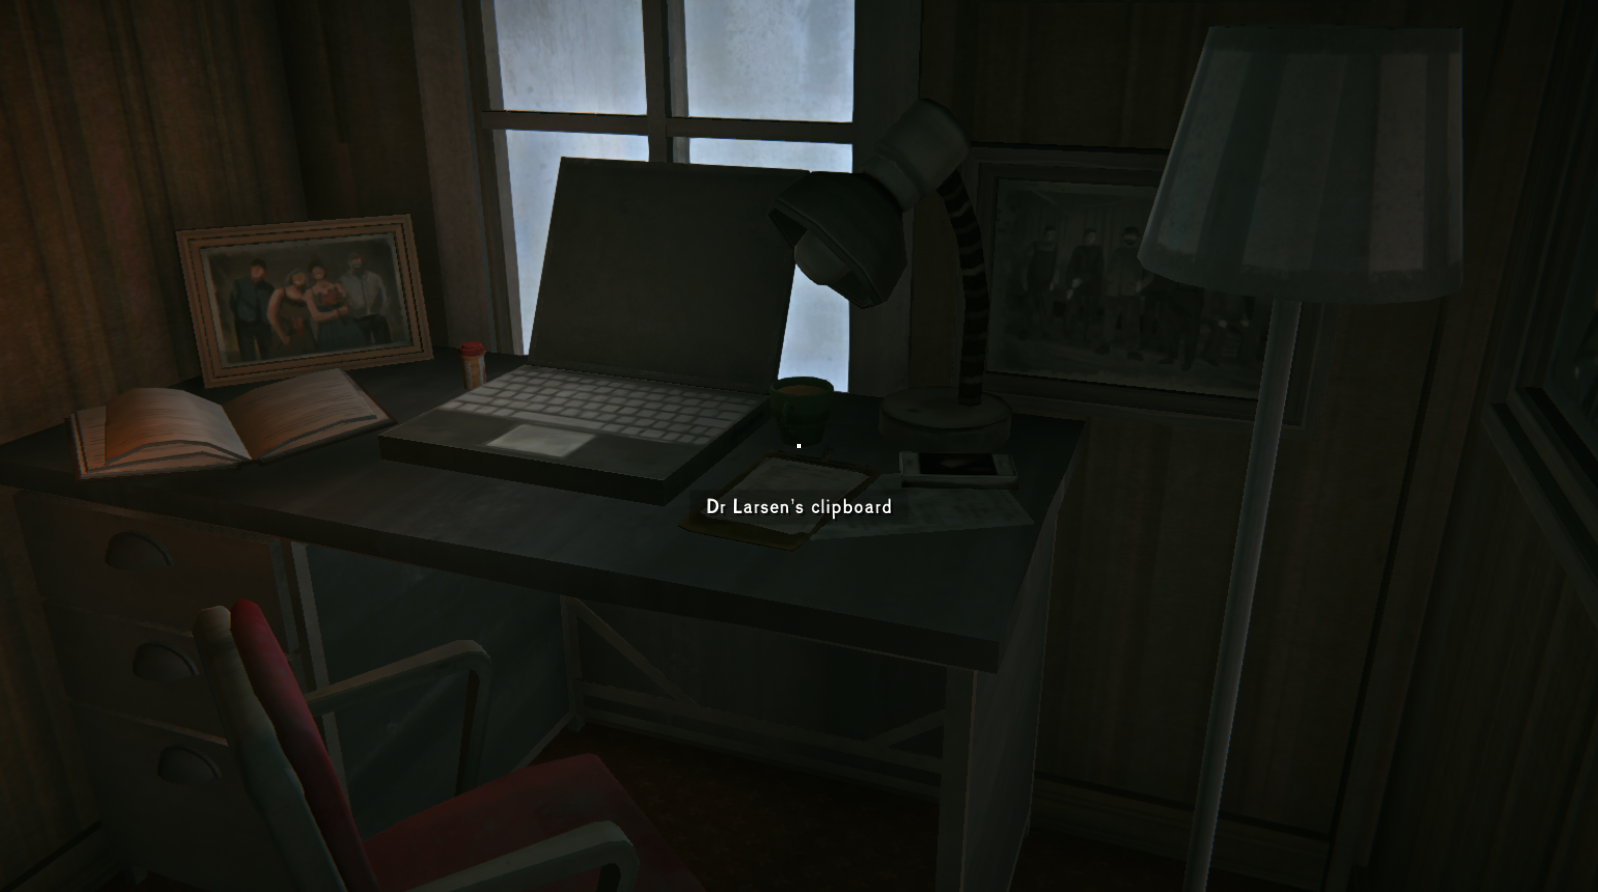
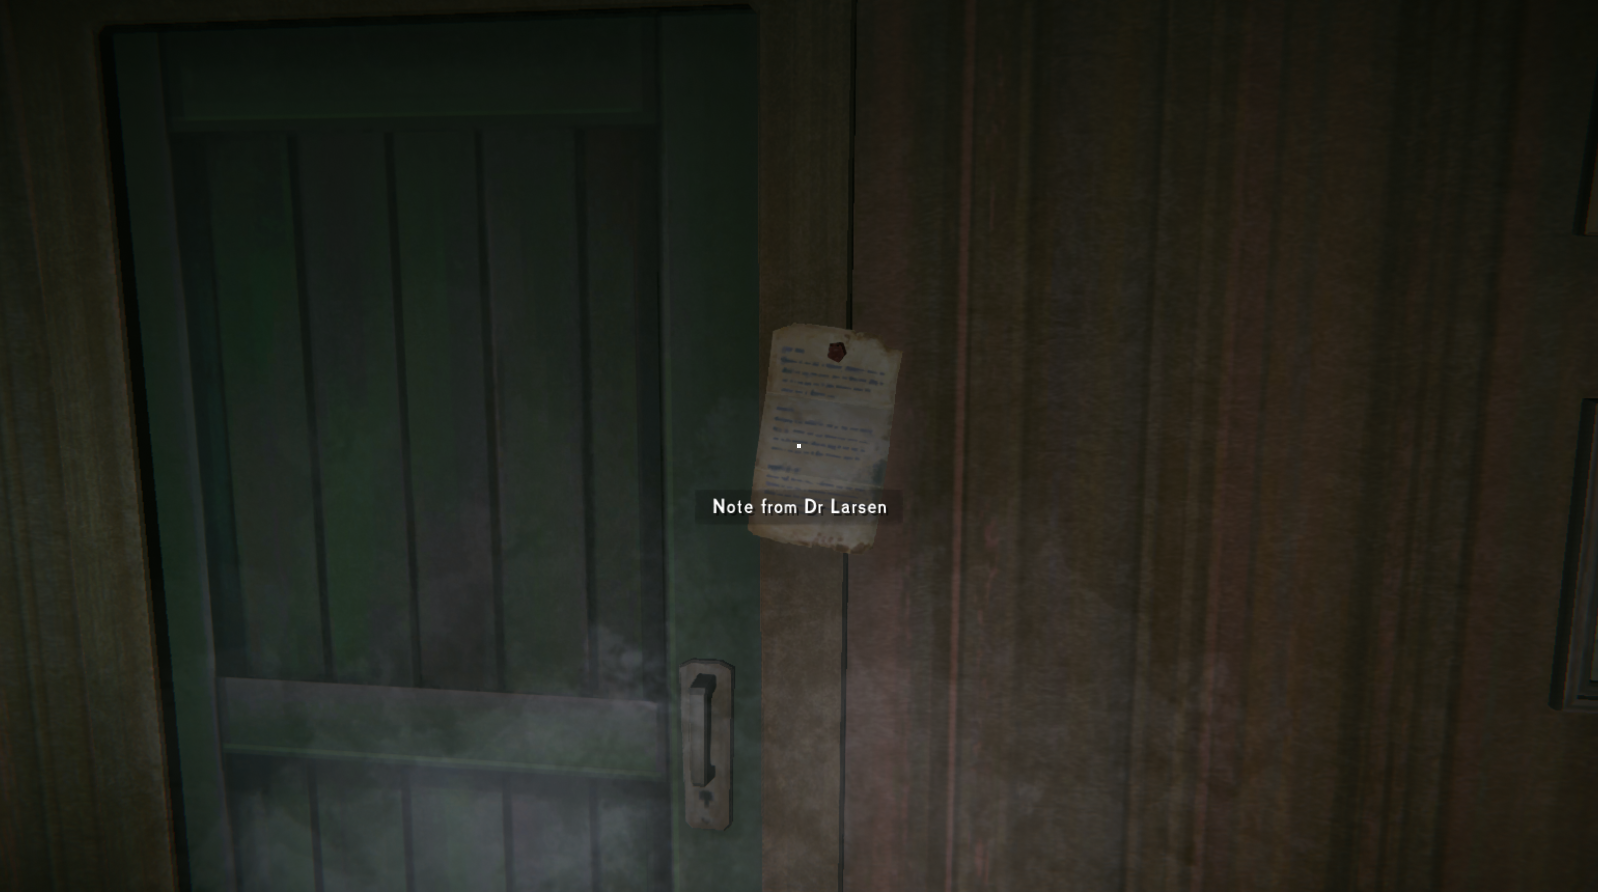
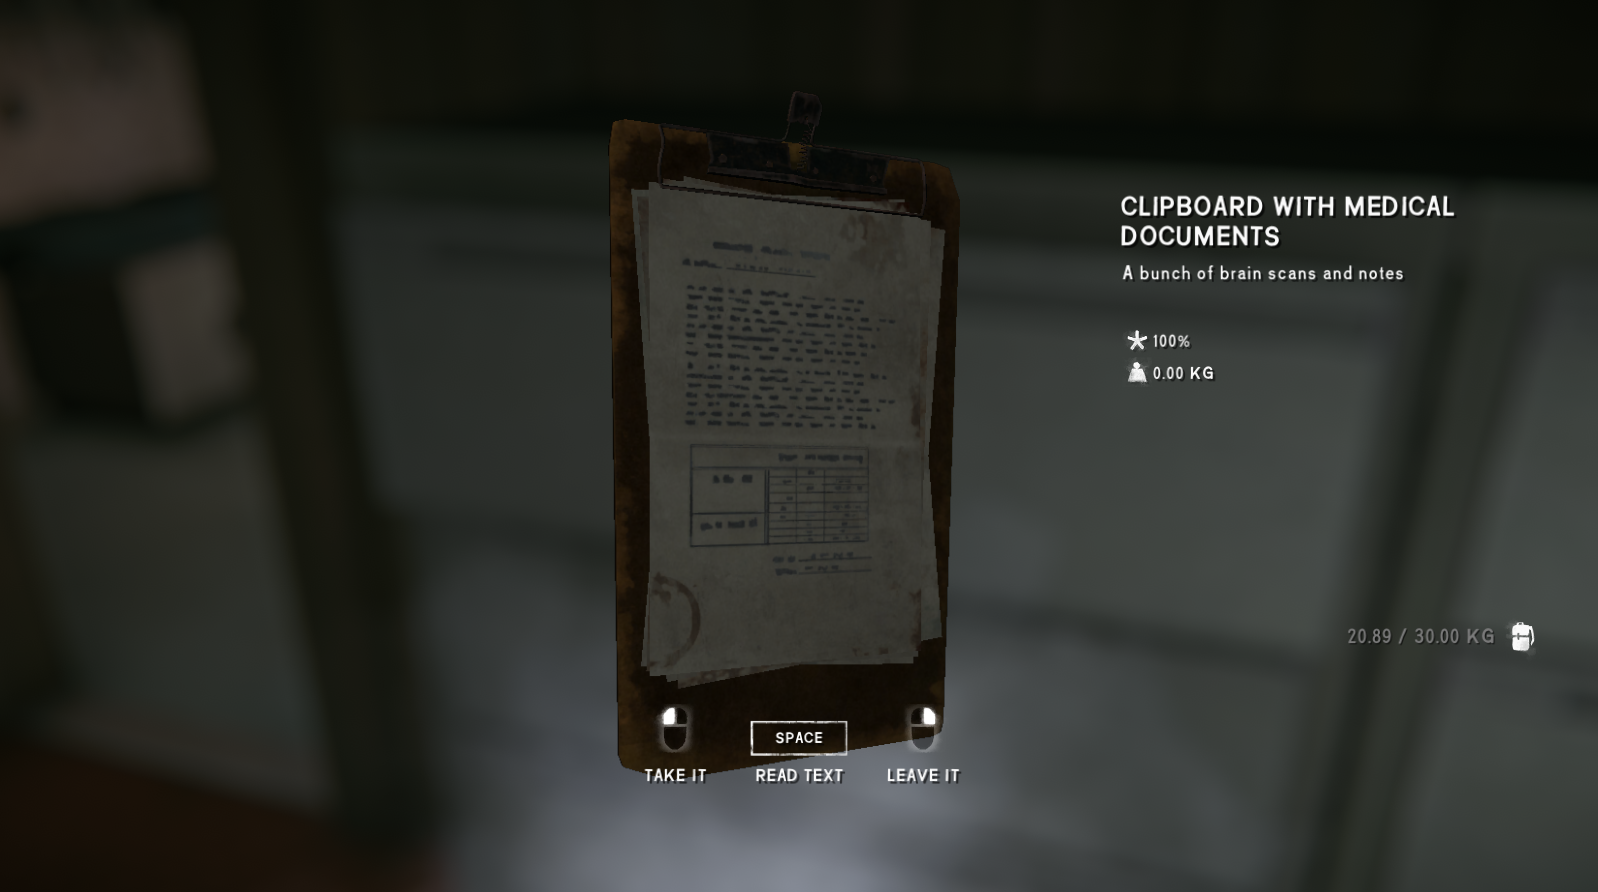 Alright, two down, two more places to go. Our next stop is this building with a rather large Canadian flag out front.
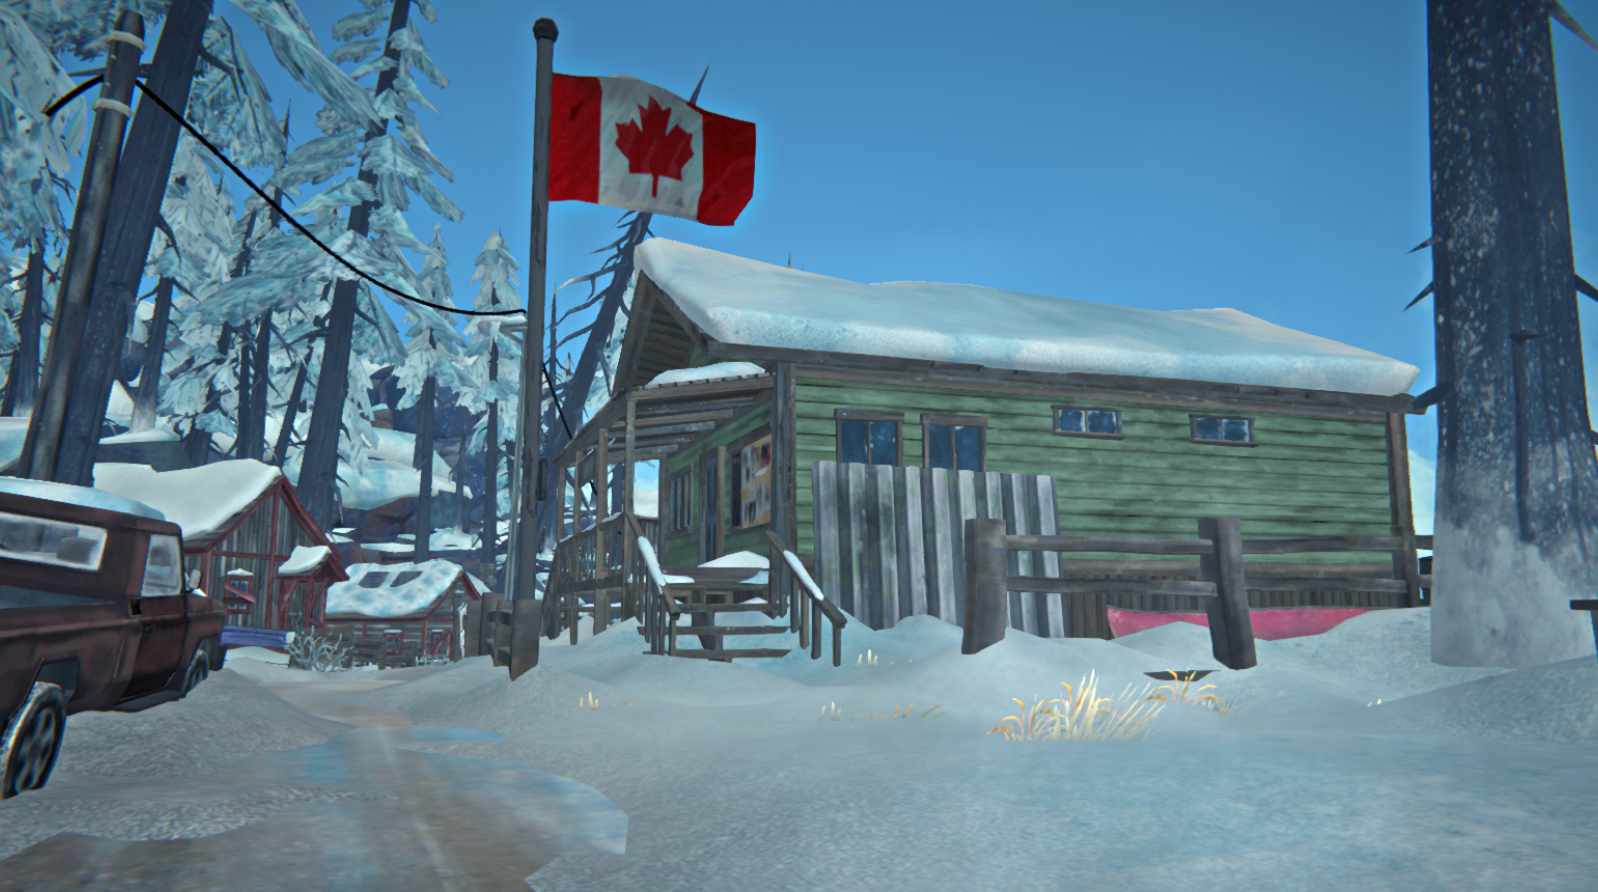 The sign in front confirms that it’s the police station, so head inside for yet another “find the clues” objective. There are three clues in here, and one bonus item that you’ll definitely want to pick up. Clue #1 is a note found at the entrance of the station, looking at the floor as soon as you walk in. Clue #2 can be found on the constable’s desk. And clue #3 is on the dresser in the “bedroom area” of the station, along with a key. This will get you into that locked room from the clinic.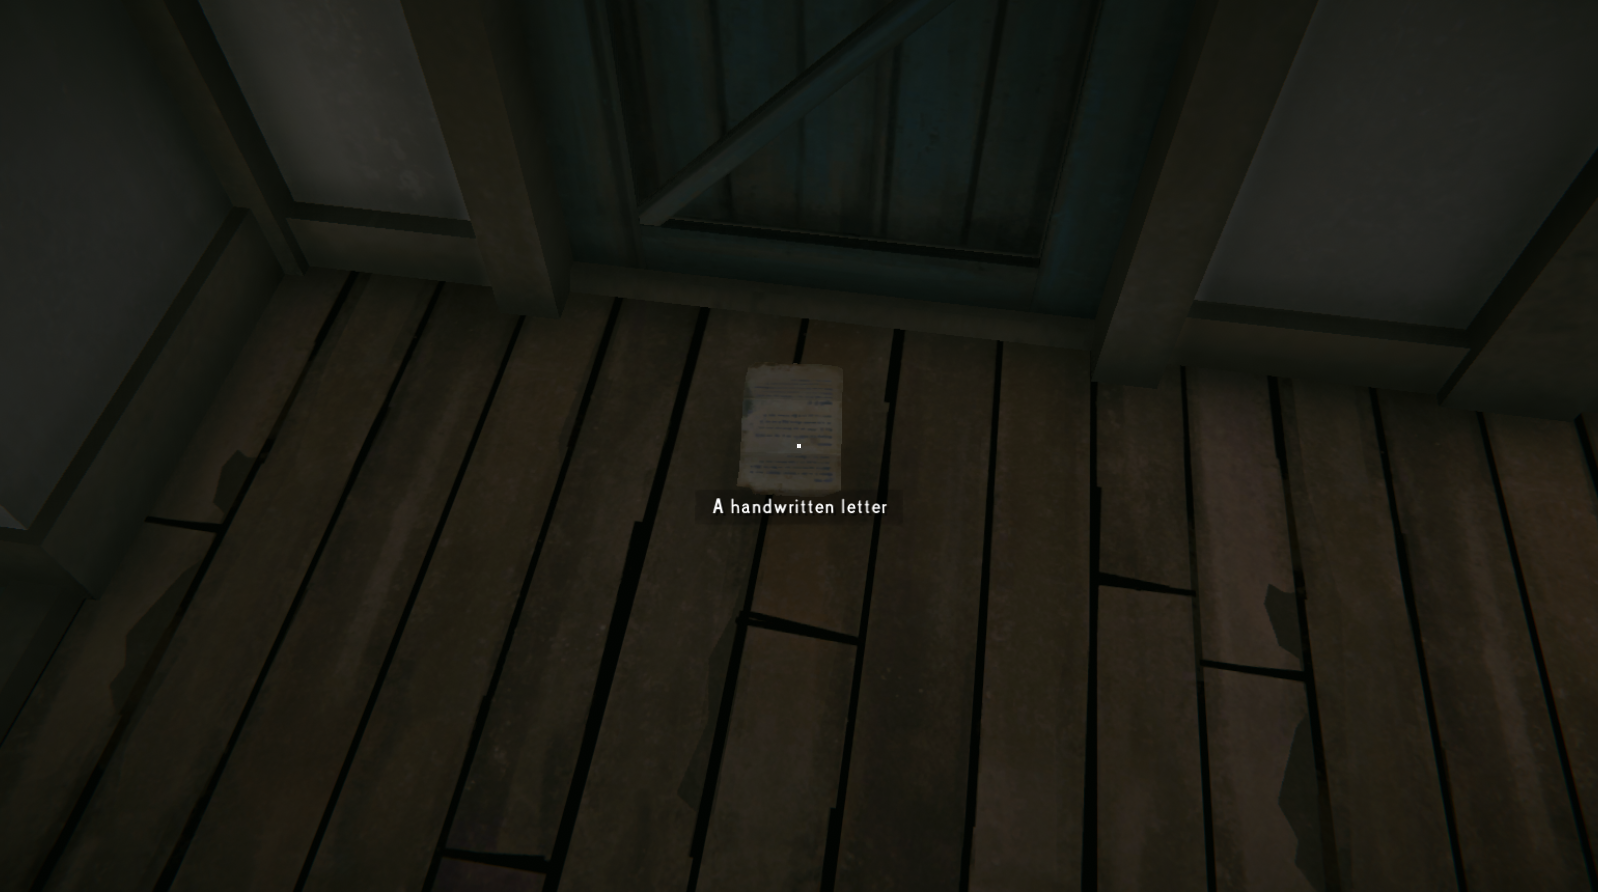
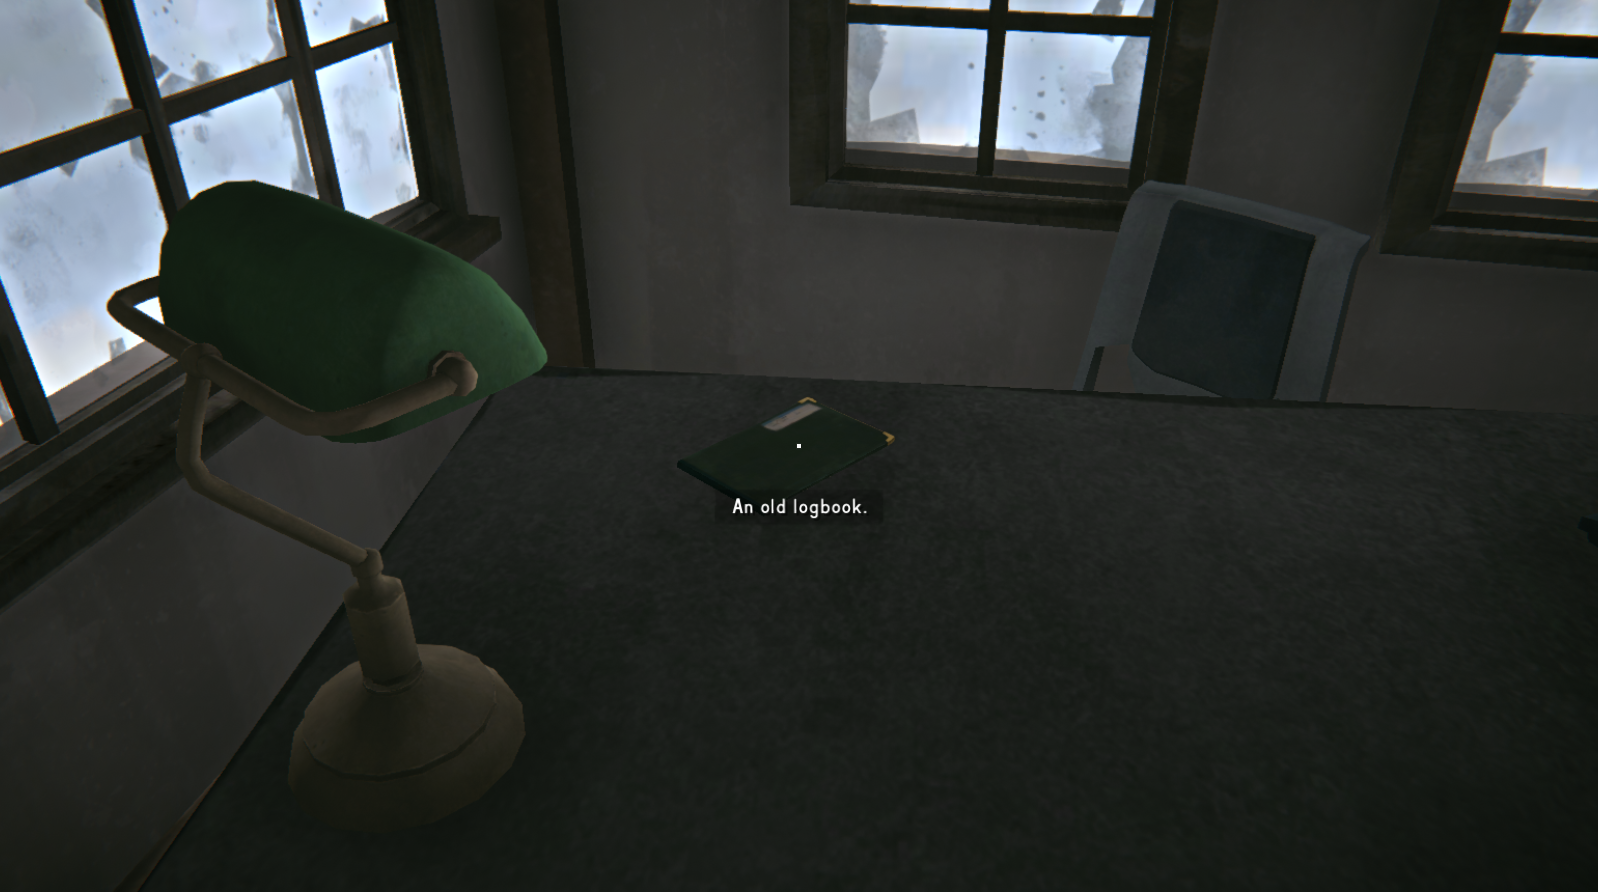
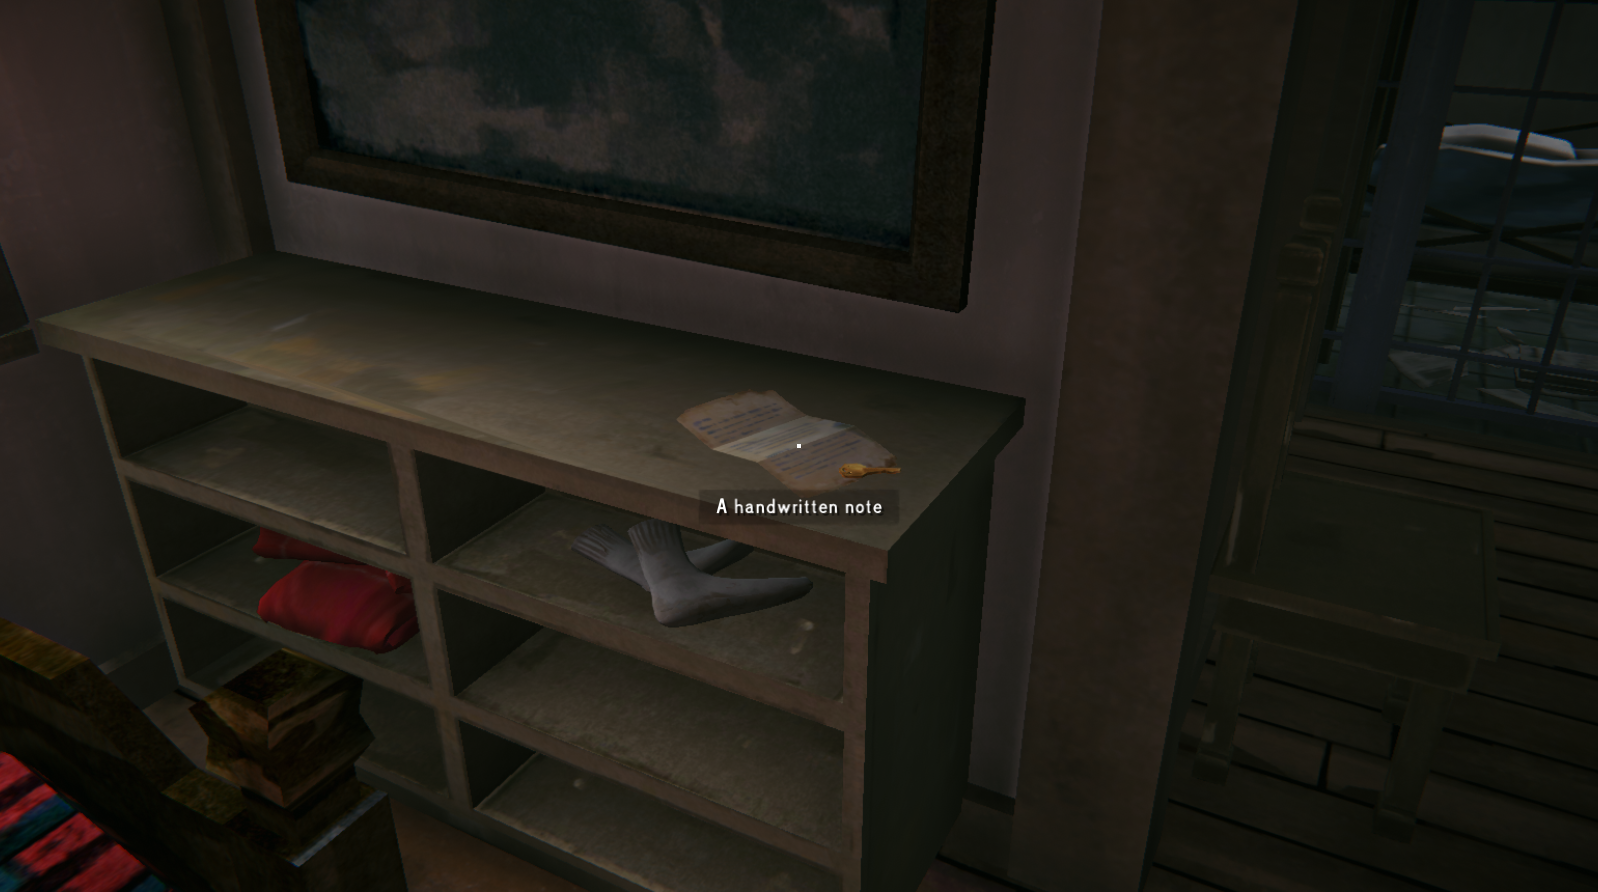 Finally, there’s a distress pistol kit on the floor near the desk, so grab the gun and its two flare shells for future wildlife protection.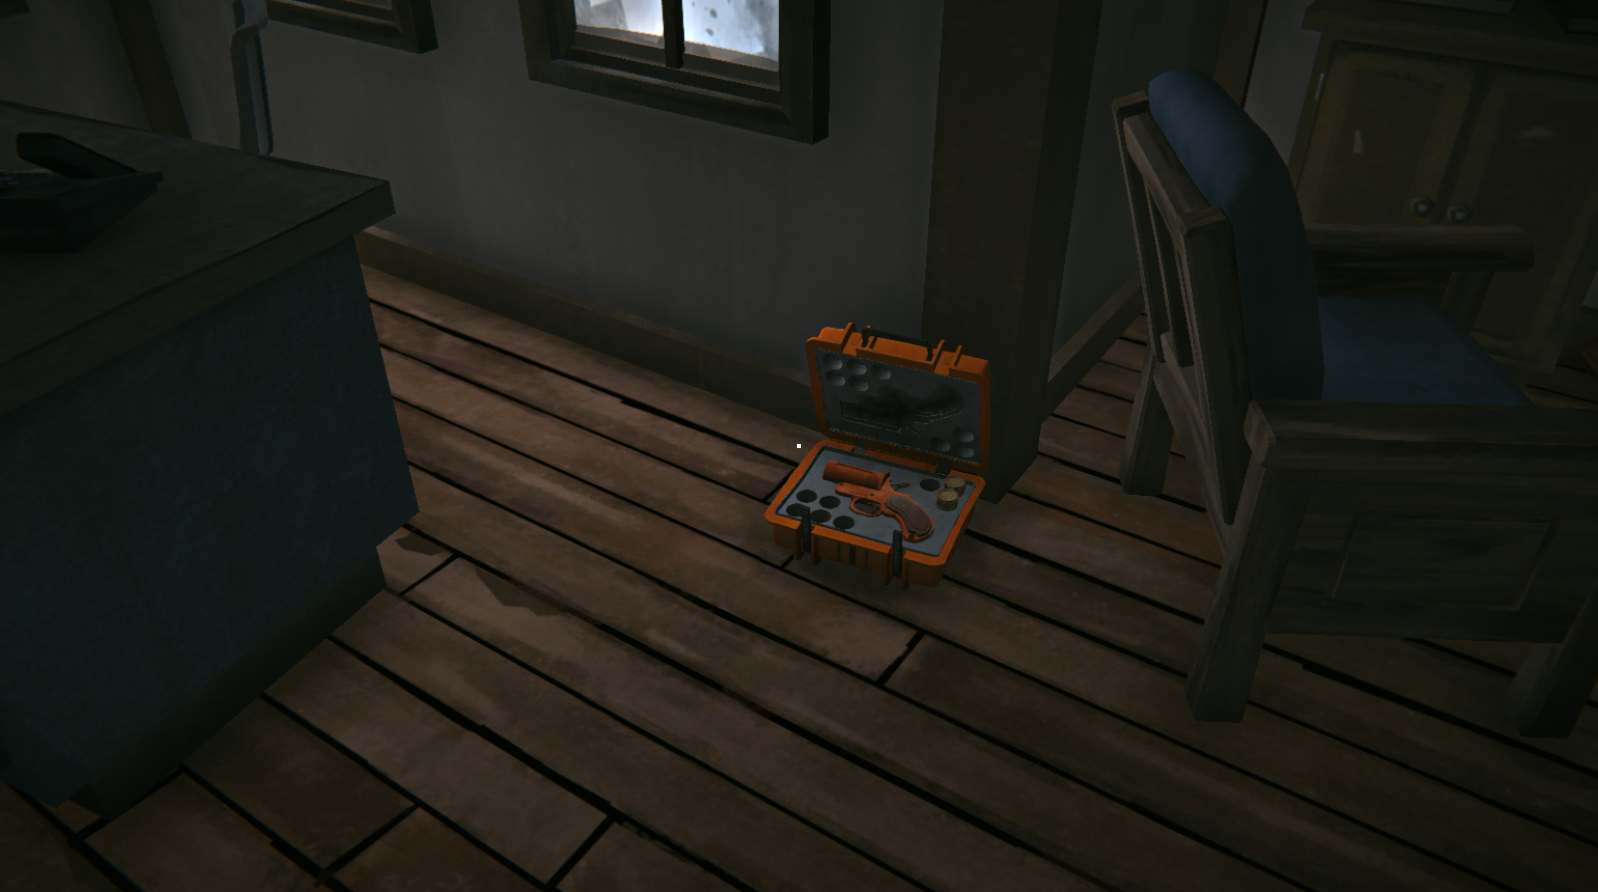
The situation is certainly looking grim. Not sure where the doctor went, but it seems the constable may have fallen victim to this “murderer” that’s supposed to be roaming about. Or succumbed to the elements, one of the two. Anyways, we’ve now got the objective to go back to the clinic and investigate that locked room. But I decided to check out the lumber mill to try and reduce the amount of backtracking. Your choice. The lumber mill is down another road to the left of the main one we’ve been walking down. There’s also a large sign.
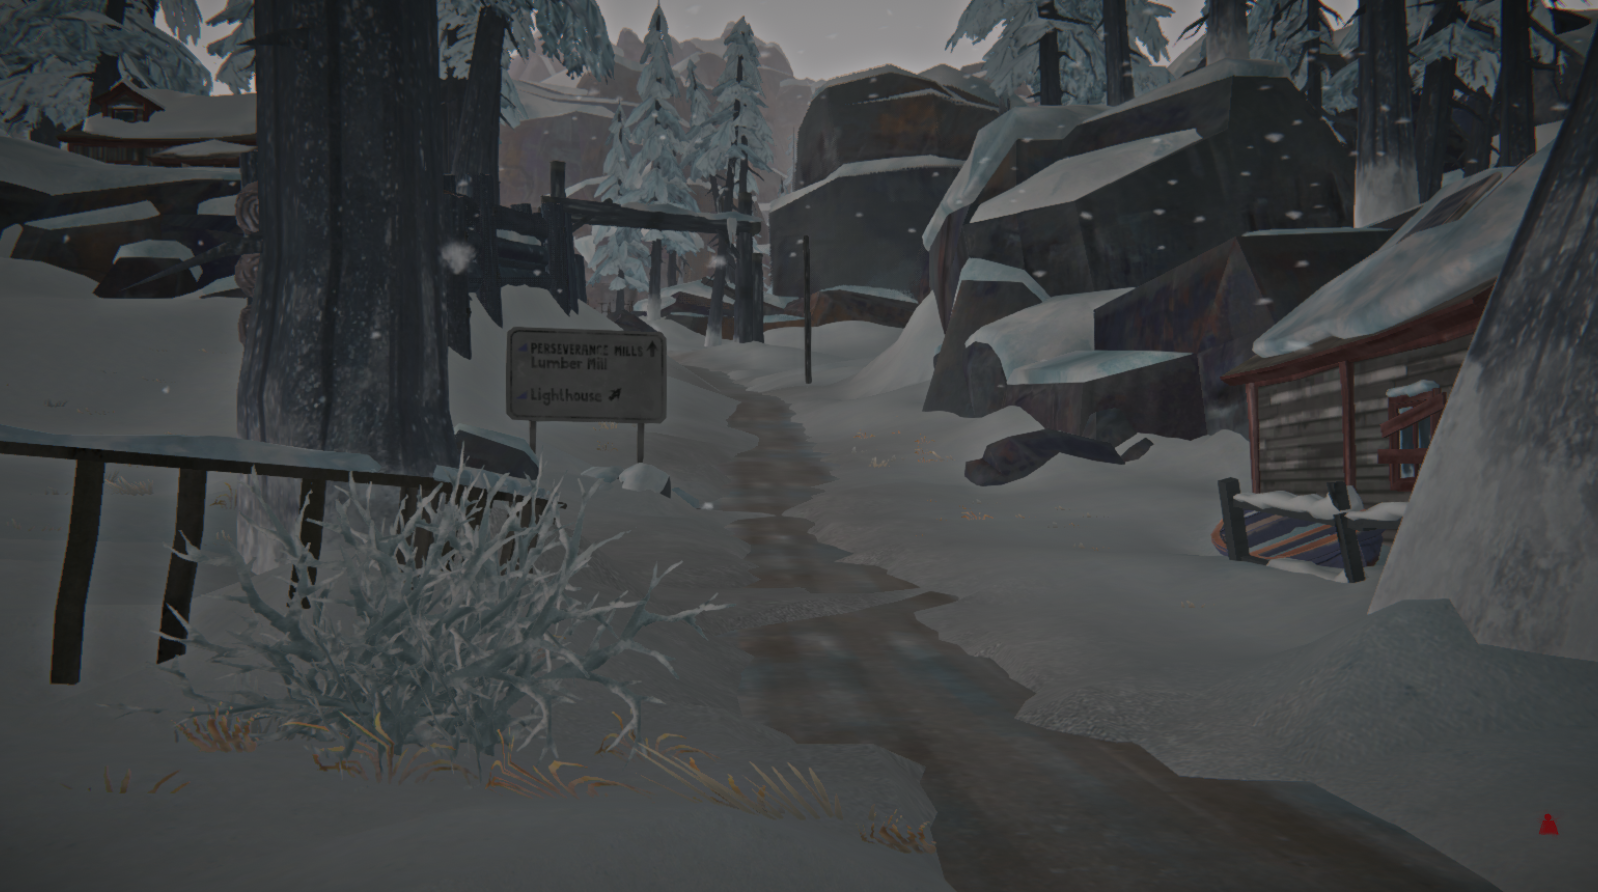 As you approach, you’ll see a fire barrel with two guys standing around it. Approach, and a cutscene will play which gives some background as to the weird occurrences around town. And definitely some credence to the bartender’s warning about the mill workers being a bit jumpy. I think Astrid just needs to walk away slowly and check out the clinic’s morgue for now.
Anyways, watching the cutscene completes that objective. All that's left is the morgue. Head back to the clinic, and use that key from the constable to open the locked door. And this is certainly grim. Guess I got too used to not having bodies just laying around for the past 30 minutes of story mode. Still, we aren’t here to examine the bodies, but instead this note on the side table in the morgue.
 Looks like the doctor and the constable decided to go wandering in the wilderness. I get the impulse, but they probably should have planned it out better and at least gone as a group. Of course, now Astrid is going to follow them so I can’t talk too much.
The “wilds” are on a road past the bar, so you may want to head back there to make use of the beds if it’s getting dark. Or just prepare yourself for more survival-focused gameplay by gathering food, water, clothes, etc.. If you haven't already, go pick up that distress pistol from the police station, especially if you haven’t found any other weapons to fend off the wolves.
Looks like the doctor and the constable decided to go wandering in the wilderness. I get the impulse, but they probably should have planned it out better and at least gone as a group. Of course, now Astrid is going to follow them so I can’t talk too much.
The “wilds” are on a road past the bar, so you may want to head back there to make use of the beds if it’s getting dark. Or just prepare yourself for more survival-focused gameplay by gathering food, water, clothes, etc.. If you haven't already, go pick up that distress pistol from the police station, especially if you haven’t found any other weapons to fend off the wolves.When you’re ready, head past the bar down this road and get started on the next part.
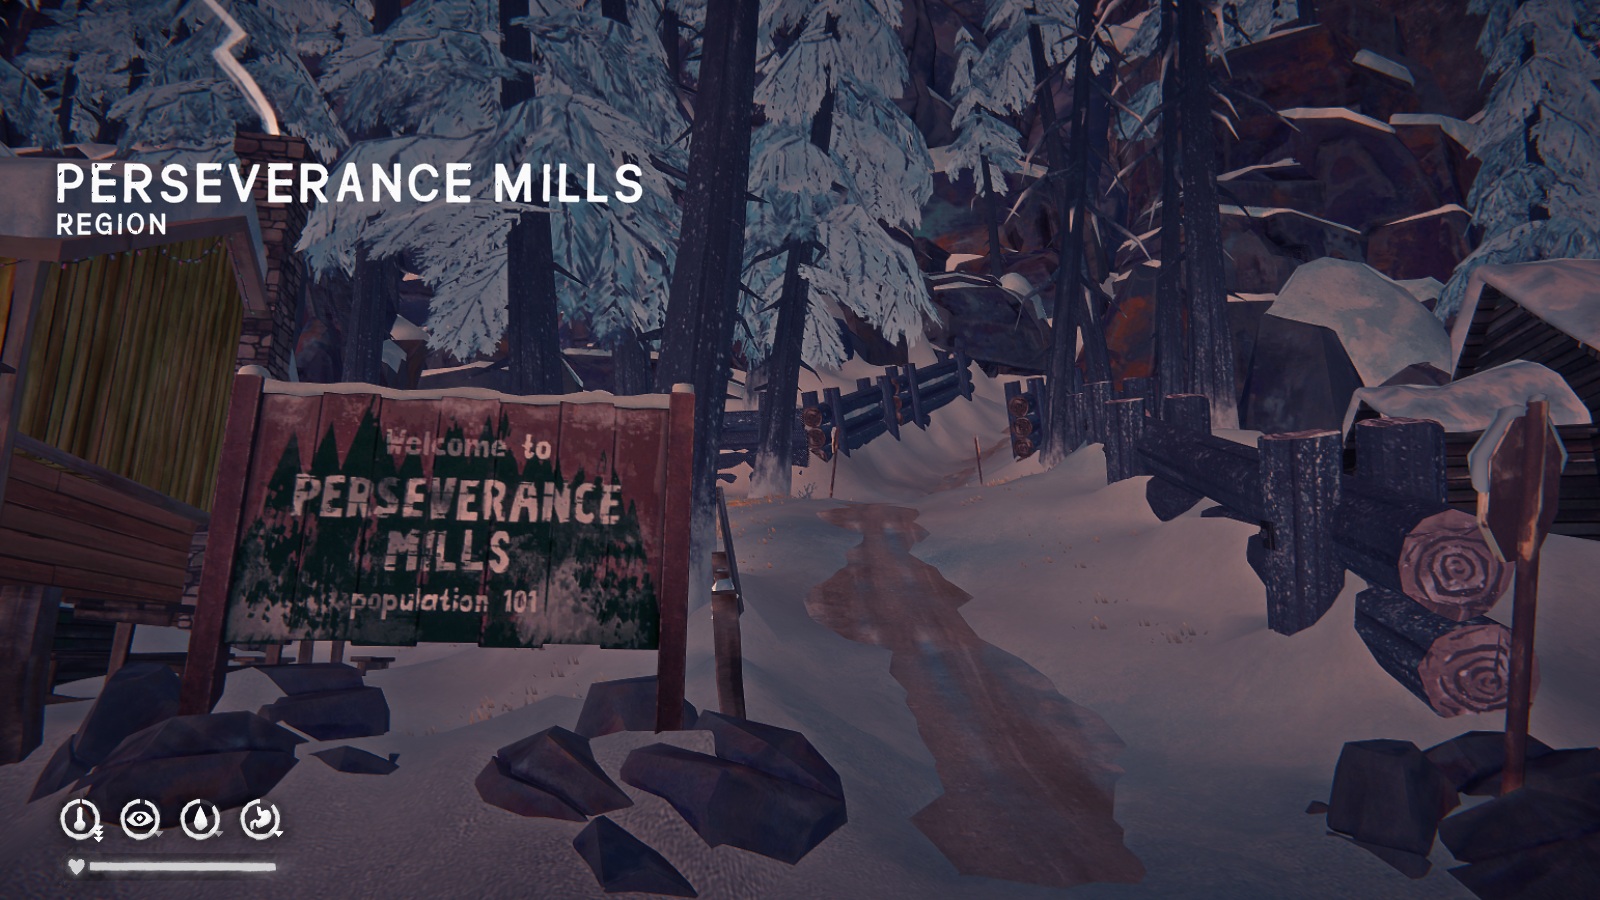
Note: If you want to go with the story flow, find the constable first. But if you want efficiency, the two missing people are actually on the left side of the map.
Welcome to the Perseverance Wilds! Sadly, there’s not a convenient pop-up telling us where to go, so it’s back to basics. I’d recommend following the road until you come across a blue car on the right side of the road. Check inside the car for three more flare shells, and search the glove box for a handheld flare. From here, the only clue available is that the constable went towards the river. There are two rivers in the Wilds, and you want the one that isn’t frozen. Follow the road until you come across this bridge.
Frequently Asked Questions
What do I get from [insert sidequest]? Is it worth the trouble?
If I haven't specifically mentioned what you get from the sidequest, then I don't know. You can get through the entire game comfortably without doing any of the sidequests, so whether it's worth it depends on you. Generally I'll mention the rewards when I think they're worthwhile (ie. distress pistol). I will say that the caches are the most unnecessary in my opinion, although you do get some achievements for finding them all.
Two reasons:
- Unfortunately, I have real life commitments that take away from playing The Long Dark and working on this guide. While I'll do my best to get this guide completed as soon as possible, updates will be slow when real life gets in the way.
- At the moment [10/9/2021], Hinterland has only released Episodes 1 - 4 of Wintermute.
What are the differences between all the experience modes?
The biggest difference is in the difficulty of wolf struggles. You have to mash the mouse button a lot faster in "hardened survivor" compared to "capable survivor". Obviously, it's much easier in the "green survivor" mode. The wolves are also more willing to attack you in "hardened". When playing in "green" or "capable", the wolves are more easily scared away with a rock or gunshot.
The smaller differences are in loot distribution, animal awareness of the player, needs loss (they drain faster at harder difficulties), and weather conditions. However, these differences aren't as evident as the wolf struggle mechanic; I still found plenty of food when playing Episode 1 in "hardened survivor".
Note: I have seen reports that the difficulty gap between "capable" and "hardened" is a lot more evident in Episode 3. Specifically, the new wolf type (Timberwolves) and Pleasant Valley's more extreme weather (ie. constant blizzards) means that your stats will take a harder hit than in the previous episodes.
Where is the key for the Paradise Meadows/Barker's Farmhouse?
There is no key. The Farmhouse is naturally unlocked while progressing through the story. See Chapter 3: The Grey Mother for details.
I noticed you're missing some information or made a mistake. Can I make suggestions or corrections?
Please do! This is my first guide so I'm quite new to the process. And let me know if you want to be a co-contributor to this guide; all of this is a lot of work for one person.
Leave any other questions you might have in the comments!
- Detailed Region Maps★ 5 (1.8k)73k views3.4k ♥11 minUpdated Dec 24, 2022
- Мультиплеерный мод на The Long Dark | Sky Co-op mod | The Long Dark Multiplayer★ 5 (293)56k views903 ♥10 minRussianUpdated Dec 30, 2023
- Карты локаций (на русском)★ 5 (1.5k)50k views2.6k ♥2 minRussianUpdated Feb 25, 2022
- 🗺 КОНТУРНЫЕ КАРТЫ ЛОКАЦИЙ - 2023★ 5 (1.3k)42k views2.4k ♥2 minRussianUpdated Dec 7, 2023
- 🗺 УГОЛЬНЫЕ КАРТЫ ЛОКАЦИЙ - 2023★ 5 (934)33k views1.6k ♥1 minRussianUpdated Dec 7, 2023
- Достижения и Испытания в The Long Dark★ 5 (1.6k)27k views2.4k ♥62 minRussianUpdated May 9


- Upgrading to PremiumTeam Fortress 2★ 5 (20k)1441k views11k ♥6 minUpdated May 11, 2022
- No More Room in Hell Official ManualNo More Room in Hell★ 5 (2.8k)569k views2.1k ♥29 minUpdated Apr 22, 2019
- NMRiH Community Hosting GuidesNo More Room in Hell★ 5 (526)351k views653 ♥1 minUpdated Aug 10, 2022
- Лучшие кооперативные игры SteamPAYDAY 2★ 5 (1.5k)315k views2.1k ♥56 minRussianUpdated Apr 27, 2025
- Desert Eagle Heat Treated | Blue GemCounter-Strike 2★ 5 (1.6k)292k views1.5k ♥2 minUpdated Jan 16
- Treasure Hunt Puzzle SolutionsTotal War: WARHAMMER II★ 5 (6.9k)281k views15k ♥3 minUpdated Aug 19, 2021






This guide was created by its original author on the Steam Community. Are you the author and want it removed? Request removal.