Tanking Like A Boss
Why I Wrote This
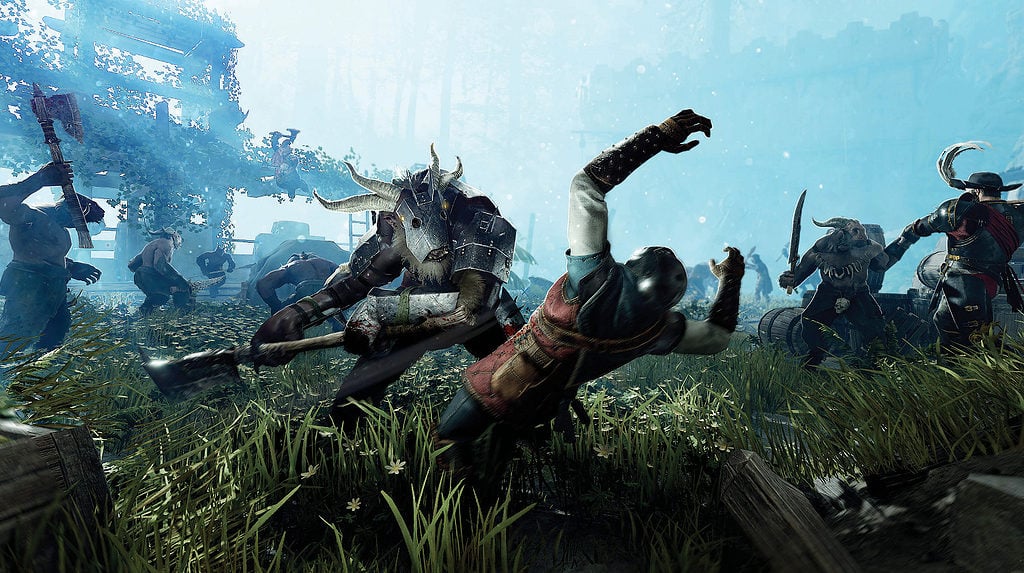 For me, this was not acceptable, because I wanted to be a boon, not a burden. Thus I started thinking about how to stay alive.
 Then, one day, Pushing and Push-Attacks were revealed to me in a dream. For those who do not know what that is, when you hold the right mouse button to block, and then hold down the left mouse button, it will make your character do a quick shield bash, which staggers enemies. If you continue holding the LMB at this stage, your character will perform a quick attack, before going back into the blocking stance. This gave me an idea. What if I were to go all-in on blocking, staggering and push attacks? I figured that maybe, if I focused on maximizing my stamina regeneration, block cost reduction and push/block angle, it might even work. As I was contemplating this, I was reminded of a scene from the movie 300. With dreams of awesomeness driving me onwards, I began investing my humble collection of crafting components into making my first Ironbreaker build.
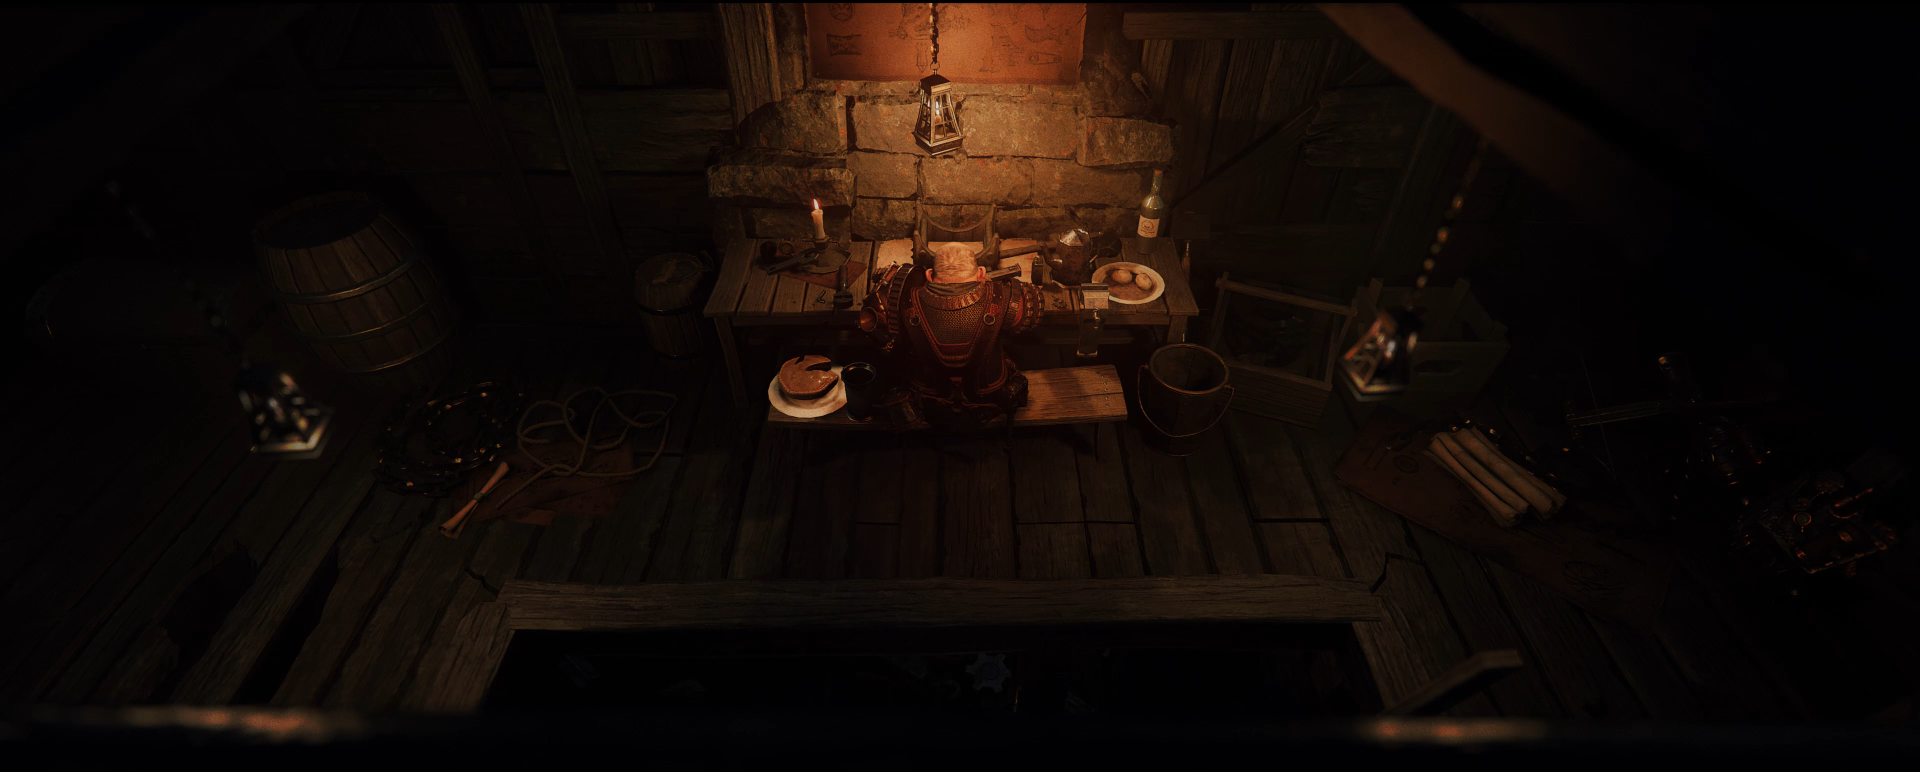 It was not long before it paid off. The moment came when I hit Quick Play on Legendary difficulty and found myself playing Blightreaper. We began making our way through the dark sewers, and when we were almost at the exit, all three of my teammates died. At the time I did not have a single red item, and the rest of my team was so certain that it was a wipe that they all started typing "GG" in the chat. But that is not what happened.
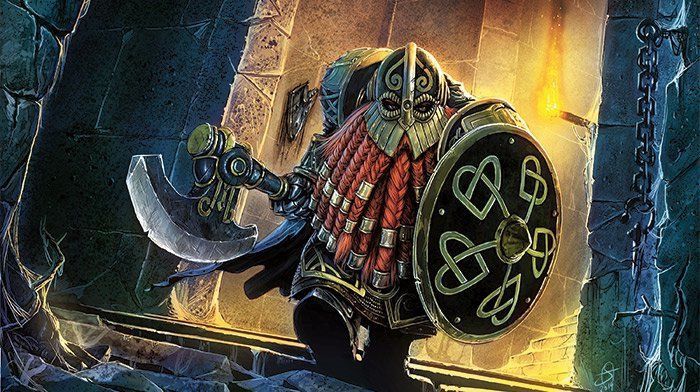 Despite not being able to see, being cornered by a horde, a Stormvermin patrol, a Plague Monk squad and several Specials, my build worked as intended. I had successfully turned my stamina bar into my main HP bar. Any hitpoints I lost were immediately replaced by temporary hitpoints due to constantly staggering enemies. Over the course of several minutes, I tanked everything the AI director could throw at me whilst slowly carving my way through. I emerged from the darkness whilst chanting "Khazukan Kazakit-ha!", resurrected my utterly baffled team, then dragged them through the rest of the mission.
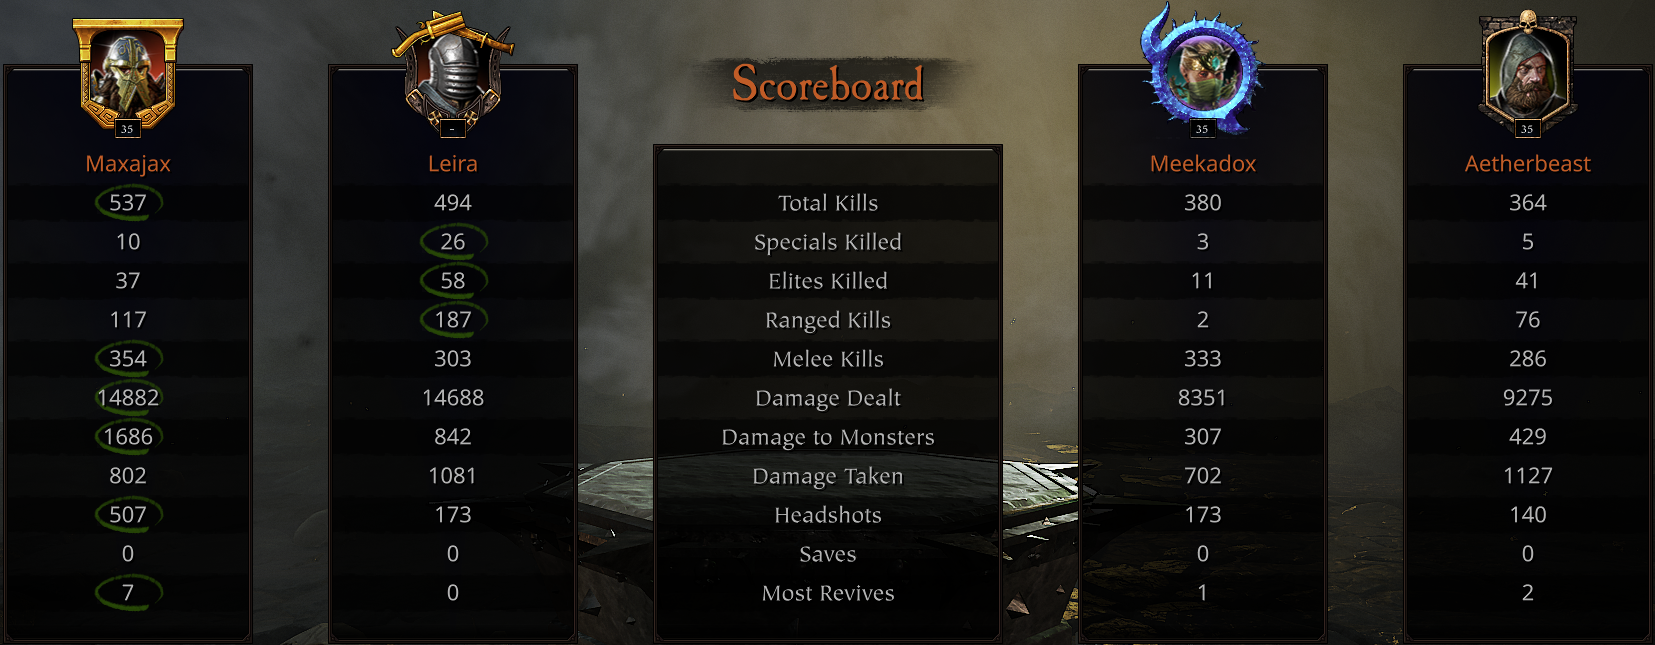 Having found a playstyle that enabled me to not just do my part, but also carry my entire team, I then had to confront the fact that a team can only have one Bardin. This meant that my next question was: "How can I do the same thing with other characters?" Since I believe that I have figured it out, I wish to share my findings with the rest of the community. That is why I am writing this guide. To teach new players who got lulled into a false sense of security by Recruit, and who are struggling with higher difficulties, how to tank like a boss, and carry teams as Bardin, Kruber, Saltzpyre or Kerillian.
General Purpose Equipment
All four builds use the same Necklace, Charm and Trinket. Because of this, they are listed here, in a section of their own. Also because of this, they should be upgraded to Red quality first, as they will enhance all four builds.
NECKLACE:
- Property 1: Health
- Property 2: Block Cost Reduction
- Trait: Barkskin
CHARM:
- Property 1: Power VS Skaven
- Property 2: Power VS Chaos
- Trait: Decanter
TRINKET:
- Property 1: Curse Resistance
- Property 2: Stamina Recovery
- Trait: Shrapnel
Ironbreaker - Talents & Equipment
TALENTS:
- Level 5 Talent: Rock-Breaker
- Level 10 Talent: Blood of Grimnir
- Level 15 Talent: Enhanced Power
- Level 20 Talent: Gromril Curse
- Level 25 Talent: Dawi Defiance
- Level 30 Talent: Drengbarazi Oath
AXE AND SHIELD:
- Property 1: Block Cost Reduction
- Property 2: Power VS Skaven
- Trait: Opportunist
TROLLHAMMER TORPEDO:
- Property 1: Power VS Armoured
- Property 2: Power VS Monsters
- Trait: Conservative Shooter
Foot Knight - Talents & Equipment
TALENTS:
- Level 5 Talent: Back Off Ugly
- Level 10 Talent: Staggering Force
- Level 15 Talent: Enhanced Power
- Level 20 Talent: Rock of the Reikland
- Level 25 Talent: It Is Hero Time
- Level 30 Talent: Battering Ram
MACE AND SHIELD:
- Property 1: Block Cost Reduction
- Property 2: Push/Block Angle
- Trait: Opportunist
HANDGUN:
- Property 1: Crit Chance
- Property 2: Crit Power
- Trait: Conservative Shooter
Warrior Priest - Talents & Equipment
TALENTS:
- Level 5 Talent: Eternal Vigilance
- Level 10 Talent: Rising Judgement
- Level 15 Talent: Enhanced Power
- Level 20 Talent: From Fury Fortitude
- Level 25 Talent: Prayer Of Might
- Level 30 Talent: The Comet's Gift
FLAIL & SHIELD:
- Property 1: Block Cost Reduction
- Property 2: Push/Block Angle
- Trait: Opportunist
RECKONER GREAT HAMMER:
- Property 1: Crit Chance
- Property 2: Attack Speed
- Trait: Swift Slaying
Handmaiden - Talents & Equipment
TALENTS:
- Level 5 Talent: Spirit Echo
- Level 10 Talent: Focused Spirit
- Level 15 Talent: Enhanced Power
- Level 20 Talent: Wraith-Walk
- Level 25 Talent: Birch Stance
- Level 30 Talent: Gift Of Ladrielle
SPEAR AND SHIELD:
- Property 1: Block Cost Reduction
- Property 2: Push/Block Angle
- Trait: Opportunist
BRIAR JAVELIN:
- Property 1: Power VS Armoured
- Property 2: Power VS Monsters
- Trait: Conservative Shooter
- If you do not have this weapon unlocked, use a Longbow instead
Mutually Beneficial Auras
IRONBREAKER:
- The talent named "Drengbarazi Oath" allows you to buff the entire team's power by 20% during critical moments.
FOOT KNIGHT:
- The passive ability named "Protective Presence" reduces the damage your teammates take by 15%.
- The talent named "Rock of the Reikland" doubles the area of effect of the passive ability named "Protective Presence", and makes it reduce the stamina cost of your team's blocks by 20%.
WARRIOR PRIEST:
- The talent named "From Fury Fortitude" makes all your kills give 2% fury, and makes kills committed during fury restore health to your teammates.
- The talent named "Prayer of Might" increases the strength of your teammates' staggers by 25%.
- The talent named "The Comet's Gift" makes your "Shield of Faith" ability rez teammates, and restores all damage they took during the preceding three seconds.
HANDMAIDEN:
- The perk named "Renewal" increases your teammates' stamina regeneration speed by 100%.
- This class rezzes teammates faster, and heals them for 20 health when doing so. Because of this, the task of rezzing teammates should always be delegated to Handmaidens when possible.
ADDENDUM:
- When all these effects are combined, it results in insane synergy. This includes when these builds are being used as bots. However, if you are going to use them as bots, replace the Ironbreaker's Trollhammer Torpedo Launcher with a Handgun.
How Do These Four Builds Work?
- The first way is to keep your shield up by holding the right mouse button, and then hold the left mouse button to perform a Push + Push-Attack to stagger and damage enemies. Letting go and re-depressing the left mouse button will restart this combo. Since the tempo is slower than when you play Slayer, your middle finger's tendons will not wear out before you reach retirement age. The second way is to mix in heavy attacks. This varies per class and weapon moveset and is largely up to your discretion.
- If you have a team that can't kill mobs, you can also do crowd clearing with your heavy attacks.
- You should avoid depleting your stamina entirely, because you can't block without stamina.
- You should also try to avoid enemies getting behind you, because blocking a hit from the back will deplete your entire stamina bar. You can either do this by maneuvering, or you can do this by using the terrain intelligently.
- Only use your ranged weapons when it is appropriate, to conserve ammunition. Examples of this include focusing on Specials when playing Kruber or Kerillian. When playing Bardin, this entails saving your Trollhammer Torpedo ammo to nuke bosses, or to one-shot an entire Patrol after baiting said patrol into clustering up. Deleting a Chaos Warrior also helps speed things up.
- As the tank, your job is to ensure that you give your squishy teammates a window to operate. Within this context, halting the enemies at choke-points is the best approach. If you lack a choke-point, you must at least make sure that you position yourself between the enemy and your squishy teammates to draw the aggro.
Explaining Reasons Behind Choices
WHY A FOCUS ON POWER?
Your power rating not only affects your damage, but also your stagger strength. The higher your stagger strength is, the more types of enemies you can stagger. If you get it high enough, that starts to include Skaven Plague Monks and Chaos Berserkers. If they are staggered, they can not attack your squishy teammates.
WHY OPPORTUNIST ON ALL SHIELD WEAPONS?
Improving the strength of your staggers not only allows you to stunlock more dangerous enemies, which prevents them from attacking your teammates, but also increases the amount of temporary health you gain from staggering enemies.
WHY BARKSKIN ON NECKLACE?
Having Barkskin means that you can be pinned by an Assassin inside of a poison gas cloud, and still survive long enough for your team to recover you. Considering how often this trait has saved my behind, I consider it an absolute must-have.
WHY DECANTER ON CHARM?
I enjoy downing a Strength Potion before I start nuking bosses. This trait allows me to enjoy it twice as long. It also does wonders for your Special Ability Bar when you down a Purple Potion, which is hilarious when you are playing Outcast Engineer with the armor piercing autocannon. In the end this does not really matter since this slot will be occupied by a Grimoire. On that note, never let you squishy teammates carry Grims if you can avoid it.
WHY SHRAPNEL ON TRINKET?
Right after I down my strength potion, I throw a bomb at the boss I am about to nuke, to make him 20% more vulnerable to my trollhammer torpedo / anti boss attack of choice.
WHY DOES MY IRONBREAKER USE AXE + SHIELD INSTEAD OF HAMMER + SHIELD?
Armour-piercing attacks increase my ability to solo hordes of Chaos Warriors and Stormvermin.
WHY DOES MY FOOT KNIGHT USE MACE + SHIELD INSTEAD OF ALTERNATIVES?
Better move-set for both the Push + Push-Attack style and the heavy attack spam. Mace + Shield's heavy chain exists of 2 components. The first is a shield bash which gives you ungodly amounts of temporary health. The second is a horizontal mace sweep that sends the enemy flying like you are playing Sauron. Mace+Shield's Riposte is a downwards smash that deletes your target's skull. The other shield weapons all use pinpoint thrusts. This means that it is far easier to score headshots with Mace+Shield's push-attack.
WHY DOES MY HAMMER PRIEST USE FLAIL + SHIELD INSTEAD OF ALTERNATIVES?
Because it has a horizontal horde-deleting heavy attack that is based and spammable.
- 【Updated to Patch 6.10】【All Careers】Legend Builds Collection★ 5 (2.6k)99k views7.6k ♥87 minUpdated Mar 10
- 【Updated to Patch 6.10】【Cataclysm Builds】Kruber all careers★ 5 (1.8k)60k views5.7k ♥33 minUpdated Mar 10
- 【Updated to Patch 6.11】Optimal Melee Weapon Combo★ 5 (1.9k)58k views5.2k ♥26 minUpdated Jun 11
- 【Updated to Patch 6.10】【Cataclysm Builds】Saltzpyre all careers★ 5 (1.7k)57k views5.6k ♥36 minUpdated Mar 10
- 【Updated to Patch 6.10】【Cataclysm Builds】Bardin all careers★ 5 (1.8k)57k views5.6k ♥33 minUpdated May 12
- 【Updated to Patch 6.10】【Cataclysm Builds】Sienna all careers★ 5 (1.7k)57k views5.4k ♥37 minUpdated Mar 10



- Upgrading to PremiumTeam Fortress 2★ 5 (20k)1441k views11k ♥6 minUpdated May 11, 2022
- No More Room in Hell Official ManualNo More Room in Hell★ 5 (2.8k)569k views2.1k ♥29 minUpdated Apr 22, 2019
- NMRiH Community Hosting GuidesNo More Room in Hell★ 5 (526)351k views653 ♥1 minUpdated Aug 10, 2022
- ULTIMATE GUIDE FOR GAME DEV TYCOONGame Dev Tycoon★ 5 (5.8k)326k views10k ♥4 minUpdated 23 Jan, 2014
- How to 'Git Gud' Soon™MORDHAU★ 5 (2k)318k views3k ♥68 minUpdated Nov 16, 2024
- Лучшие кооперативные игры SteamPAYDAY 2★ 5 (1.5k)315k views2.1k ♥56 minRussianUpdated Apr 27, 2025






This guide was created by its original author on the Steam Community. Are you the author and want it removed? Request removal.