Treasure and Gem Combination Guide
Introduction
Note: This guide was created using the 1.0.0.0 version of the game. If you are playing on a later version, the contents of this guide may be incorrect.
This guide contains information on the treasures, gems, and key items that you can find throughout the game. These items can be found in fixed locations, dropped by enemies, or are automatically given to the player during their playthrough.
Gems can be slotted into various treasures to increase their value. Each gem and treasure has a base value, but when they're combined in specific ways, a multiplier effect is applied and the total value of the treasure is increased. I'll go into more detail on this later.
Within this guide, I have also included treasures which can't be modified, along with items that can be sold after they're no longer useable (like keys).
I have classified the items in the following way:- Gem, Large – a gem which can be inserted into a Large Slot
- Gem, Small – a gem which can be inserted into a Small Slot
- Modifiable – a treasure which can be modified with gems
- Key Item – used keys, the Wooden Planks from the Villa fight, etc.
- Sellable – treasures which can only be sold
Key Items and Sellable Treasures
 ㅤ
ㅤThis section contains all of the key items and treasures which cannot be modified and can only be sold to the Merchant.
Modifiable Treasures and Gems
 ㅤ
ㅤThis section contains information on treasures that can be modified and the gems which modify them.
Multipliers
 ㅤ
ㅤDepending on how a treasure is modified, a multiplier may be applied which increases the overall value of the treasure. Unless you only use one gem, it is impossible not to obtain some sort of multiplier when modifying a treasure. Here are the possible multipliers:
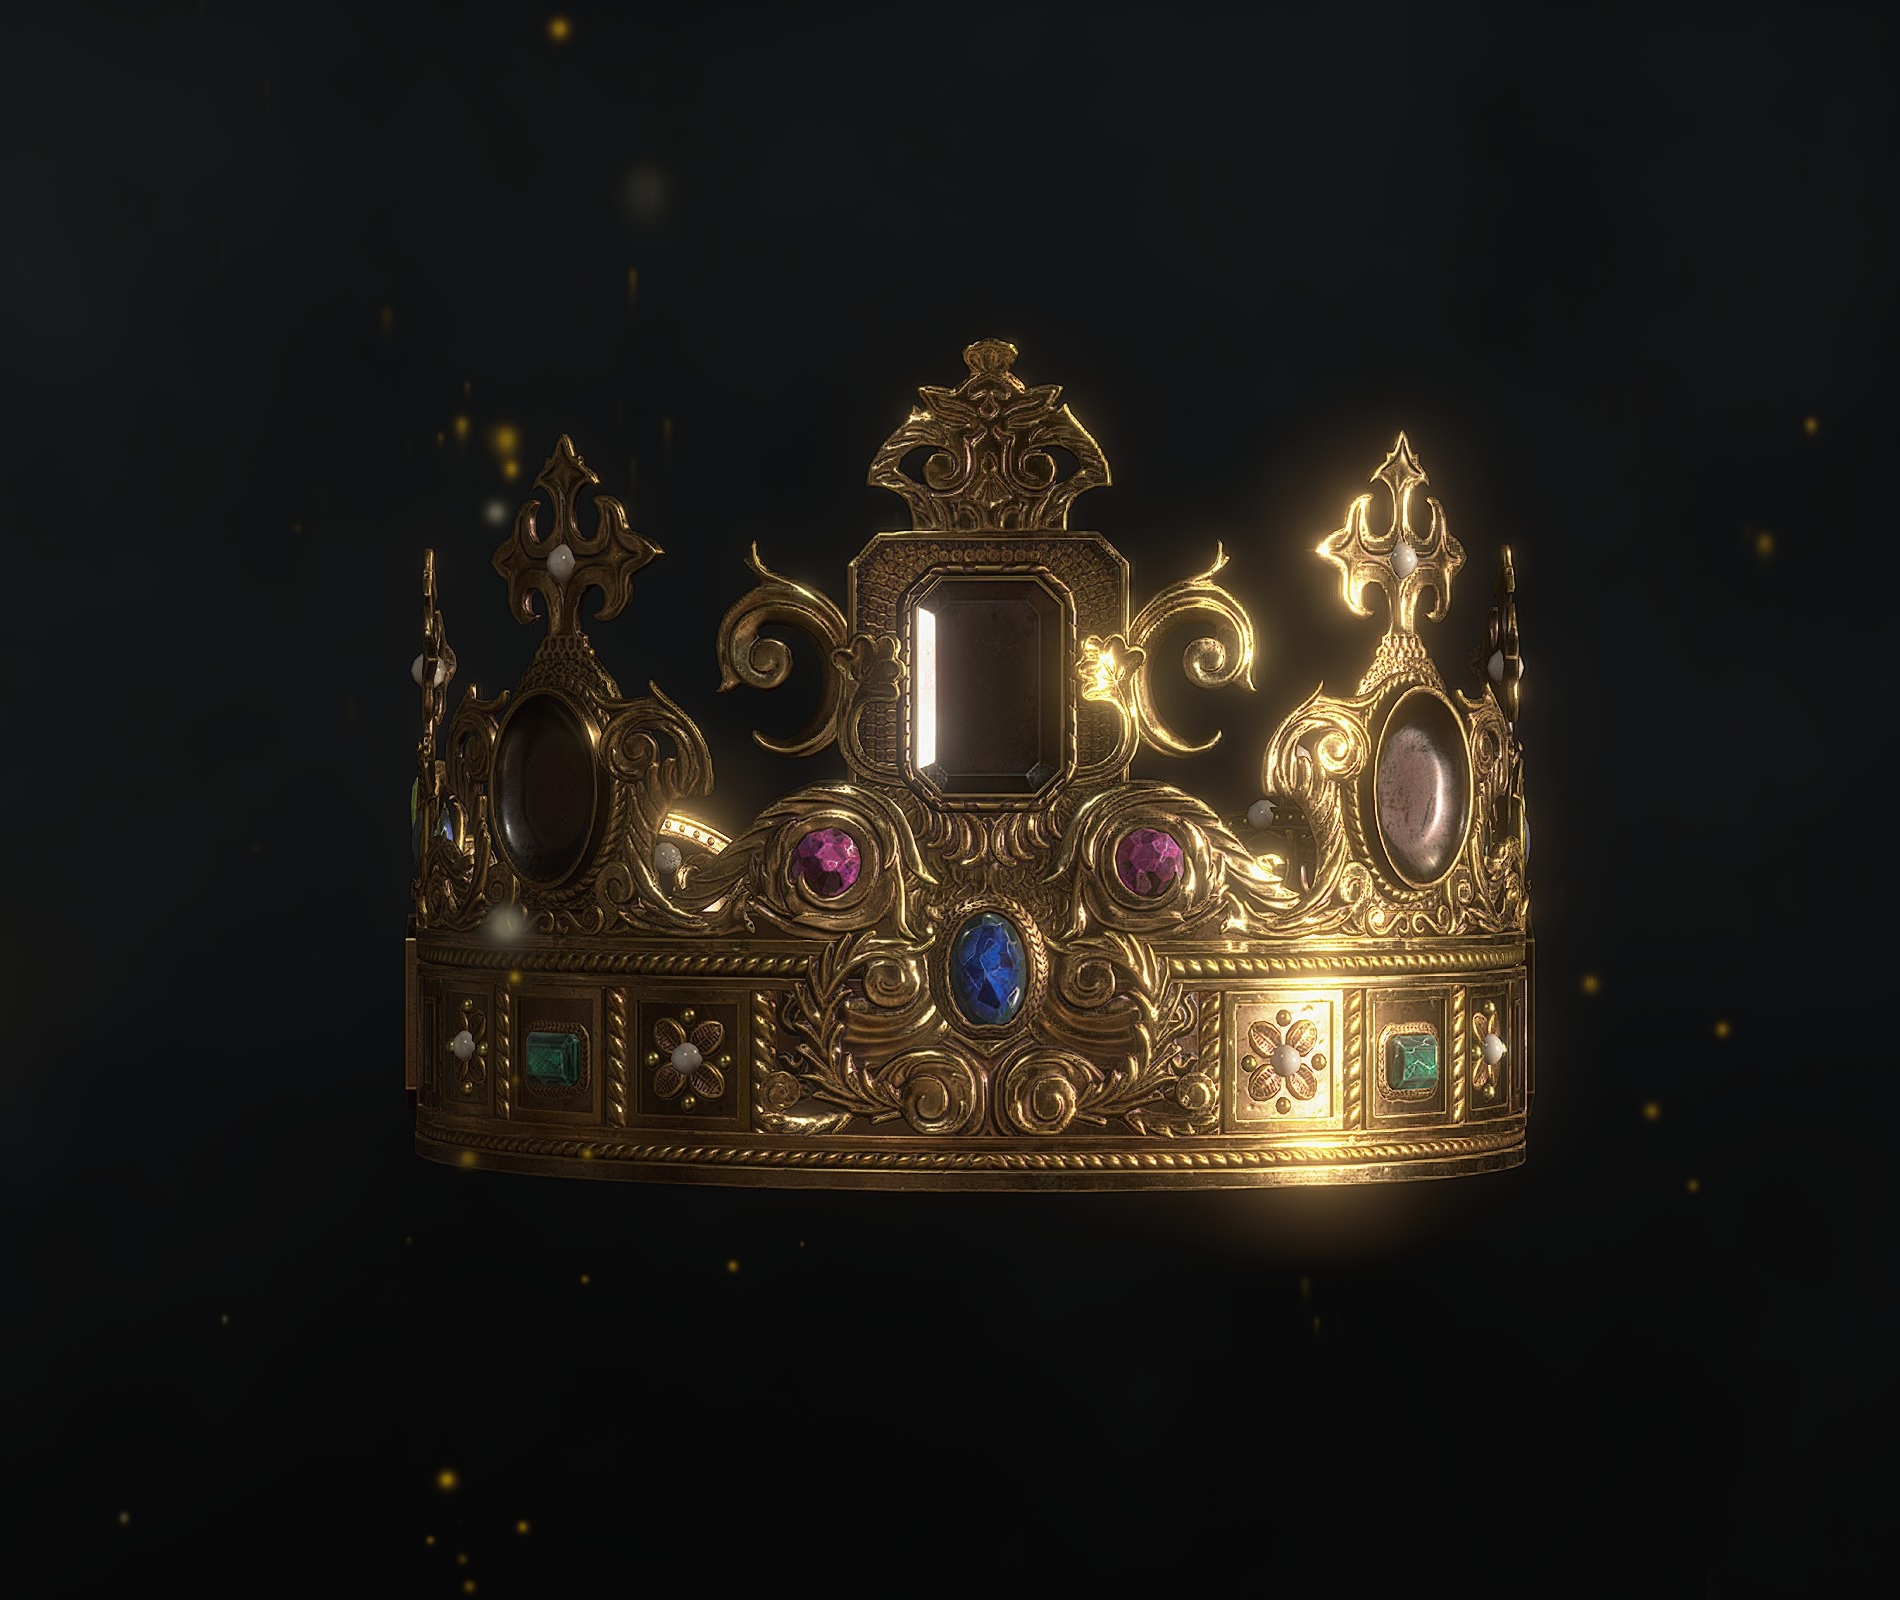
As an example of how this functions, let's pretend that we're modifying the Elegant Crown. The Elegant Crown has two Large Slots and three Small Slots. We'll modify it with five different colored gems. Given the base values of the Elegant Crown and the gems, the total value works out to something like this:
- Elegant Crown = 19,000
- Sapphire = 4,000
- Yellow Diamond = 7,000
- Emerald = 5,000
- Alexandrite = 6,000
- Red Beryl = 9,000
- Total = 50,000
However, since five gems of different colors were used, the "Five Colors" multiplier is applied (2.0) and the total value of the Elegant Crown becomes 100,000.
Tips and Tricks
 ㅤ
ㅤBefore moving on, I thought it'd be a good idea to provide you with some tips that I've learned from playing the game.
- Using Yellow Diamonds and Red Beryls (or a combination of the two) always leads to creating the most valuable treasure. However, given the rarity of these gems, it is not wise to use them on every treasure you find.
- Gems are pretty valuable in their own right, so if you find yourself with a million Rubies and have nothing to use them on, it may be worth selling a handful of them to net you some extra pesetas (you know, for a people who live in abject poverty, it's strange how there are more Rubies in the Village than there are Chicken Eggs!). However, modifiable treasures should never be sold for their base values and should always be combined with gems in order to get the multiplier effect.
- You may be thinking that the "Five Colors" multiplier is the ultimate way to increase a treasure's value but this a damn dirty lie. The only treasure which has five slots and can get this multiplier is the "Elegant Crown", and getting this multiplier leads to a total value of 100,000. However, if you were to use two Yellow Diamonds and three Red Beryls, this would lead to a total value of 108,000. As I said above though, these two gems are very rare, so netting an extra 8,000 pesetas isn't really worth the total cost of using all of these rare gems on one treasure. Still, I figured I'd mention it!
- Treasures and gems carry over to new playthroughs, so don't ever feel pressured to sell all of your treasures at the end of the game using inefficient combinations.
- Steam is very bad at displaying tables...you can't even sort them! If you're savvy at using Excel or another spreadsheet editor, it may be worth it to export the data I've listed in this guide so that you can manipulate it to your liking.
Total Number of Gems, Treasures, and Key Items
 ㅤ
ㅤThis section will go over the gems, treasures, and key items that you can find per location. I've separated the DLC content and Merchant items into their own sub-sections.
Enemy and Boss Drops
 ㅤ
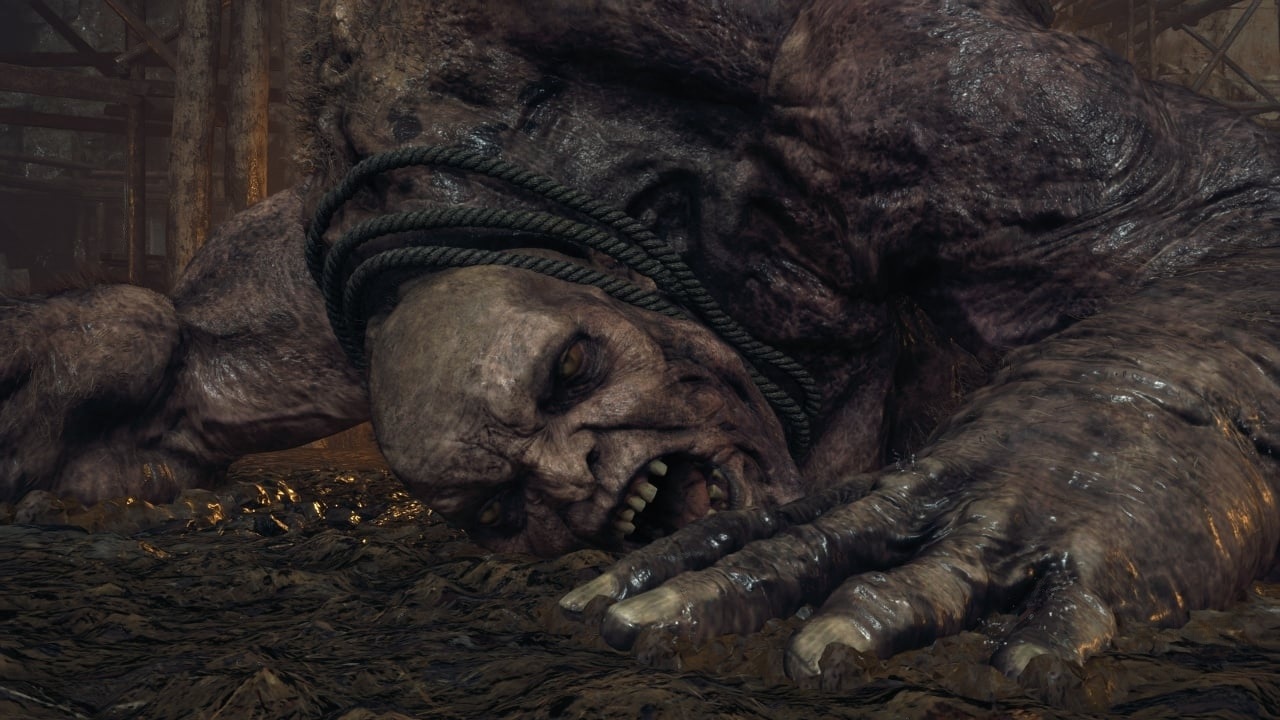
ㅤThis section includes data on guaranteed drops from both elite enemies and bosses. I can confirm over multiple playthroughs that these enemies always drop the same items. However, some enemies do not appear on Assisted/Standard difficulty – review the "Notes" column on the table below to see which enemies do not appear on the lower difficulty settings.
Here is a table of every major enemy drop, sorted by the approximate order that you’ll run into them:
Optimal Gem Combinations
 ㅤ
ㅤNow that we know all of the treasures and gems that it's possible to get during each playthrough, we can now determine the optimal combinations of gems to use for each treasure…right? Well, not quite.
Gems can sometimes be dropped by ravens or from tougher enemies (like the Ganados who have the Plagas that burst out of their heads), but this happens so infrequently that we can write them off as anomalies and not worry about factoring them into our calculations for determining the optimal combinations. There is only one exception to this rule…
 ㅤ
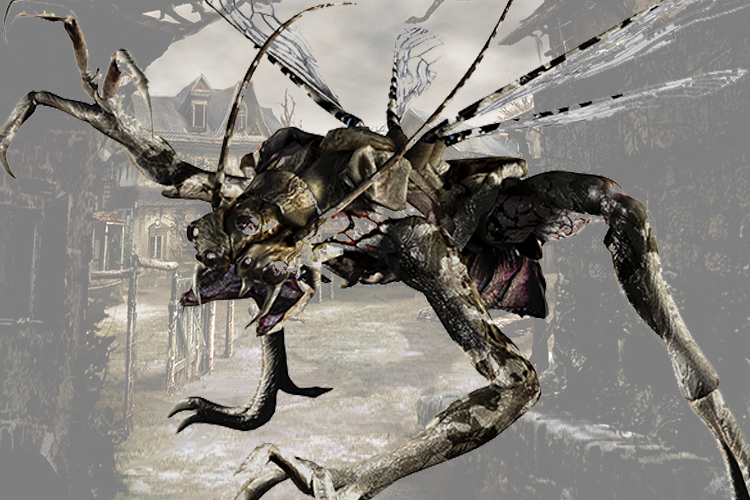
ㅤNovistadores. These rat bastards are the only enemy type that frequently drops gems (specifically, Sapphires). That would be okay if there were only a couple of them, but these jackoffs are everywhere. It makes it very difficult to come up with optimal gem combinations because every player is going to have a radically different amount of Sapphires at their disposal. I honestly can’t even come up with an average when it comes to these drops. I did two playthroughs on Professional difficulty recently in order to gather data for my upcoming “All Guaranteed Items” guide. On the first playthrough, I did it legitimately using standard weapons. On the second one, I used mods and a trainer to give myself nearly unlimited stacks of ammo, knives, grenades, etc. For both playthroughs, I specifically made sure to kill the Novistadores only while they were on land so that I wouldn’t lose their drop (they have a nasty habit of falling into chasms after being shot). Here is the number of Sapphires I collected from them:
- 1st playthrough: 13
- 2nd playthrough: 25
Wtf? Why the huge discrepancy? What exactly dictates how these drops work? Did I just get lucky? I have no idea.
There are only 10 Sapphires in the game (12 if you have the DLC), which means that you can obtain more Sapphires from killing Novistadores than you can from collecting gems on the map. This left me with a dilemma – do I determine the optimal combinations by limiting myself to only the guaranteed number of Sapphires or do I try to factor in the Novistador drops somehow? I went with the latter.
In order to determine the optimal combinations, I granted myself 10 extra Sapphires (which was lower than what I got from my two playthroughs and seemed like a fair expectation that the average player would be able to acquire). However, you don’t actually need 10 – I was able to determine the optimal combinations using less. Depending on if you have the DLC or acquire the extra items from the Merchant, you will need to acquire the following number of Sapphires from Novistadores in order to make the optimal combinations:- Base Game (no Merchant): 1
- Base Game + Merchant: 5
- Base Game + DLC (no Merchant): 2
- Base Game + DLC + Merchant: 1
Now, let’s get on to the combinations. For the sake of simplicity, I have listed out every gem by their color rather than their name:
- L.Red = Ruby
- Blue = Sapphire
- Yellow = Yellow Diamond
- Green = Emerald
- Purple = Alexandrite
- S.Red = Red Beryl
I determined the best combinations by taking all of the data I collected in my spreadsheet and using an Excel add-in called OpenSolver to run calculations on it. So, if you somehow figure out better combinations than the ones I have here, then...uh...blame the robot and not me! I'm innocent, I tells ya! Innocent!
Base Game (no Merchant)
- Don’t have the DLC.
- Don’t want to spend 10 spinels to buy the gems and treasures from the Merchant.
Base Game + Merchant
- Don’t have the DLC.
- Are fine with spending 10 spinels to obtain the Chalice of Atonement, Elegant Mask, Yellow Diamond, and Red Beryl from the Merchant.
Base Game + DLC (no Merchant)
- Own the DLC.
- Don’t want to spend 10 spinels to buy the gems and treasures from the Merchant.
Base Game + DLC + Merchant
- Own the DLC.
- Are fine with spending 10 spinels to obtain the Chalice of Atonement, Elegant Mask, Yellow Diamond, and Red Beryl from the Merchant.
Configuration Comparison
Here is a table showing the total value of the treasures using the different configurations, sorted by most lucrative configuration to least. I’ve also included a column showing the amount of money you can make by selling your remaining gems, along with a column that shows the difference in revenue from using the lesser configurations in comparison to the most lucrative one:
Aaaaaand to no one’s surprise, the people who own the DLC get an edge over those who don’t! As for the Merchant, if you’re cool with giving him 10 spinels, you can make about 50,000-70,000 pesetas in return.
As for what gems you'll have remaining, see below. Don't forget that I added 10 Sapphires to the totals in order to make up for the Novistador drops, so depending on how many you get from them, your remaining number may be different:
All Possible Gem Combinations
 ㅤ
ㅤIf you find yourself halfway through the game and can’t use one of my optimal configurations, I’ve included information on every possible gem combination in the sections below.
Besides the value of each combination, I've also included my own "Rarity Score" which is a rough method for determining how rare the gems are which have been slotted into a treasure. Though using rare gems will pretty much always make your treasures more valuable, you may not have the gems you need on hand for a really lucrative combination if you used them earlier on less valuable ones.
The Rarity Score works like this:- L.Red and Green = 2
- Blue and Purple = 5
- Yellow and S.Red = 10
As an example of this in practice, say that we want to get the most value out of our Golden Lynx treasure. If we modify the Golden Lynx with two Yellows (10 & 10) and one S.Red (10), this would result in a treasure with a Rarity Score of 30 and a value of 45,600 pesetas. However, if we had used one Blue (5), one Yellow (10), and one S.Red (10), the Rarity Score would have been 25 and the value of the treasure would have been 45,500. You only miss out on 100 pesetas if you go with the second option and you get to hold onto your Yellow Diamond as well which you can use it in a better, more lucrative combination in the future. Just something to think about.
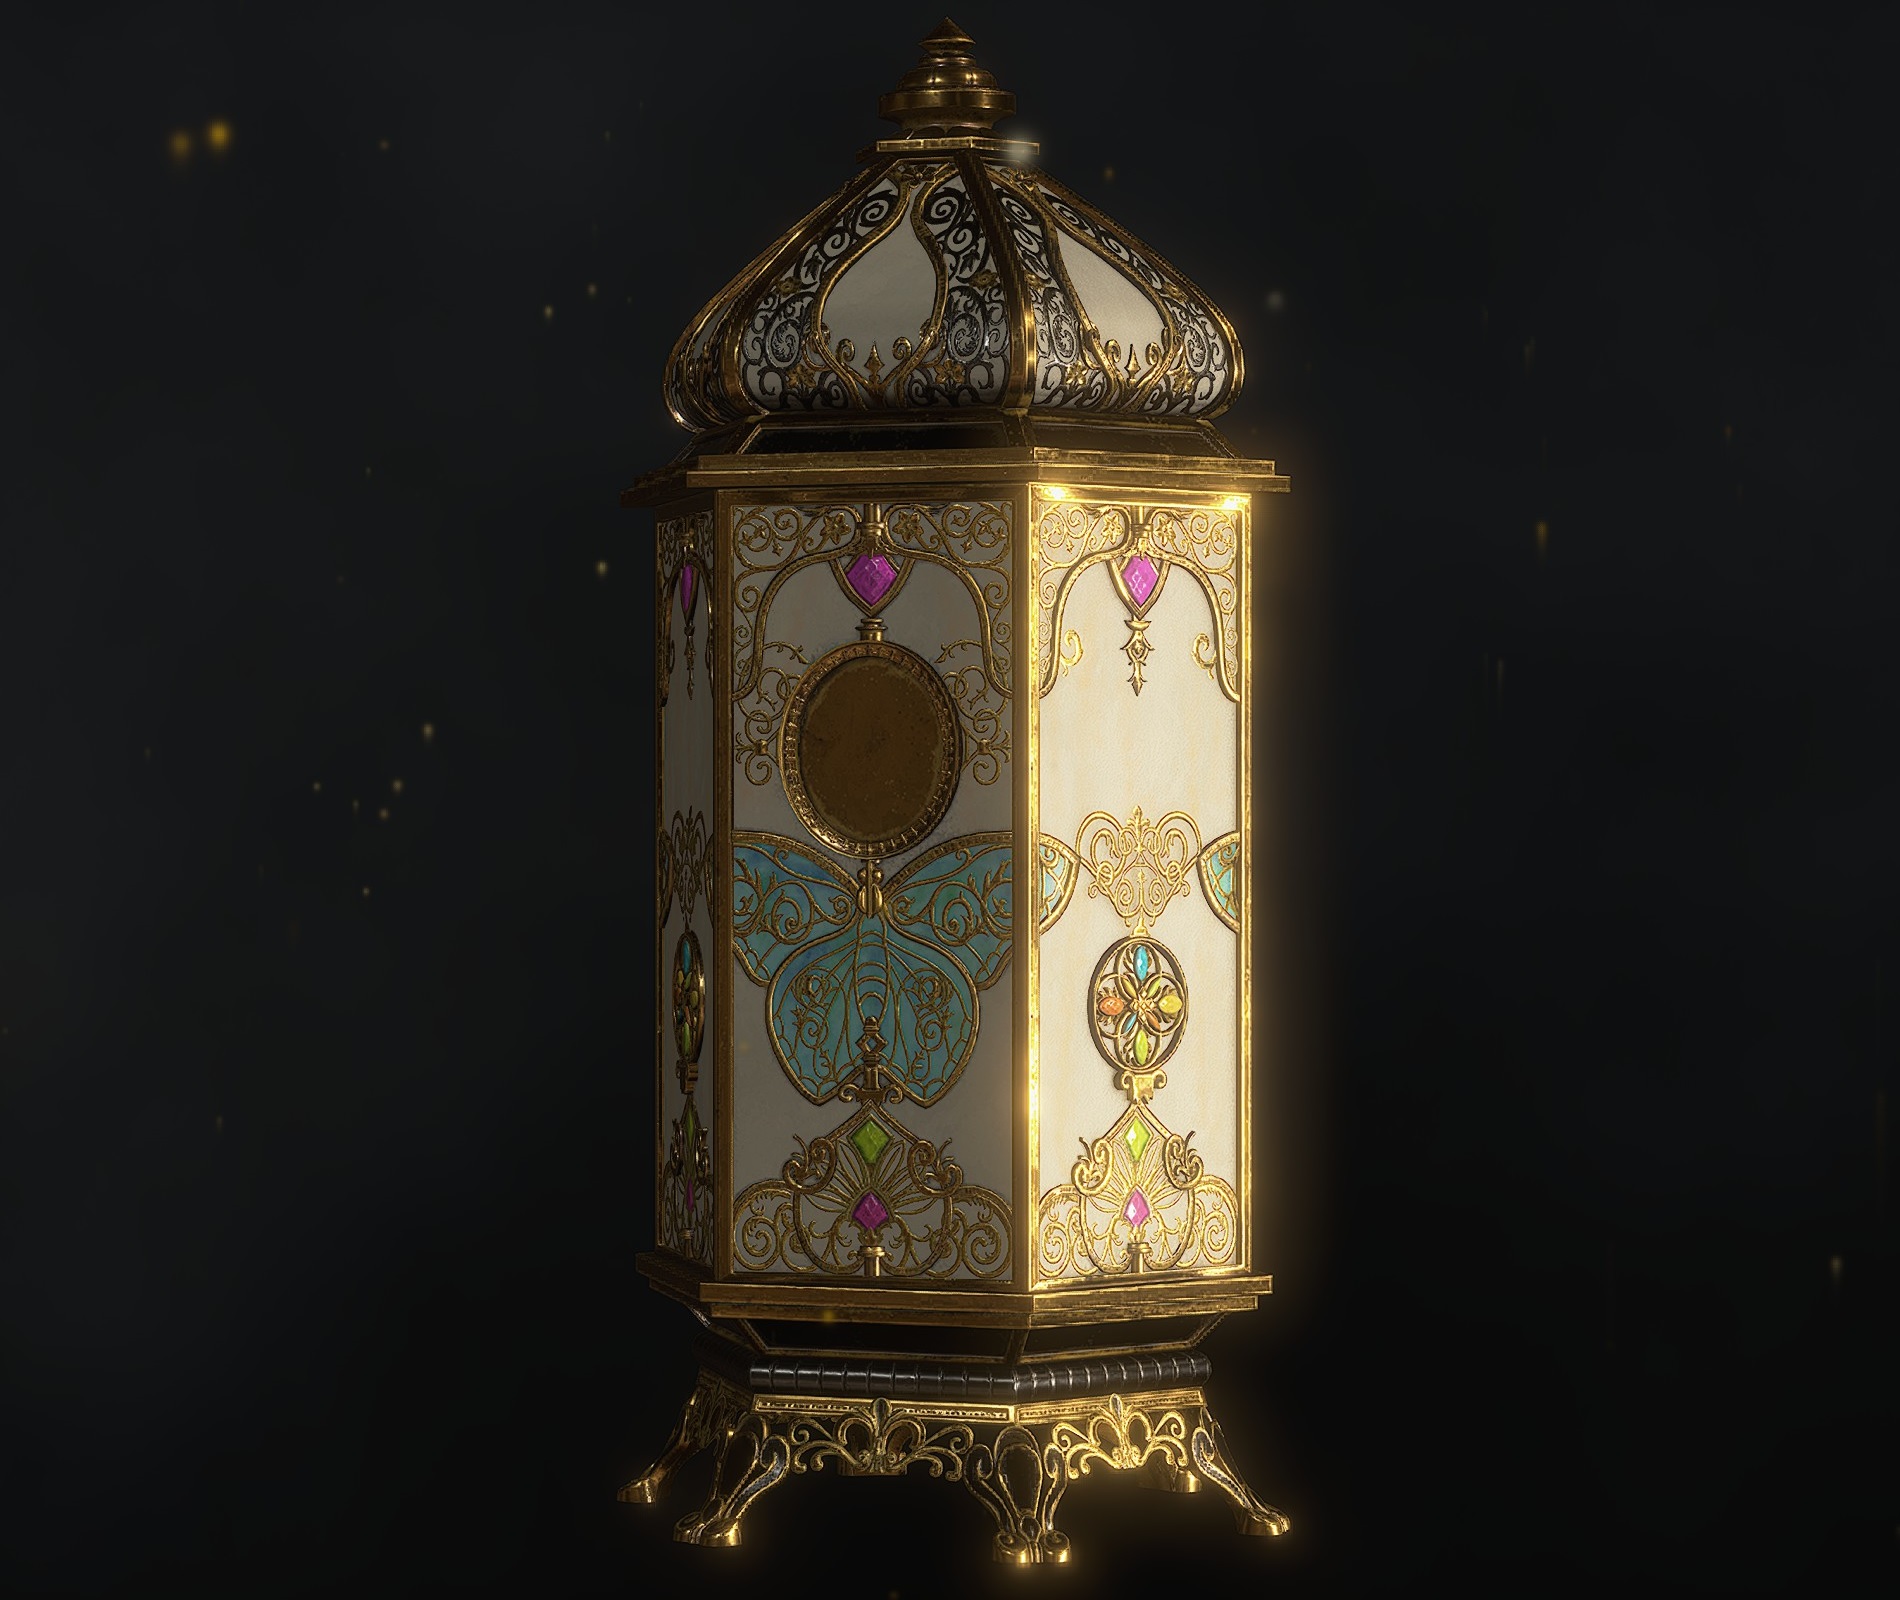
Butterfly Lamp
Chalice of Atonement
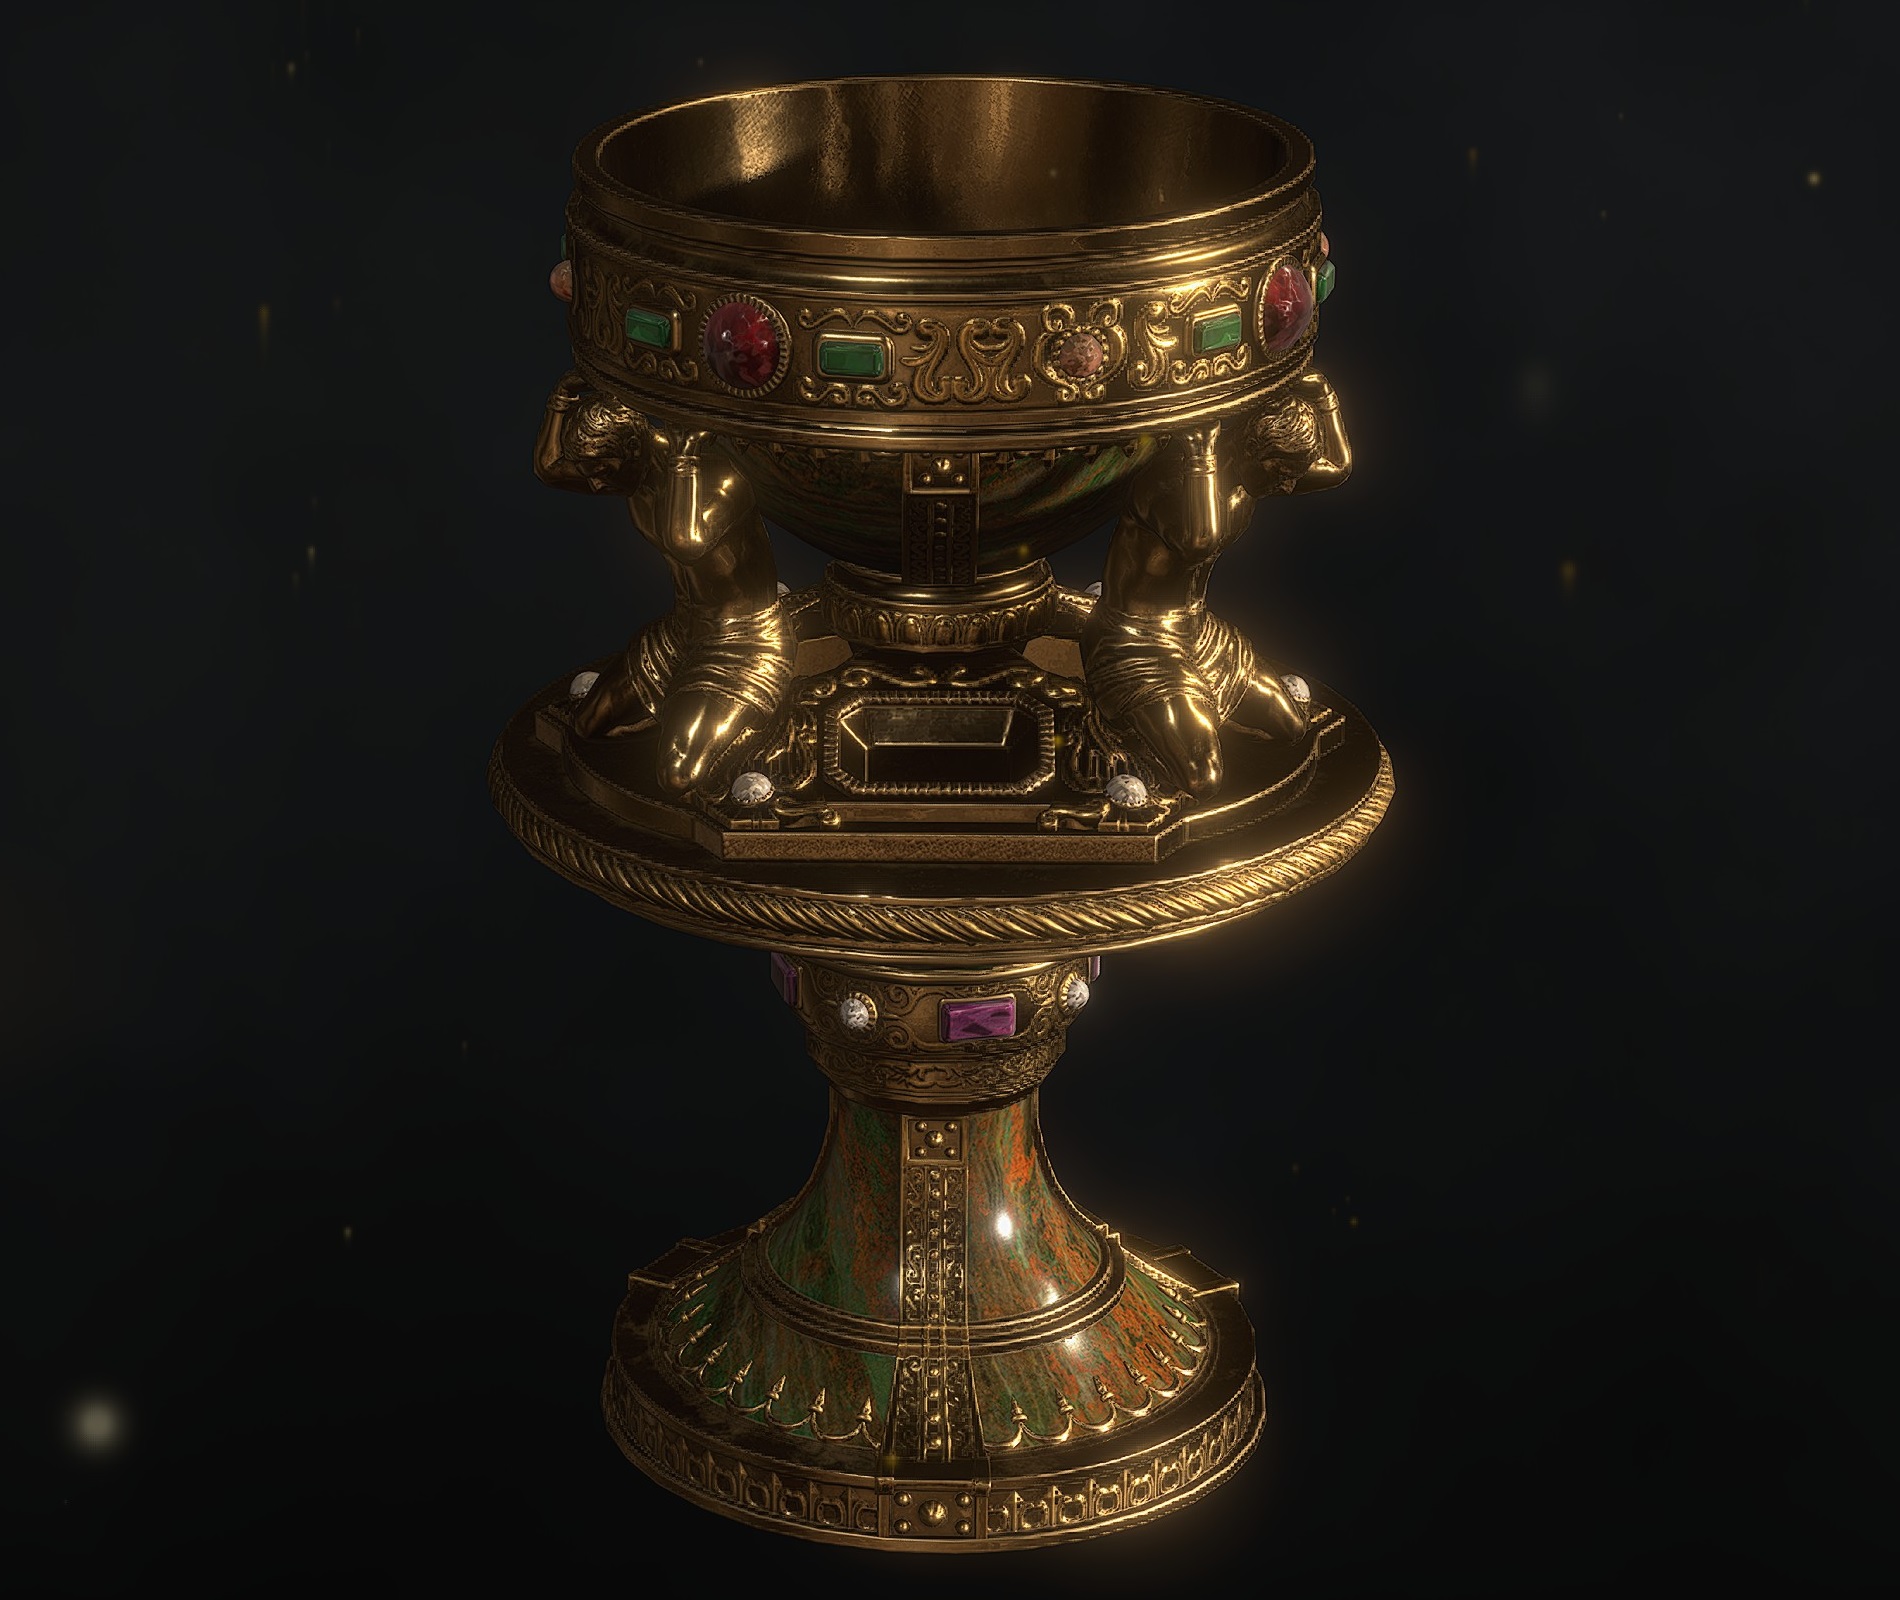
Elegant Bangle

Elegant Crown
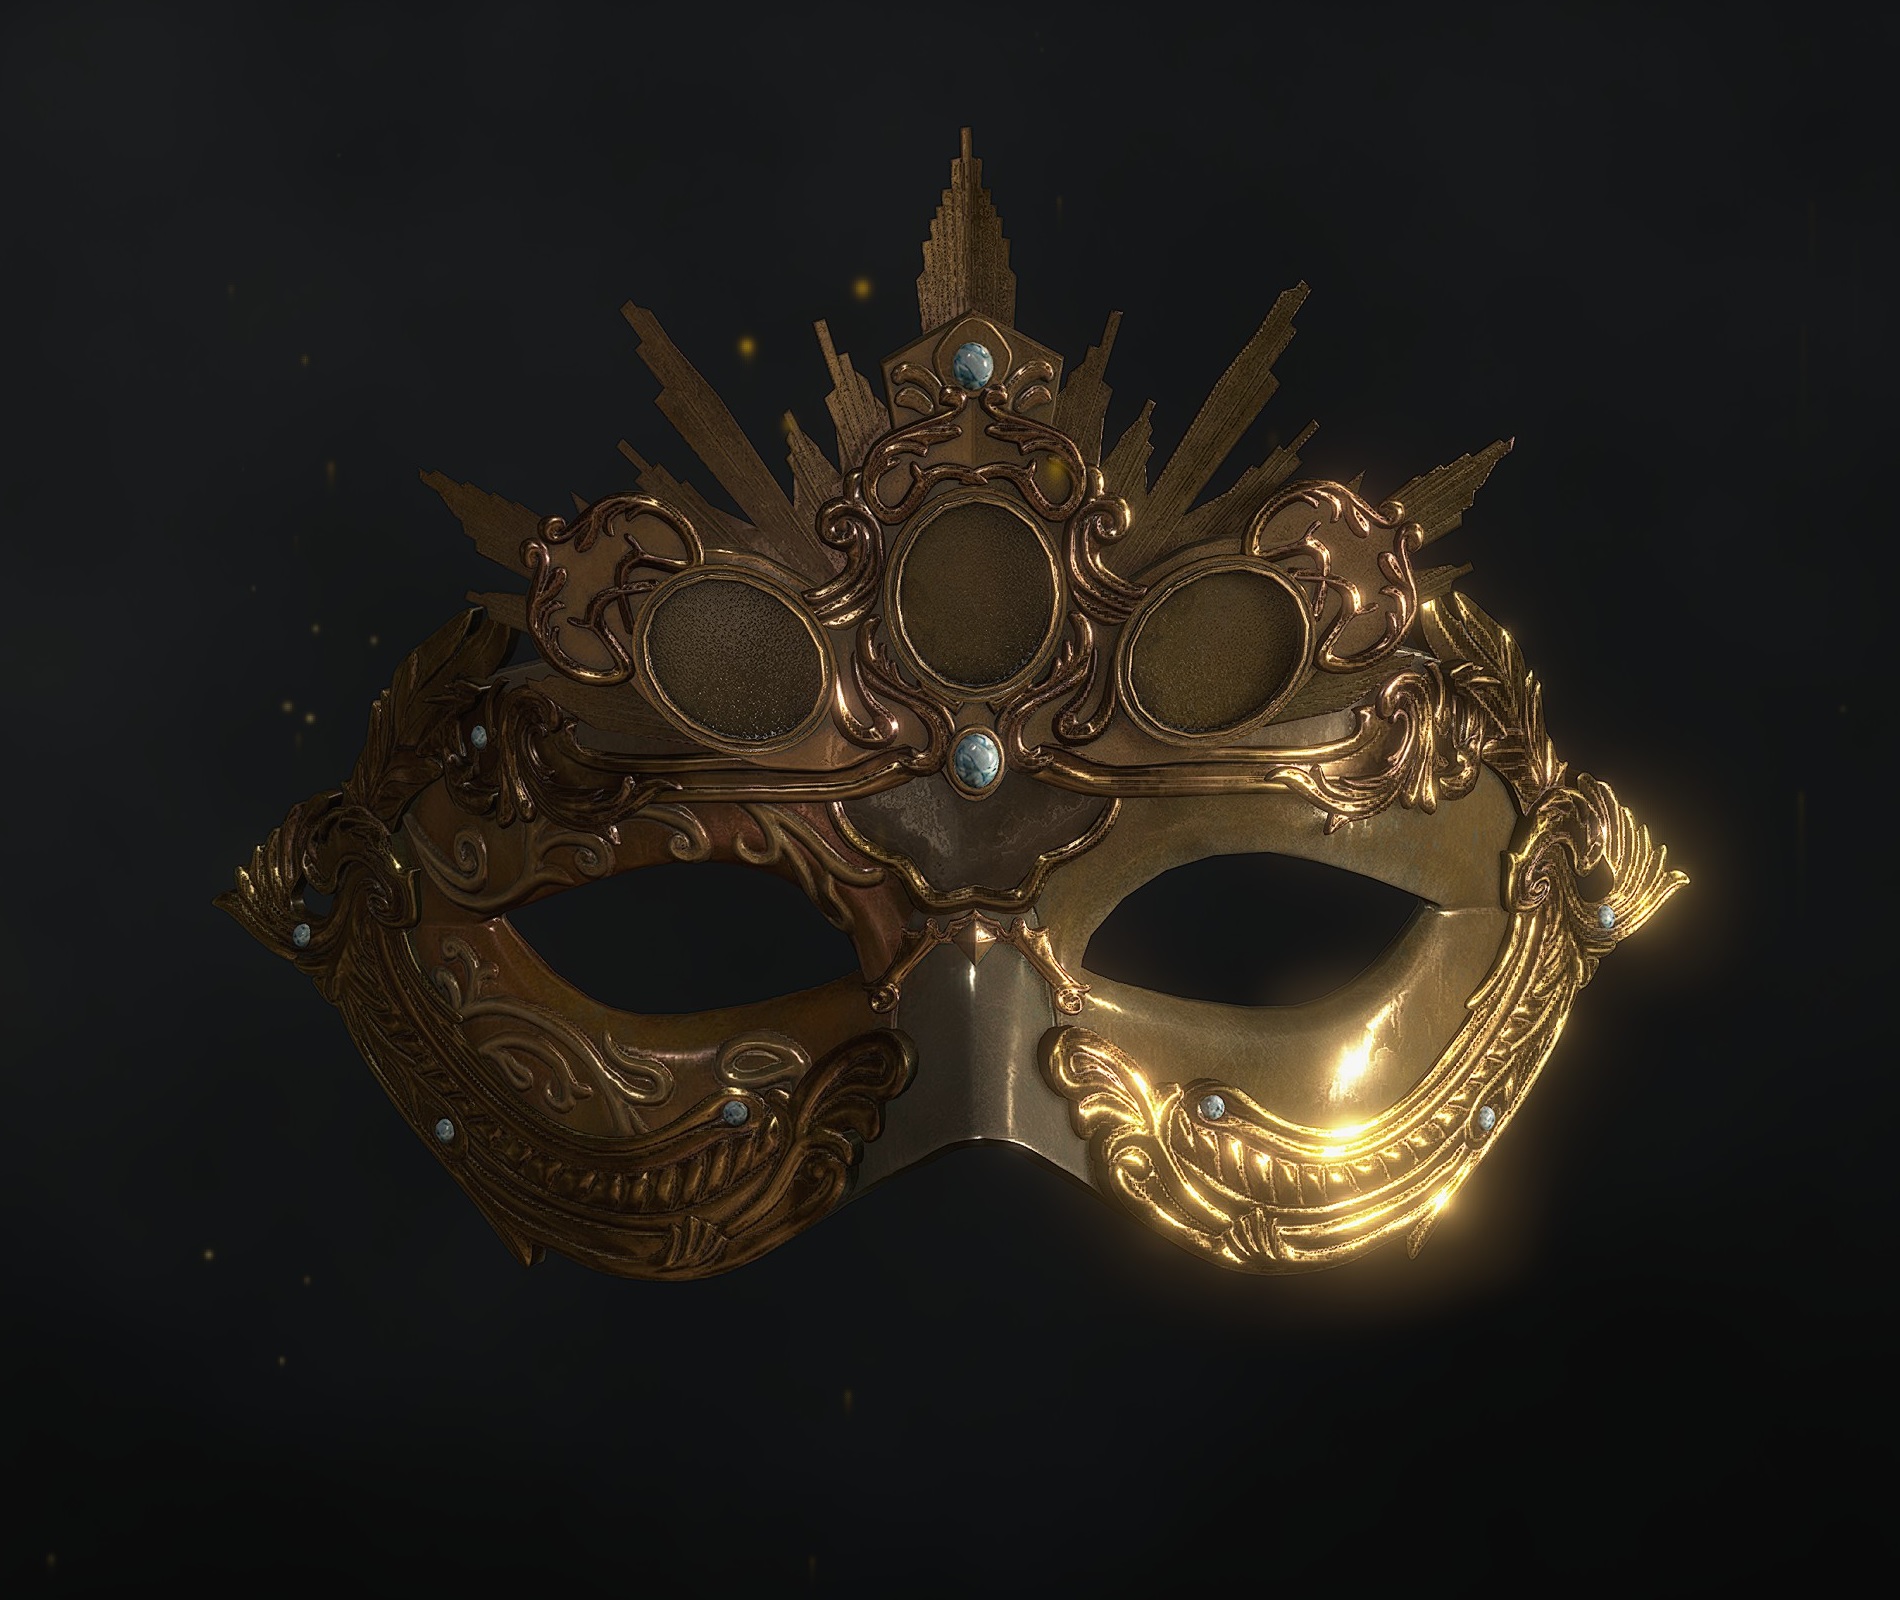
Elegant Mask
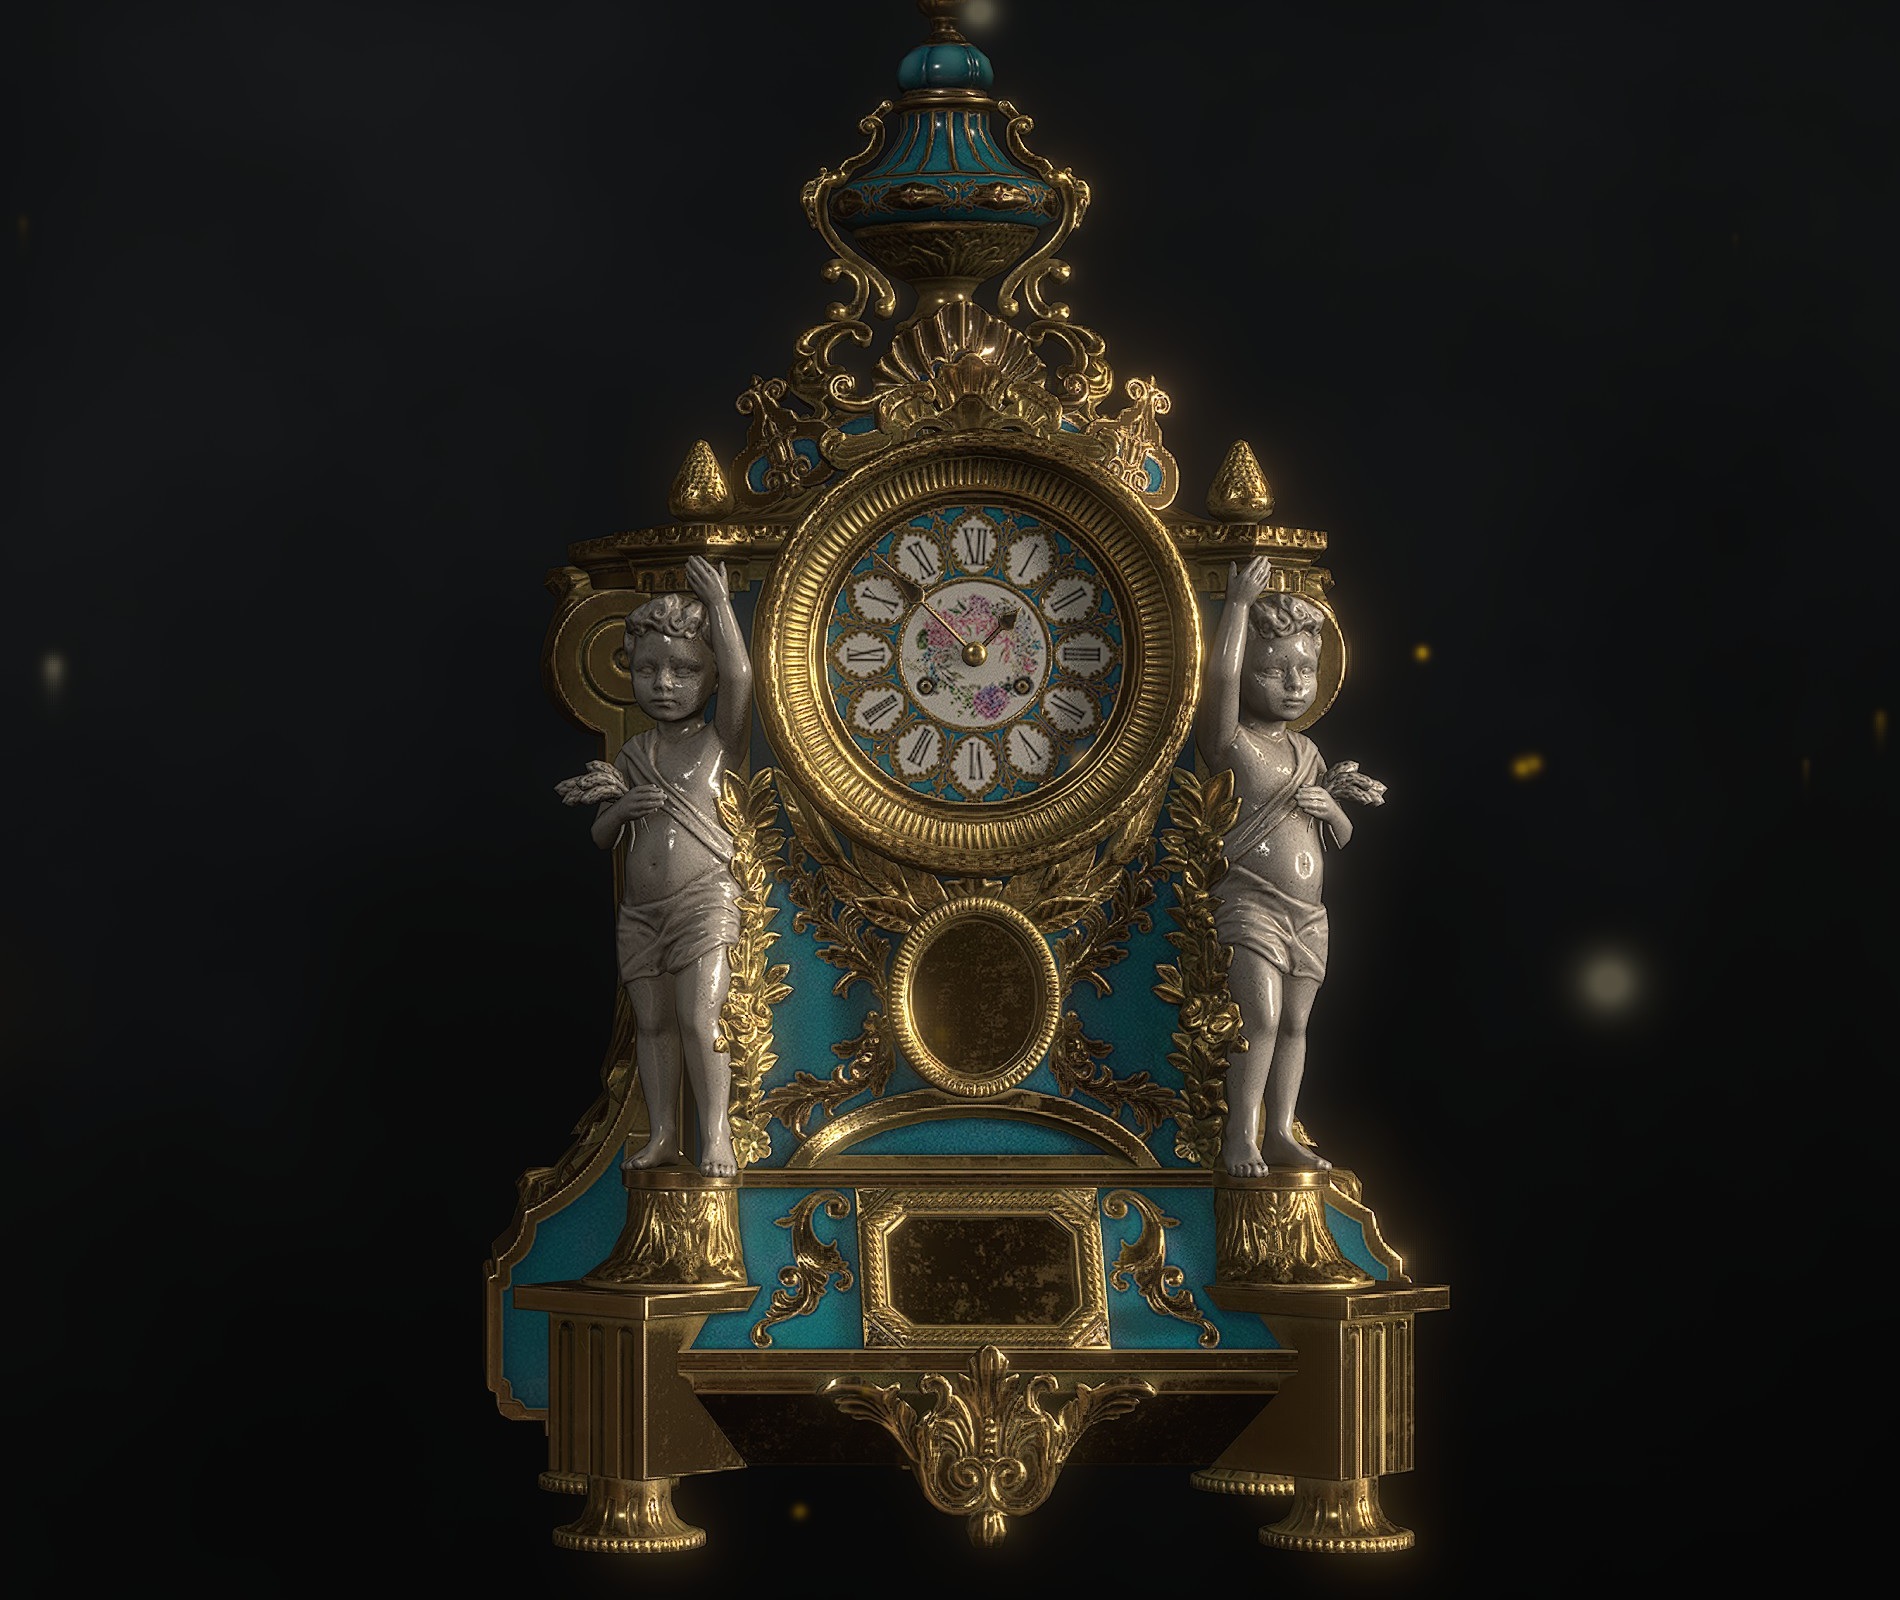
Extravagant Clock
Flagon
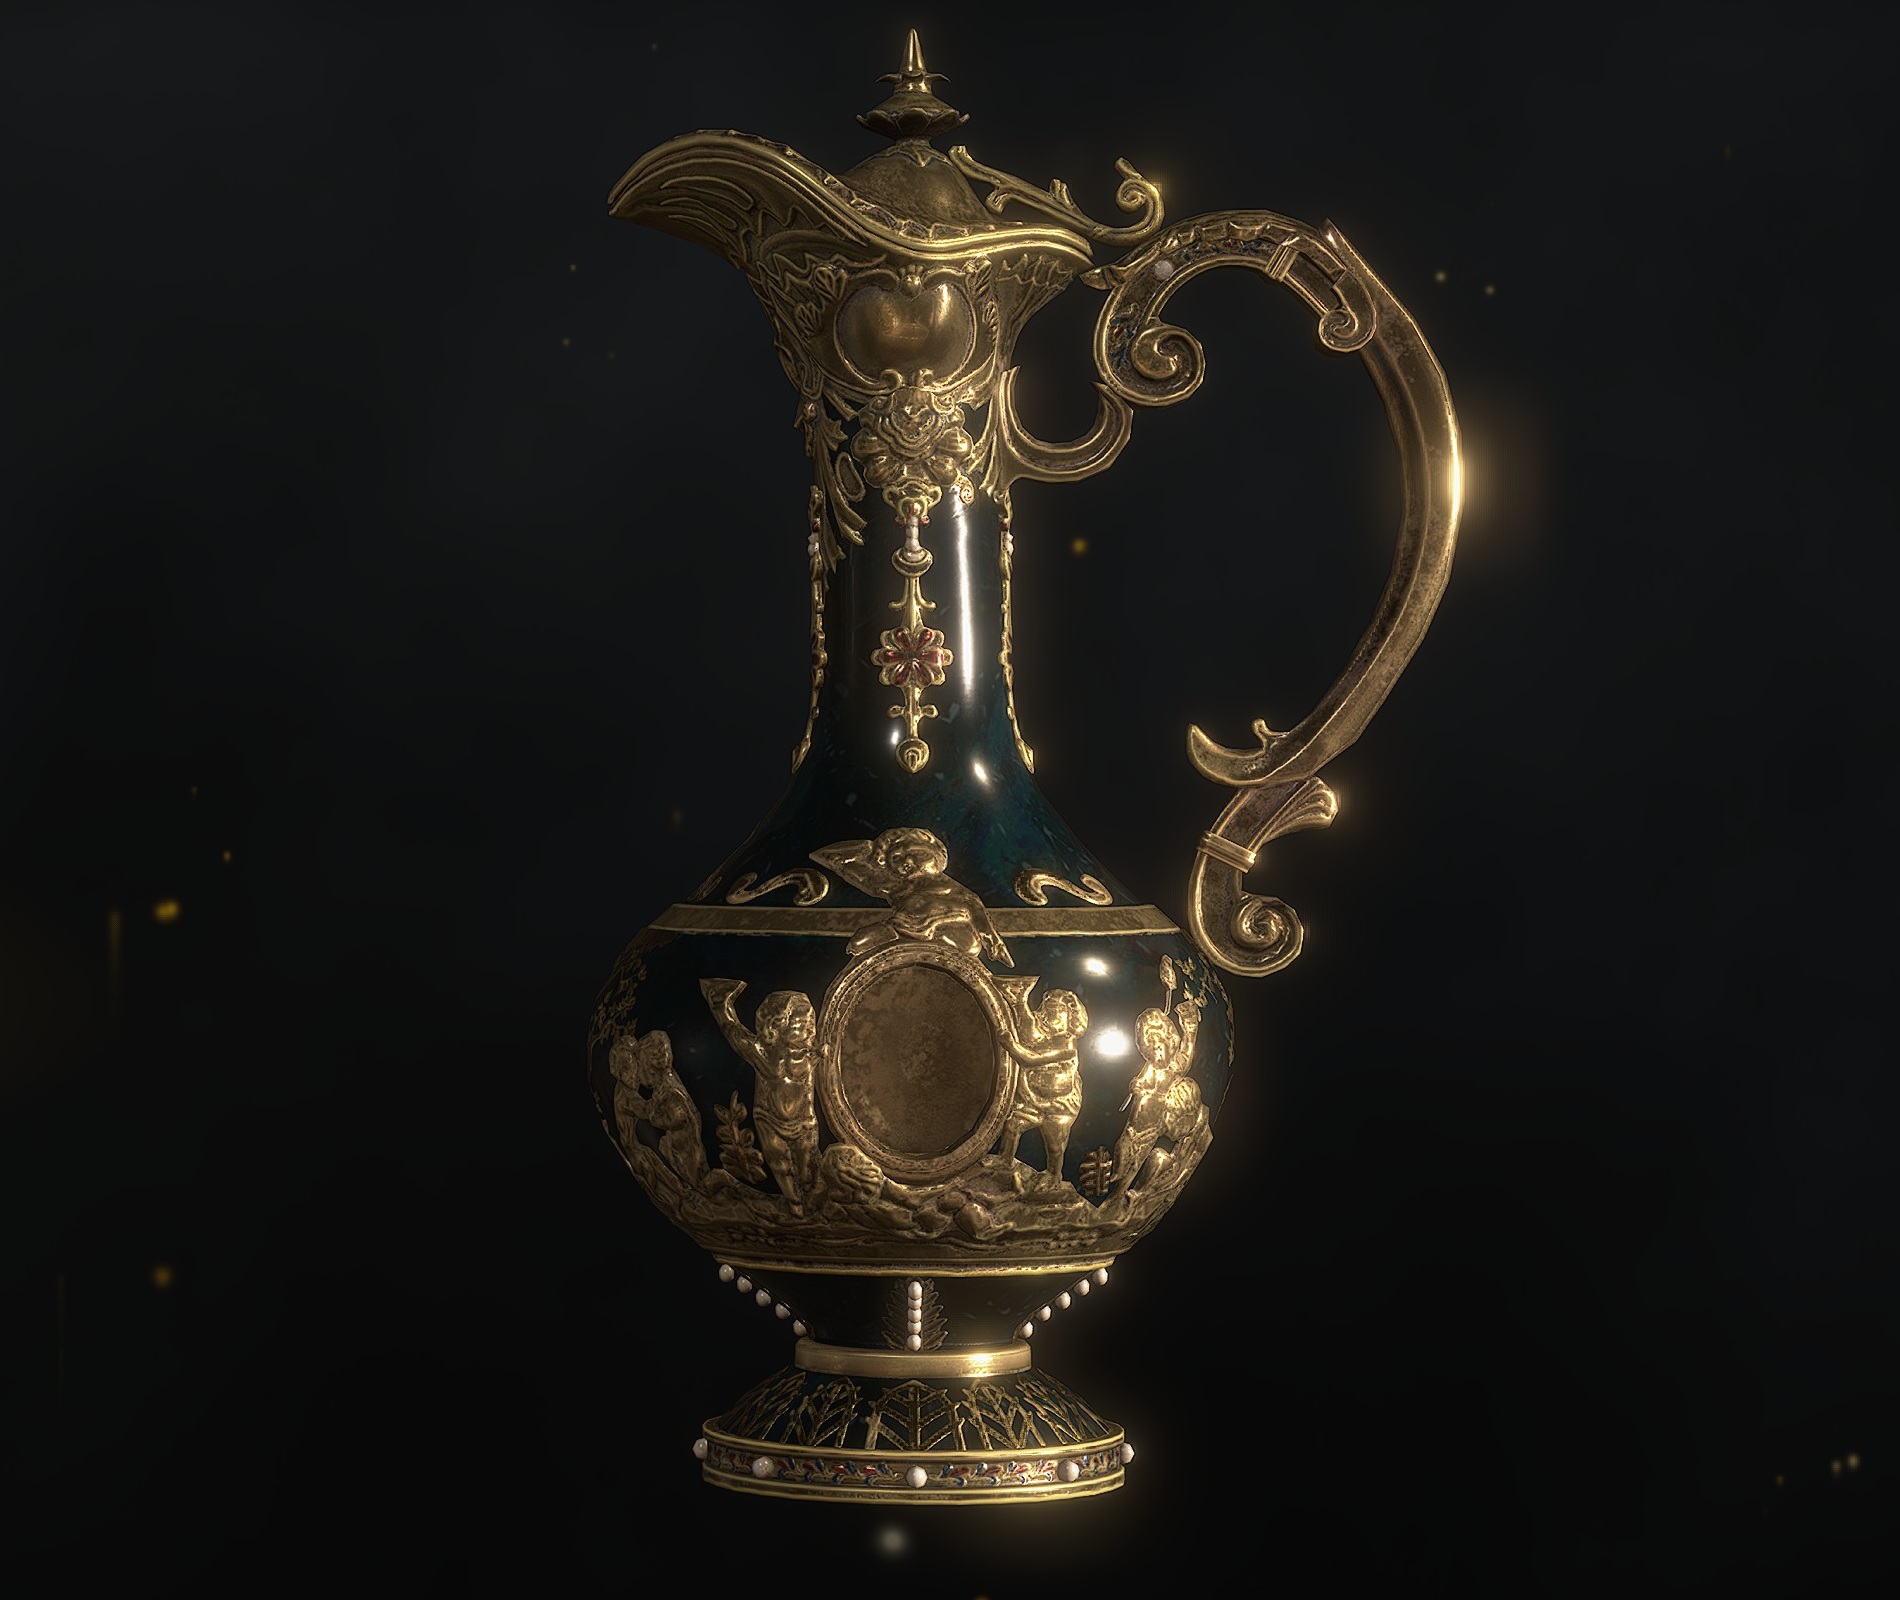
Golden Lynx
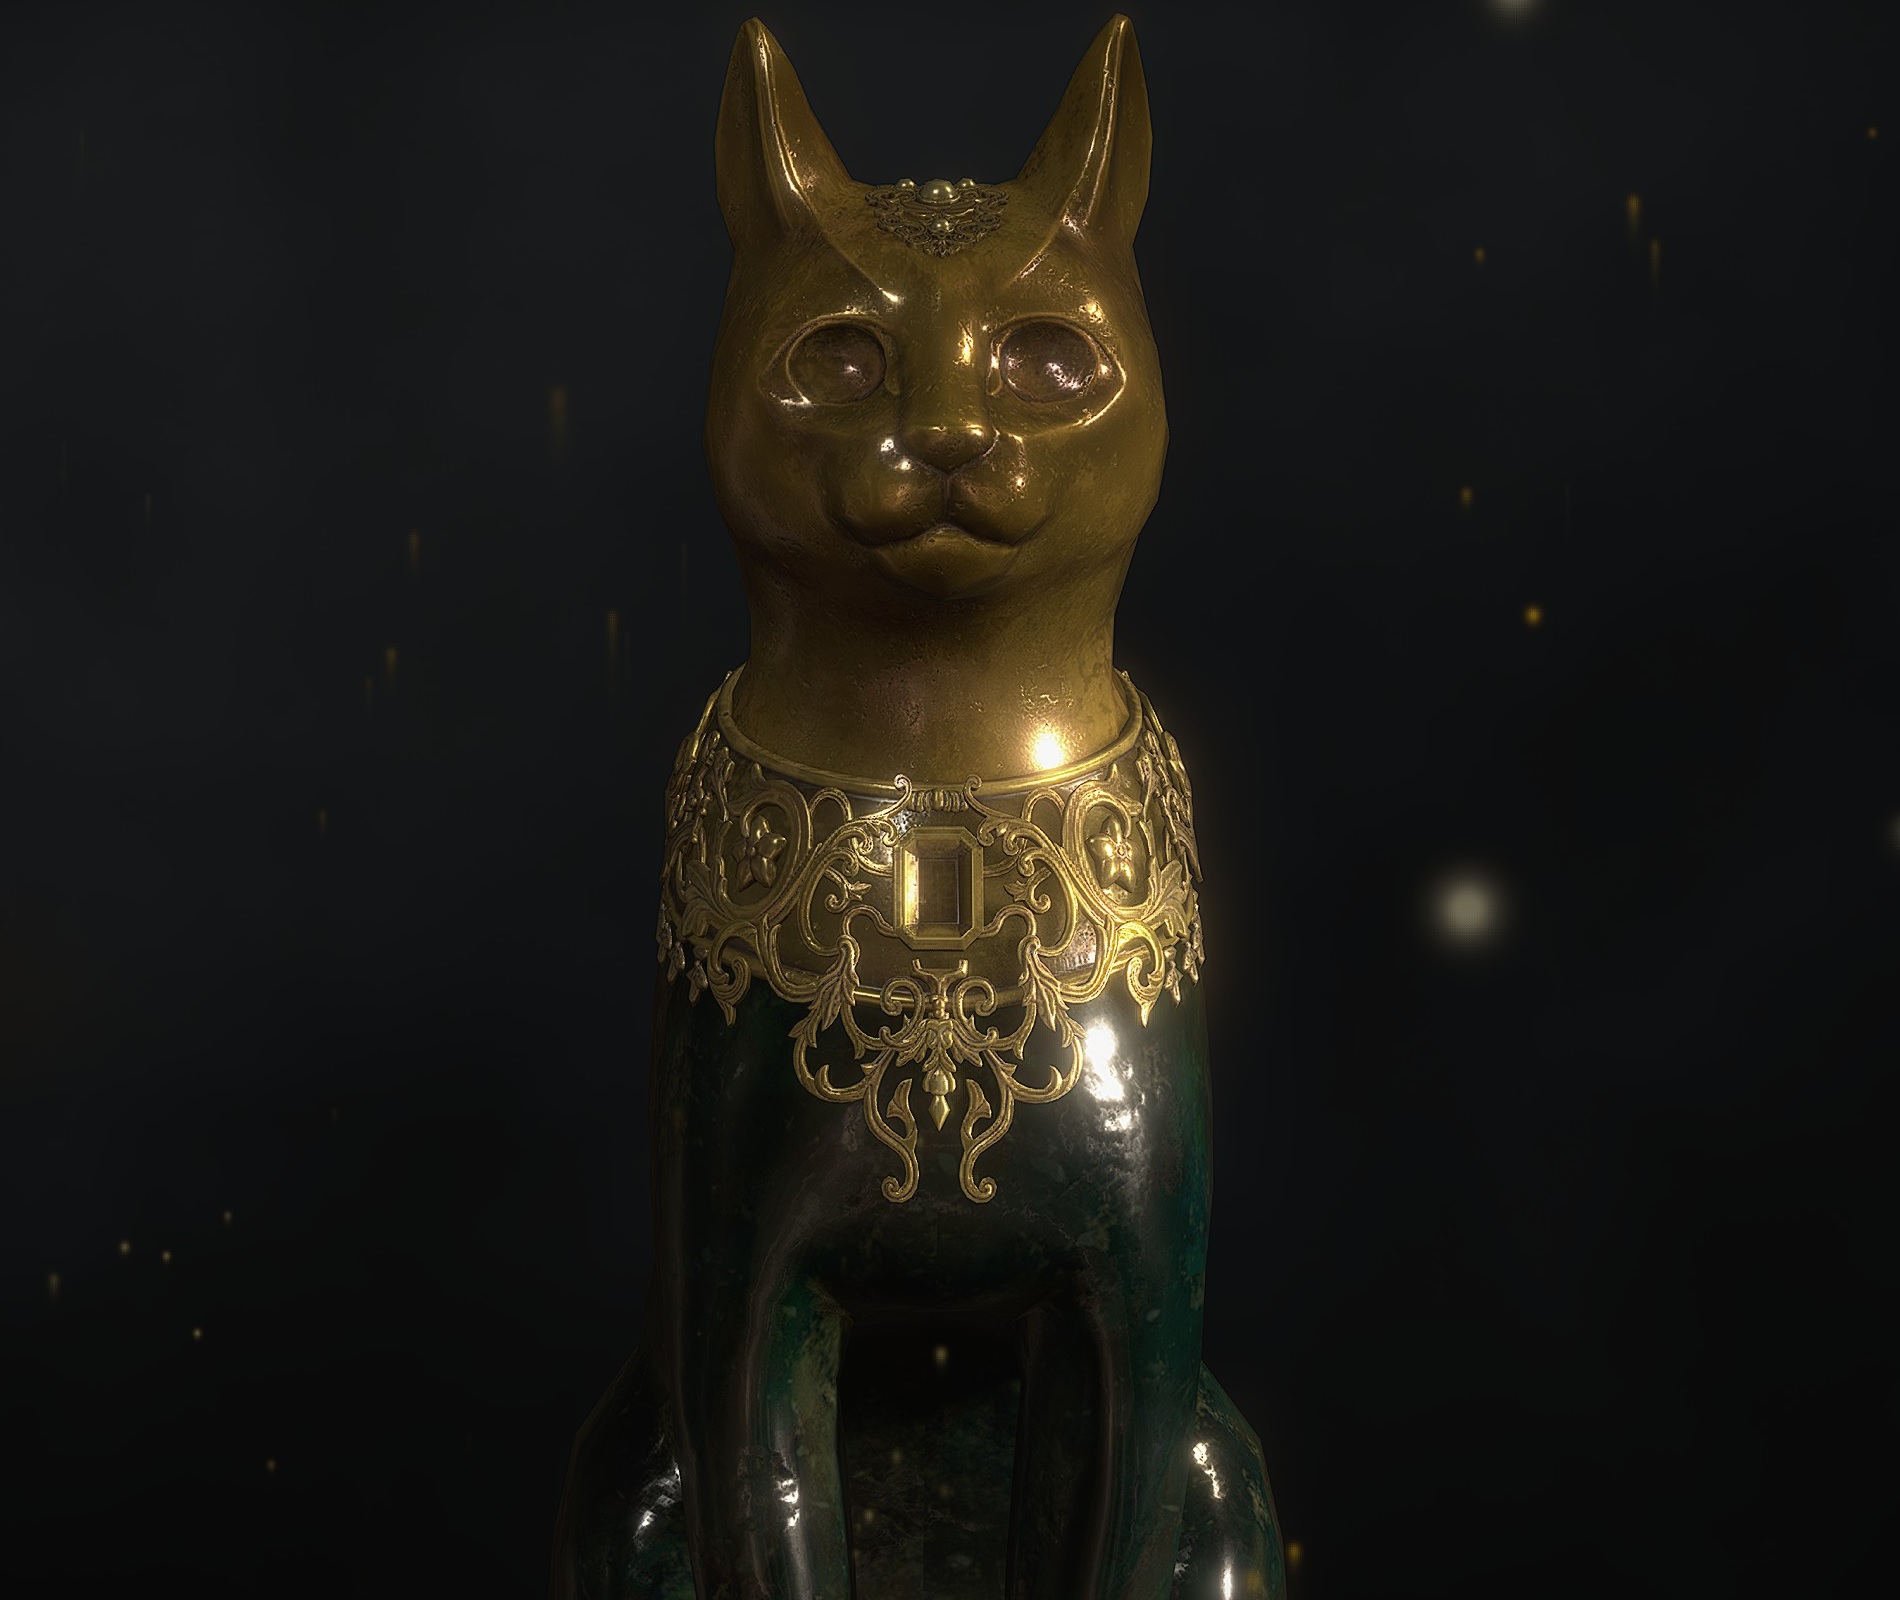
Ornate Necklace
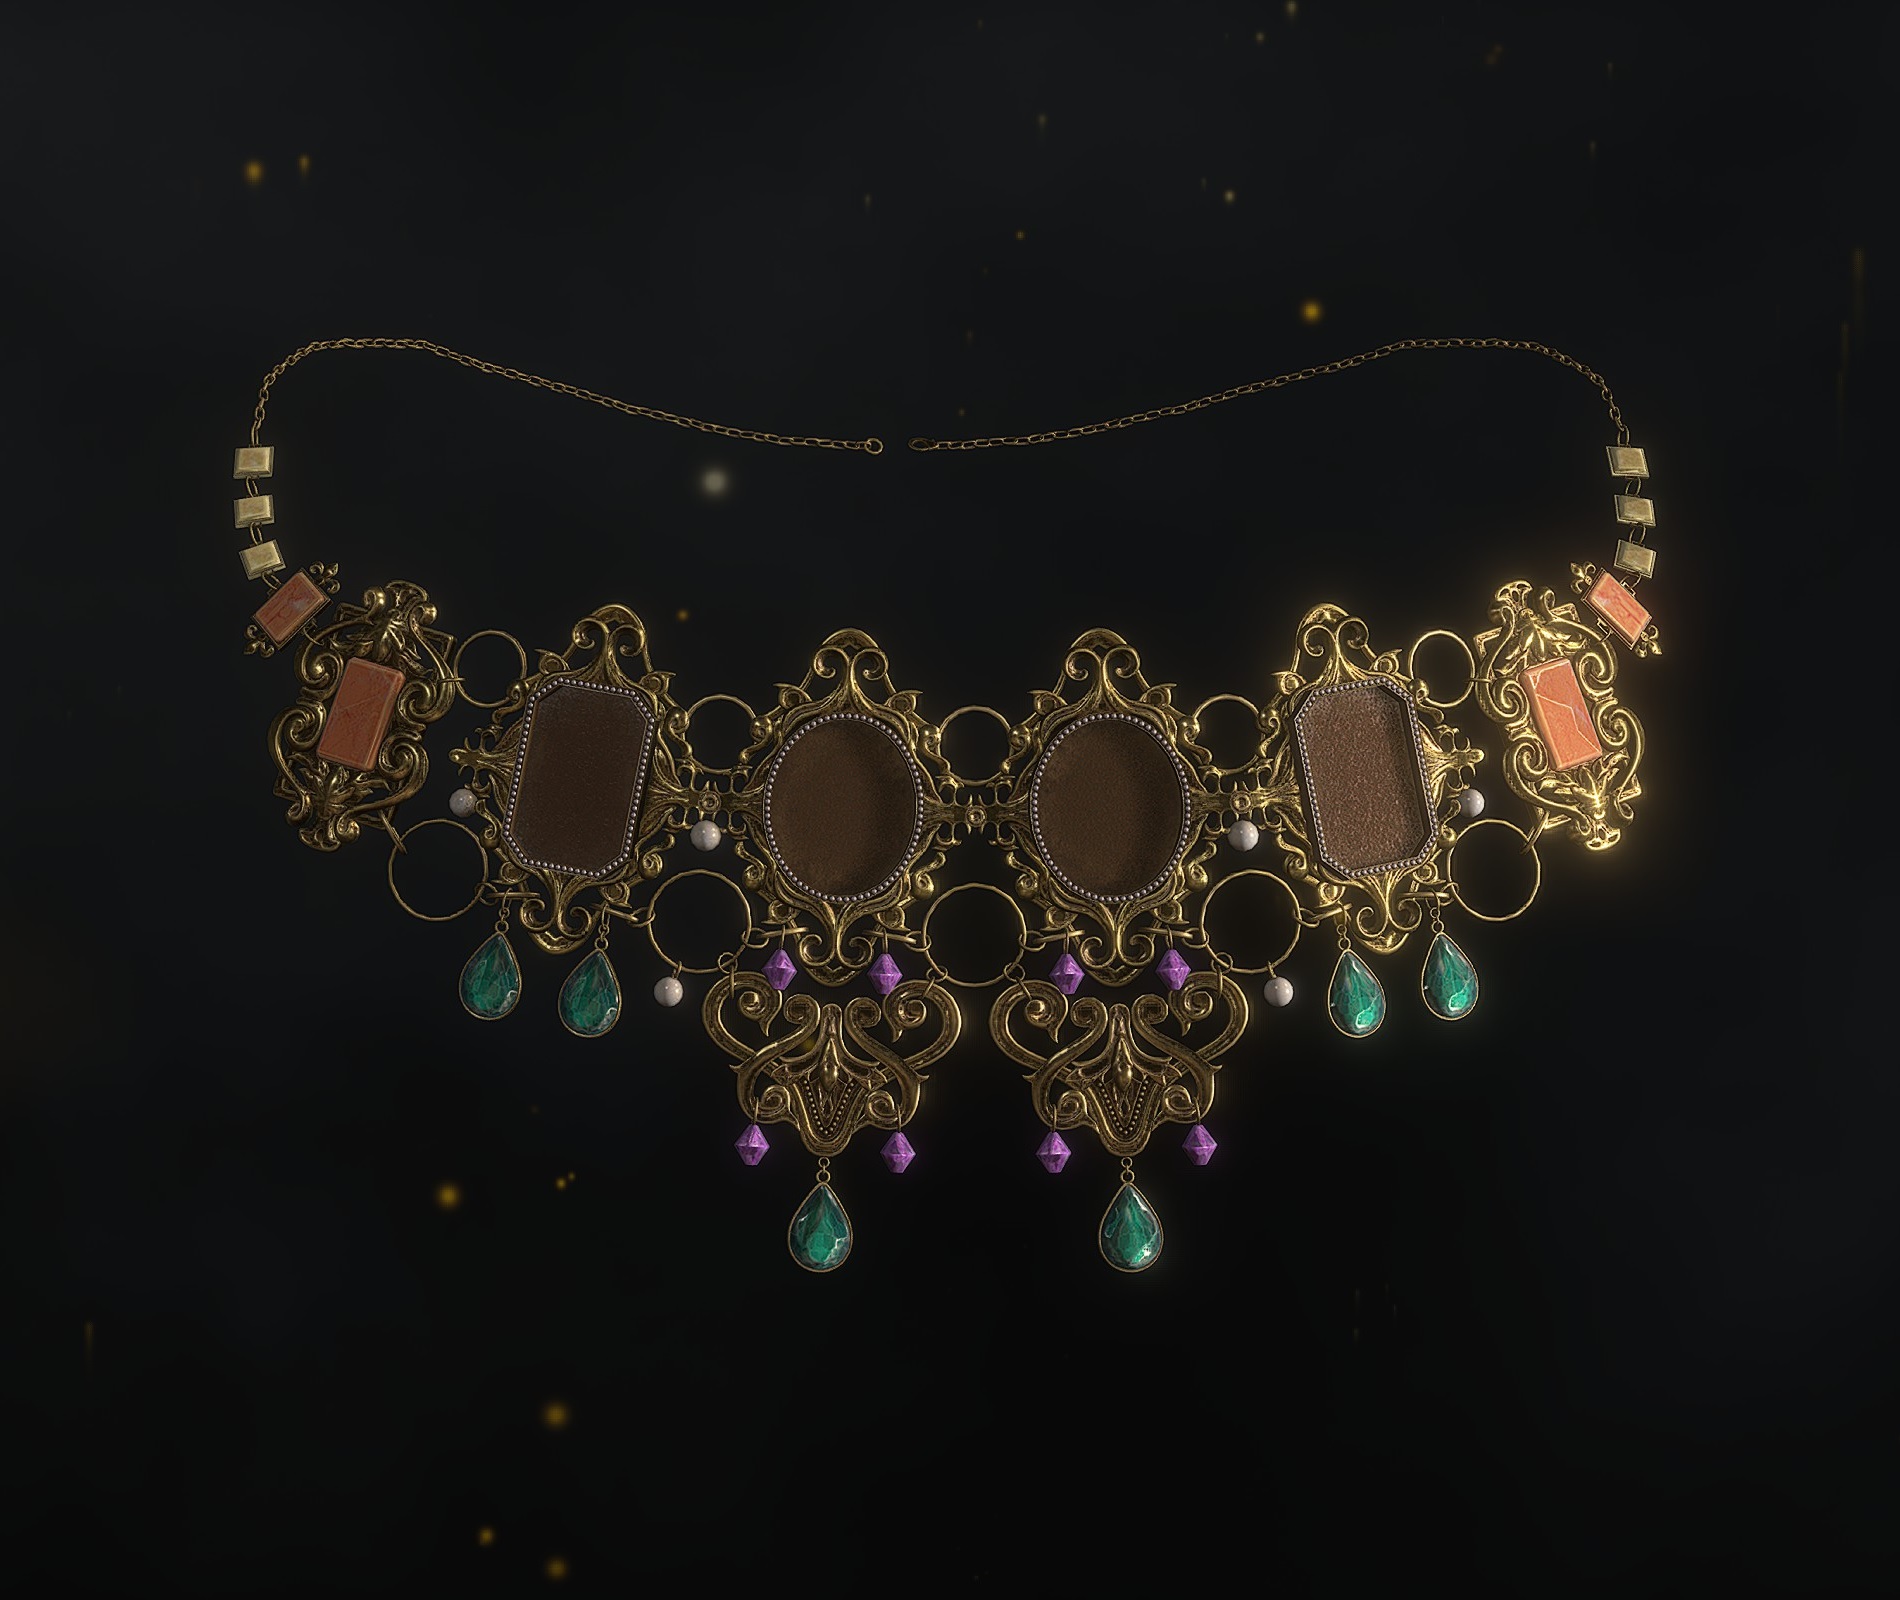
Splendid Bangle
Concluding Remarks

- Resident Evil 4 Remake + DLC 100% Achievement Guide★ 5 (1.3k)65k views3.2k ♥29 minUpdated Sep 23, 2023
- Resident Evil 4: Достижения и Коллекции★ 5 (1.7k)37k views3.9k ♥60 minRussianUpdated Jun 29
- How to Casually Unlock Everything (Updated for Mercenaries)★ 5 (945)36k views2.3k ♥17 minUpdated Apr 8, 2023
- Достижения Resident Evil 4 | Головоломки | Коллекции★ 5 (697)29k views1.8k ♥22 minRussianUpdated Sep 21, 2023
- RE4R Weapons Max Stat Comparison Table★ 5 (520)25k views841 ♥3 minUpdated Apr 21, 2023
- Clockwork Castellan Locations★ 5 (795)20k views2.1k ♥1 minUpdated Mar 26, 2023



- Upgrading to PremiumTeam Fortress 2★ 5 (20k)1441k views11k ♥6 minUpdated May 11, 2022
- No More Room in Hell Official ManualNo More Room in Hell★ 5 (2.8k)569k views2.1k ♥29 minUpdated Apr 22, 2019
- NMRiH Community Hosting GuidesNo More Room in Hell★ 5 (526)351k views653 ♥1 minUpdated Aug 10, 2022
- How to 'Git Gud' Soon™MORDHAU★ 5 (2k)318k views3k ♥68 minUpdated Nov 16, 2024
- Лучшие кооперативные игры SteamPAYDAY 2★ 5 (1.5k)315k views2.1k ♥56 minRussianUpdated Apr 27, 2025
- Desert Eagle Heat Treated | Blue GemCounter-Strike 2★ 5 (1.6k)293k views1.5k ♥2 minUpdated Jan 16





This guide was created by its original author on the Steam Community. Are you the author and want it removed? Request removal.