Unturned 100% Achievement/Easter Egg Walkthrough Guide (Mostly Complete)
Useful Guides
https://steamcommunity.com/sharedfiles/filedetails/?id=384578439
https://steamcommunity.com/sharedfiles/filedetails/?id=423147231
https://steamcommunity.com/sharedfiles/filedetails/?id=434319823
https://steamcommunity.com/sharedfiles/filedetails/?id=729947850
Welcome to...
Find your way to Prince Edward
Island.

Find you way to the Yukon.

Find your way to Washington.

Find your way to Russia.

Find your way to Hawaii.

Find your way to Germany.

Find your way to Kuwait.

Find your way to Ireland.

Find your way to Elver.

Find your way to Arid.

Find your way to A6 Polaris.

Find your way to Buak.

Find your way to Escalation.

Find your way to Rio de Janeiro, Brazil.

Find your way to Limestone.

Find your way to California. (...2?)

All of these can be achieved by going to the corresponding map in either singleplayer or multiplayer for the first time.
Items/Resources/Farming
Find yourself 100 items.

Find yourself 1000 items.

Harvest yourself 10 resources.

Harvest yourself 100 resources.

Catch yourself 10 fish.

Craft yourself 100 items.

Grow yourself 100 plants.

Build youreself 250 objects.

You get these by pretty much just playing the game. Items are pretty much anything you find in towns and farms, resources are anything you mine or chop down. You can find chainsaws at farms and (maybe?) campsites, it would be logical. Jackhammers, to my knowledge, are only found on Escalation, Russia, and Germany at the locations below. This could be a bit outdated information
- On Russia, Keryev is the best spot to get metal scrap.
- On Germany, the Limestone Quarry is the best spot to get metal scrap.
- On Elver there are clusters of nodes around the map, i.e. the northern tunnel
- On Escalation there are scattered metal boulders around the map you can harvest
With the resources you gather, make sure you build a house. Maybe a garage too. A fishing and boat dock might be a nice touch too. Can't forget about guard towers or other defenses. Or maybe you already have a base and want to deck it out. Or fill a gun vault. Or start a farm. Literally anything, just craft stuff for Crafting and then build stuff for Fortified :3
If you didn't feel like building and just felt like farming, placing seeds is another alternative and you'd be getting Farming done. Seeds are at farms or botanists in some cities and you can craft them from the vegetable/fruit itself. You don't need a planter or plot but it would look nicer.
Fishing is calling. Answer the call. Pick up a fishing rod at a camp location. When you find one, settle into your favorite fishing spot and listen to the sweet sounds of fishing. Cast your line and when a fish is interested, it'll grab the hook and cause some bubbles to appear with a splash. Wait until the fishing rod curves toward the water and then reel 'er in.
Coalition
Finish a quest.

Rise to Ensign rank in the Coalition.

Rise to Lieutenant rank in the Coalition.

Rise to Major rank in the Coalition.

Attain a respected reputation.

As far as I'm aware, the current maps with quests are Russia (Liberator), Hawaii (Memorial), Kuwait (Icarus), Arid, A6 Polaris, and Buak (Ontoni Factory). To rank up, talk to the leader of each coalition group. I know of Captain Sydney (Russia), Admiral Tyler (Hawaii), and there is one on Kuwait but I won't spoil that :) to get started though, talk to Major General Issac. As far as I've been able to tell, pretty much just run through the quest-line on maps that offer them and you should get all of these achievements. Paragon can be achieved by healing other players but questing is by far the easiest method, aside from the command:example: @reputation examplename/10000 or @reputation examplename/-10000.
If you want an easy quest to do on Russia, here ya go:Find Gwen's wedding ring. She is in one of the tents that's on the air strip[imgur.com]. The ring itself is under the Liberator close to where Gwen is. I would suggest trying to maybe get a scuba mask to see better, that should help with being able to see the ring.
Zombies
Kill 100 normal zombies.

Kill 1000 normal zombies.

Kill a mega zombie.

Kill 10 mega zombies.

Hit 100 headshots.

Hit 1000 headshots.

Pretty simple, go to literally any town or farm on the map you're playing and you'll find zombies to kill. Mega zombies spawn in military locations usually but here's a list:
PEI: Summerside Military Base and the Confederation Bridge
Yukon: Offlimits, Overturned Ship, and a helicopter crash near Mount Logan
Washington: Olympia Military Base, construction site in Seattle, and the crashed desert huey north of Bellevue Golf Course
Russia: Oil Rig, Silo 22, Volk Military Base, and the end of the railroad tunnel on the northwest side of the map
Germany: Rappbode Dam, Aerospace Defense Complex (2 separate spawn locations), Schwarzwald Military Base (2 separate spawn locations), Ostee Compound, and Cologne
Ireland: Fort Dunree, Moneypoint Powerplant, and in the deadzone cave near Woodrow Farm
Hawaii: Mauna Kea and Alika Base (2 separate spawn locations)
Elver: Junction 67
Kuwait: Saqr Airbase
Arid: Point Lima
Buak: Pine Point firehouse
Rio: Bridge between Rio de Janeiro and Niterói (2x seperate spawn locations), Afonsos Air Base, Duque de Caxias, Petrópolis, Rio de Janerio, collapsed tunnel near Alto da Serra, Santos Joint, Magé
Limestone: Rocky Mountain Coalworks
California 2: Northern police station, Pier 24, and the DCC tents near China Town in San Francisco; Cache 42, Bixby Bridge, El Patrol, Costa Mesa Mall
I'm including Headshot and Sharpshooter because I found it easier to complete just against zombies and animals but you can headshot players and it will count as well.
Skill Tree/XP
Fully learn your offense skill tree.
 _____
_____
Fully learn your defense skill tree.
 _____
_____
Fully learn your support skill tree.
 _____
_____
Fully learn all your skills.

Gain yourself 100 experience.

Gain yourself 1000 experience.

For these, you just kinda gotta.. do stuff. Play the game: chop and mine, kill zombies, kill animals, catch fish, forage, and complete quests. I included a reference photo for each skill tab in-game, not totally necessary but whatever :)
If you don't want to spend the time getting all of the XP, you can just go into singleplayer and use the command / or @ experience name/1000 (Example: /experience examplename/1000). Some multiplayer servers have XP kits as well, just depends.
Multiplayer (Host Your Own Server)
Win 3 arena matches.

Kill 10 players.

Kill 100 players.

Attain an intimidating reputation.

Start a personal server for your friends or just join one from the multiplayer menu and get to killing for Murderer and Psychopath. https://steamcommunity.com/sharedfiles/filedetails/?id=2765733894 If you choose to start your own, you have a few options to have people connect: port forwarding, Hamachi, or a code. If you choose port forwarding, here's a quide to help you get started:
https://steamcommunity.com/sharedfiles/filedetails/?id=309724900 I'm gonna be honest, it really seems like port forwarding is an outdated method of hosting but as far as I'm aware, it's still a viable option.
If you choose to use Hamachi, run through the steps in the server hosting guide, download and setup LogMeIn Hamachi[vpn.net] and join a network with your friends. I'm unsure when the change was made but Steam requires servers to use a login token for players to connect now. You'll need the game ID (304930) and take it to this link to generate a token. It's pretty straight forward but the site does also tell you what you need to do. Once you have your token, copy it and head to your server's config file. Look for the line that has the text { "Login_Token": "", } and paste the token between the two quotations, save, then boot your server. It SHOULD work from there, look for your server in the LAN tab.
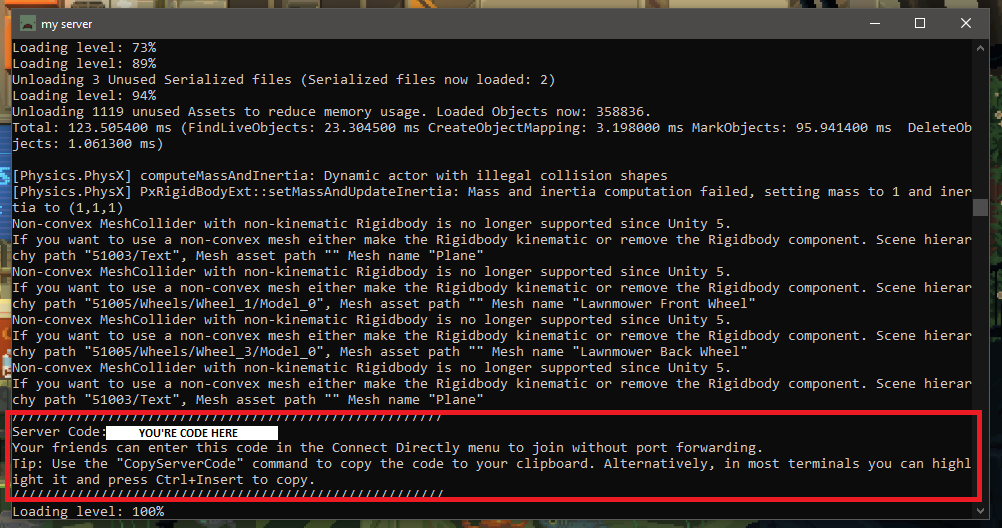
!!THE CODE SEEMS TO BE THE EASIEST WAY TO CONNECT!! When you start your server, a CMD prompt is opened and you can see the progression of the server starting. Once it finishes, at the very bottom there's a section where a "Server Code" is generated. Copy that code and send it to your friends and have them directly connect with it.
For Villain, you need -200 rep or lower. You can choose to be nice and heal people and you'll earn positive rep but quests are easier for that. Also not relevant here :3
For Champion, just think Fortnite. Fists are disabled, only ranged and melee weapons do damage (you can suicide though), and there has to be a minimum of 2 people on the server. You can in fact run private servers and just do this with 1 or more friends, just make sure you know the names of the arena maps. I personally ran Monolith but I know PEI Arena is another one.
Miscellaneous
Fail to contain the virus.

!?

Die 10 times.

Find yourself a vehicle.

Complete your education.

Travel 50,000 m on foot.

Travel 100,000 m by vehicle.

A Bridge Too Far can only be done on PEI. Head to the Confederation Bridge, between Alberton and the Summerside Military Base (previously known as O'Leary Military Base 😢), and walk to the end.
Berries can be done one of 2 ways: drink glue or find berries. Personally, I'm an avid glue drinker but if you wanna go with a less fun way of tripping, you can find berry bushes and forage for wild berries. Some maps have farms and greenhouses you can find the bushes, others you just kinda have to find them around the map. Be warned: inverted controls and color filters are a side effect.On Russia, if you do T.Rickster's quests, he will give you a berry you can eat. Buak has berry bushes all over the map so maybe that'll be a quicker route.
Literally just die for Accident Prone, probably one of the easiest achievements lol. You can suicide/reset in the [ESC] menu.
Pull a GTA5 and steal a vehicle or just spawn one in and drive it for Behind the Wheel:Example: @Vehicle examplename/[Vehicle ID]
For Graduation, complete the tutorial level you can access on the main menu. Upon completion, you will also get a cosmetic in your inventory you can wear in game :D
Hiking and Roadtrip are again, a result of just playing the game. Keep walking and driving around and when you get one achievement, you know you can focus on the other.
Holiday Festivities
Try out Sous-Chef Roman's festive recipe during the winter holiday festivities.

Deliver all of Santa's undelivered gifts during the winter holiday festivities.

Power up the Seattle skyline during the winter holiday festivities.

Build a big ol' snowman during the winter holiday festivities.

Unfortunately, these achievements can only be completed naturally during the holiday season (unsure on the specific dates). With that said, there is a way to have the holiday season last all year if you wanted:
- Right-click Unturned in your Steam Library
- Select Properties... > General
- Find the Launch Options field
- Type "-Holiday=Christmas" without quotes
This way, you don't have to wait all year until next the holiday season to get the achievements.
I'm just gonna leave this one here for ya:
https://steamcommunity.com/sharedfiles/filedetails/?id=2678424194&searchtext=holiday
Russia Easter Egg (Soulcrystal & Mk. II)
???

???

We had issues with multiplayer in the past, unsure if that is still an issue. Do with that what you will. You're gonna wanna make sure you have pretty solid gear for this easter egg. 1. - Head to the Liberator on Russia and talk to Dr. Swanson in the clinic to get the 'Research Recovery' quest.
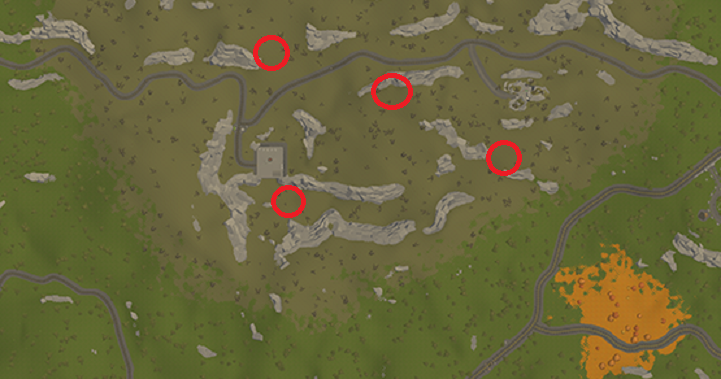
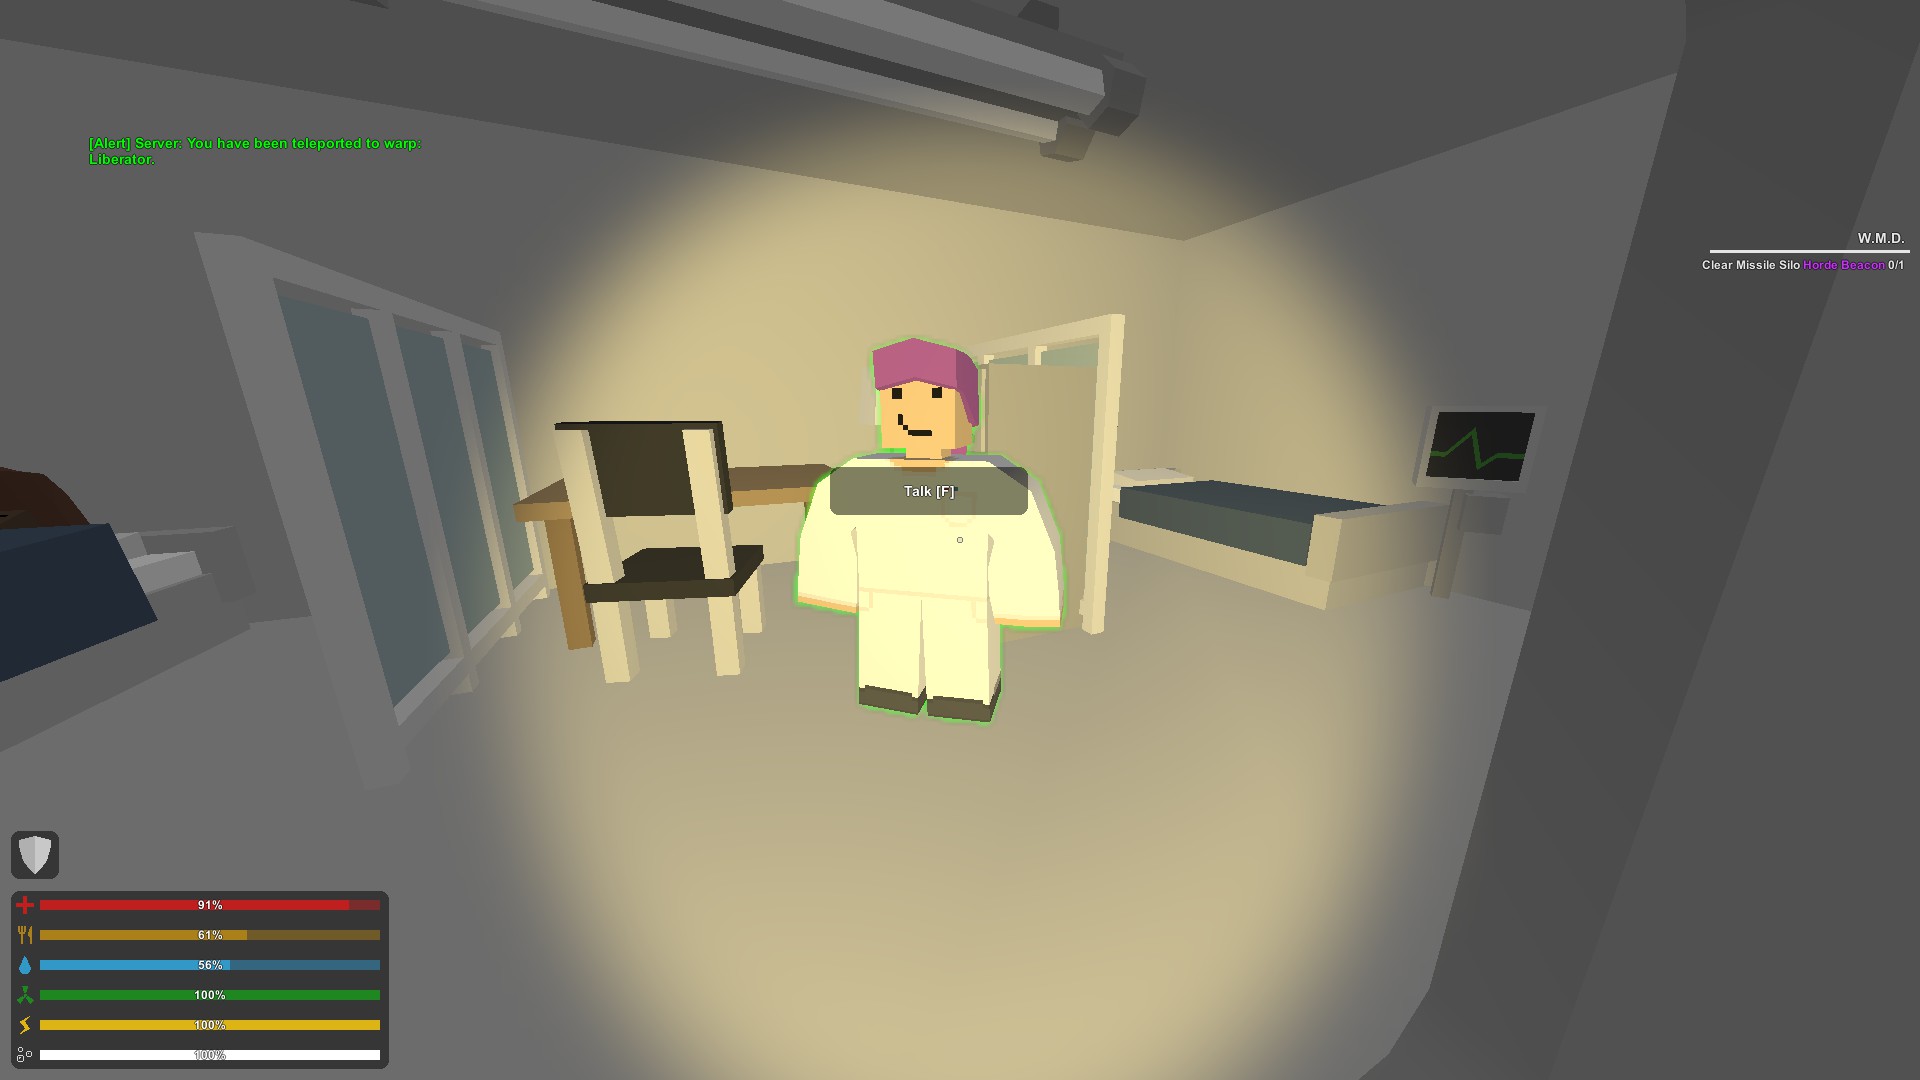 She's sending you to Silo 22 to collect 4 research capsules. Silo 22 is, in fact, a deadzone so don't forget a gas mask and some filters. Research capsule locations here:
 Once you've retrieved them, return the quest and talk to her again to obtain the key card she has.
2. - Head over to St. Petersburg and make your way into the subway. Look for this:
Once you've retrieved them, return the quest and talk to her again to obtain the key card she has.
2. - Head over to St. Petersburg and make your way into the subway. Look for this: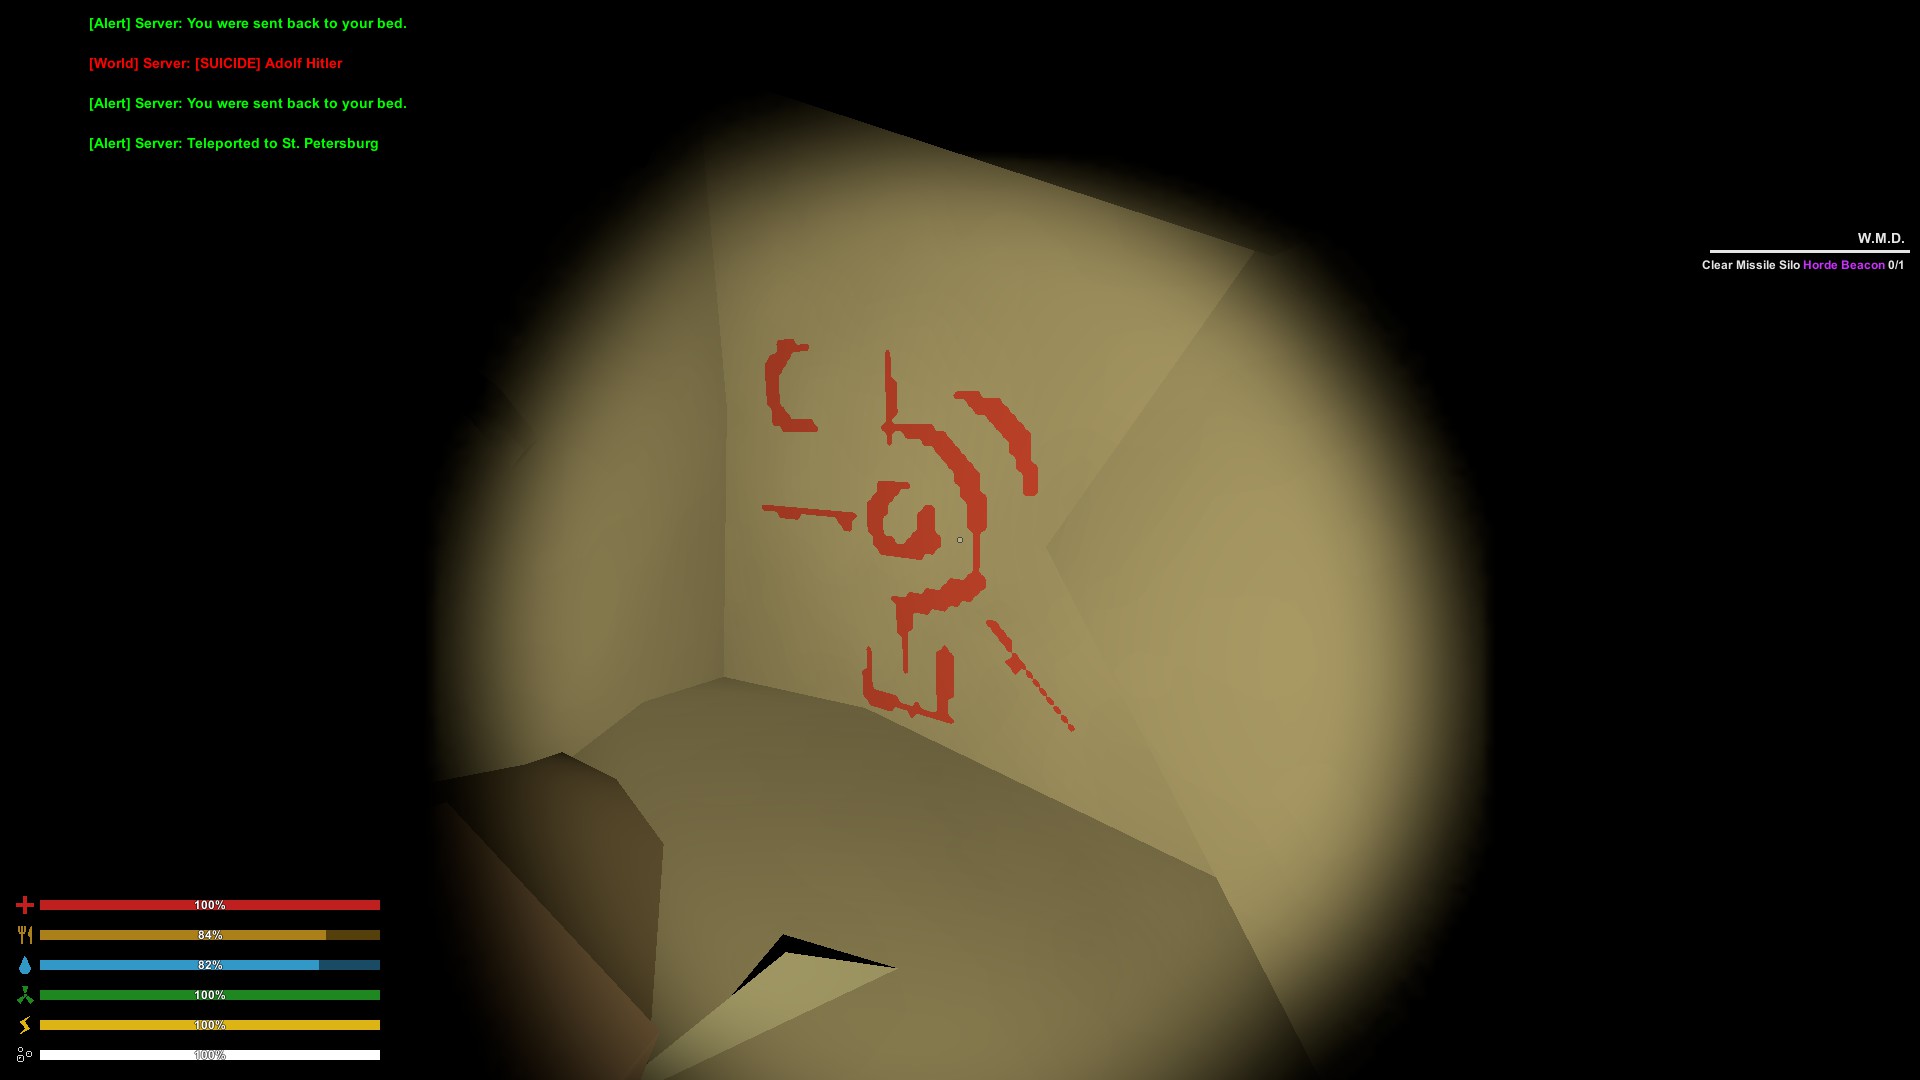 Make sure its night and open area chat (press [K]) and type "Anastasia". The door is gonna open and you'll see a crystal:
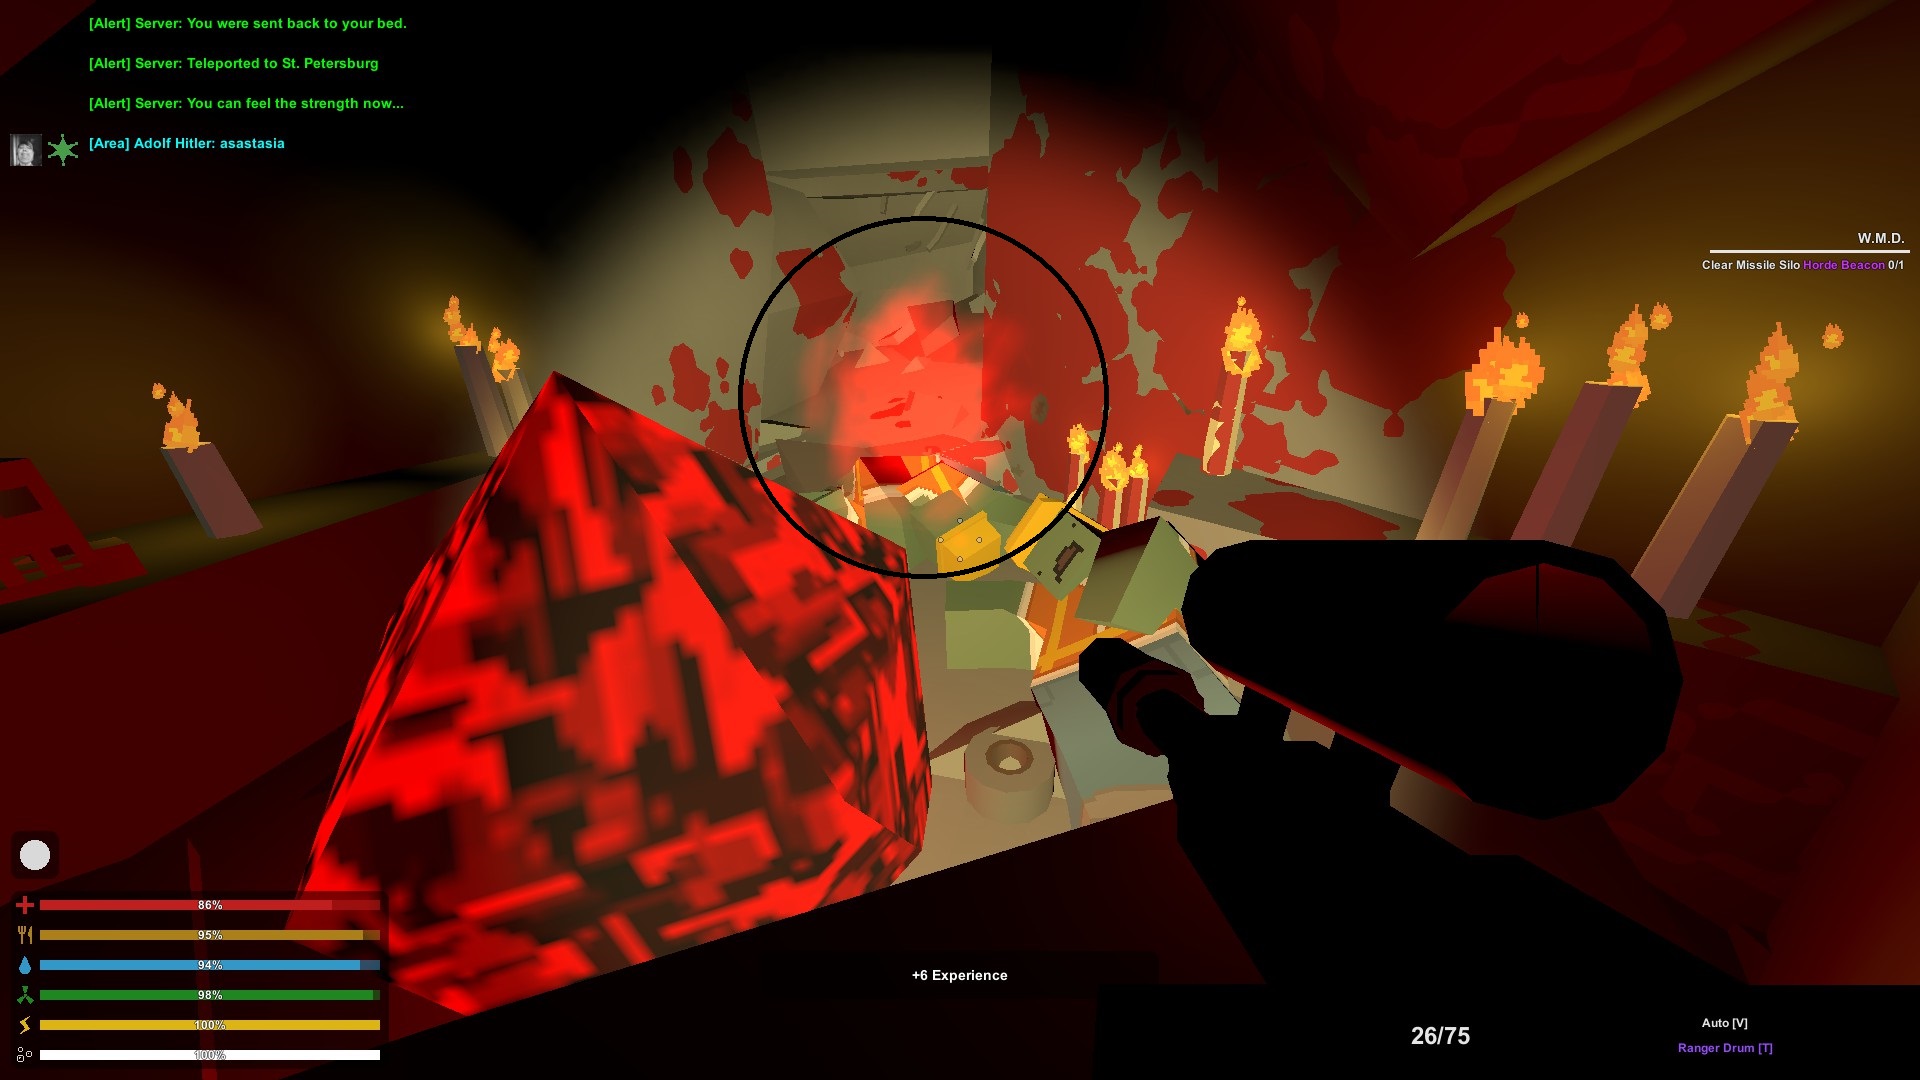
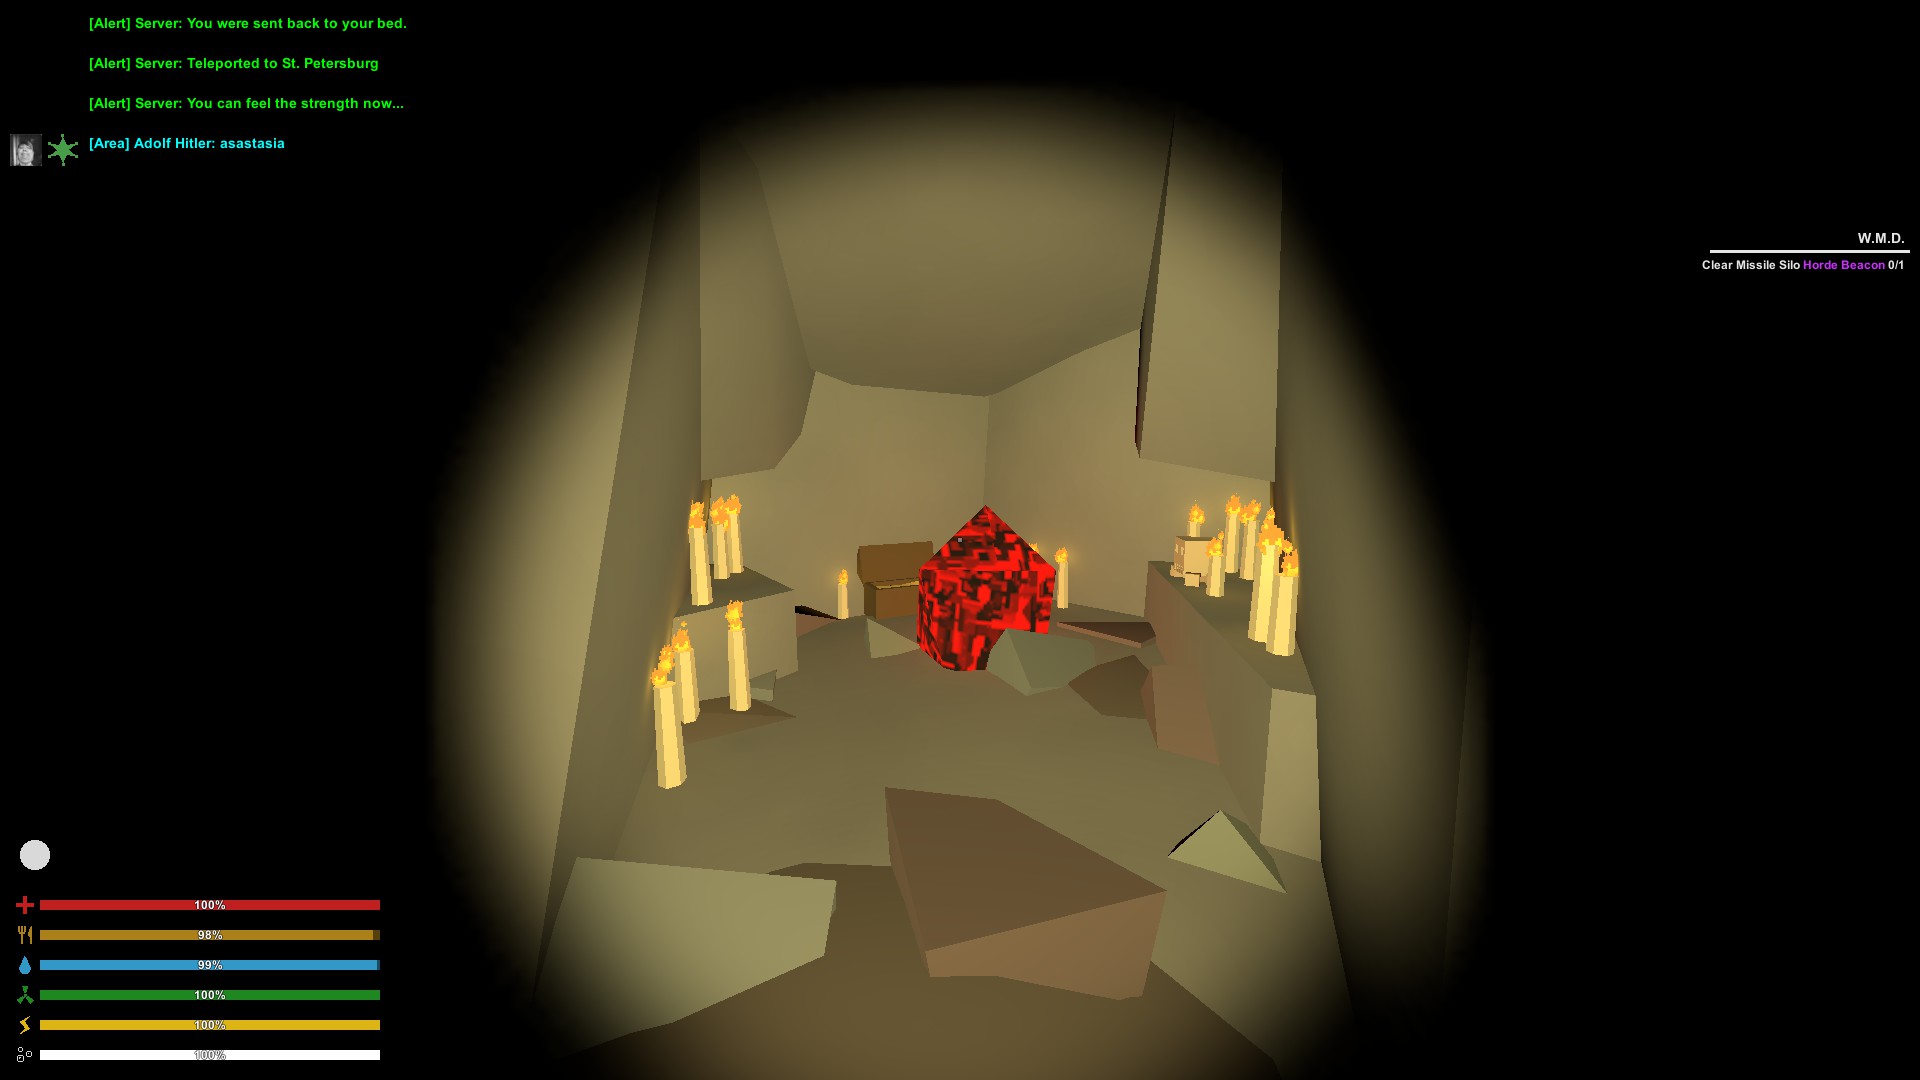 Lure zombies into the small room that just opened and kill 20 of them. It might be a bit over kill but we opted for doing a horde beacon. If you see this red mist stuff when you kill zombies, you'll know you're doing it right
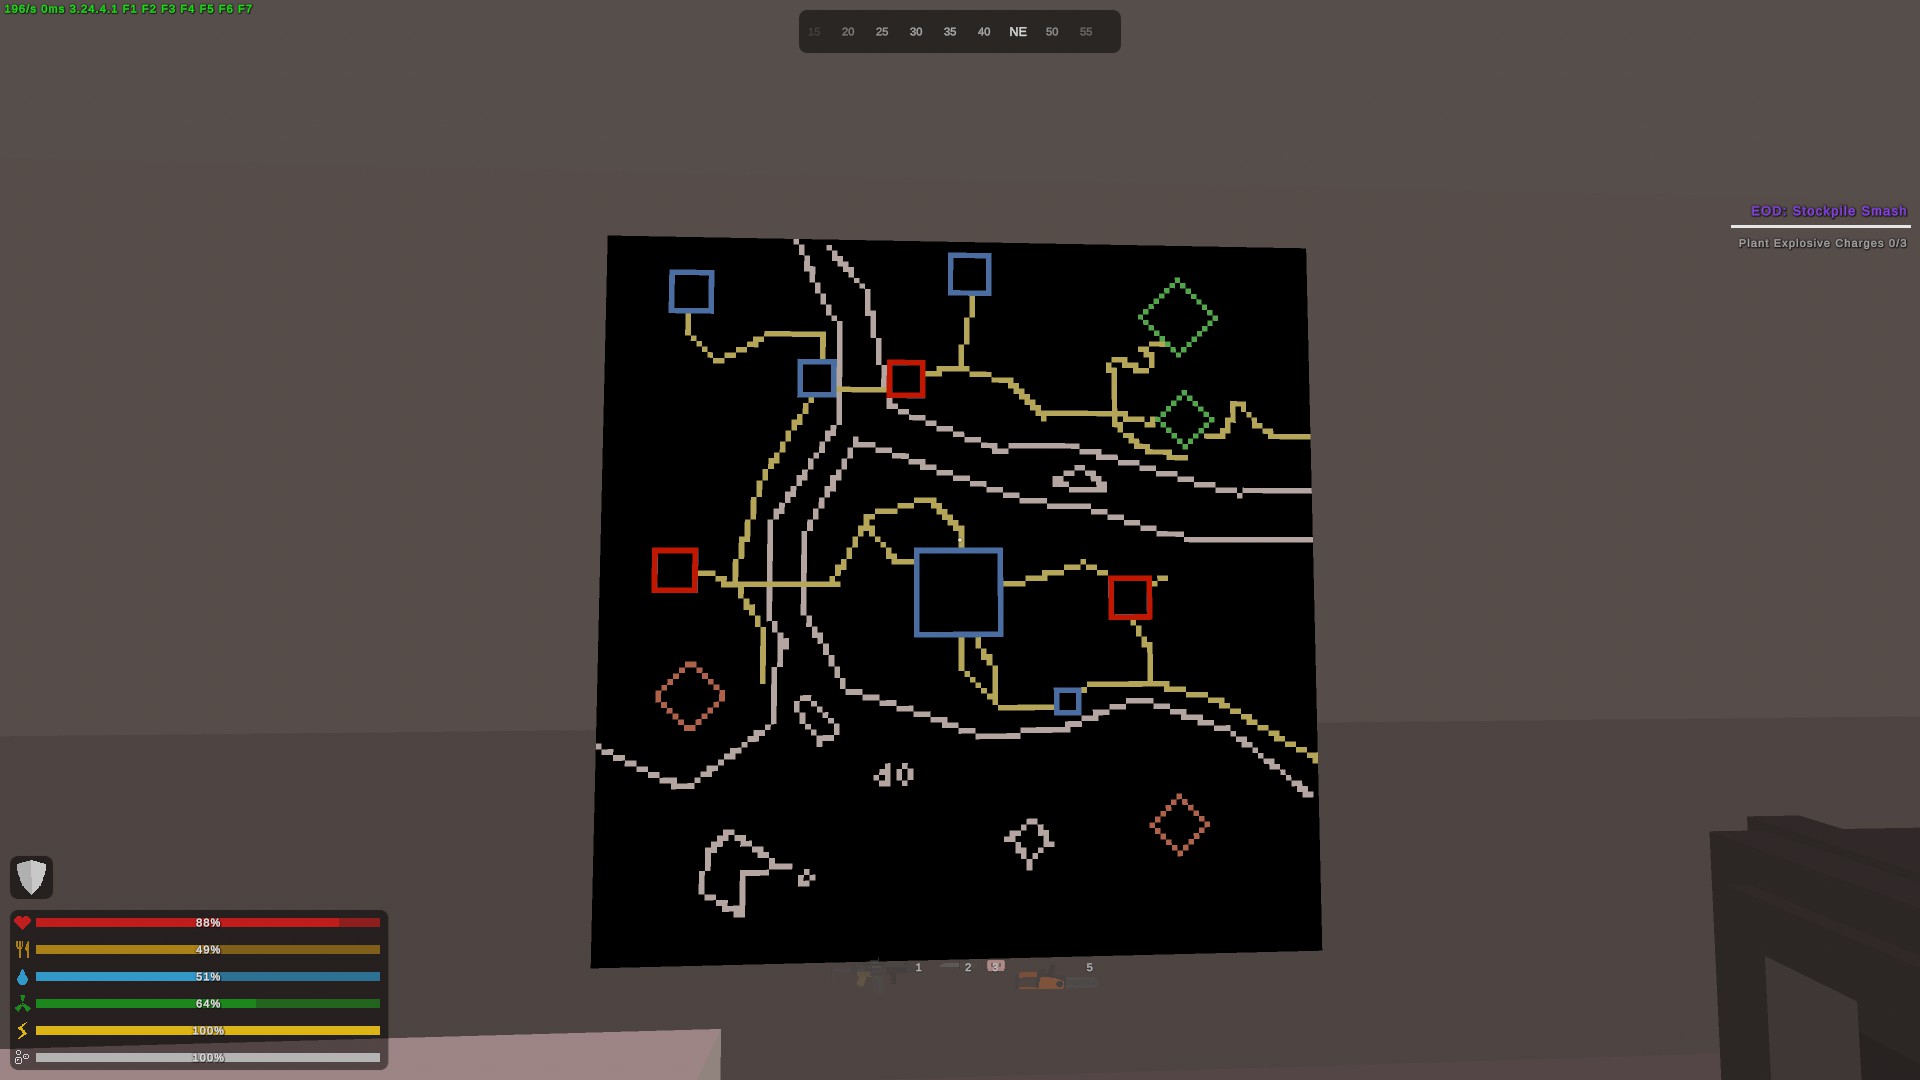
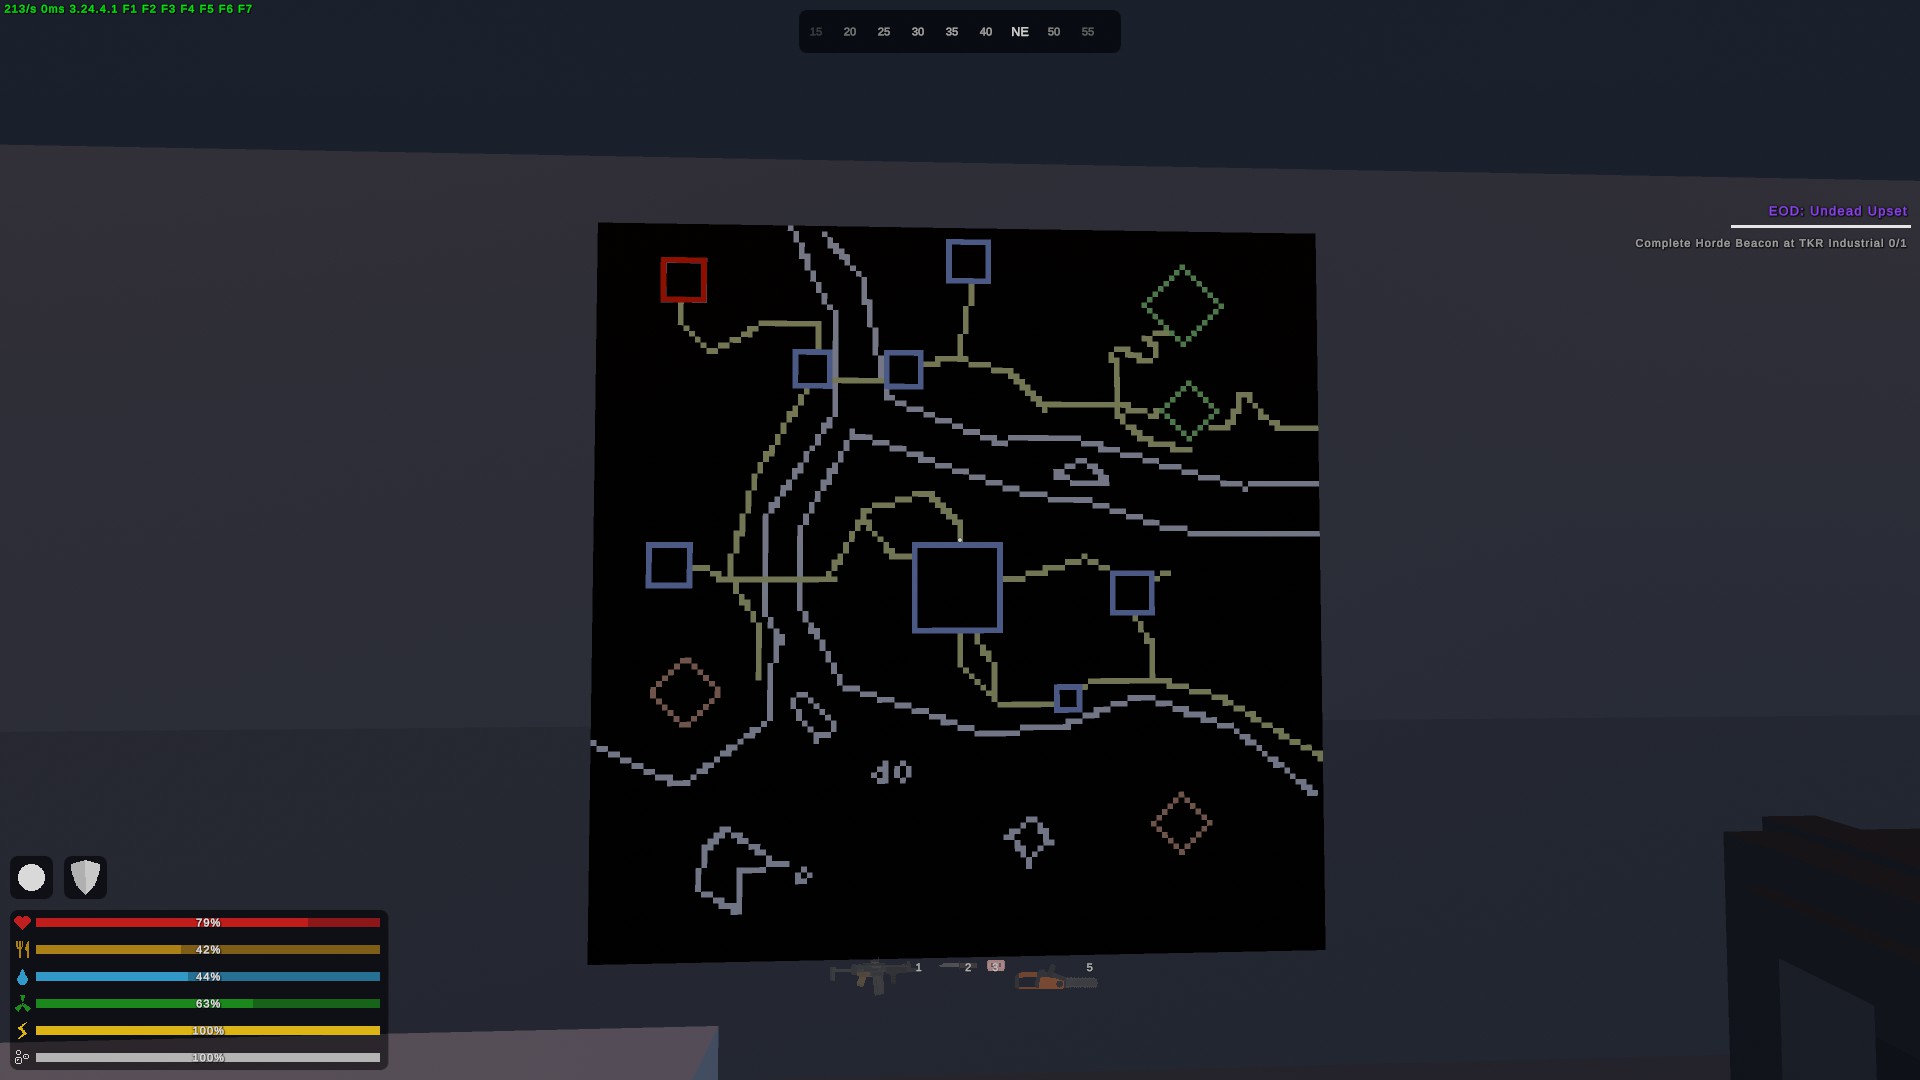
 3. - Once you've killed 20 zombies, you're going to be teleported to a research facility where you can learn more about the lore of the map if you want. With that key card from Dr. Swanson, make sure you unlock the door to the right of the soul crystal. Inside, there is this map you just have to stare at for a minute: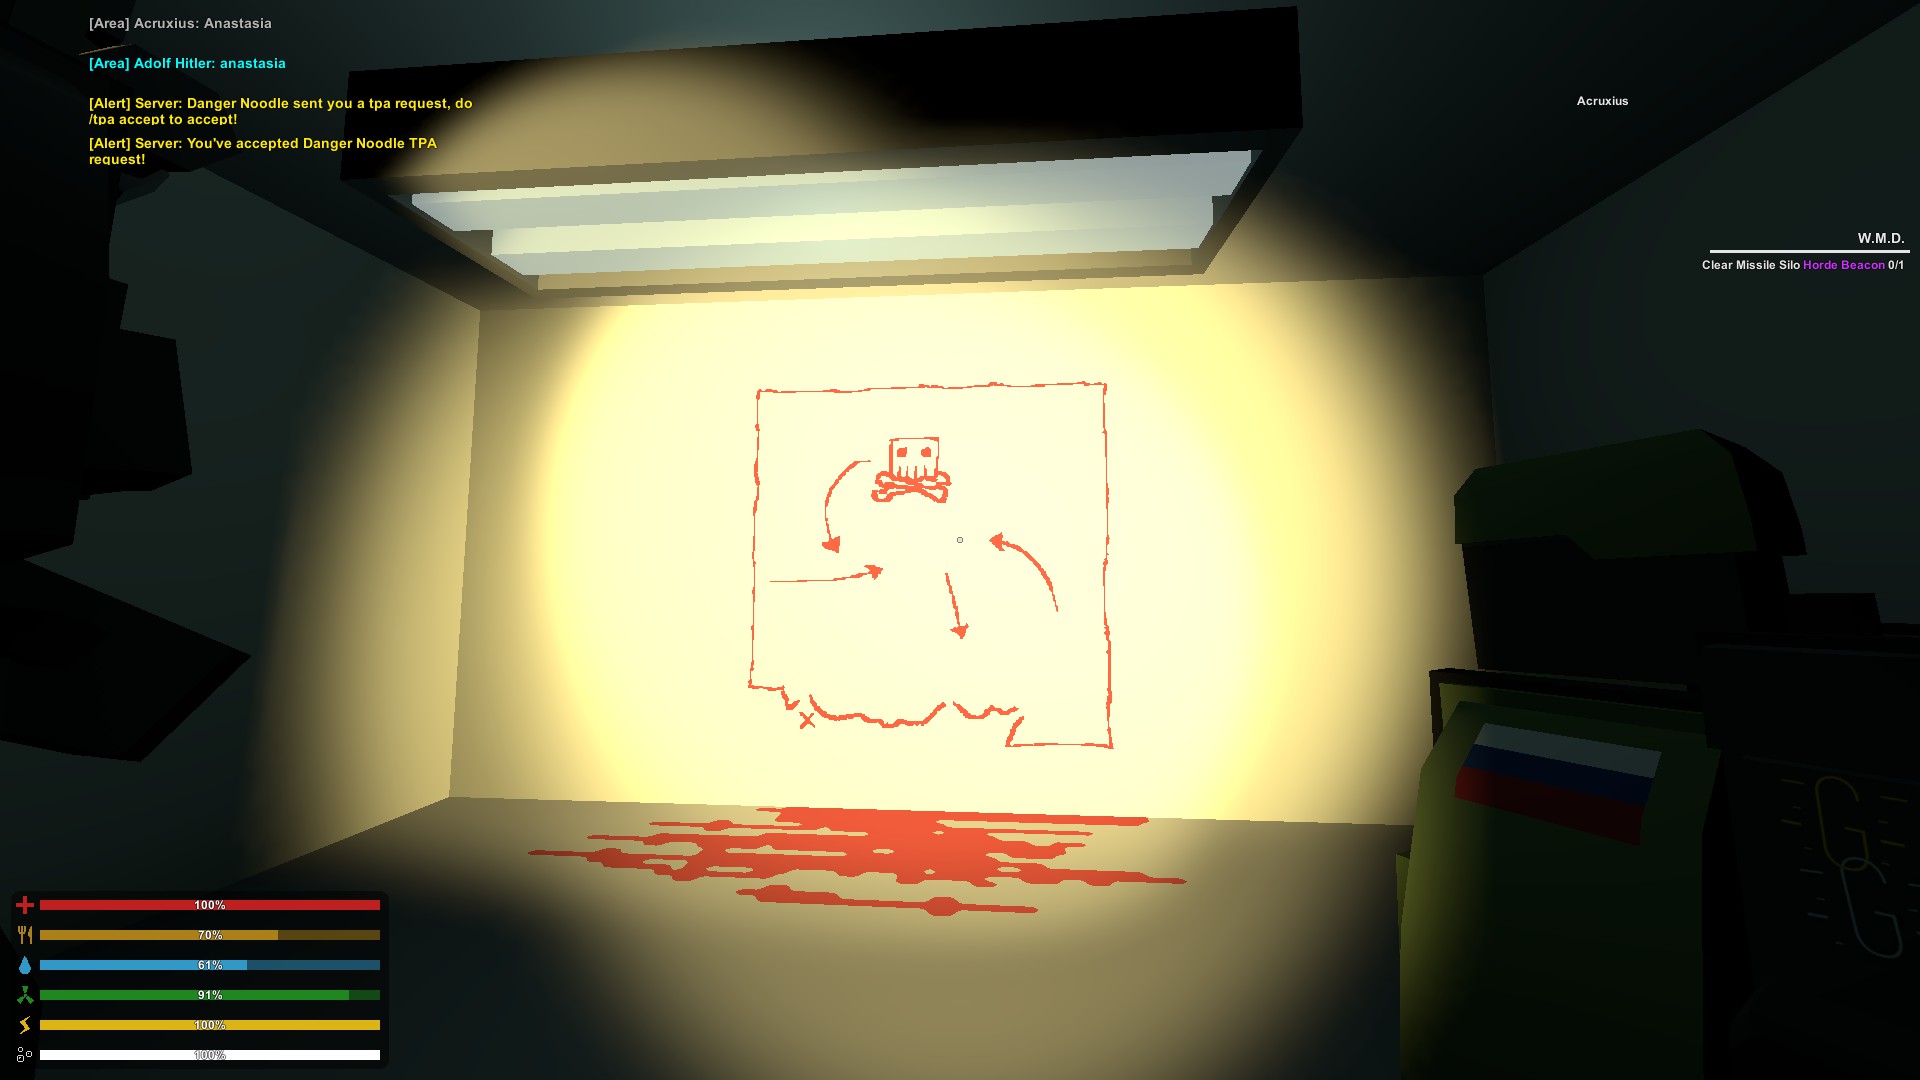
YOU DO HAVE TO SEE THE MAP TO BE ABLE TO PROCEED FURTHER. Feel free to leave the research facility whenever by walking up to the soul crystal in the main room, you'll be teleported back to the room in the subway.
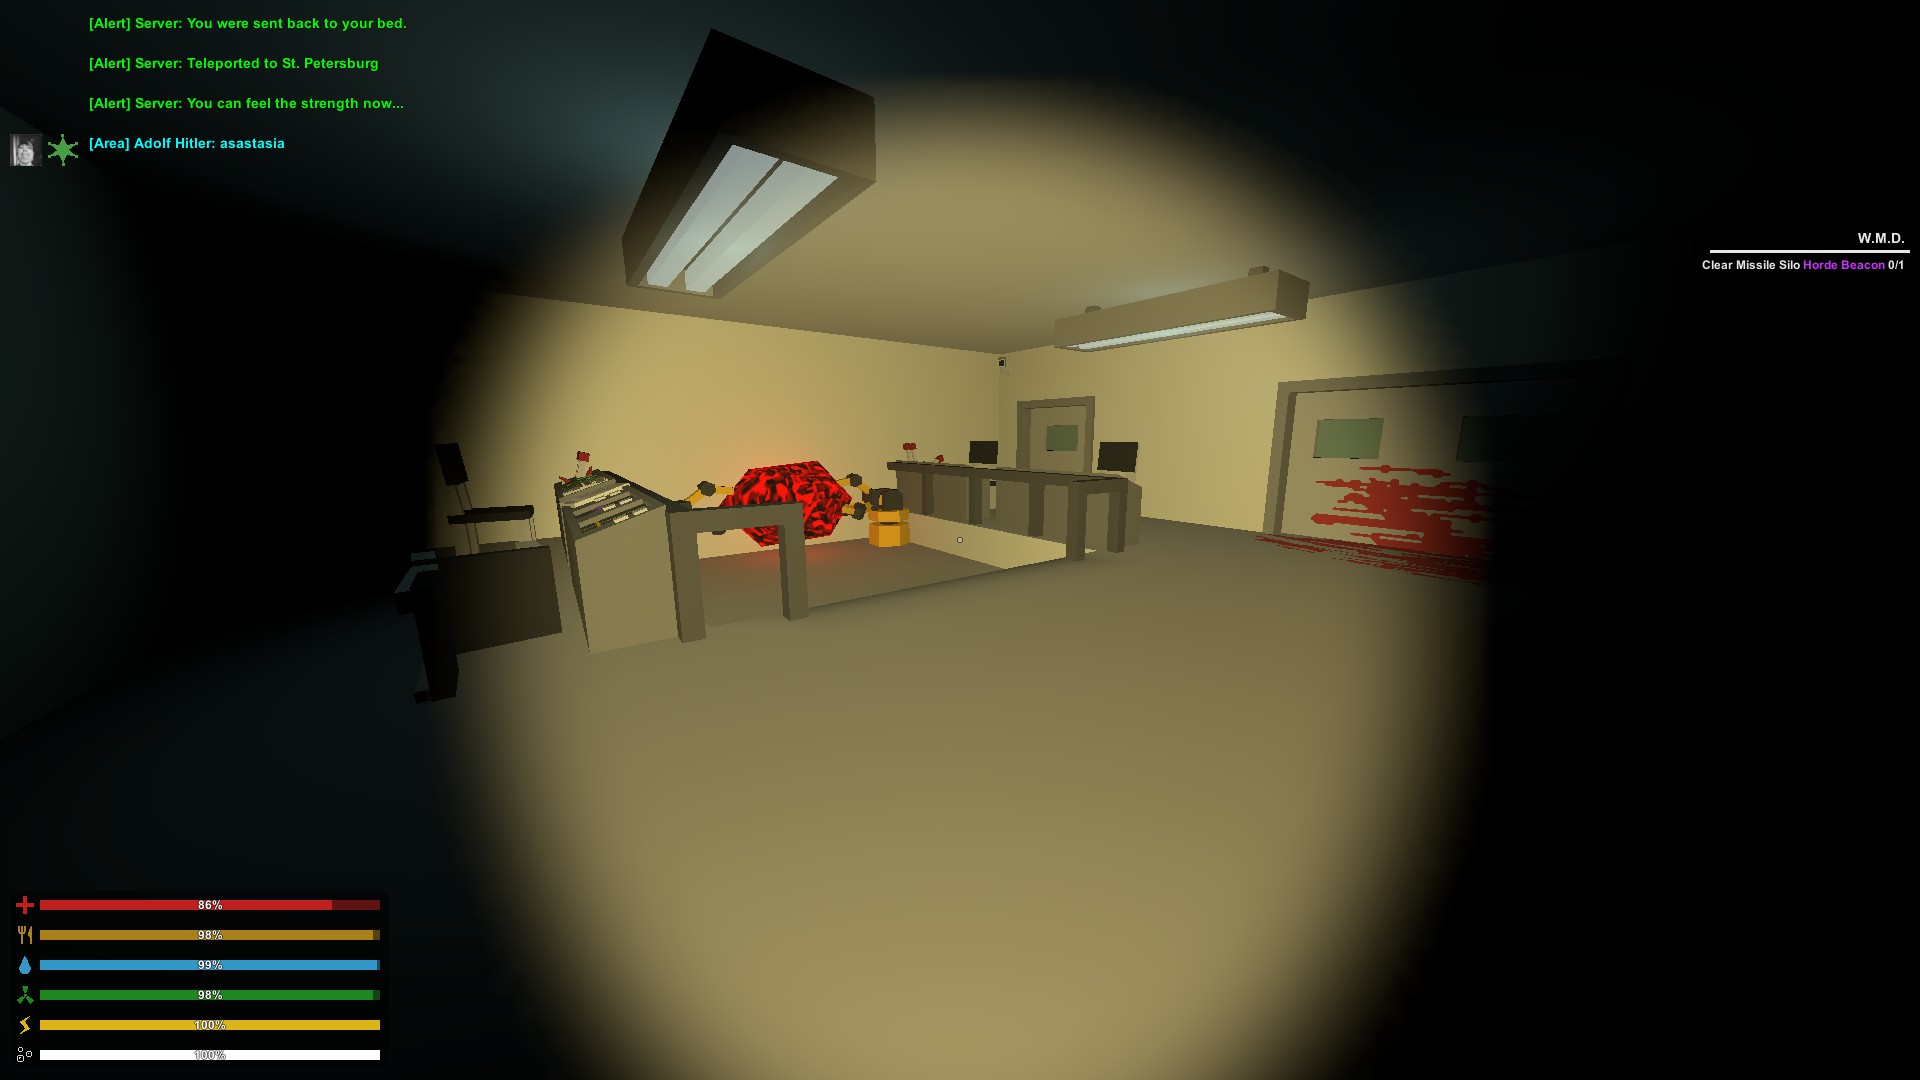 4. - We have the locations of the bones and treasure chest, the skull is on the liberator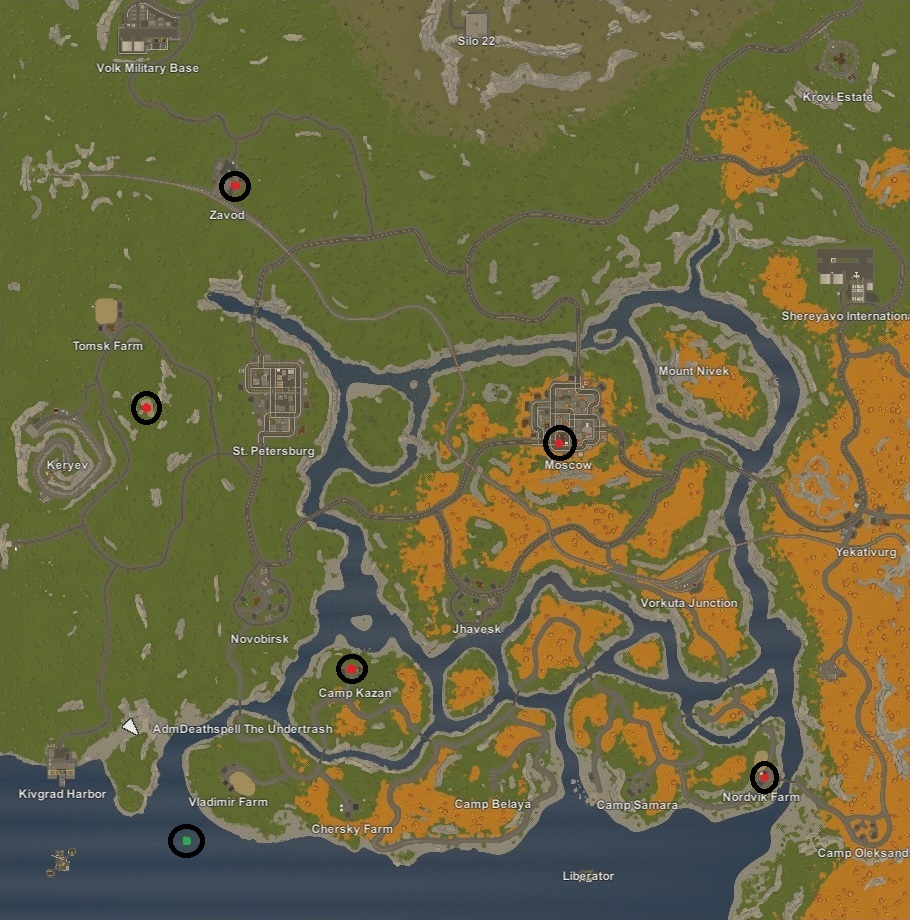
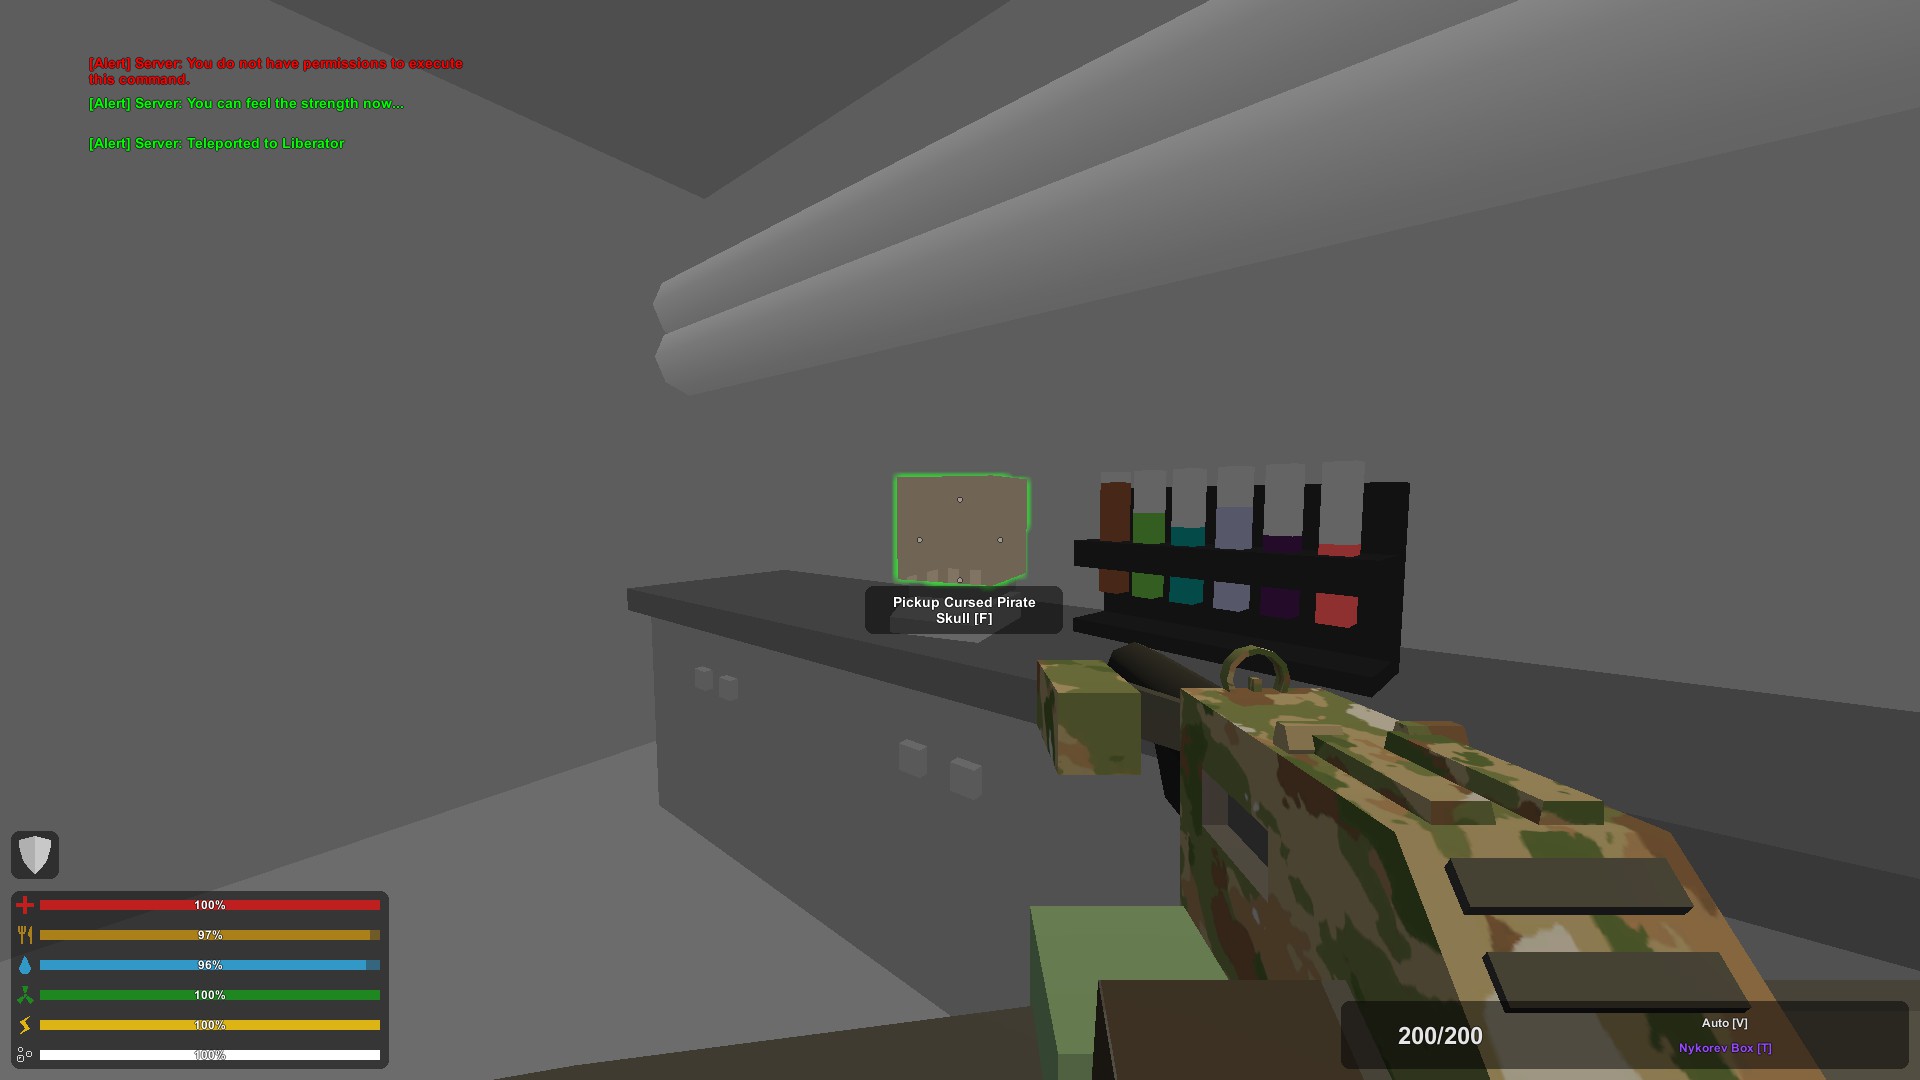
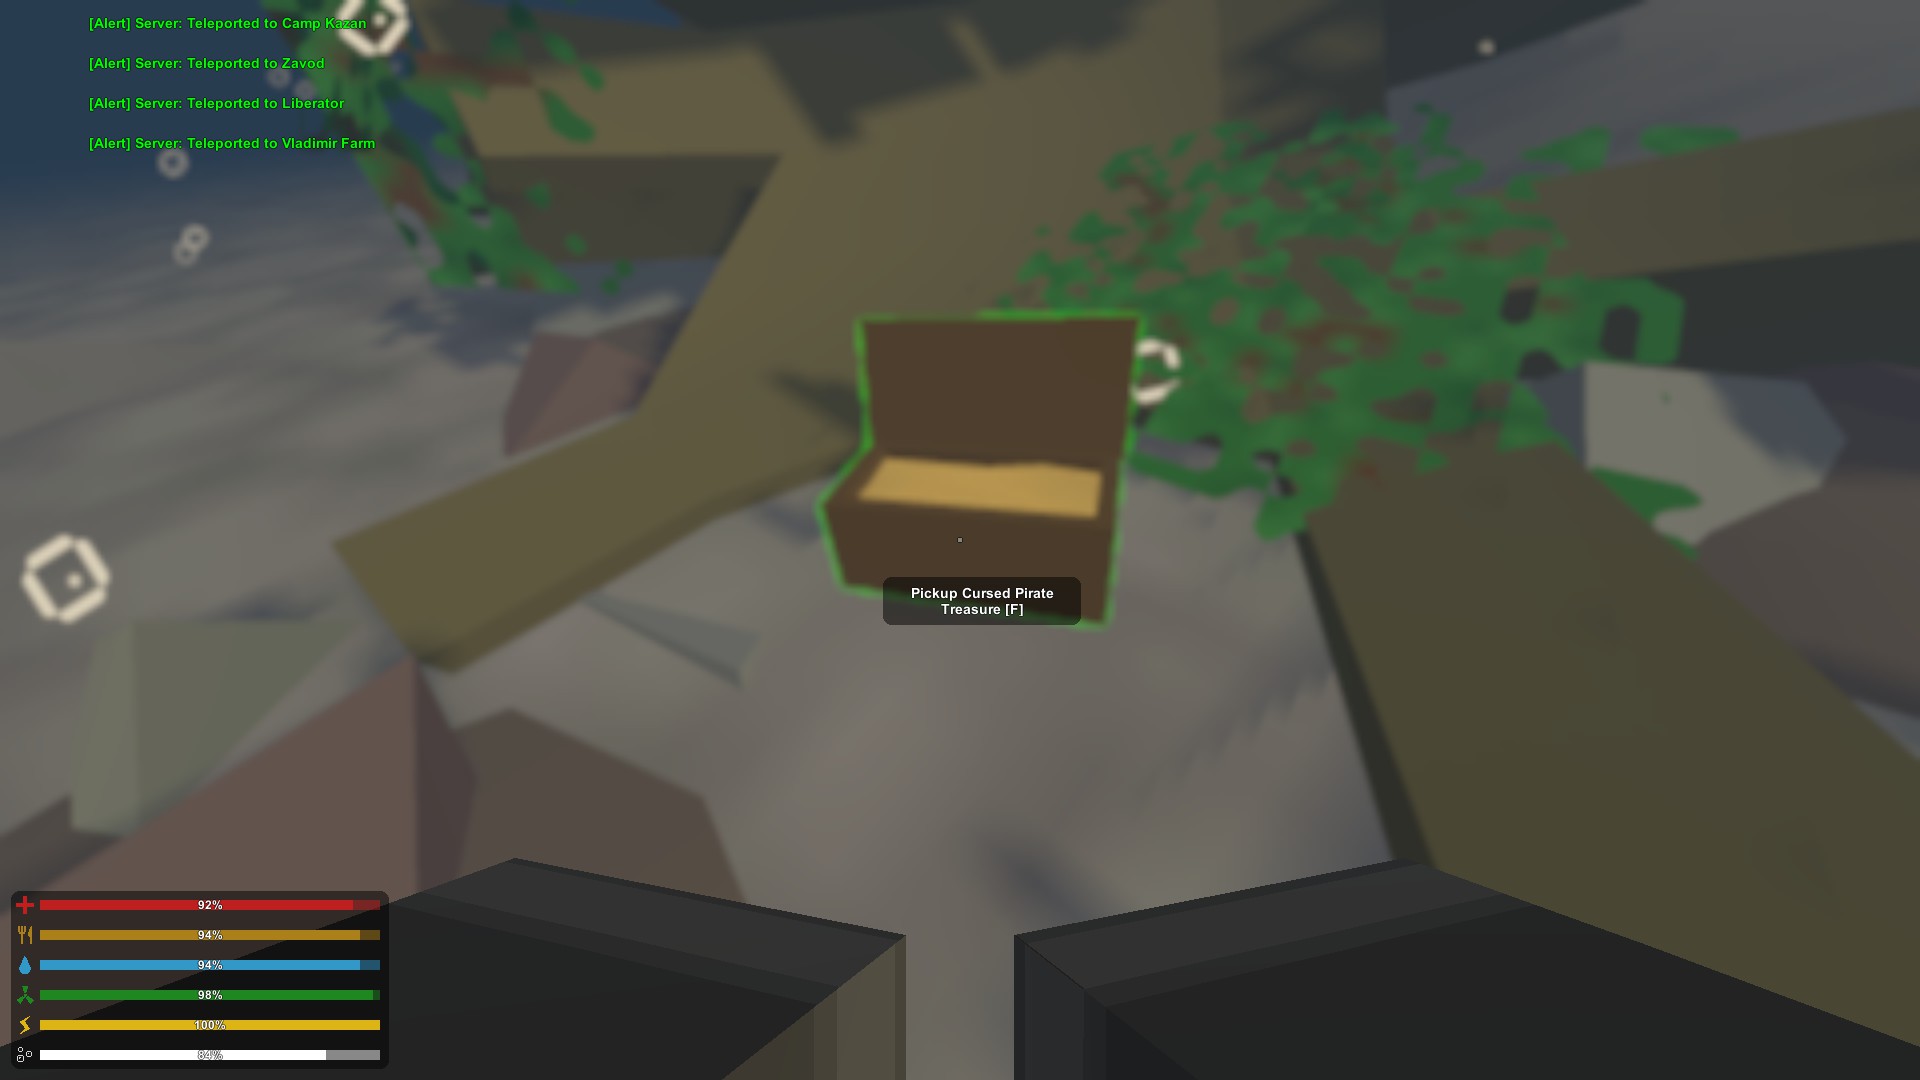
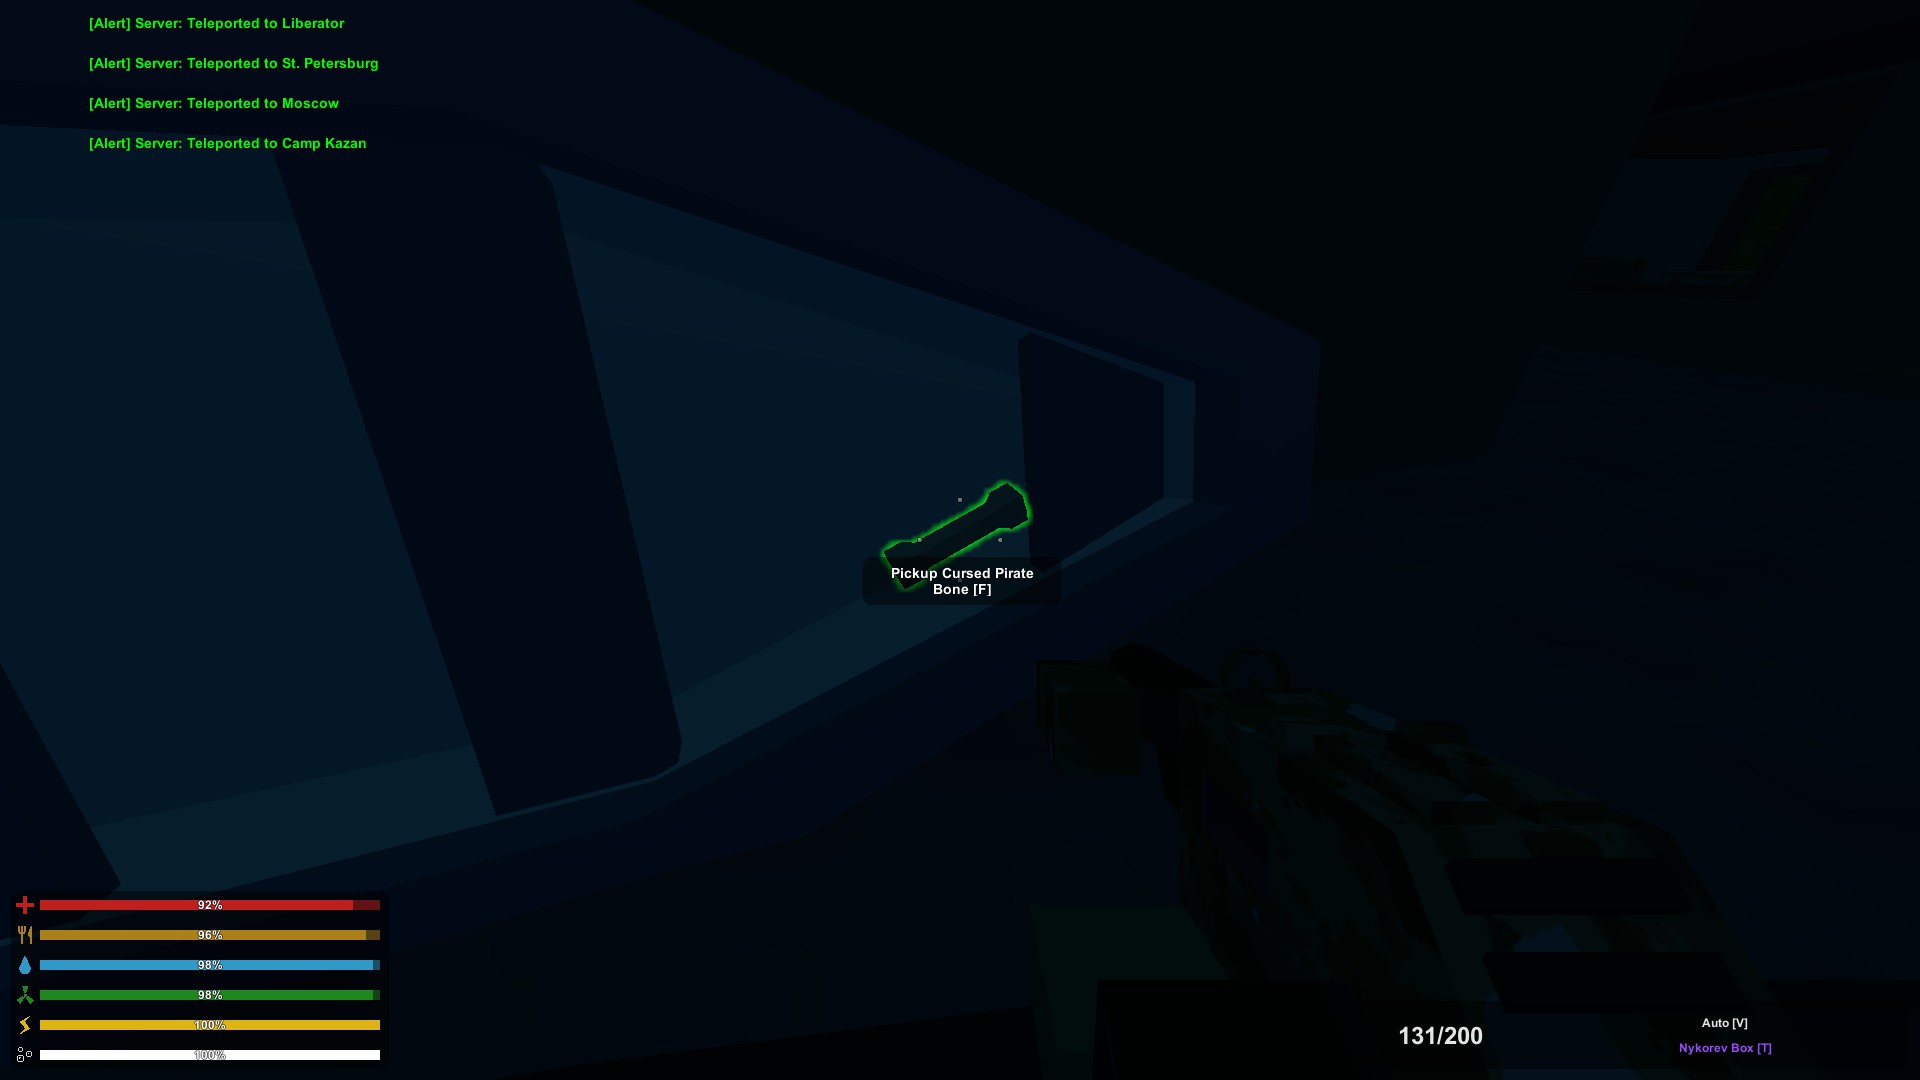
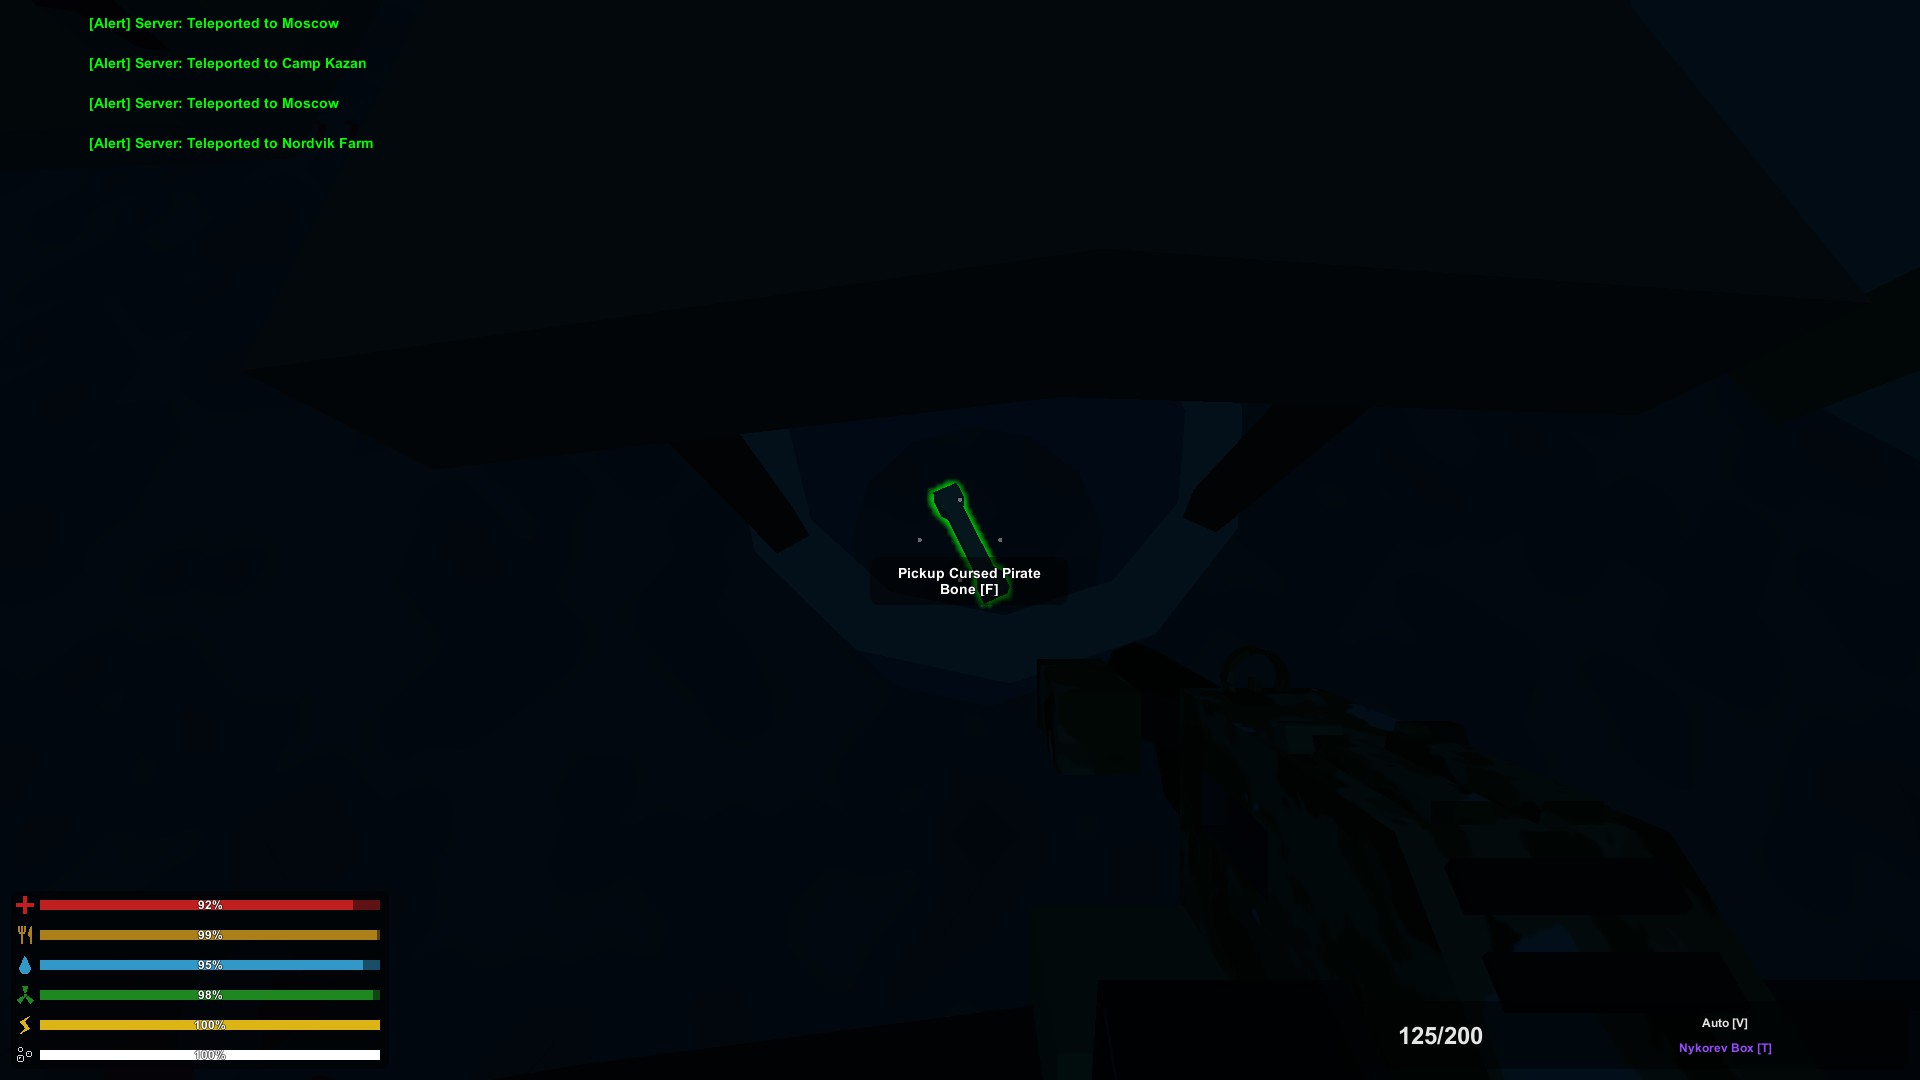
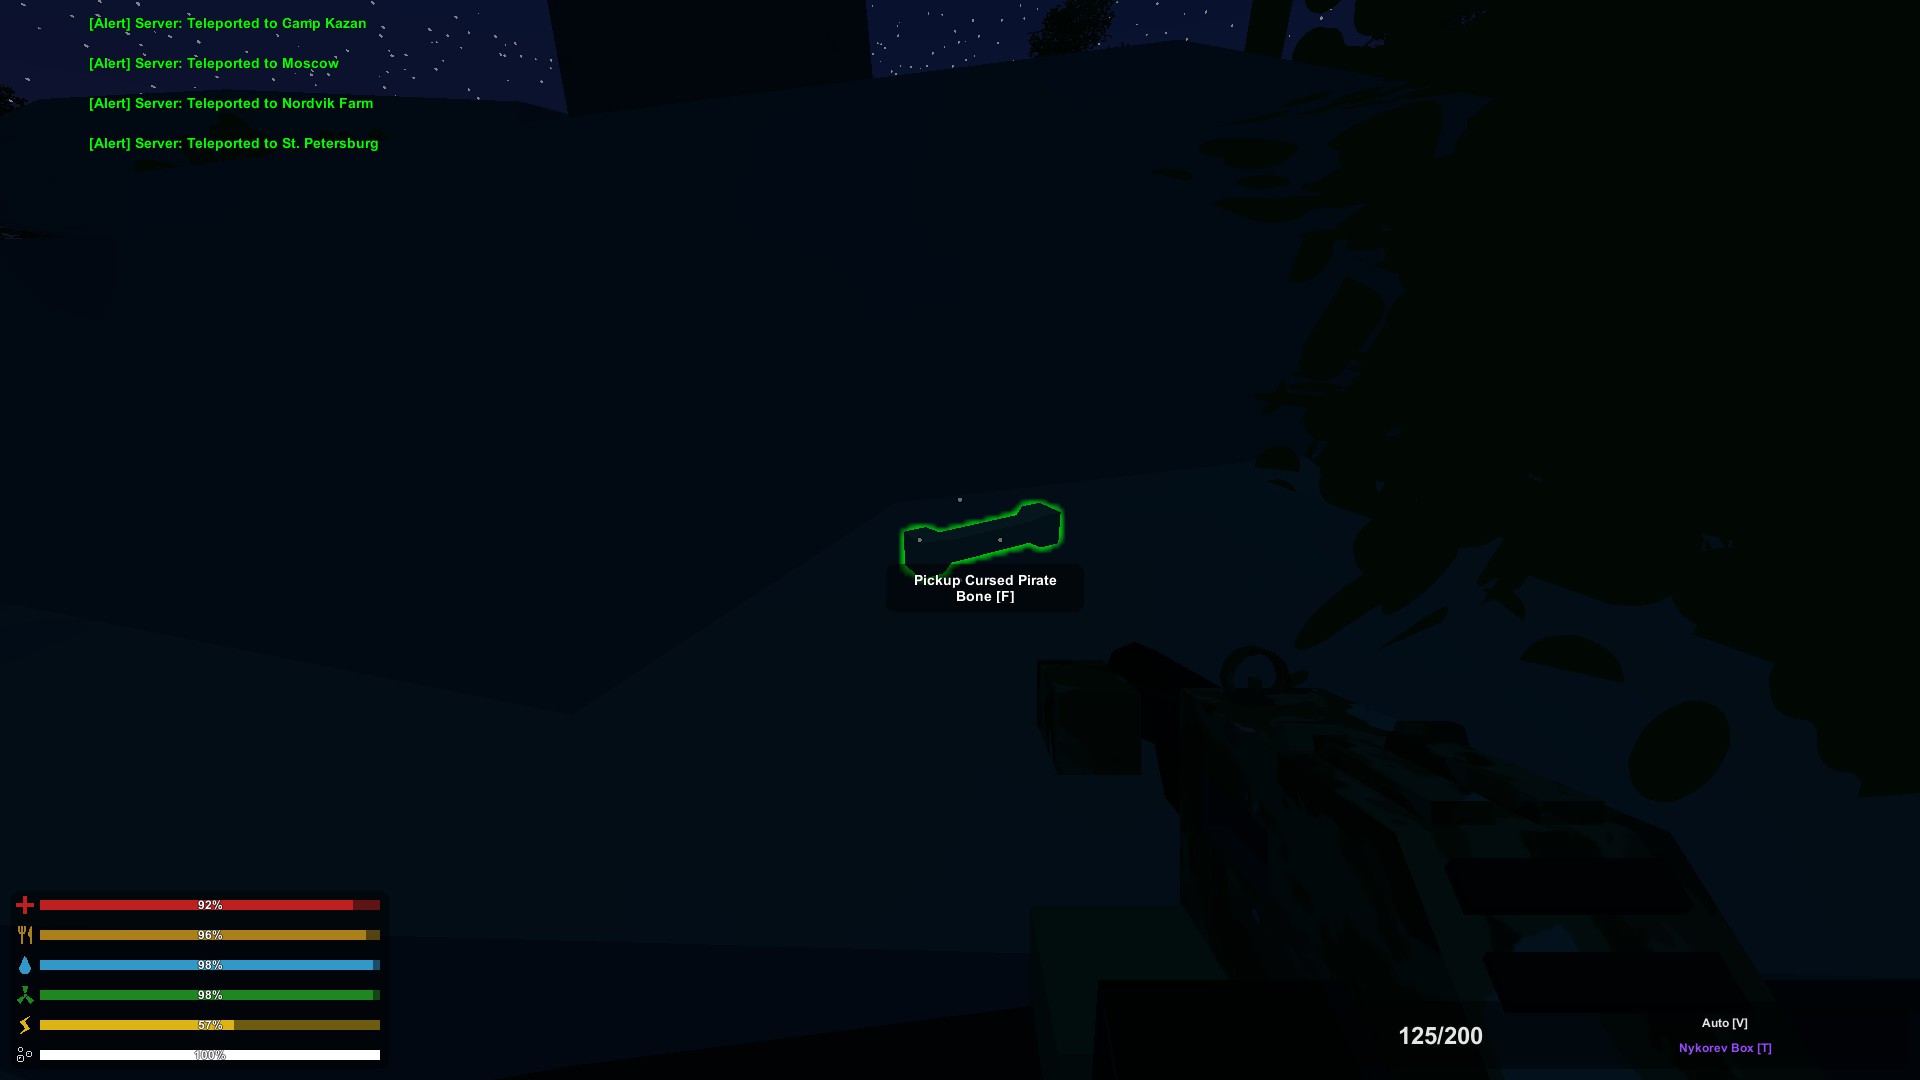
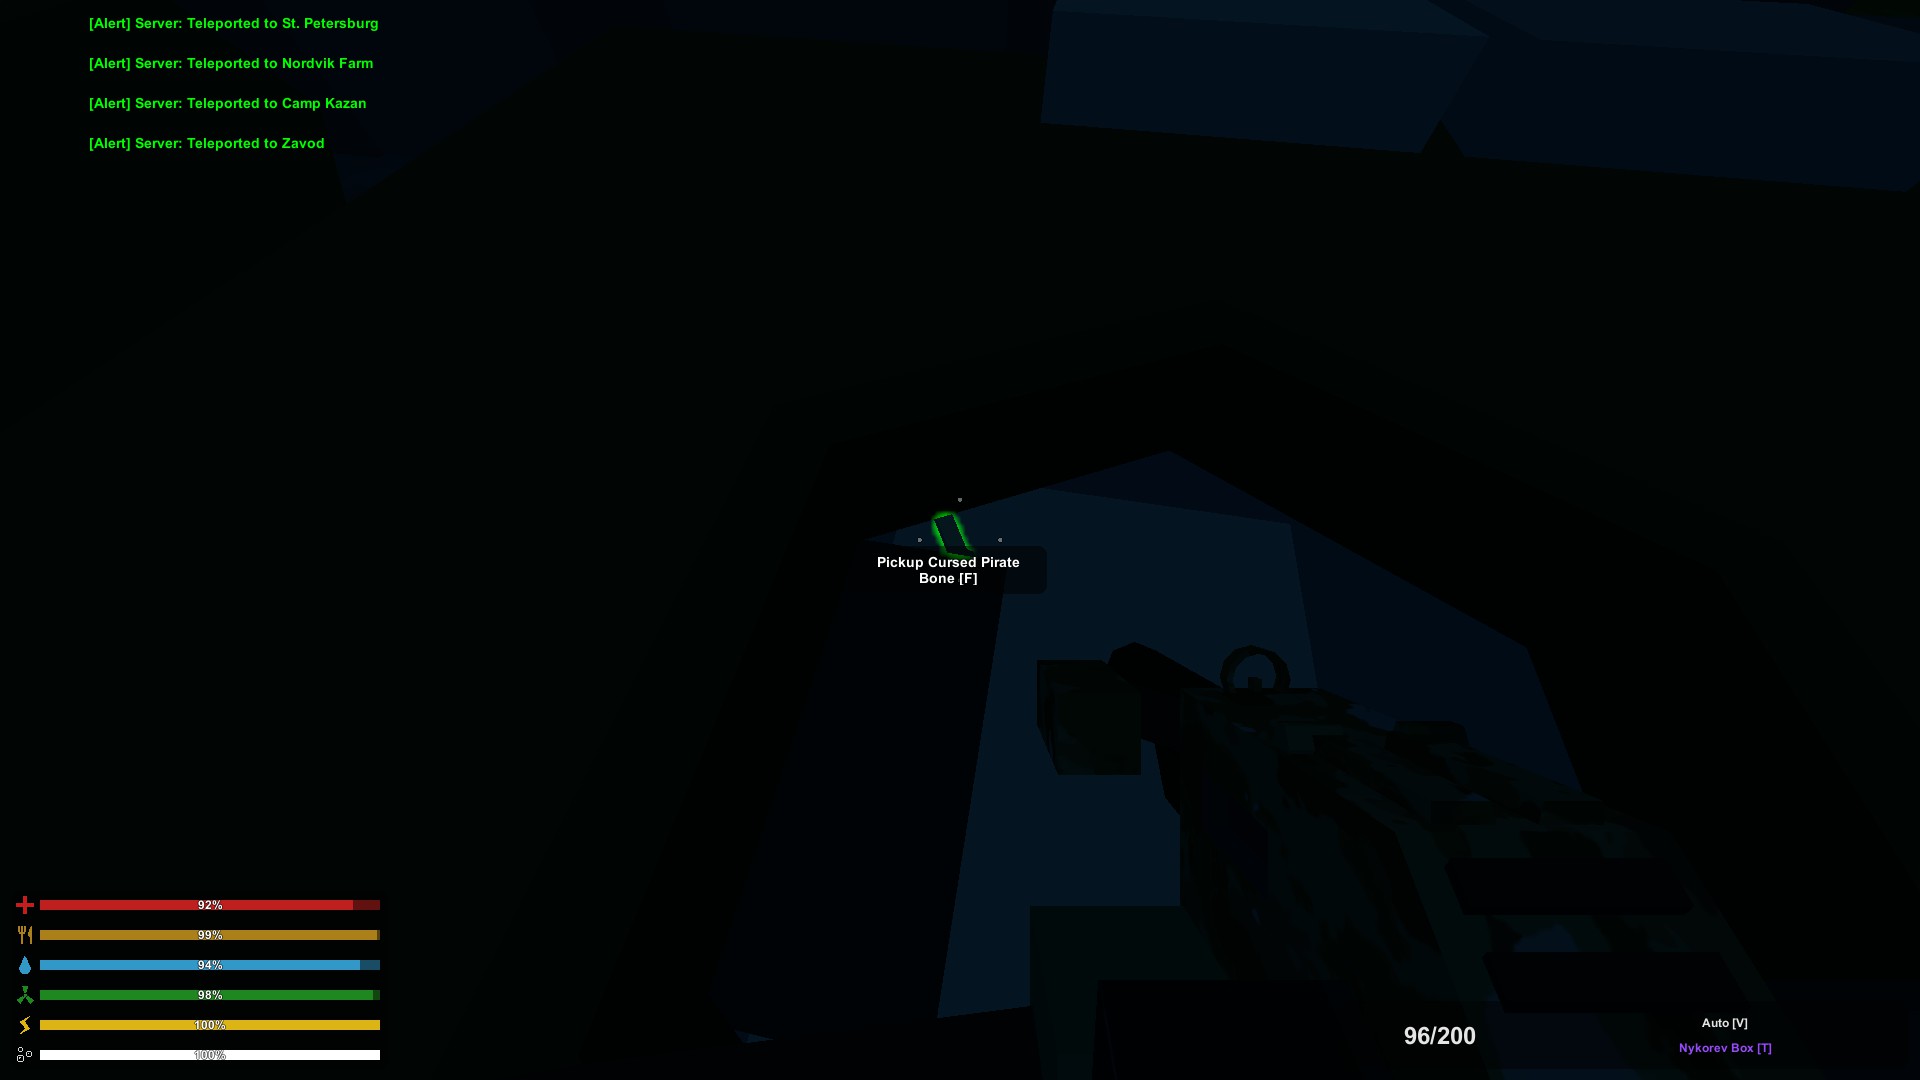
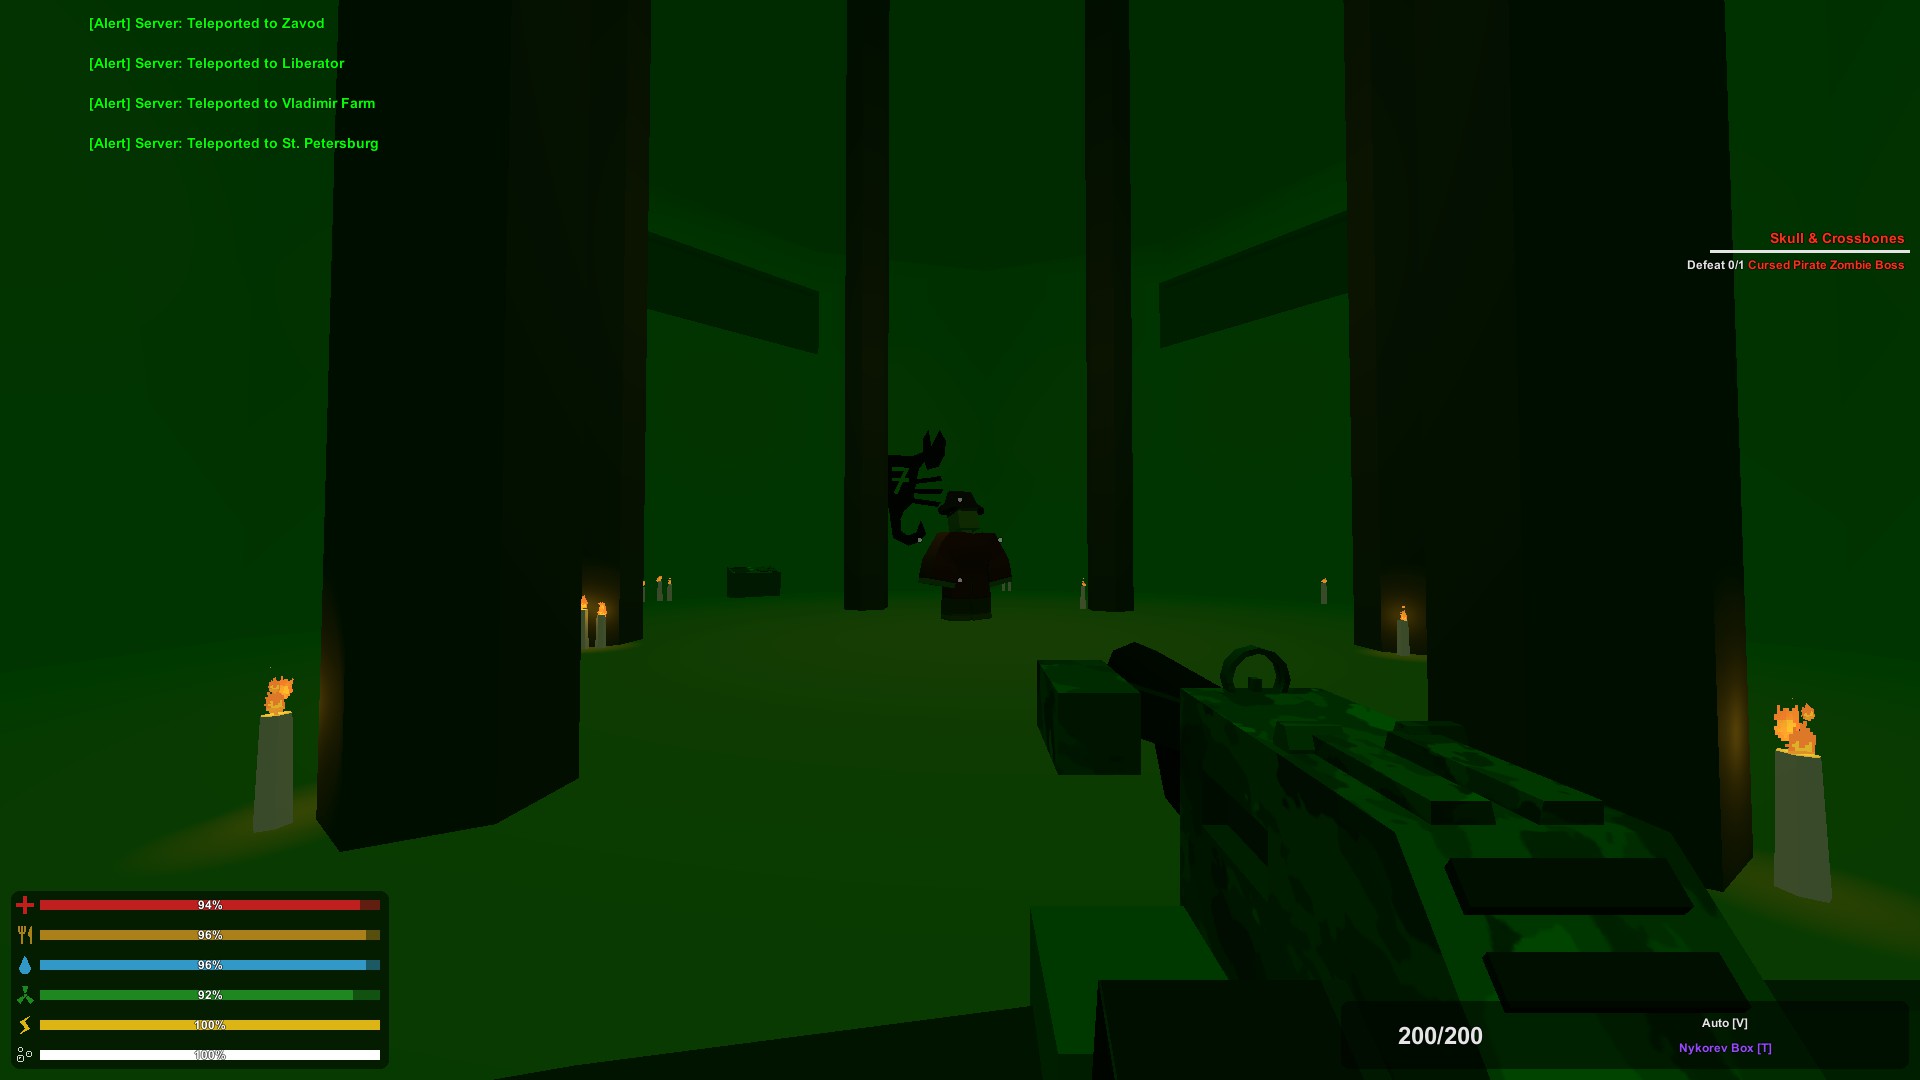
Kill him.
- - Now that he's down, you're once again going to be teleported back to the subway room. Grab the 3 crystals (green, pink, yellow) that spawned around the larger one and get ready to kill more zombies :D
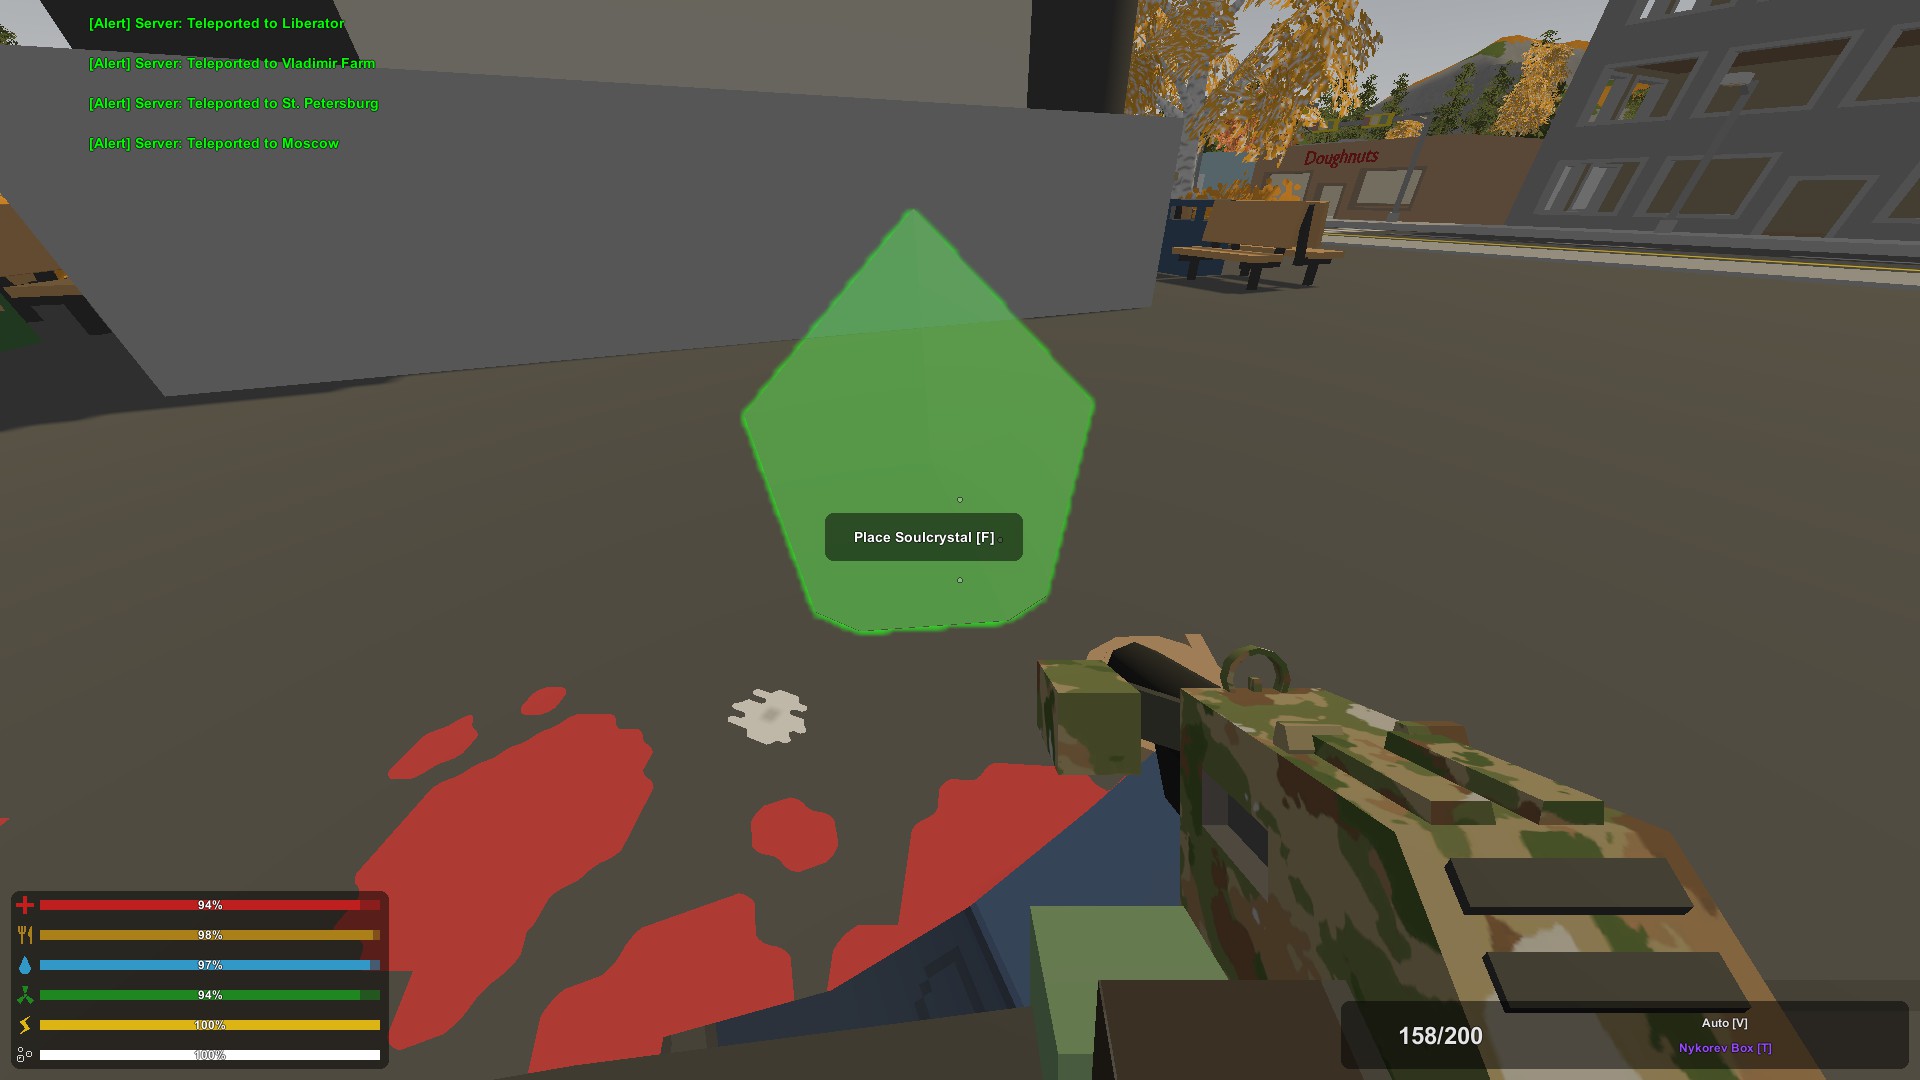
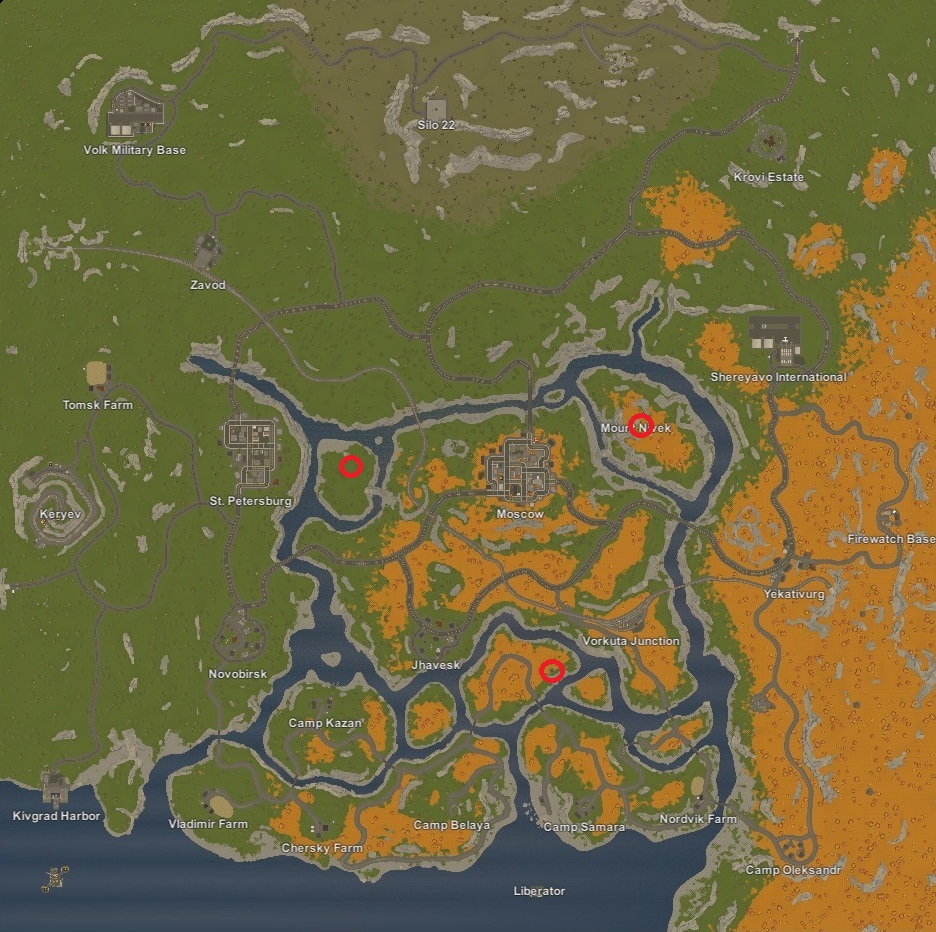
Again, you are killing 20 more zombies close to the crystal and again, it might be overkill but we did horde beacons. The crystal will disappear once you've killed 20. Repeat this process for each location. 7.5. - If you haven't already done the 'On Air' quest that is given to you by Commander Laurence (make sure to talk to Captain Sydney before talking to Laurence), then do that because this won't work without it done. You're gonna be sent to repair the 3 radio towers that are around Moscow:
 8. - Take the crystals from step 7 to each radio tower and charge them up: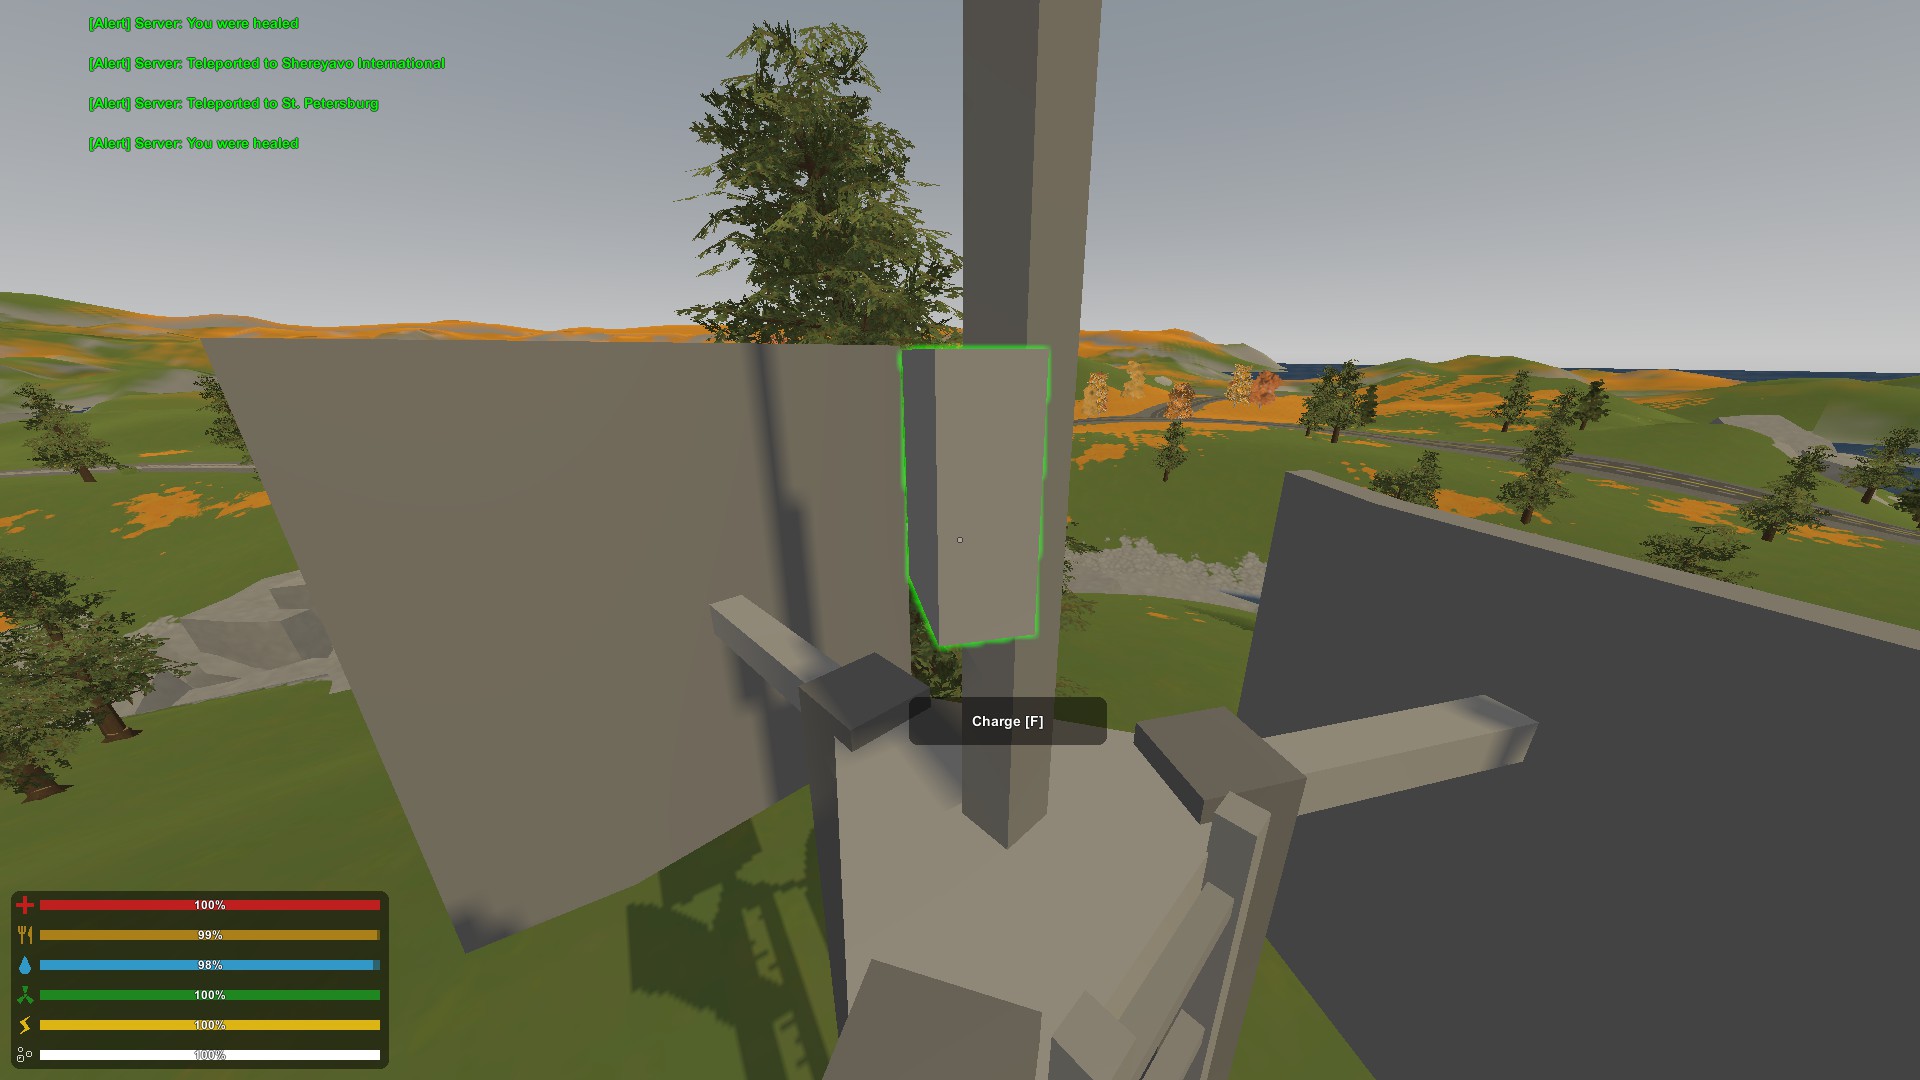
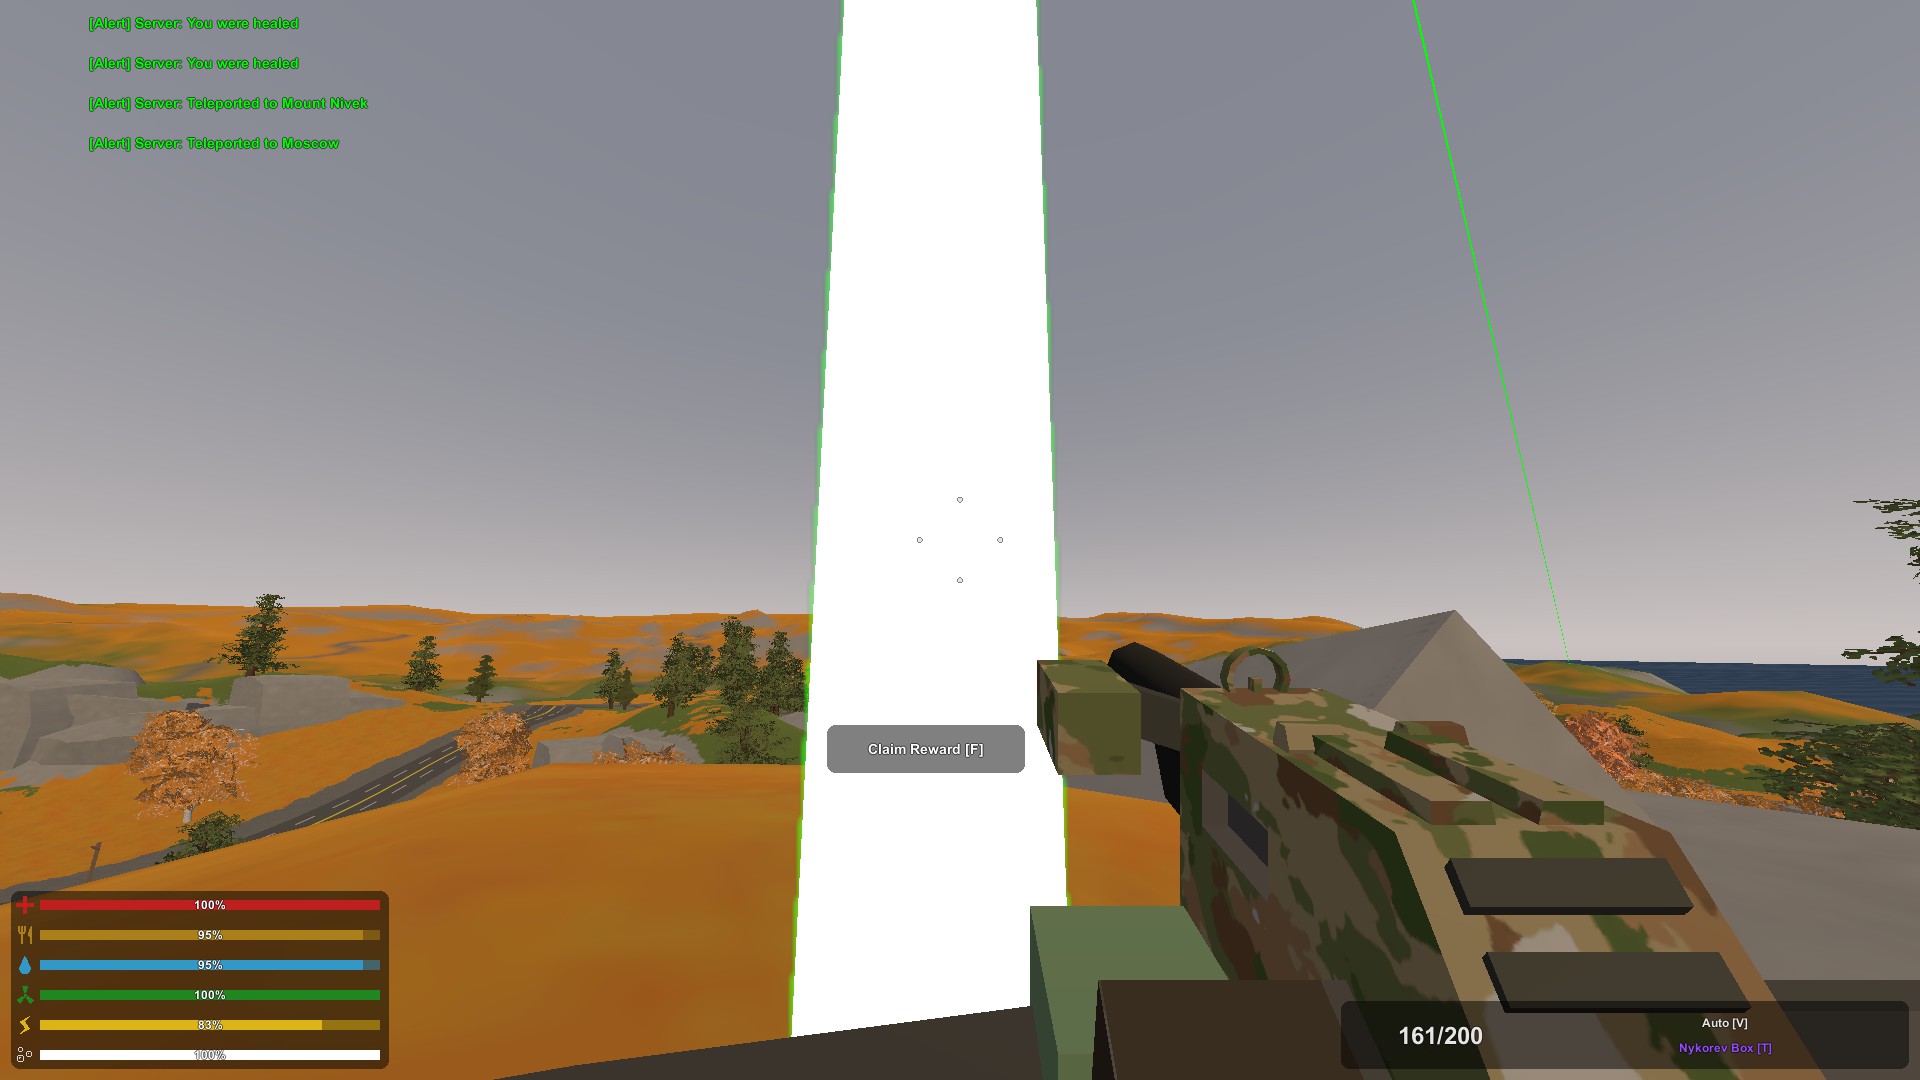
A colored beam will appear from each tower. Head to where the beams converge and you'll get your Mk. II
Germany Easter Egg (Secrets of Neuschwanstein)
???

We're breakin' into the castle :D can't use explosives or anything else so we gotta actually look for stuff. The teleporter, located in the sewers of Berlin, is how we get into the castle:
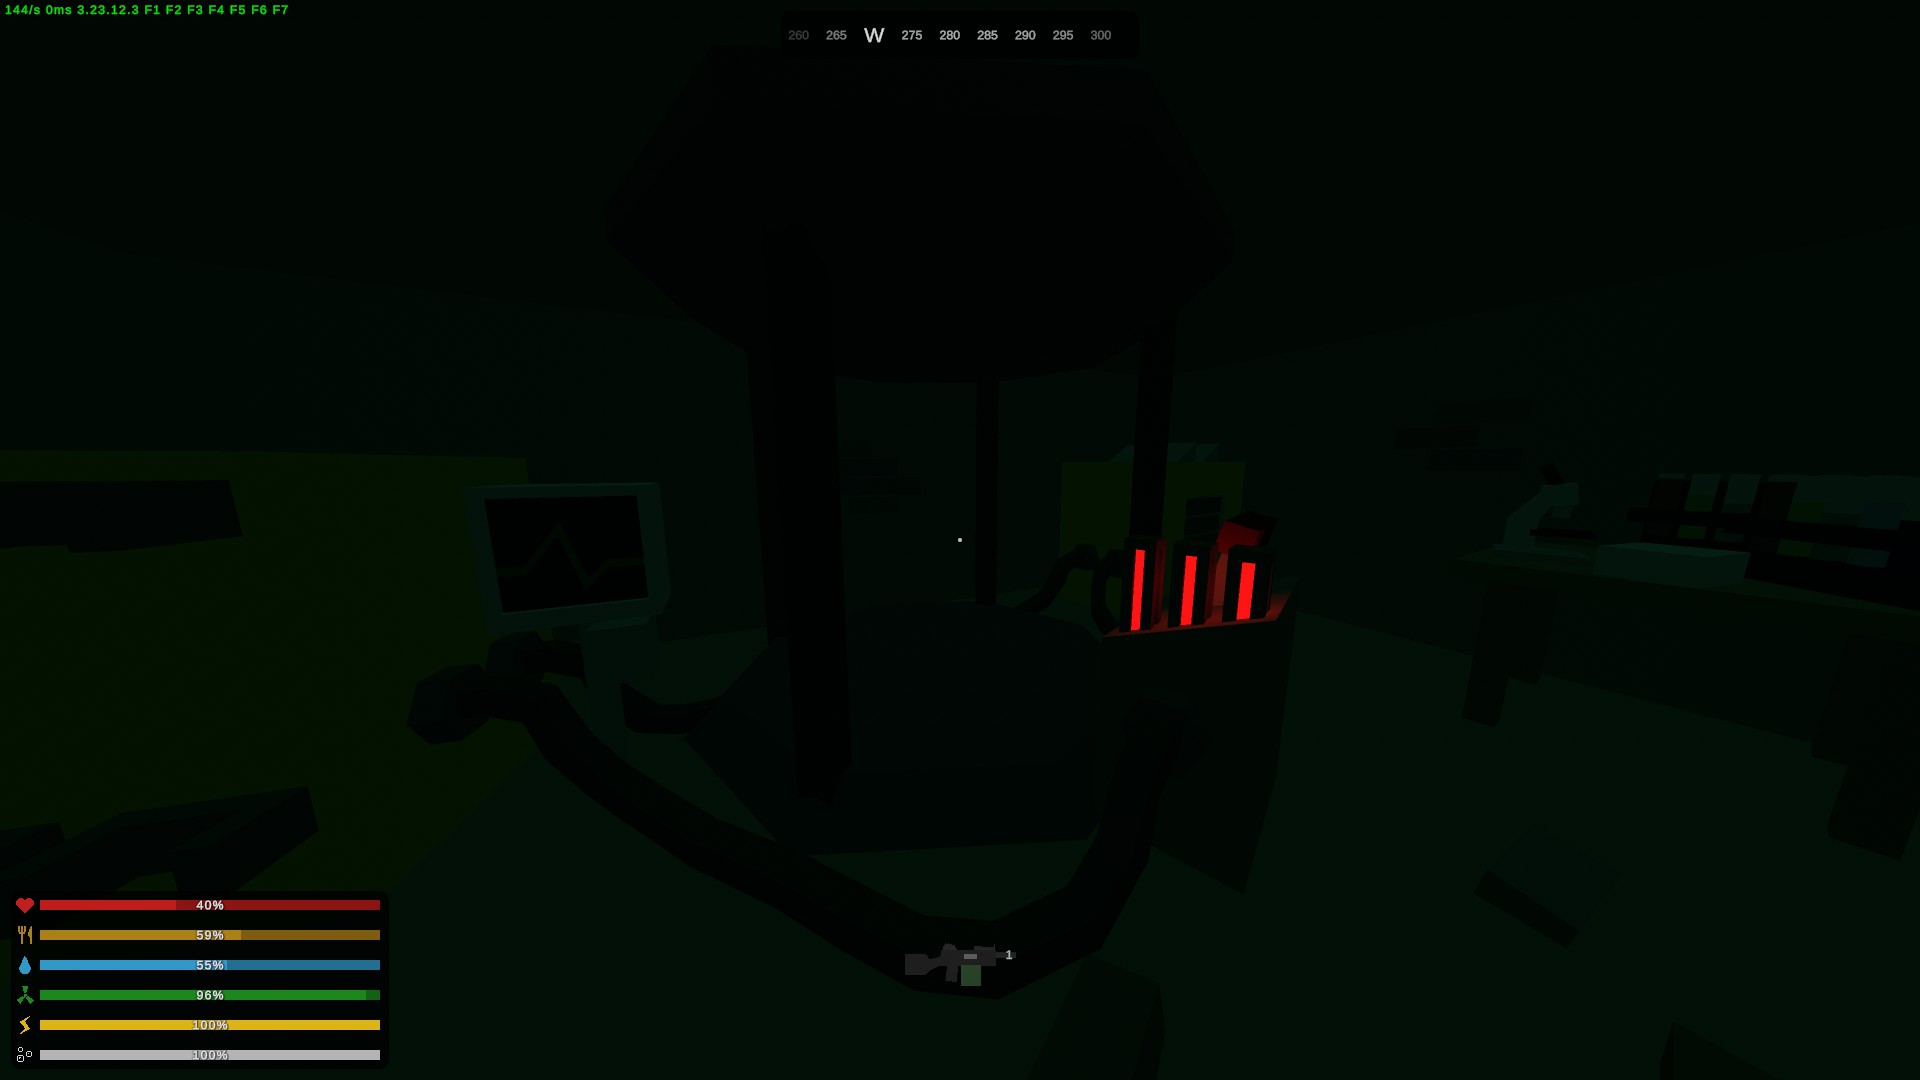
We have to get it working by locating the 3 teleporter coils in any order.
YOU DO NOT HAVE TO START IN BERLIN, IN FACT, ENDING IN BERLIN WILL PROBABLY SAVE TIME
1. - Head to Berlin and locate 1 of the 5 sewer entrances. Here's a map of the sewers: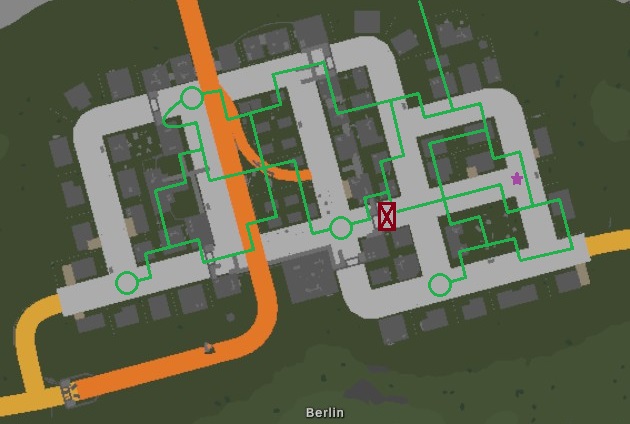
Map Key:
Notice I said 5 sewer entrances and there is only 4 listed? See that long corridor that leads off the image? It leads to an underwater access point just outside of Berlin, shown here:
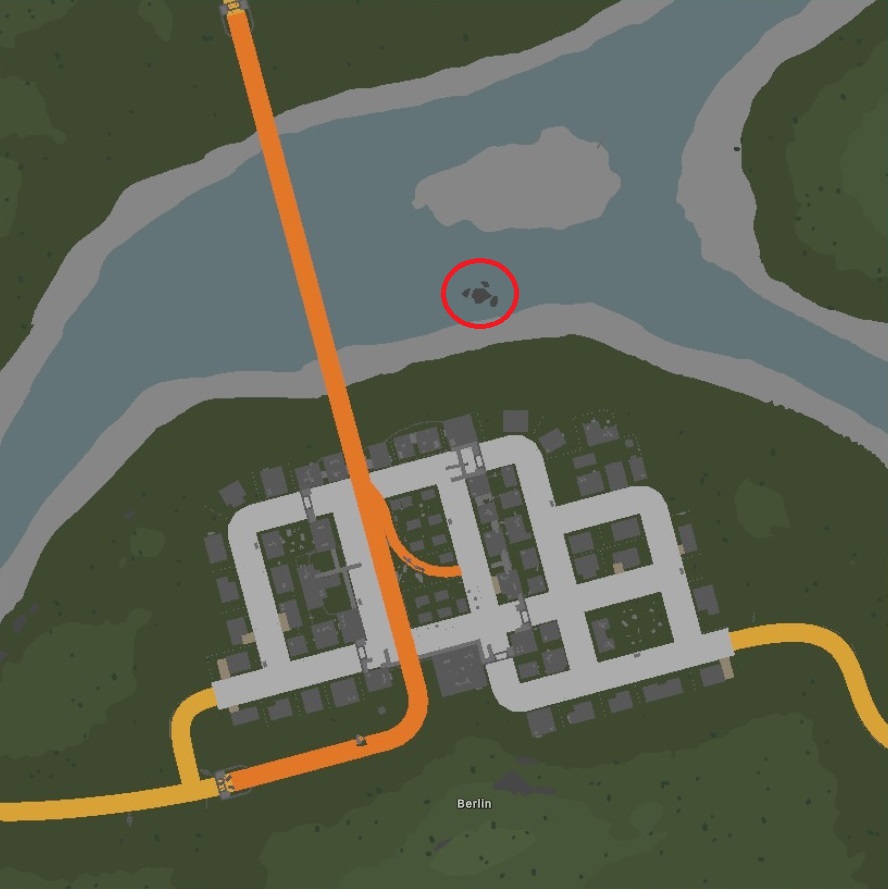 Look for the rocky area within the sewers, this is the tunnel that leads out of the city
You can make the journey through the tunnel if your diving skill is maxed out and/or you have a diving tank. The coil is towards the end of the tunnel
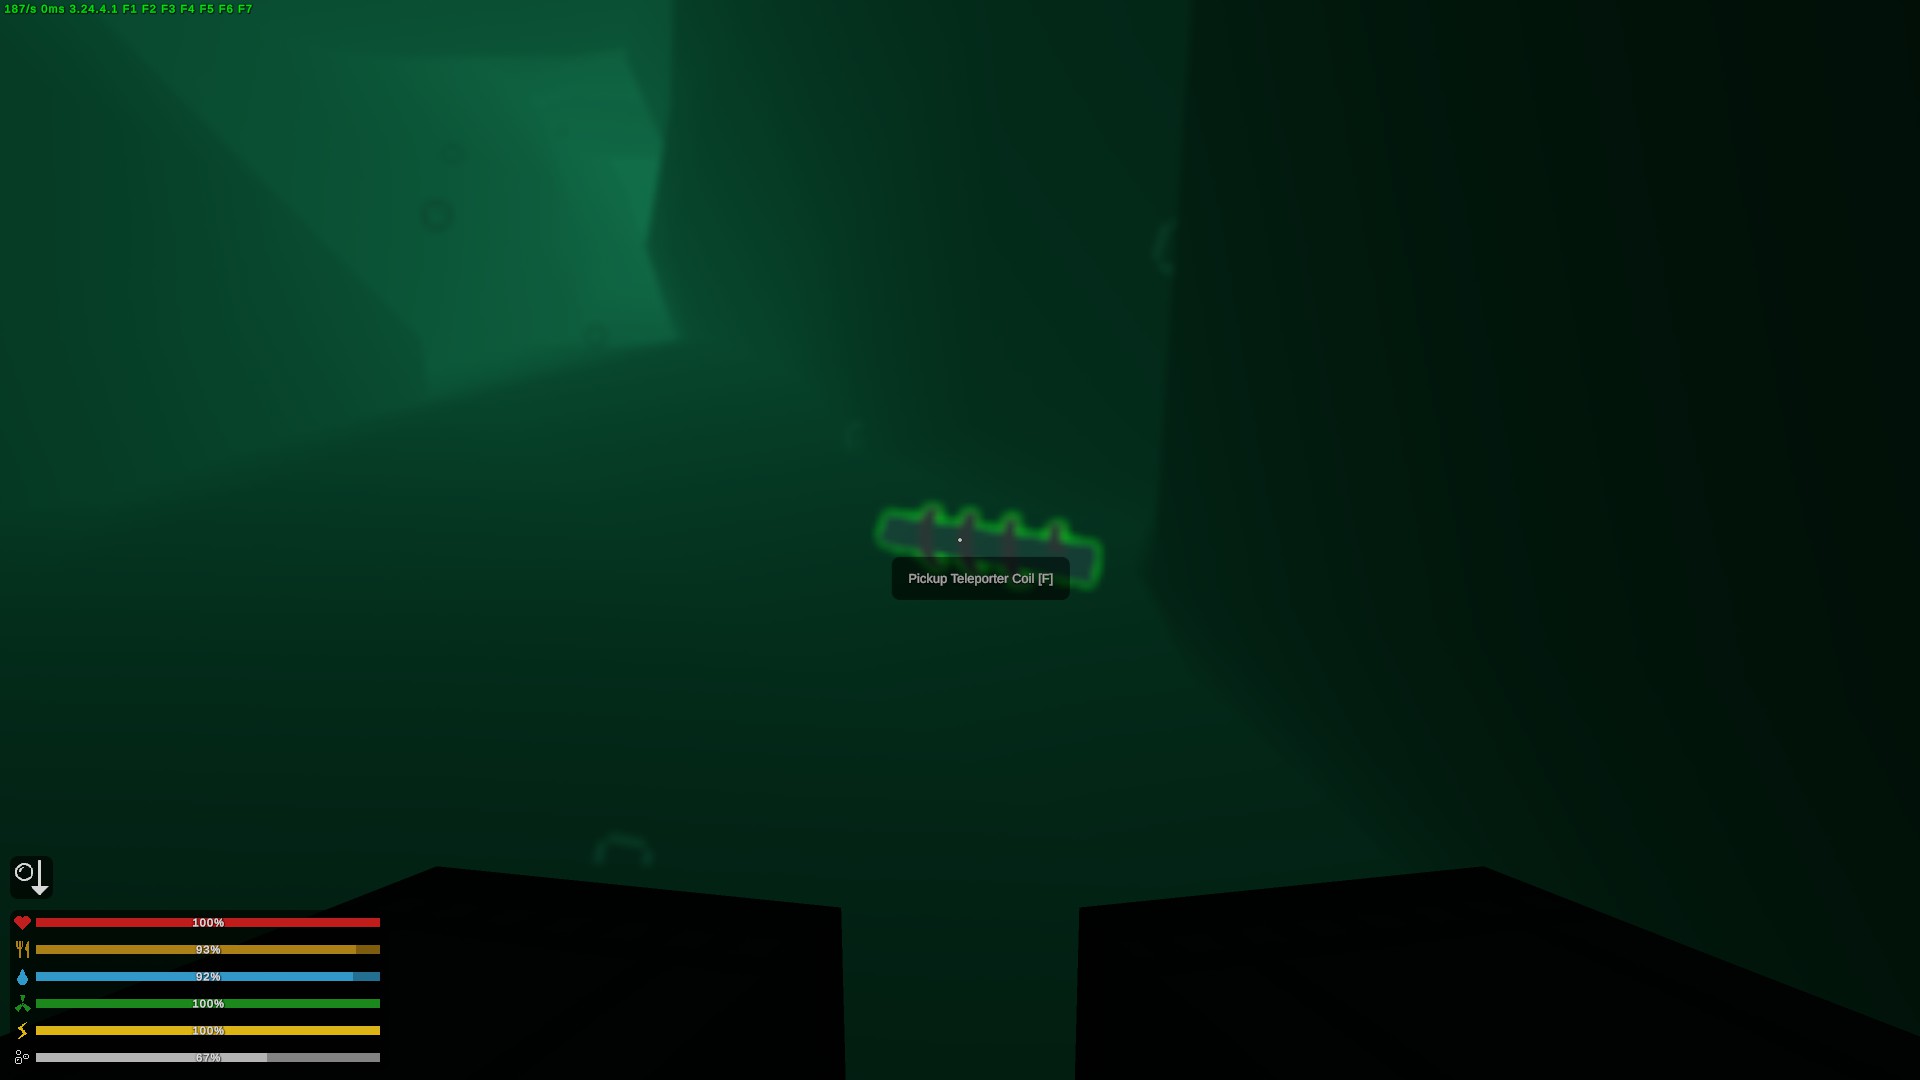 2. - The next coil is over in the train crash in the mountains near Ostsee Compound. Look for this overturned red cargo crate:
 3. - Last coil is in Cologne so make sure you have a gasmask and extra filters. This piece of debris is where the coil is at:
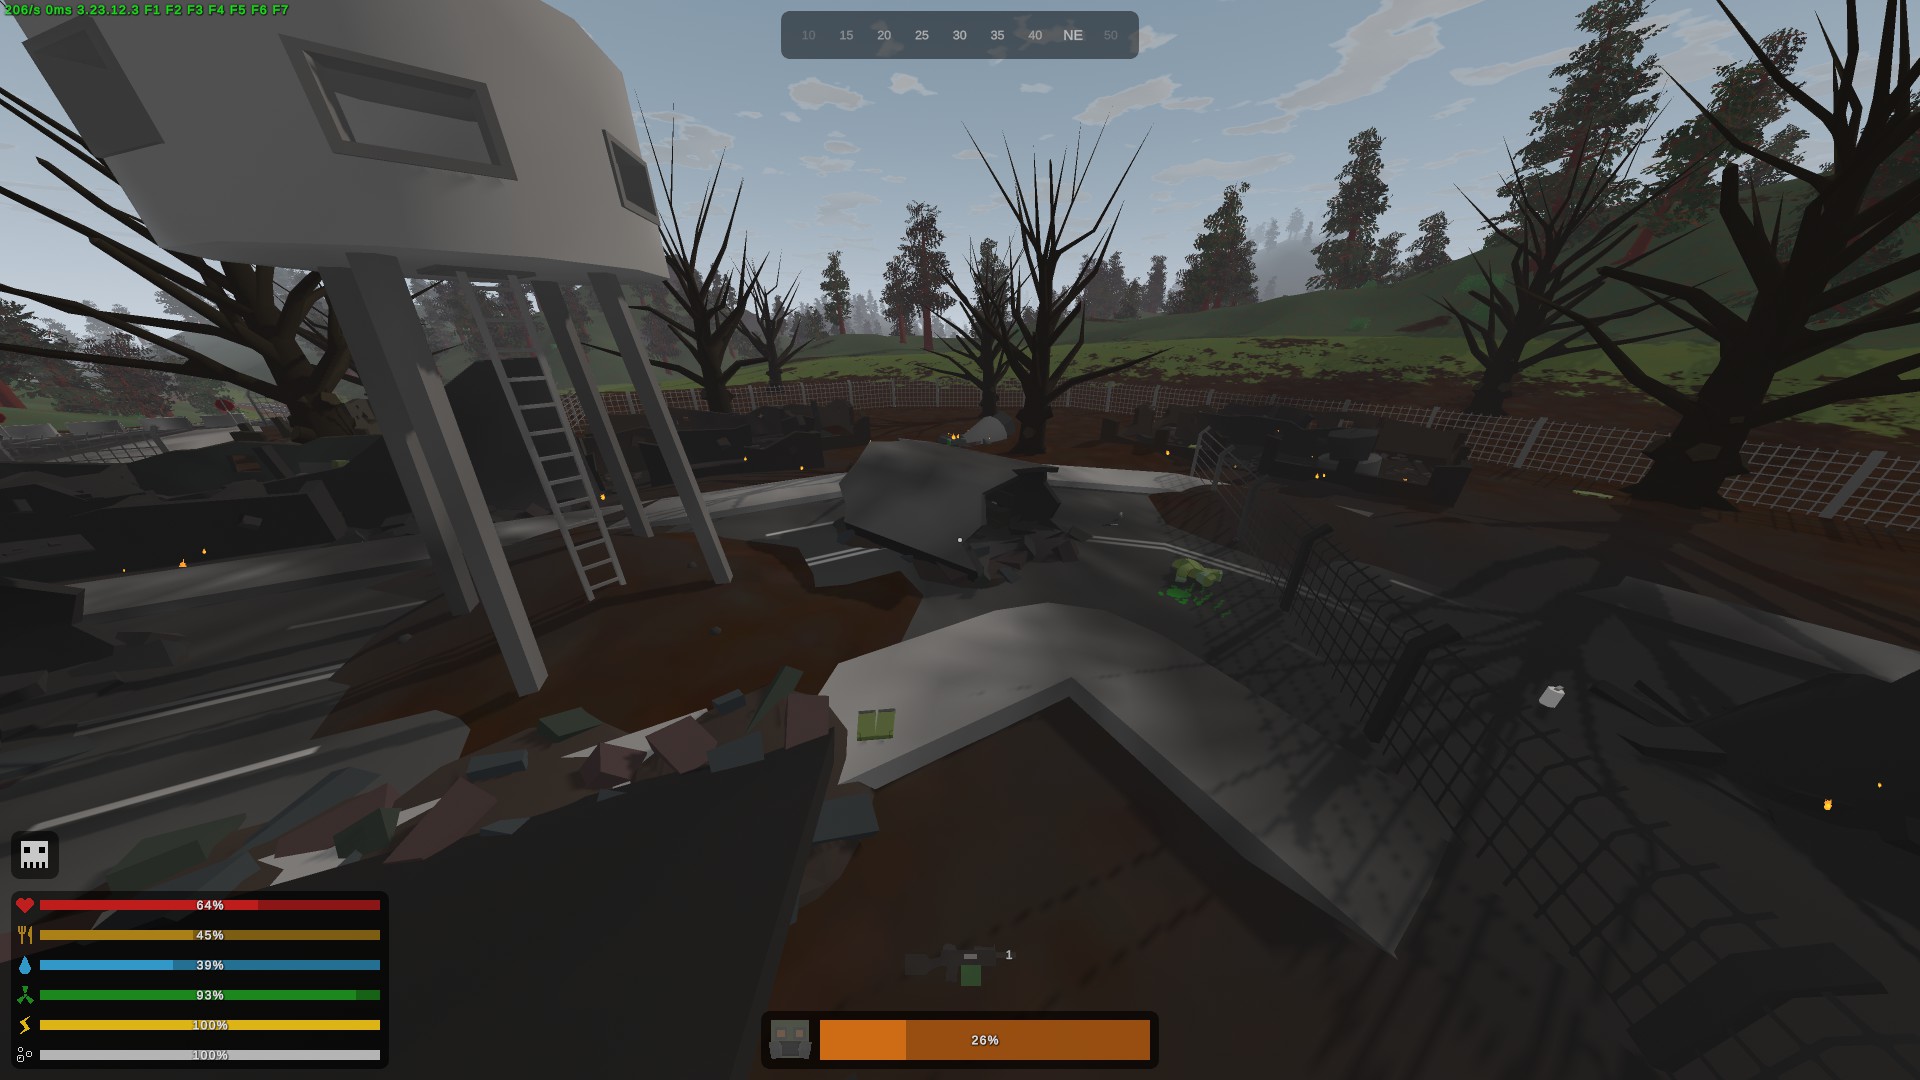 4. - Head back to Berlin and find the teleporter. There will be a green outline for the locations of coils: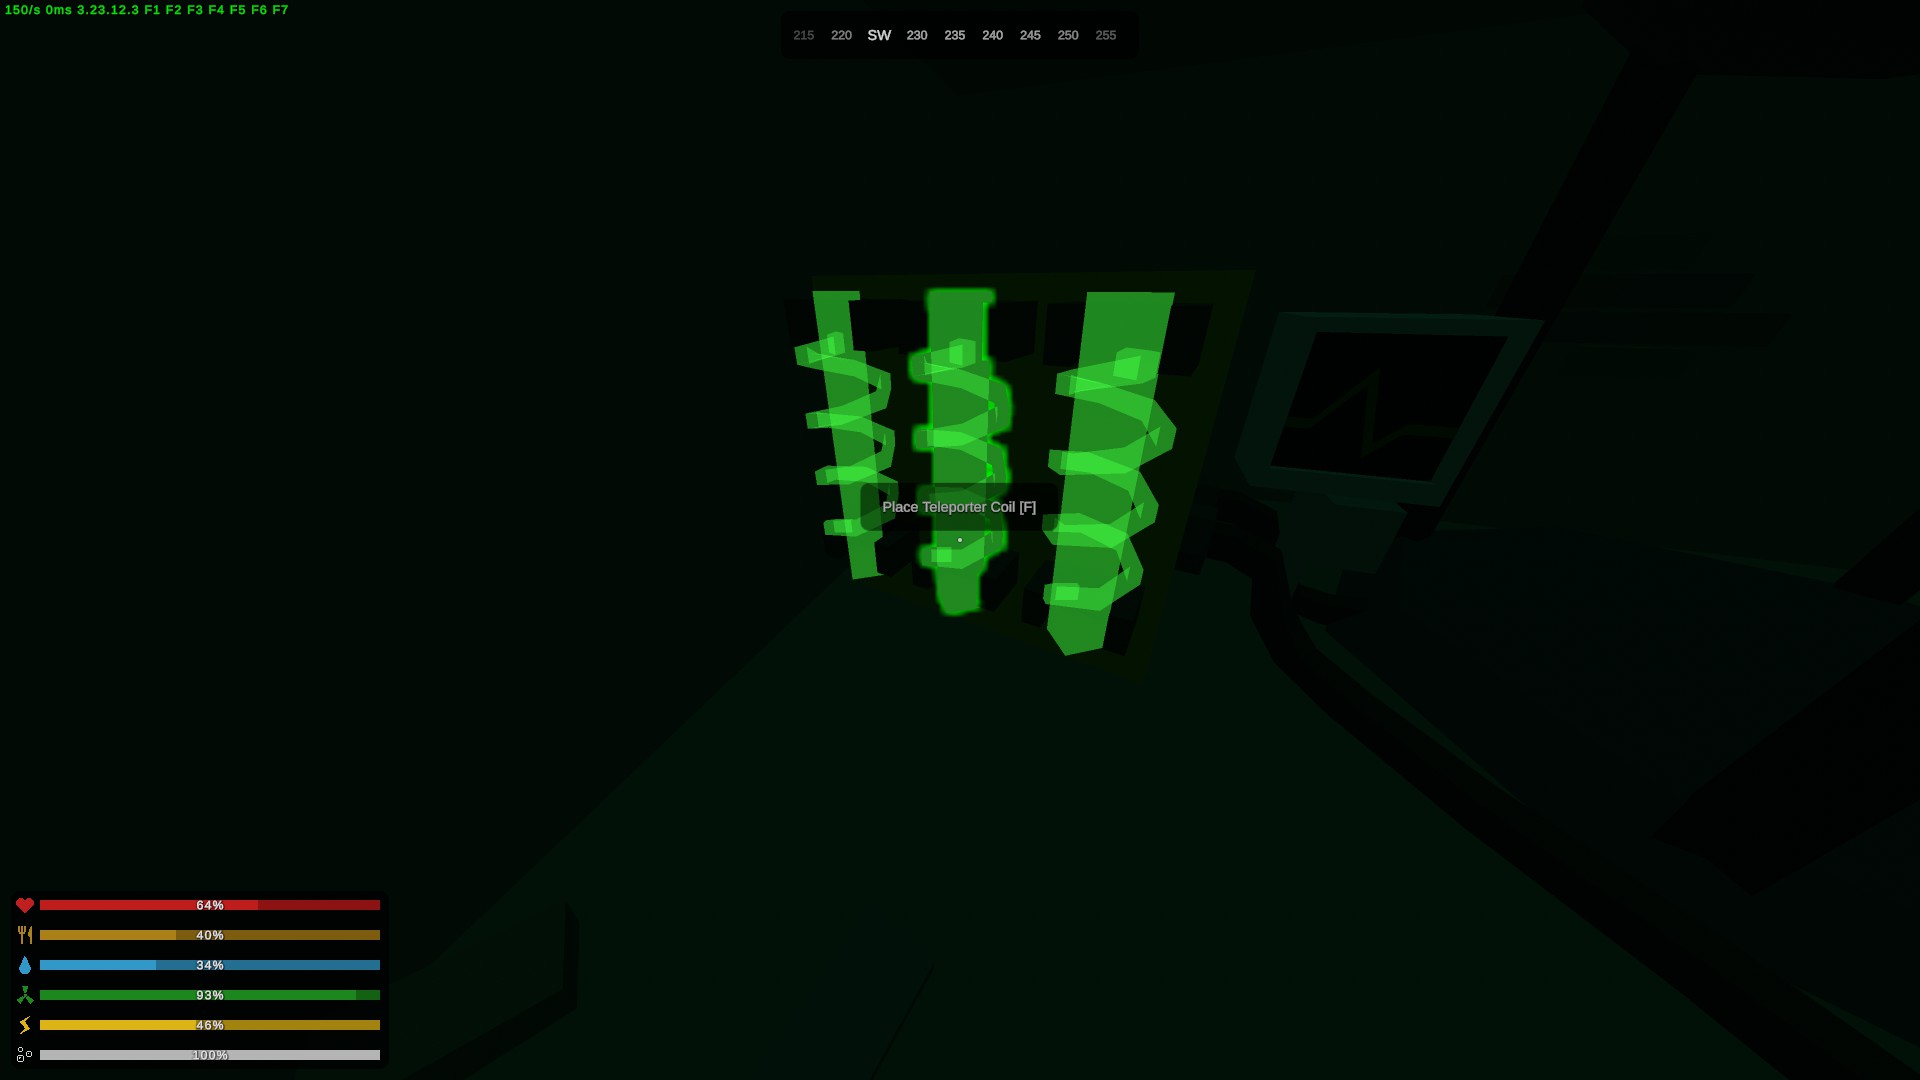
Stand inside the teleporter and interact with the lever. You'll be sent inside the castle and you'll have to fight the Kaiser Zombie Boss. Good luck :) 5. - He's dead, right? Good. We're not done. You can walk around the castle if you want but make sure you head into the room on the right from where you teleported. Here, you'll find the Zweihander chillin' in the dining room:
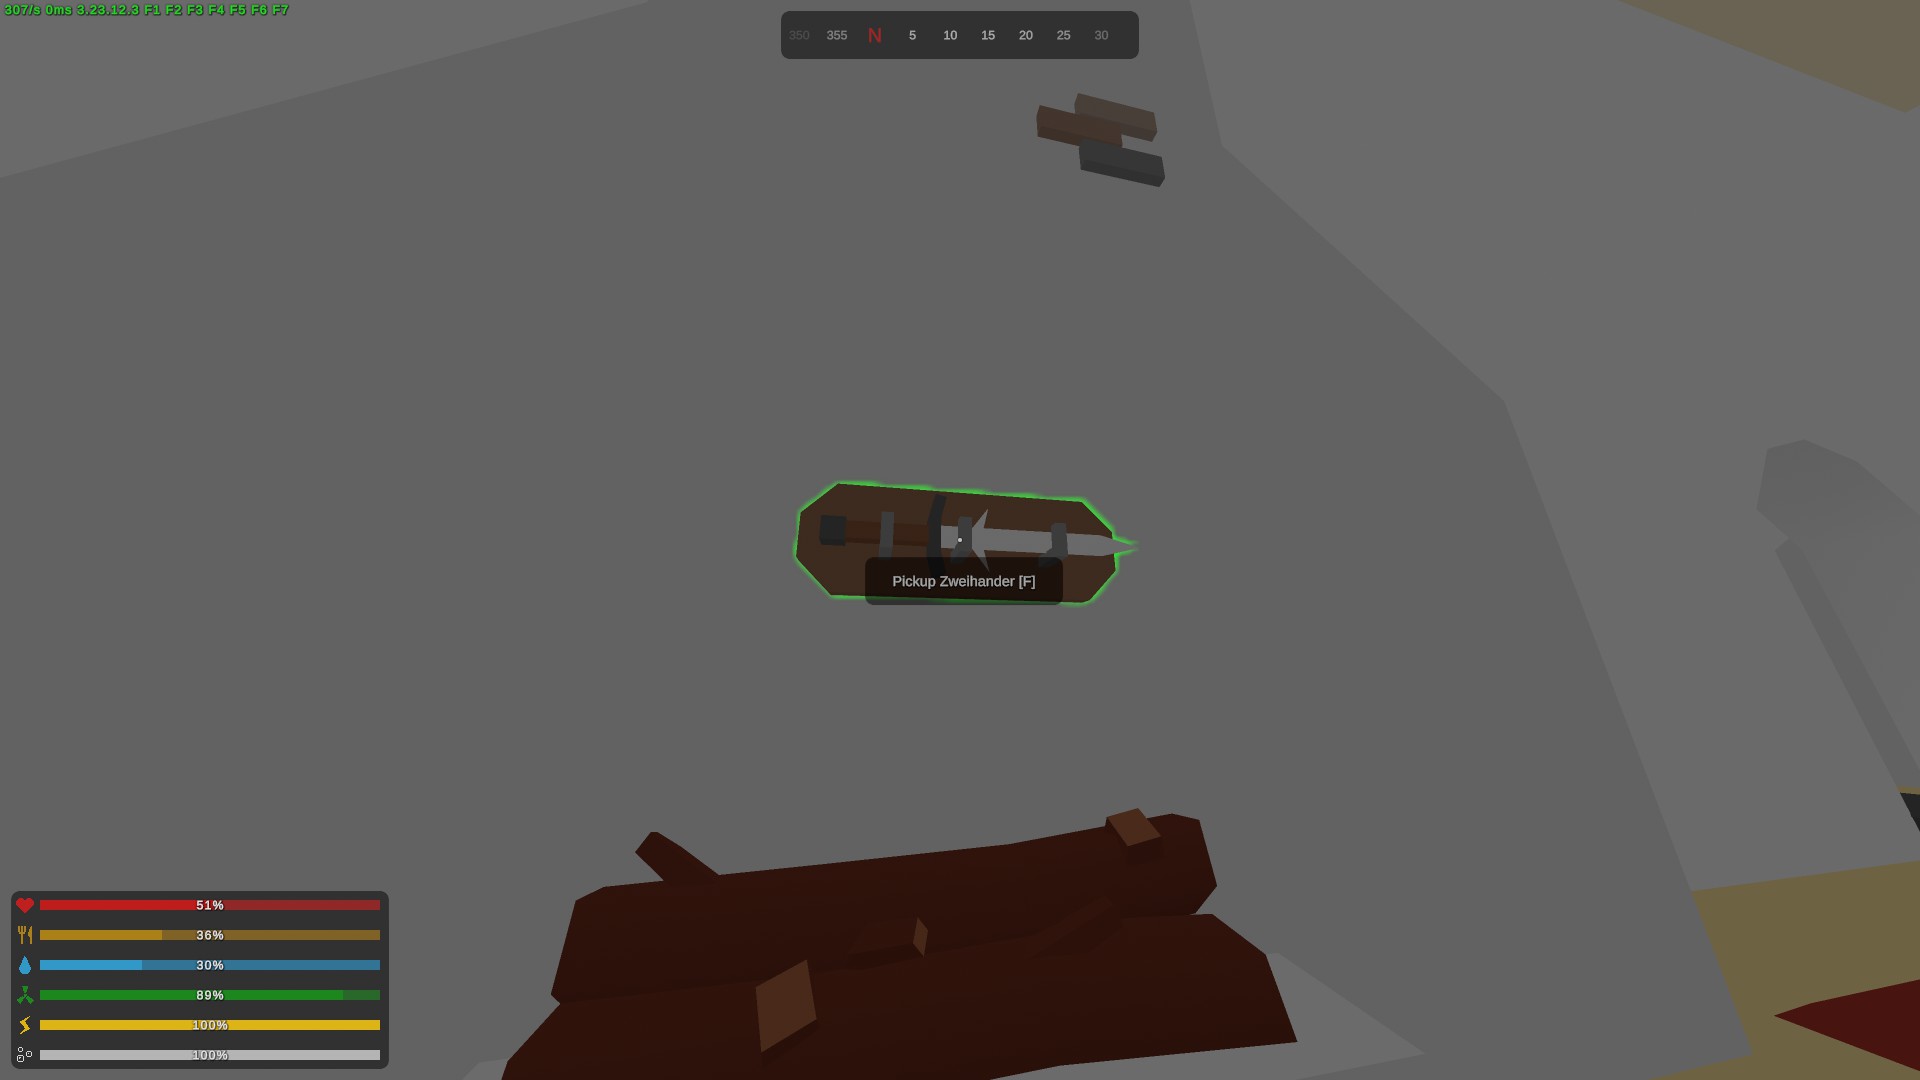
Make sure you pick it up an you'll get the achievement once you use the teleporter to get back to the sewers. Now we're done :3
Hawaii Easter Egg (Extinguished)
Kill a magma zombie.

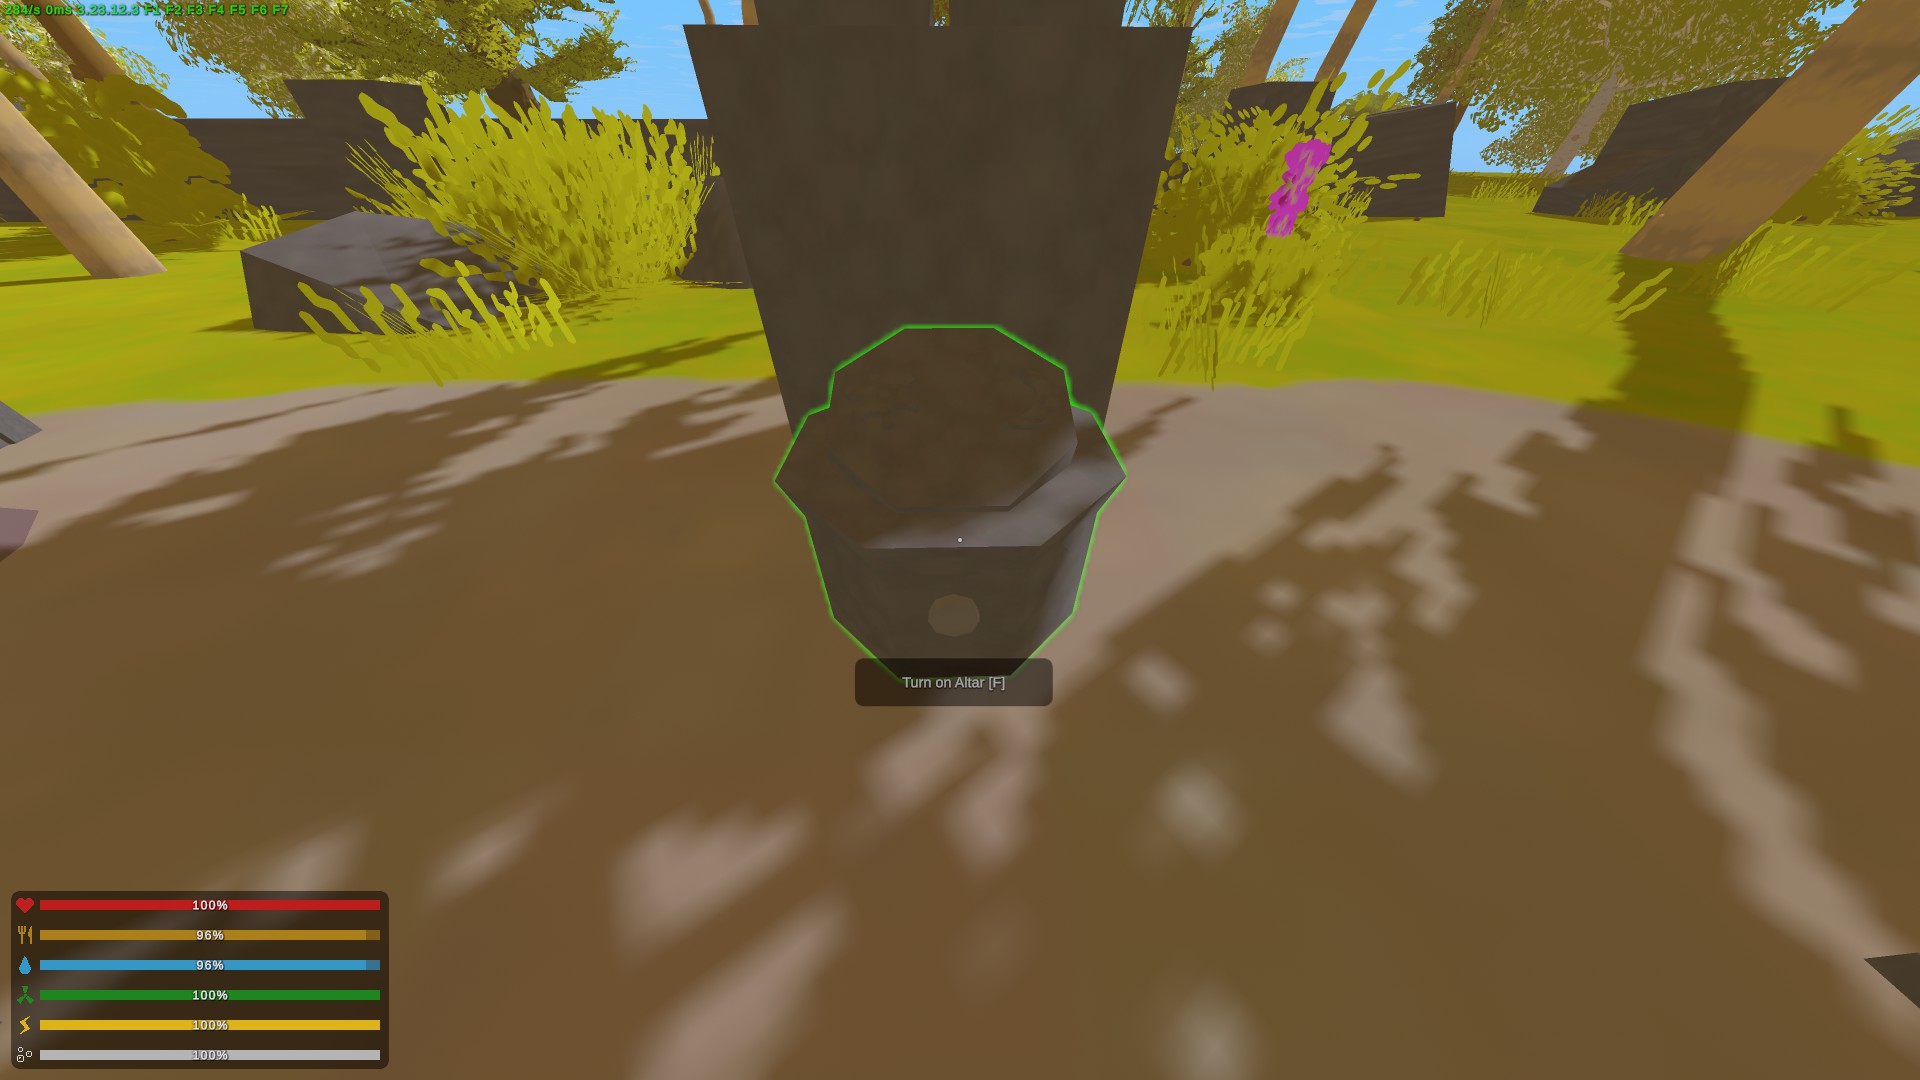
You have to activate some altars and do some parkour. You're going to want extra beds, an umbrella, and LOTS of ammo and healing items. 1. - First, we're taking the battle bus to La Luna Kahiko on Hawaii to activate altar 1. Find the altar and turn it on, it'll light up :D
 2. - Altar 2 is near Tadaaki Light and underwater this time: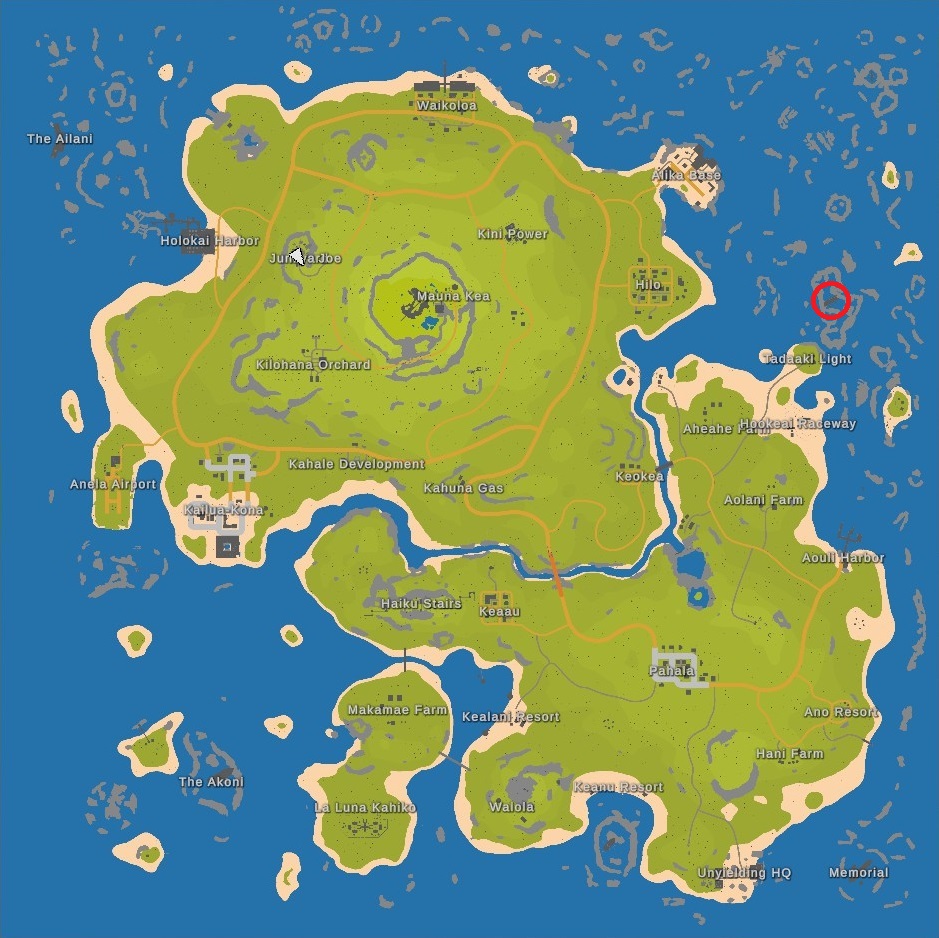
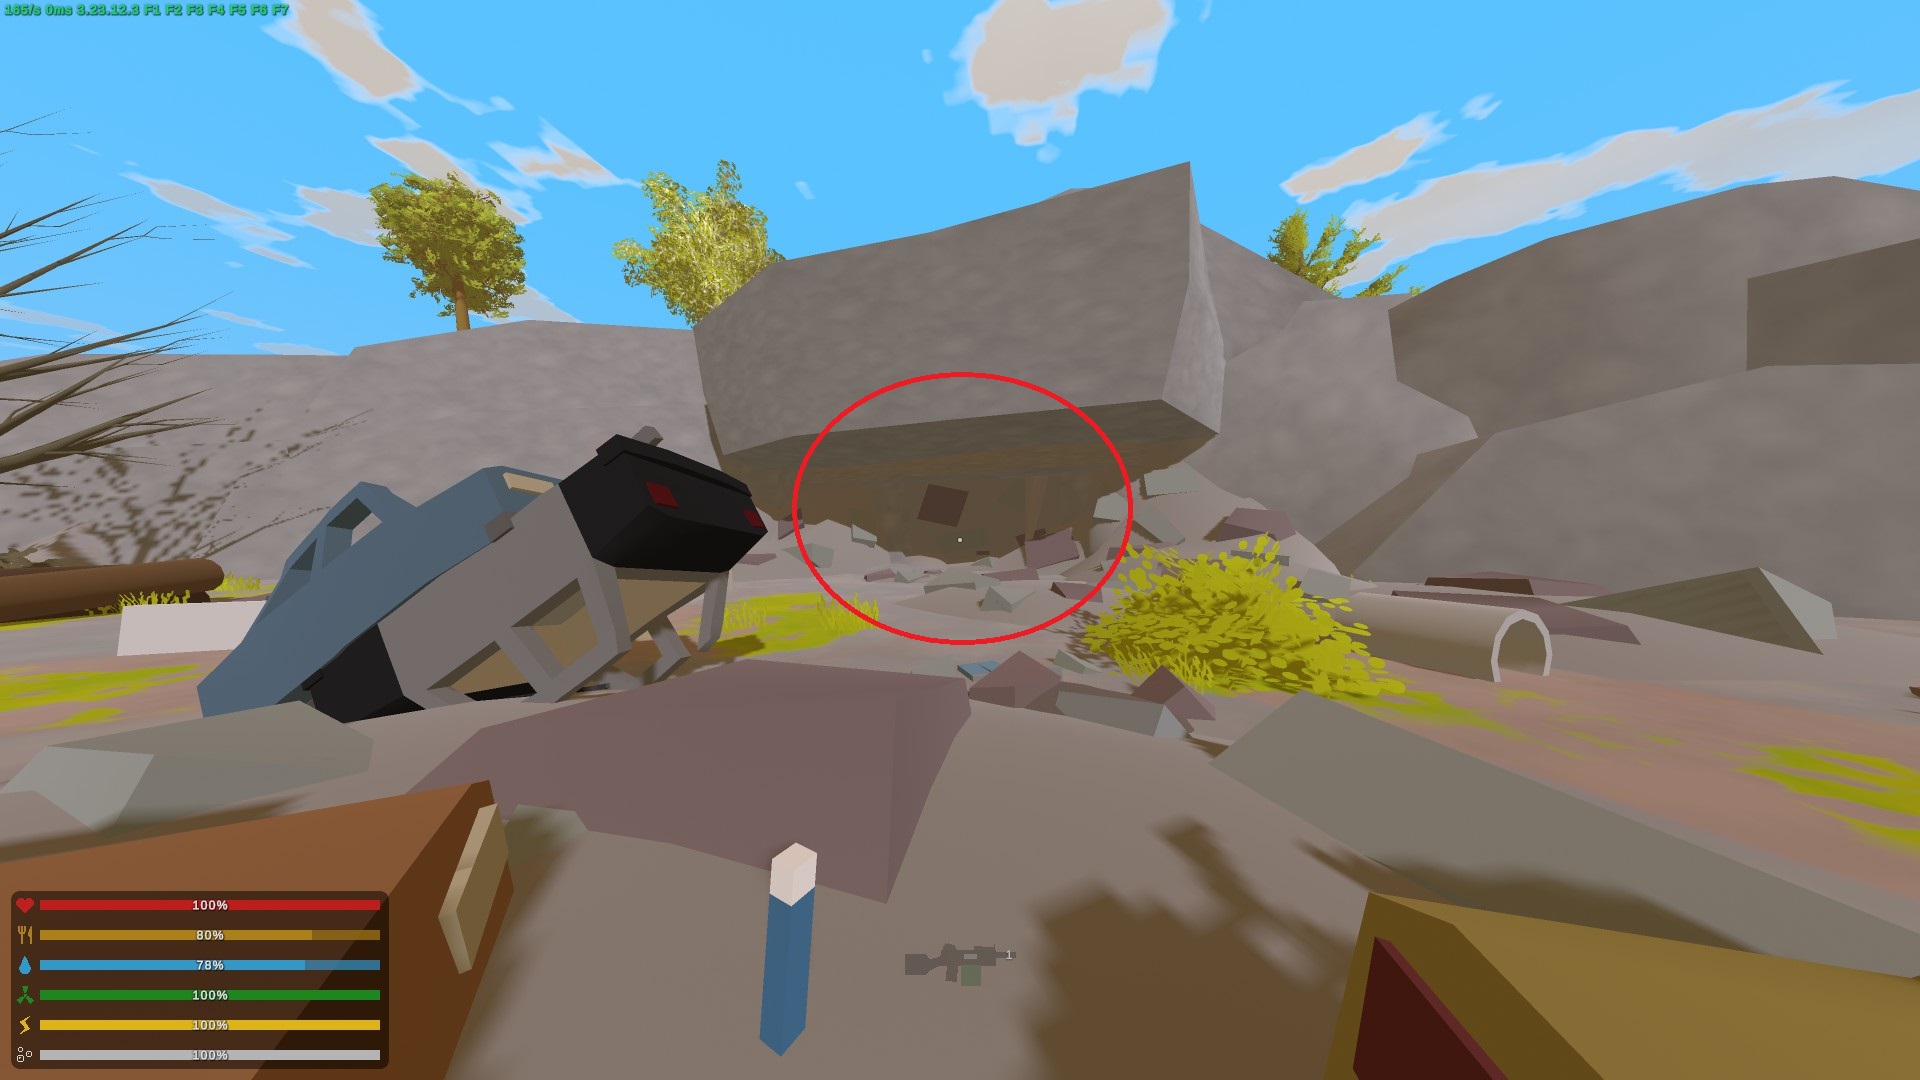
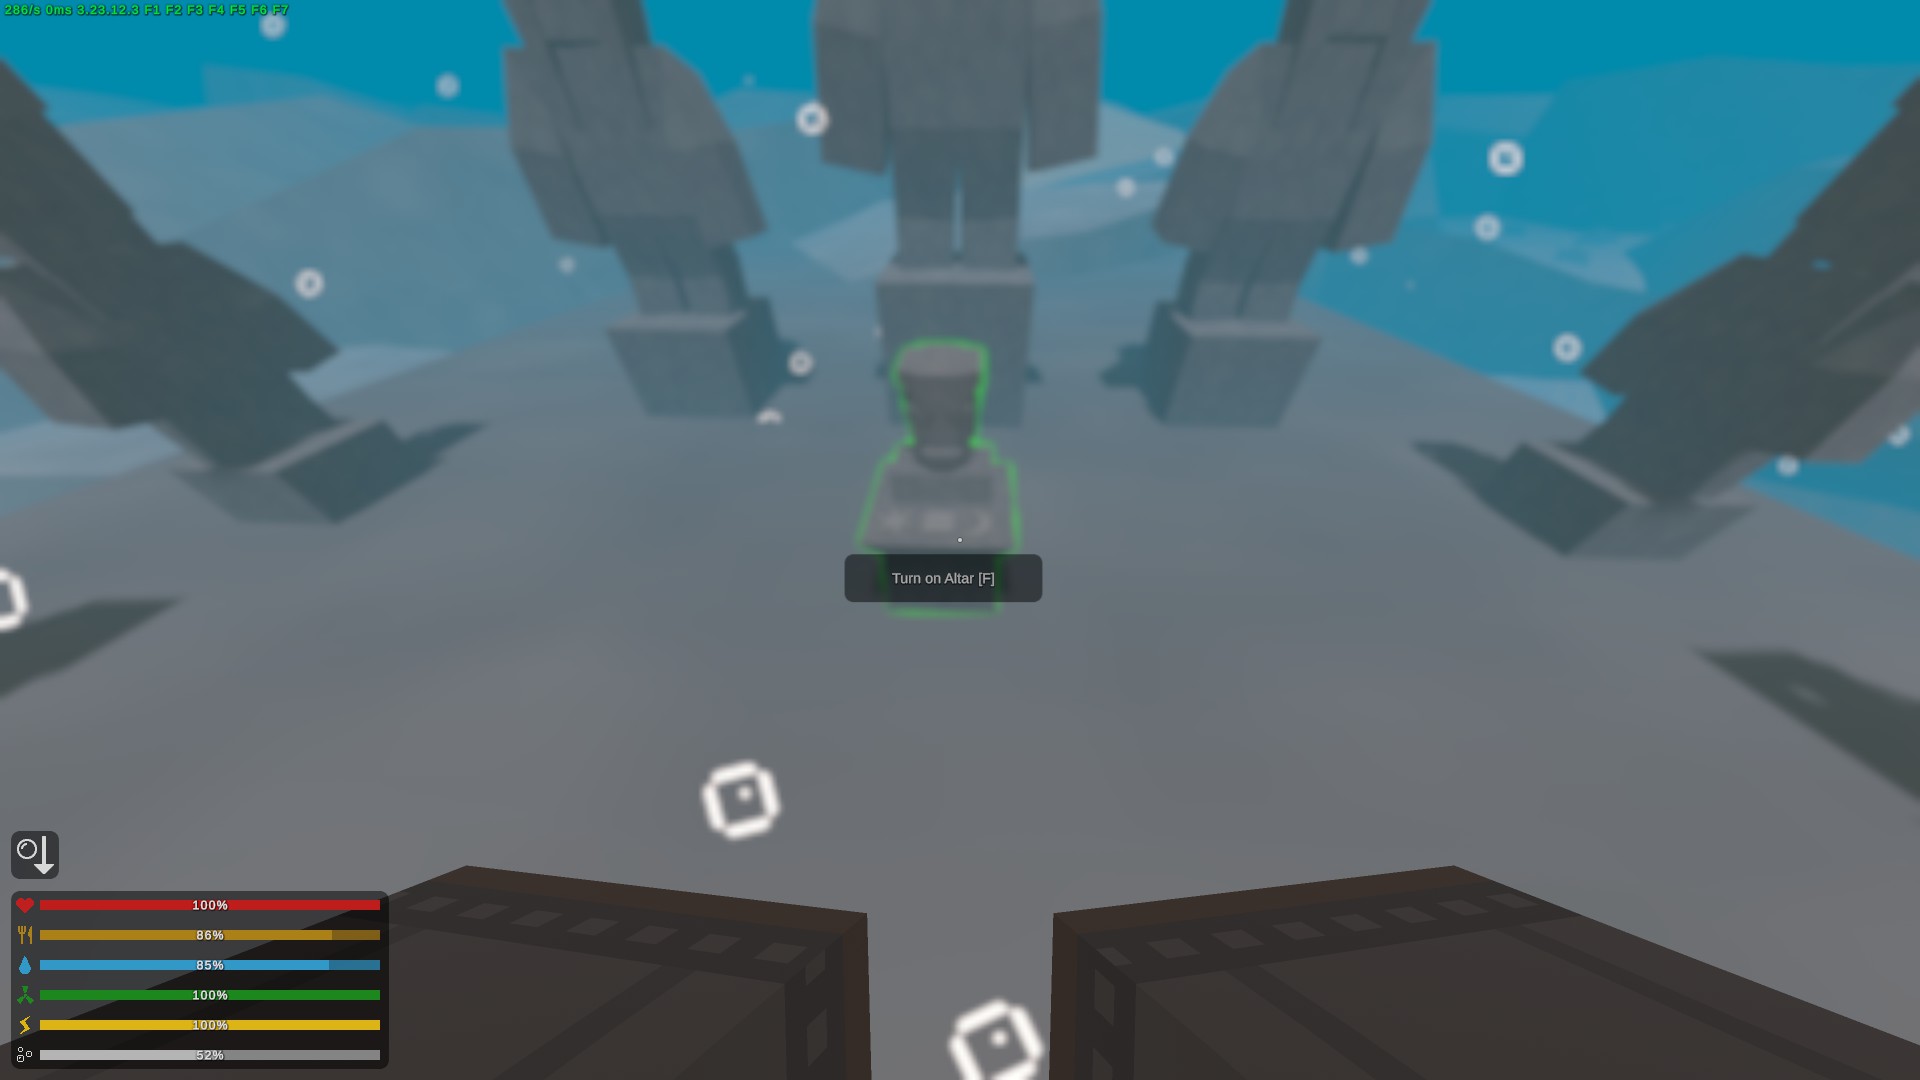 3. - From here, there are 2 ways we can get into the caves for the last altars: a cliff-side entrance near Kini Power or get rid of the rubble blocking the cave entrance in the Junkyard. I'm opting for the Junkyard option because it's usually the easier route as long as you have rockets or demolition charges. Aim your attacks here:
 Now we are in the caves, great. You're either gonna want a light of some kind or night vision and I highly recommend the latter. I've included a rough map of the caves: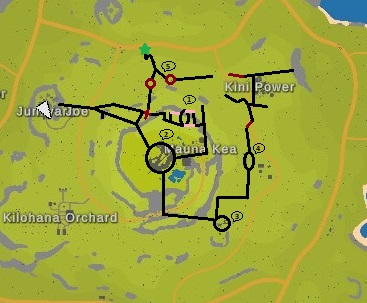
Map Key:
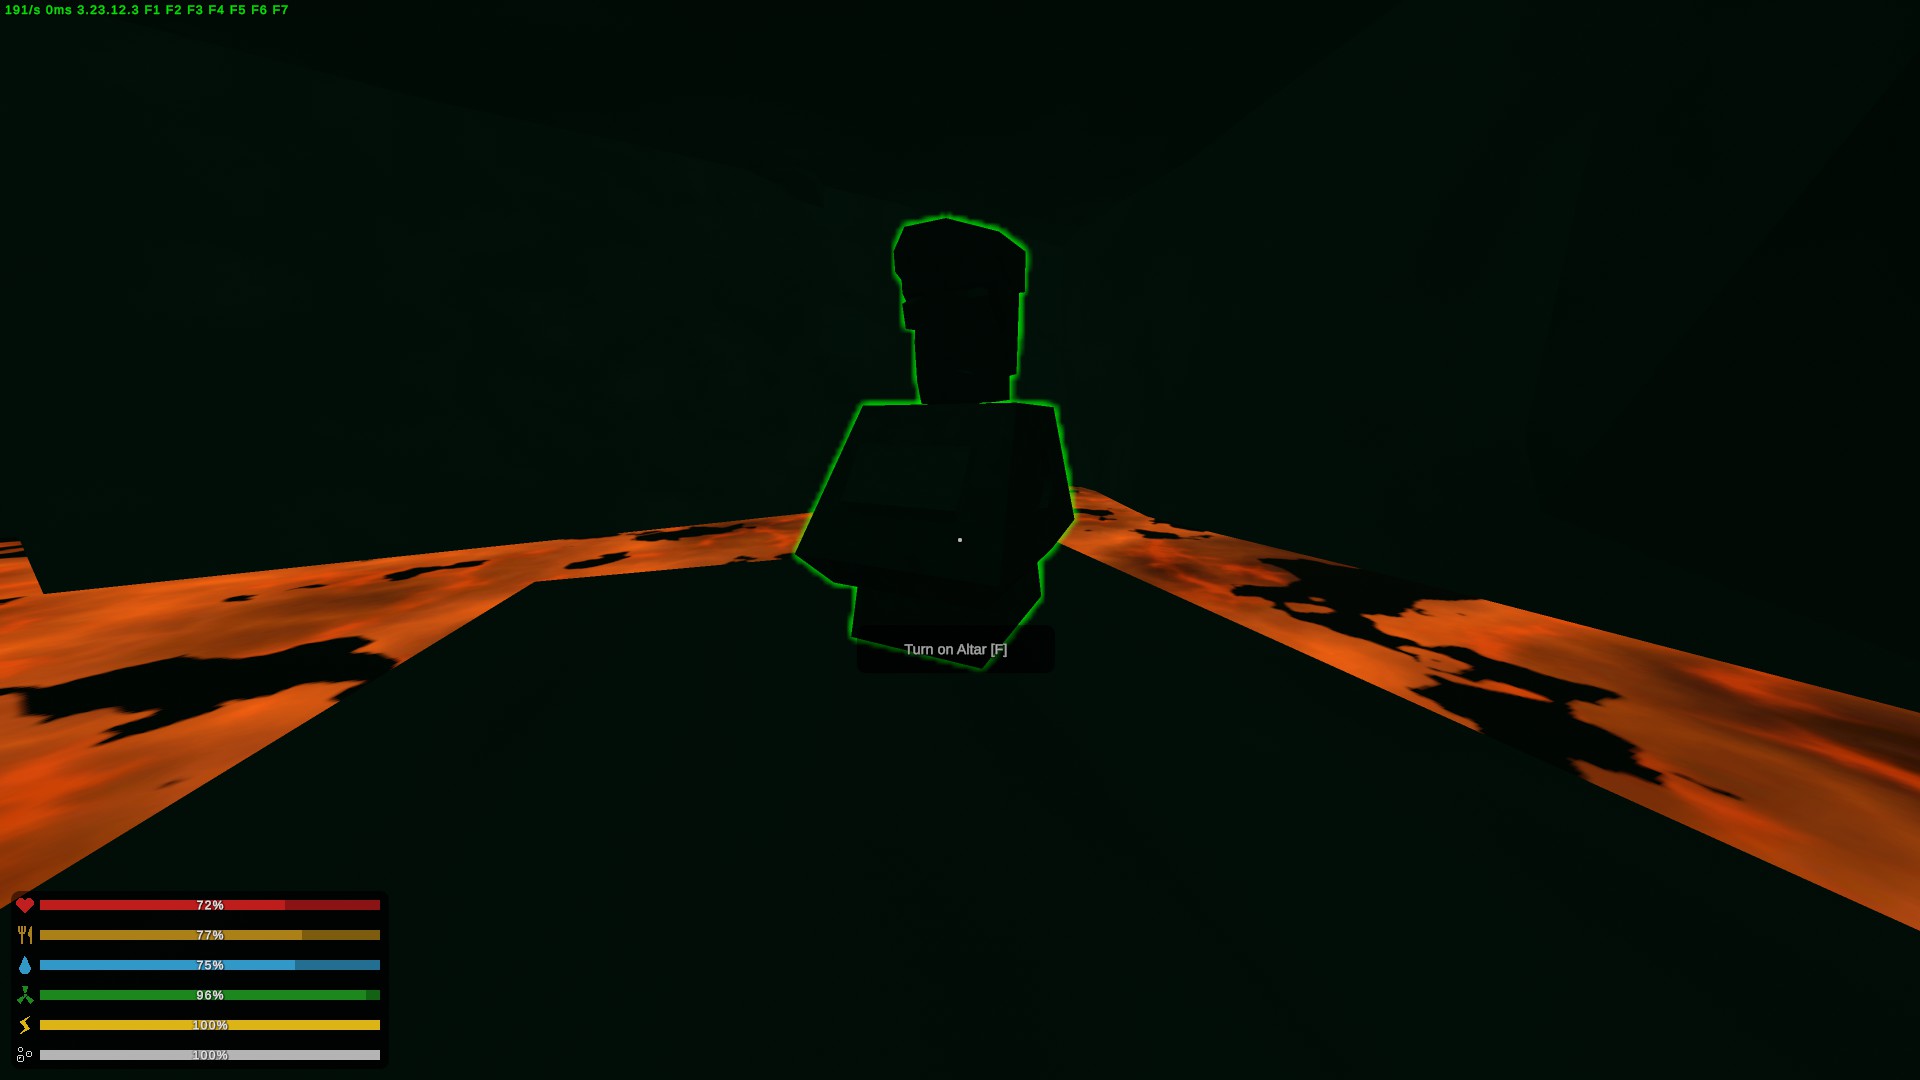 4. - Alright, 3 altars down, 1 to go. Head up towards the cave 5 area and look for the path to the altar room:
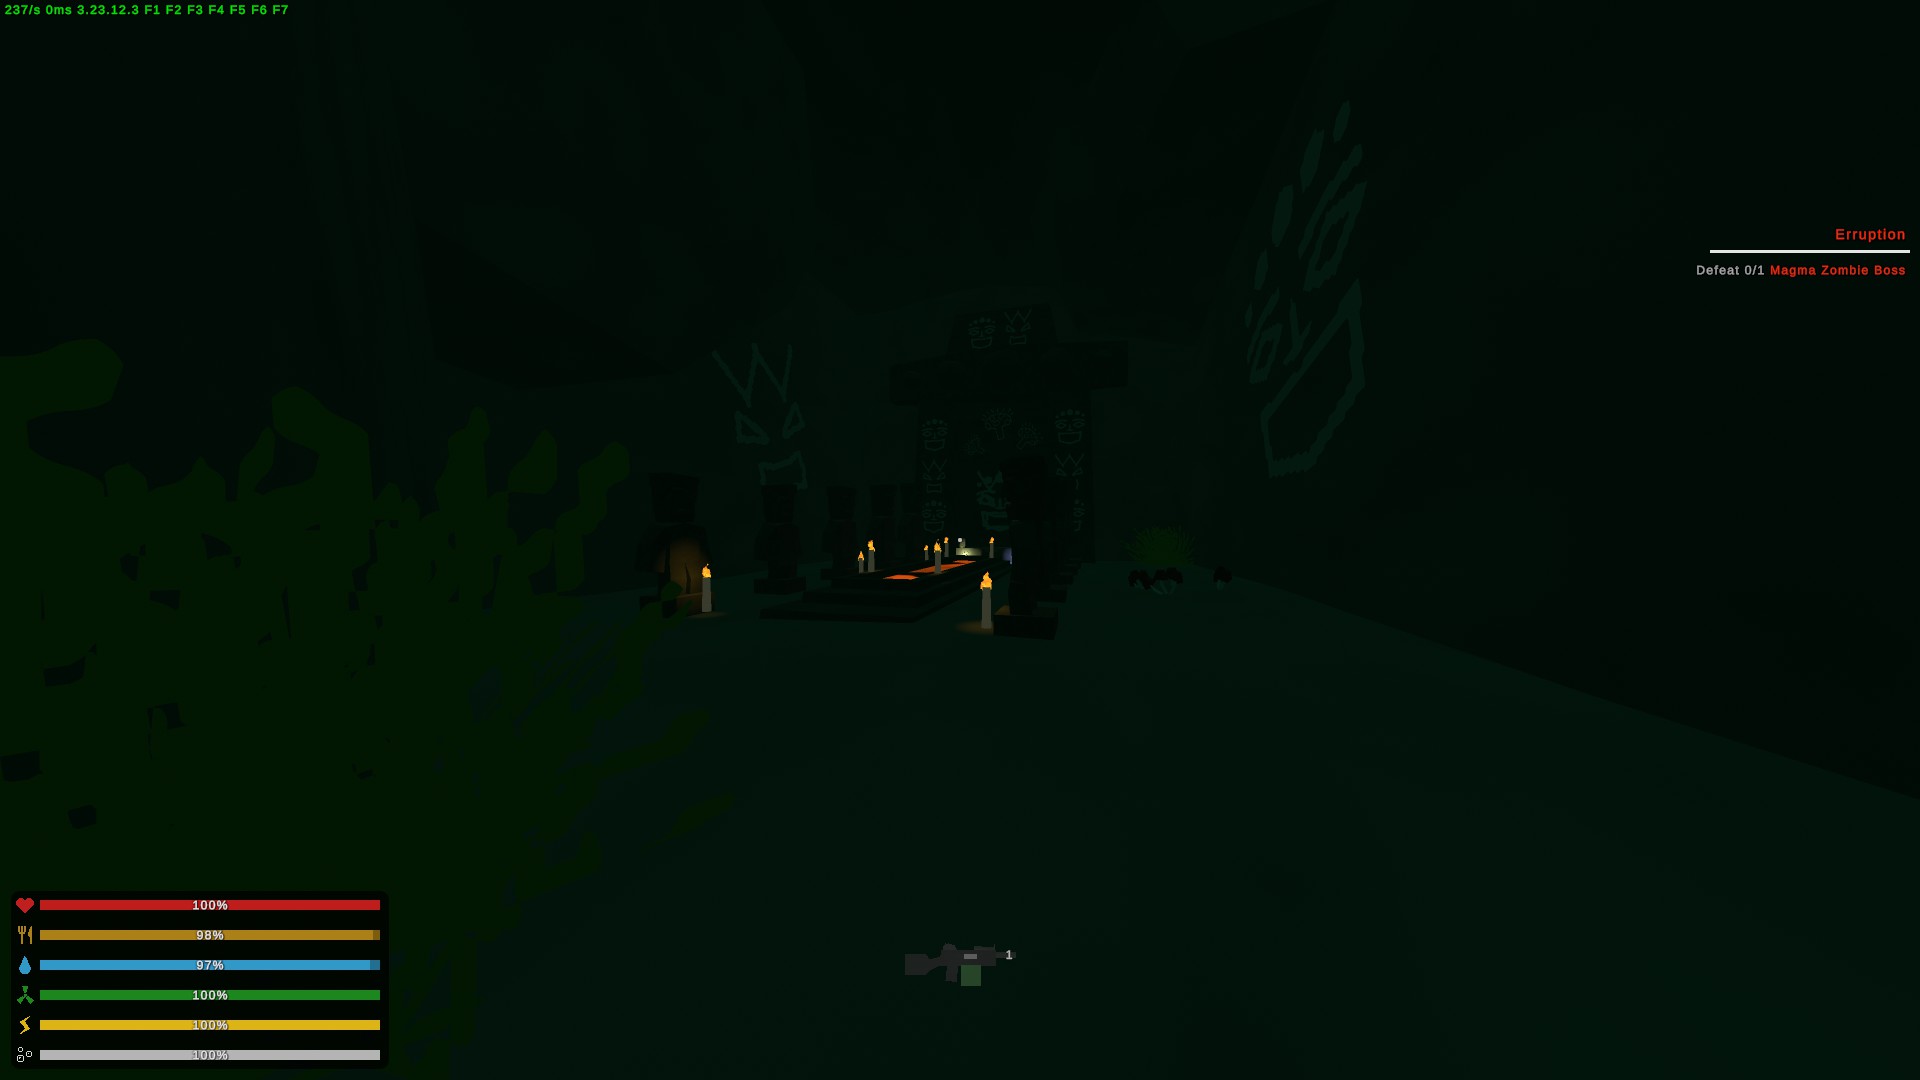 At this point, I'm going to also recommend throwing down a bedroll just in case. Whenever you're ready, interact with the altar and you will be teleported to another room. You've got to cross a lava pool to reach the magma zombie behind a wall (if you sneak up on him and just stun lock him, he's easy to kill). Good luck :)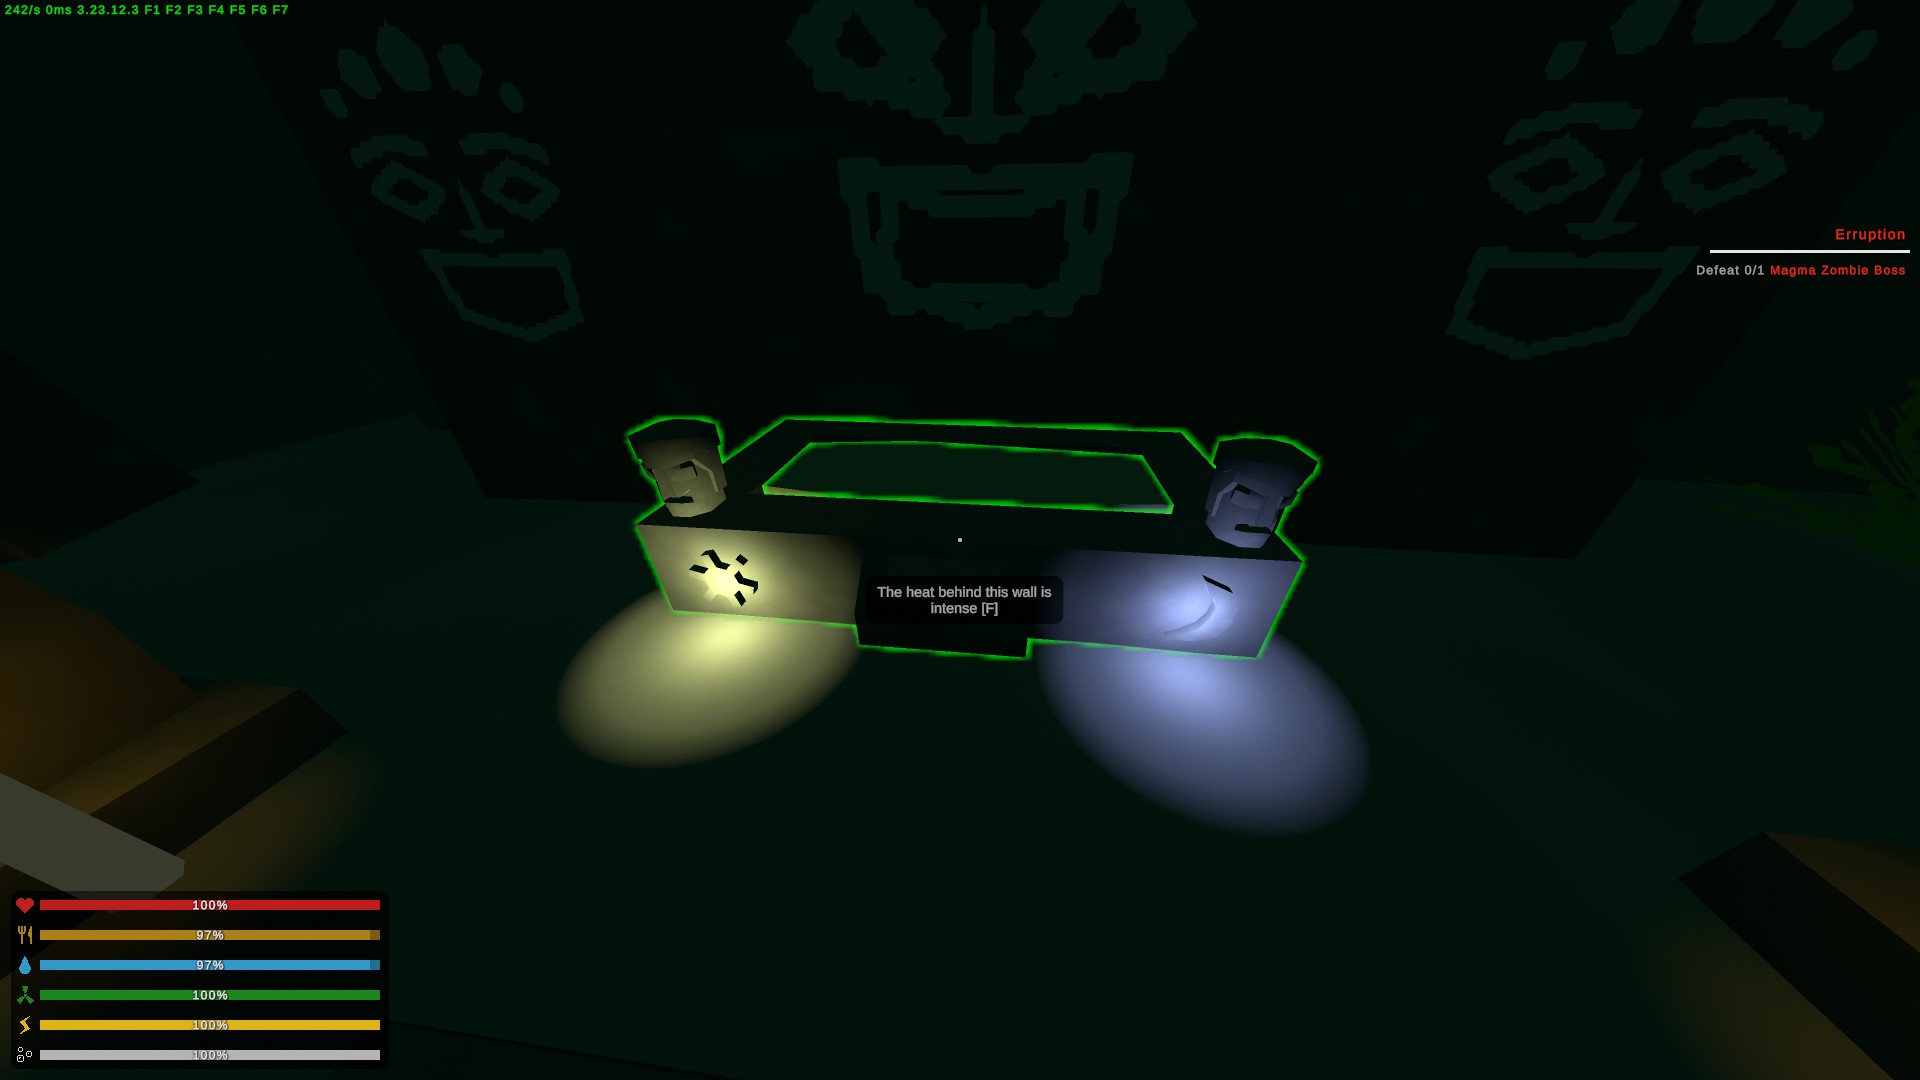
Elver
???

Unlike the other maps, it seems Elver's safezone isn't accessible right away and we can't start taking quests until we get there. To start, if you notice the blue X's on your map (in Town, in the Gas Station, and in the dorms), those are teleporters to get to the safezone. They require a "sacrifice" in order to work and that sacrifice is the sacrificial scripture.

To find a graphics card, head to Game Start in the mall. Make sure you have a pickaxe to mine the large green crystal while you're there. You can find the military radio at the various military areas on the map. These items can also be found in the deadzones later on
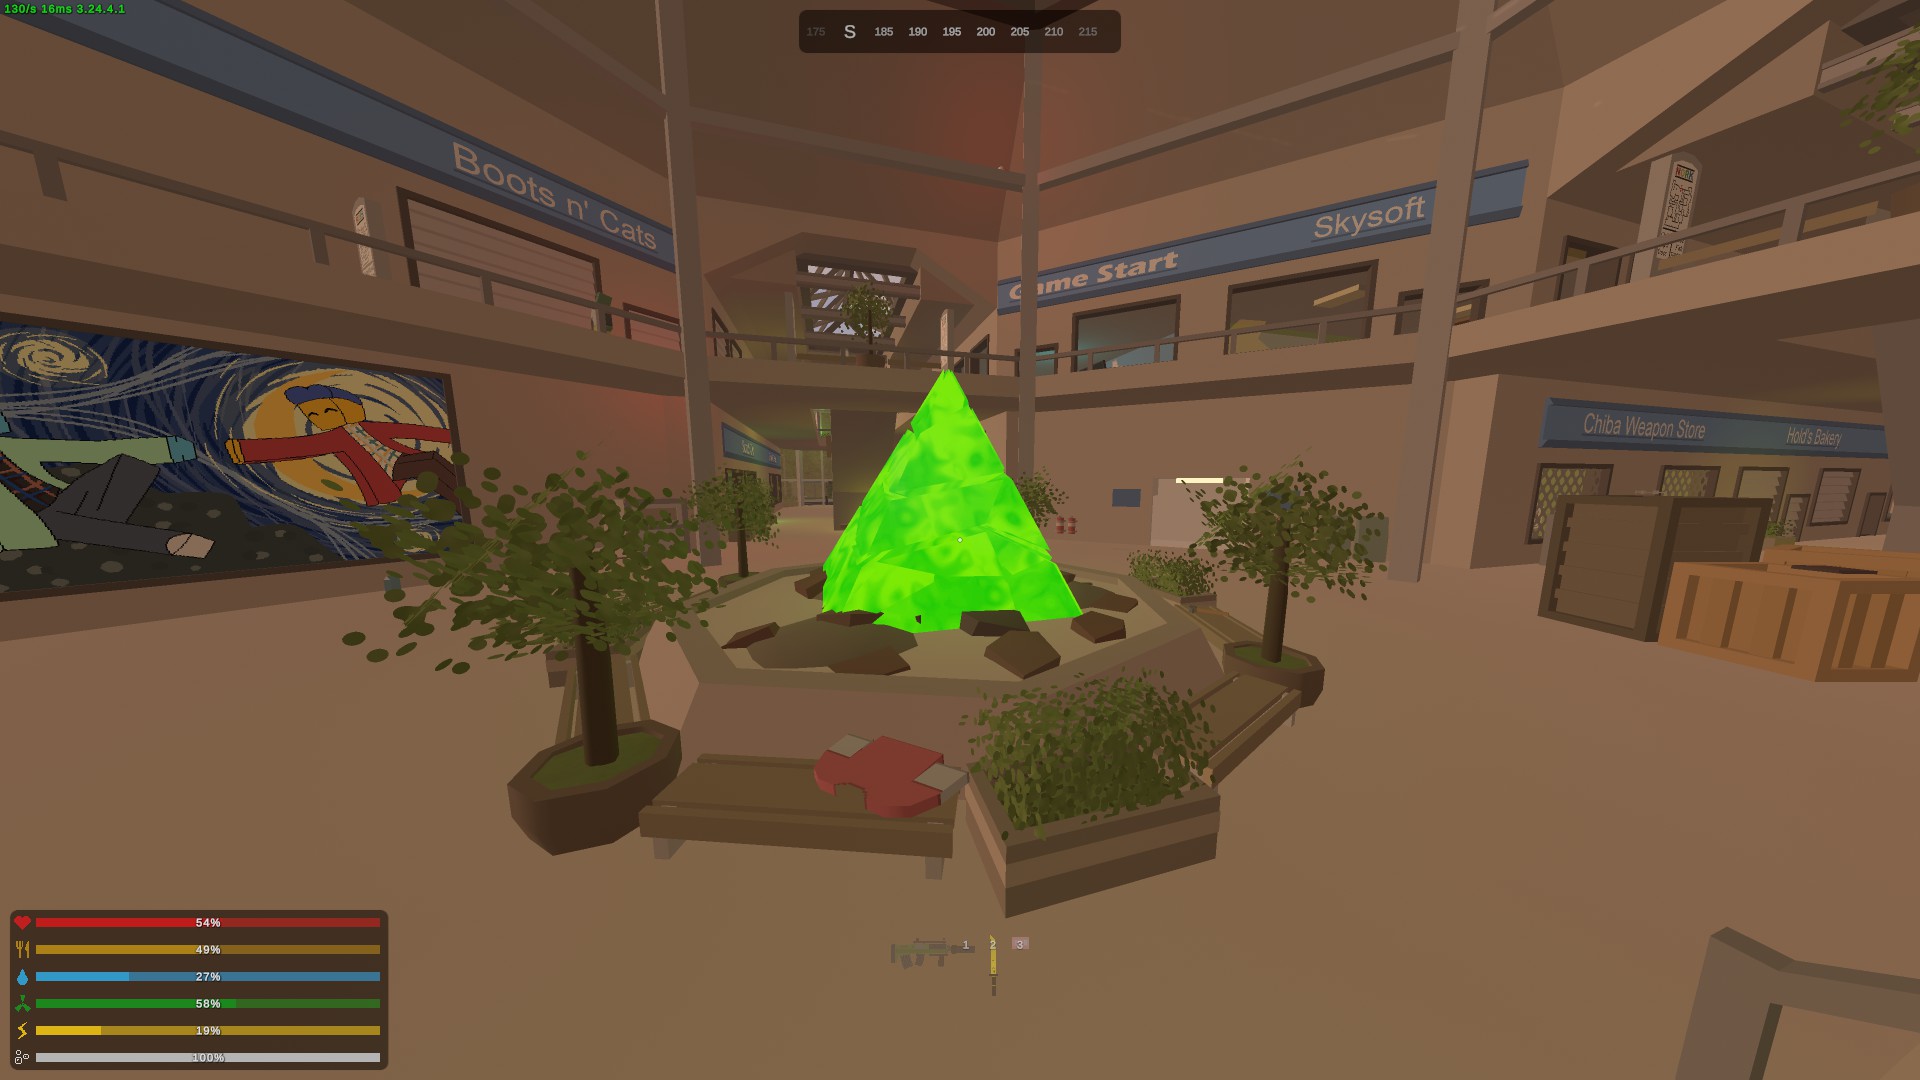
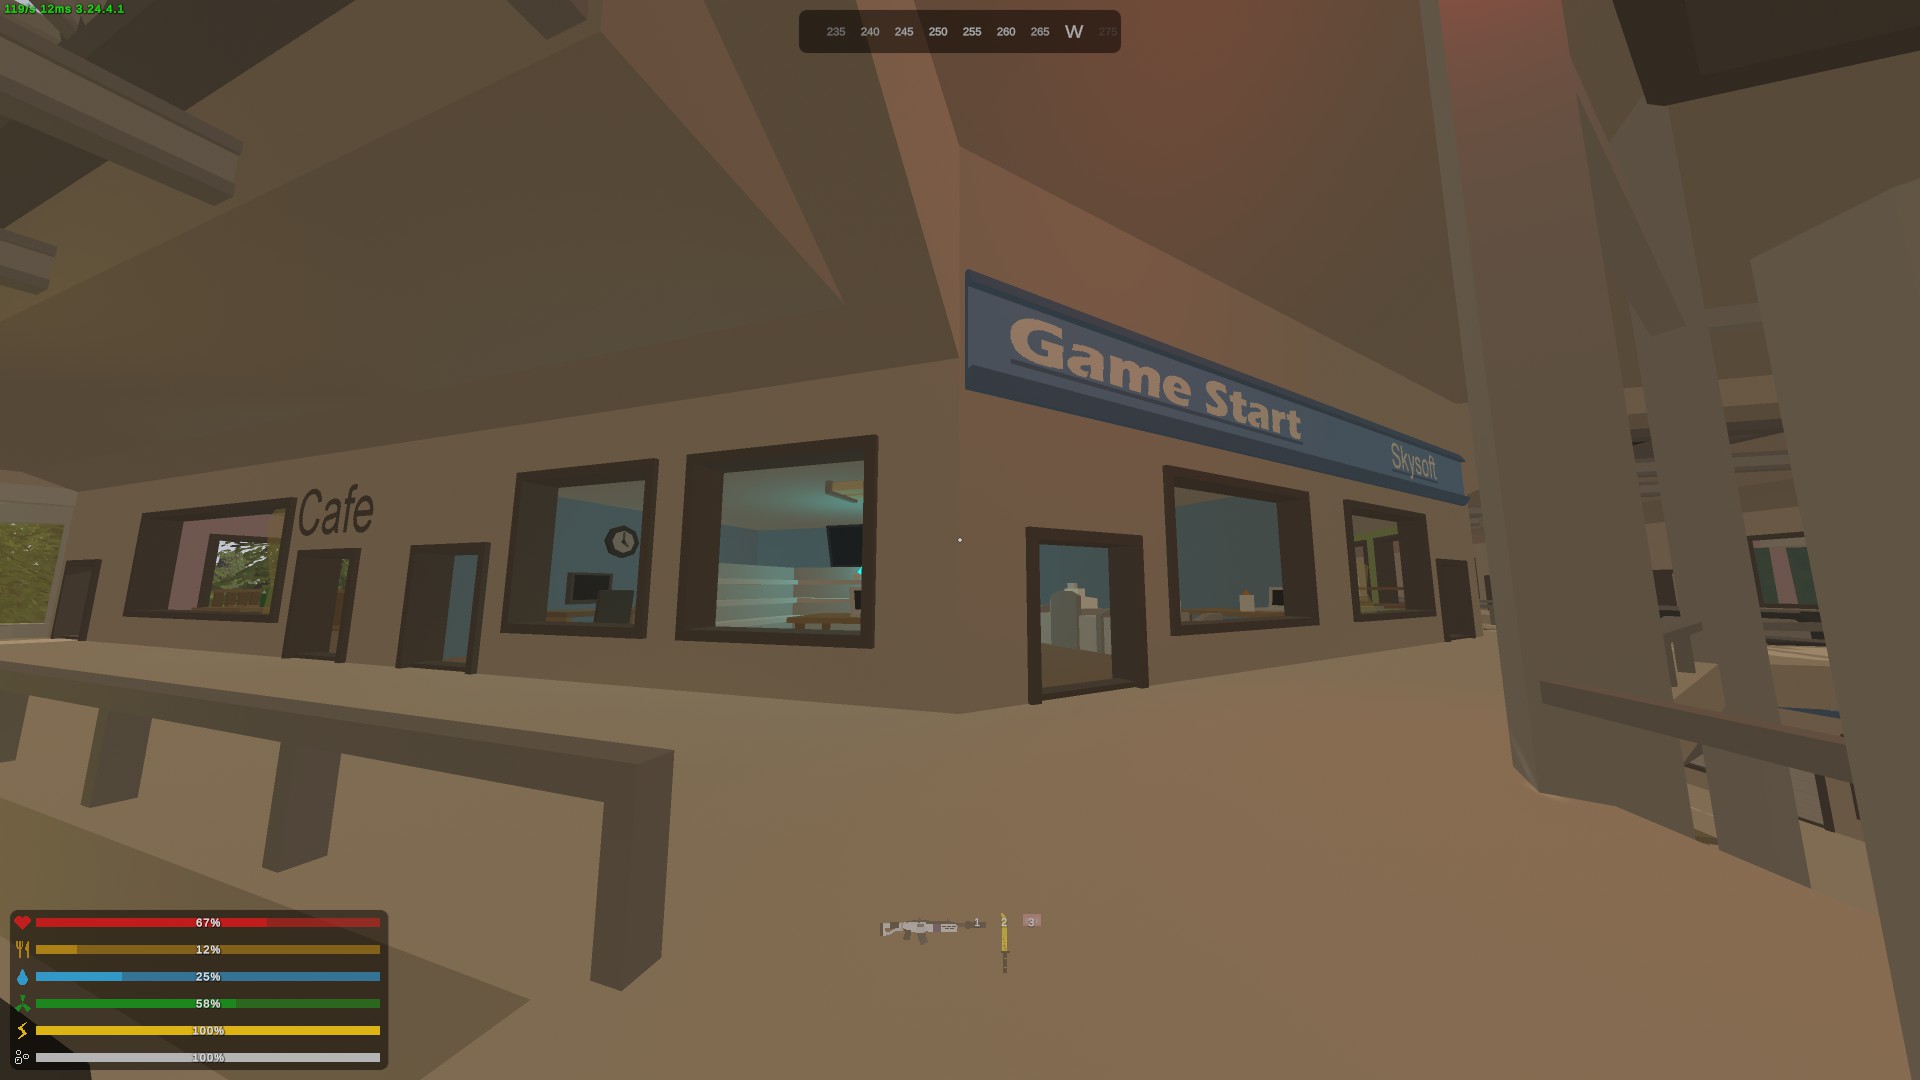

You're also going to need these components for the scripture. You will find gyroscopes at the various construction ares around the map. The defibrillator battery can be found at the Hospital or other medical areas. Lastly, the phone can be found at Game Start.
When you have the scripture, take it to either the Gas Station (basement) or the Town (floating house) and you'll find this on the wall:
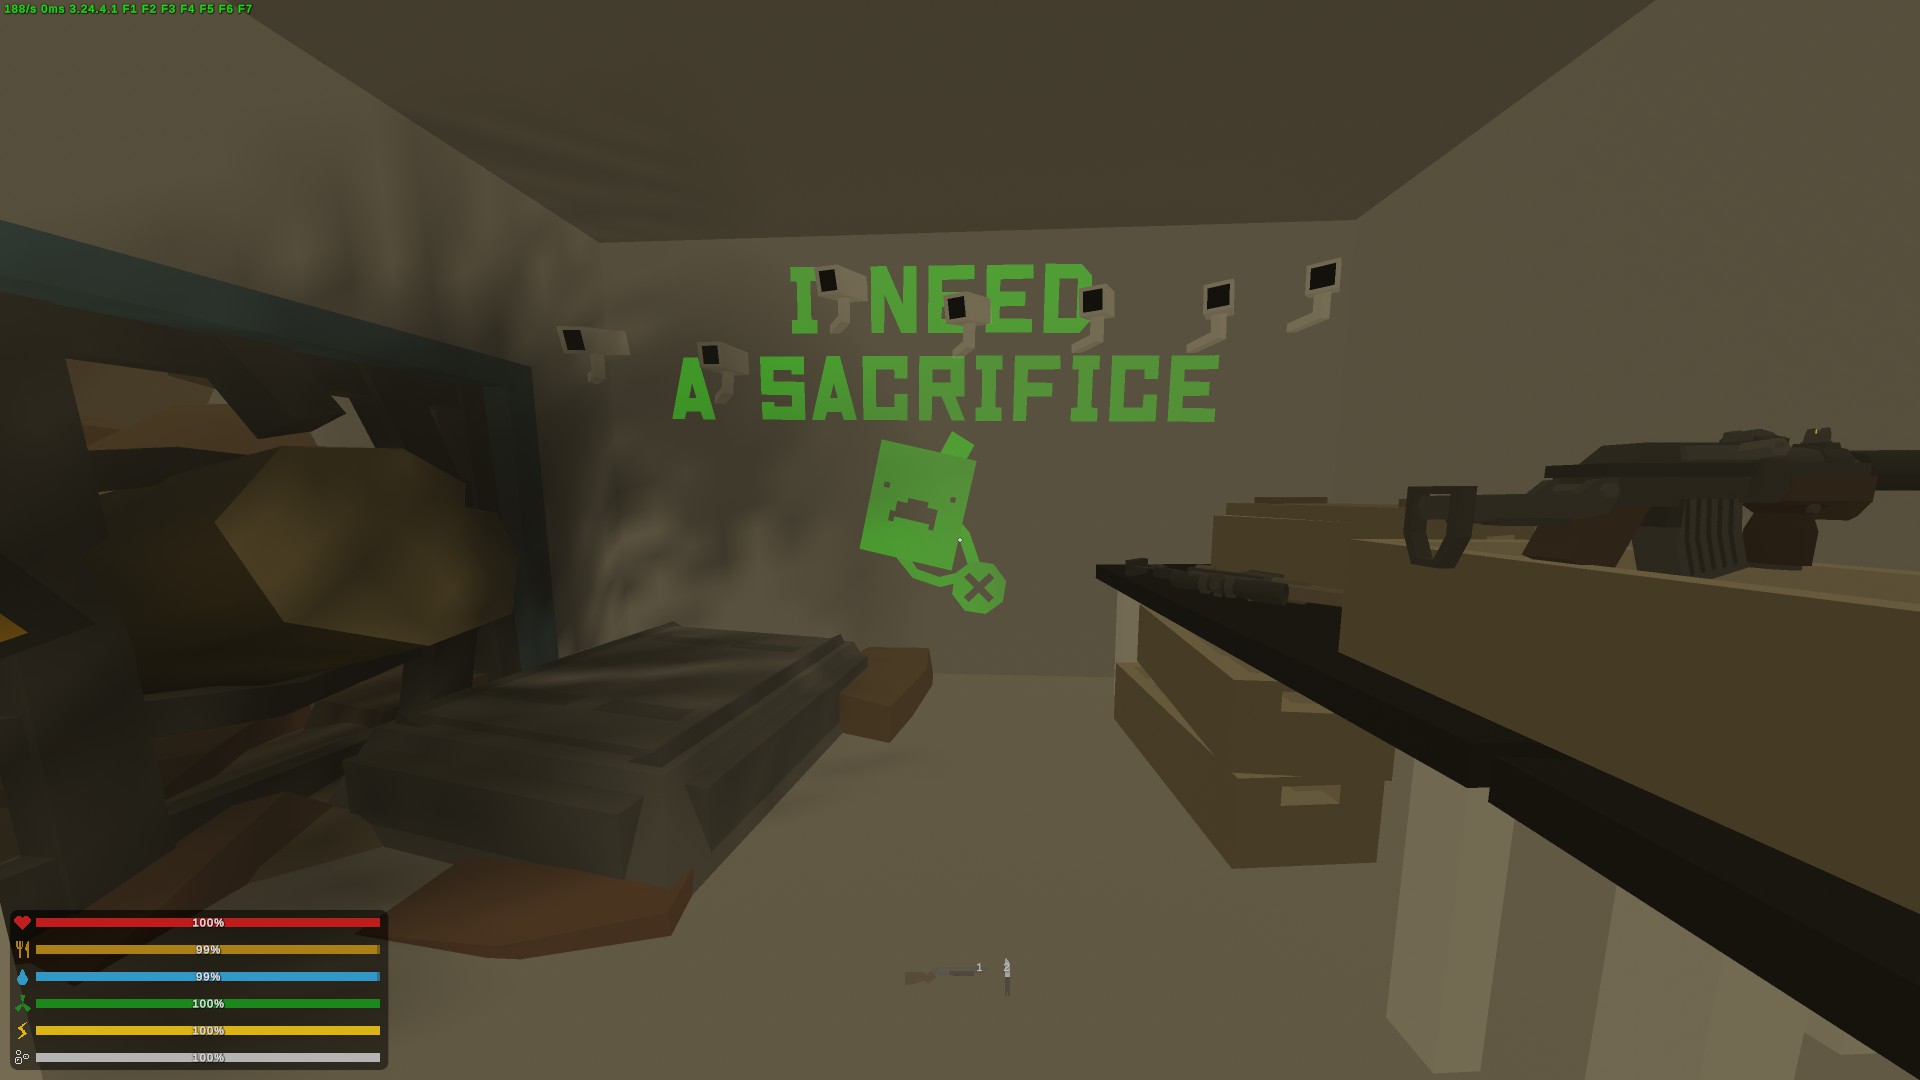
Interact with the writing on the wall, the text will change to "you may proceed", and the teleporter to the left will activate. Once ready, interact with the teleporter to be sent to the safezone located above the farm area.
From here, you are going to have to complete all the quests given by the NPCs in order to get the Honorary Benson acheivement.
Elver: Quests [WIP]
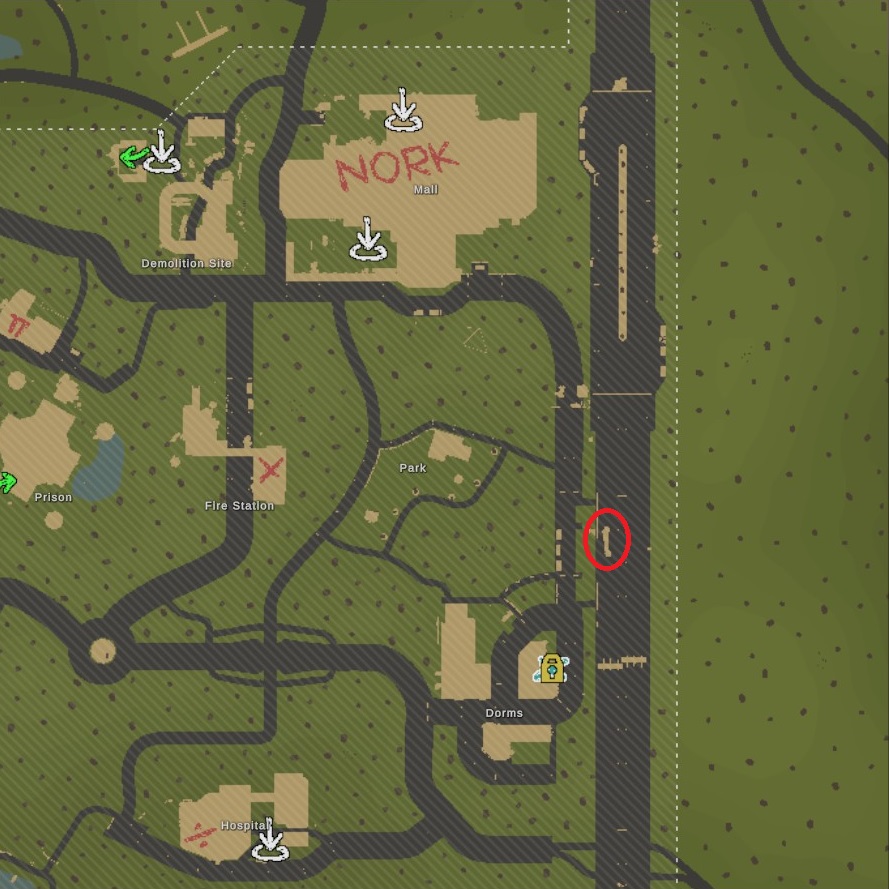
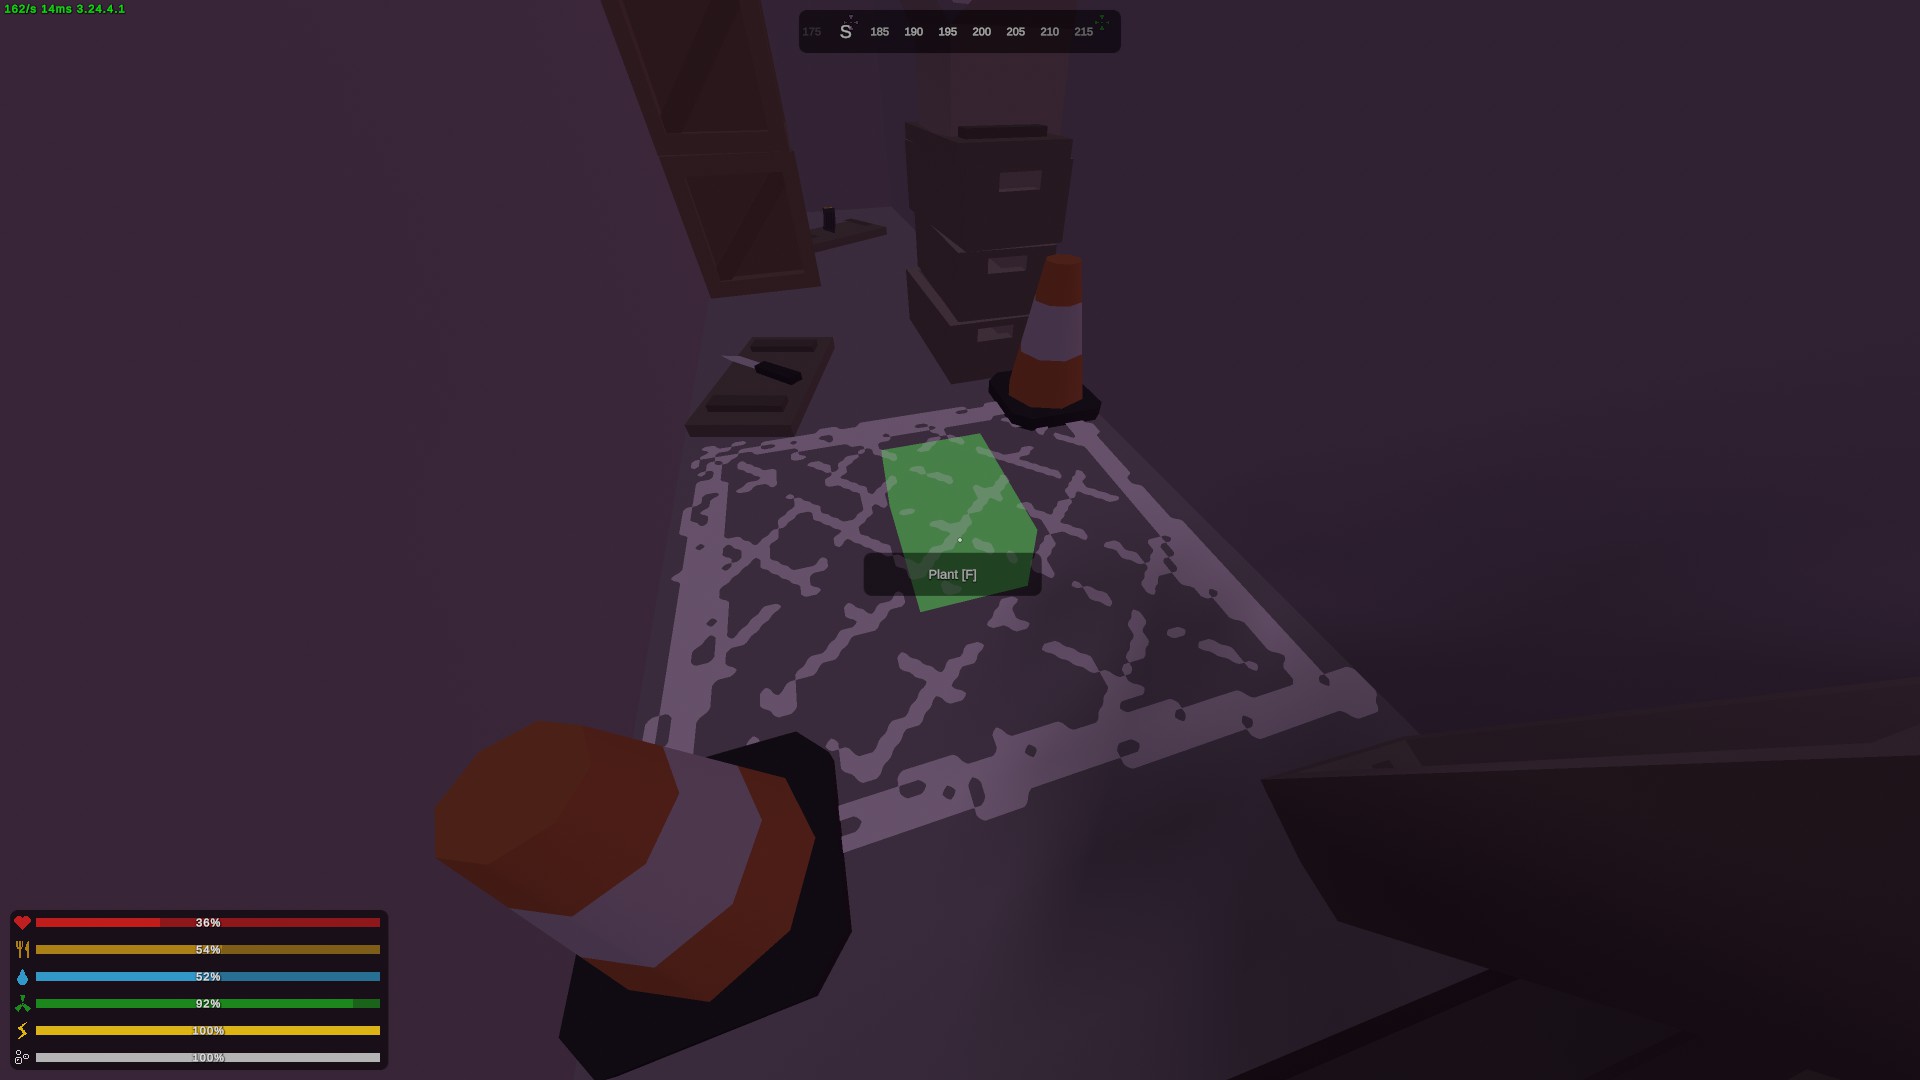
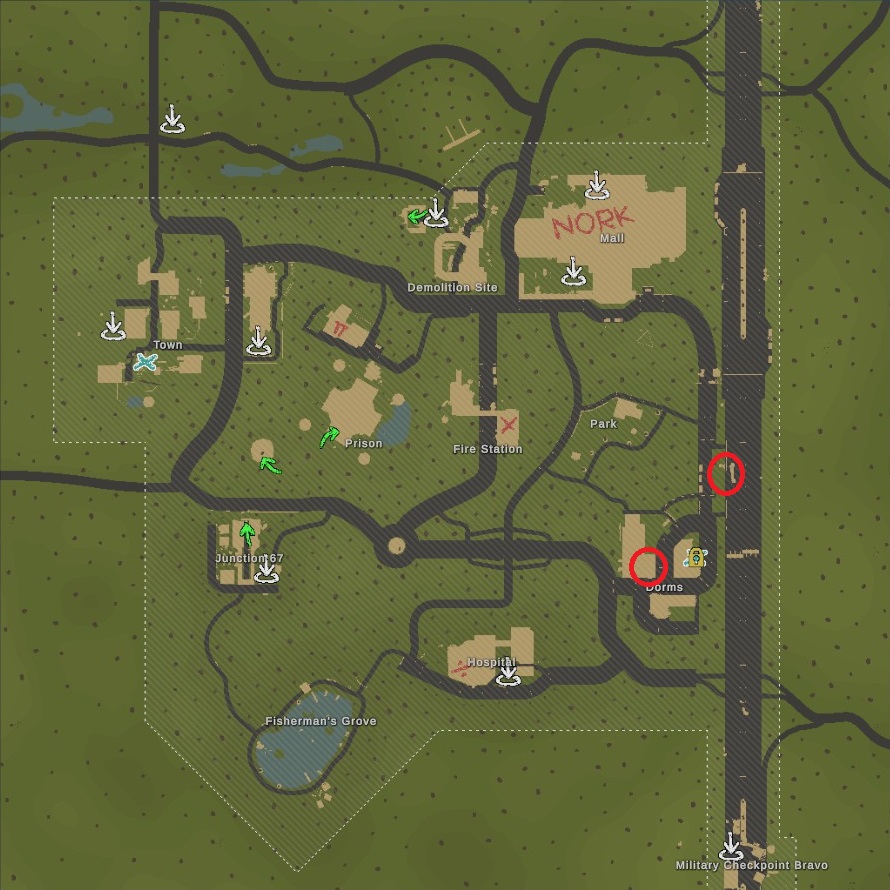
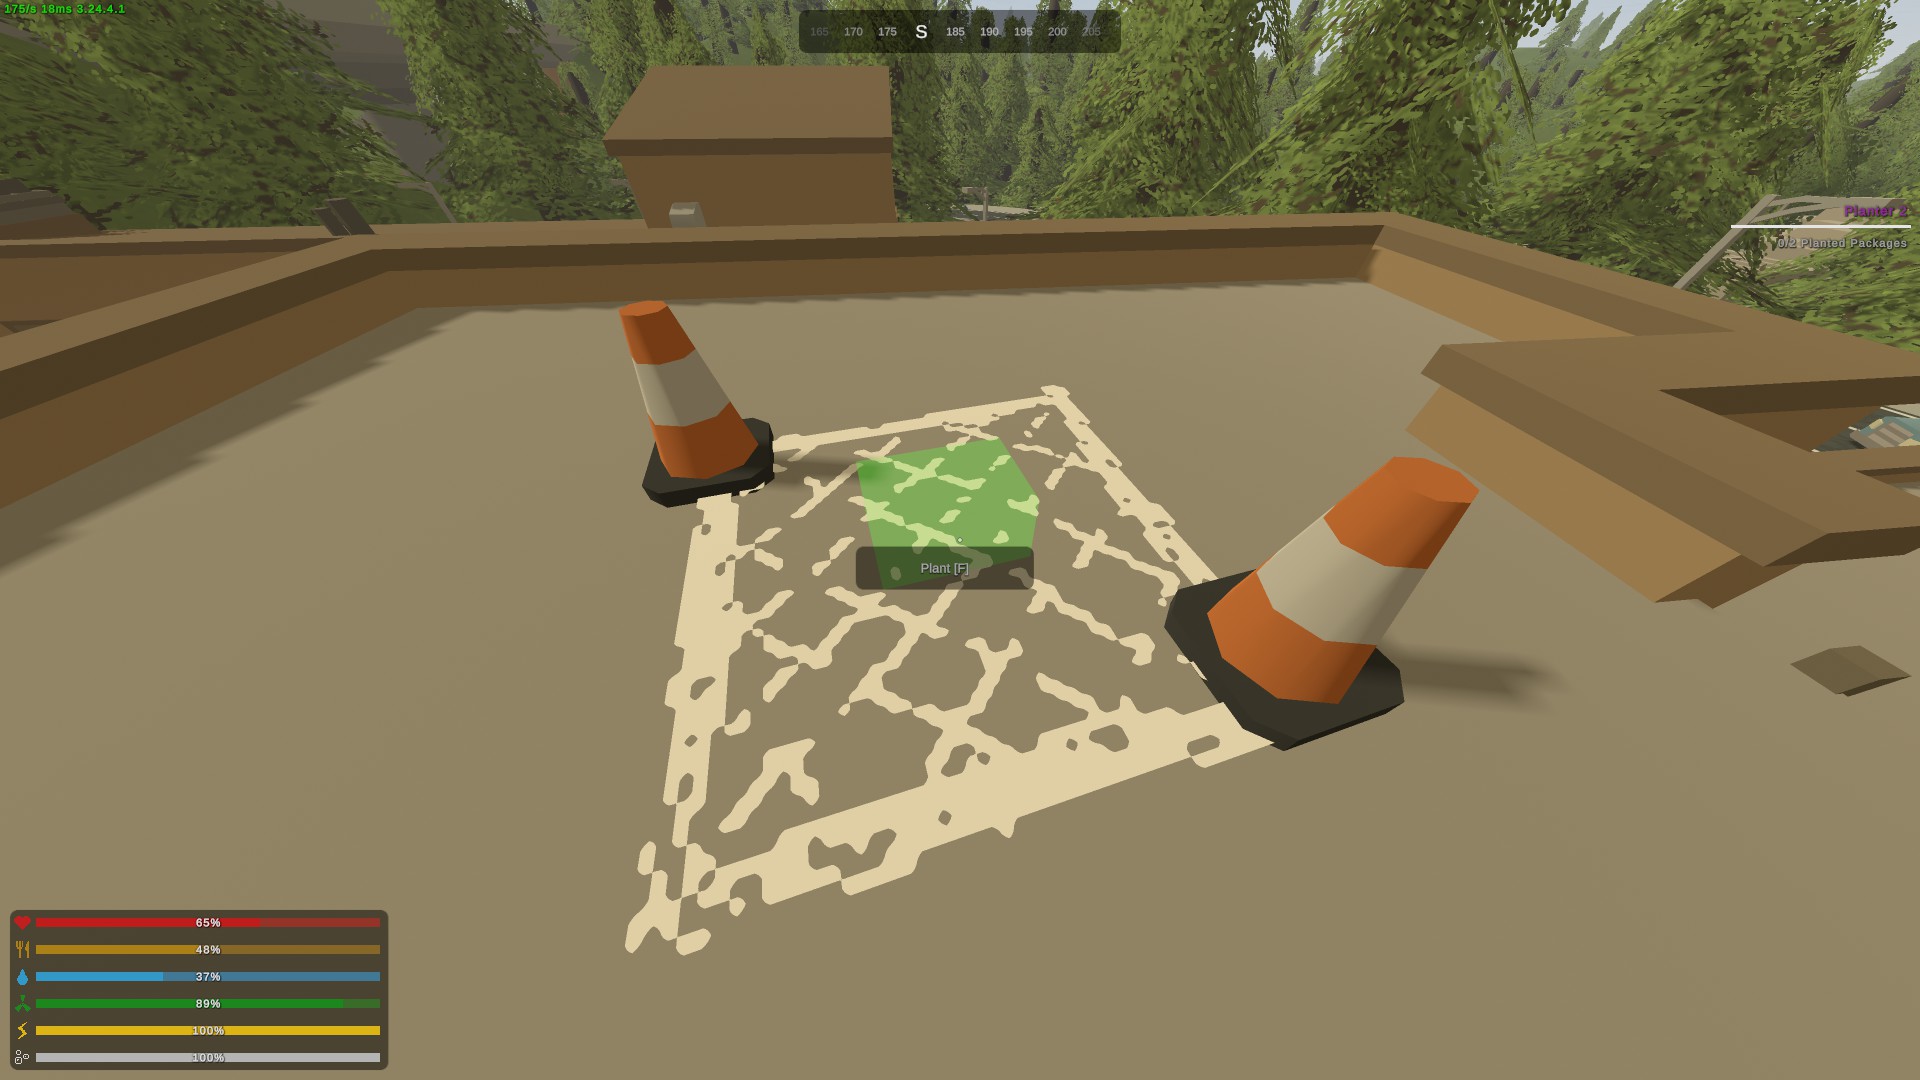
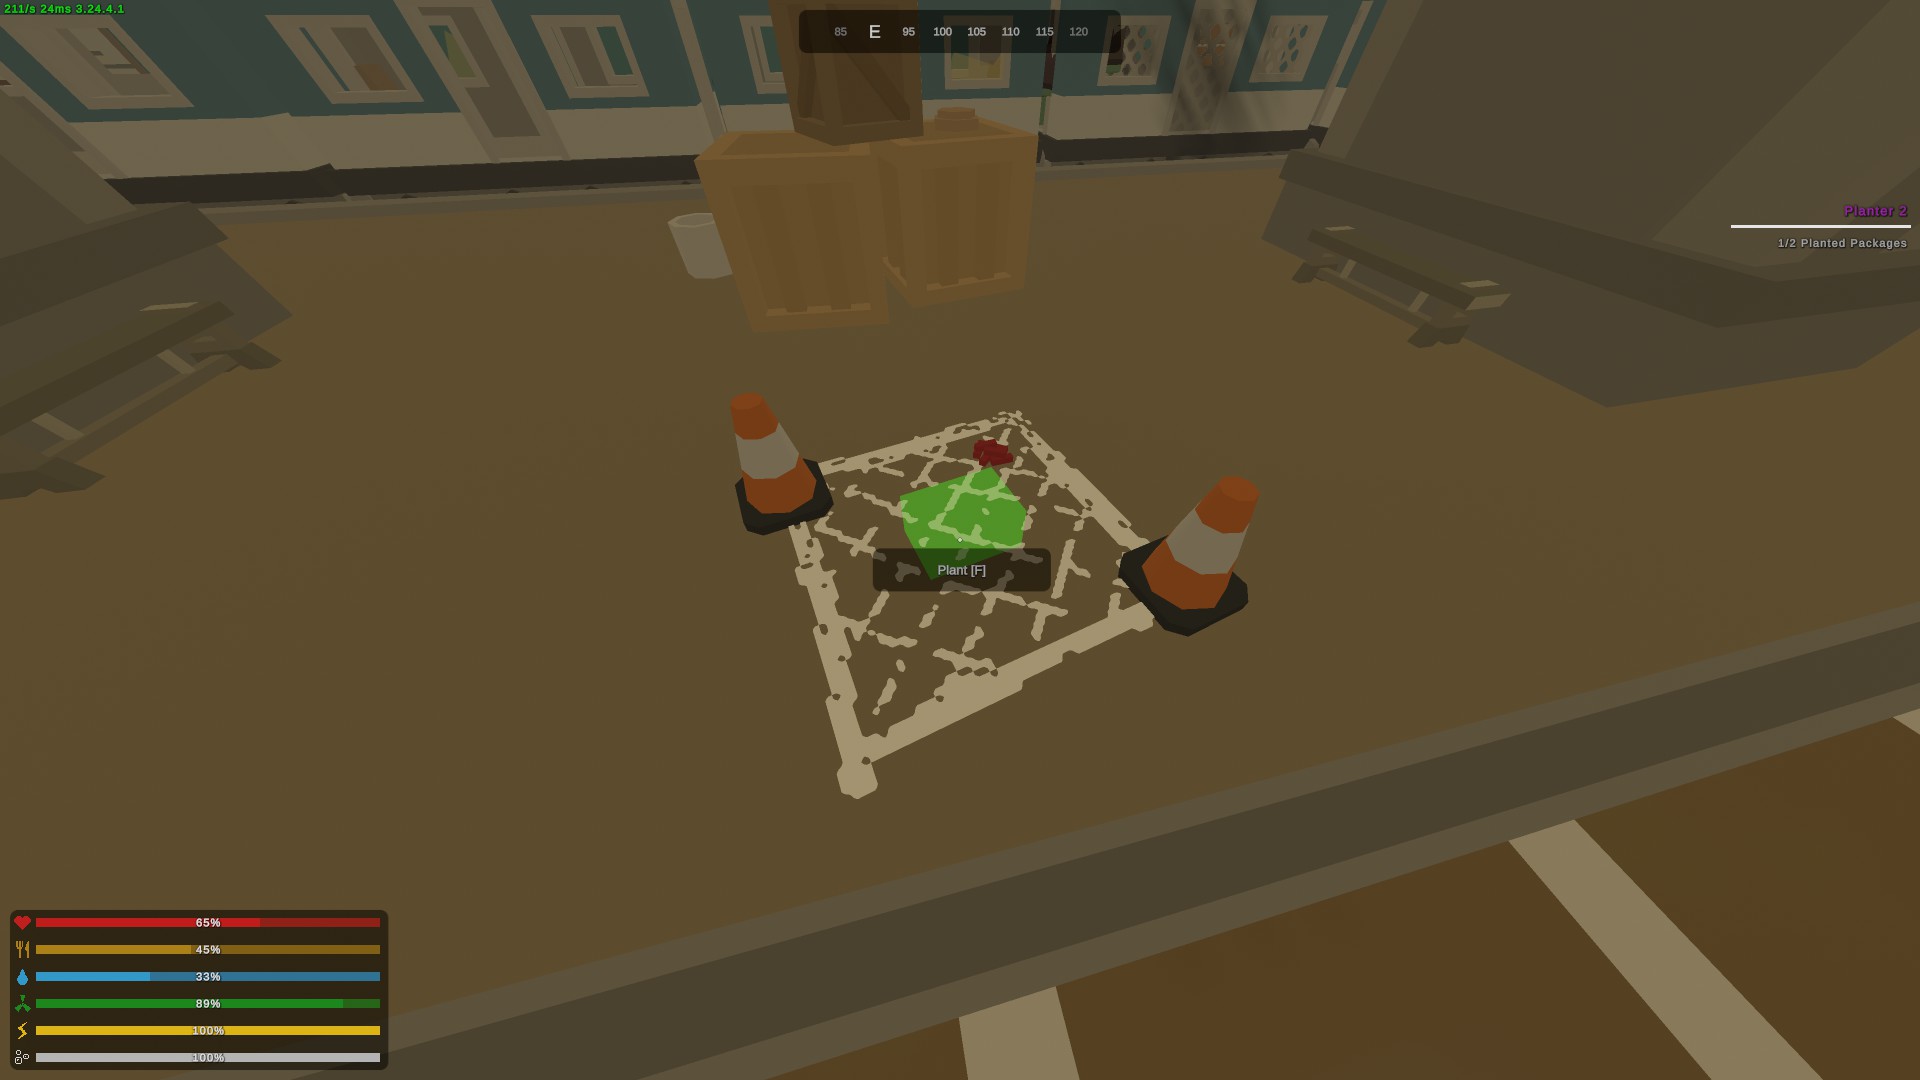
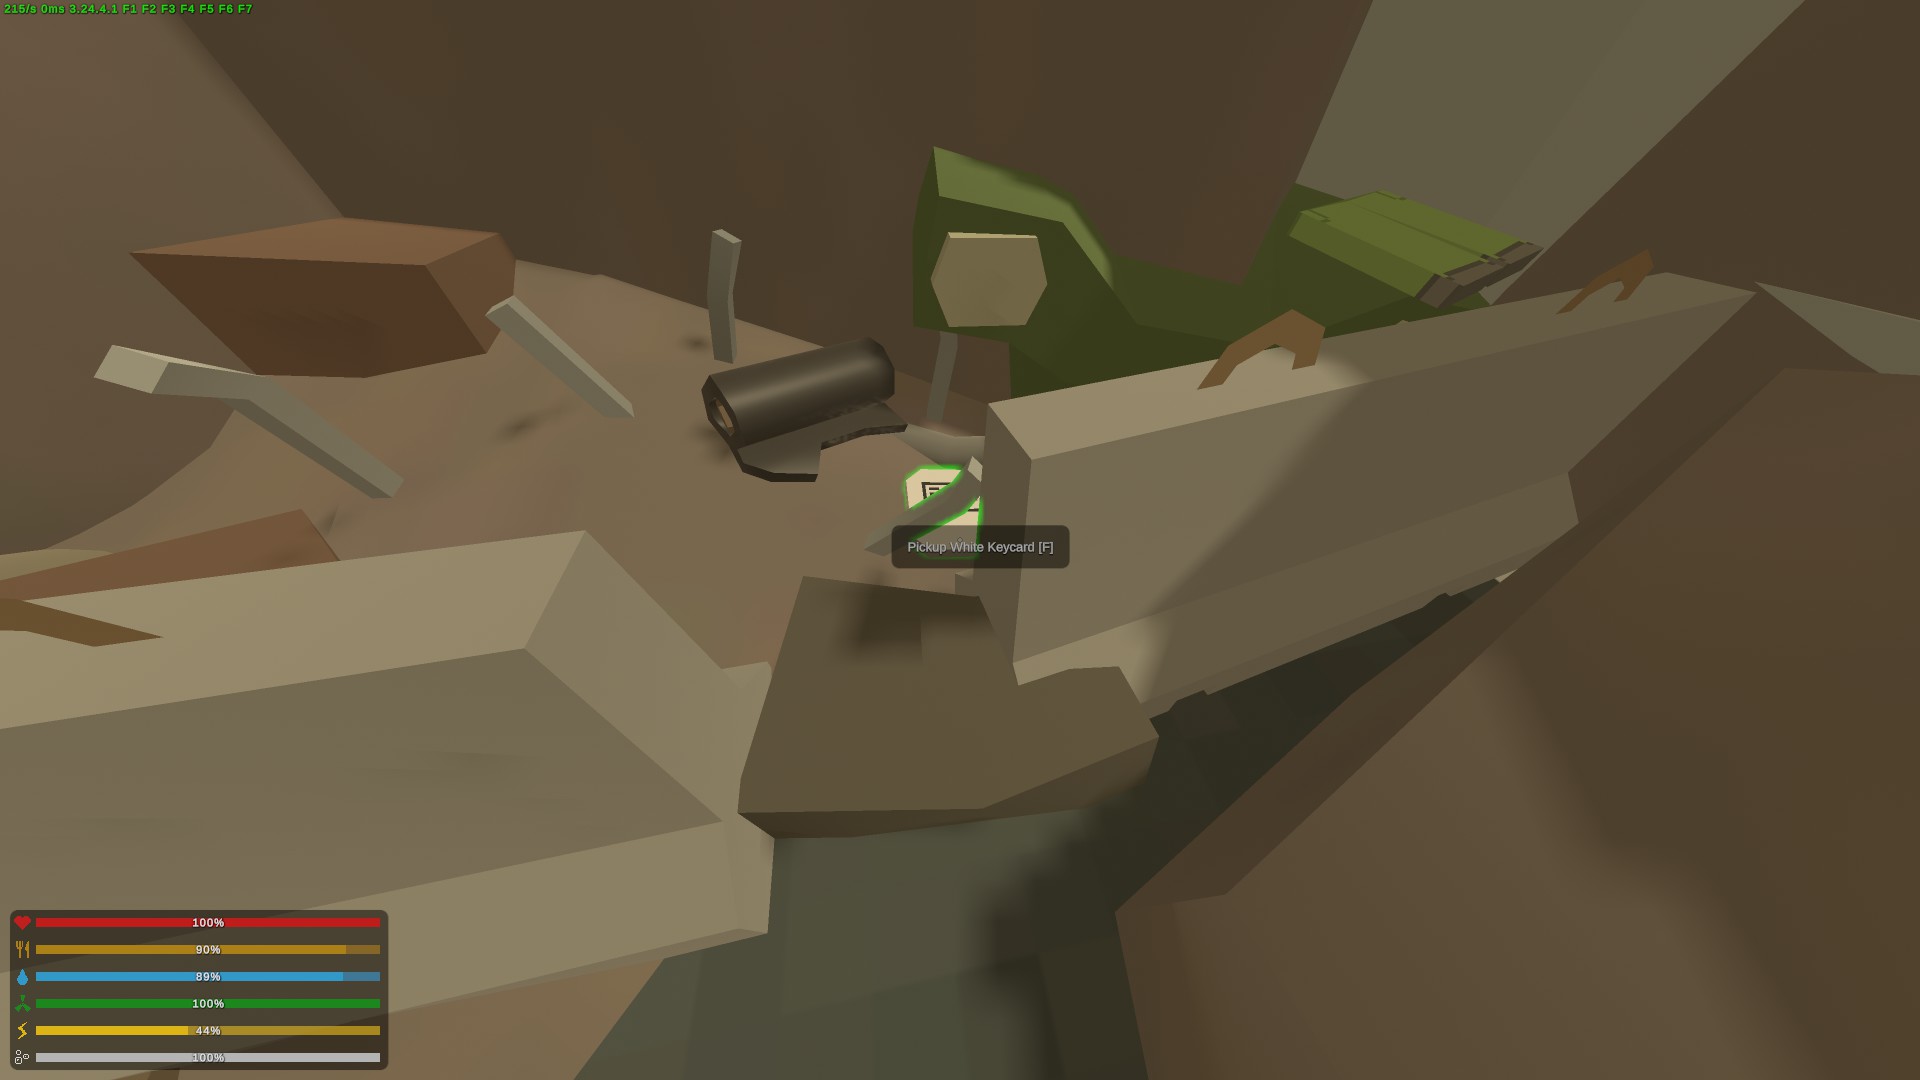
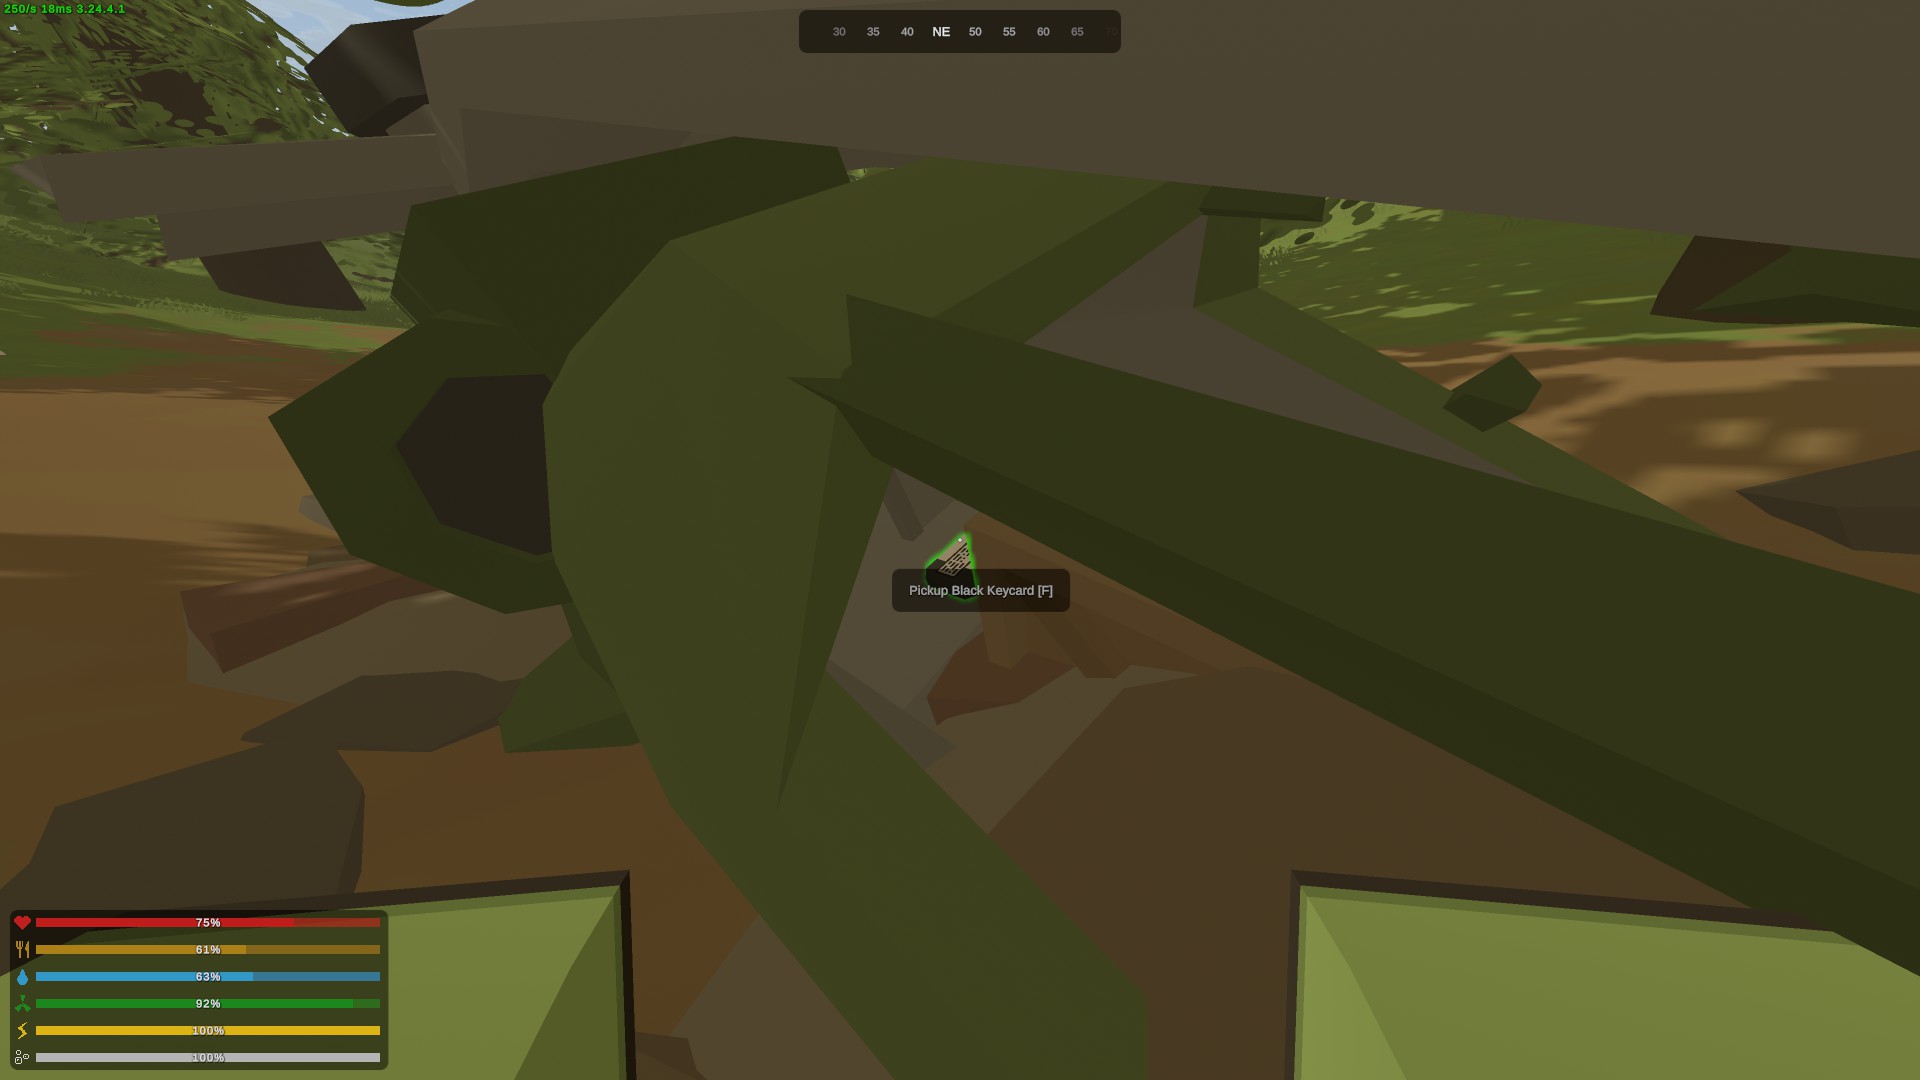
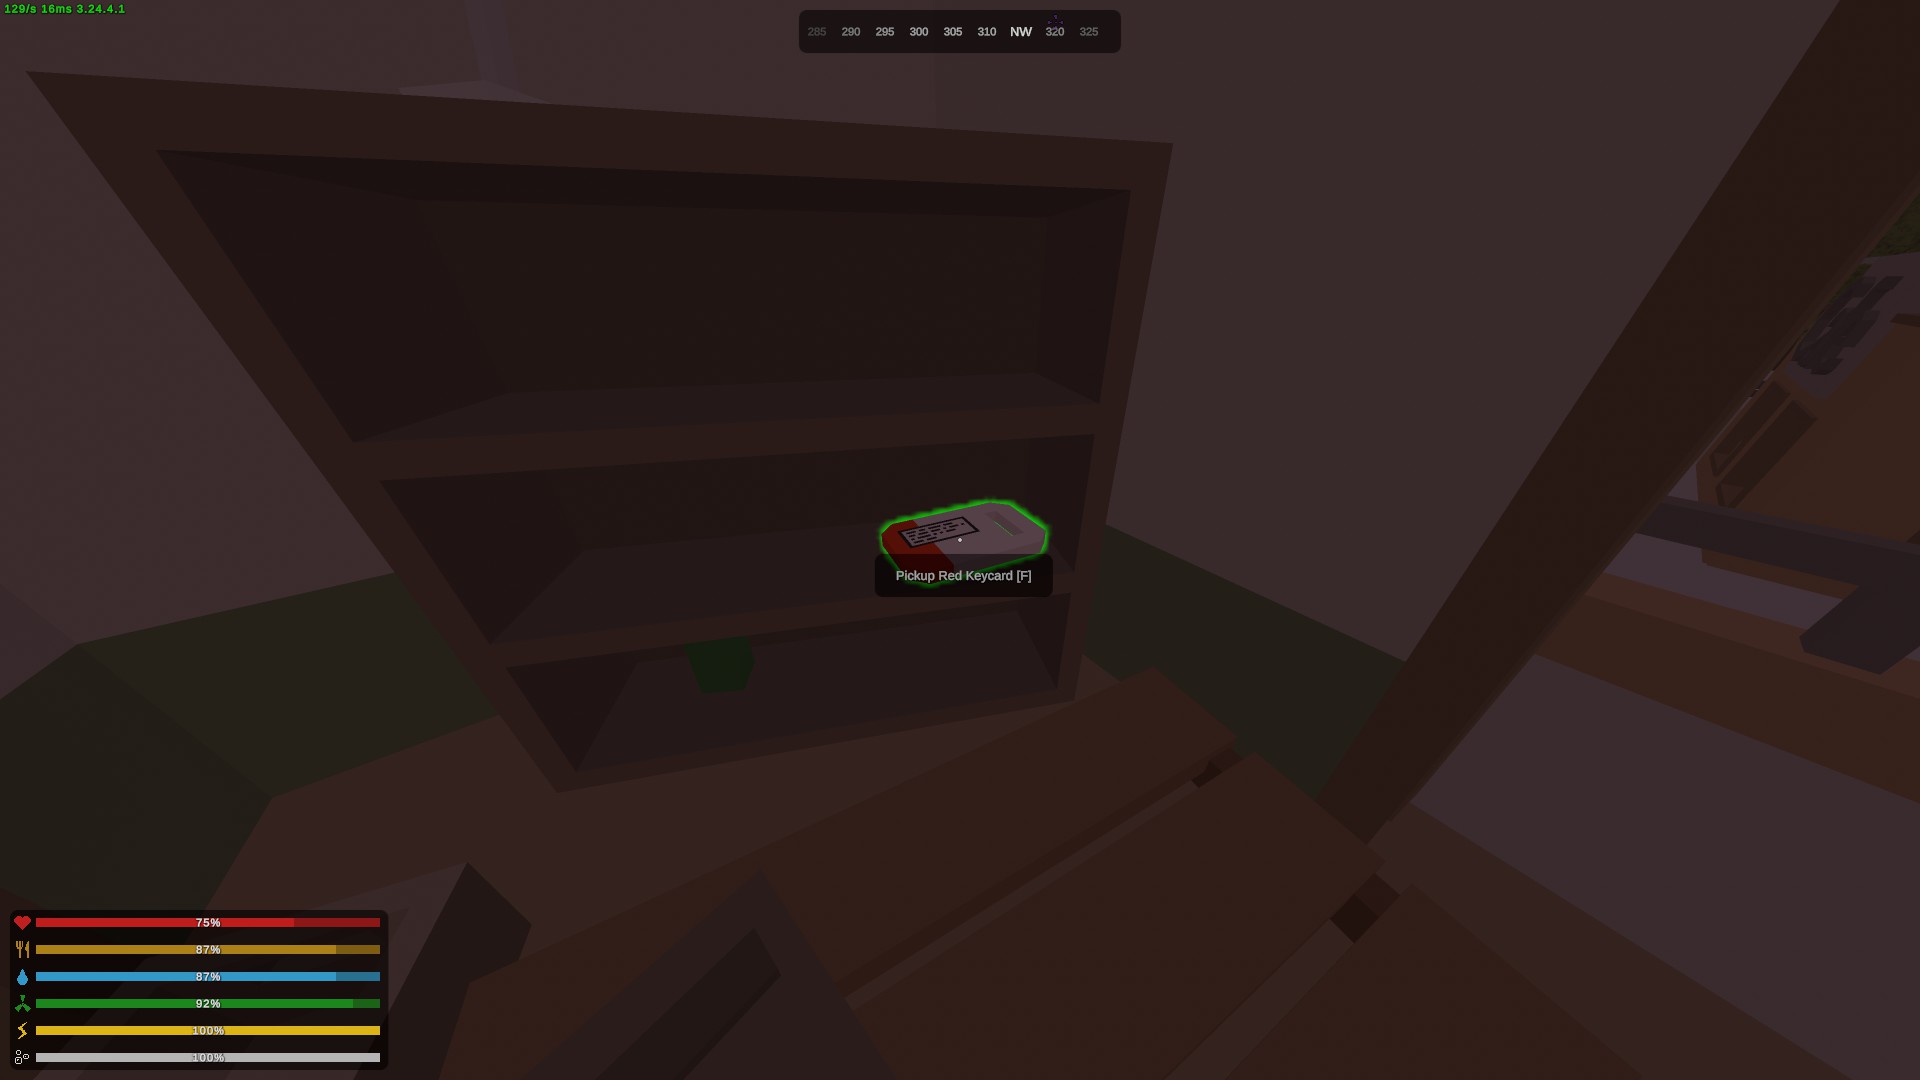
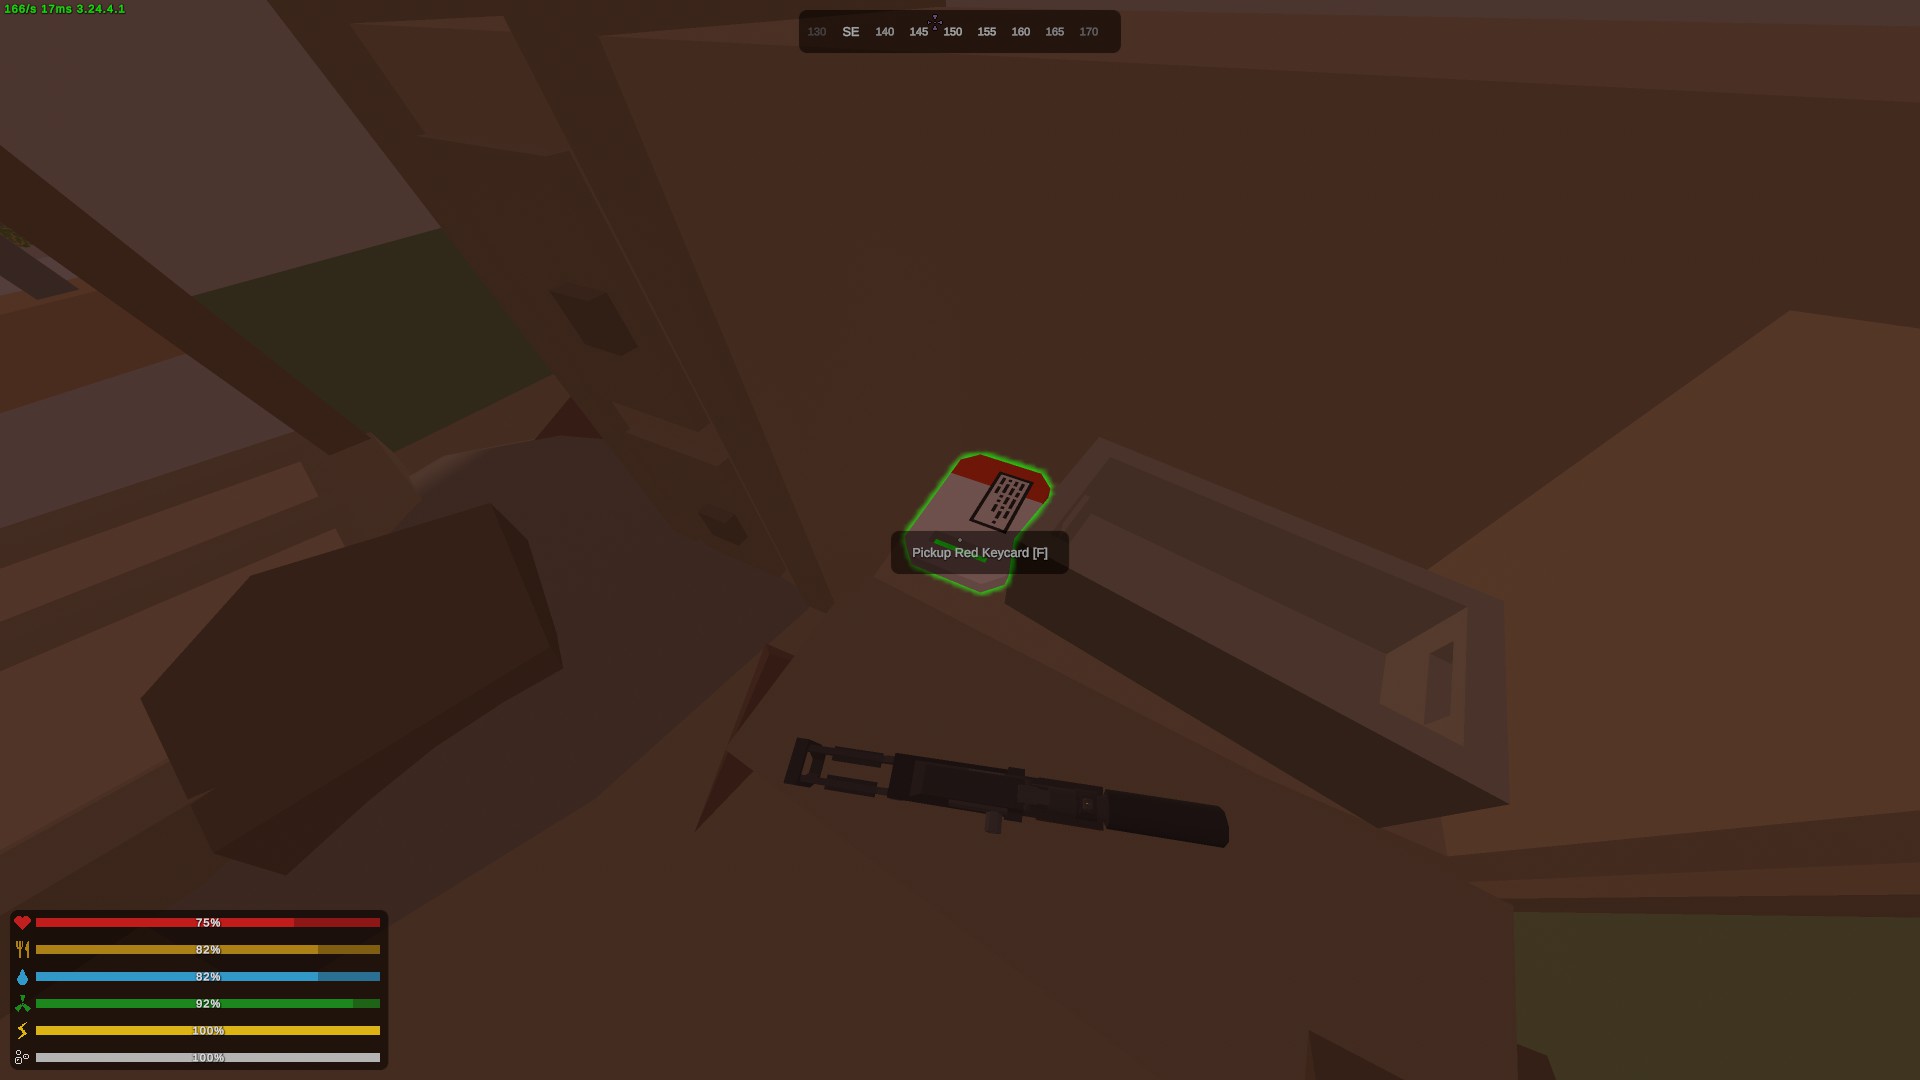
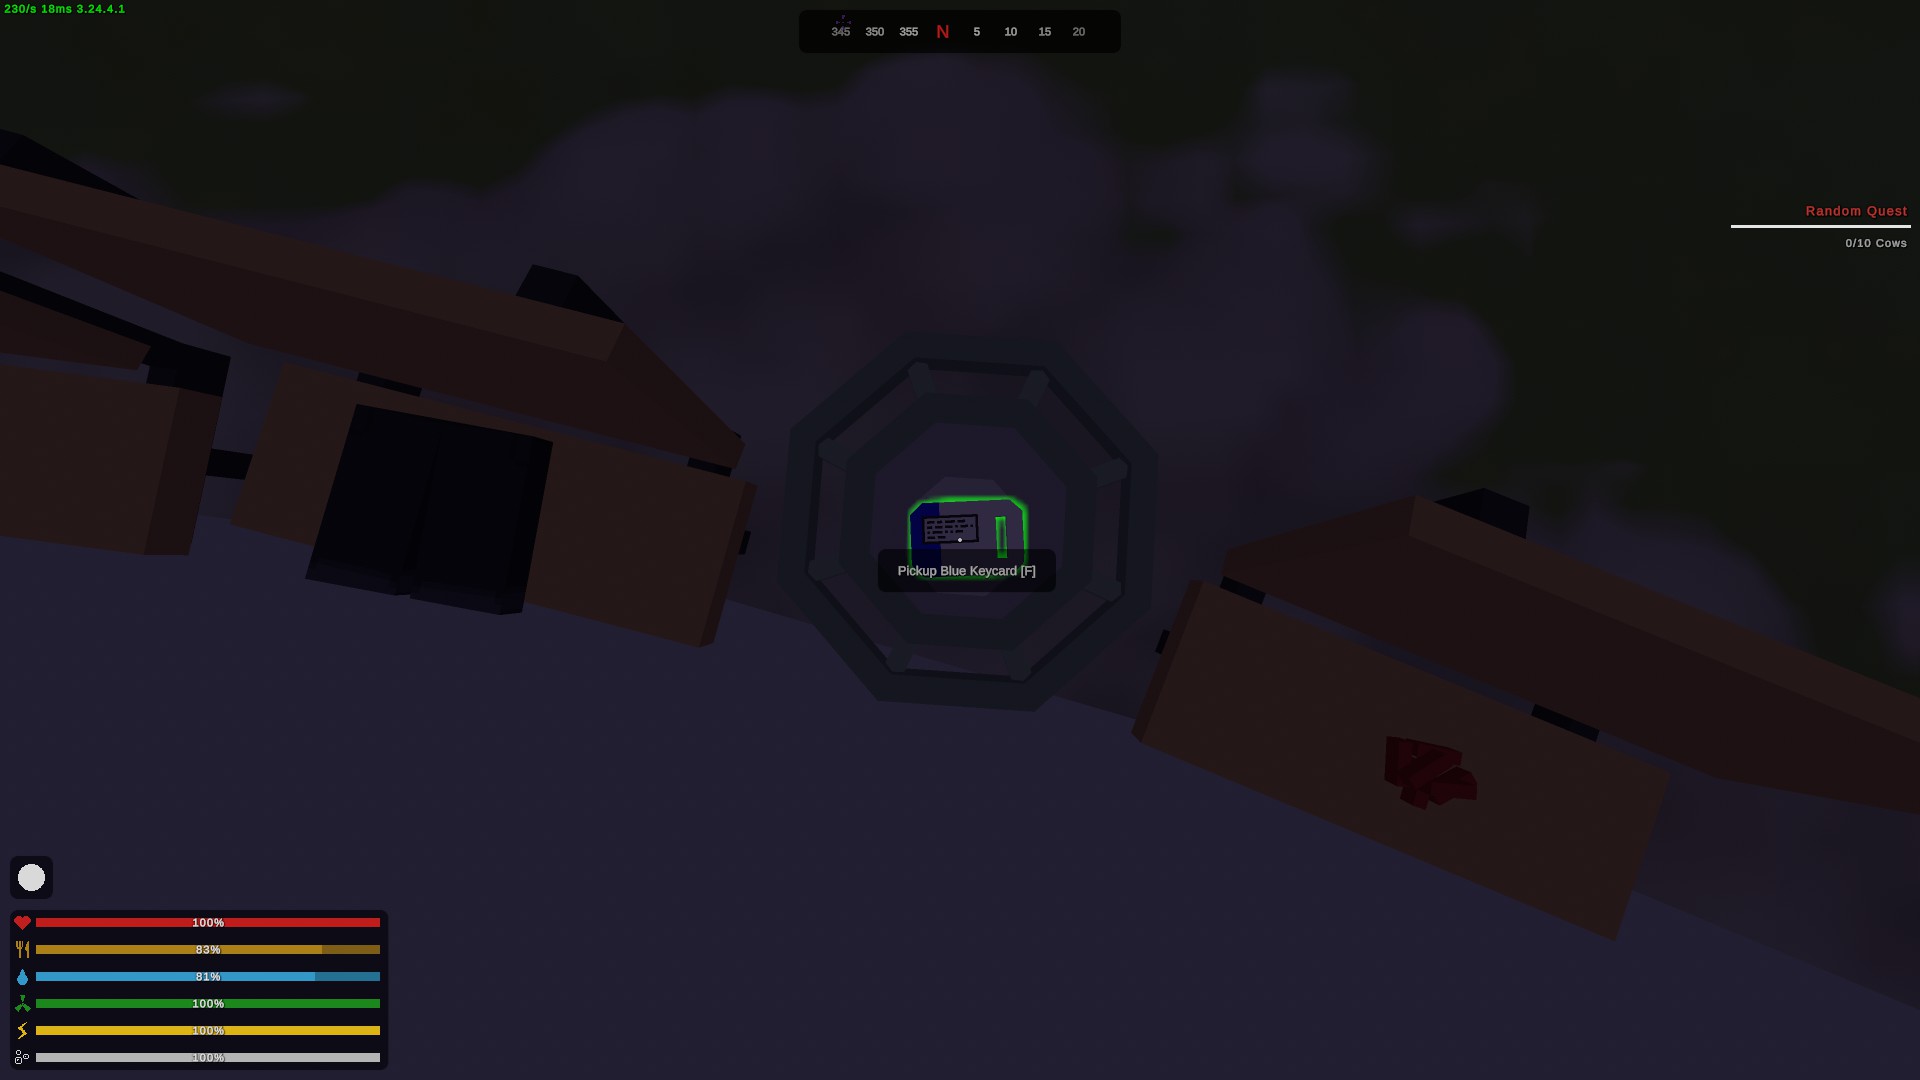
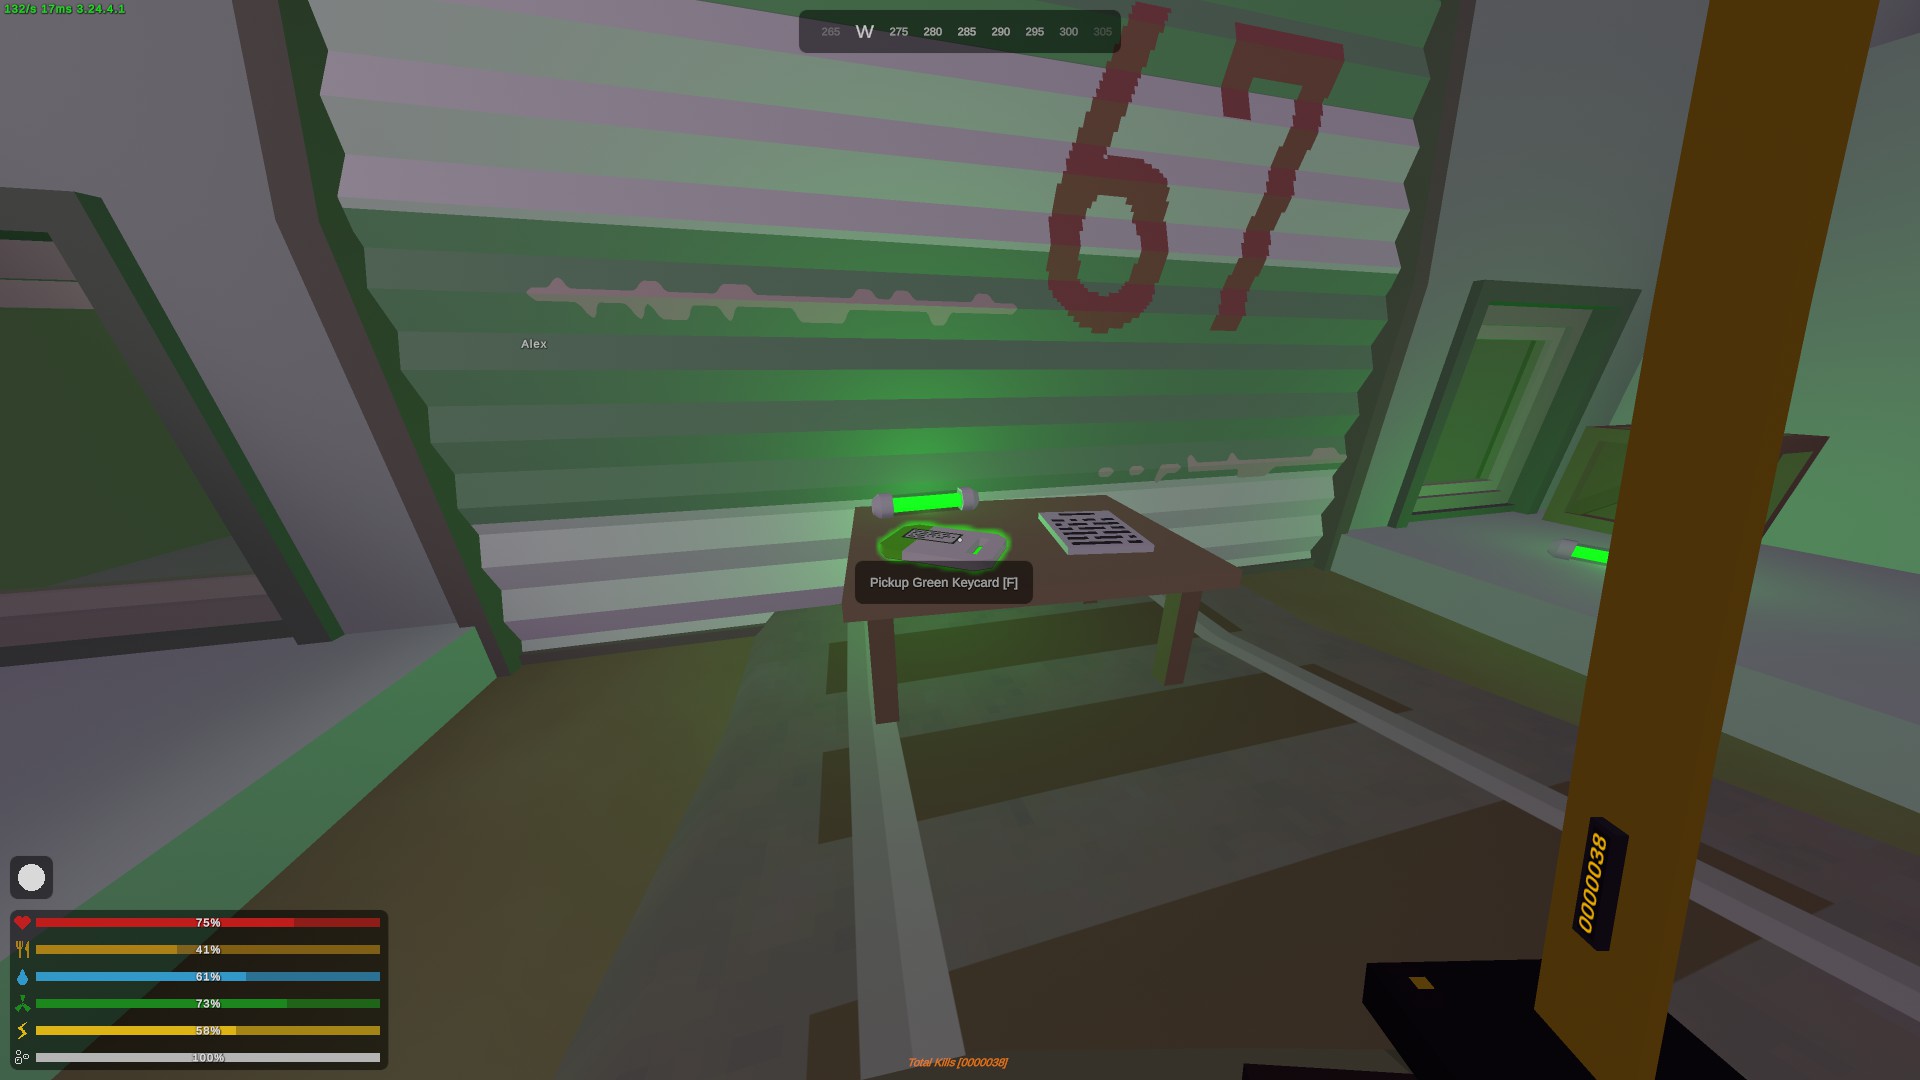
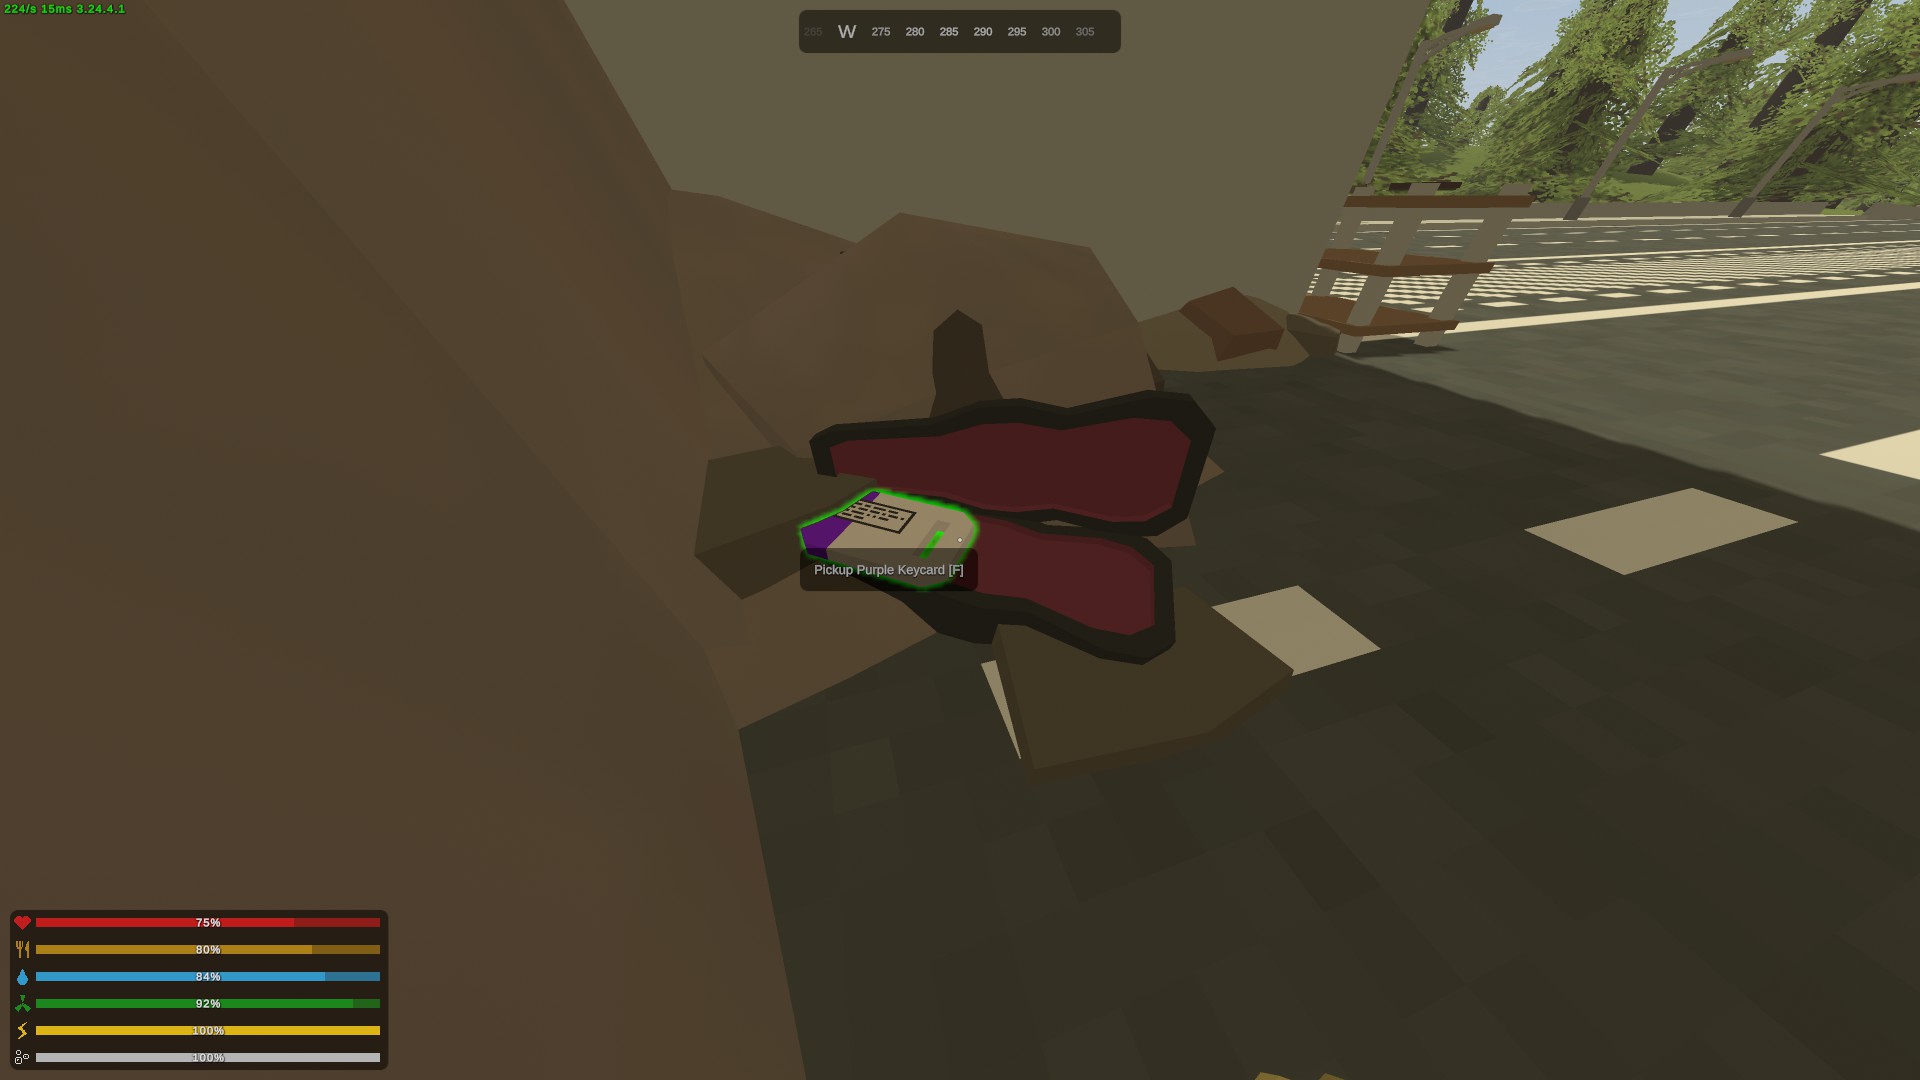
Red Keycards:
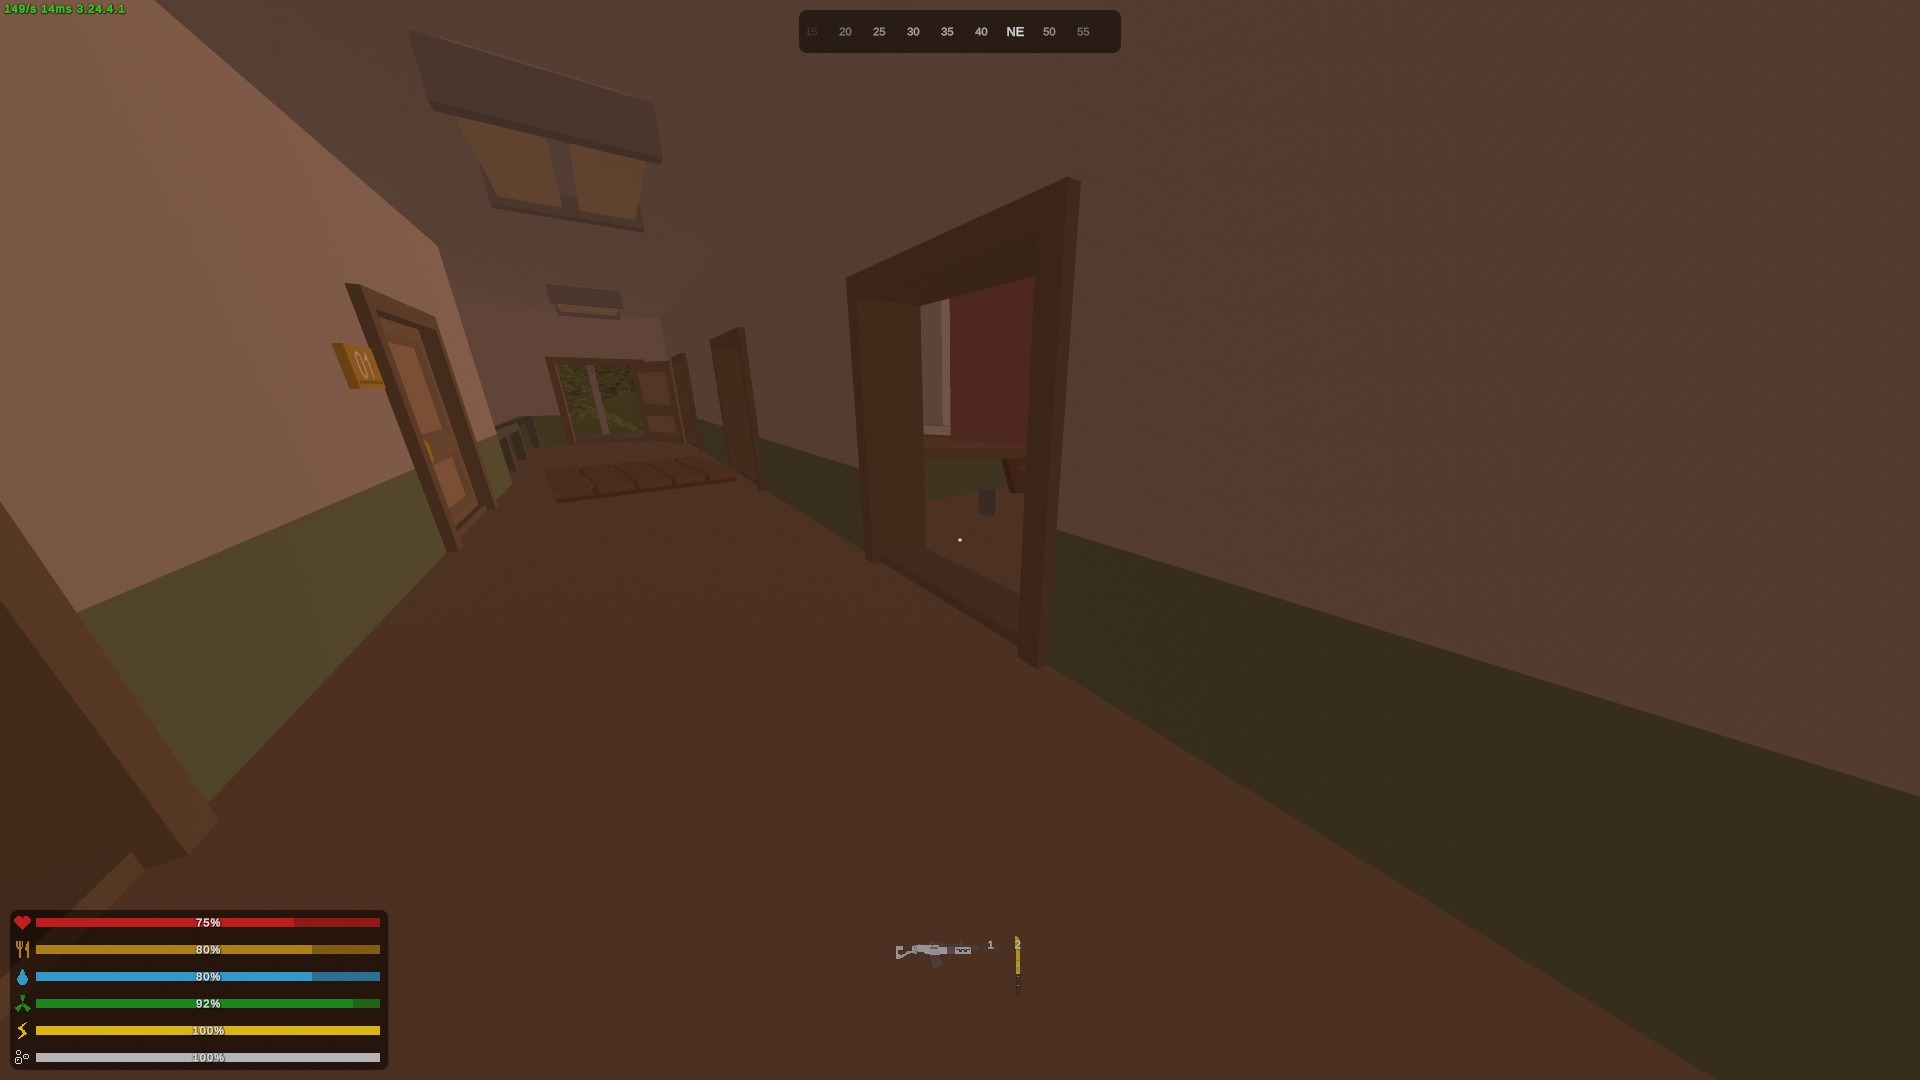
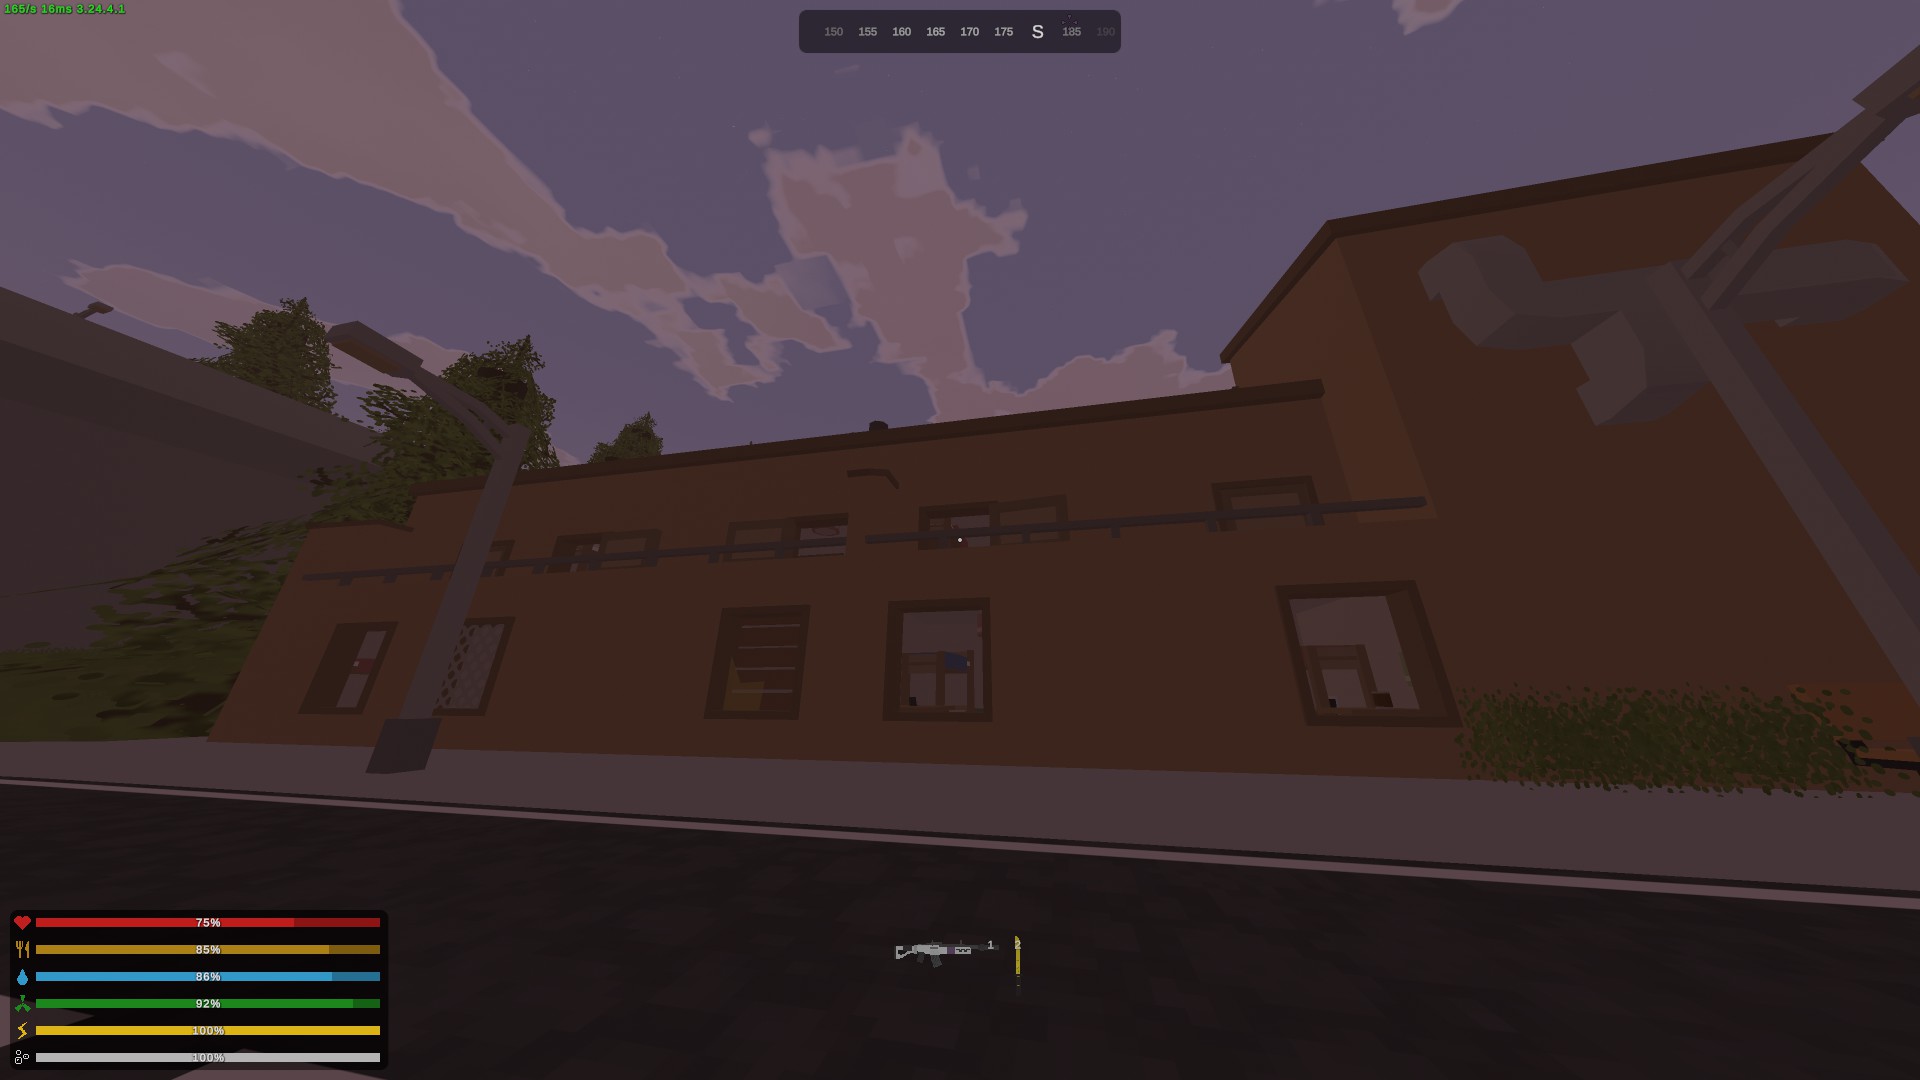
To get to red keycard 1, go to the dorm that has the room with the tv making static noise (I already broke it in the screenshot :3). Break the tv and crawl through to the room and out to a balcony. It leads to another room and in that room, on a shelf, is the keycard.
To get to red keycard 2, go to the dorm that doesn't have a staircase on the outside and street facing room windows. There's a room upstairs with a desk and clock close to a door. Go though that room and out to the balcony. I was able to just jump over the divider and go into the other room. That room has the keycard on the floor of another shelf.
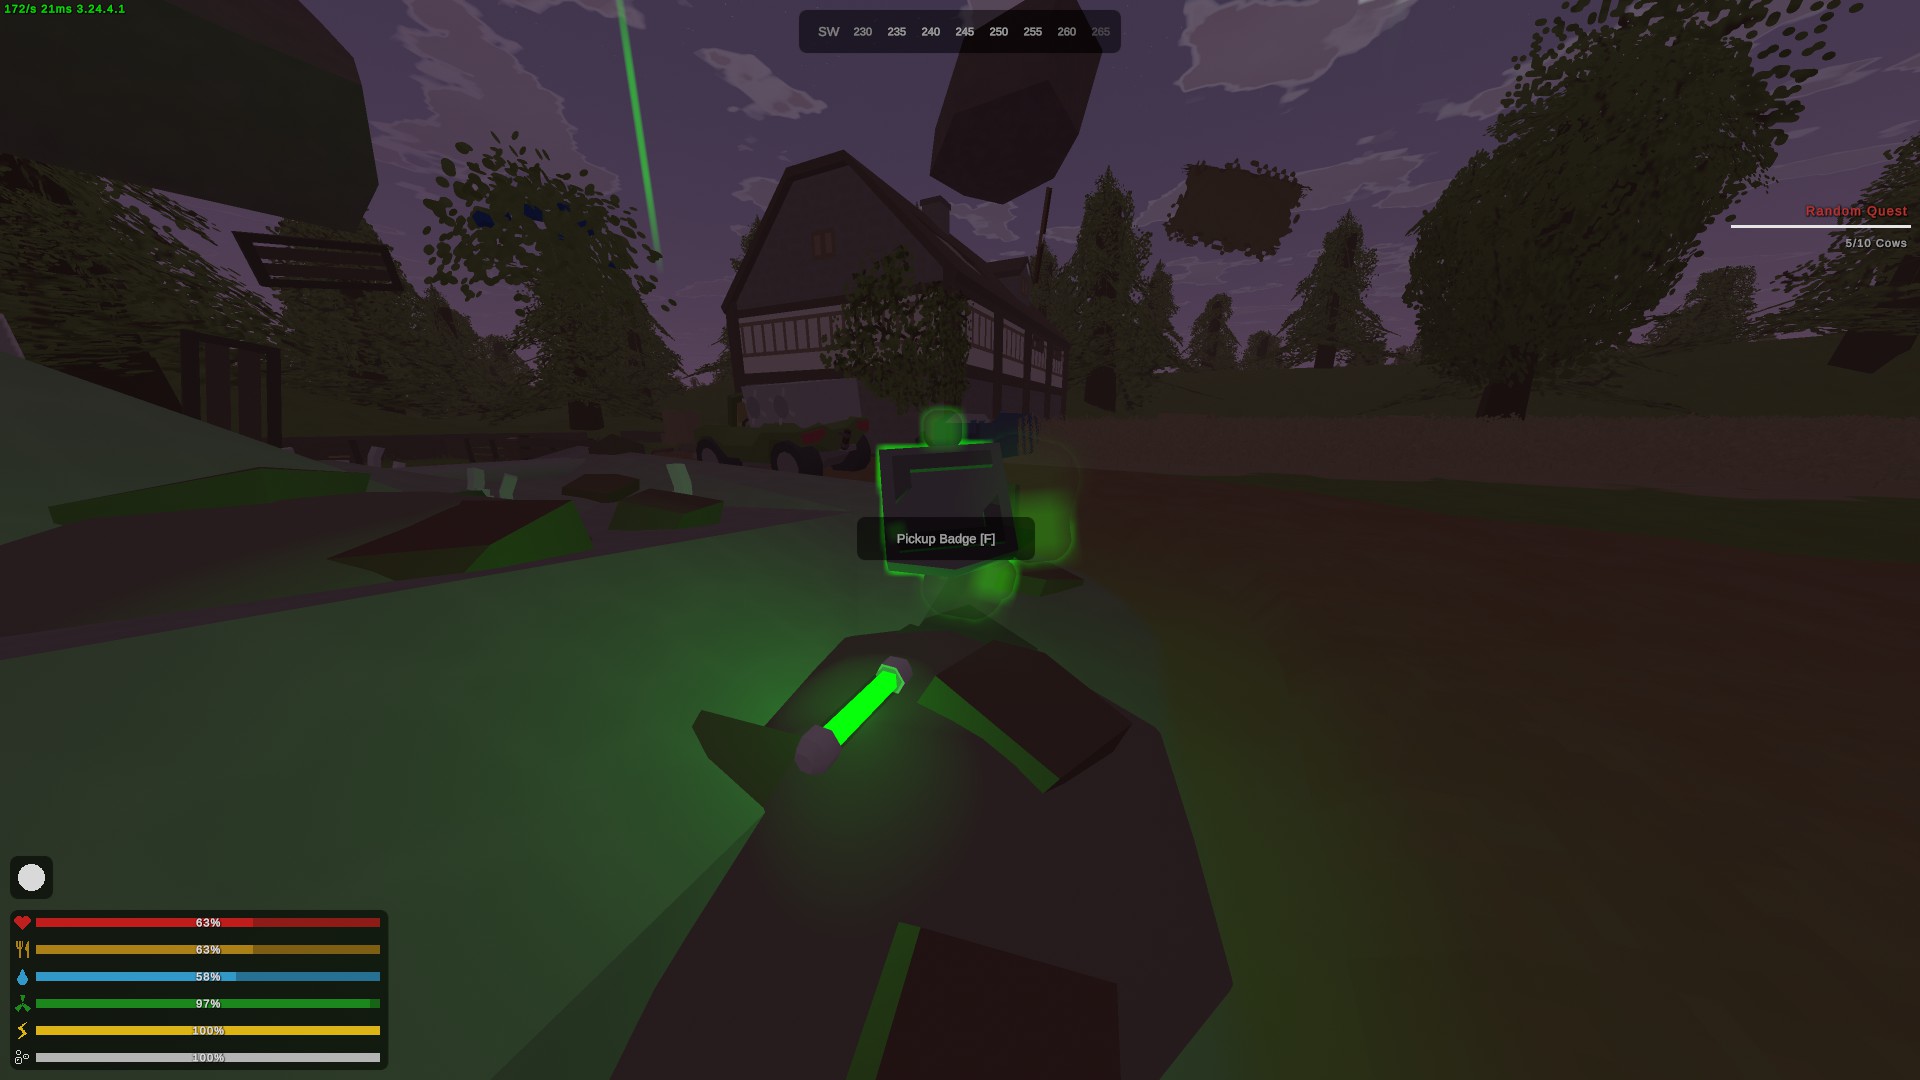
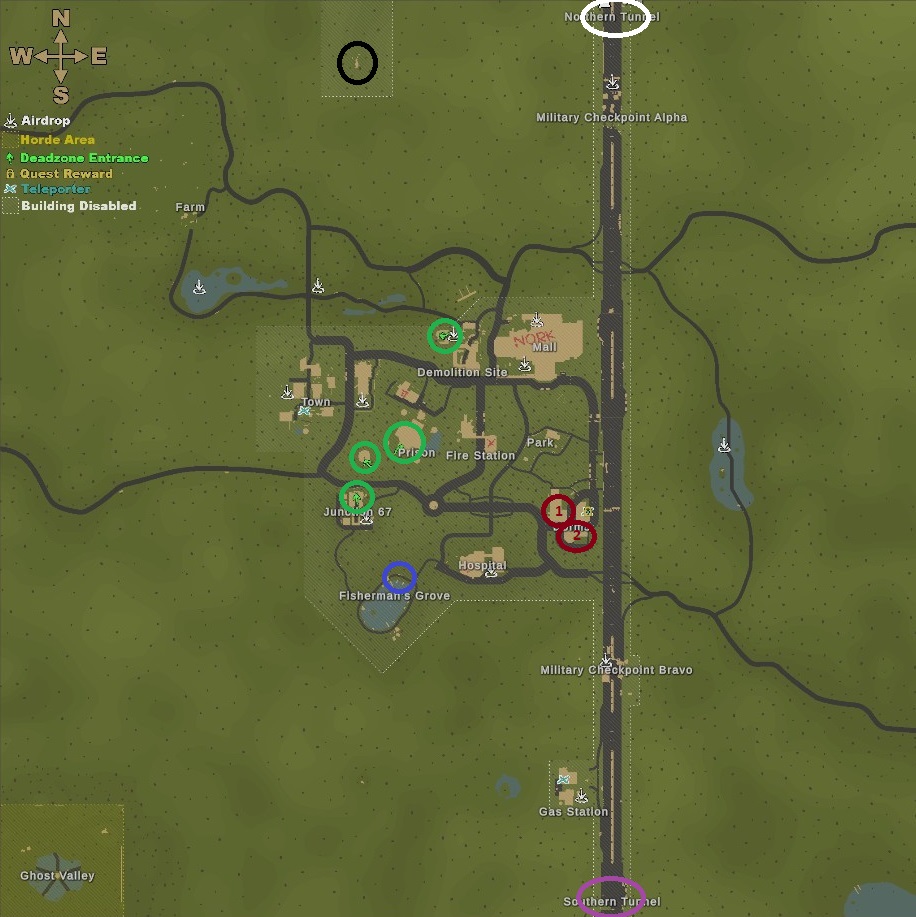
Then make your way up in to the floating house destroy a poster
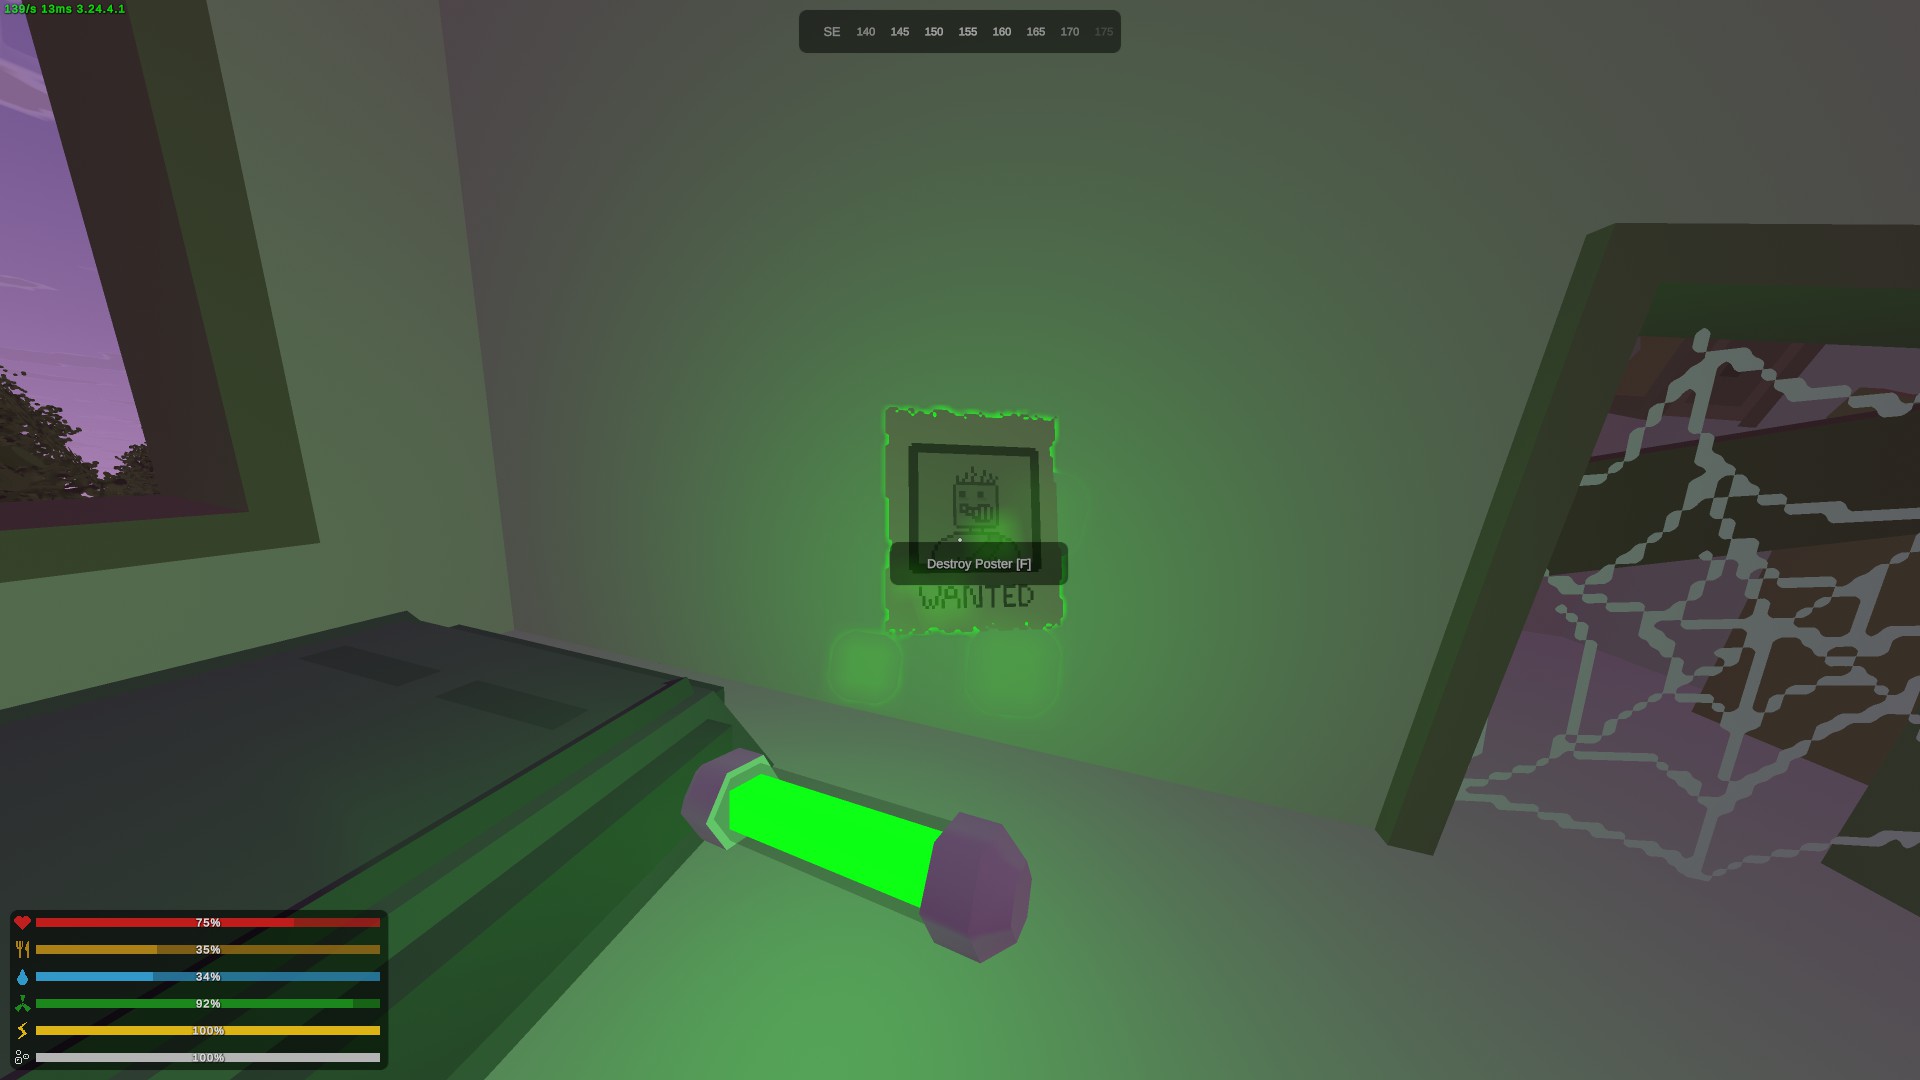
From there, you have to go to the following locations to find the other 4 posters to destroy for the quest
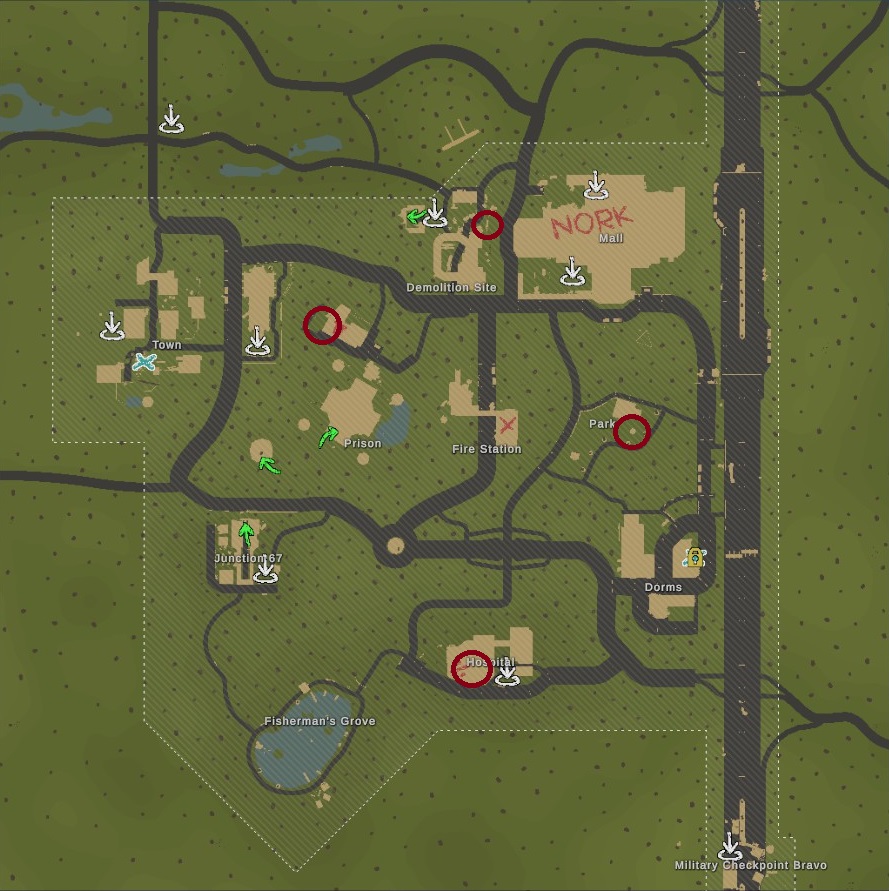
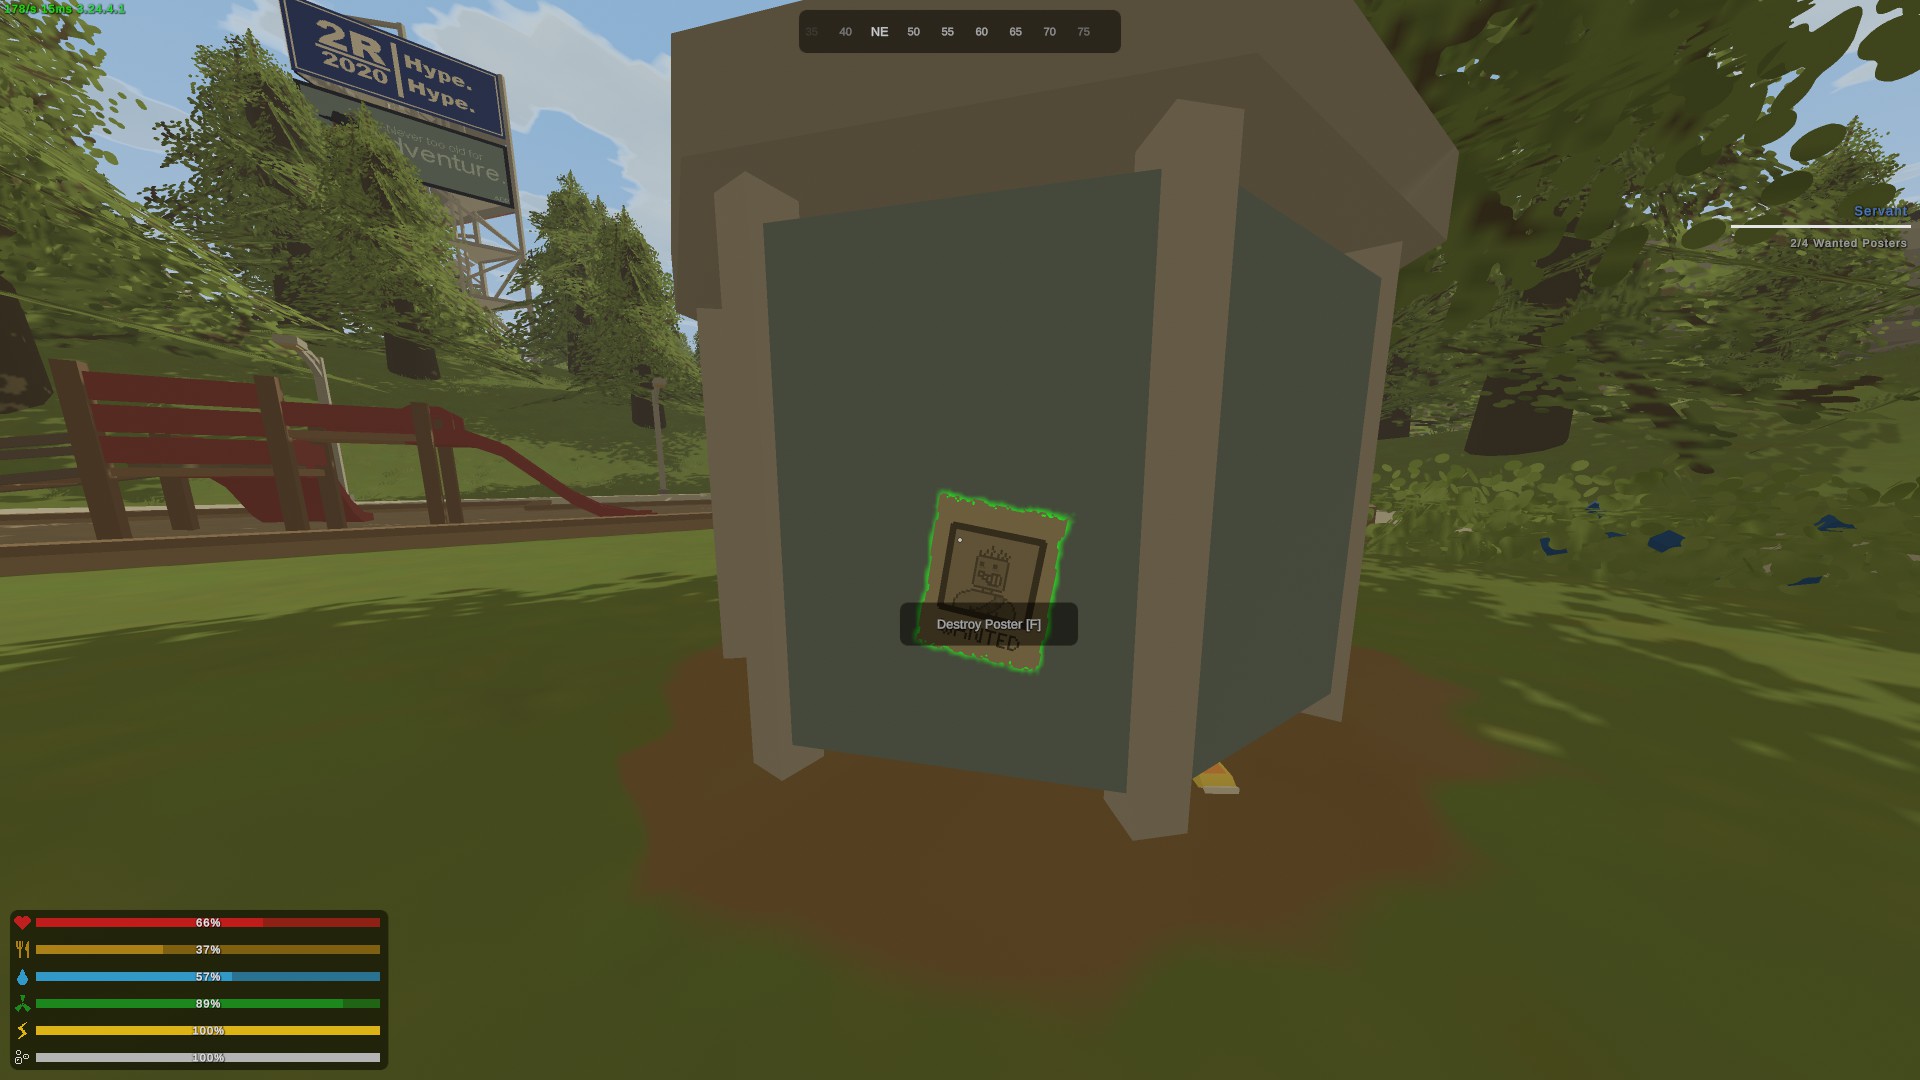
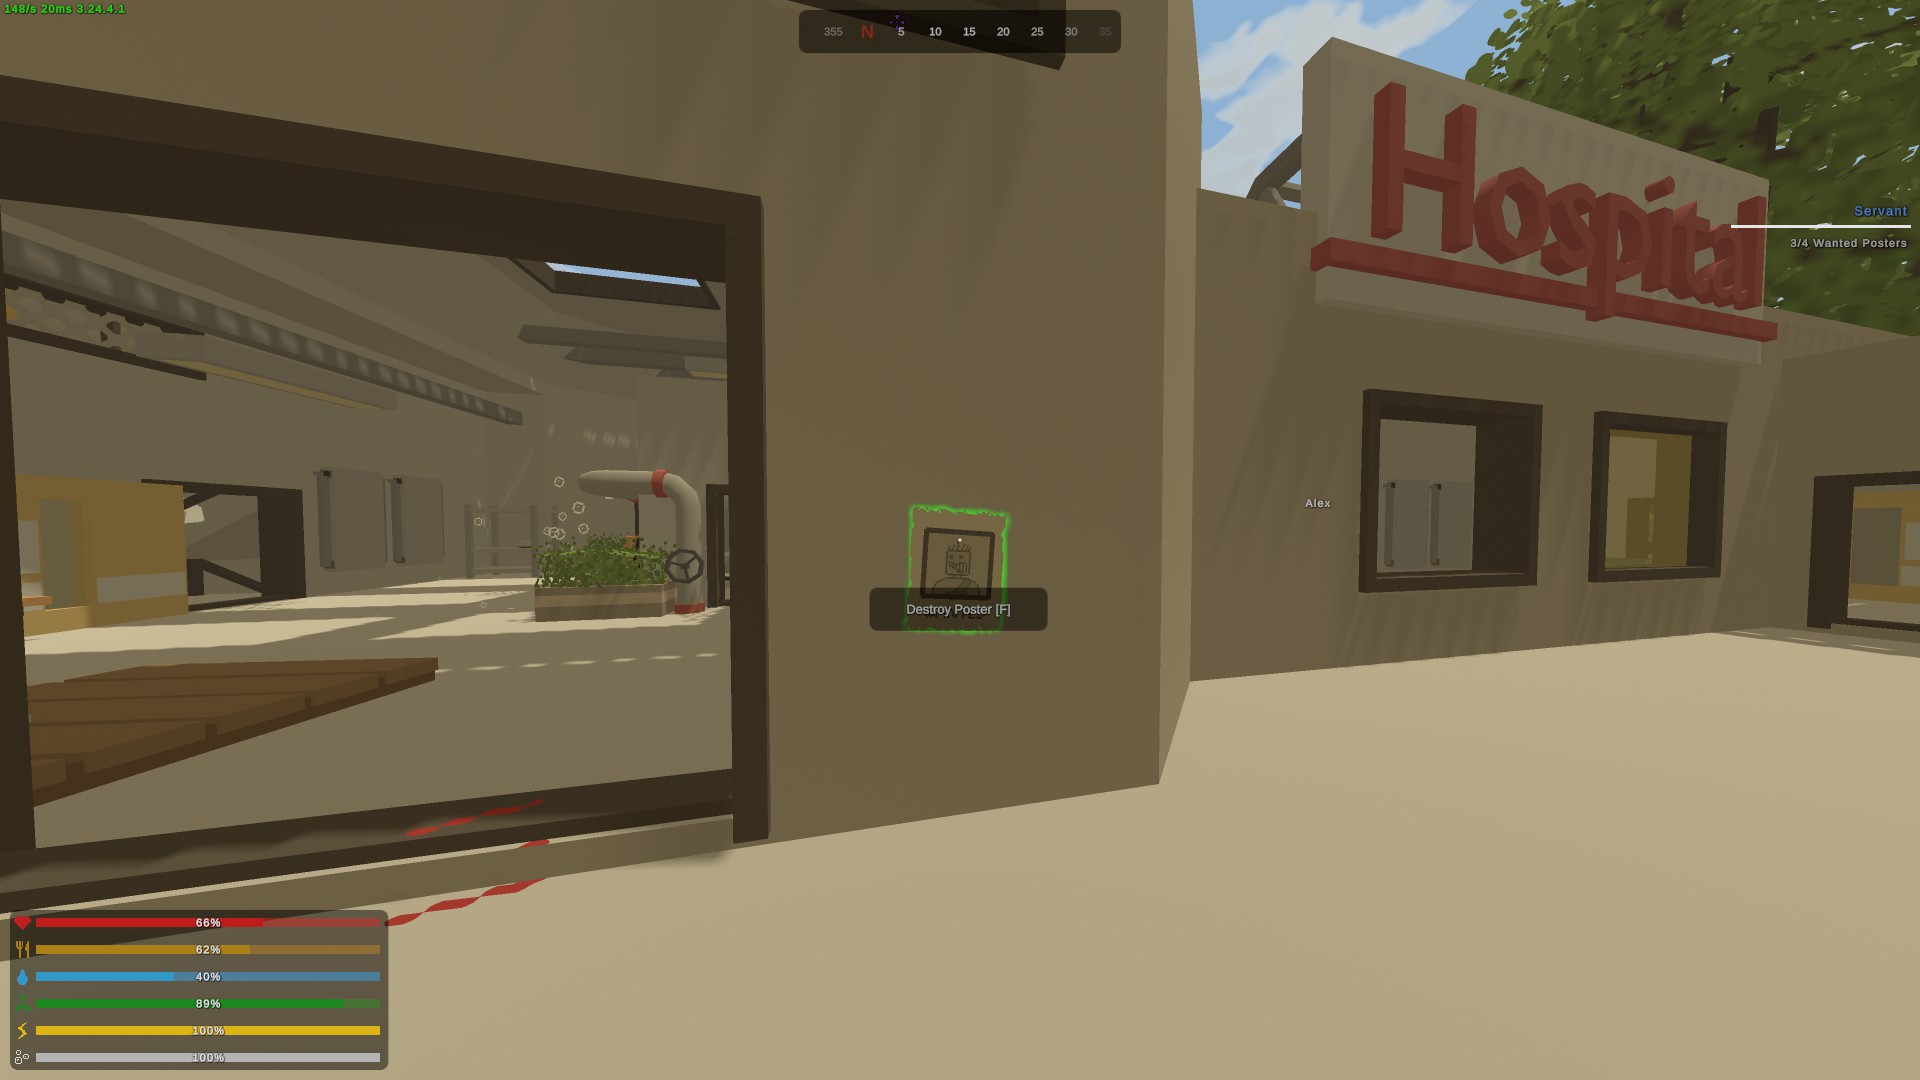
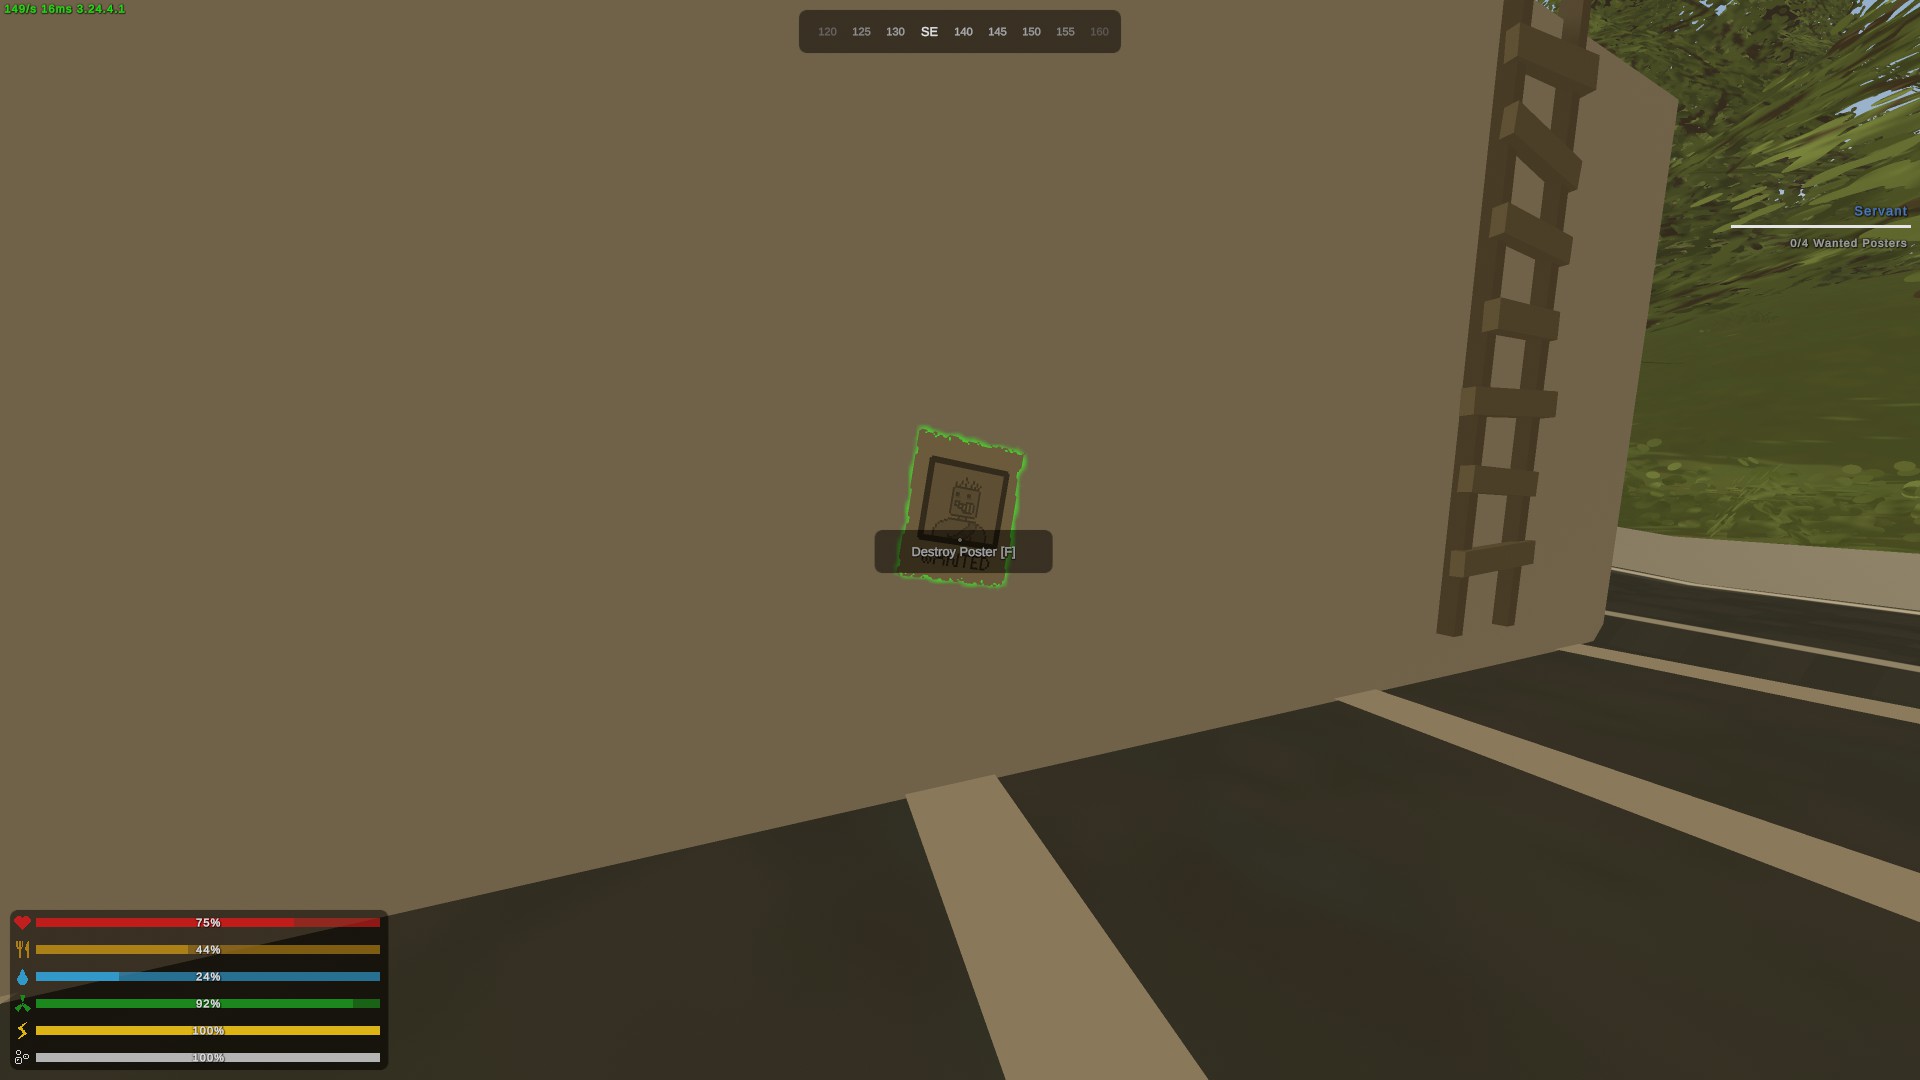
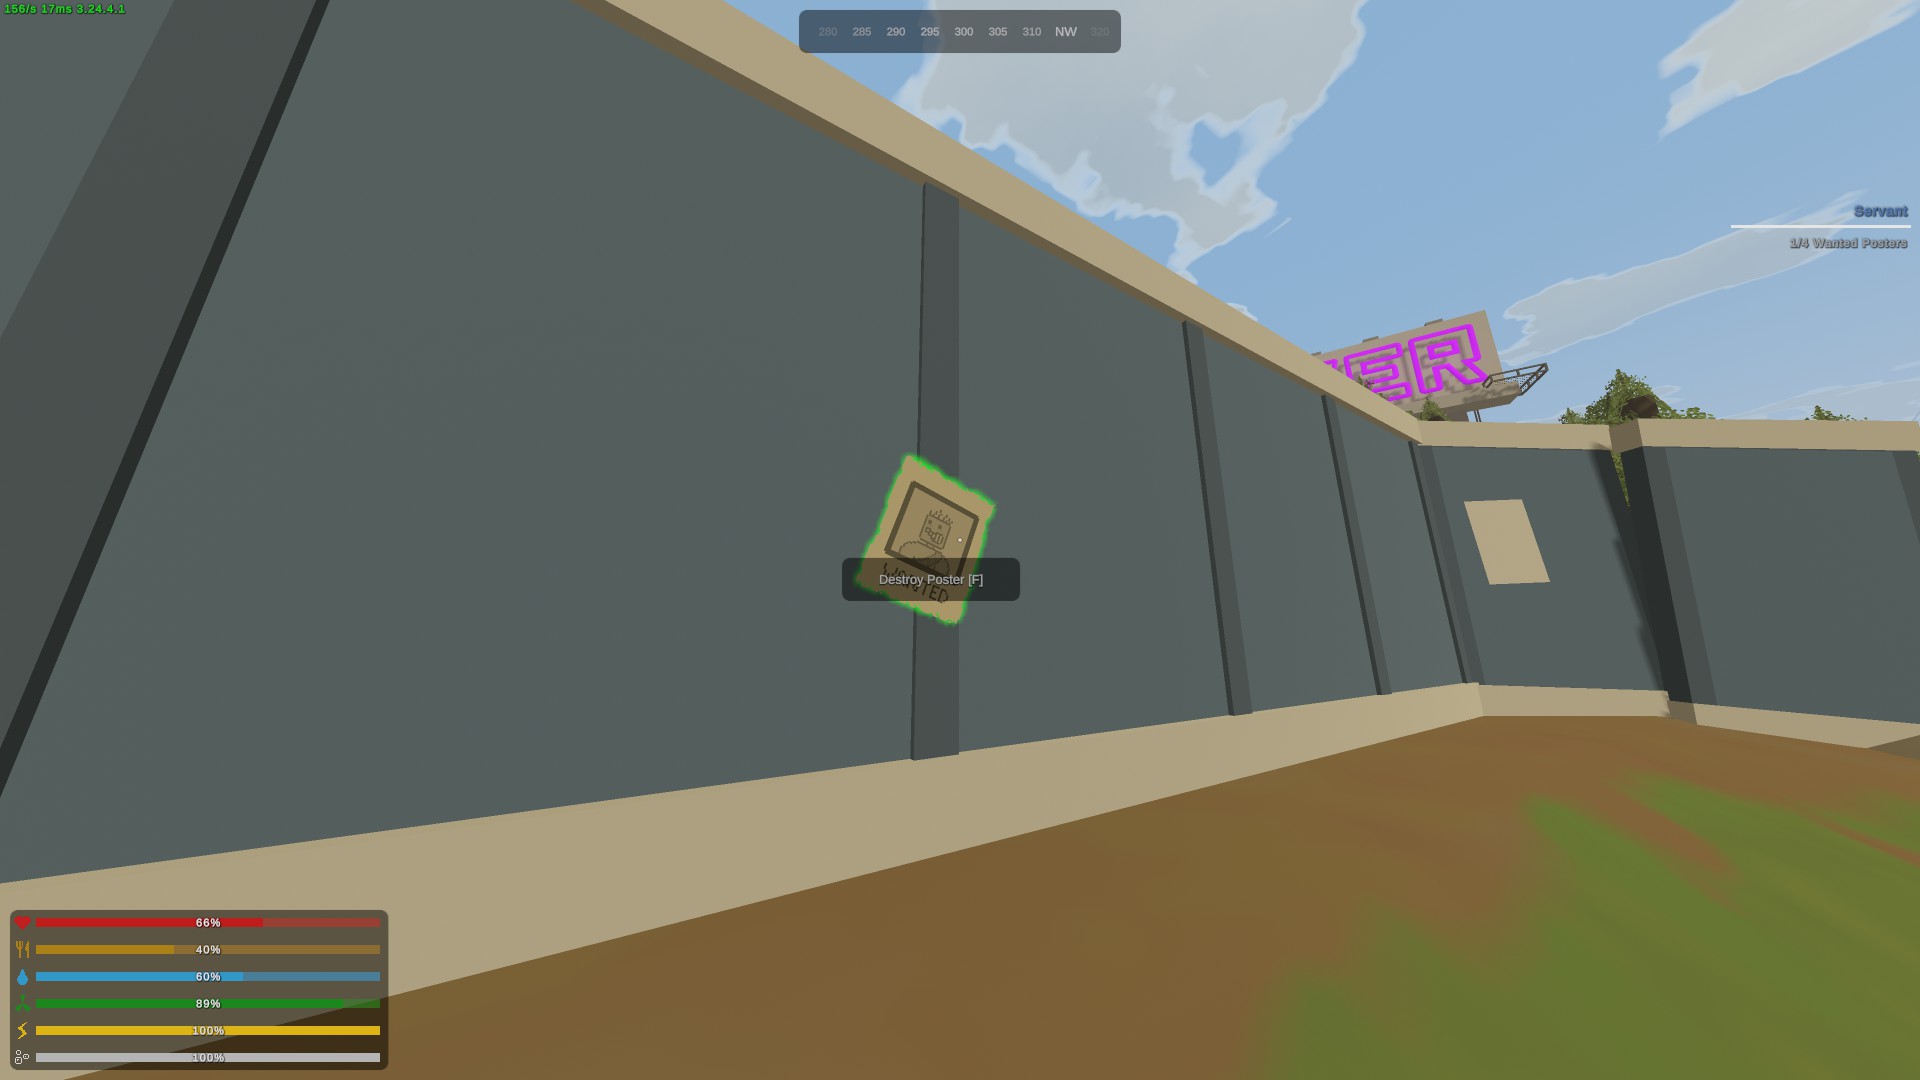
Elver: Key Locations
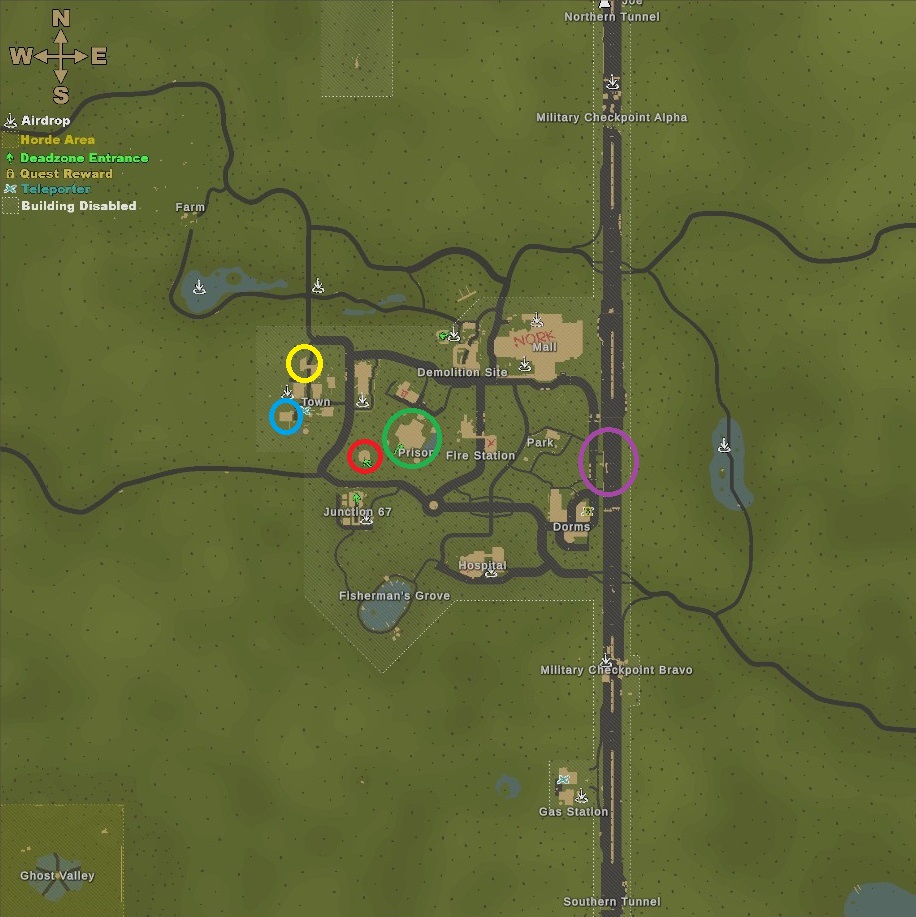
!!Keys may not be there initially, they have a low spawn rate!!
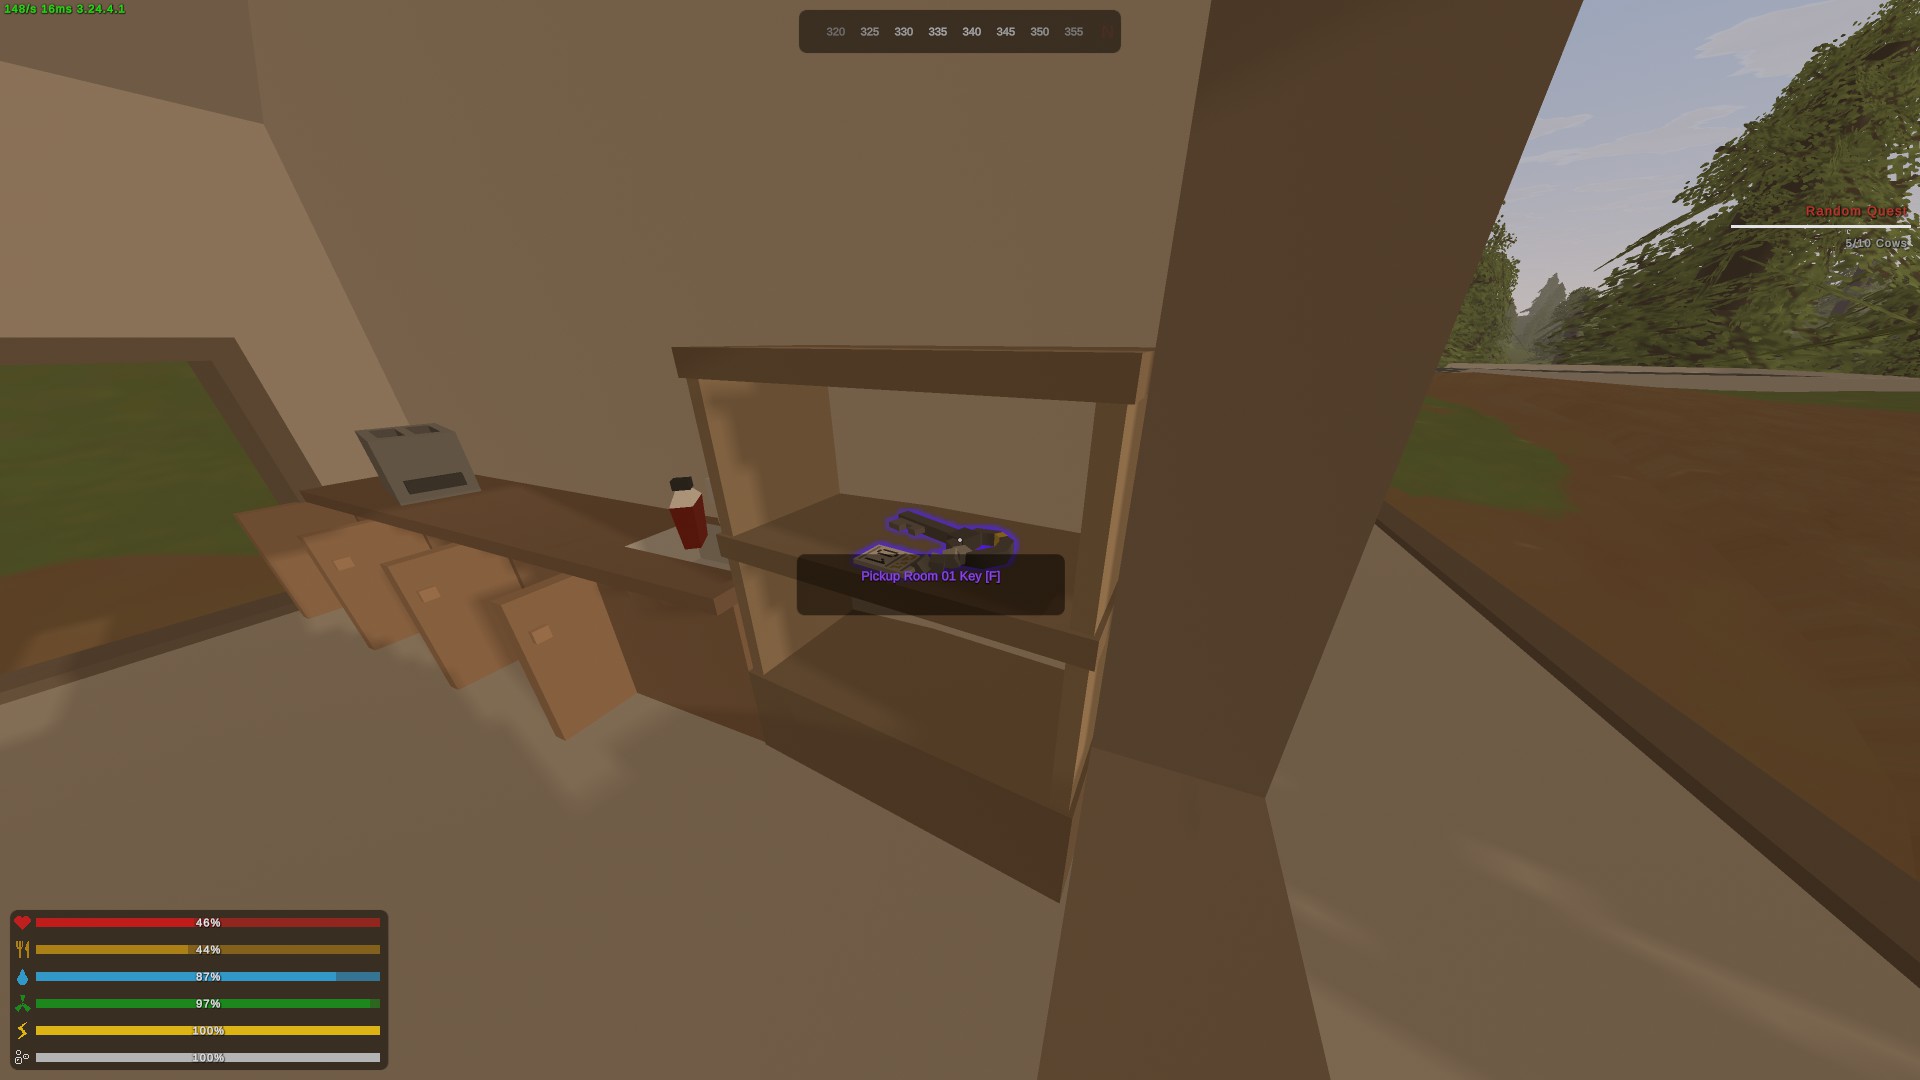
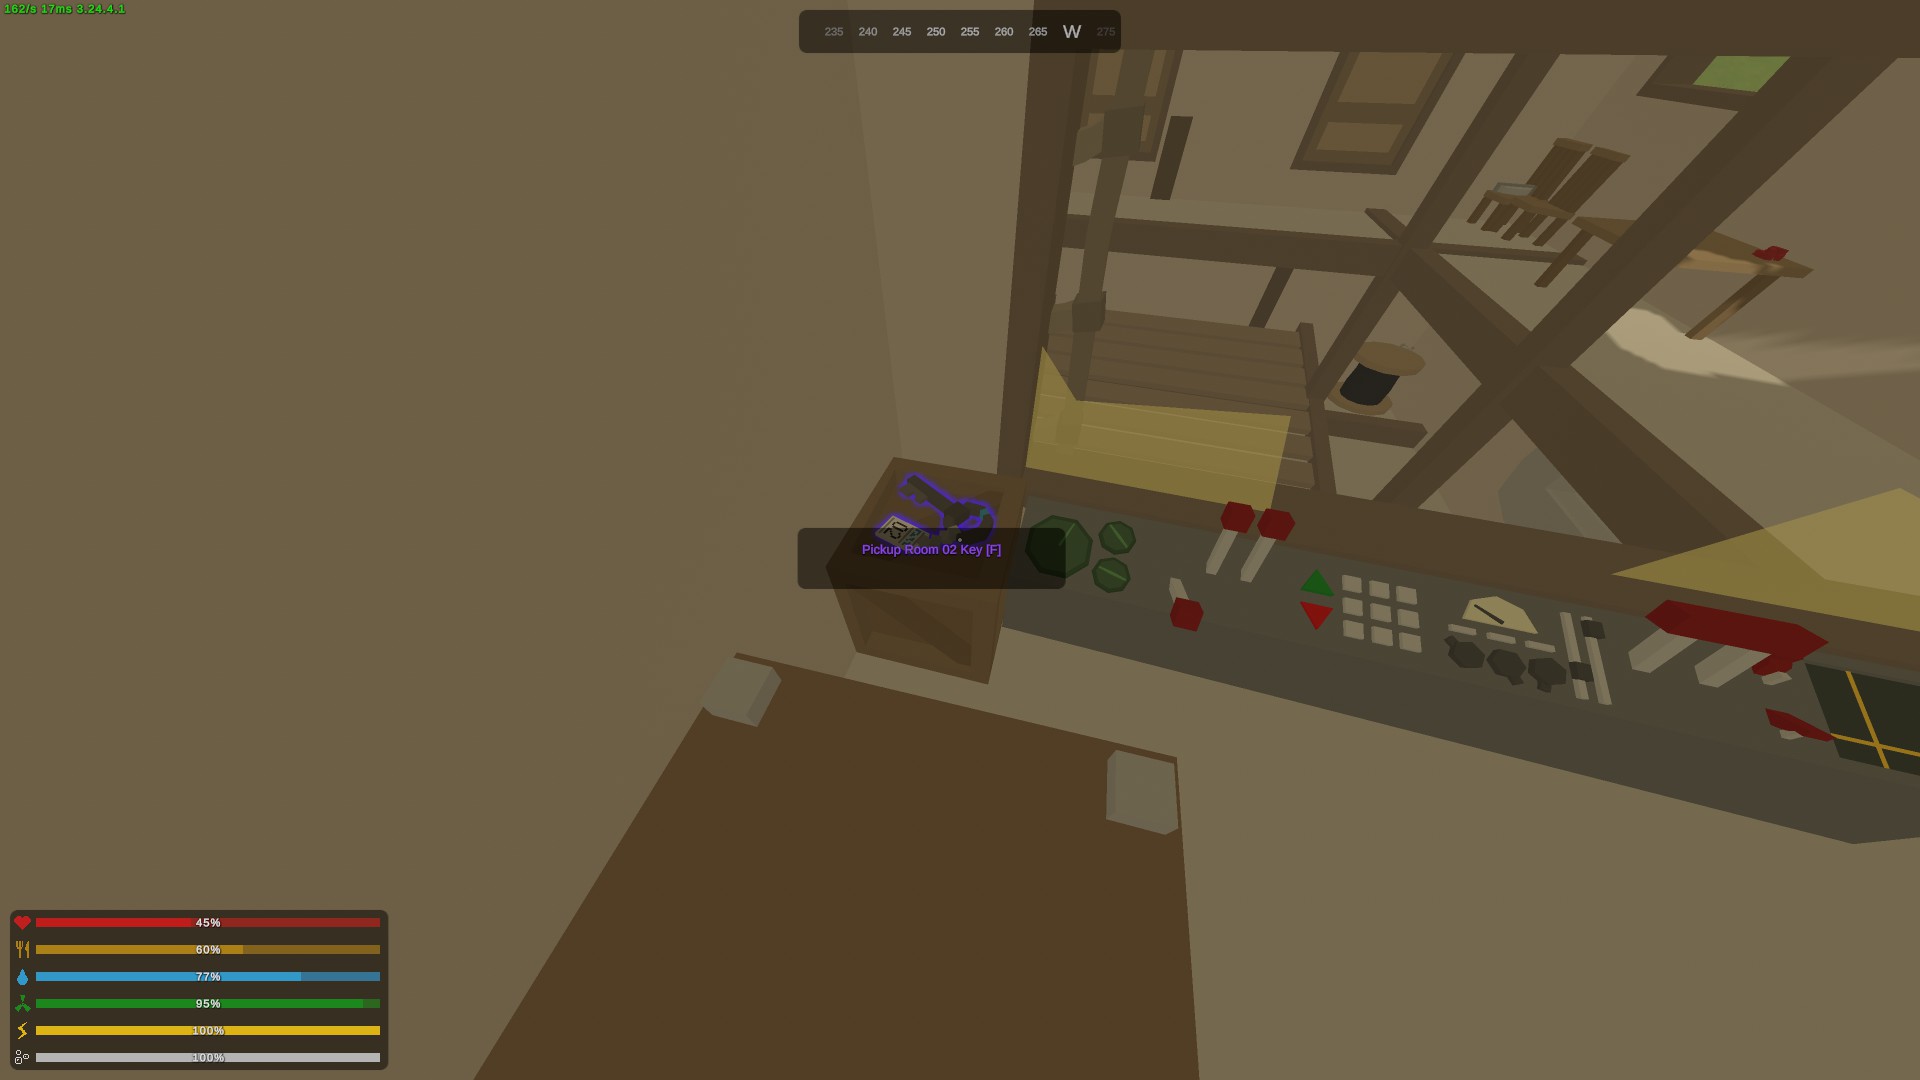
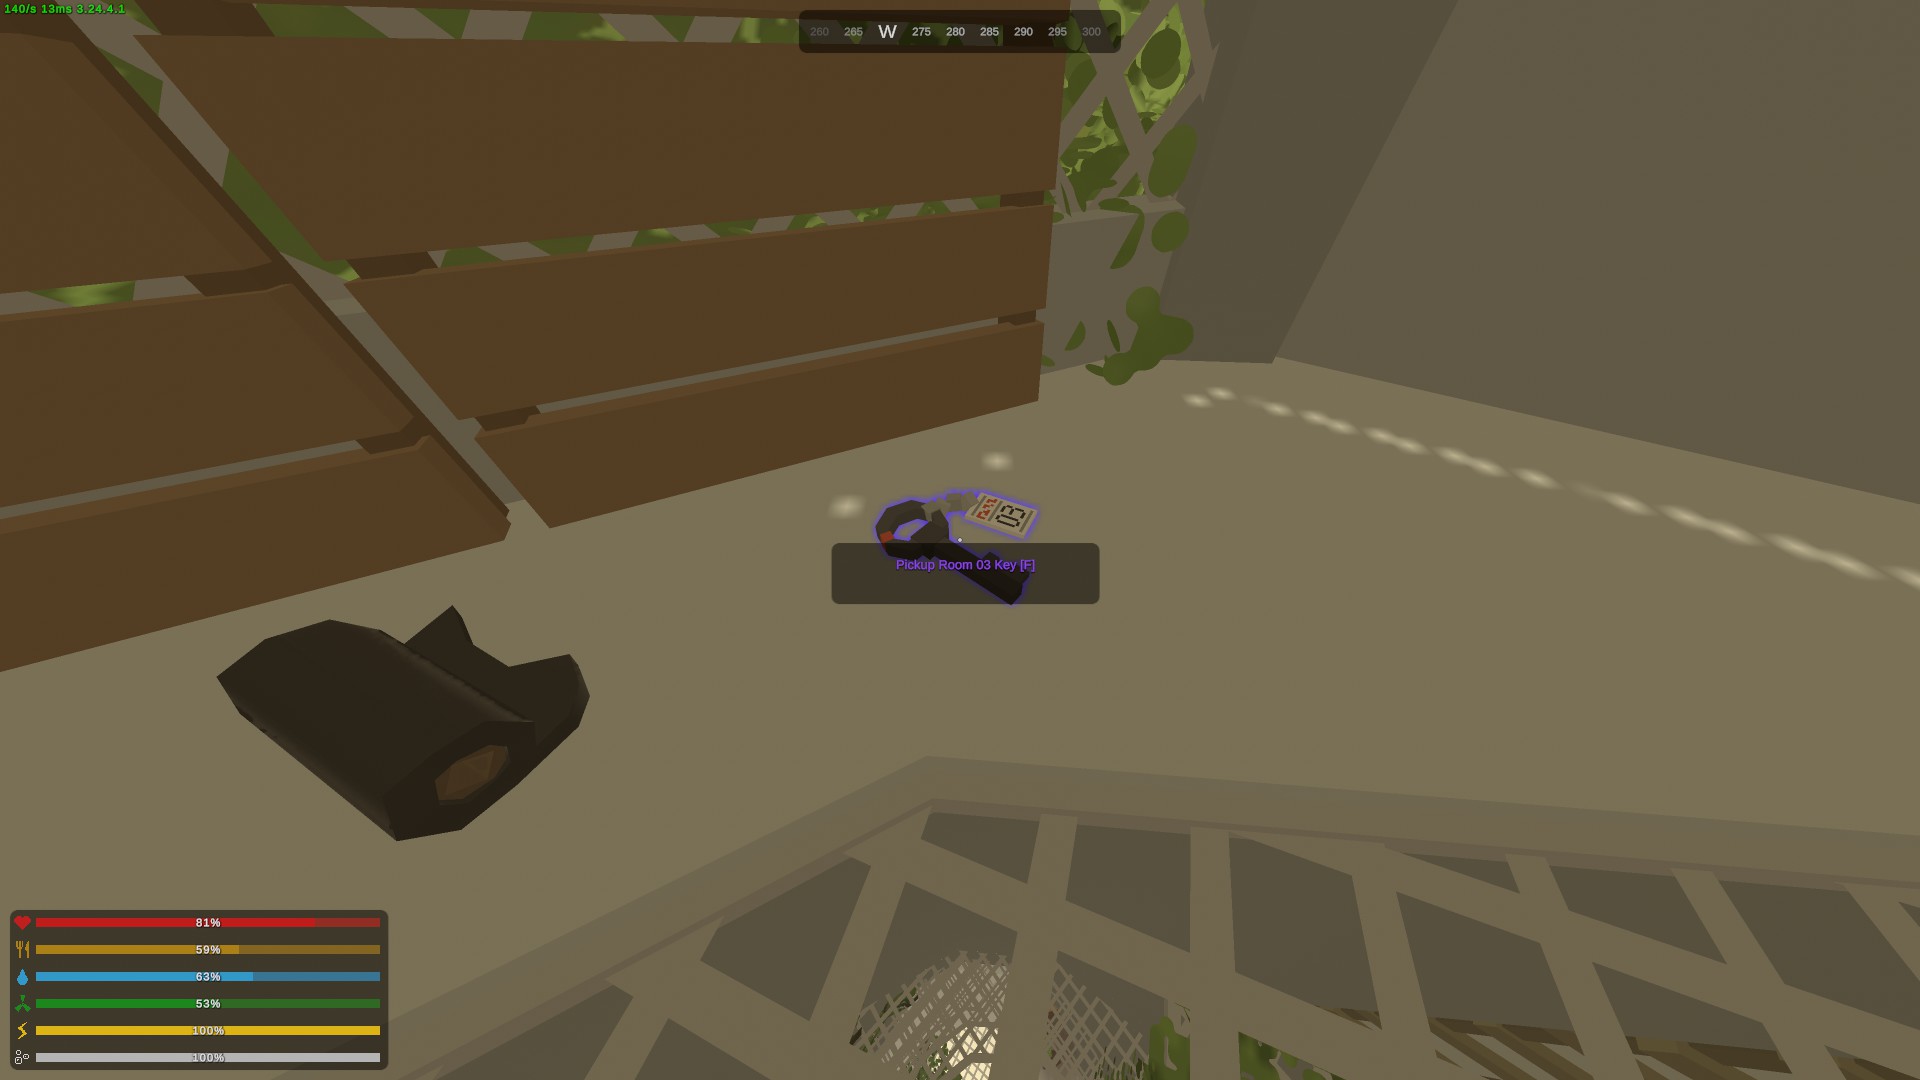
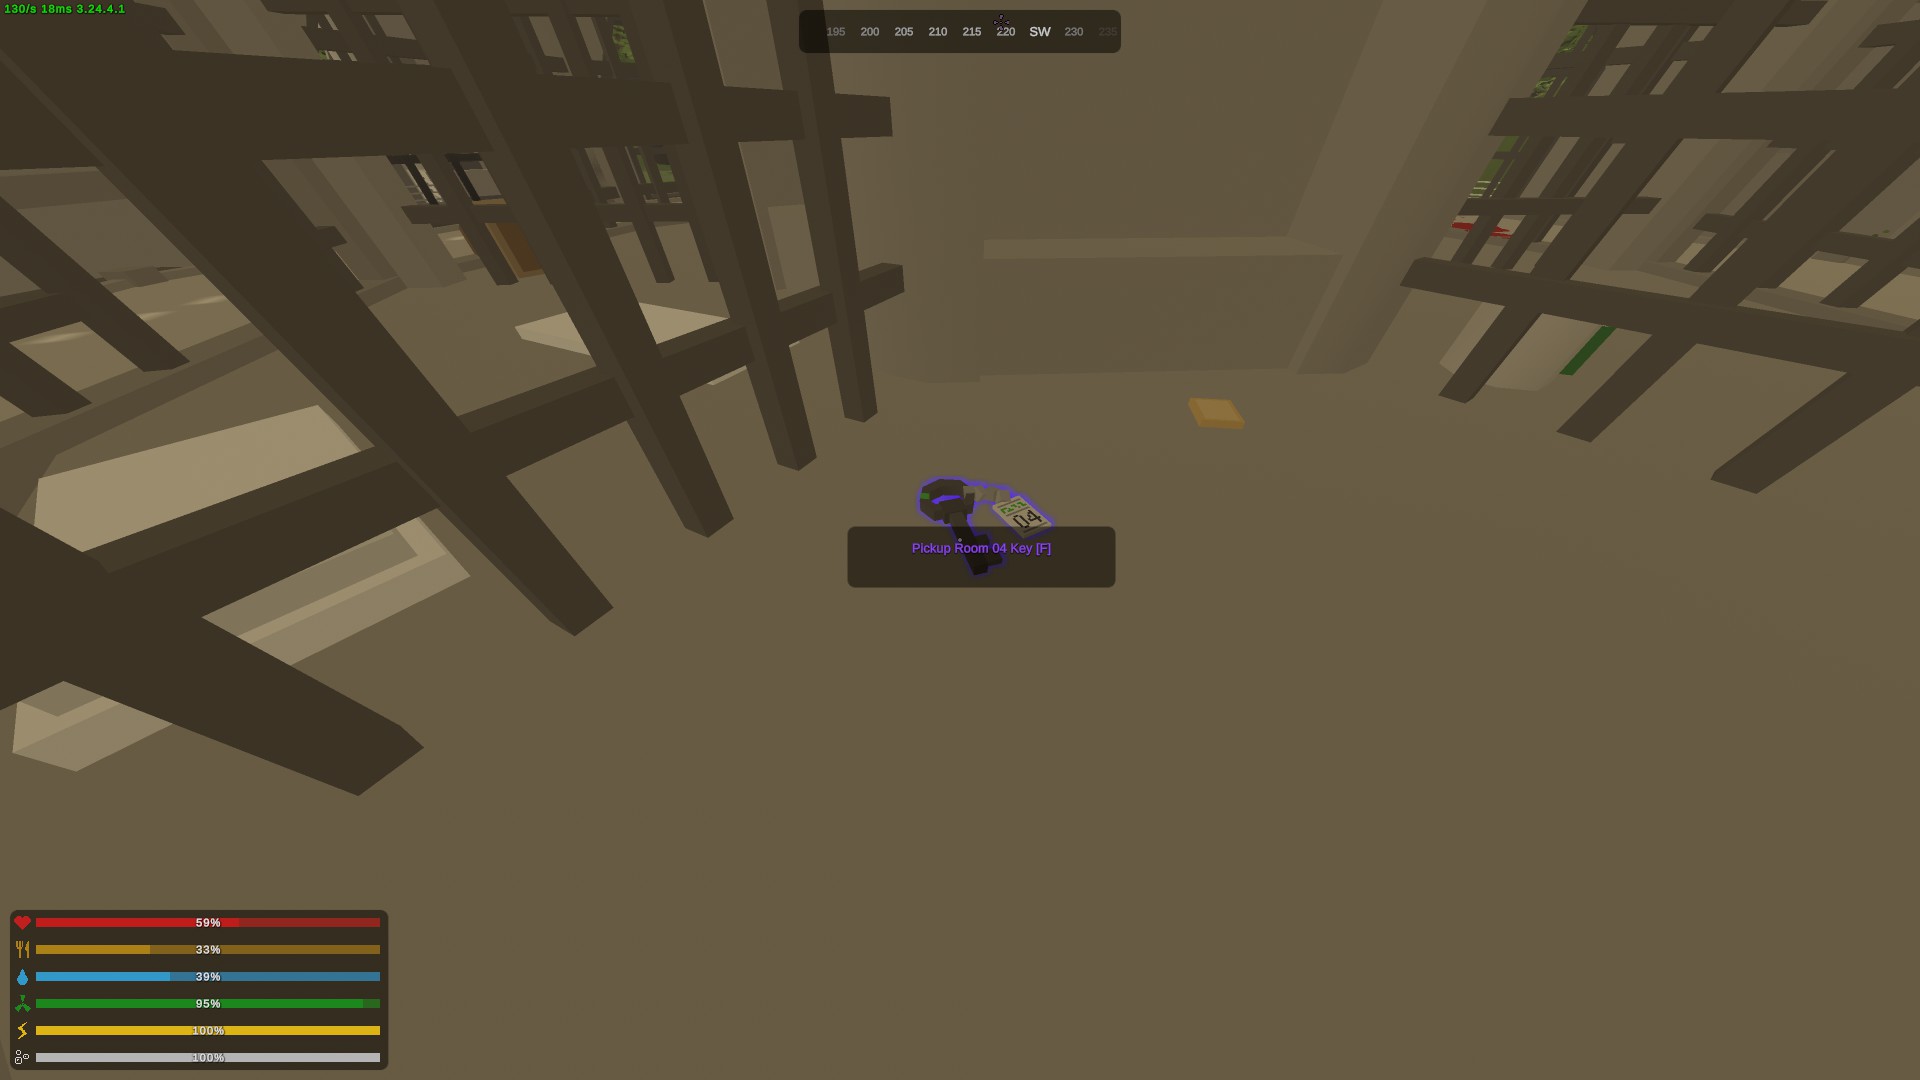
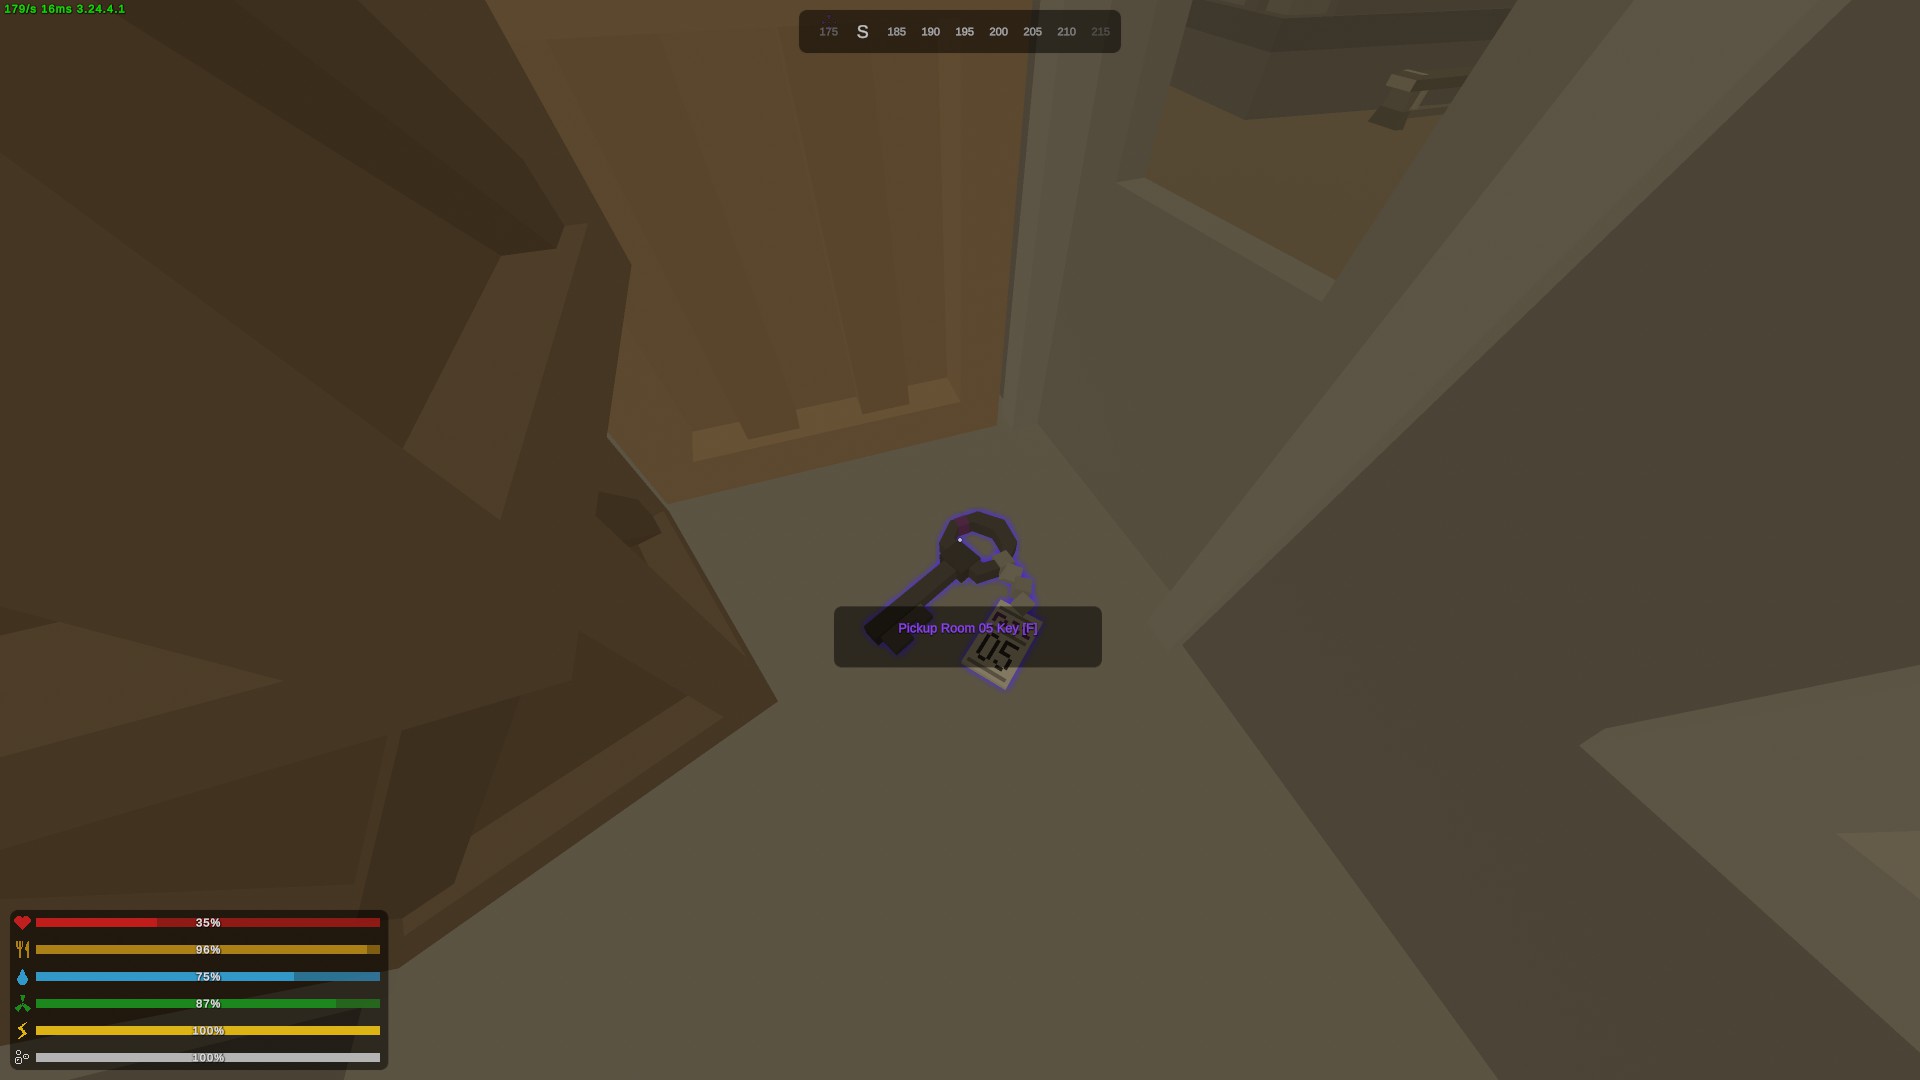
Kuwait
Feed the cats of Kuwait some fish.

Craft some cute decor in Kuwait.

Maybe not the best drink in Kuwait.

Fish out a formidable foe in Kuwait.

EYE; Sea; You.

Eye; SEA; You.


https://steamcommunity.com/sharedfiles/filedetails/?id=2482432912
You need to bring either some milk (kill a floppa or two, you'll come across them further away from cities it seems) or fish (mine was cooked) to Icarus, interact with a kitty, and give it the milk or fish for Feline Friends:
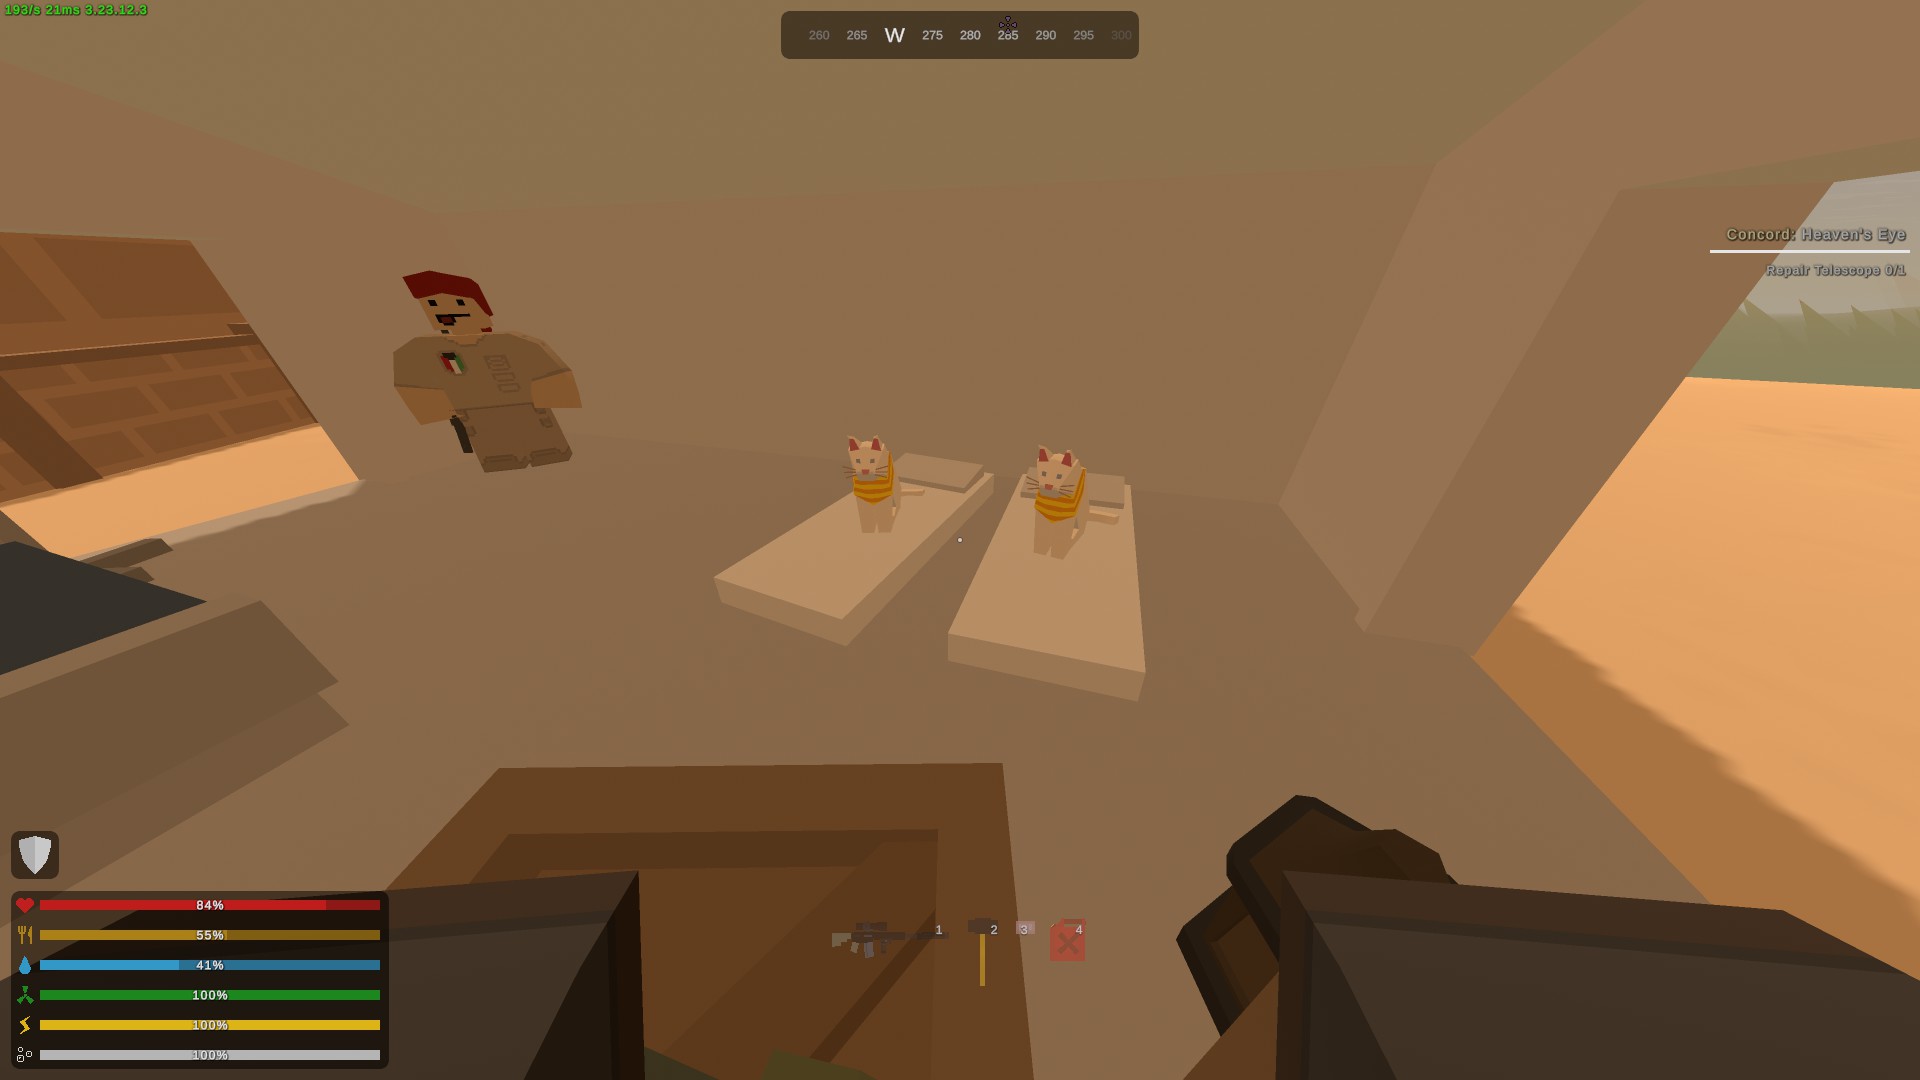 You thought drinking glue was fun? GREAT! Cover yourself in oil. Well, drink it. Go to Burgan Oil Fields with a bucket and break oil barrels with the bucket equipped: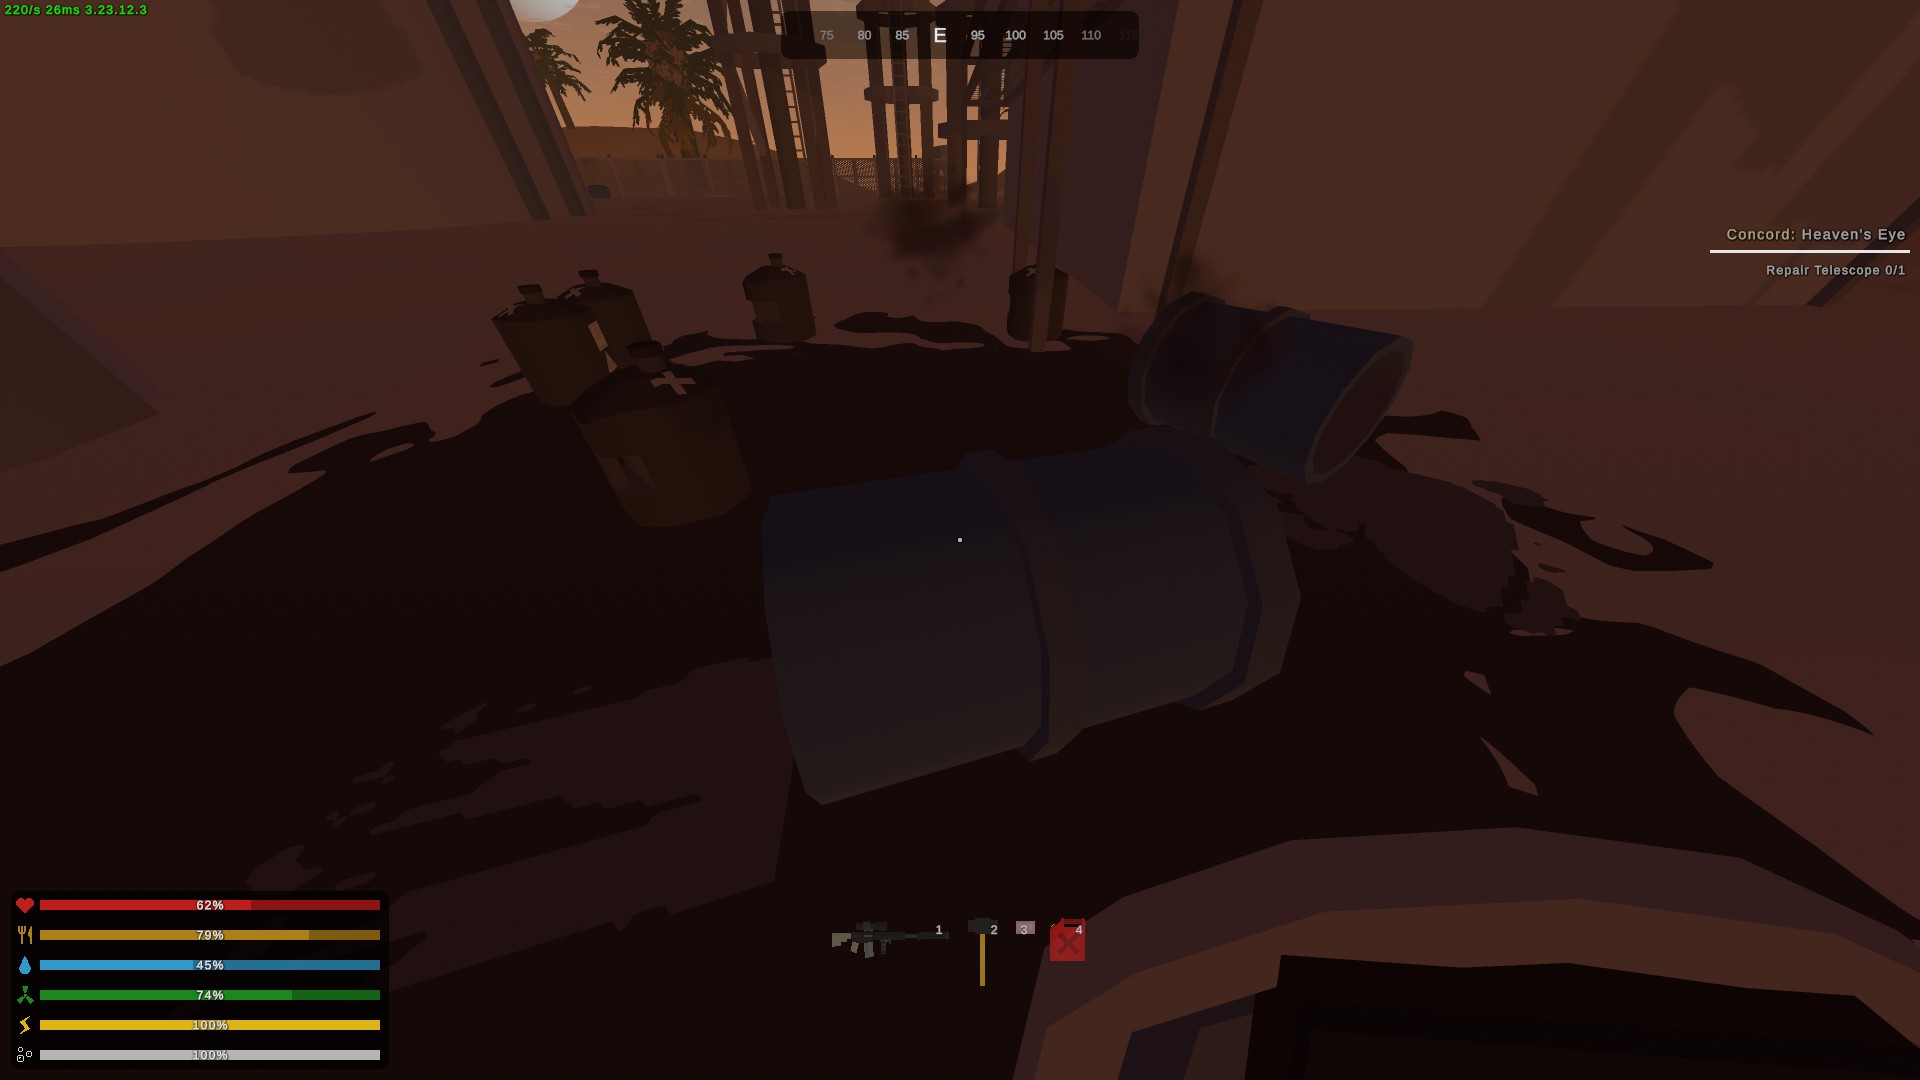
Once they break, you'll get a couple bottles of oil. Simply pick one up and drink it for Dinosaur Juice. Now with that oil, bring at least 2 to a heat source (hint: there's a few towers you can light in the oil fields) and craft some plastic. All I had to craft was the puzzle trophy and it gave me Home Decor but you can craft any of them:
 Talk to this guy (Adnan) and start his questline for Squeek: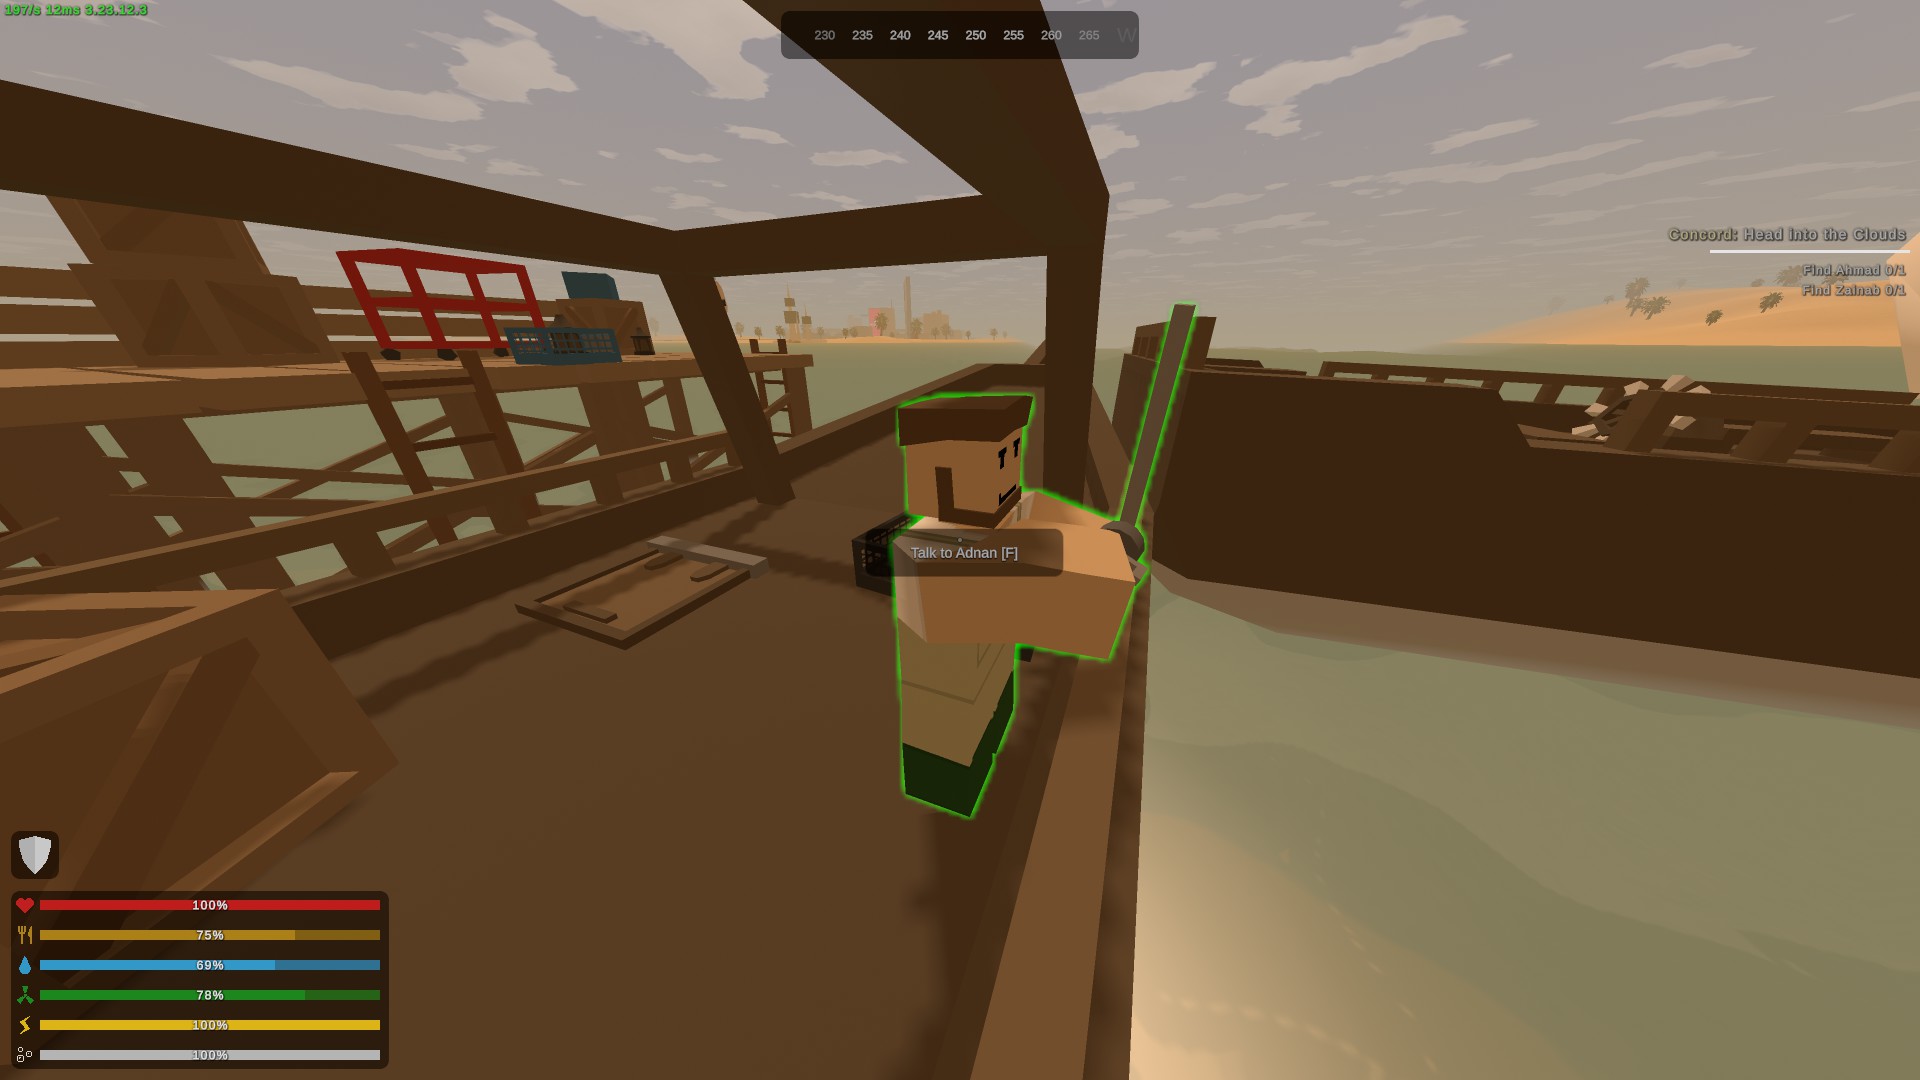
Apparently there is a 1/35(?) chance that while fishing, you'll get a part. Not sure if that's the stat for sure but either way, strap in for some fishing and inevitable duplicate parts. You only need 3 different ones but still.
From what I could gather playing, get the fiberglass rod parts with a normal fishing rod. Tried using the reinforced bamboo rod and I seemed to just get junk, fish, and money. I was however able to get the shark required for the achievement with this bamboo rod before finding the fiberglass parts, do with that what you will.
Turn in the 'Apex Predator' quest and you'll get the achievement.
These last few achievements are majorly tied with the storyline quests so that's what we're gonna do. To get started, you're gonna wanna talk with Isaac on Icarus and start taking quests from NPC's. I've linked some guides that go over all the quests for Kuwait :D
https://steamcommunity.com/sharedfiles/filedetails/?id=2490171549 https://steamcommunity.com/sharedfiles/filedetails/?id=2341557571
I personally just kept doing every quest I could, depends on how you wanna play.
Arid [WIP]

Finish all main quests on Arid.

Alright, finally getting around to playing Arid. To do Arid Finale, we're gonna have to finish all of the quests from the main 3 NPCs: Red, Architect, and Huey. There's a little board next to Rue the Guide that tracks your progress with these questlines as well.
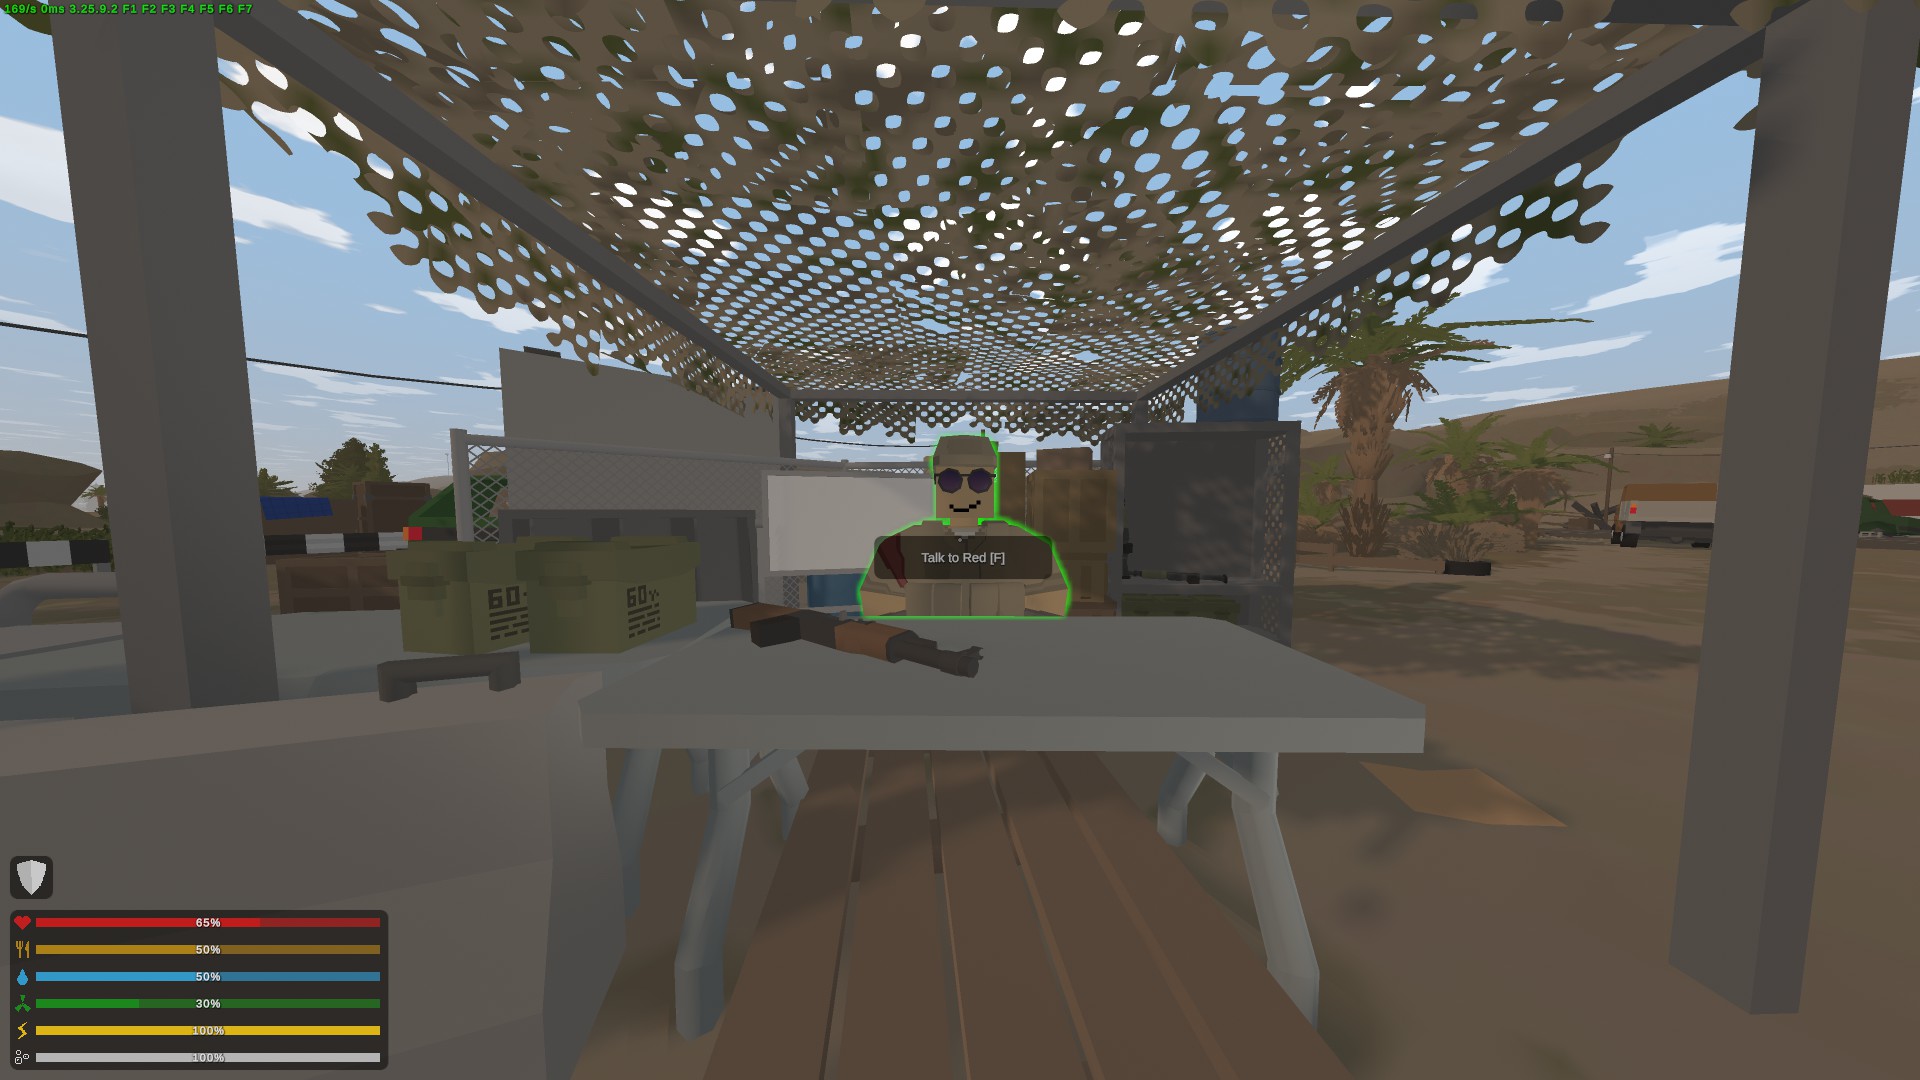
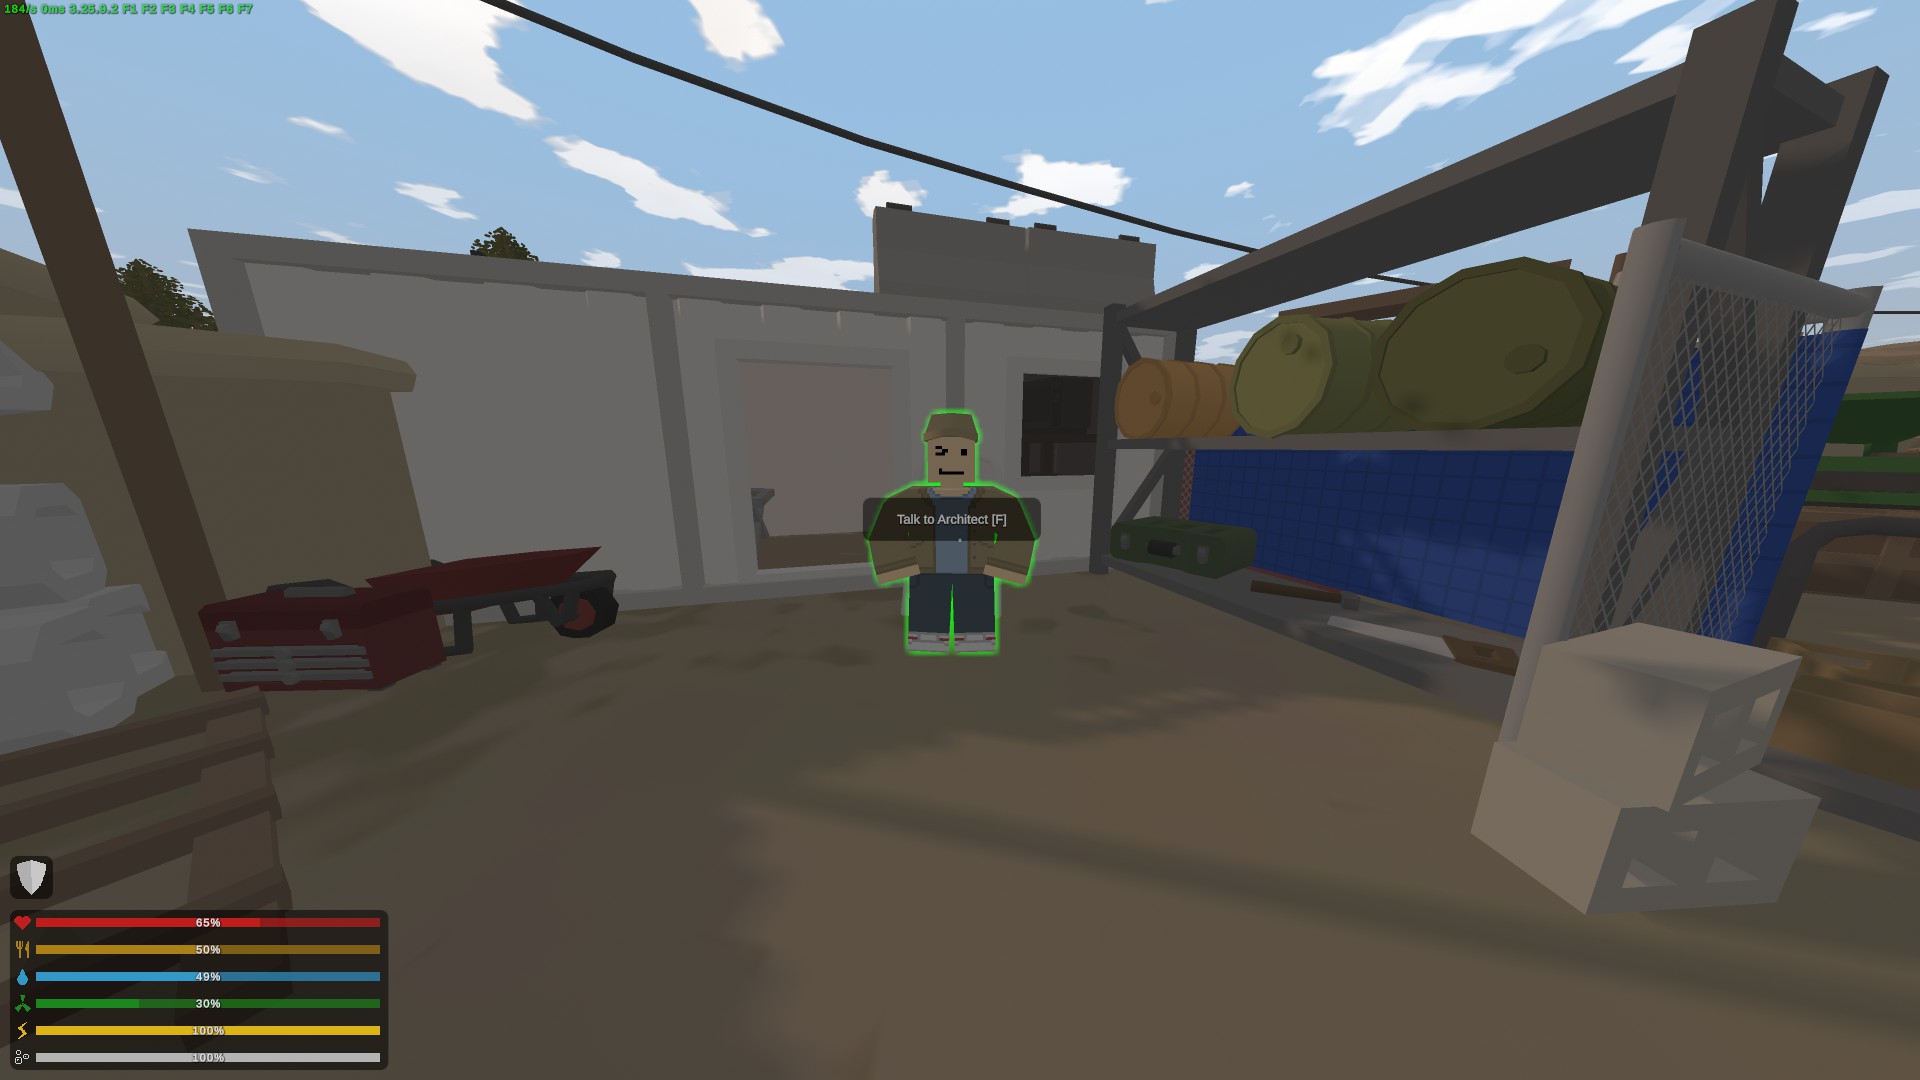
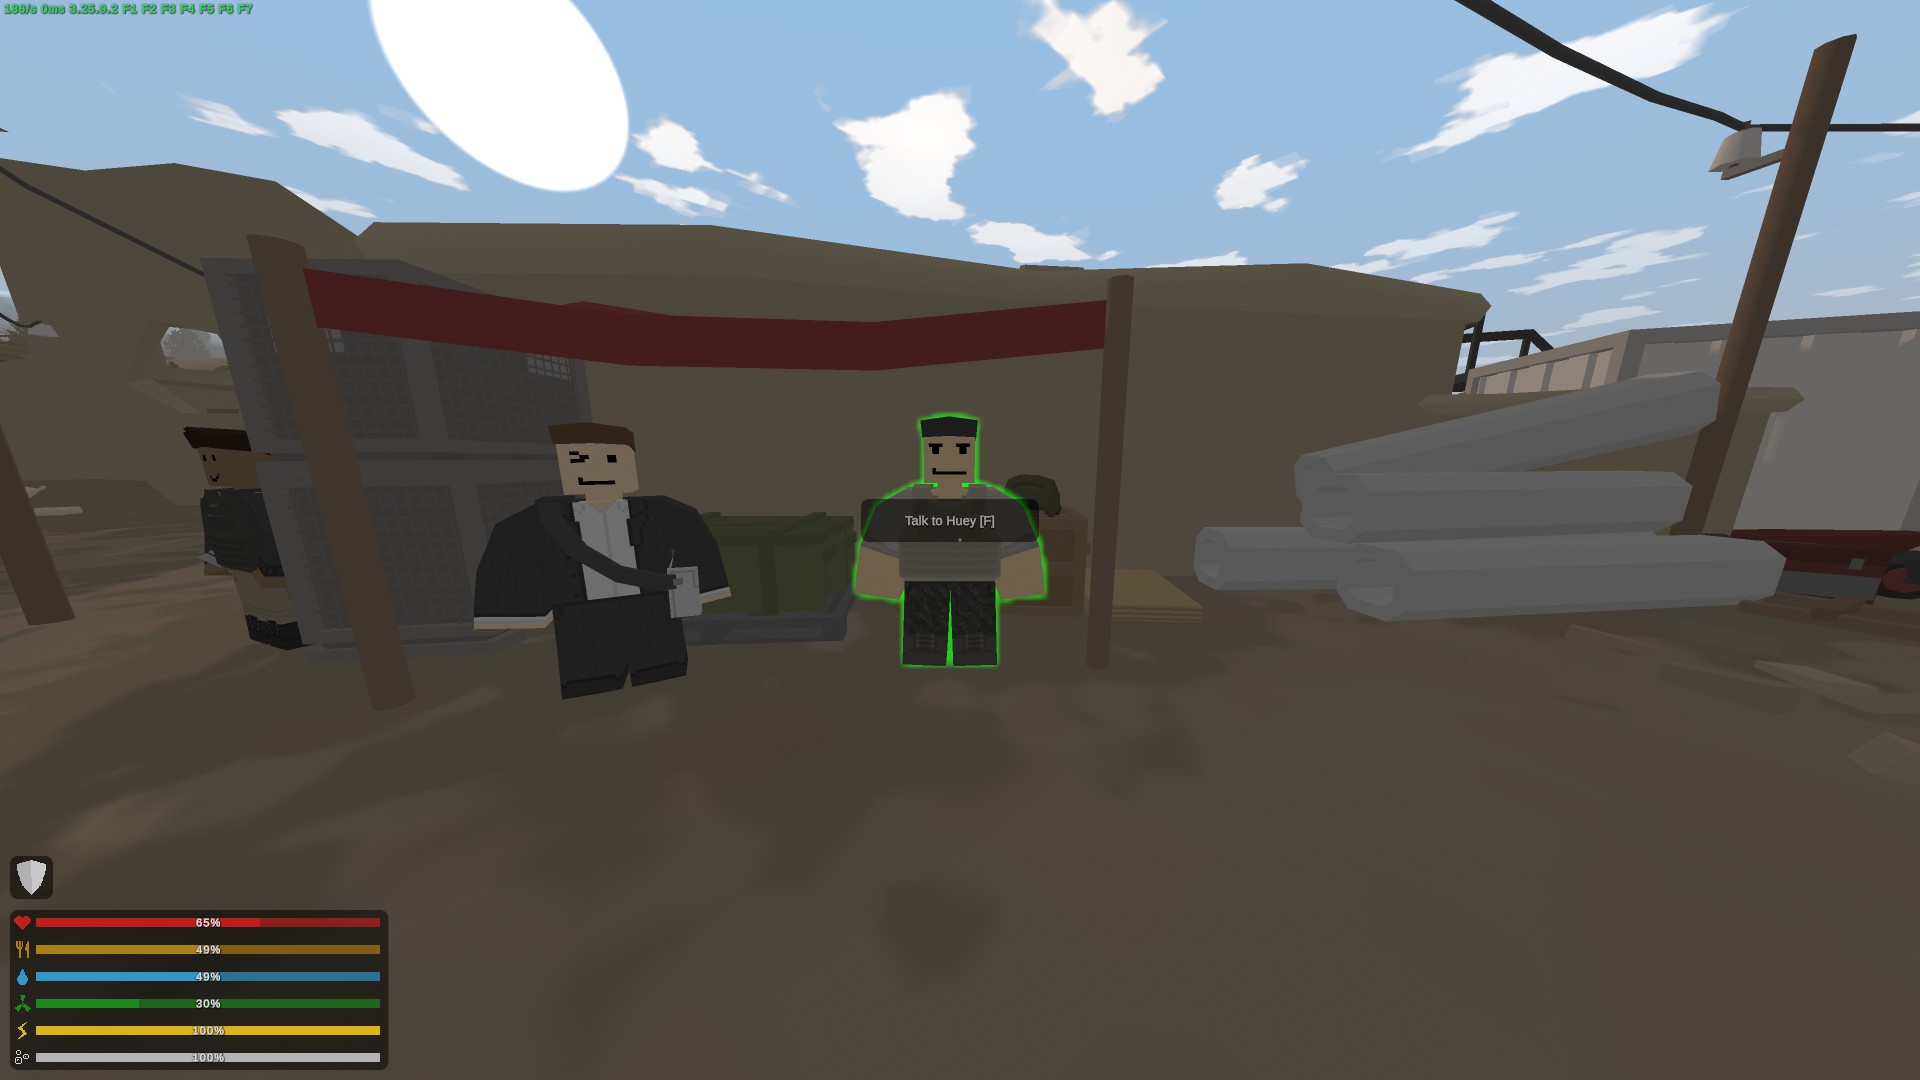
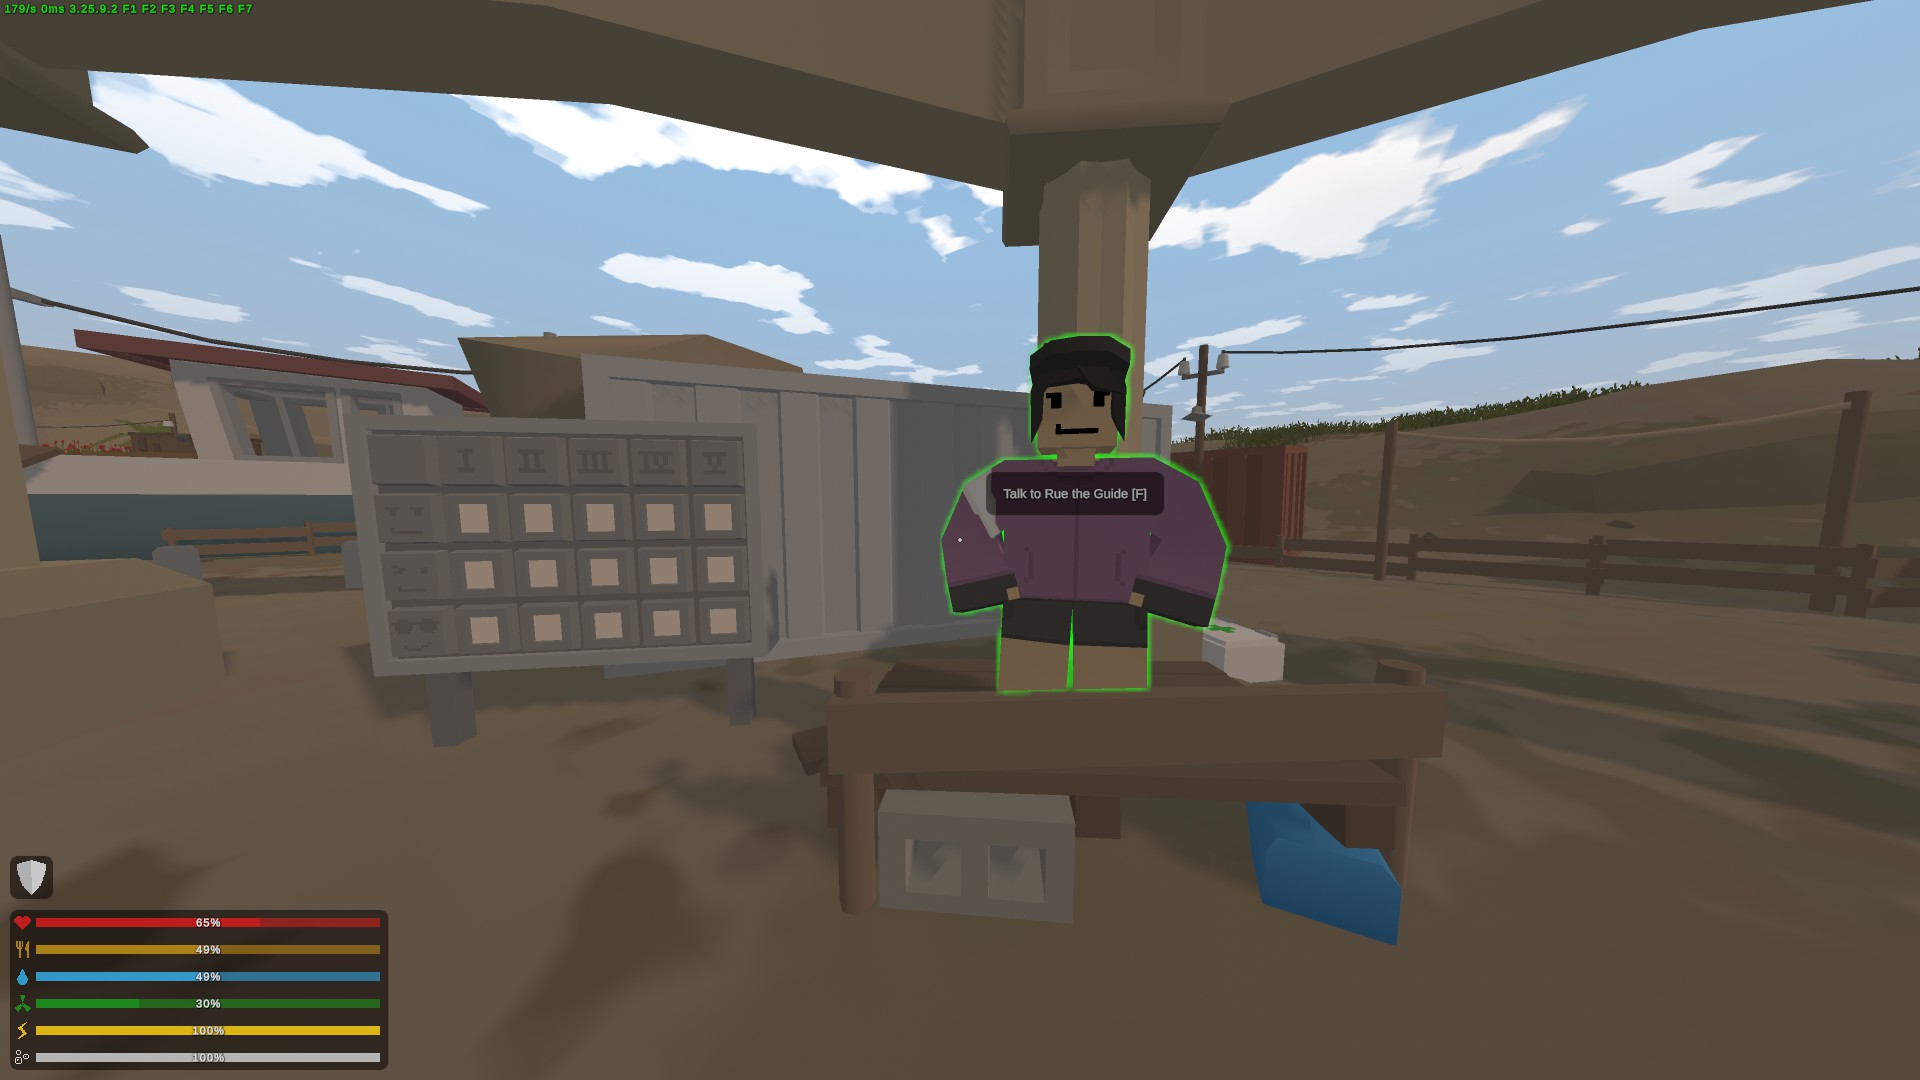
Arsenal II - 3 low tier gun parts
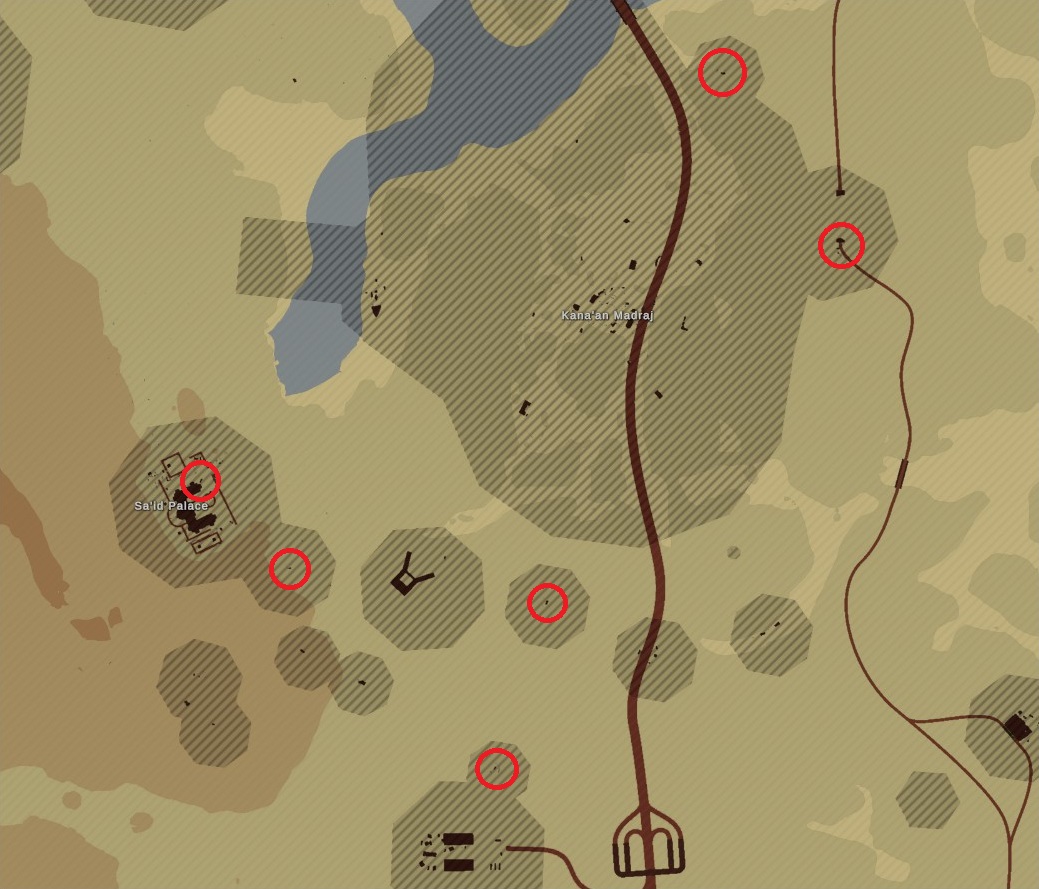
Arsenal III - Take 3 marking flares and place them on 3 of the 6 technical vehicles (pickup trucks with various guns attached) around Kana'an MadrajMarking flares are sold from Nomad for 6 tier 1 items each
Arsenal IV - 5 high tier gun parts
Arsenal V - Get the EUS B14 Key from the radio tower near Point Mike and take it to room B14 in For Knell (deadzone), where you'll then take a dossier
Reinforcement II - 10 bricks
Find clay (in the river) and craft charcoal (1 trunk = 1 charcoal) to make bricks
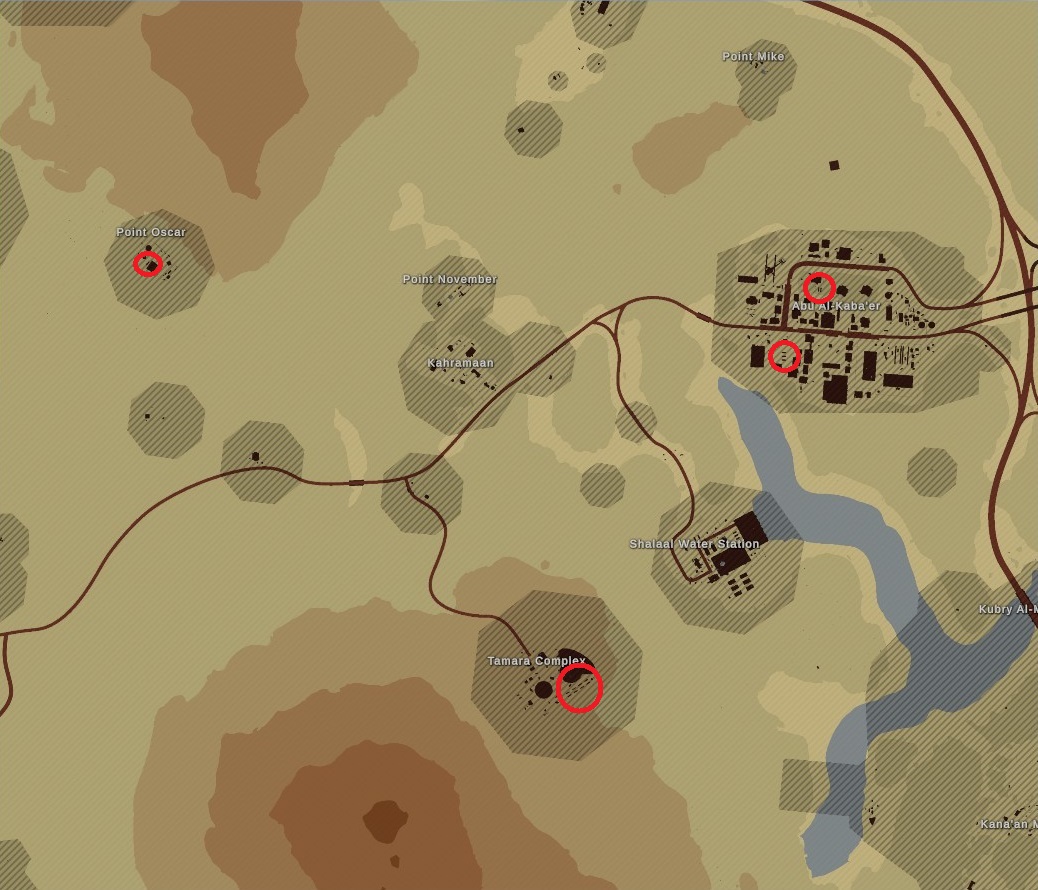
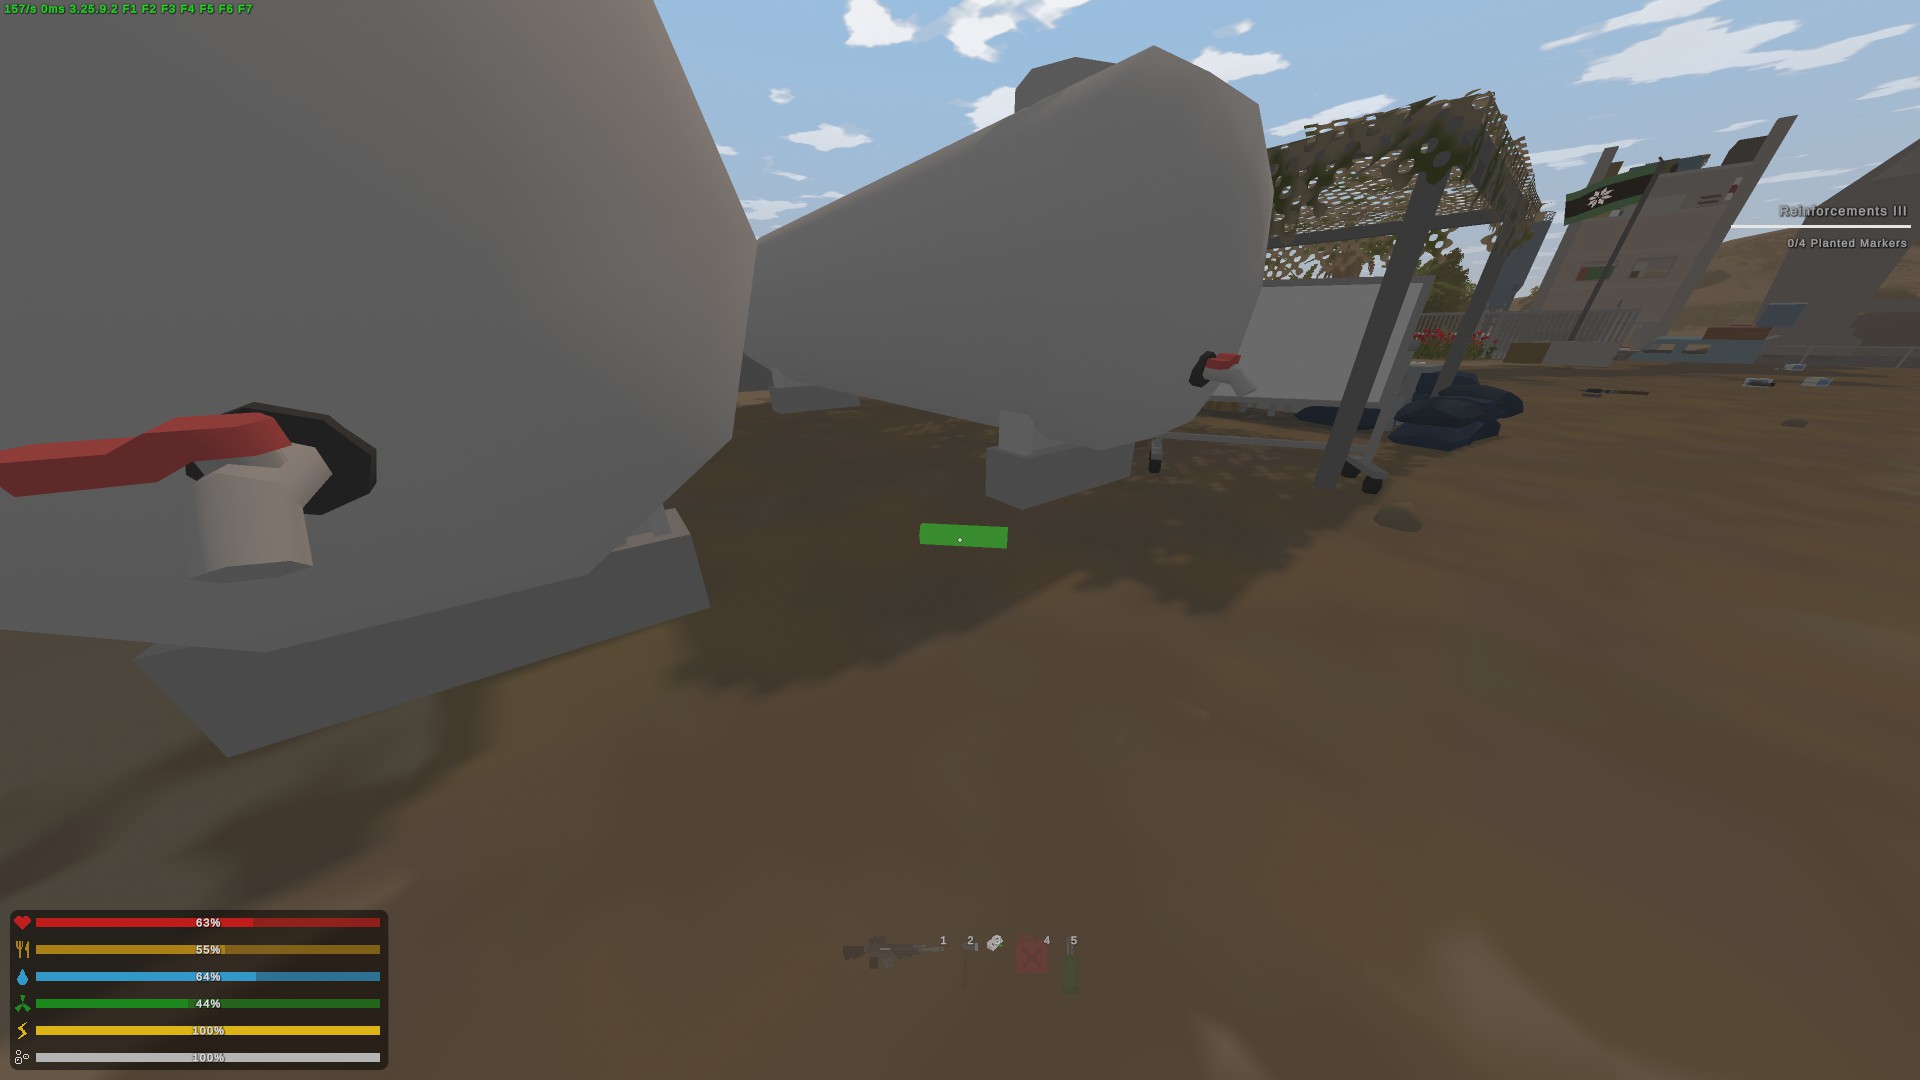
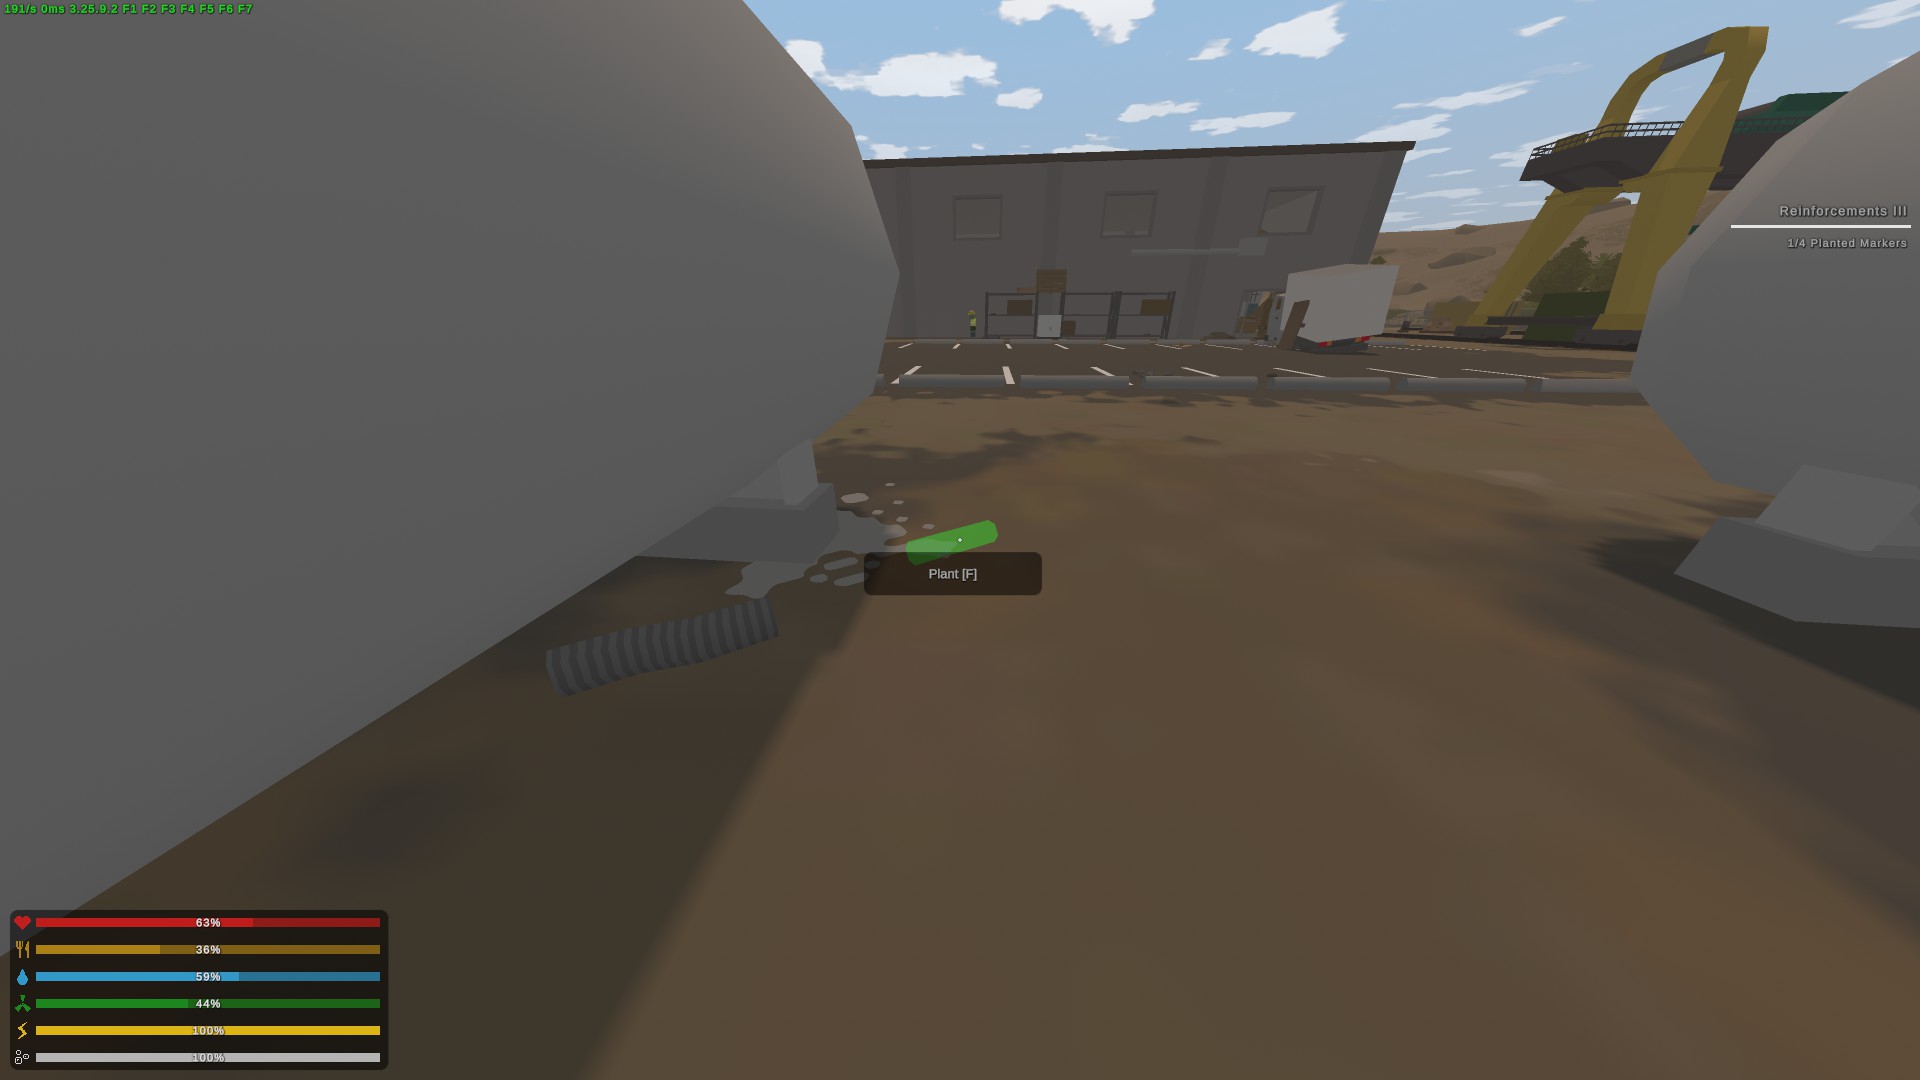
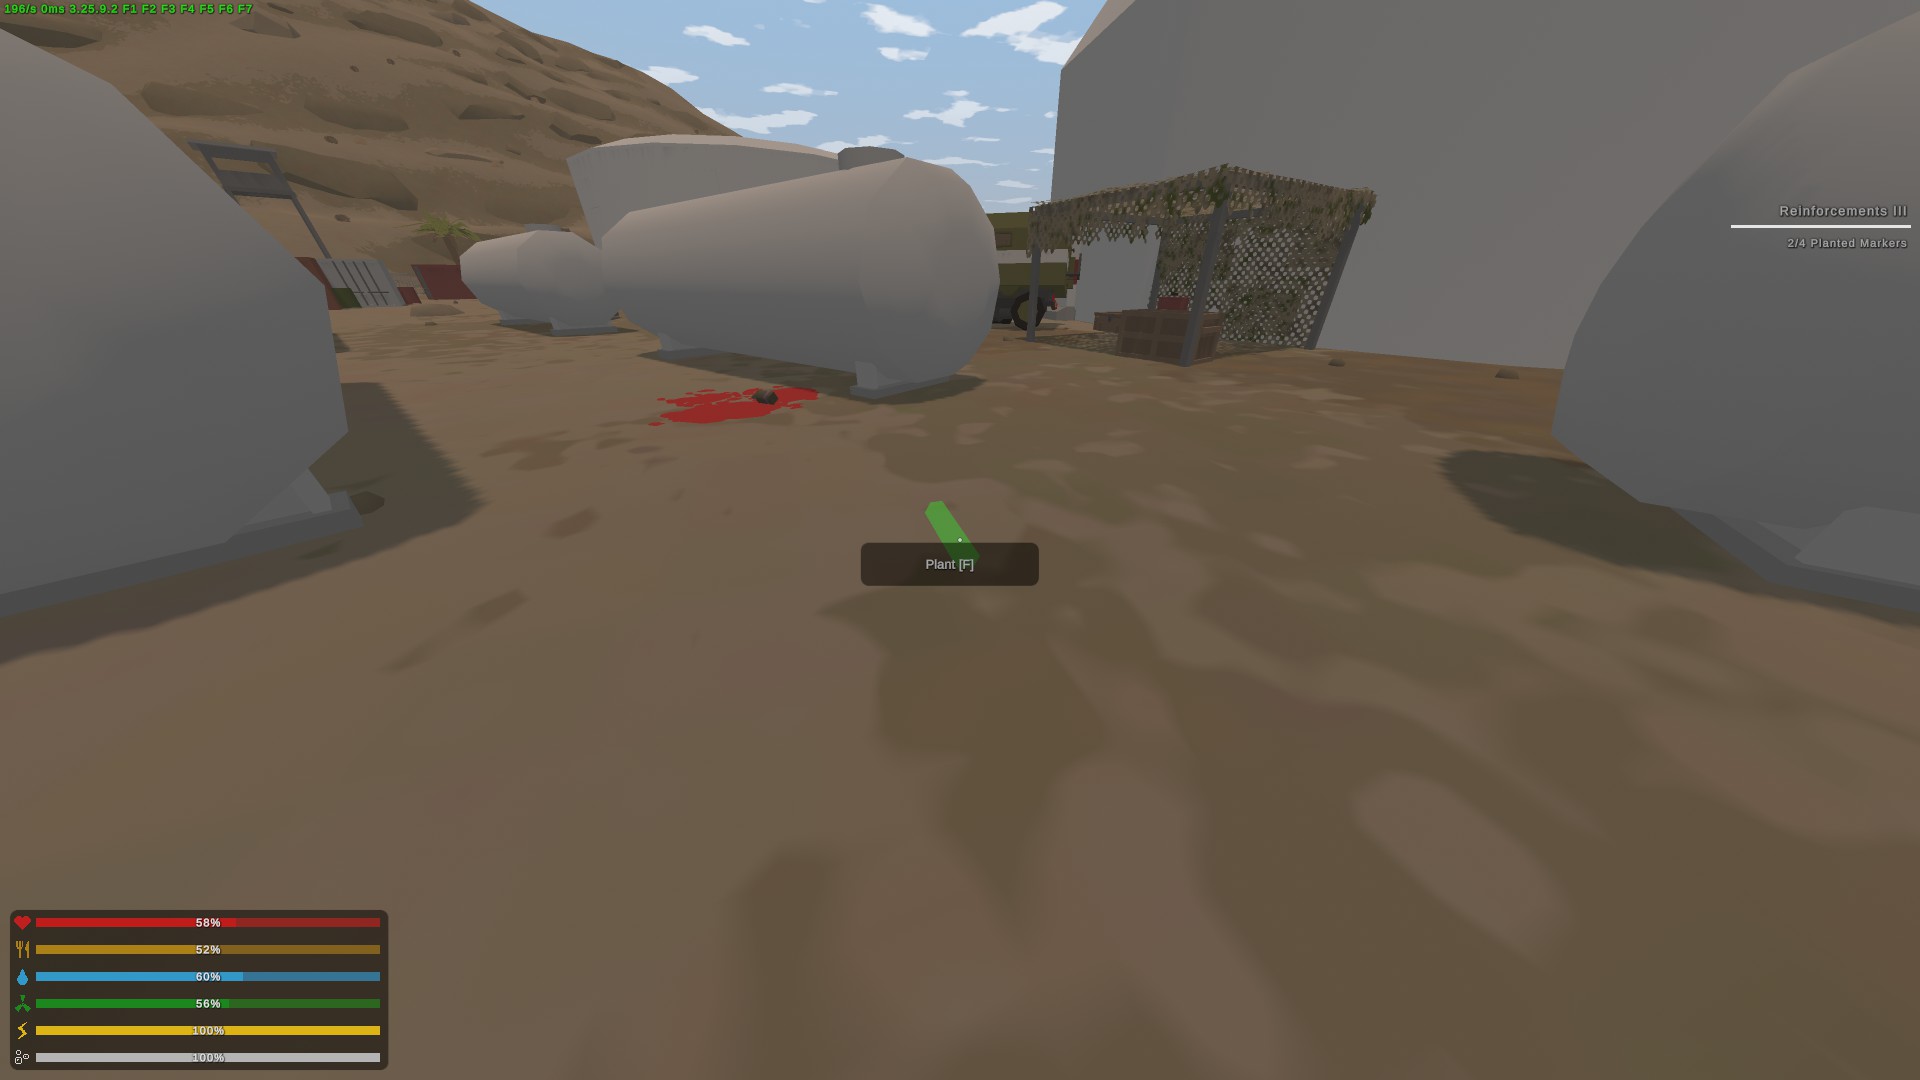
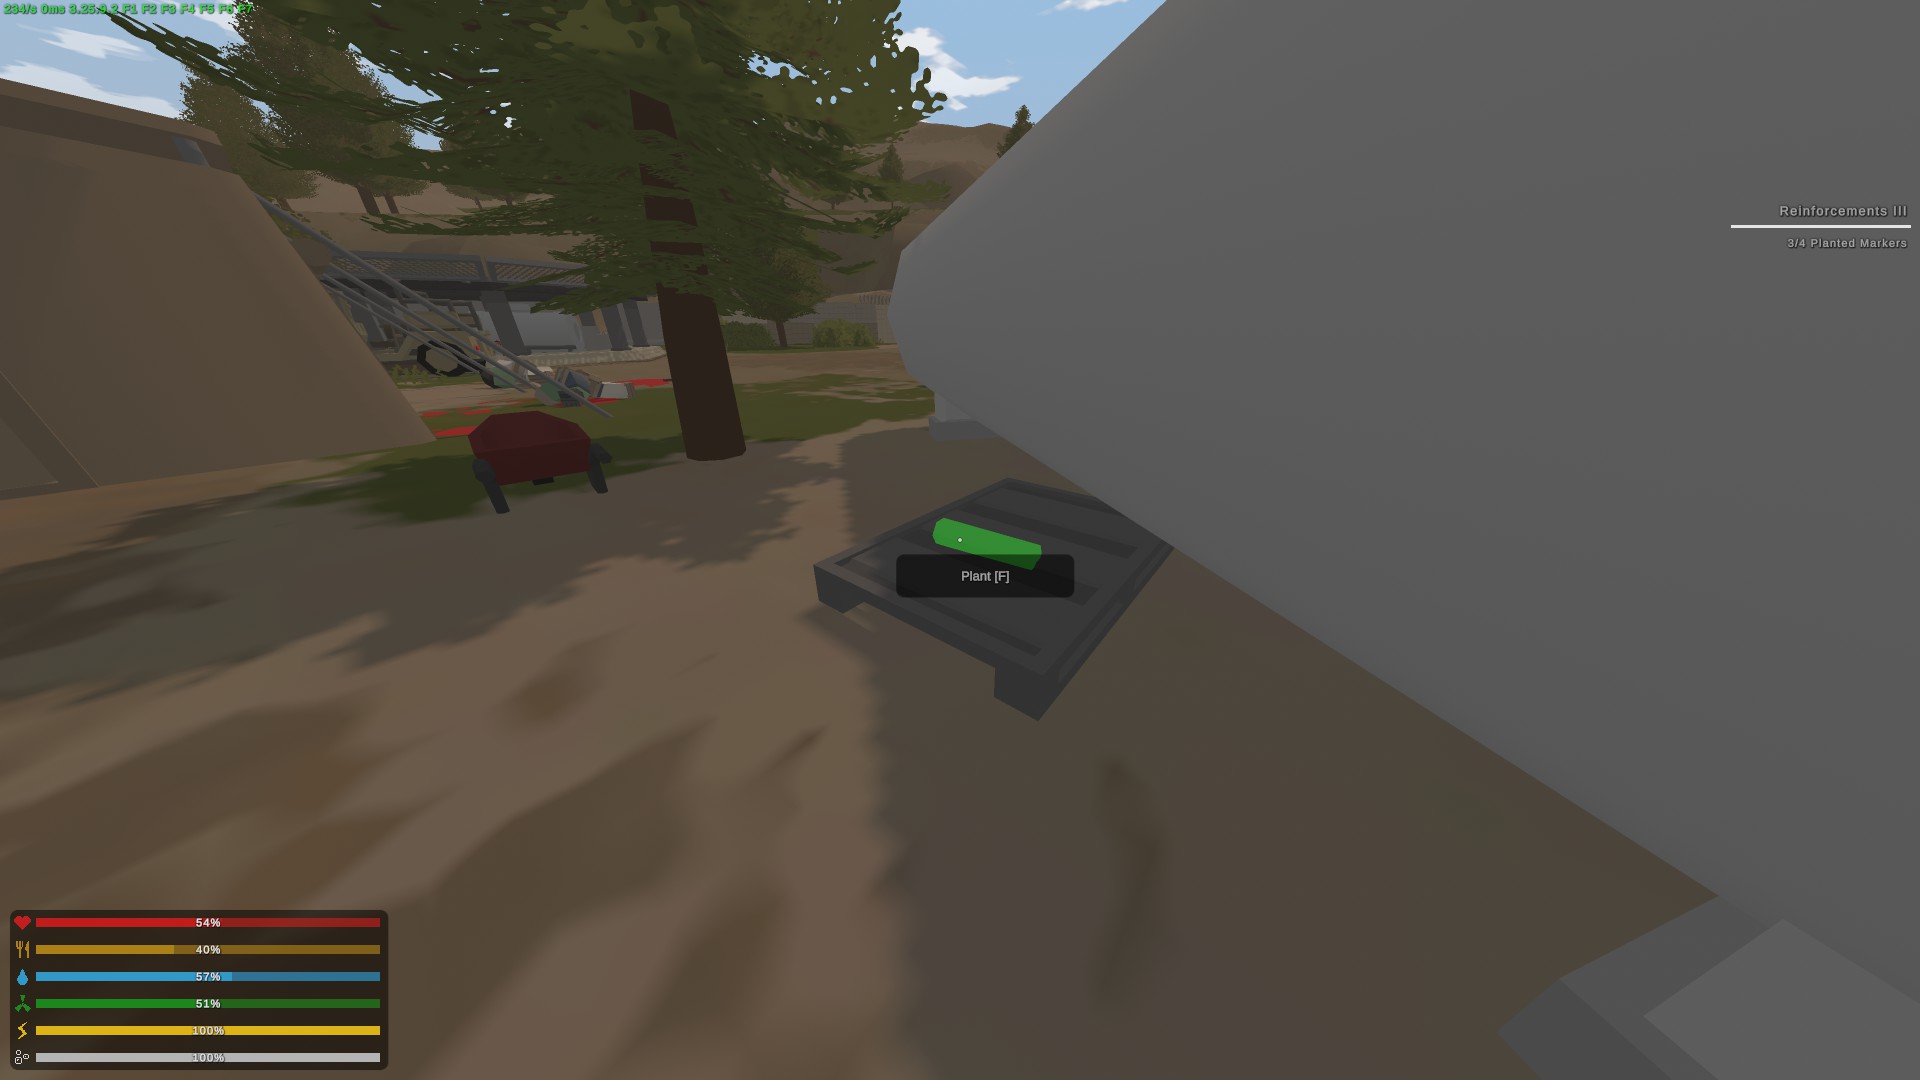
Reinforcement IV - Take 8 marking flares and place them on the radio towers around the map. You'll need to climb the ladders at each radio tower and place the flares on the platform.
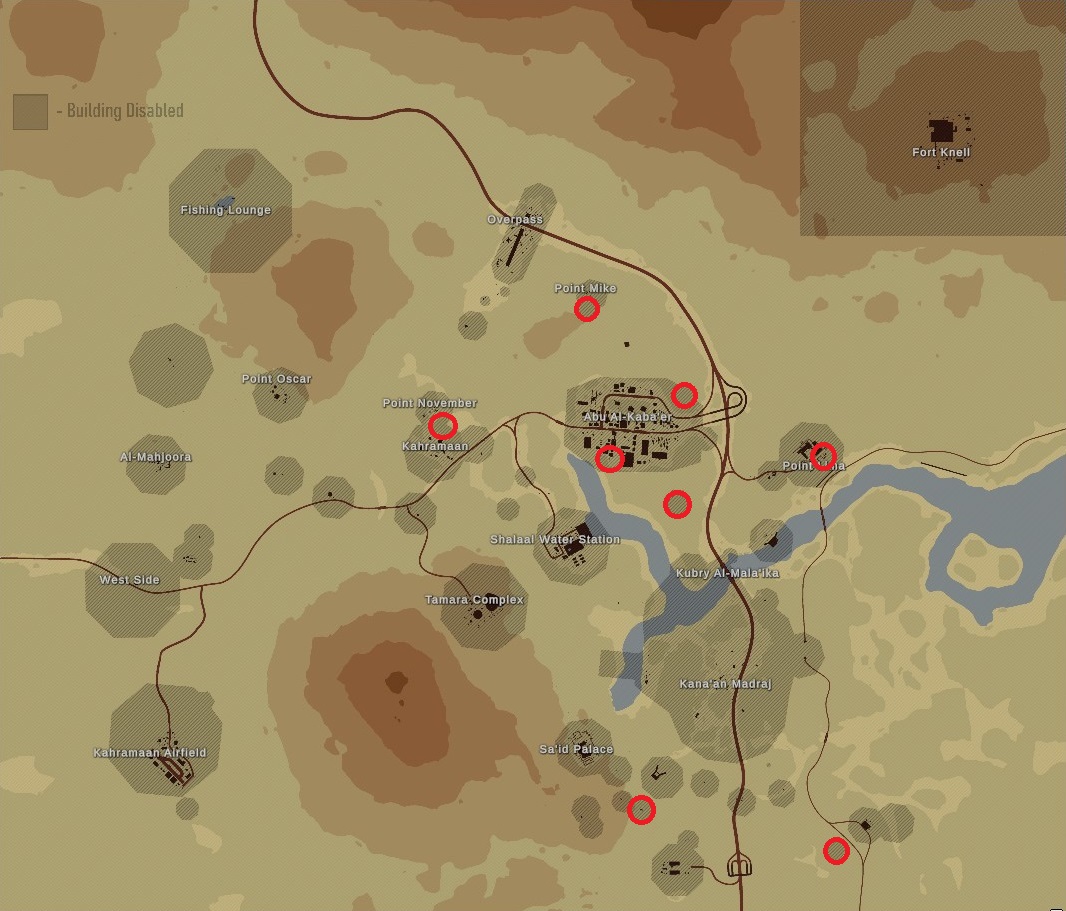
Reinforcement V - 4 solid state drives
Supplier II - 3 HQ fabric
Supplier III -
Supplier IV -
Supplier V -
A6 Polaris [WIP]
???

I've never played A6 Polaris, but from what I am aware, you have you finish all the quests.
Buak
Find someone having a good time on Buak.

Learn about the past on Buak.

Experiment with waffles on Buak.


Right off the bat, Buak is much different than most other maps. From what I've played, a lot of the mechanics and crafting recipes are different. Clothes are mostly found in worn condition and you have to find more clothes or dirty rags to get thread. Use this thread to repair your clothes and gain massive inventory space. Don't forget to punch boxes, dressers, drawers, medkits, and electronics for more loot. You have to make your own car but first, make sure you grab a vehicle blueprint. I'm going to include some helpful guides specifically for Buak because this map is so different and these fabulous people did a great job explaining it:
https://steamcommunity.com/sharedfiles/filedetails/?id=3003213215
https://steamcommunity.com/sharedfiles/filedetails/?id=2997636937
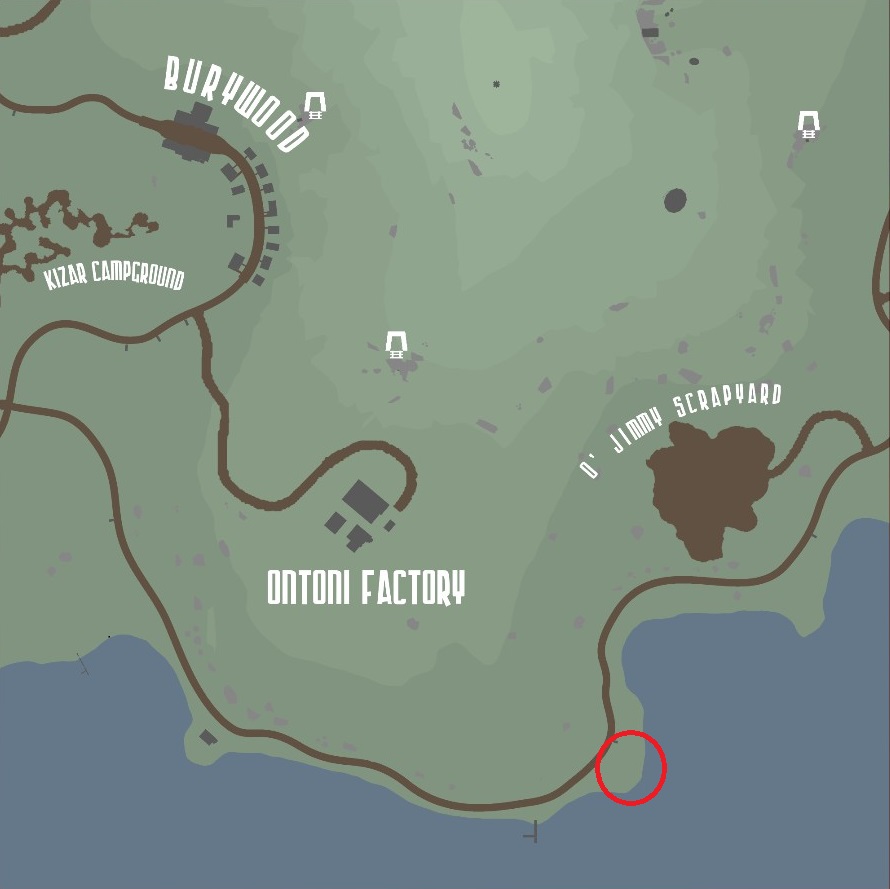
Once you've gotten some supplies, make sure you have a tire, a piece of paper, and a glass shard (break some windows or scrap glasses). Take these southeast of Ontoni Factory:
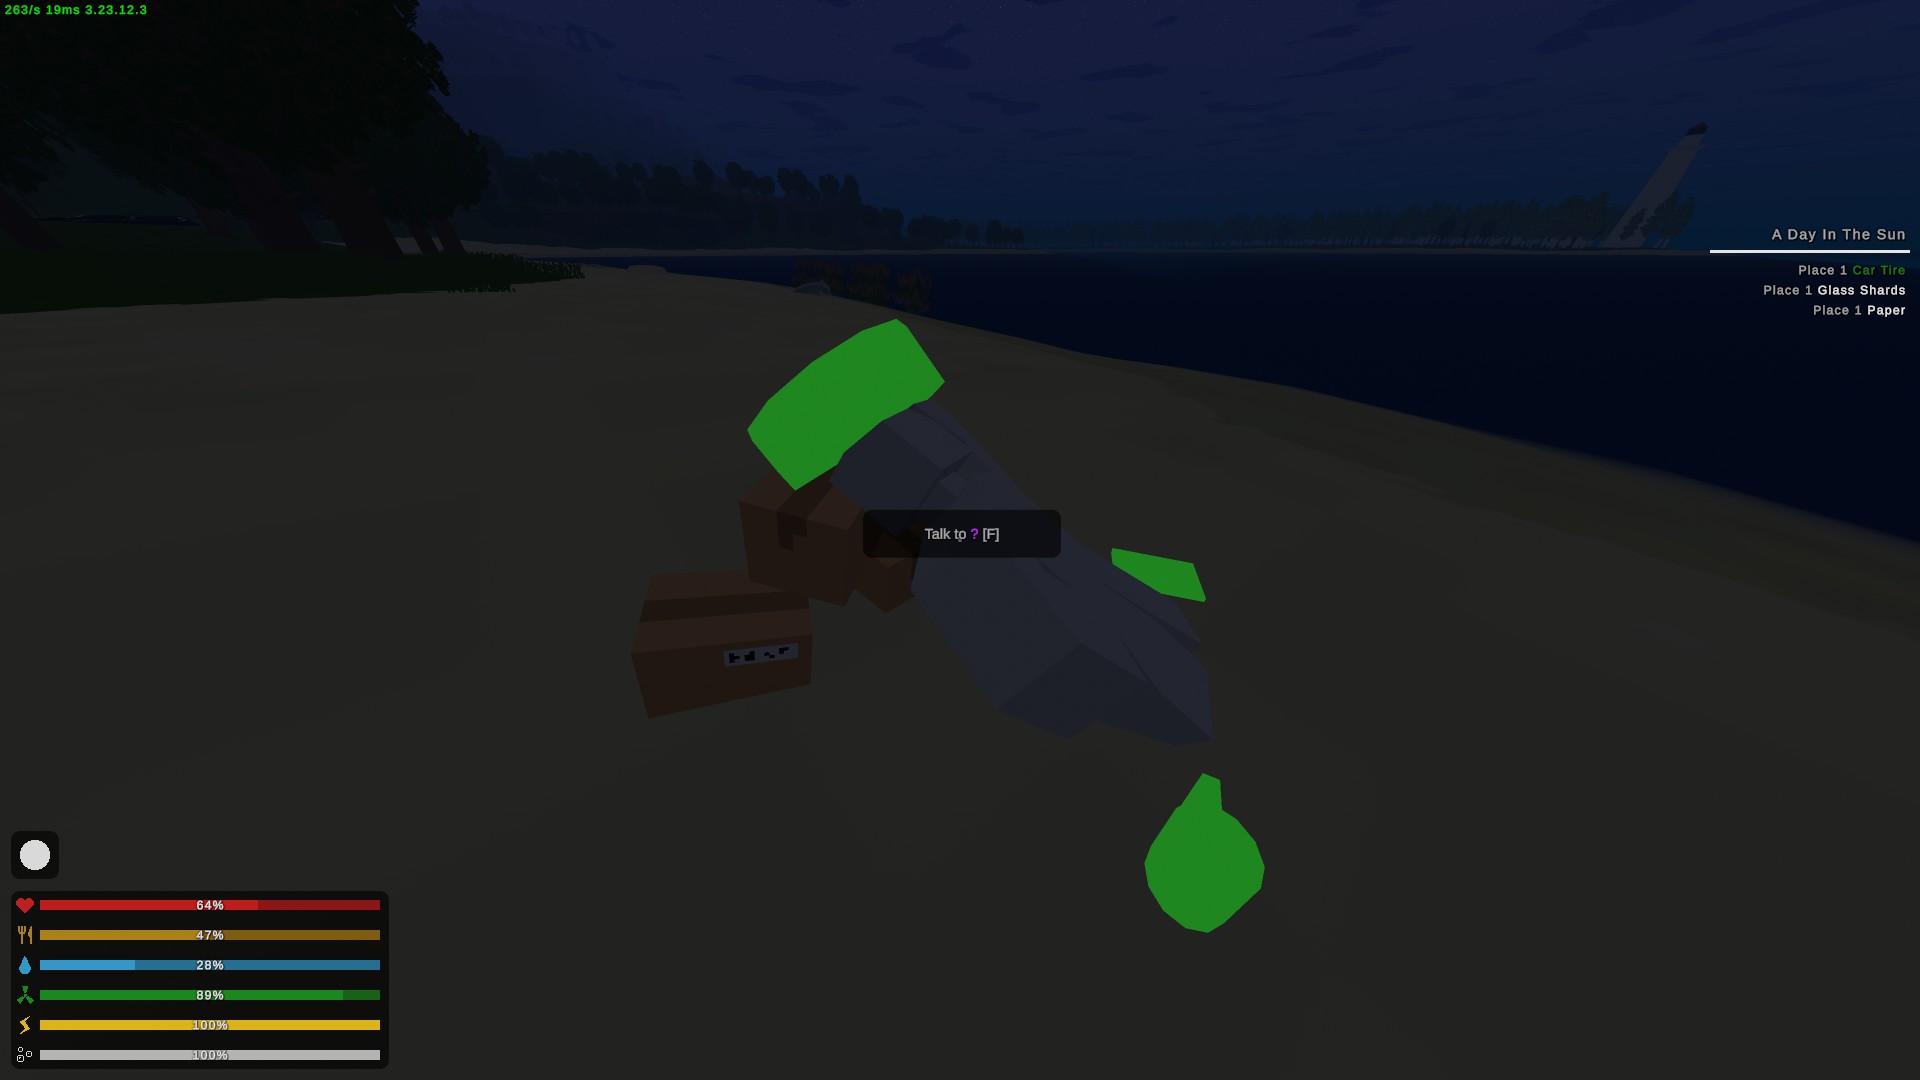
You'll find a mannequin named ? who you'll want to interact with. They'll give you the quest A Day in the Sun, requiring the mentioned items to be placed in their respective locations:
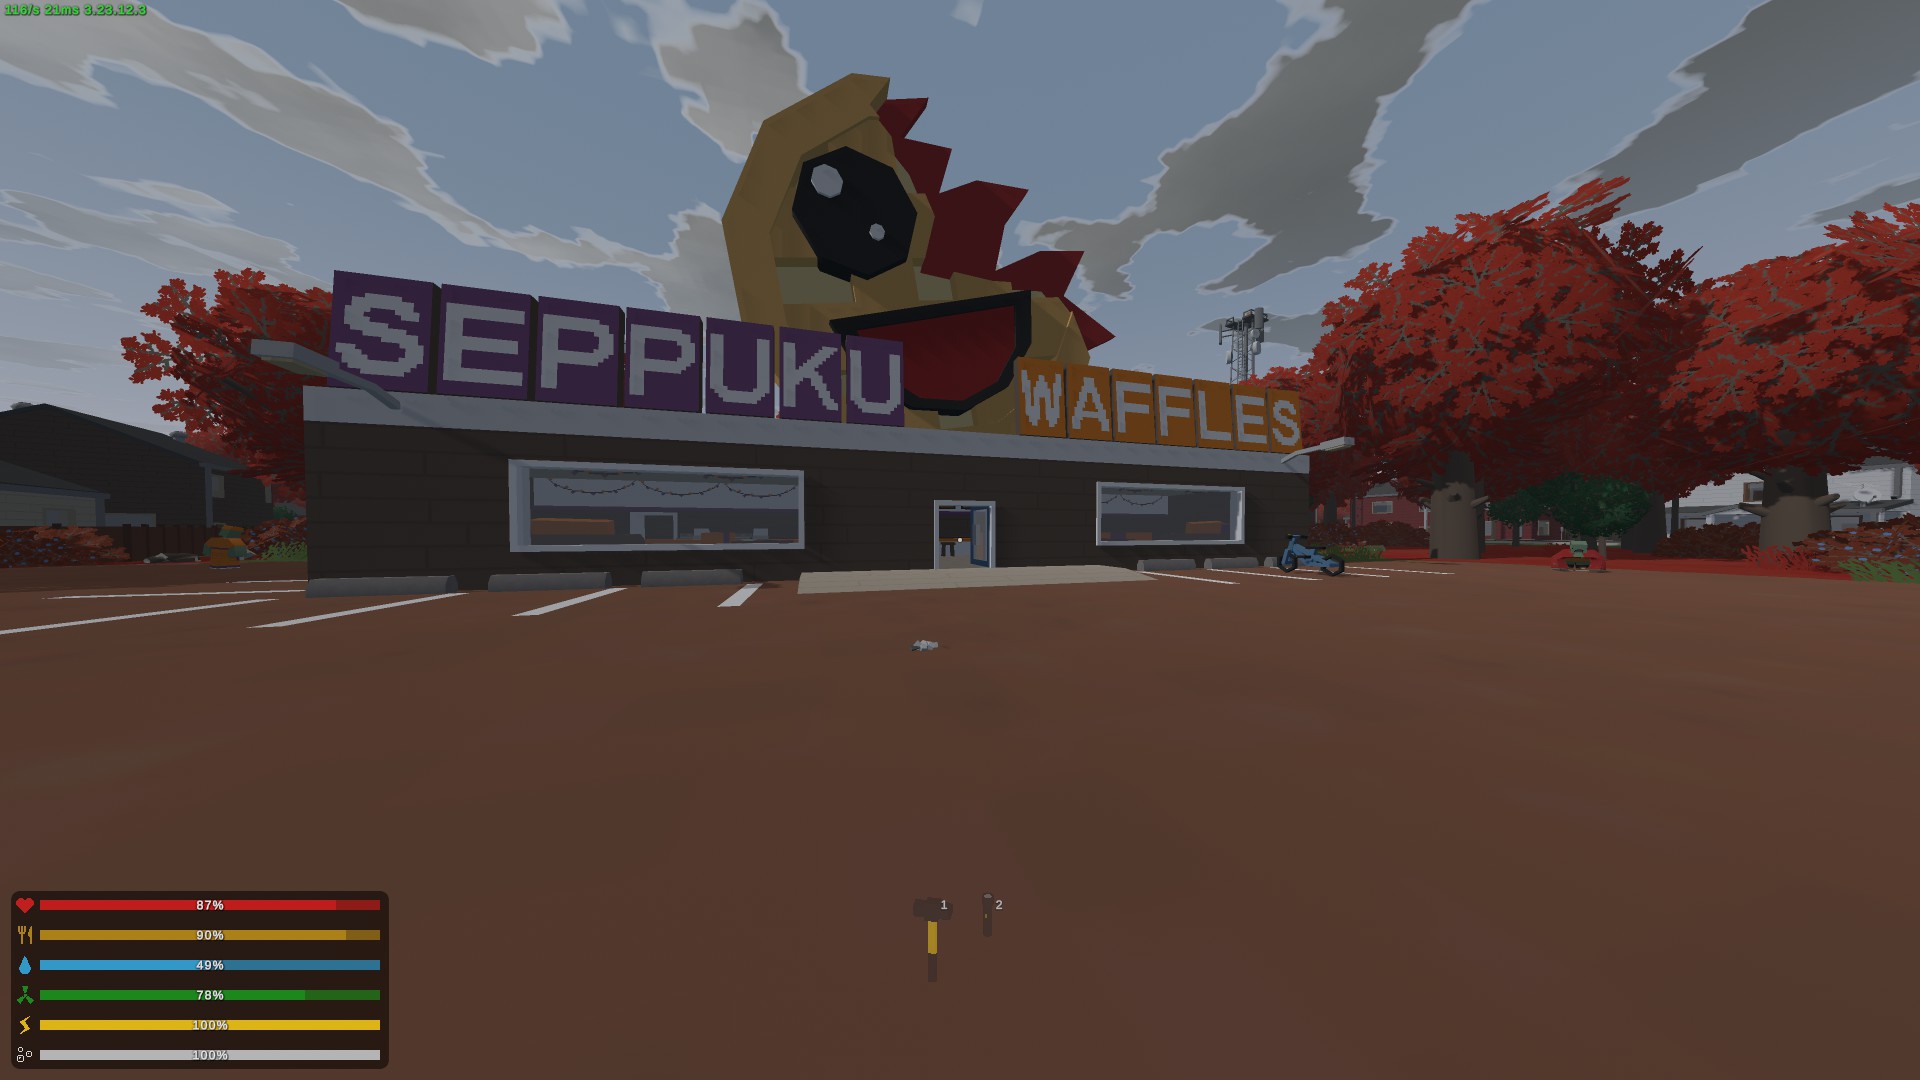
You'll get the achievement when you interact with ? again and complete the quest. Find your way to a seppuku waffles (great name) and try to snag yourself a taco waffle and eat it for Do You Like Waffles?:
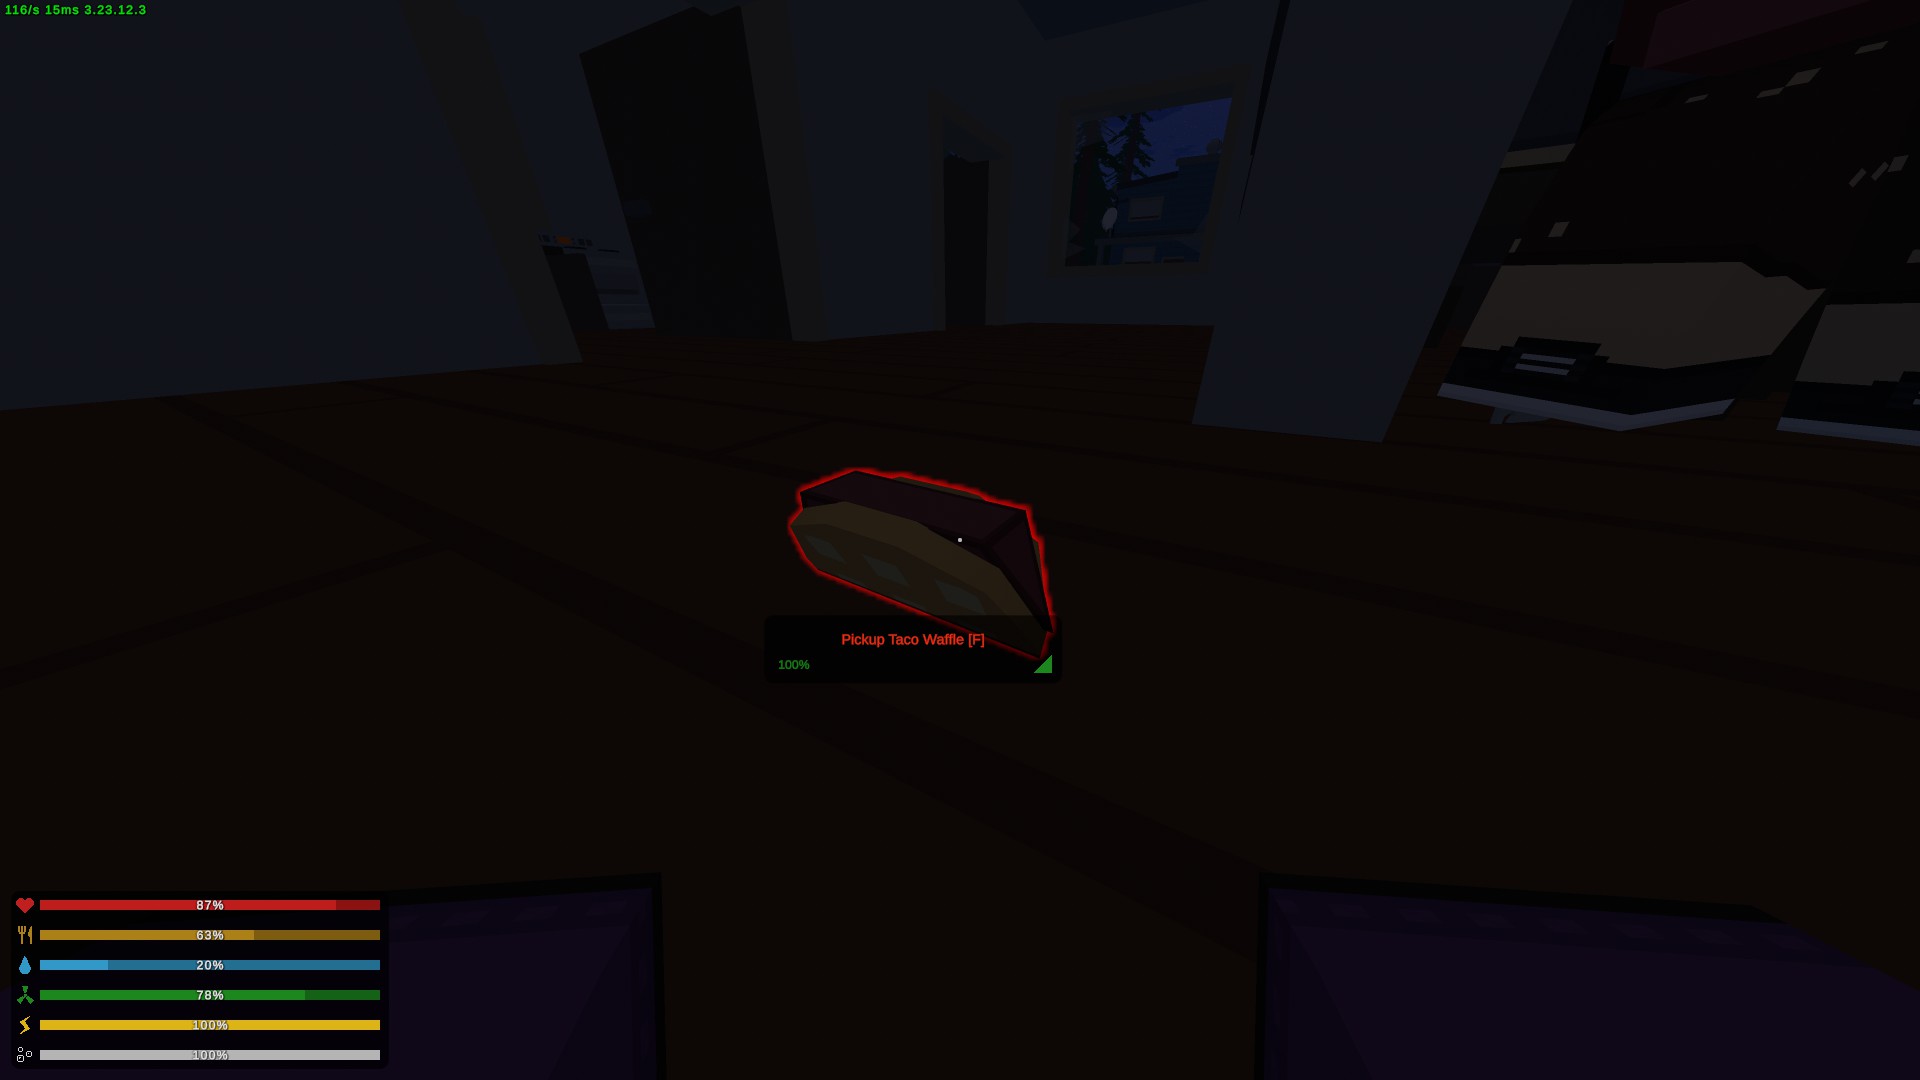
If you can't find a taco waffle, you can snag a round waffle (has to be round) and then go hunting. You're going to need 4 cooked venison and 1 round waffle to make a taco waffle.
For False Promises and Anomaly-7, I referenced this guide at first:
https://steamcommunity.com/sharedfiles/filedetails/?id=3000856681 but then found this video:
I'll let them explain it since I don't see a better way to go about it lol. All you have to do from this point forward is follow the mainline story quests until the end and you'll get the achievements. For the video, open the transcript in the description and search for the quests you need help with. That's what I did and it was really helpful in completing them all legit.
BUT WAIT, there's more. When you get these achievements (plus A Day in the Sun), you will also get some cosmetics in your inventory you can wear in game :D
Escalation
Call in a strike package using an LTLM on Escalation.

Bring down an airdrop with a missile on Escalation.

Craft every suppressed gun on Escalation.

Invest too much money into Gurt on Escalation.

For Bombs Away, you need to have done the Forceful Acquisition achievement OR used some airdrop grenades from the Artemis Platform and gotten a blank strike module. To my knowledge, you can only get the blank modules from the airdrops and you're going to need them to craft one of the different strike packages called in with the LTLM. When you are able to craft a package of your choice (precision strike, bomb strike, or mortar strike), just launch it at something and you'll get the achievement. To get Forceful Acquisition started, make sure you have a biohazard shirt, biohazard pants, and a gas mask and head to the Artemis Platform. Loot around but make sure you head up to the control room under the helipad
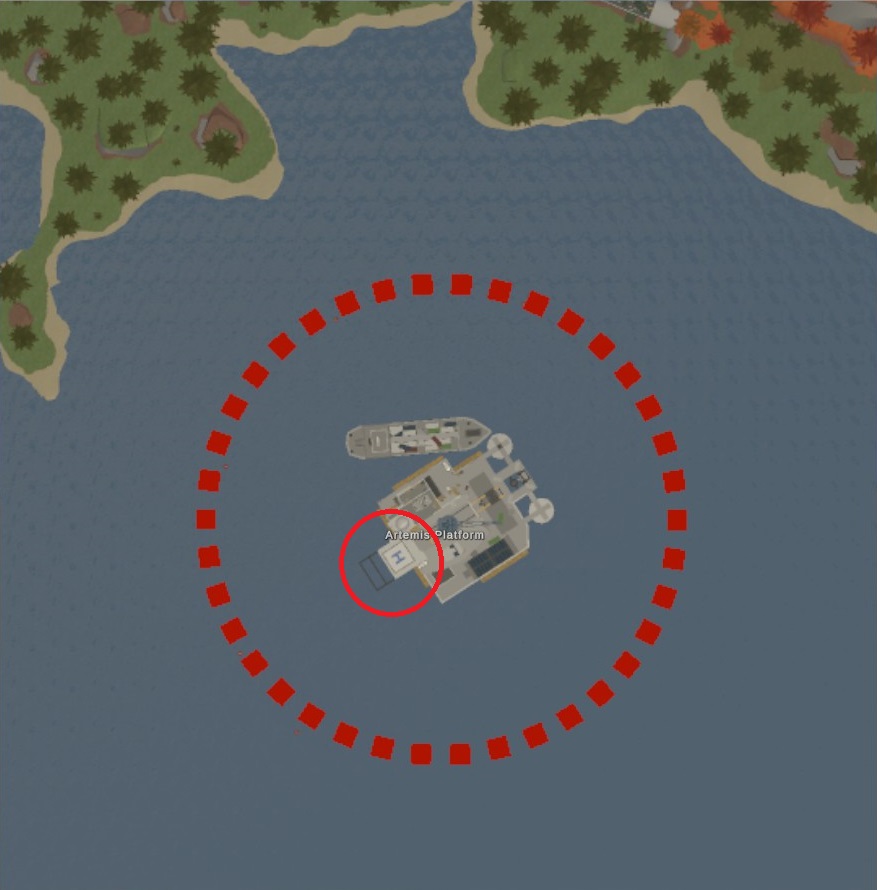
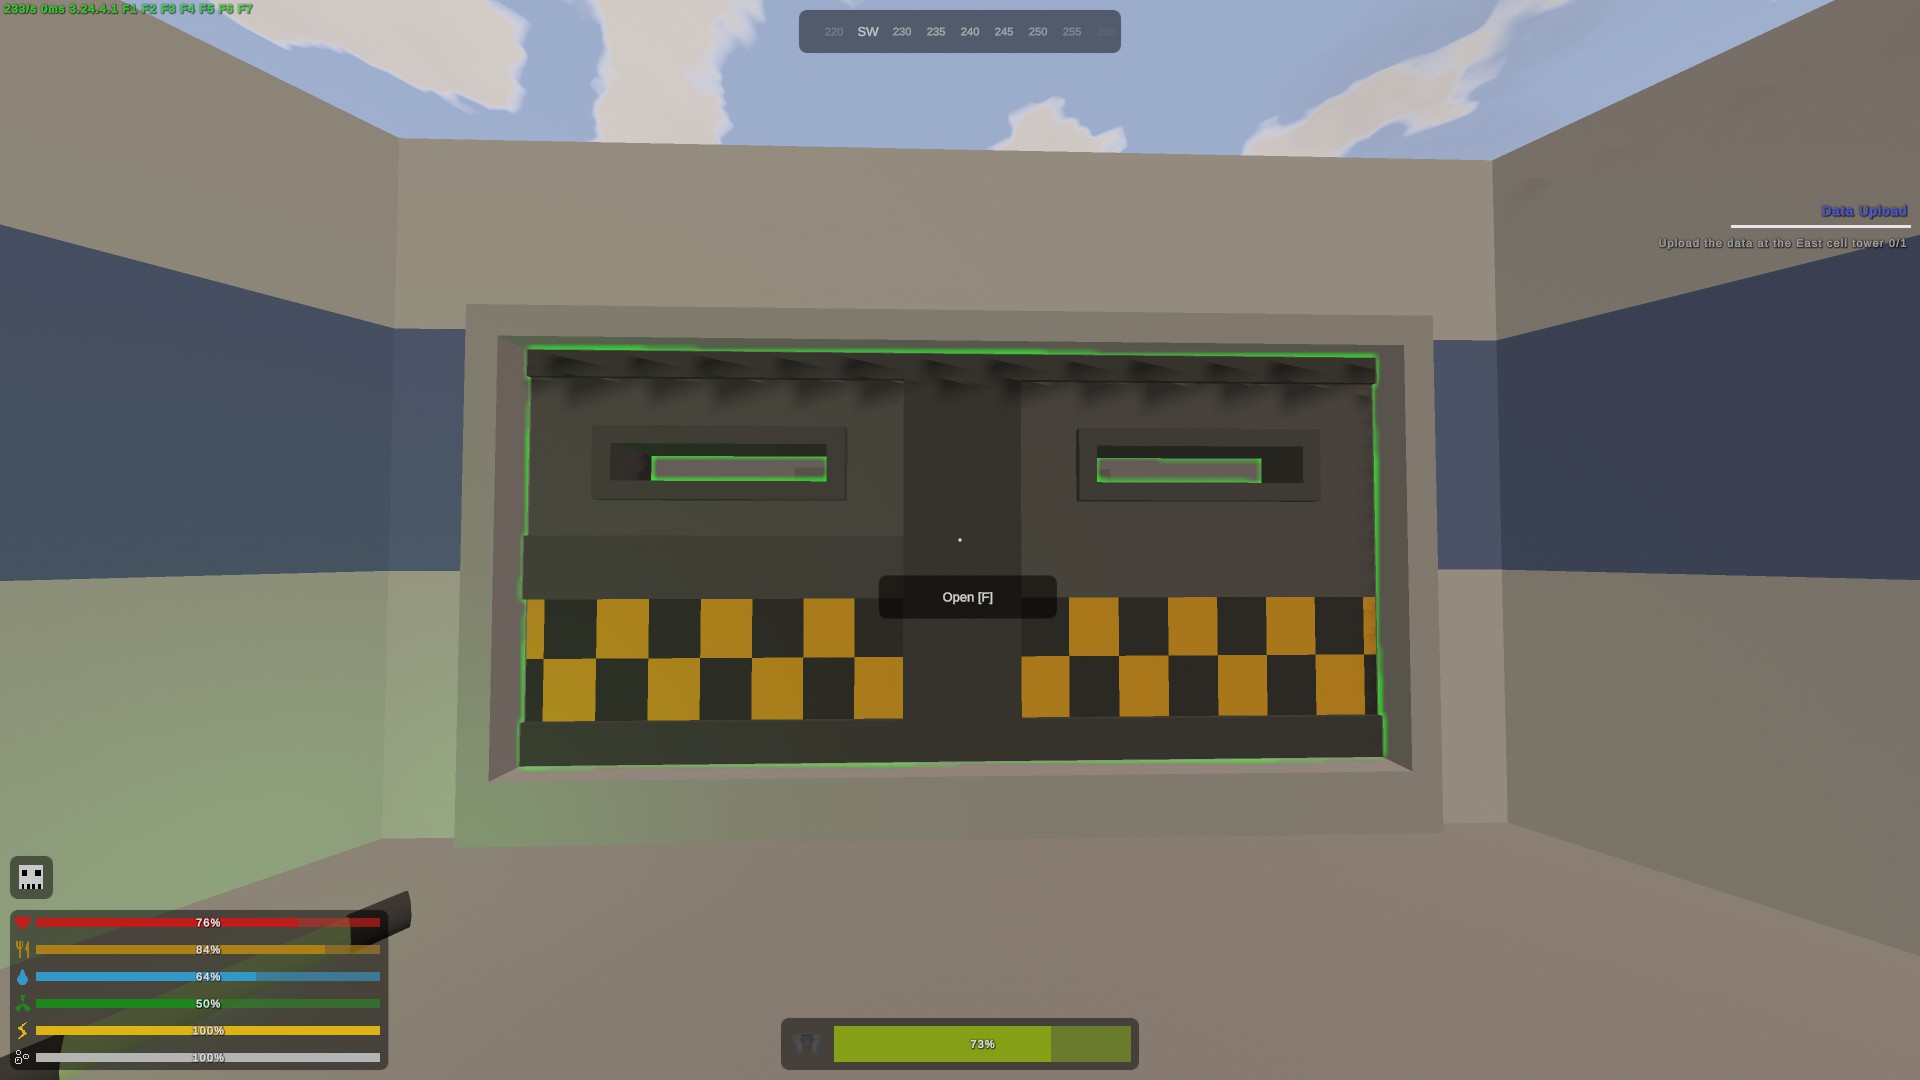
There's a door you have to interact with to open. Once you're inside, there's a small little window with an airdrop module. Punch the window and you'll get the module
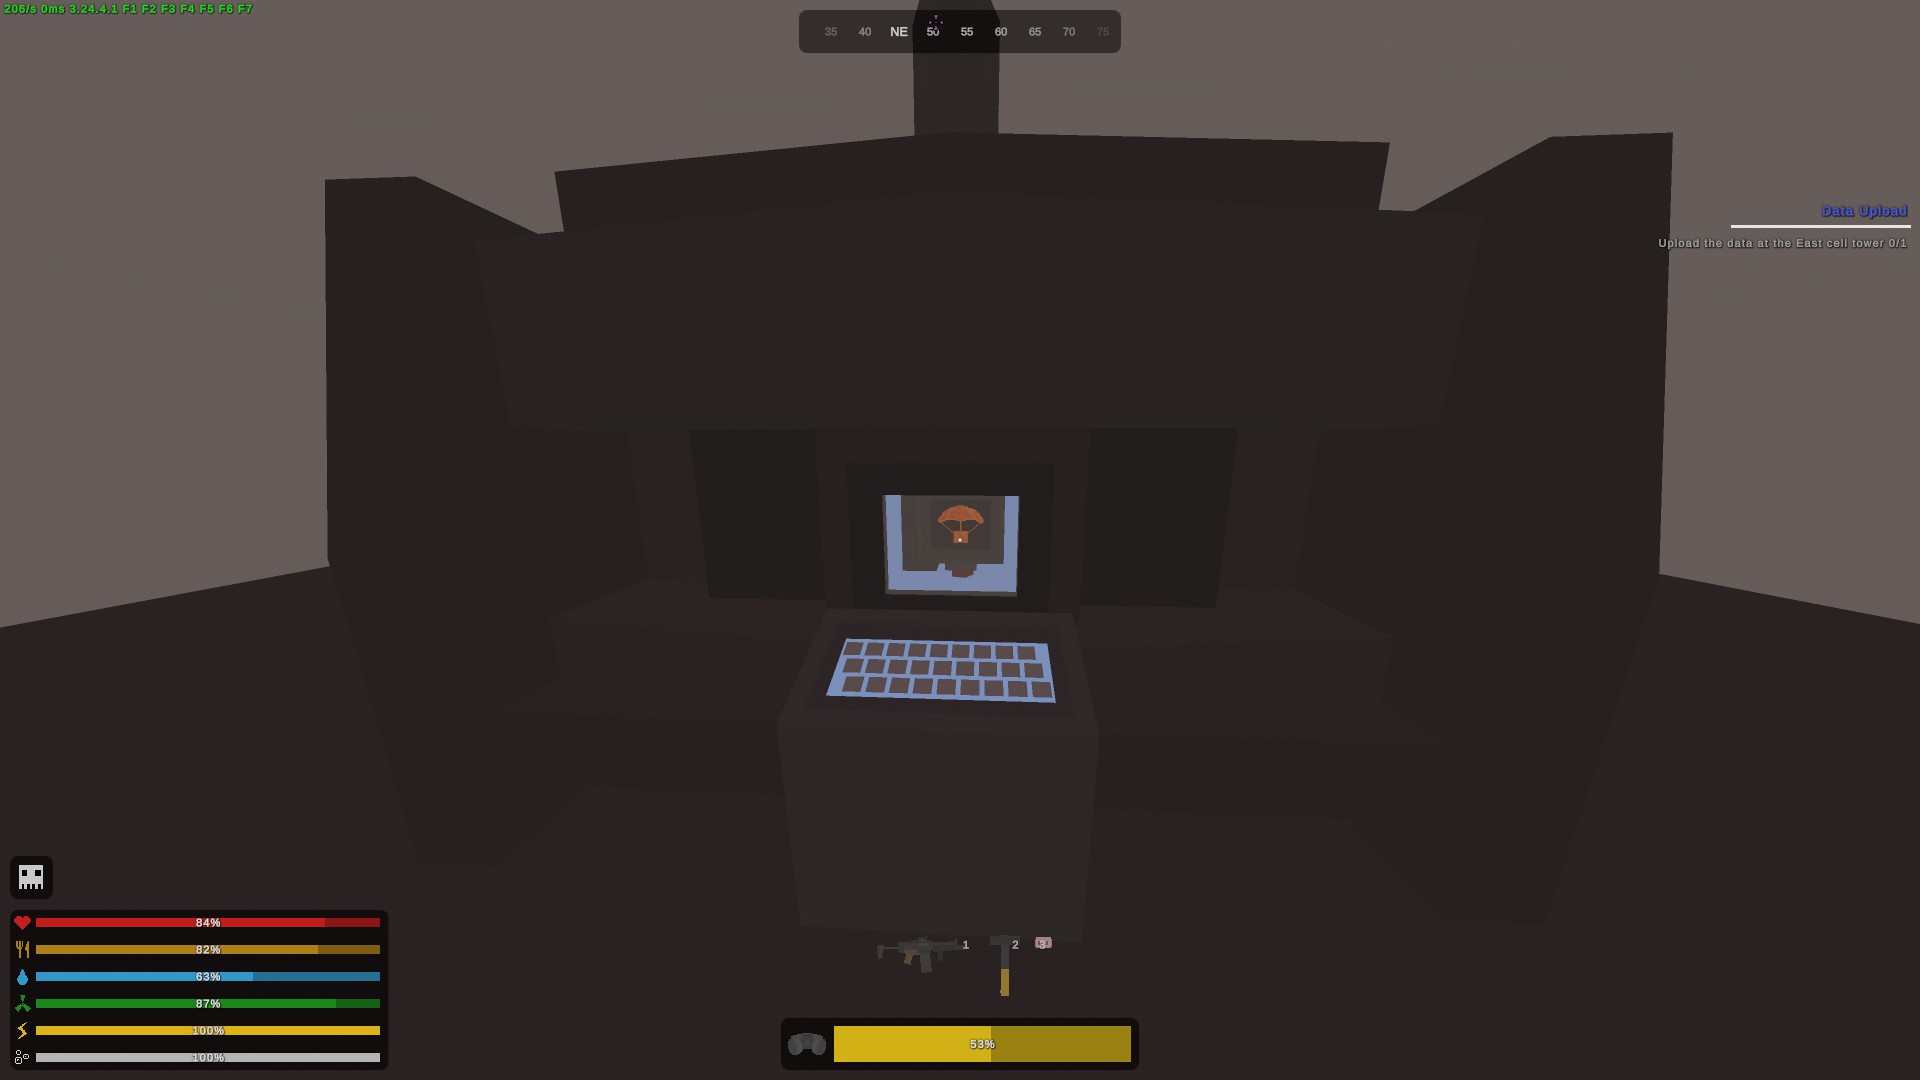
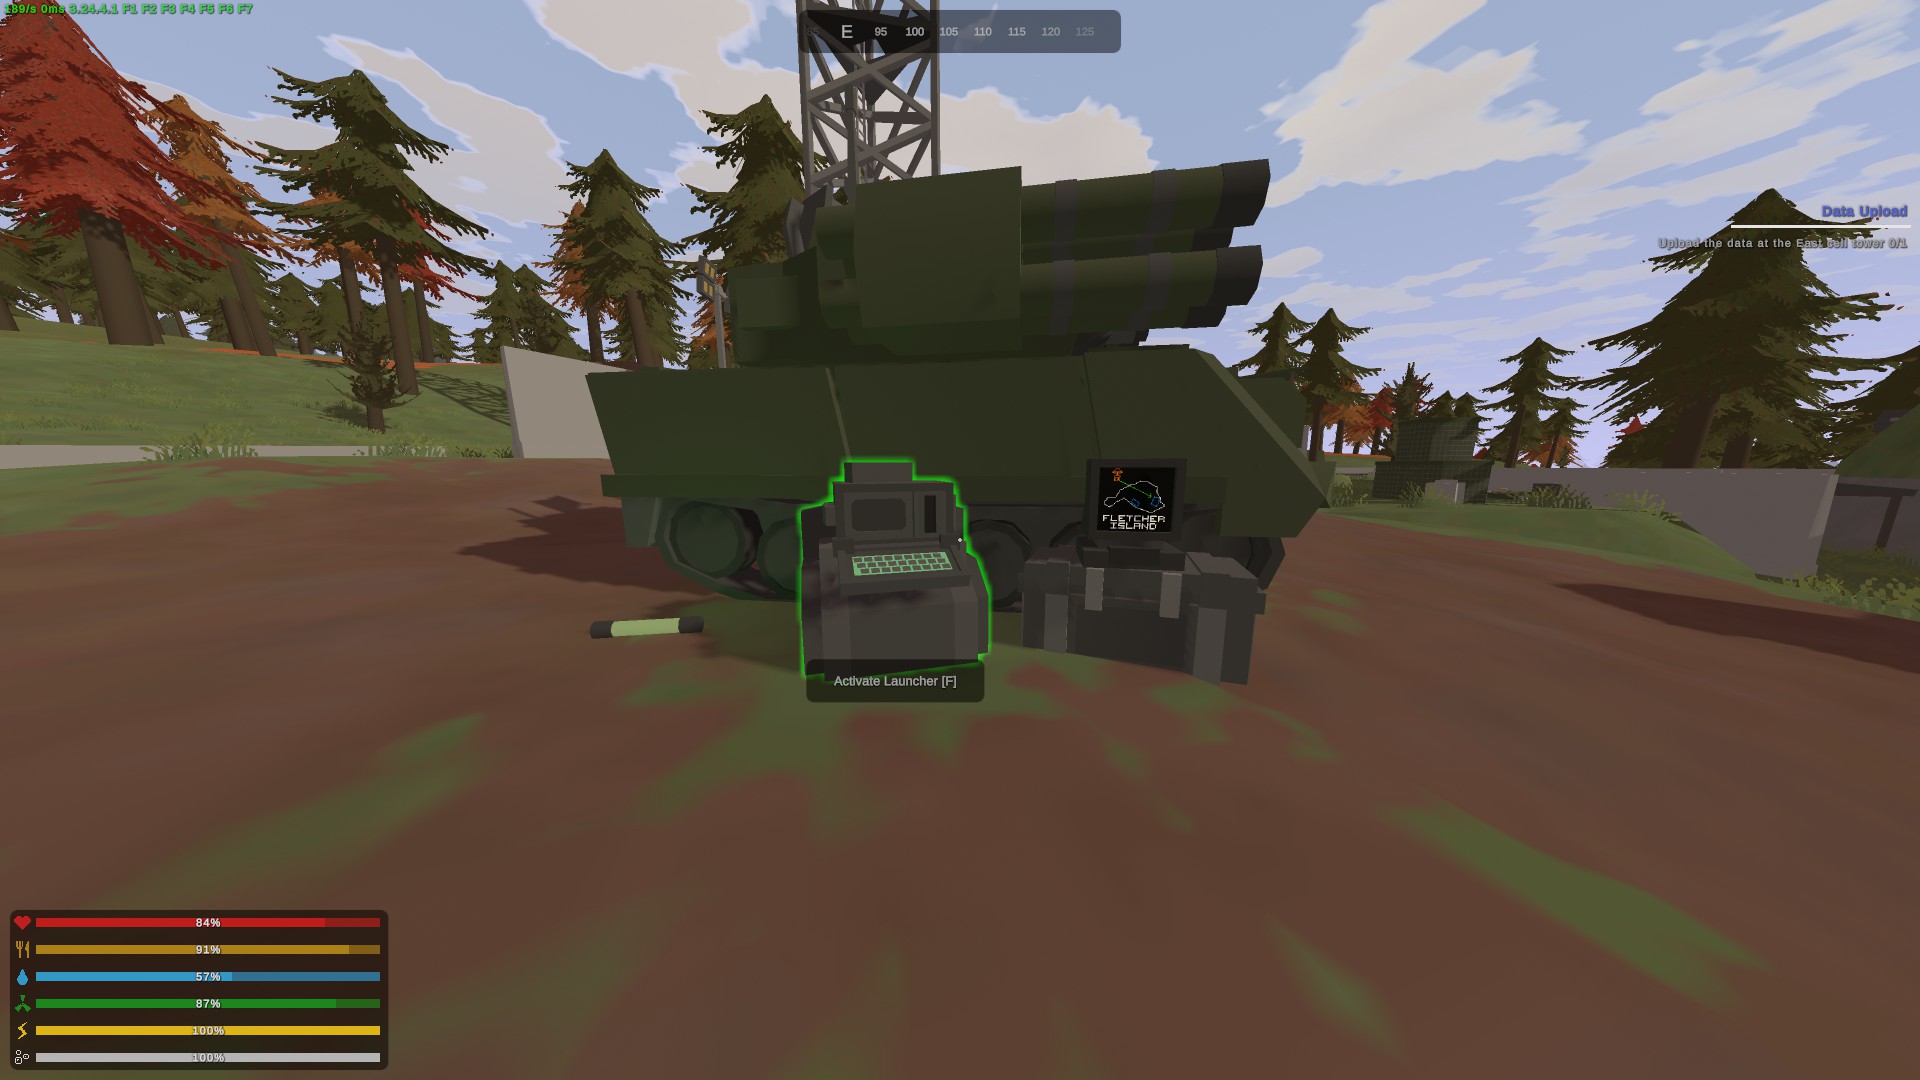
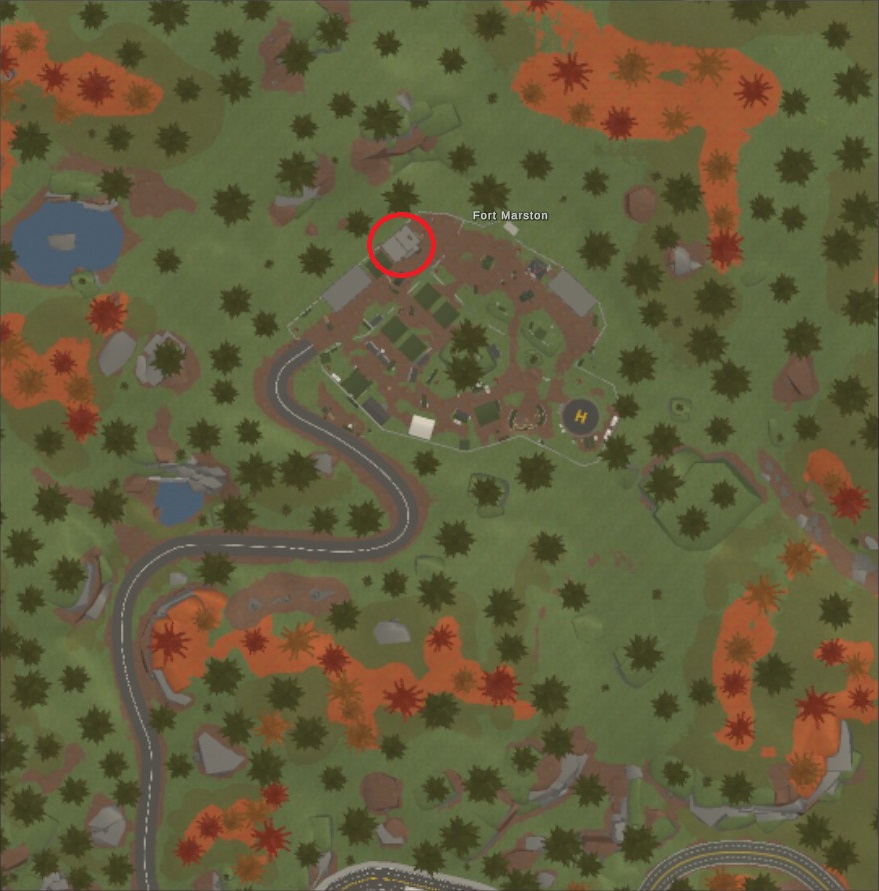
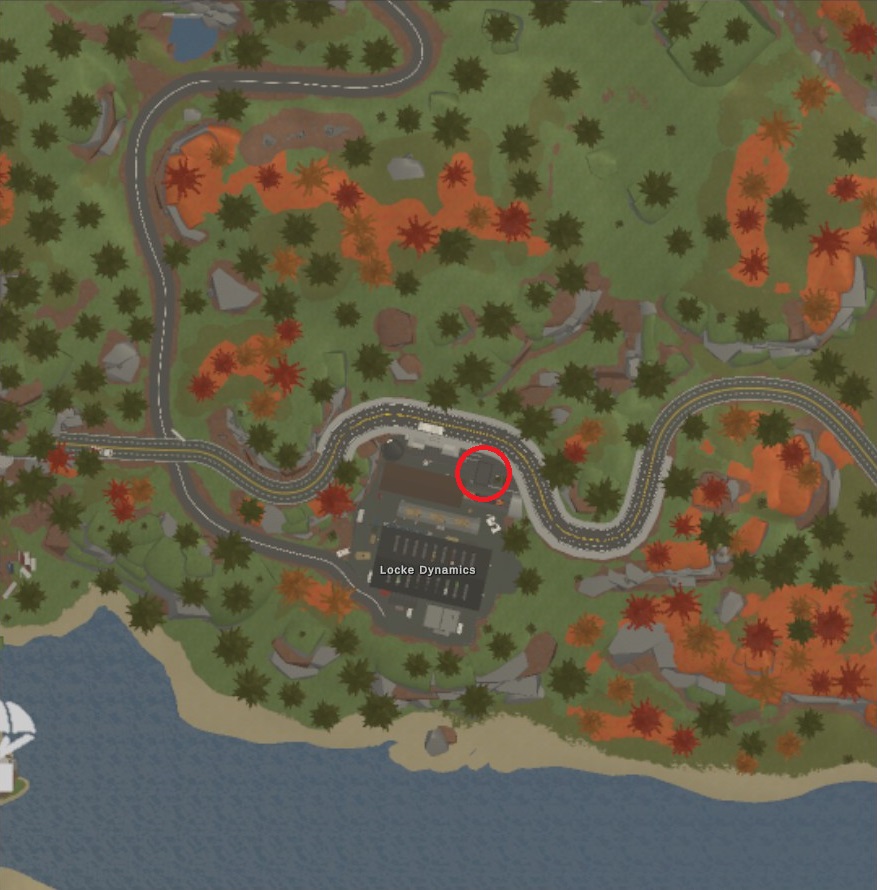
Now that you have aquired the airdrop module, you wanna head over to a specific tank in Fort Marston
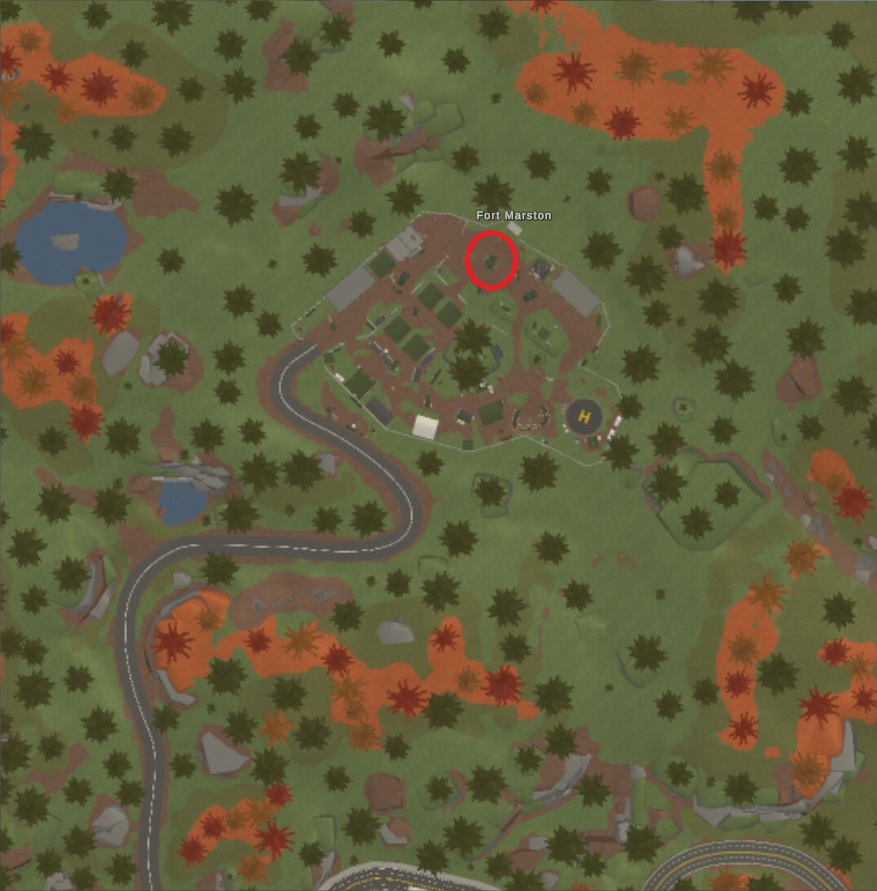
Call in the airdrop at the launcher and you'll get the achievement. The airdrop will land on Fletcher Island :)
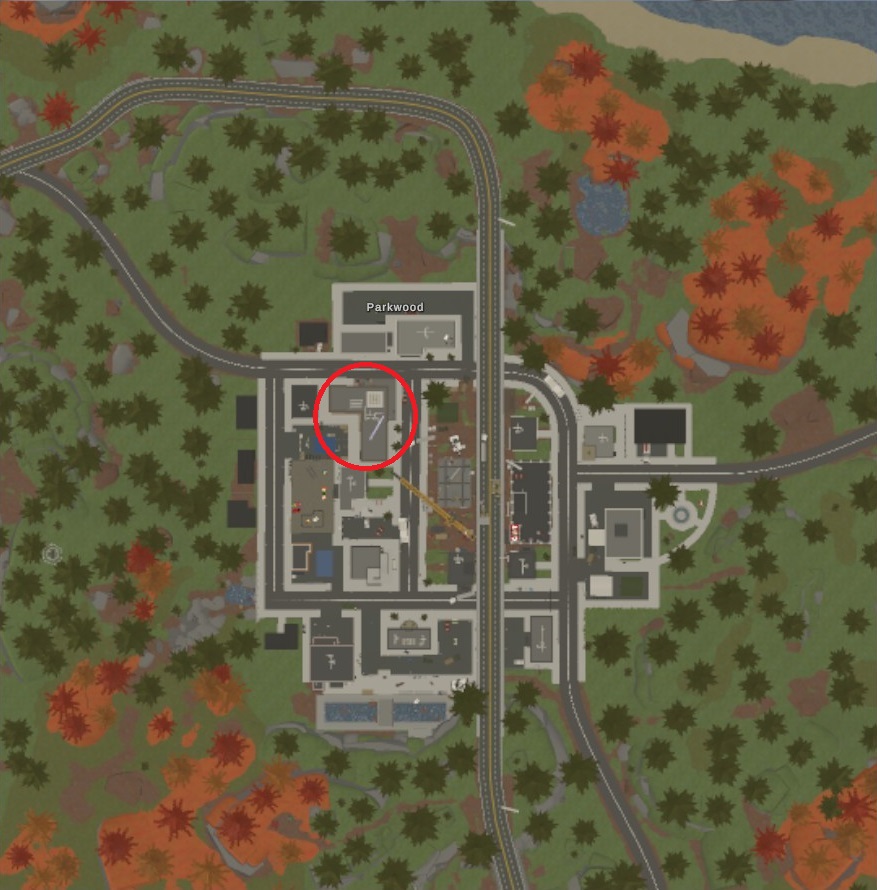
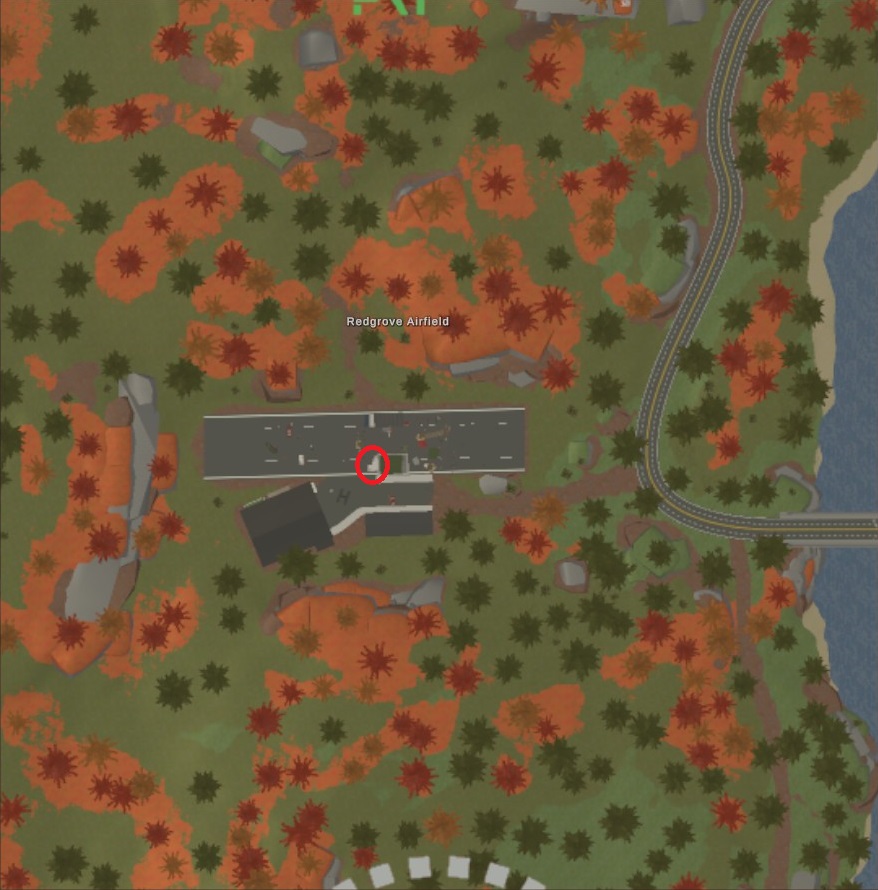
 At first I thought you had to complete Dead Silent with multiple baffle kits but it appears you can remove it and reapply it to another gun and it still counts for this achievement. You do not need more than one baffle kit. I know there is at least one baffle kit in the locked AR room under the jail in Parkwood (do the Dirty Job quest while you're at it). You can also buy them for 100 GRB from Chuck's attachment shop in the safezone (he's in one of the rooms underground).
You'll need to silence 23 different guns in total, the list is as follows:
- Asset-SP
- Bisey-SP
- Bluntforce-12-SP
- Centare-SP
- Cryogen-12-SP
- CSO-25-SP
- ECS-25-SP
- ECS-25-BLK-SP
- Empry-SP
- Government-SP
- Government-SP "Vaquero"
- Kompact-SP
- M1911-SP
- M1911-SP "Accelerator"
- Nacht-SP
- Private-SP
- RSS-03-SP
- Tanto-SP
- Tonjin-SP
- Tukavtomat-SP
- Ulfberht-SP
- Uzey-SP
- Valhalla SGNL-512-SP
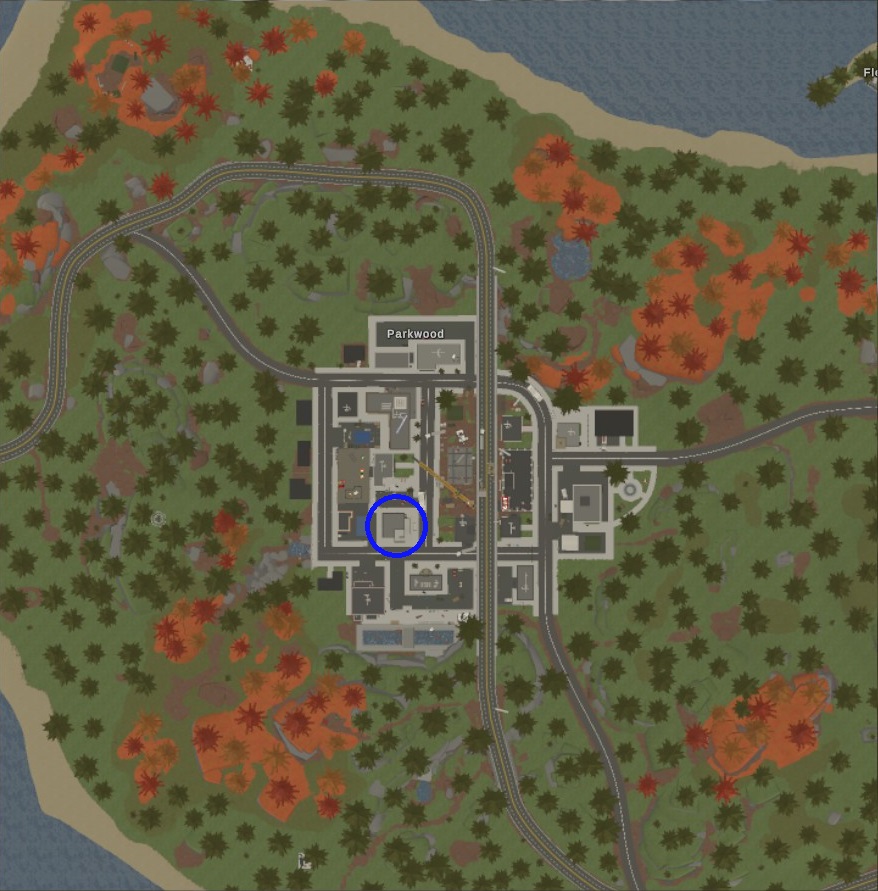
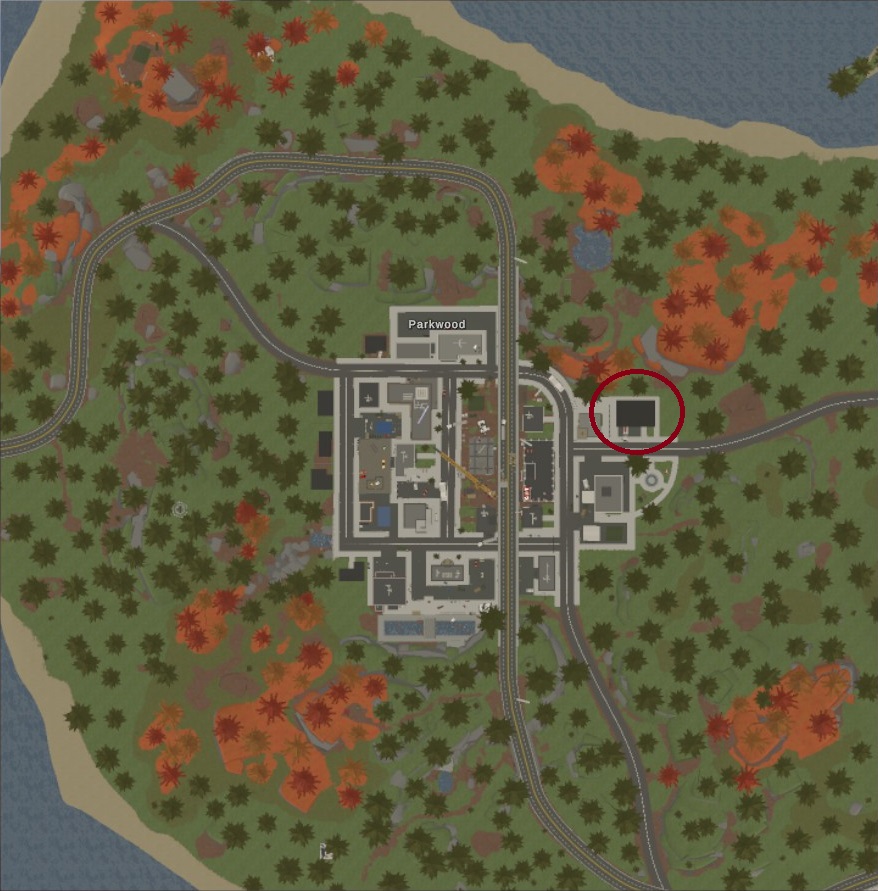
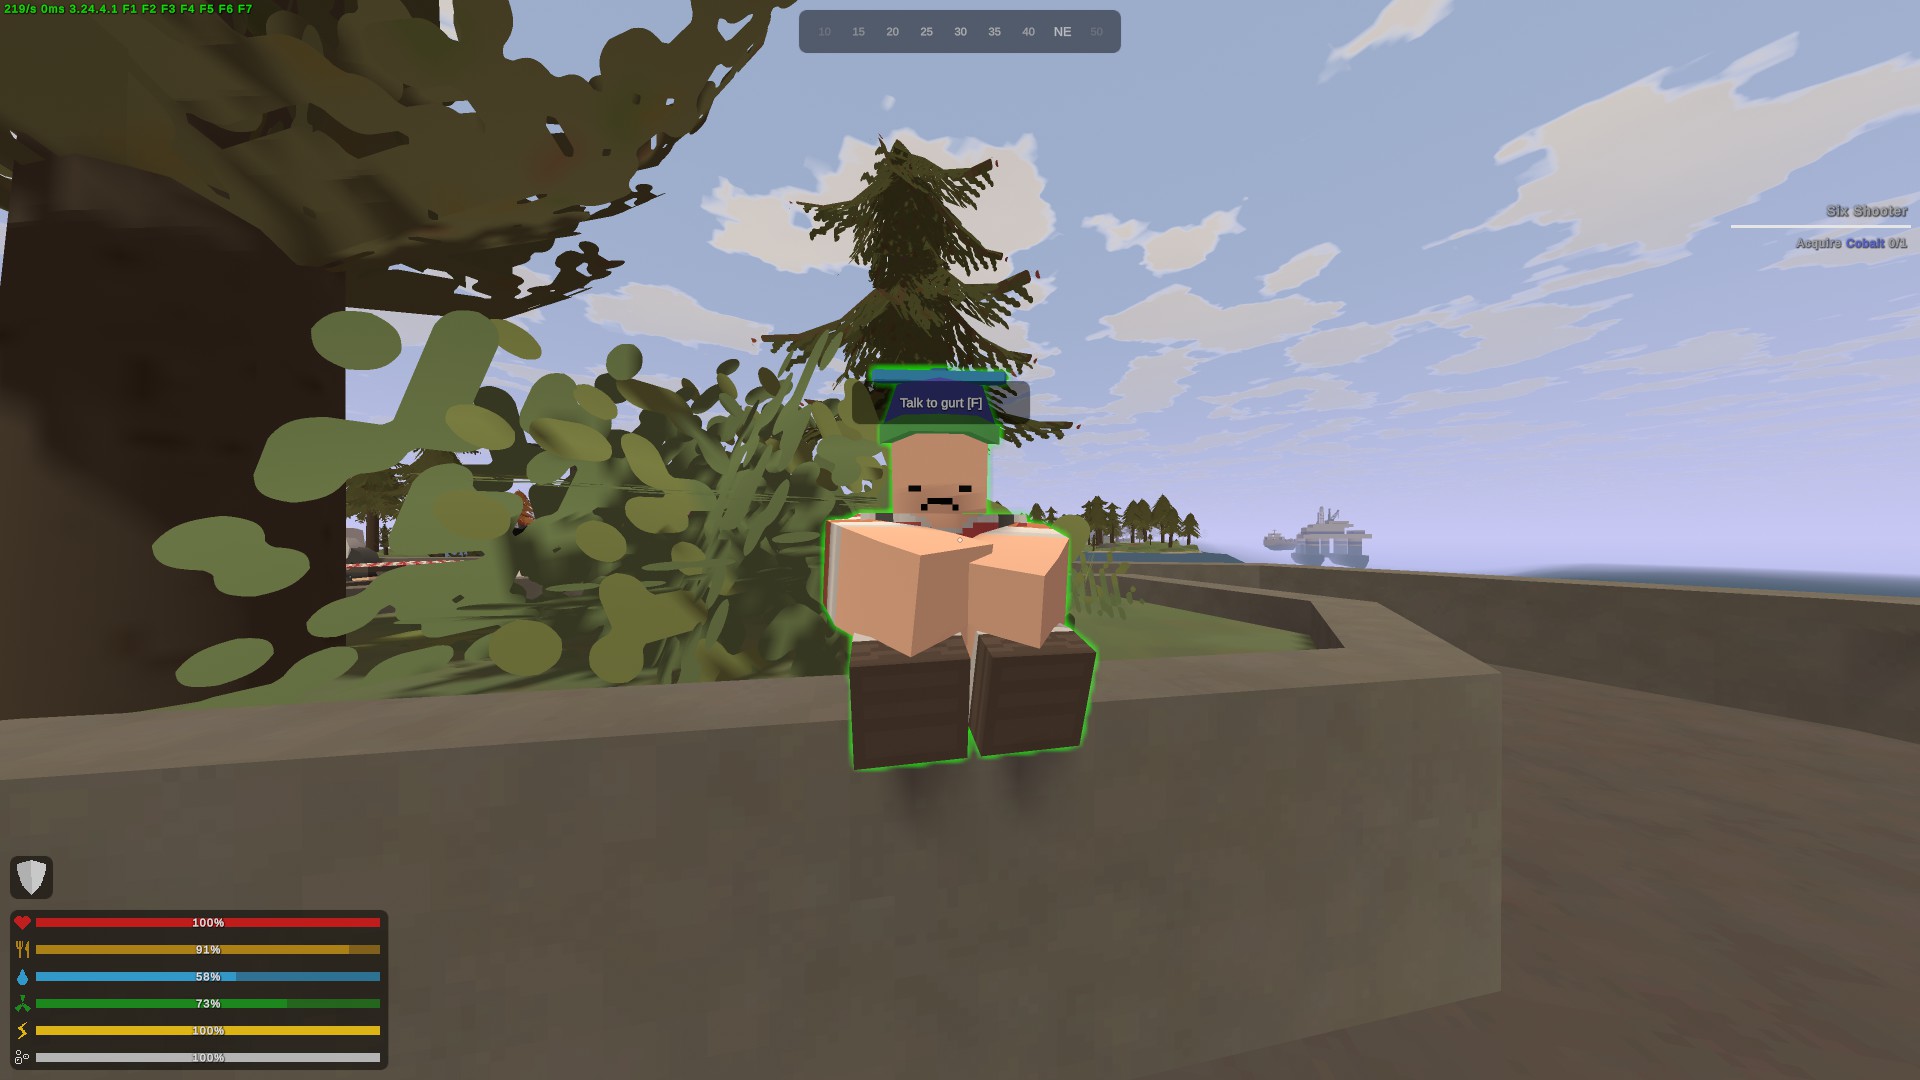 Grab his quest and head over to Parkwood where you'll wanna find the mall
  Head upstairs and there will be a room with a door partially open. Crawl inside and pickup the RC Car is on the table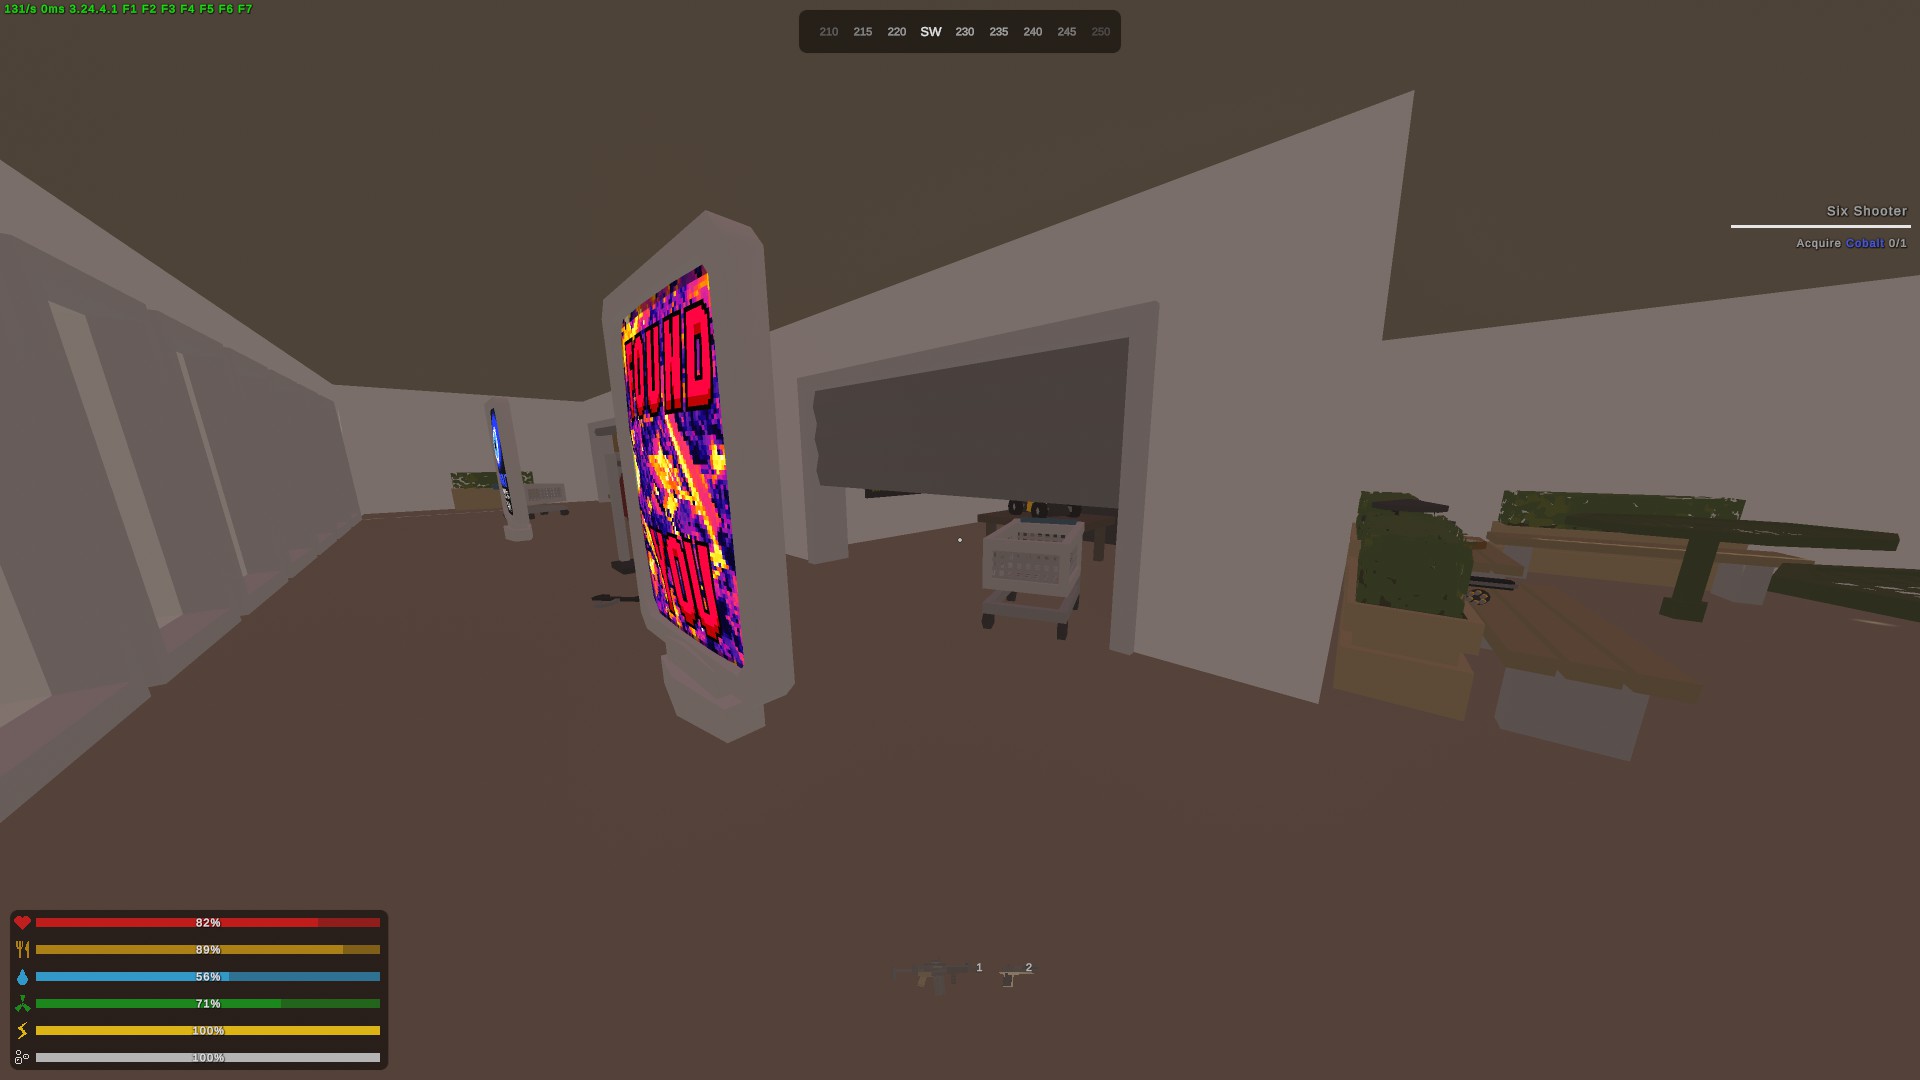
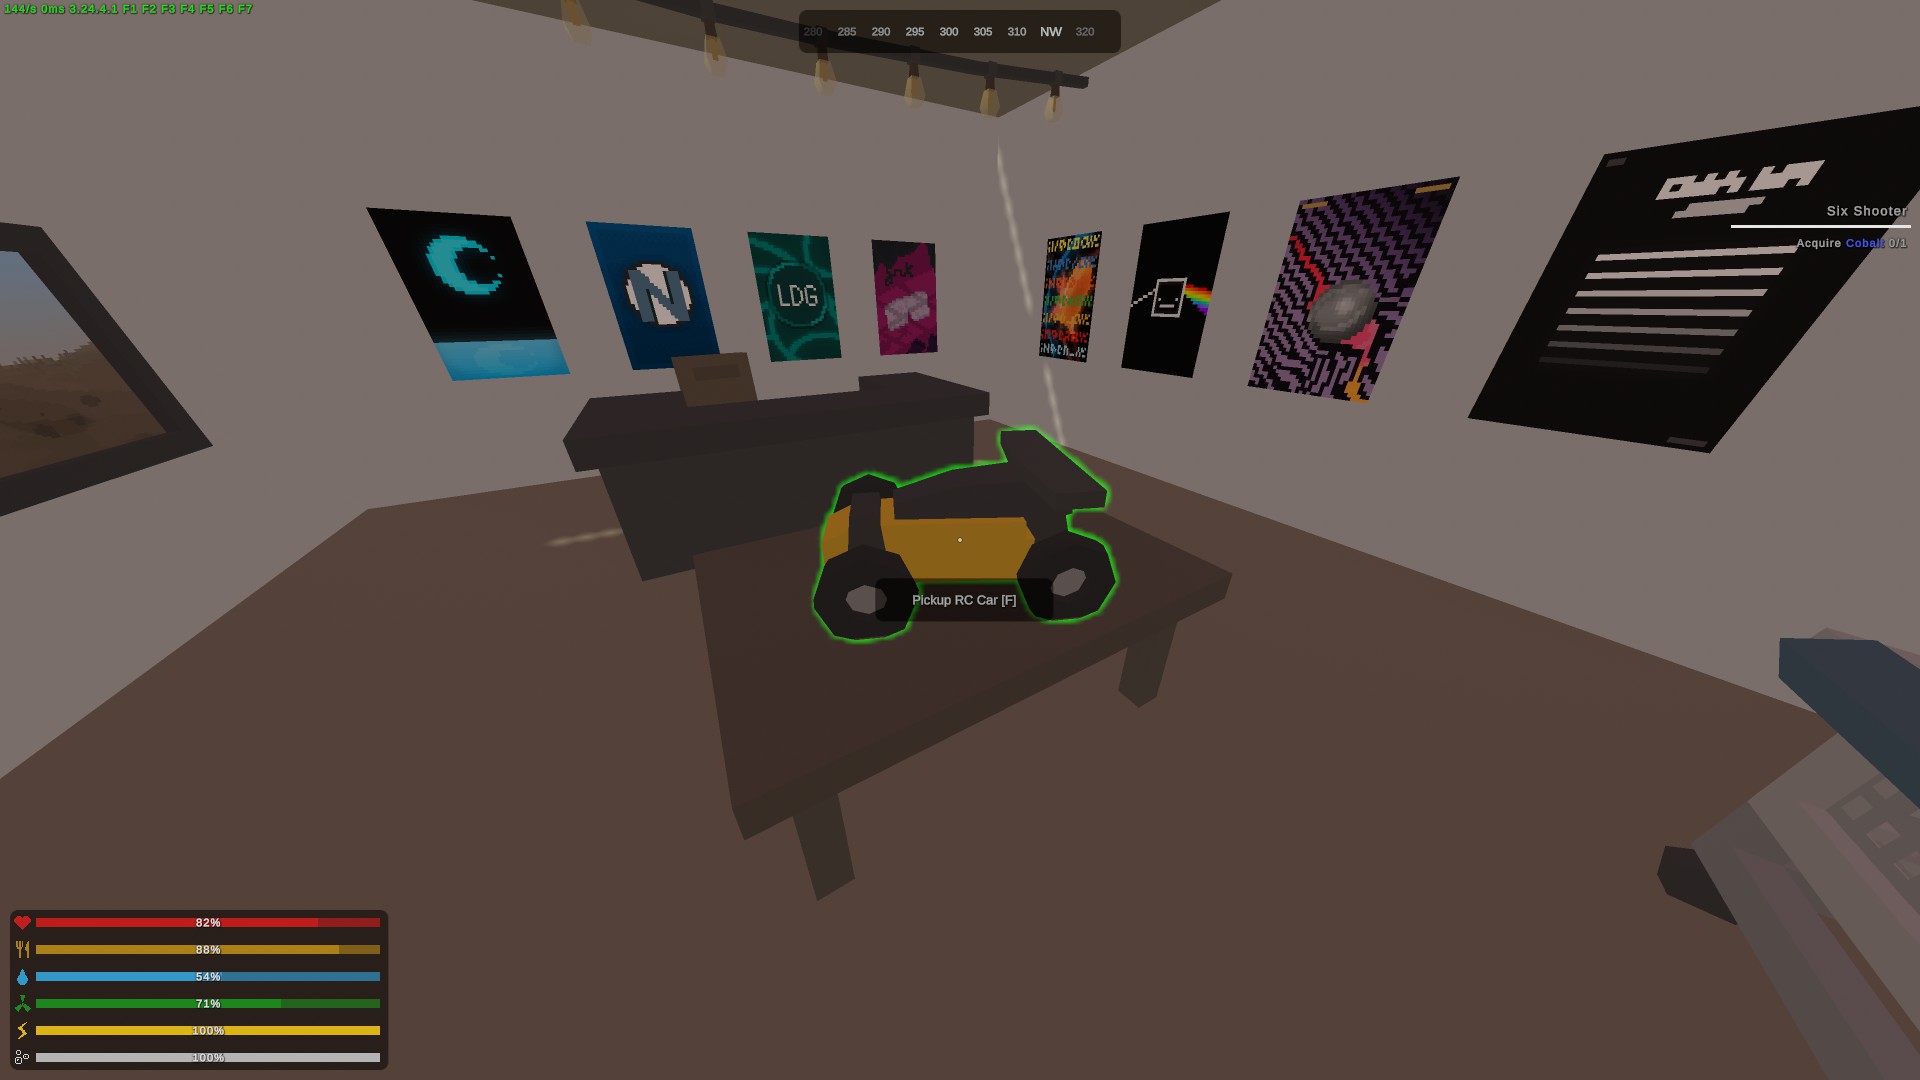 Head back to the safezone and turn in the quest to Gurt. He now has a shop that you can buy random stuff from him for 50 GRB. Here comes the fun part: you gotta spend like 15k-20k GRB to get the achievement. It does seem like a lot but I think the money comes quick. You get a good chunk from exploring around (rob the bank in Parkwood), completing quests, and selling to NPC's but there are also the dead drops. If you're picking up and scrapping everything you see, you can probably make a decent amount of GRB at the dead drops to give to Gurt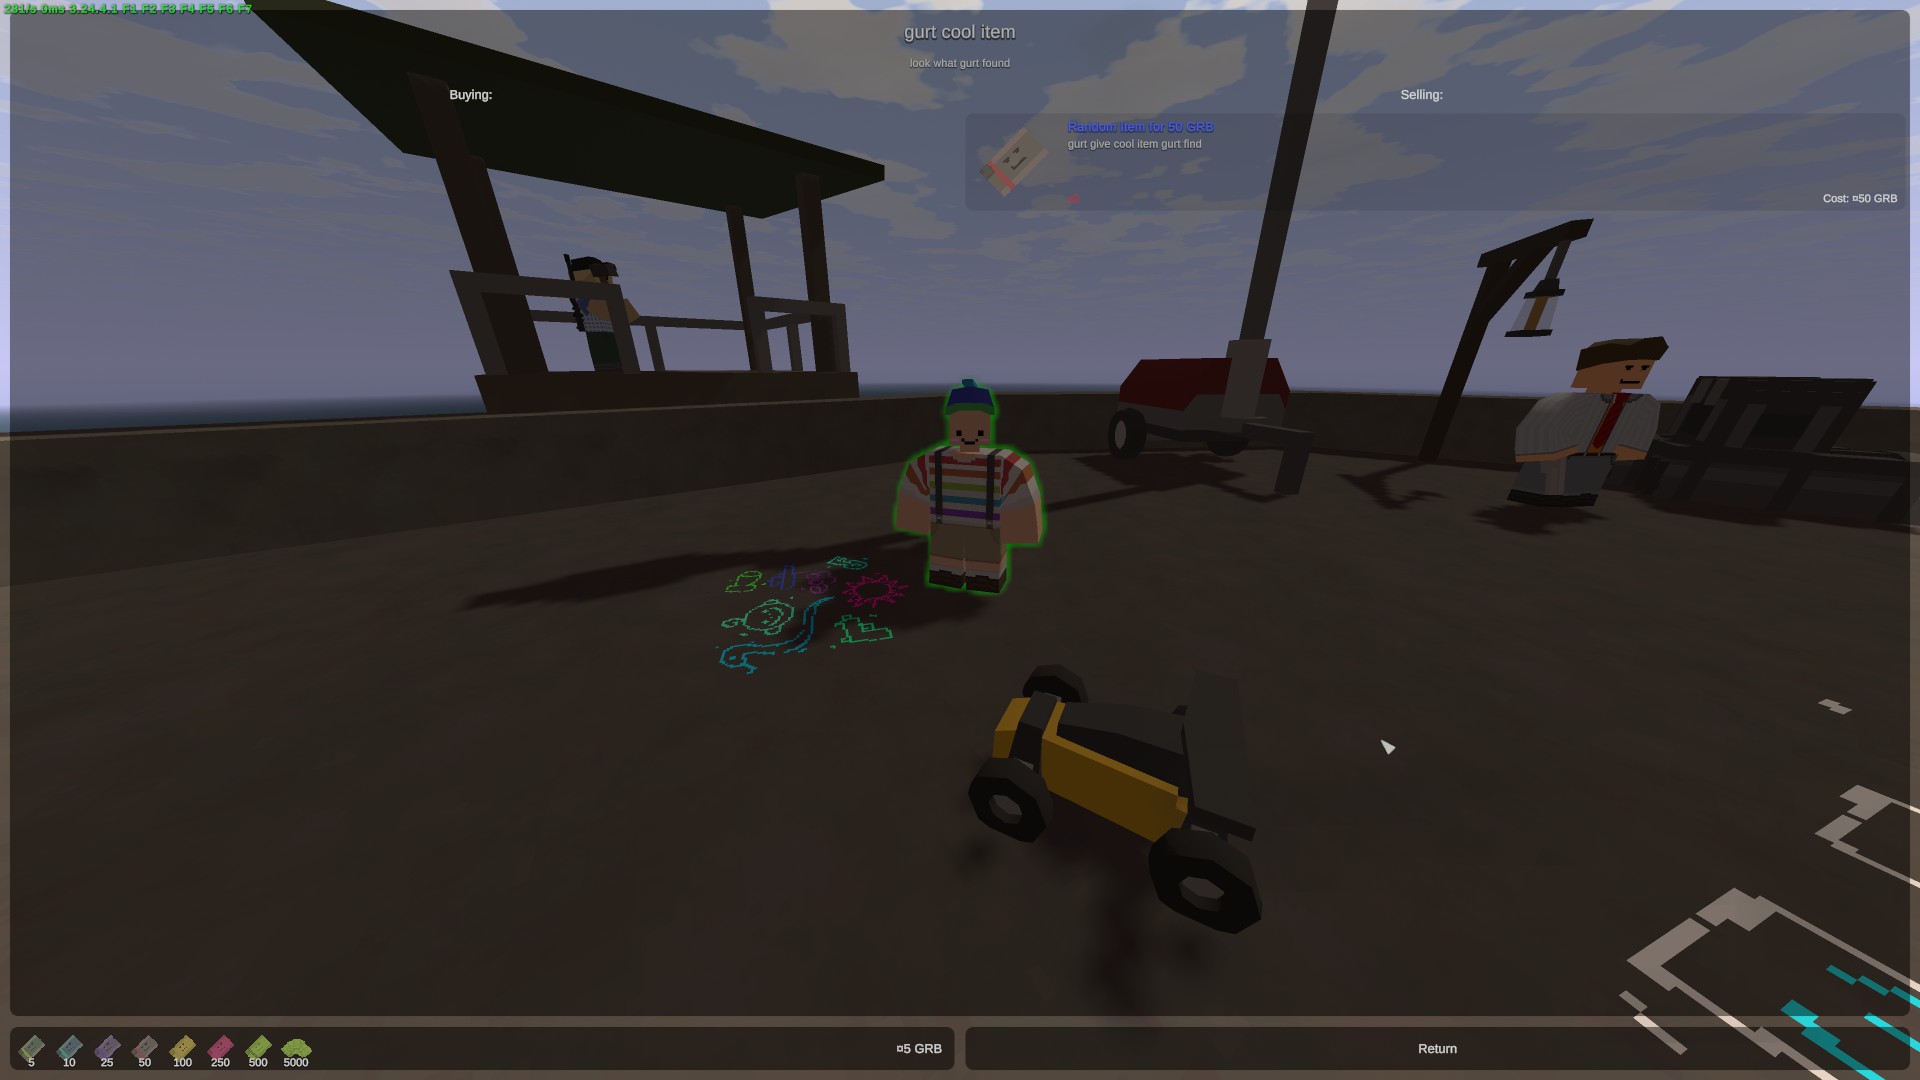
Escalation: General Quest Stuff [WIP]
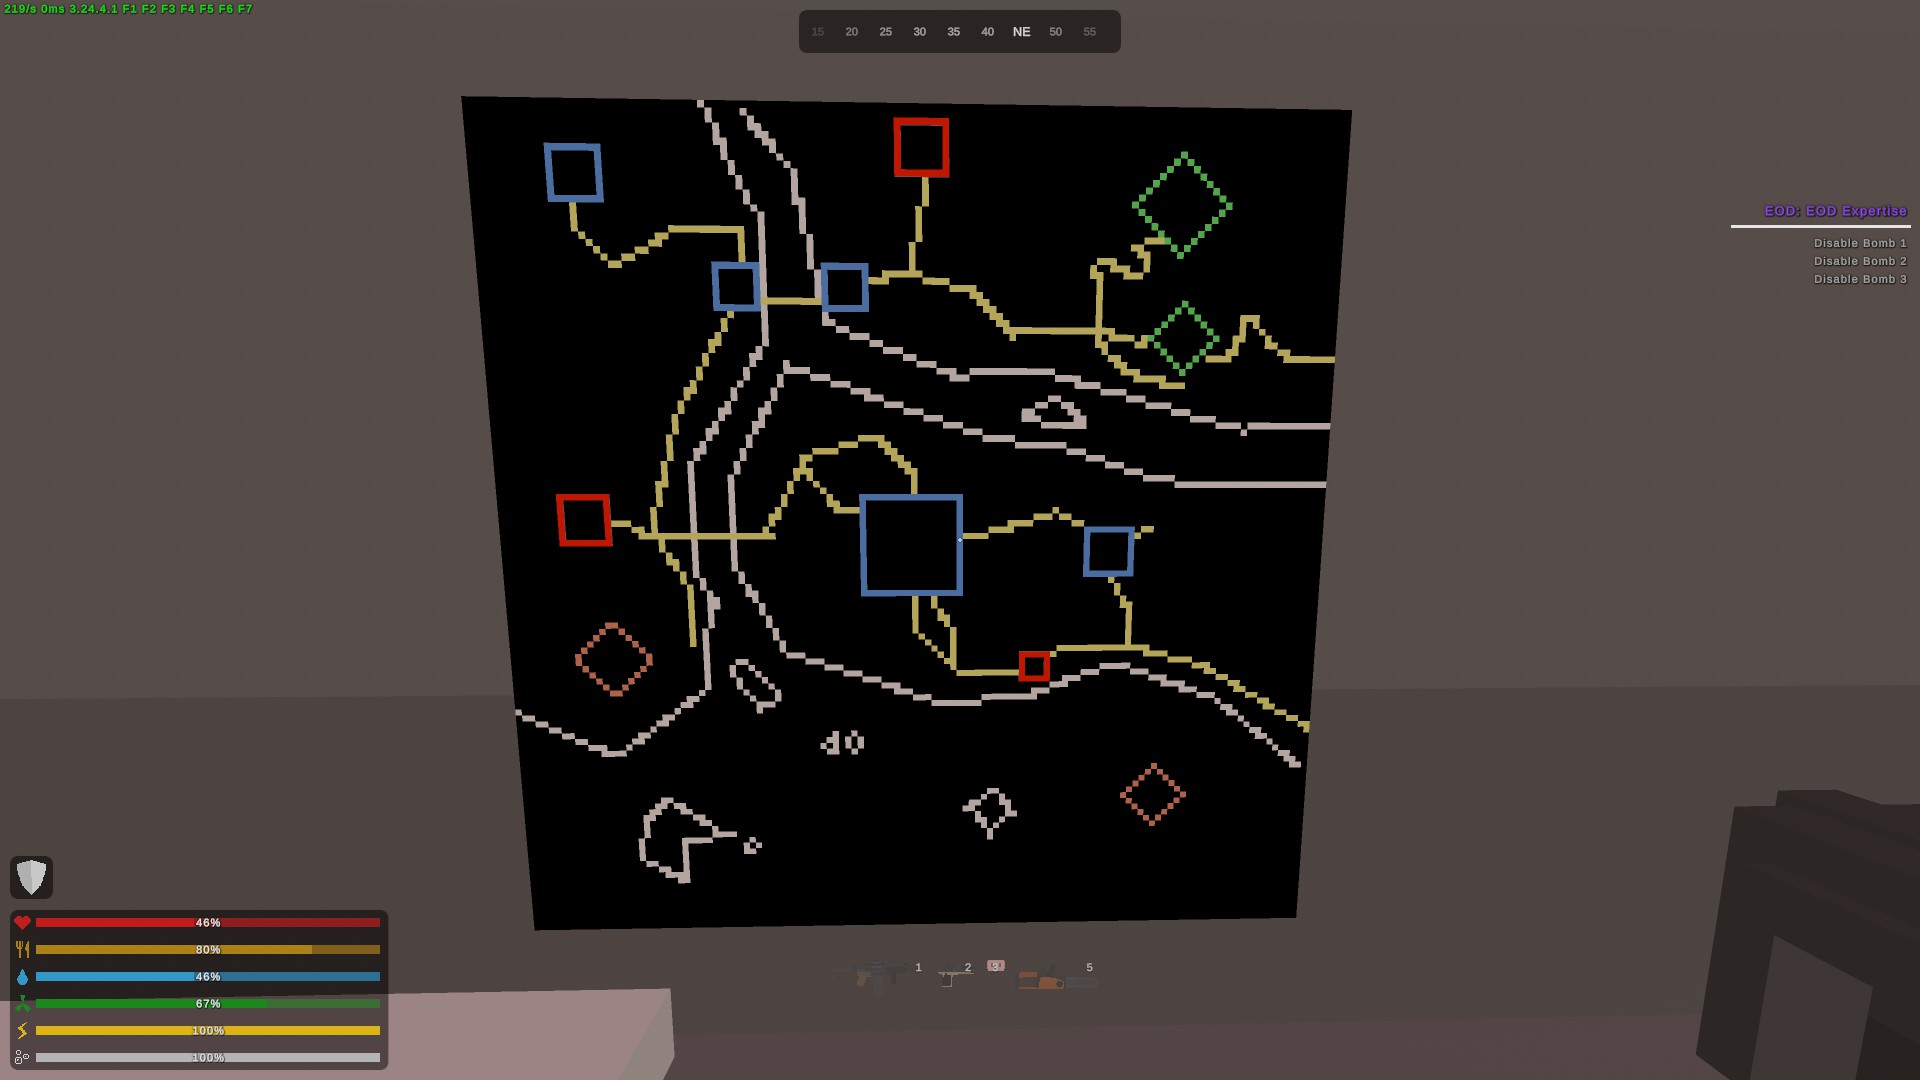
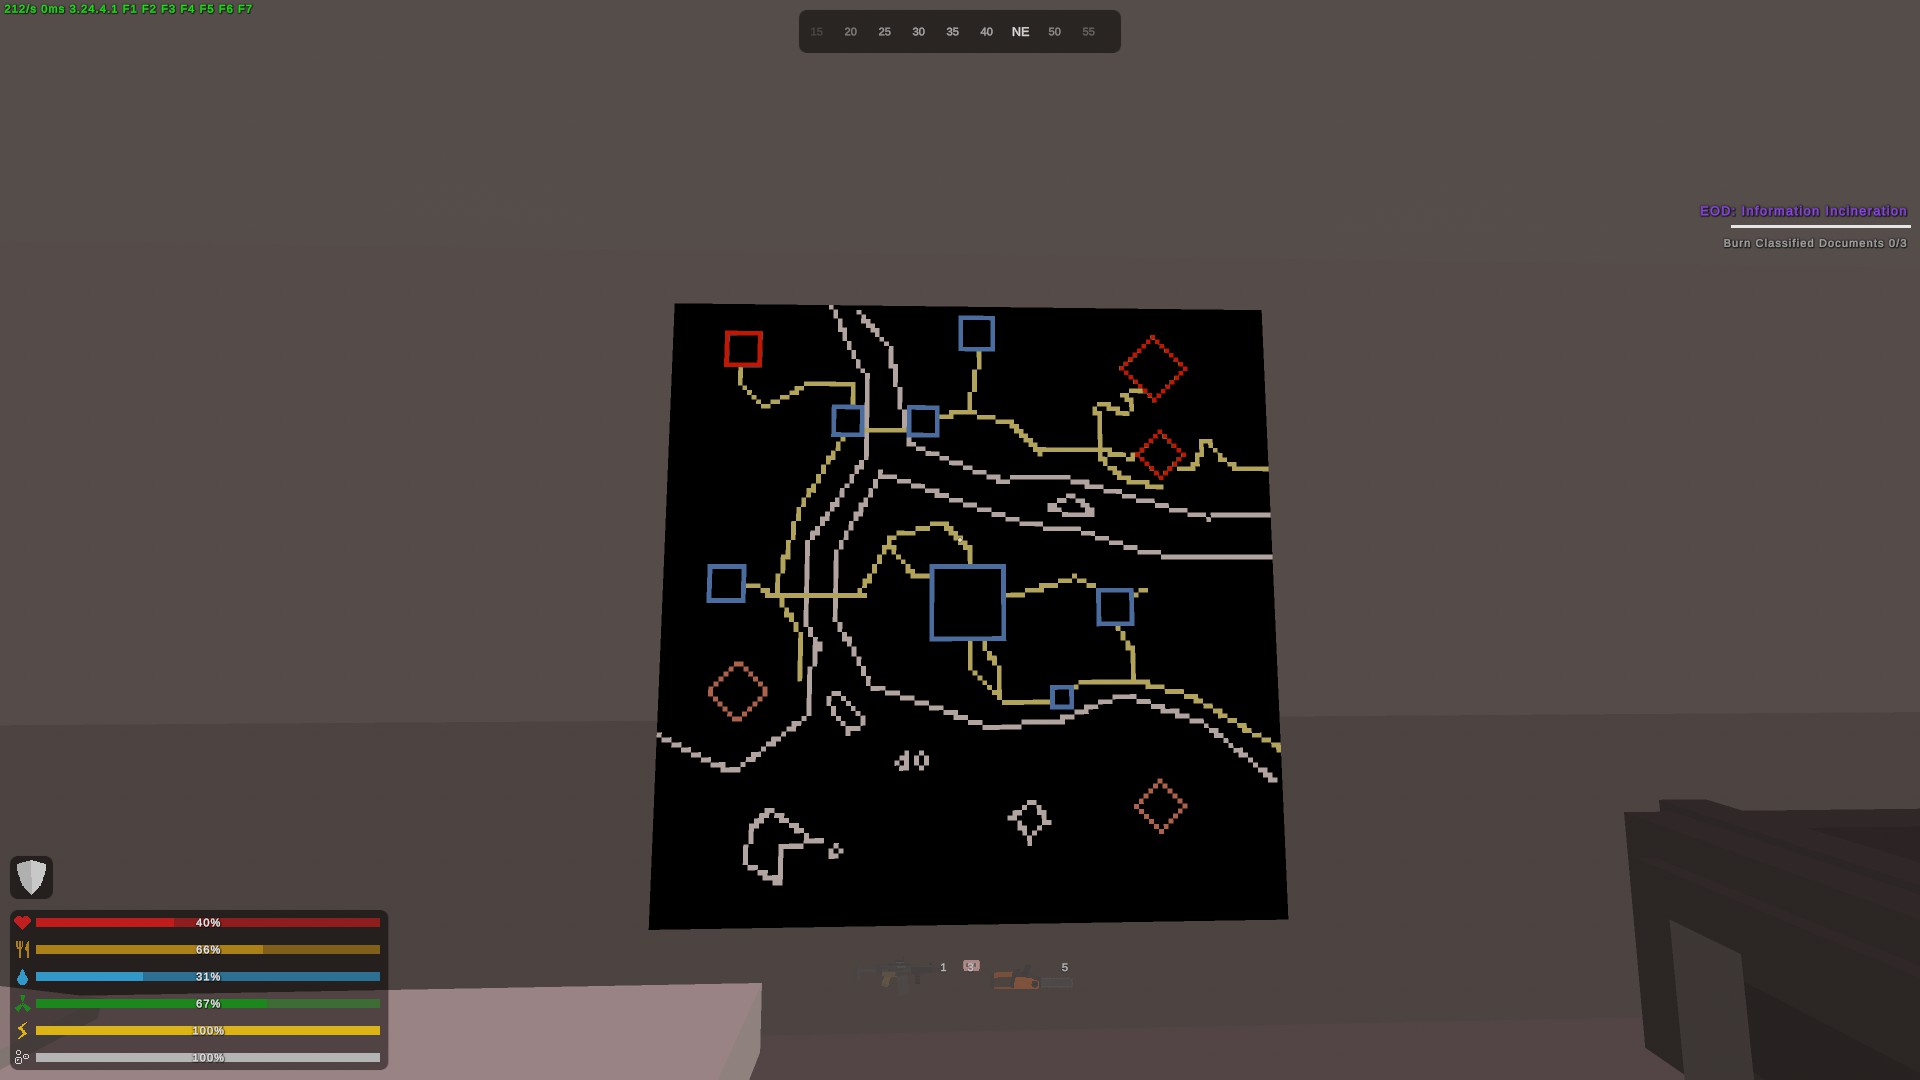
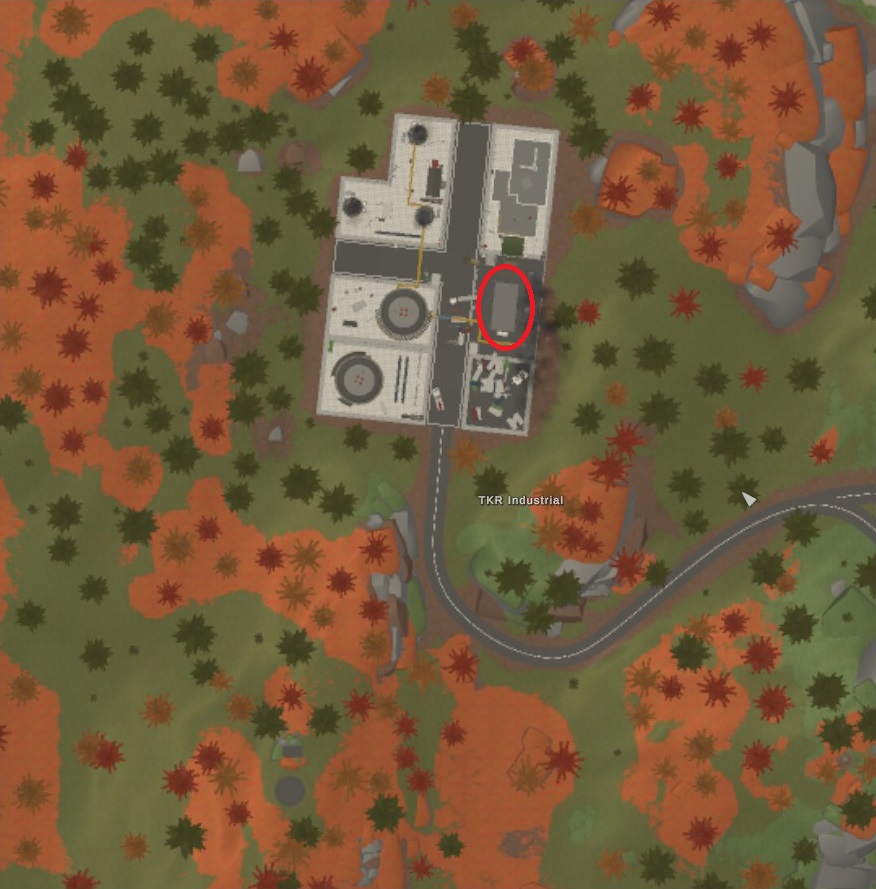
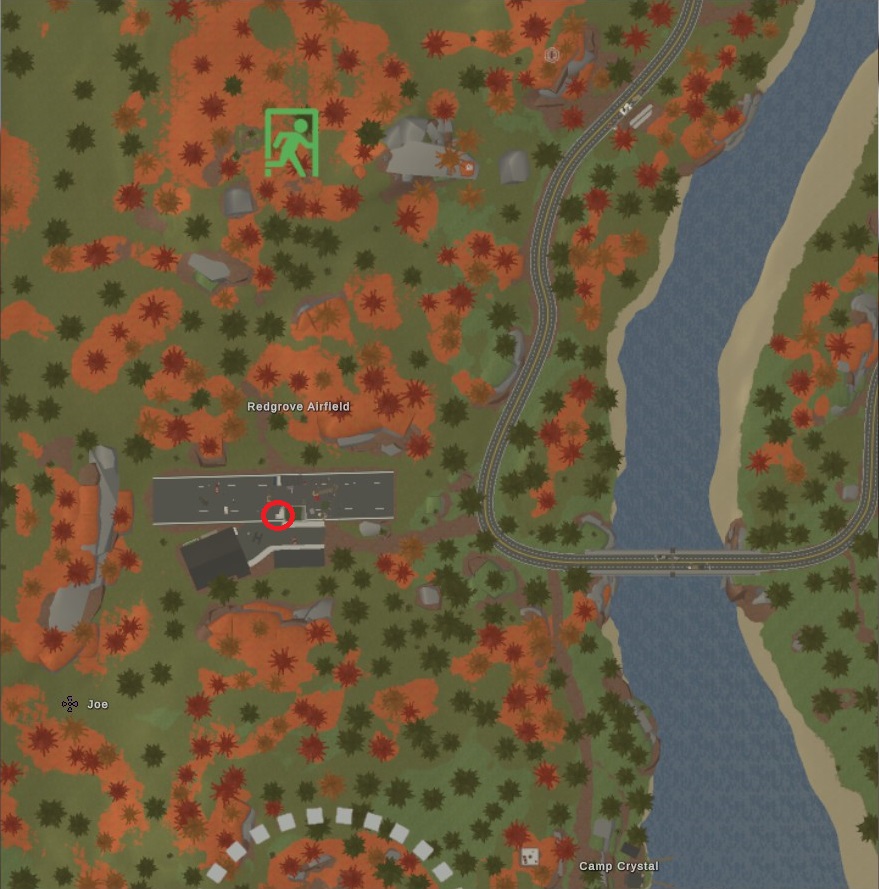
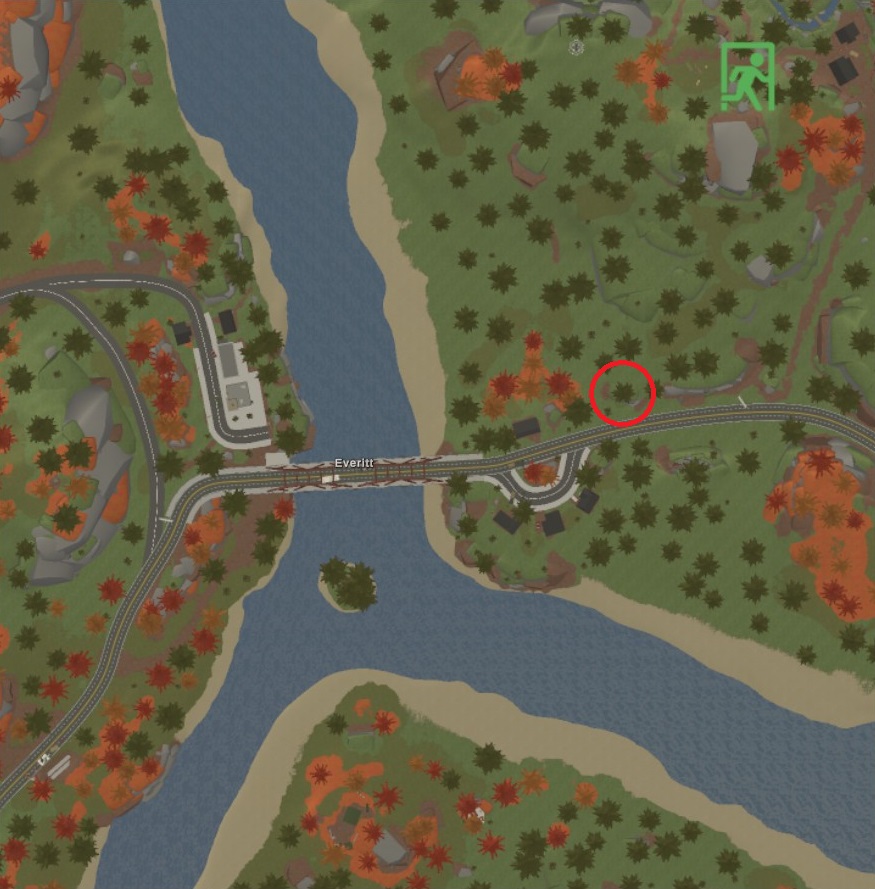
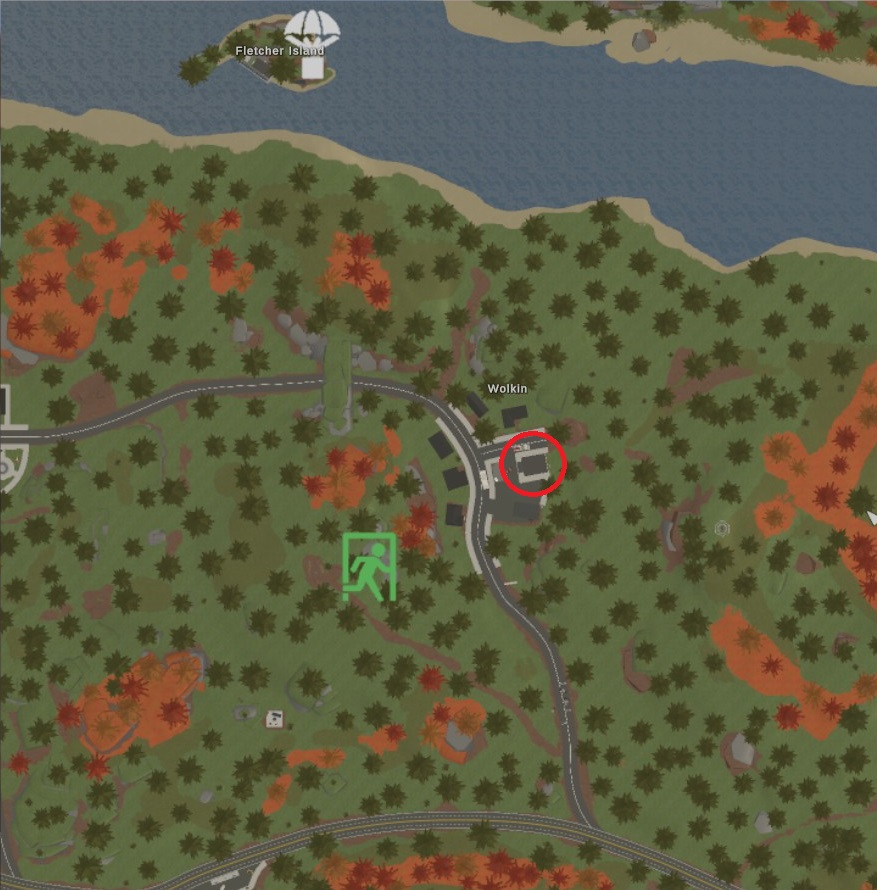
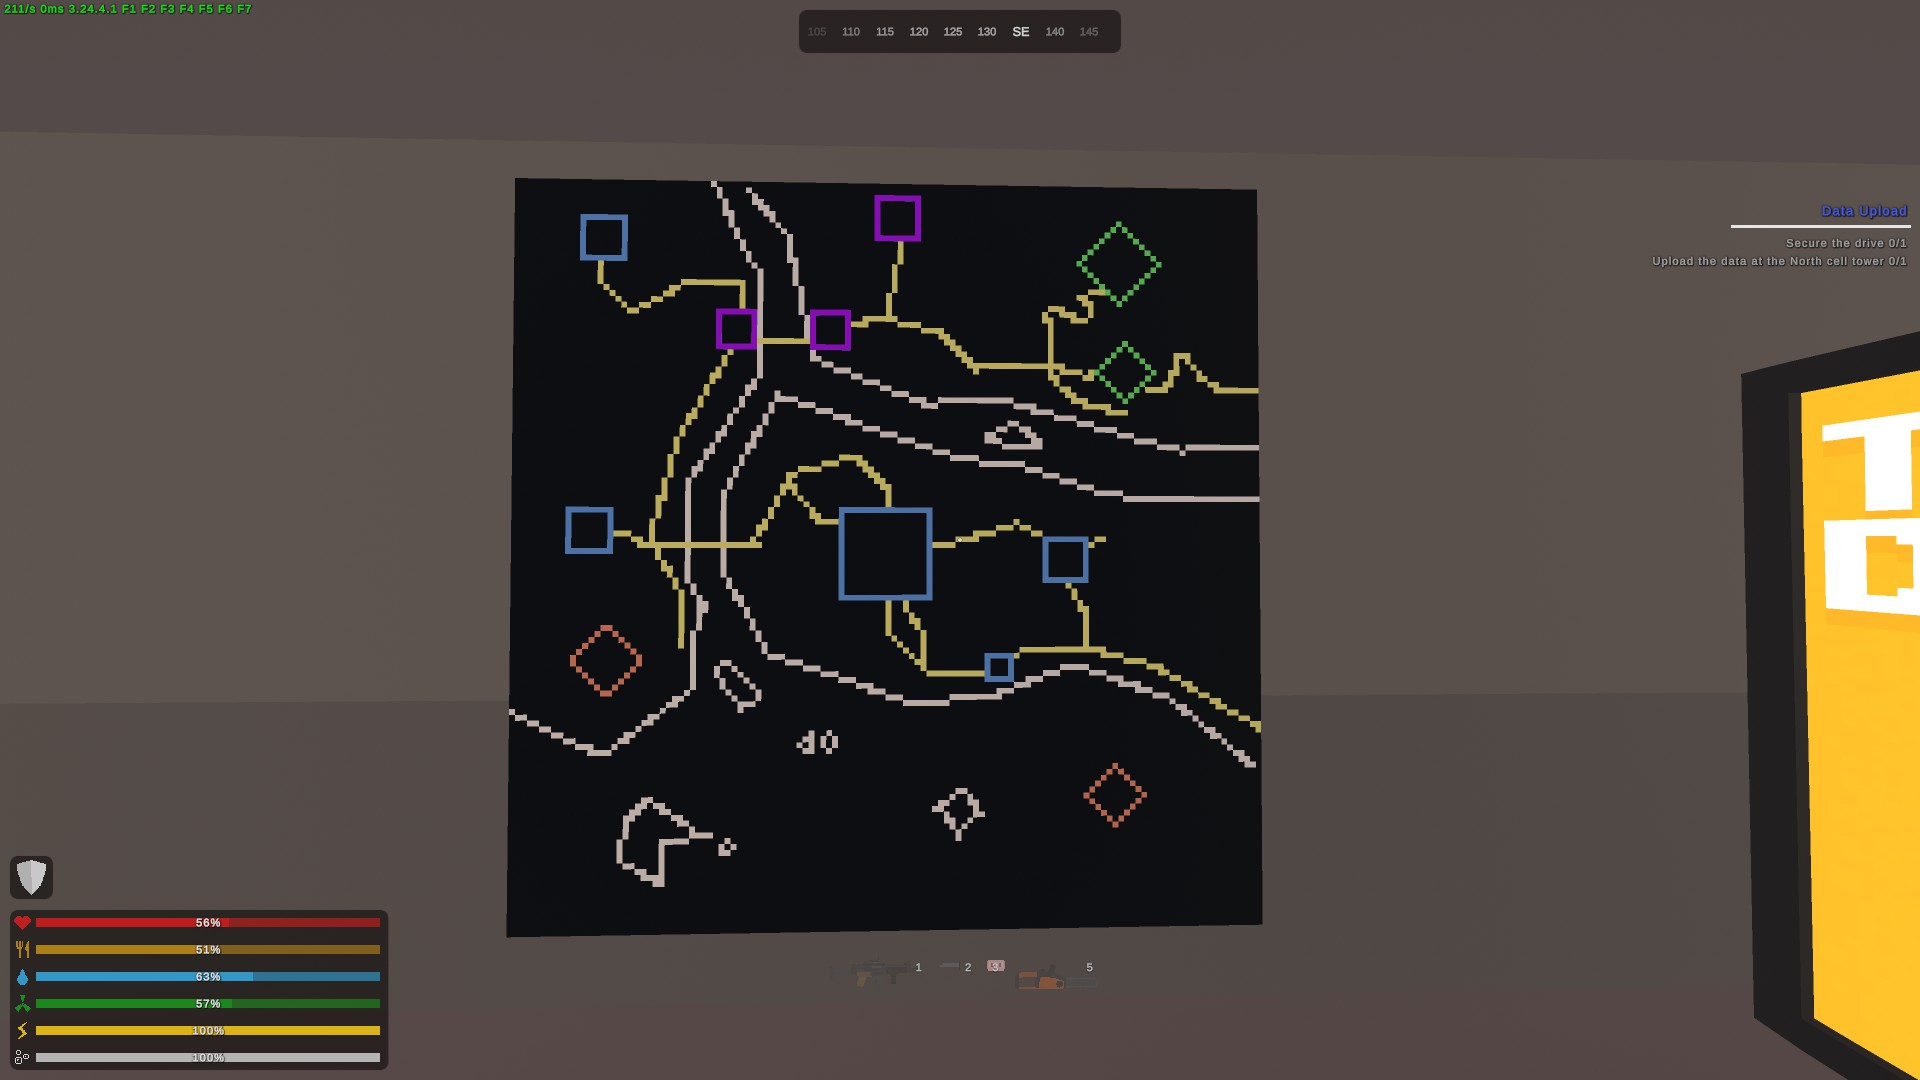
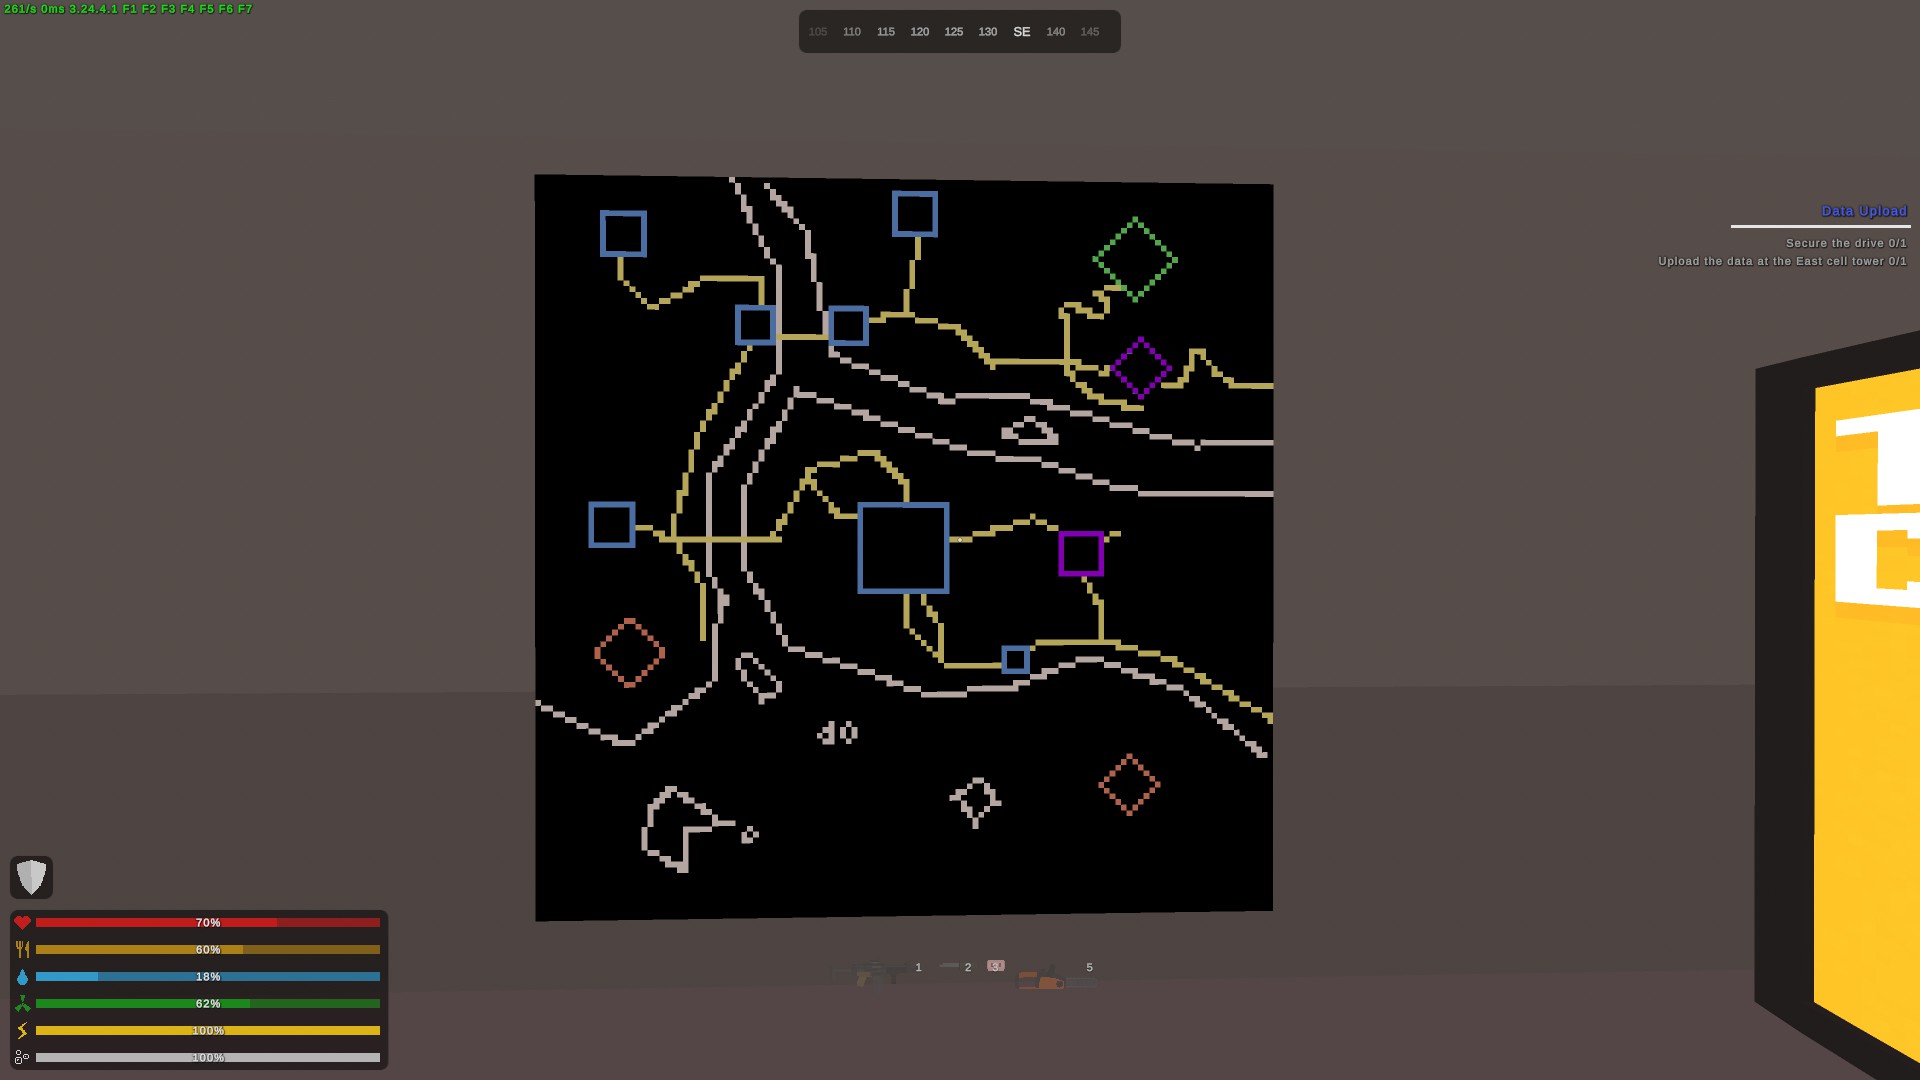
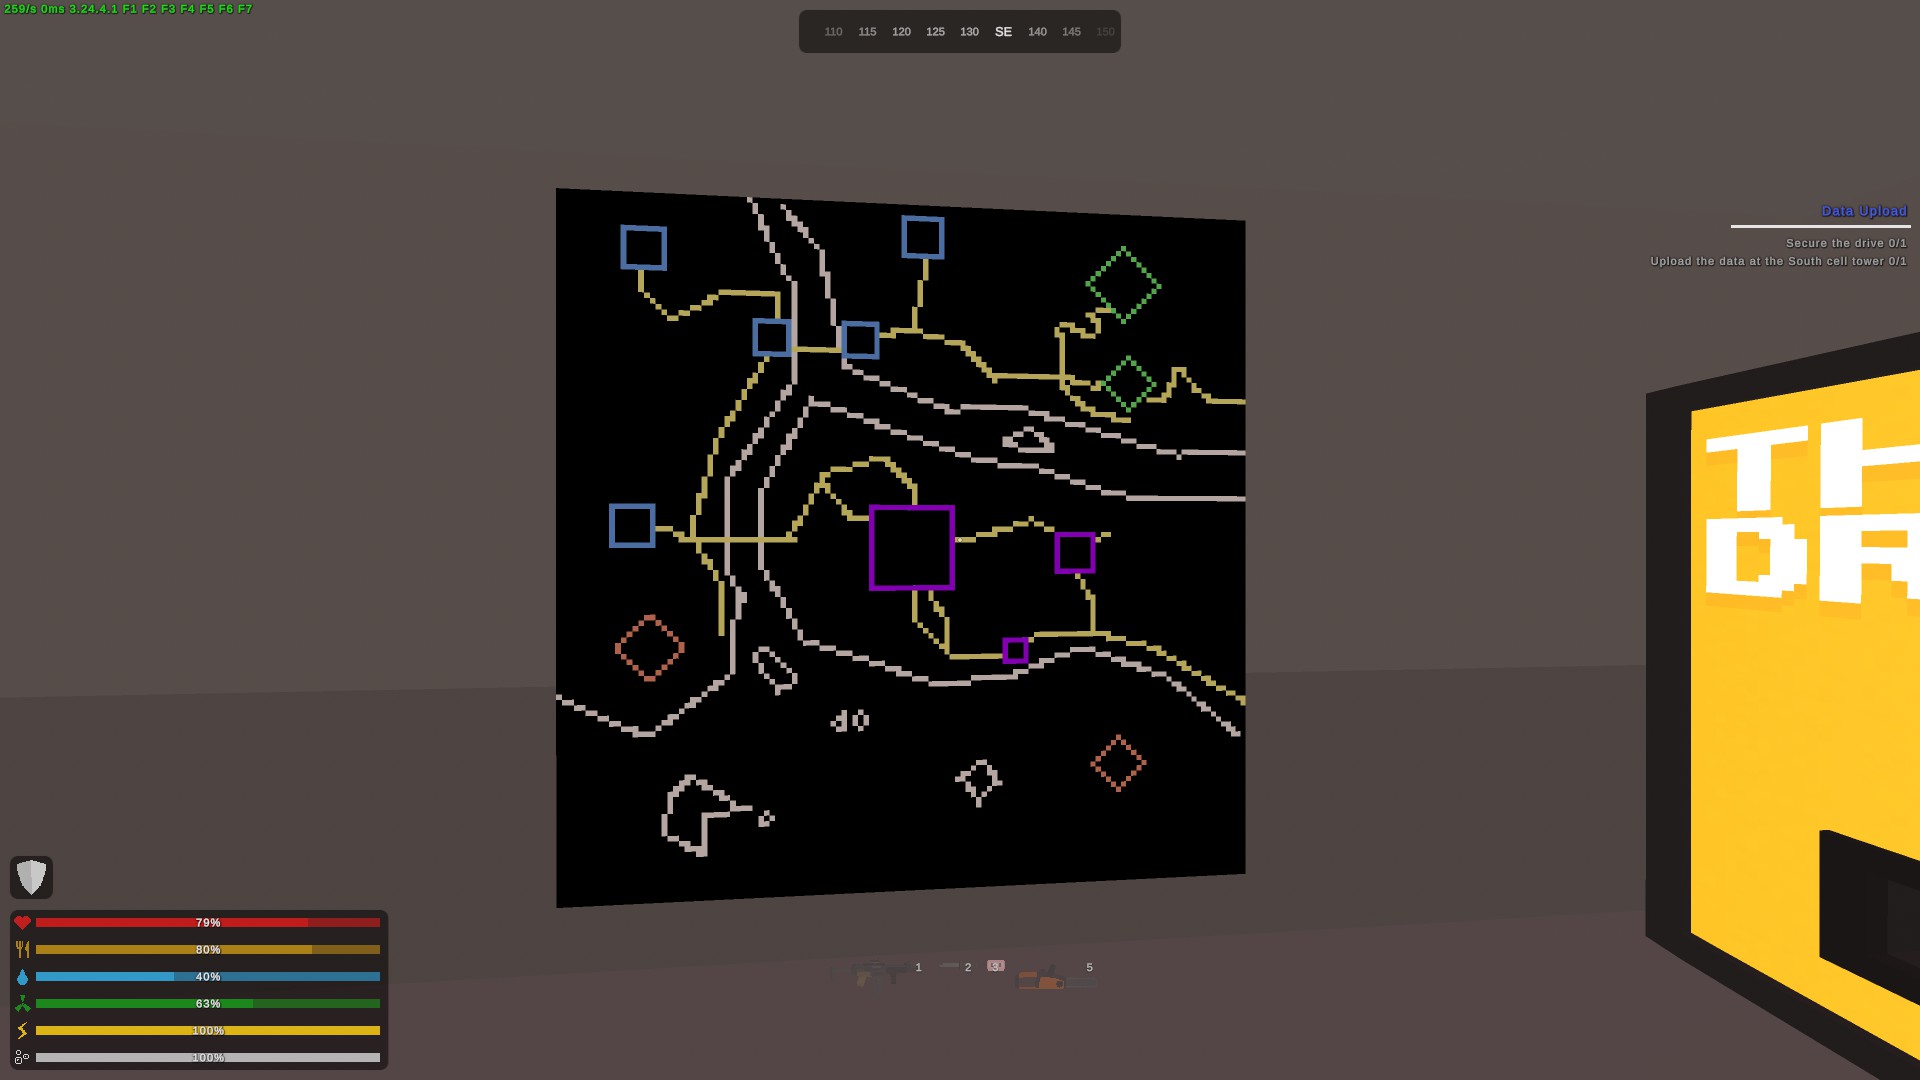
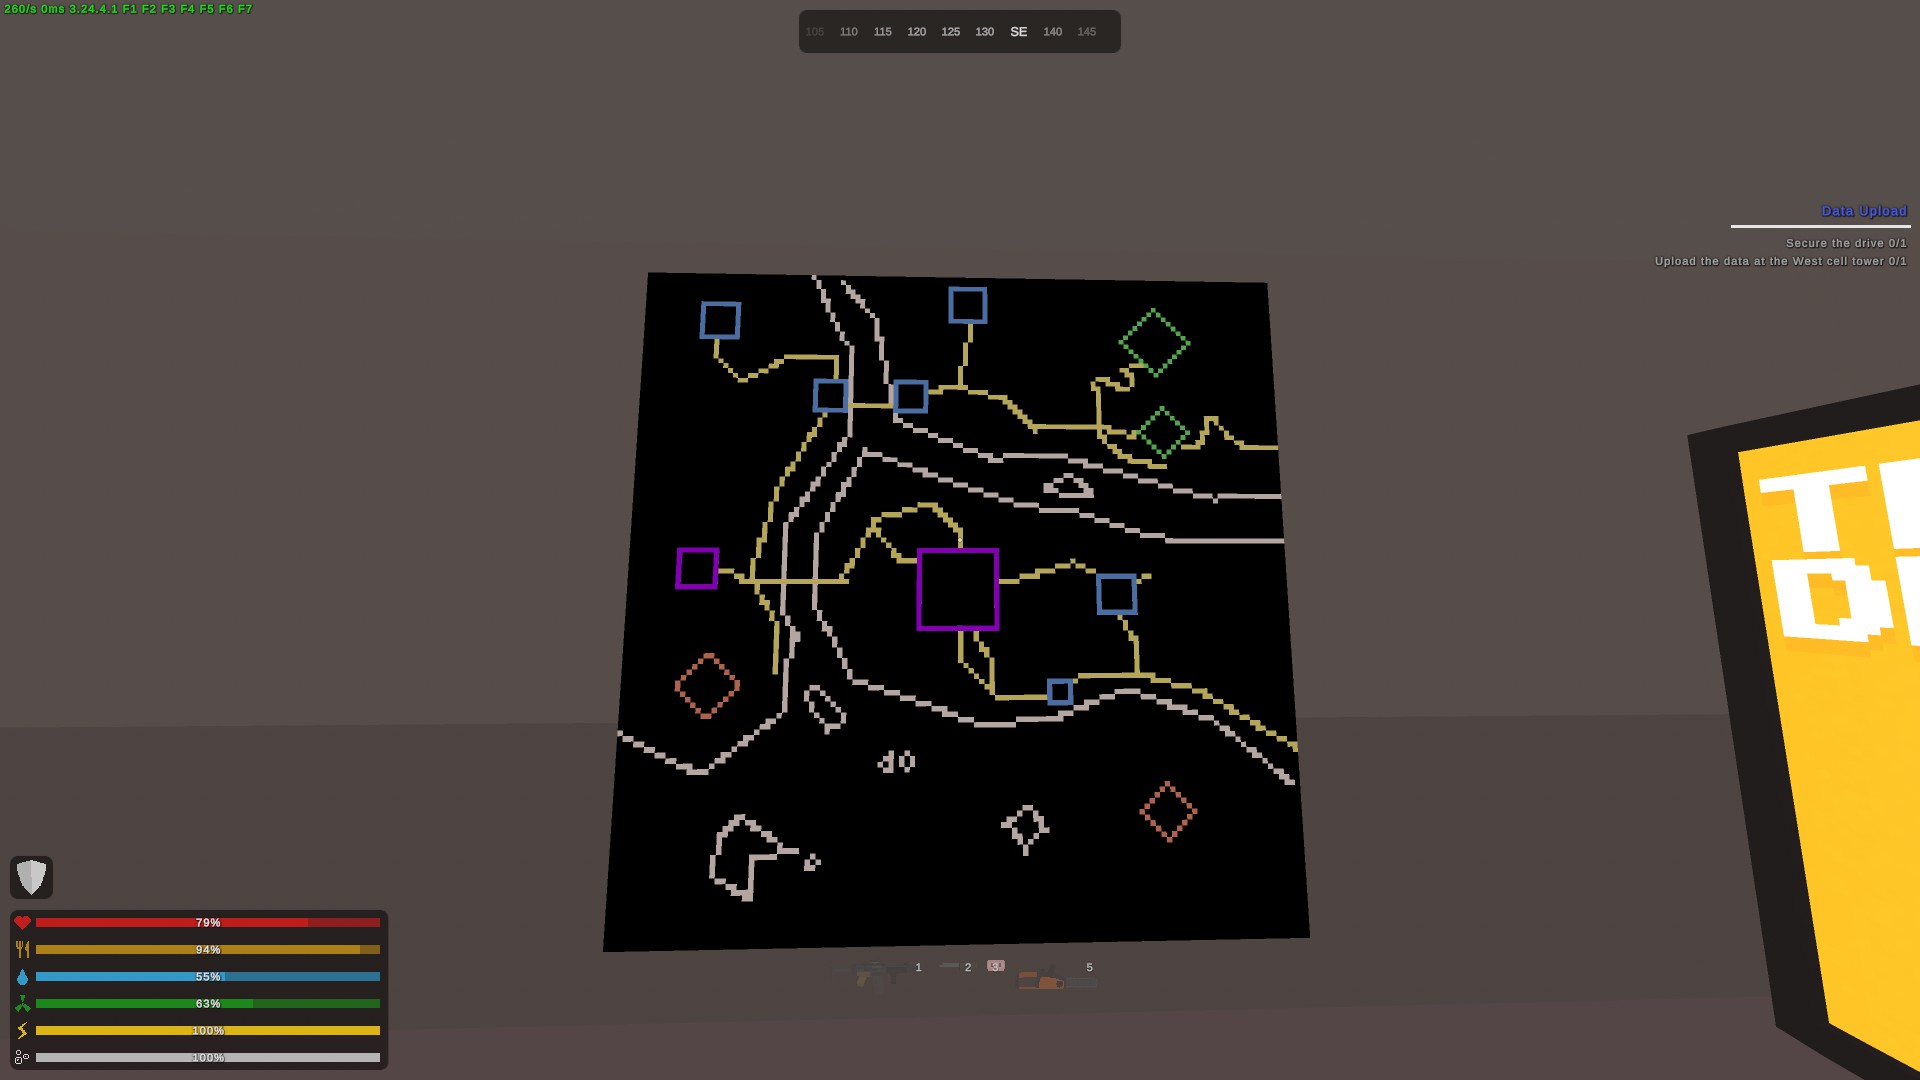
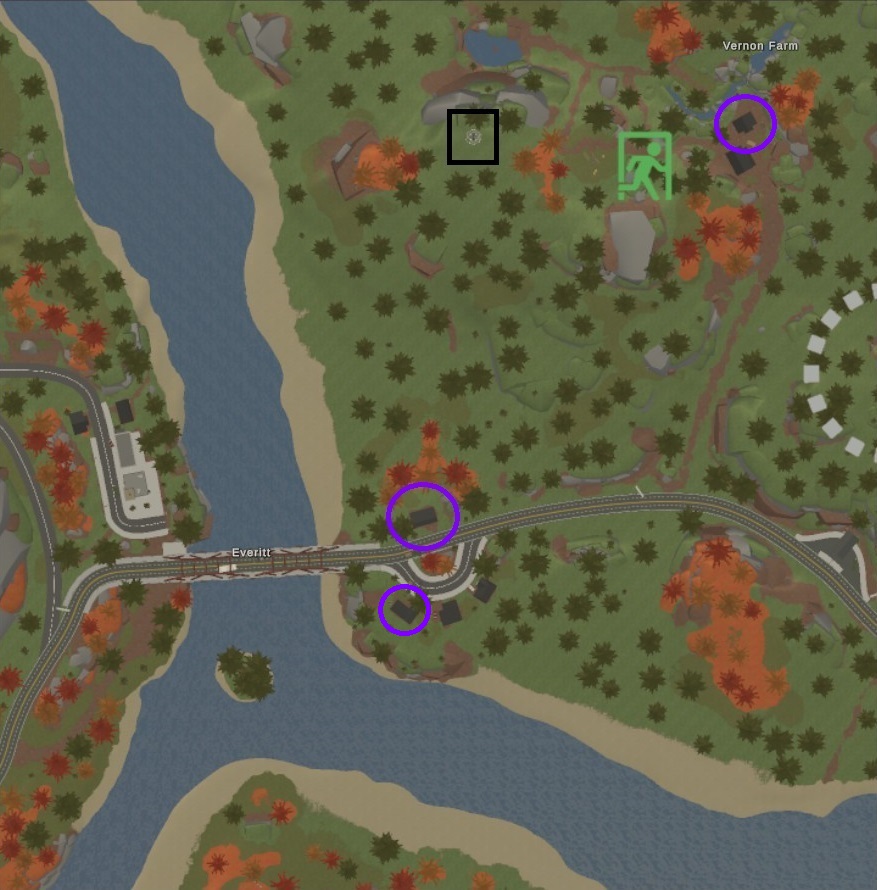
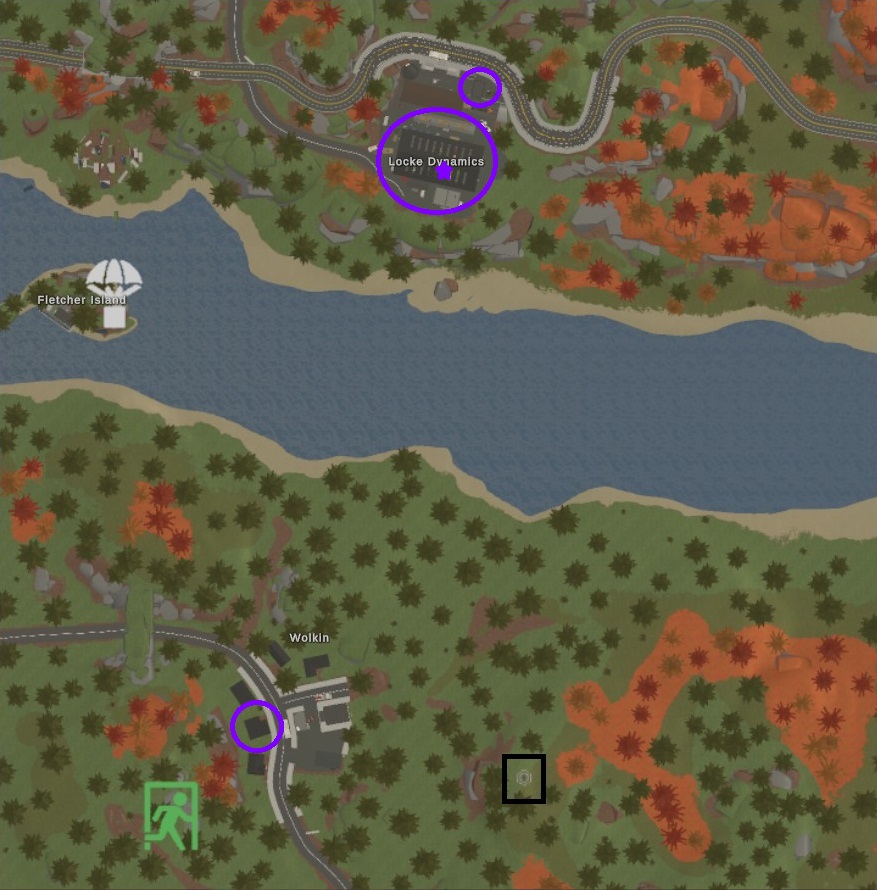
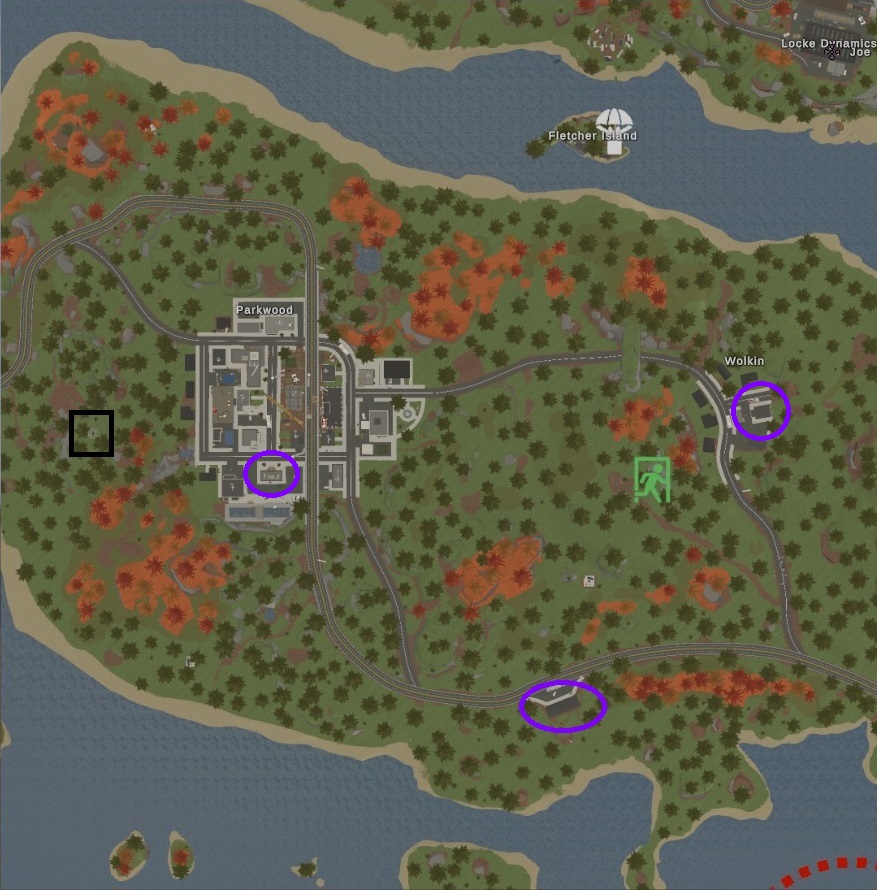
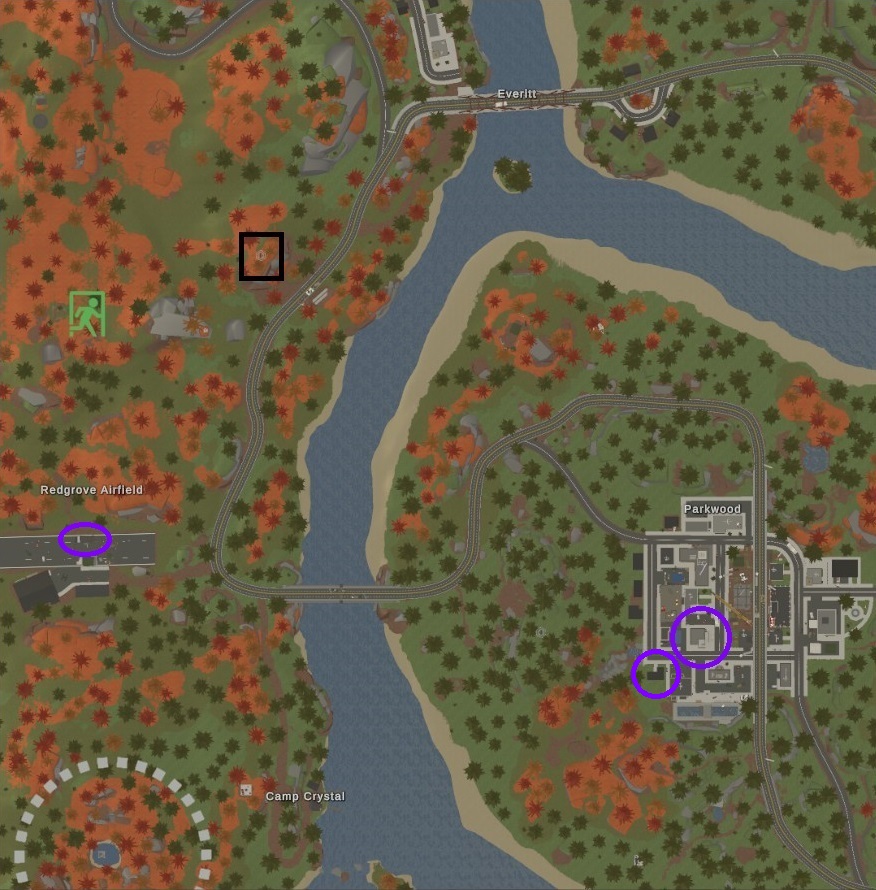
Rio de Janeiro [WIP]
Craft your first Encyclopedia in Rio.

Defeat the Horder boss in Rio

Unleash Chaos in Rio

Become a member of the Brocoió
Safezone in Rio.

Find all 12 hidden sprouts in Rio

There is an official wiki[restoremonarchy.com] for Rio that I referenced for some stuff, figure it would be useful to the rest of y'all. To do Bookworm, you're going to need to craft an Encyclopedia:
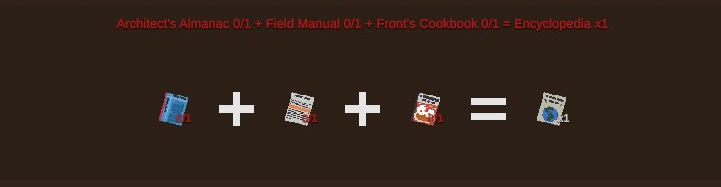
The books used to craft the encyclopedia allow you to craft more complex recipes so all we are doing is condensing that knowledge into one item. Architect's Almanac recipe:
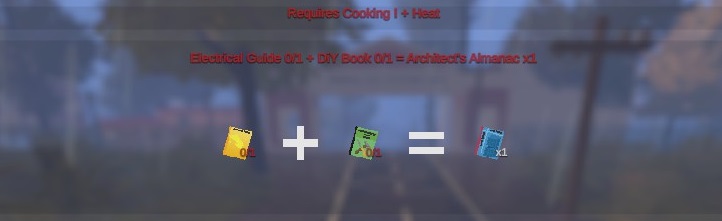 You can find Electrical Guides and DiY Books at most of the same locations: construction sites and hardware stores. Campsites seem to also have the DiY Books as well.
Field Manual recipe:
You can find Electrical Guides and DiY Books at most of the same locations: construction sites and hardware stores. Campsites seem to also have the DiY Books as well.
Field Manual recipe:
You can find Military Orientation at military locations or police areas and Medical Orientation at medical tents or facilities. Front's Cookbook recipe:

You can find Front's Handybook in the cave you can access in the train tunnel between Alto da Serra and Nilópolis as well as other ranger locations (Alto da Serra seems to be a ranger city). You can find Chef's Cookbook at restaurants and kitchen areas.
Broken Chains requires us to make our way to the deadzone with a full suit of biohazard gear (I found mine in the deadzone with a gas mask from the fire stations around the map). Santos Joint is the deadzone in question: most of the loot above ground is medical or civilian so you'll need to get underground to find more military loot. To do that, you need to find an elevator. I use the elevators in the admin building towards the back of Santos, I'm unsure where or if there are other elevators. MAKE SURE YOU HAVE A FULL SUIT OF BIOHAZARD GEAR OR YOU WILL DIE WHEN YOU TAKE THE ELEVATOR DOWN!
When you make it underground, you're going to want to look for key cards. Below are the locations:
(I intend to try and map out the area under Santos at some point)
When you find all the keycards, you're going to want to make your way to [location] and fight the boss. When you head back to the elevator, you should get the acheivement.
For Sprout Up!, we get to go on a little easter egg hunt.. well, more like sprout hunt but whatever. Below are exactly where you can find each of the 12 sprouts around the map: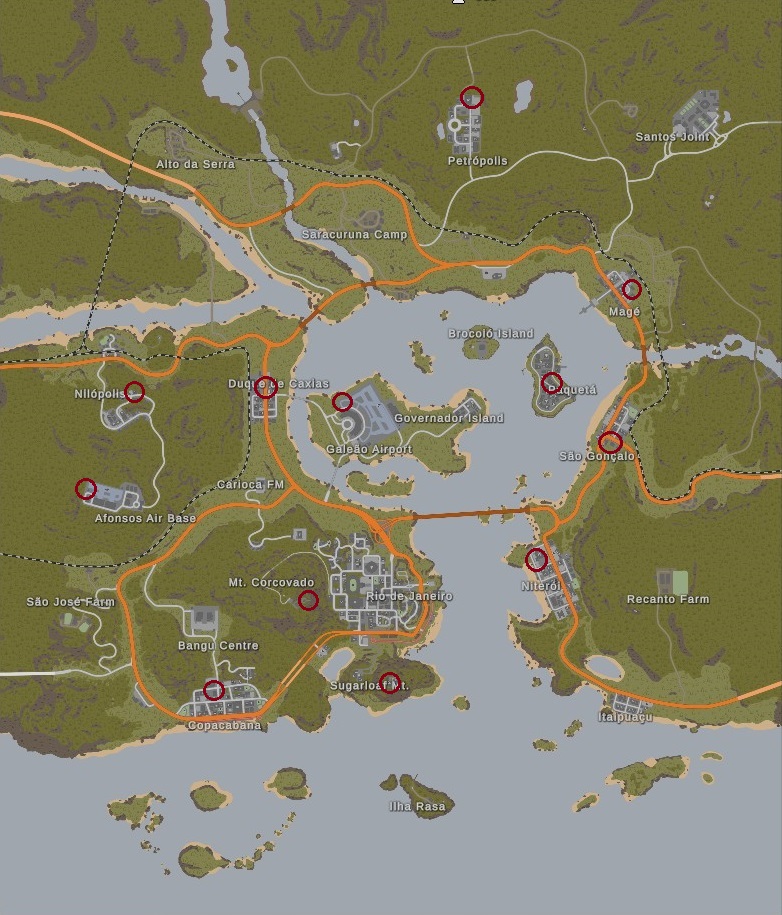
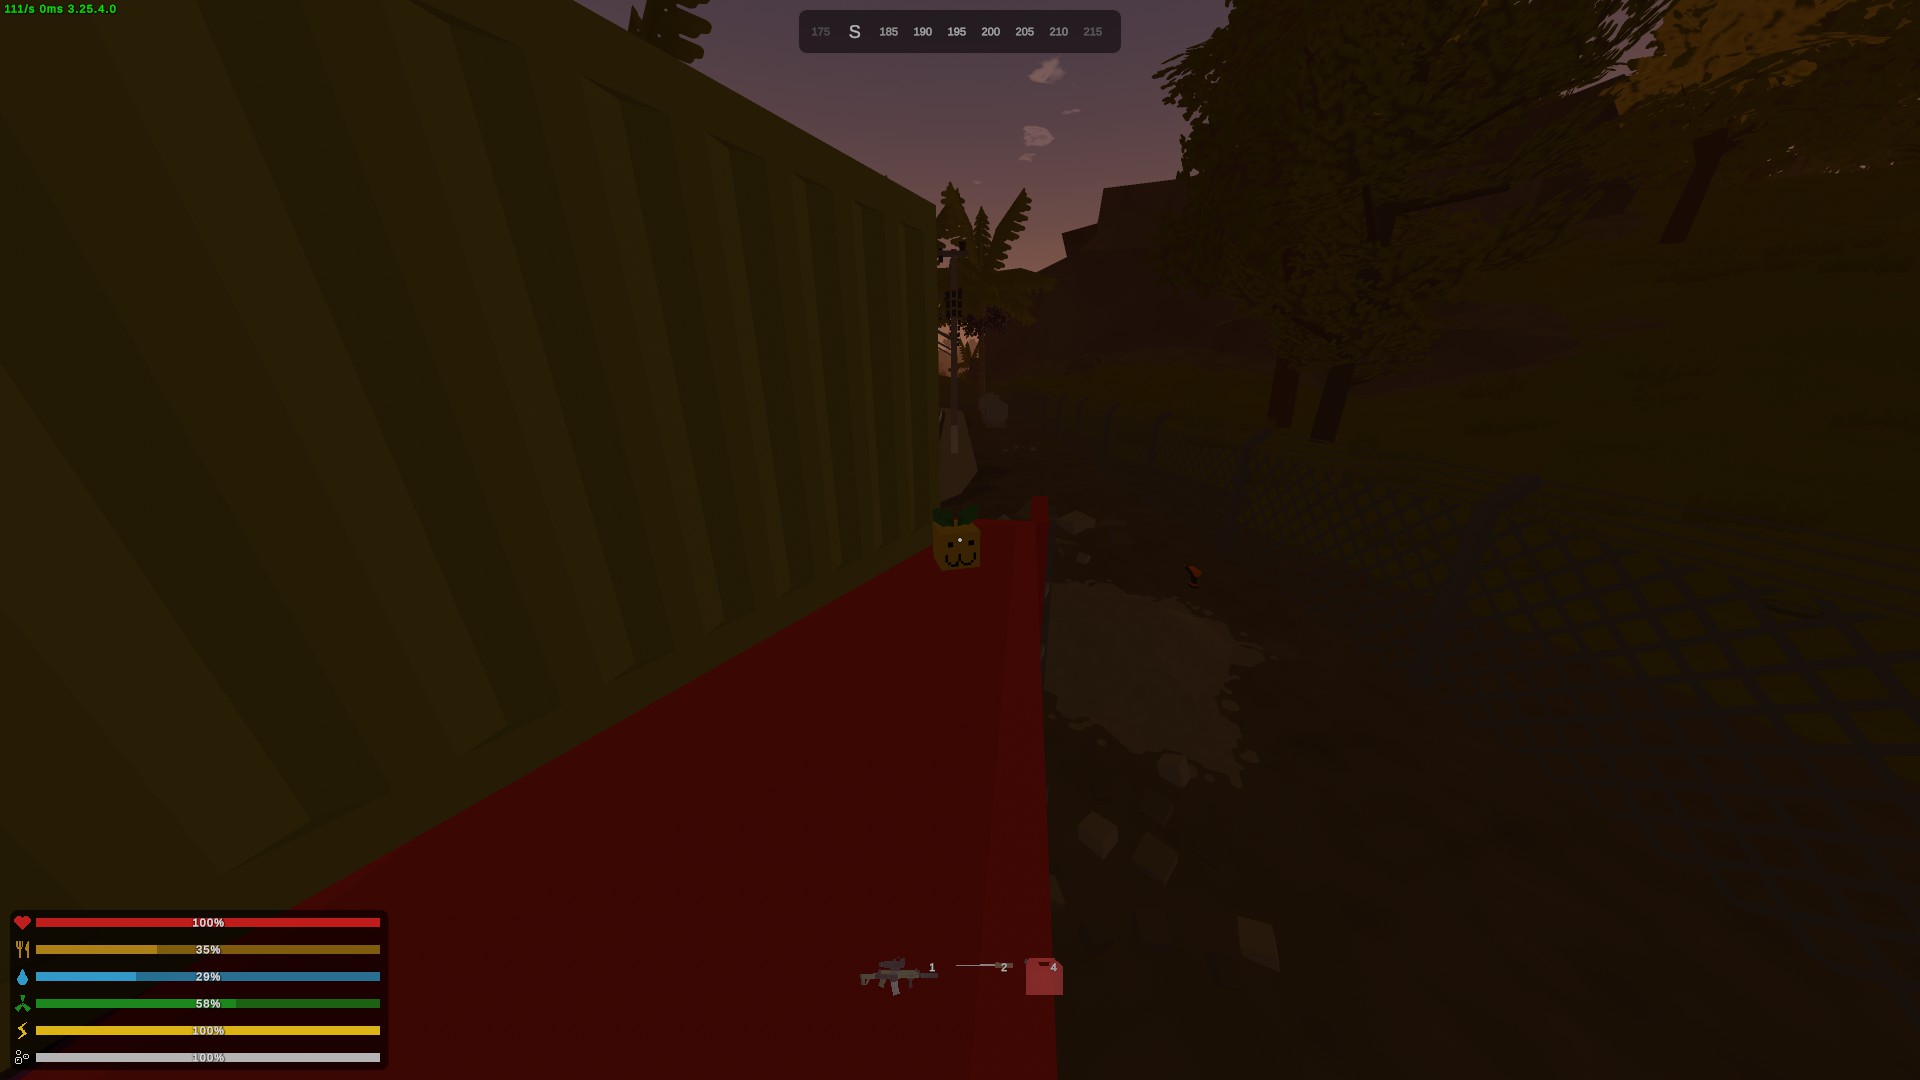
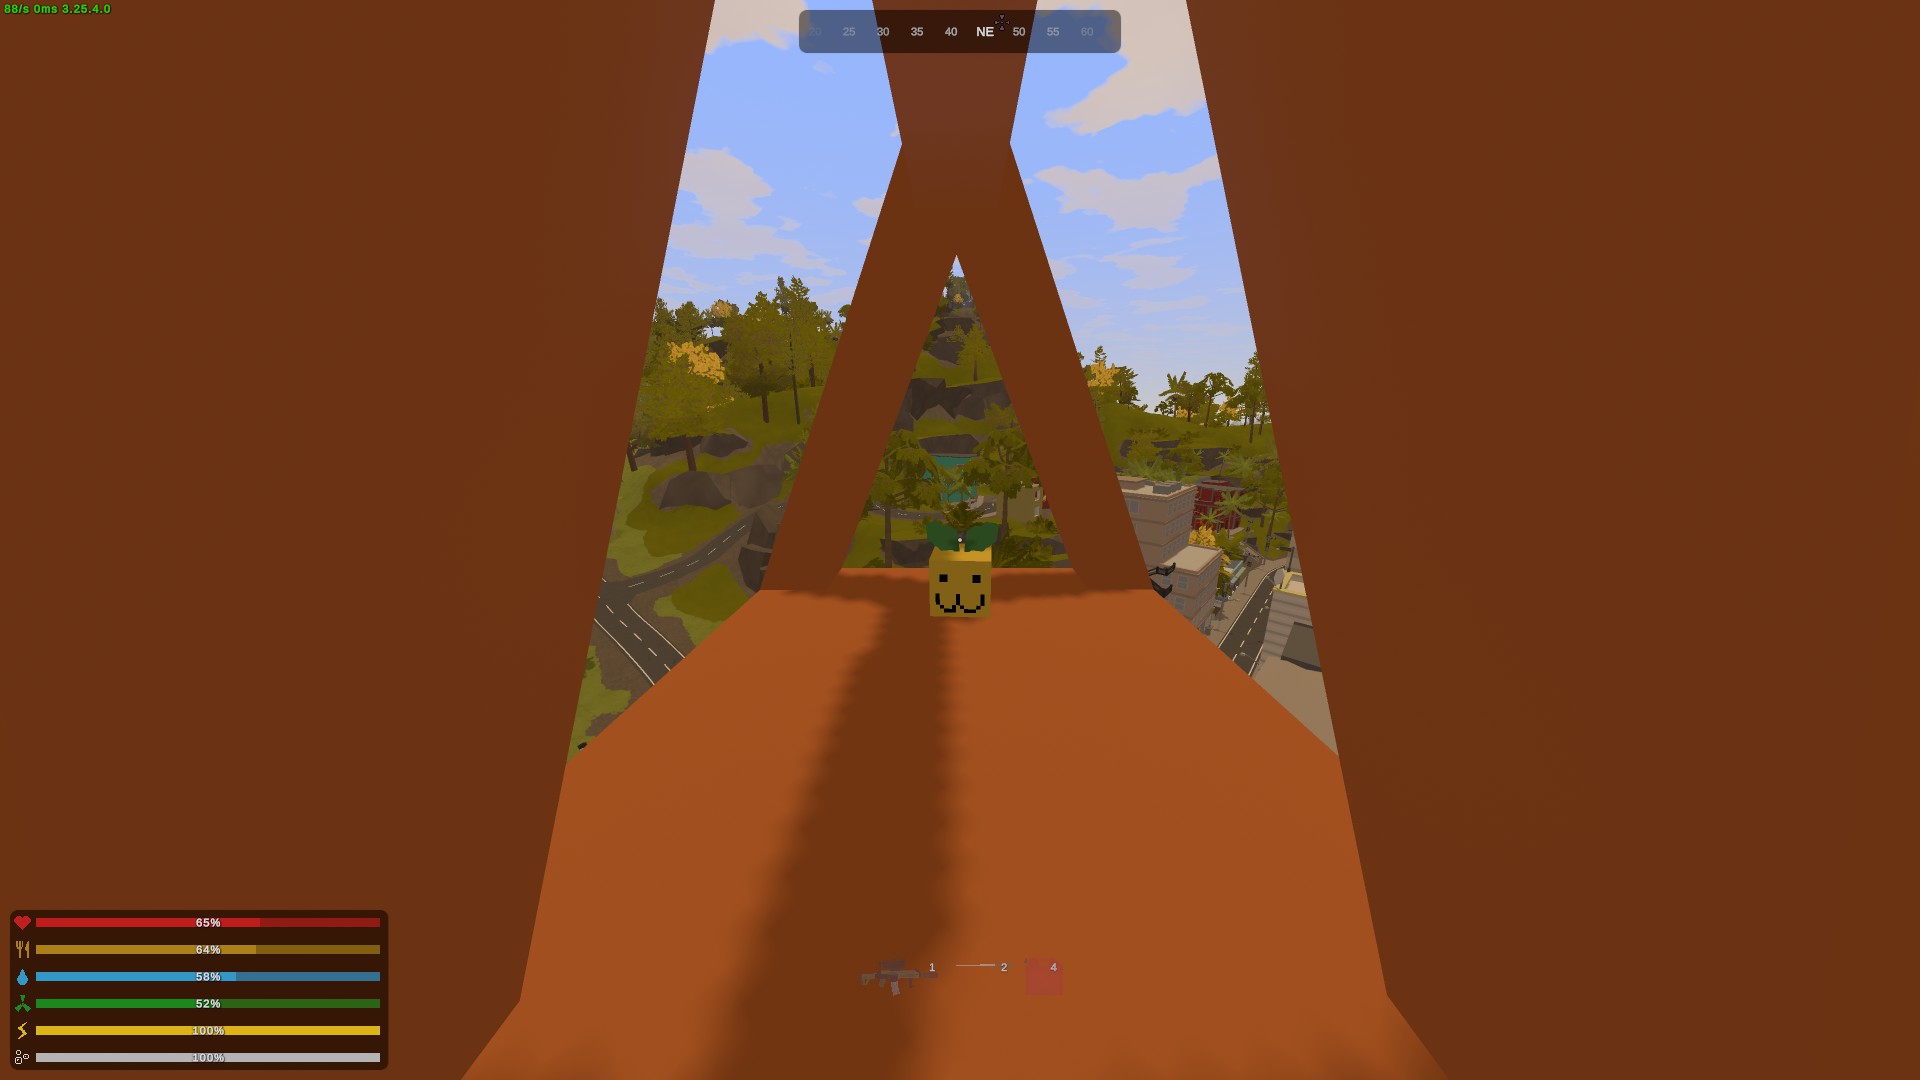
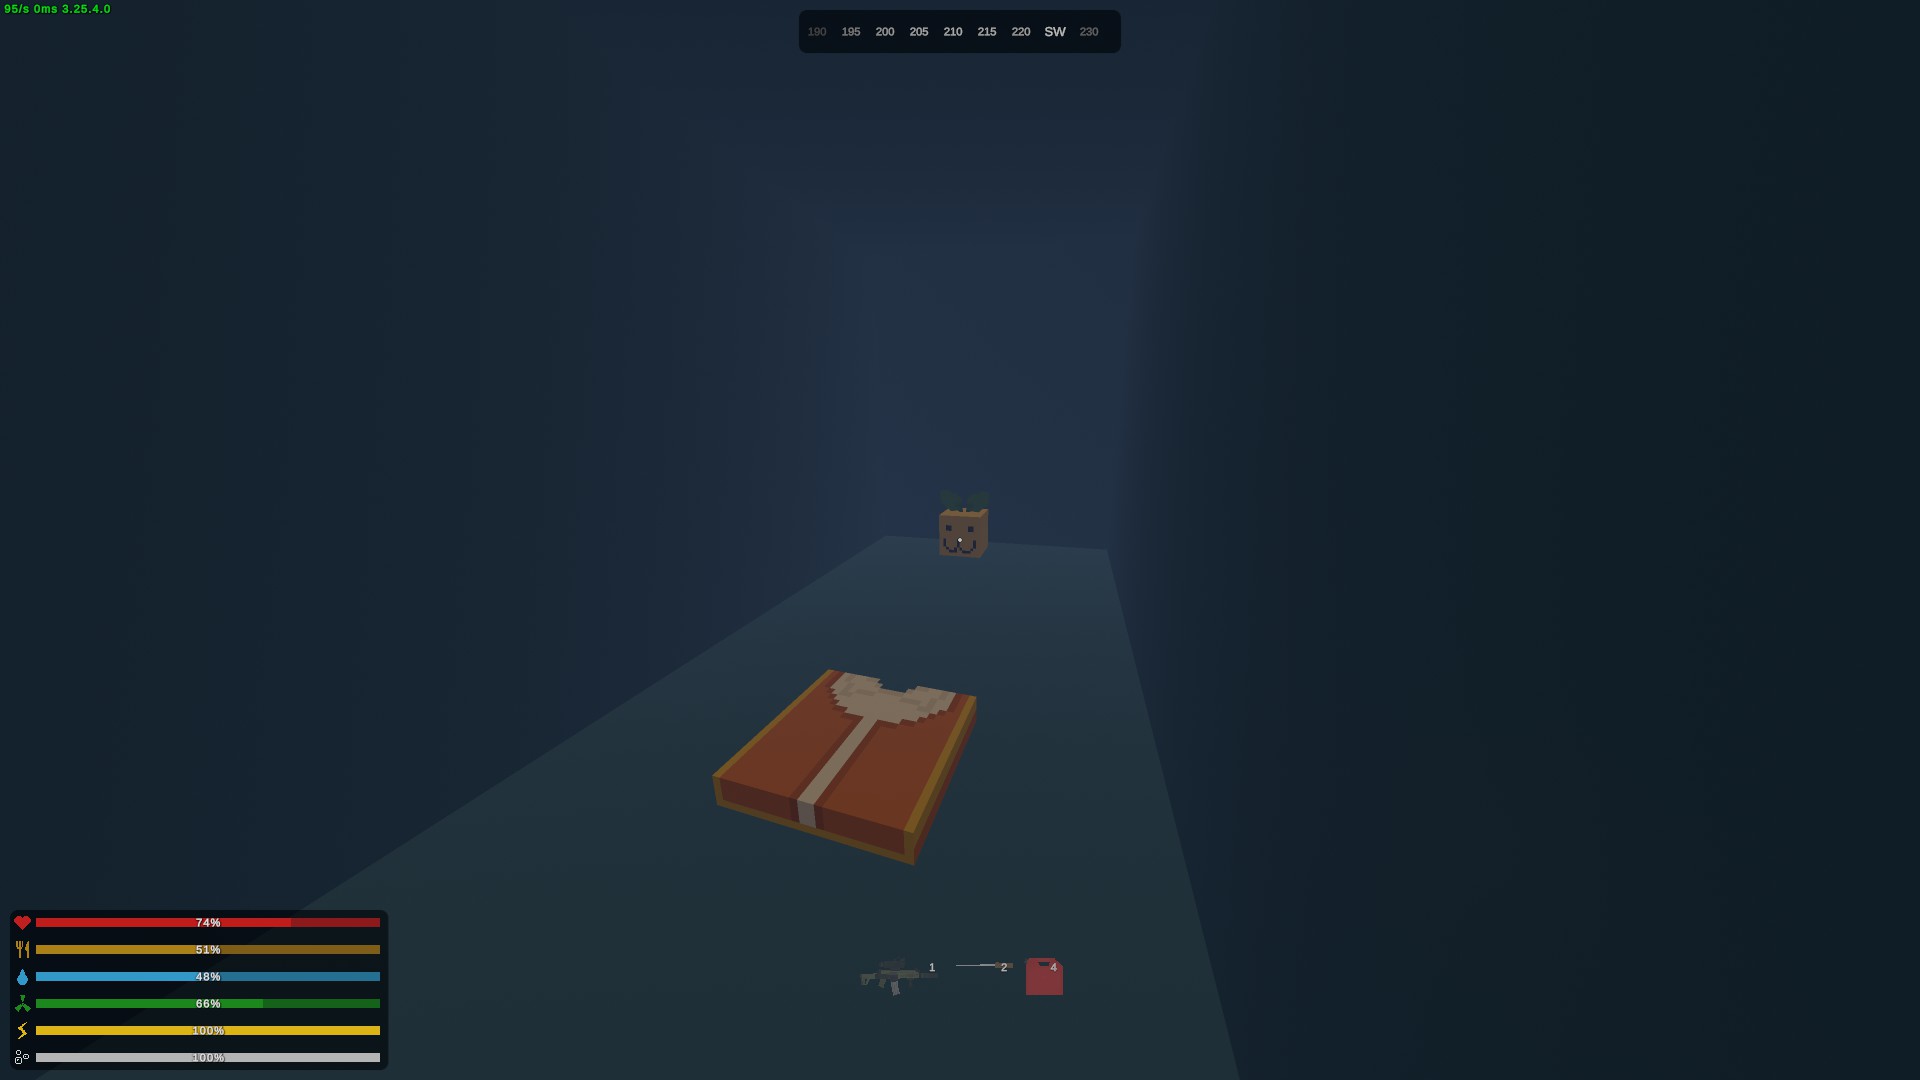
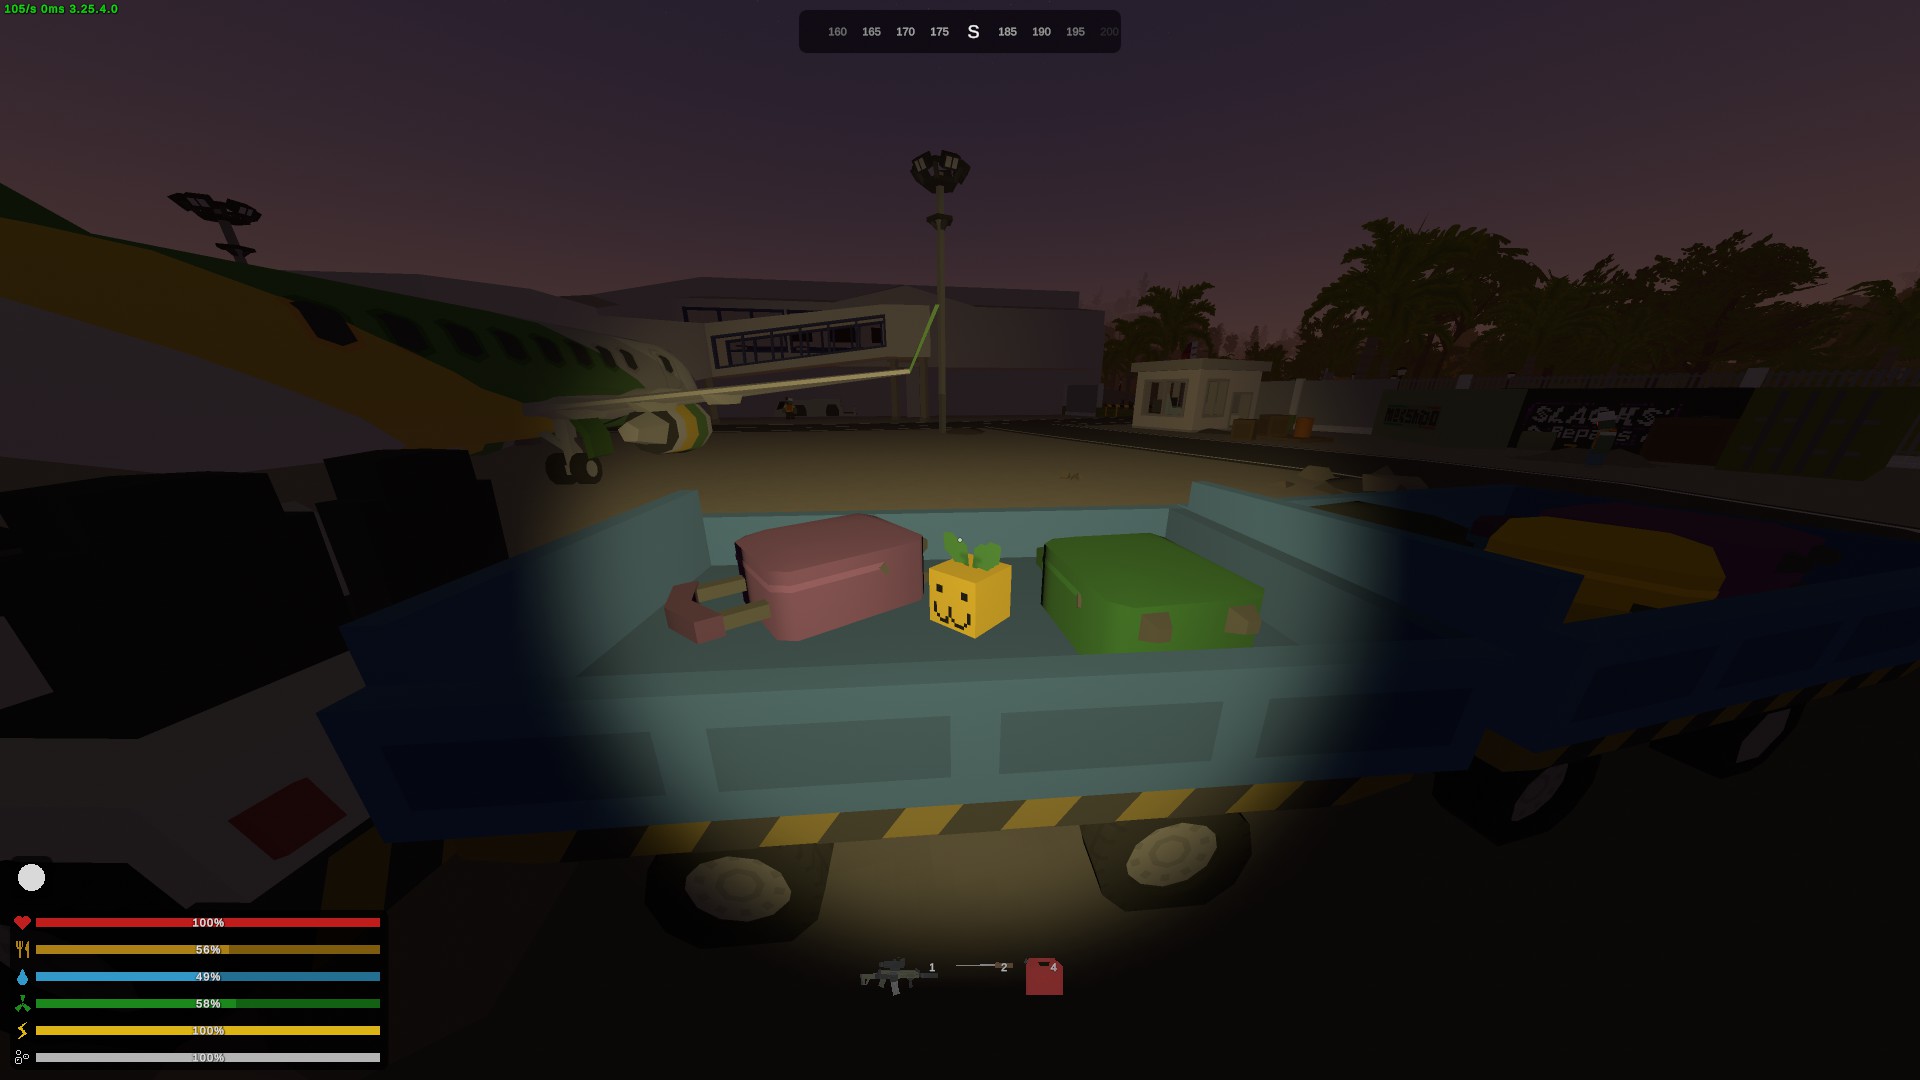
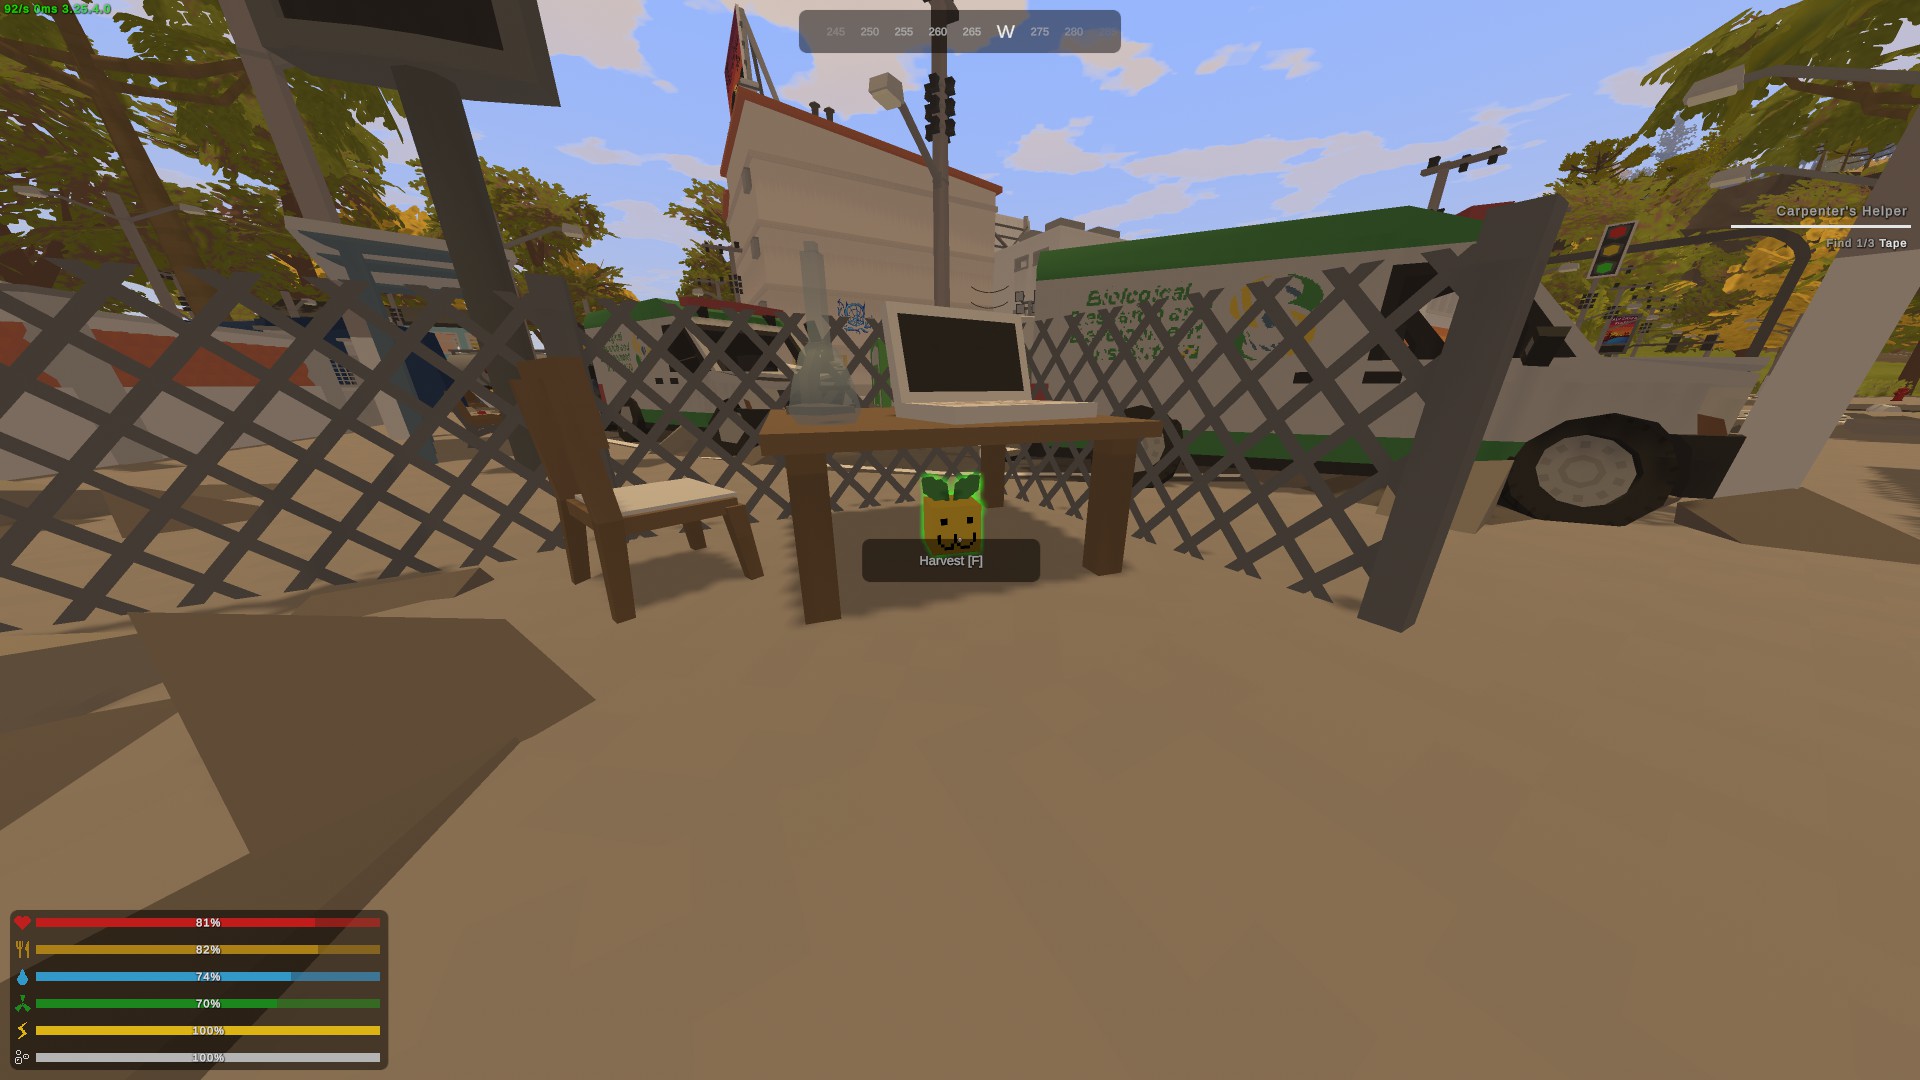
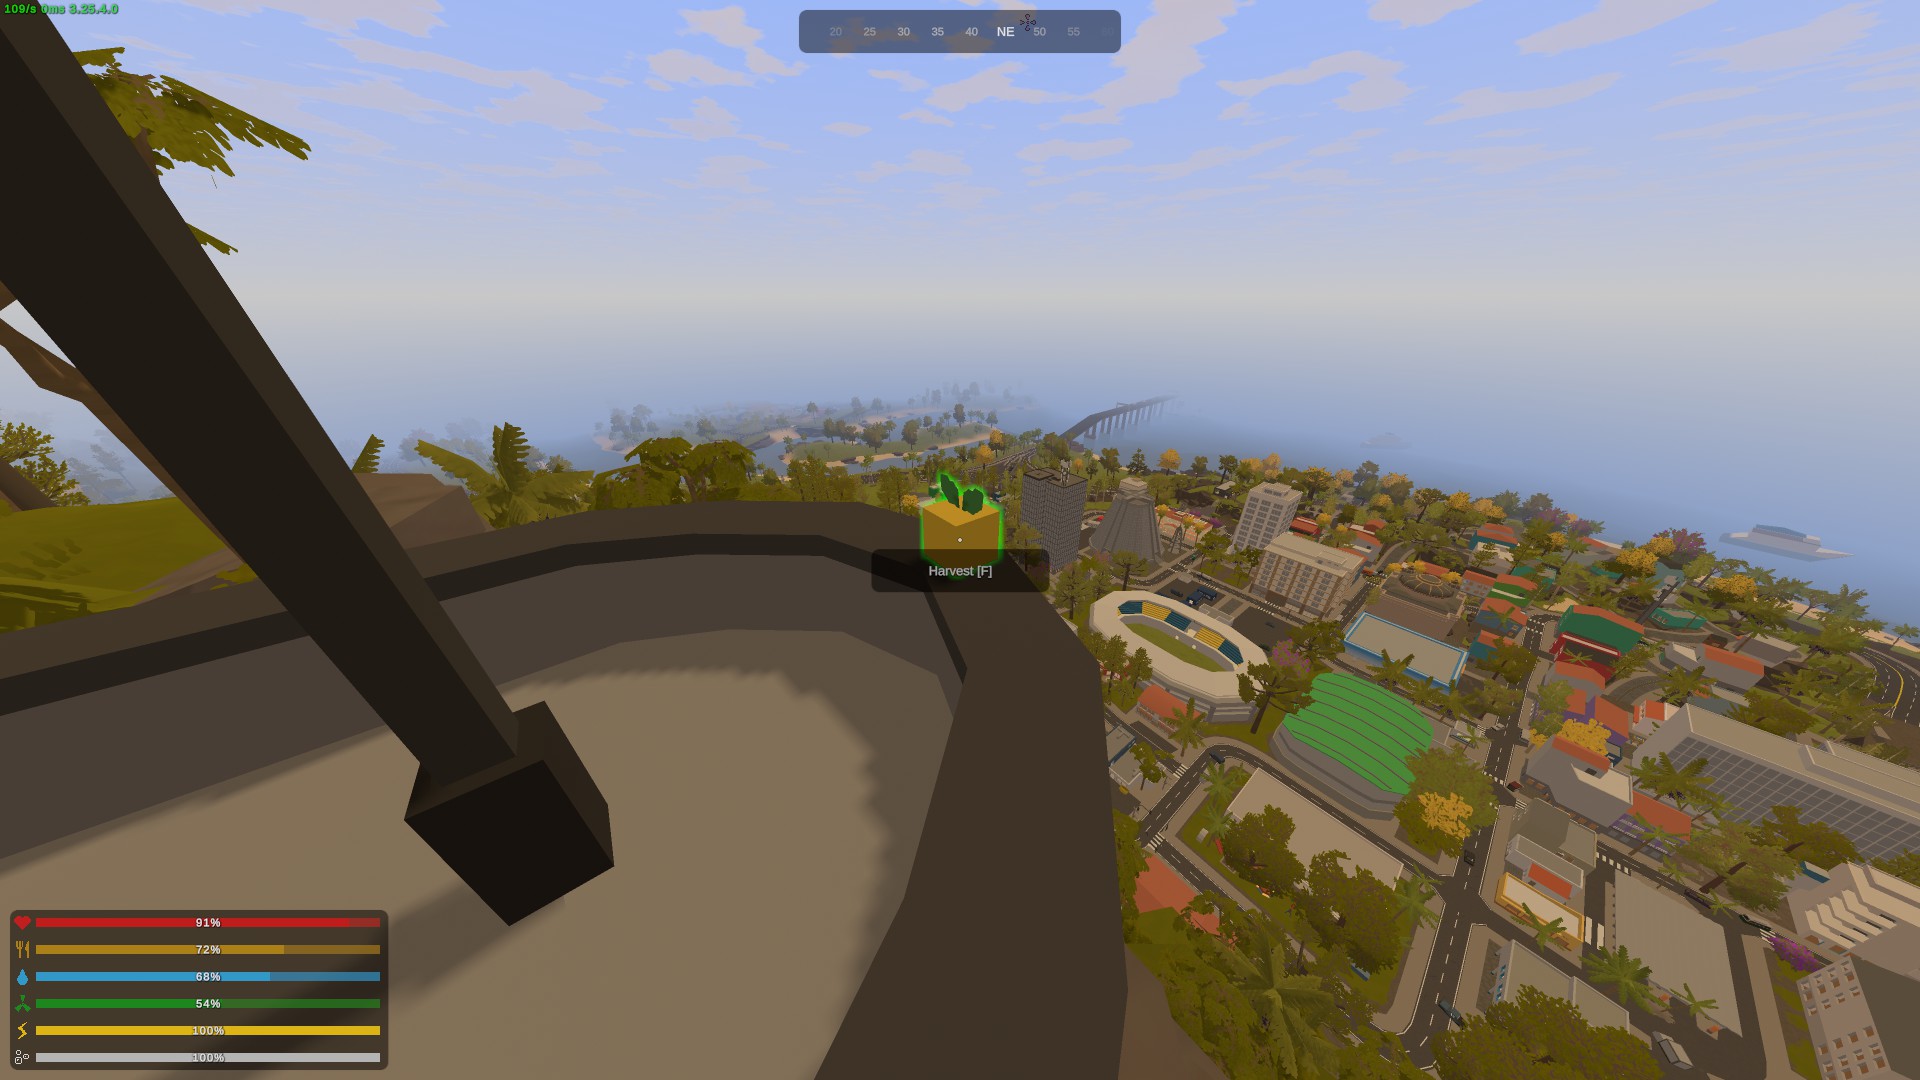
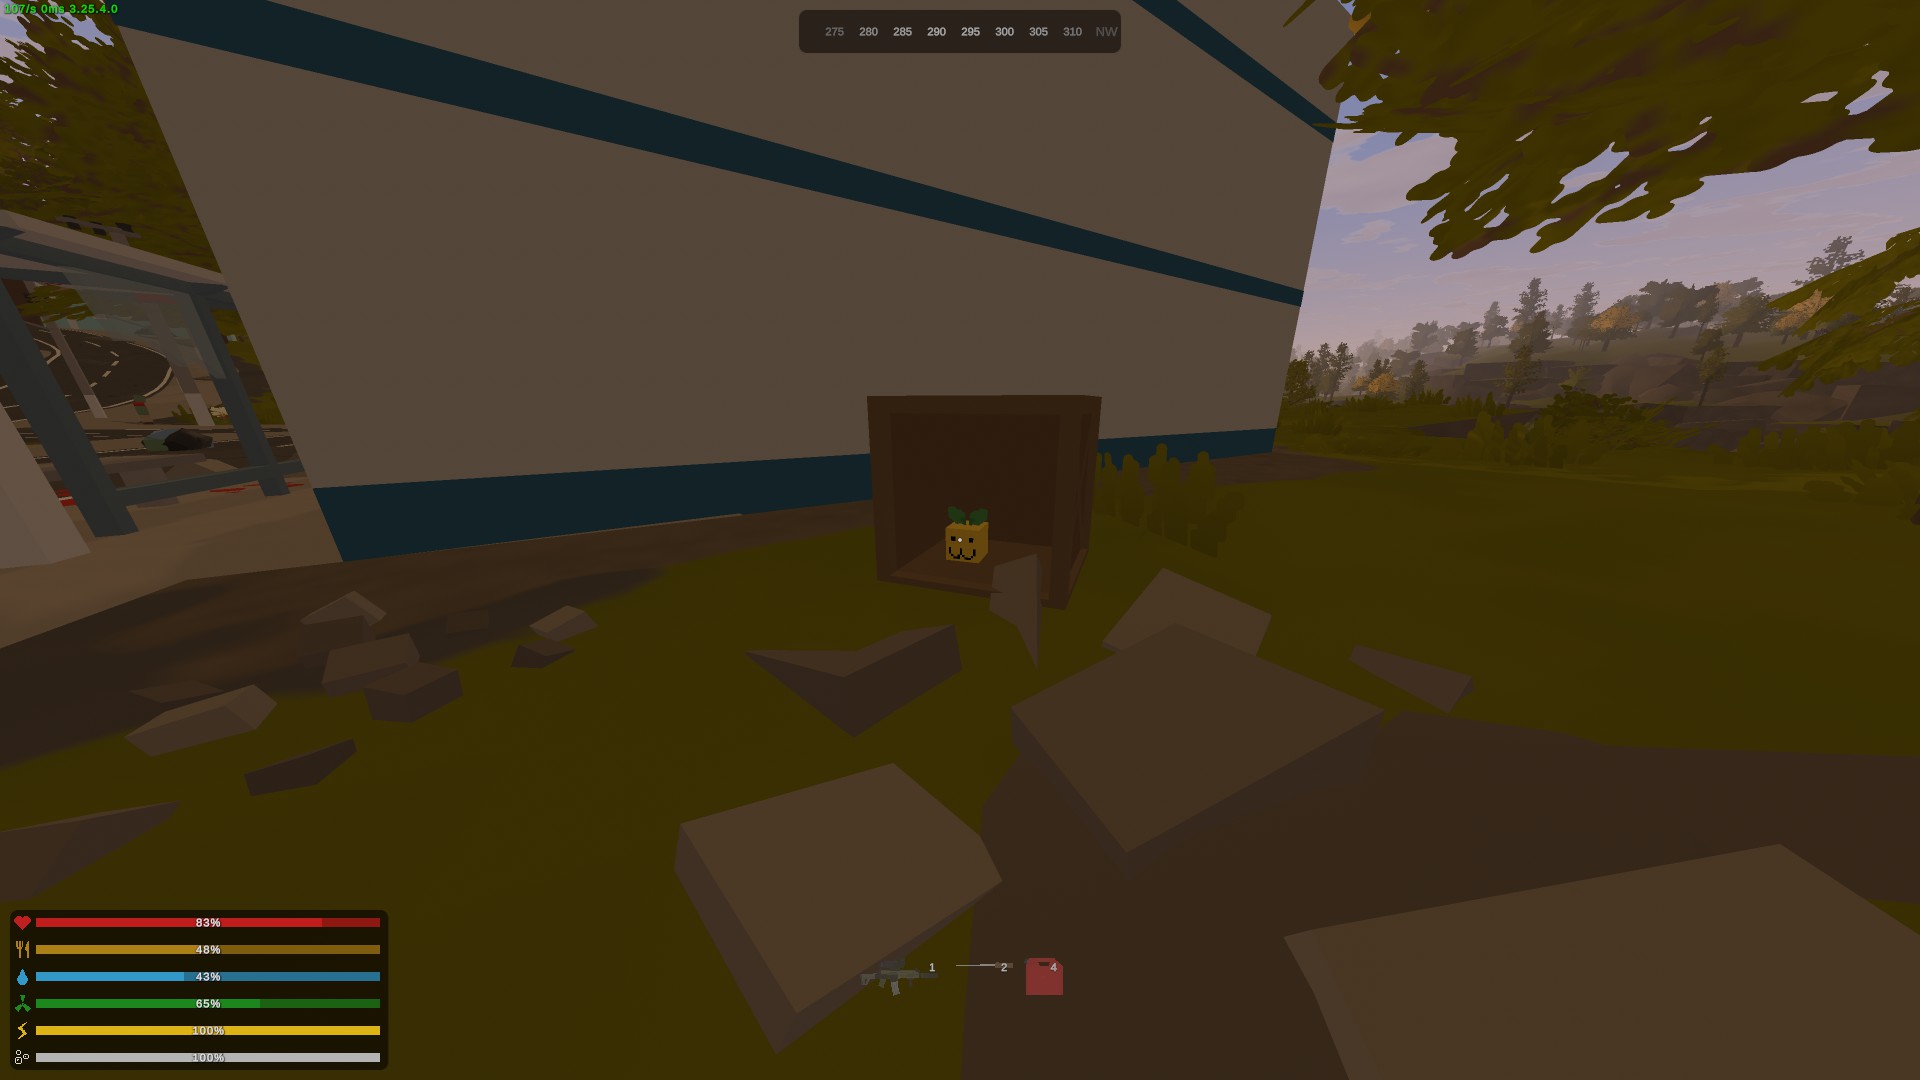
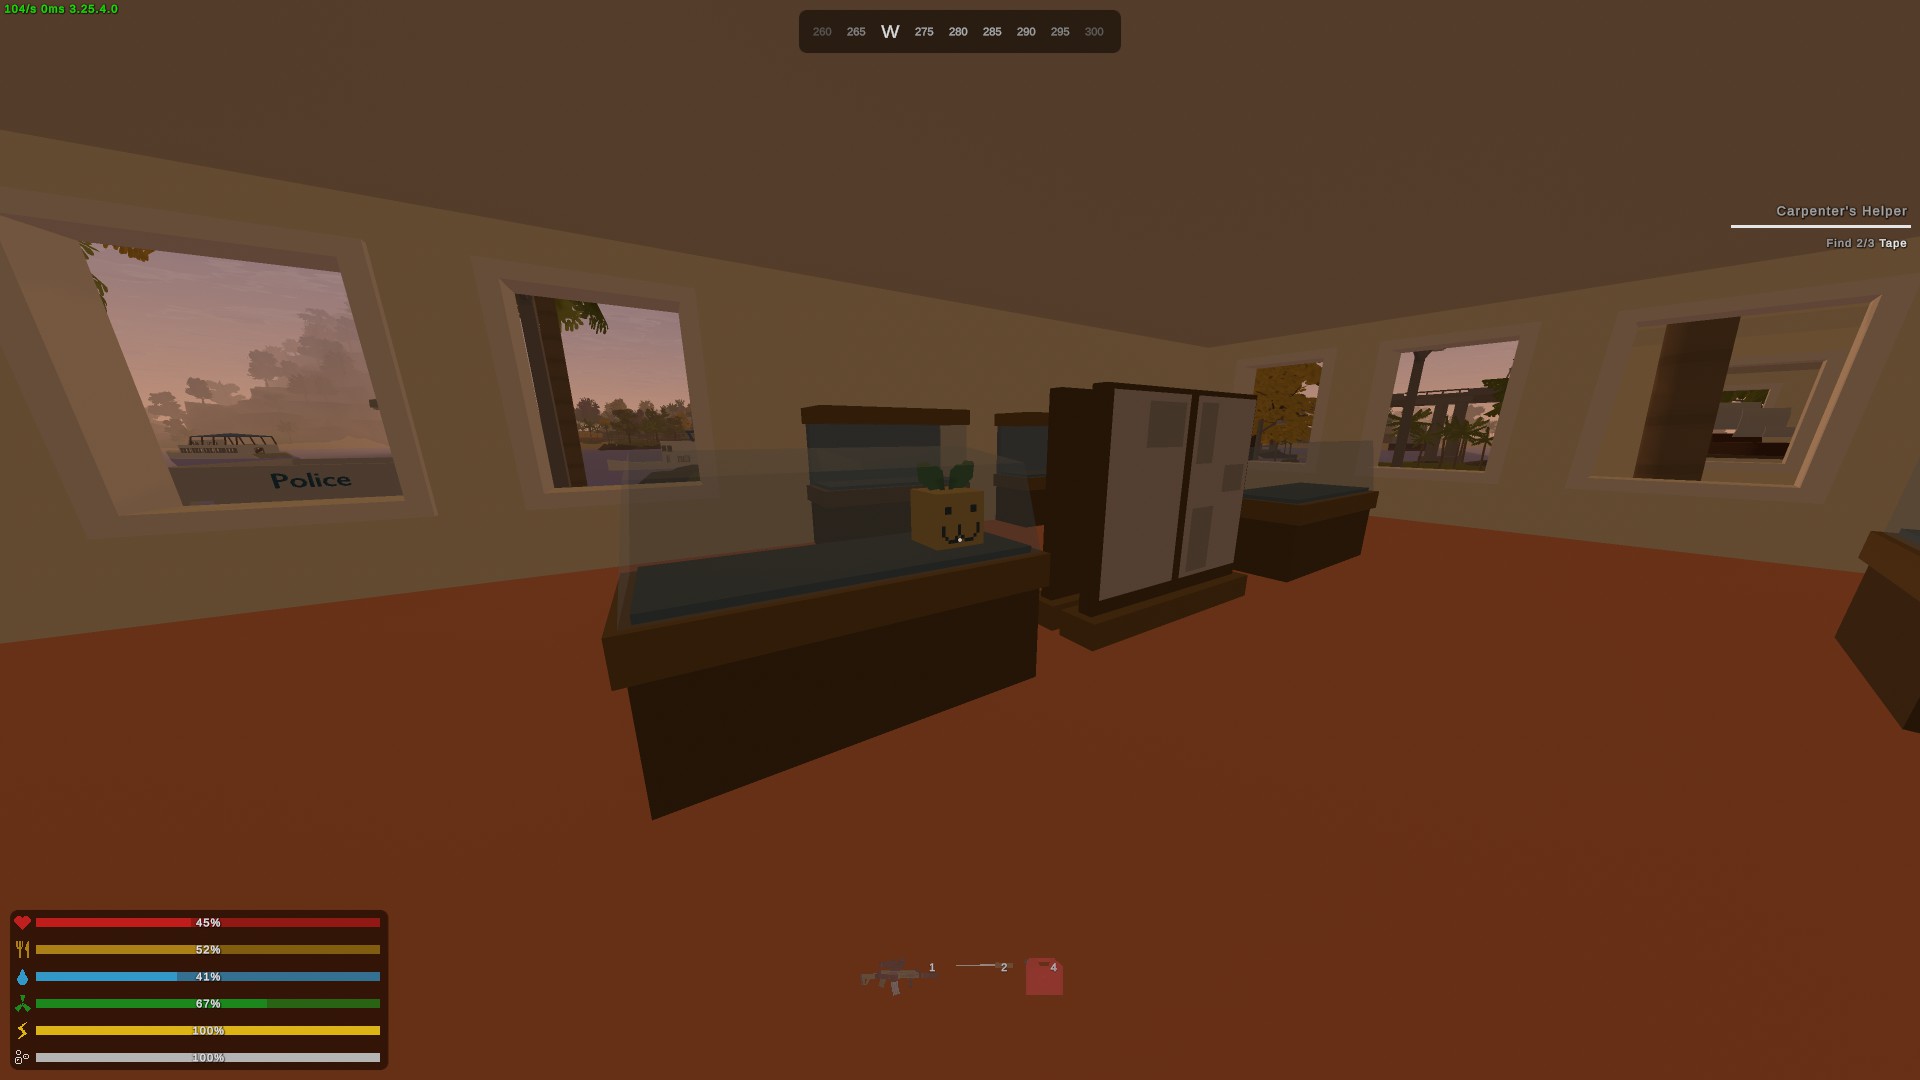
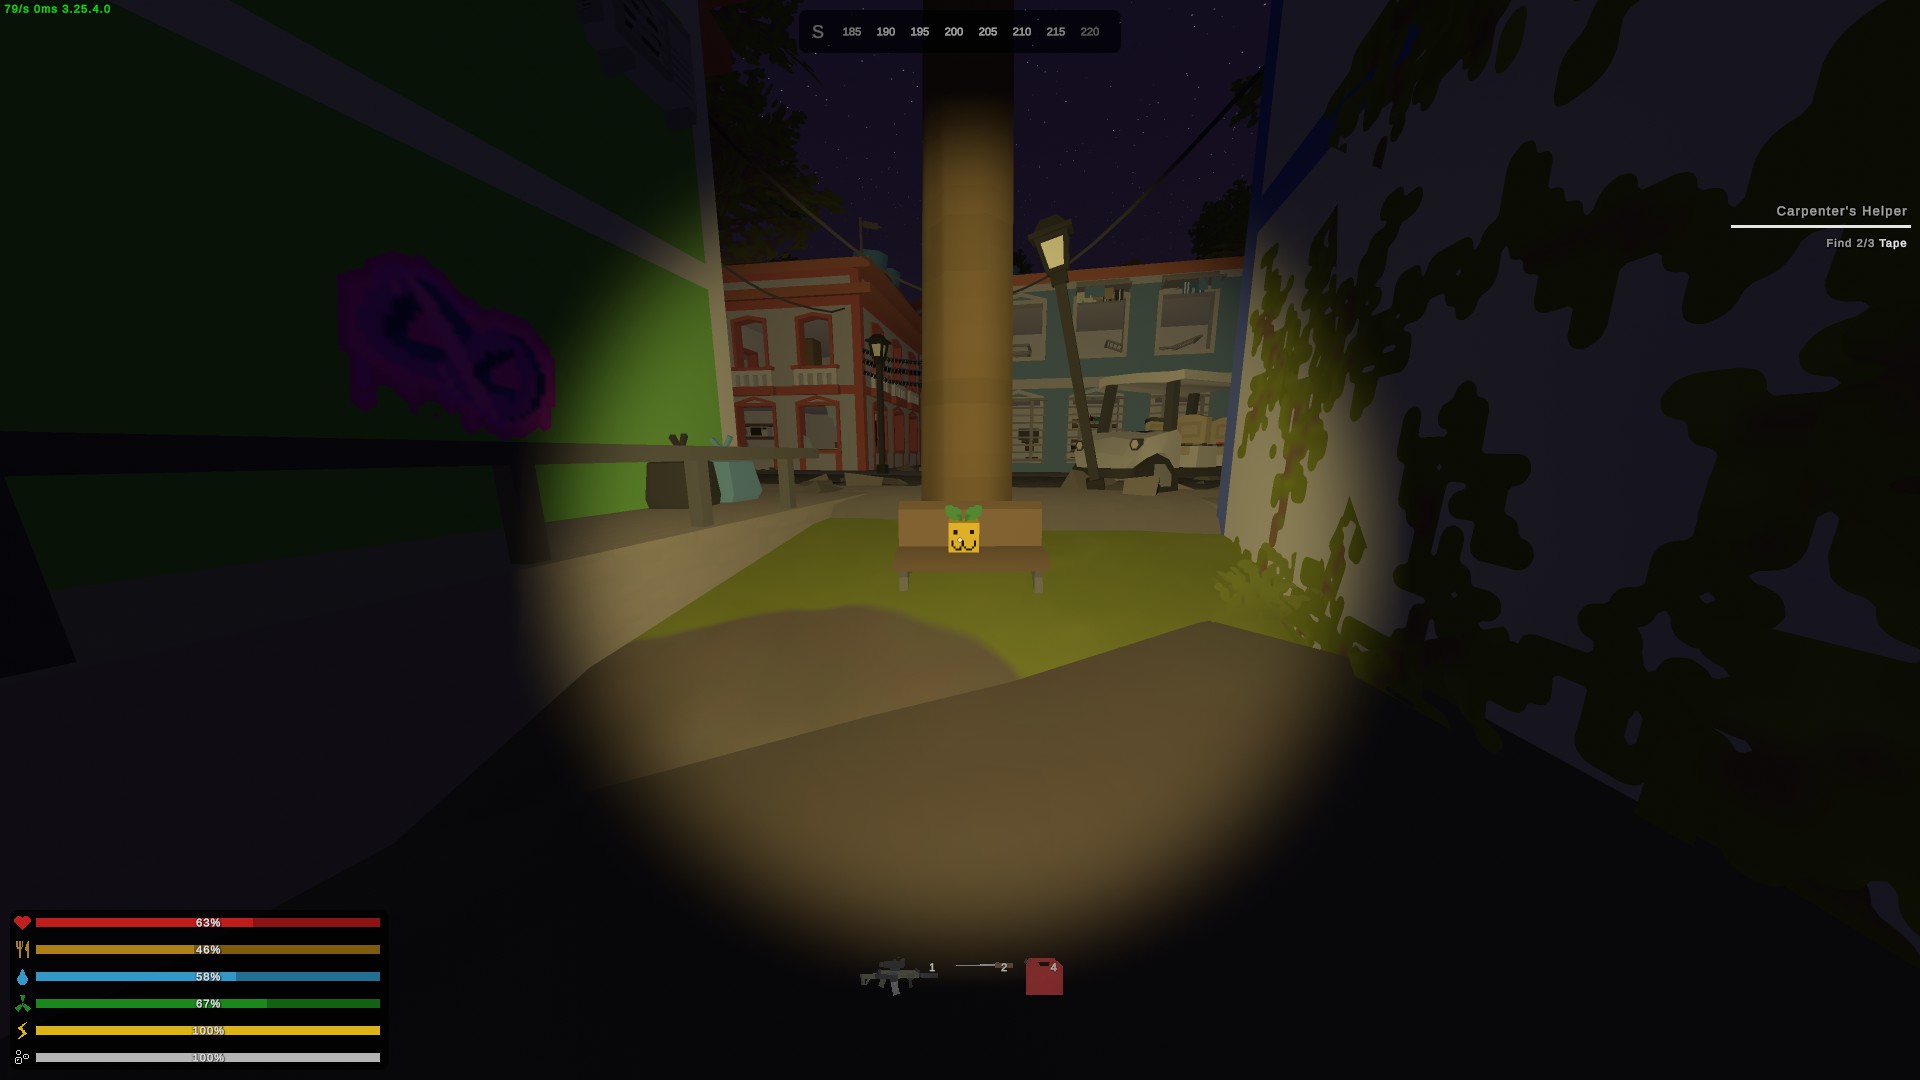
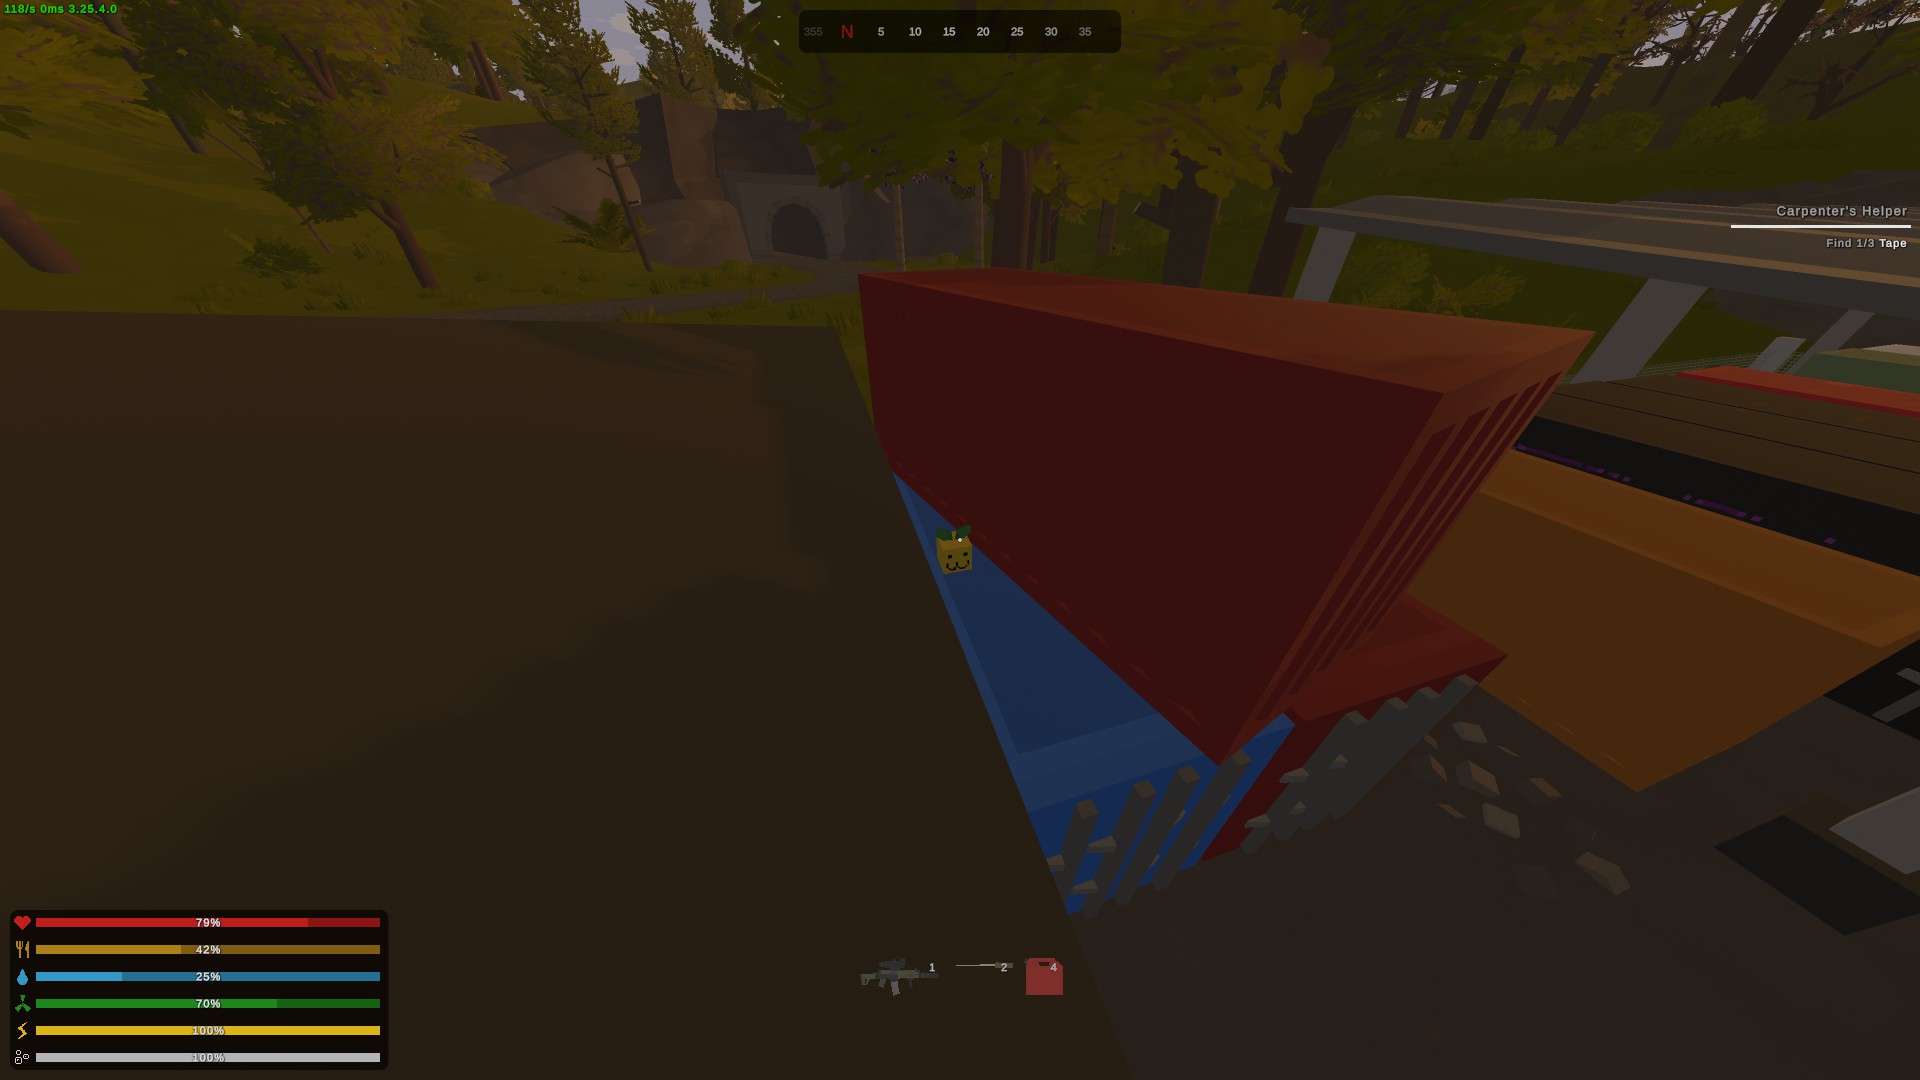
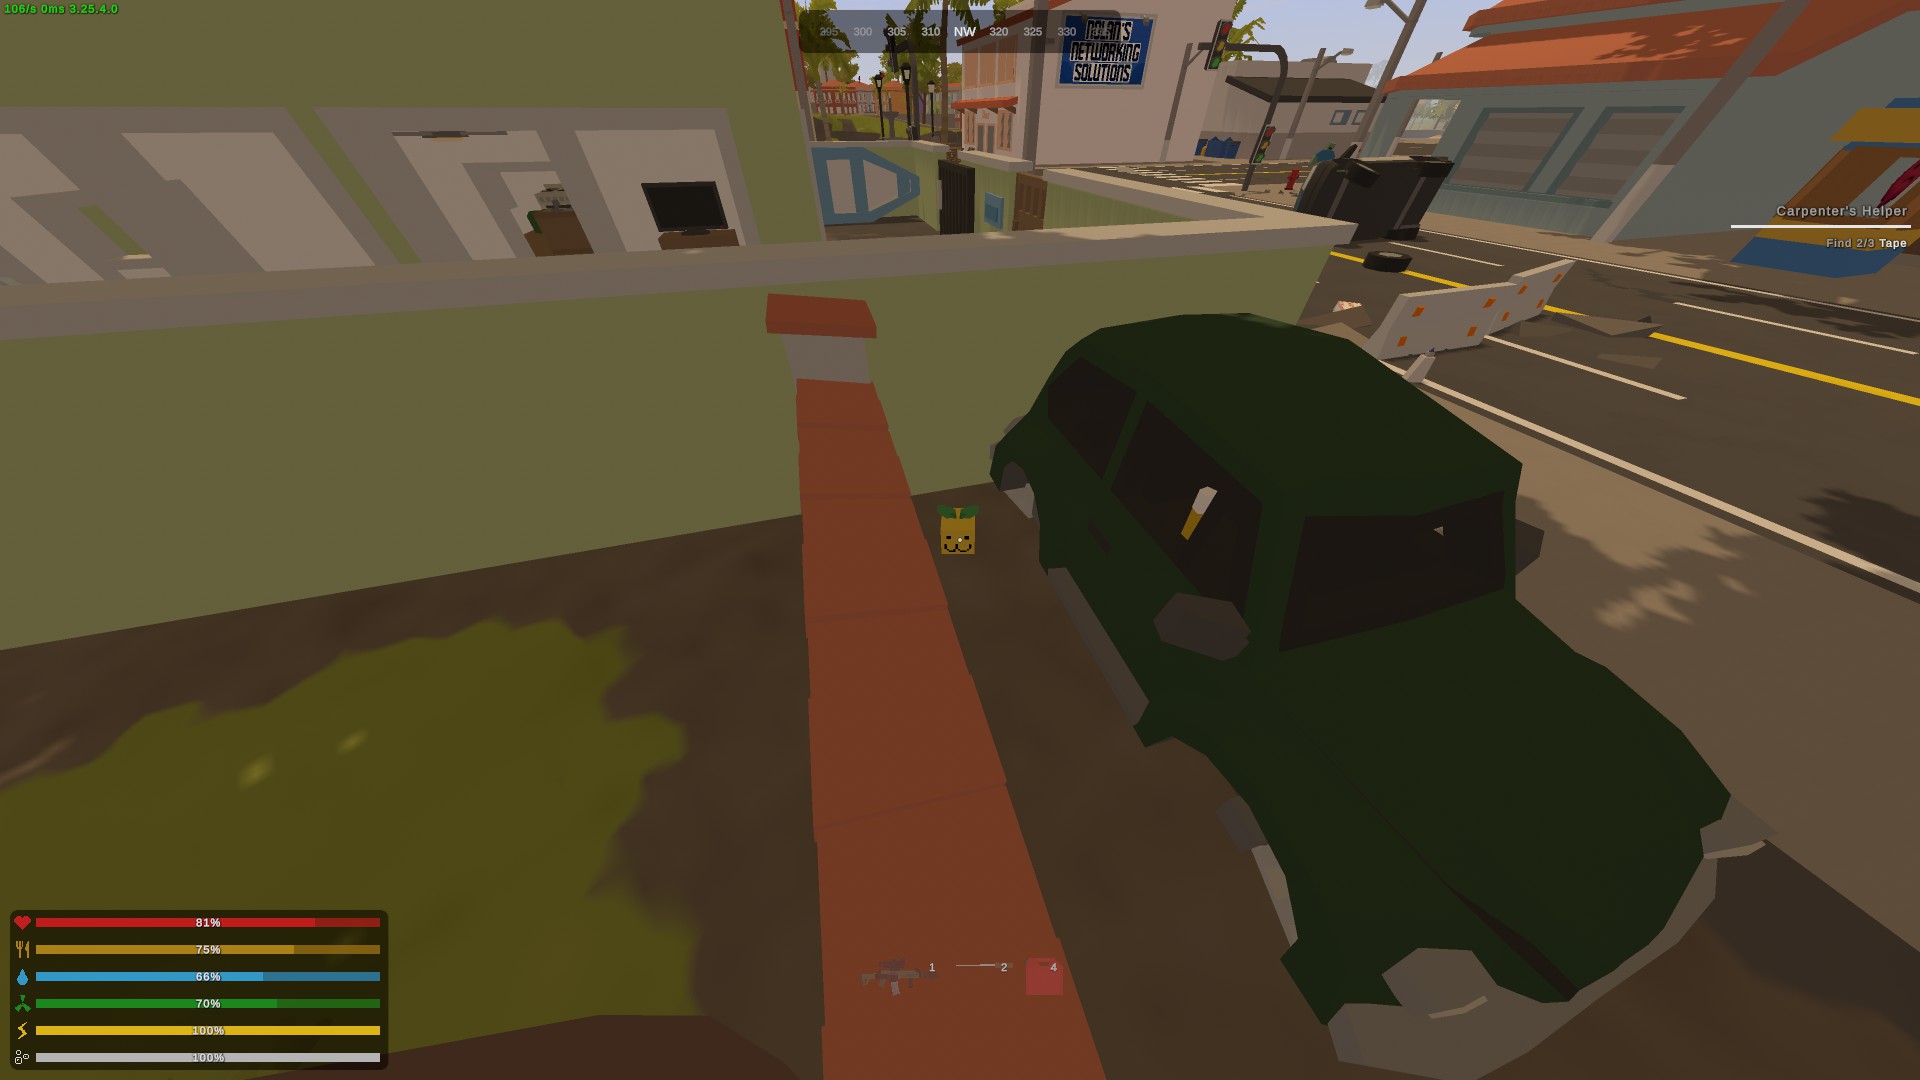
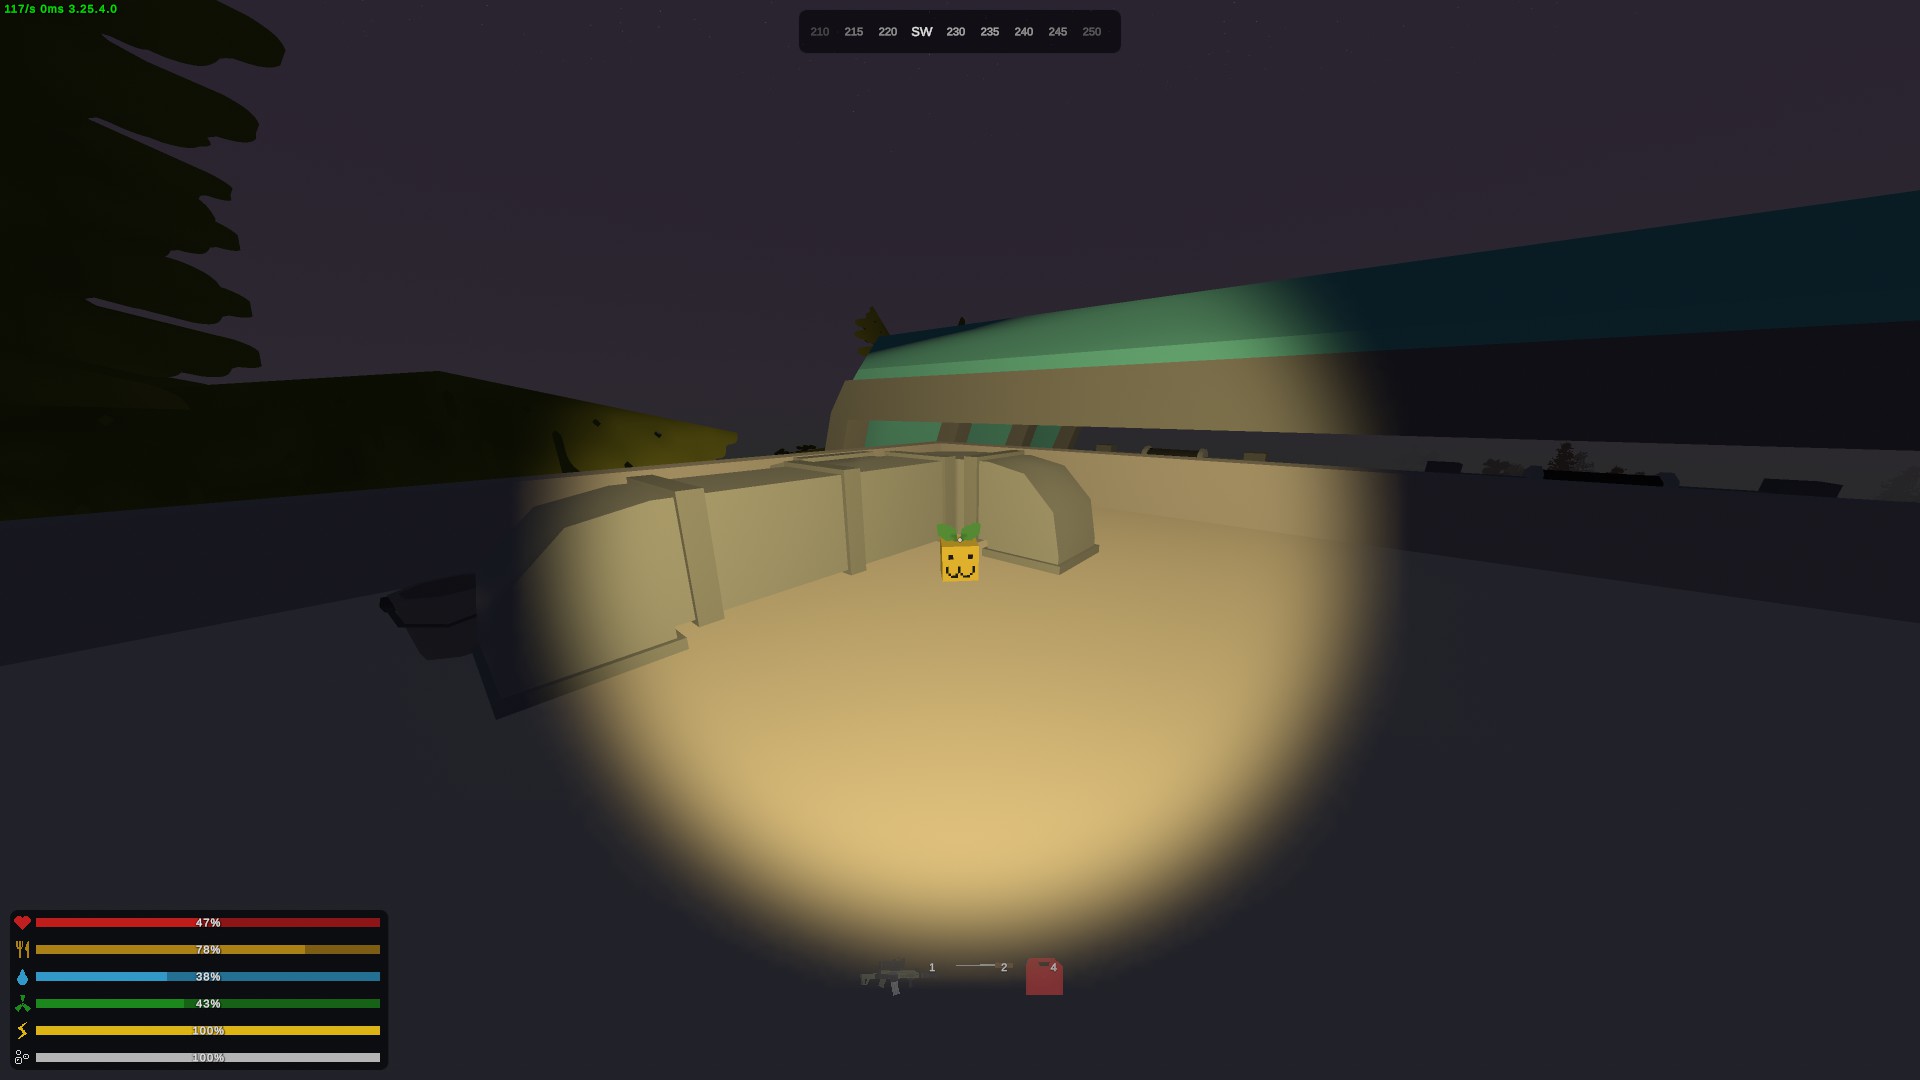
Now that you've got all the sprouts, take them to Silva's farm area on Brocoió Island and plant them in the 3 pots. When you plant all 12, you'll get the achievement
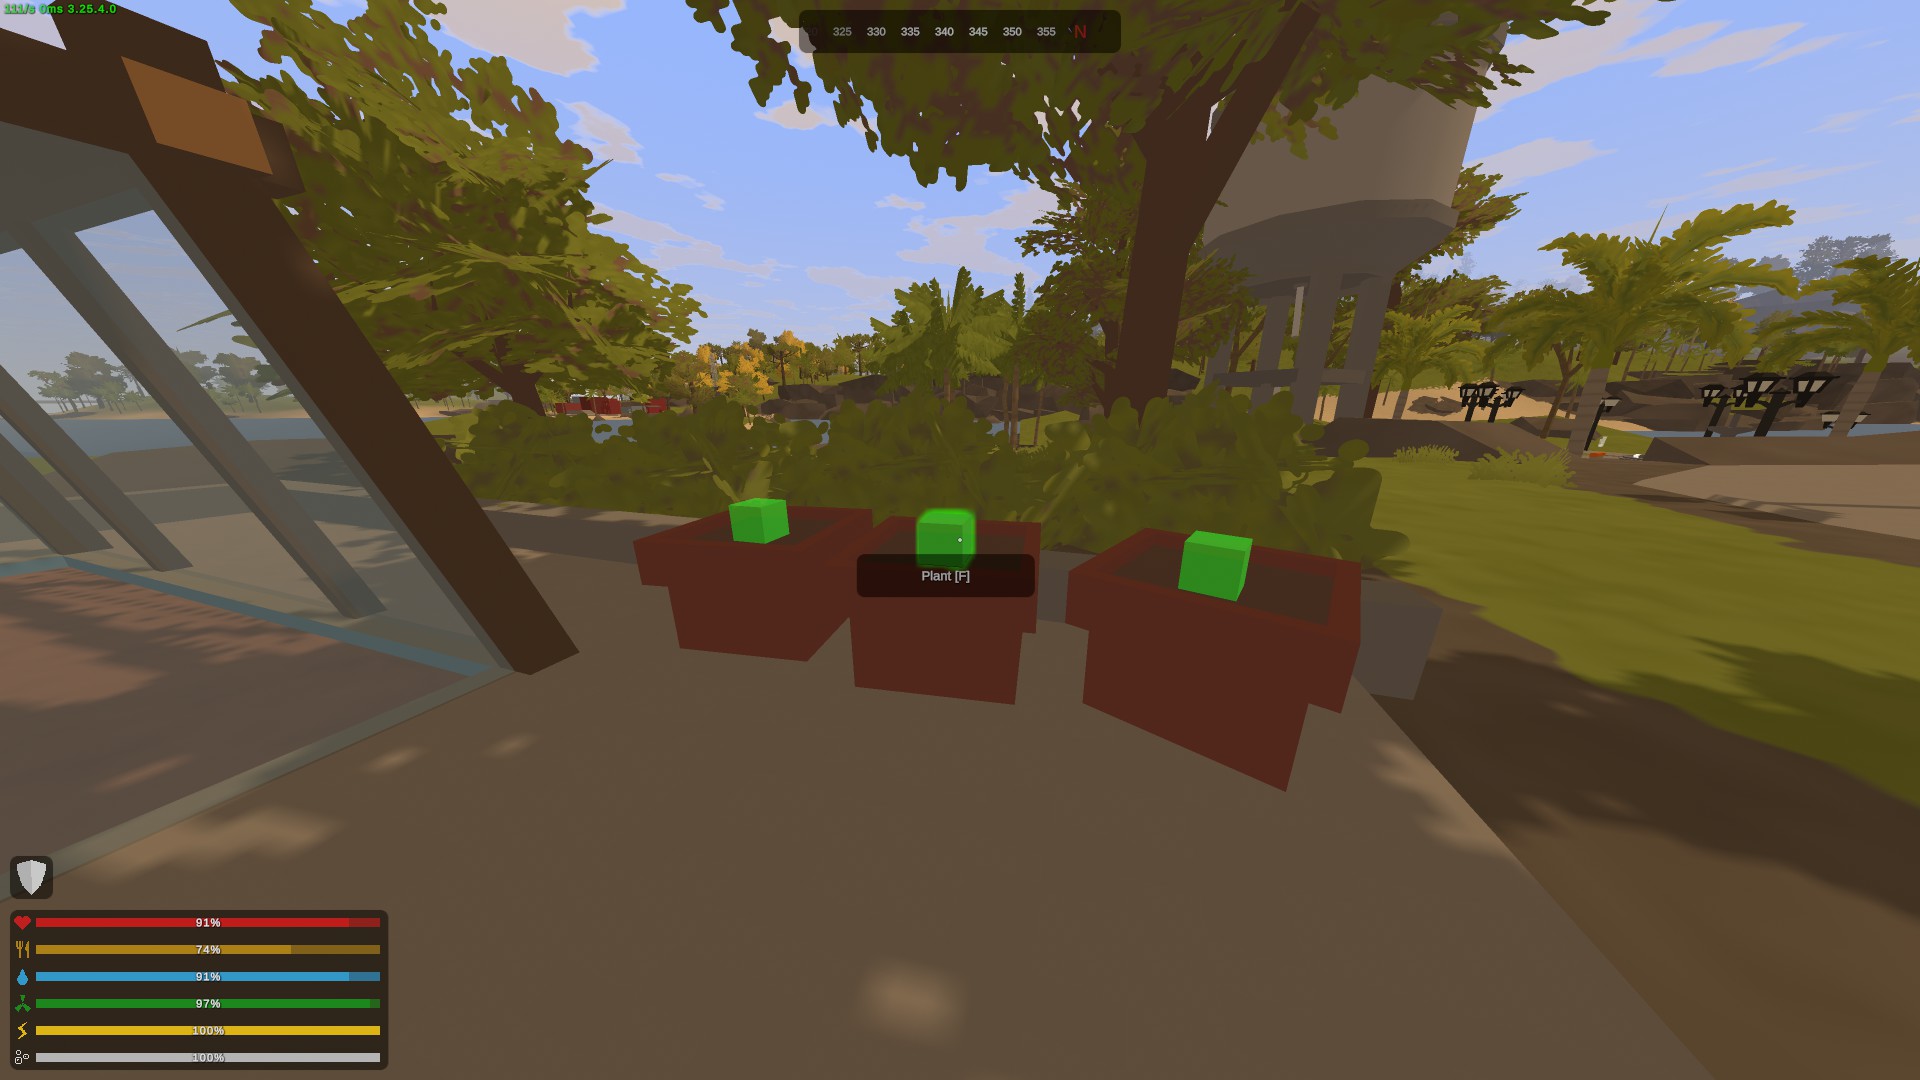
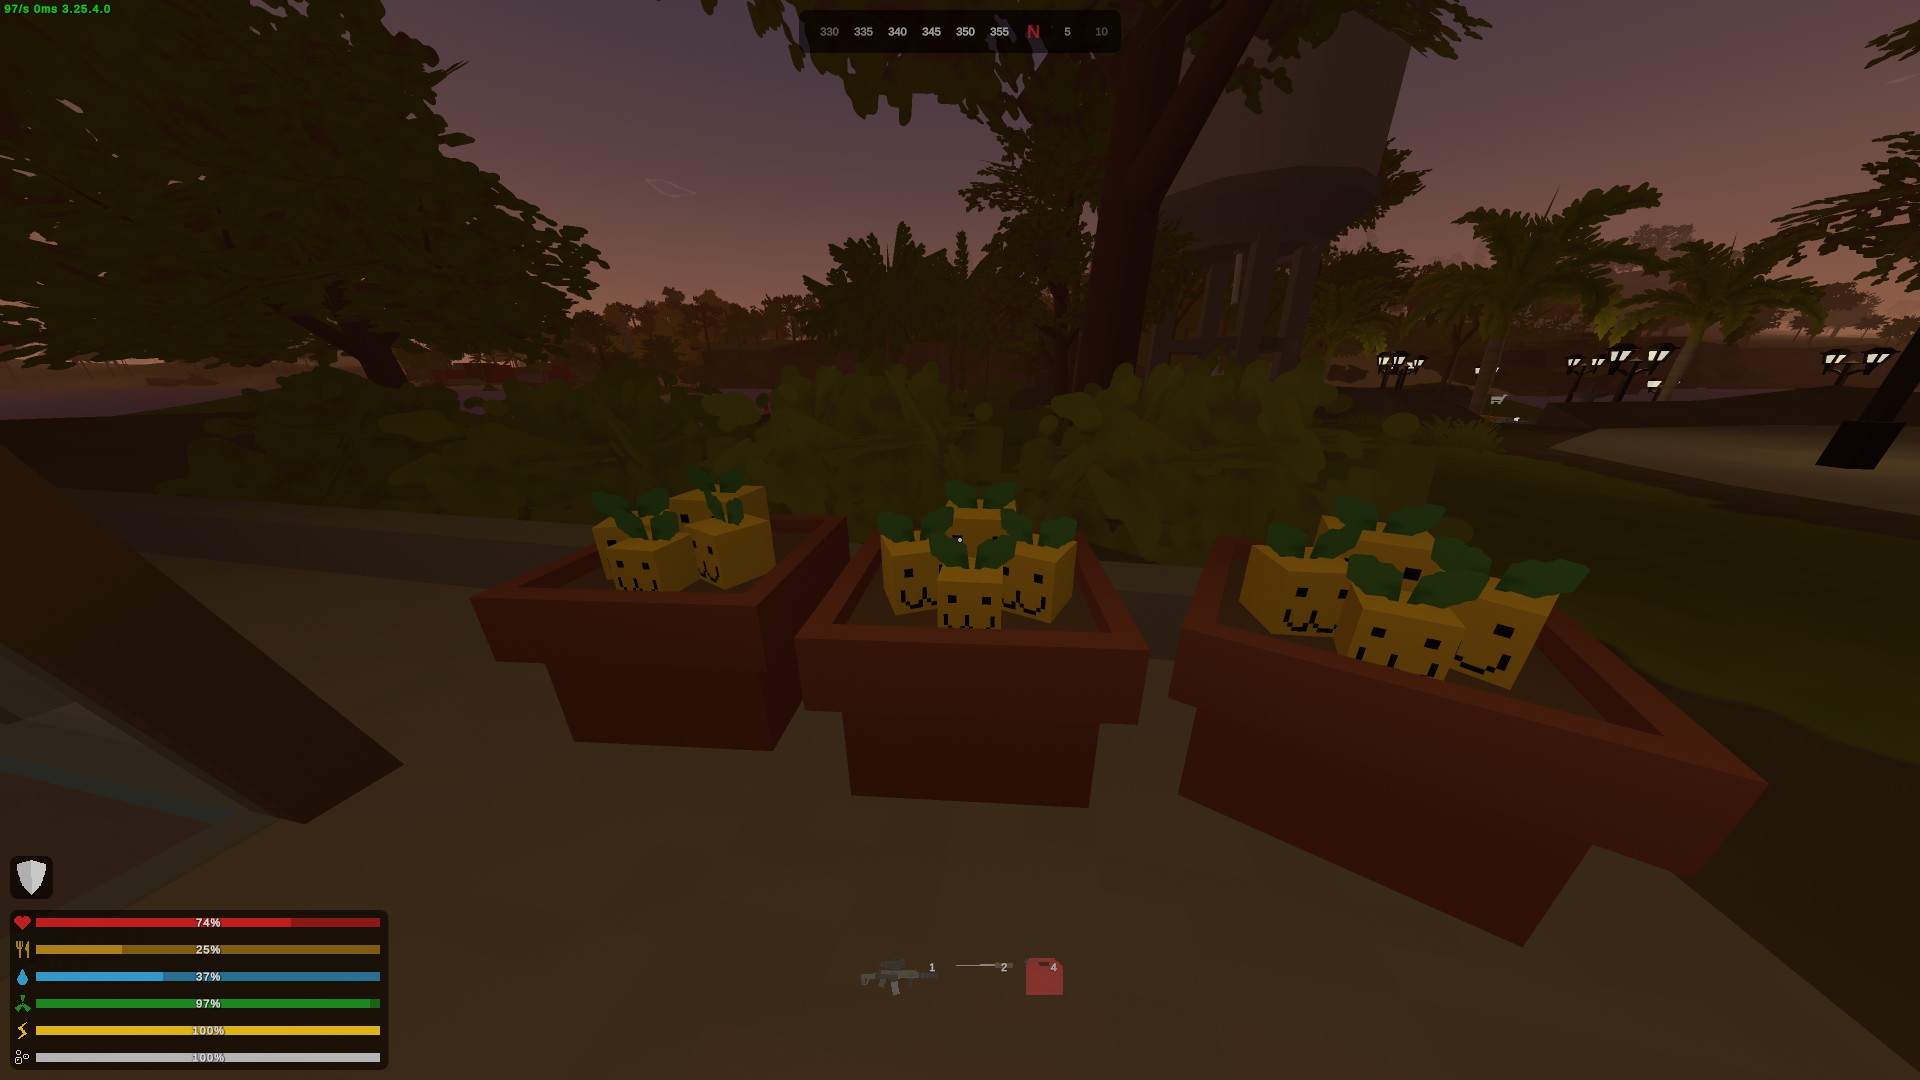
When you get the achievement, you will also get a cosmetic item in your steam inventory you can wear in game :D
Rio de Janeiro: Quests [WIP]
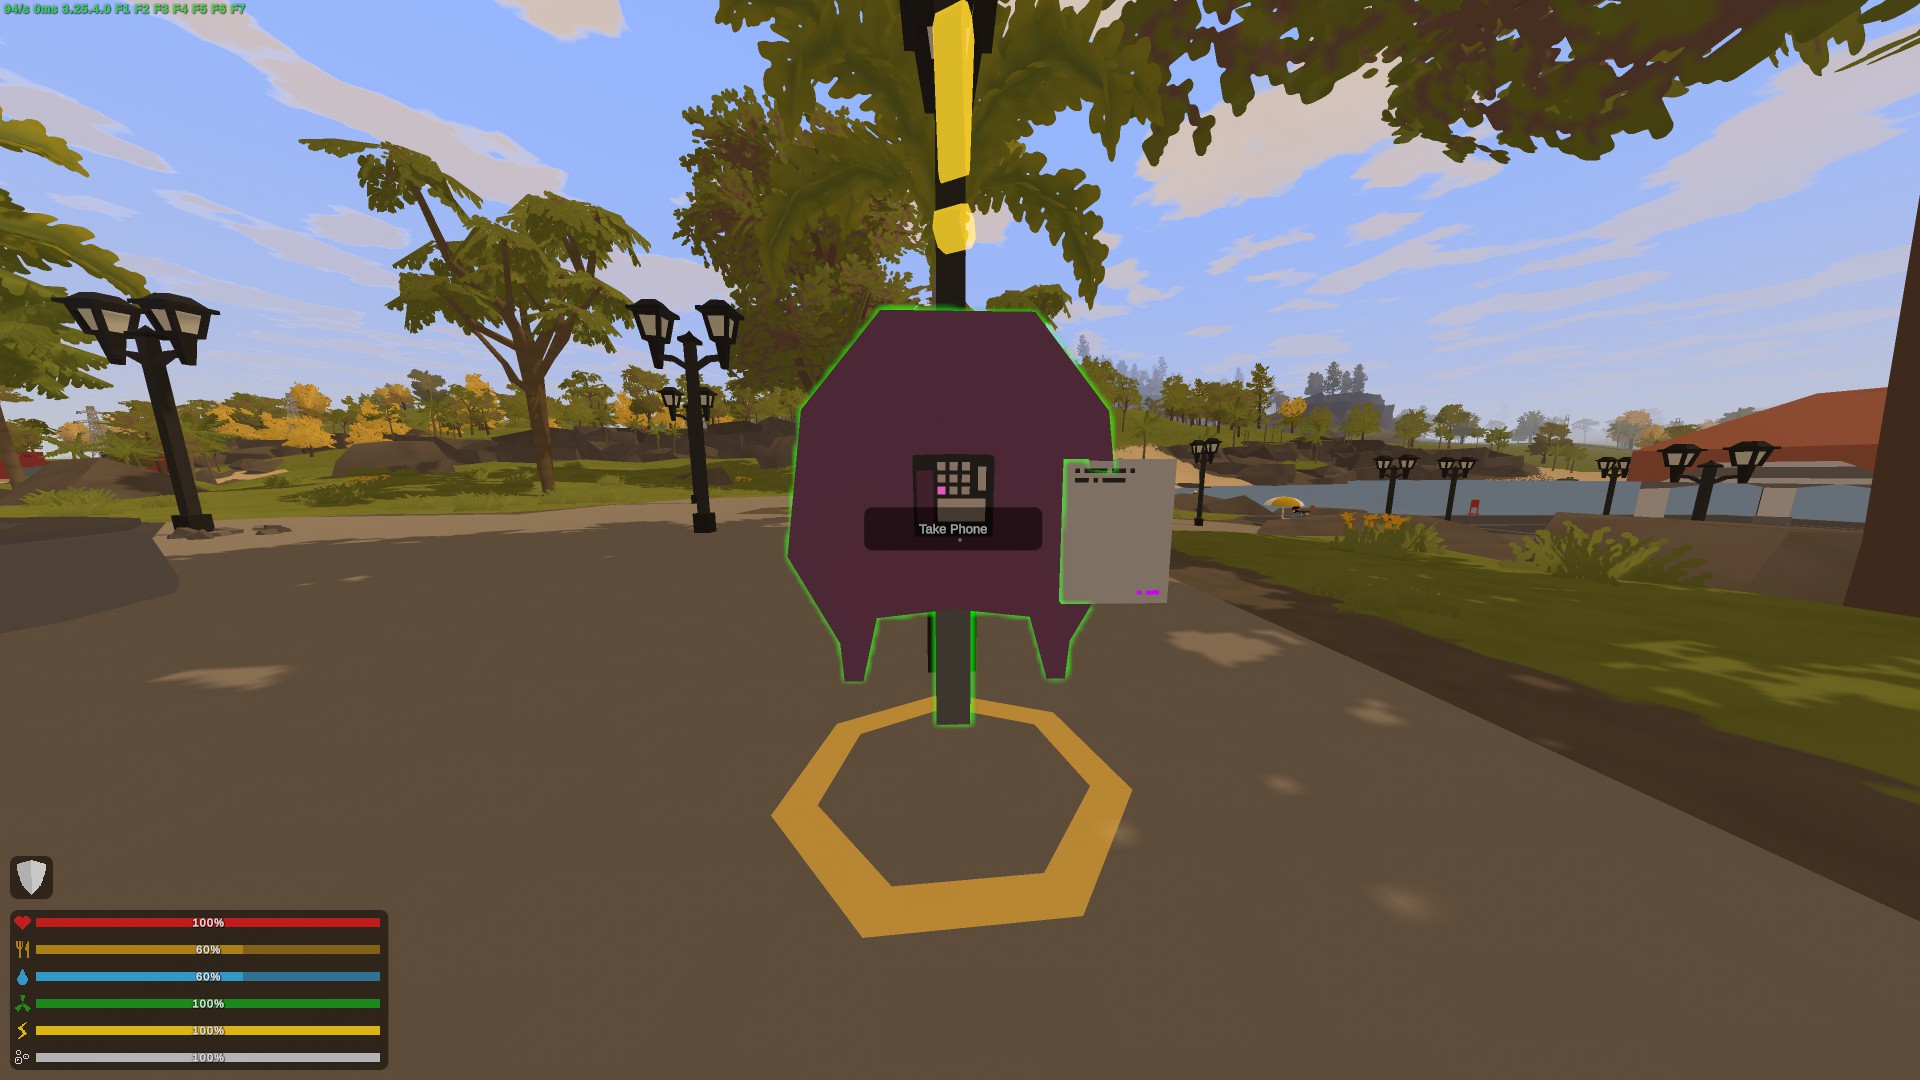
If you interact with the piece of paper and then interact with the phone, you should have the option to 'dial 7'. Someone on the other end is gonna give you a little riddle and once you get off the phone, you are able to interact with Grandma Rosa in the kitchen. Head back into the mansion, go through the doors under the stairs, and into the room on the left.
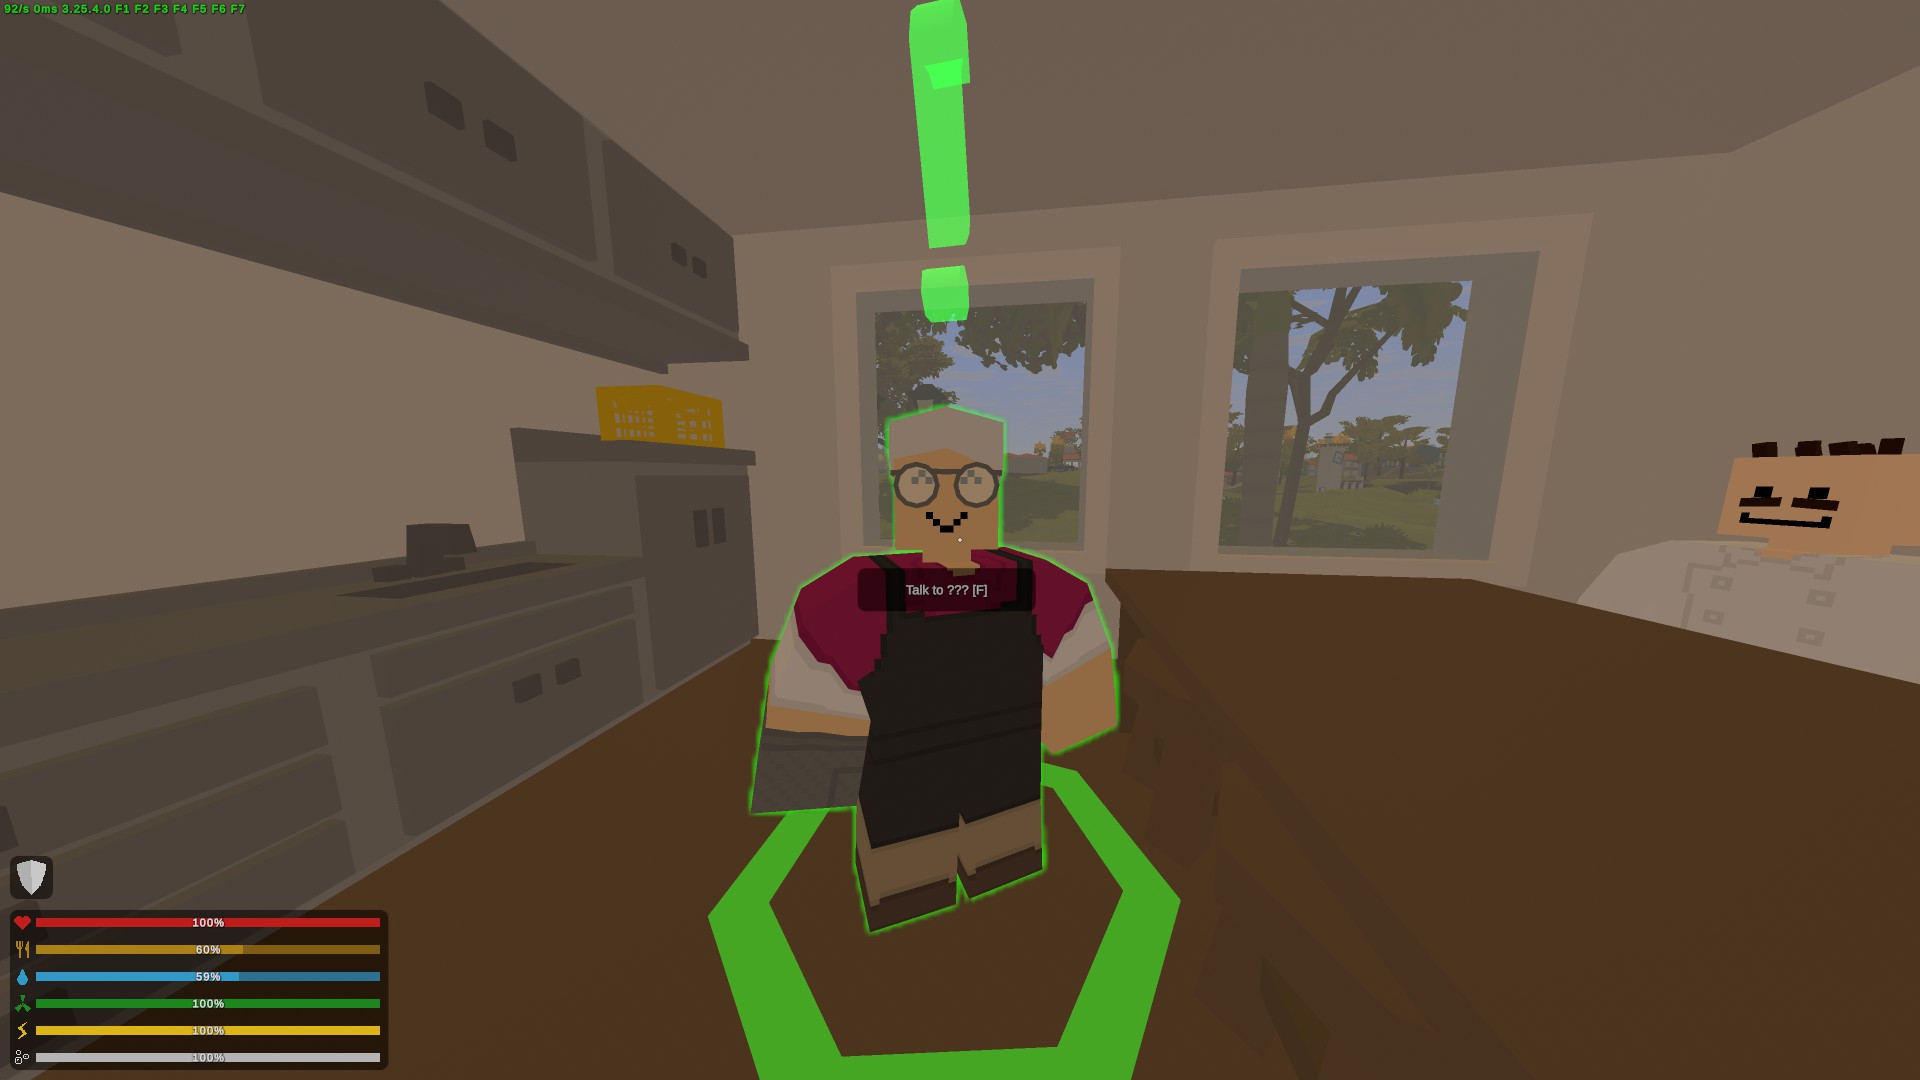
Rosa will give you a quest to find 2 pots and a pan for her (check restaurants and kitchens). When you turn her quest in, head back to the purple phone where you will be given another riddle. We now can accept quests from Humberto so head back to the kitchen and take his quest.
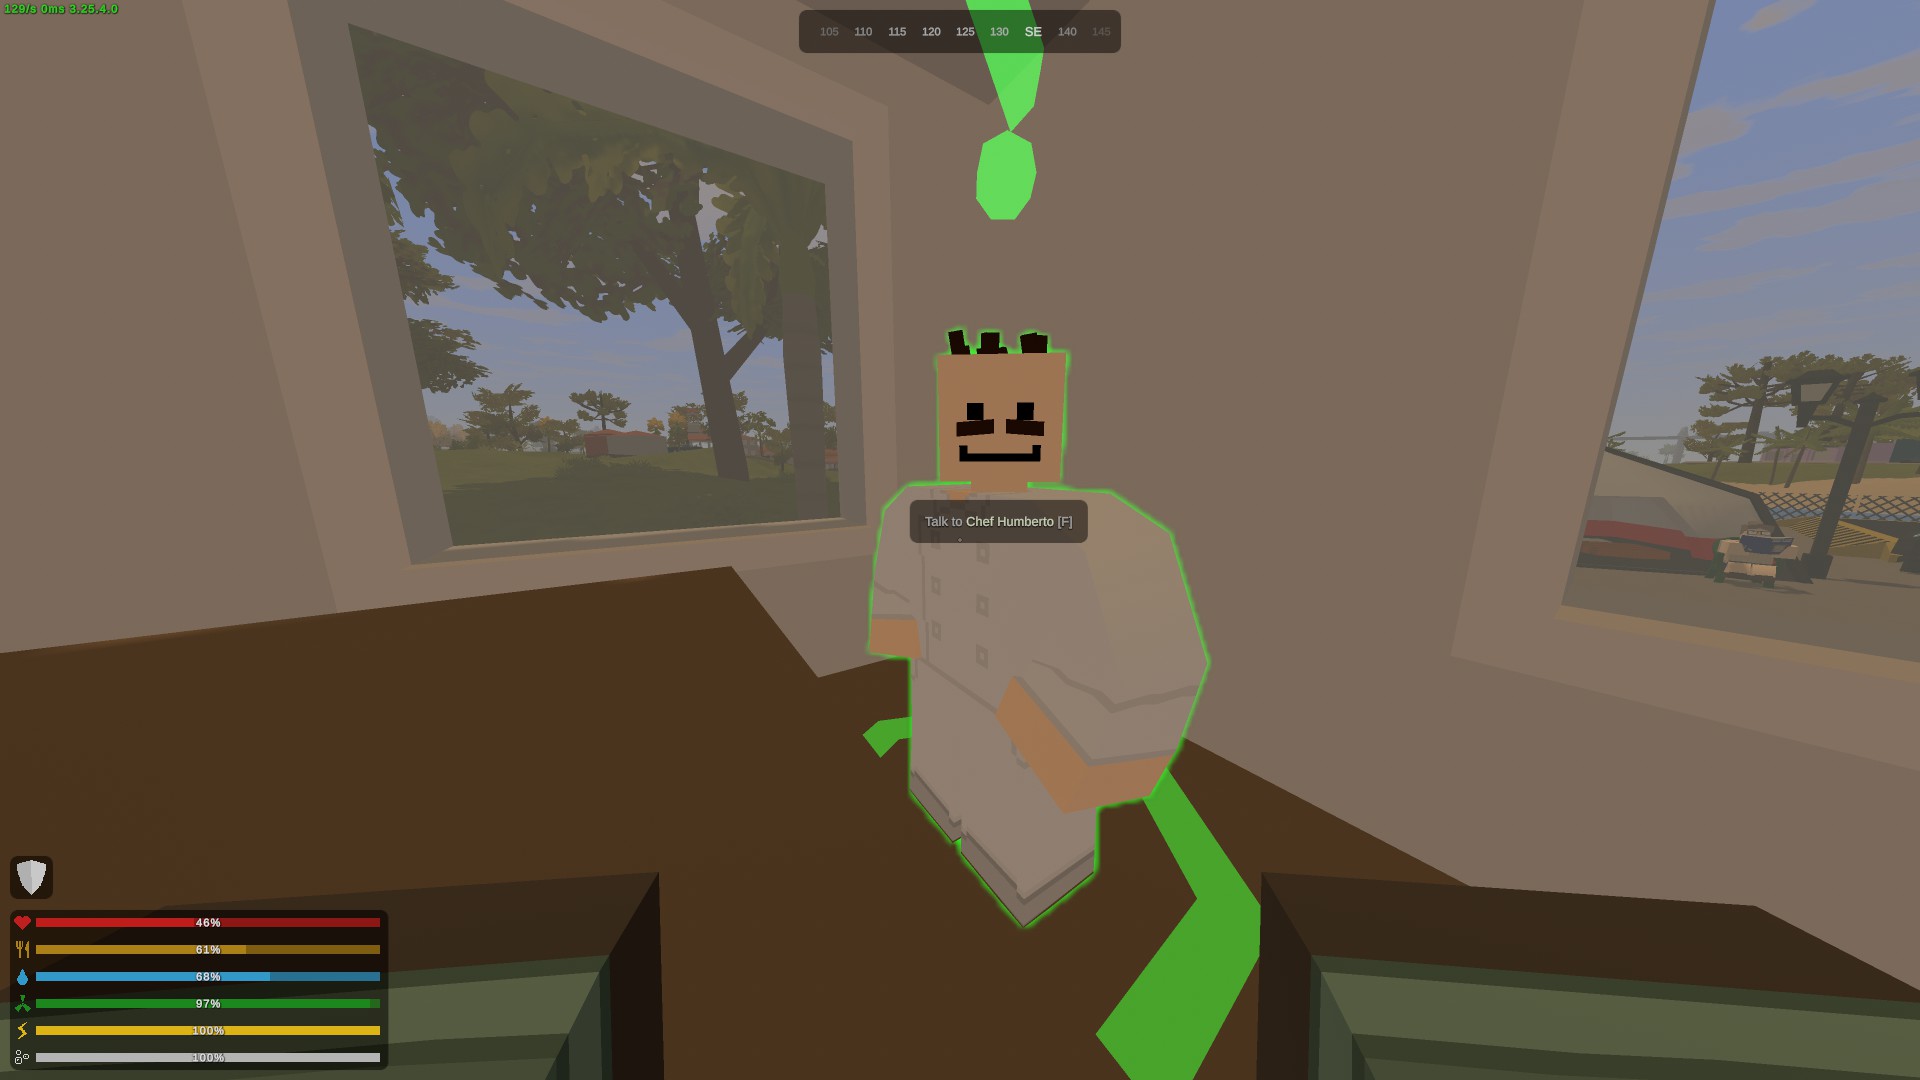
He wants 2 cough syrup, 1 vitamins, and 1 painkiller so head to your local medical tent or therapists office and loot around. When you turn his quest in, he'll ask you to get him a chef's hat next. Find one of those and turn the quest in so you can unlock Botanist Silva and Carpenter João.
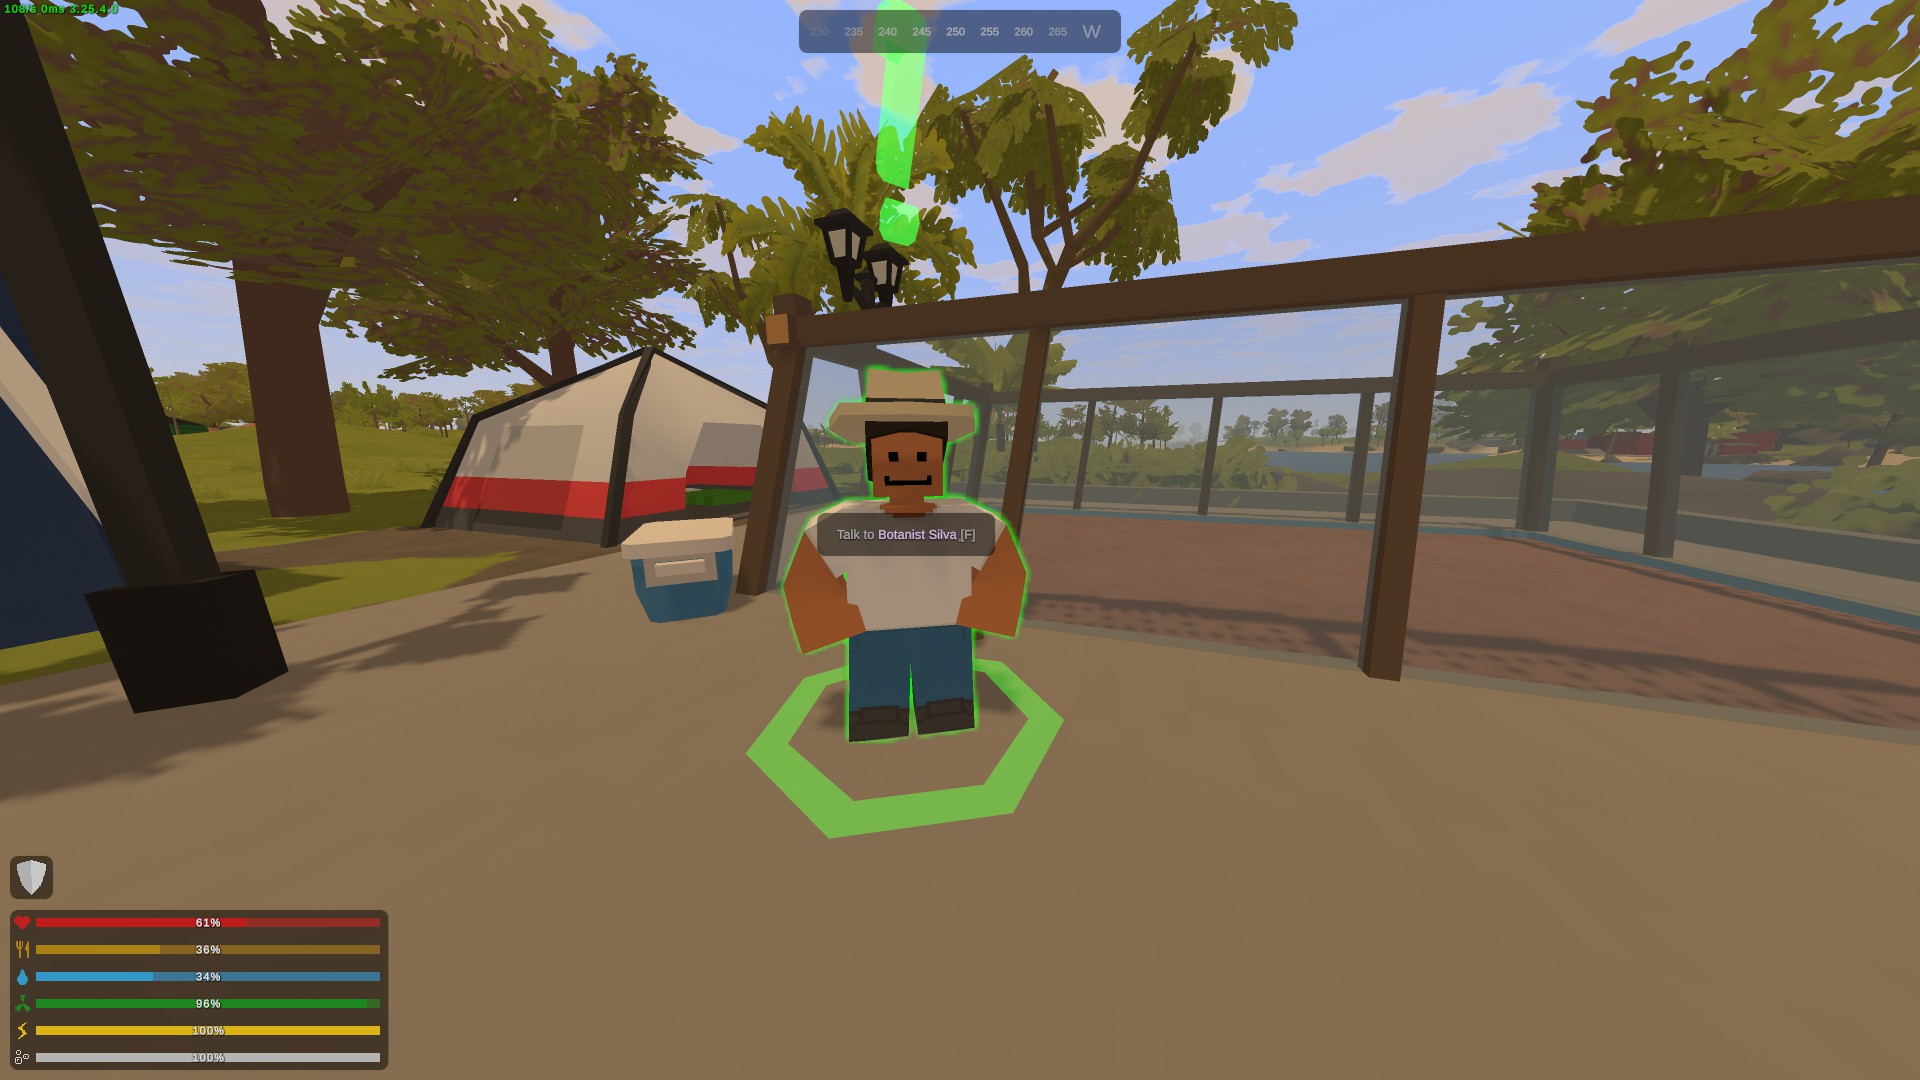
Silva wants 2 apple seeds, 5 corn seeds, 5 tomato seeds, 3 potato seeds, 3 carrot seeds, and 5 wheat seeds for the first quest. You can turn produce you find into seeds as well as looting farms and botanist shops in towns. While you're looting around, make sure you grab 3 bags of dirt because Silva will want that for the next quest. There will be an option when you talk to Silva to ask for João's hammer back and only once you've done the previous quests with her will you be able to claim the hammer.
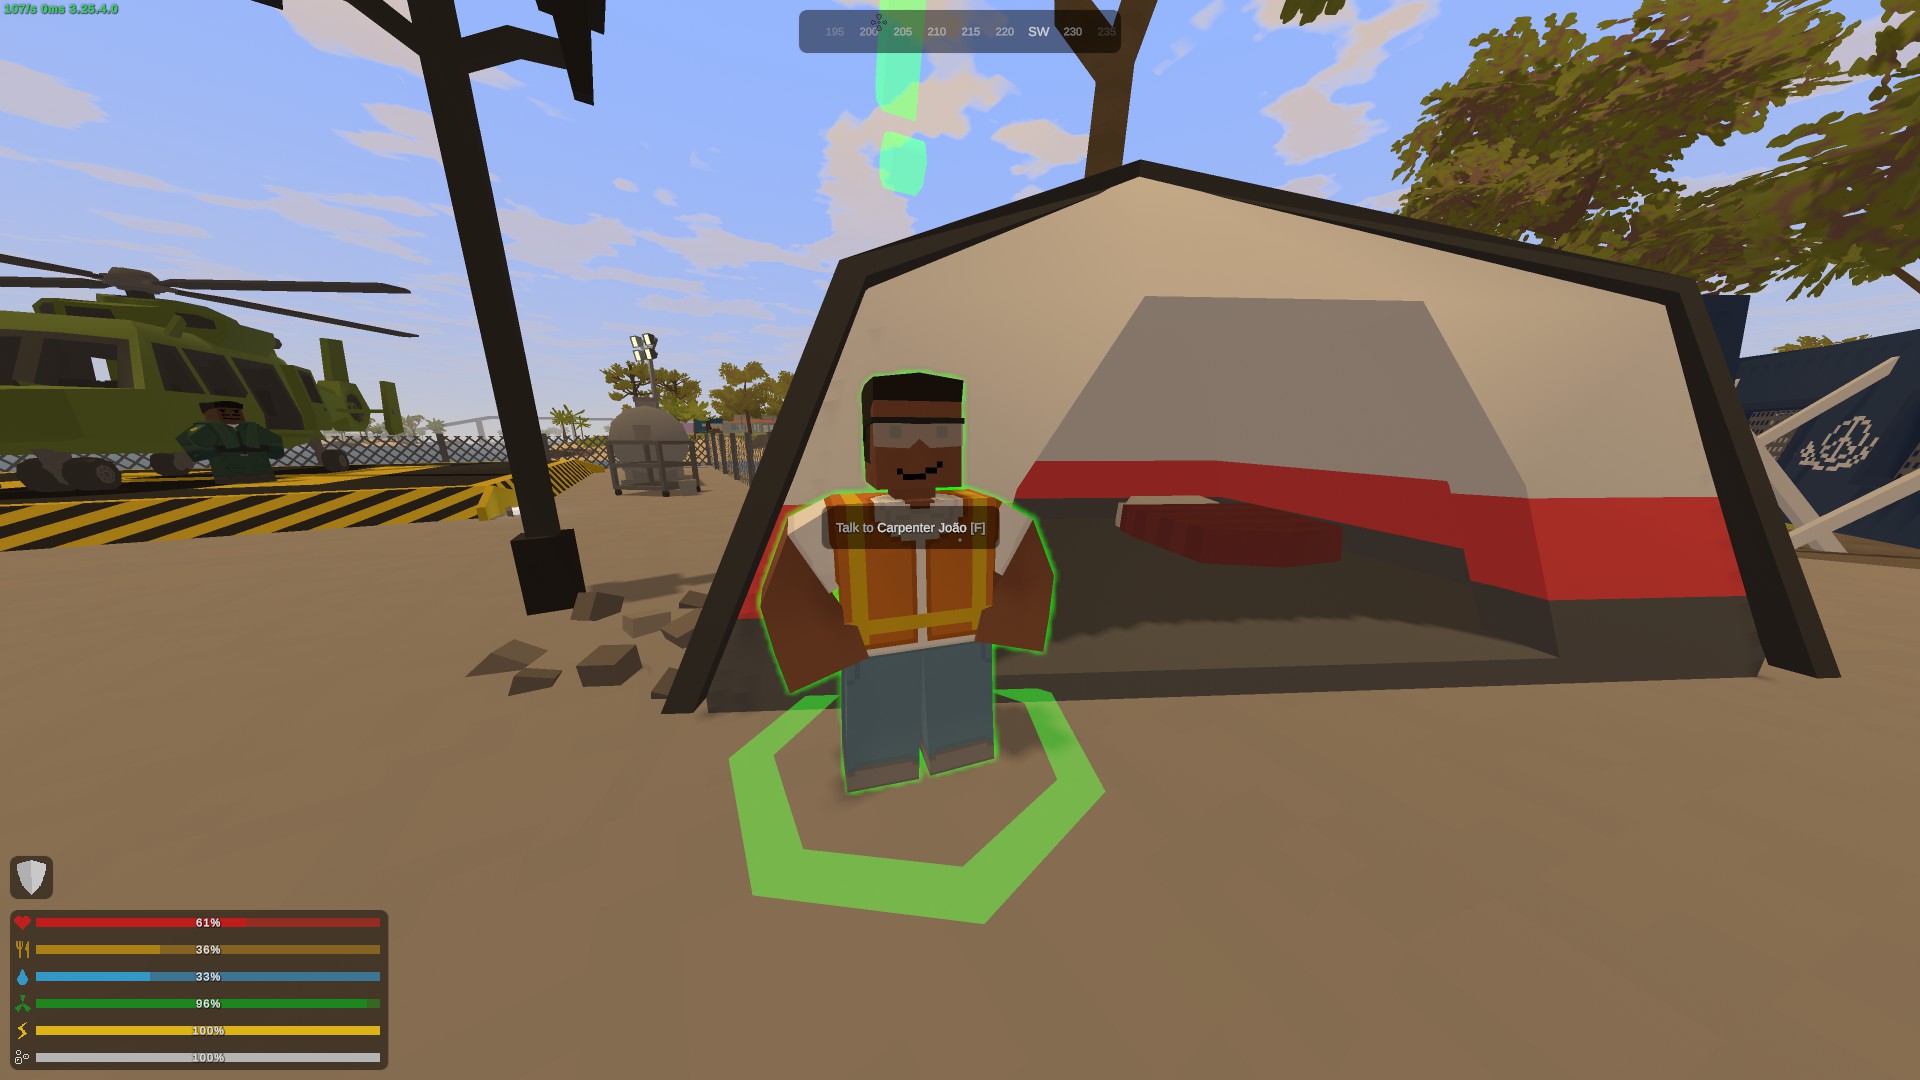
João will want a saw (which you can craft with a metal sheet, a hammer, and the encyclopedia), the hammer from Silva, and you'll need to find his toolbox. Head into the mansion and upstairs to the room where Rocha is. There's a ladder to the right of the door when you walk in that leads to the attic. Head up there and you'll find the toolbox next to the grill.
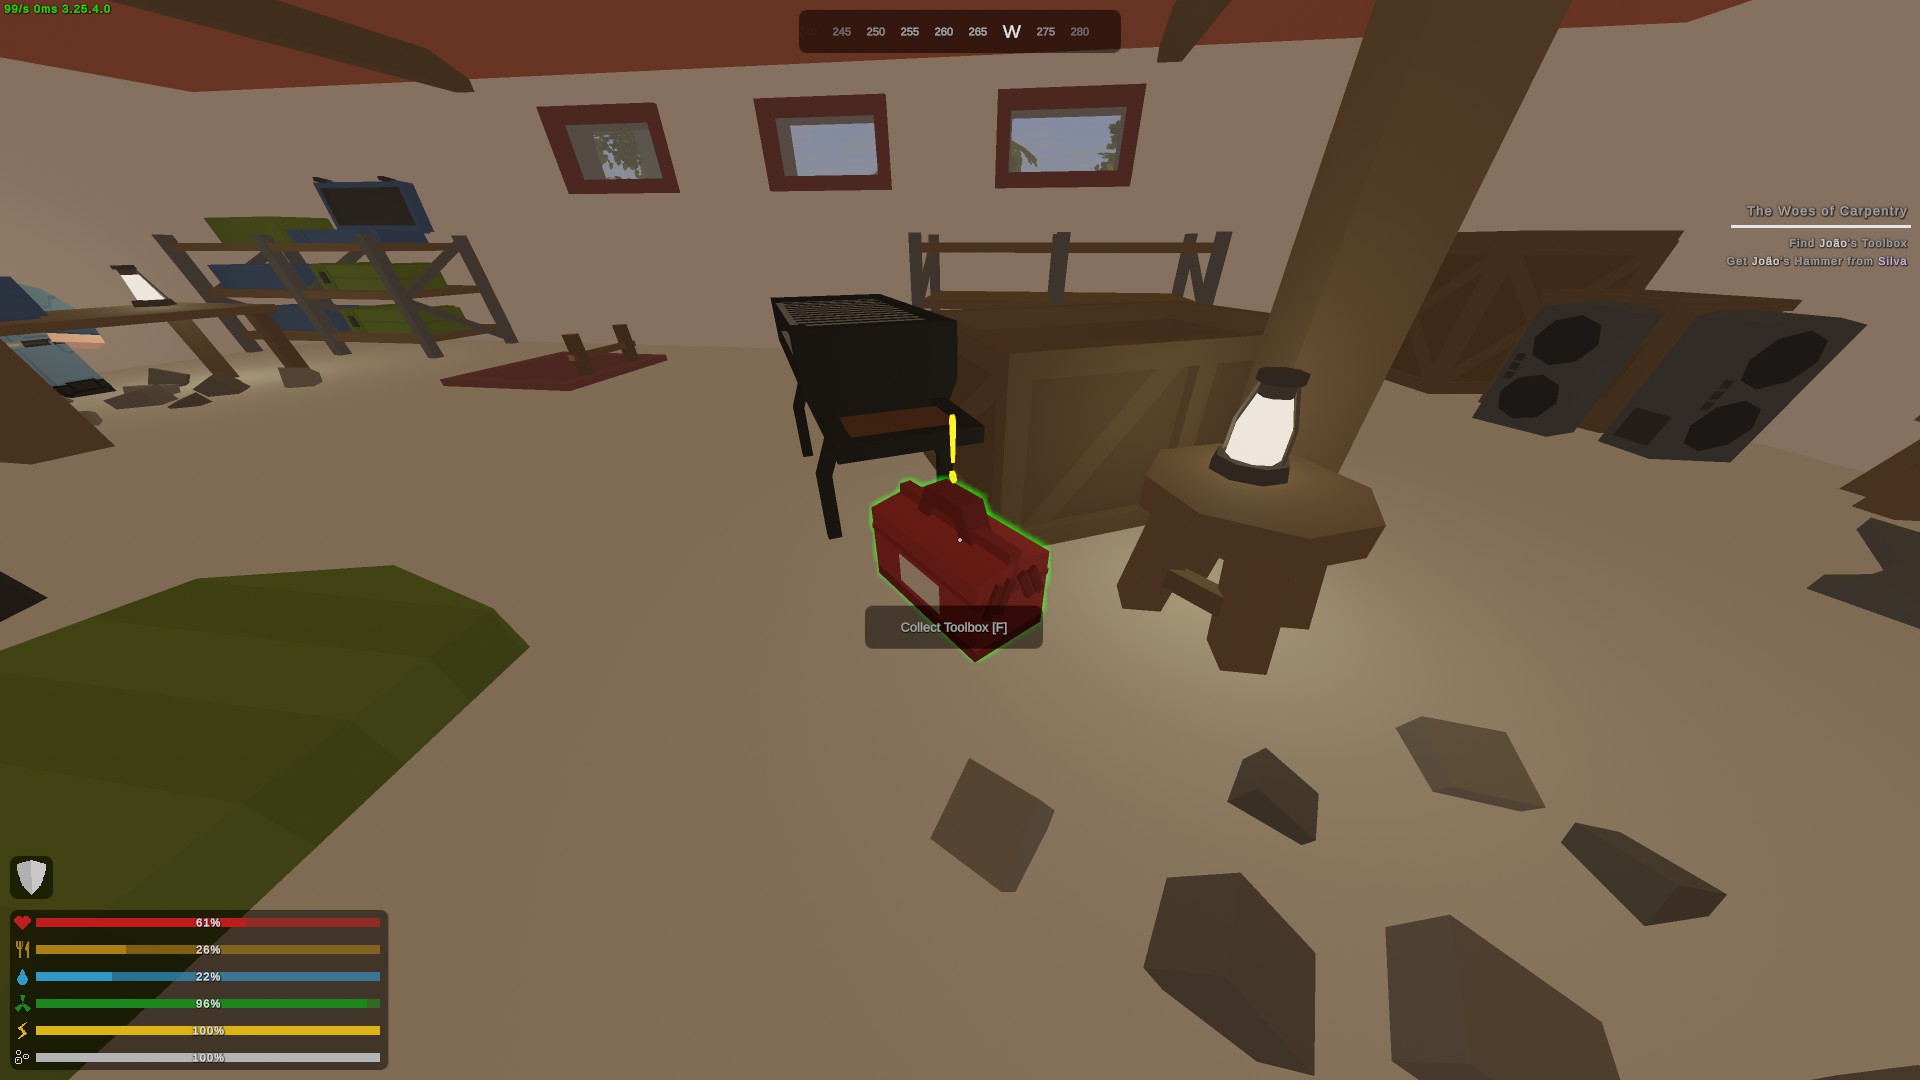 When you're done with that quest, he will ask you to get 5 nails, 3 tape, 4 keys, and lubricant oil to repair the mansion doors. Loot around the houses, civilian areas, and construction areas around the towns for nails, tape, and keys or you could craft the nails and tape. Keys can be bought later from Supplier Reginaldo right outside the basement door but unfortunately, not at this point in the quest line.The lubricant is once again, in the attic, on a bookshelf: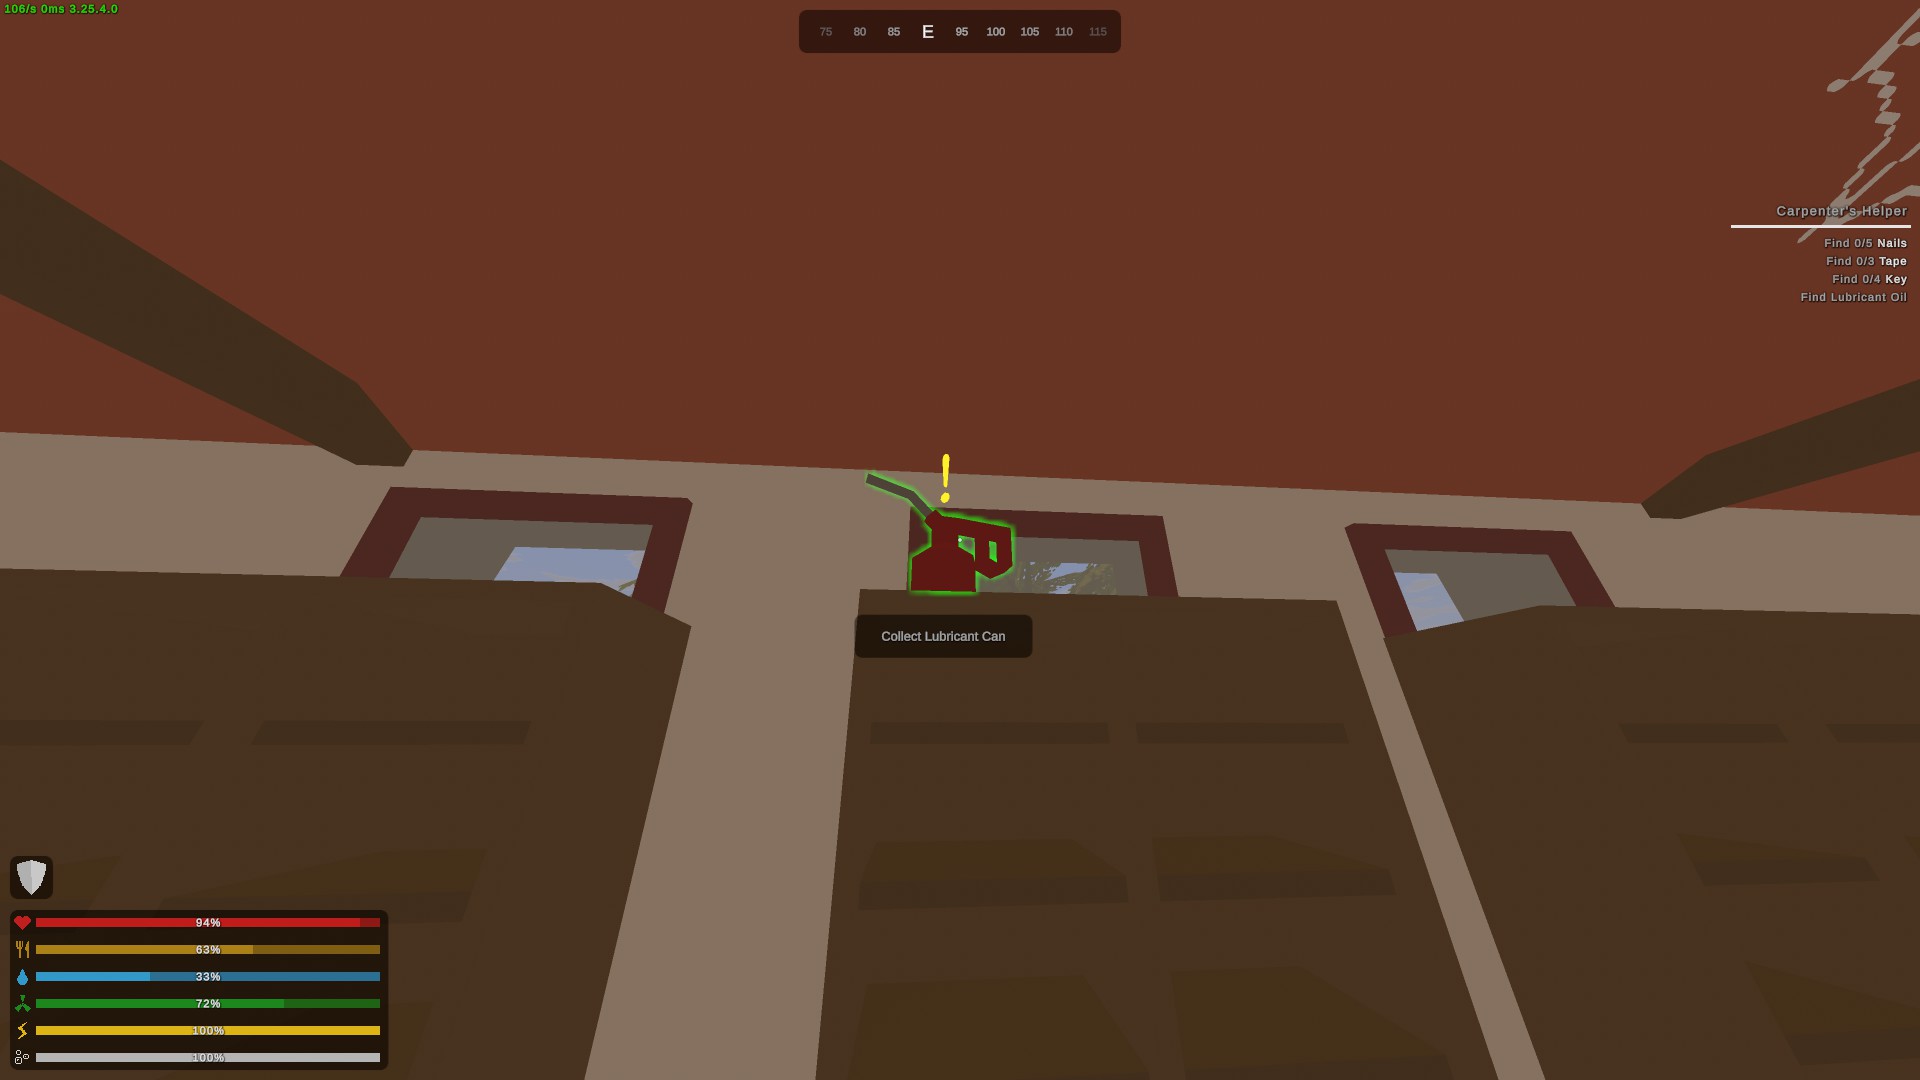
Head back inside the mansion and talk to Rocha again where you will be told you can talk to pretty much anyone now. You can buy a lot of common items from the vendor NPCs which may or may not aid in the completion of future quests. A few more people are going to open up to quests as well, take your pick.
If you talk to the purple phone again, you'll be given access to a quest from Guitarist Bea. She needs you to get her gear from Geleão Airport. It's on the second floor of the airport on the side the faces the airplanes outside (I grabbed 2 cases before taking a screenshot but there is a guitar case and another case that should be there too). You will have to make multiple trips unfortunately.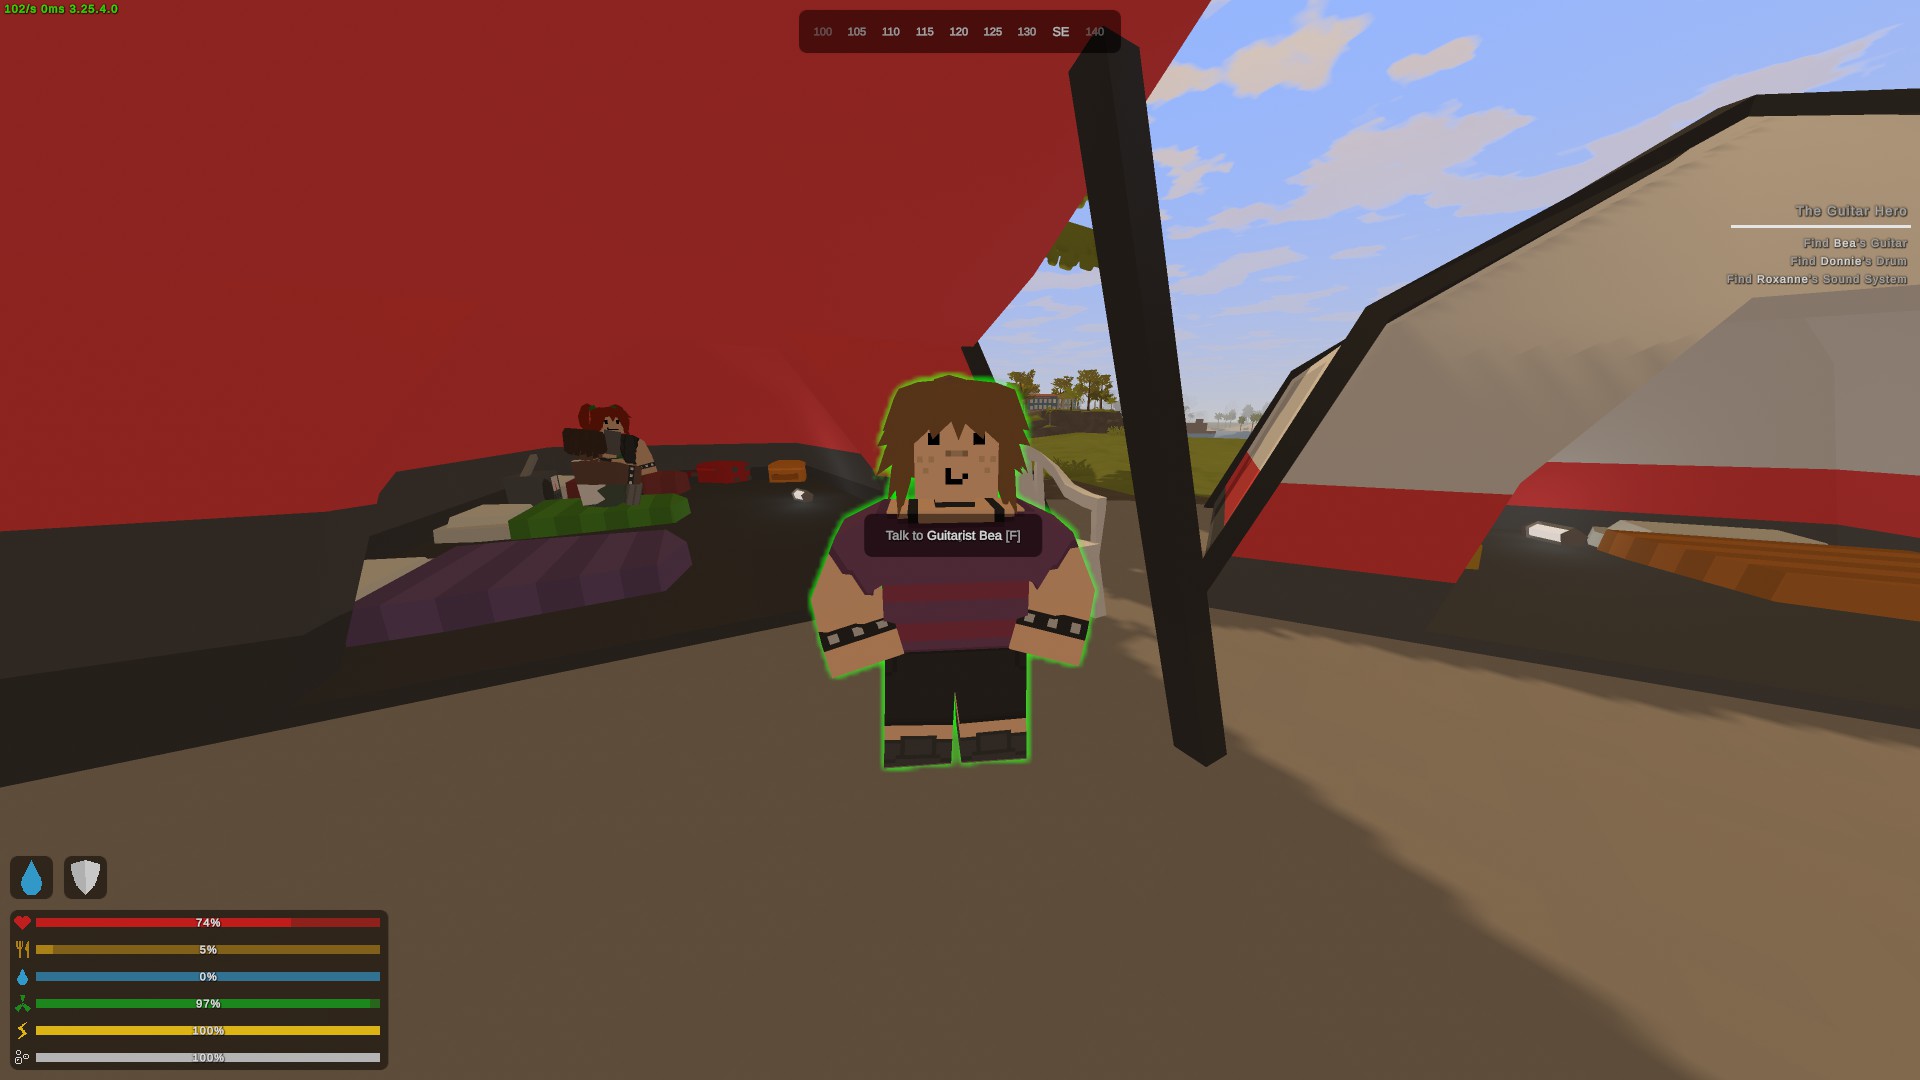
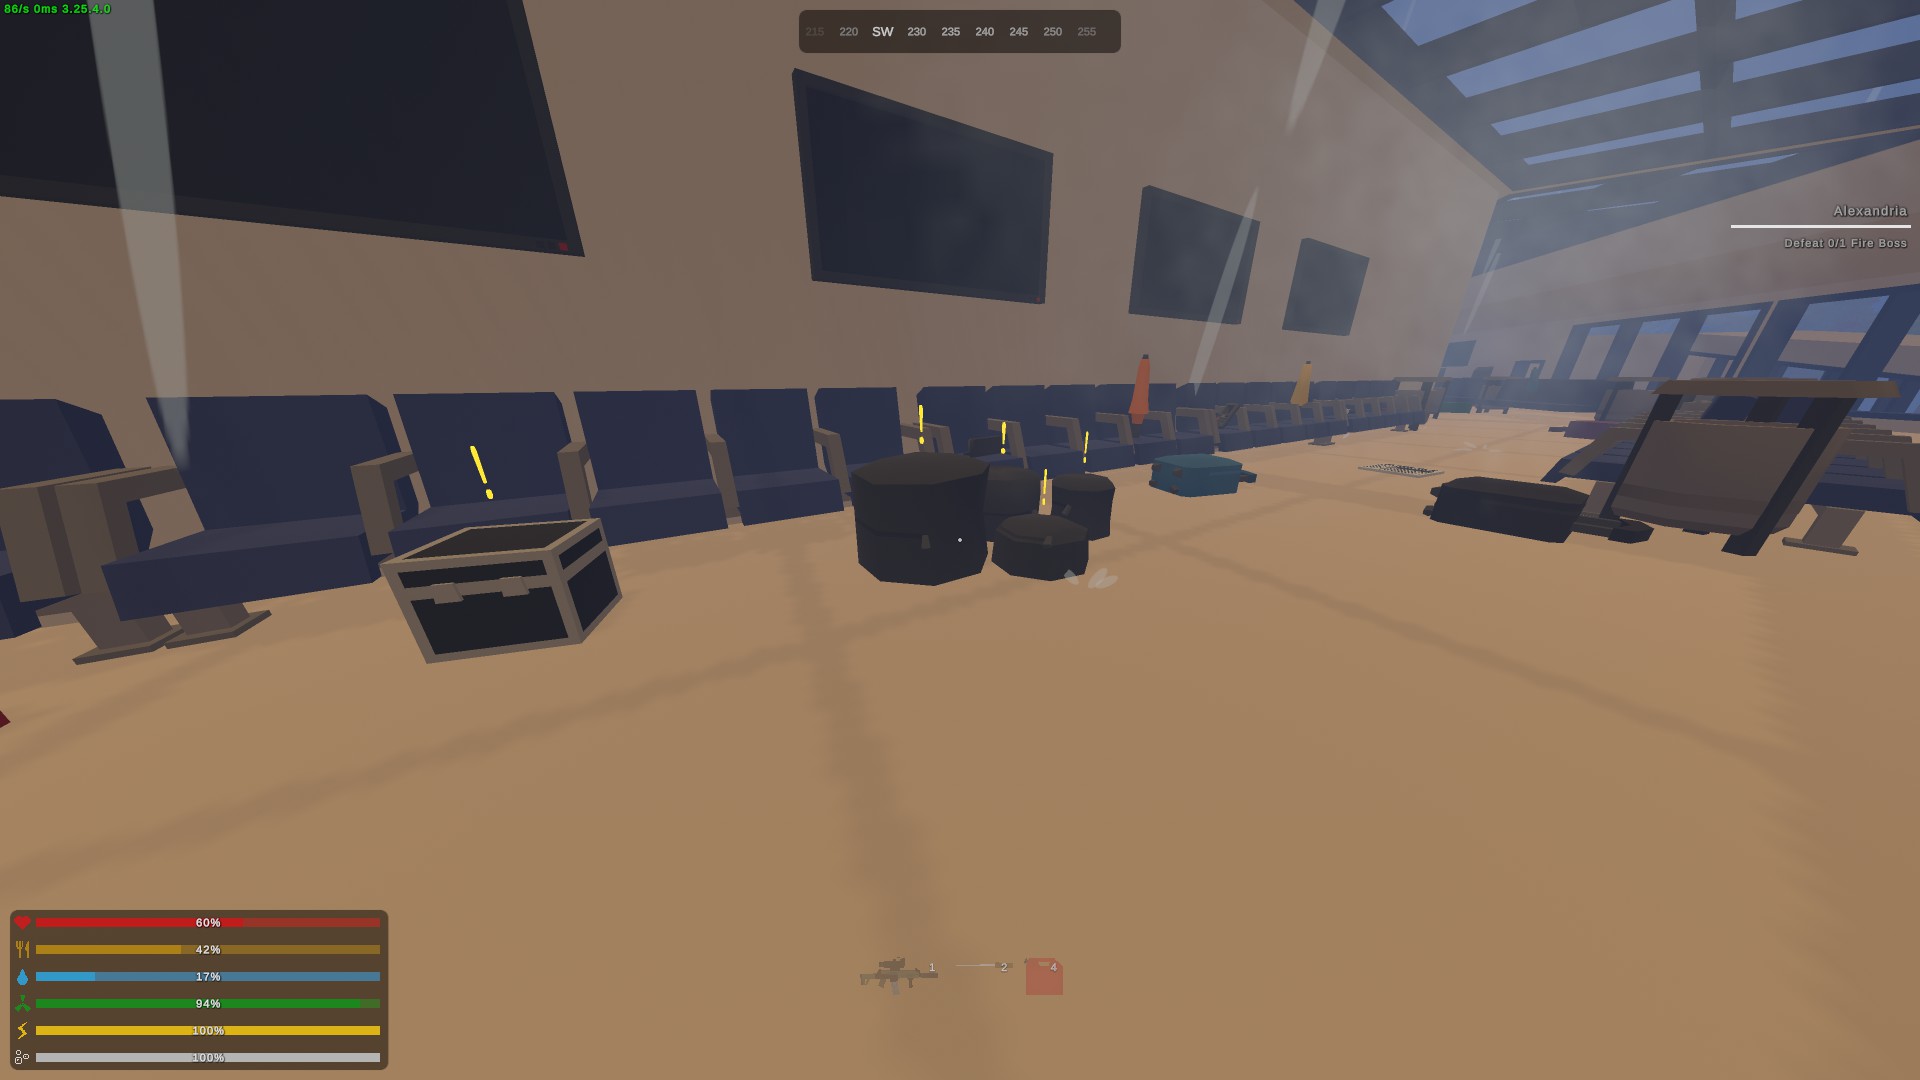
Humberto is back in action and needs help cleaning. First quest, he needs you to clean up the living room. Everything you need to clean is in that room marked with a yellow (!). Turn that quest in and then he will have you get rid of the bugs that are all around the first floor of the mansion. He tells you to talk to João so you can get mouse traps, go talk to him first. You won't be able to get into the basement just yet so take the mouse traps and report back to Humberto. The bug spray will be under the sink so grab that and get rid of all the bugs hangin around, also marked with a yellow (!).
Silva also has a quest for ya, she wants 5 fertilizers and 3 organic compost. You can craft organic compost with most fruits and vegetables. You need organic compost to craft fertilizer as well.
Now I'm not 100% sure what unlocked her quest for me, I think it might have been reputation(?), but Librarian Regina wants you to fight our first boss.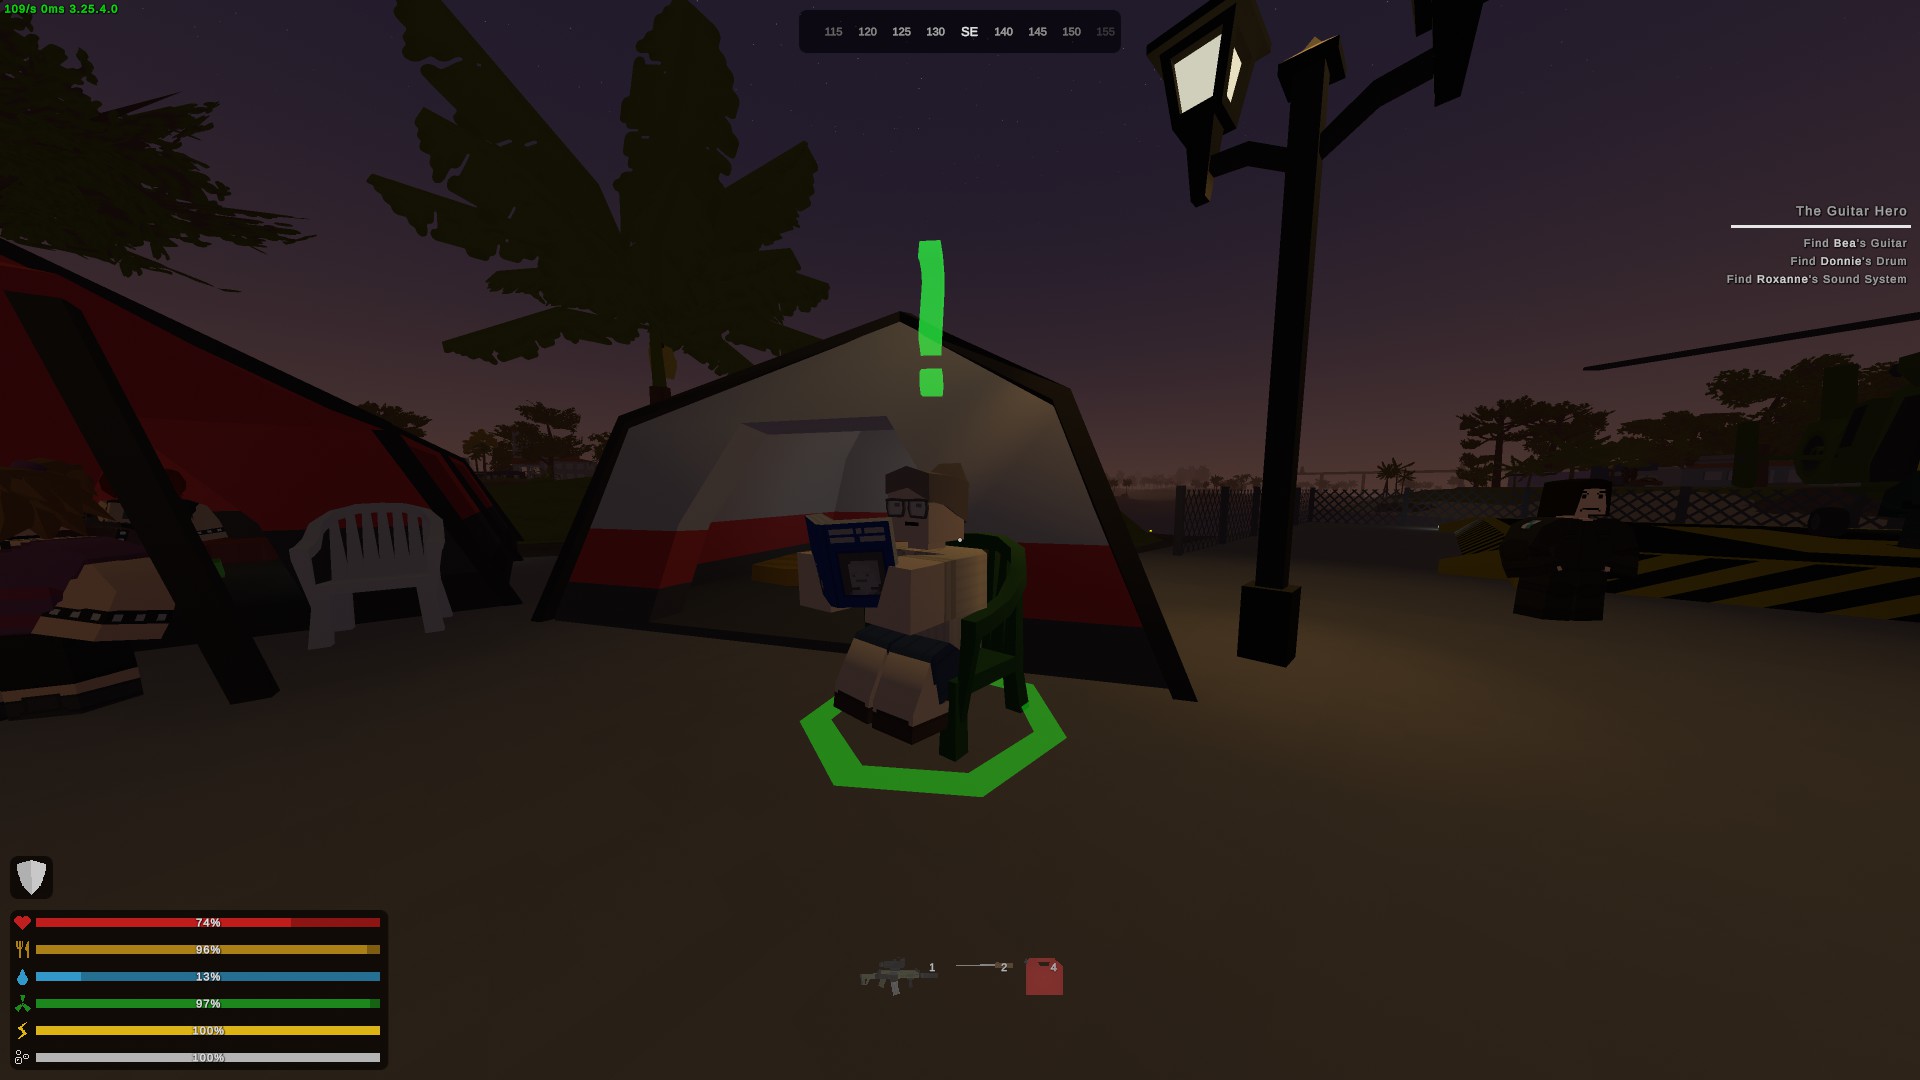
It's a fire zombie boss at the library in Rio de Janeiro. I'm not sure if I was getting unlucky or if something with multiplayer was conflicting but it took a while for the fire zombie to actually spawn. He spawns close to the library and the big cathedral. Good luck :3 After I turned in Regina's quest, I was able to take a quest from Commander Jorge. He wants 3 fieldkits, 5 bandages, 1 splint, and 4 antiseptic. I know you can find most of that stuff at medical tents and hospitals but I personally haven't seen a fieldkit spawn somewhere; you can craft it though.
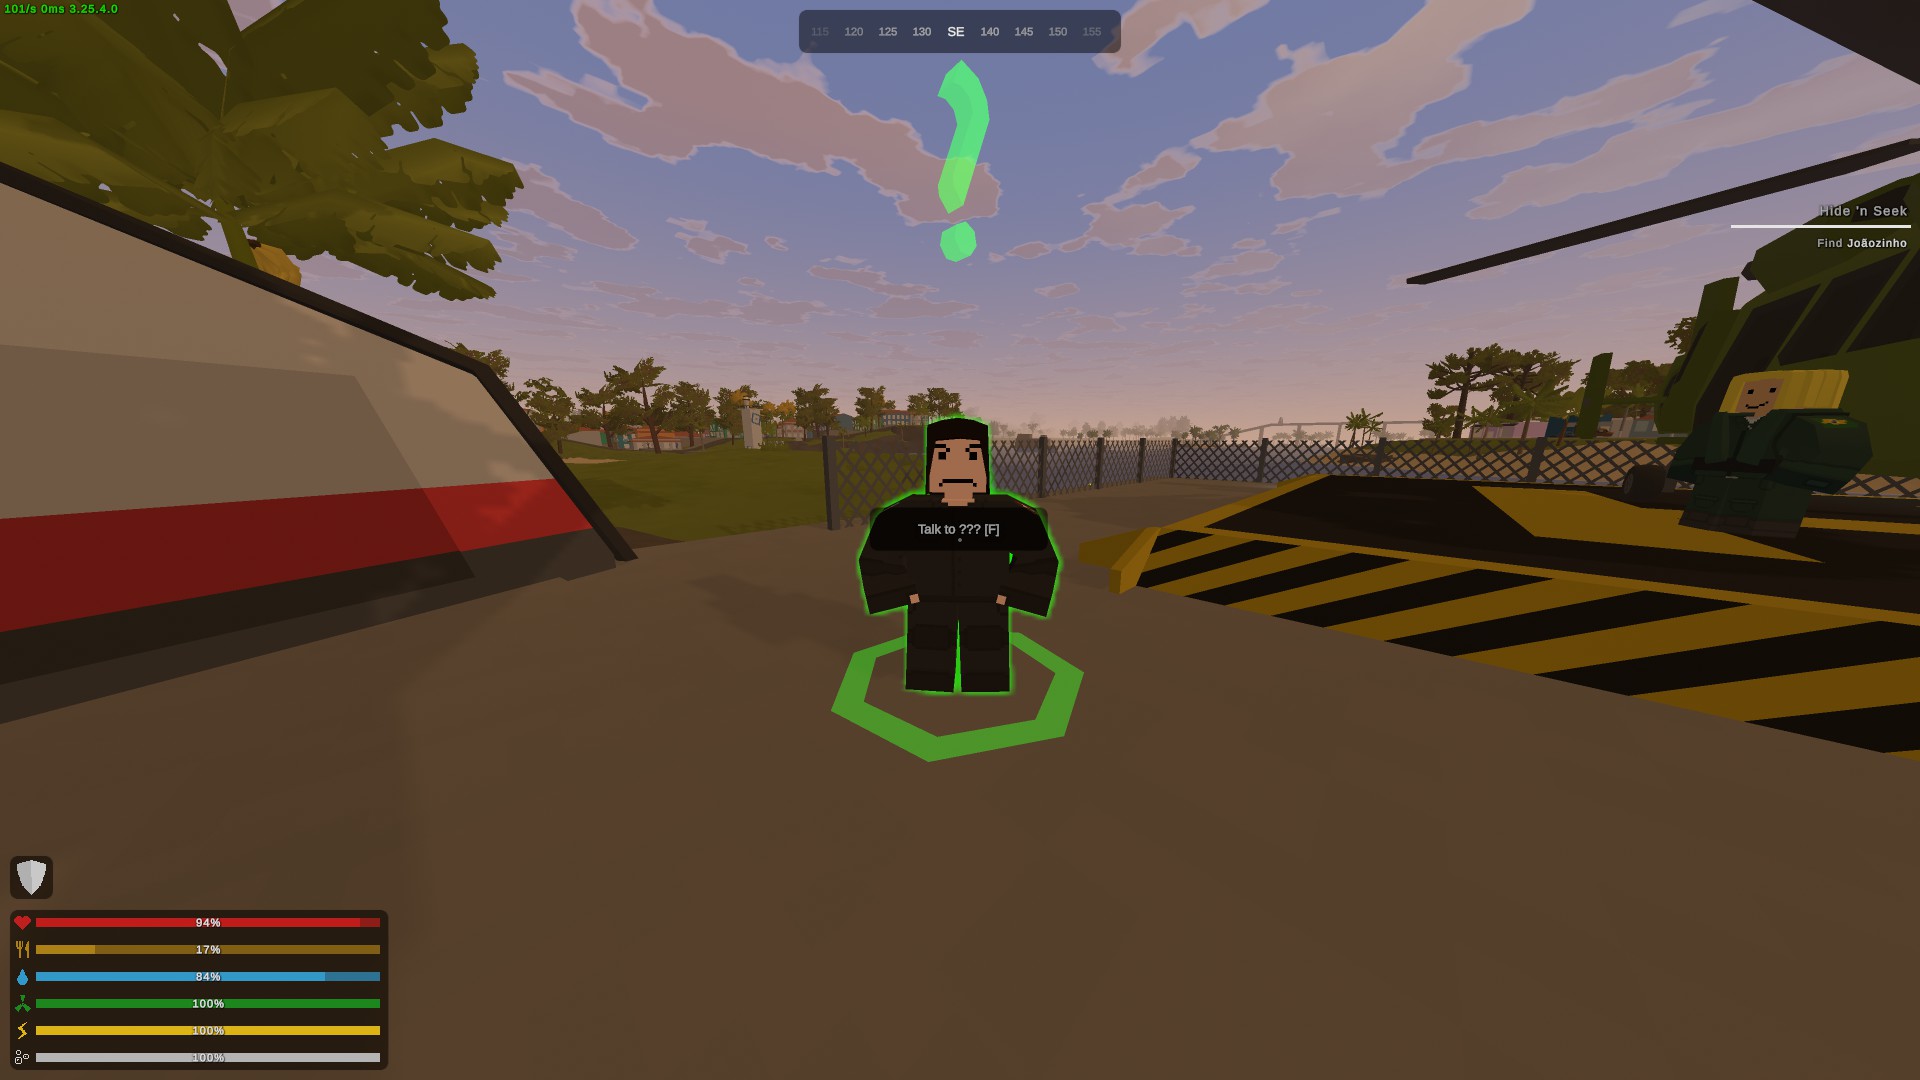
His next quest will be for 120 light cal ammo, 160 medium cal ammo, 120 heavy cal ammo, and 7 frag grenades. Check military and police locations and kill some megas :3 at this point, checking out a deadzone might be a really good option too. Head to Santos Joint or [cruise ship] You'll unlock a quest with the little kid, Joãozinho, where he'll want you to play a few rounds of hide and seek.
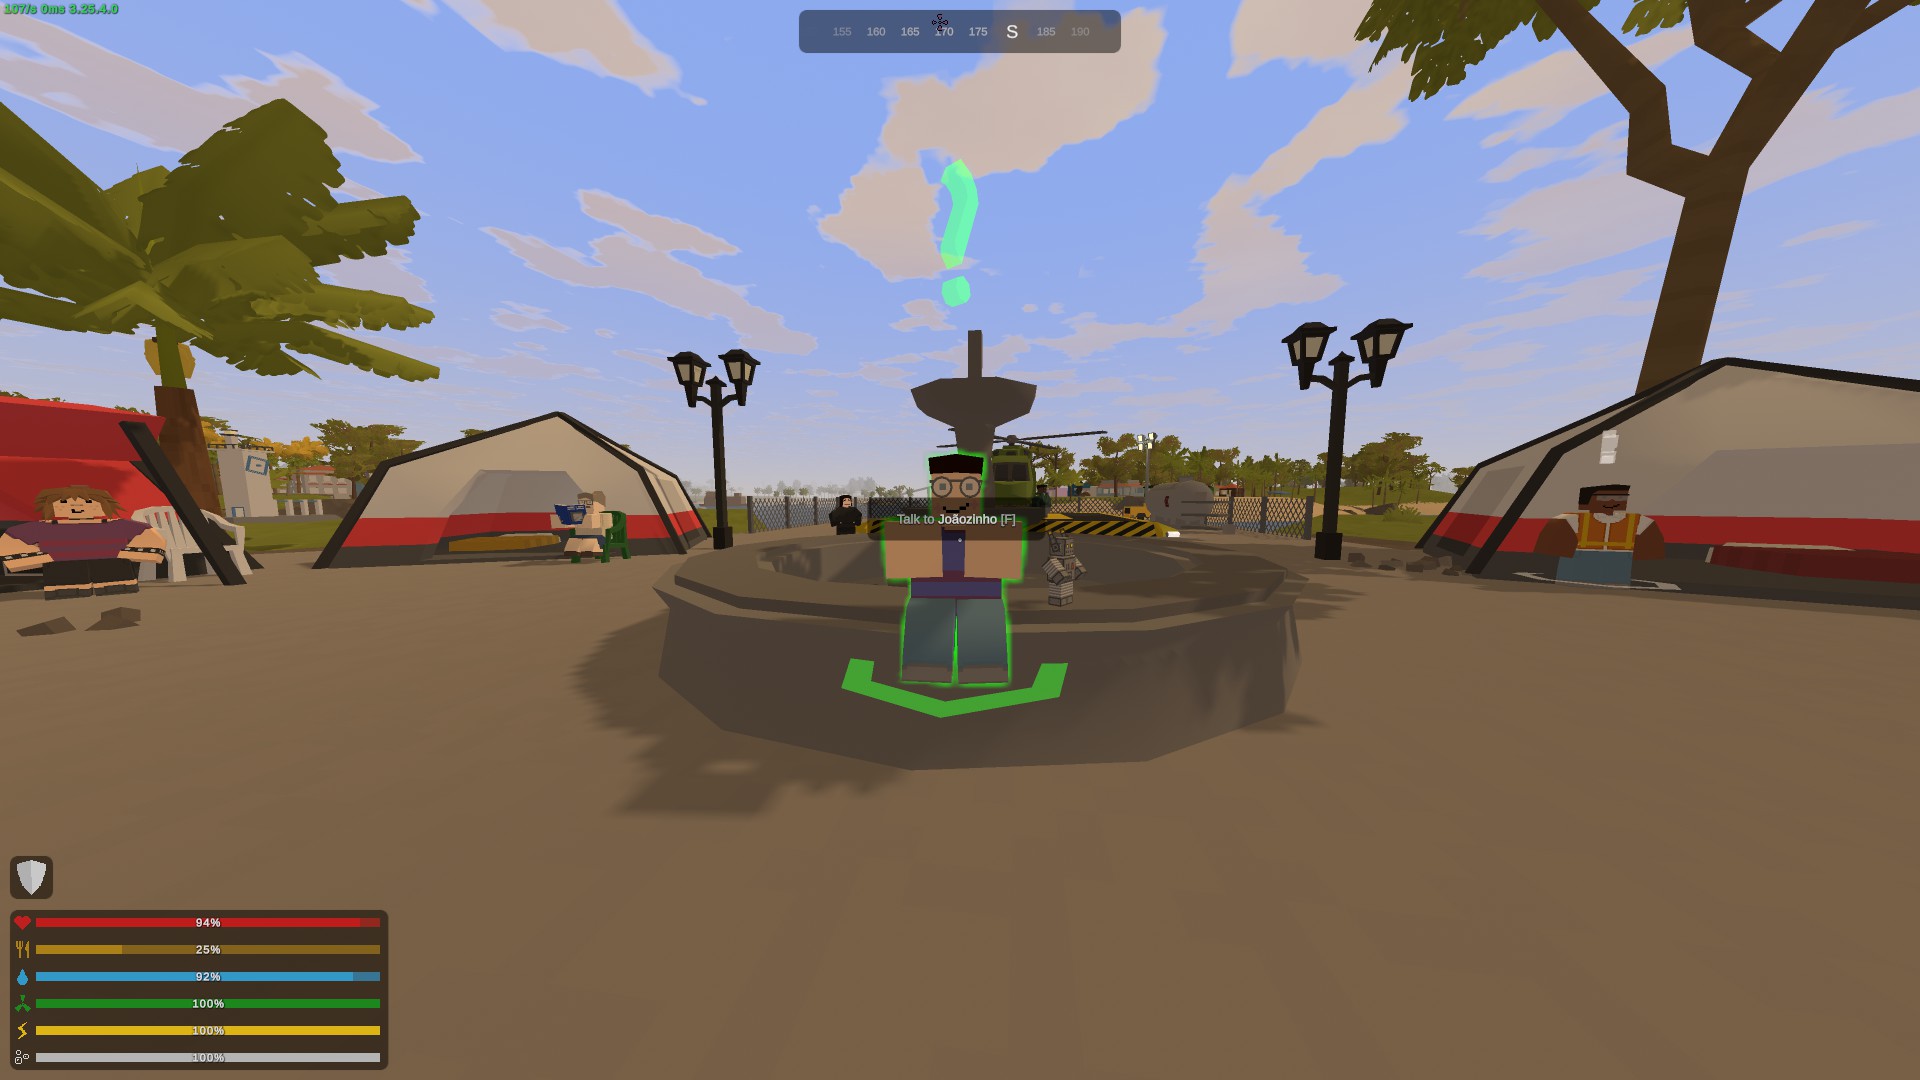
Here are his hiding spots:
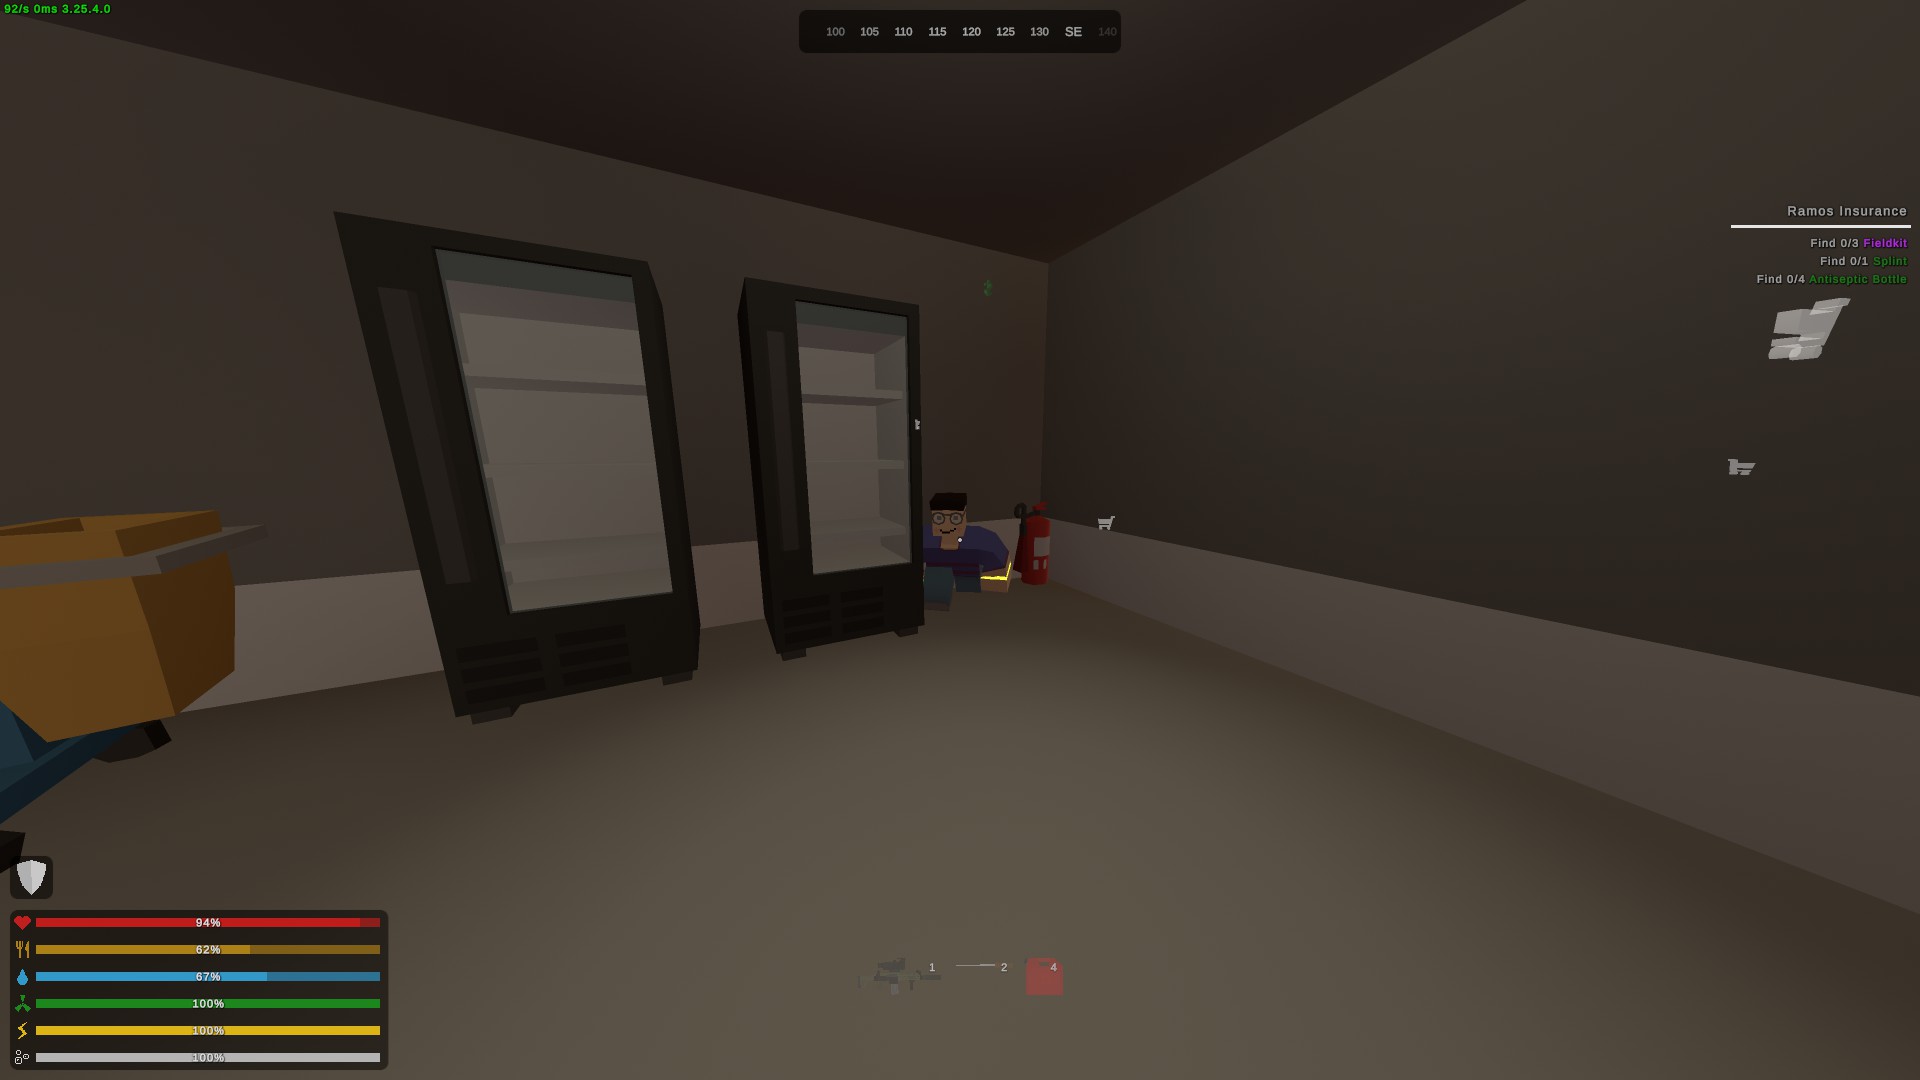
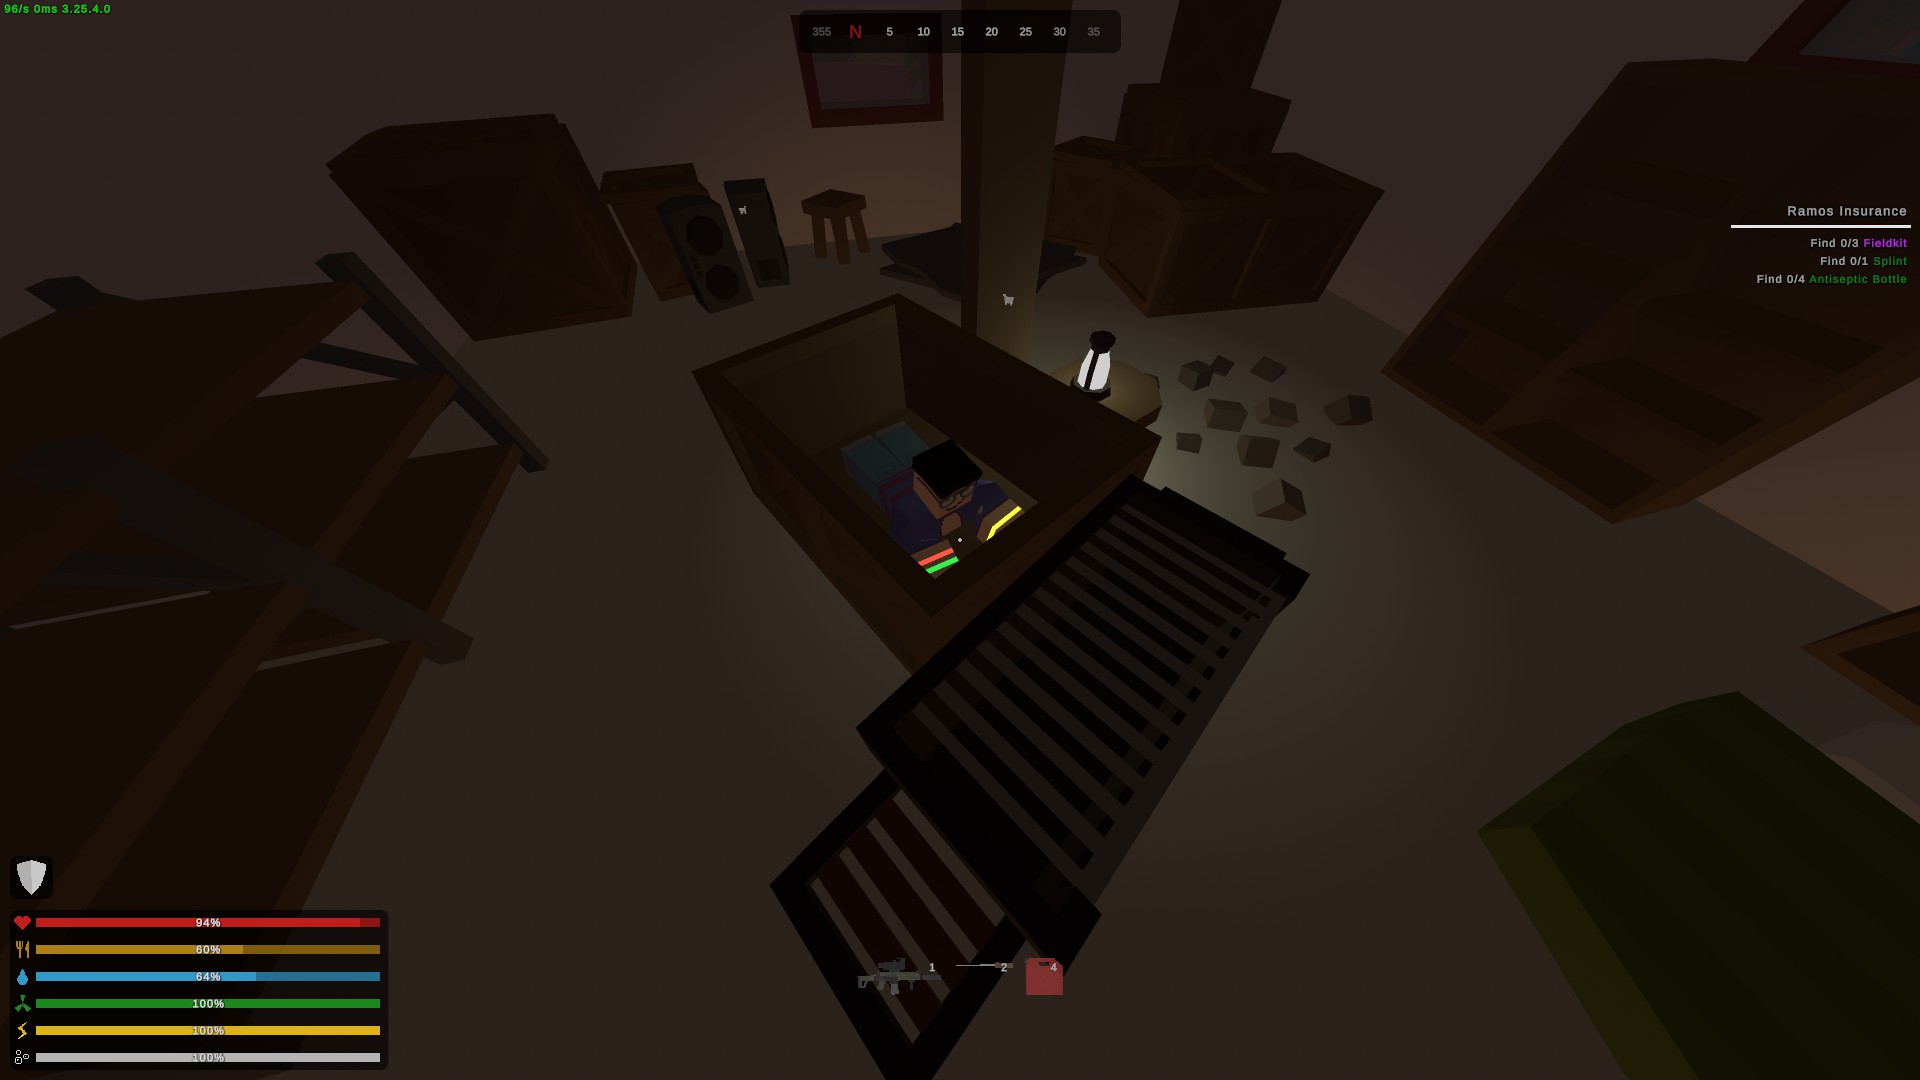
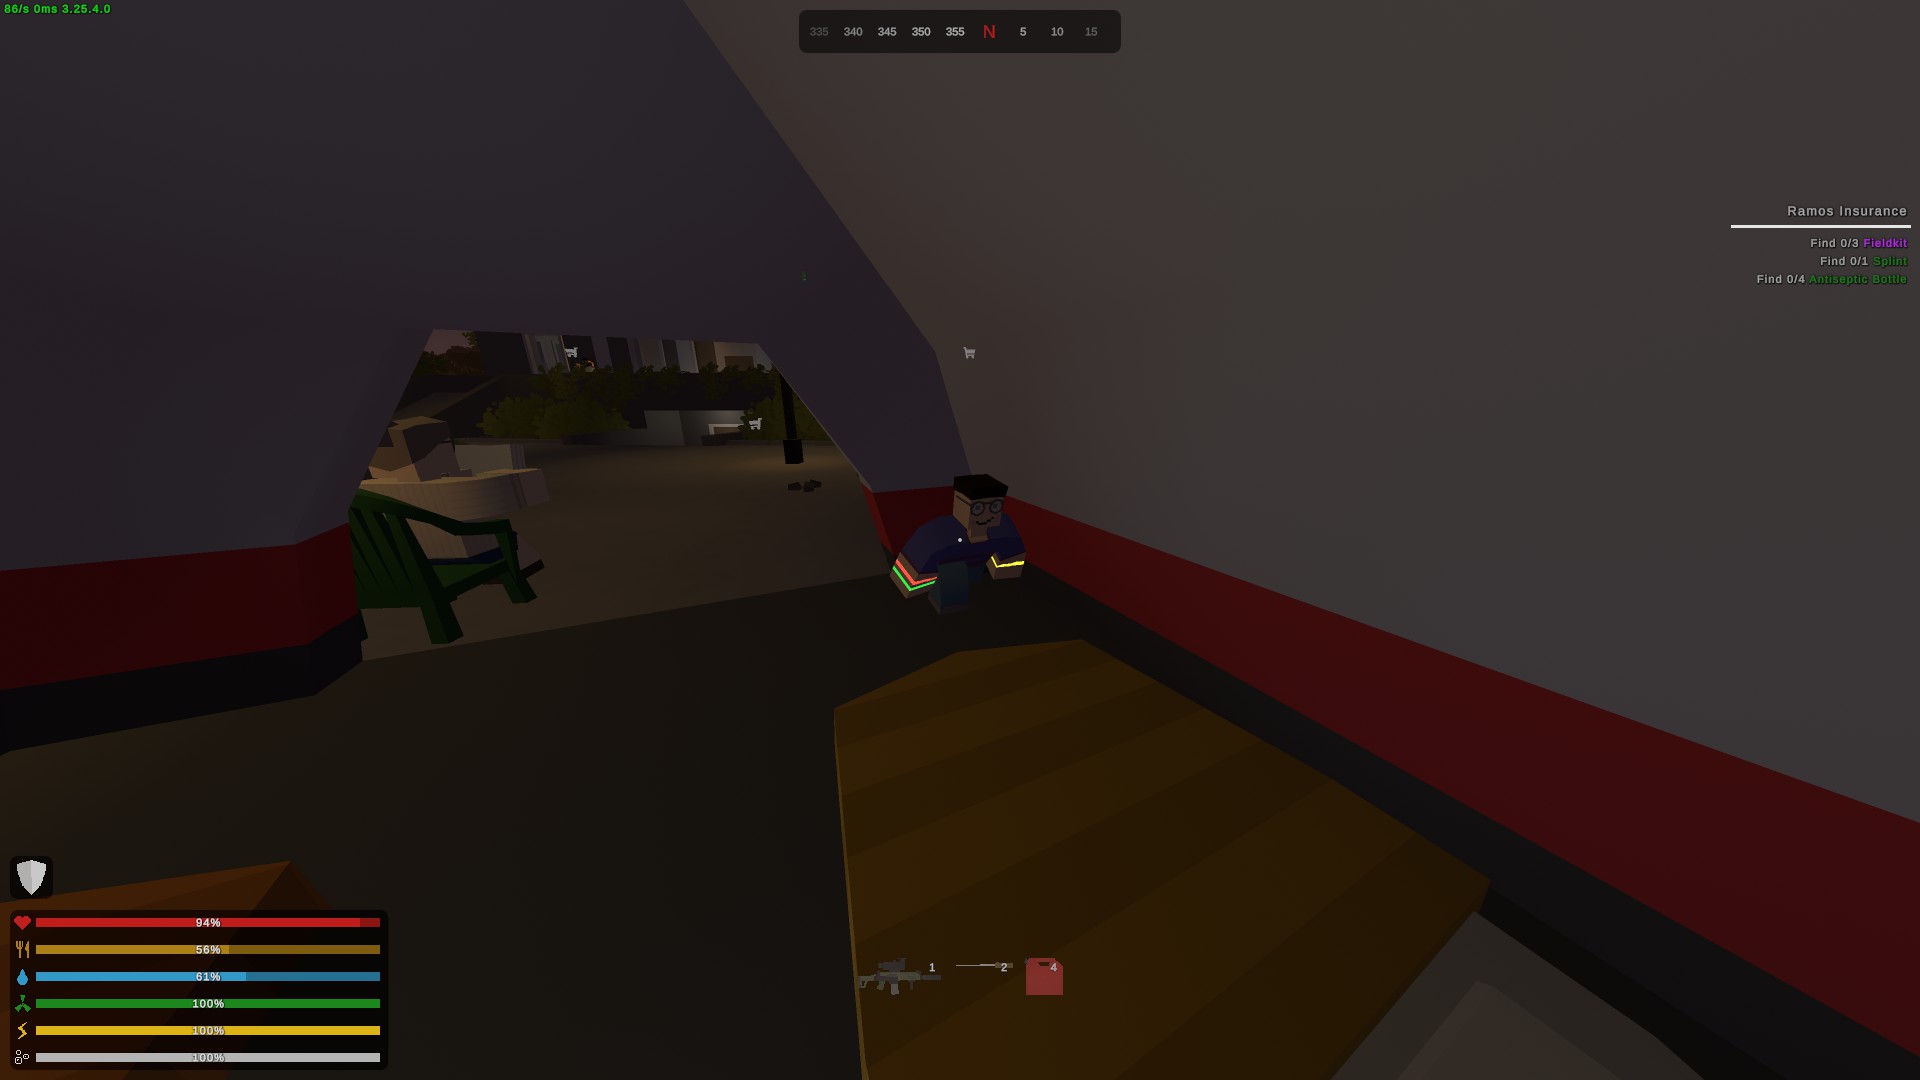
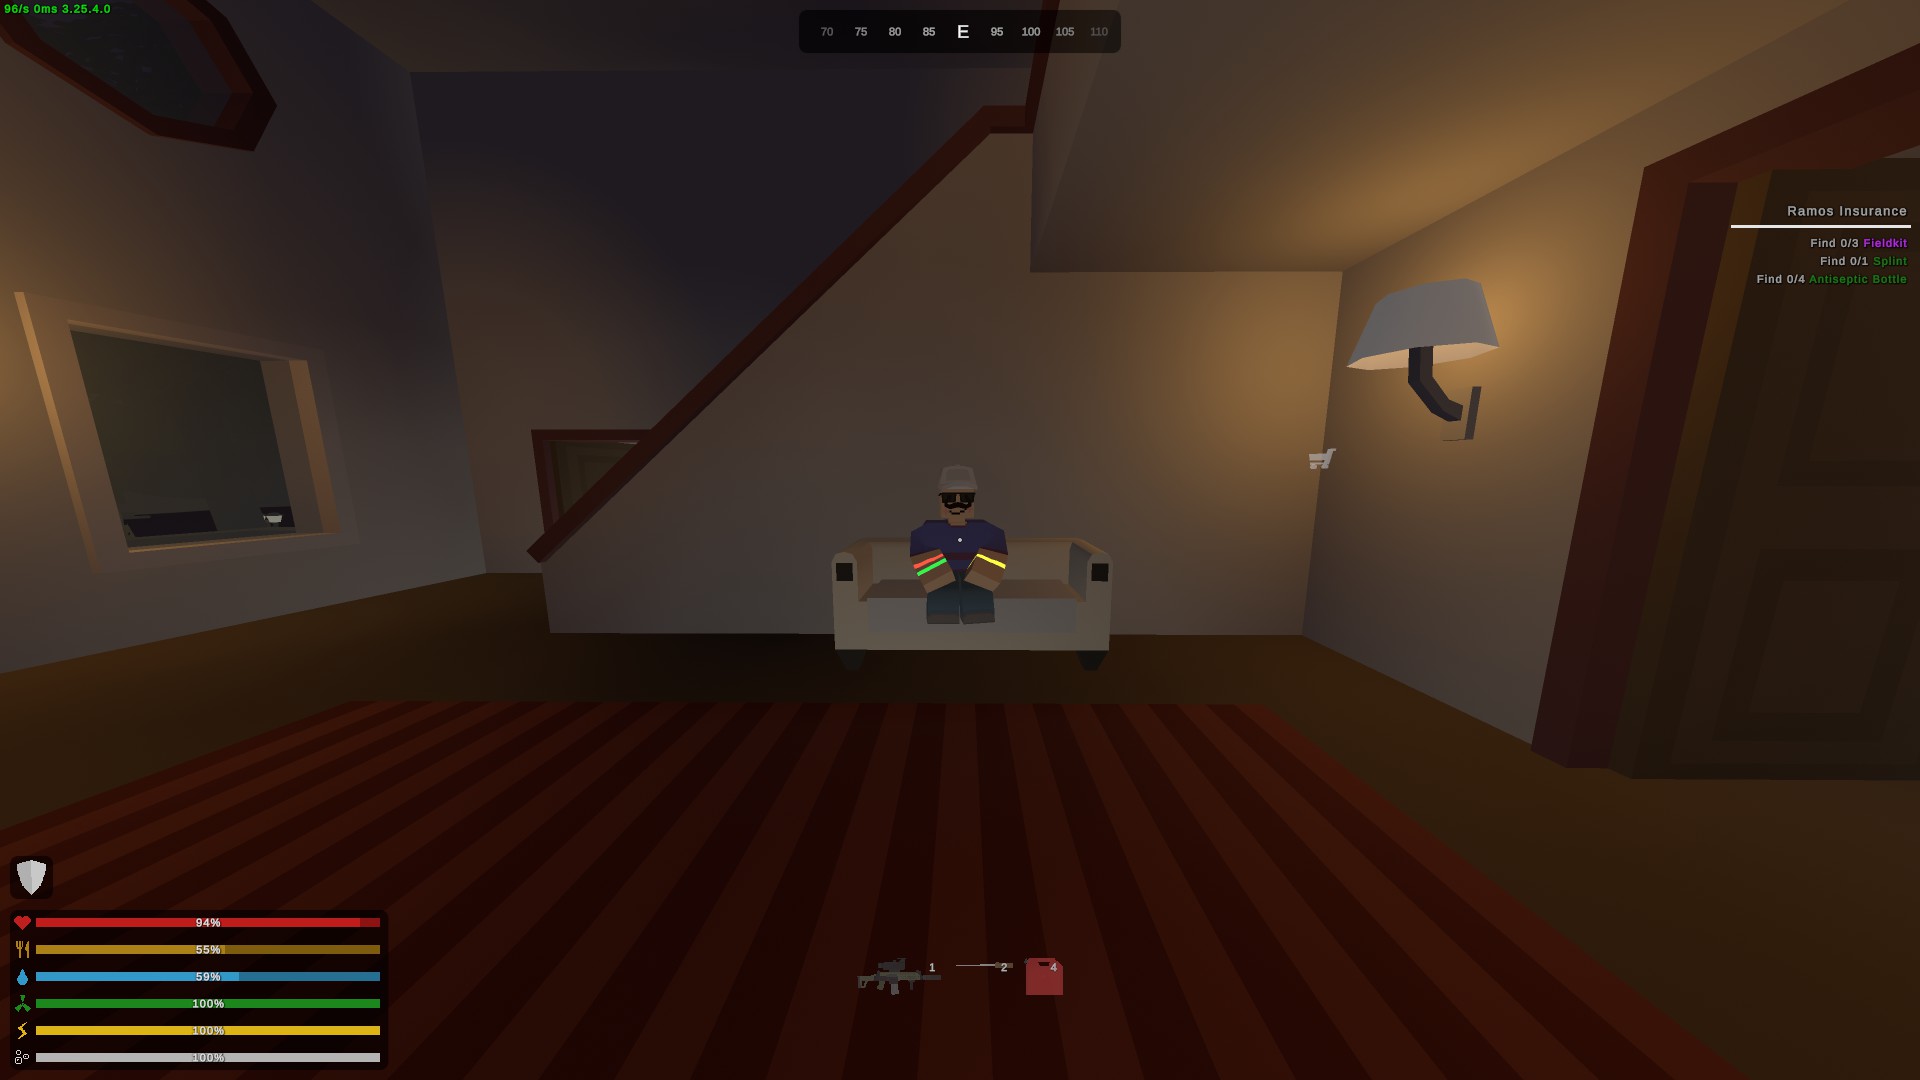
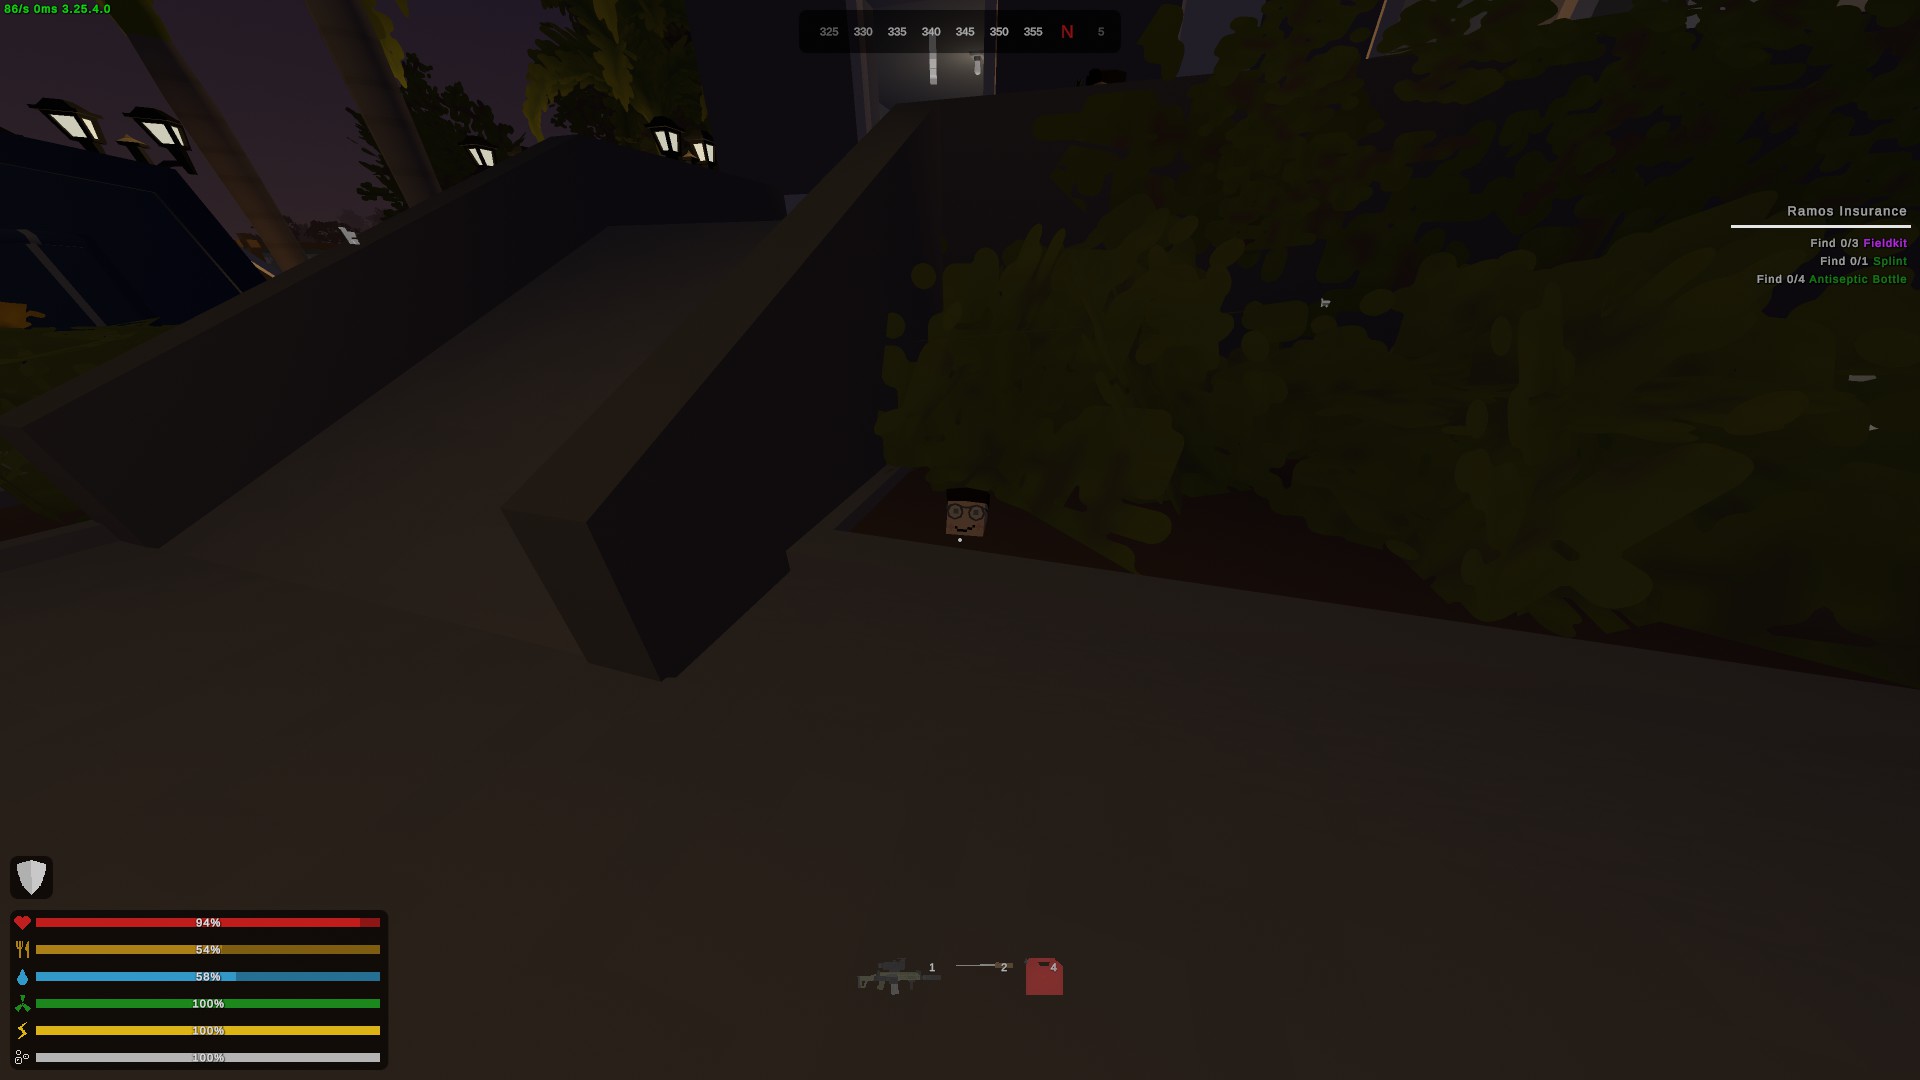
Once you finish that quest with him, he will then need you to find his toy robot. Thankfully it's not far, head behind him towards the helipad and its right next to one of the generator lights:
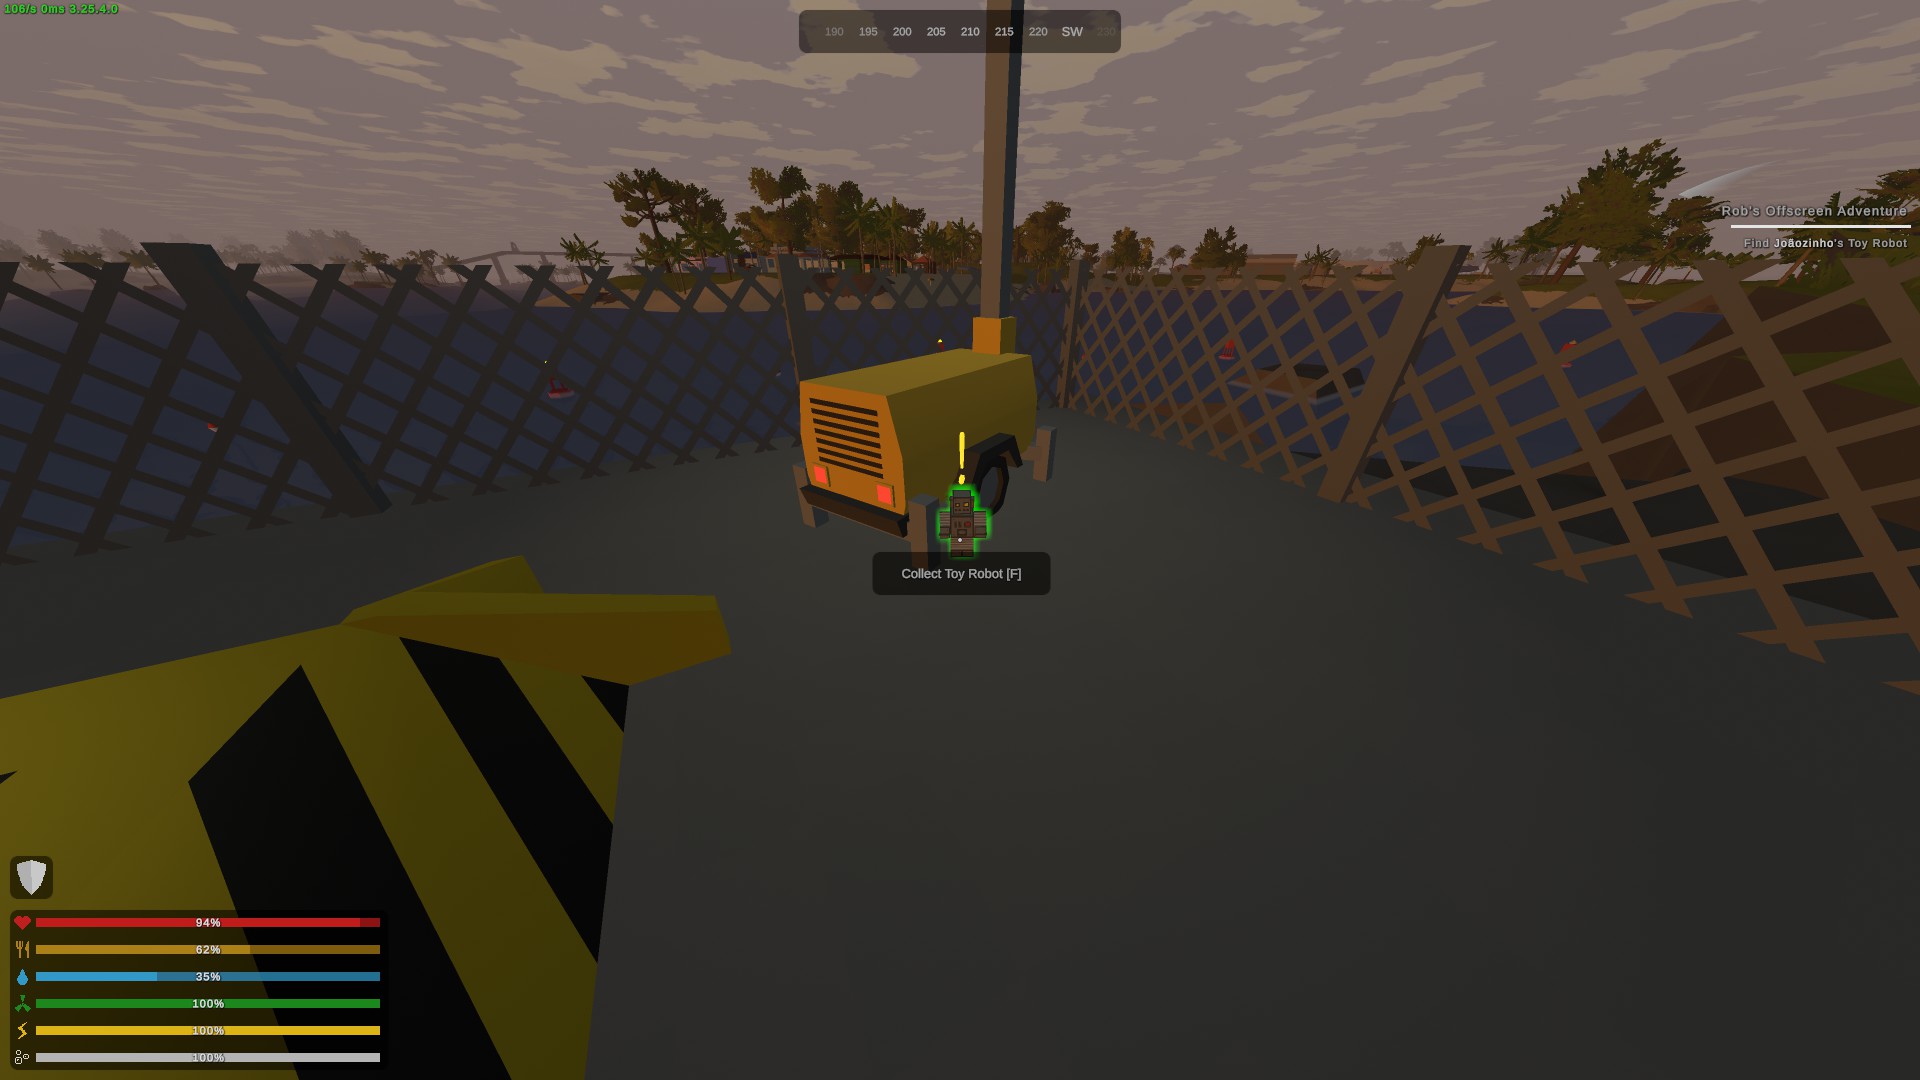
Thanks to @ ̠ʀᴀᴢᴢʏ for pointing out the robot can also be found in one of the upstairs rooms in the mansion :)
Limestone
Craft any of the supressed weapon
variants on Limestone.

Eat a worm on Limestone.

Craft a
Widowmaker on Limestone.

Obtain some concrete on
Limestone.

As a little bonus, when you get each achievement, you will also get a corresponding cosmetic in your inventory you can wear in game :D In case anyone needs the maps, merry christmas:
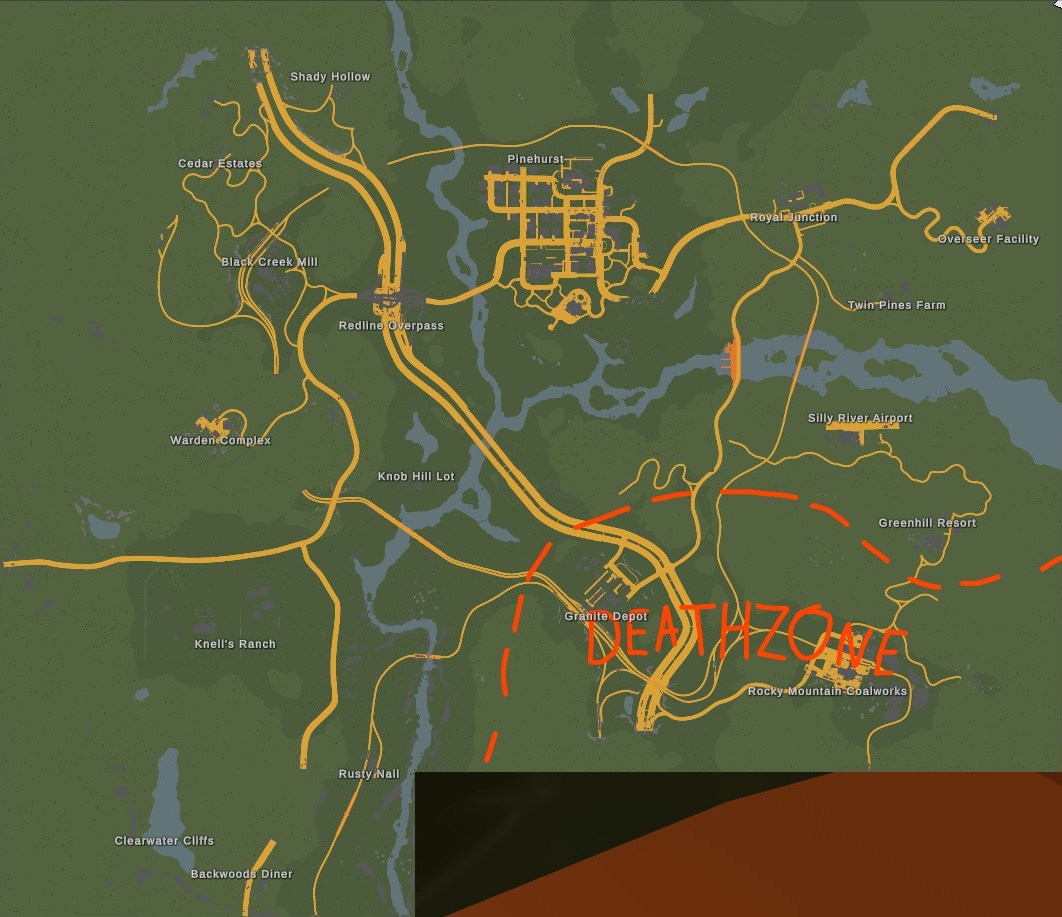
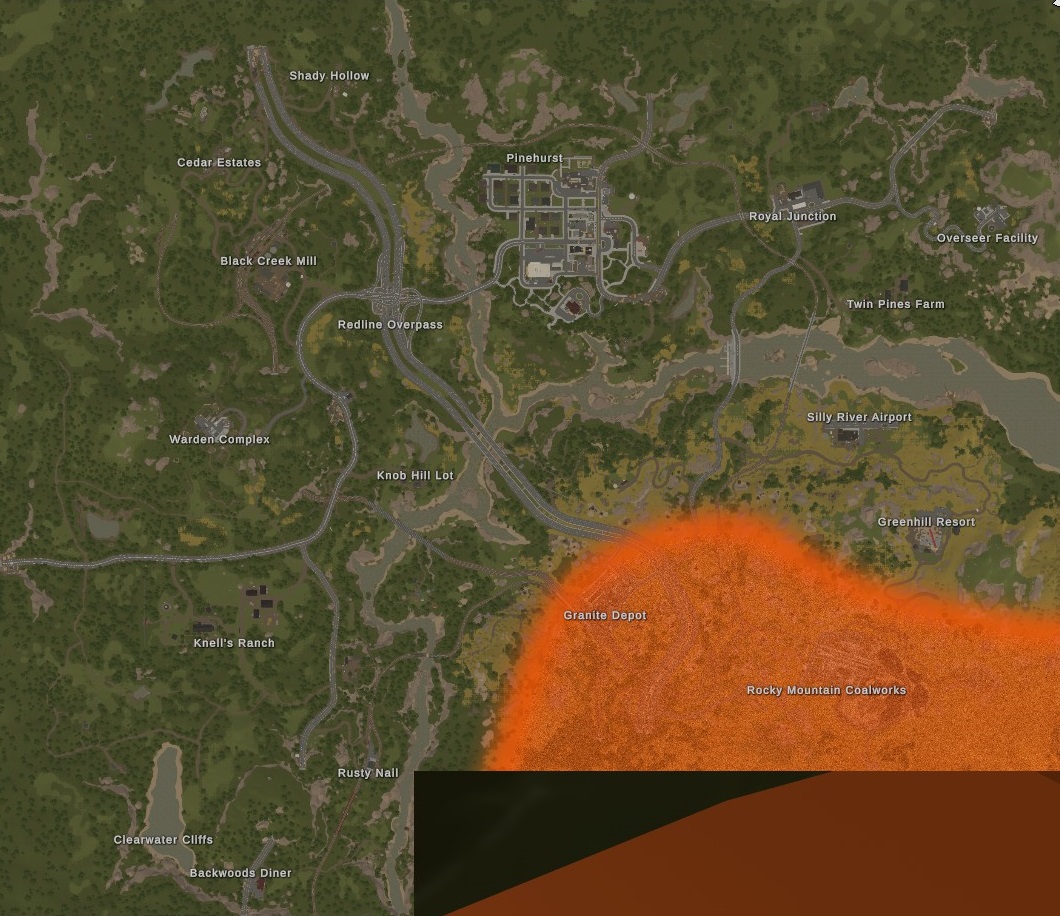
(they did update the map at some point, these are the new ones)
- Cobra SD
- Desert Cobra SD
- Patriot SD
- Pitbull SD
- Snapback SD
- Sportshot SD
- Viper SD
- Zigsaw SD
With a full-spectrum silencer kit, you can craft the following guns:
- Eagle SD
- Eaglefire SD
- Eaglestrike SD
- Honey Bee SD
- Minuteman SD
- Retro Eagle SD
- Varlet SD
- Wild Eagle SD
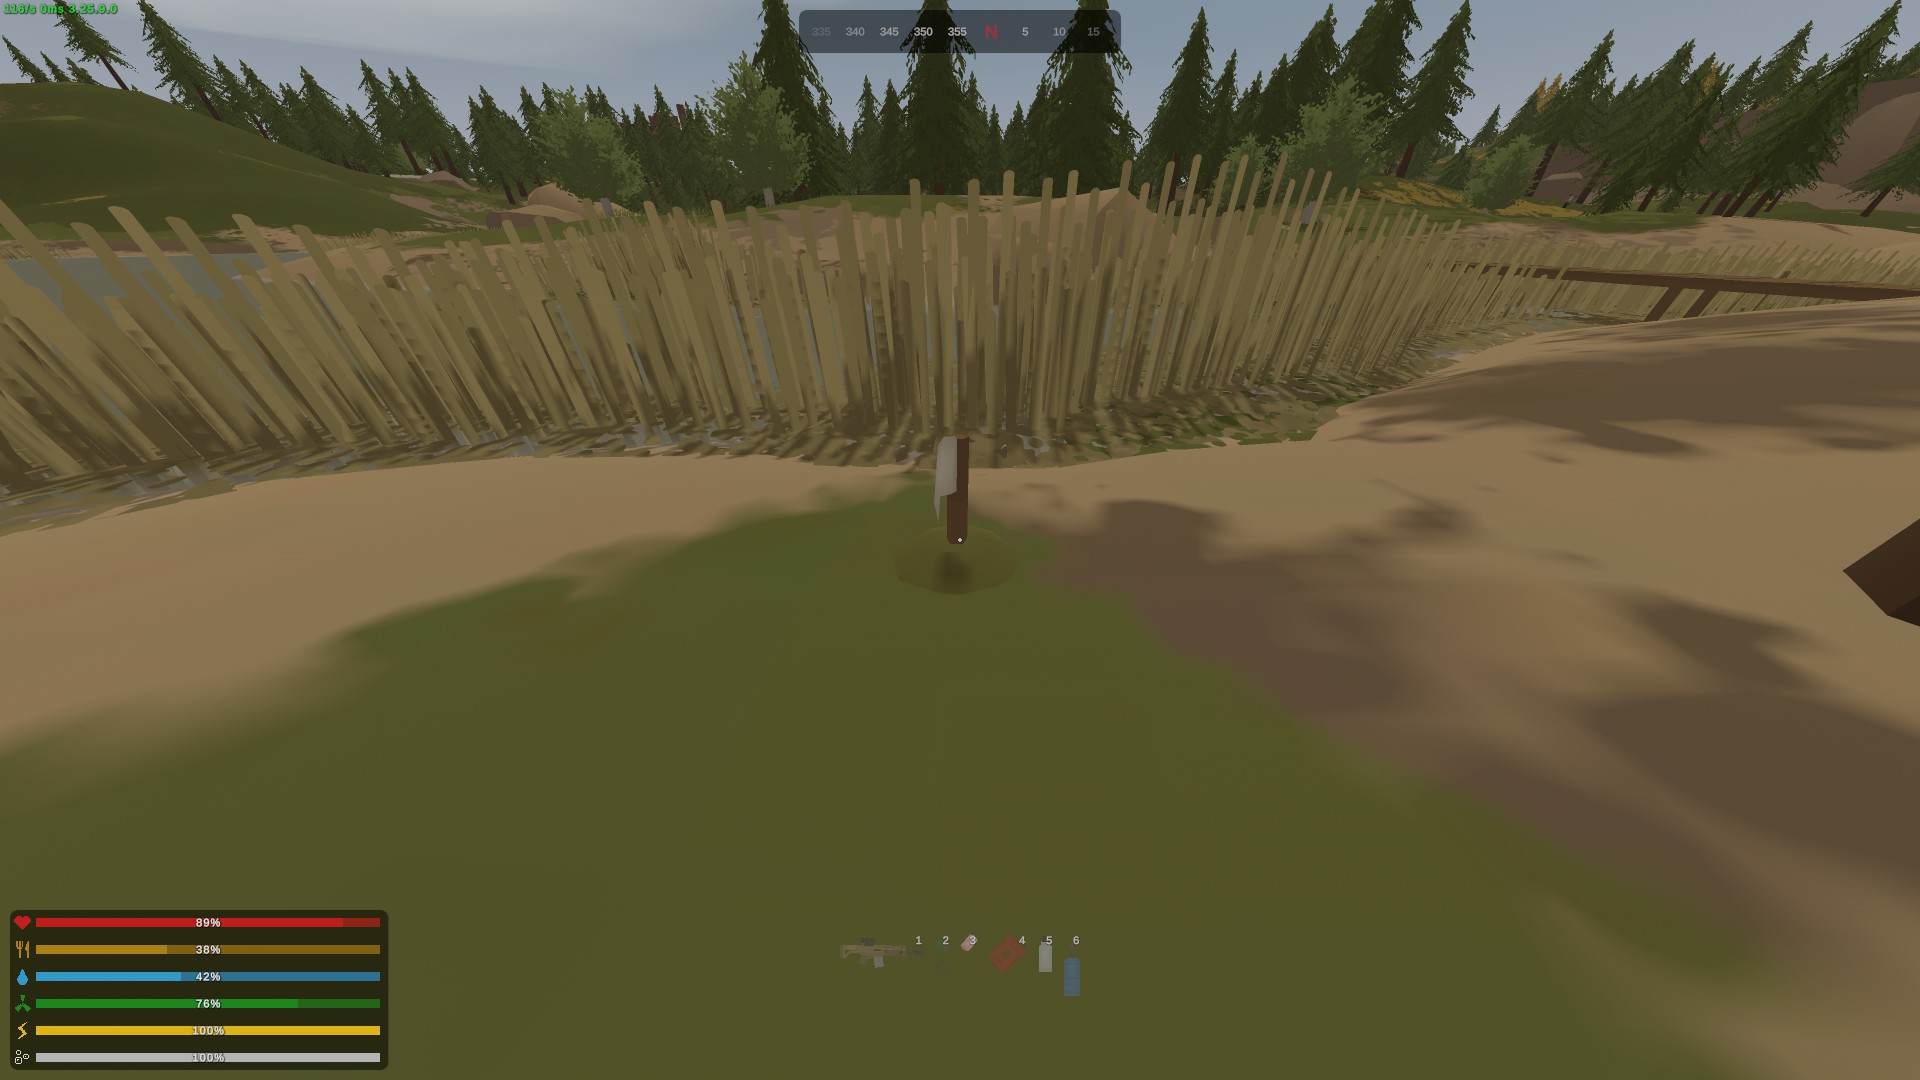
Crouch and hit them with a shovel and you'll have a chance to get a worm from it. Eat the worm and you'll get the achievement.
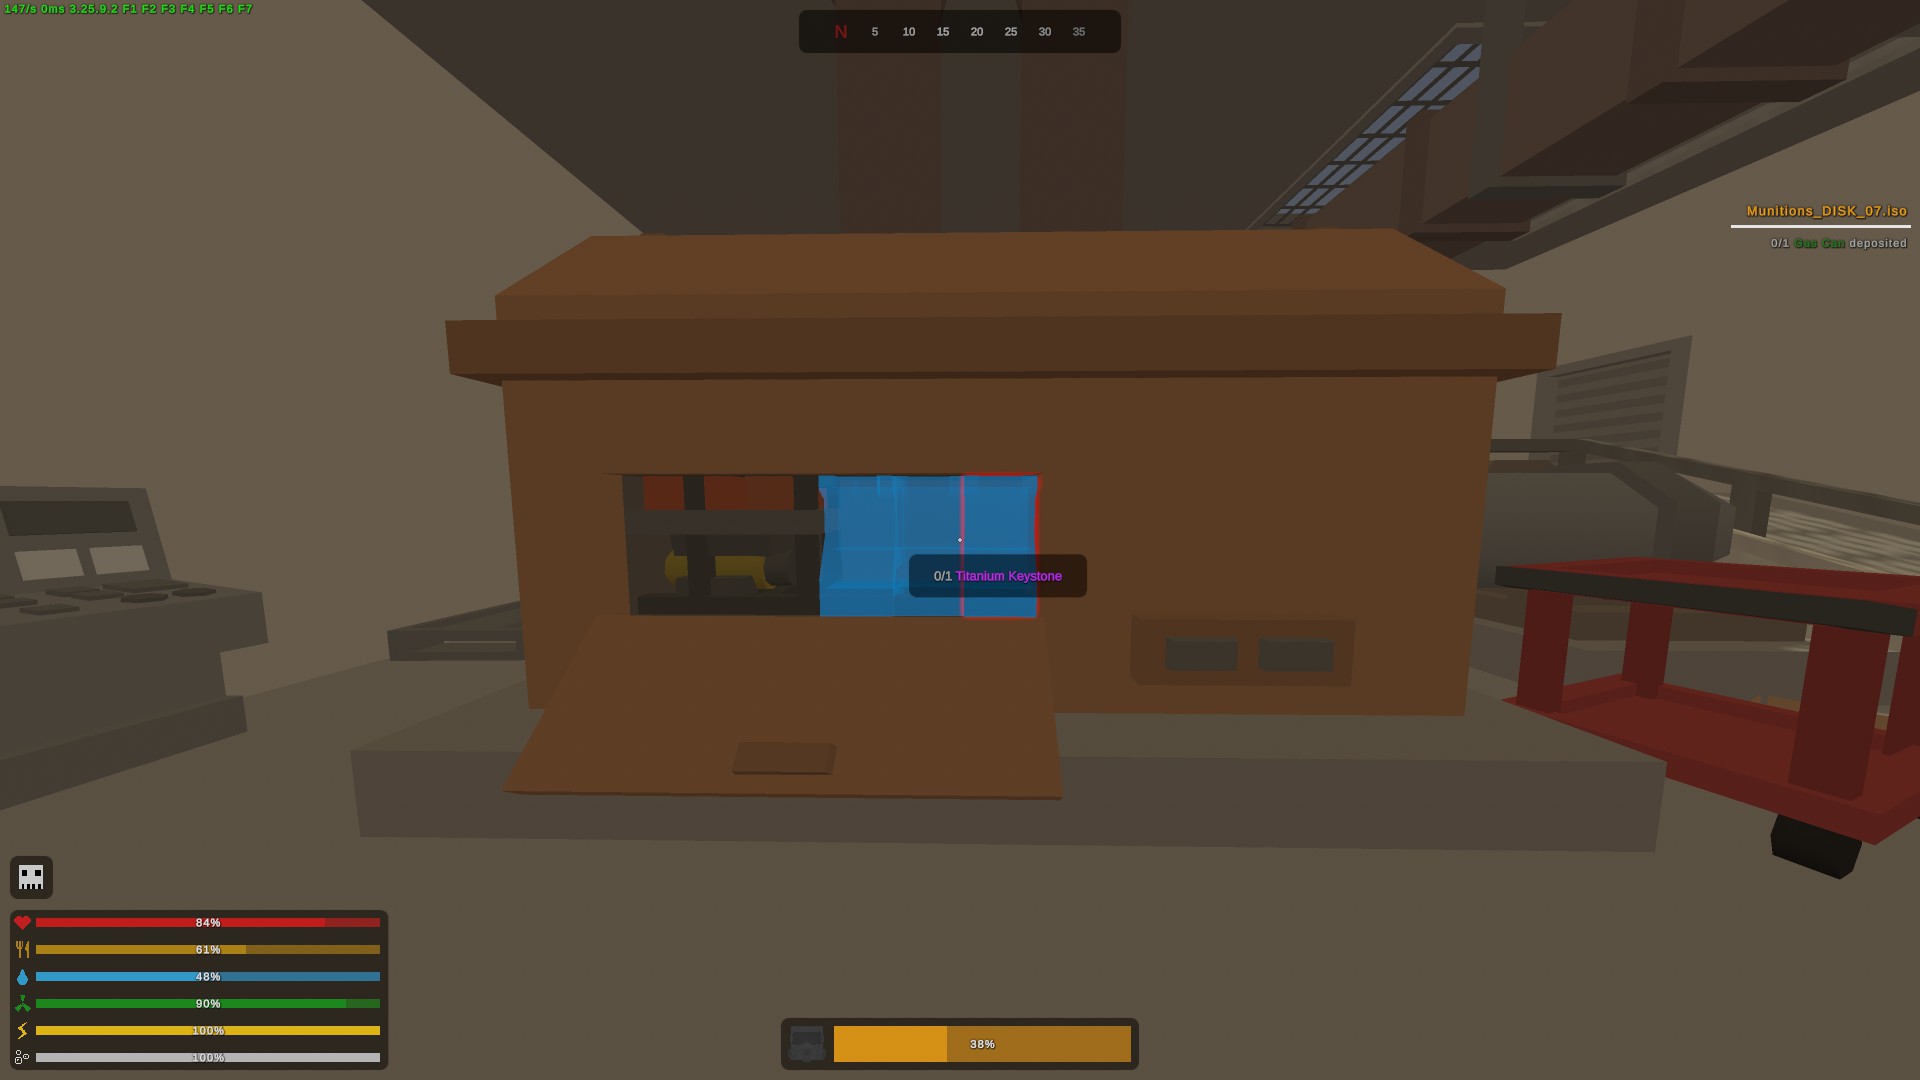
 You have a small chance of getting the widowmaker parts (not the targeting module) from airdrops and horde beacons. Outside of that, all of the parts (including the targeting module) can be found in the deadzone, seemingly only when you repair the machinery and are able to enter the shuttered building at Rocky Mountain Coalworks. To do this, you're going to need 3 titanium keystones and place them in the generator in the smaller building you are able to access in Coalworks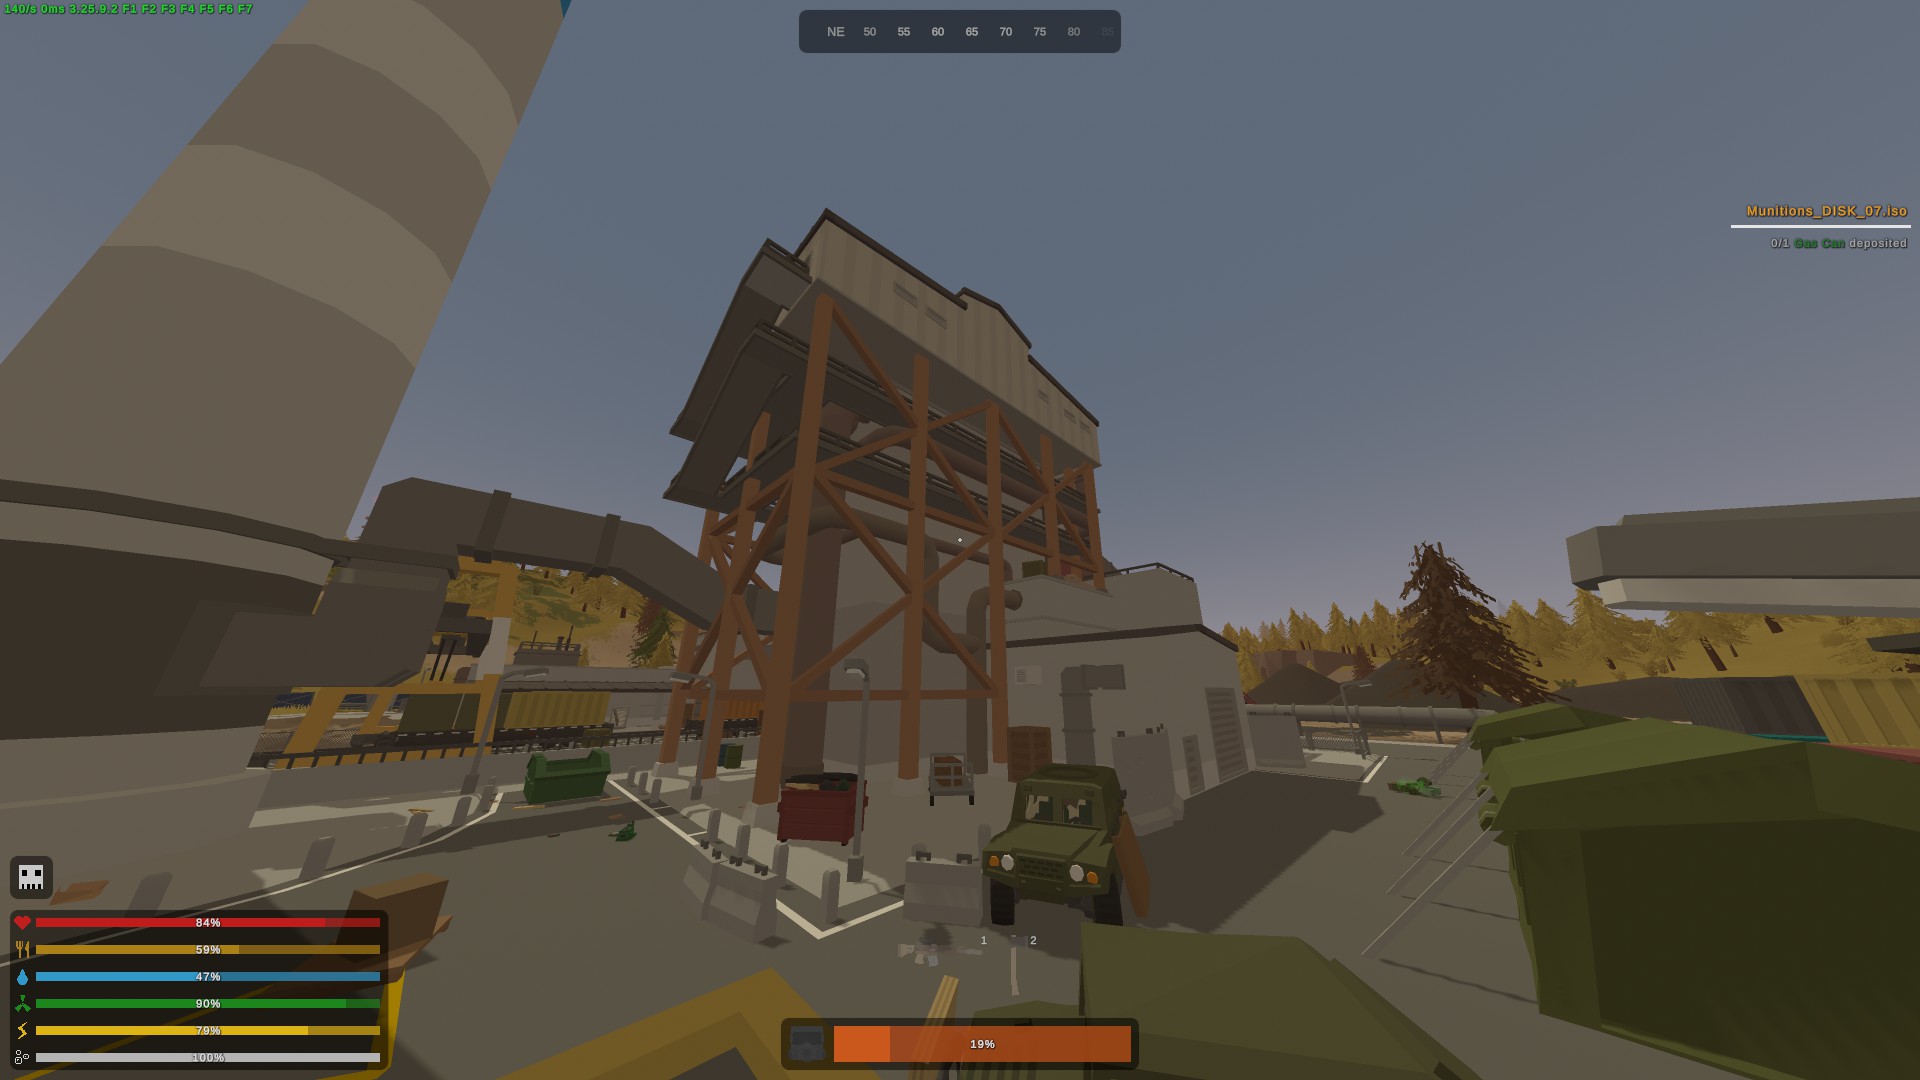
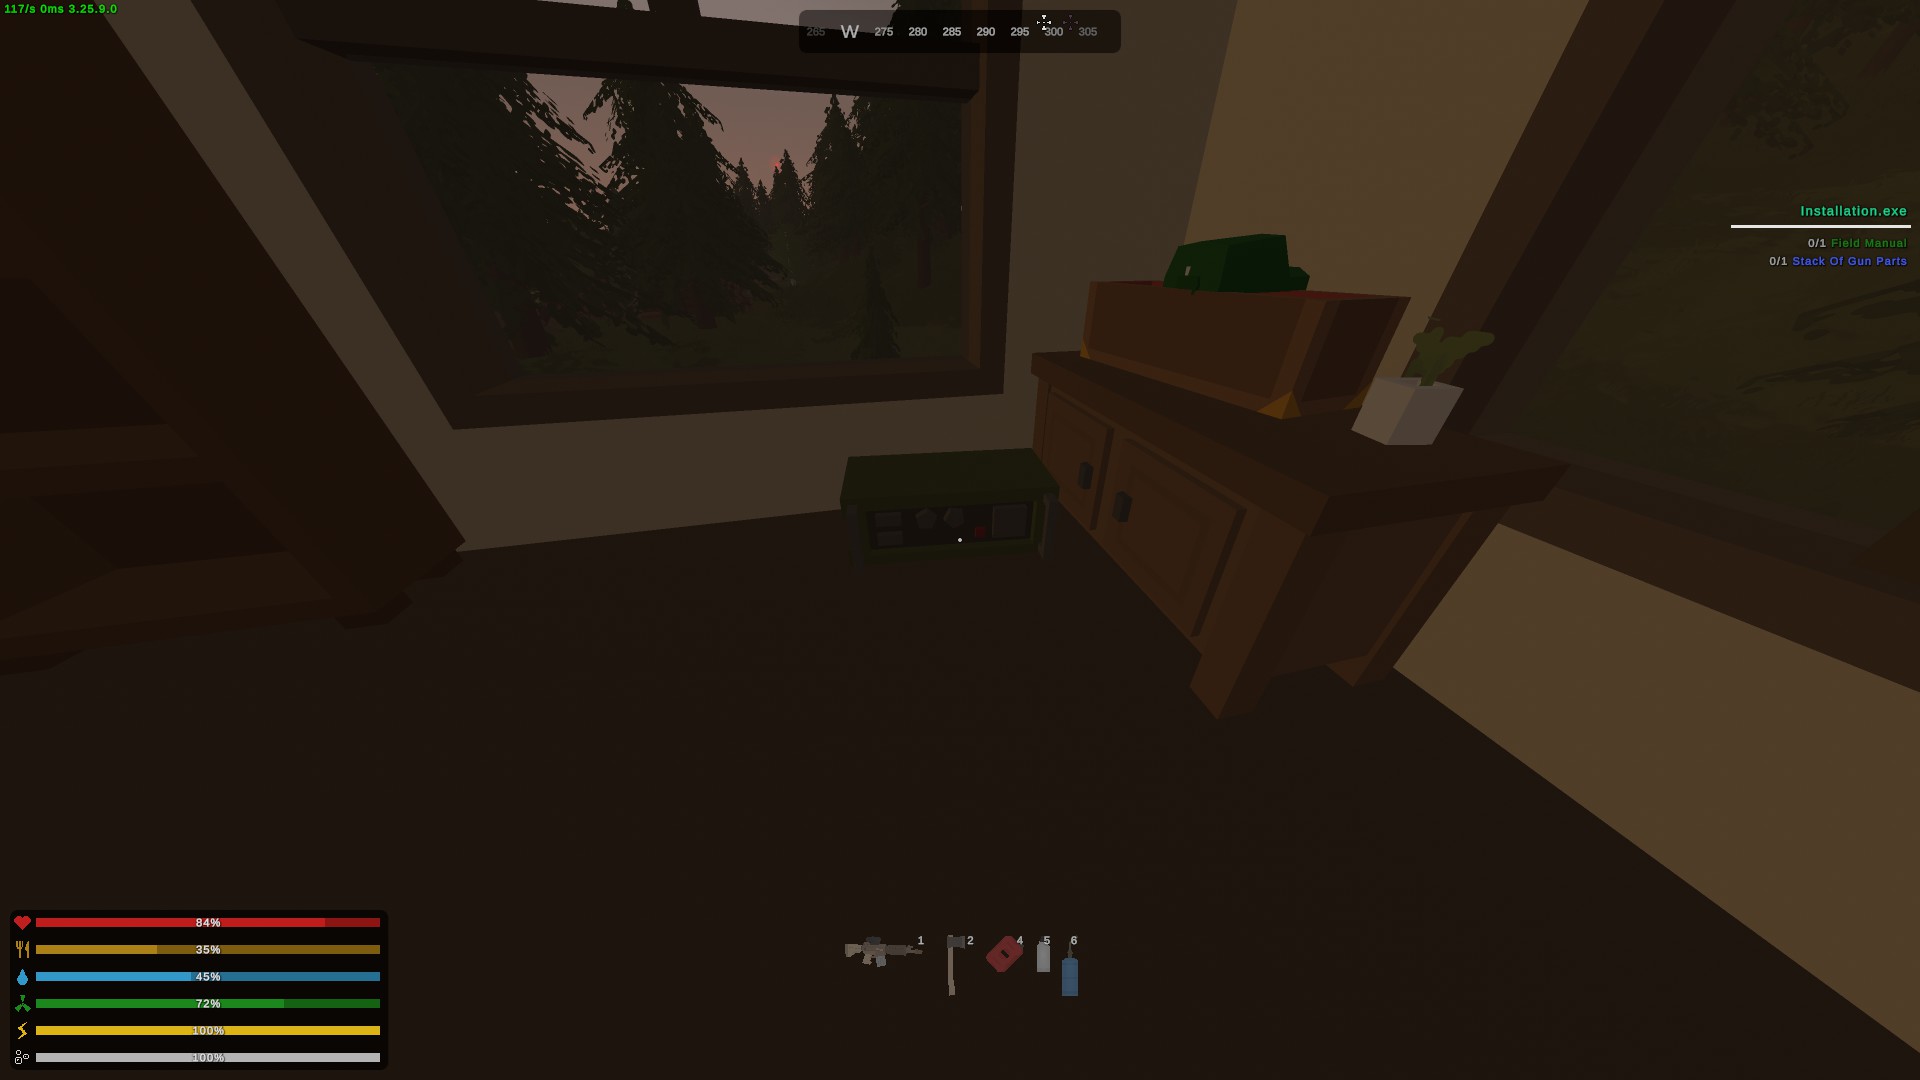
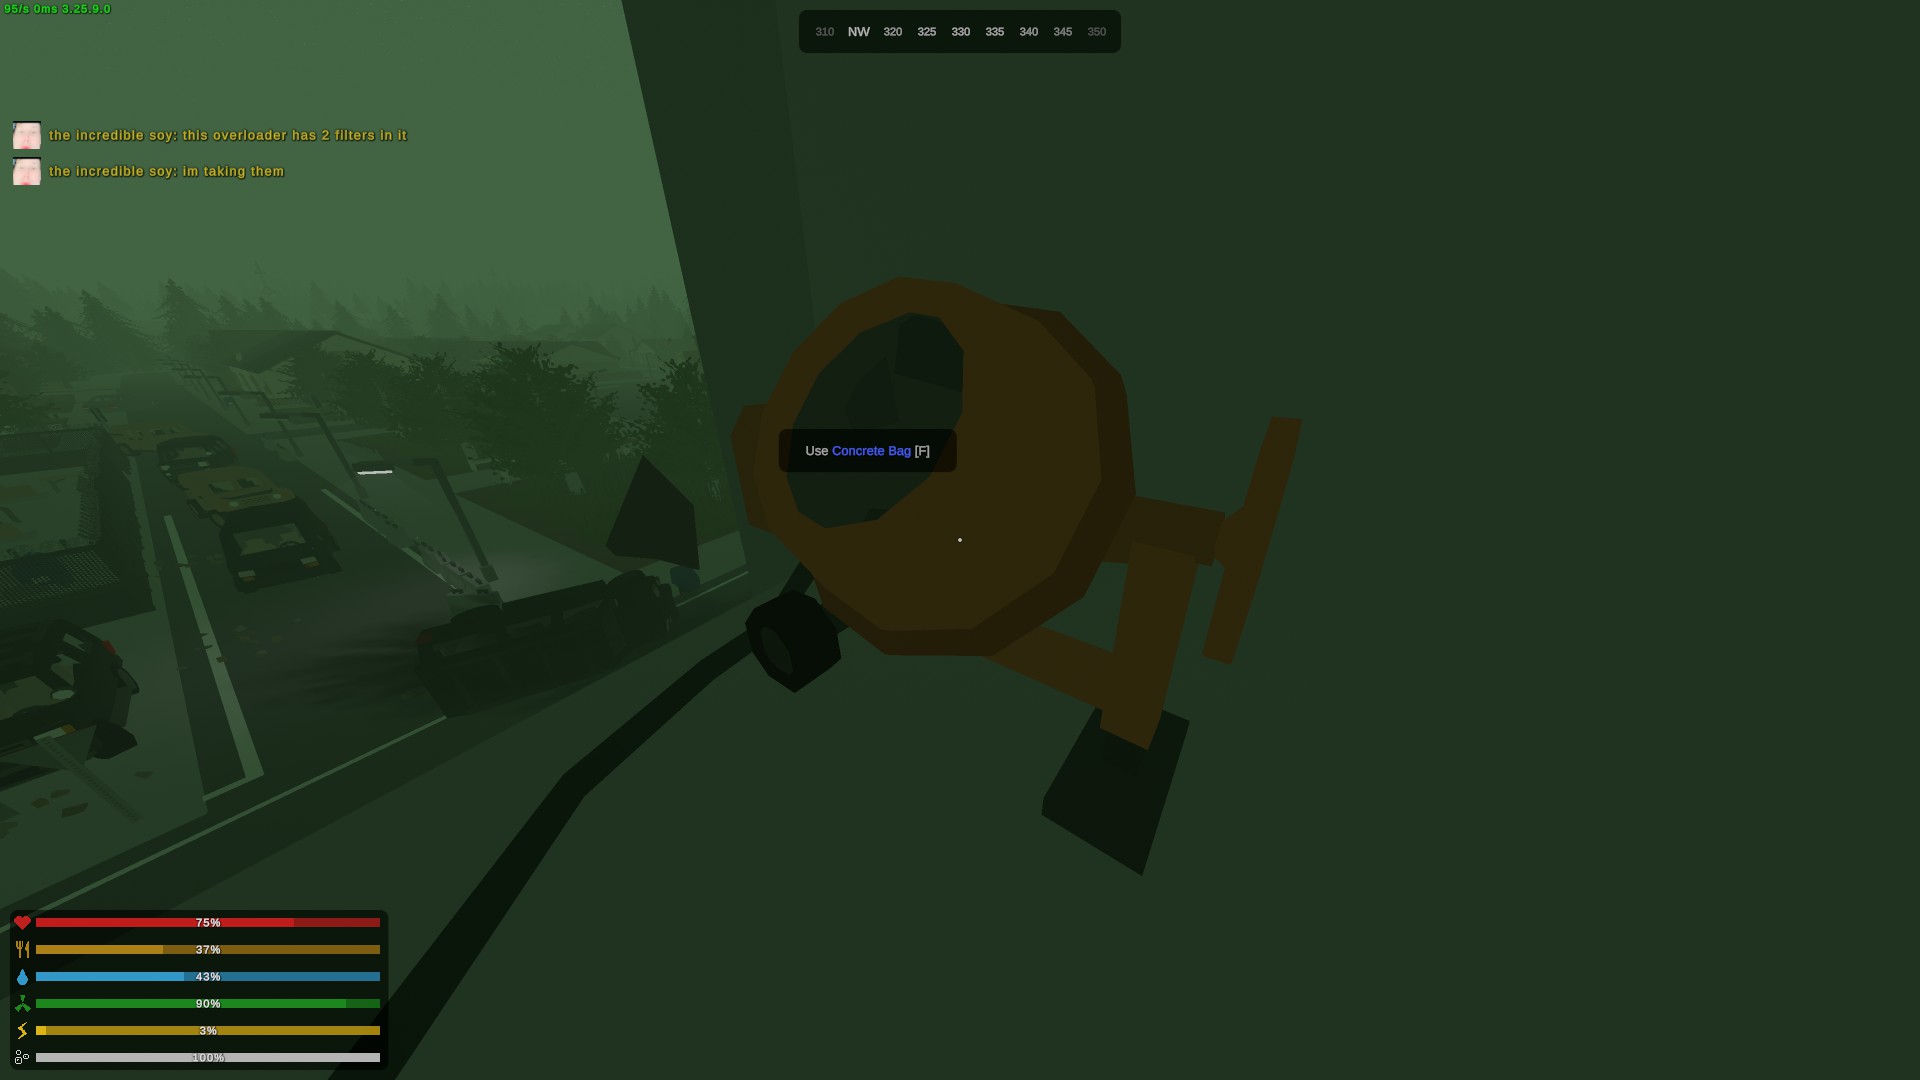
You can find pretty much everything you need at construction/industrial areas or from completing horde beacons but motor oil can also be found in animal stomachs. There's a building that's under construction that has a cement mixer on the roof. We're gonna need that to get us some concrete cooked up.
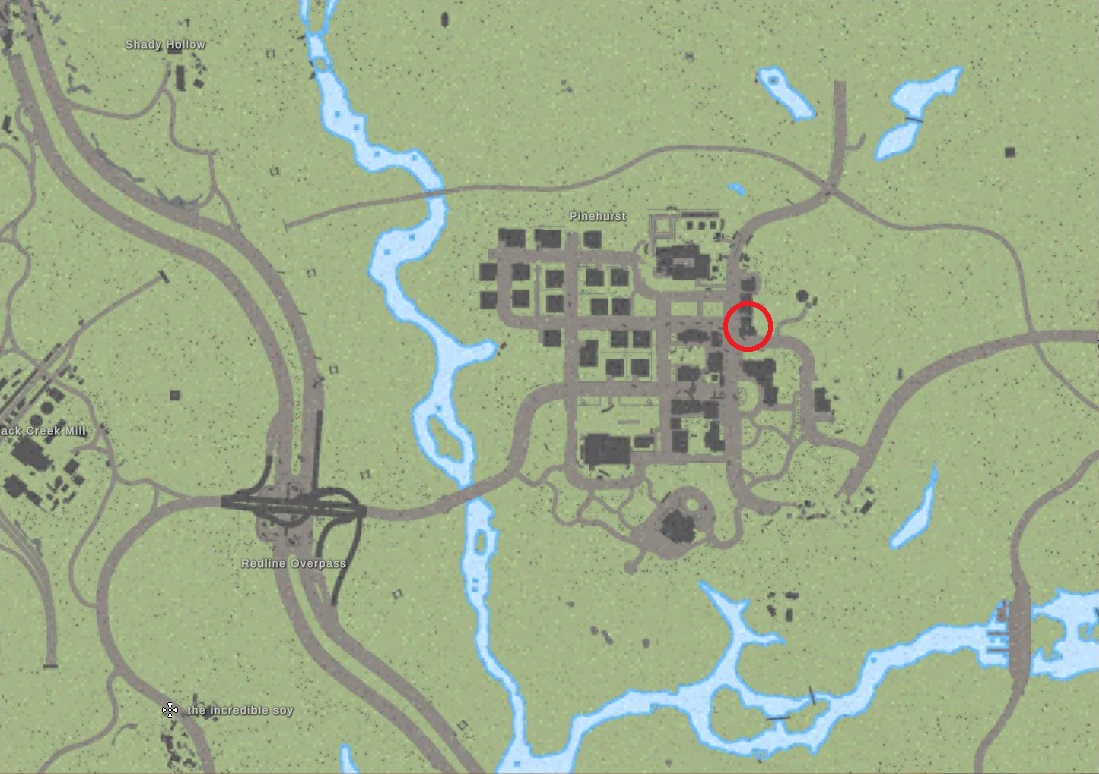 I'm not sure if there's a better way to get on the roof but I was able to get up there by going into this building and going up the stairs. Once you get to the roof of that building, jump onto the air conditioner unit to cross to the next rooftop. From there, you can just jump over to the building under construction.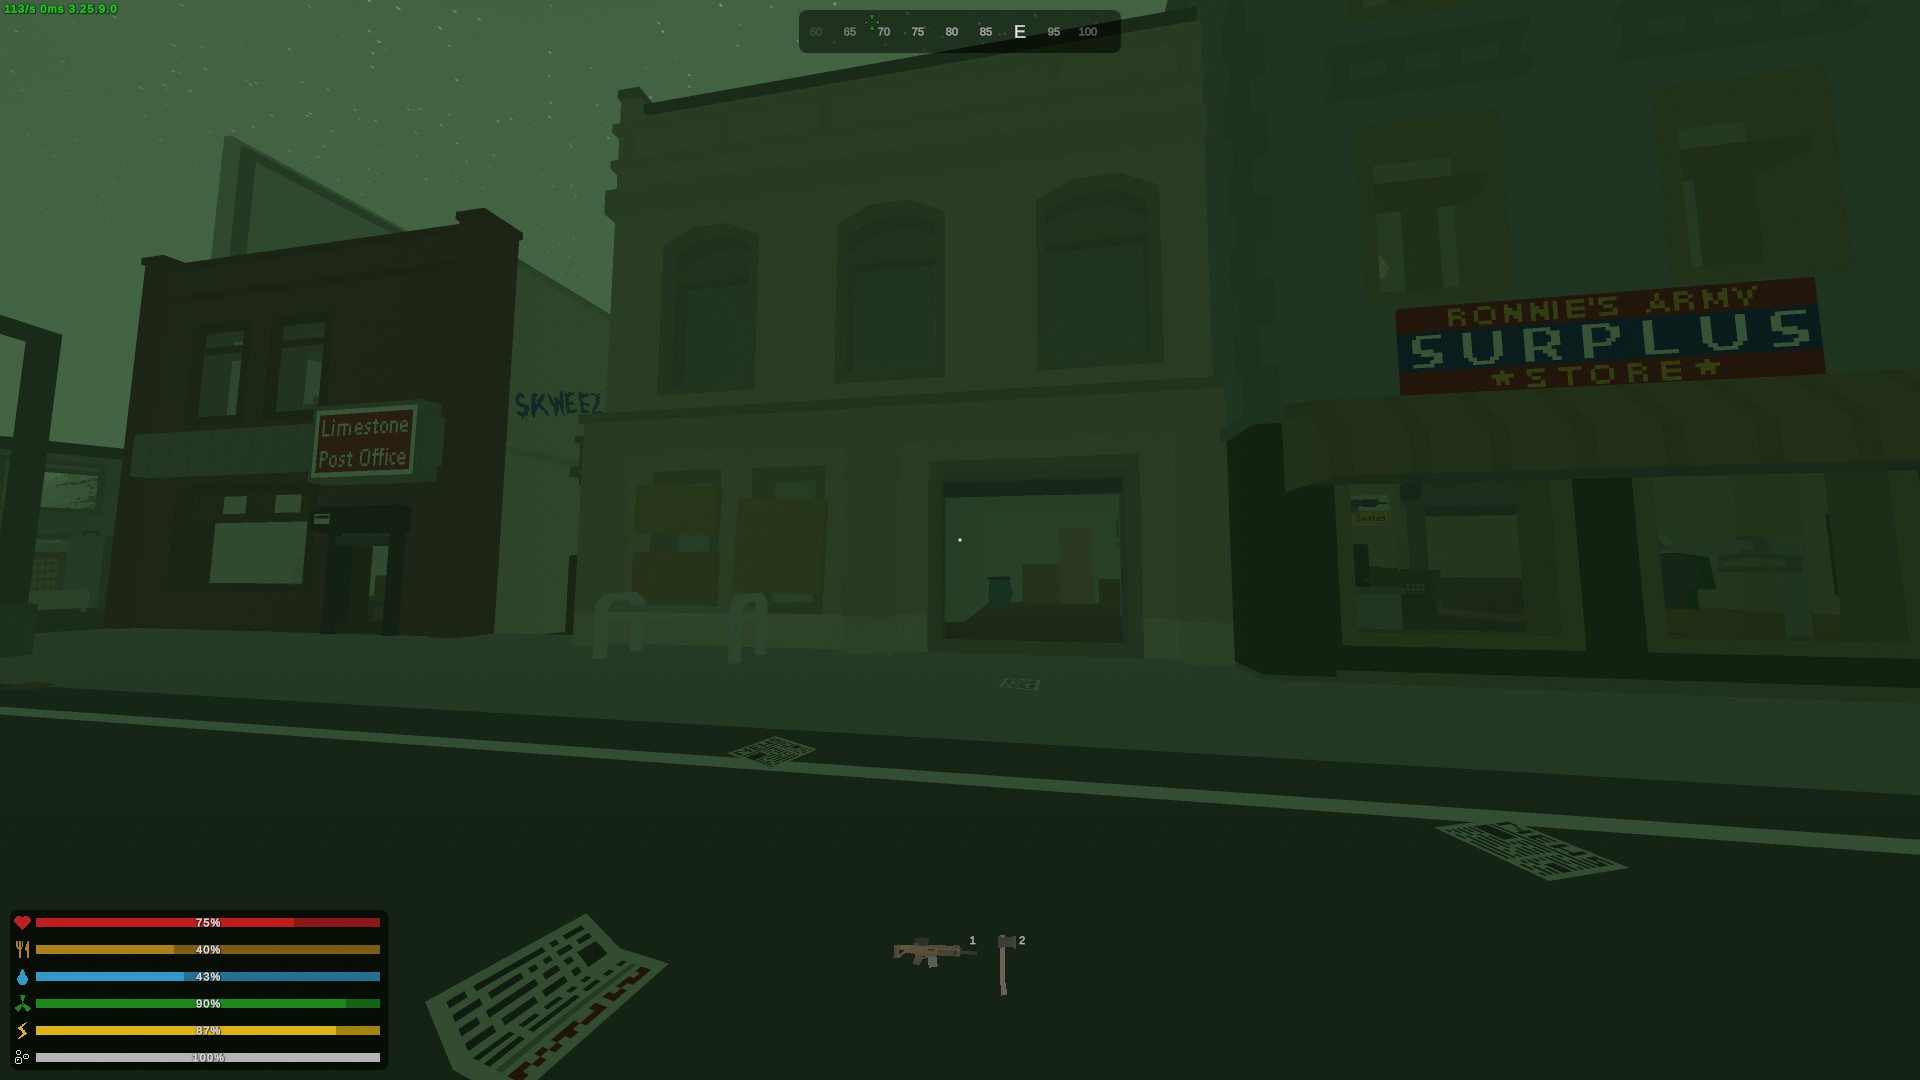
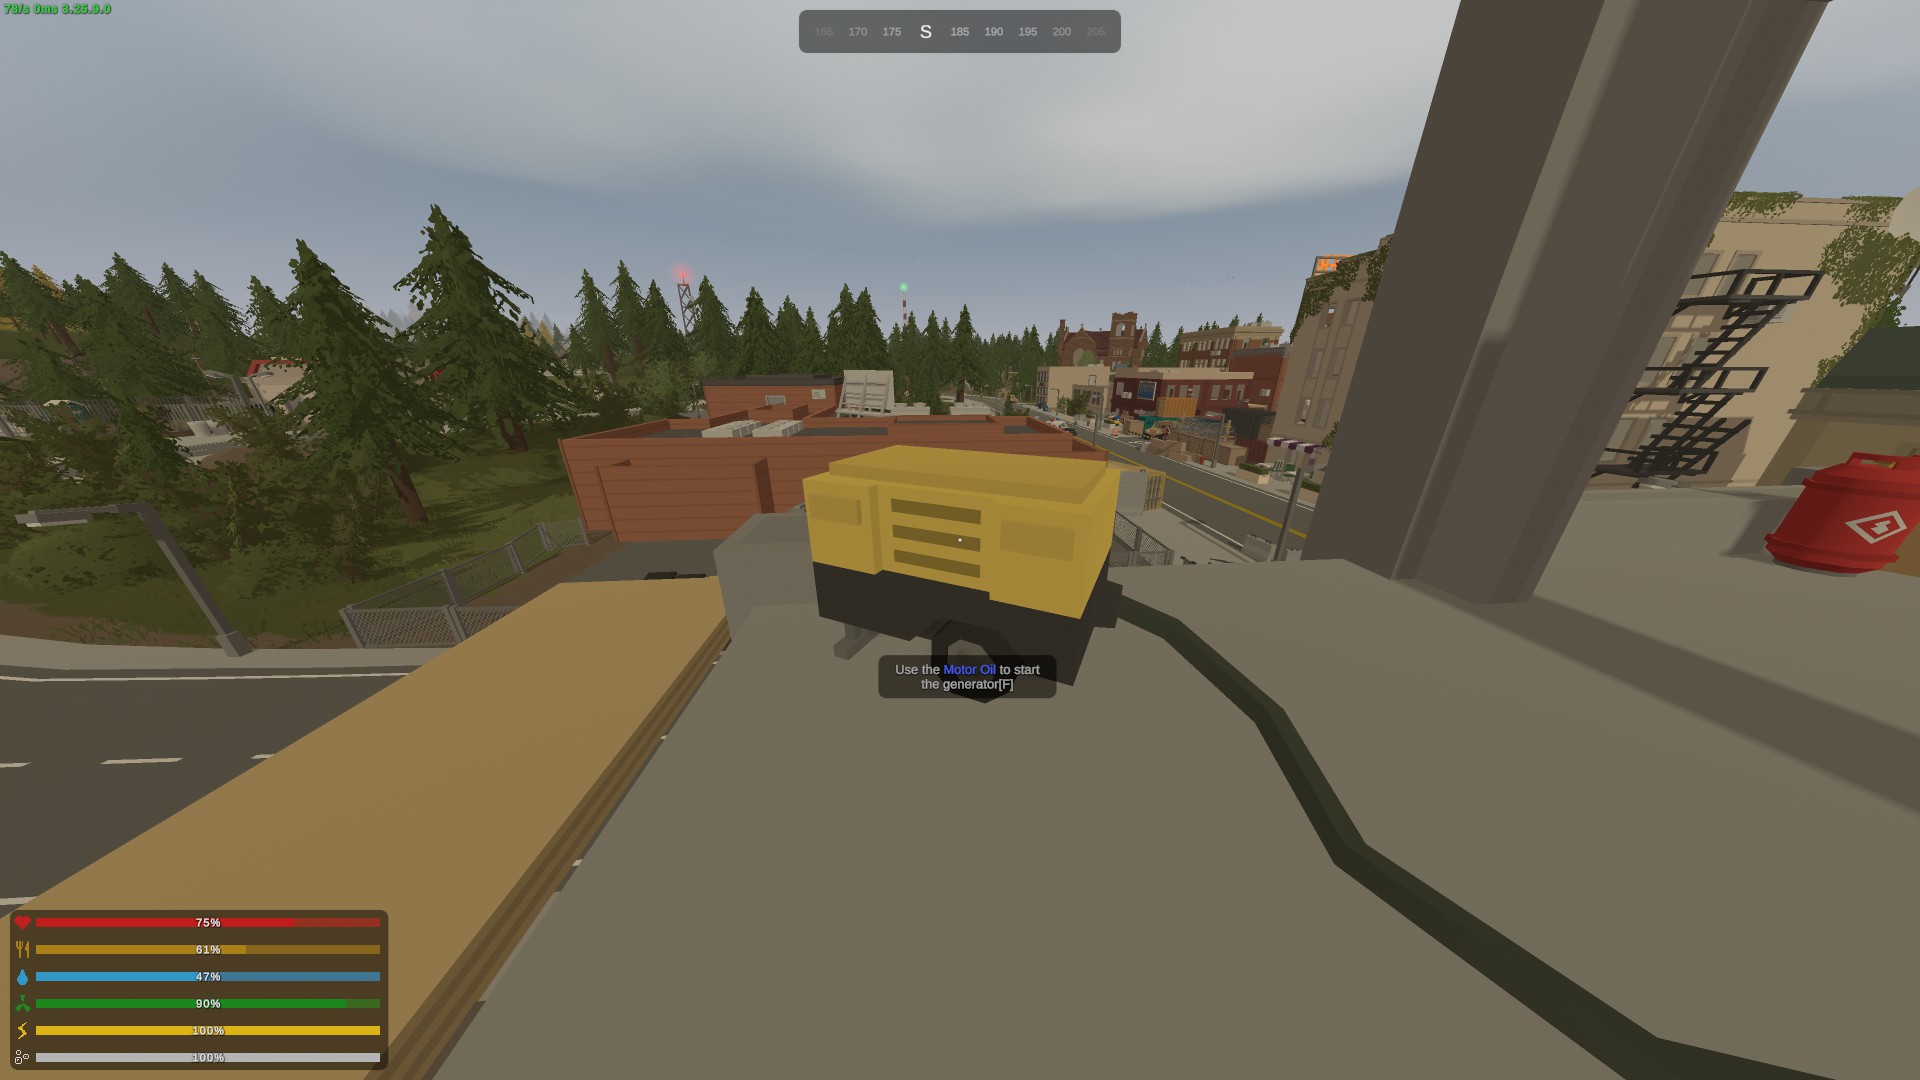
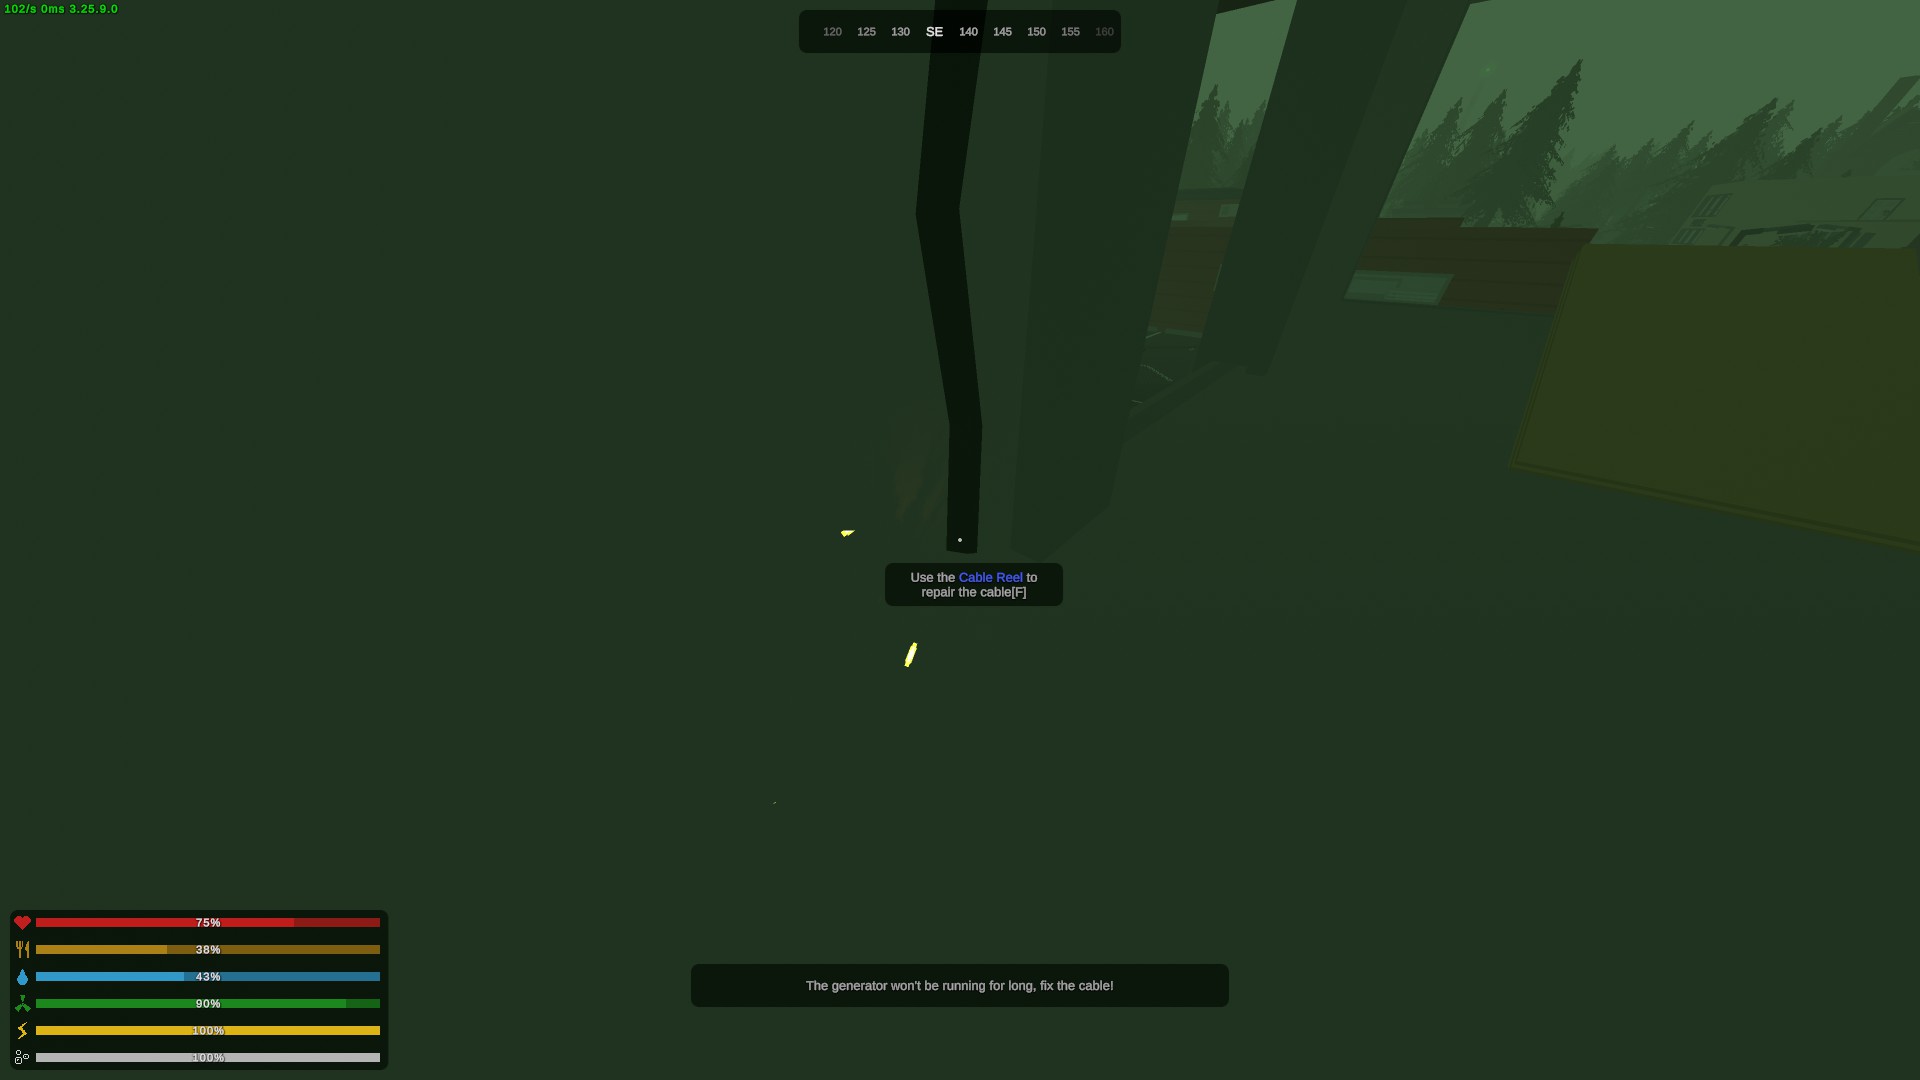
Once you're on the roof of the construction building, make sure you have the items you need at the ready because you need to do this pretty quick. Bring the motor oil to the yellow generator, follow the cable from the generator and jump down to connect the cable reel to the broken cable pieces. Now, you need to run back around to get back onto the roof as fast as you can and put the concrete bag in the mixer. If you don't hear the mixer anymore, it means you weren't fast enough and you're gonna need to do it again. When you start the mixer, you'll get the achievement.
California 2 (NEW)
Defuse a tense situation on
California 2.

Complete the Gnomes questline
on California 2.

Jump into the pit in the Void Cave
on California 2.

Complete the "Zone Trekker" quest
by visiting every deadzone on
California 2.

Destroy the Heart in the
SF Metro on California 2.

Complete the Phoneman
questline on California 2

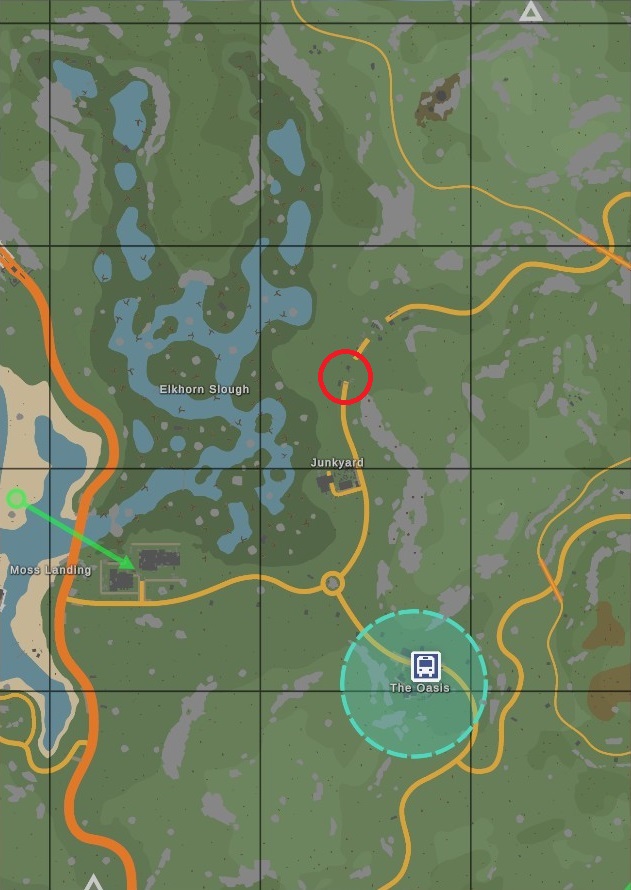
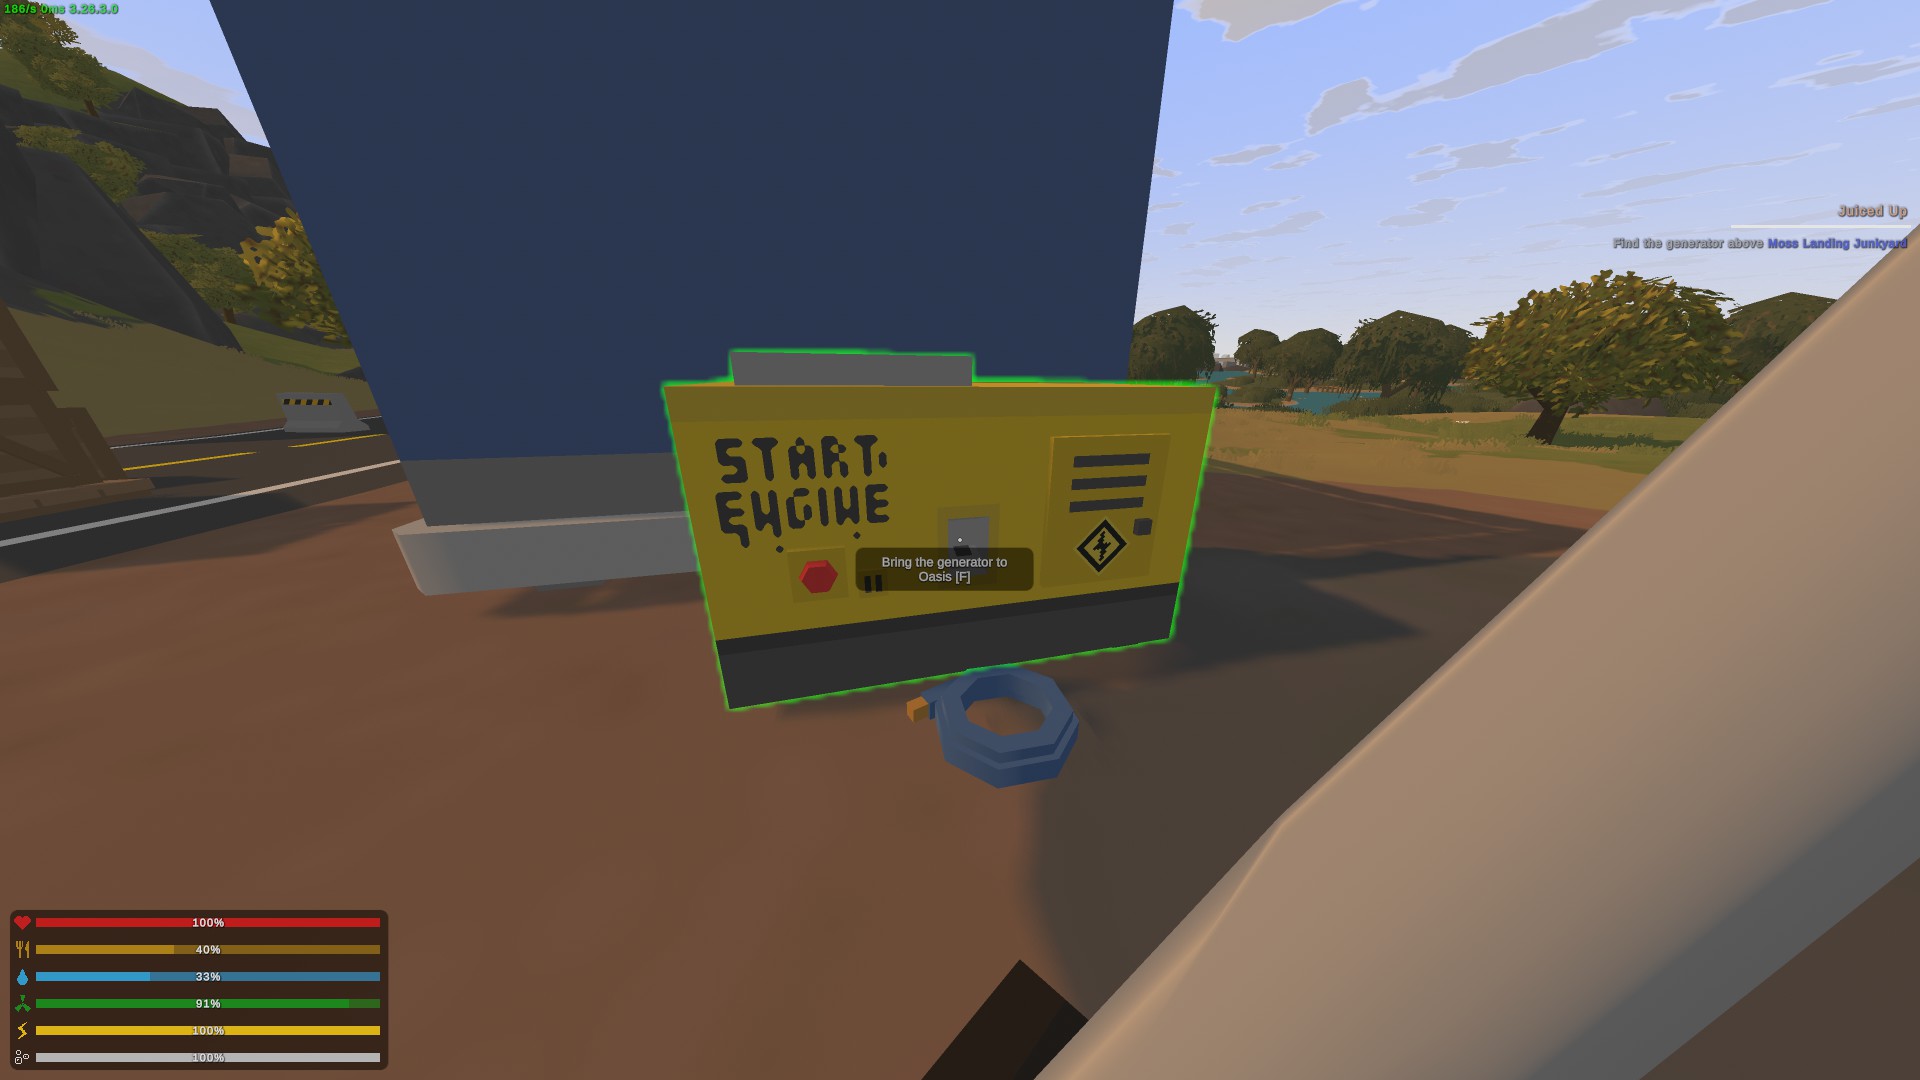
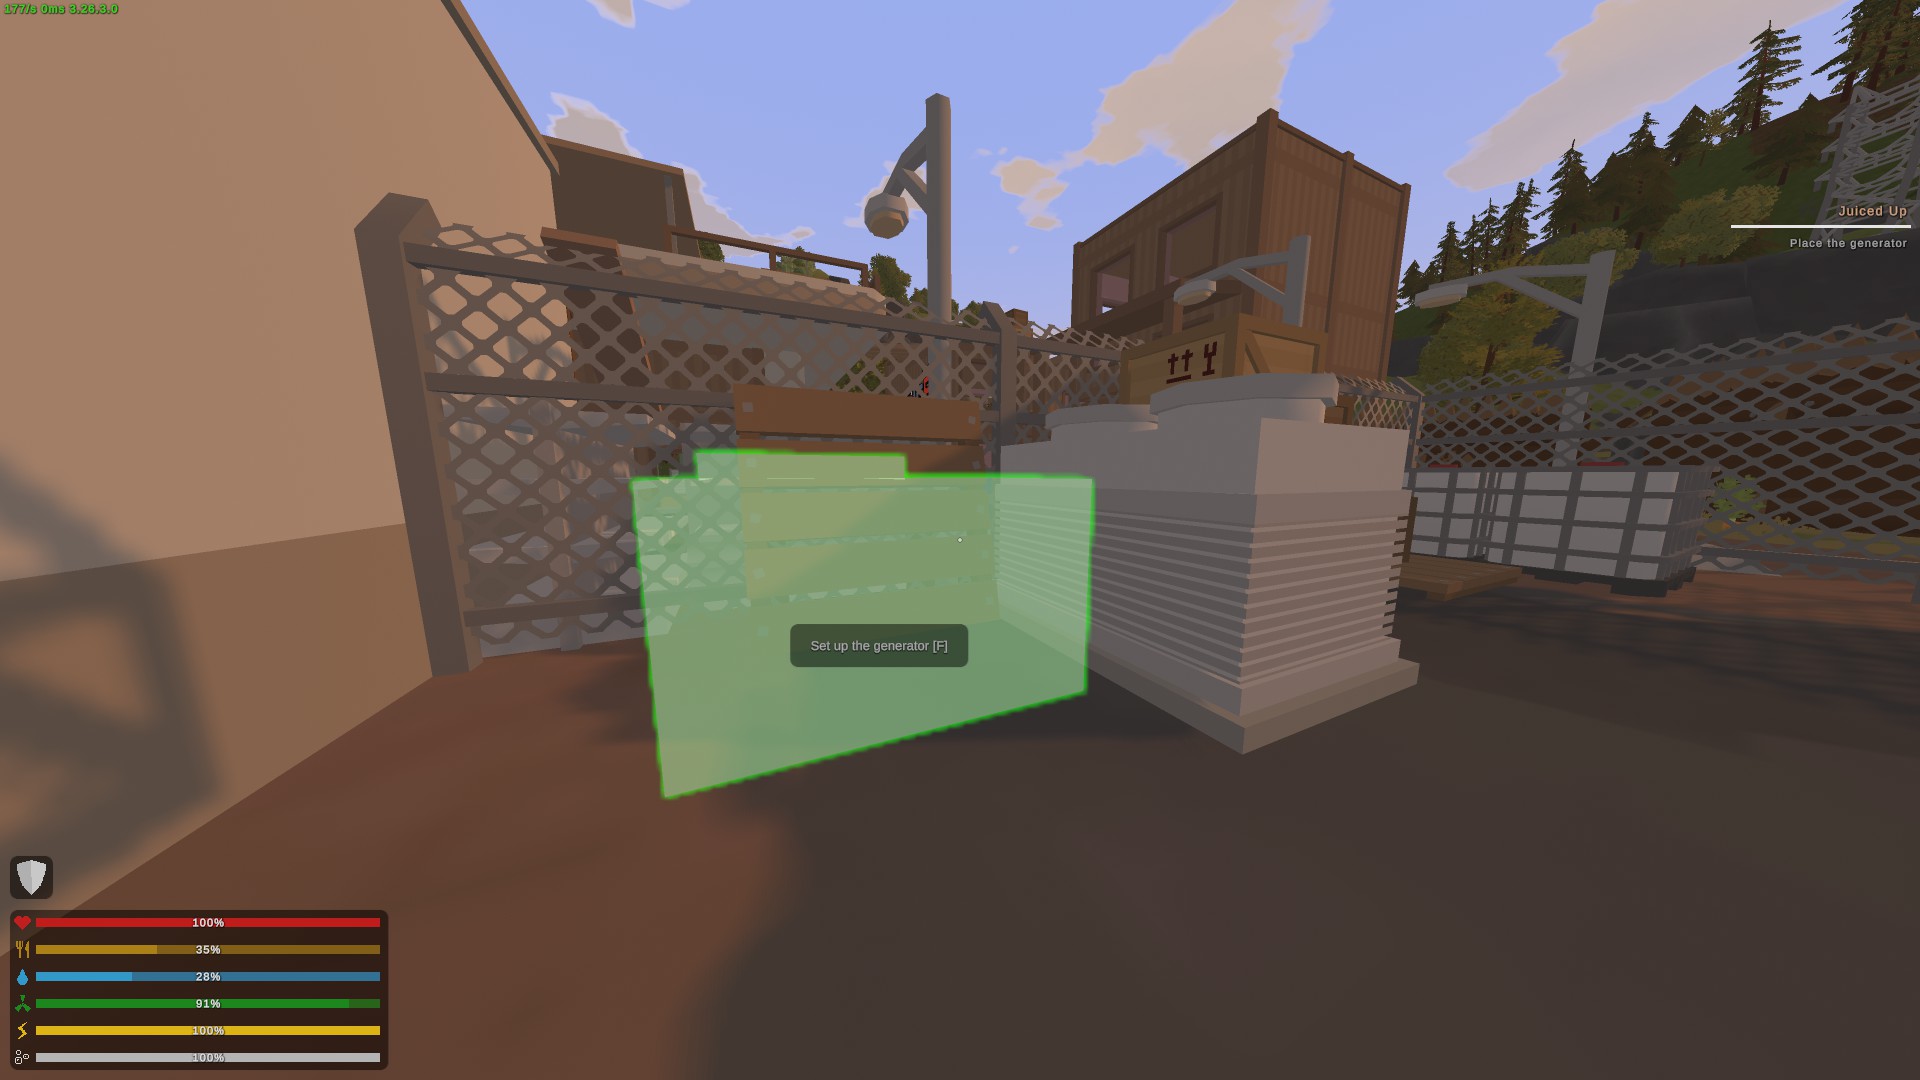
I'm not sure if there is a super specific order you need to do these in but I started with Sarah (shes the mechanic, in the garage). Her quest, Juiced Up, wants you to find a generator which is located here:
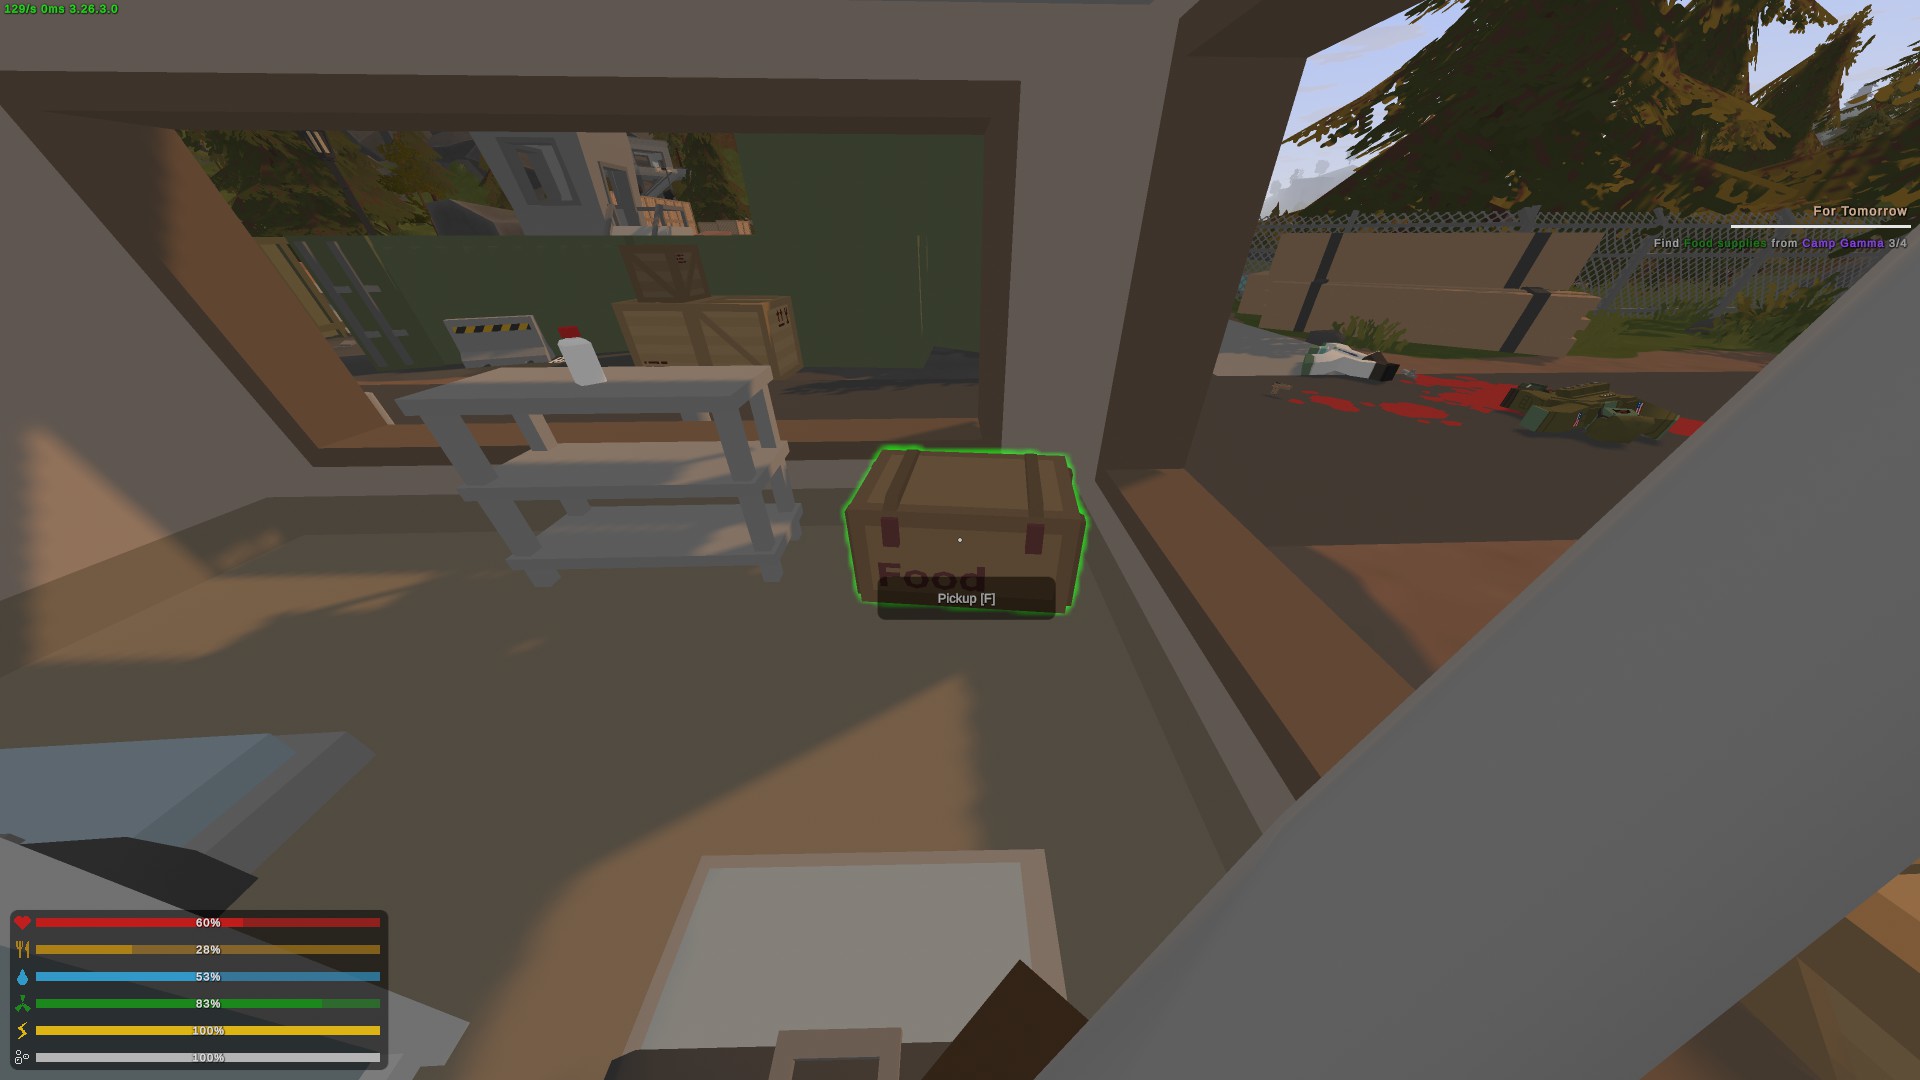
 Next, the For Tomorrow quest from Frank sends you to El Portal to locate the food supply crates: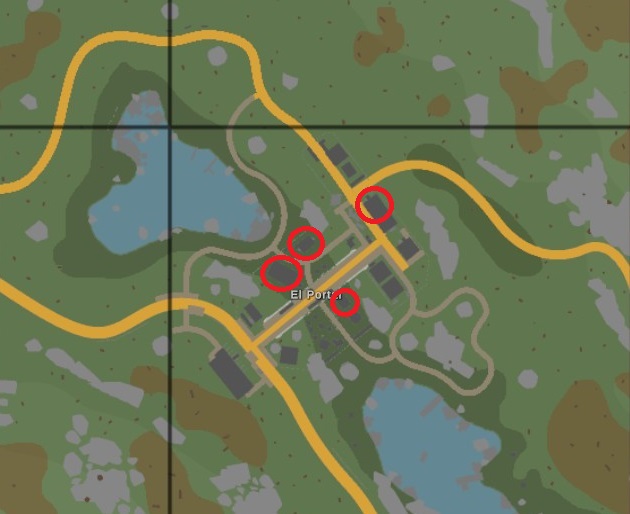
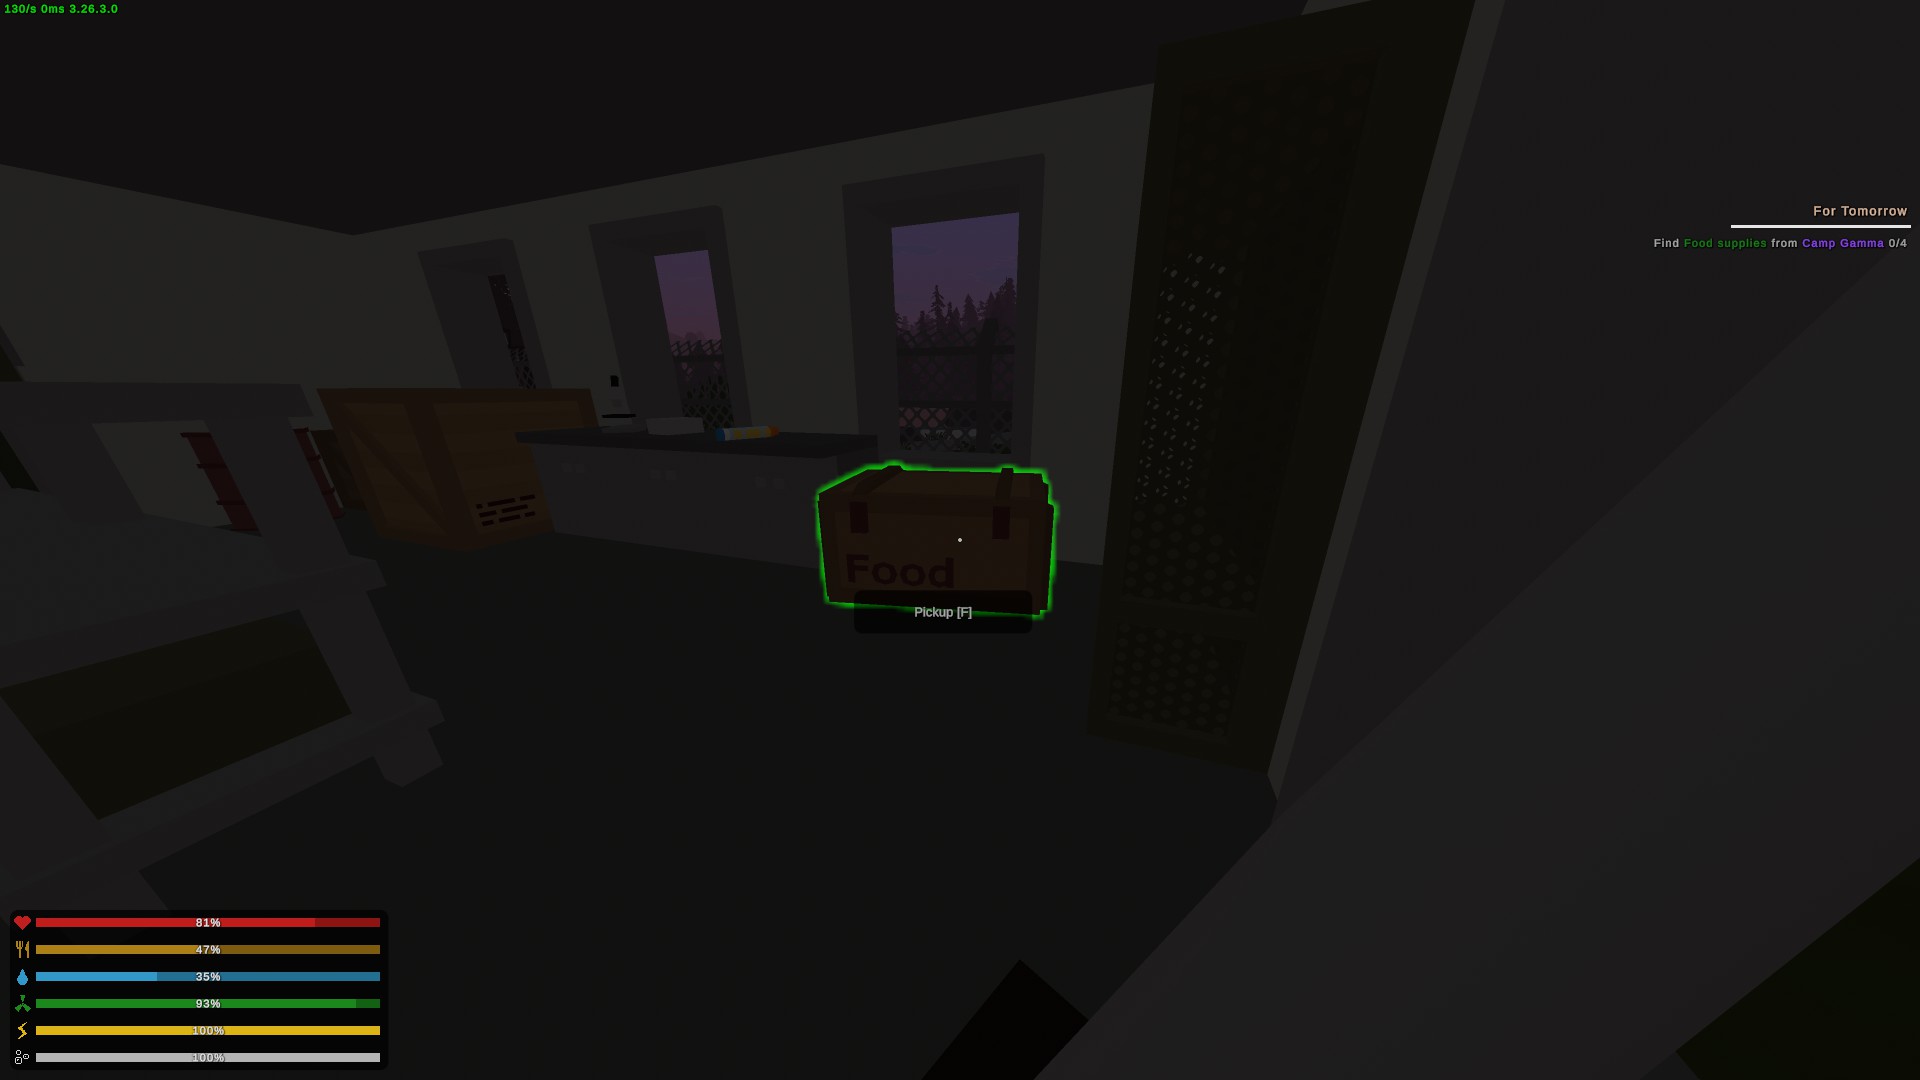
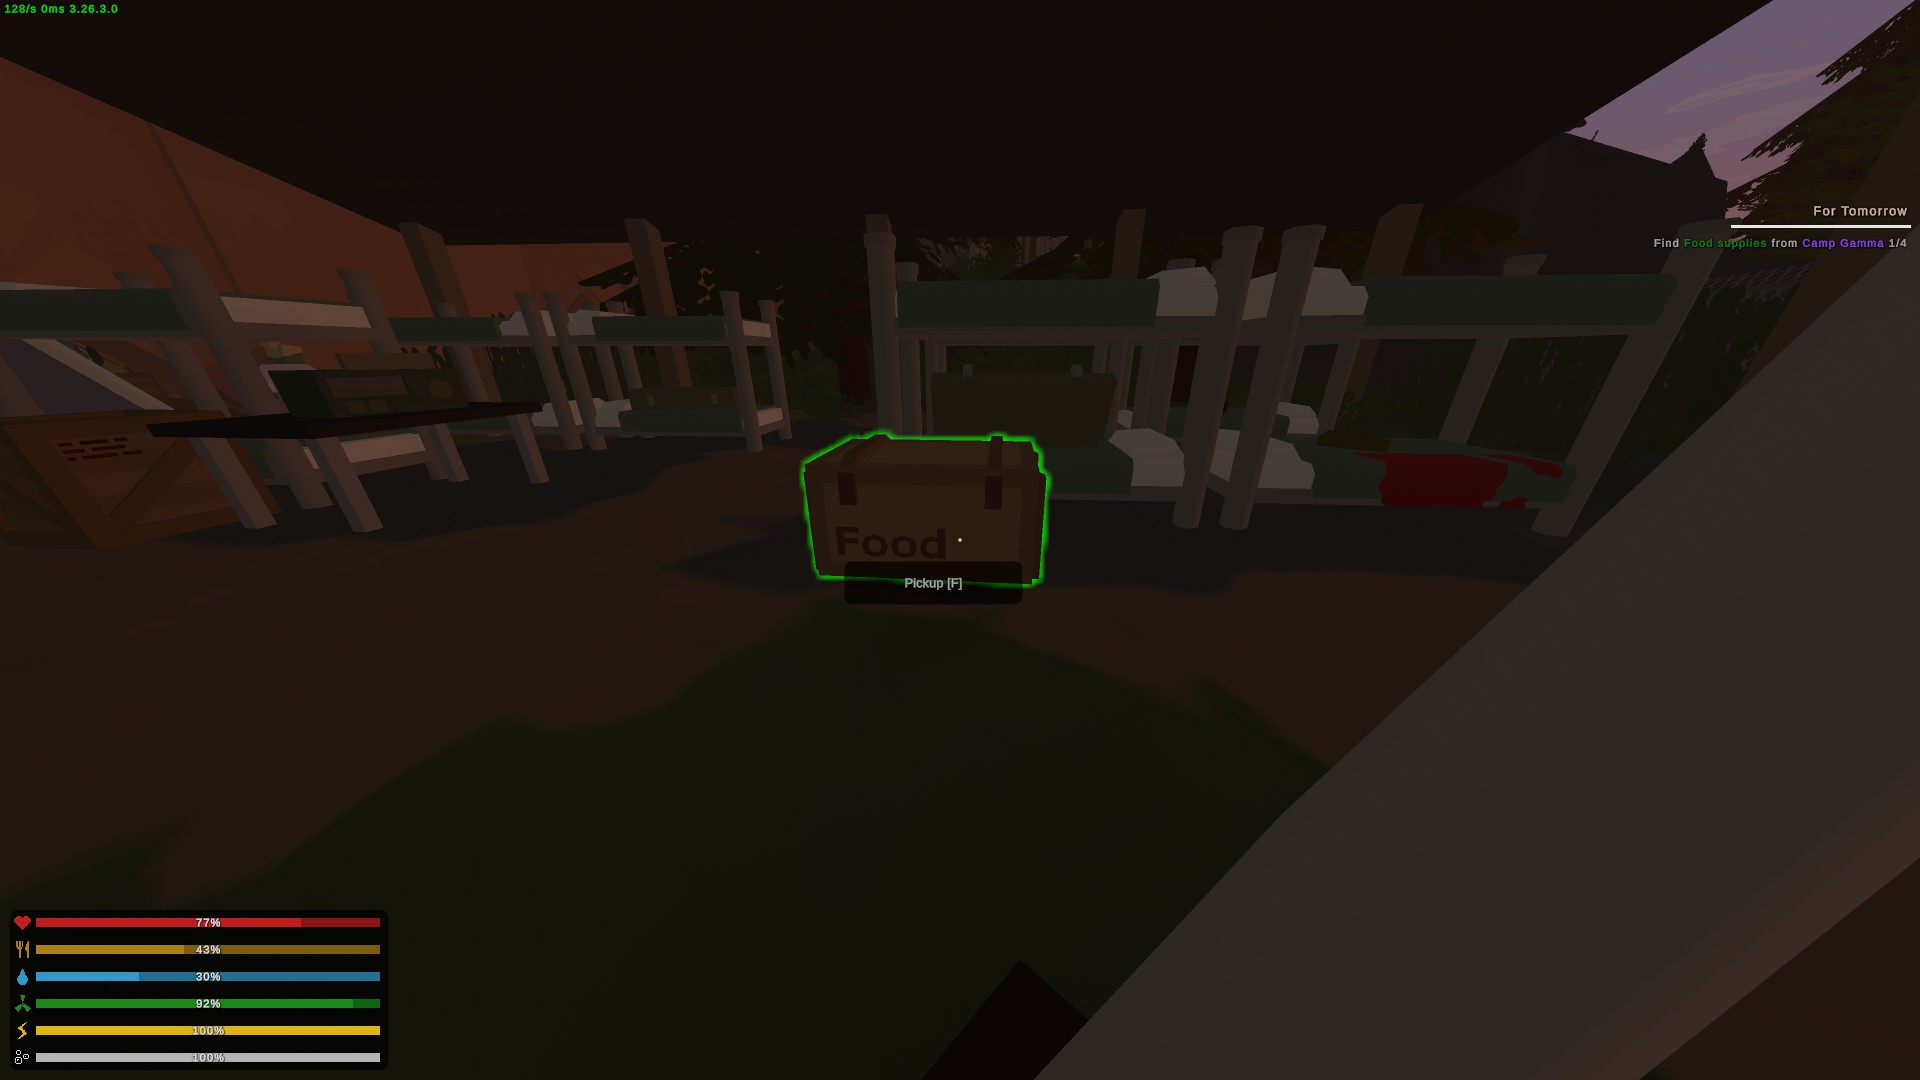
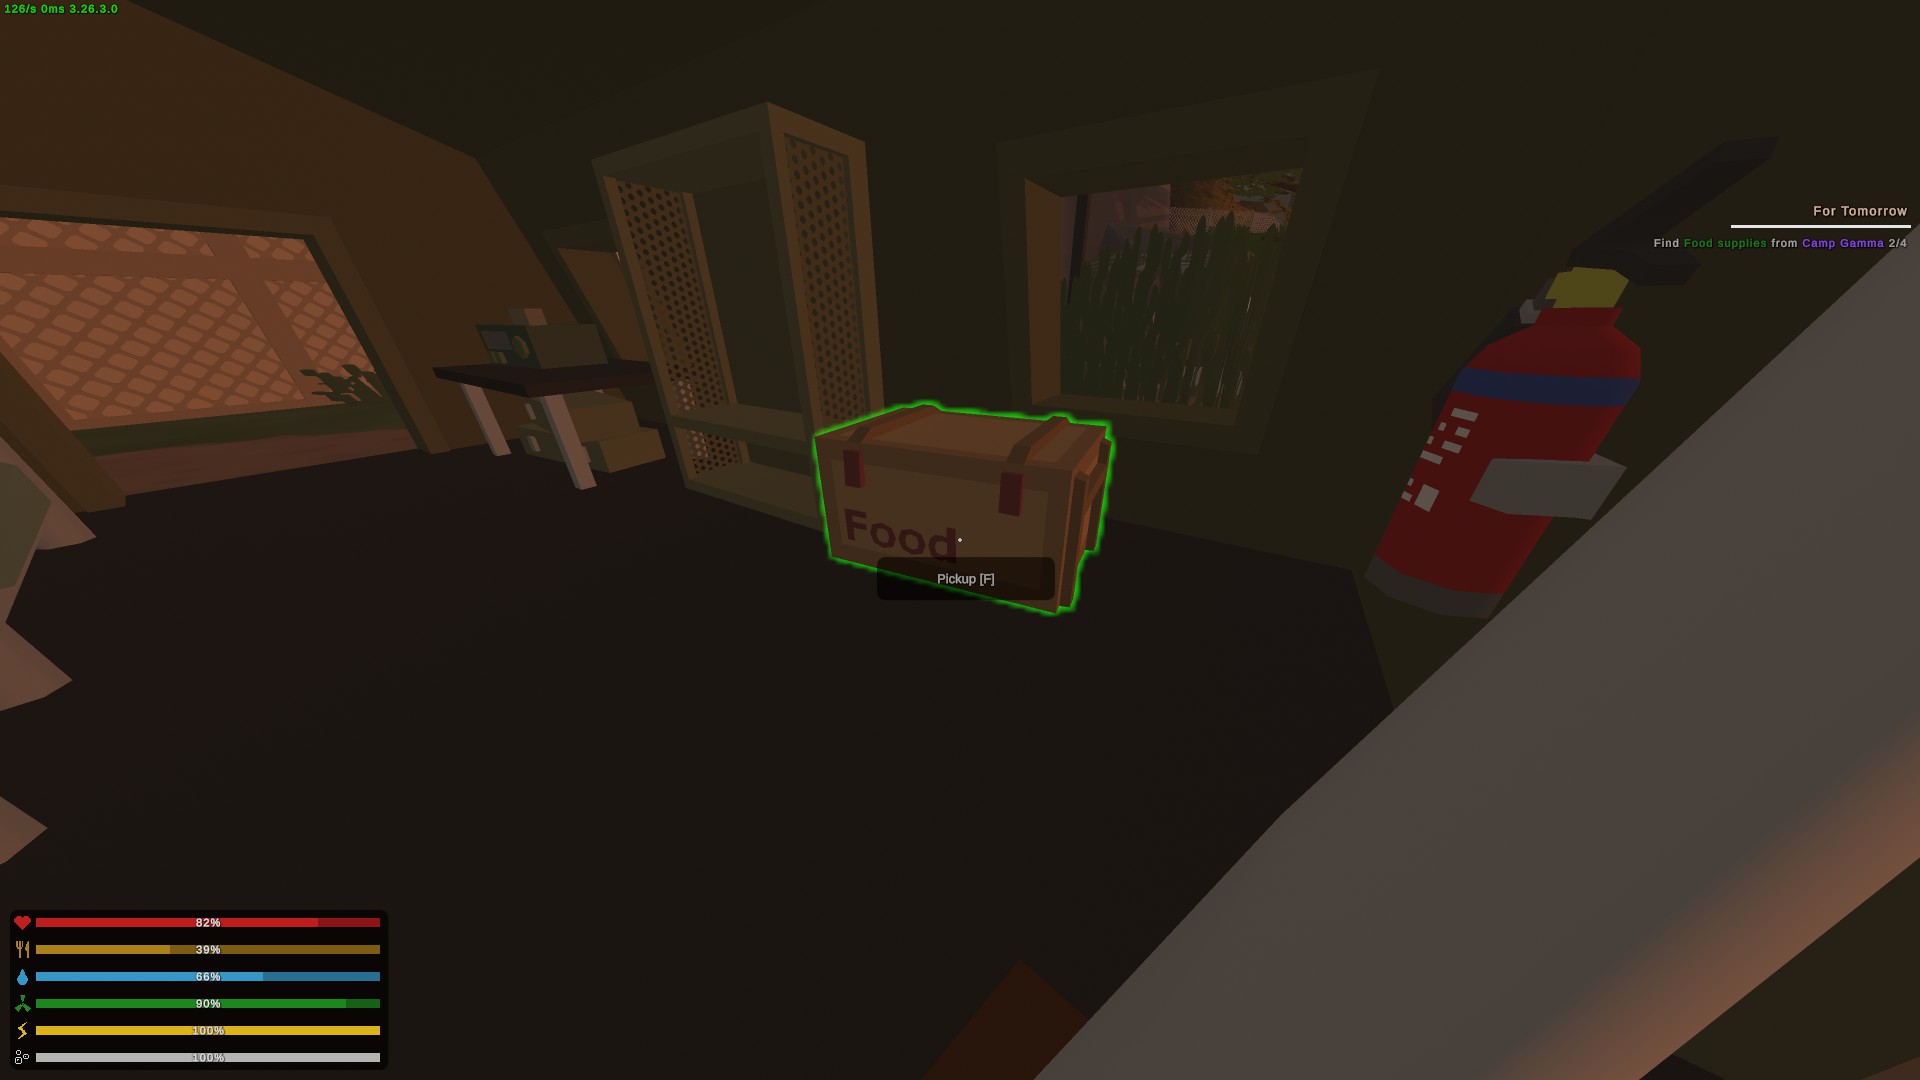
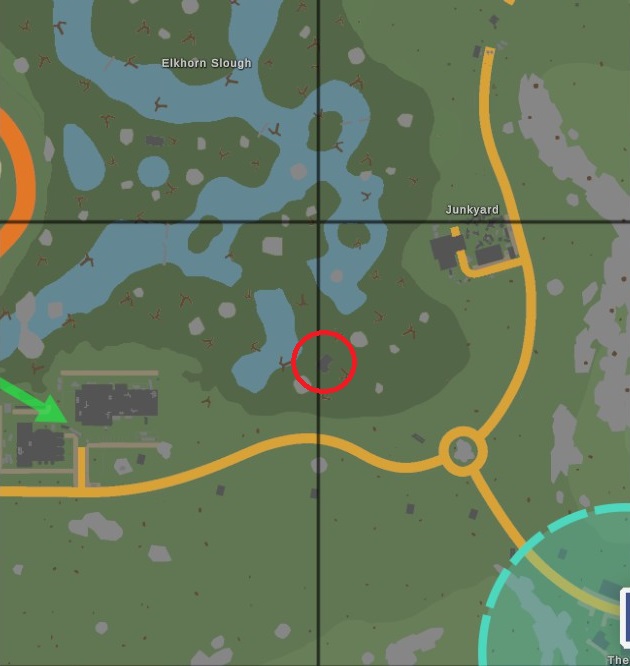
Frank sends us to Elkhorn Slough next to locate the the Shady Merchant (Andy) for the Fix You quest:
 Shady Merchant is gonna send you here on The Lost Convoy quest for a note: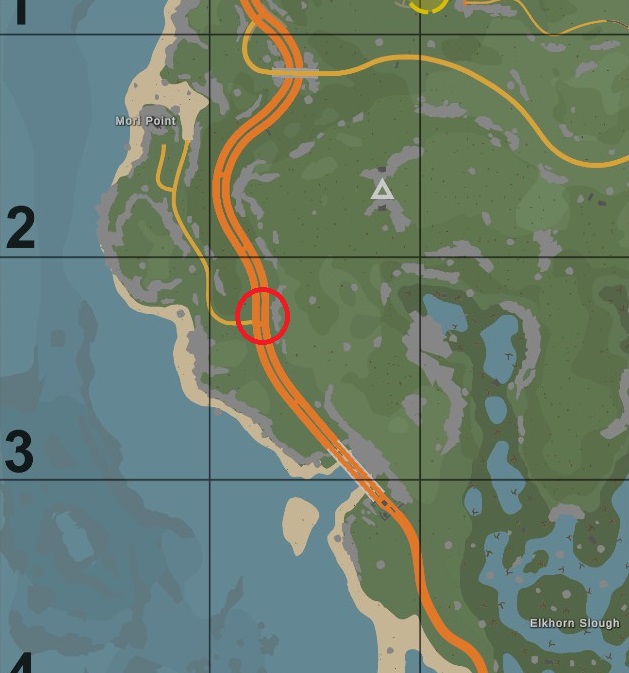
Now Frank wants us to find survivors for Come As You Are, located below:
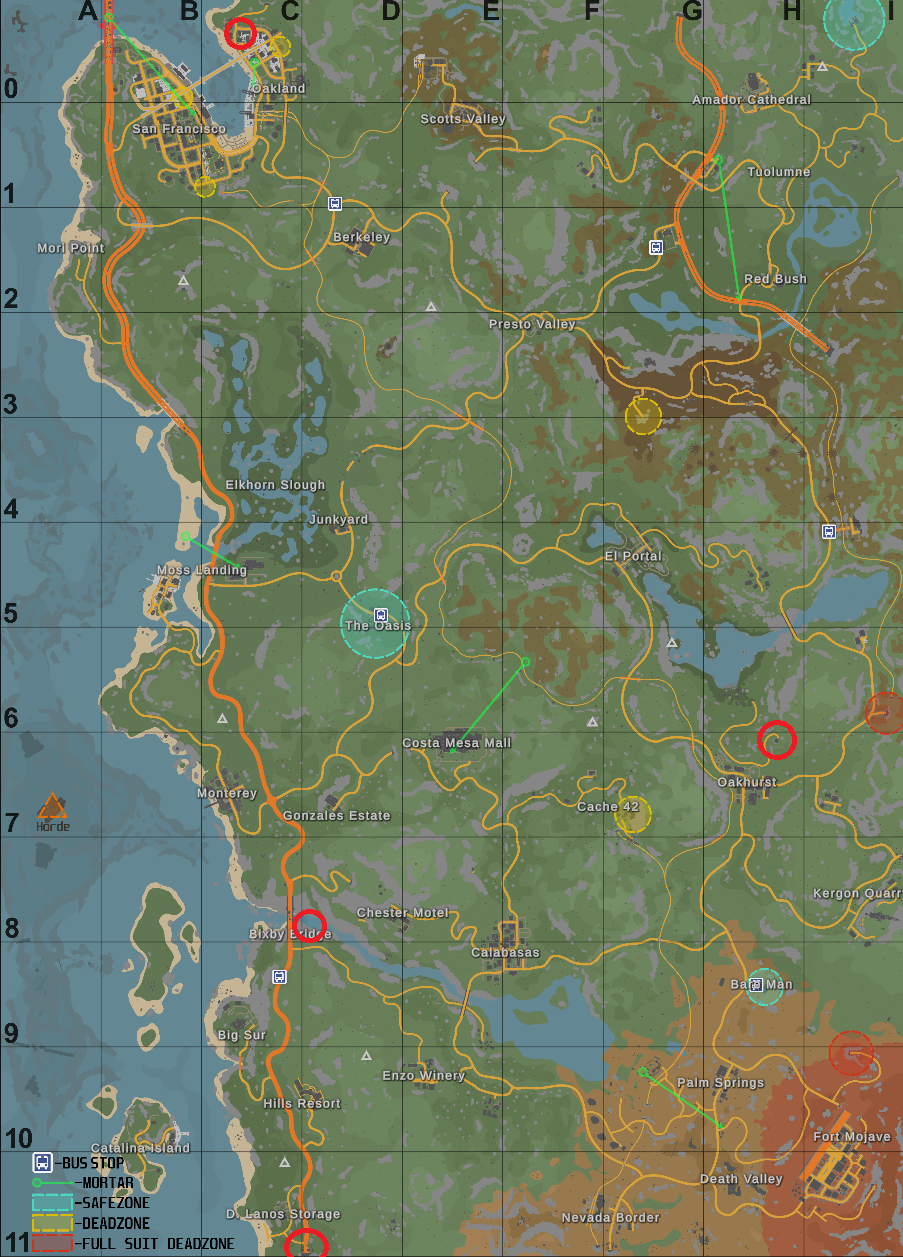
NOTE: You'll hear an SOS beeping getting louder as you get closer. James and Henry are at the southwest tunnel (small safezone)
Sofia is in the lookout near Oakhurst
Jerome is in a small cave below Bixby Bridge
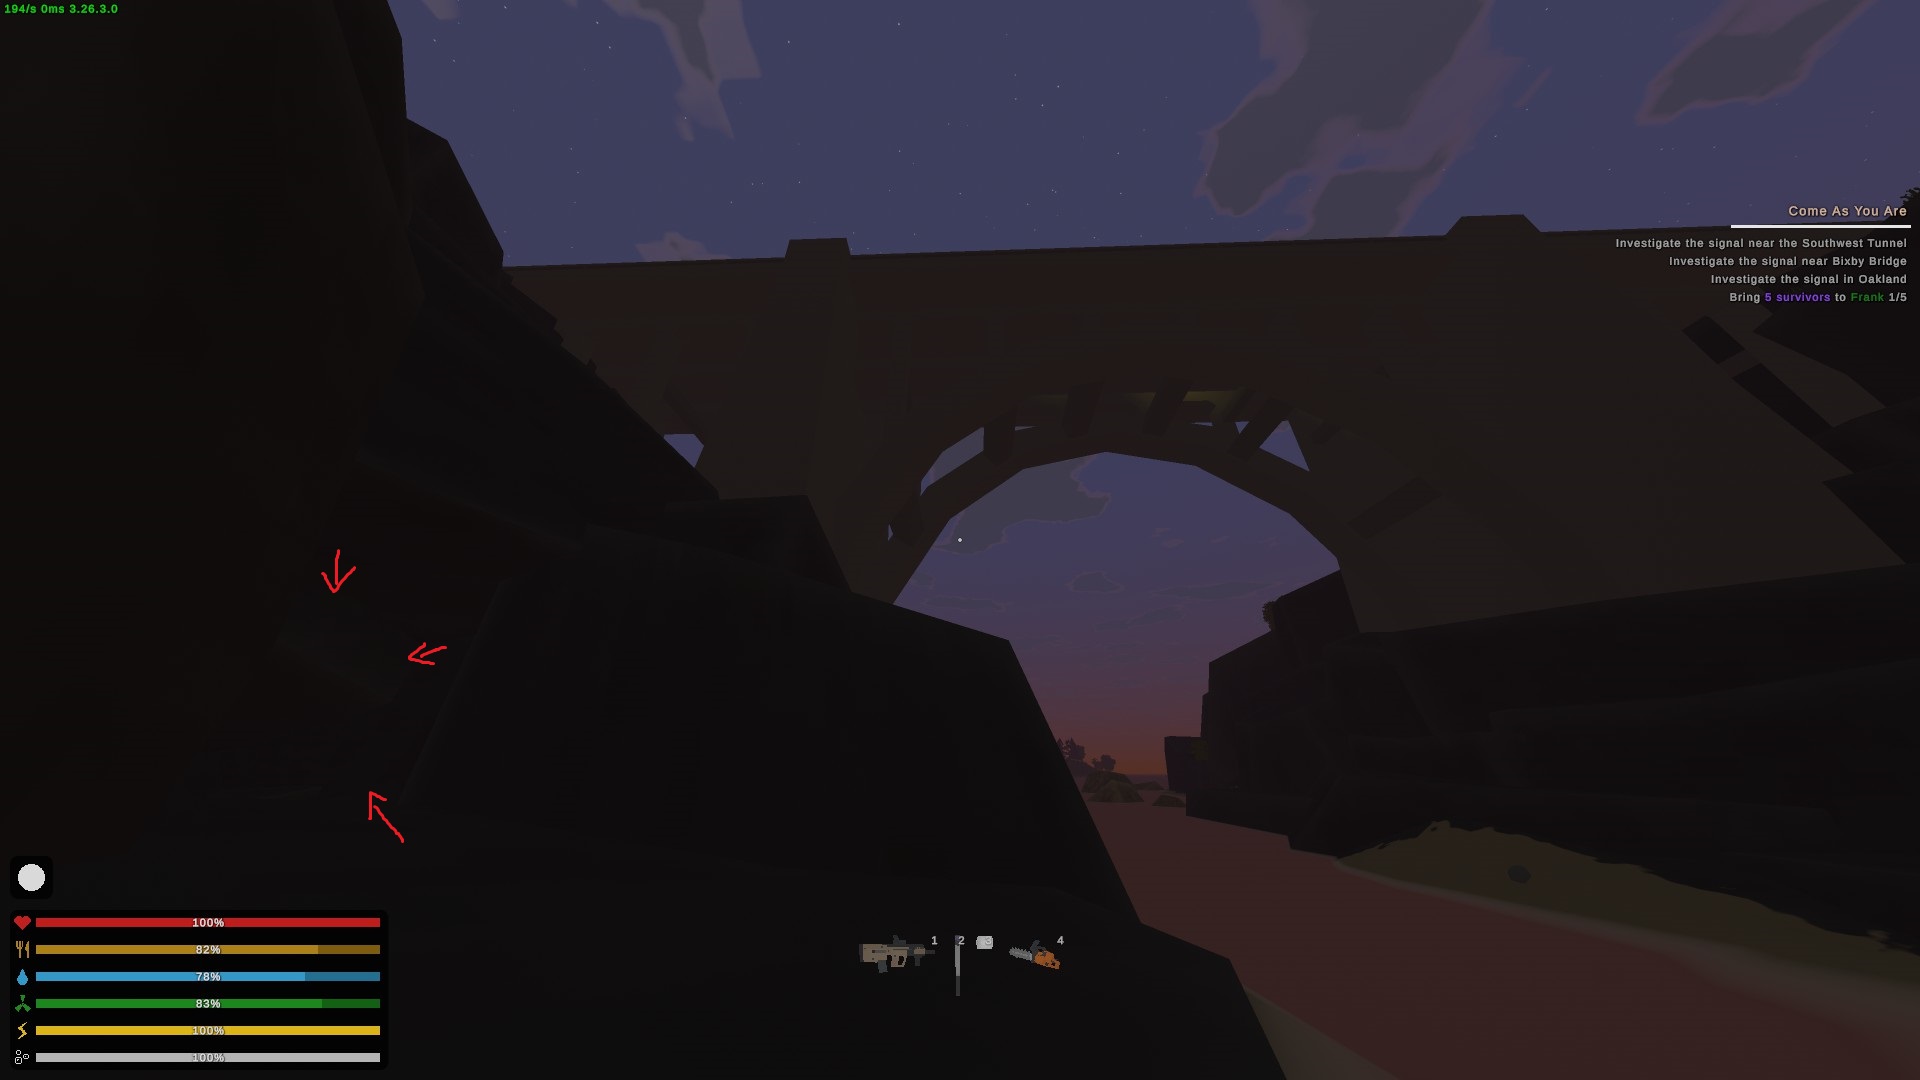
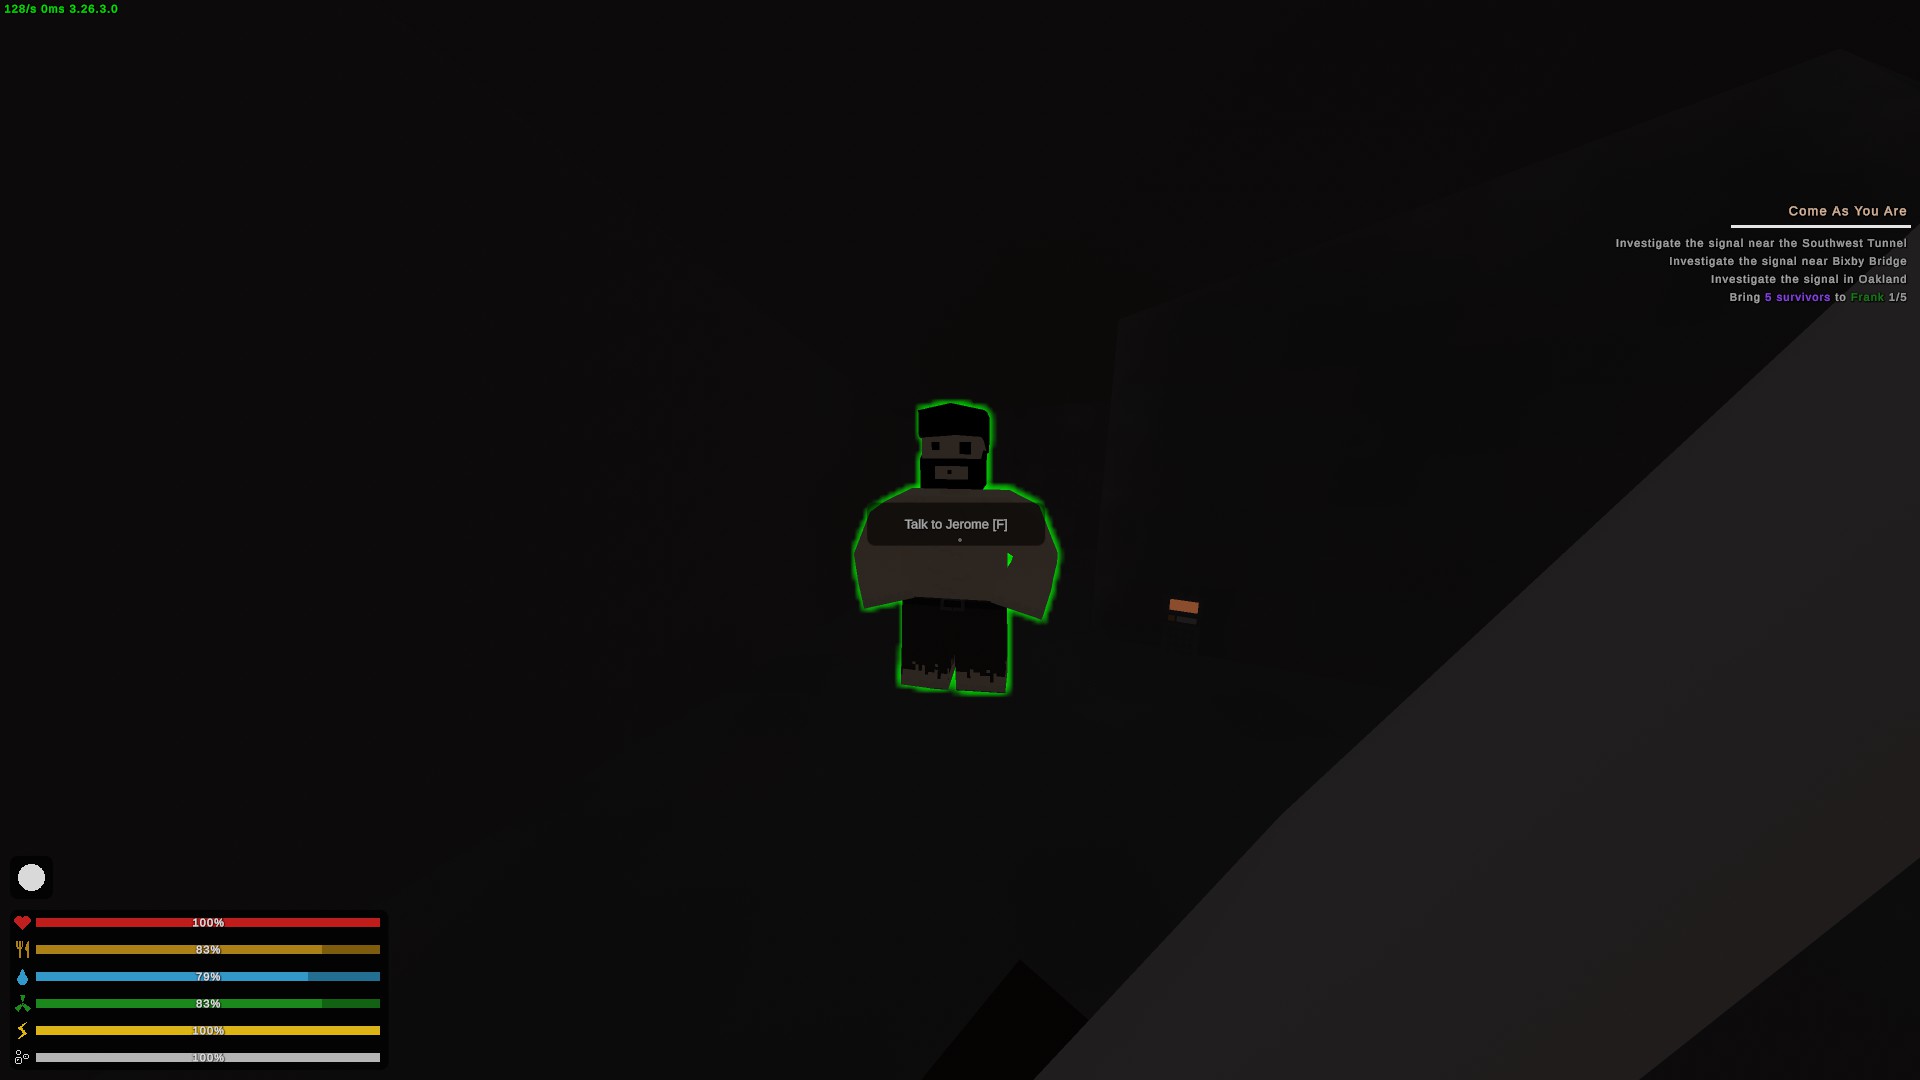
Dawson is on the third floor of the purple apartment building in Oakland and you'll need to break the door down to get to her
When returning to the Oasis, there should be bandits (unsure if something triggers it or natural quest progression). I never talked to them so I don't know what they wanted :3 Frank now offers the Surrender quest. I talked to Sarah, Sofia, Henry, and James (not sure who else, if anyone, you can talk to). Choosing to fight opens up the Fight fire with fire quest.
At this point, if you haven't done The Start Of Something Beautiful quest from Ernest, you need to. You can find a Rebel at Gonzales Estate, Cache 42, the unmarked town west of Enzo Winery, and the unmarked building between the DCC Laboratory and the northern fullsuit deadzone entrance.
Now that we can talk to Ernest, you can start Fight fire with fire. He'll take you to the sewers that connect to the bandits bunker. I was going to go over how to do the puzzles in the sewer/bunker but I feel they are kinda self explanatory. I am more than happy to expand on this later if someone wants/needs though :)
Back at the Oasis, you're going to have to negotiate with the bandits and once that is successful, talk to Frank again to complete Cool the Flame and get the achievement.
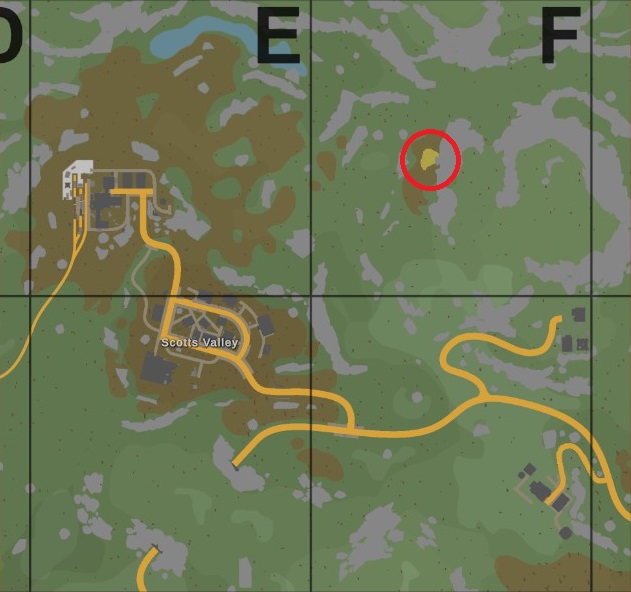
NOTE: I read on a different guide that you might need to have at least 200 positive reputation in order to go inside the gnomes home, though it's honestly kind of up in the air what the exact requirements are. Talk to Gromm to get The Missing Gnomes quest.
Go through the Satellite Crash cave into Void Cave and Ben will be on the platform next a picnic table.
Gilda is through the Great Forefather Tree cave:
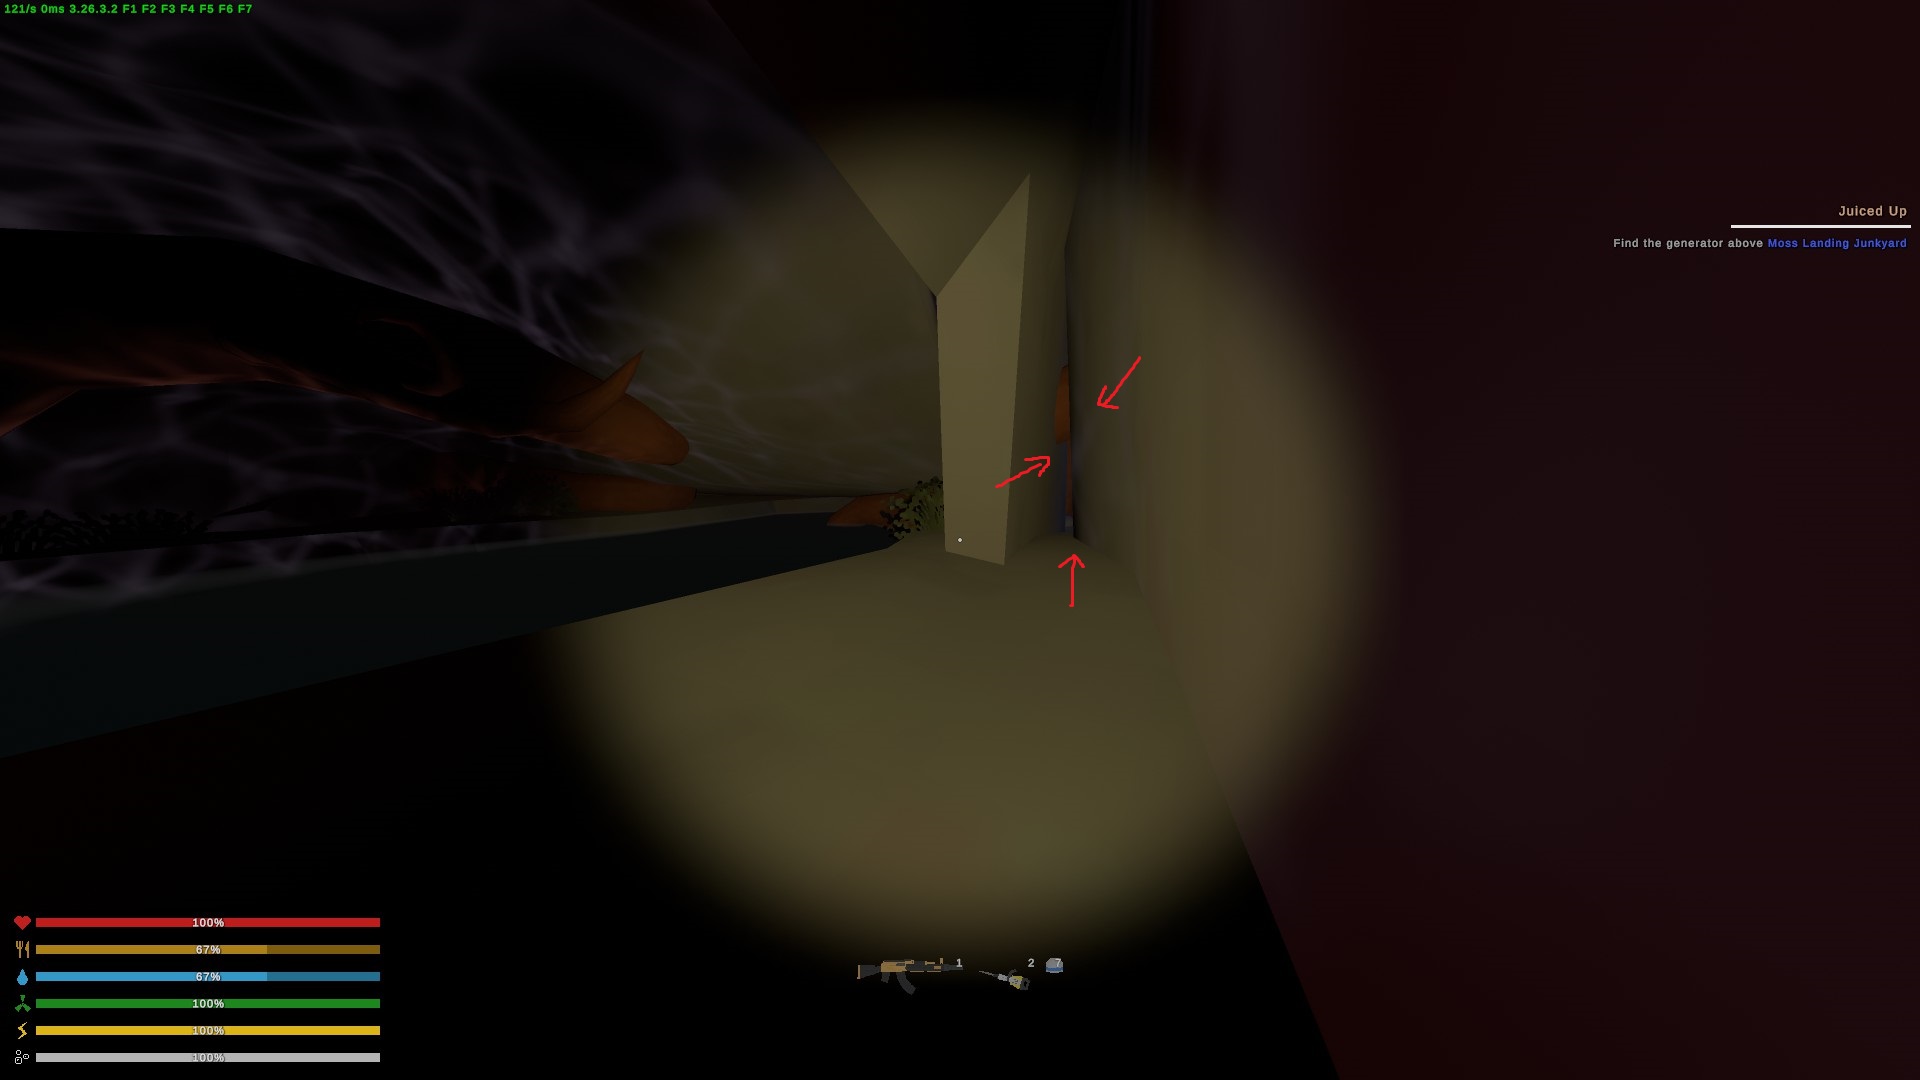 Alternatively, you can access this cave from the Void Cave:
There is a large cave entrance on the north side where you'll find roots, follow the glowsticks up the roots and go through the door:
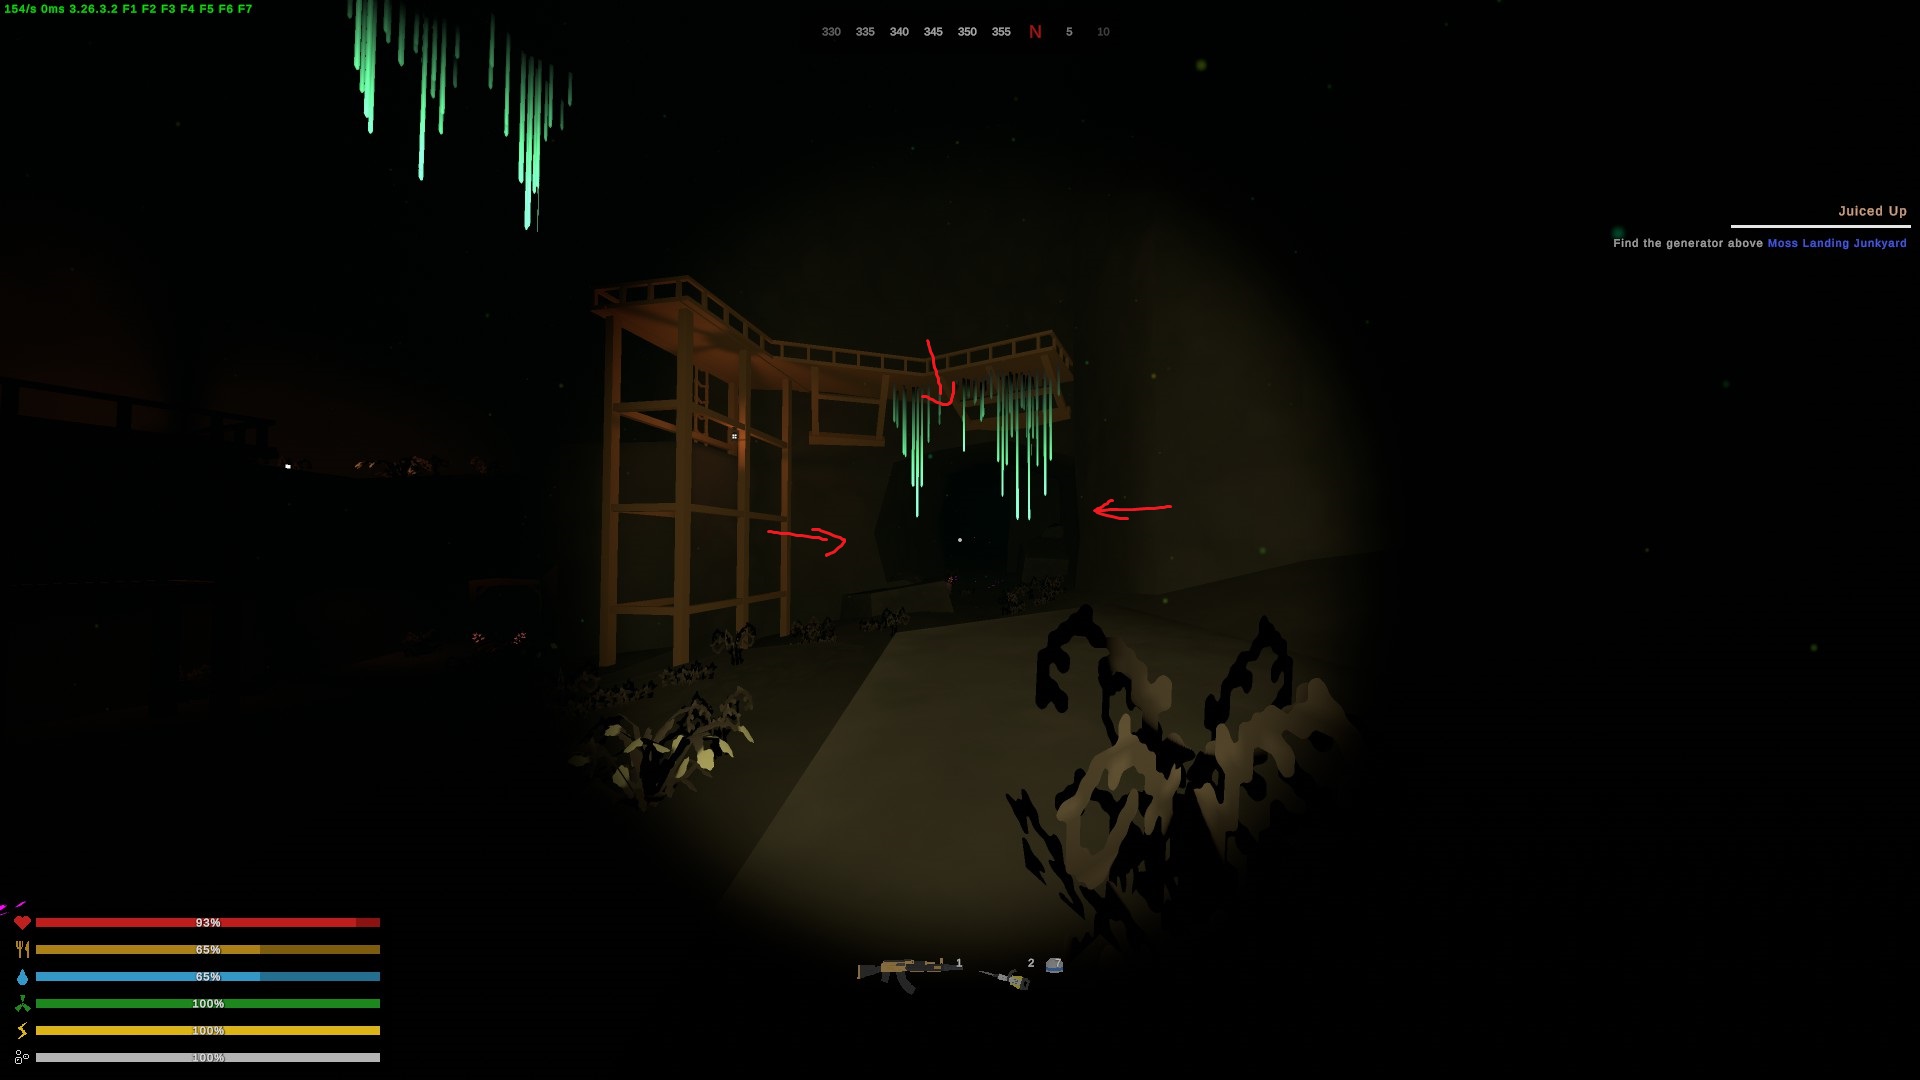
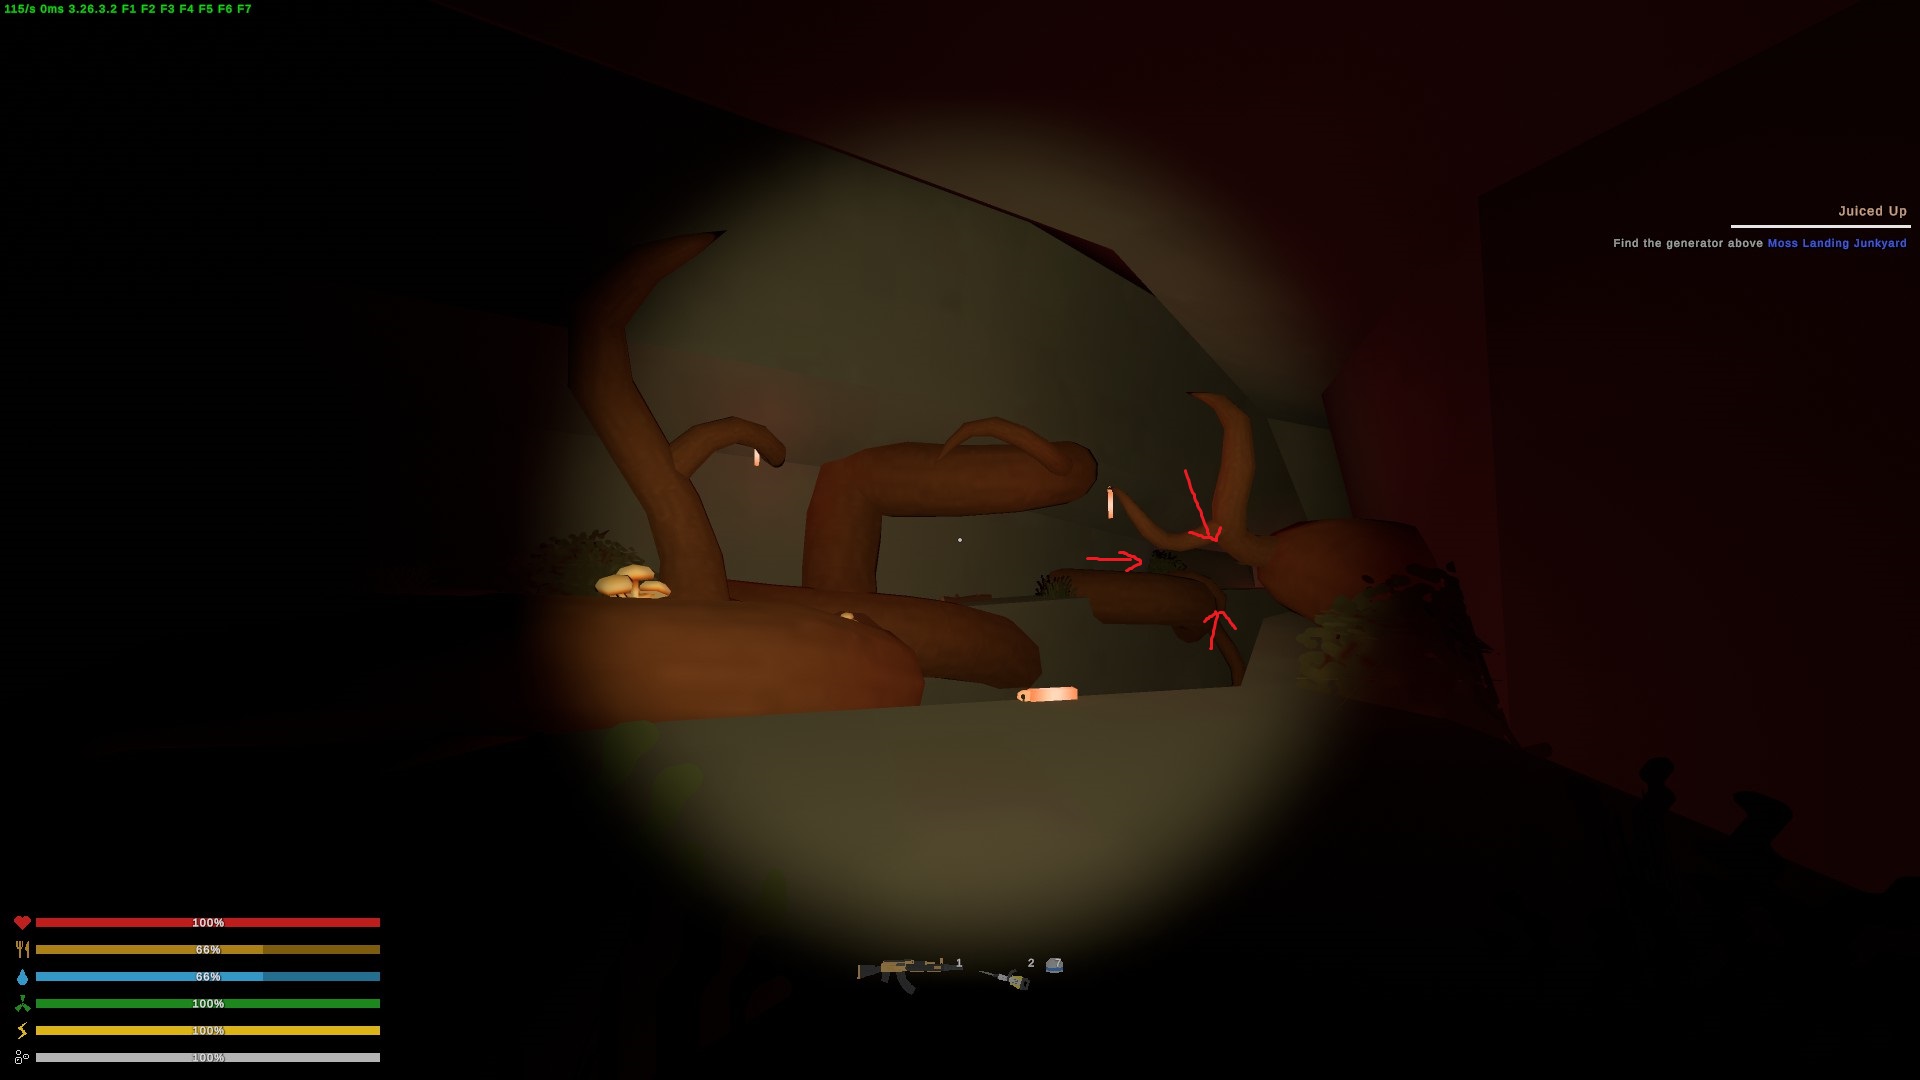 Henry is in the hidden cave behind the waterfall just southwest of the DCC Laboratory bus stop.
Finish that quest and the A Good Samaritan quest will open, go help the gnomes:
Henry is in the hidden cave behind the waterfall just southwest of the DCC Laboratory bus stop.
Finish that quest and the A Good Samaritan quest will open, go help the gnomes:Gilda wants 2 fertilizers
Henry wants you to make an emergency stim and use it on Eddie
Eddie, once awake, wants you to find 3 sheep in Scotts Valley
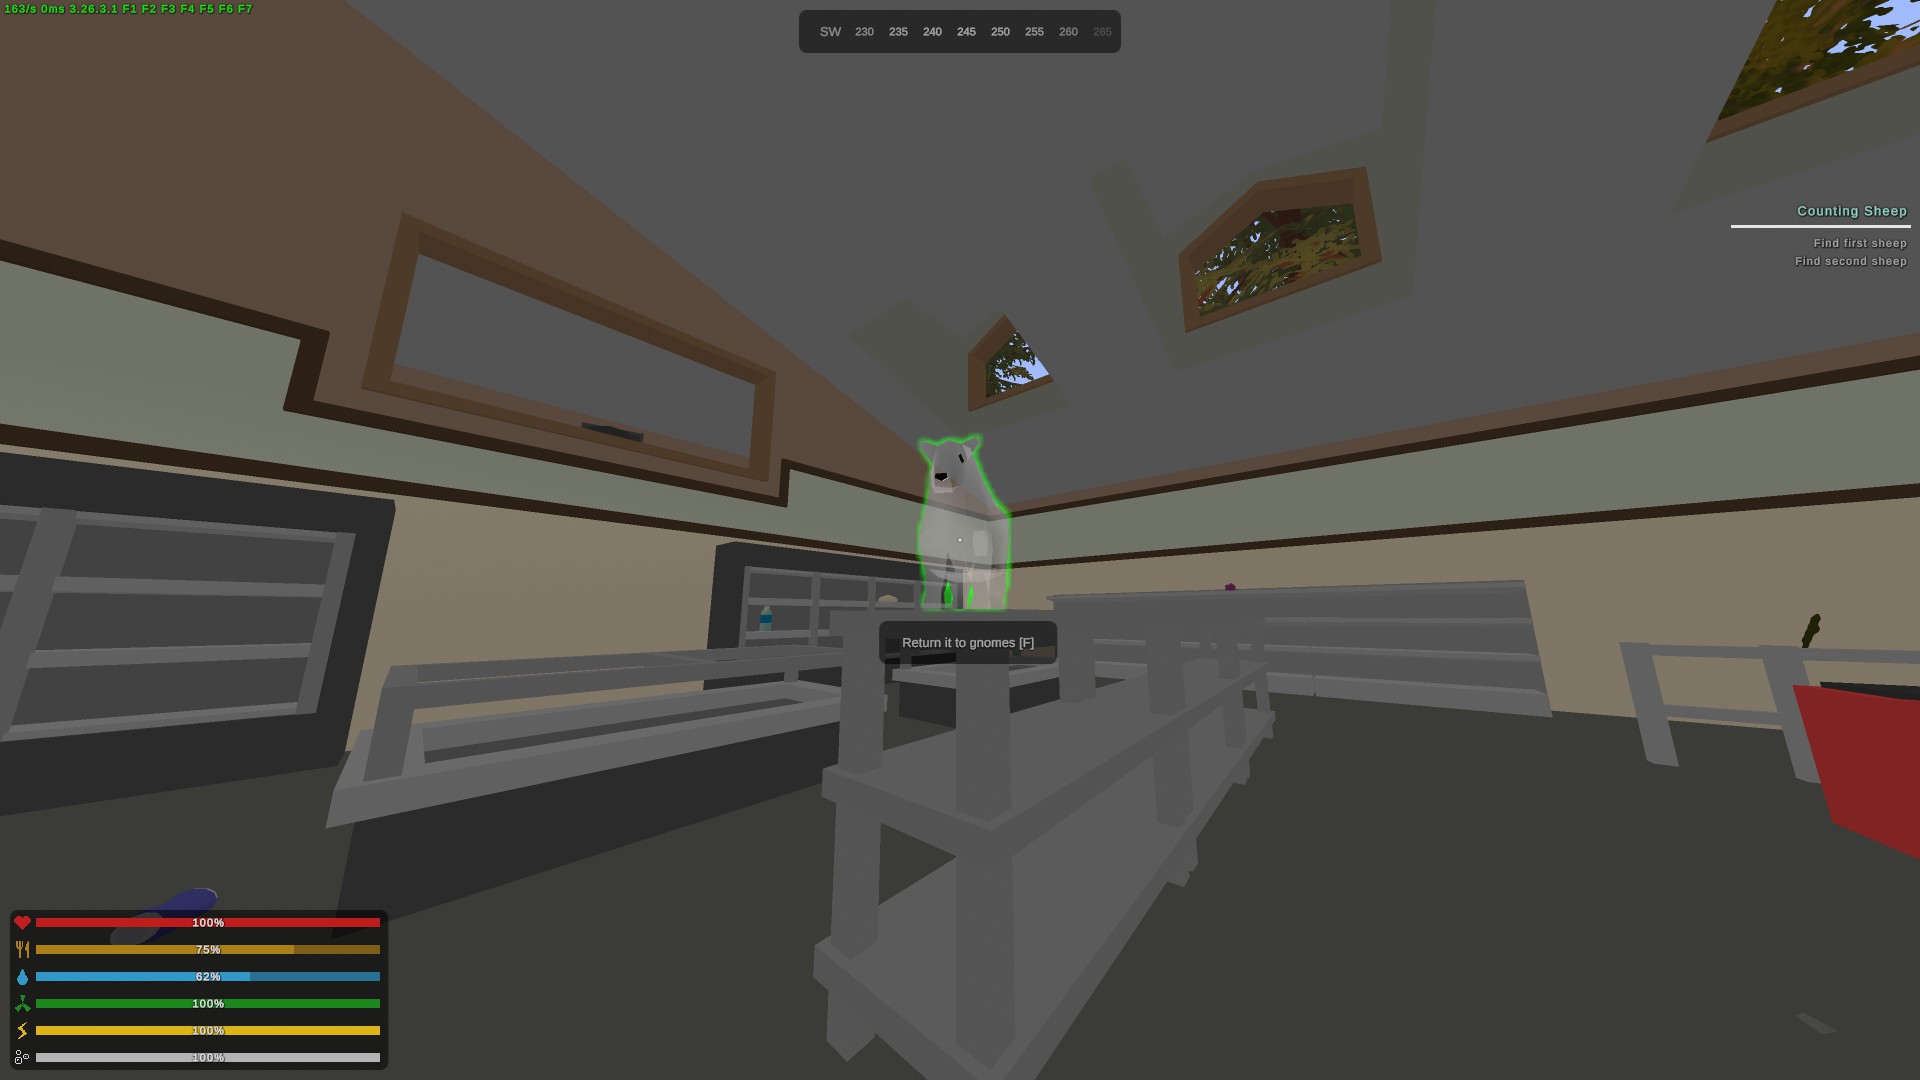
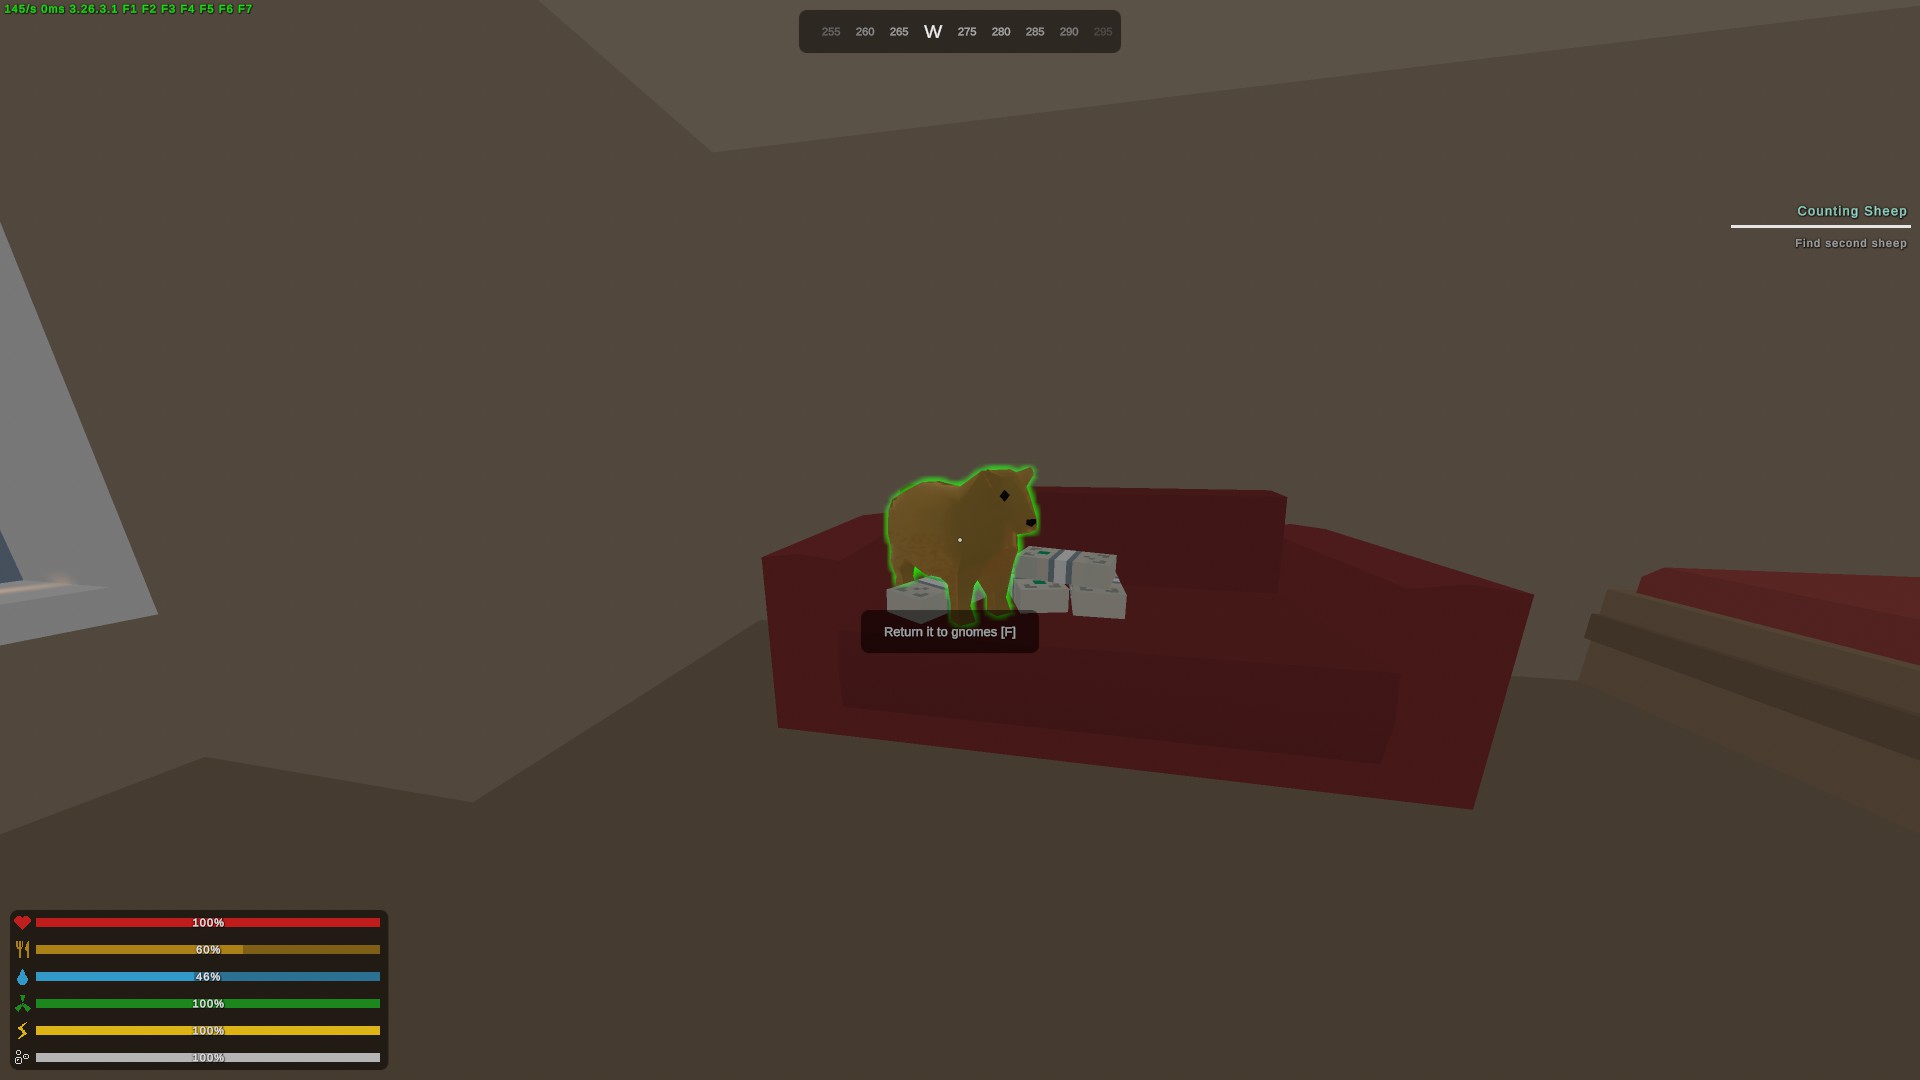
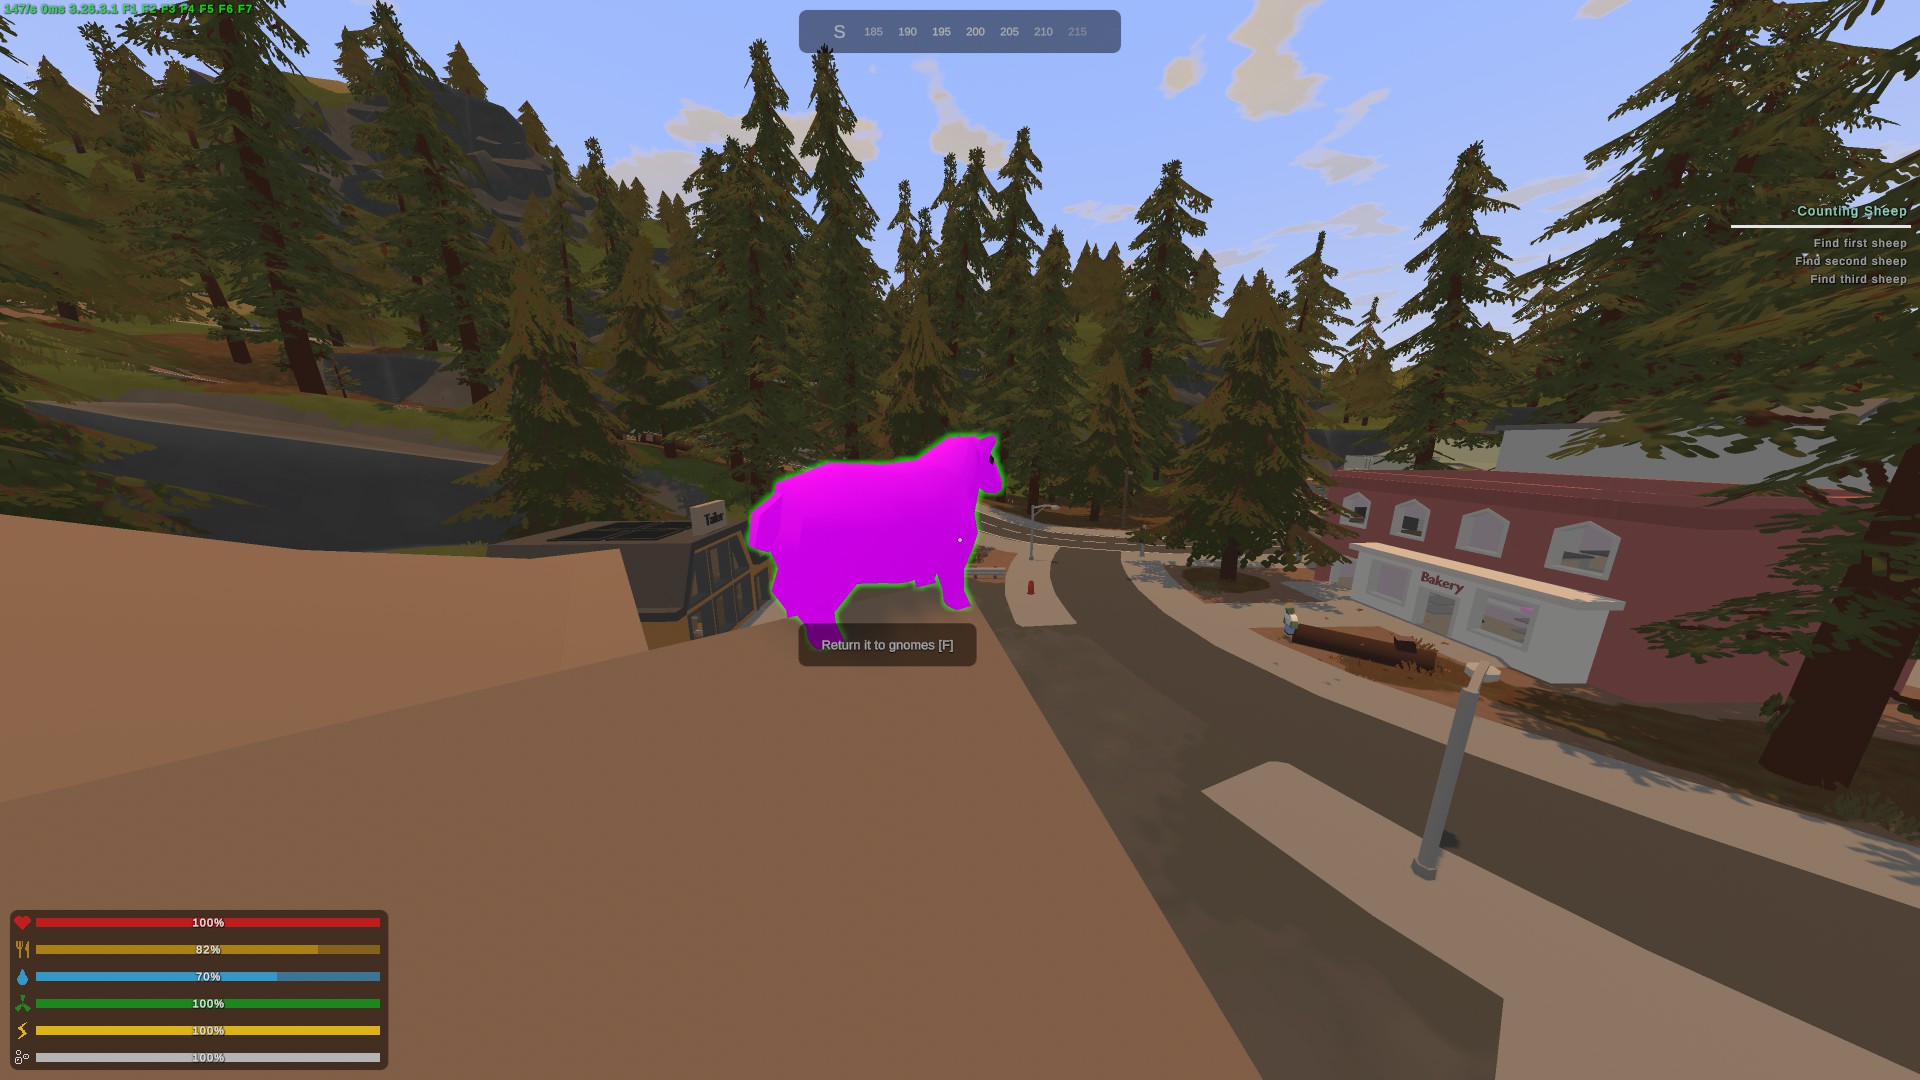
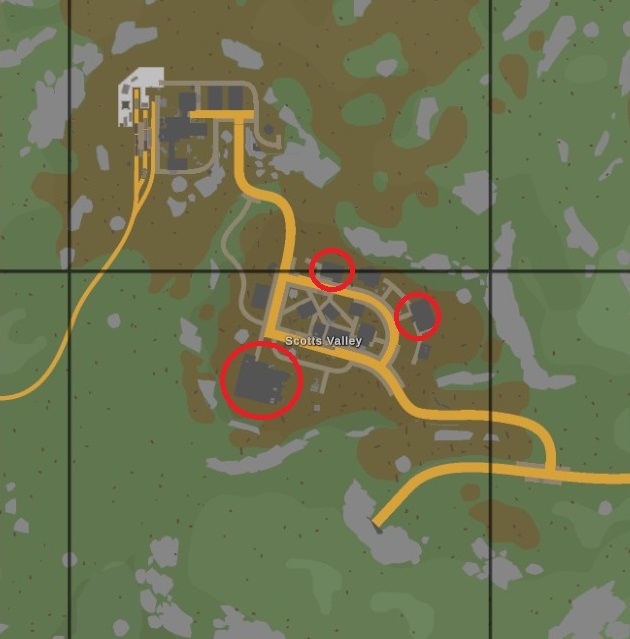
Oscar wants you to find his glasses:
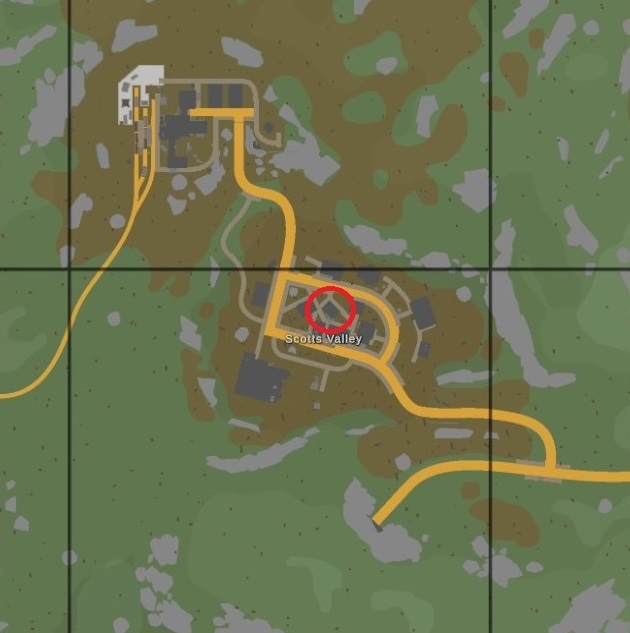
Finn wants a large vault
The last quest is to build them a car... out of wood. Head inside to talk to Gromm one last time and you will get the achievement.... AND the wooden station wagon :D
California 2 Continued
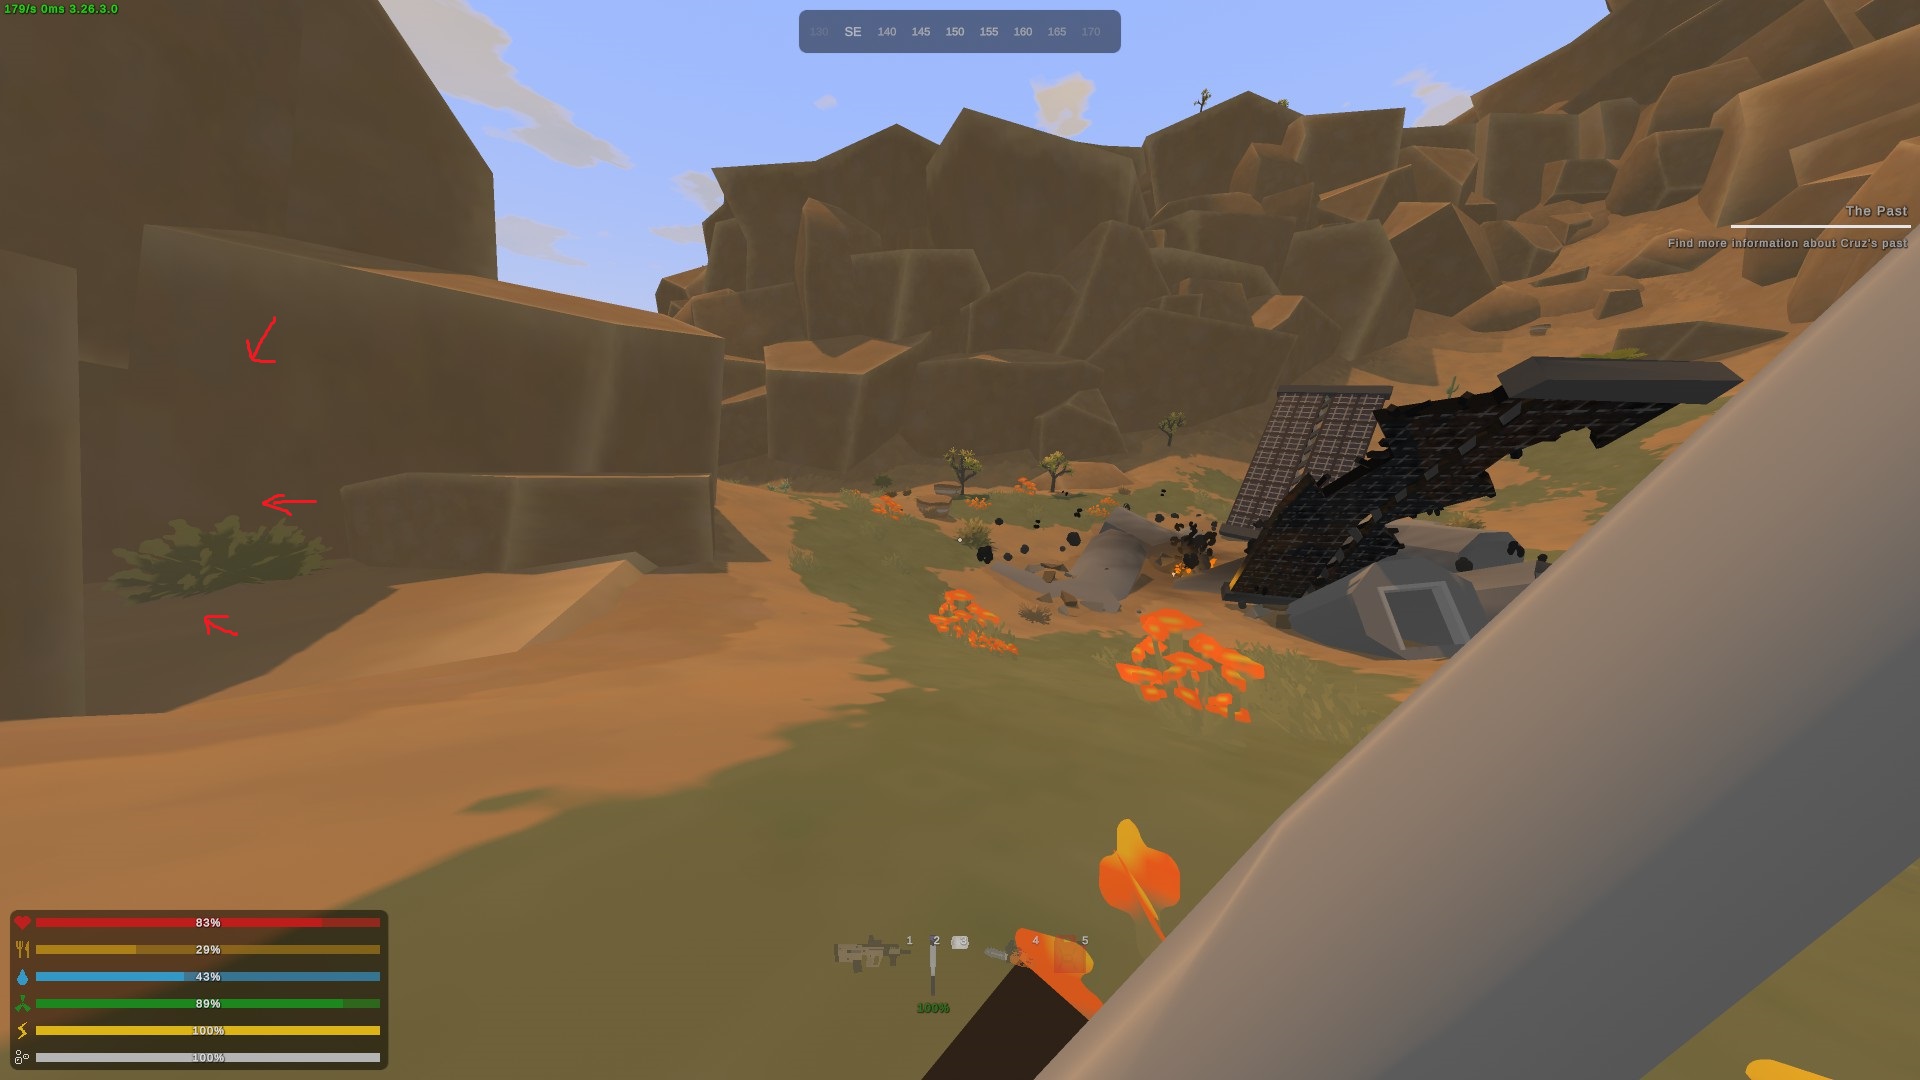
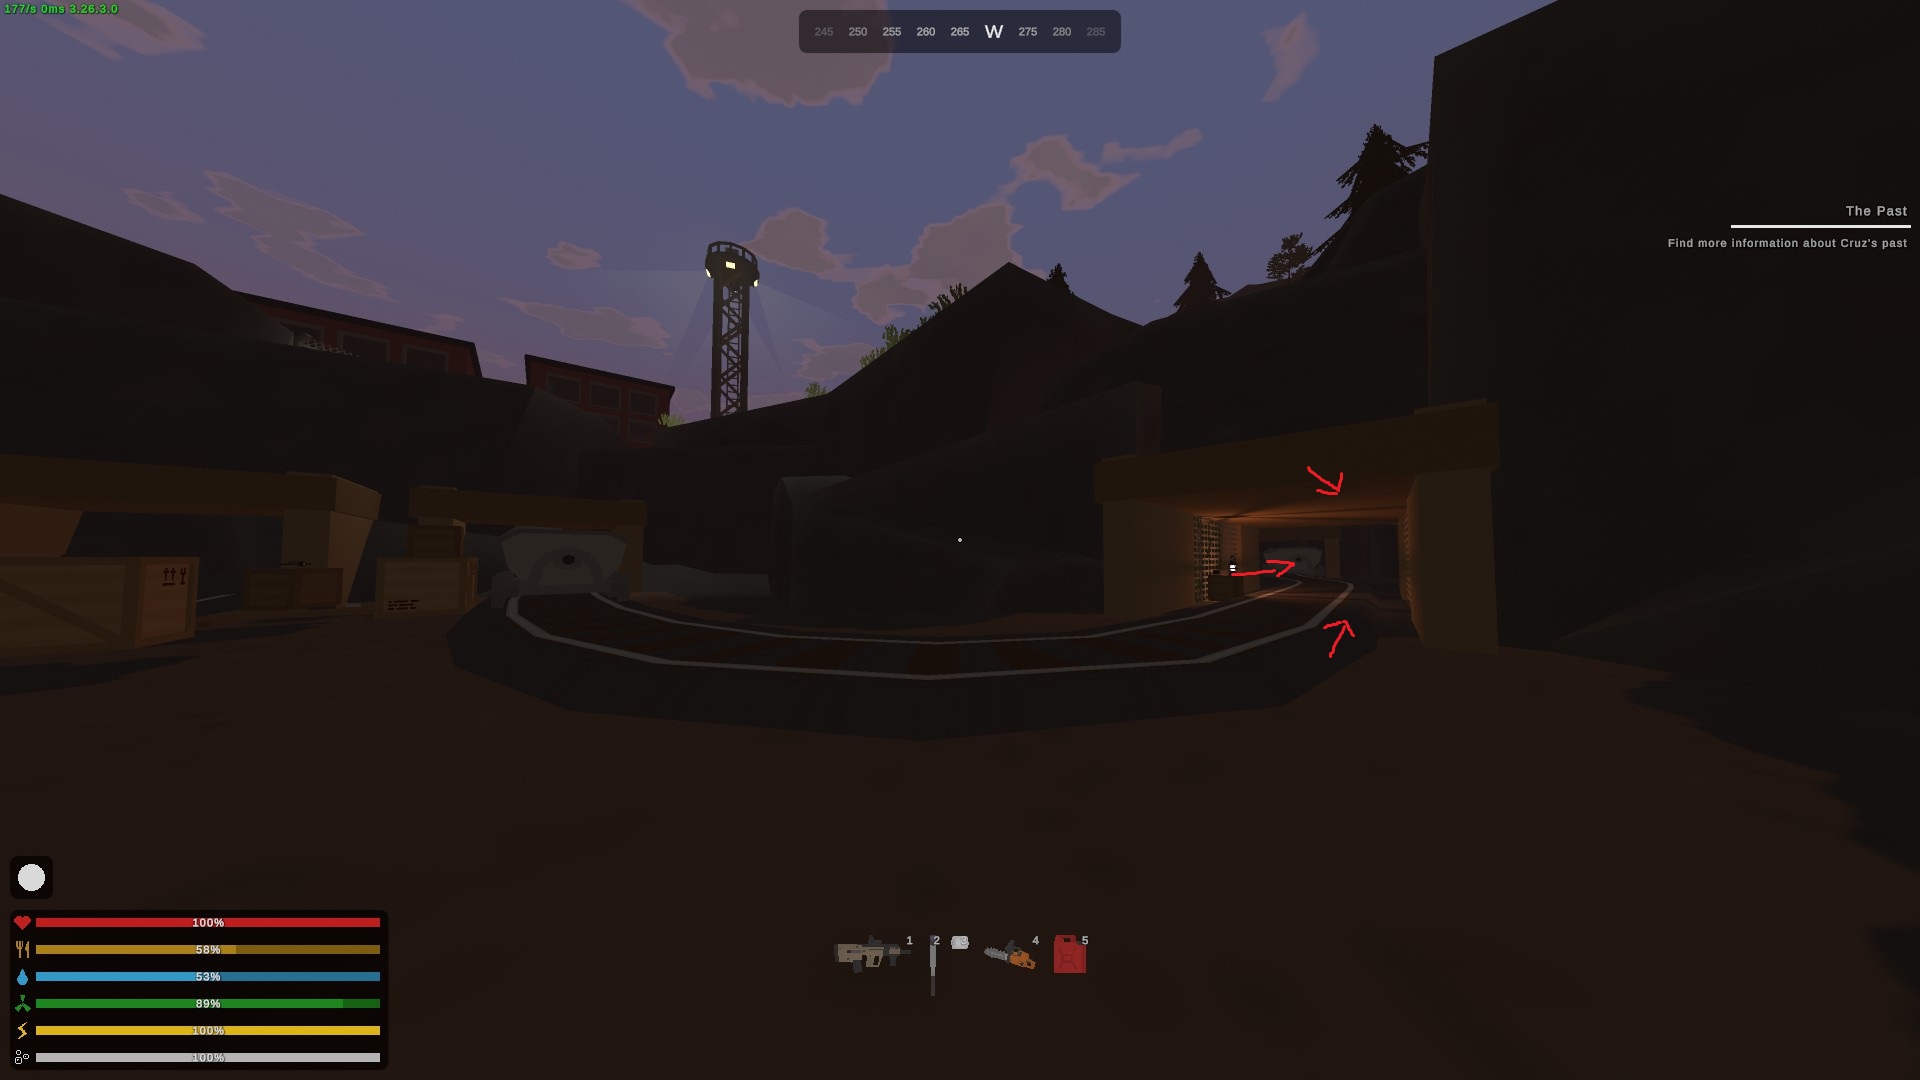
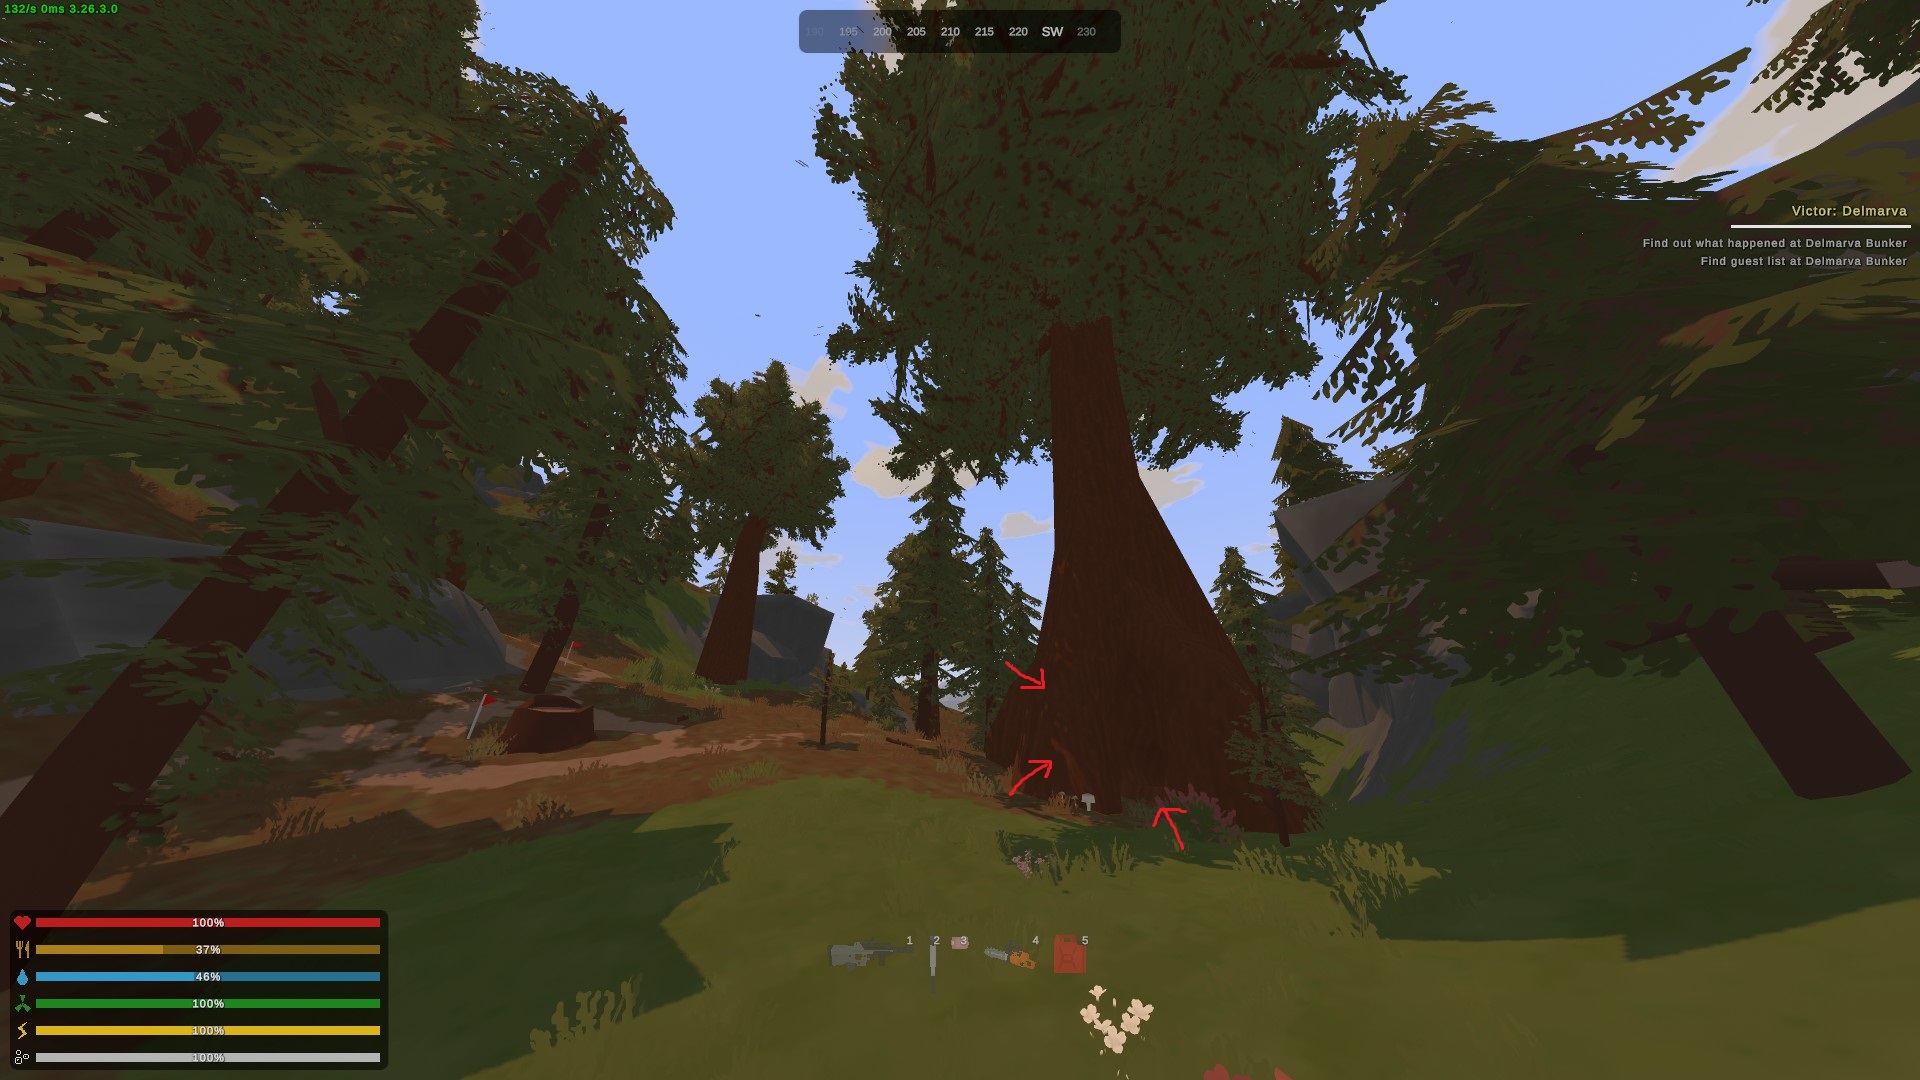
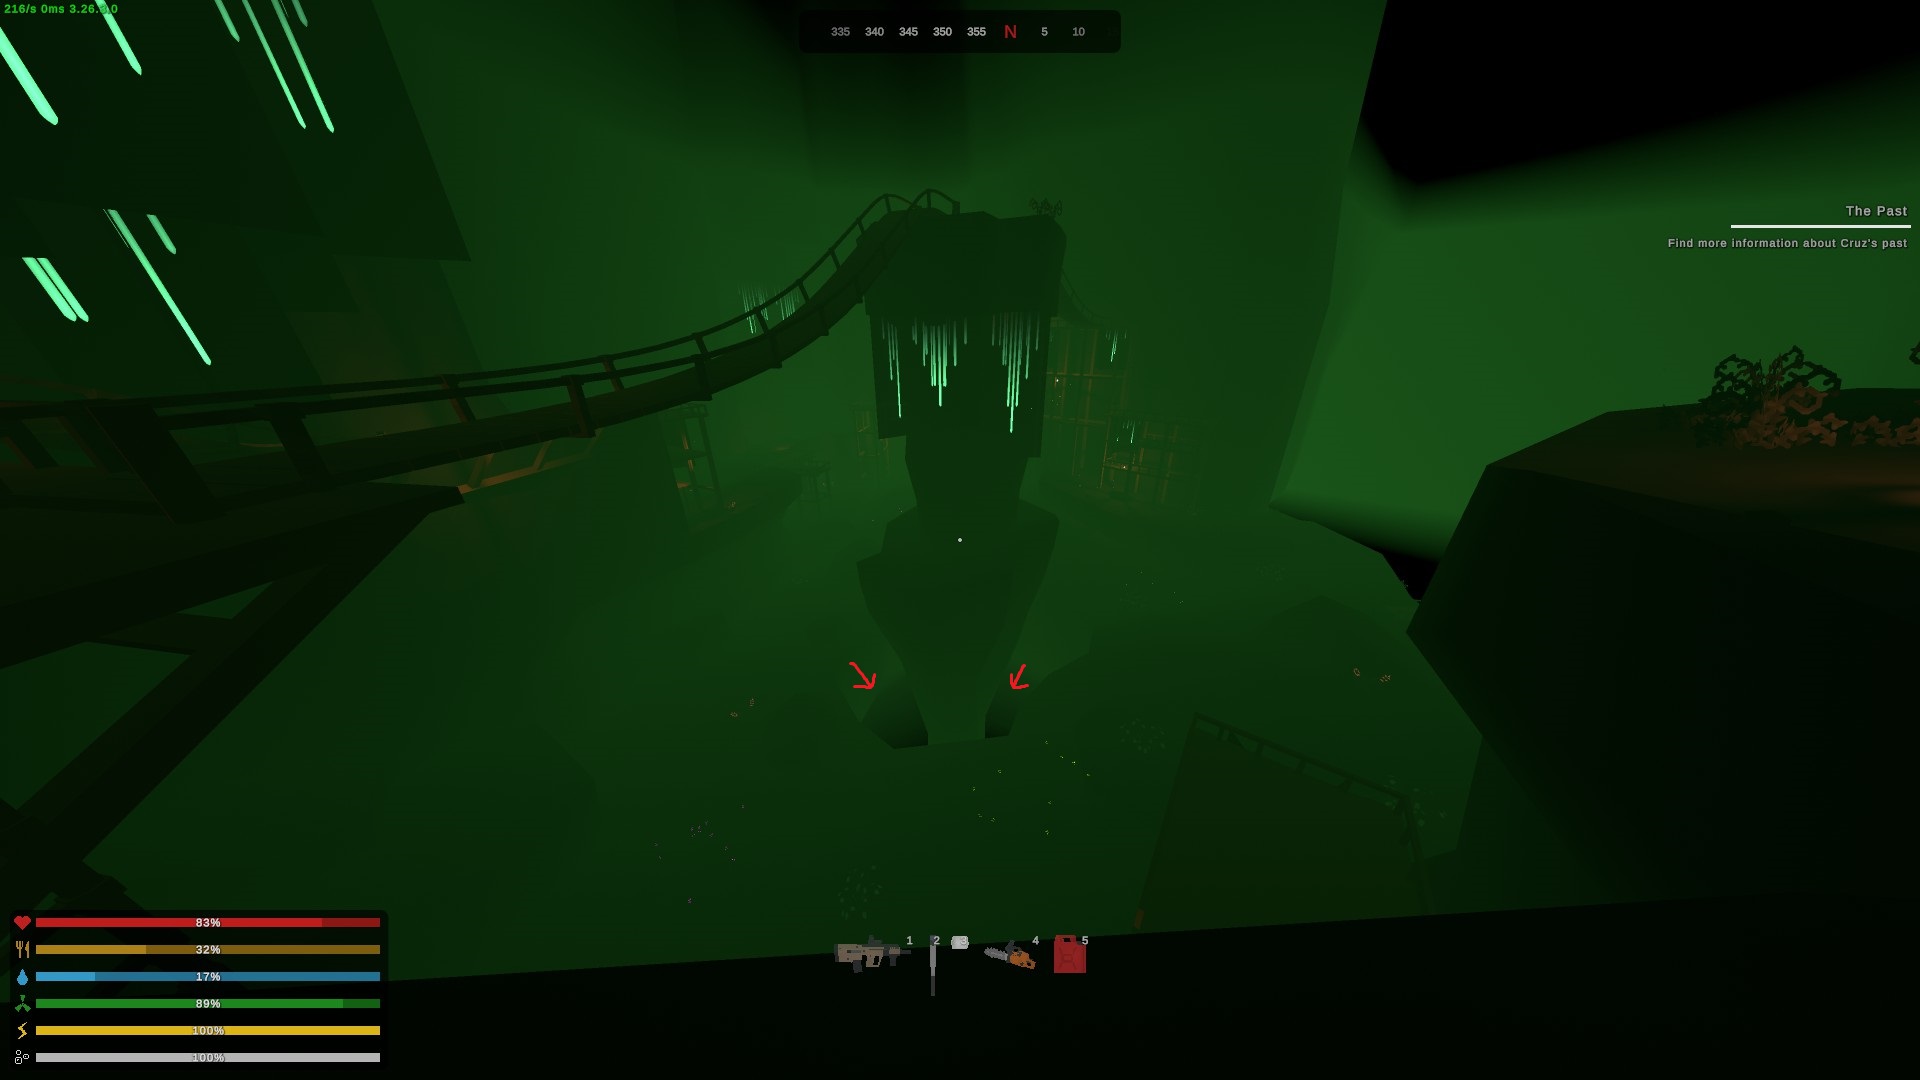
Jump into the void indicated in the screenshot and you'll get The Void Stares Back. To get back out, just walk for a little while and you'll find a space with a white door for you to walk through.
I'm going to show you the way from the metro entrance almost under the golden gate bridge:
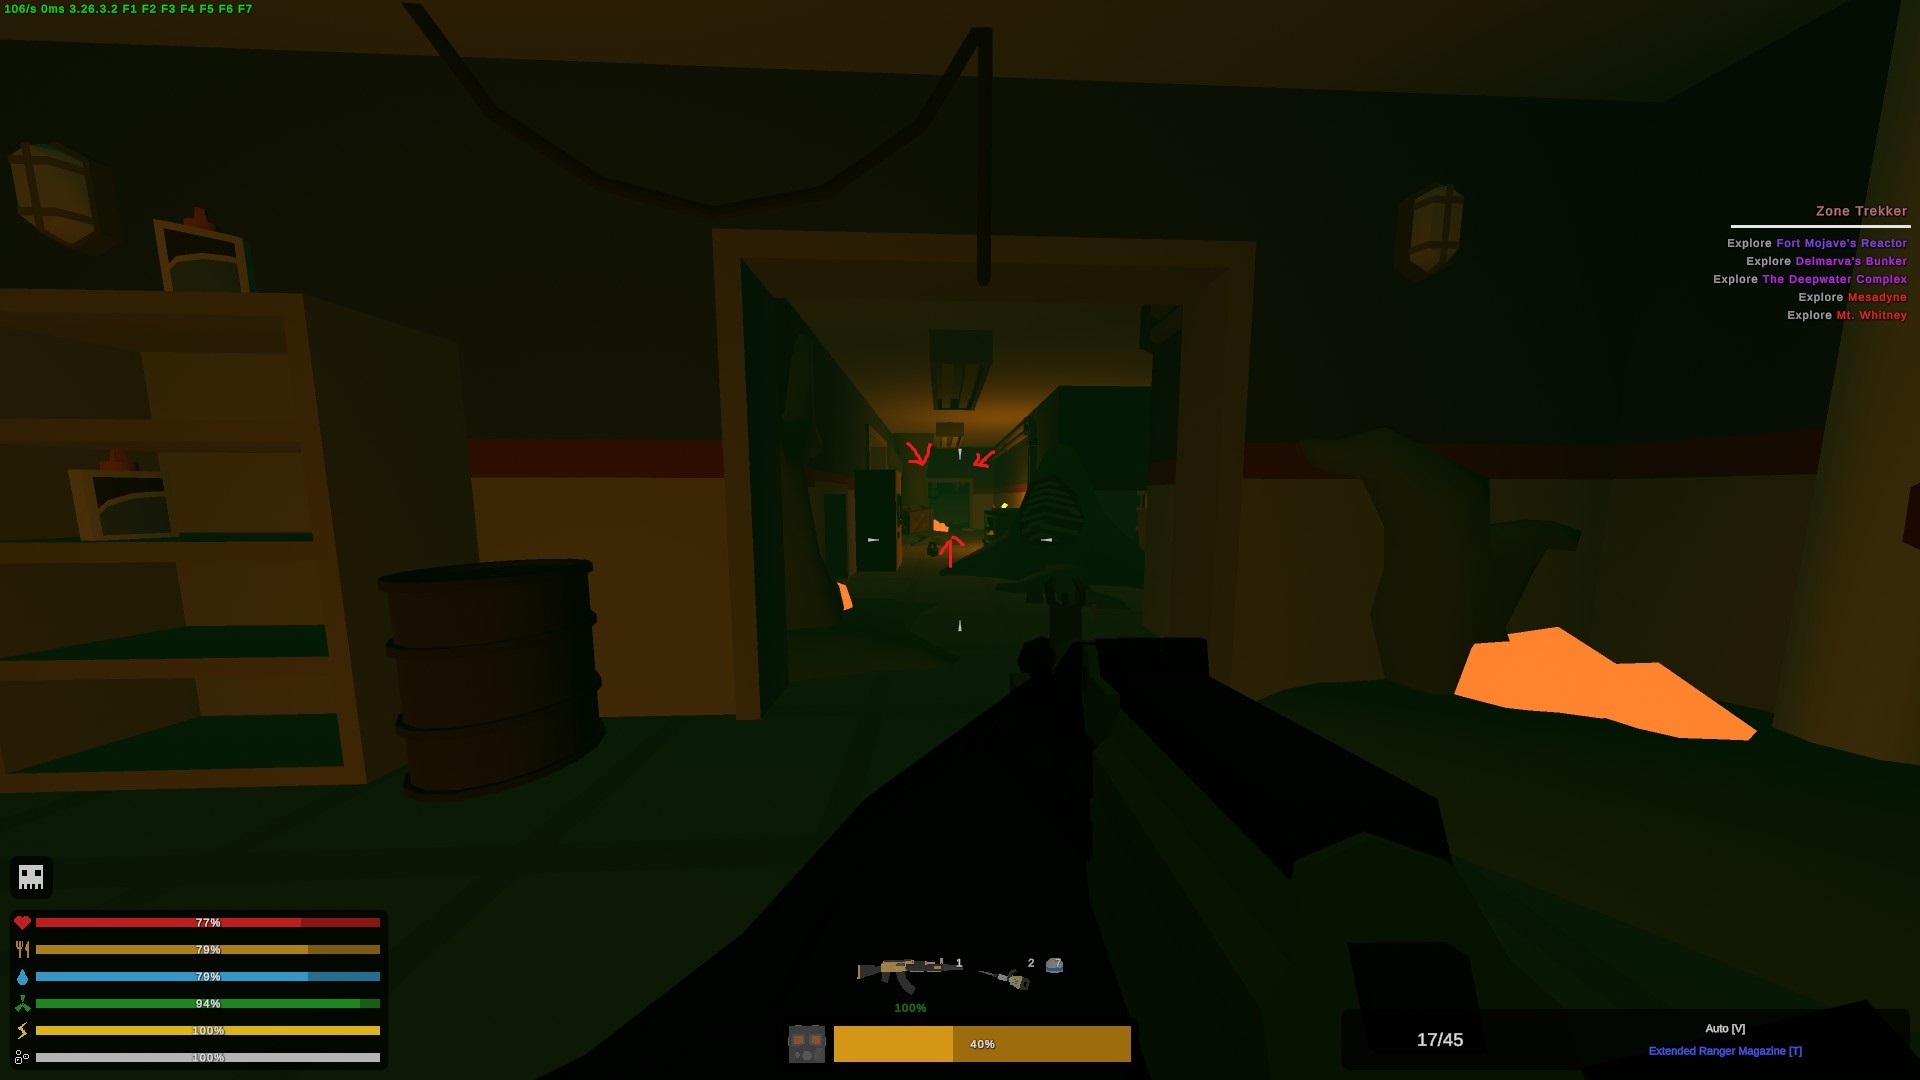
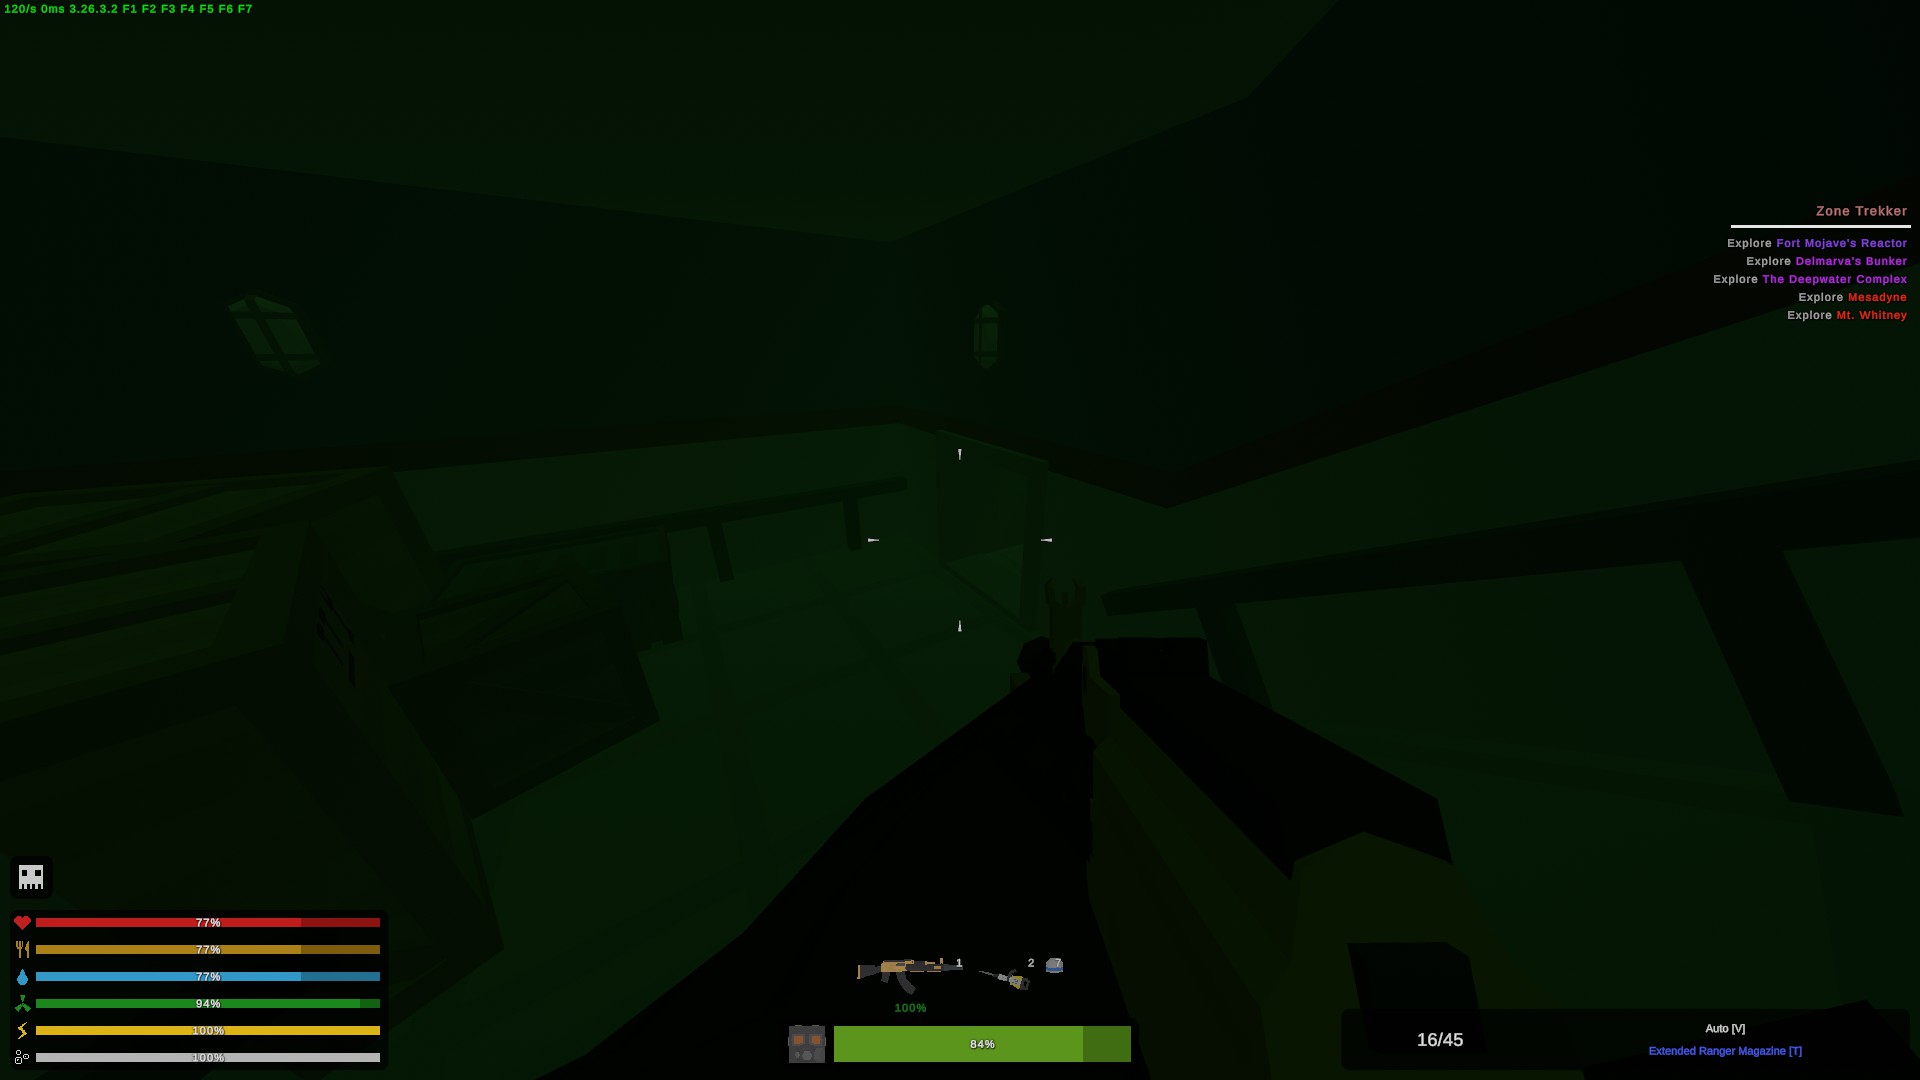
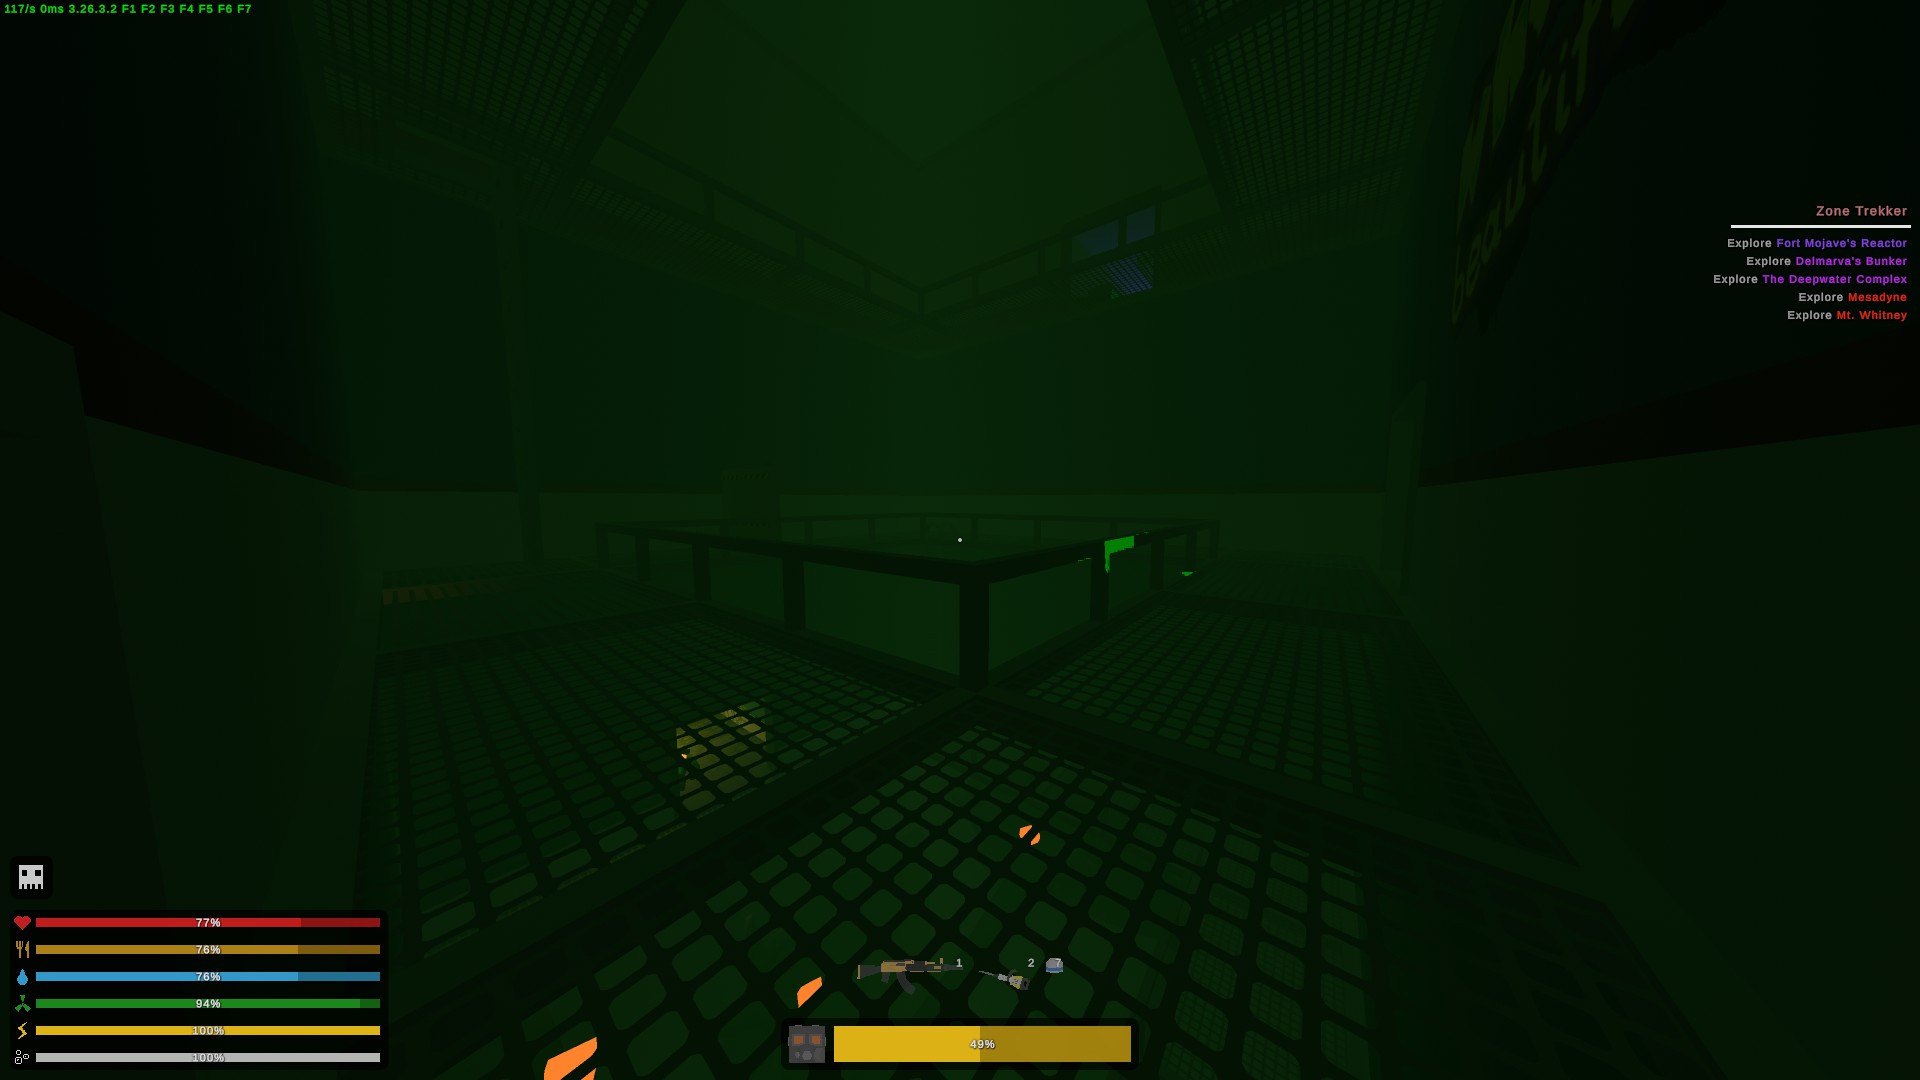
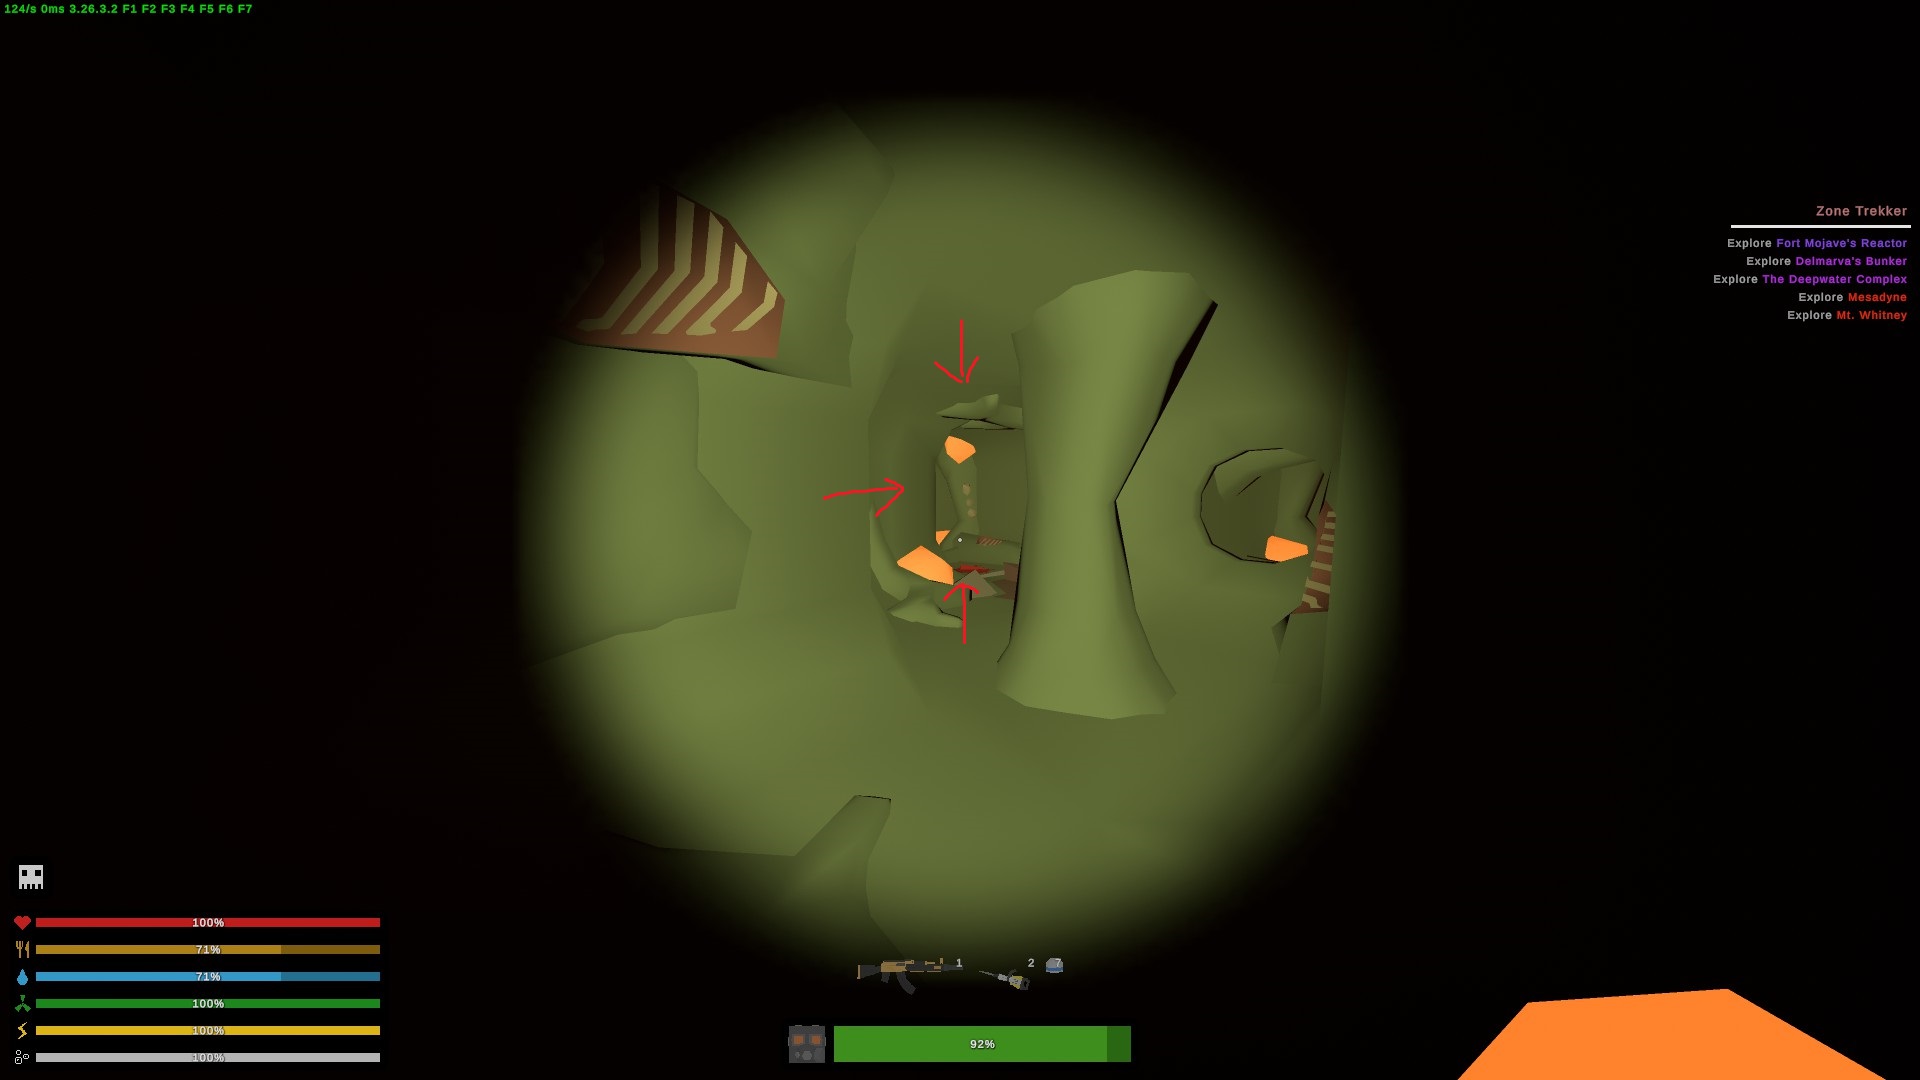
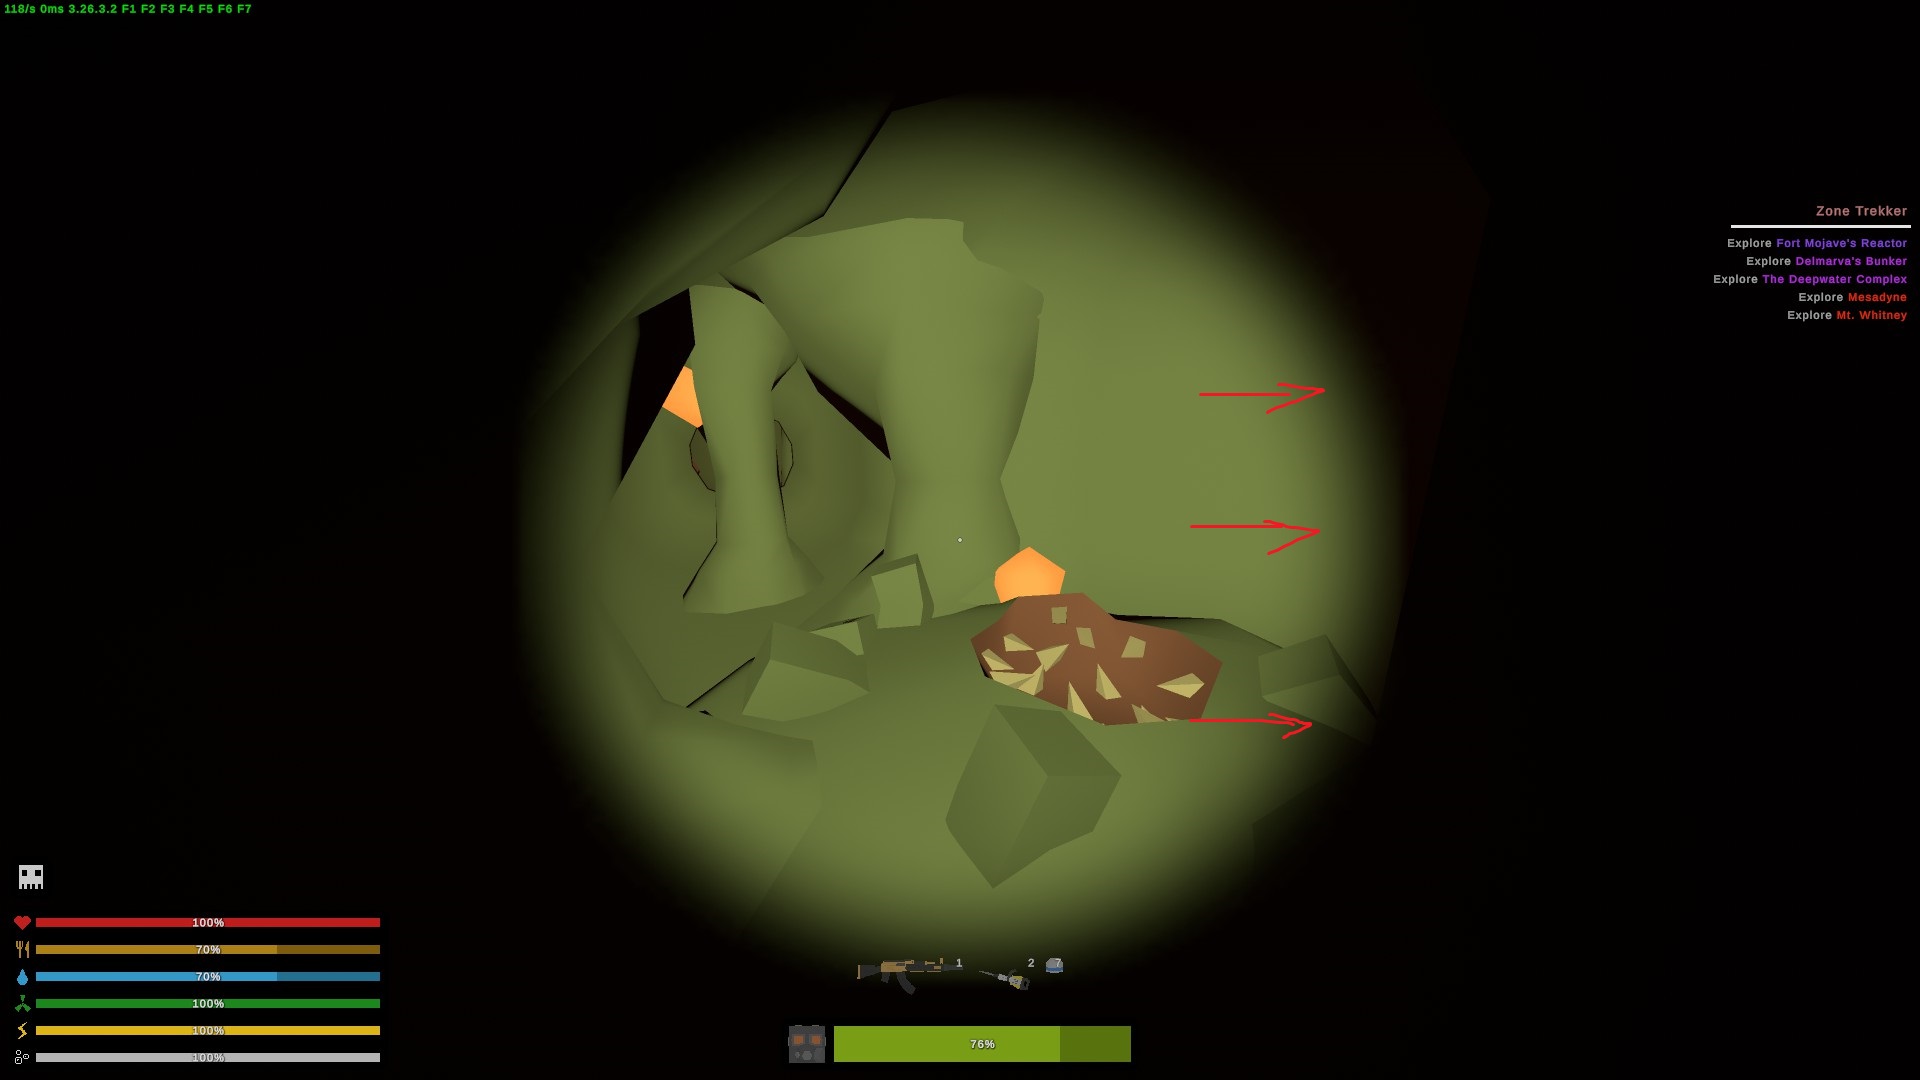
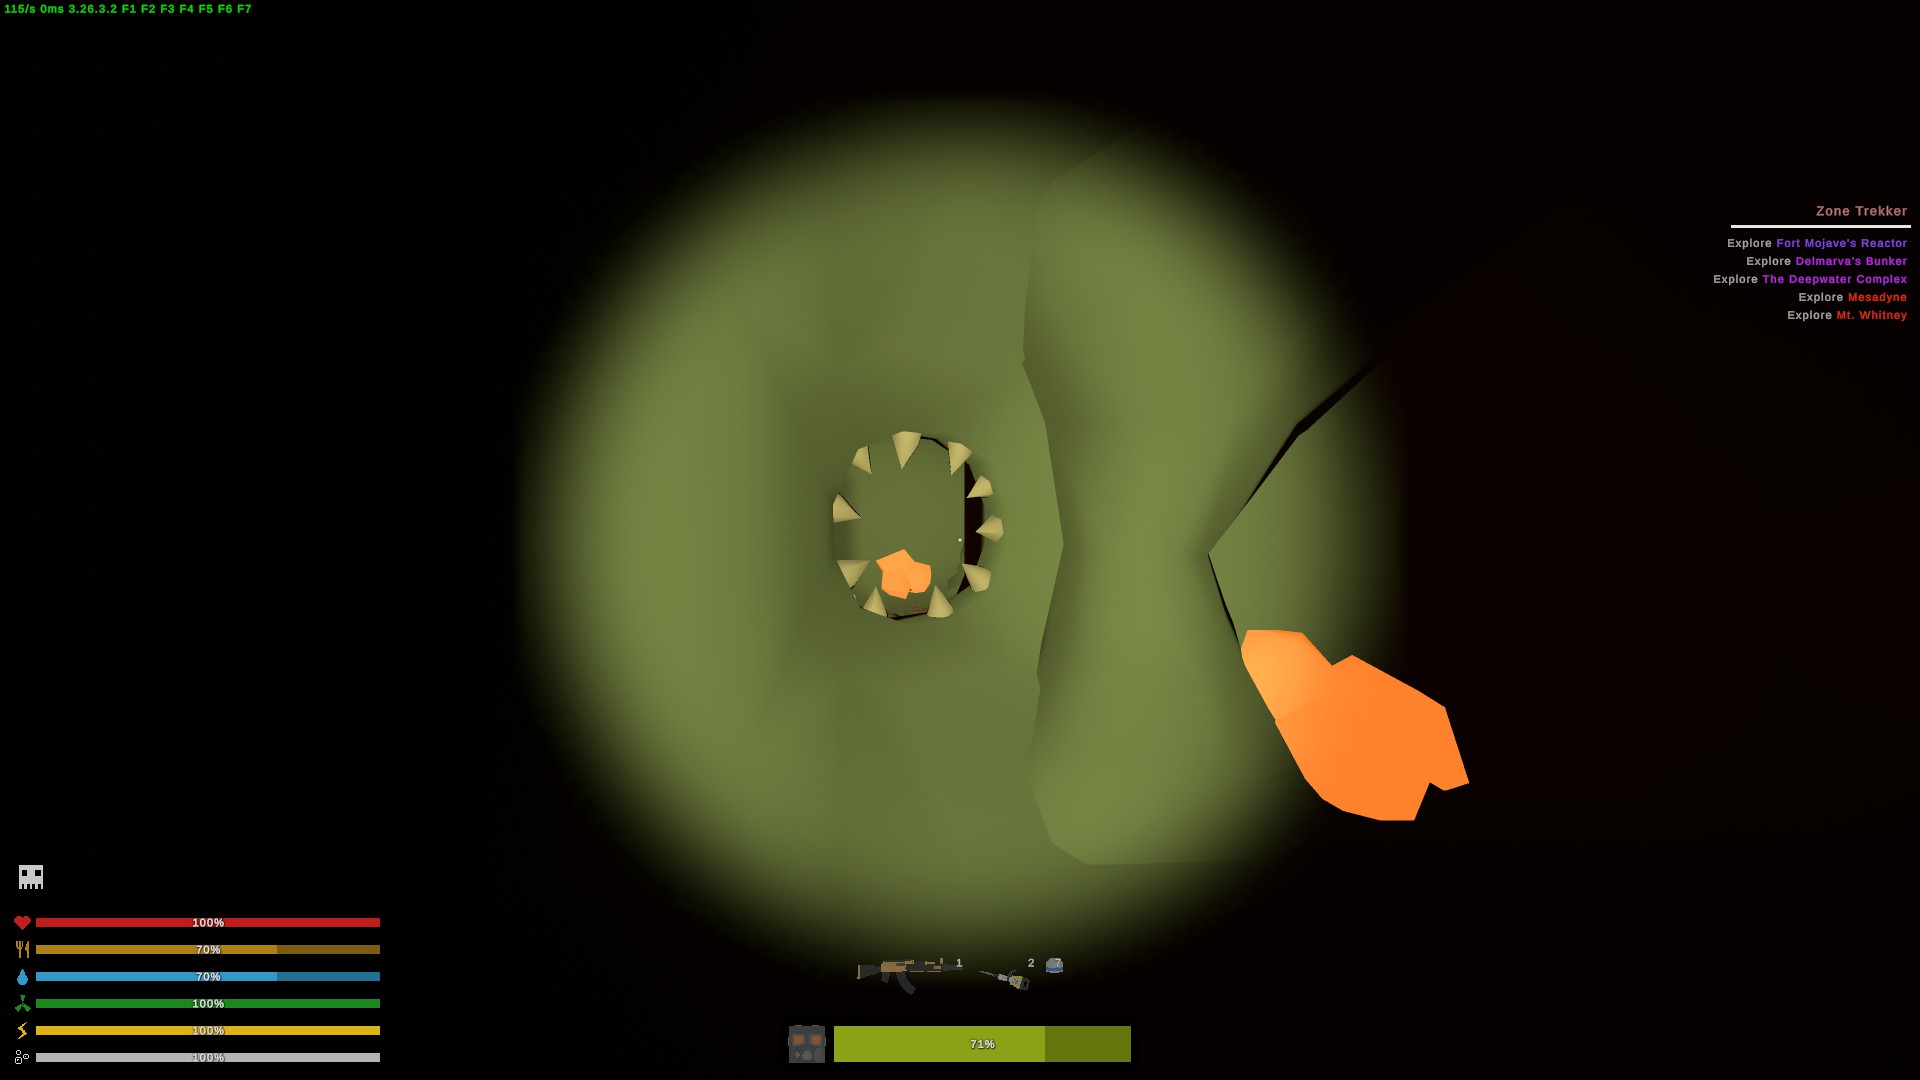
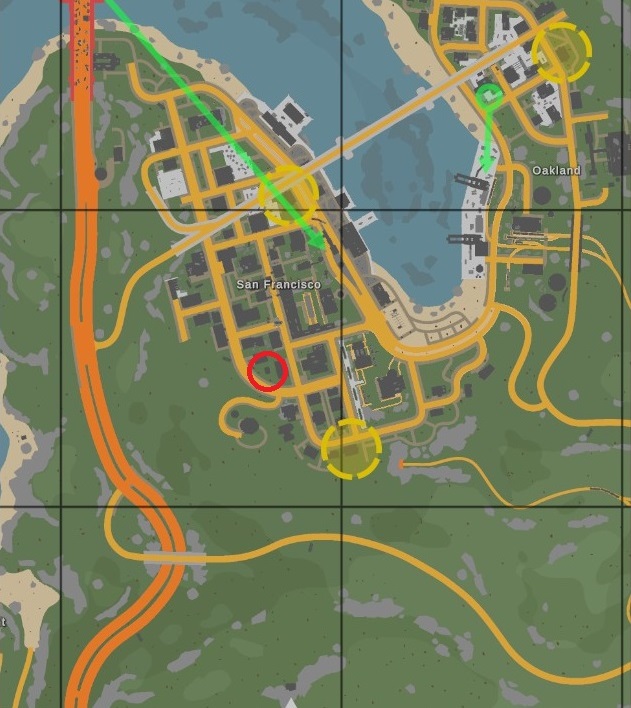
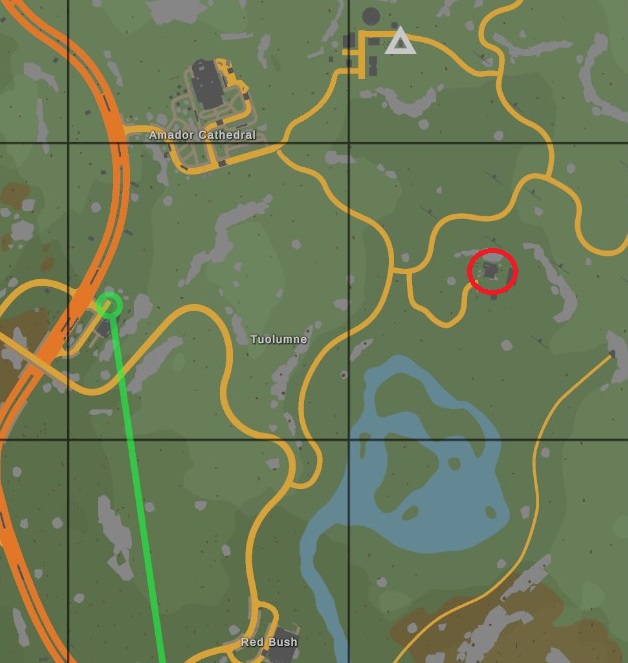
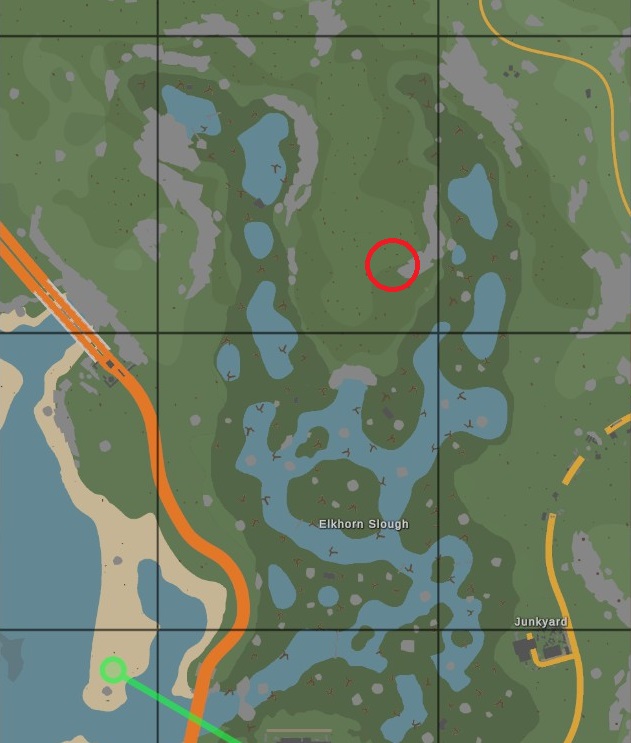
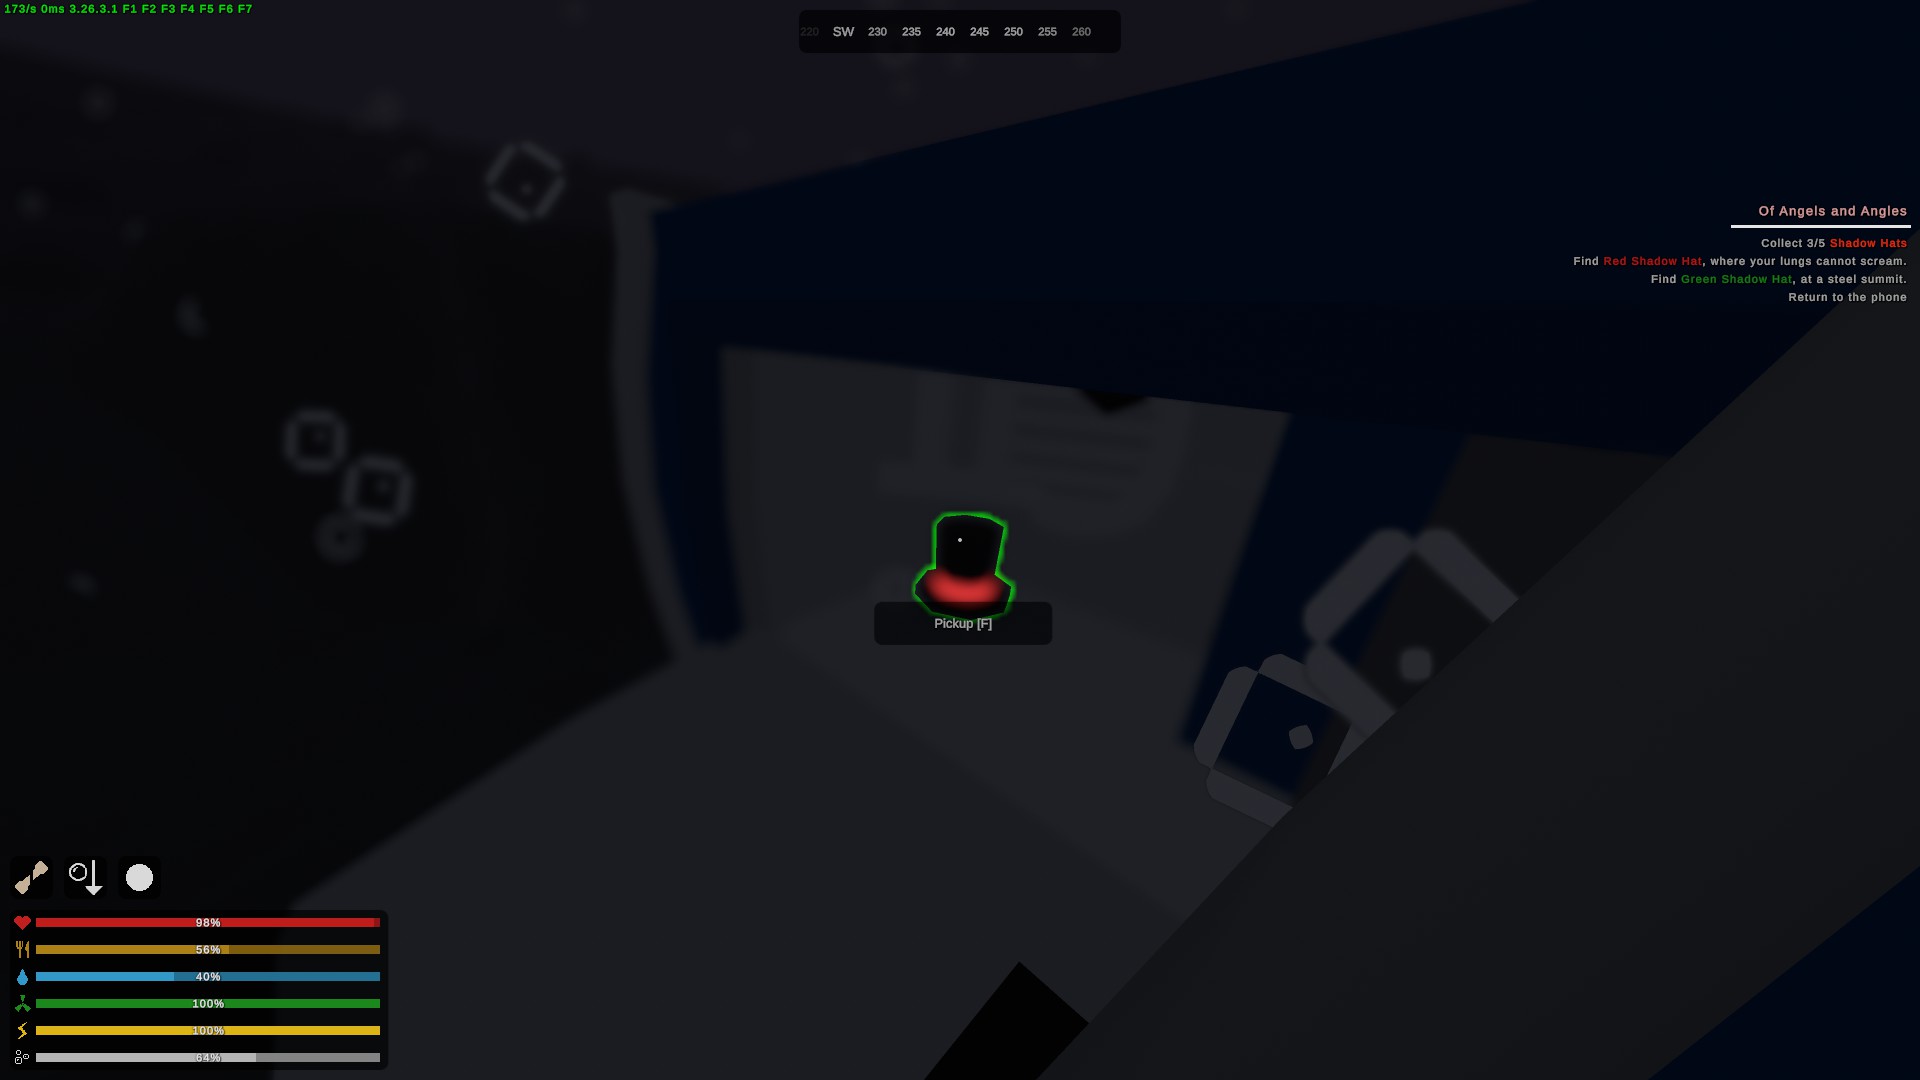
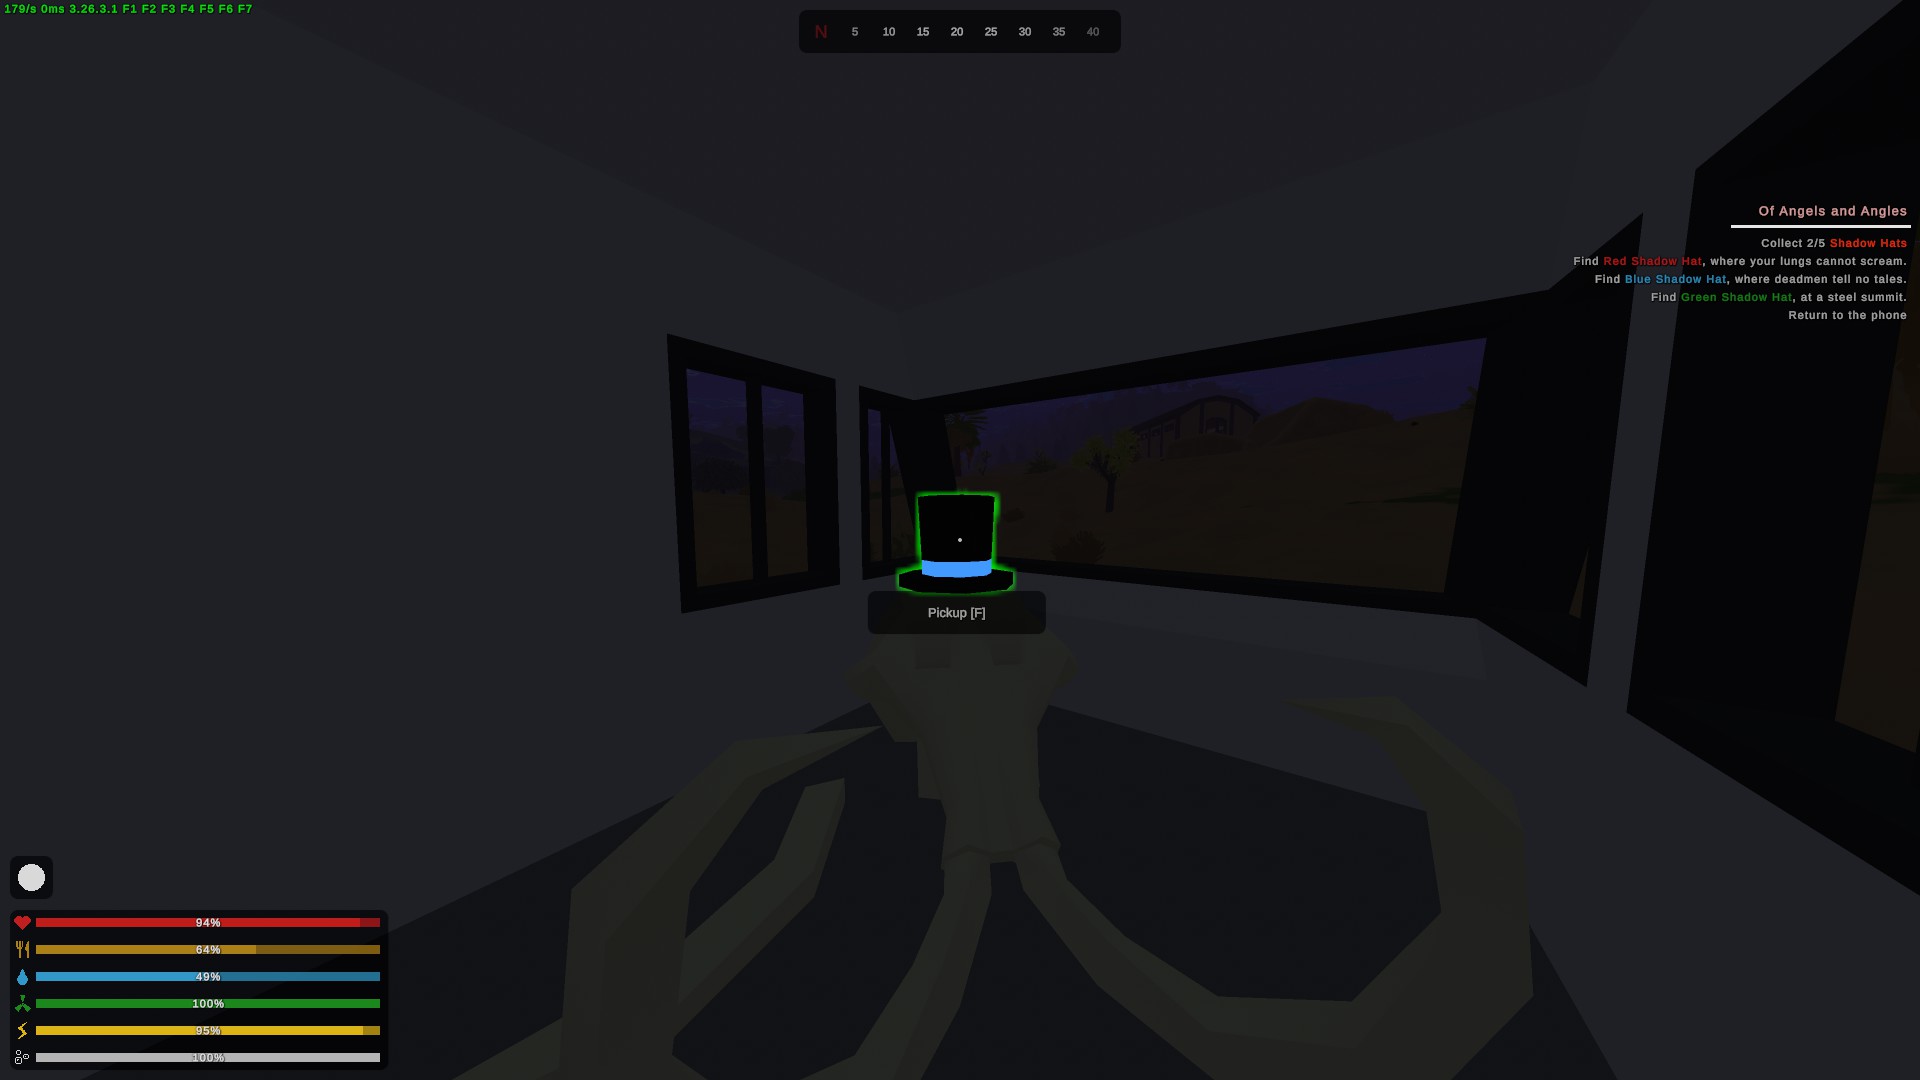
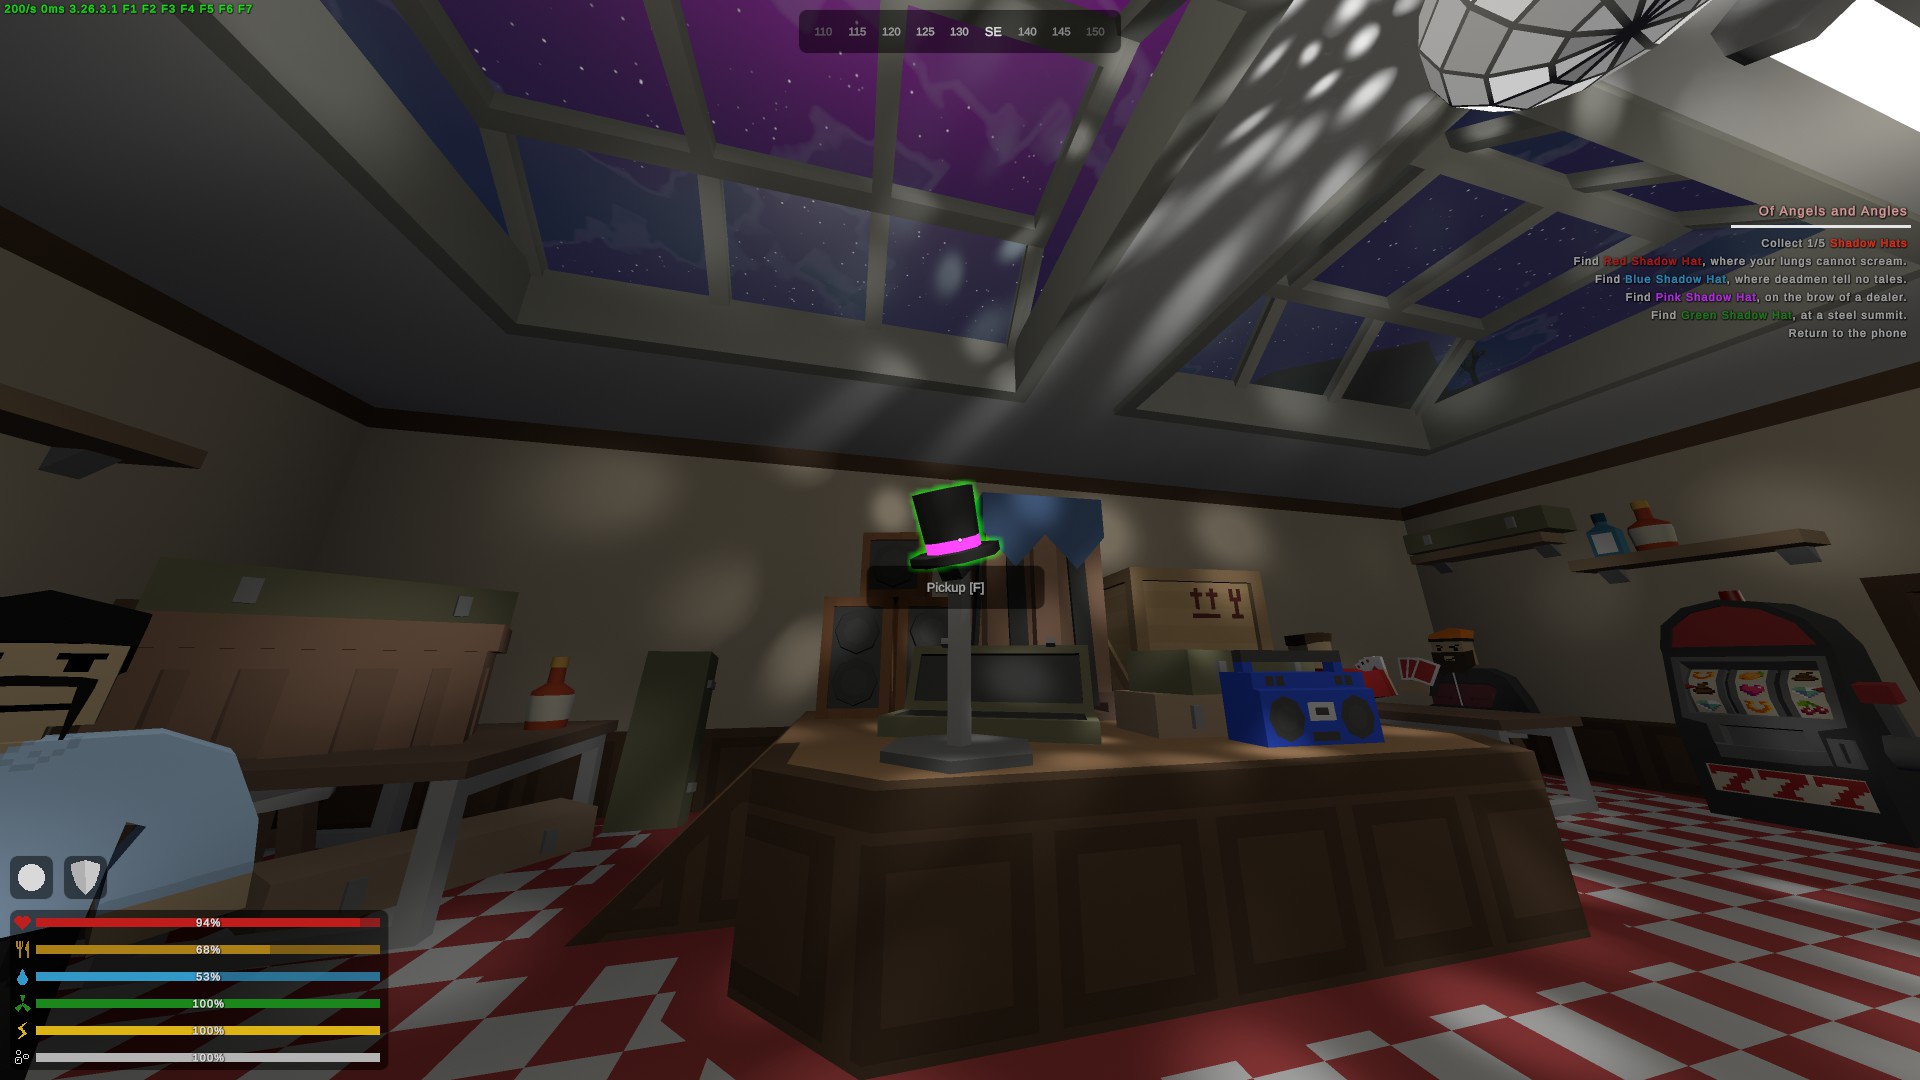
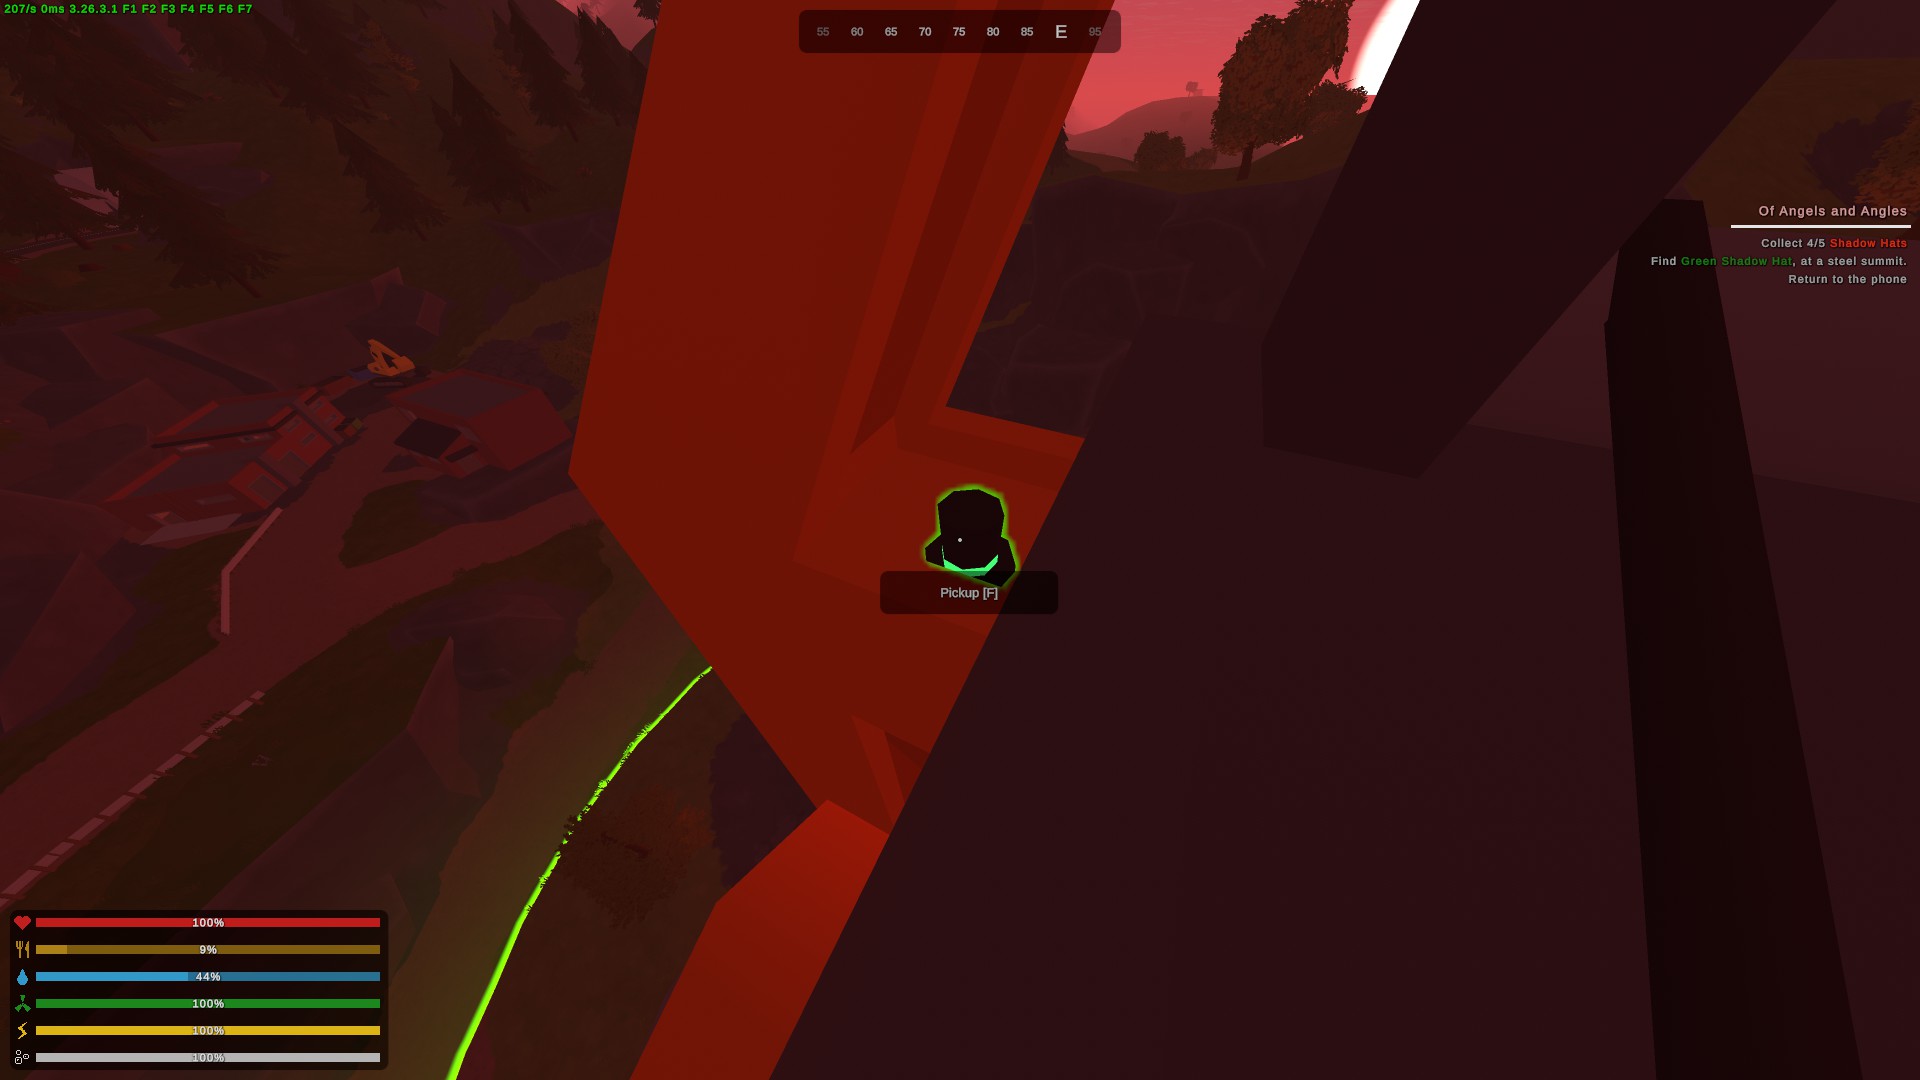
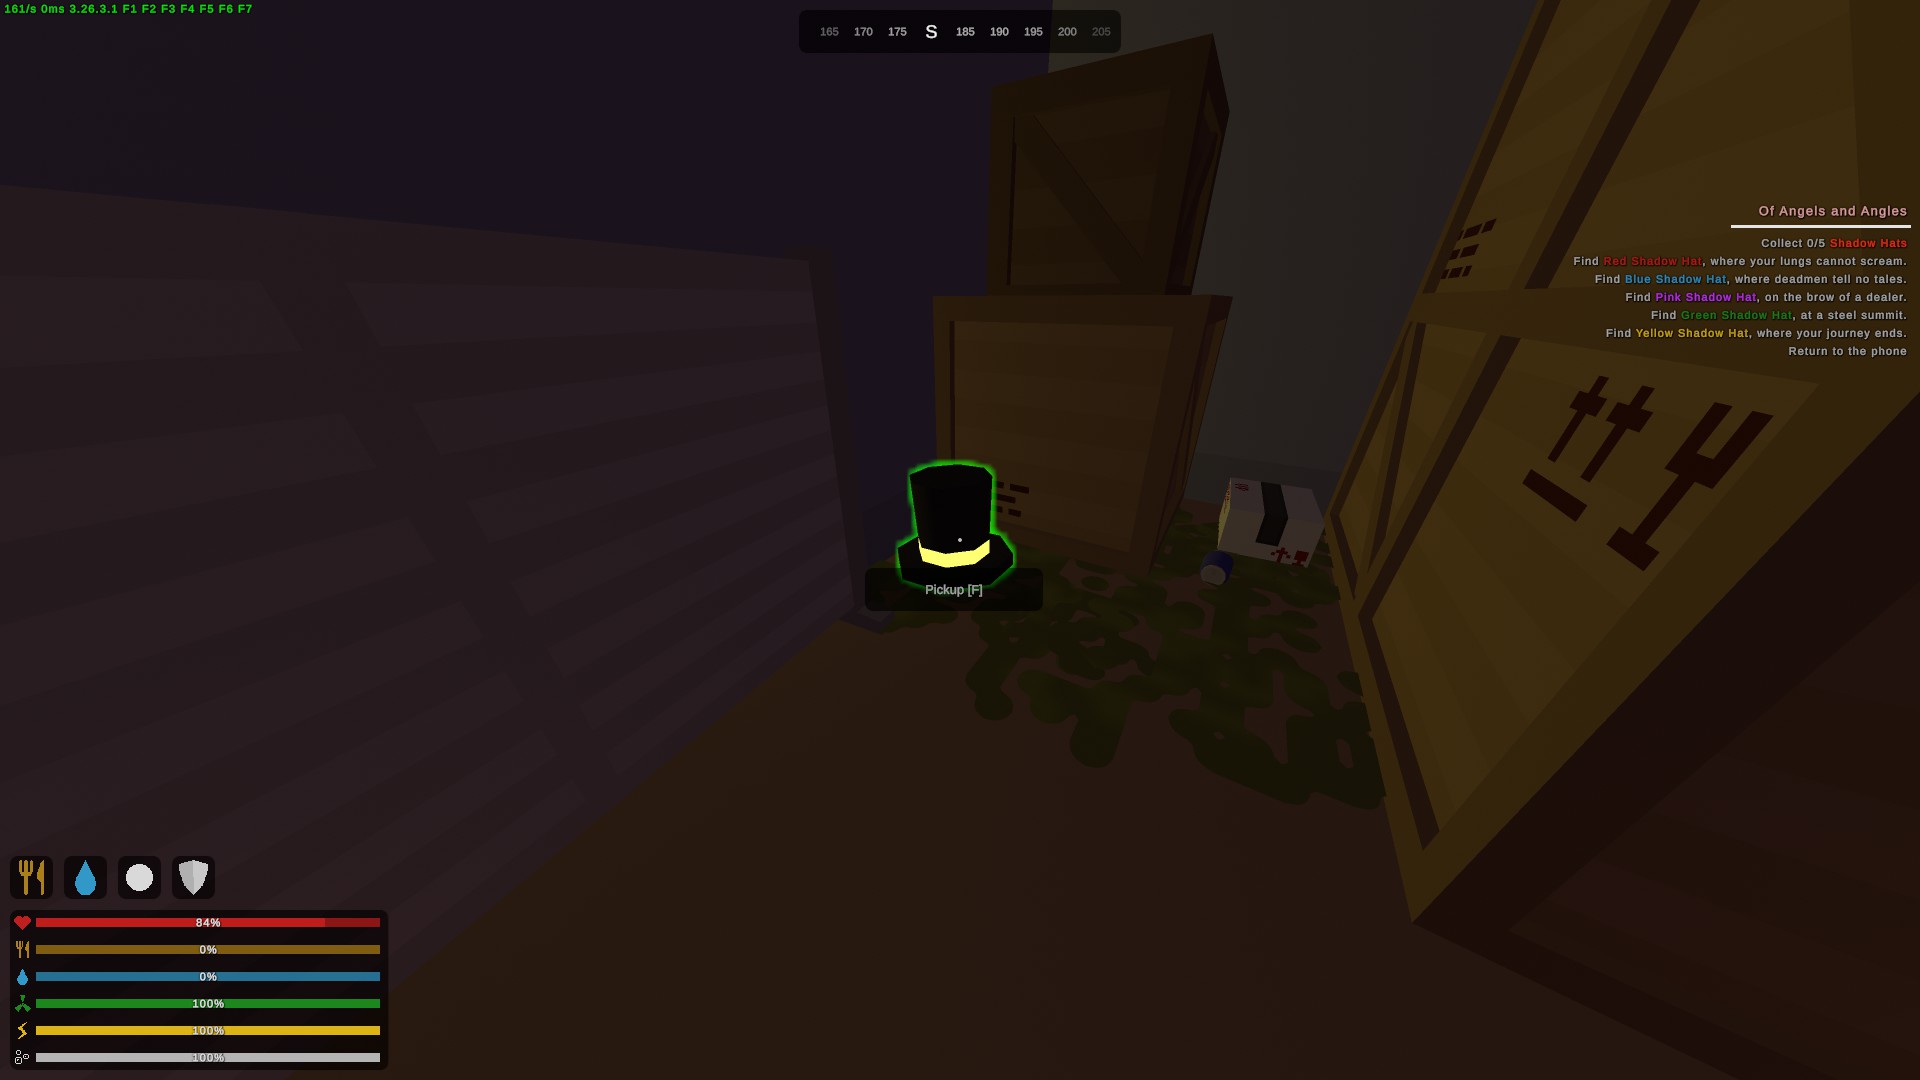
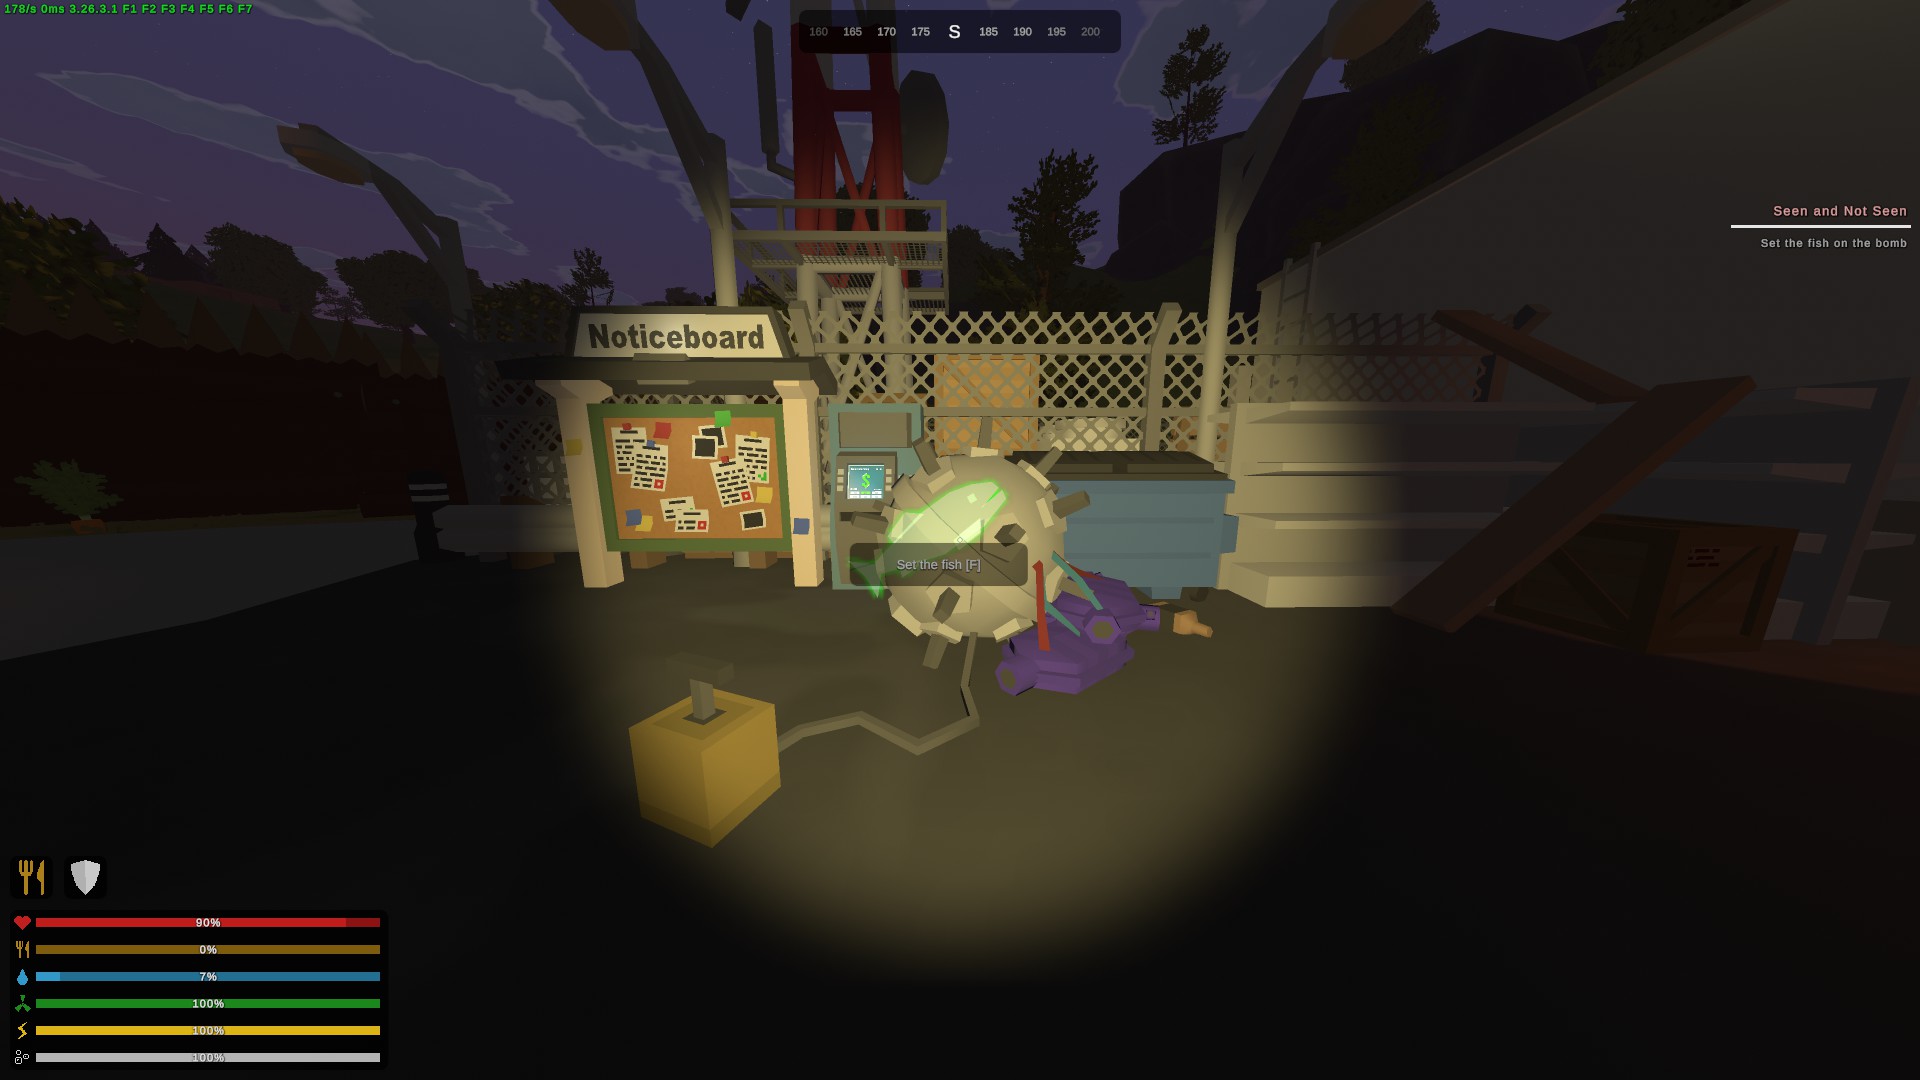 Next, you'll be teleported and you're going to need parkour up to the radio tower and interact with a green phone at the top.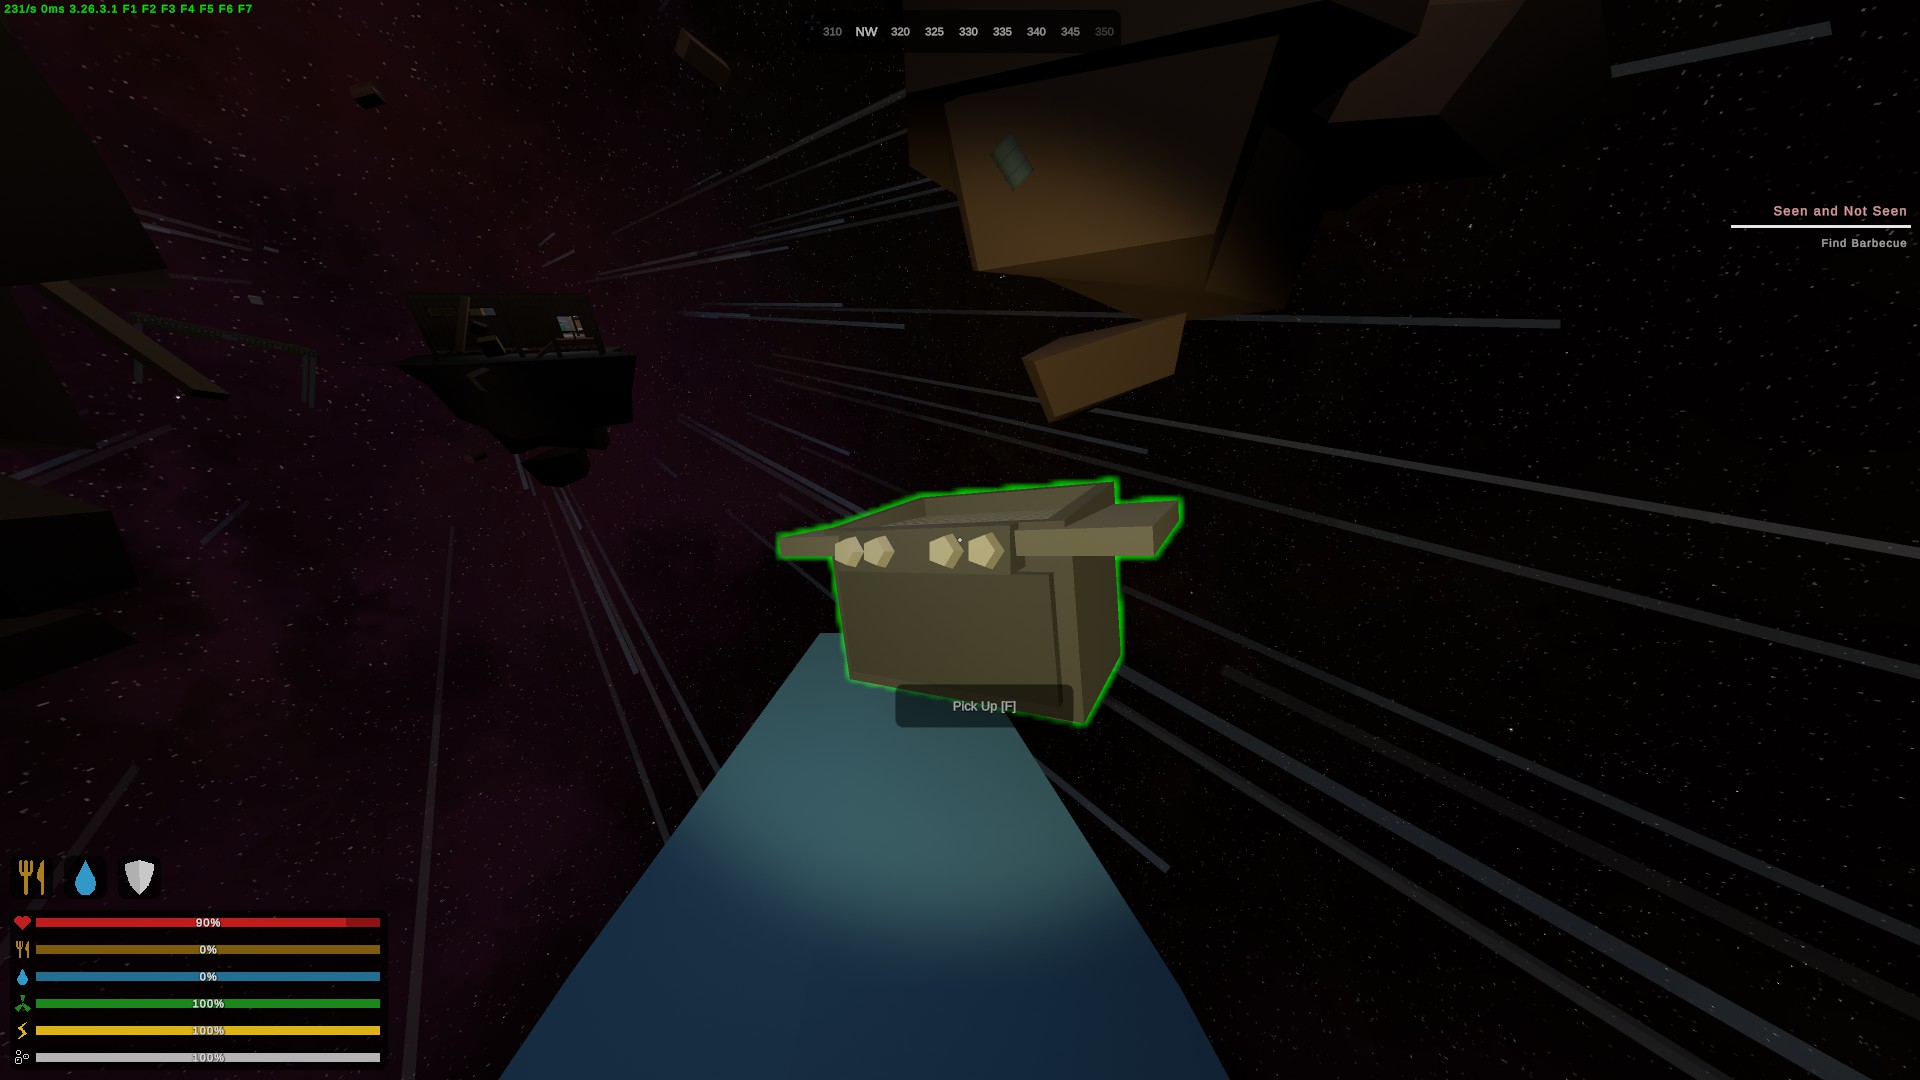
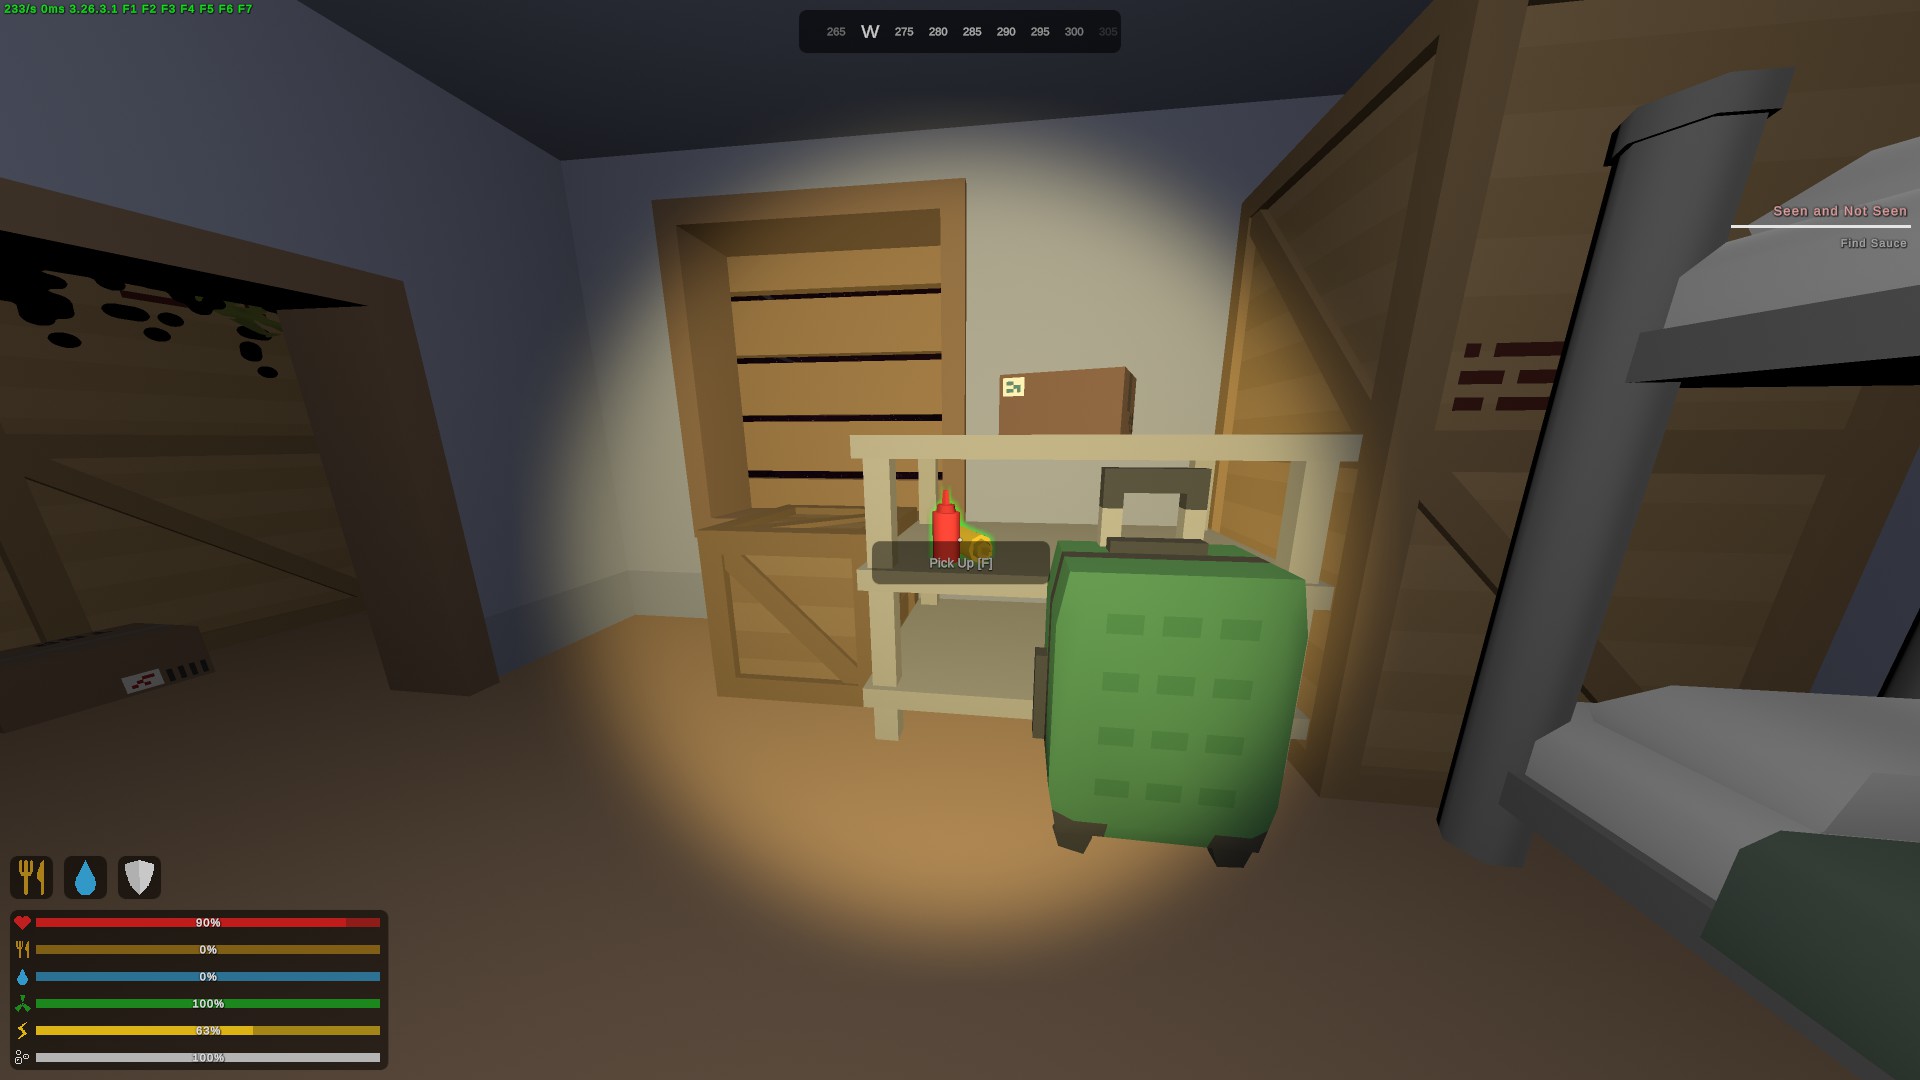
California 2: Quests
I'm leaving out some more dialogue based quests since you don't really need to know where things are for those.
Talk to Mateo and he will tell you it was someone in a white coat; It's Laura
There's a note in one of the bunk rooms in the Deepwater Complex accessed at Cache 42. Once you enter Deepwater, the front door closes behind you after 30 seconds and then you'll have to traverse through the complex to get out (basically, follow the glow sticks).
The fishing spot is the safezone in the northeastern corner of the map. Once you complete this quest, Mateo and the bus can take you to the fishing spot.
LOCATIONS CAN VARY, I'LL UPDATE THEM AS I FIND MORE
Loot book is on a shelf in a bedroom on the third floor of the white and green apartment building in Scotts Valley
Birds book is on the couch at the unmarked campsite(?) northeast of El Patrol; on a picnic table in Enzo Winery
Build book is on a table next to a green shipping container in the Junkyard
Tech book is at Hills resort, on the check-in desk in the building with flags
Wilds book is in the mouth of the 69ft dinosaur at the Nevada Border
Her dog is outside one of the ground floor windows of the orange apartment building in Oakhurst, there's a yellow flare where he's at:
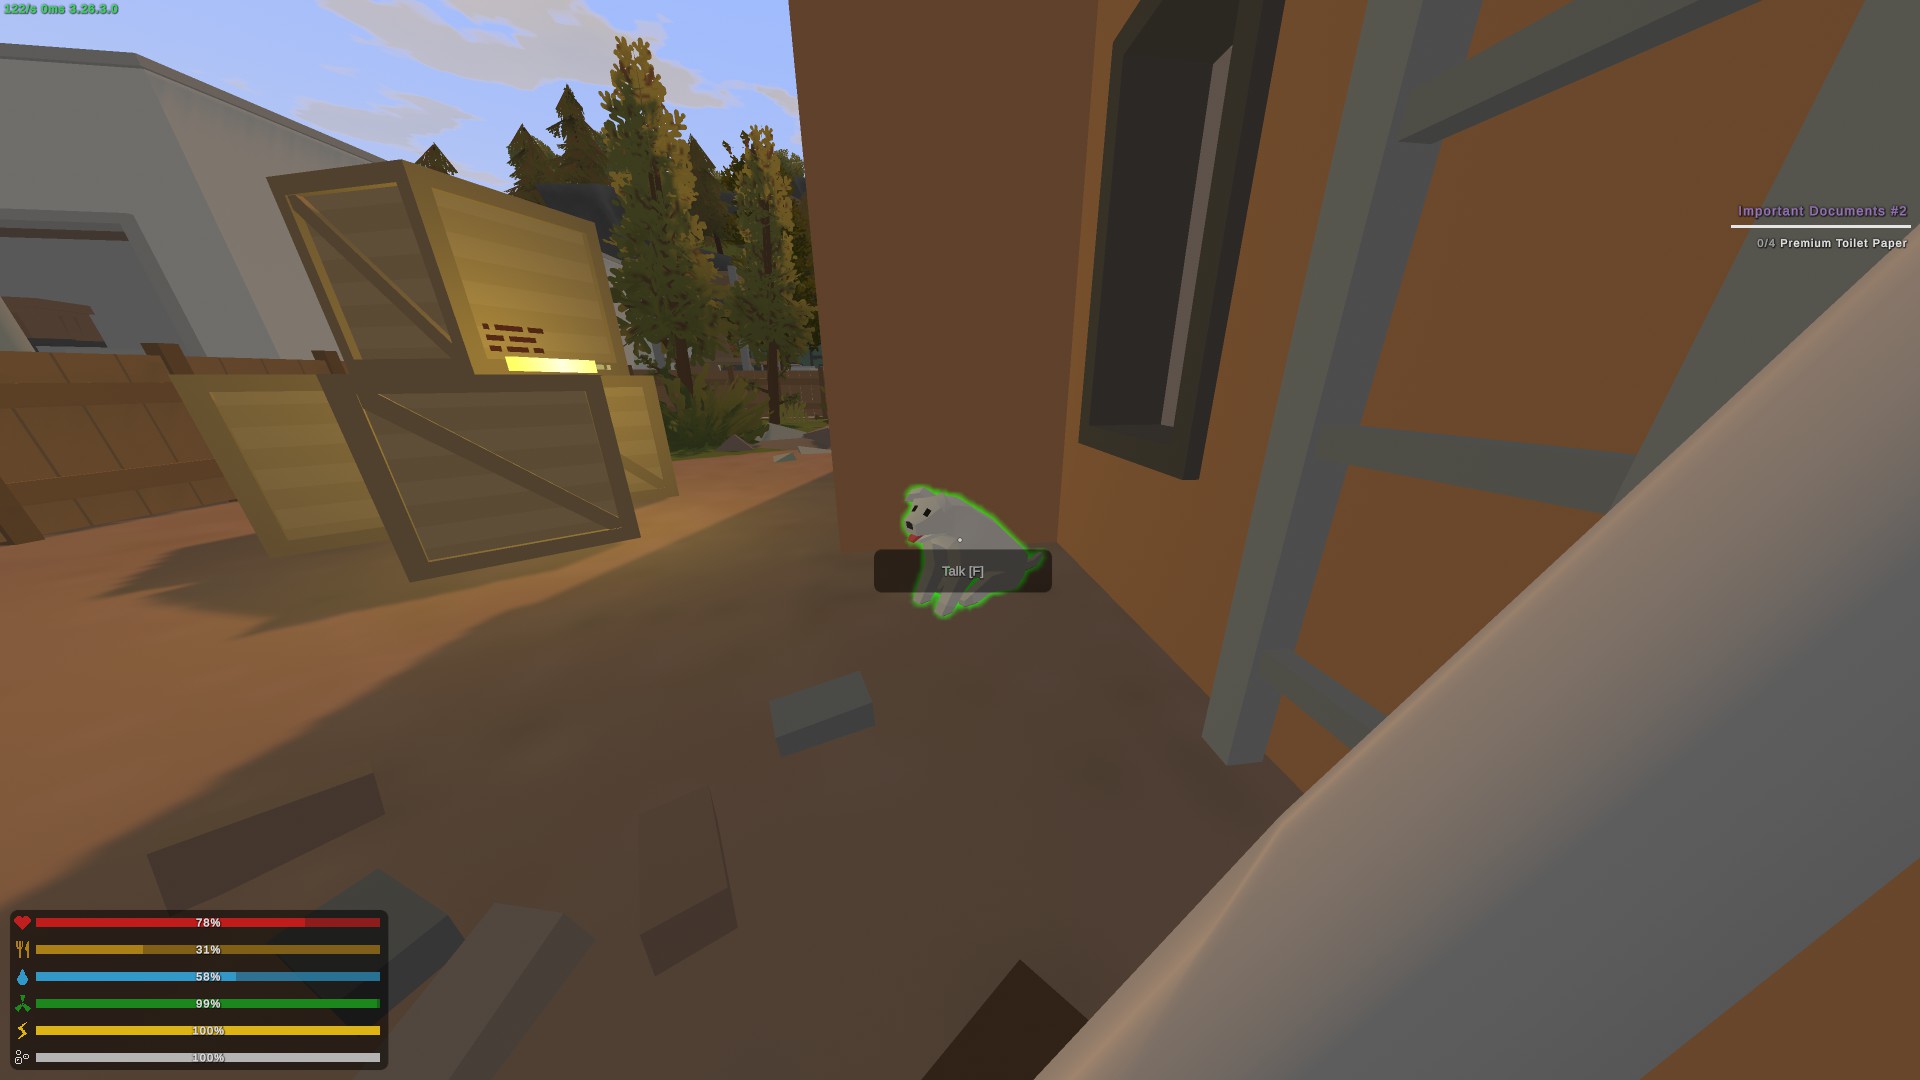
Take her badge to the second floor of the police station in the northwestern tip of San Francisco.
He's in the crawl space in the tower with Cruz. Talk to him, he'll go back to the garage and send you to find more information about the DCC. There is a DCC facility at the mortar launch site just west of Palm Springs that you need to visit (unsure if you actually need to read any notes or just visit).
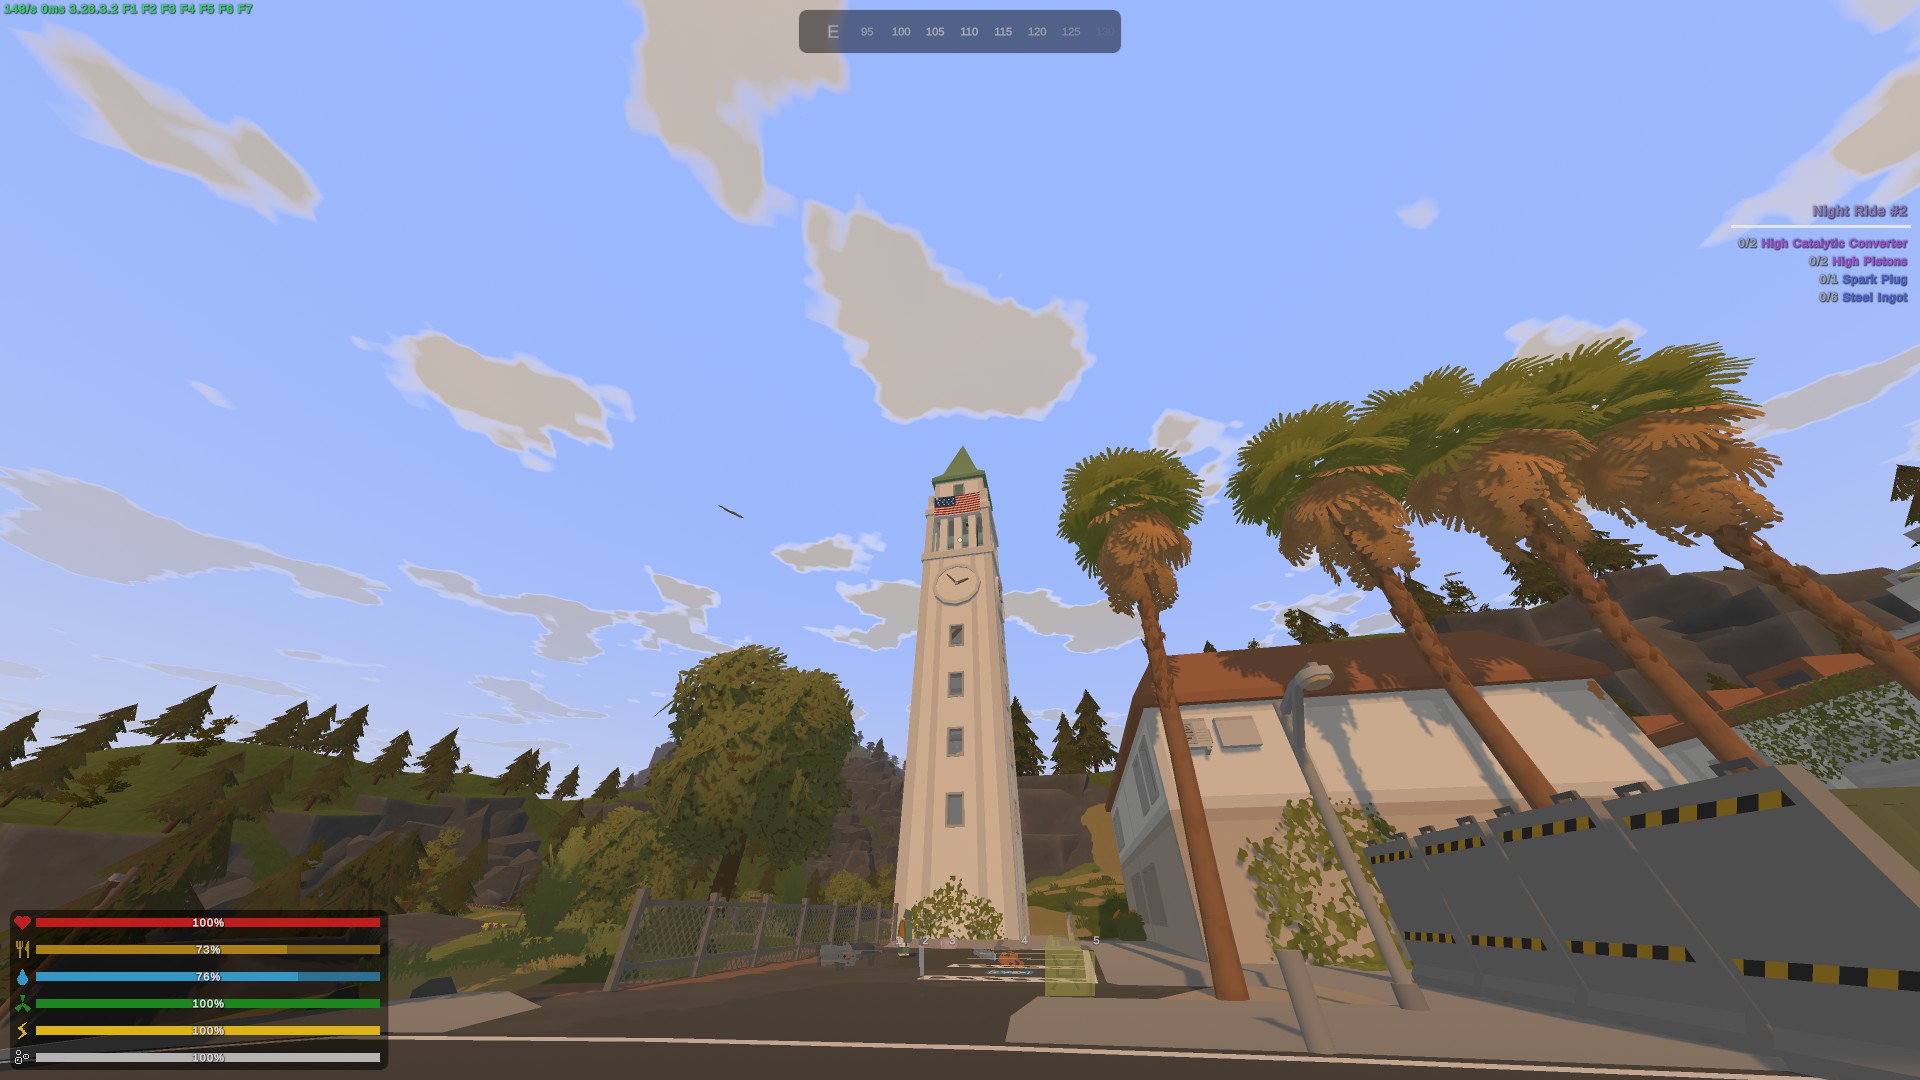
Thanks to @flowerss for the location Head to the tower at Berkeley and parkour your way to the top, you can grab the flag from one of the windows.
------------------------
You'll need to talk to him, then drink the beer in front of you. Repeat that 2 more times and you'll be teleported to a "clue house".
Once you make your way back to the Bare Man, talk to Piglet the bartender. We probably went to some stash near Palm Springs. If you head to the county sheriff in Palm Springs and go east, you'll find the stash and Michael. Then go to the motel in Palm Springs (has the pool) and on the first floor, there's a room with the photo on the nightstand.
You're told the safe was found in Gloger (located in San Francisco) and you are told to go talk to Domino. If you talk to Domino (tell her there isn't a passcode if you haven't already), she will give you a UV flashlight but inform you that you have to give her 50% of the money. I talked to her before so maybe you'll get more money if you don't talk to her until after?
You can use the UV for the slower route to this puzzle (brute forcing the 4 digit code with the numbers visible with the UV on the safe) or just go to the parking lot in front of Gloger and find the code there:
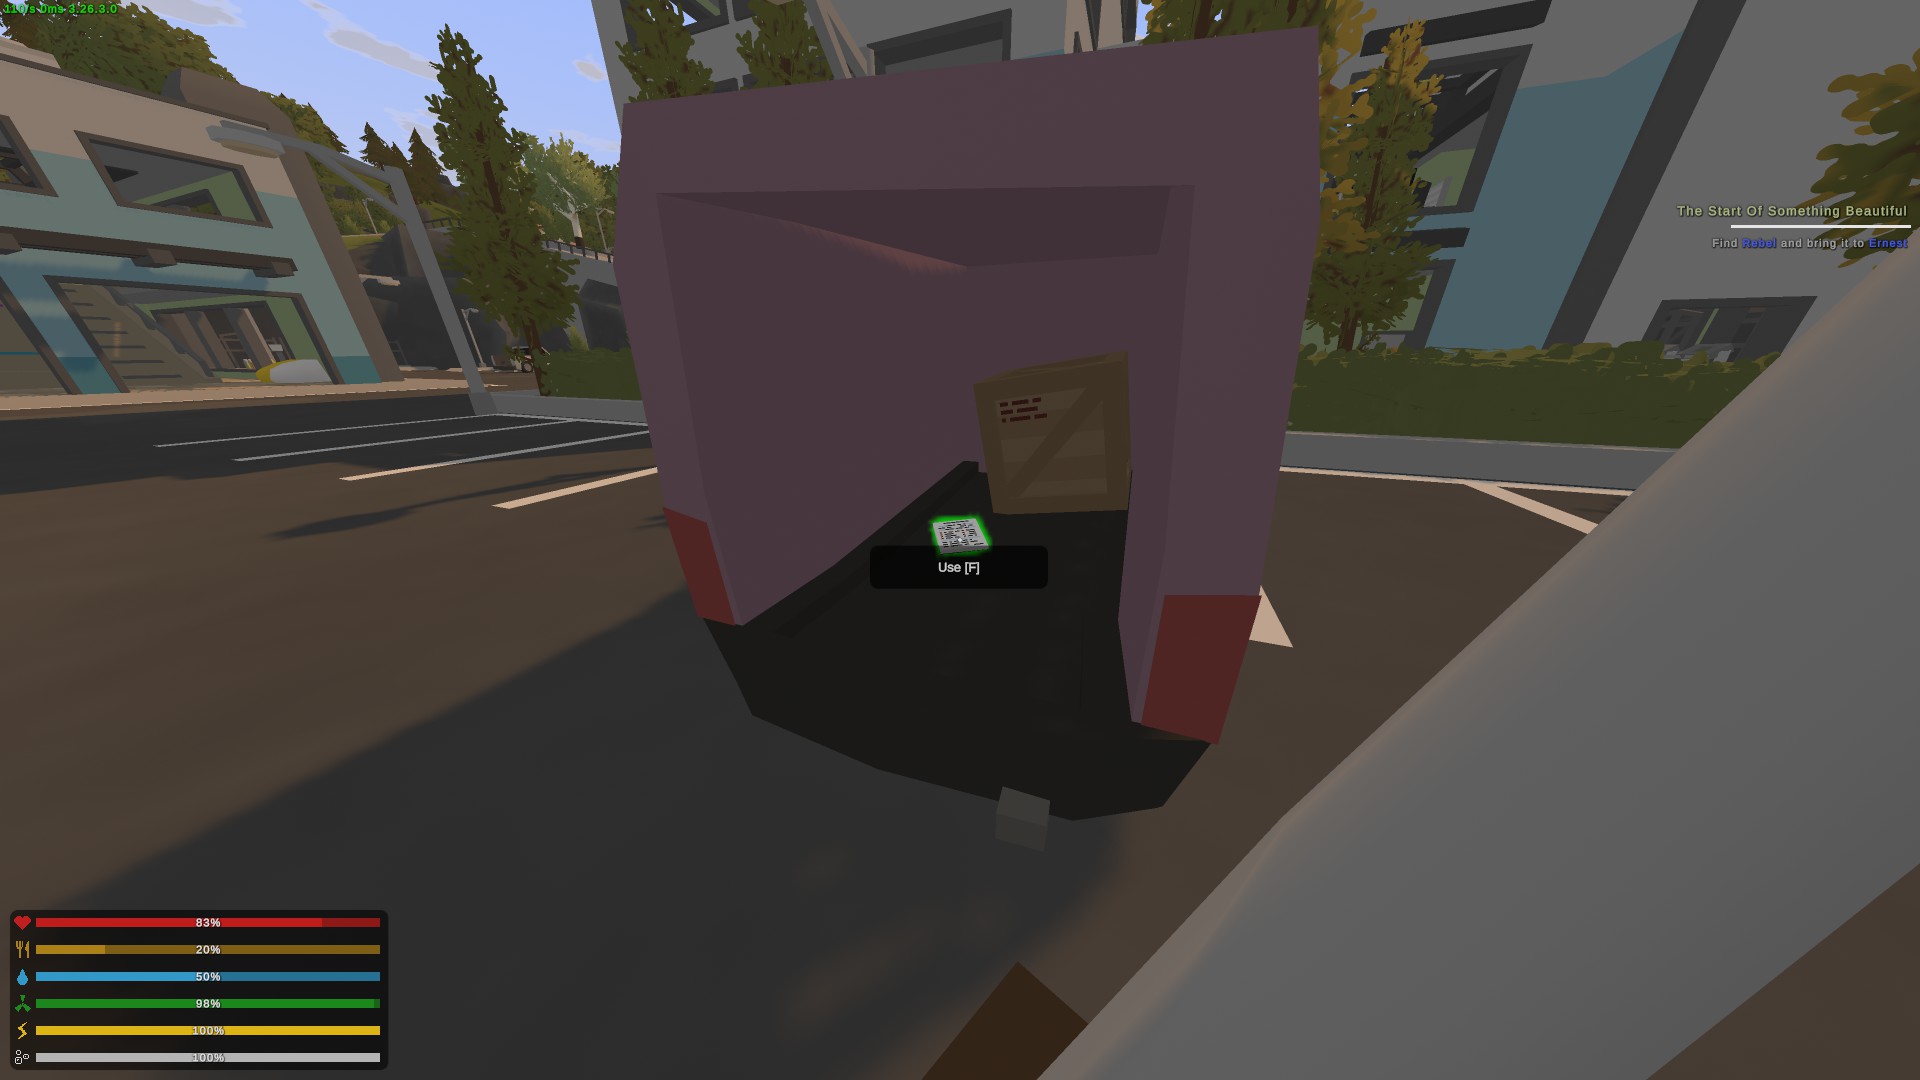
The code is 1337, iykyk
Disco ball is on the roof of the Bare Man, go along the left side of the bar and go up the crates to reach the roof
Speakers are in the Lotus Restaurant on the west side of Oakhurst
Boombox is in the Holiday Mall (pretty much across the street from the Lotus) on a shelf to the left just past the registers.
He's gonna ask you a few questions, I don't think it matters how you answer, and at the end he tells you to head to Hills Resort for a VIP suitcase. There will be a blue and yellow suitcase in the building with the flags on top at the resort. He's gonna have you do some back and forth between the bar and basement but when you finally finish the quest, he'll give you the motorcycle.
The kitchen is to the left of Piglets bar and to use the fridge, you need 2 cactus flesh. Go beat up a cactus and come back. I don't think who you sabotage really matters, just pick someone and head outside by the bus to find and talk to the Johns.
Tools are on the main floor of the Lake Estate, in a wardrobe next to a wheelchair
Yellow offroader in a parking lot at the western entrance to Calabasas
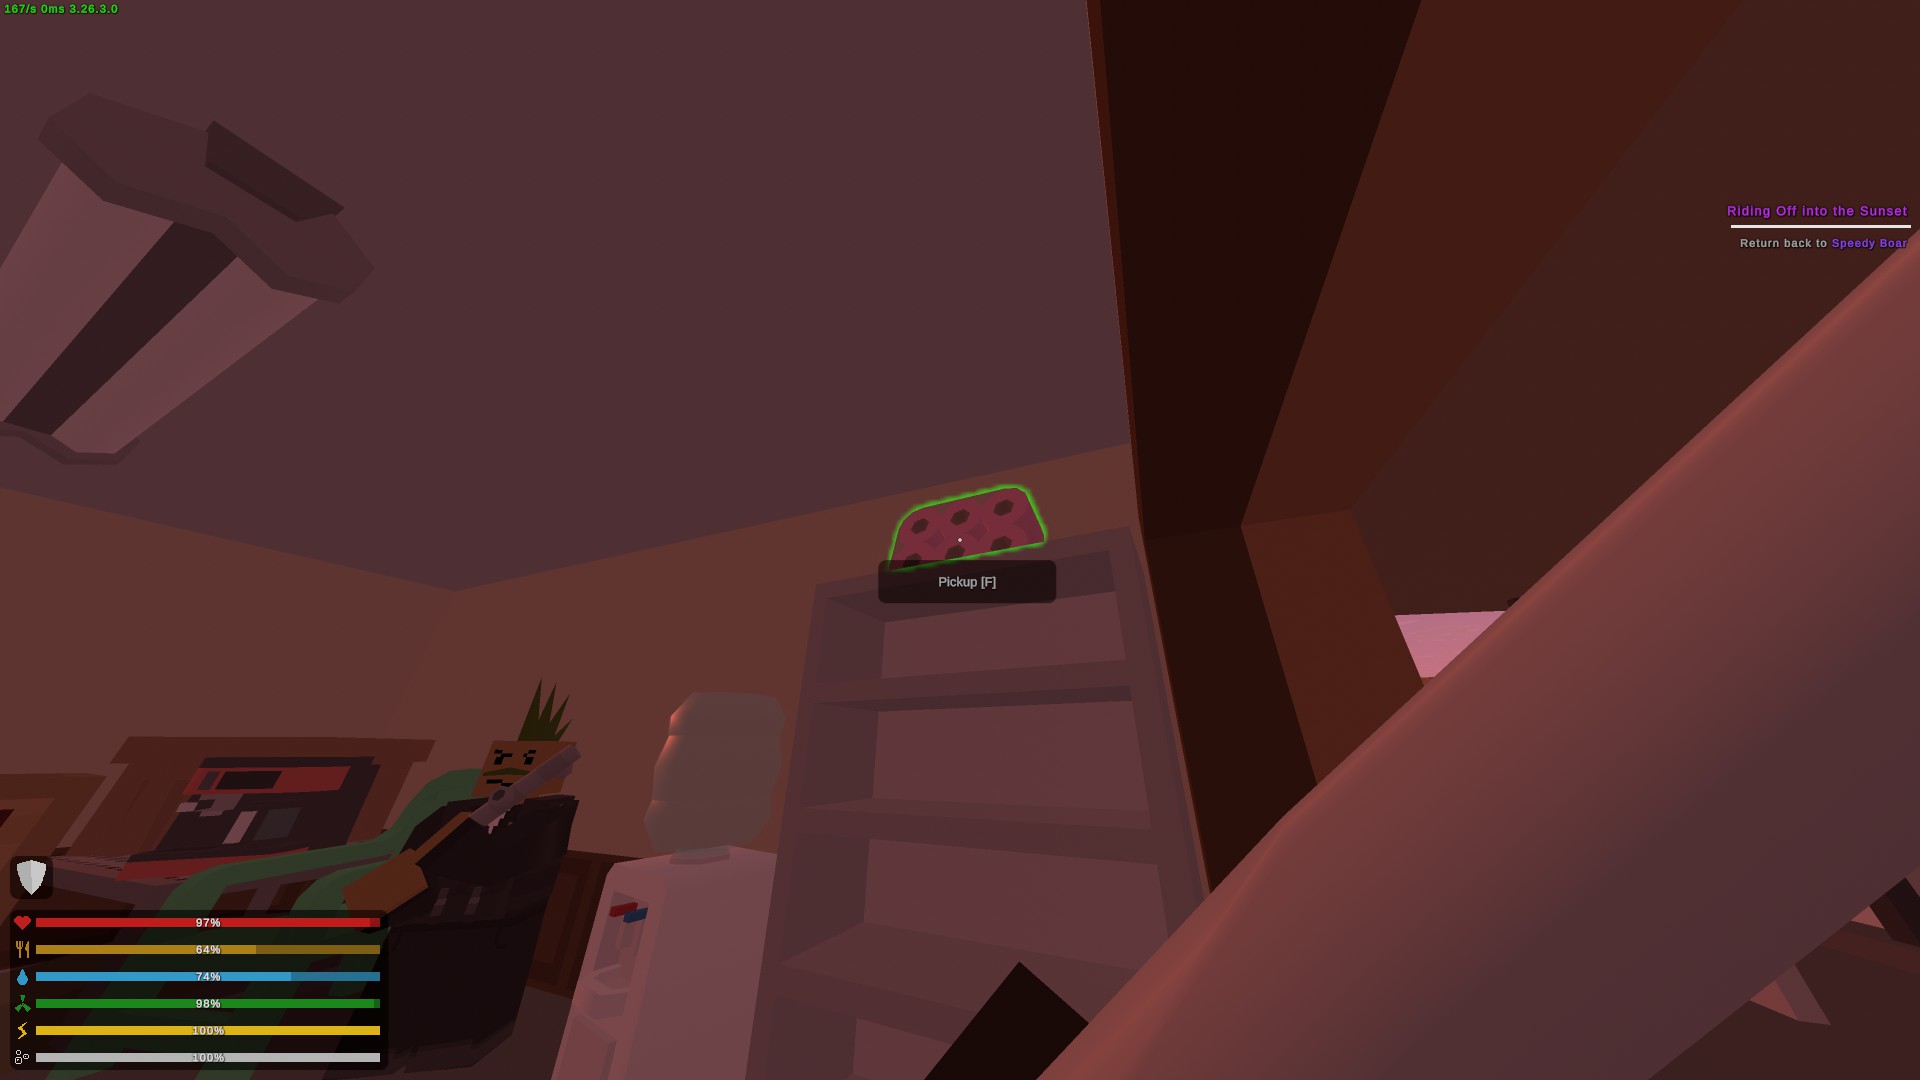
He's along the road just south of the DCC Laboratory bus stop. Go talk to Speedy Boar and he'll give you the present.
It's in the same room with John and John on top of a bookshelf right by the door:
Important Documents #2
You gotta craft (or find?) the premium toilet paper: 2 toilet paper to craft an expensive toilet paper and 2 of those to craft a premium toilet paper, so you're going to need 16 regular toilet paper in total. Seems to be a repeatable quest for experience.
Beat Unturned's 100% run?
Flex it — let your friends know you pulled it off.
- Unturned | Русификатор | Перевод | Русский язык★ 5 (6.8k)163k views38k ♥4 minRussianUpdated 4 May, 2024
- More Farming Mod Crafting Guide★ 5 (1.1k)68k views3.1k ♥64 minUpdated 21 Dec, 2023
- Русификатор + Достижения + Транспорт★ 5 (3.2k)46k views4k ♥11 minRussianUpdated 29 Nov, 2015
- How To Get Better FPS! (Optimization)★ 5 (642)42k views1.5k ♥4 minBulgarian
- Escalation IDs★ 5 (323)39k views1.3k ♥20 minUpdated 8 Nov, 2024
- 简体中文汉化包 汉化指南★ 4 (165)38k views506 ♥1 minSimplified Chinese






- Upgrading to PremiumTeam Fortress 2★ 5 (20k)1441k views11k ♥6 minUpdated May 11, 2022
- No More Room in Hell Official ManualNo More Room in Hell★ 5 (2.8k)569k views2.1k ♥29 minUpdated Apr 22, 2019
- NMRiH Community Hosting GuidesNo More Room in Hell★ 5 (526)351k views653 ♥1 minUpdated Aug 10, 2022
- ULTIMATE GUIDE FOR GAME DEV TYCOONGame Dev Tycoon★ 5 (5.8k)326k views10k ♥4 minUpdated 23 Jan, 2014
- How to 'Git Gud' Soon™MORDHAU★ 5 (2k)318k views3k ♥68 minUpdated Nov 16, 2024
- Лучшие кооперативные игры SteamPAYDAY 2★ 5 (1.5k)315k views2.1k ♥56 minRussianUpdated Apr 27, 2025






This guide was created by its original author on the Steam Community. Are you the author and want it removed? Request removal.