Workshop - Duke Nukem Hide'em and Seek'em Spots List
Foreword
ABOUT THIS GUIDE
For the workshop challenge map:
https://steamcommunity.com/sharedfiles/filedetails/?id=3758636945
This guide is current to the v1.21 version of this map.
If the map version is newer, this guide should still be accurate unless otherwise stated in the map change notes (i.e. changed/added spots).
This guide also contains little snippets of trivia about the original Duke Nukem 3D map this is based on. My "Duke Facts" are primarily checked by the Duke Nukem World Tour game, available on Steam and often at a hefty discount.
I am aware that in the various ports over the years that there are some minor differences, and I apologise for any confusion that may be generated if you remember things differently. I played Duke Nukem 64 the most, it did influence my build, and it had a lot of minor changes compared to other versions.
This map and guide were originally made before Chapter 2 release of Scrap Mechanic.
STARTING THE MAP
The switch in the Seek'Em cage starts the challenge, and can be shot from outside the glass cage to start it. You need to start the challenge to enable explosions and proceed through the map. After the corner of the roof blows up, jump down the newly opened vent to enter the hiding area.
Total Primary Spot Counts
Maybe you count spots differently than I do, but this is how I count them. I'm only counting primary spots, nothing more. More details about each spot are included in its description if I think them noteworthy.
Total of primary spot buttons/switches:
13 - Outside
4 - Across the Street Hallway
2 - Front Entrance Foyer
12 - Snack Bar
7 - Theatre and Adjoining Hallways
2 - Behind Theatre Screen
7 - Mens Washroom
3 - Hallway to Circular Staircase
7 - Projector Room Area
7 - Arcade
2 - Final Hallway
3 - Bachelors Pad
=====================
69 - TOTAL PRIMARY SPOTS
Because it's Duke Nukem.
All 9 Master Switches and Duke Facts About Them
These locations will also be included in their respective sections, but if you're just trying to reach the end, this is for you. These will be listed in the order I consider the fastest to complete the challenge, which requires shooting some switches rather than actually going into their spots. How to access those locations fully will be included in their respective sections.
OUTSIDE:
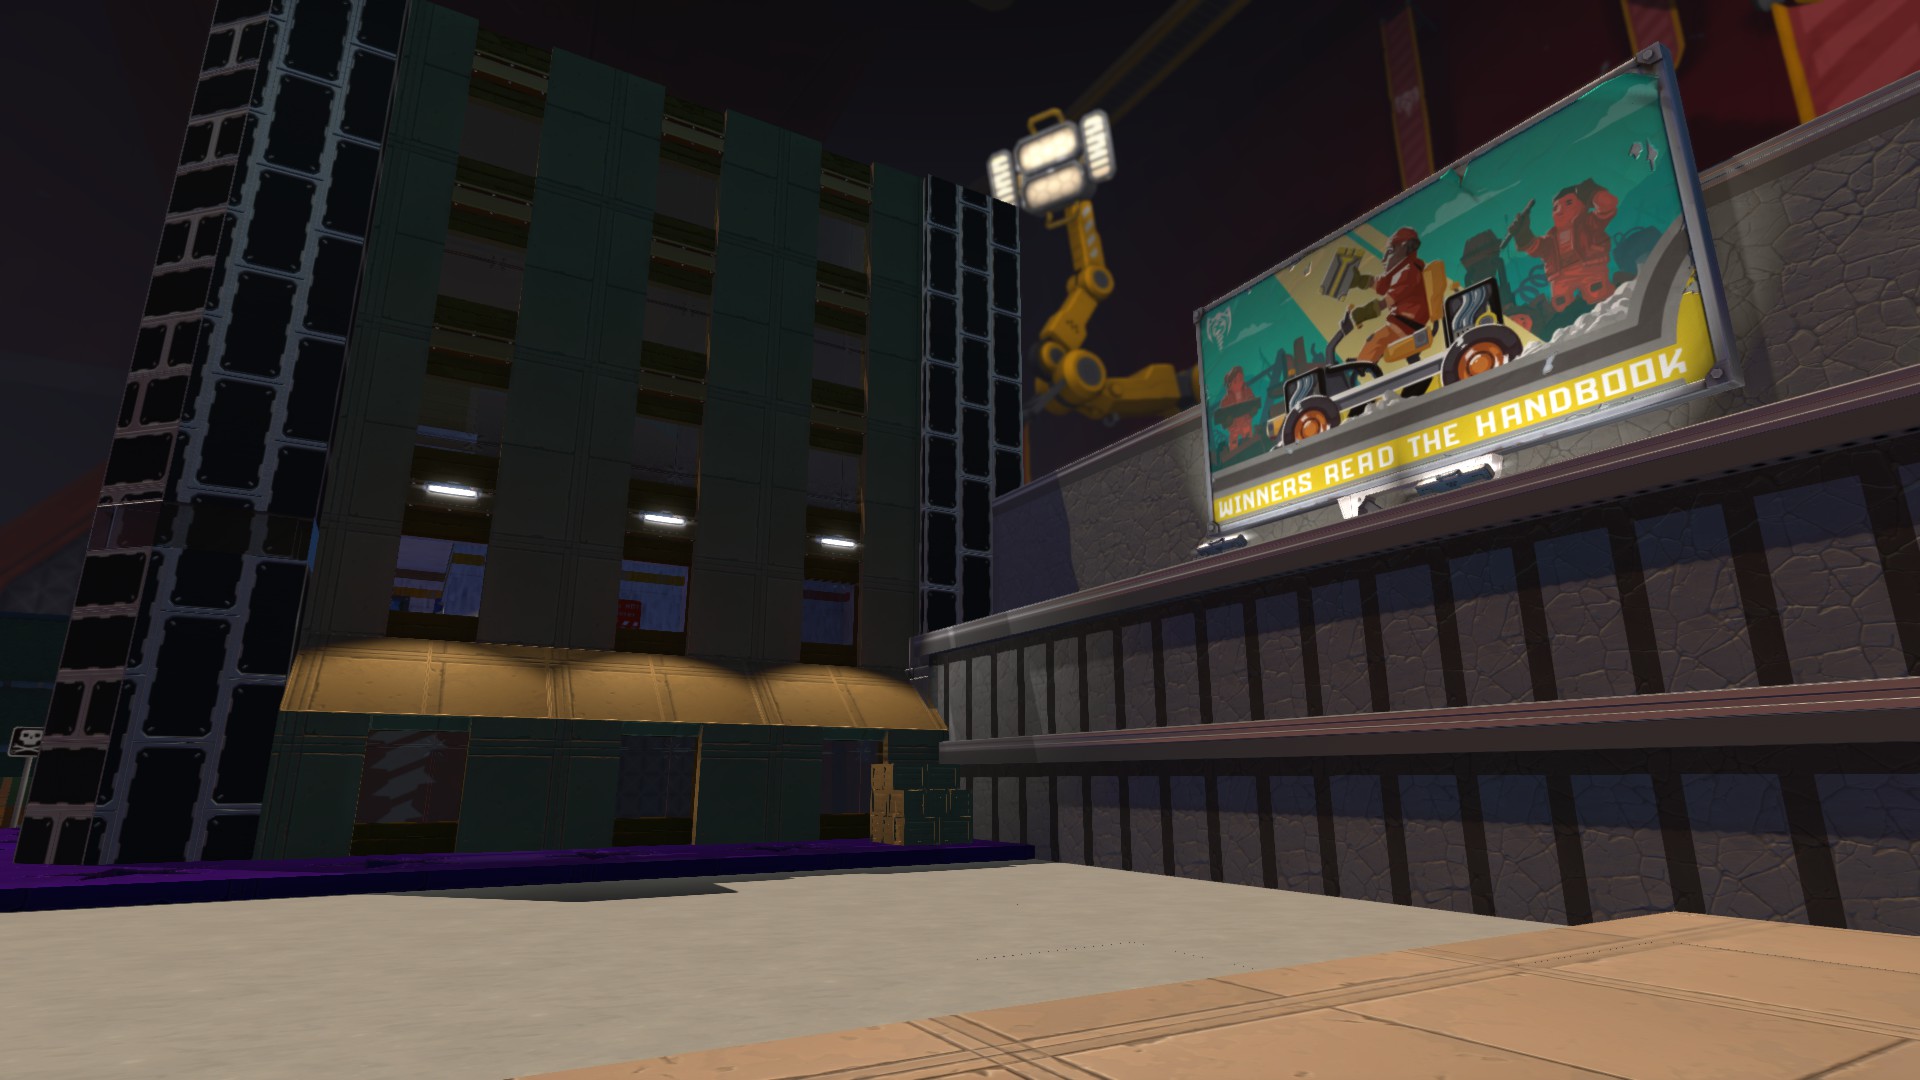
There is a switch just under the large billboard on the right side. You need to parkour up the crates and onto the ledge with the billboard. Head down the elevator to find the MASTER switch.
Duke Fact: this elevator delivers an RPG to Duke, which is a great way to open the shortcut at the cinema ticket booth.
ACROSS THE STREET HALLWAY:
Climb the crates near the large billboard, jump onto the sloped building and into the open window. The poster at the end of the hall is opened by hitting it directly with a hammer. Inside you'll find the MASTER switch.
Duke Fact: this hidden area contains the "Steroids" item pickup, that can boost Dukes speed, melee attack power, and provide minor healing.
 BACHELORS PAD:
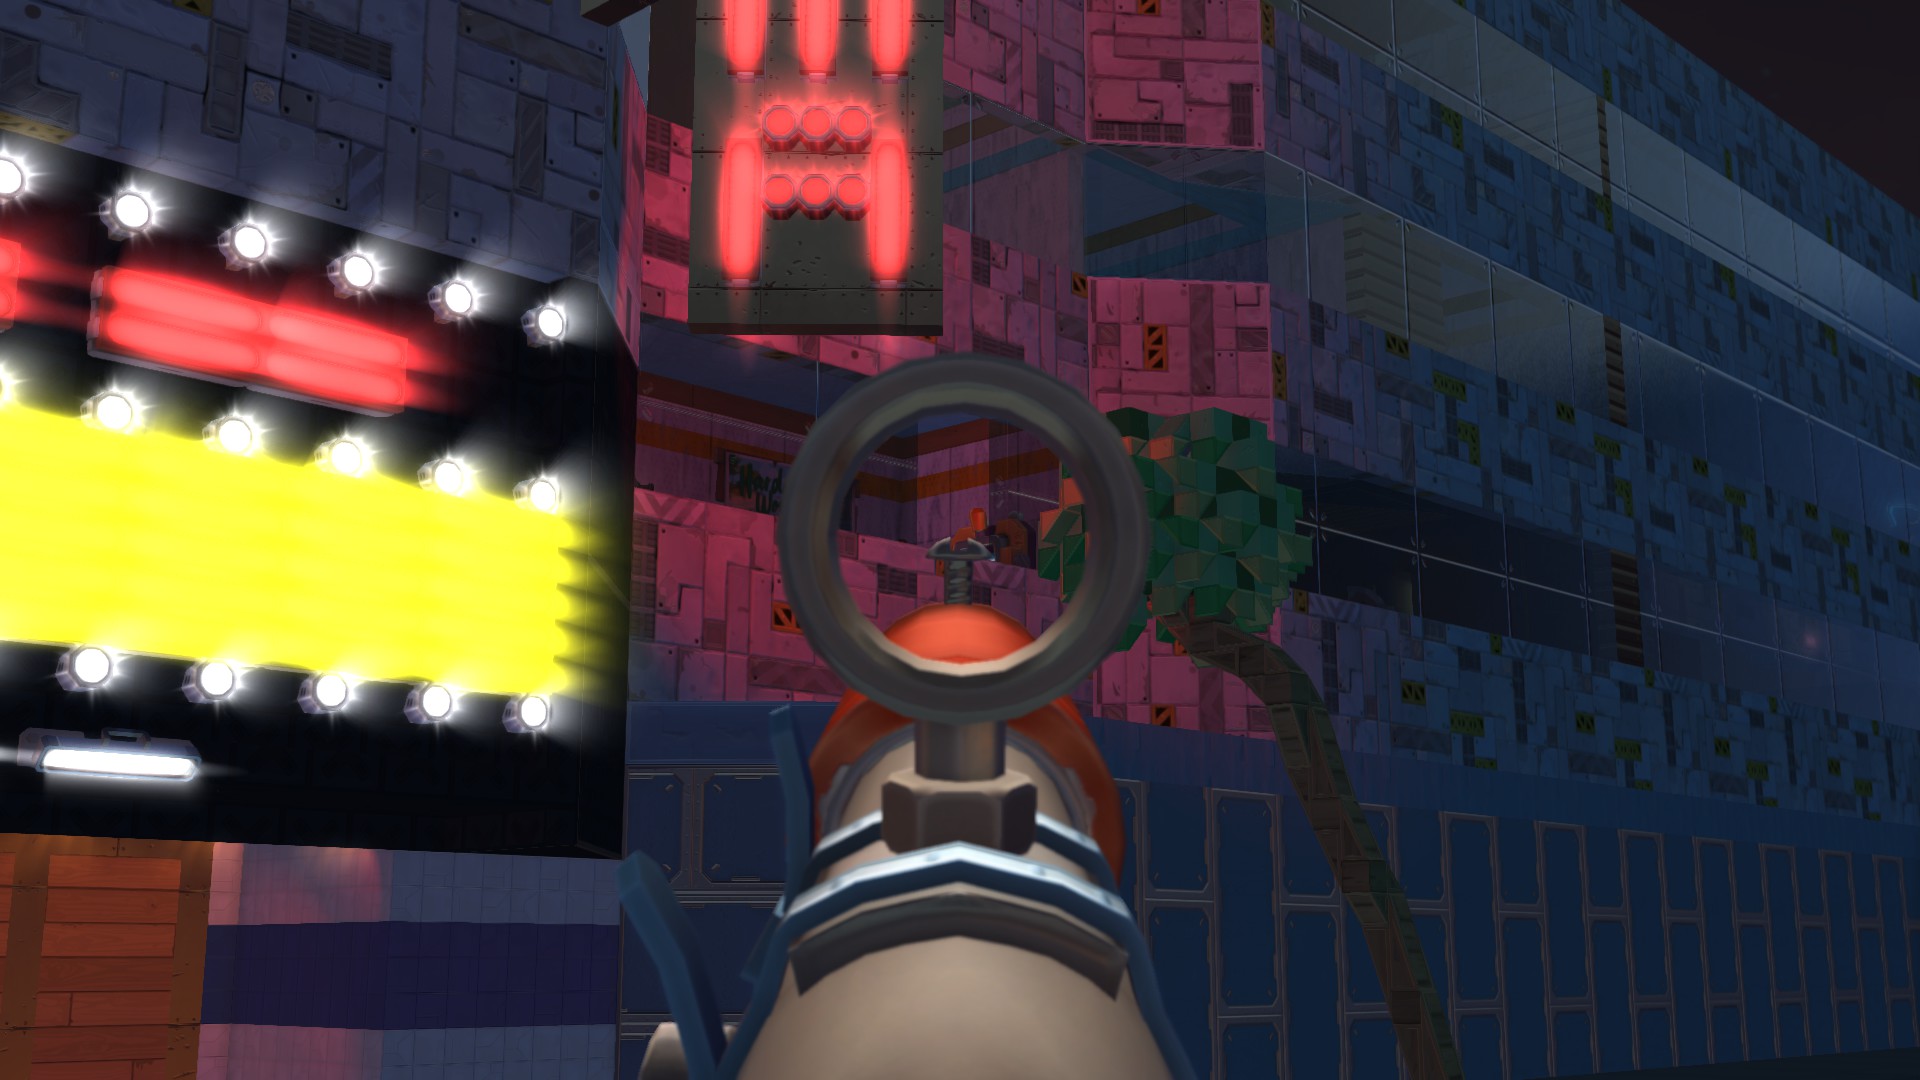
A small apartment visible behind the Cinema sign, the MASTER switch inside can be shot from the street.
Duke Fact: This area had a nice cache of ammo and guns, but the owners choice of television shows are questionable.
SNACK BAR:
There is a switch under the 2nd cash register from the left. It opens a spot in the wall above that you can' reach. Below that spot there is a tile on the wall painted white. Hitting the white blocks with a hammer activates an elevator up to the spot. The MASTER switch can be shot from the floor without using the elevator.
Duke Fact: this hidden area has body armor inside, allowing Duke to take more damage before dying.
MENS WASHROOM:
The MASTER switch here is found above the toilets, near the vent, in a little cubby. Accessing it from the washroom requires some parkour. I find jumping on the stall doors to be the easiest. If you find it too difficult, you can go to the Projector Room and come down through the vent instead.
Duke Fact: Here Duke can find a portable medikit item, allowing for healing on the go!
PROJECTOR ROOM VENT ACCESS ROOM:
Proceeding through the vents, you will enter this room before the Projector Room. A MASTER switch is on the wall. There is a black wall that opens to the Projector Room, opened by a switch beside it. This switch is visible through a crack in the wall from the Projector Room.
Duke Fact: In this room you'll find a woman trapped in an alien pod. How can Duke save her? Well, Duke is all out of gum...
PROJECTOR ROOM :
On top of the projector is a sensor,, typically triggered by jumping on top of the projector. It opens a very obvious spot in the wall. This spot contains a MASTER switch.
Duke Fact: This hidden room opens to reveal another enemy guarding an RPG, ideal for blowing up a hole in the movie screen! Just make sure you break the window first...
ARCADE:
The first arcade machine has two buttons on it. The one on the left opens a small spot near the elevator. This spot contains a MASTER switch.
Duke Fact: Interacting with the first machine triggers one of the (im)mature voice lines often repeated by teens of the day. The wall opening gave access to a Holo-Duke item, used to distract enemies.
BEHIND THE THEATRE SCREEN:
Accessed primarily by opening up the movie curtains (via projector room) and blowing up a hole in the movie screen. A ledge has been added to the exterior of the building, allowing access to this area through the window instead. You will need to break the window if you choose this route.
Duke Fact: this hidden area contains shotgun ammo and the awesome jetpack, enabling Duke to fully travel in the third dimension.
Outside
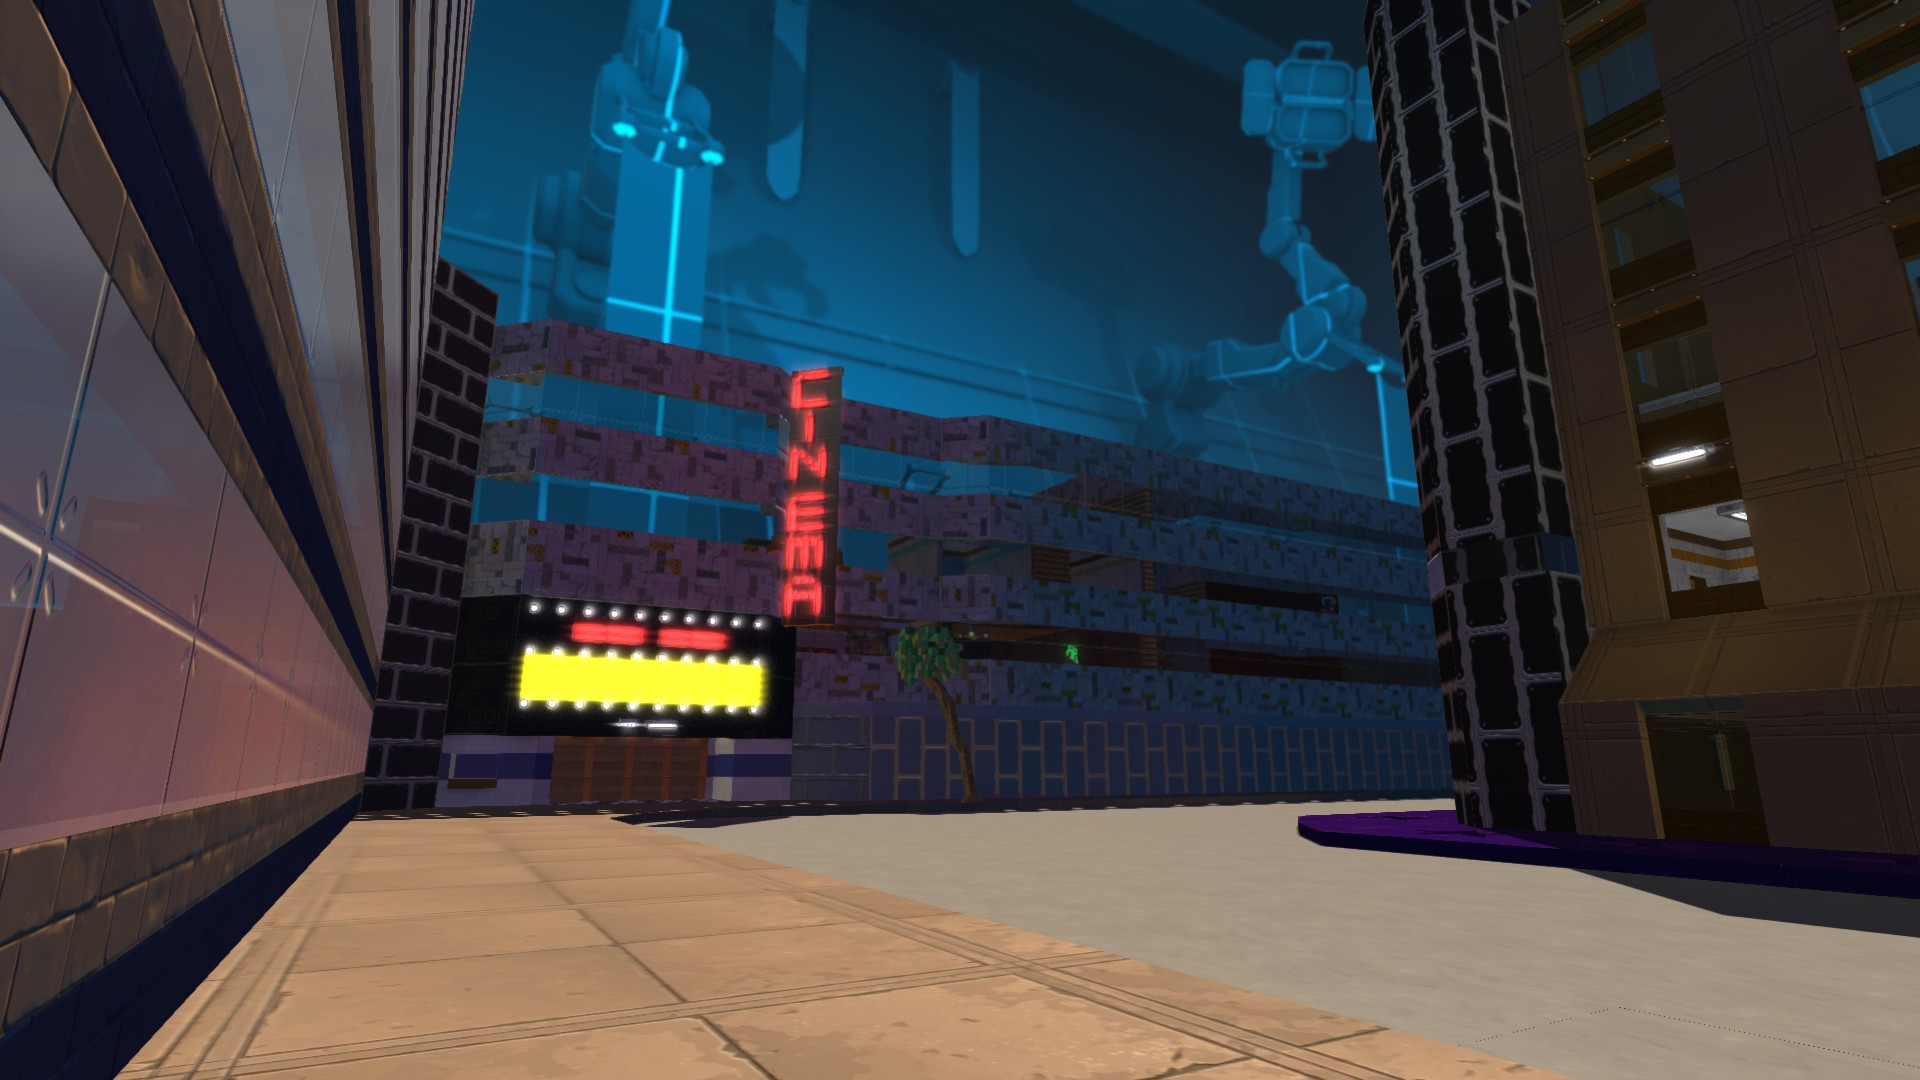 Duke Fact: The buildings here are very tall, extending to the skybox. The extra floors were not included as they cast long shadows.
Outside has 13 primary spots to find.
After dropping down the vent shaft, turn right to see a large billboard. Keep to the right side, on the sidewalk you start on. Head towards the corner of the building and the cracked wall. Crouch and look up into the lower ledge to see a switch not far from the corner.
There is a switch directly above the first switch on that same ledge. You need to parkour up the crates onto the ledge, walk to the end, and find the switch behind a wedge of glass. This spot has a window into the billboard spot, and a window into the playing area.
There is a switch in the curb on the right where the road meets the cracked wall.
There is a switch in the sidewalk star under the crates that opens the cracked wall. This spot has a peephole that opens and you can shoot from.
There is a switch just under the large billboard on the right side. You need to parkour up the crates and onto the ledge with the billboard. This spot contains a MASTER switch and has a window into another spot mentioned above.
On the building behind the crates, there are three windows at ground level that face this part of the street. A switch can be found in the sidewalk star in front of the left window. This is a windowed spot.
Another switch is found in the sidewalk star near the corner, before you go around the corner.
A button near the top of the CINEMA sign can be shot to open a spot directly underneath.
A button can be found on top of the skull street sign.
A switch can be found inside the corner of the dumpster.
A switch is located in a sidewalk star near the far end of the dumpster.
A switch is found on the building near the end of the star walkway. This spot has a hidden switch near a corner that is more easily seen when crouched. This second spot is a windowed spot.
A switch is found in the back alley behind the exit sign above the door to the theatre. This spot has glass that can see into two other nearby spots.
Hallway Across the Street
 ==========
This hallway has 4 primary spots to find.
To get there, from the start, parkour up the crates, onto the sloped building, and proceed into the open window.
Duke Fact: These windows were not transparent from the outside. The area was hinted at on harder difficulties by spawning an enemy inside that would shoot at you through the no-clip wall.
There is a switch backside visible in the corner of the light above you. It is the light closest to the large billboard.
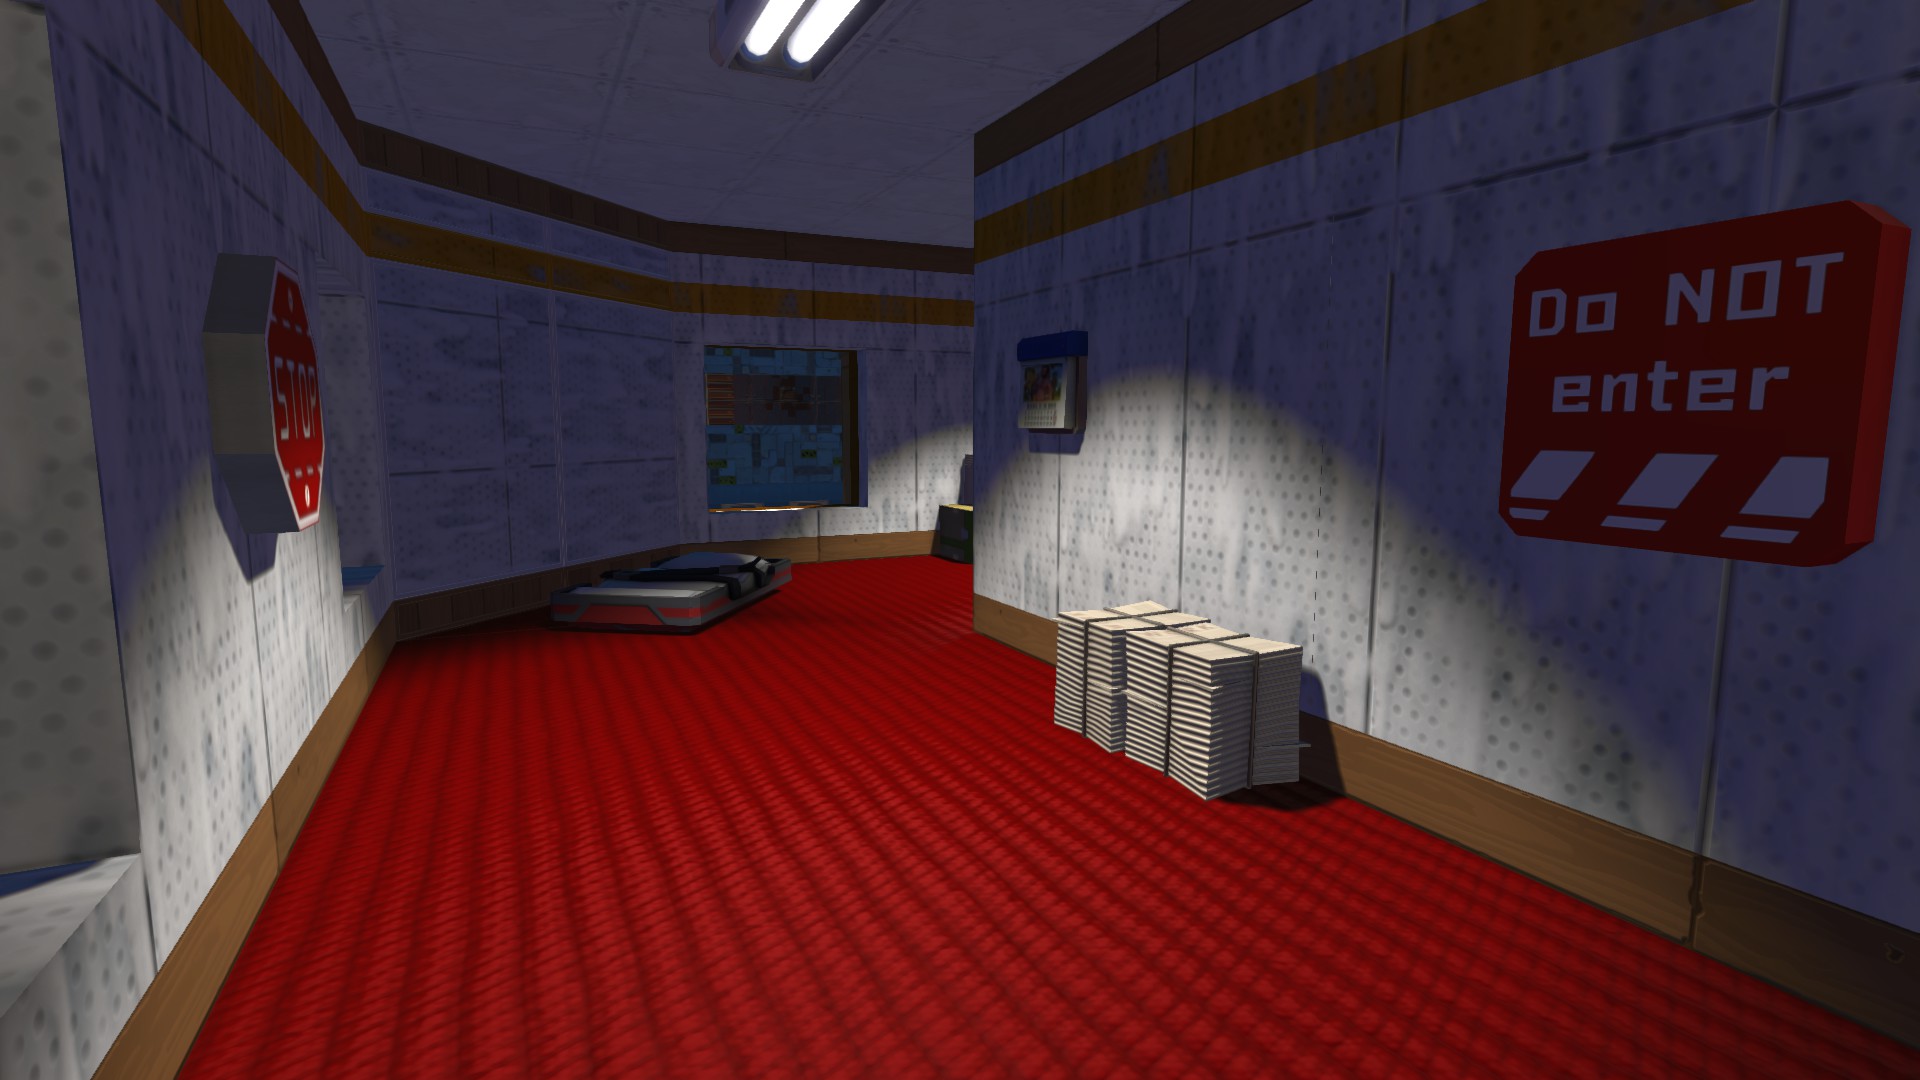
The windowed spot that is closest to the billboard is opened by using a hammer on the side of the stop sign to make it swing.
There is a switch hiding in a tiny crack in the floor on the far side of the bed. This spot has a window you can open and view the entire street from.
The poster at the end of the hall is opened by hitting it directly with a hammer, and a switch on the backside of it can open and close the door. This spot contains a MASTER switch. From the inside, the door can be ridden up like an elevator, leading to a room above. There is also another tiny room attached that is hidden when the elevator/door is raised. All of these spots have windows looking onto the street.
Front Entrance Foyer
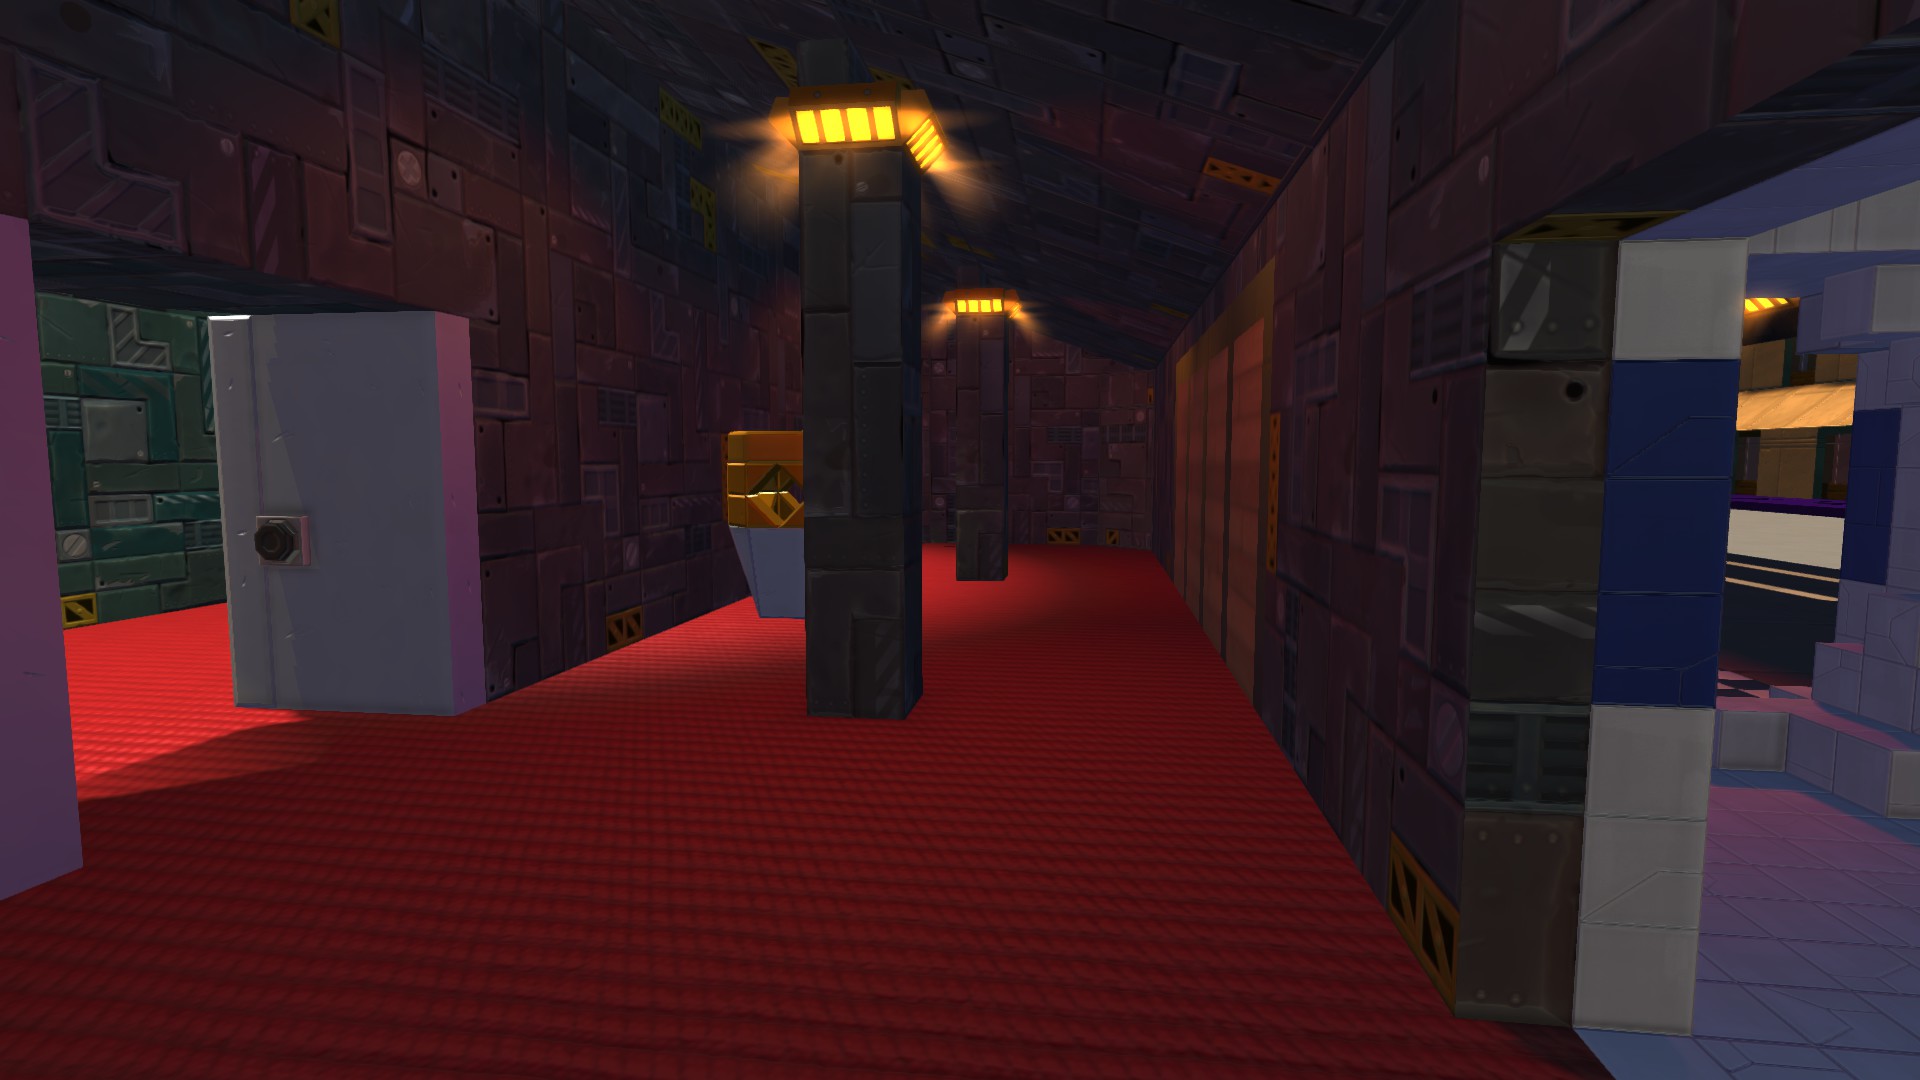
This tiny area only has two spots to find. It is located between the Snack Bar and the street. To get there, take the explosive entrance through the ticket booth from the street, or come in through the door from the Snack Bar.
There is a switch in the trashcan. May be easier to see if crouched.
There is a switch on the pillar furthest from the ticket booth, under the lights. It is on the street side.
Snack Bar
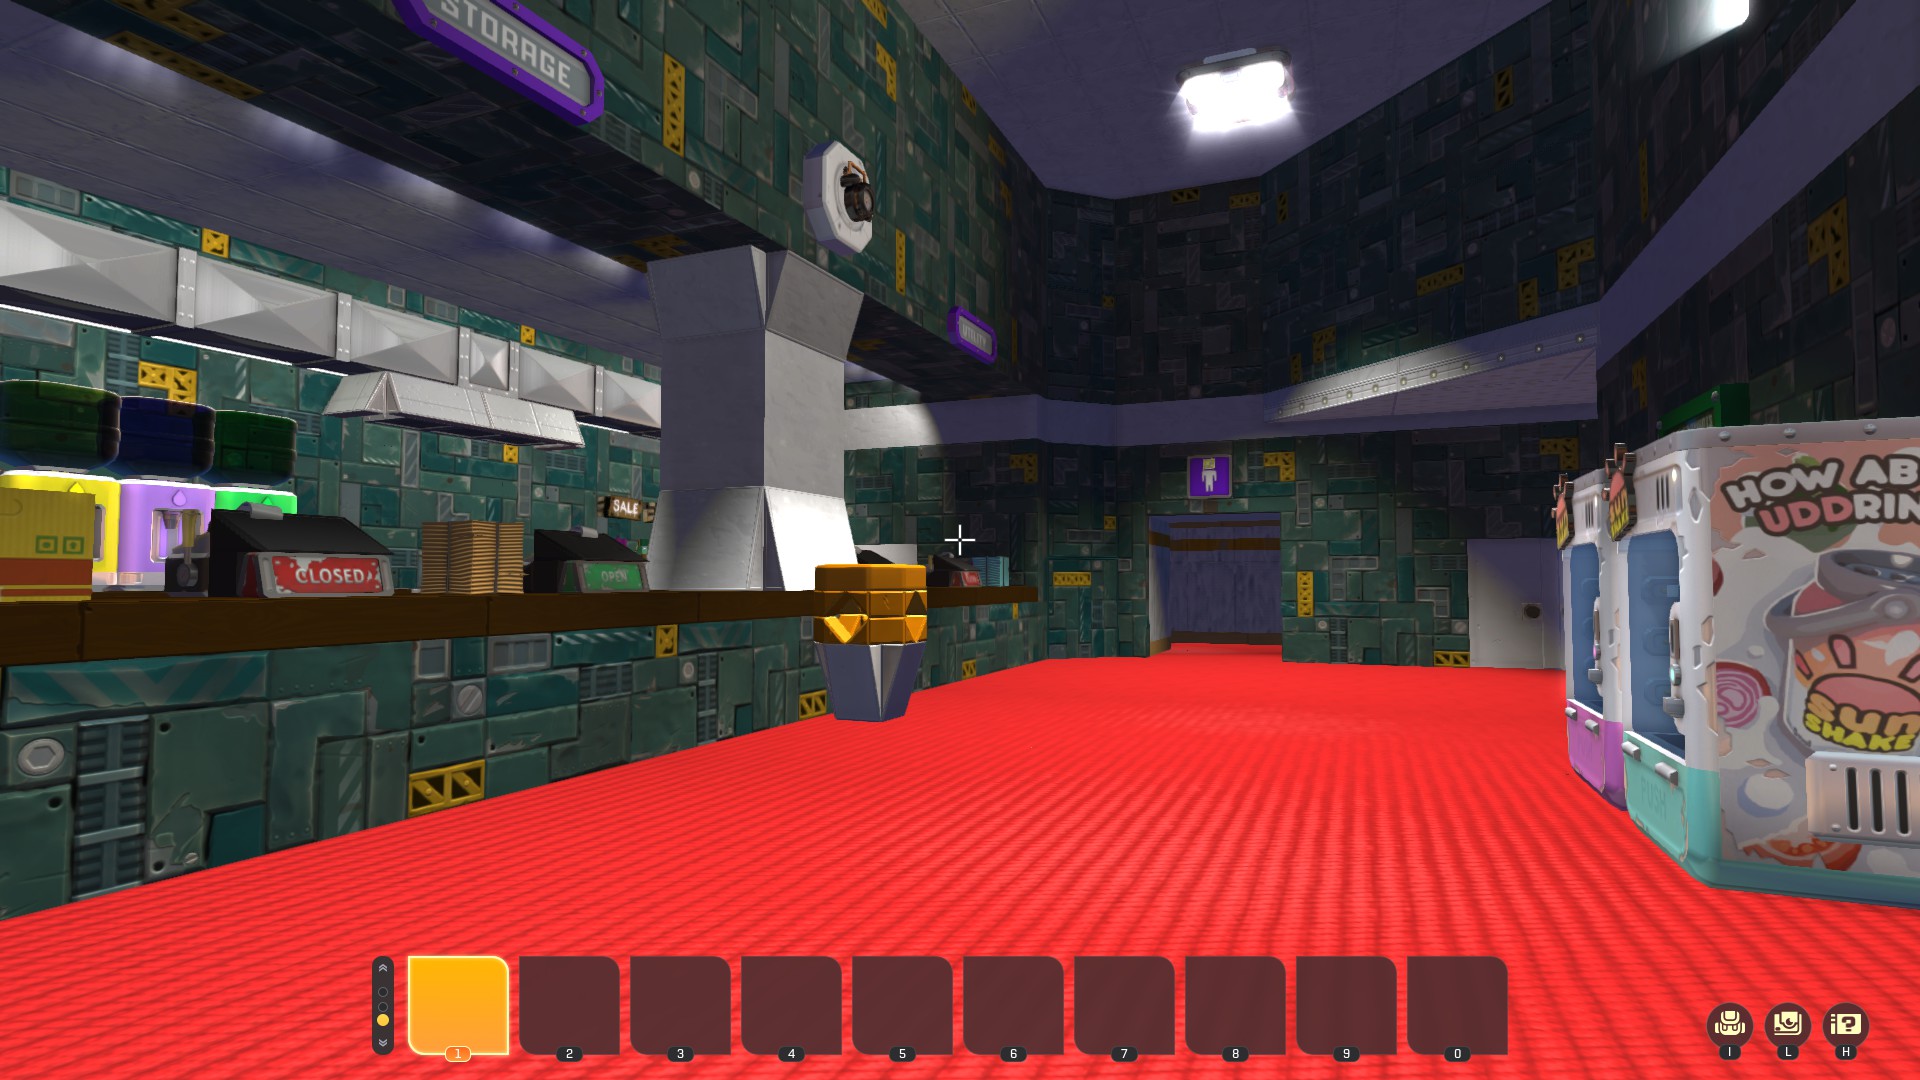 There are 12 primary spots hidden in this area. Central to the map, easily identified by the four cash registers and a highly decorated area. I took a lot of creative license with this area as the original was too sparse for my liking.
There is a switch in the trashcan down by the arcade elevator (hallway to the right if coming from front entrance). There is a small alcove hidden when the door is open. In that alcove, there is another switch that you need to fully enter to see, that opens another spot within the spot.
There is a switch near the floor in between the sun shake machines. When coming back up, there is a switch in the wall that becomes visible, and you'll need to look up to see it.
There is a switch in the trashcan near the Snack Bar that opens up the pillar. Inside, look up to see a seat. This spot has a peephole that you can open and shoot from.
There is a switch behind the mens room sign, backside visible.
Looking at the Snack Bar from the sunshake machines, there is a switch under the 2nd cash register from the left. It opens a spot in the wall above that you can't reach. Below that spot there is a tile on the wall painted white. Hitting the white blocks with a hammer activates an elevator up to the spot. This spot contains a MASTER switch. There is a hidden switch behind the light in this spot, backside visible. This second spot contains a peephole you can open and shoot from.
In the backroom behind the single white door, there is a switch in the corner of the 2nd light.
In the backroom behind the single white door, close the door to find a switch hidden behind it.
In the component kits on the shelf, a switch is visible through the tiny cracks between them. This is probably my most difficult switch to hit
Look up into the vent on the stove, to the right to find another switch.
Among the batteries on the shelf, you can find a switch at the back.
Under the jug of grape juice on the floor, you can see the backside of a switch.
The stove is a combination lock spot. The cash register signs are the hint. Turn on the two middle switches, then hit the button to open the room to your left. This busy stockroom is all a distraction, the hidden switch in this spot is only visible when the door is open, found in the door frame. This secondary spot has a peephole you can open and shoot from.
Theatre and Adjoining Hallways
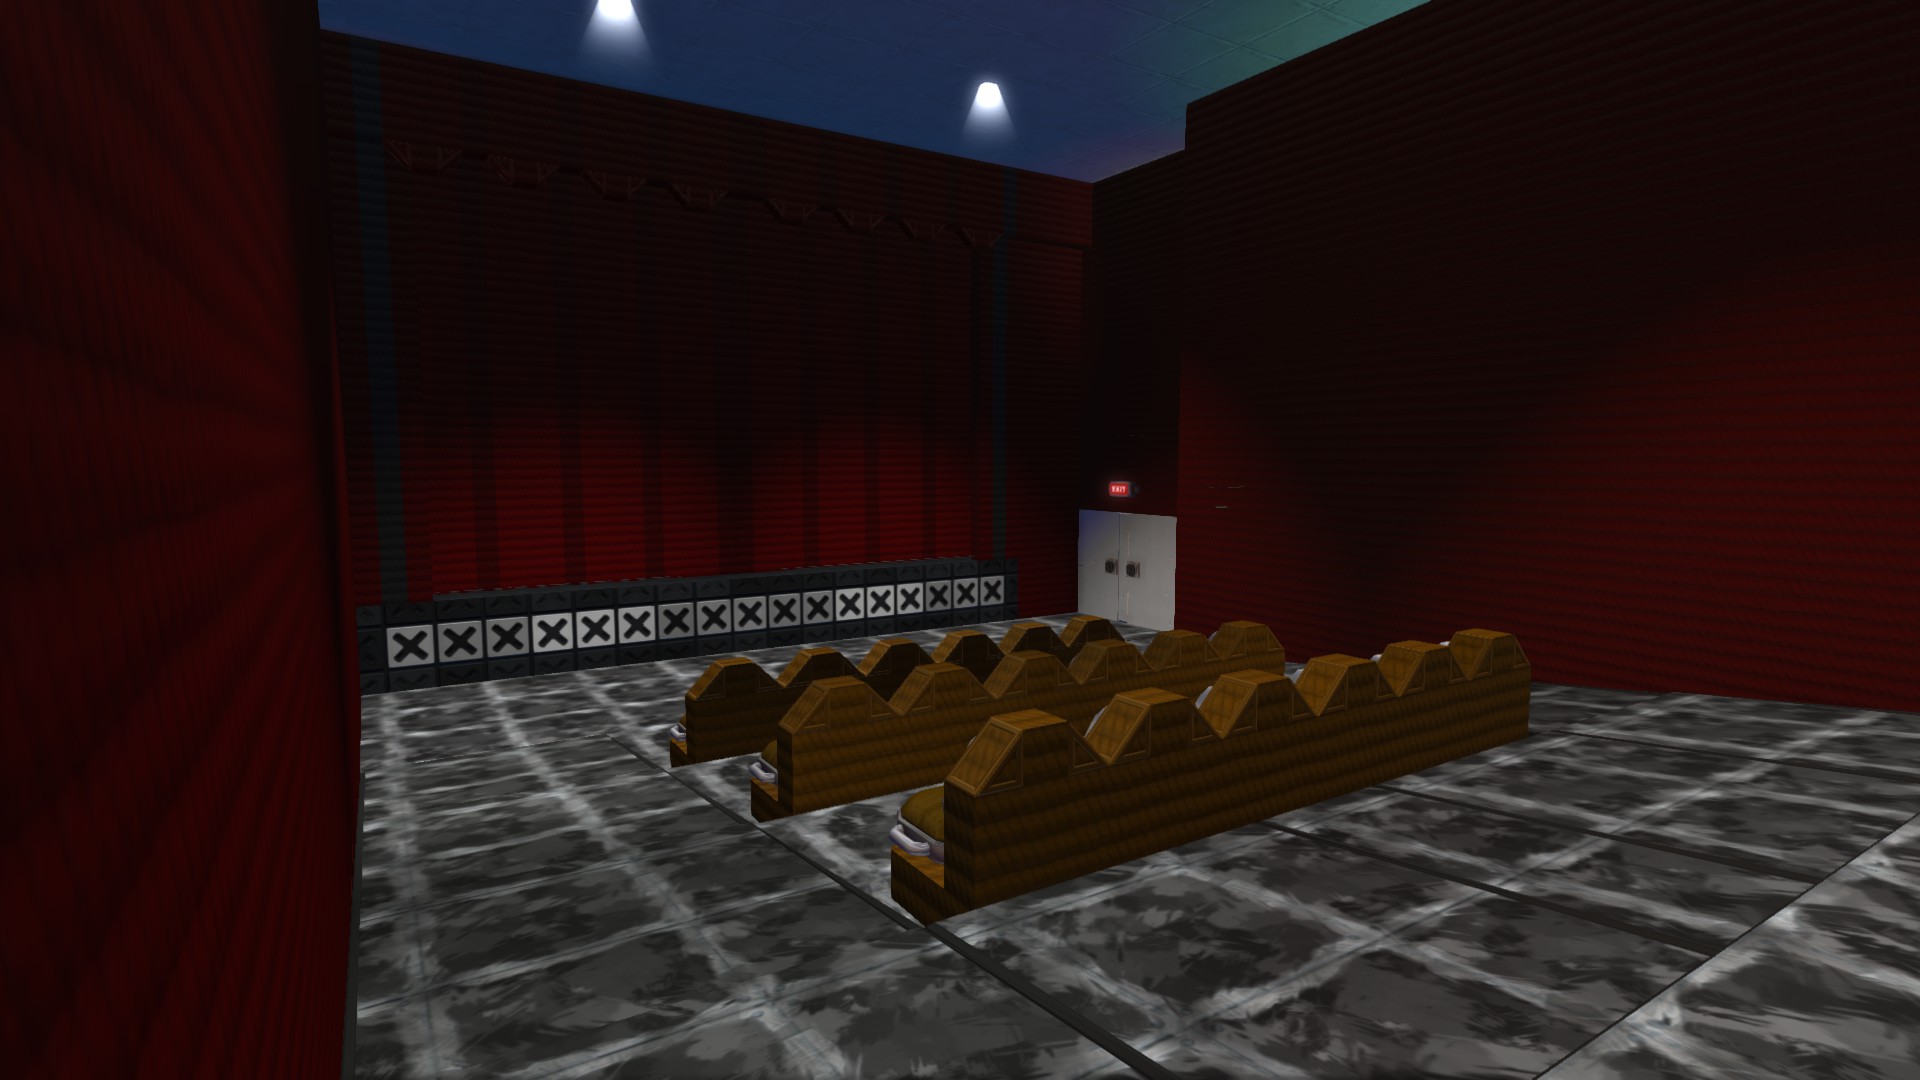 There are 7 primary spots in this area. The Theatre is the place with the chairs and the big movie screen.
 Note there is an elevator that you can take up to the window of the projector room. It is revealed when the projector is activated, but it can be used anytime by breaking the cardboard block obscuring the switch. This elevator does not exist in the normal version of Duke Nukem 3D.
Duke Fact: An earthquake hits and a small part of the wall explodes when you walk down this hallway.
Starting in the (exploding) hallway that connects the Snack Bar to the Theatre, you can find a trashcan. Next to the trashcan is a switch in the carpet. While this one features the common spot under the elevator, it also features an extra little hiding cubby in it that you need to crouch to get into.
Heading to the Theatre from the trashcan, turn left. There is a switch in the carpet where the carpet steps down, on your left, at the wall.
There is an exit from the Theatre to the Outside Back Alleuy. In the exit hallway, there is a switch in the corner of the floor only visible when the outer doors are closed. This spot has a window that can see into two other nearby spots.
In the exit hallway, there is a switch behind the light closest to outside.
There are three seat spots in the Theatre, assuming you're standing at the screen:
Seat: closest row to screen, 3rd seat from left has a switch. The seat lowers into the spot.
Seat: middle row, far right seat has a switch that opens a spot in the wall nearby. It may be hard to see.
Seat: back row, 4th from left has a switch. This opens a spot in the floor.
Behind the Theatre Screen
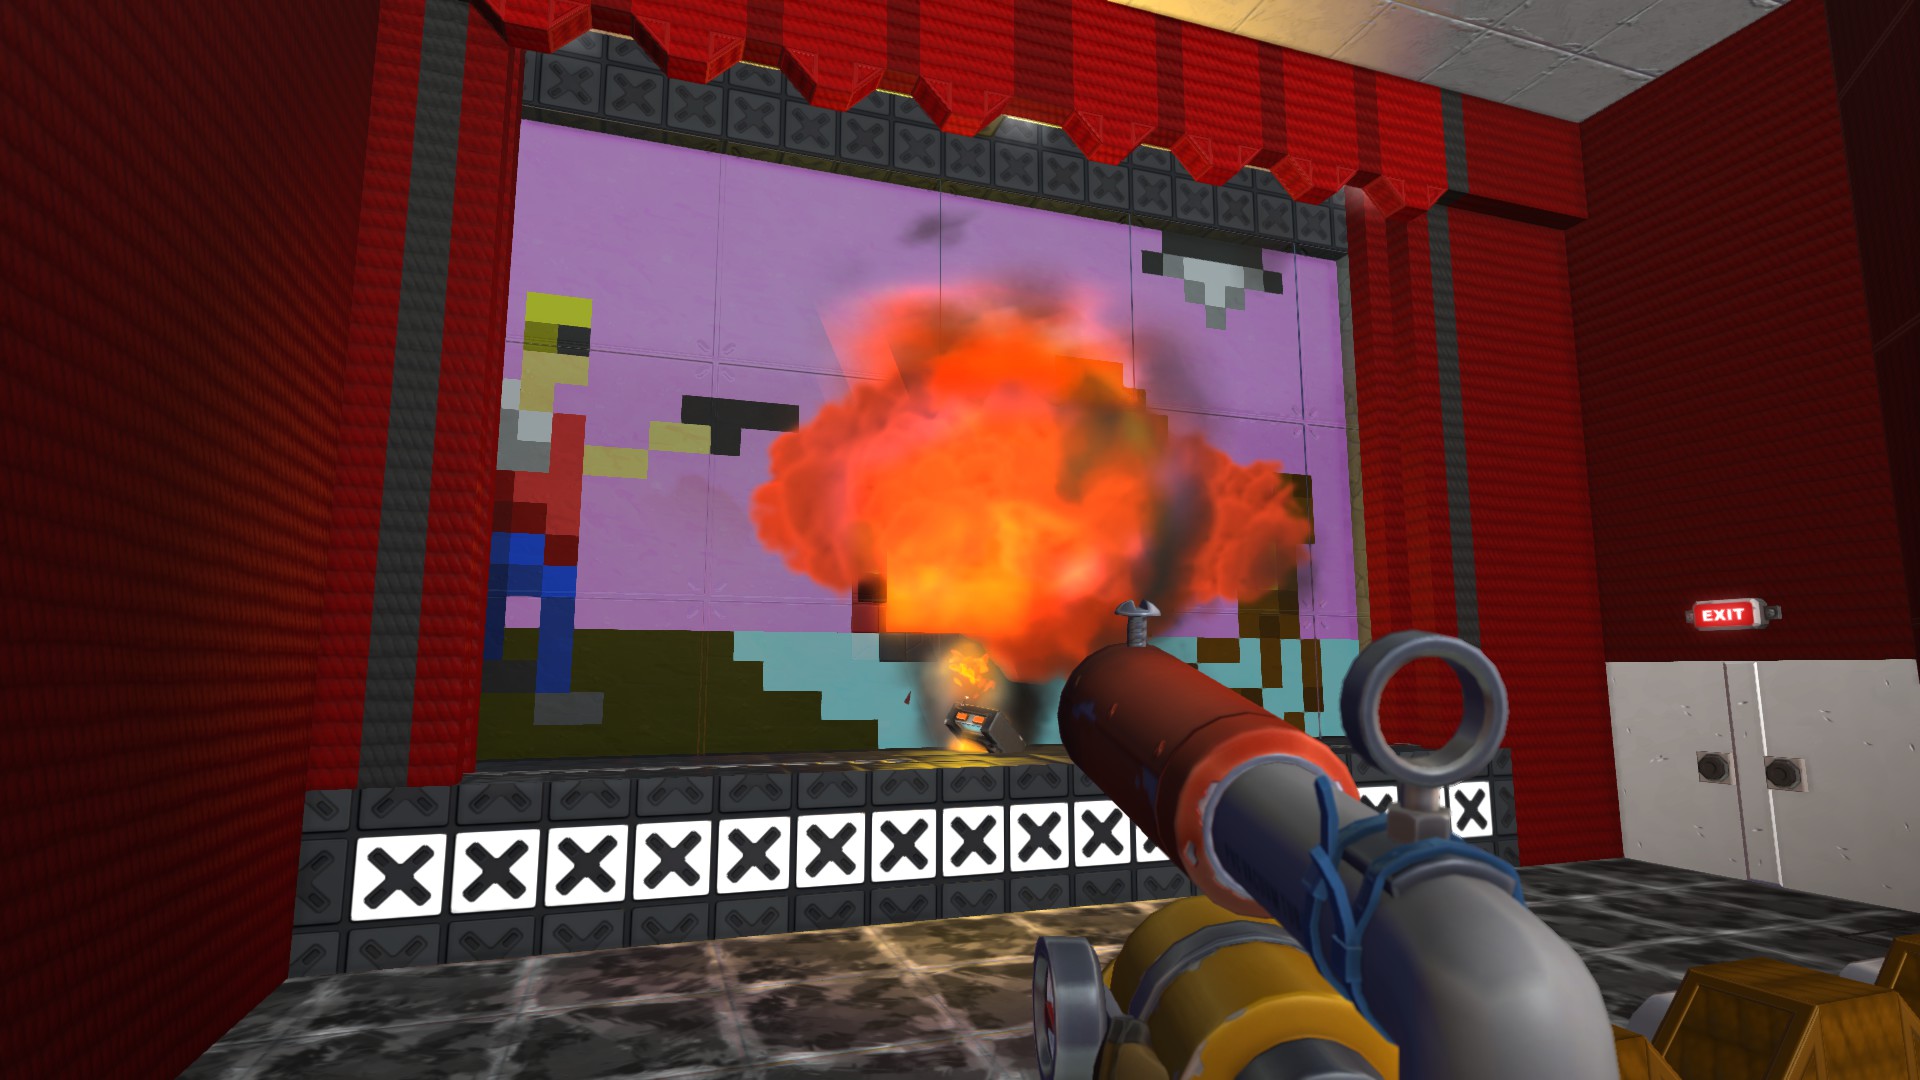 There are two spots located in this area. Accessed primarily by opening up the movie curtains (via projector room) and blowing up a hole in the movie screen. A ledge has been added to the exterior of the building, allowing access to this area through the window instead. You will need to break the window if you choose this route.
There is a MASTER switch in this area.
Duke Fact: this hidden area contains shotgun ammo and the awesome jetpack, enabling Duke to fully travel in the third dimension.
There is a switch in the crates near the MASTER switch. Visible through a tiny crack.
There is a switch in the junk near the window. Get on the reel and look down into the middle.
Mens Washroom
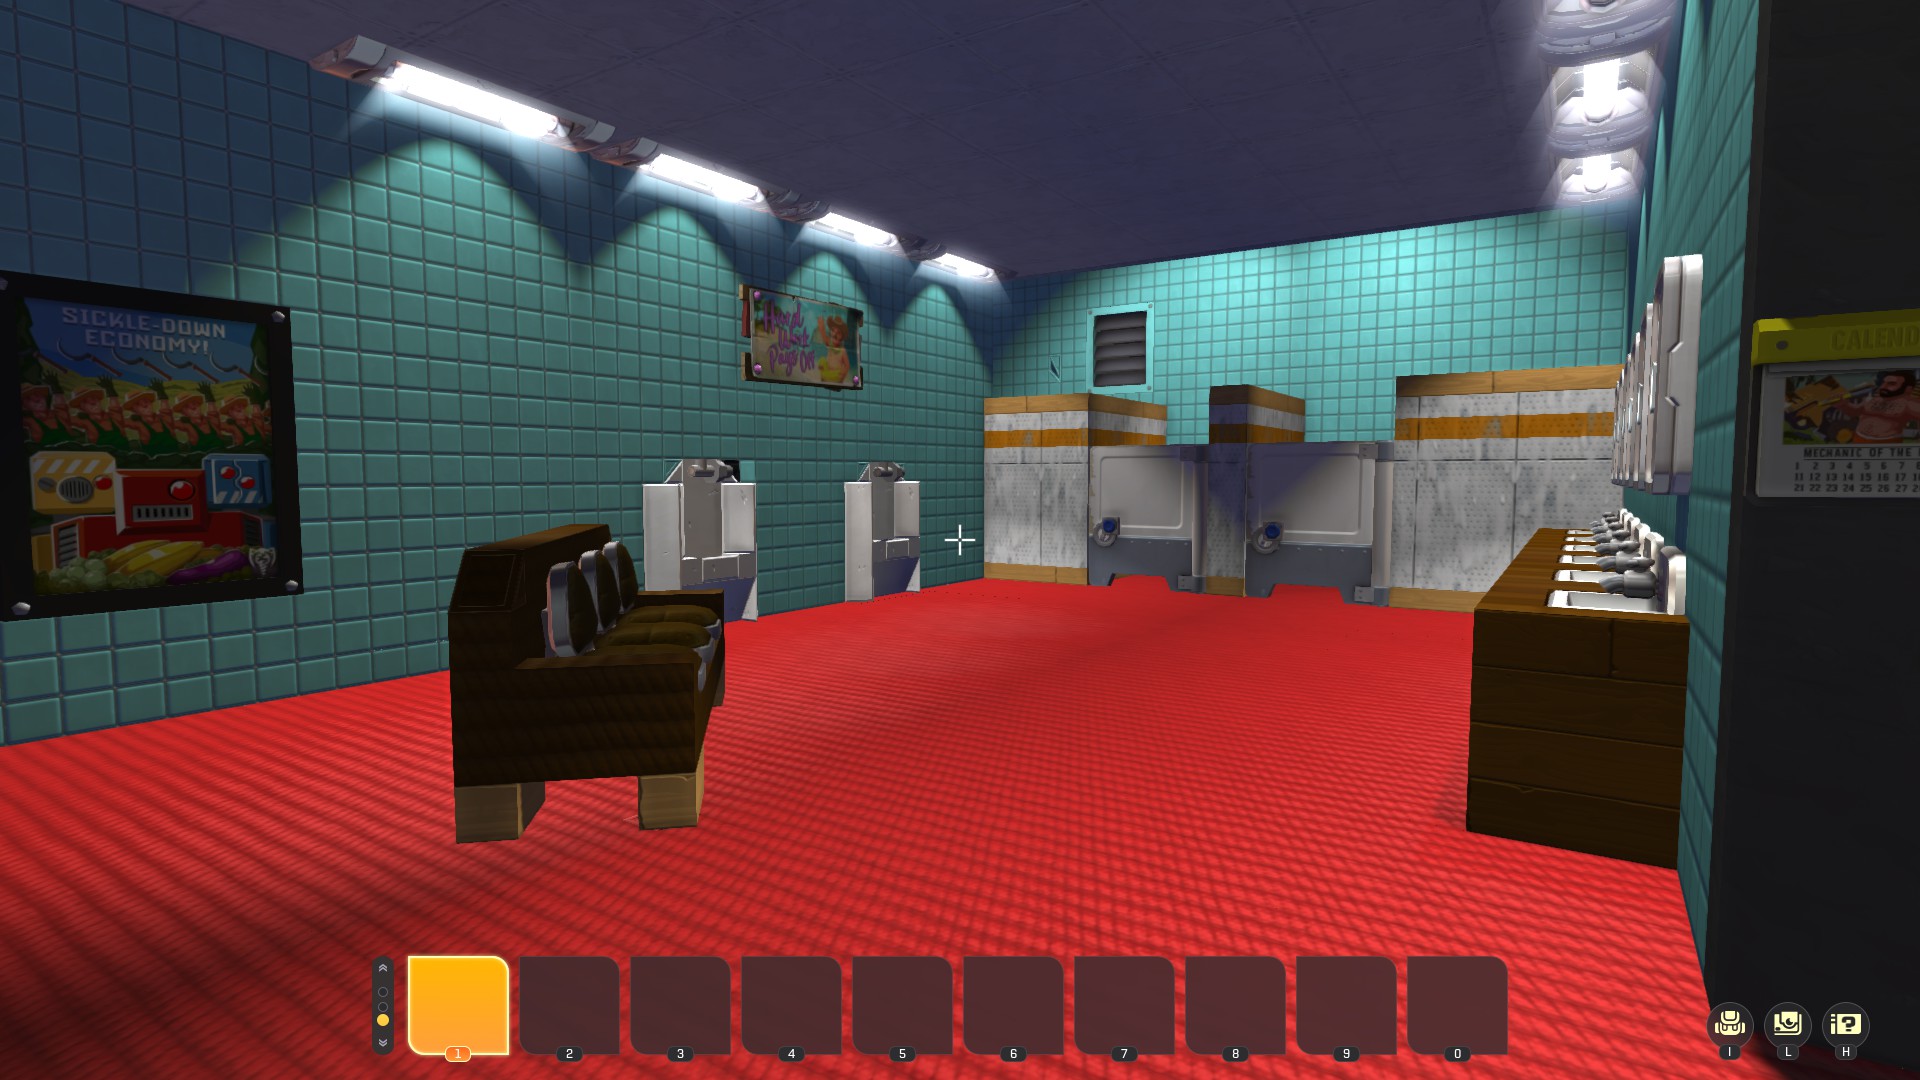 This areas spot counts are debatable, but there are 7 primary spots to open that will lead you to opening them all.
Accessed primarily from the Snack Bar, features a fully built "reflection" of the room that is also part of the hiding area. This area contains a MASTER switch that is found above the toilets, near the vent entrance. The vents are considered an alternate route to the Projector Room, and not really a spot.
Duke Fact: The mirror was considered amazing in the 1990s. It has been made larger here to emphasize the reflection.
Duke Fact: At the left urinal, the phone number is visible above and to the right if you get close enough.
The 2nd sink from the entrance has a switch behind it, that opens a spot in the floor, and its reflected spot. This switch is duplicated in the reflection room, and can also be activated there.
The furthest sink mirror from the door has a switch behind it. It opens a spot in the floor and its mirrored counterpart. This switch is duplicated in the reflection room, and can also be activated there.
The toilets on the original side conceal two spots that are not mirrored in the reflection room. 3 toilets on a sliding platform, with switches on each. The first spot is by getting on the right toilet and pressing the switch. The trick to getting to the 2nd spot is: First get on left toilet, press switch to move it to the right. Now you're on the right toilet, get off the toilet and get on the left toilet. Press switch and you should move left. Keep this toilet in here with you. The key to hiding in this spot is that you want the 3rd toilet in your spot, so when the seeker presses the switch, the toilets slide away from you, into the other spot.
The couch has a seat with a switch that moves it to reveal two switches in the floor. The obvious one opens a spot in the floor directly in front of the mirror, and its reflected counterpart. This switch is not duplicated on the other side of the mirror, so its reflected spot can only be opened from this side or from within either spot.
The 2nd switch revealed by moving the couch is also in the floor. It is slightly hidden behind the other end of the couch. It opens a spot in the wall. This switch and its spot are not duplicated in the mirror.
The urinal furthest from the door has a gross switch inside that takes you to the EW! room. There is a pipe on the ceiling, and in the wall to the left where the pipe is, there is a switch that opens a tunnel to the reflection room. This switch can be accessed from the other side to close the tunnel. There are small spots under both elevators. The urinal switch is not duplicated exactly; in the reflection it is at the base of the wall next to the urinal, out in the open.
The vent in the washroom is not considered a spot, but rather an alternative route to the projector room. However, the reflected vent will open and close as the vent in the washroom is opened and closed. Inside the reflected vent is a button to open and close both vent doors, to prevent getting stuck and/or trolling a seeker. The vent cannot be otherwise opened from the reflected side of the washroom, and must be opened from the original side.
Hallway to Circular Staircase
 ==========
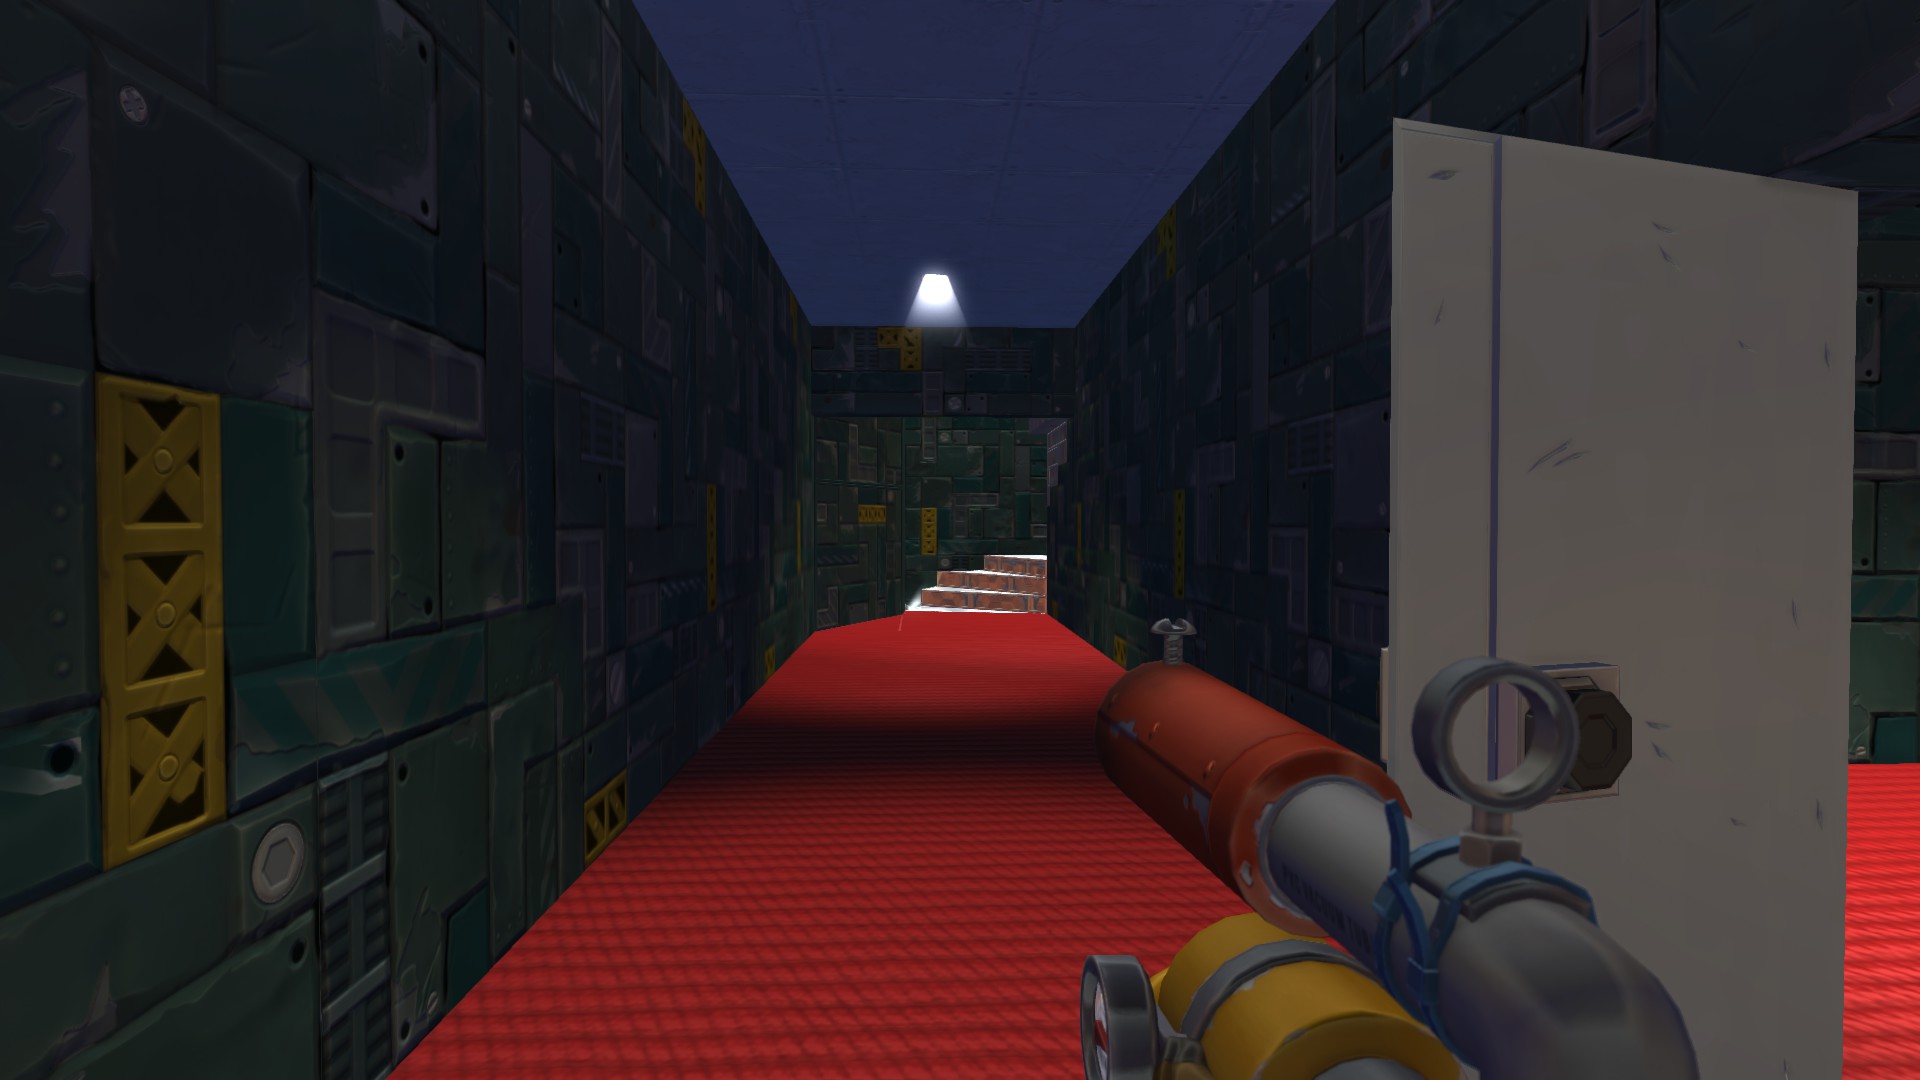
There are 3 spots to be found before you go up that horrible staircase.
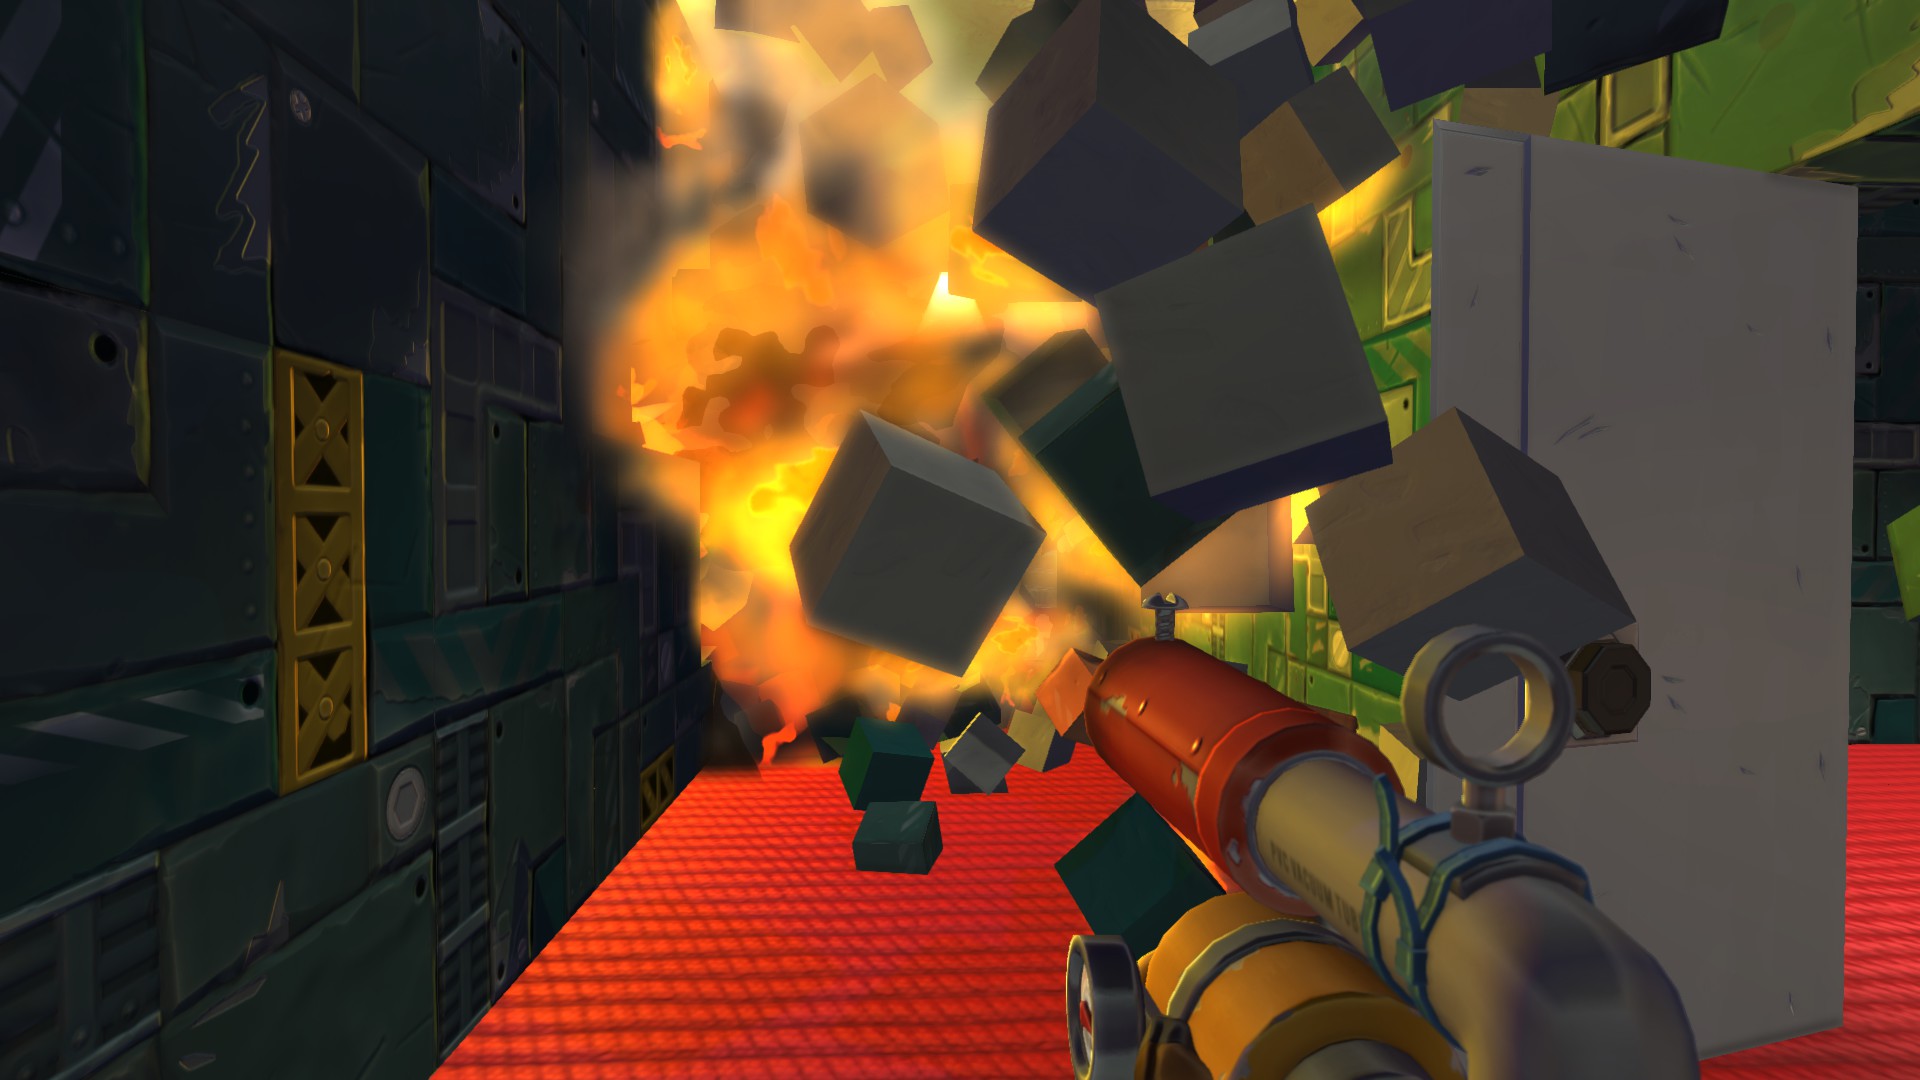
Accessed from the Snack Bar area, this hallway has a circular set of stairs that go to the projector room. This hallway also features a large hole in the wall that opens with explosivity the first time you walk by.
Duke Fact: An earthquake hits and this wall explodes when you walk by, revealing a small medkit.
There is a switch in the hole that blows up in the wall. Look on the right side, at the floor. This opens a spot near the doors.
There is a switch just before you get to the stairs. It is on the right wall, high up, before the bit of wall that crosses the hallway. This opens s spot under the stairs.
There is a switch at the base of the stairs, on the left side of the bottom step. This opens a spot on the stairs.
Projector Room
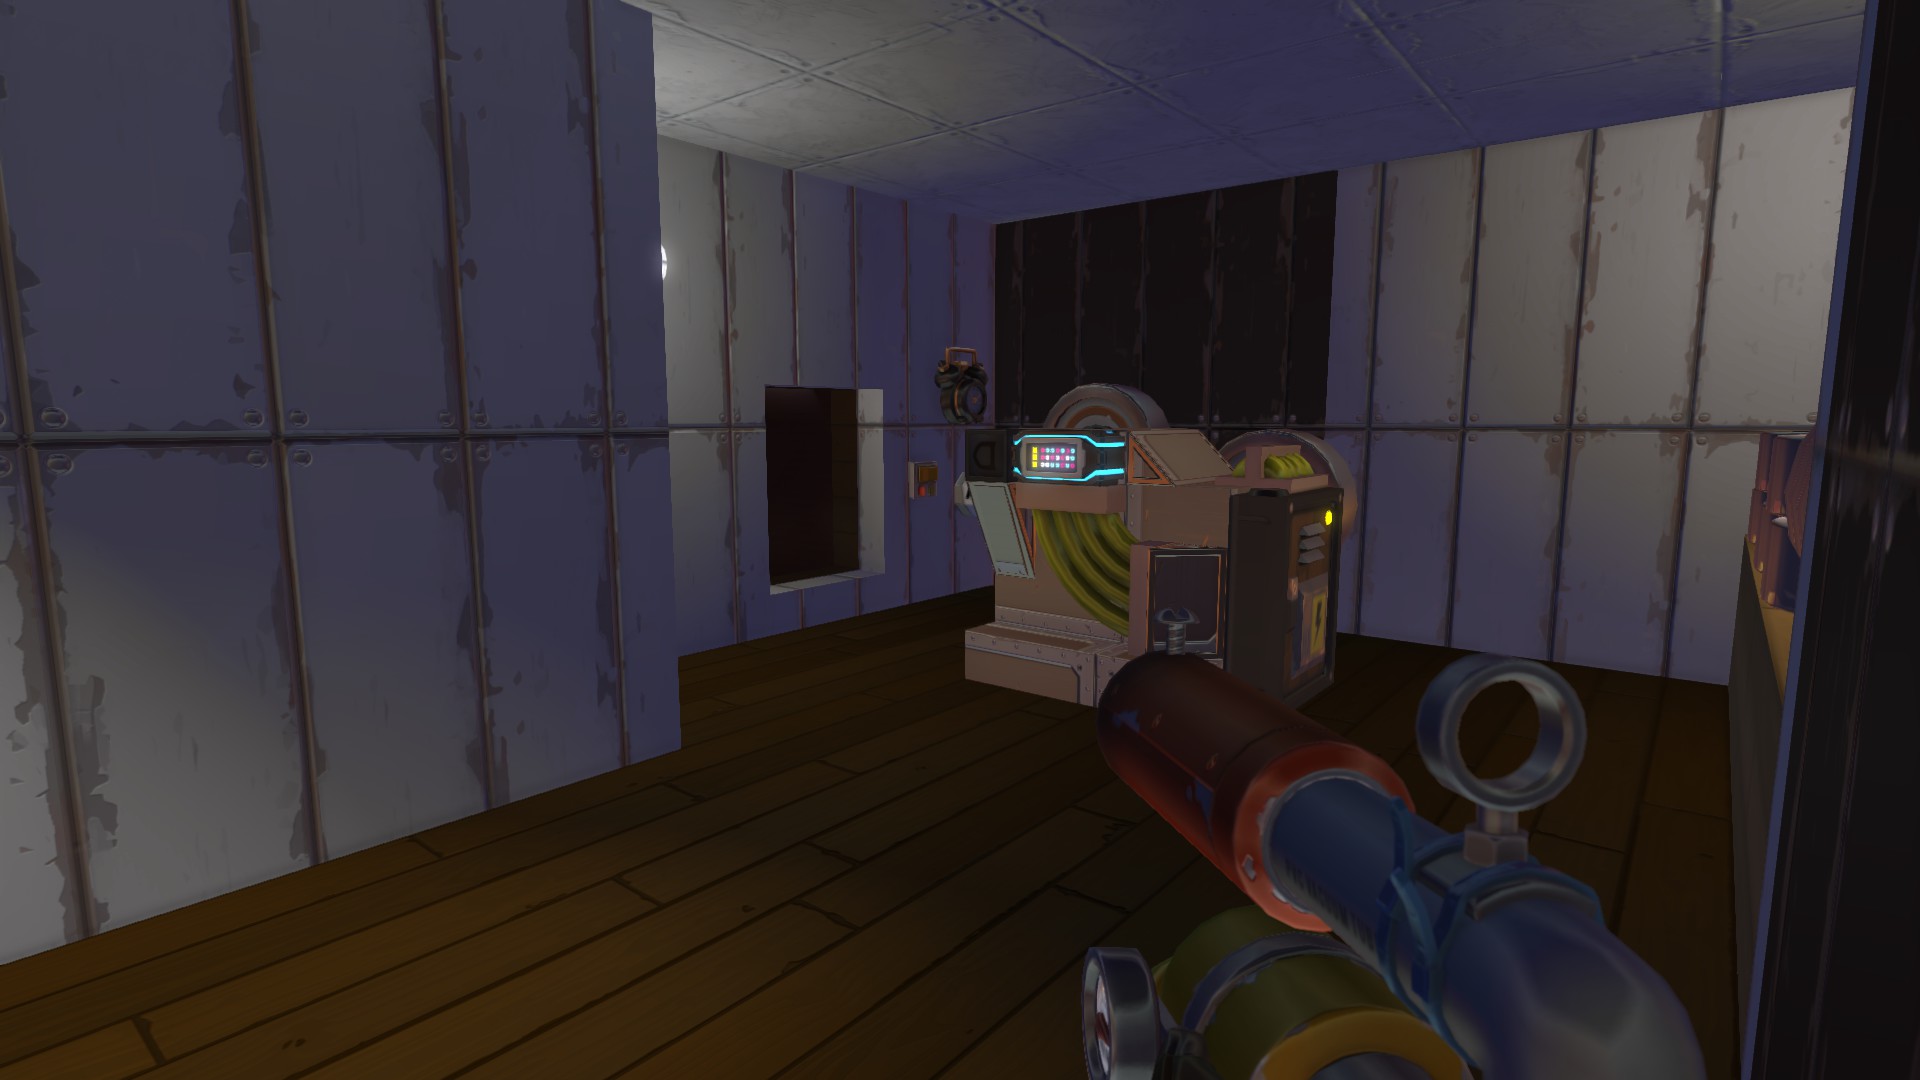 7 Primary spots can be found around here of varying difficulty. This is where the big movie projector is, that points at the movie screen through a small window. The switch to the right of the window opens the movie curtains, turns on the projector. and messes with some lights.
 As an added feature, an elevator has been added from the Theatre floor to the Projector Room window, and it is revealed when the projector is switched on. This elevator can be activated at any time, though you may need to break the block of cardboard concealing the switch.
At the top of the stairs, there is a switch at the ceiling on your right, before the wall texture changes. This opens a spot below you.
At the top of the stairs, here is a switch on the left wall if you look down.
On top of the projector is a sensor,, typically triggered by jumping on top of the projector. It opens a "very obvious spot" in the wall. This spot contains a MASTER switch.
The other "very obvious spot" black wall is opened through a switch in a nearby crack. This area contains a MASTER switch. This is not considered a spot, merely an alternative route from the washroom via the vents. However, if you close this door from inside and look up into where the piston goes, you can see a hidden switch to open a spot in this room.
There is a switch on the projector under the large curved wires. It may be easier to see if crouched. The wires can be destroyed to make this switch very obvious.
There is a switch hidden among the "movie reels" on the shelf.
There is a switch behind the light to the left of the projector, near the calendar. This spot has a peephole into the Theatre that you can open and shoot from.
Arcade
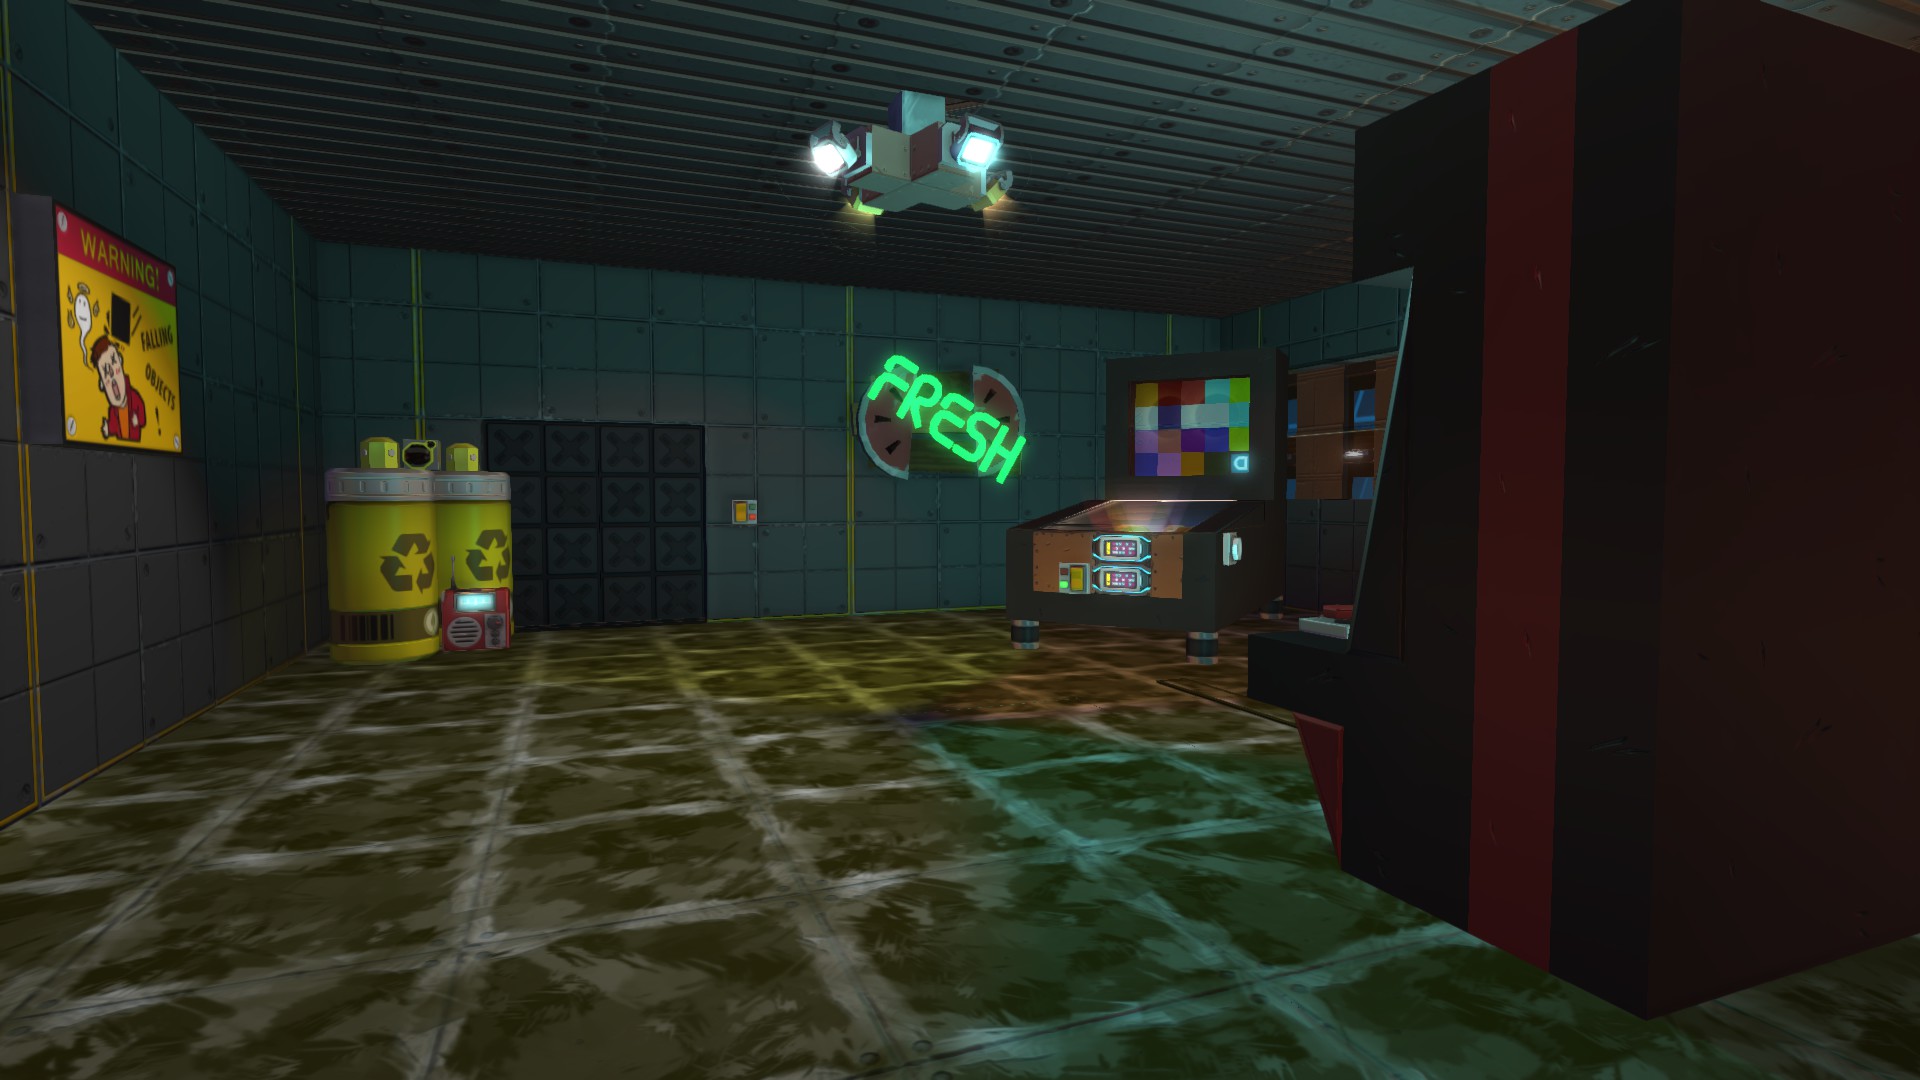 Accessed by elevator from the Snack Bar area, there are 7 spots to find.
Duke Facts: The windows were blocked so you could not see outside. The backroom wall exploded as you approached it, with an enemy waiting.
The first arcade machine has two buttons on it. The one on the left opens a small spot near the elevator. This spot contains a MASTER switch.
There is a switch in the ceiling above the spinning lights. There are switches for the lights in the corner near the elevator, that may make accessing it easier. This spot features a window looking out onto the main street.
The pinball machine has a switch on its backside. To get there, jump into the window from the right side. This spot features an elevator that can take you a few layers deep.
The racing game features 3 spots. The first is opened with a switch in the number 1 spot.
The 2nd racing game spot is accessed by using W and S. There is another seat inside to open/close the spot using W and S.
The 3rd racing game spot is accessed by using A and D. You may have to hold it briefly. This spot features a window that looks out onto the main street.
The room behind the arcade has an explodable wall and a bunch of boxes. It also has a switch behind the first light. This spot has another switch hidden in a corner, that may be easier to see if you're crouching. This secondary spot features a window that can see into the back alley, and a glass floor to see into its primary spot.
Final Hallway
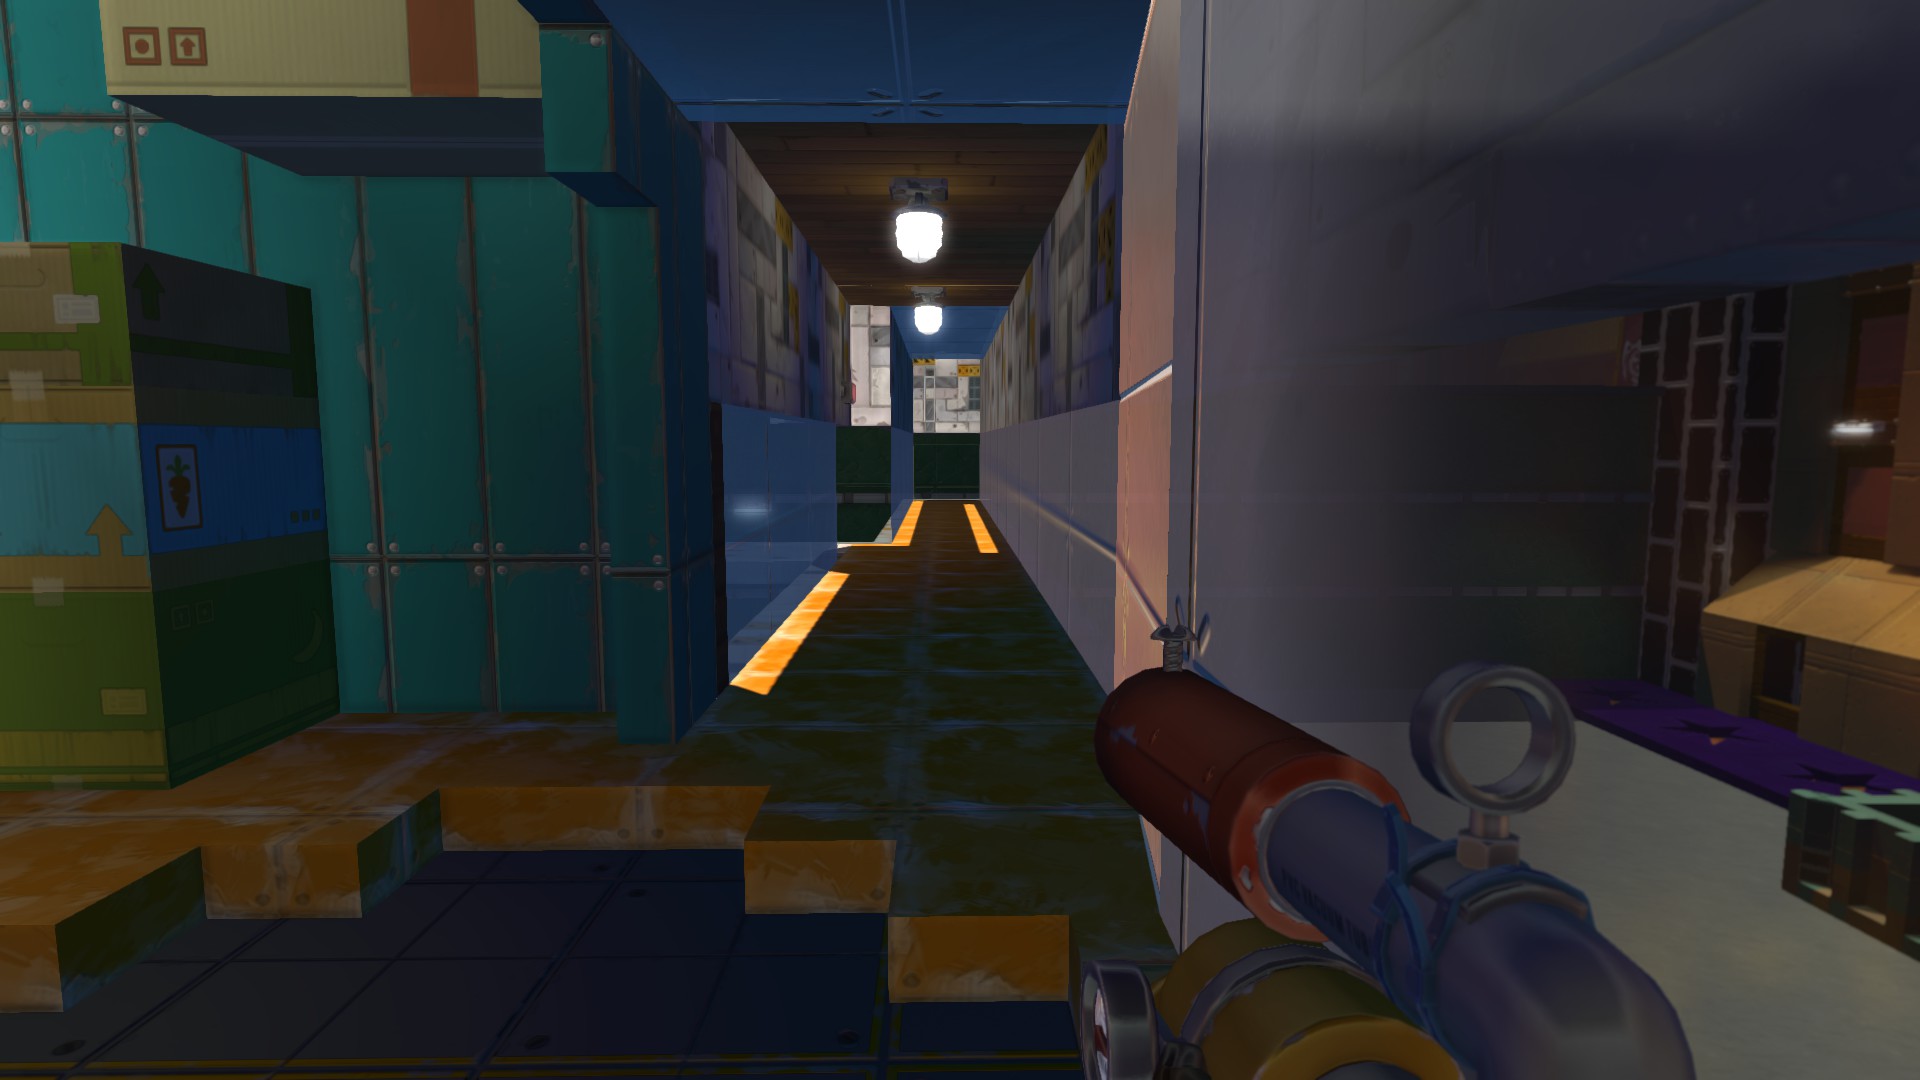 Go through the arcade, into the backroom and blow up the wall. One last hallway that leads to a bridge to the exit, you can find two spots here. You can jump off this bridge to a ledge to access the Bachelors Pad.
Duke fact: Yes the building is really narrow at that point, but the windows were blocked off so you could not see out.
There is a switch behind the exit sign at the doorway to the bridge. It opens a hatch in the ceiling, which you can see a seat through, and climb into. This spot features windows that can see onto the main street and back alley.
At the very end of the hallway, crouch to see a switch. Under this elevator is a spot that can see into two other nearby spots. Go up the elevator and then send it back down. Stand on the edge of the glass floor, look where the elevator was, towards the left side to find another switch. This lowers another elevator that will bring you up another level. This spot features windows that can see onto the main street and back alley.
Bachelors Pad
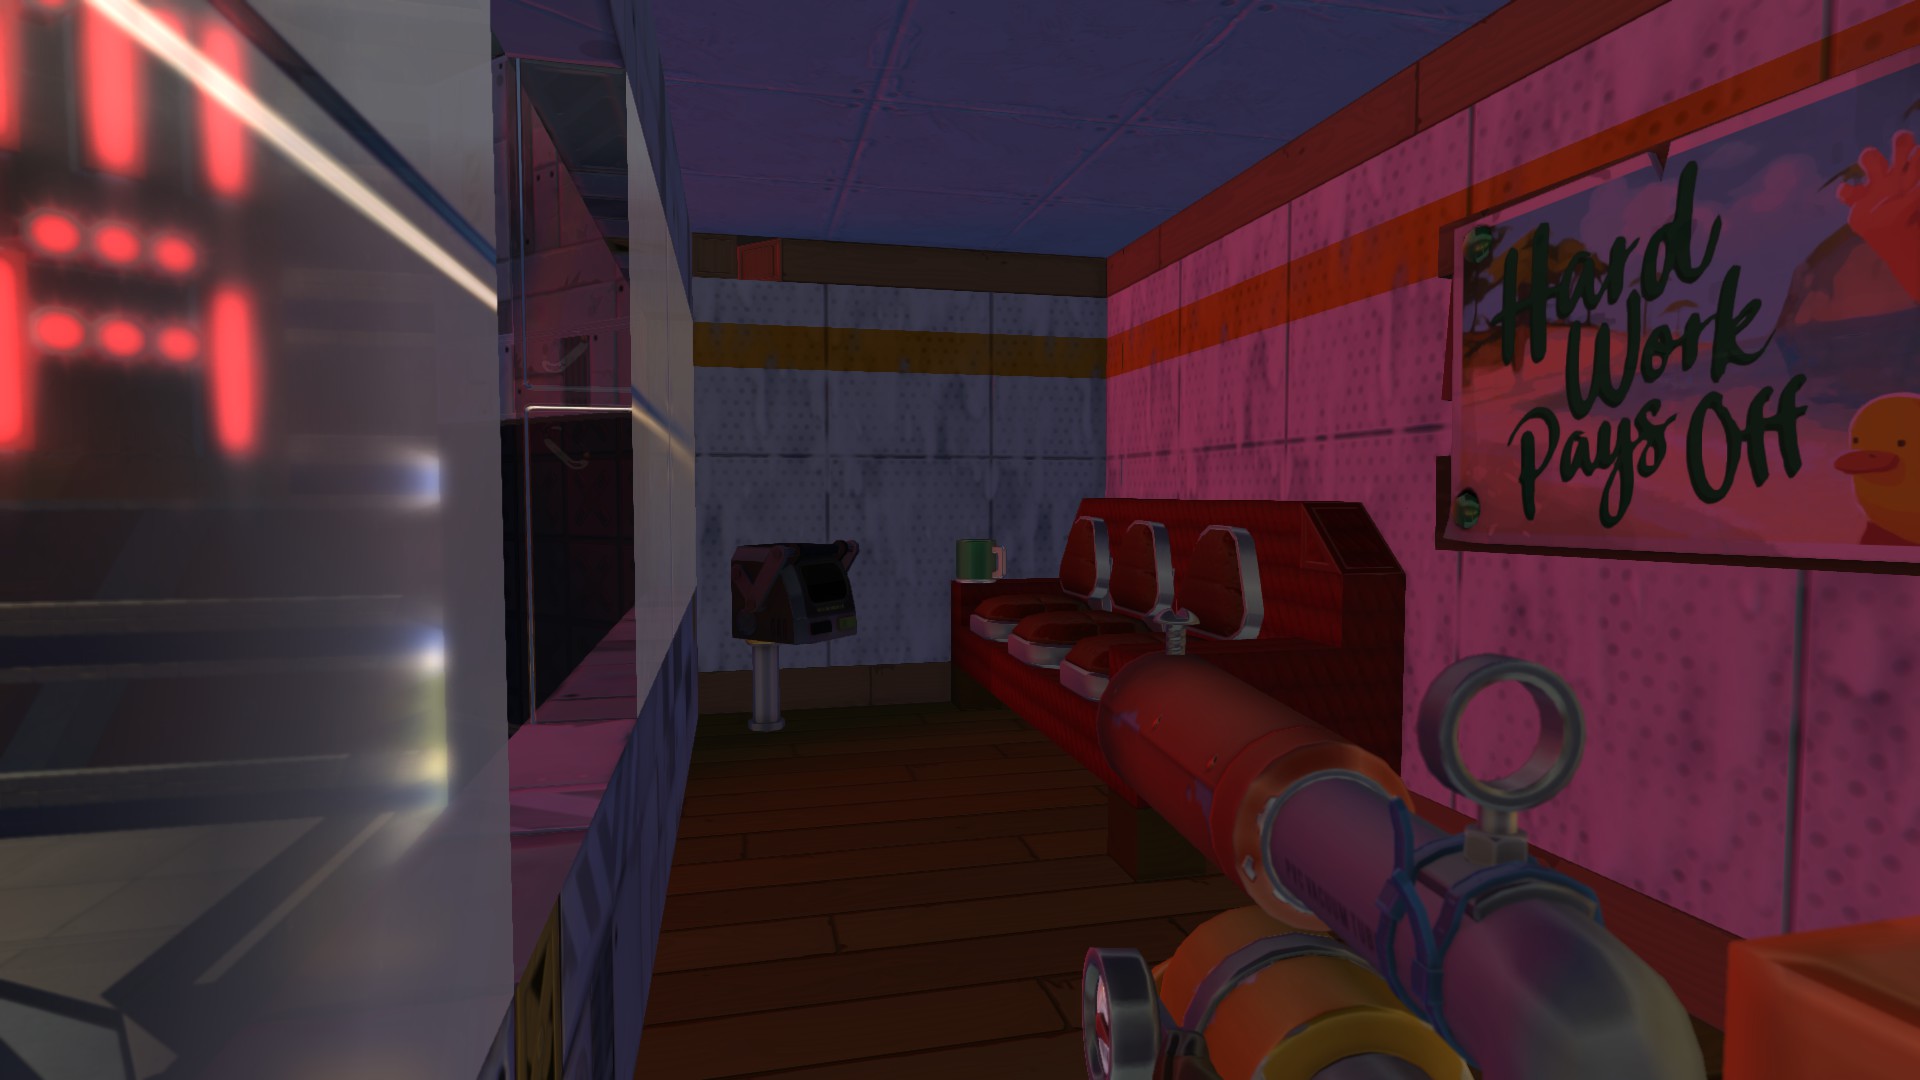 Three primary spots to be found here.
Accessed by the Final Hallway, jumping off the exit bridge to the right, onto a ledge that you follow around to the front of the building near the cinema sign. From there you jump onto the palm tree and into the window. This area contains a MASTER switch that can be shot from street level.
Duke Fact: This window was not transparent from the outside, as a no-clip wall, making this hidden area easy to miss. Jumping on the palm tree and into the area could be quite difficult, making the jetpack an often preferred method.
Seat: the middle chair will take you down into a spot. While the chair is raised, a hidden switch is visible in the piston that raises the chair, opening a secondary spot.
There is a switch in the top corner of the room, above the microwave that is meant to represent a television set.
There is a switch behind the couch at the far end, at the top.
Afterword
Duke Nukem 3D was a very innovative game for its time, being one of the first to be called a "First Person Shooter" rather than the popular genre title of "Doom-Clone". Reflections, alternate paths, voice lines, vertical levels, mature content, lots of explosions... the game design was fairly cutting edge for the day. That said, it does NOT hold up by modern standards at all. If your birth year doesn't start with a 19, you probably will not enjoy it.
I did not like it that much when it came out. The "3D" was terrible and gave me a headache, I preferred Doom. But it was an immense amount of fun in multiplayer deathmatch games, and I found the Nintendo 64 port very enjoyable with friends. Couch Co-op with good friends is something I hope every gamer gets to experience.
I had a lot of fun making this map, and this guide was simply a byproduct from my notes. It's mostly copy/paste and format. I know some players like to play these maps more as a hidden object game, often as a solo player, so this guide is great for you. If anyone uses this guide to cheat in multiplayer, well, it's pre-Chapter 2 Scrap Mechanic... if someone is determined to cheat, they will find a way anyhow. So at least do something funny if you're going to cheat.
After the excitement from Chapter 2 settles, I may revisit this map again. There are minor things I consider unfinished, such as one logo being smaller than others. It's fine, some will find it funny.
There might be some things that get broken in the patch too.
Maybe I'll get to it... but I'll be busy playing Survival for a while.
I hope you all enjoyed this map. A bit of gaming history wrapped in an explosive, silly package.
- How raids actually work (Version 0.5.1)★ 5 (550)19k views867 ♥3 minUpdated 7 Apr, 2021
- Как пройти выживание?★ 5 (448)18k views700 ♥25 minRussianUpdated 12 Aug, 2020
- Все команды для скрап механик★ 5 (259)15k views475 ♥1 minRussianUpdated 1 Dec, 2023
- Robots and weapons concept proposal★ 5 (421)10k views182 ♥3 minUpdated 1 Apr, 2022
- How Does Fuel Consumption Work? Which Engine Is the Most Efficient?★ 5 (182)10k views152 ♥3 minUpdated 16 Oct, 2020
- Русификатор для Scrap Mechanic by Pro100DarkTV (v2.5)★ 5 (317)9.9k views516 ♥1 minRussianUpdated 19 Jun, 2021



- Upgrading to PremiumTeam Fortress 2★ 5 (20k)1441k views11k ♥6 minUpdated May 11, 2022
- No More Room in Hell Official ManualNo More Room in Hell★ 5 (2.8k)569k views2.1k ♥29 minUpdated Apr 22, 2019
- NMRiH Community Hosting GuidesNo More Room in Hell★ 5 (526)351k views653 ♥1 minUpdated Aug 10, 2022
- ULTIMATE GUIDE FOR GAME DEV TYCOONGame Dev Tycoon★ 5 (5.8k)326k views10k ♥4 minUpdated 23 Jan, 2014
- How to 'Git Gud' Soon™MORDHAU★ 5 (2k)318k views3k ♥68 minUpdated Nov 16, 2024
- Лучшие кооперативные игры SteamPAYDAY 2★ 5 (1.5k)315k views2.1k ♥56 minRussianUpdated Apr 27, 2025






This guide was created by its original author on the Steam Community. Are you the author and want it removed? Request removal.