3.28 - "All Ears" & "No Stone Unturned" 2-in-1 guide, zone by zone
Intro
Because every other guides for these achievements are either outdated or scattered about,
I decided to make a definitive guide that includes both.
- There are 484 different dialogues, and 140 environmental lore items.
- Many optional sidequest dialogues do not count for All Ears.
- League content characters (Einhar, Alva, Expedition NPCs) do not count and can be safely ignored.
- The Epilogue Kirac/Maven storyline does not count for All Ears. The last bit of dialogue needed for the achievement is right after you defeat Kitava, before you end up on the Karui Shores.
- It is strongly advised you visit the zones in the same order as the guide. Clearing one area sooner than another might lock you out of necessary dialogue (ex. in Act 2, clearing Chamber of Sins without visiting Western Forest first will prevent the dialogue in Western Forest to appear later).
- All Bandit Lords must be killed in Act 2.
- The Labyrinth section and it's necessary lore items can be found after Act 3 in this guide.
This is done purely for the sake of organization, you can do the Labyrinth at any point in Act 3. - The Vaal Side Areas and their necessary lore items can be found at the end of the guide.
It is advised to do Side Areas later, after the main story and Labyrinth. If you wish to do them as you randomly encounter them, you will have to keep manual track of them as this guide assumes you will do them last. - If you miss one dialogue option, you will have to start over, so pay close attention!
Environmental lore items are more forgiving, you can backtrack to them at any point in the game. - Vaal Side Areas do not spawn in Ruthless mode, therefore it is not possible to get "No Stone Unturned" in Ruthless. (thanks Count Duncan)
ACT 1 (part 1)

 None
None
Talk Order: Nessa, Bestel, Tarkleigh
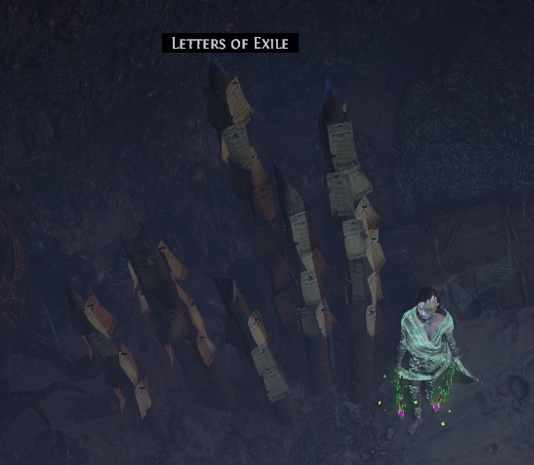
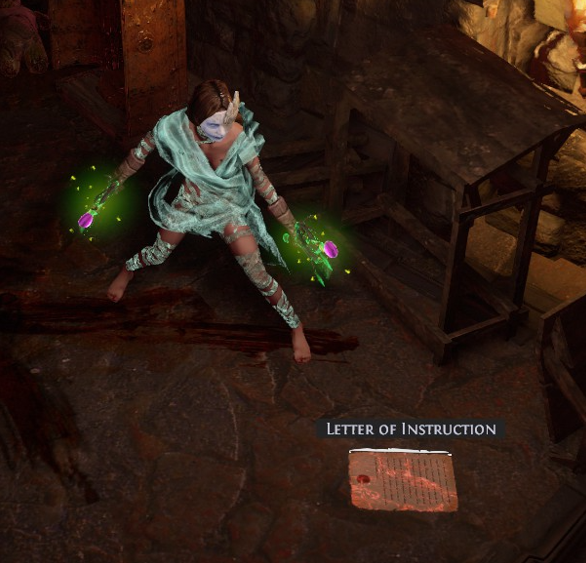
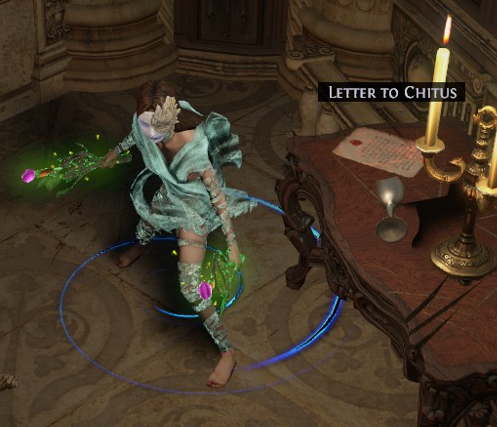
There is a total of 15 letters and the one you read is always selected randomly.
To keep track, press H ingame, scroll to "No Stone Unturned", and keep clicking the letters until the total amount is 15.
None
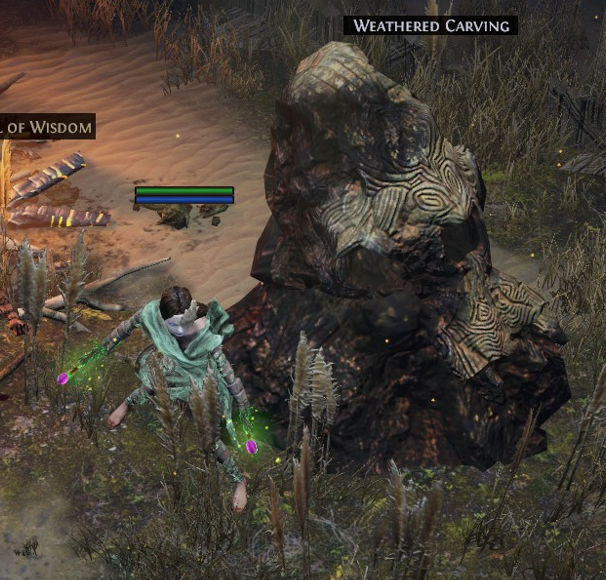
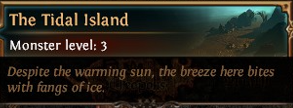
After getting the Medicine Chest
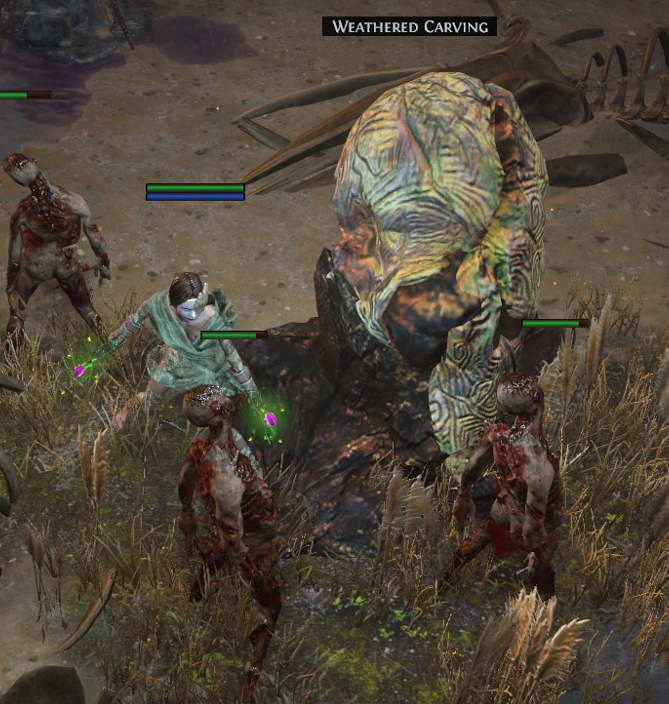
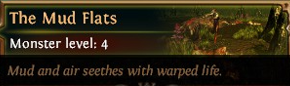
After killing the unique rhoa Oozeback Bloom, talk to Bestel, do not enter the Fetid Pool!
After seeing the Glyph wall and picking up the Glyphs, talk to Tarkleigh, do not place them in the wall!
Place the Glyphs in the wall now, but continue to The Fetid Pool!
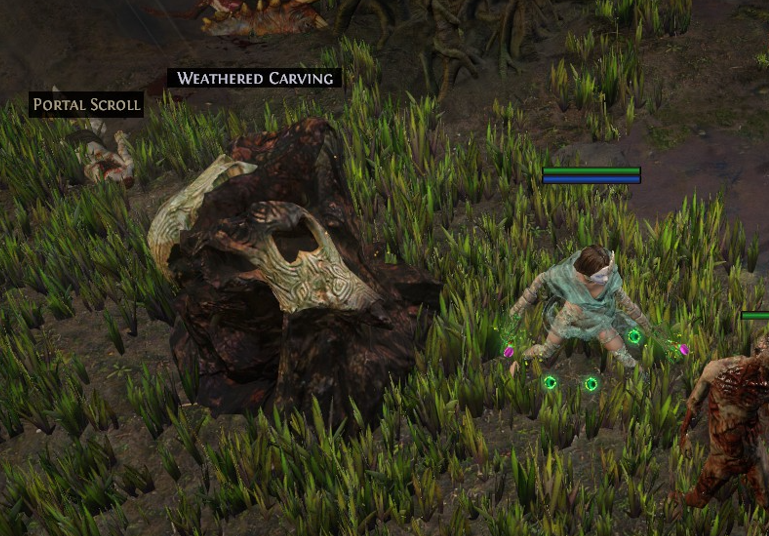
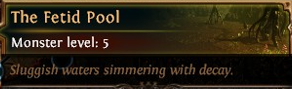
After finishing the Necromancer sidequest and talking to Tarkleigh
None
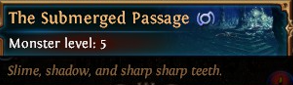
None
None
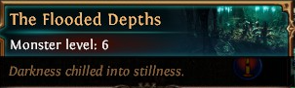
None
None
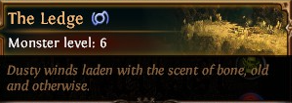
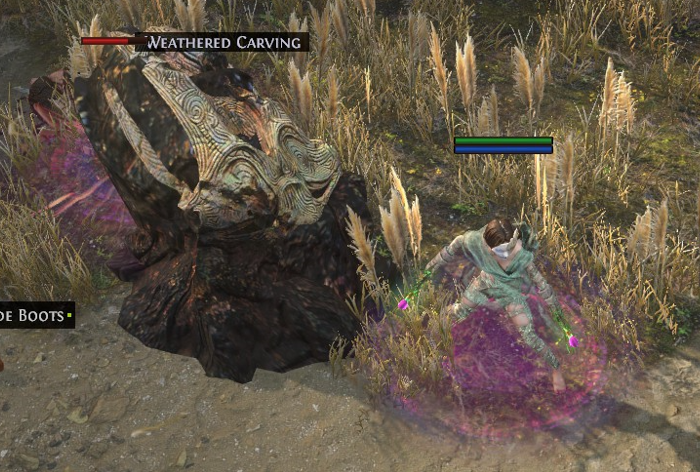
ACT 1 (part 2)
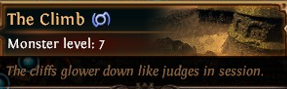
None
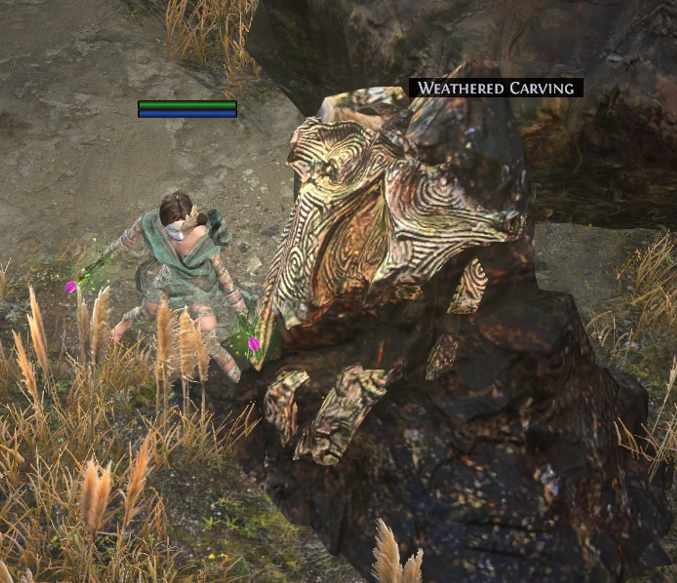
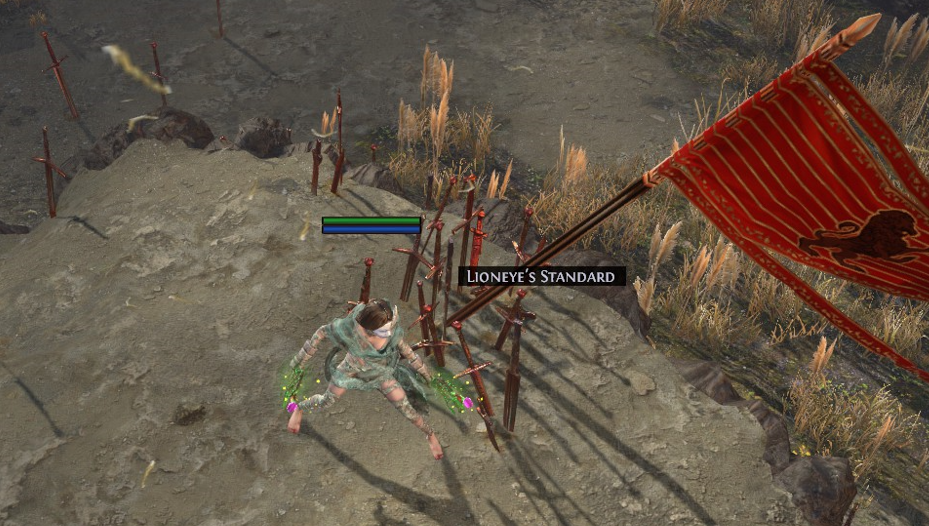
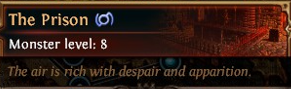
after seeing Piety, do not kill Brutus!
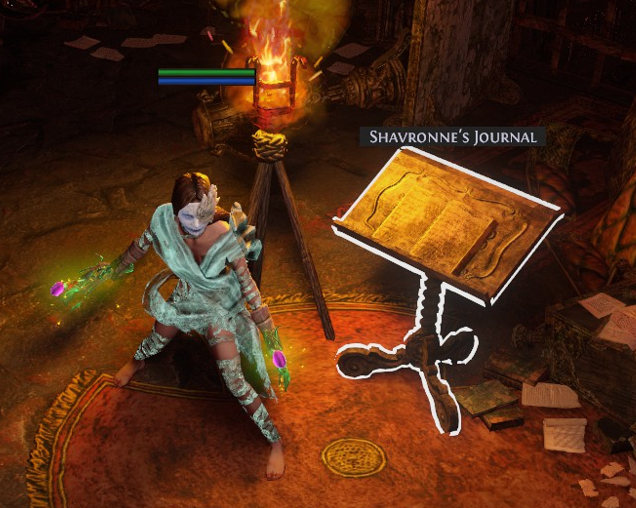
after clicking on Shavronne's Journal, do not kill Brutus!
after killing Brutus
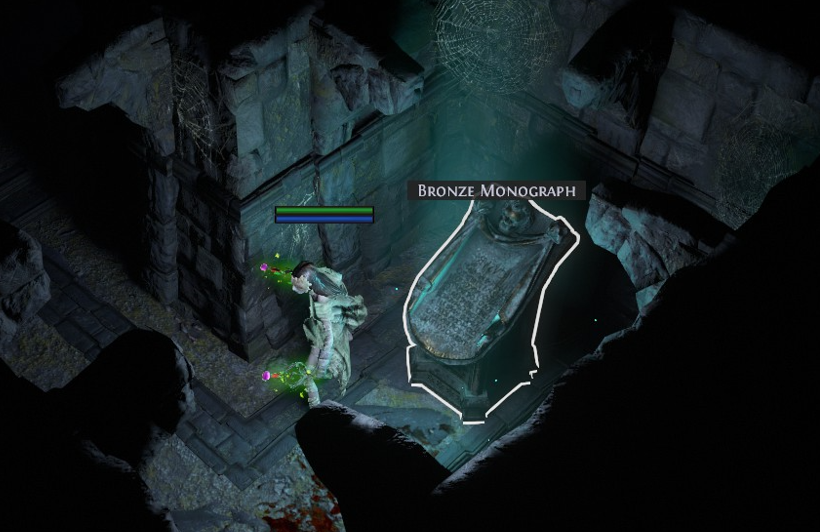
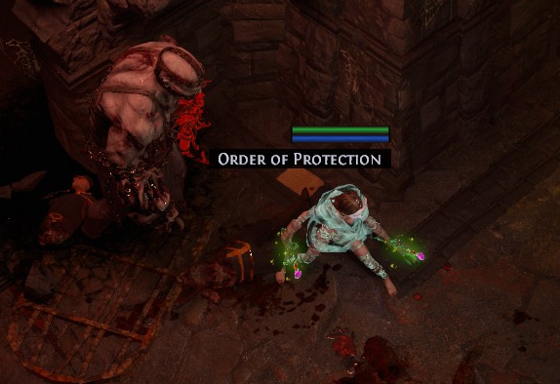
After seeing Piety block the passage, do not enter The Ship Graveyard!
None
After talking to Fairgraves, do not get the Allflame!
After talking to Bestel, do not get the Allflame!
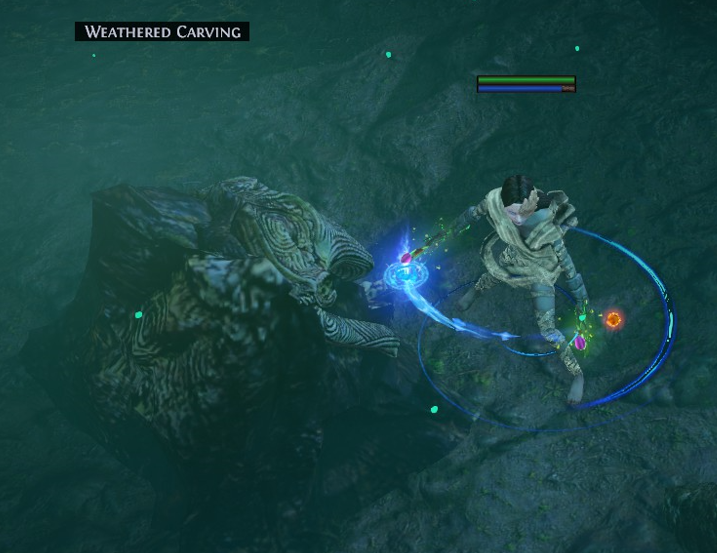
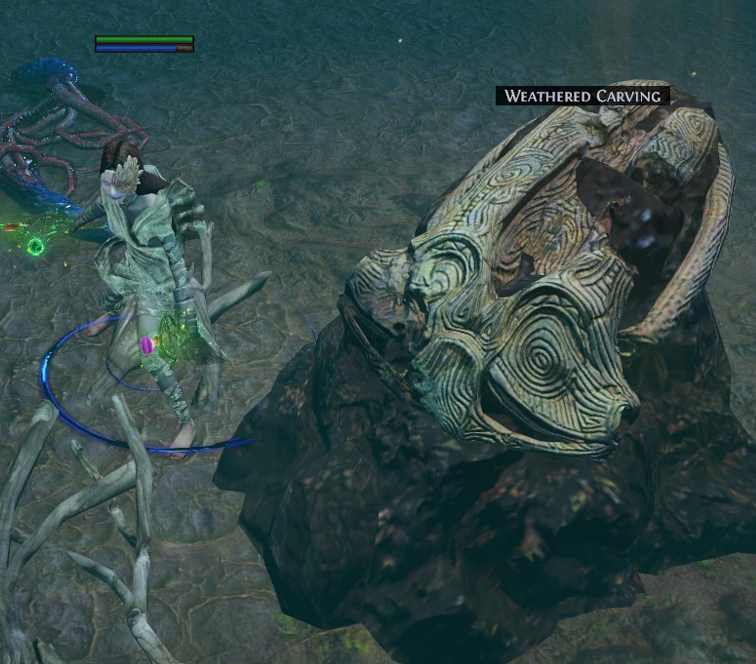
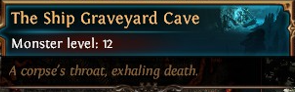
Deliver the Allflame and kill Fairgraves, as it is required to access necessary dialogue in Act 3
None
None
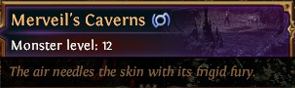
After killing Merveil
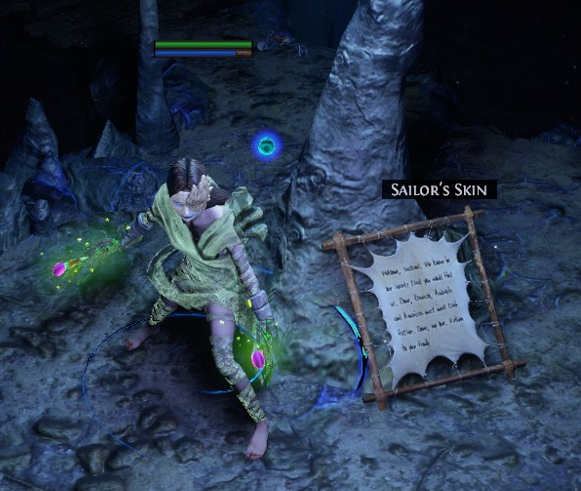
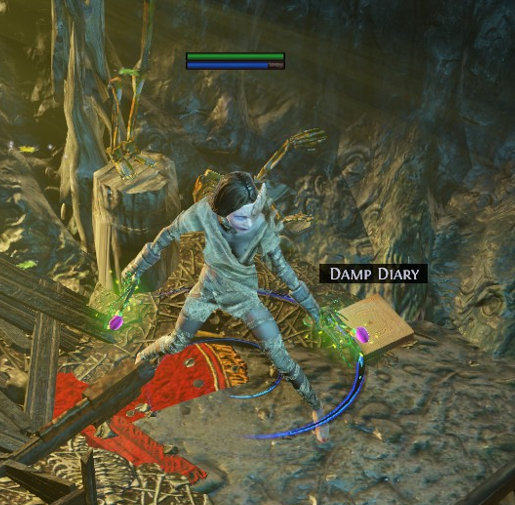
TOTAL SCORE SO FAR
ACT 2 (part 1)
None
None
!!!!!DO NOT KILL OR TALK TO ANY OF THE BANDITS UNTIL AFTER TRIGGERING THE DARKNESS!!!!!
Talk Order: Eramir, Greust, Yeena, Silk, Helena
None
None
After killing The Great White Beast
None
None
Kill Captain Arteri, the Blackguard boss and open the passage
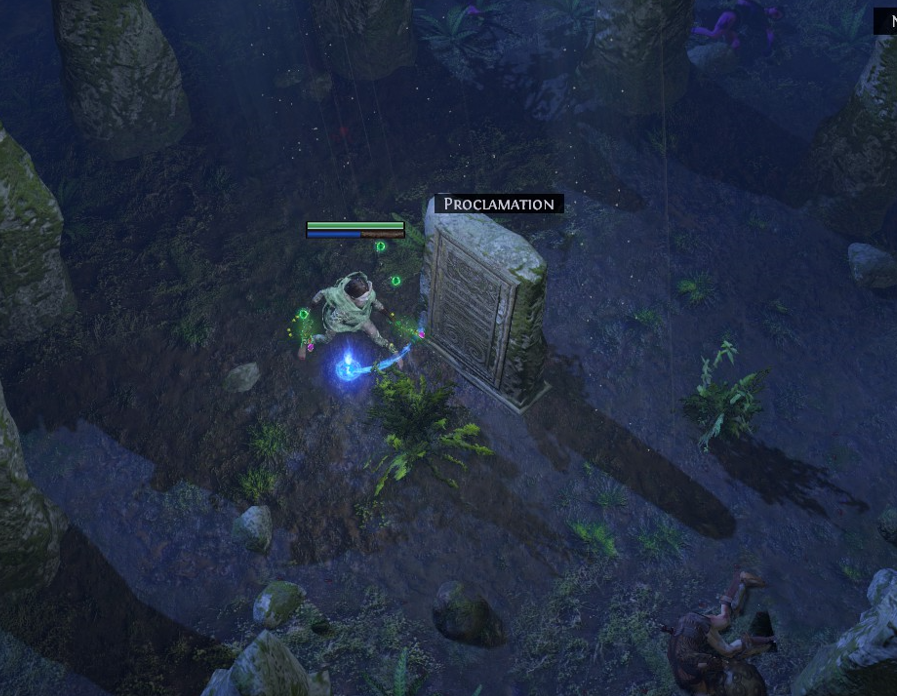
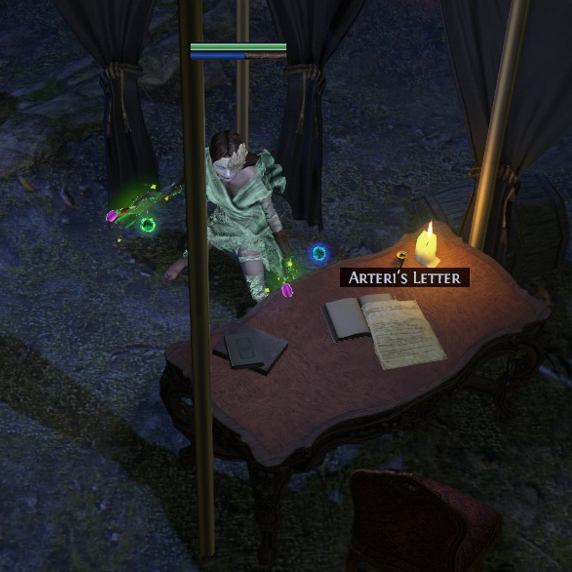
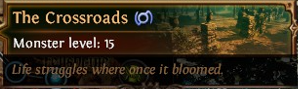
None
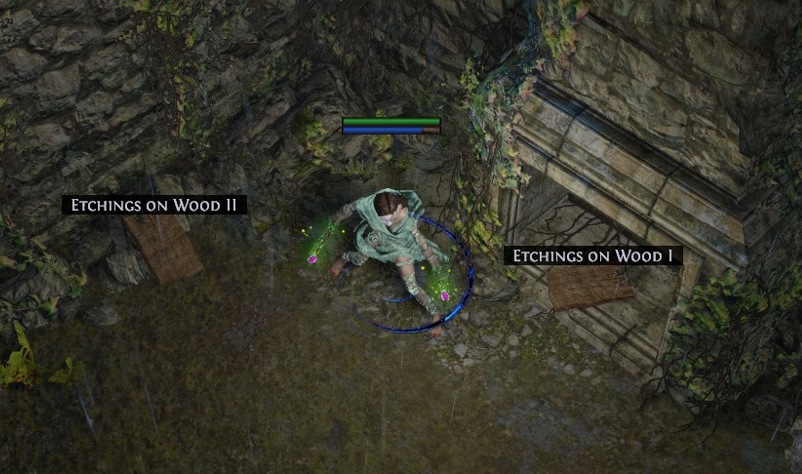
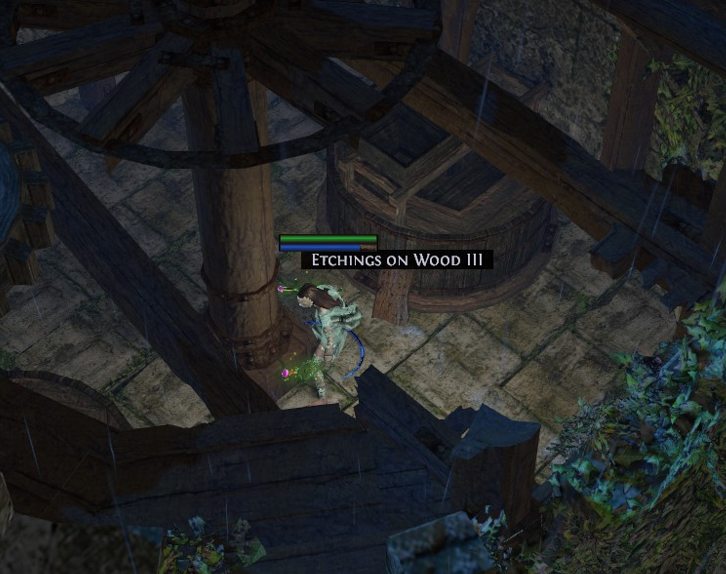
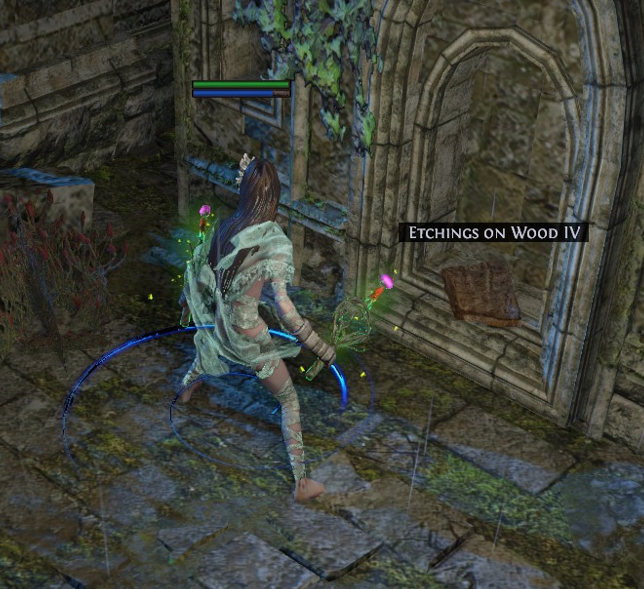
ACT 2 (part 2)
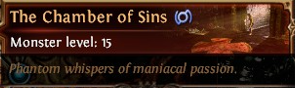
Upon entering The Chamber of Sins, before rescuing Helena
After rescuing Helena
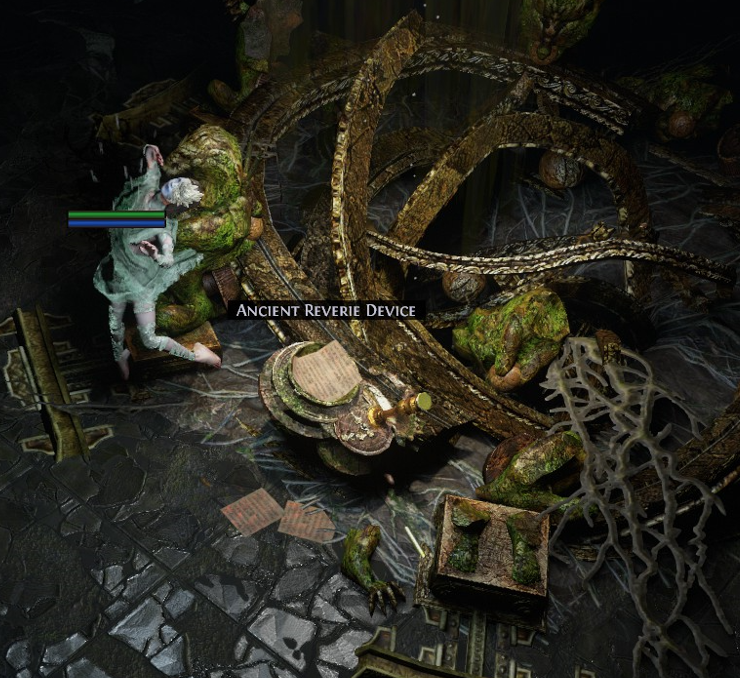
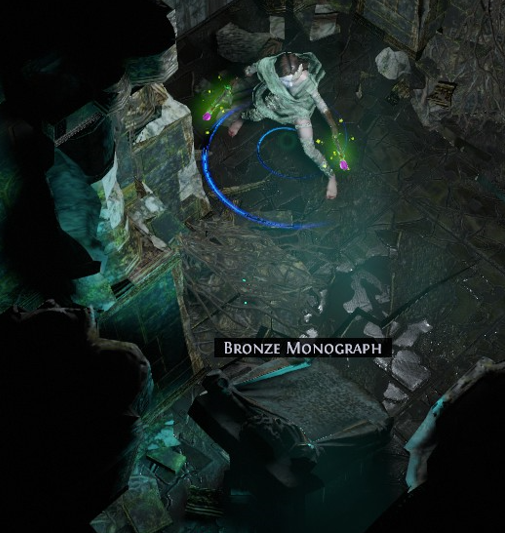
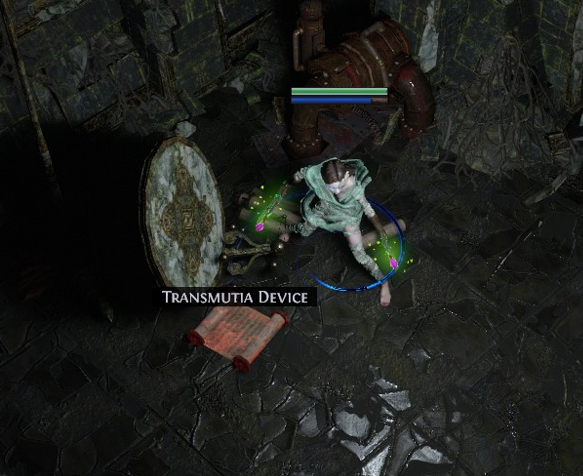
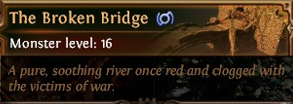
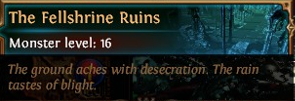
Grab the Waypoint, it will save time later. Afterwards, head to the Fellshrine Ruins via the Crossroads.
DO NOT KILL KRAITYN YET.
None
None
None
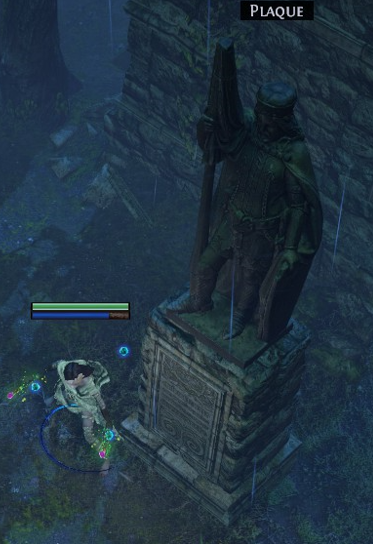
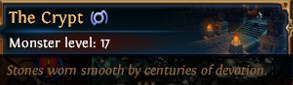
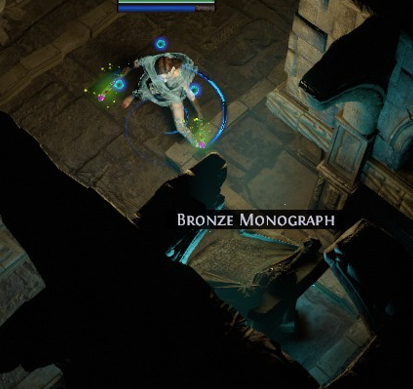
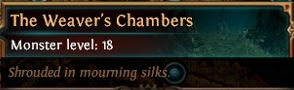
After getting the Baleful Gem and Maligaro's Spike
None
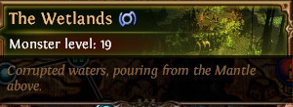
After seeing the Tree Roots blocking the way, talk to Eramir. DO NOT DESTROY THEM.
After destroying the Roots
None
ACT 2 (part 3)
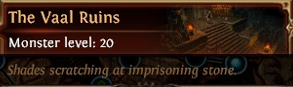
After triggering the Darkness
Now we will deal with the Bandits. Remember to ALWAYS TALK TO ERAMIR after killing a Bandit.
Travel to Broken Bridge > Kill Kraityn > Talk to Eramir for "Kraityn" dialogue (99 total)
Travel to Western Forest > Kill Alira > Talk to Eramir for "Oak" dialogue (100 total)
Travel to the Wetlands > Kill Oak > Talk to Eramir for your quest reward (101 total)
(while talking to Alira and Oak respectively, you automatically trigger their "Darkness" dialogue which counts towards the total count)
If done correctly, after killing all the Bandits and receiving your quest reward, the total count should be 103.
More dialogue options in town are unlocked after this.
None
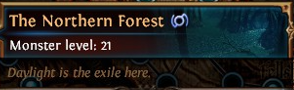
None
None
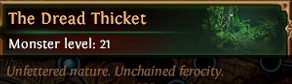
None
None
After killing the Vaal Oversoul
None
TOTAL SCORE SO FAR
ACT 3 (part 1)
Talk to Clarissa after you free her
None
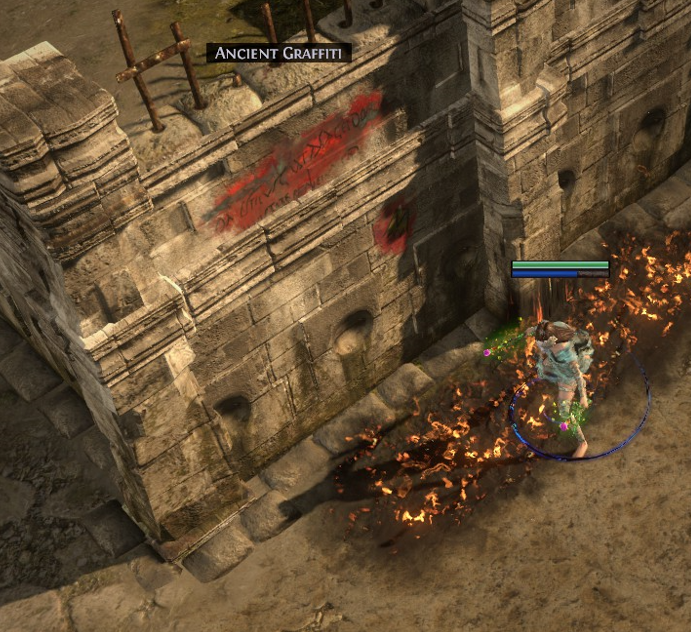
Talk Order: Maramoa, Hargan, Clarissa, Grigor
None
None
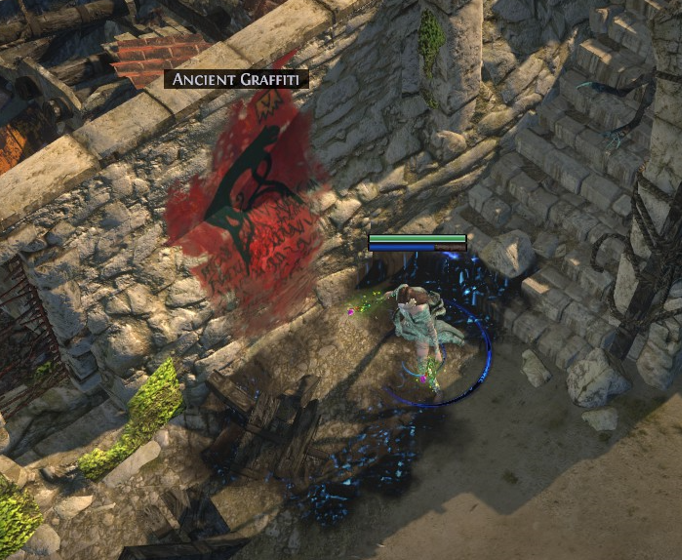
after "defeating" Piety
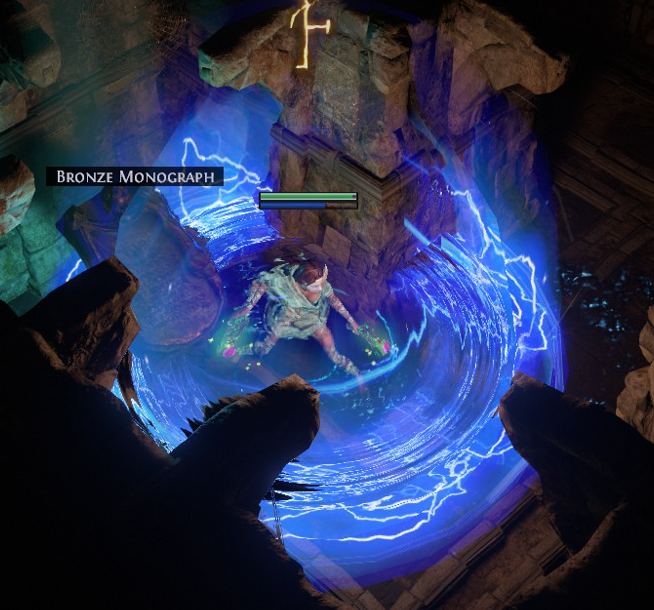
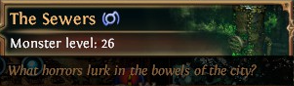
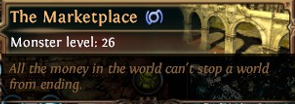
After seeing the undying blockage, talk to Maramoa. DO NOT ENTER THE MARKETPLACE.
None
DO NOT PICK UP THE DECANTER SPIRITUS
None
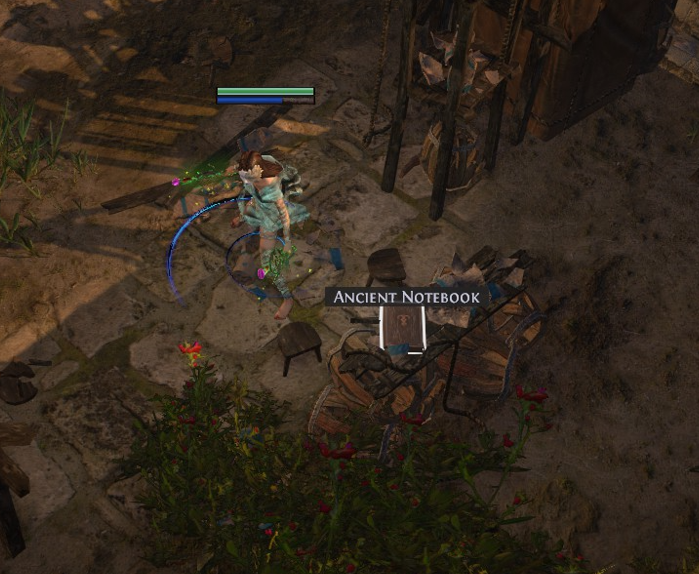
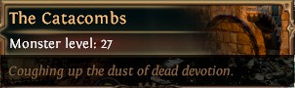
None
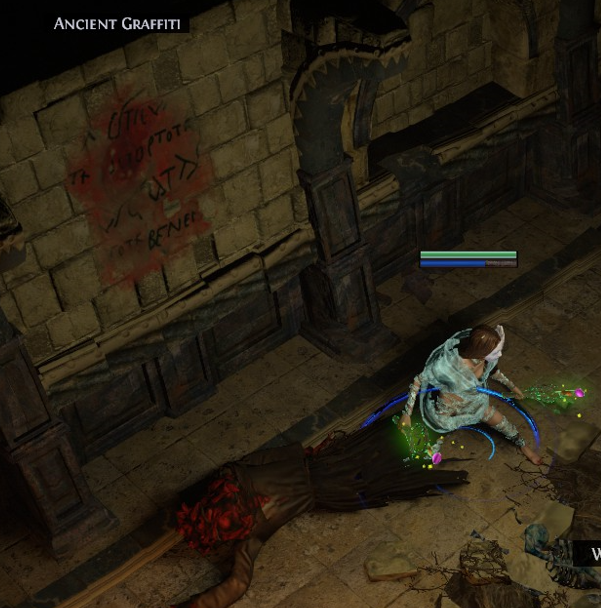
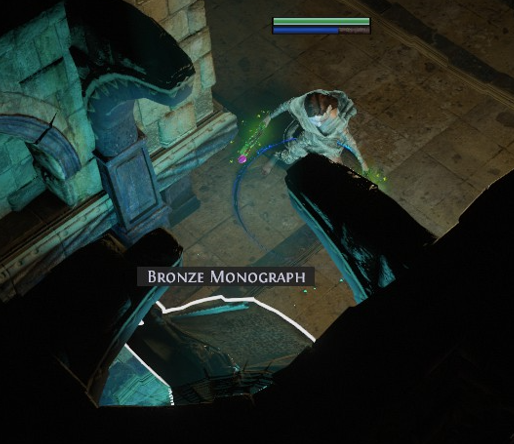
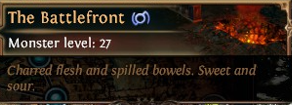
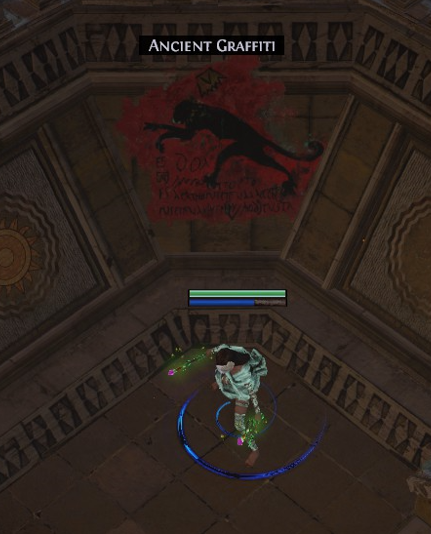
DO NOT PICK UP THE RIBBON SPOOL
ACT 3 (part 2)
DO NOT PICK UP THE THAUMETIC SULPHITE
Do not have Decanter Spiritus or Chitus' Plum in your inventory!
After these dialogues, you can turn in the Decanter and Plum. This is however optional.
If Fairgraves doesn't appear in the Docks, it's because you forgot to finish the Allflame quest in Act 1. You can safely backtrack to it, finish it, and Fairgraves will appear in the Docks now.
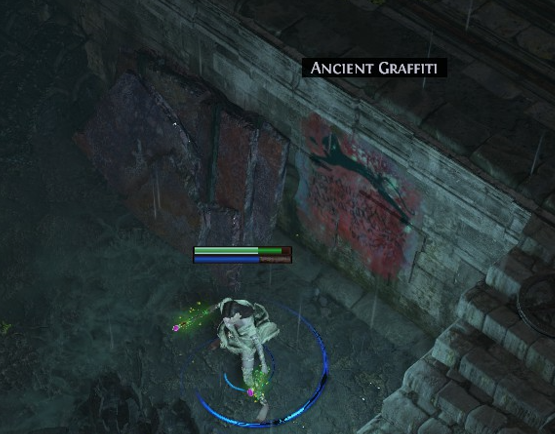
None
Do not have Thaumetic Sulphite or Ribbon Spool in your inventory!
Return to town, do not continue talking to Dialla
Travel to the Docks and fetch Dialla the Thaumetic Sulphite
Travel to the Battlefront and fetch Dialla the Ribbon Spool
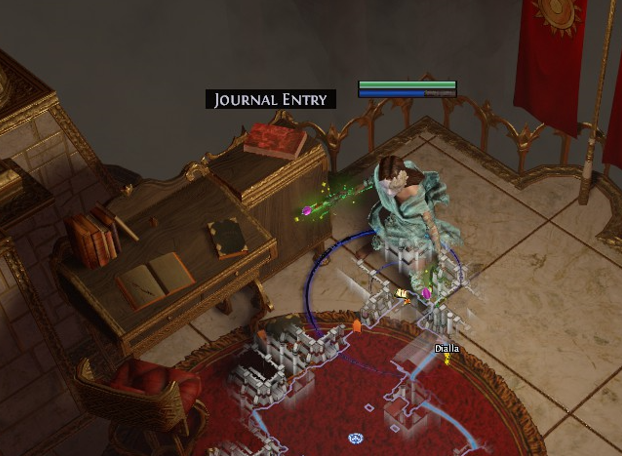
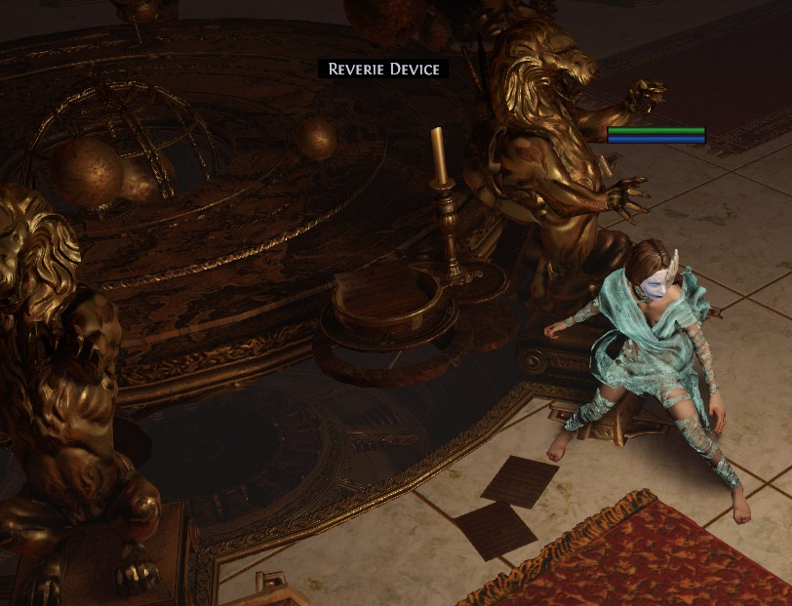
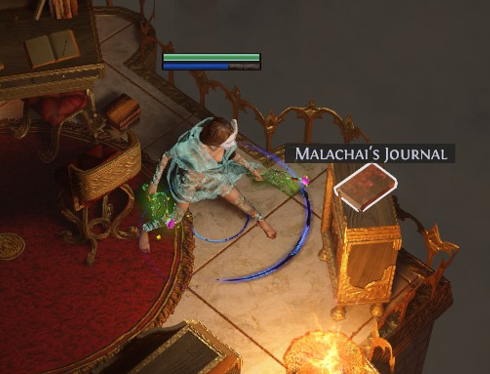
Destroy the undying blockage in the Sewers and continue to The Ebony Barracks
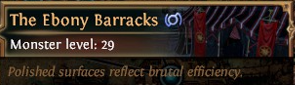
Before killing Gravicius, go back to town and talk to Maramoa first
After killing Gravicius
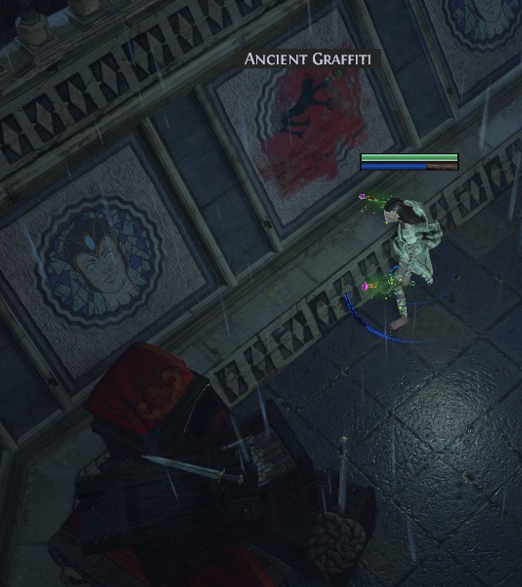
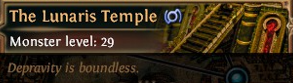
After killing Piety
None
ACT 3 (part 3)
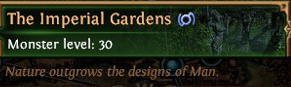
None
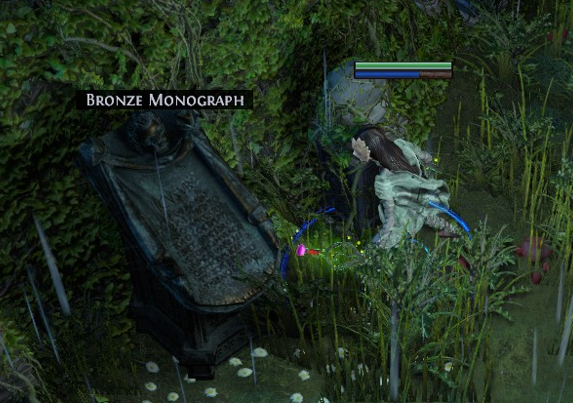
THIS IS THE LAST BRONZE MONOGRAPH THAT COUNTS PROGRESS IN THE MAIN CAMPAIGN, THE ONES FOUND IN ACT 6 AND HIGHER ARE THEREFORE OMITTED IN THE GUIDE
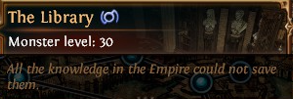
After fetching Siosa all the Golden Pages
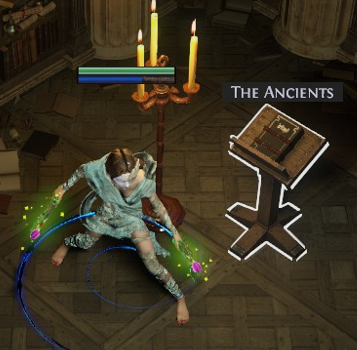
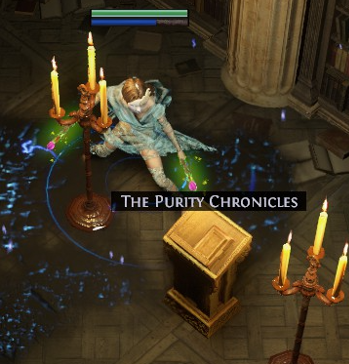
There are 3 books here, with a total of 17 different variants. All books are guaranteed to spawn,
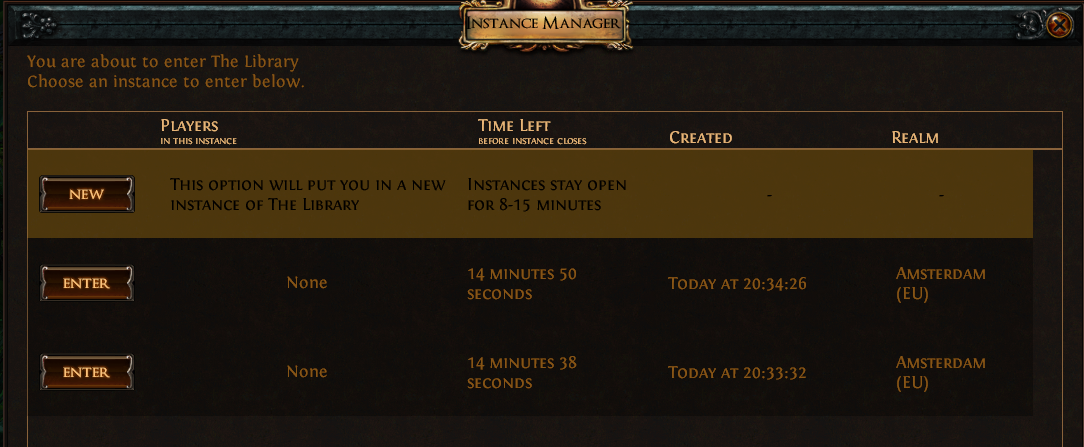
however the variants are chosen randomly. It is therefore advised to keep a manual track of which variant for which book you already have. You can create a new instance by control clicking the entrance to the Library, to refresh the variants faster.
The Ancients - 7 variants
The Purity Chronicles - 6 variants
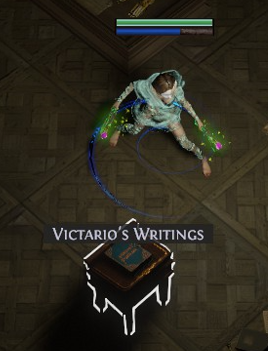
Victario's Writings - 4 variants
After killing Dominus
TOTAL SCORE SO FAR
THE LORD'S LABYRINTH
None
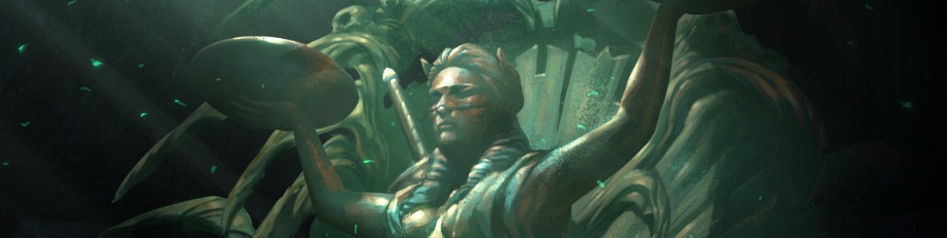
The Lord's Labyrinth contains 10 environmental lore items. The good news is that despite the layout changing daily, all are guaranteed to spawn. Therefore doing the Normal Lab is the fastest and easiest way of getting them.
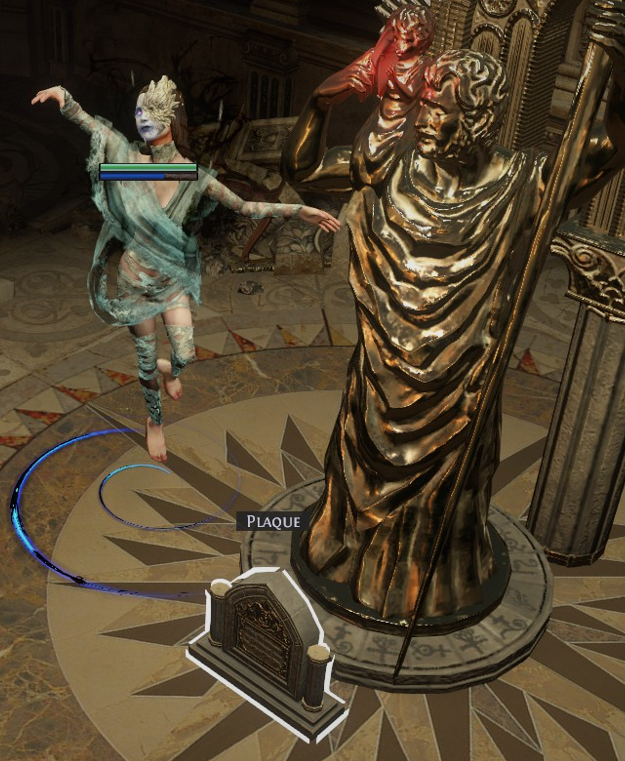
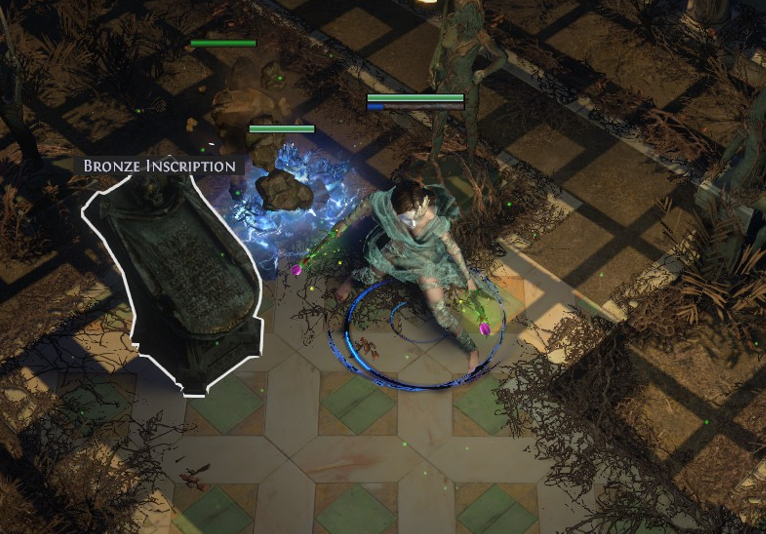
The Aspirant's Plaza containts 1 Bronze Plaque.
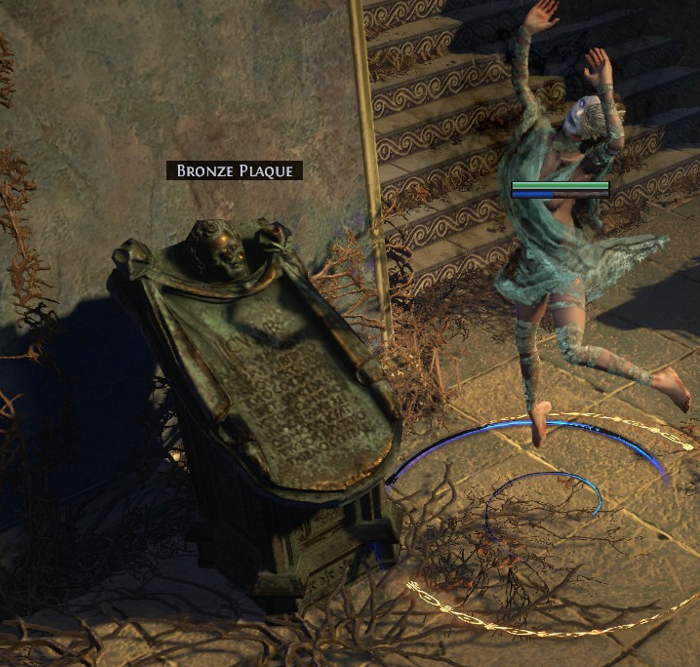
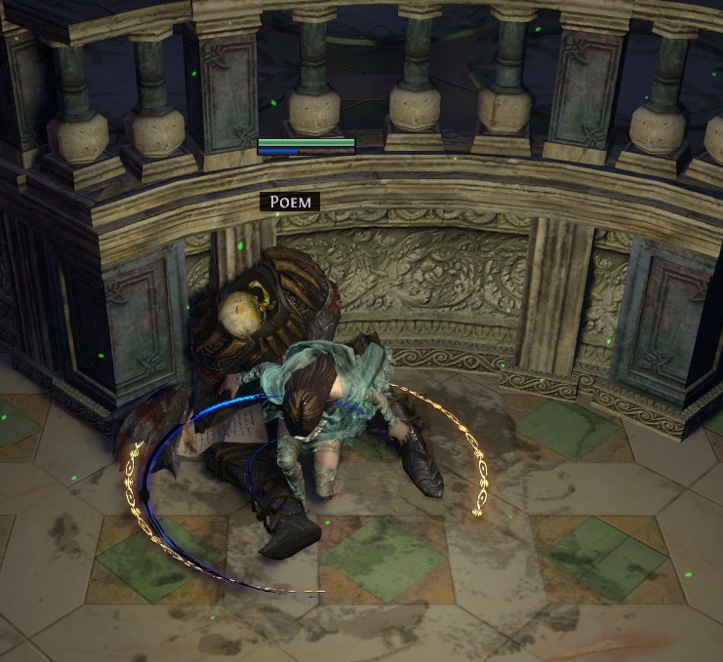
Inside the Labyrinth itself, there is 1 Bronze Inscription, and 4 Poems.
The Bronze Inscription can be found in the first area, right after starting a Labyrinth run.
The 4 Poems will spawn in random Labyrinth areas. They are always out in the open and hard to miss.
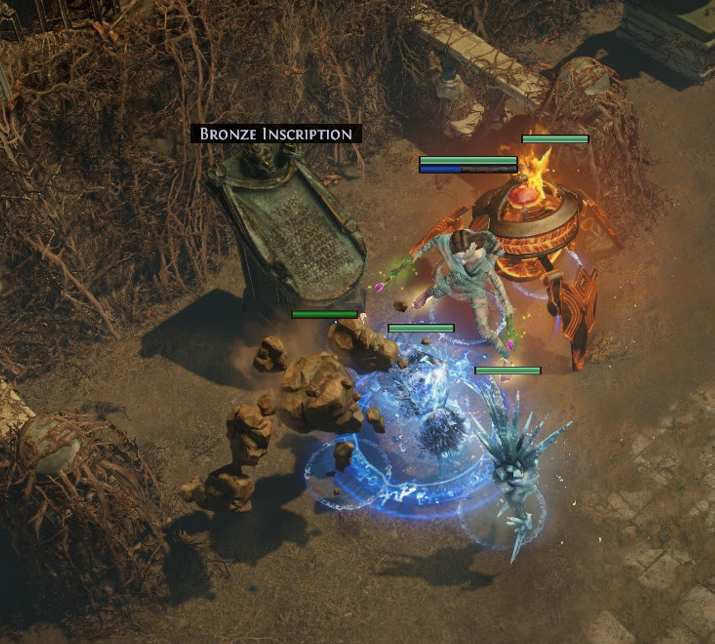
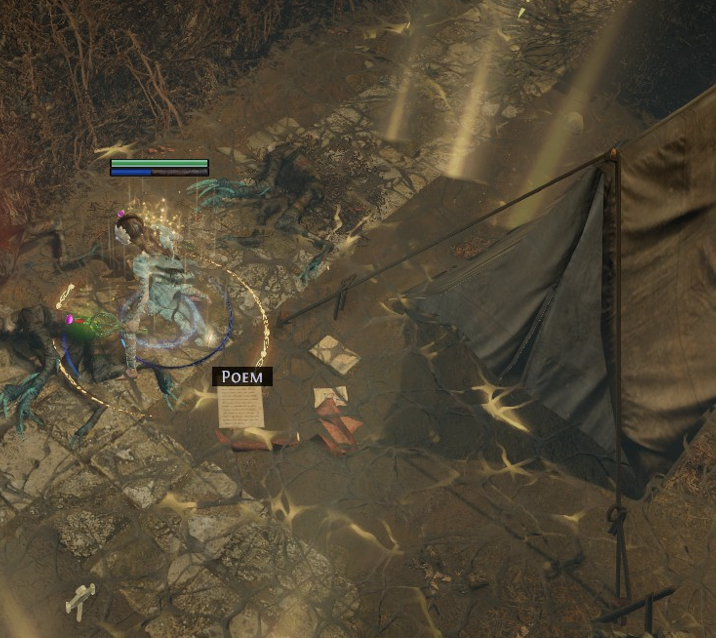
The Aspirant's Trial (the room before you fight Izaro) will always have a Bronze Inscription in it, so 3 in total. The final Aspirant's Trial will also include an additional Poem.
TOTAL SCORE SO FAR
ACT 4 (part 1)
None
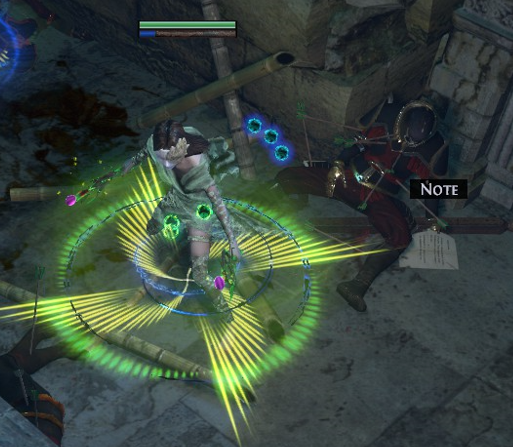
Talk Order: Kira, Petarus and Vanja, Tasuni, Oyun, Dialla
None
after killing Voll and opening the Mines in town
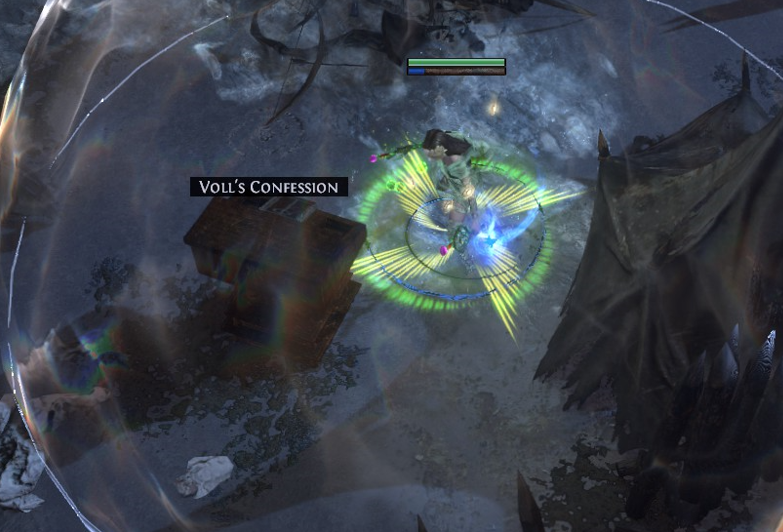
After freeing Deshret
None
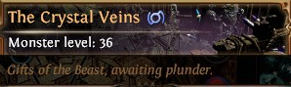
Meet Dialla at the end of the Crystal Veins
After talking to Dialla, head back into town
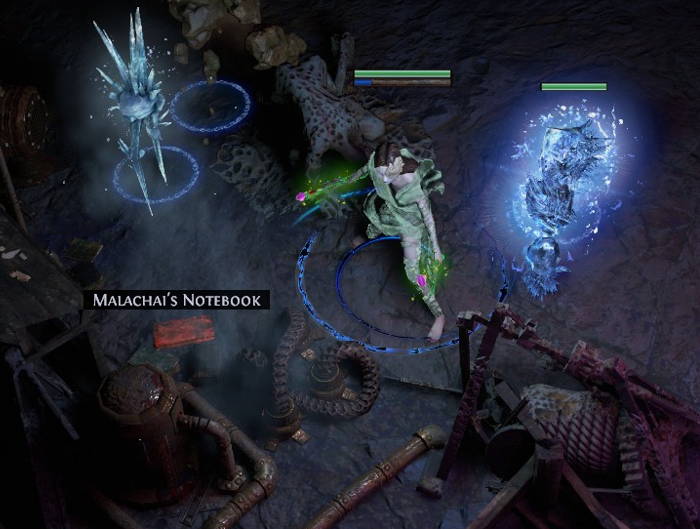
ACT 4 (part 2)
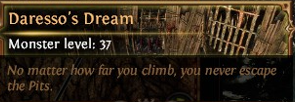
None
None
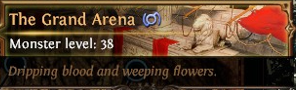
After killing Daresso and giving Dialla The Eye of Desire, do not enter Kaom's Dream!
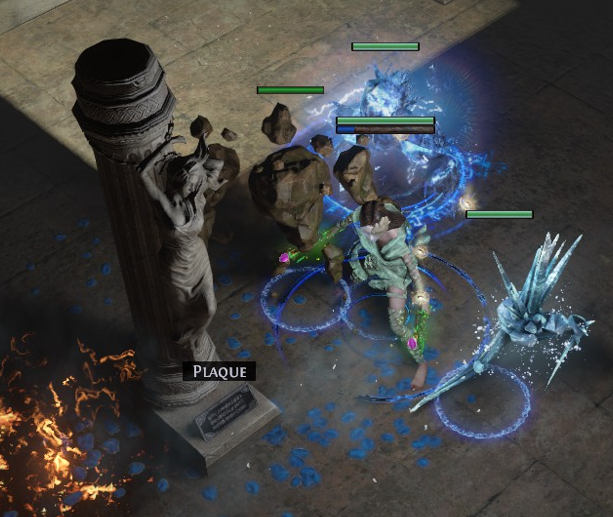
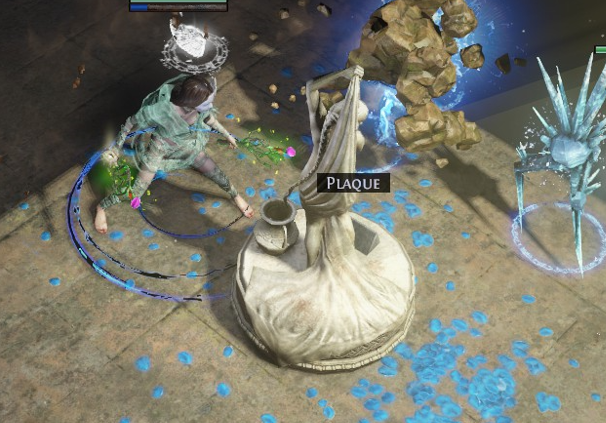
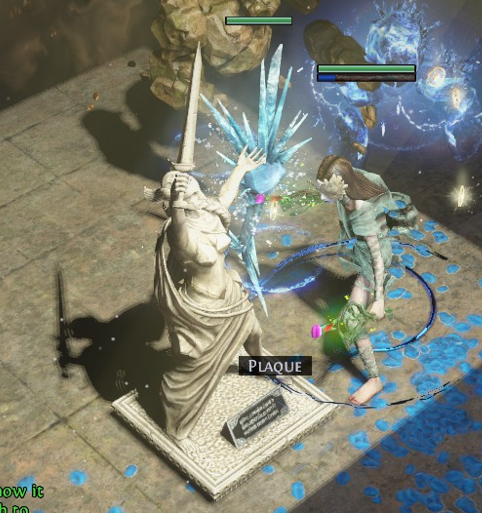
None
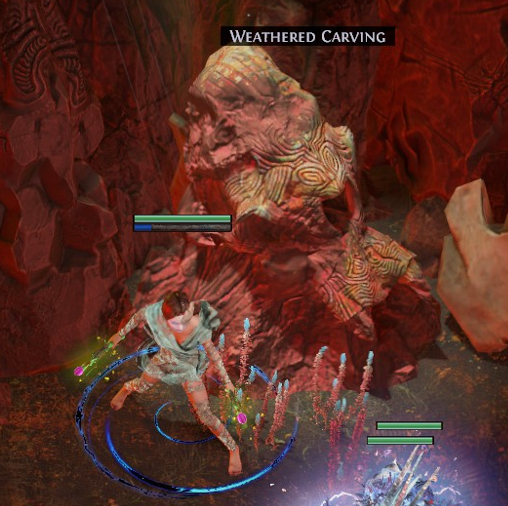
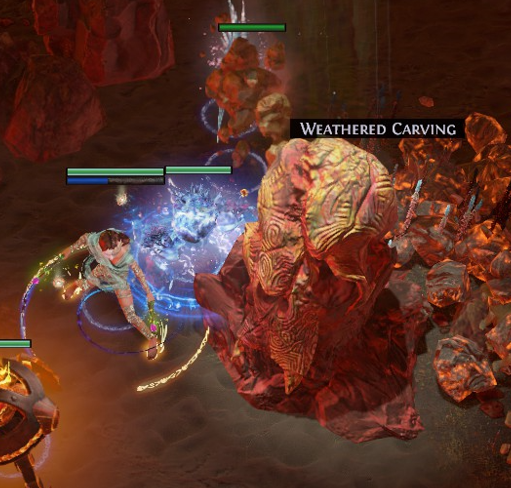
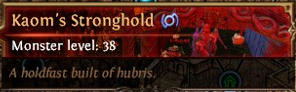
After killing Kaom and giving Dialla The Eye of Fury, do not enter The Belly of the Beast!
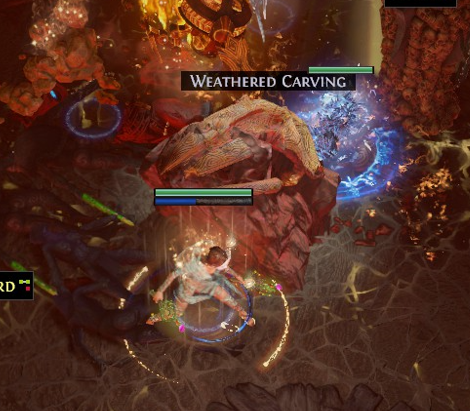
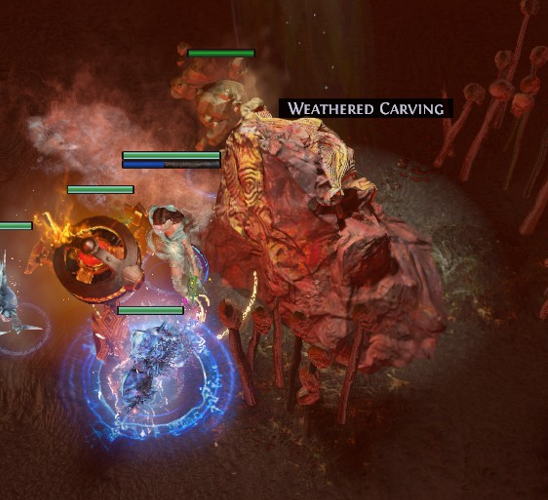
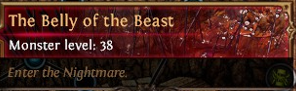
After defeating Piety, do not enter The Harvest!
None
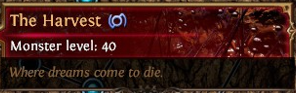
Talk to Piety without giving her the organs
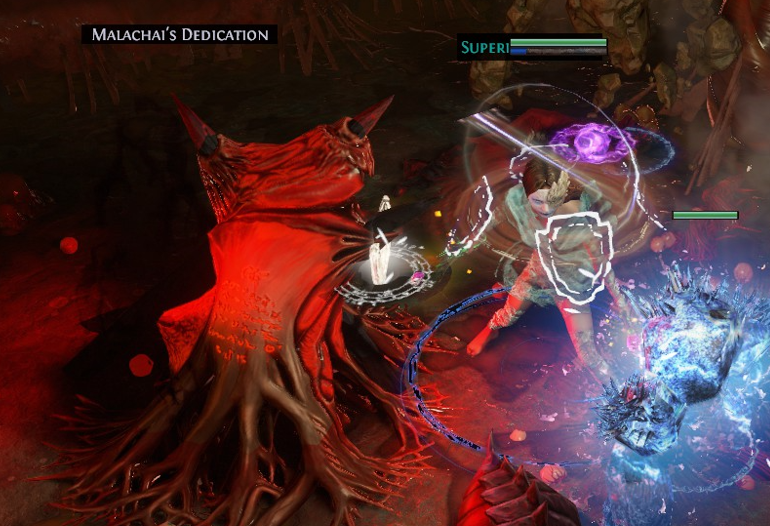
After giving Piety all the organs, do not kill Malachai!
After killing Malachai
None
TOTAL SCORE SO FAR
ACT 5 (part 1)
None
None
Talk Order: Utula, Lani, Vilenta, Bannon
None
After killing Justicar Casticus, do not enter the Oriath Square!
None
None
None
None
After killing Innocence, do not leave The Chamber of Innocence!
After talking with Sin, teleport to town and talk to Vilenta.
Head back to the Chamber of Innocence and talk to Bannon. Do not enter the Torched Courts!
After Bannon's introduction line, go back to town.
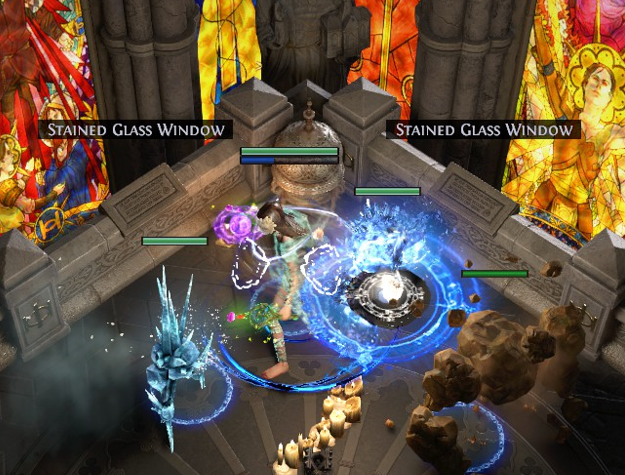
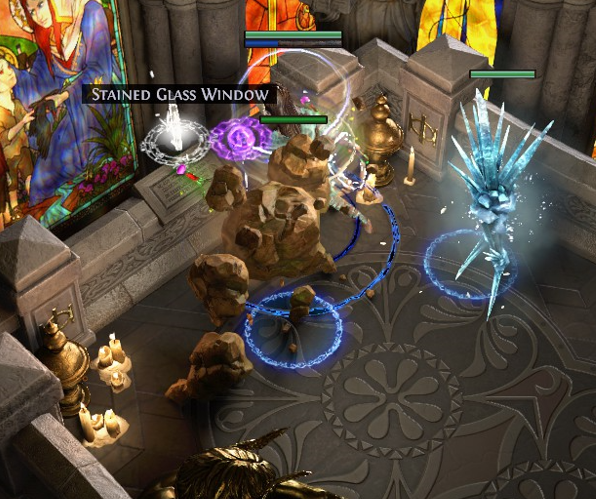
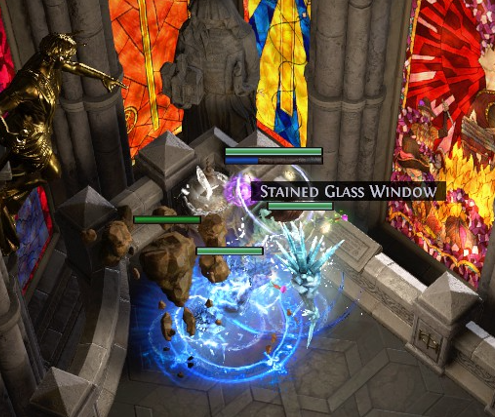
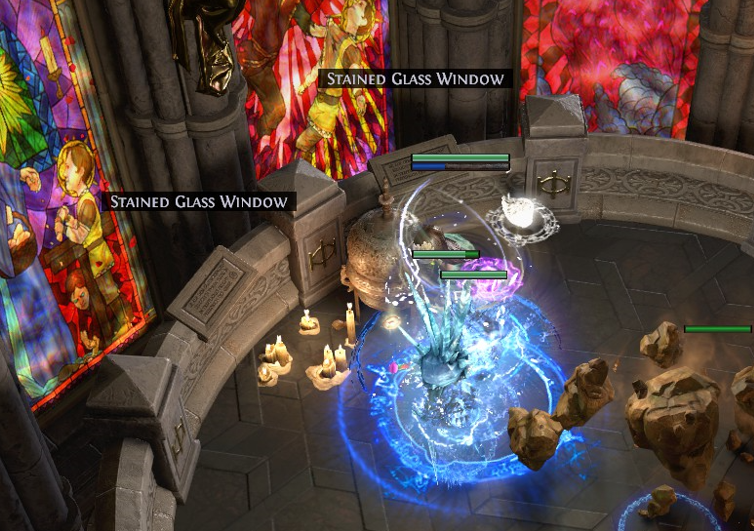
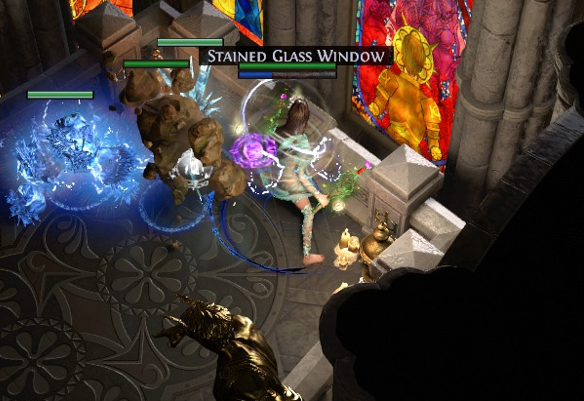
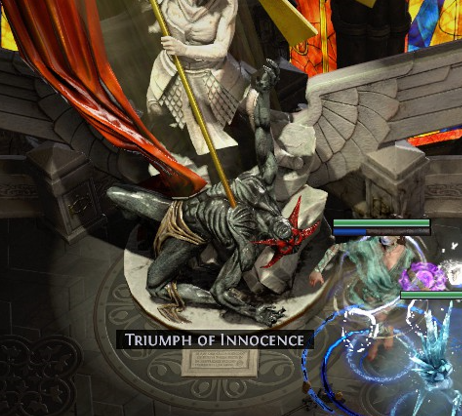
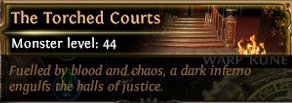
None
None
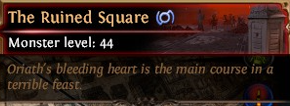
None
None
ACT 5 (part 2)
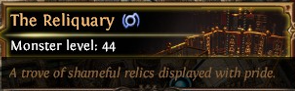
None
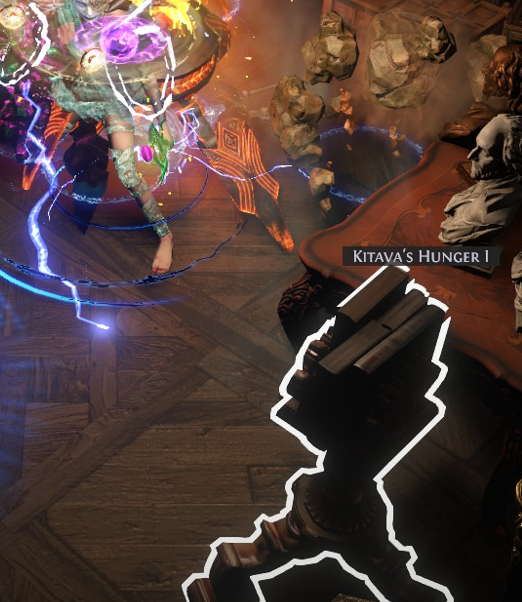
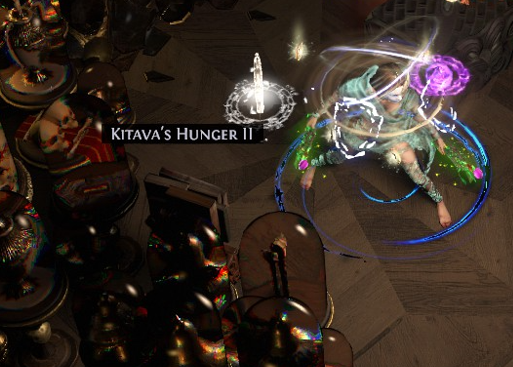
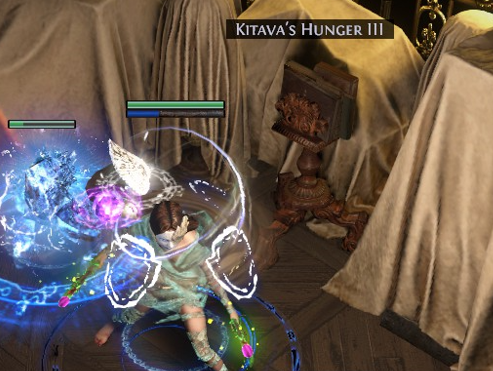
After getting the Sign of Purity, talk to Sin, do not leave The Ossuary!
None
After "defeating" Kitava
None
TOTAL SCORE SO FAR
ACT 6 (part 1)
Talk Order: Sin, Lilly Roth, Bestel, Tarkleigh
None
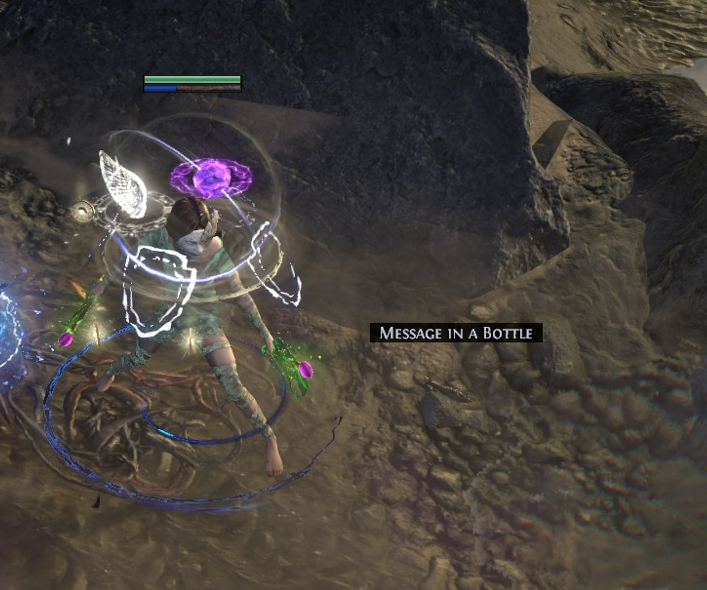
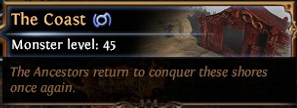
None
None
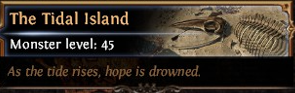
None
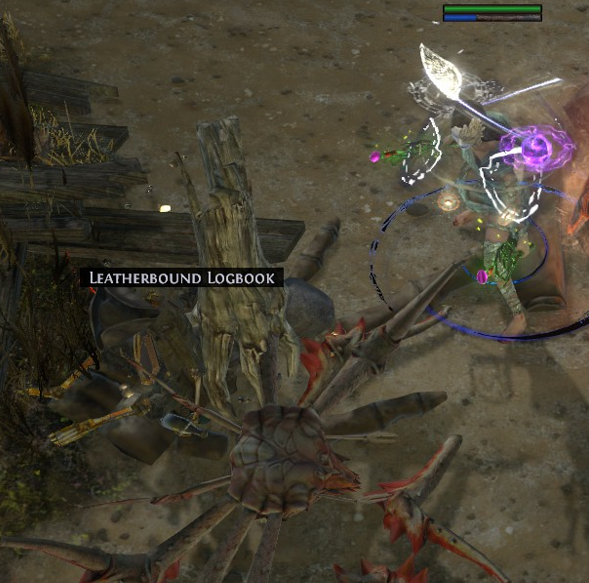
Upon entering the area, teleport back to town
After getting the Eye of Conquest, go talk to Tarkleigh, do not use it on the door!
After using the Eye of Conquest on the door, go talk to Tarkleigh again, do not enter the Karui Fortress!
None
After defeating Tukohama
None
None
None
After killing Shavronne, before leaving the area, talk to Sin!
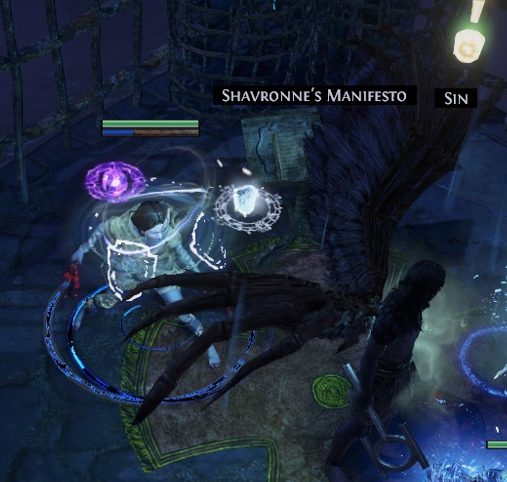
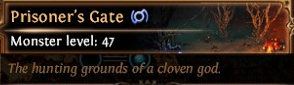
After talking to Nessa, do not enter The Western Forest!
None
ACT 6 (part 2)
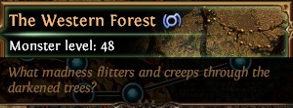
None
None
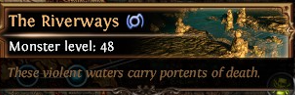
None
None
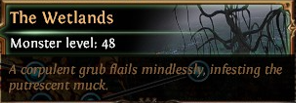
None
None
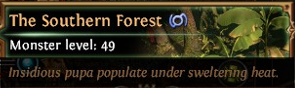
None
None
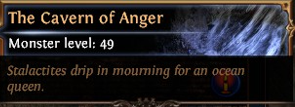
After getting The Black Flag, head back to town, do not enter The Beacon!
None
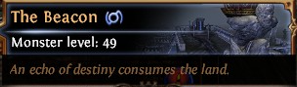
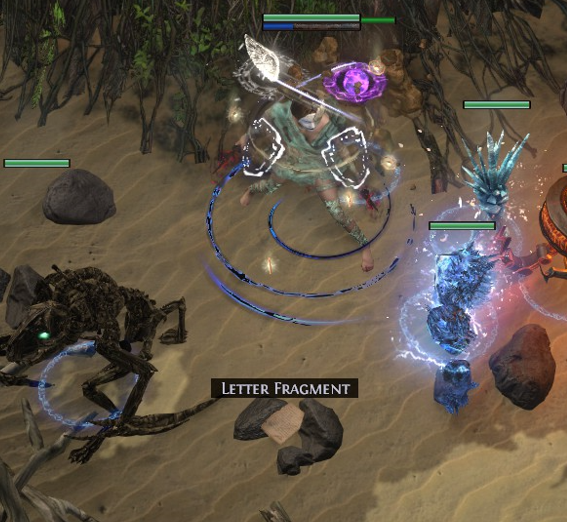
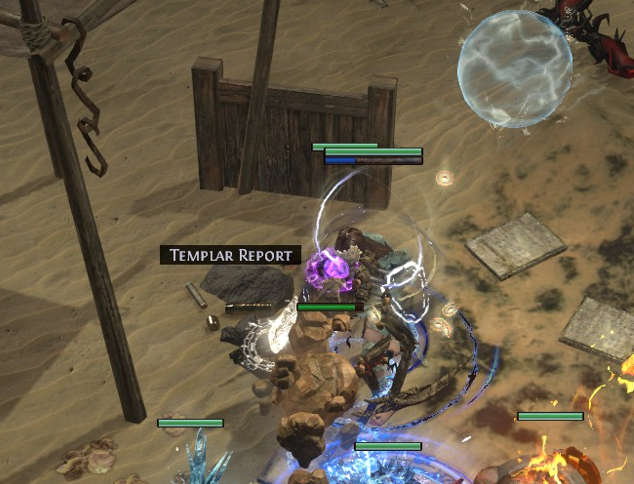
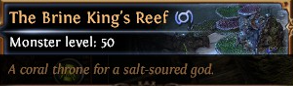
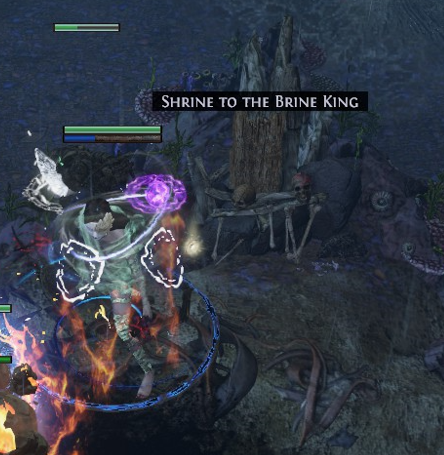
After arriving at The Brine King's Reef, talk to Weylam
After defeating The Brine King
TOTAL SCORE SO FAR
ACT 7 (part 1)
Talk Order: Sin, Weylam Roth, Eramir, Yeena, Helena
None
None
None
After seeing the blocked way, talk to Helena first, do not enter The Fellshrine Ruins!
None
None
None
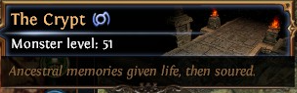
After finding Maligaro's Map
None
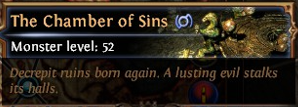
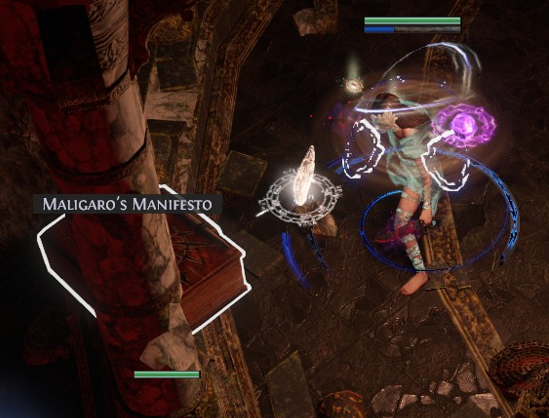
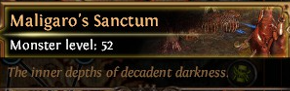
After killing Maligaro, talk to Sin first before leaving Maligaro's Sanctum!
None
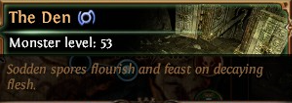
None
None
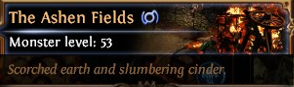
After killing Greust, talk to Sin, do not enter The Northen Forest!
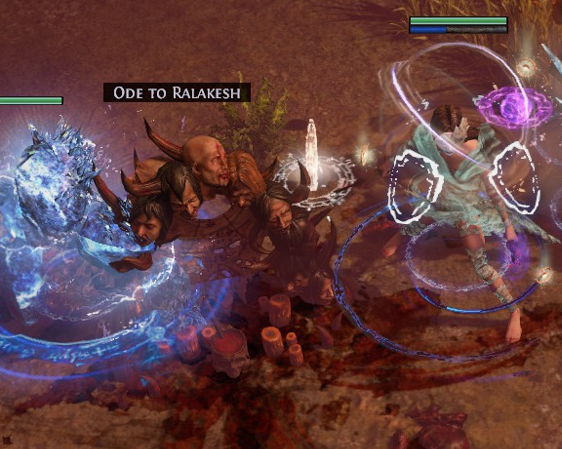
ACT 7 (part 2)
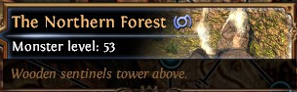
None
None
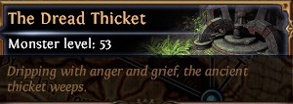
After killing Gruthkul
After getting all the Fireflies, talk to Yeena, do not enter The Causeway!
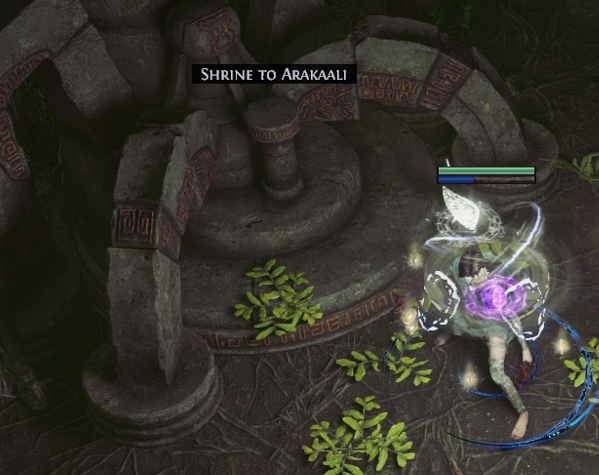
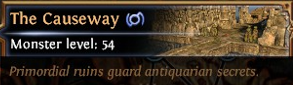
None
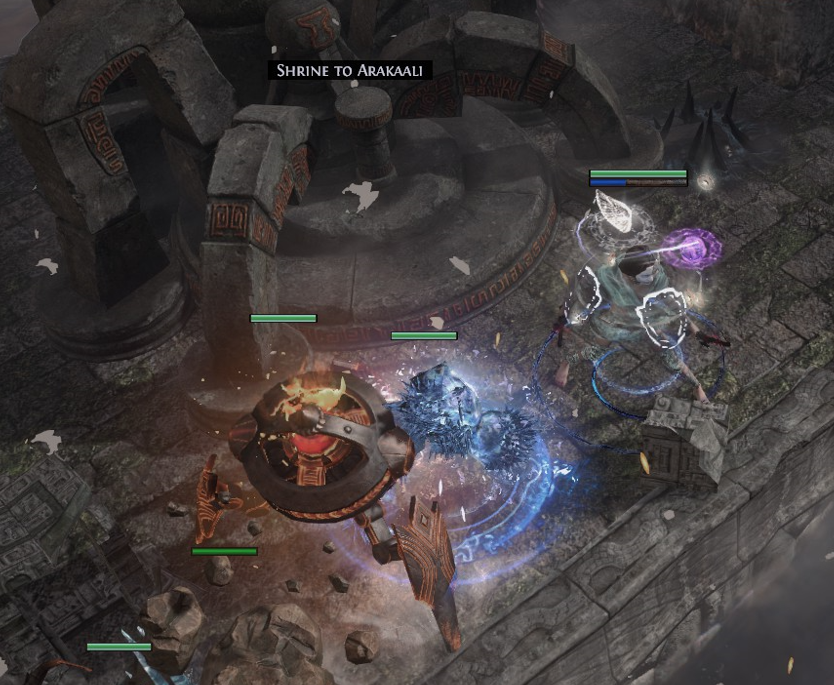
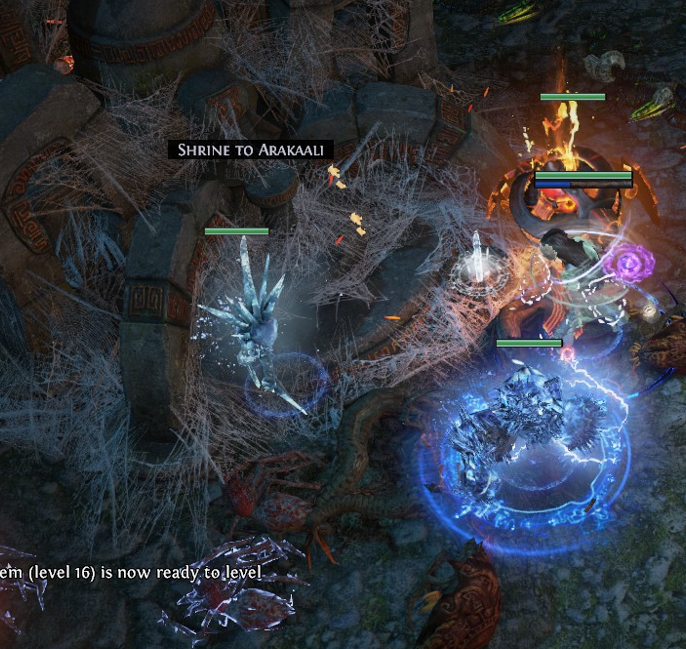
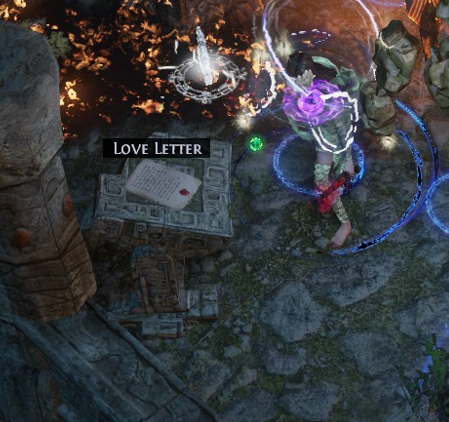
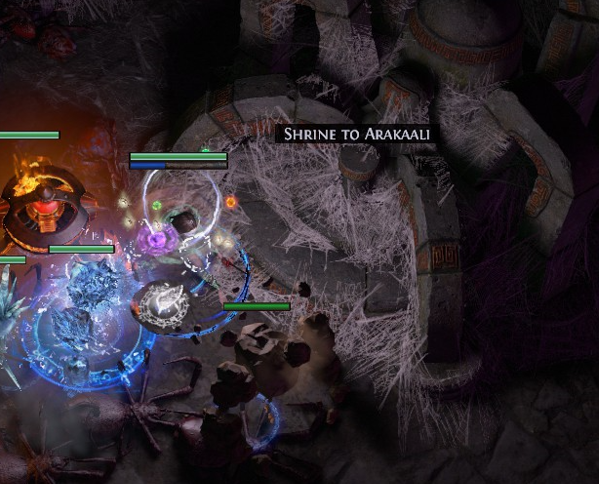
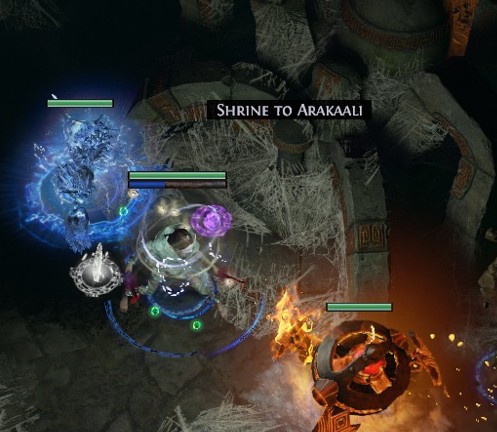
After killing Arakaali, talk to Yeena first, do not leave The Temple of Decay!
TOTAL SCORE SO FAR
ACT 8 (part 1)
None
None
Talk Order: Maramoa, Hargan, Clarissa, Sin
None
After killing Doedre in Doedre's Cesspool, talk to Sin first, do not leave the area!
None
None
None
After killing Hector Titucius and grabbing the Wings, deliver them to Hargan
After delivering the Wings, talk to Sin and then Hargan again. Do not kill Yugul (the boss in The High Gardens) before doing so!
None
None
None
After killing Tolman, talk to Clarissa first, do not leave The Quay!
After talking to Clarissa, you can head back into town
None
None
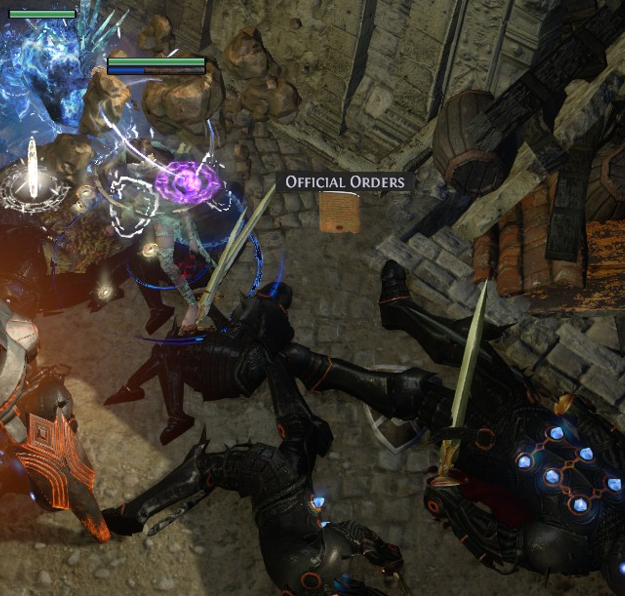
None
None
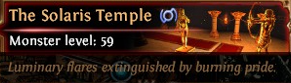
None
None
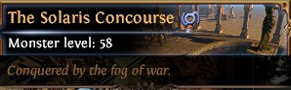
None
None
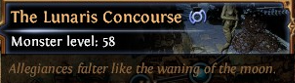
None
None
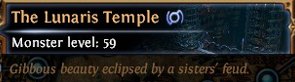
After getting both Sun Orb and Moon Orb (do not kill Solaris and Lunaris before getting the next 2 dialogue options!)
None
ACT 8 (part 2)
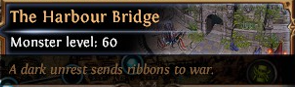
After defeating Solaris and Lunaris
None
TOTAL SCORE SO FAR
ACT 9 (part 1)
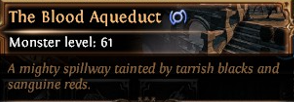
None
None
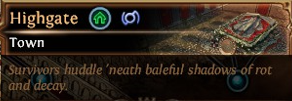
Talk Order: Sin, Petarus and Vanja, Irasha, Tasuni
None
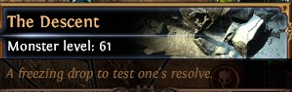
None
None
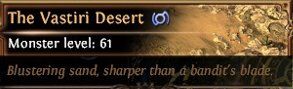
After getting The Storm Blade, talk to Petarus and Vanja first, do not enter The Foothills!
After witnessing the blocked way, talk to Sin first, do not enter The Foothills!
None
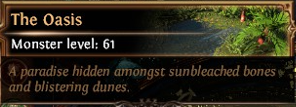
None
None
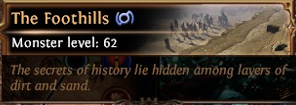
None
None
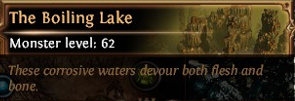
None
None
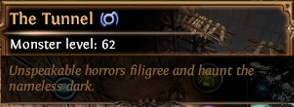
None
None
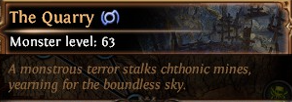
After killing Garukhan, talk to Sin and head back into town. Do not talk to Irasha or Tasuni first!
Give Irasha the feather
None
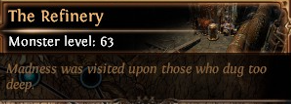
After killing the boss and grabbing the Trathan Powder, talk to Sin in town
Afterwards, talk to Sin in The Quarry. Do not enter The Belly of the Beast until doing so!
None
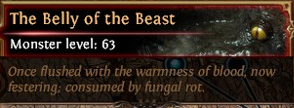
None
None
ACT 9 (part 2)
After killing the Depraved Trinity, talk to Weylam and head back into town. Do not continue to Act 10 until doing so!
None
TOTAL SCORE SO FAR
ACT 10
Talk Order: Sin, Lilly Roth, Weylam Roth, Lani, Bannon
None
After freeing Bannon and talking to him, head back to town
None
None
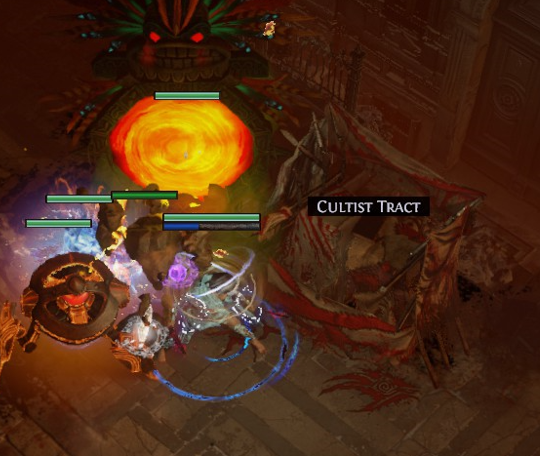
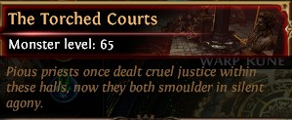
None
None
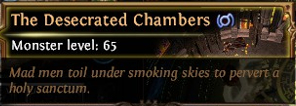
After getting the Staff, deliver it to Bannon first and talk to Lilly
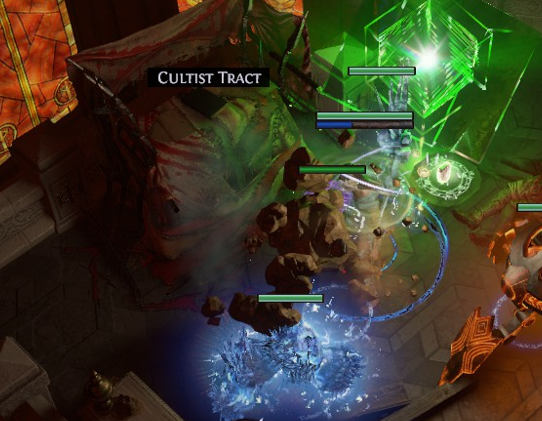
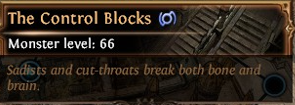
None
None
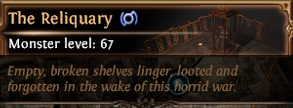
None
None
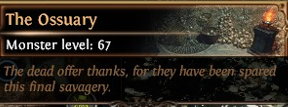
None
None
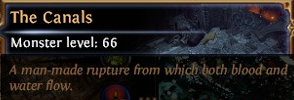
None
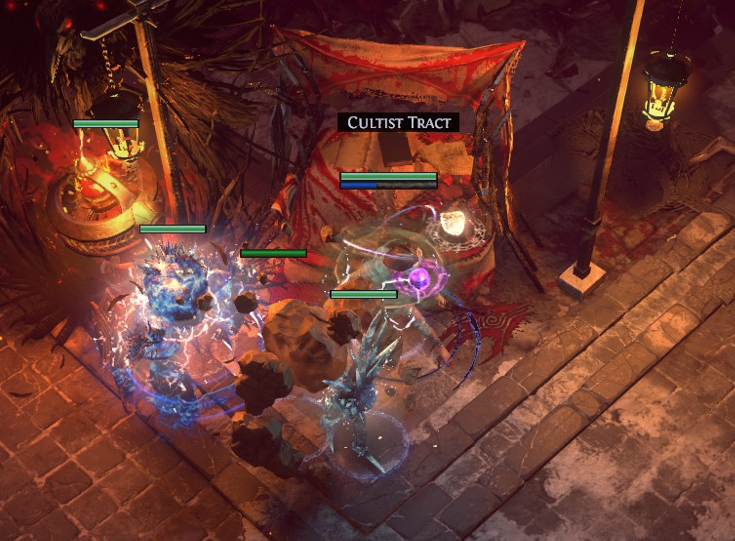
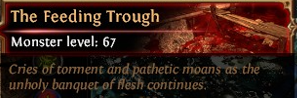
After defeating Kitava, enter the Oriath Docks via the portal that appears
None
TOTAL SCORE SO FAR
VAAL SIDE AREAS
Vaal Side Areas contain 12 Vaal Letters and 4 Research Journals which count as environmental lore items. These items are not randomly selected, each is assigned to a specific area.
Side Areas can randomly appear in any zone in the campaign, endgame mapping is not needed at all.
That being said, you can put Sacrifice Fragments into the Map Device, which will take you to a random Vaal Side Area. If you have a bunch to spare, spamming Fragments until you get the zone you need might be faster.
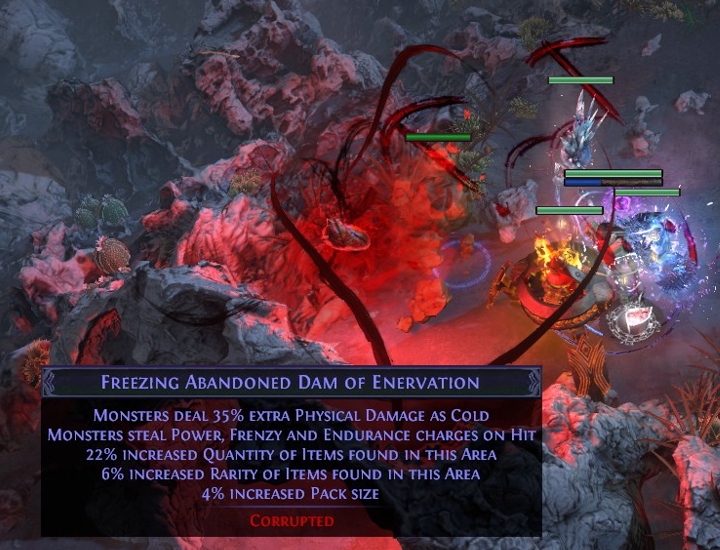
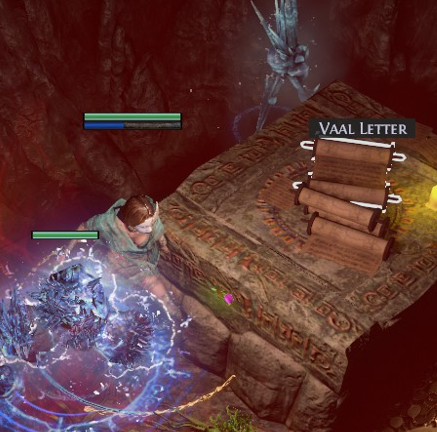
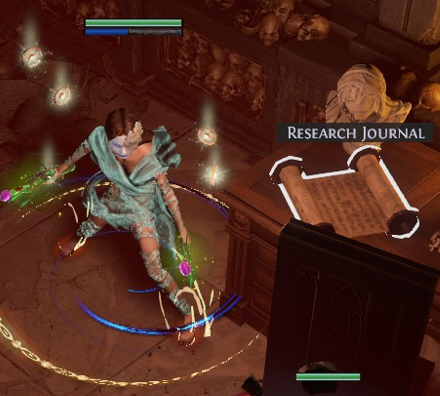
The strategy is to enter the zone and sprint past everything, while keeping an eye out on your minimap for any Side Area spawns. If there isn't one, leave the zone, and re-enter via a new instance (see section Library in Act 3 of this guide about creating new instances).
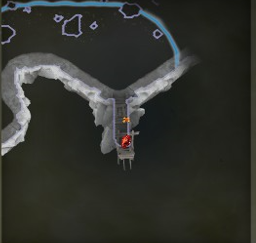
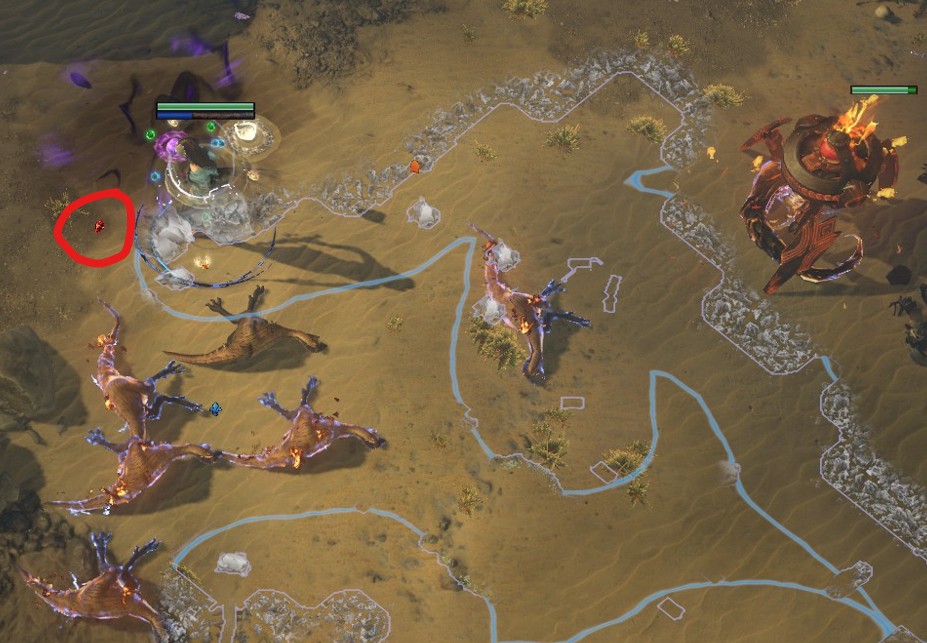 (The Overlay map helps a lot too)
If you randomly come across a Side Area, you can check what lore item it has by looking at the chart below and searching the areas name (ex. Concealed Caldarium will always have "Vaal Letter - I Had Nothing")
Certain zones might have a pool of different Vaal Areas it can spawn.
Dried Lake for example has 2 side variants, which means 2 different lore items.
Once again, consult the chart if unsure, or the Wiki if all else fails.
Each letter/journal needs to picked up only once, but I tried to provide multiple zones for each, so you can choose which spot to farm at.
The Dried Lake - Act 4 (Abandoned Dam)
The Quay - Act 8 (Blind Alley)
The Grain Gate - Act 8 (Blind Alley)
The Tidal Island - Act 6 (Strange Sinkhole, Concealed Cavity)
The Prison - Act 6 (Forgotten Oubliette)
The Cavern of Anger - Act 6 (Strange Sinkhole)
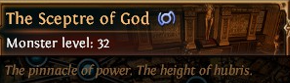
The Sceptre of God - Act 3 (Sealed Corridors)
The Upper Sceptre of God - Act 3 (Sealed Corridors)
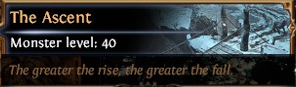
The Ascent - Act 4 (Desolate Track)
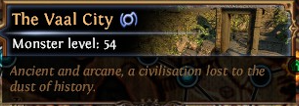
The Vaal City - Act 7 (Forbidden Chamber)
The Descent - Act 9 (Desolate Track)
The Oasis - Act 9 (Dusty Bluff)
The Wetlands - Act 2, Act 6 (Narrow Ravine)
The Solaris Temple - Act 3, Act 8 (Sacred Chambers)
The Aquaduct - Act 4 (Forgotten Conduit)
The Mud Flats - Act 6 (Sunken Shingle)
The Karui Fortress - Act 6 (Radiant Pools)
The Ridge - Act 6 (Clouded Ledge)
The Crypt - Act 7 (Sealed Repository)
The Causeway - Act 7 (Flooded Complex)
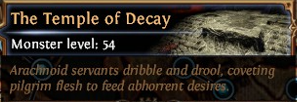
The Temple of Decay - Act 7 (Forbidden Shrine)
The Toxic Conduits - Act 8 (Walled-off Ducts)
The Grand Promenade - Act 8 (Evacuated Quarter)
The Bath House - Act 8 (Concealed Caldarium)
The Blood Aqueduct - Act 9 (Forgotten Conduit)
The Vastari Deserts - Act 9 (Shifting Sands)
The Foothills - Act 9 (Forgotten Gulch)
The Boiling Lake - Act 9 (Desolate Isle)
The Crossroads - Act 2, Act 7 (Hidden Patch)
The Broken Bridge - Act 2, Act 7 (Hidden Patch)
The Crematorium - Act 3 (Disused Furnace)
The Mines - Act 4 (Haunted Mineshaft)
The Crystal Veins - Act 4 (Haunted Mineshaft)
The Ashen Fields - Act 7 (Hidden Patch)
The Imperial Fields - Act 7 (Hidden Patch)
The Tunnel - Act 9 (Haunted Mineshaft)
The Slums - Act 3 (Quarantined Quarters)
The Dread Thicket - Act 2, Act 7 (Secluded Copse)
The Marketplace - Act 3 (Neglected Cellar)
The Battlefront - Act 3 (Neglected Cellar)
The Ebony Barracks - Act 3 (Neglected Cellar)
The Lunaris Concourse - Act 8 (Neglected Cellar)
The Grain Gate - Act 8 (Neglected Cellar
The Imperial Fields - Act 8 (Neglected Cellar
The Solaris Concourse - Act 8 (Neglected Cellar
The Dried Lake - Act 4 (Ancient Catacomb)
The Fellshrine Ruins - Act 2, Act 7 (Covered-up Hollow)
The Chamber of Sins - Act 2, Act 7 (Secret Laboratory)
The Docks - Act 3 (Stagnant Canal)
The Lunaris Temple - Act 3 (Arcane Chambers)
The Library - Act 3 (Restricted Gallery)
The Coast - Act 6 (Remote Gulch)
The Lunaris Temple - Act 8 (Moonlit Chambers)
The Templar Courts - Act 5 (Forbidden Archives)
The Ruined Square - Act 5 (Sealed Basement)
The Torched Courts - Act 5, Act 10 (Cremated Archives)
The Ravaged Square - Act 10 (Sealed Basement)
The Canals - Act 10 (Sealed Basement)
The Feeding Trough - Act 10 (Sealed Basement)
The Chamber of Innocence - Act 5 (Twisted Inquisitorium)
The Desecrated Chambers - Act 10 (Twisted Inquisitorium)
The Reliquary - Act 5, Act 10 (Restricted Collection)
The Ruined Square - Act 5 (Secluded Canal)
The Ravaged Square - Act 10 (Secluded Canal)
The Control Blocks - Act 10 (Reclaimed Barracks)
The Canals - Act 10 (Secluded Canal)
The Feeding Trough - Act 10 (Secluded Canal)
Funfact:
The "Vaal Letter - A Ring" also appears in the Clouded Ridge area, which is supposed to appear on The Ledge in Act 1. Due to a bug however, the area doesn't spawn on The Ledge, therefore it can *presumably* be only found randomly in maps.
This doesn't affect the achievement however, as the same letter can also be found in an area in The Imperial Gardens in Act 3.
TOTAL SCORE SO FAR
Outro


These achievements are a pain in the ass and frankly it's no wonder I avoided them like the plague for so many years. Hope this guide can help a few peeps and make it a less of a headache for them.
Special thanks:- Mysticalchill for the original All Ears guide
- Demental for reformatting / deletion of Navali in Mysticalchills guide
- Enki91 for his Arc Witch guide which was used while making this guide
- my friend Dr.Cola for funding my twink gear (ty bby love u 4ever)
- my coolcat pal Bee for the inspiration to make a guide in the first place
gn now
 a mimir...,,..
- How To Not Suck - An In-Depth Beginner's Guide [UPDATED 3.20 2023]★ 5 (1.4k)71k views2.6k ♥27 minUpdated 5 Dec, 2022
- Basics and Mechanics Guide★ 5 (1.7k)60k views2.4k ♥66 minUpdated 19 Jul, 2018
- Решения проблем с фризами,лагами,и прочим★ 5 (451)51k views730 ♥11 minRussianUpdated 4 May, 2022
- How to Not Waste Your Time Playing PoE - For Total Noobs★ 5 (728)49k views972 ♥11 minUpdated 27 May
- 3.19 Skill Points, Trial, Fast Сompletion 1-10 Acts★ 5 (887)44k views1.8k ♥1 minUpdated 1 Sep, 2022
- Path of Exile 100% achievements guide!★ 5 (765)40k views1.3k ♥40 minUpdated 29 Jun, 2020




- Upgrading to PremiumTeam Fortress 2★ 5 (20k)1441k views11k ♥6 minUpdated May 11, 2022
- No More Room in Hell Official ManualNo More Room in Hell★ 5 (2.8k)569k views2.1k ♥29 minUpdated Apr 22, 2019
- NMRiH Community Hosting GuidesNo More Room in Hell★ 5 (526)351k views653 ♥1 minUpdated Aug 10, 2022
- Лучшие кооперативные игры SteamPAYDAY 2★ 5 (1.5k)315k views2.1k ♥56 minRussianUpdated Apr 27, 2025
- Desert Eagle Heat Treated | Blue GemCounter-Strike 2★ 5 (1.6k)292k views1.5k ♥2 minUpdated Jan 16
- Treasure Hunt Puzzle SolutionsTotal War: WARHAMMER II★ 5 (6.9k)281k views15k ♥3 minUpdated Aug 19, 2021






This guide was created by its original author on the Steam Community. Are you the author and want it removed? Request removal.