Advanced Training Guide 2: Escaping Rebirth
Video Walkthrough
Text-Based Walkthrough
Recommended Stats
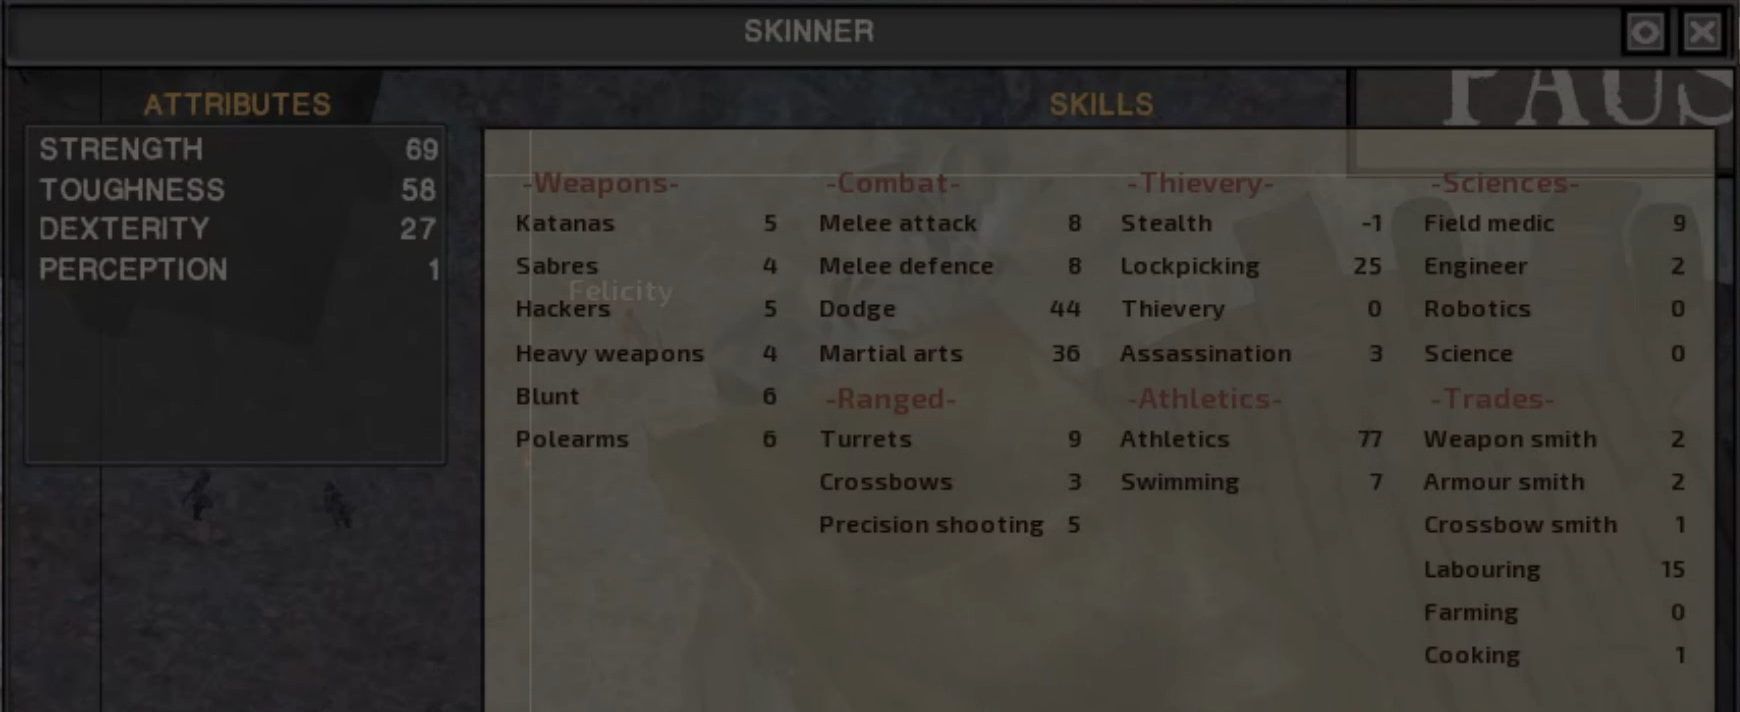
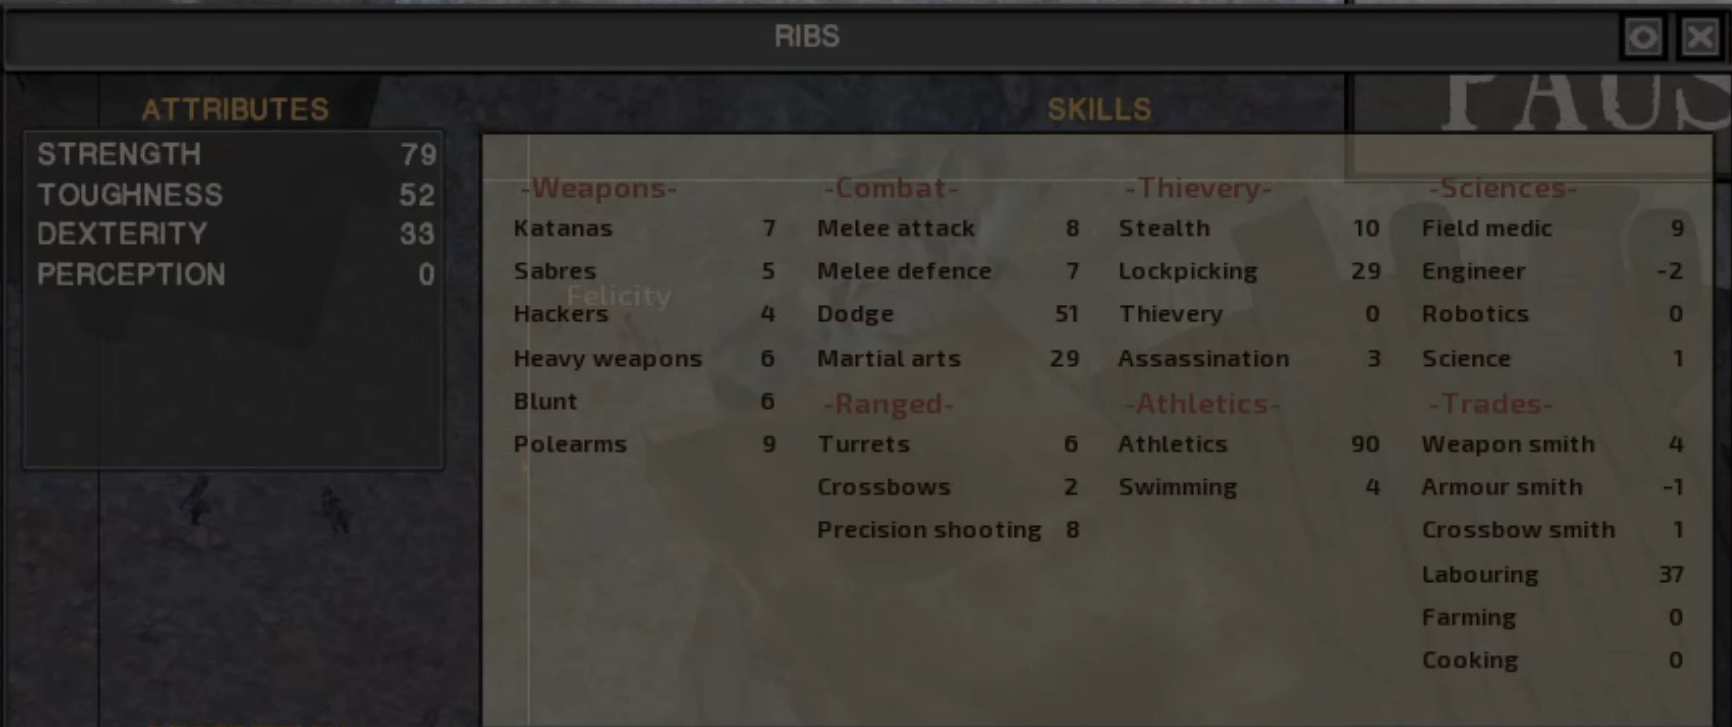
These are examples of sufficient stats to break out with, where you start defeating guards in combat. I am at around 200 days in.
I did re-import a few times, in order to respawn guards and prevent the slave scripts from bugging out. I recommend this.
Personally, I modify the mines to train strength. This is optional, but useful. As characters are selected to work, they will also train athletics without having to control them directly.
A speed of 21 is sufficient to outrun guards and will be handy later on.
Preparing for the Final Revolt
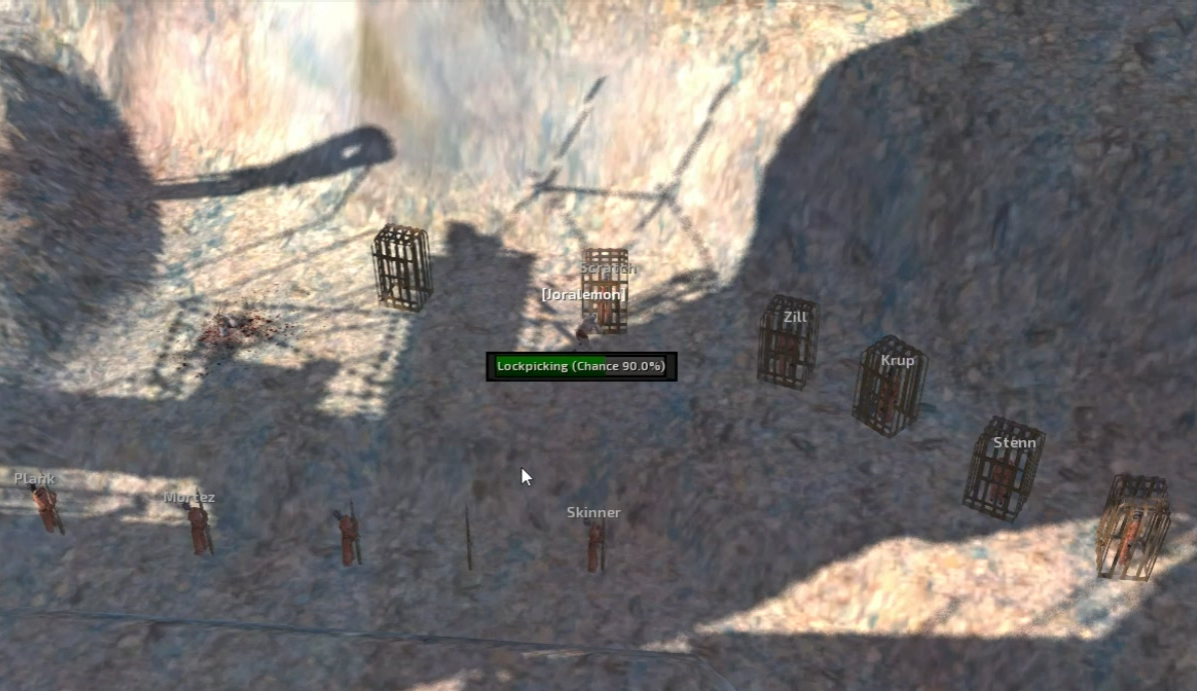
Having a character unlock the shackles of another will auto remove them, resulting in less inventory management.
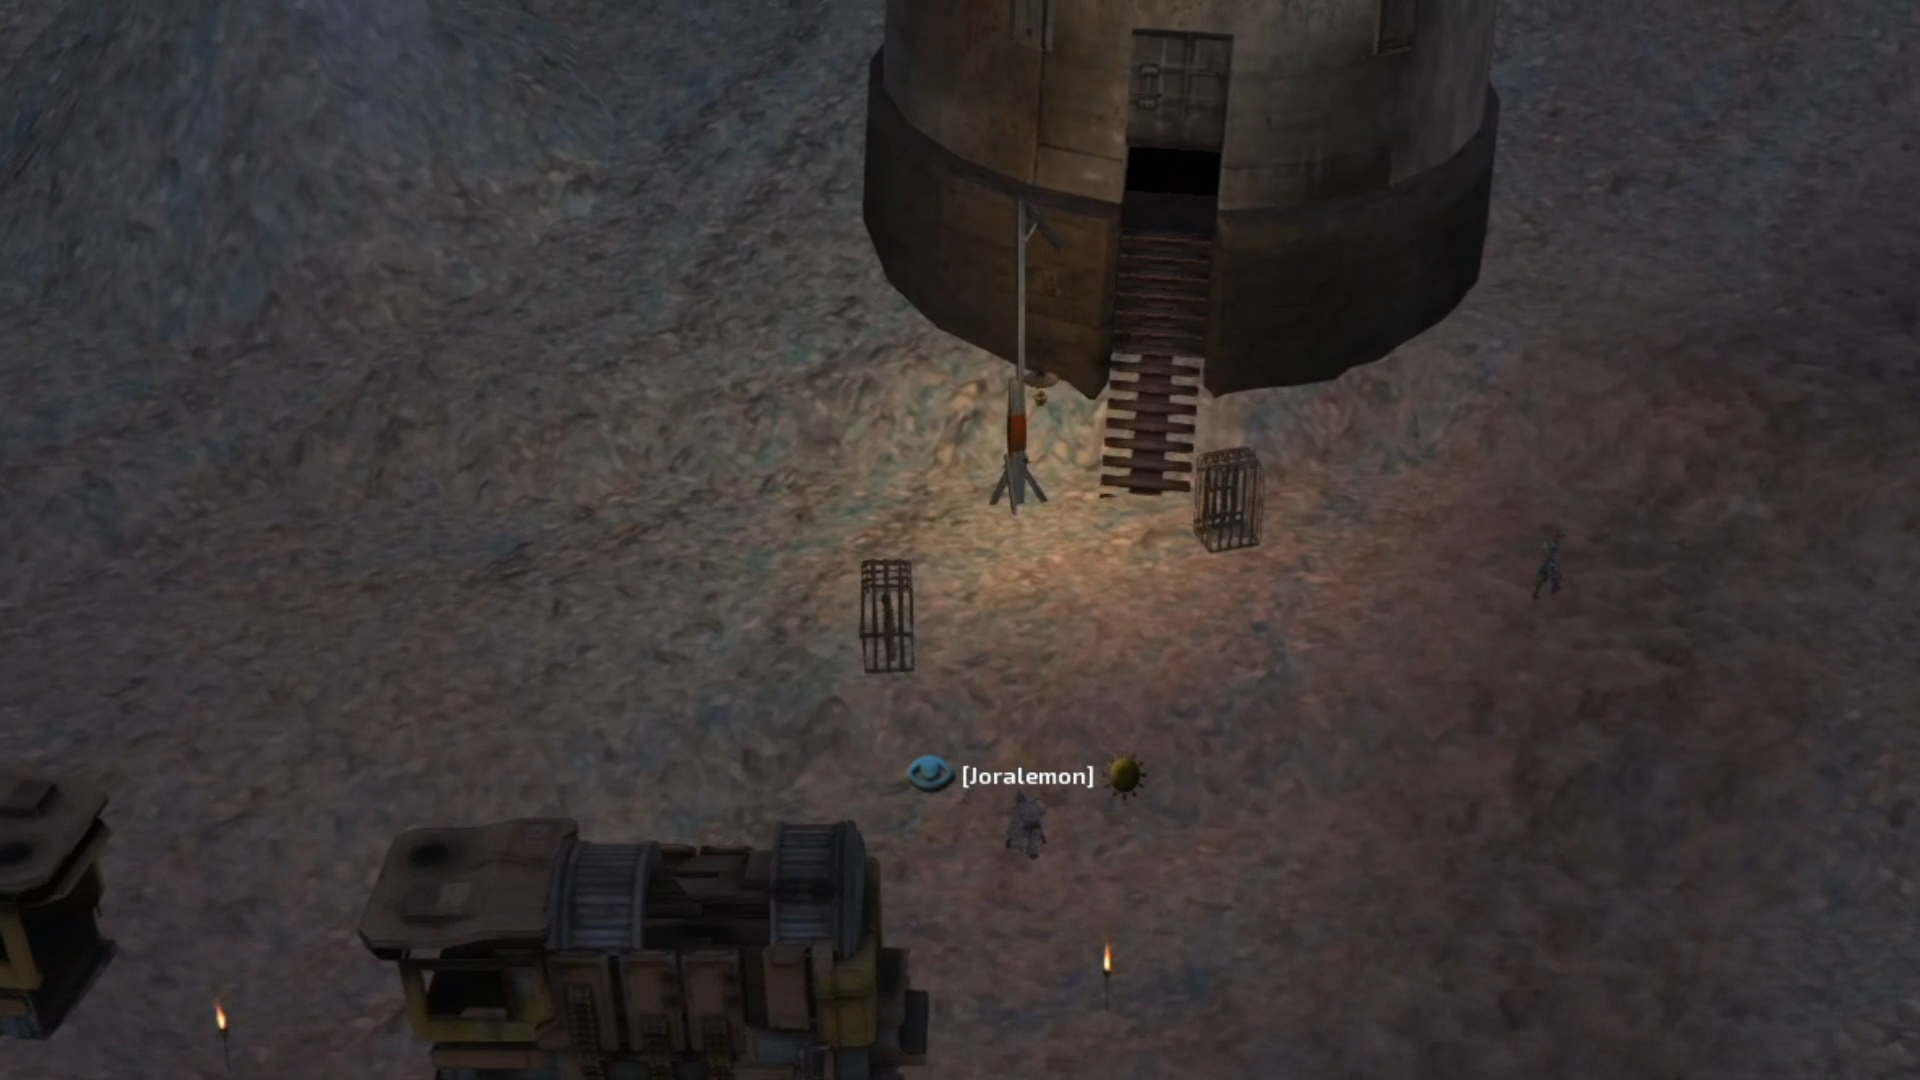
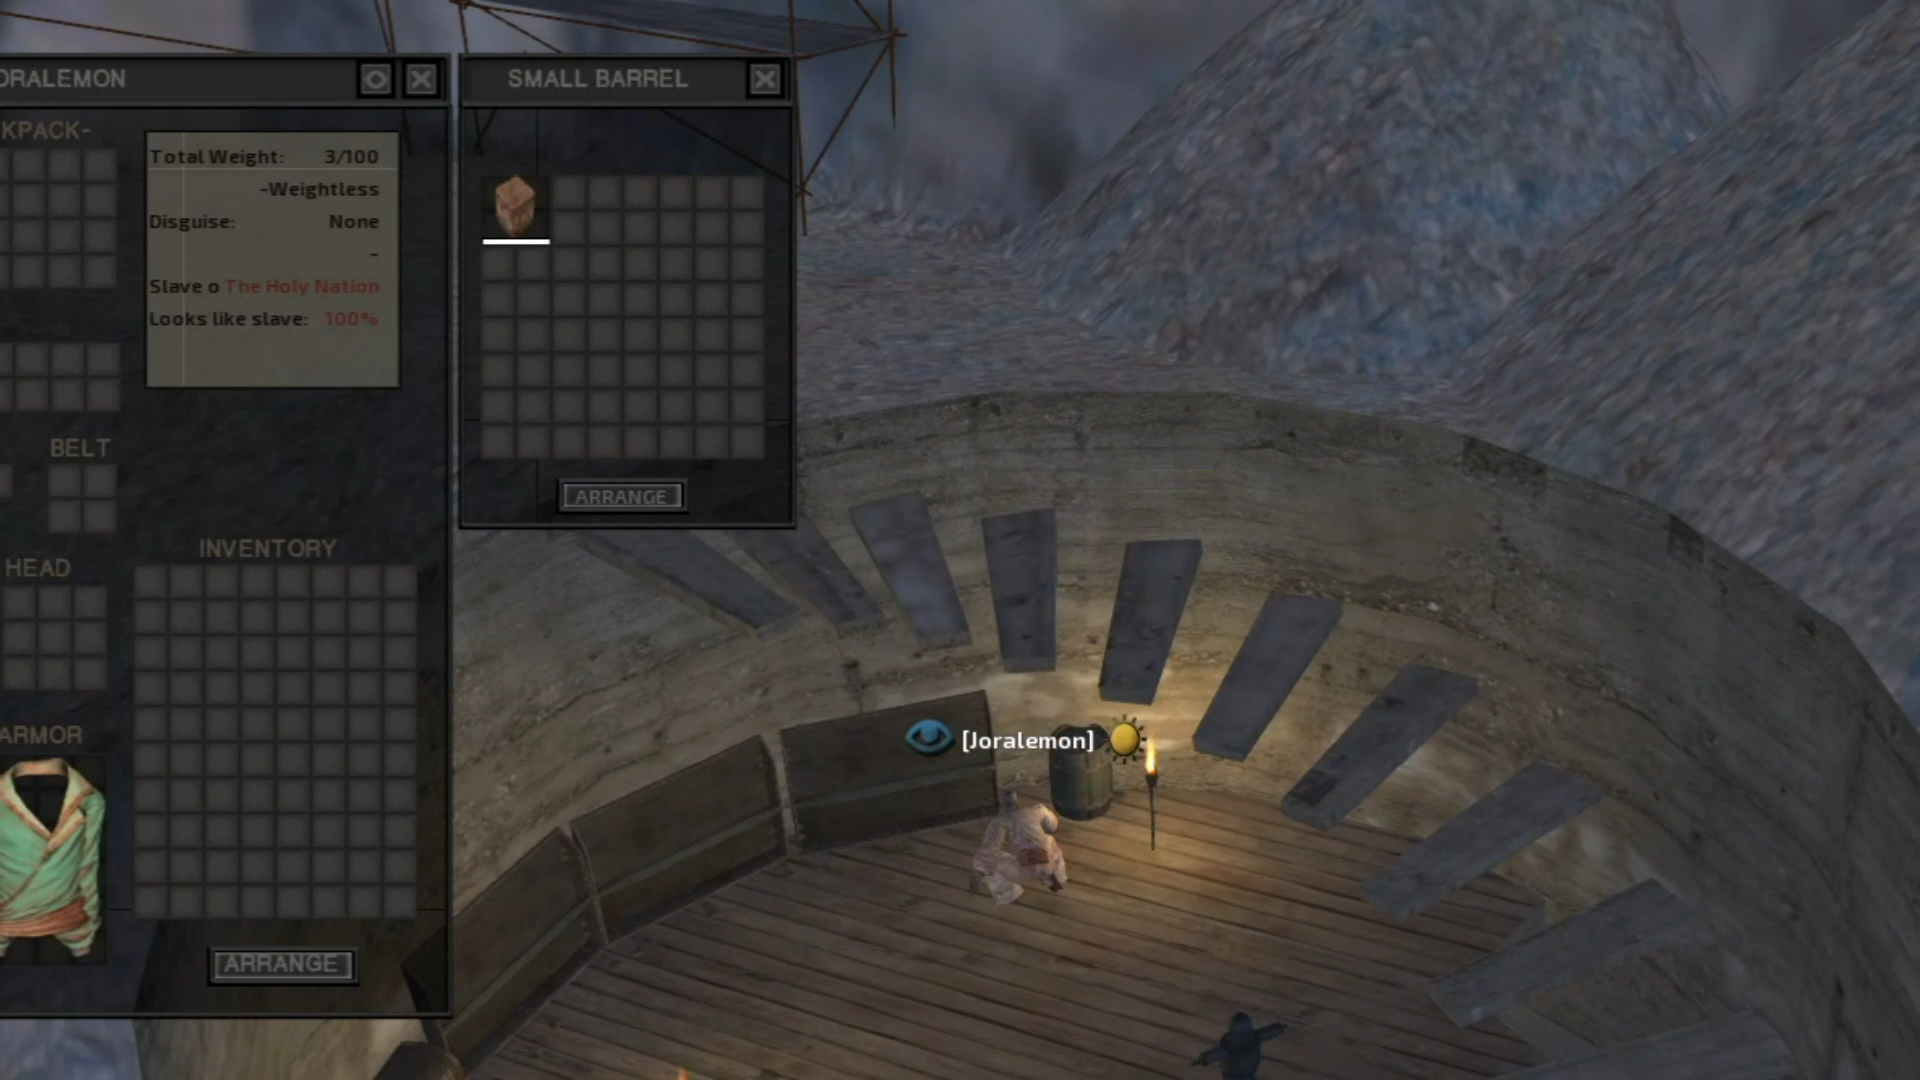
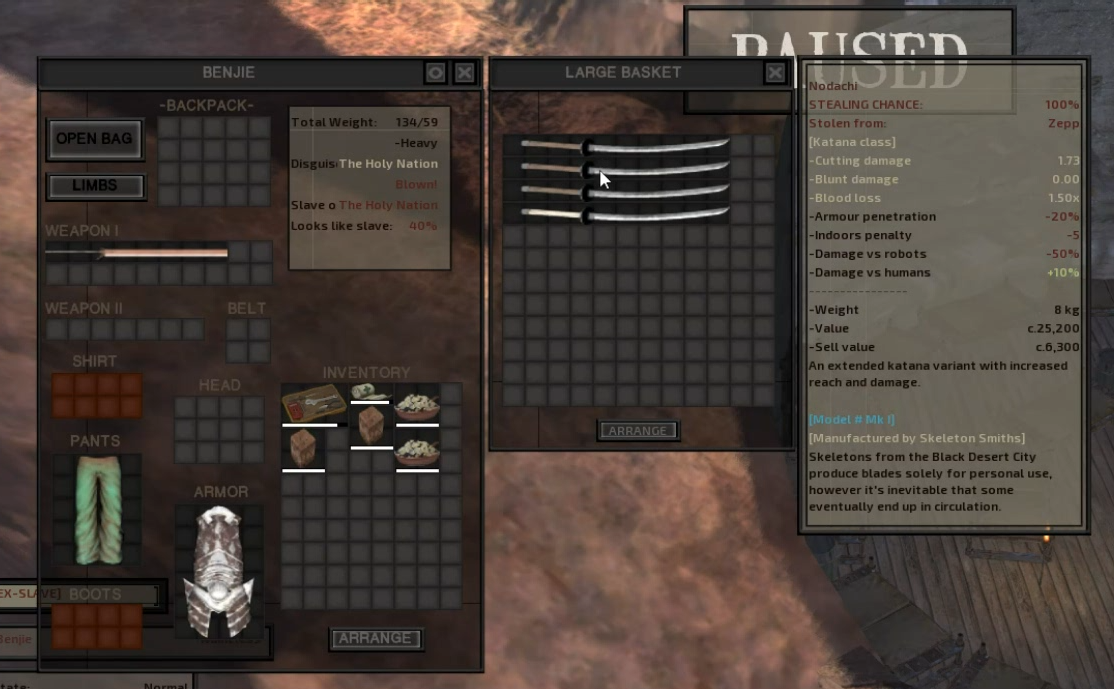
The towers throughout Rebirth contain food, medical supplies, and equipment looted from characters captured assaulting the gates. There are Skeleton squads that will spawn and attack the guards; their nodachis are quite valuable and are worth searching the towers for. Use them, or sell them. Avoid wearing the Skeleton's dropped armor, as they will attack you for it.
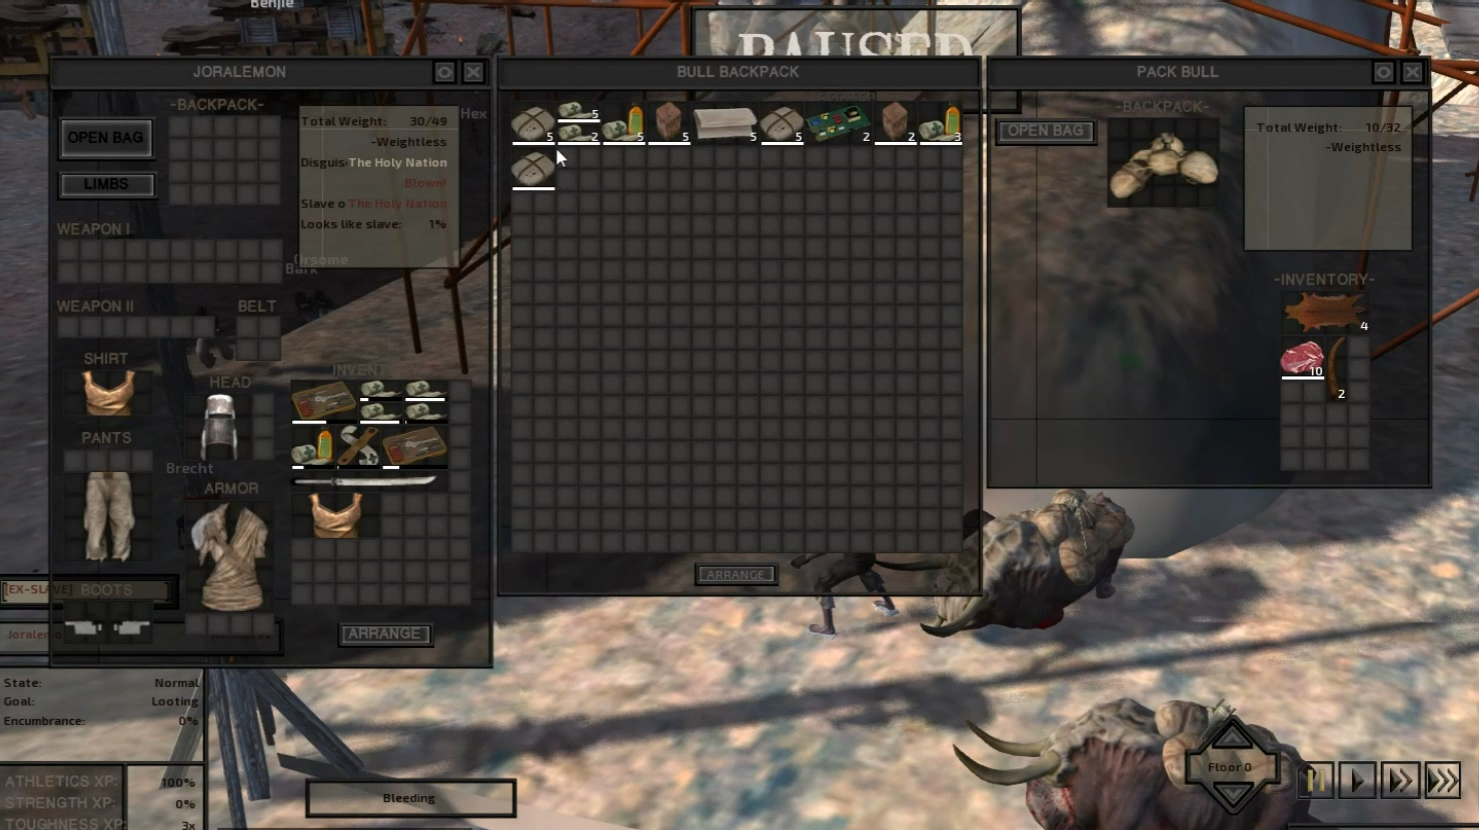
Occasionally there will be trade caravans that pass through Rebirth, I suggest biding your time before the final revolt until one of them shows up. This provides a significant leg up on survival, but is not necessary if you are playing with a small squad.
The Slave Master
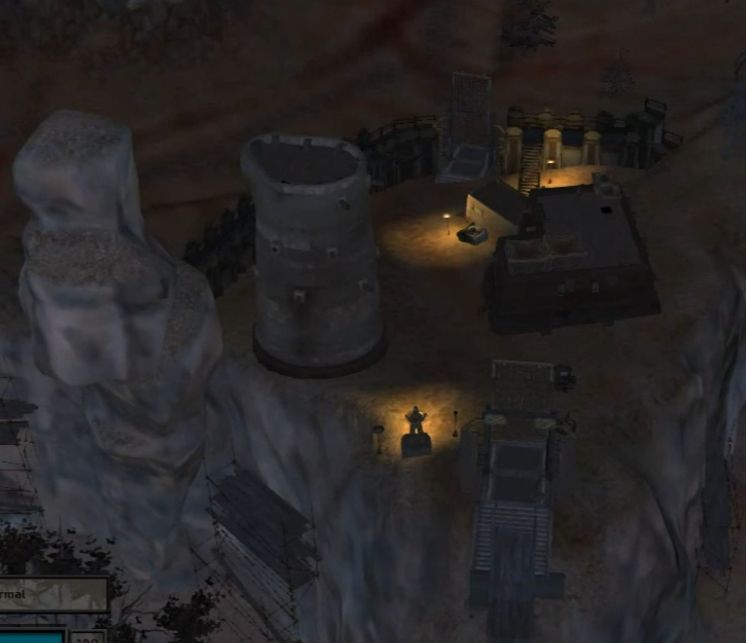
In the pictured L-house, you will find the slave master.
The slave master carries a 10k bounty with the United Cities... since we'll be heading that way, be sure to take him along on the journey. He works hard! Needs a vacation.
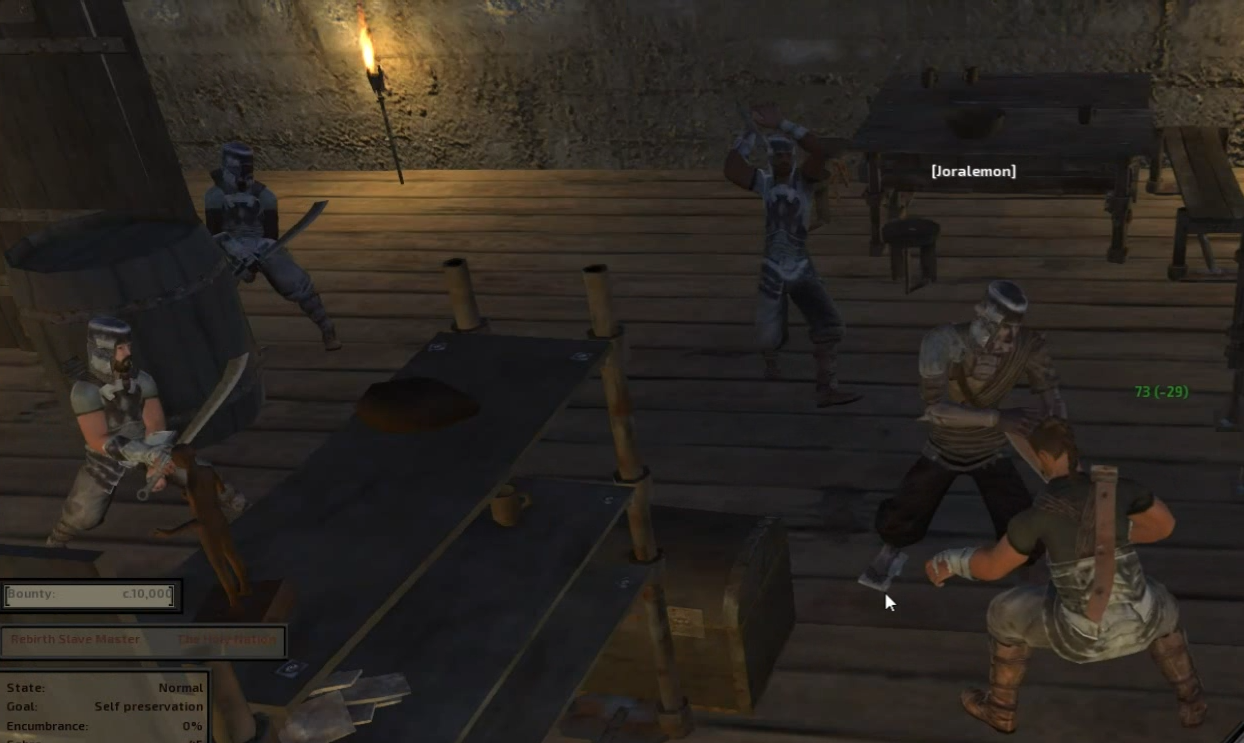
Leaving Rebirth
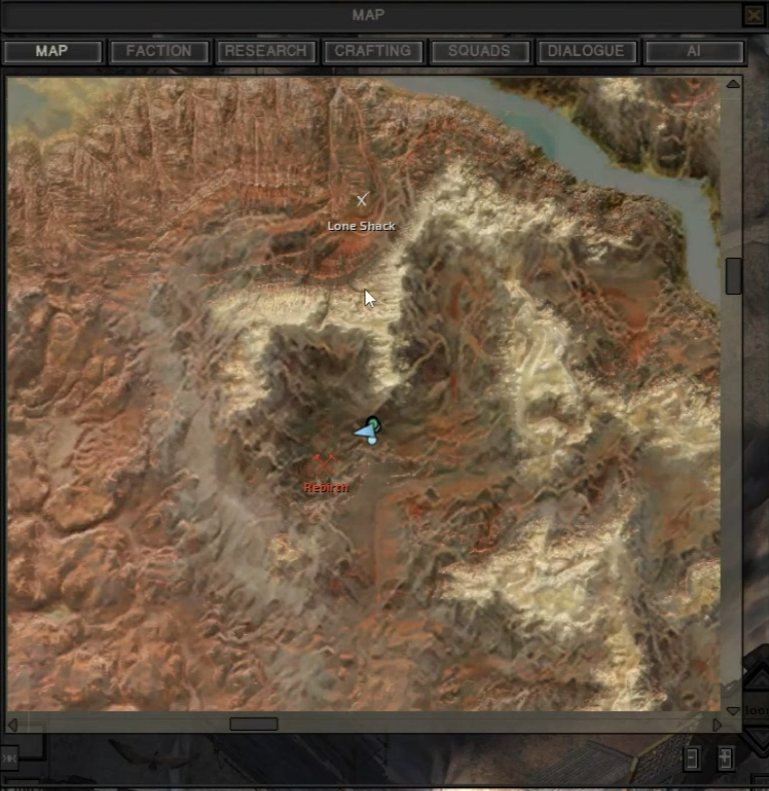
First stop: the Lone Shack. You will find more supplies here. Gather your survivors, and be sure to have them take a seat to lower food consumption while they await their comrades.
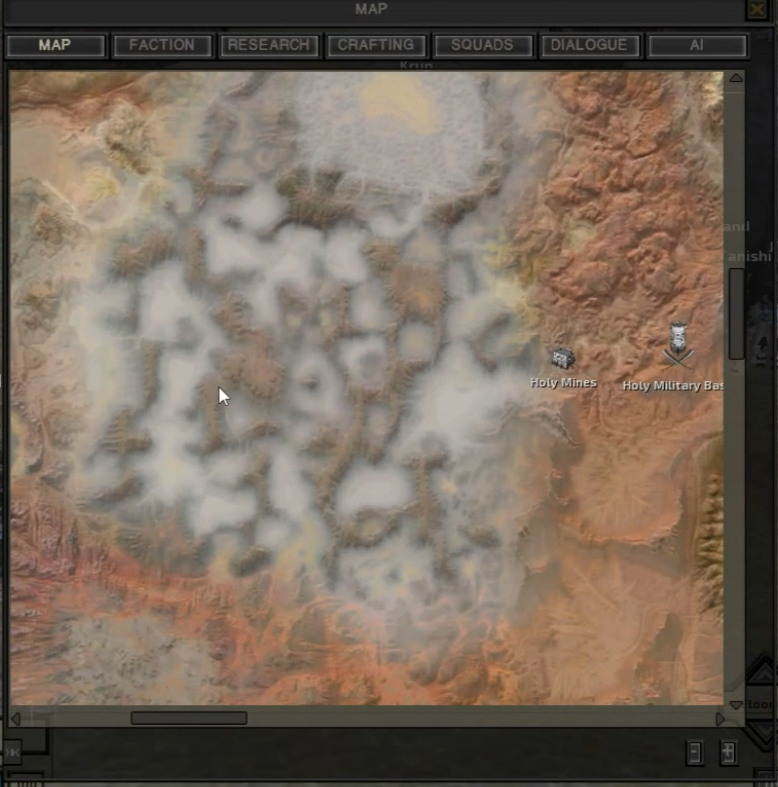
The closest non-hostile city will be Mongrel in the fog islands. If you have a character that runs 21+ mph, then they can safely travel there to sell what you've looted and gather more supplies. A backpack to ease food distribution is recommended. This step is optional.
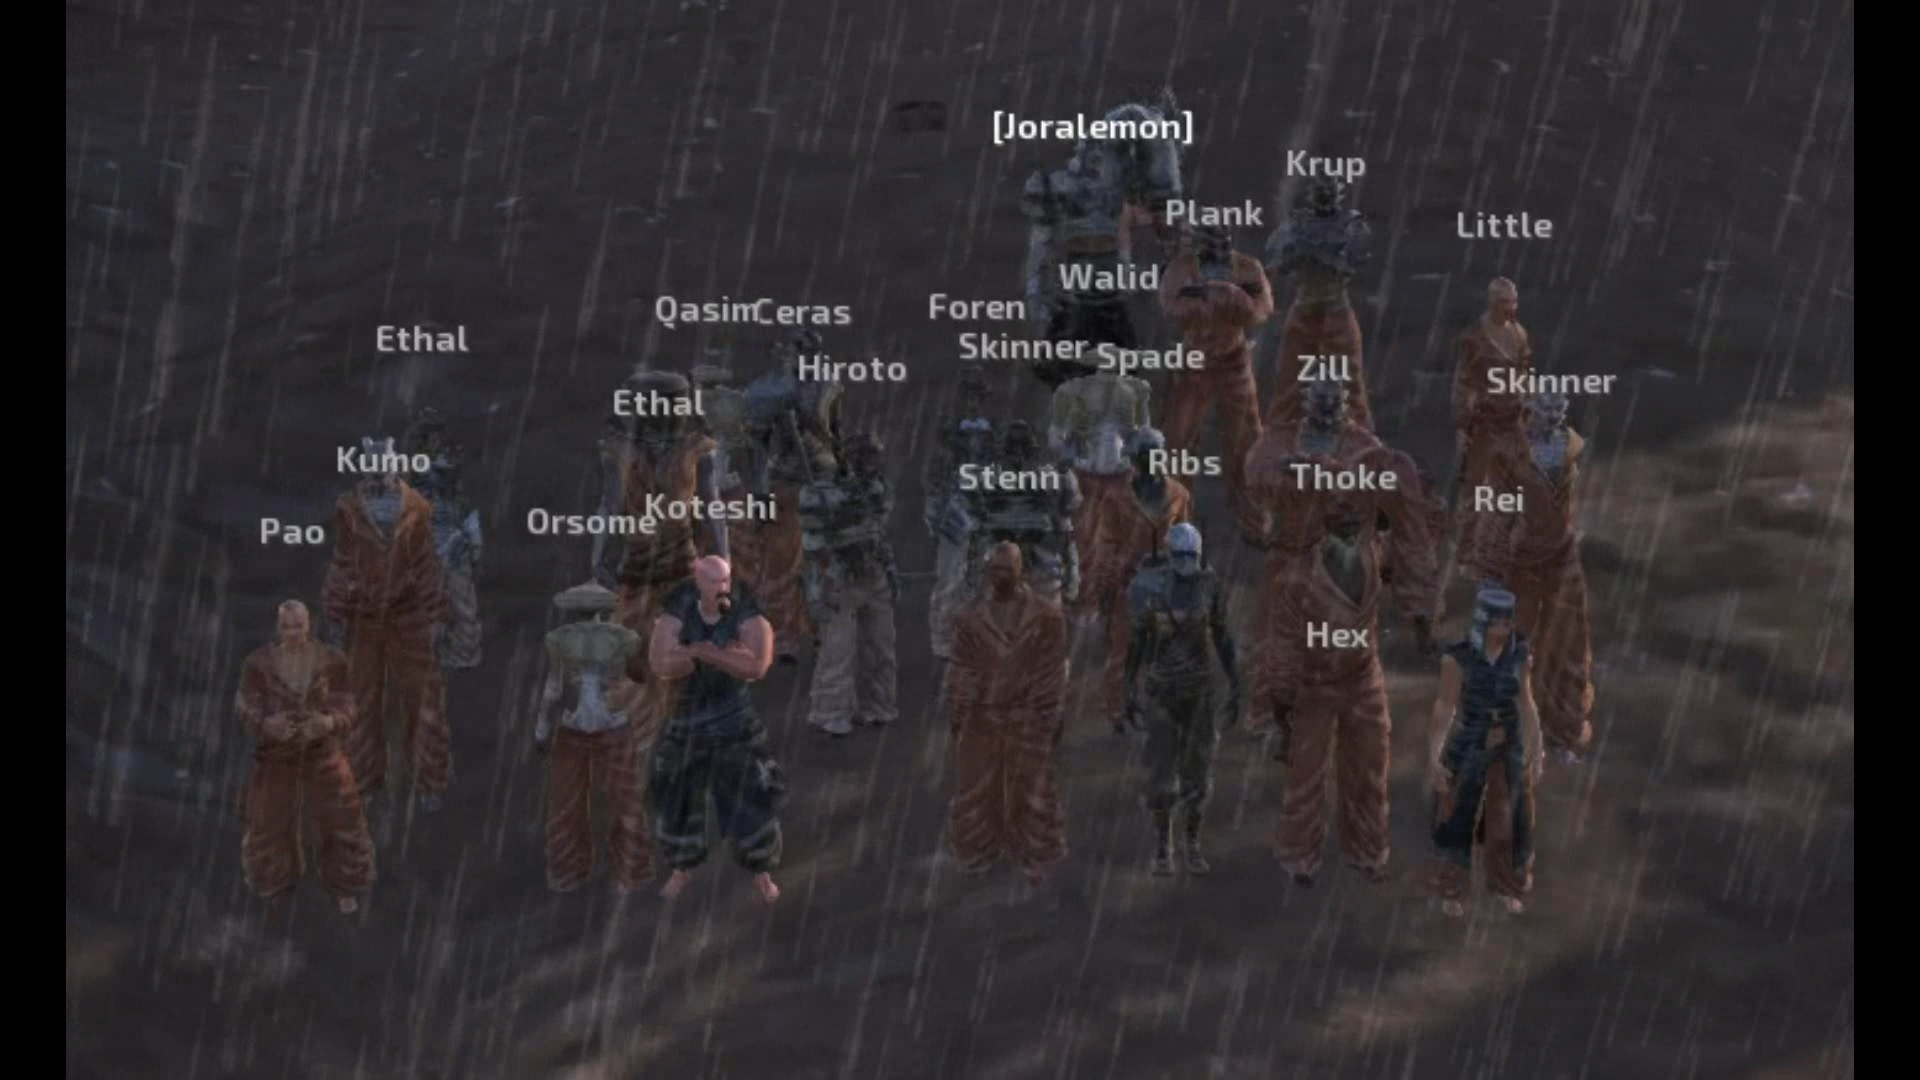
Now that the team has gathered at the lone shack/flotsam safehouse, we can head into the floodlands.
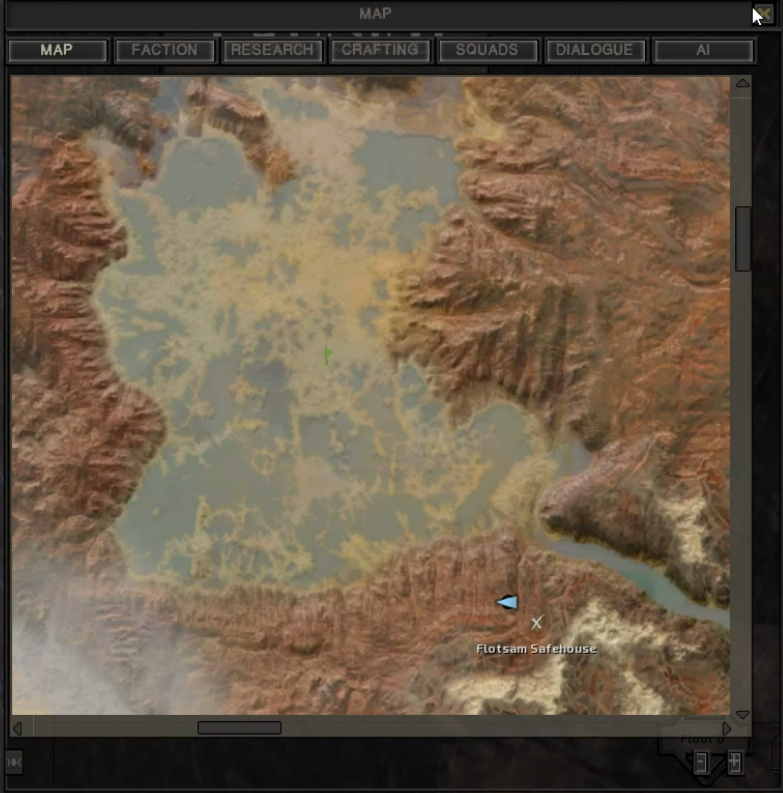
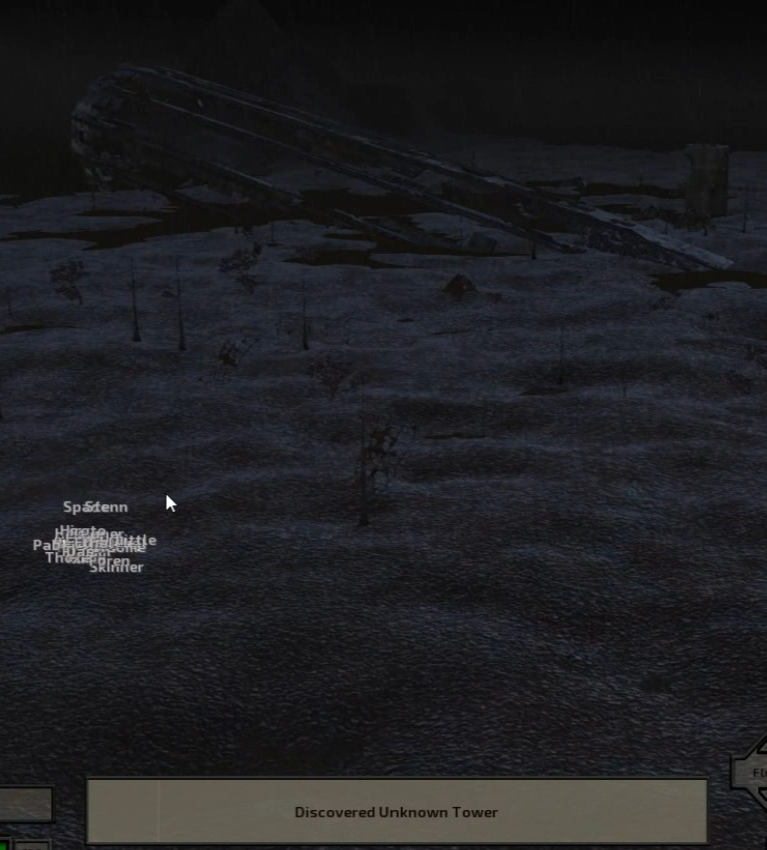
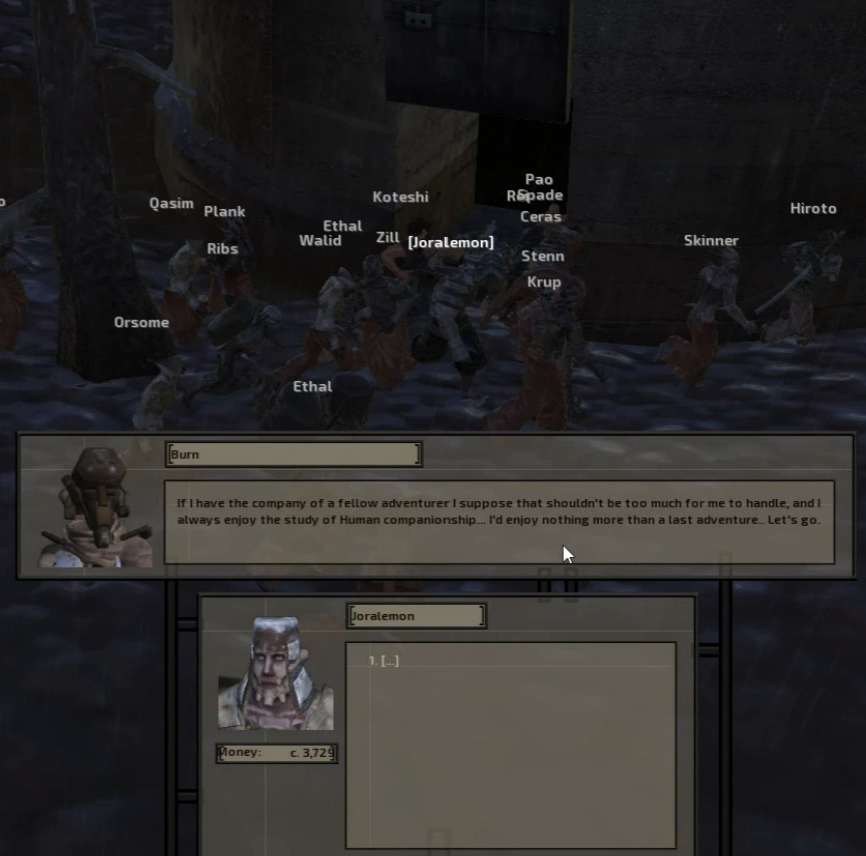
Dodging the iron spiders, we will make our way to Burn's tower, where we can recruit one of the unique skeletons. Burn's tower also contains decent loot, so be sure to pick it clean.
Home Free?
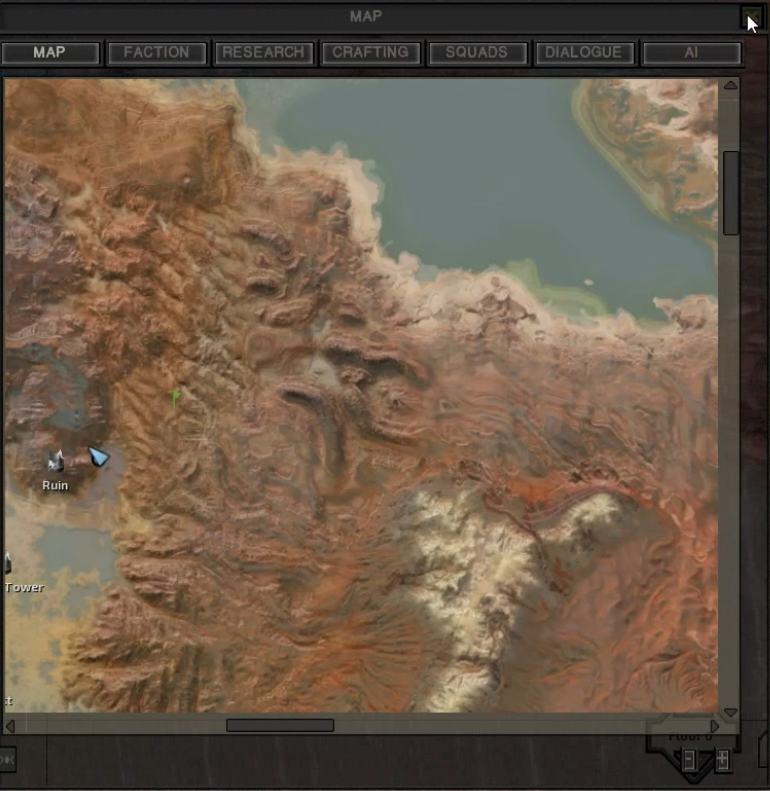
From the floodlands, we're going to hit the cannibal plains. Although easy to kill, you will need to keep an eye out for unconscious squaddies getting carried off by the bastard cannibals.
Head straight to the coast, where you will find fishing villages and less cannibal spawns.
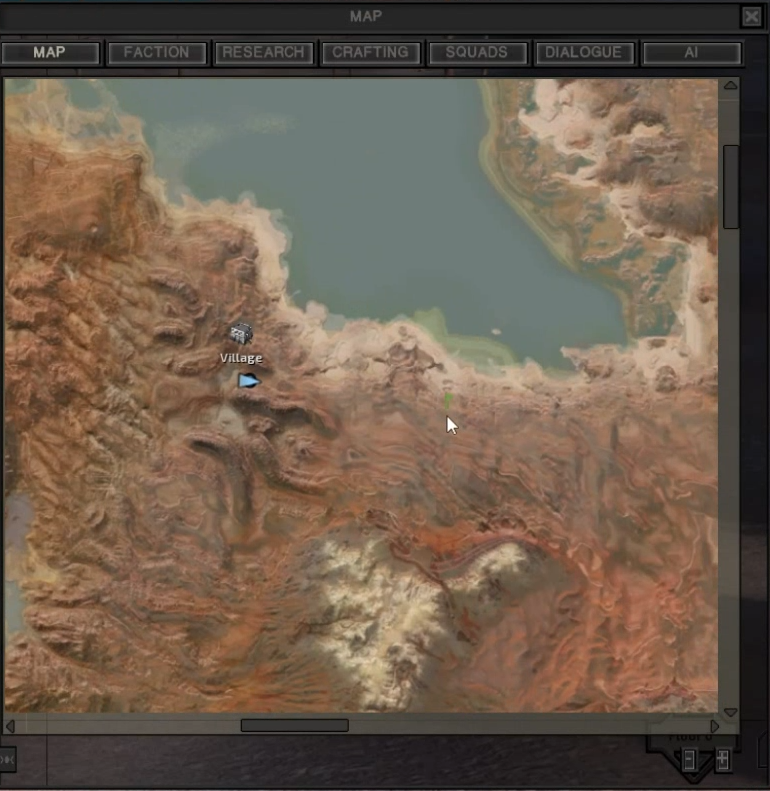
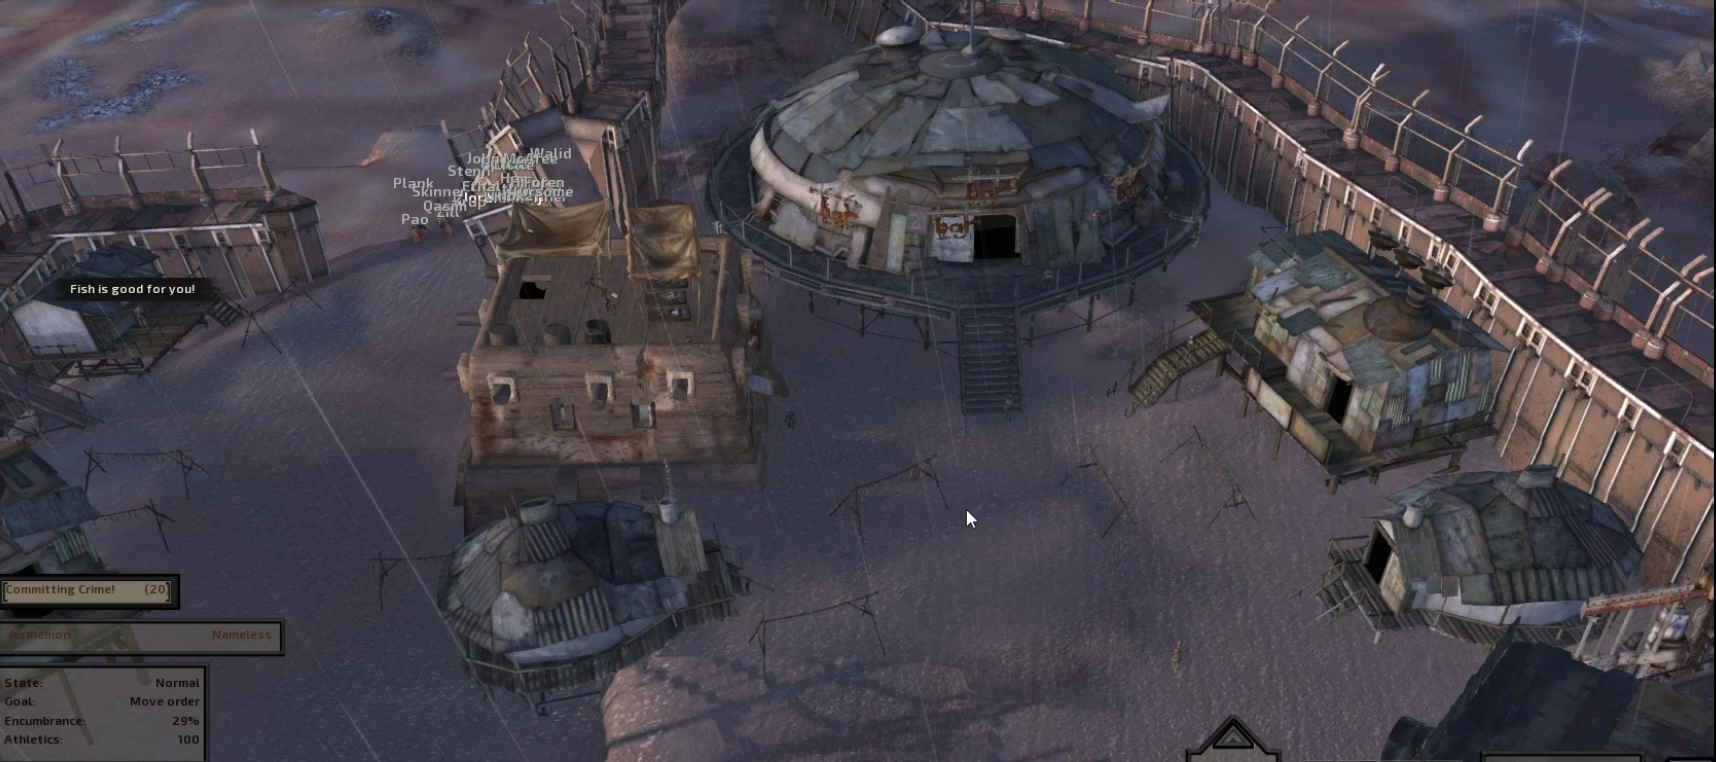
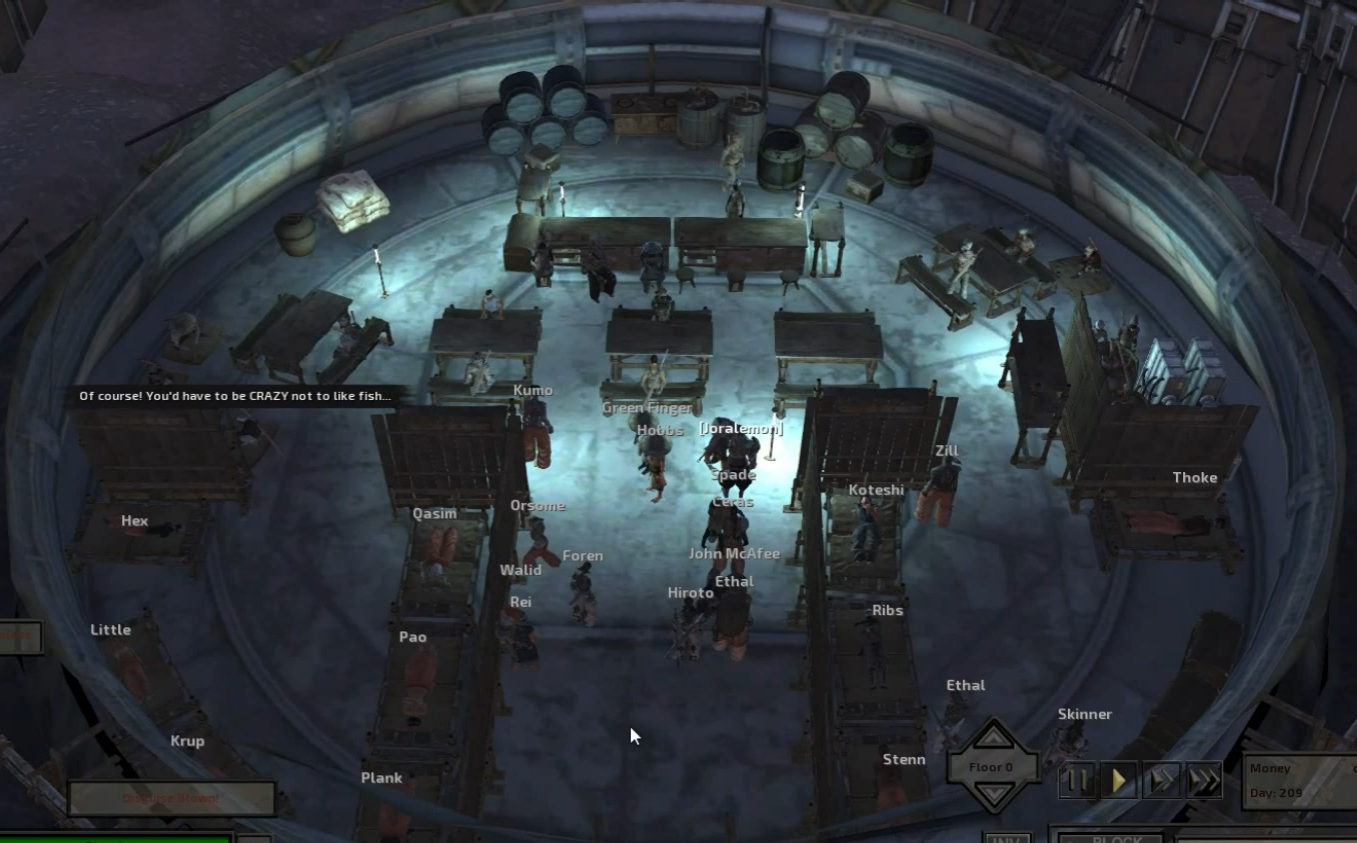
This pictured fishing village is a good spot to rest and heal.
When ready, head toward Bast.
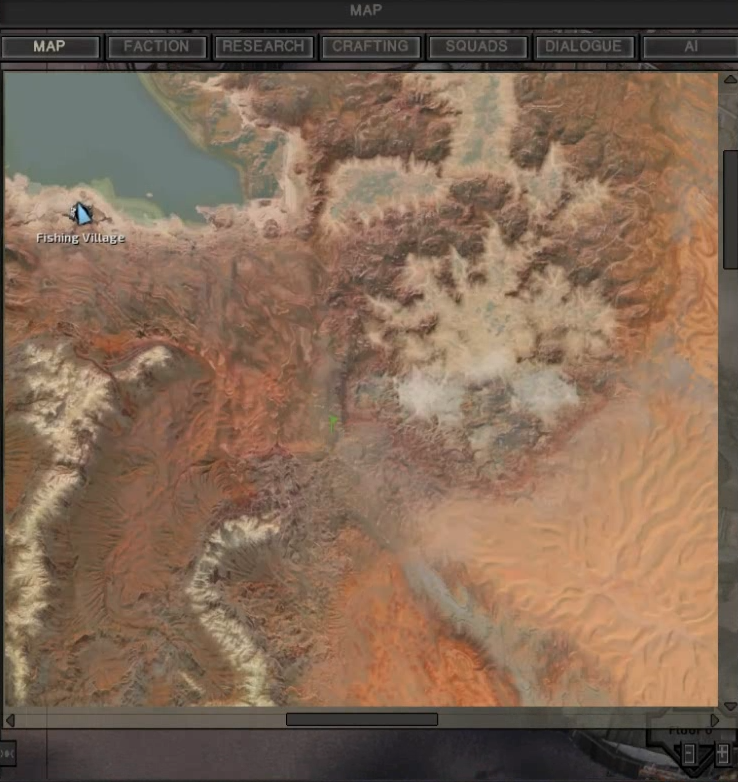
Be wary of Holy Nation patrols in this area, they pose a great threat as they are stronger than the troops you fought at Rebirth. They're not going to be happy about the vacation plan.
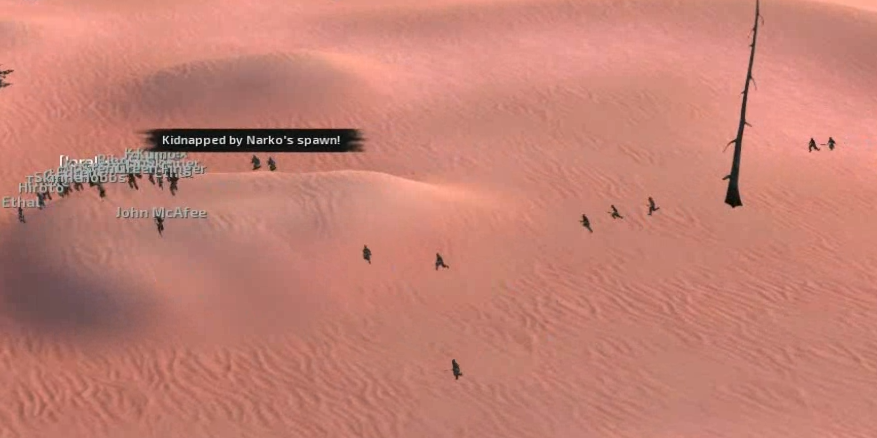
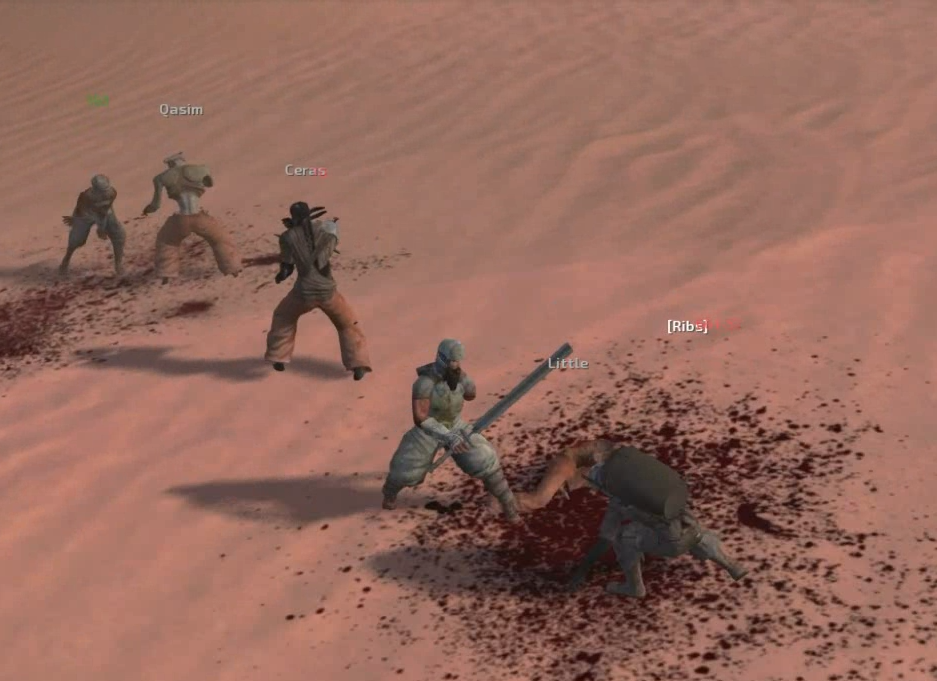
Dodging the patrols and skimmers, once you pass Spine Canyon and hit the Great Desert you're pretty much home free.

Calling Stoat Home
Welcome to Stoat!


With down payment provided by our gracious old friend, it's time to go from property to property owner.
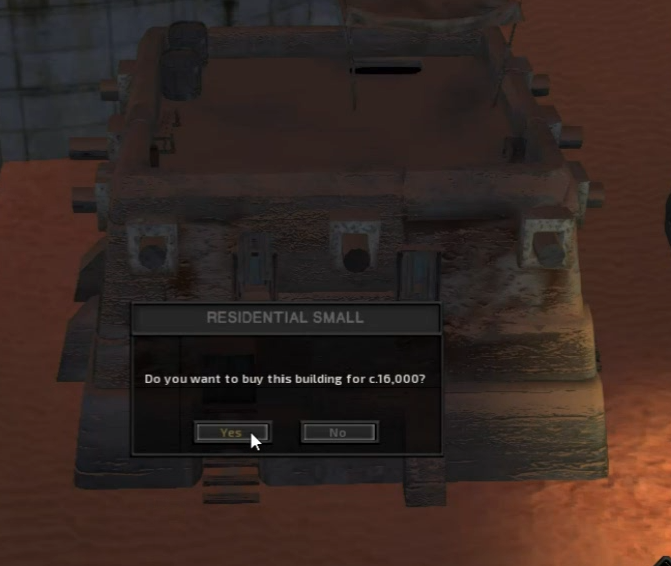
This small house is an affordable option.
$$$
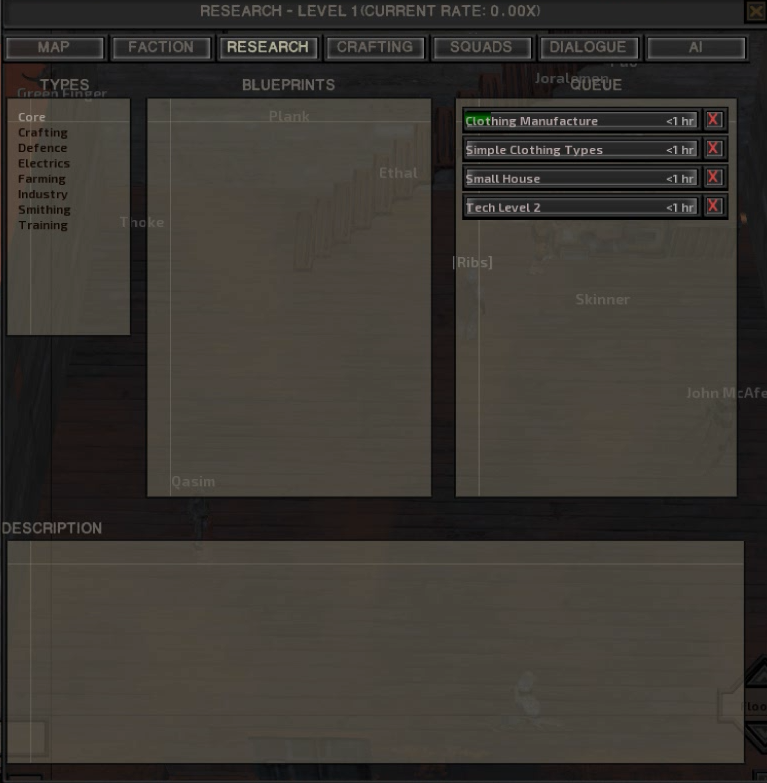
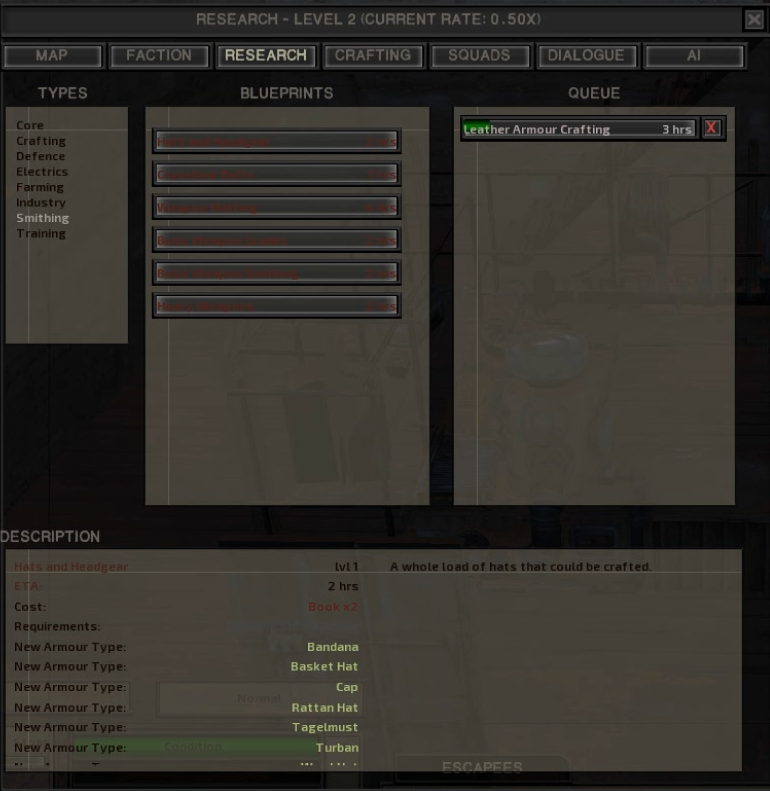
First, we'll need to get some basic research out of the way so that we can build a copper storage unit, and begin crafting armor. With all the loot gathered on the journey, there should be plenty of funds to purchase starting materials.
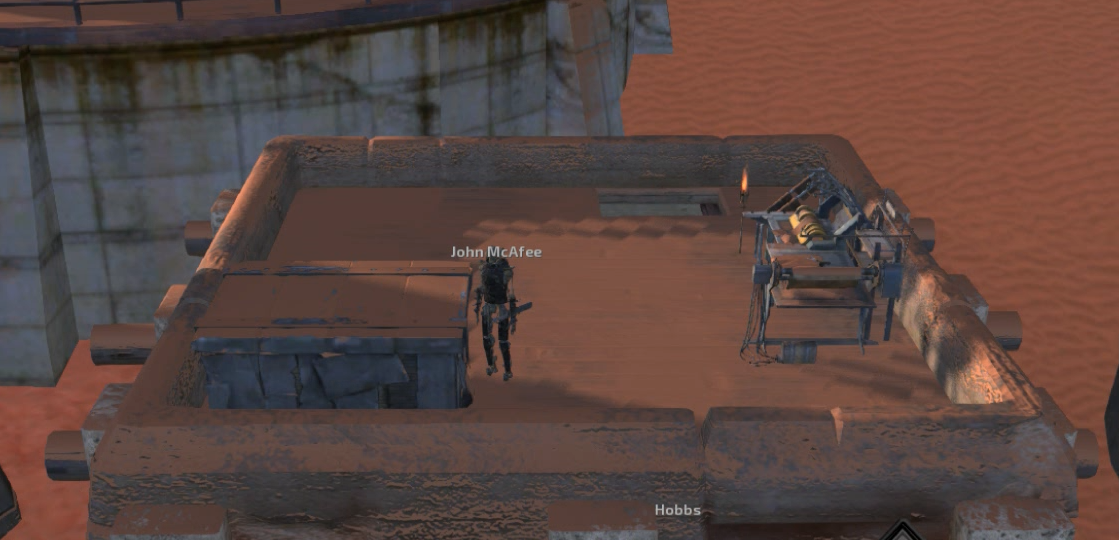
There are copper deposits located around Stoat that are free to mine. Characters will auto-dump copper in the storage bin for easy sale.
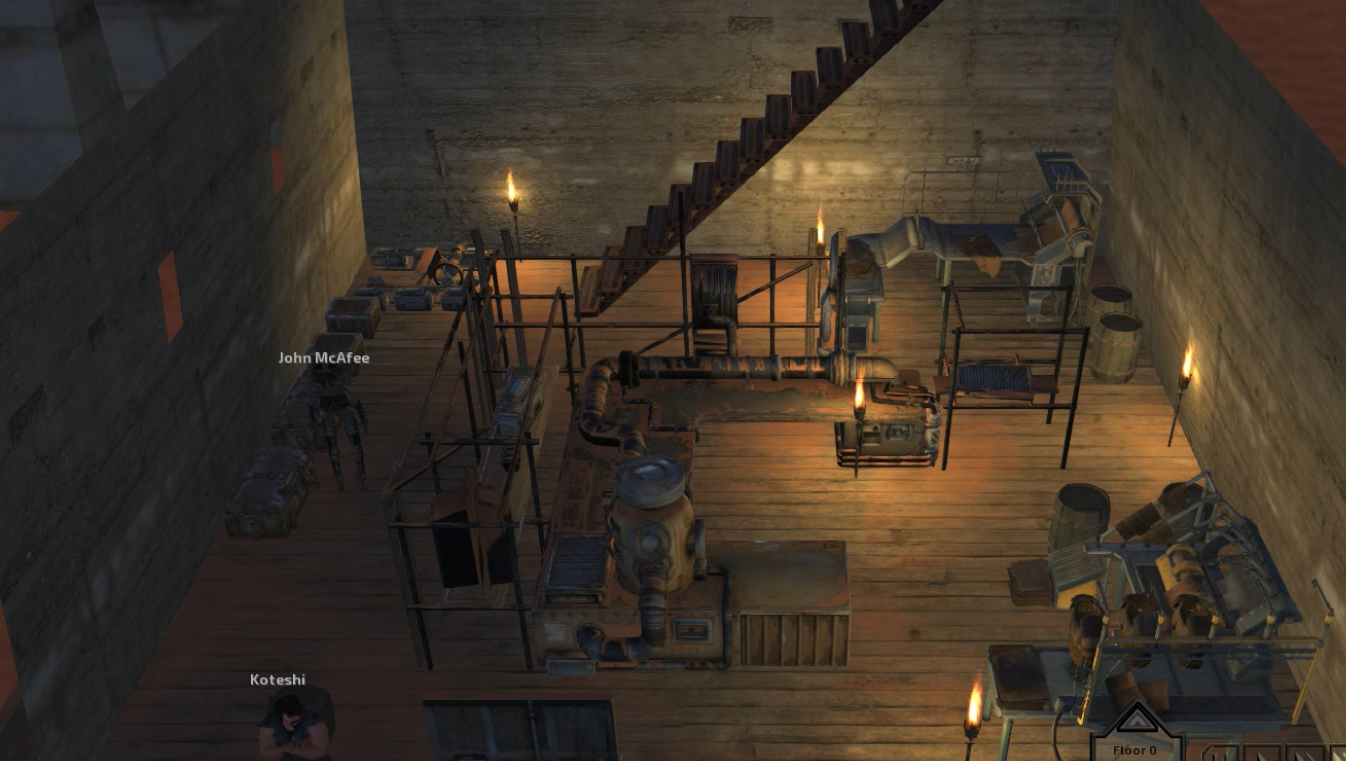
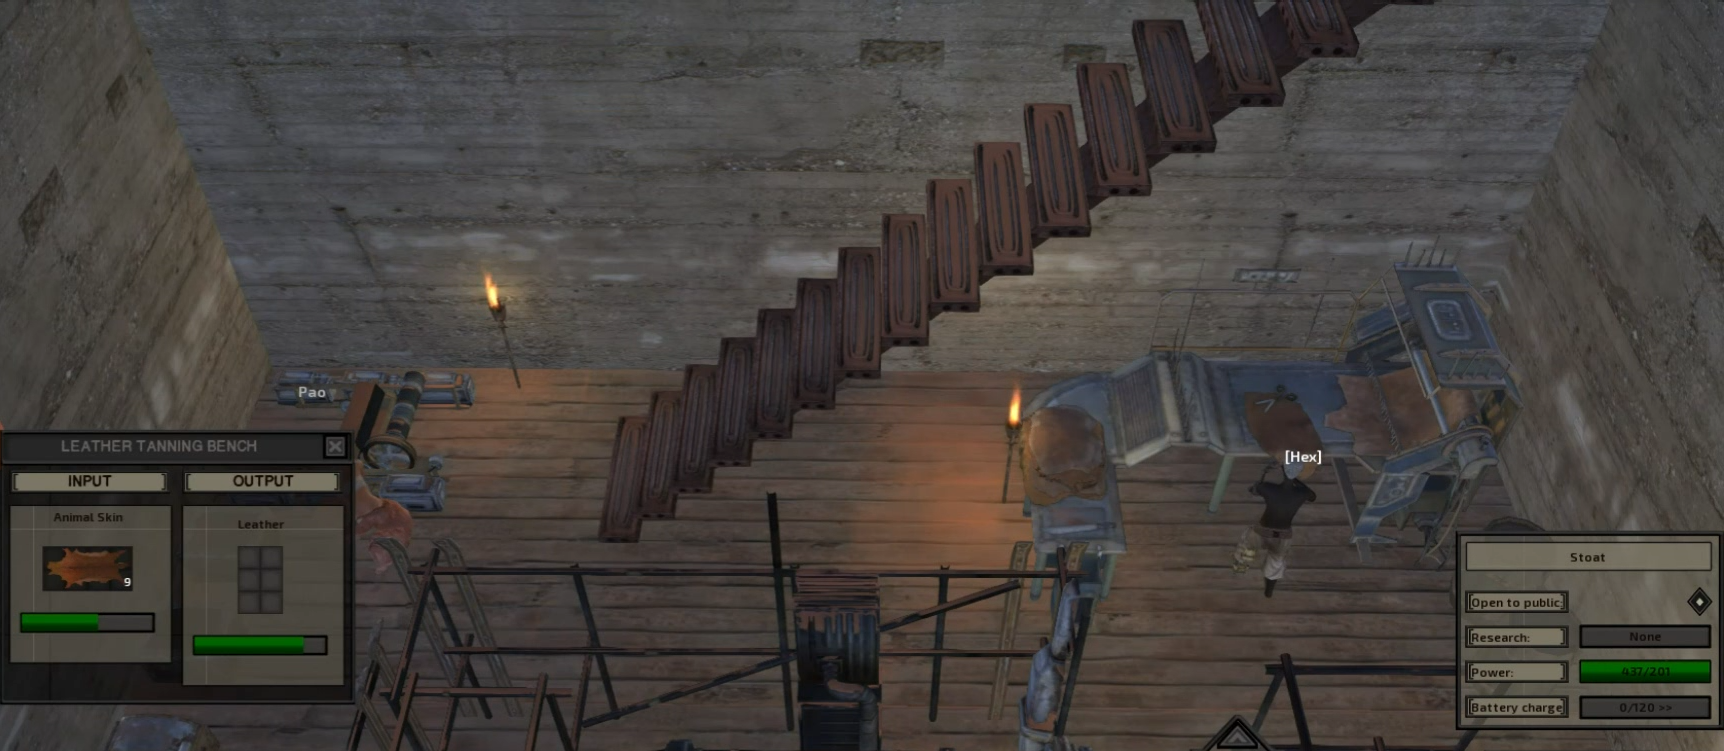
With steady income secured, it's time build a leather armor crafting station and clothing bench.
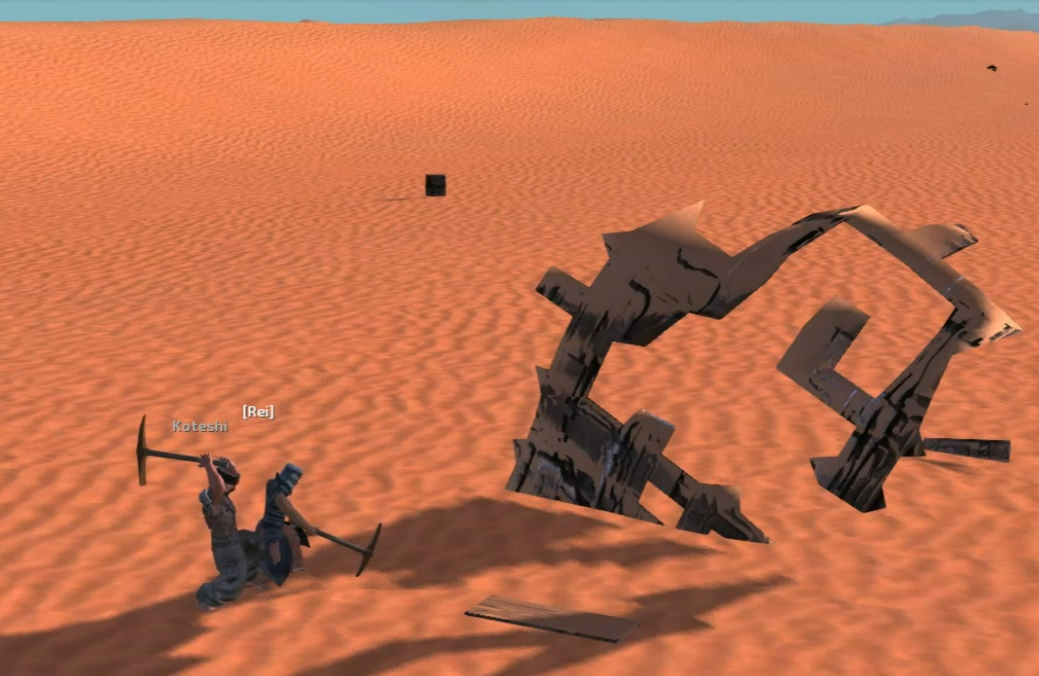
Take your strongest escapees, and form a hunting party.
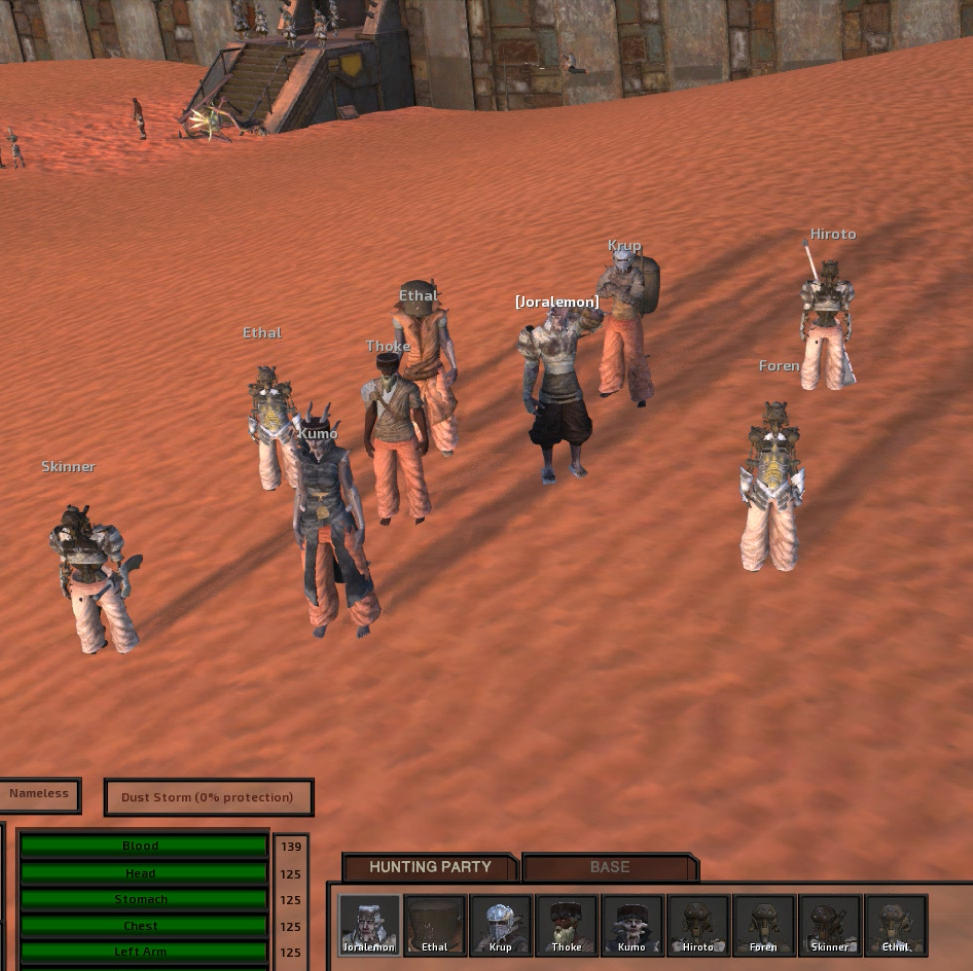
We're going to send them to Gut, where they'll find beak thing nests. The beak things will supply our leather armor crafting industry with ample skins, and their eggs will bring us much coin for new weapons.
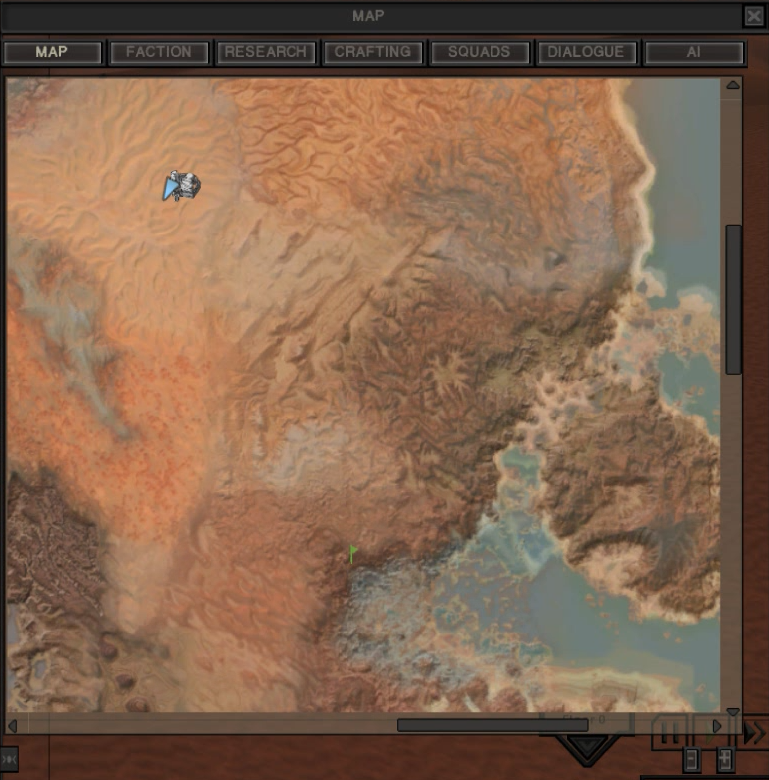
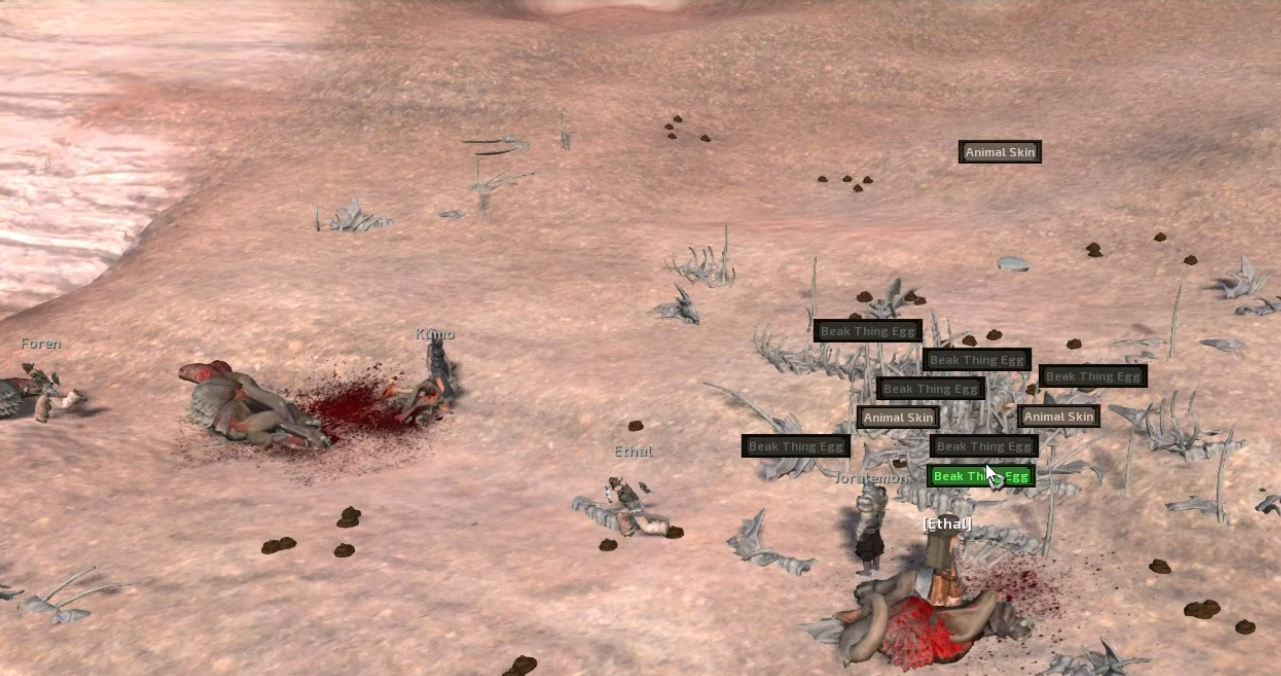
If you can survive the Holy Nation, you can survive beak things. Using the proceeds from the eggs join the Shinobi thieves at Heng, and purchase some new weapons. I favor naginatas.
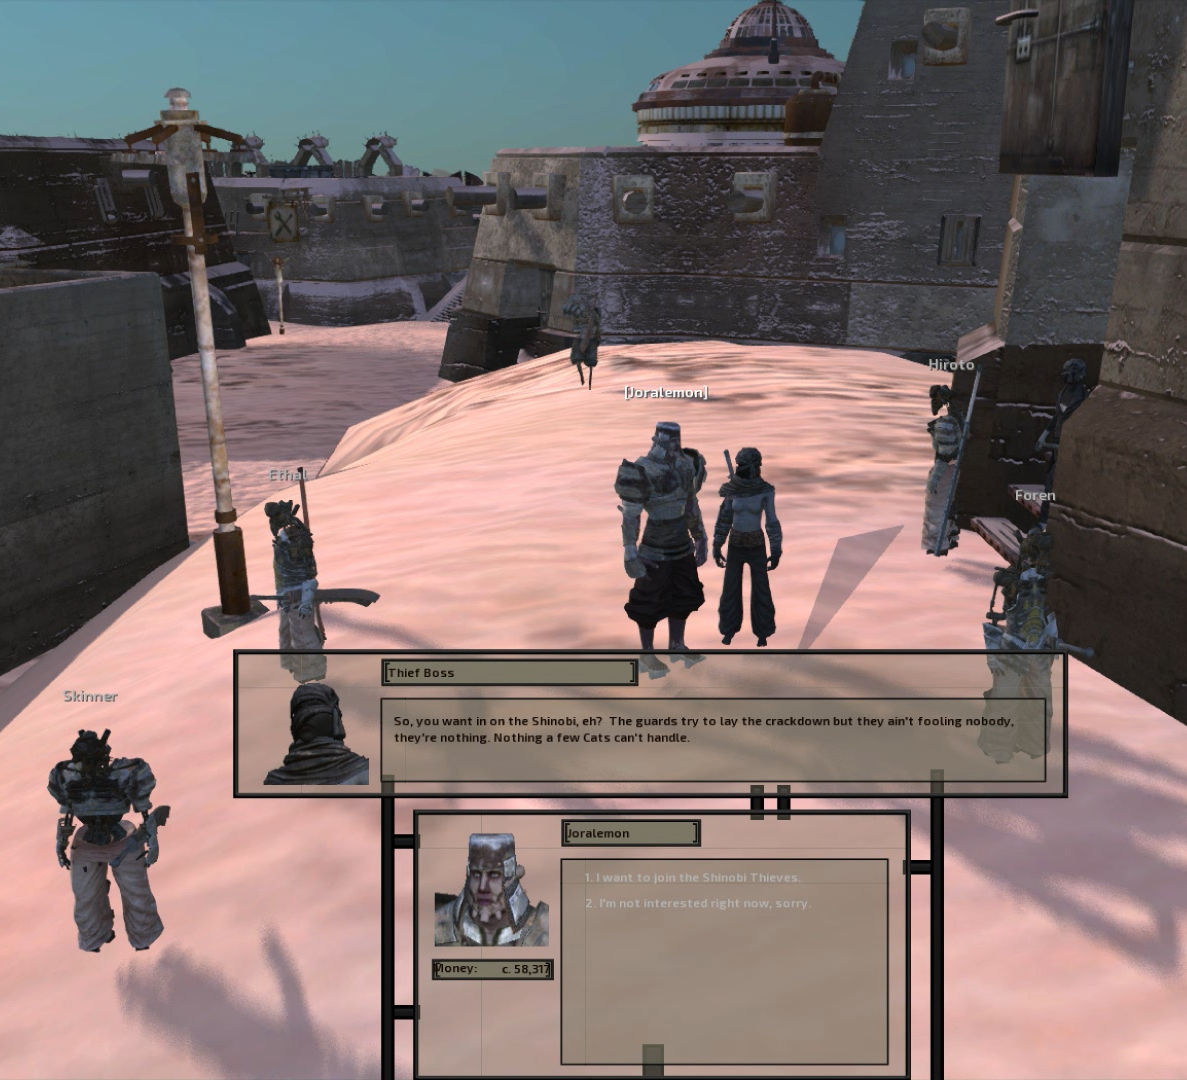
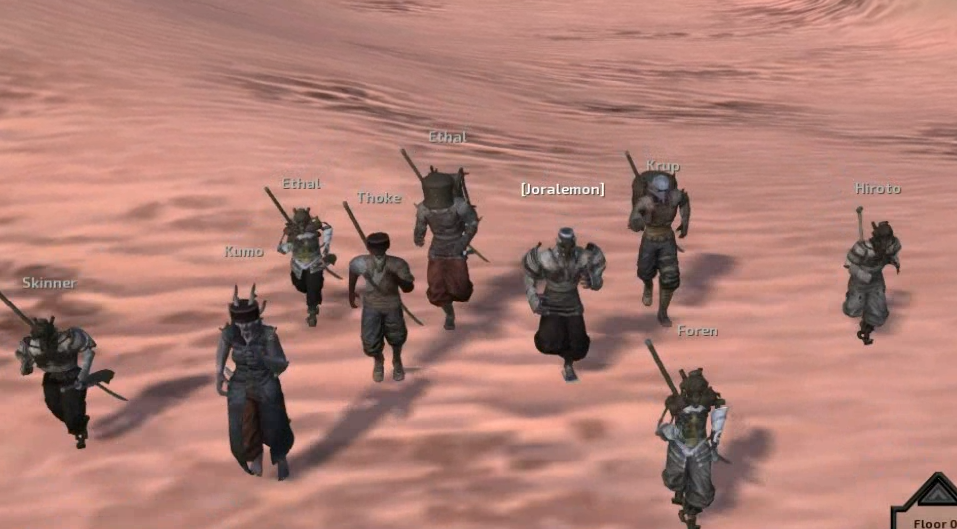
Be sure to bring the skins back to Stoat so they can be processed. We're going to want at least specialist level gear, and processing skins is a good way to train armor smithing without wasting materials.
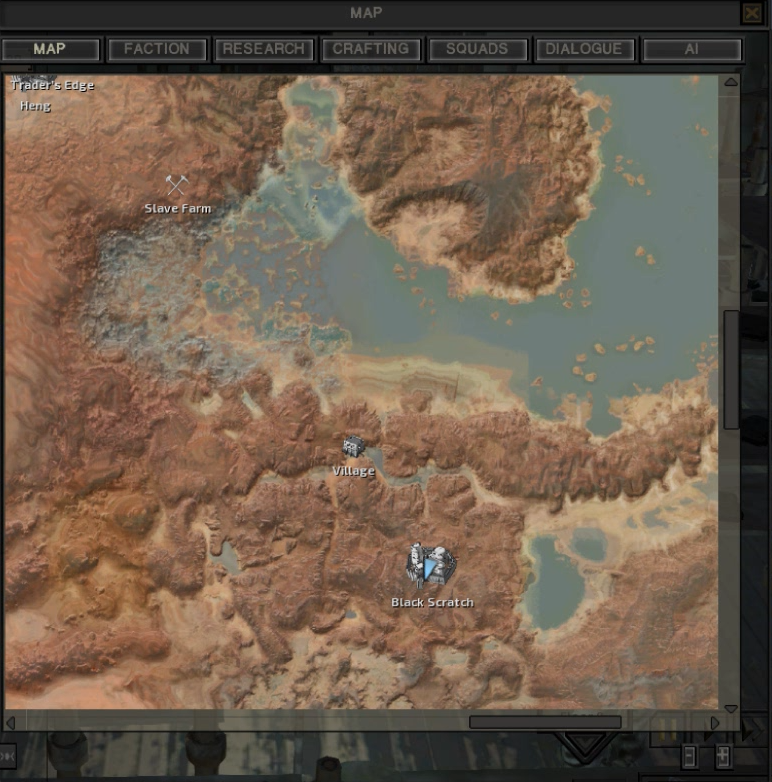
For access to a wide range of blueprints, send your runner to the Great Library at Black Scratch. Optional.
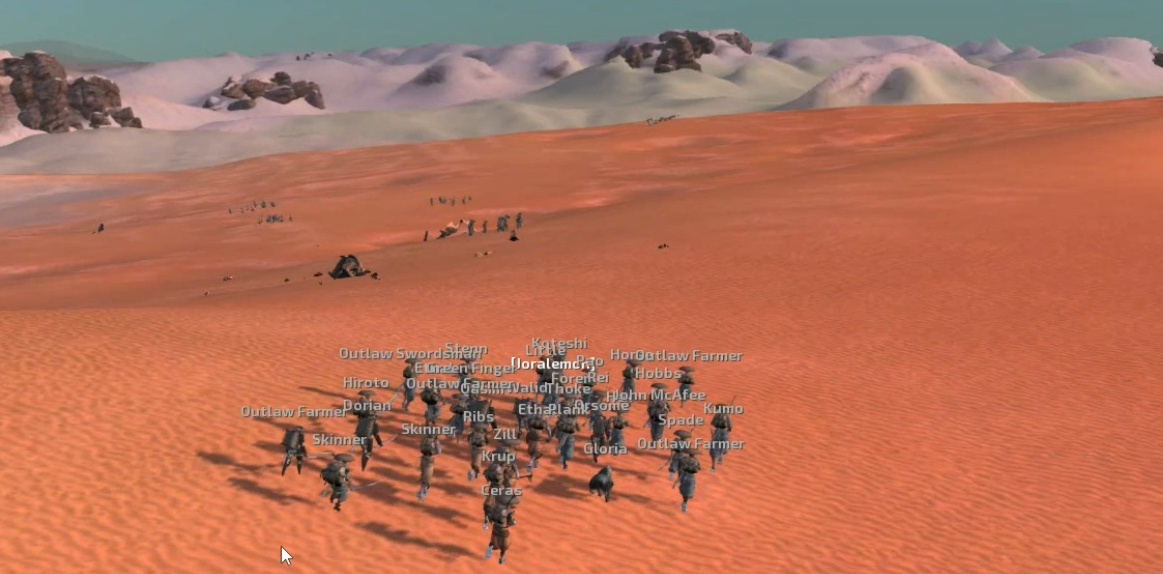
Once you've gathered your desired blueprints and equipped your squad with home-made armor, you are ready to tackle the world of Kenshi!
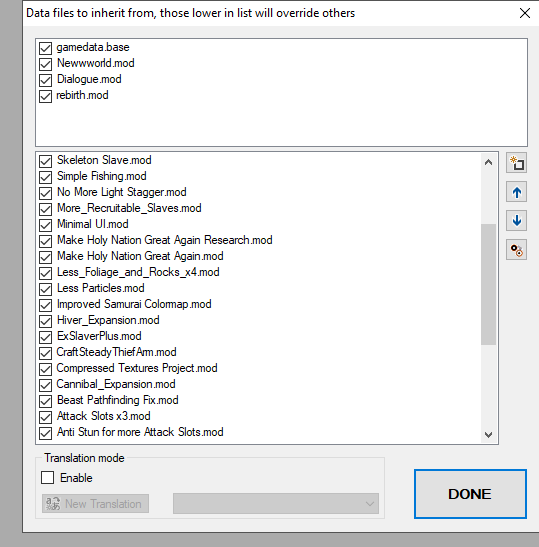
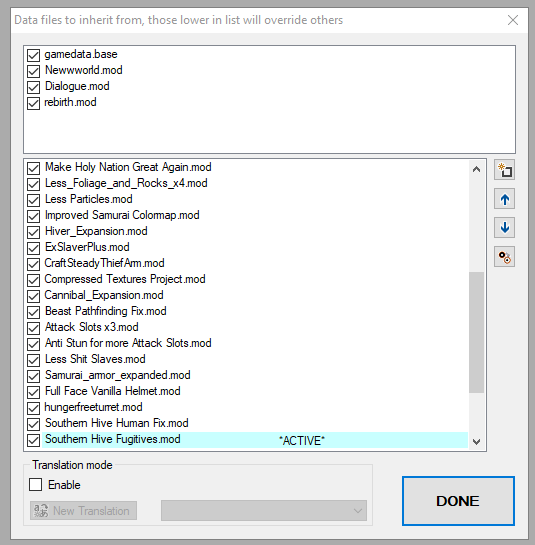
My Modlist
- Proper Load Order & You.★ 5 (1.8k)78k views3.6k ♥10 minUpdated 20 Oct, 2022
- Save Editing 101★ 5 (729)51k views1.6k ♥28 minUpdated 16 Aug, 2025
- Roadmap for New Players and Basebuilding (Up-to-date)★ 5 (807)51k views2.4k ♥76 minUpdated 23 Apr, 2019
- Tips and Tricks of a Veteran Kenshi Player★ 5 (551)38k views1k ♥15 minUpdated 18 Nov, 2024
- Quickstart Newbie Walkthrough 1.0★ 5 (562)35k views1.5k ♥54 minUpdated 20 May, 2025
- Новички, я научу Вас выживать и наслаждаться КЕНШИ!★ 5 (380)23k views789 ♥34 minRussianUpdated 28 Oct, 2025


- Upgrading to PremiumTeam Fortress 2★ 5 (20k)1441k views11k ♥6 minUpdated May 11, 2022
- No More Room in Hell Official ManualNo More Room in Hell★ 5 (2.8k)569k views2.1k ♥29 minUpdated Apr 22, 2019
- NMRiH Community Hosting GuidesNo More Room in Hell★ 5 (526)351k views653 ♥1 minUpdated Aug 10, 2022
- ULTIMATE GUIDE FOR GAME DEV TYCOONGame Dev Tycoon★ 5 (5.8k)326k views10k ♥4 minUpdated 23 Jan, 2014
- How to 'Git Gud' Soon™MORDHAU★ 5 (2k)318k views3k ♥68 minUpdated Nov 16, 2024
- Лучшие кооперативные игры SteamPAYDAY 2★ 5 (1.5k)315k views2.1k ♥56 minRussianUpdated Apr 27, 2025






This guide was created by its original author on the Steam Community. Are you the author and want it removed? Request removal.