All achievements with actual descriptions of things
Breaking the Bank (BtB)
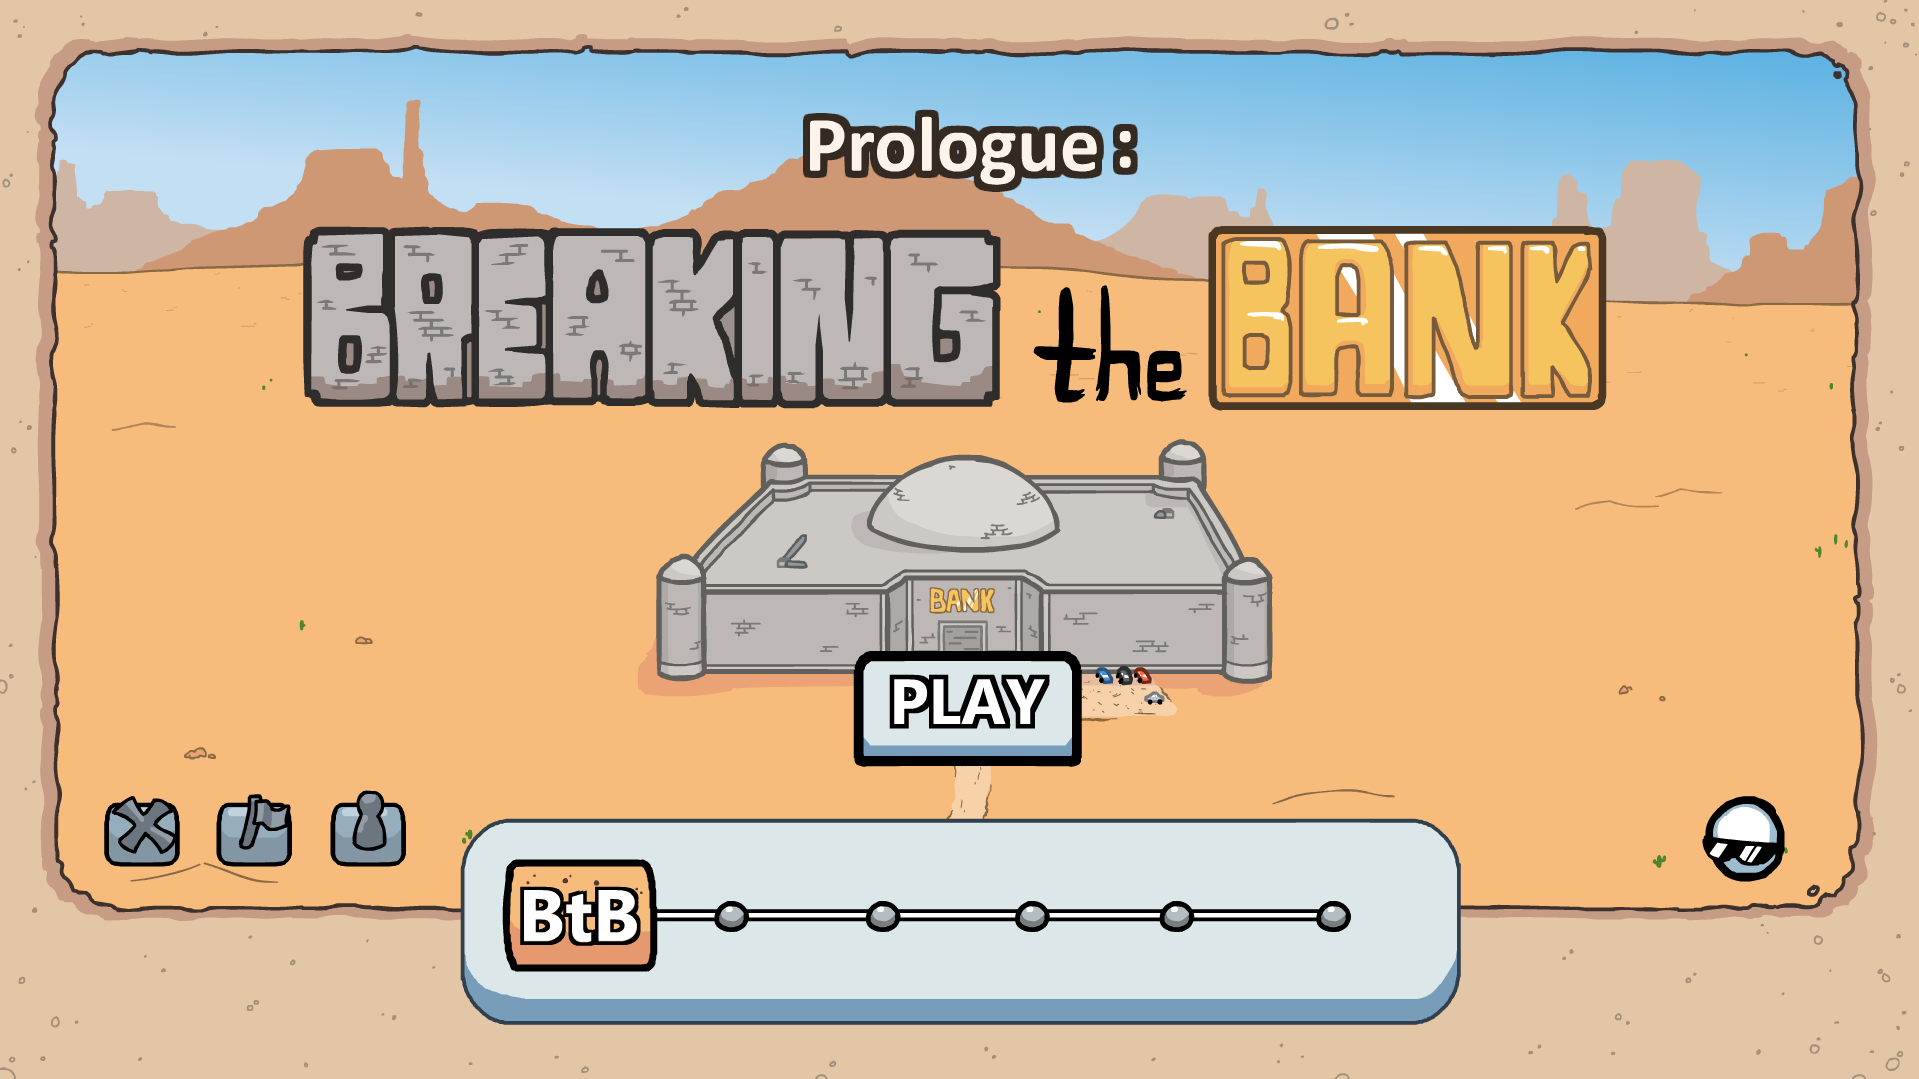
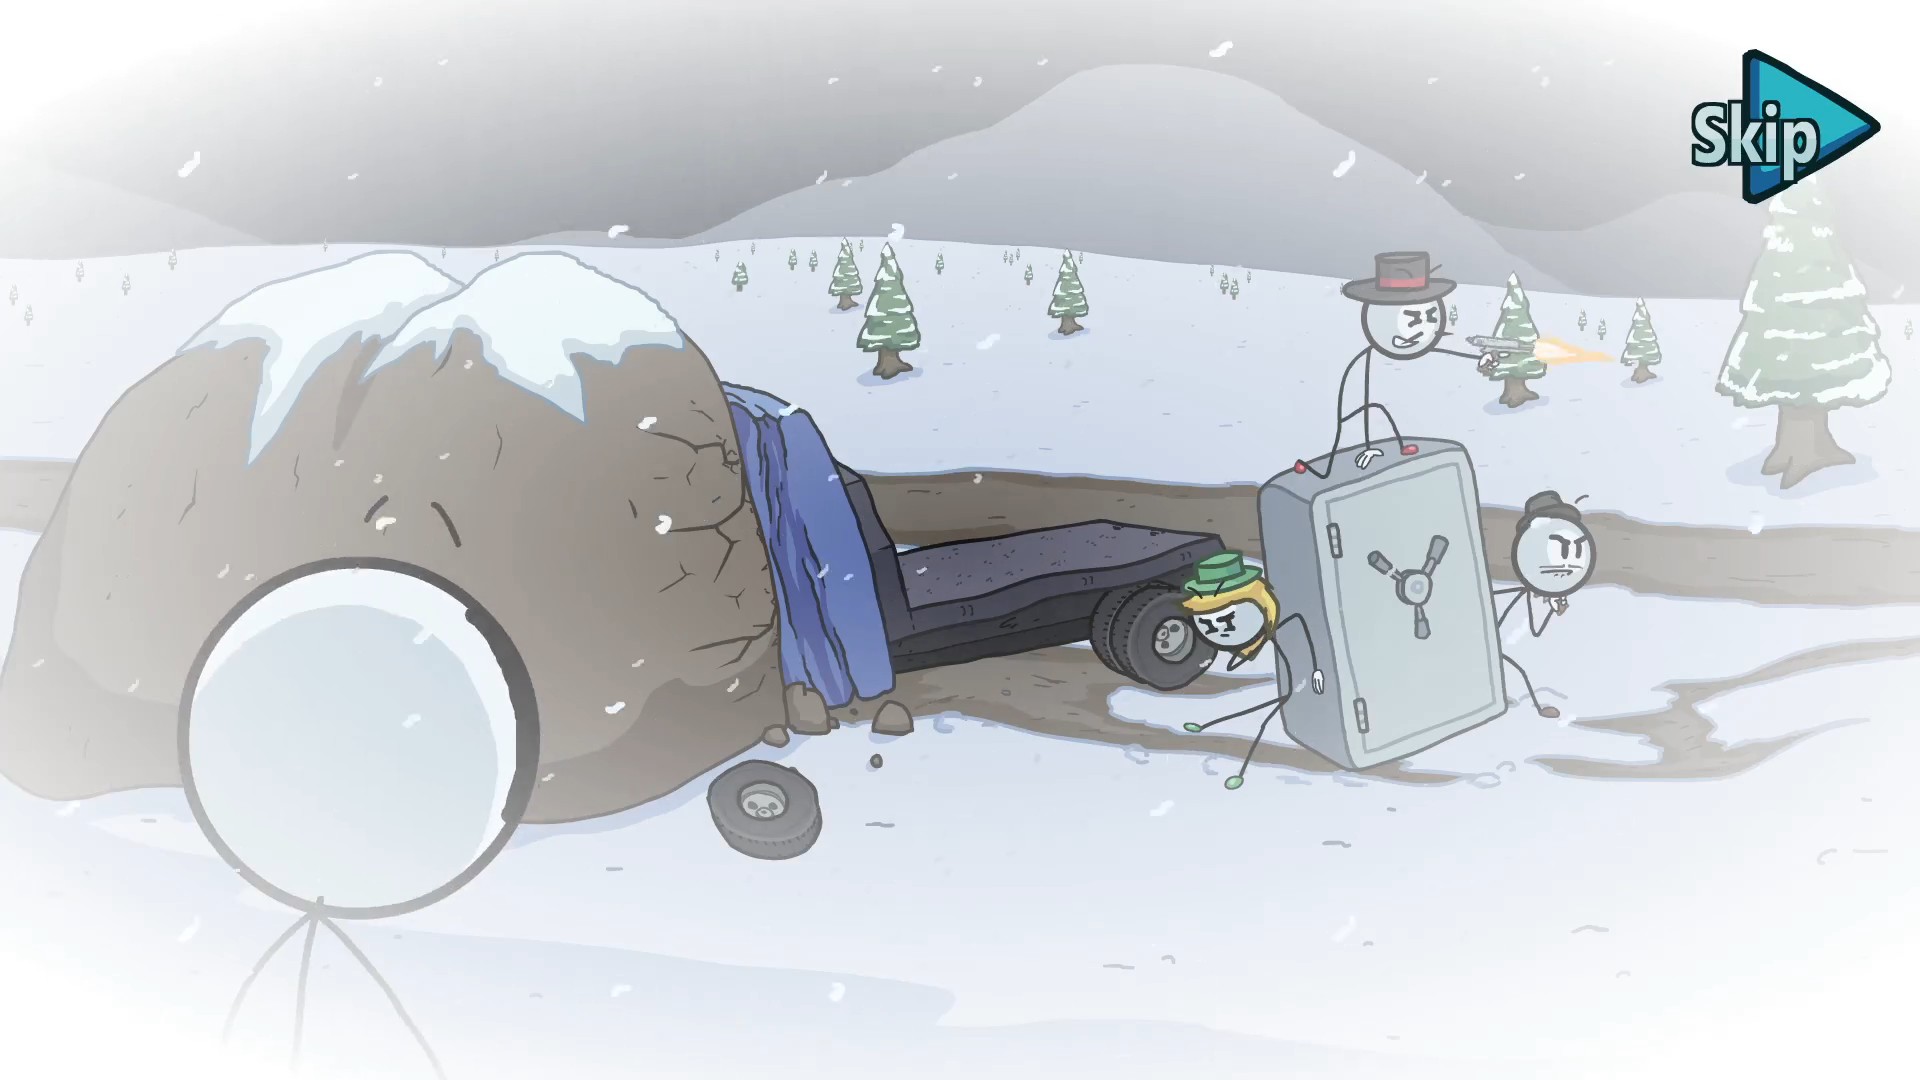
Prologue of Henry's story. Starting simply with breaking into The Bank in the middle of desert to steal money.
This part have:- 5 Fails
- 4 Achivments
- 5 Bios
ᅠBtB - Gold Achivments:
 Complete Breaking the Bank.
Pick Disguise option and enjoy cutscene.
ᅠBtB - Silver Achivments:
 Get all 5 fails in Breaking the Bank.
Pick everything but disguise - it's correct option.
 Find all the bios in Breaking the Bank.
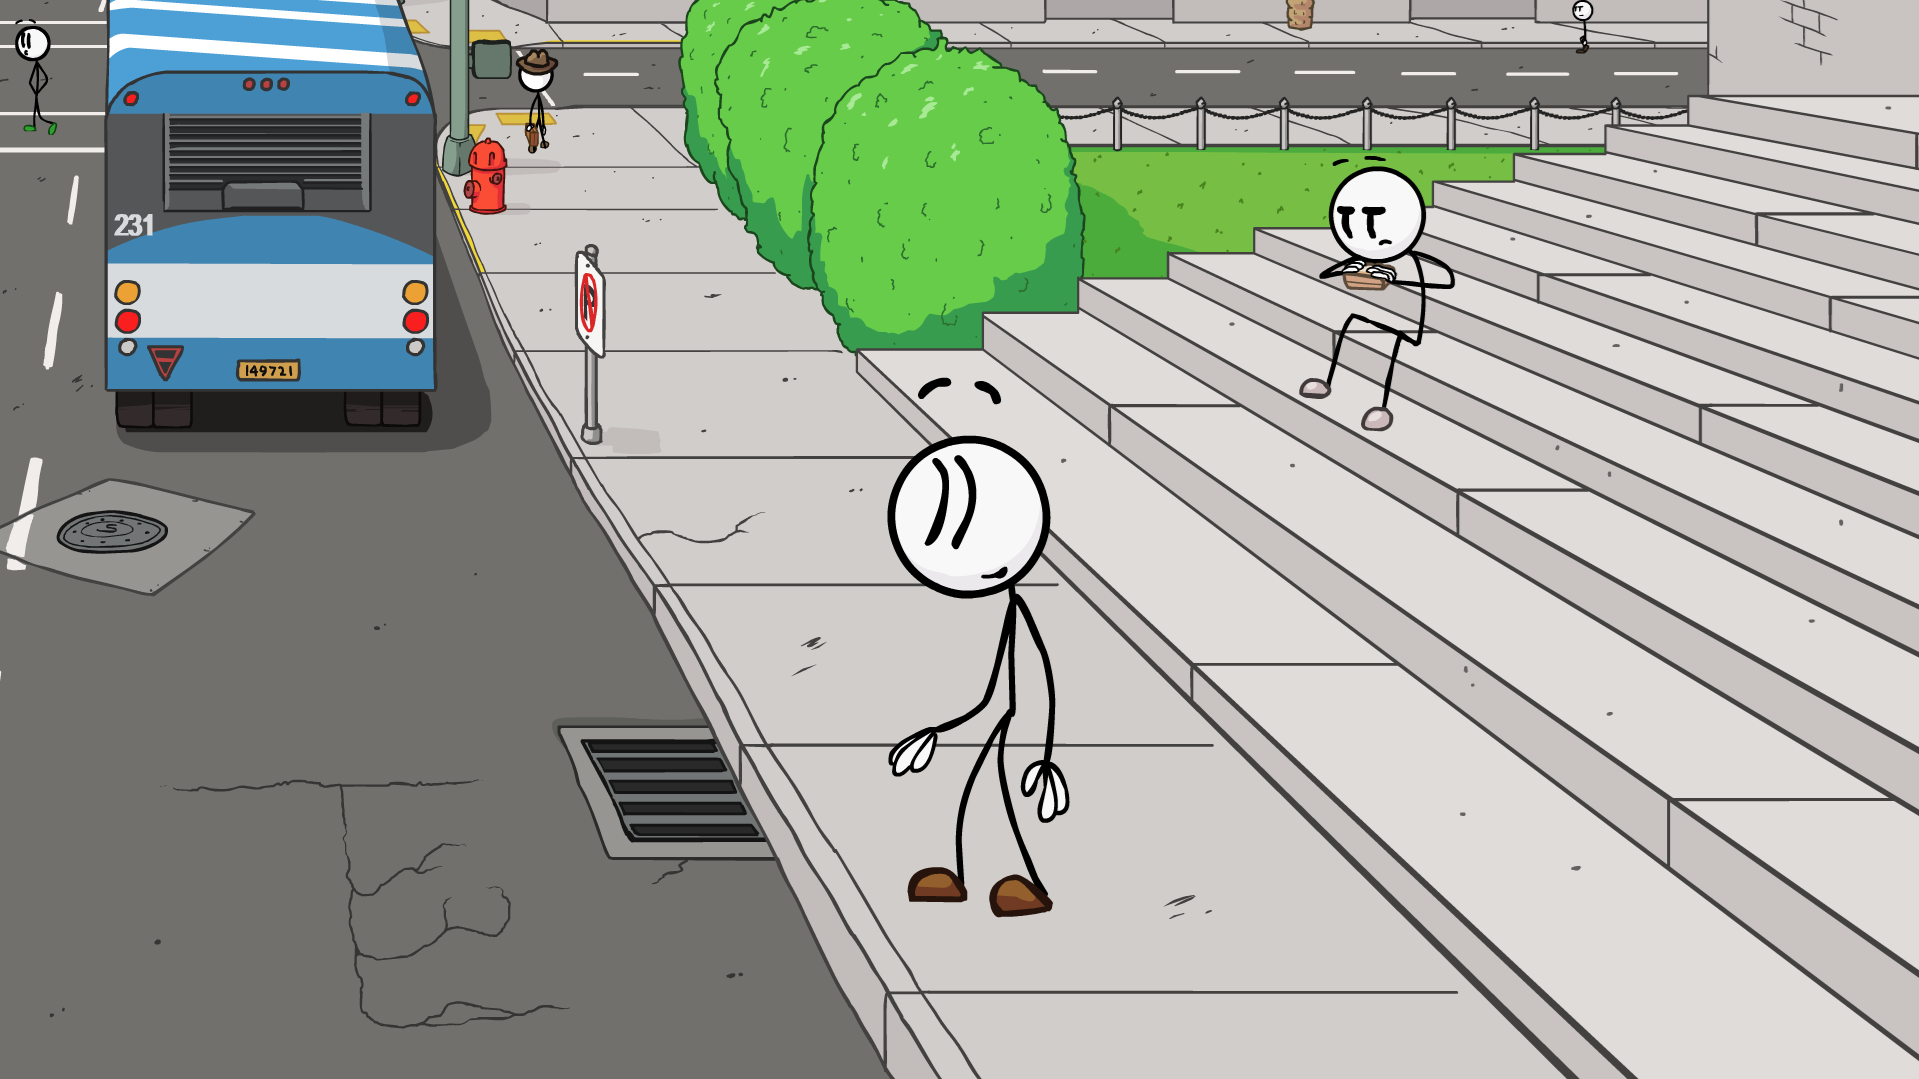
Click every person with right mouse button.
Henry is automaticly unlocked in the beginning of every story, so you only need to find 4.
You can get all of the Bios in ending cutscene (Disguise option).
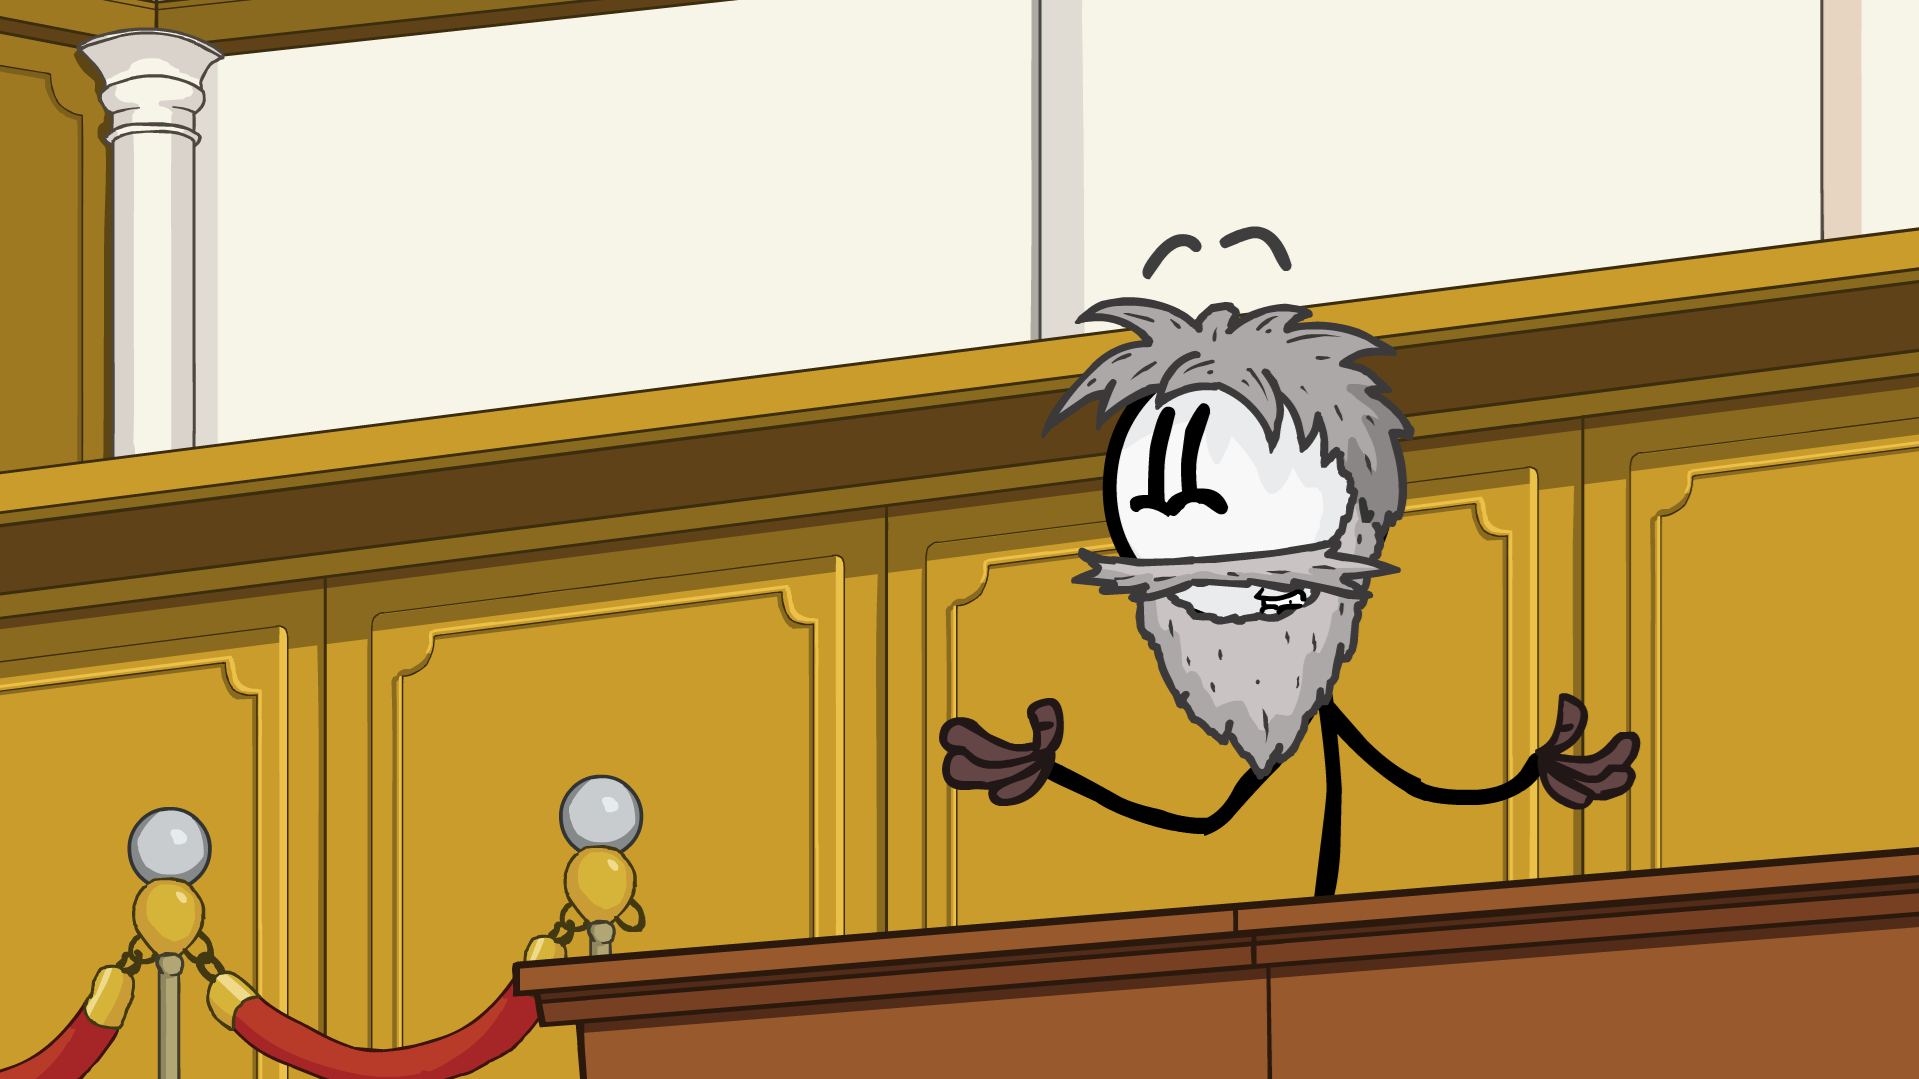
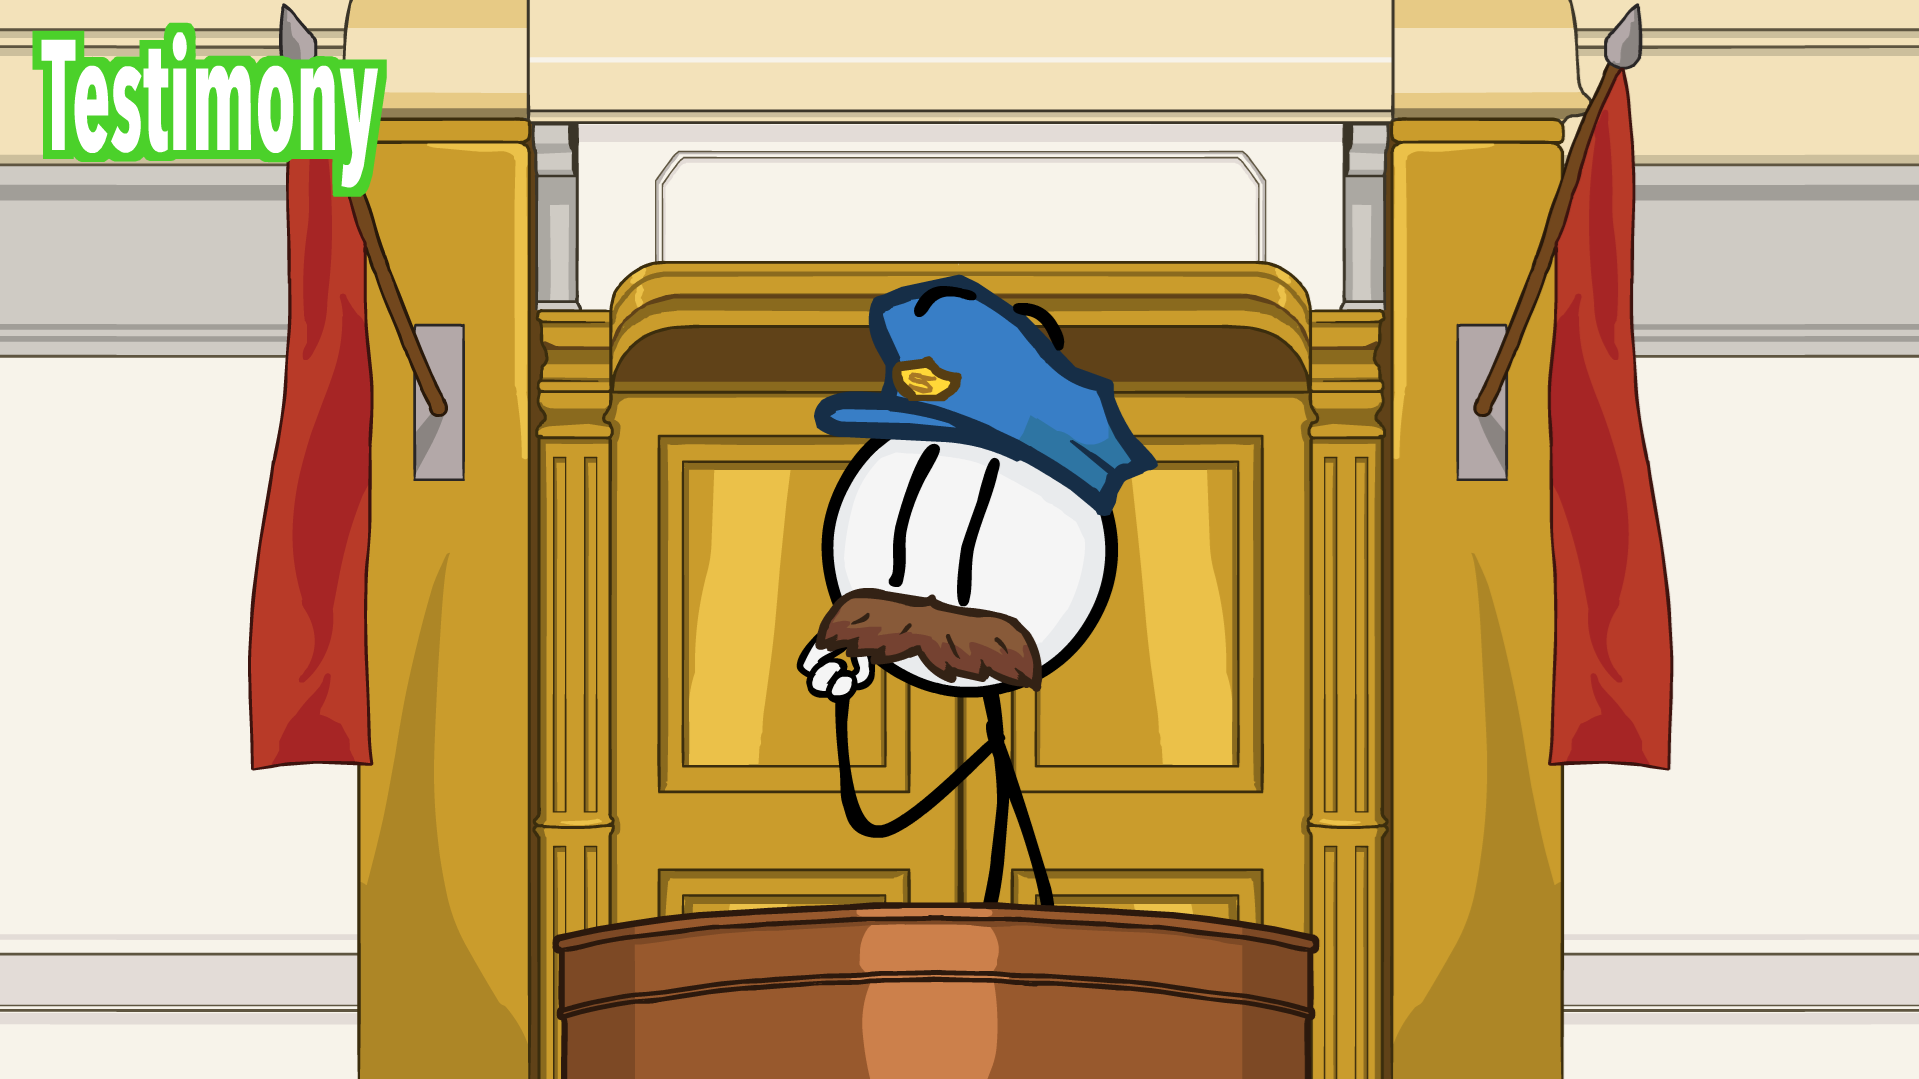
After blue truck pass by you, two cops come to pick up the bag, click them
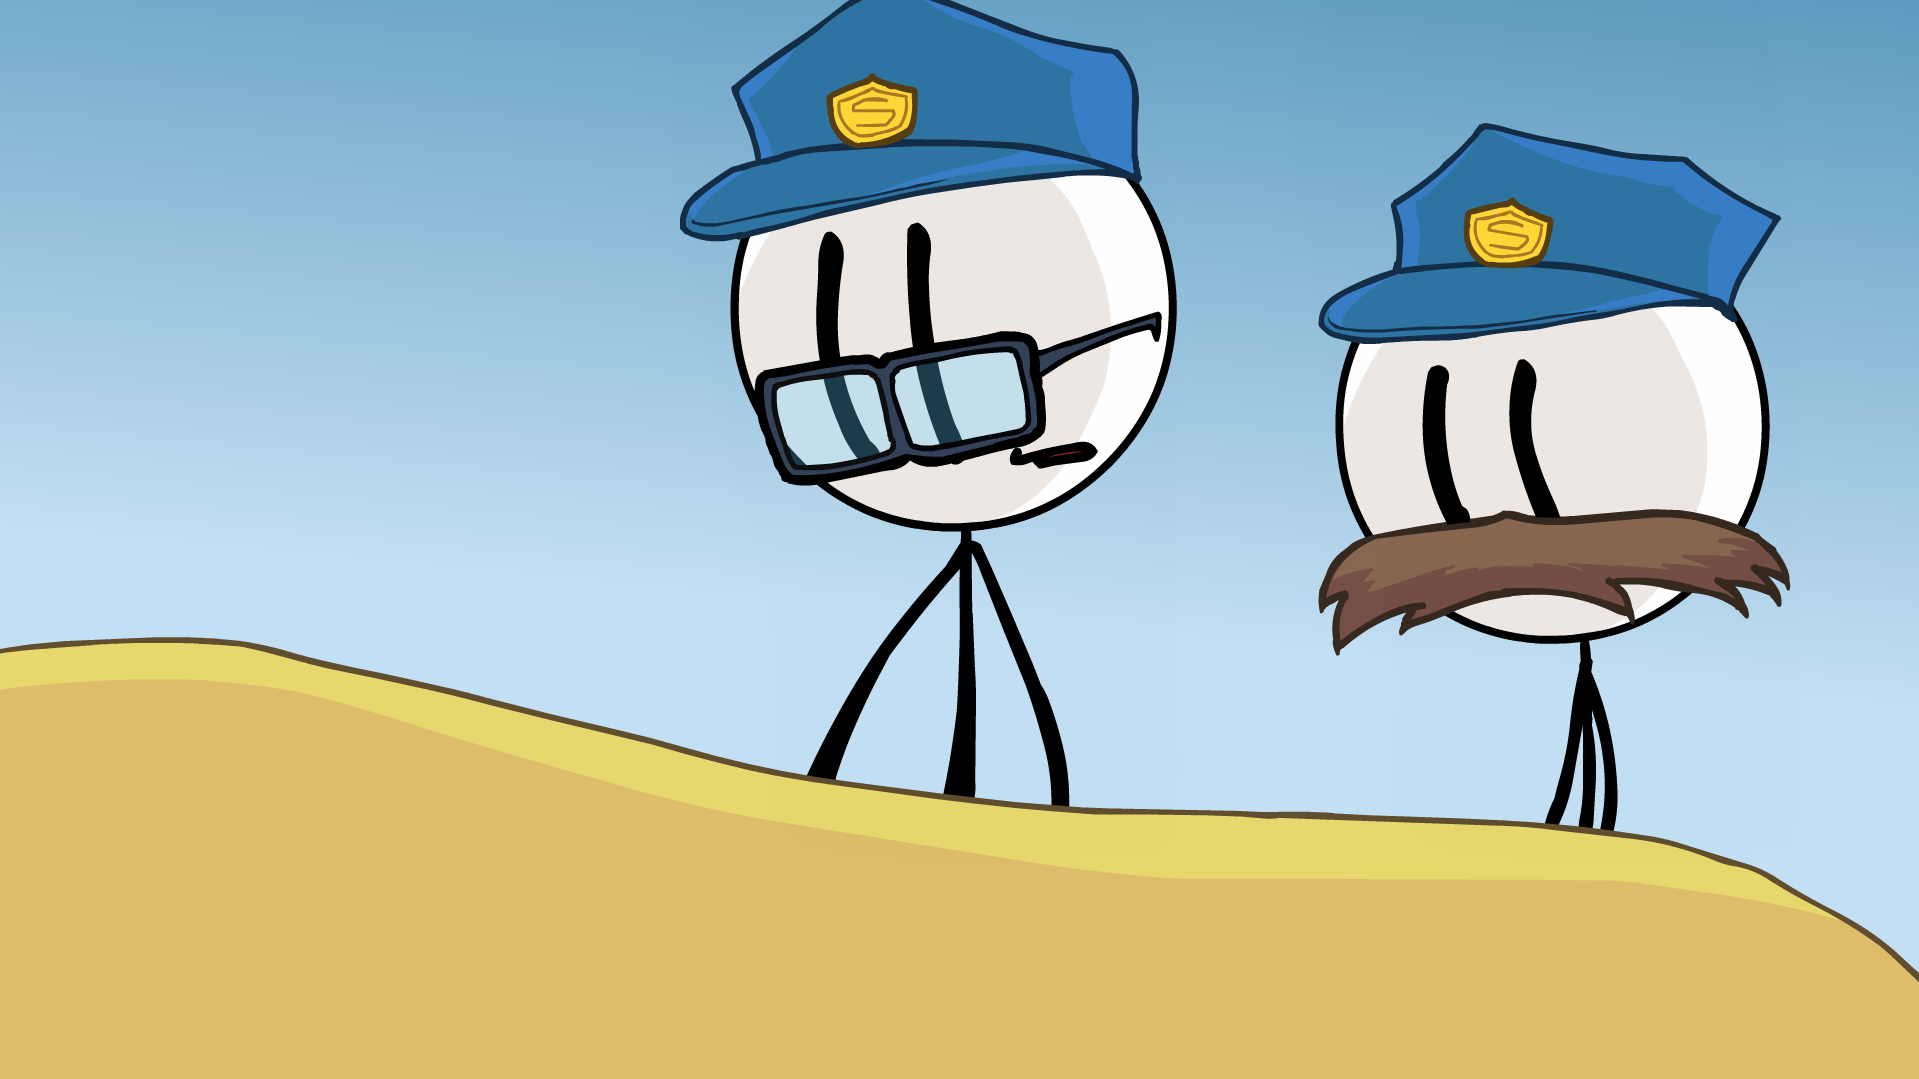
Then these two security guards.
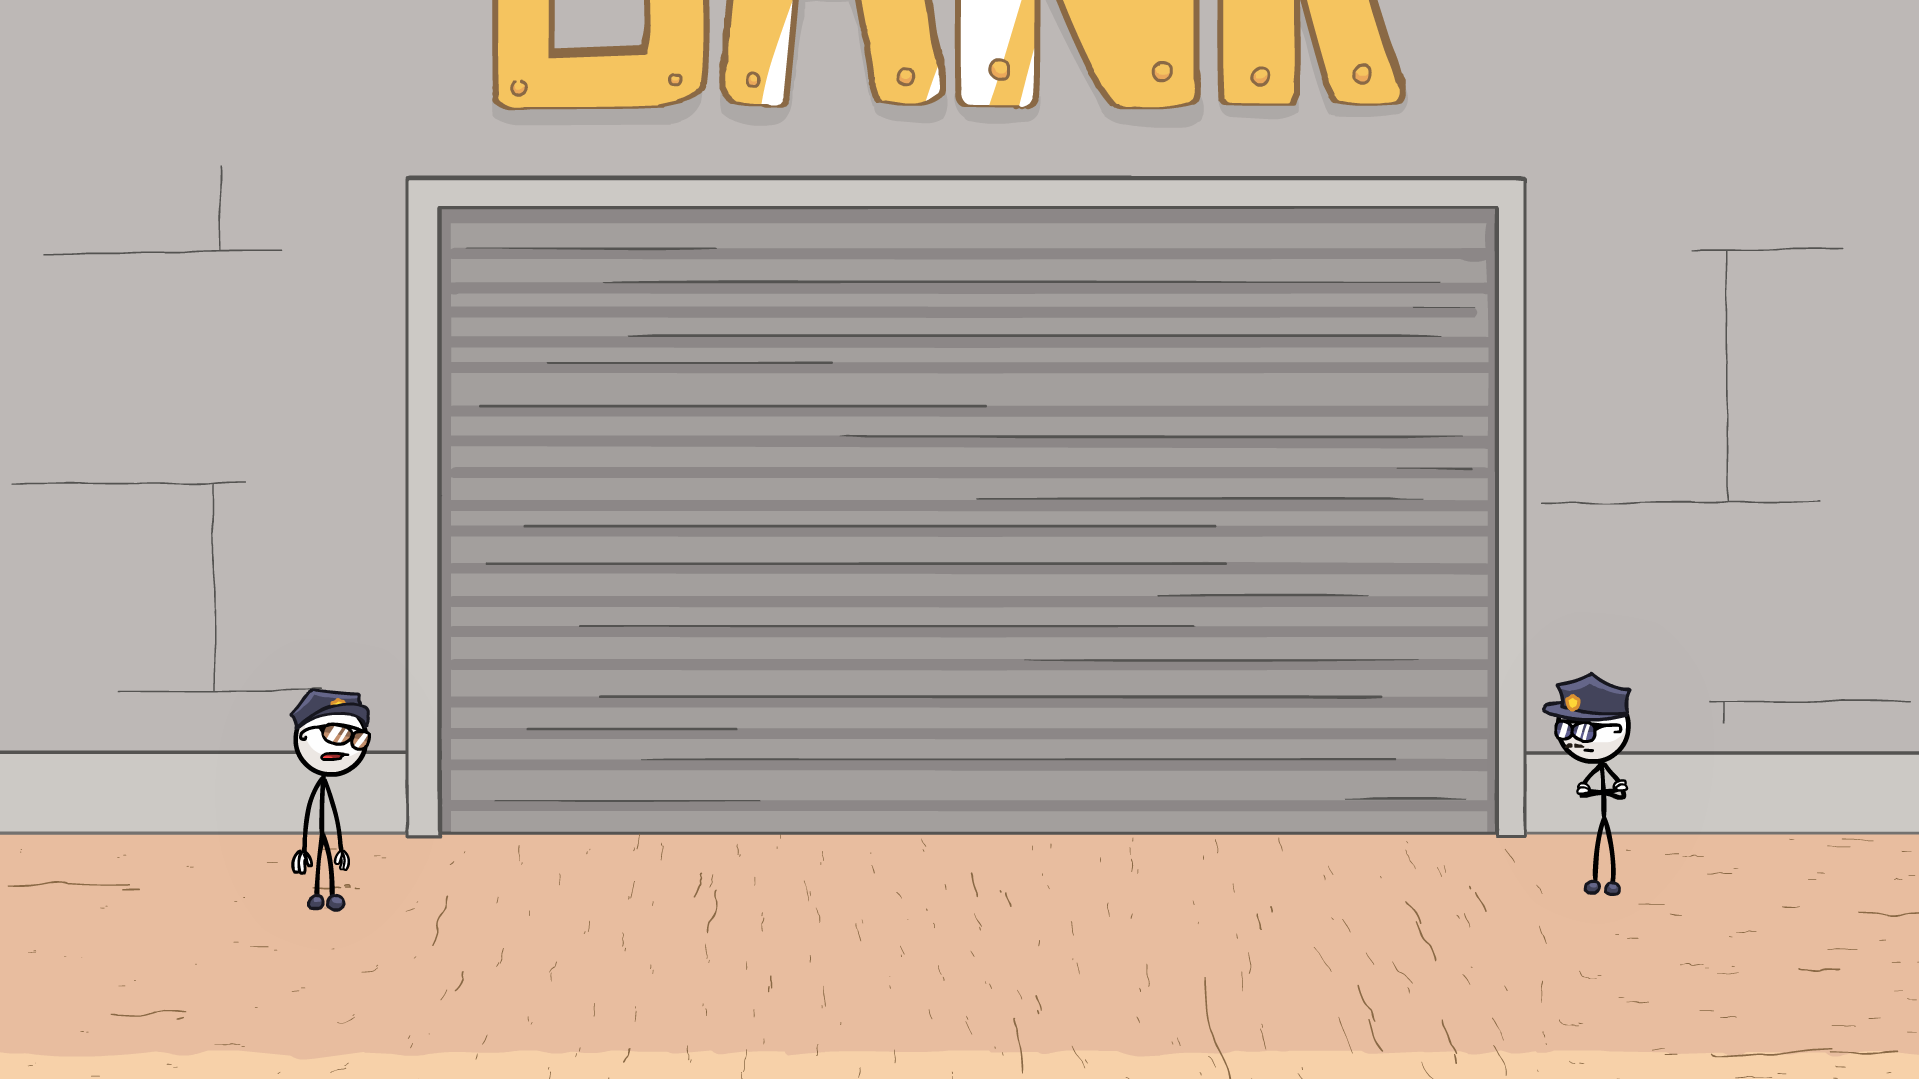
(you can still get them after scene change - where truck drives inside the building)
ᅠBtB - Red Achivments:
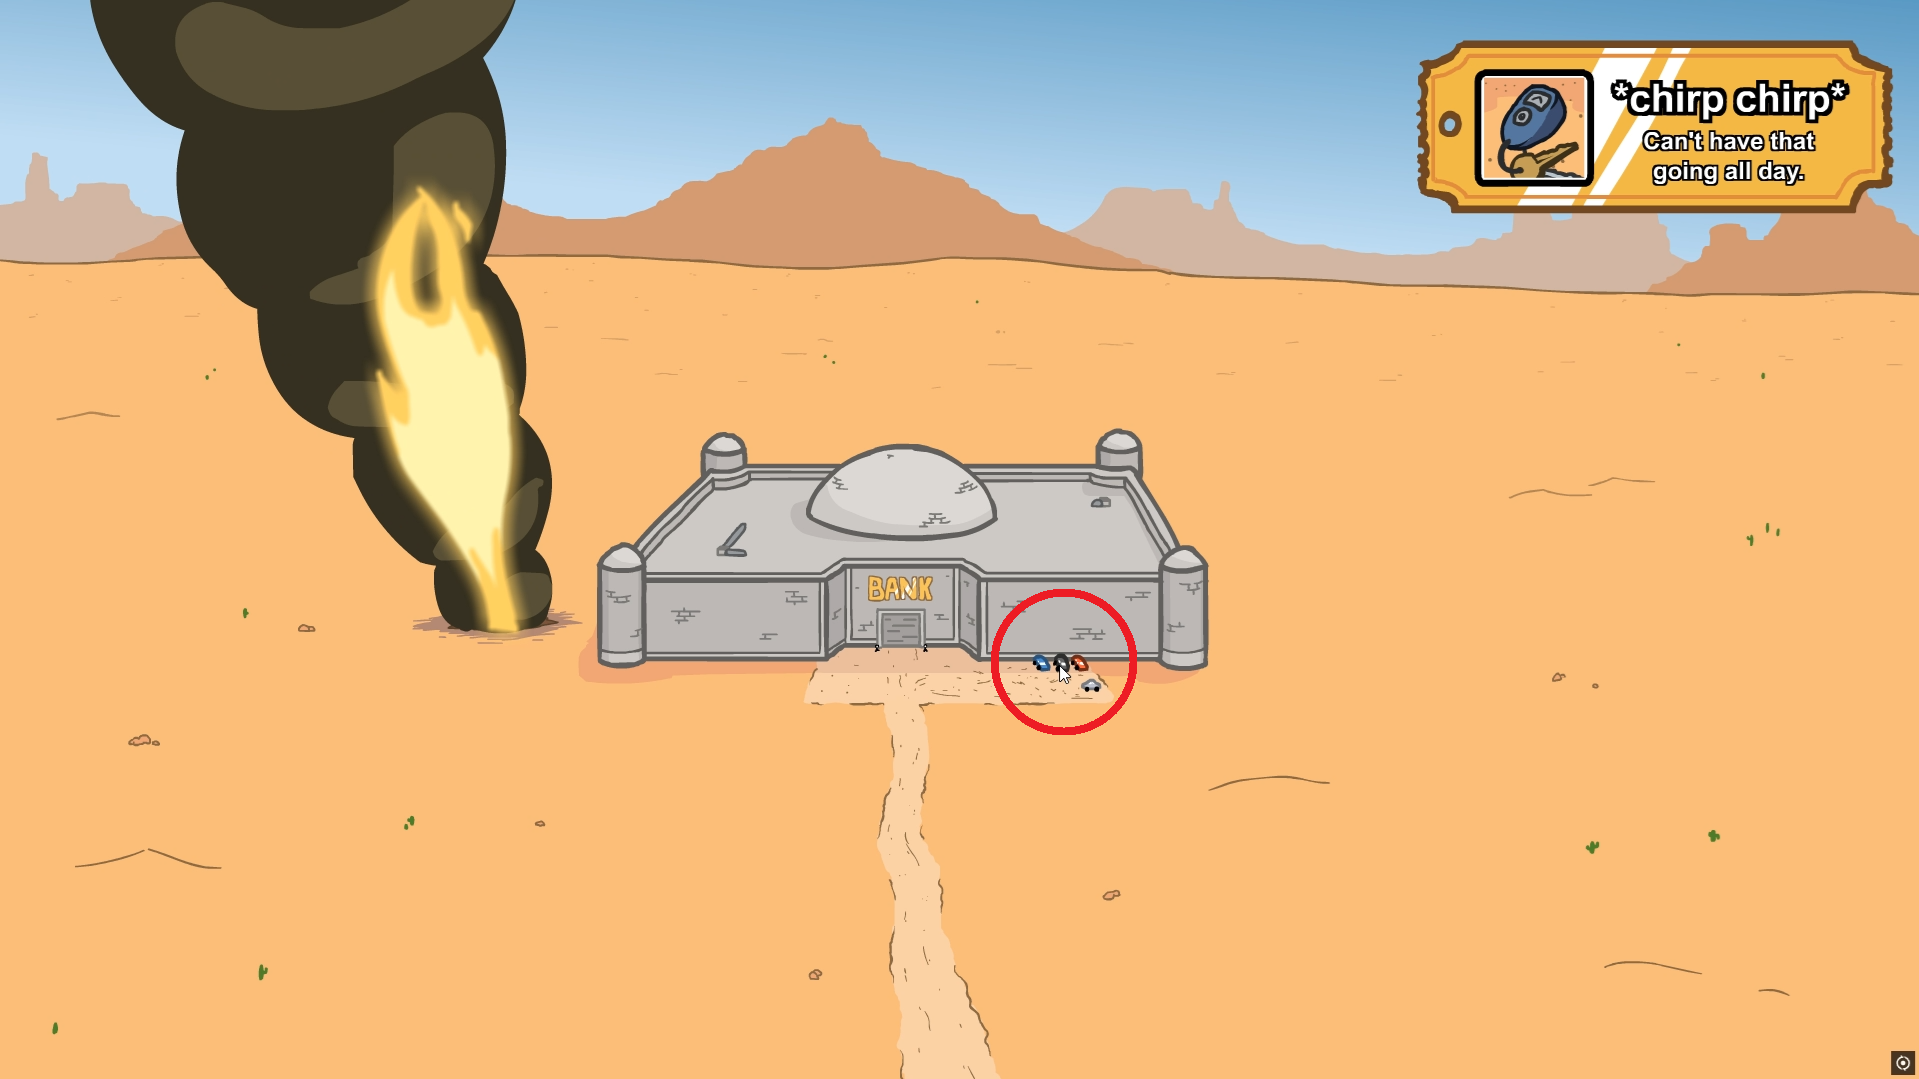
 Can't have that going all day.
Pick the shovel and click the black car in front of the bank (after the explosion).
Escaping the Prison (EtP)
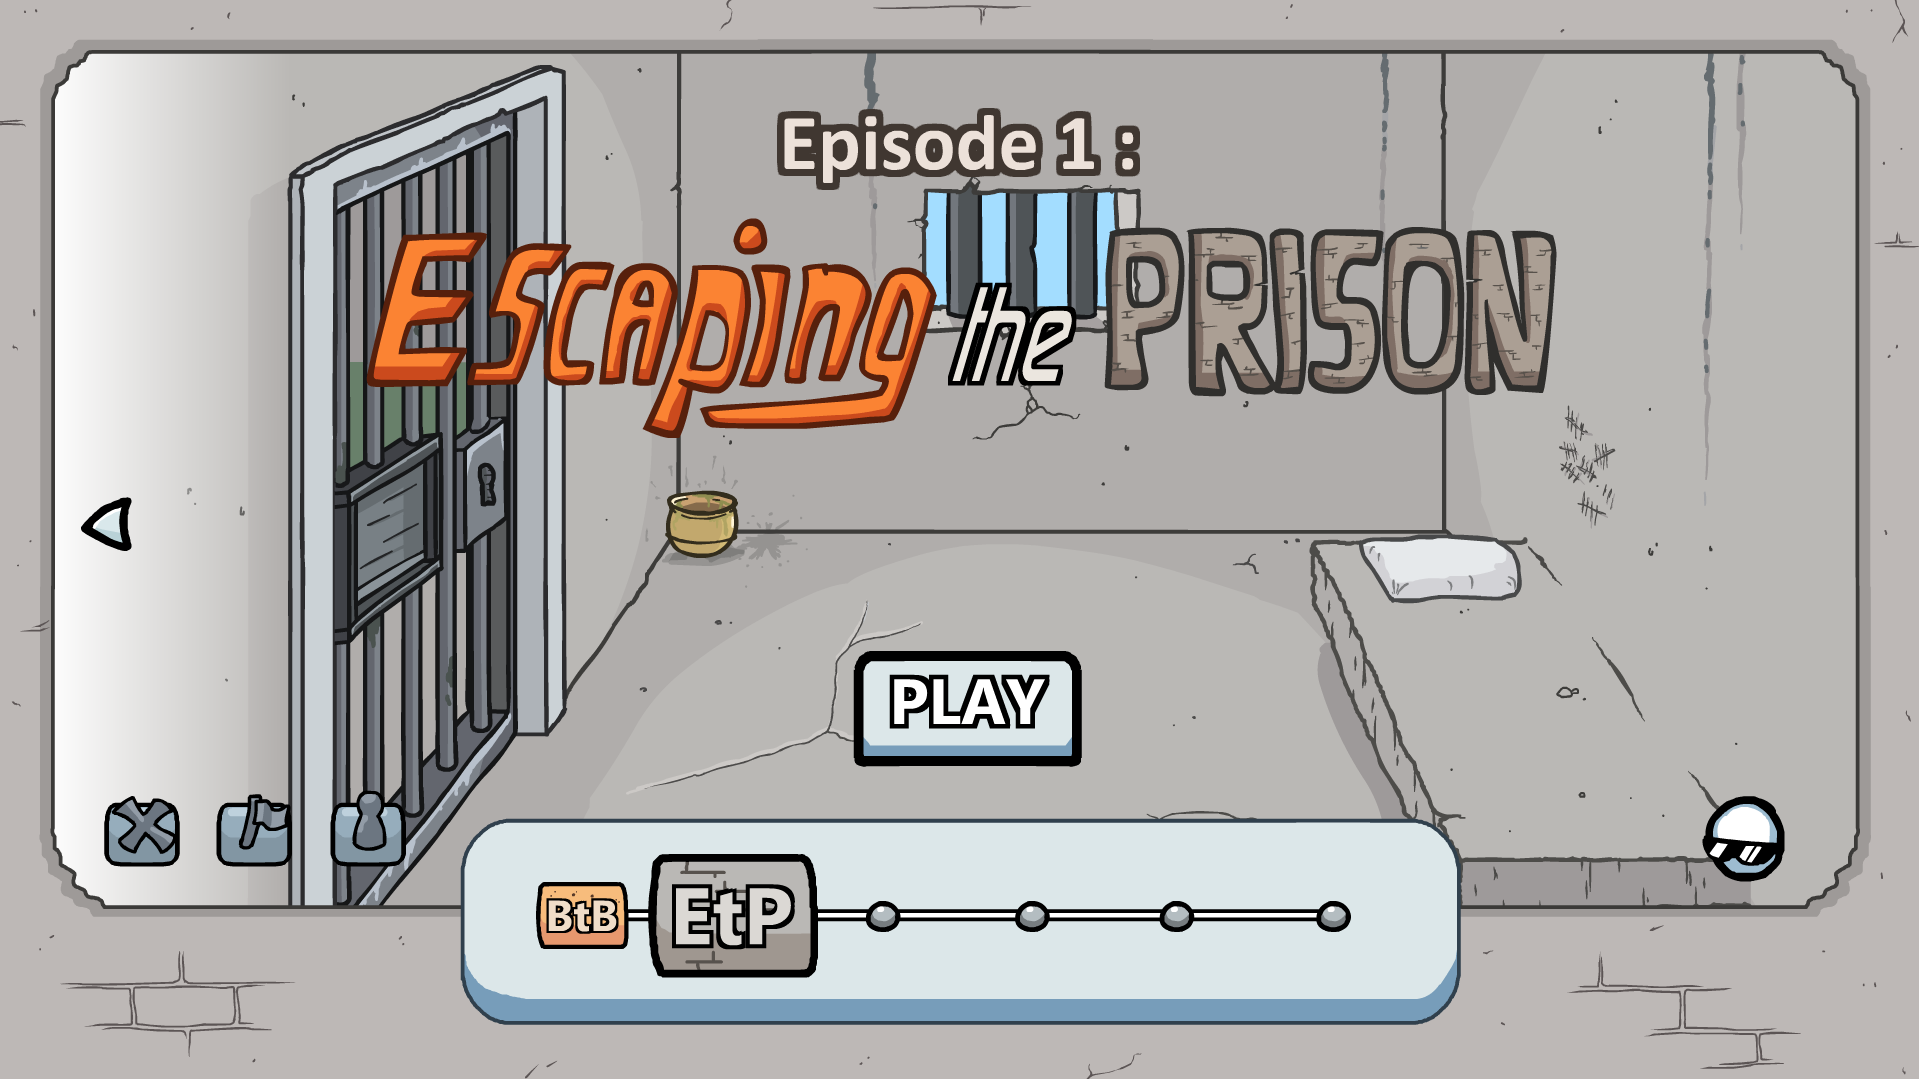
True beginning of the great story of our beloved burglar. After a clearly unsuccessful robbery on the bank, Henry must somehow get out of prison.
This part have:- 18 Fails
- 9 Achivments
- 38 Bios
ᅠEtP - Gold Achivments:
 Achieve the Rank: SE.
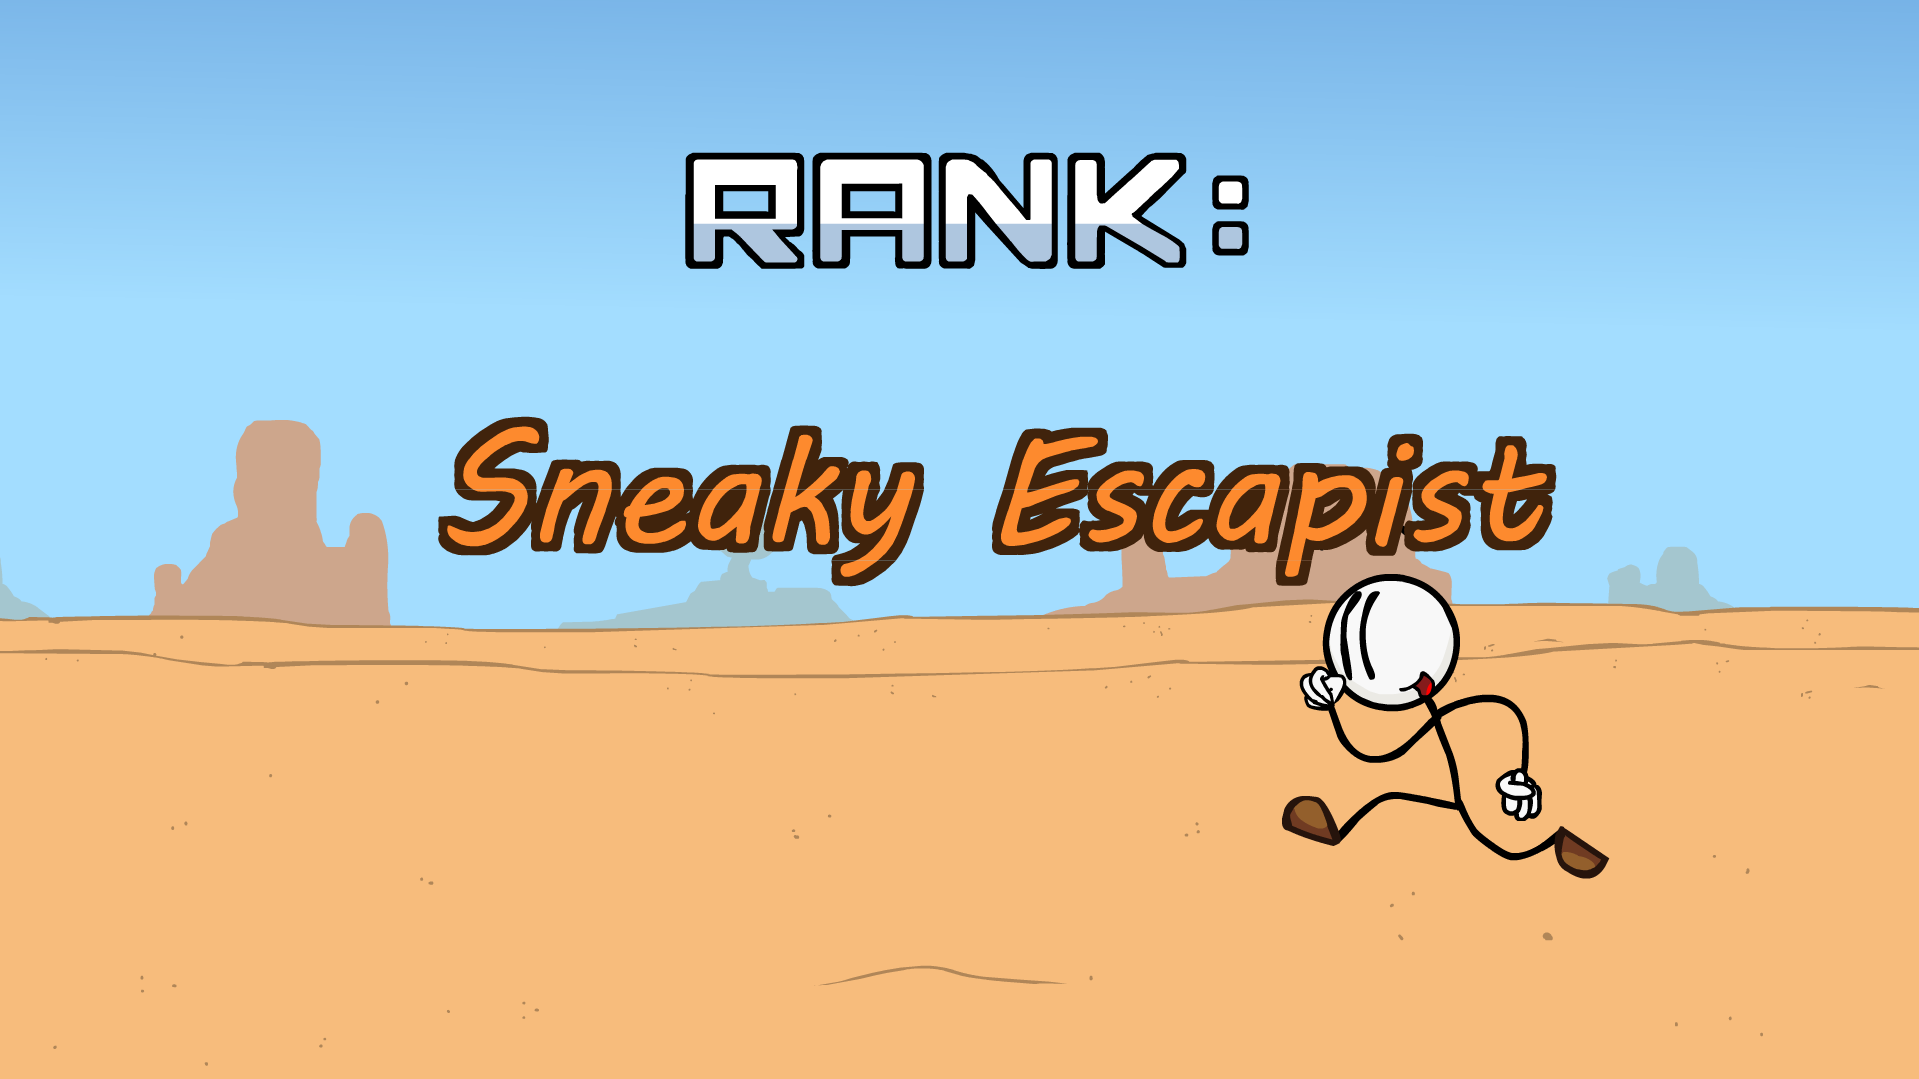 To achive Sneaky Escapist choose in this order:
- File
- Cell Door
- Click the alert on the left
- Click the alert on the right
- Chair
- Go to the right in the vents
- Plungers
 Achieve the Rank: LU.
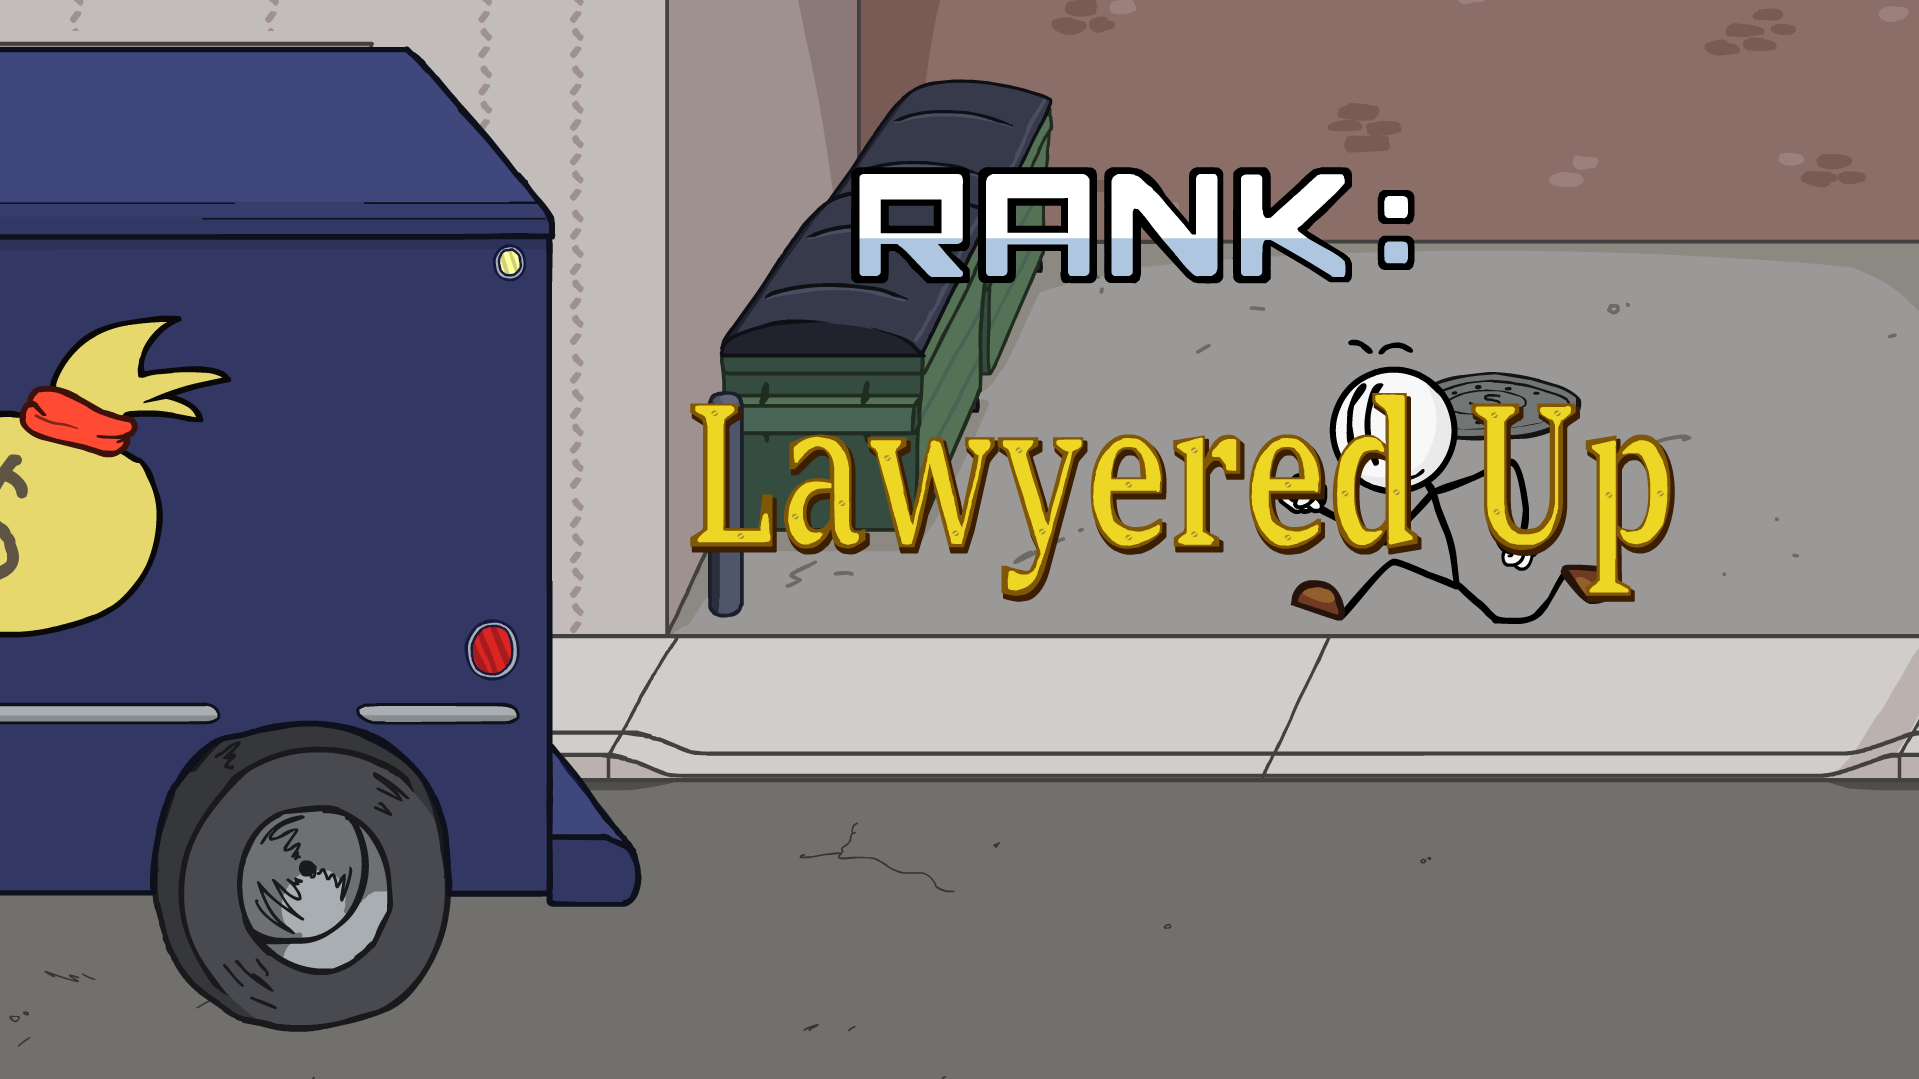 To achive Lawyered Up choose in this order:
- Cell Phone
- Disguise bag
- Present evidence
 Achieve the Rank: BBO.
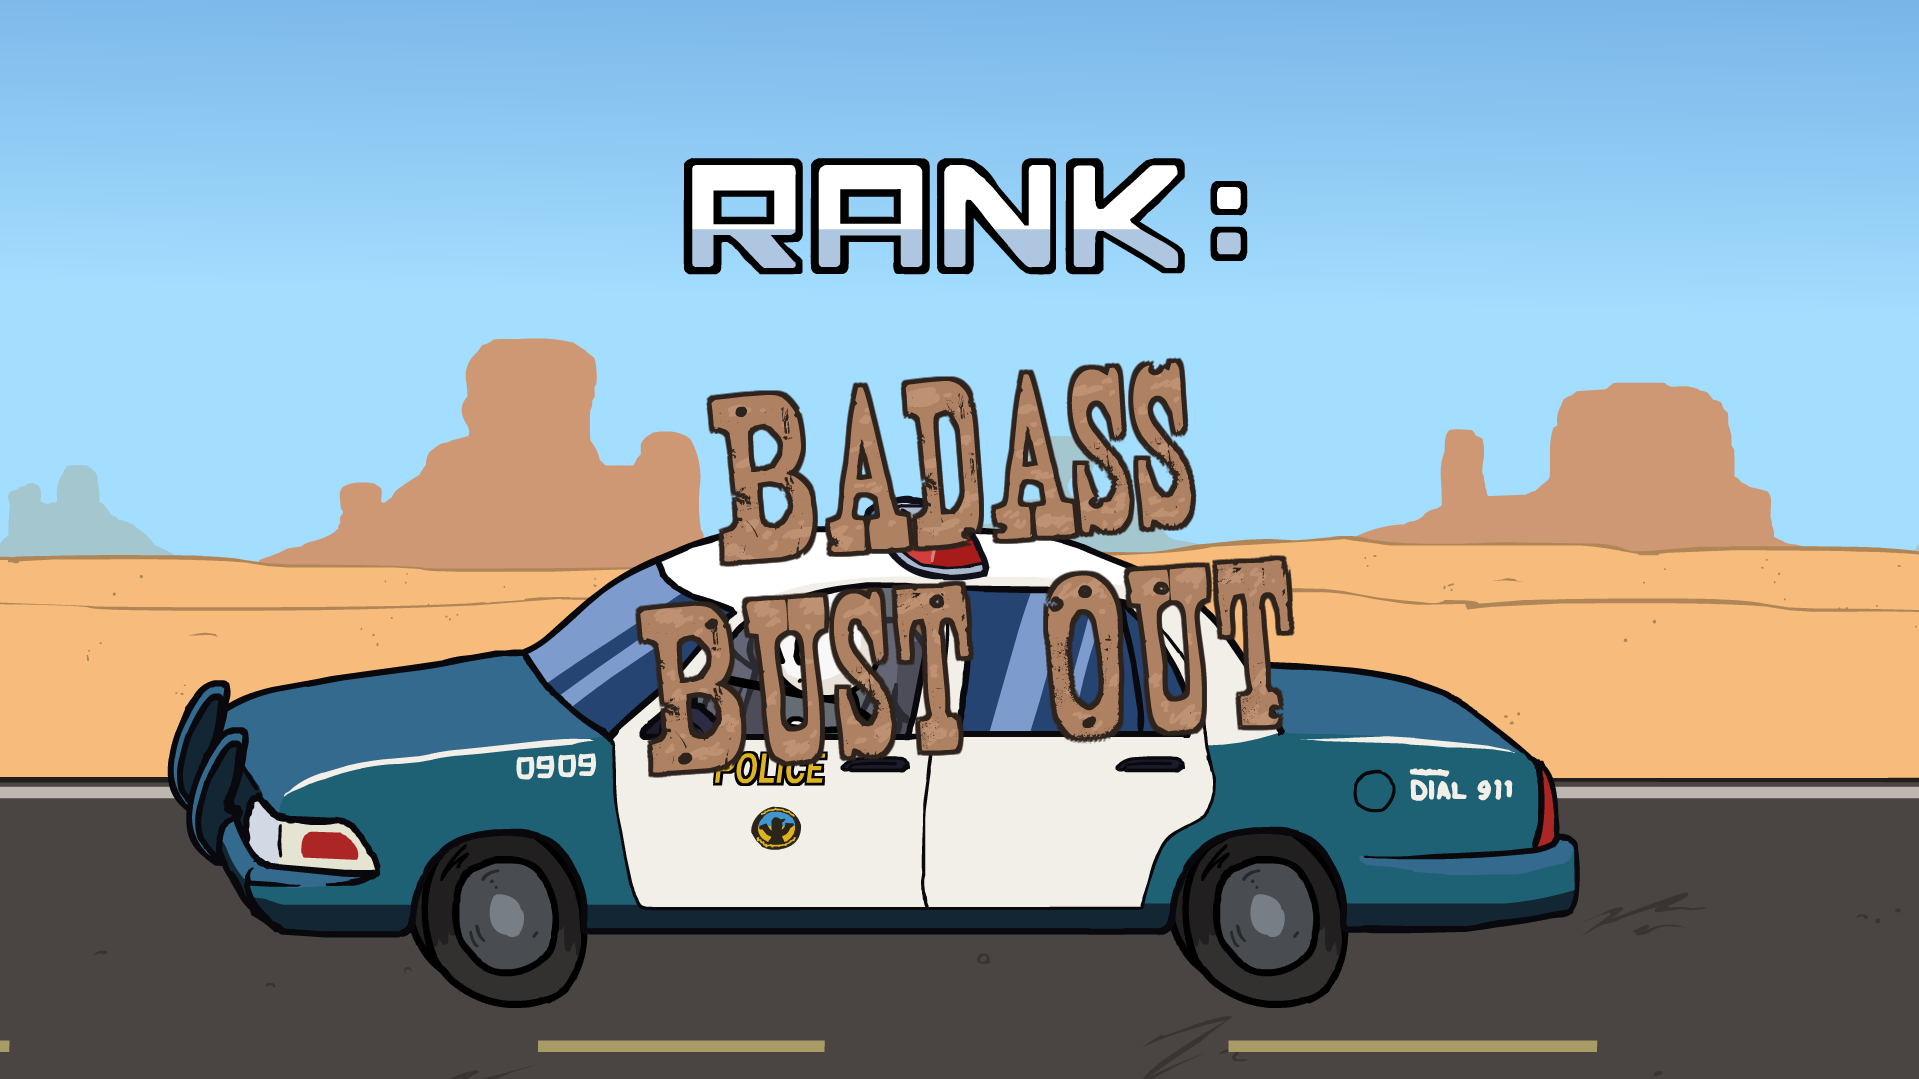 To achive Basass Bust Out choose in this order:
- Drill
- Crowbar
- Down arrow
- Left arrow (towards the wall)
- Click on the text that appears on screen as soon as the officer fires the gun
ᅠEtP - Silver Achivments:
 Get all 18 Unique Fails in Escaping the Prison.
Pick everything but correct options listed above.
You can check them in map view as well as change scene/route to get all the missing ones!
Map also tells the names of all scenes, we will be using that here!
 Find all the bios in Escaping the Prison.
This part have 37 Bios to find, so we're gonna take in-game order to do it.
(Not like other tutorials, duh)
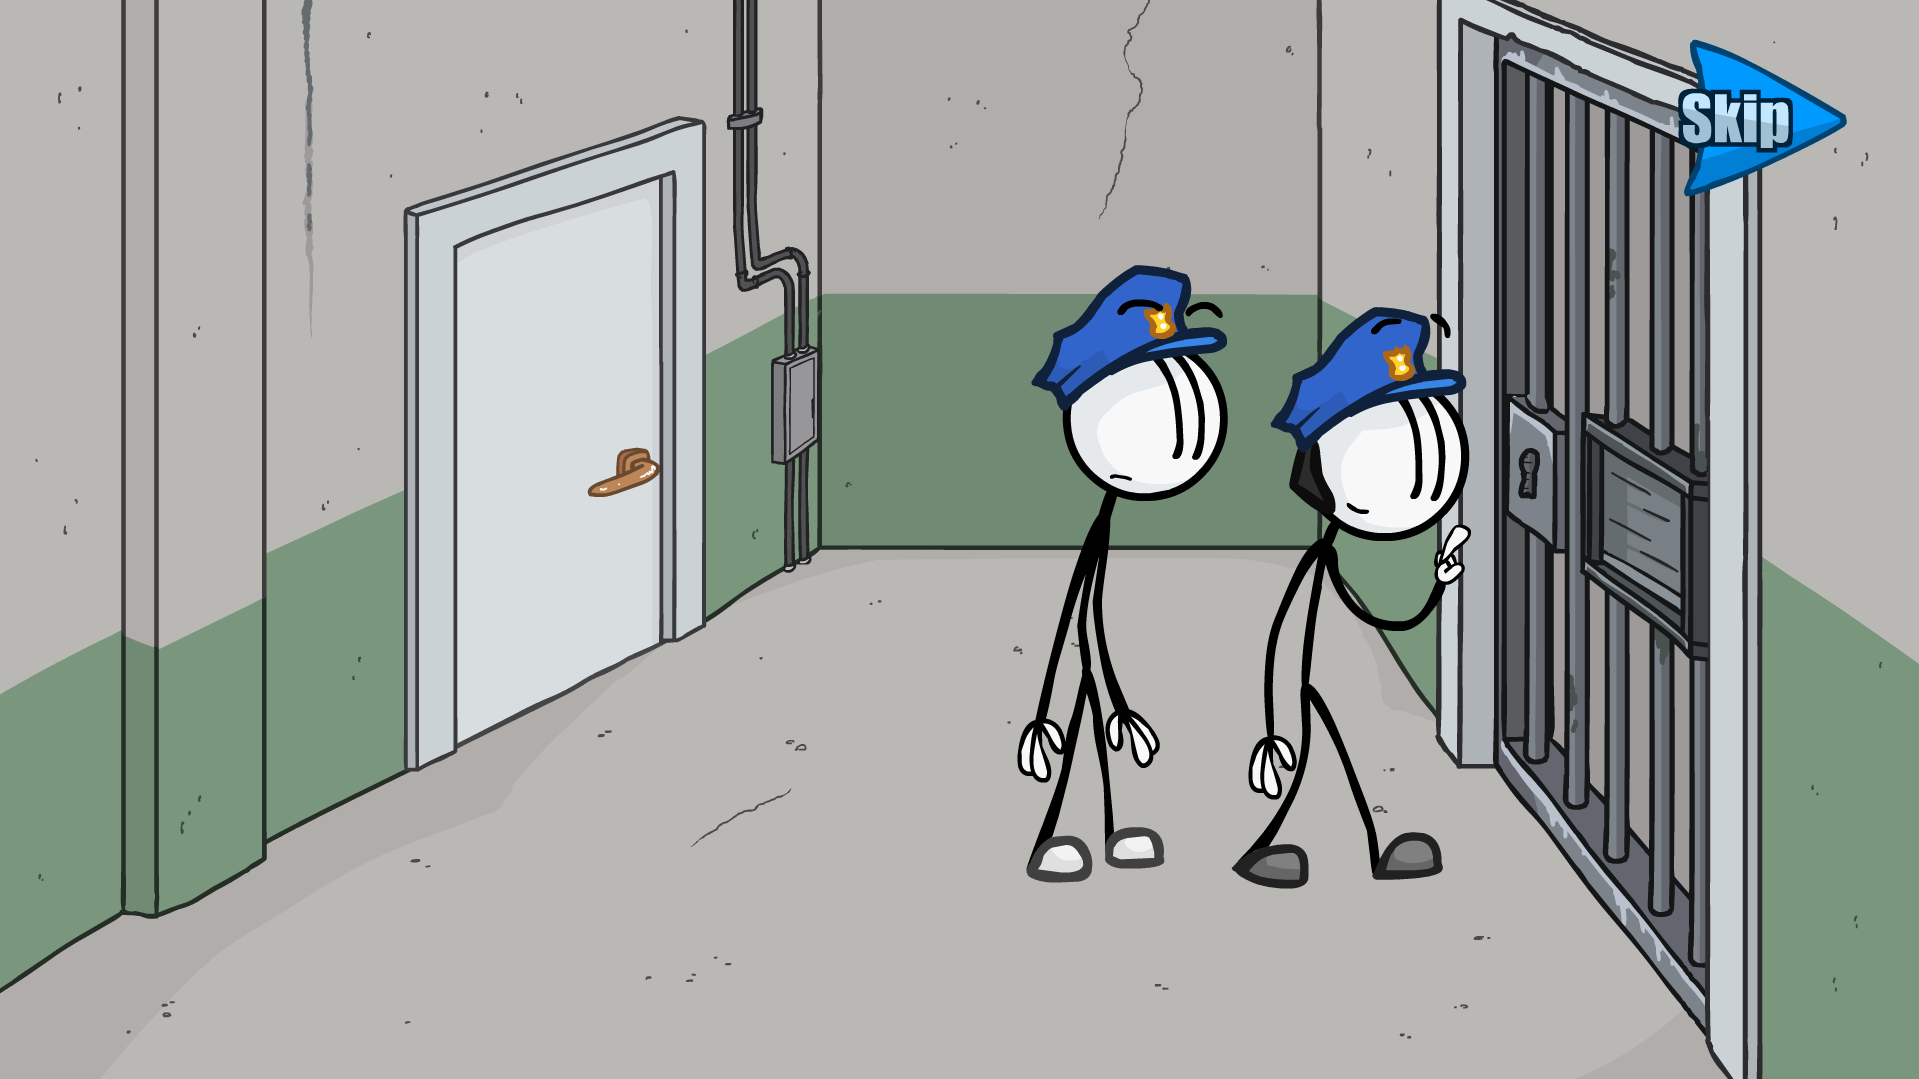
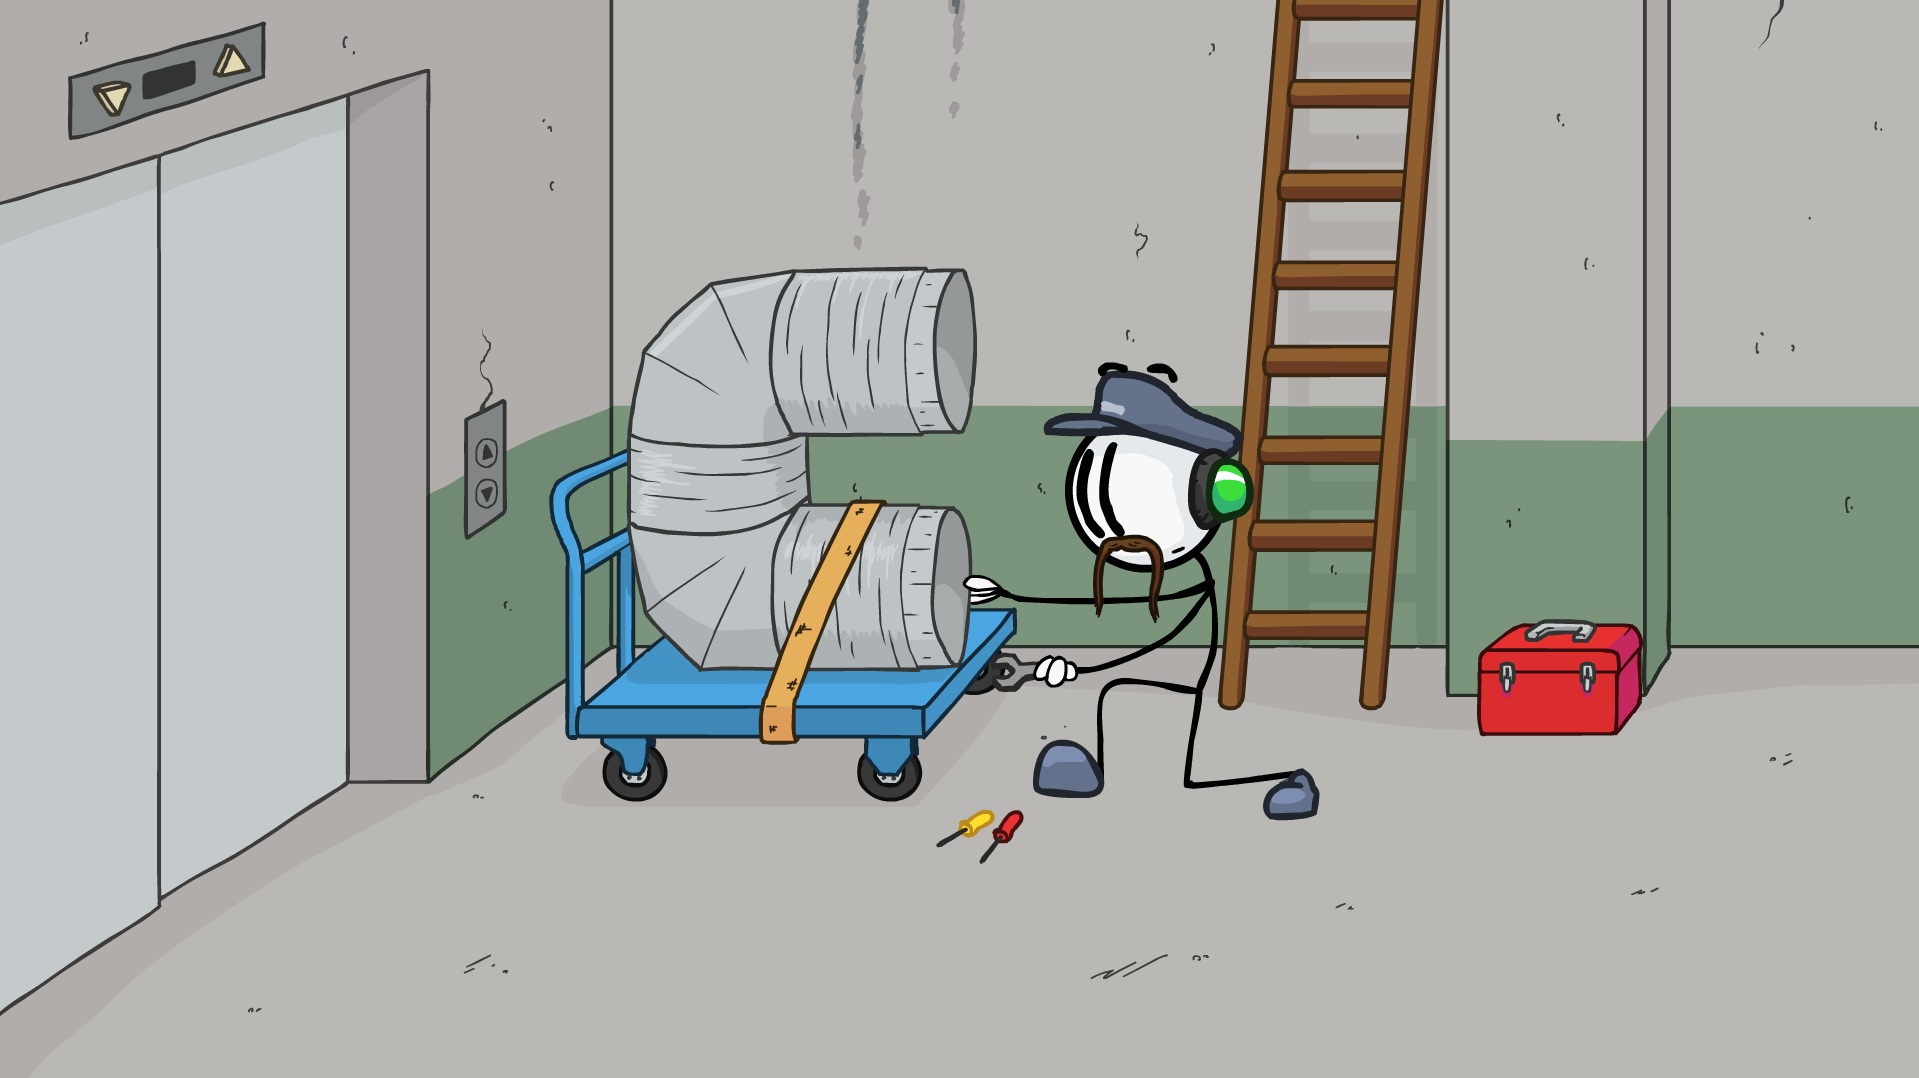
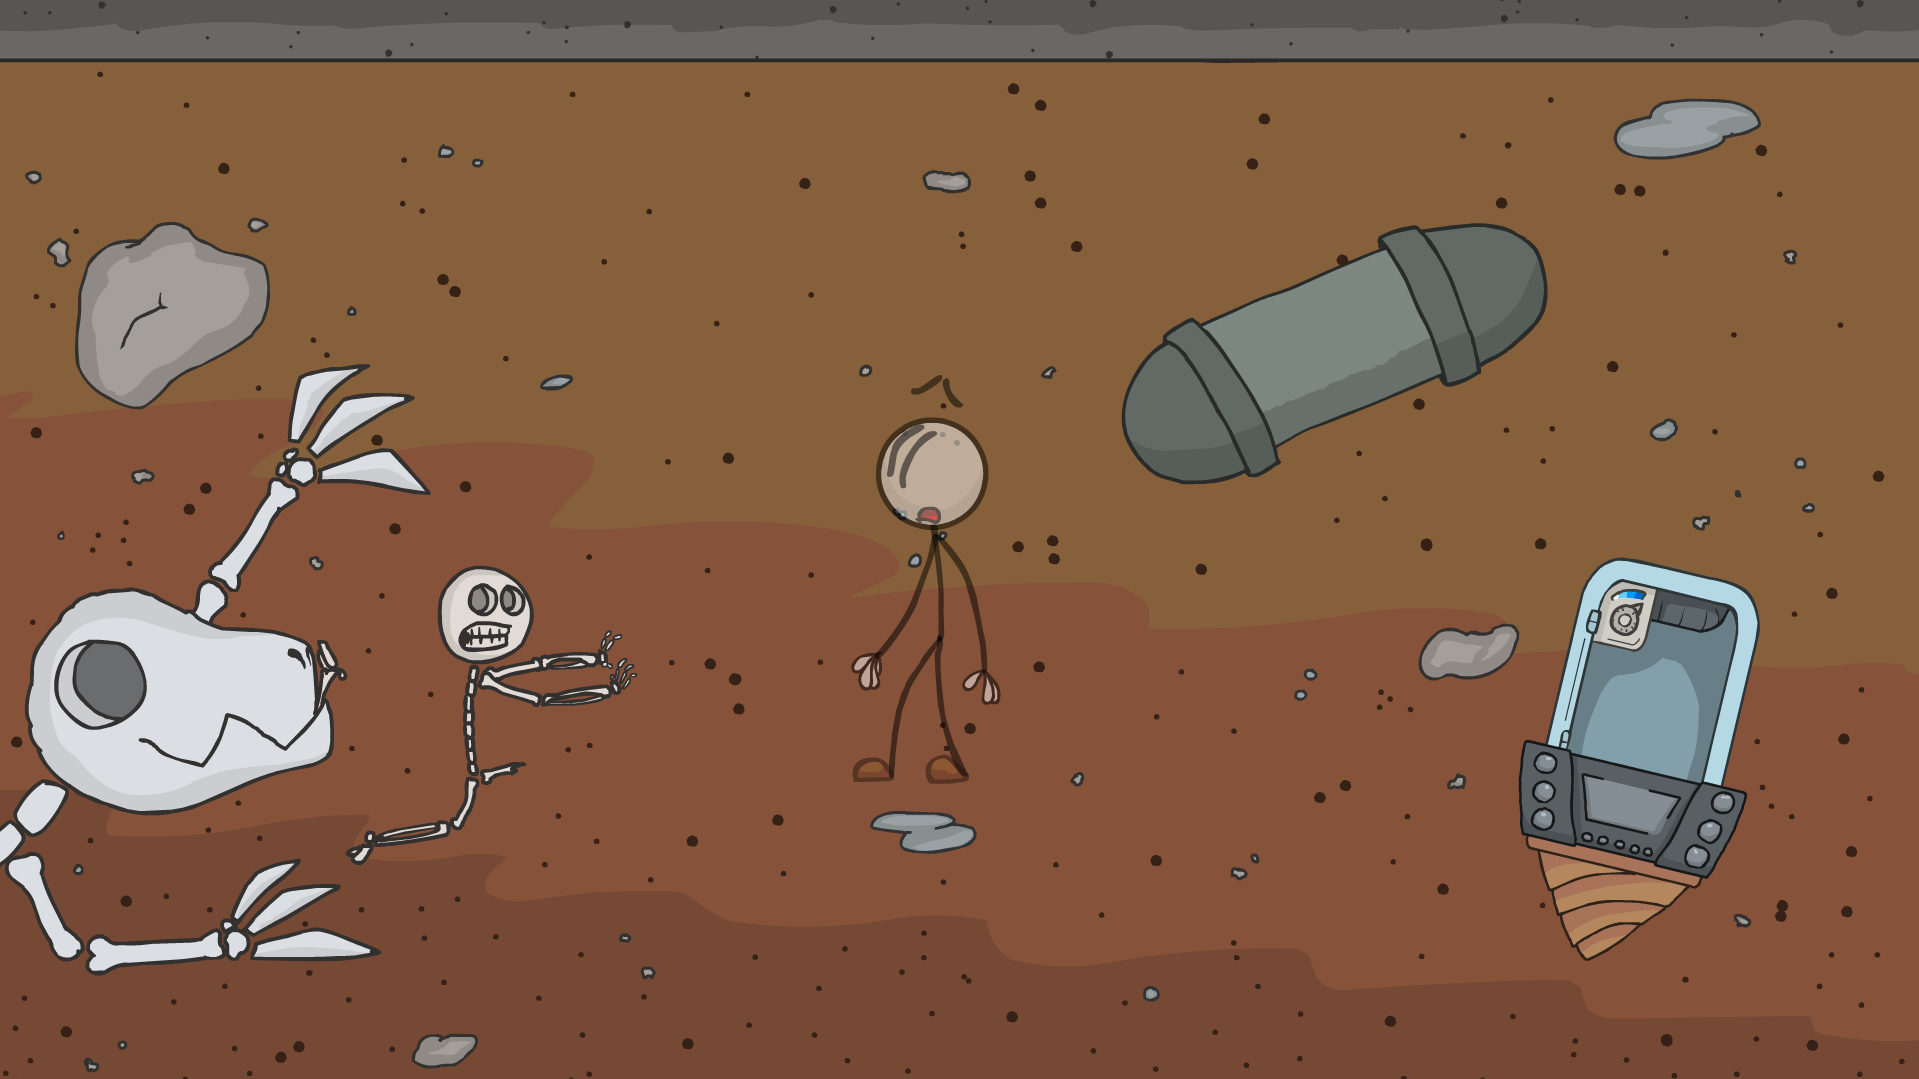
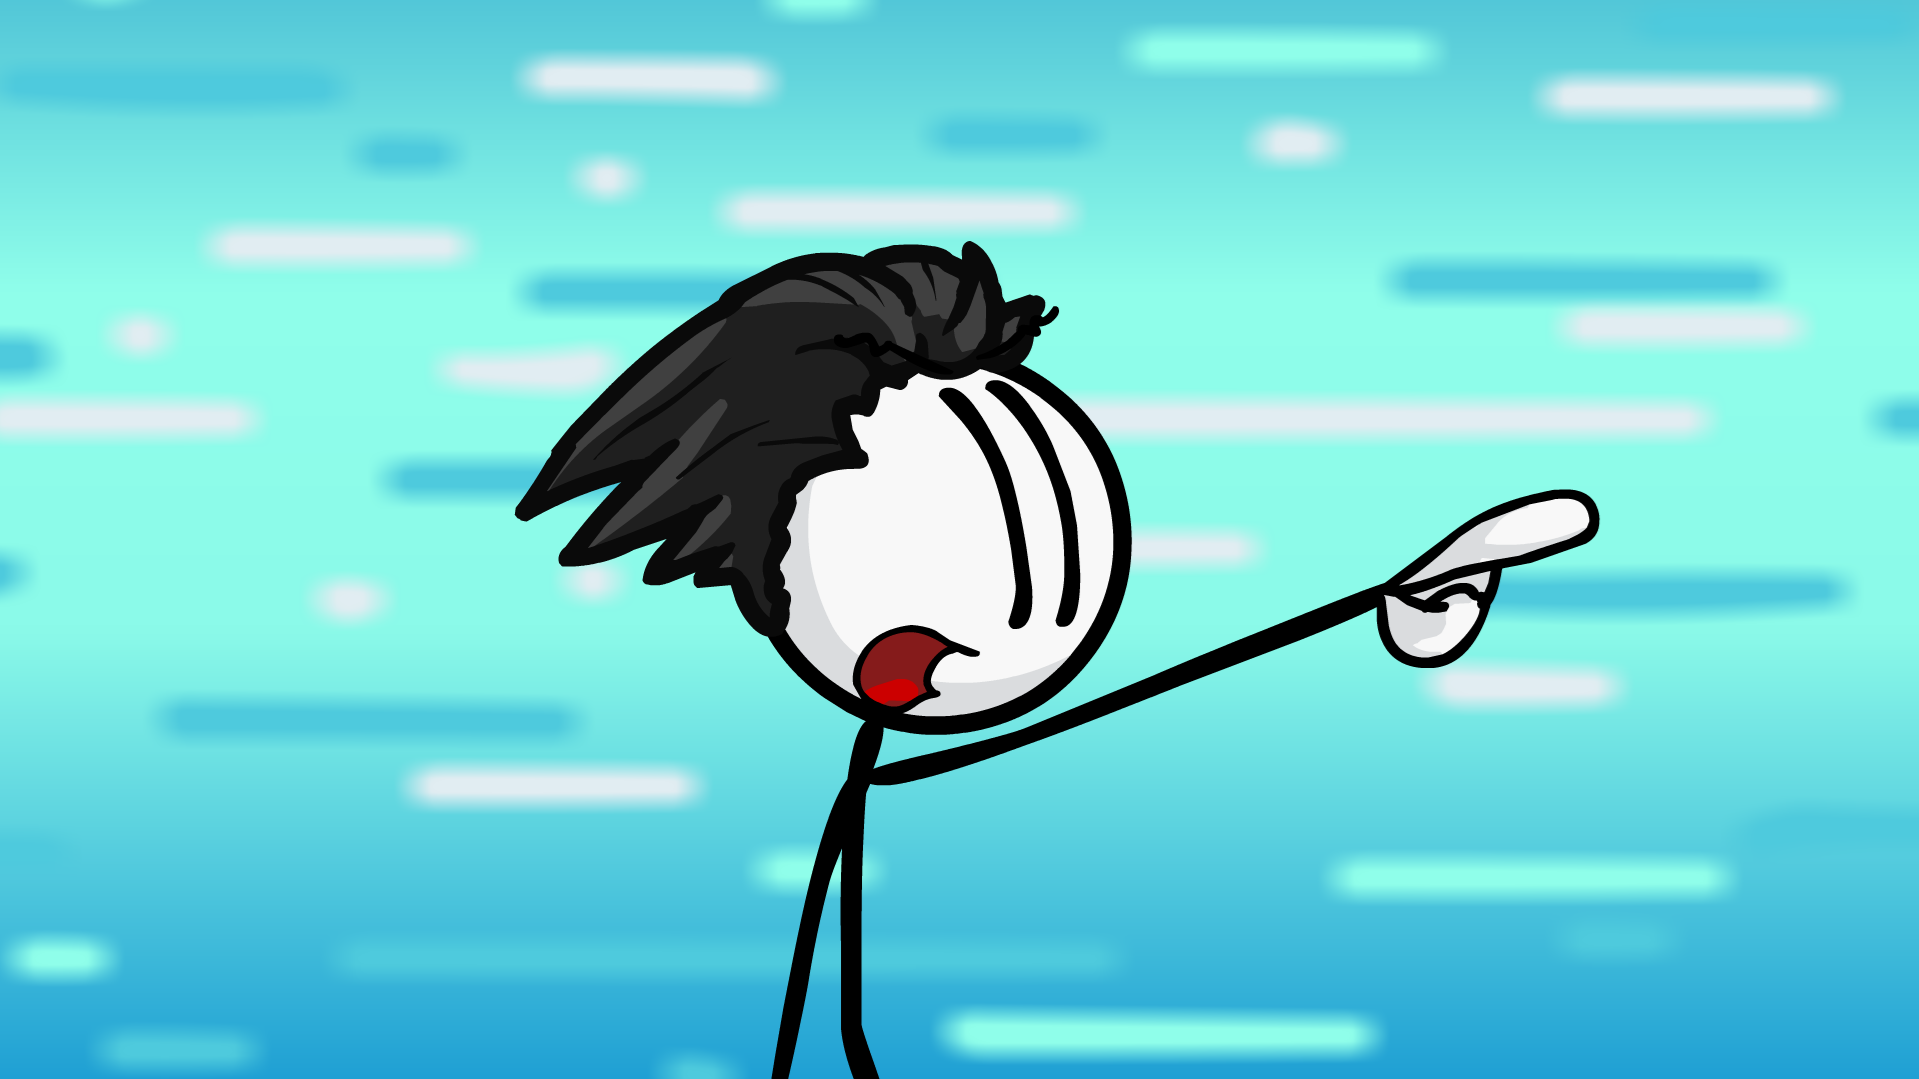
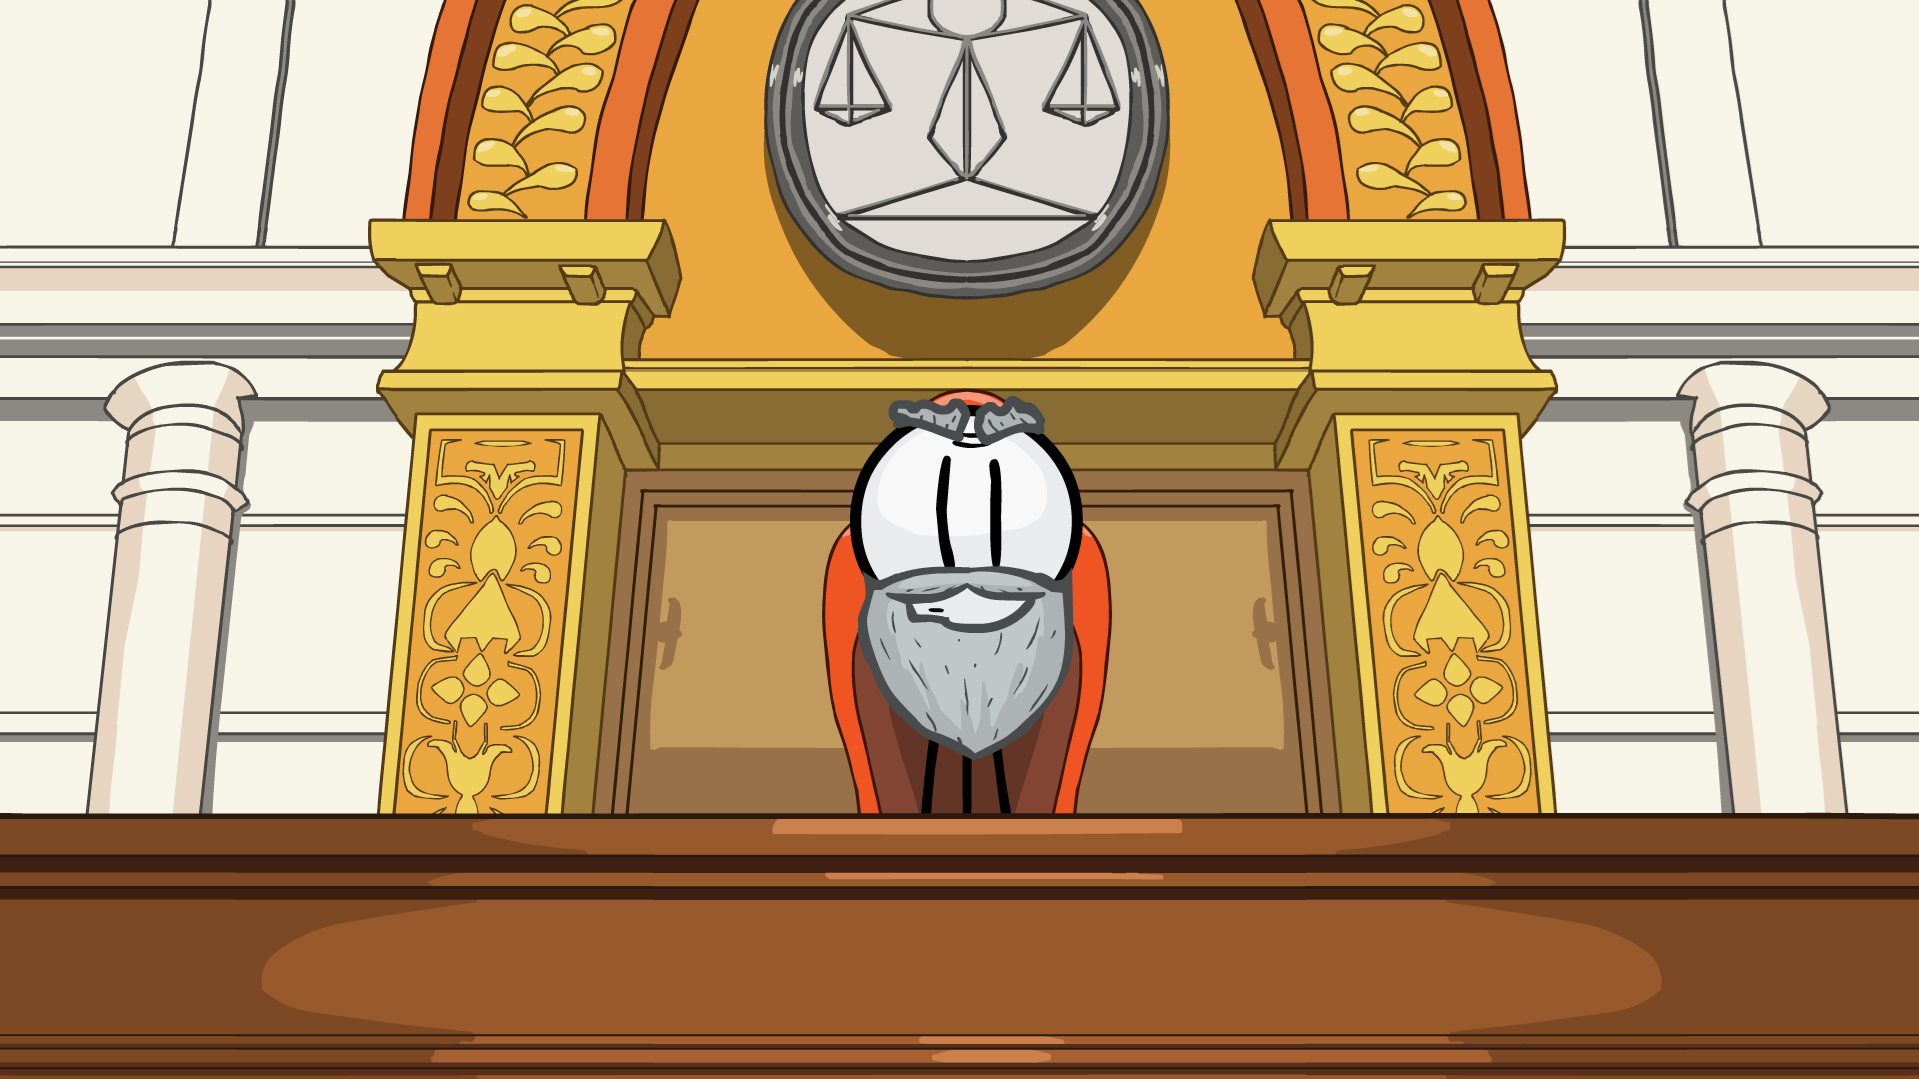
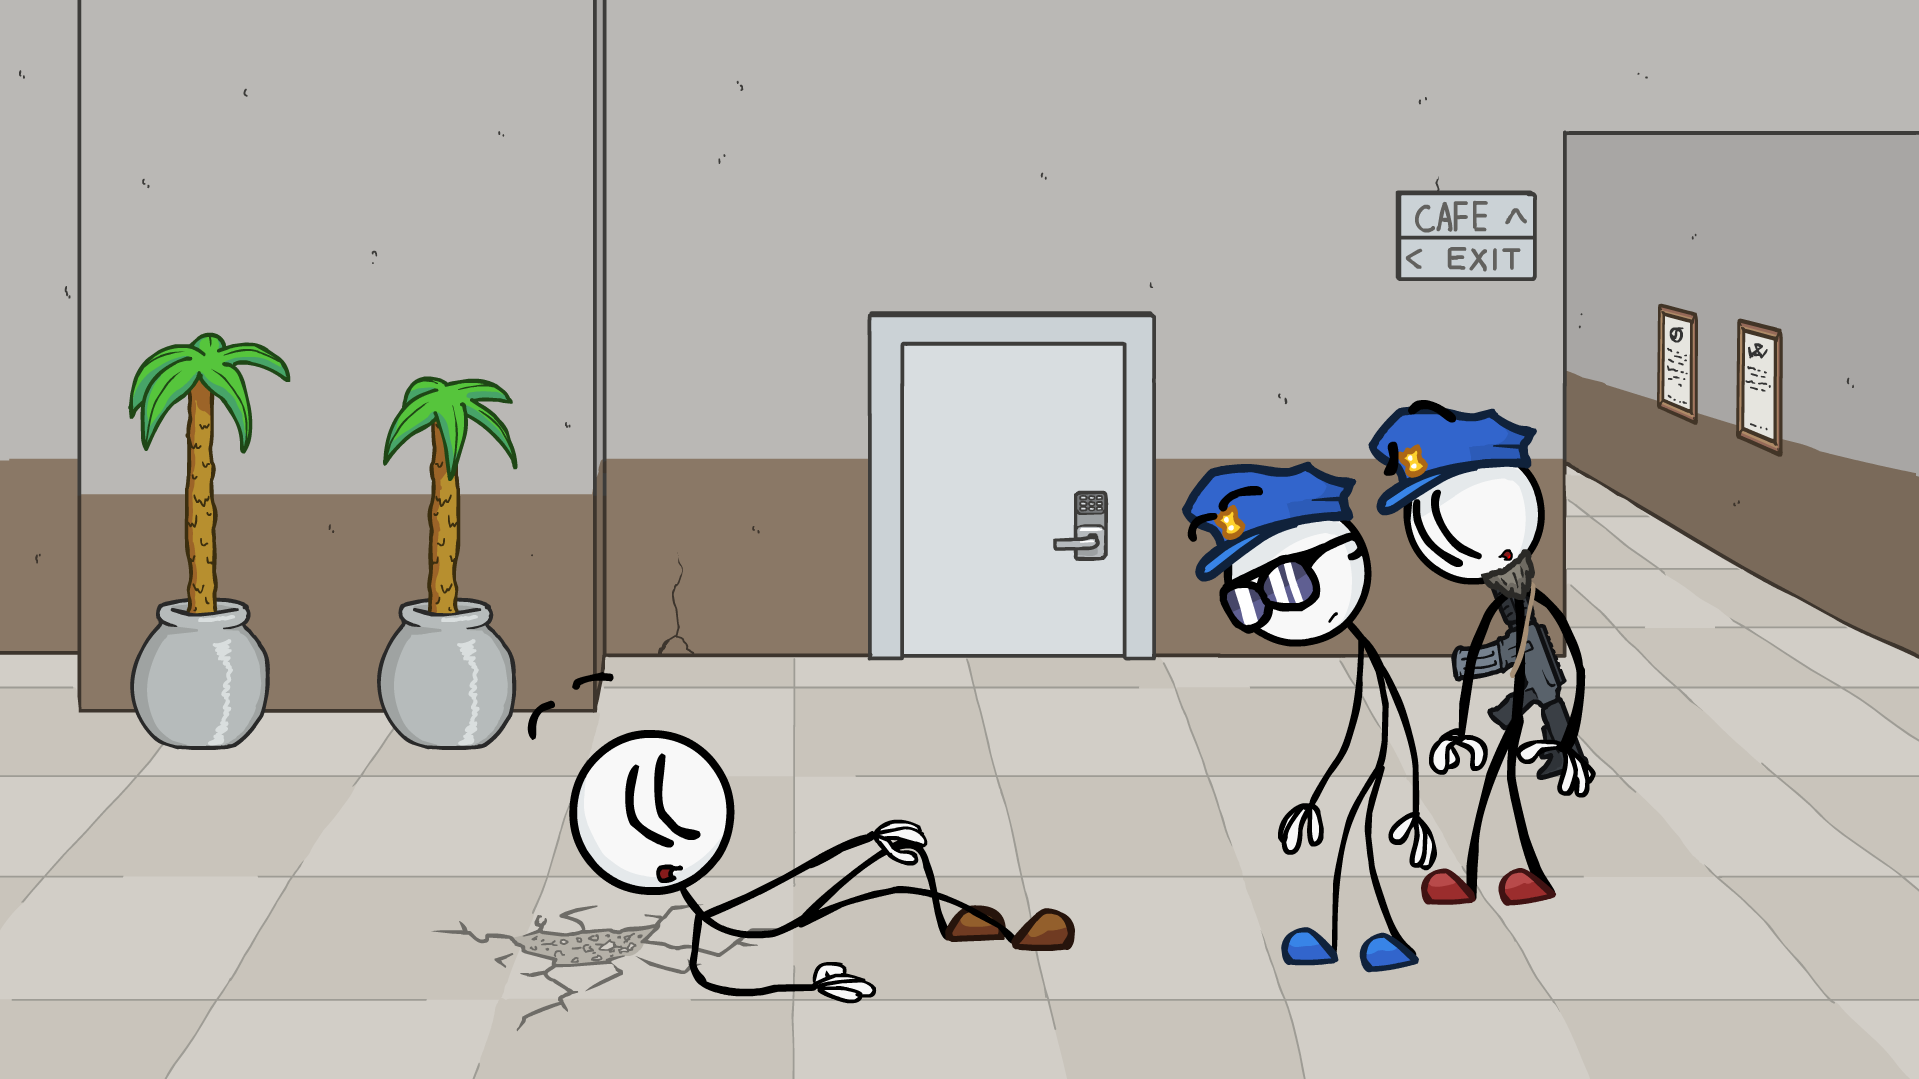
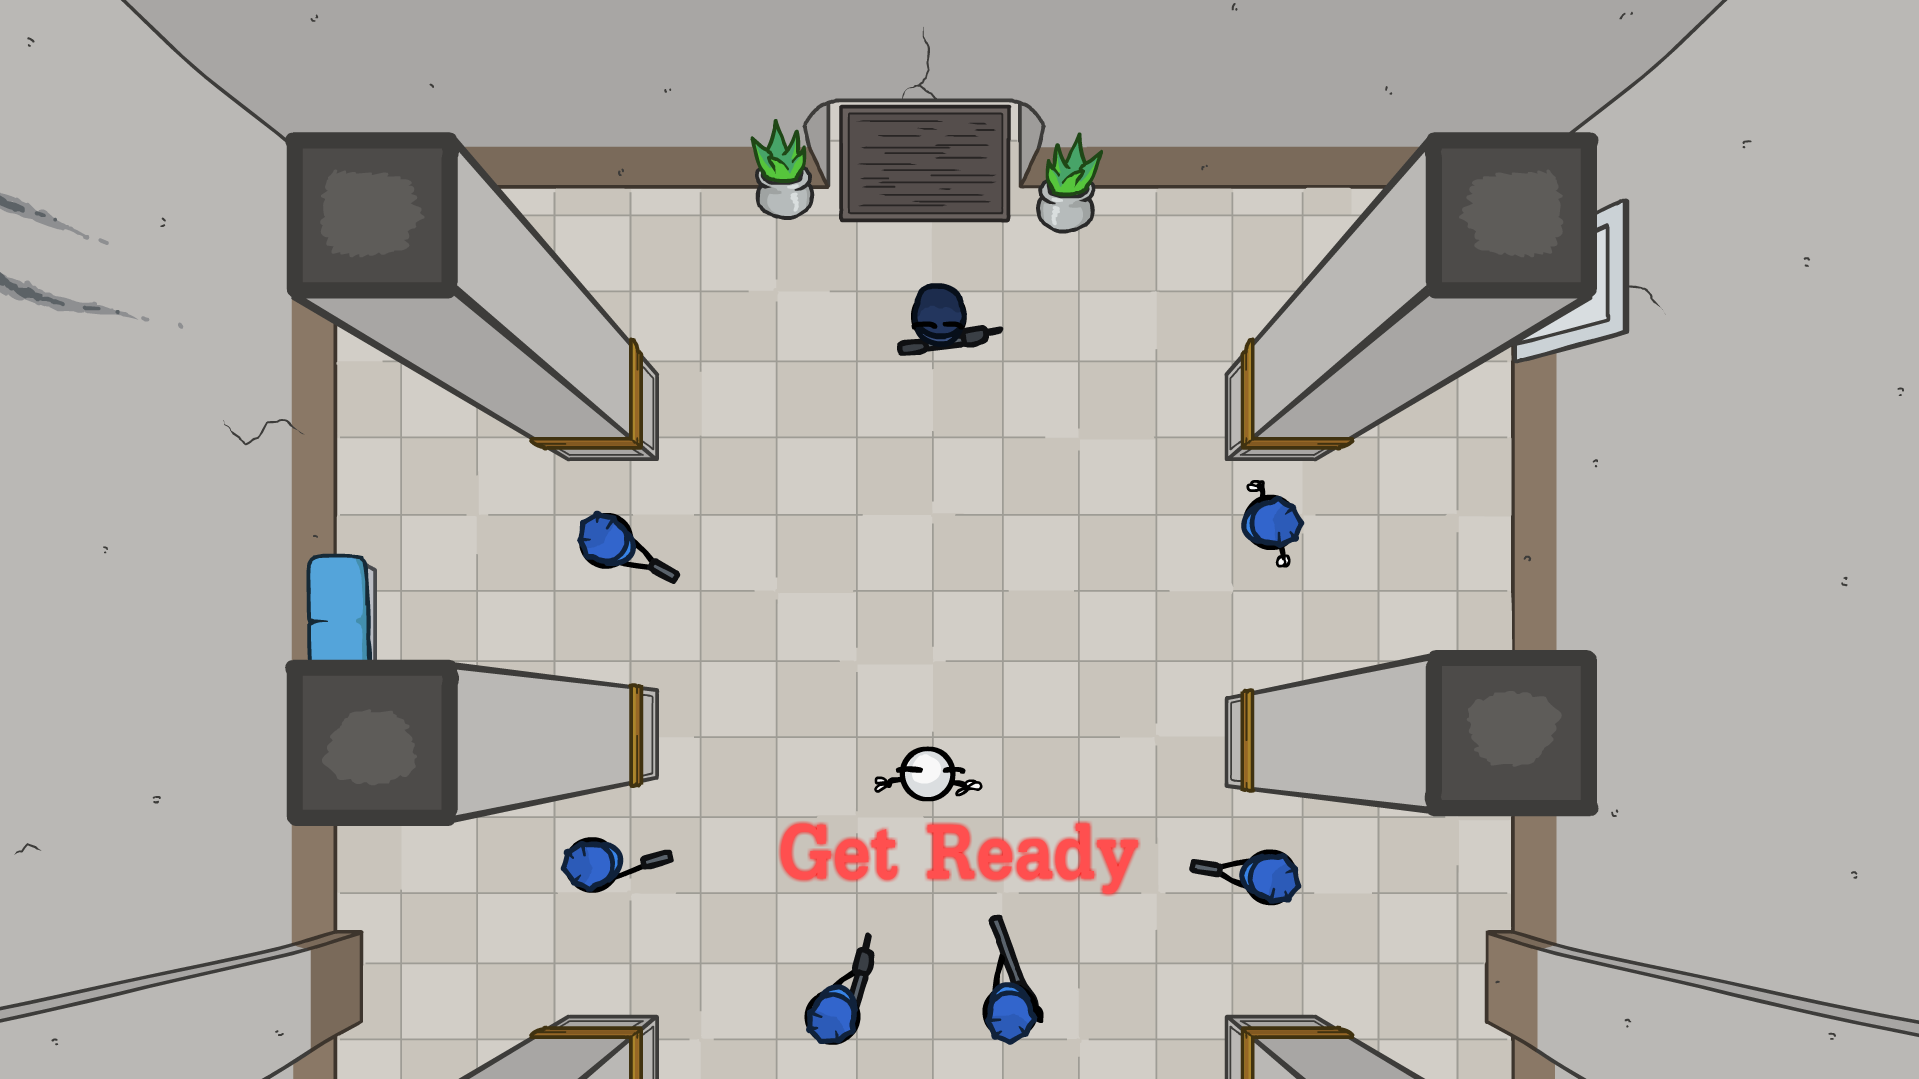
In Rooftop, choose JetPack and get this guy before fail screen pops up.
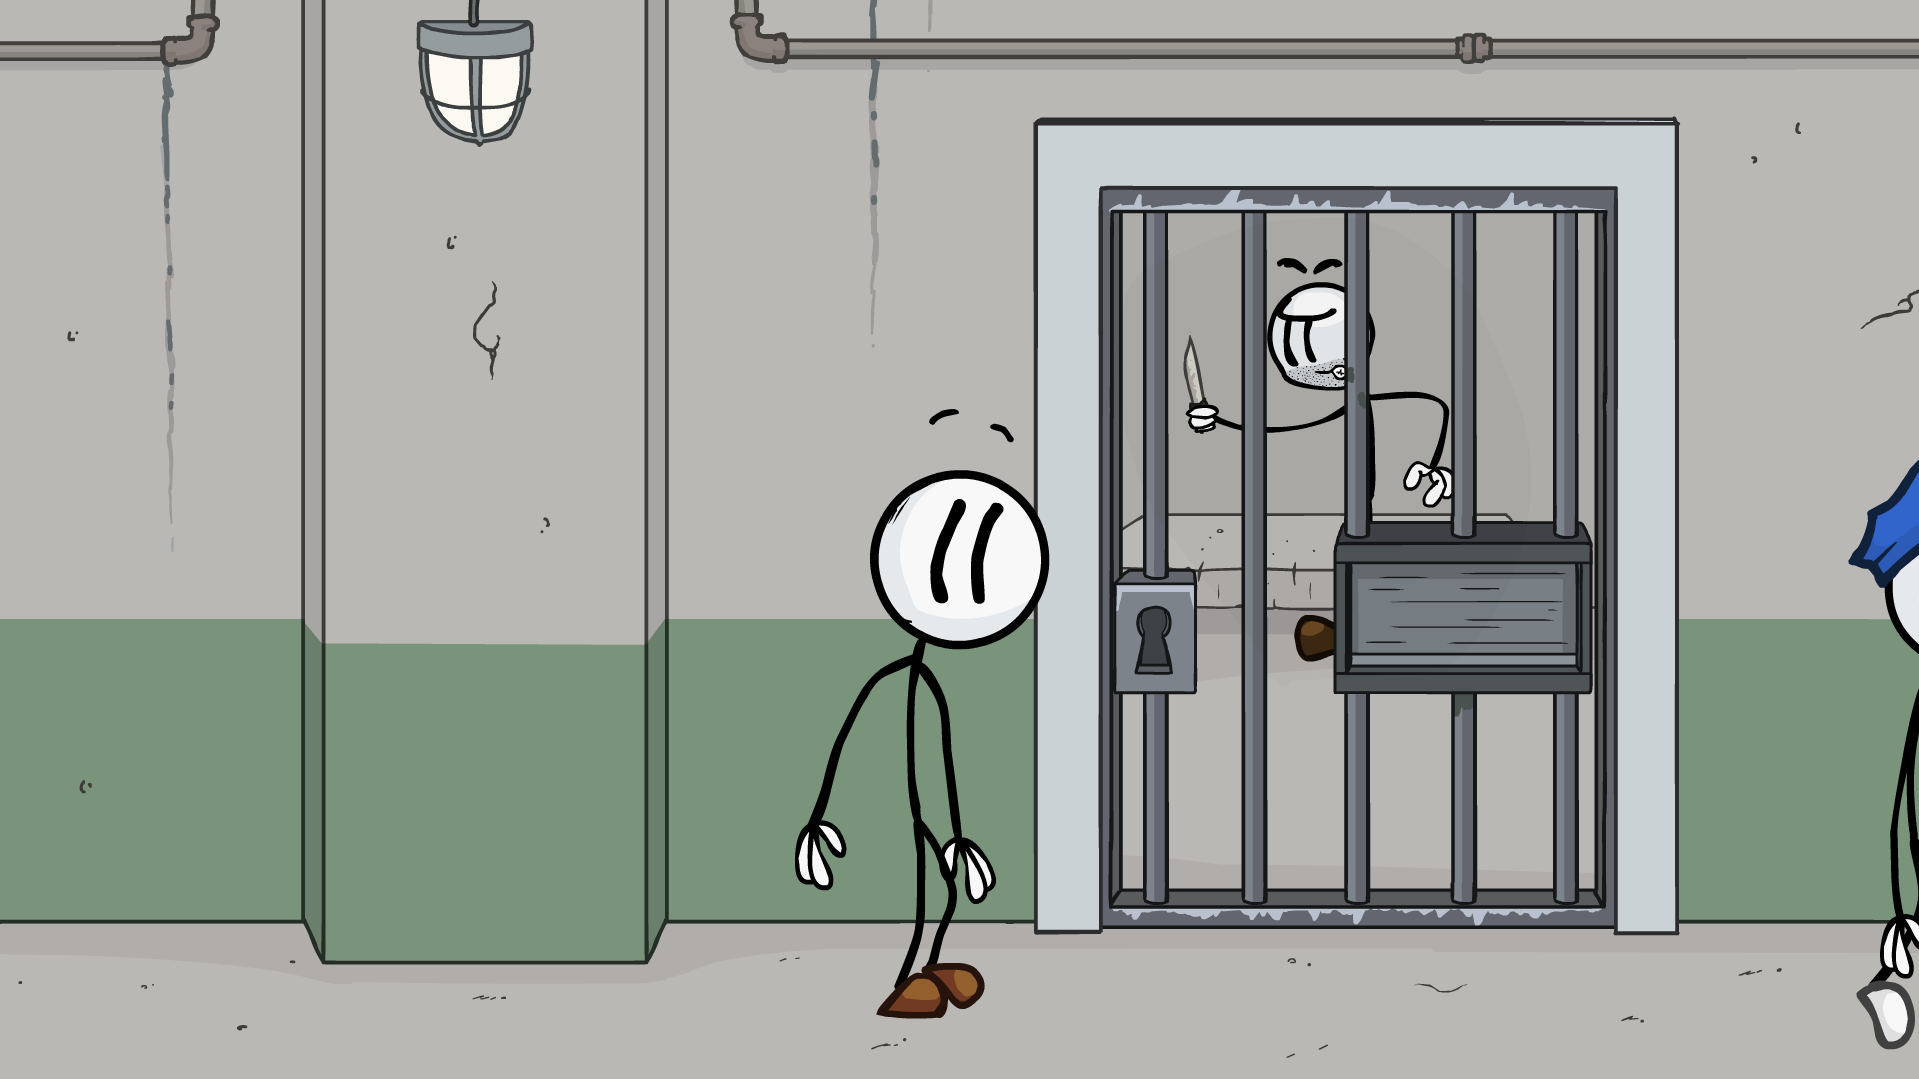
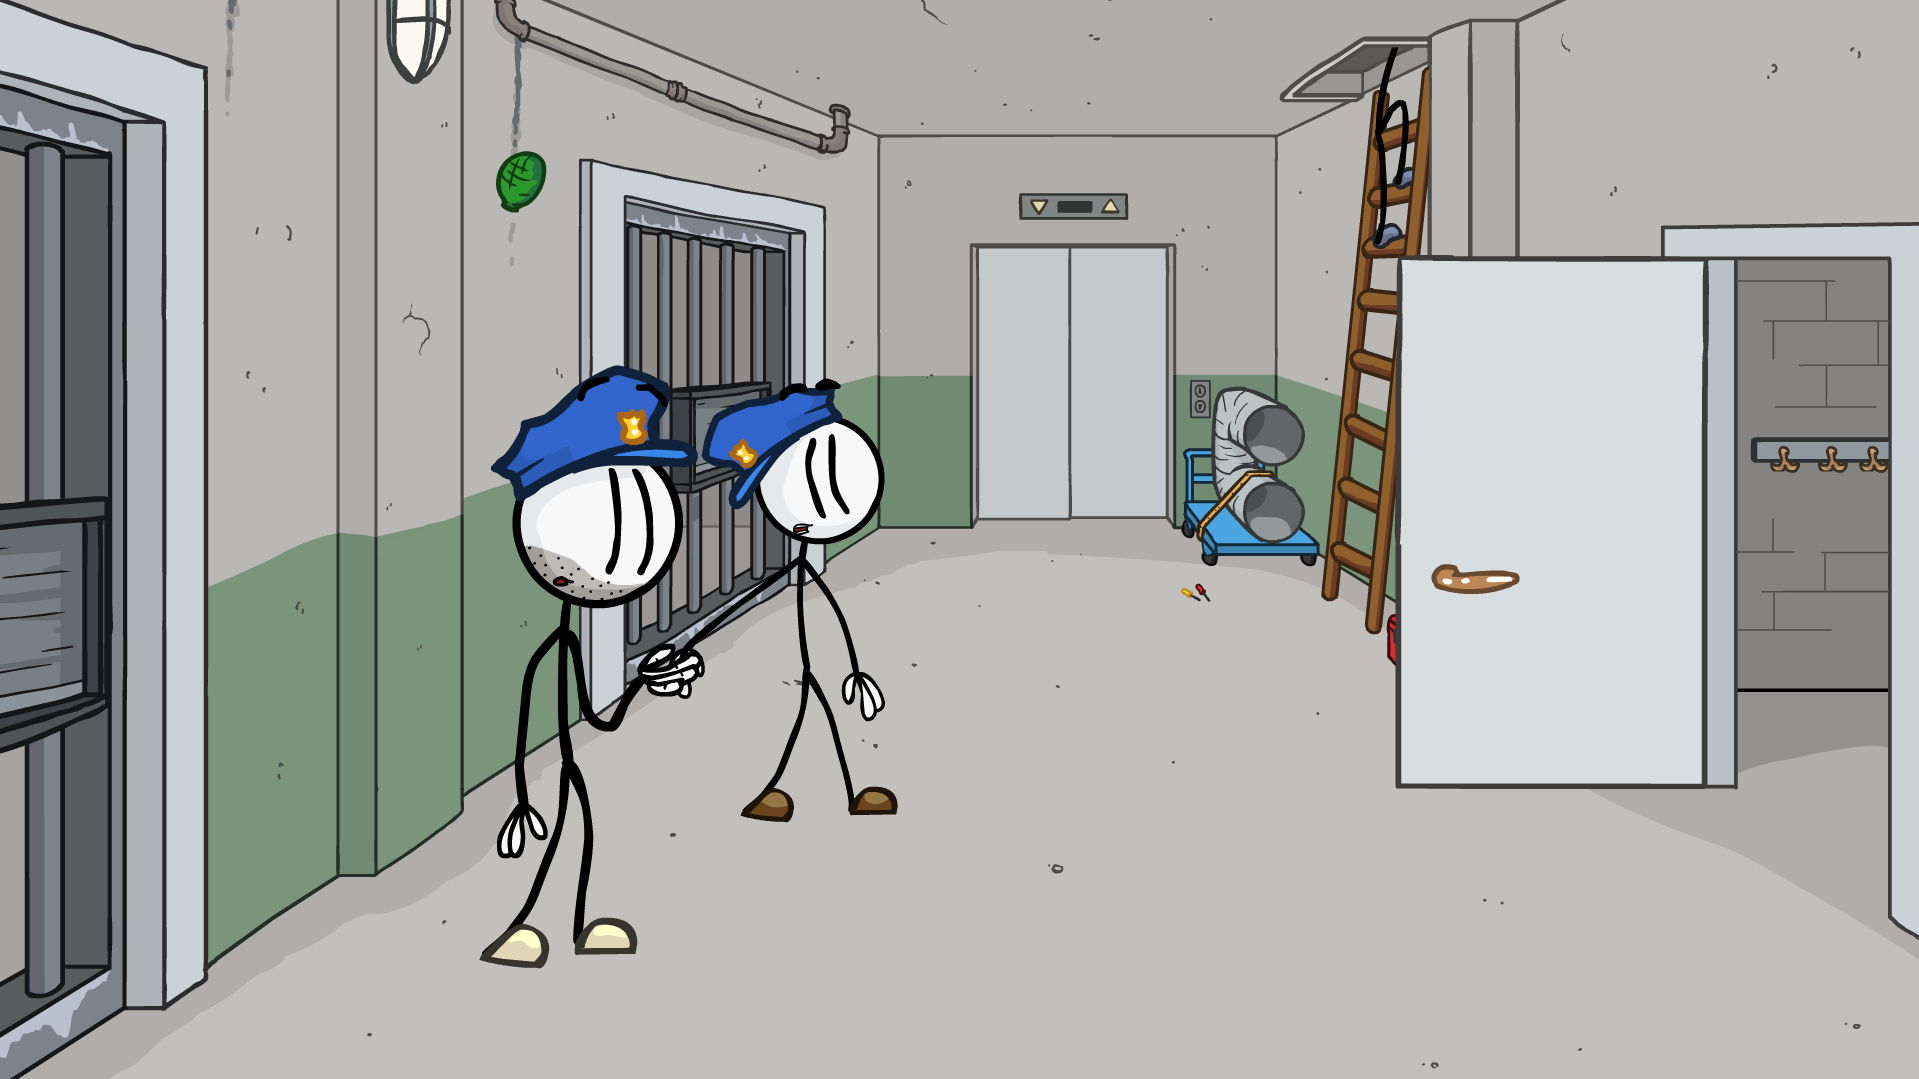
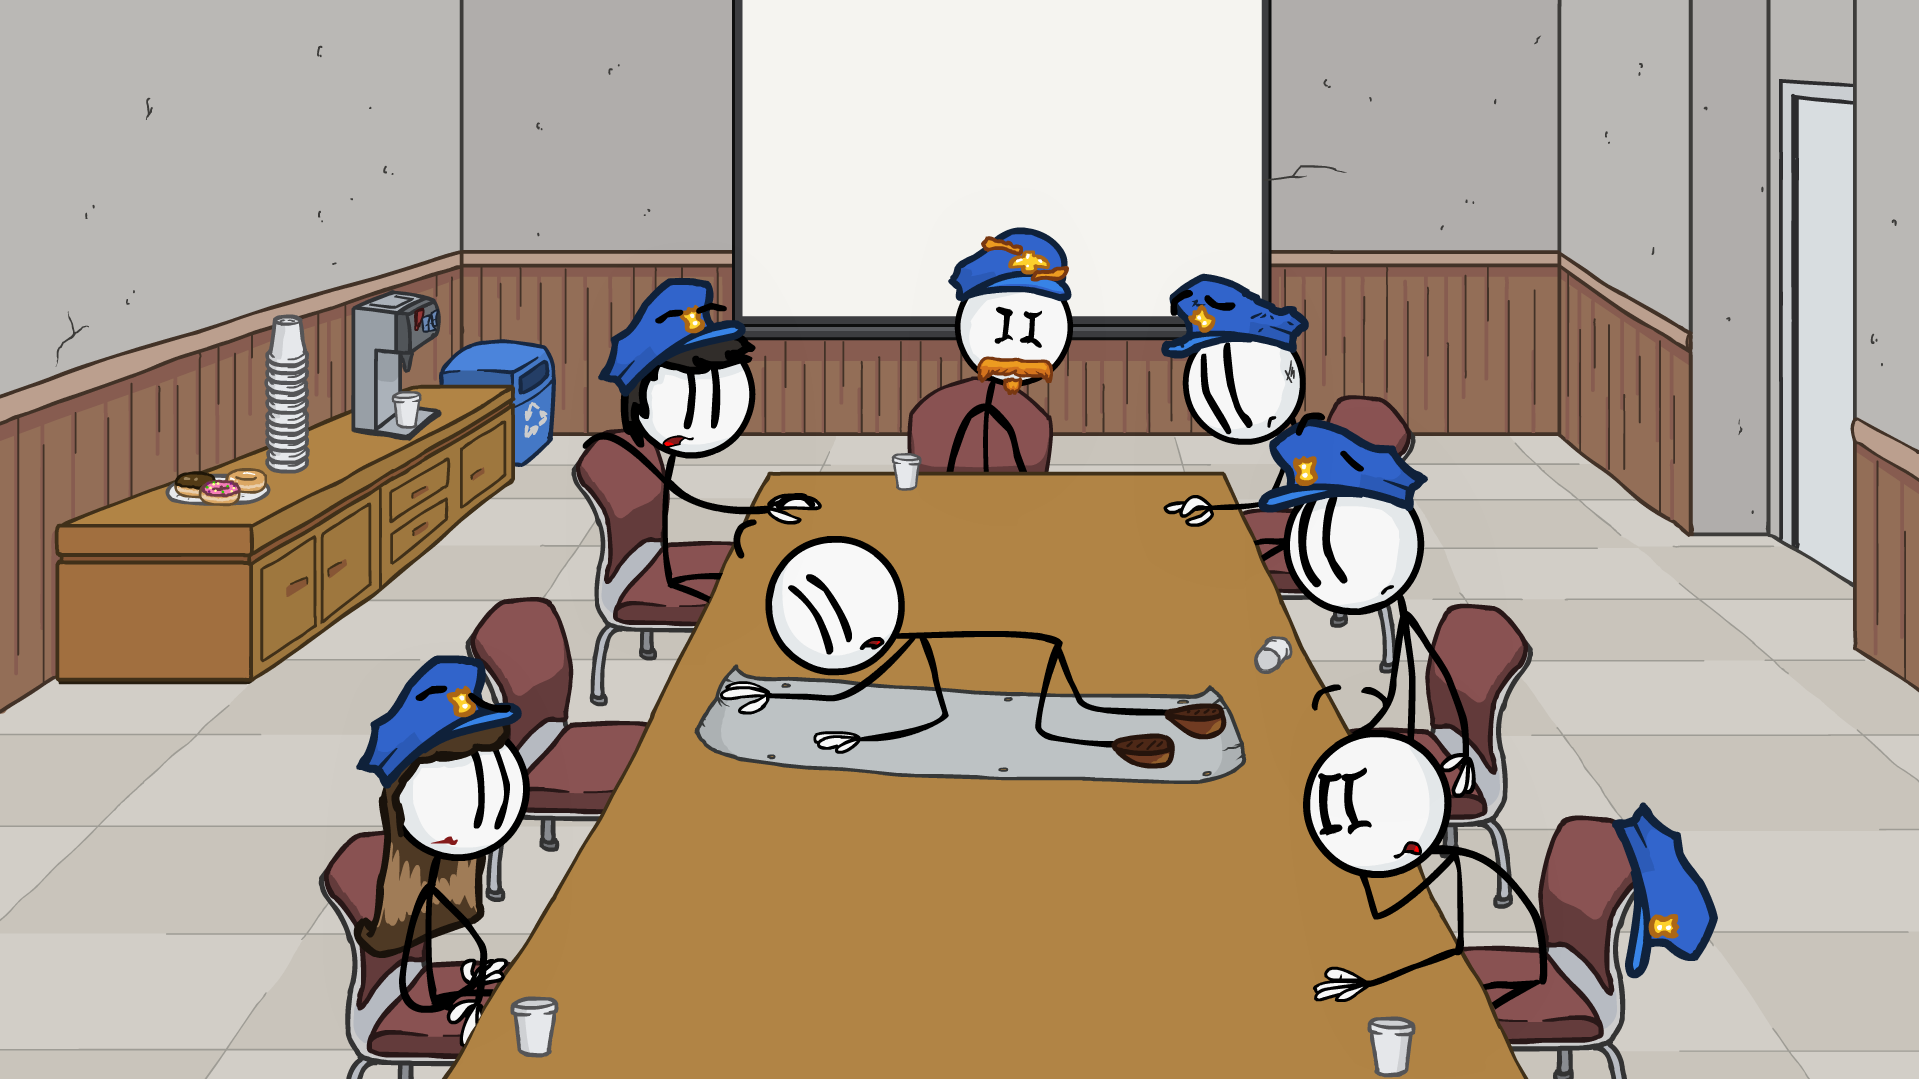
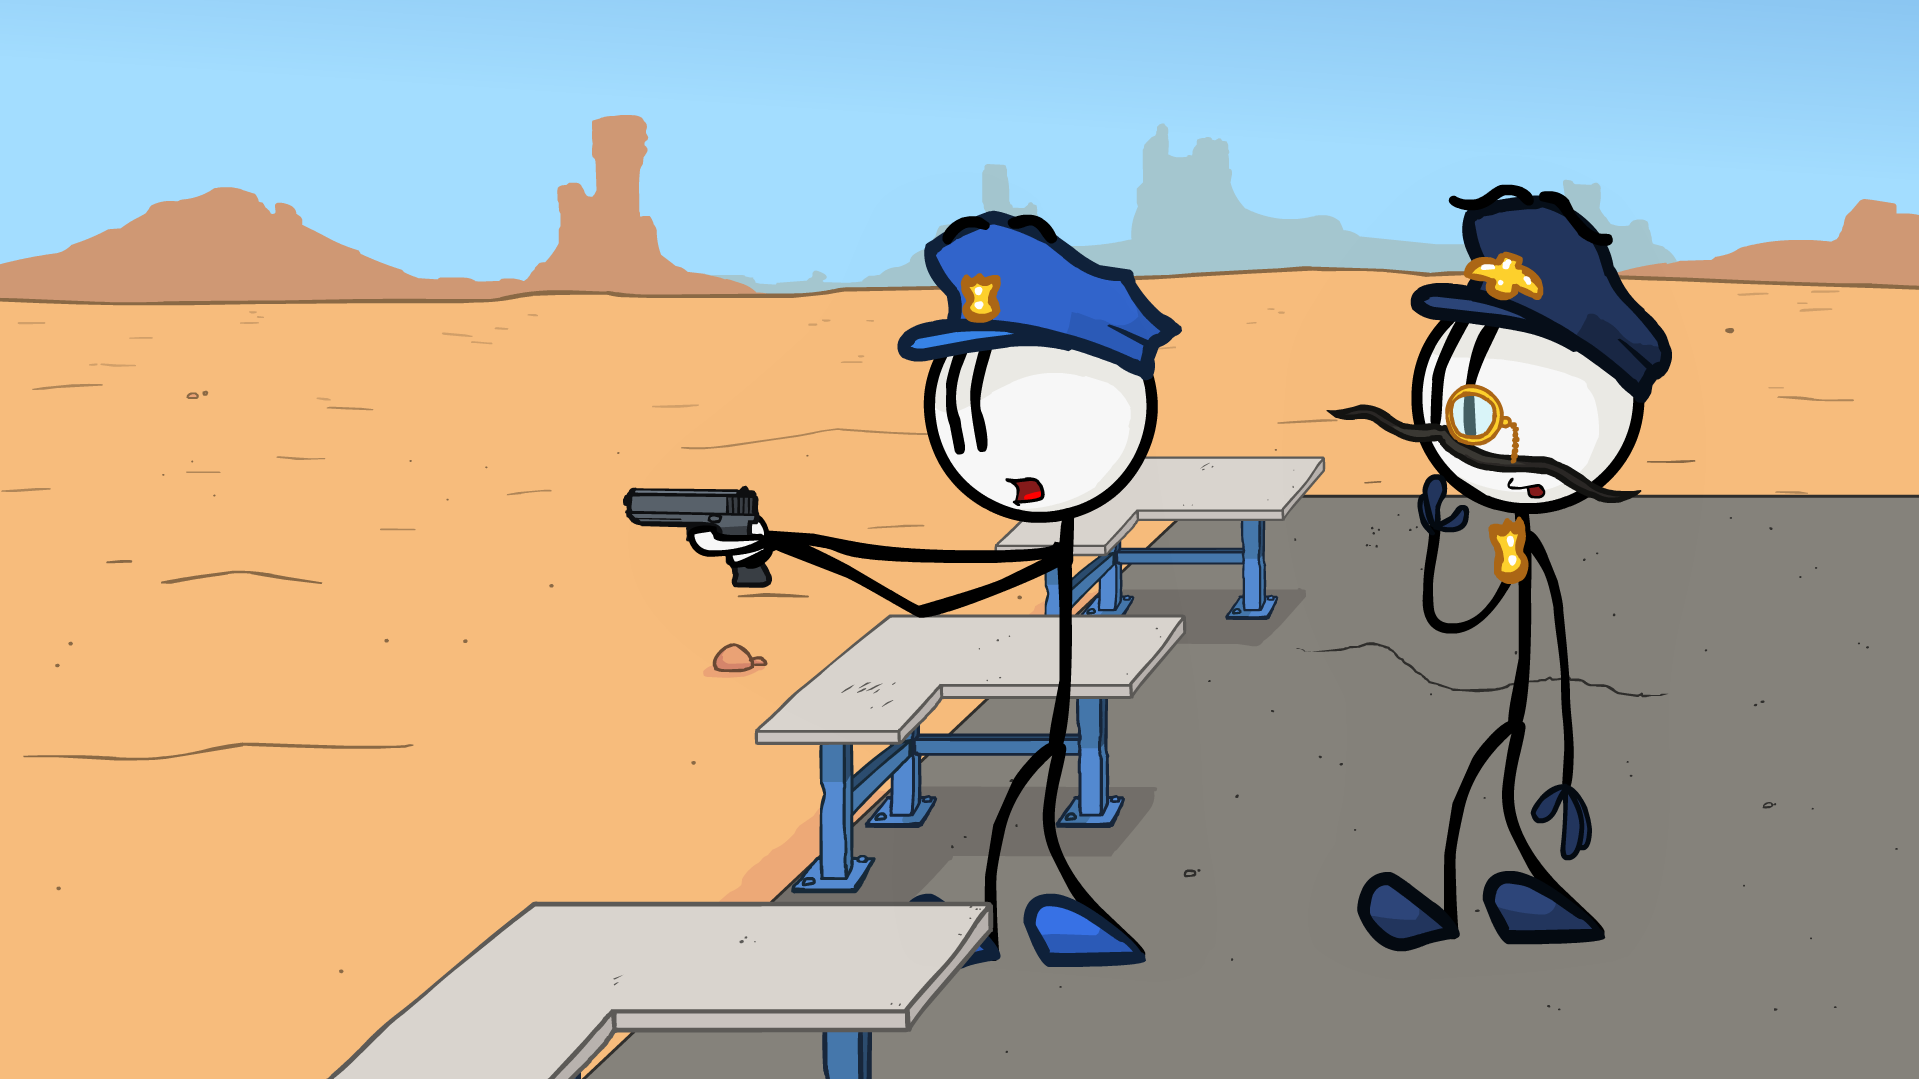
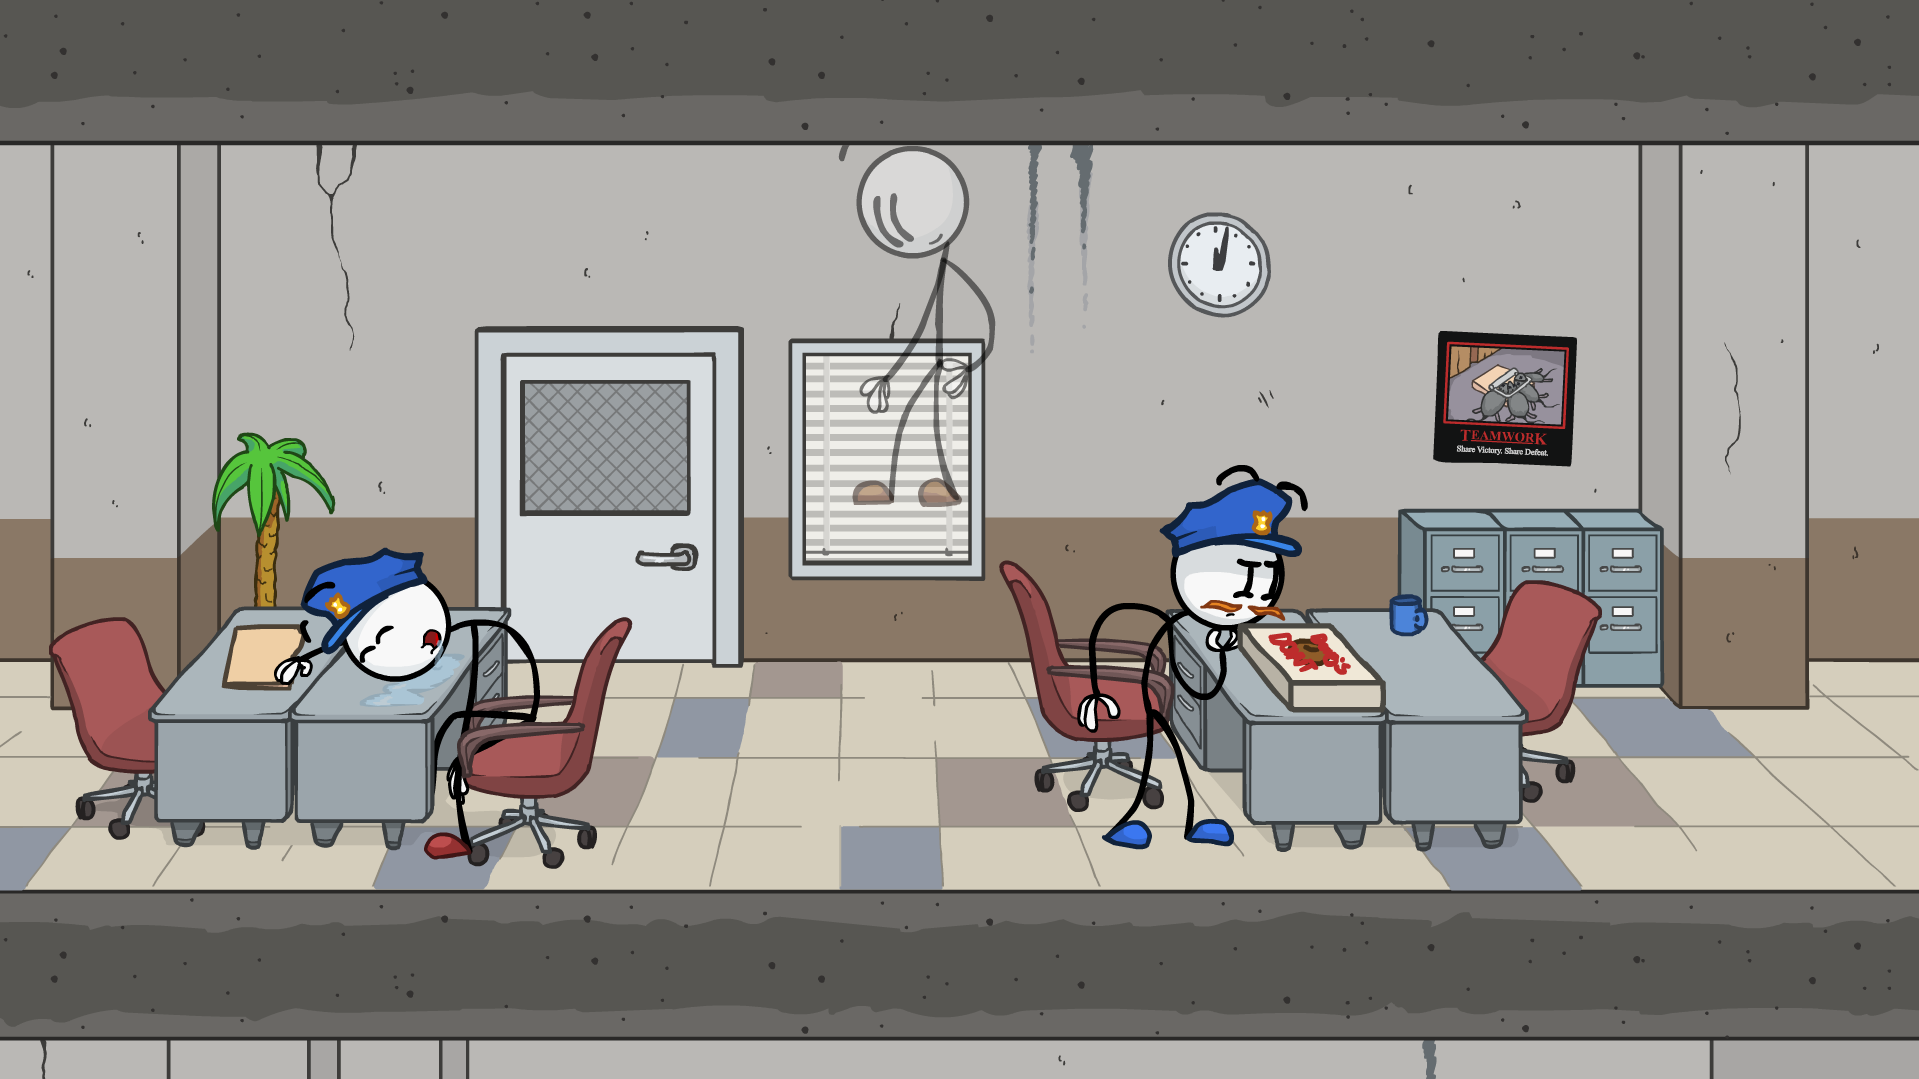
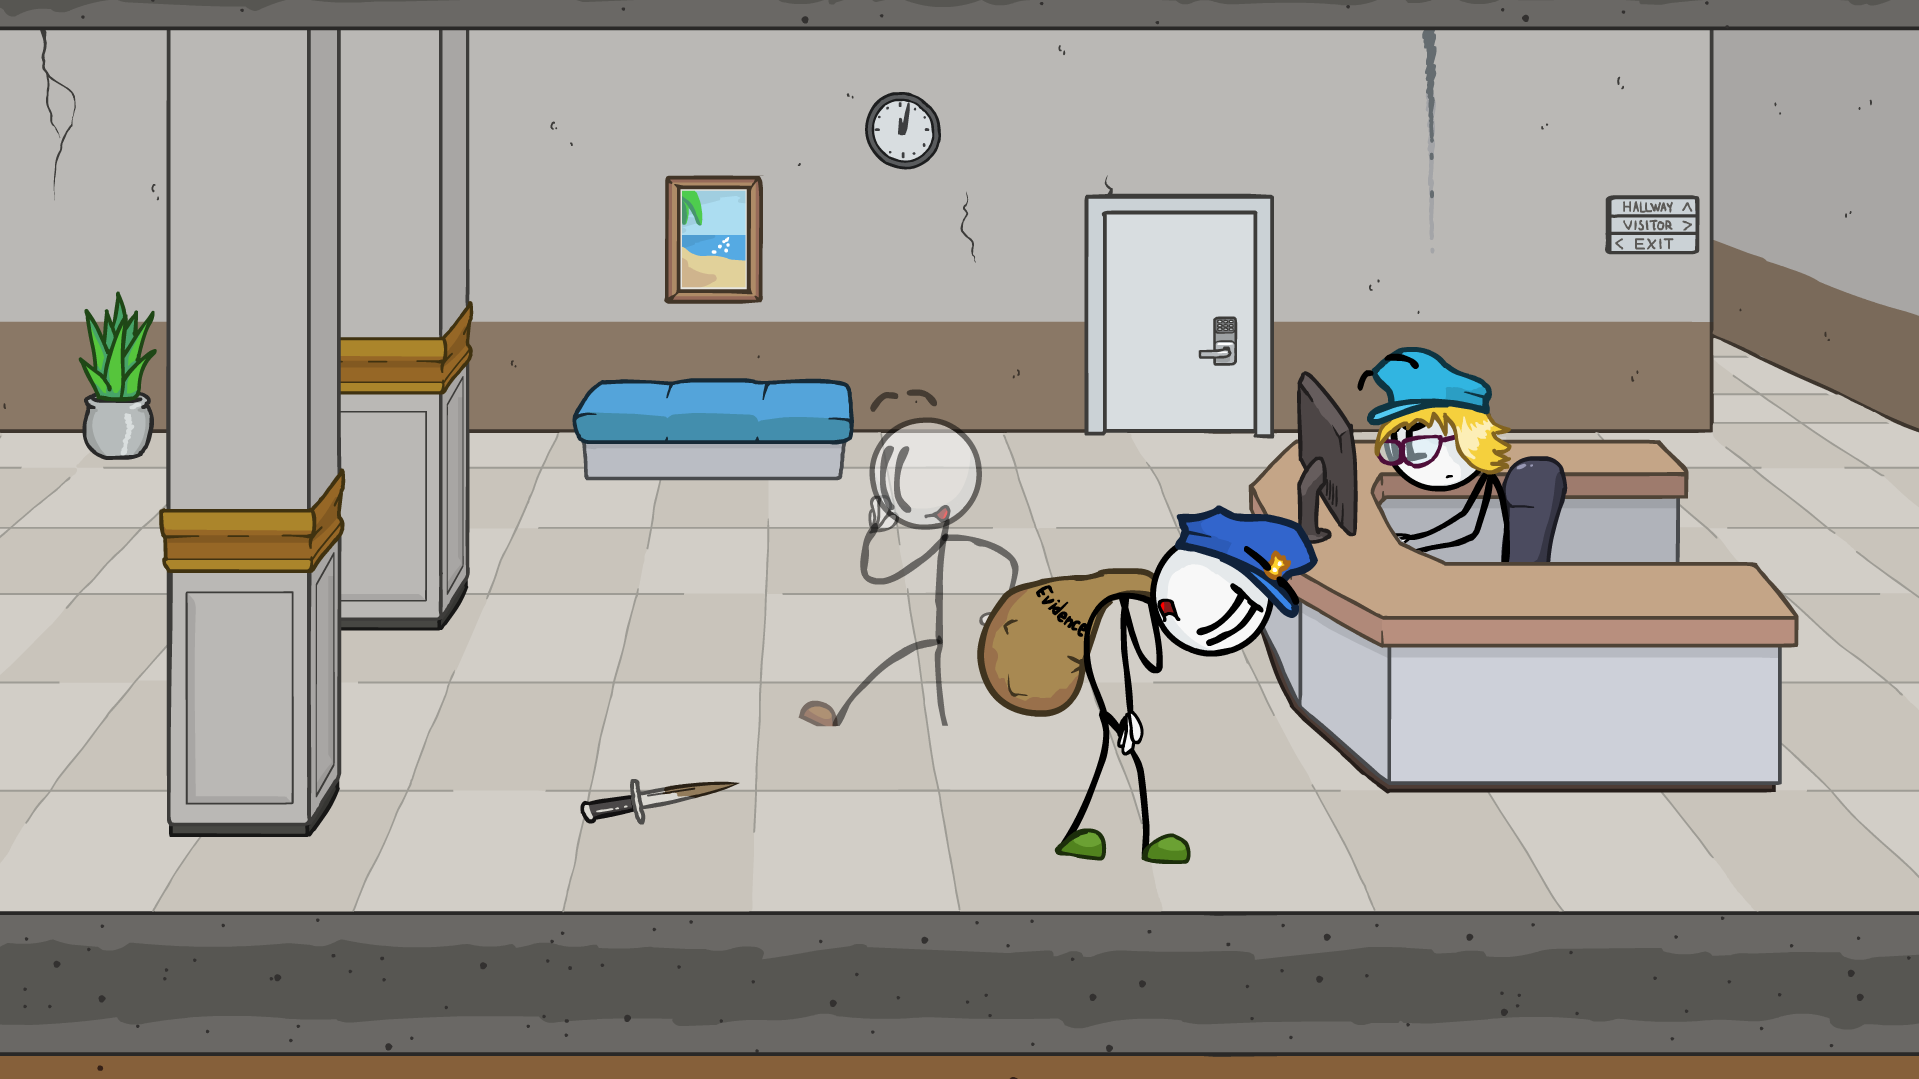
One prisoner with a knife in a neighbouring cell.
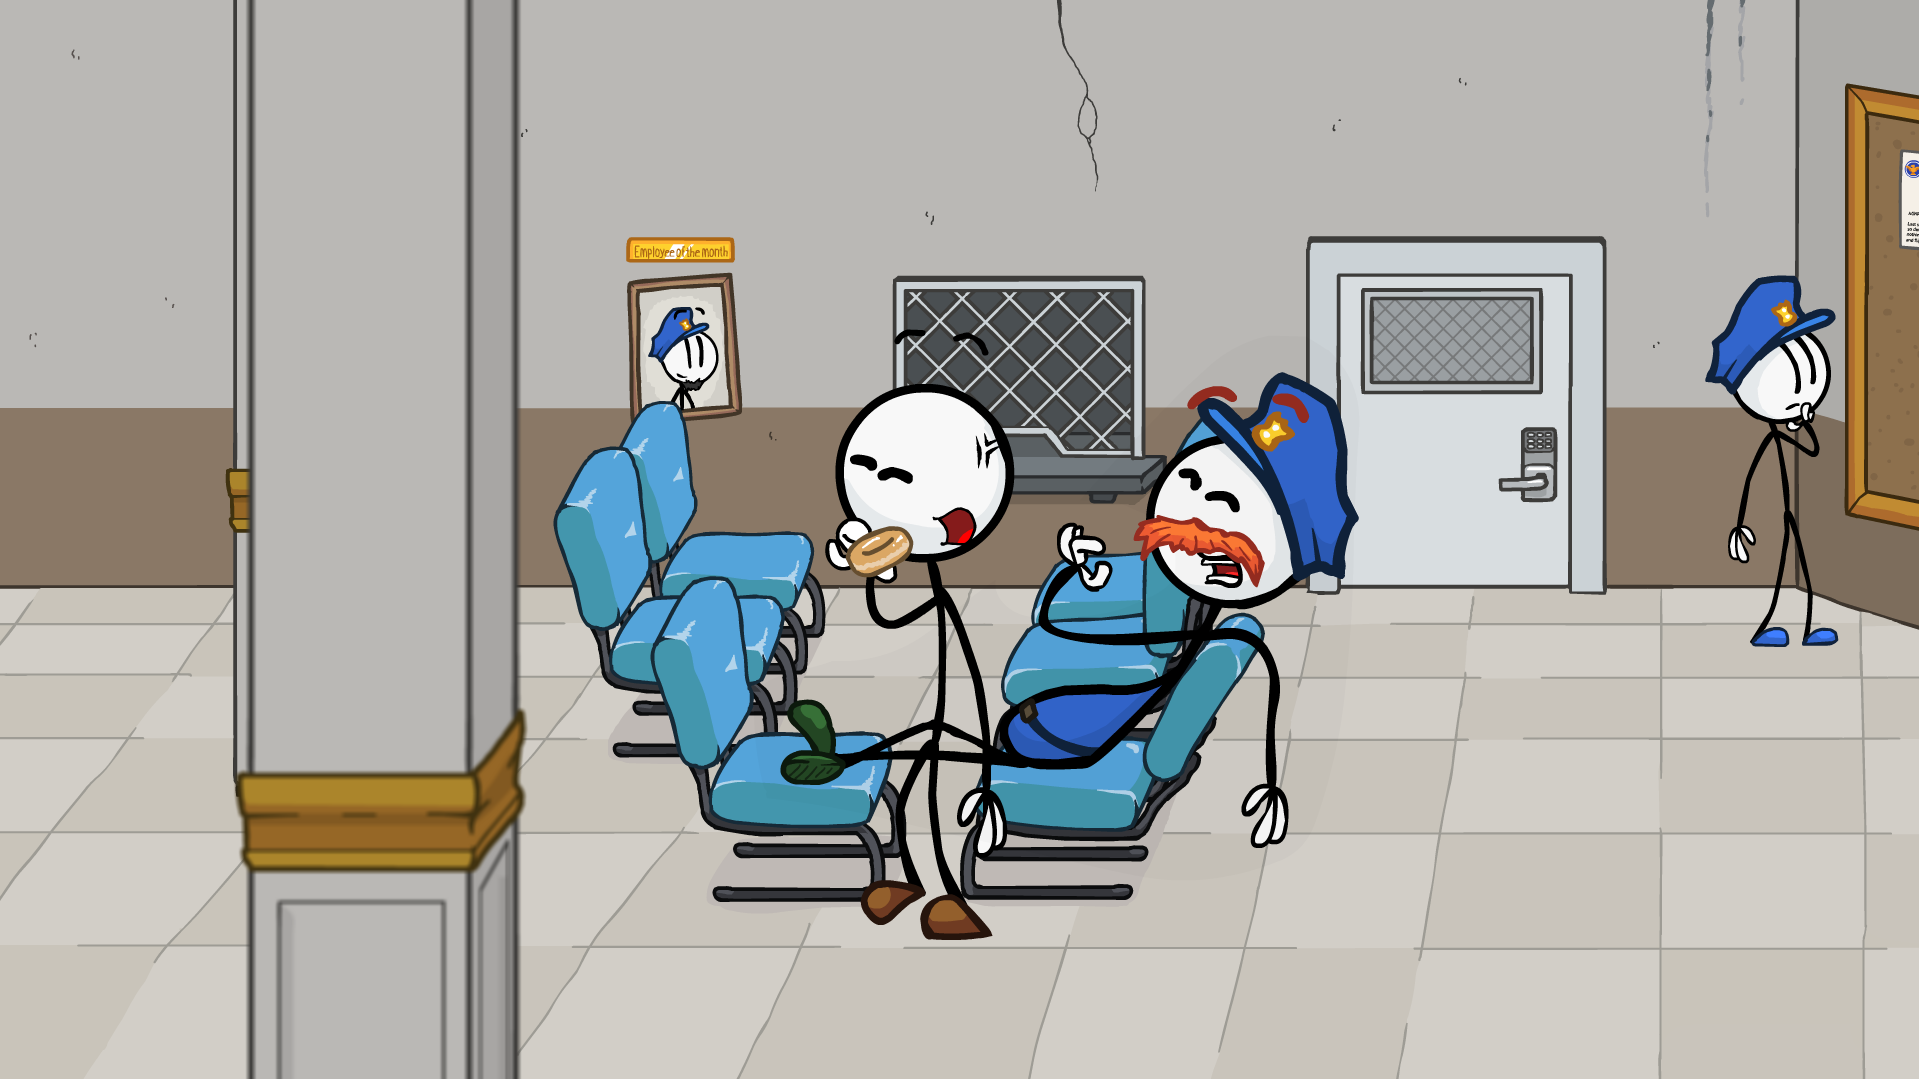
And 3 cops here. (Don't forget the one in a frame!)
ᅠEtP - Red Achivmenst:
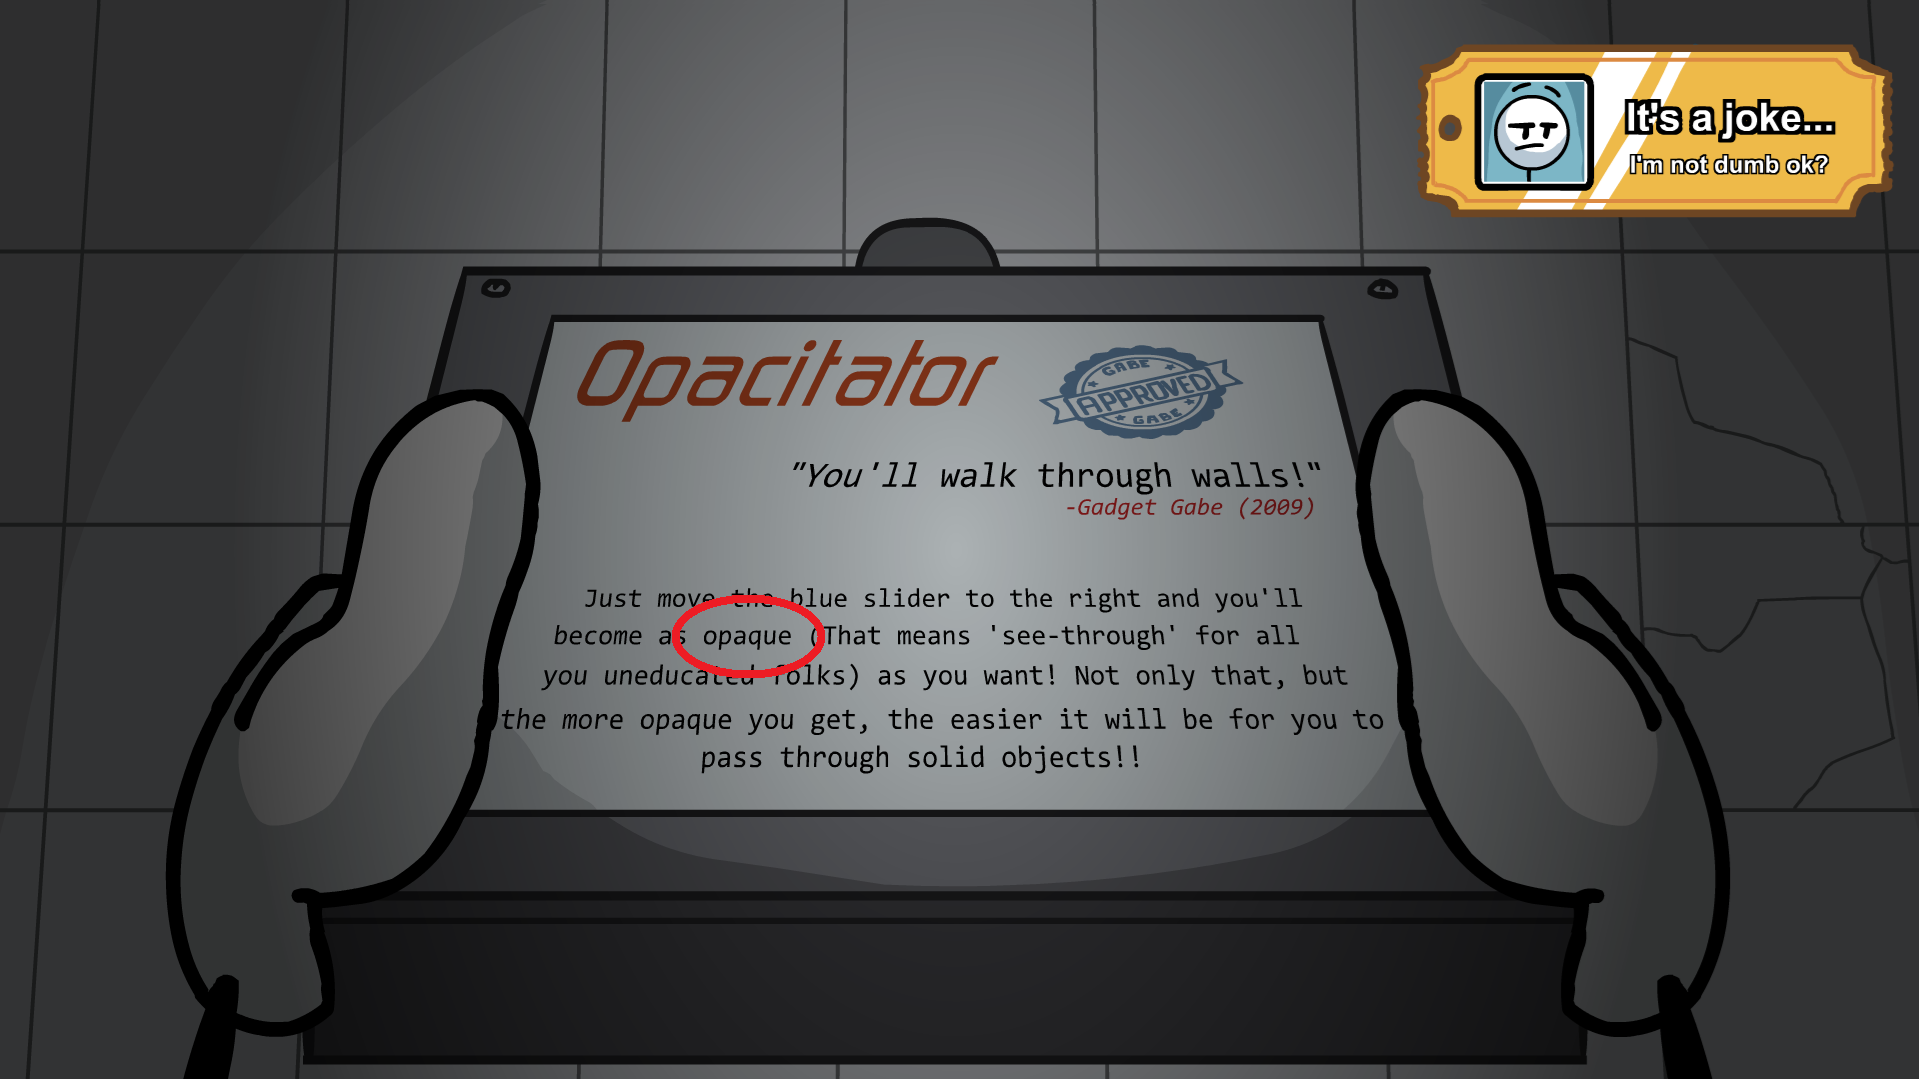
 I'm not dumb, ok?
In the Bathroom, pick the Opacitator and click first "opaque" before the explanation in brackets.
 ...or do you?
You need to click all the donuts (and bagel) throughout this chapter.
In the Cell, choose NrG Drink, and get donut from cop's hands during the cutscene.
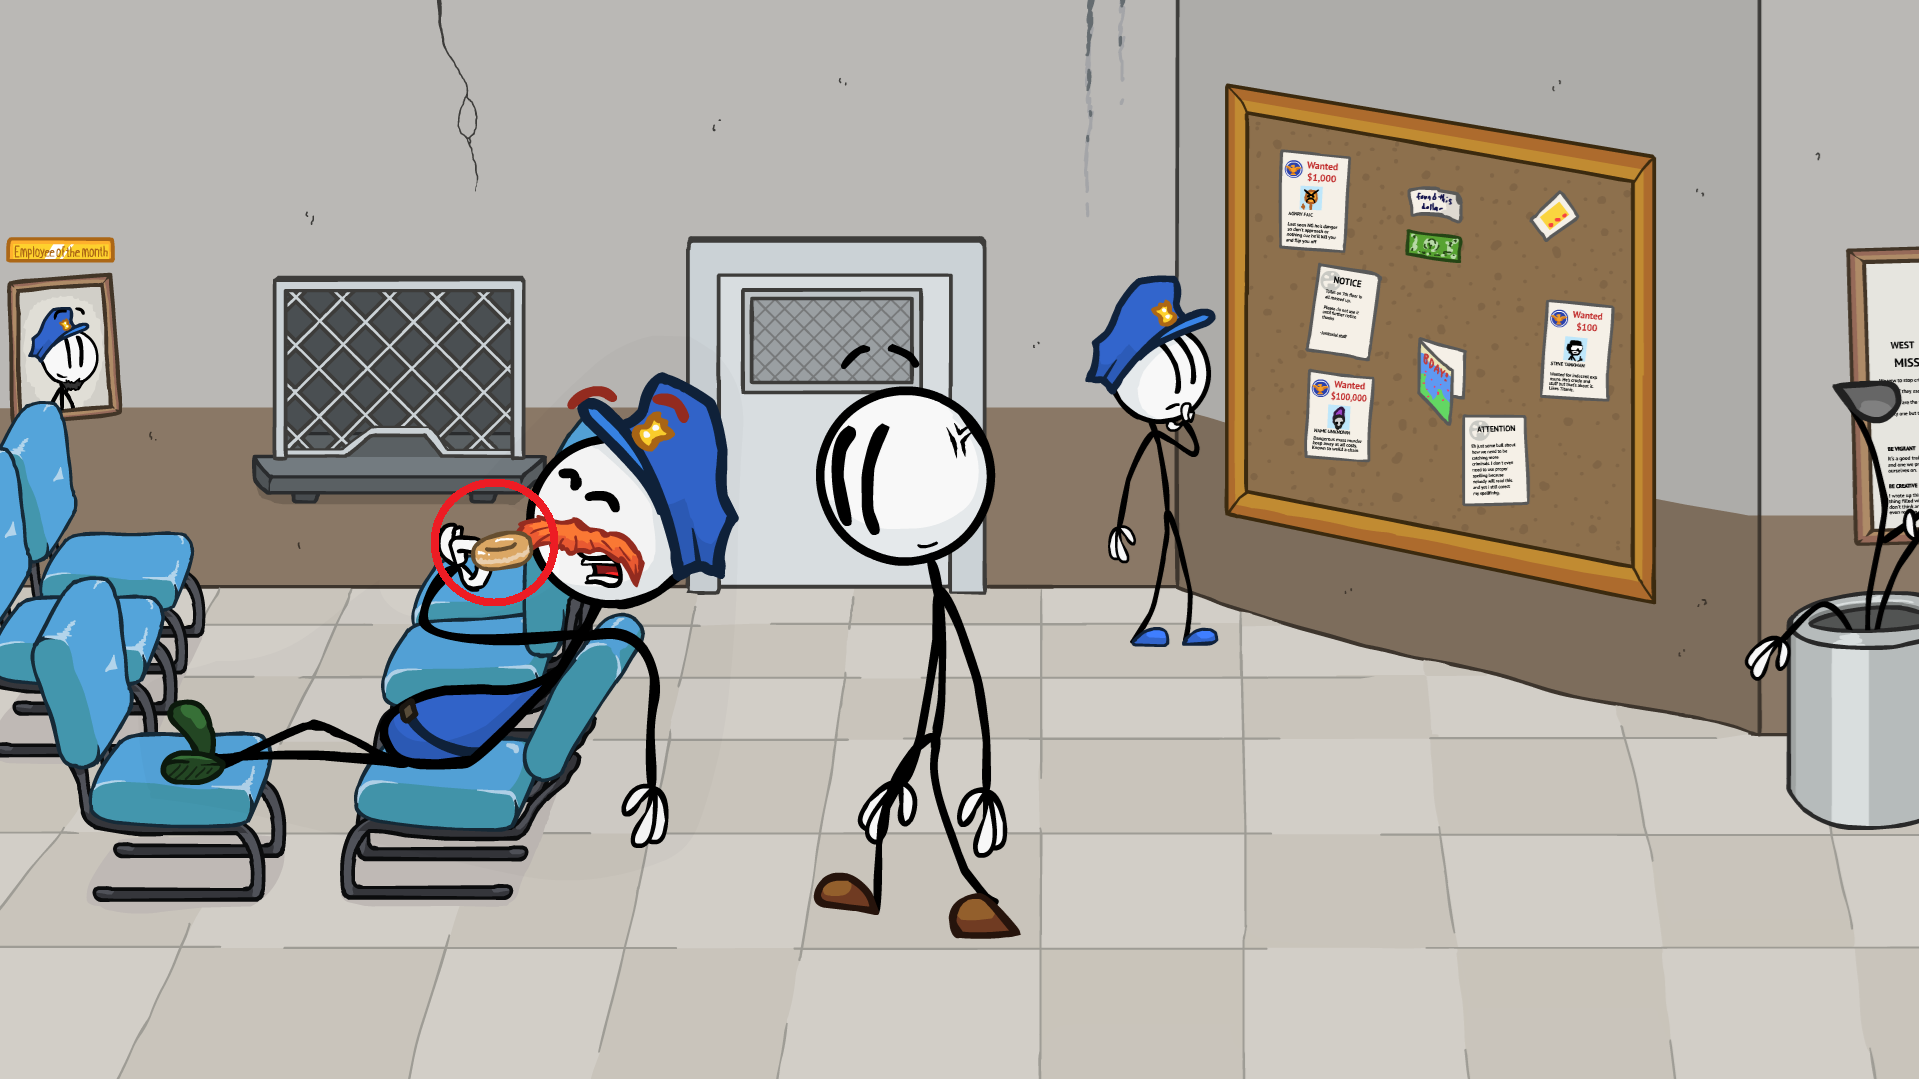
(Henry is still able to take a donut from cop's hand, even after we took this donut first for Achivment)
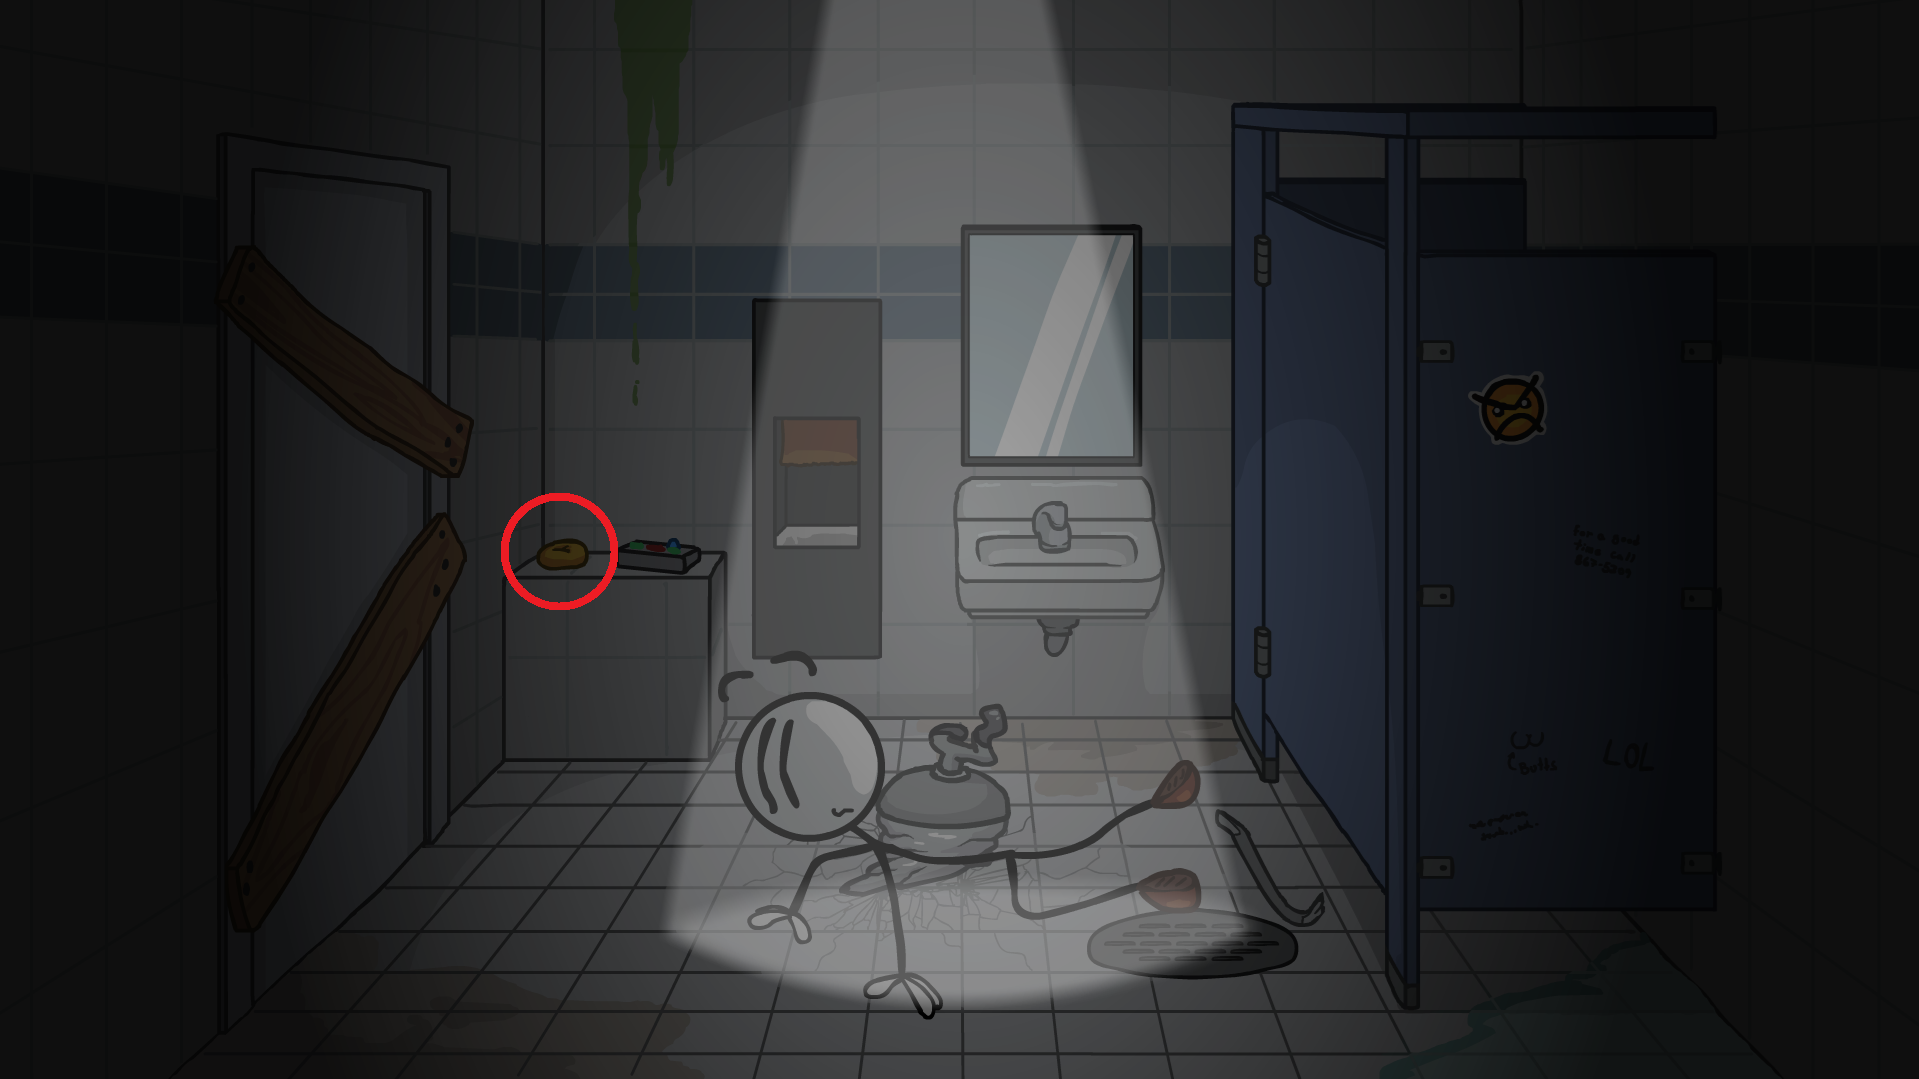
In the Cell, choose Drill to drop to the Bathroom, where bagel sits on a shelf.
(You can catch bagel before or after the options for that scene.)
In the Bathroom, choose Opacitator and get donut on top of a donut box during the cutscene.
(To be honest it's just a painting on a box, not real donut, but it counts)
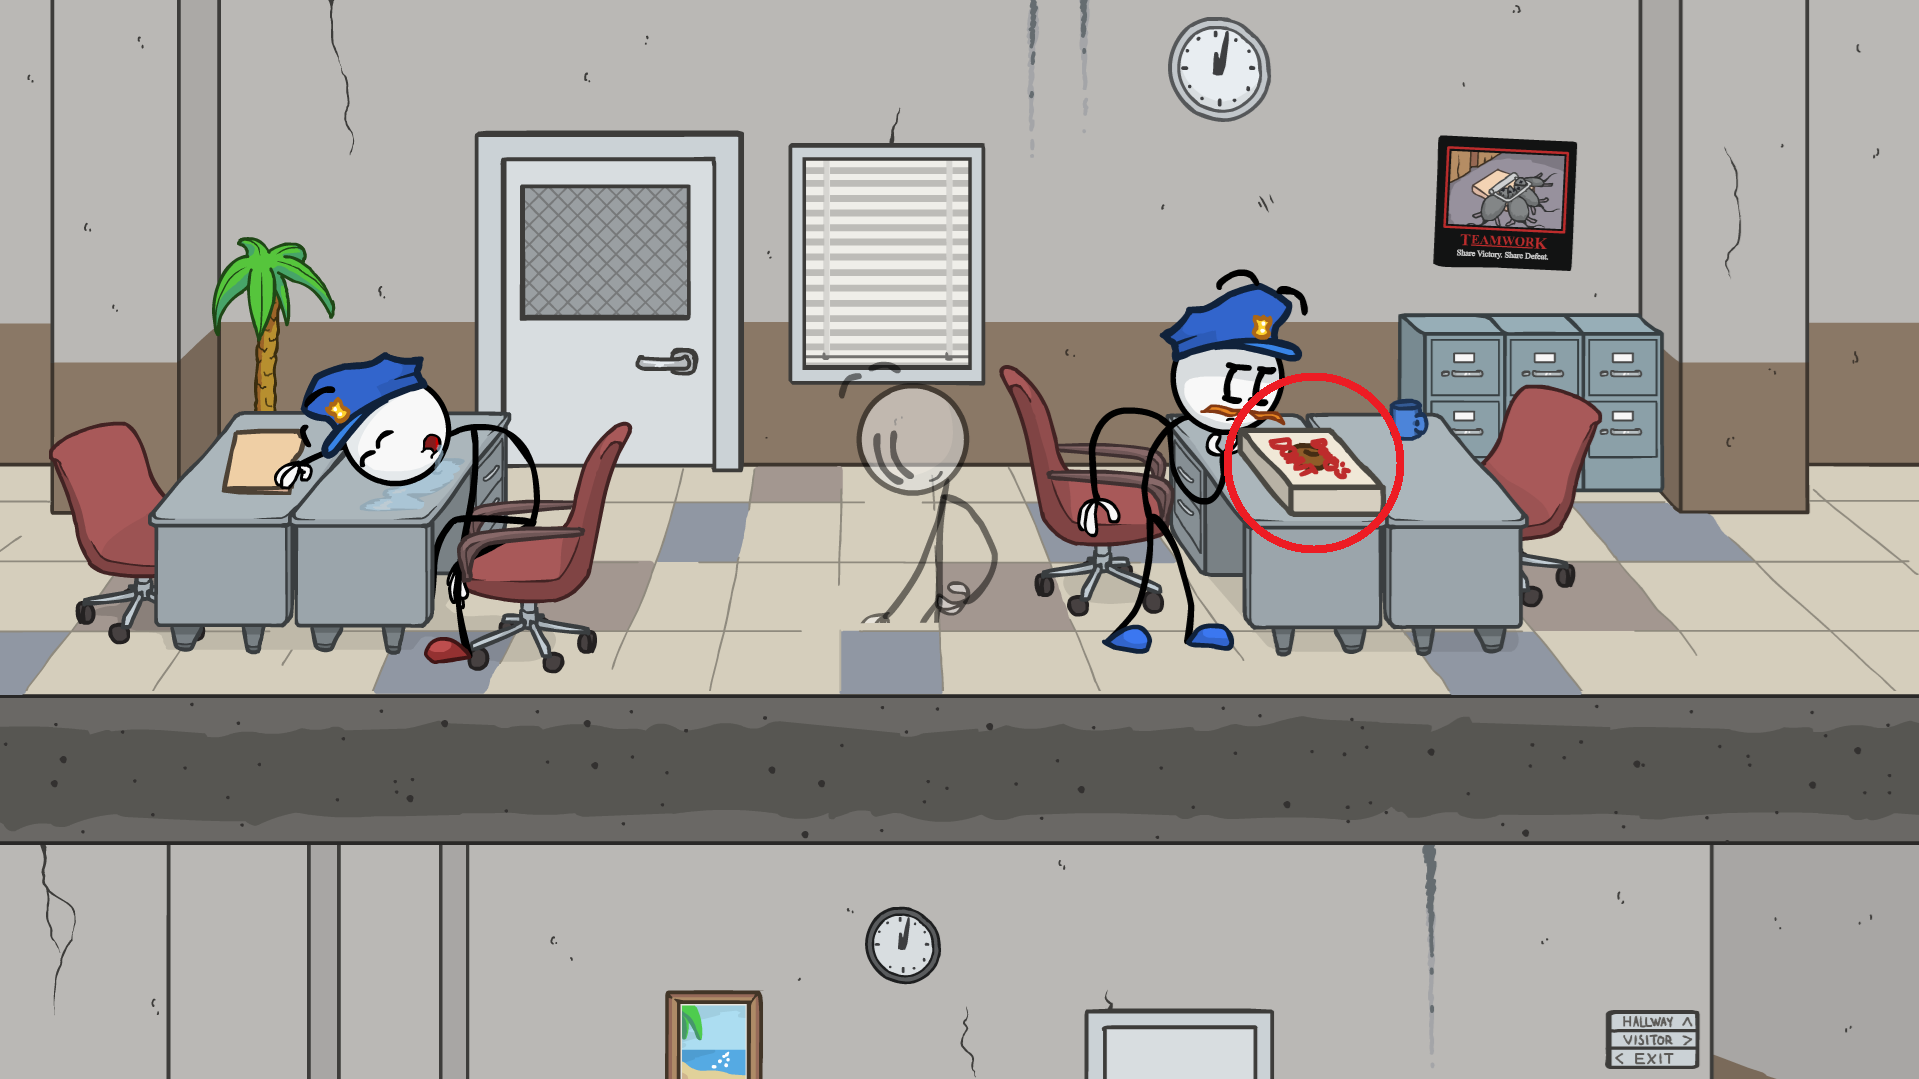
In the Closet, choose Chair and go Left in the air duct.
They are on a table tray on left side of the room, you need to catch them before fail screen show up.
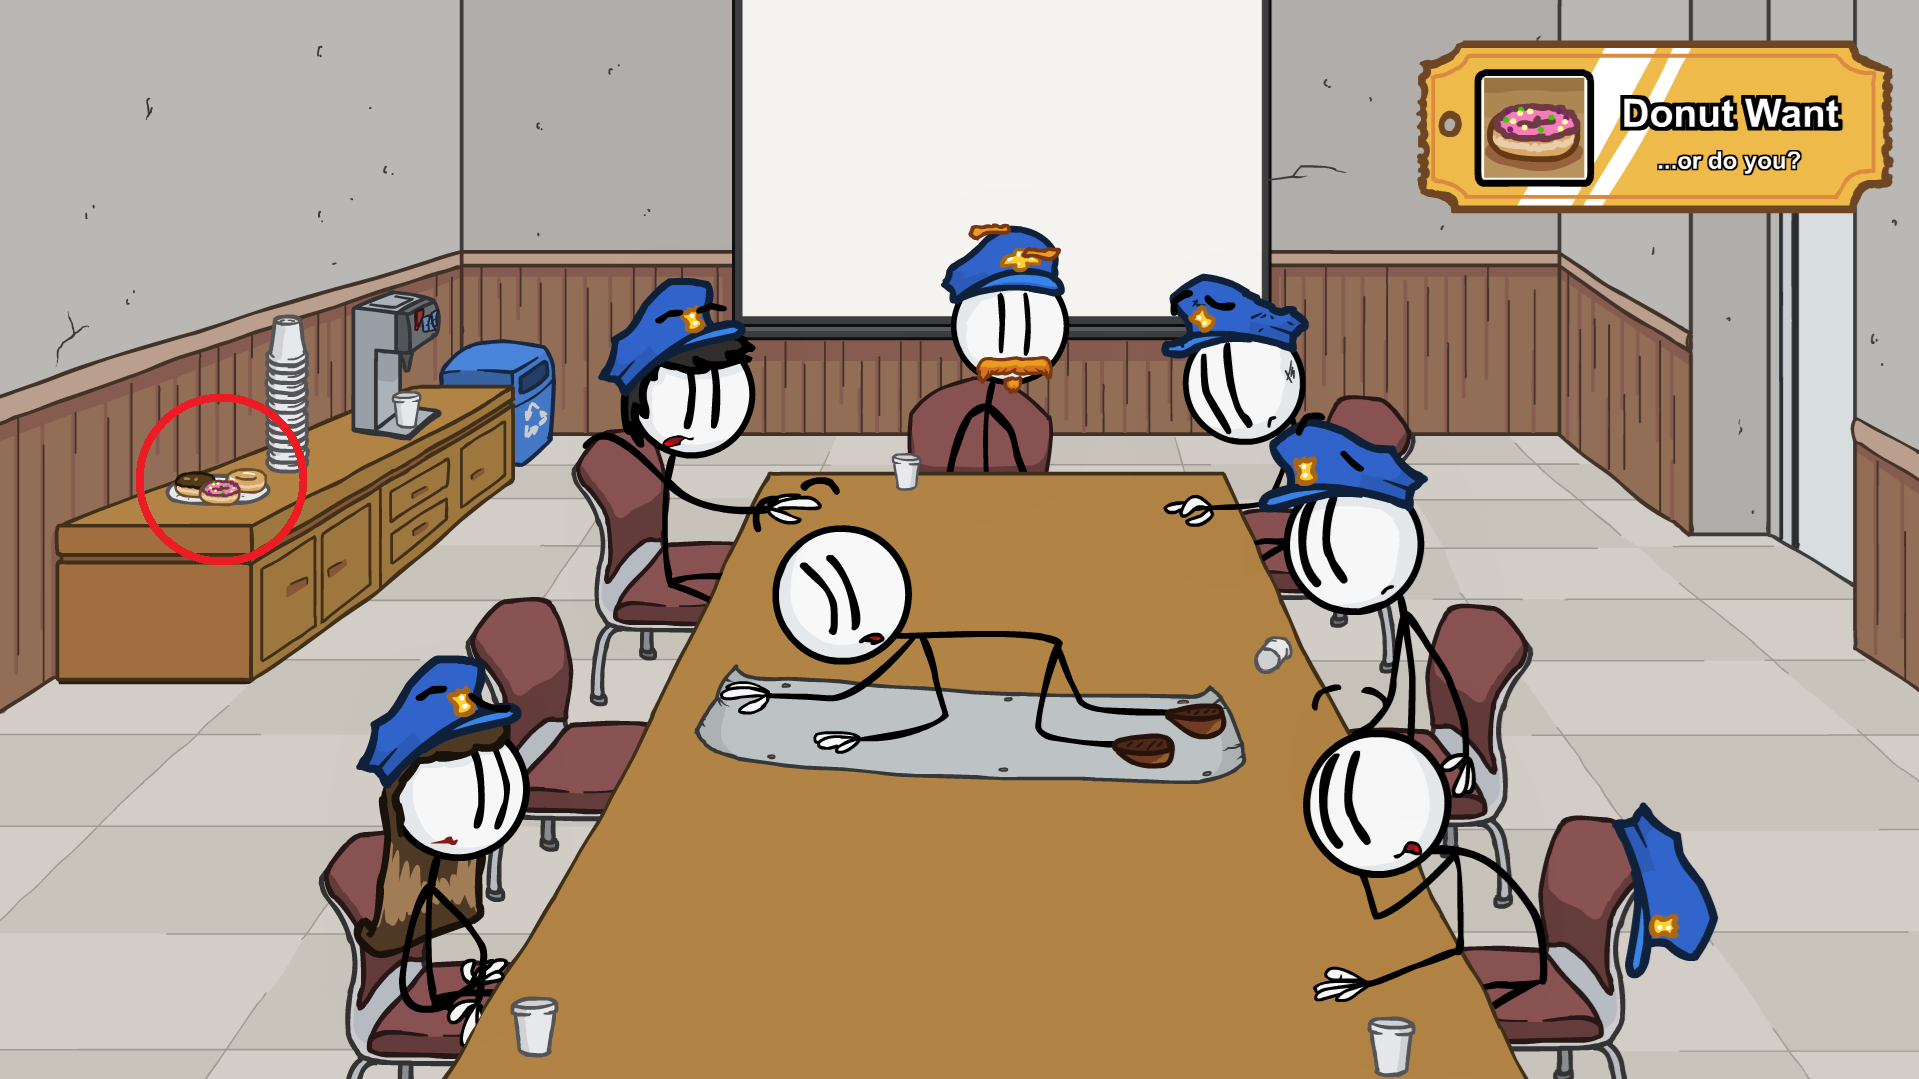
 ow.
ow.
In the Sneaky Escapist cutscene, click the sun during the ending cutscene.
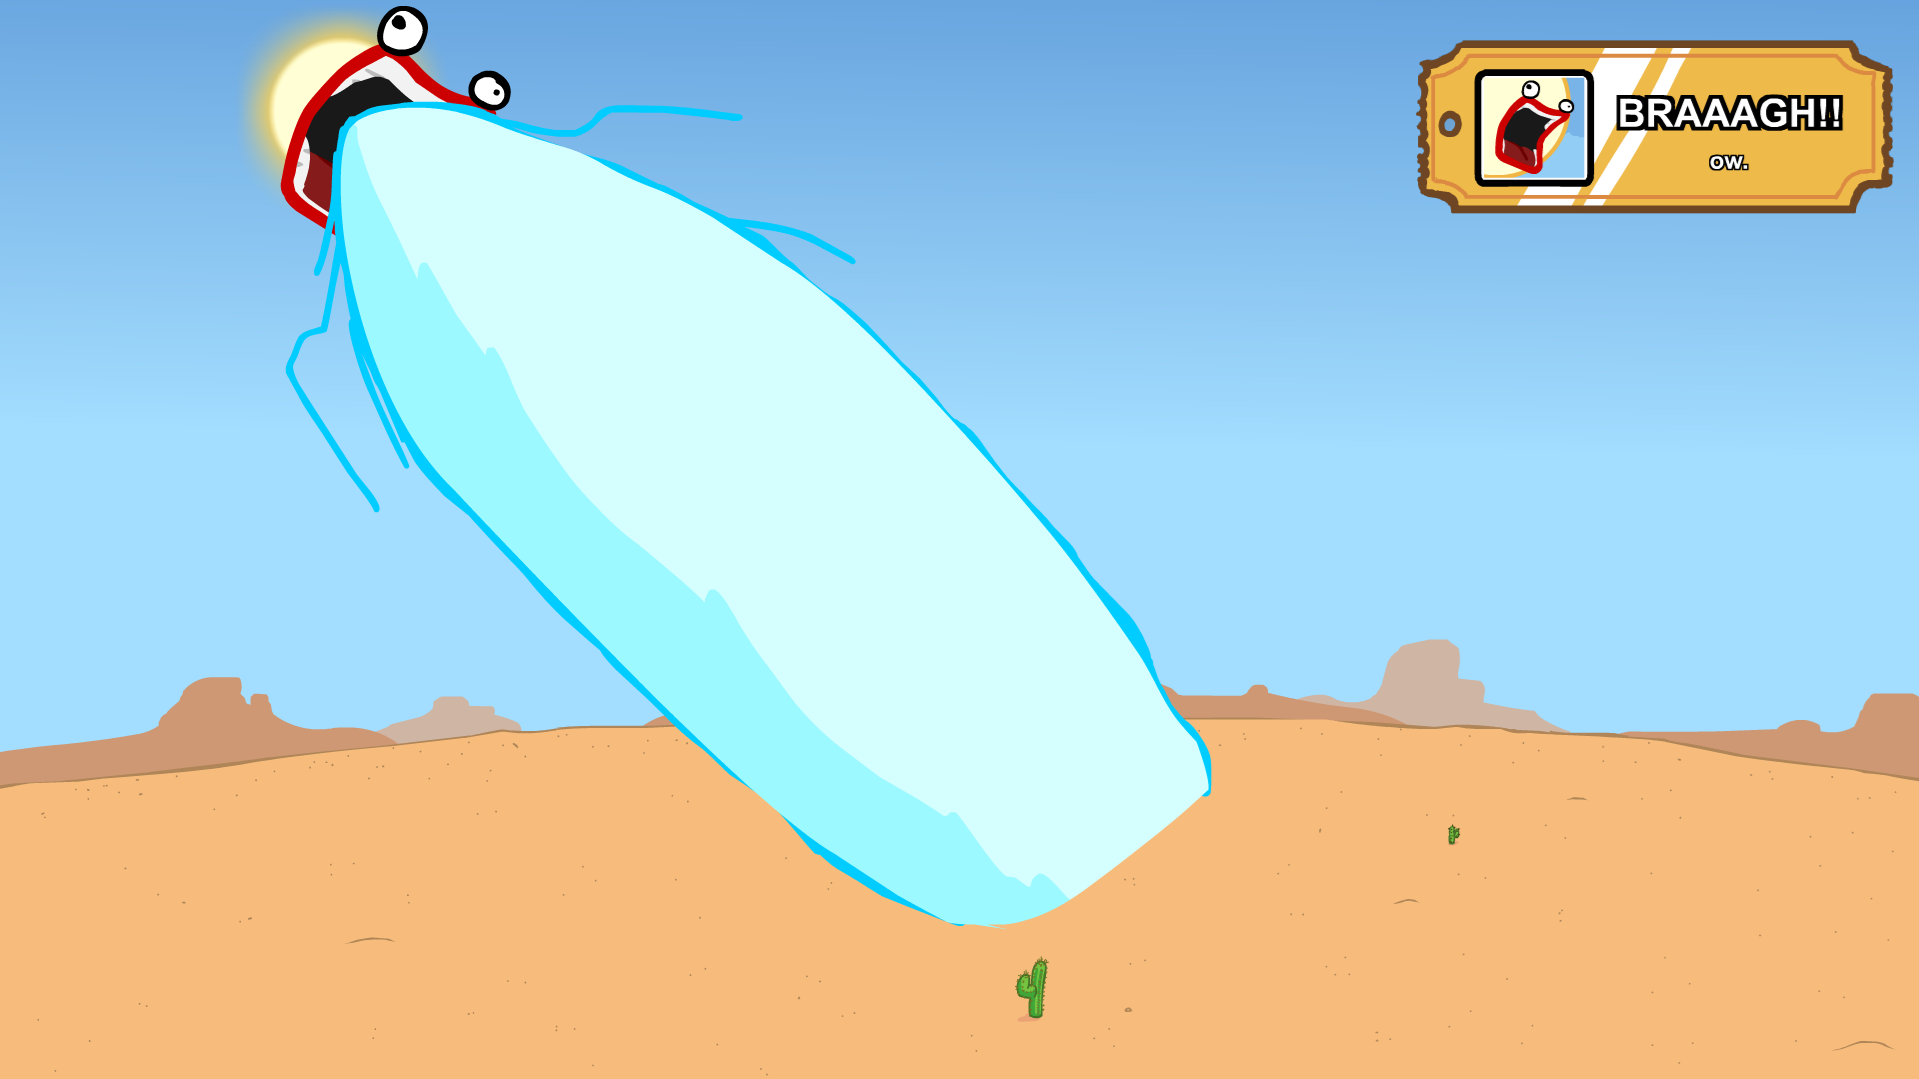
 lmao
lmao
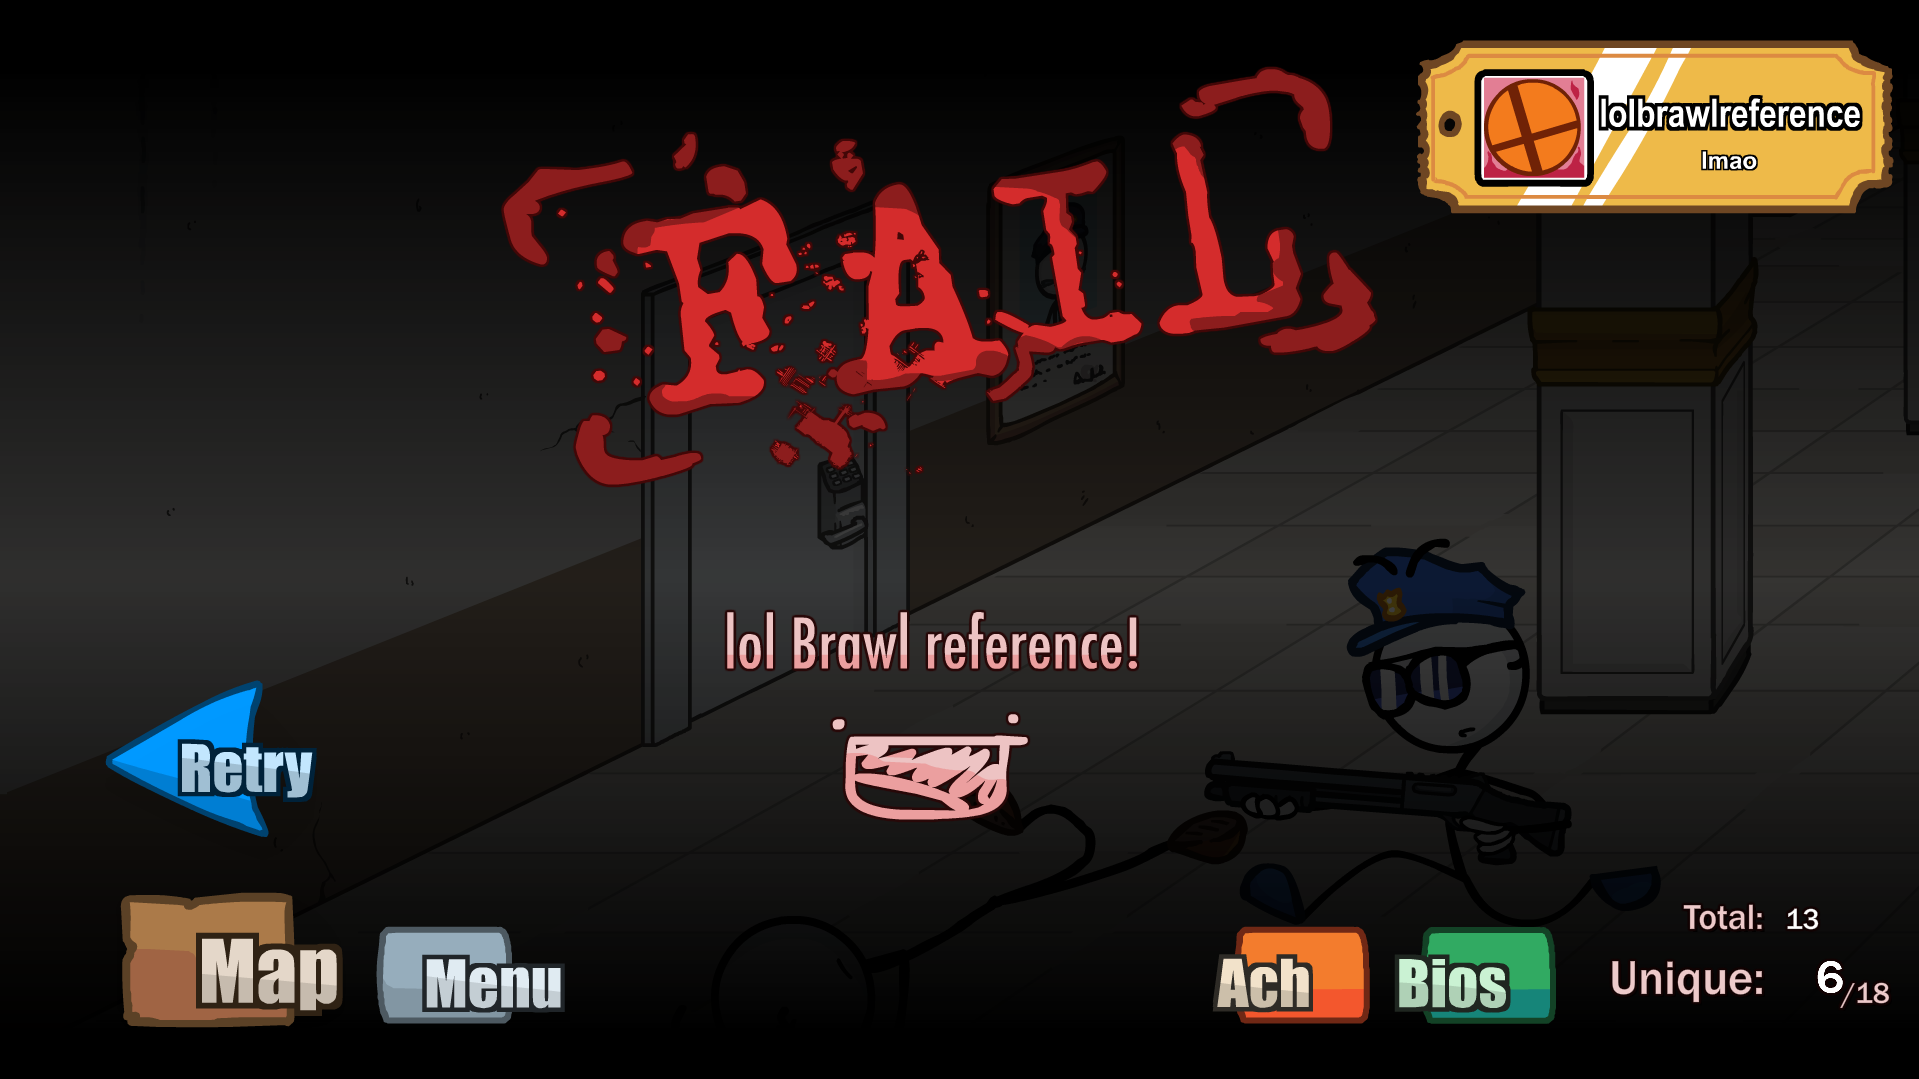
In the Lobby Torn, pick the Down arrow and wait for a fail to show as well as achivment.
Stealing the Dimond (StD)
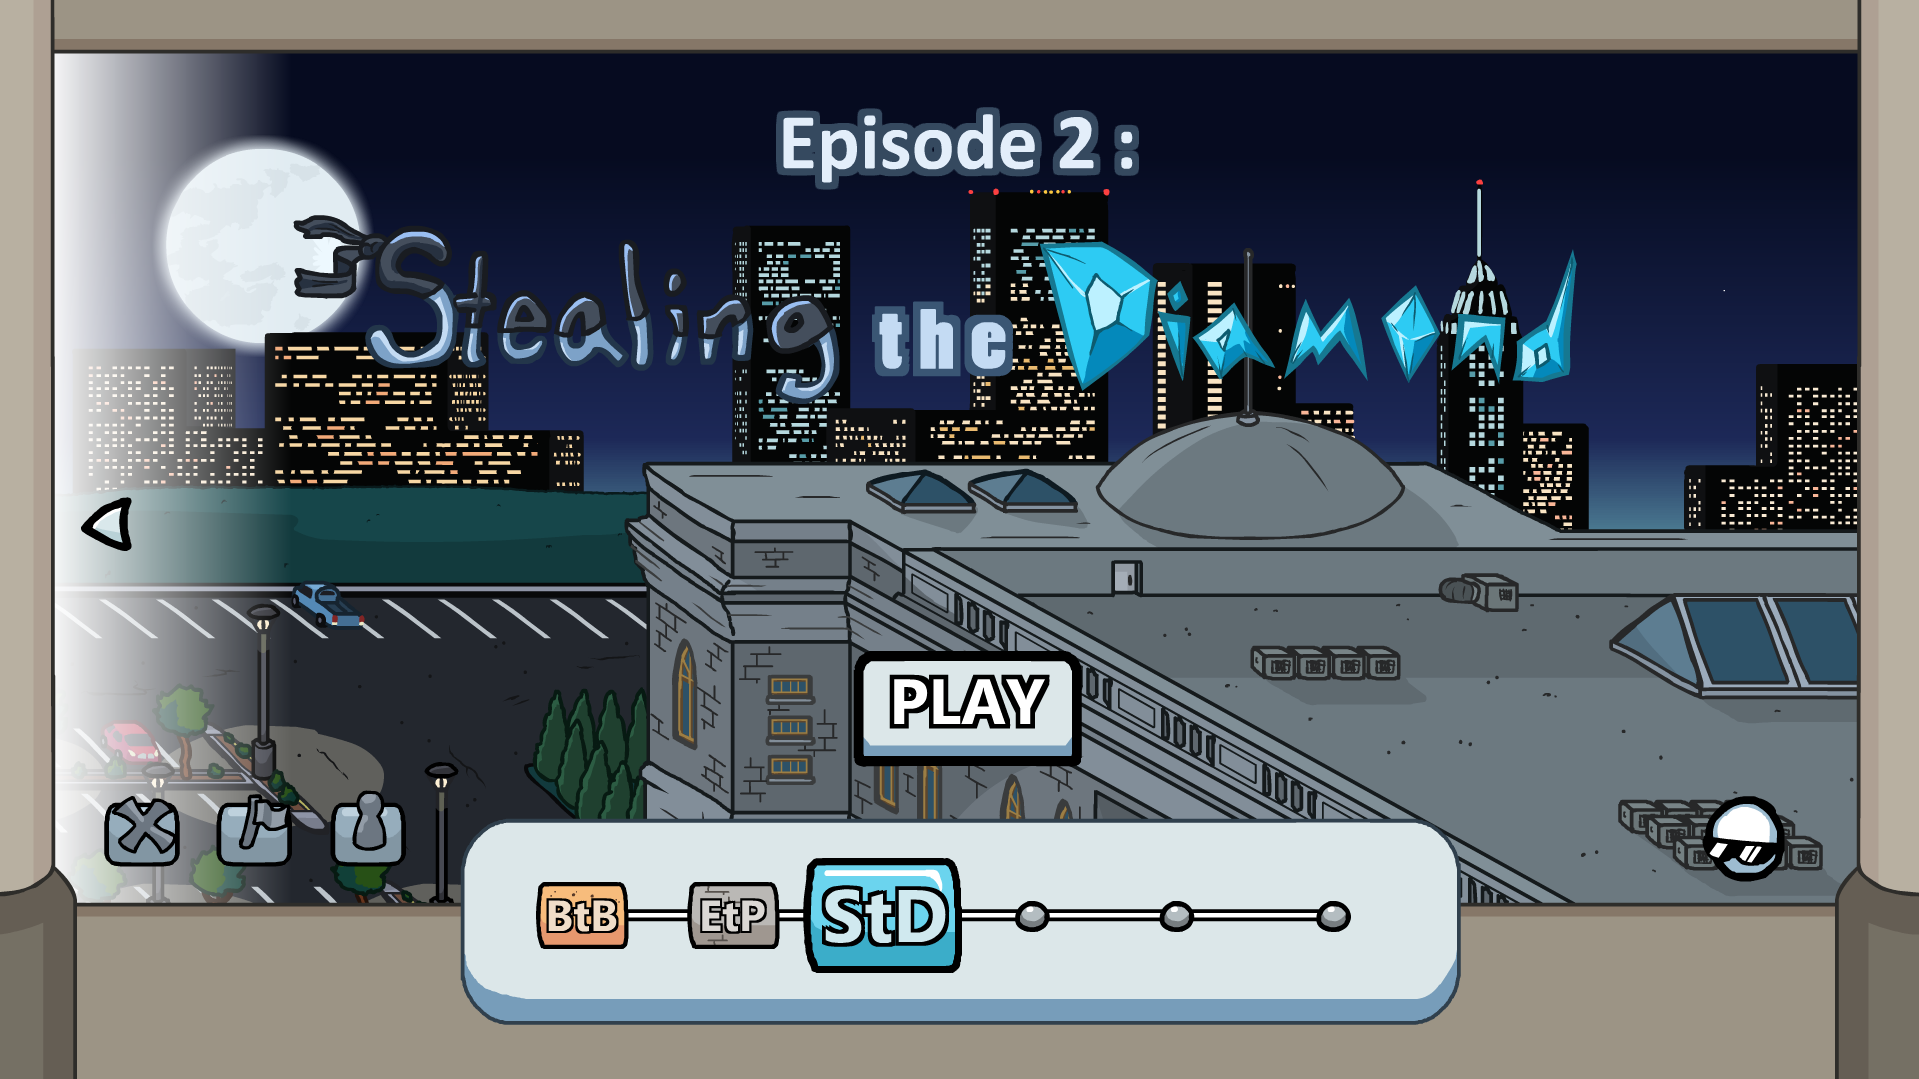
Chapter two of Henry's story, guess prison didn't teach him anything. Now - it's time for stealing with style.
This part have:- 40 Fails
- 10 Achivments
- 27 Bios
ᅠStD - Gold Achivments:
 Achieve the Rank: UB.
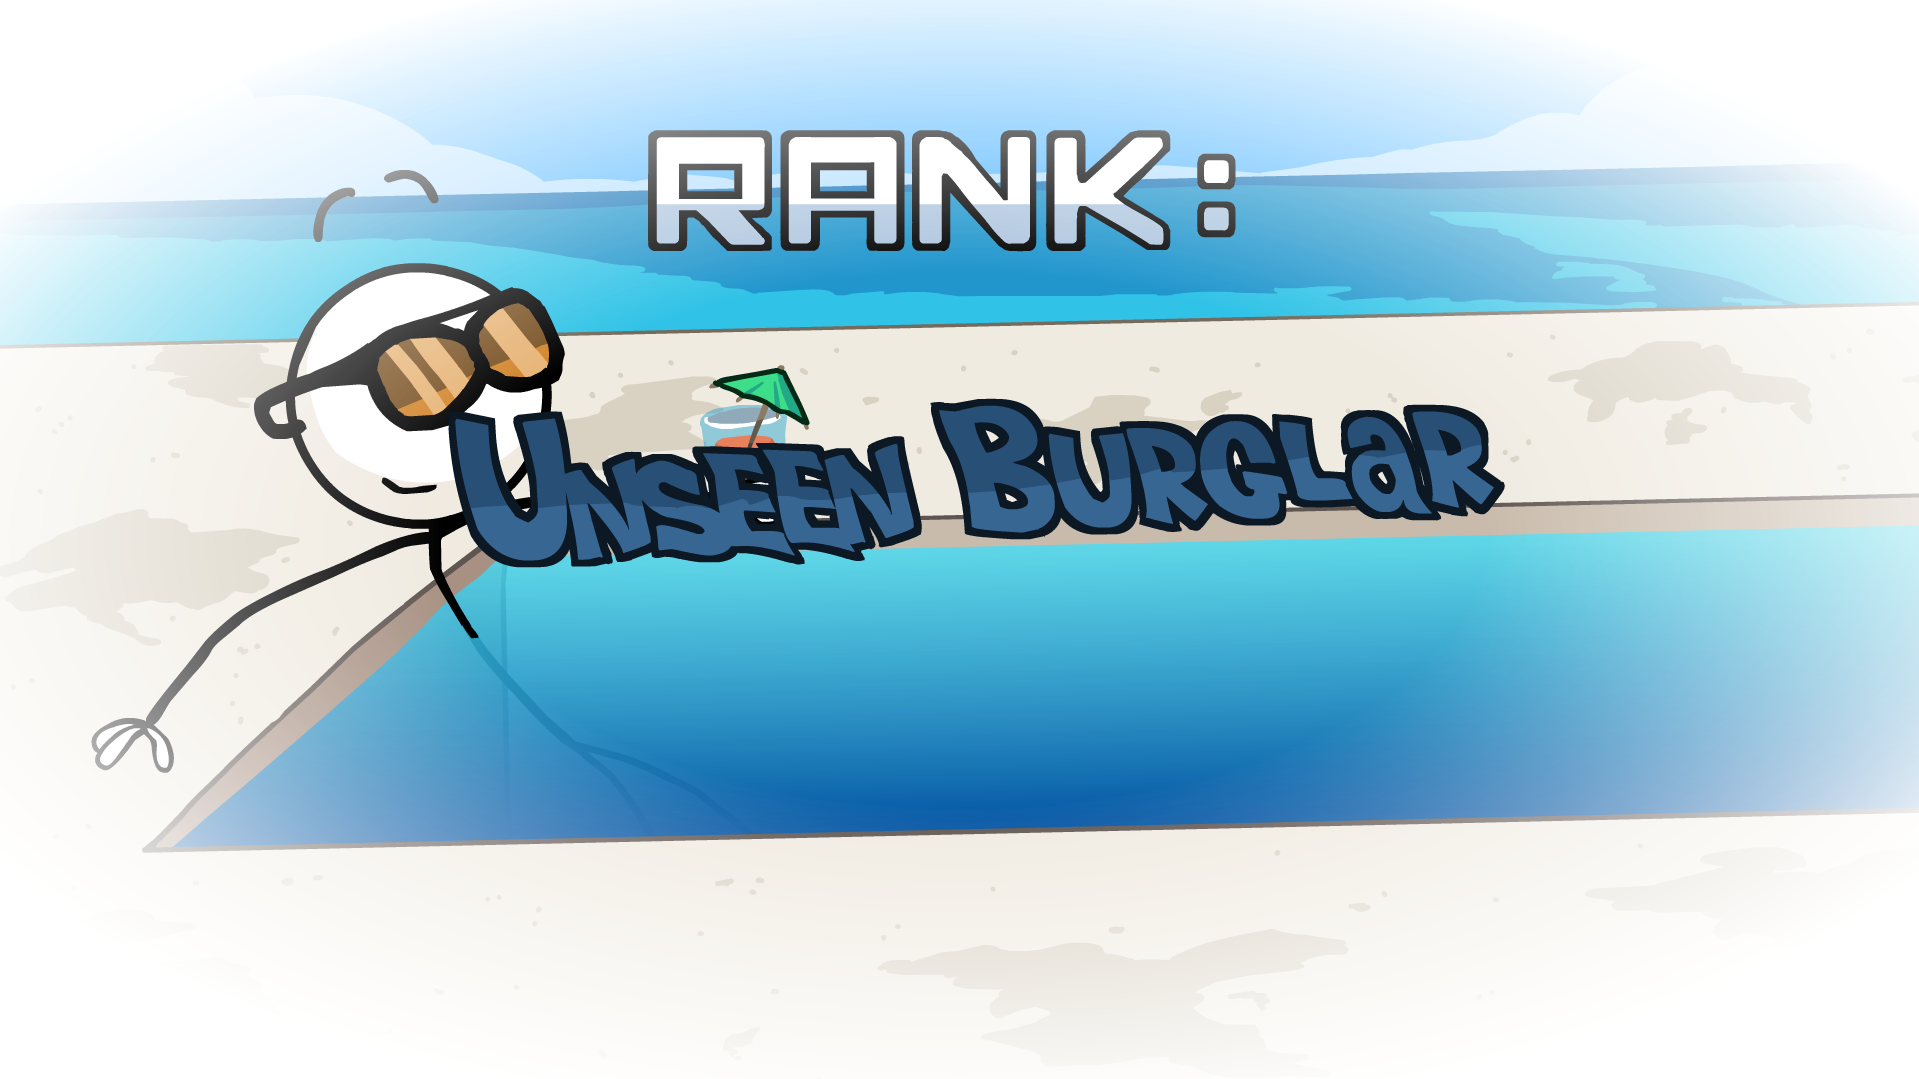 To achive Unseen Burglar choose in this order:
- Sneak In
- Teleporter
- Penny
- Wire
- Hammer
- Plank
- Diamond
 Achieve the Rank: IoaS.
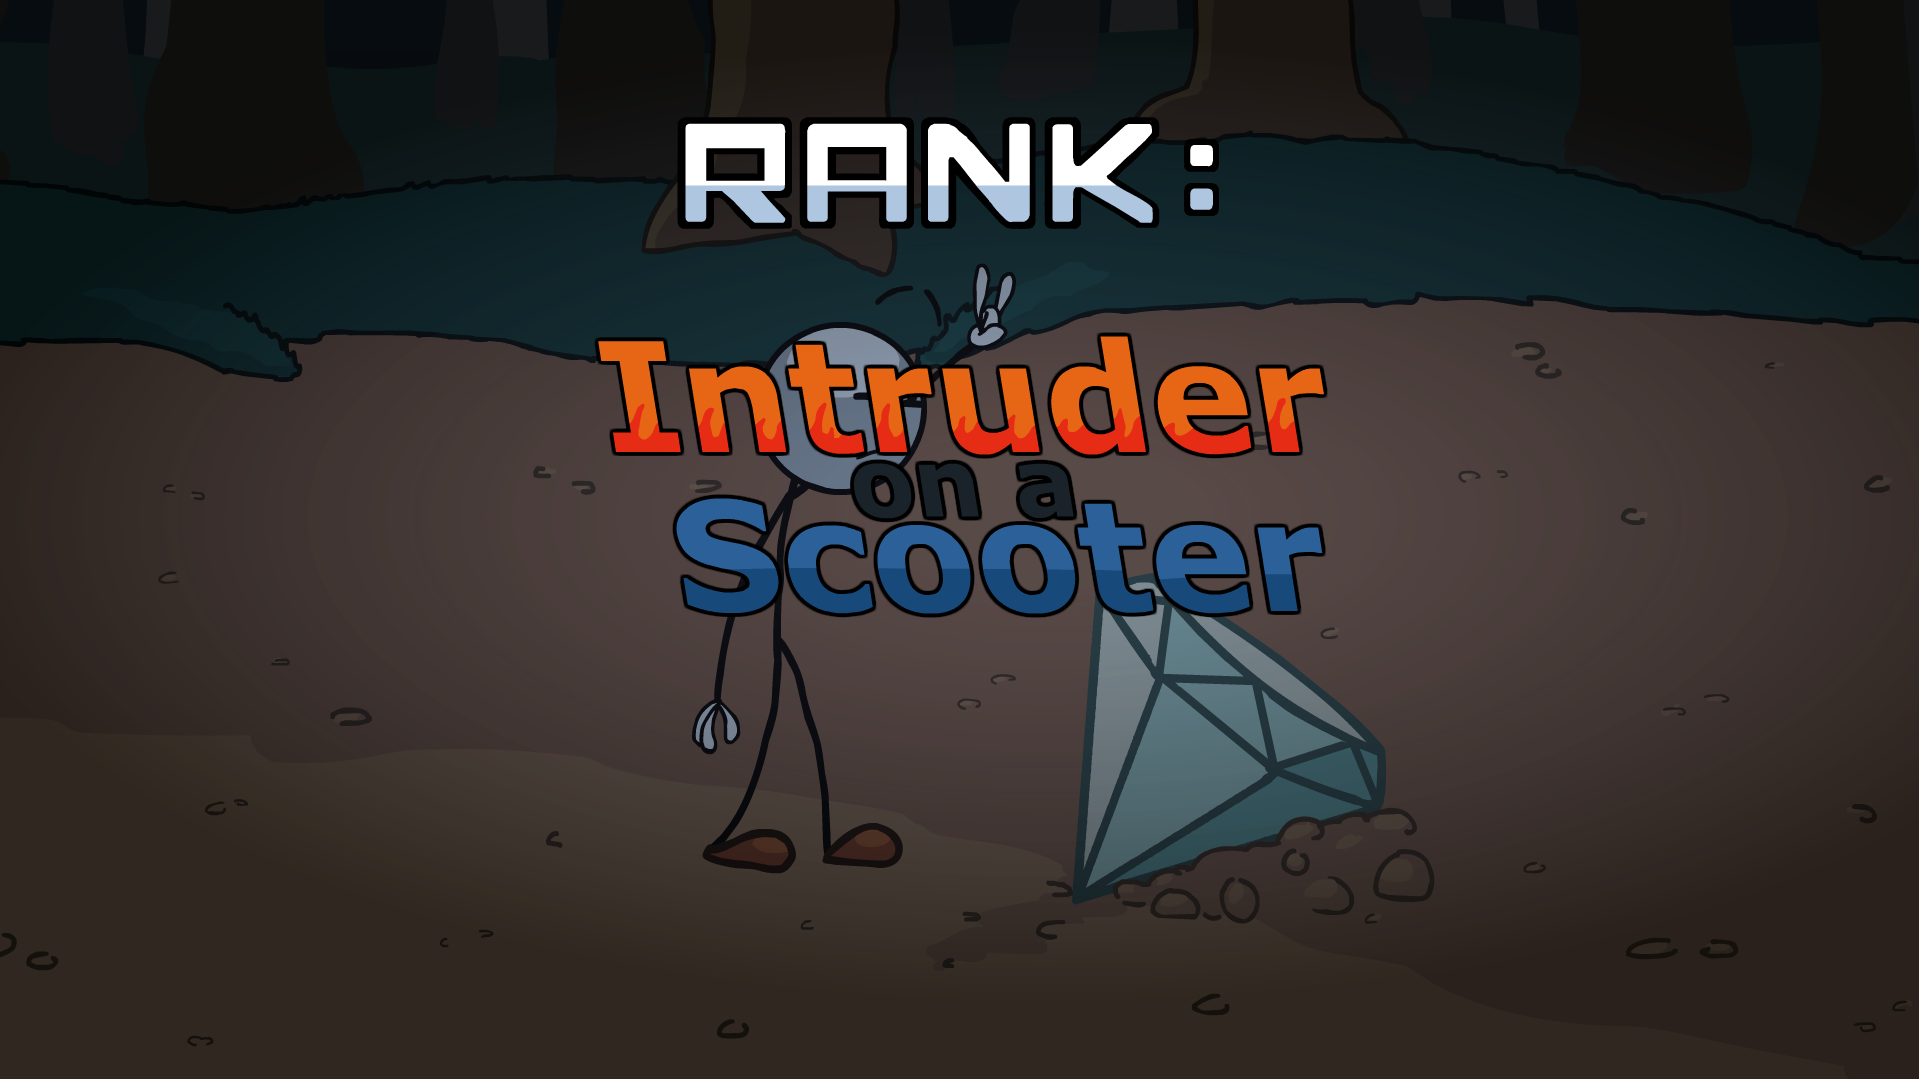 To achive Intruder on a Scooter choose in this order:
- Bust in
- Ram
- Shield
- Tow Cable
- Rock
- Bubble Shield
- Diamond
 Achieve the Rank: JPE.
 To achive Just Plain Epic choose in this order:
- Sneak In
- Pick
- Airplane
- Left arrow (Retro Room)
- Mushroom
- Left bottom button (Gear)
ᅠStD - Silver Achivments:
 Get all 40 Unique Fails in Stealing the Diamond.
Pick everything but correct options listed above.
You can check them in map view as well as change scene/route to get all the missing ones!
Map also tells the names of all scenes, we will be using that here!
 Find all the bios in Stealing the Diamond.
This part have 27 Bios to find, so we're gonna take in-game order to do it.
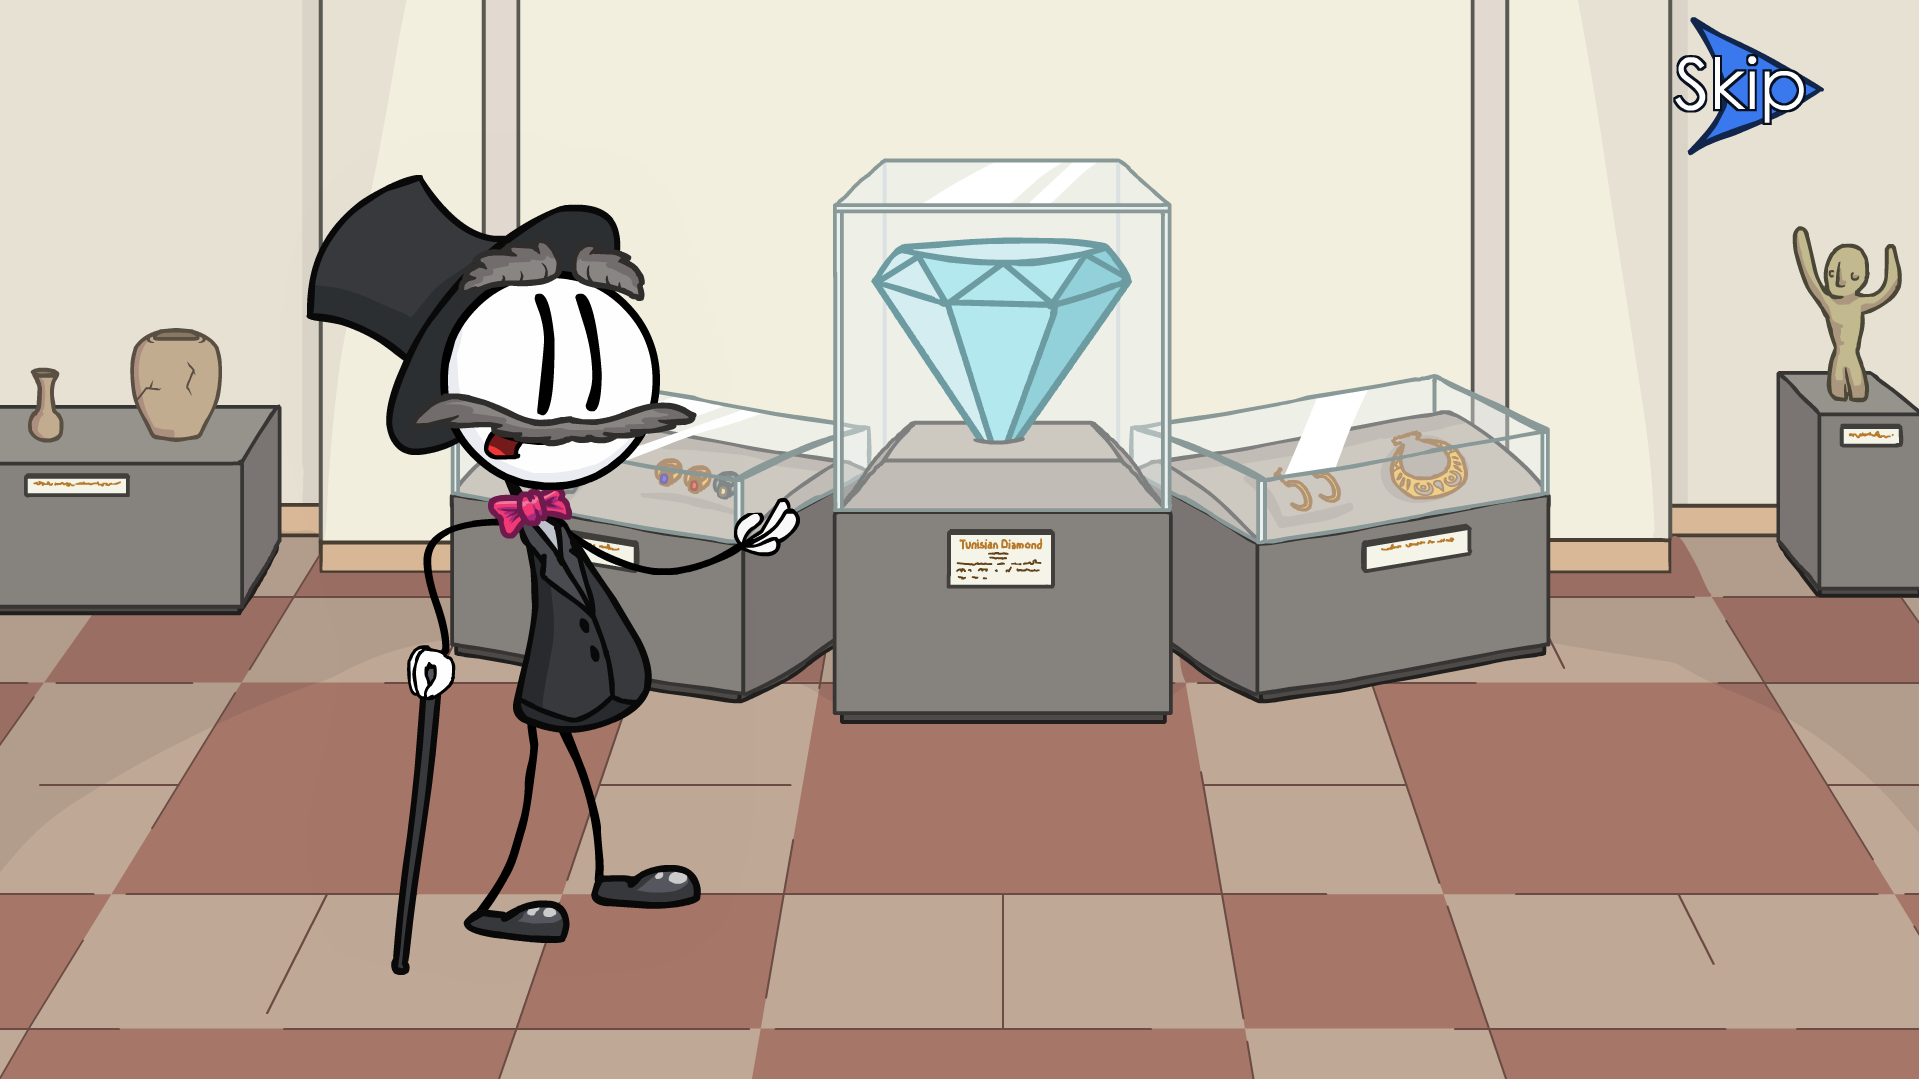
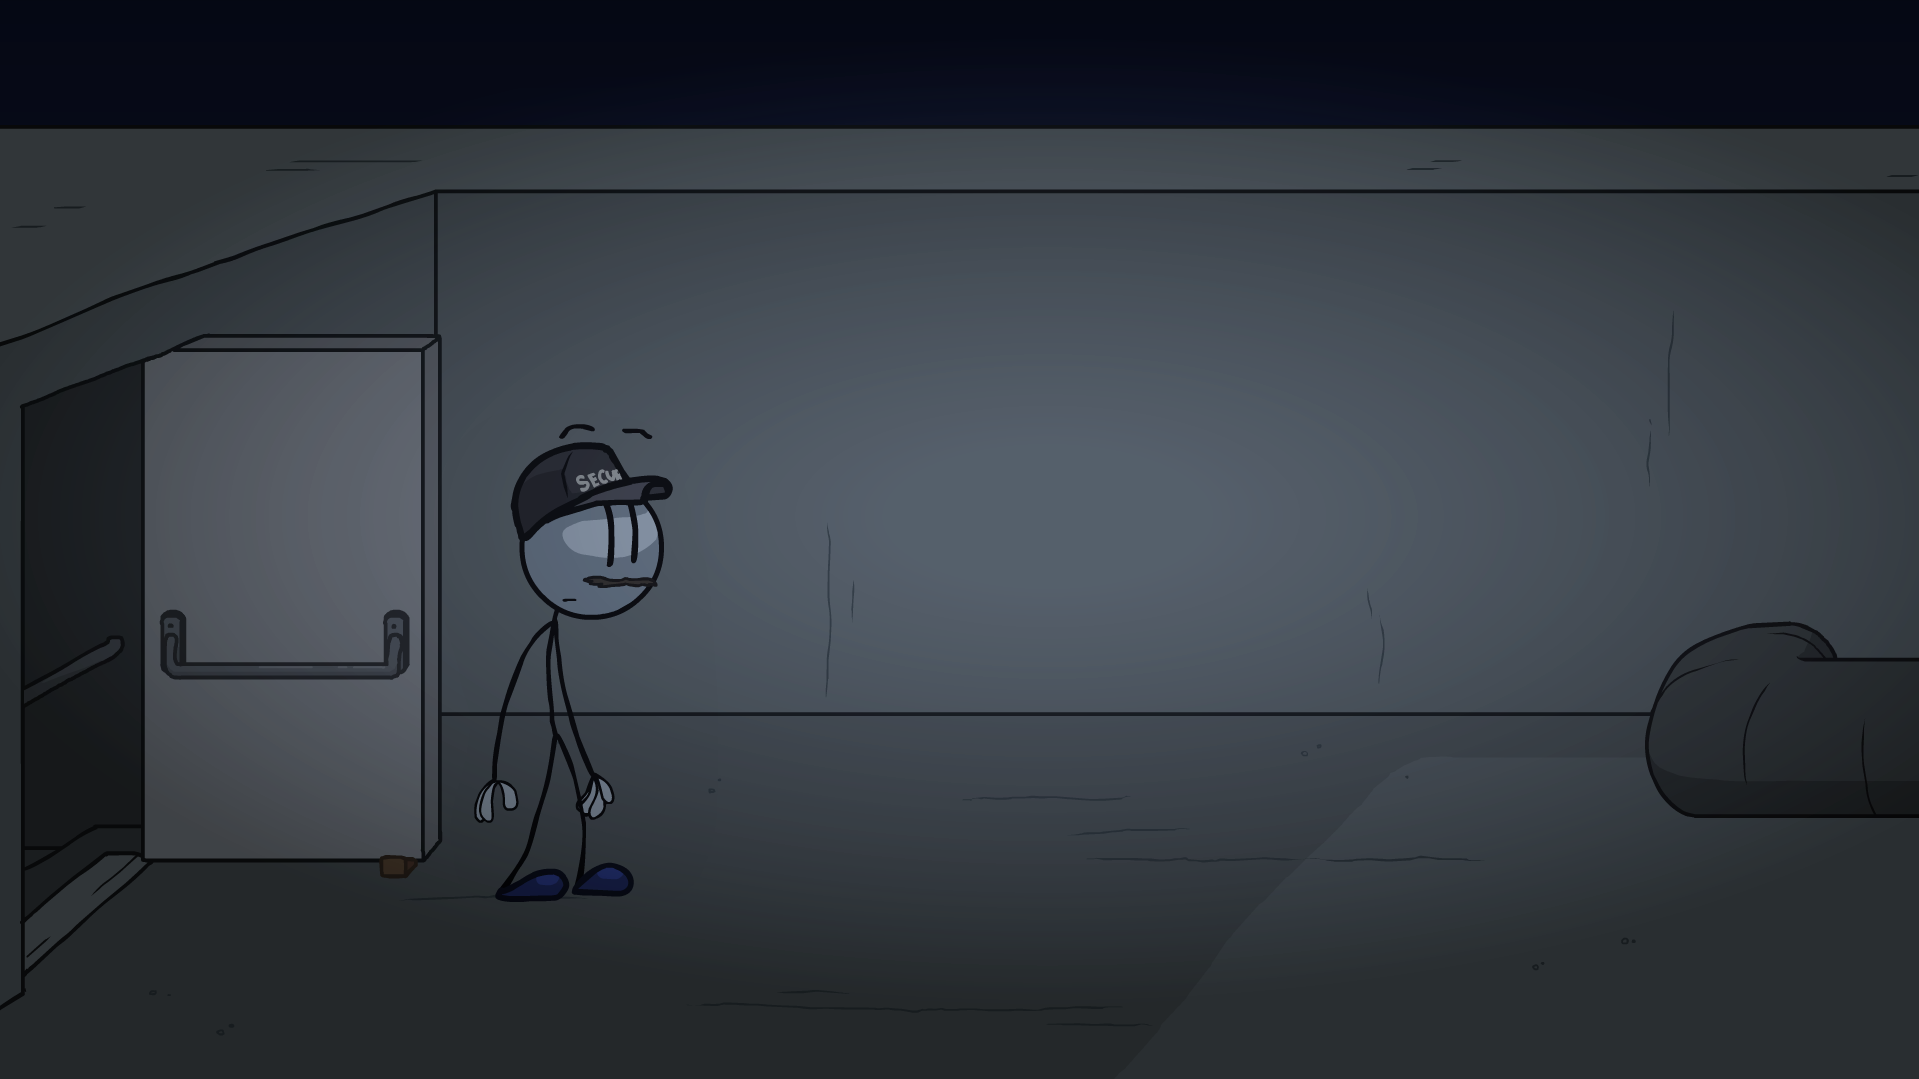
If you're going by map: Unseen Burglar path (middle one) - Storage - anything but cheese.
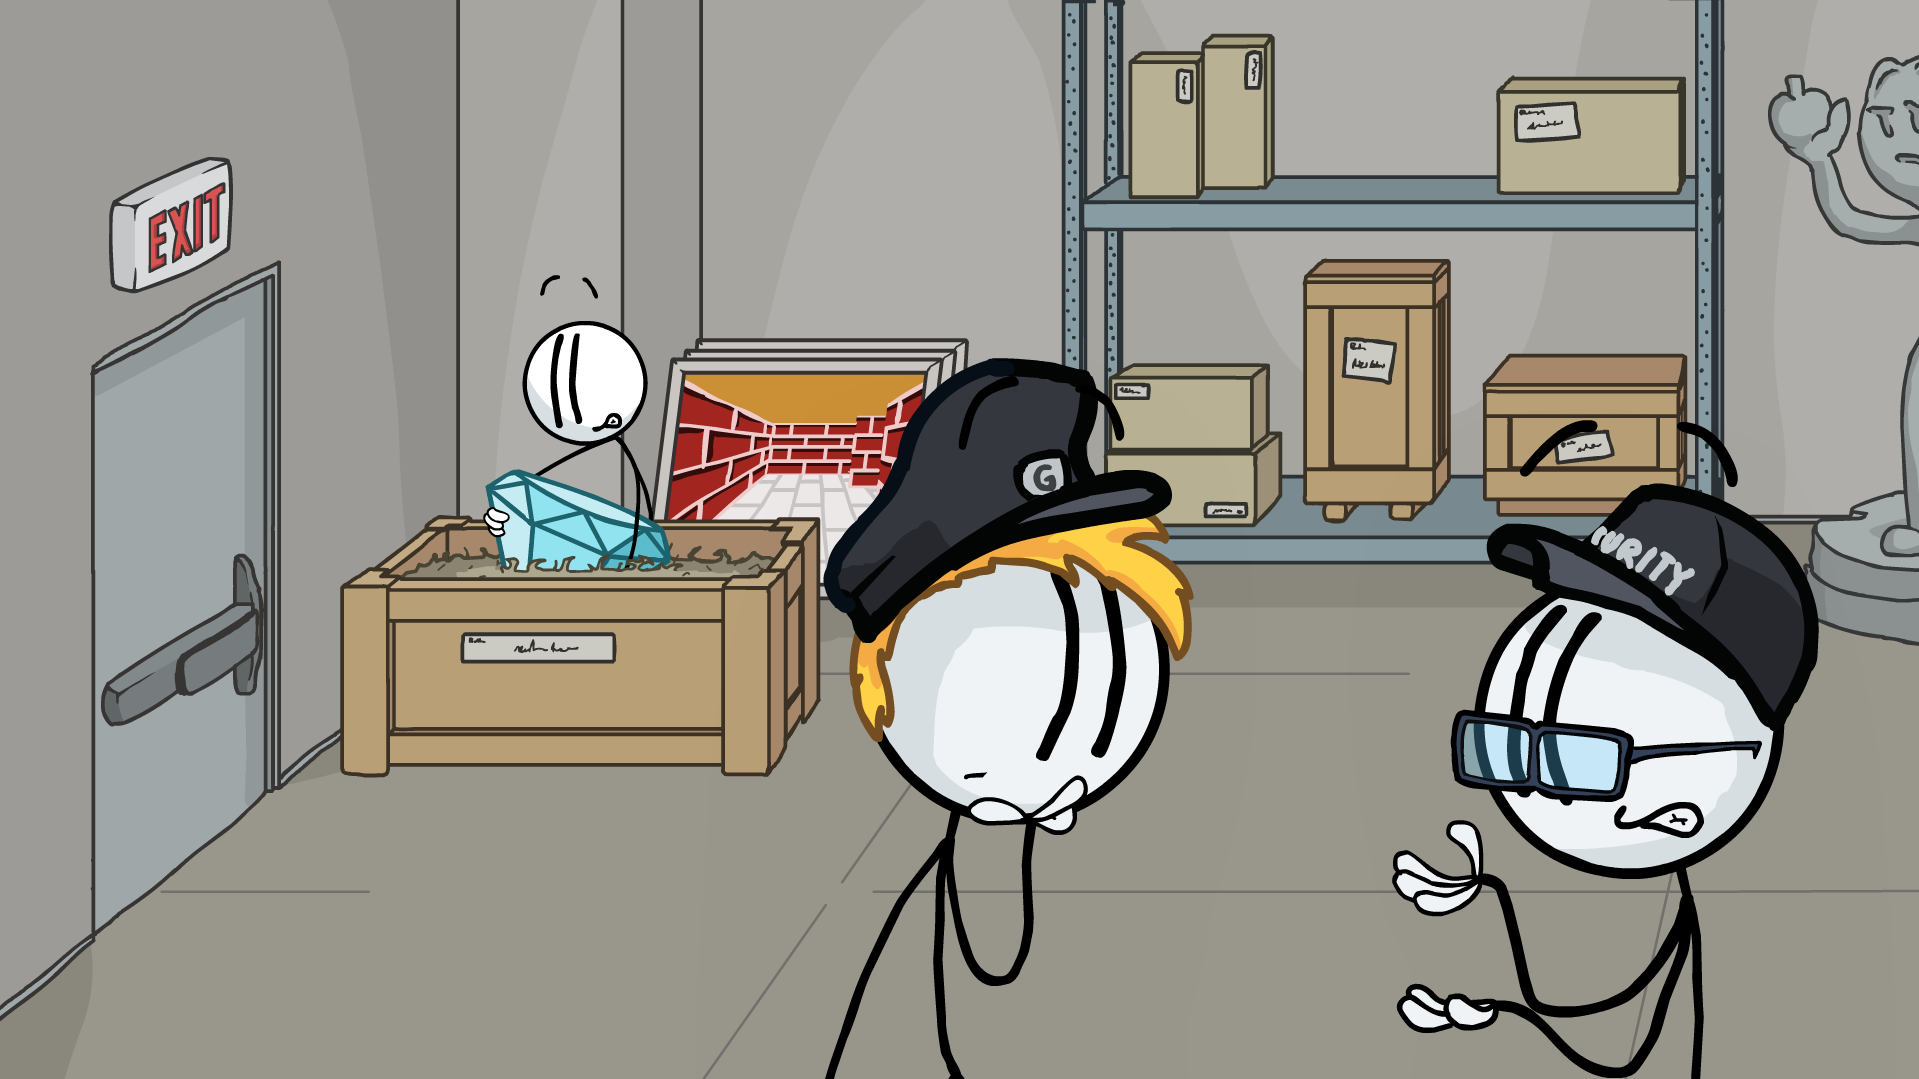
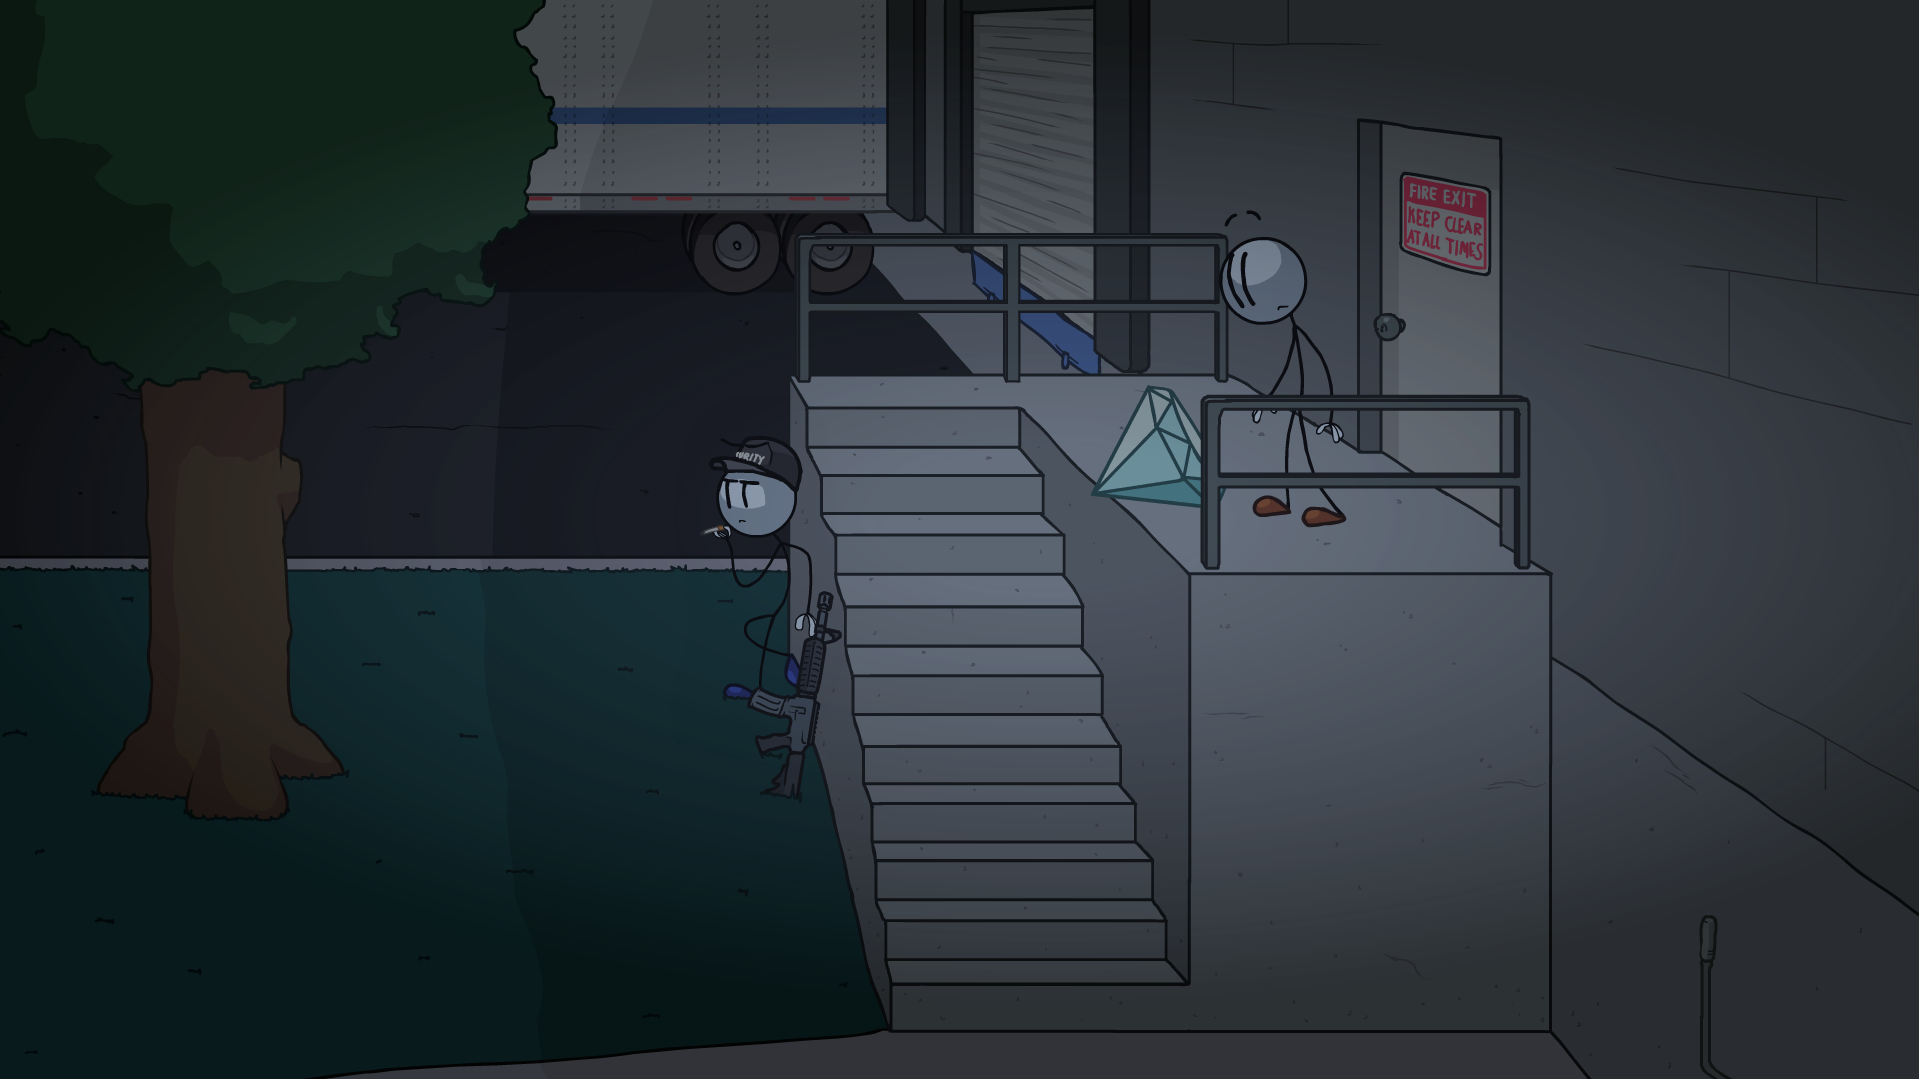
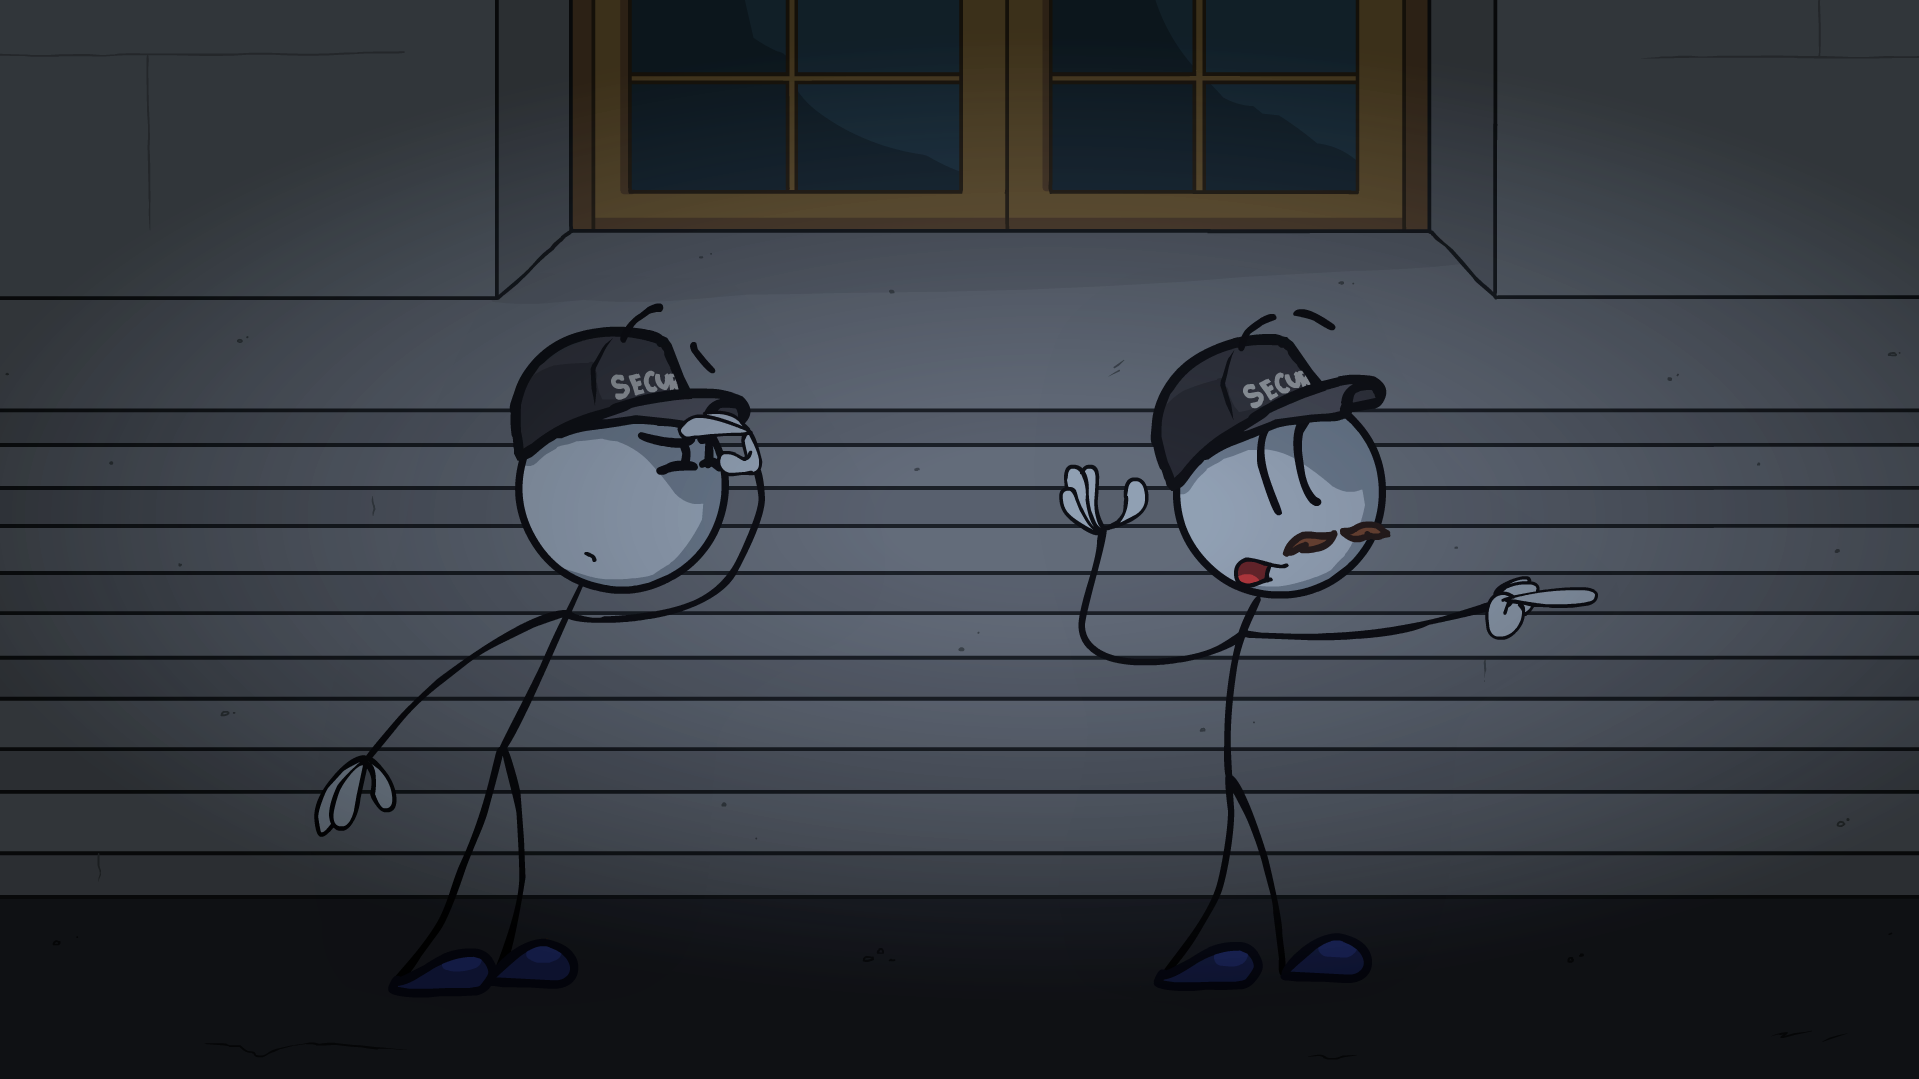
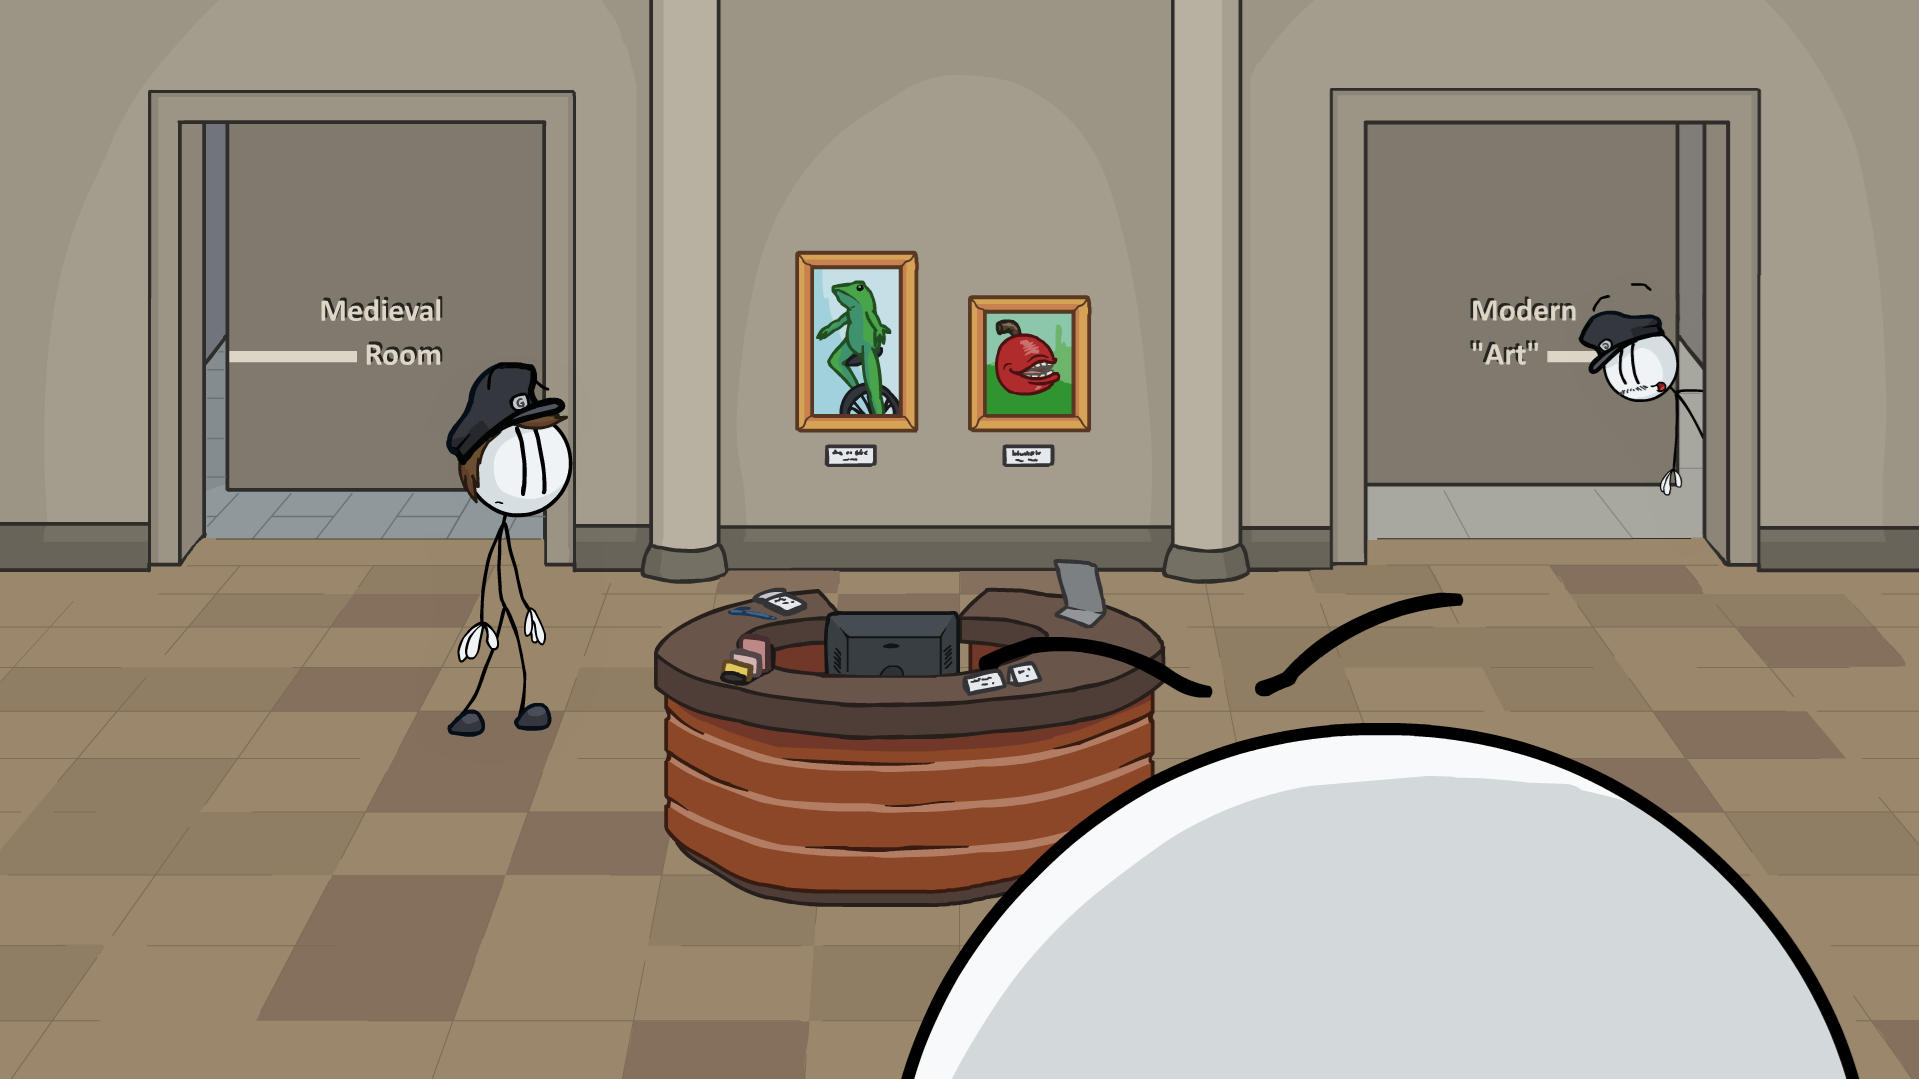
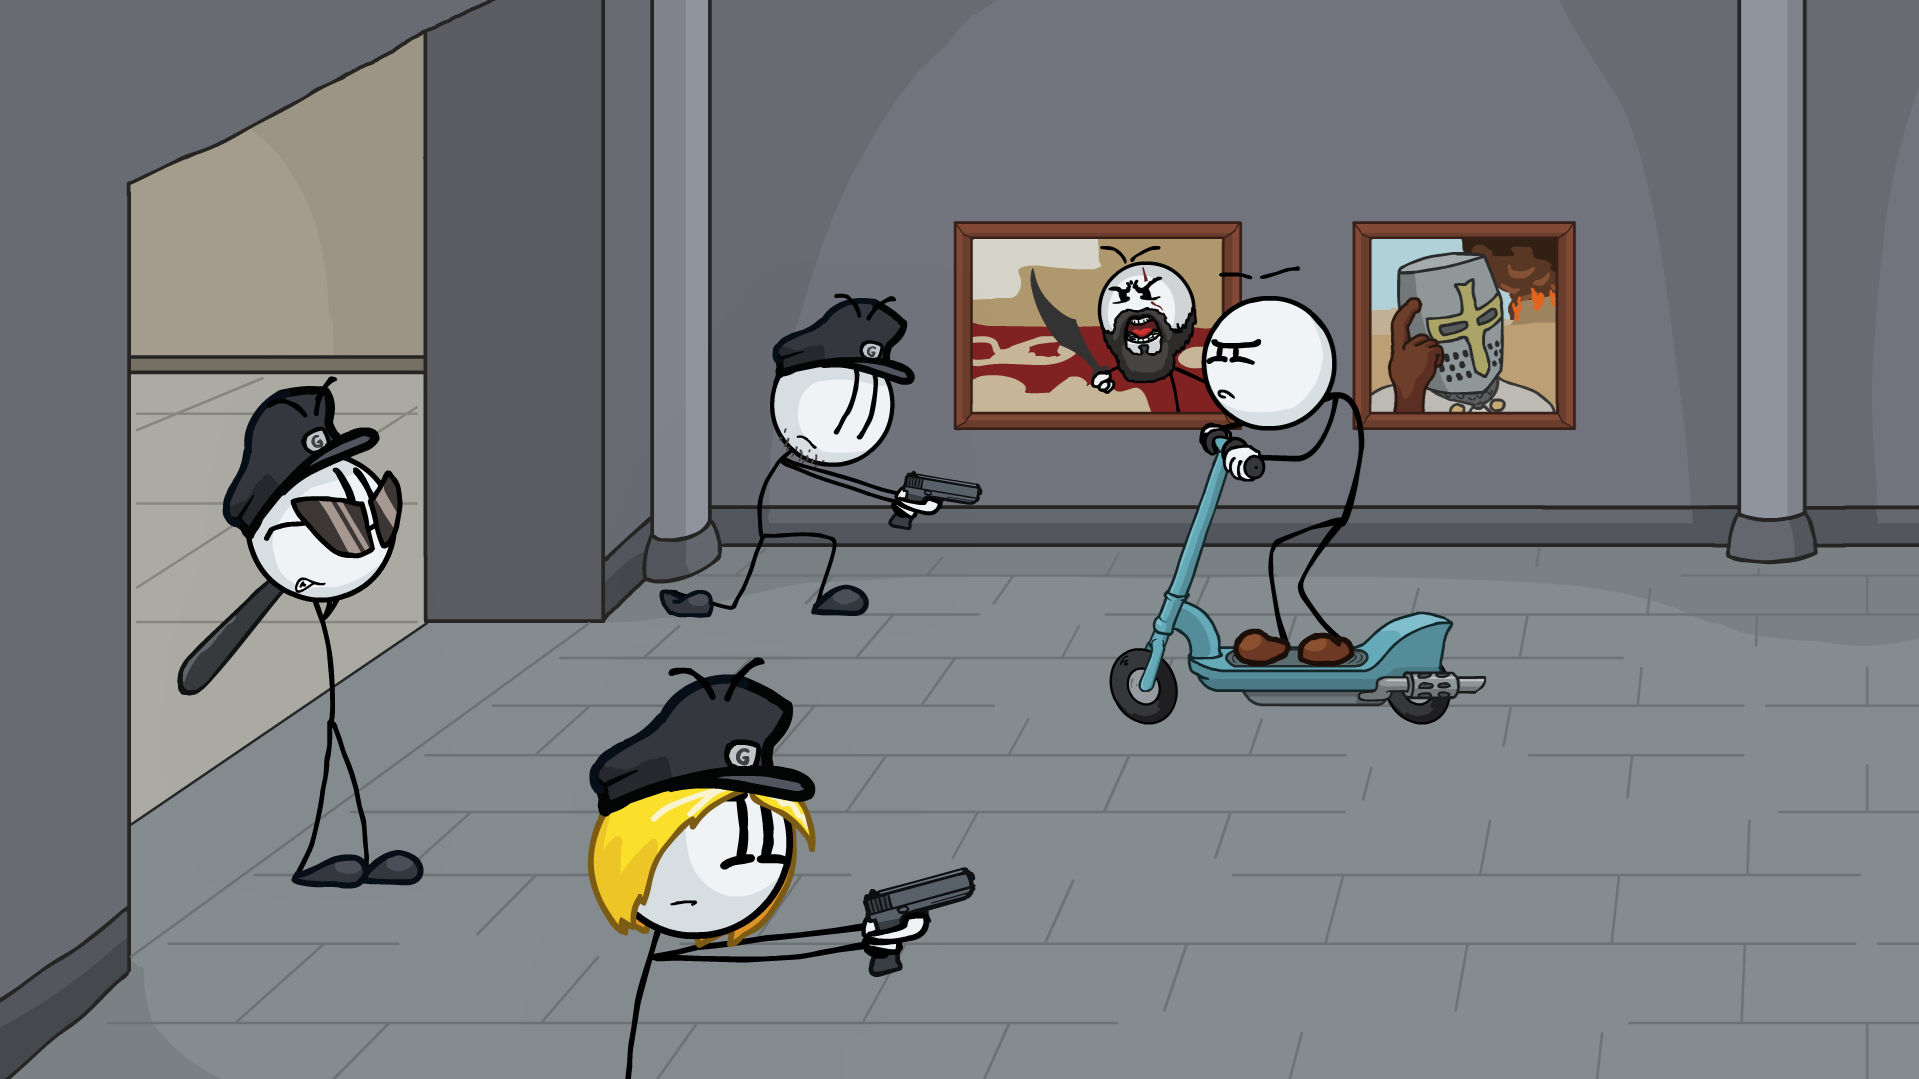
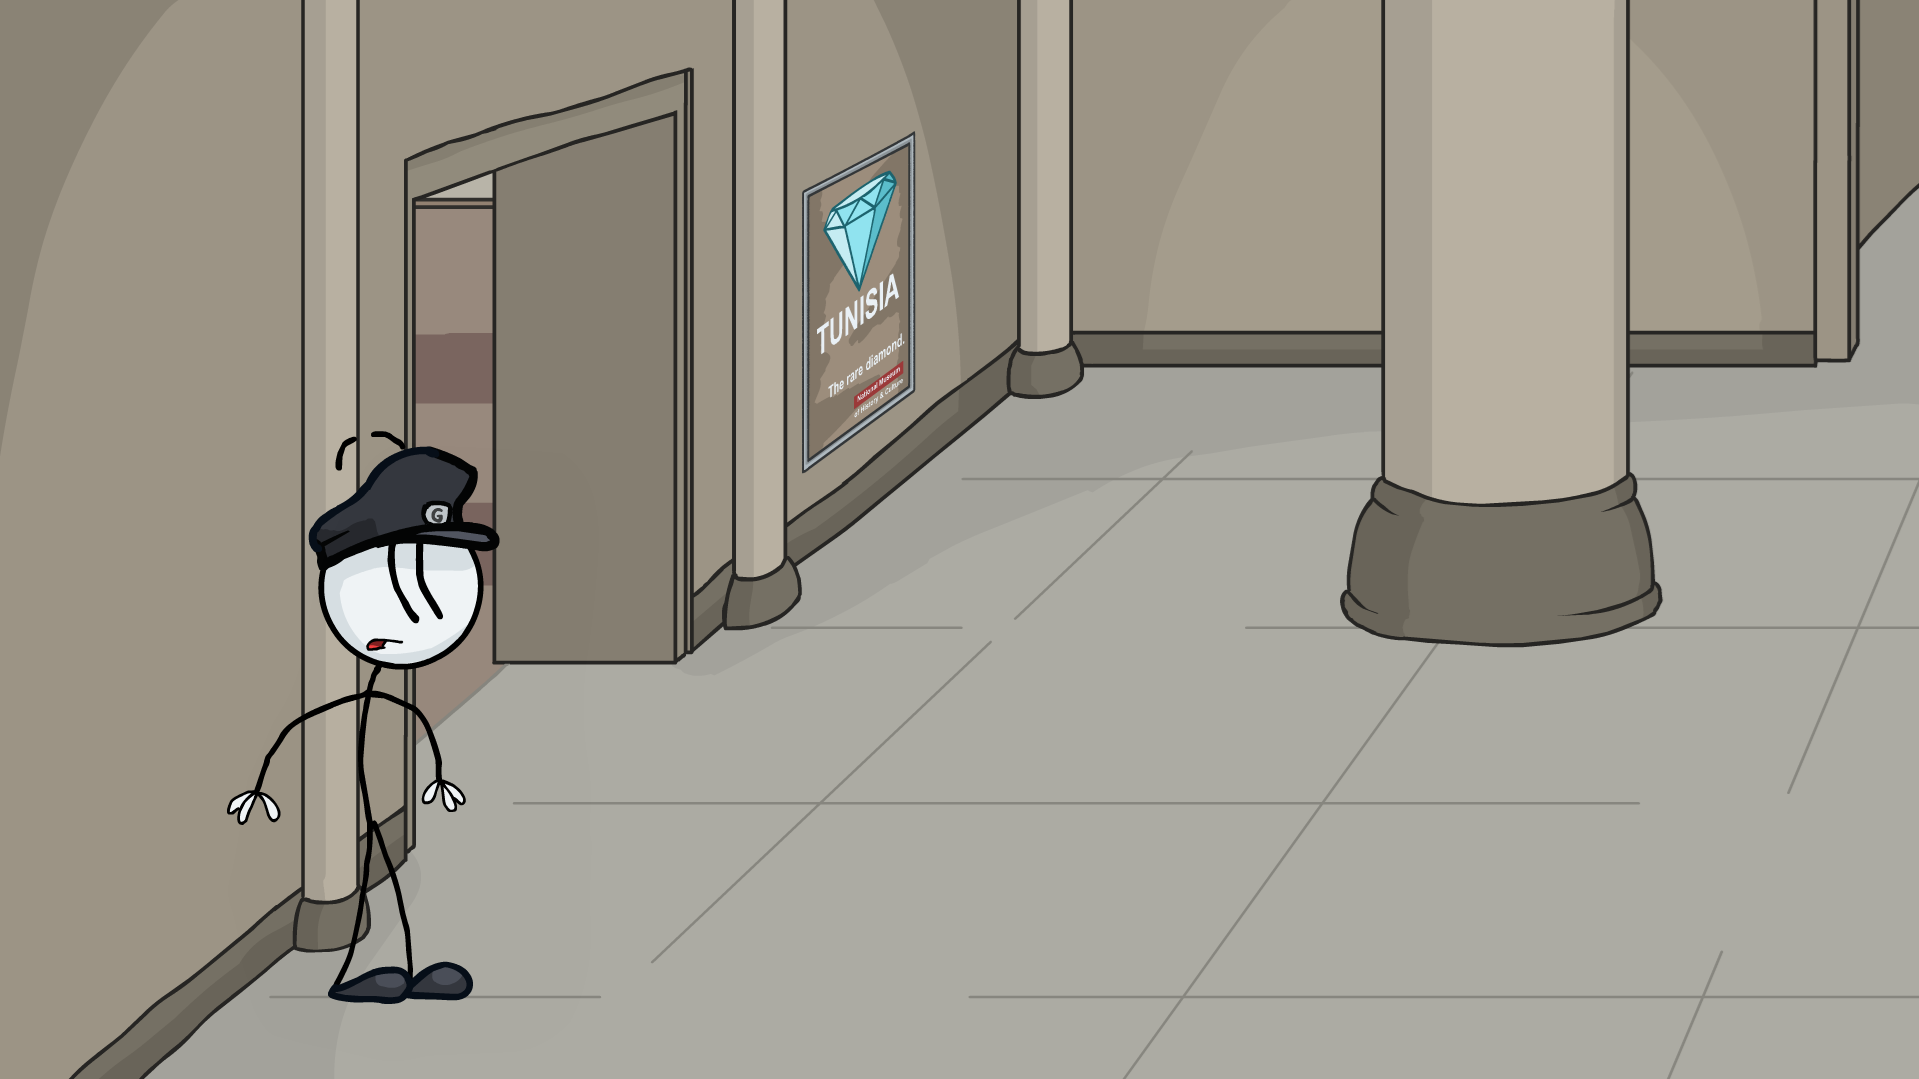
In Tunisian Entrance you can get him easier.
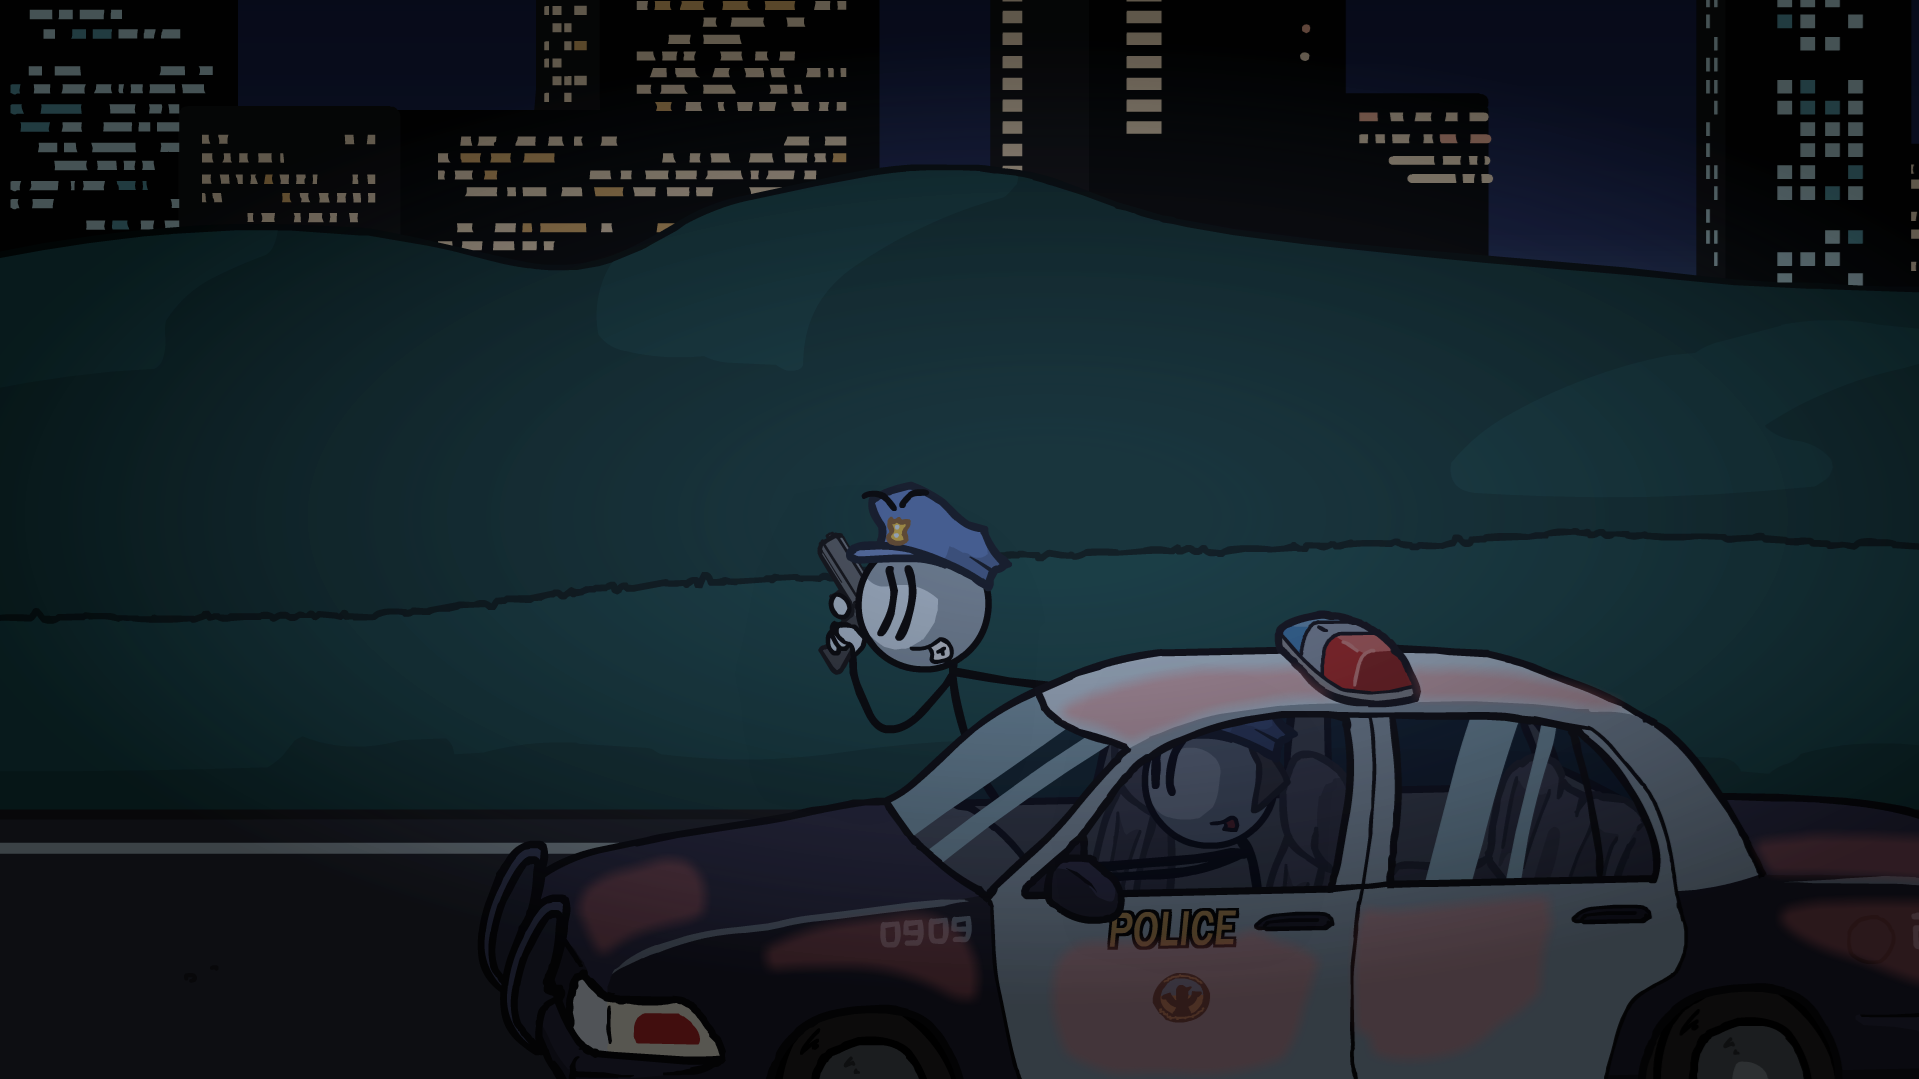
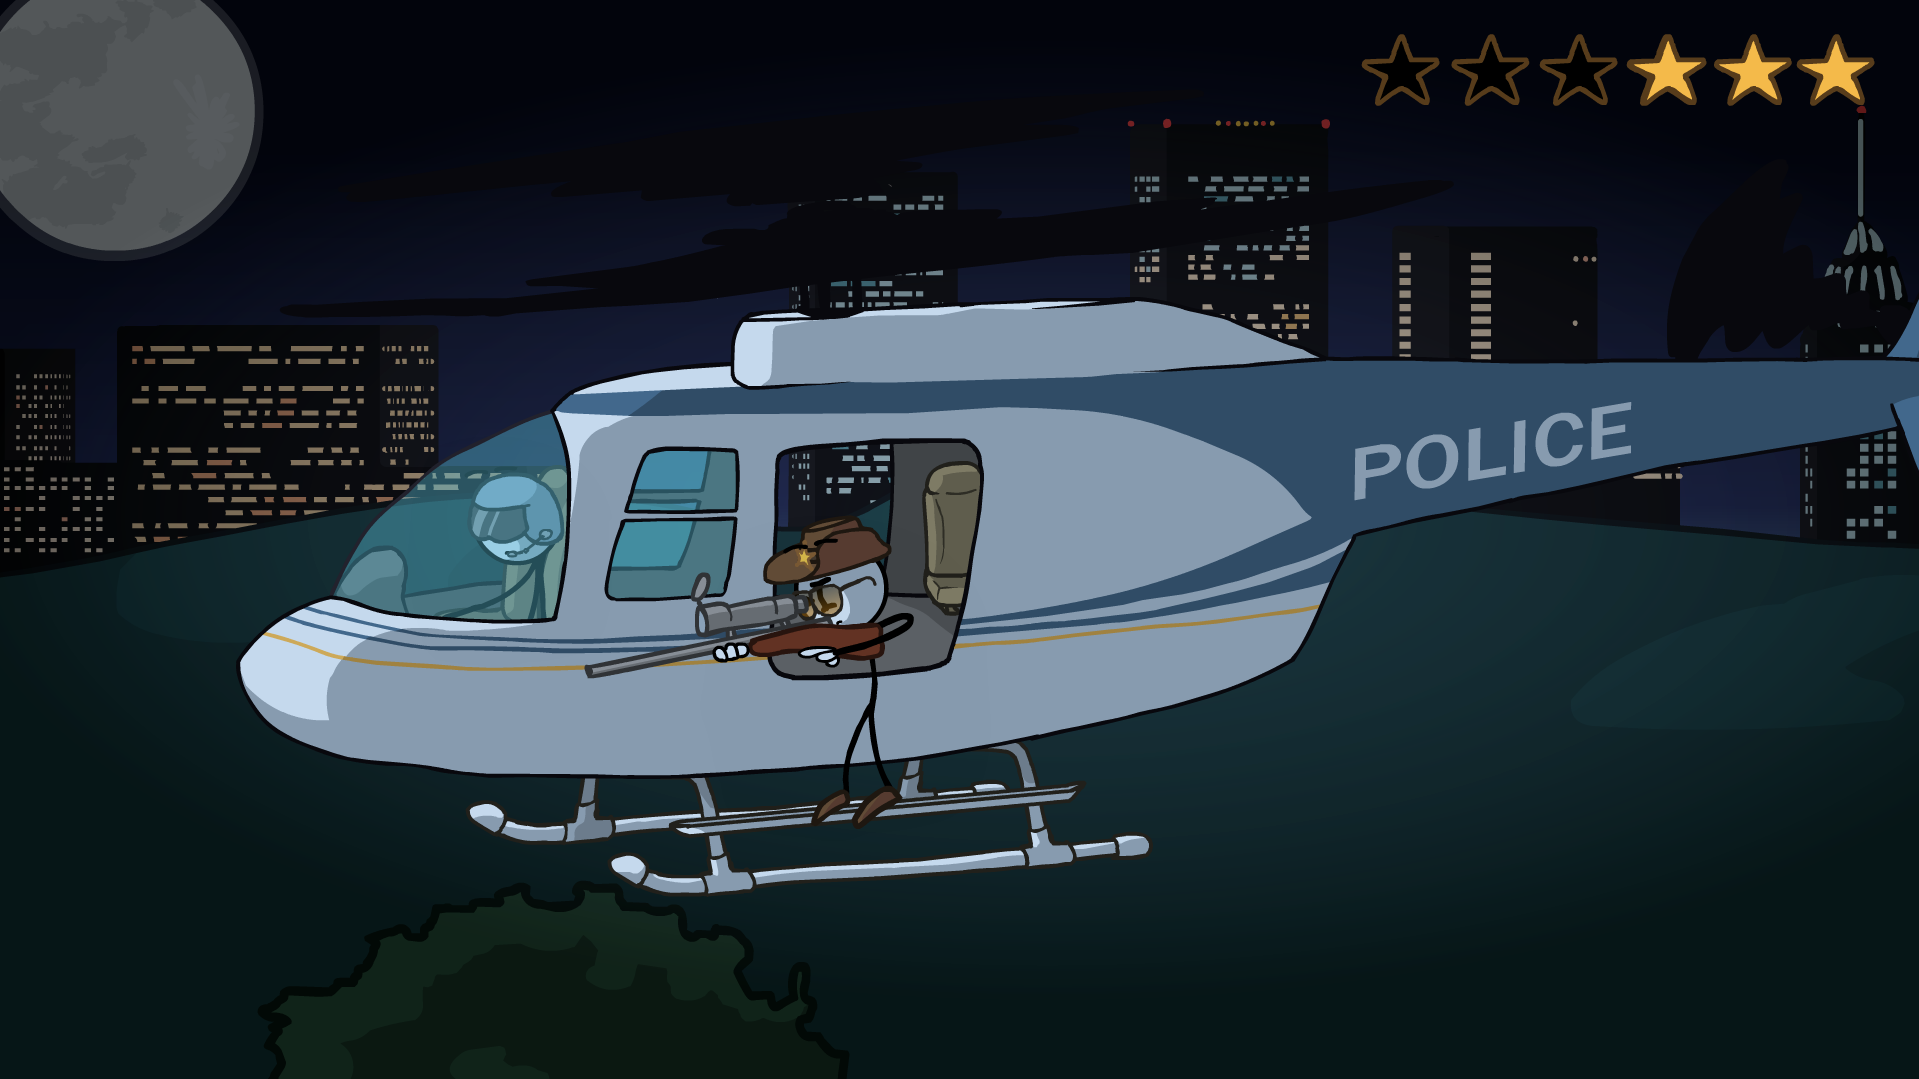
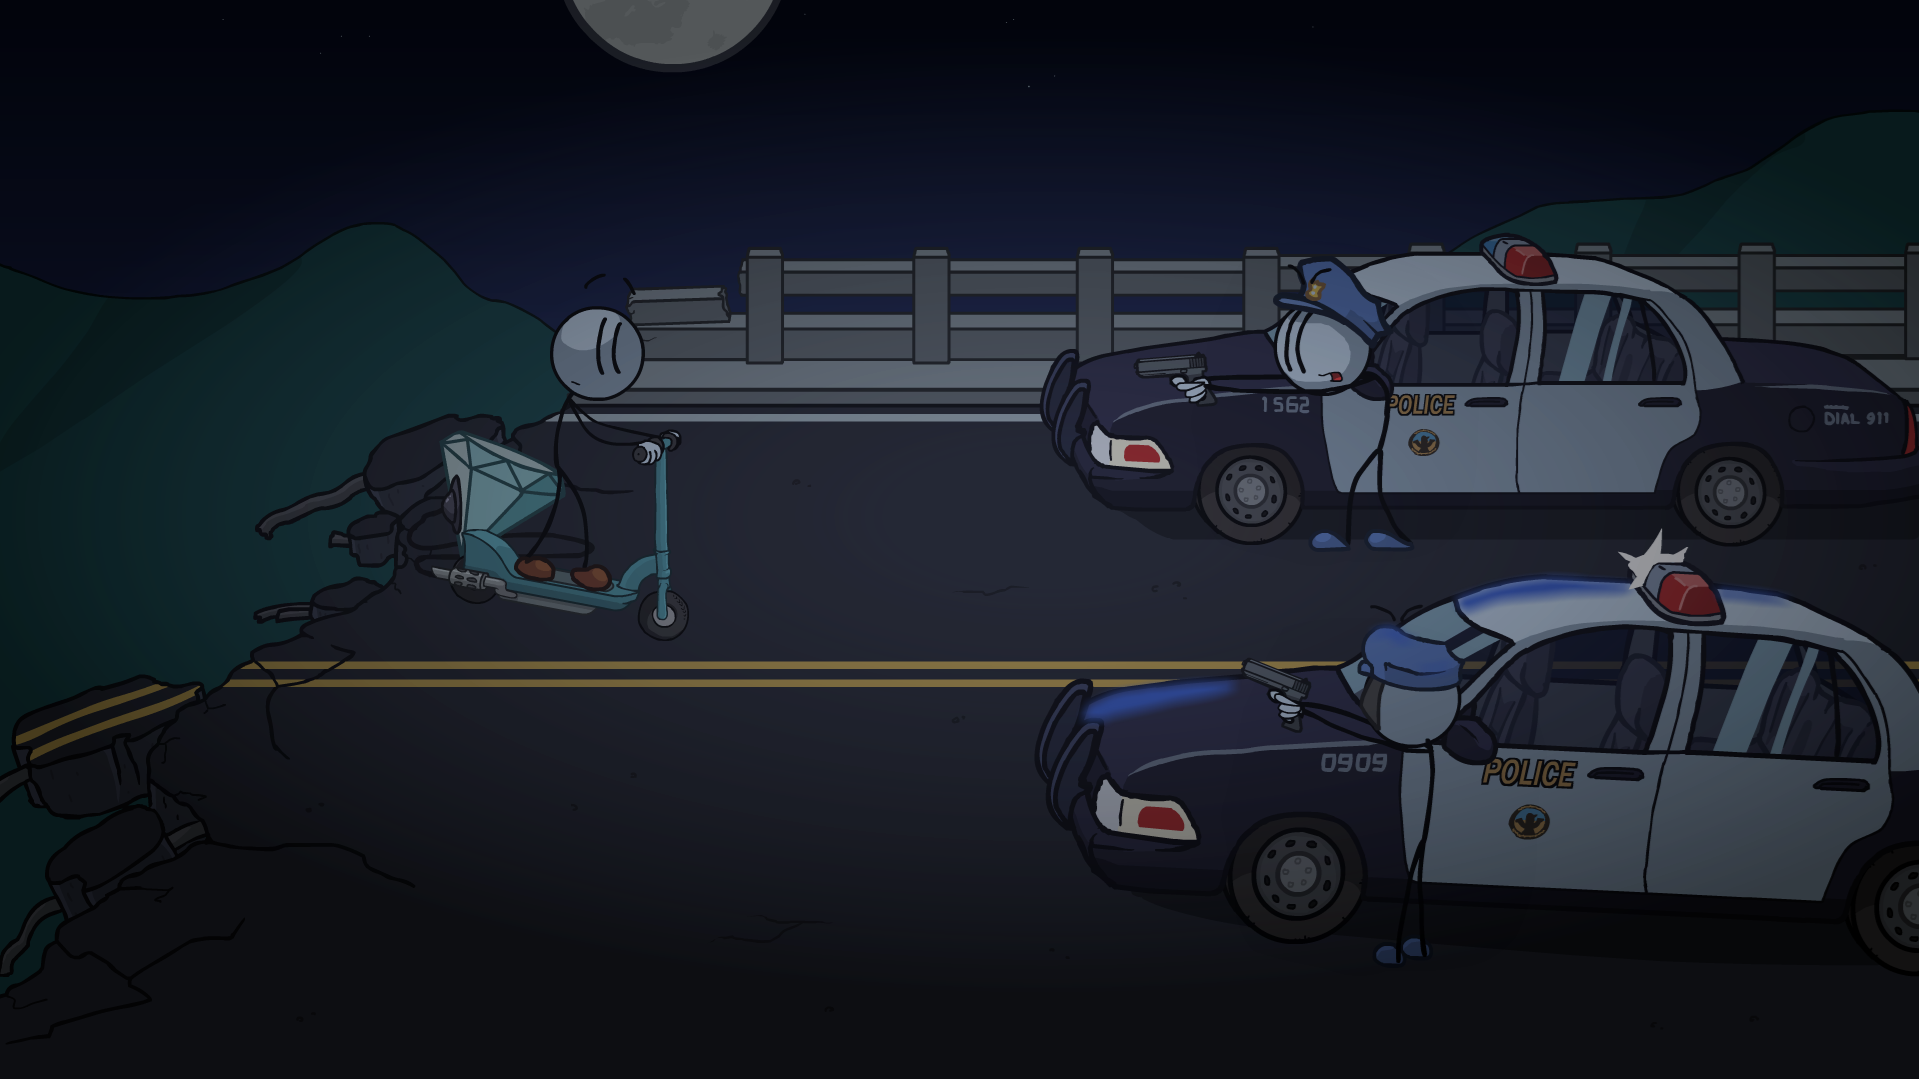
In Police chase (heli), choose anything but Bubble shield to easily get these two.
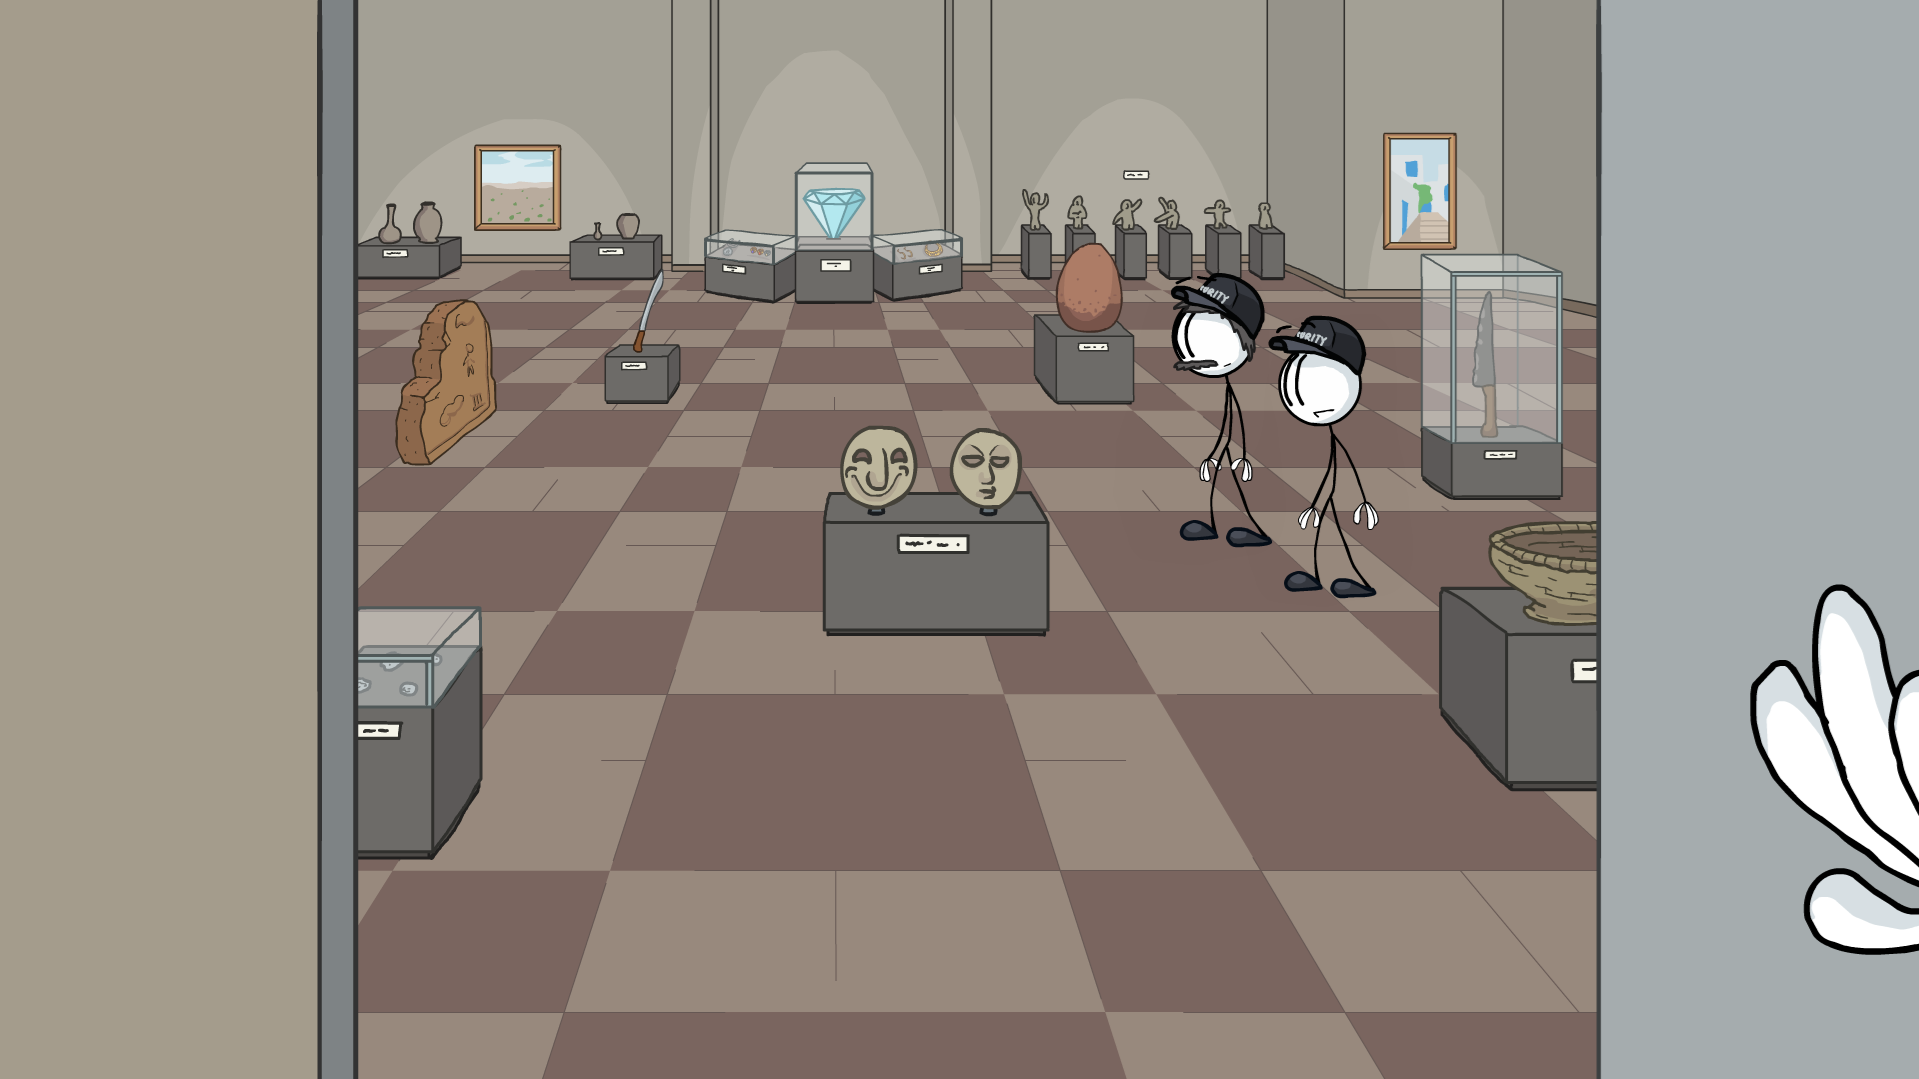
In Tunisian Entrance, after choosing Upwards arrow you can get Dave who lays on the floor behind pillar.
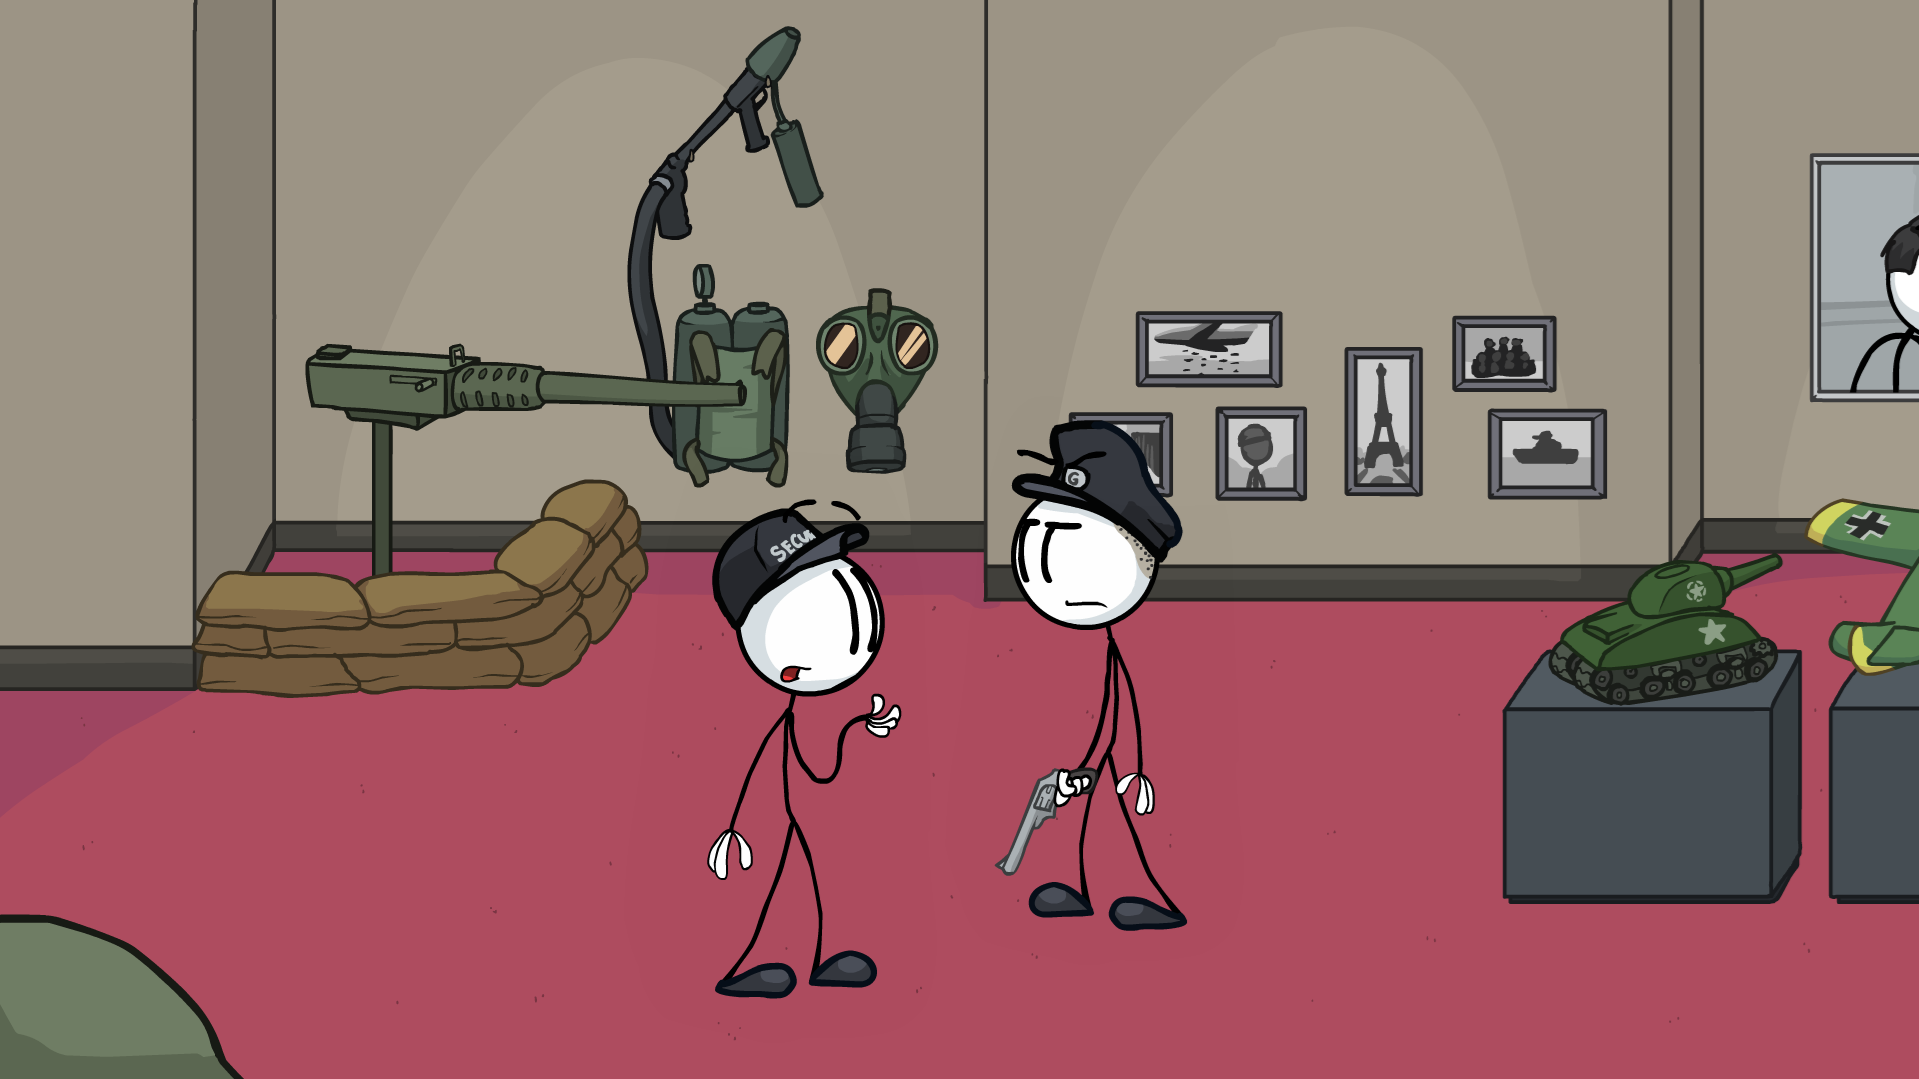
In Retro Exhibit, choose Goodball and get these two while everything plunge into chaos.
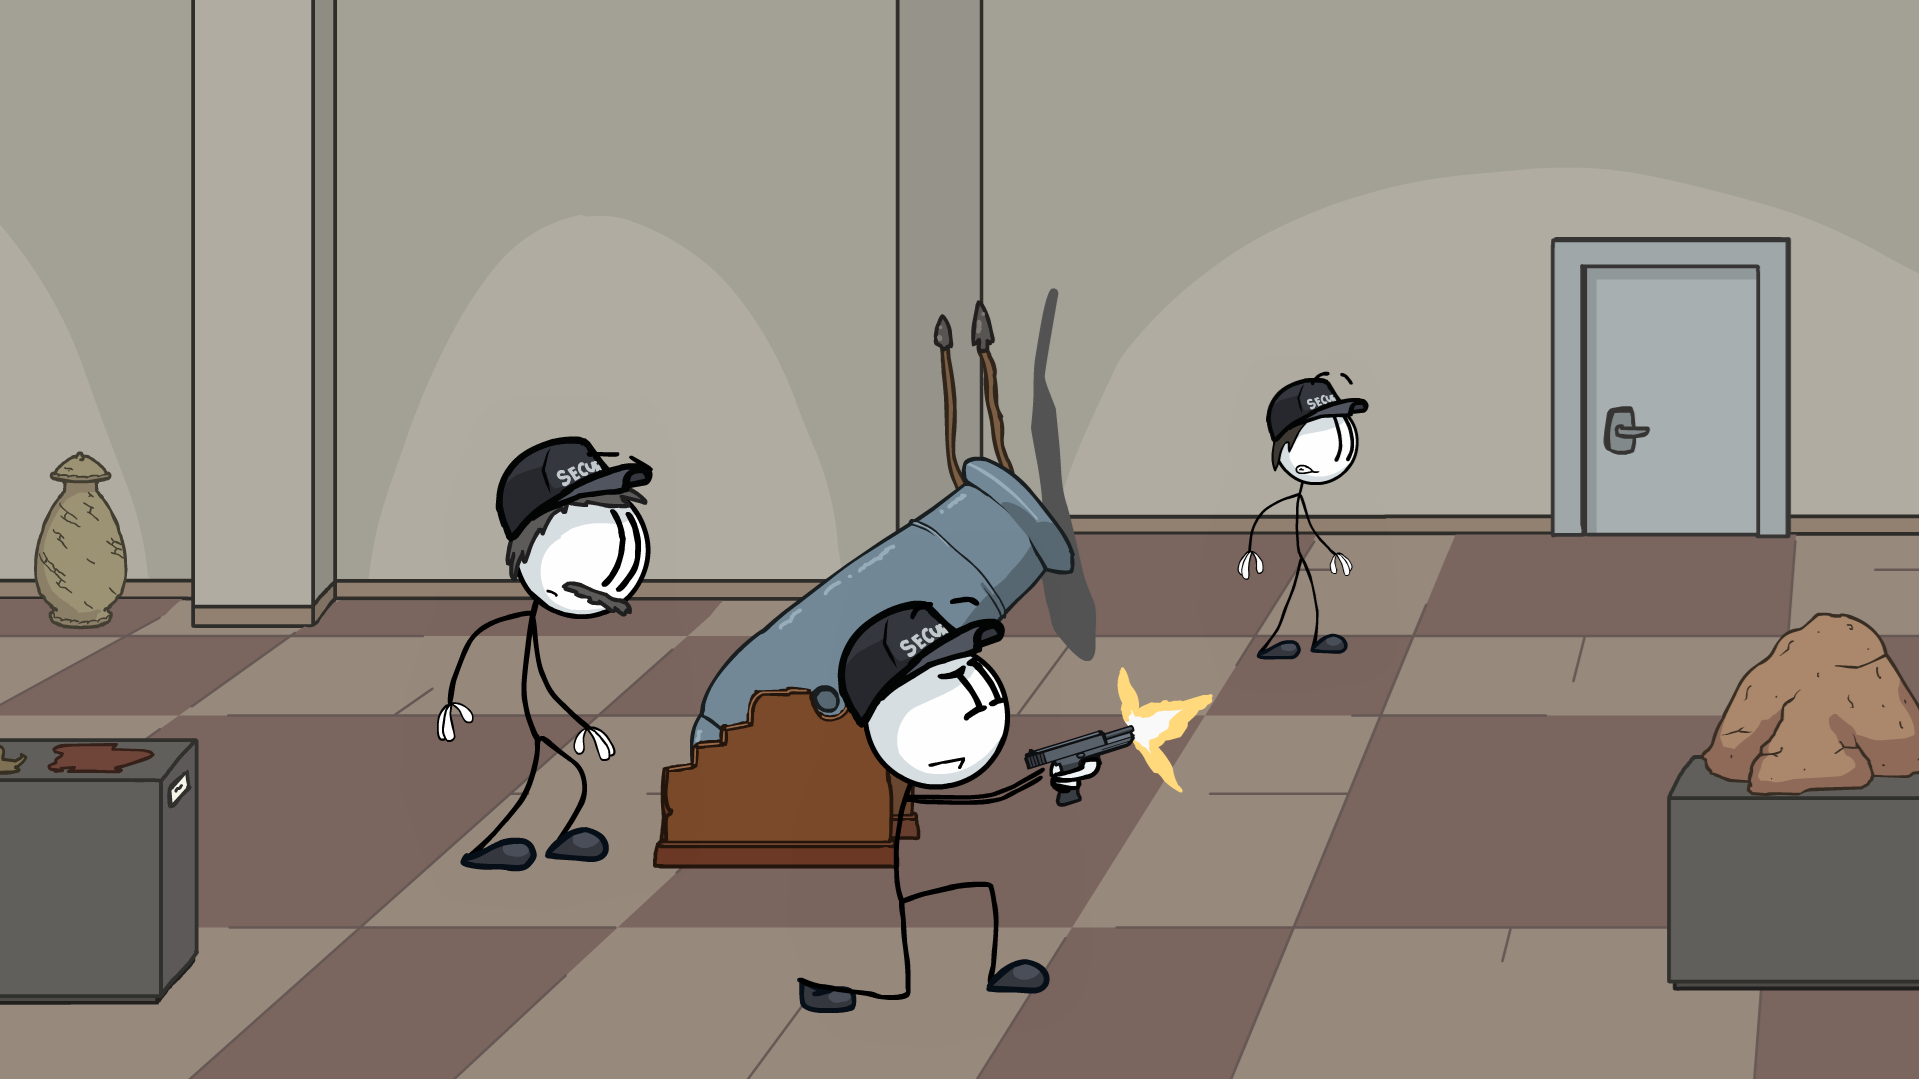
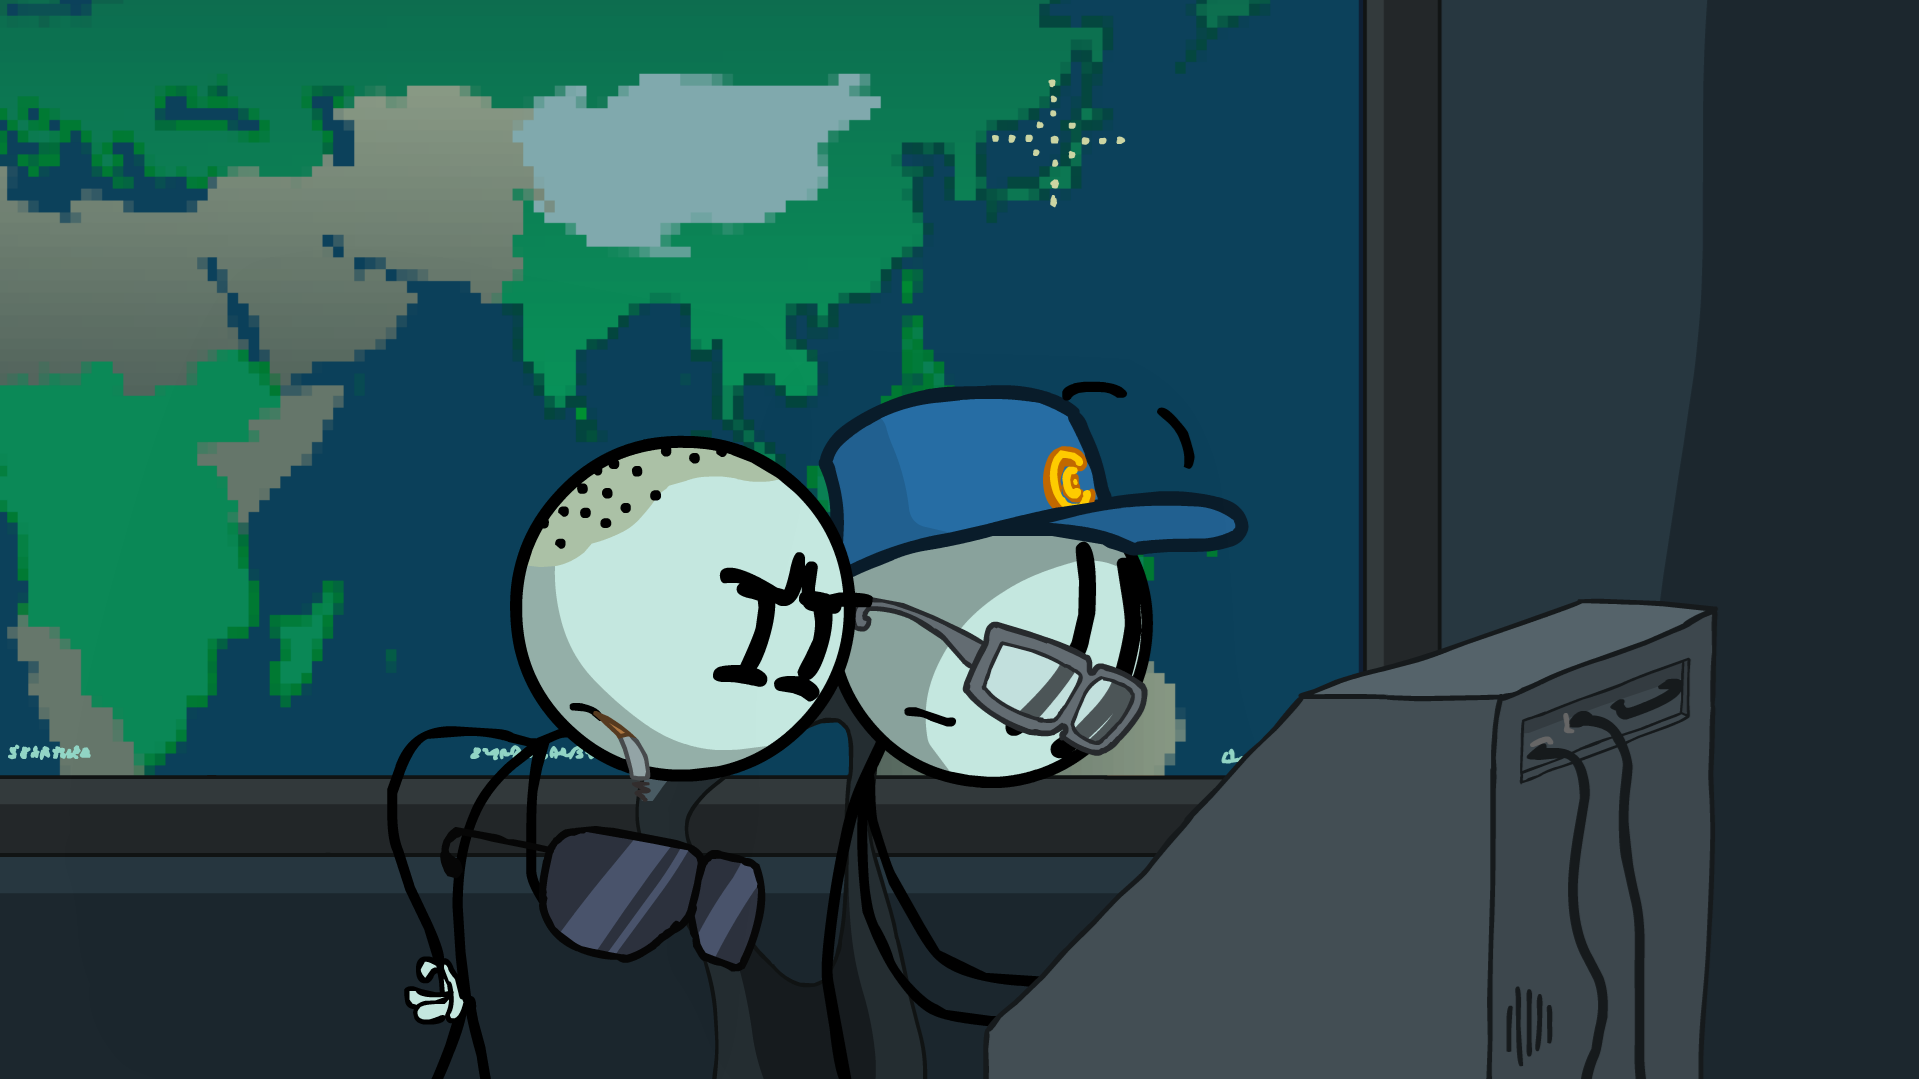
ᅠStD - Red Achivments:
 I TOLD you about stairs.
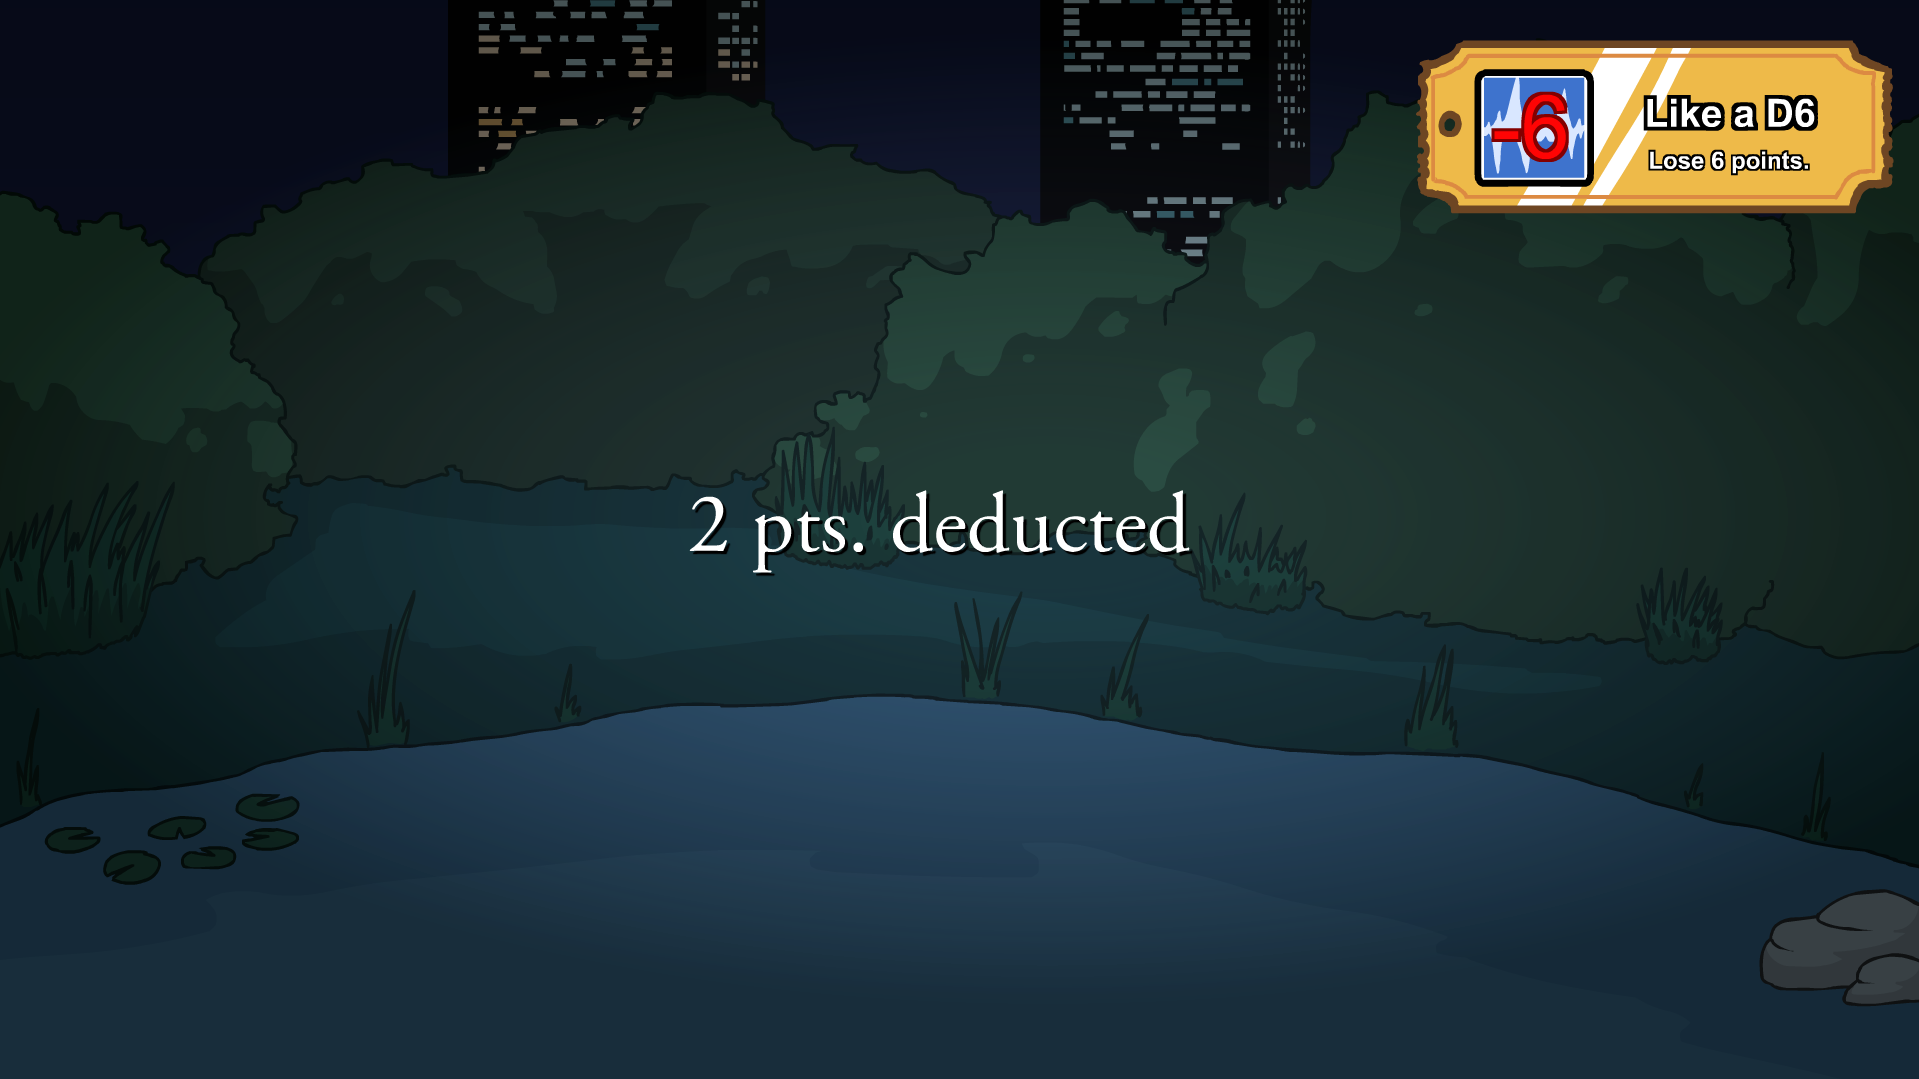
In Backdoor, choose Snap Neck
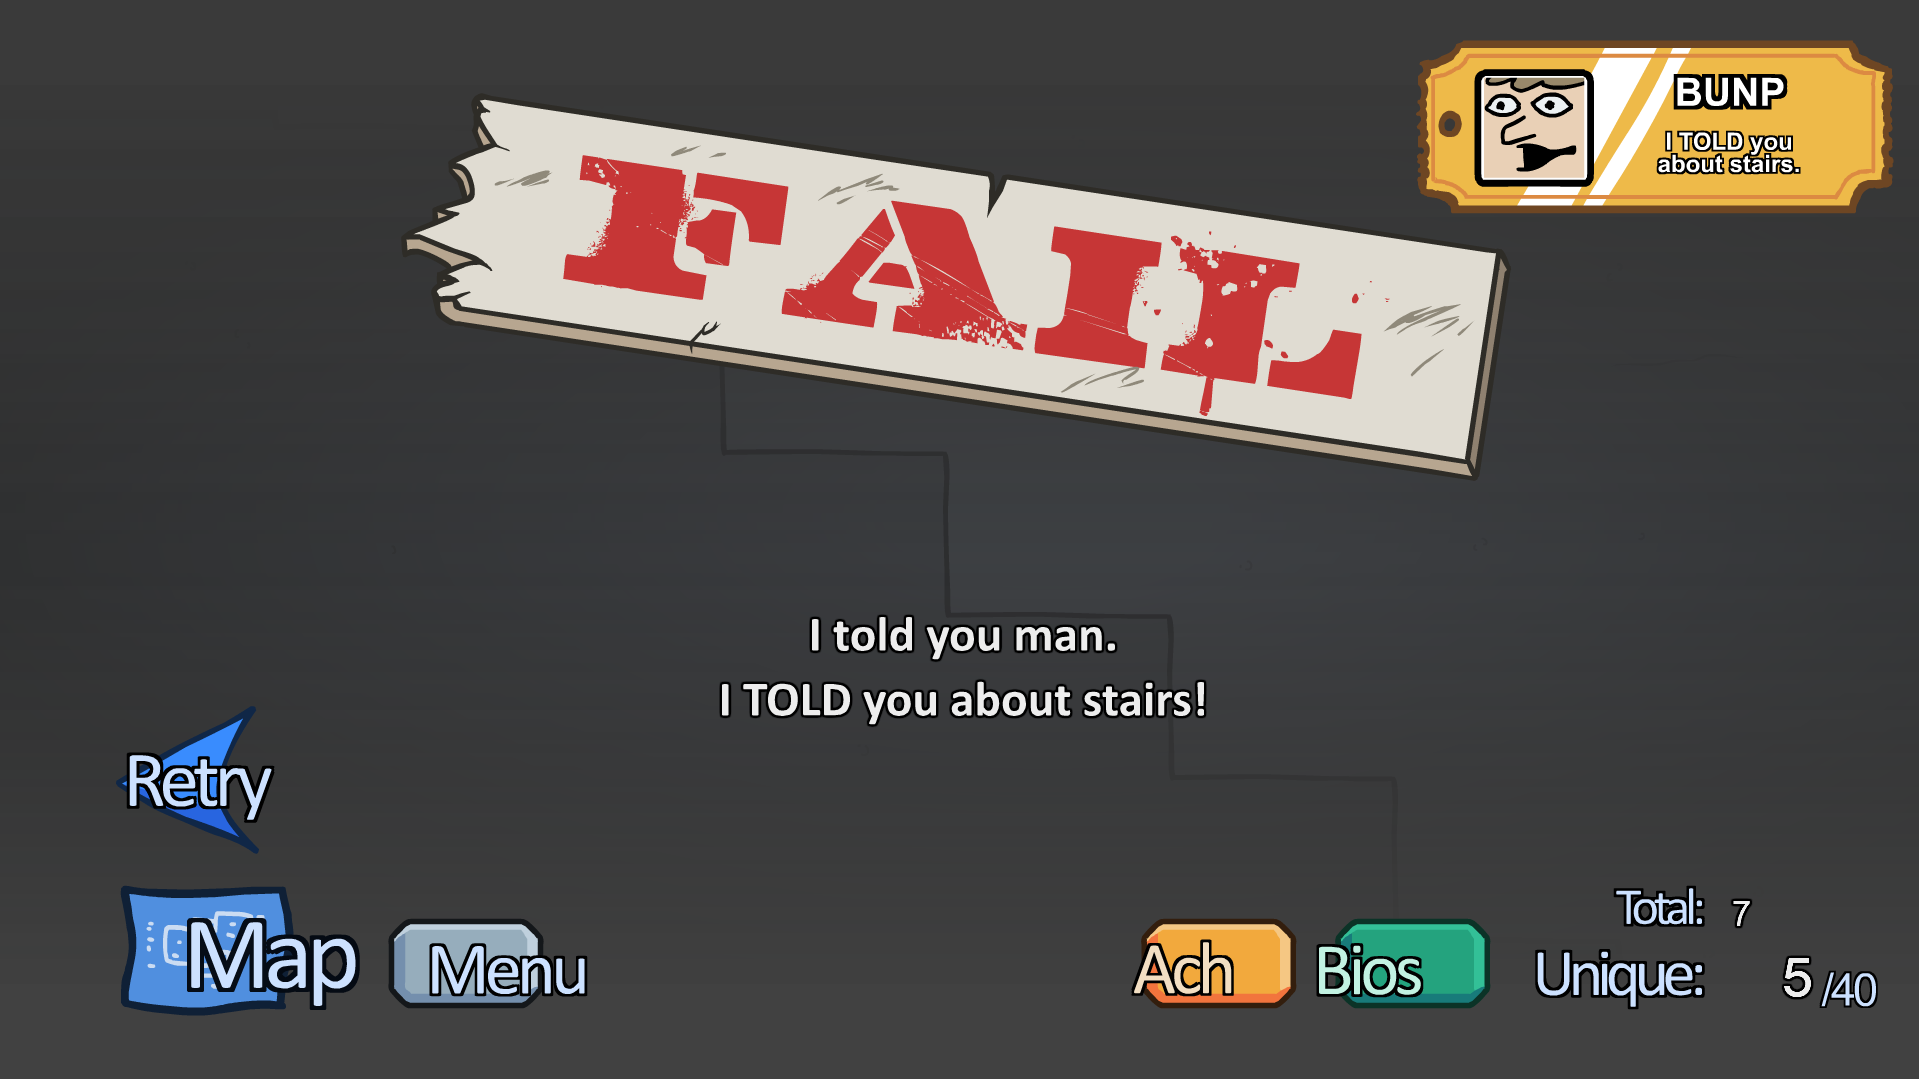
 Lose 6 points.
In Outer Wall, use Jumble Hoppers three times in a row.
 6d 69 73 73 69 6e 67 6e 6f 0d 0a
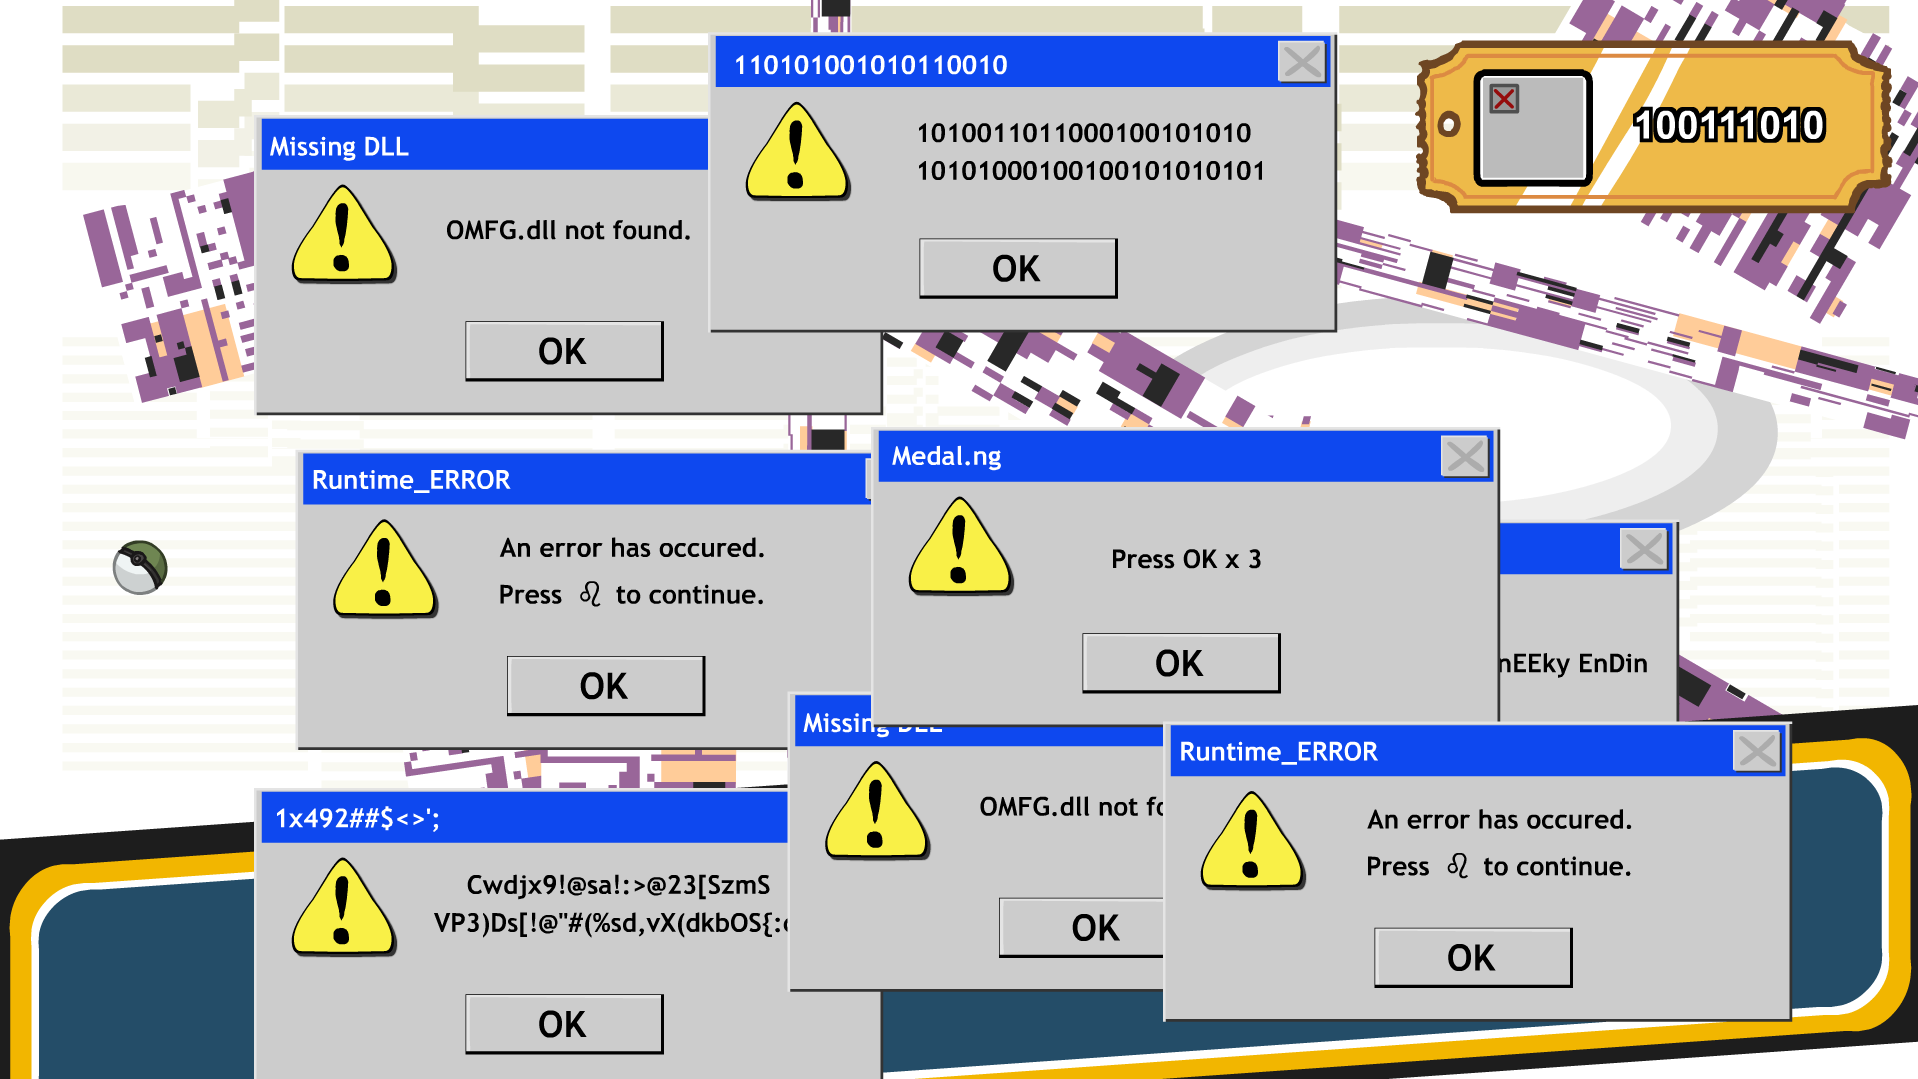
In the Retro Exhibit, choose Goodball and get rid of at least 3 error messages before the failure message pops up.
 I must own this art.
To get this achivment, you need to collect 30 pieces of art (after clicking, they will not reapperar - easier stealing)
In Parking Lot, choose Ram and be fast to get all 7 of them. (7/30)
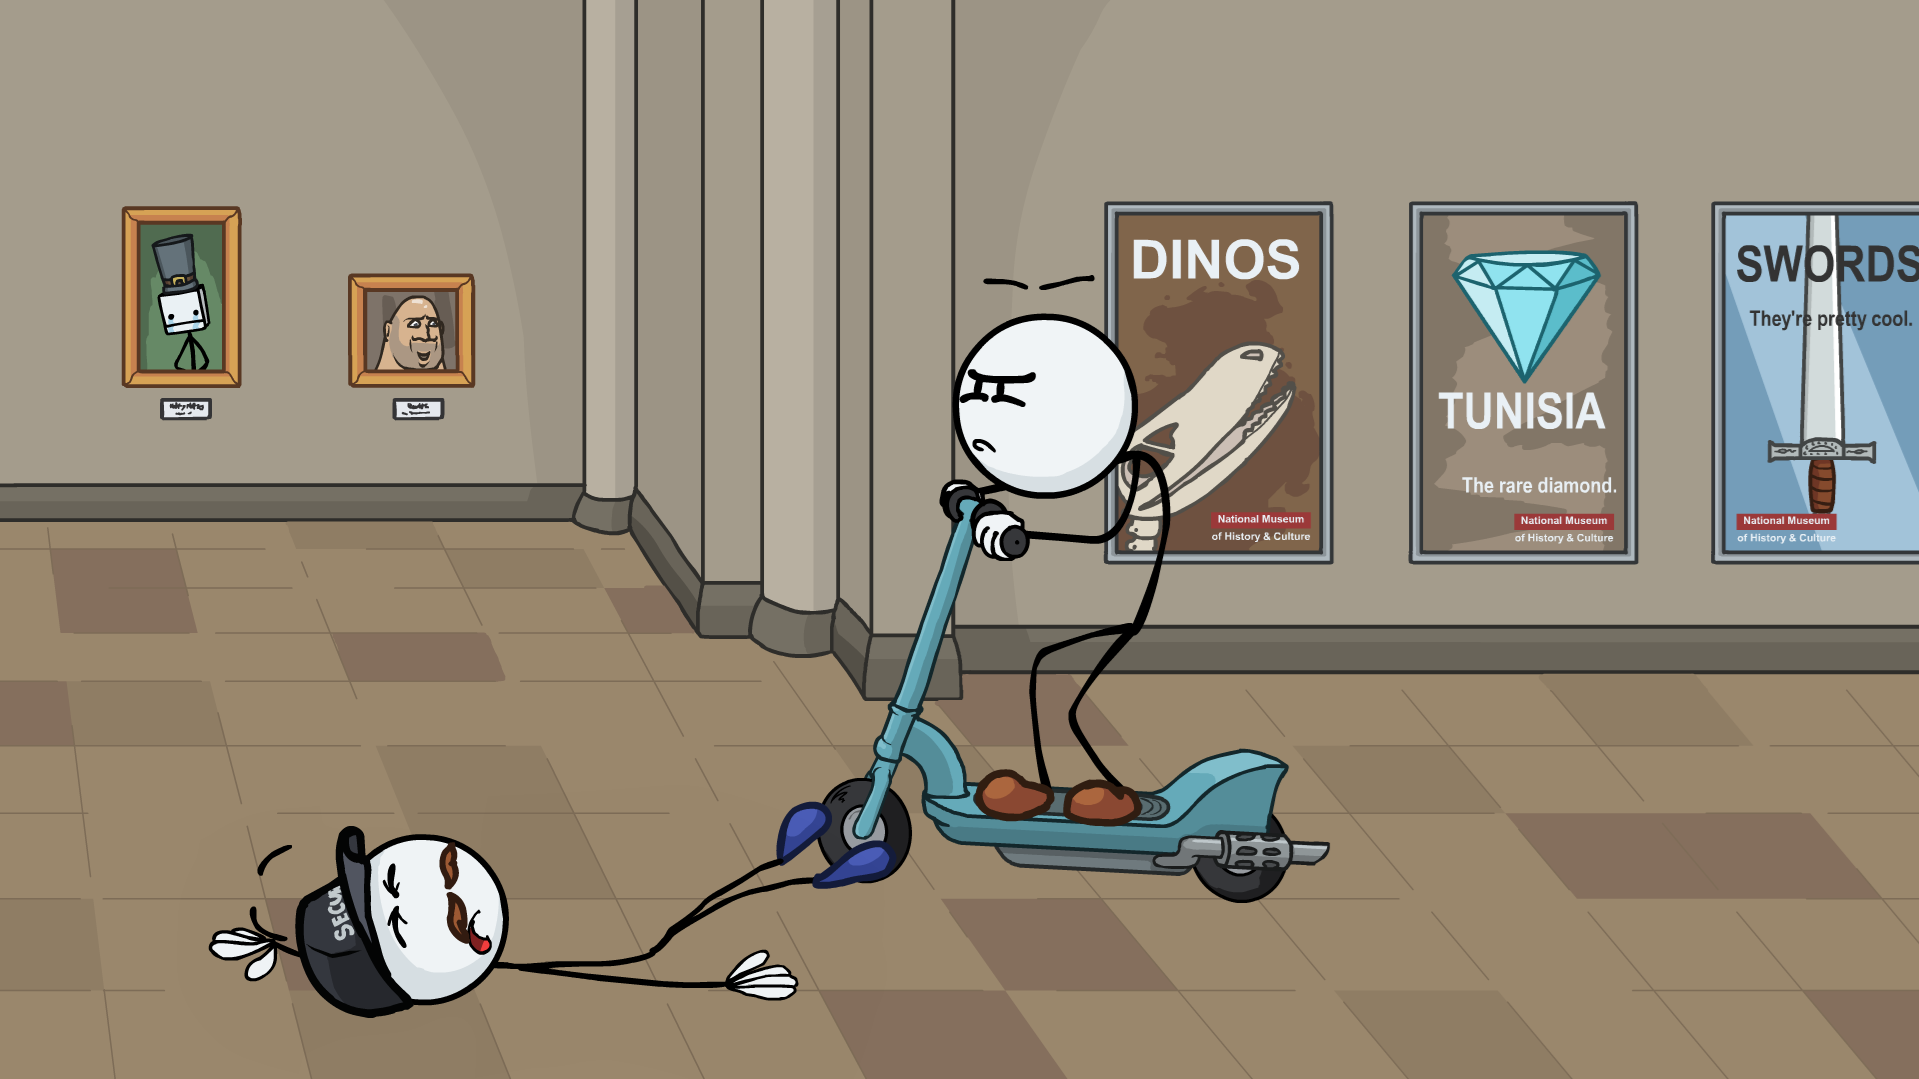
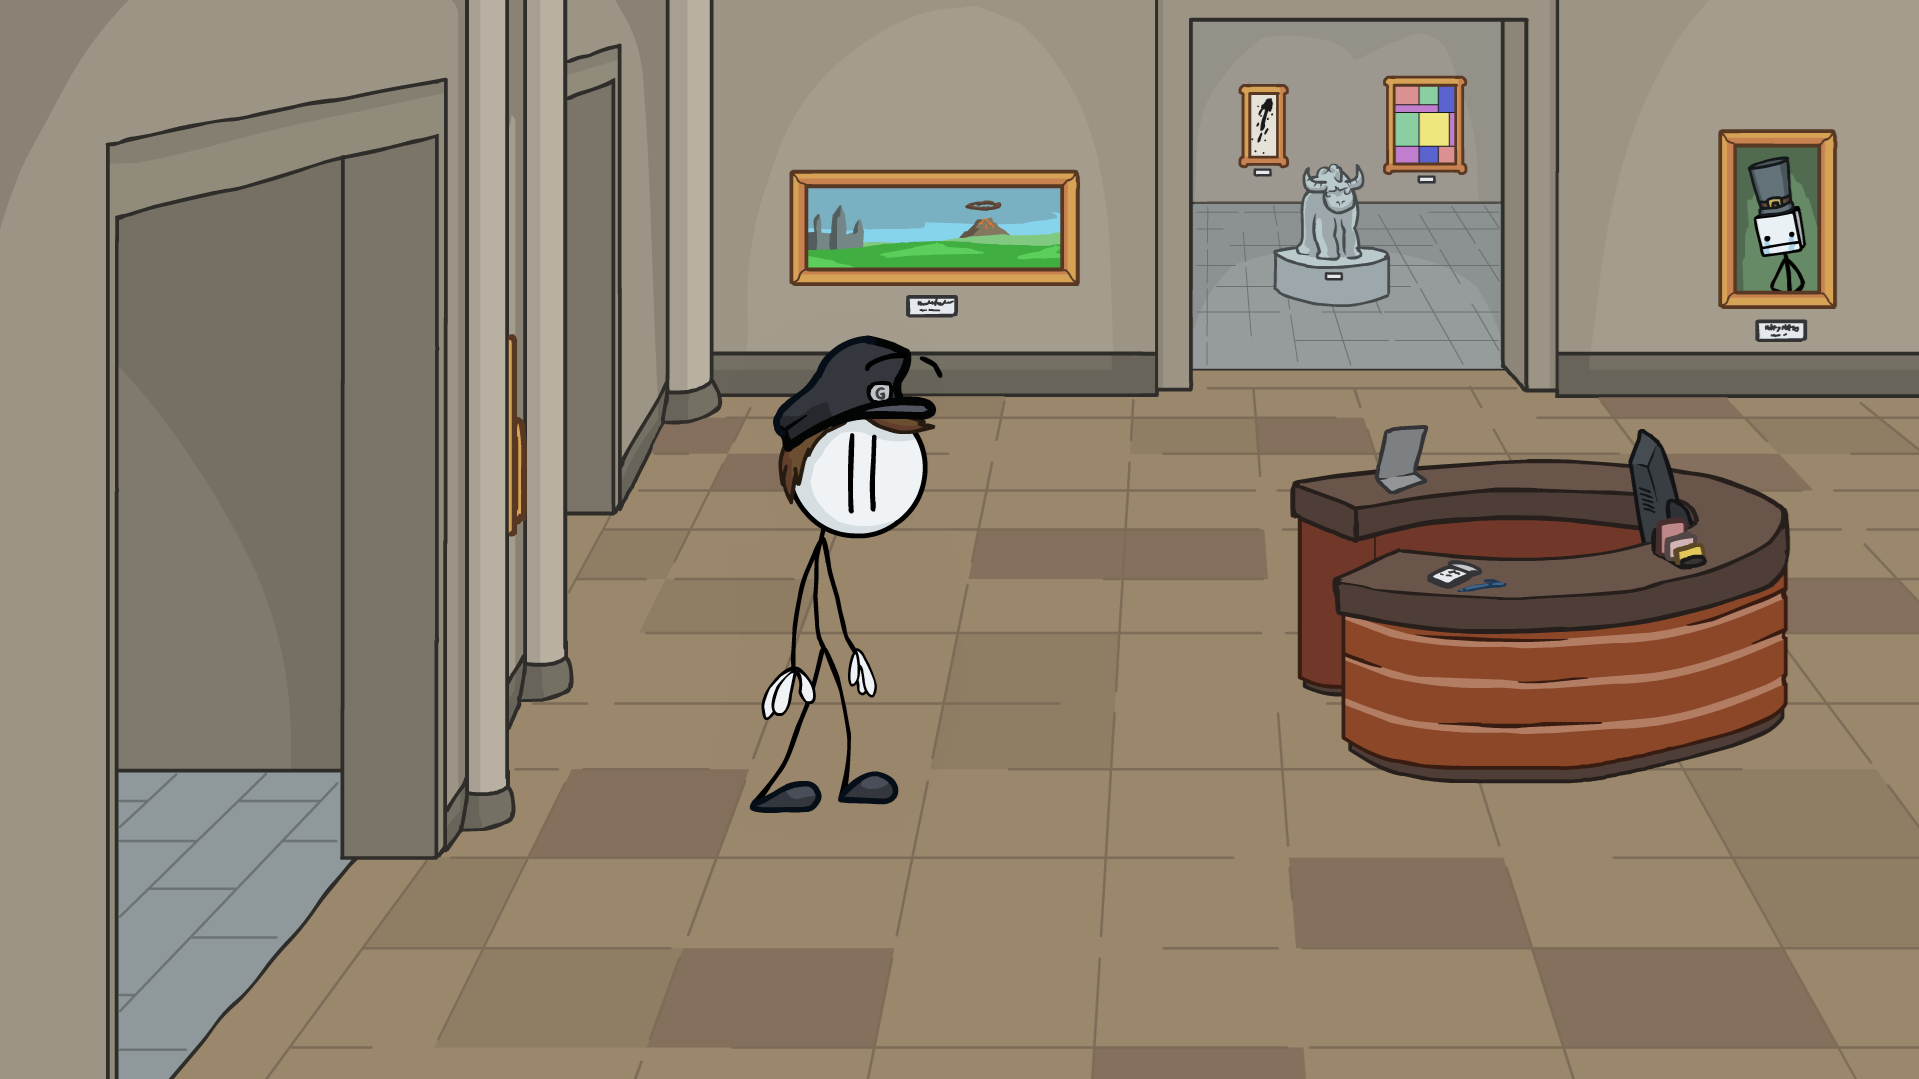
In Medival Hall, before quick time event options show up. (8/30)
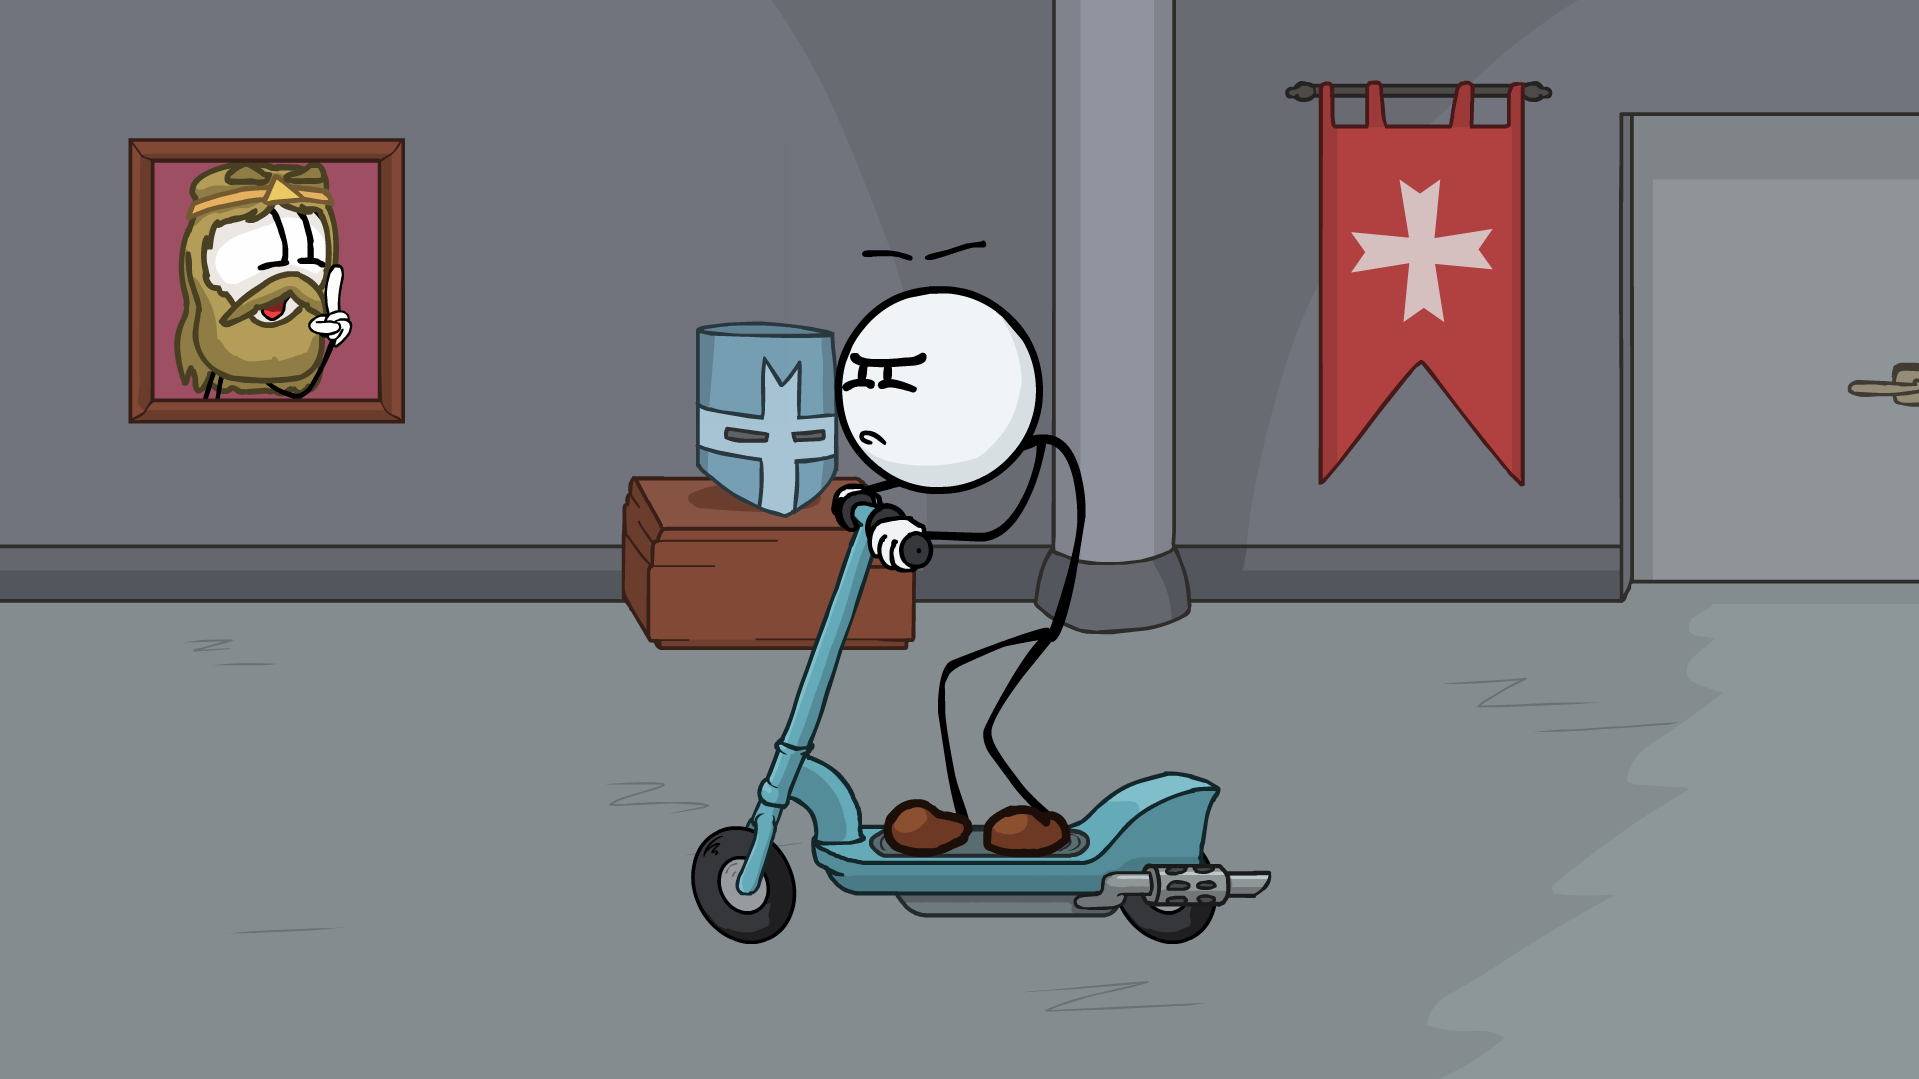
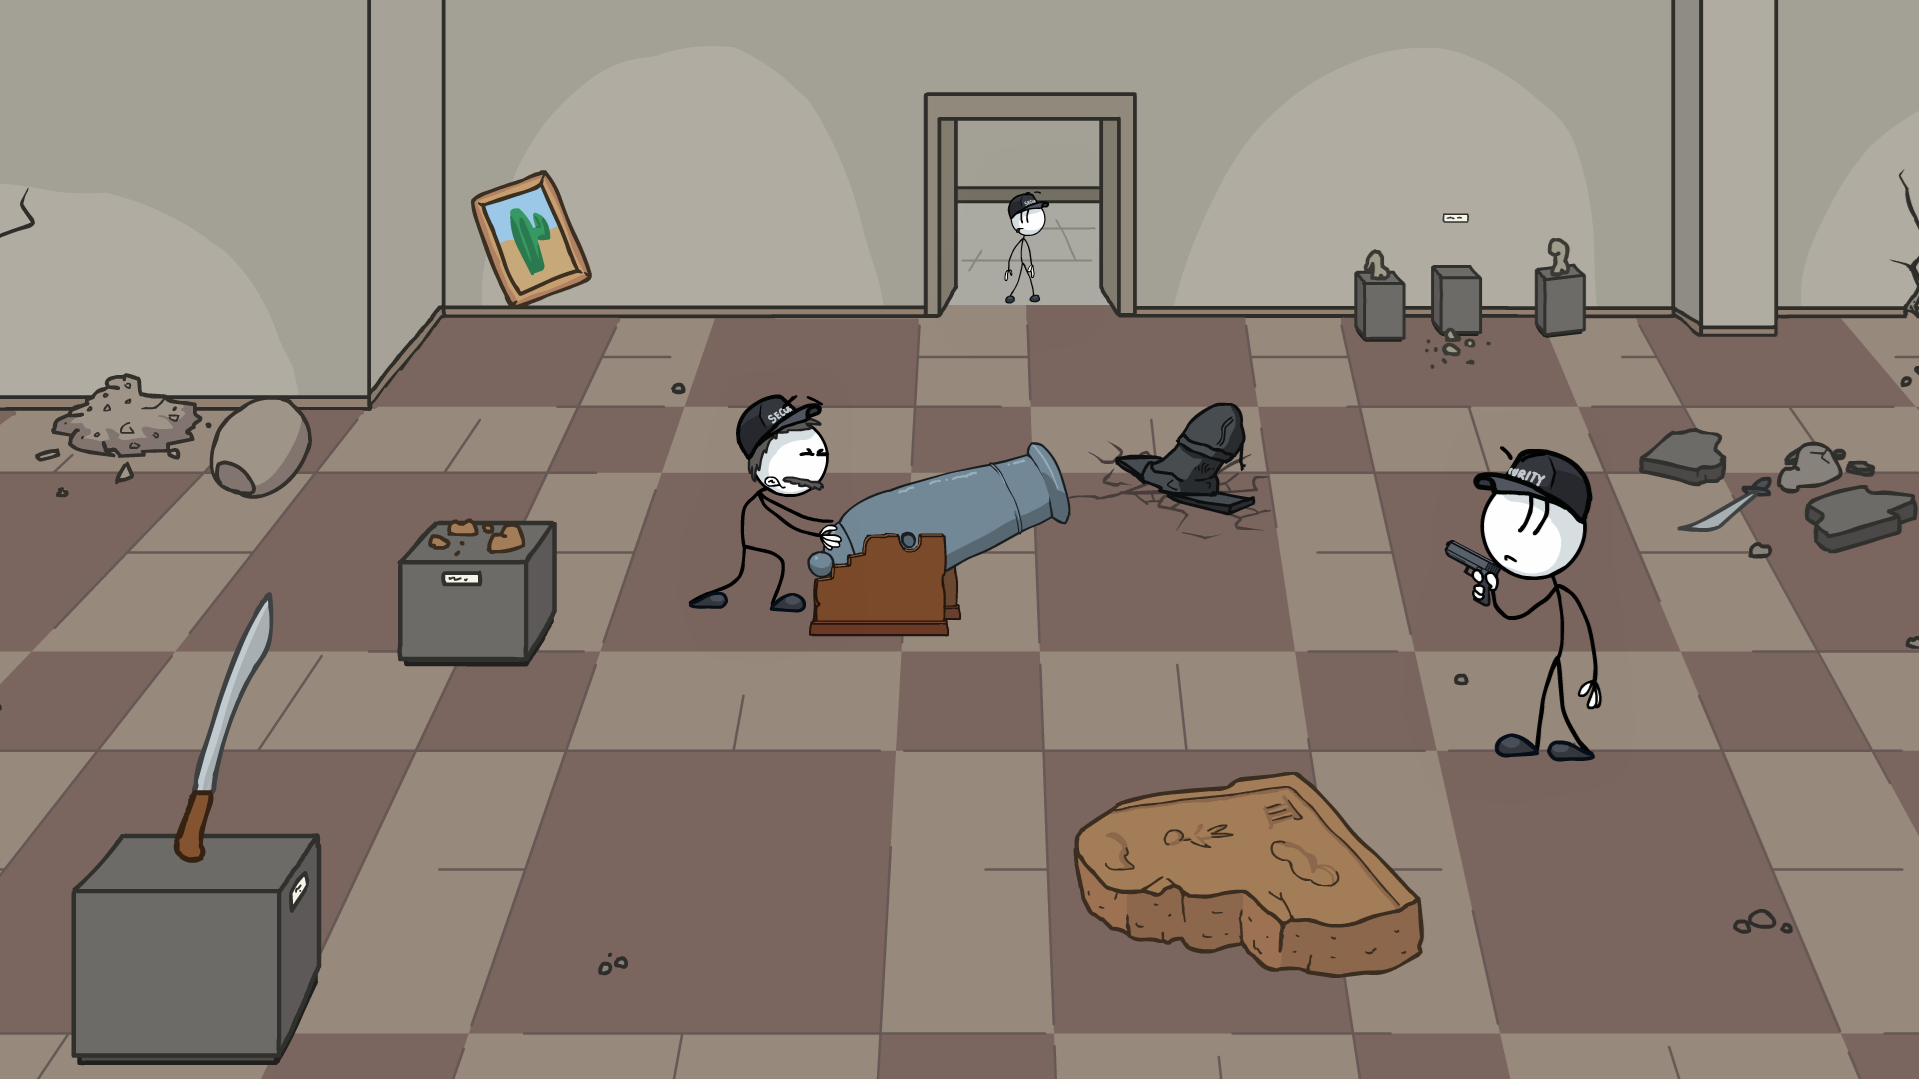
In Medival Hall, choose anything and grab two at the wall. (10/30)
In Storage, choose Cannon to grab one with a pirate and three more leaning on the wall.
You can also choose Cheese for first one and then retry and use Plank to get other three and go to next scene. (14/30)
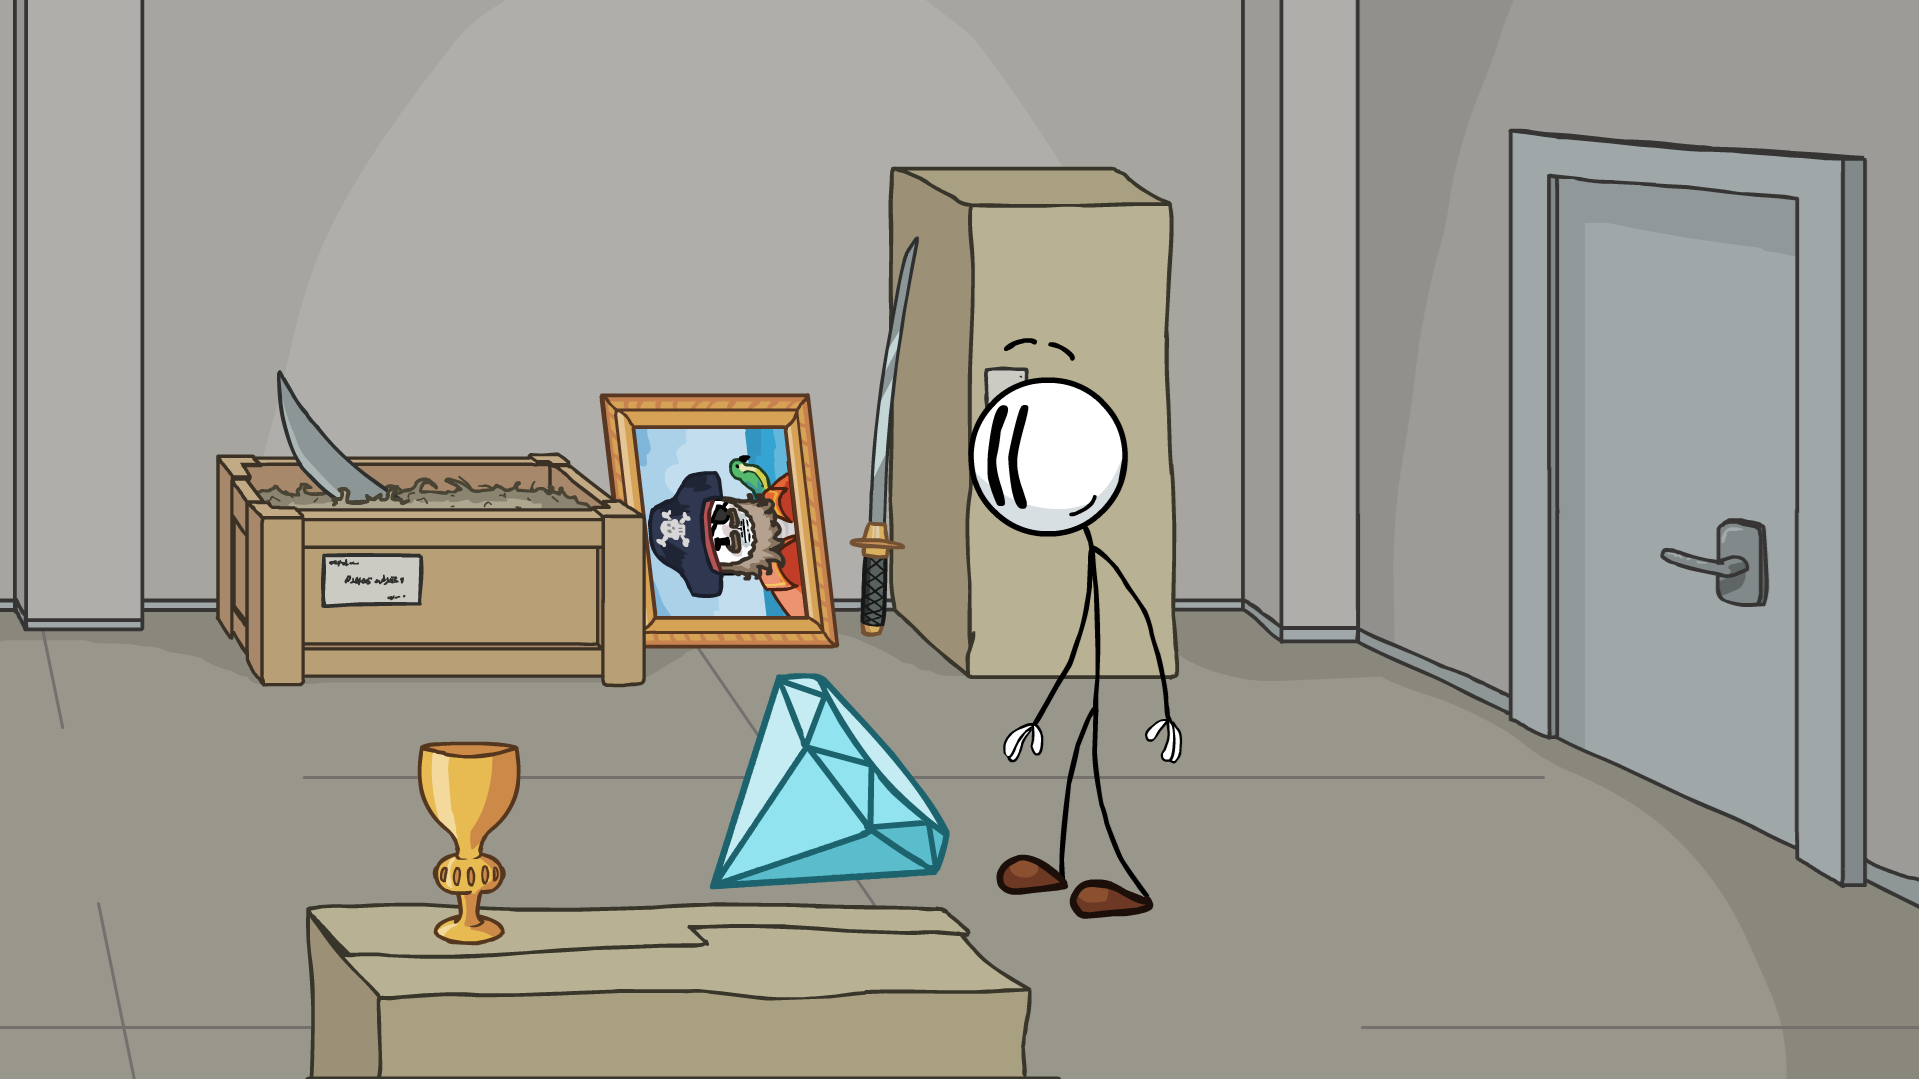
In Outer Wall, choose Pick and grab all of the art on the wall before choices pop up.
In WWII Exhibit, choose anything and grab what you missed in previous point. (21/30)
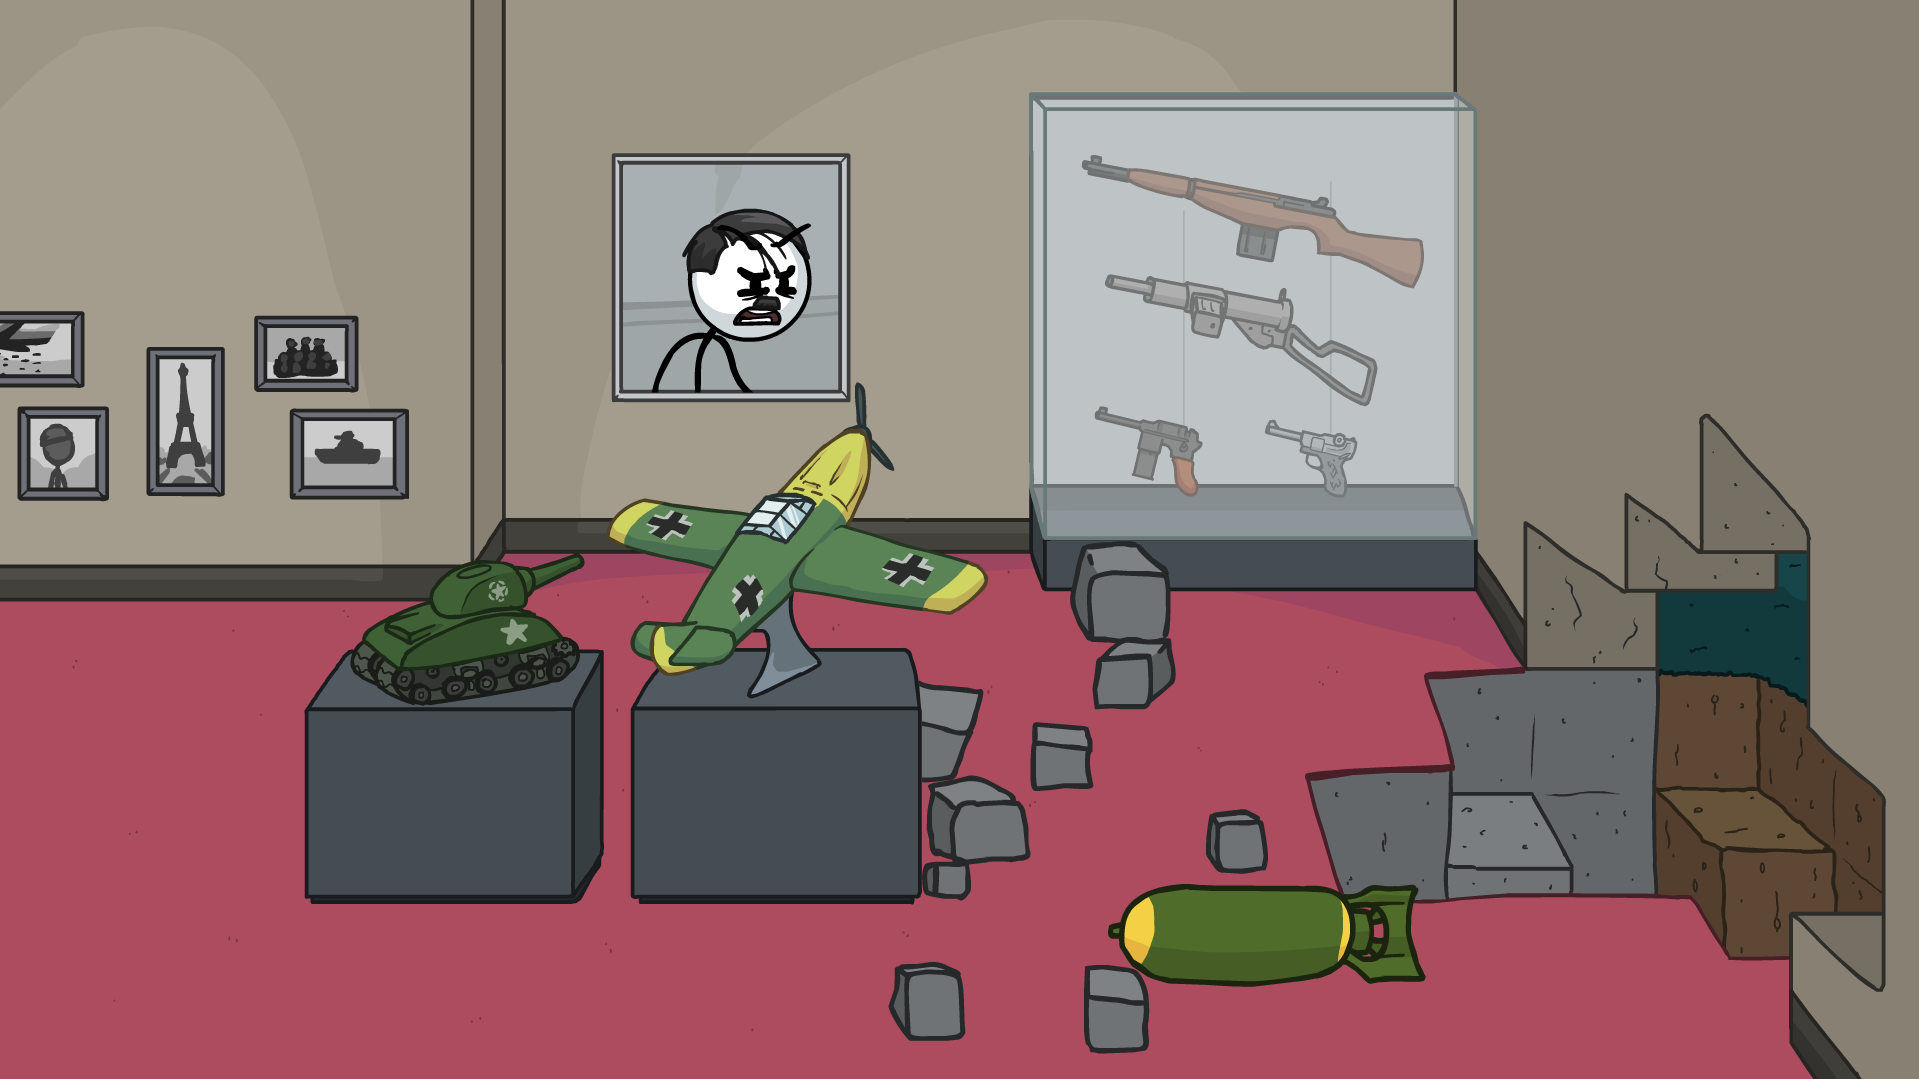
In Tunisian Entrance, choose Left arrow (Retro Exhibit) and grab two paintings before options show up. (23/30)
In Retro Exhibit, choose Alien and get three paintings on a wall in this room. (26/30)
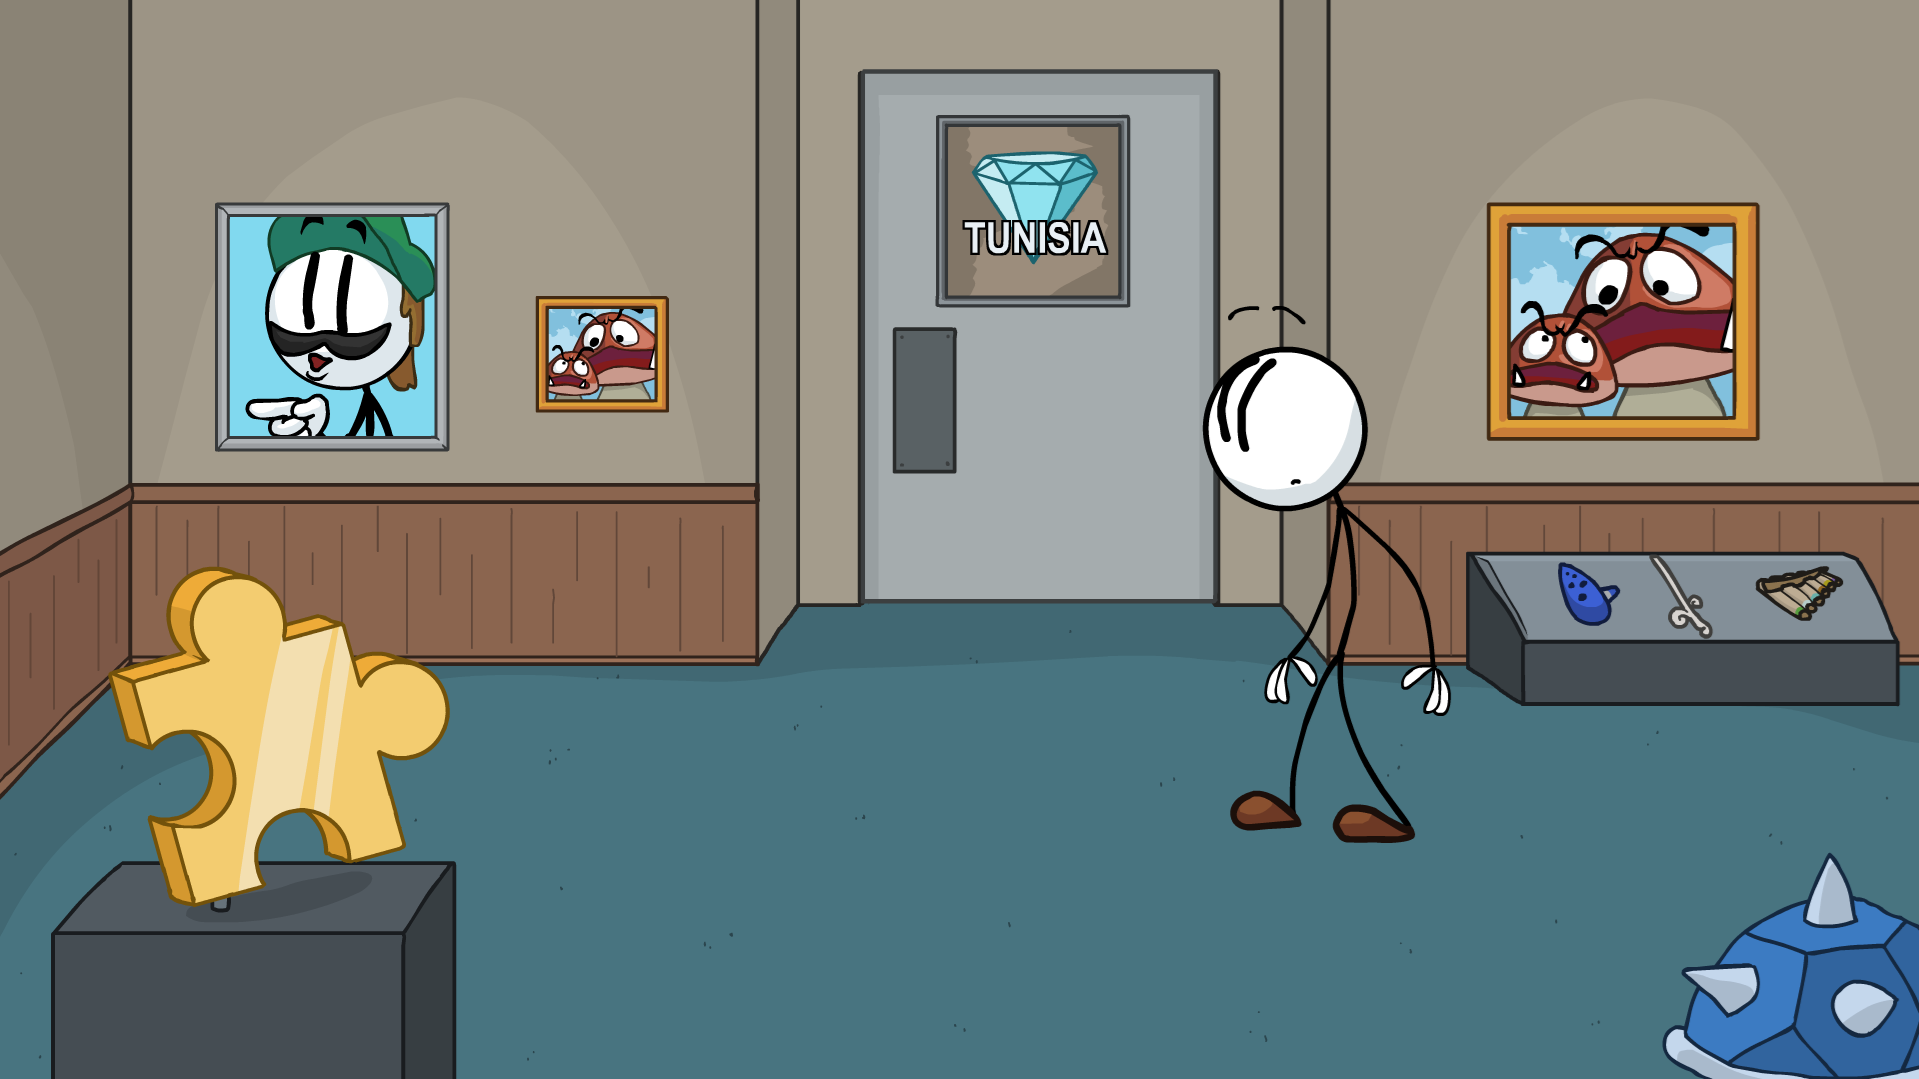
In Retro Exhibit, choose Mushroom and get two paintings when Henry hits a wall and in a next scene - next to a guy in a doorway. (29/30)
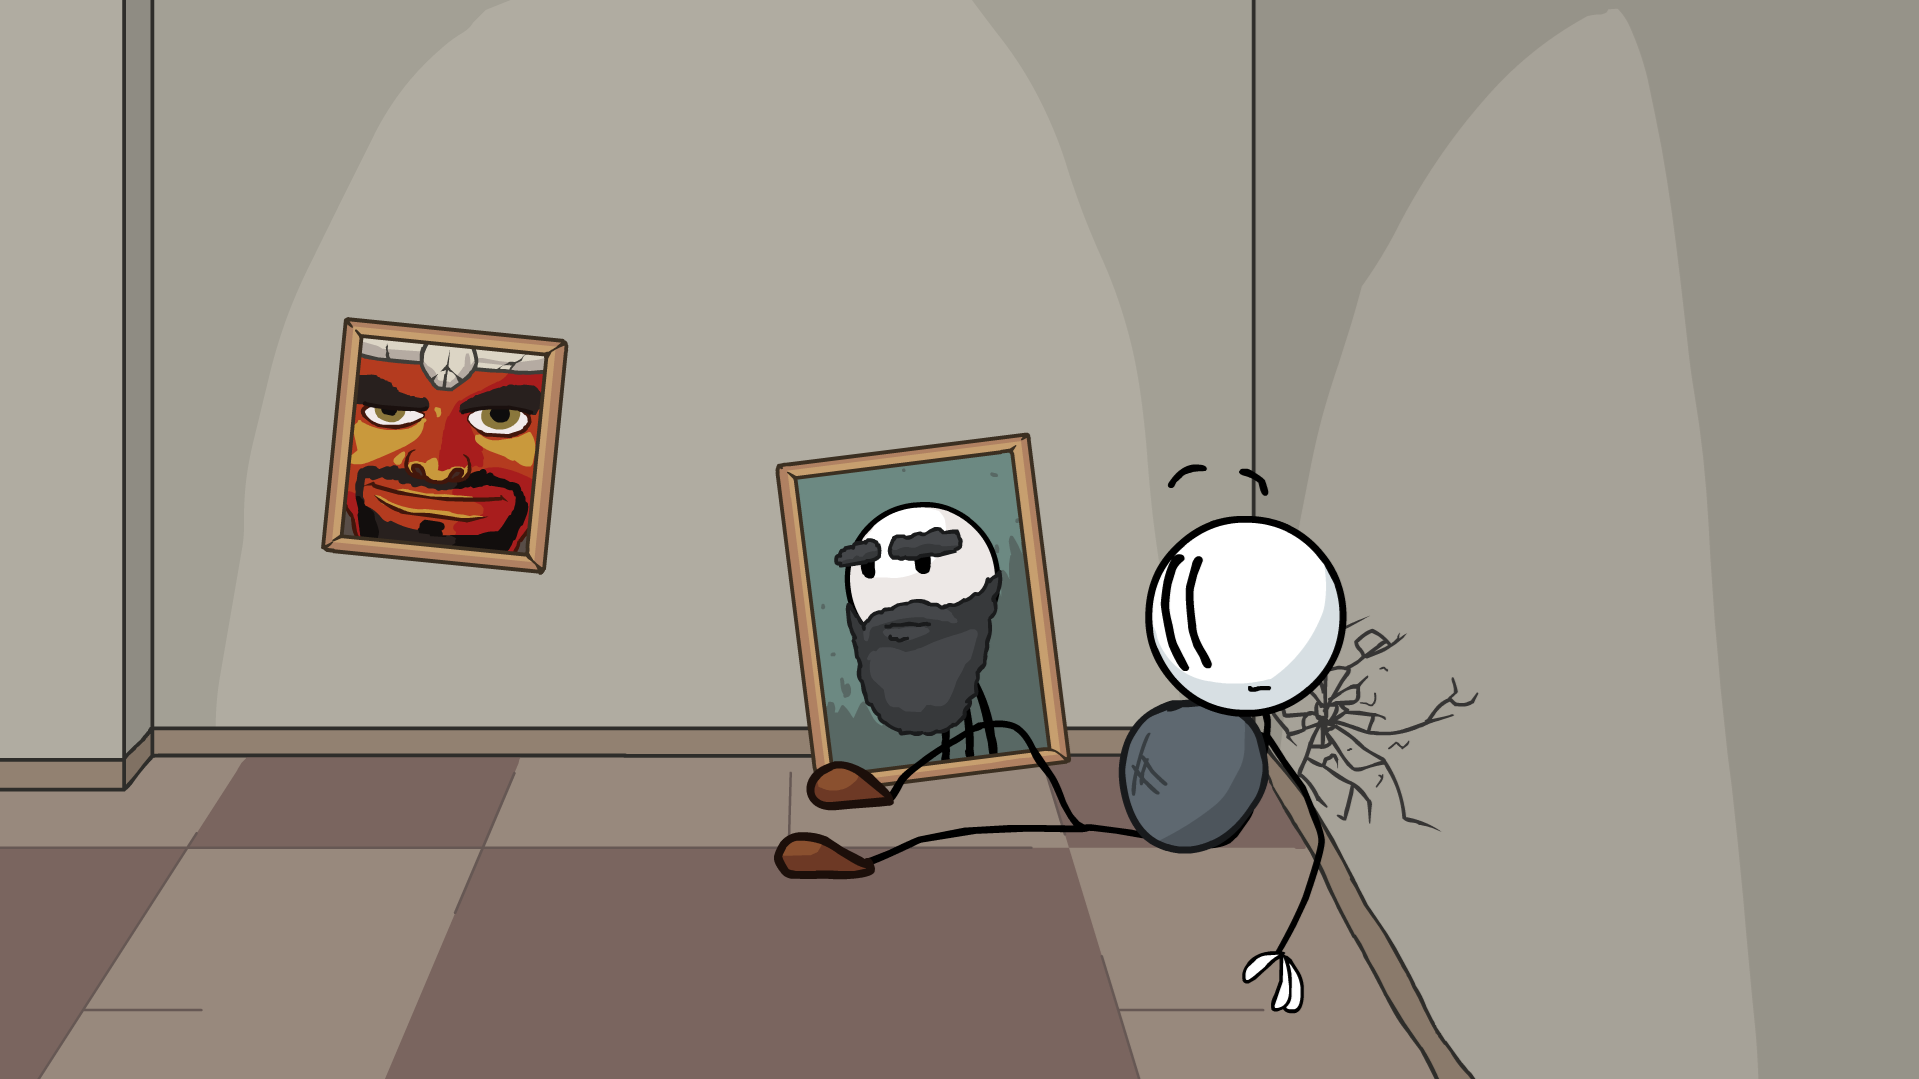
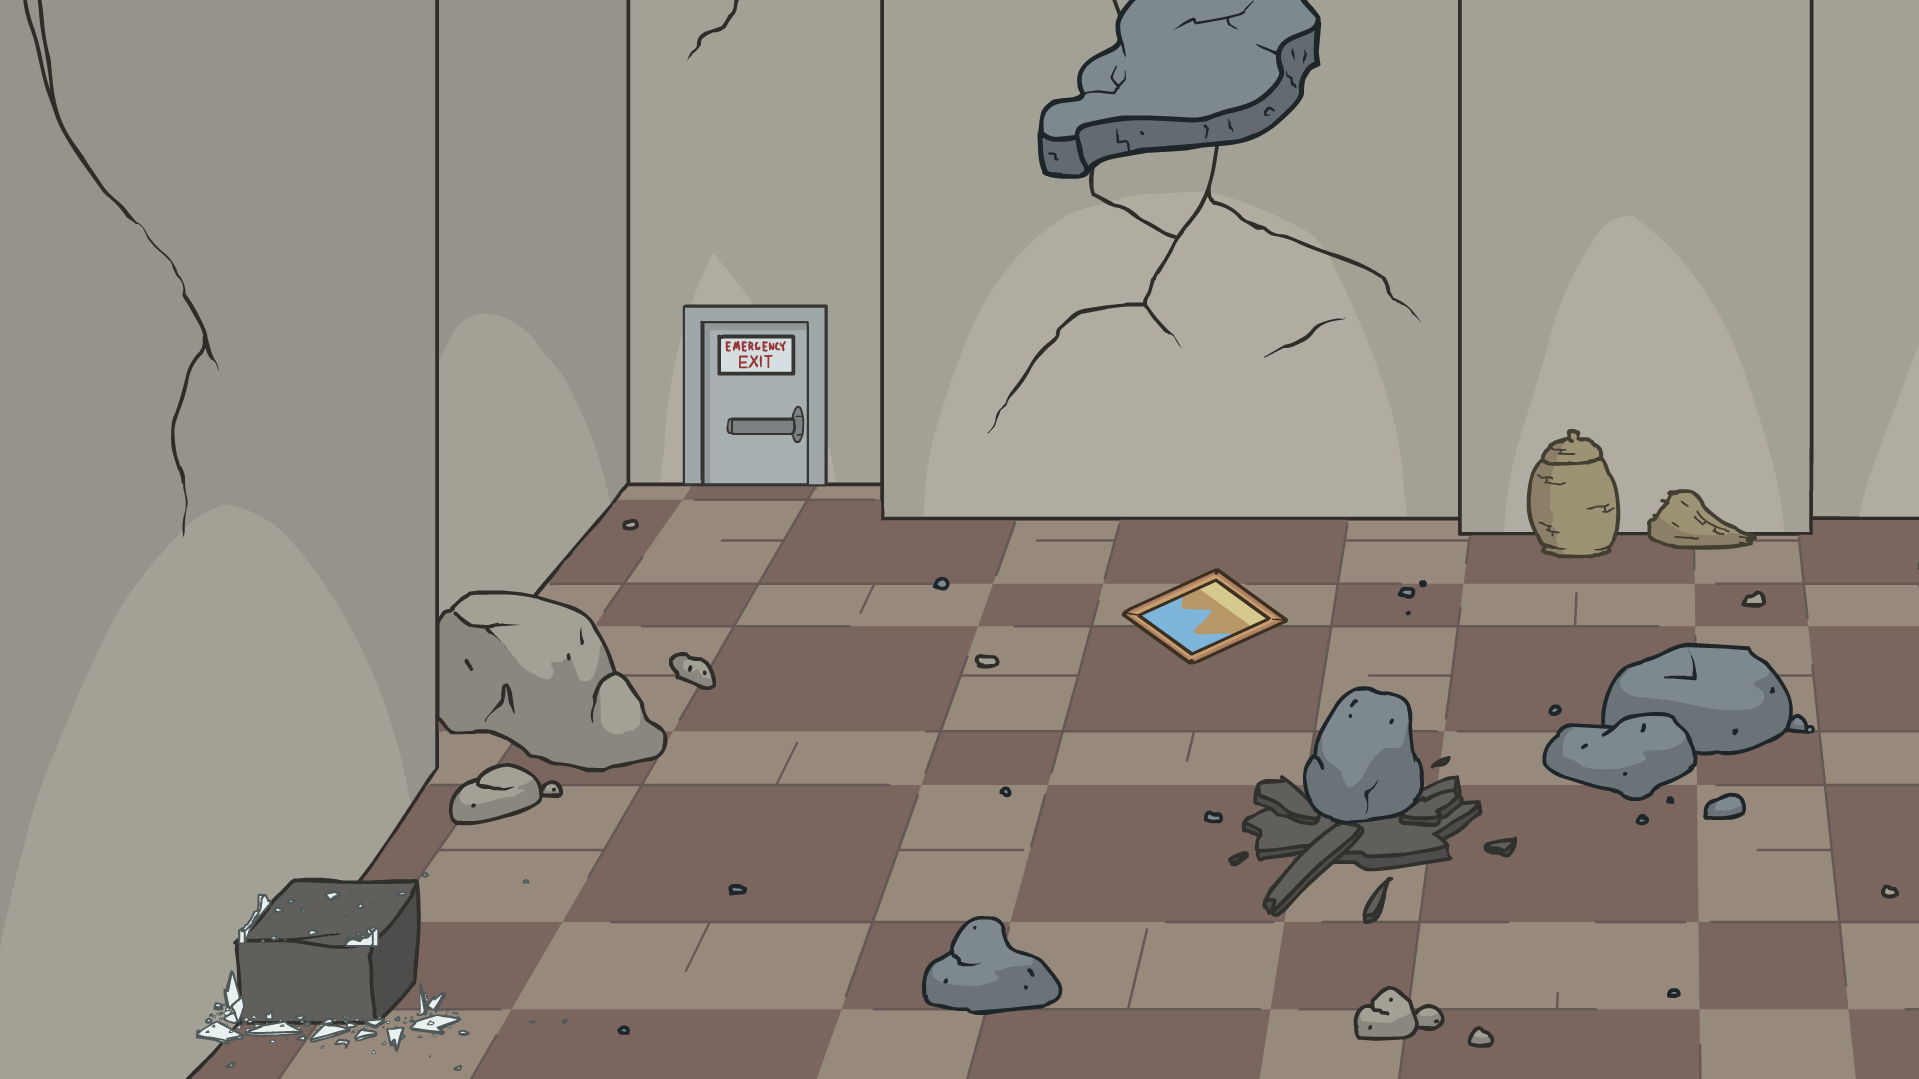
In The C.C.C., choose Bottom-left button (Gear) and during cutscene last painting lays close the exit (be quick - debris will fall from the ceiling and cover it). (30/30)
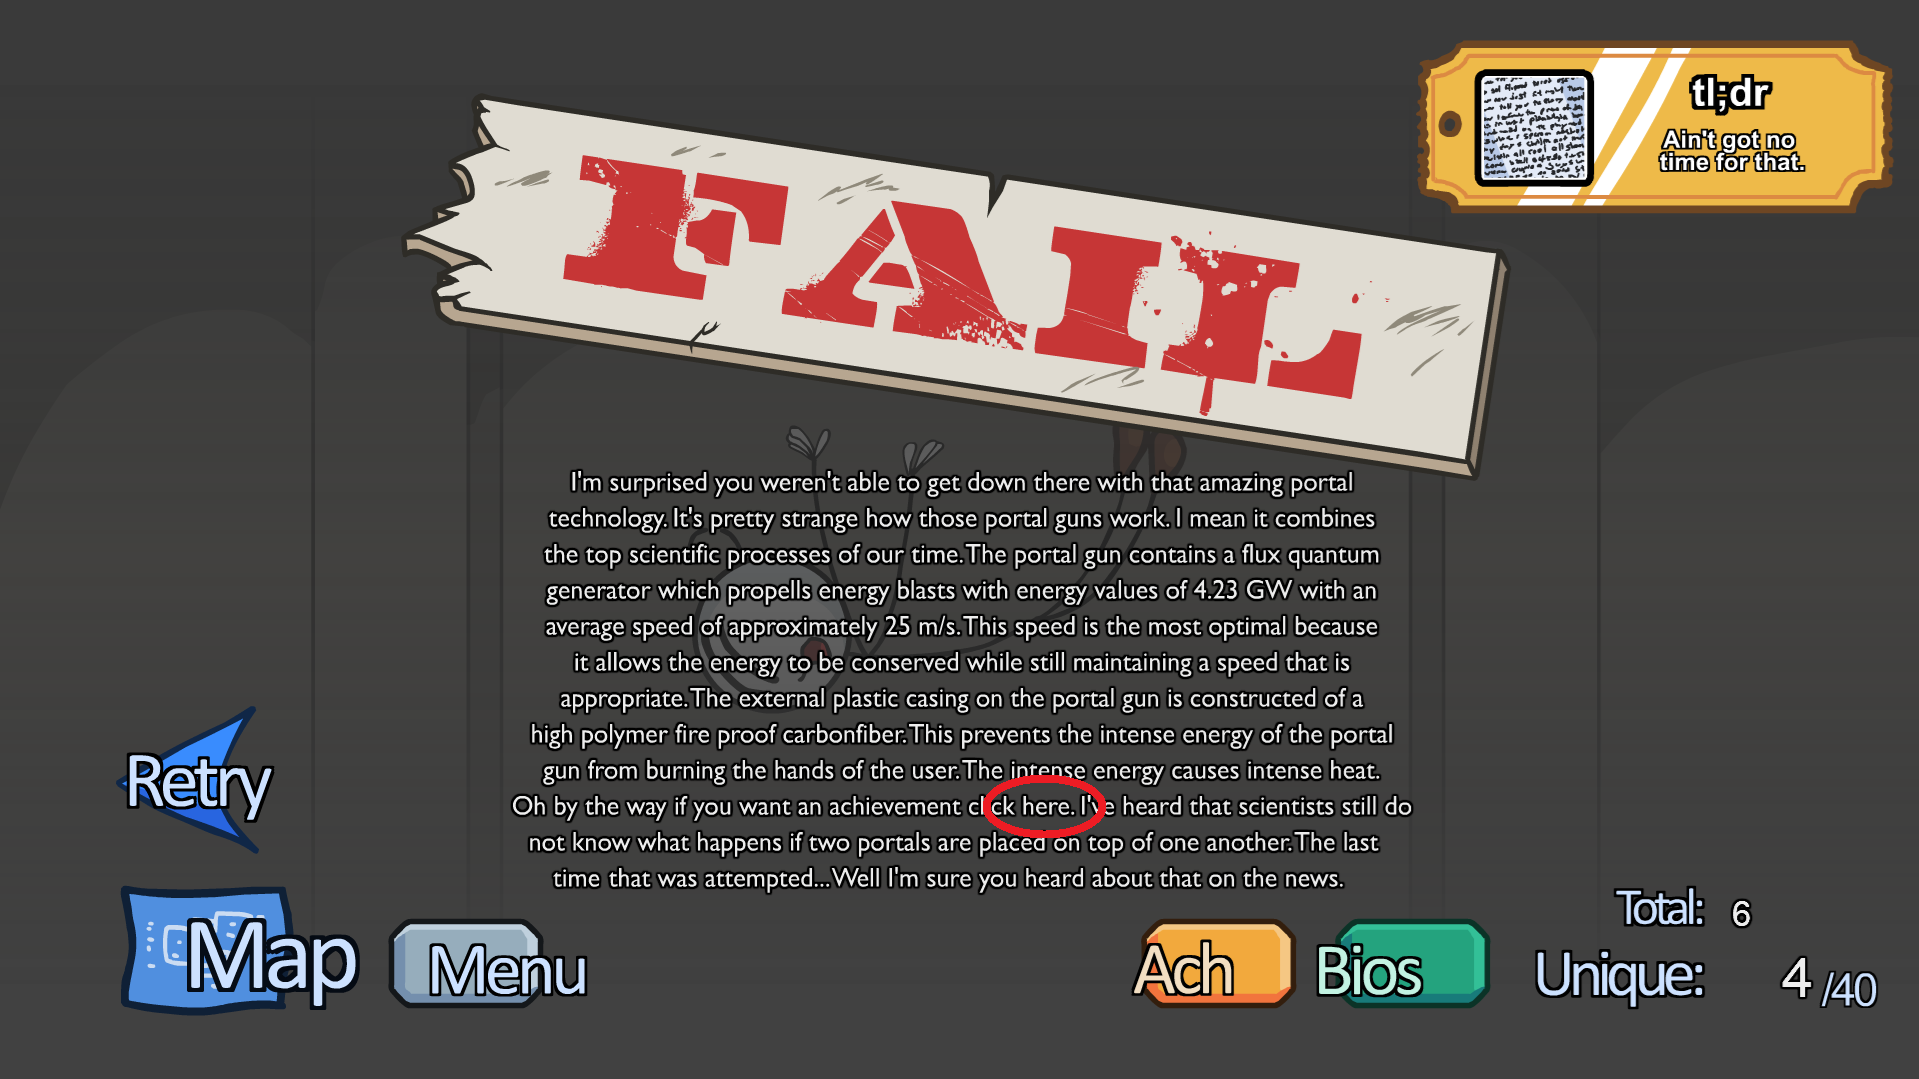
 Ain't got no time for that.
In Catwalk, choose Wormhole Rifle and click the word "here" in the fail message.
Infiltrating the Airship (ItA)
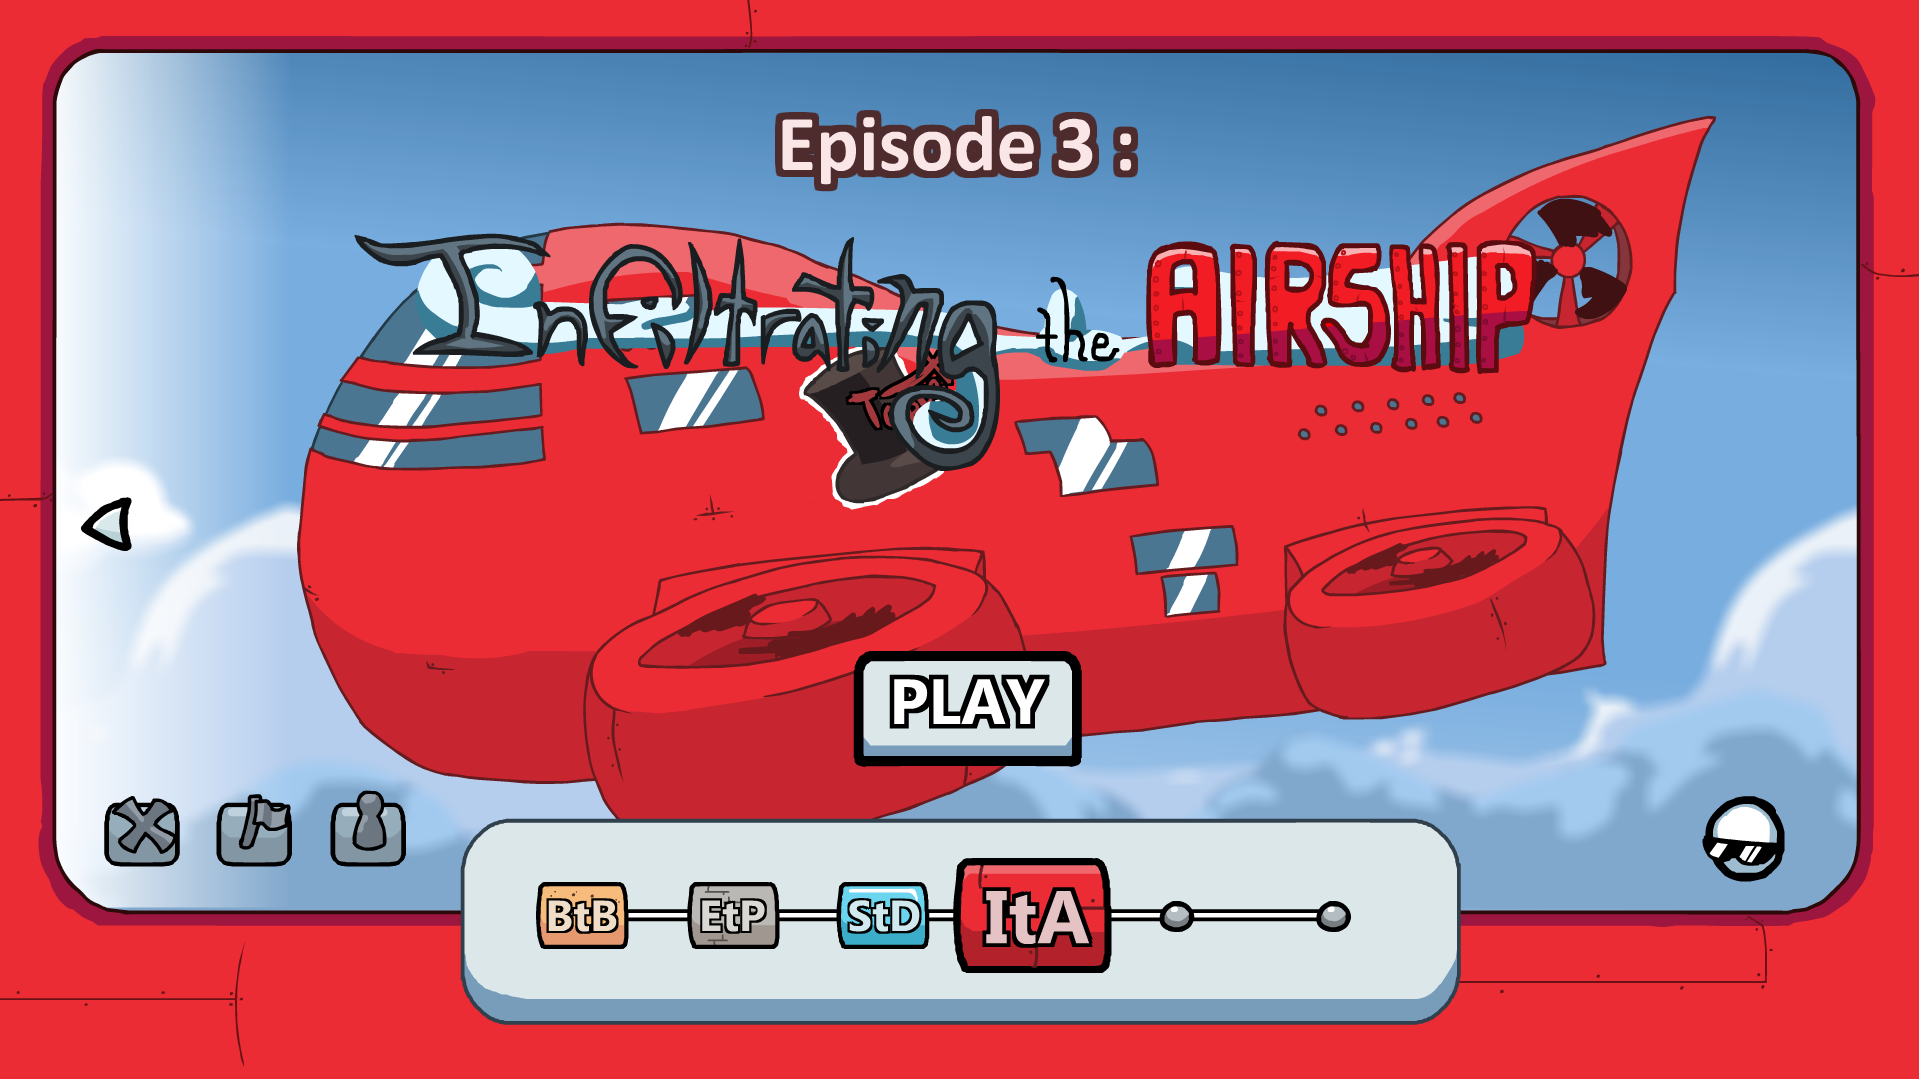
Henry's raw talent was noticed by Captain Galeforce himself. That's why Henry was somehow kidnapped to do Government's dirty work with bringing Toppat Clan down .
This part have:- 60 Fails
- 17 Achivments
- 58 Bios
ᅠItA - Gold Achivments:
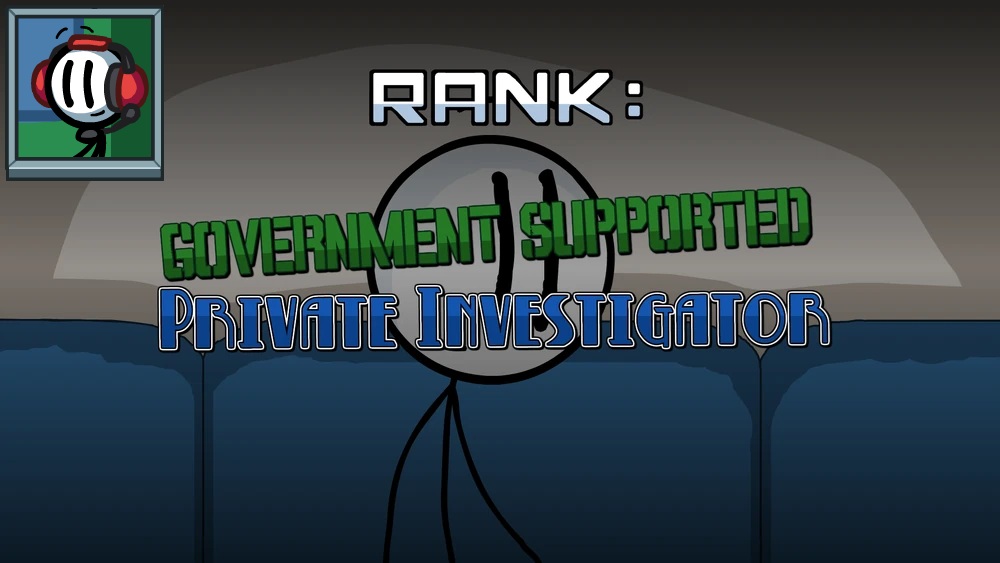
 Achieve the Rank: GSPI.
 To achive Government Supported Private Investigator choose in this order:
- Earpiece
- Vacuum
- Glue
- Robo-helper
- Bone Melt
- Spook
- Reroute the power
- Force Gun
 Achieve the Rank: RPE.
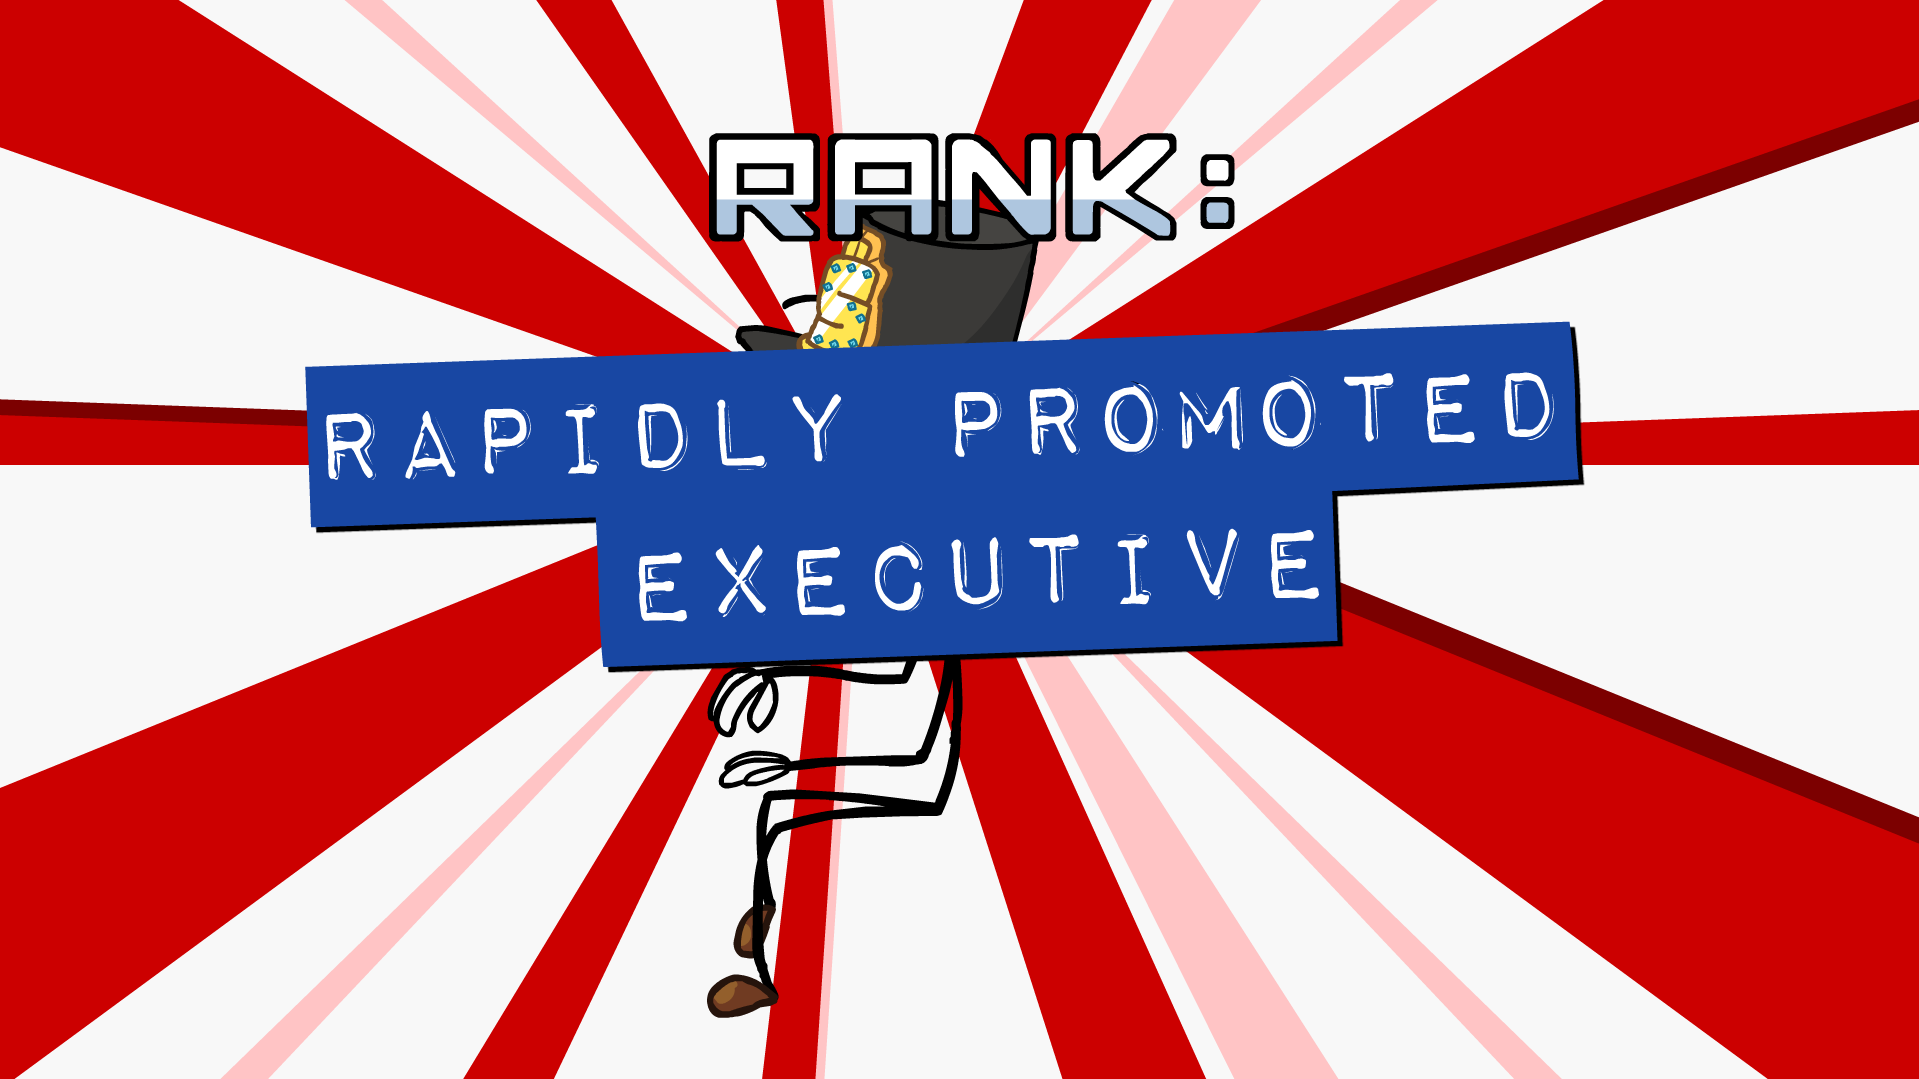 To achive Rapidly Promoted Executive choose in this order:
- Cannonball
- Chair
- Eject
- Beans
- Rocket Jump
- Tools (for Dirk) / Goods (for Yoyo)
- Glider
- Dummies
 Achieve the Rank: RBH.
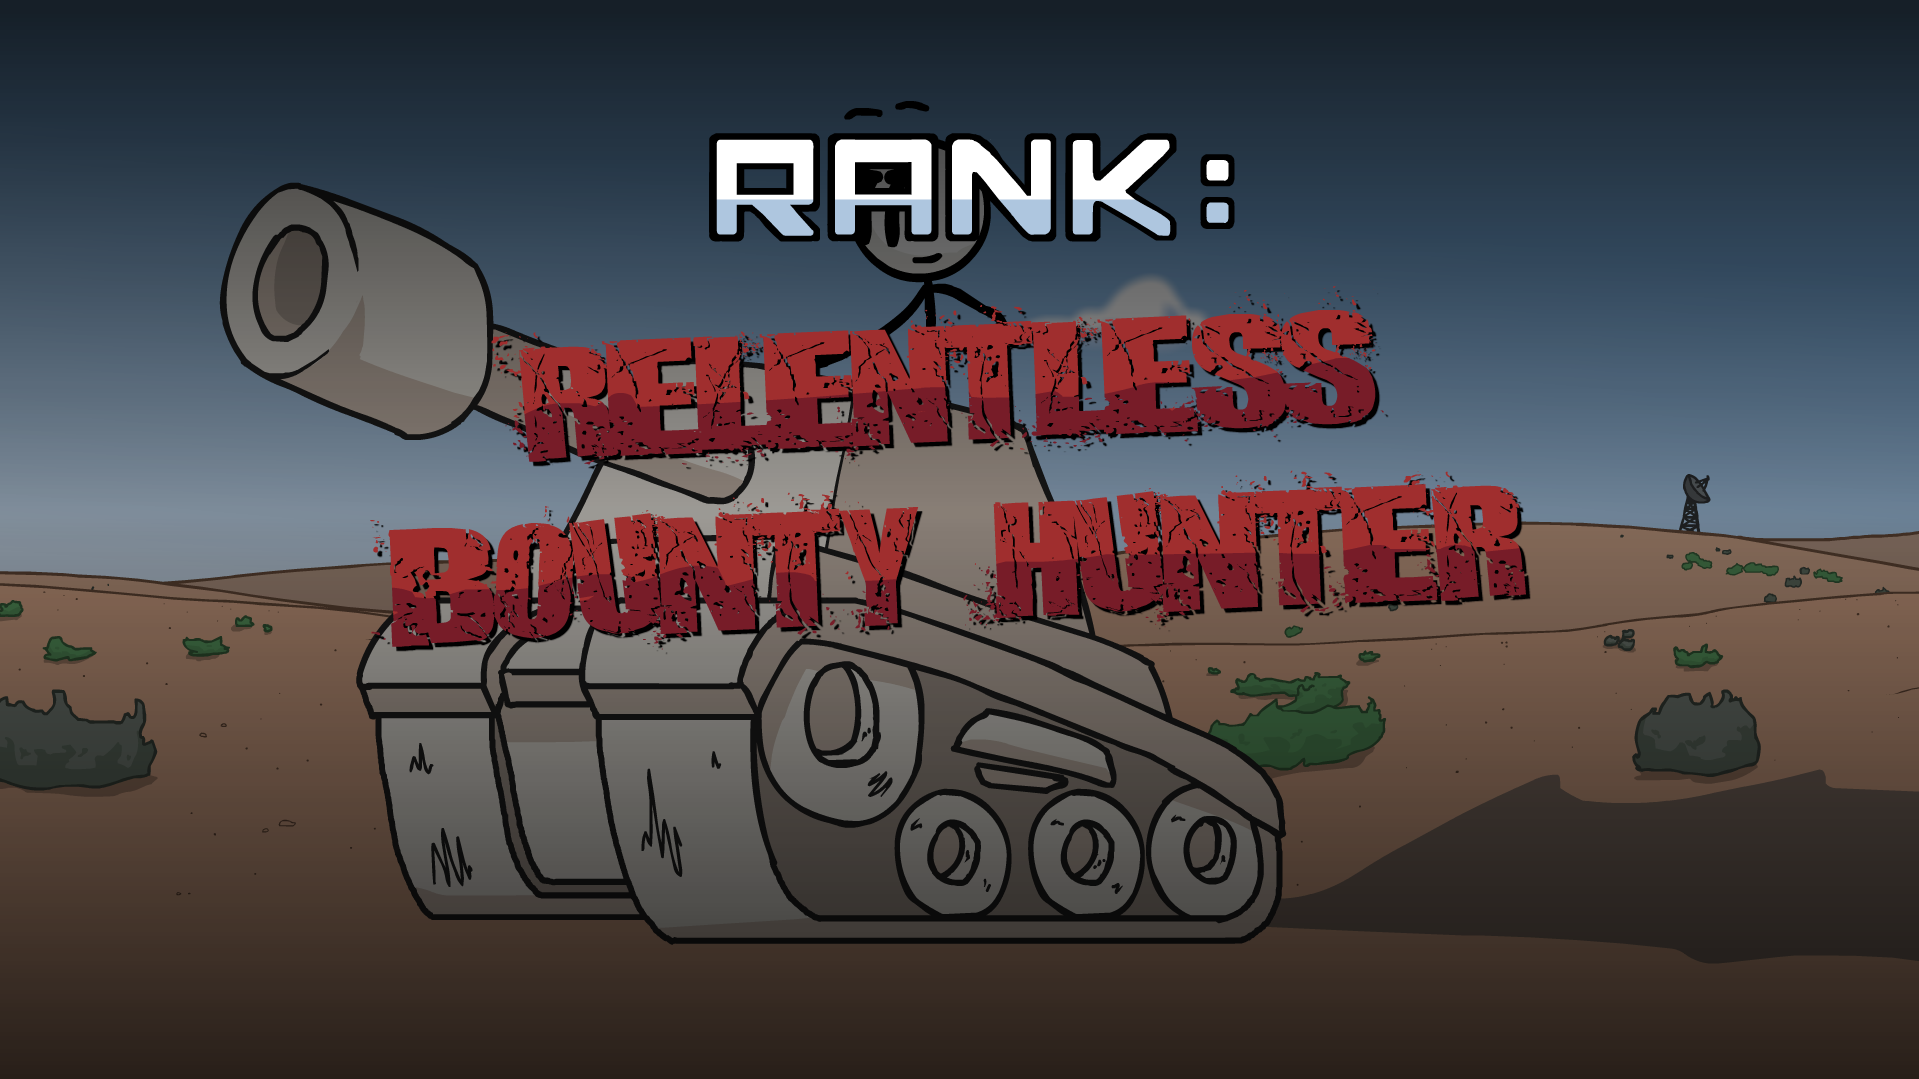 To achive Relentless Bounty Hunter choose in this order:
- Cannonball
- Chair
- Eject
- Beans
- Rocket Jump
- Tools (for Dirk) / Goods (for Yoyo)
- Glider
- Tank
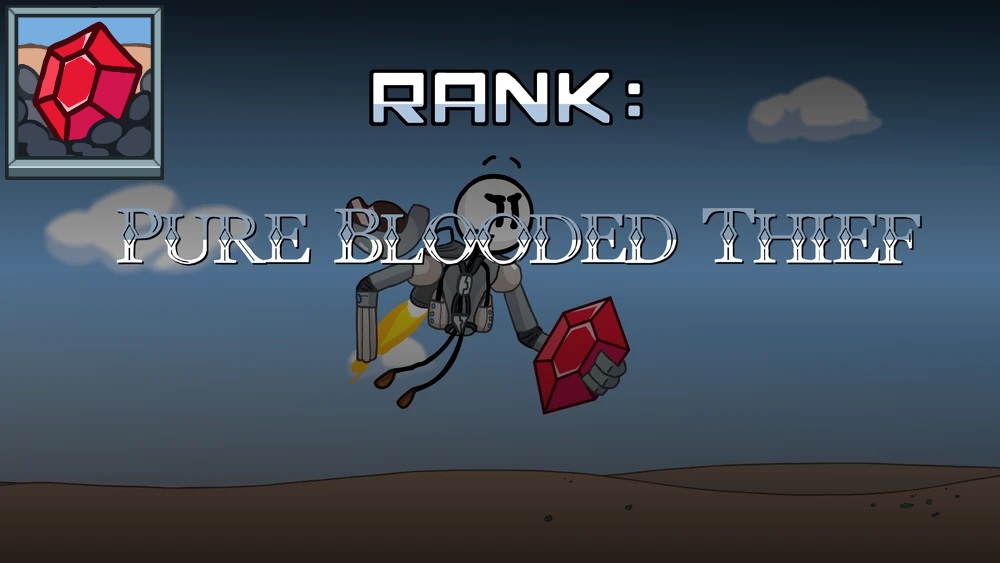
 Achieve the Rank: PBT.
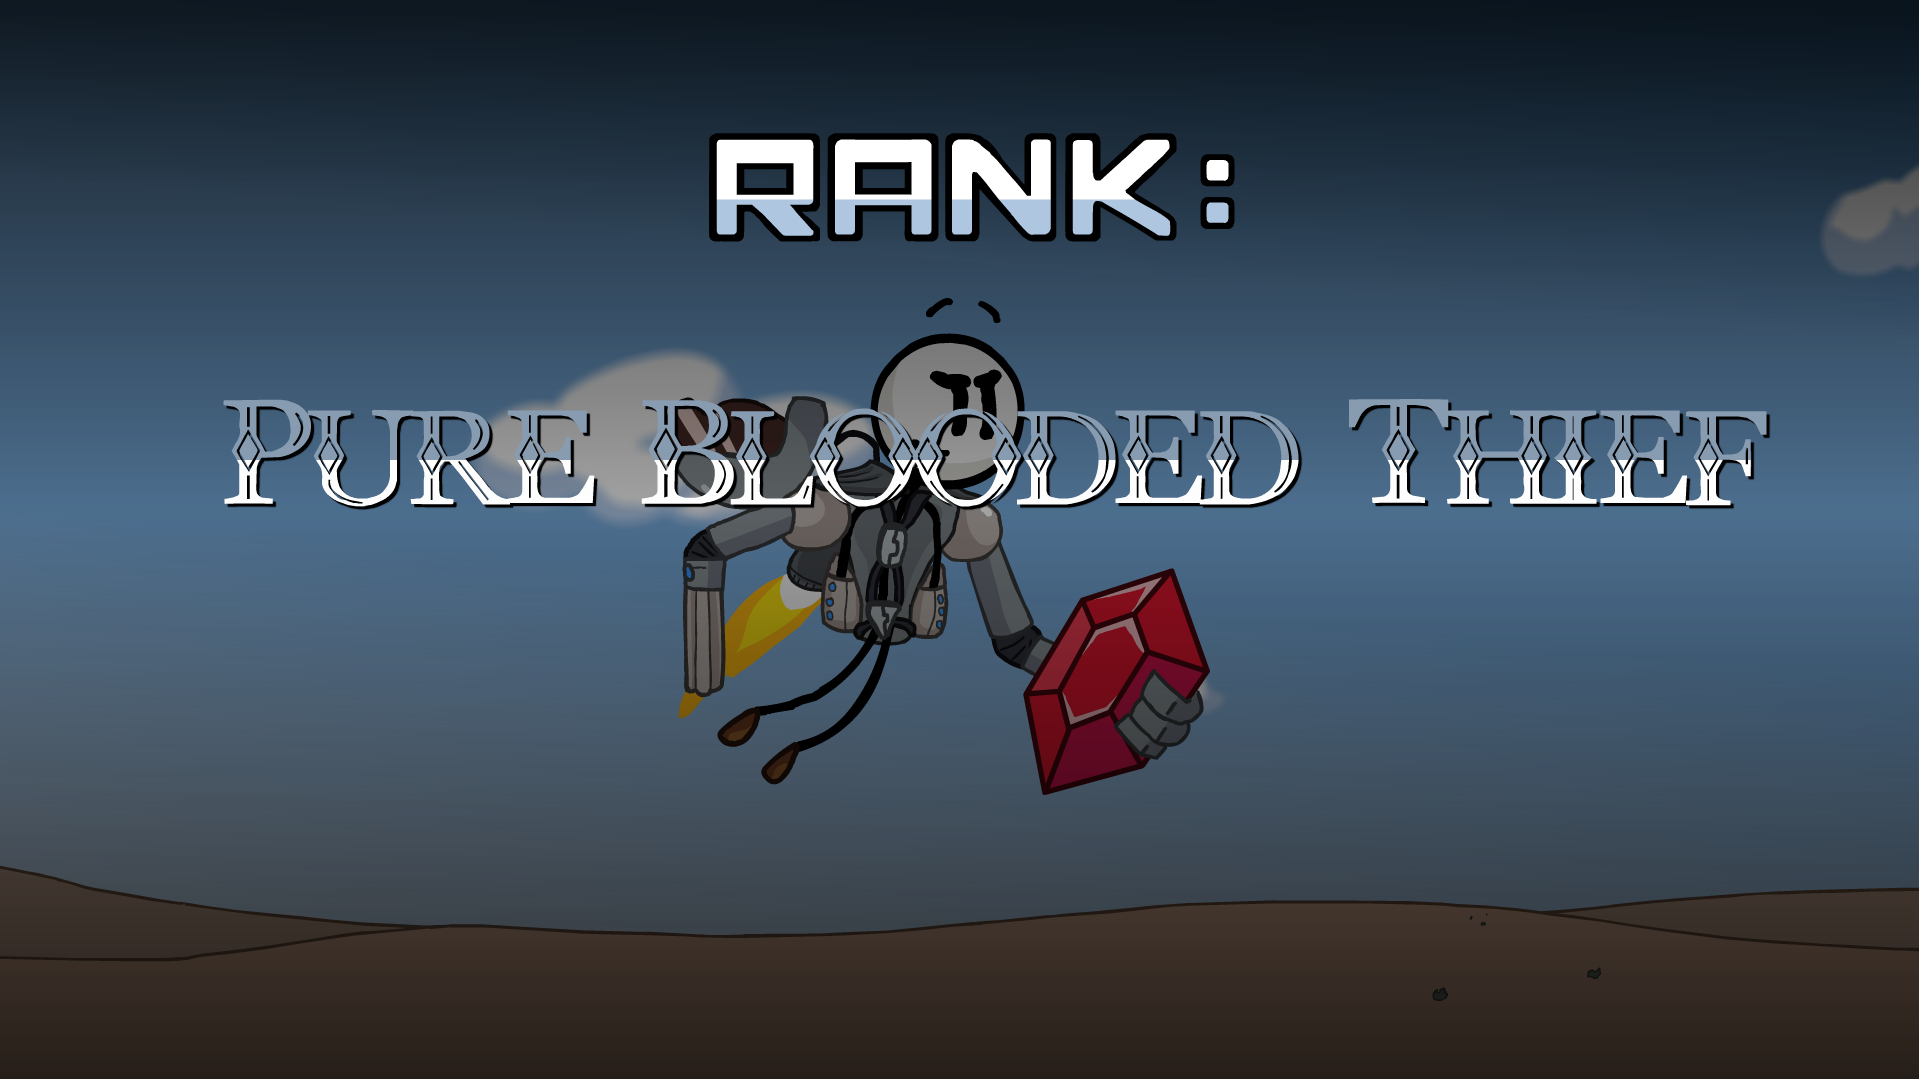 To achive Pure Blooded Thief choose in this order:
- Grapple Gun
- Wait
- Vent
- Leap
- Paperizor
- Shrink 'n Grow
- Armor
- "Prototype" disc
ᅠItA - Silver Achivments:
 Get all 60 Unique Fails in Infiltrating the Airship.
Pick everything but correct options listed above.
You can check them in map view as well as change scene/route to get all the missing ones!
Map also tells the names of all scenes, we will be using that here!
 Find all the bios in Infiltrating the Airship.
This part have 58 Bios to find, so we're gonna take in-game order to do it.
Feel warned, some parts are gonna be srtaight from hell.
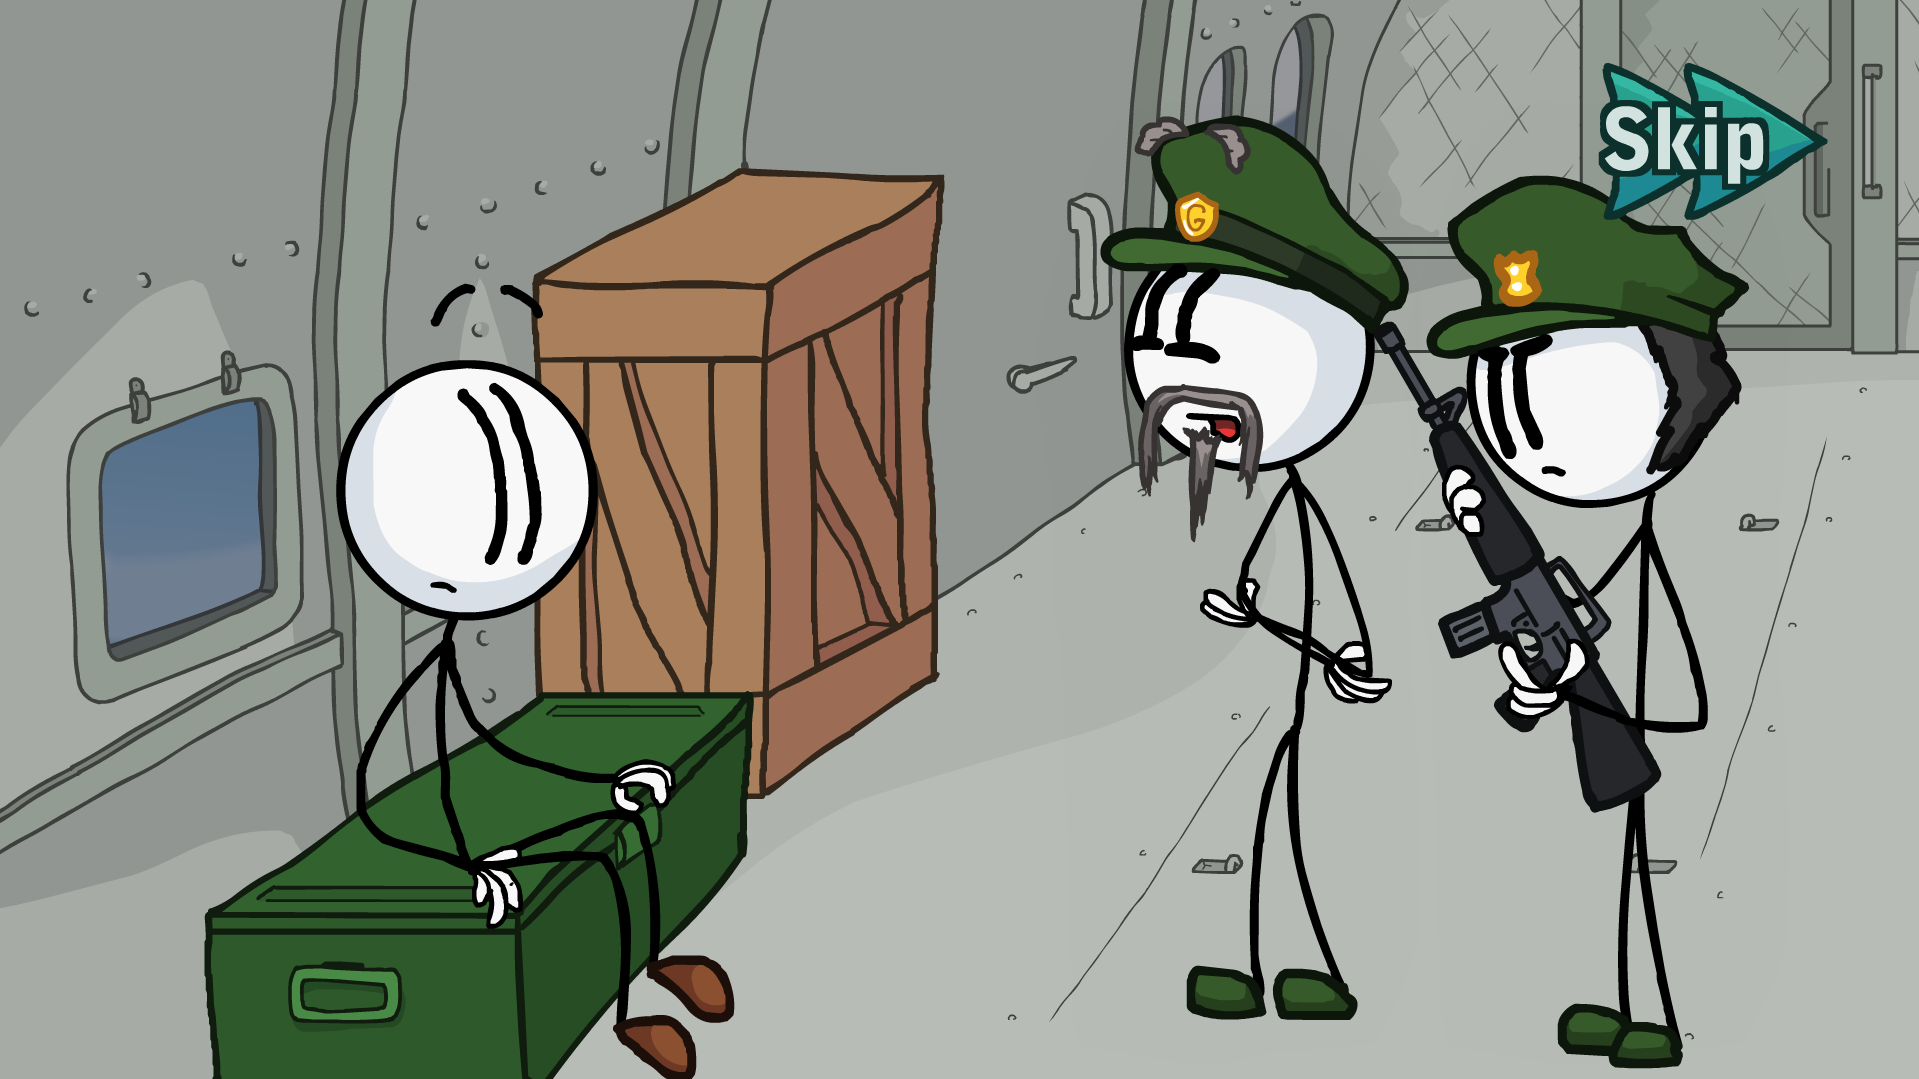
He's also in Intro.
(He deserves his own spot here)
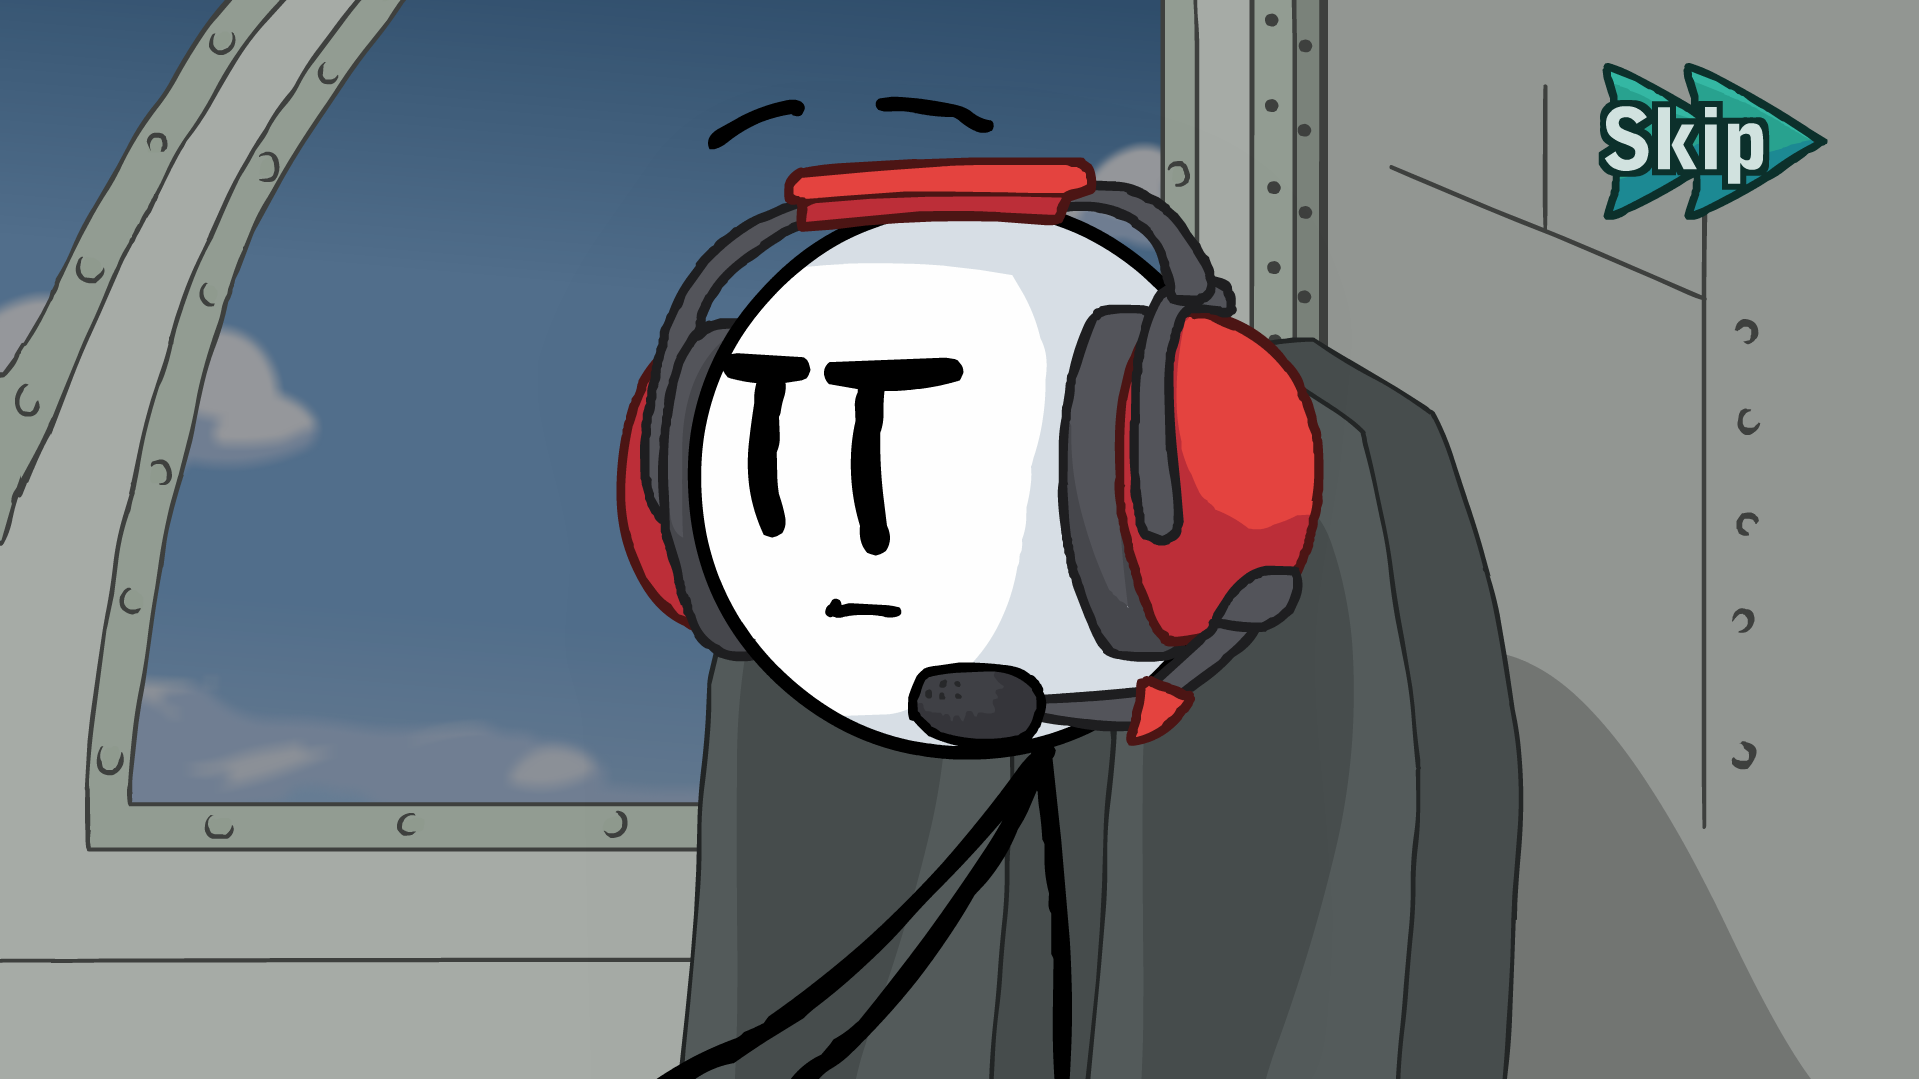
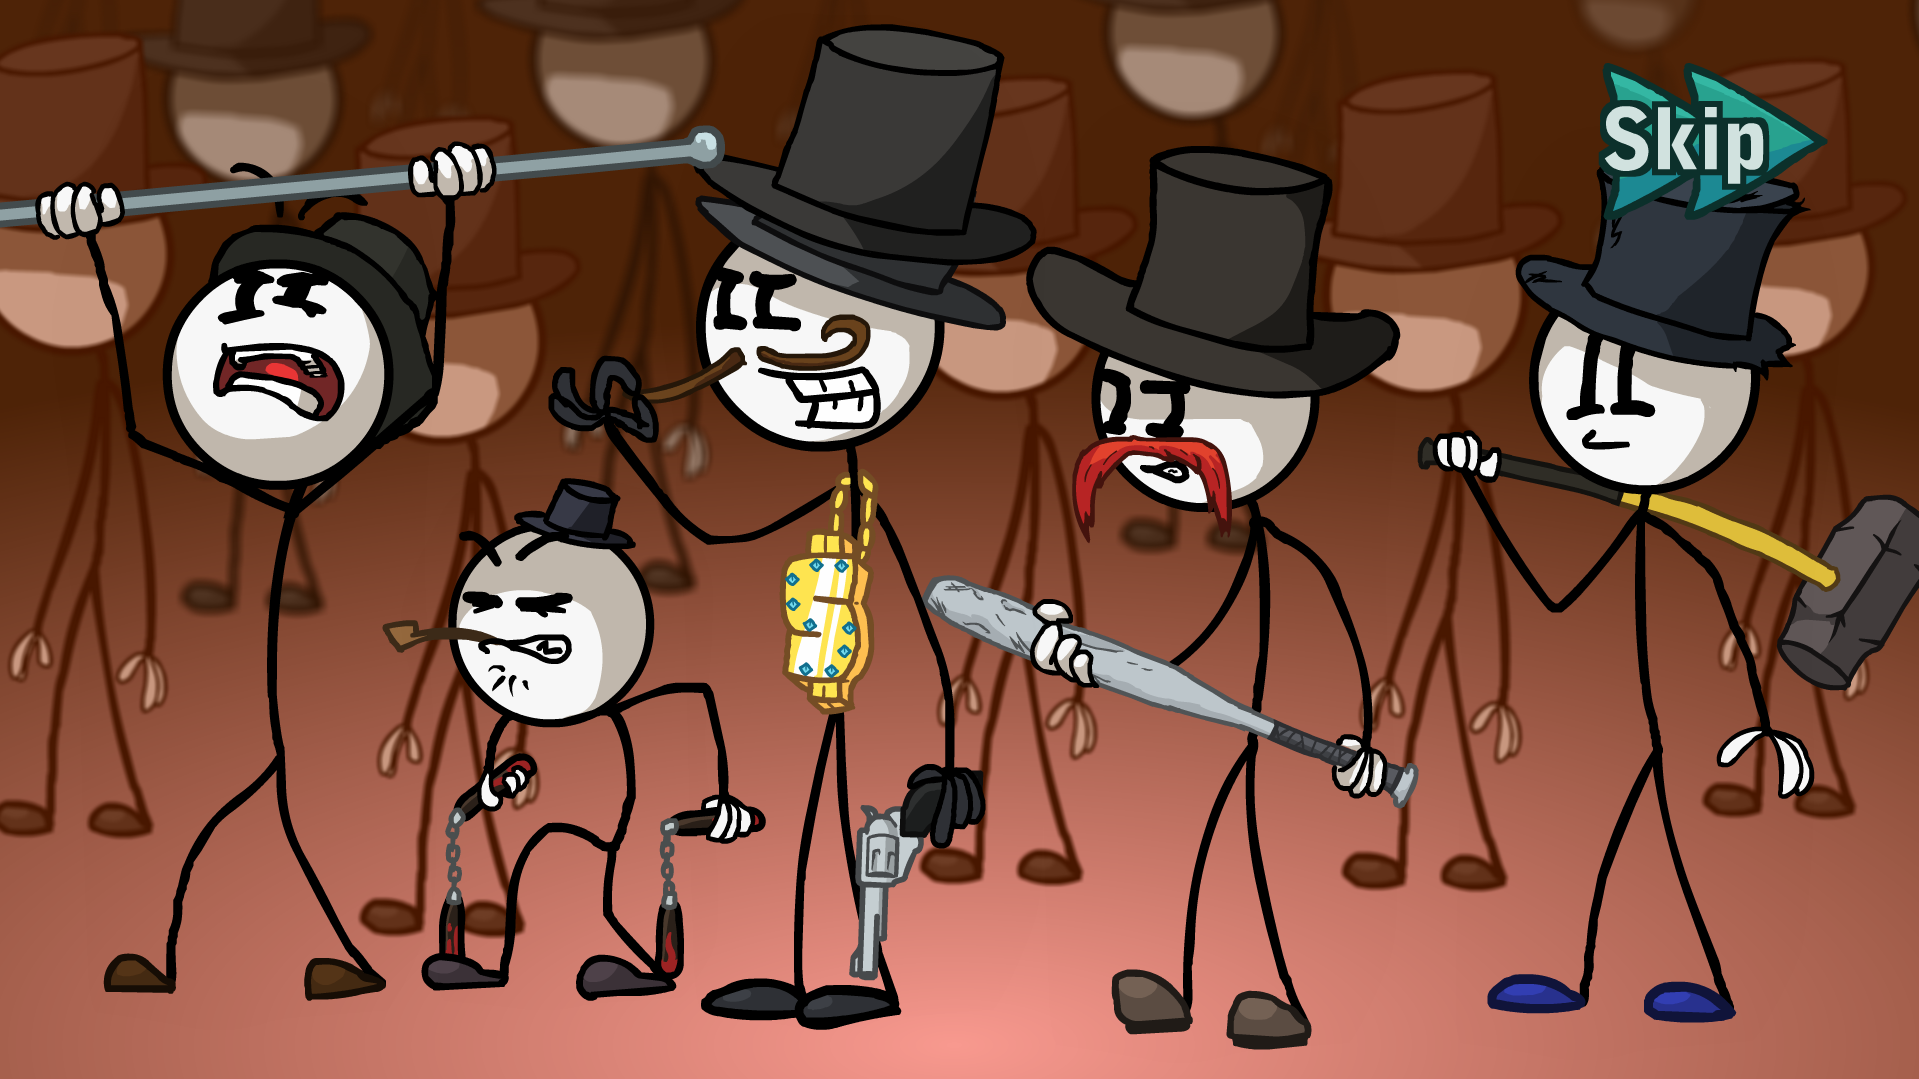
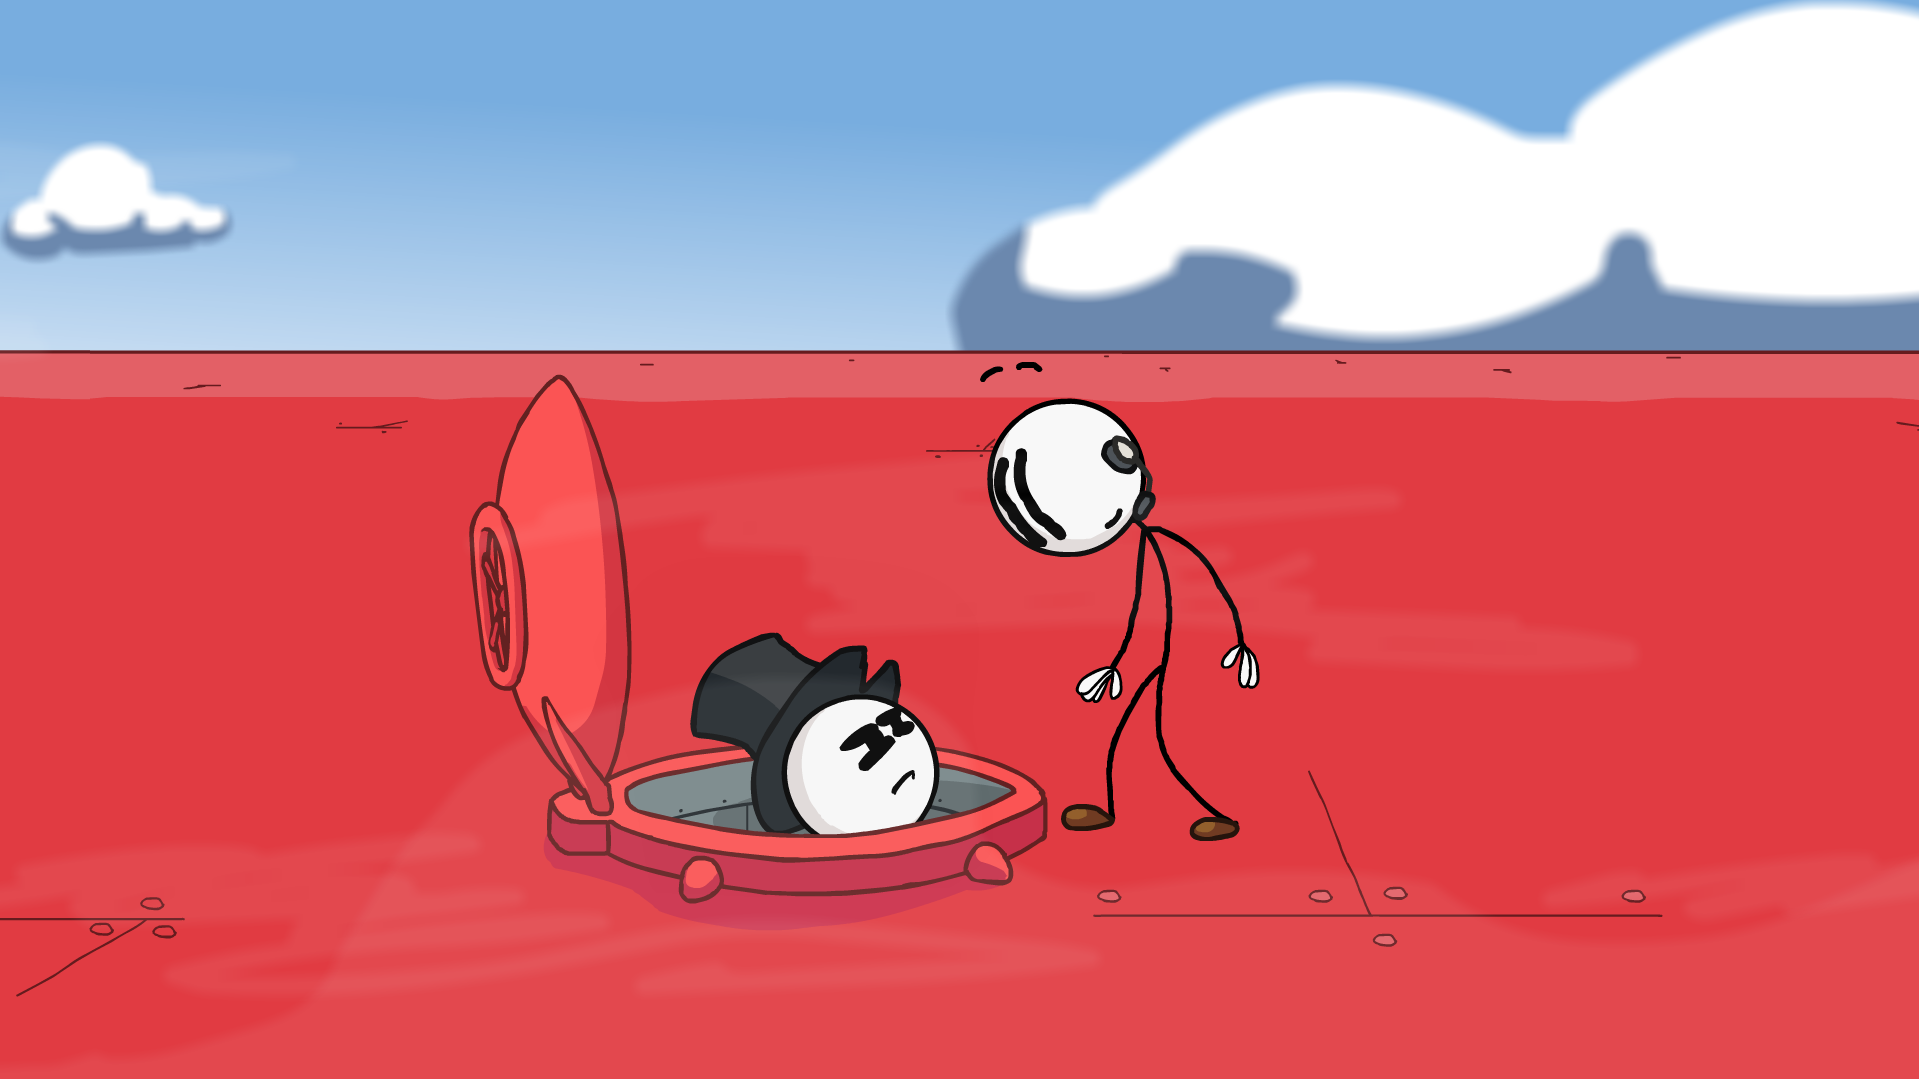
In Airship Topside, choose Vacuum and grab them before options show up.
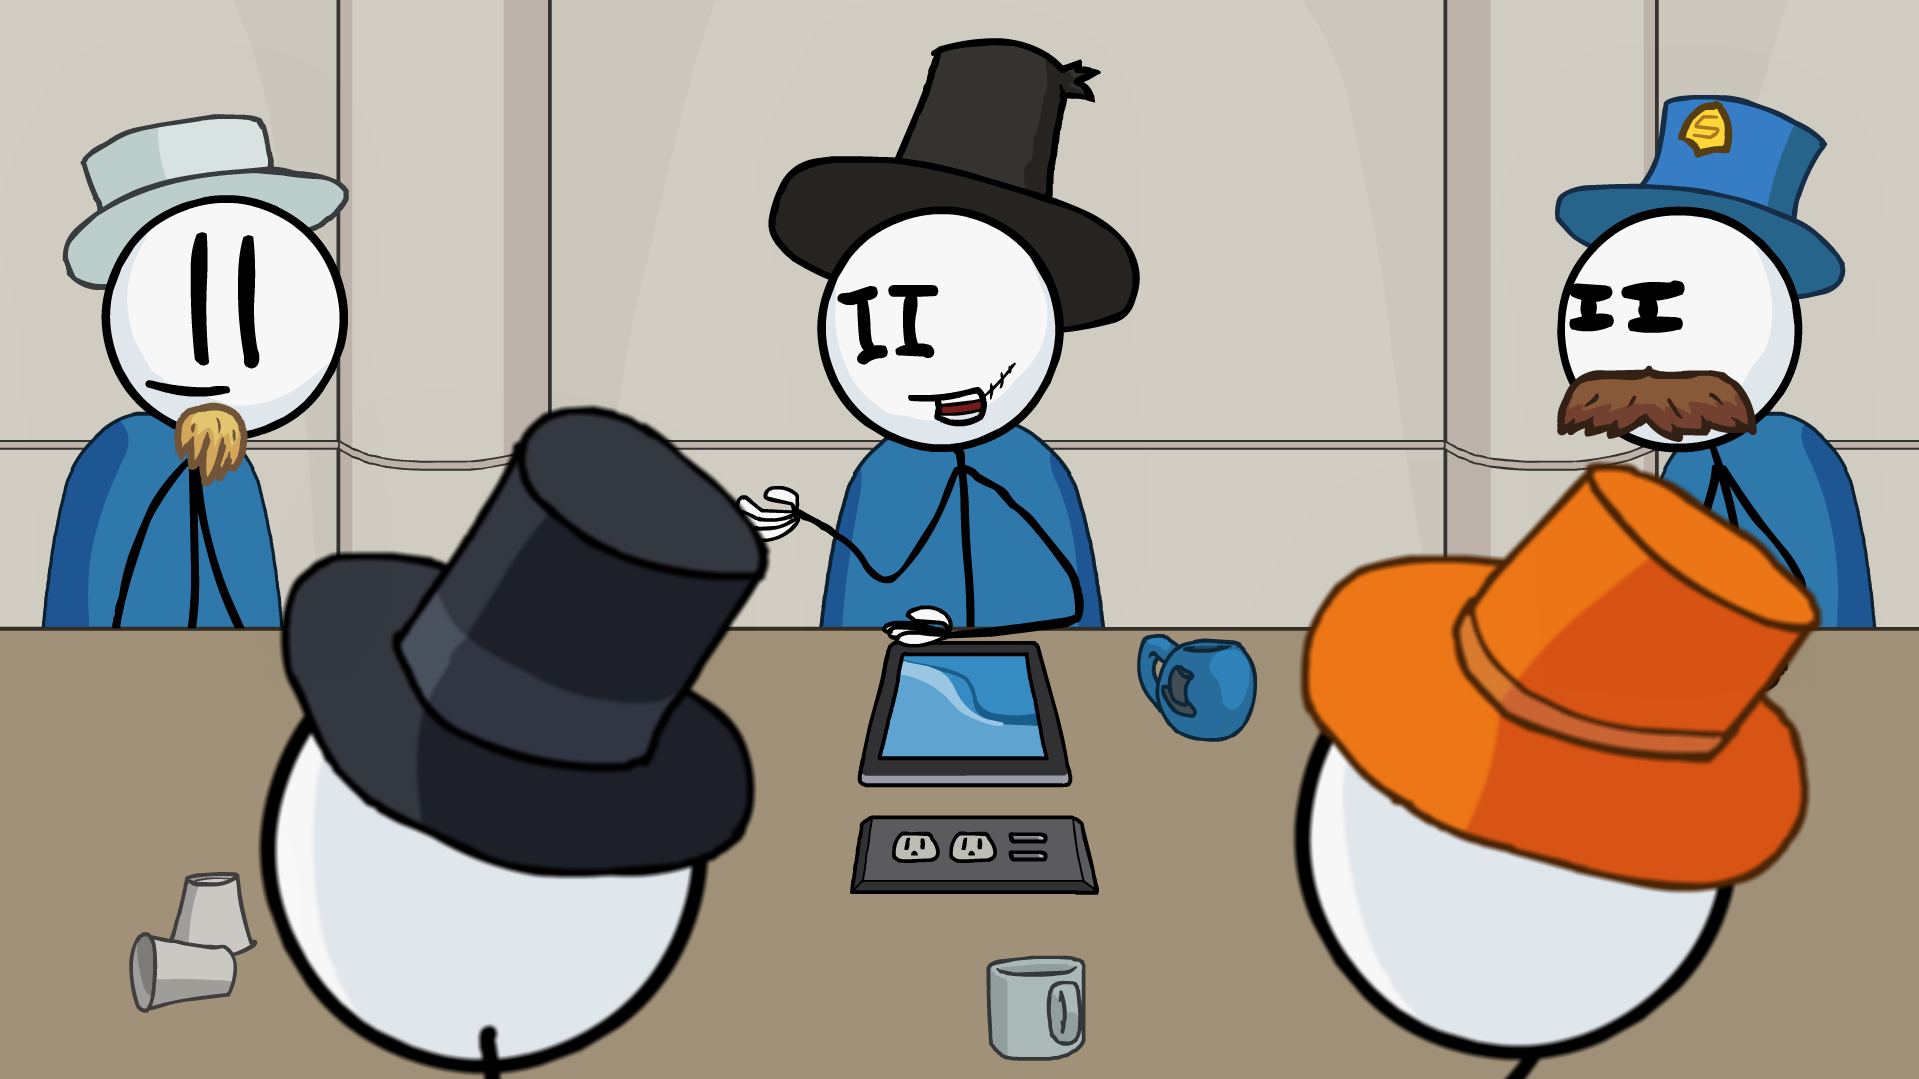
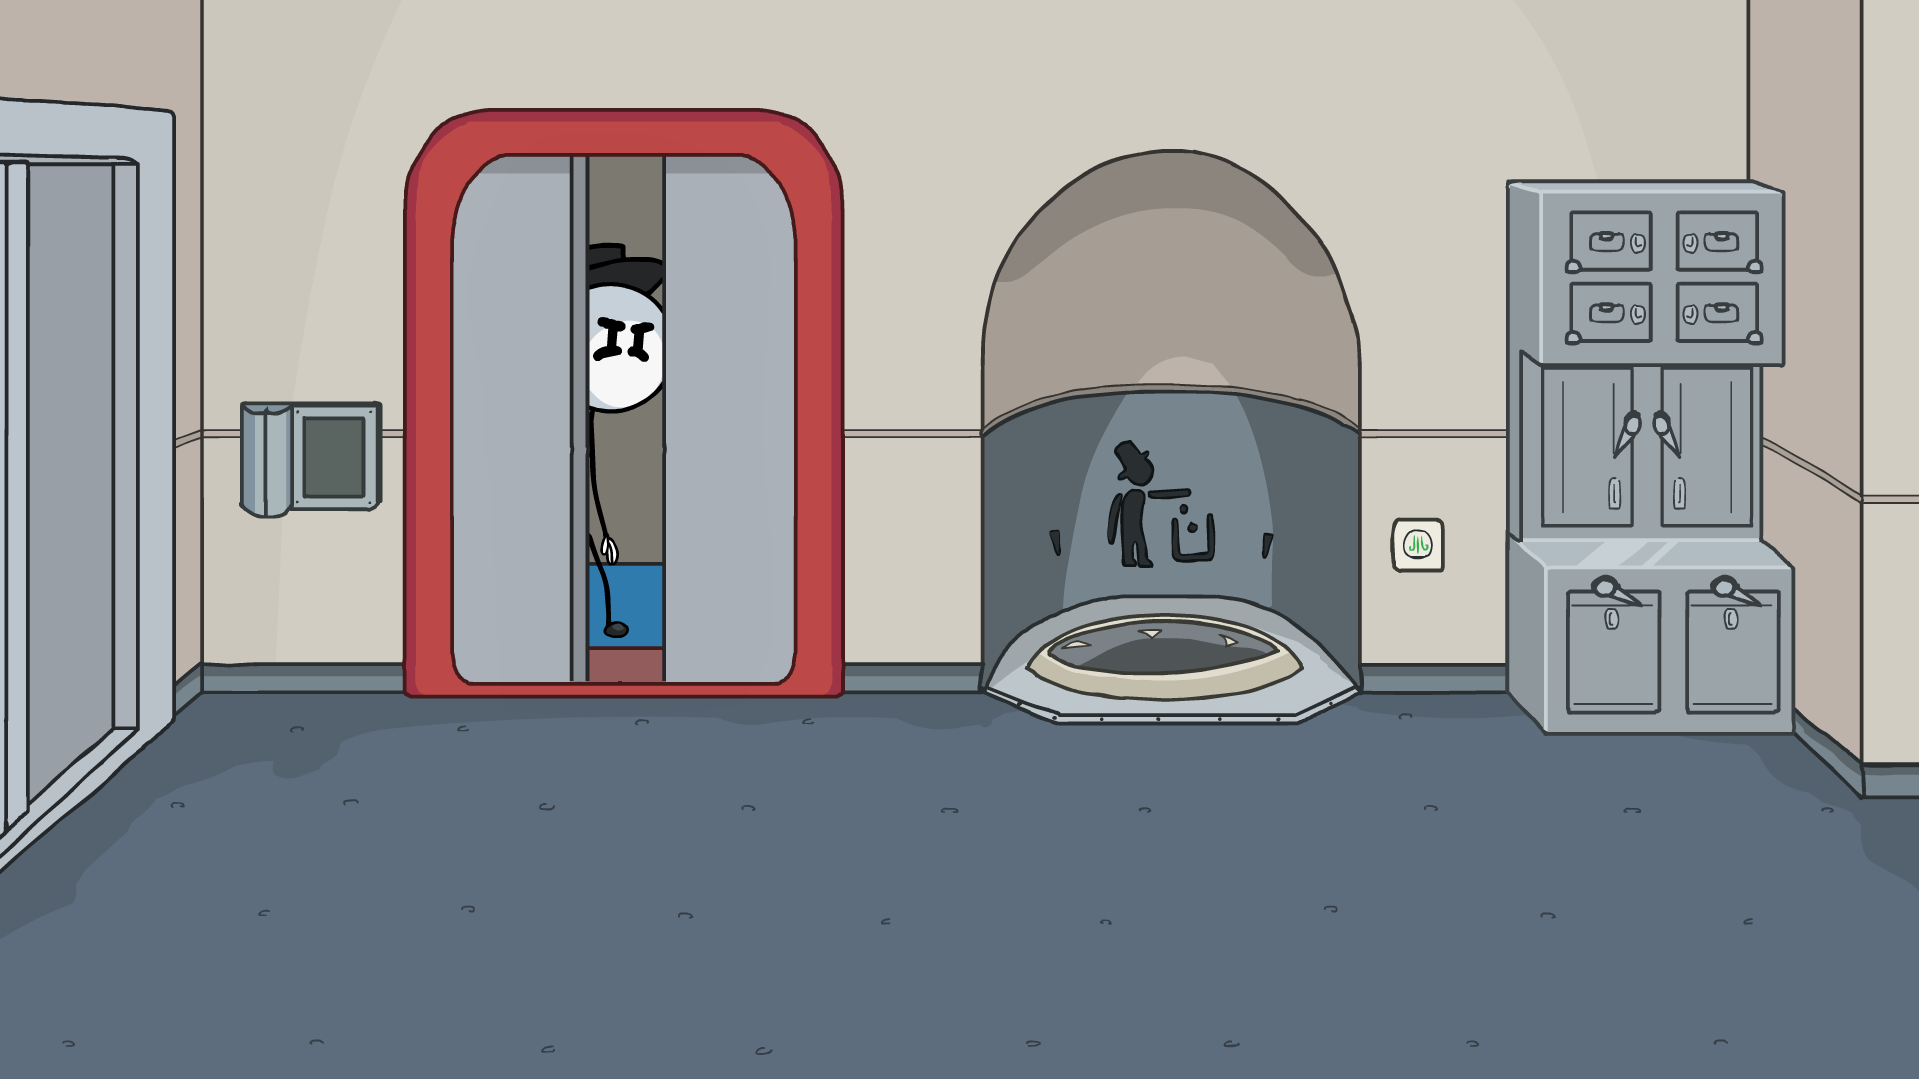
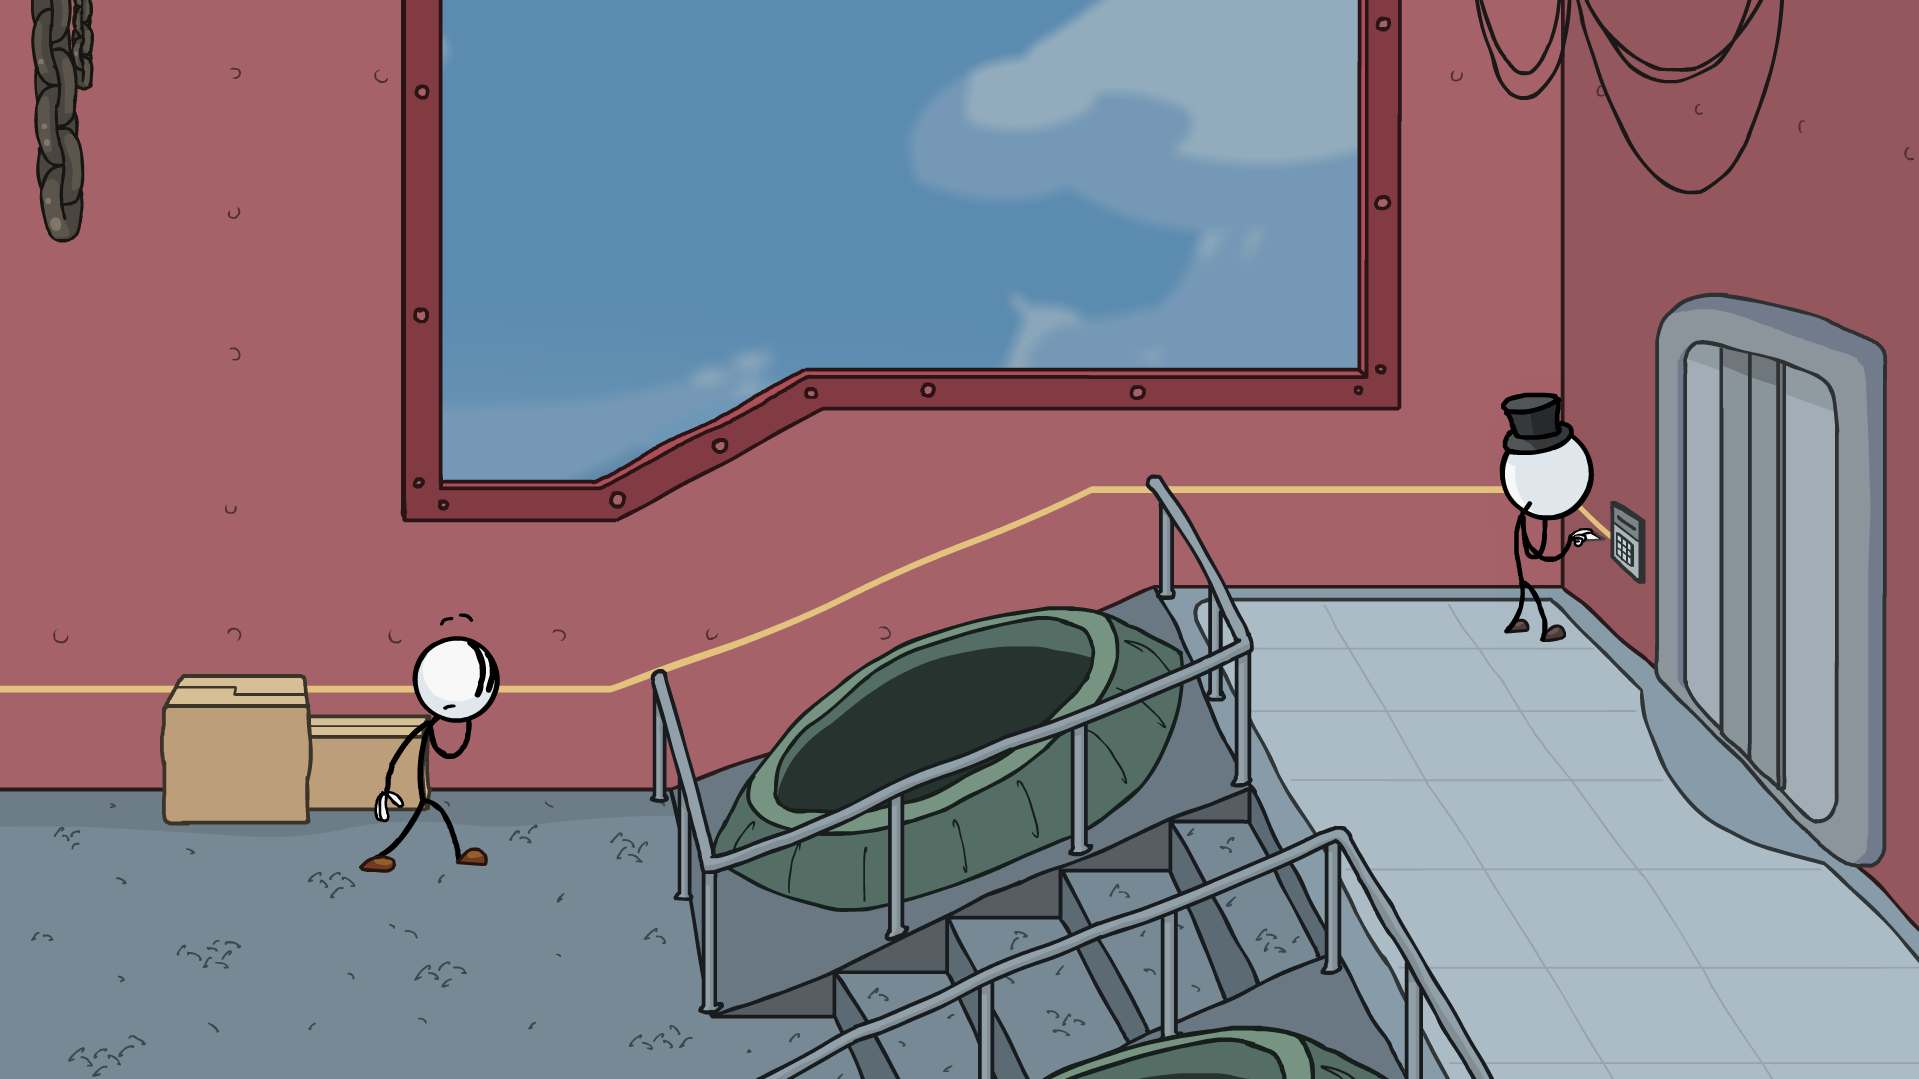
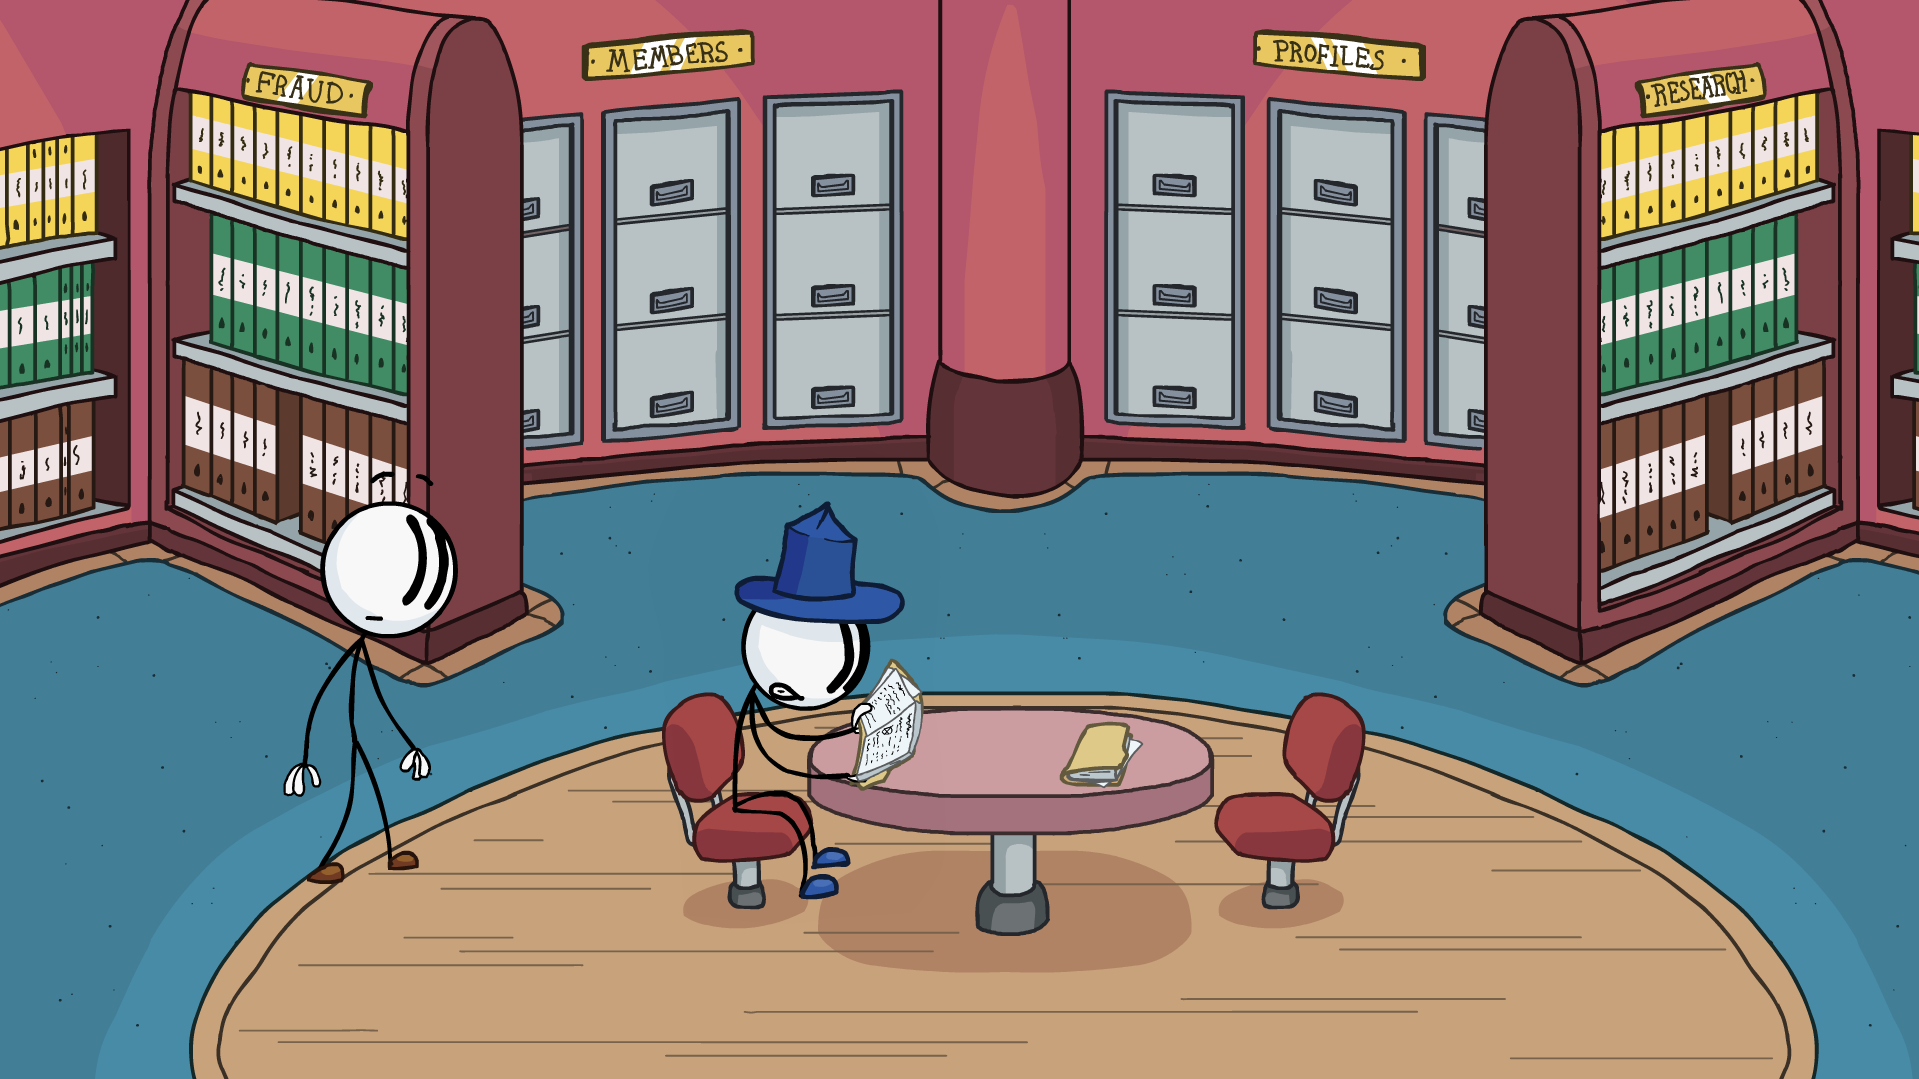

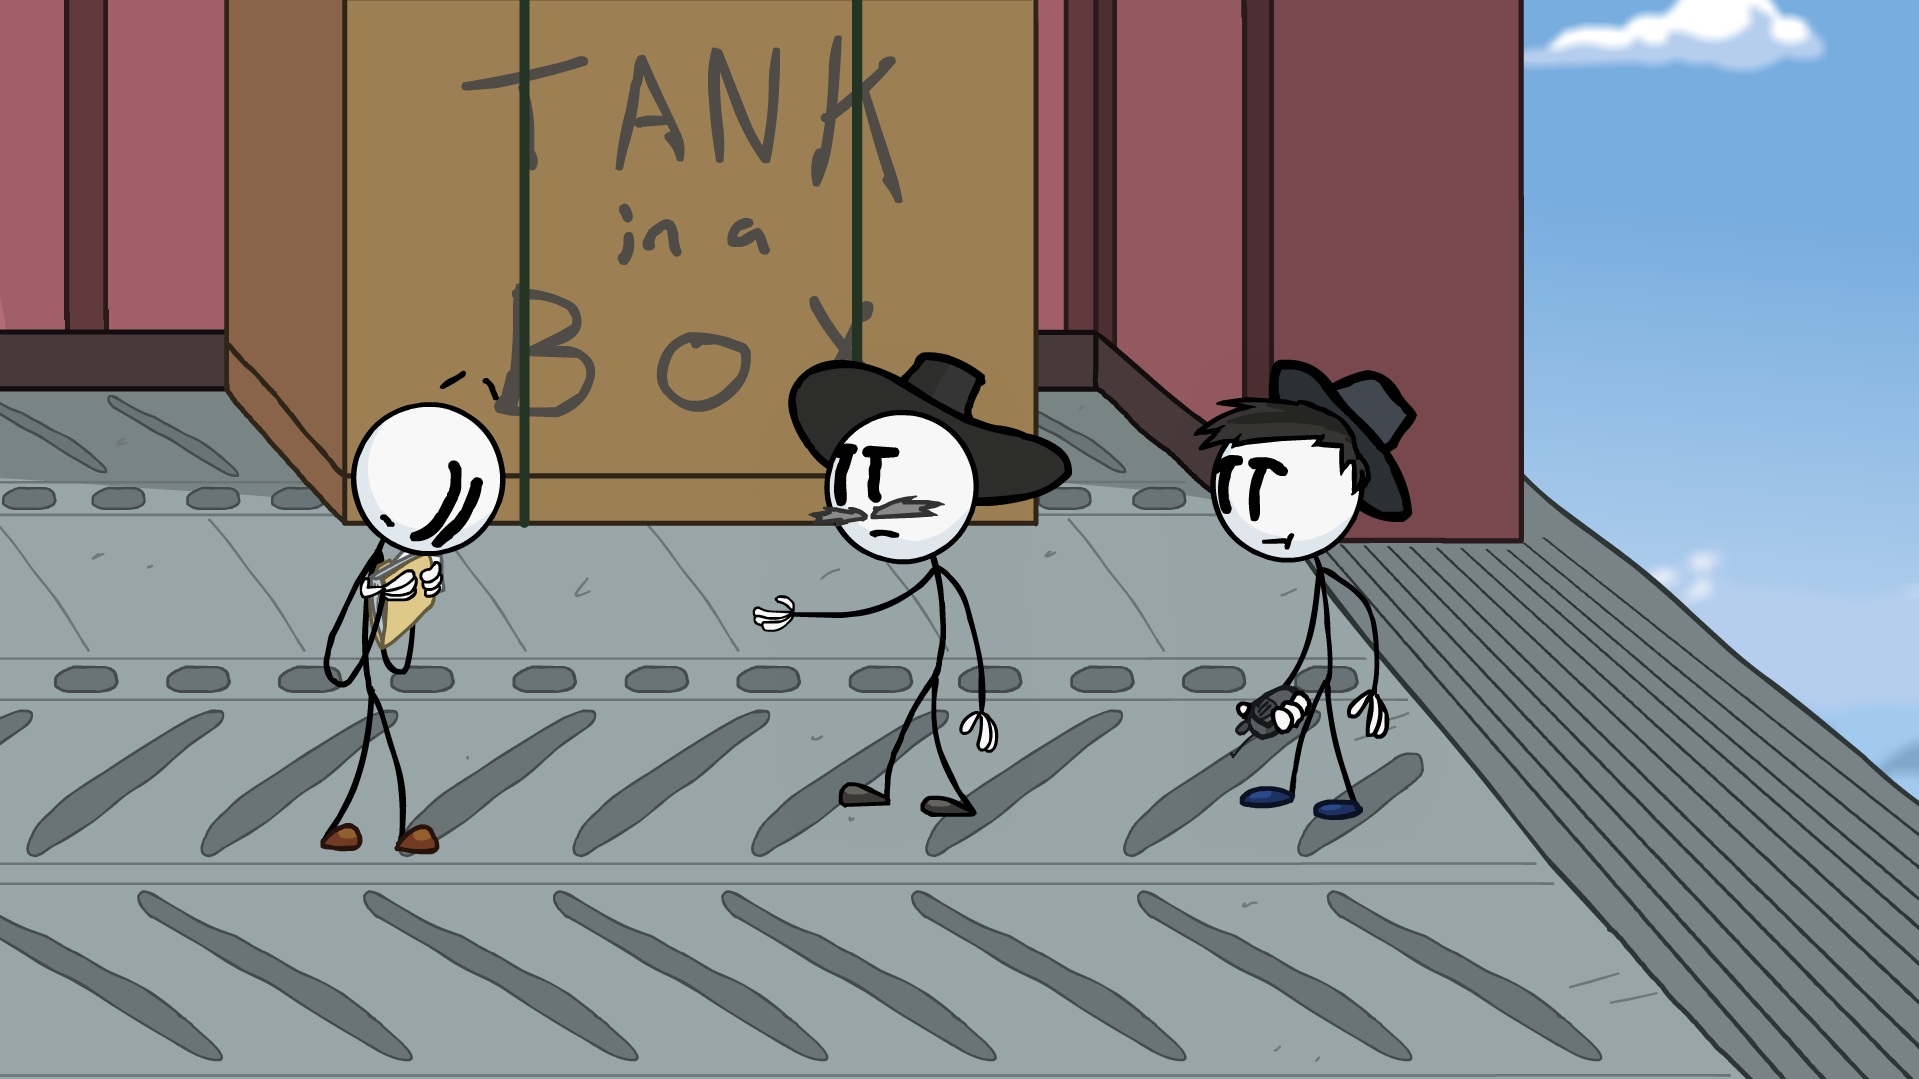
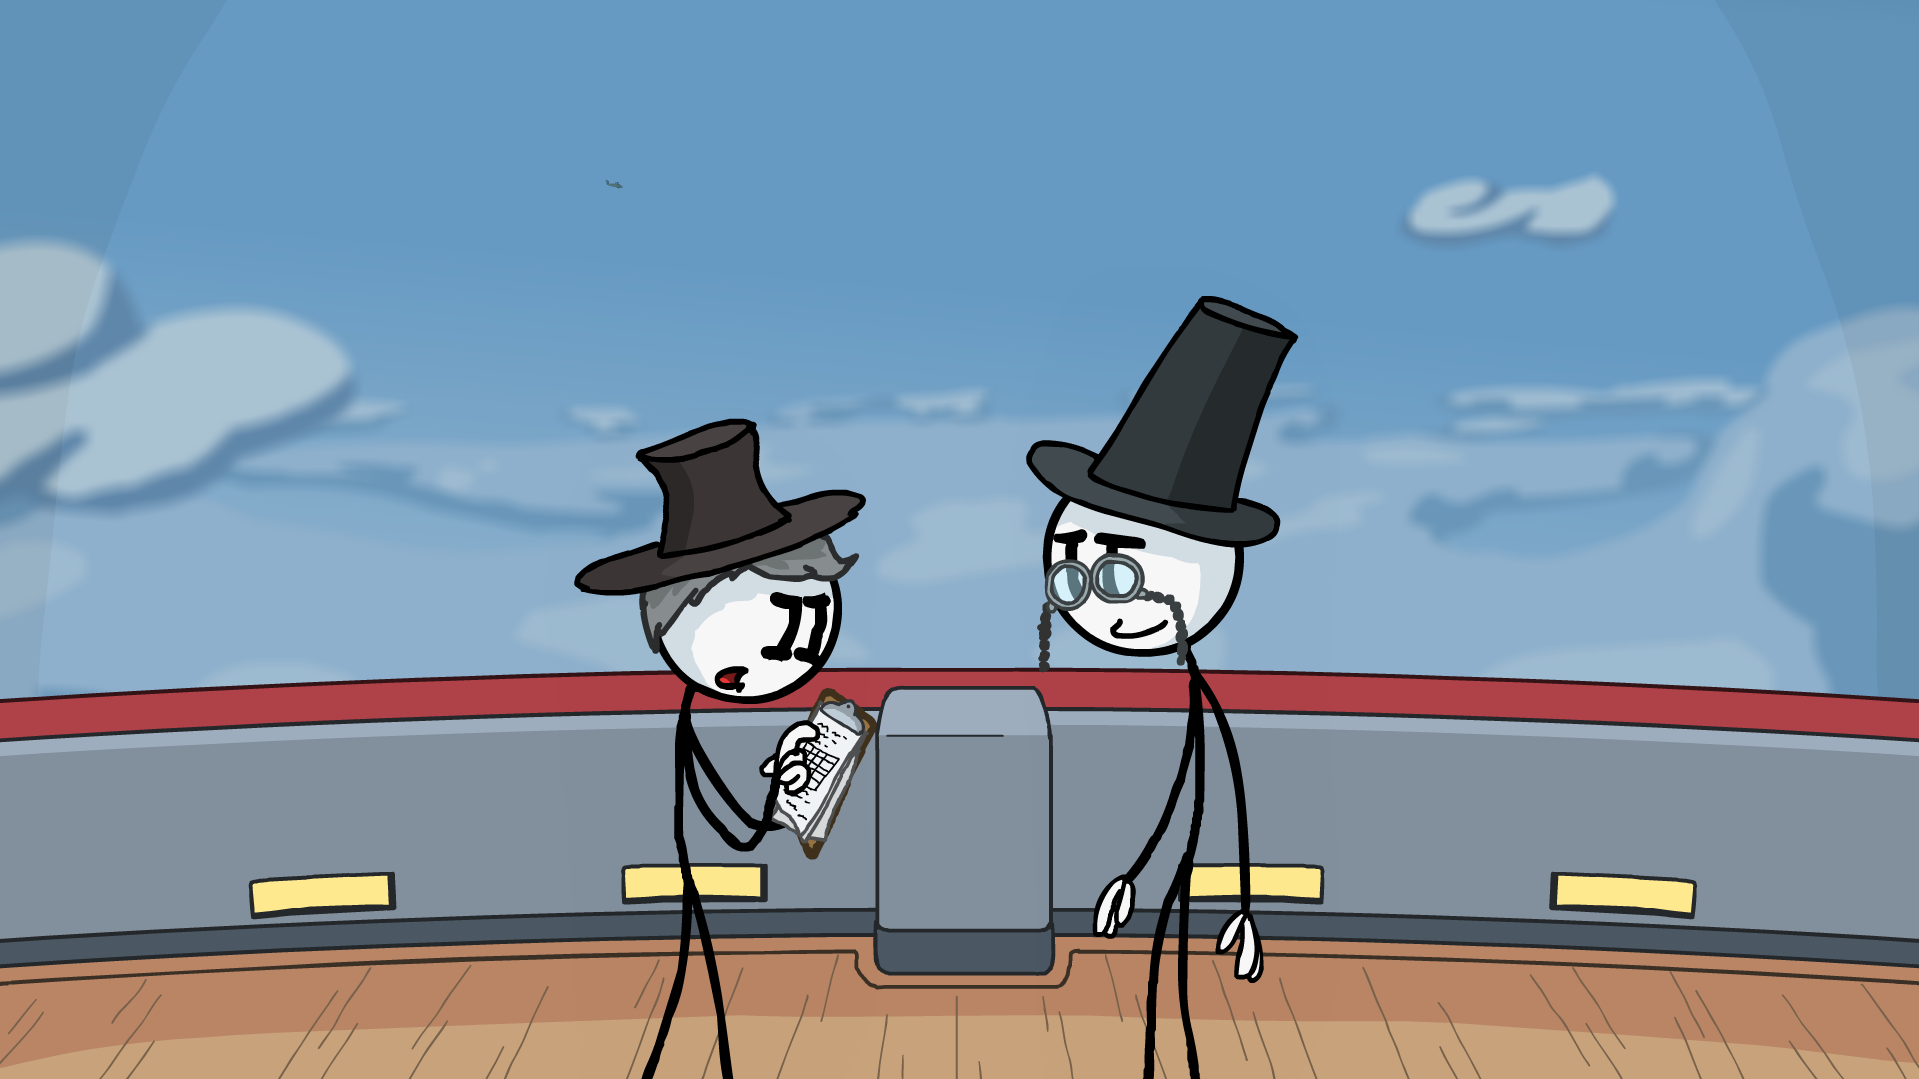
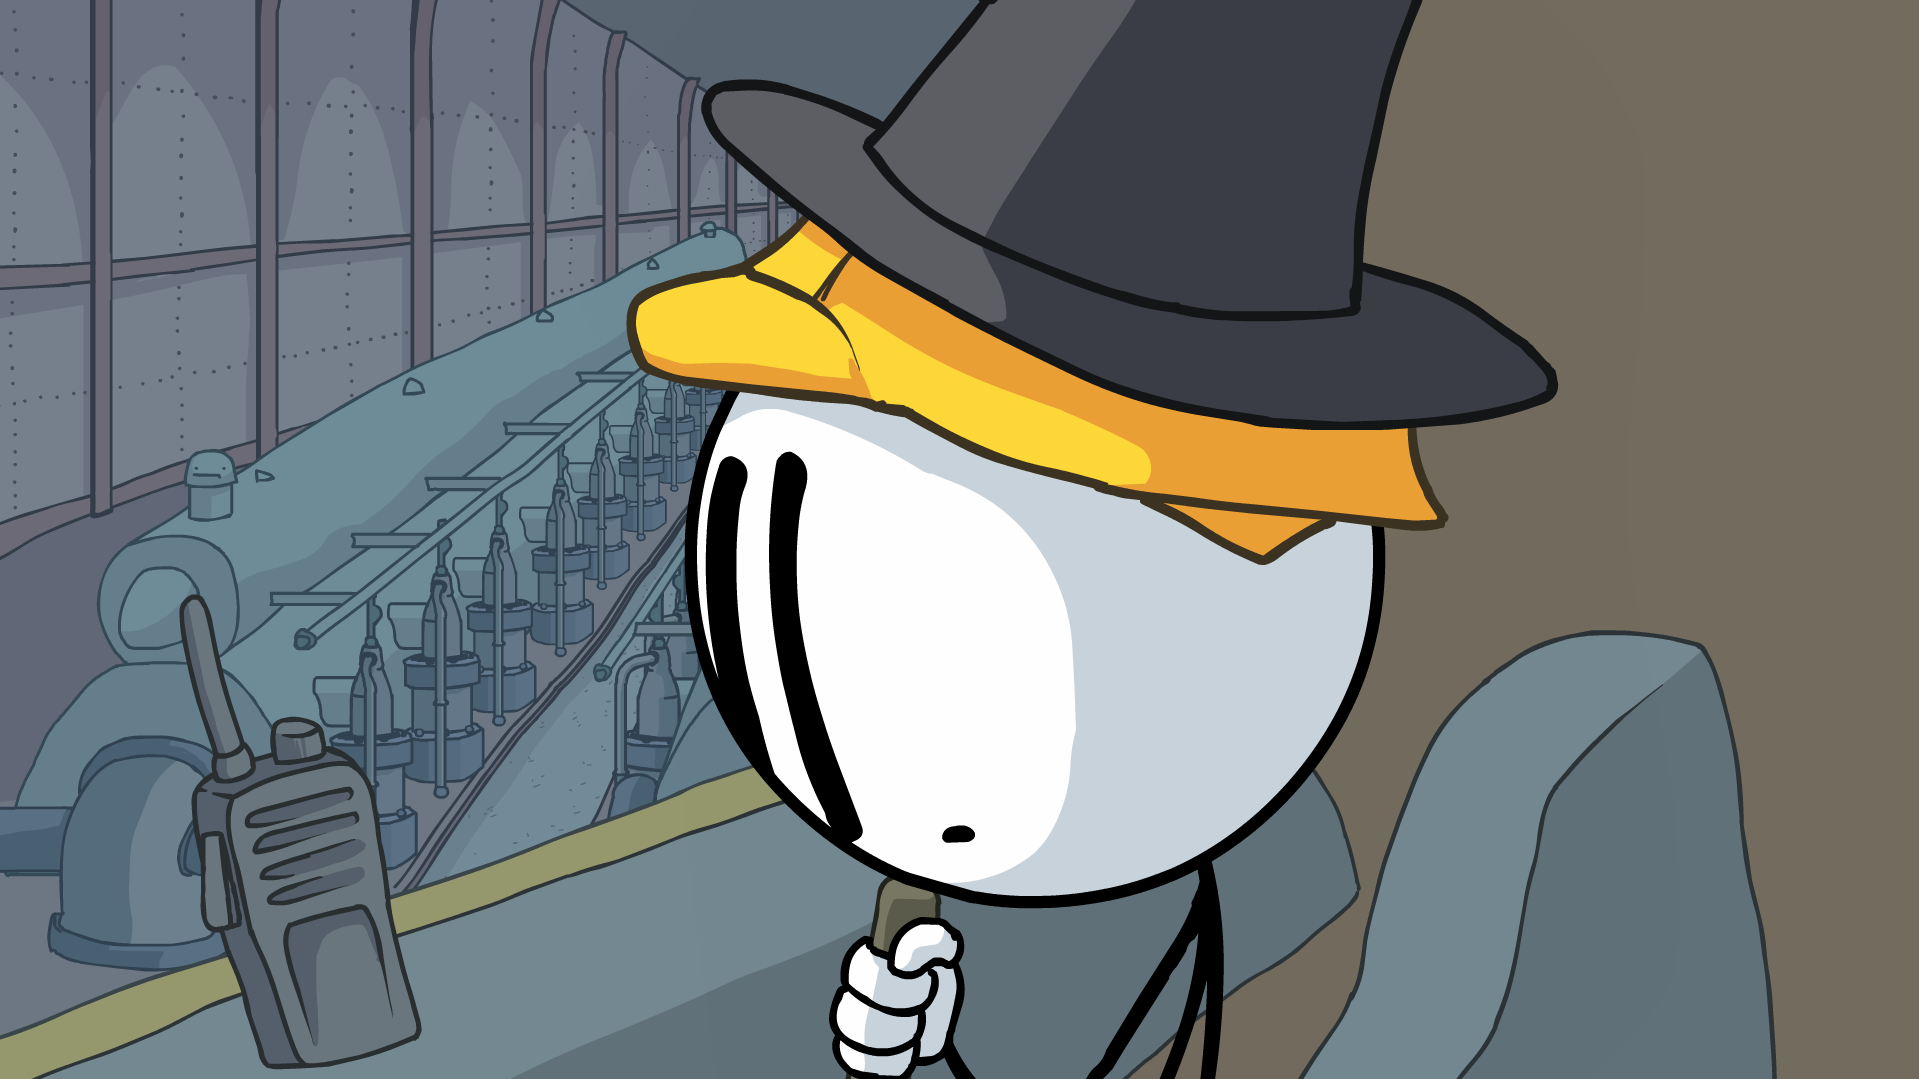
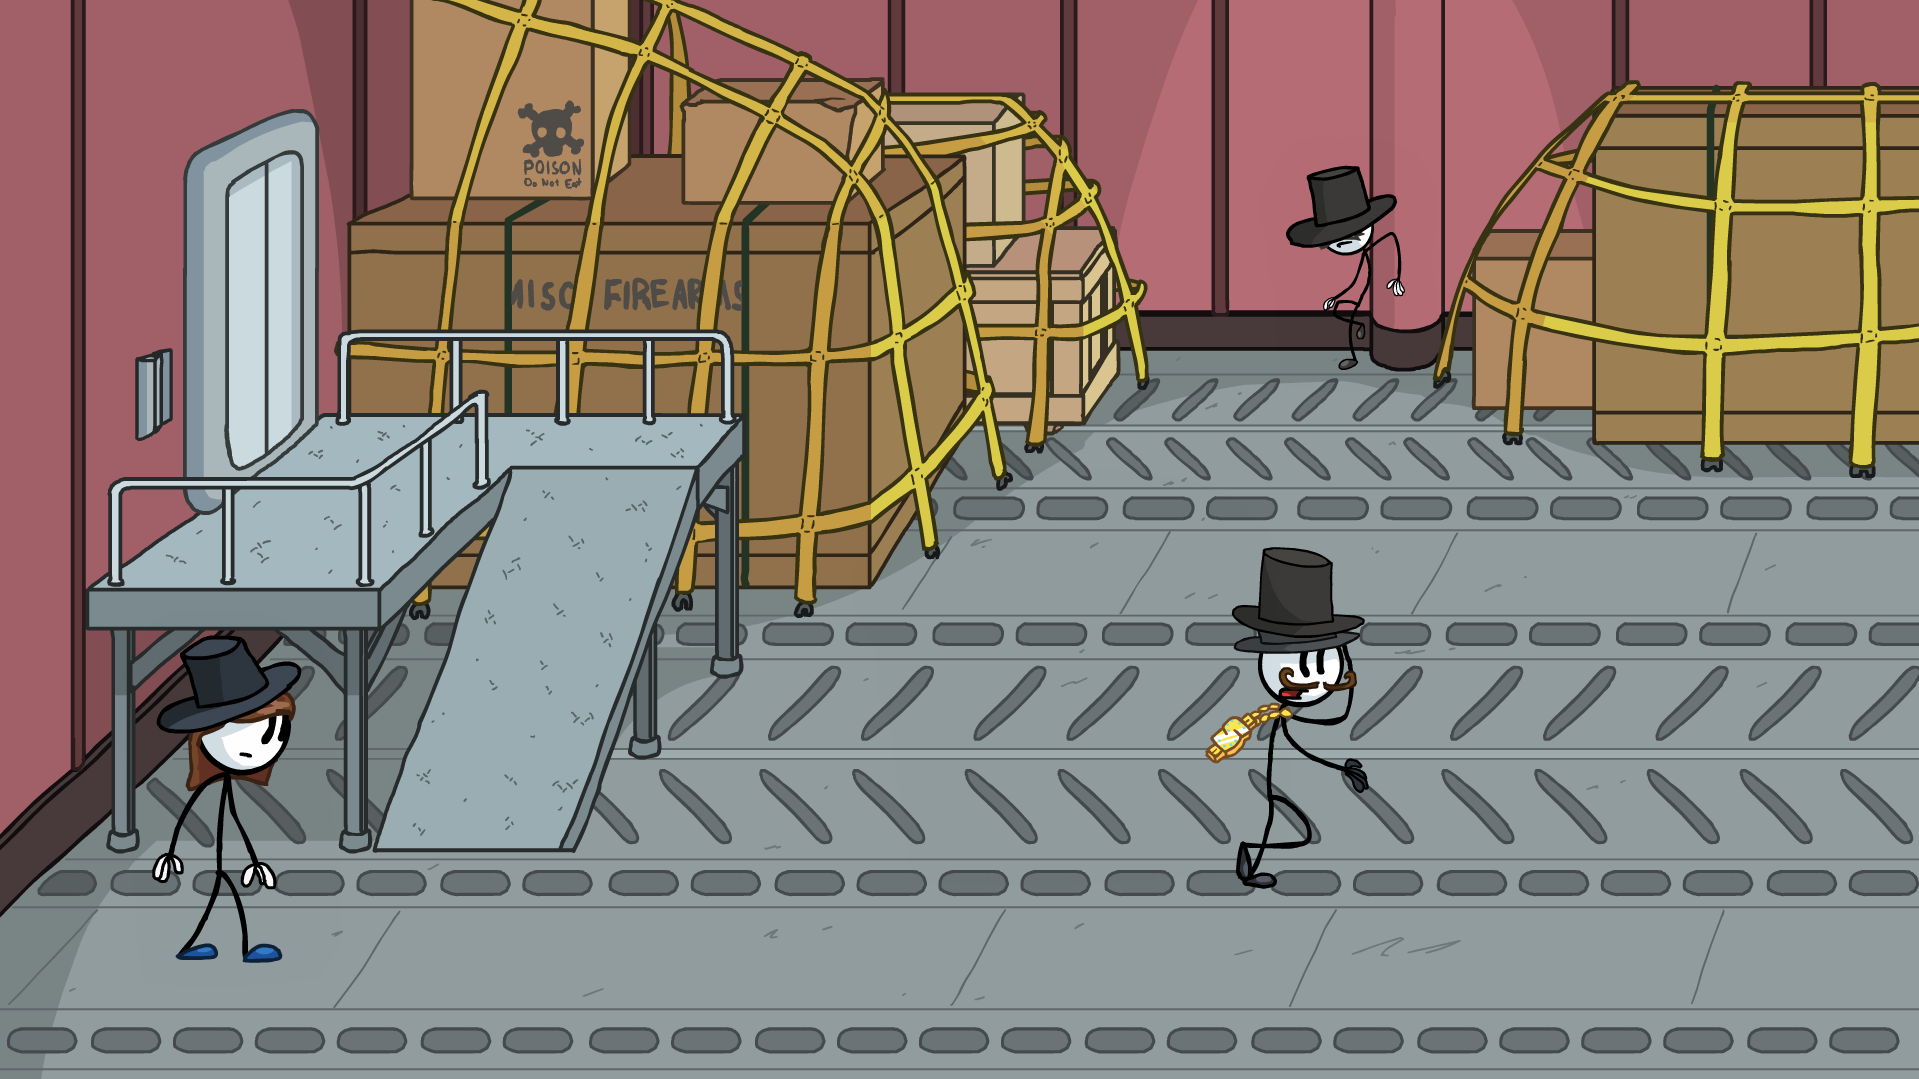
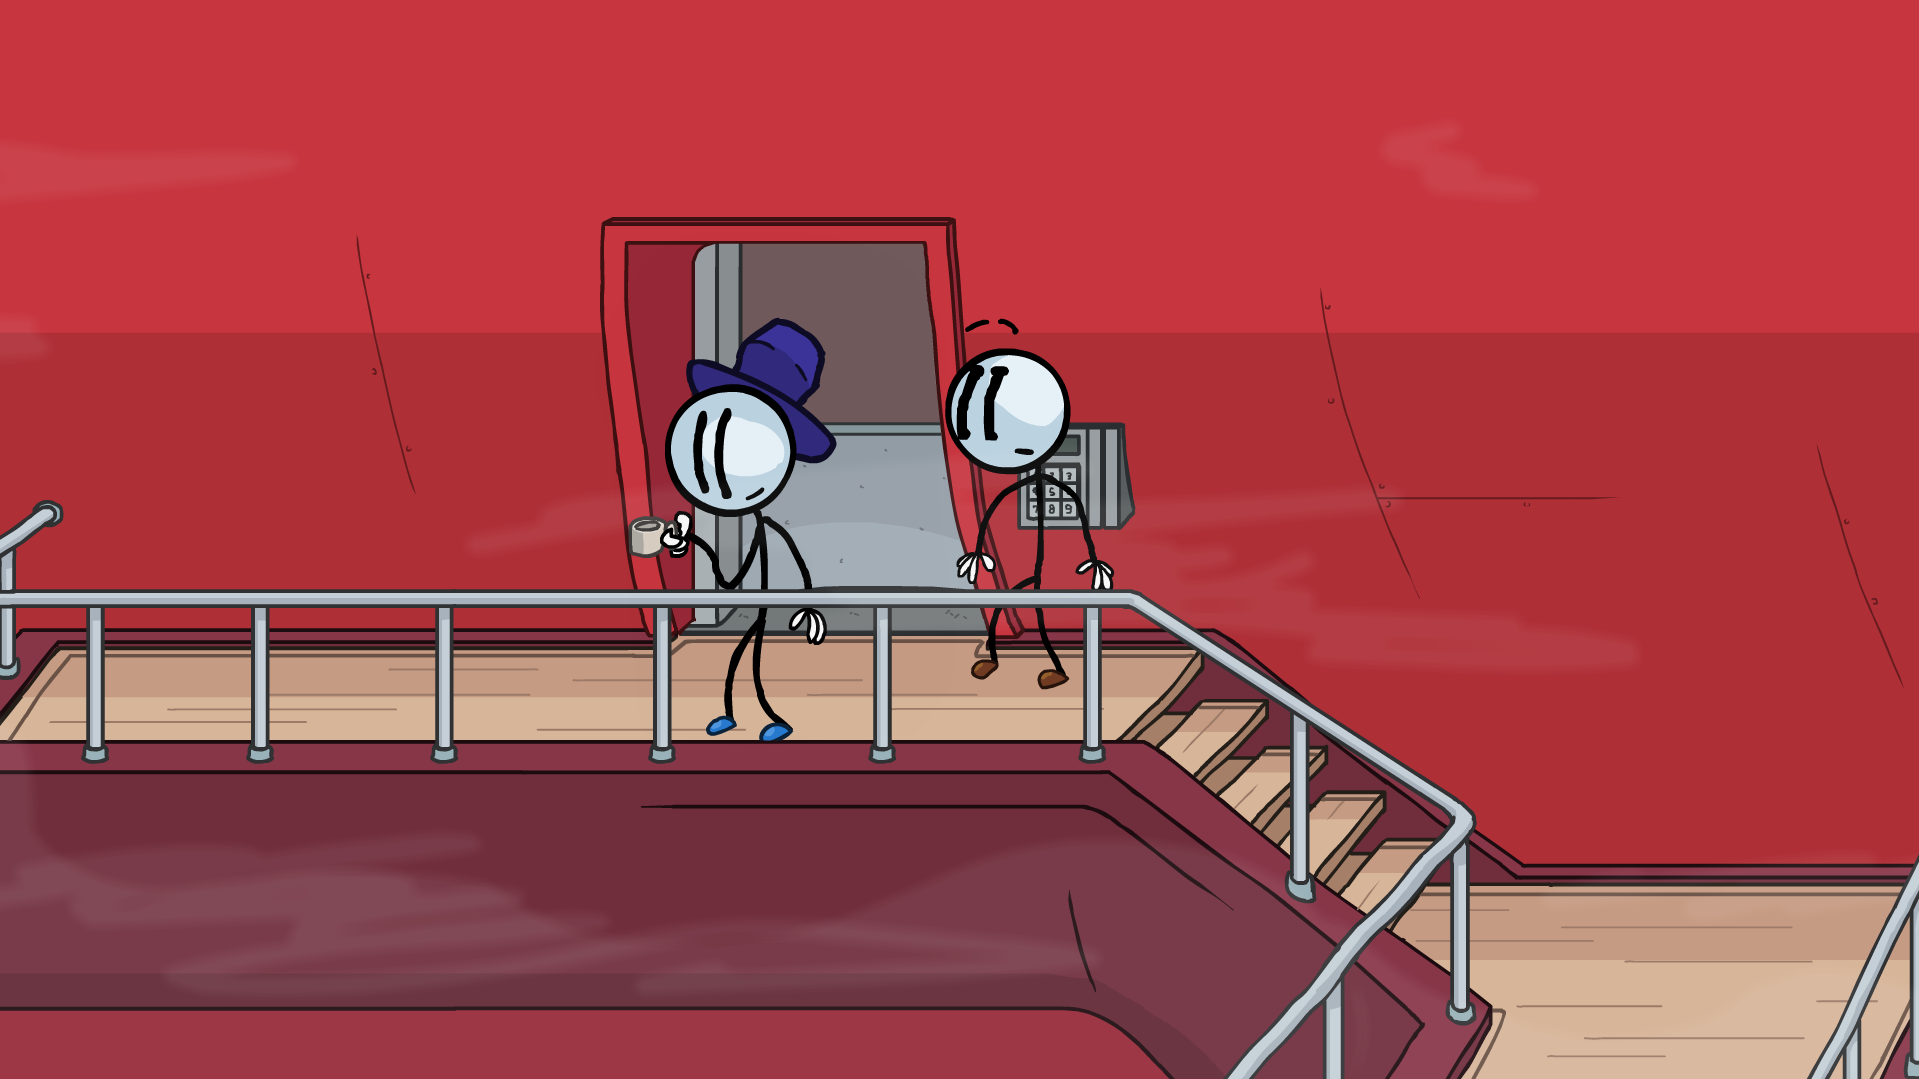
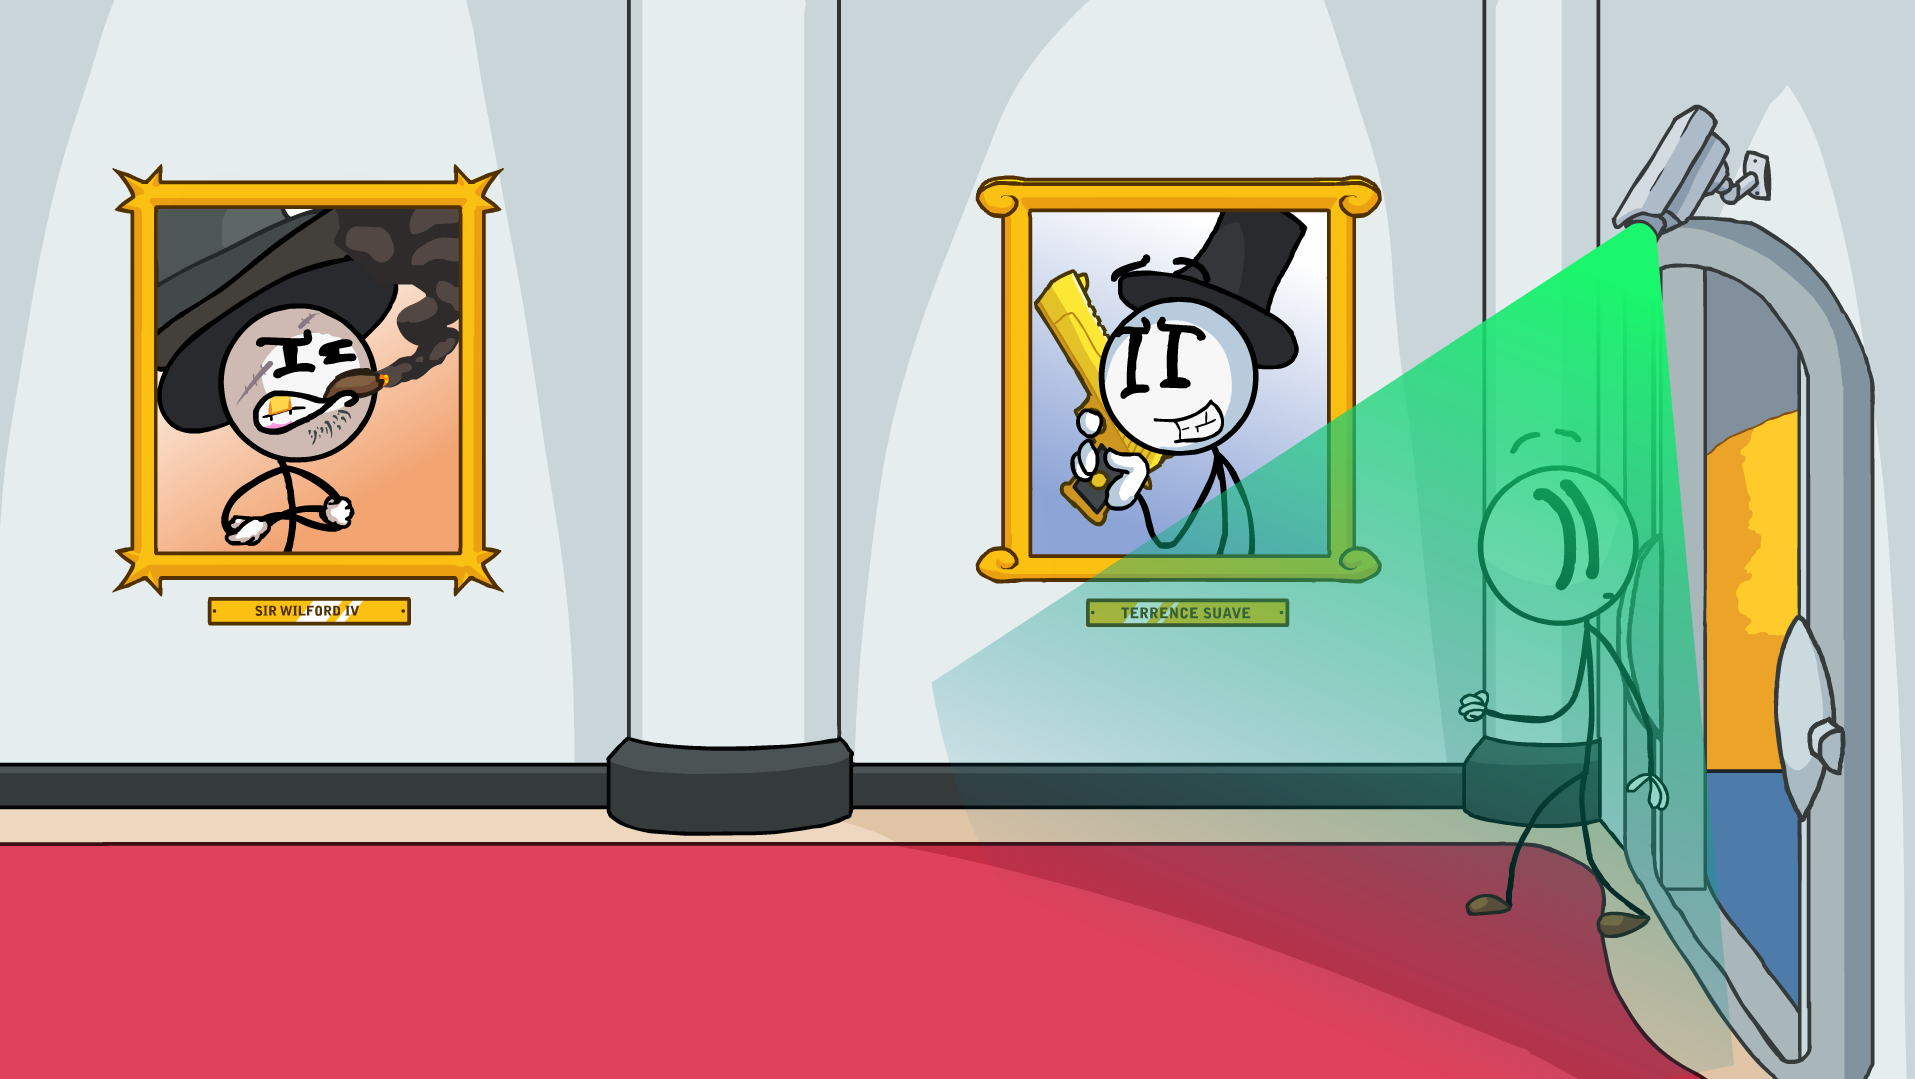
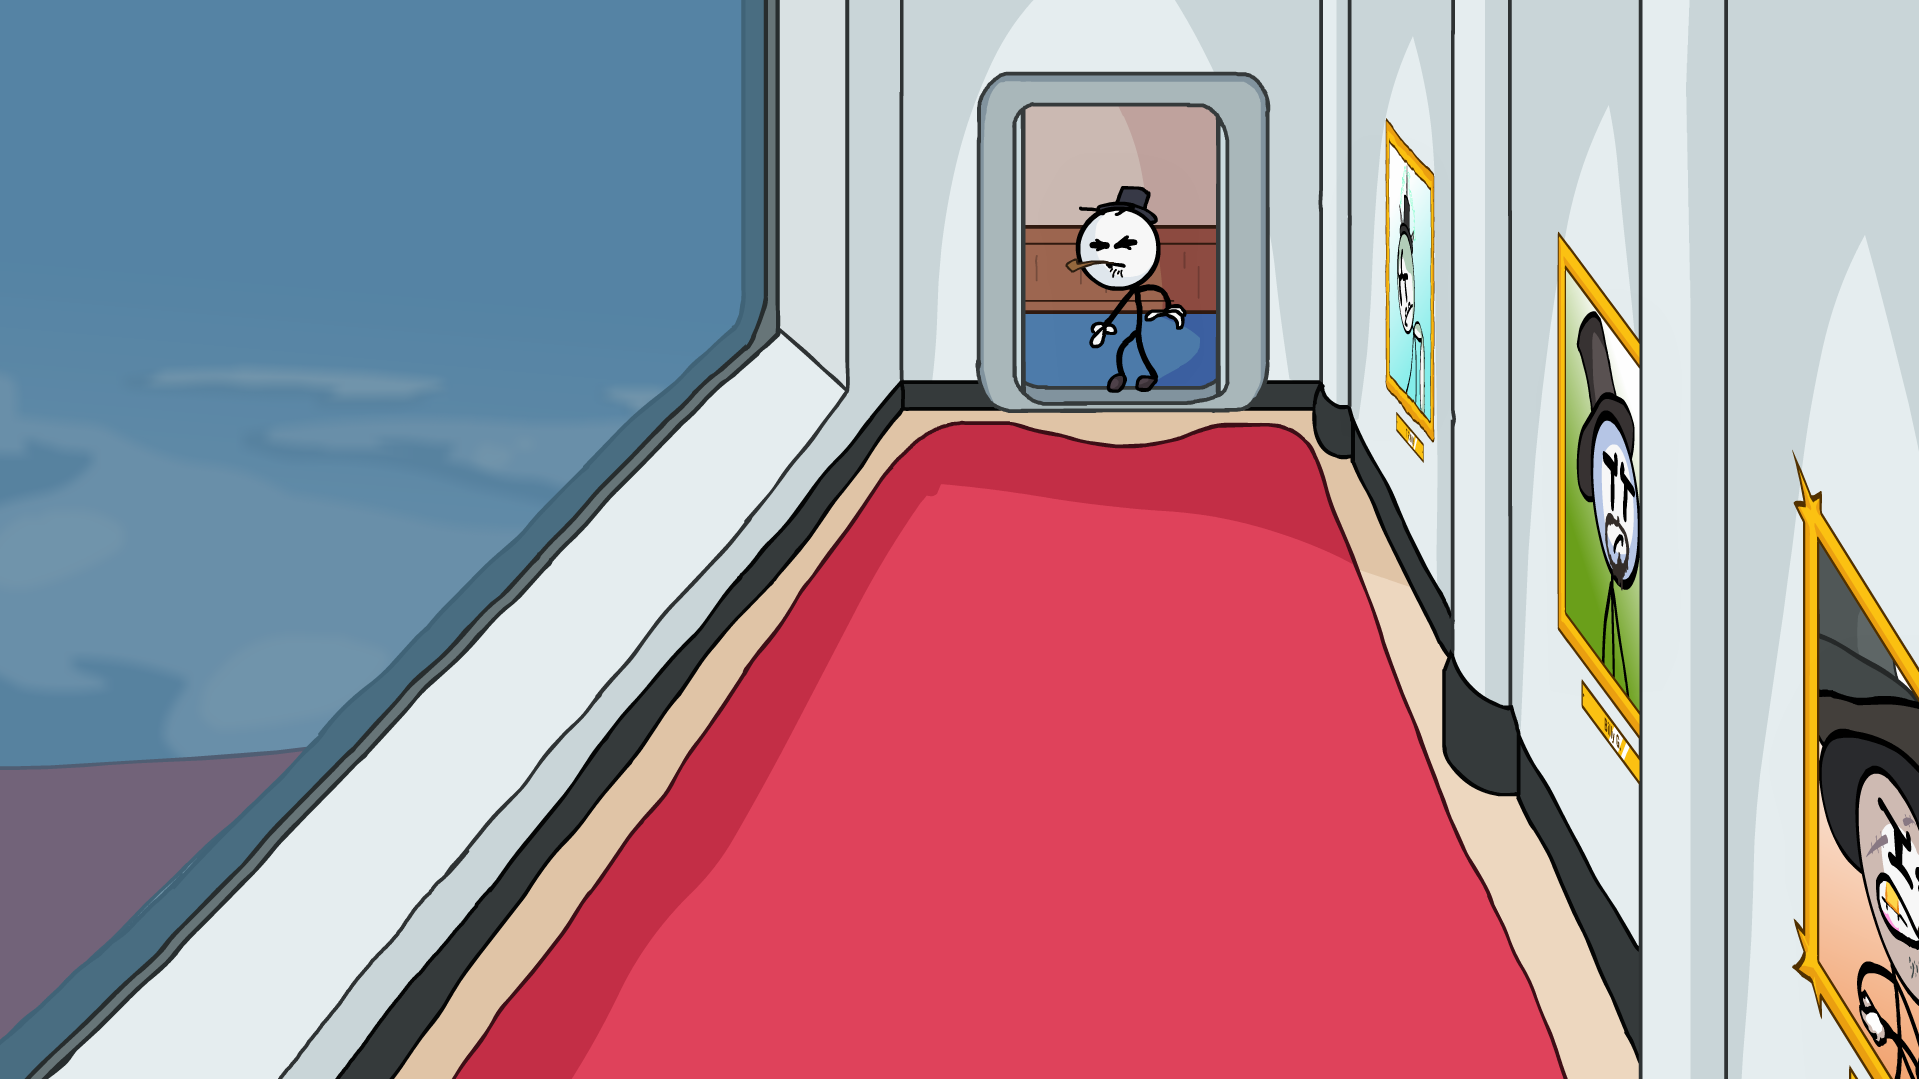

It's this part.
22 Bios are to collect during this one cutscene, and beside last 2 - you need a couple attempts to get everyone.
Grab the one in white hat first as he quickly run off the screen.
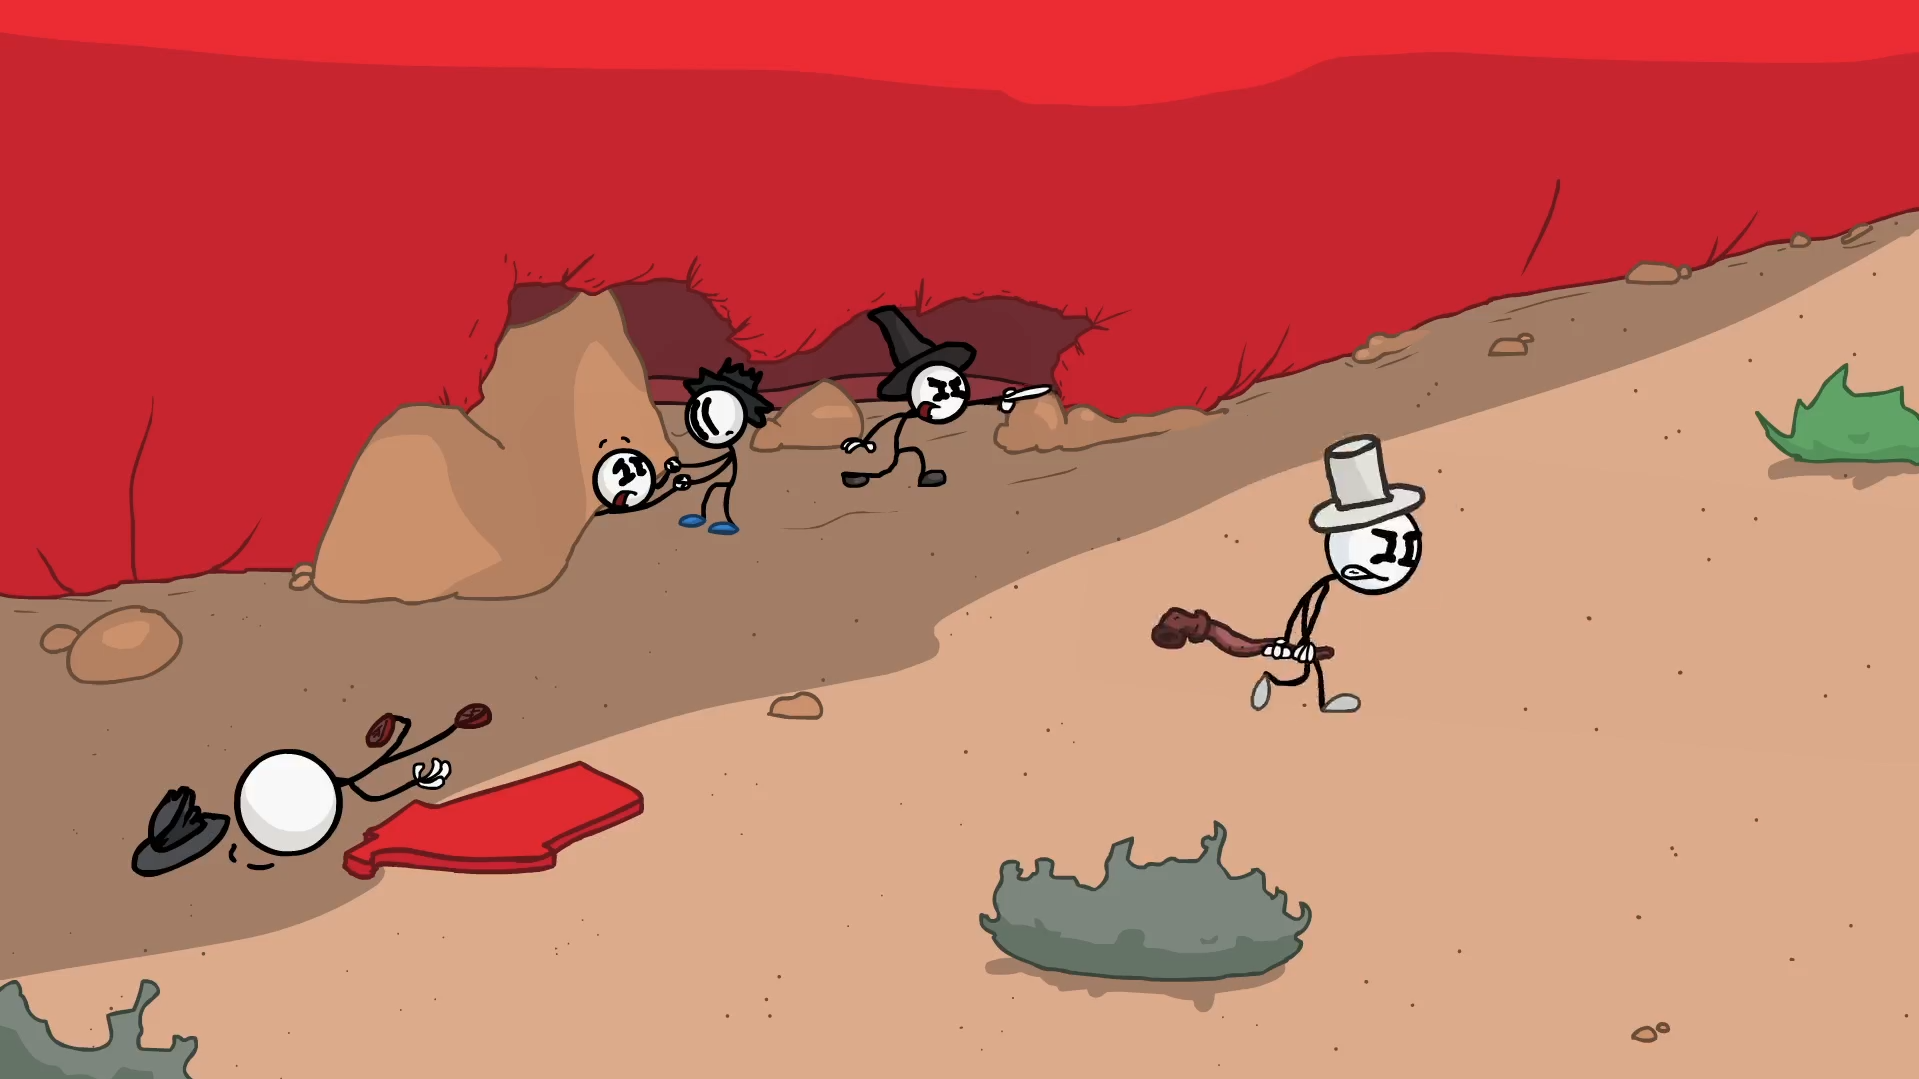
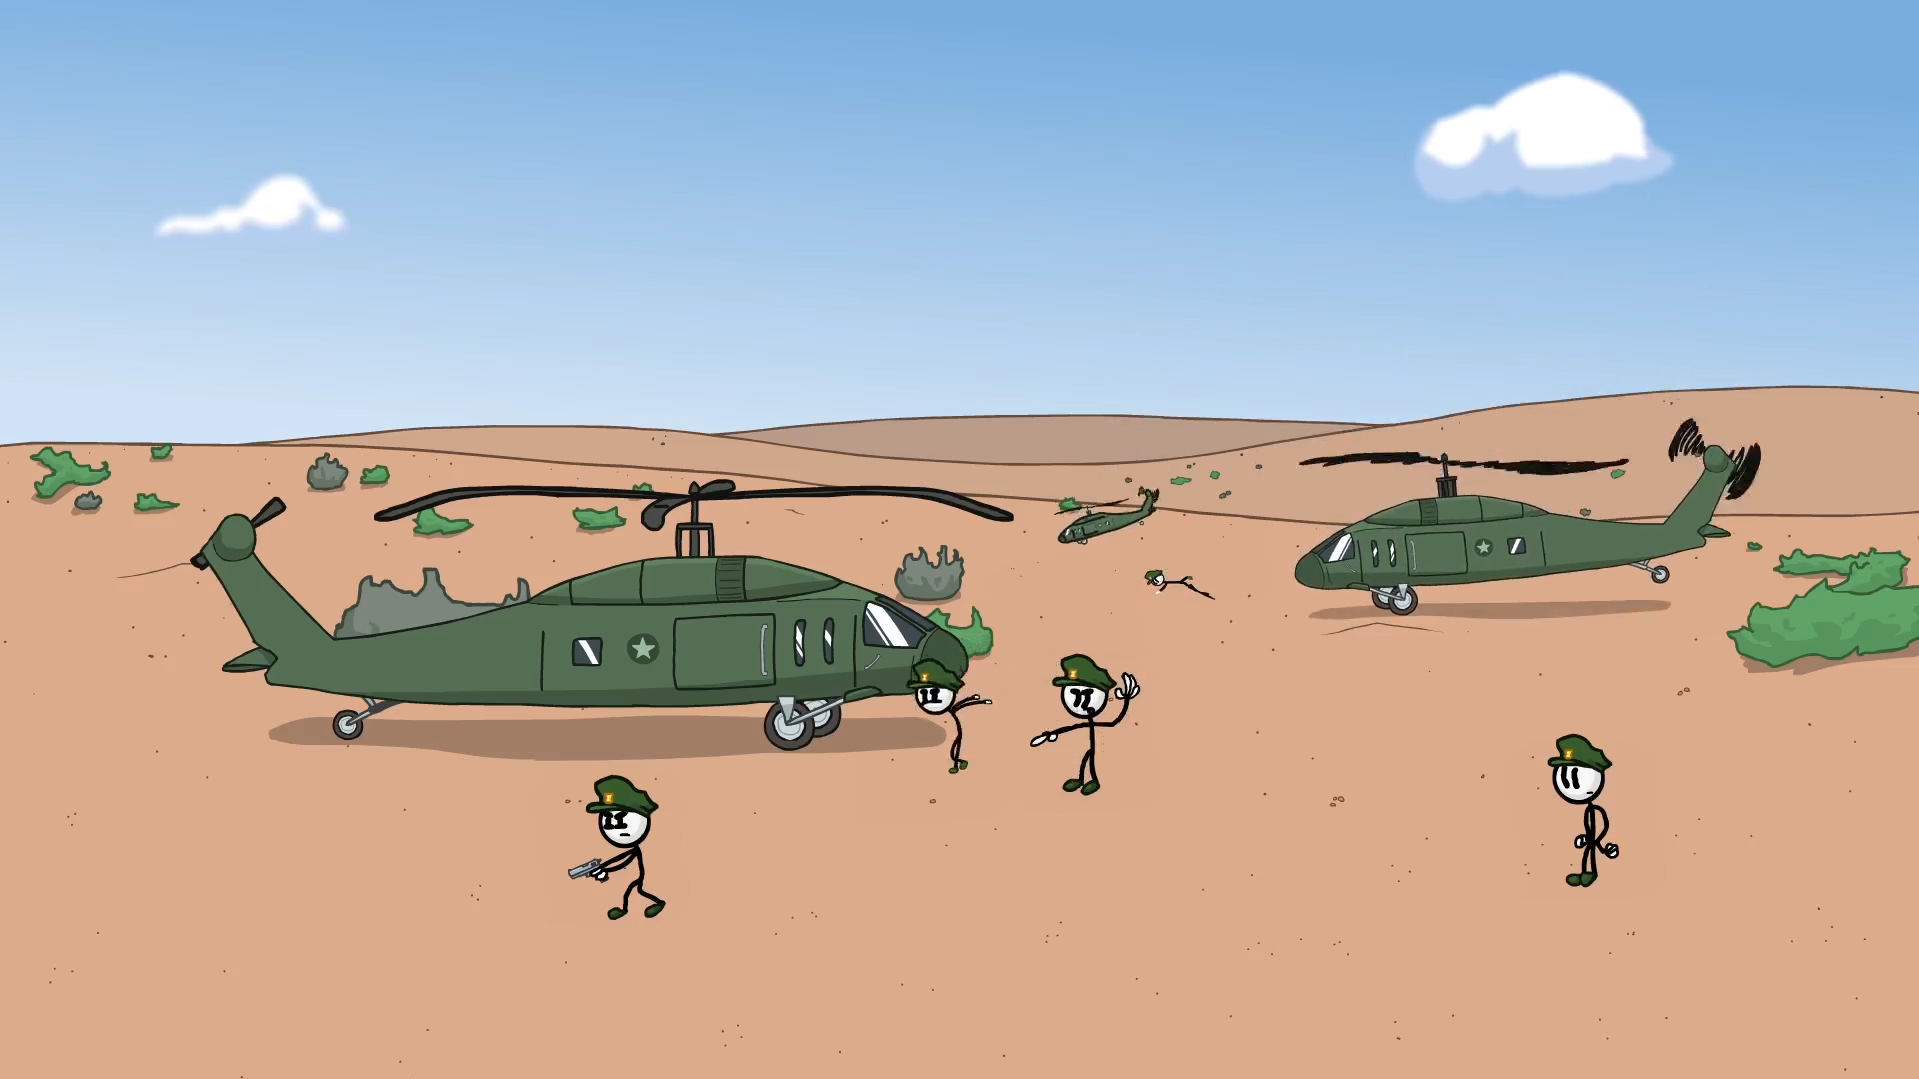
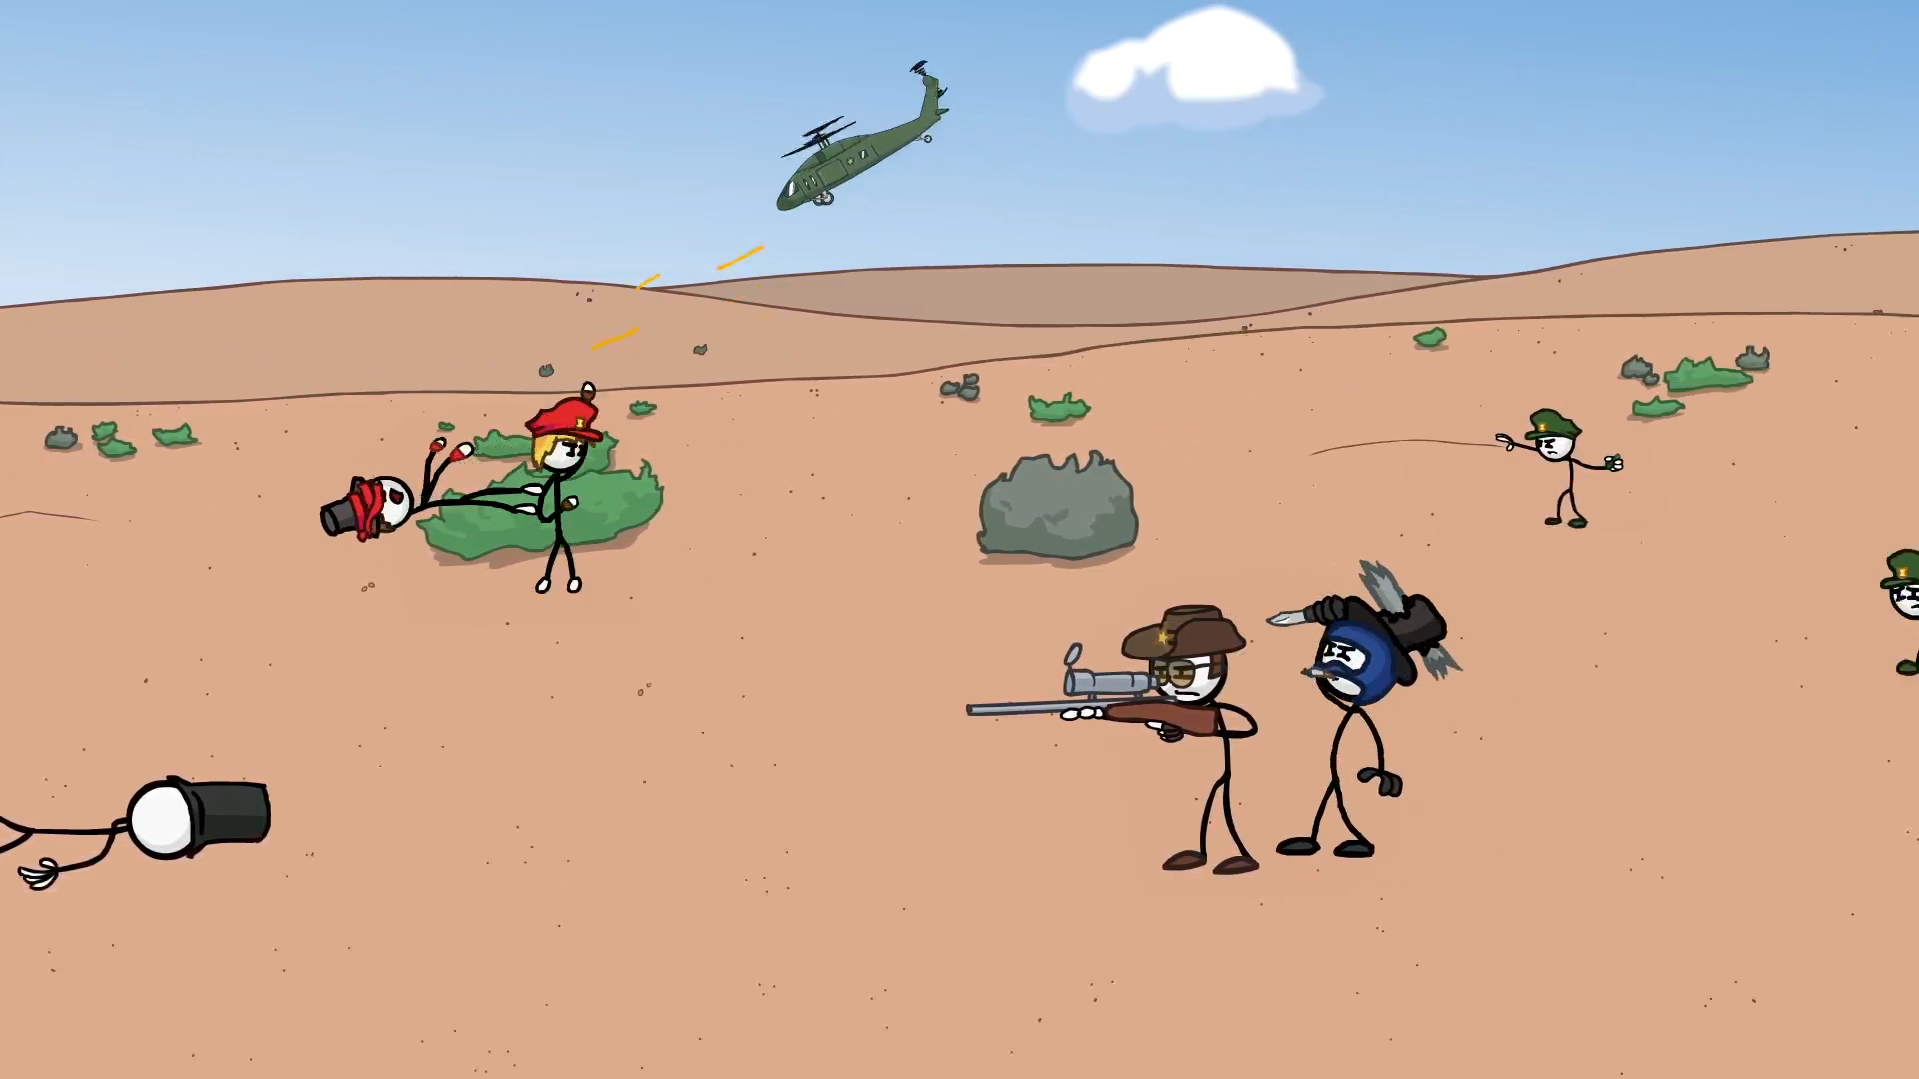
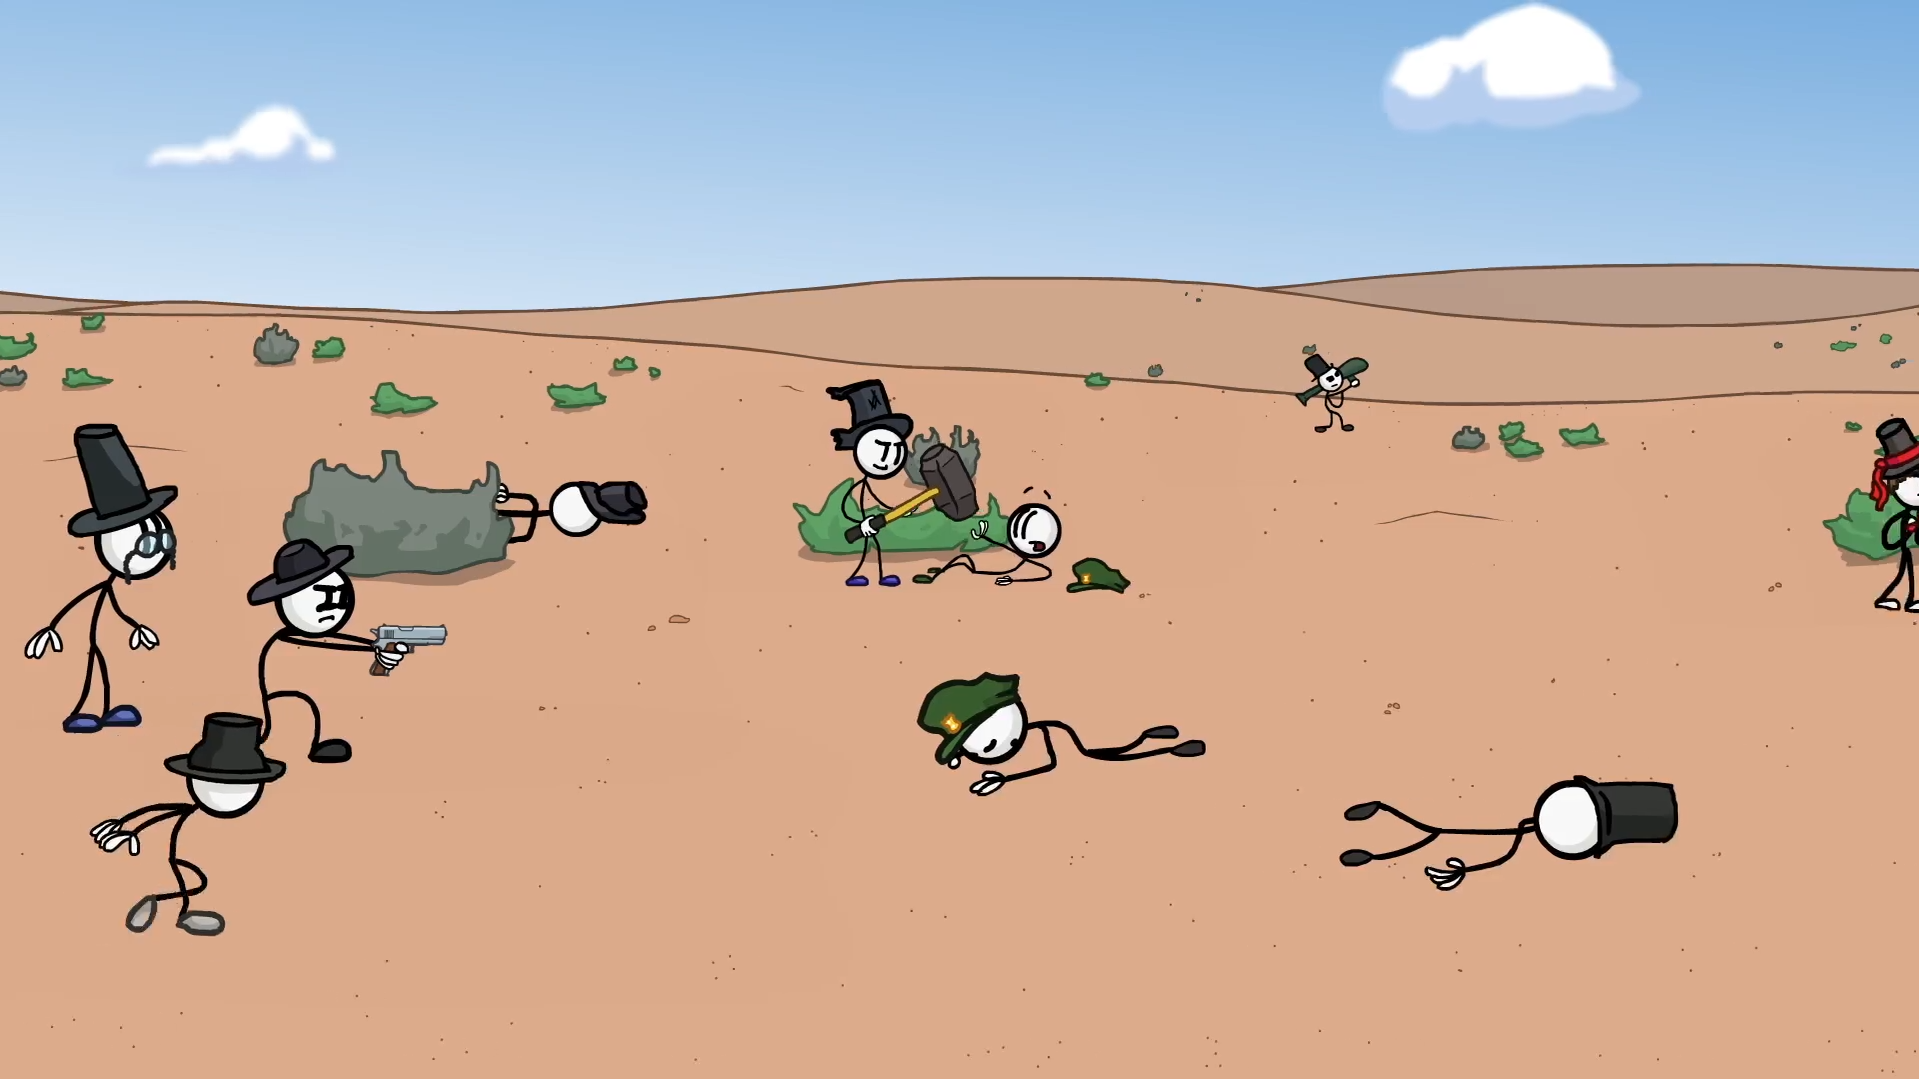
Be fast as they will evaporate after flying guy shoot them.
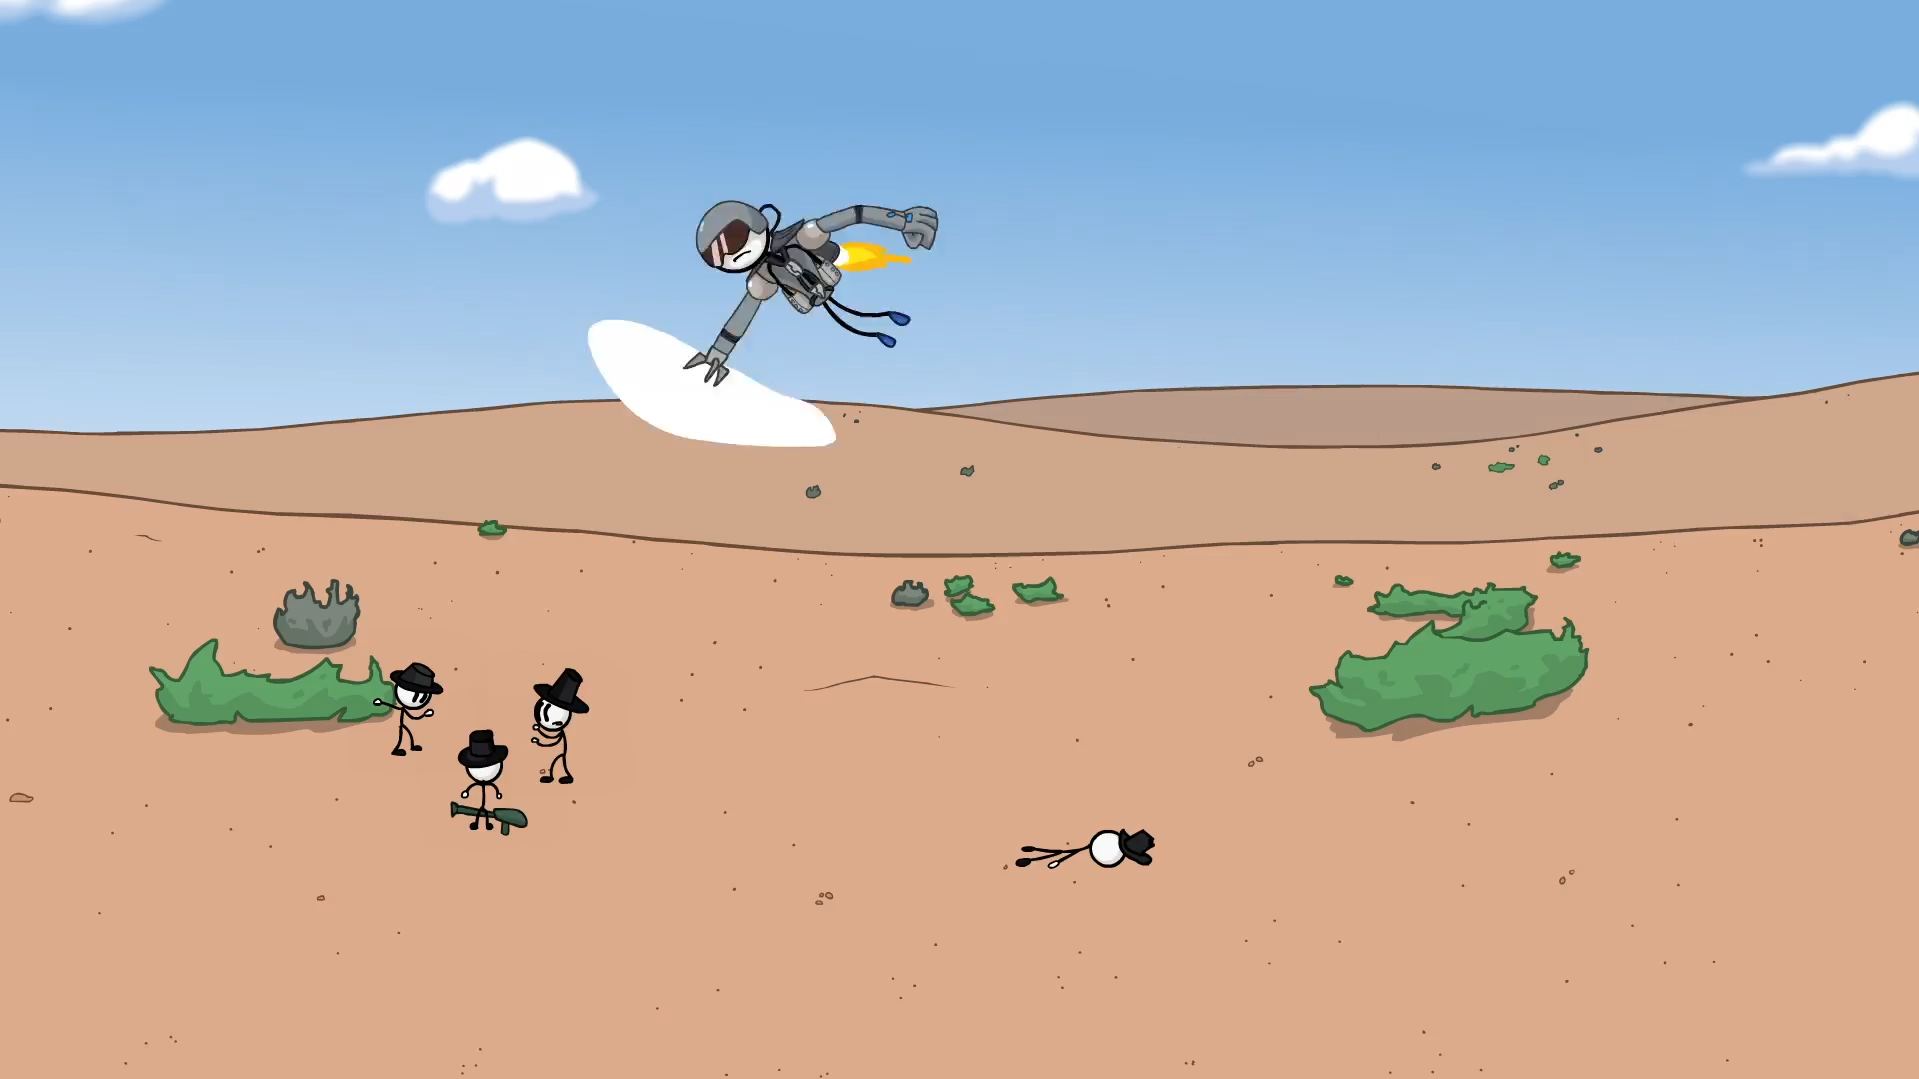
In Center for Chaos Containment, choose D.E.B (Dark Energy Bomb).
In Center for Chaos Containment, choose bottom left (smeared / scratched one)

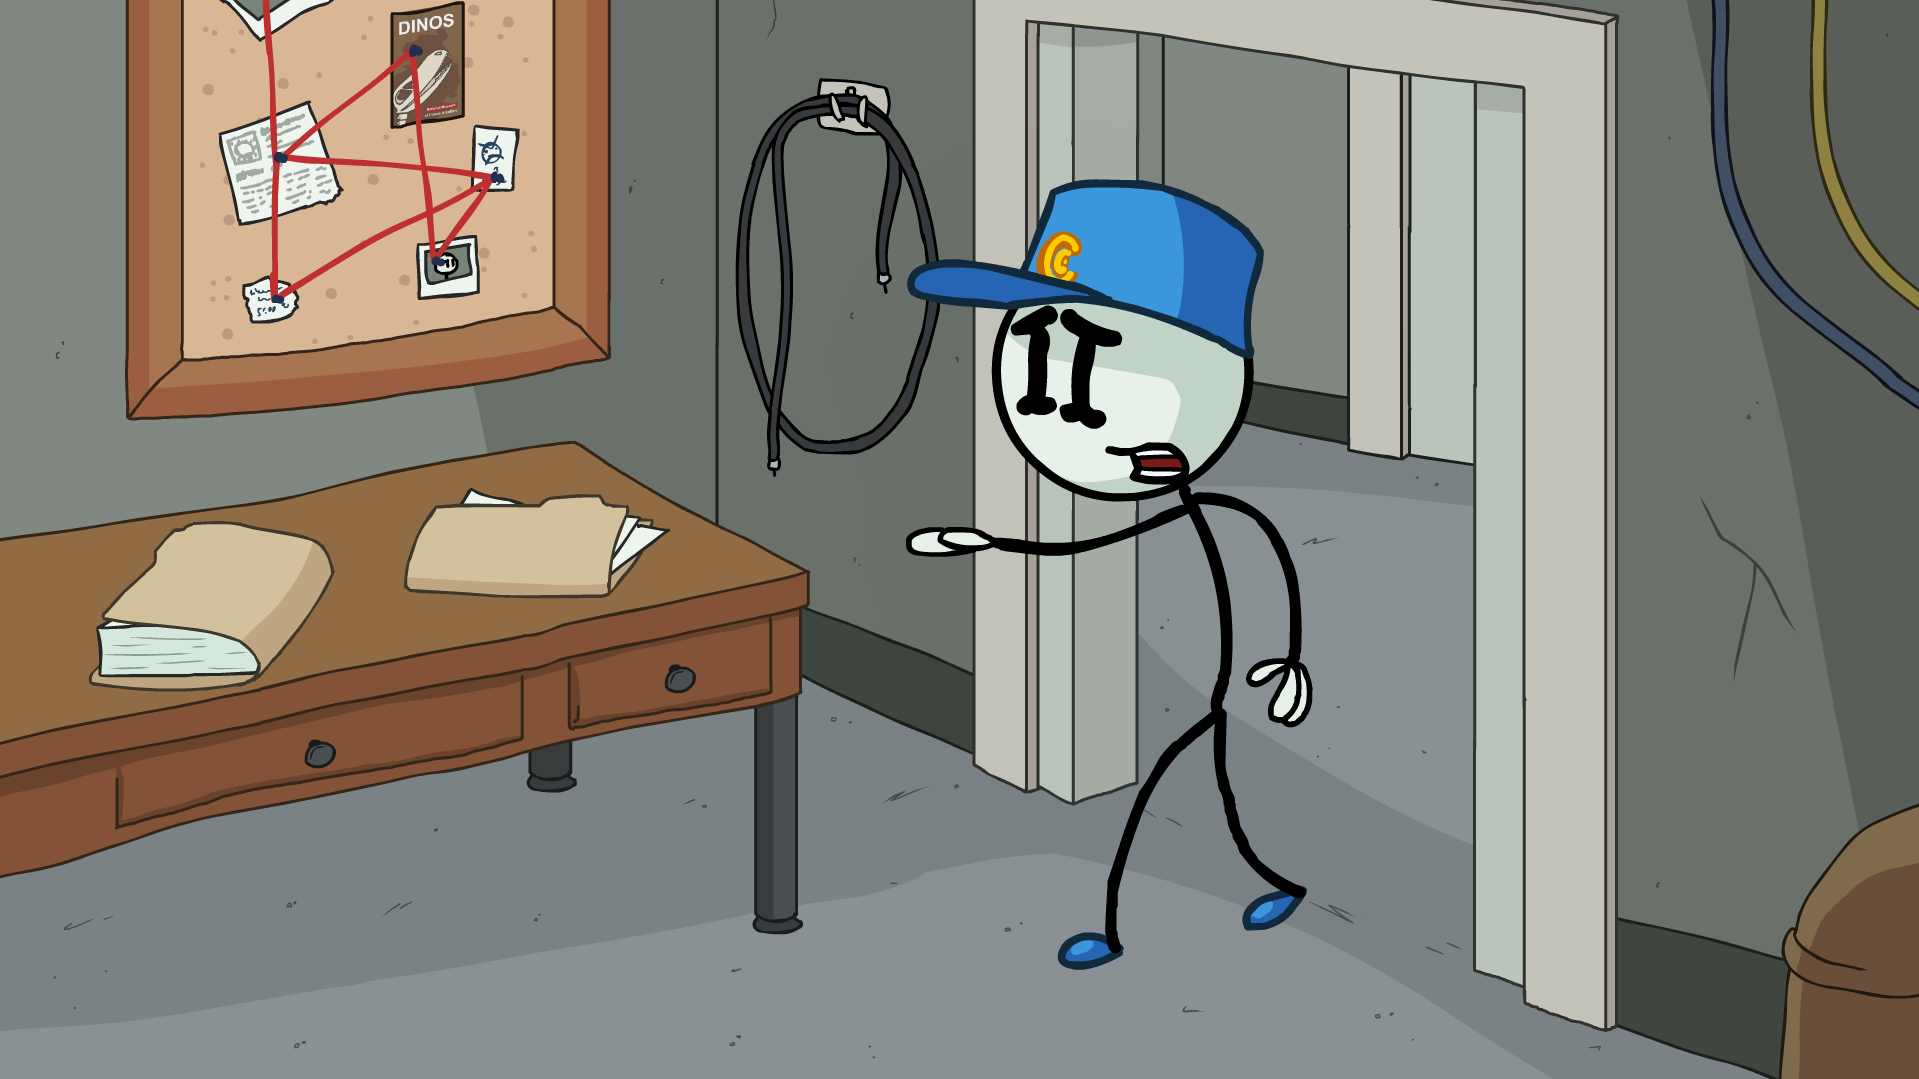
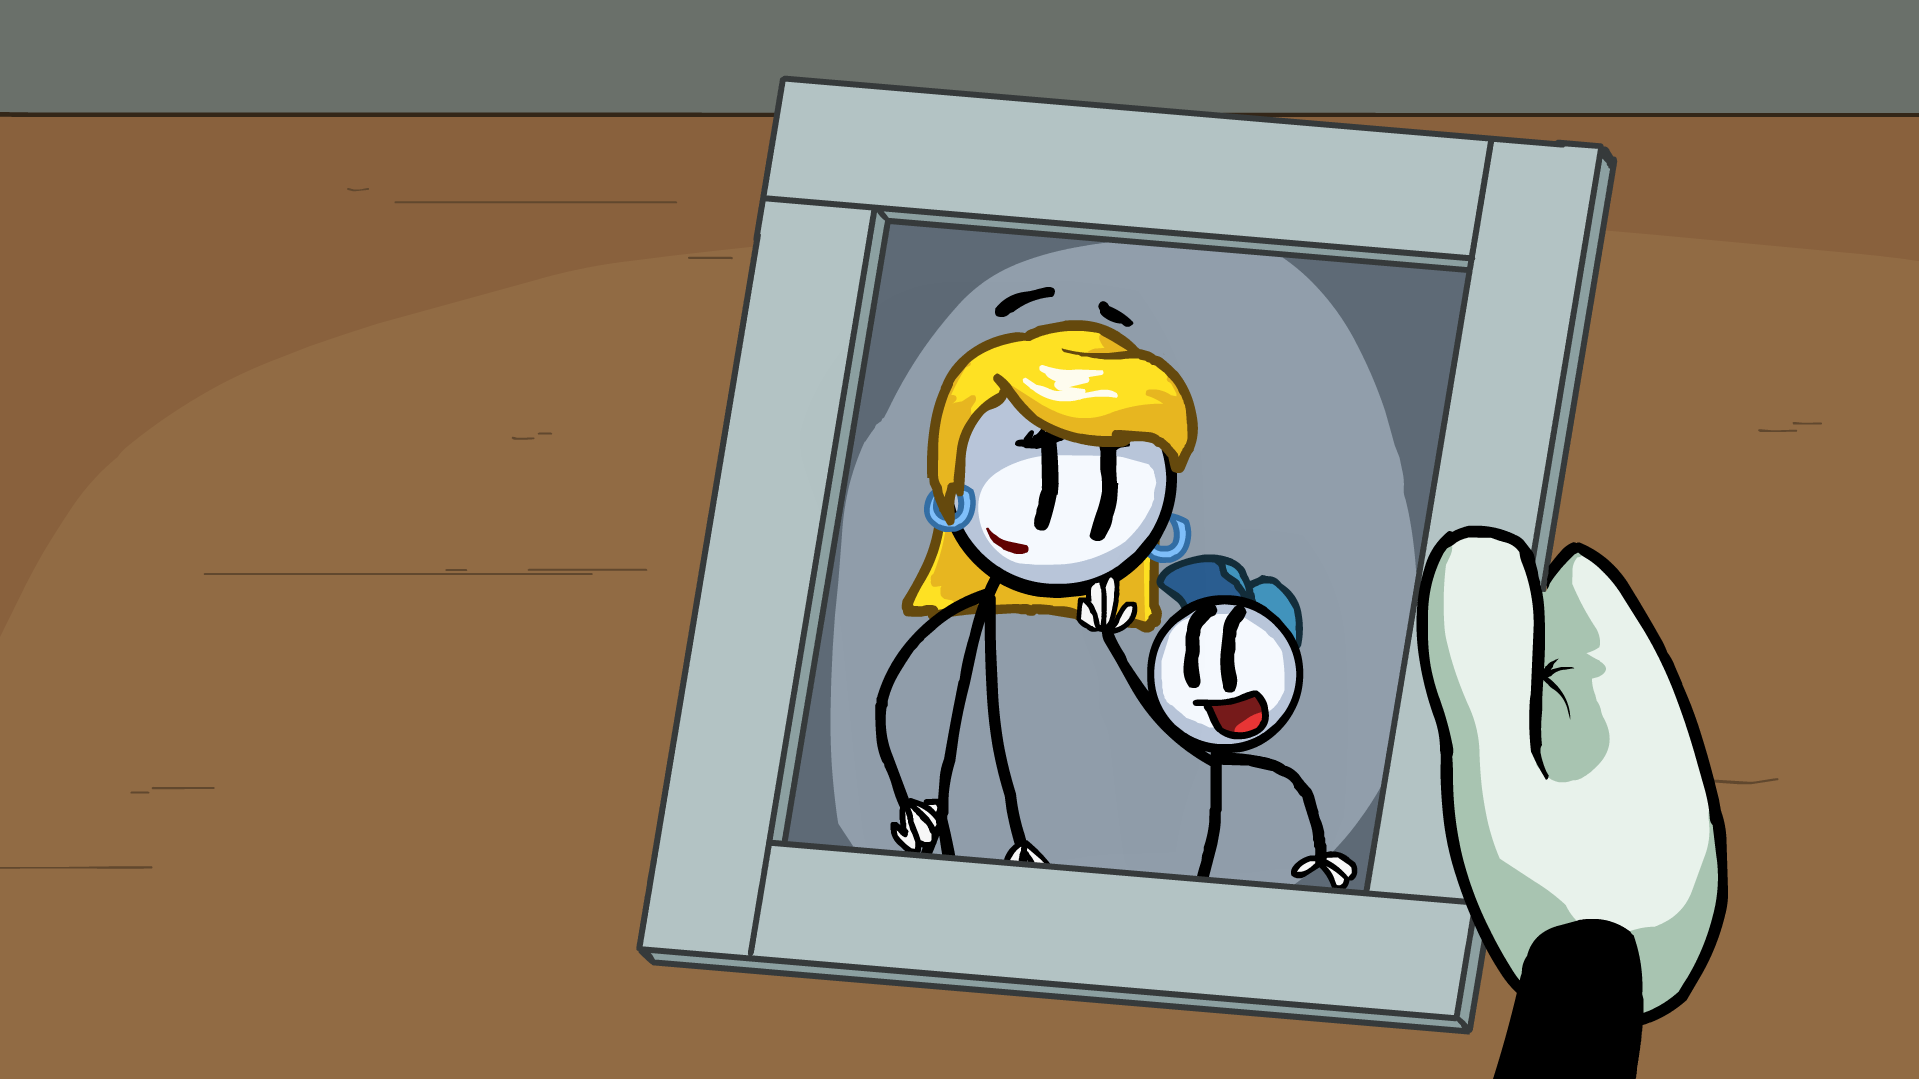
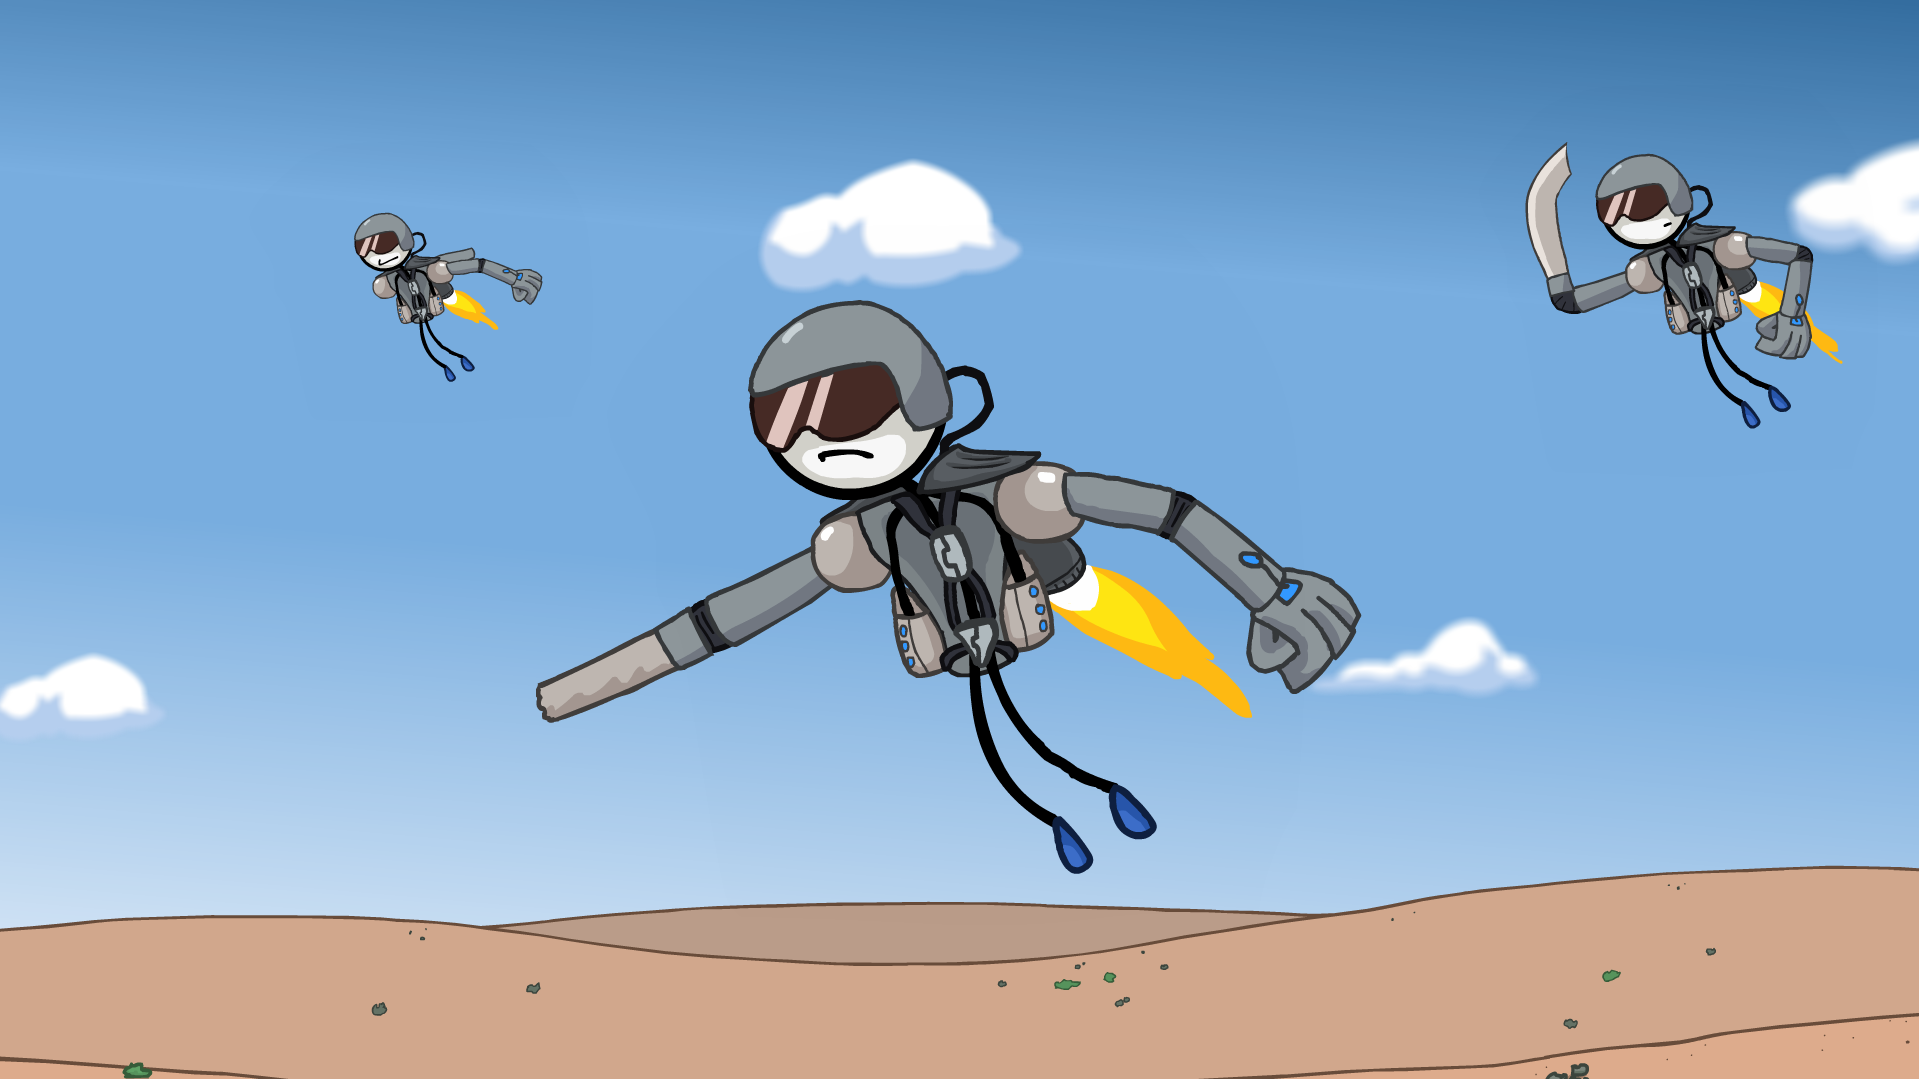
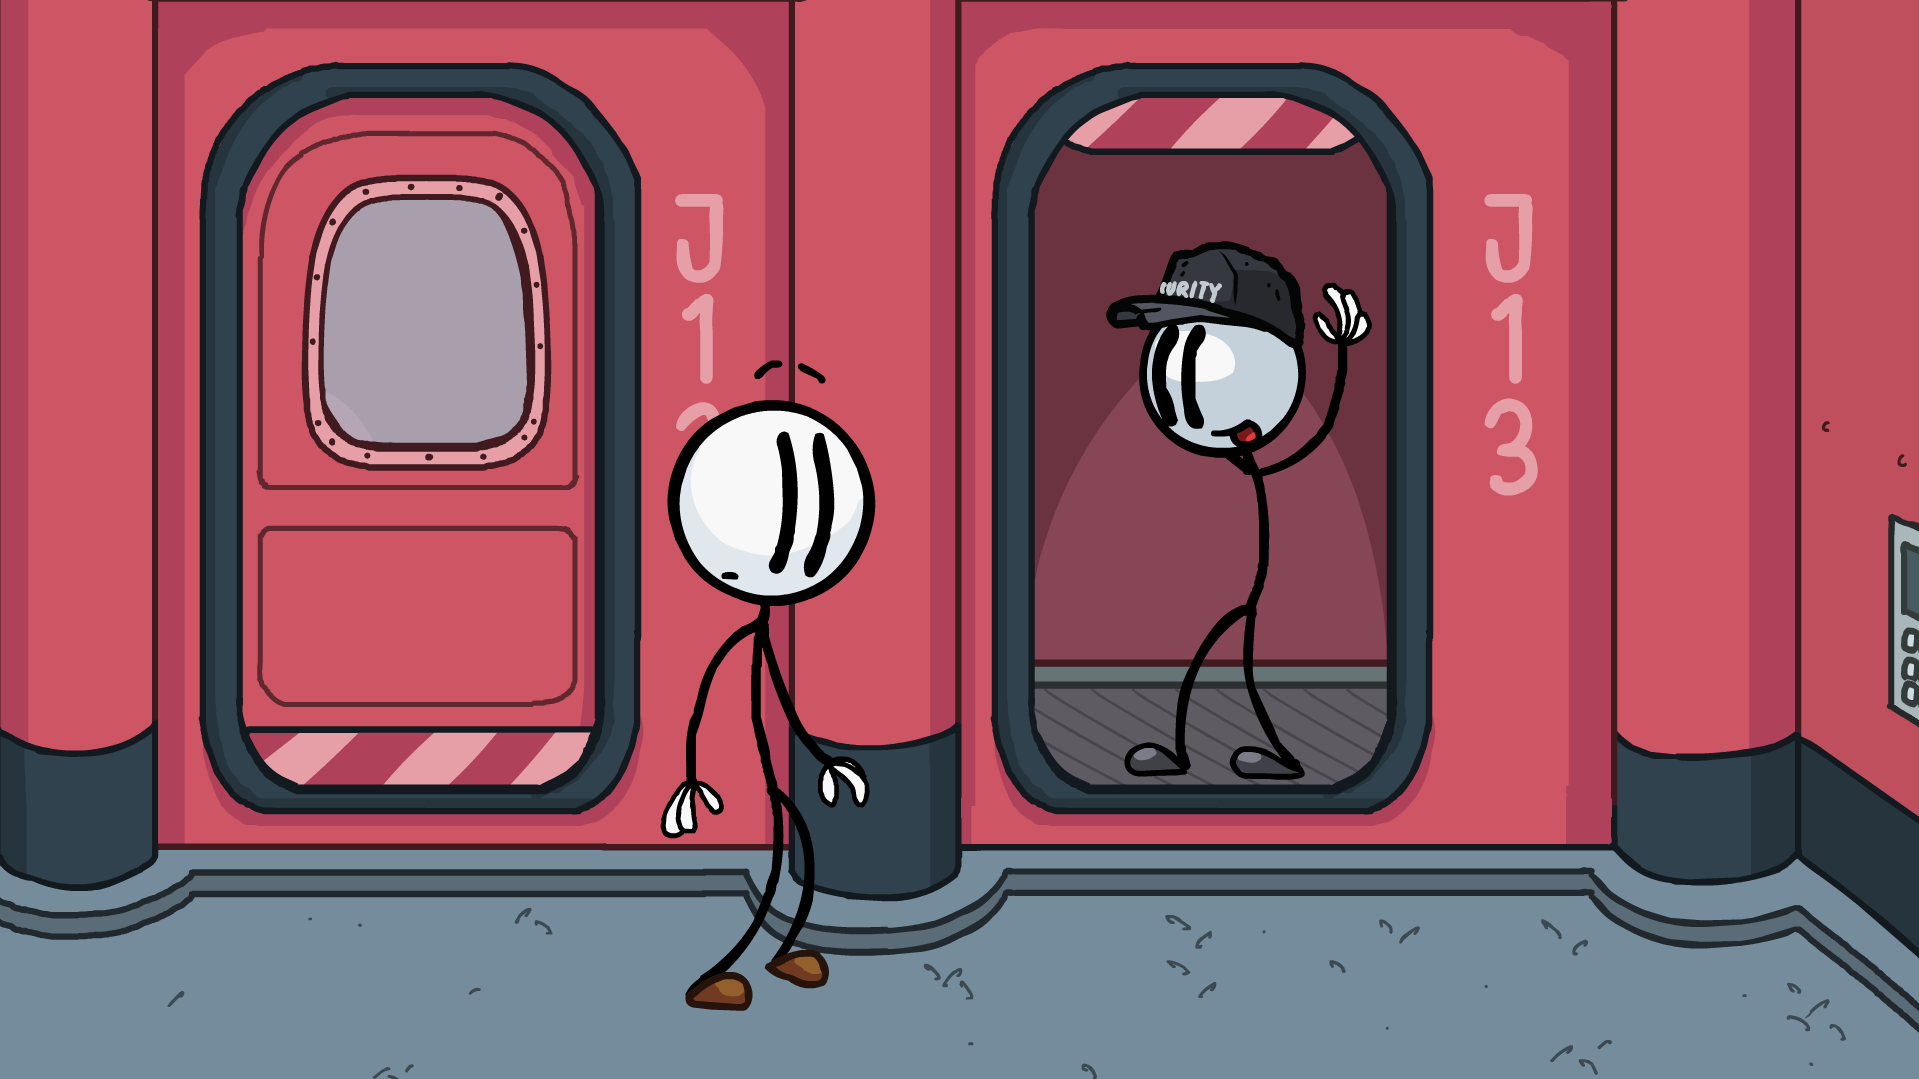
In Brig (Damaged), choose anything.
ᅠItA - Red Achivments:
 Legend says the Toppats have it.
You need to go through series of events through all story lines in this chapter.
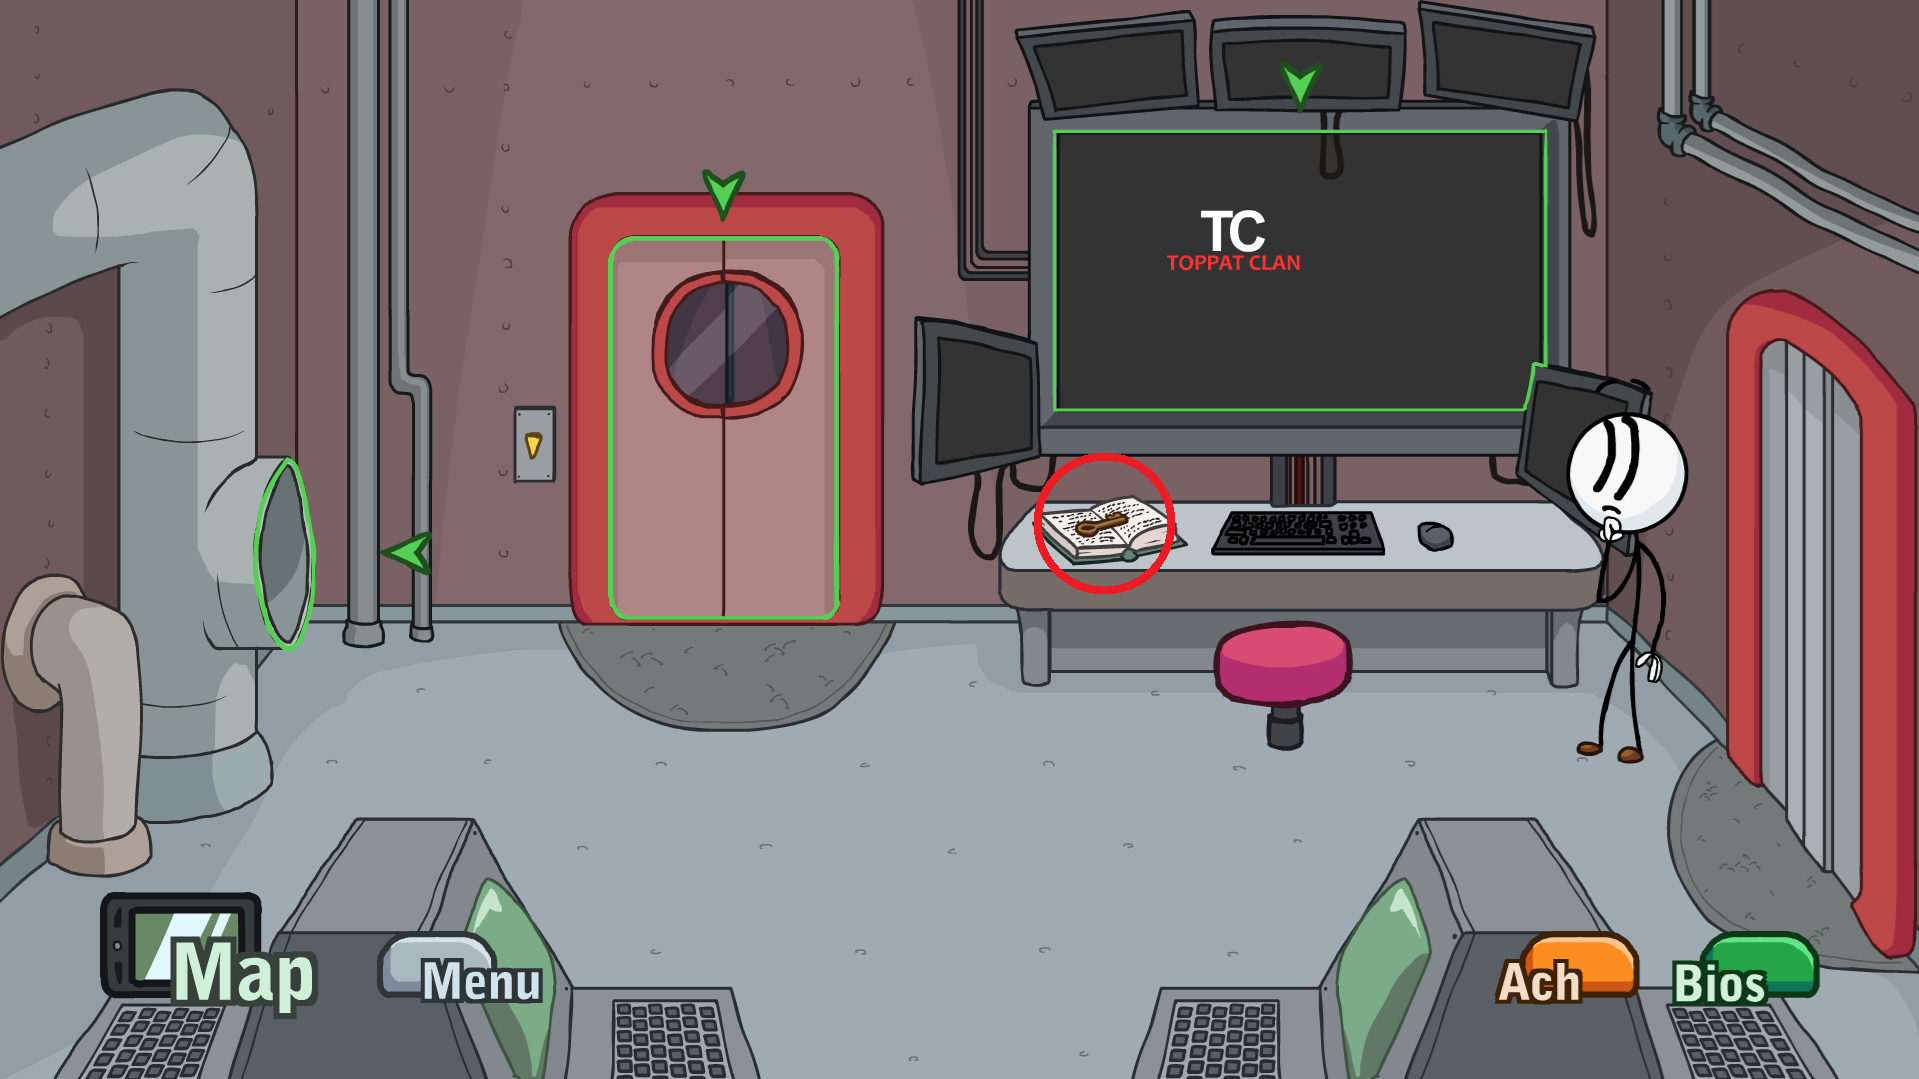
In Surveillance Room, grab key on a book on computer desk.
In Brig, Henry will free Security guard from his cell using key form Surveillance Room.
In Vault, freshly saved Security guard should fall from vents into right side of the room and drop flashdrive - click on flashdrive before options pop up.
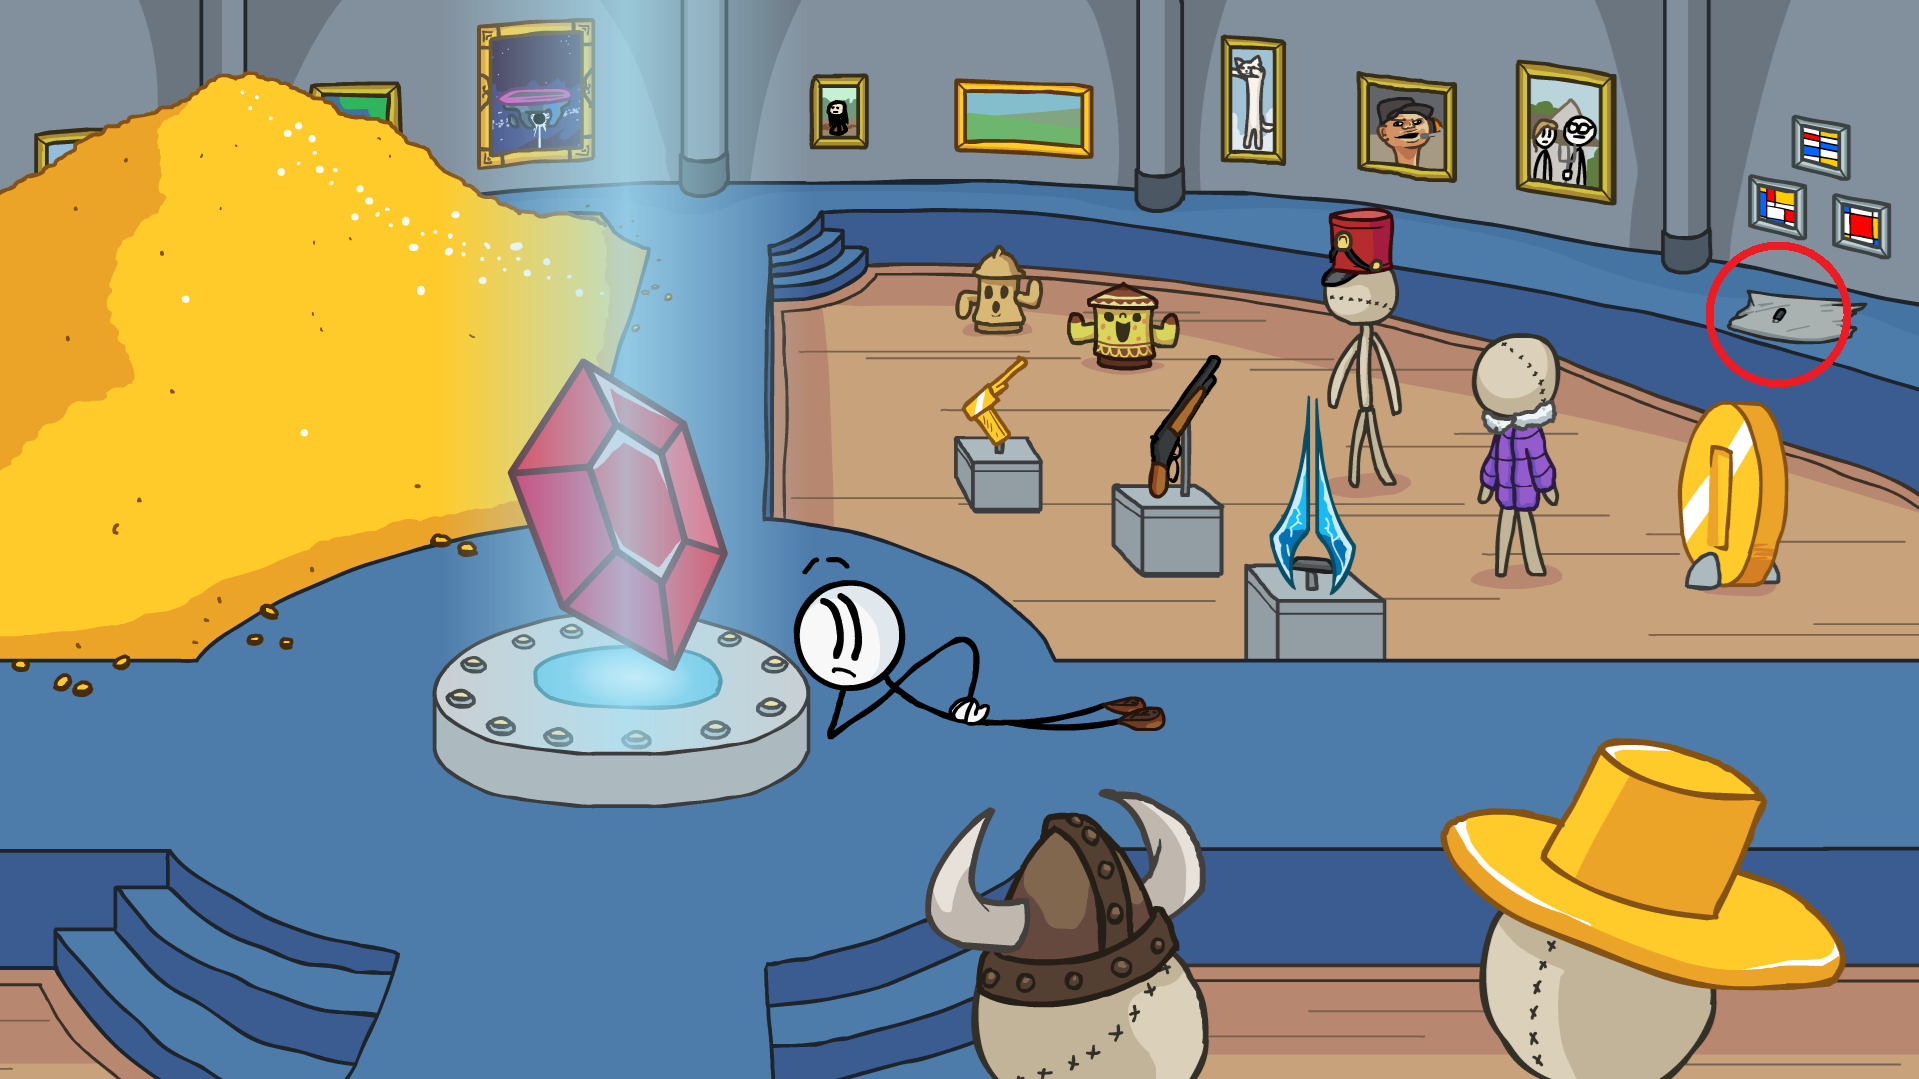
In Center for Chaos Containment, choose Flashdrive to get secret code 1-2-1-4.
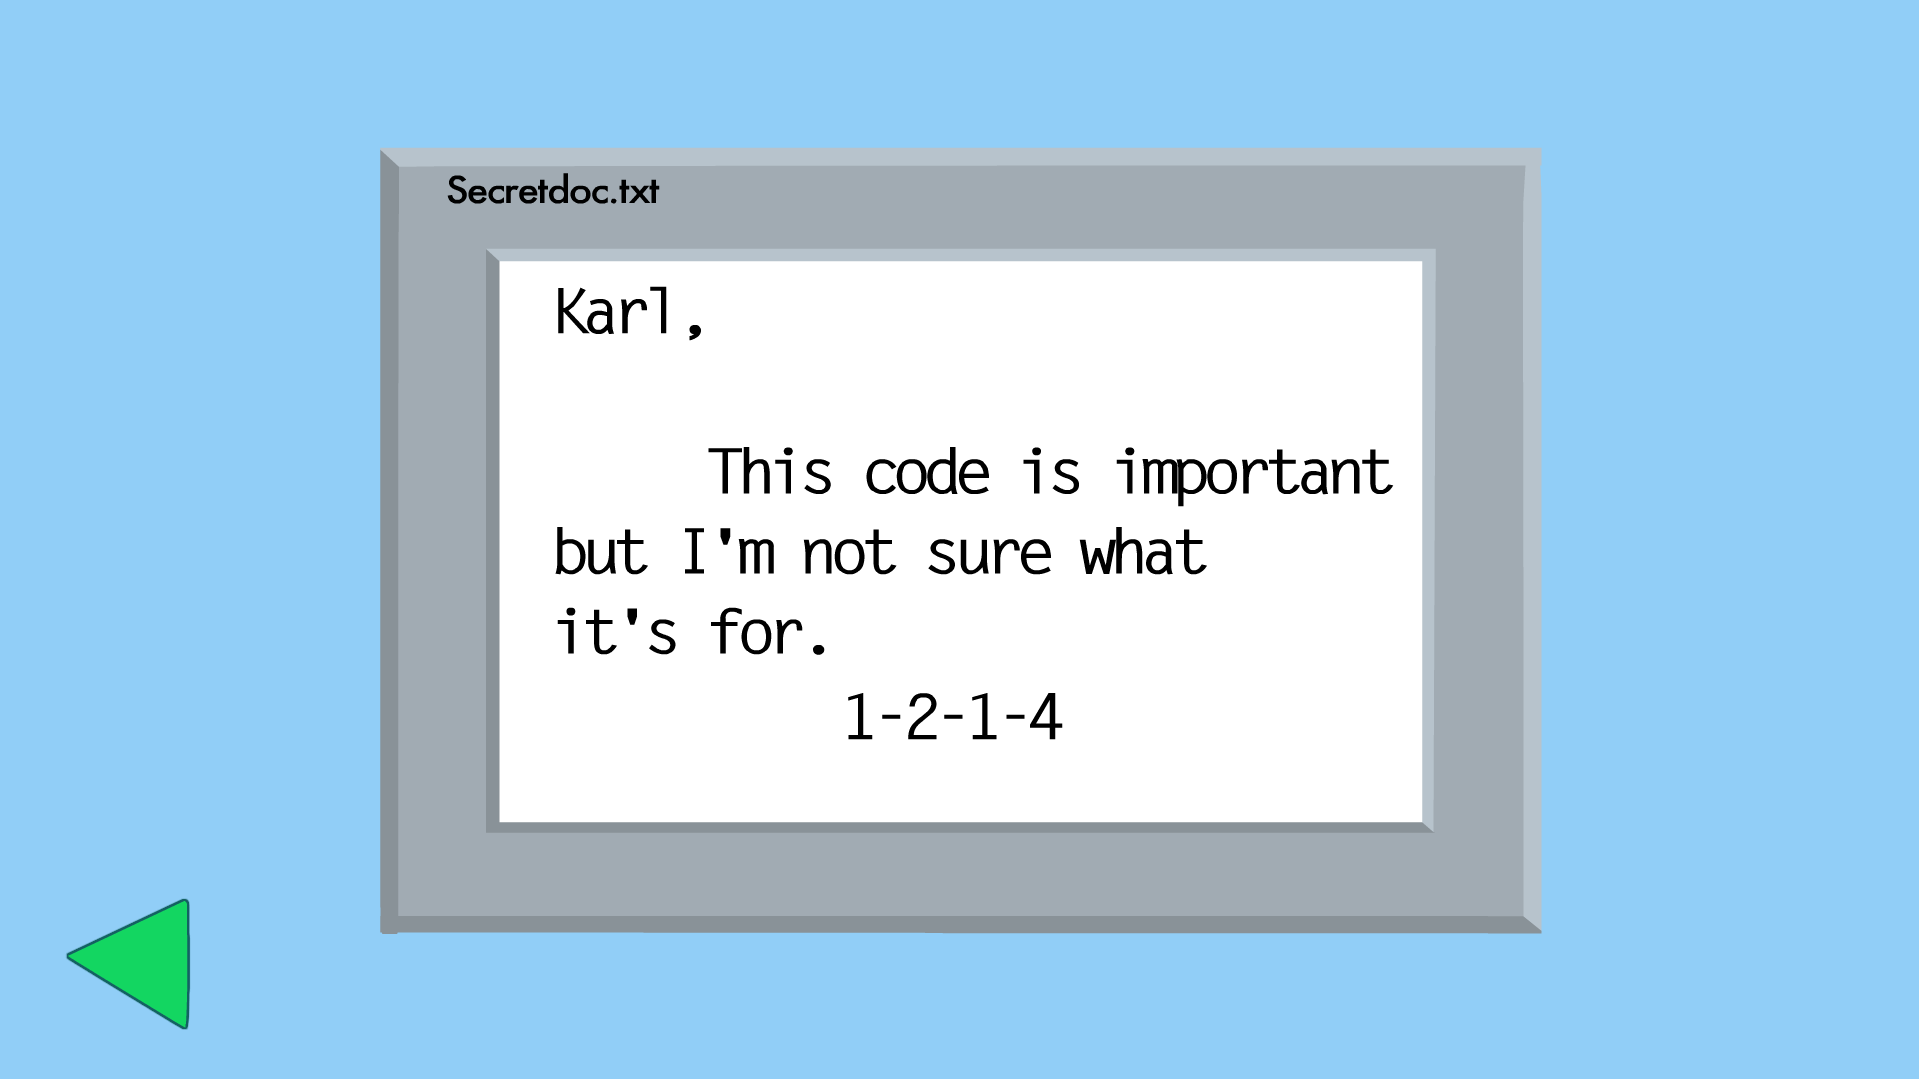
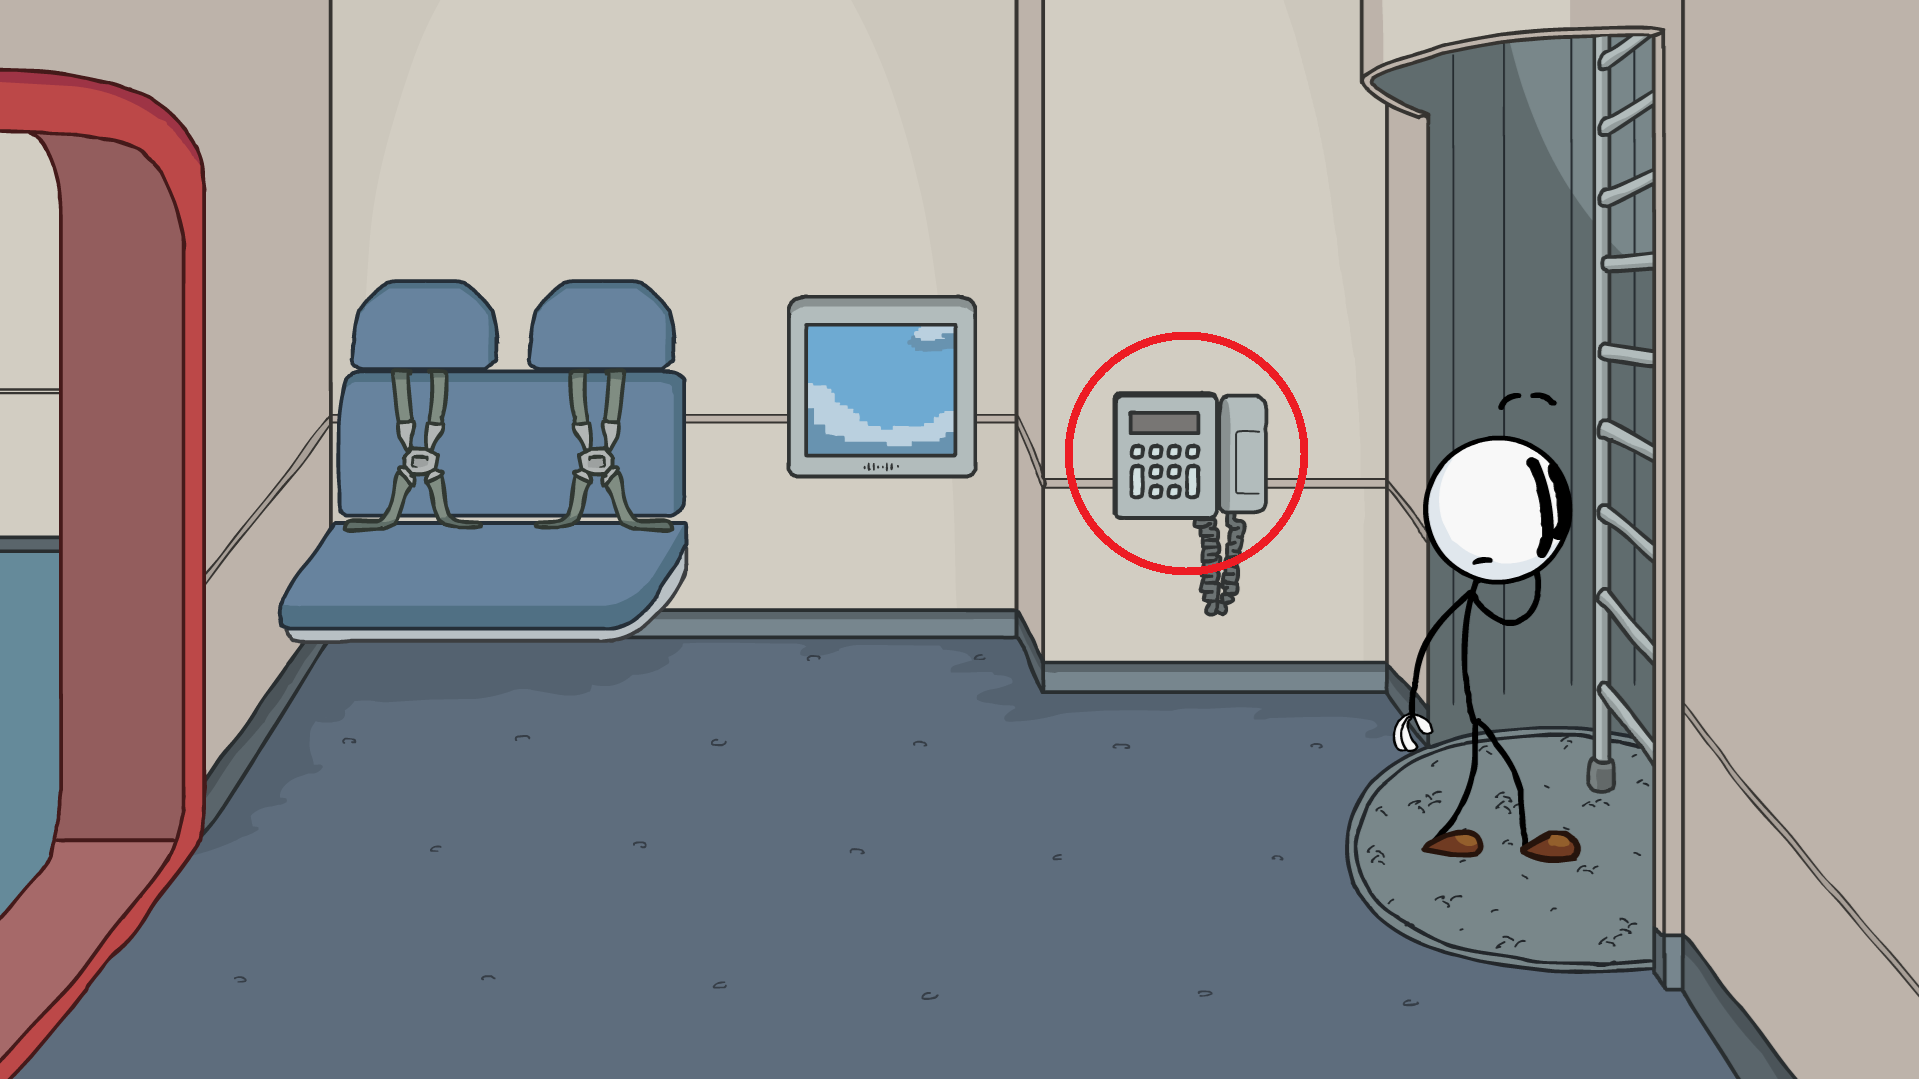
In Boardroom, click the keypad on a wall and enter code from C.C.C. to open the doors.
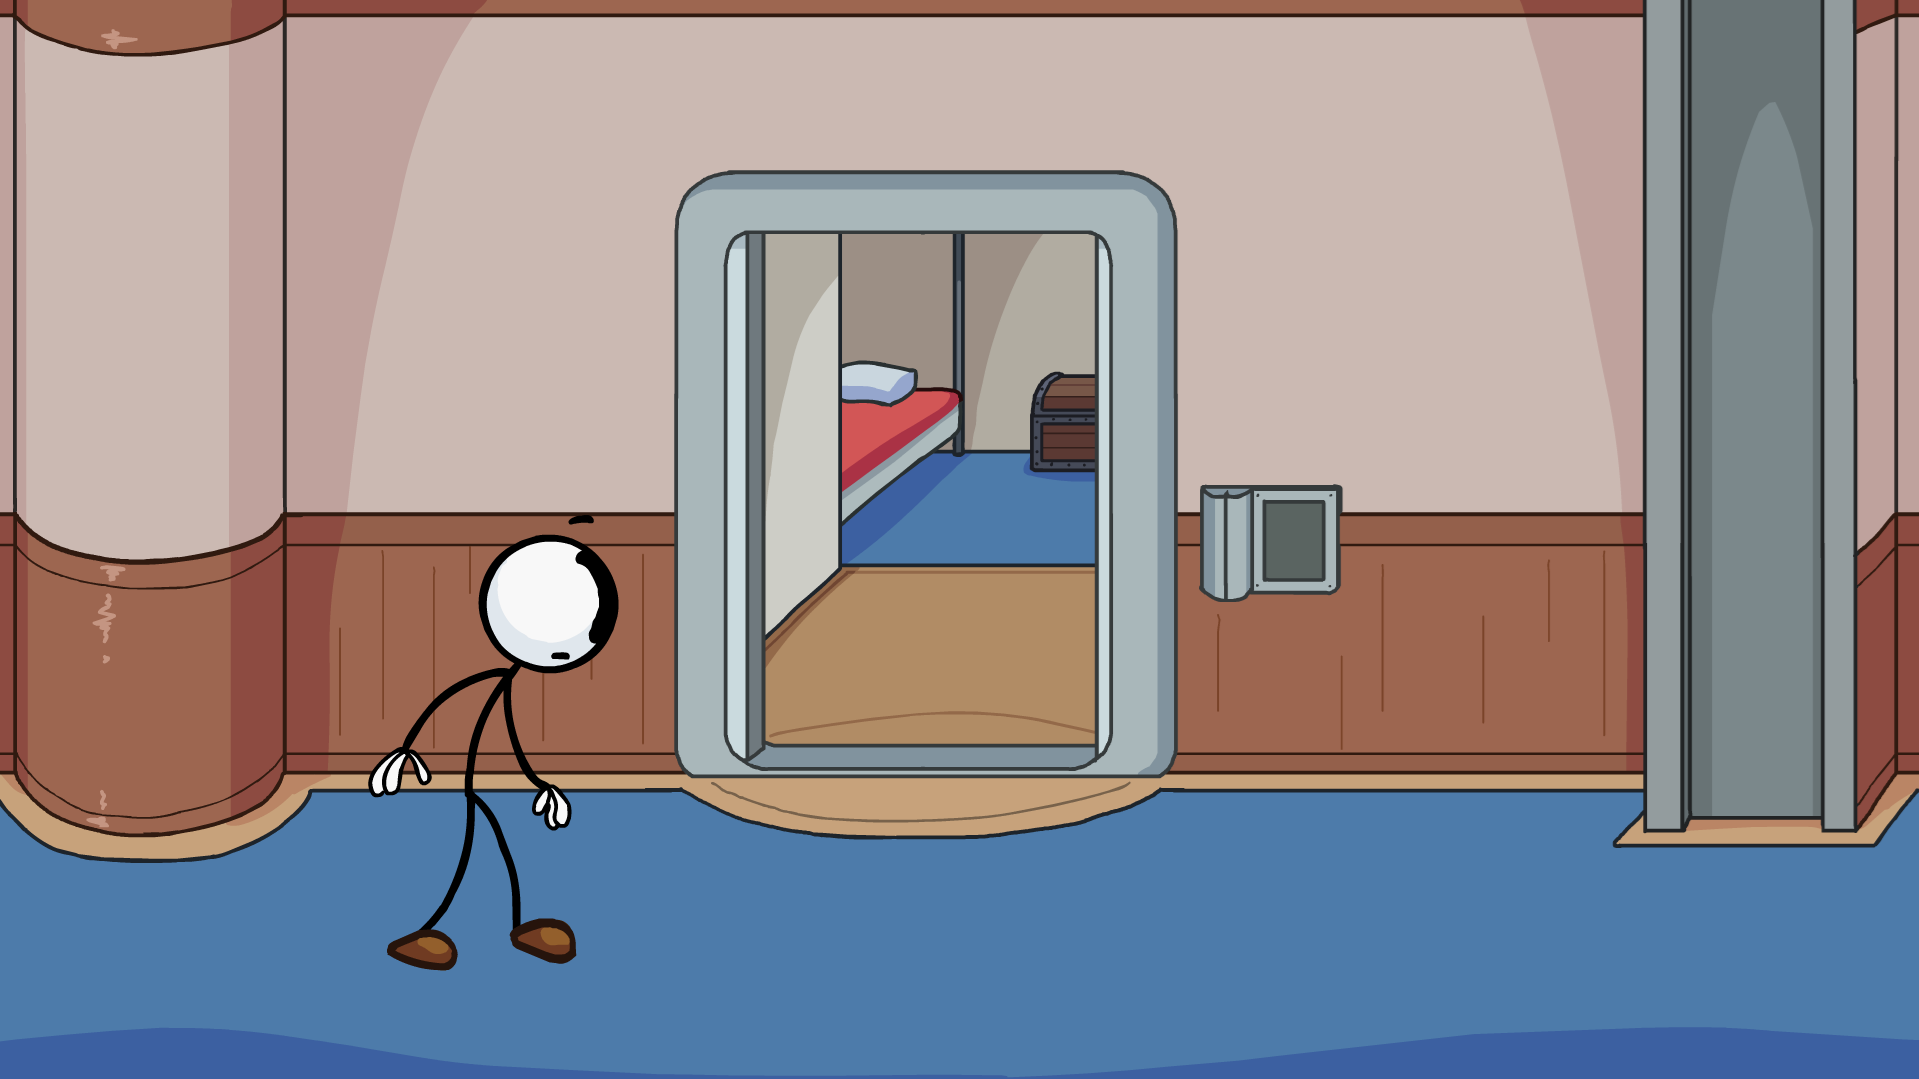
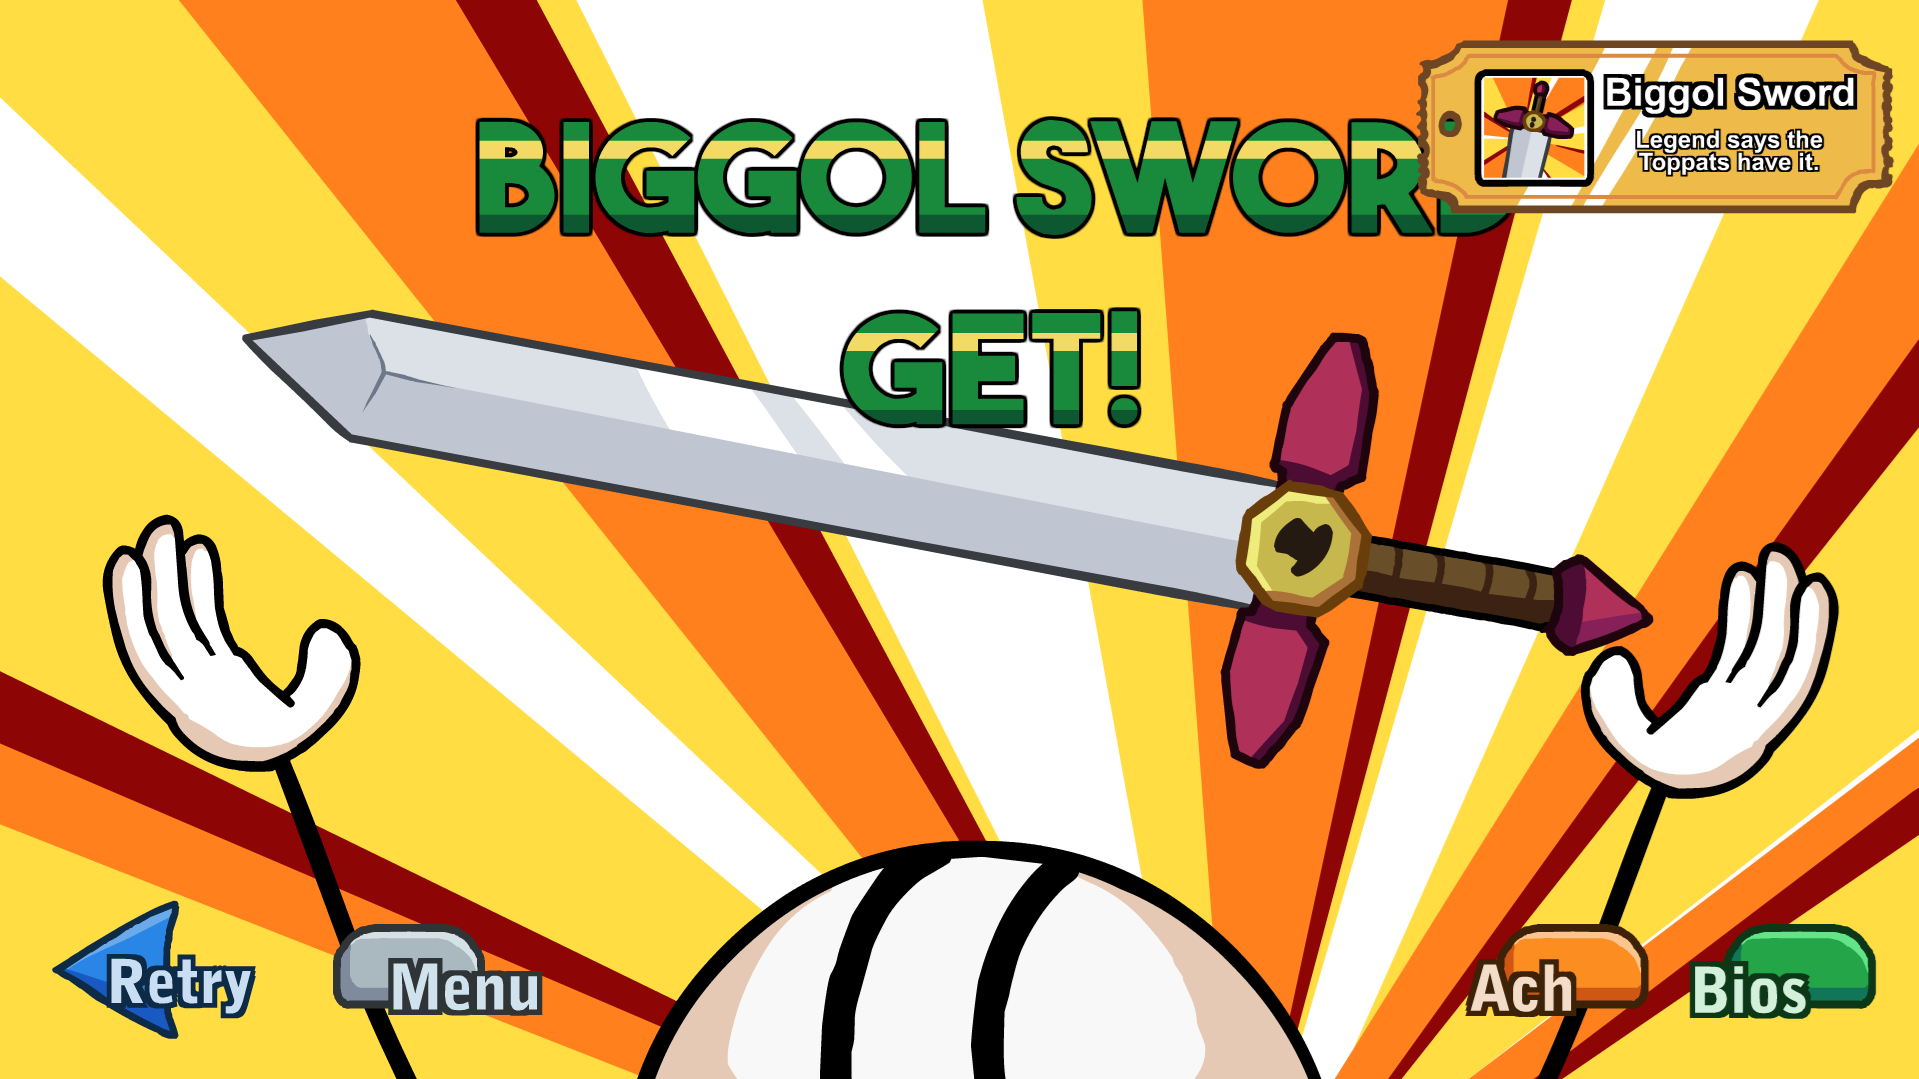
In Warehouse, choose Eject and while running through corridor find open doors with Biggol Sword and achivment
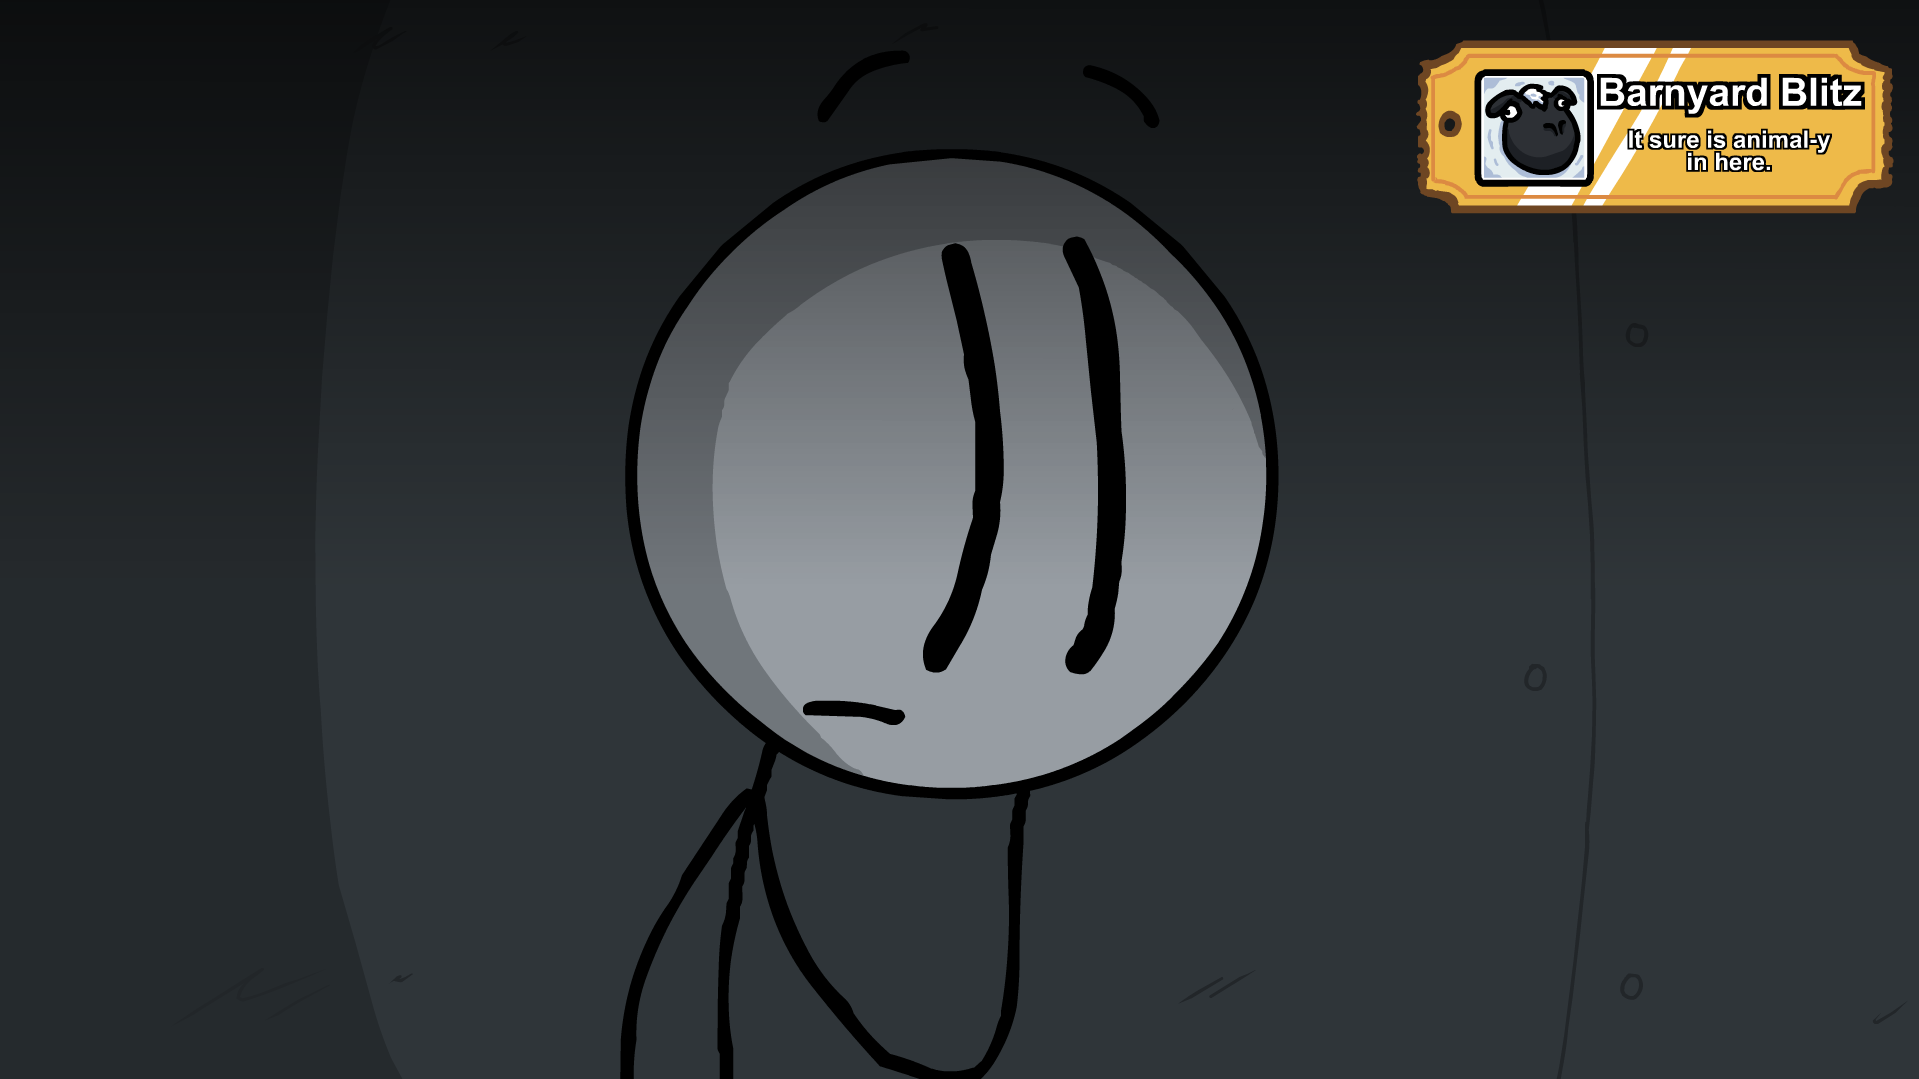
 It sure is animal-y in here.
In Air Duct, choose [Make an animal noise]
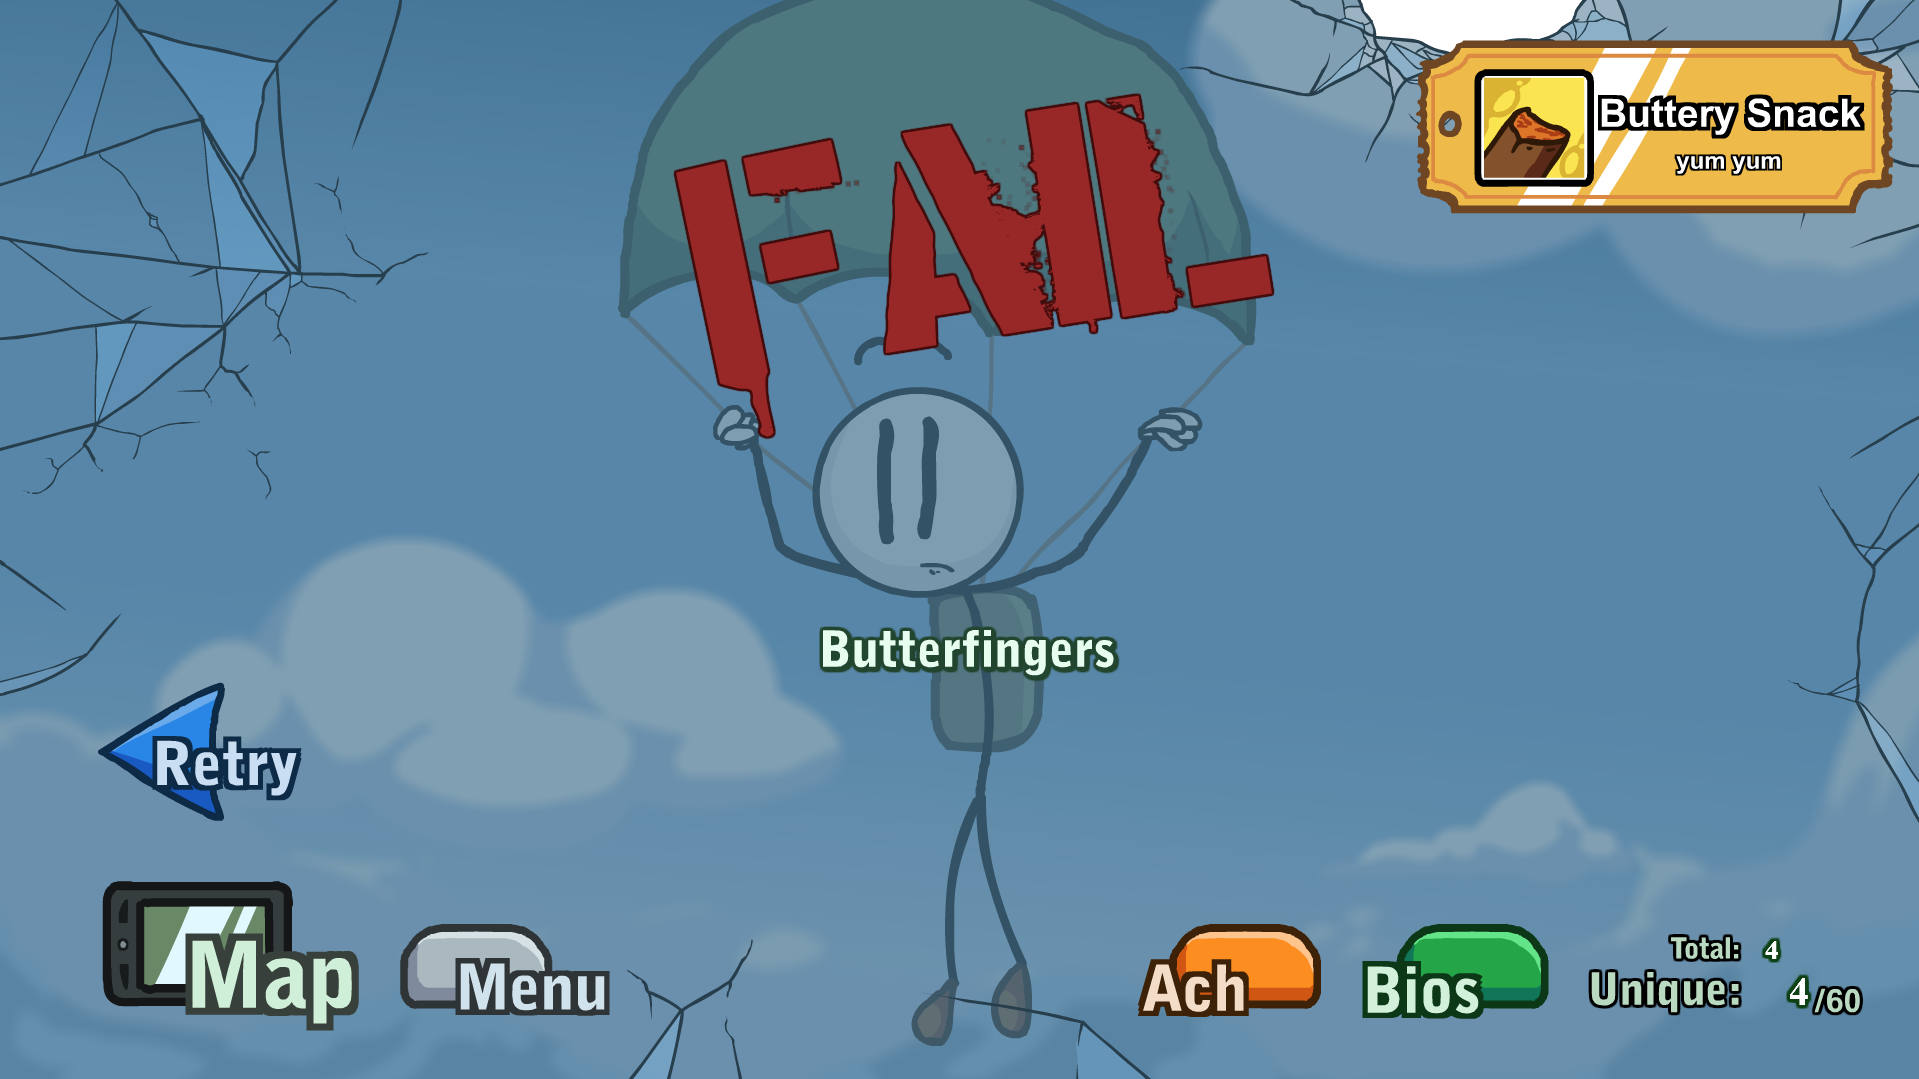
 yum yum
In Cargo Bay (Hostage), choose Parachute and click "Butterfingers" in the failure message.
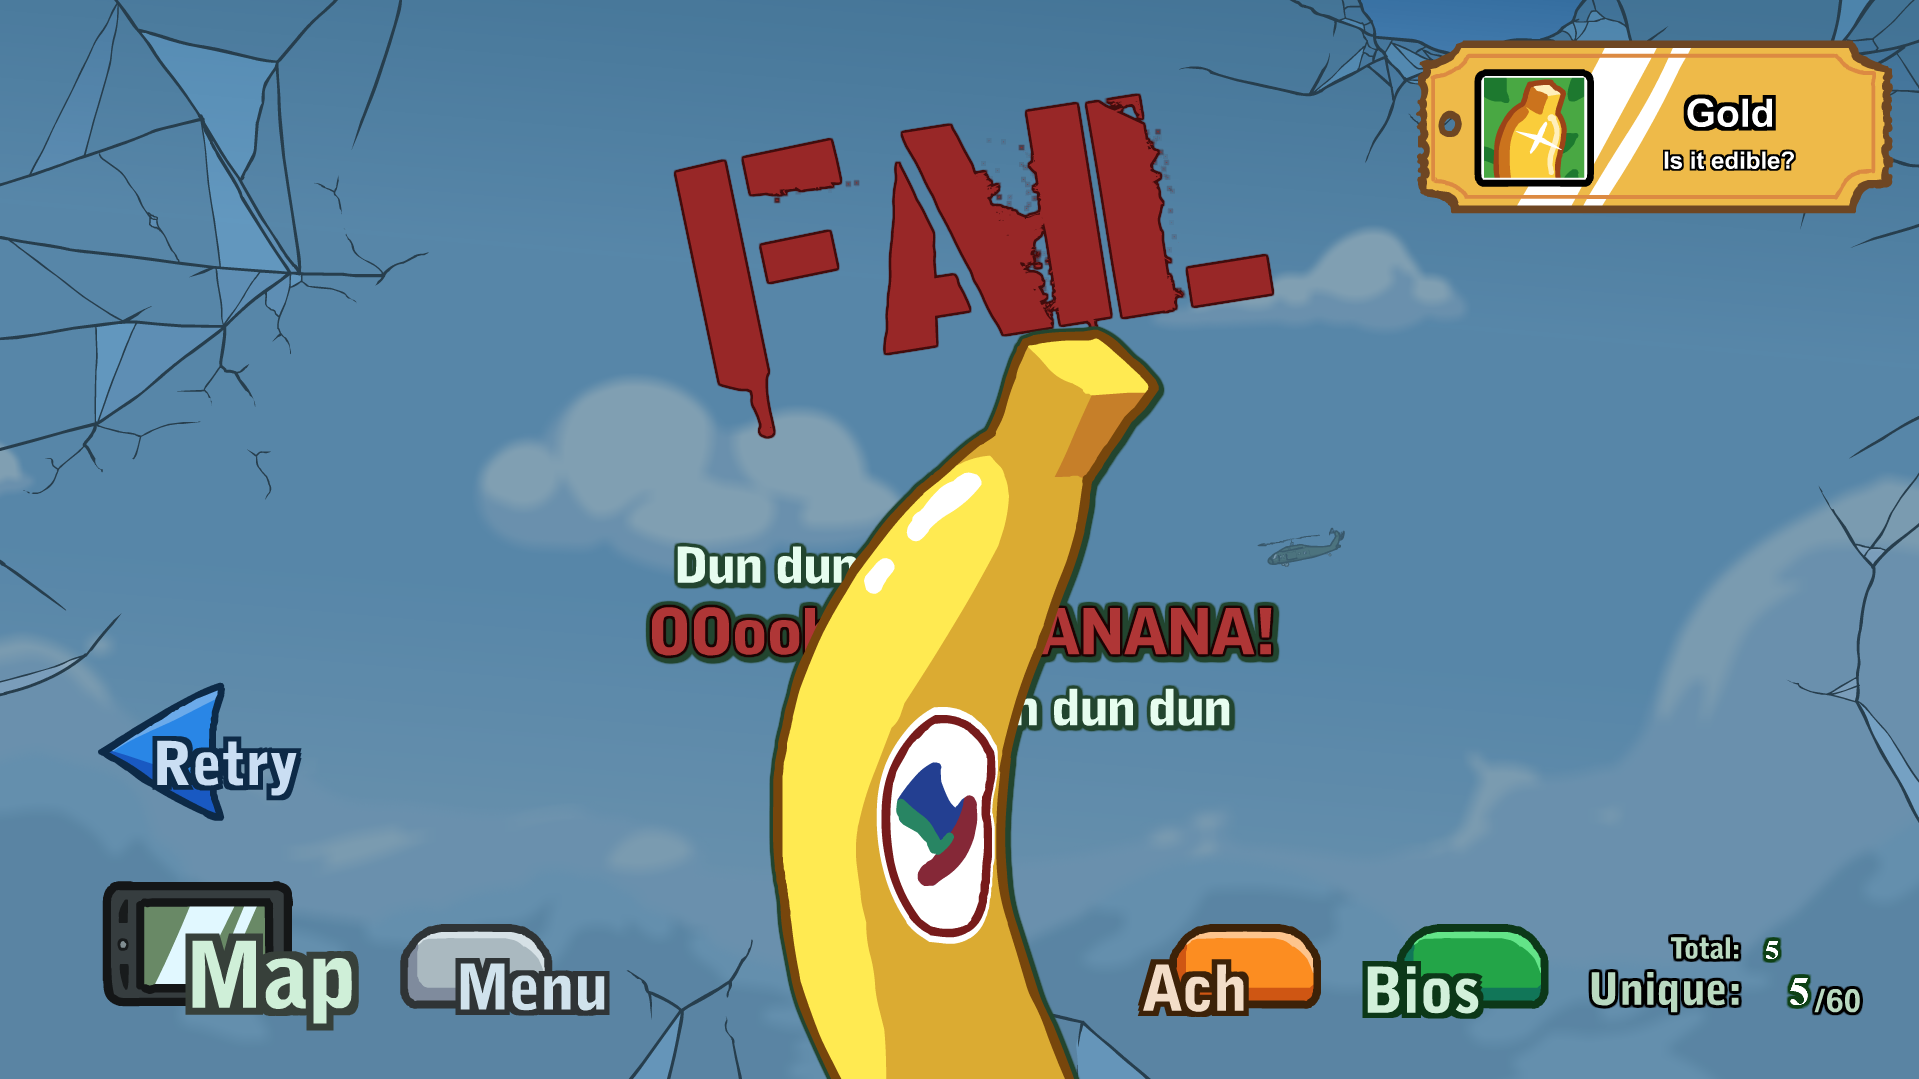
 Is it edible?
In Cargo Bay (Evidence), click "OOoohhhhh BANANA!" in the failure message.
 Okay, it's not THAT famous.
In Record Library, choose Ninja Star and click letters to spell MULAN from failure message.
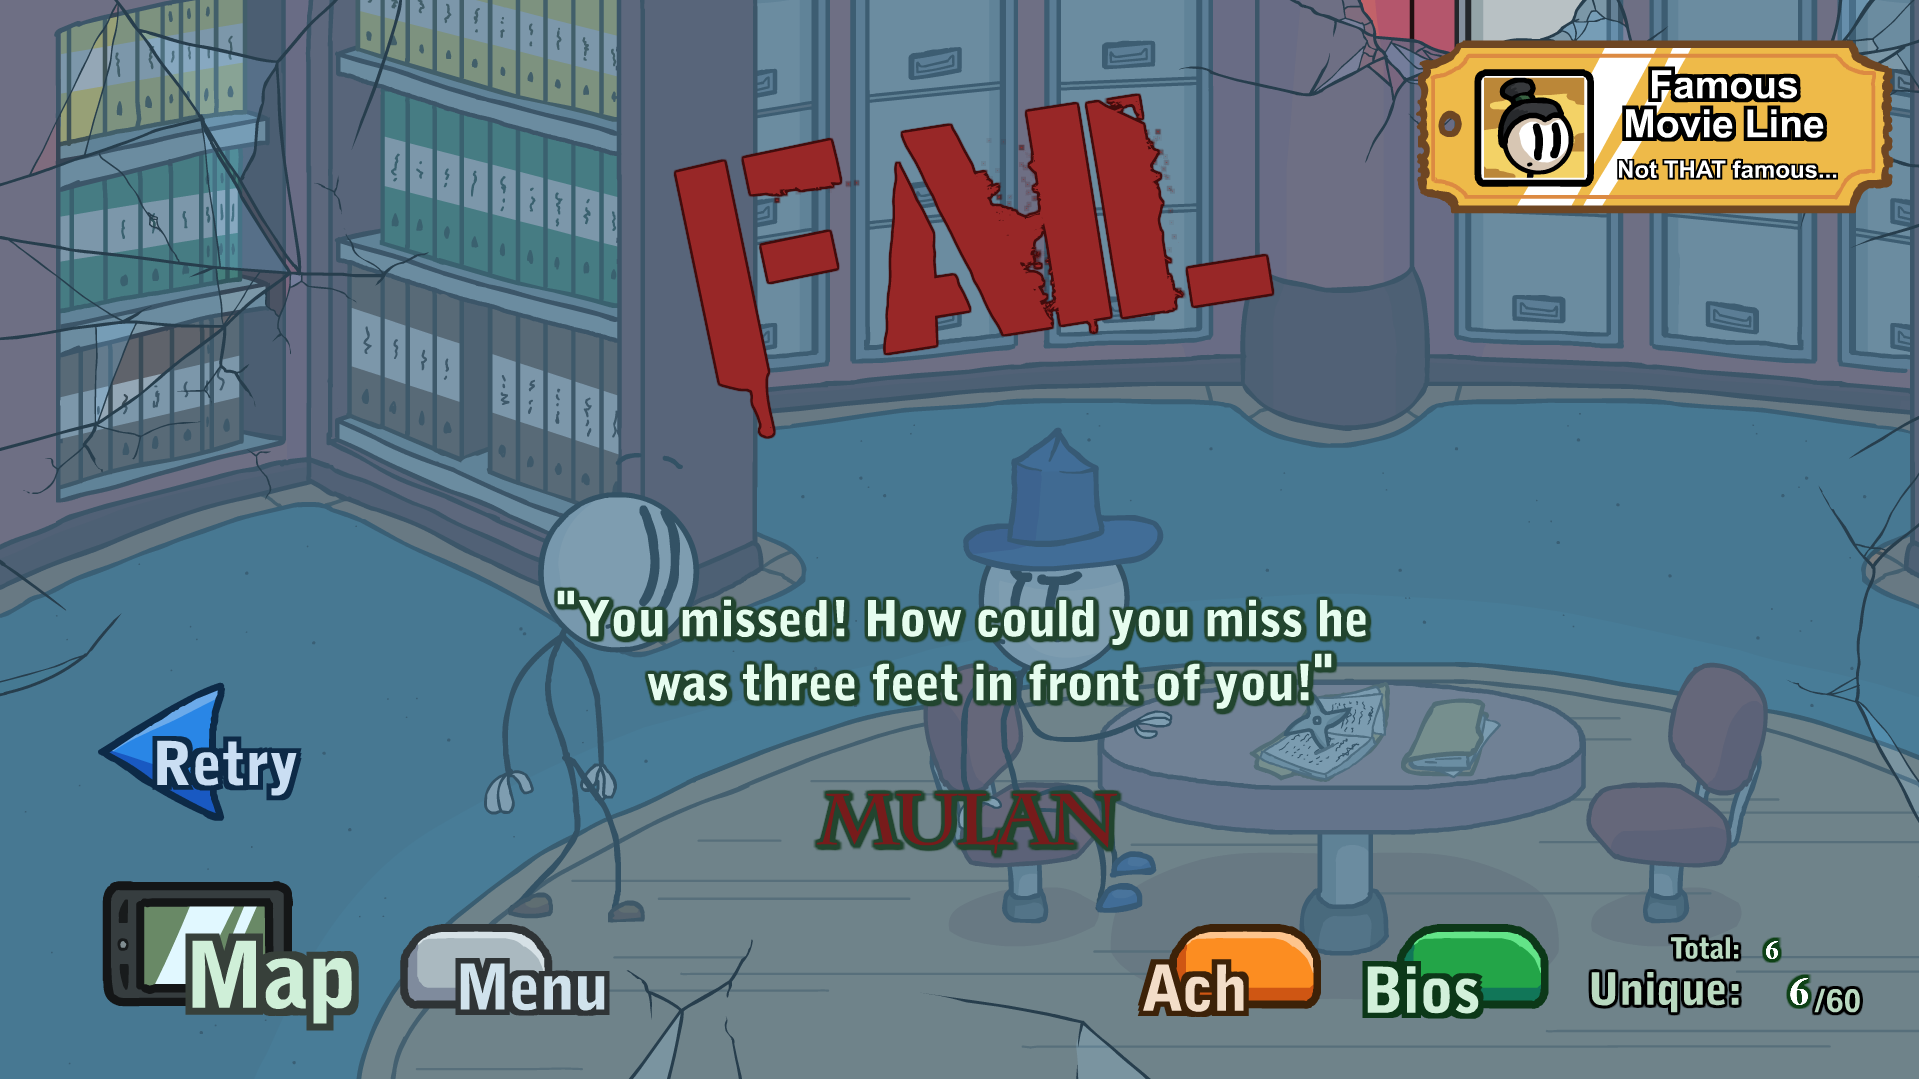
 Oh my goodNess!
In Showdown, choose Yo-Yo and then Goods.
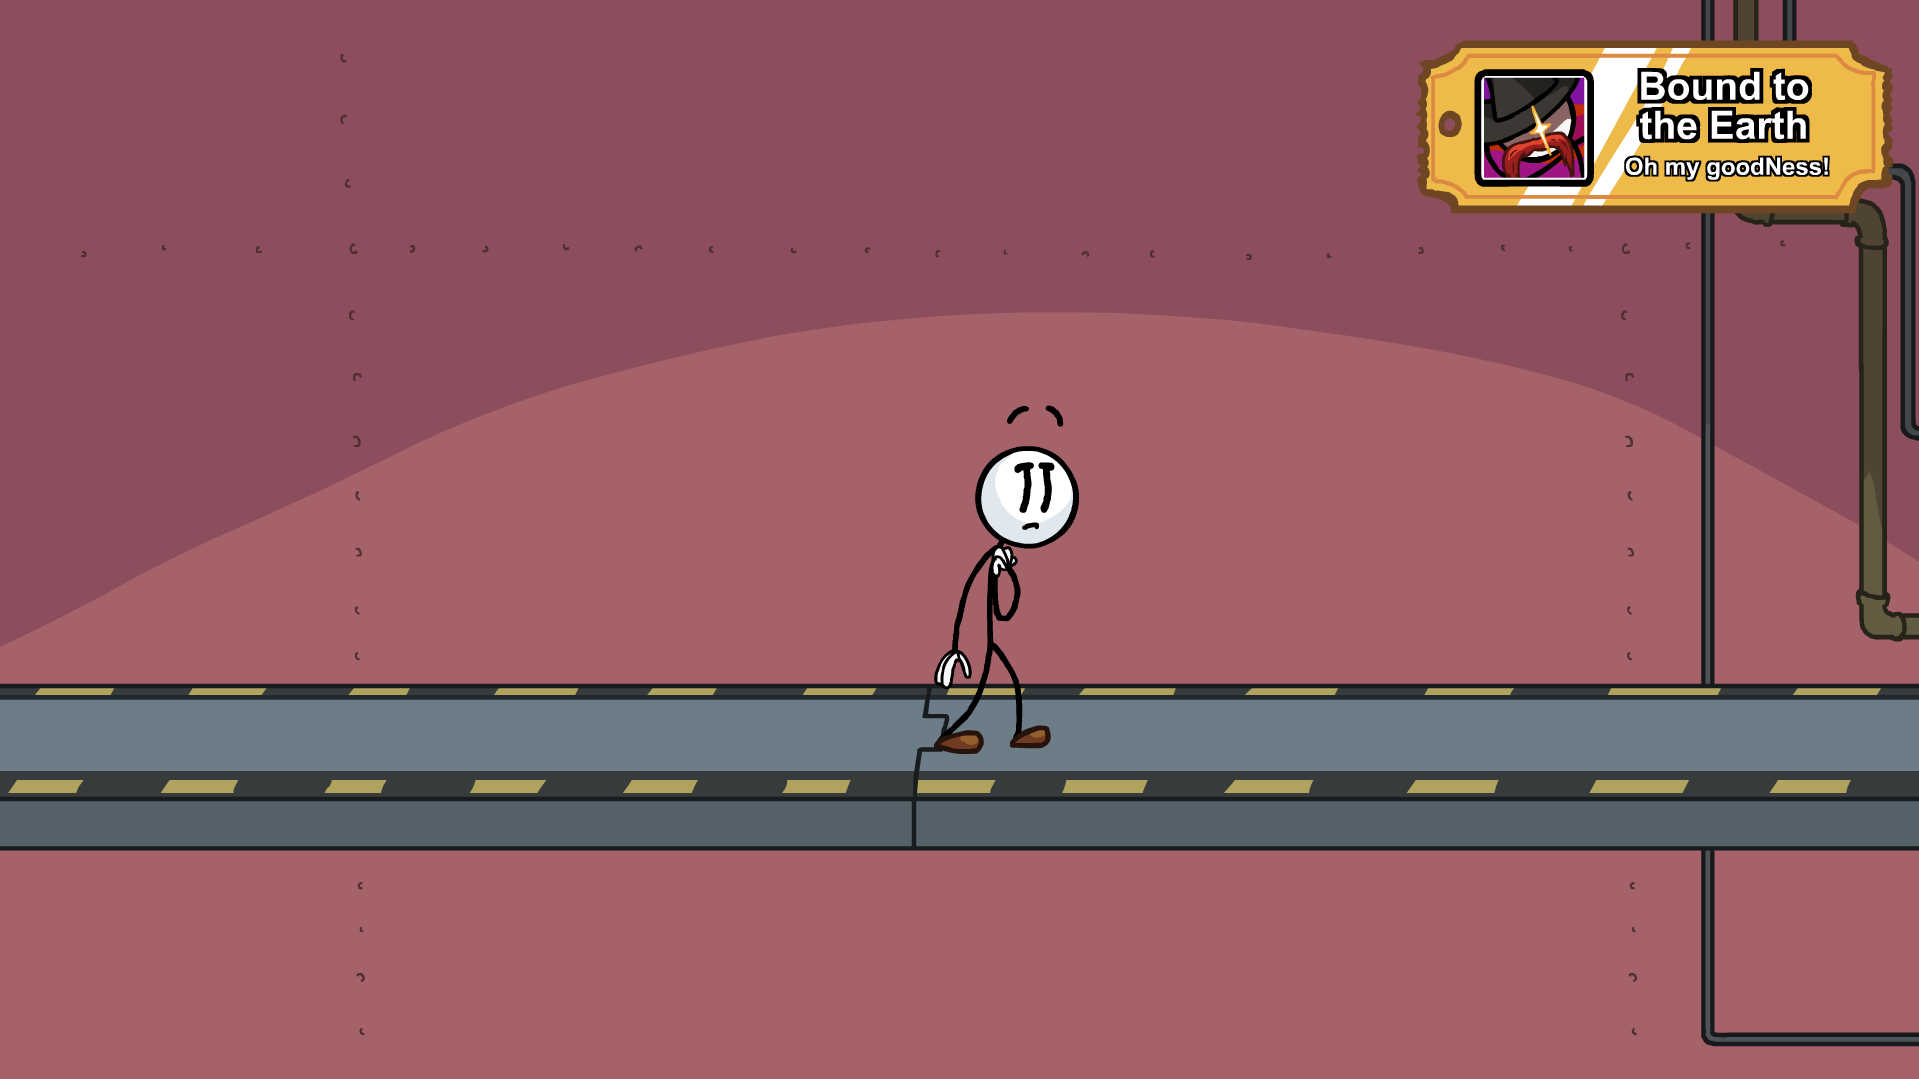
 Should've kept you Locke-d up.
In Showdown, choose Dirk and then Tools.
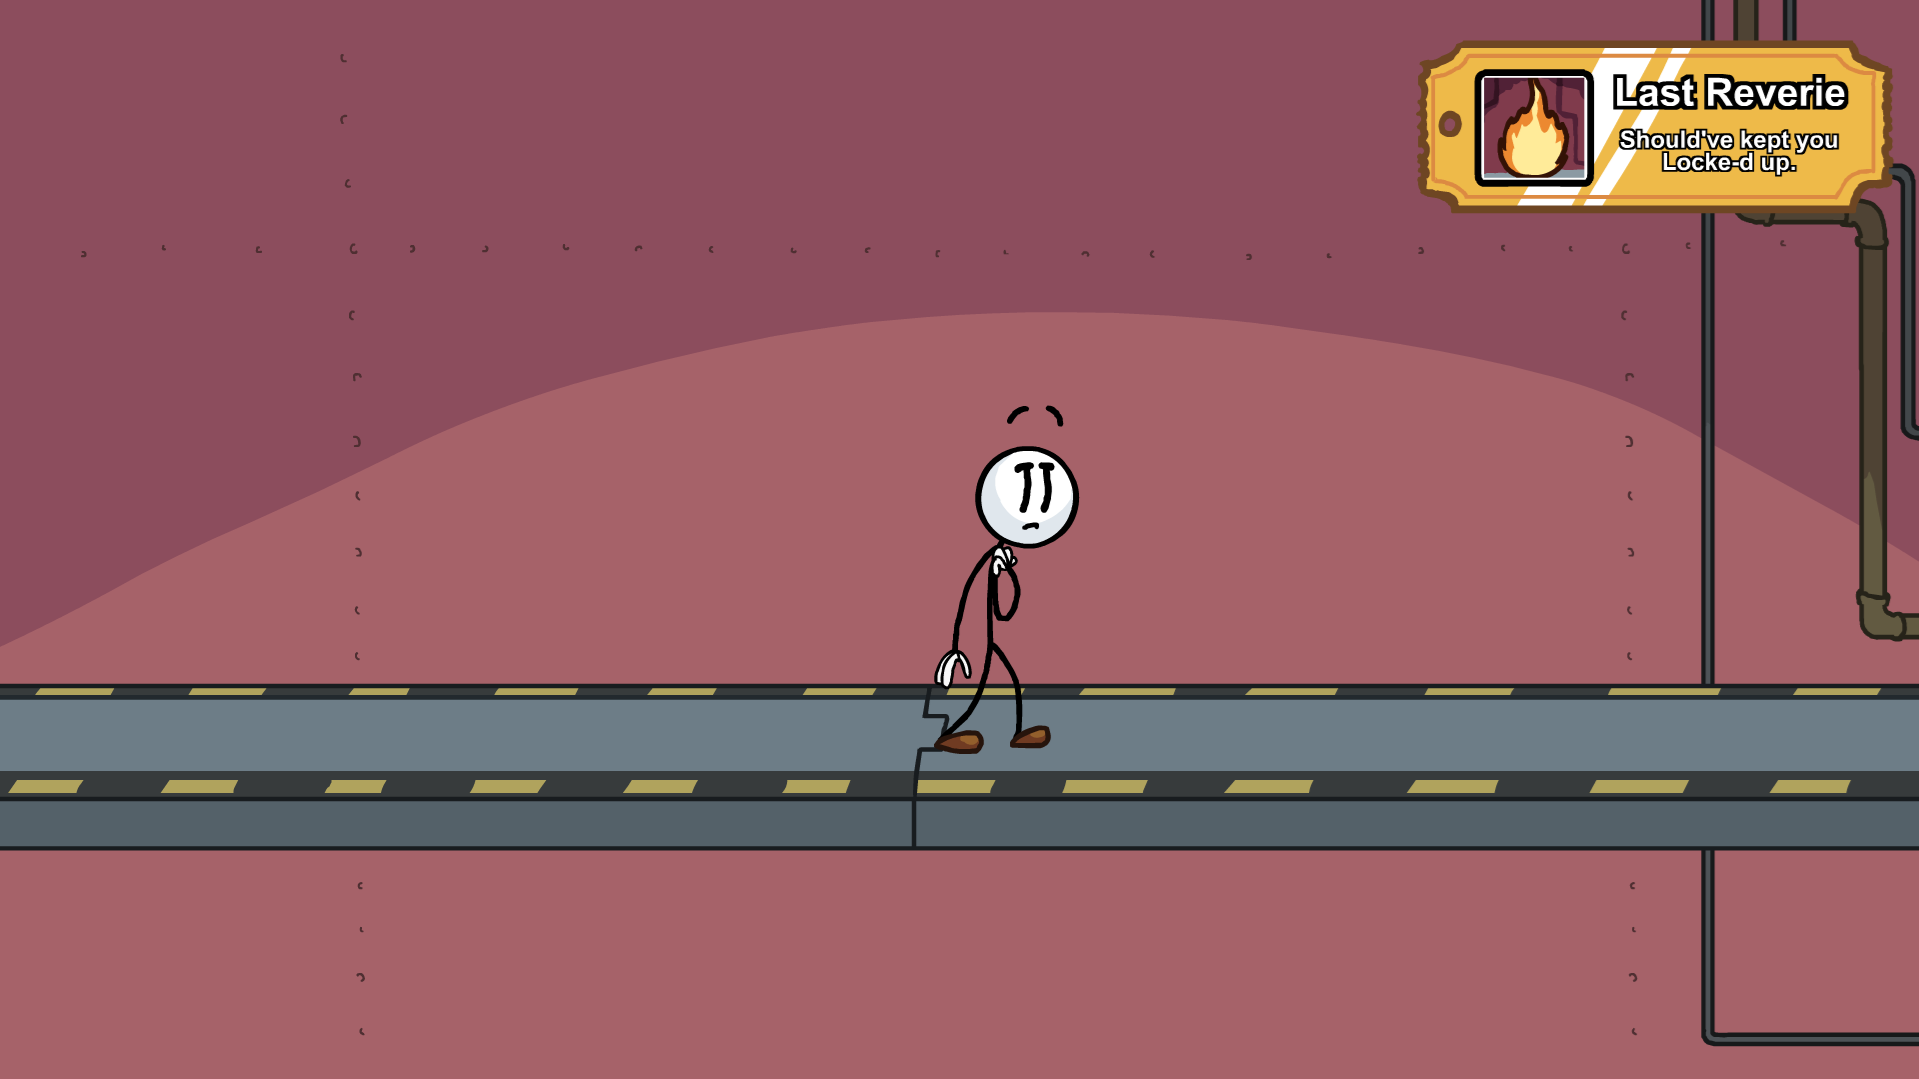
 Good job!
In Helicopter Door, choose Sticky Hand and then Ball 'n Chain
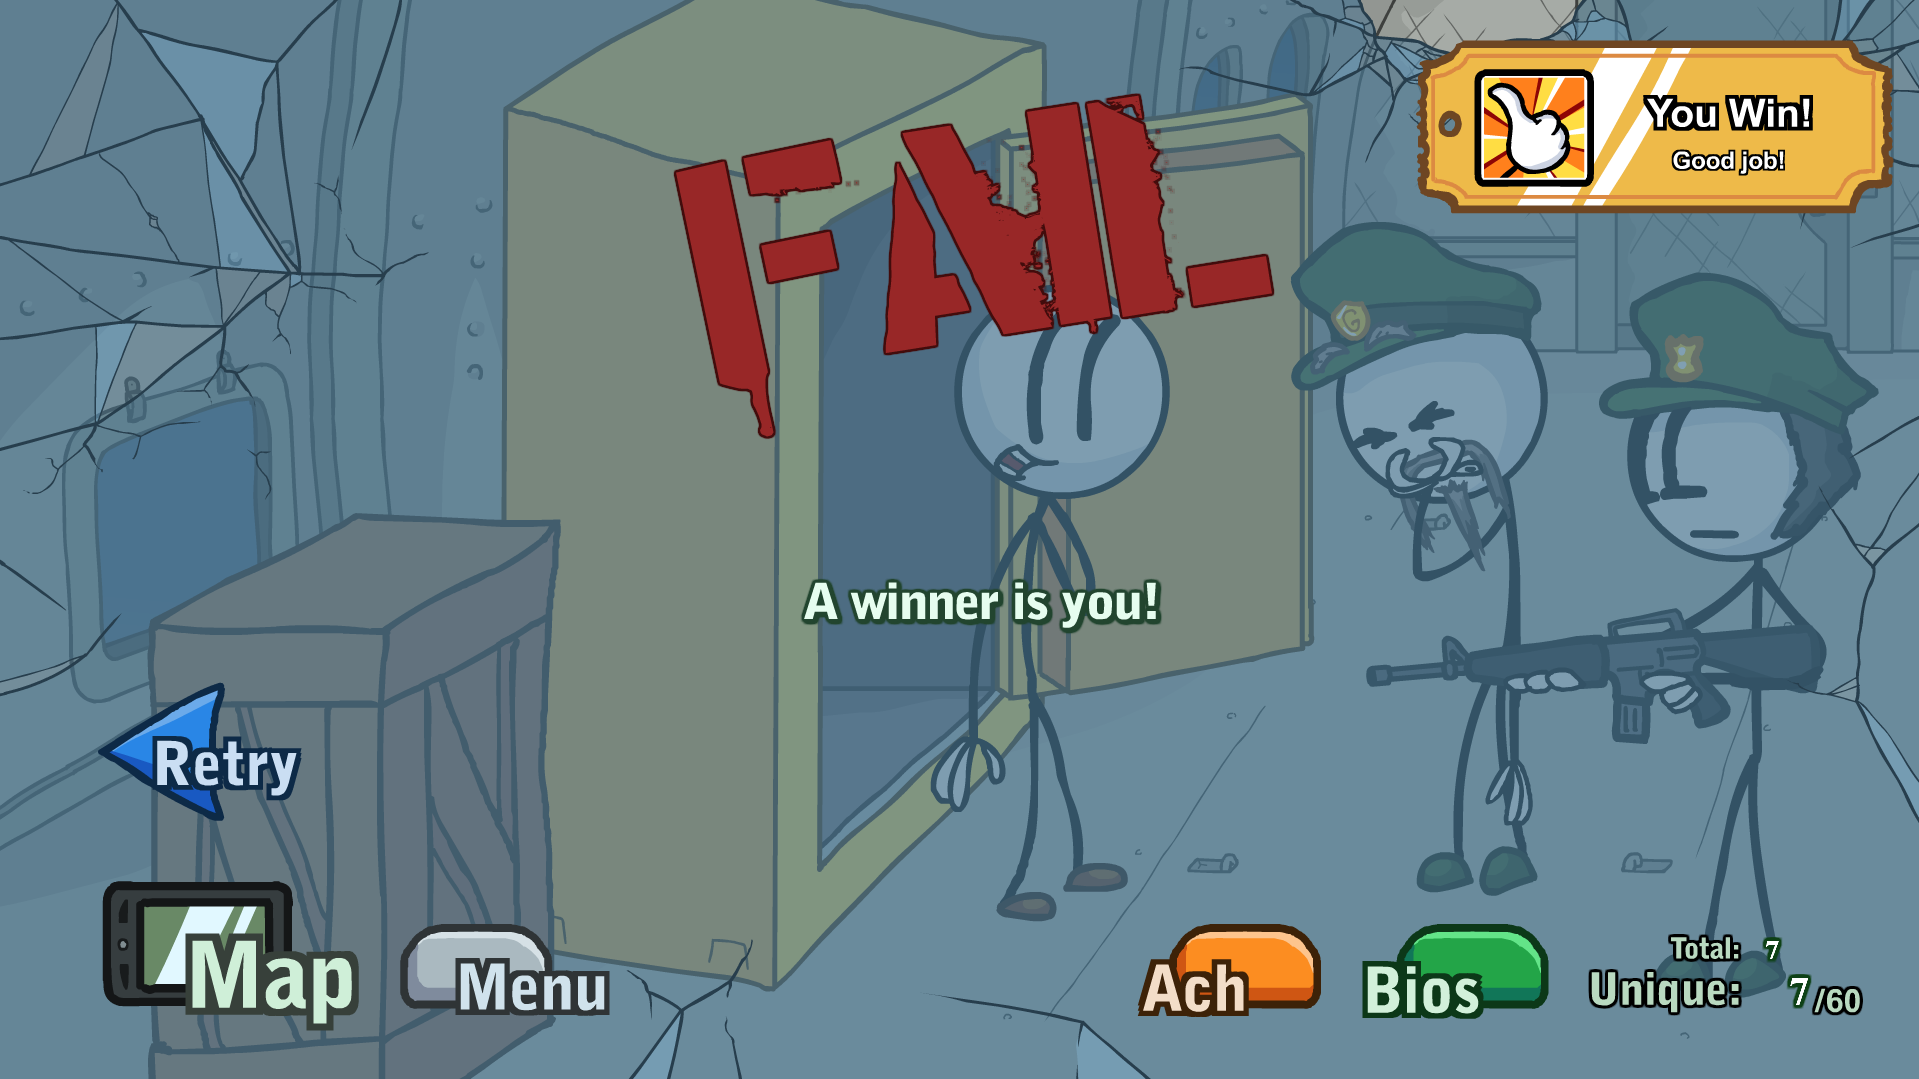
 ...cough...
In Cargo Bay (Hostage), choose Tank and click the Sun in ending cutscene.
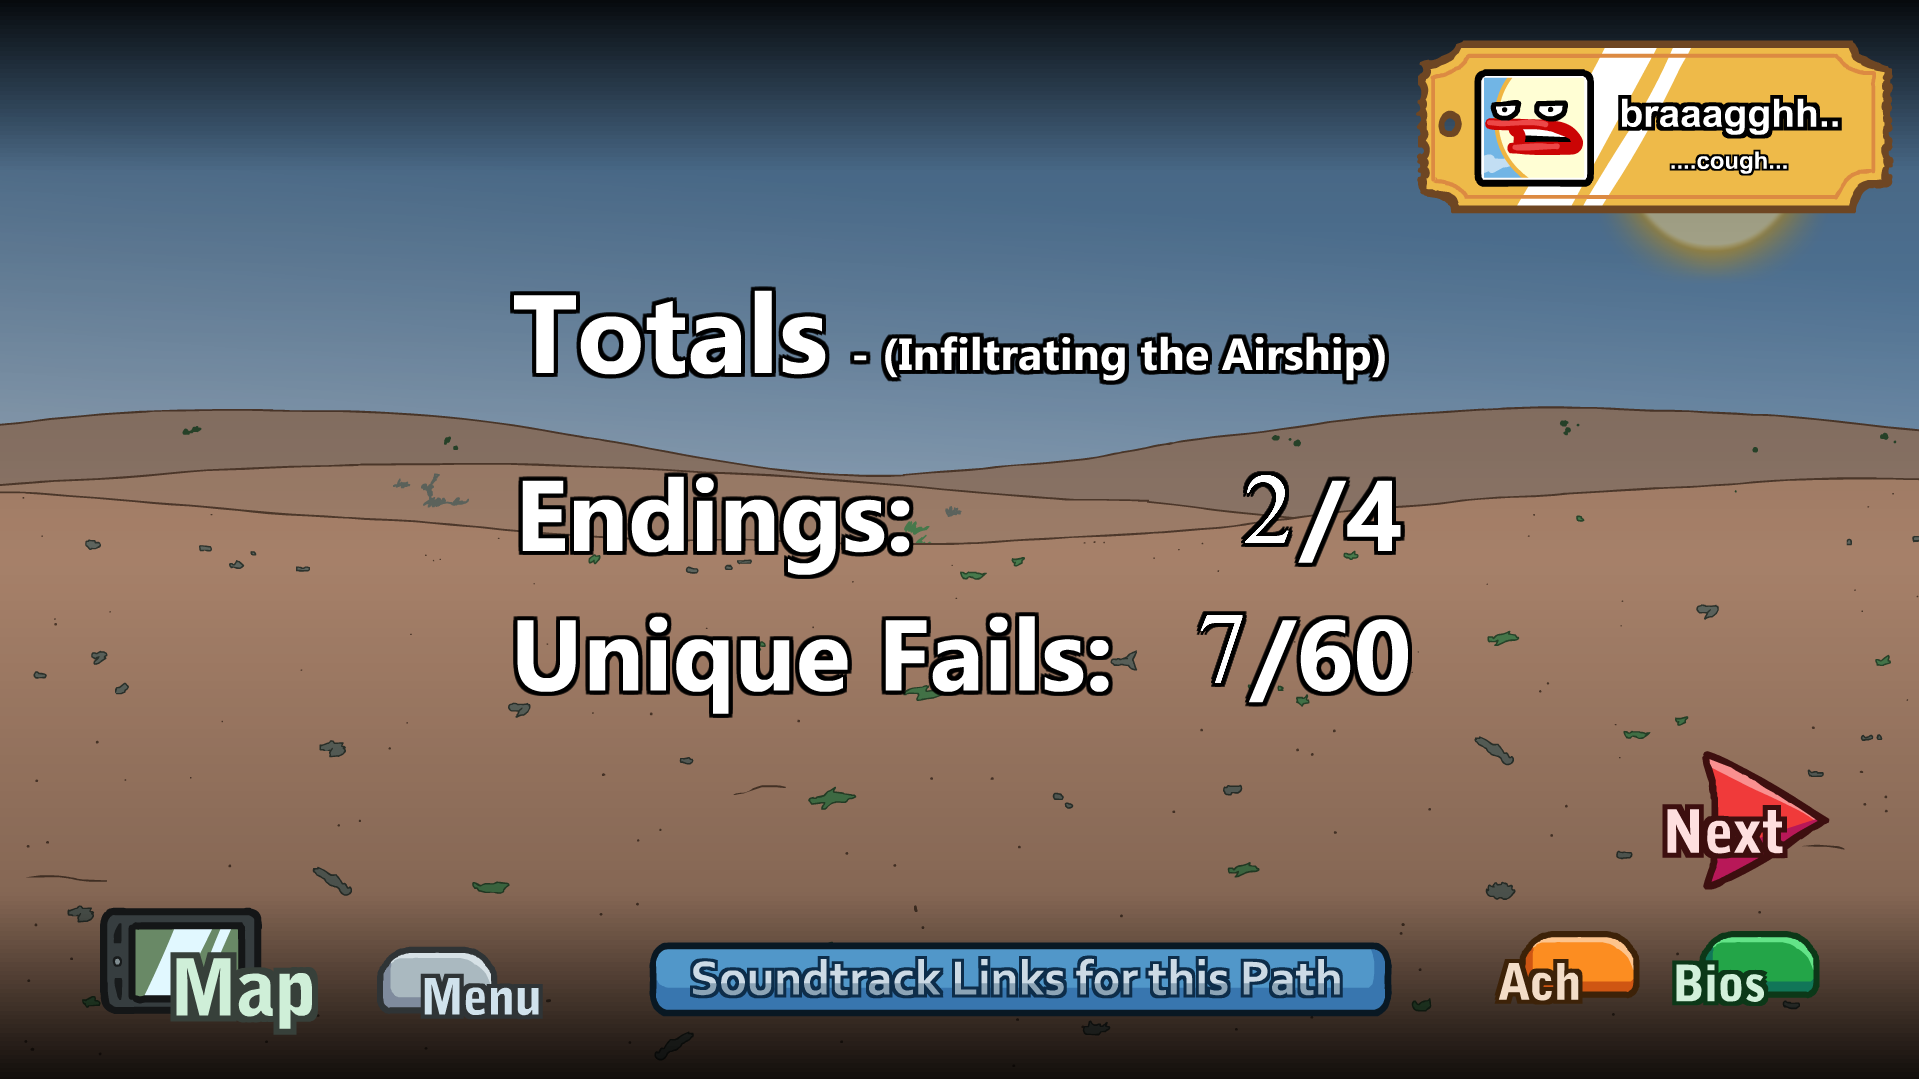
 ROFLMAO
In Brig, choose Hack and hover over italic parts of failure message (watt, shocking, current, Ohm)
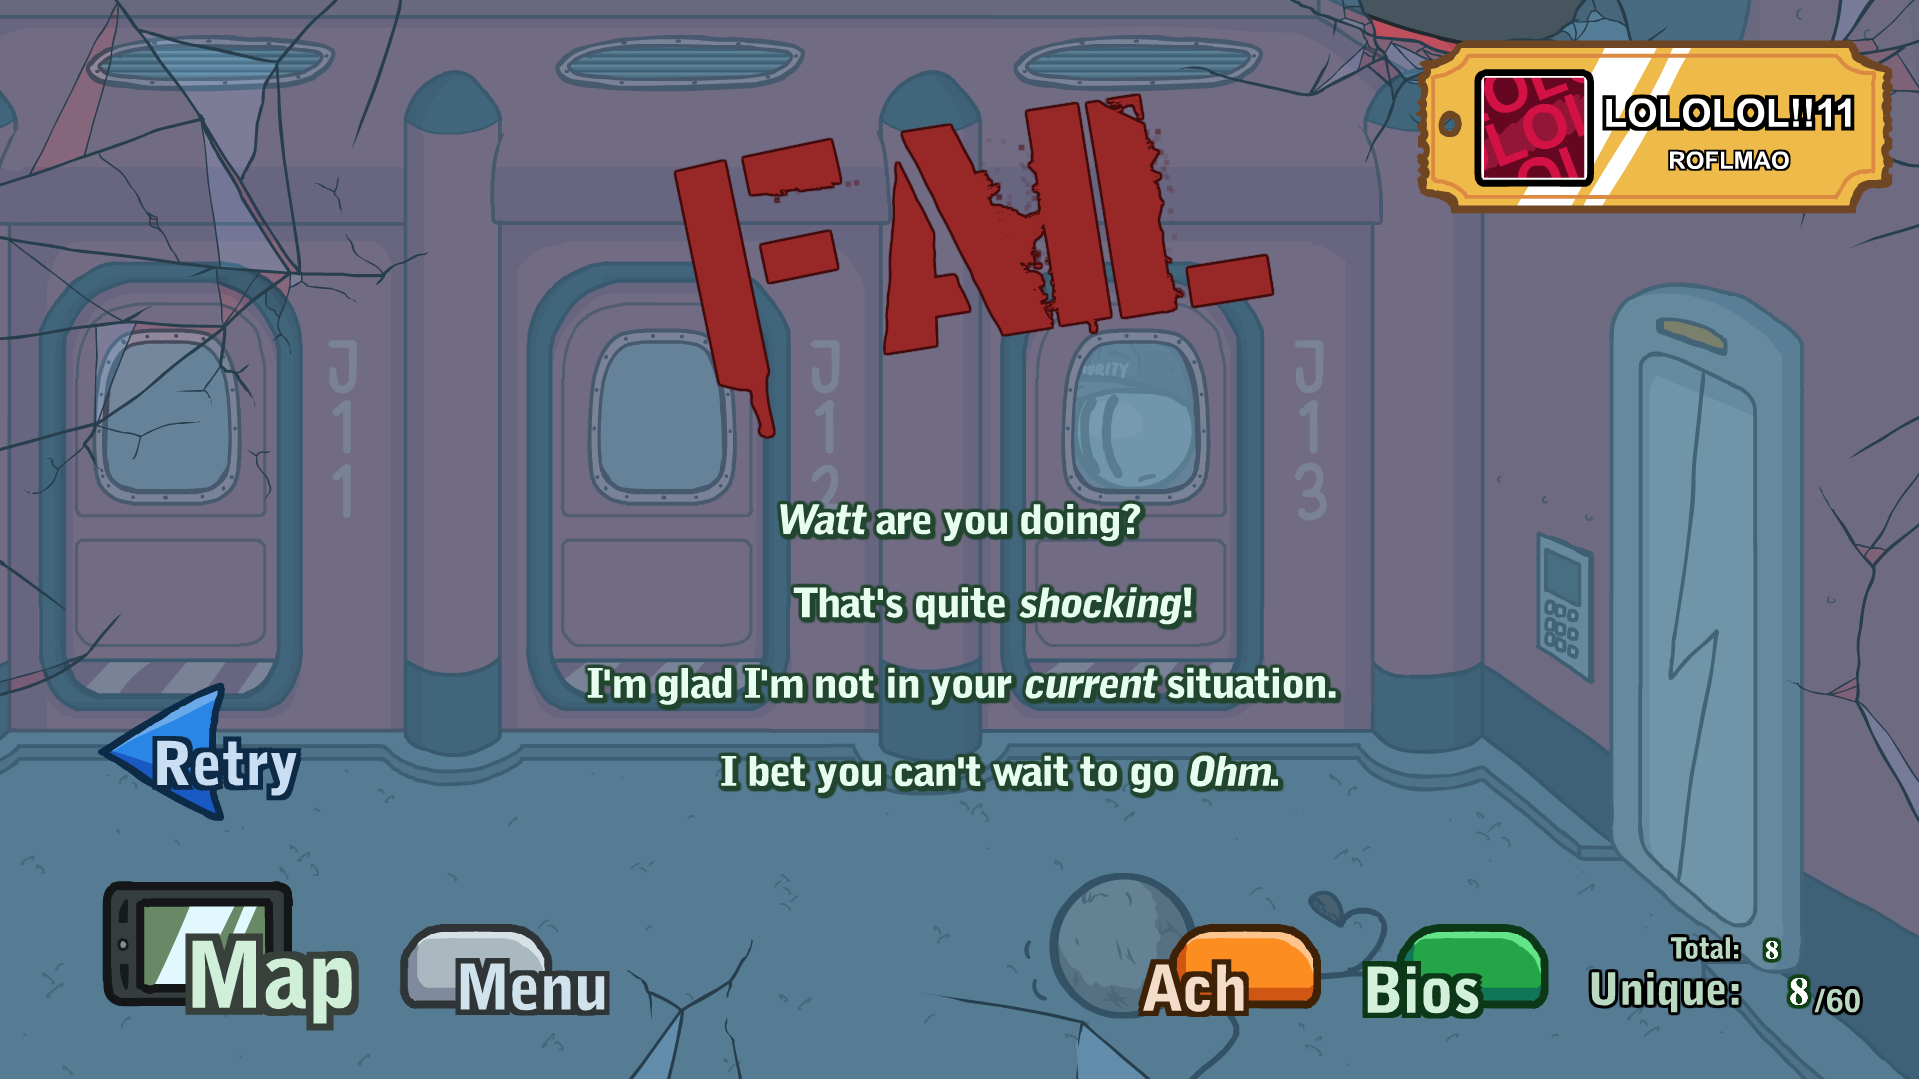
 EEEEEEEEEHHHHHHH!!
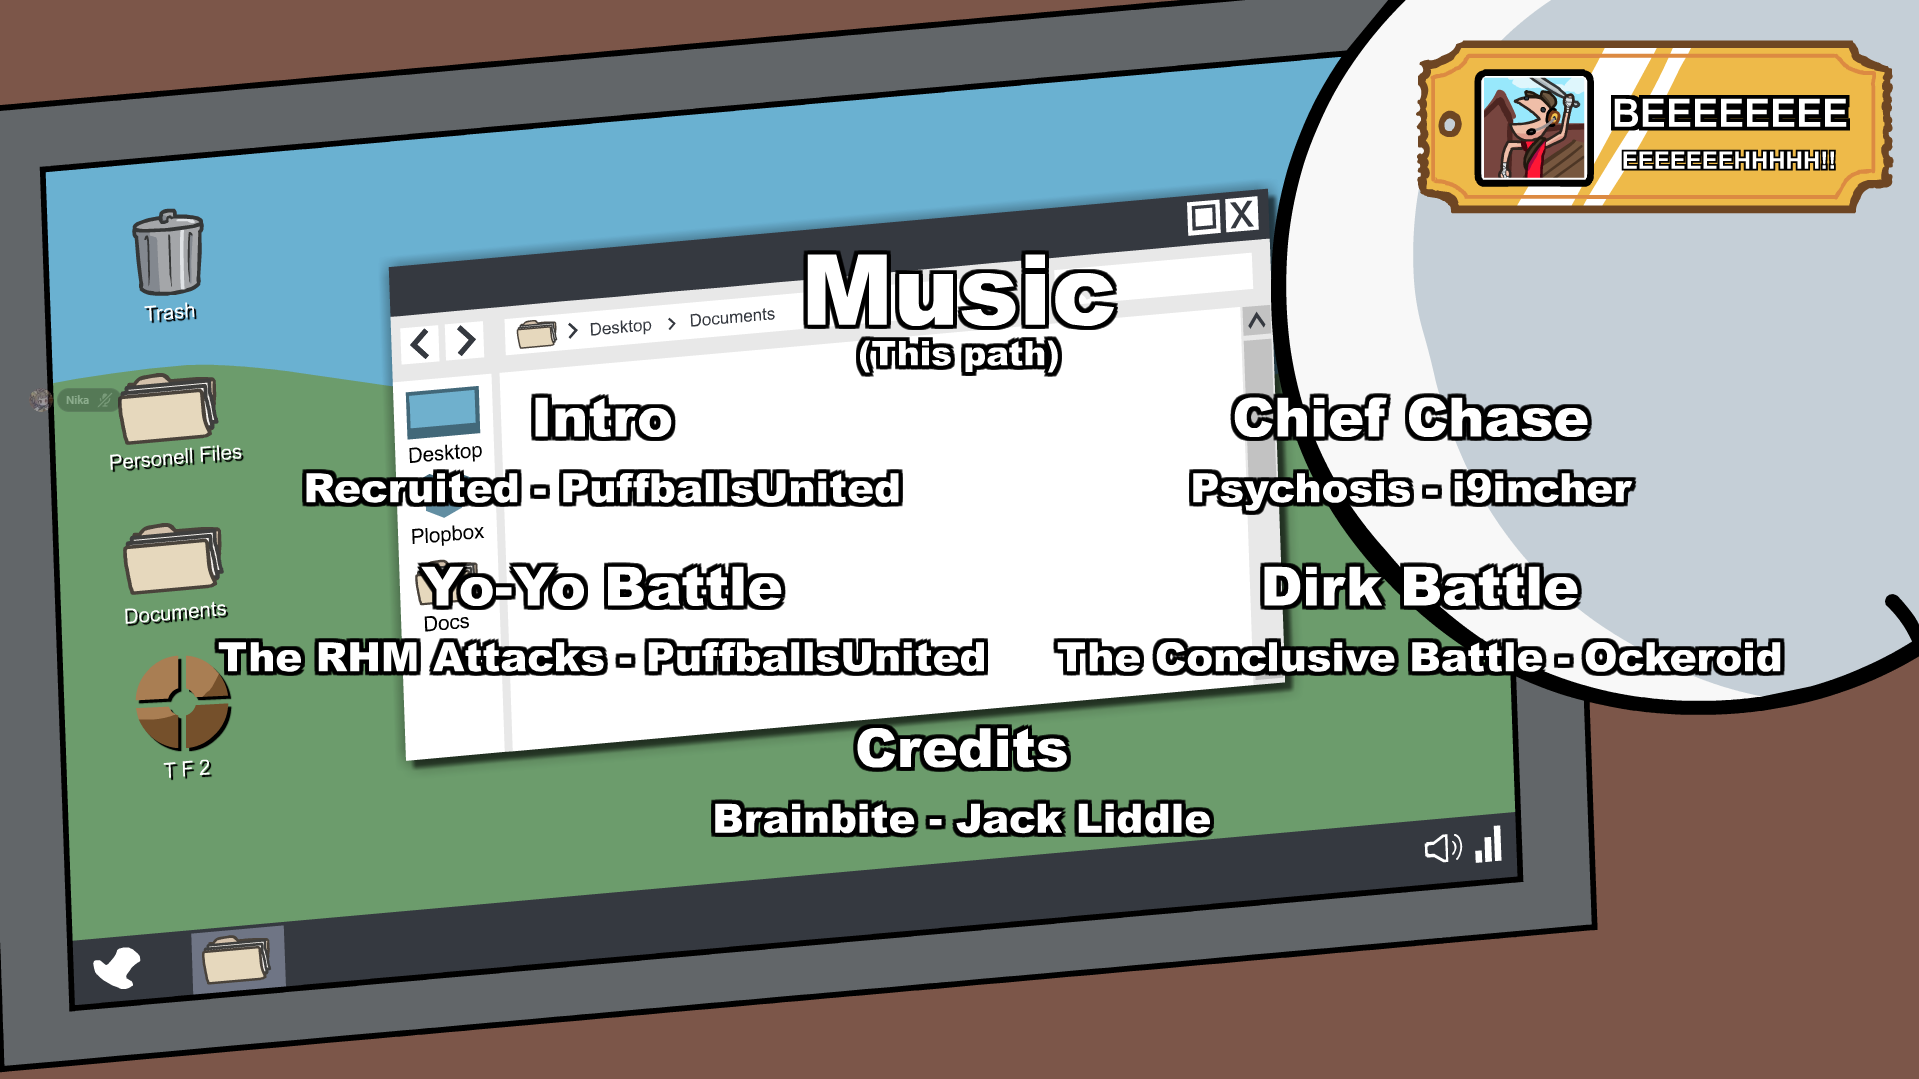
In Cargo Bay (Hostage), choose Dummies and click TF2 icon during ending
Fleeing the Conplex (FtC)
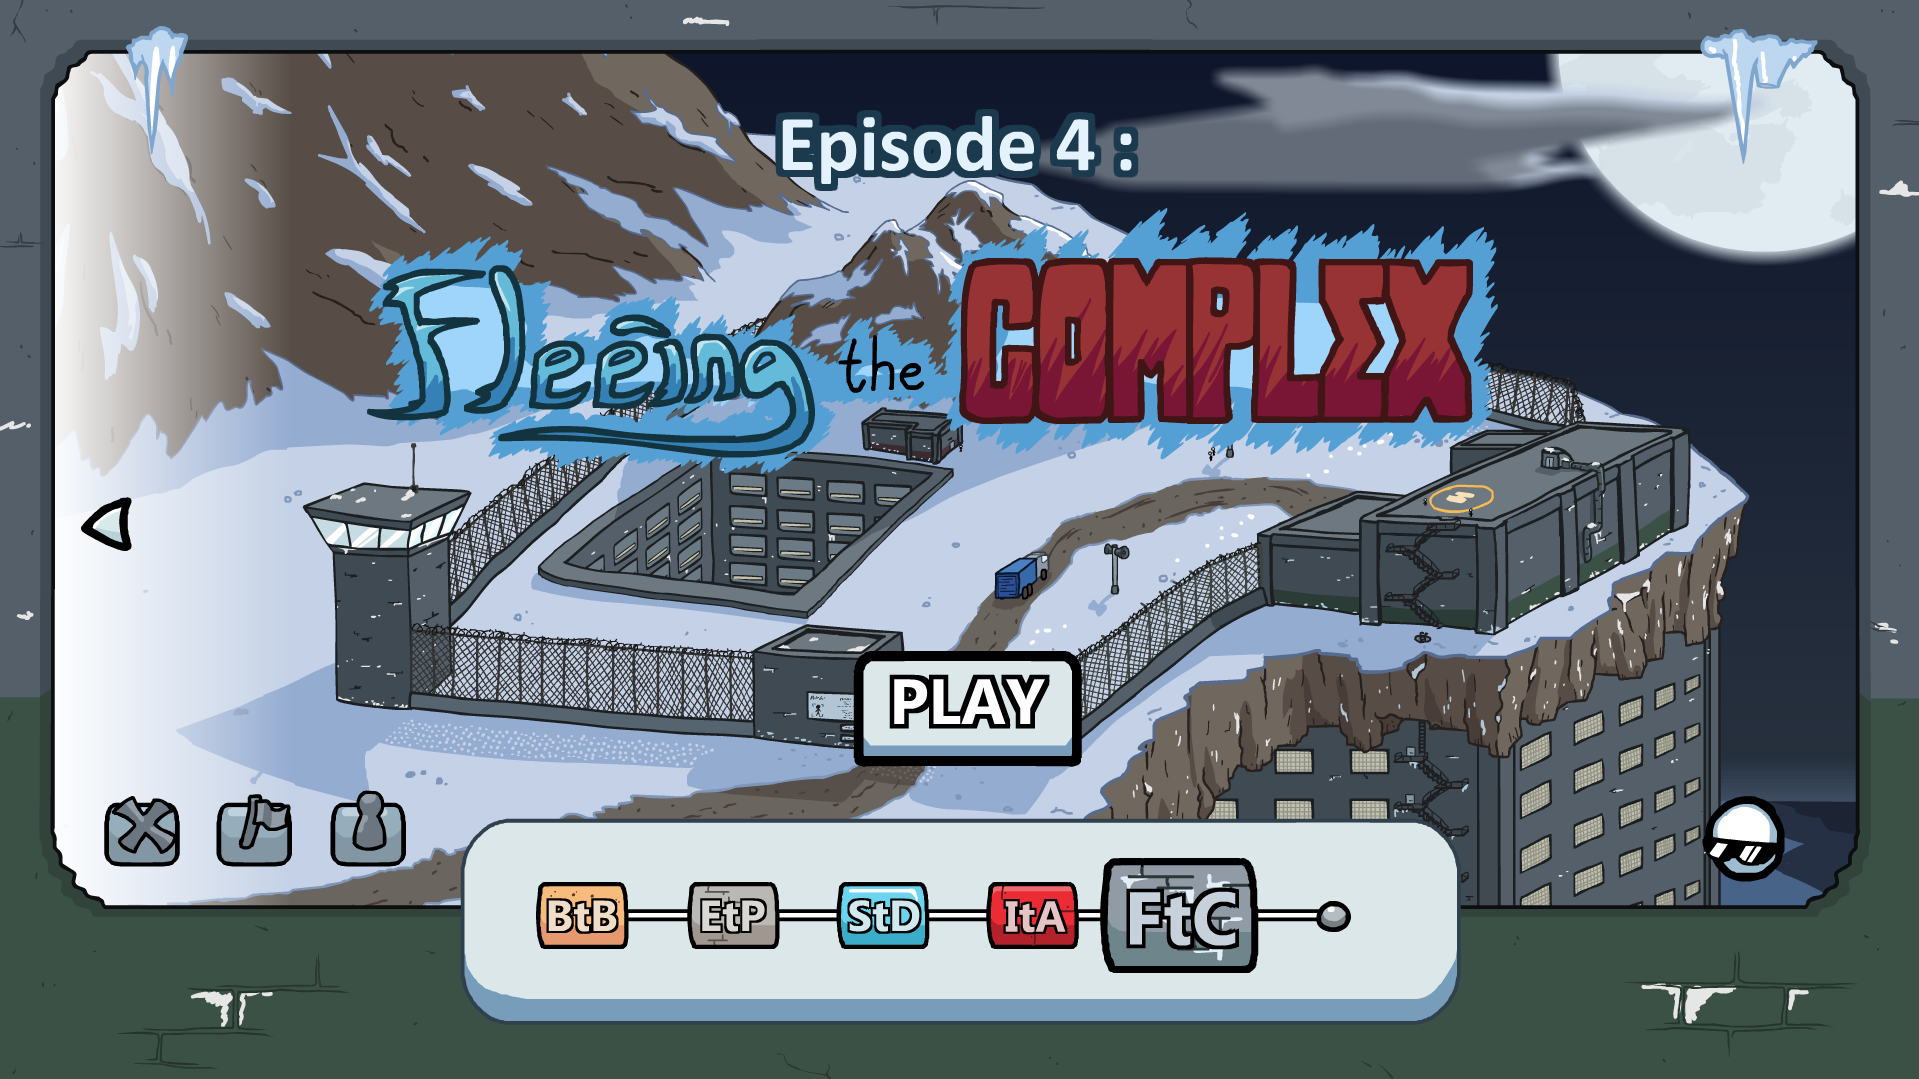
After previous stunt where most of endings got Henry in path of continued crime - Complex caught him. But who he is to stay at such place.
This part have:- 60 Fails
- 15 Achivments
- 75 Bios
ᅠFtC - Gold Achivments:
 Achieve the Rank: GI.
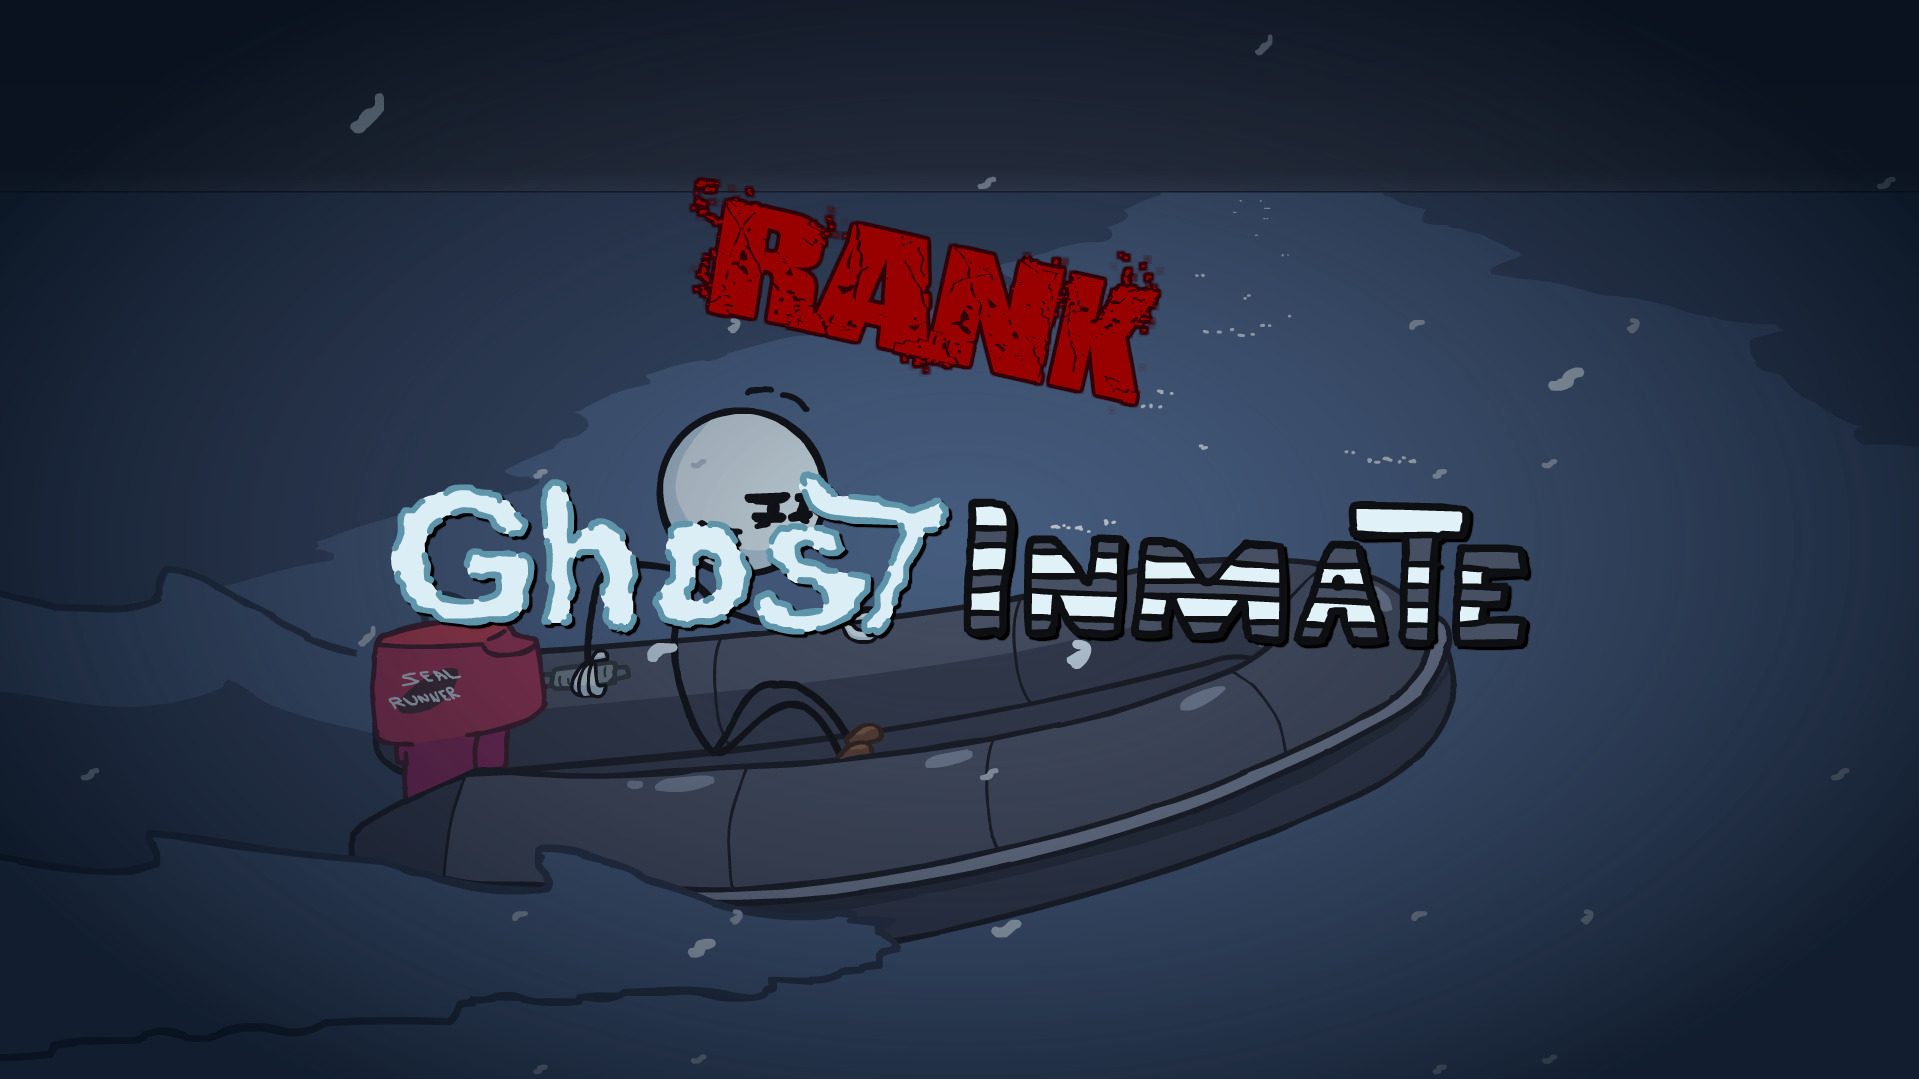 To achive Ghost Inmate choose in this order:
- Boost Up
- Left Arrow
- Whoopee Cushion
- Power Jump
- Balloon
- Helium
- Leaf
- Dinghy (little boat)
 Achieve the Rank: PD.
 To achive Presumed Dead choose in this order:
- Charge Tackle
- Acrobatics
- Item
- Sword Man
- Truck
- Slam
- No Option
 Achieve the Rank: CA.
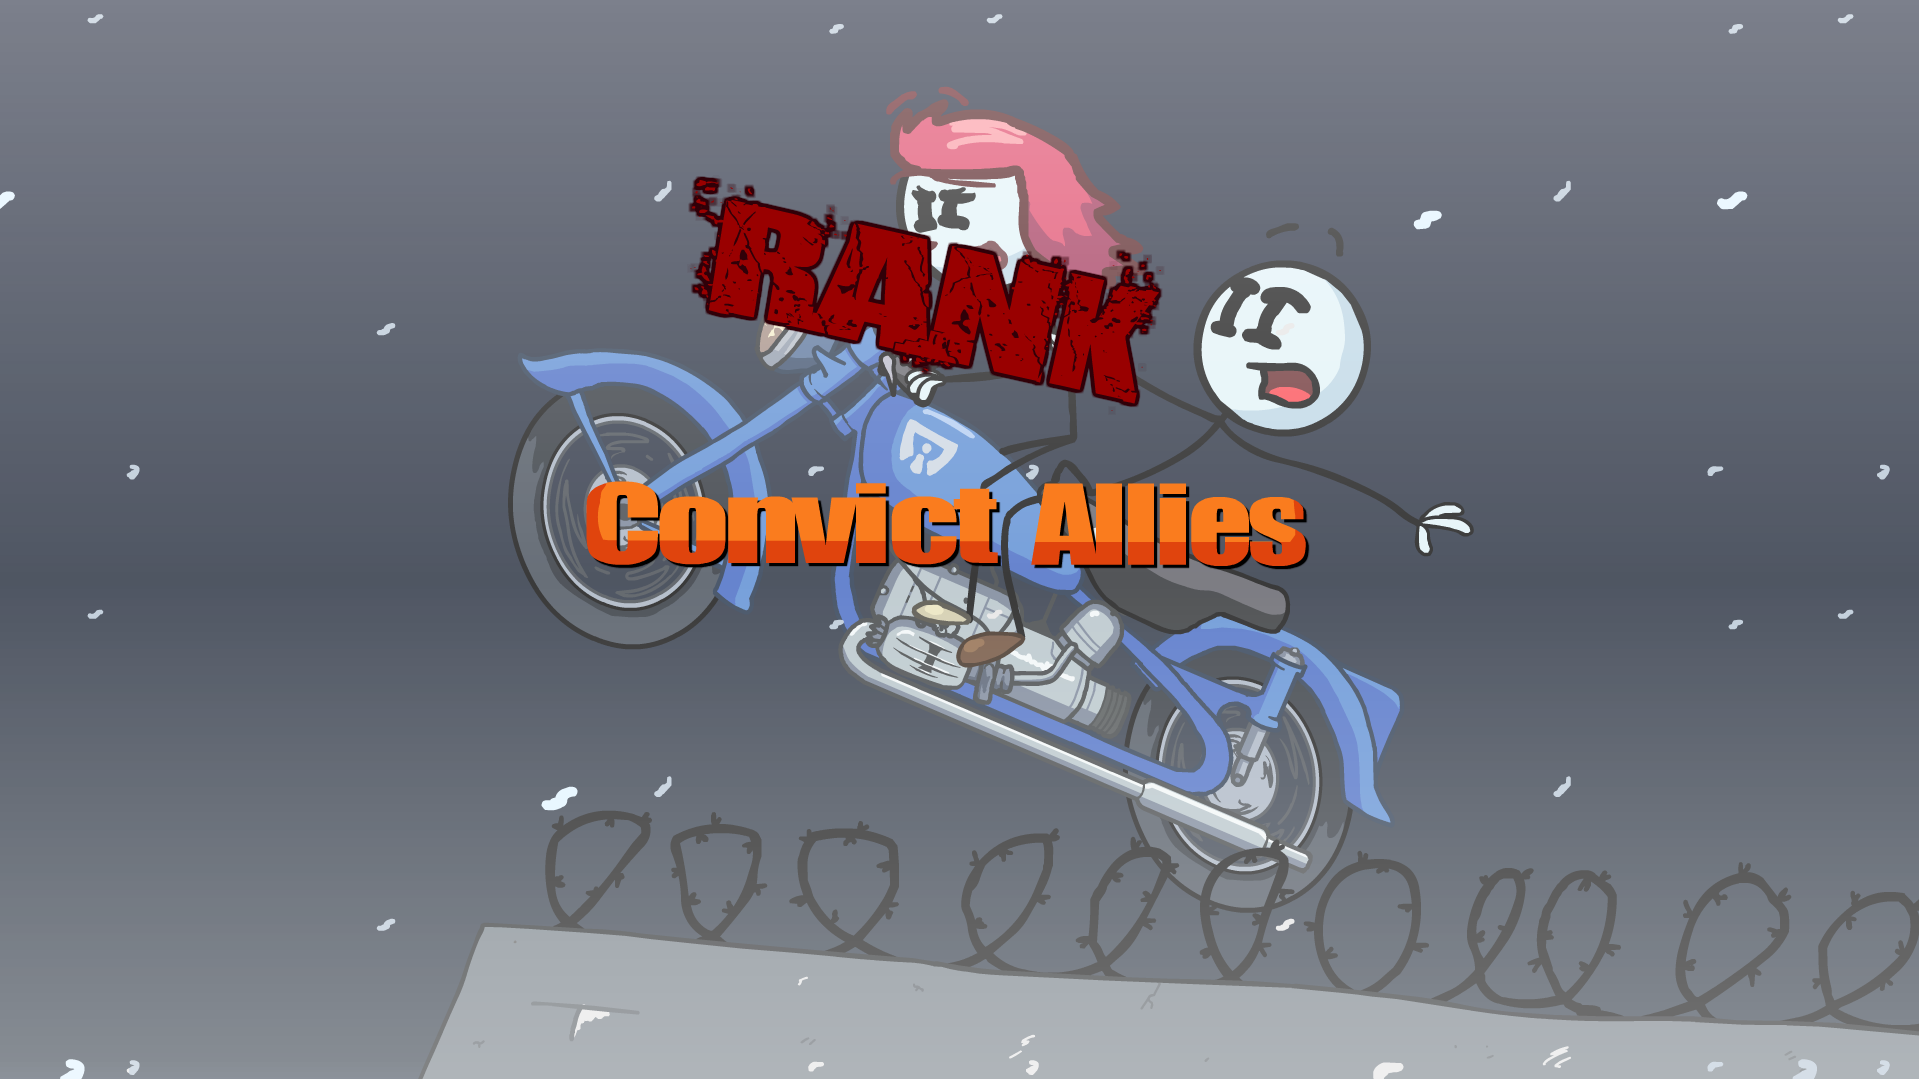 To achive Convict Allies choose in this order:
- Boost Up
- Up Arrow
- Synchronized Takedown
- The Force
- Sniper Rifle and Taser
- Toss
- Make a Face
- Right Arrow (Motocycle)
 Achieve the Rank: IRO.
 To achive International Rescue Operative choose in this order:
- Wait for Transfer
- Laser Plane
- Government
- Flash
- Mini Helicopter
- Left Arrow
 Achieve the Rank: TB.
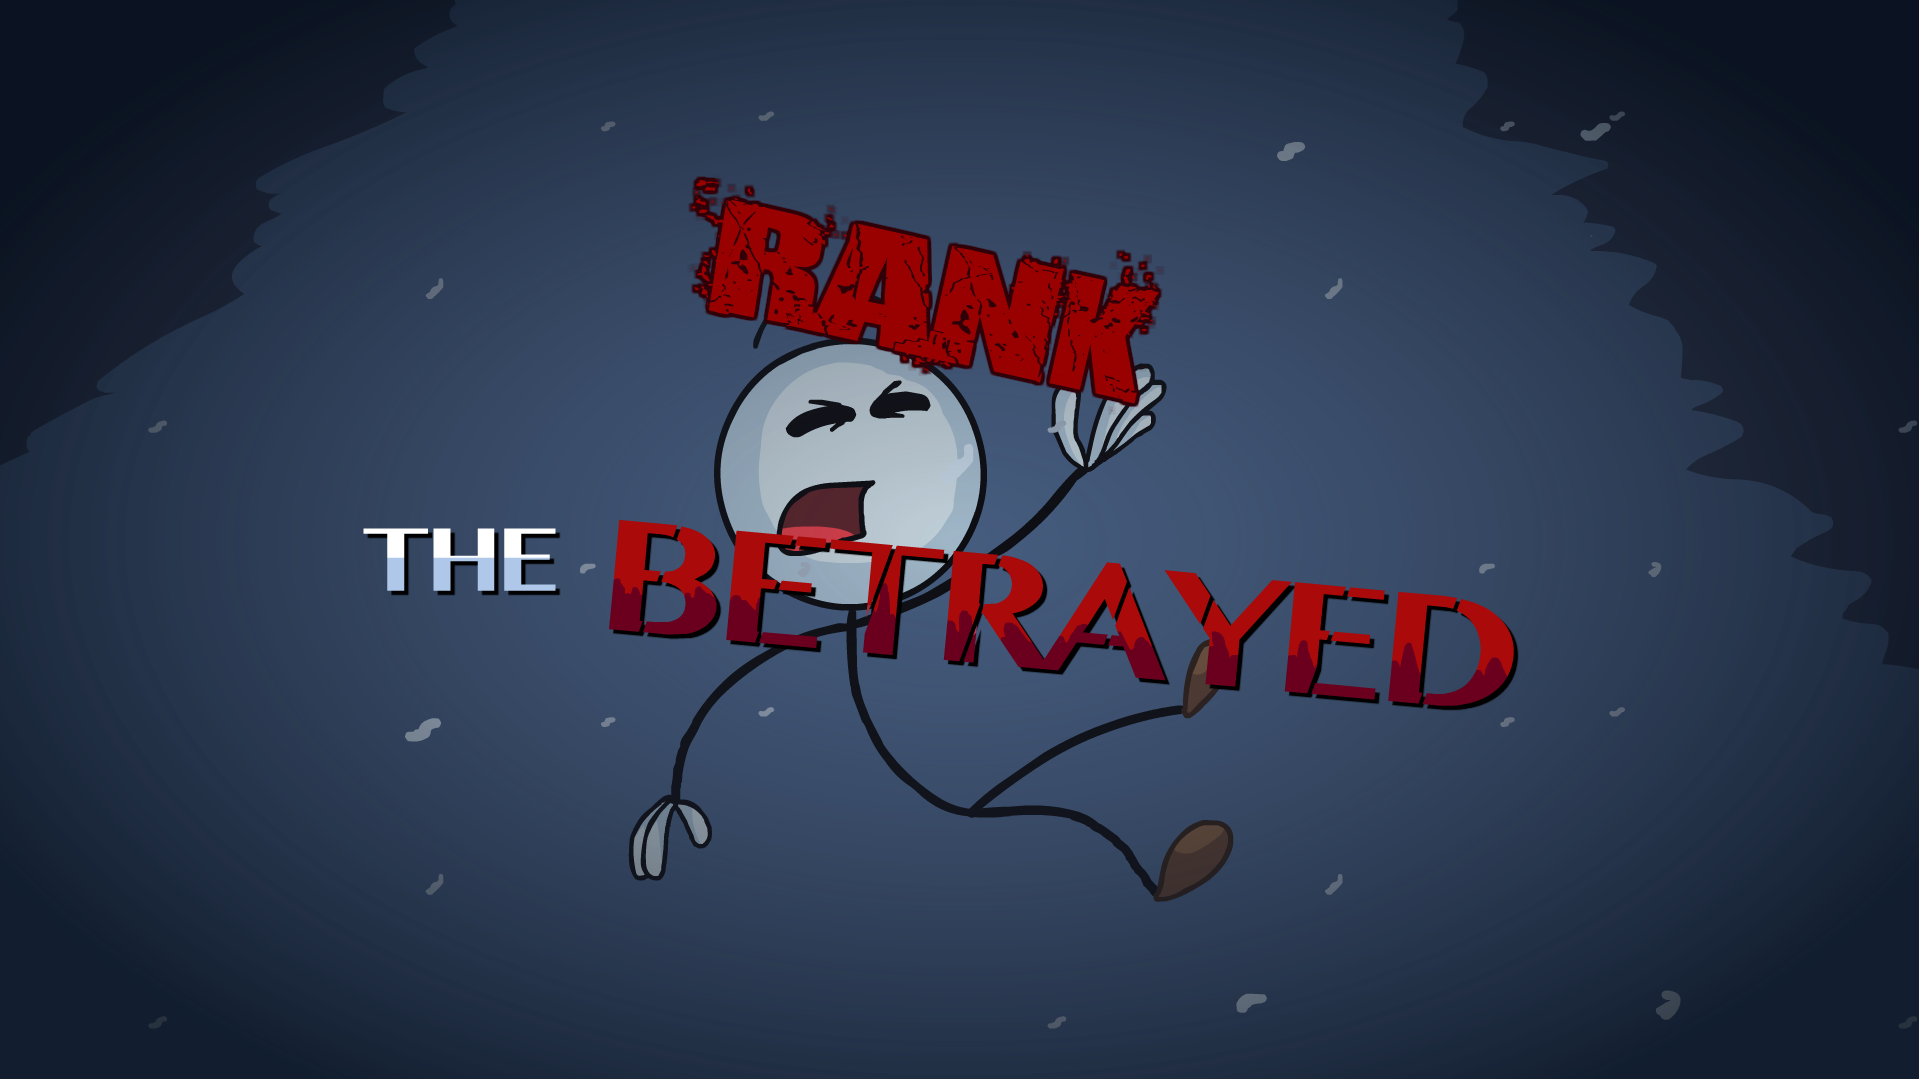 To achive The Betrayed choose in this order:
- Wait for Transfer
- Laser Plane
- Toppat Clan
- Drill Pod
- Sick Ride
ᅠFtC - Silver Achivments:
 Get all 60 Unique Fails in Fleeing the Complex.
Pick everything but correct options listed above.
You can check them in map view as well as change scene/route to get all the missing ones!
Map also tells the names of all scenes, we will be using that here!
 Find all the bios in Fleeing the Complex.
This part have 75 Bios to find, so we're gonna take in-game order to do it.
In Transfer Cell, choose Boost Up or Play Dead.
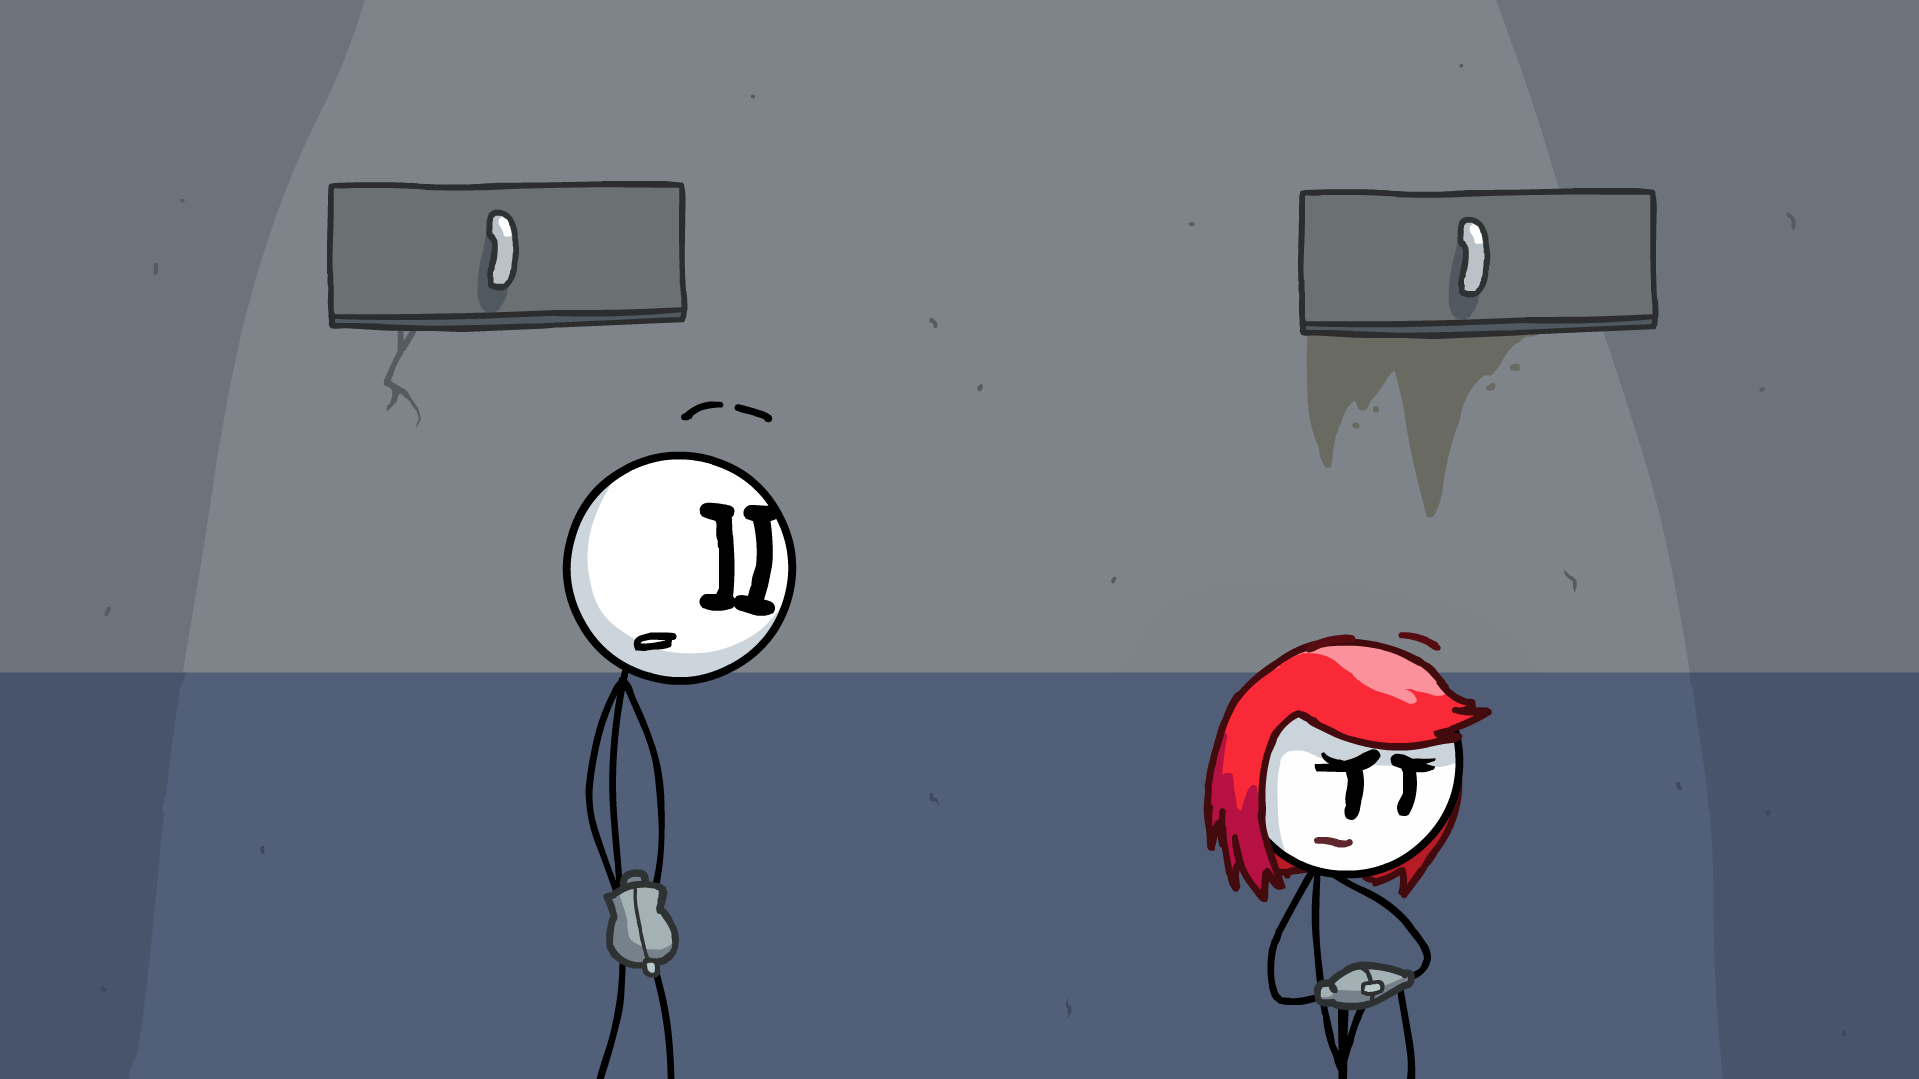

In Transfer Cell, choose Play Dead.
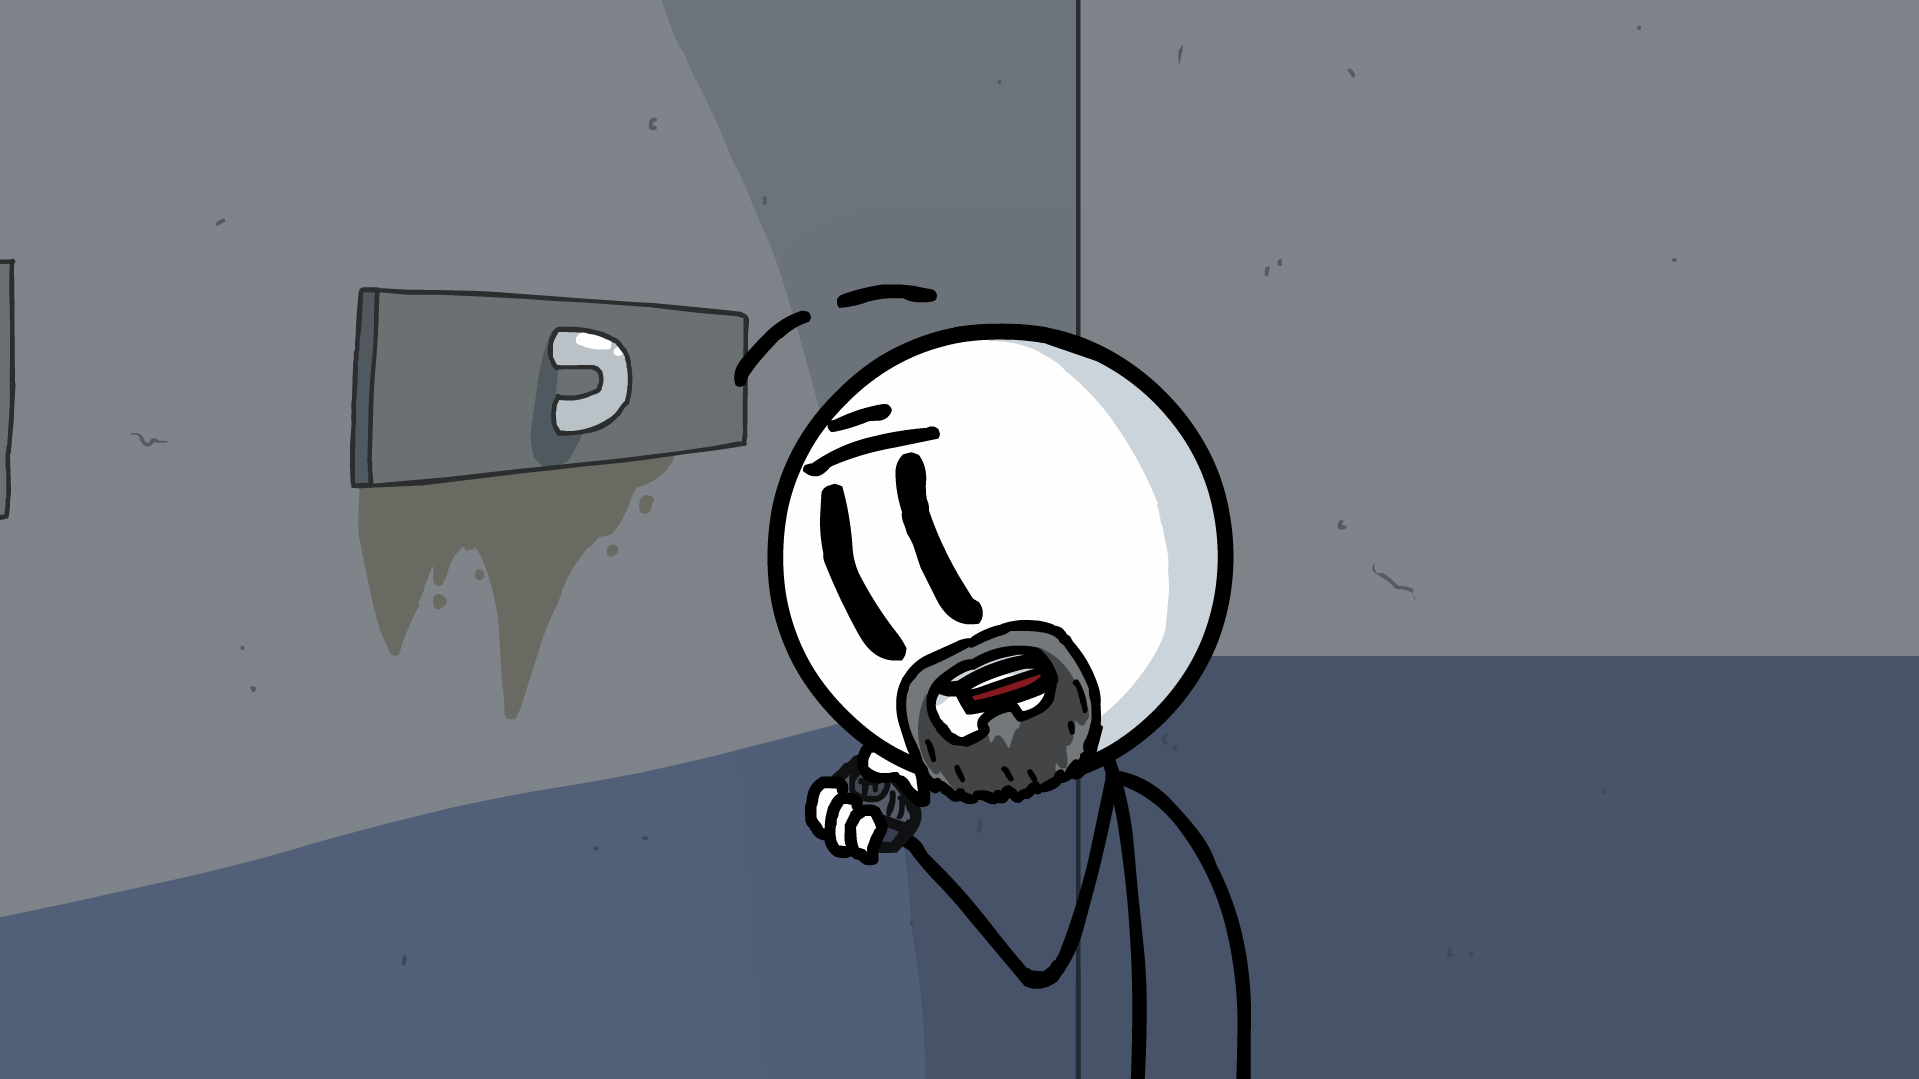
In Phone a Friend, choose Government.
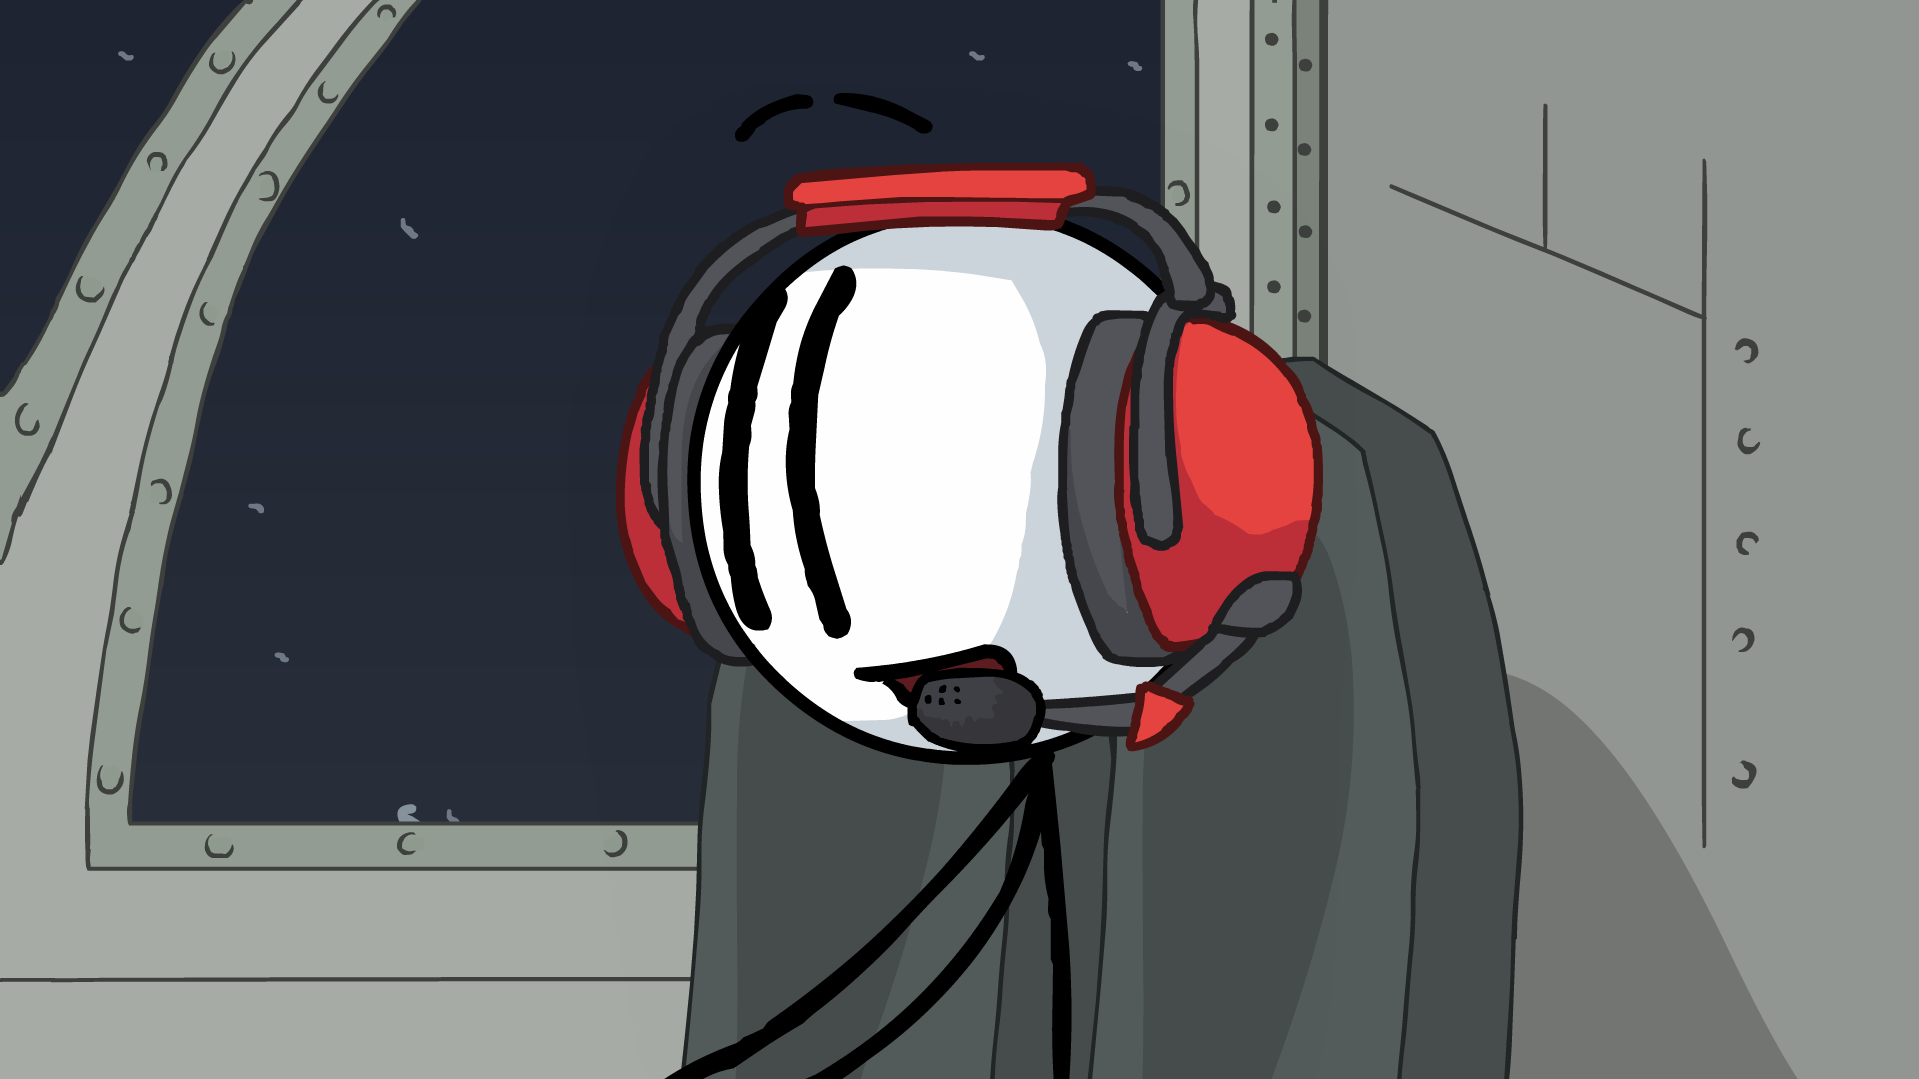
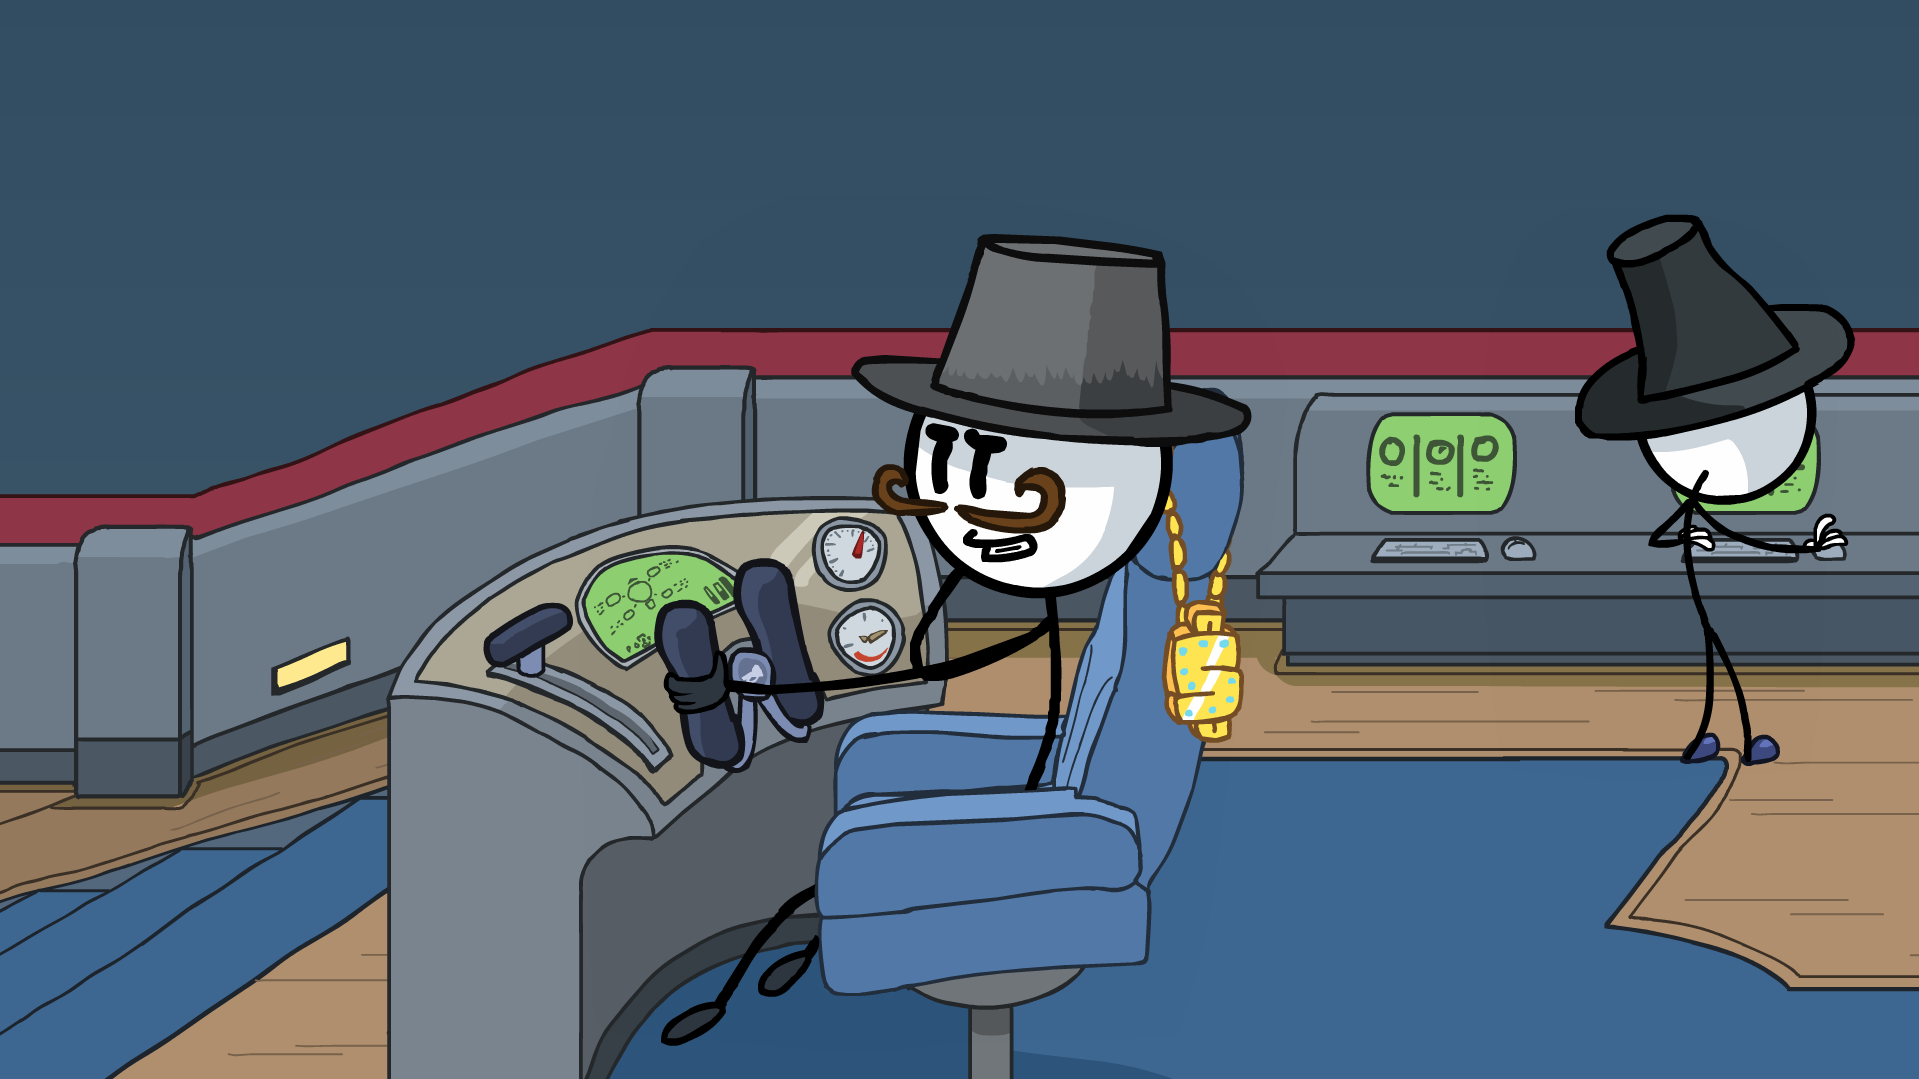
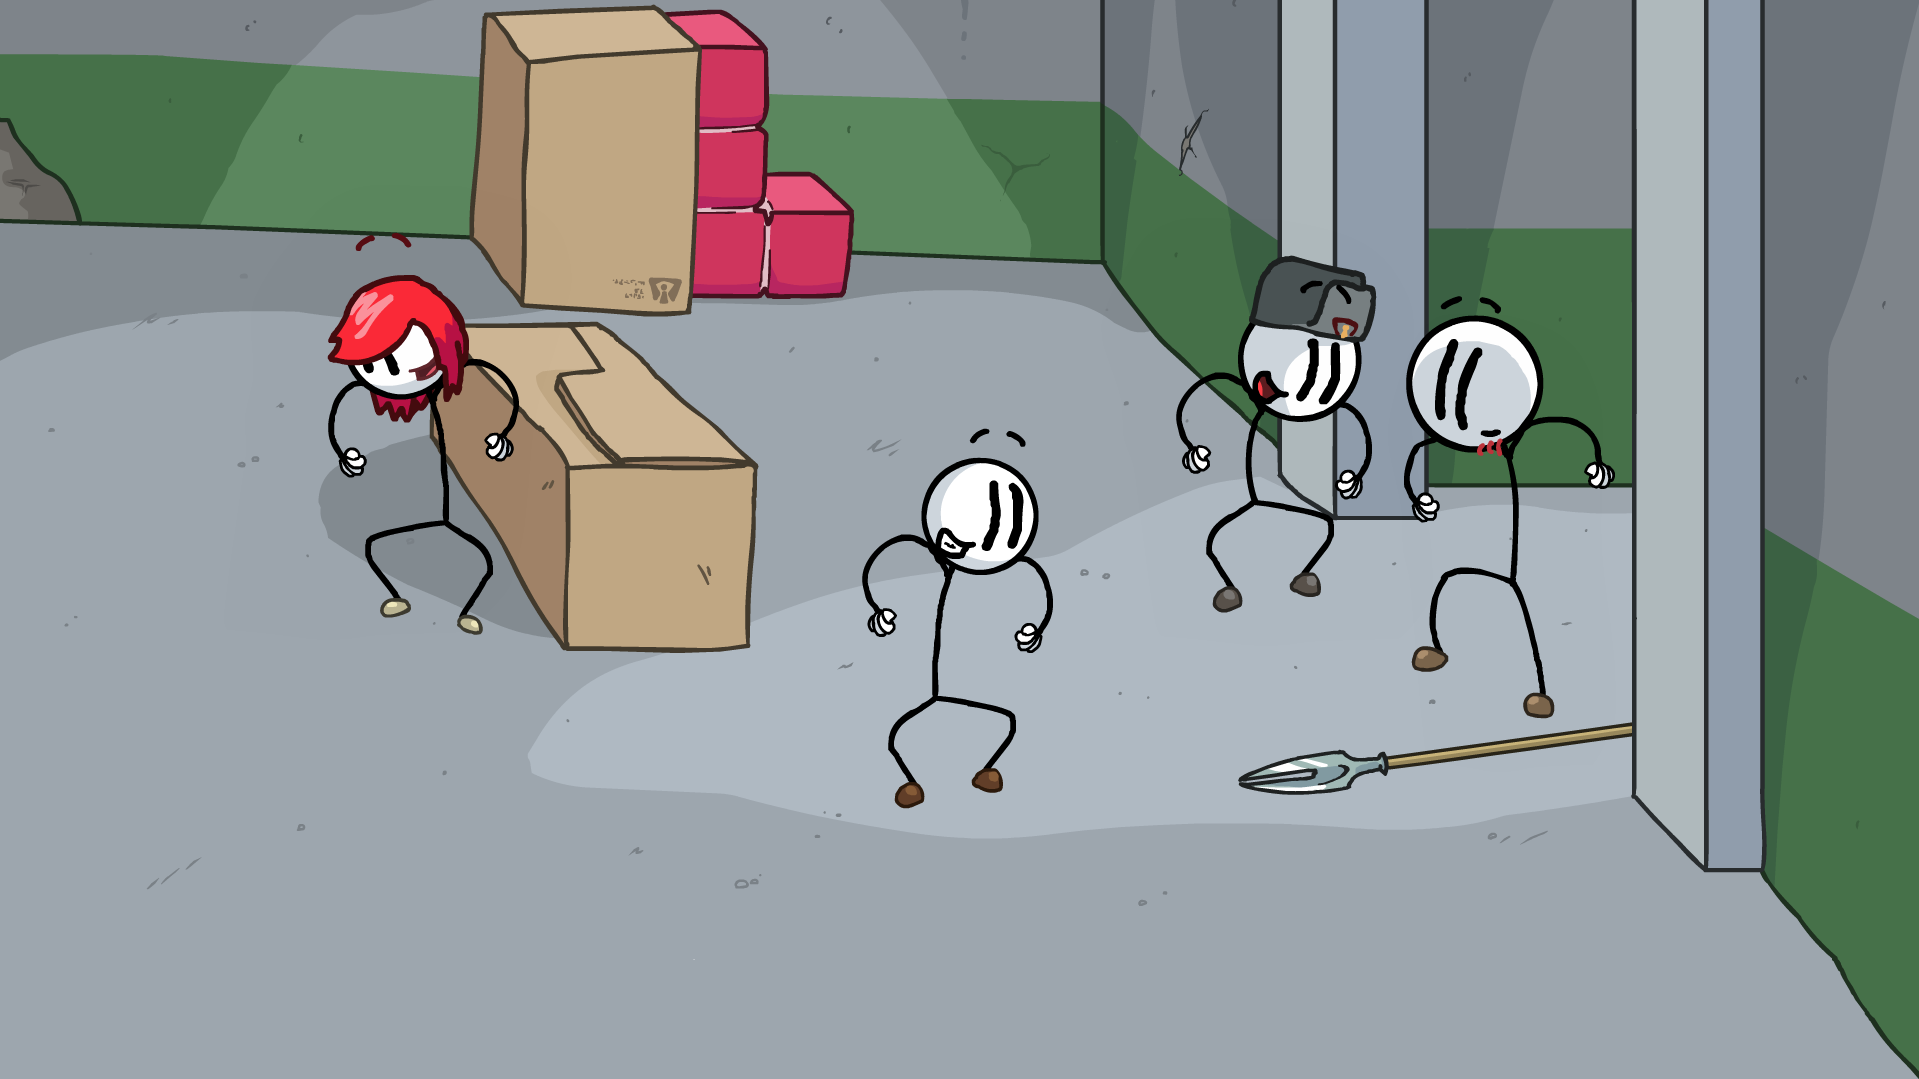
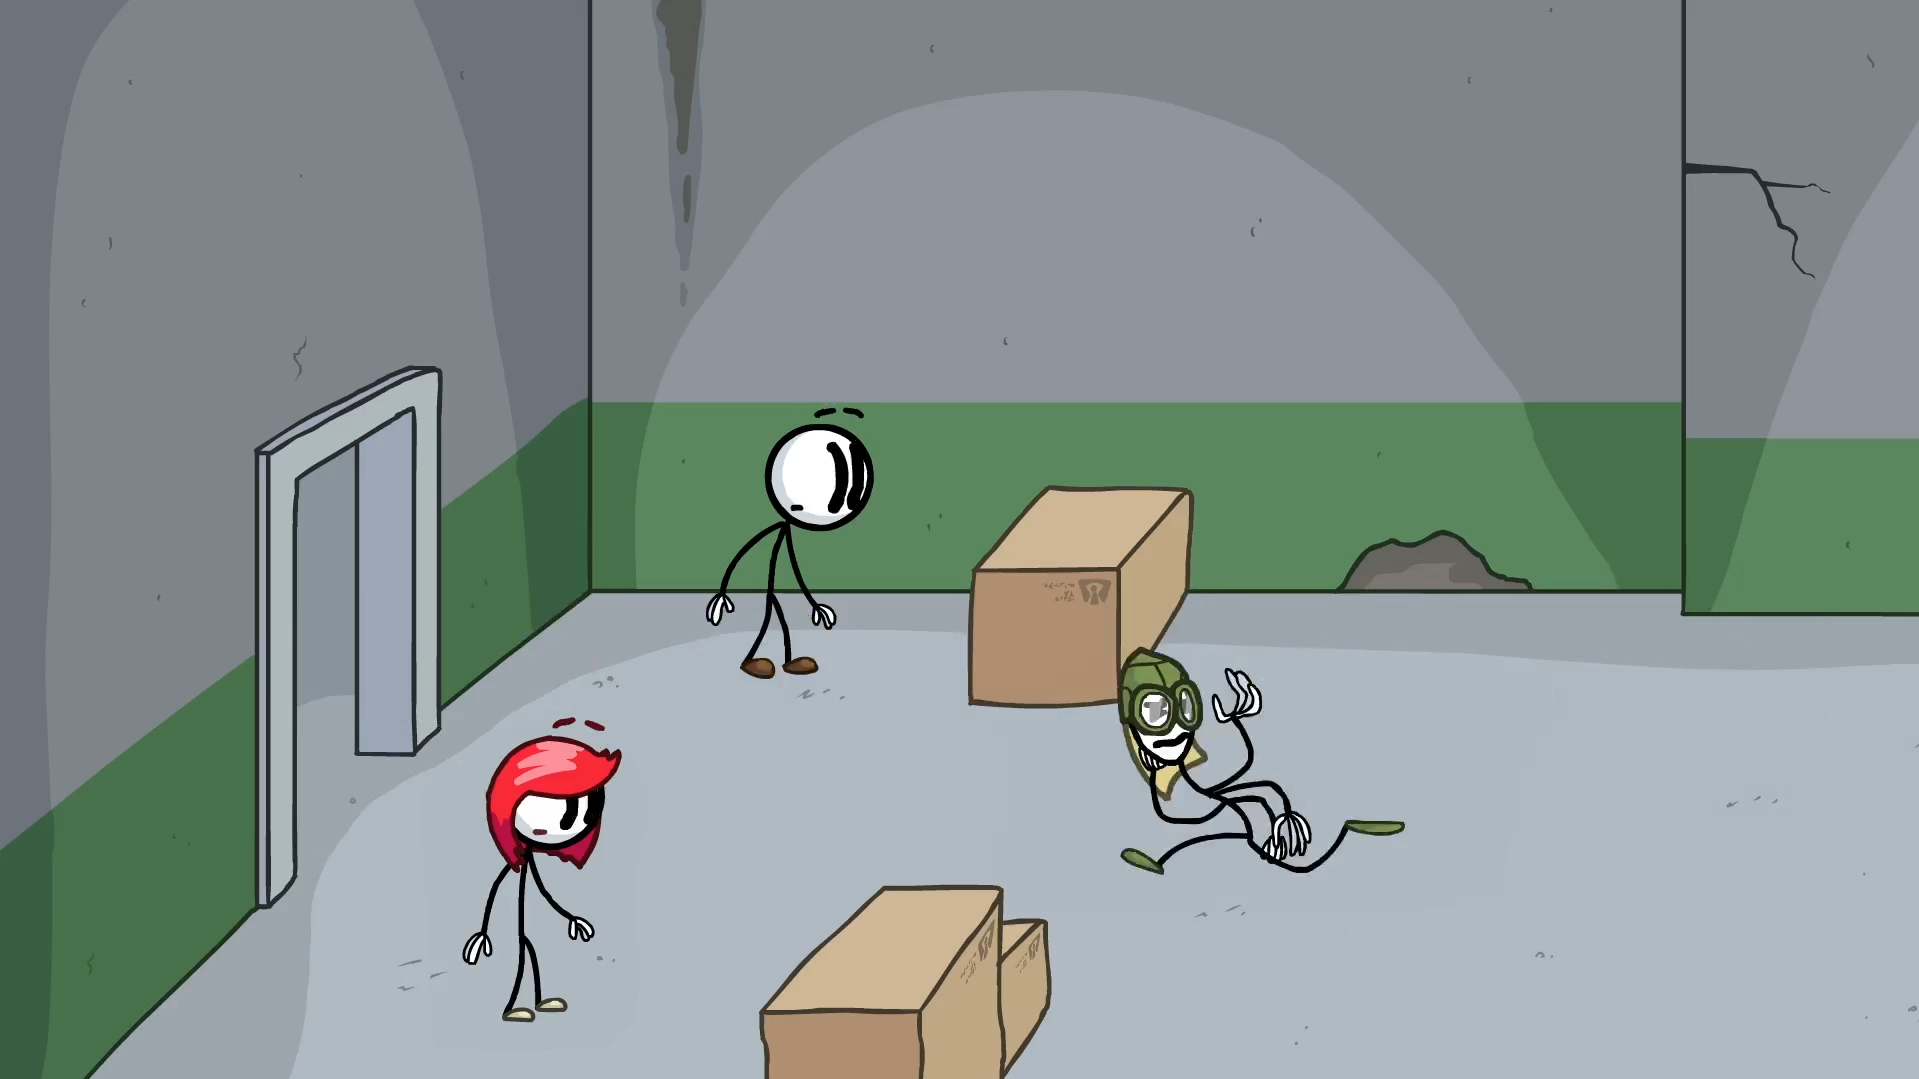
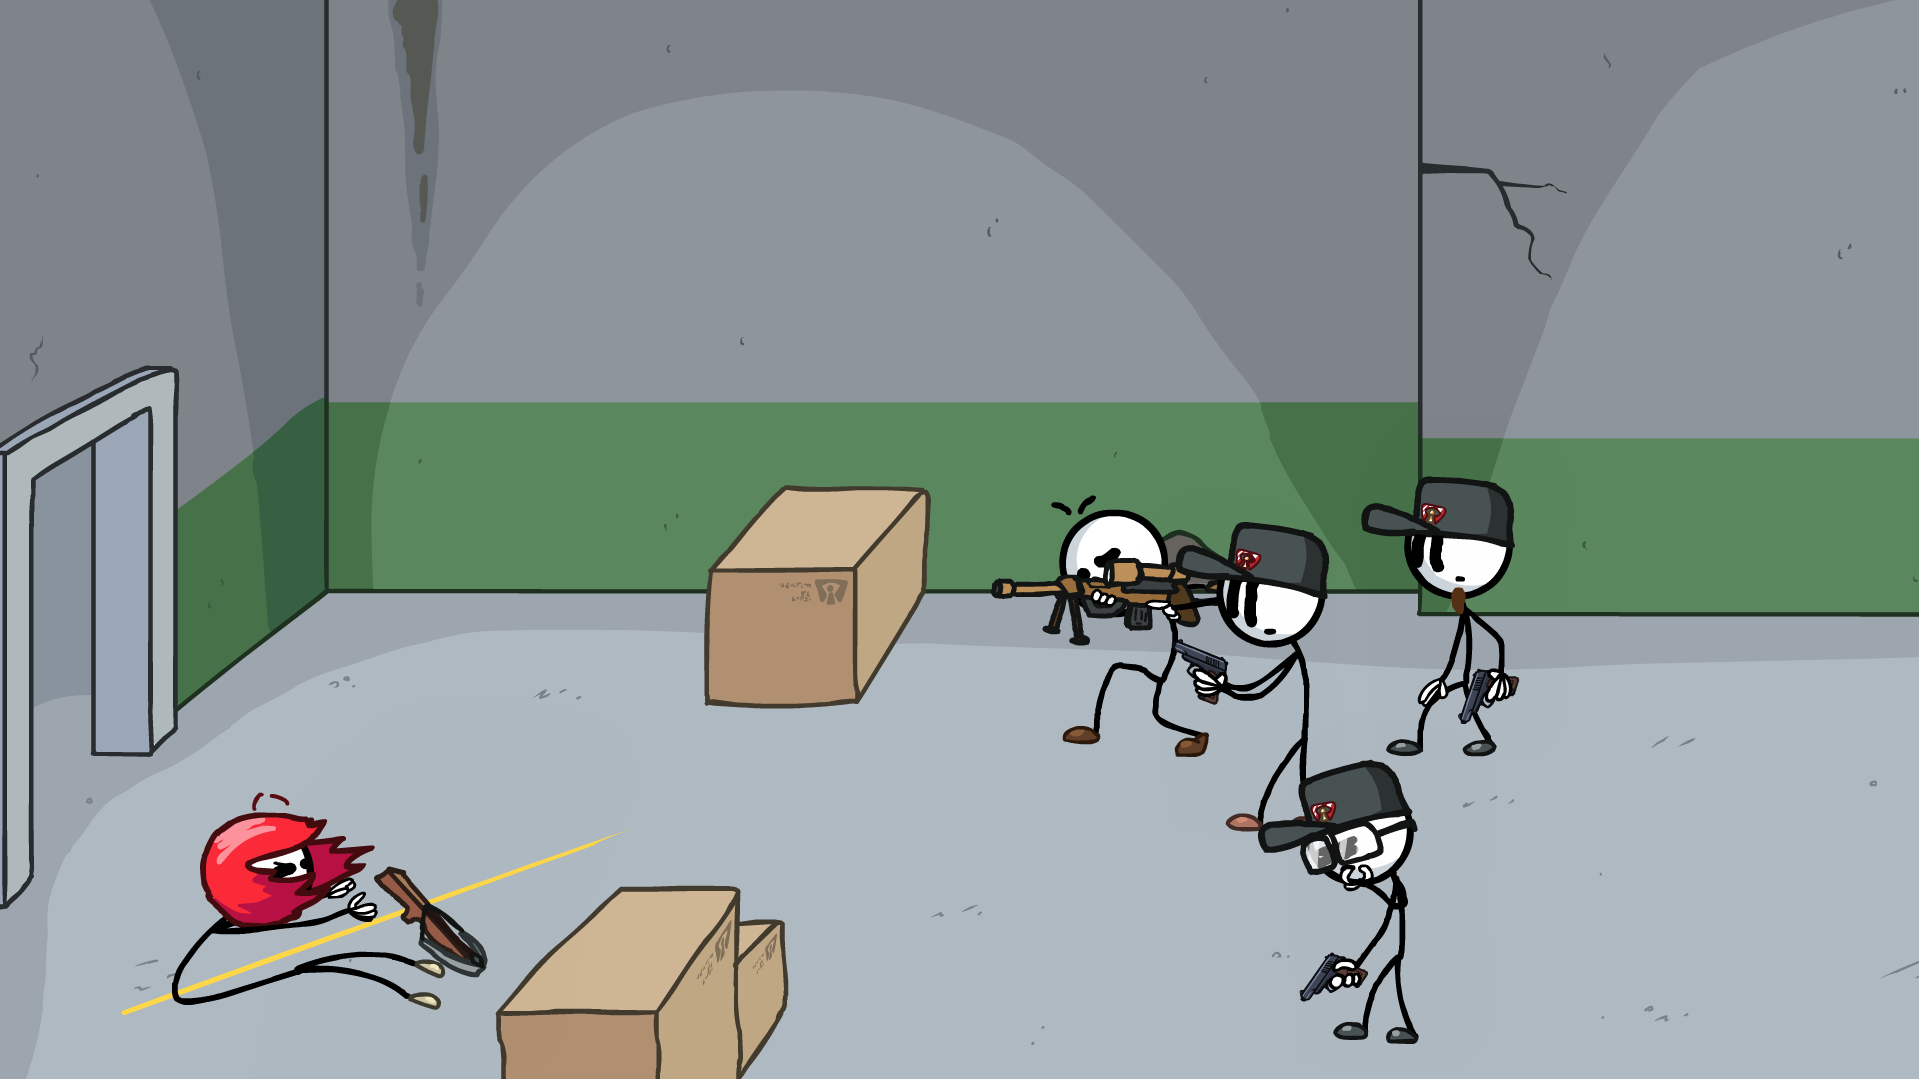
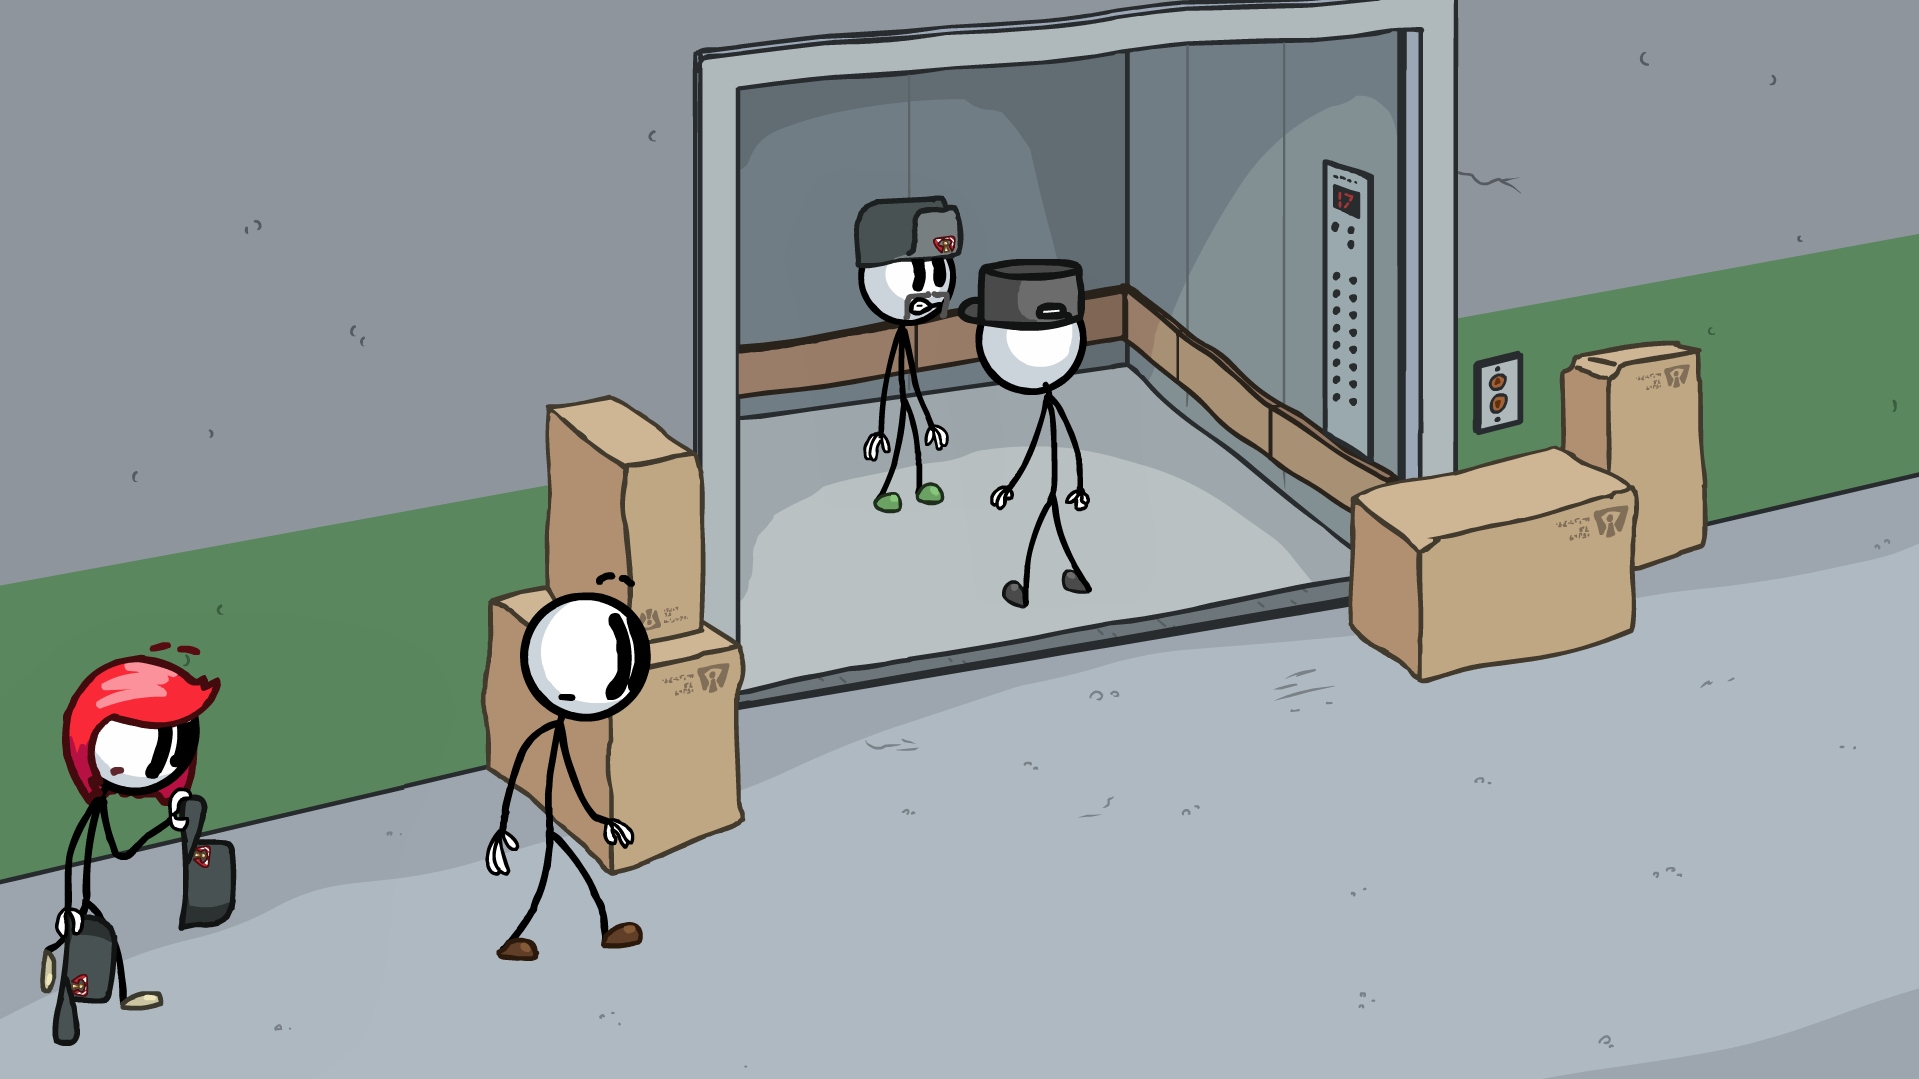
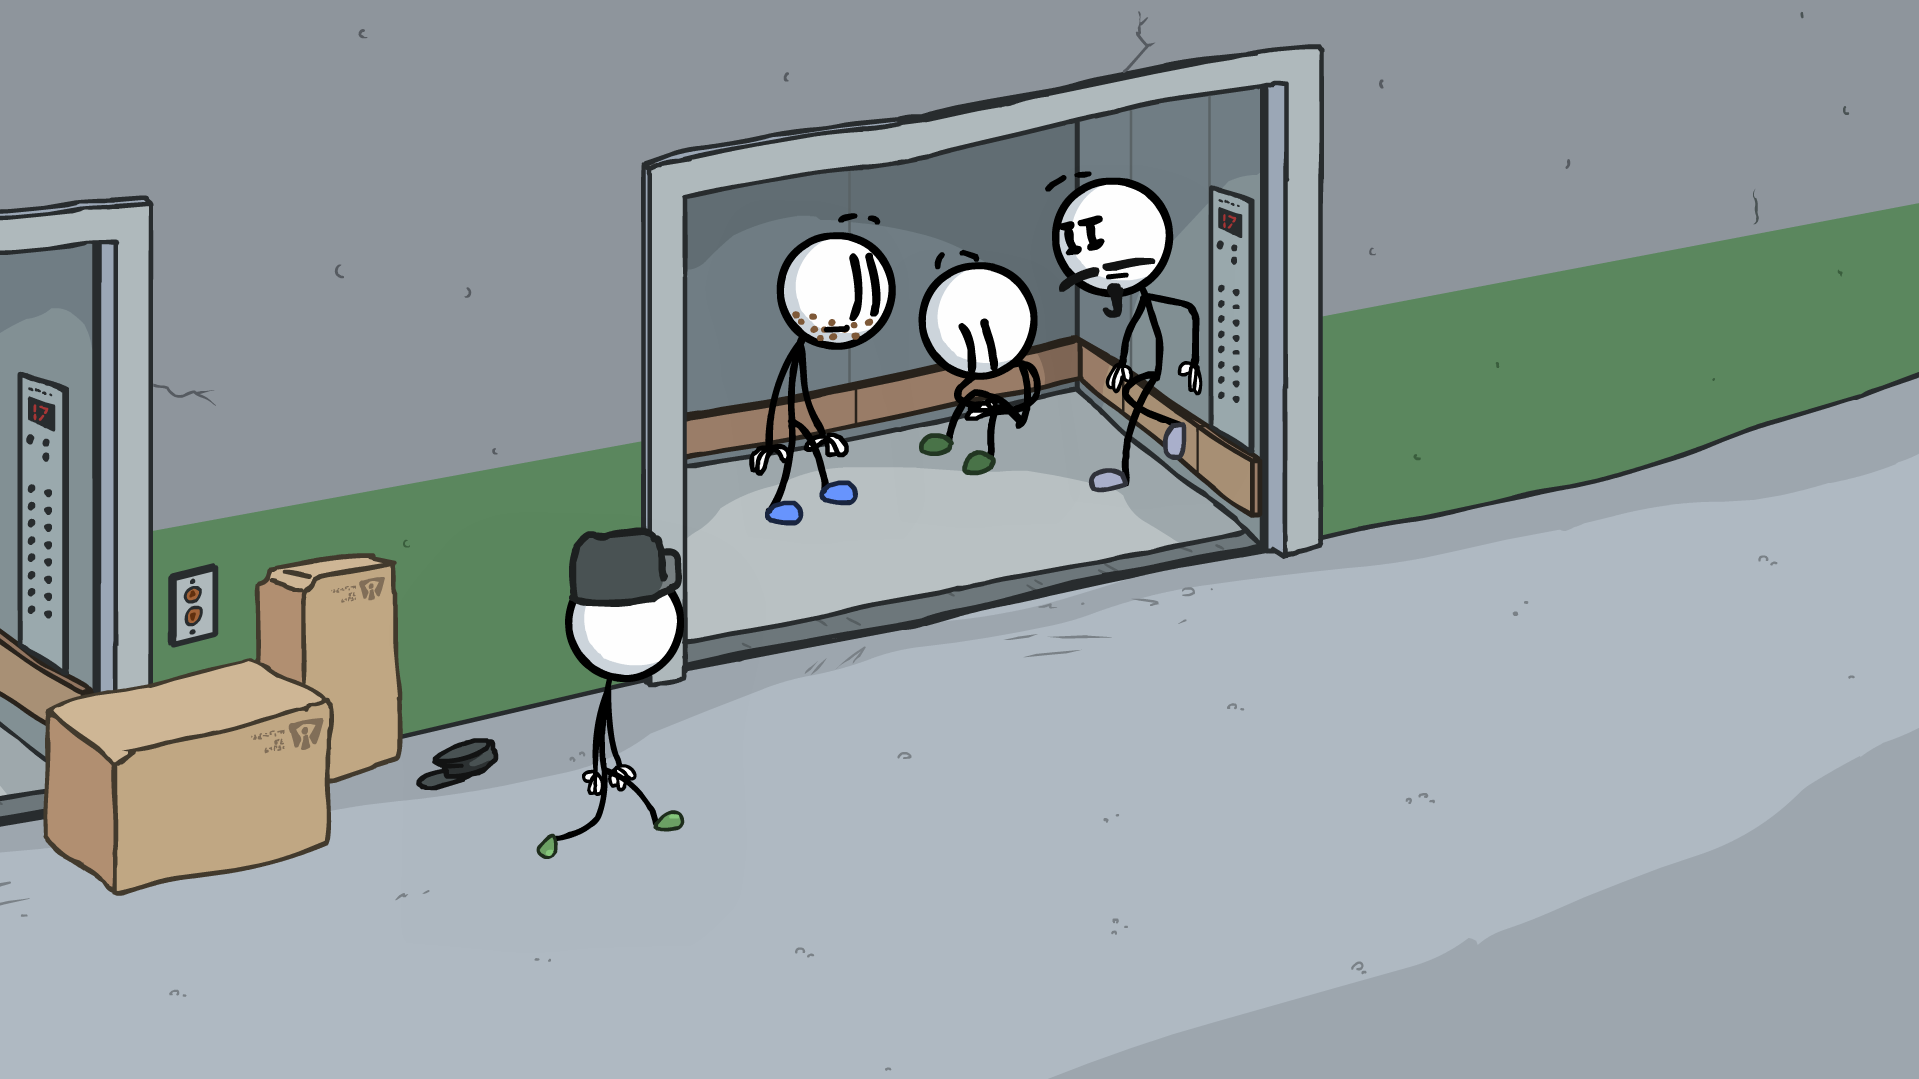
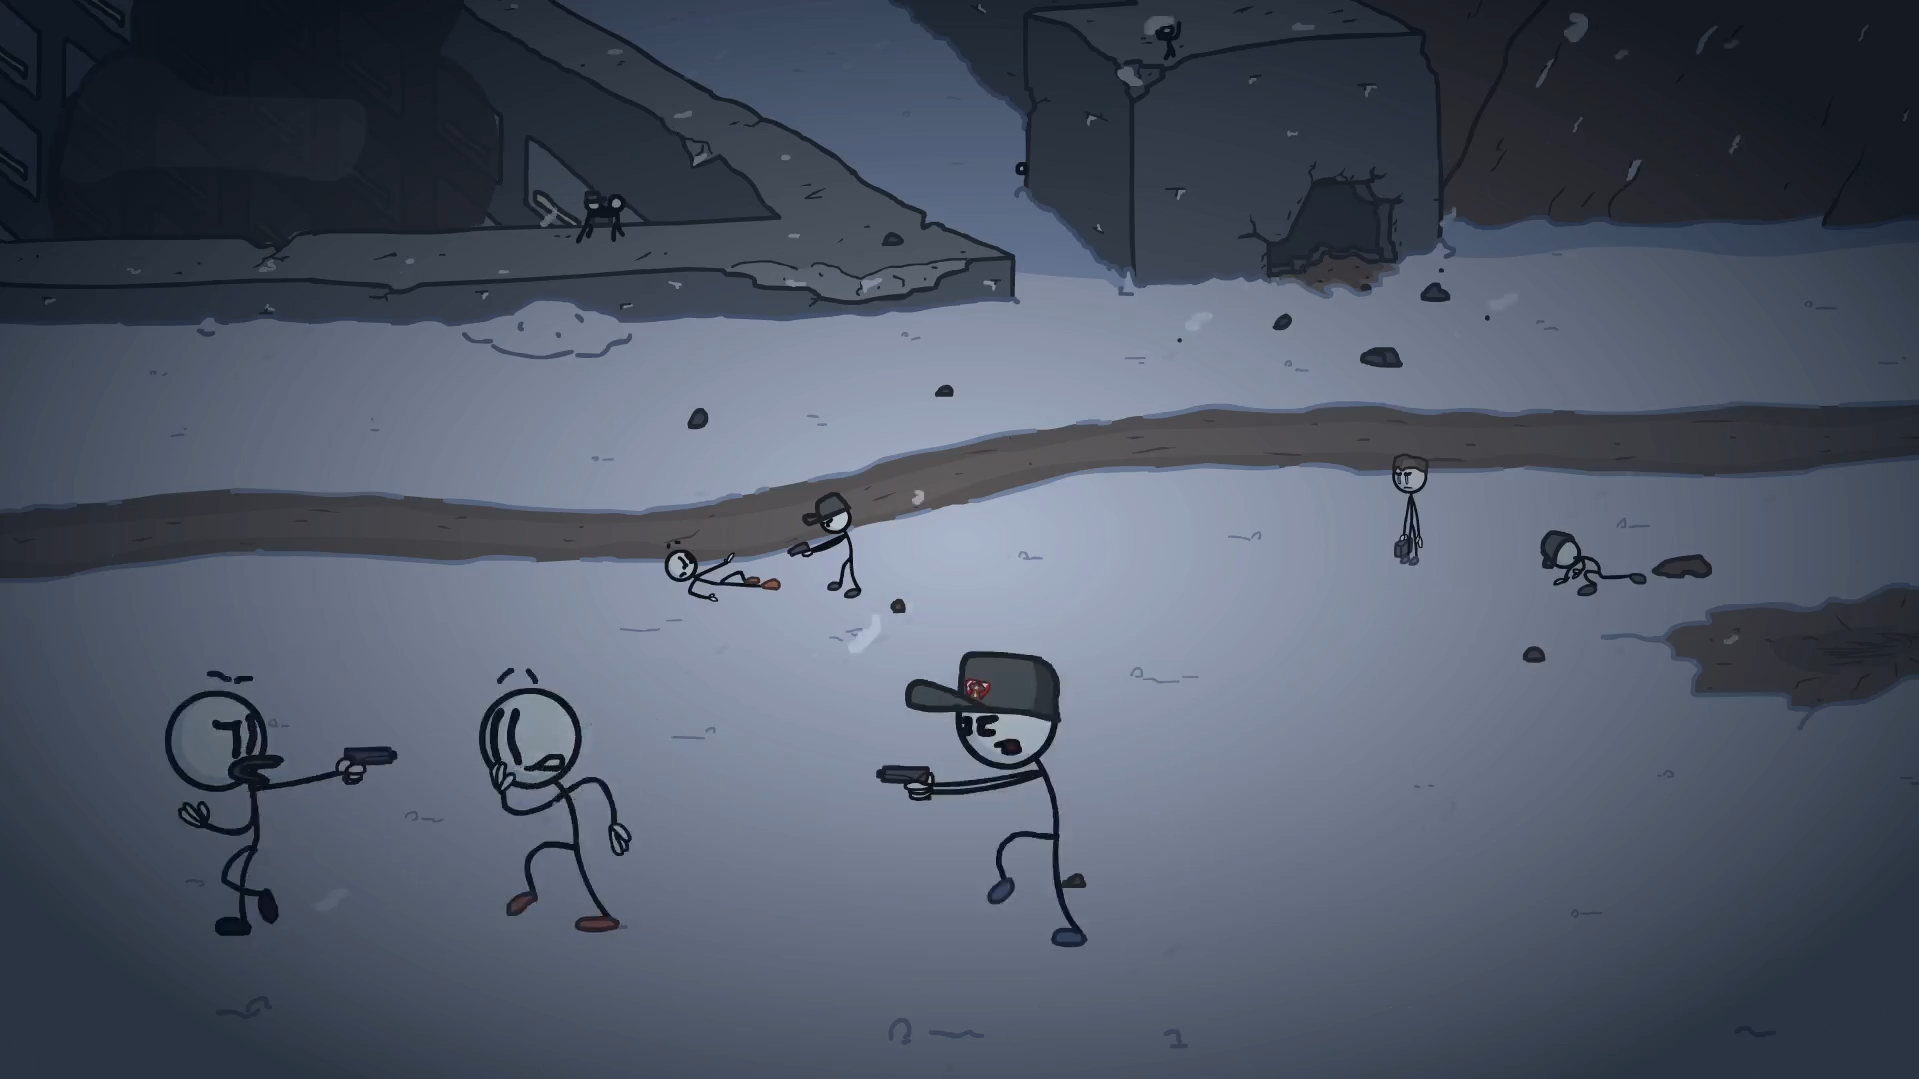
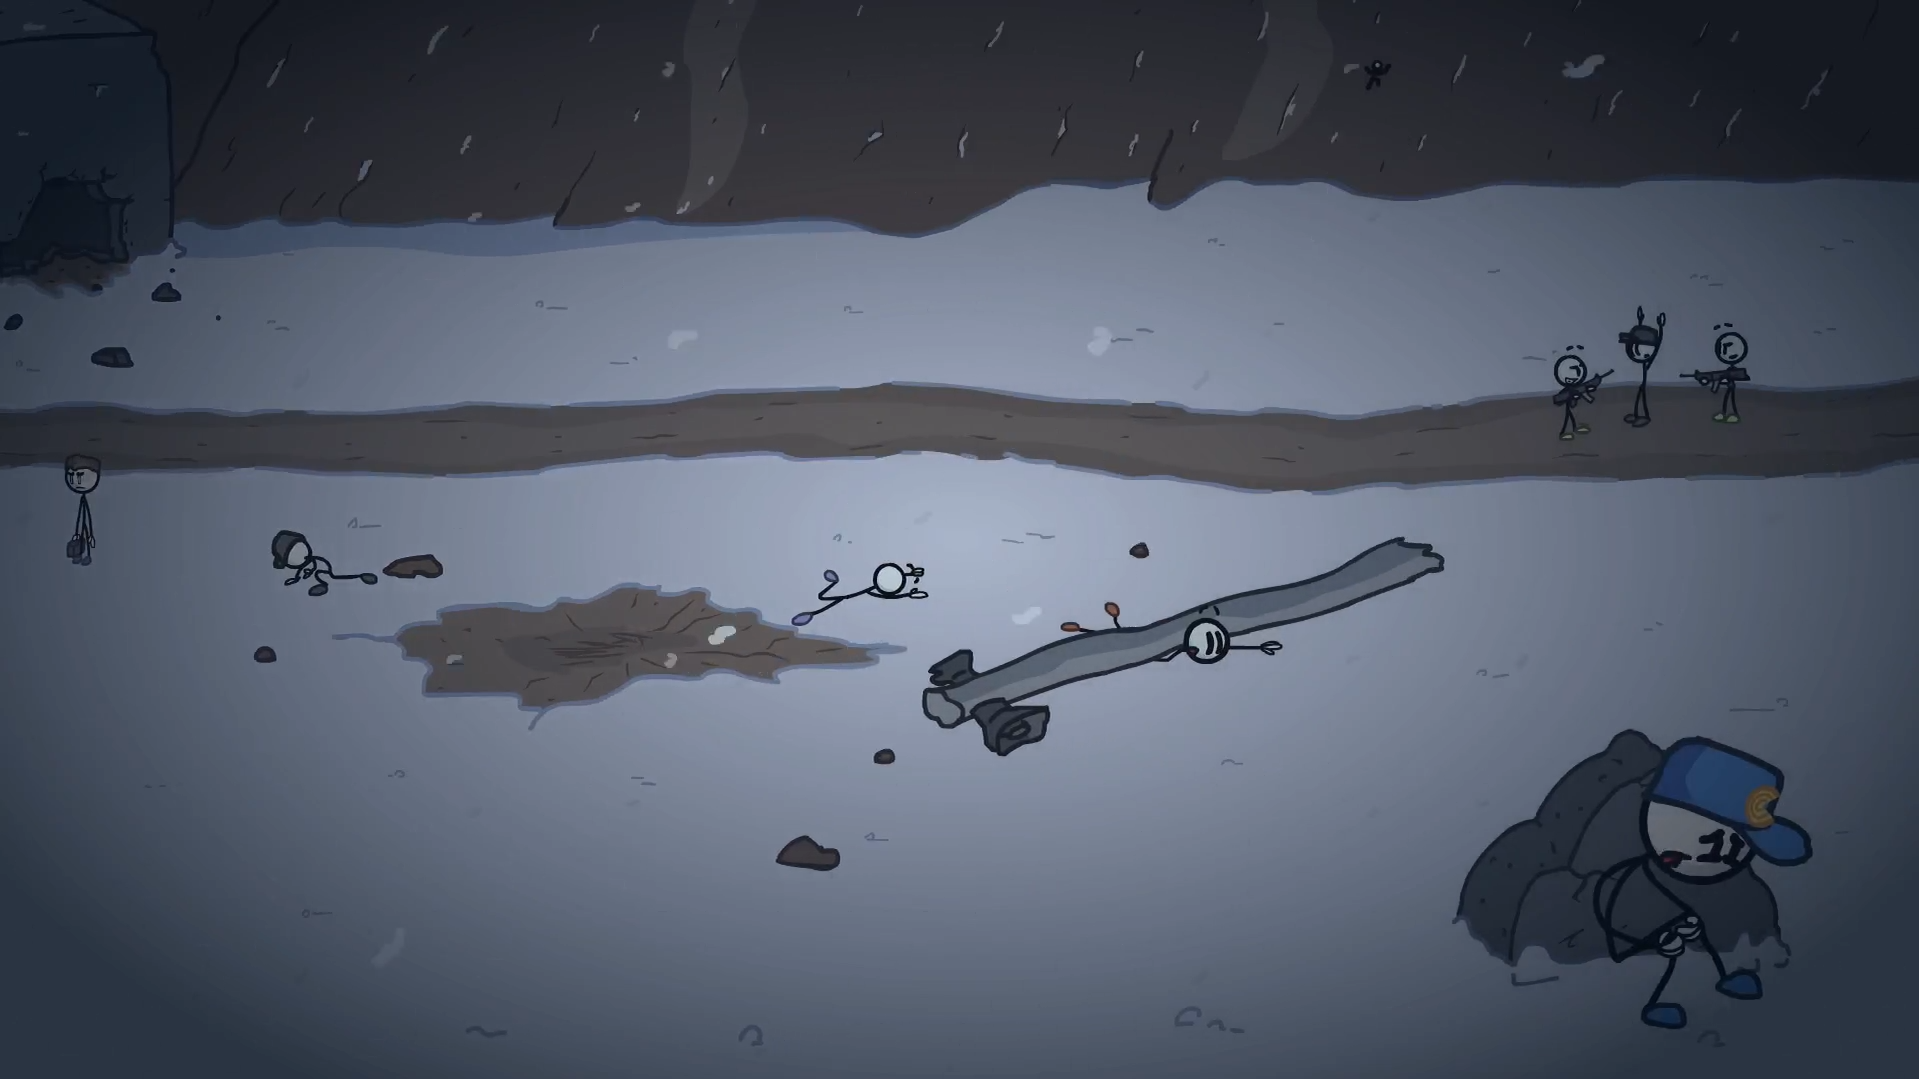
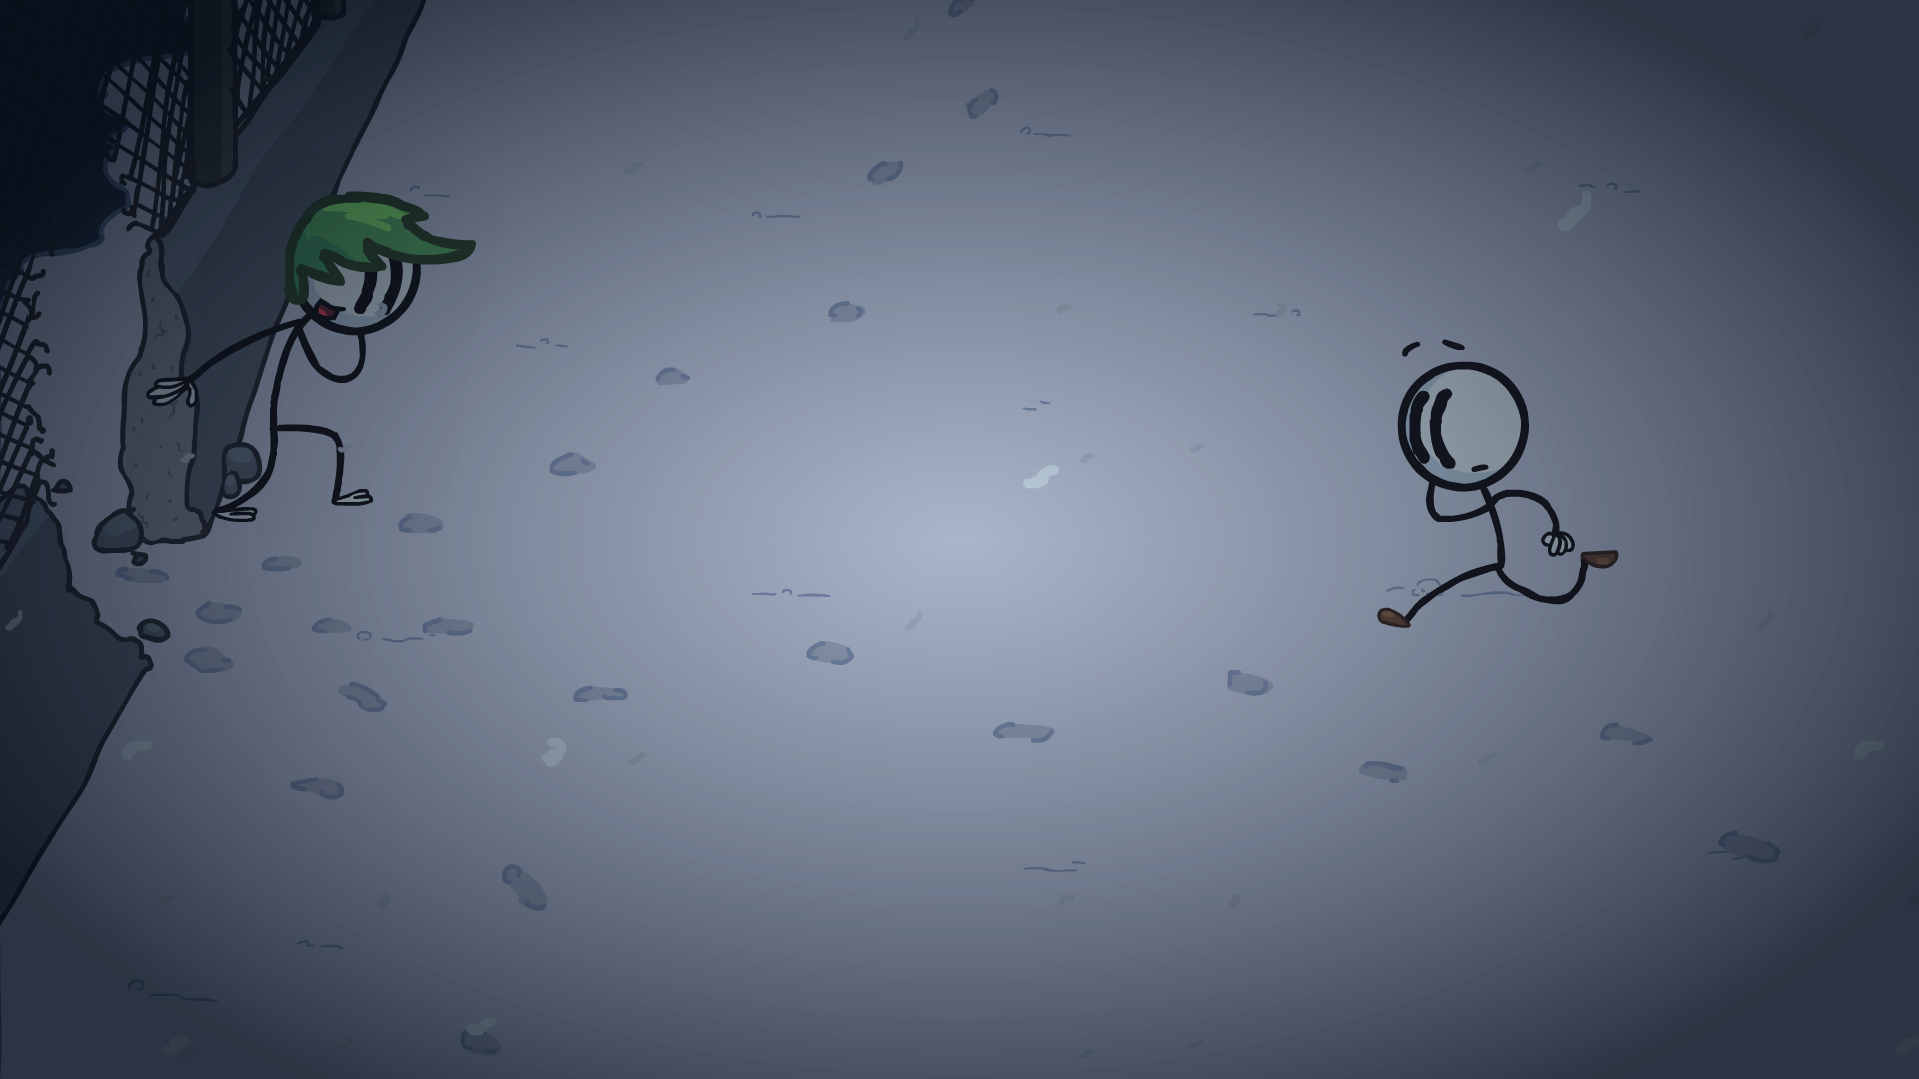
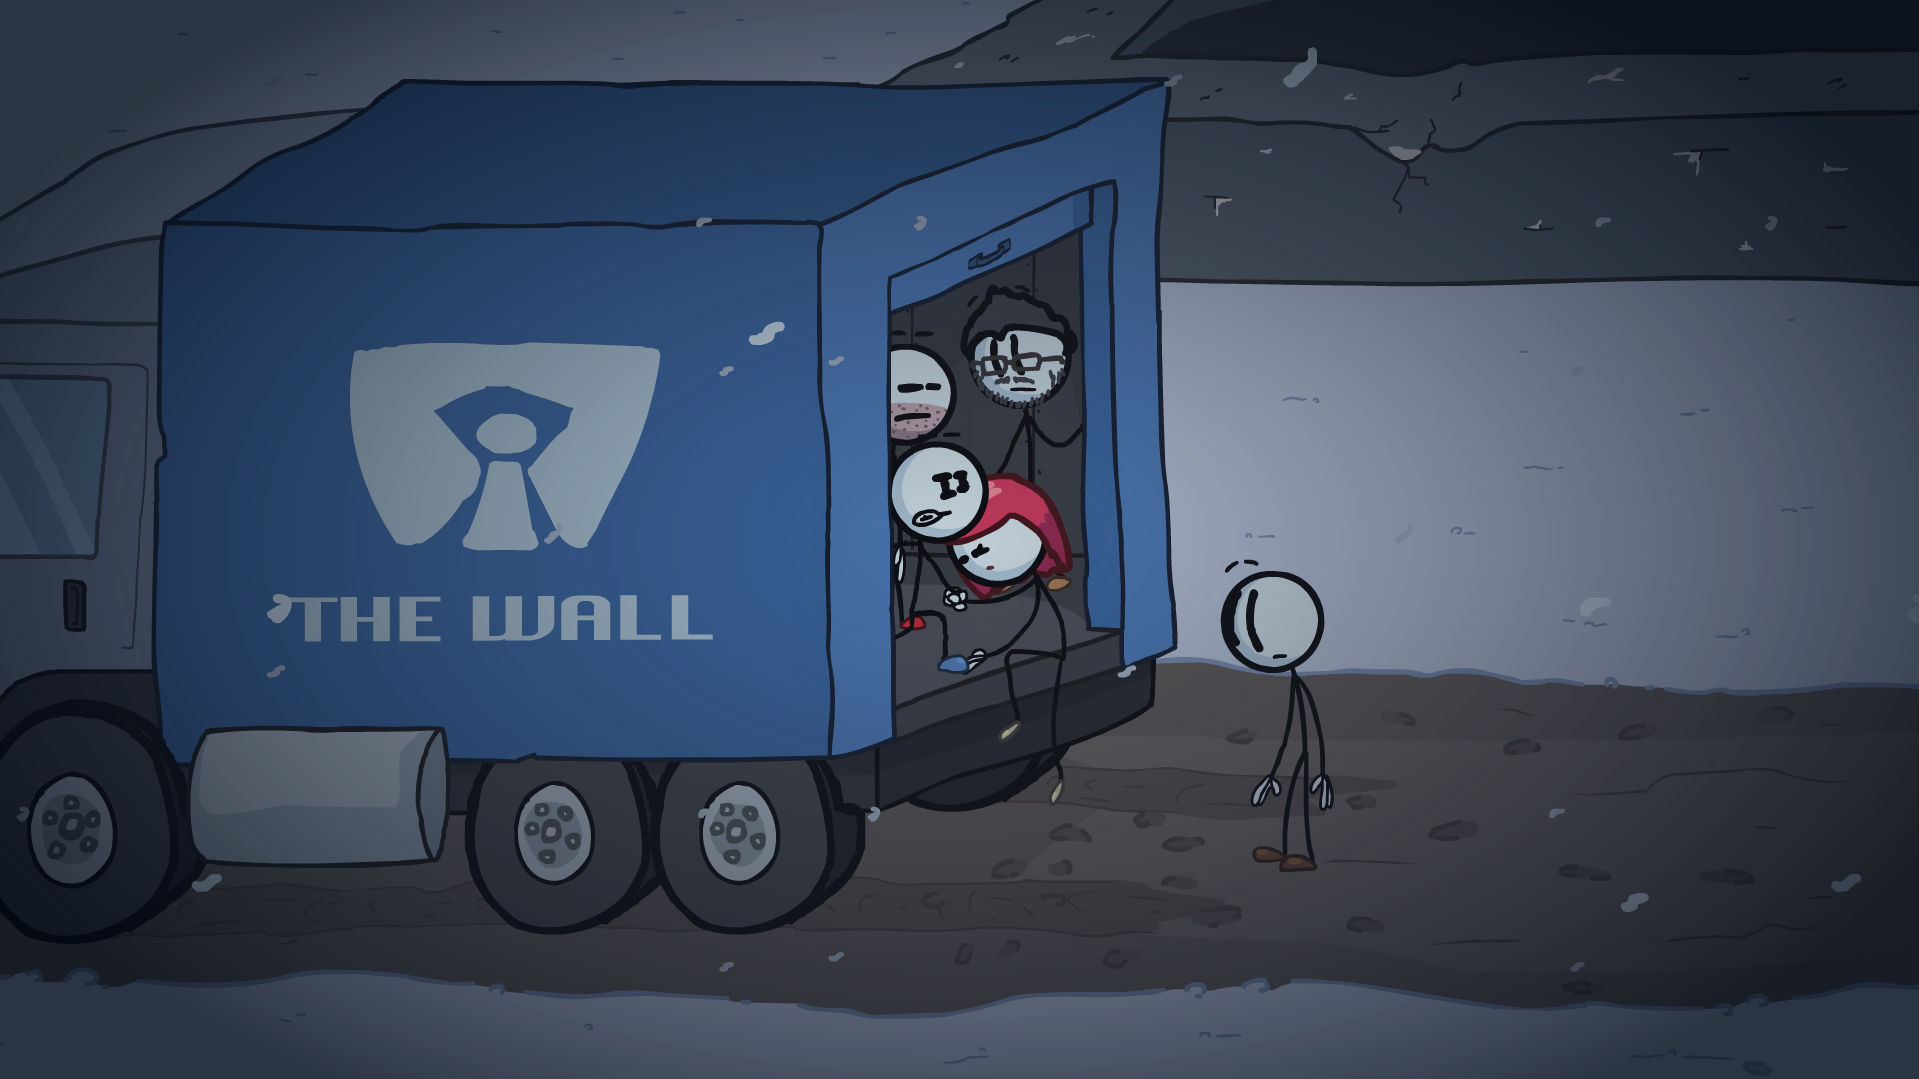
In Outside Security (Ellie), choose The Force or GraviToT v2.0.
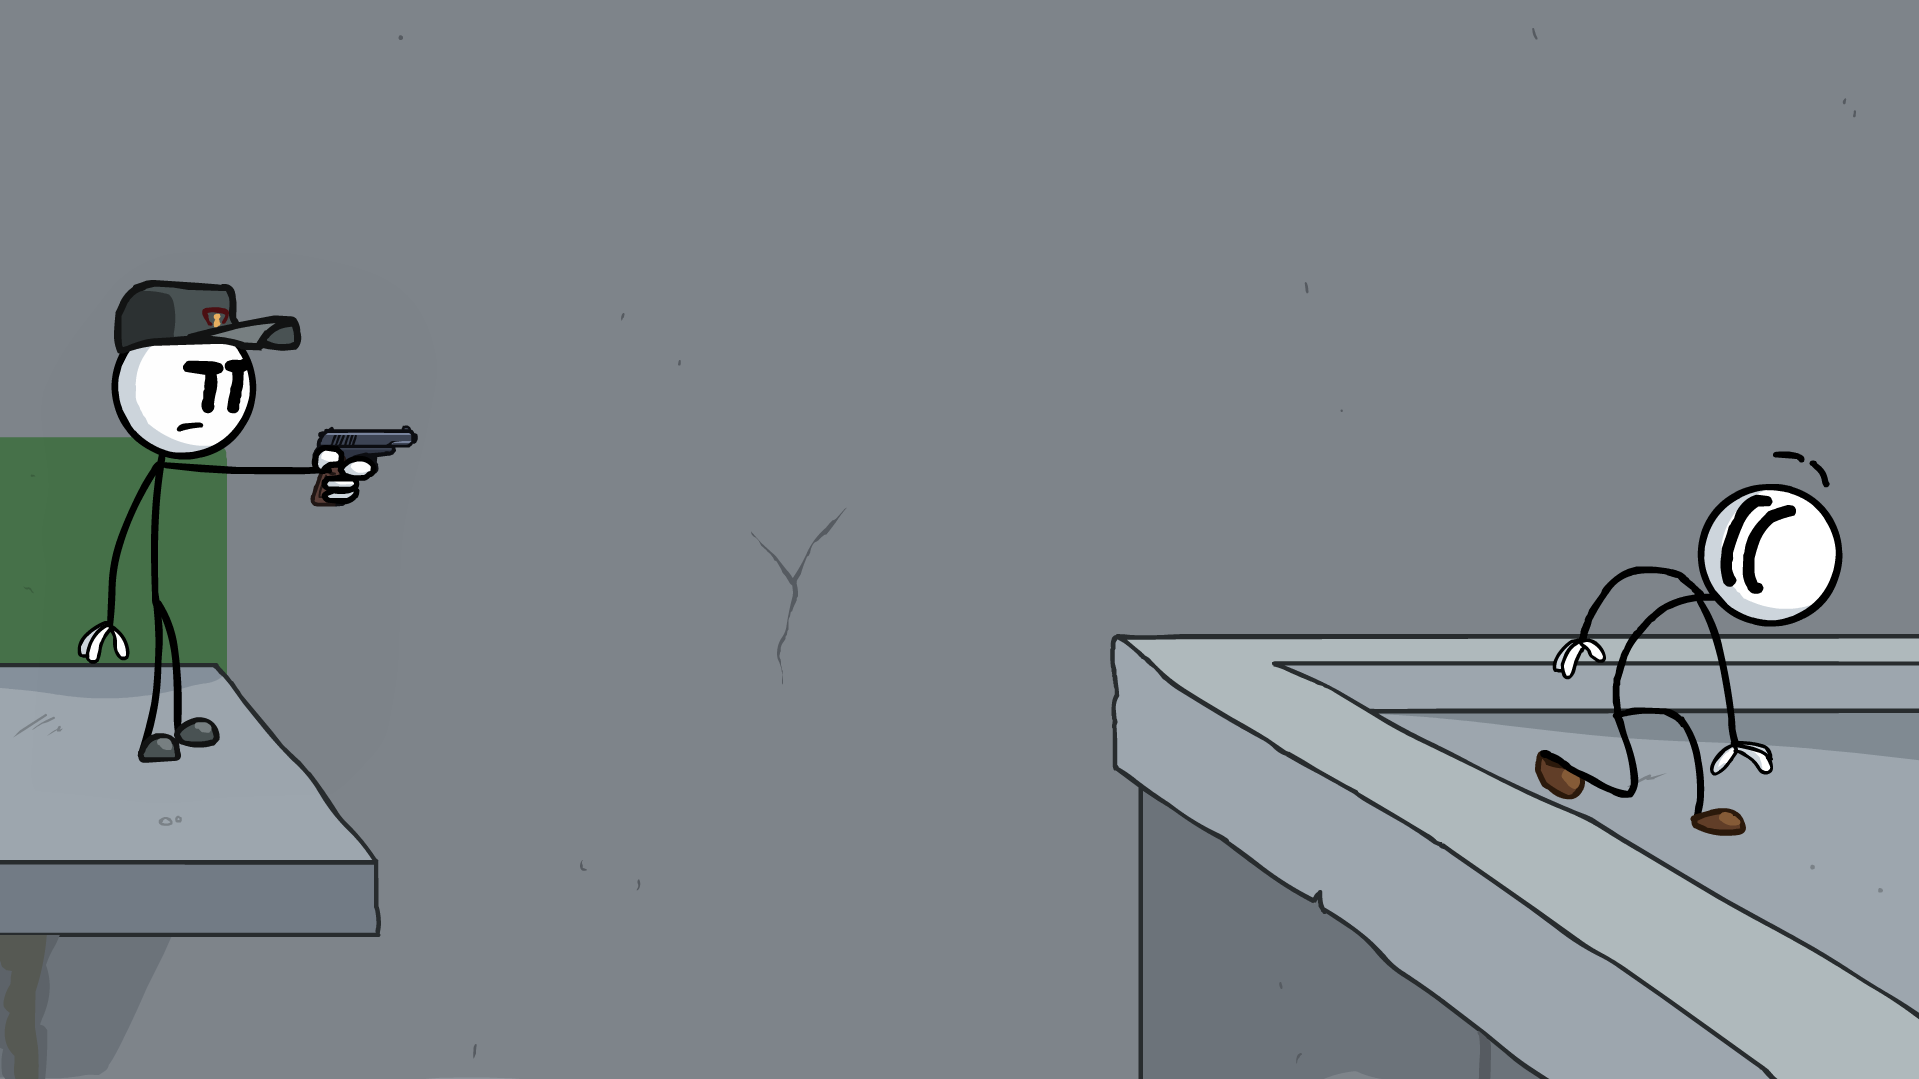
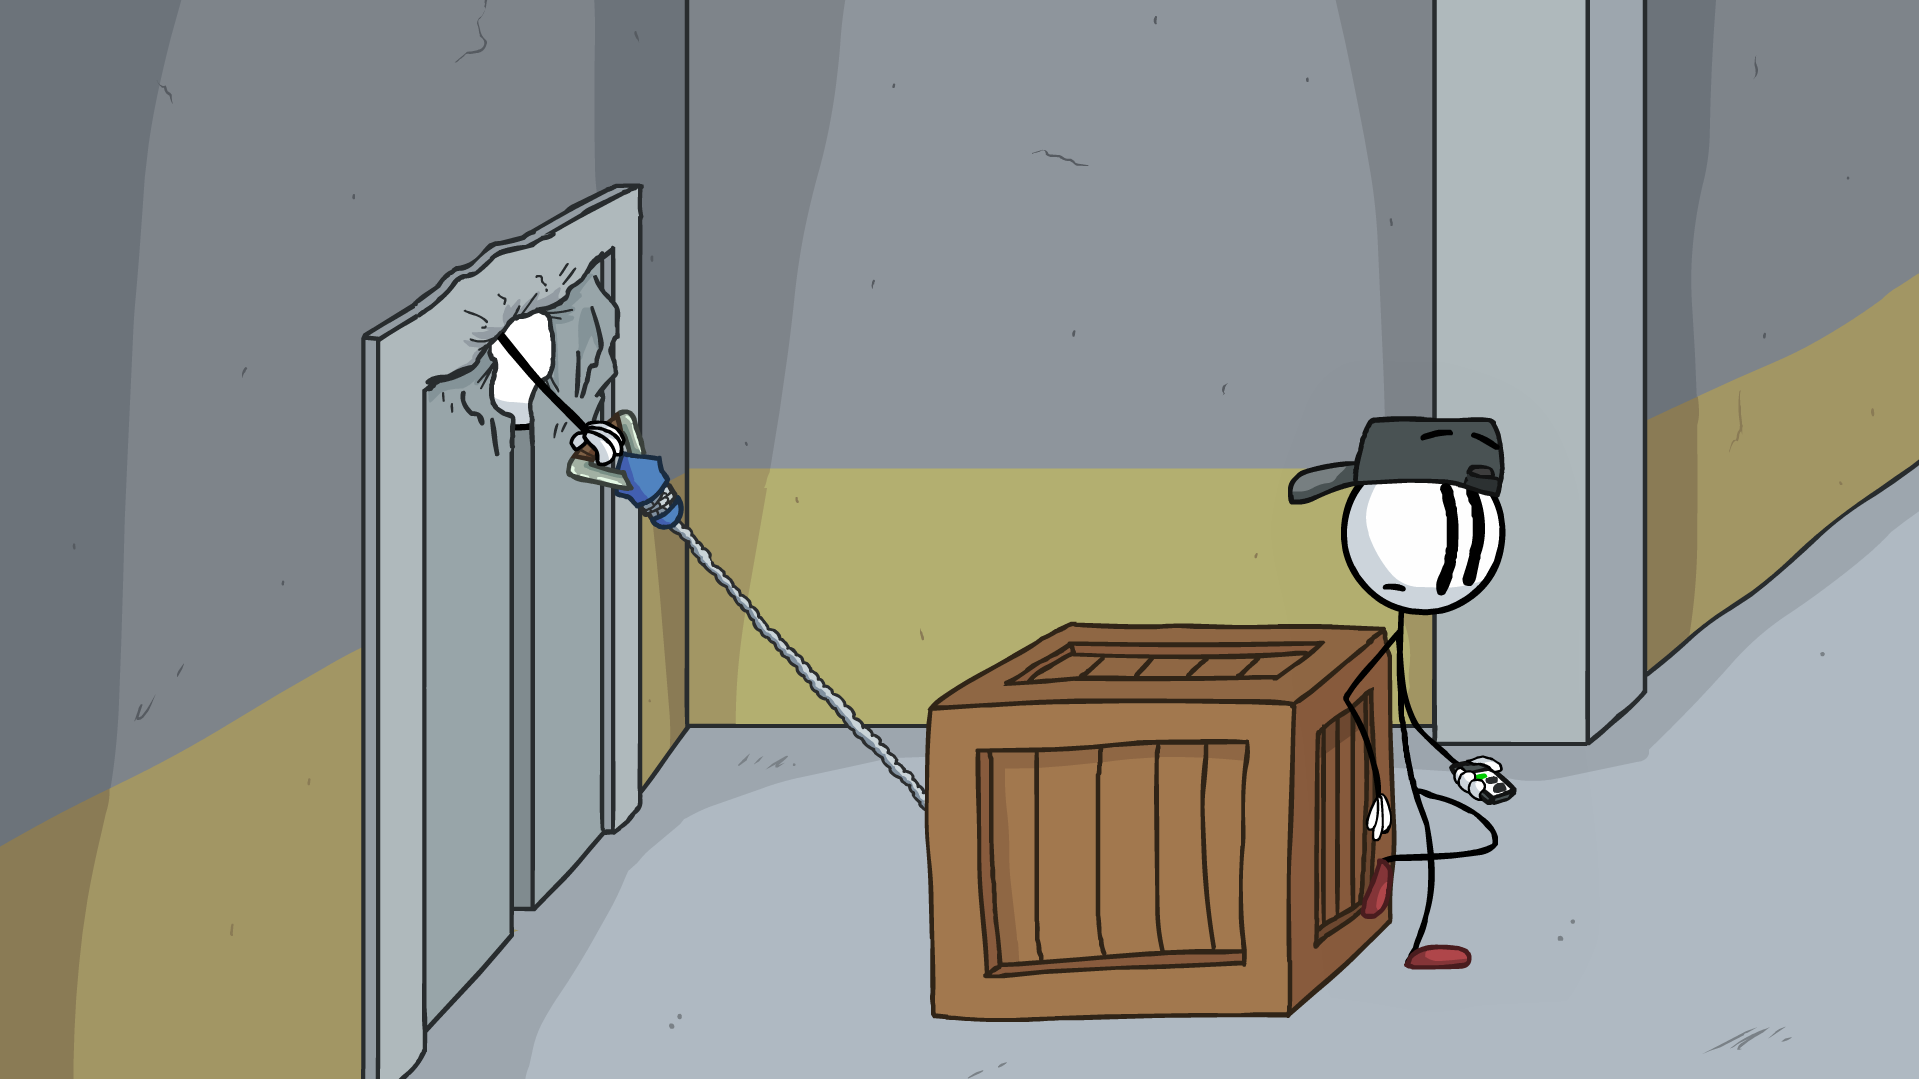
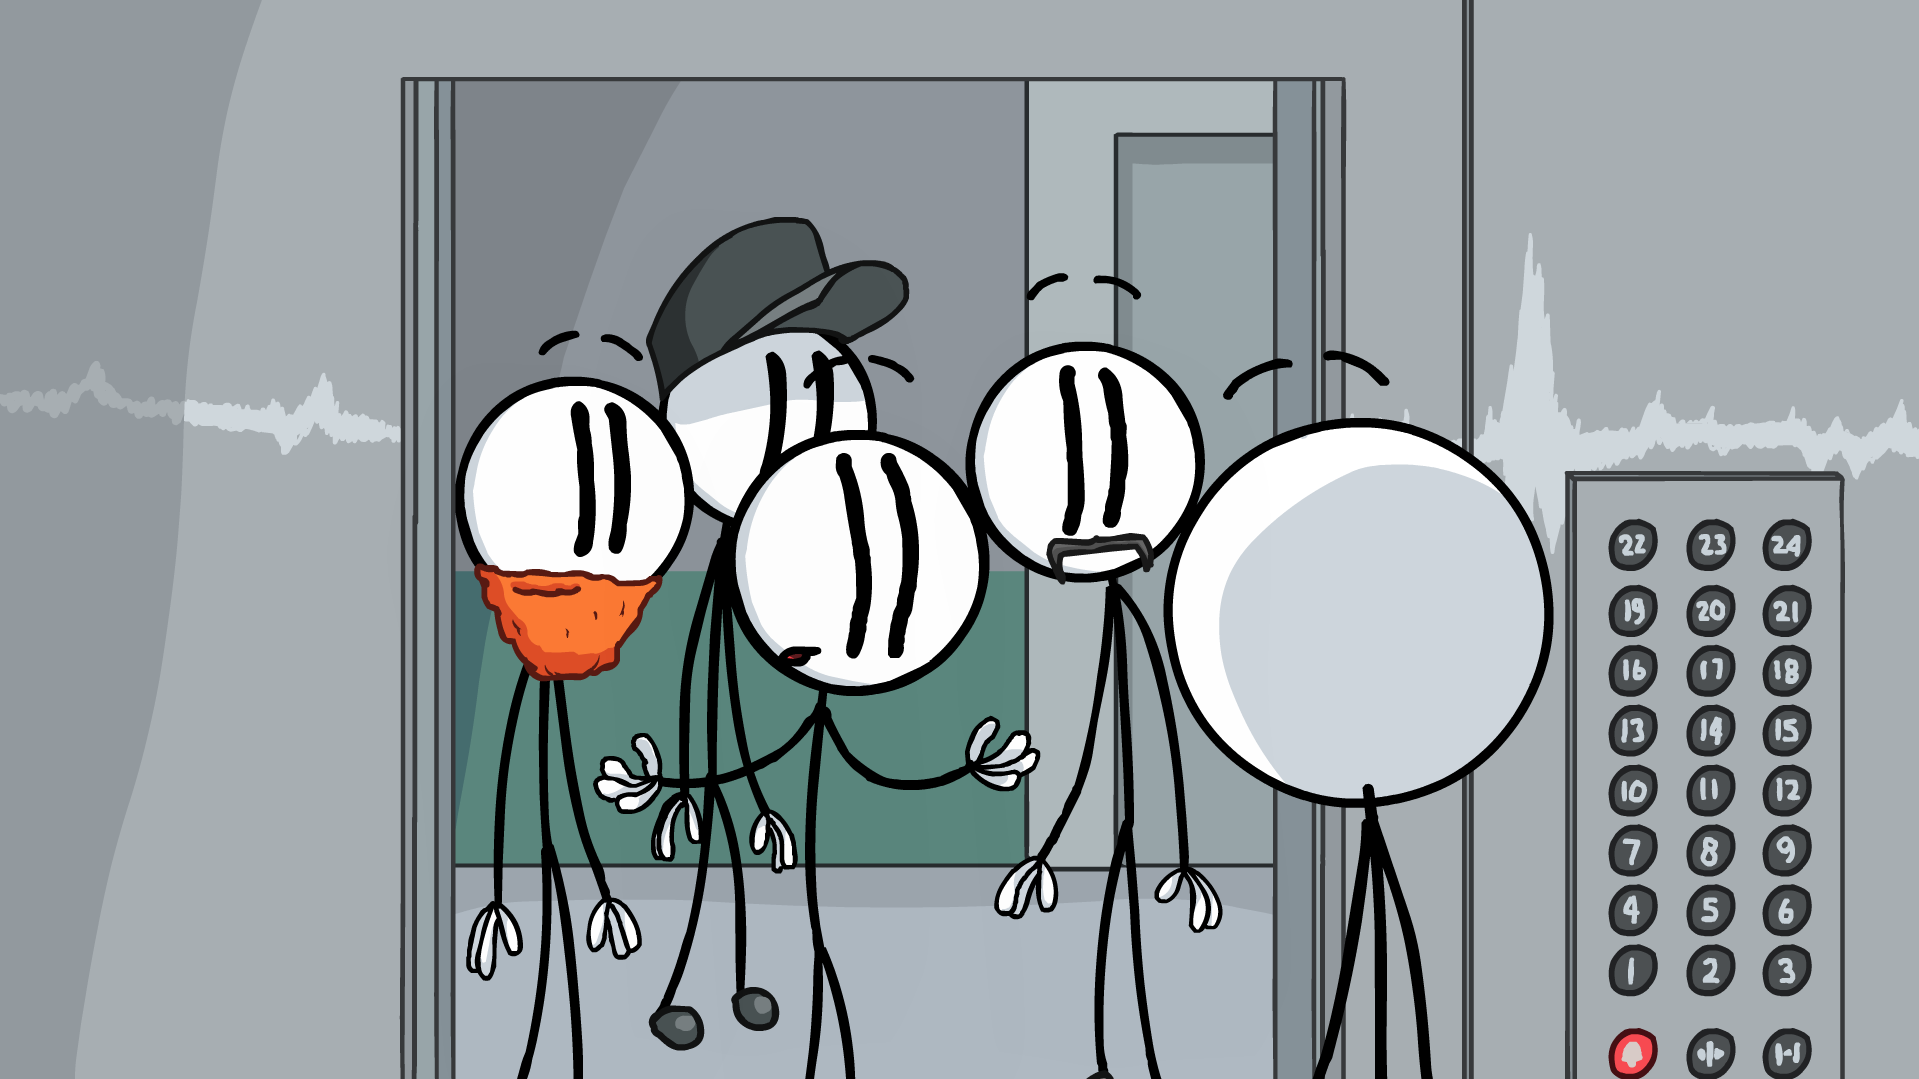
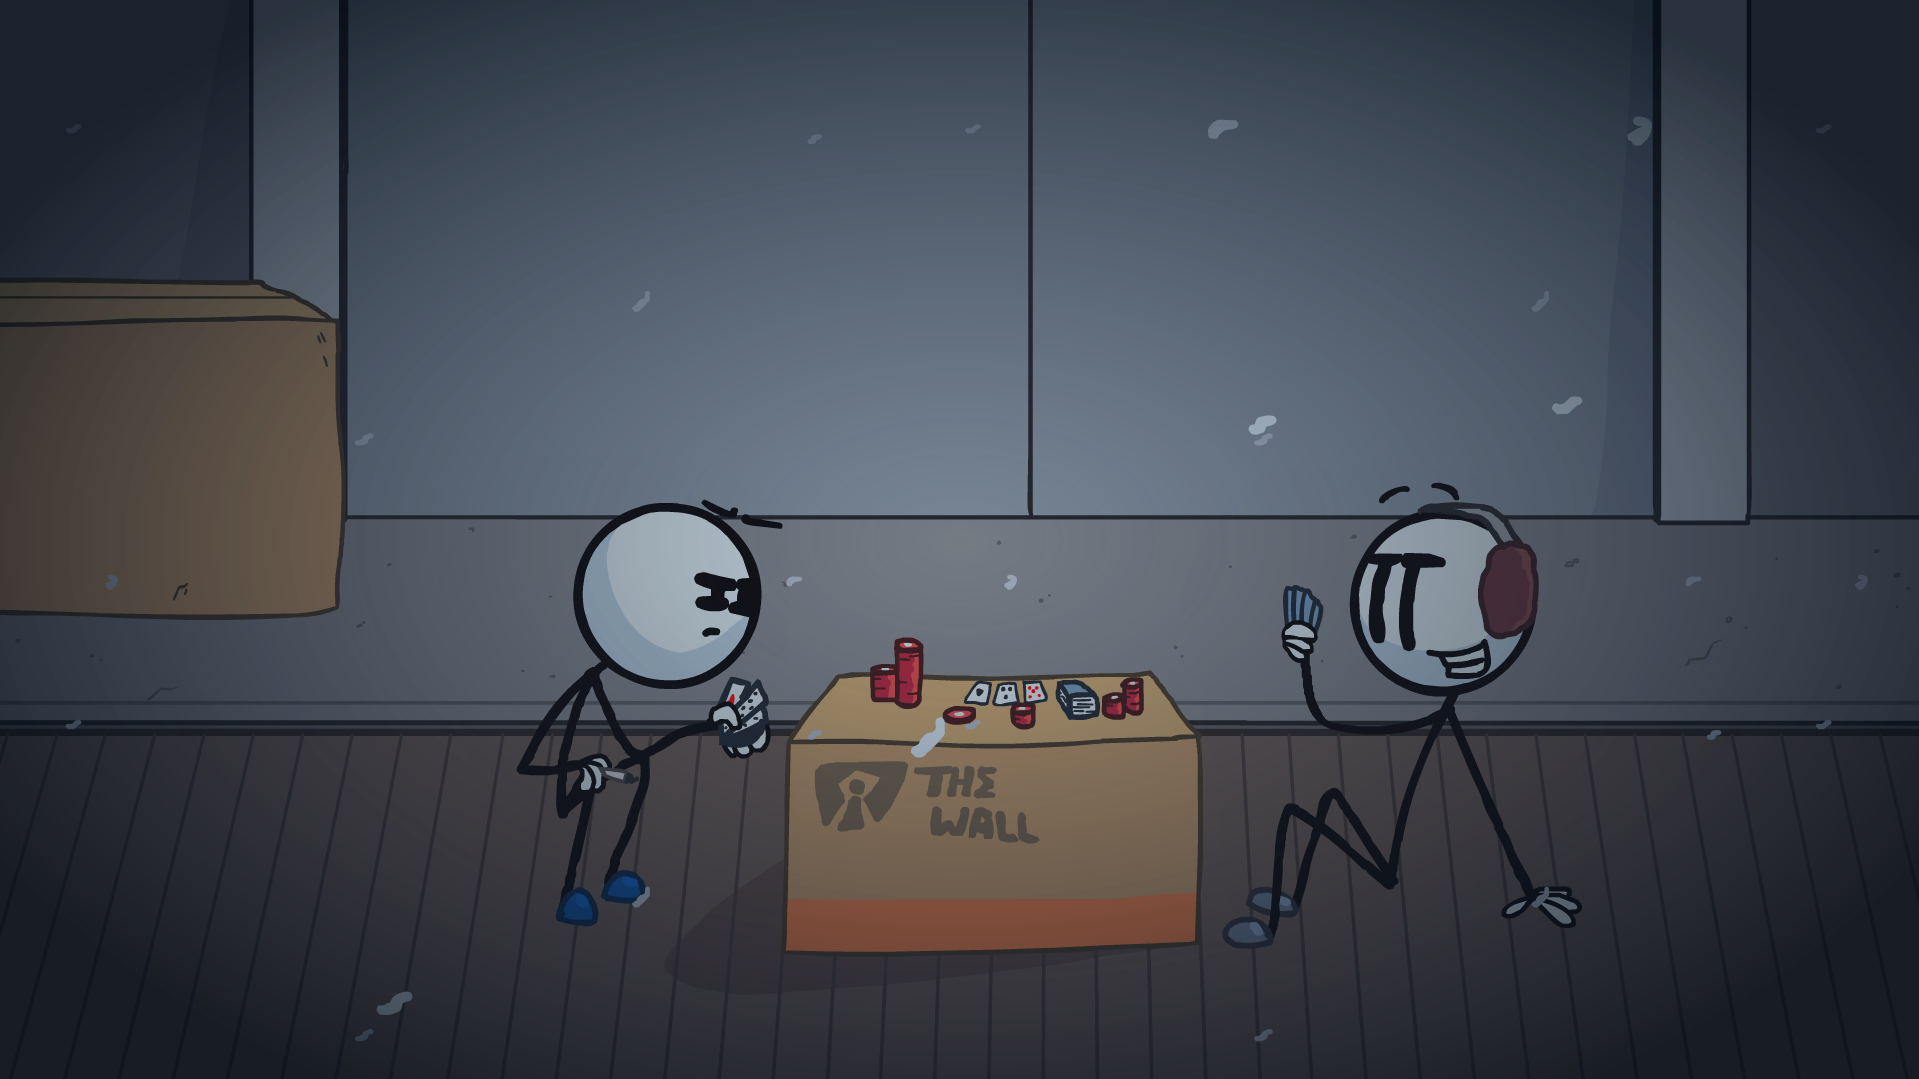
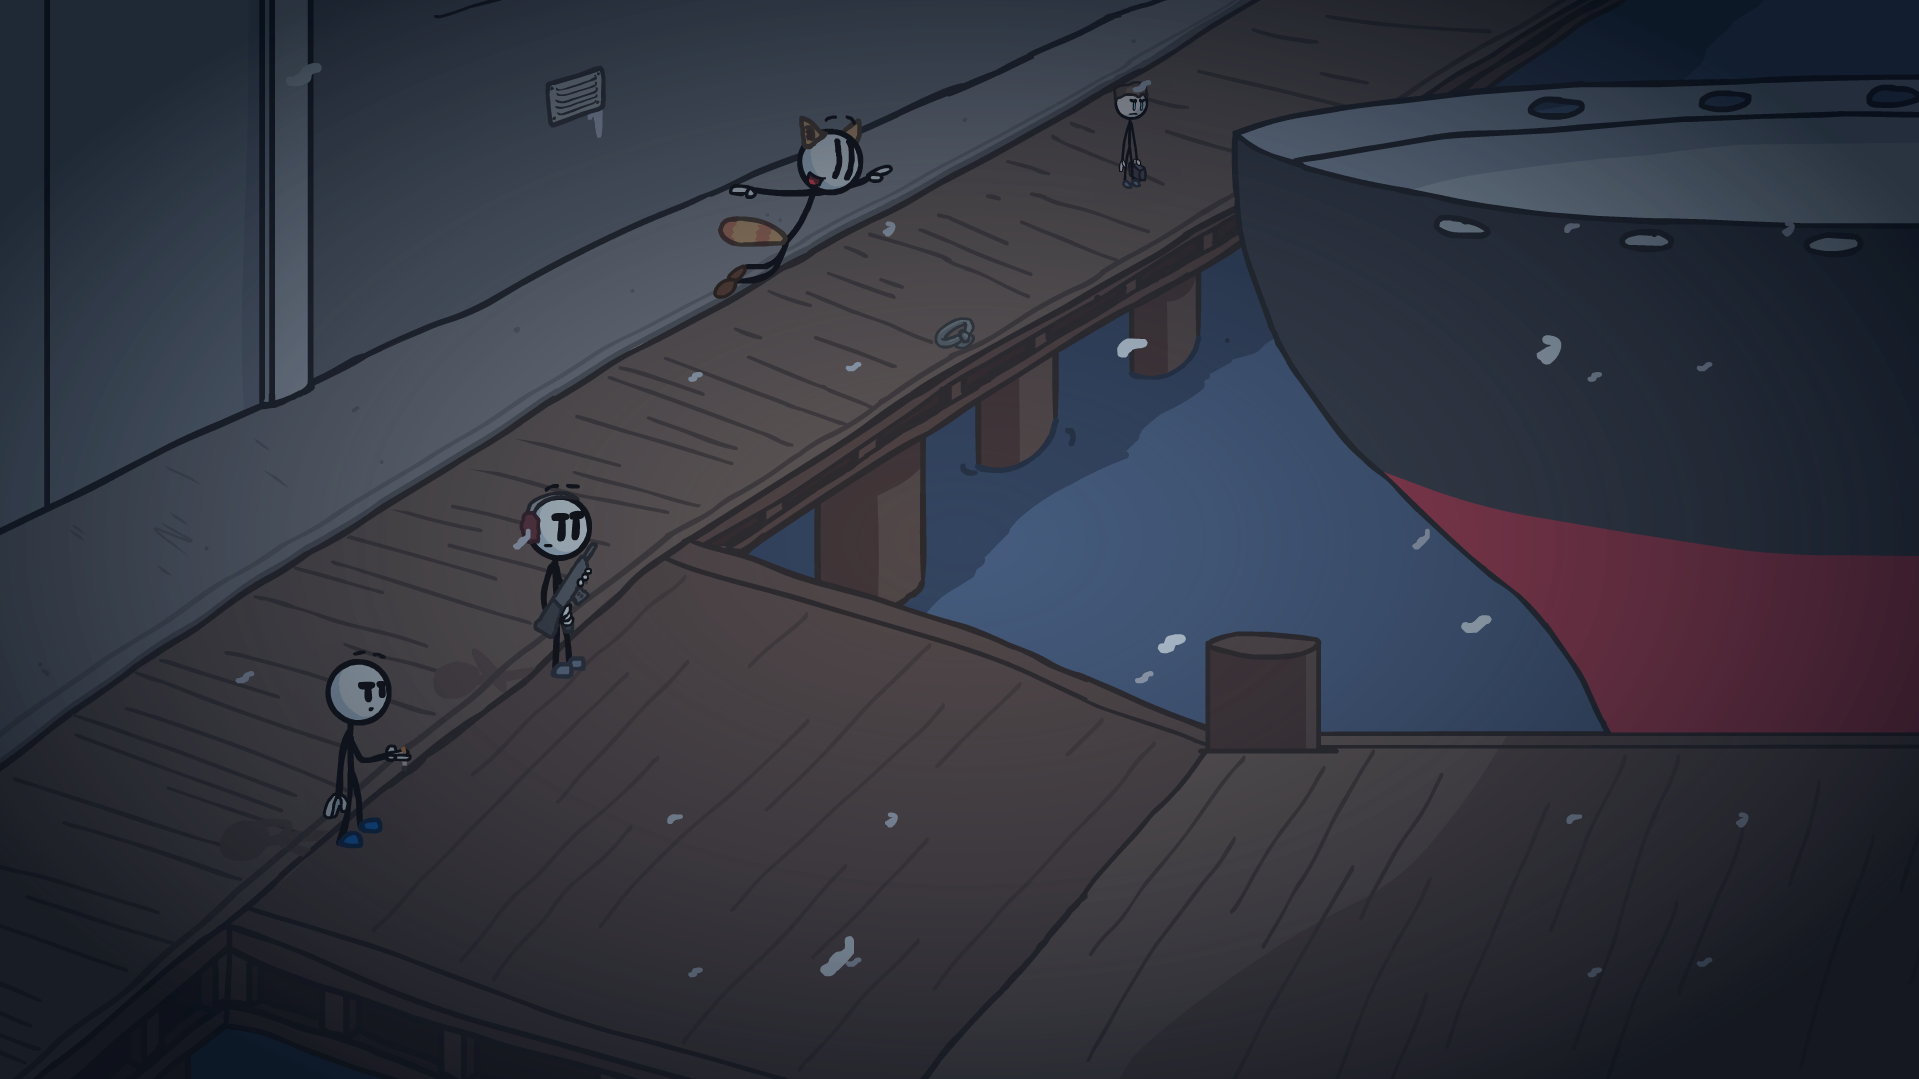
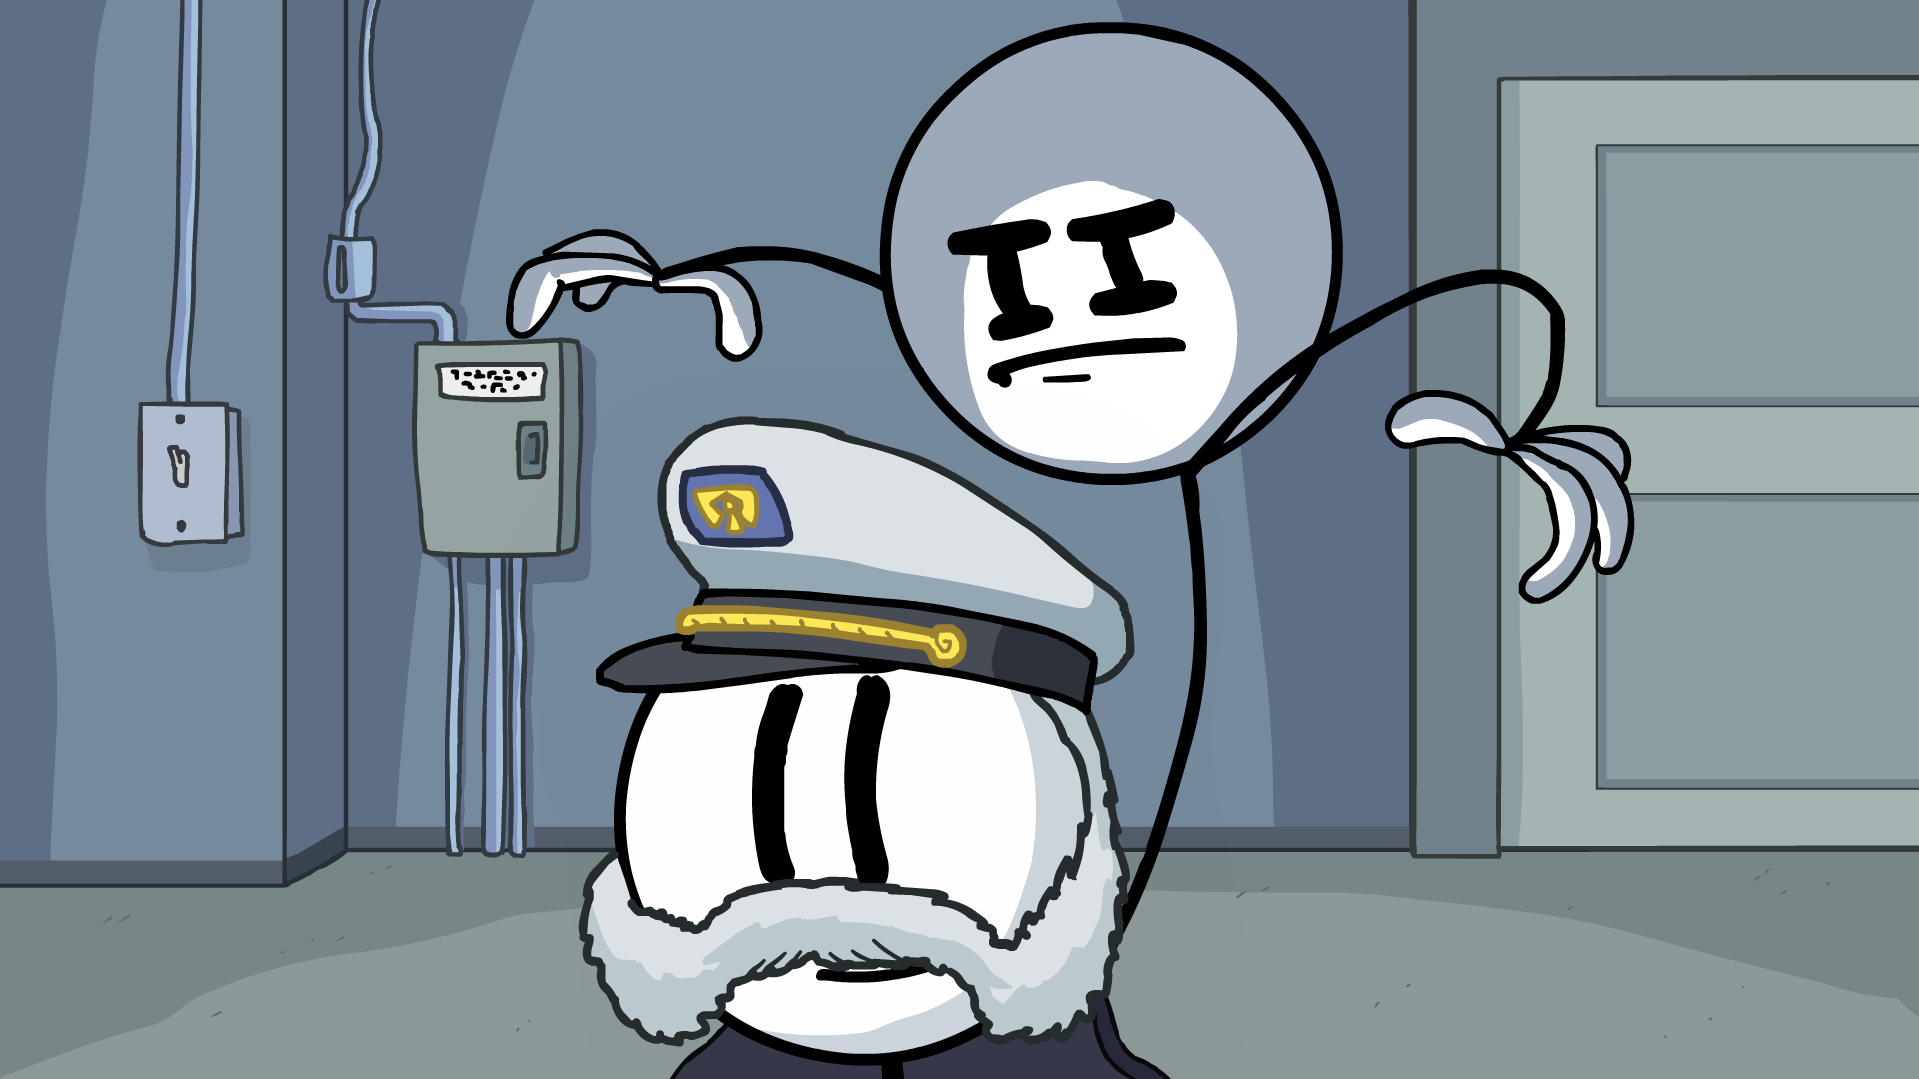
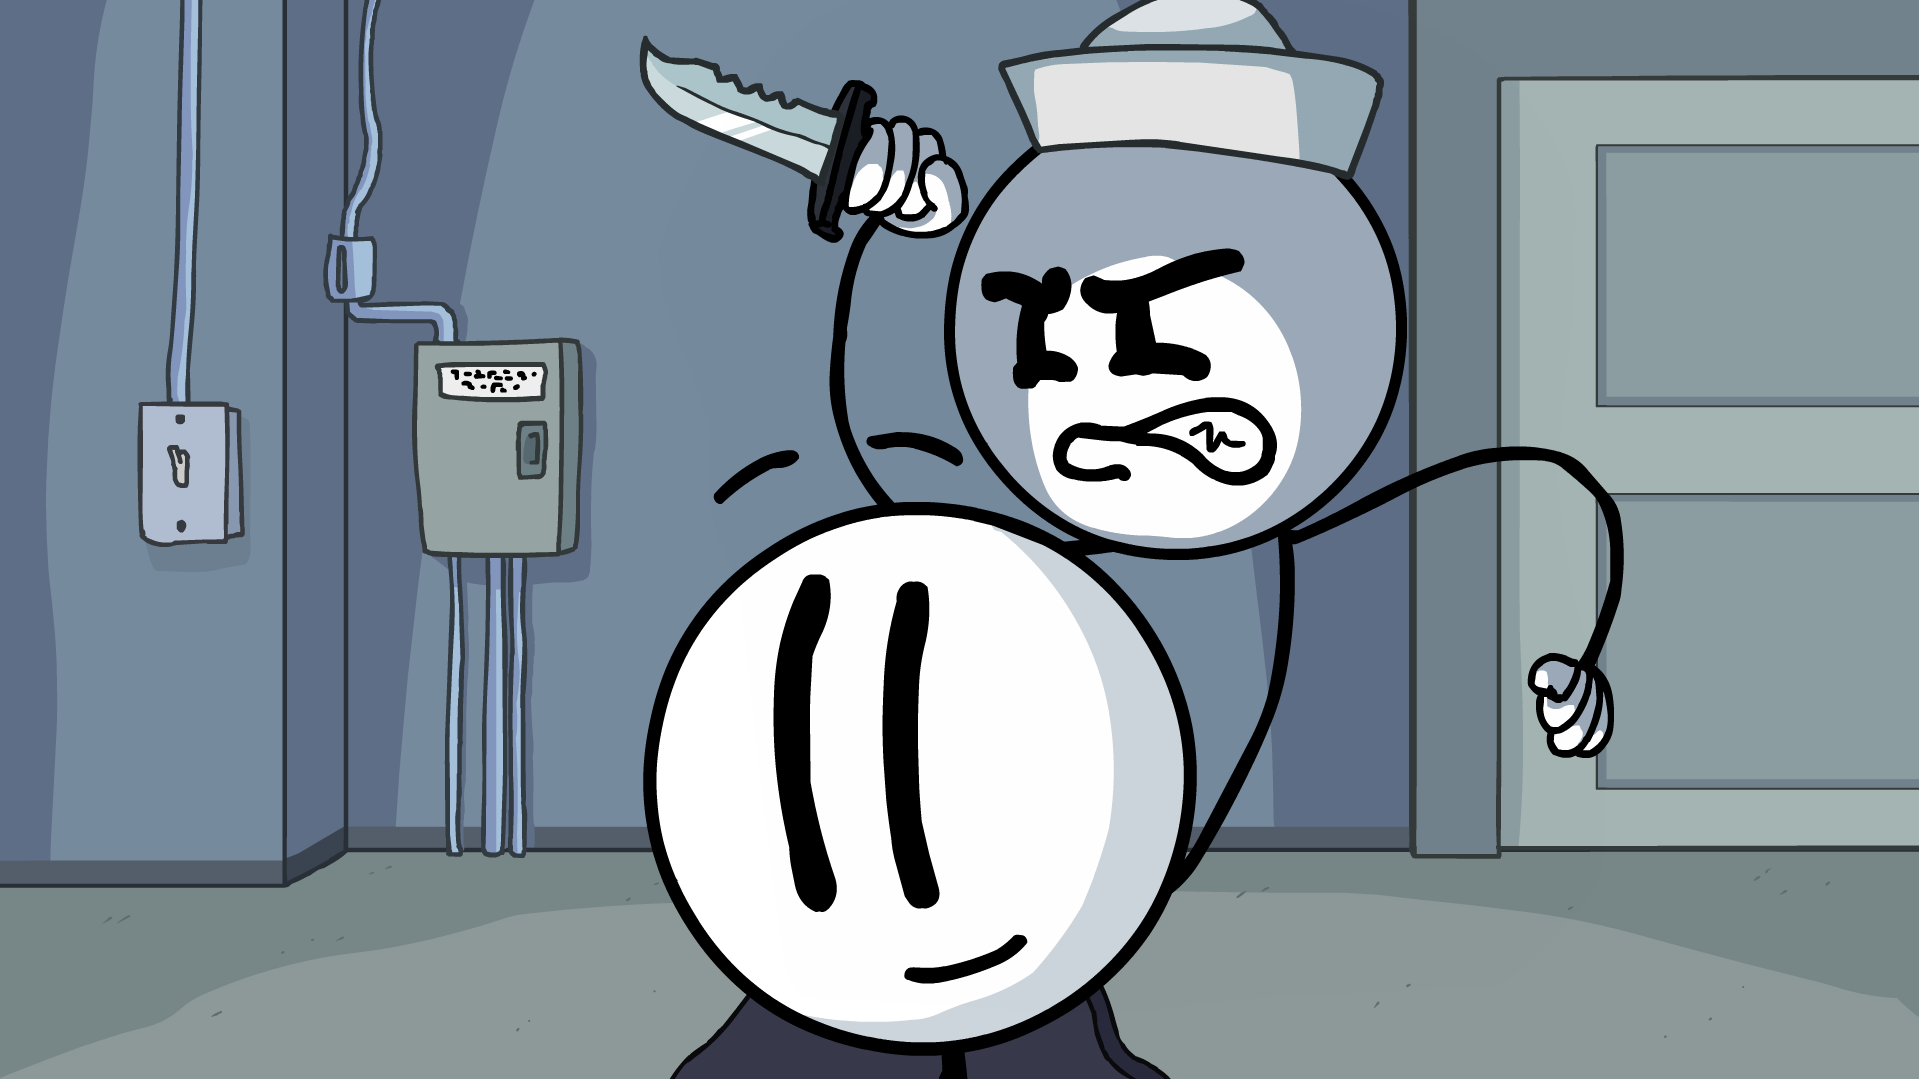
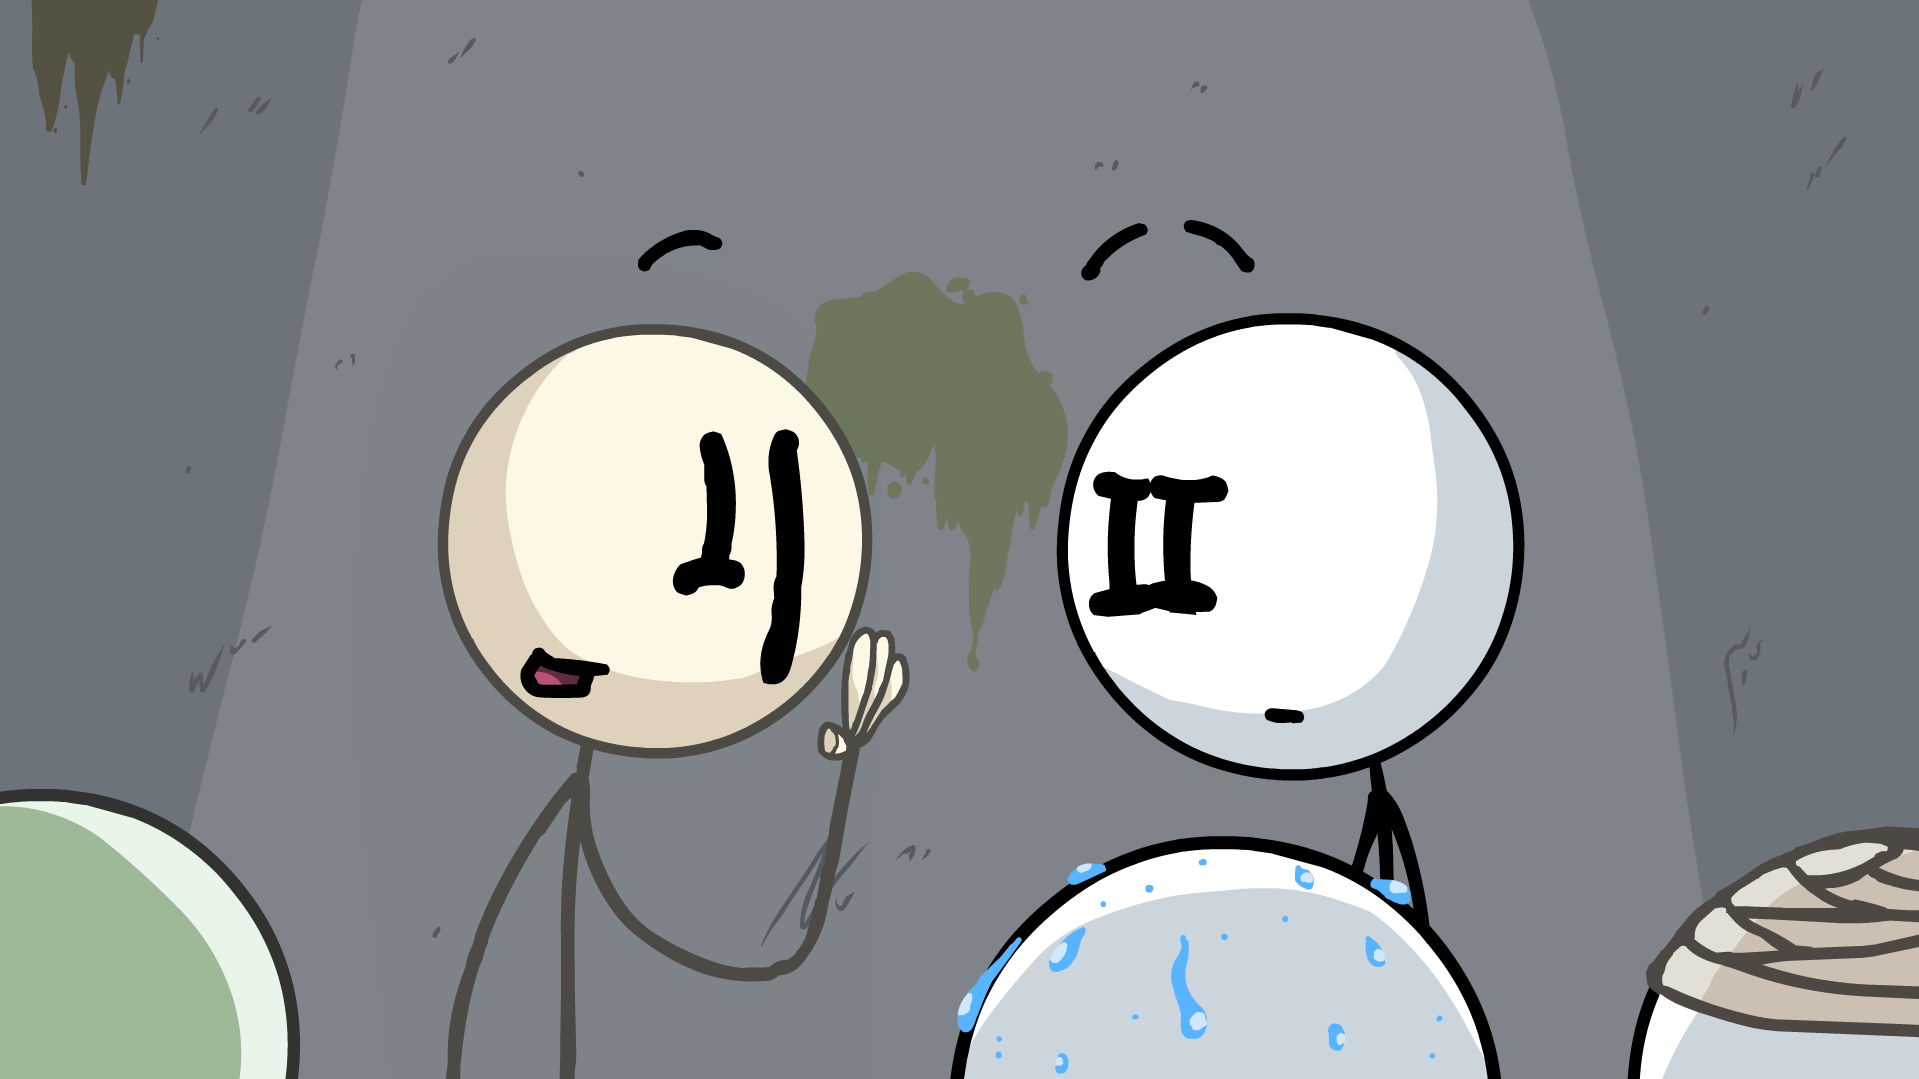
(Be quick with this one)
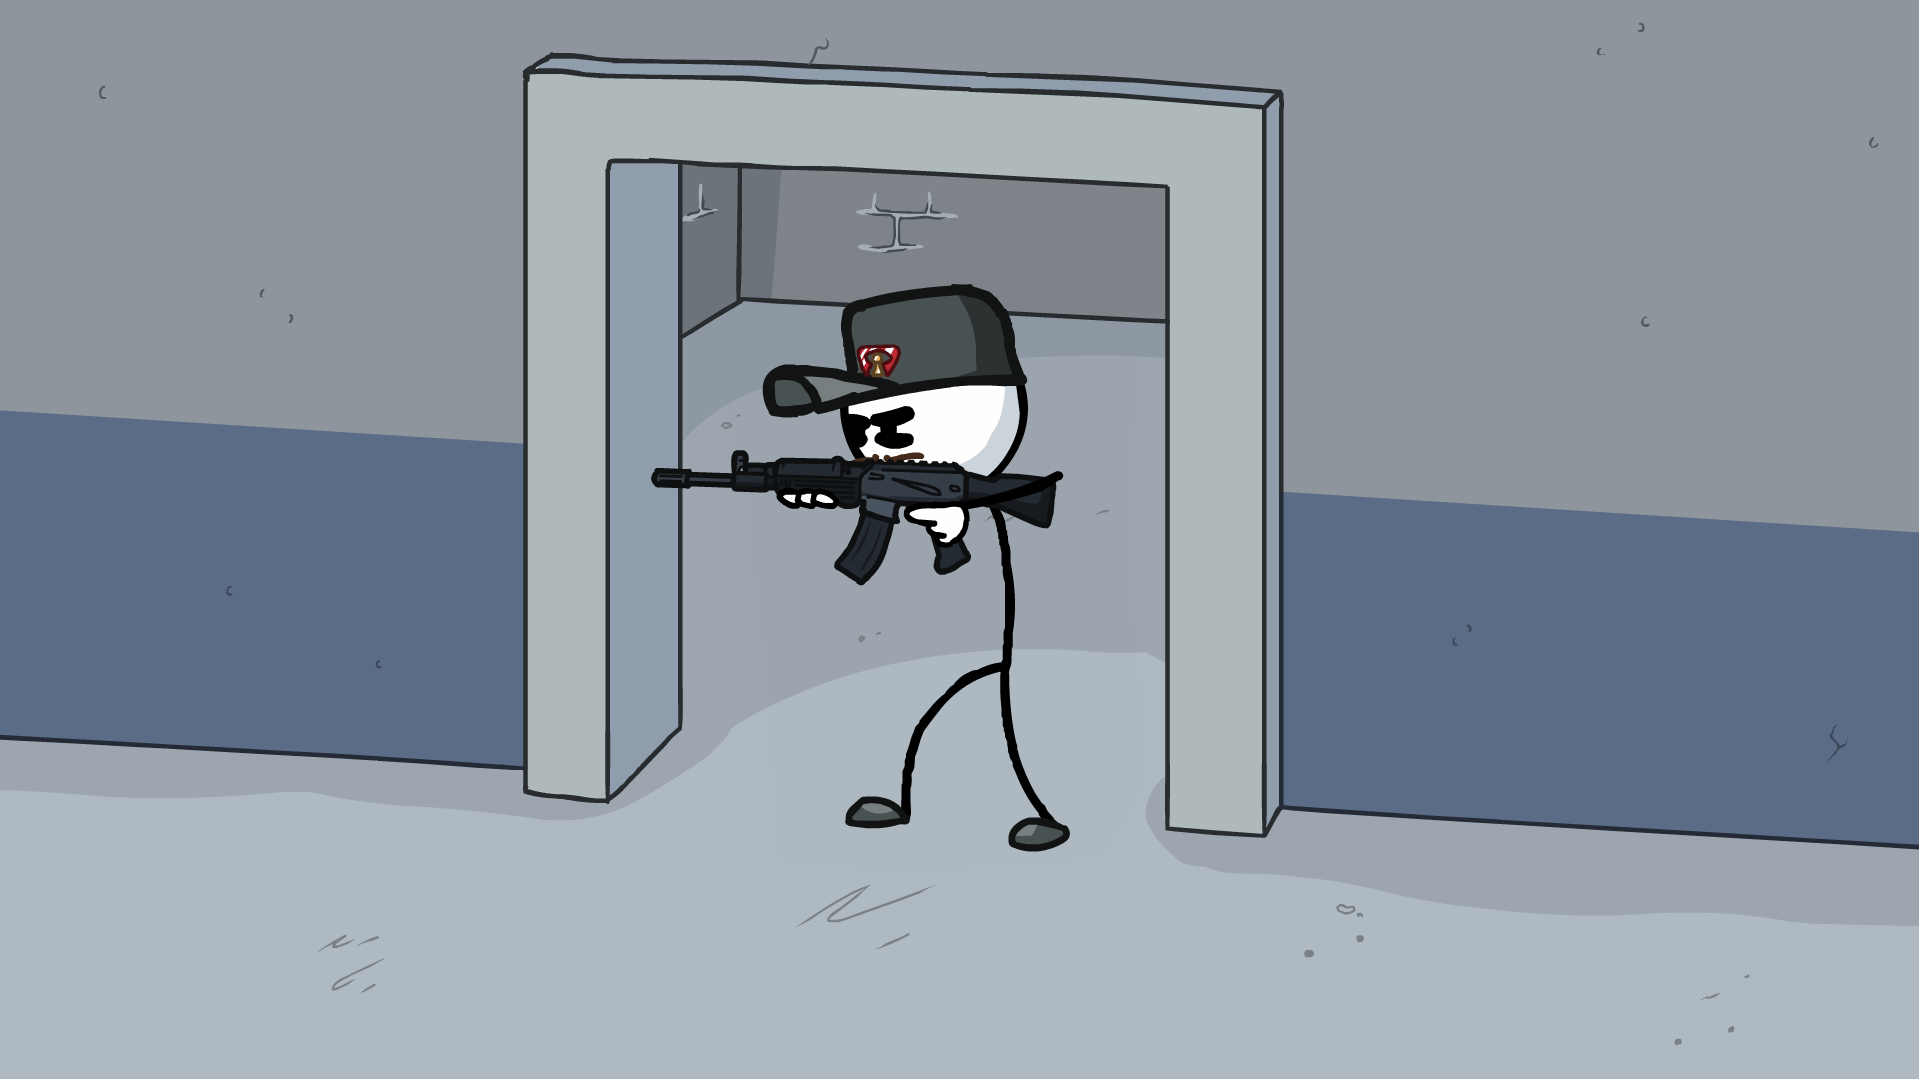
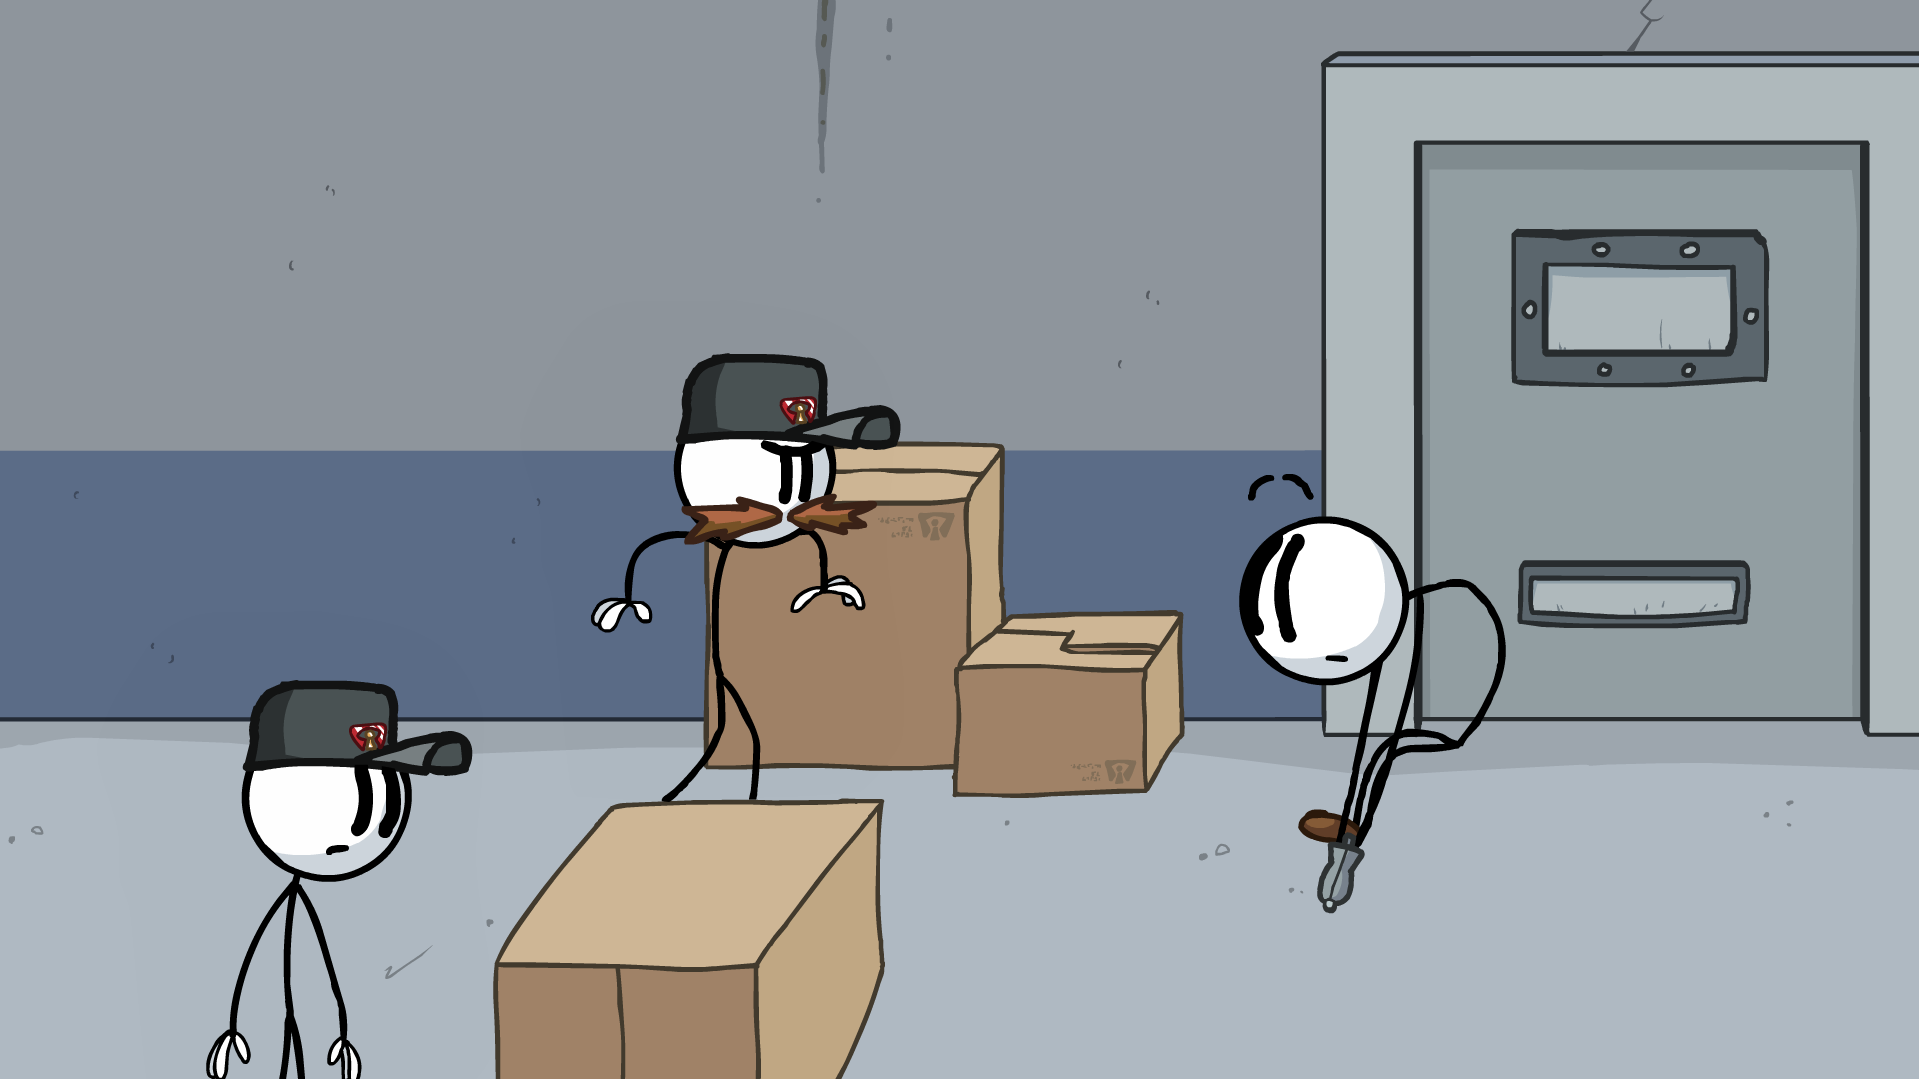
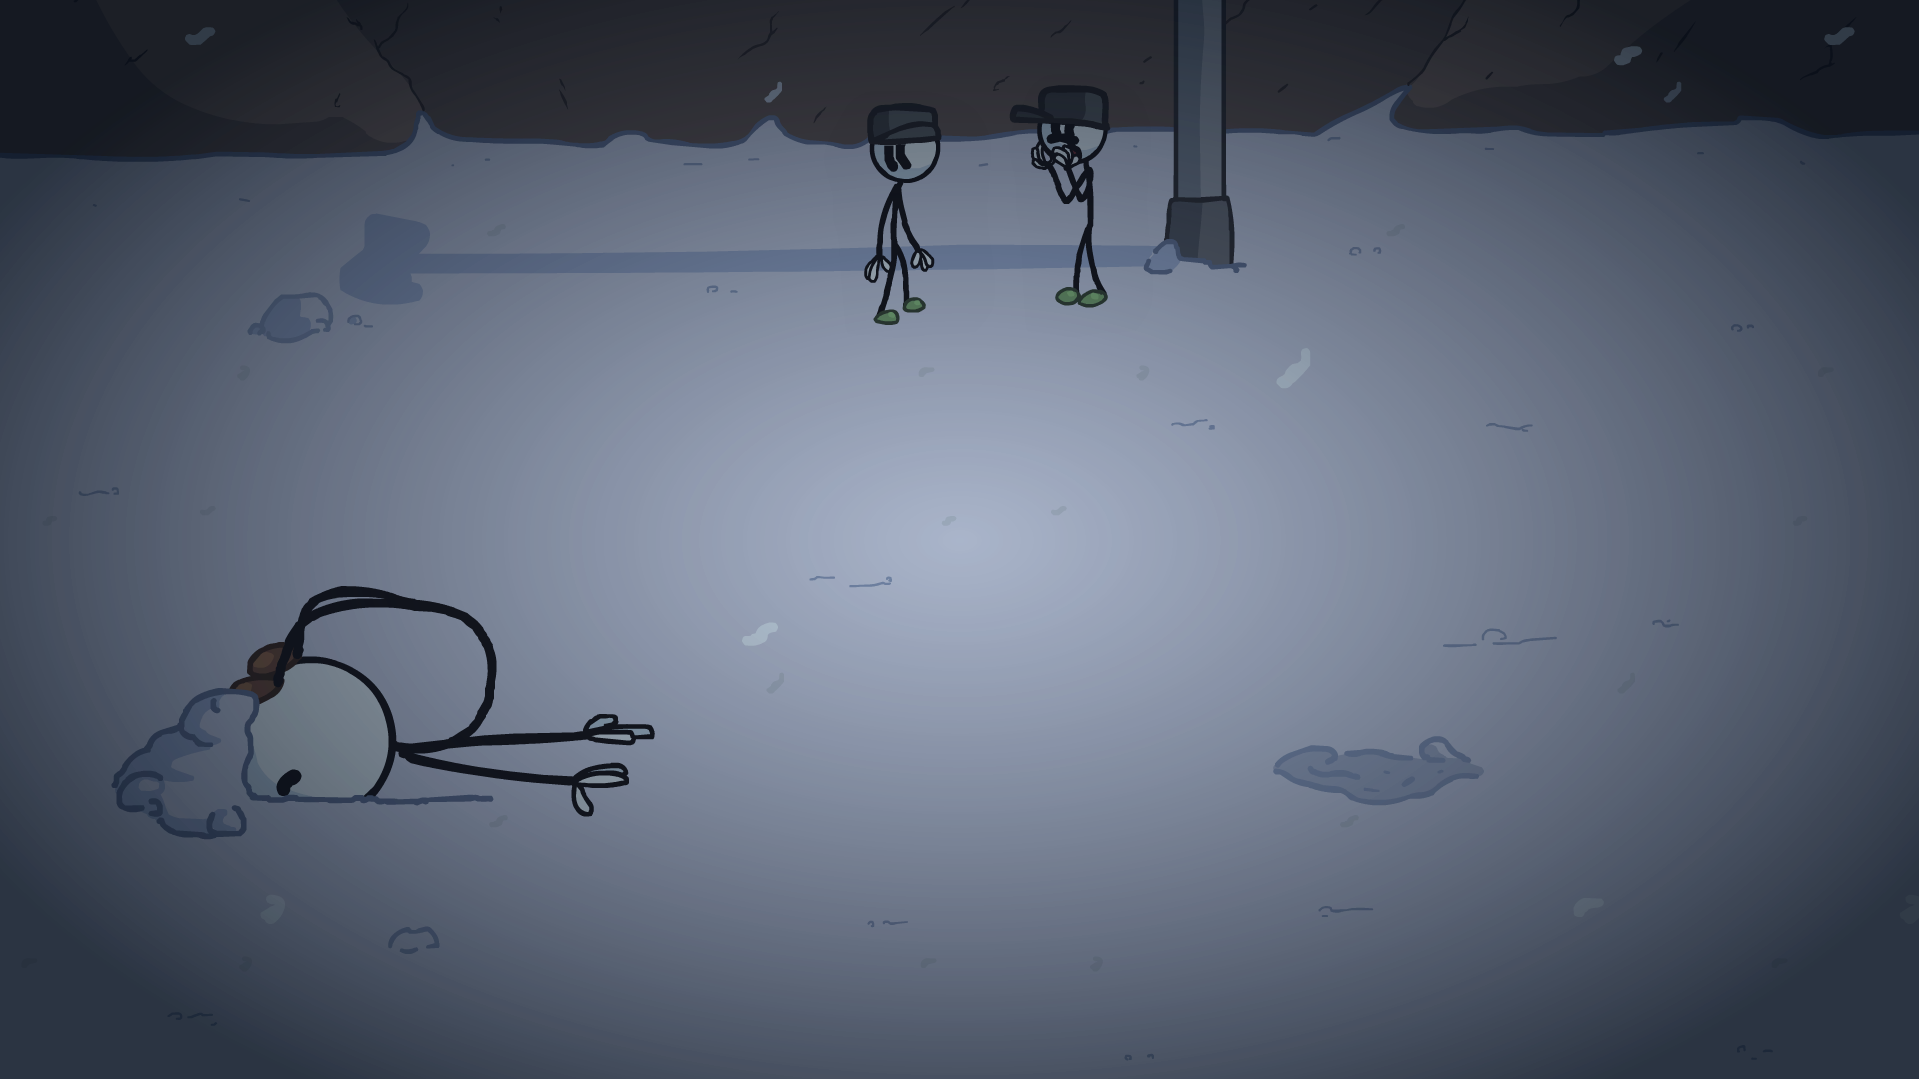
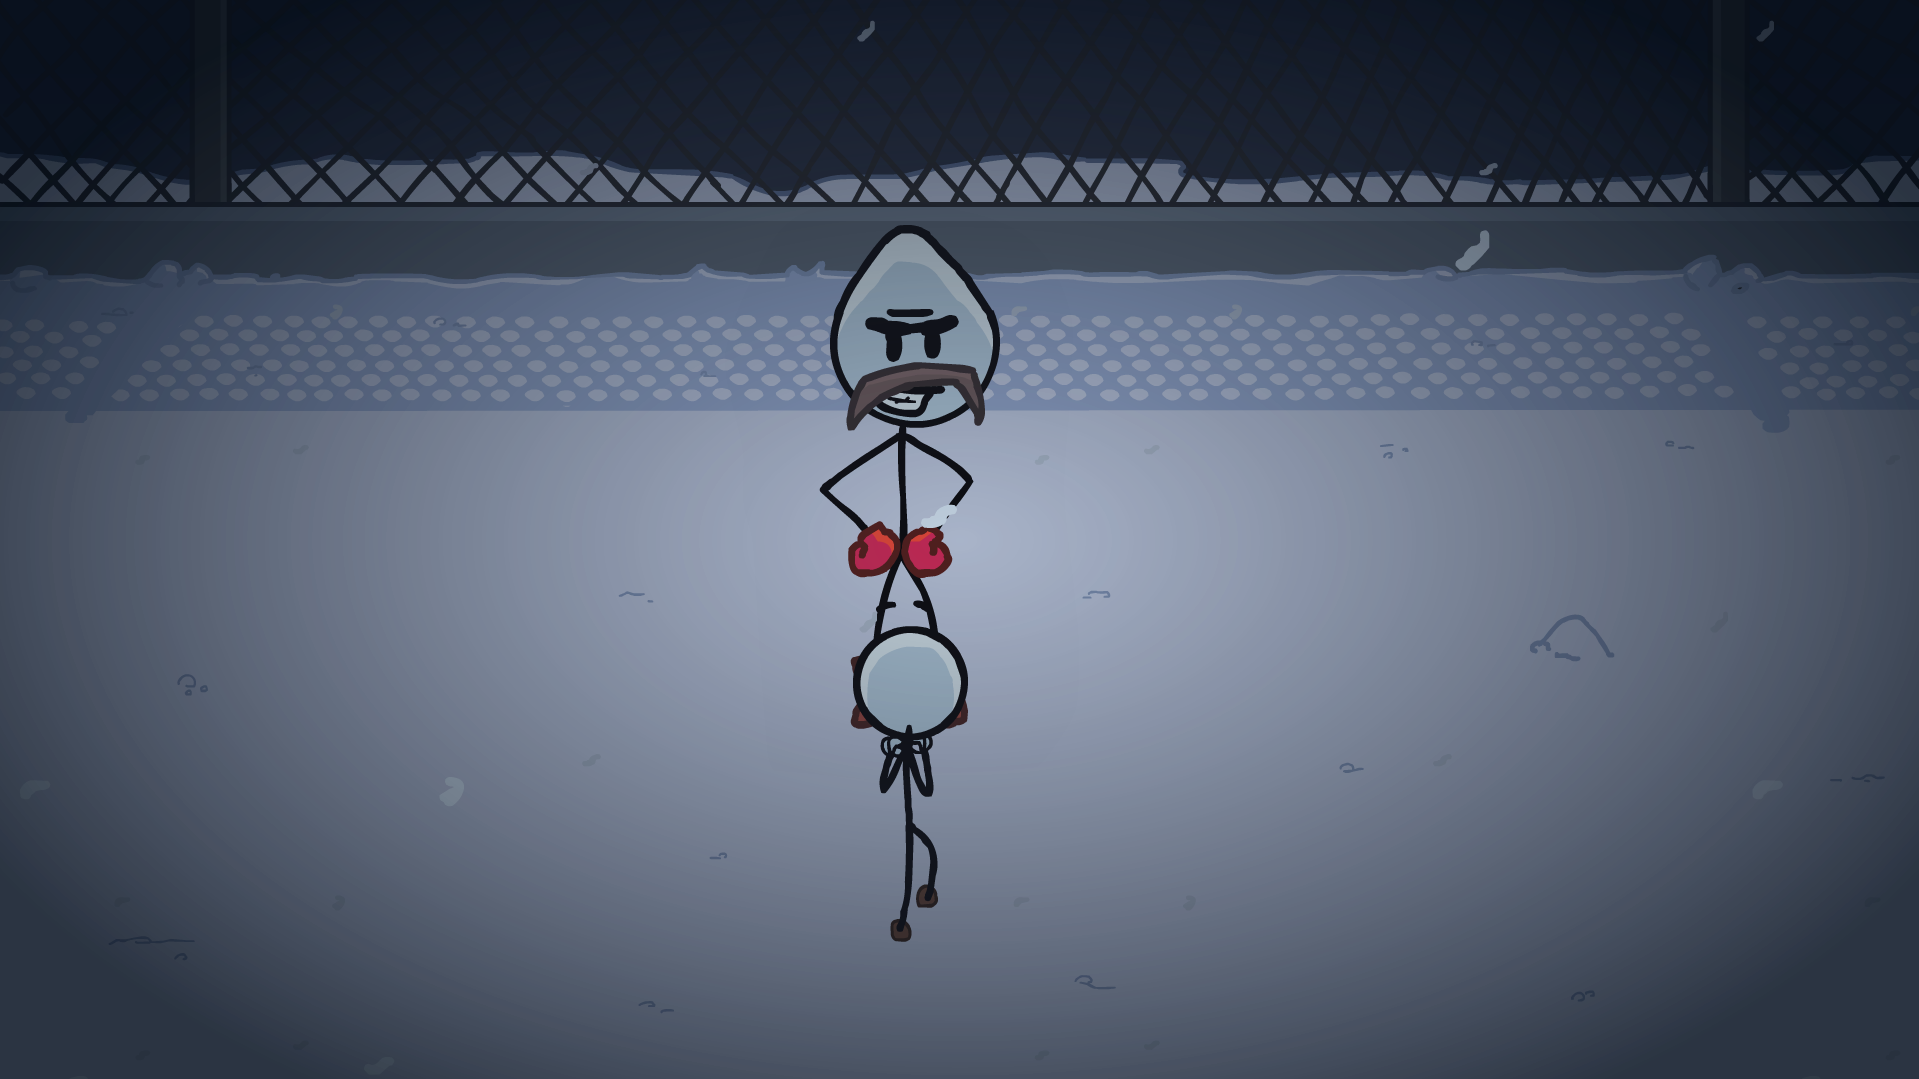
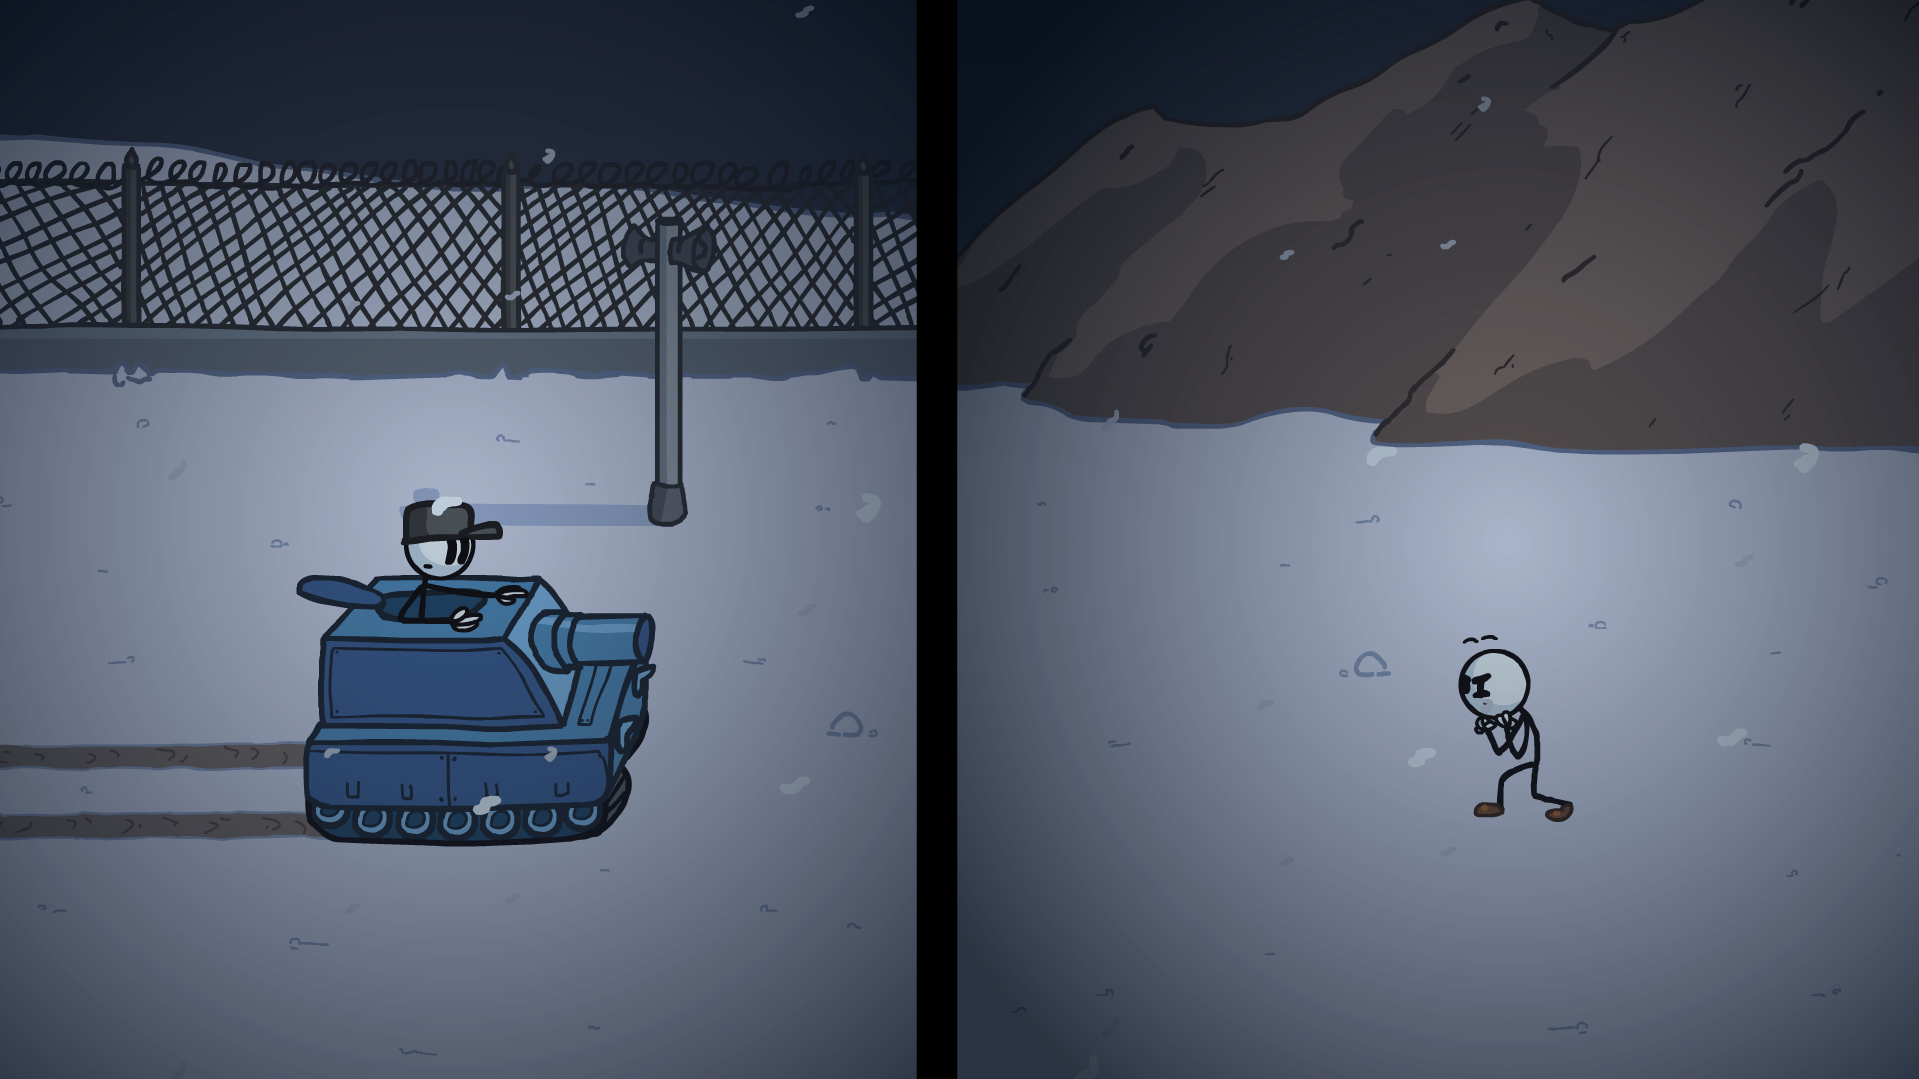
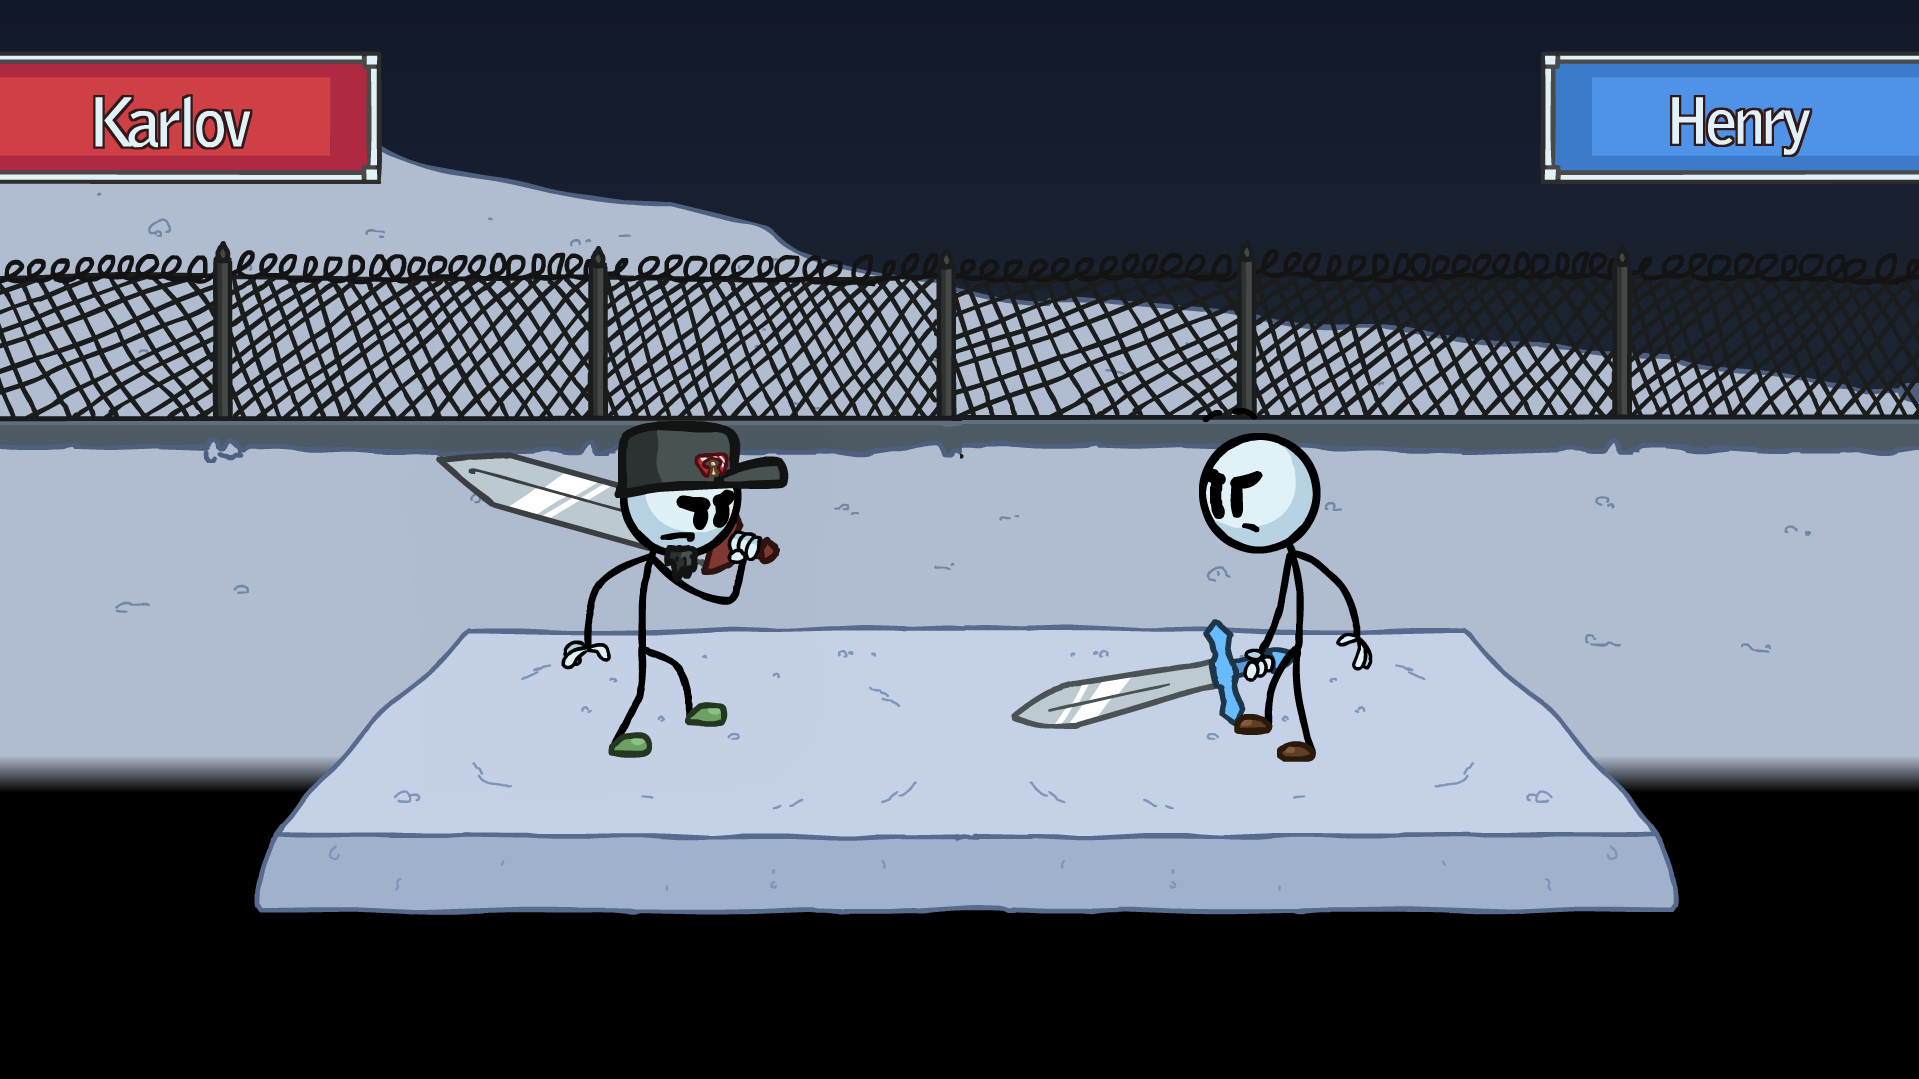
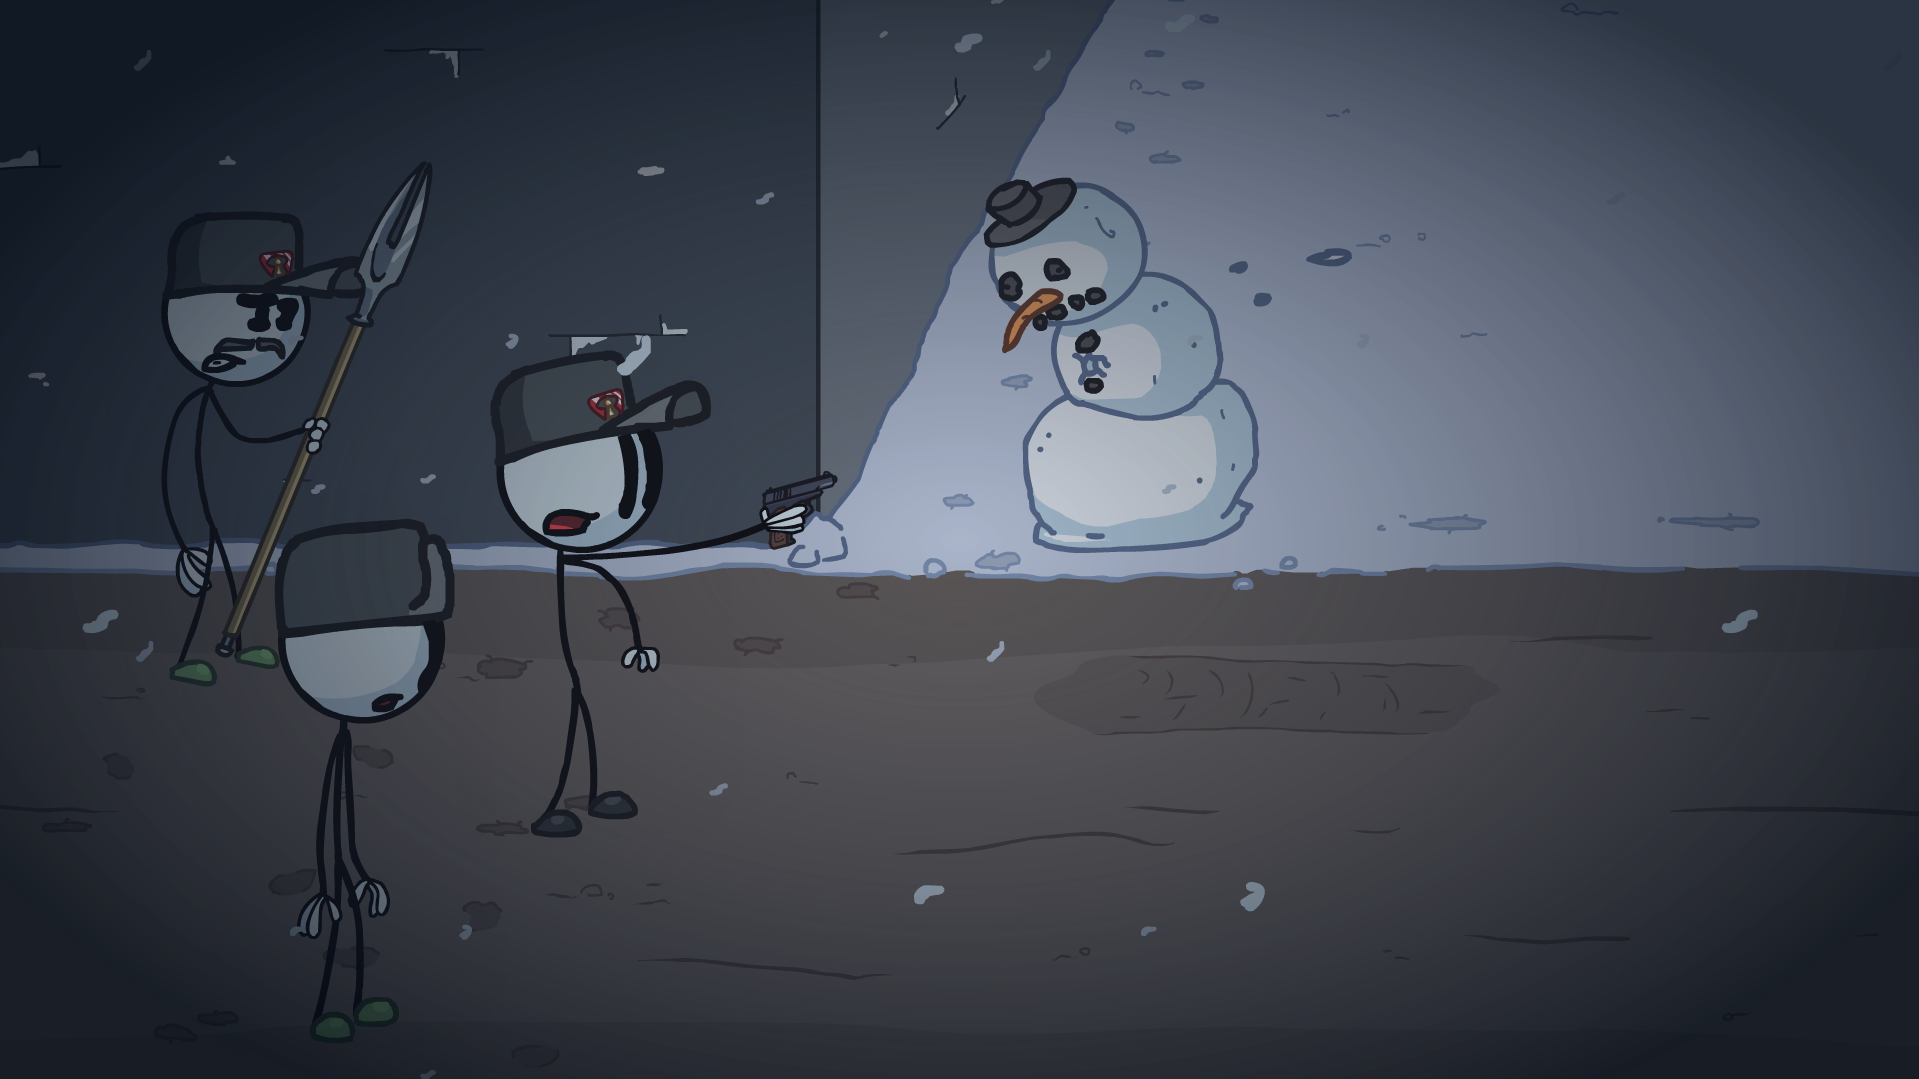
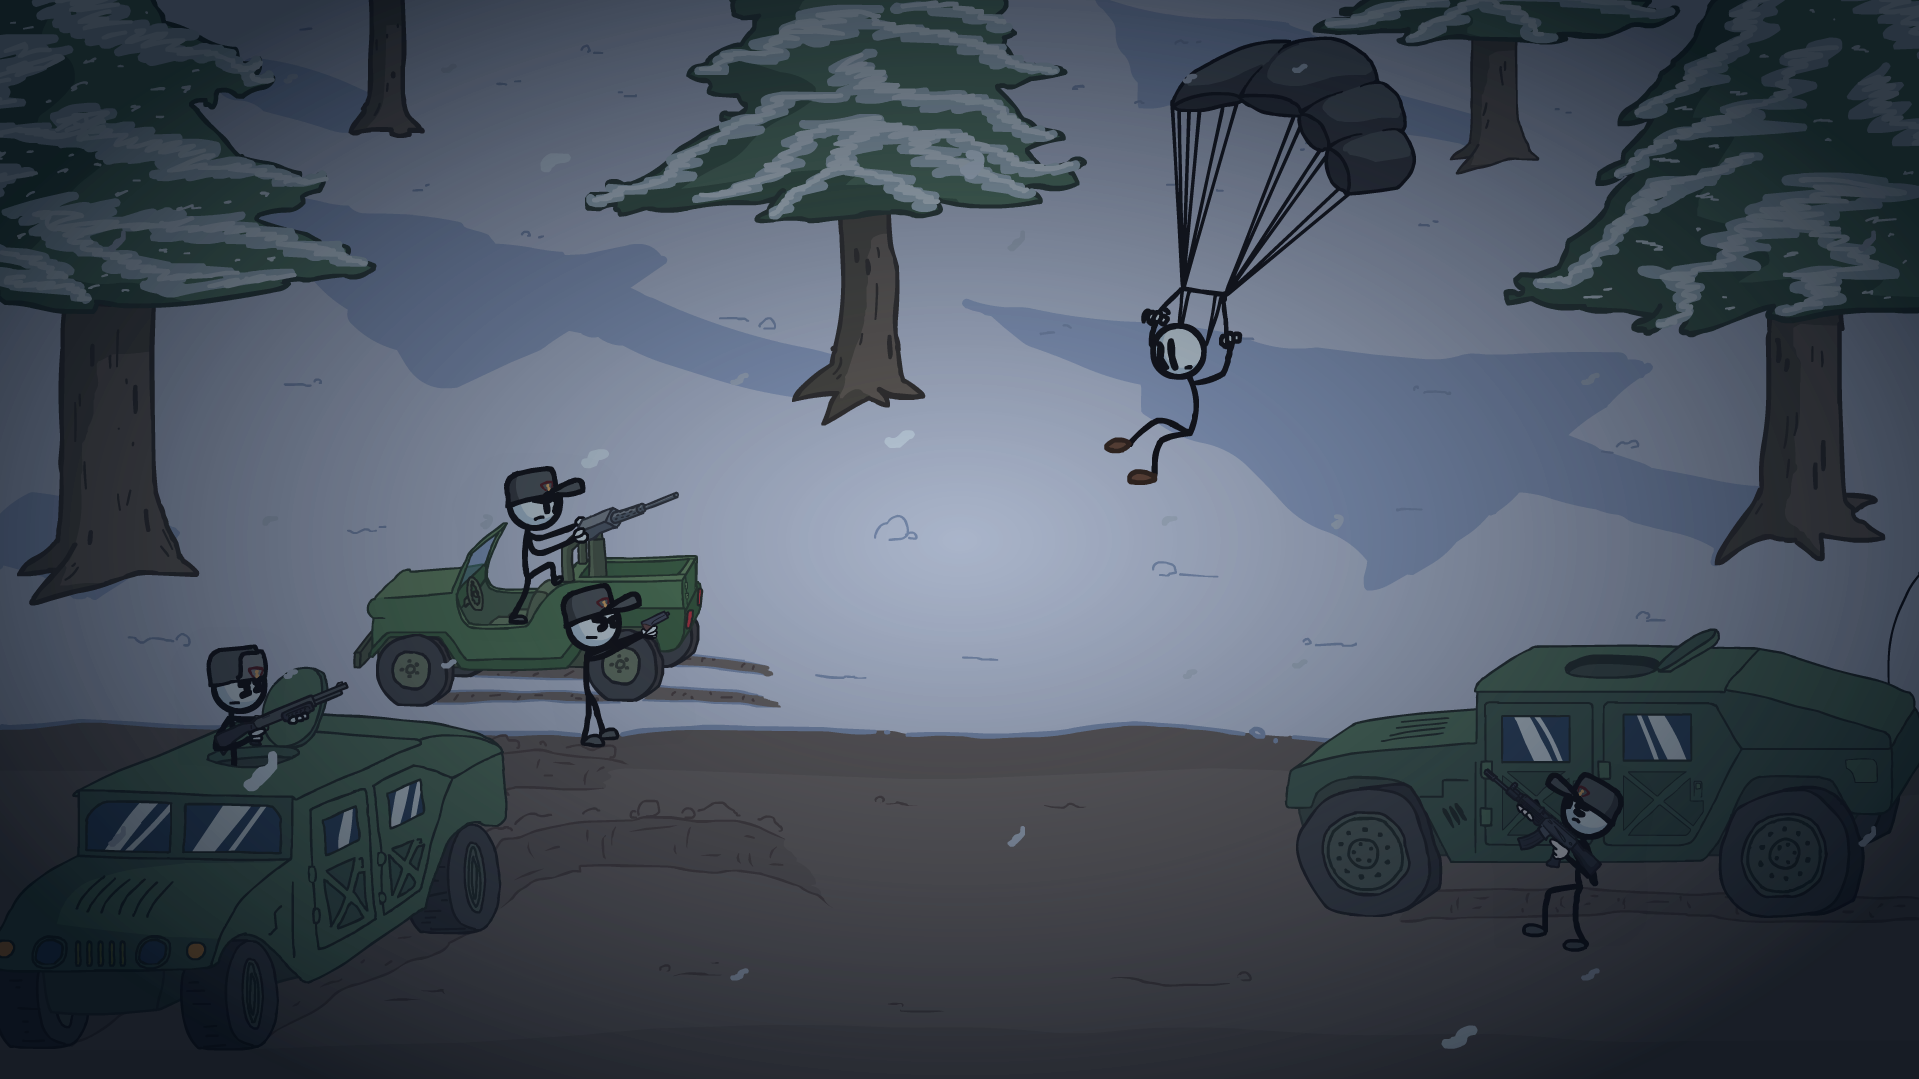
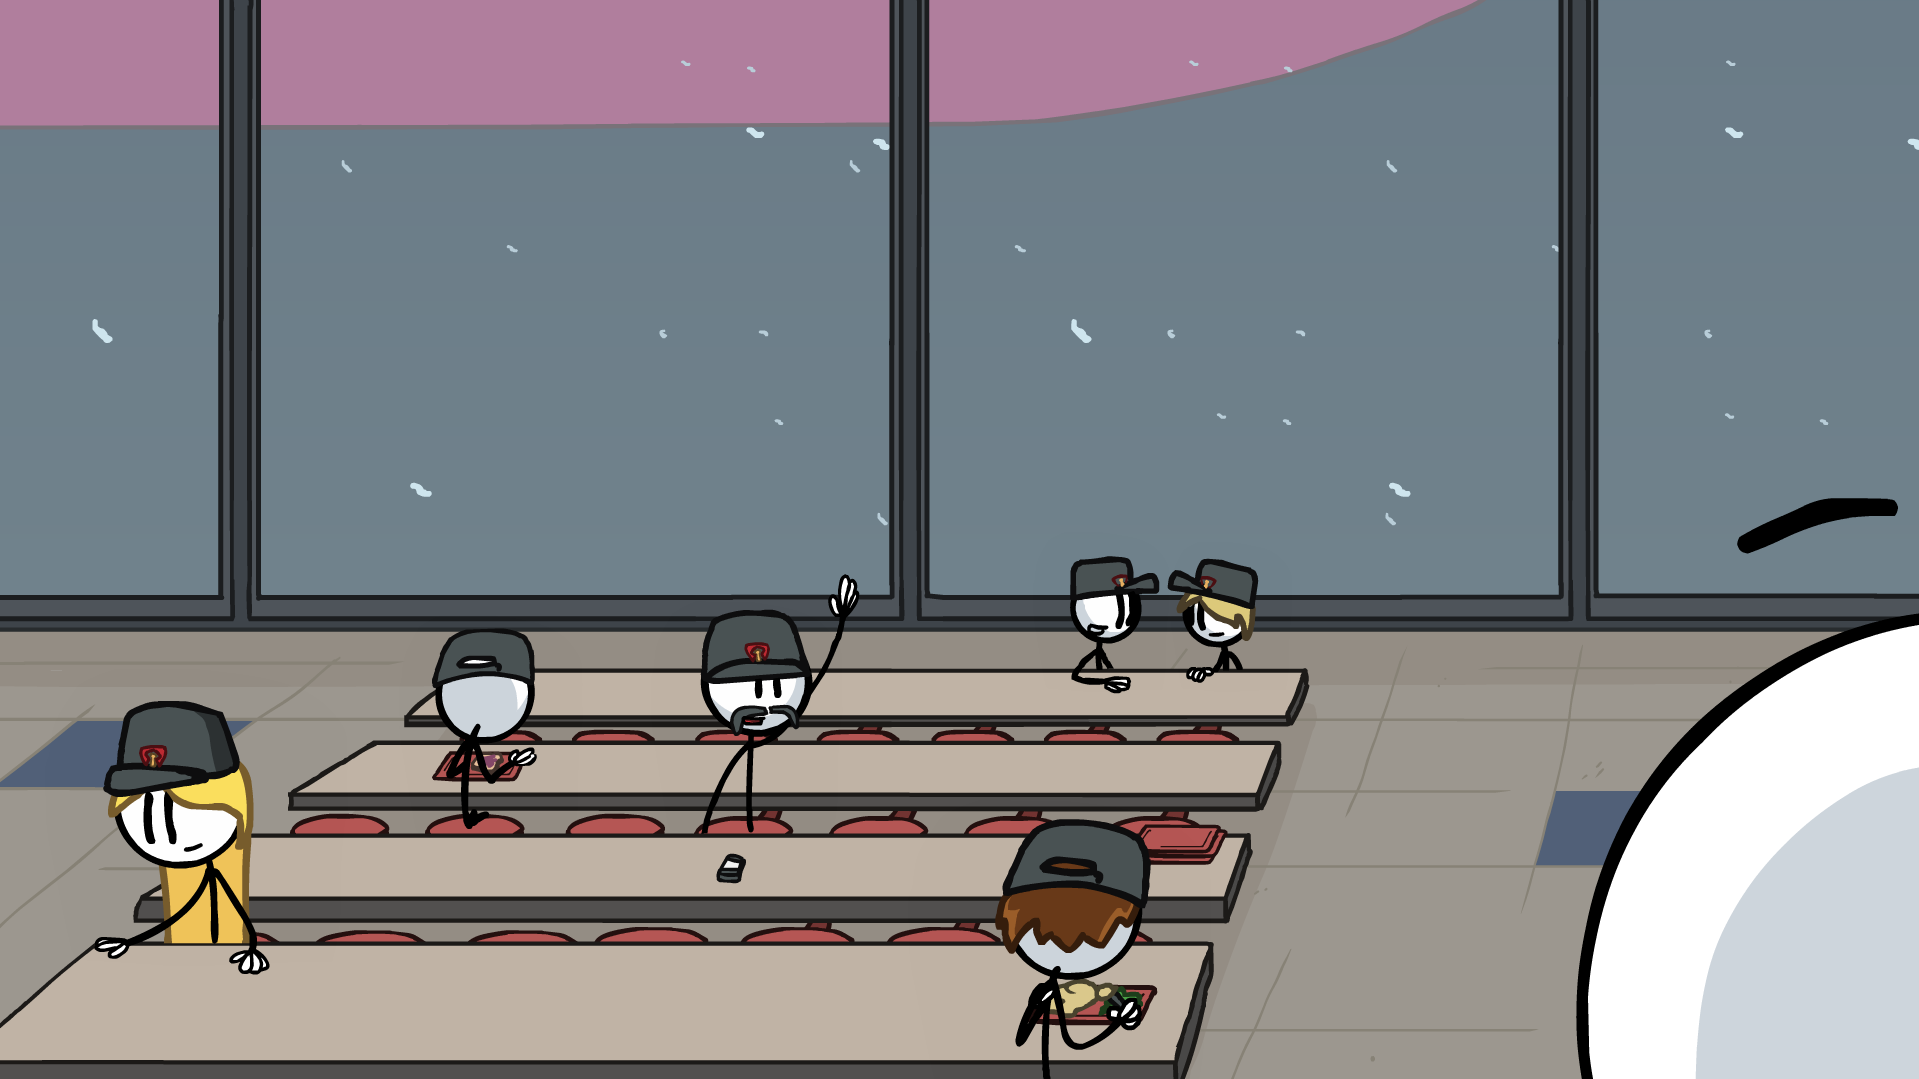
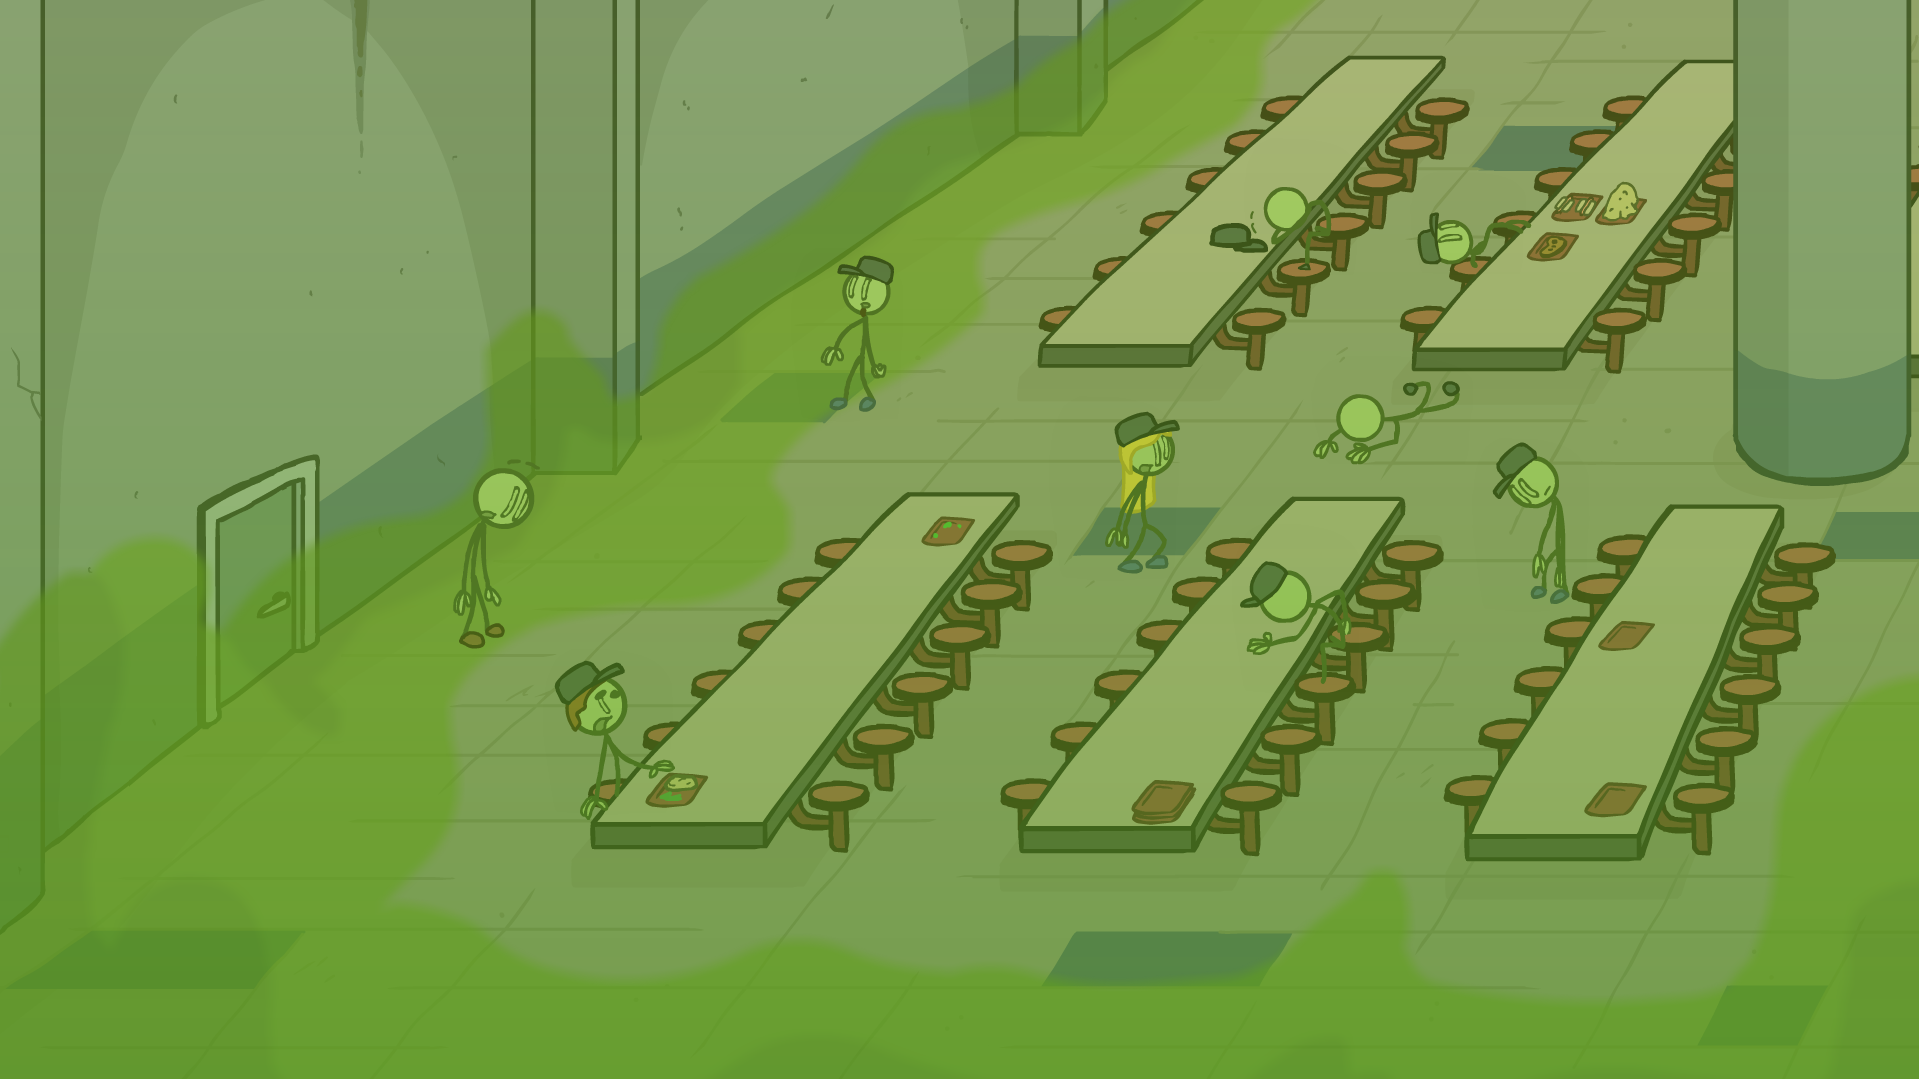
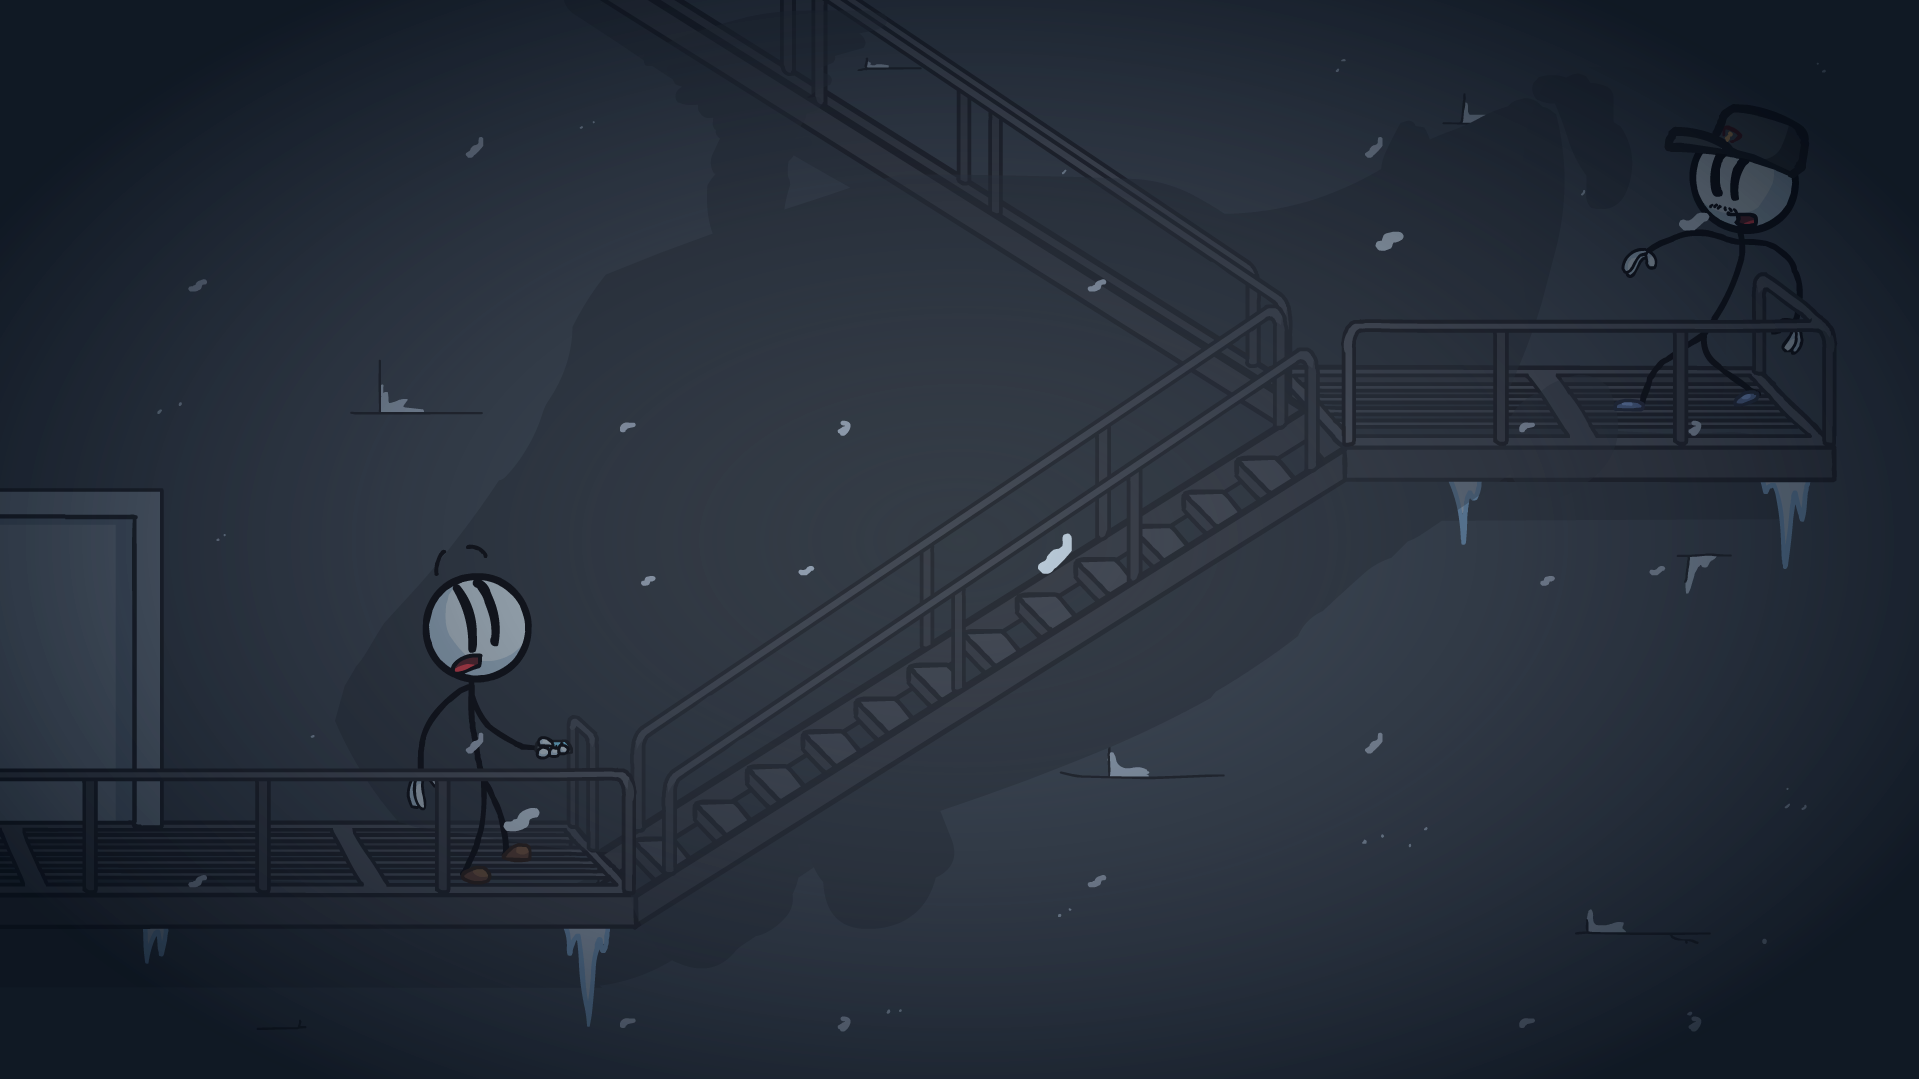
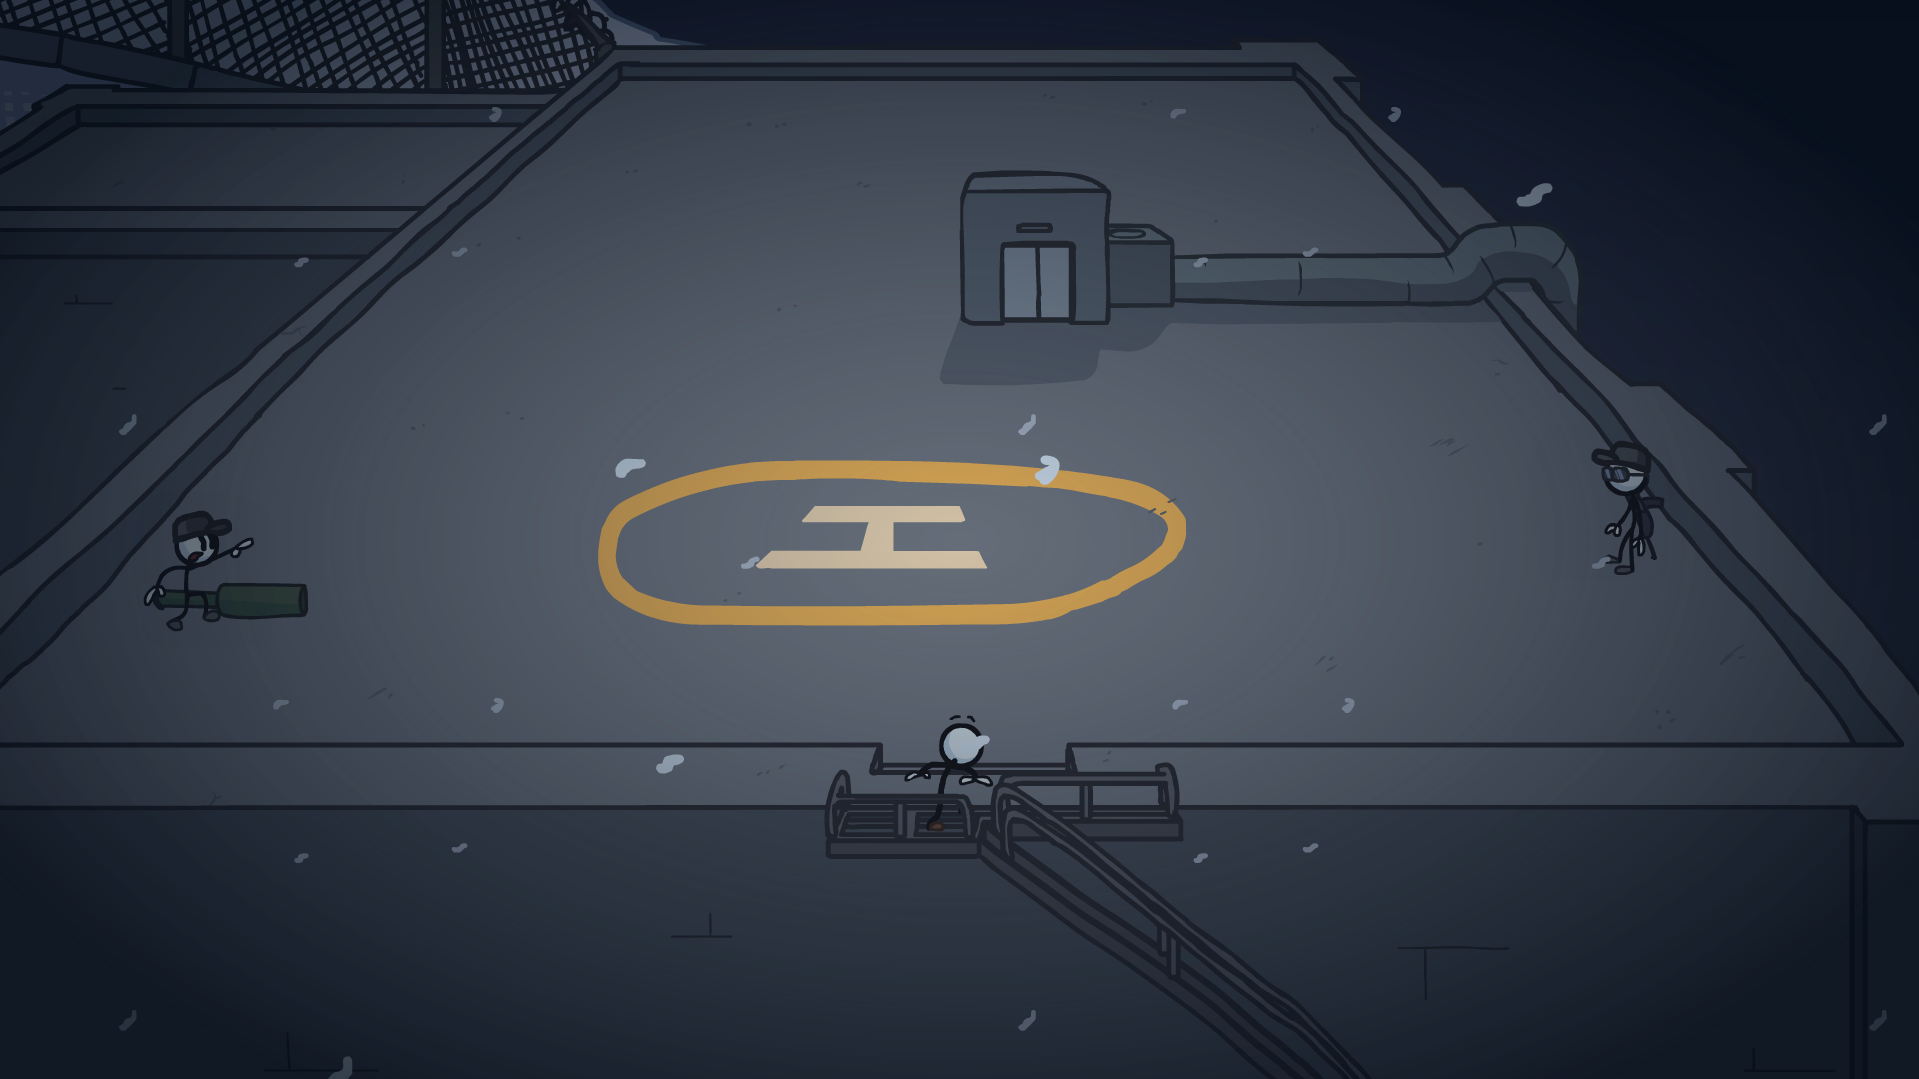
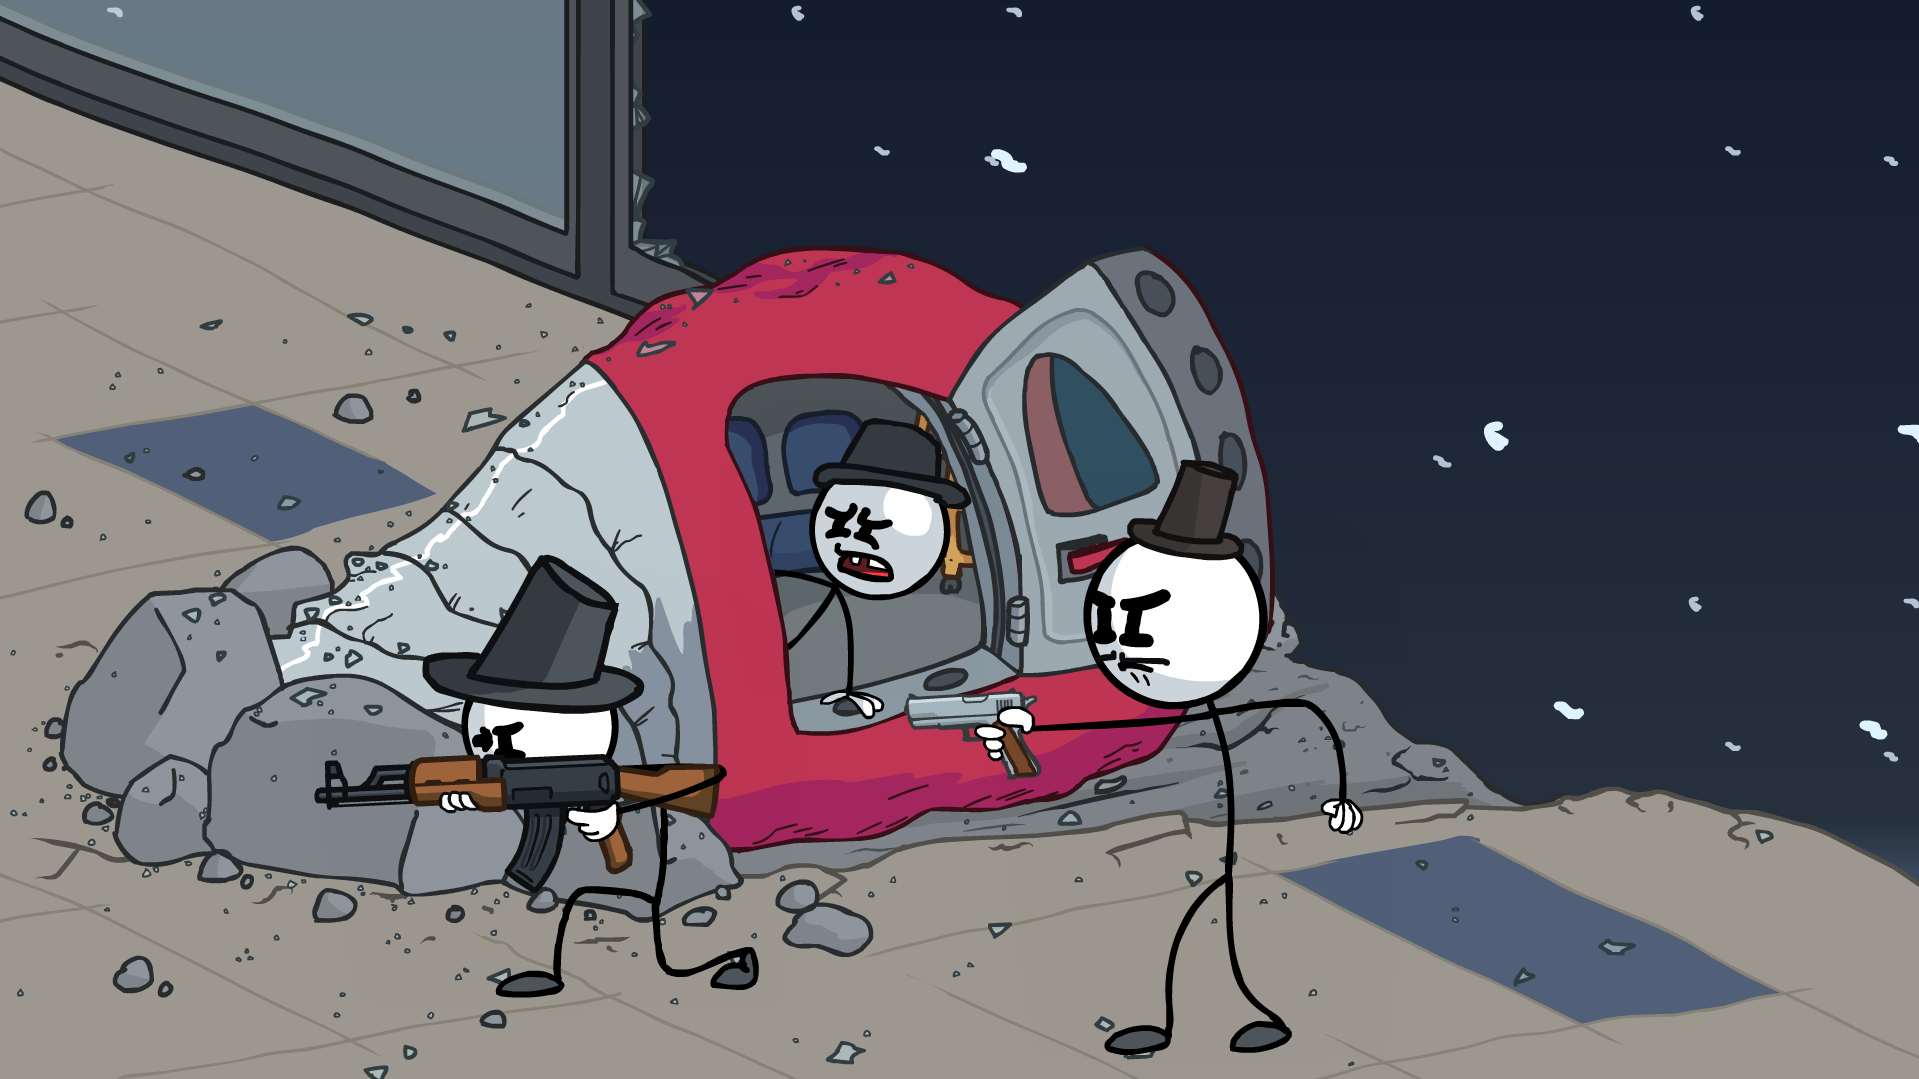
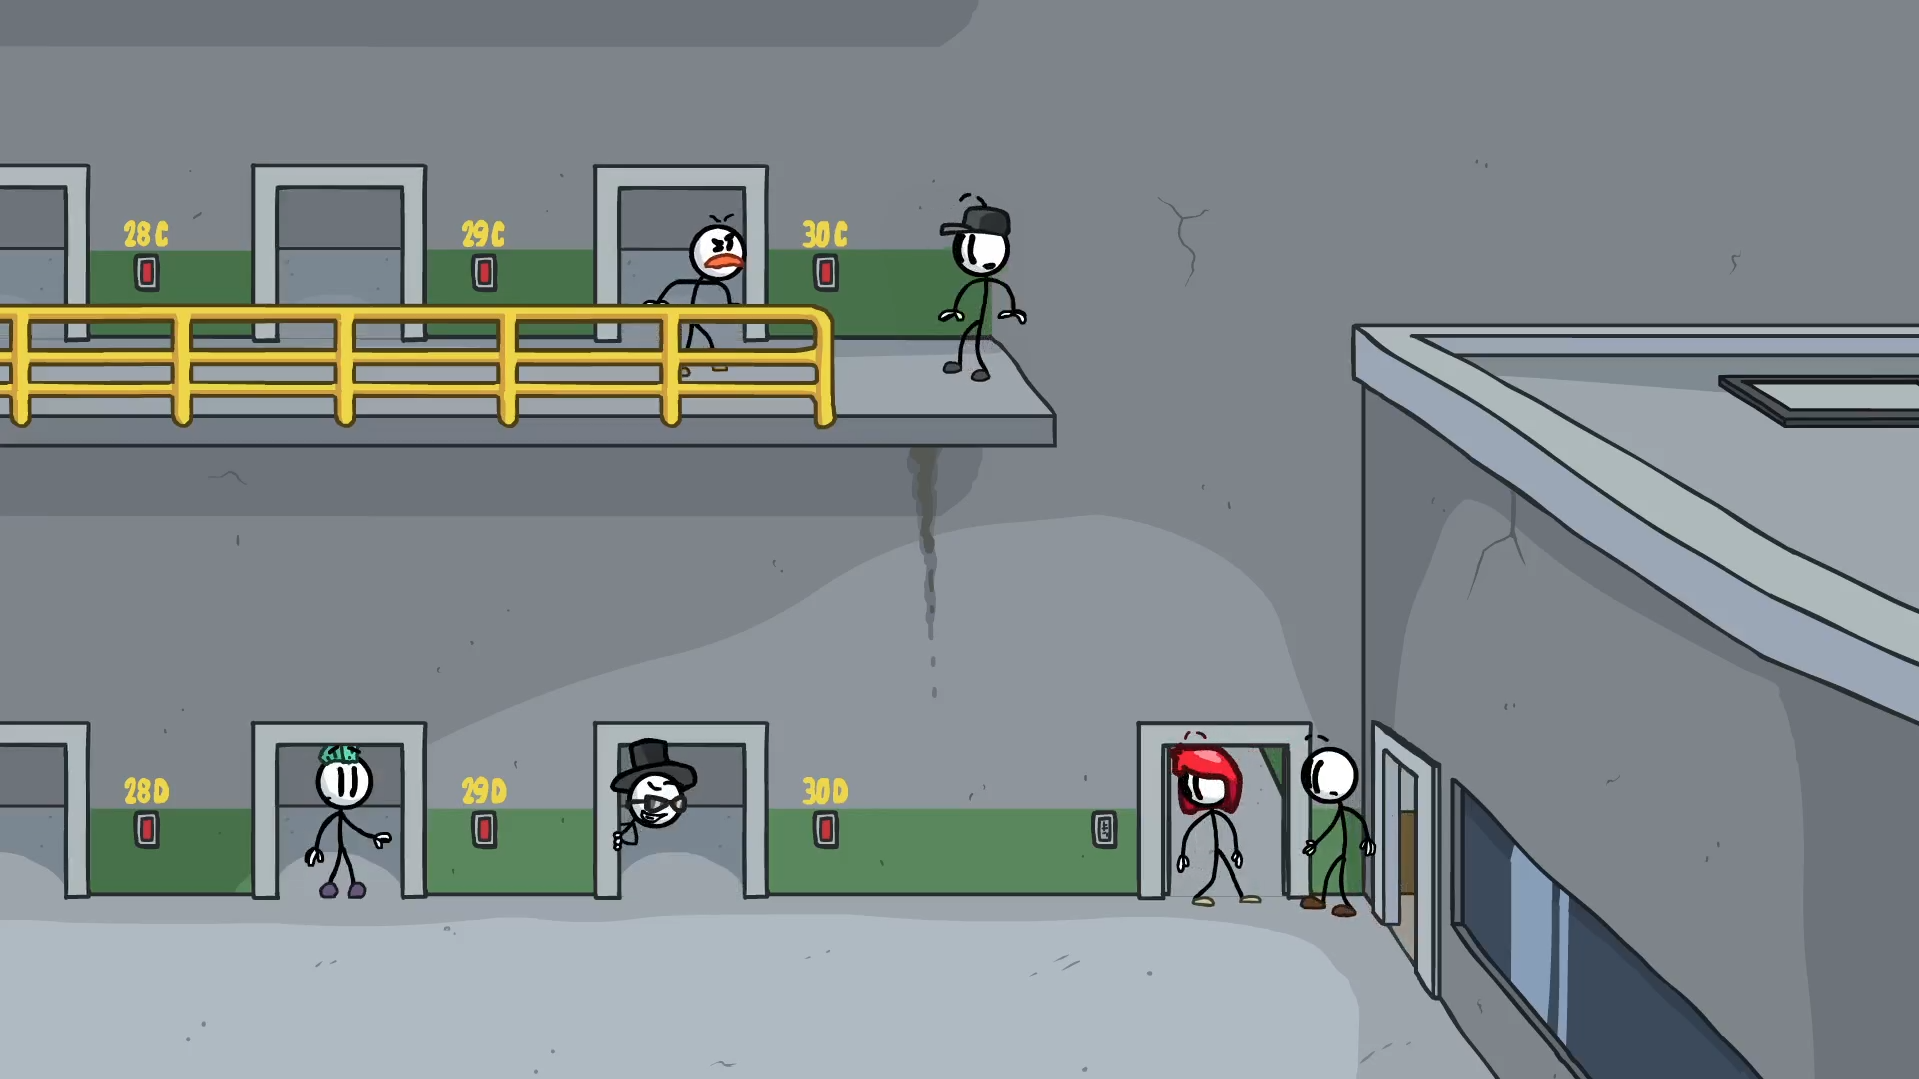
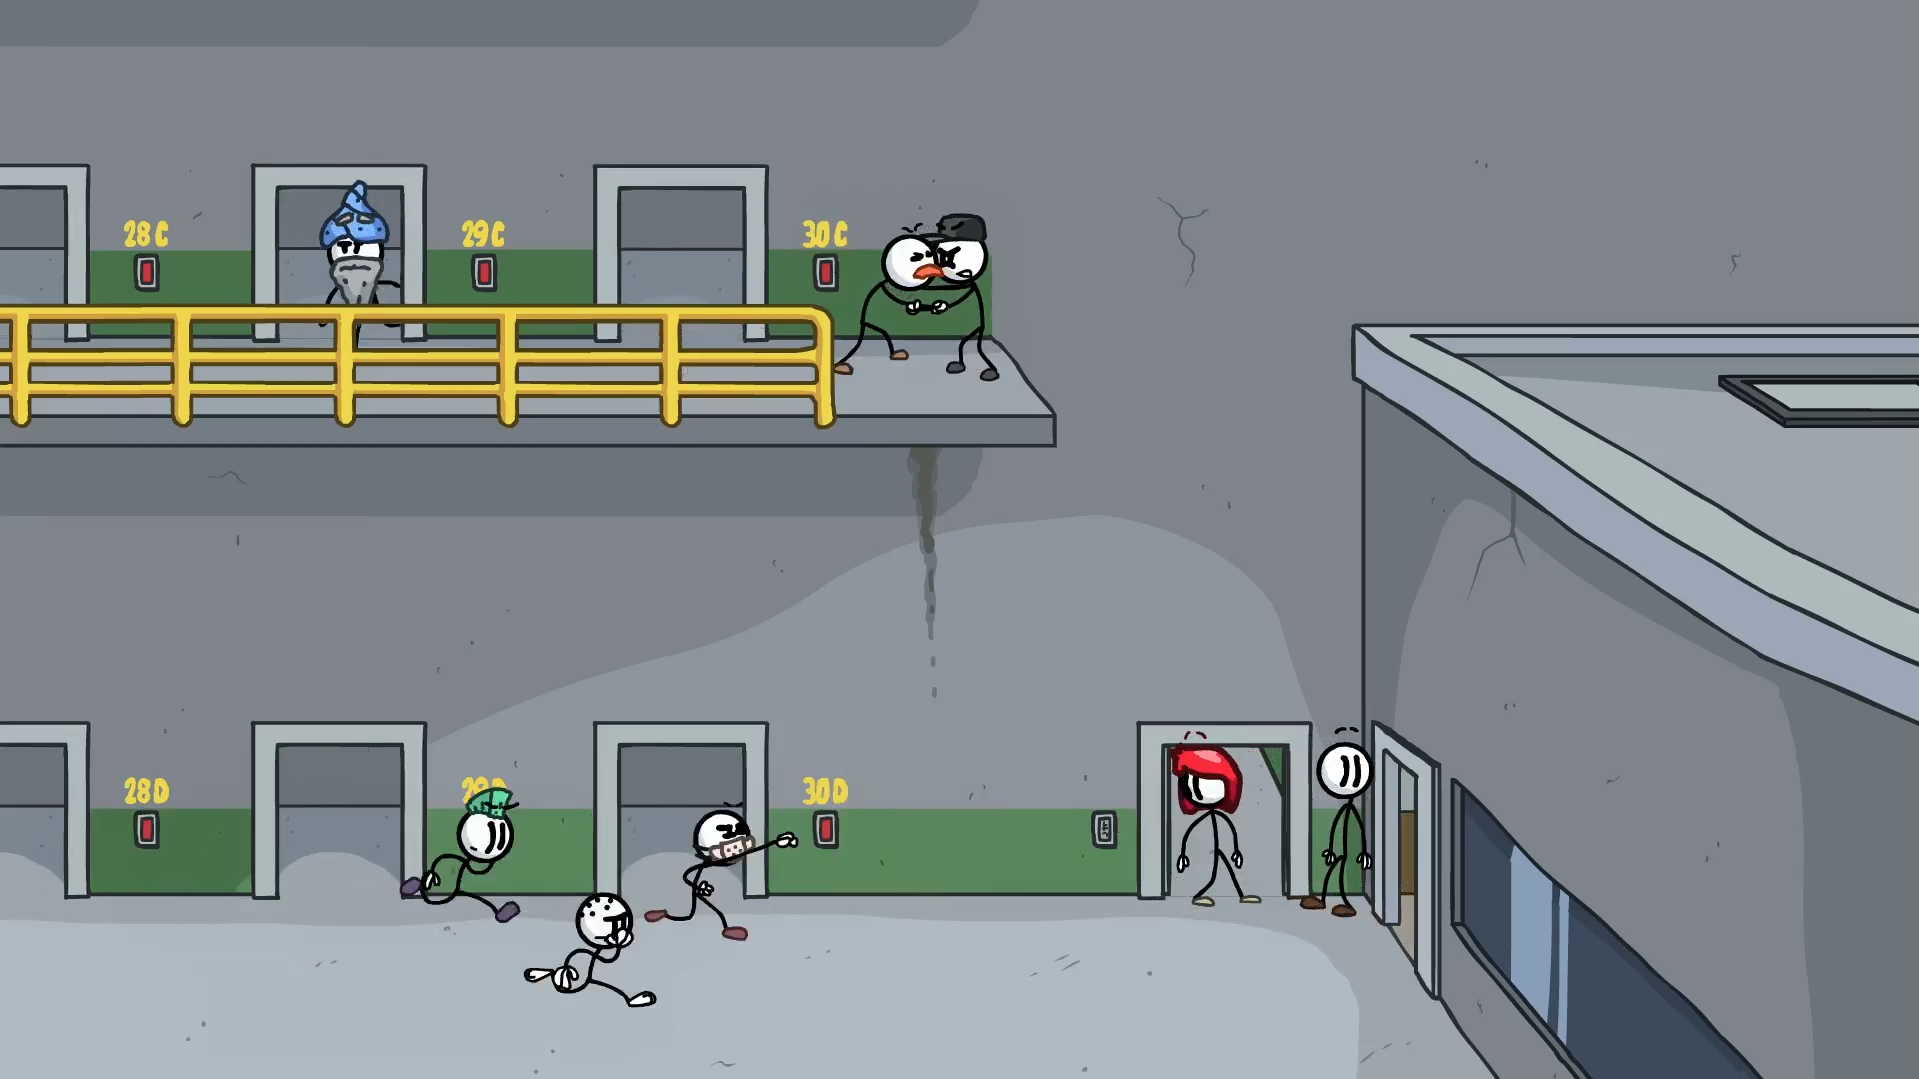
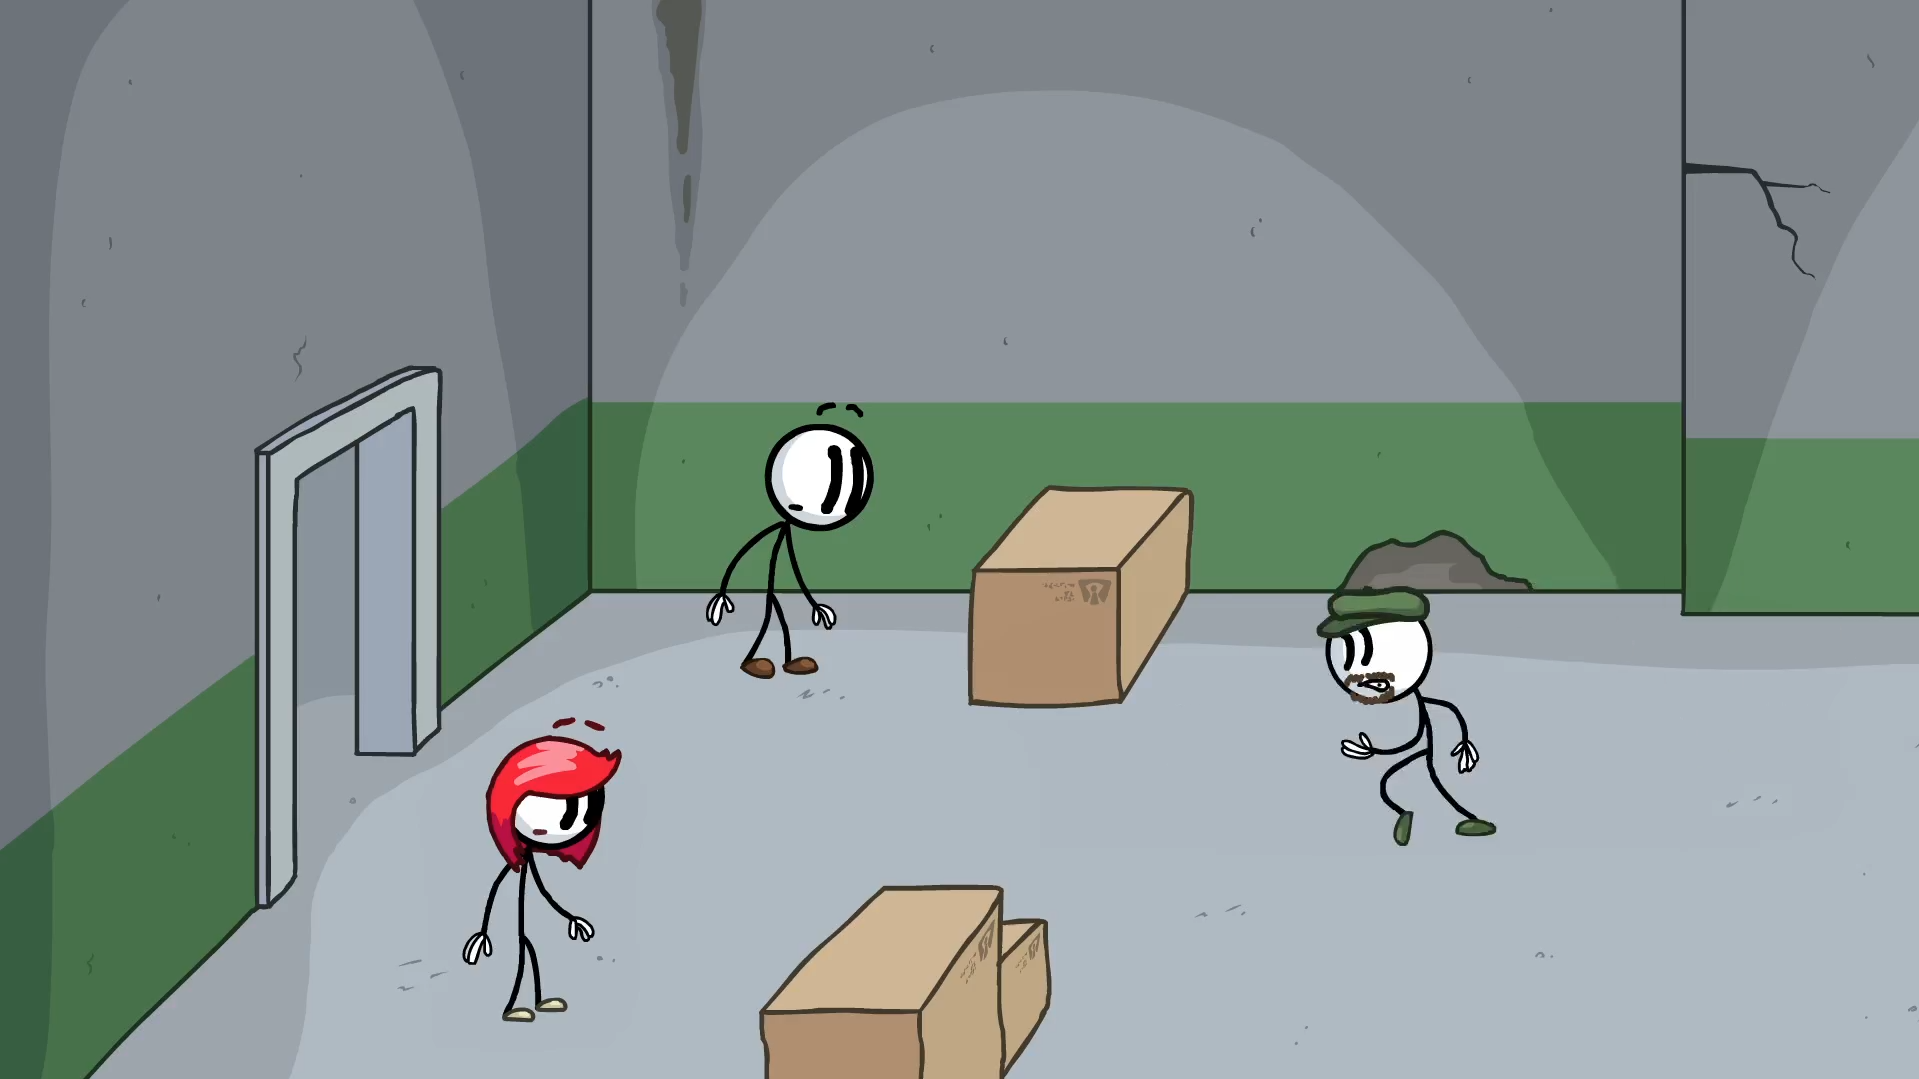
People here run quite fast (no wonder why), so it may take a couple attempts get everyone.
ᅠFtC - Red Achivments:
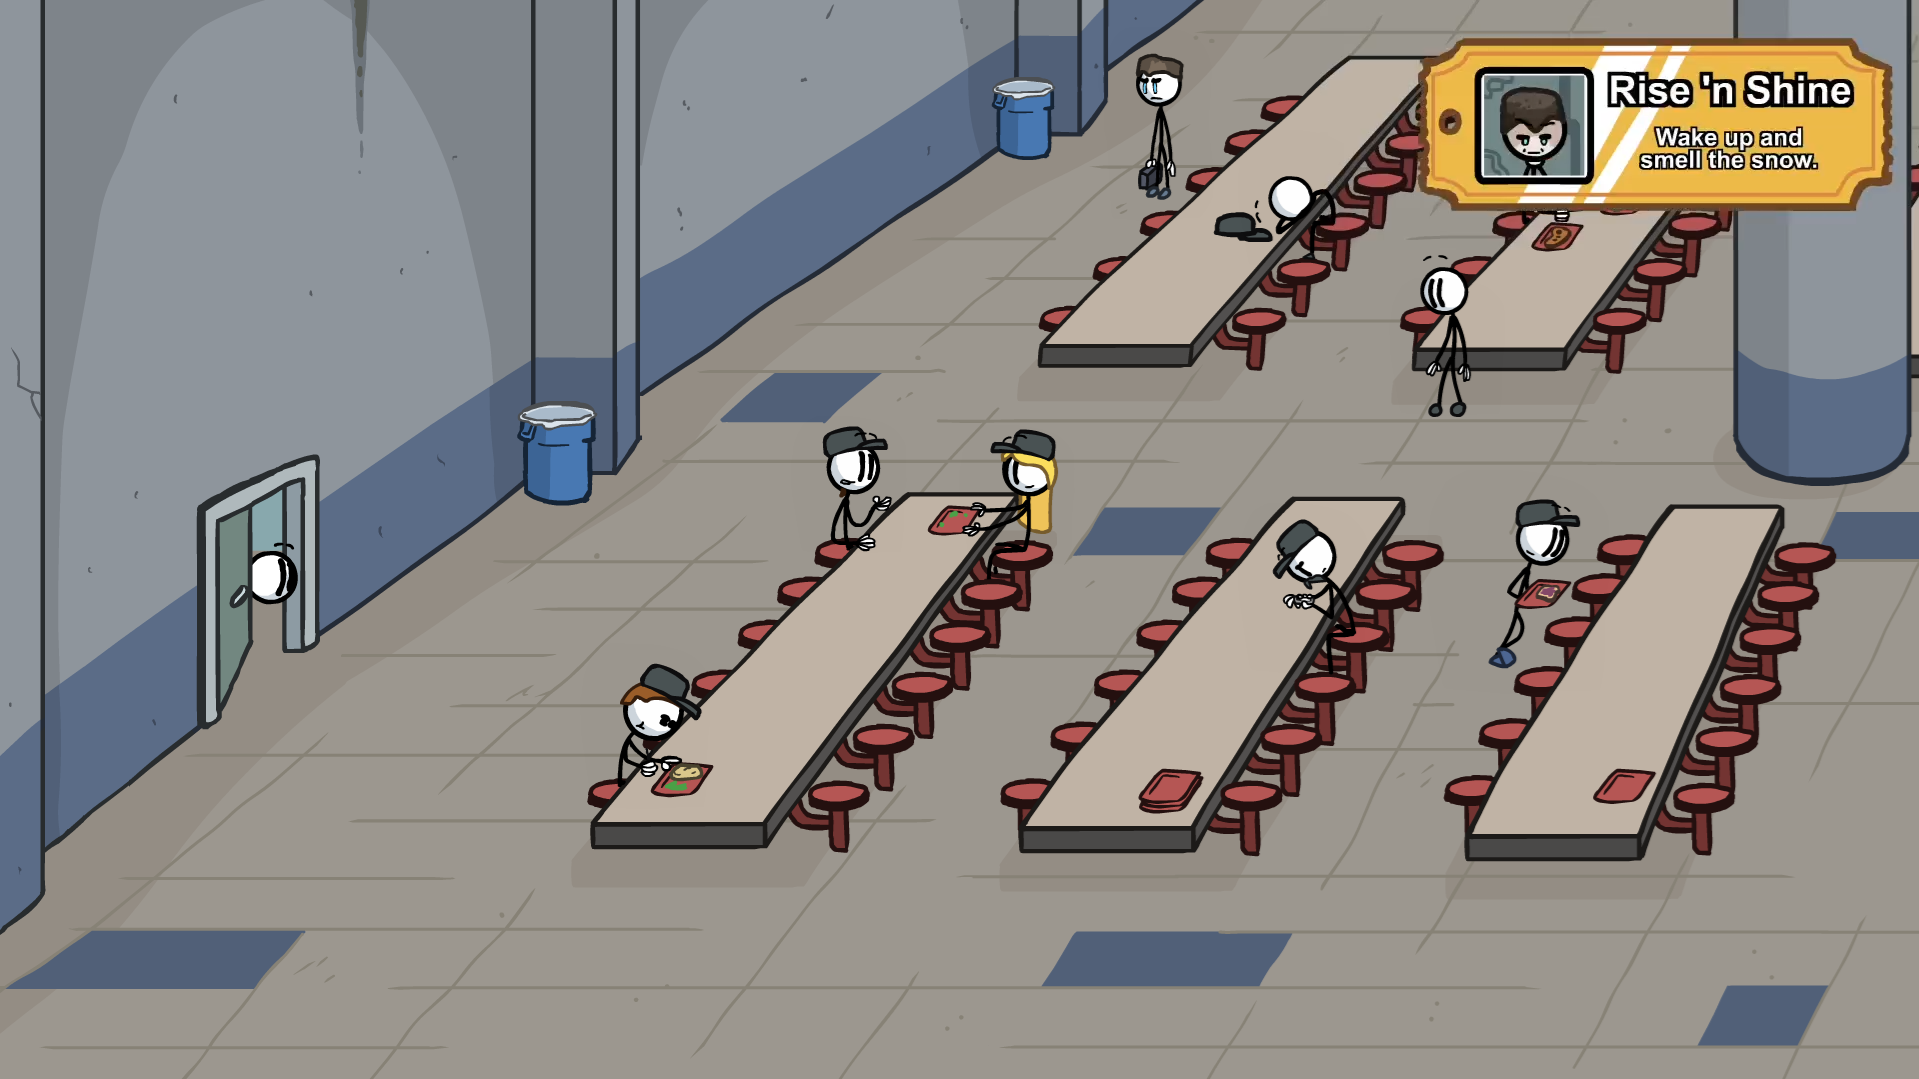
 Wake up and smell the snow.
You need to find man with a mysterious man with a suitcase throughout all paths.
(Going from top to bottom path on map)
In Docks, choose Leaf and he's standing near the prow.
In Two Elevators, choose Toss and he's at the center of the scene.
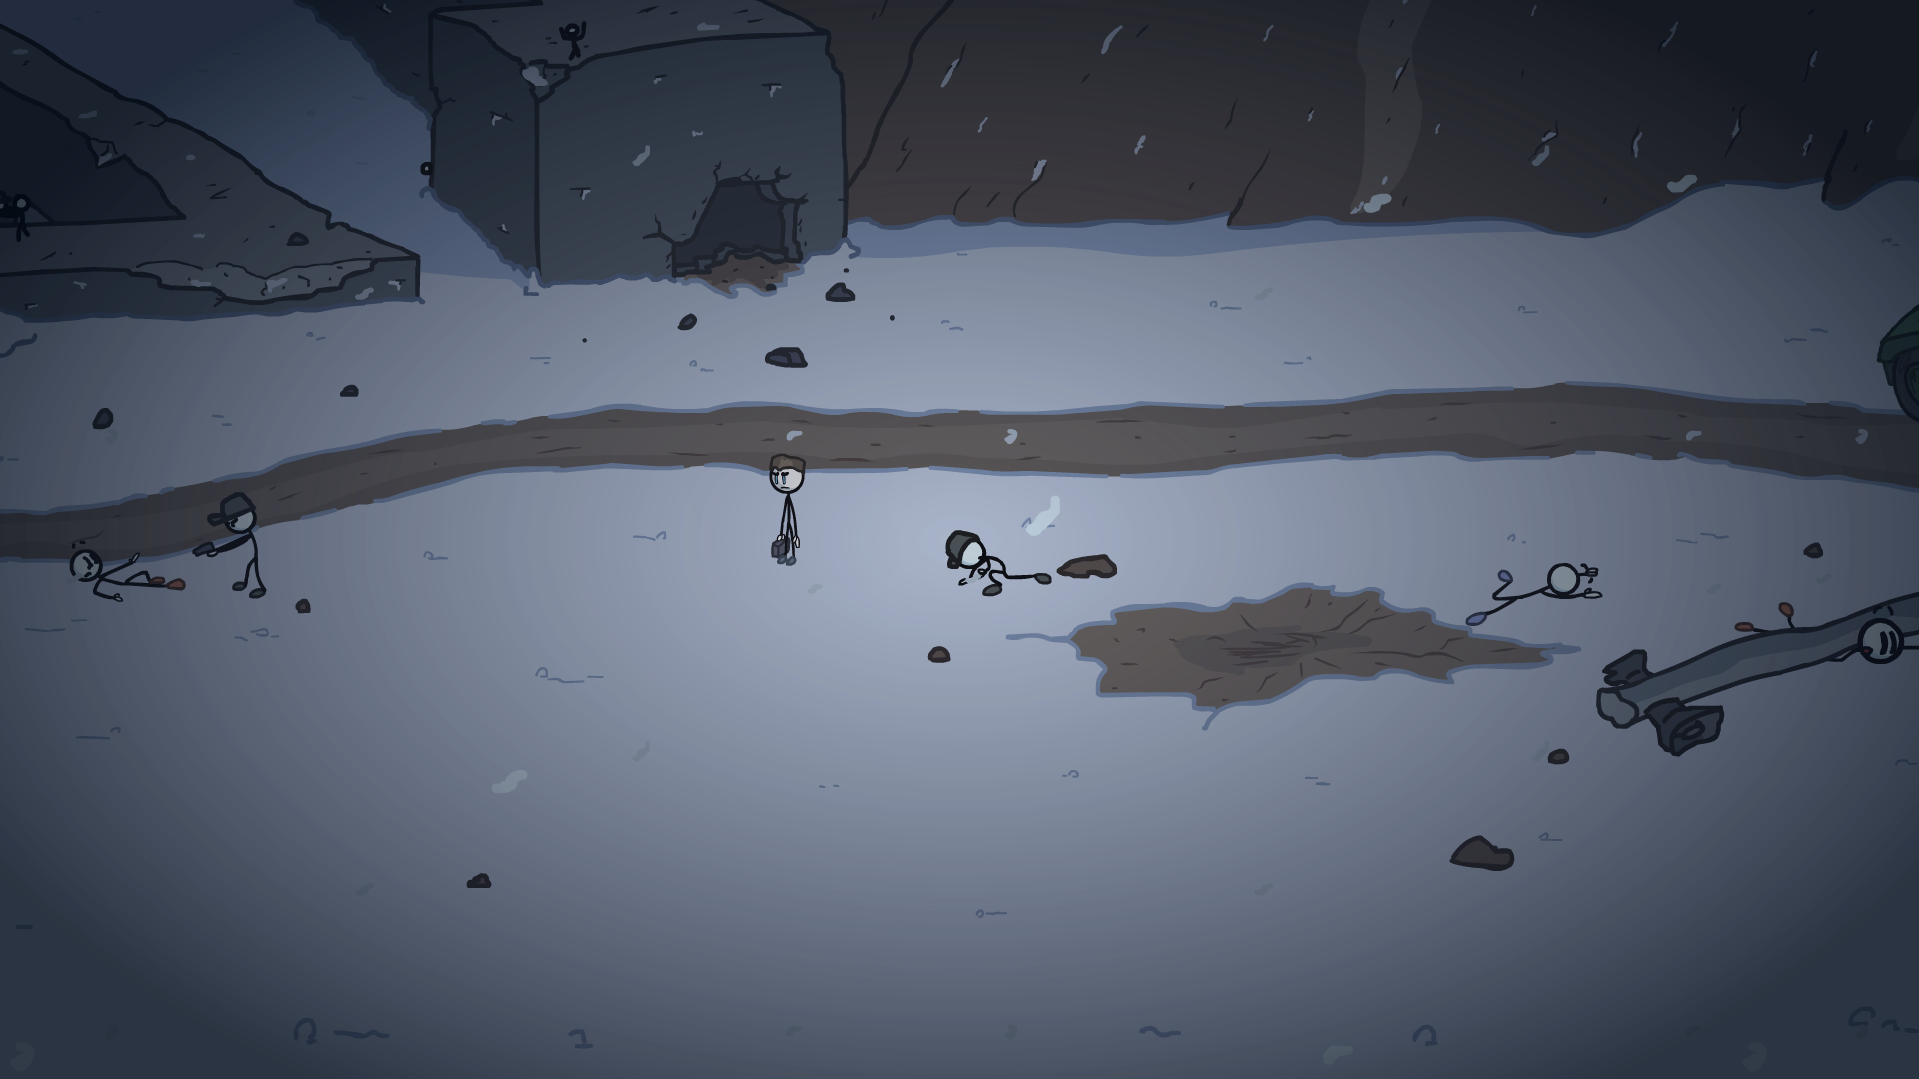
In The Yard (Tactical), choose Sword Man and he will open the door in the building in background.
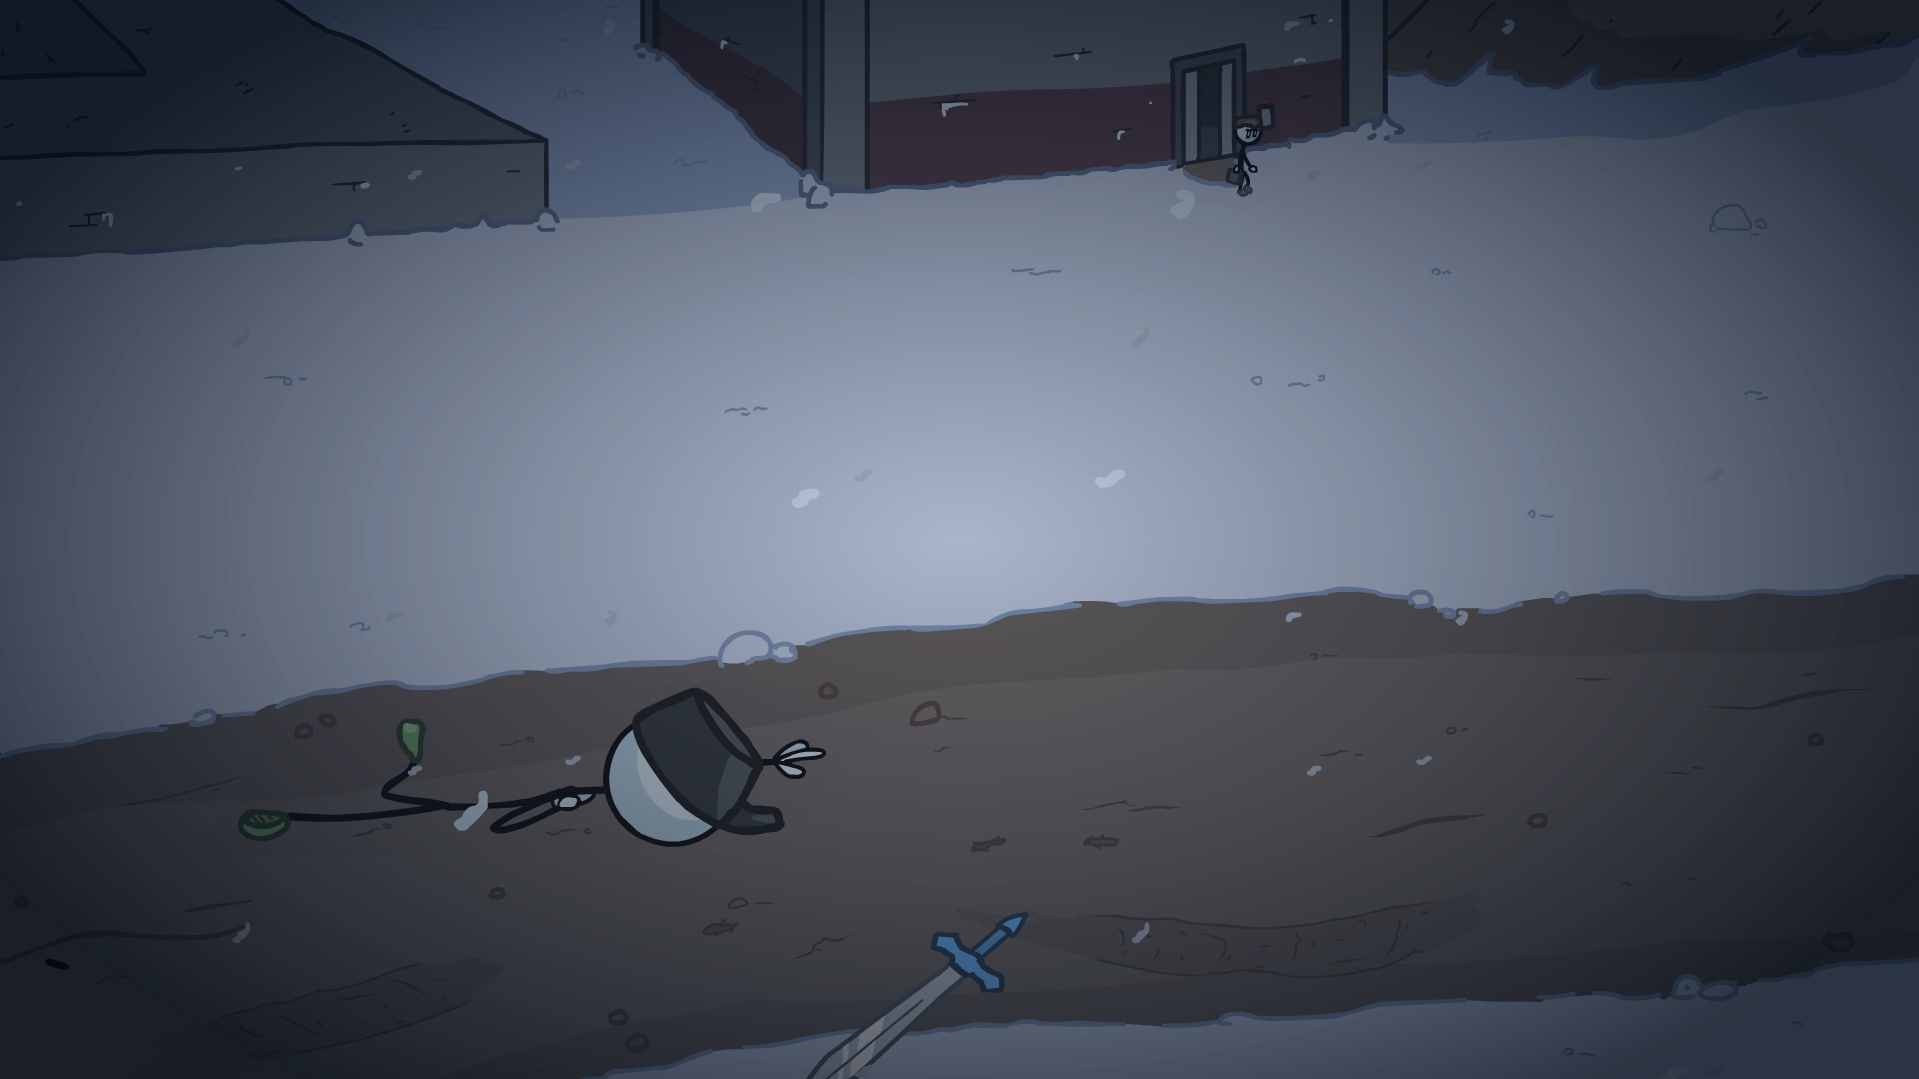
In Cafeteria (Government), choose Earthbend and catch him at top left corner.
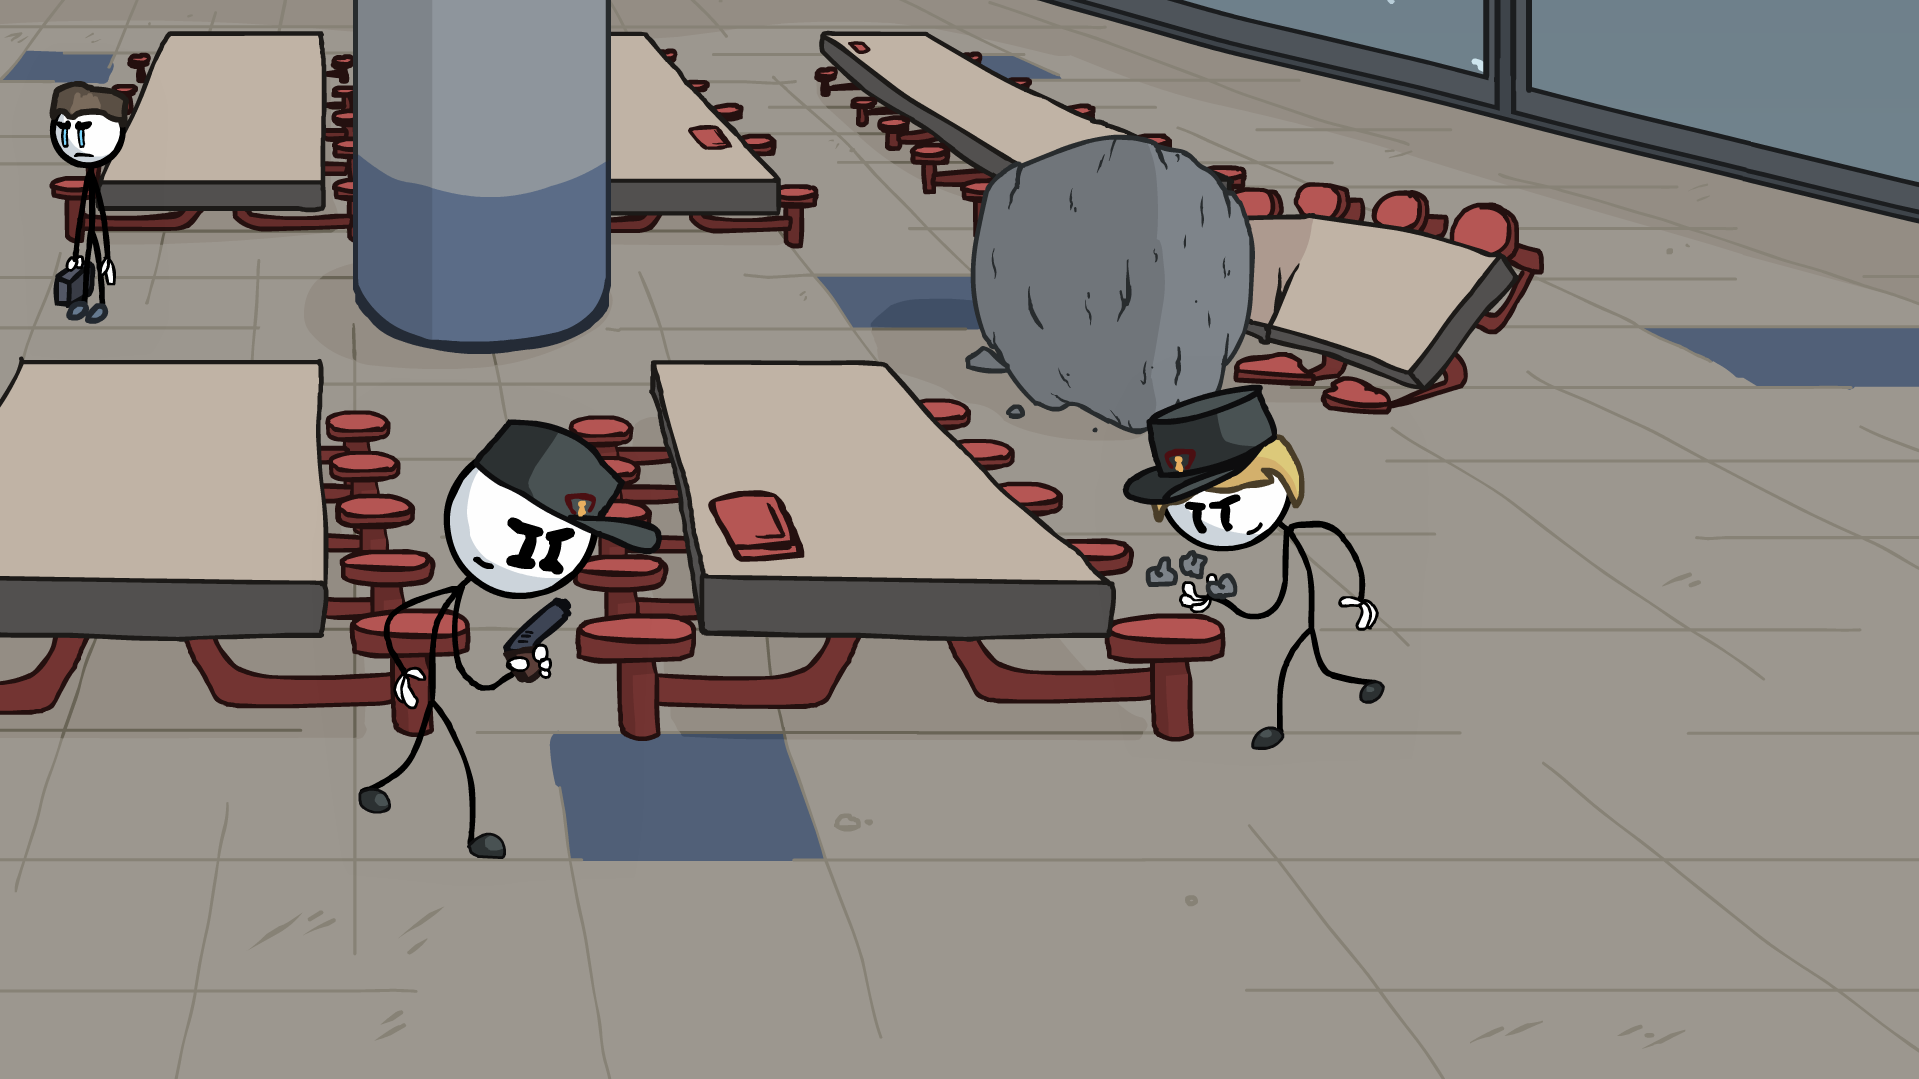
In Phone a Friend, choose Toppat Clan and he's standing next to top tables.
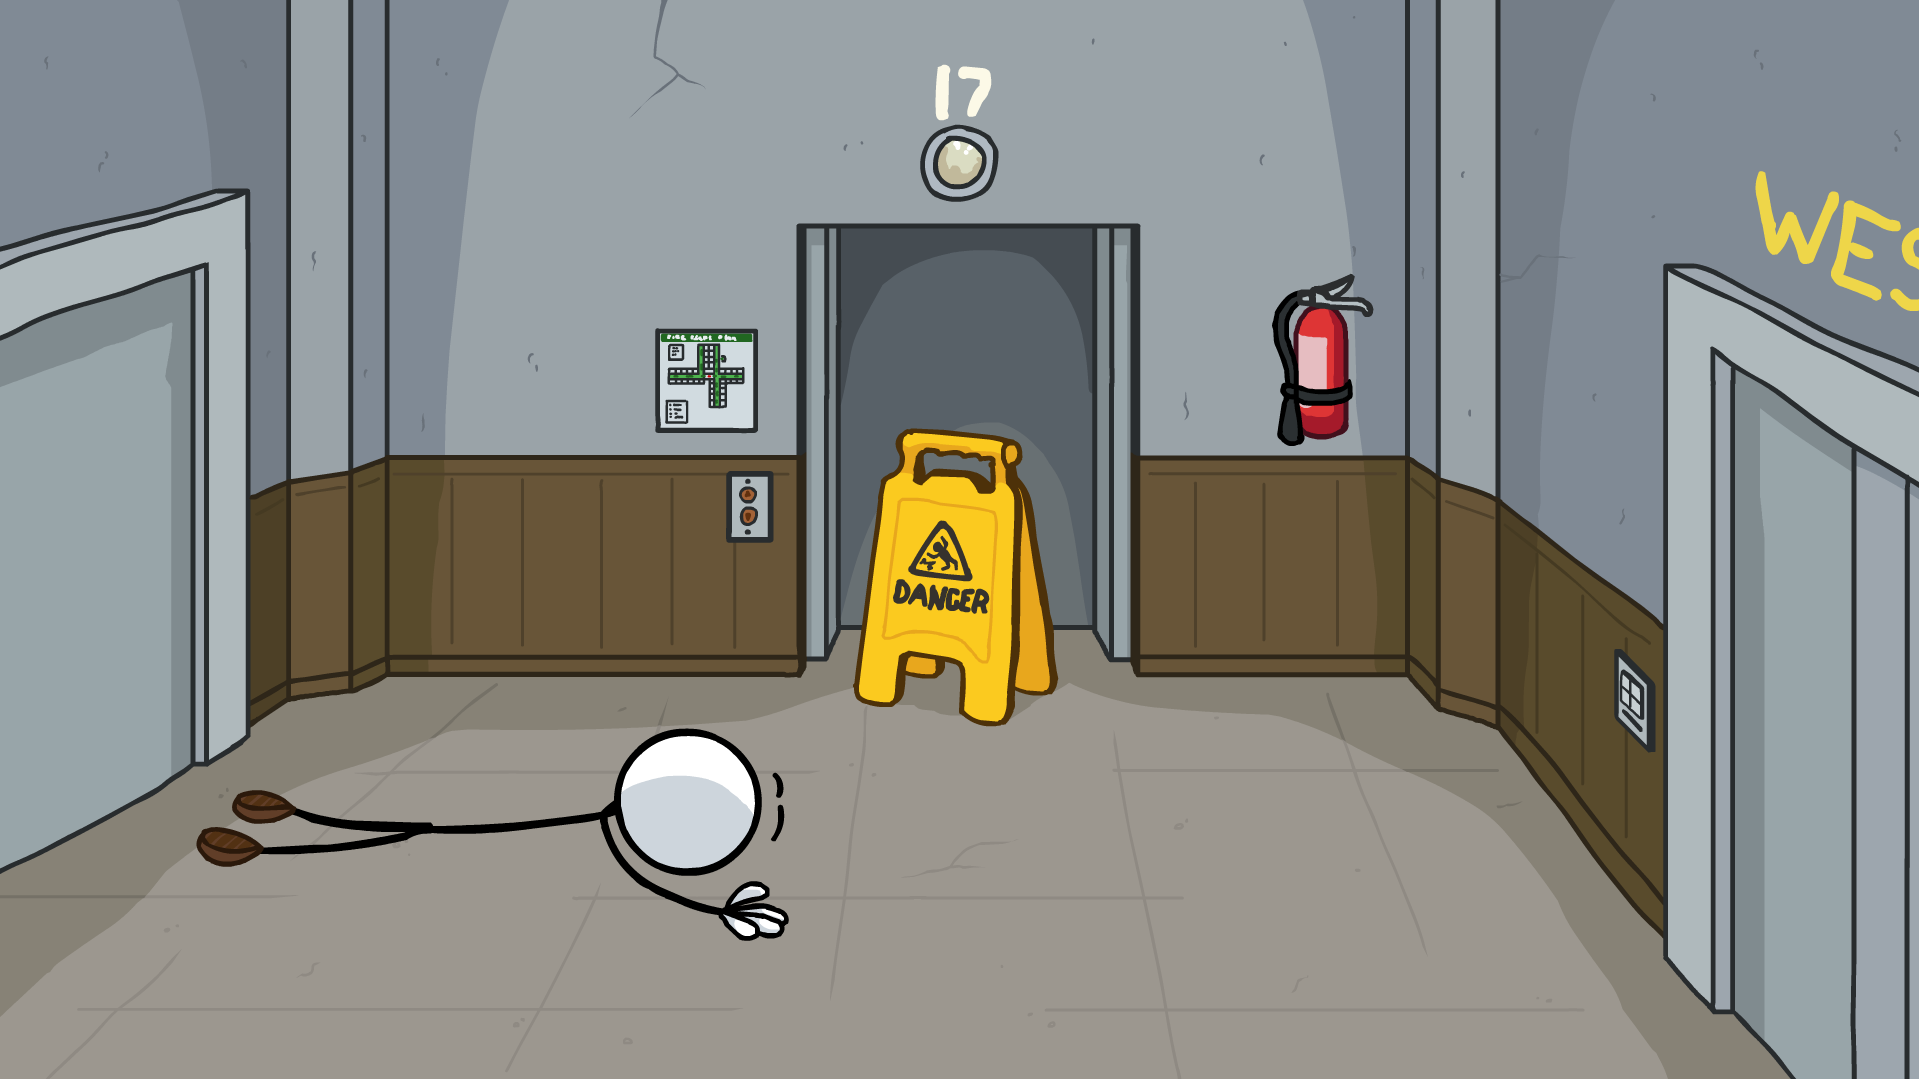
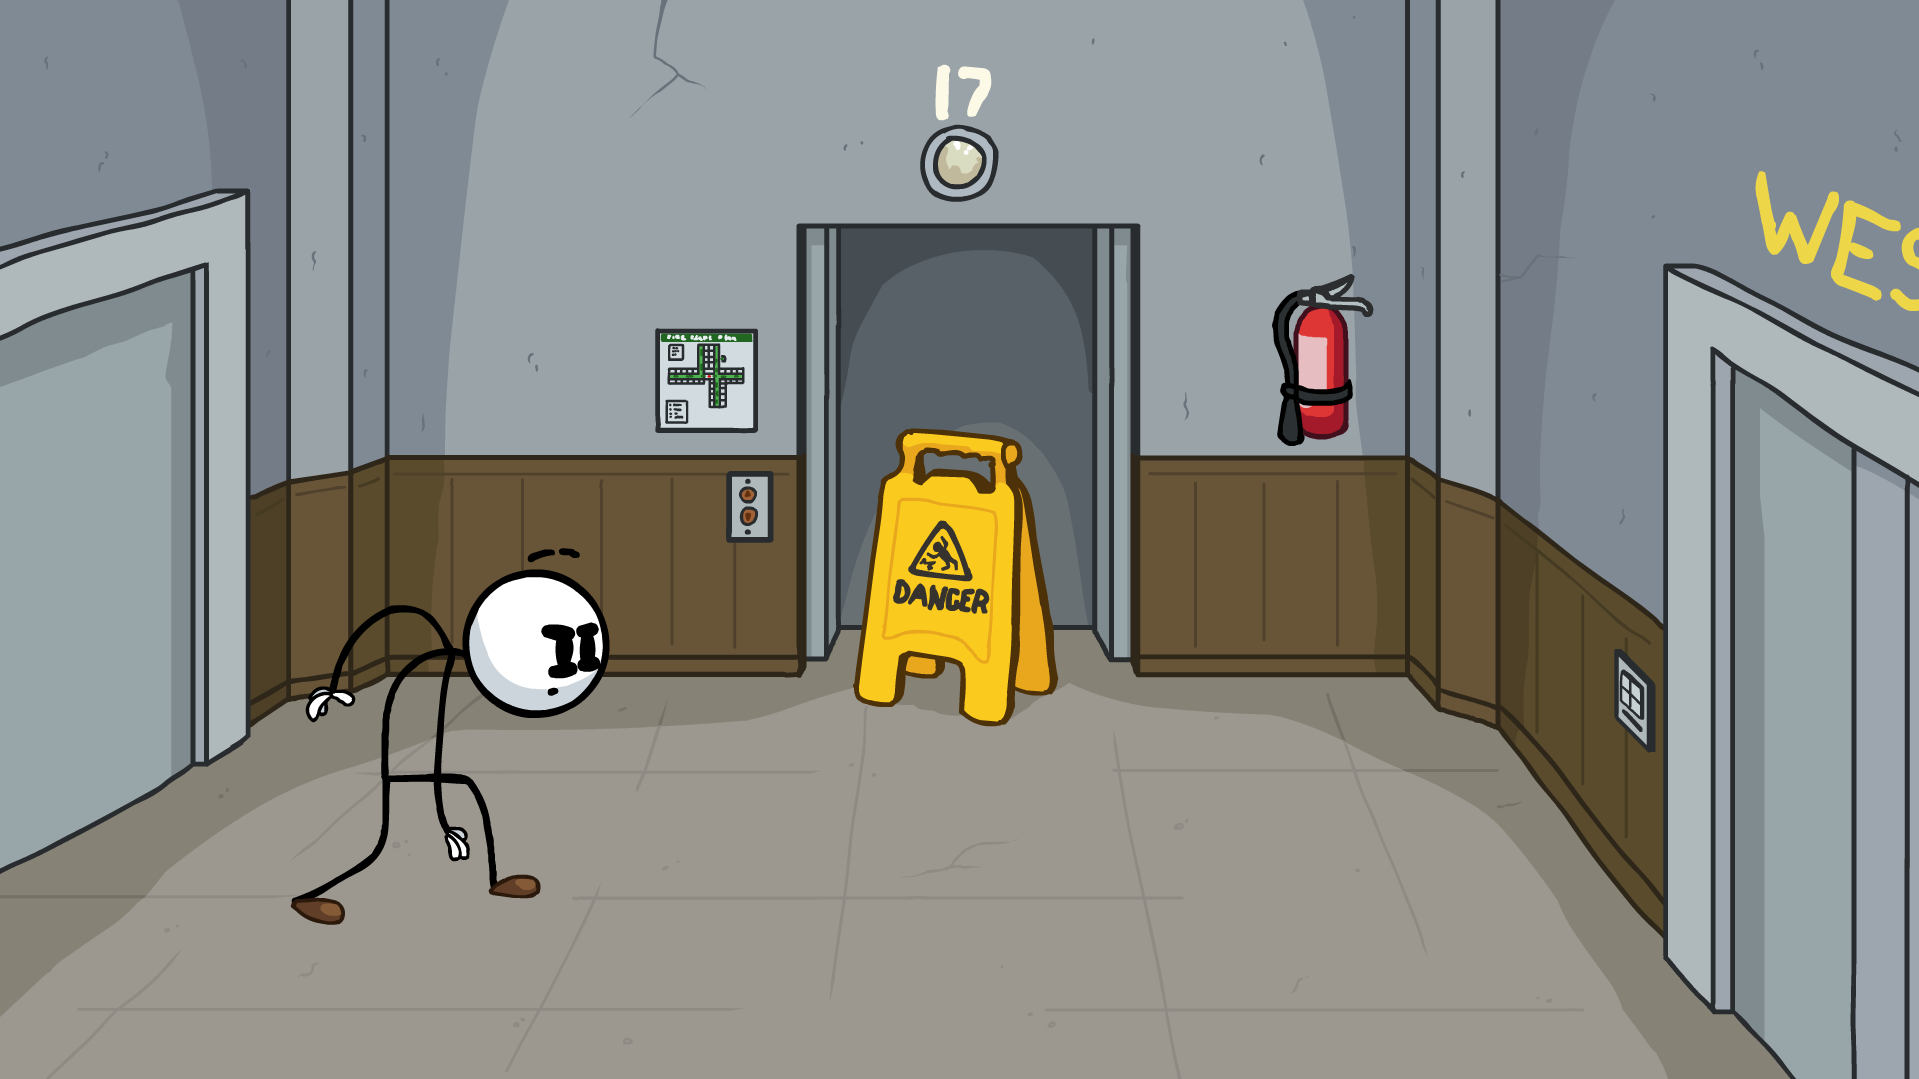
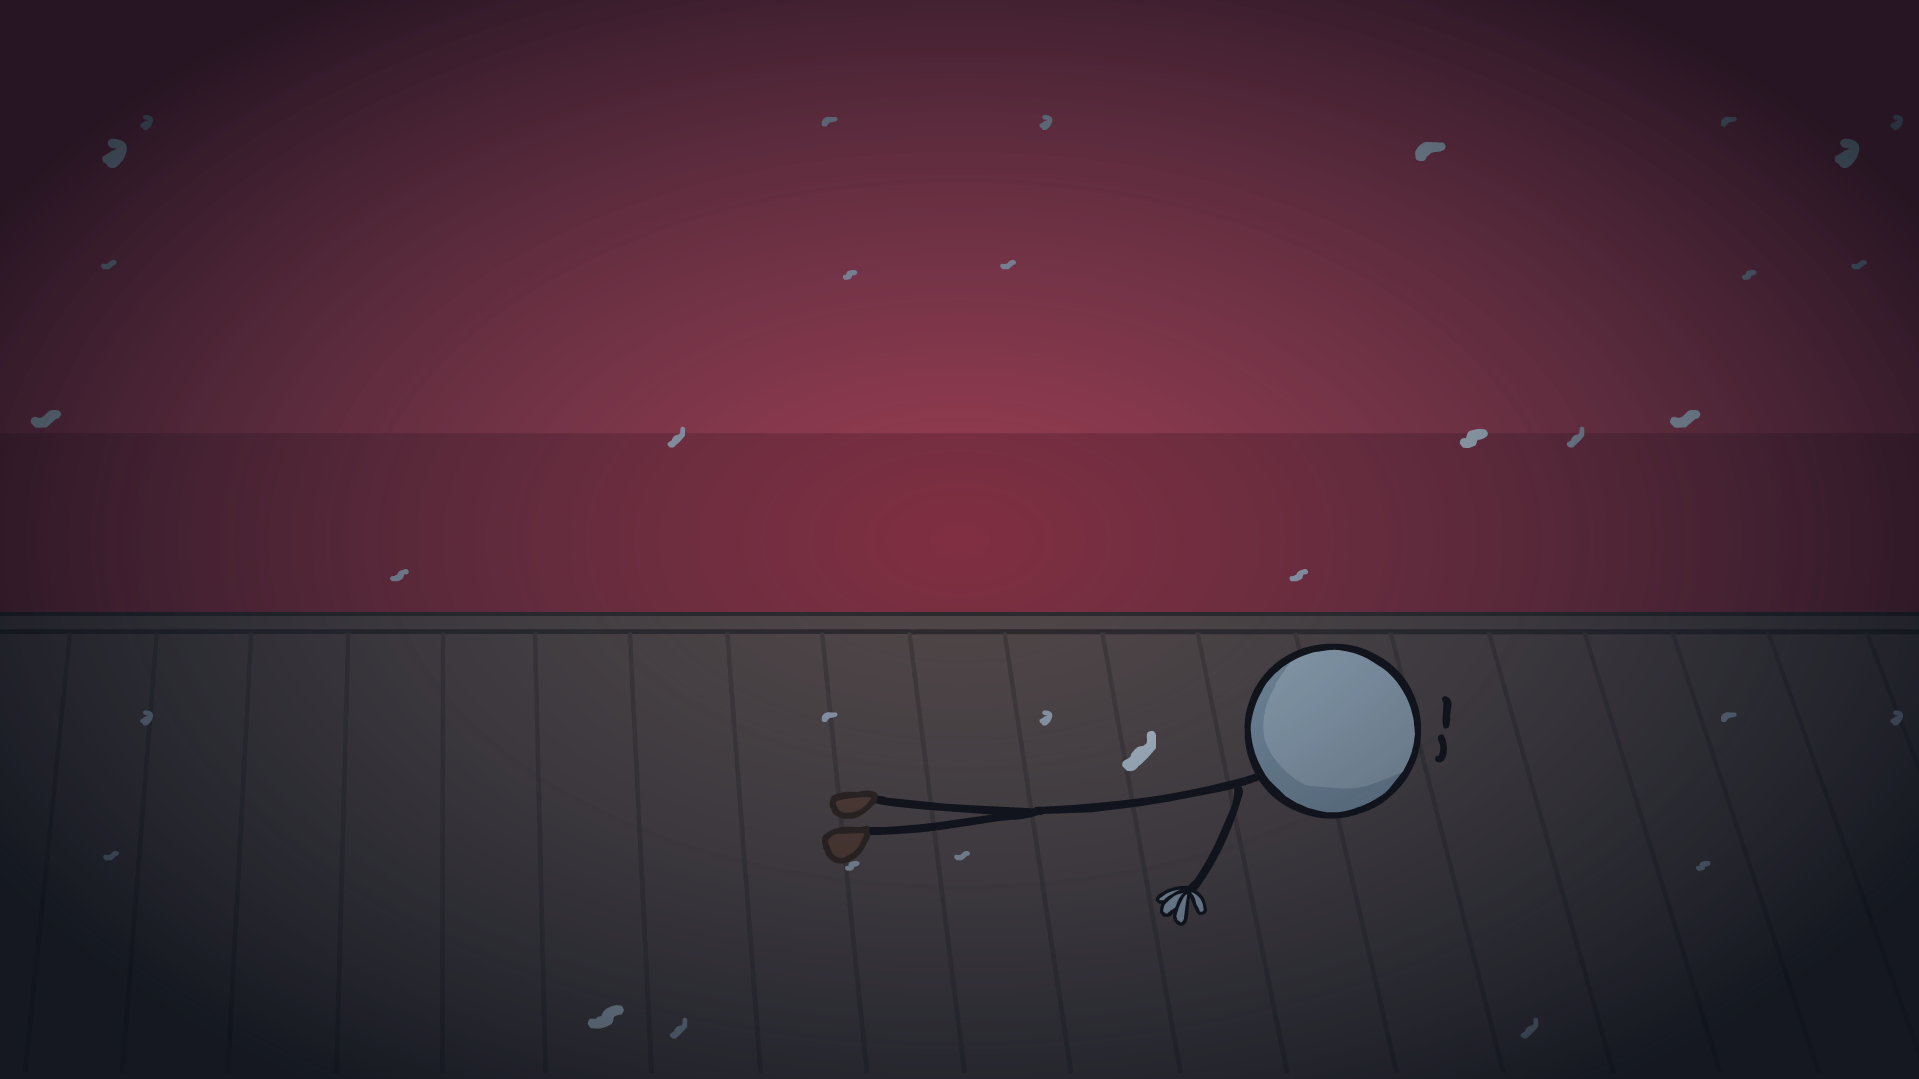
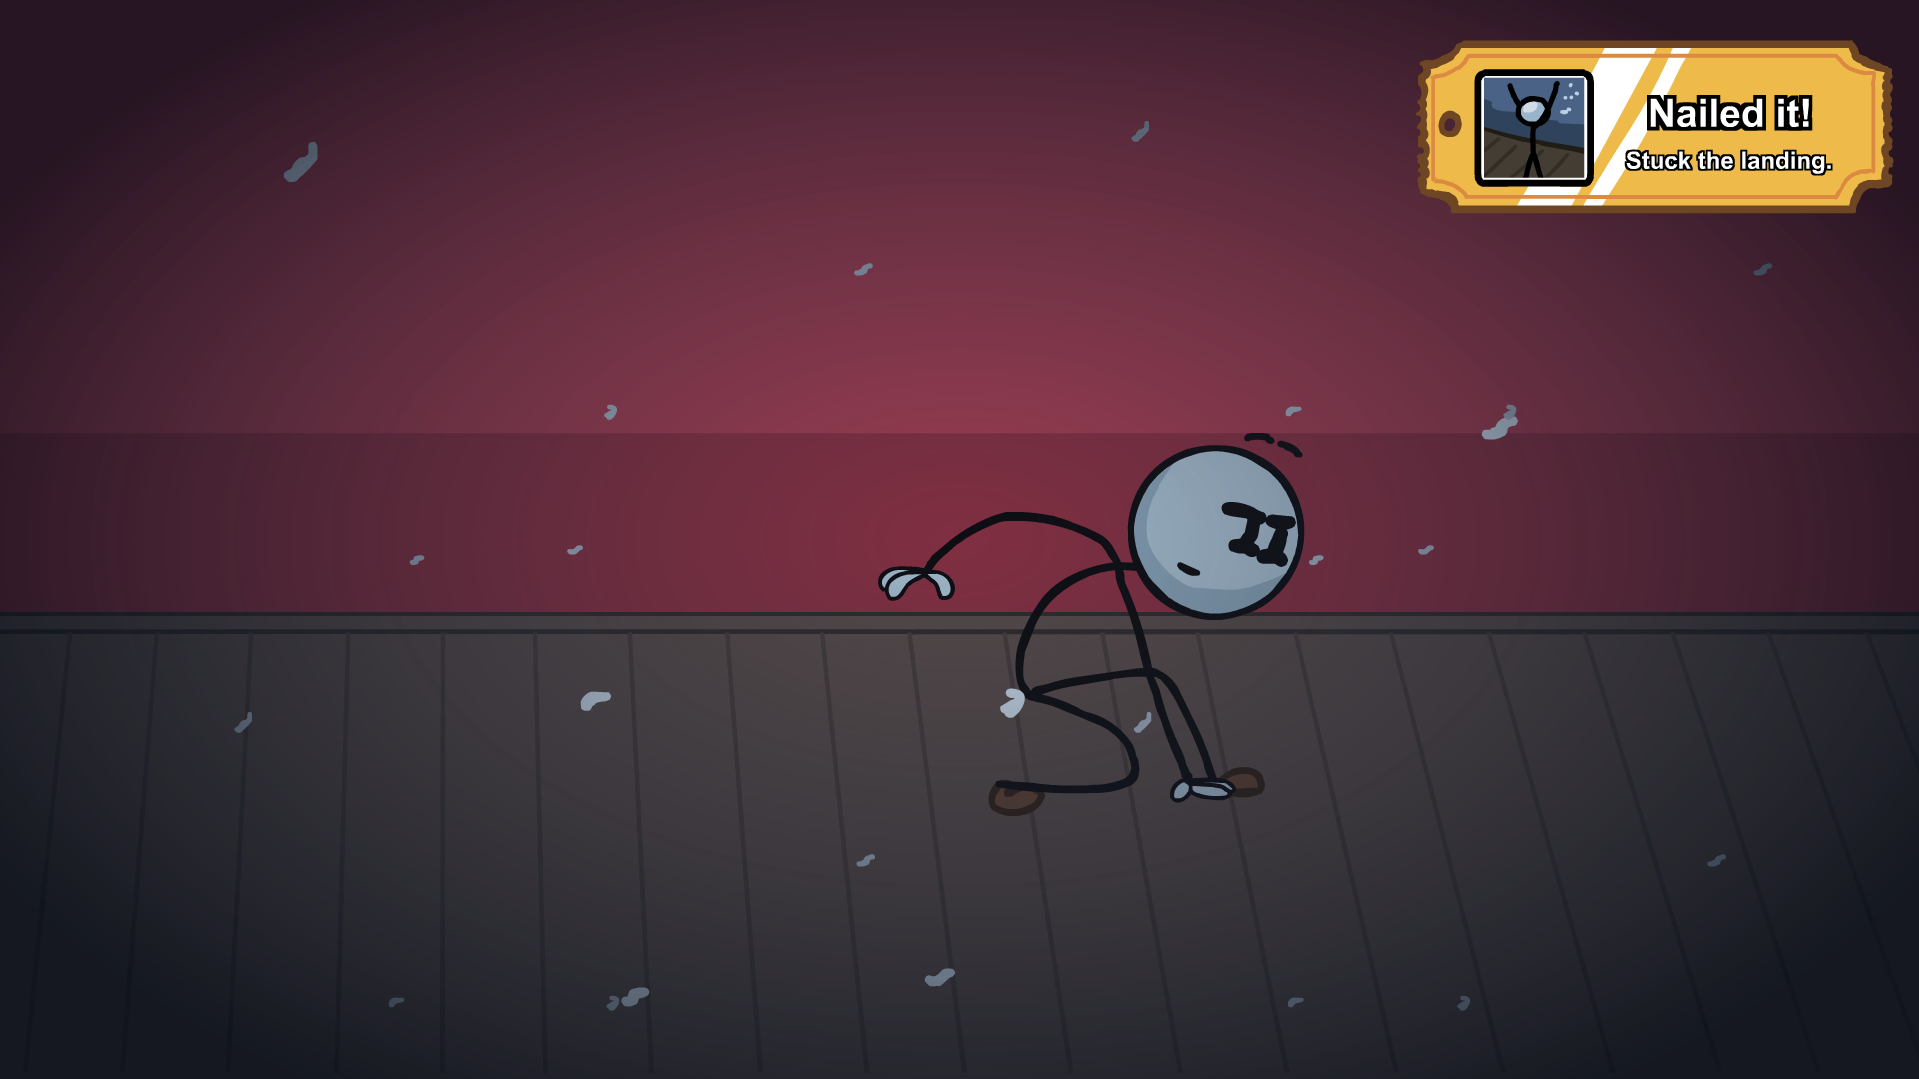
 Stuck the landing.
You need to click where Henry is about to land to prevent him from plummeting his face into floor.
I recommend spamclicking.
In Outside Security (Solo), choose Power Jump and torture floor to catch Henry.
In Bowels of the Complex, choose Helium and wait Henry with your mouse near boxes in Docks.
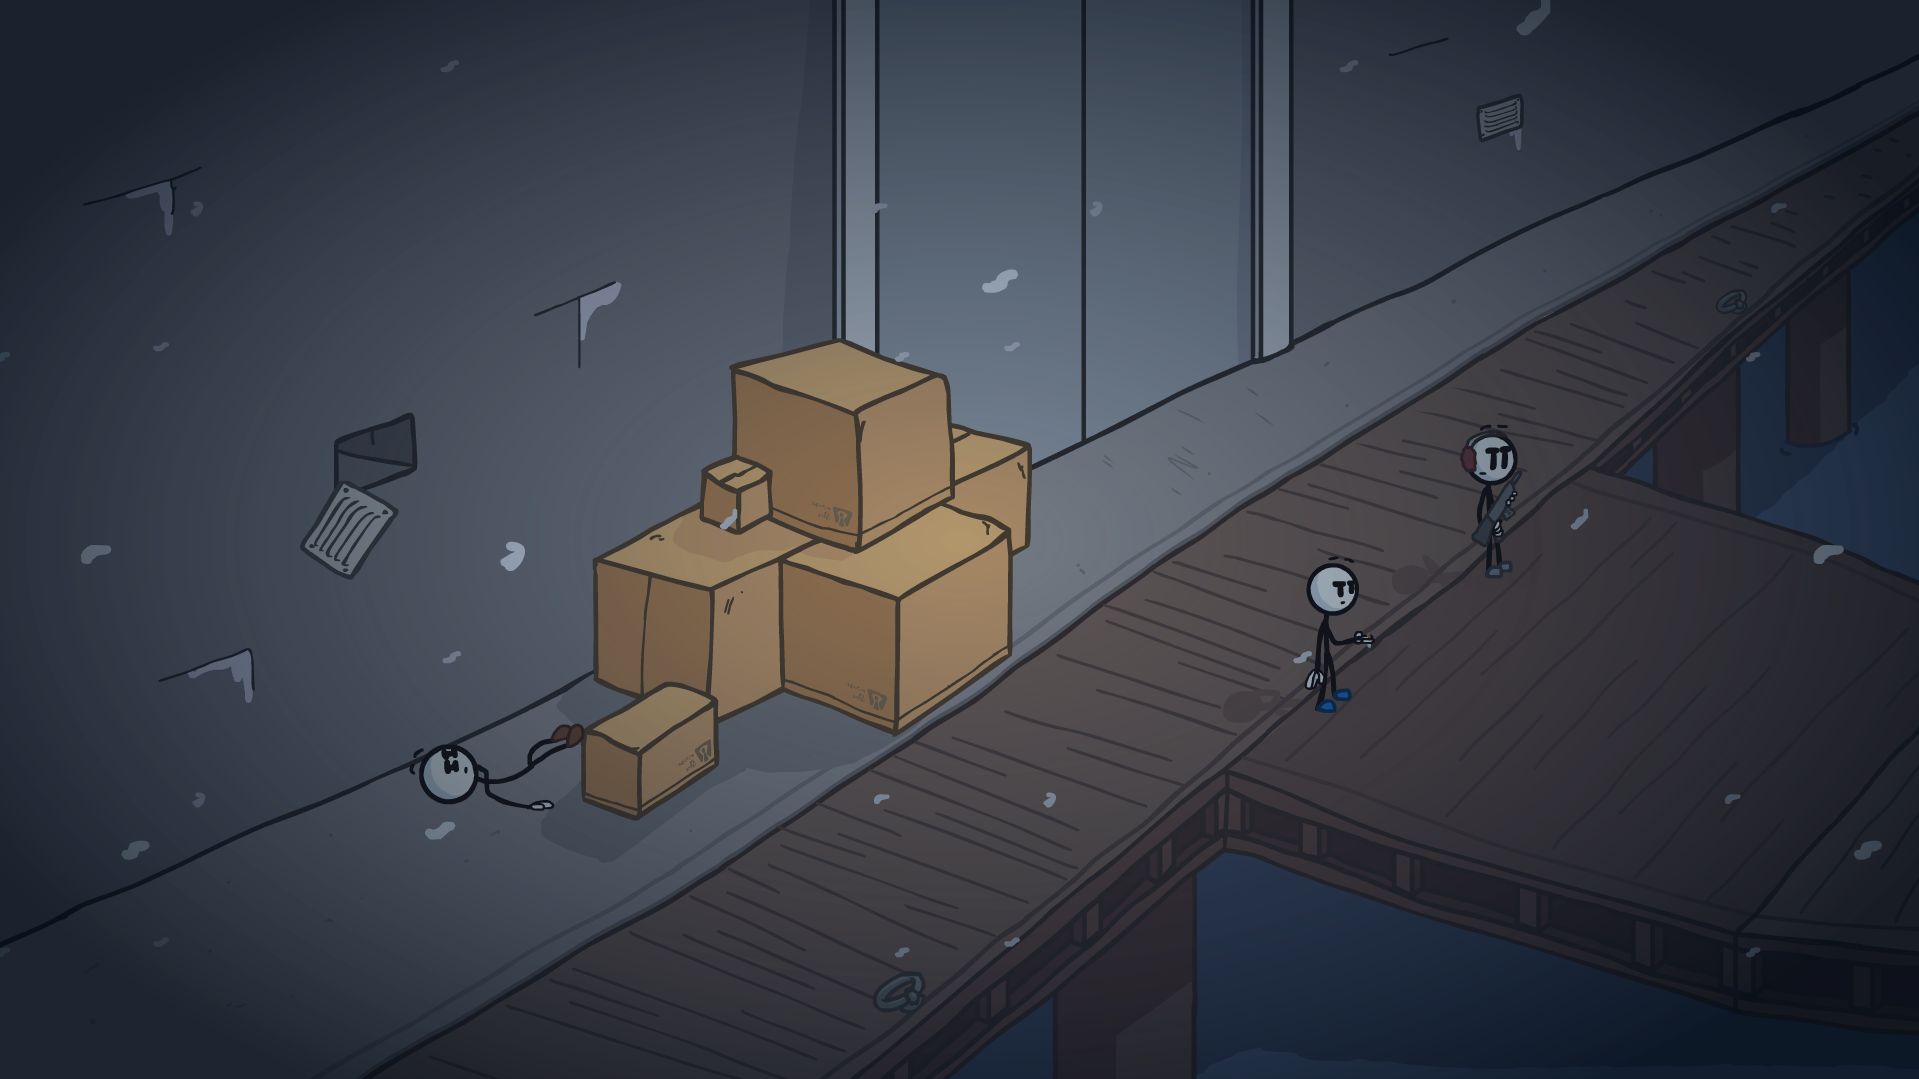
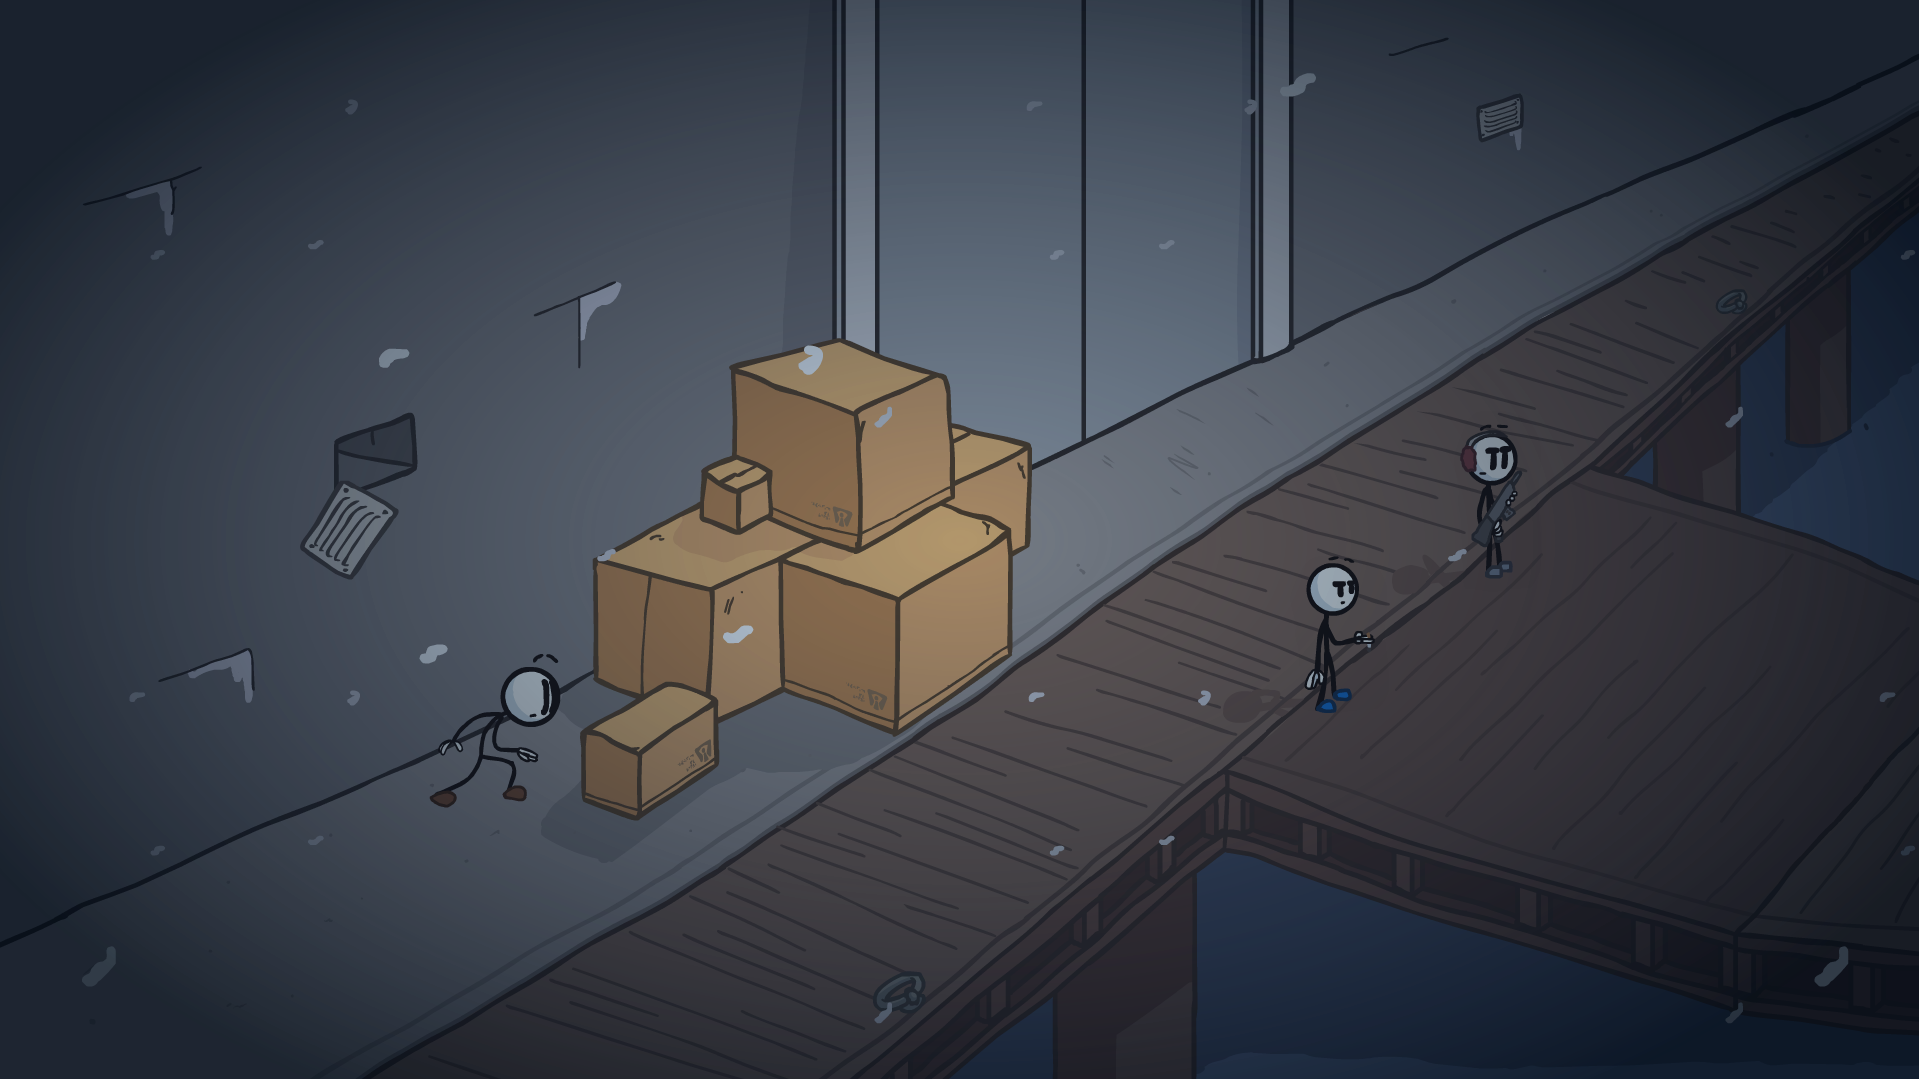
In Docks, choose Leaf and get the achivment.
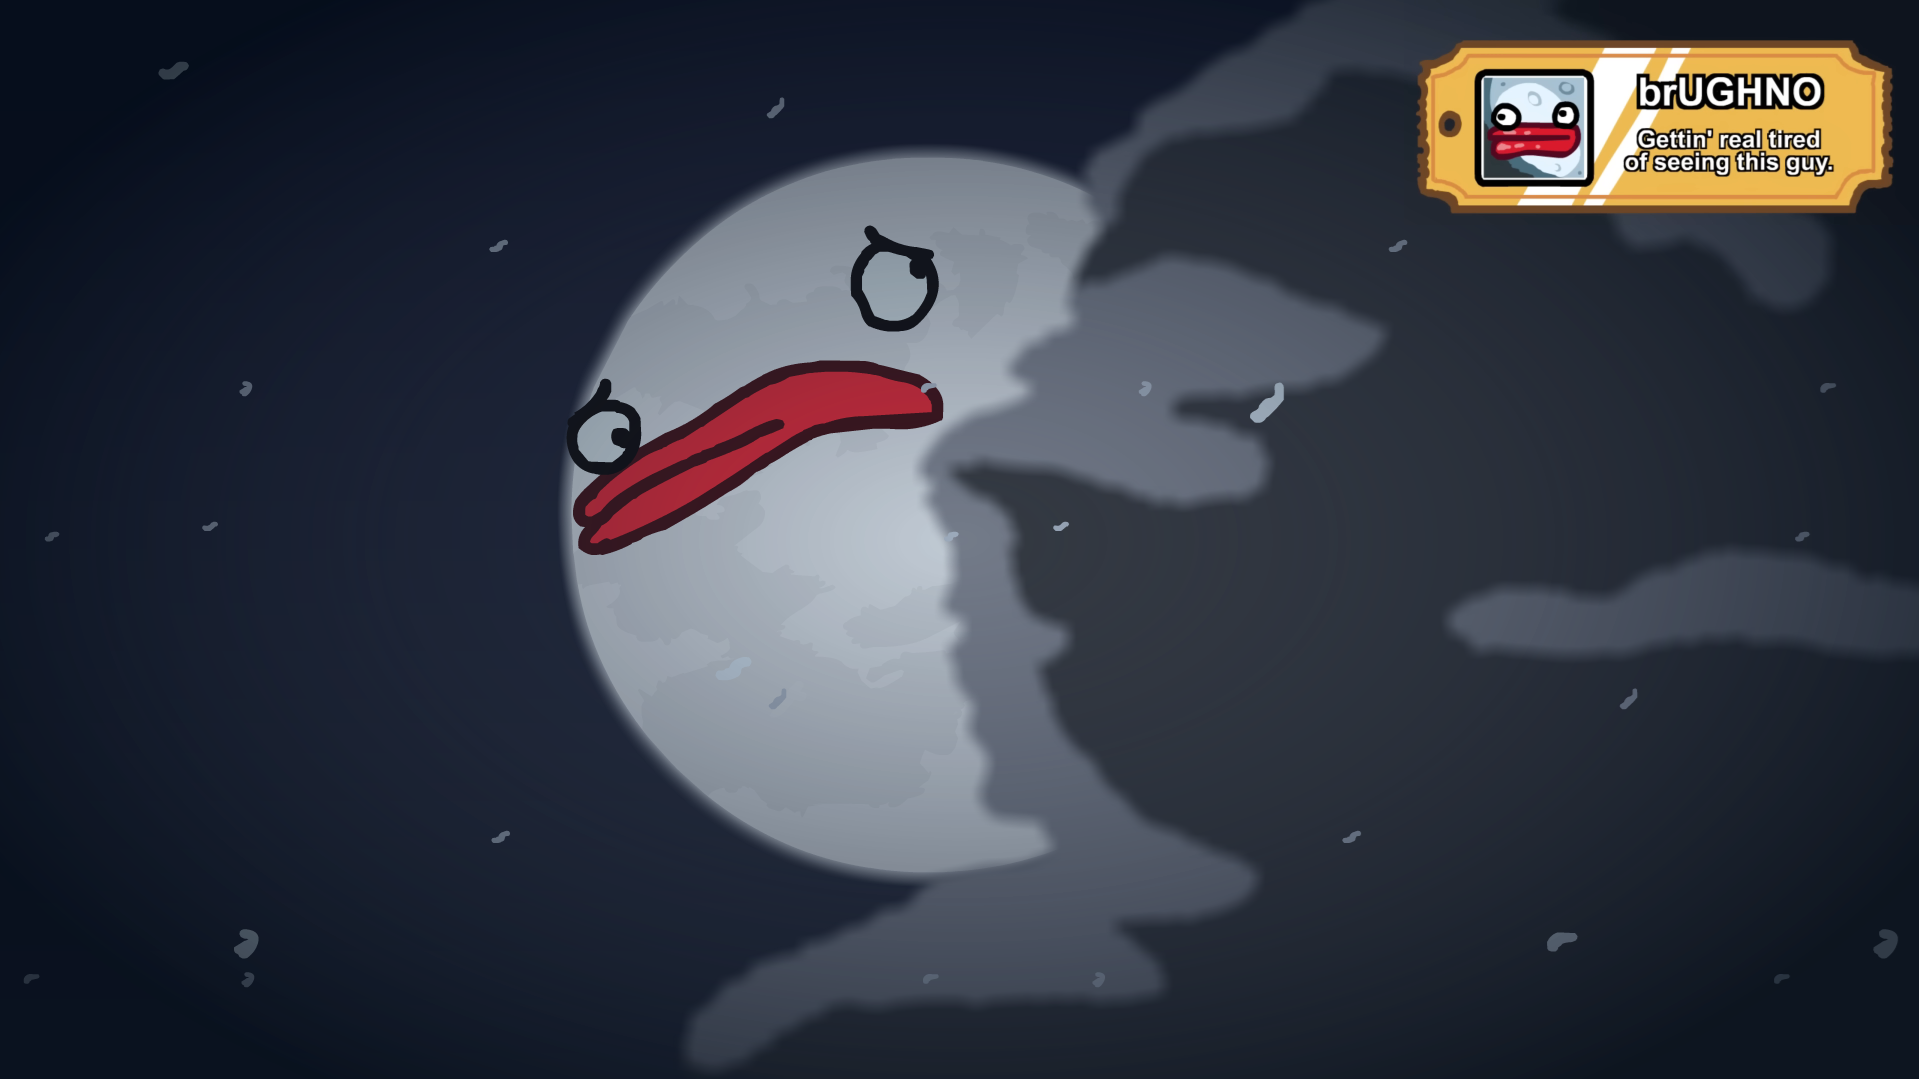
 Gettin' real sick of seeing this guy.
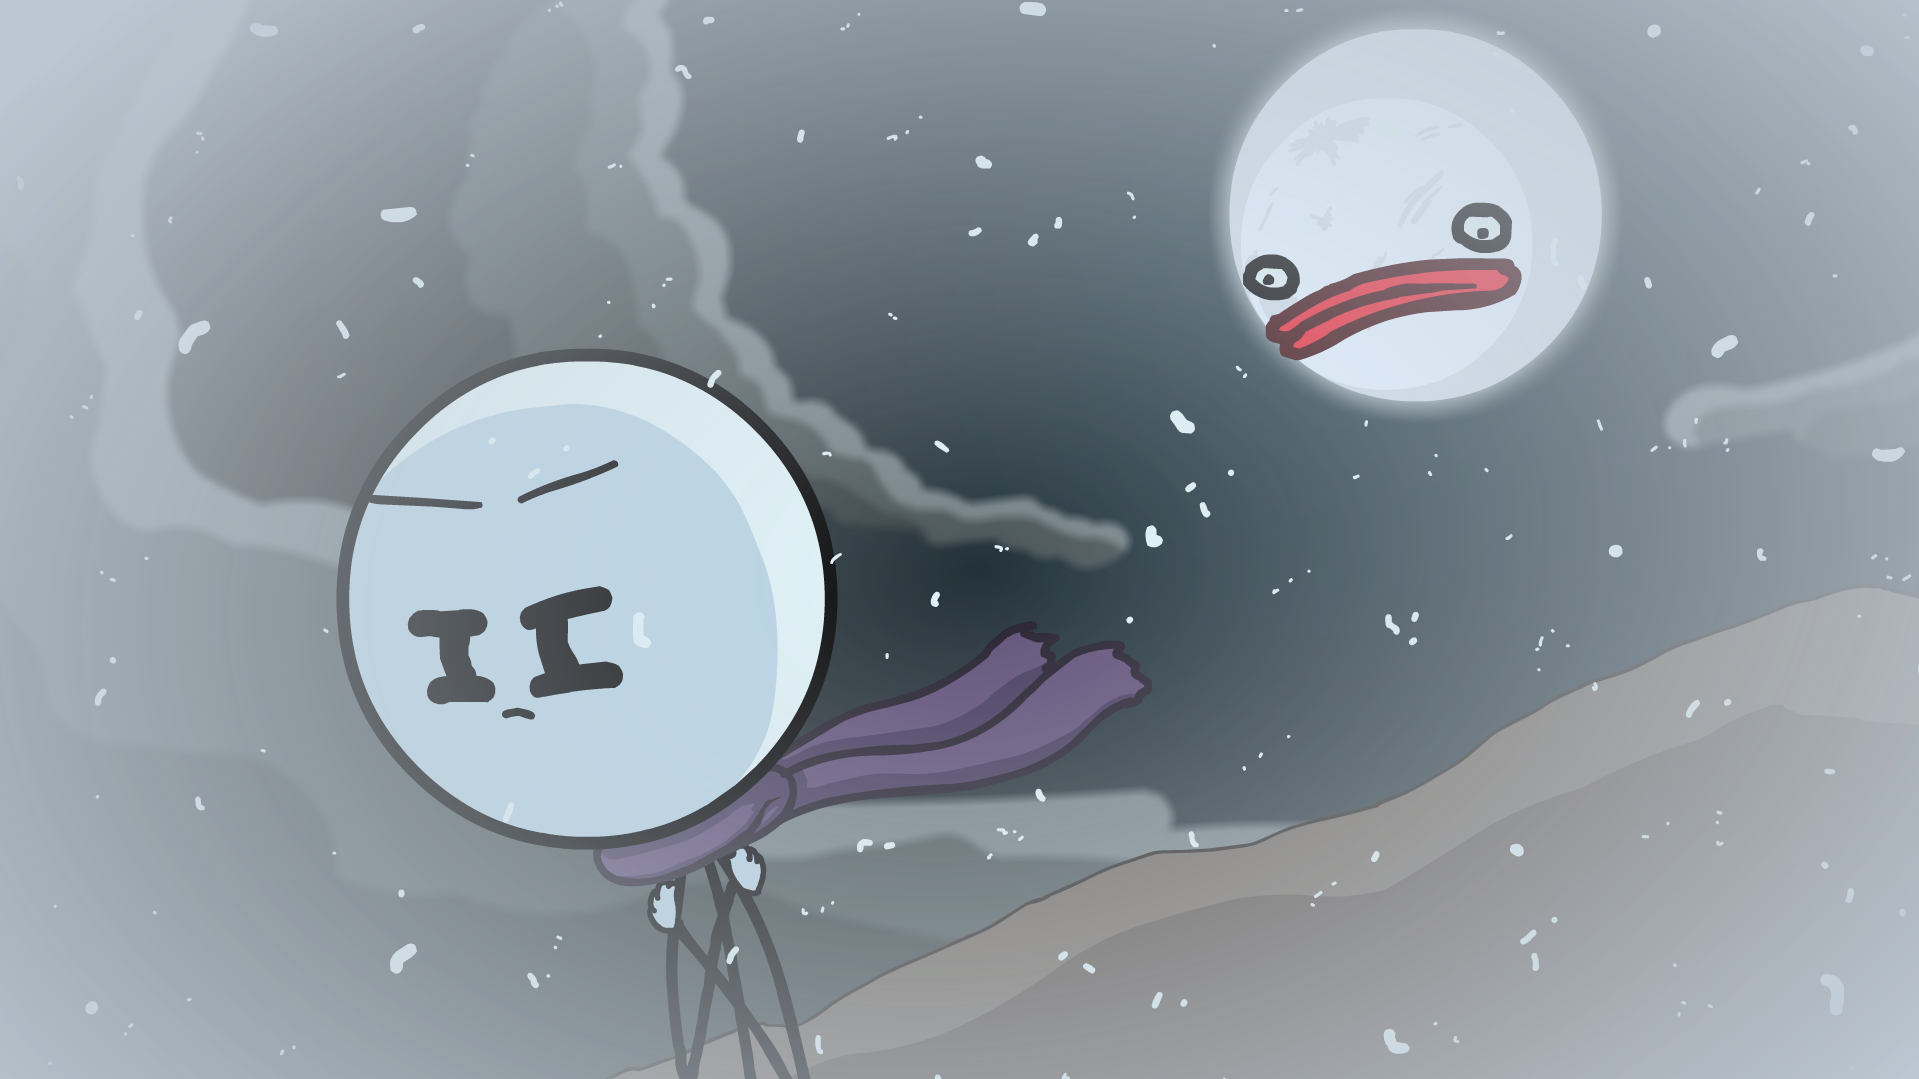
You need to find Shoop da Whoop 3 times in diffrent paths.
In Cliffside Wreck, choose nothing and click the moon in ending cutscene.
In Transfer Cells Blockade, choose Item and spamclick for the watermelon to appear.
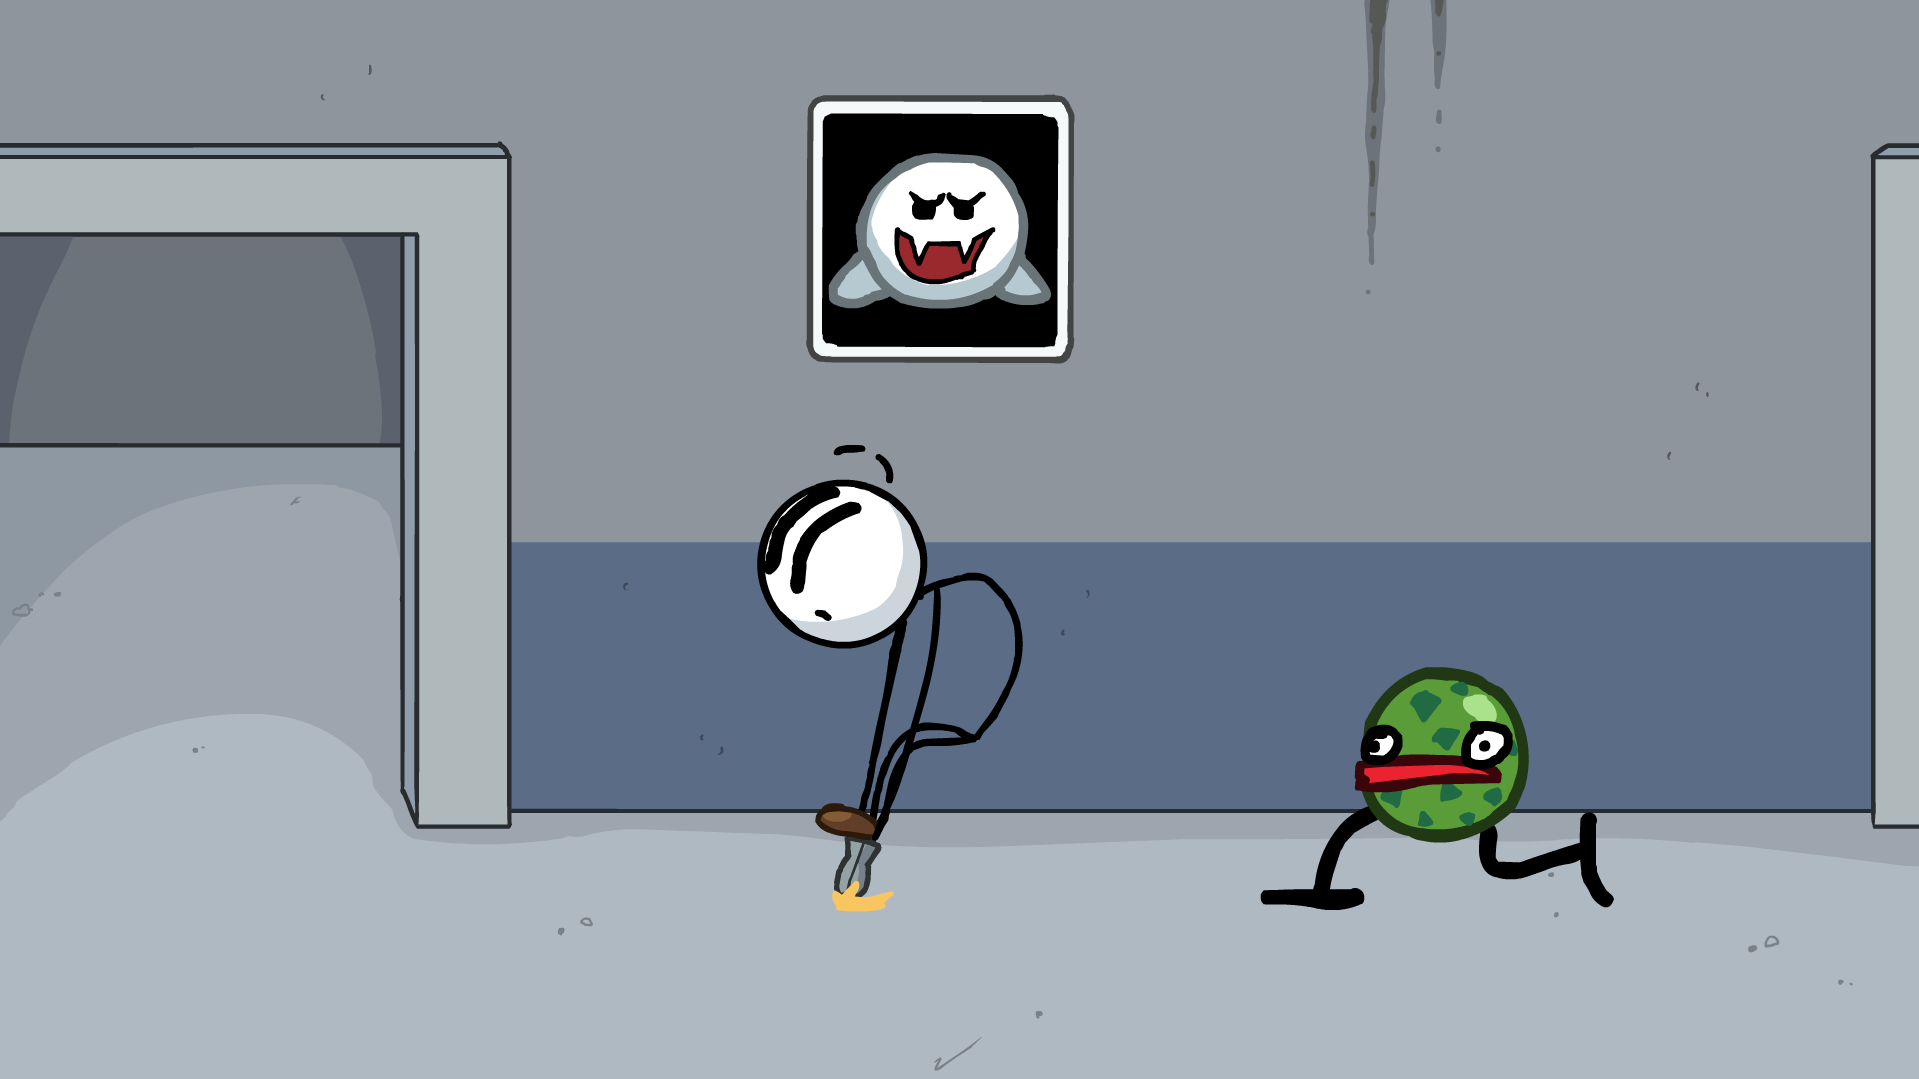
In Docks, choose Shadozer and spamclick for th watermelon to appear.
 *LOUD SOUNDS*
In Hallway Standoff, choose Sniper Rifle and Crossbow. Then click failure message to get an achivment.
 Where is he?
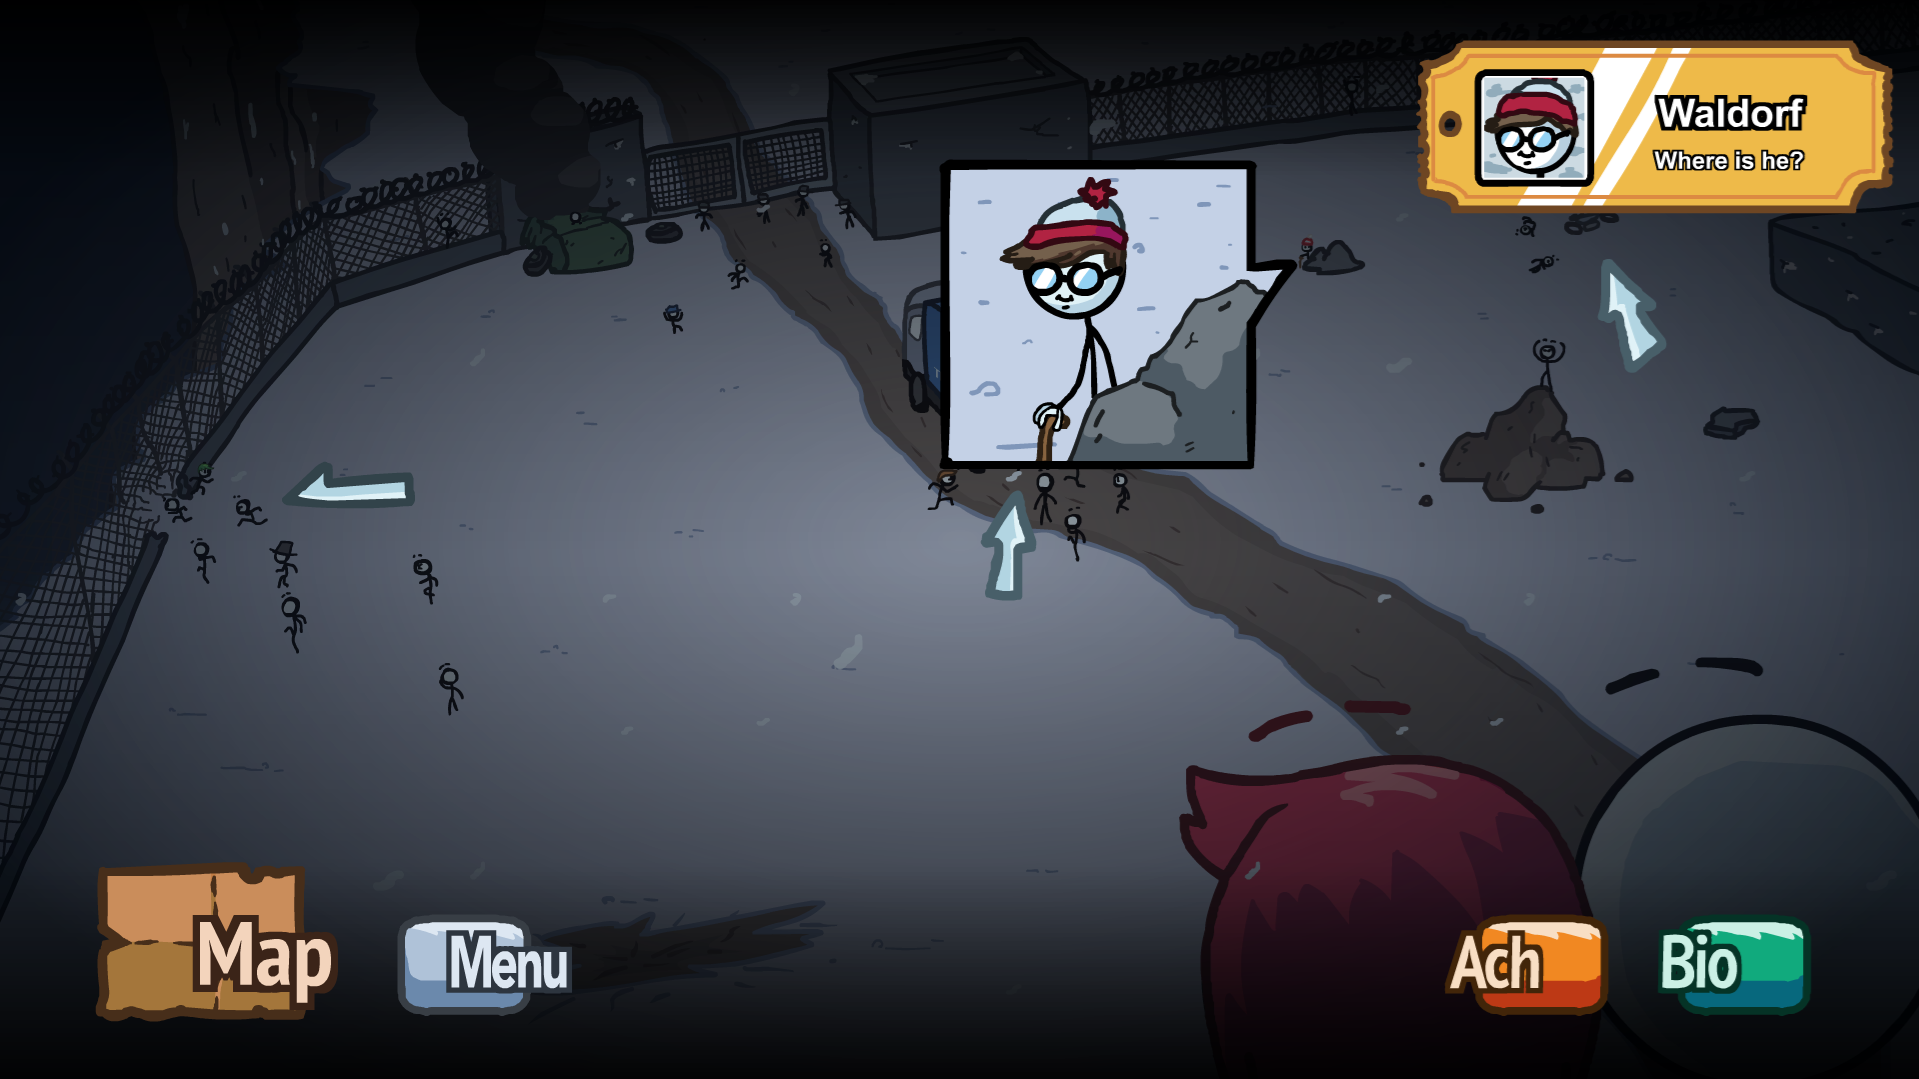
In The Yard (Escape Route), click person behind the rock.
 aeiou
aeiou
In Bowels of the Complex, choose Plunger Boots and keep clicking on failure message till you get an achivment.
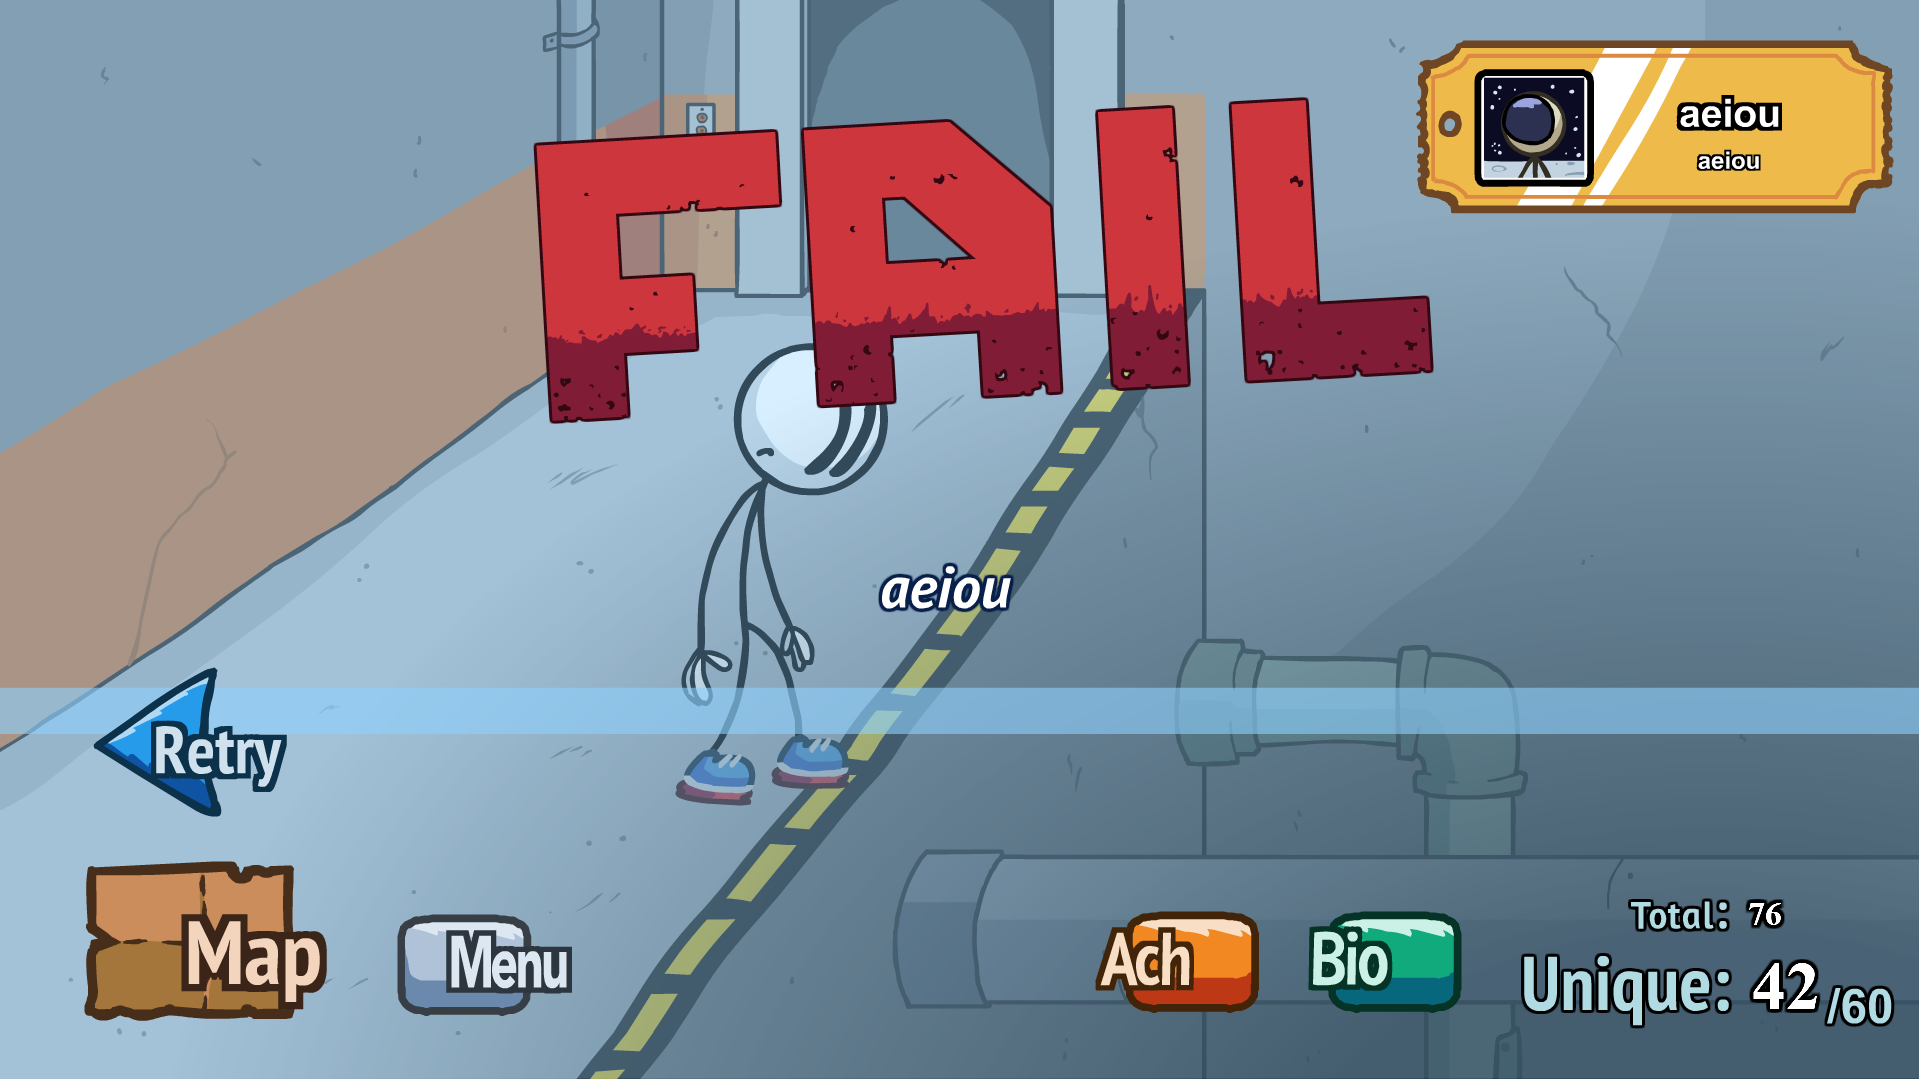
 That was over 100 Haunted.
In The Yard (Tactical), choose Building.
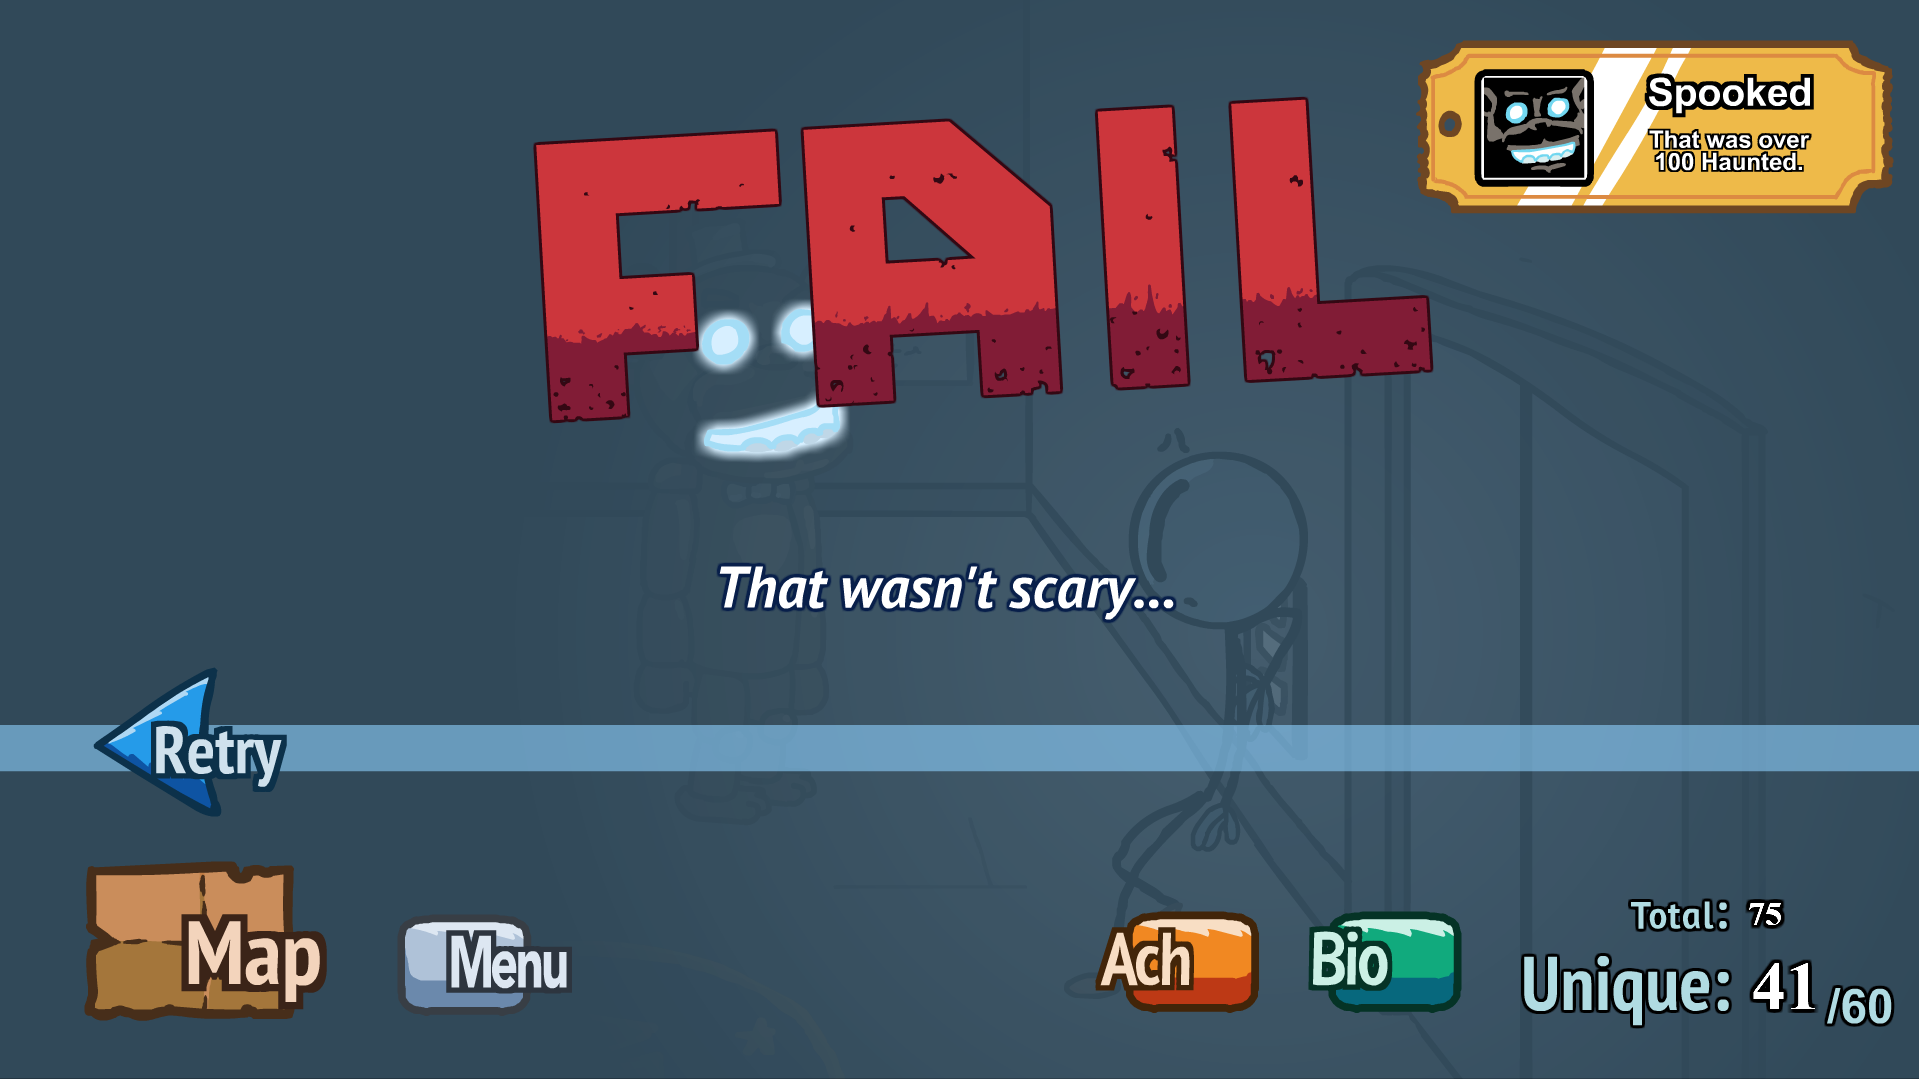
 It's easy.
In Airship, choose Slingshot.
Be carefull near Menu button. Wait when it tells you "Don't click this button"
Completing the Mission (CtM)
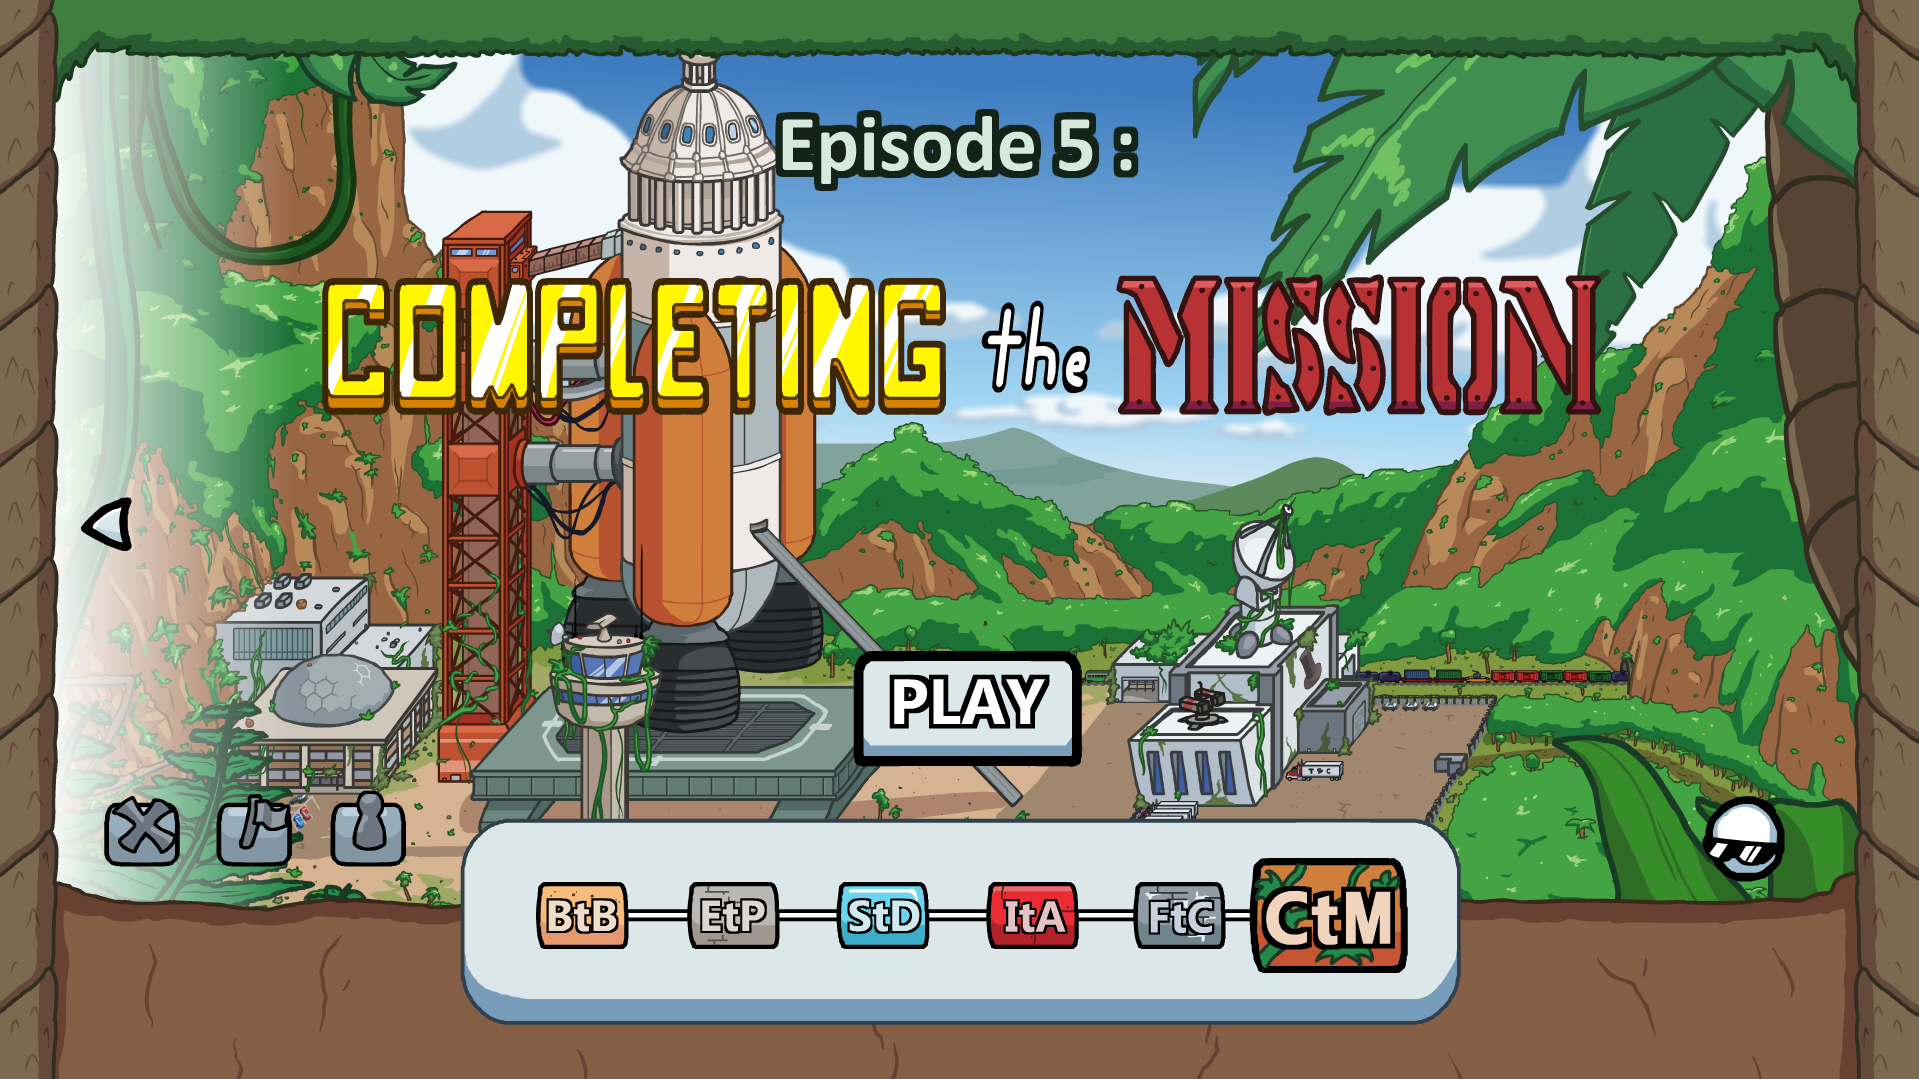
Wheather being sided with crime or not - Henry got out of chilly attitude of the Wall. Now's the time to reorganise insides of Toppat Clan (weather that being destruction or new leadership).
This part have:- 164 Fails
- 27 Achivments
- 222 Bios
ᅠCtM - Gold Achivments:

Achieve the Ending: TK.
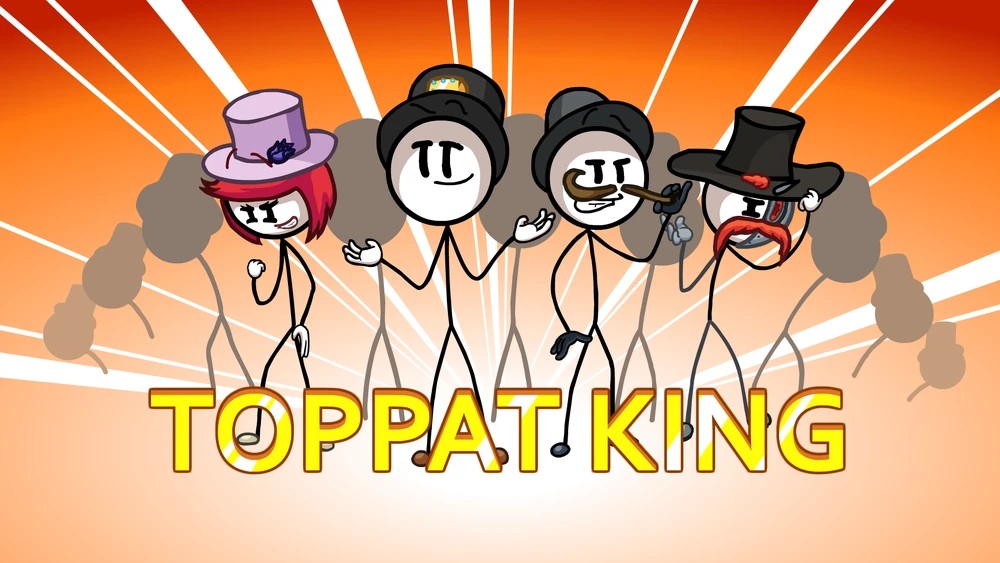
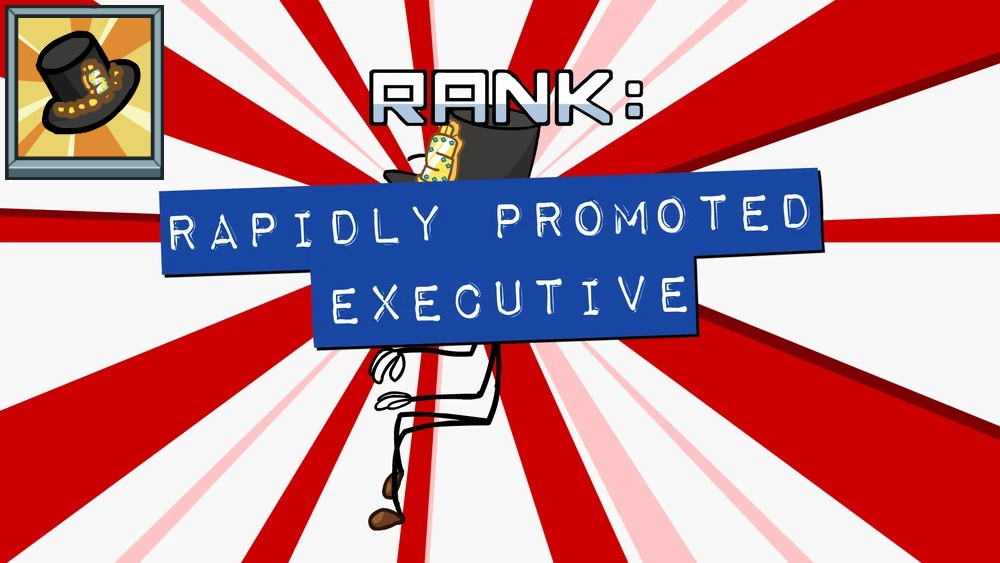 ᅠ
ᅠ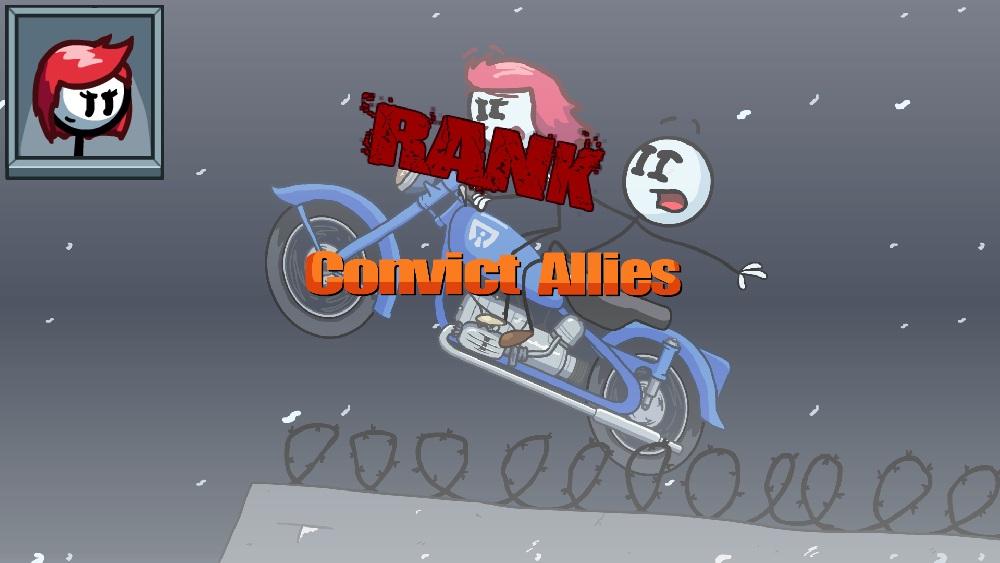 To achive Toppat King choose in this order:
- Wrist Strapped Grapple Hook
- Mounted Gun
- Flute
- Duel Tech
- Henry
- Abandoned Tank

Achieve the Ending: CeO.
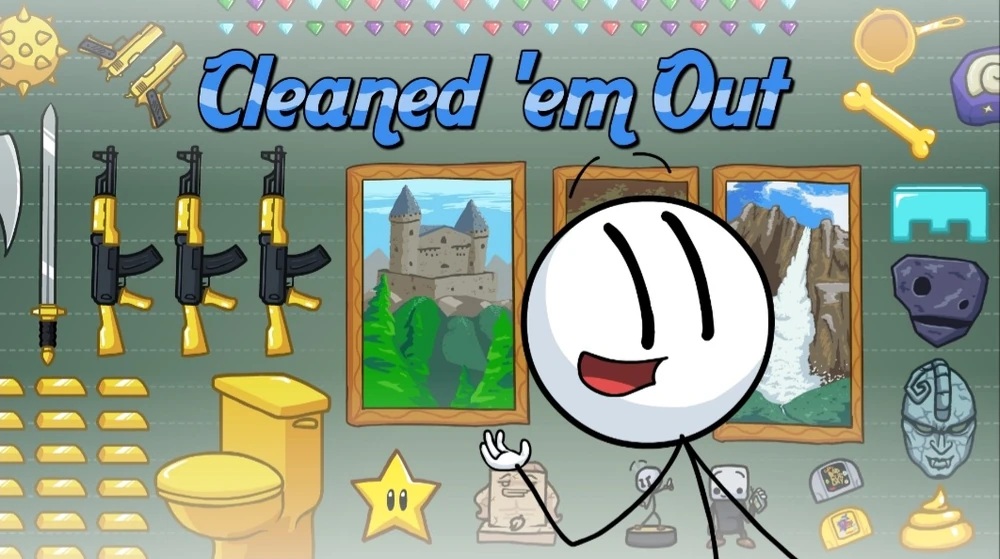
 ᅠ
ᅠ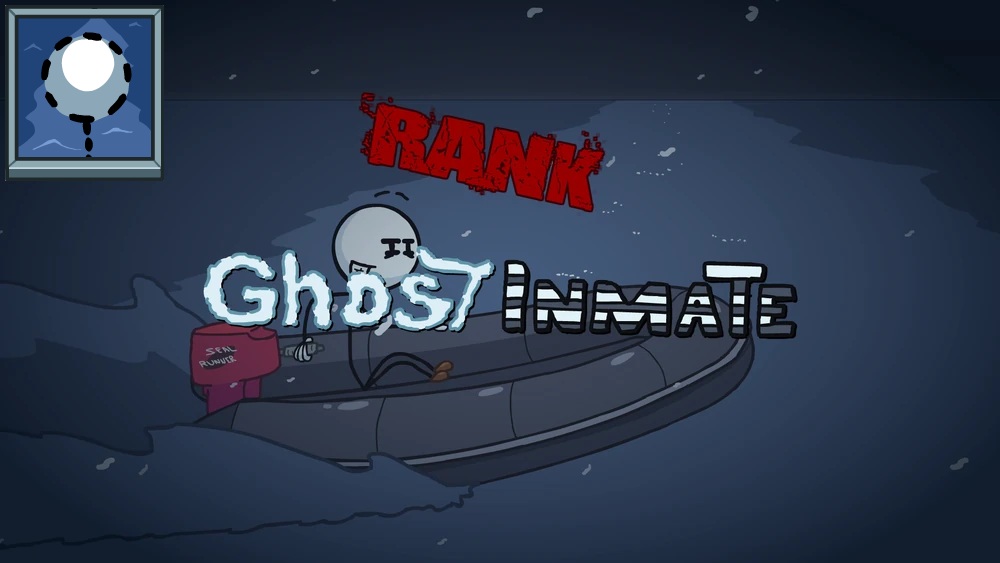 To achive Cleaned 'em Out choose in this order:
- Magic Hat
- Window
- Free Transform
- SuccPak

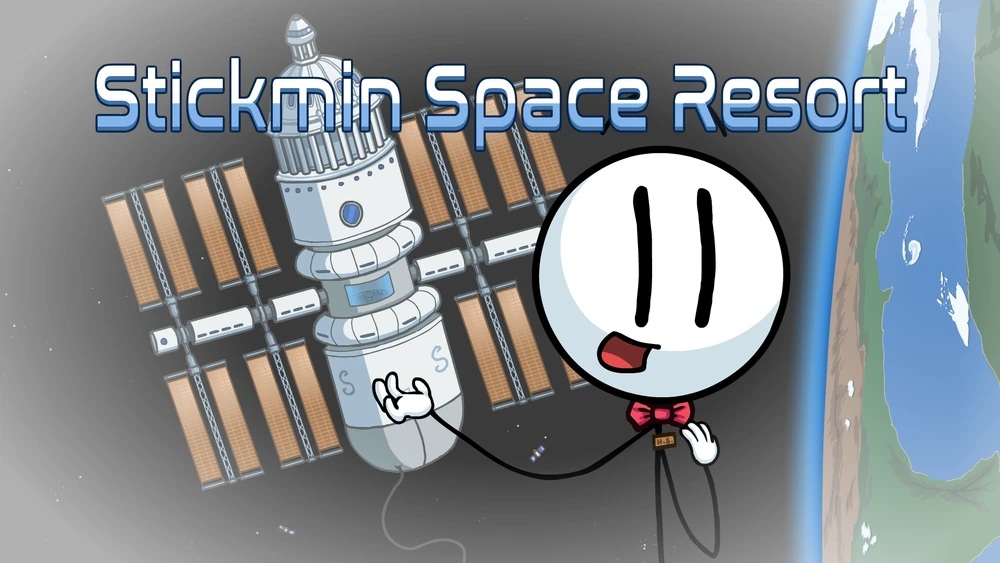
Achieve the Ending: SSR.
 ᅠ
ᅠ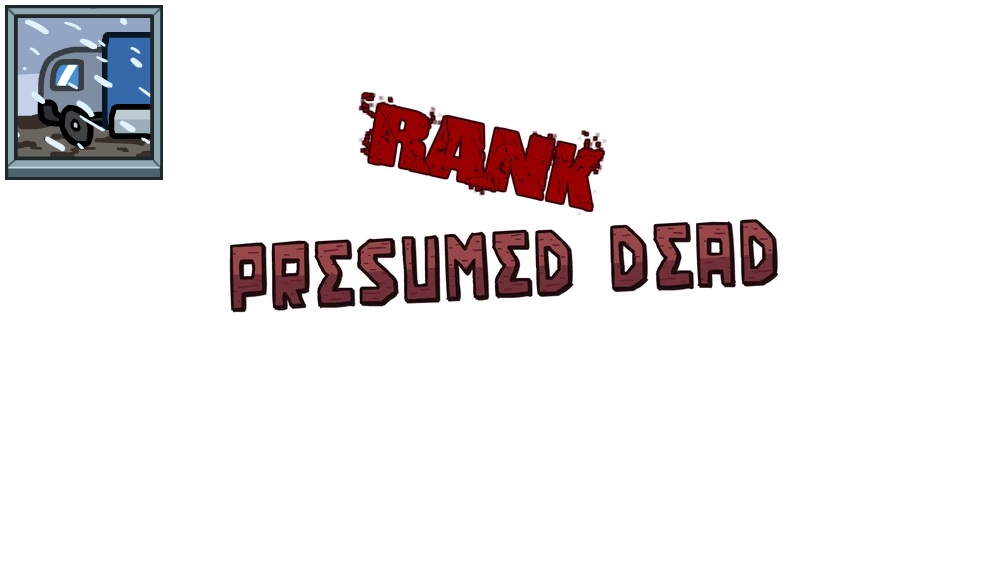 To achive Stickmin Space Resort choose in this order:
- Stop
- No Option
- Spiked Wheels
- Rightmost Hammer
- Precision Shot

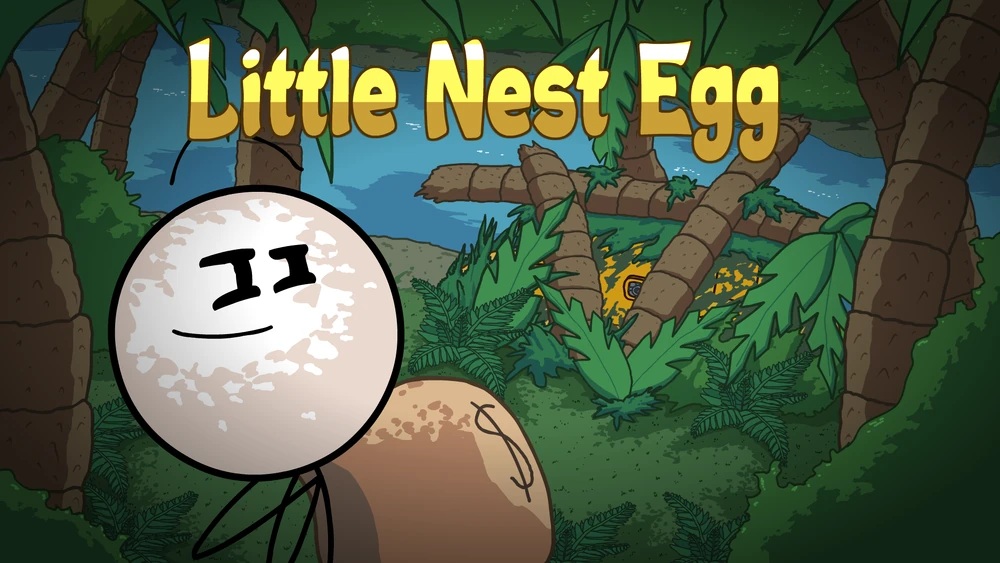
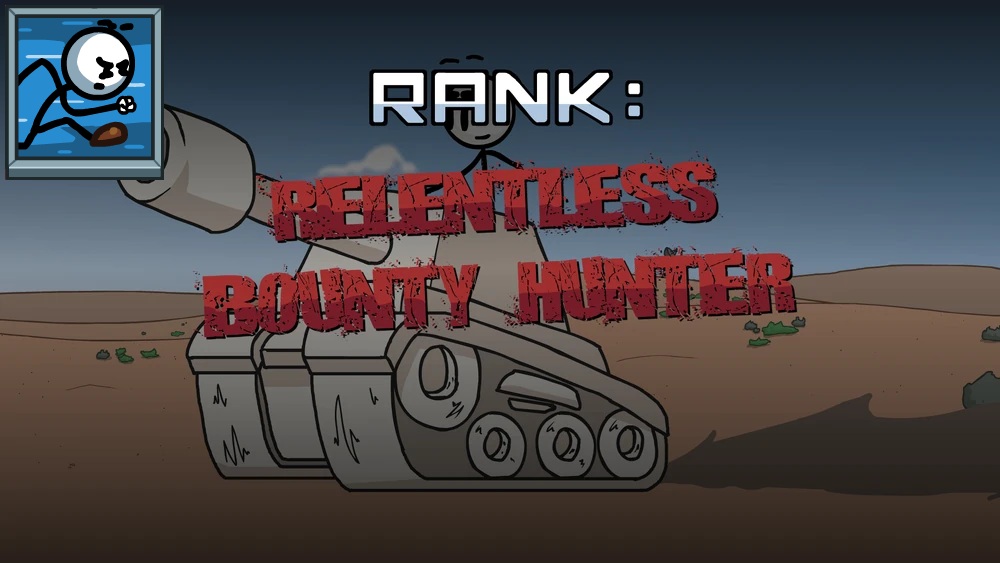
Achieve the Ending: LNE.
 ᅠ
To achive Little Nest Egg choose in this order:
ᅠ
To achive Little Nest Egg choose in this order:- Plow
- Agility
- Item, then Mirror
- By Sea

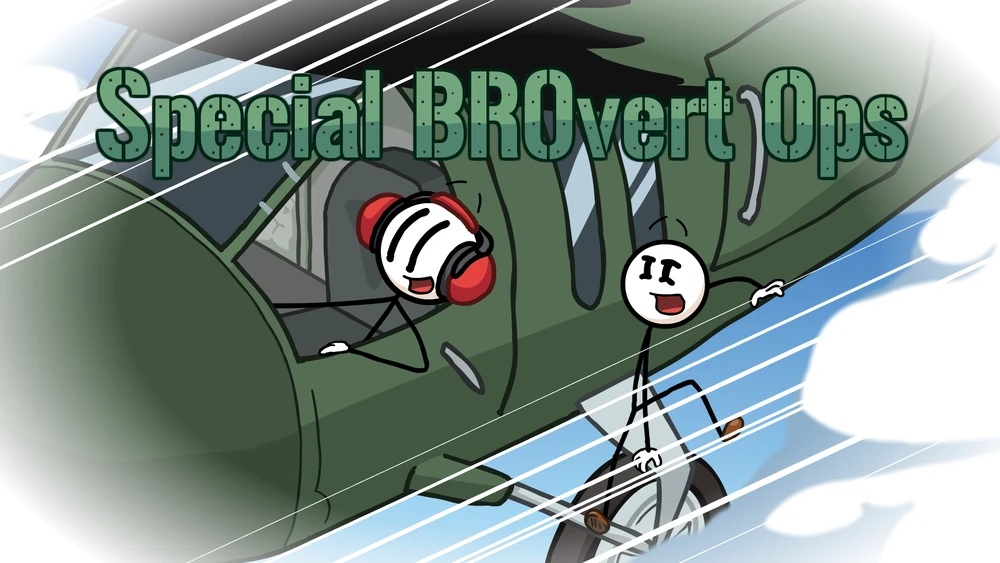
Achieve the Ending: SBO.
 ᅠ
ᅠ To achive Special BROvert Ops choose in this order:
- Drawing
- Trapeze
- Remote Toppat
- Red Herring
- Swapper
- Horn

Achieve the Ending: MBH.
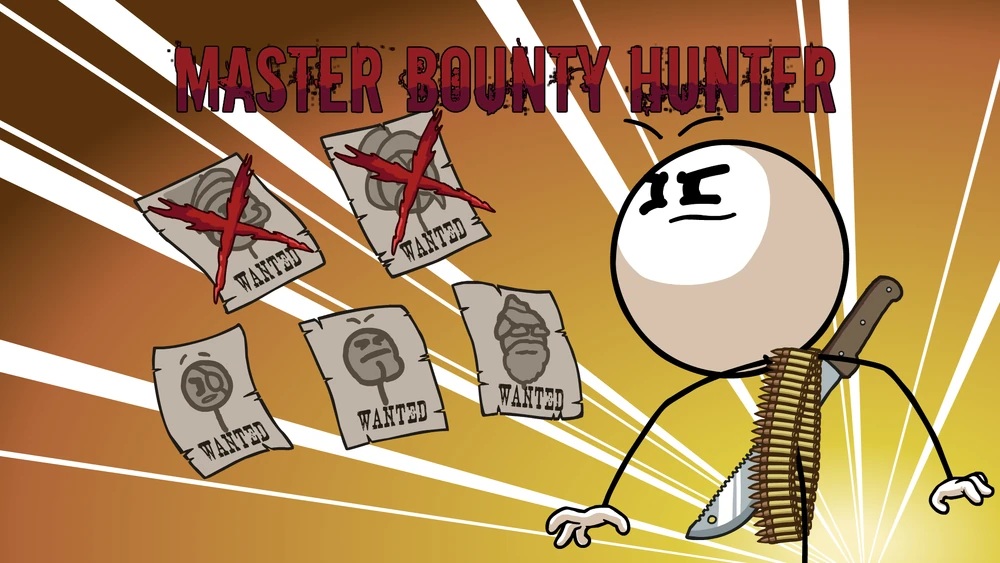 ᅠ
To achive Master Bounty Hunter choose in this order:
ᅠ
To achive Master Bounty Hunter choose in this order:- Convert
- Suppressing Fire
- Cheap Fighting Combo
- Ocarina

Achieve the Ending: JB.
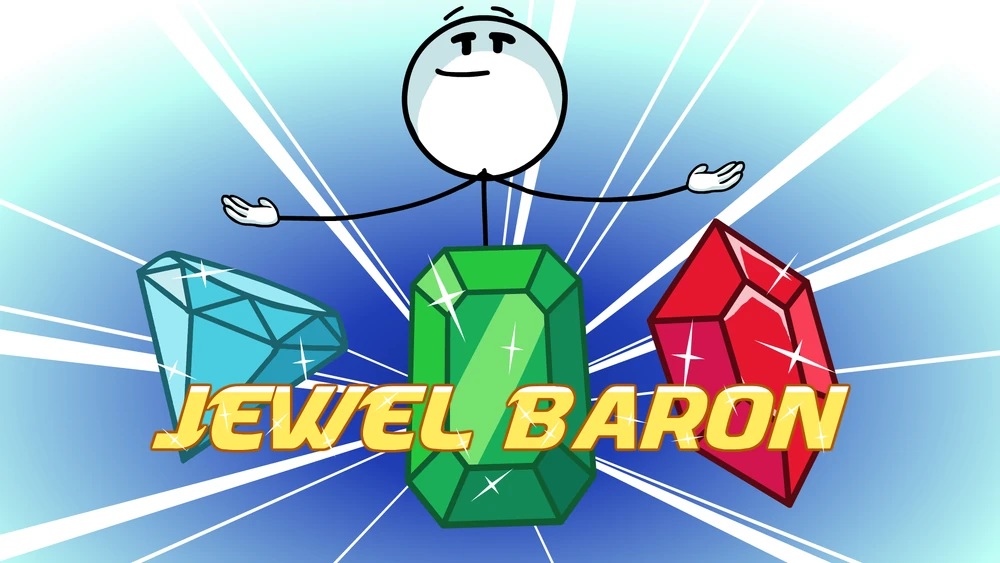 ᅠ
To achive Jewel Baron choose in this order:
ᅠ
To achive Jewel Baron choose in this order:- Mosquito Mode
- Teleporter
- Open
- Yell
- Grow 'n Shrink

Achieve the Ending: VH.
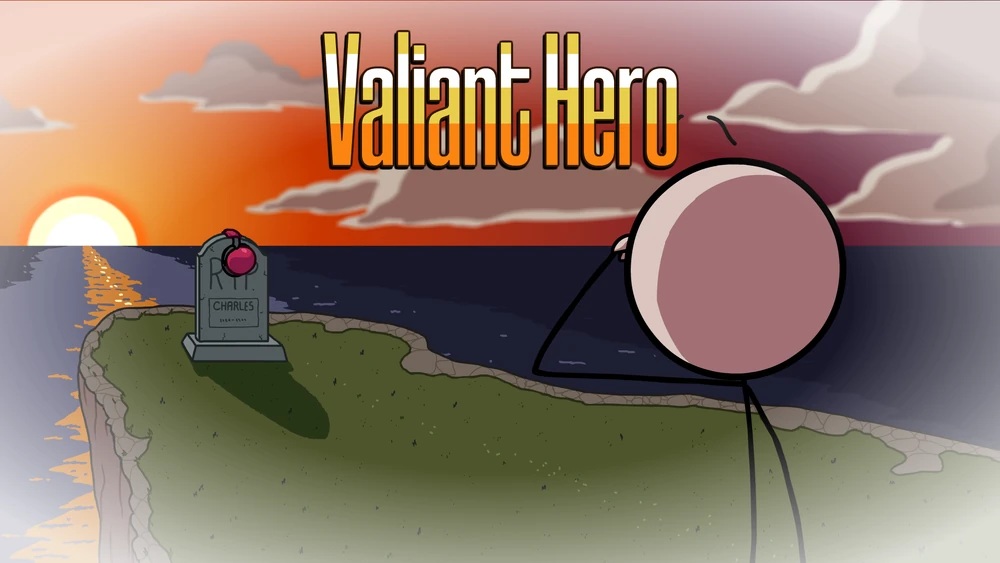 ᅠ
To achive Valiant Hero choose in this order:
ᅠ
To achive Valiant Hero choose in this order:- Trash Ball
- Charles
- Vent
- Escape Pod 33 (middle one)

Achieve the Ending: FM.
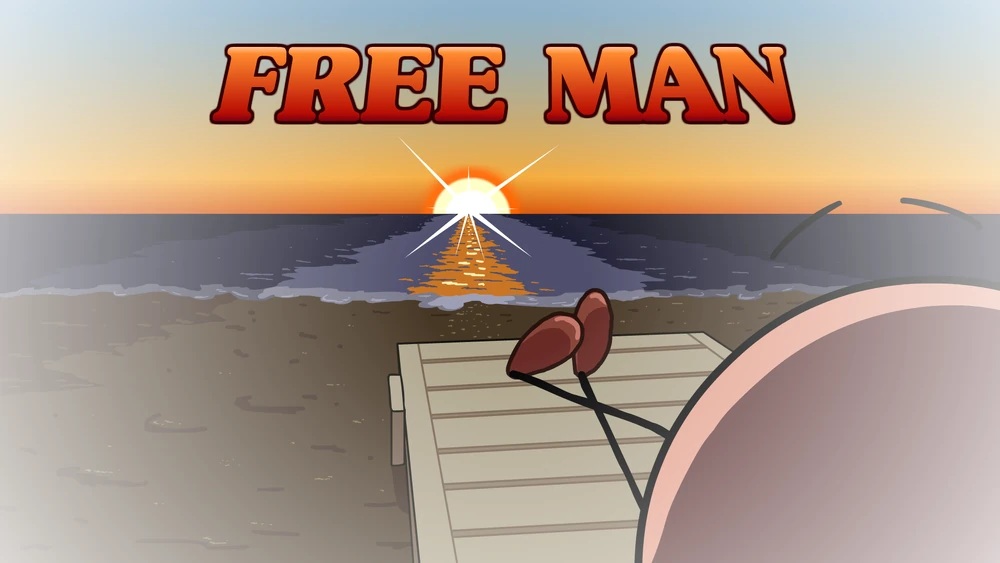 ᅠ
To achive Free Man choose in this order:
ᅠ
To achive Free Man choose in this order:- Magic Spell
- Metal Hat
- Pew Pew Gun
- Nano-Suit
- Max Gravity Boots
- Right option - Pod

Achieve the Ending: R.
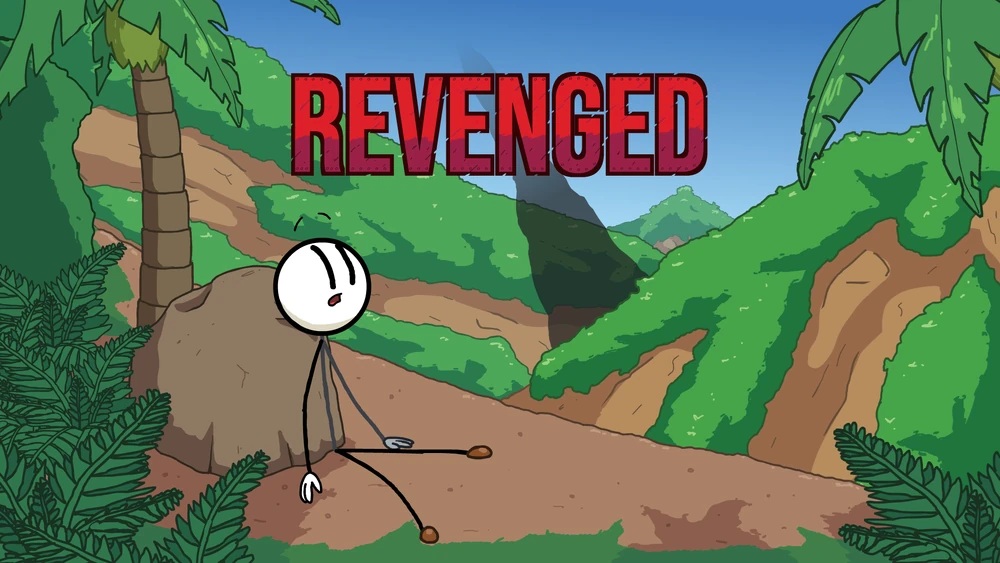 ᅠ
ᅠ To achive Revenged choose in this order:
- Blade Forme
- Y-Type Move
- Staple

Achieve the Ending: TCW.
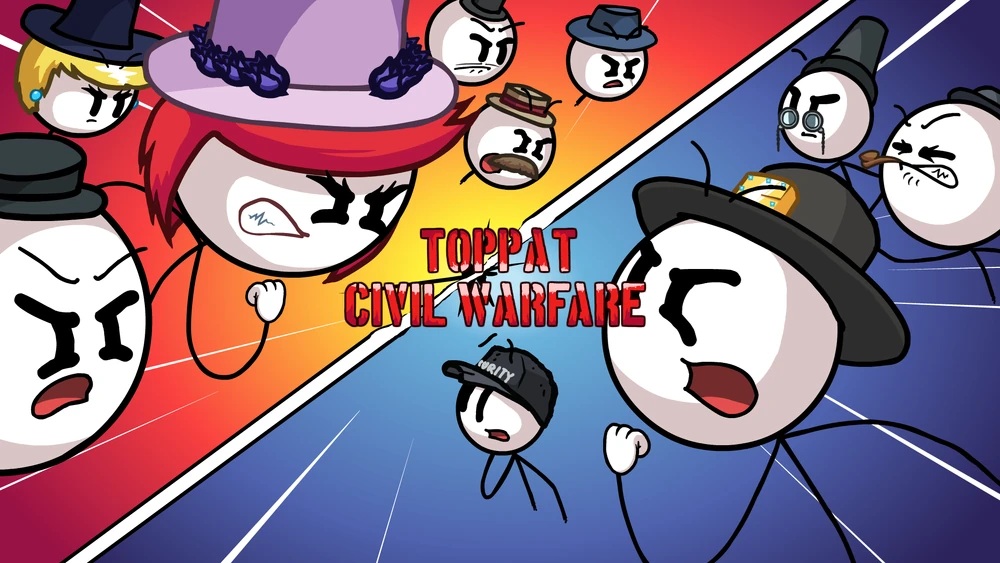 ᅠ
To achive Toppat Civil Warfare choose in this order:
ᅠ
To achive Toppat Civil Warfare choose in this order:- Helicopter Hat
- Dave
- Deuces!

Achieve the Ending: PP.
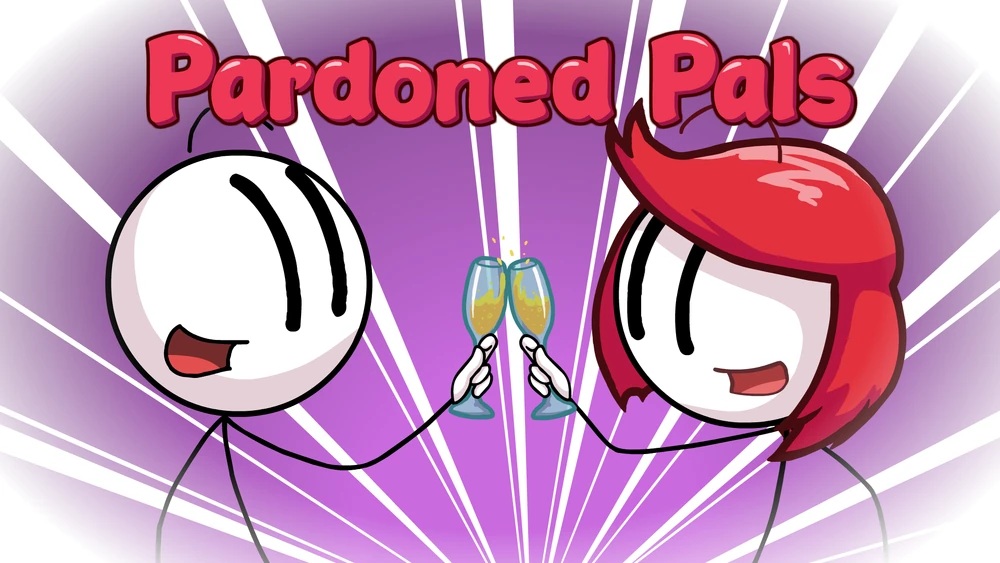 ᅠ
To achive Pardoned Pals choose in this order:
ᅠ
To achive Pardoned Pals choose in this order:- Rope and Wings
- Time Machine
- Block
- The Government

Achieve the Ending: TR.
 ᅠ
To achive Toppat Recruits choose in this order:
ᅠ
To achive Toppat Recruits choose in this order:- Rope and Wings
- Time Machine
- Block
- The Toppat Clan

Achieve the Ending: CG.
 ᅠ
To achive Capital Gains choose in this order:
ᅠ
To achive Capital Gains choose in this order:- Fire
- Fulton
- Wombo Combo

Achieve the Ending: T4L.
 ᅠ
To achive Toppat 4 Life choose in this order:
ᅠ
To achive Toppat 4 Life choose in this order:- Abuse Physics Engine
- Lagswitch
- Scrambler
- Fingerprint (Bottom Left)

Achieve the Ending: TT.
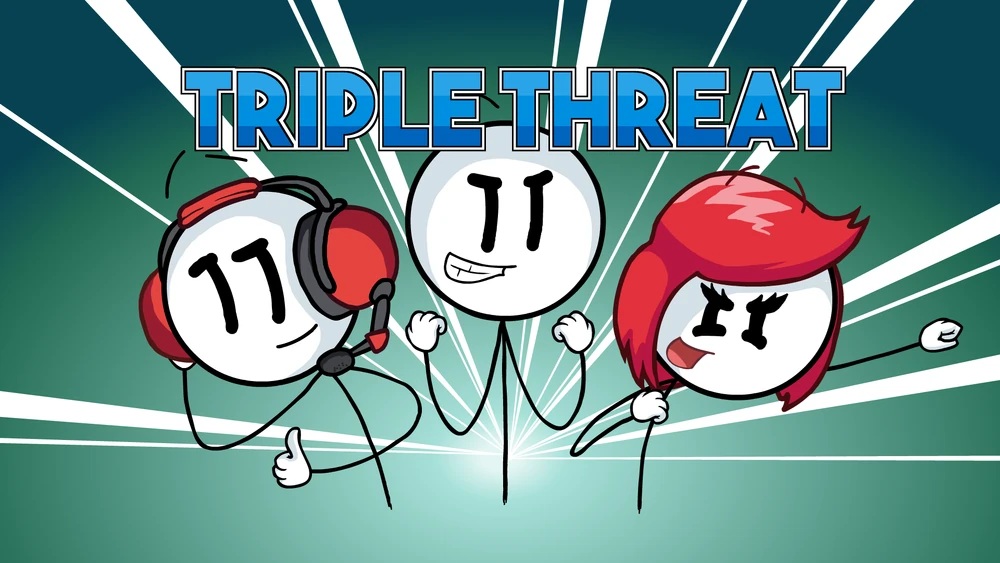 ᅠ
To achive Triple Threat choose in this order:
ᅠ
To achive Triple Threat choose in this order:- Jetpack Option
- Barrel
- Cannon
- Diversion
- Henry's Plan
ᅠCtM - Silver Achivments: (Page 1 - 5)
 Get all 164 Unique Fails in Completing the Mission.
Pick everything but correct options listed above.
You can check them in map view as well as change scene/route to get all the missing ones!
Map also tells the names of all scenes, we will be using that here!
 Find all the bios in Completing the Mission.
This part have 222 Bios to find, so we're gonna take in-game order to do it.
In Intro pretty early on.
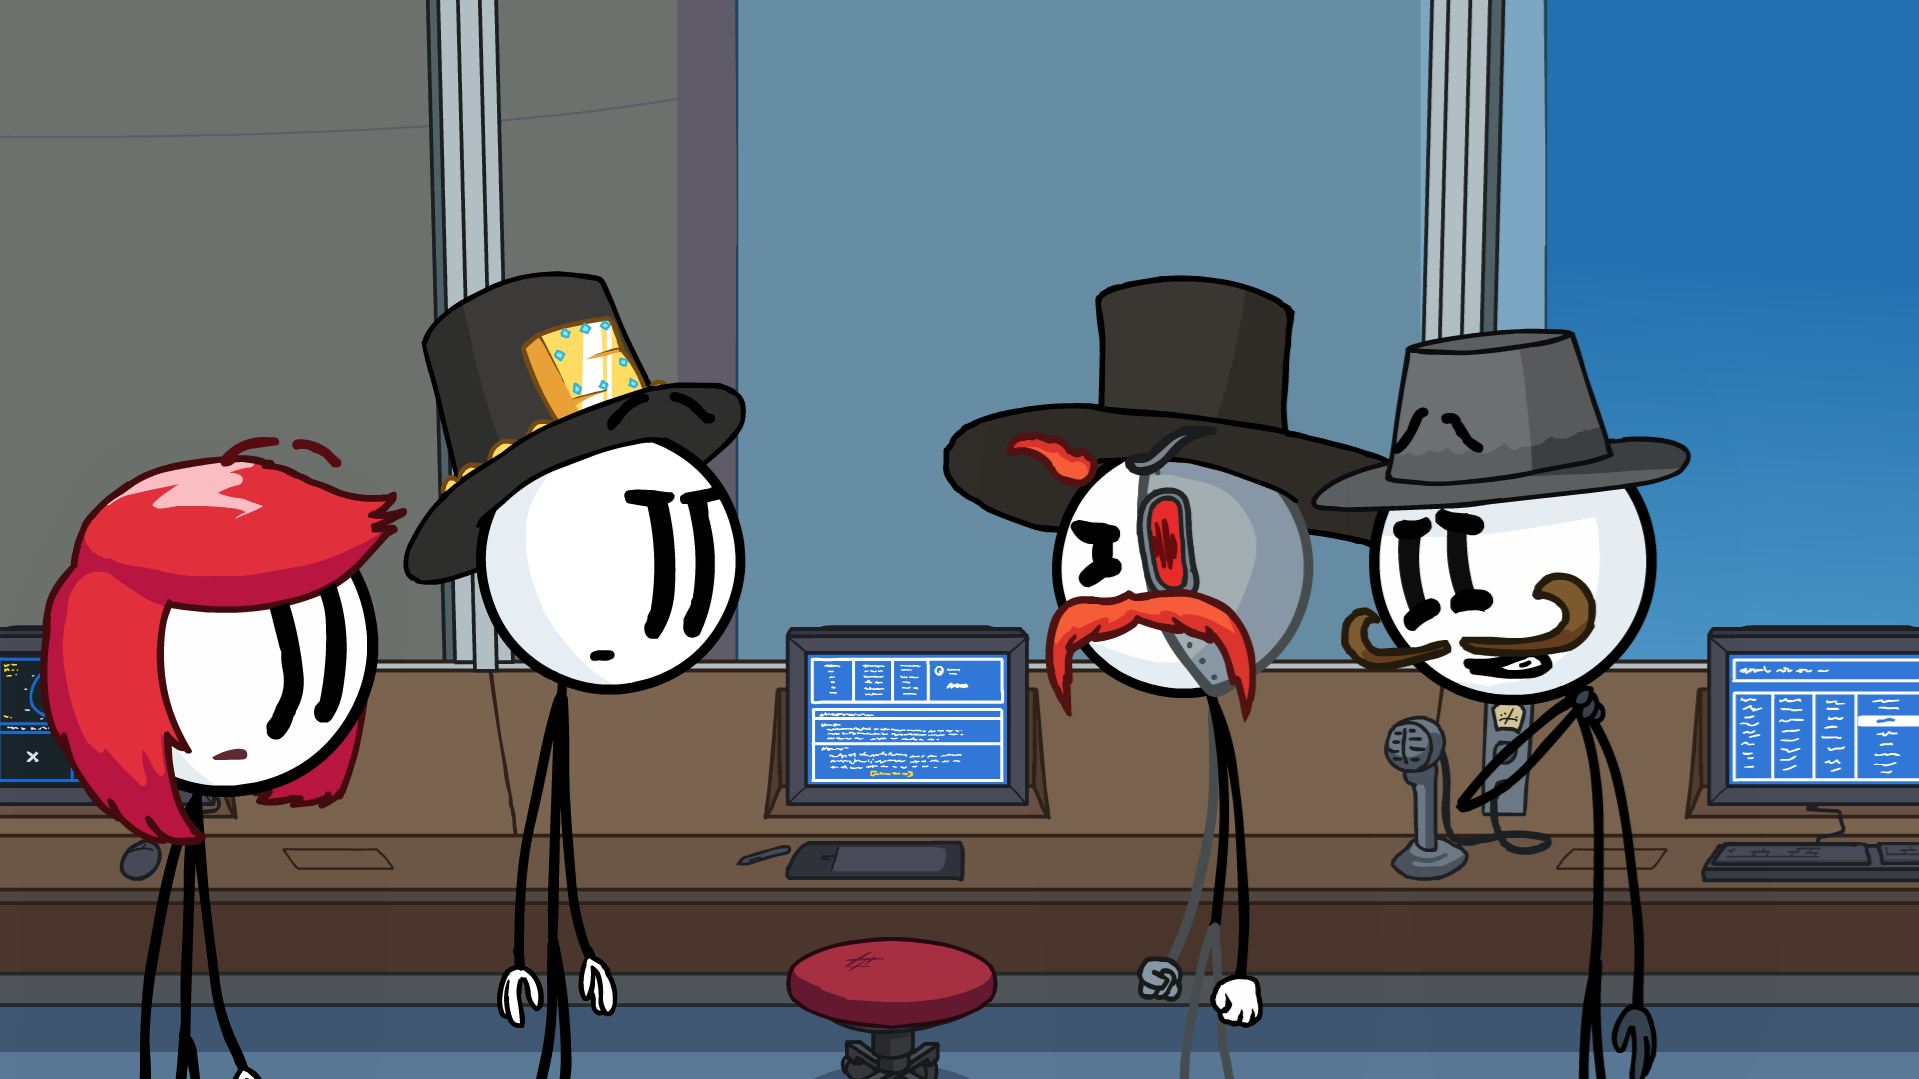
In Control Tower, choose Very Accurate Targetting System.
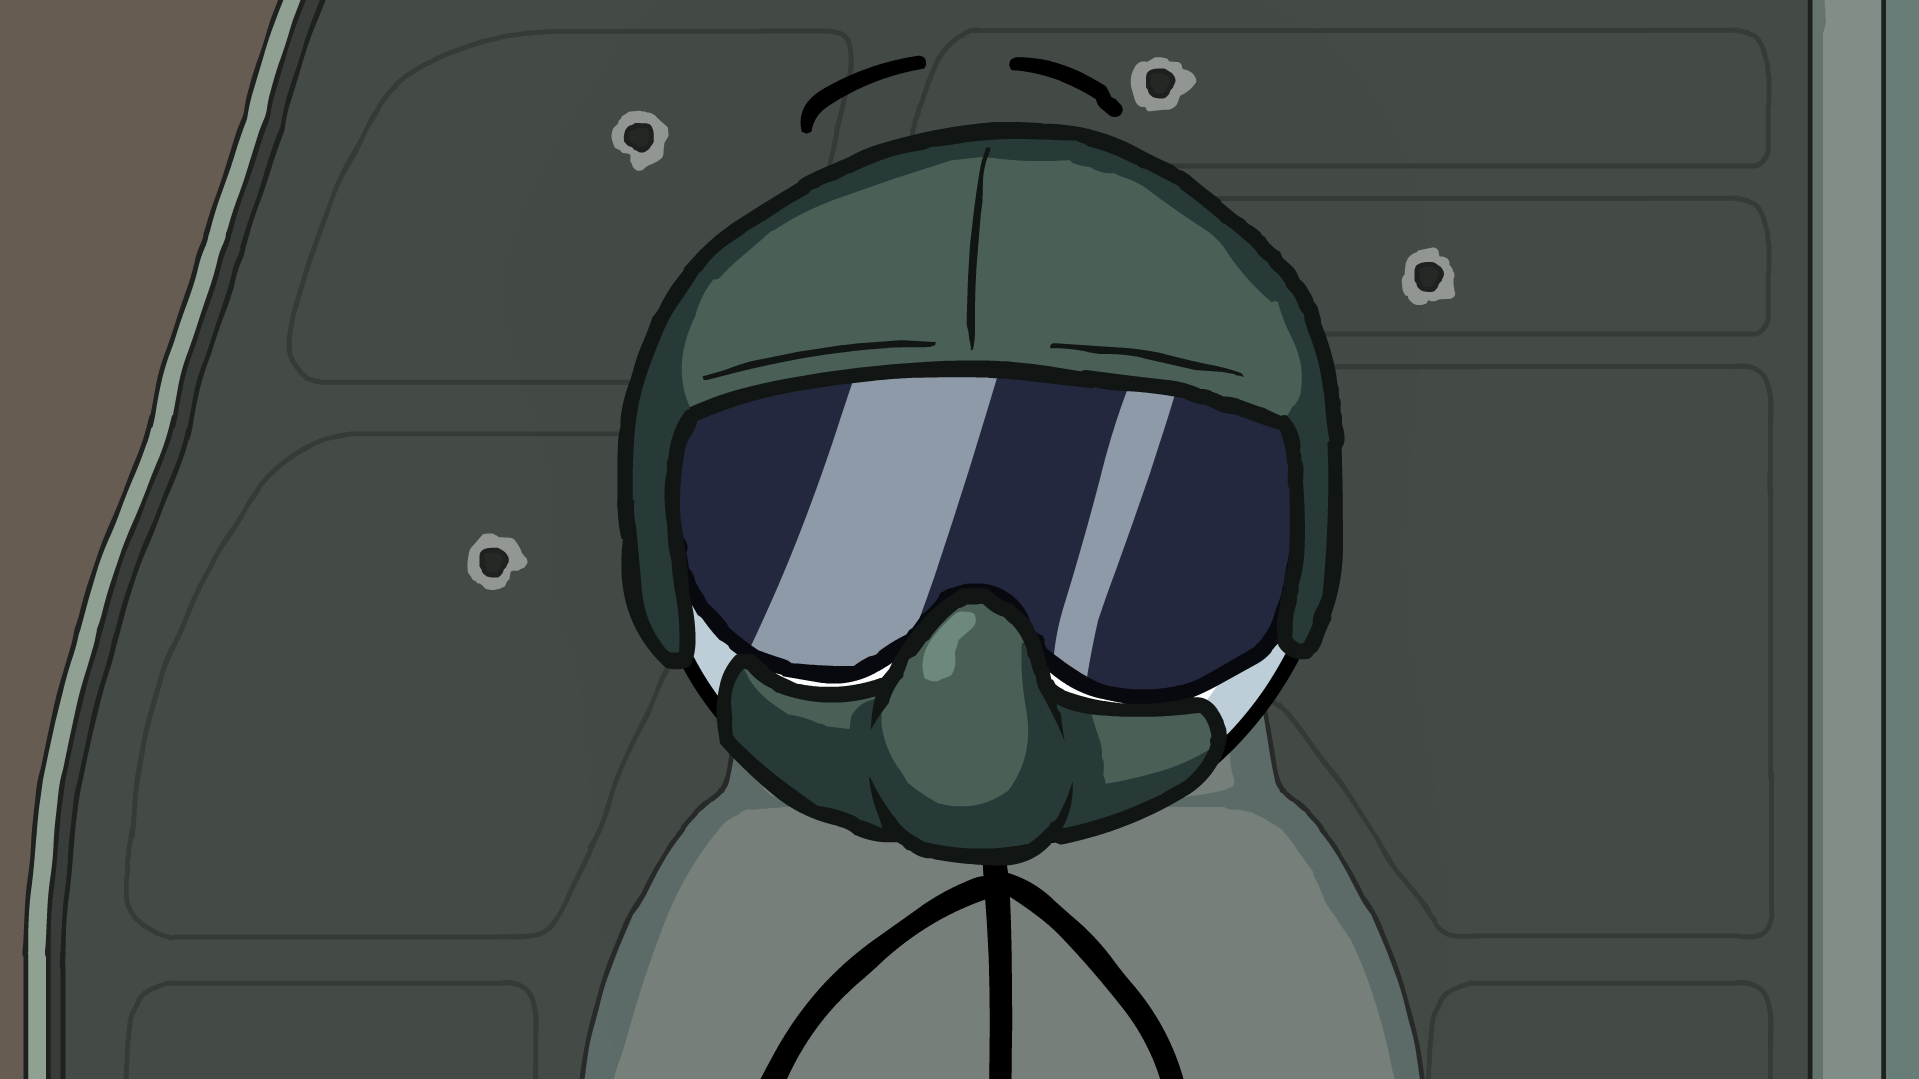
In Inside Helicopter, choose anything.
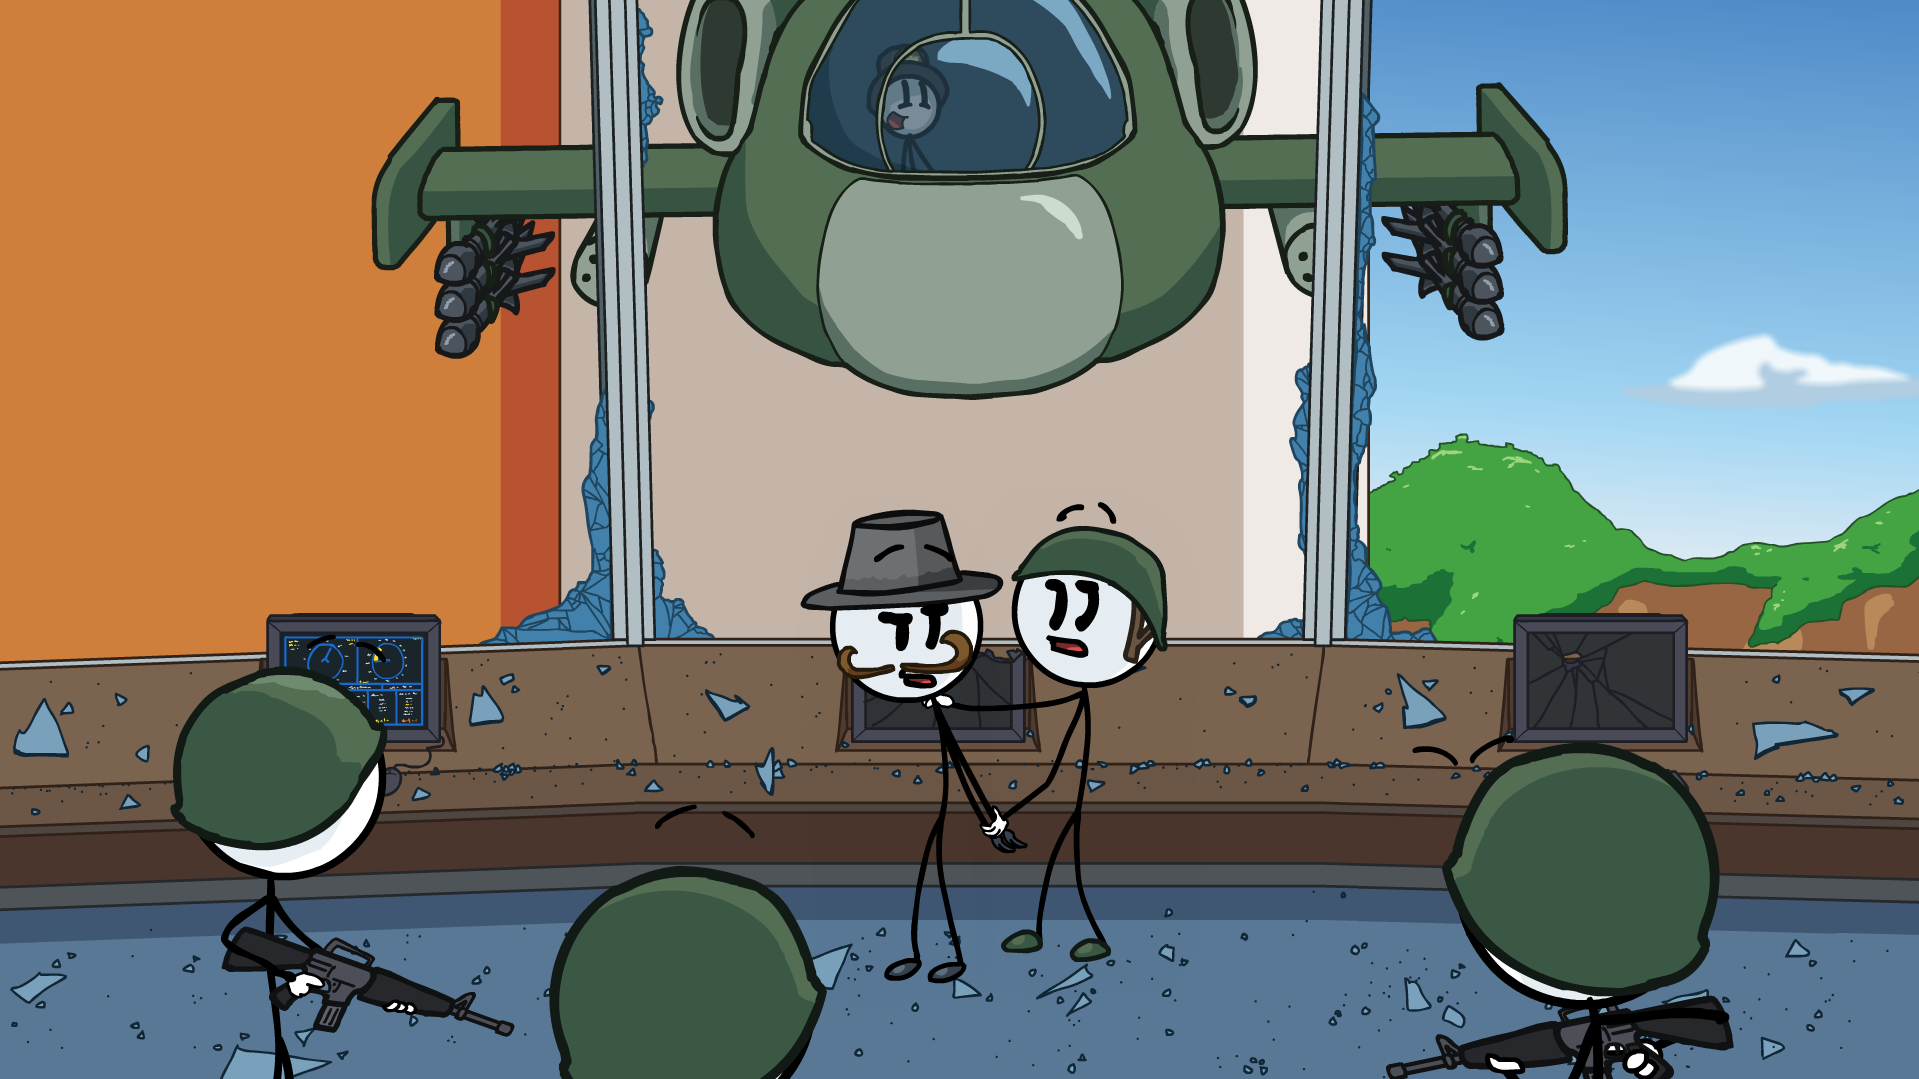
In Inside Helicopter, choose Abandon.
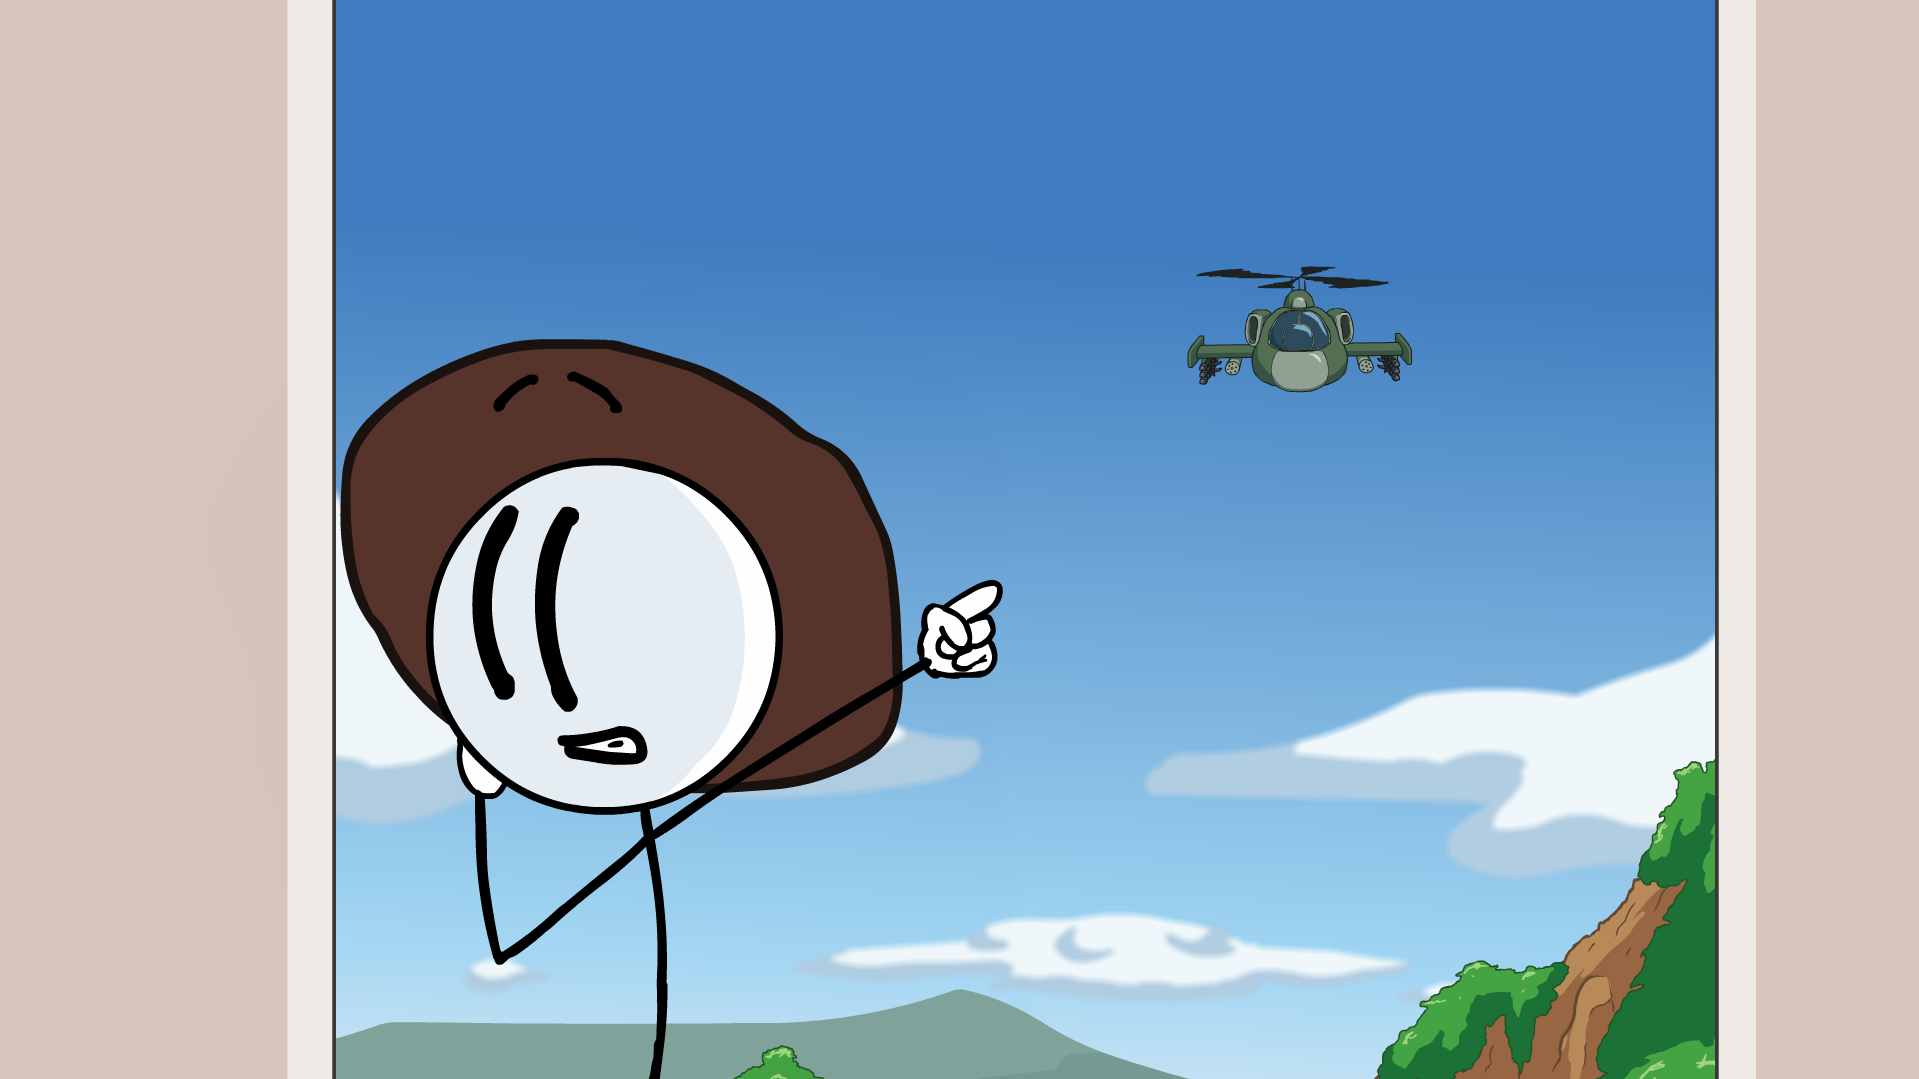
In Inside Helicopter, choose Mounted Gun.
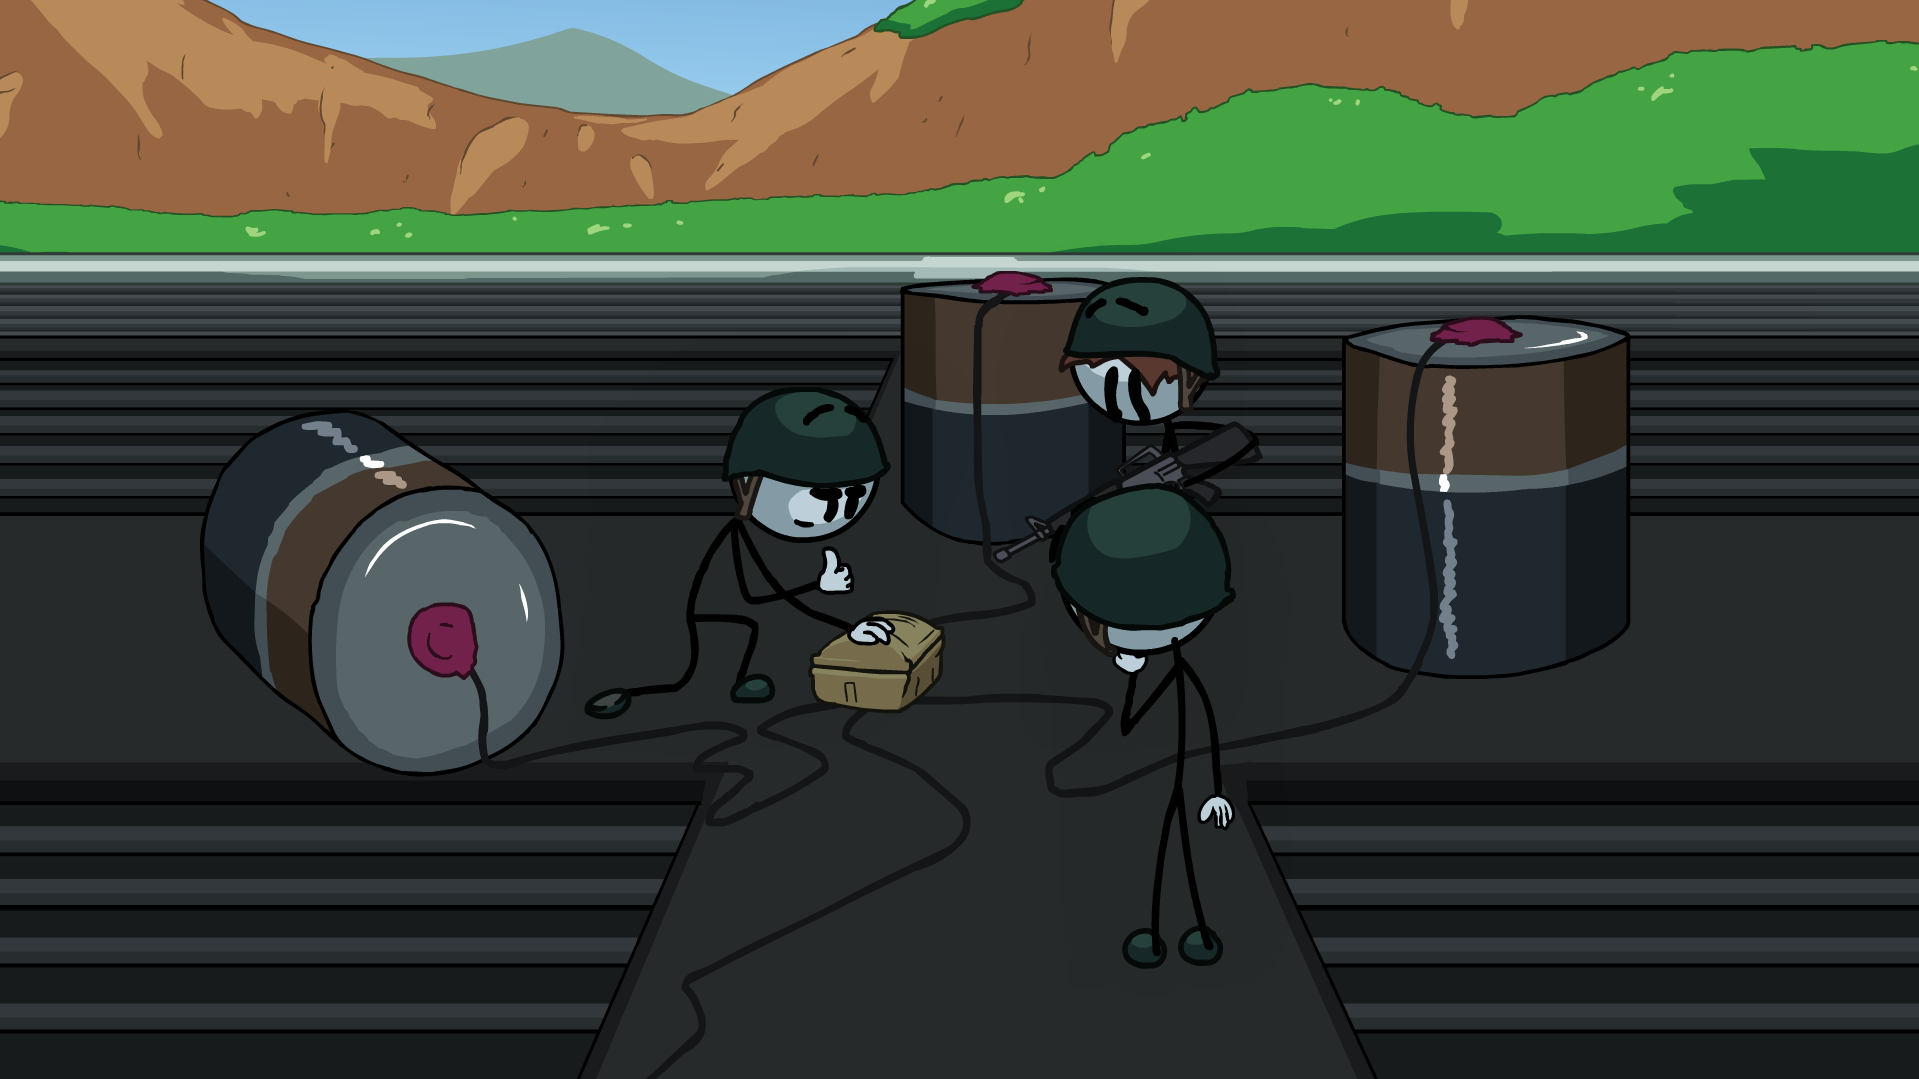
In Back to Back, choose Charge or Dual Tech.
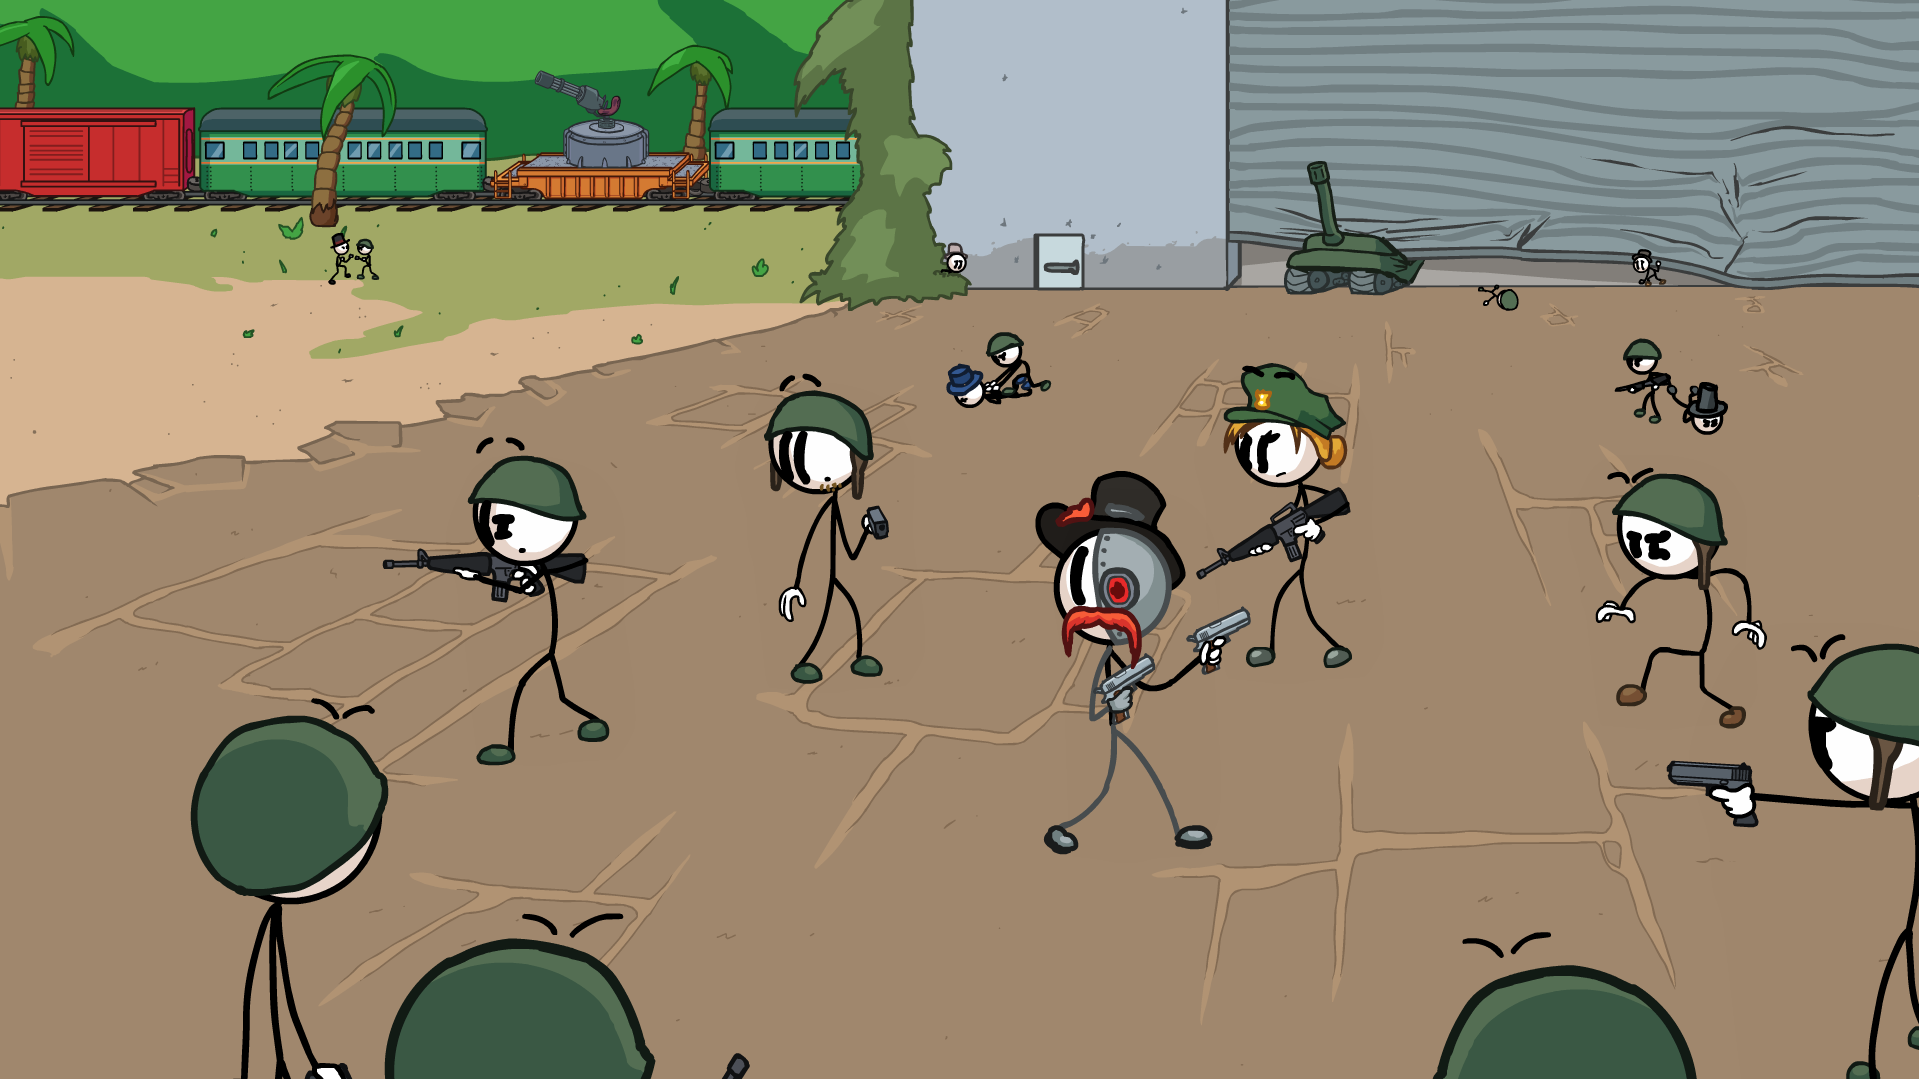
In Driving Up the Ramp, choose anything.
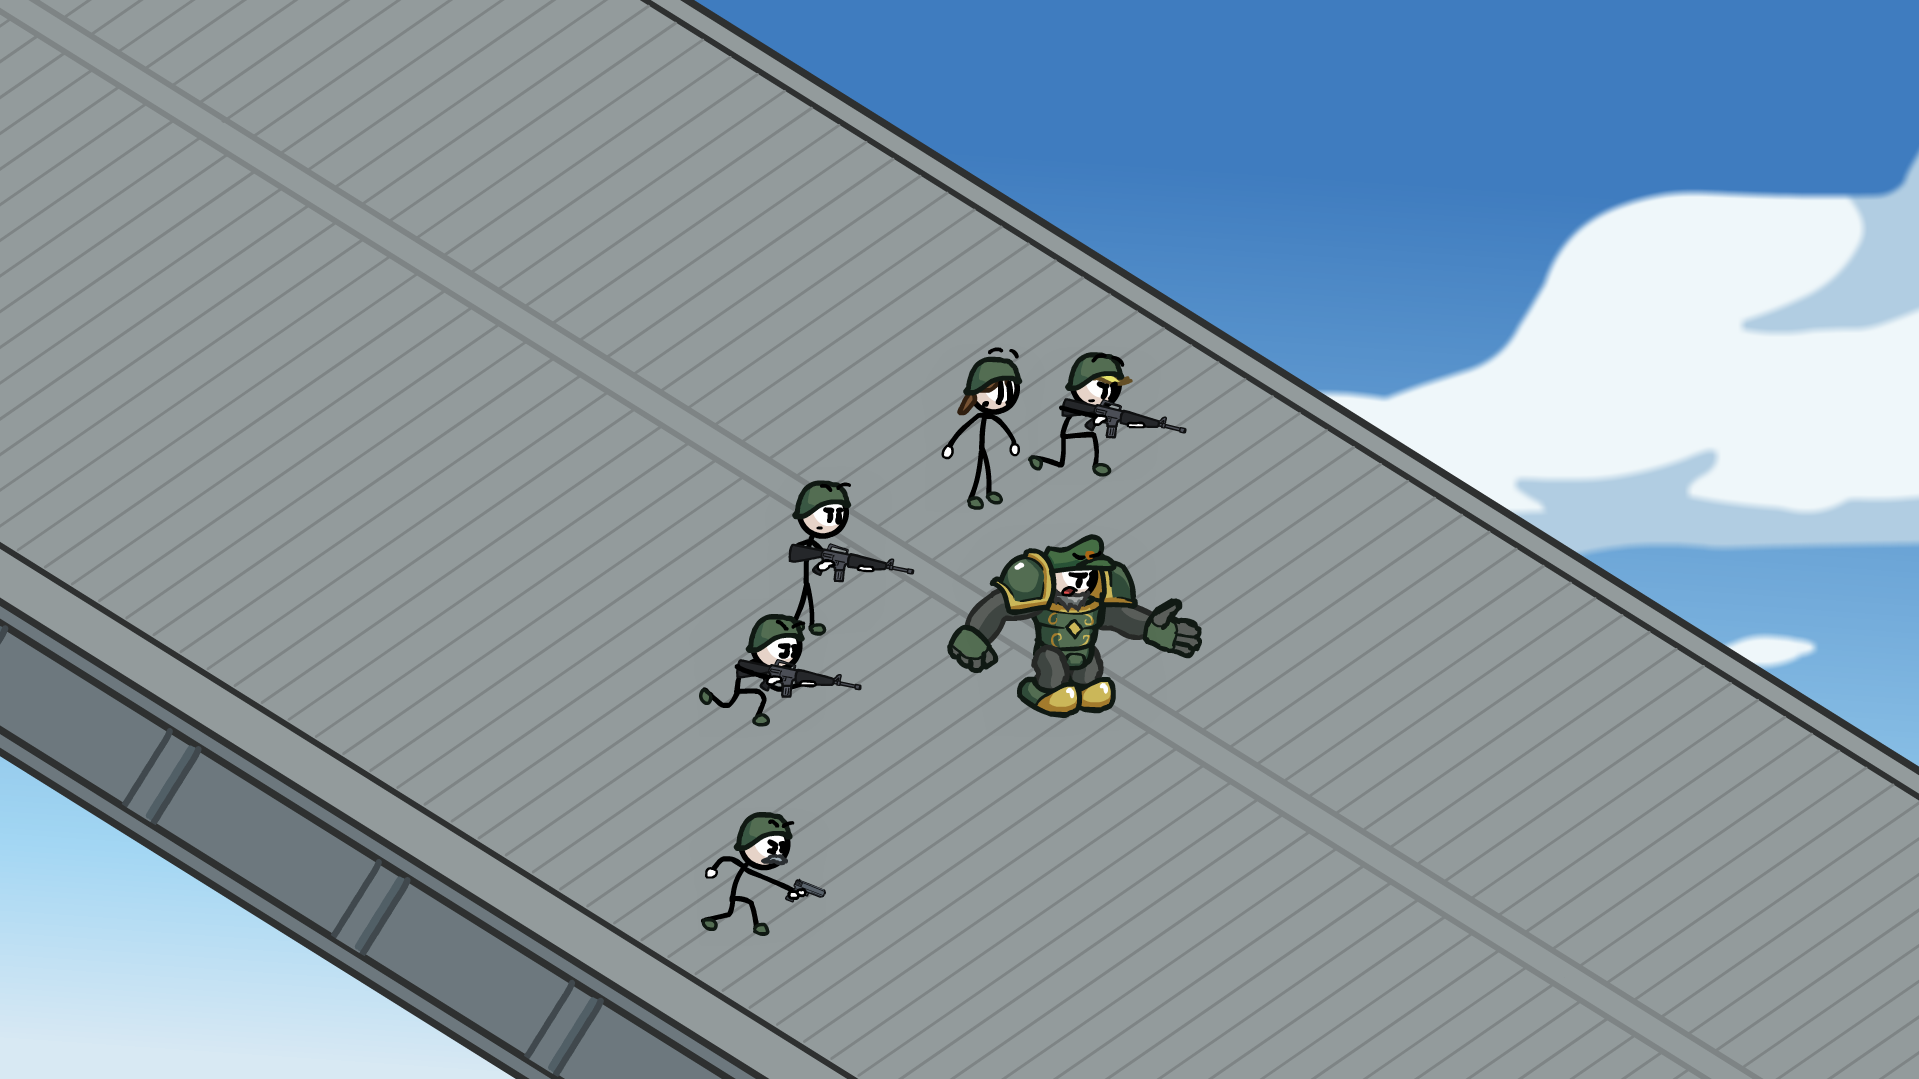
In Left Behind!, choose Abandoned Tank.

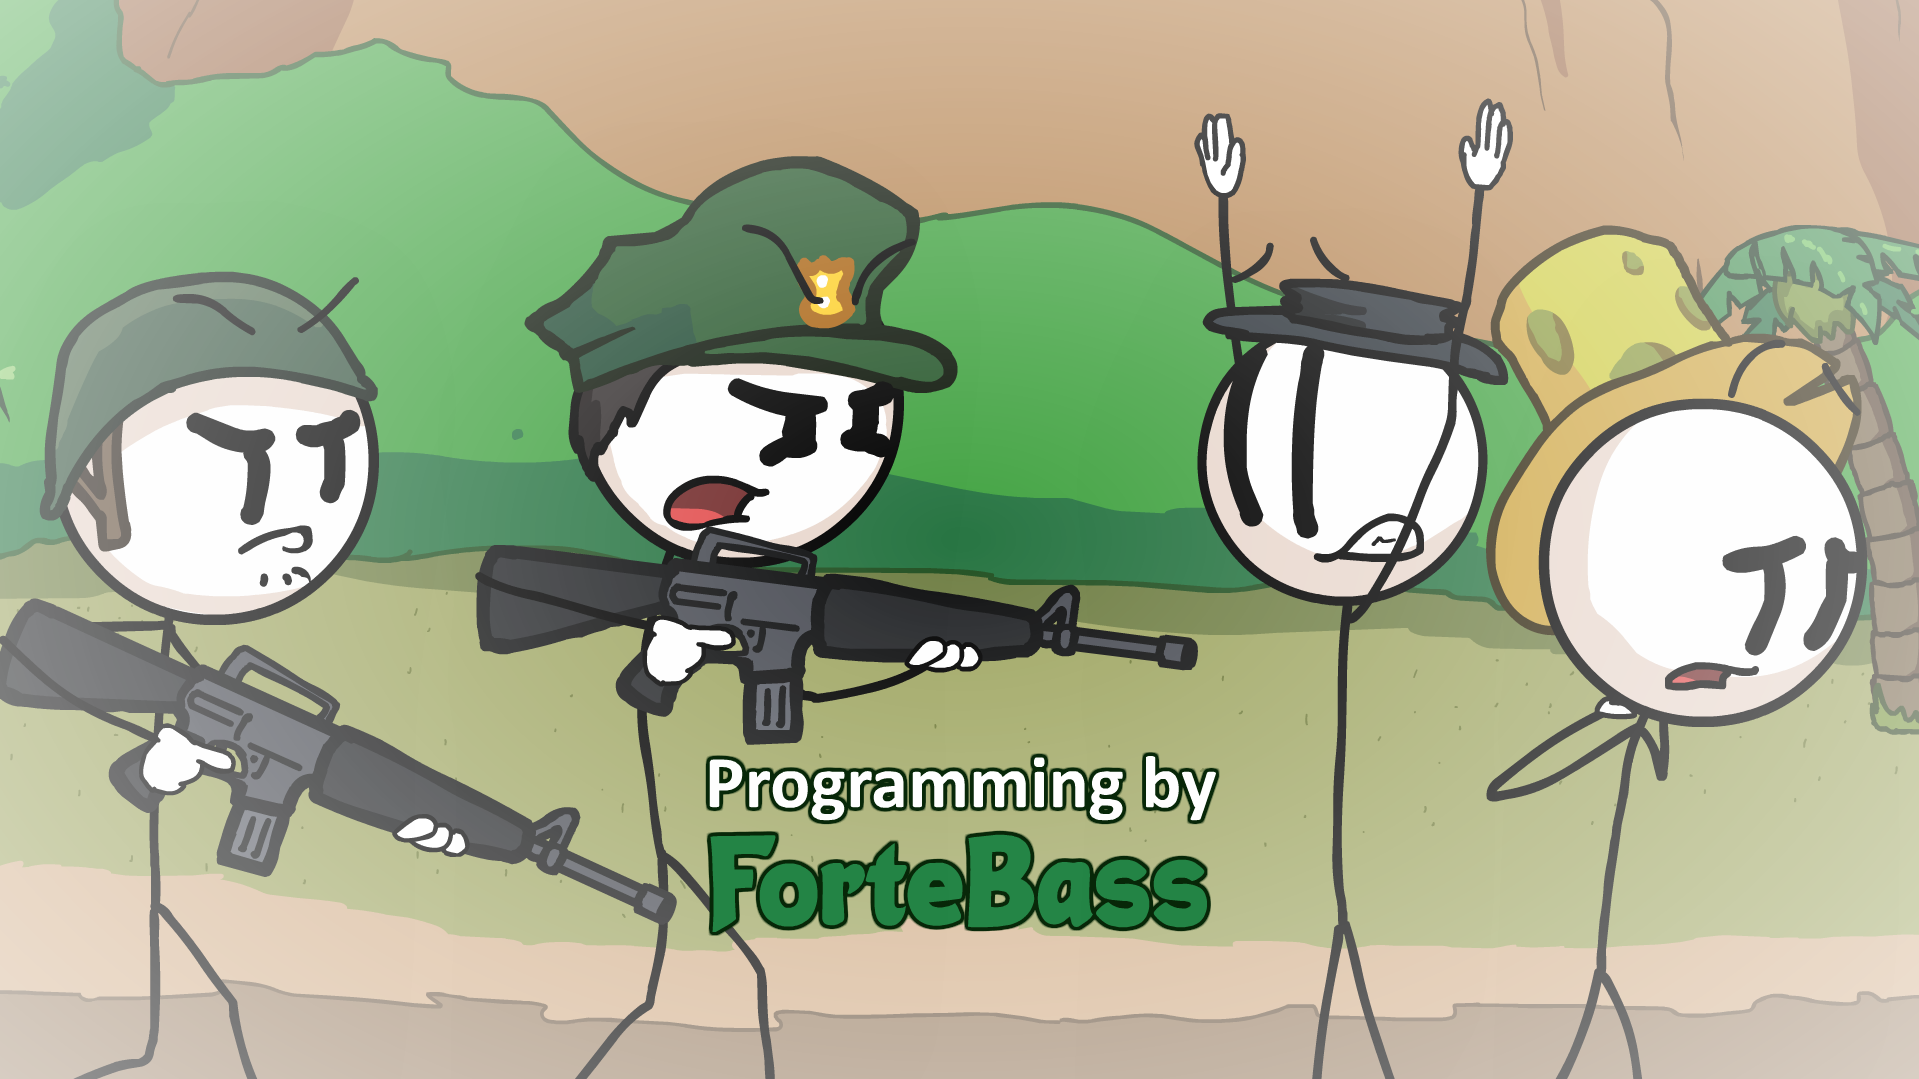
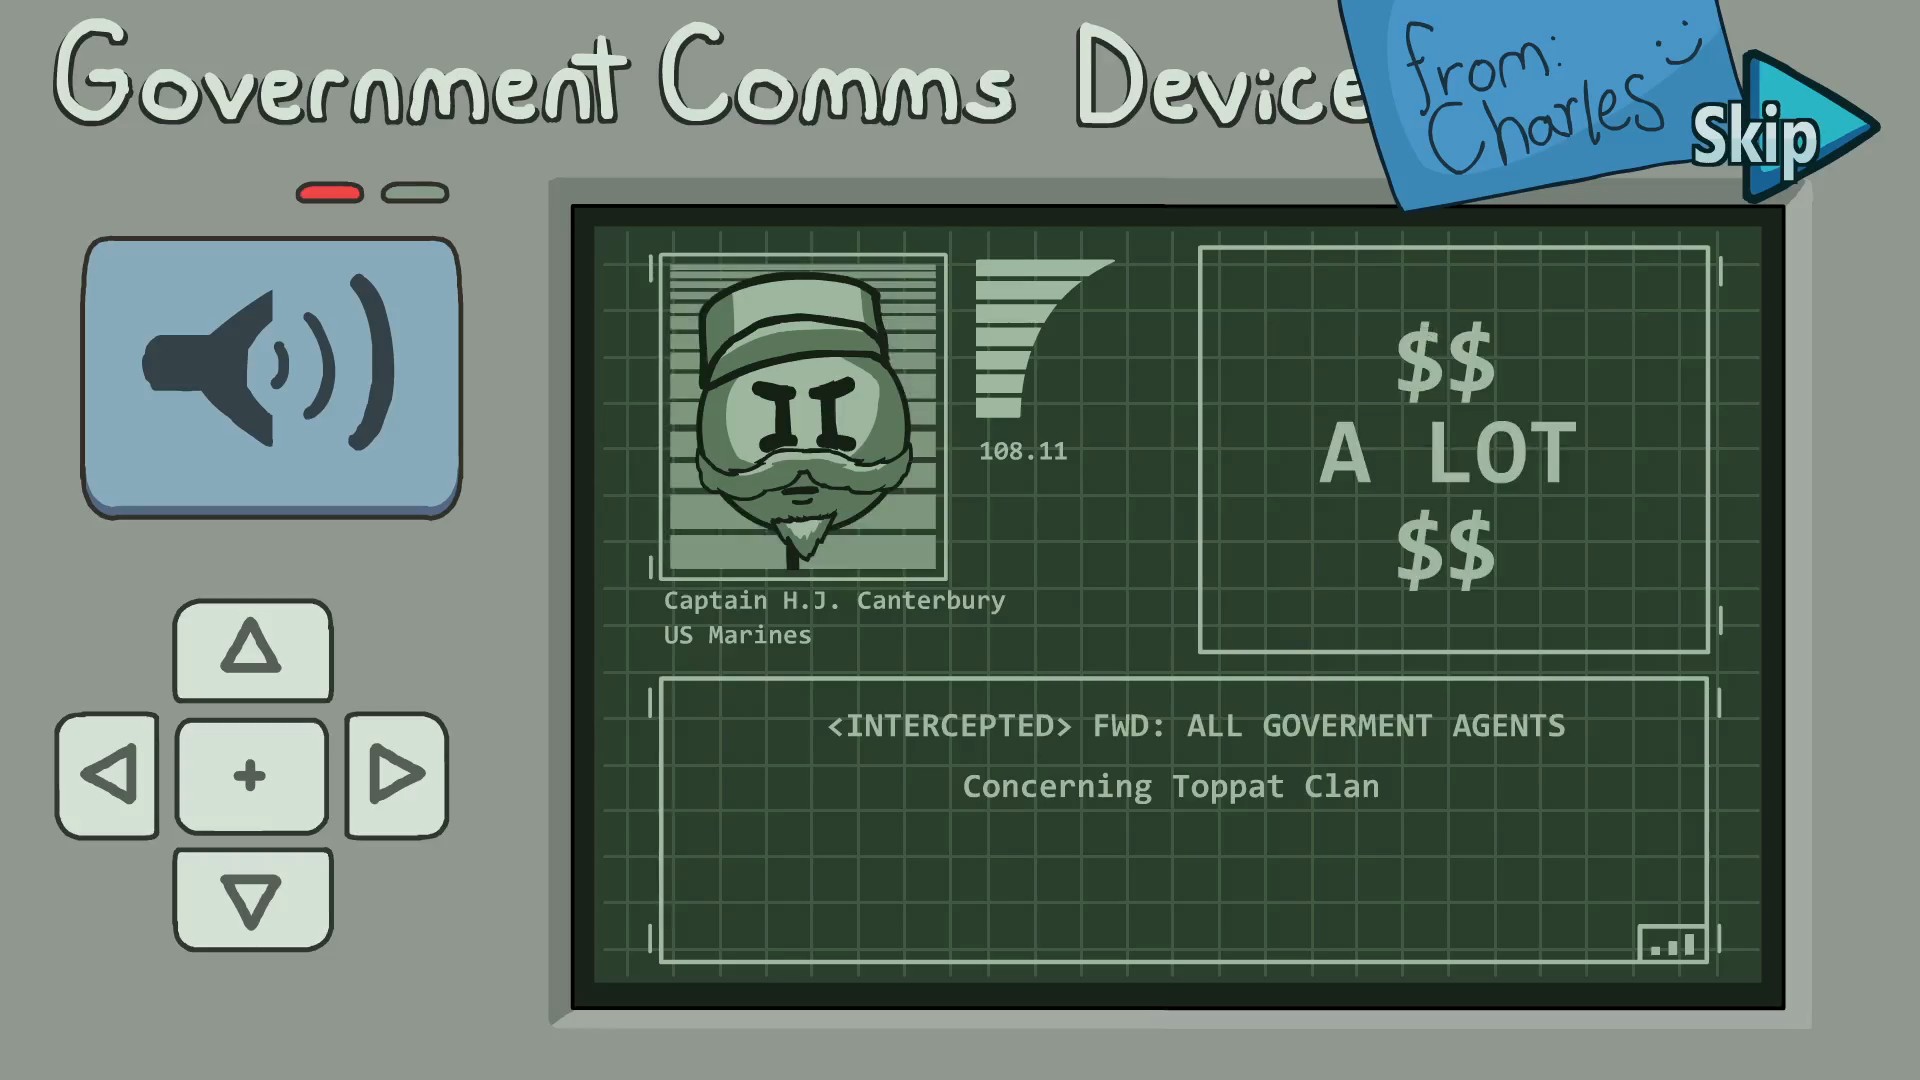
In Intro, he gives breifing of mission.
In Intro, they are in front of a rail cart.
In Cargo Stopped, choose anything.
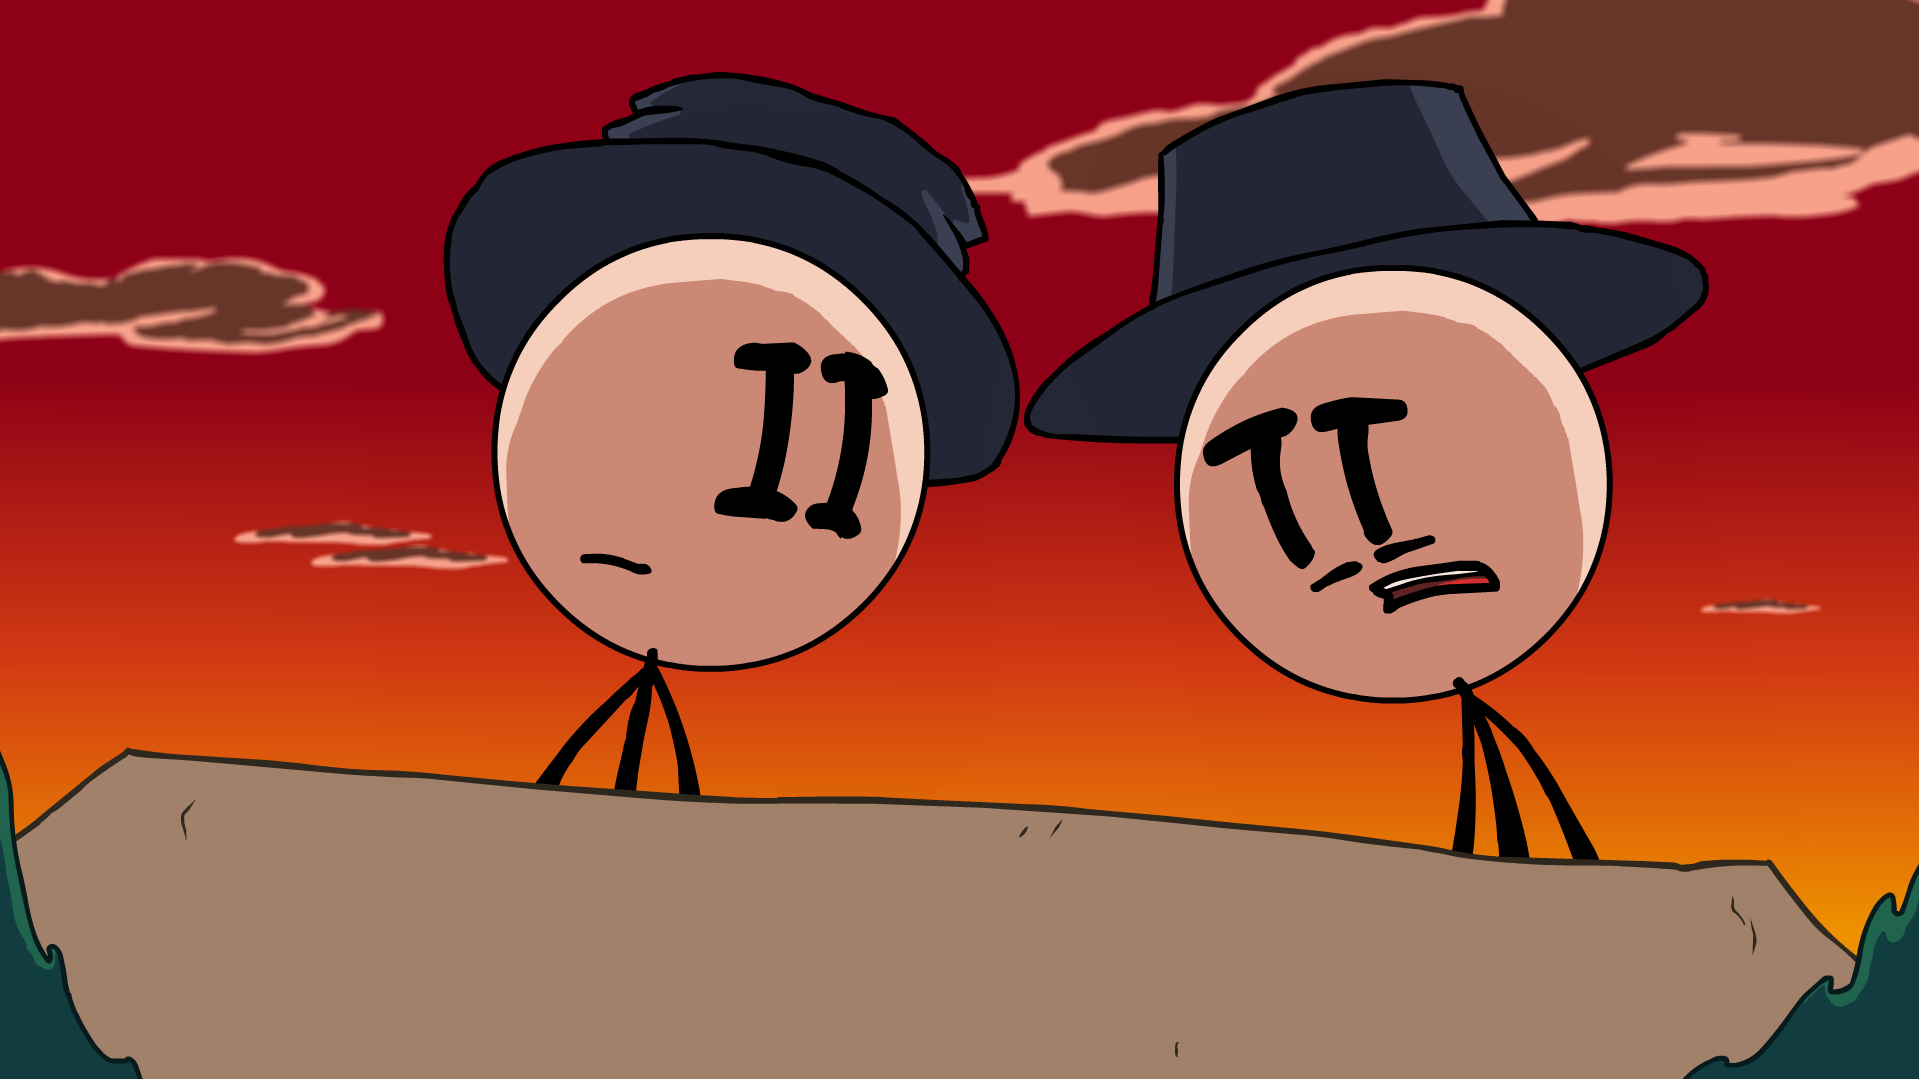
In Cargo Stopped, choose Magic Hat.
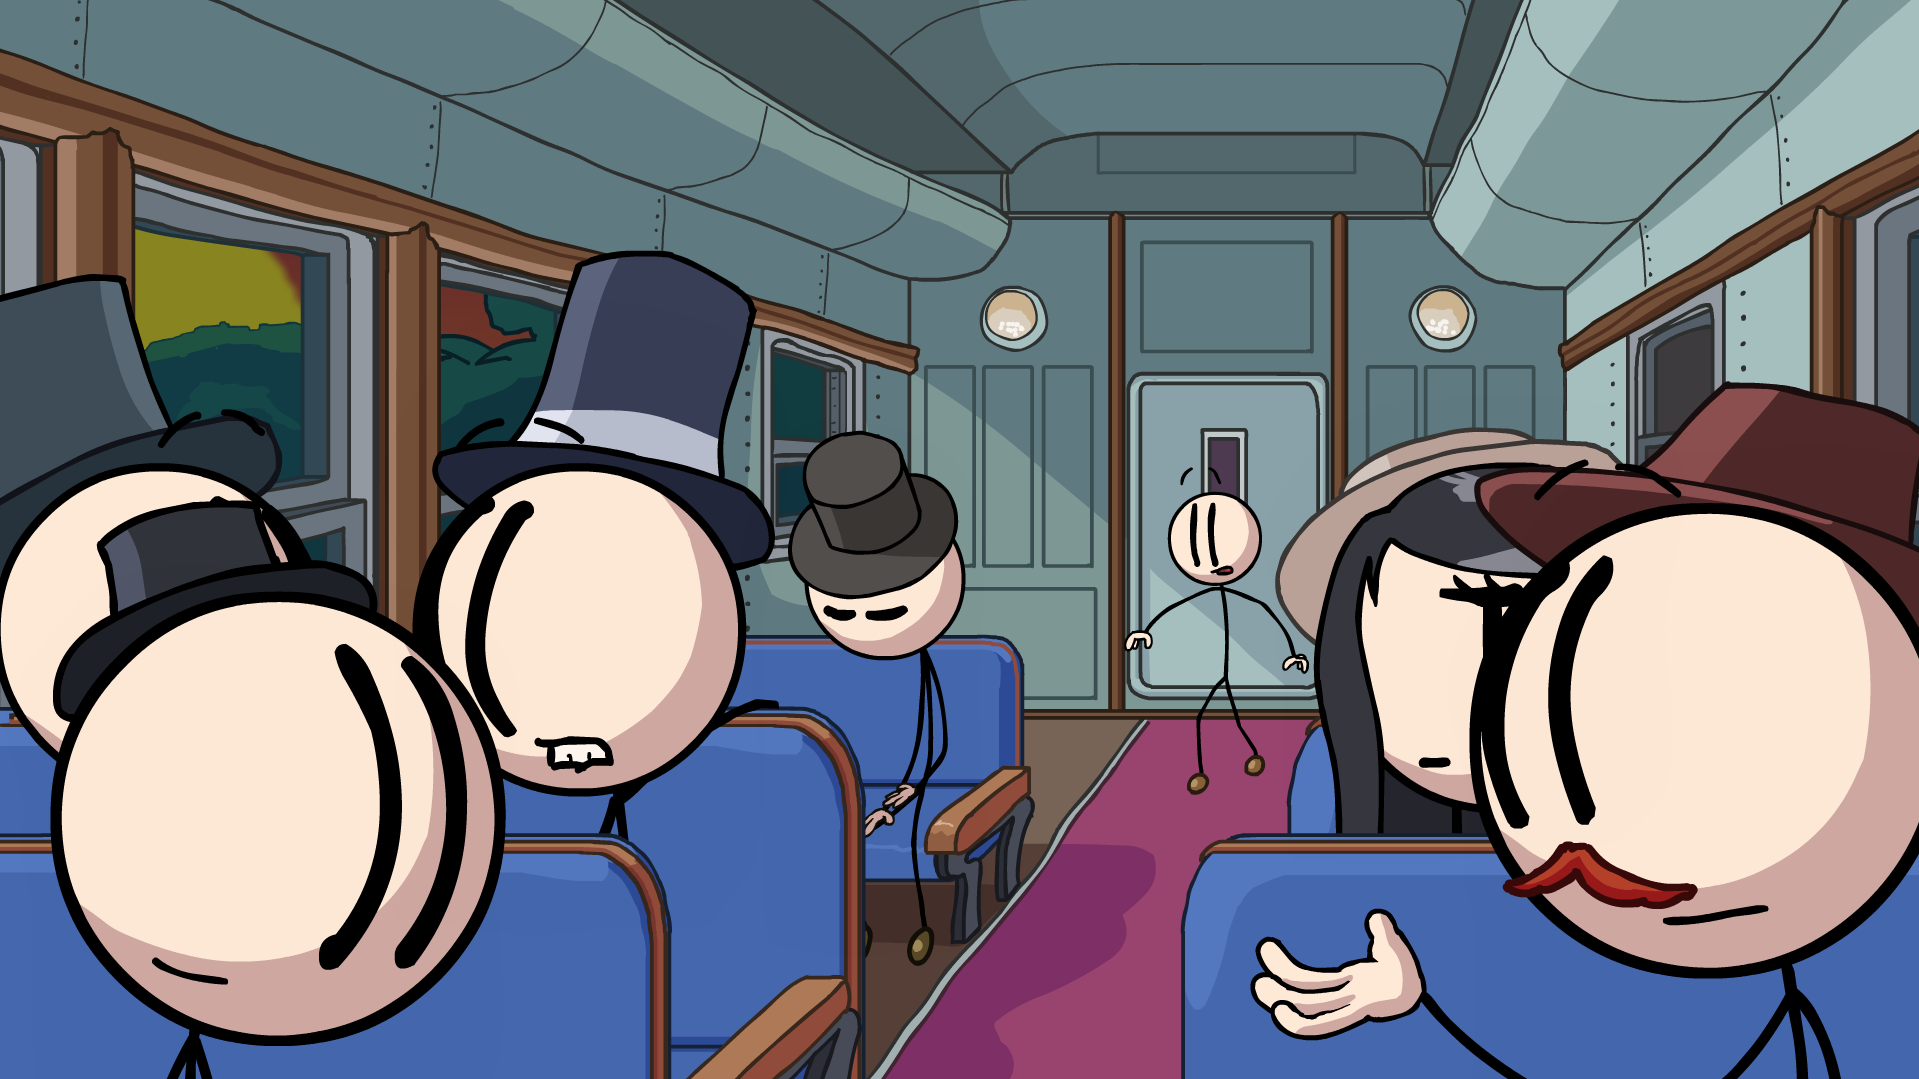
In Passenger Car, choose Sit.
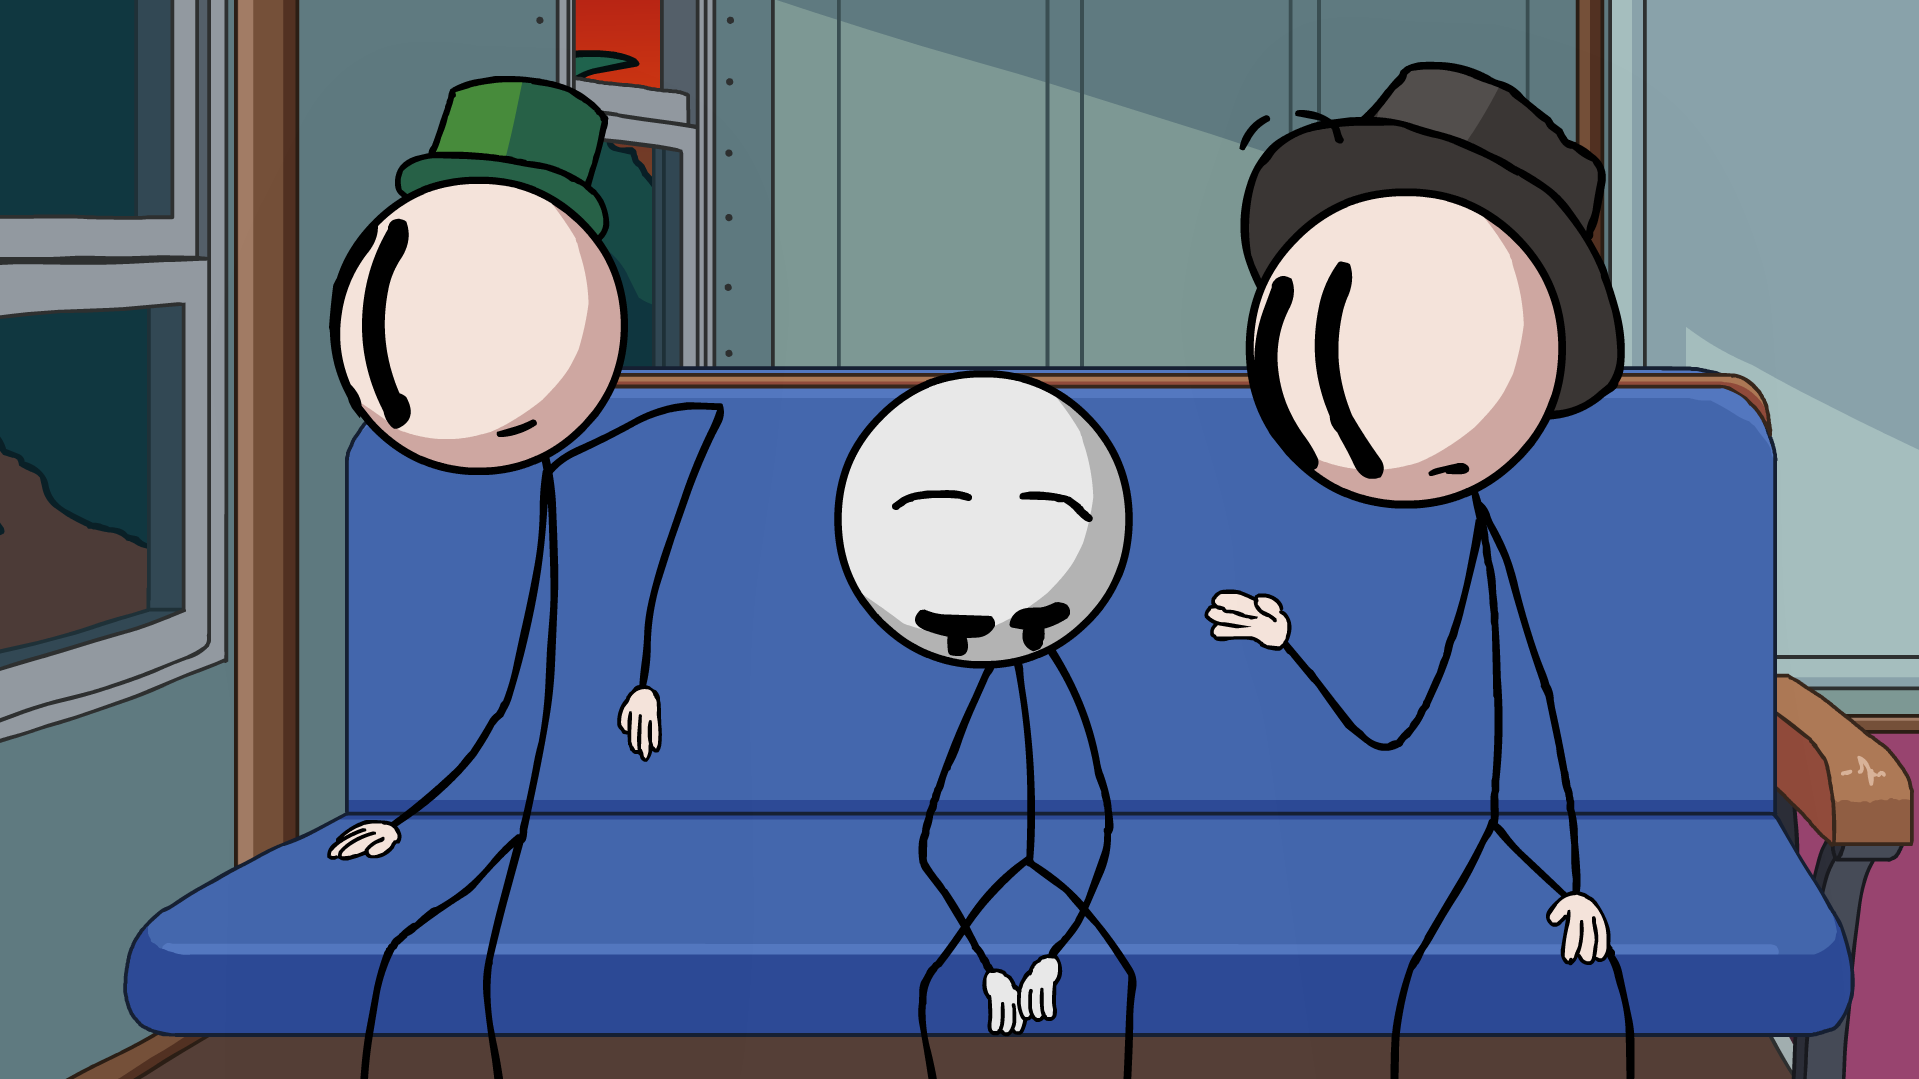
In Top of the Train, choose Free Transform.
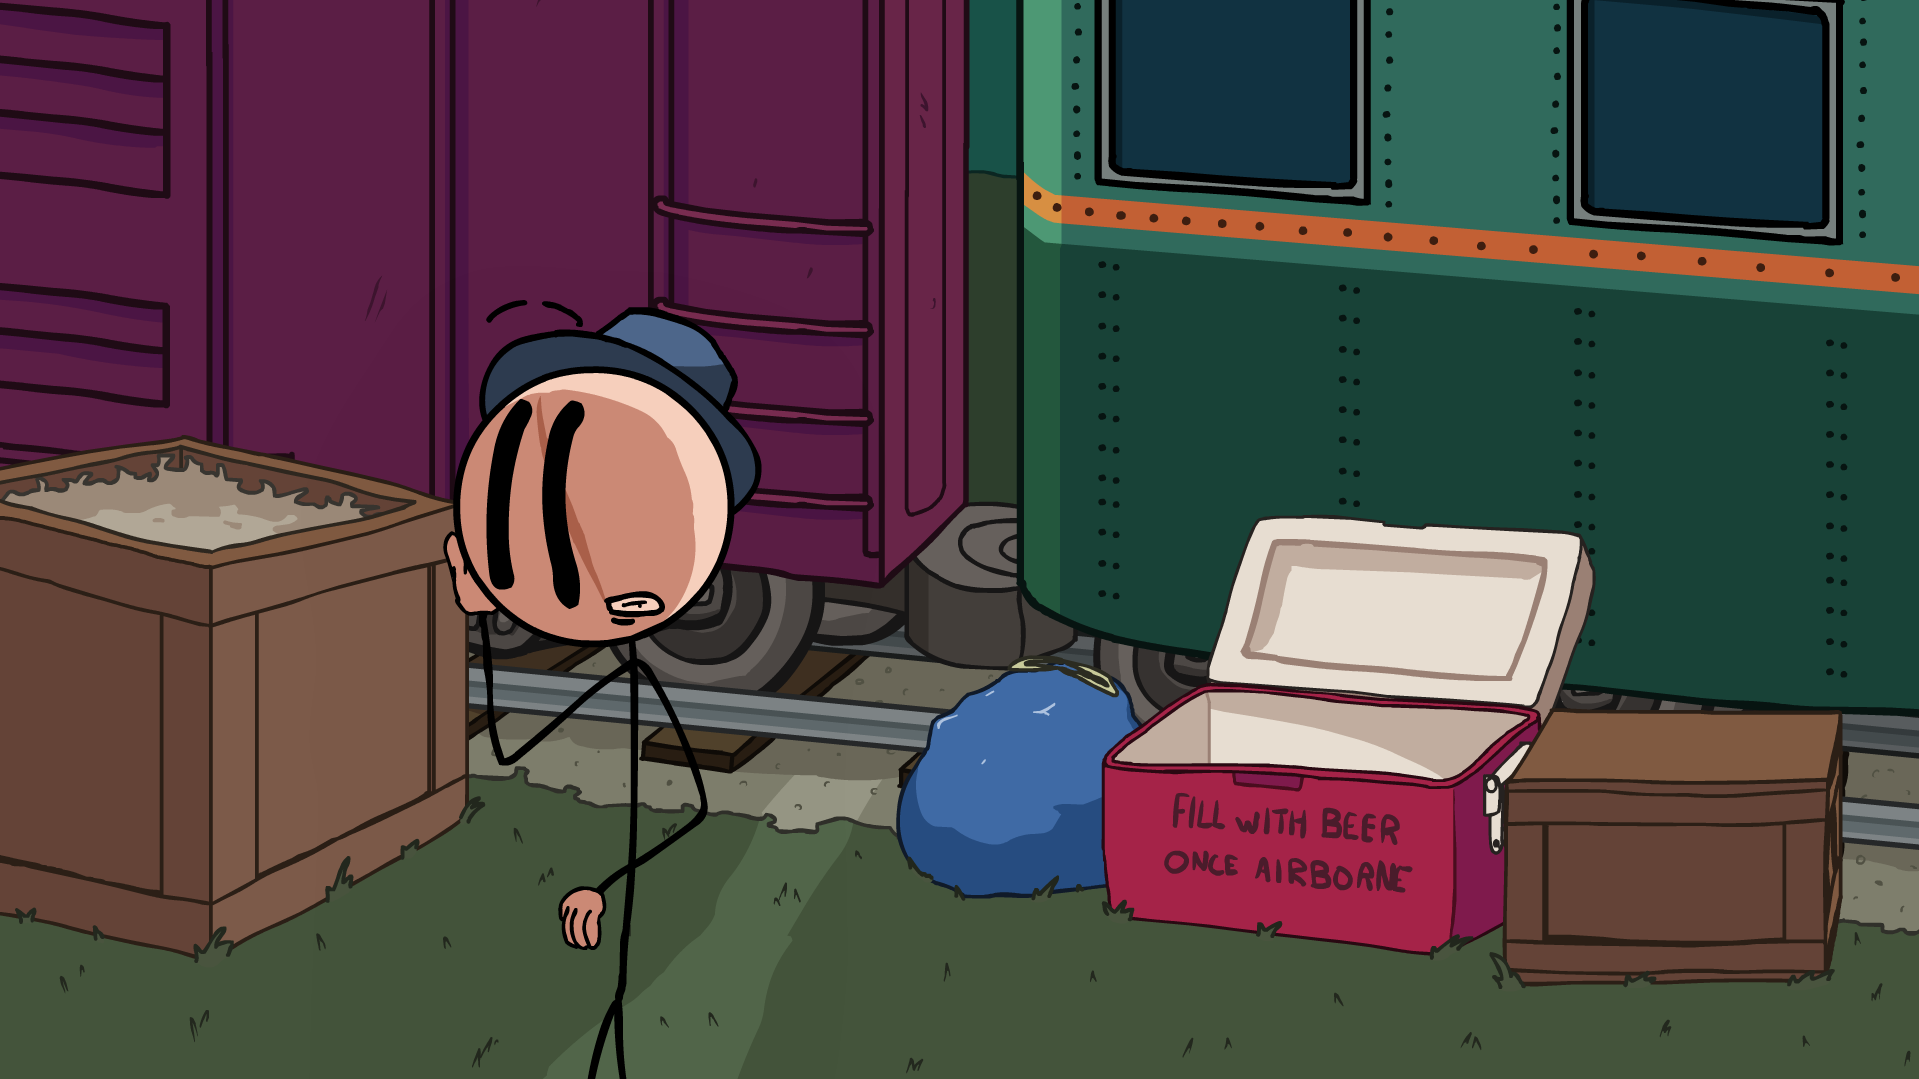
In Intro, all in wide bar scene.
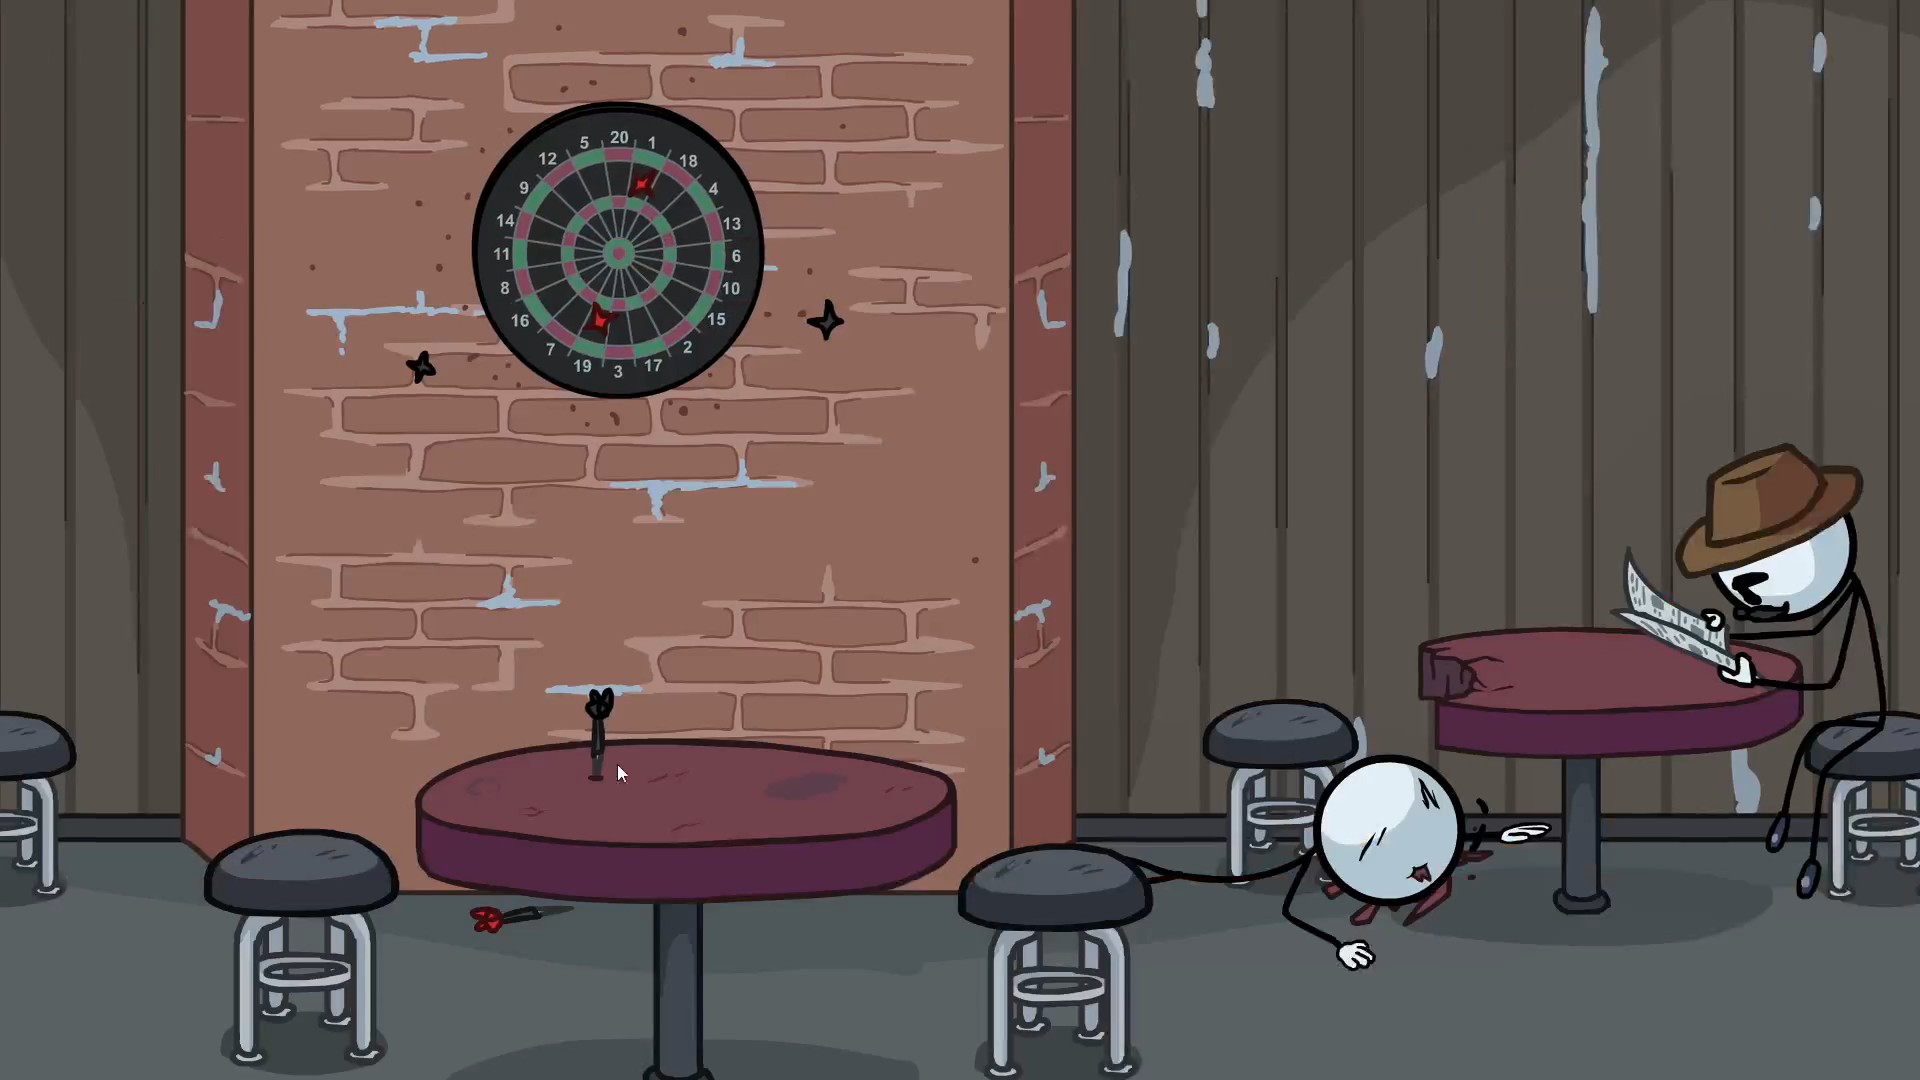
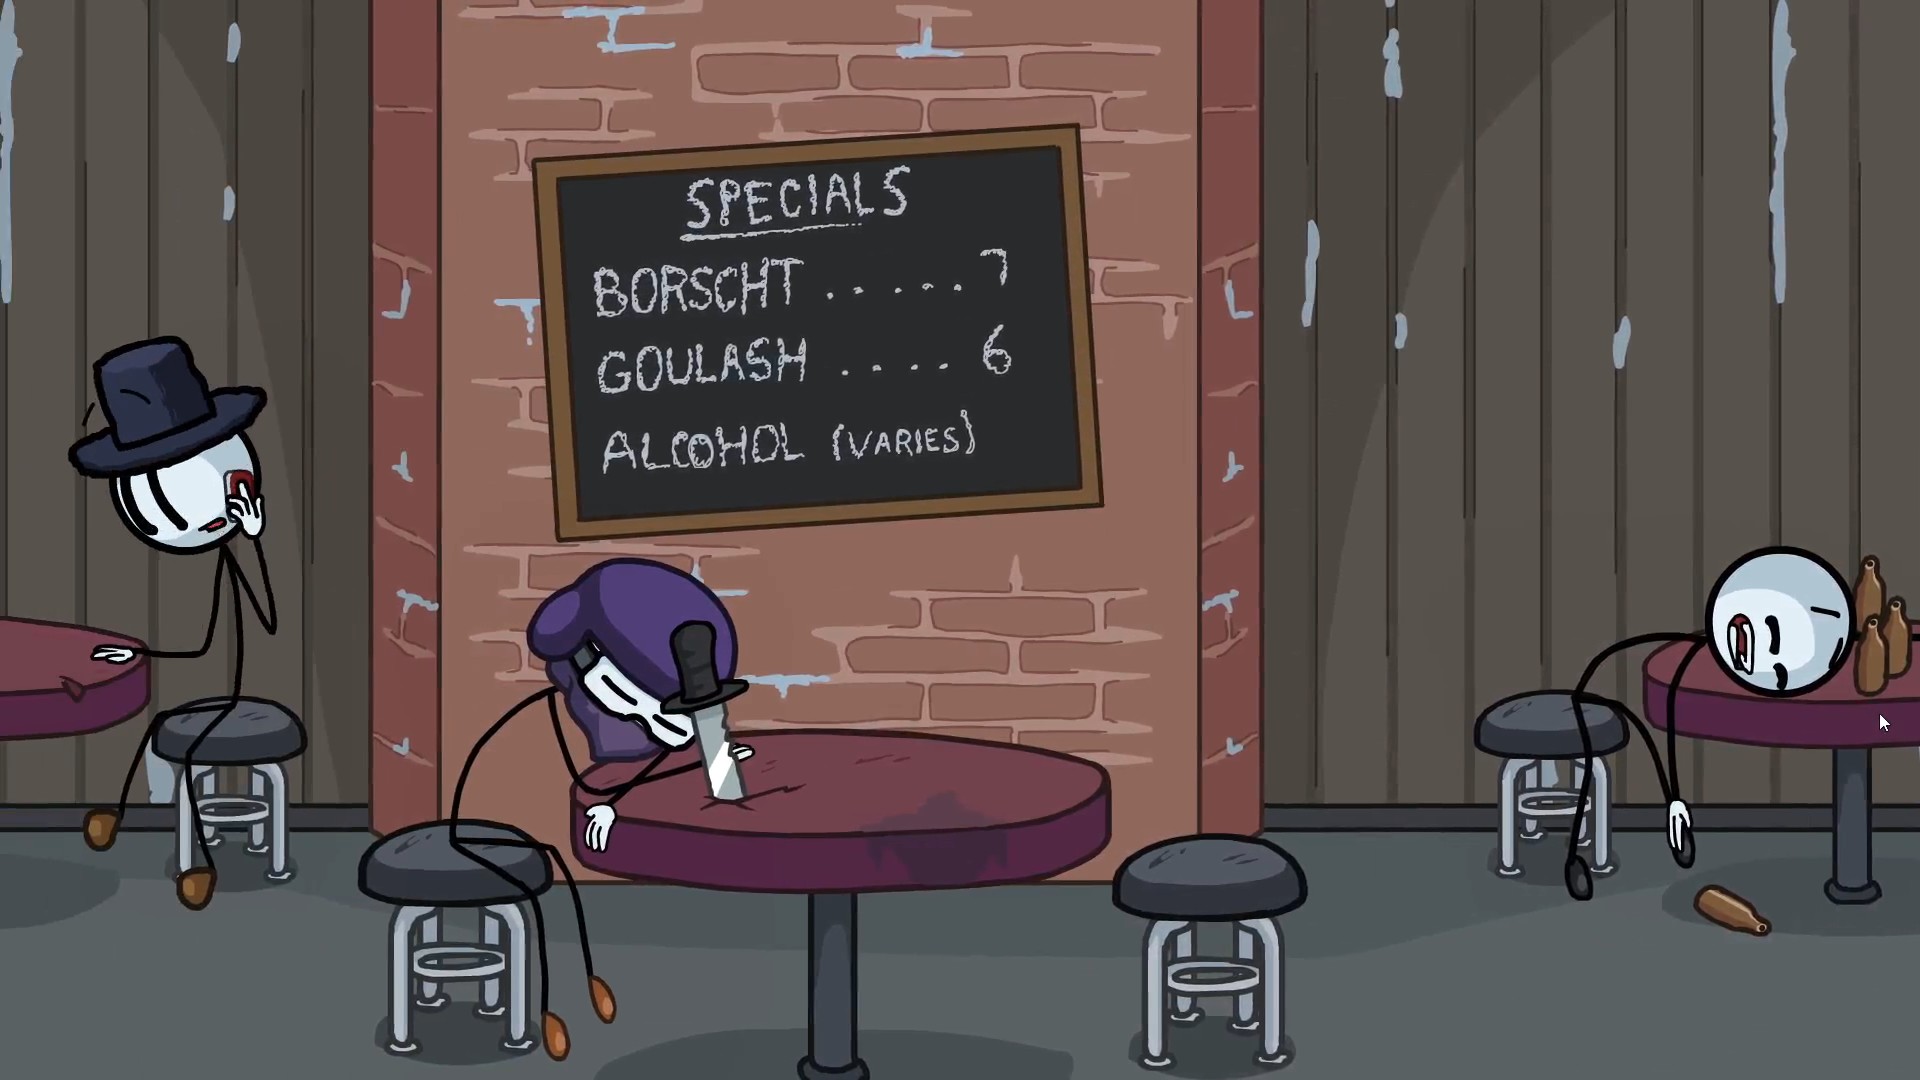
In Jungle Trail, choose Stop.
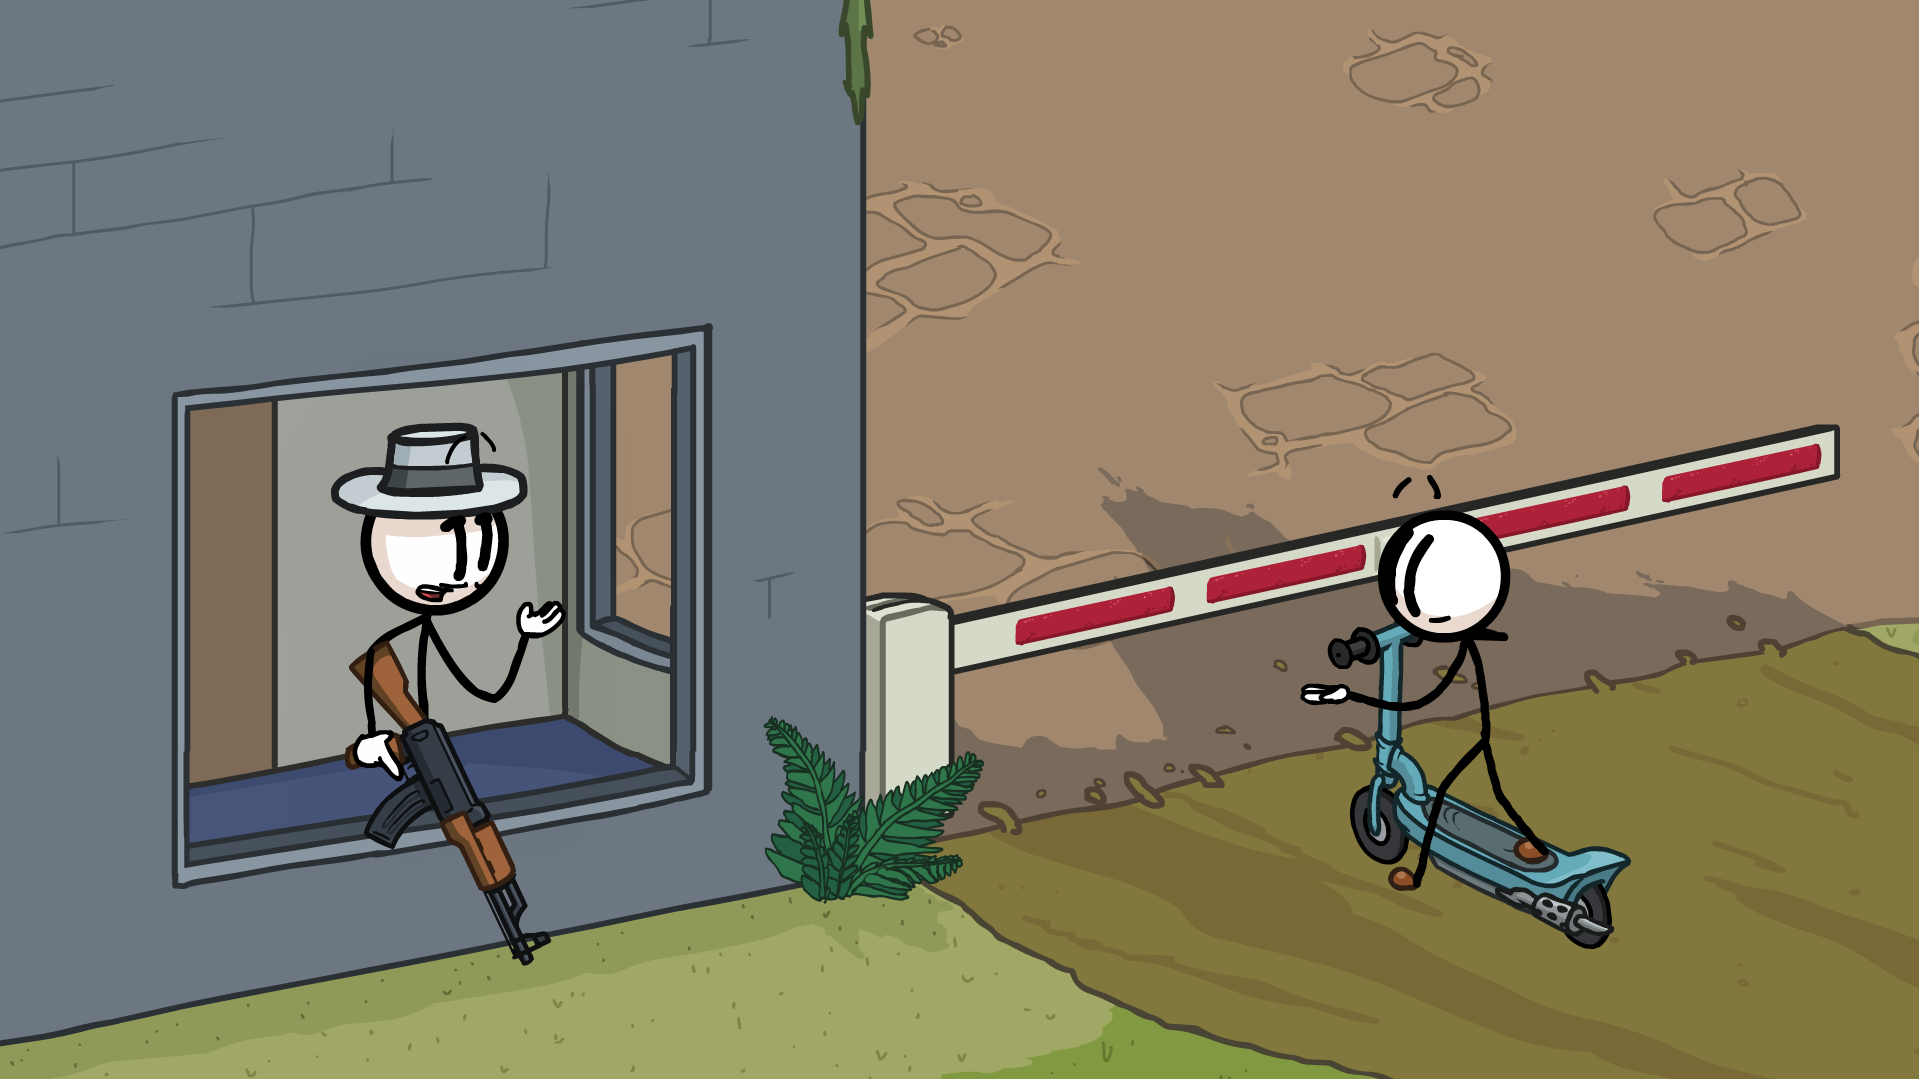
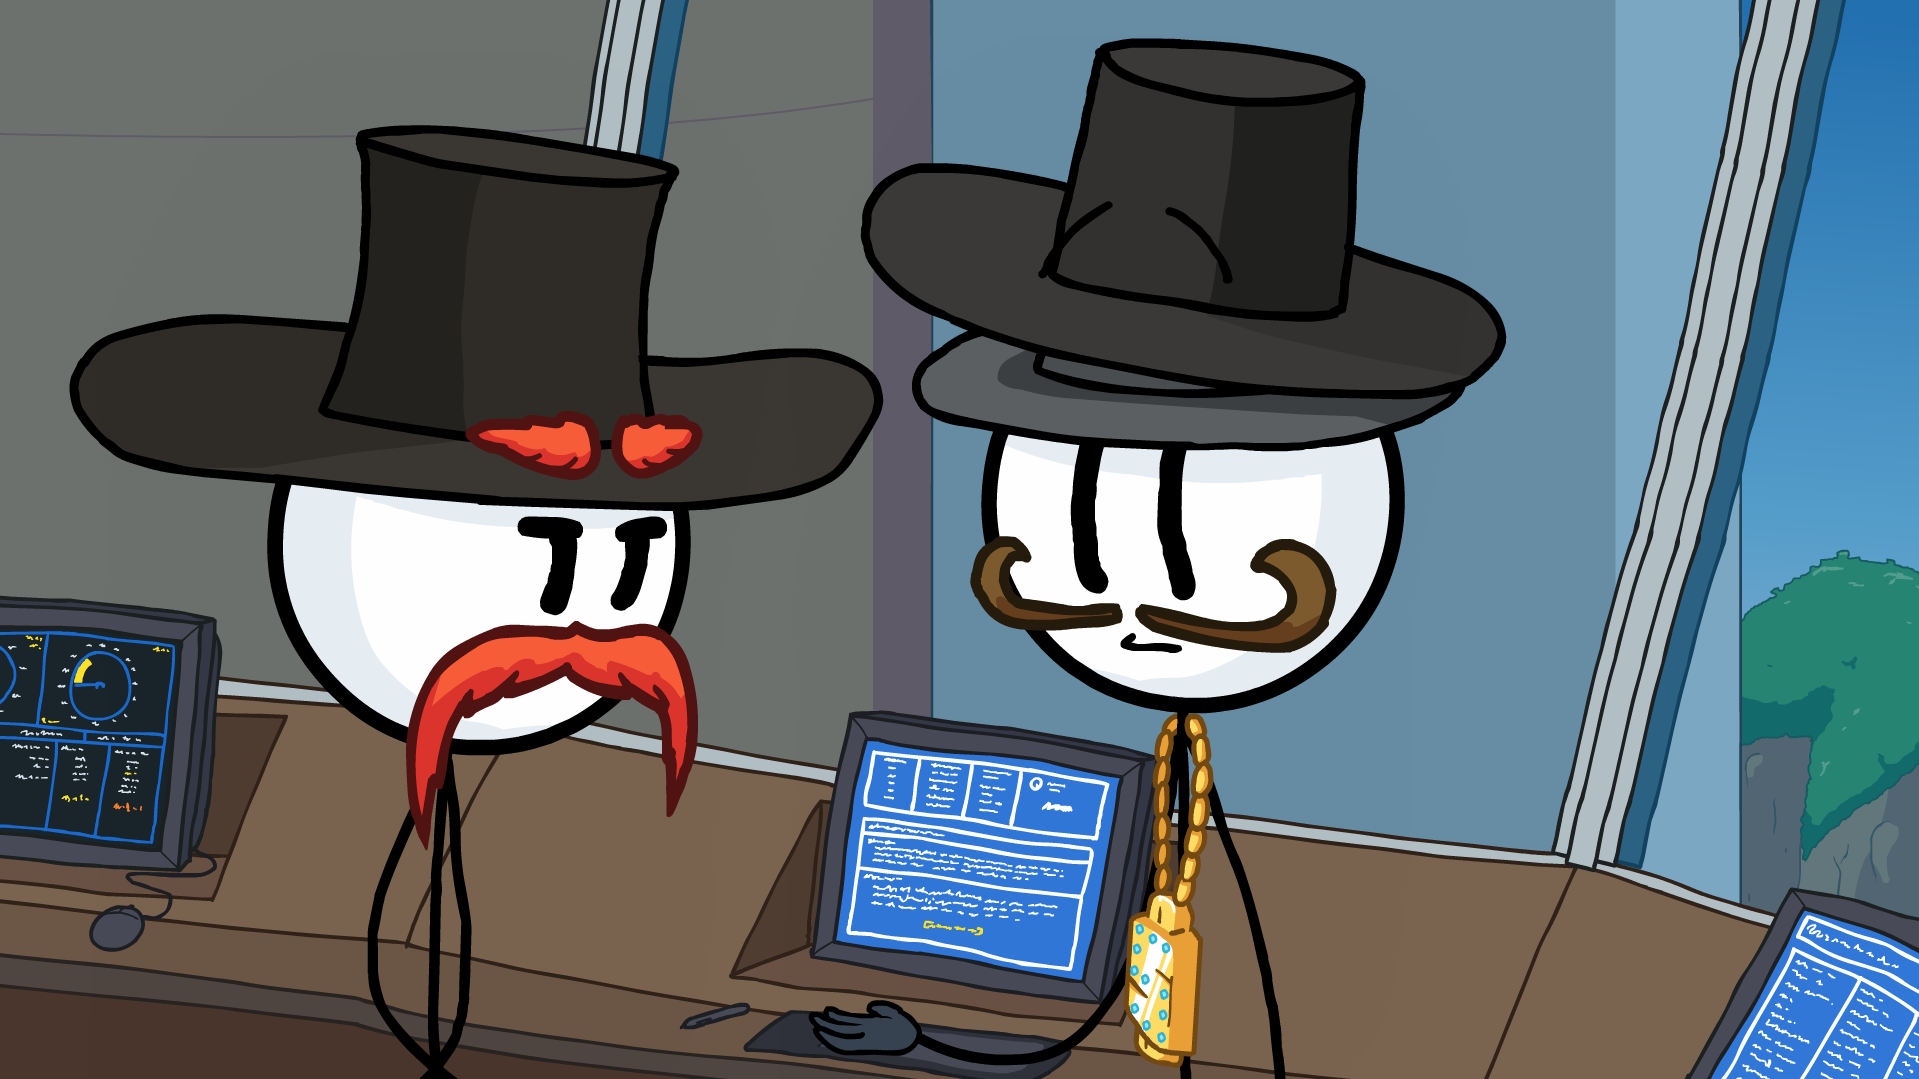
In Onramp, before options show up.
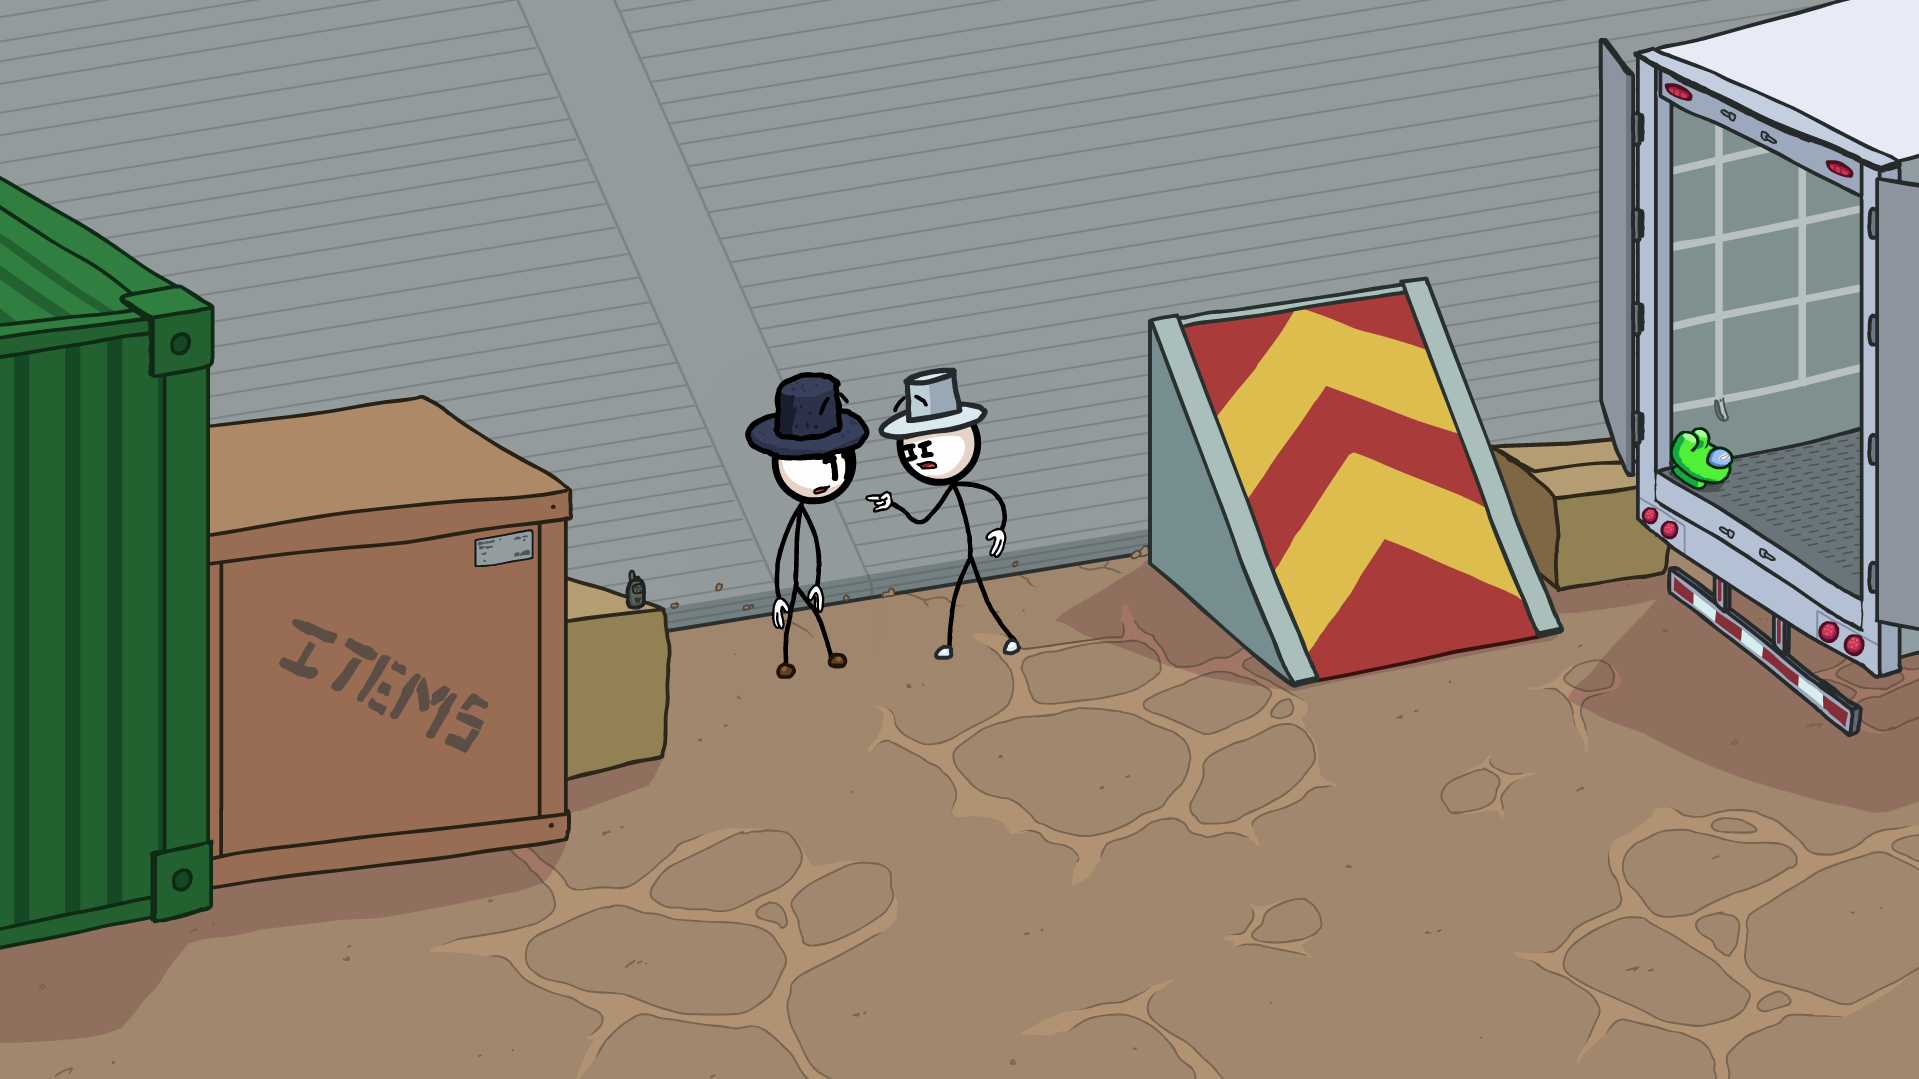
In Top of the Rocket, choose Hammer on the right.
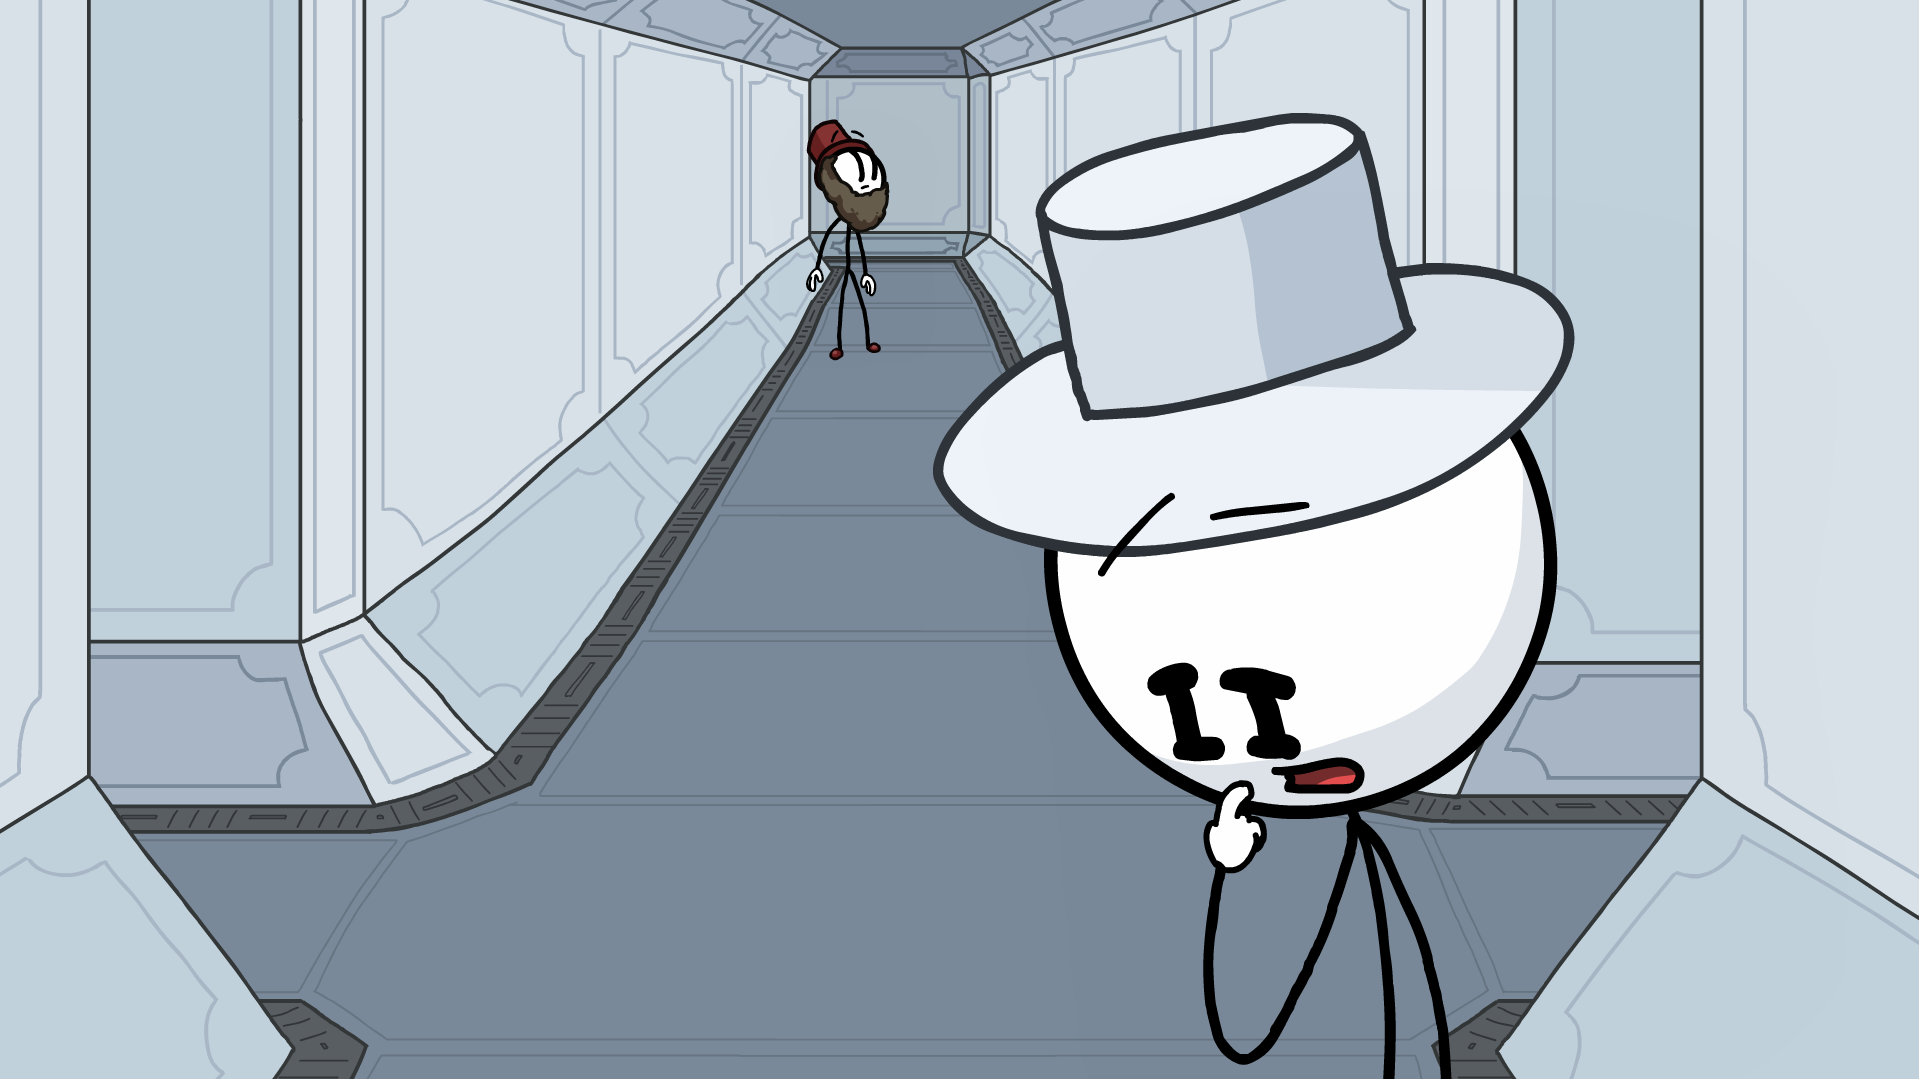
In Tethered!, choose nothing.
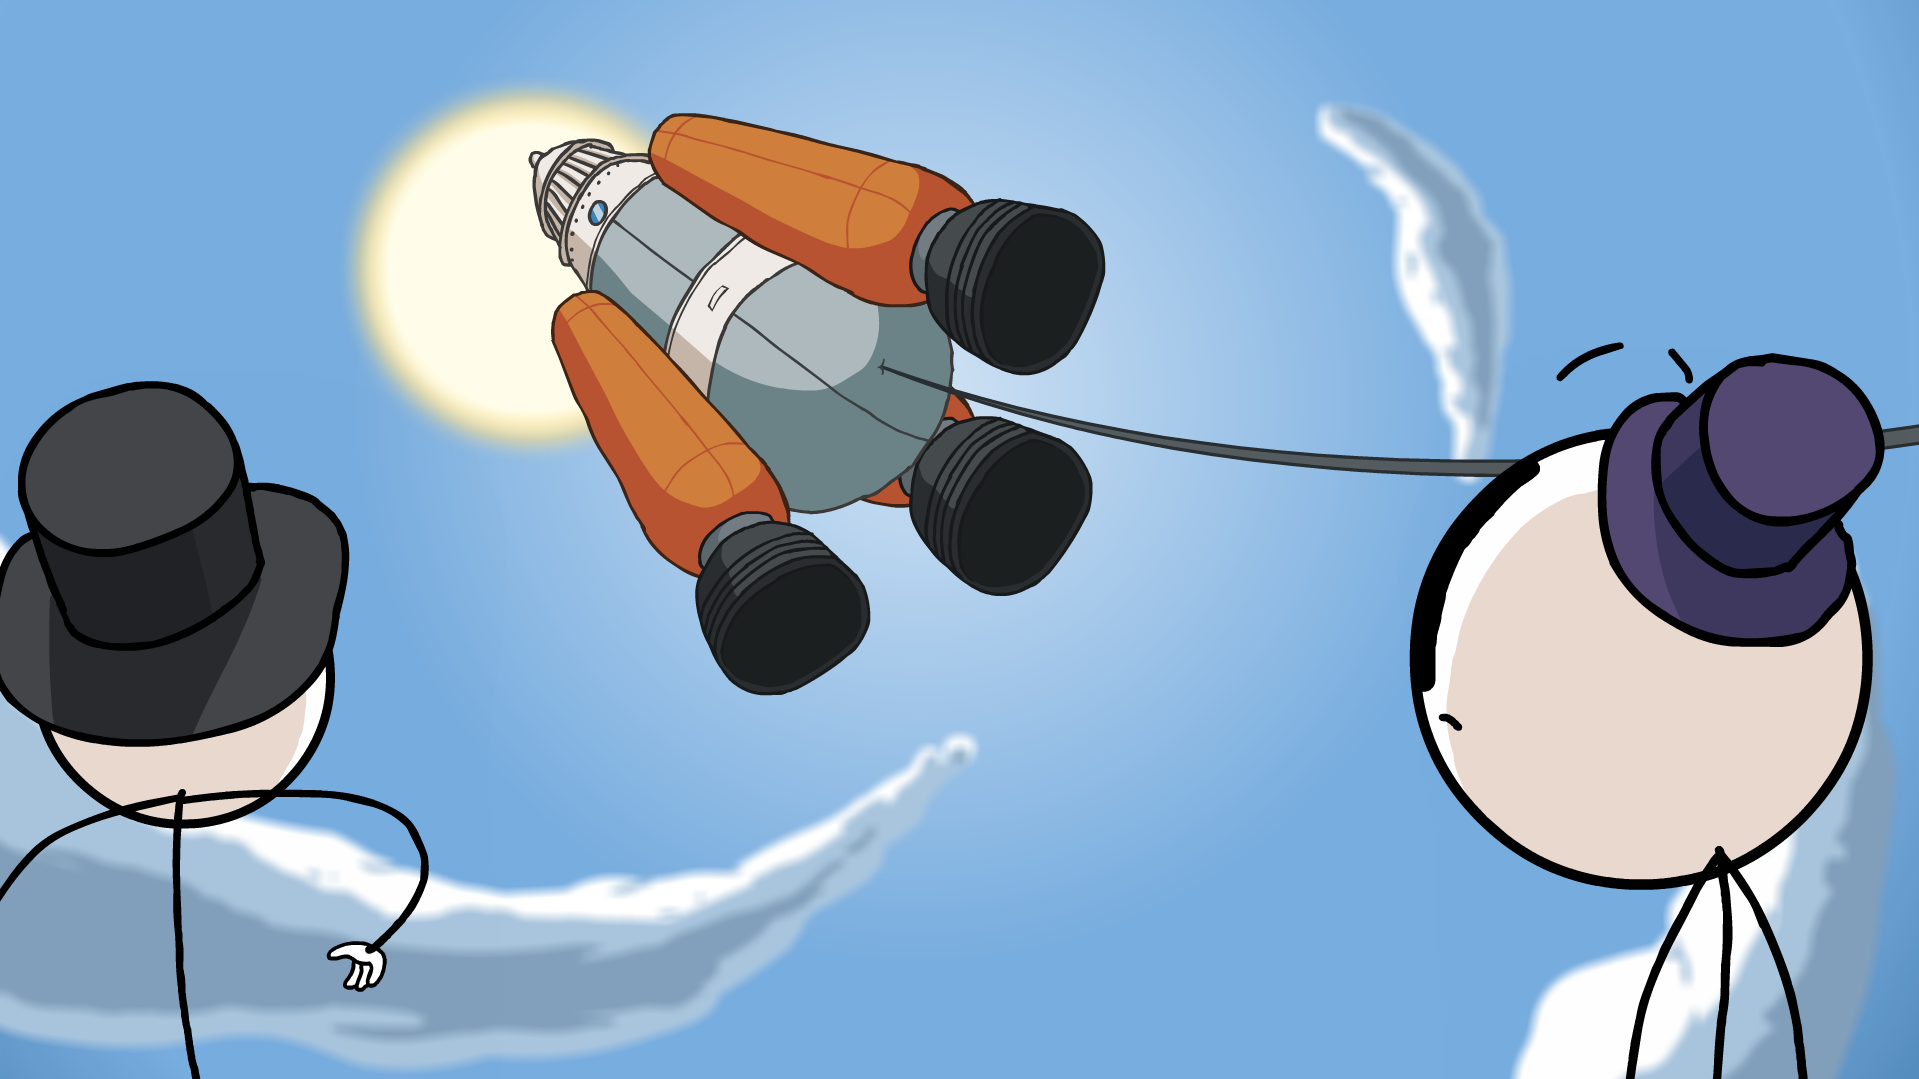
In Tethered!, choose Precision Shot.
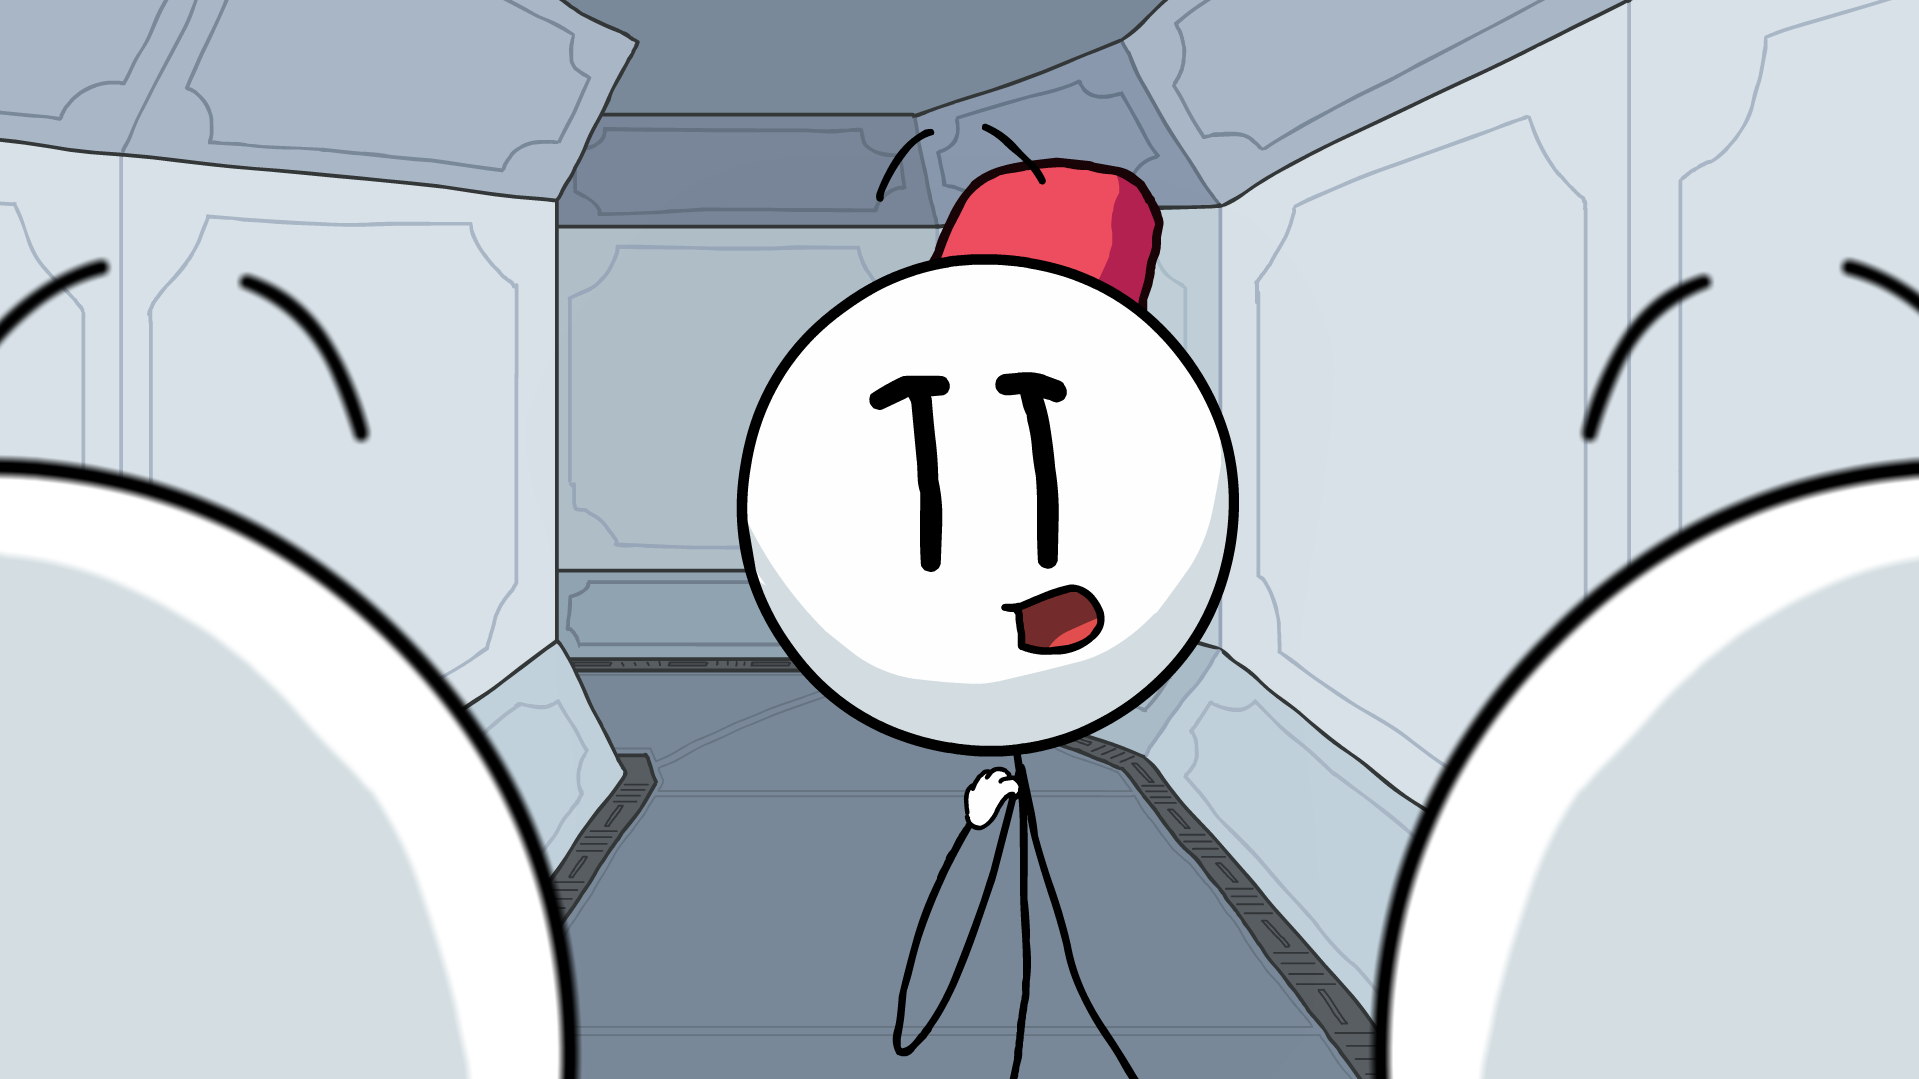
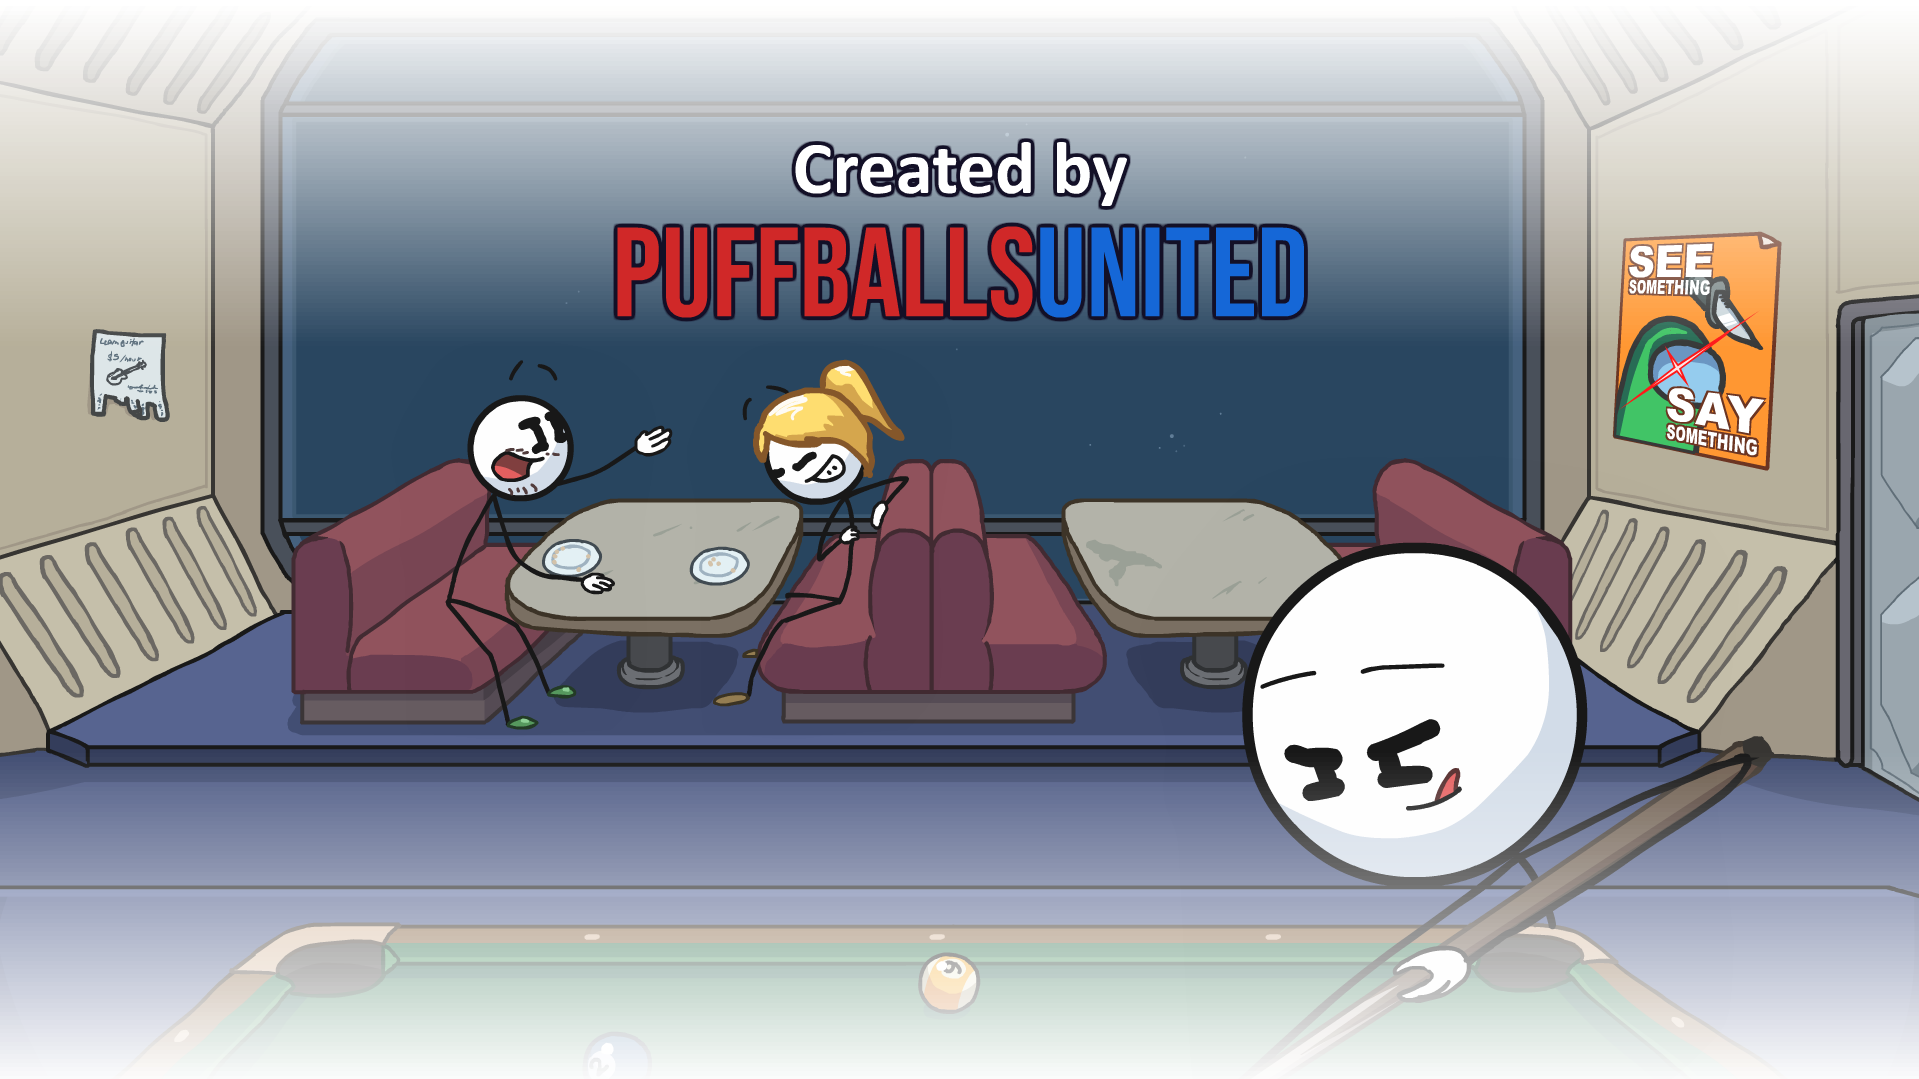
In Intro, buddy in pink hat.
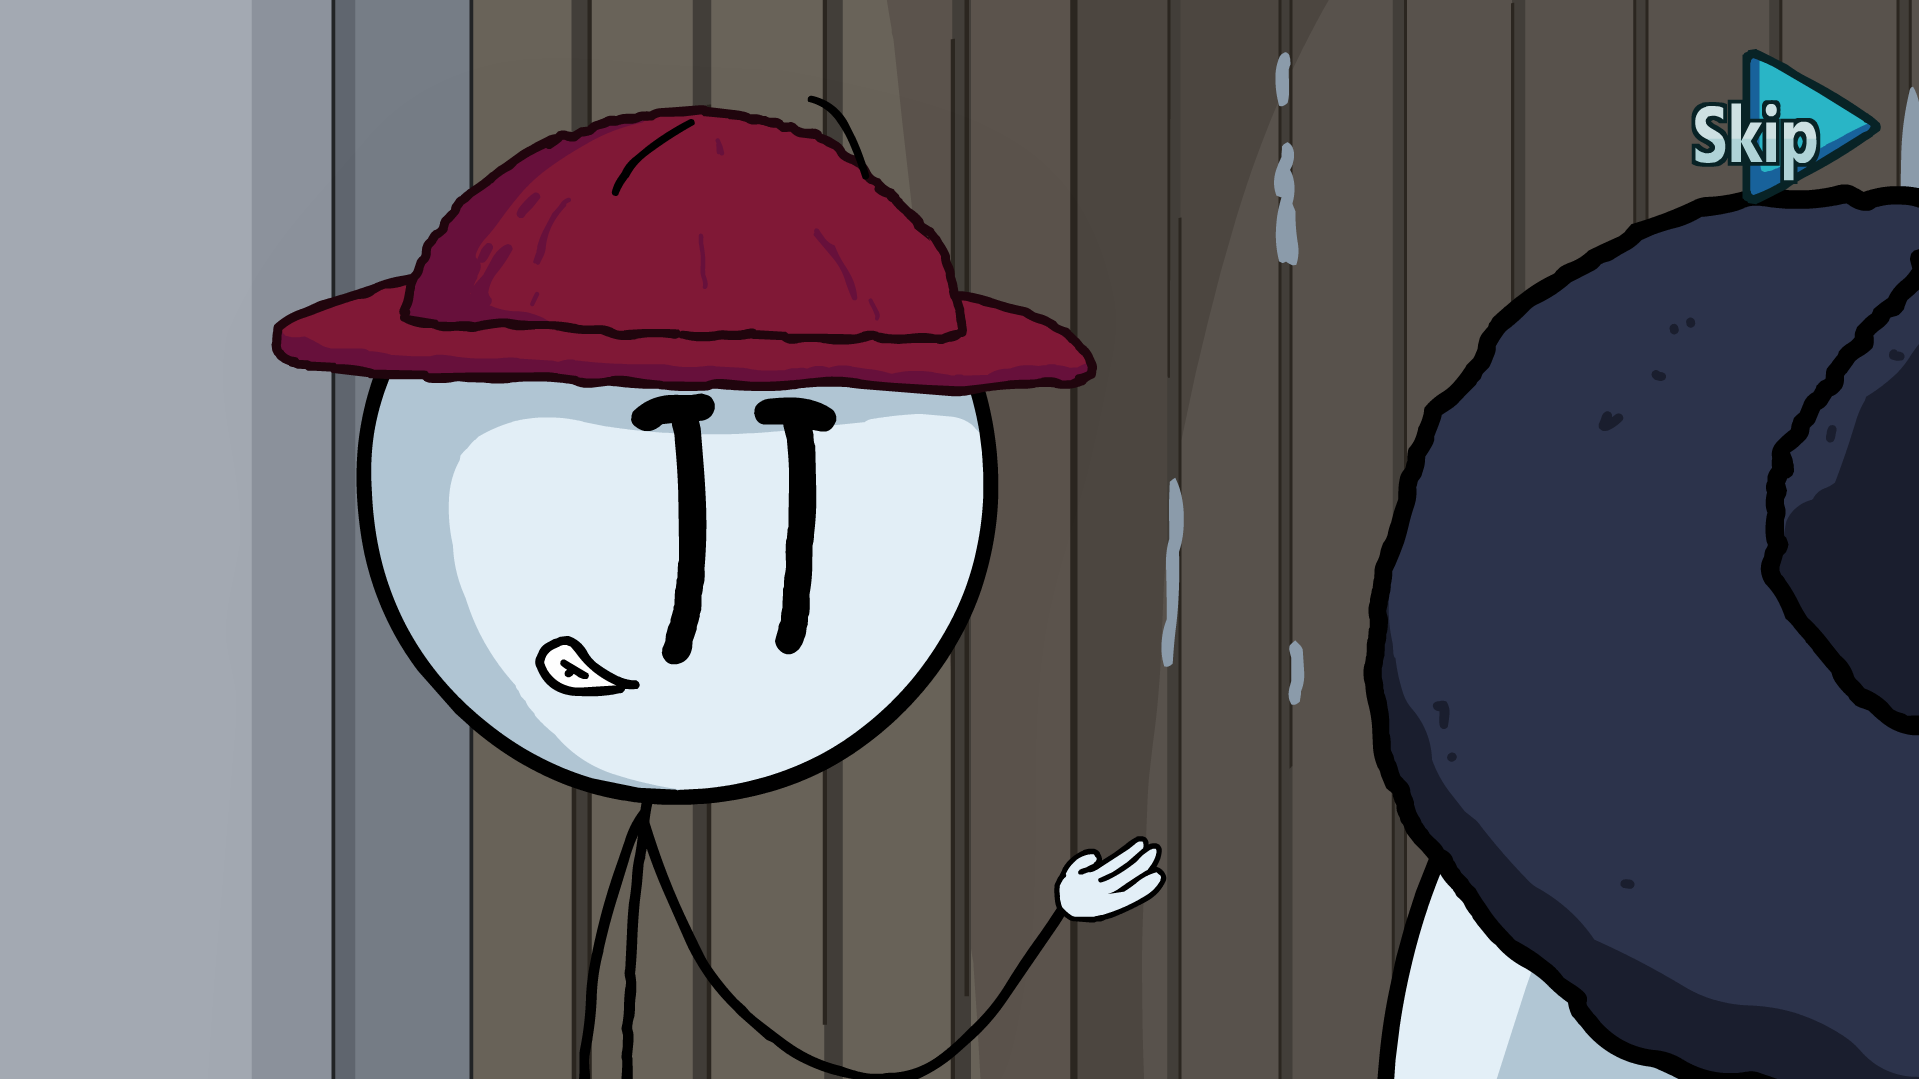
In Tank Attack, choose Plow.
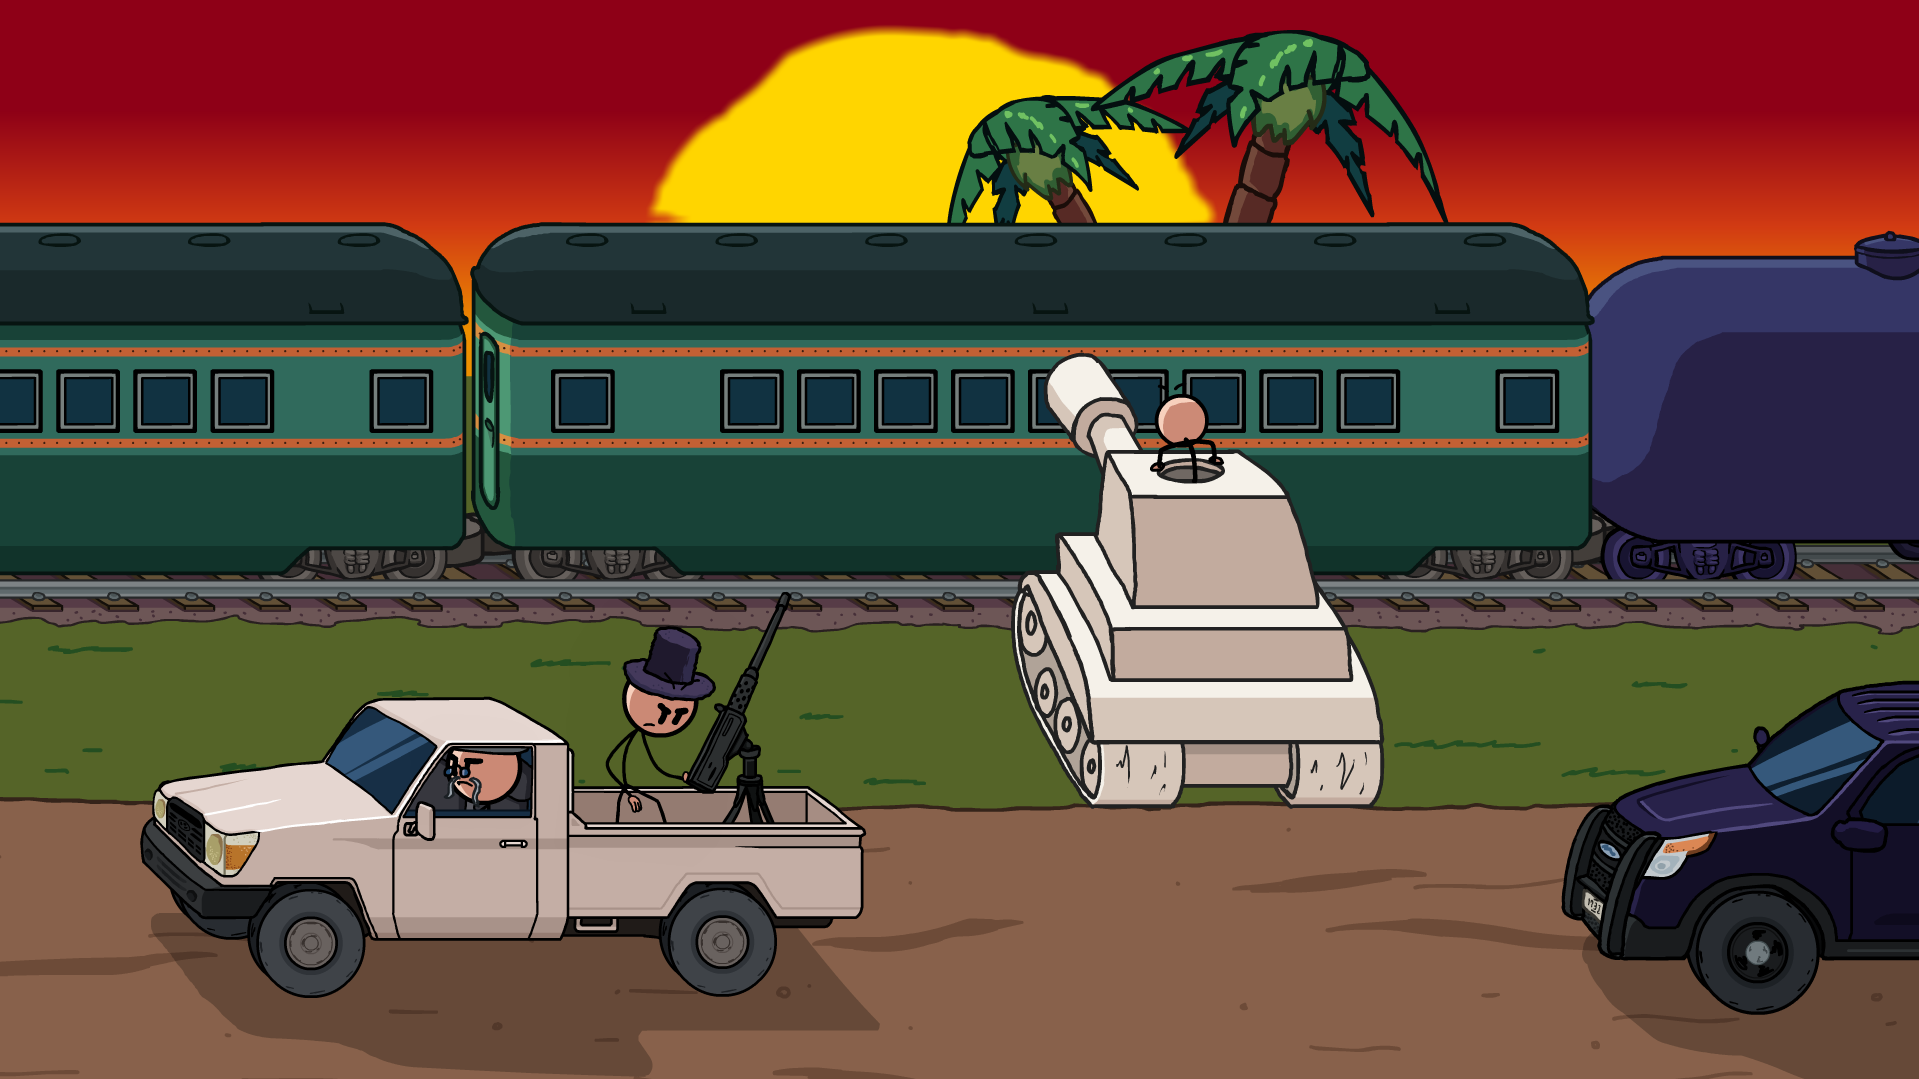
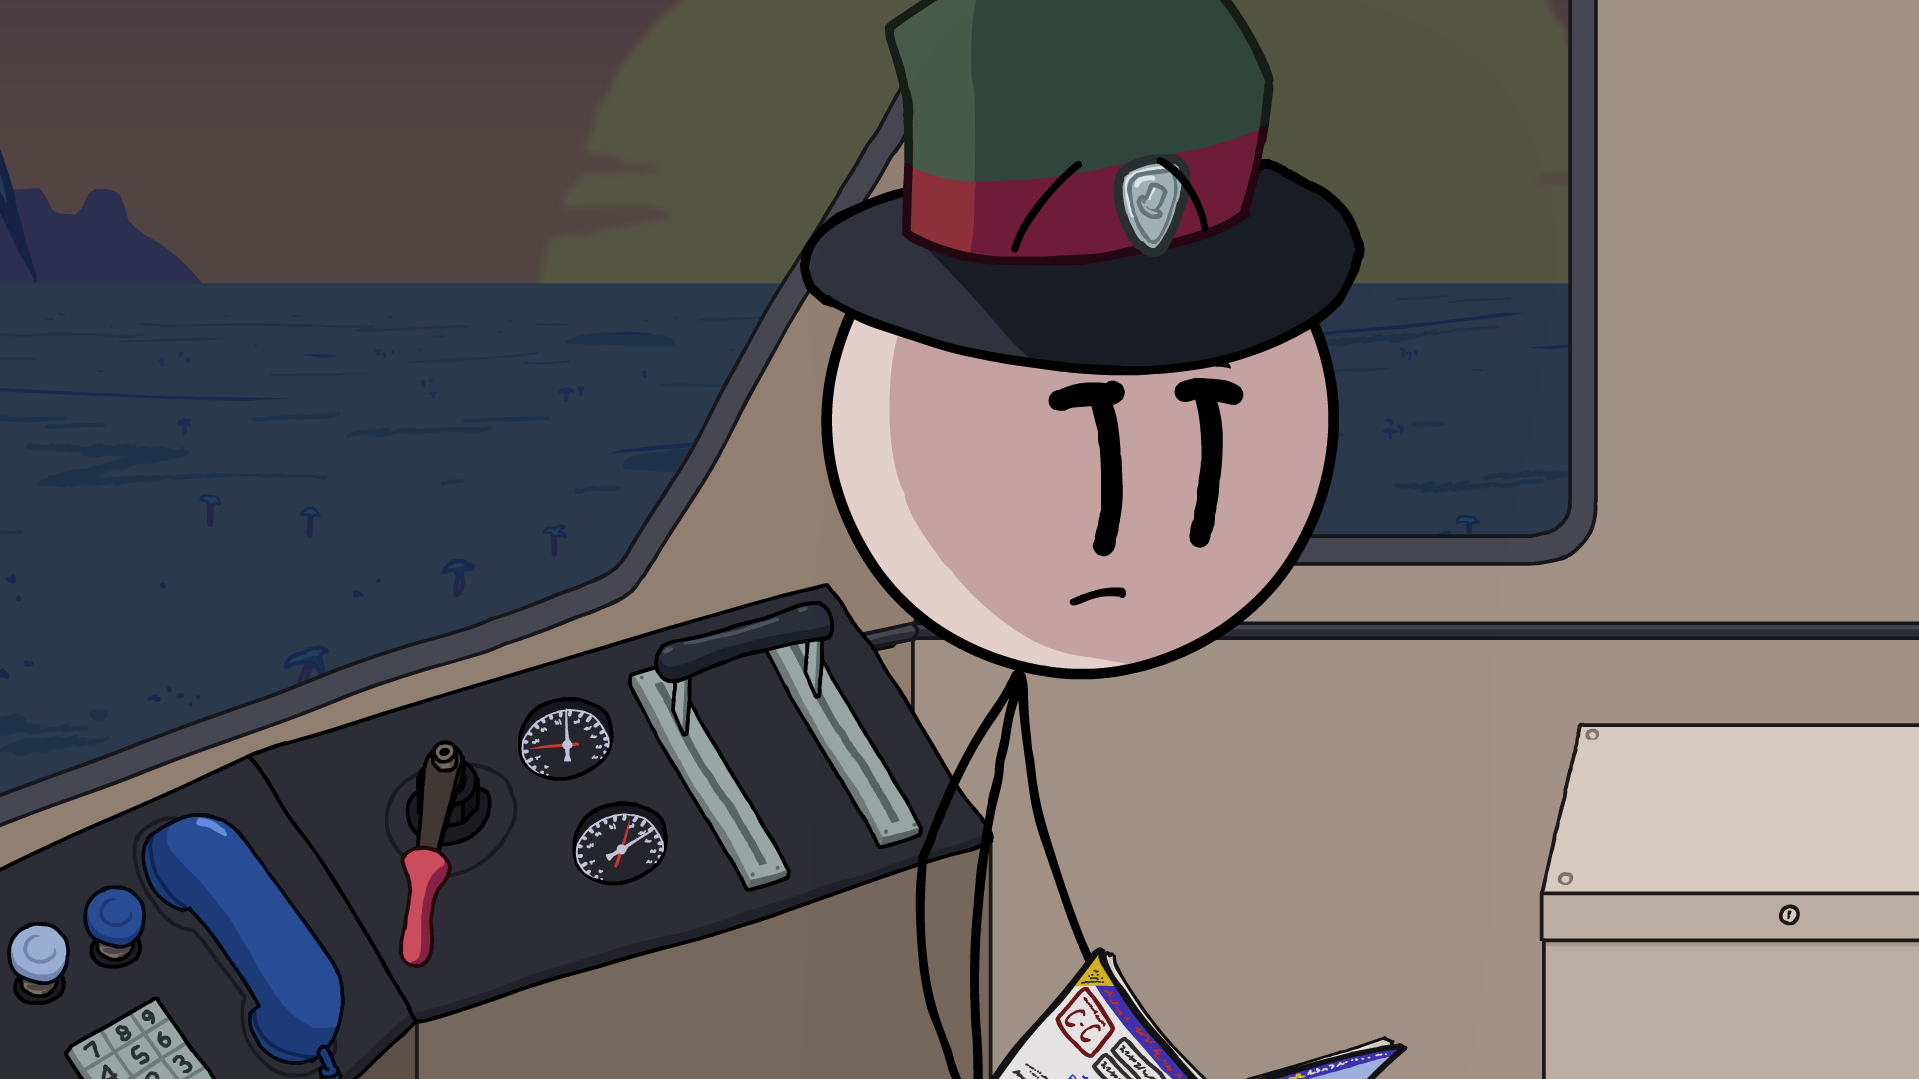
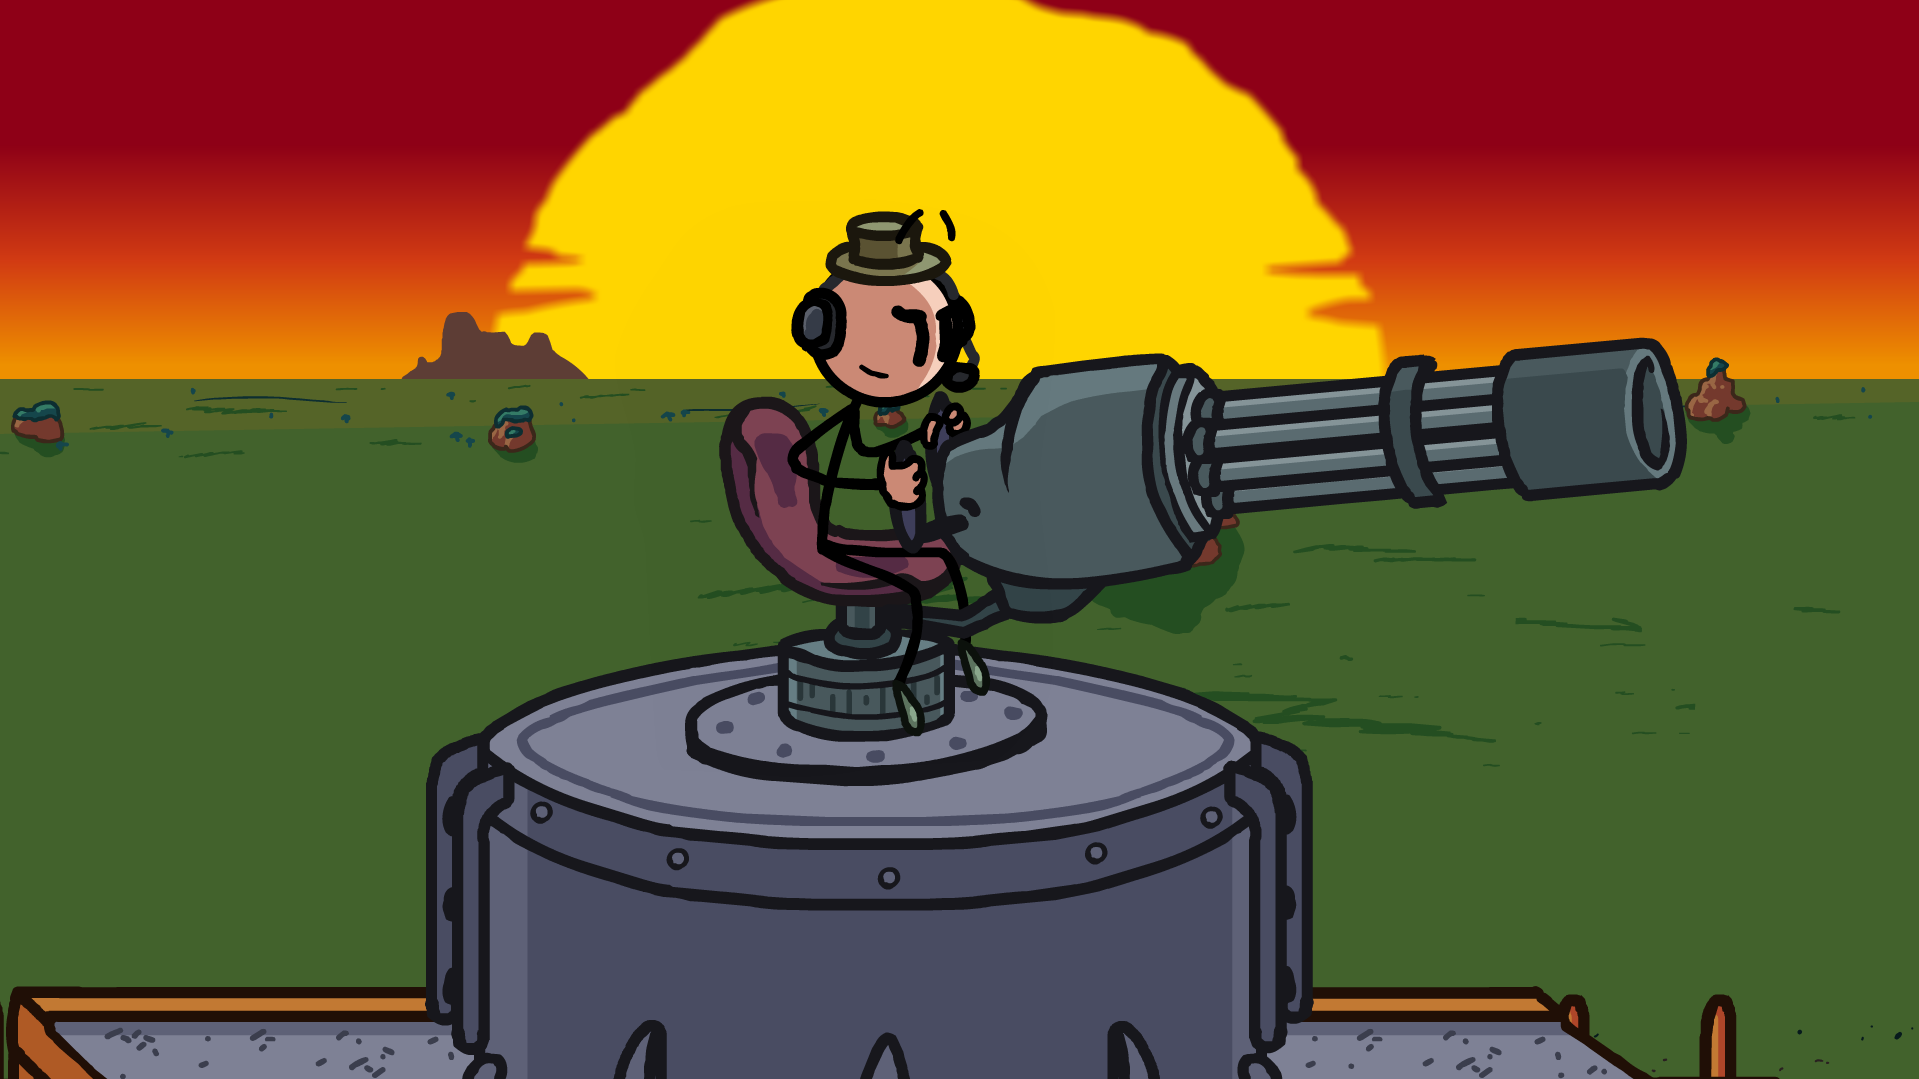
In Traintop Sprint, choose Inside.
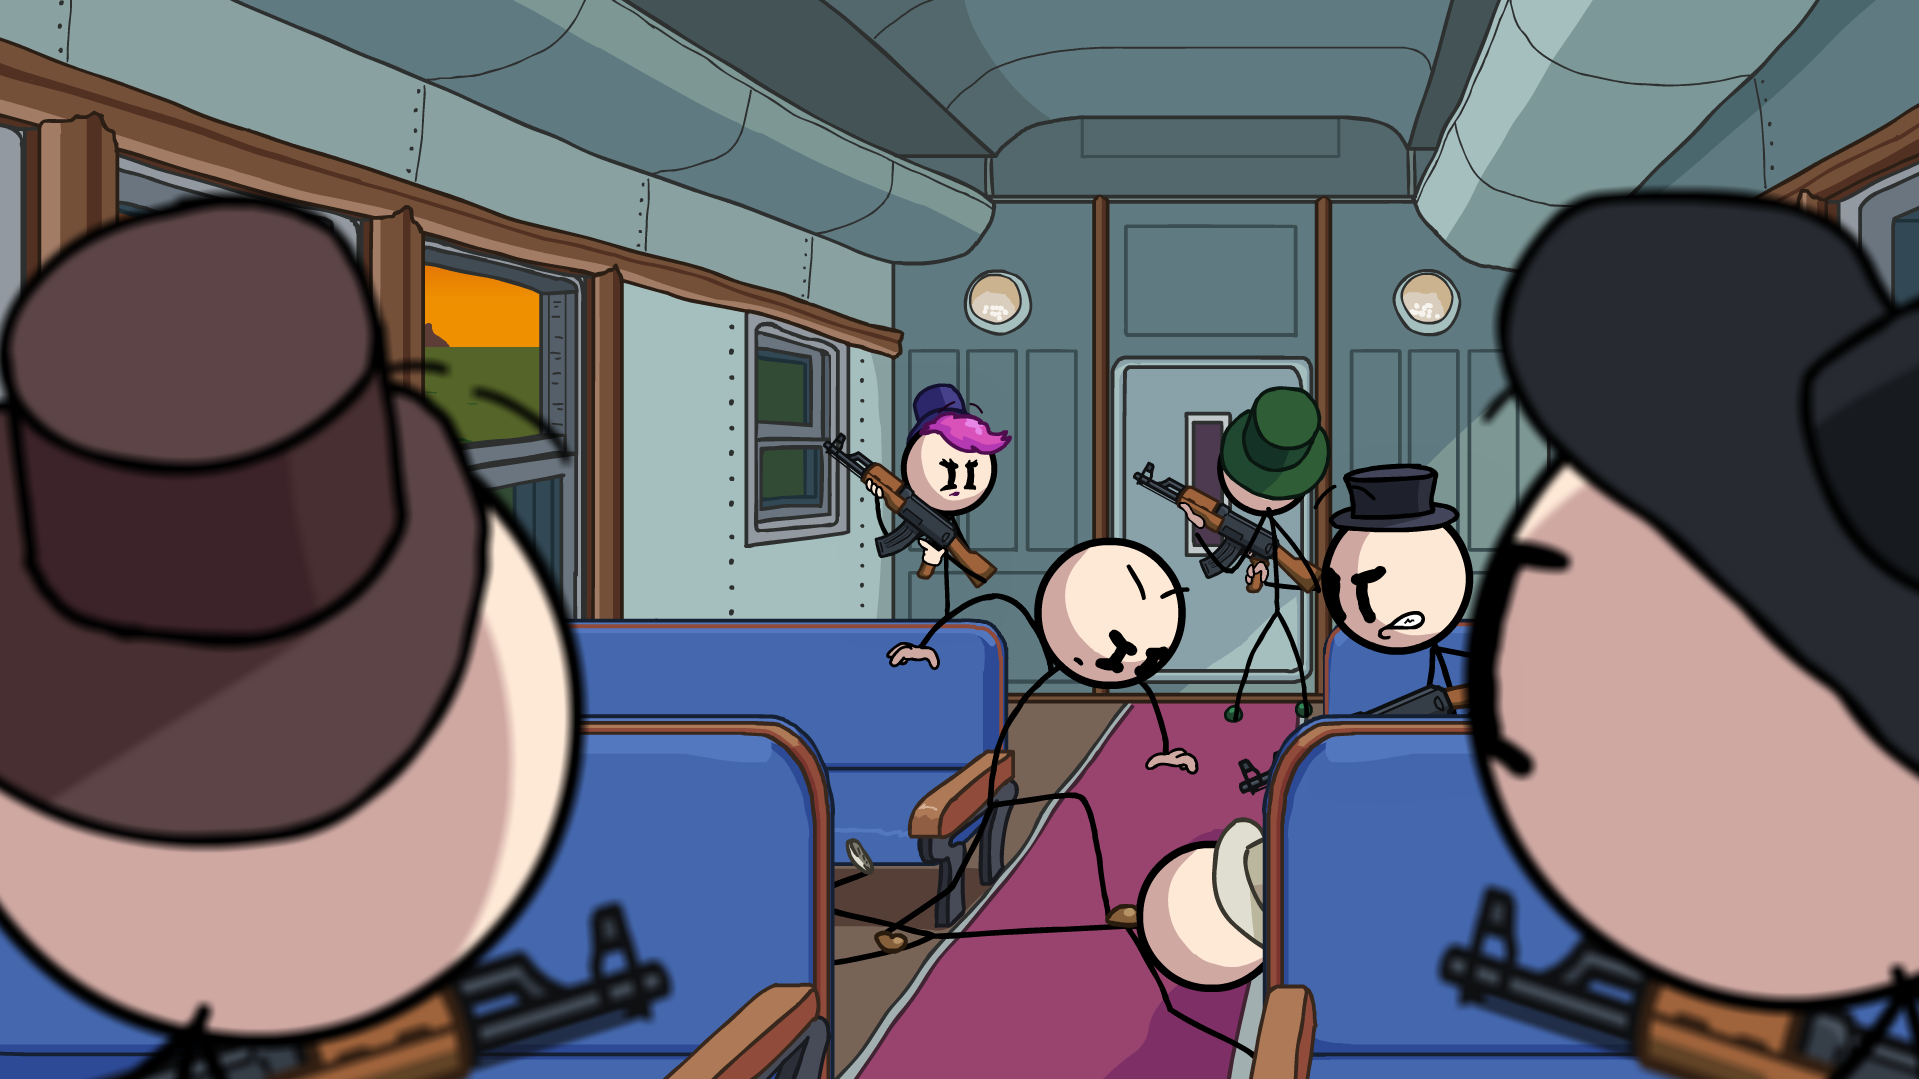
In Traintop Sprint, choose Agility.
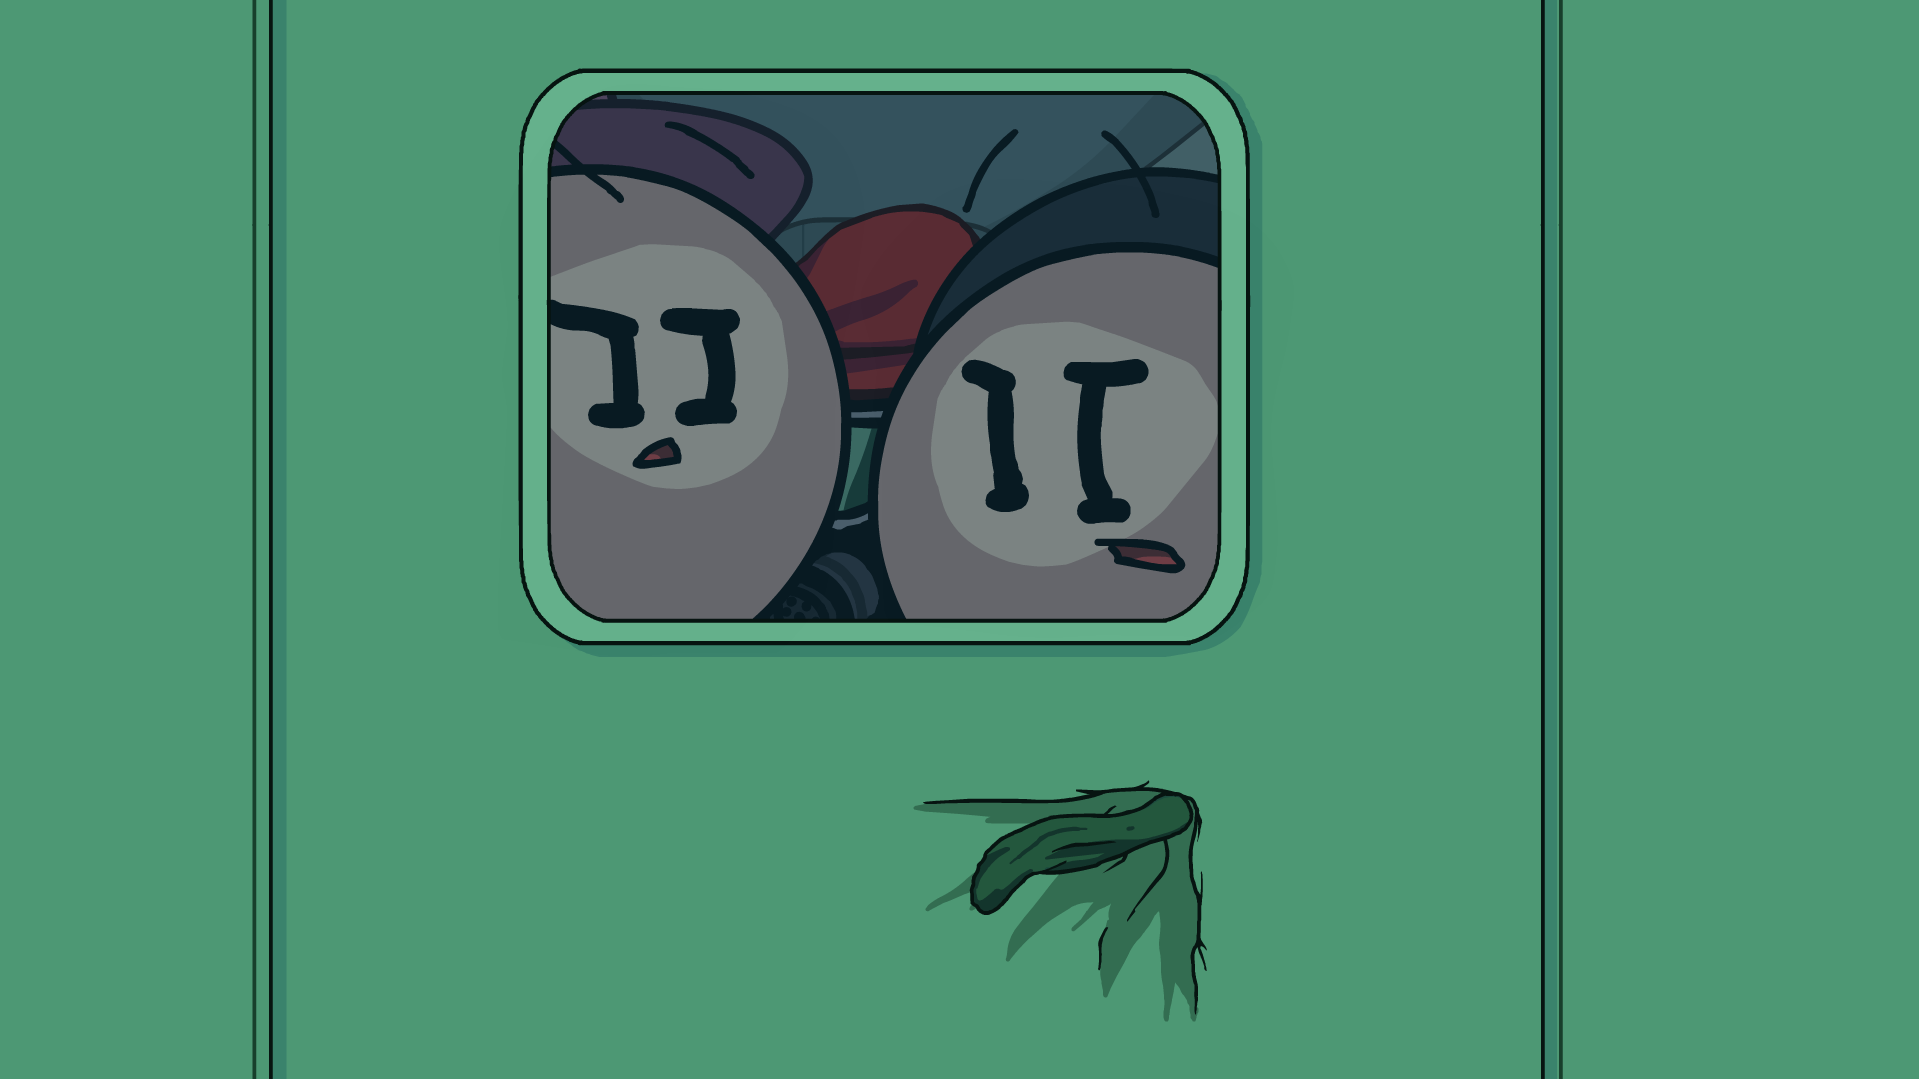
In Conductor Battle, choose Item > Mirror.
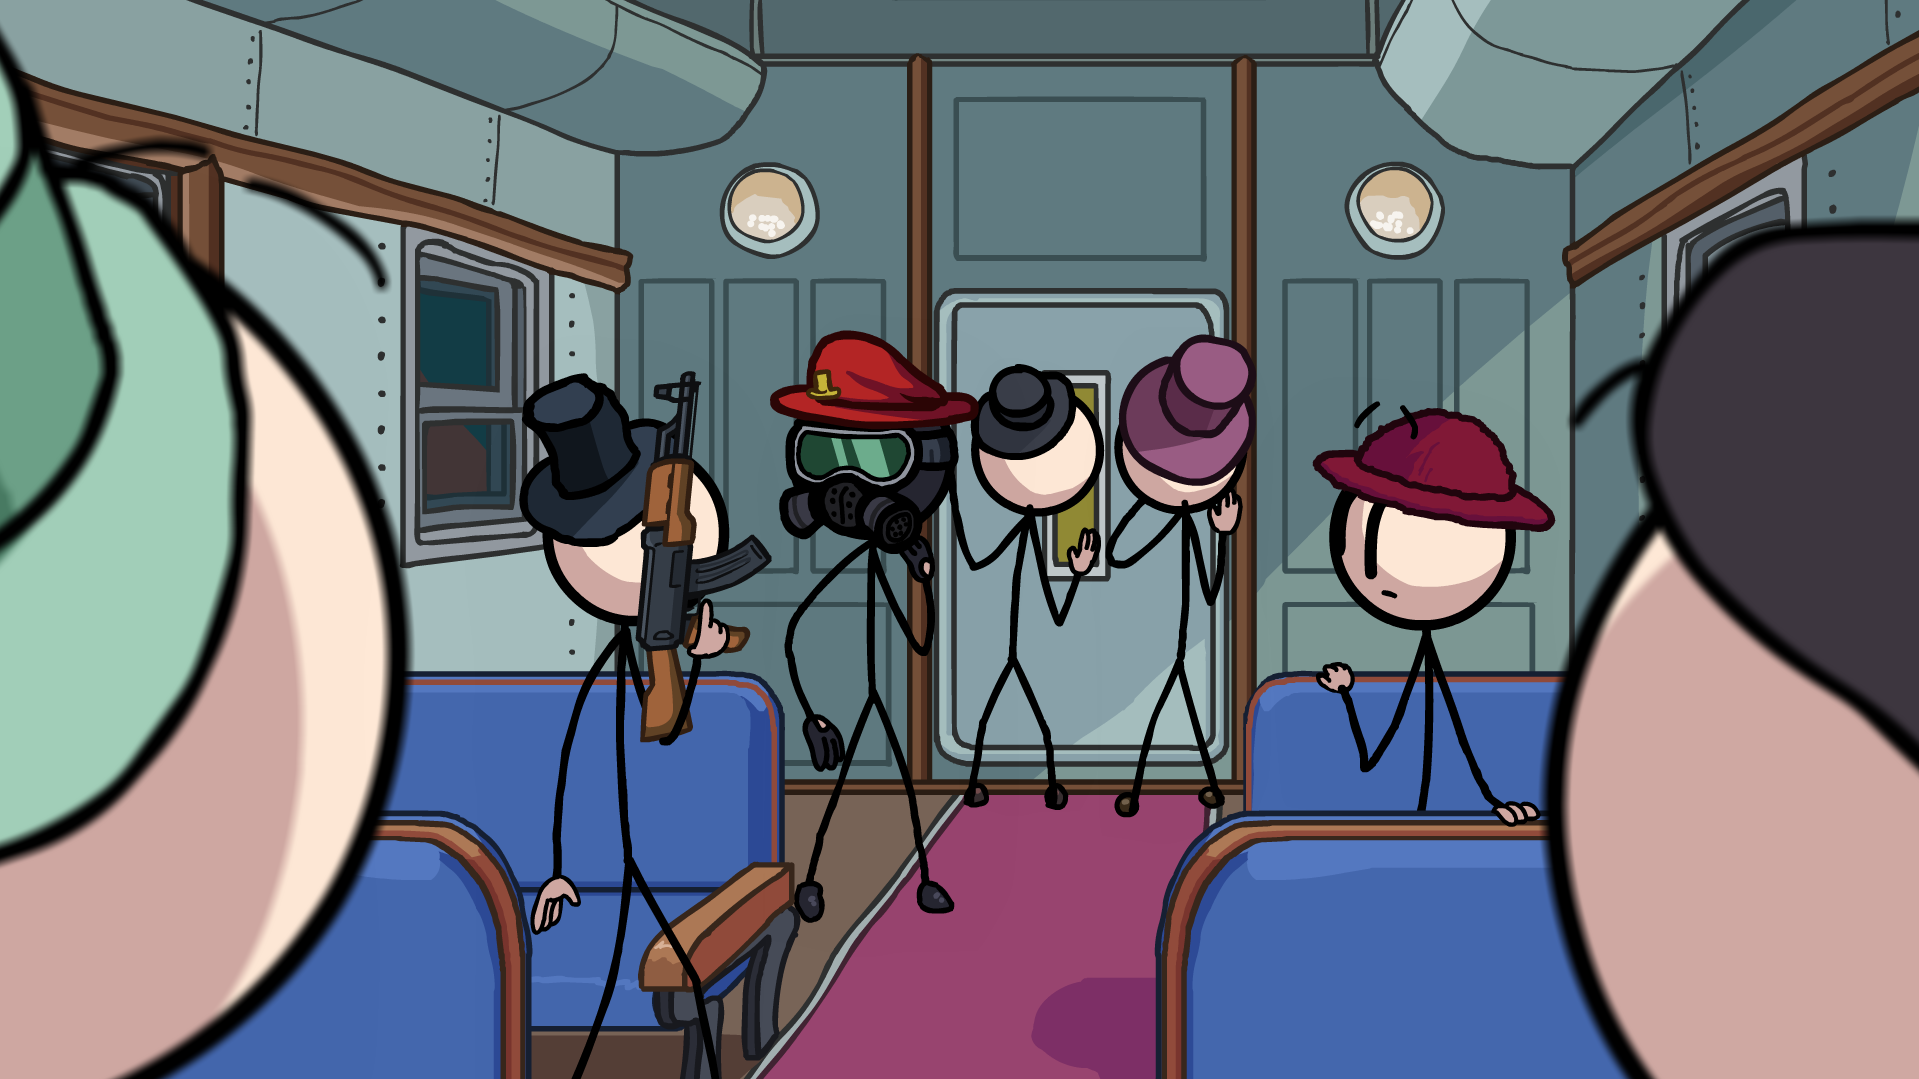
In Getaway Means, choose By Sea.
In Intro, dont forget the guy smoking in the back.
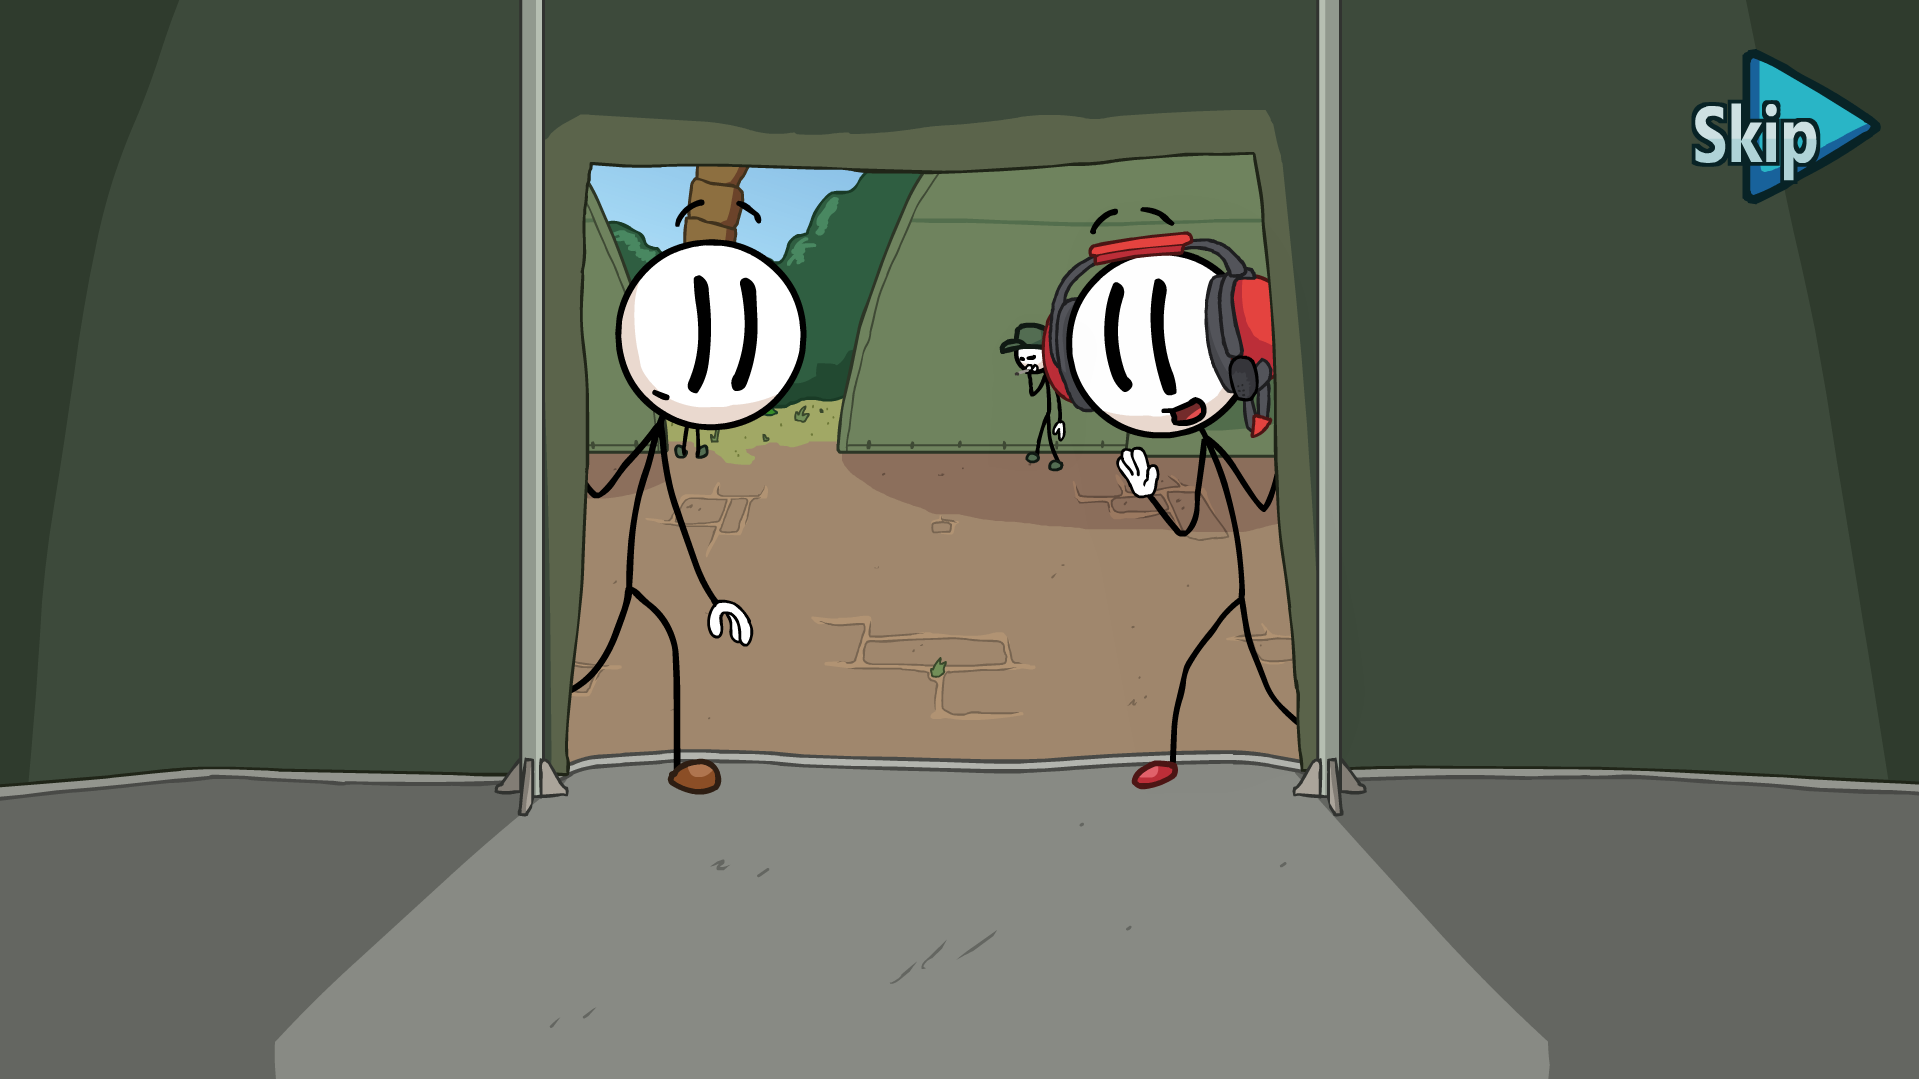
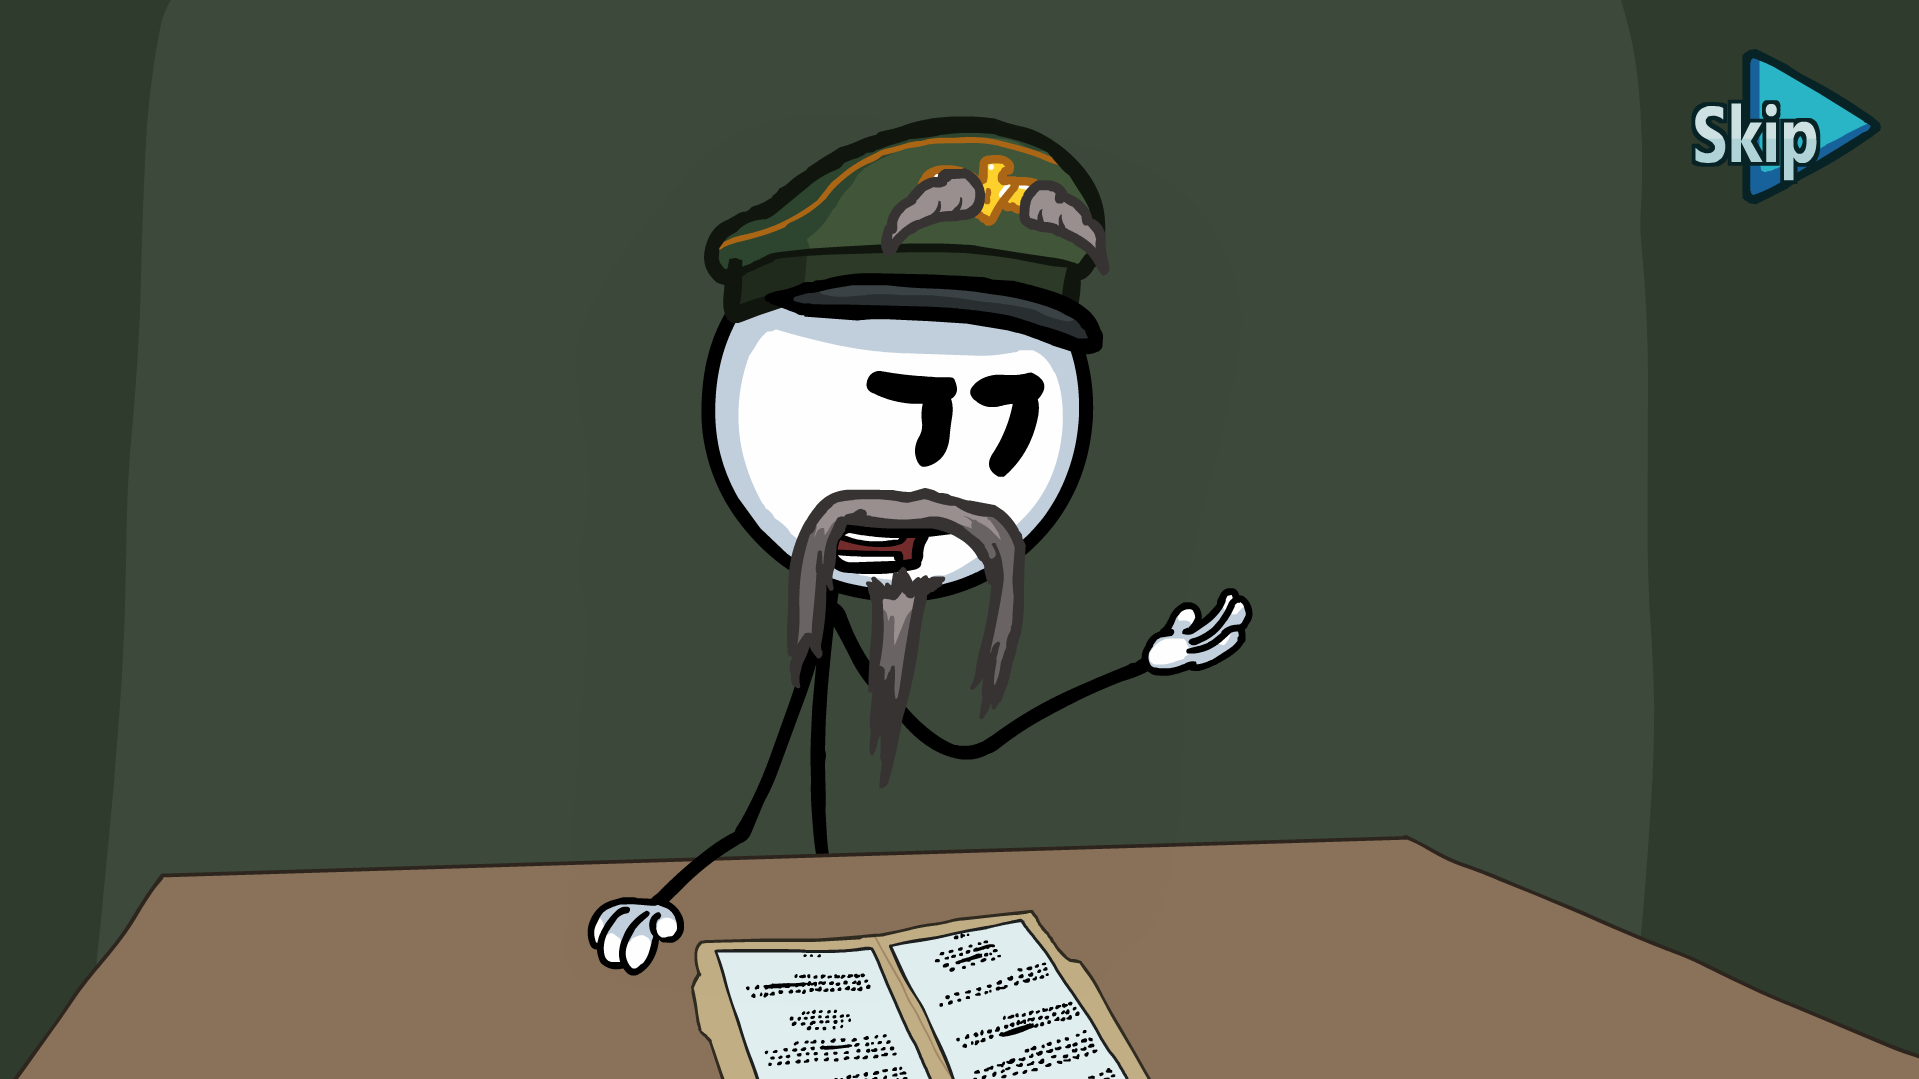
In Cross Over, choose Trapeze.
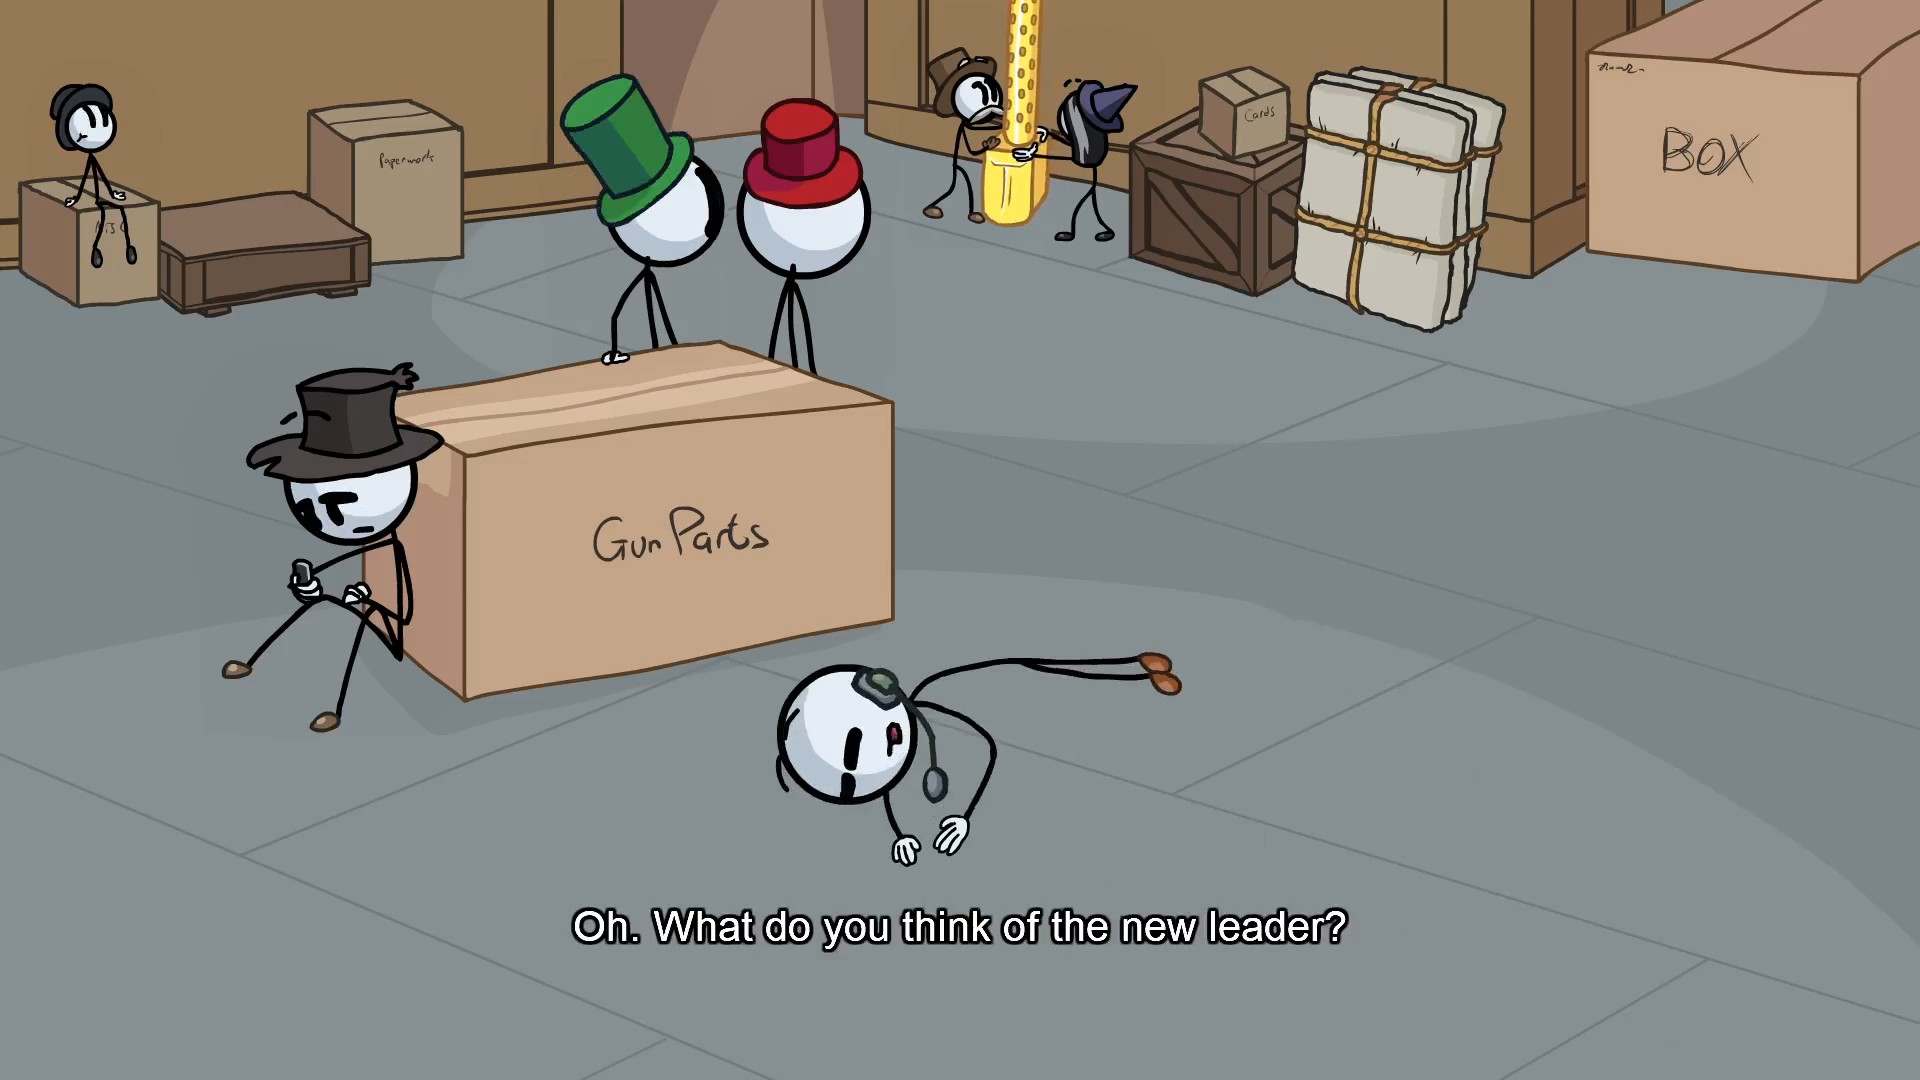
In Cross Over, choose Trapeze.
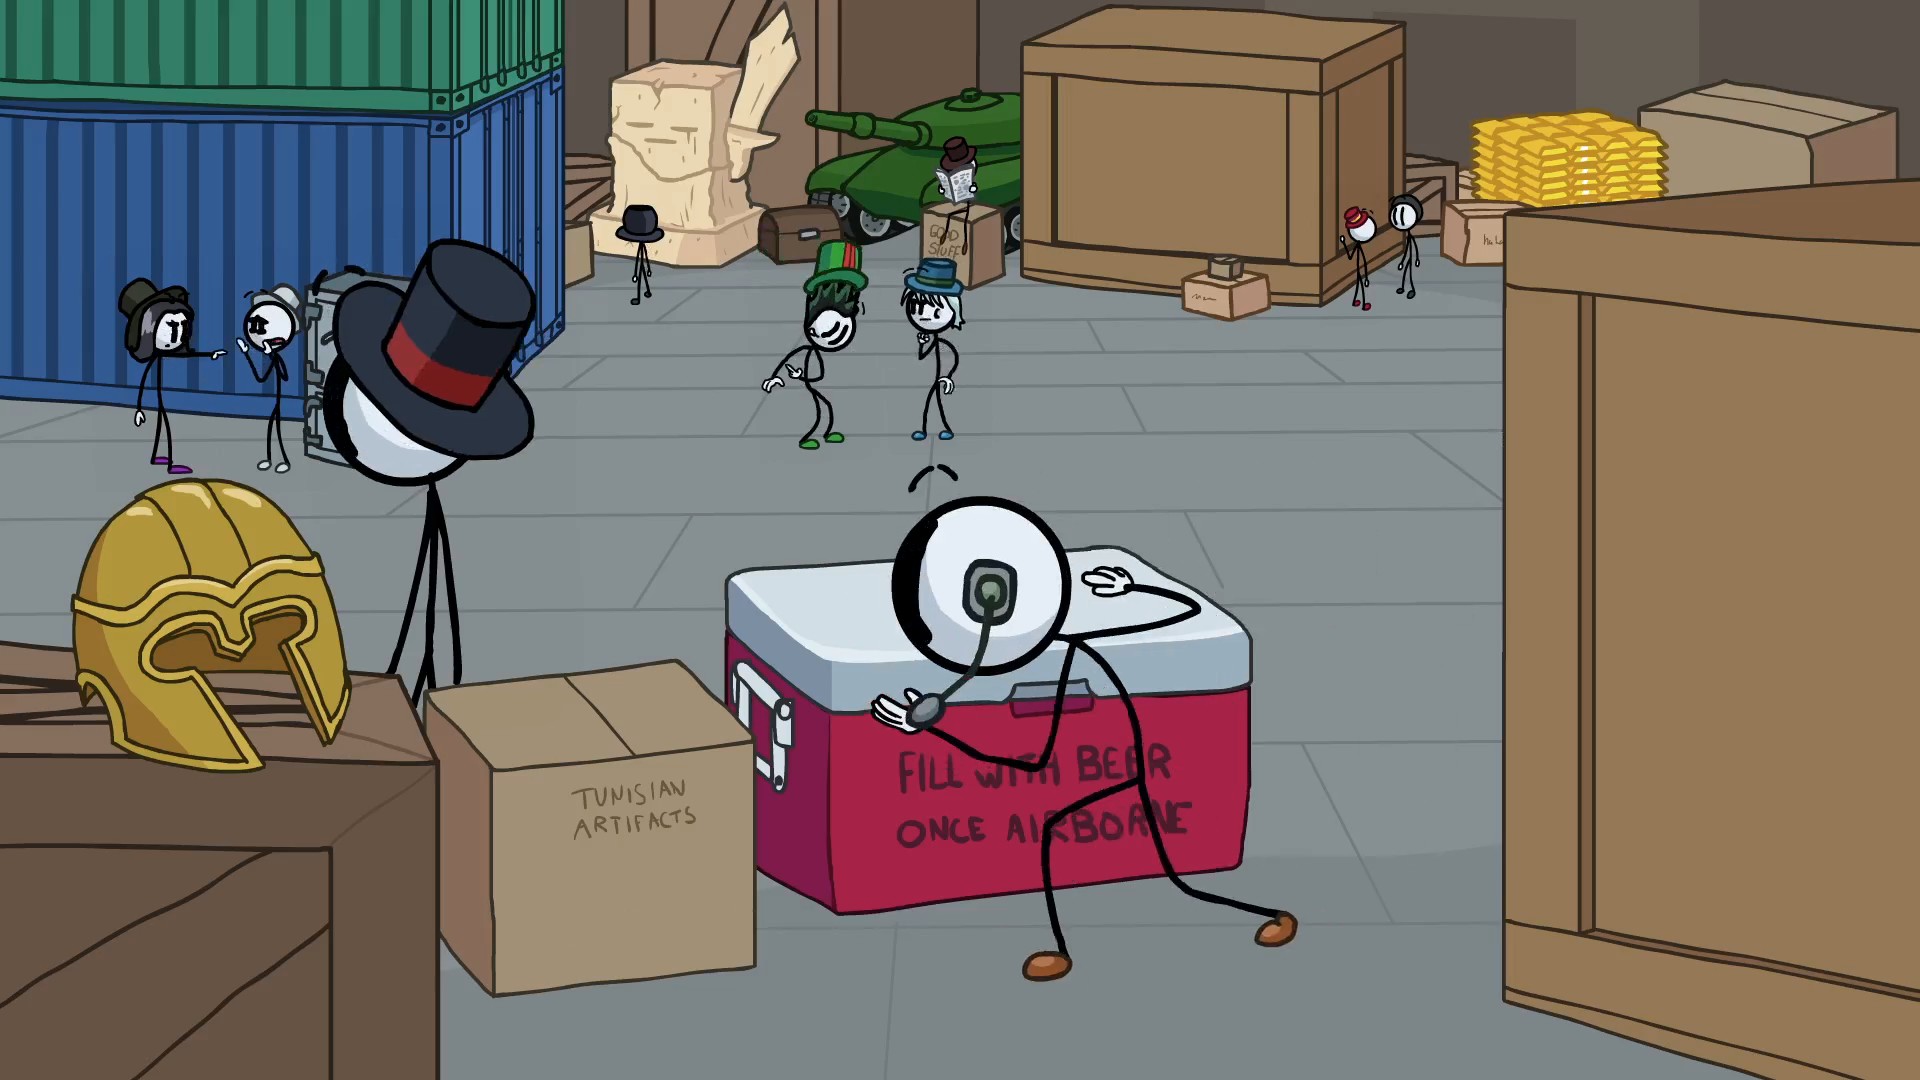
In Cross Over, choose Trapeze.
ᅠᅠᅠᅠᅠᅠᅠᅠᅠᅠᅠᅠᅠ(Page 5 - 8)
In Storage Bay, choose TV Broadcast.
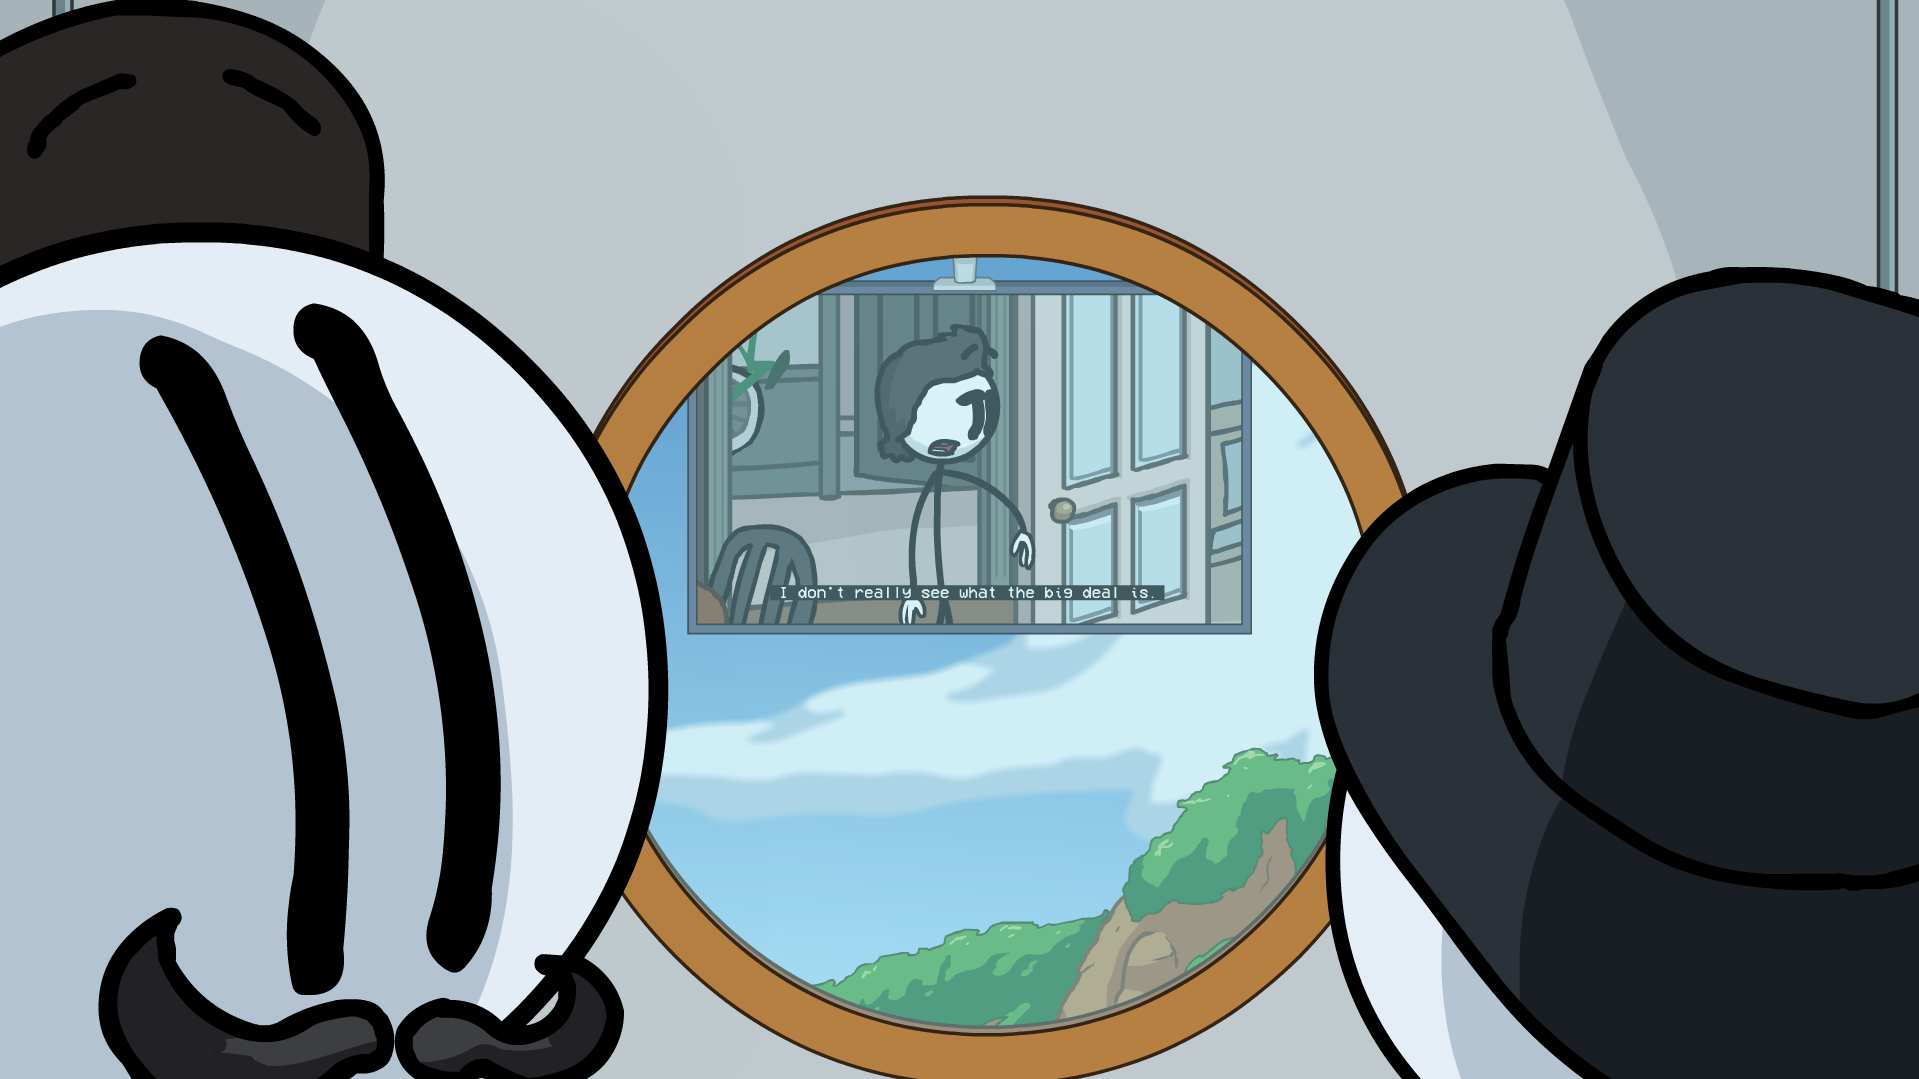
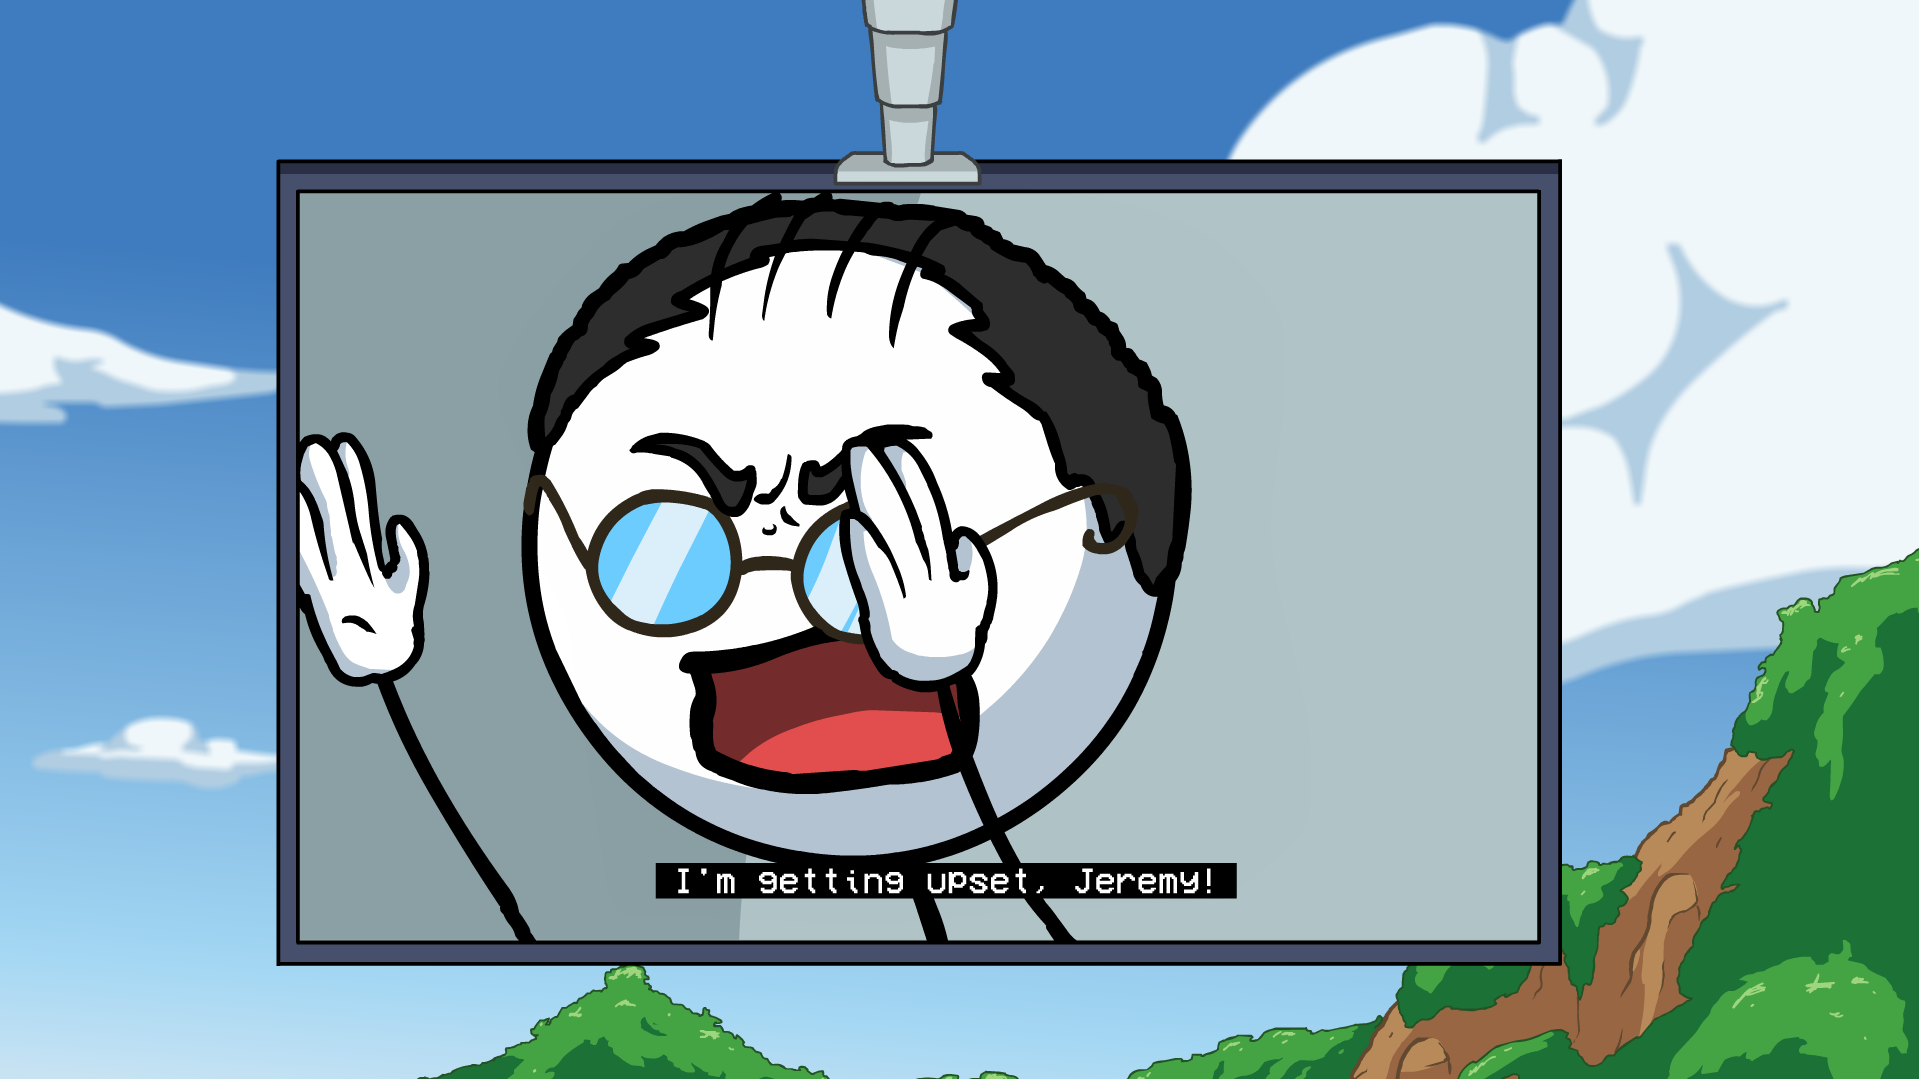
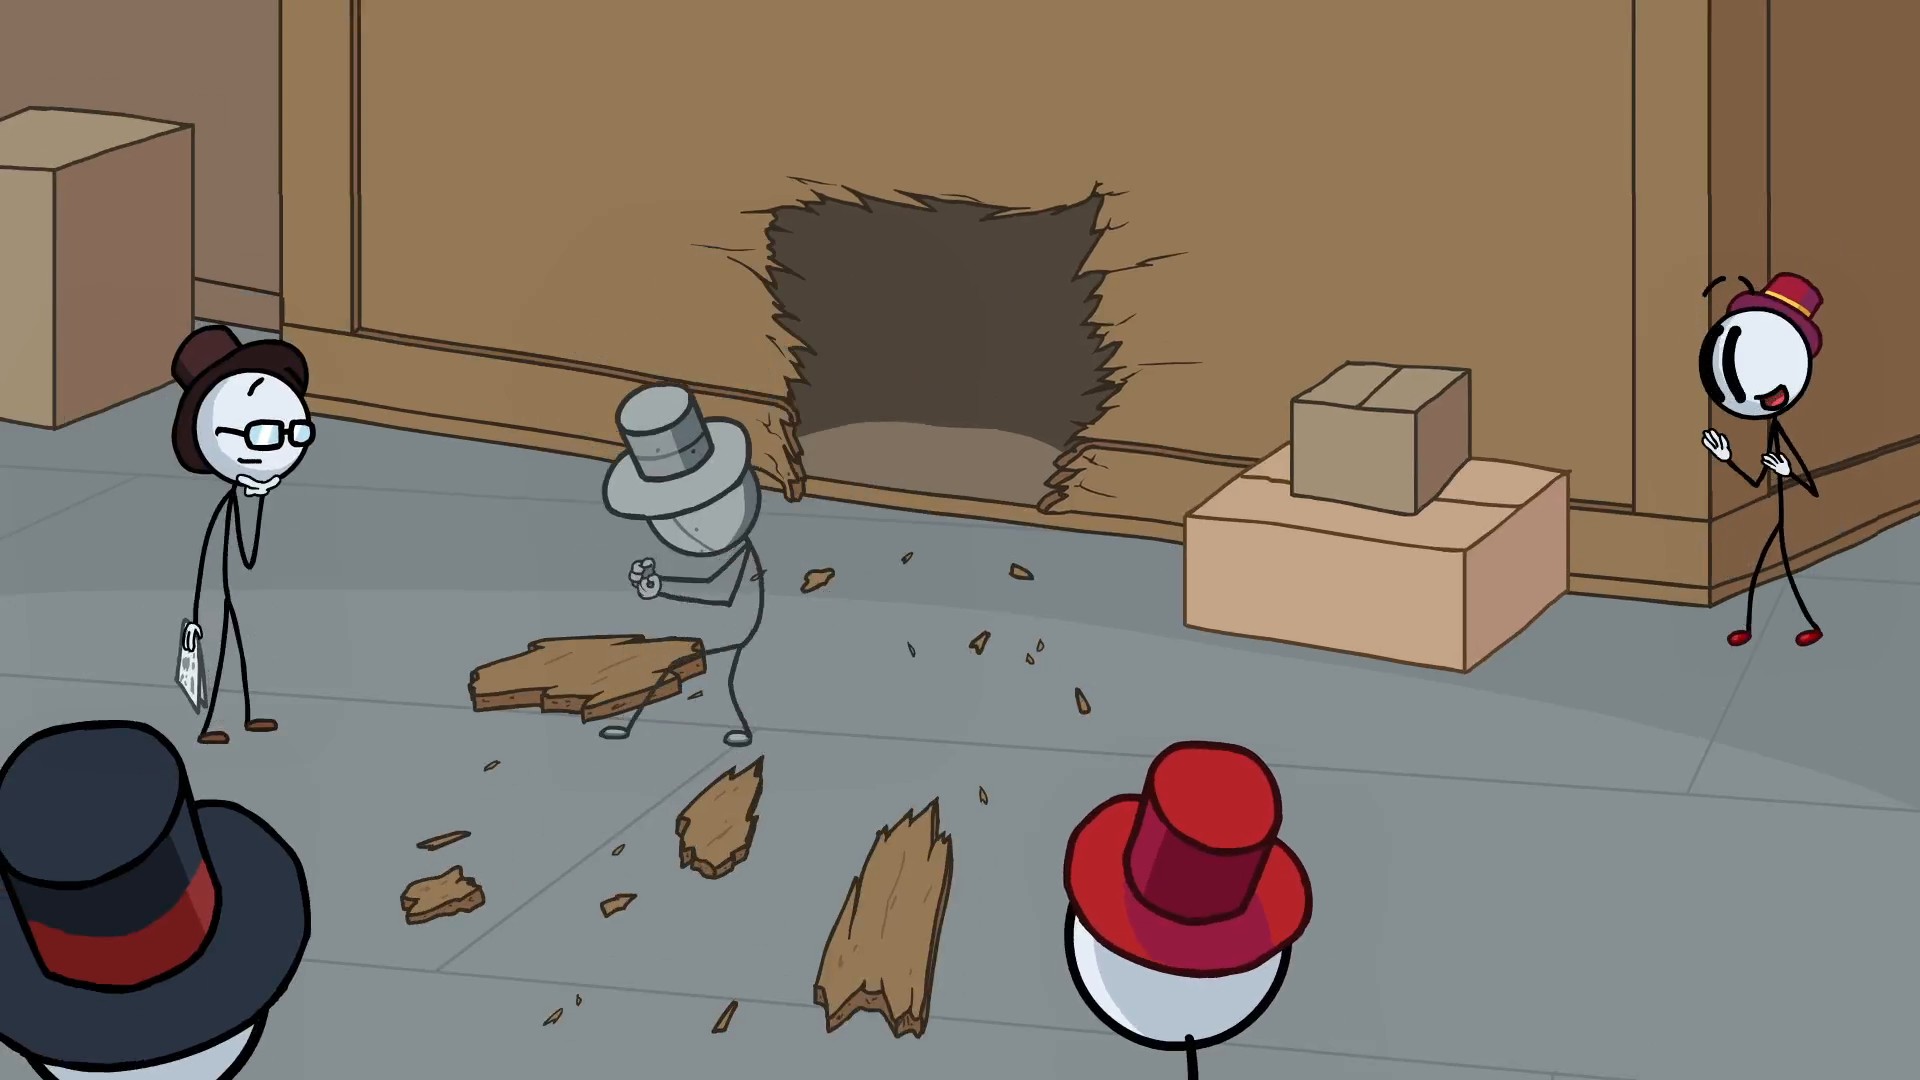
In Storage Bay, choose Remote Toppat.
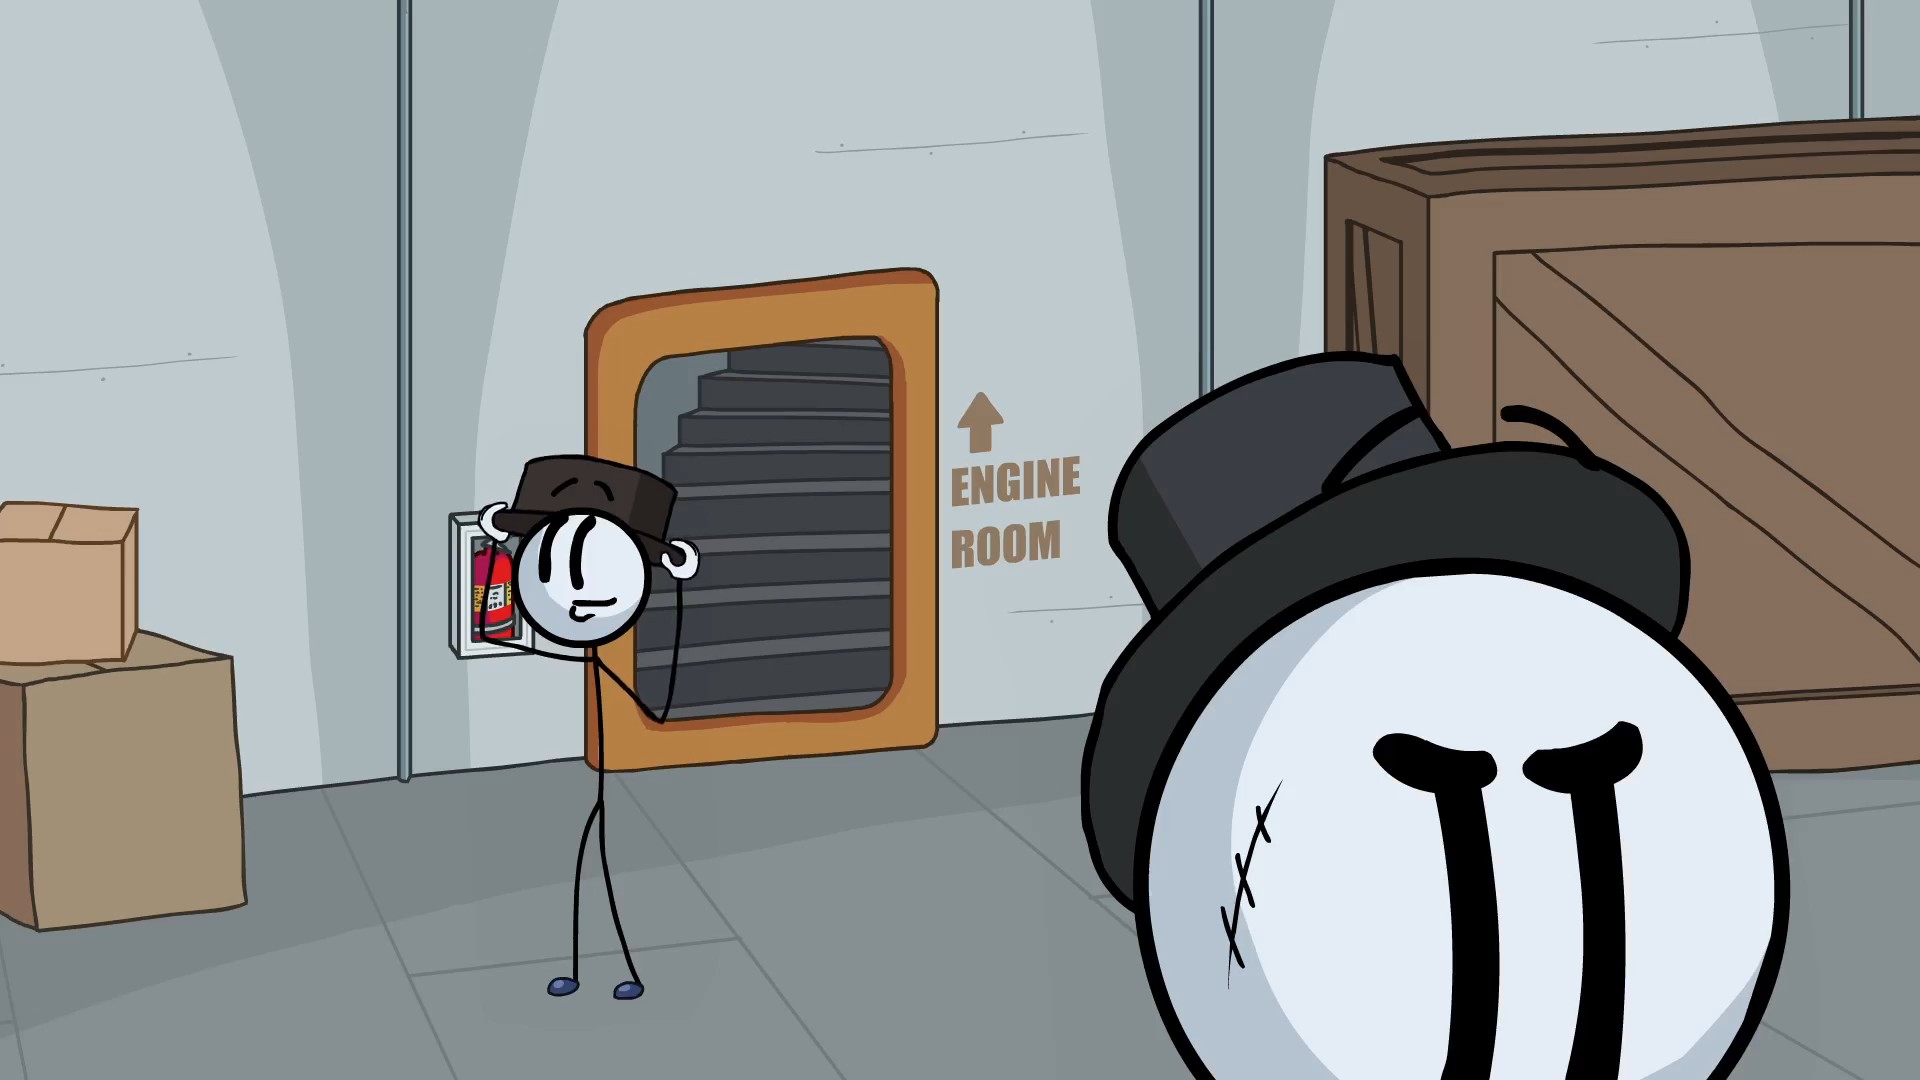
In Engine Room, choose Red Herring.
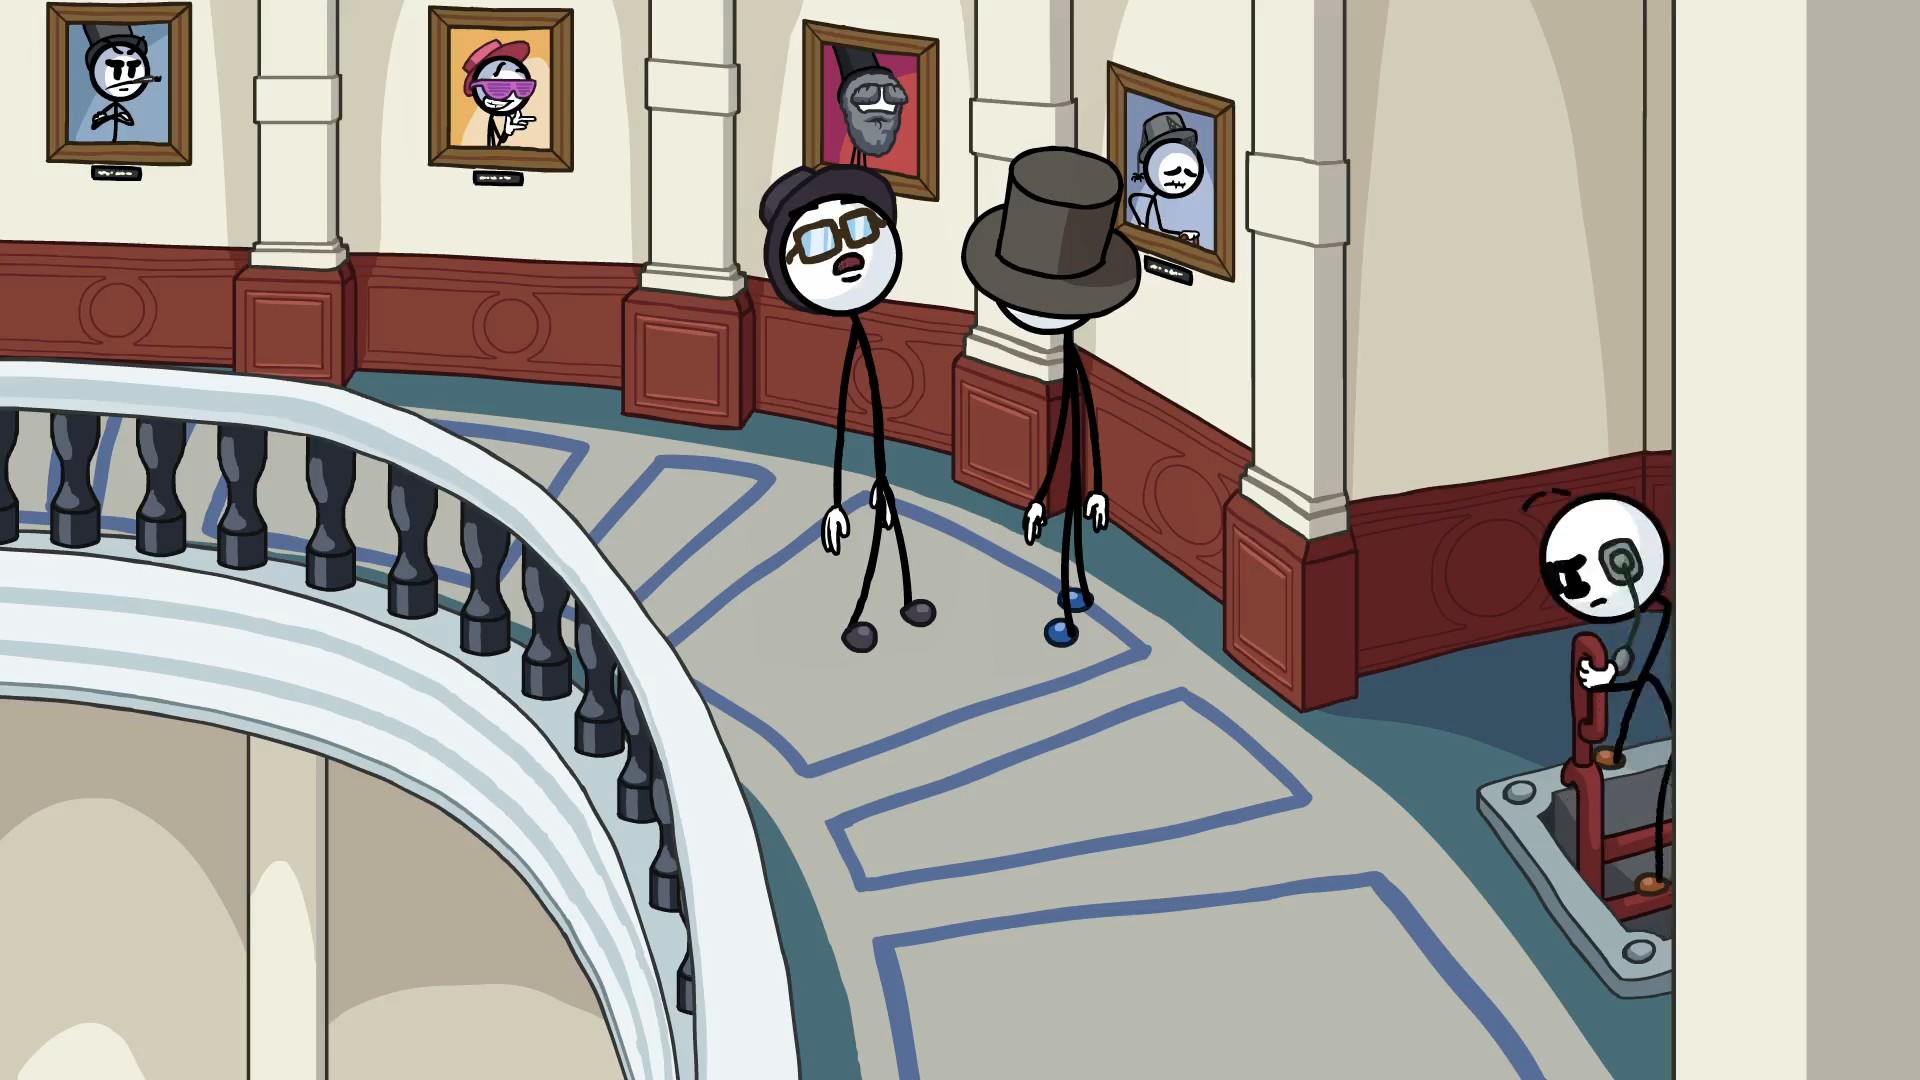
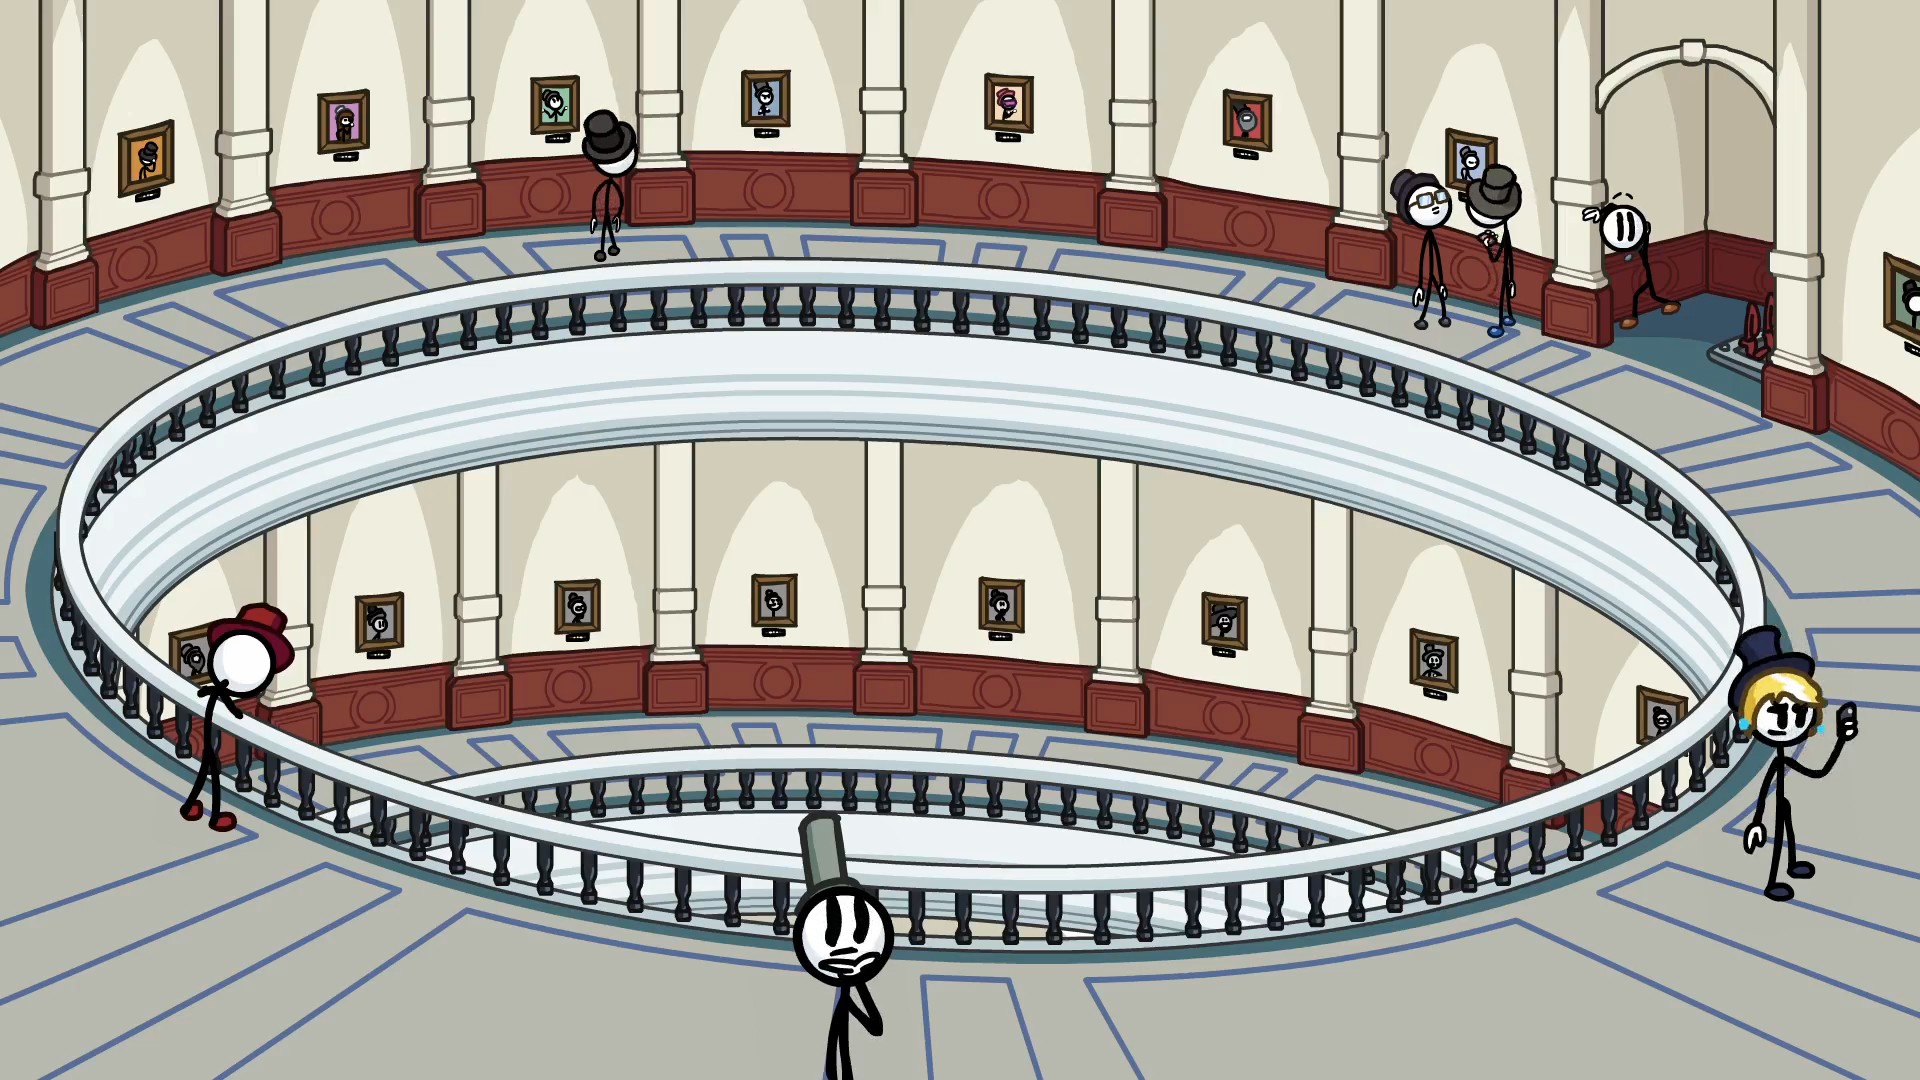
In Hall of Leaders, choose Painting Portal.
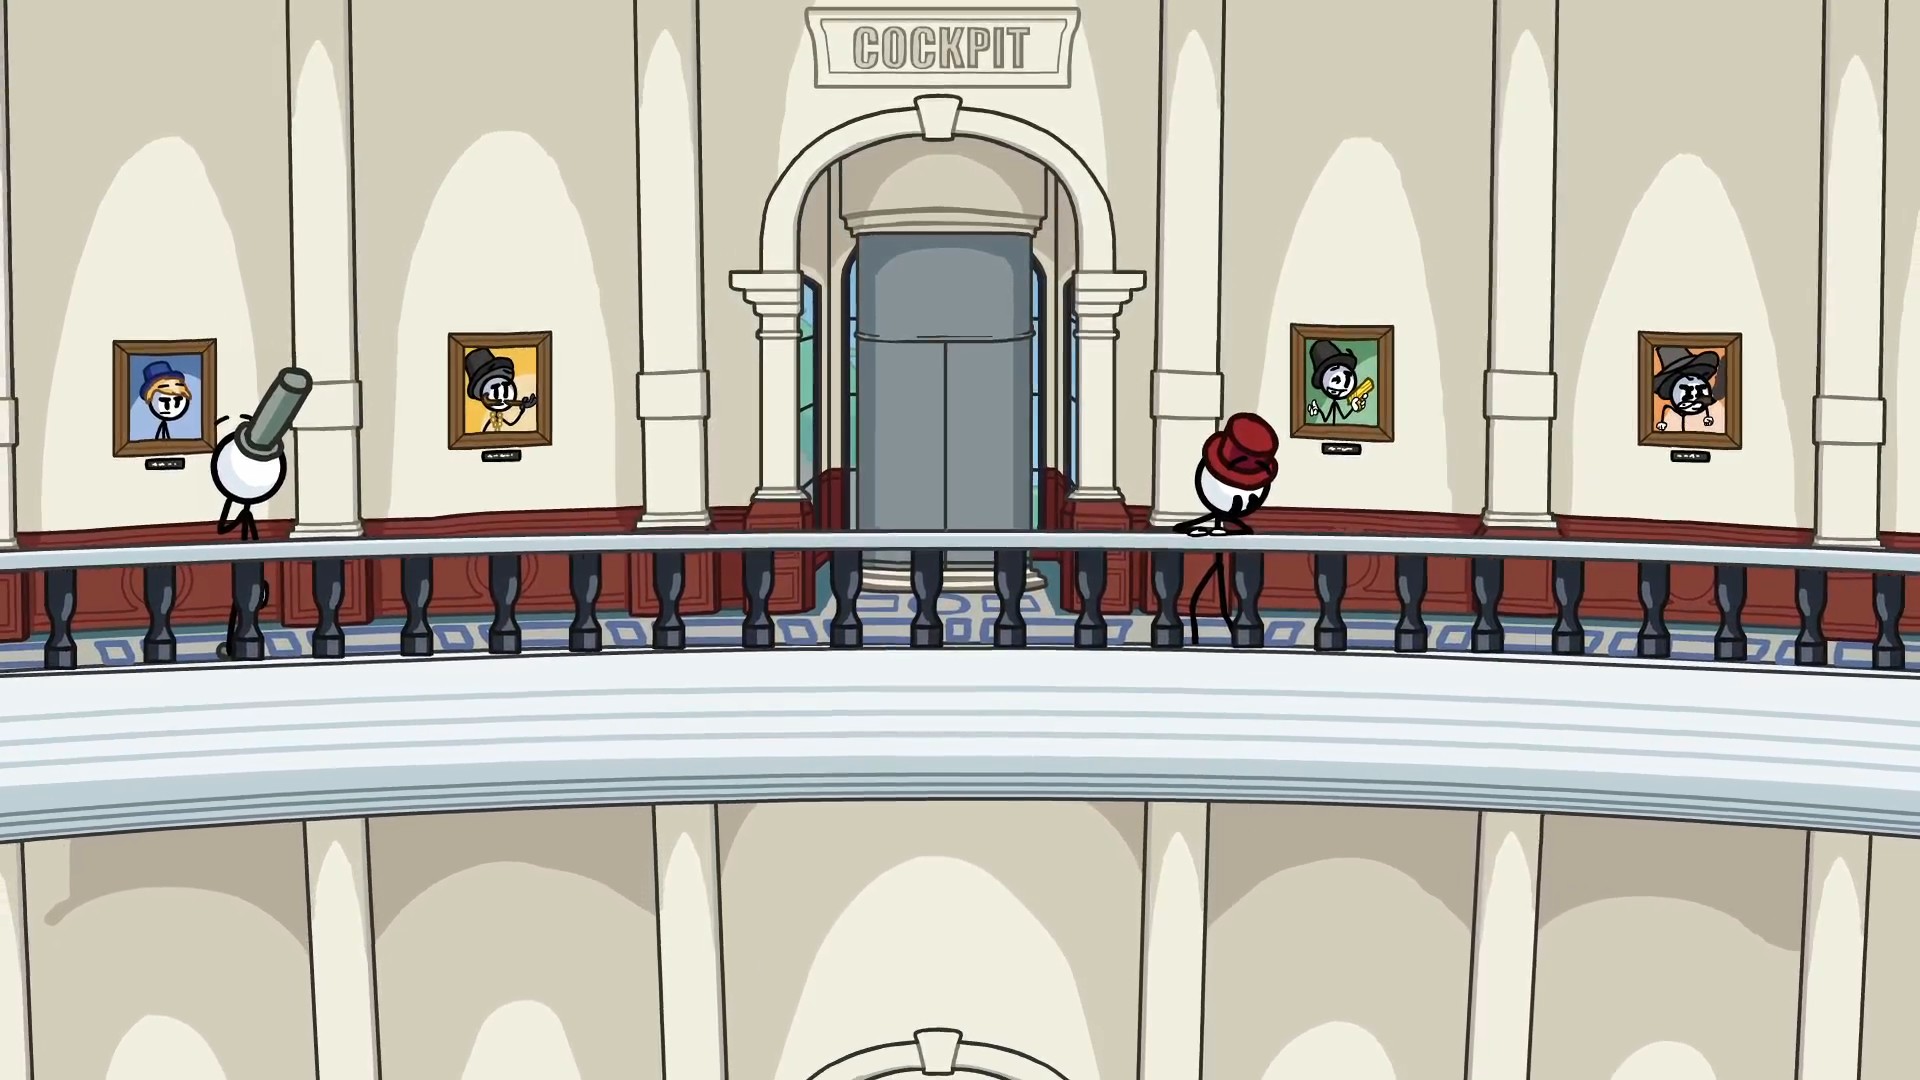
In Cockpit, choose Horn.
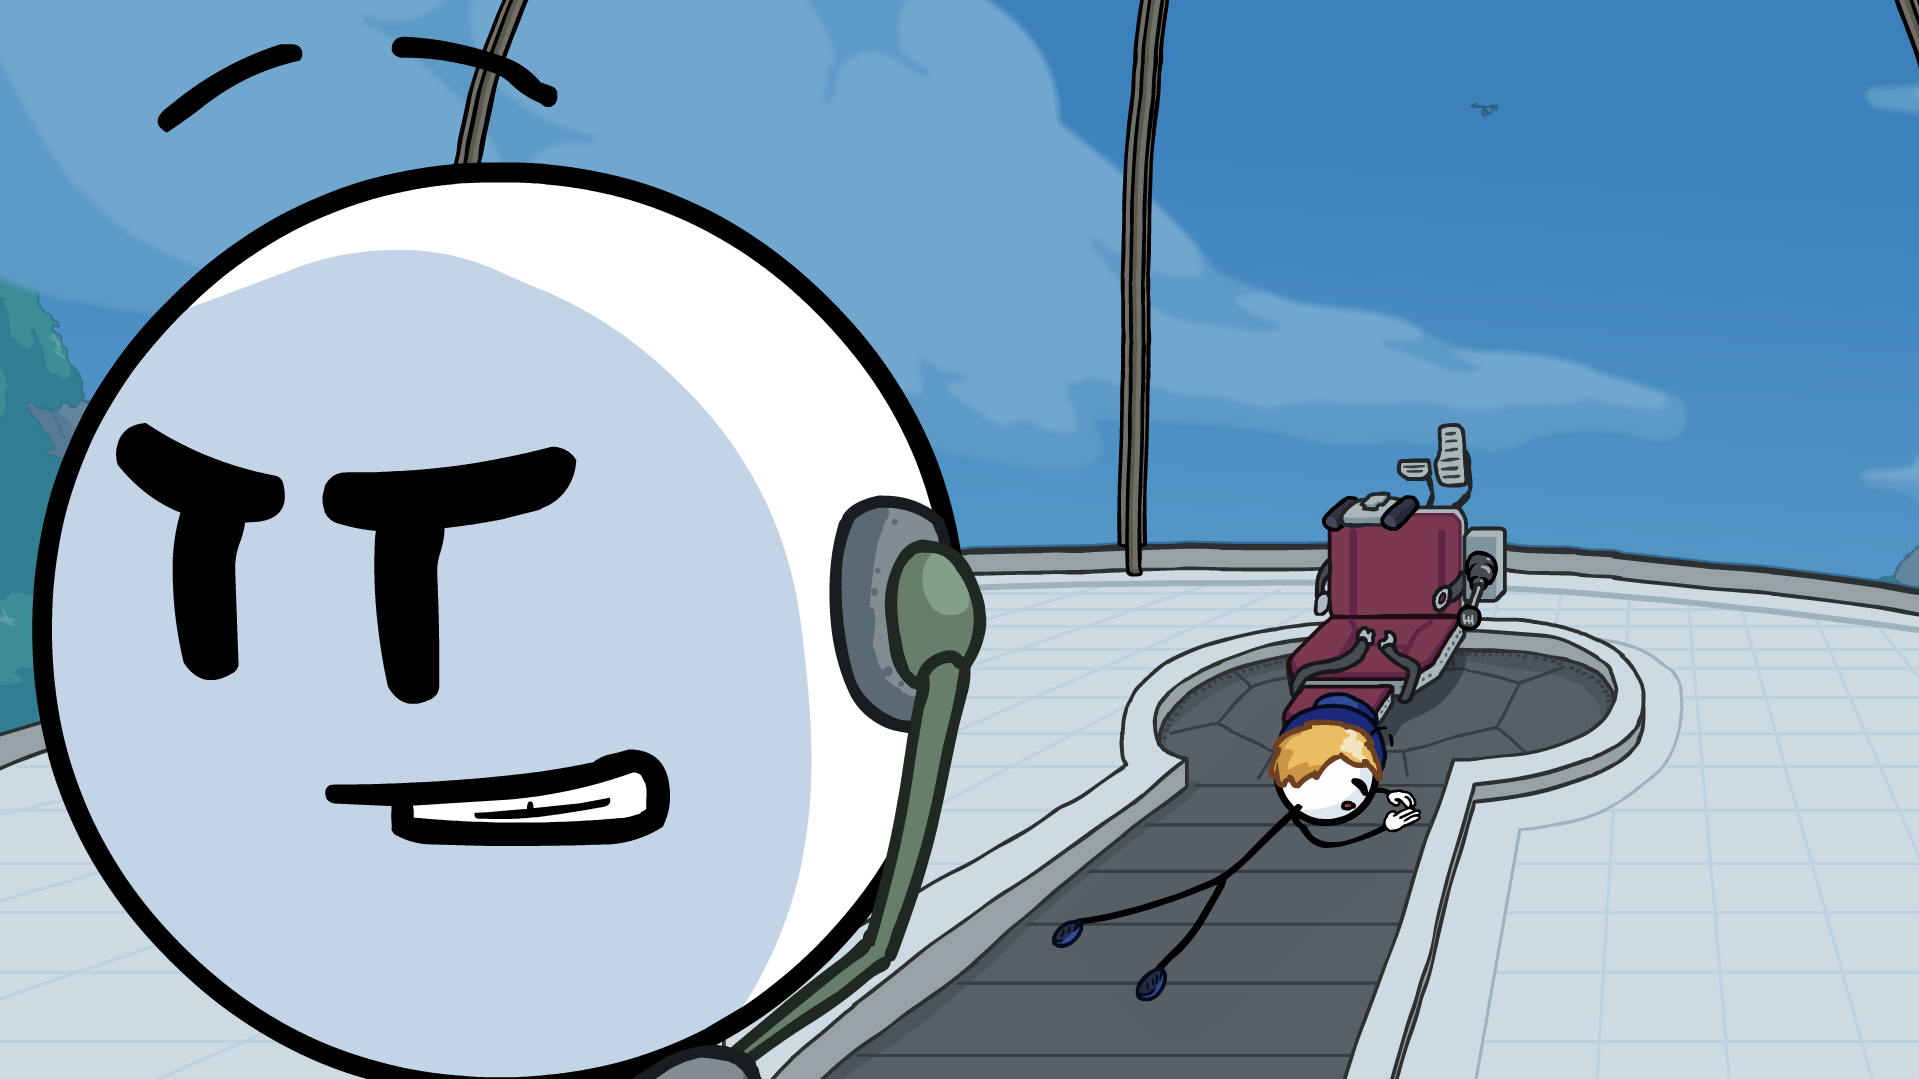
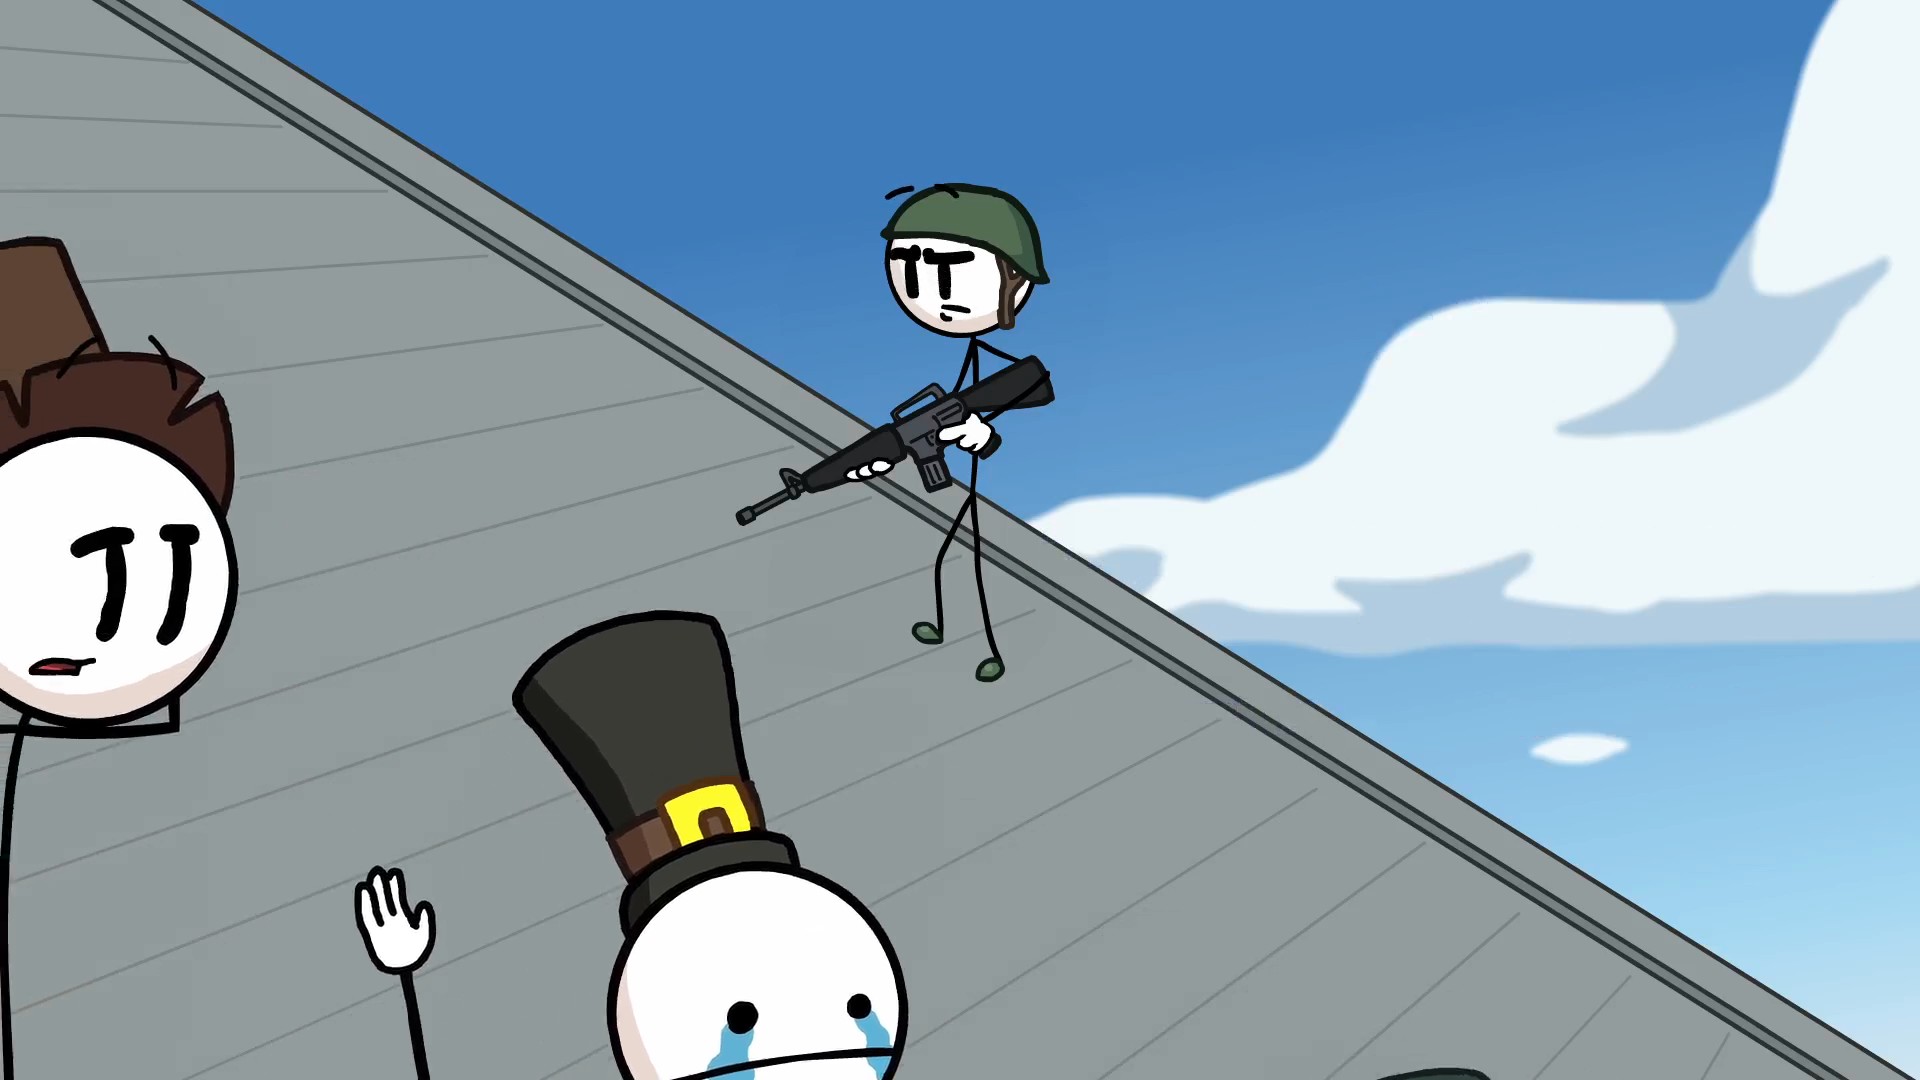
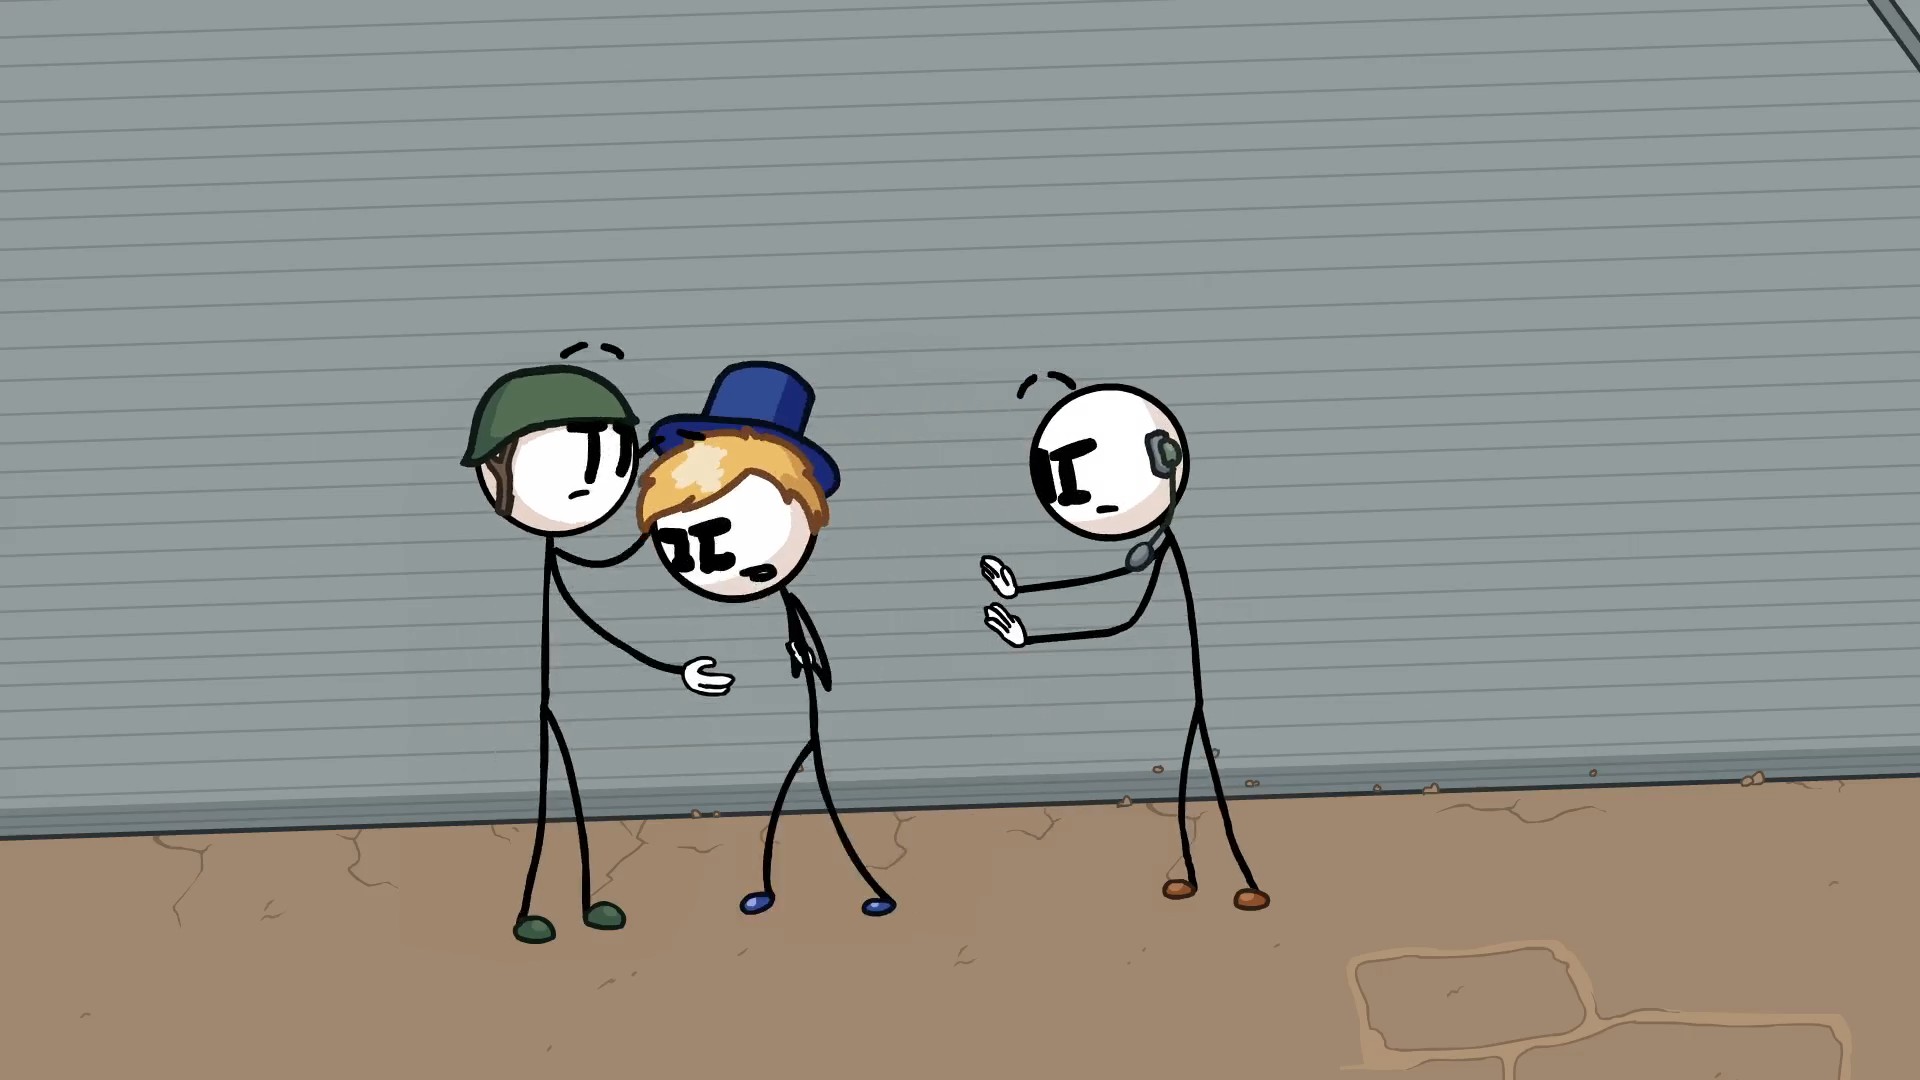
In Front Gate, choose Convert.
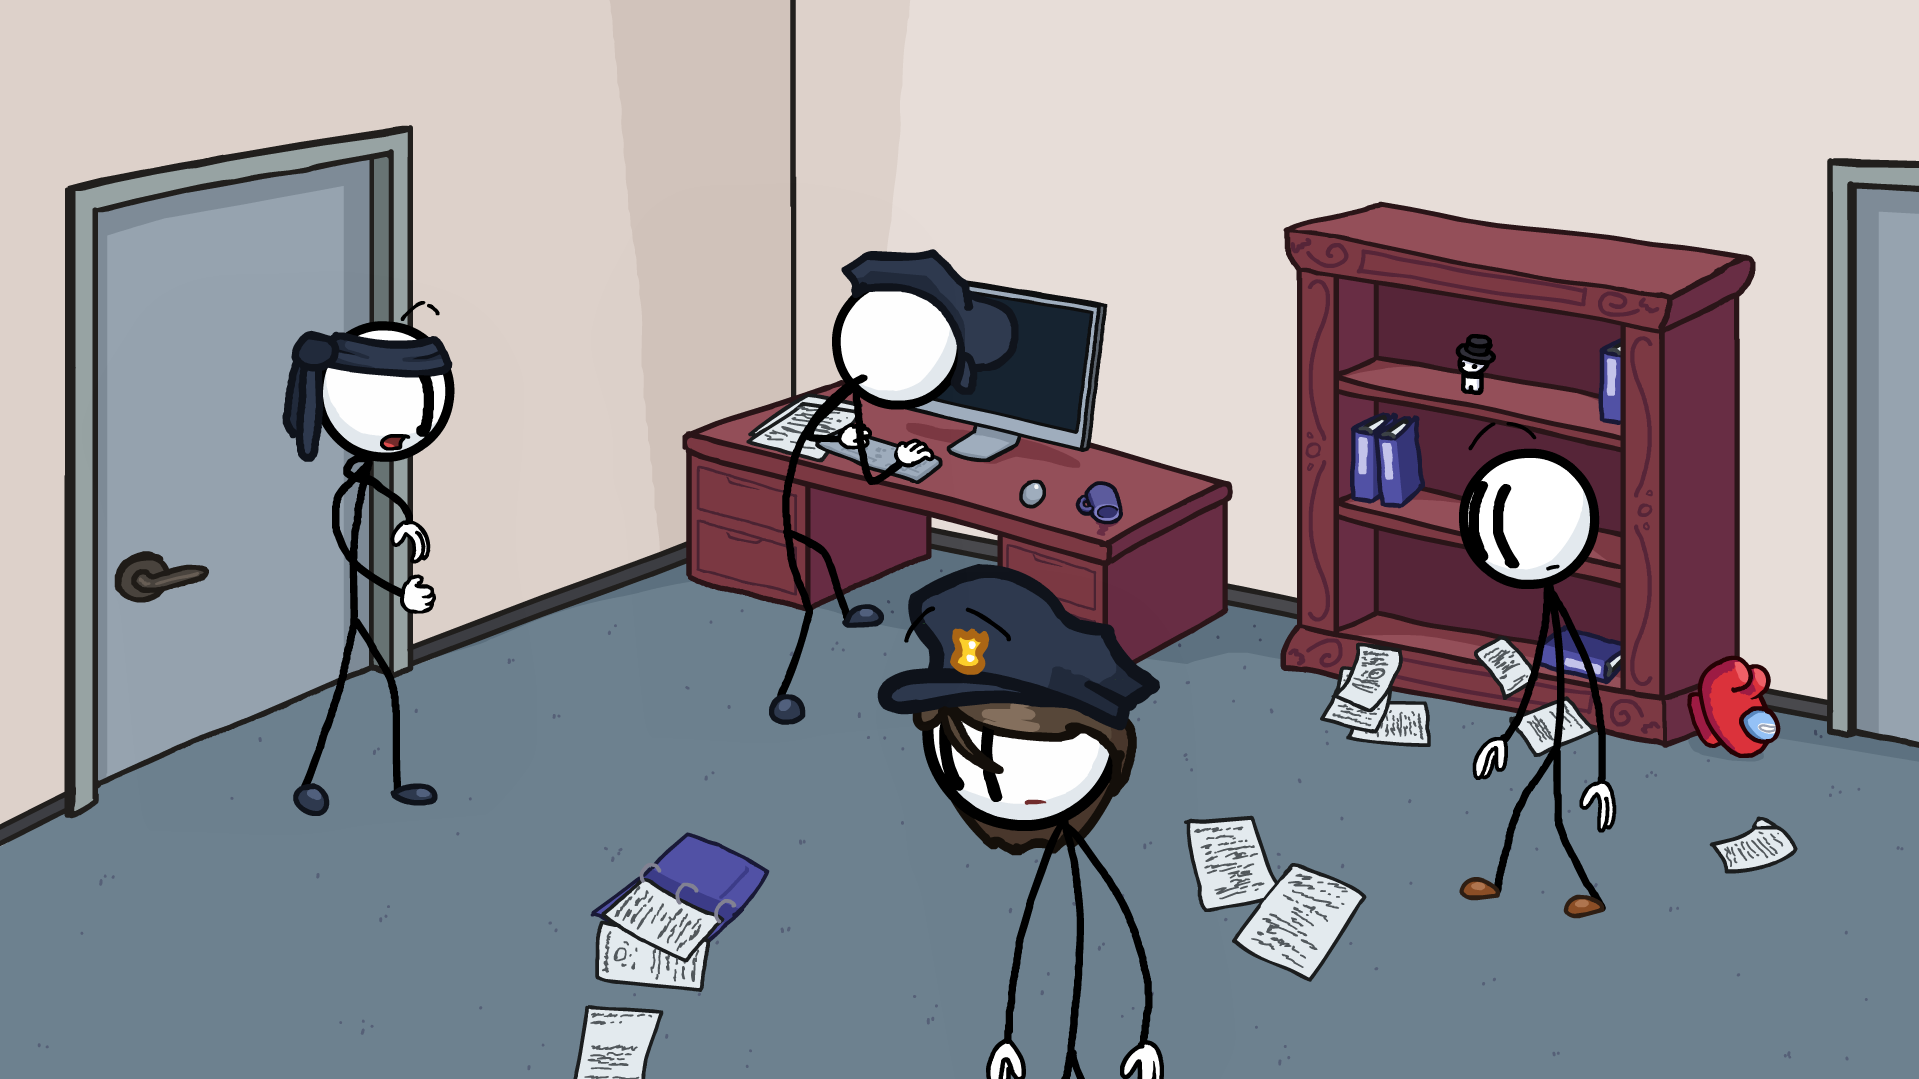
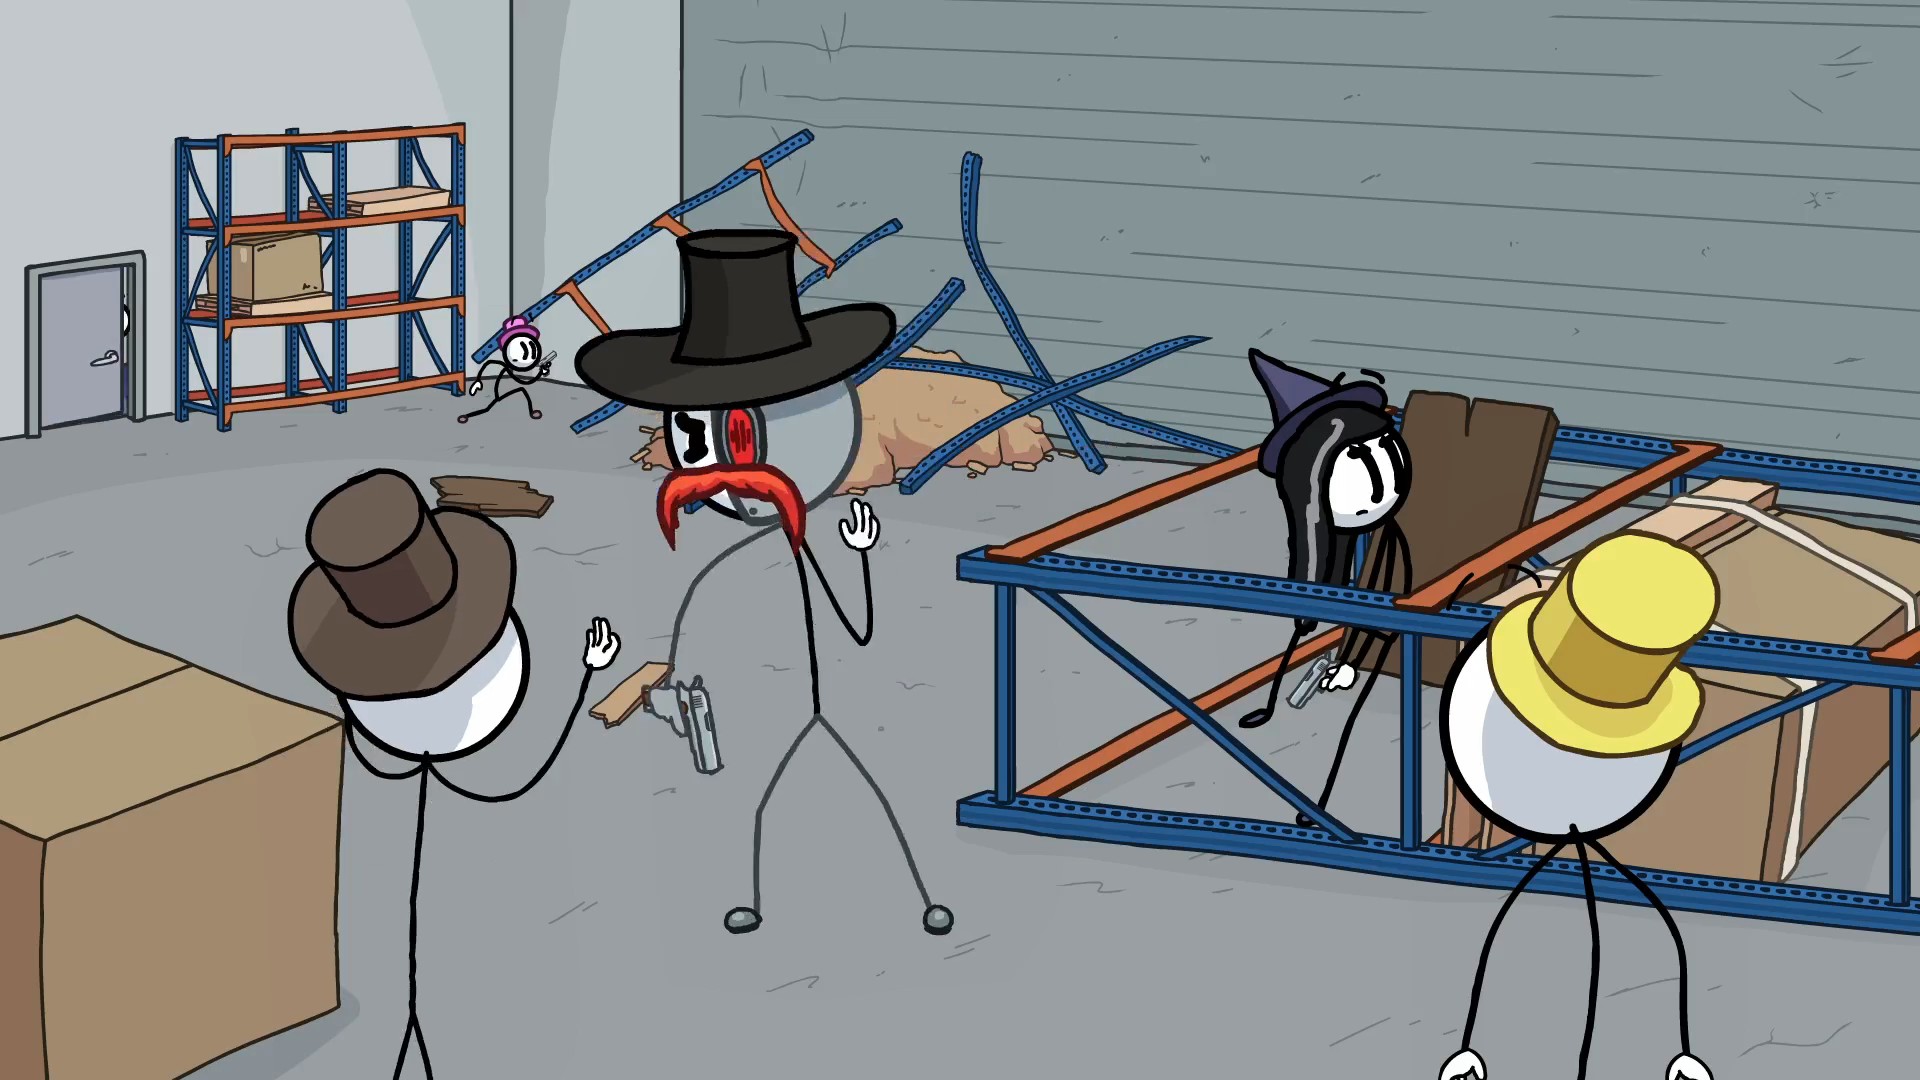
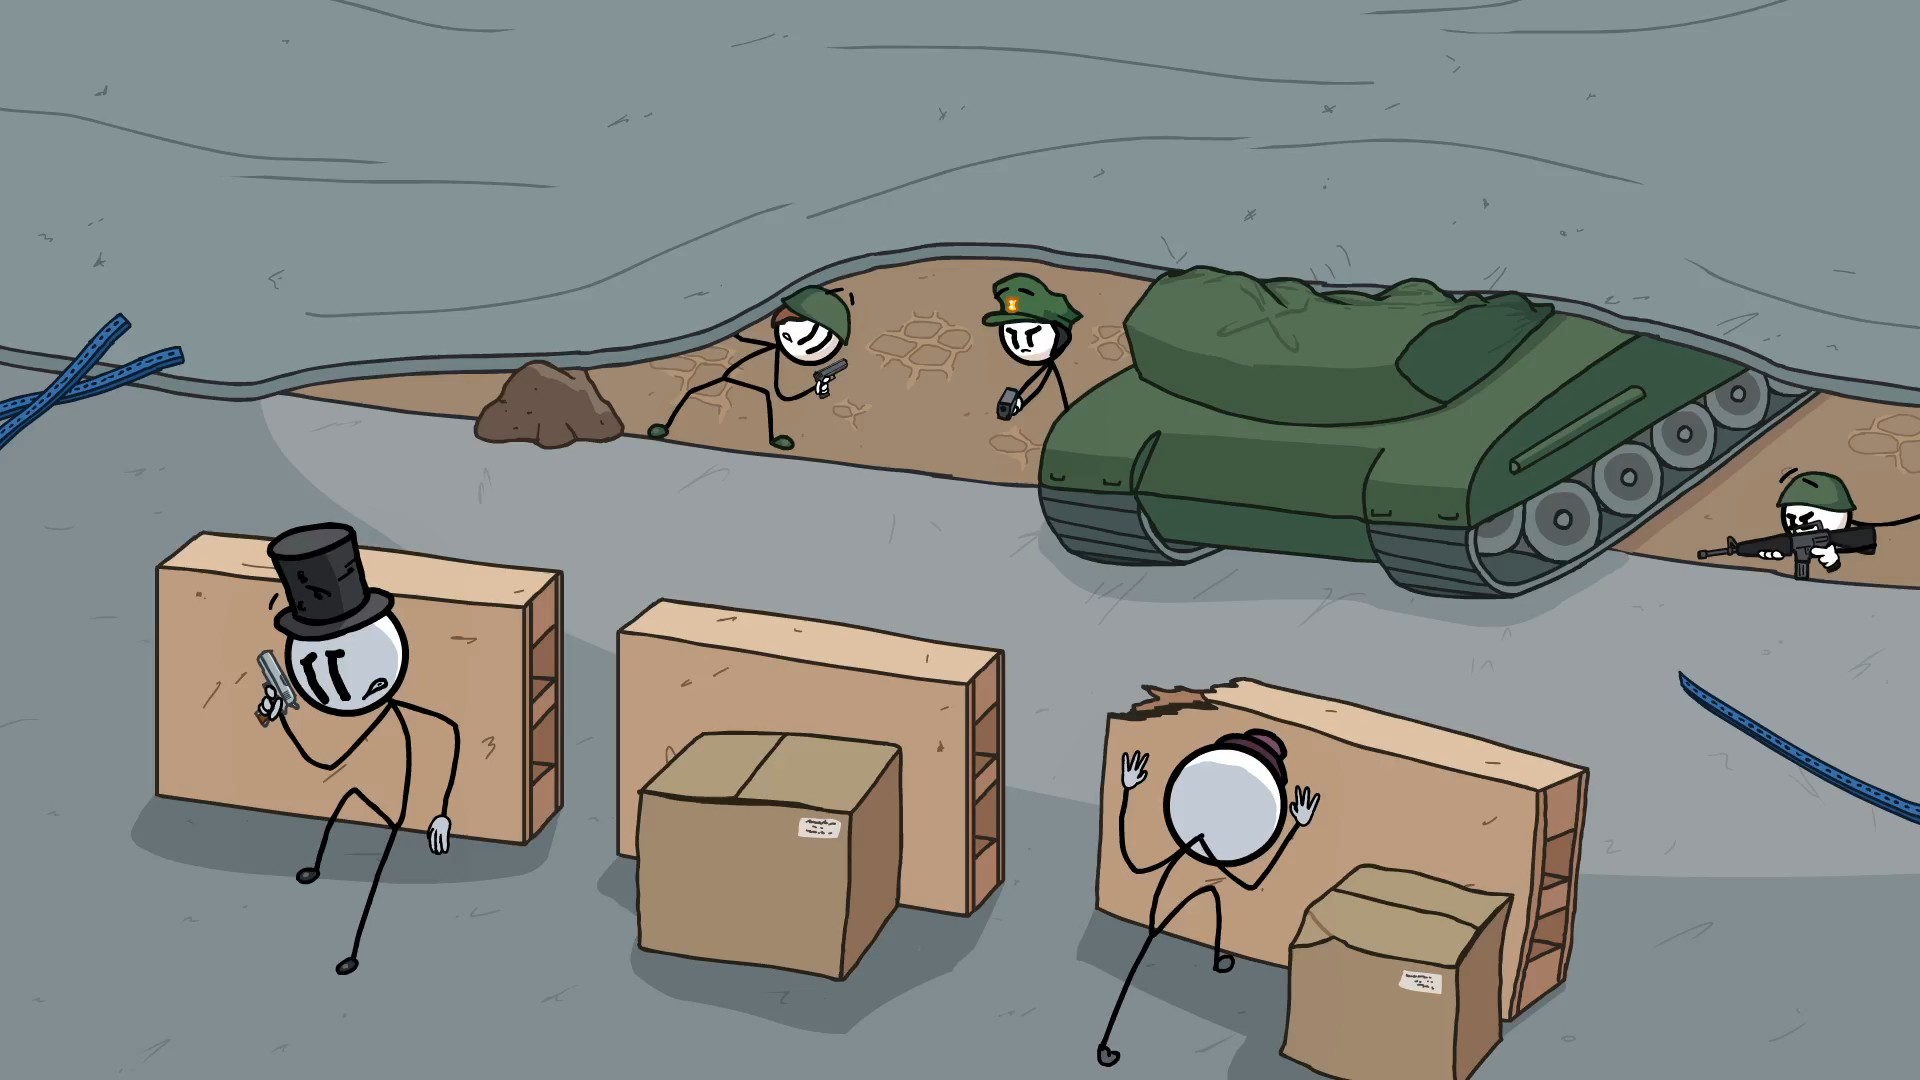
In Bounty's Fate, choose Dance-Off.
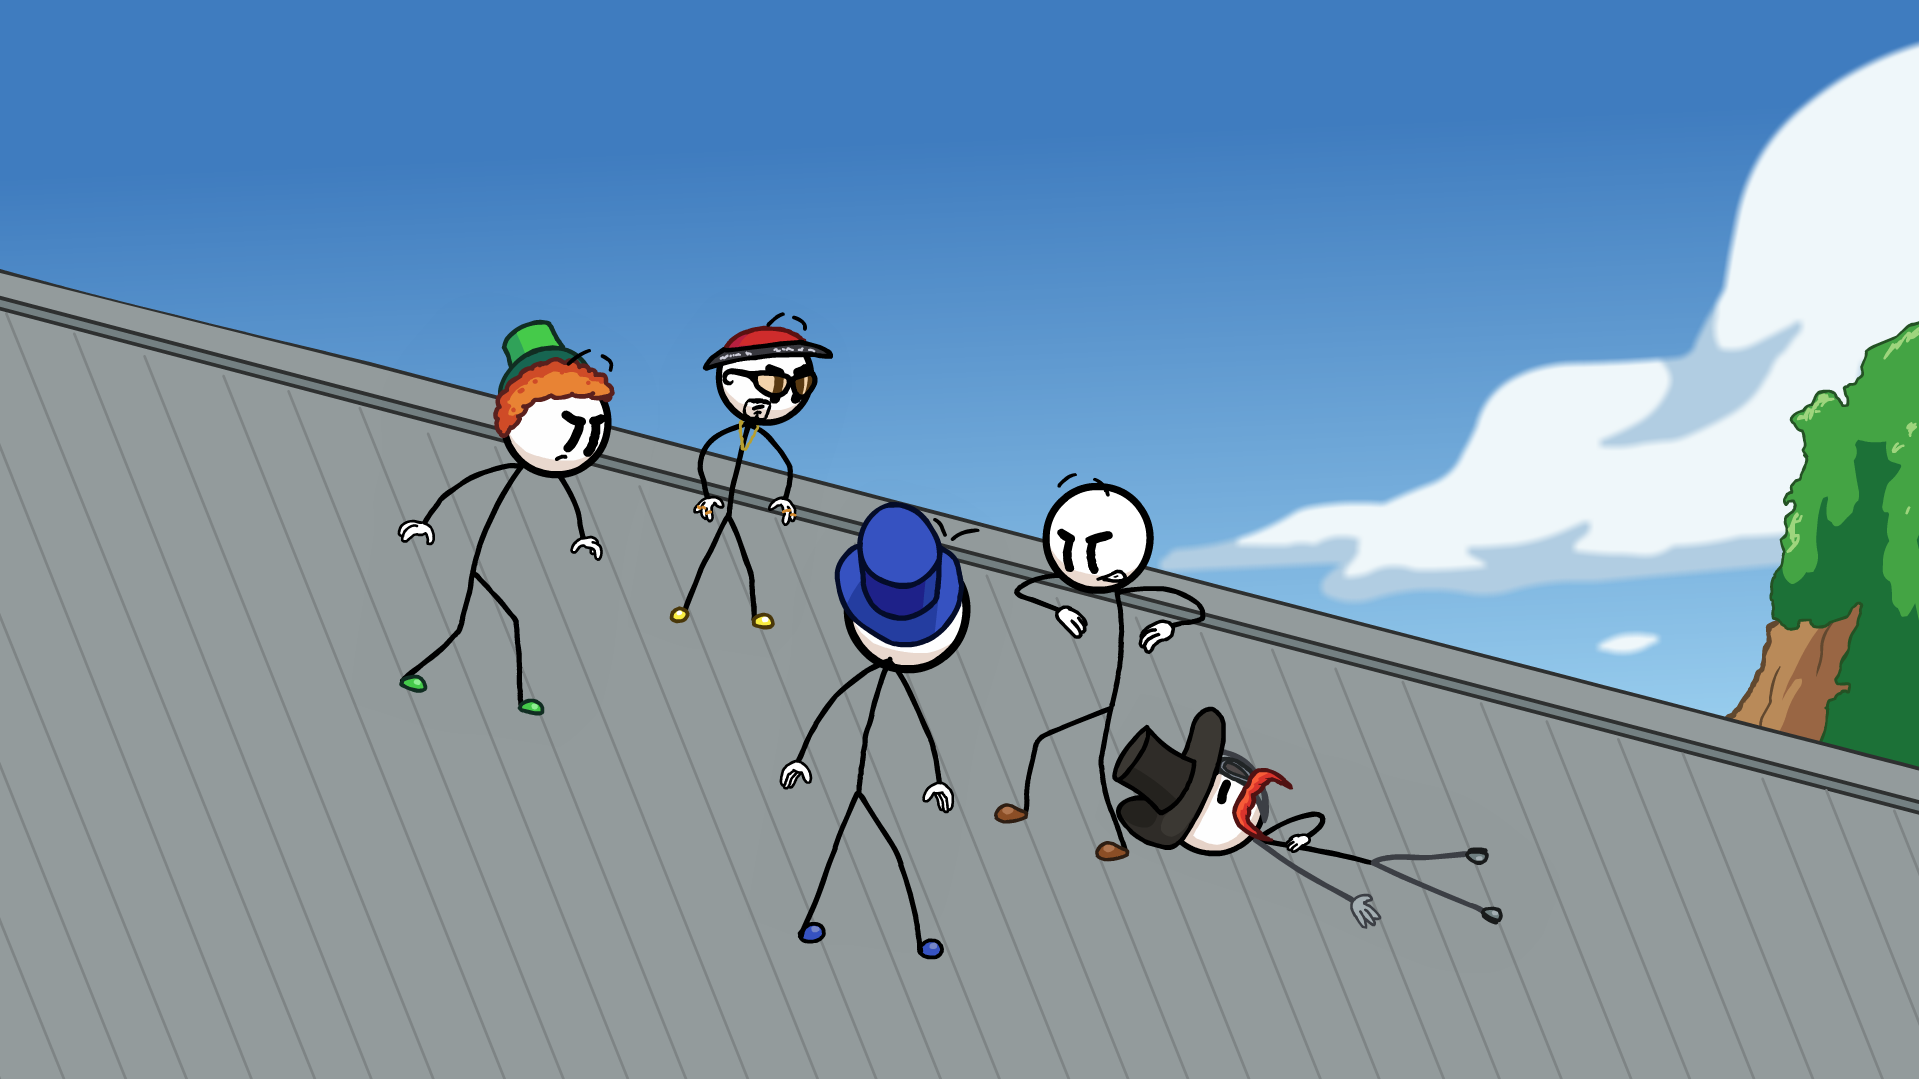
In Bounty's Fate, choose Rewire.

In Bounty's Fate, choose Ocarina.
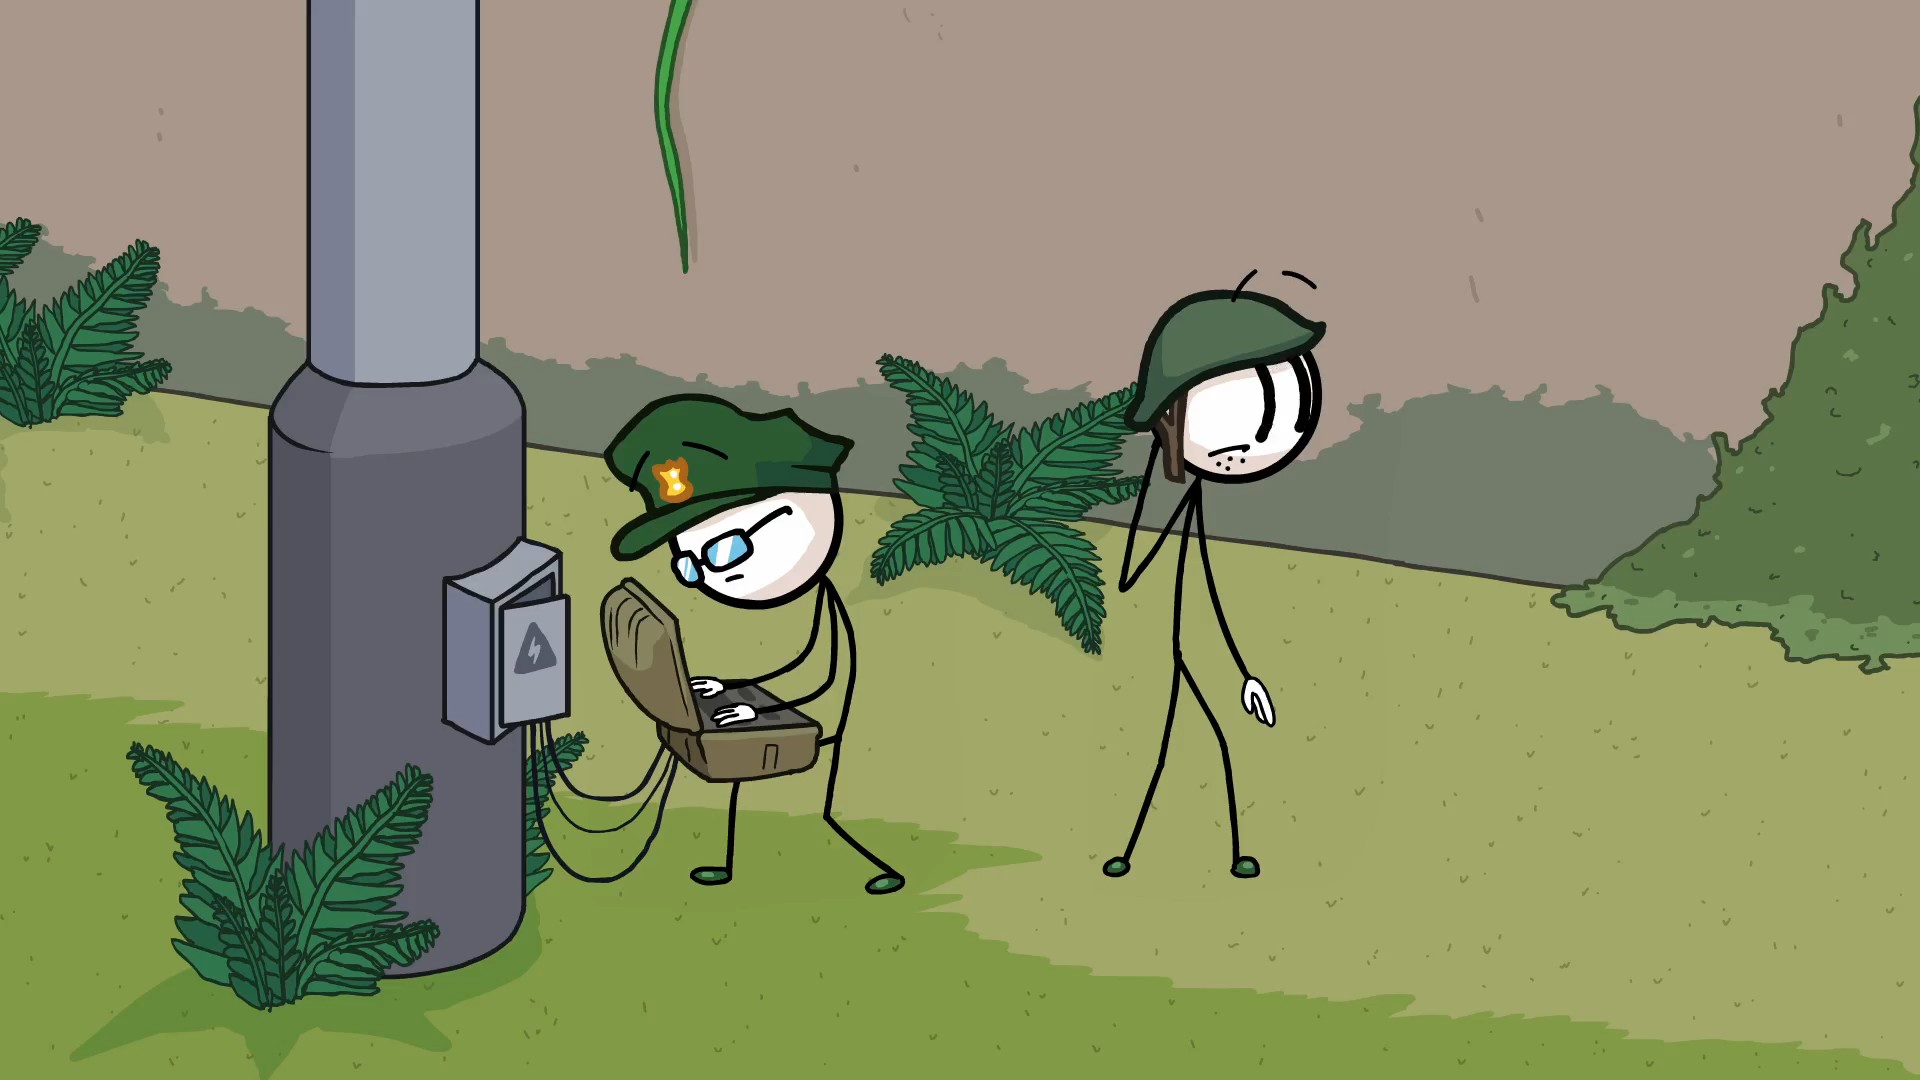
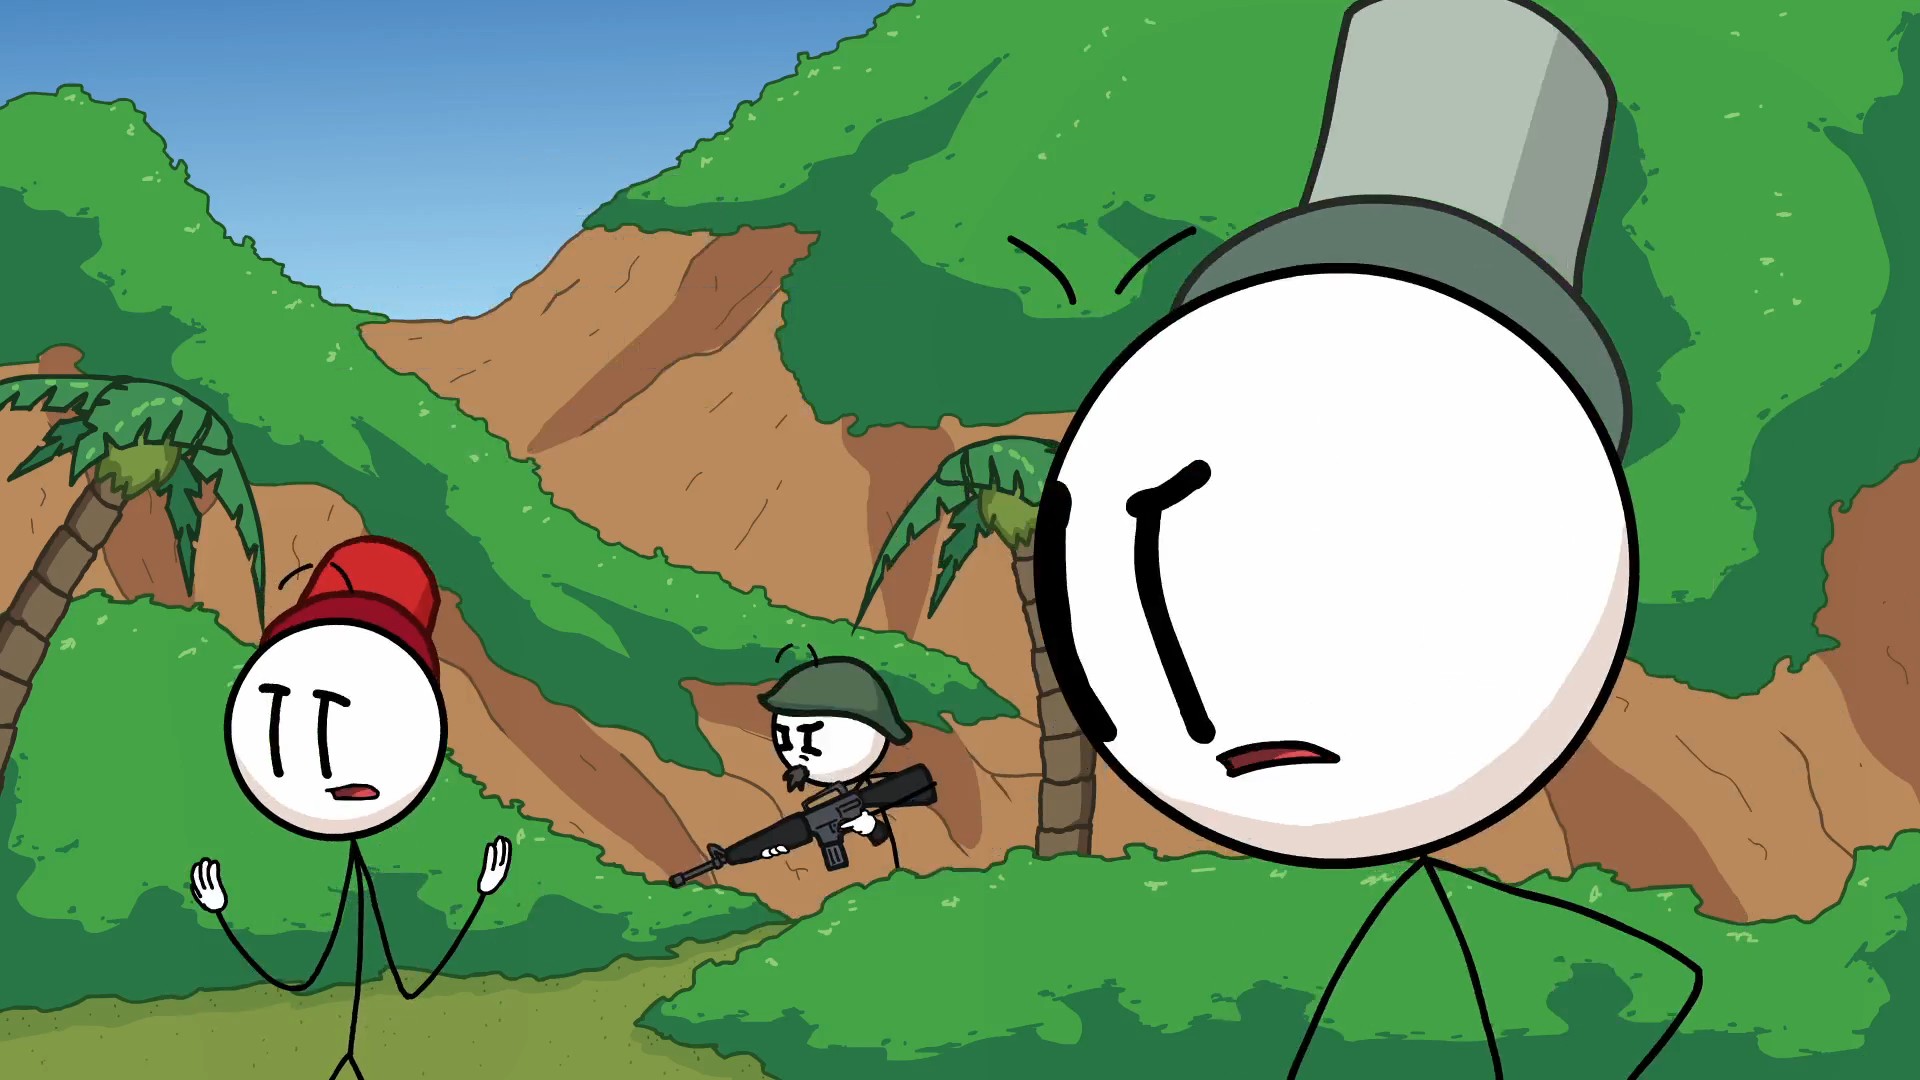
(be quick with the one with weapon, he is on screen for 0,3s)
Jewel Baron path (6th from top on left)
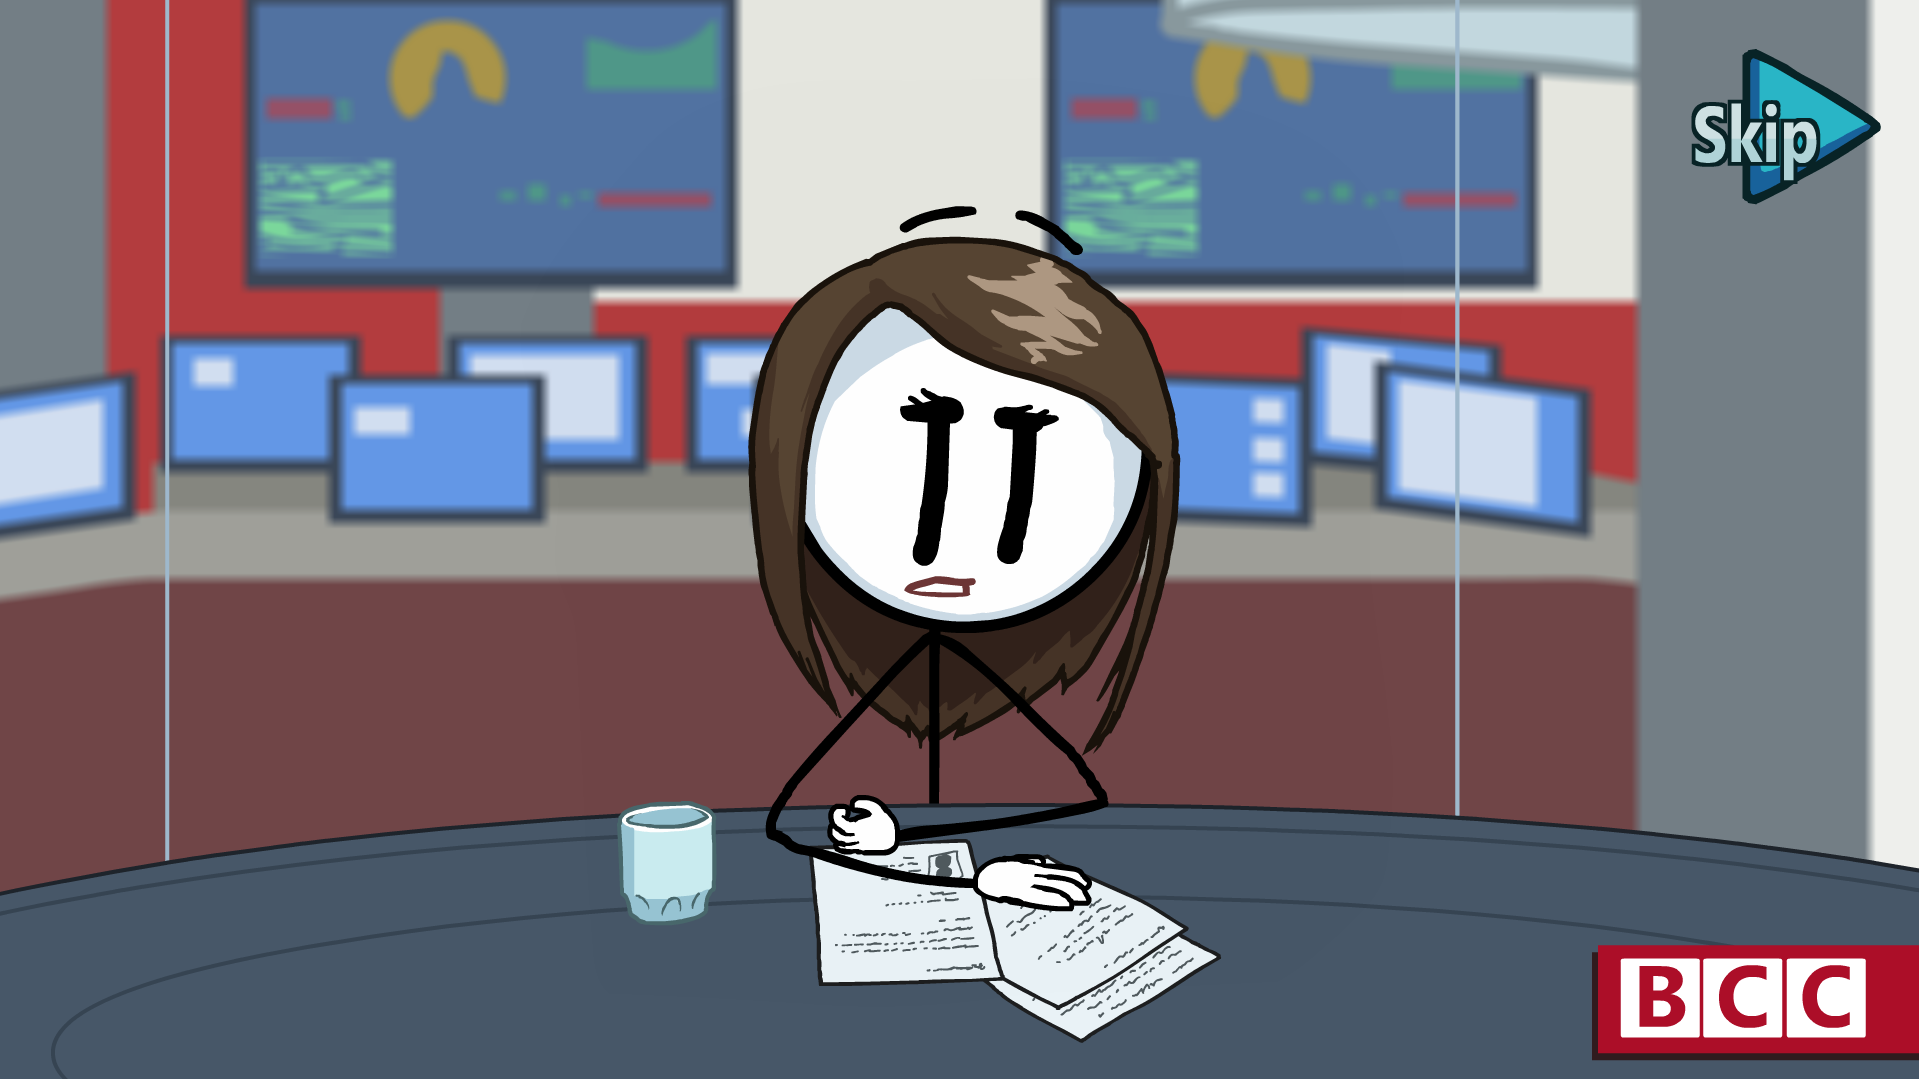
In Intro, she provides public reports about Toppats.
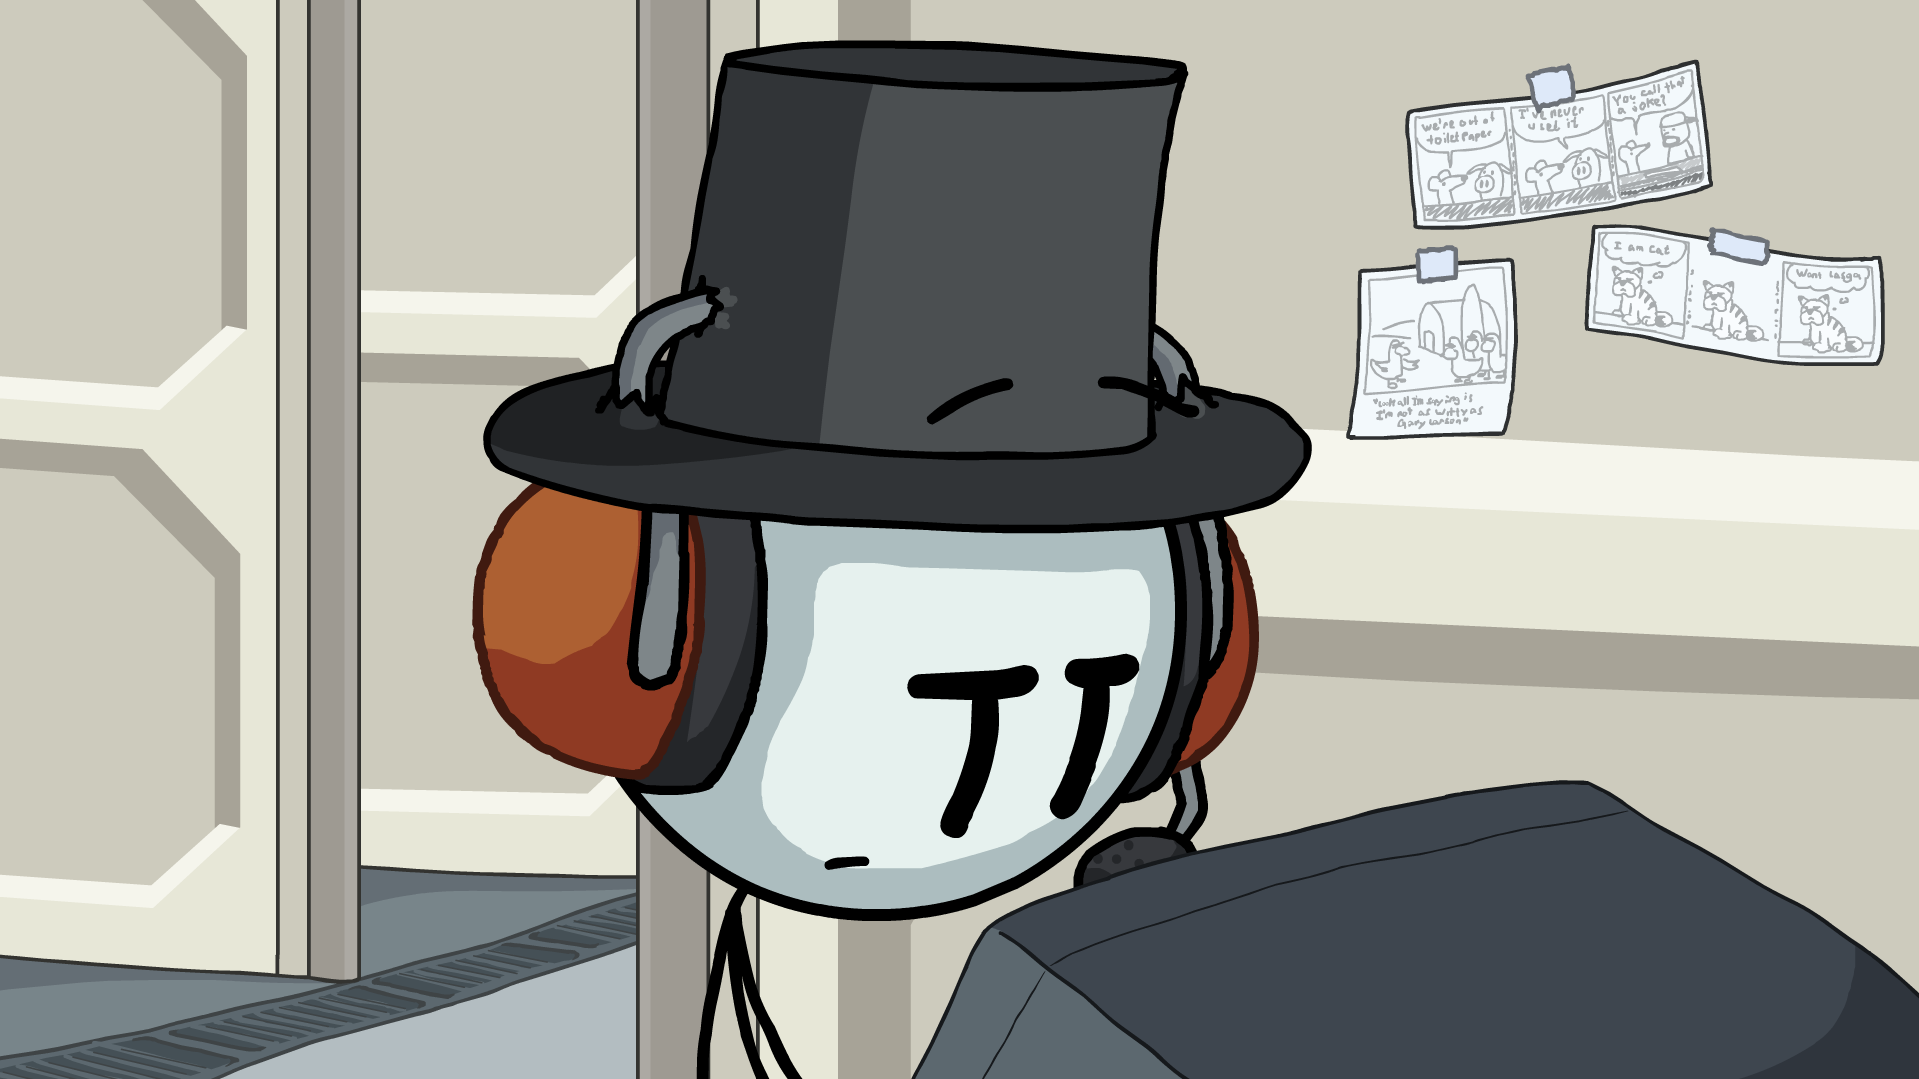
In Space Scooter, choose Mosquito Mode (right one).
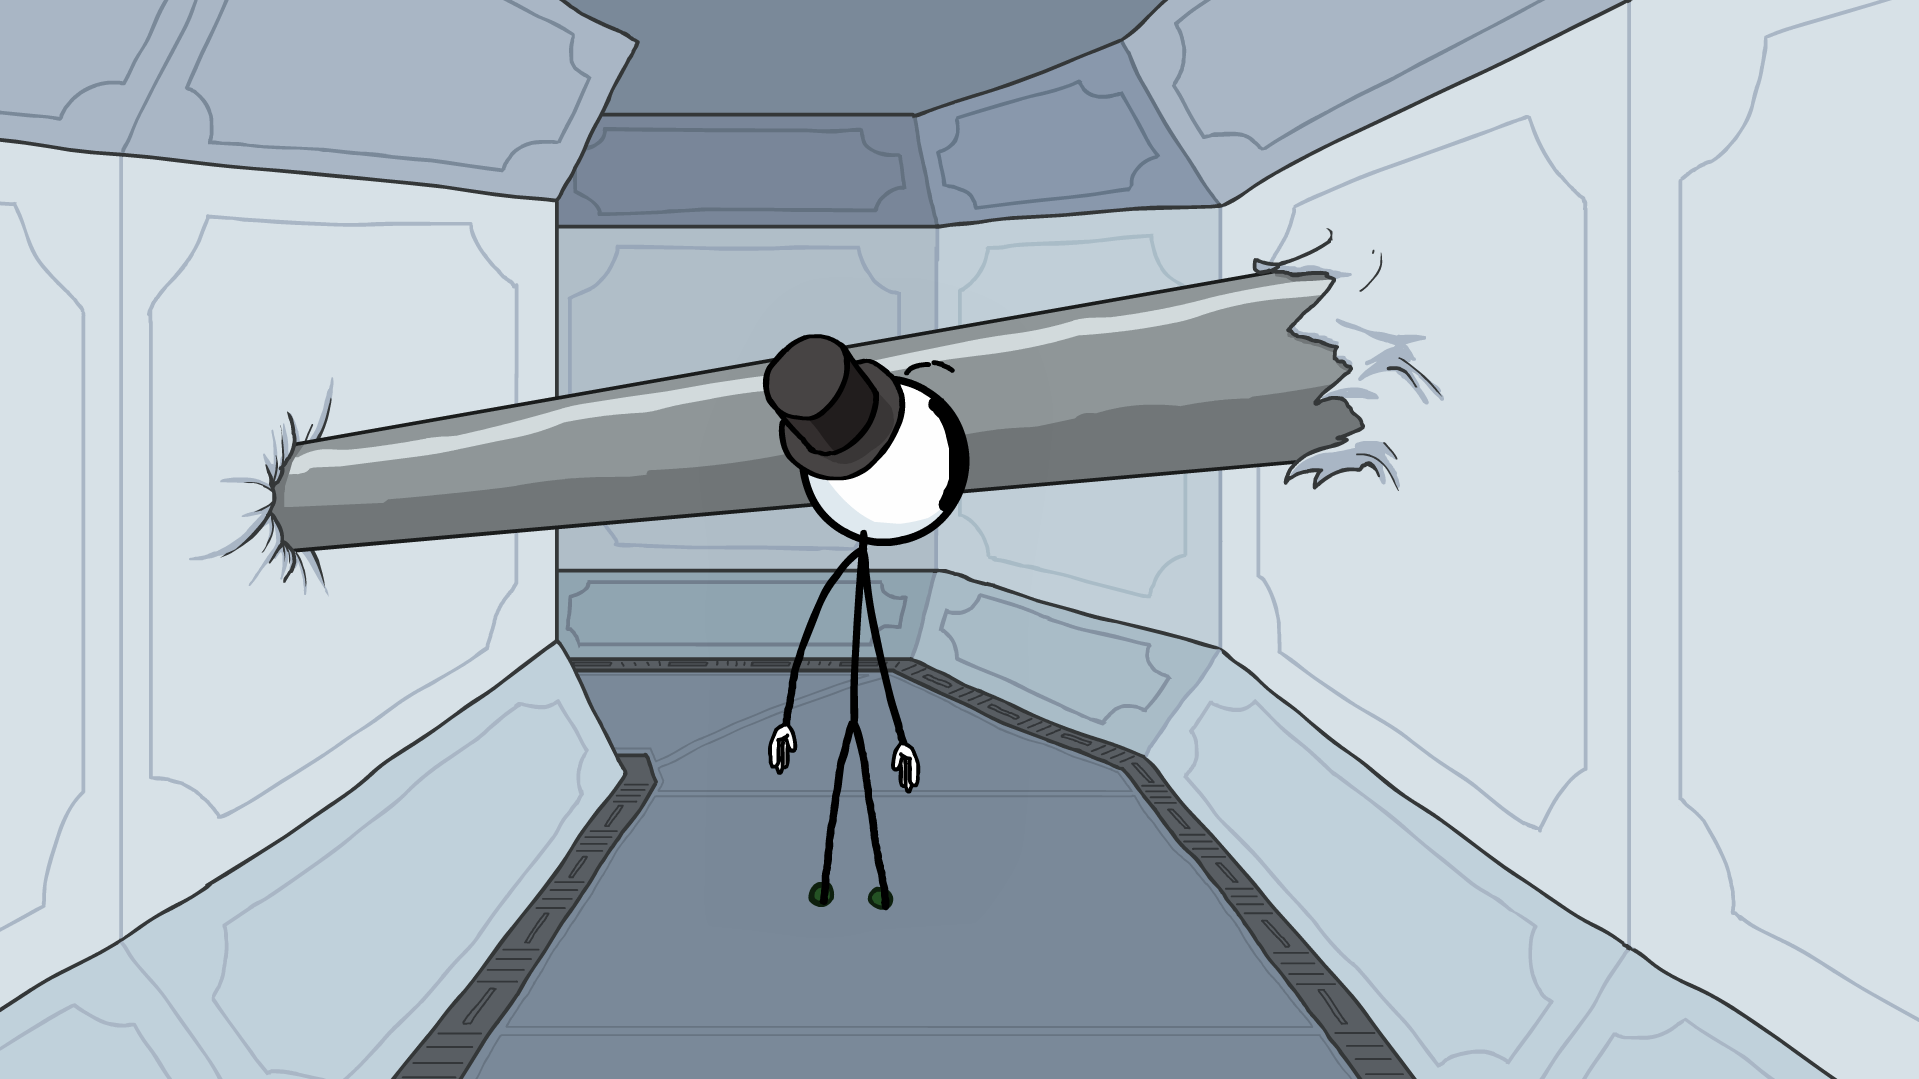
In Station Vault, choose Open.
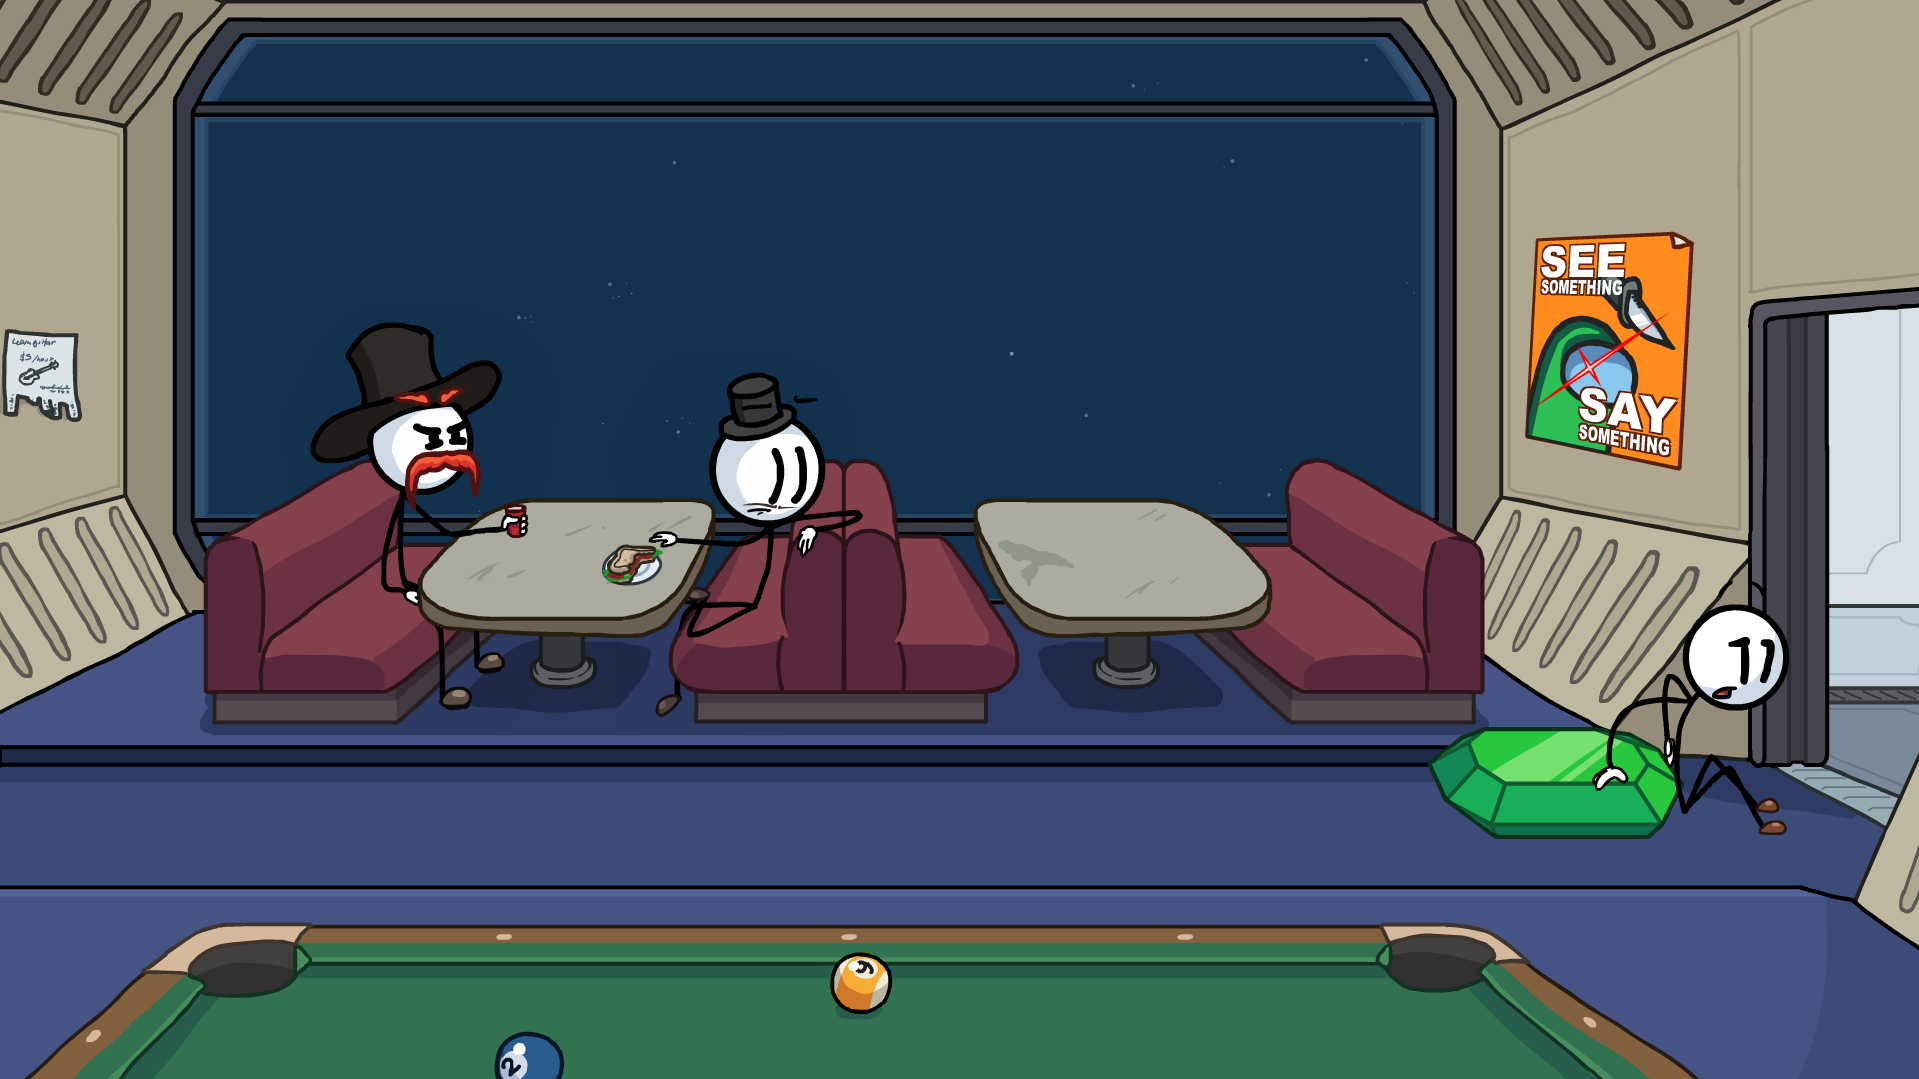
In Gamma Lounge, choose Yell.
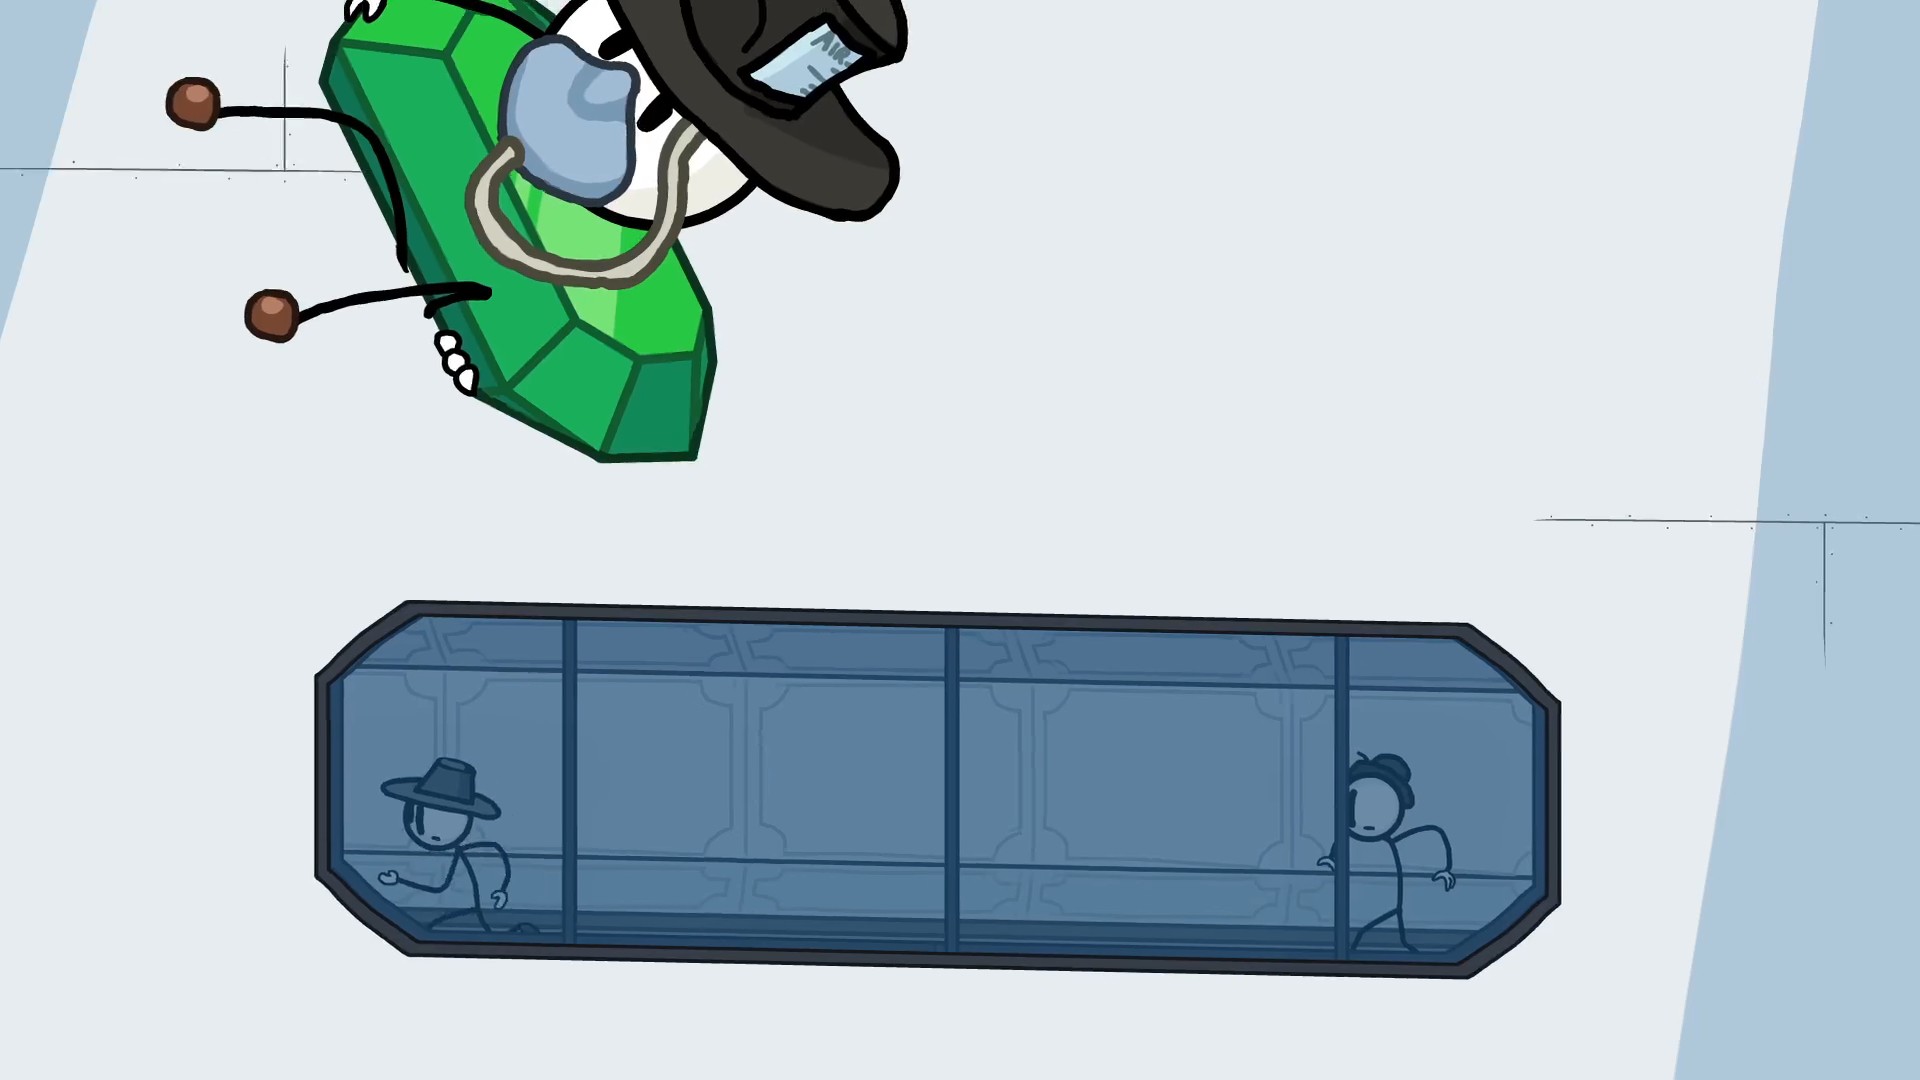
(be quick with the left one, he runs off fast)
In Secret Weapon, choose Grow 'n Shrink.
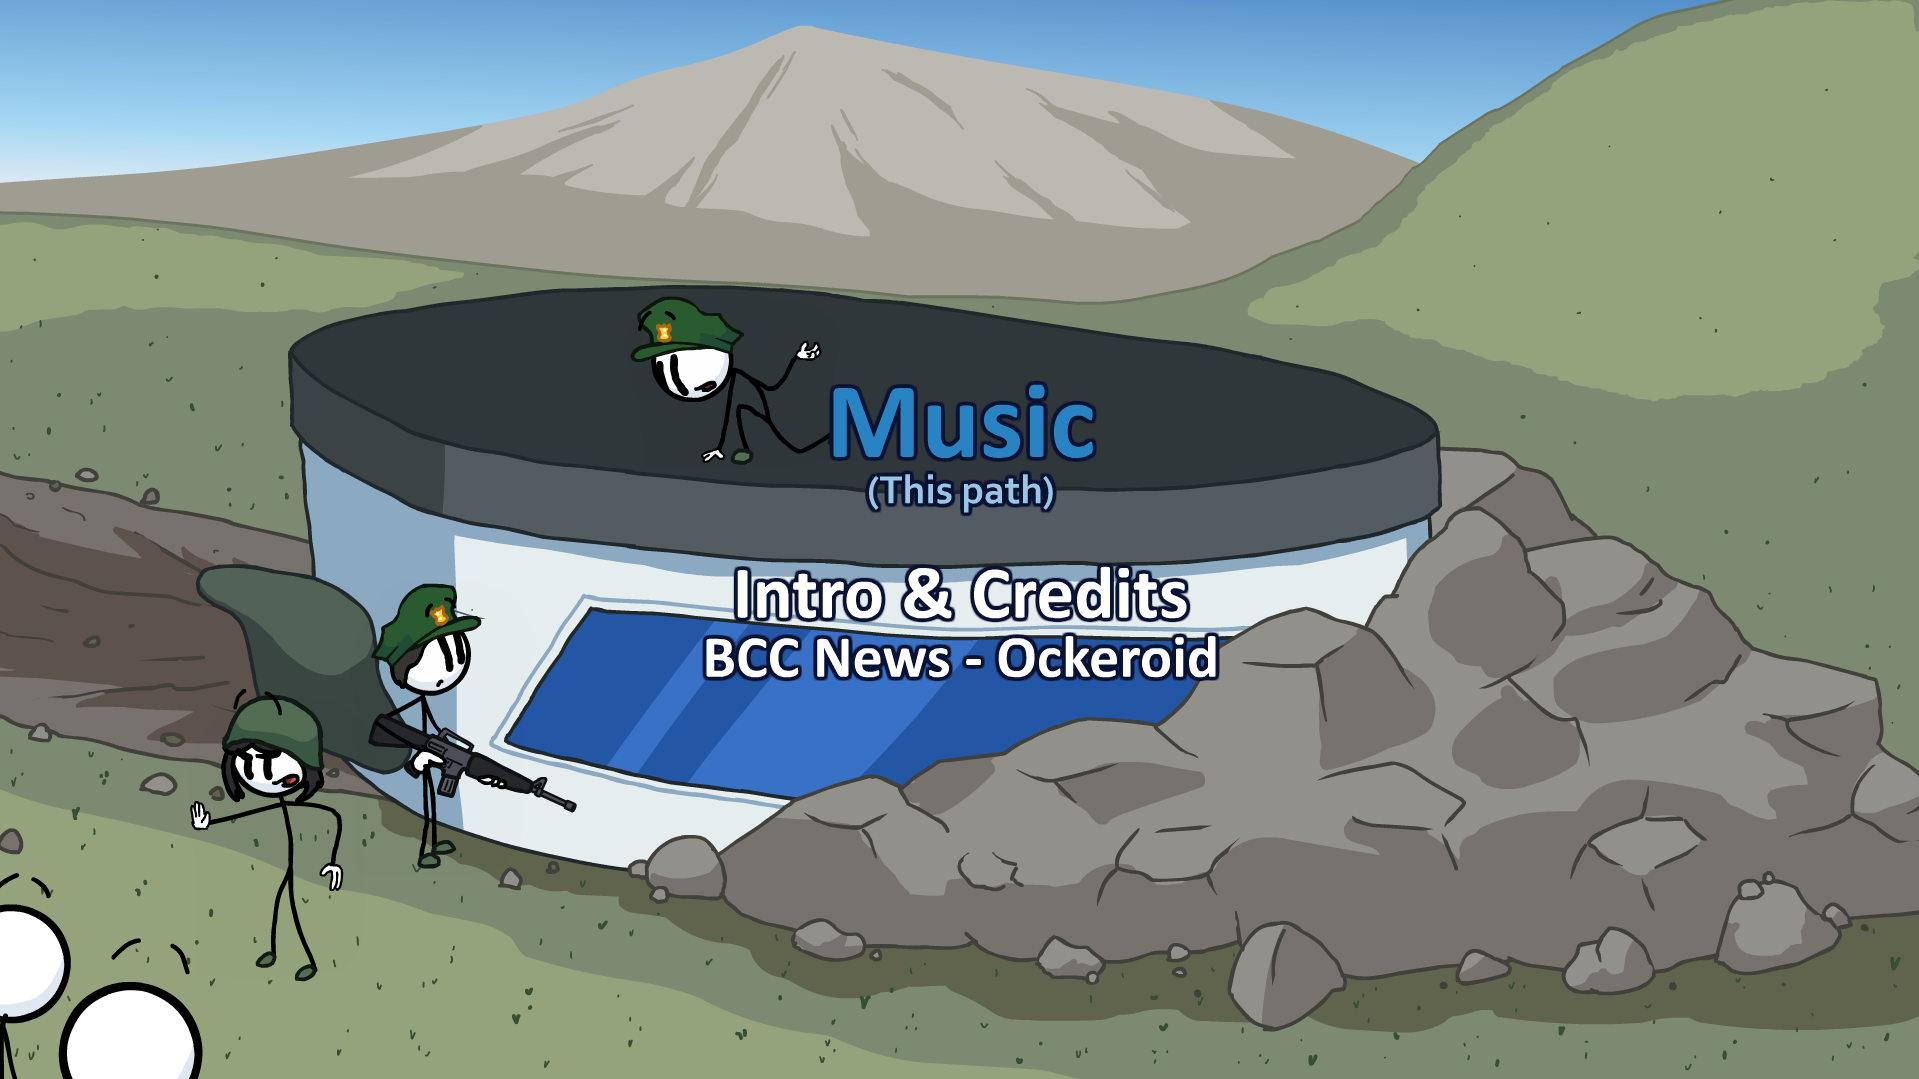
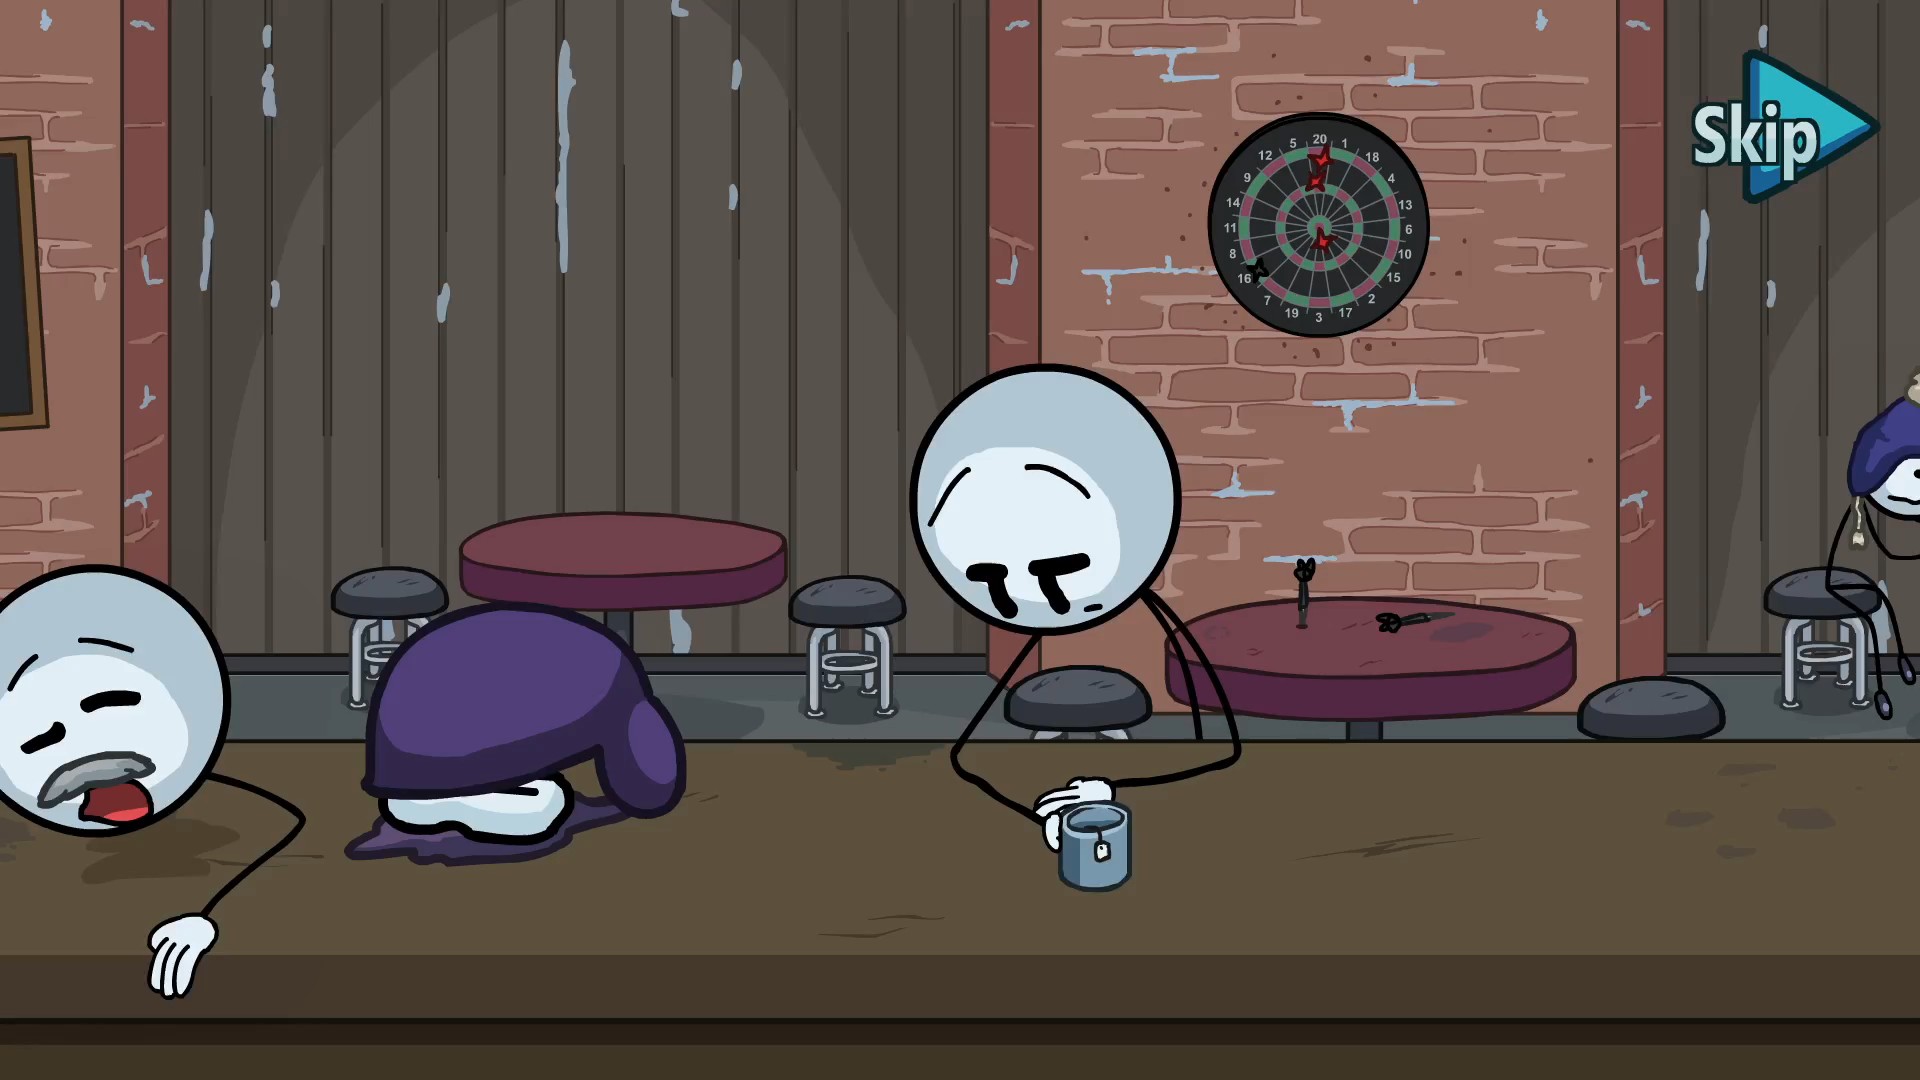
In Intro, inside the bar and outside.
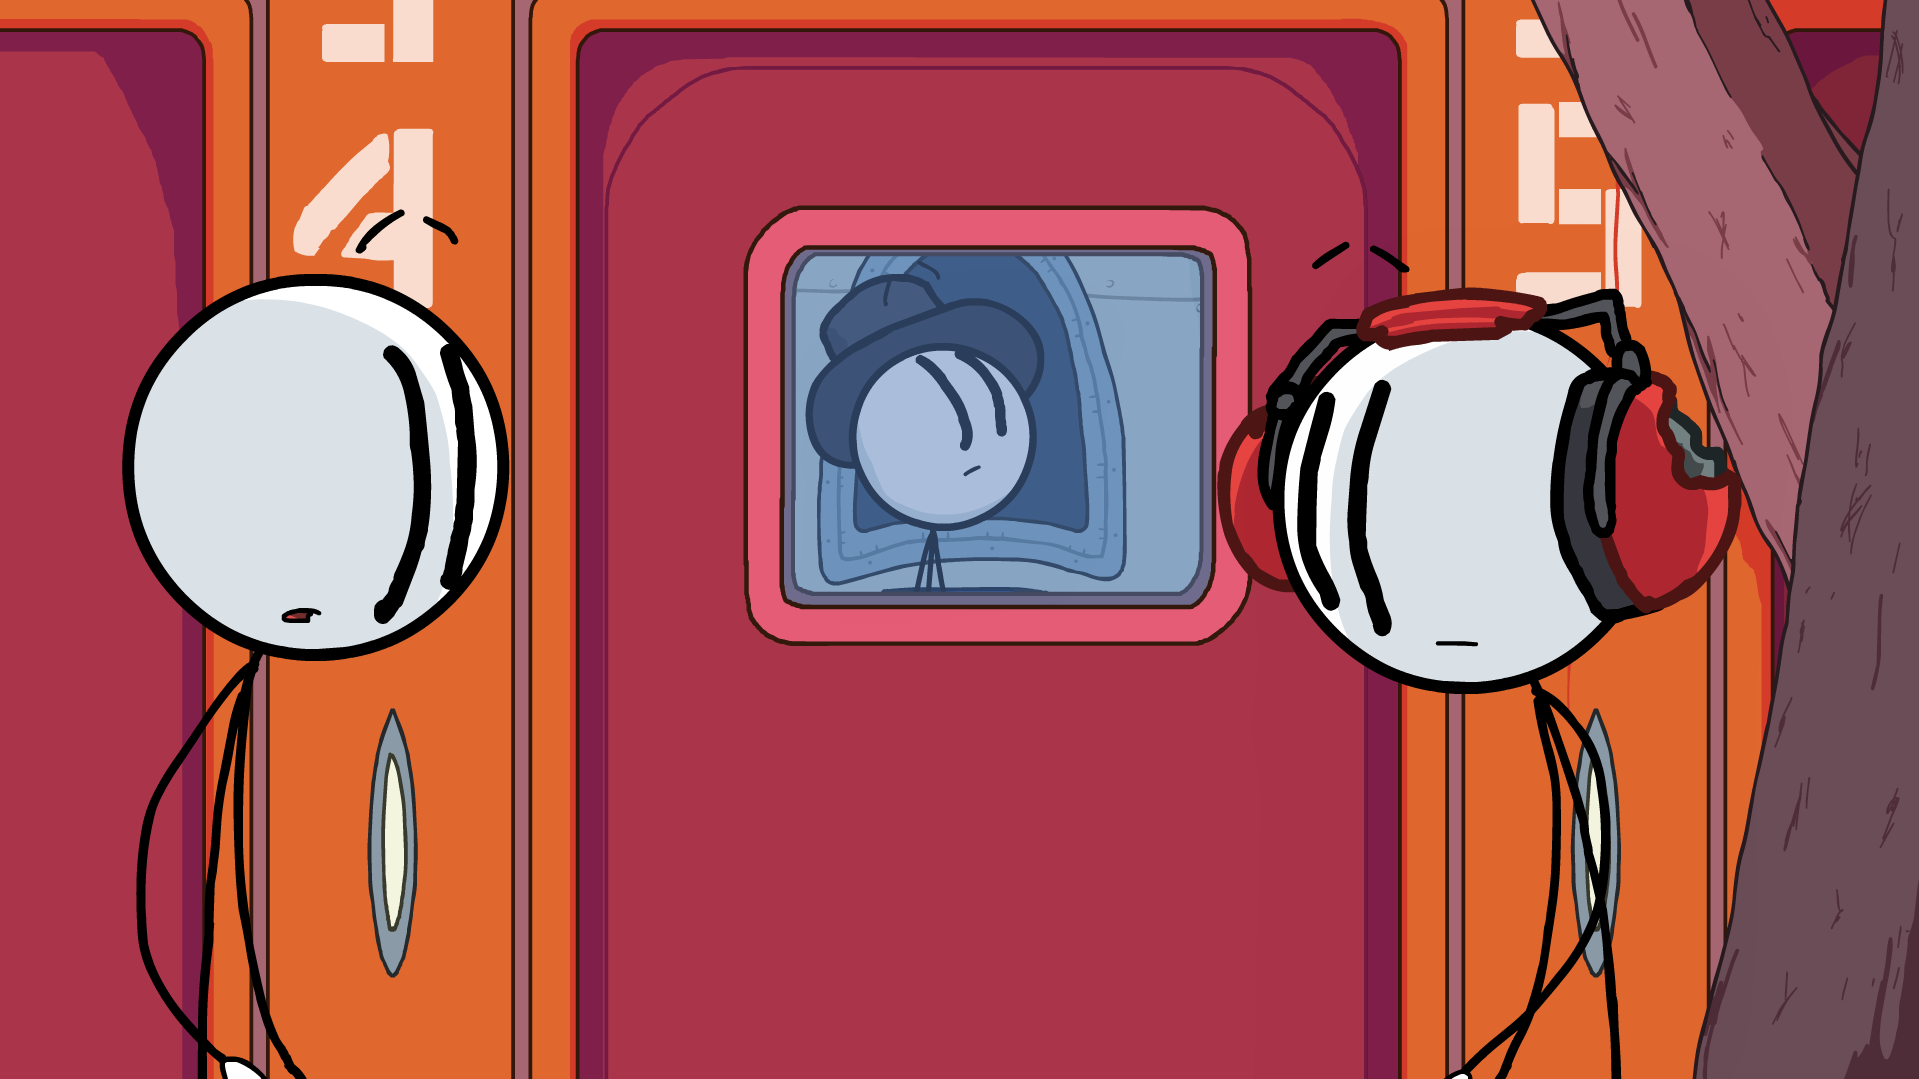
In Escape Pods, choose Escape Pod 34 (on the right).
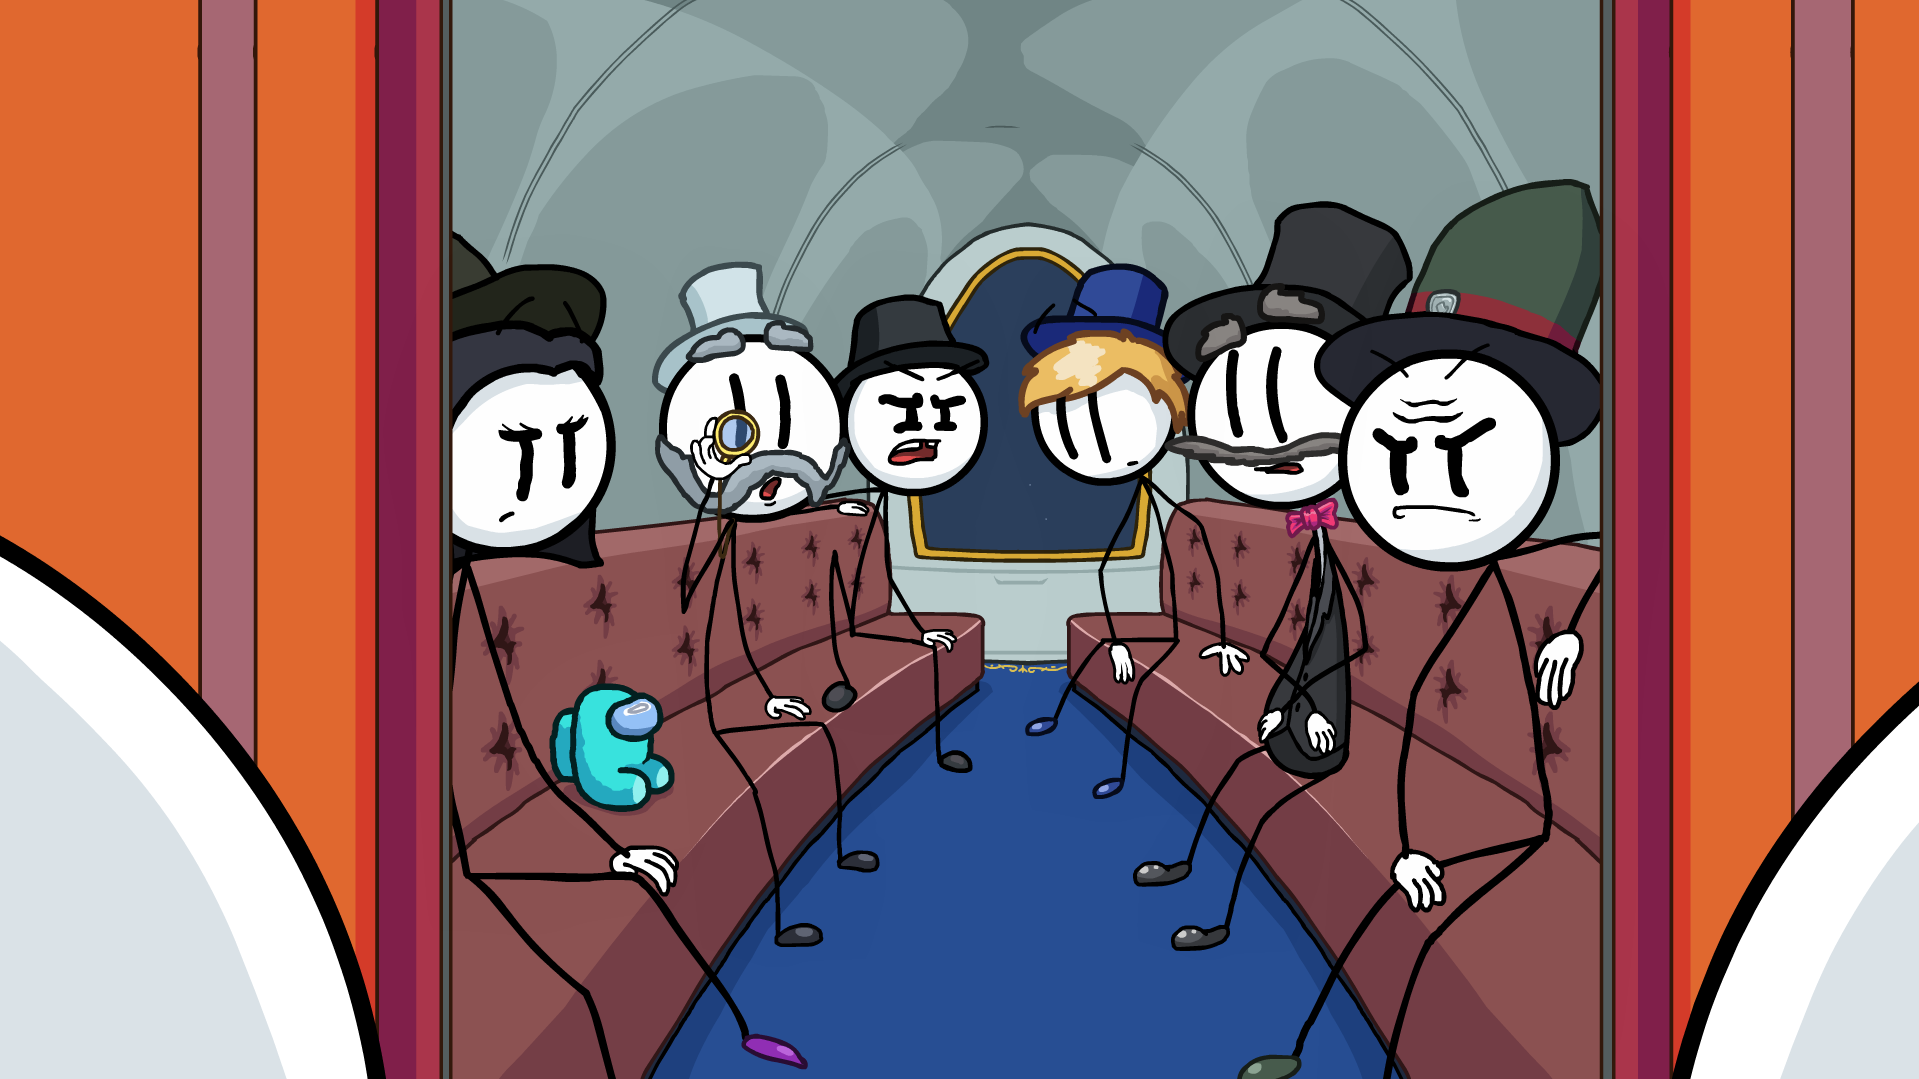
In Escape Pods, choose Escape Pod 32 (Luxury).
In Escape Pods, choose Escape Pod 33 (middle one).
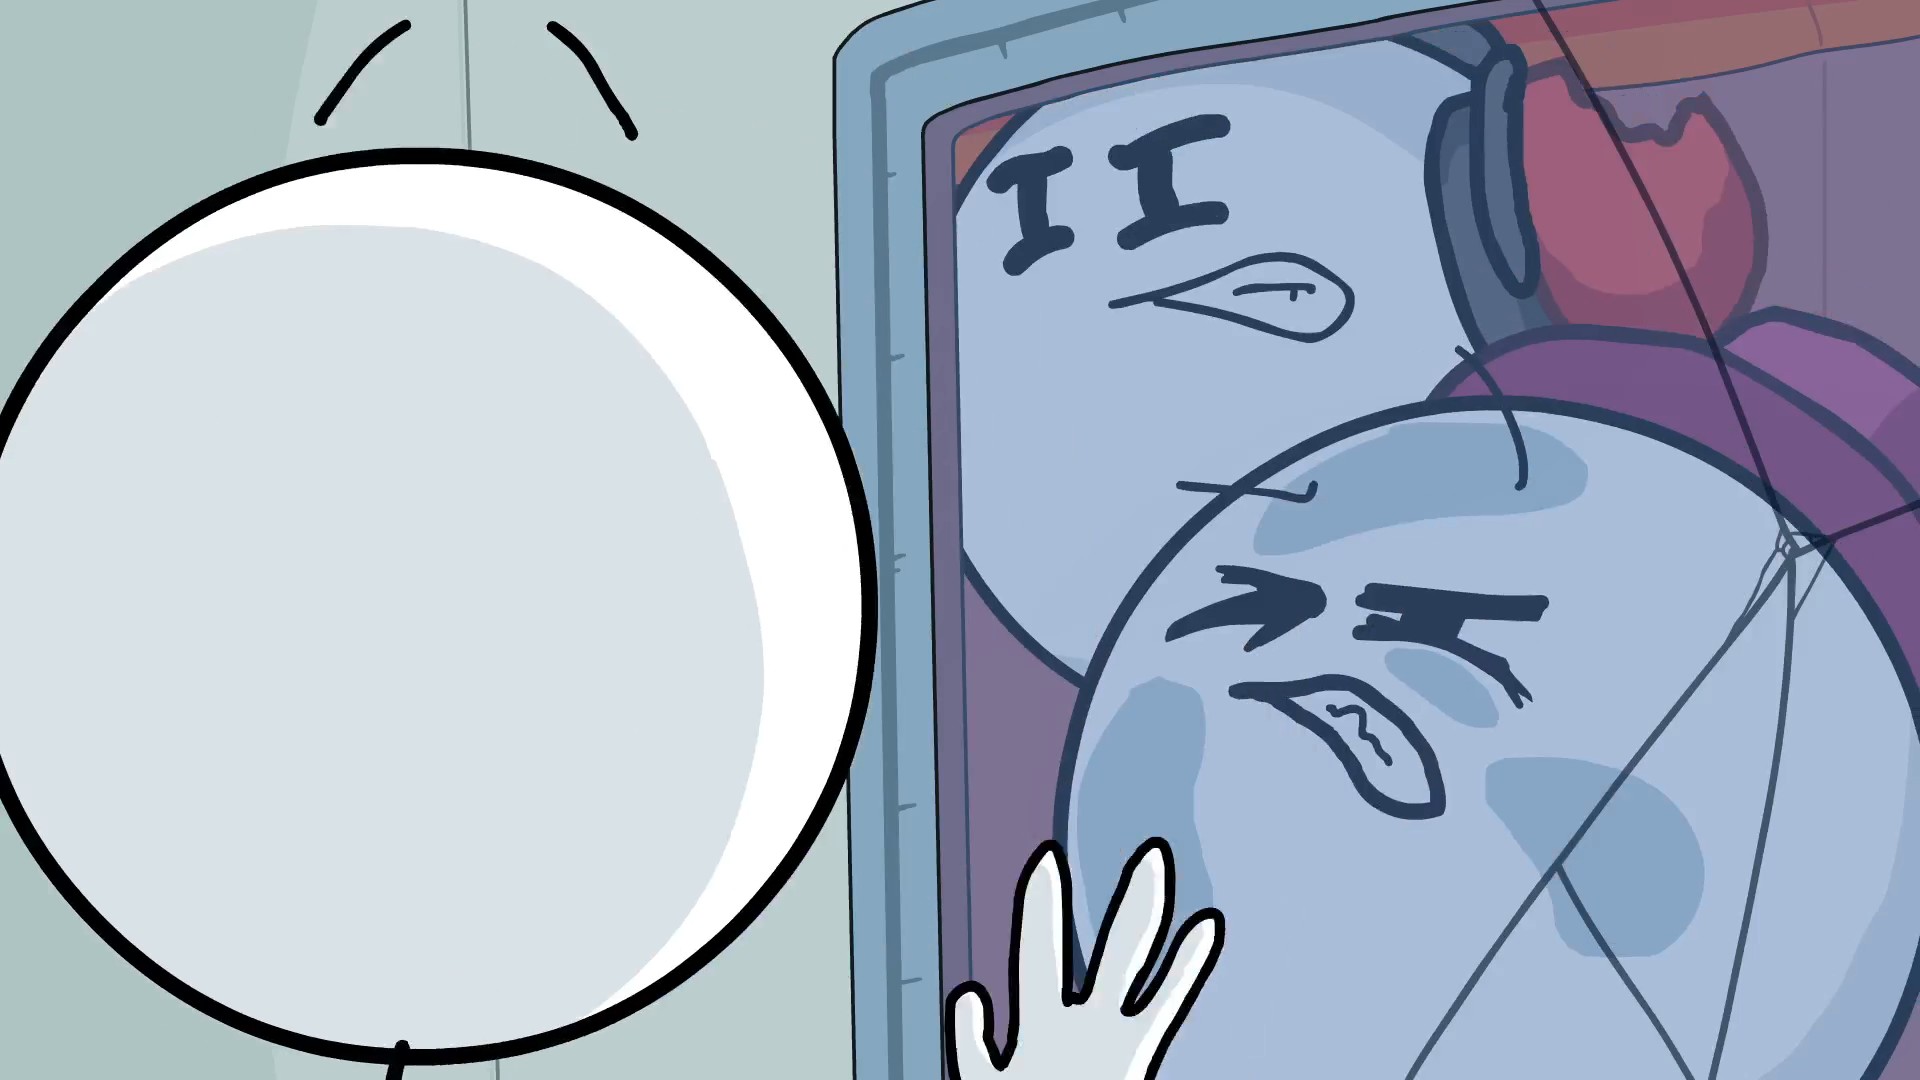
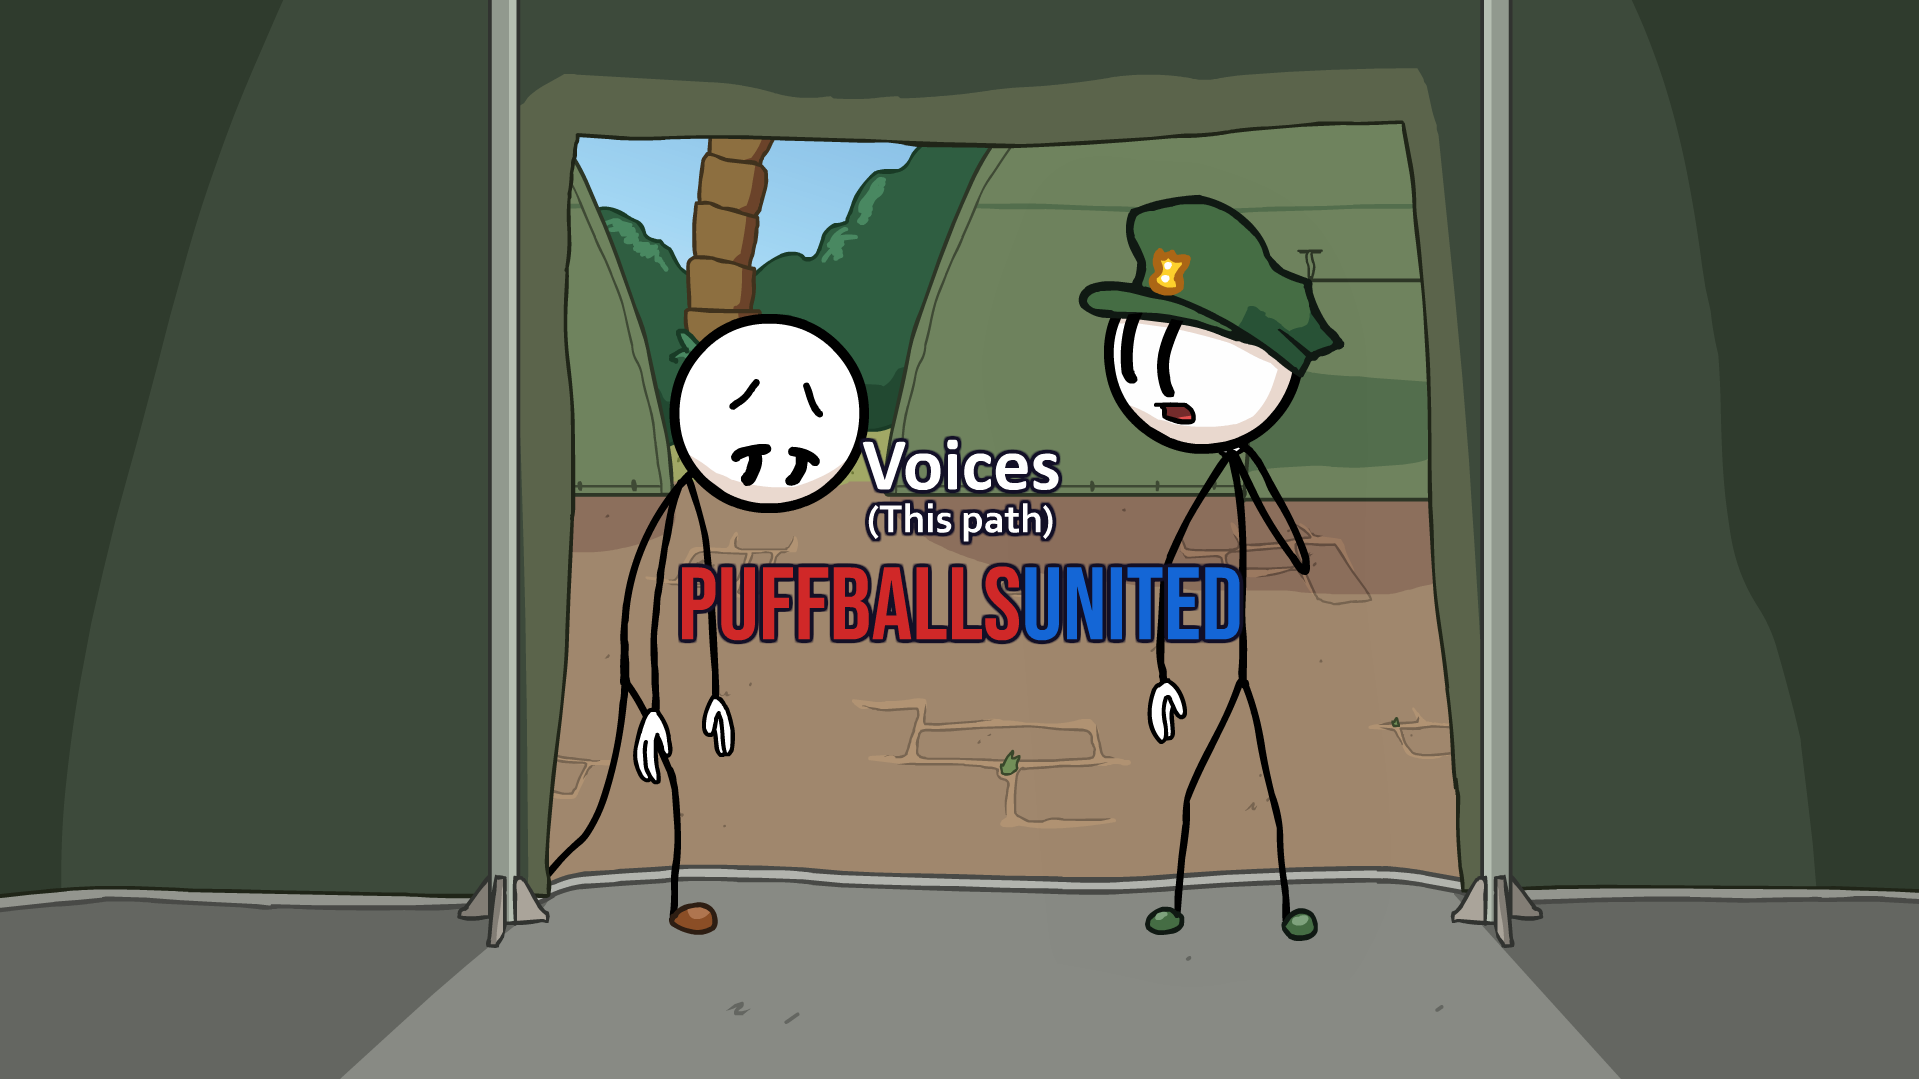
In Orbital Cell (Still), choose Metal Hat and click the one on the floor here.
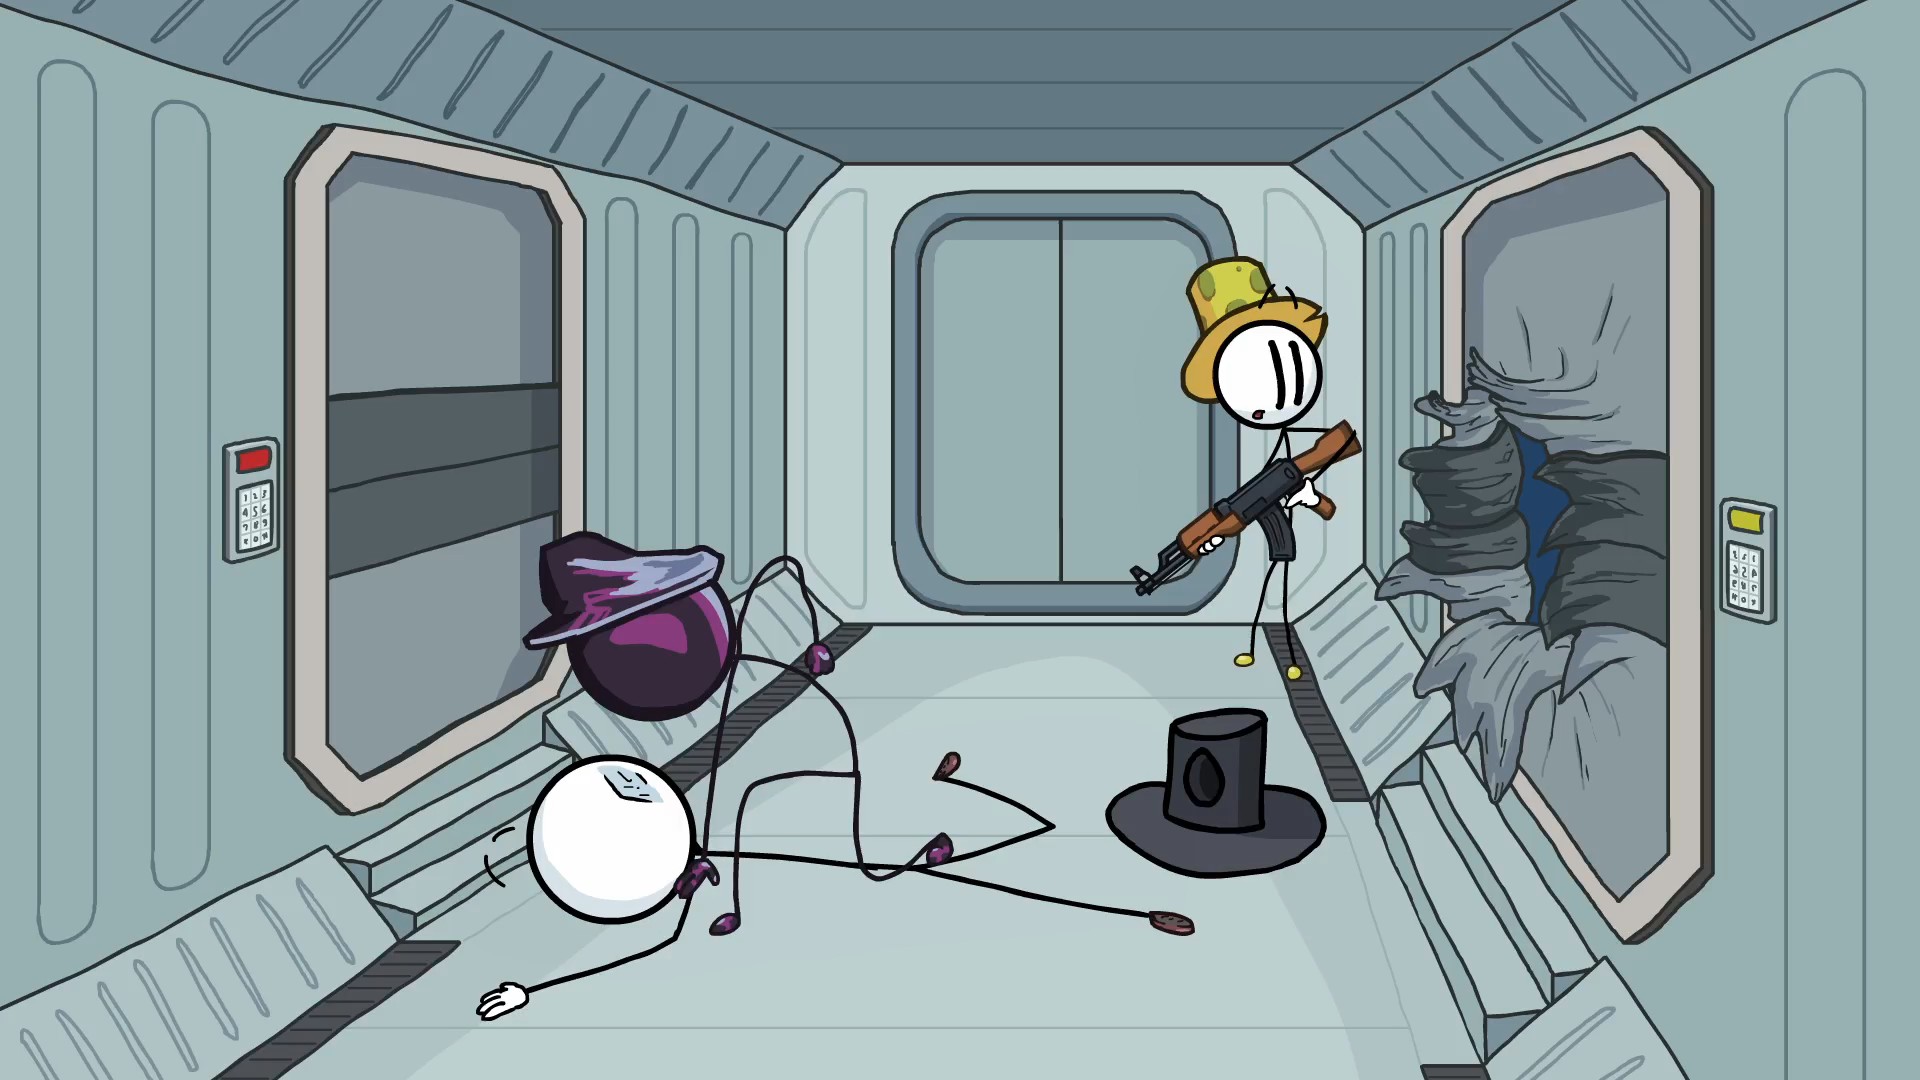
In Choose Your Weapon, choose Pew Pew Gun.
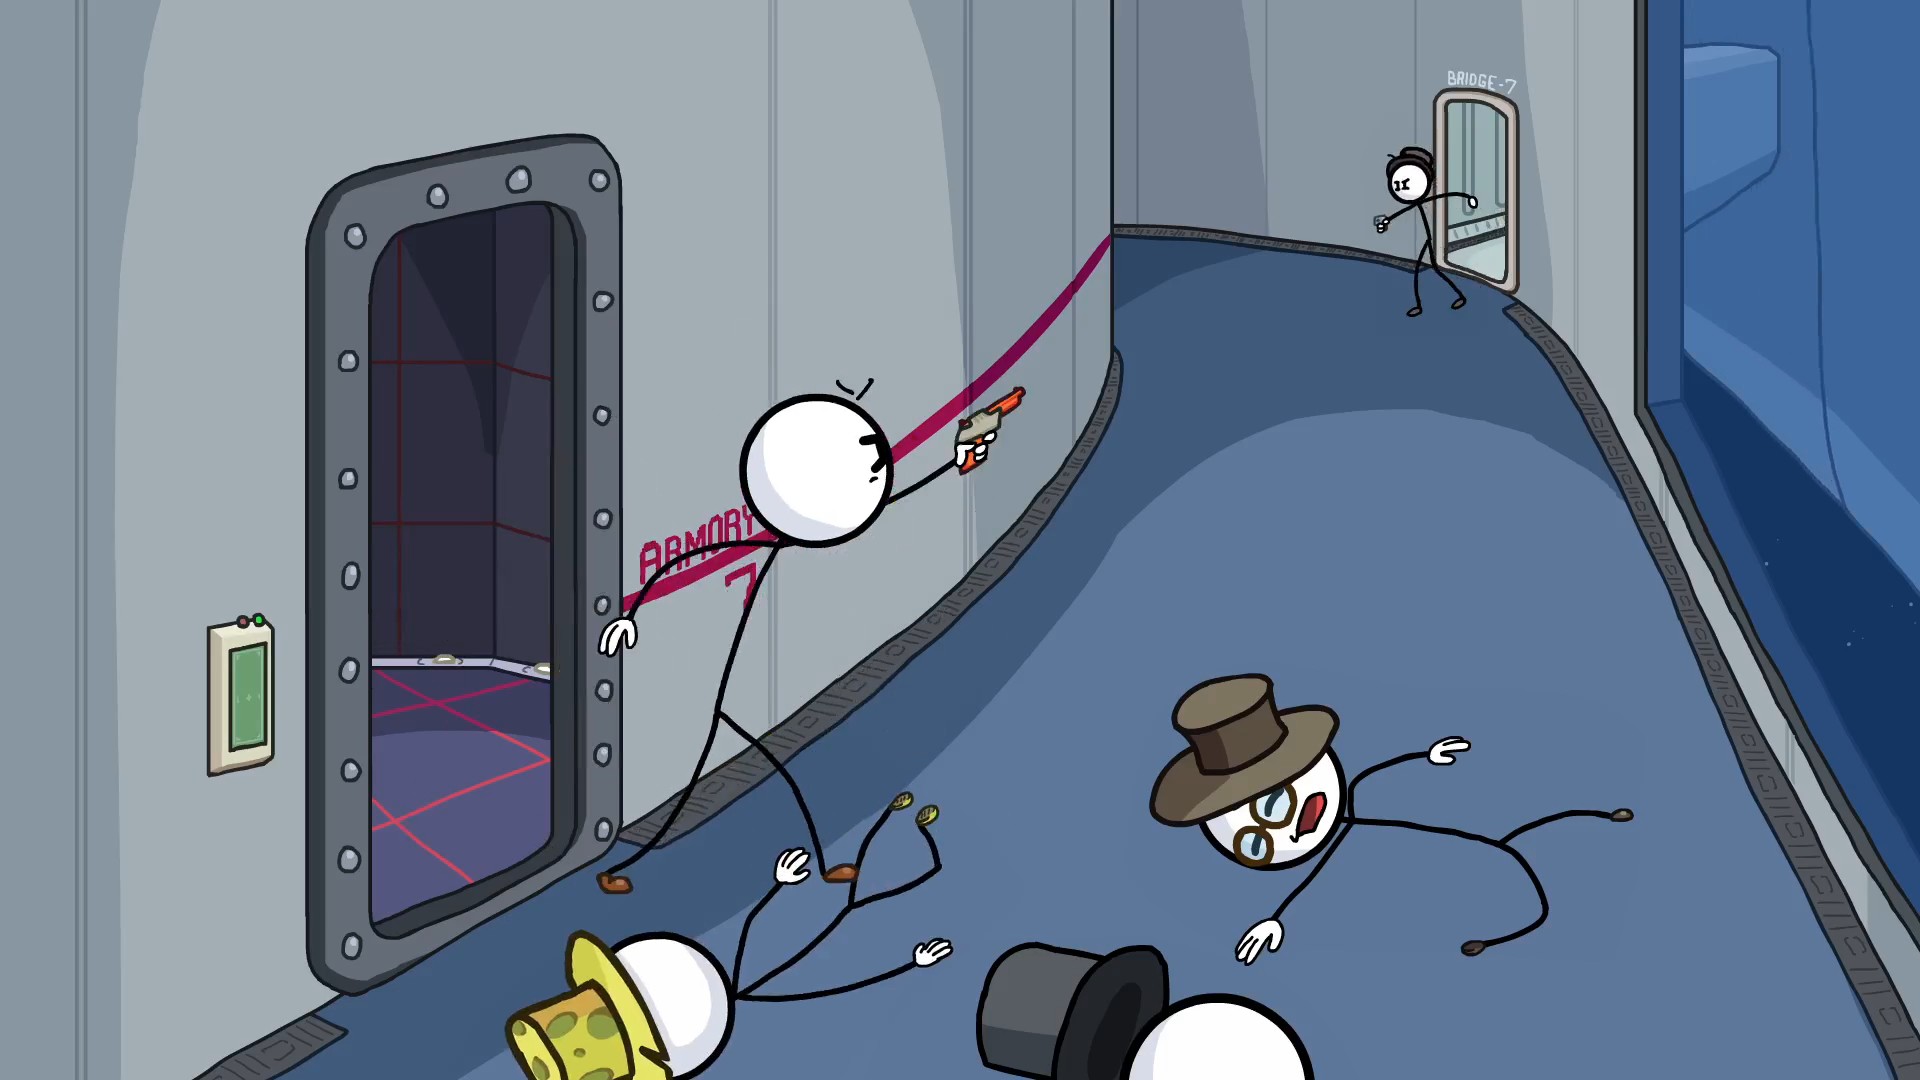
In Intro.
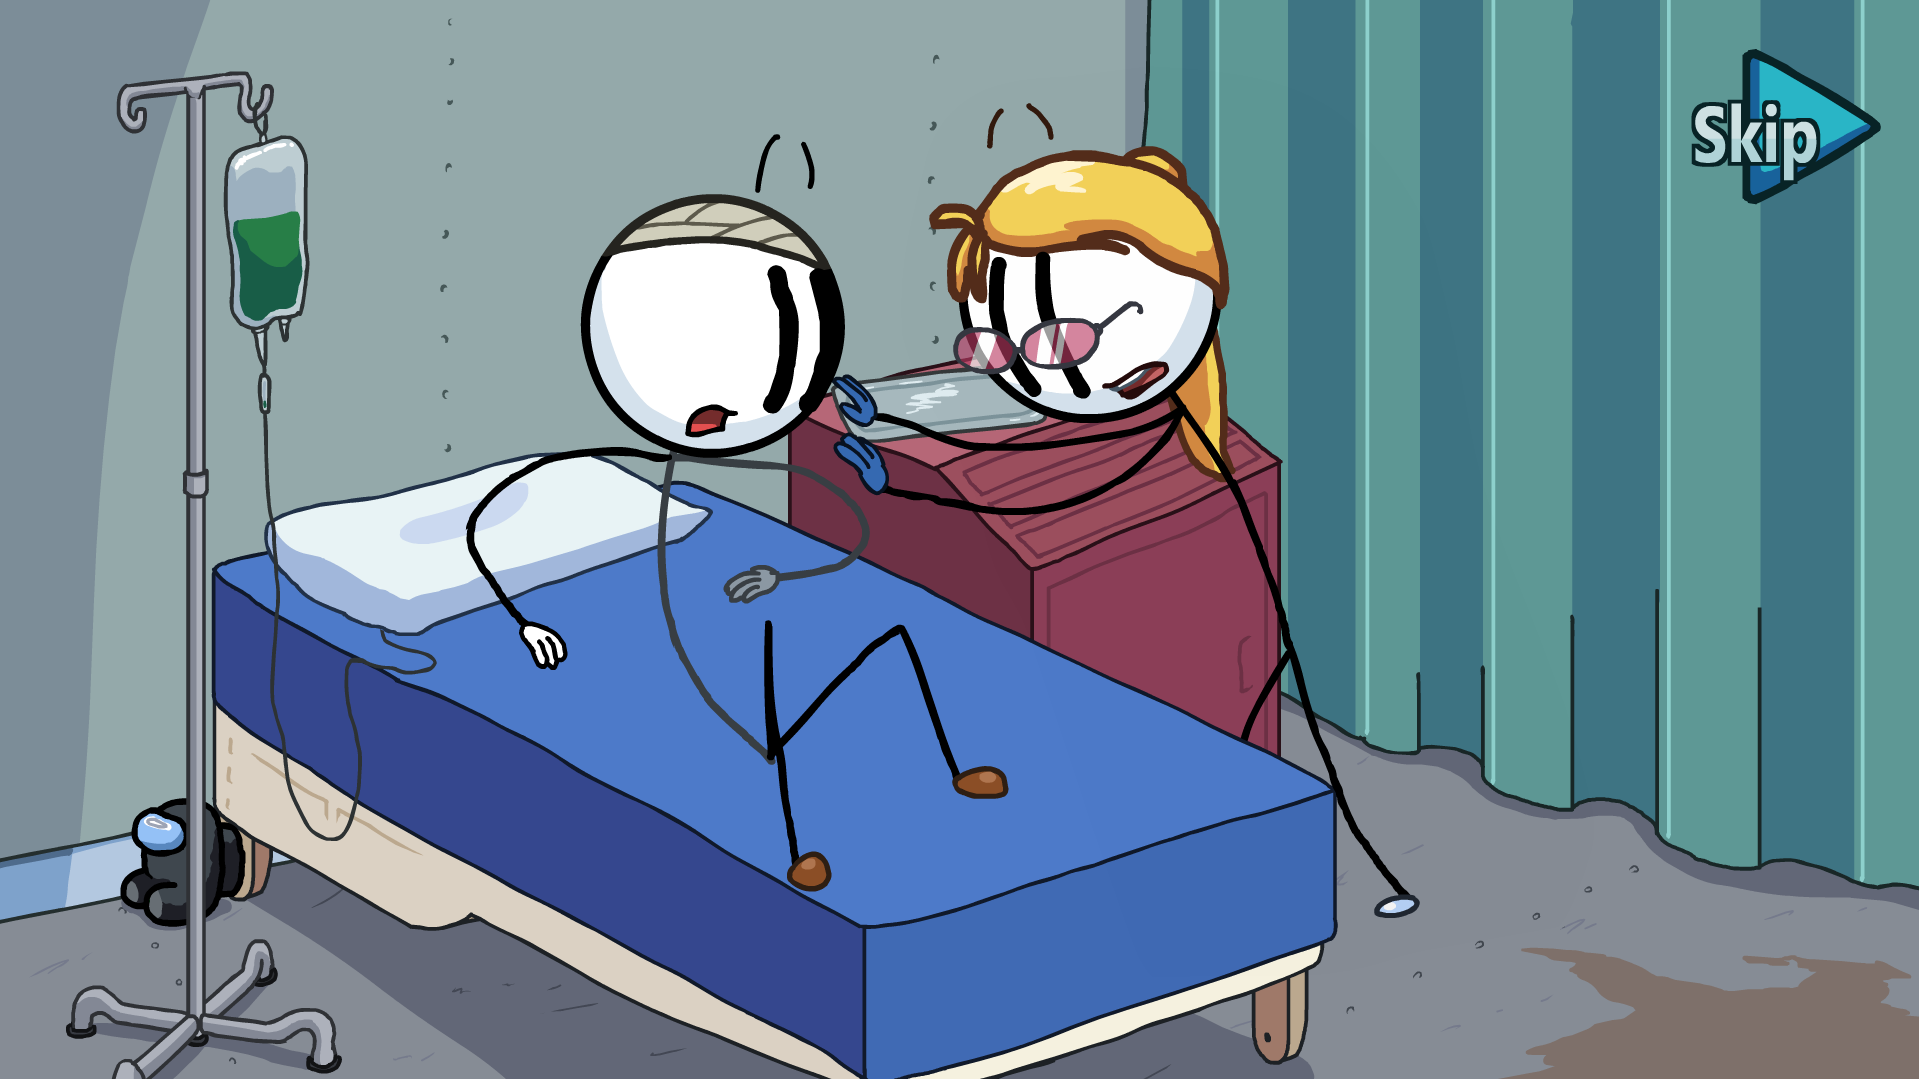
In Showdown, choose Spirit Forme.
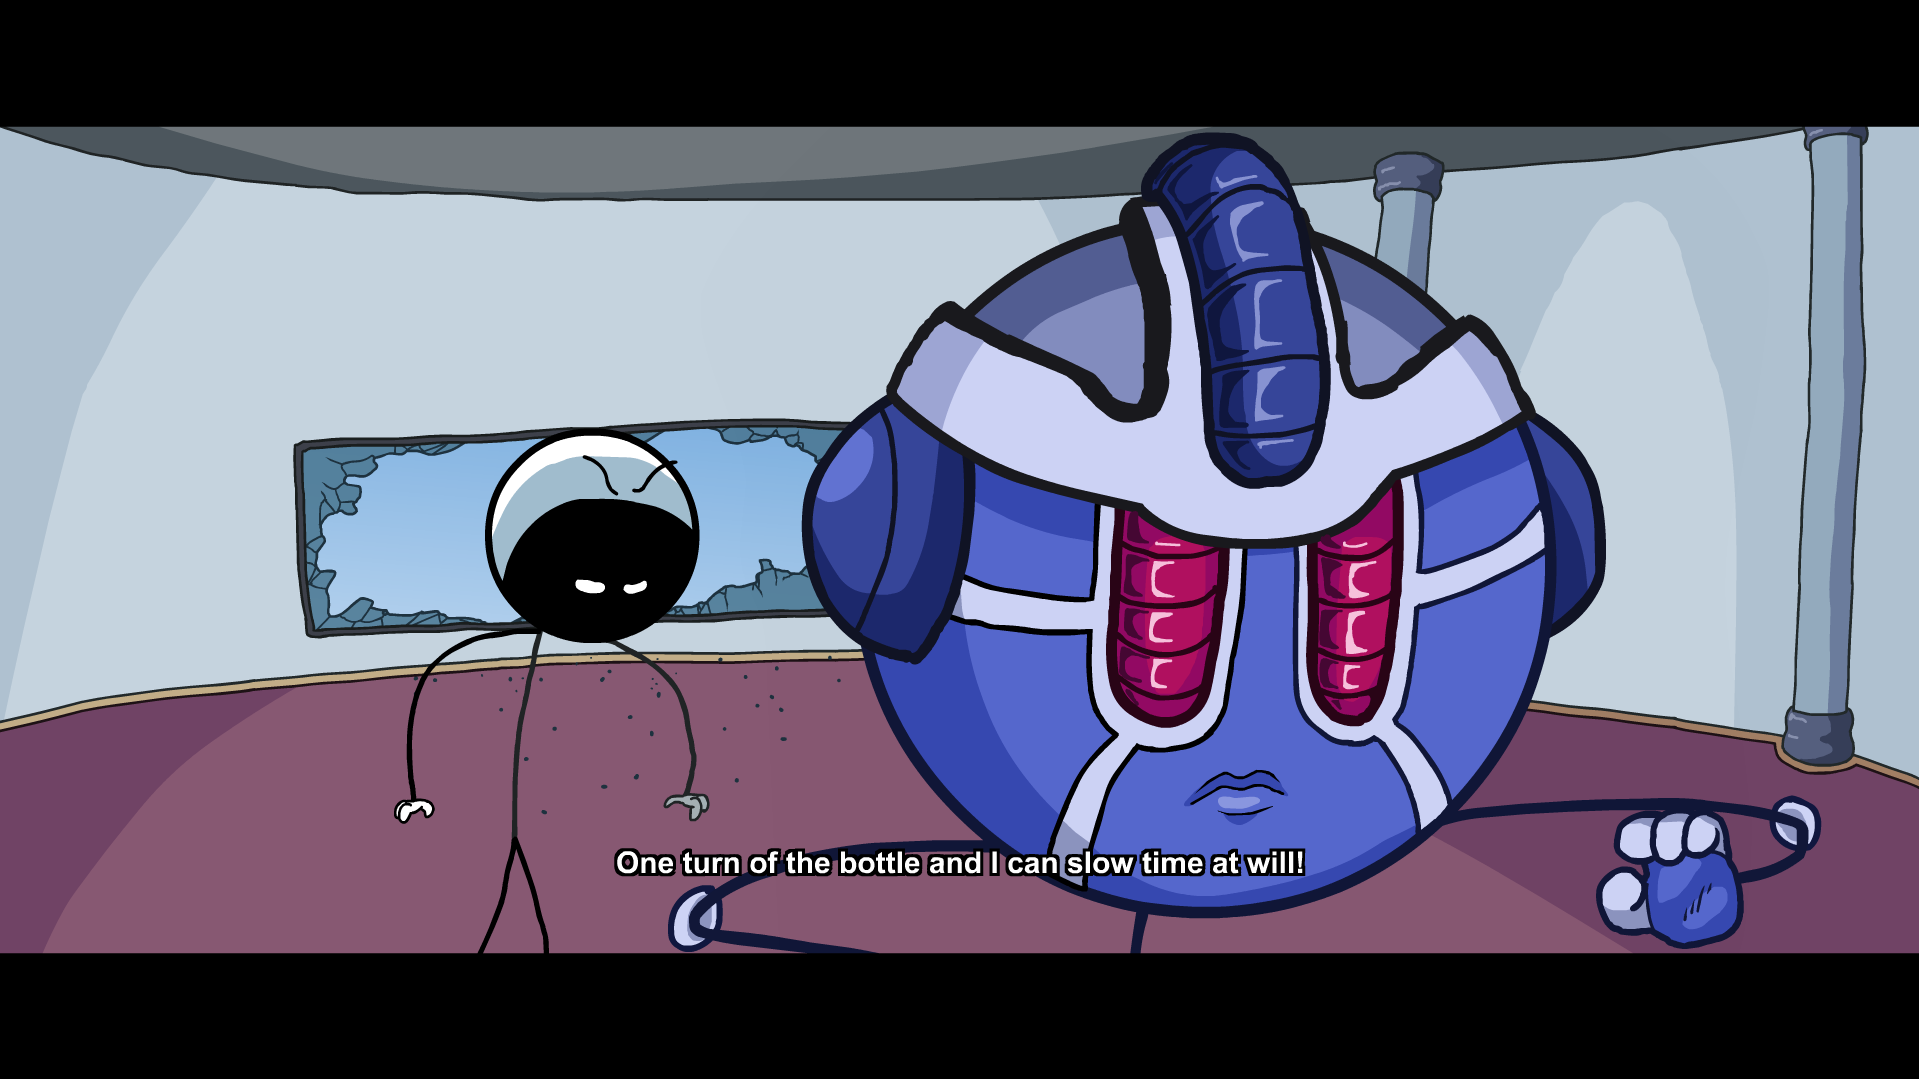
In Claim Revenge, choose Drop.
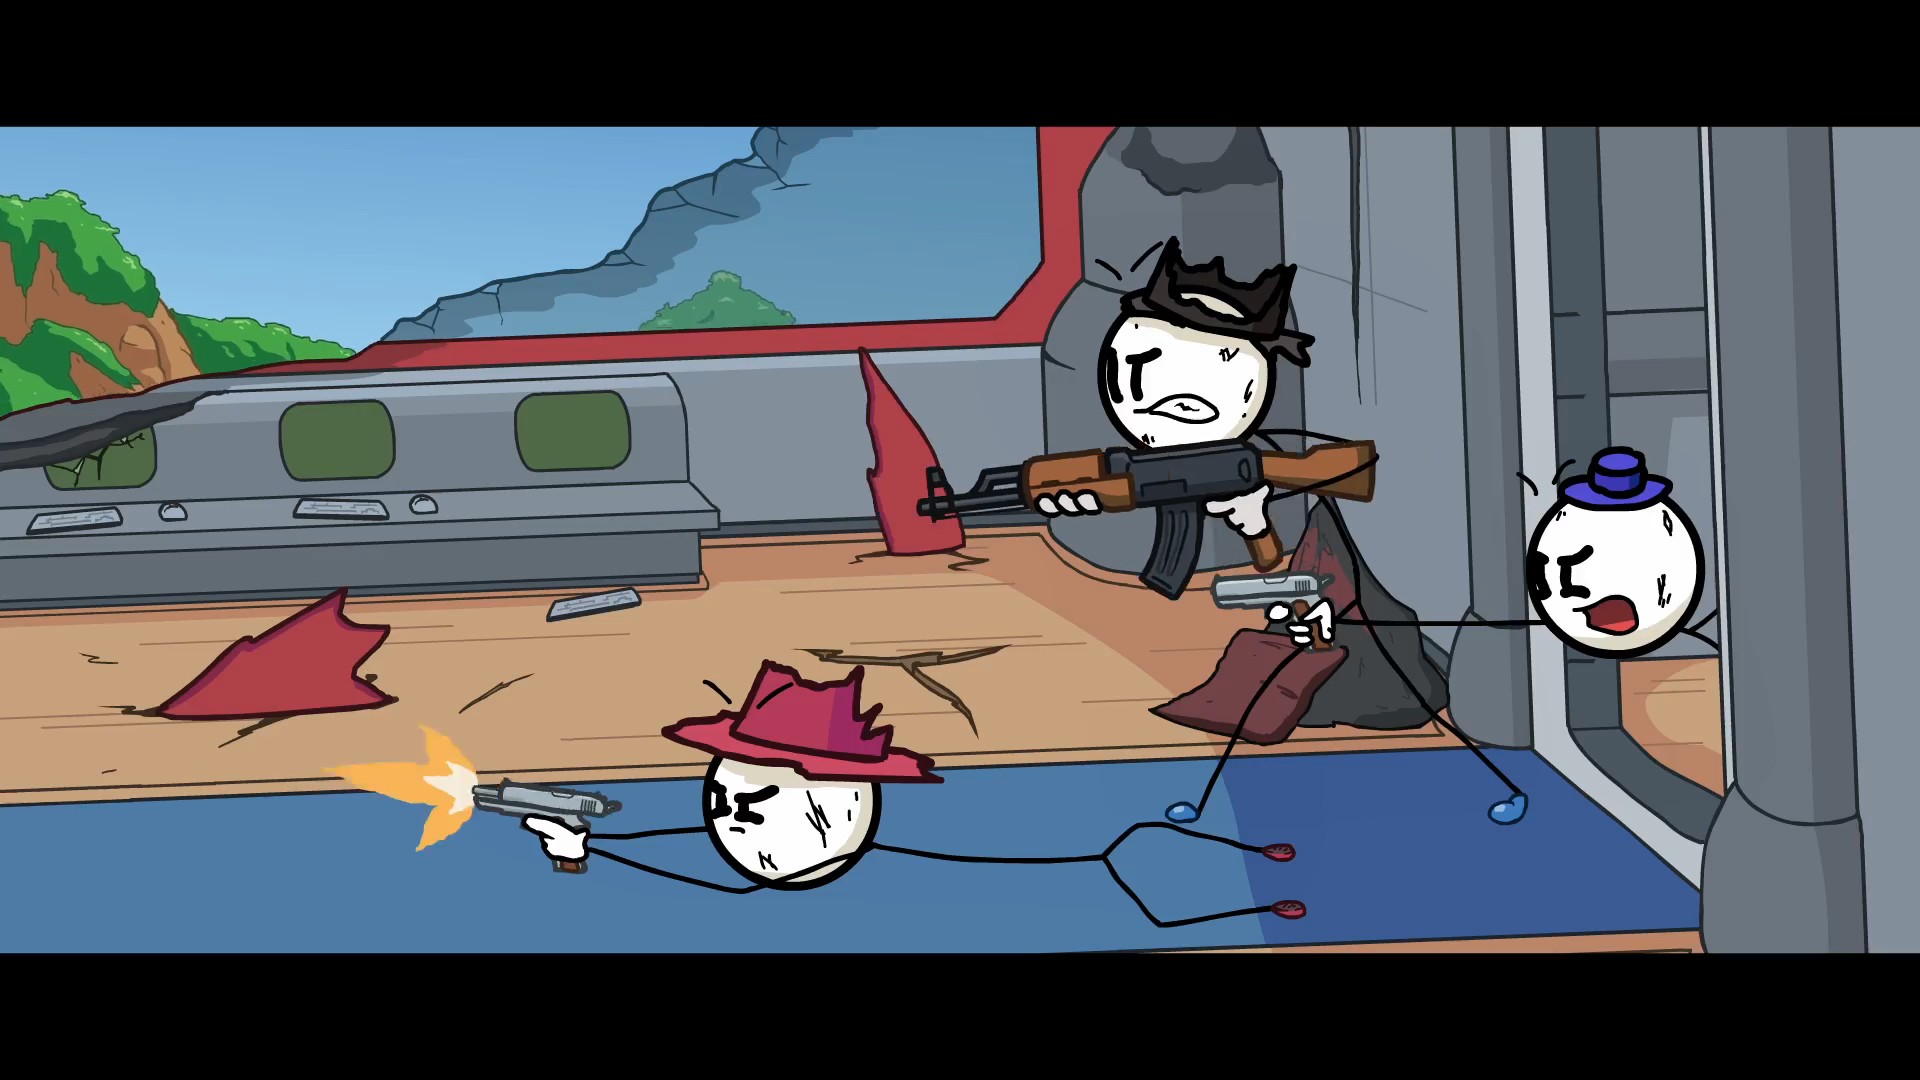
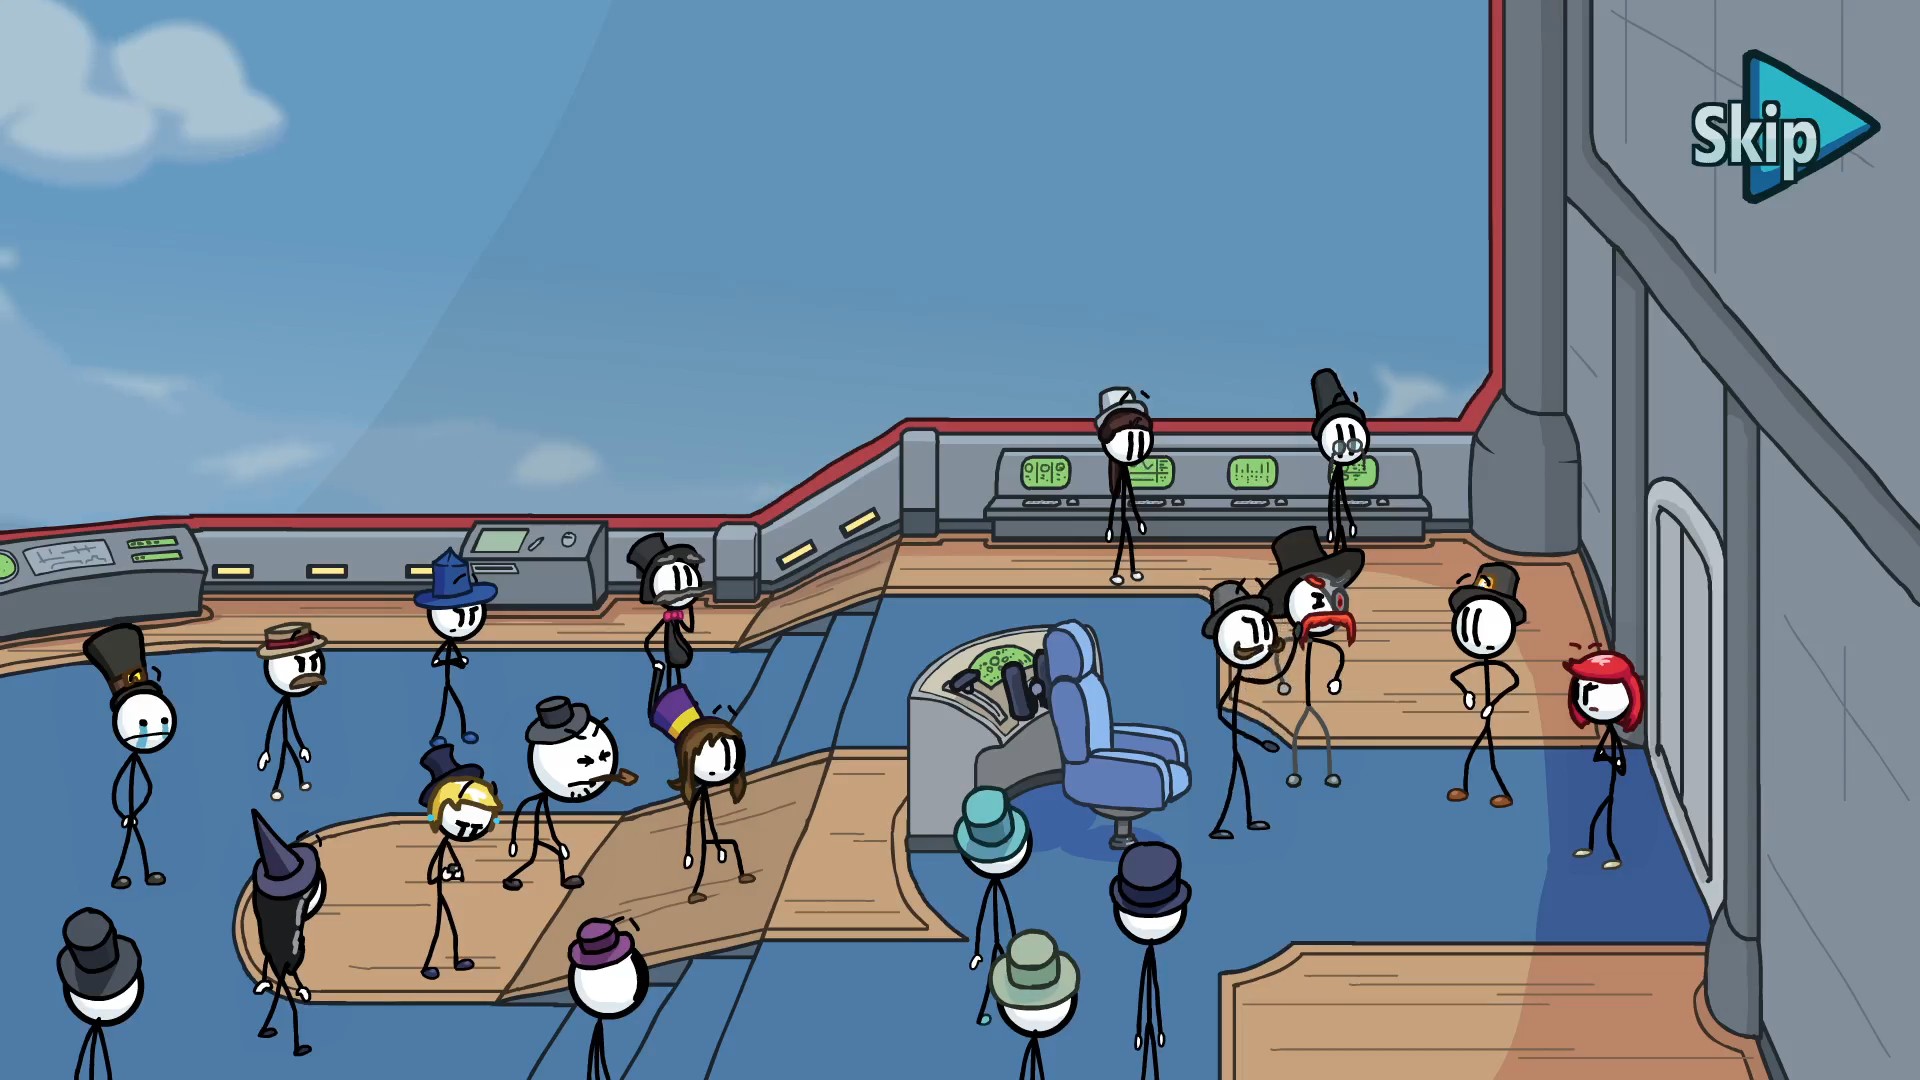
In Intro, there are more Toppats than listed here, but we go with in game order.
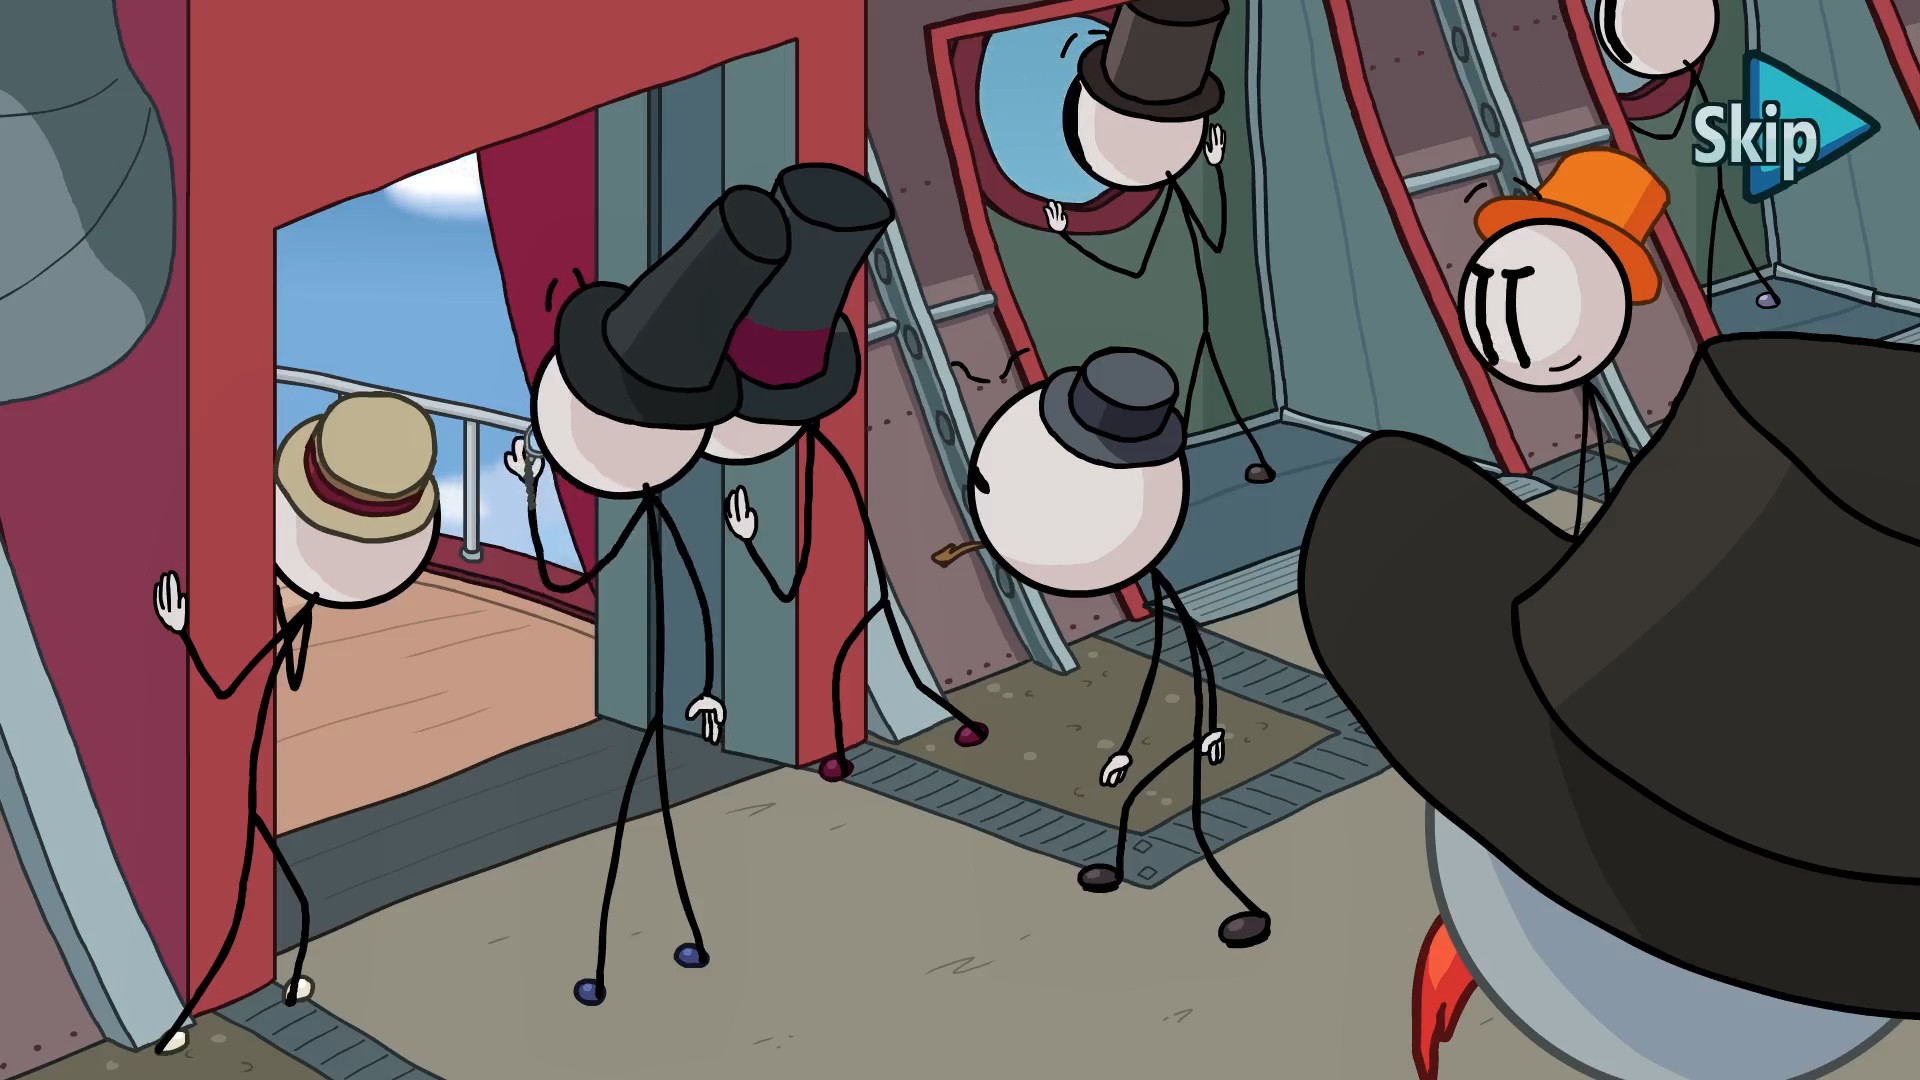
ᅠᅠᅠᅠᅠᅠᅠᅠᅠᅠᅠᅠᅠ(Page 9 - 12)
In The Brig, choose Dave to get Dave!.
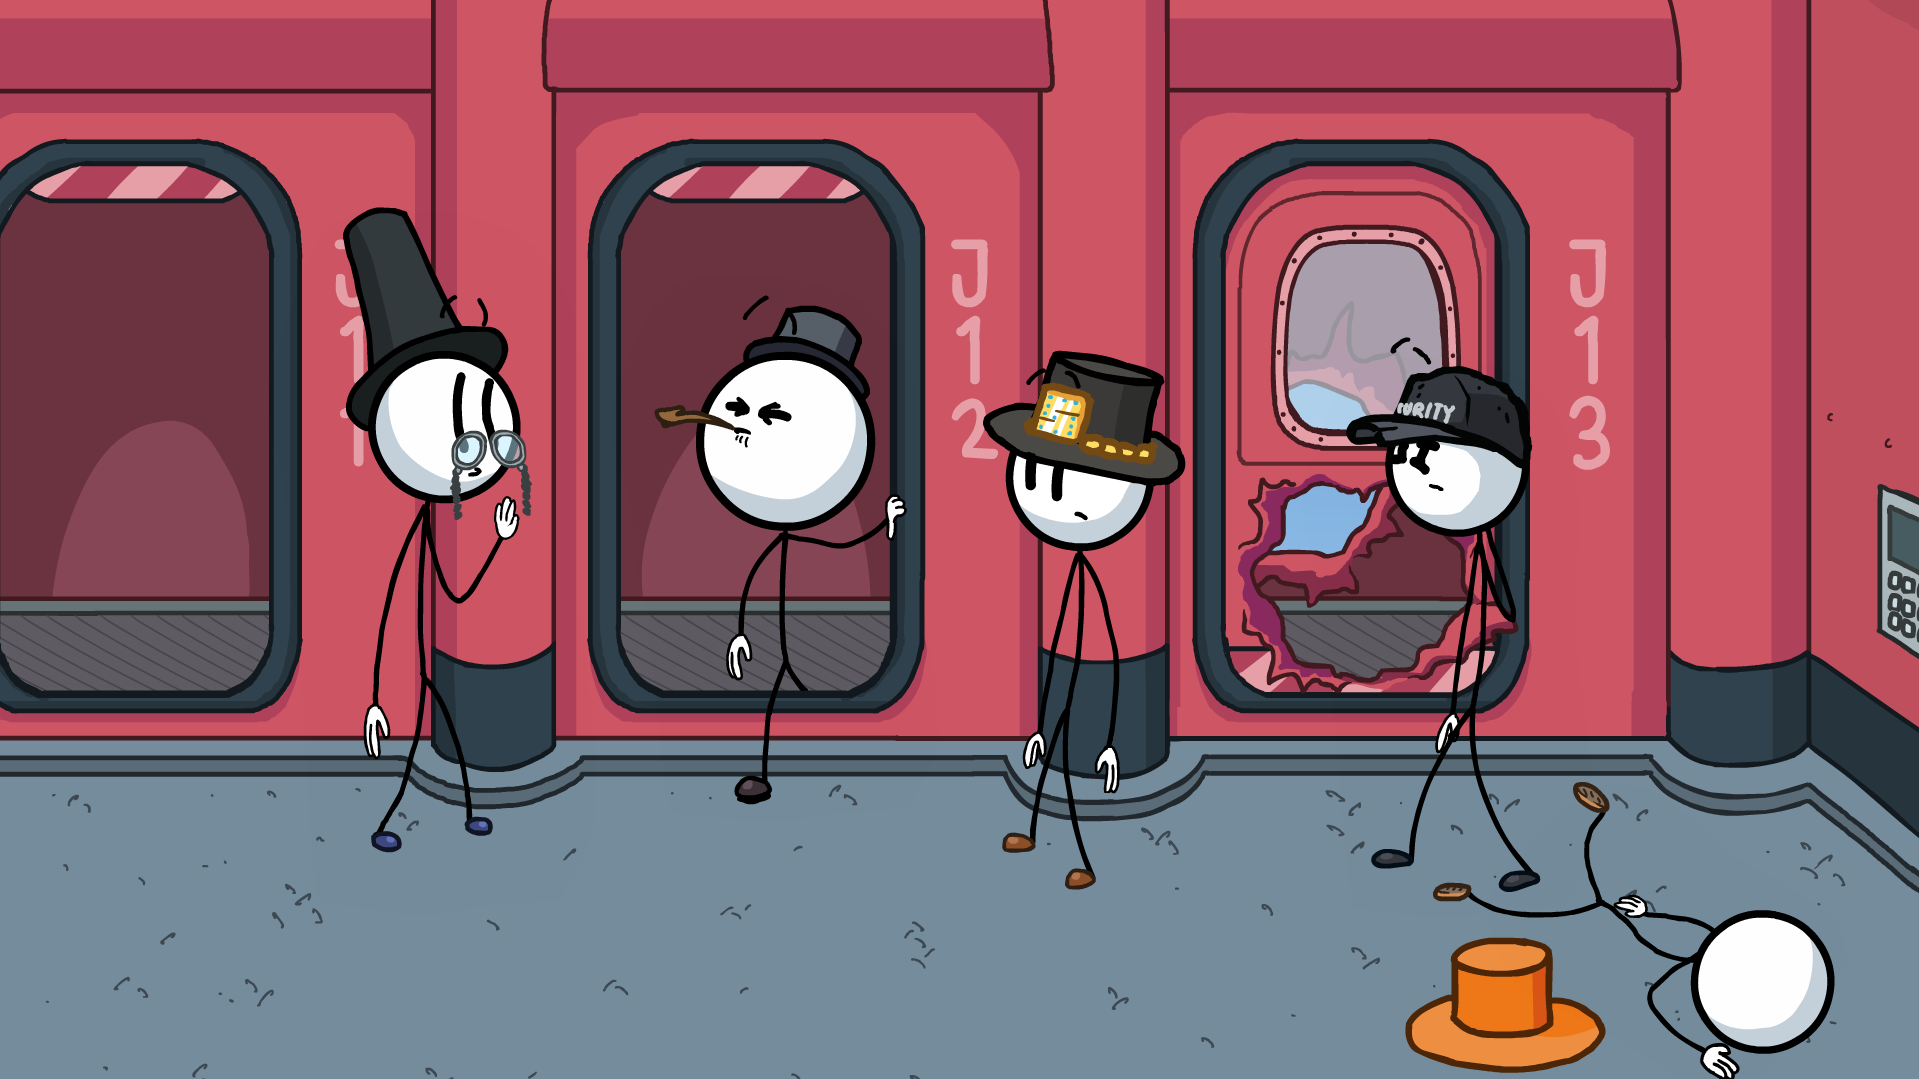
In Intro, start from the right on the parking lot.
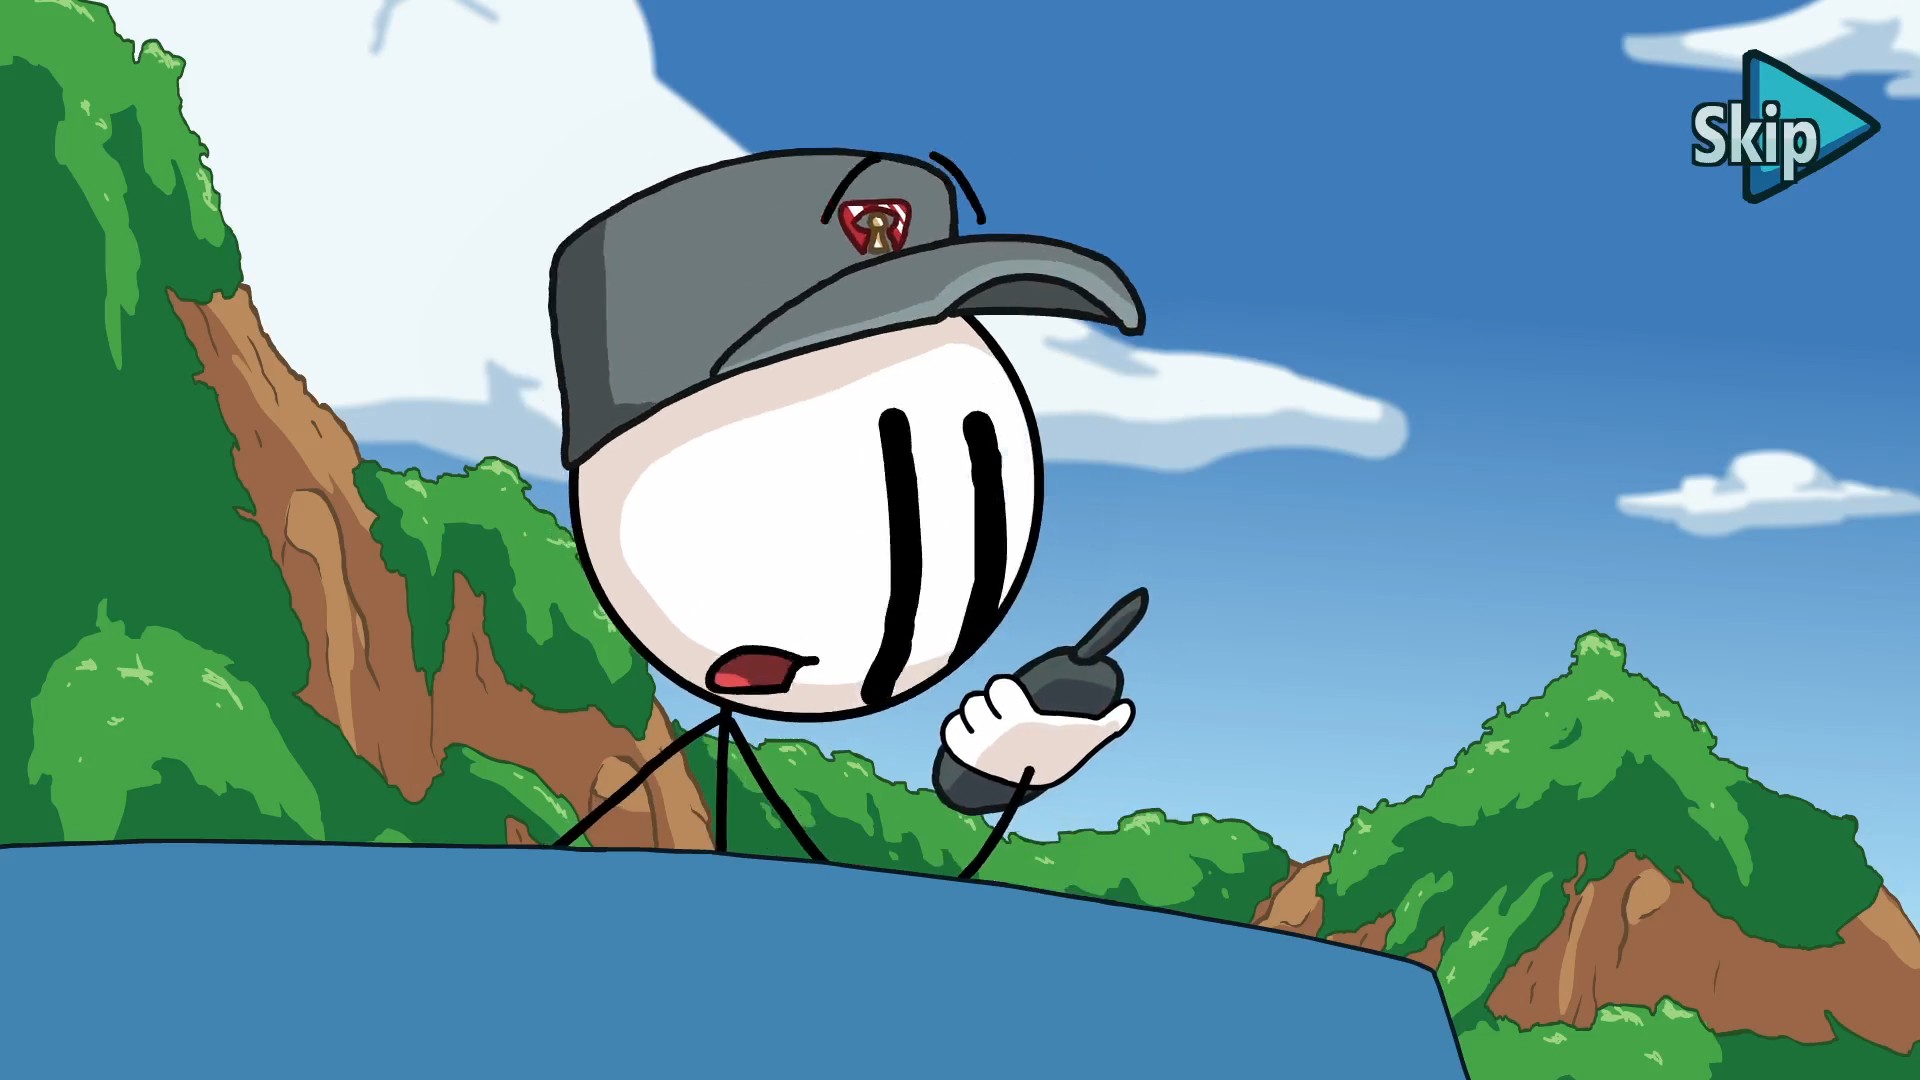

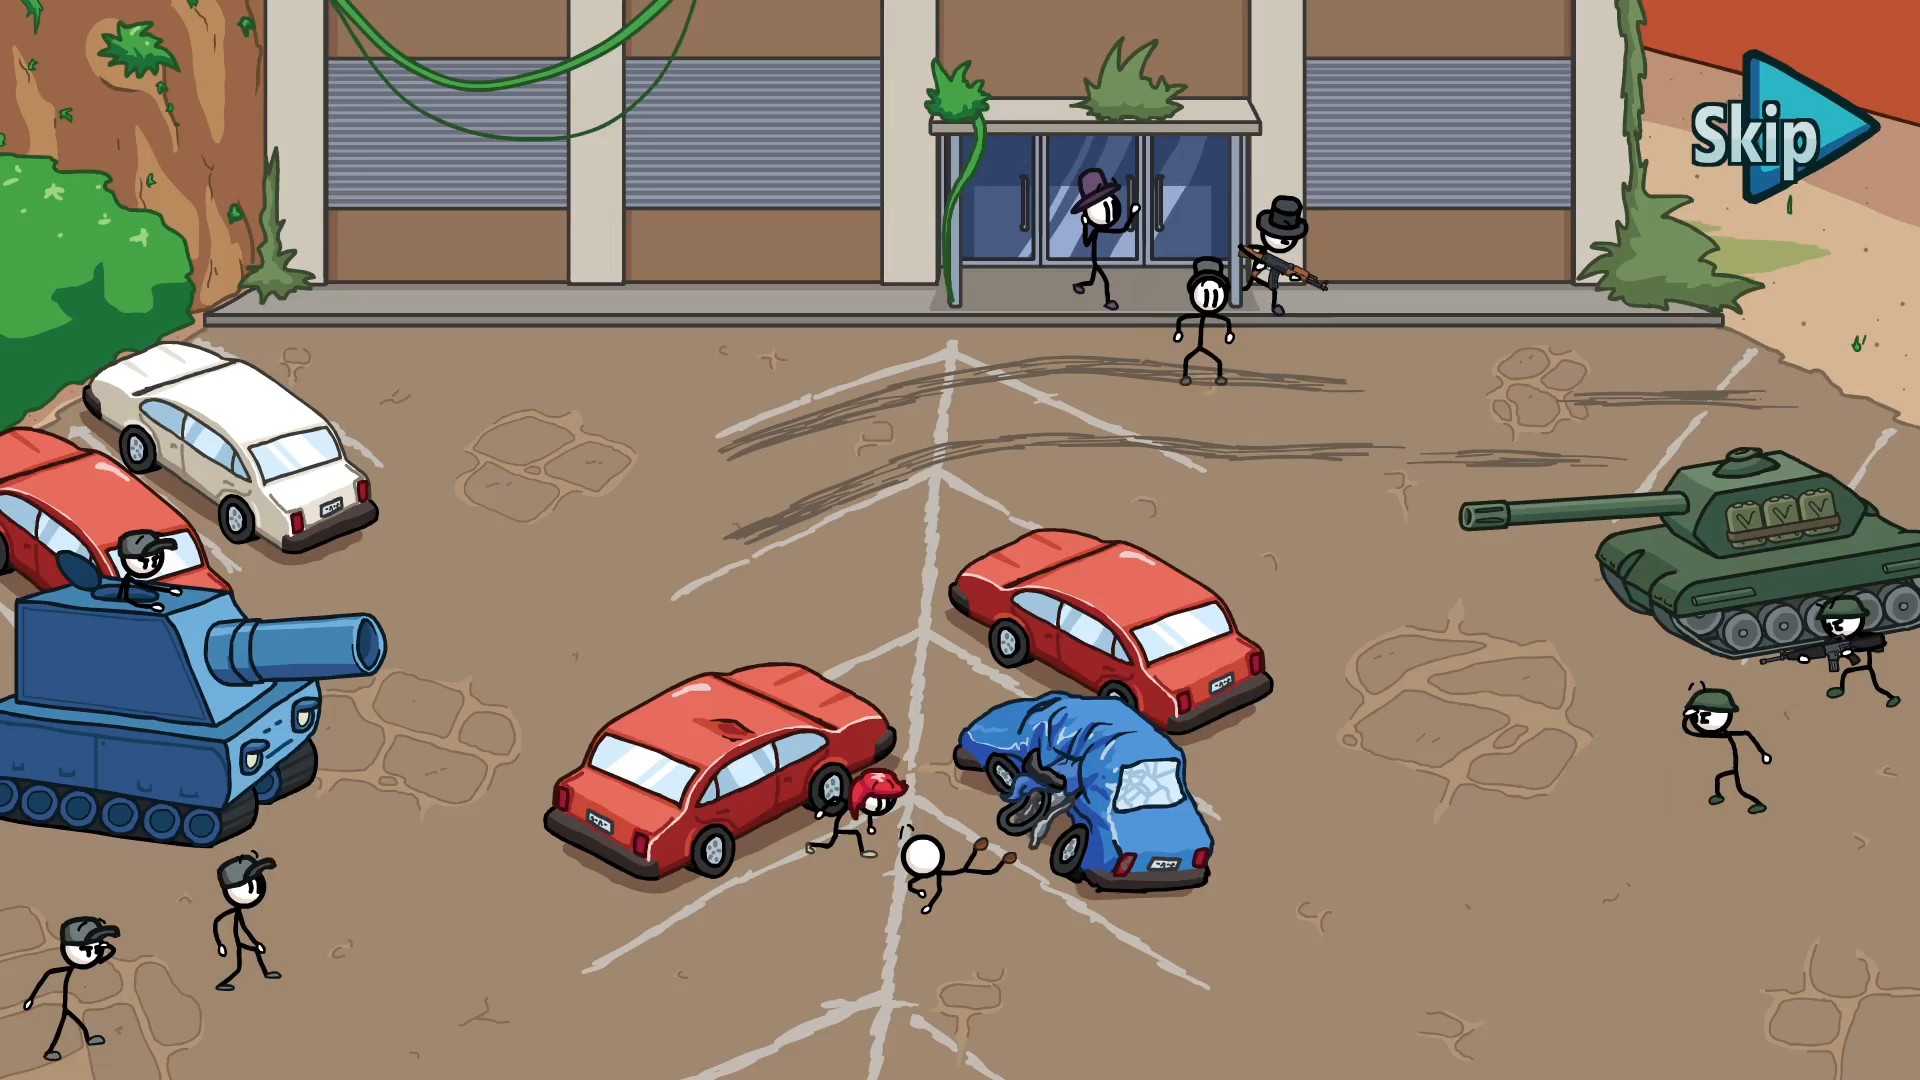
In Launch Tower Hallway, choose Time Machine.
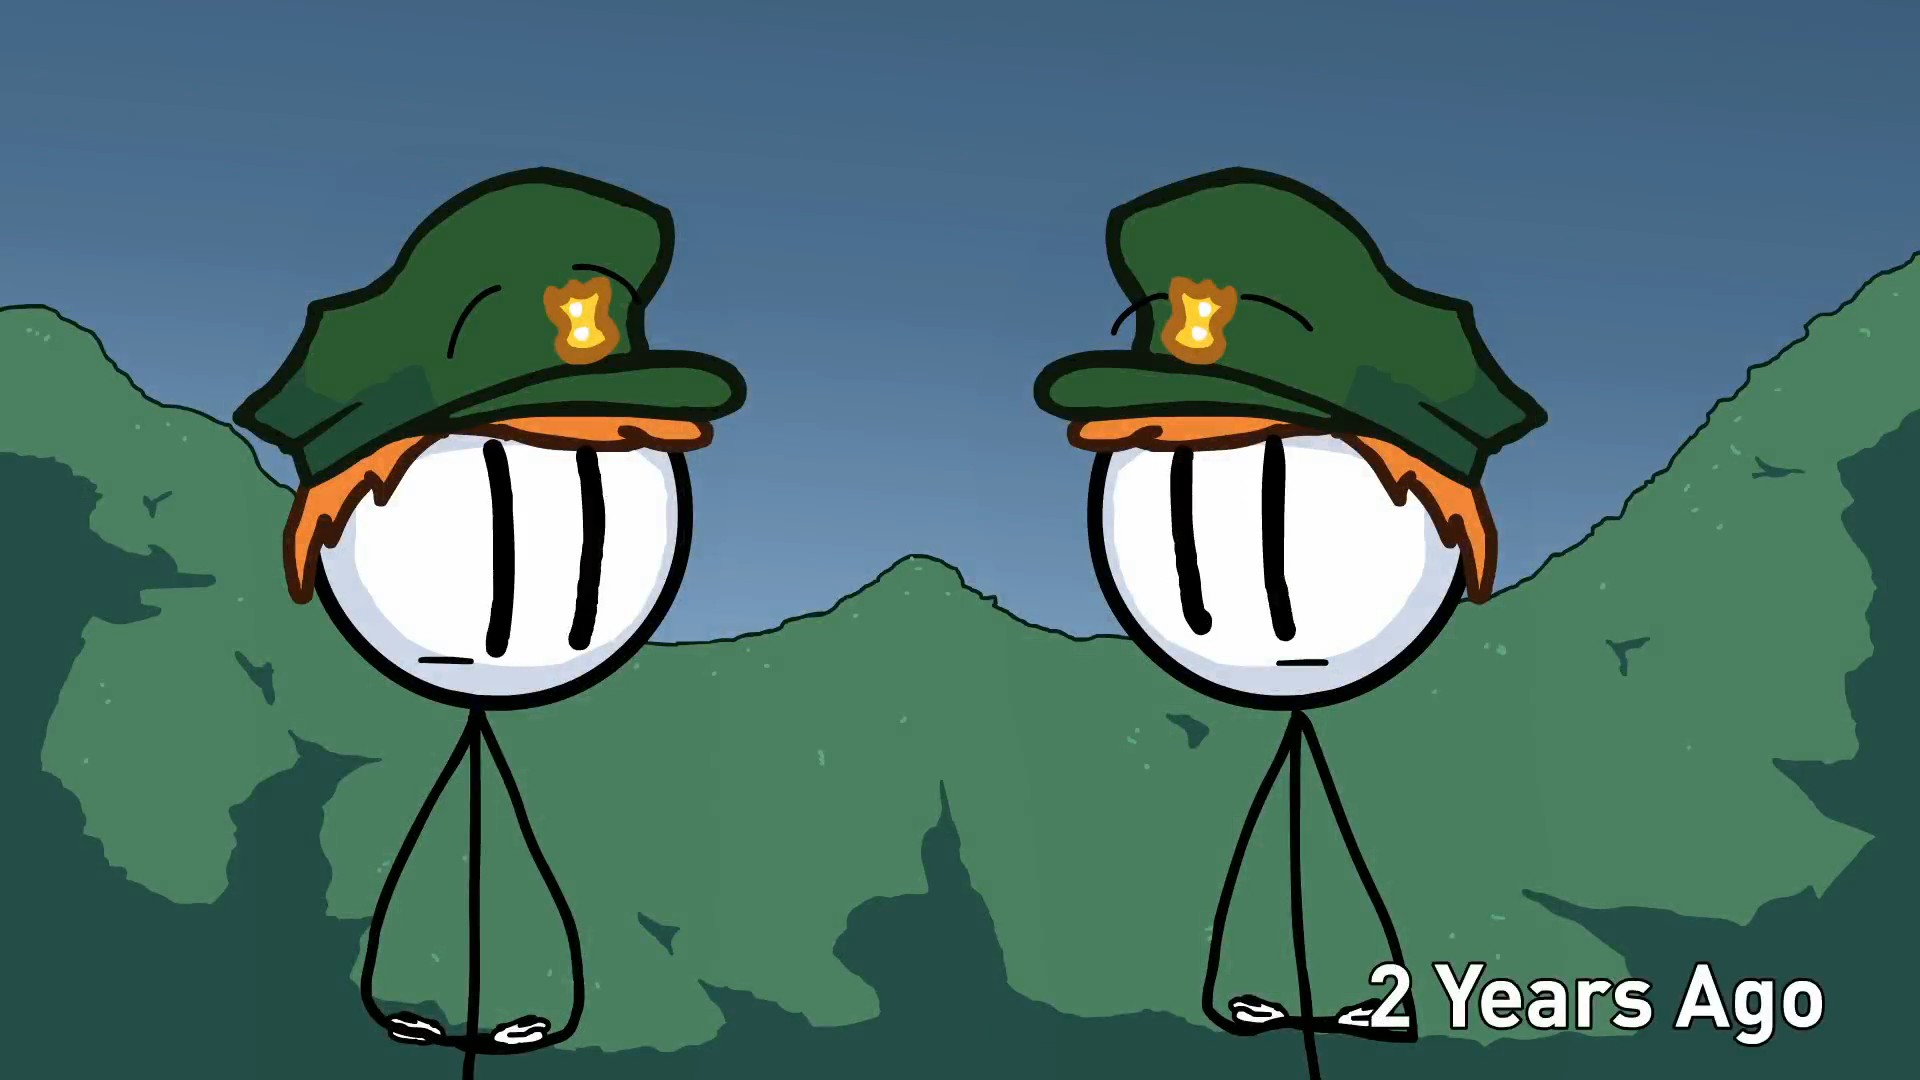
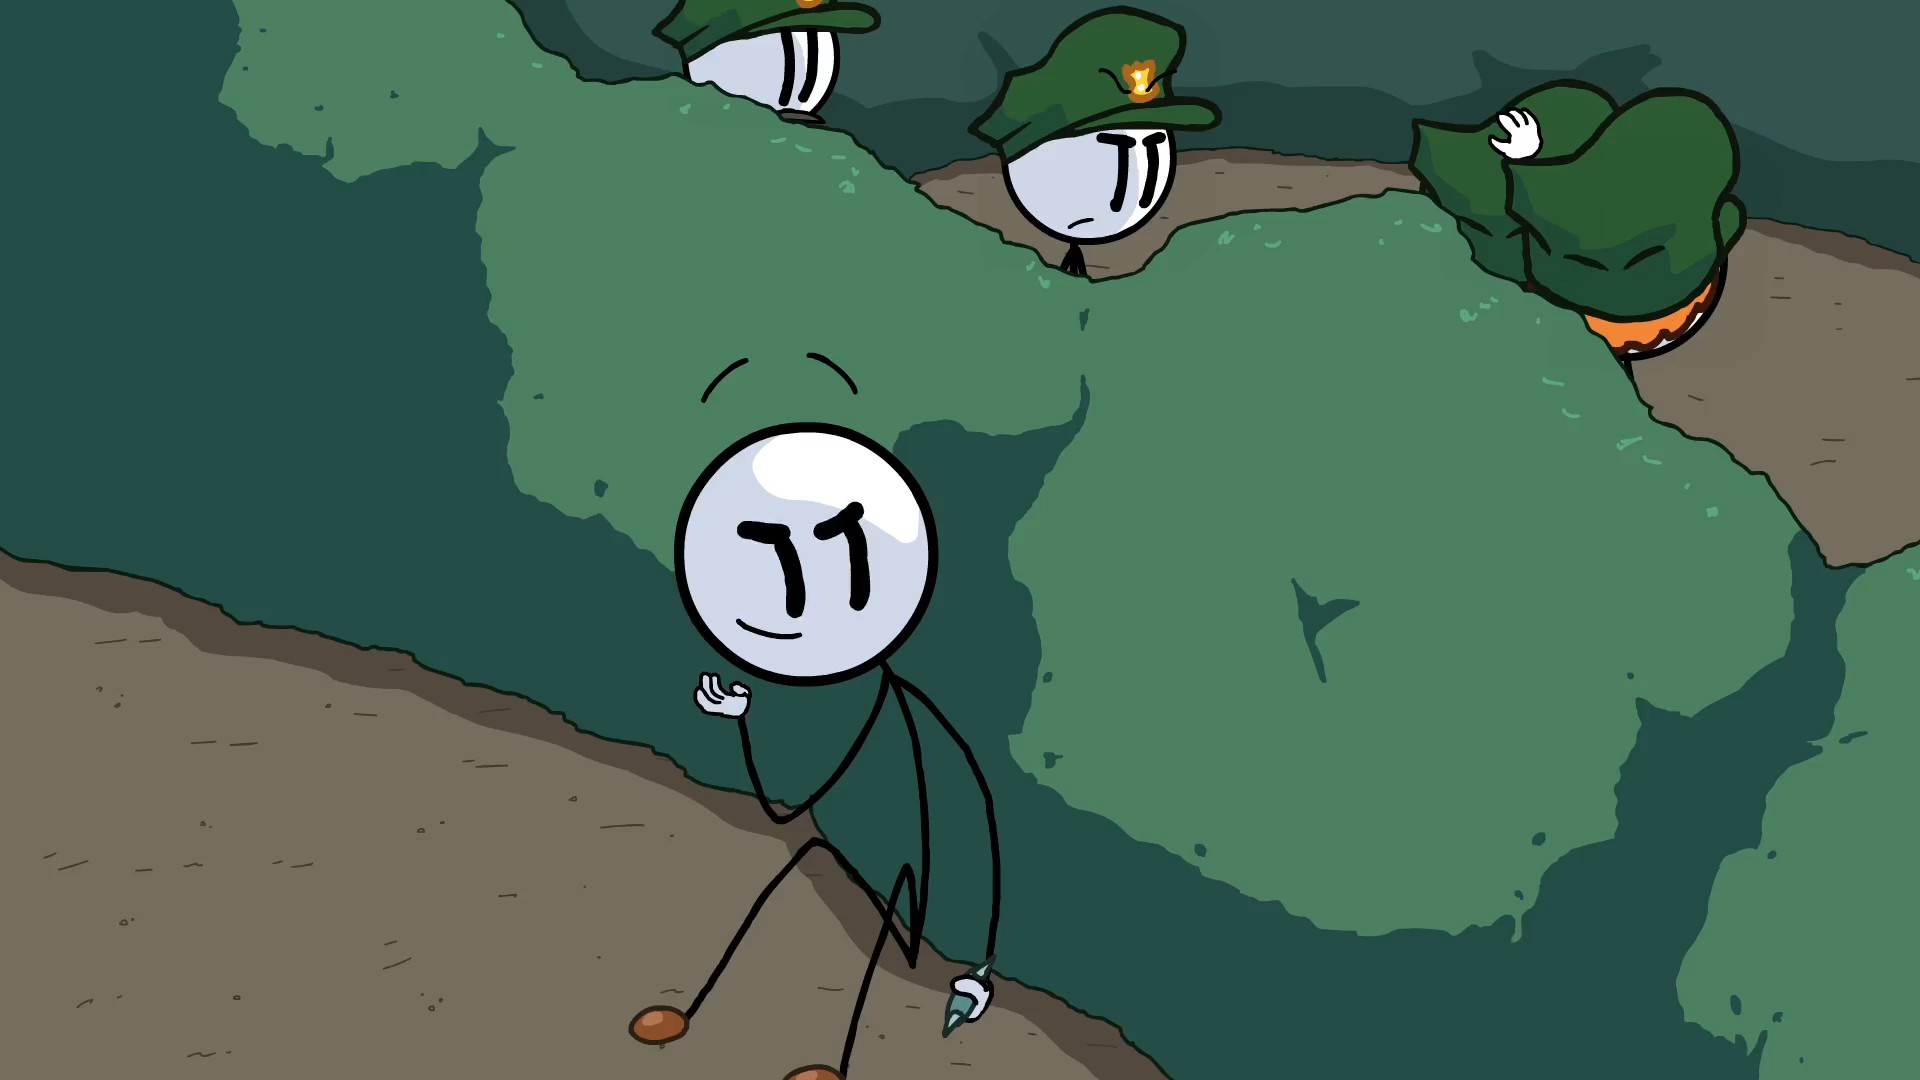
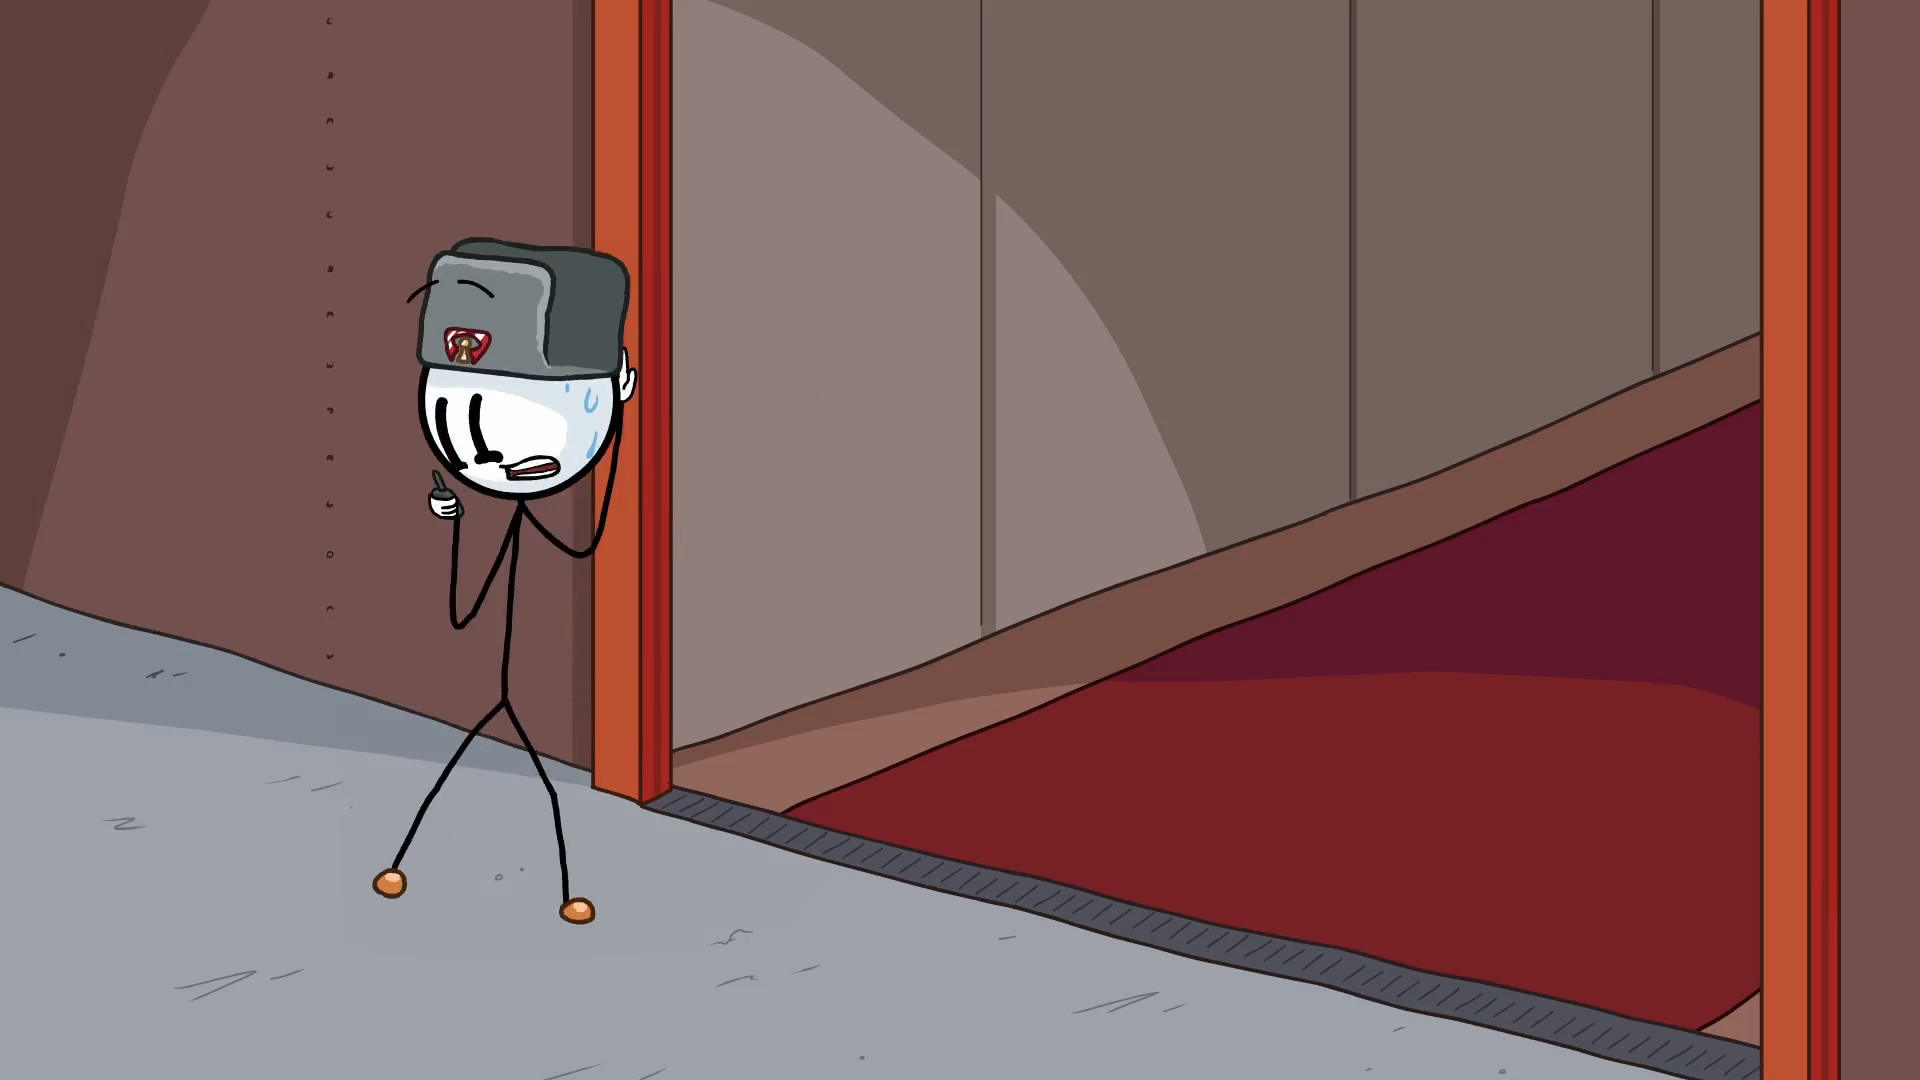
In Faction Friction, choose The Wall.
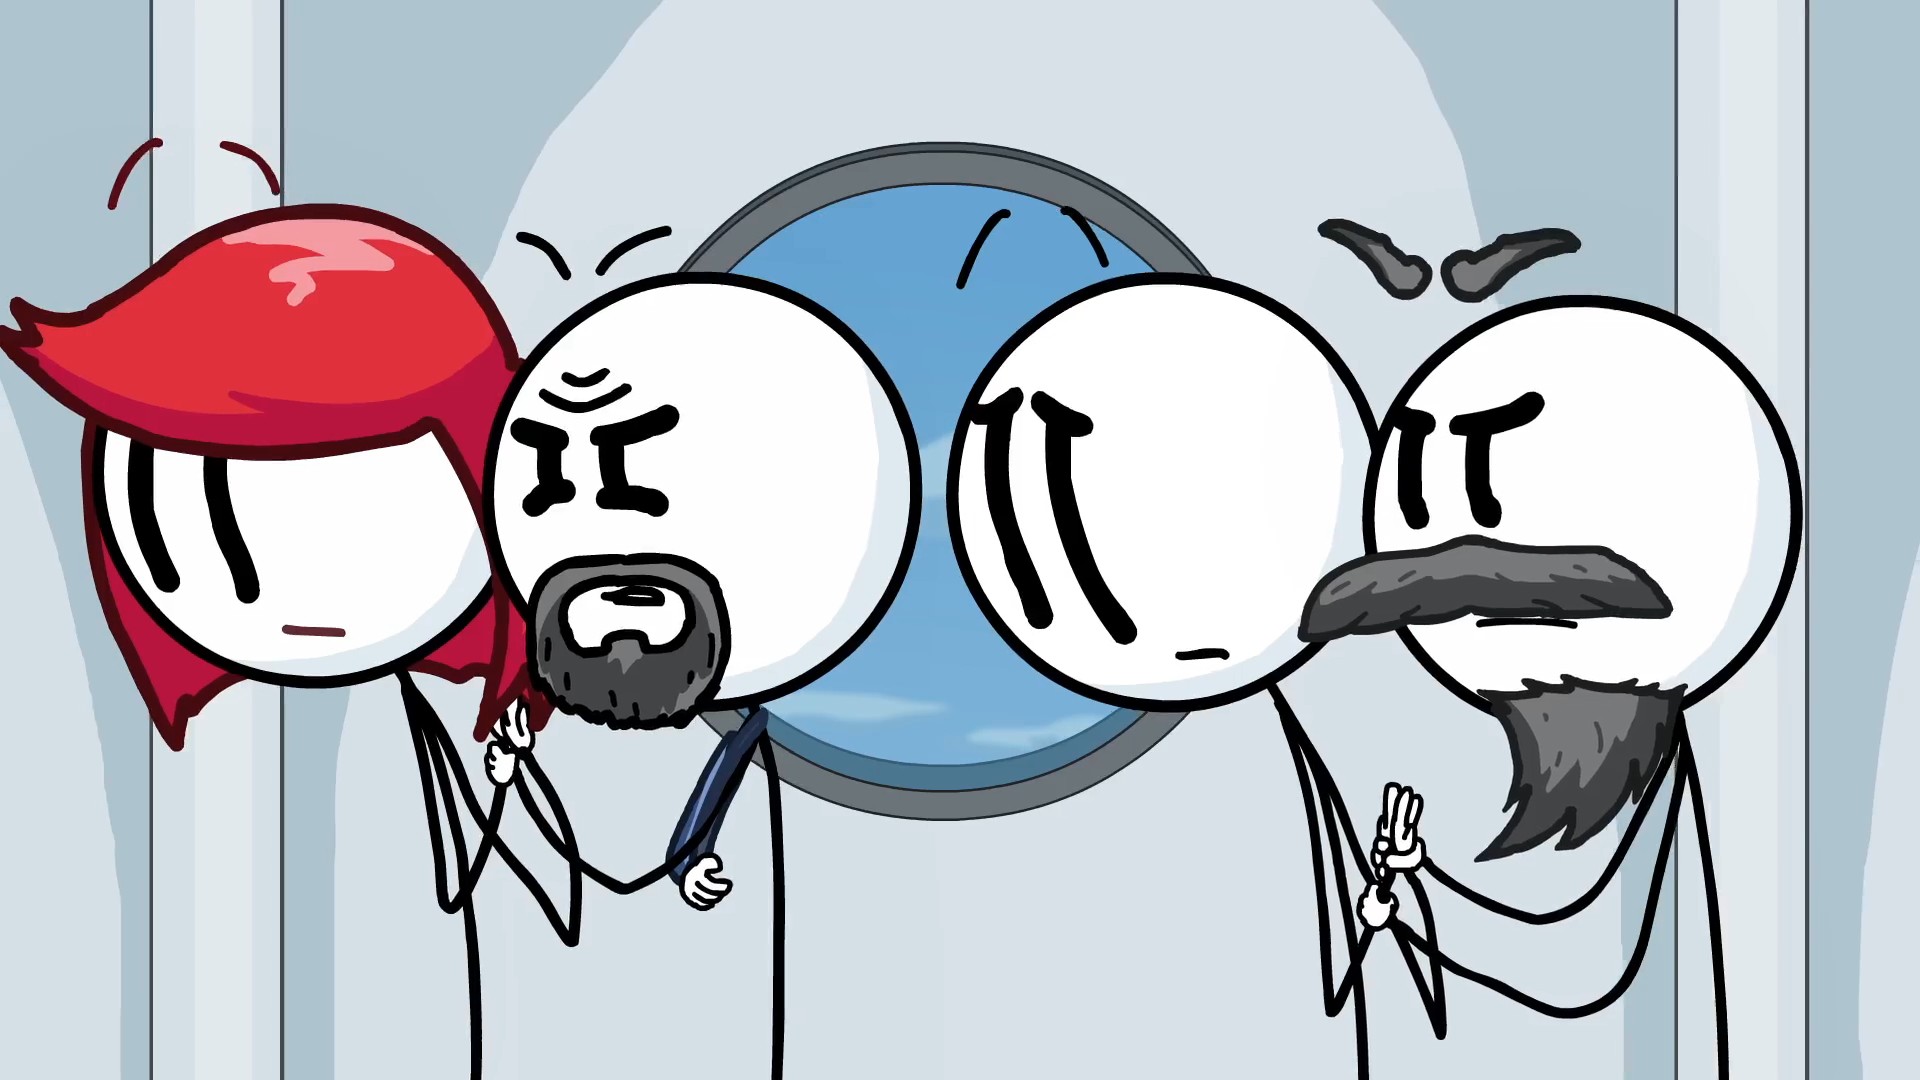
In Intro, in the Caravane.
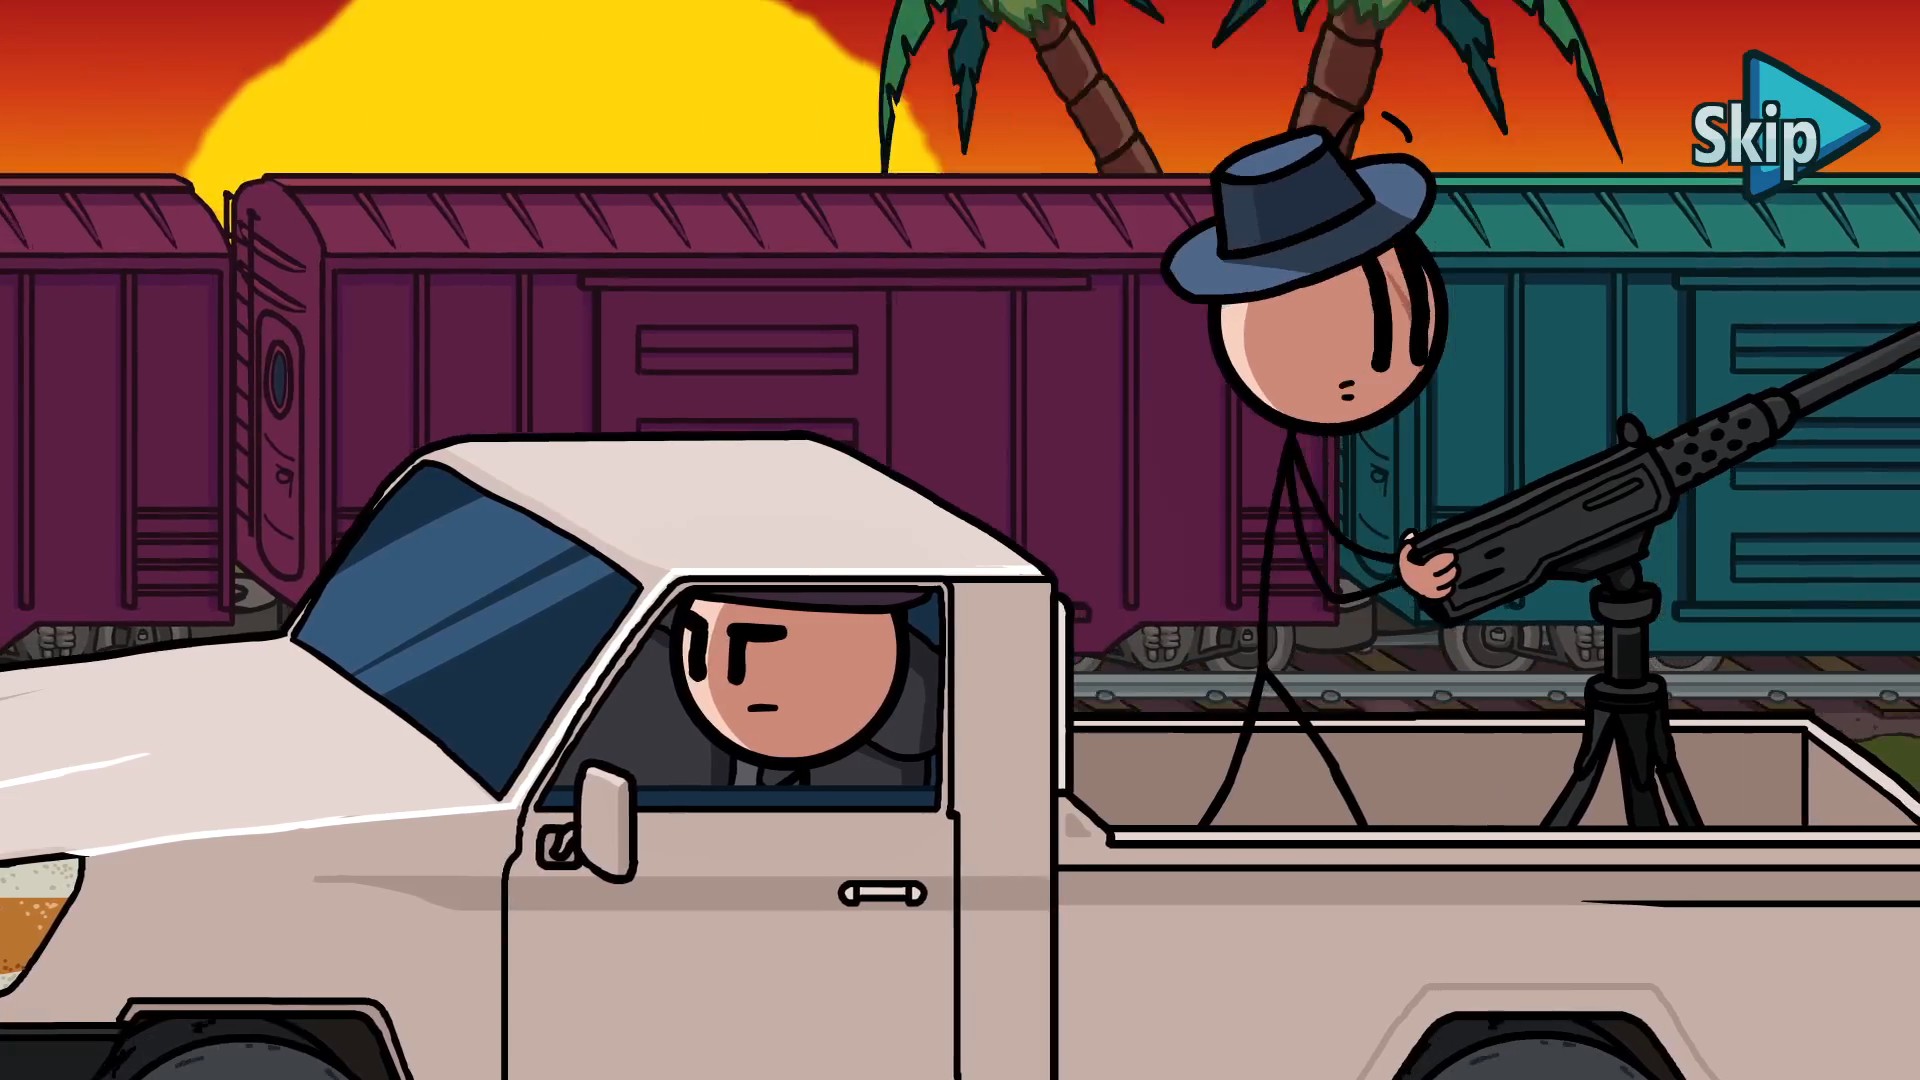
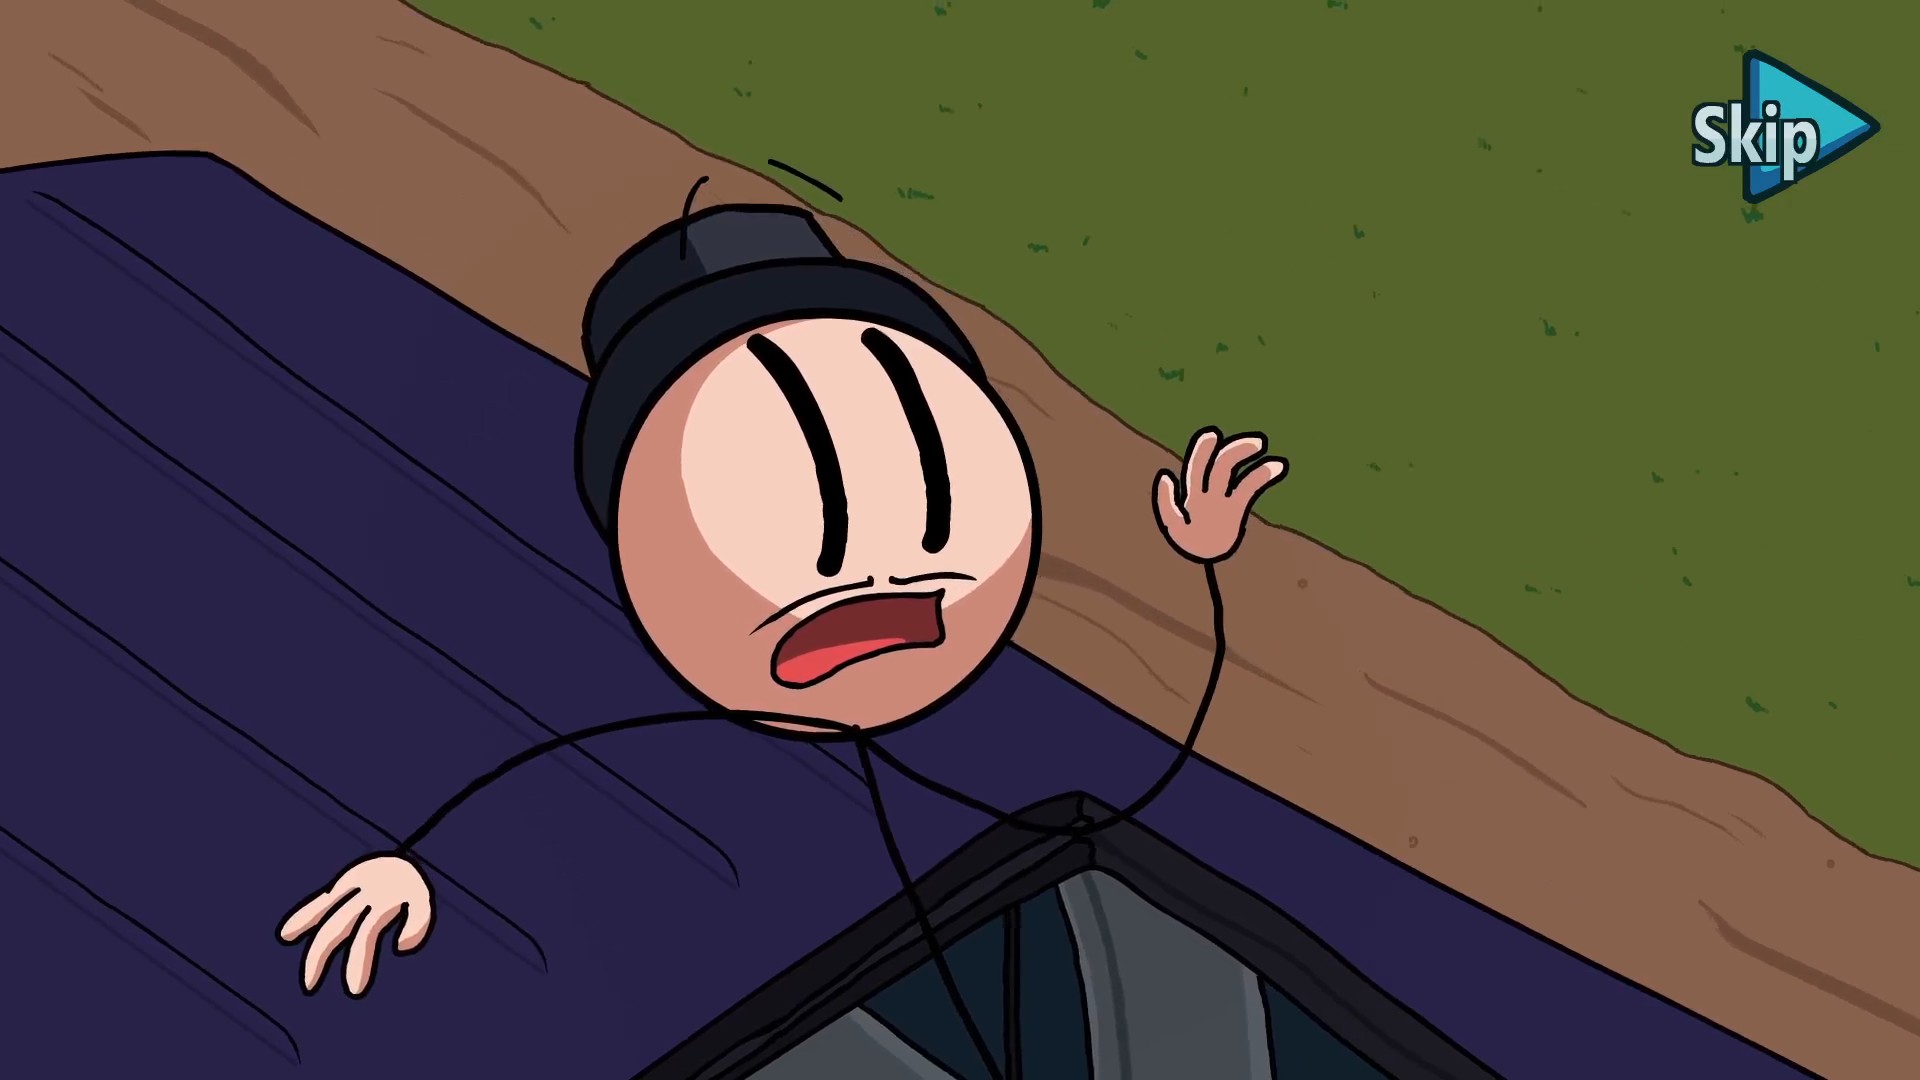
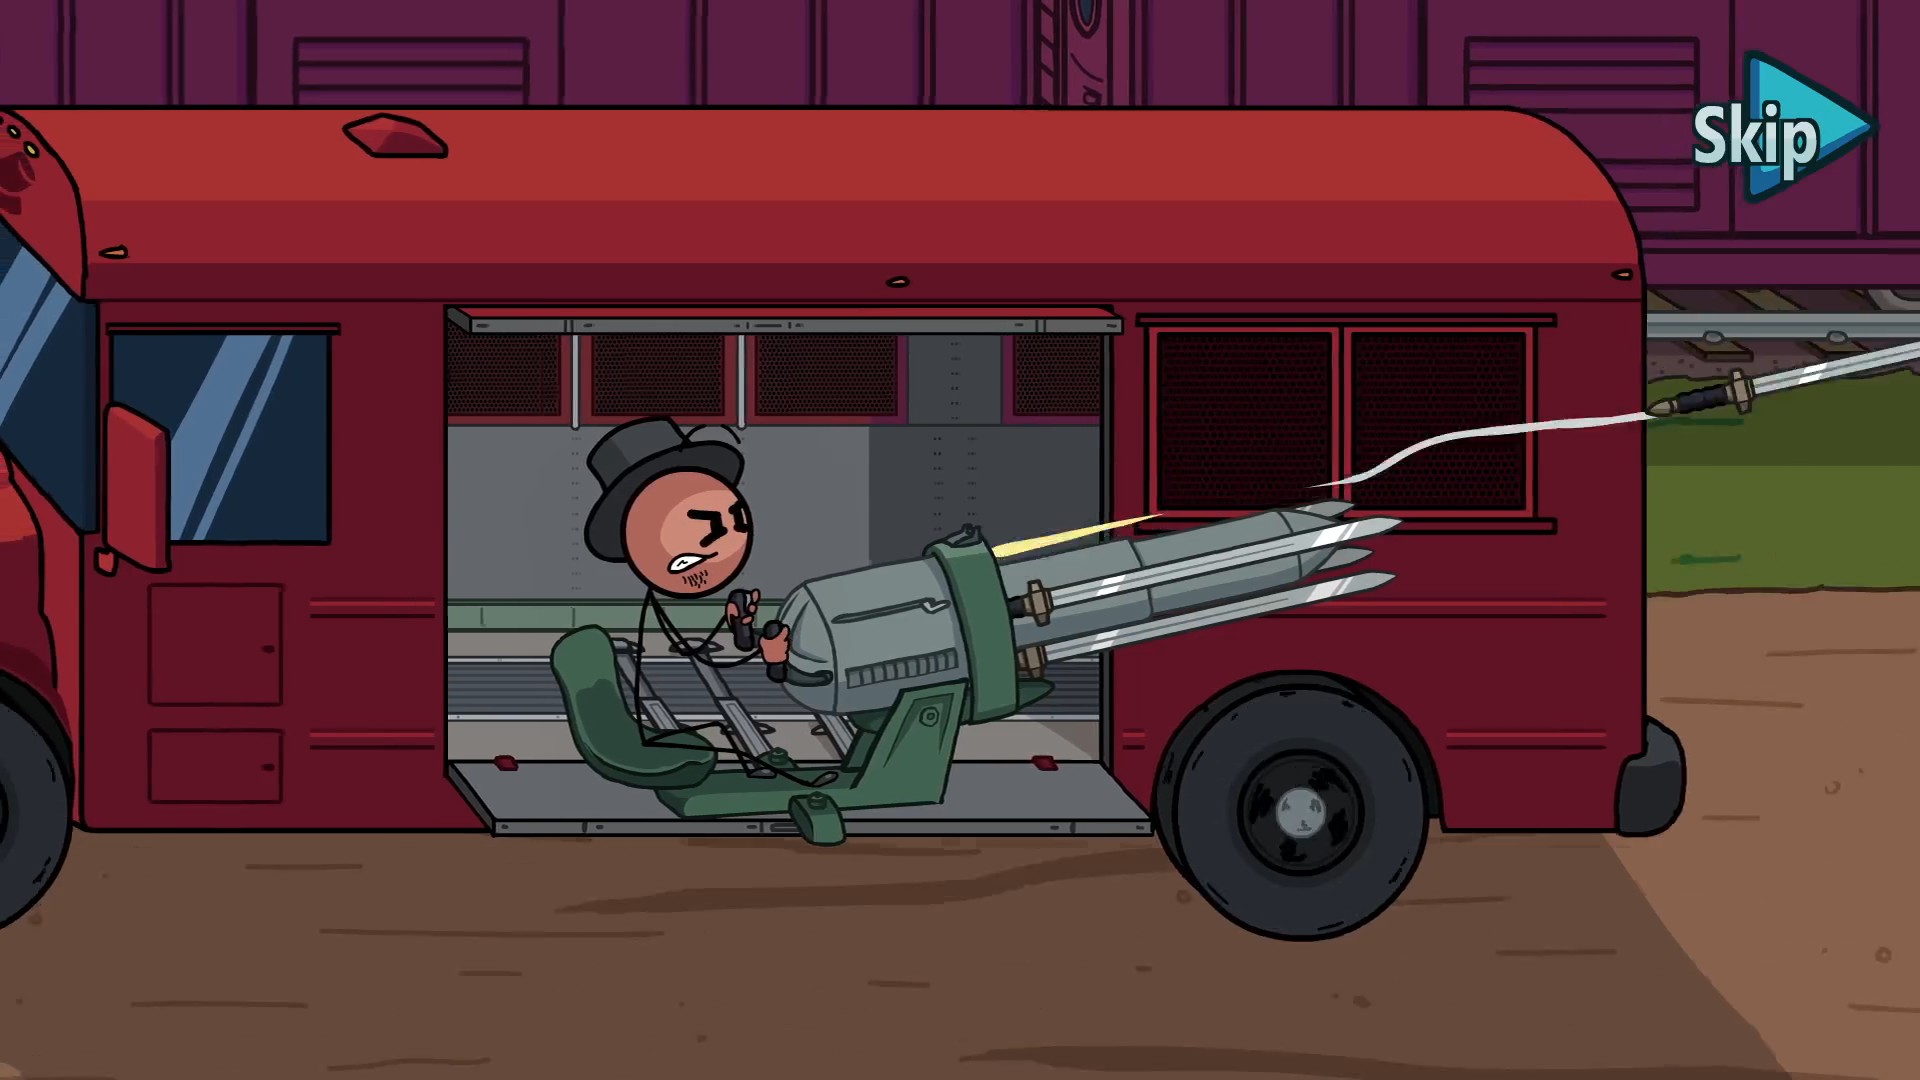
In Intro.
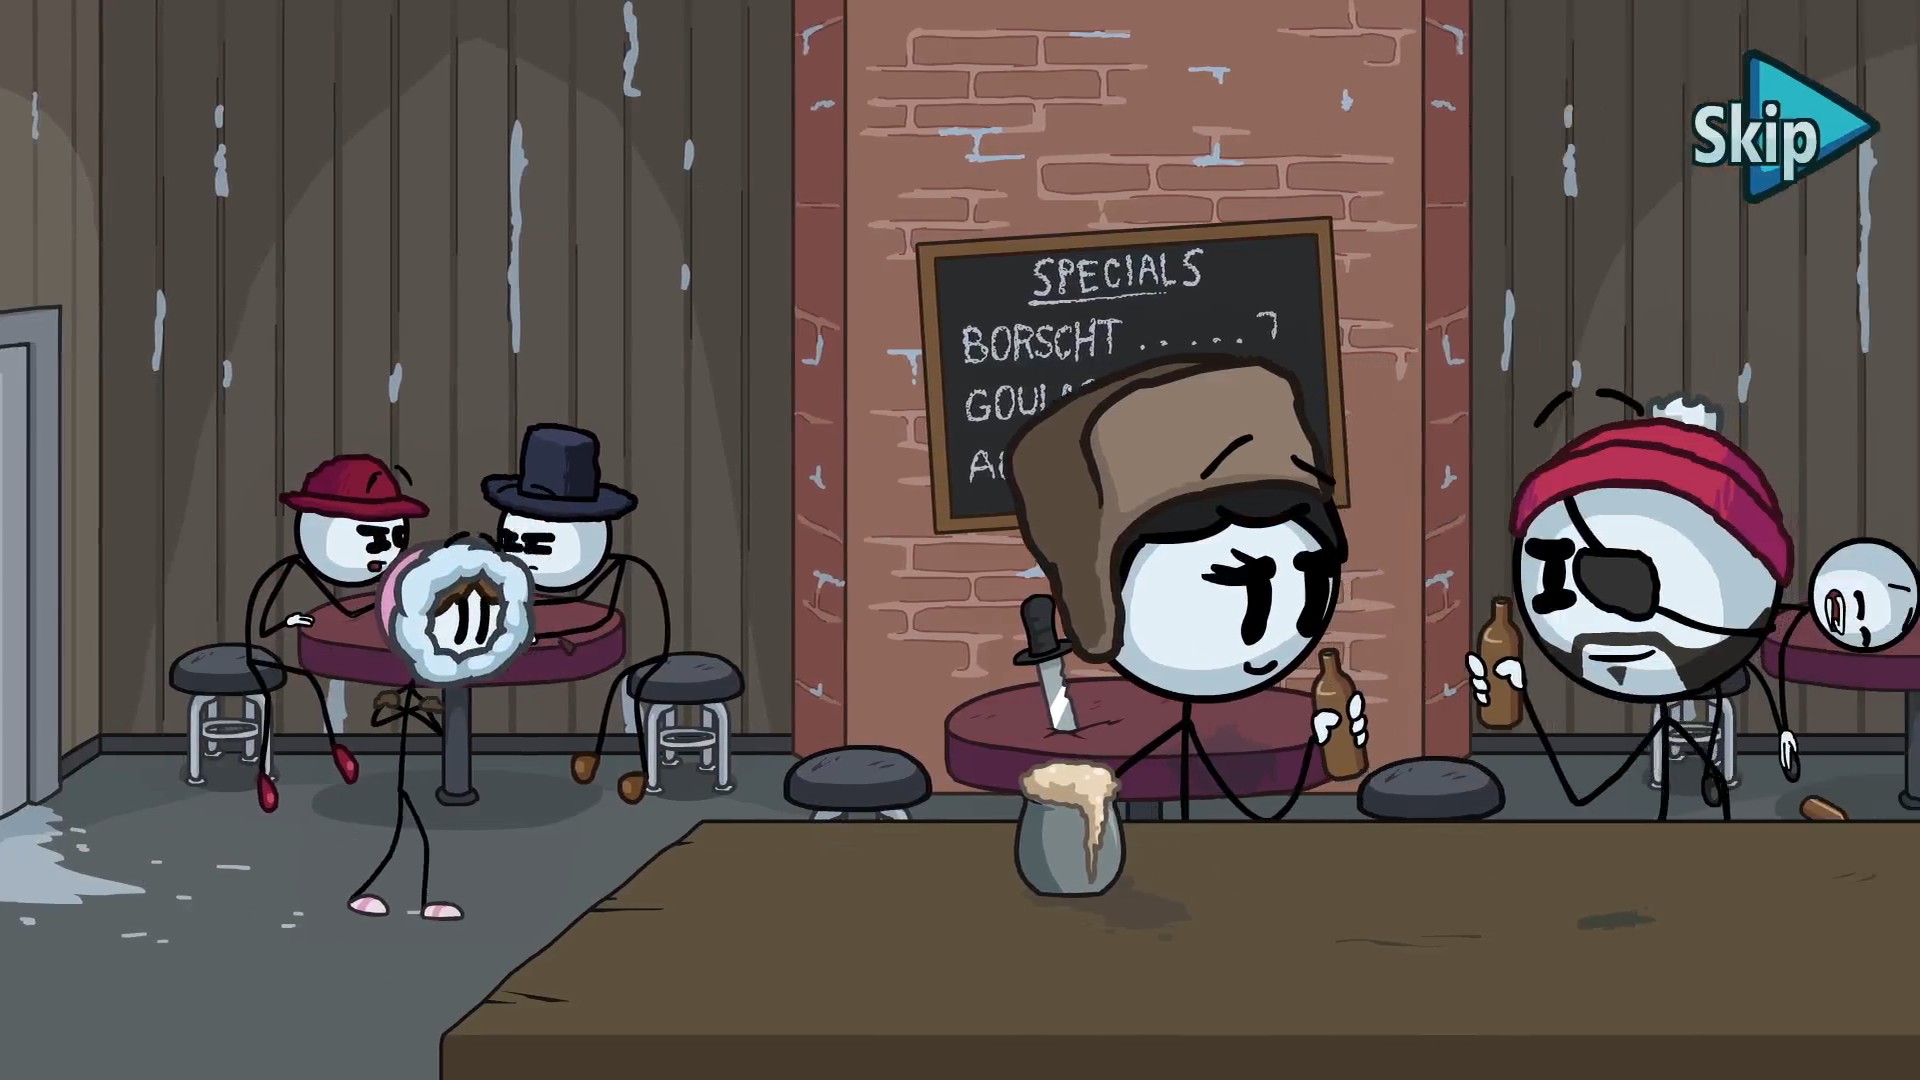
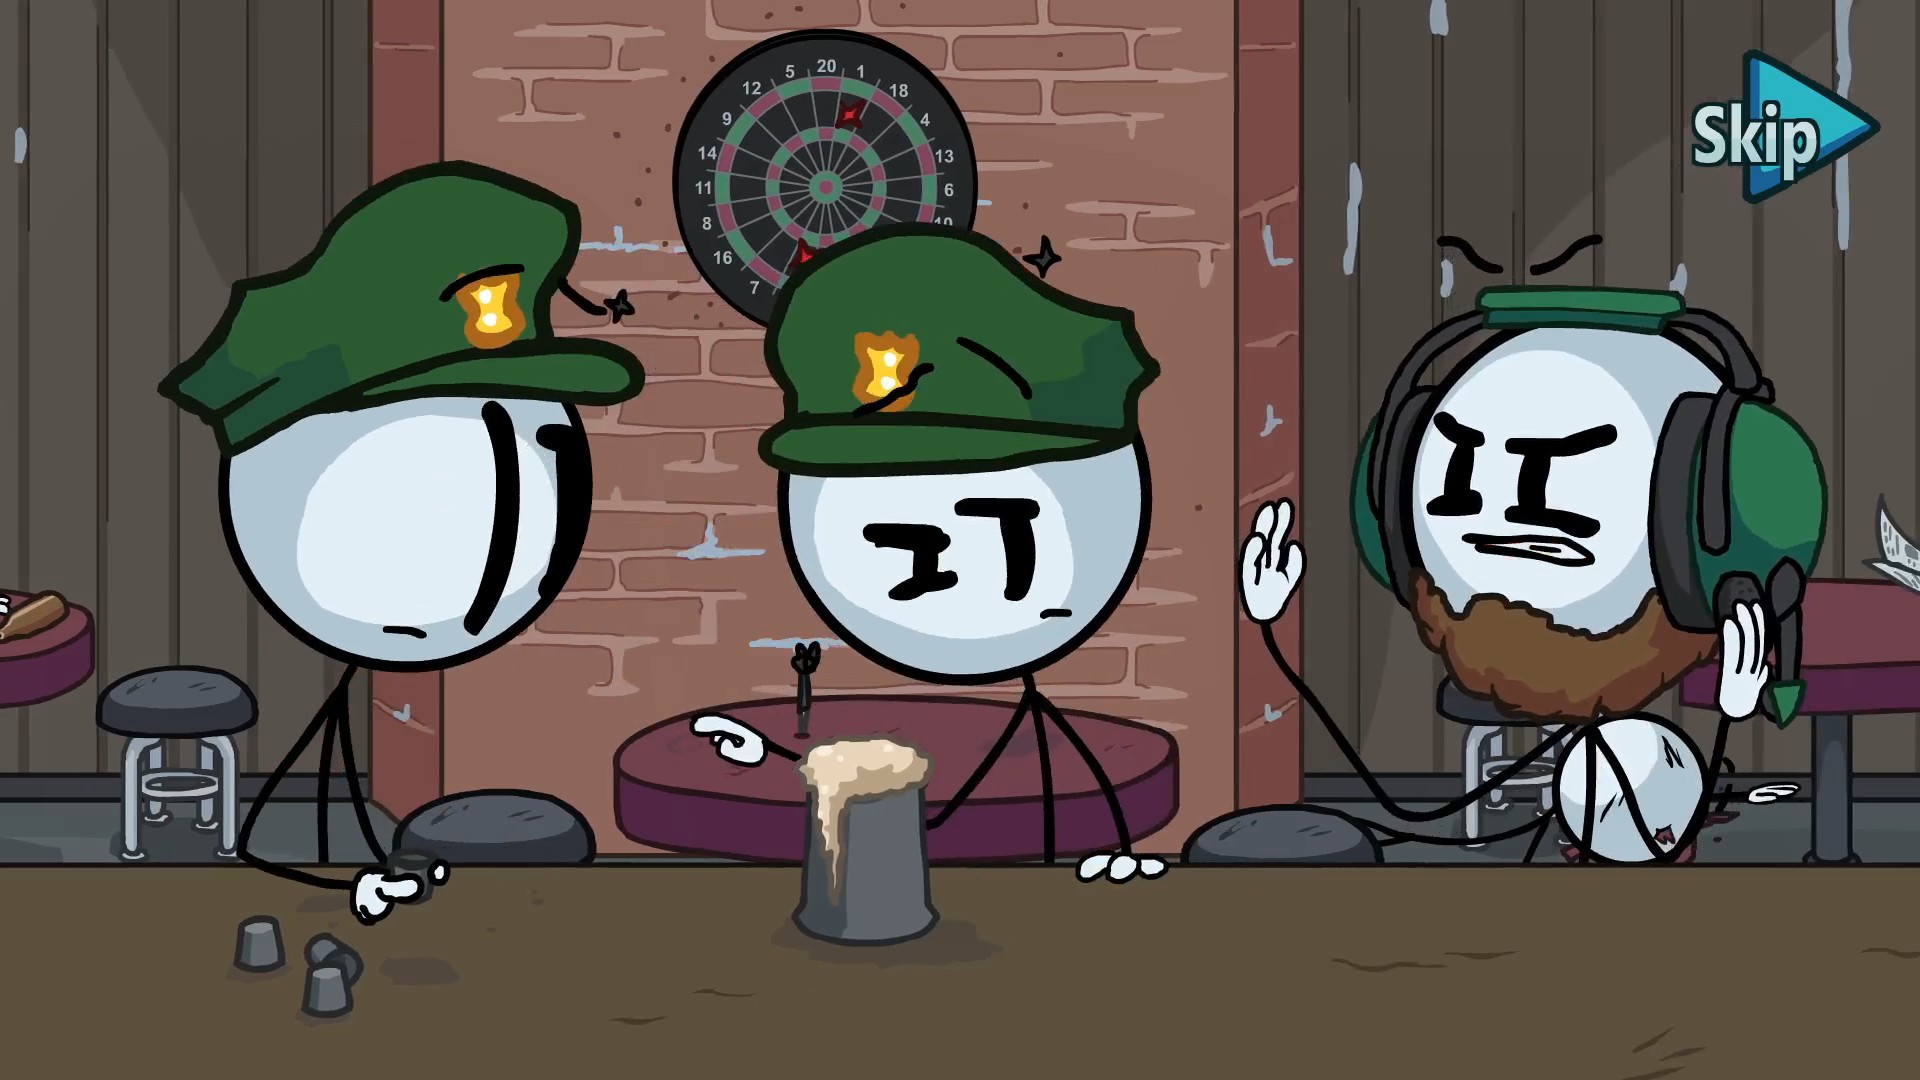
In Cliffside, choose Abuse Physics Engine.
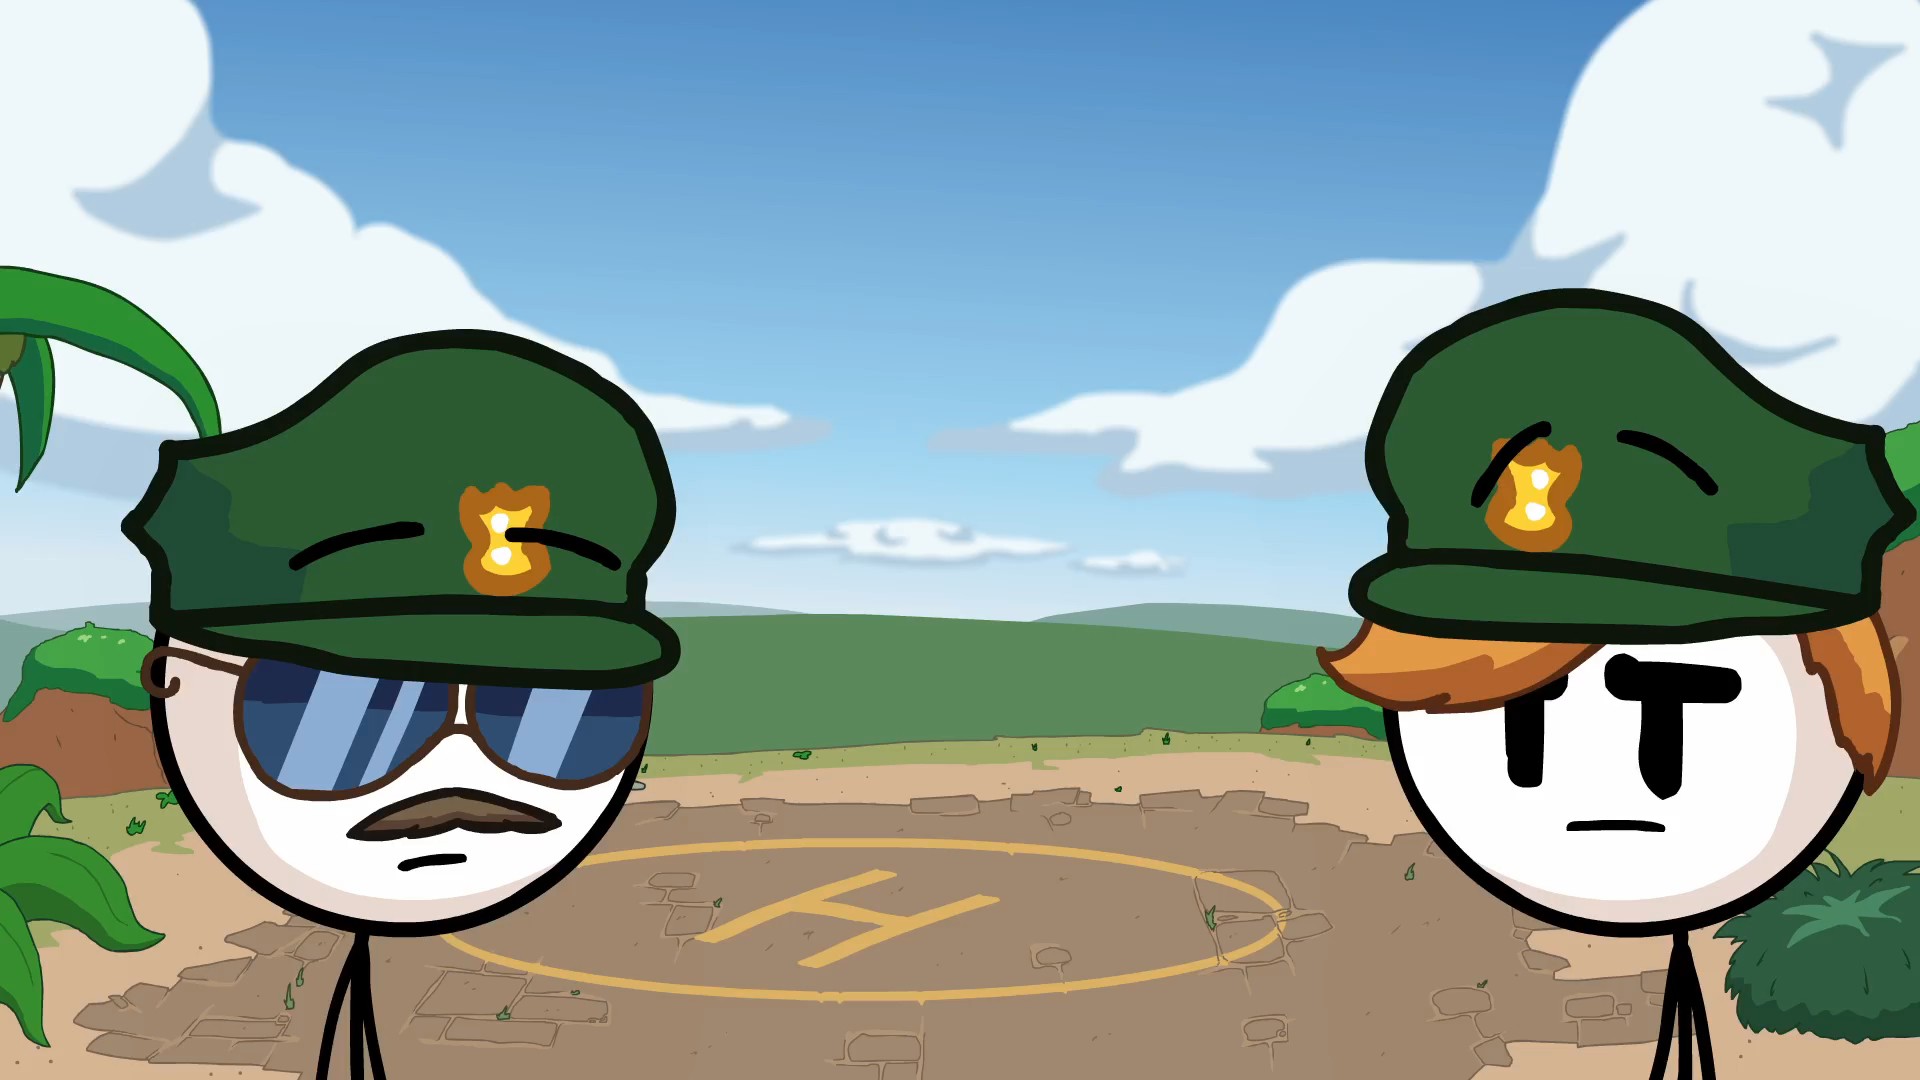
In The Watchtower, choose Knife.
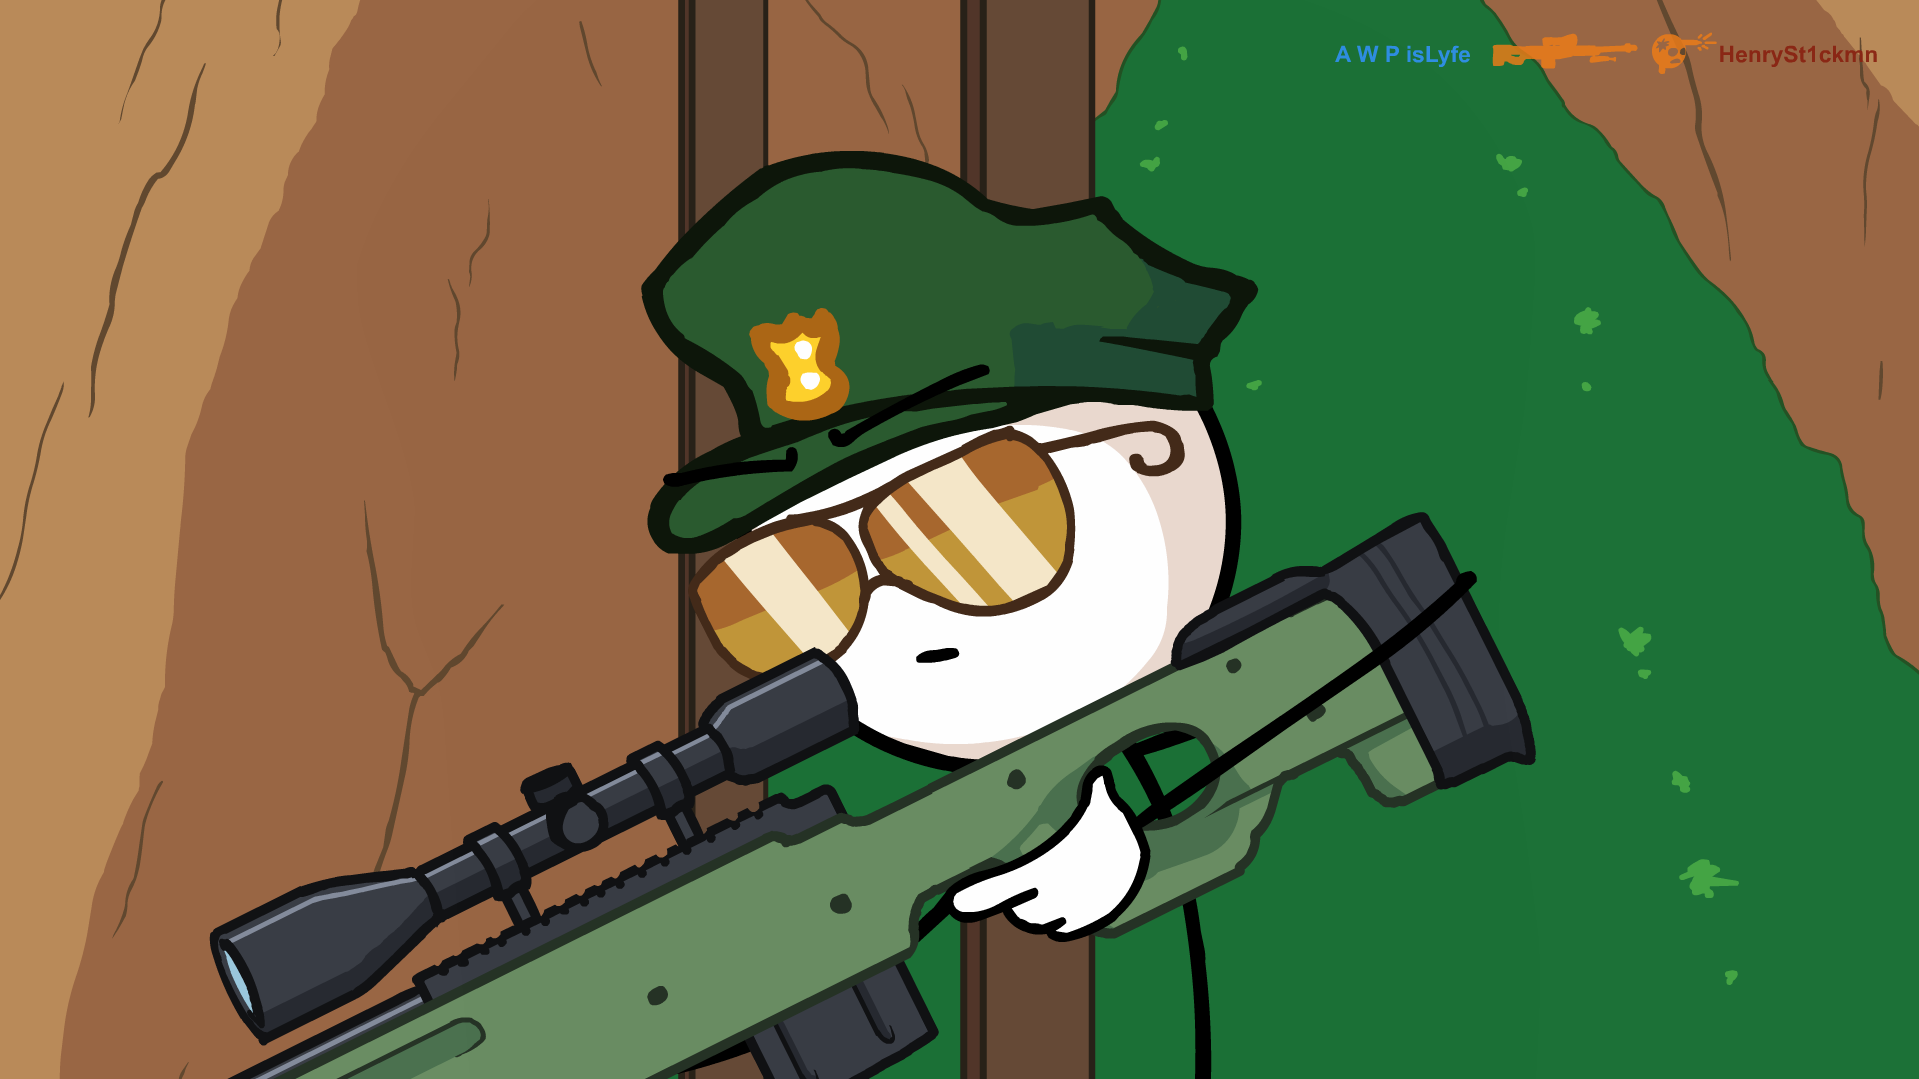
In Secret Weapon, choose Scrambler.
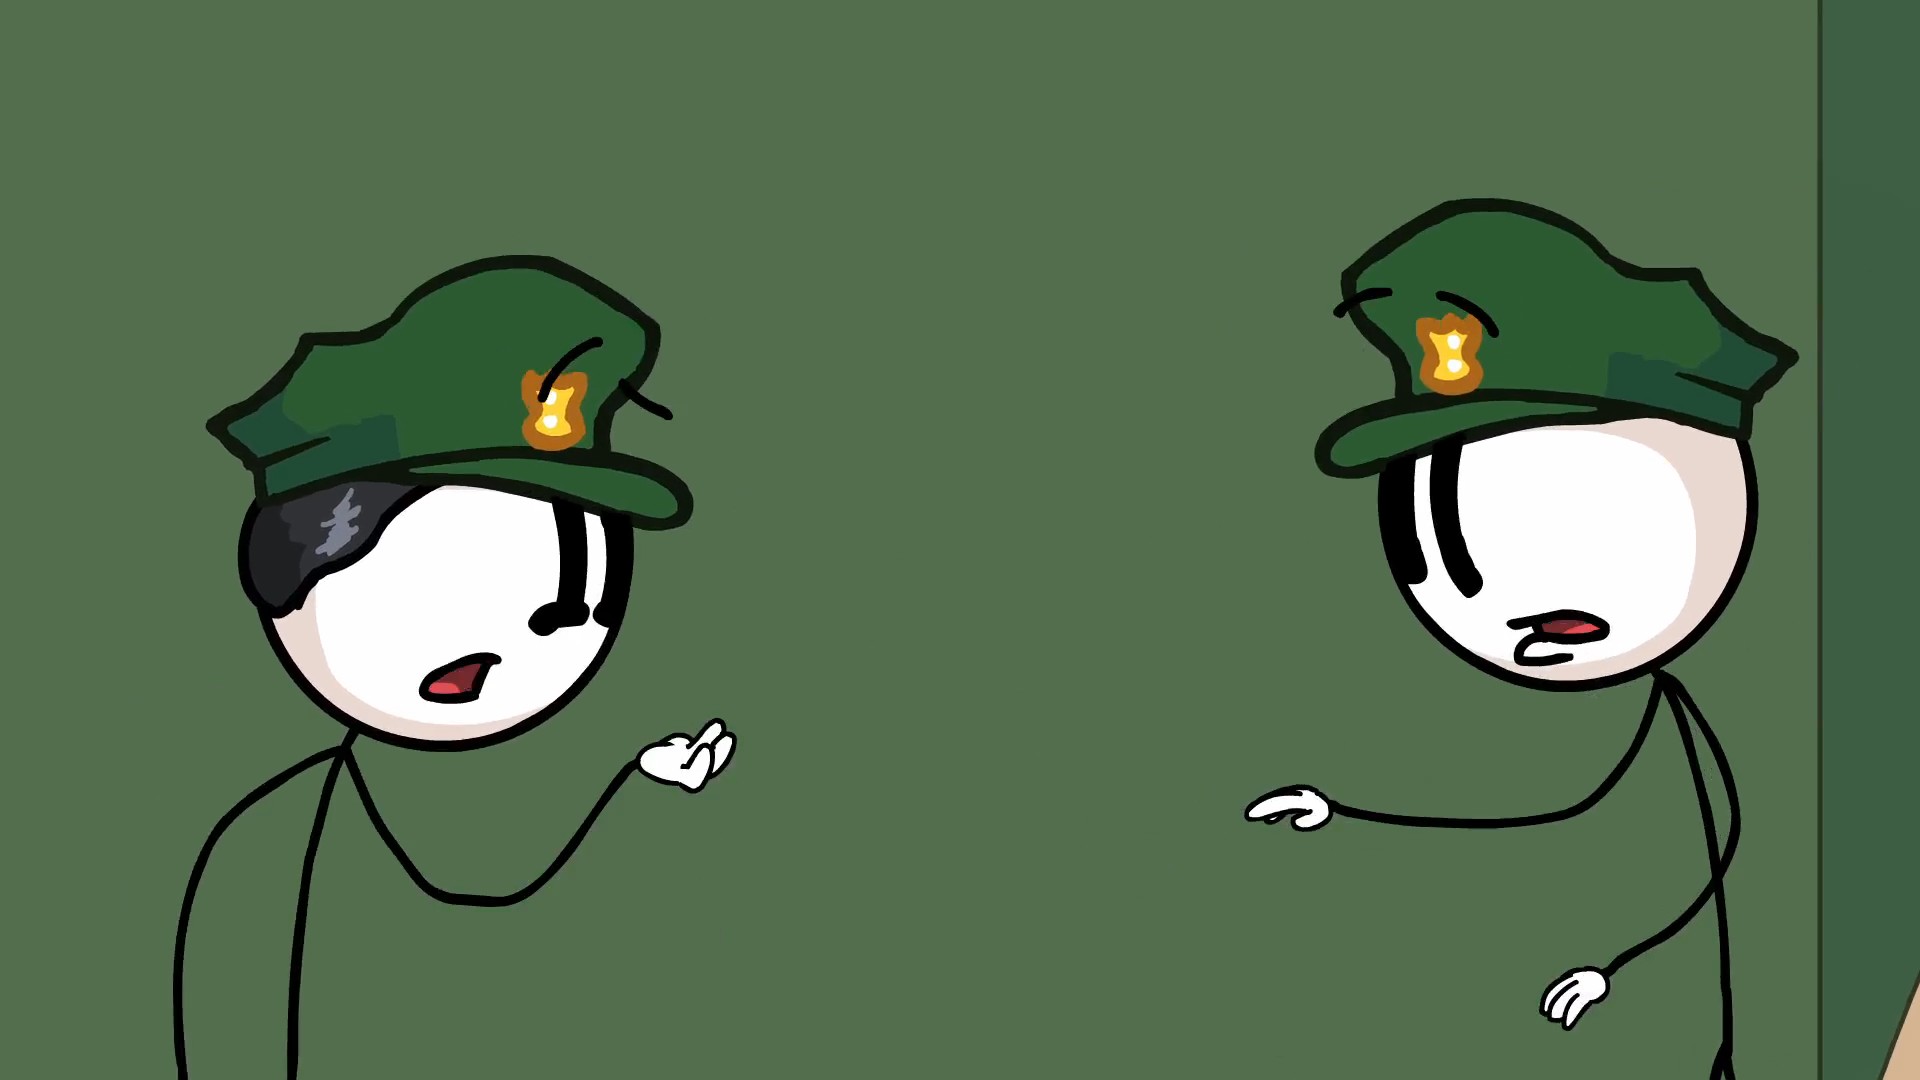
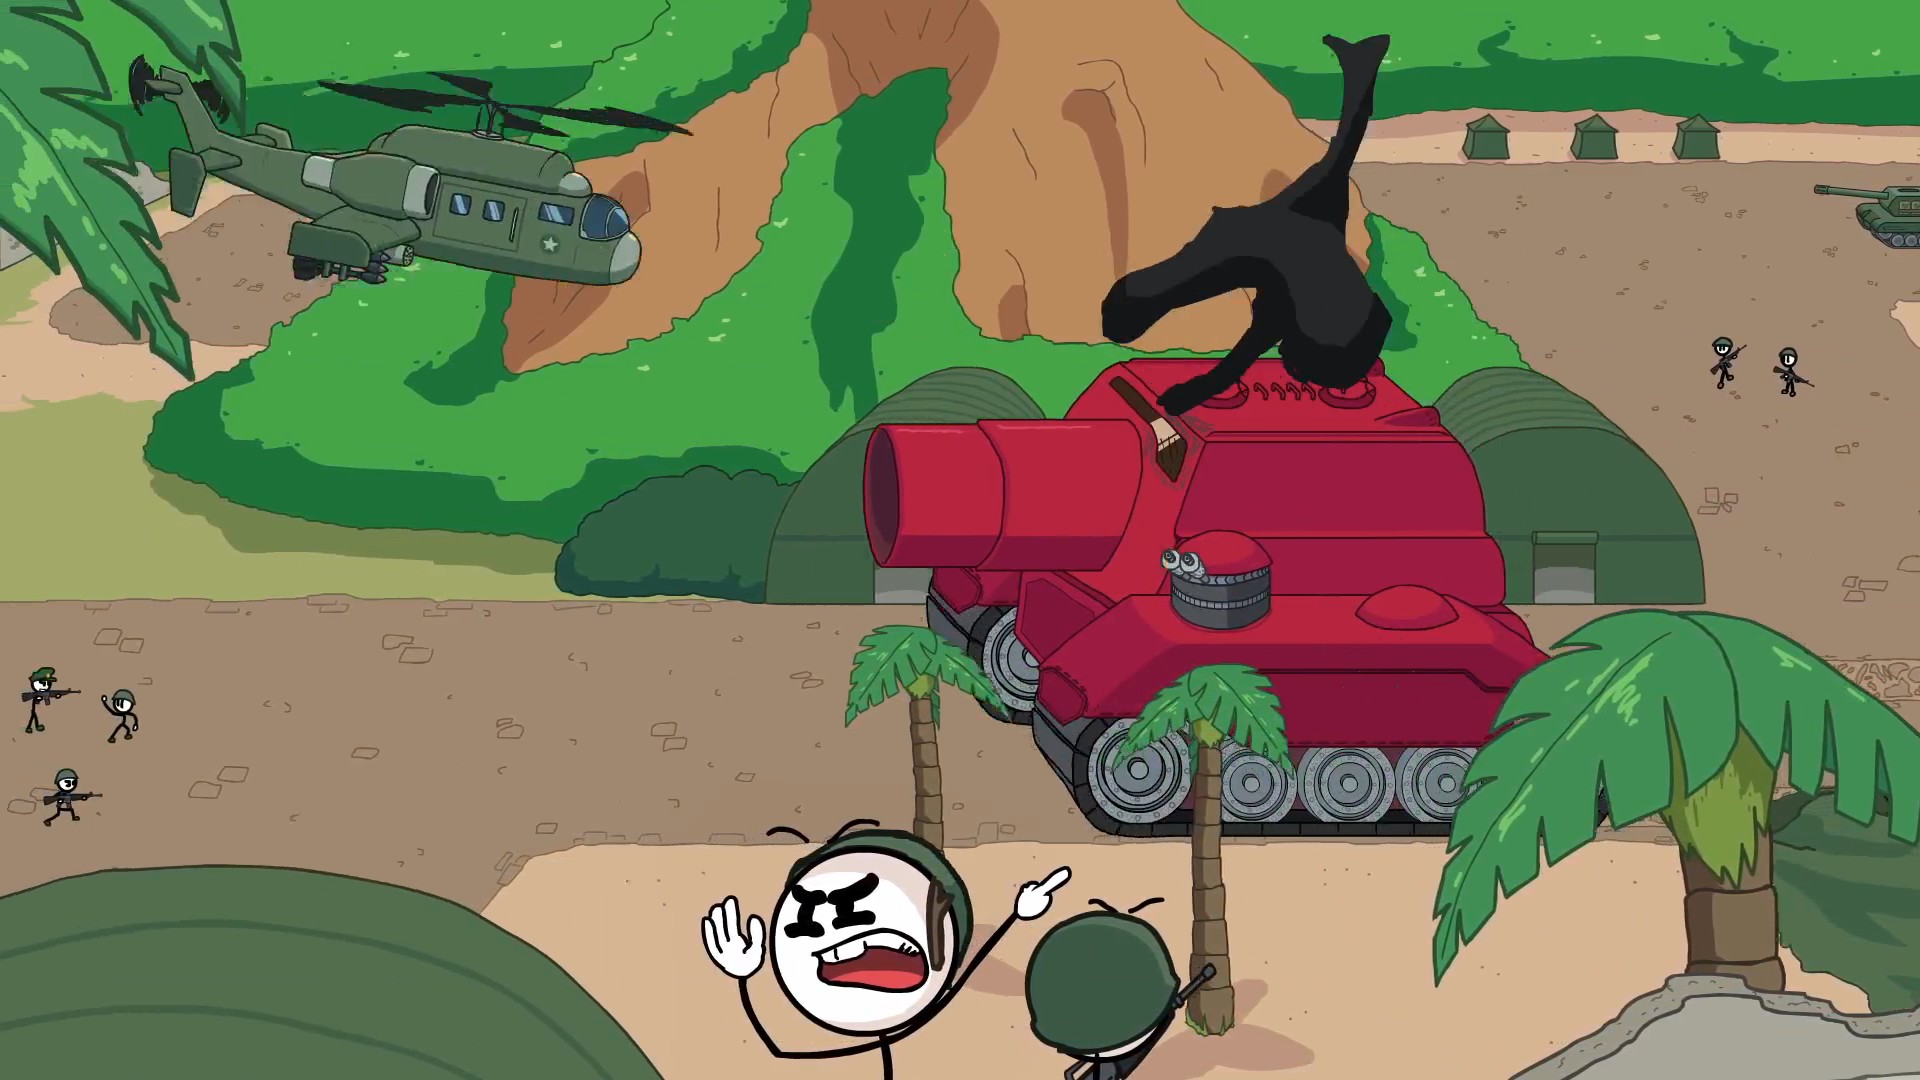
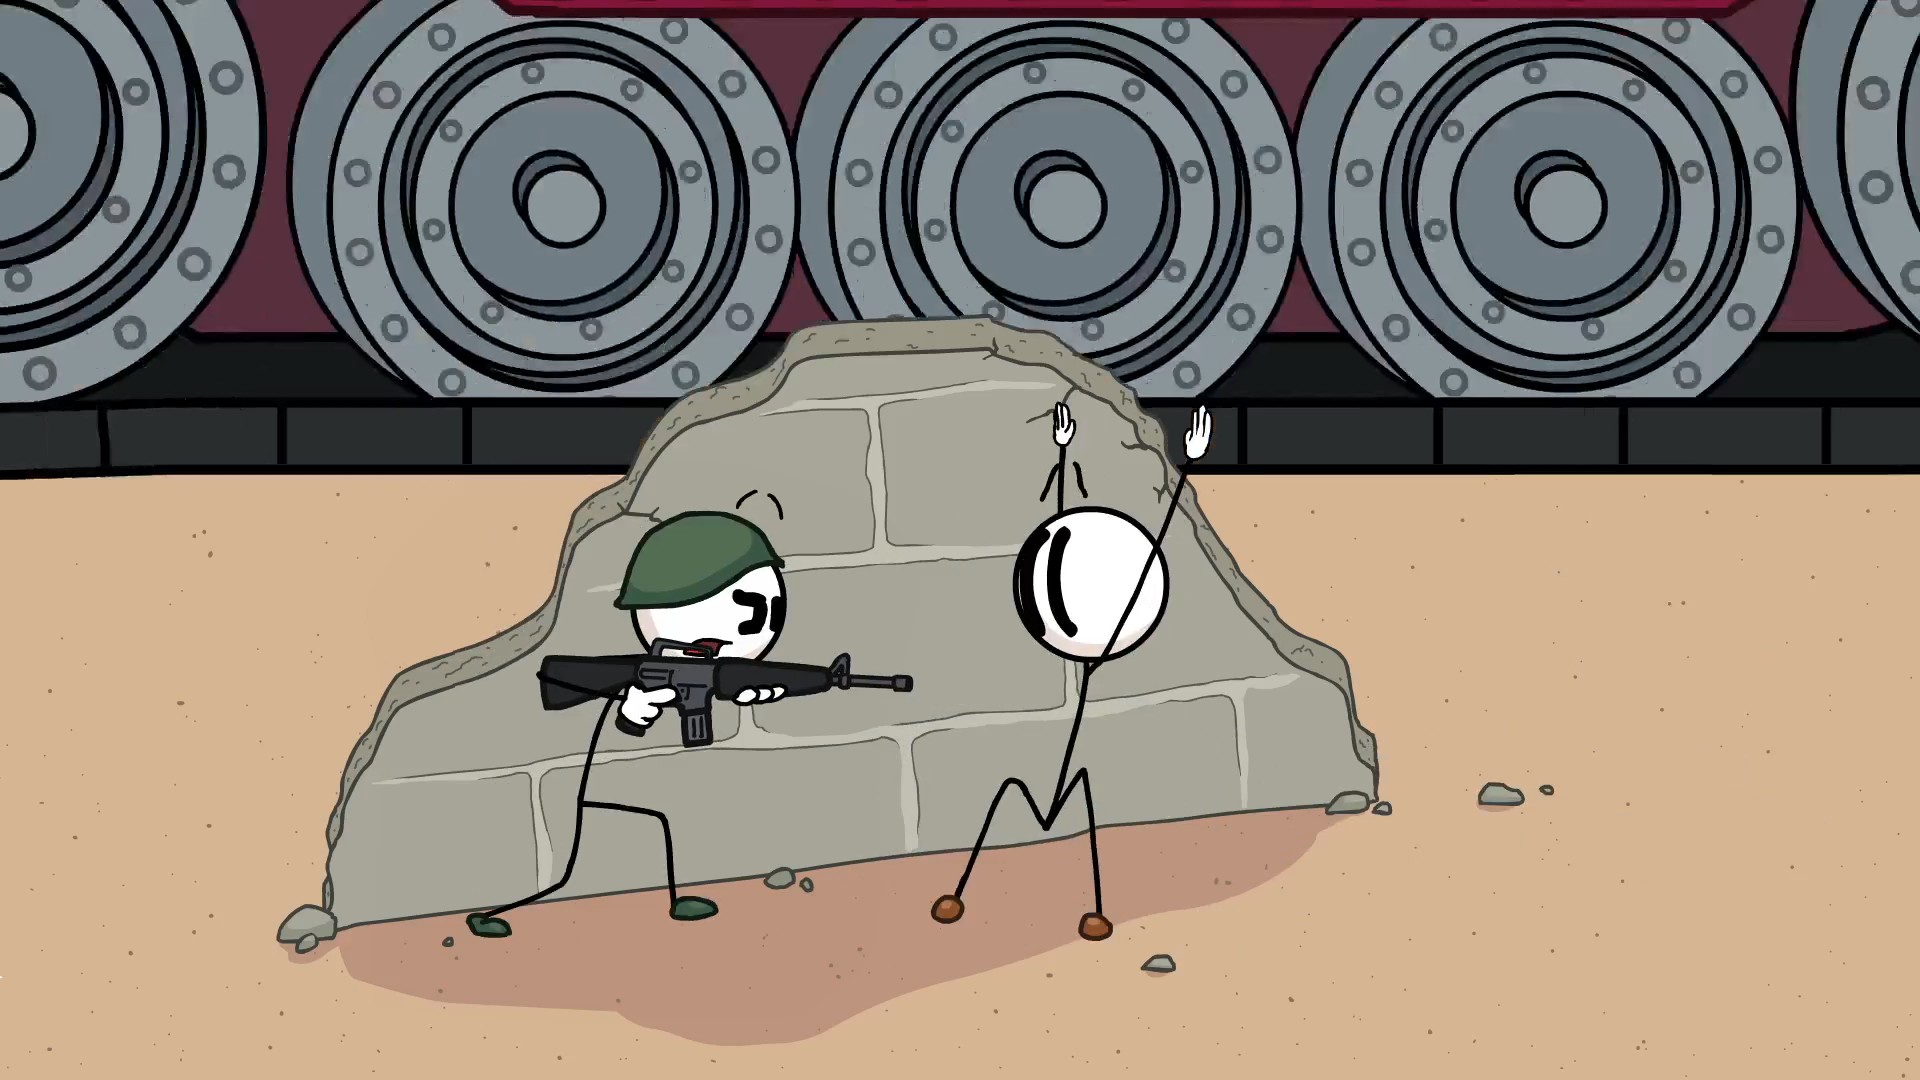

In CCC Mobile Unit, choose Left top option.
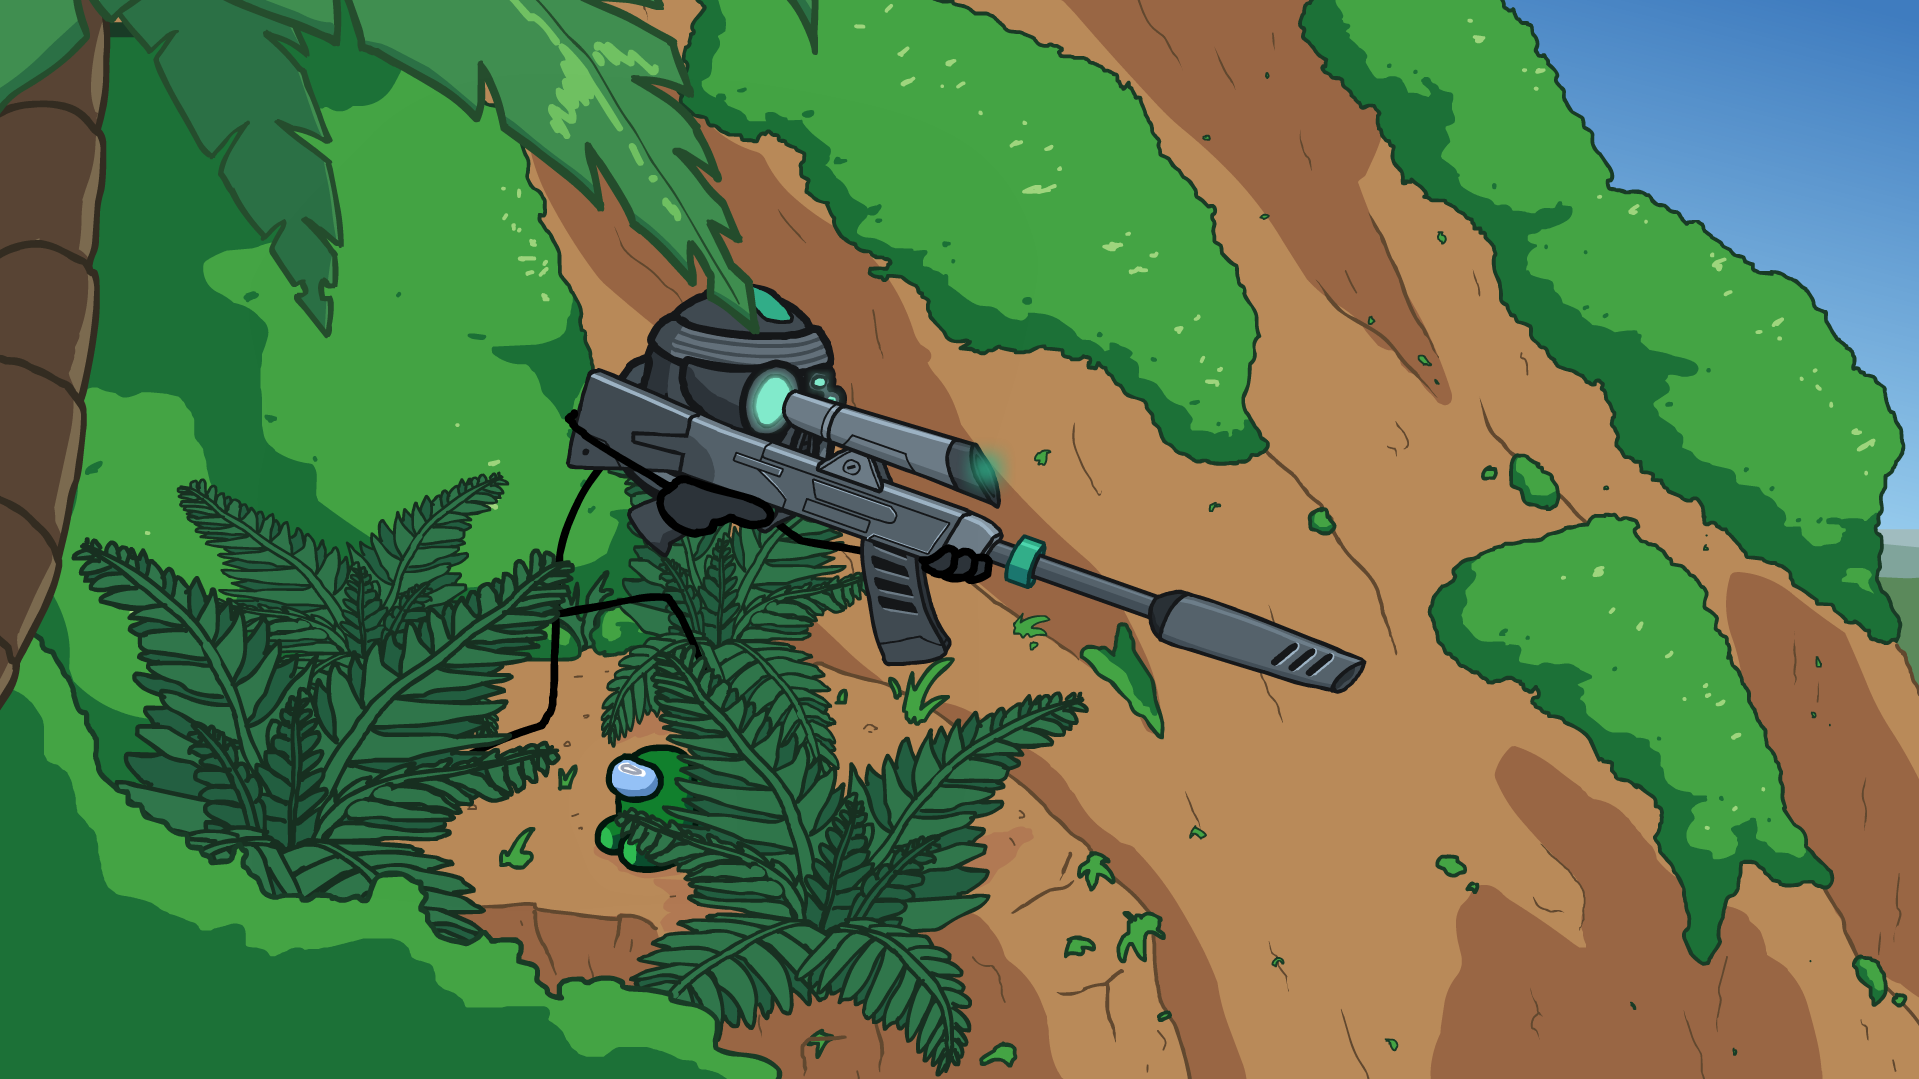
In CCC Mobile Unit, choose Left bottom option.
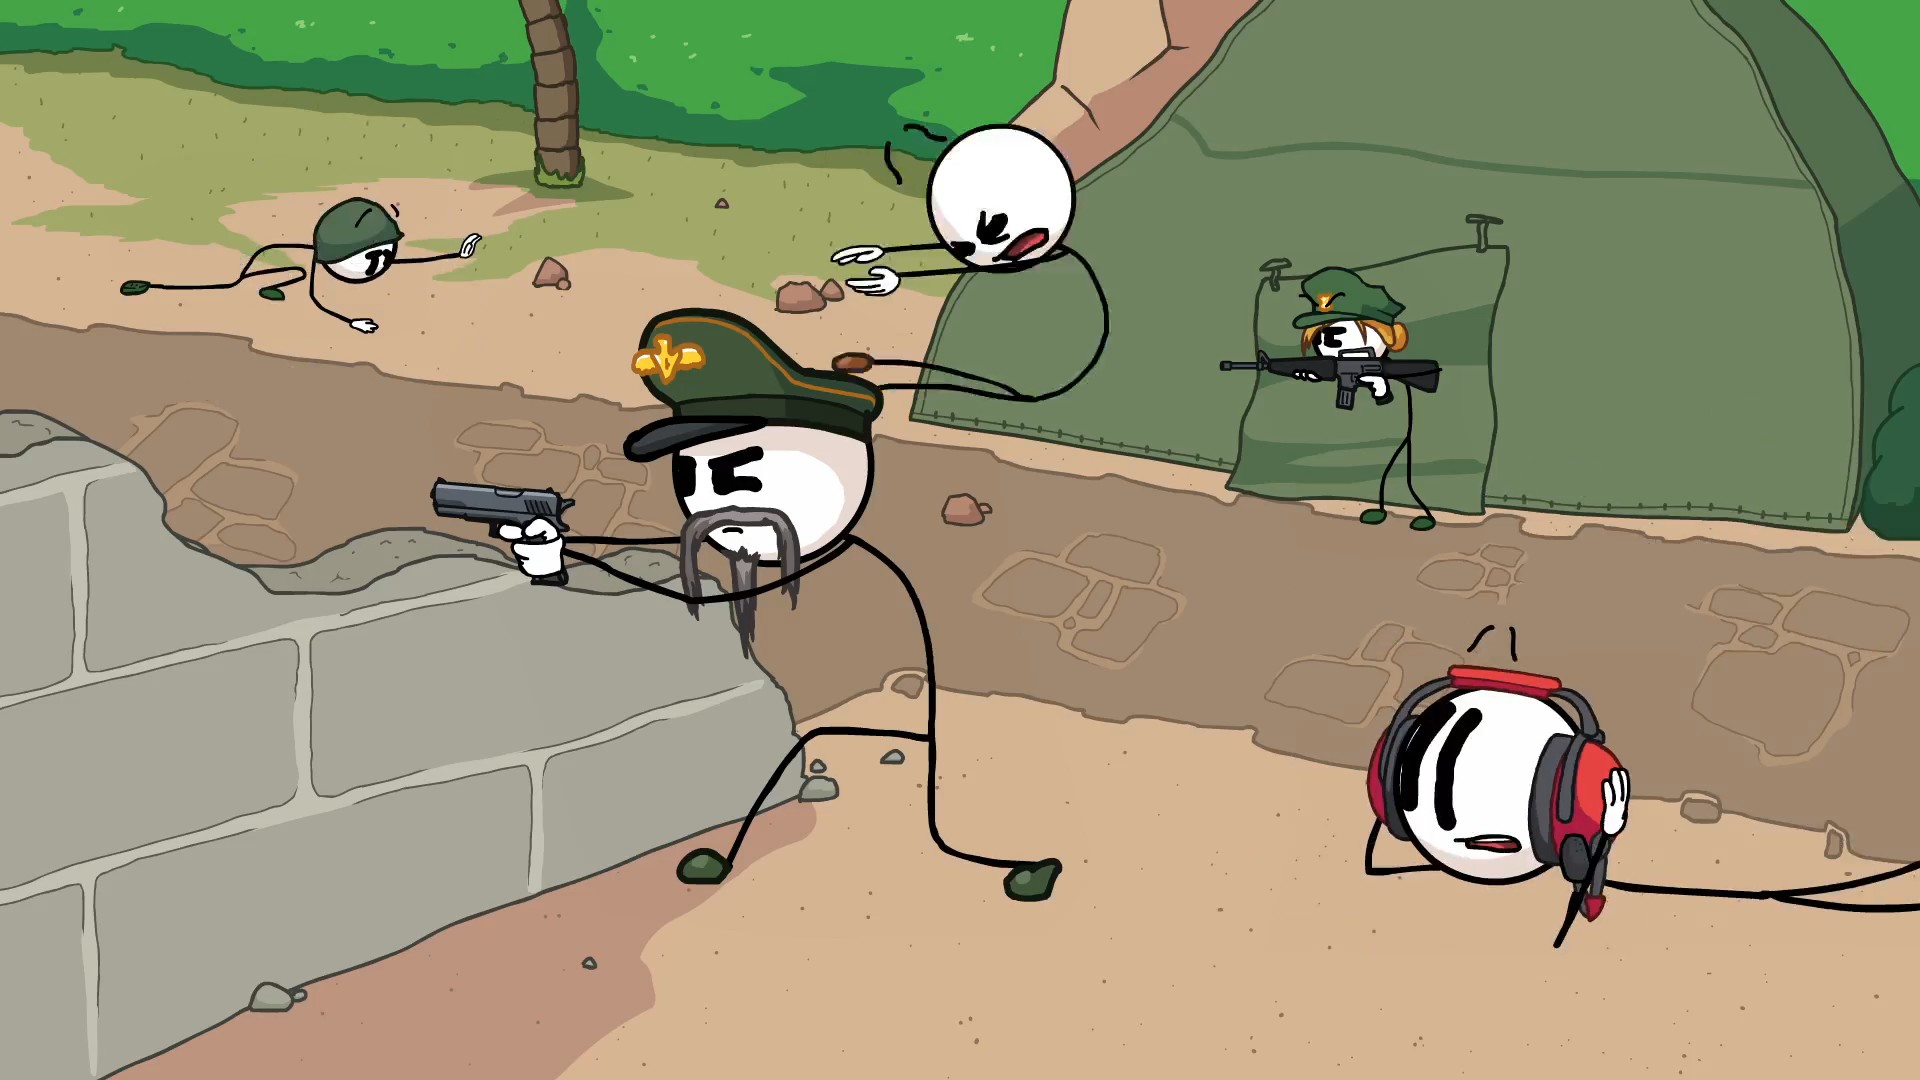
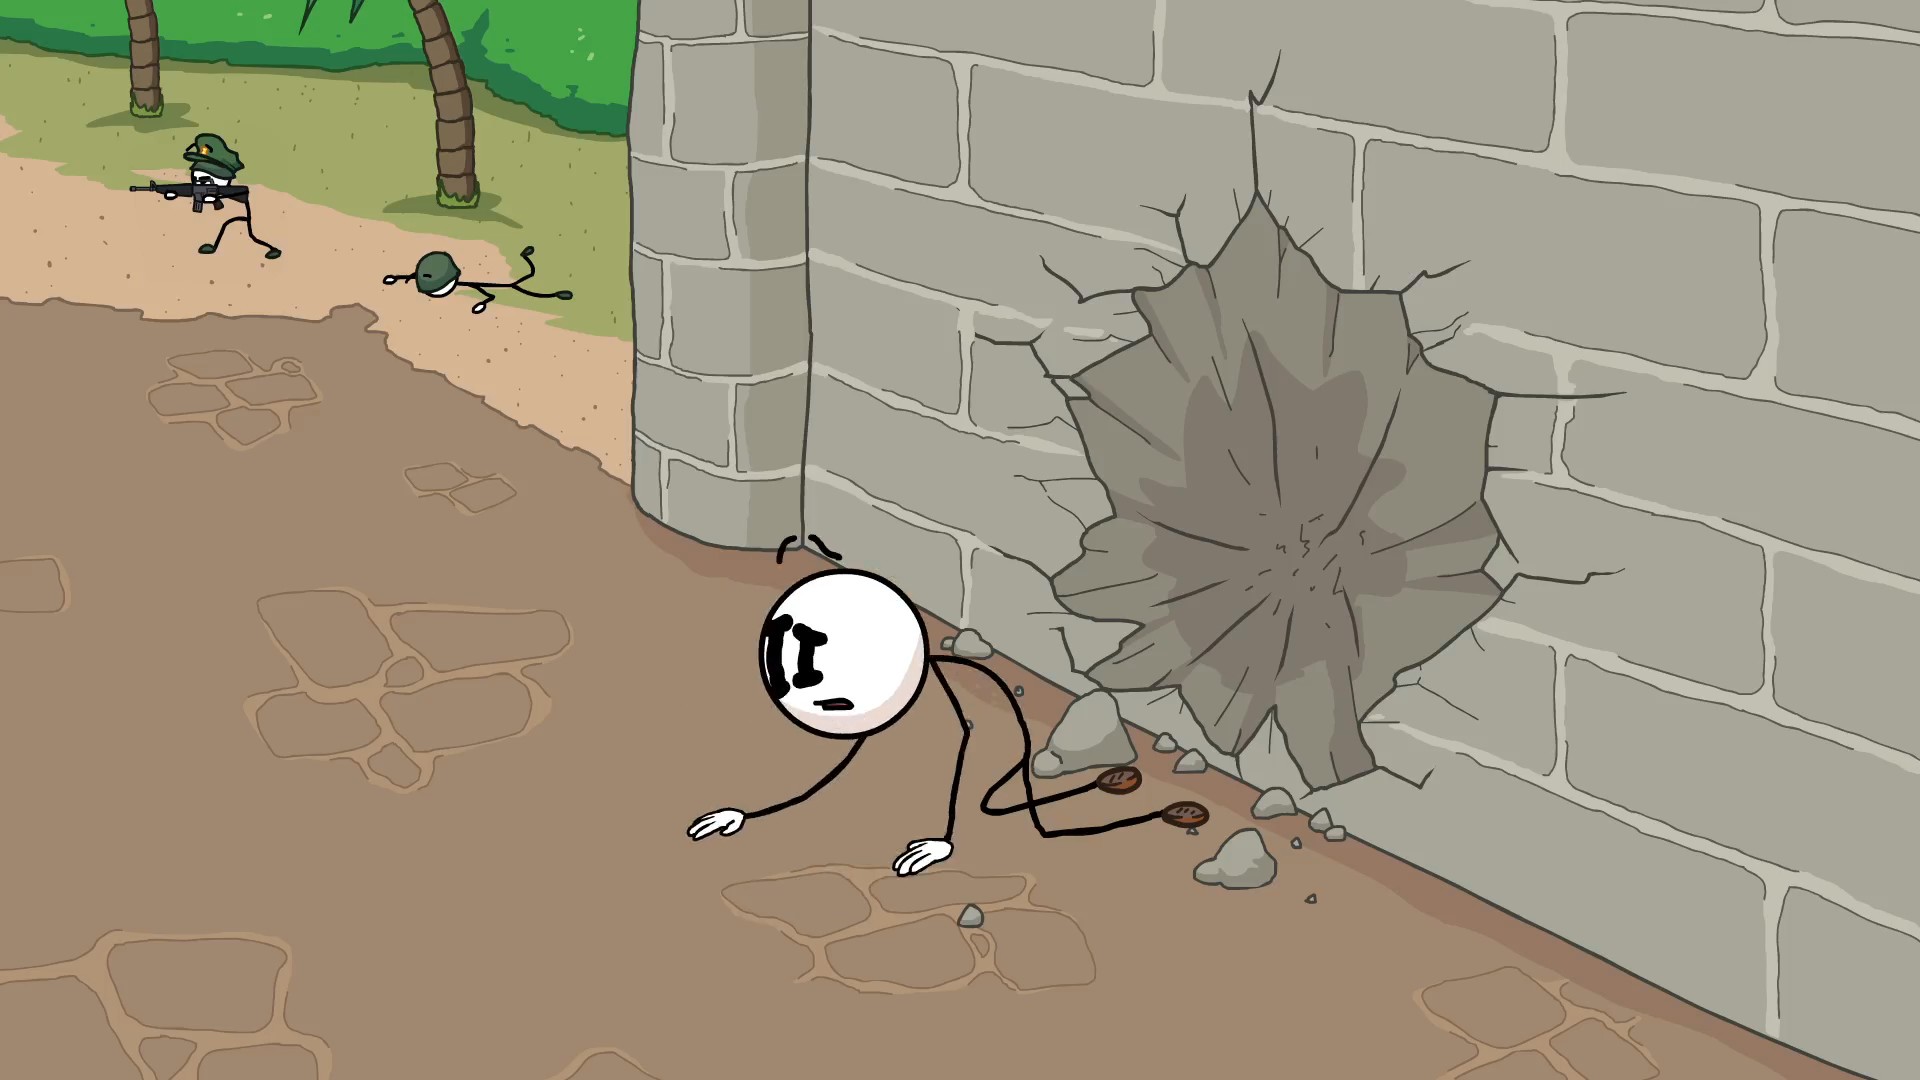
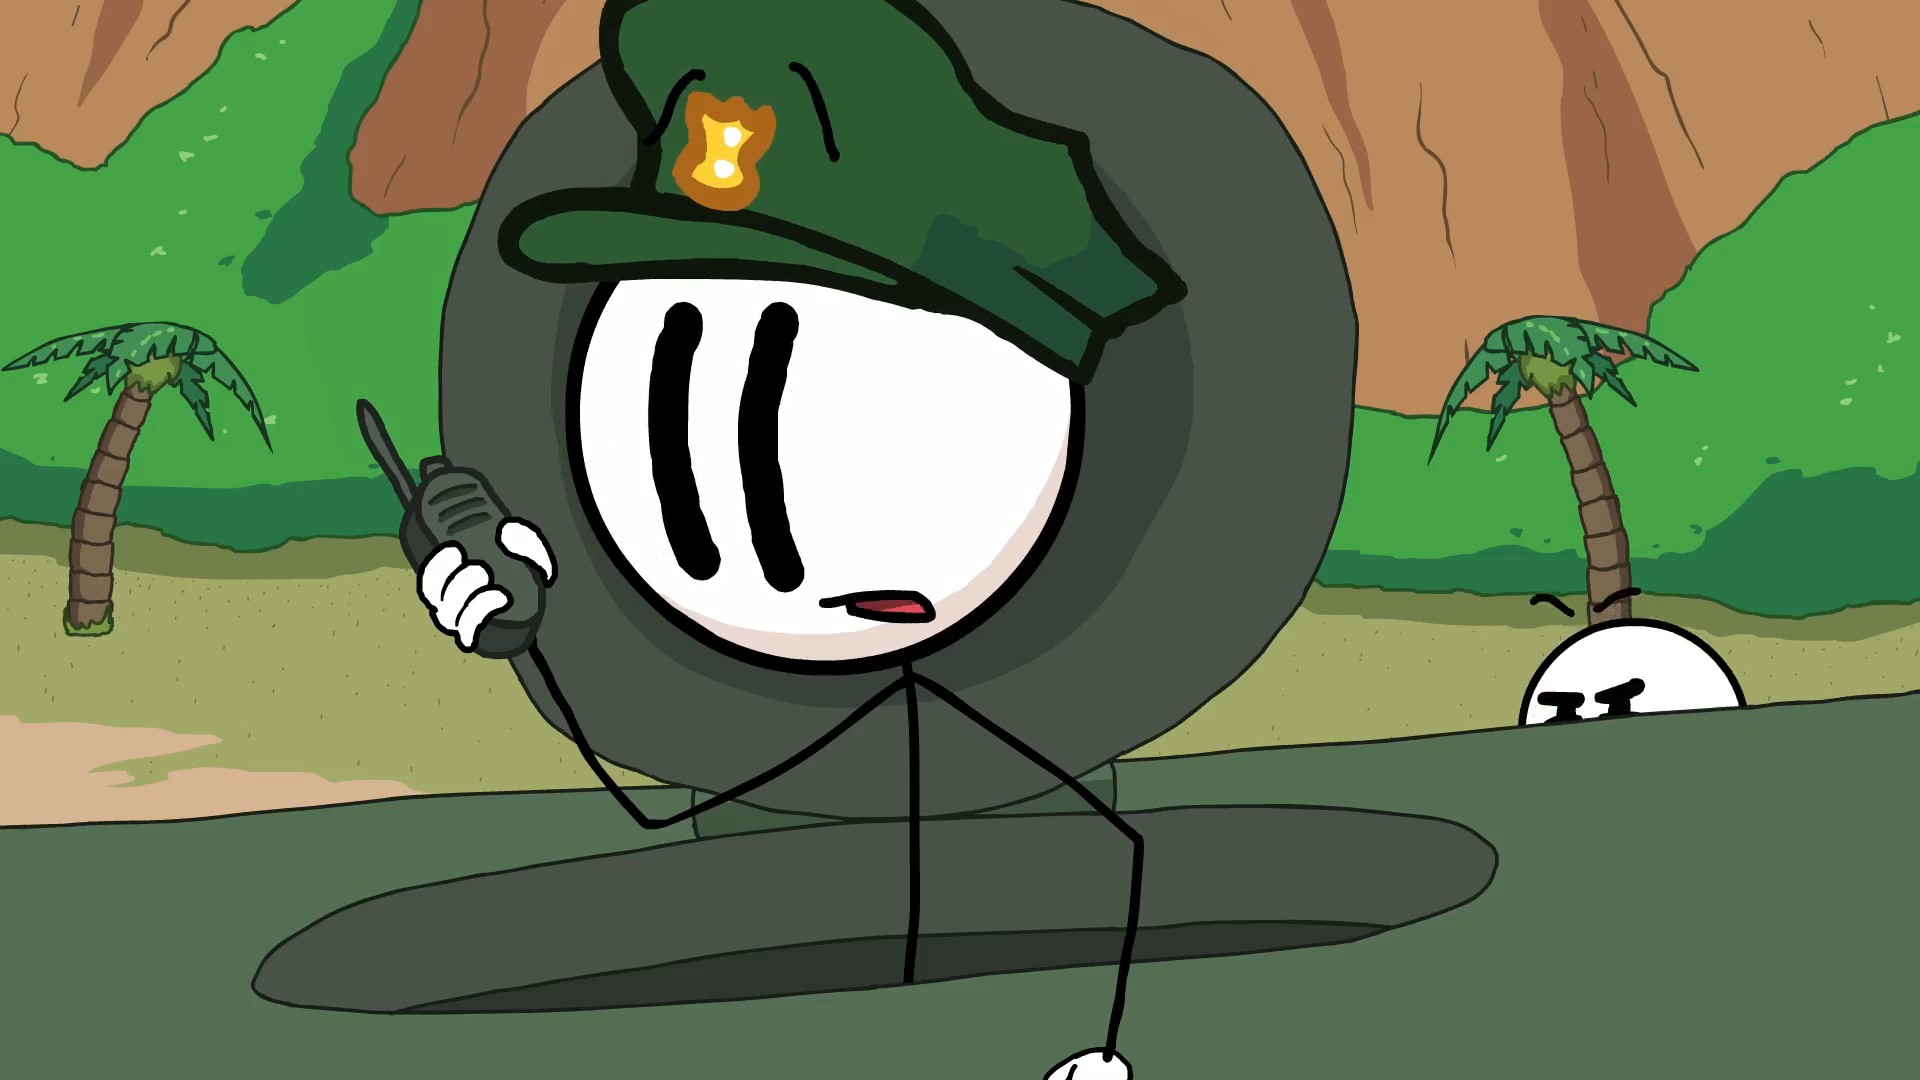
In Where We Droppin', choose Parachute.
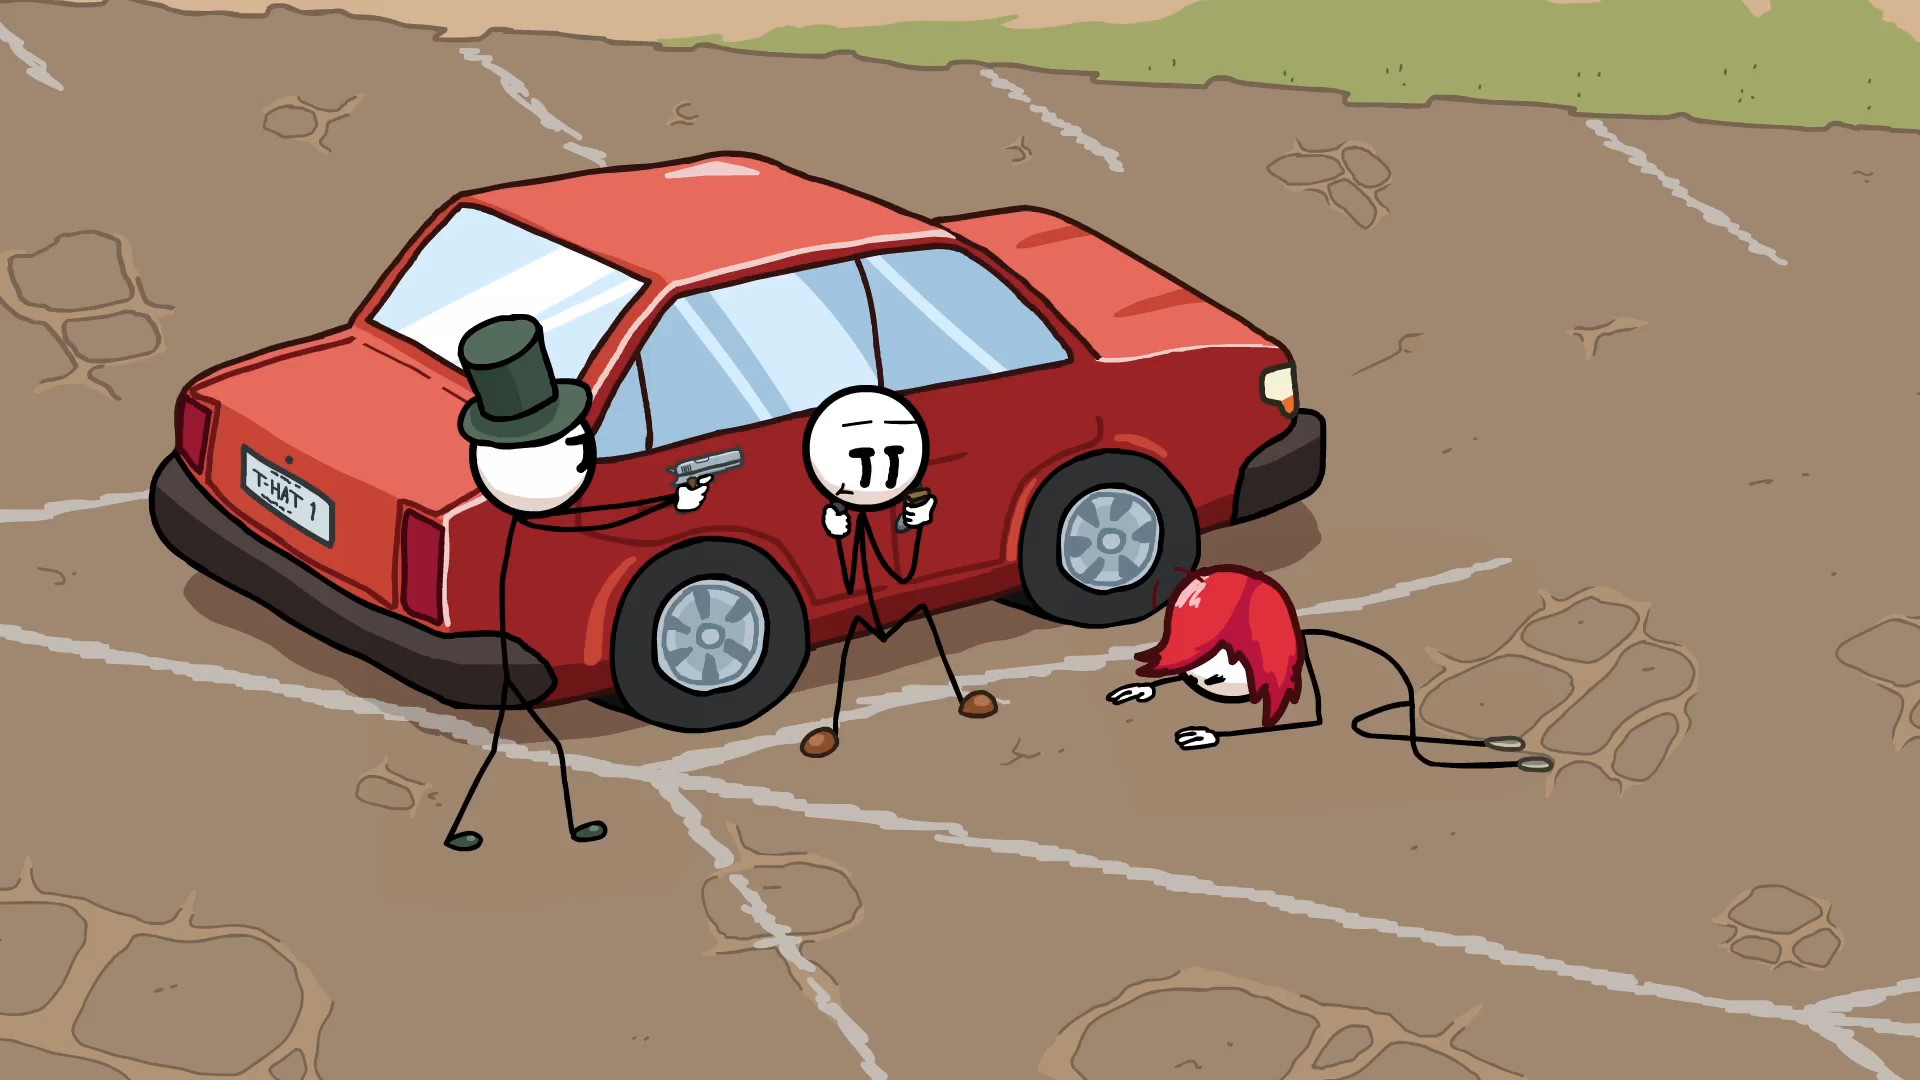
In Where We Droppin', choose Parasol.
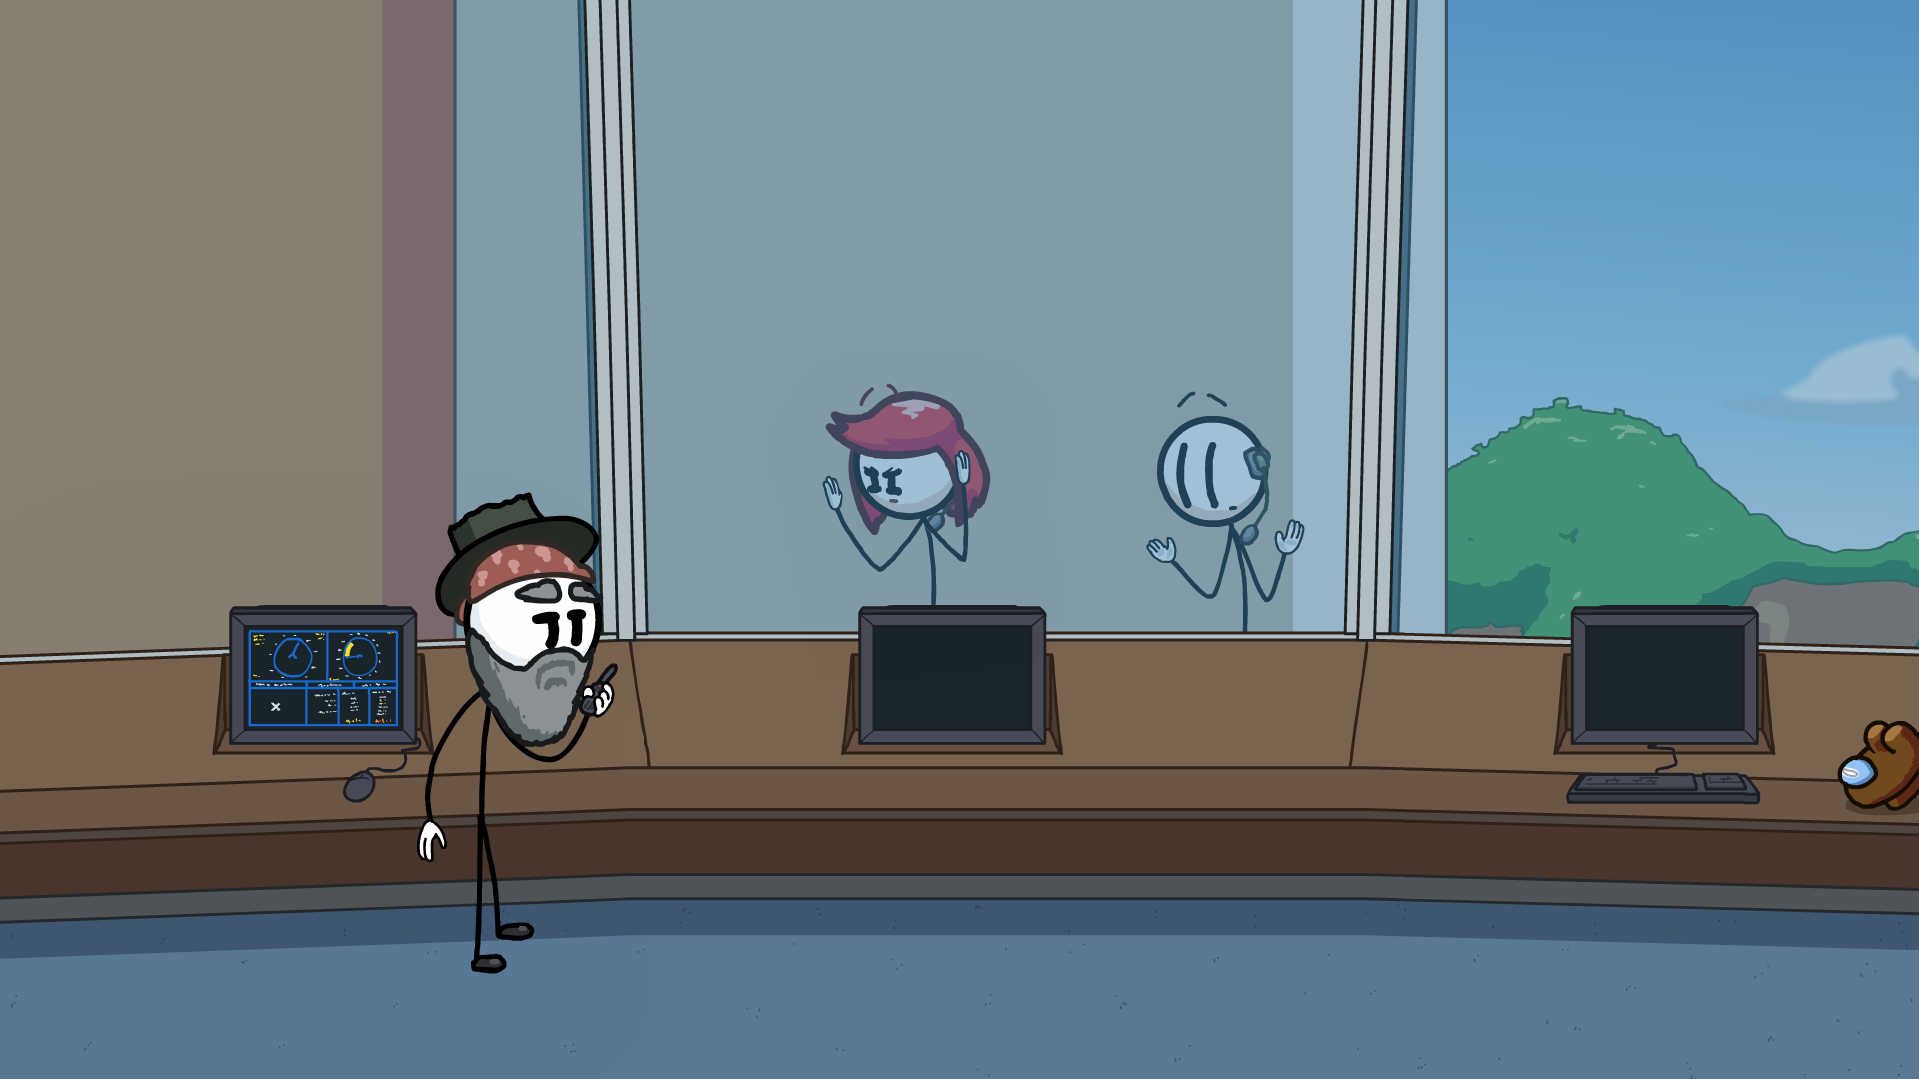
In Cafeteria, choose Fusion.

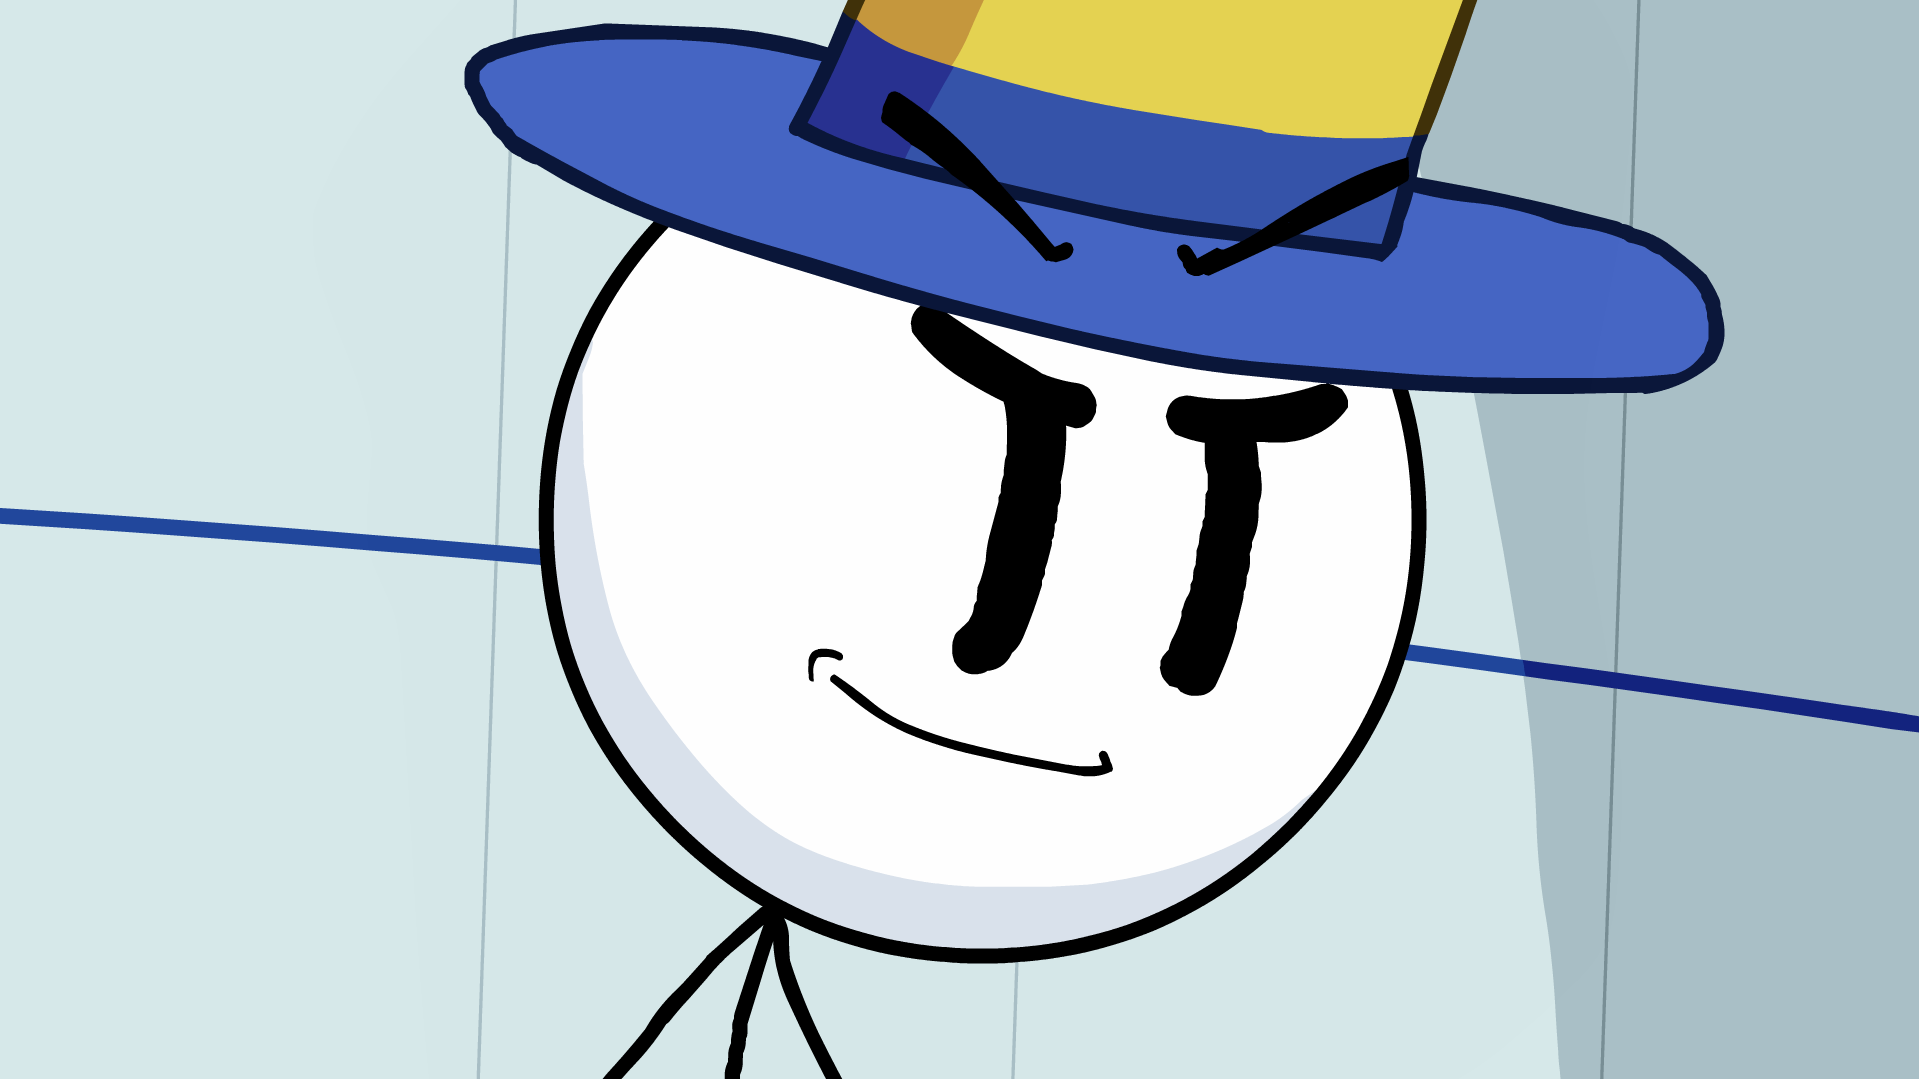
In Combo Time!, choose Cannon.
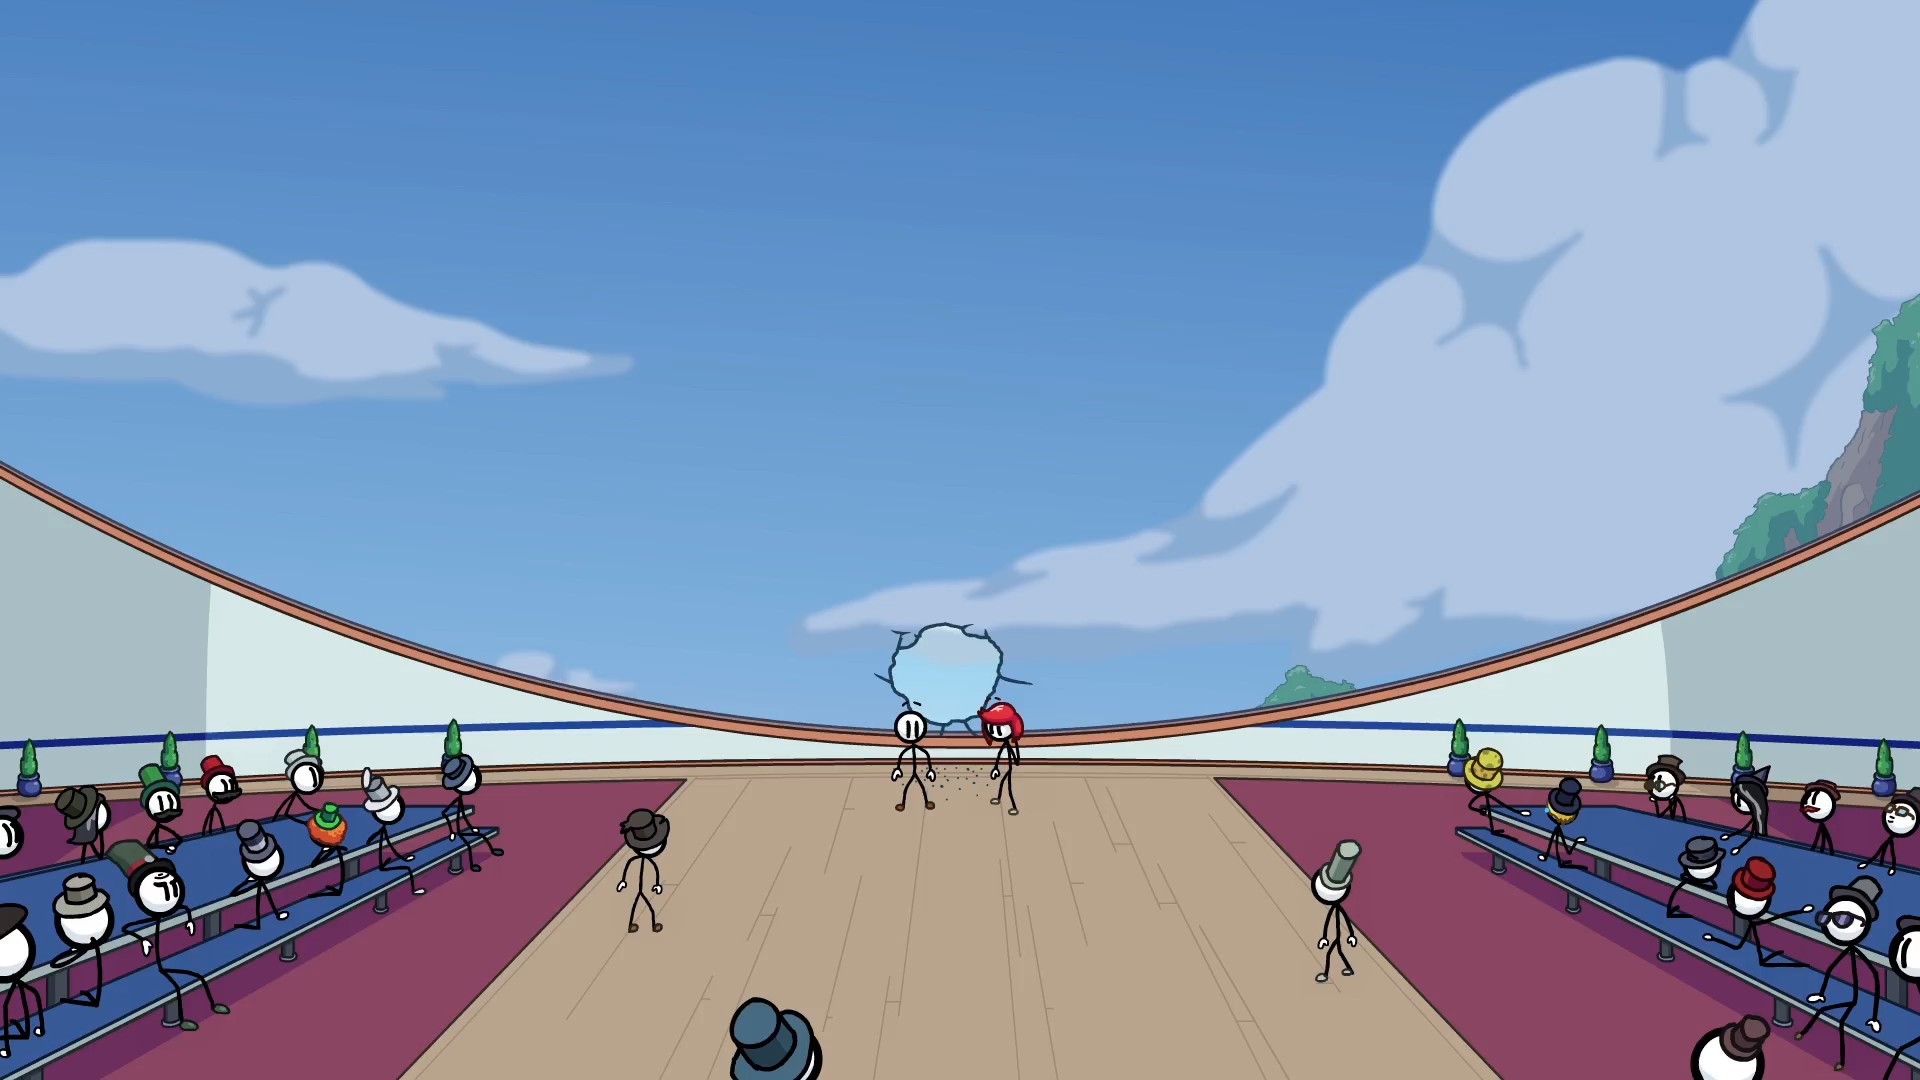
In Cafeteria, choose Diversion.
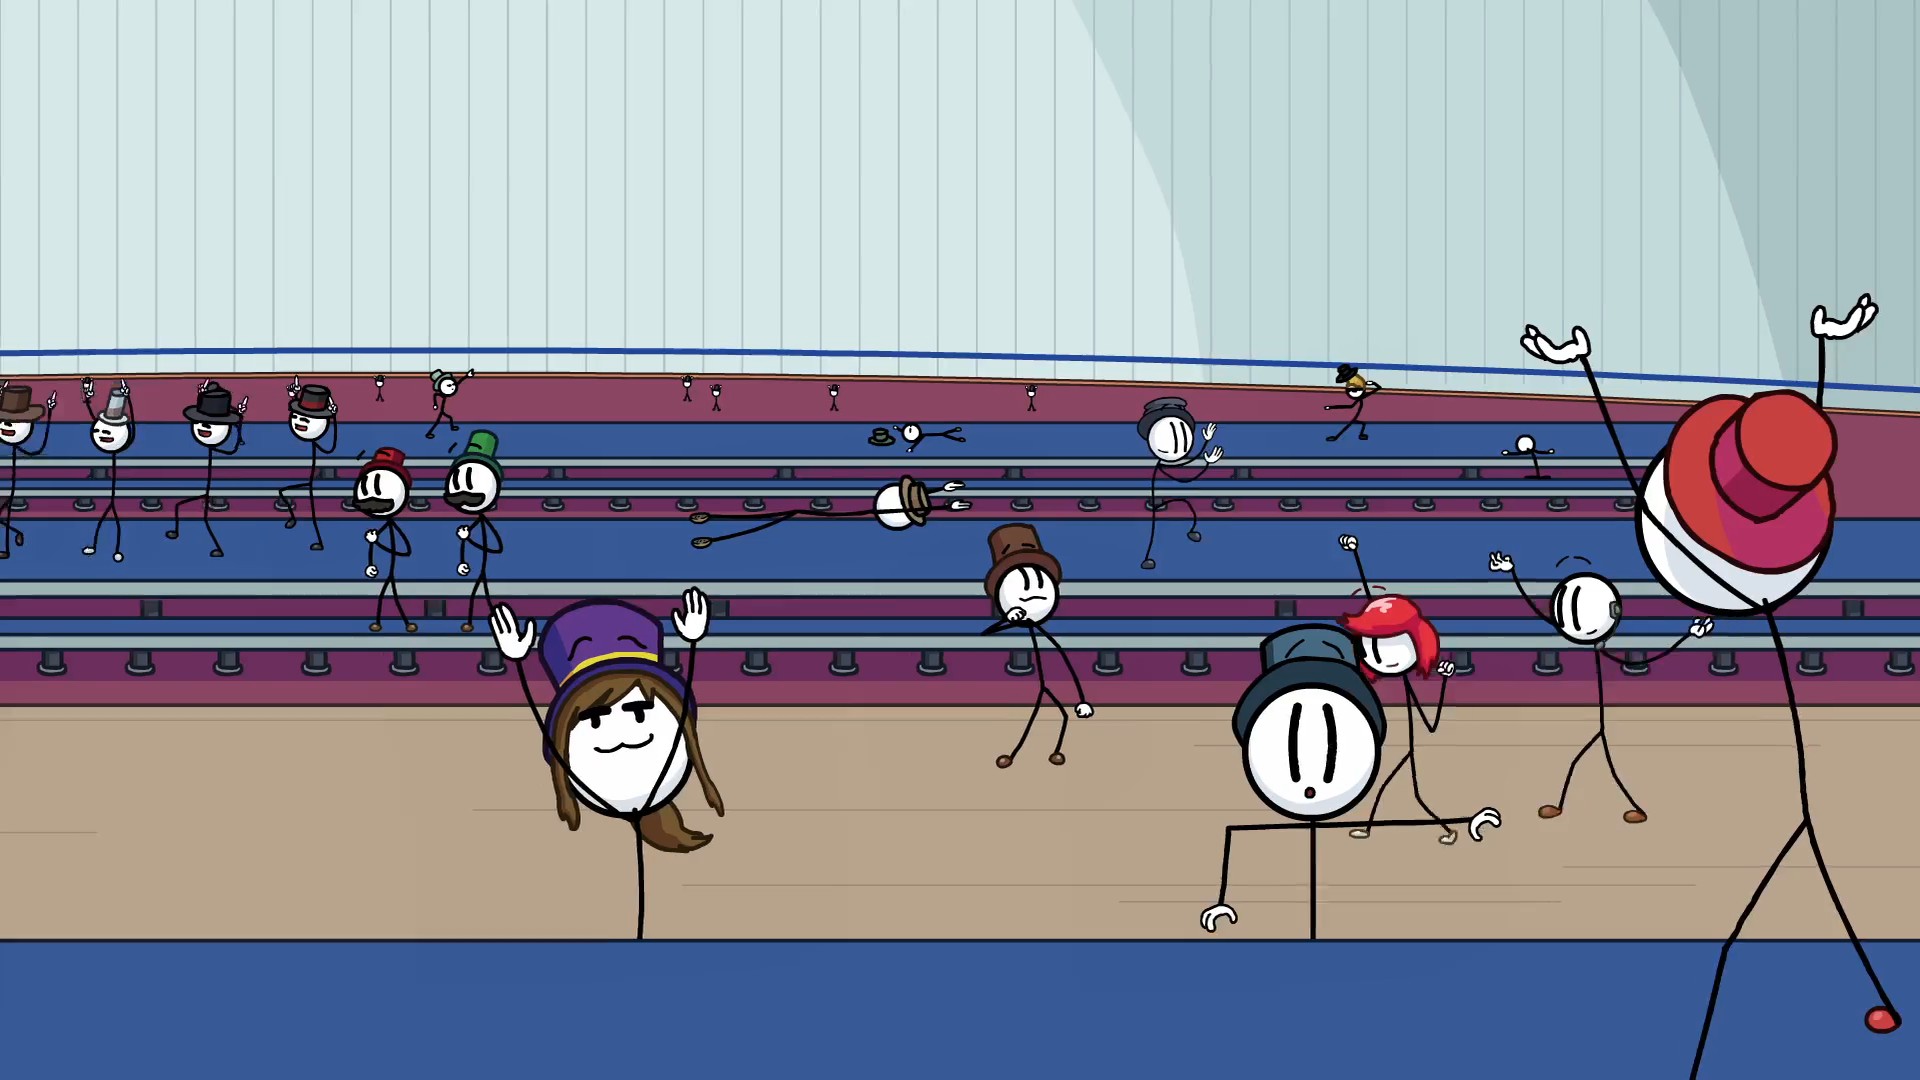
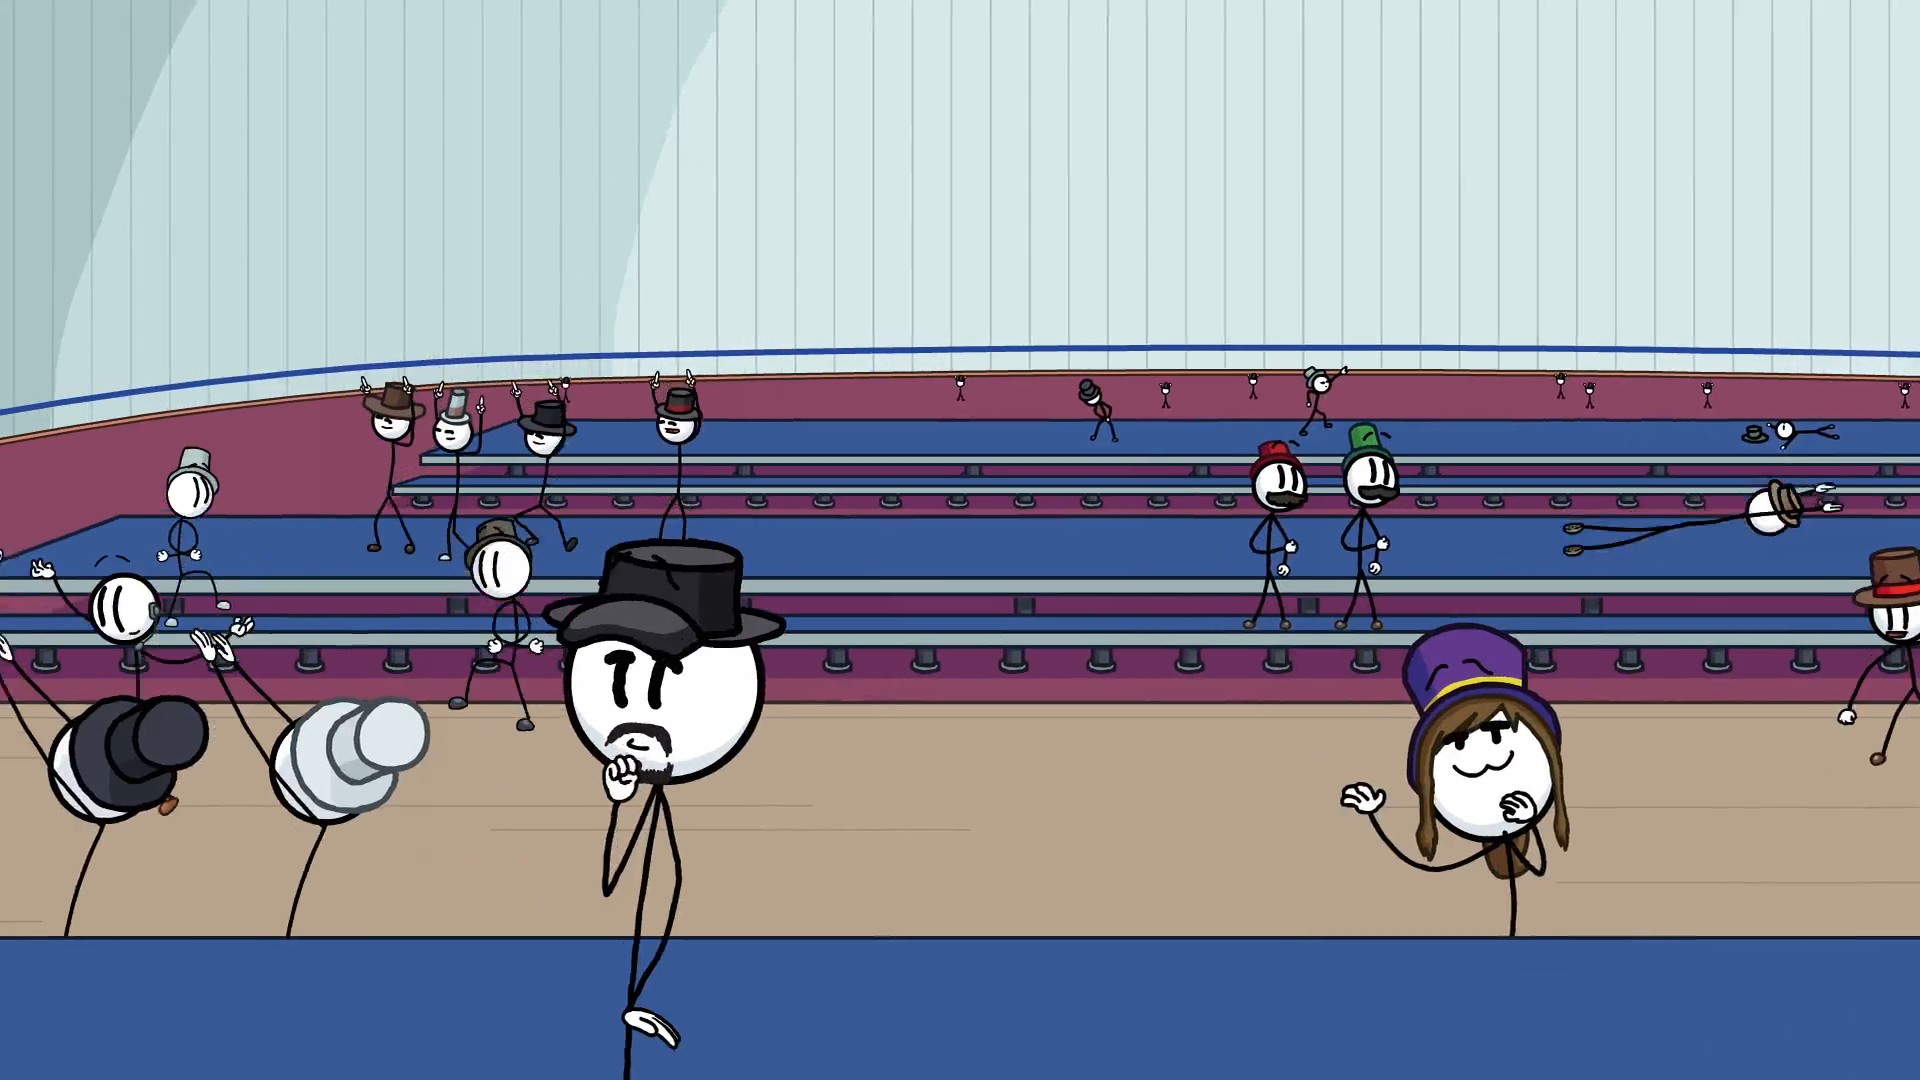
SPAMCLICK. HARD.
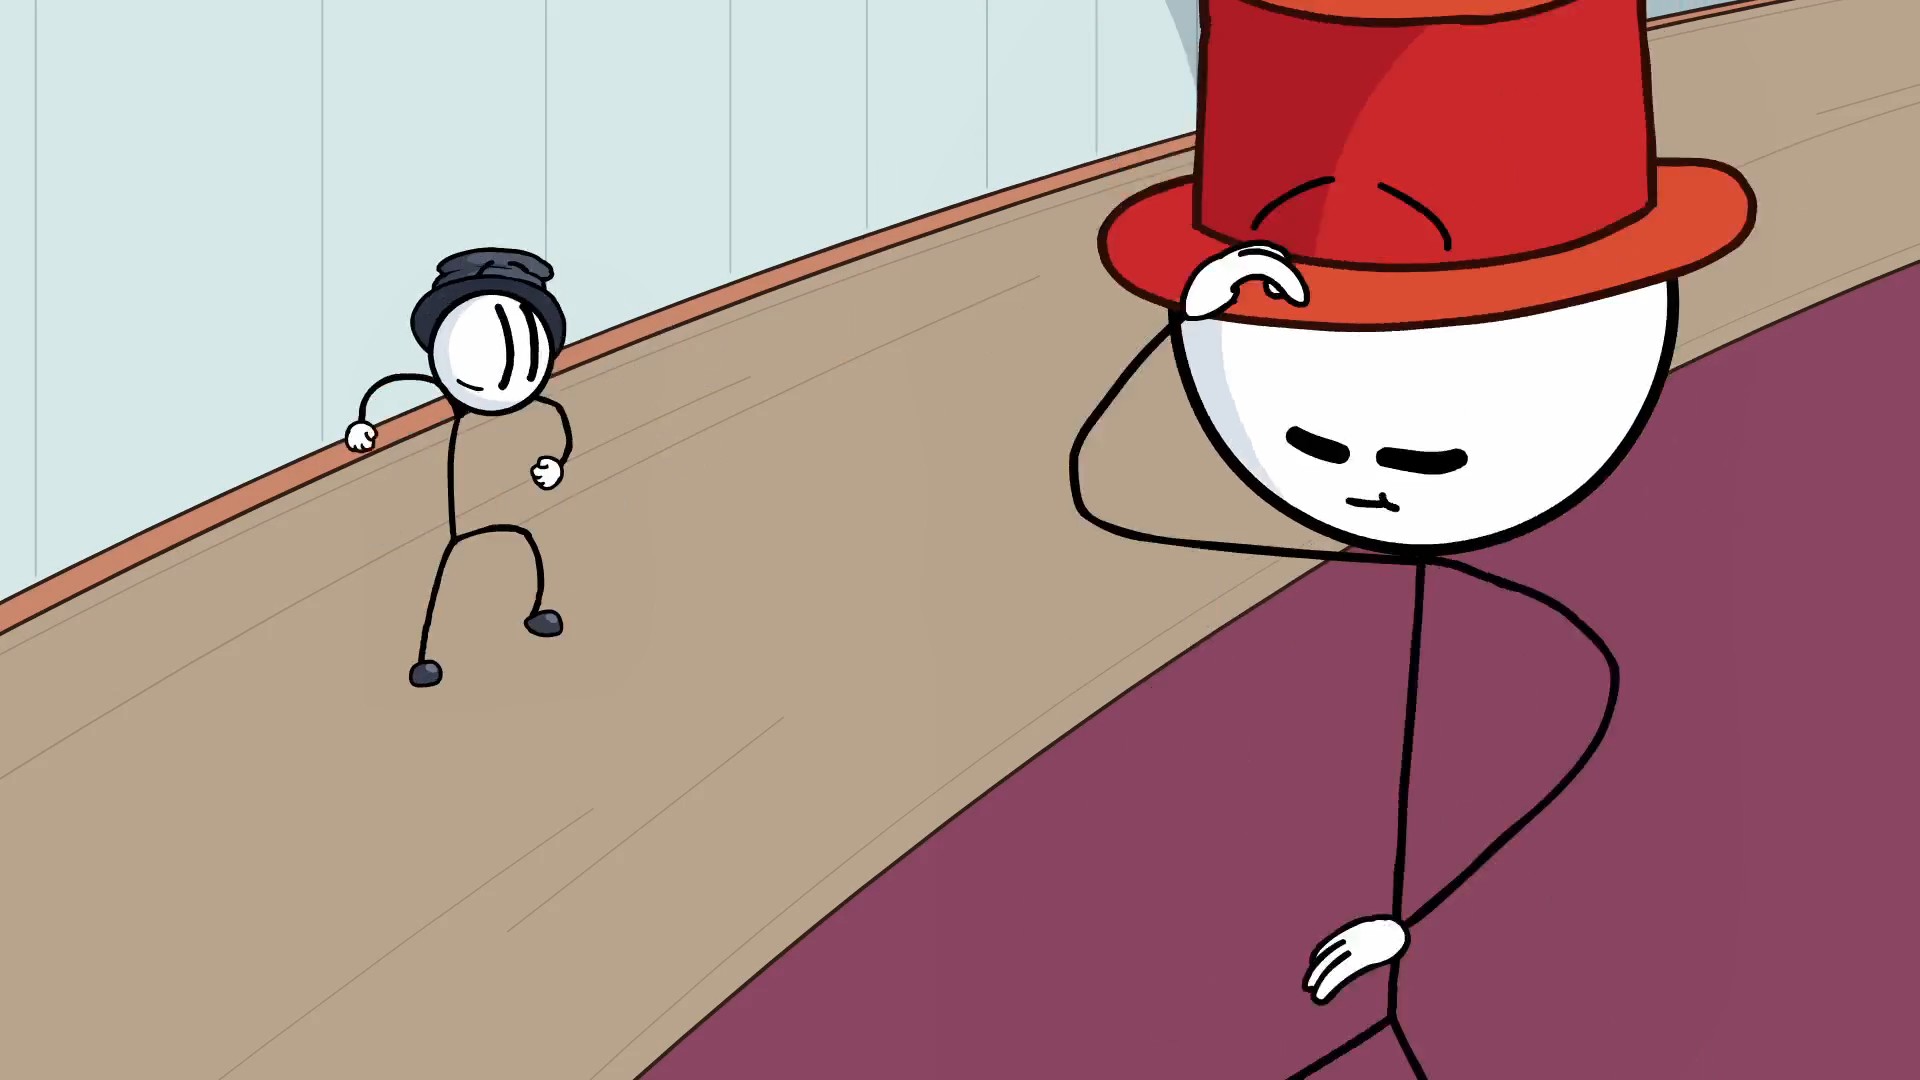
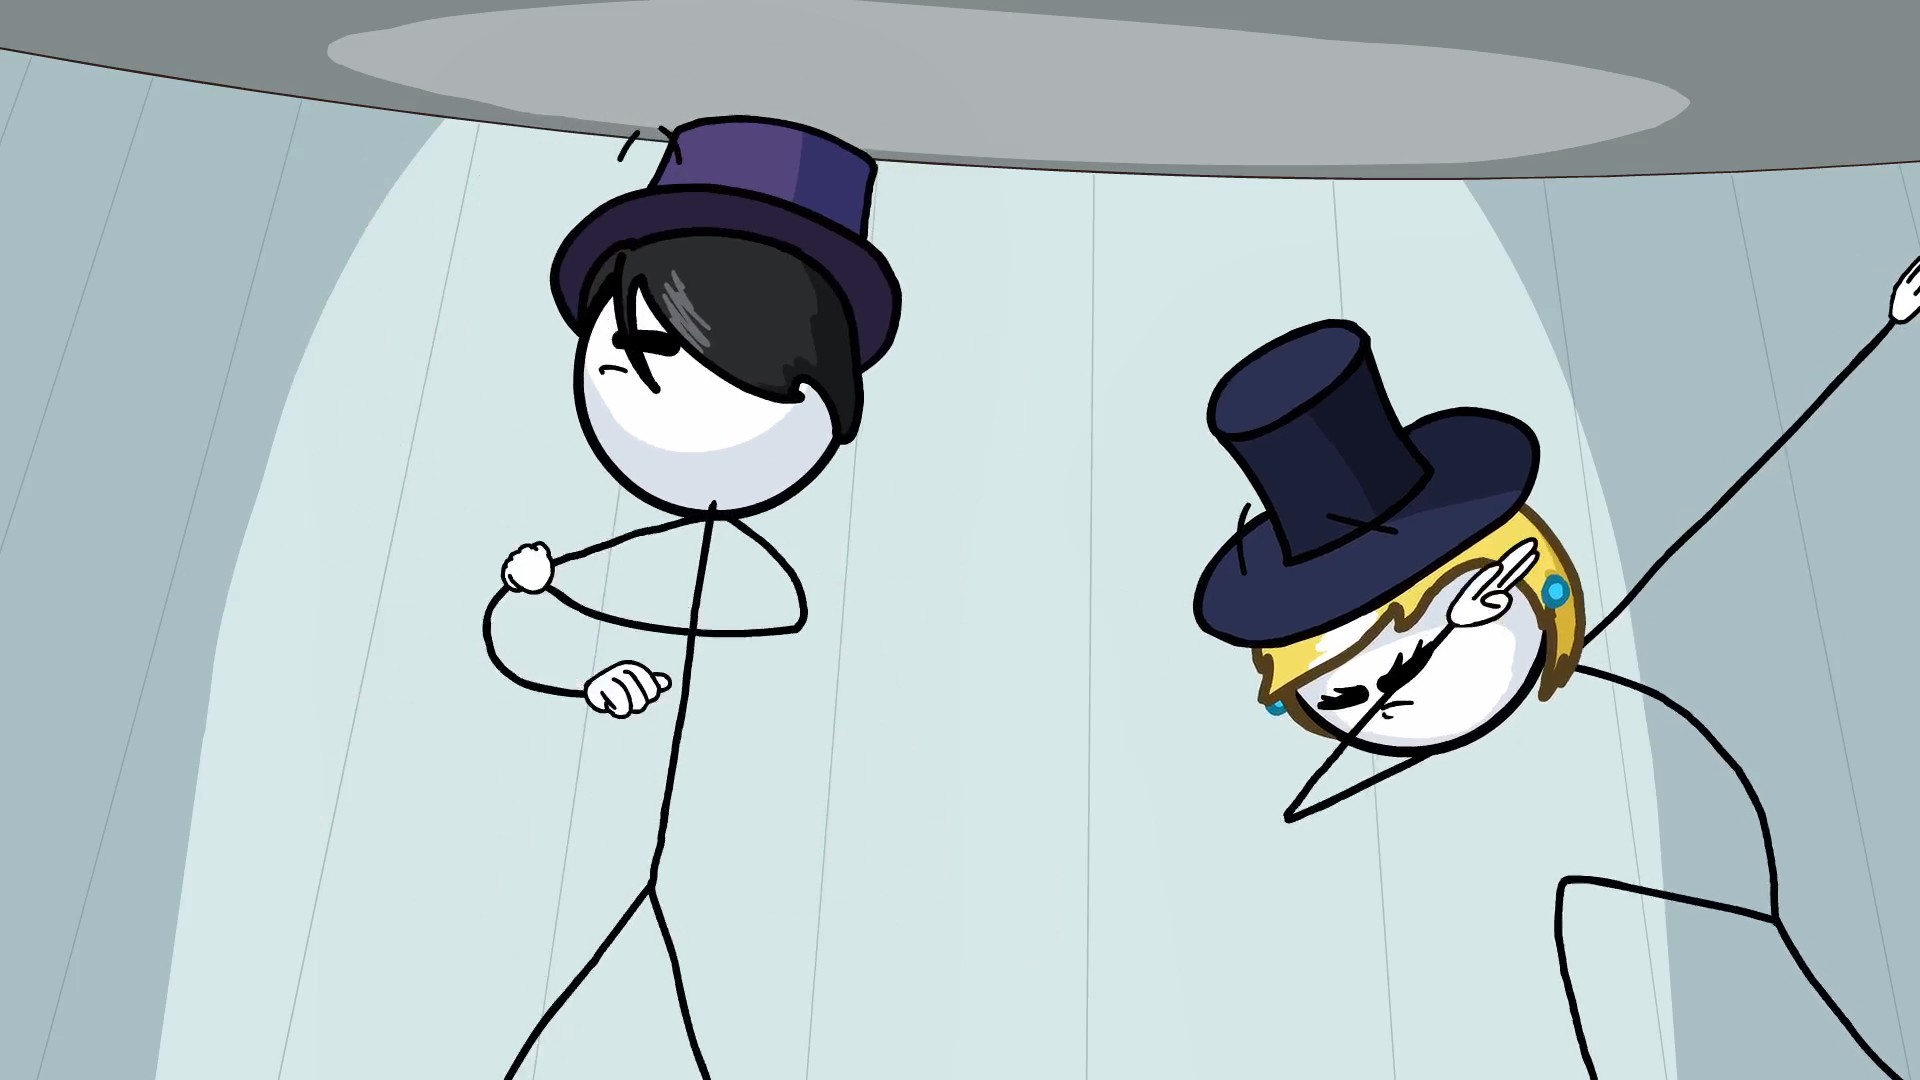
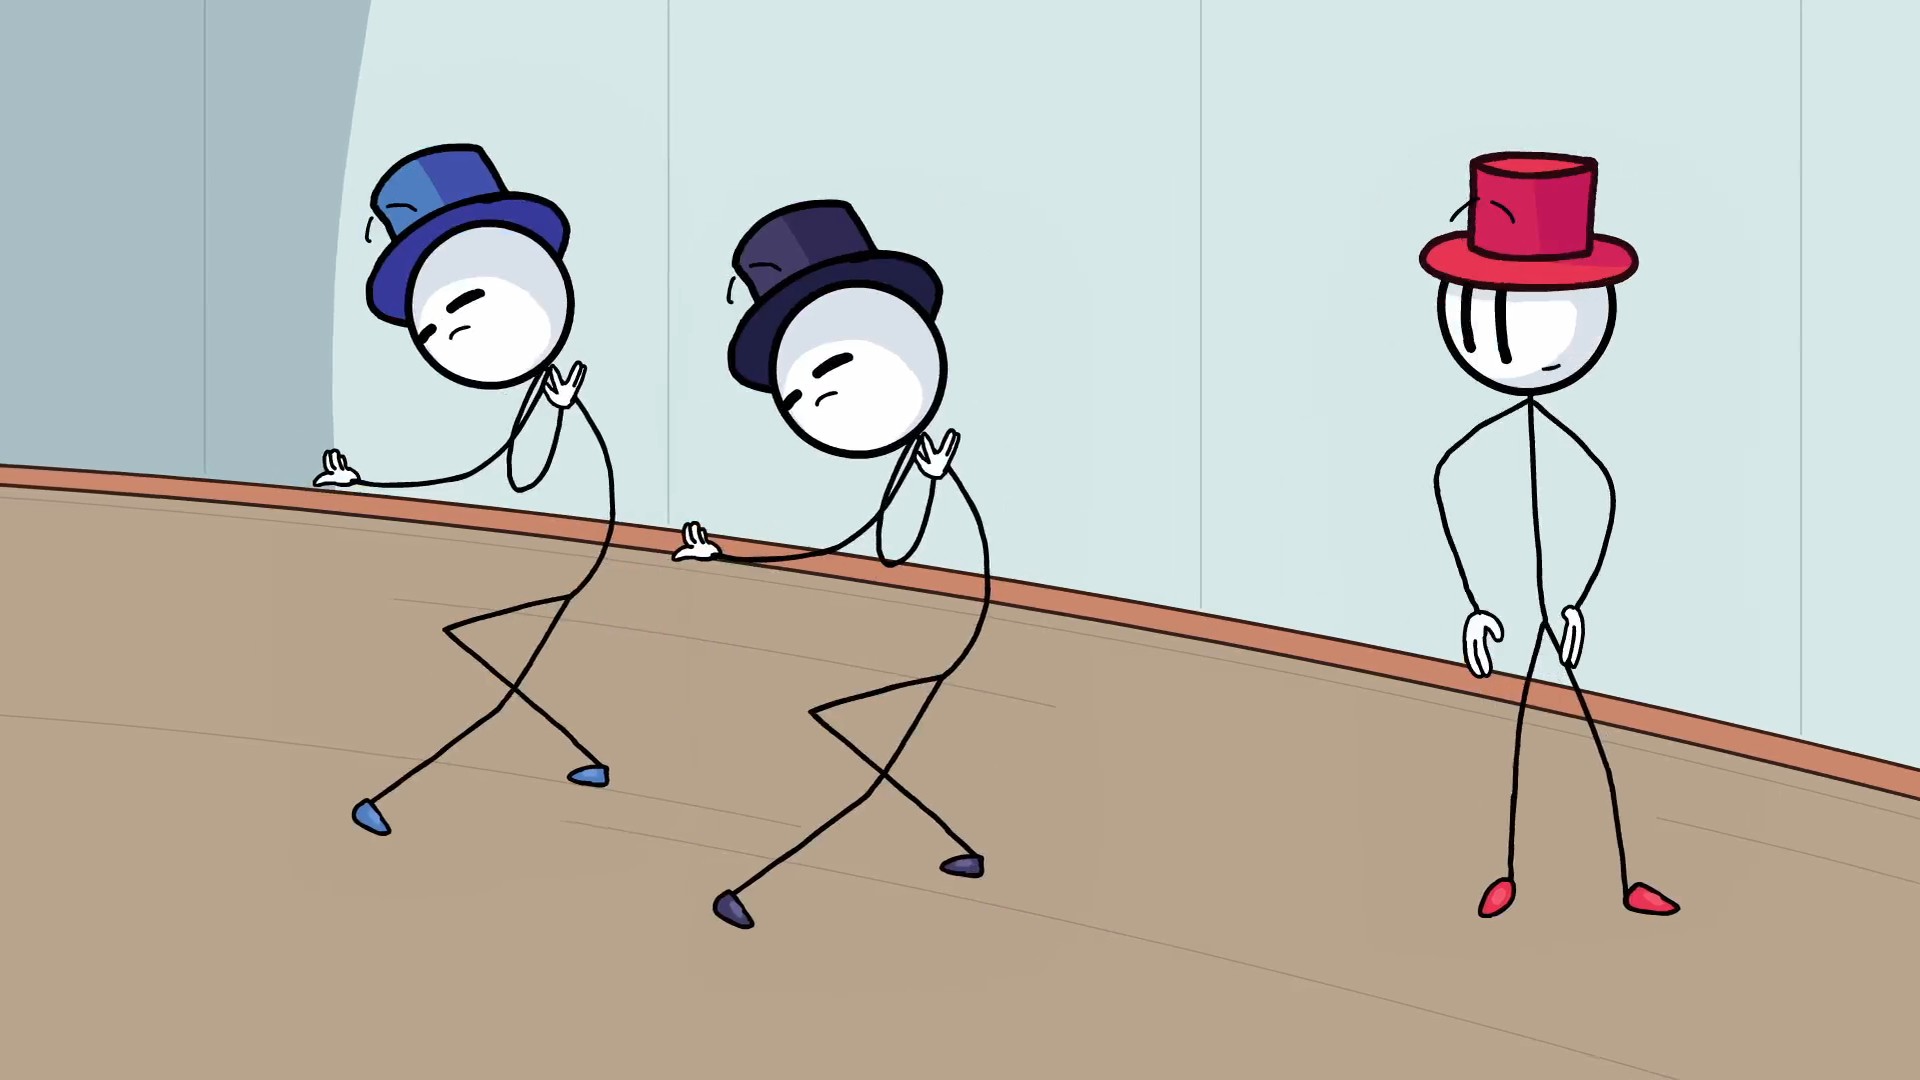
ᅠCtM - Red Achivments:
 Everyone is here!
You need to find 12 Among Us Crewmates in Completing the Mission
In Orbital Cell, choose Remote.
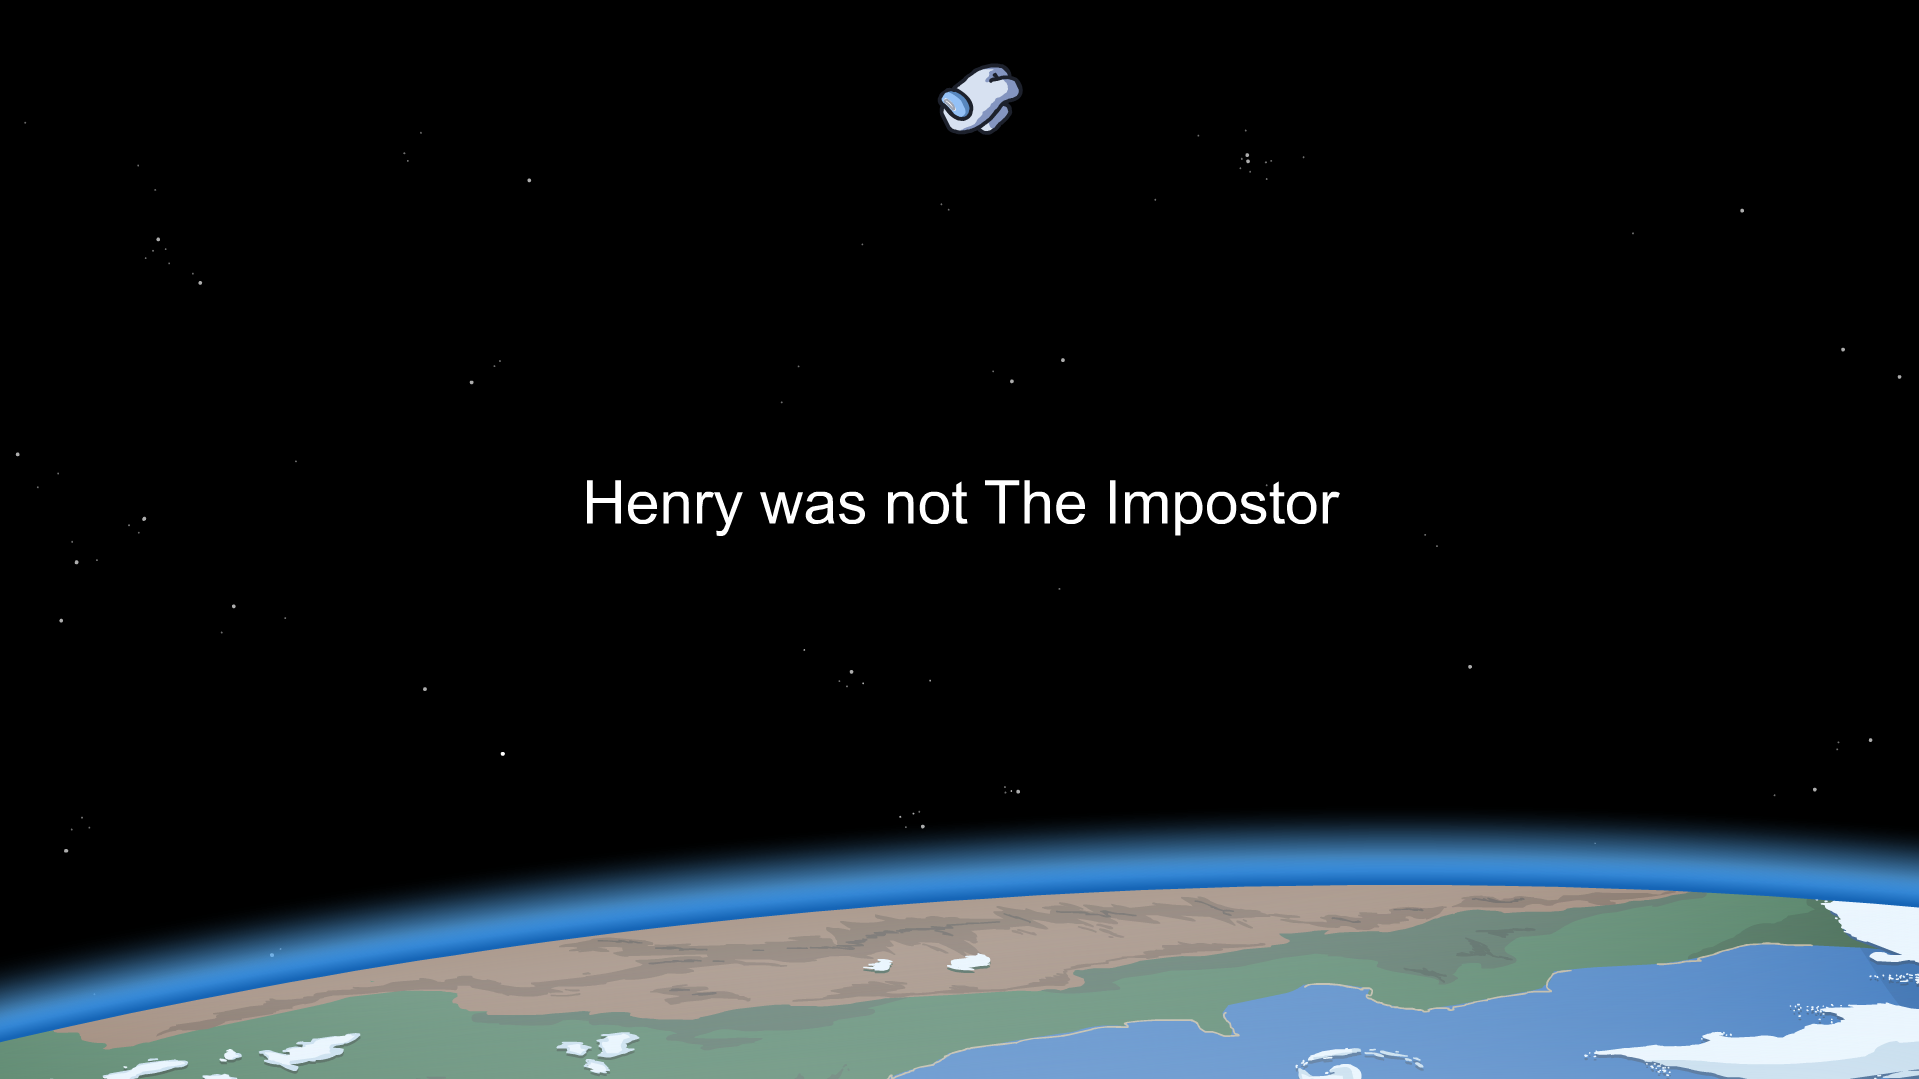
In Where We Droppin'?, choose Umbrella.
In Onramp you can hop in and get the plushie.
In Gravity Pit, choose Teleporter.
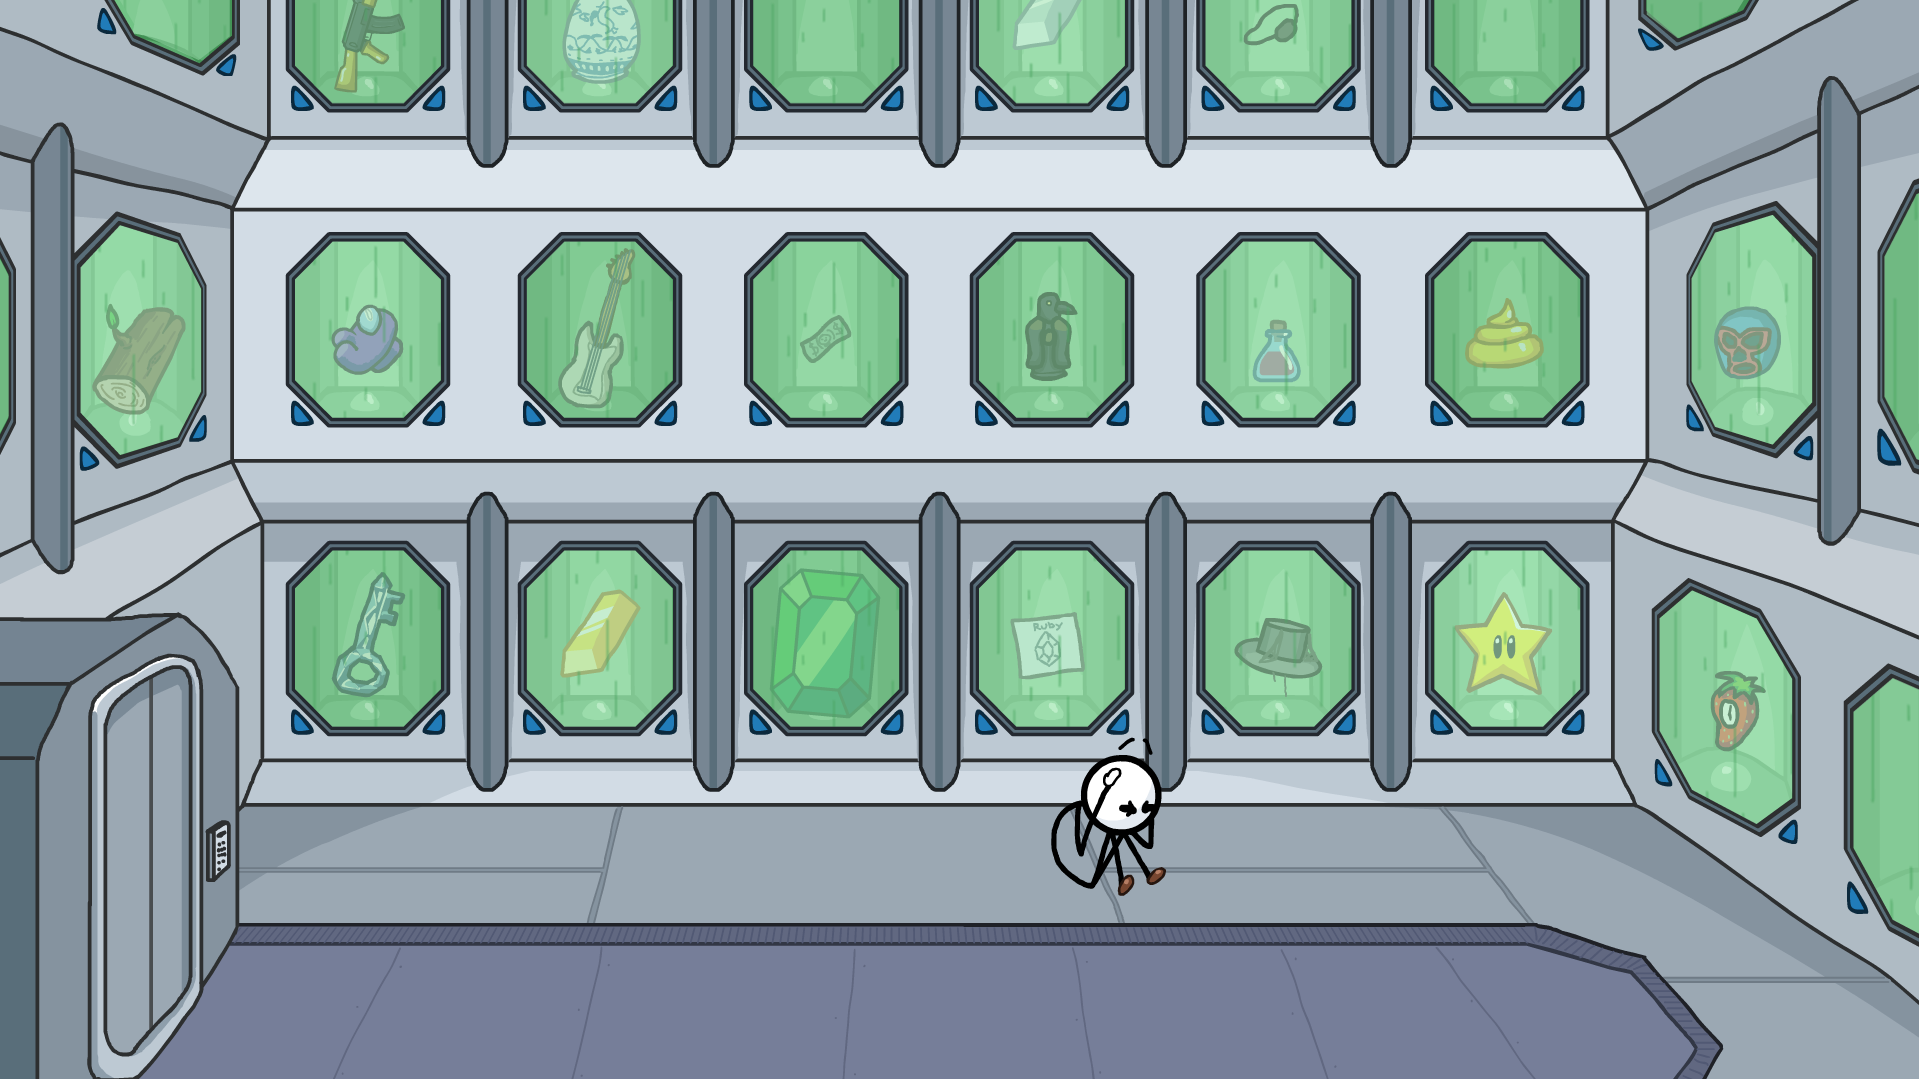
In CCC Mobile Unit, choose Left top option.
In Top of the Train, choose Free Transform.
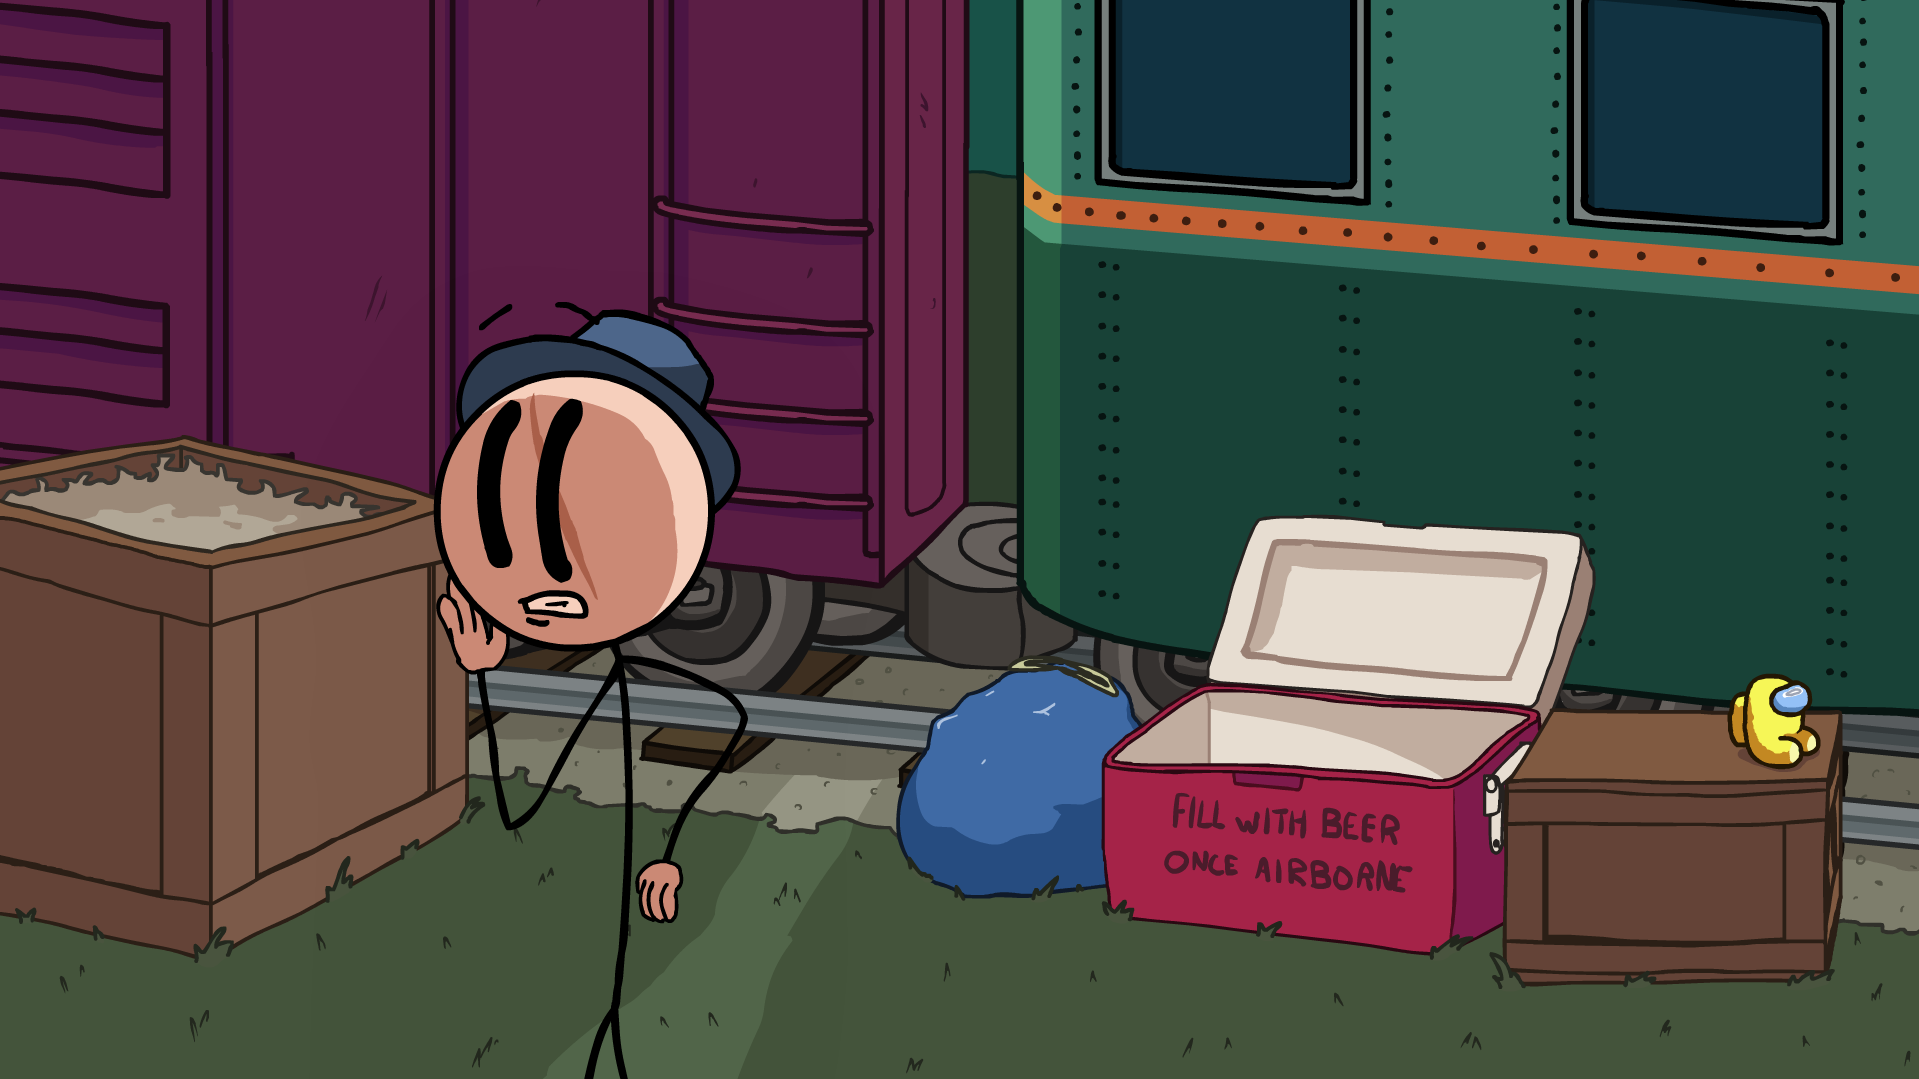
In Storage Bay, choose Leafmode.
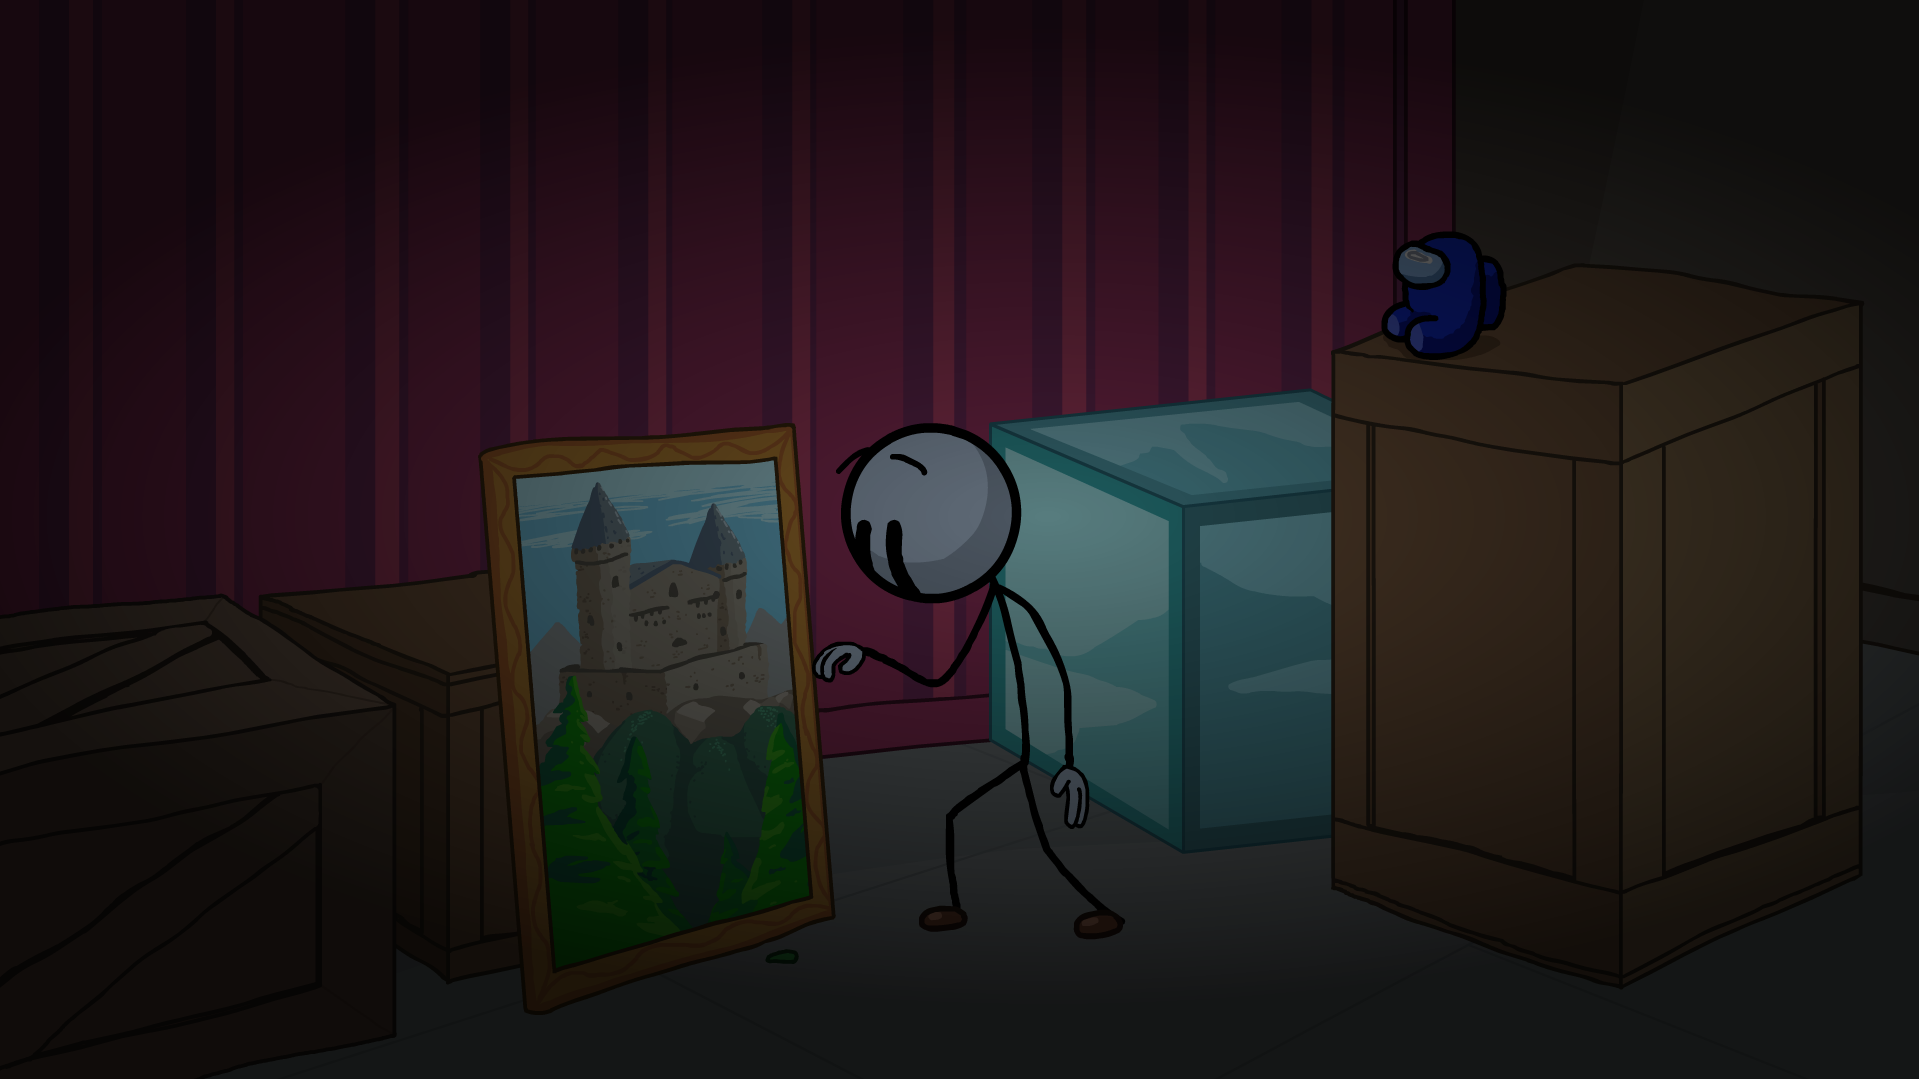
In Front Gate, choose Convert.
In Escape Pods, choose Escape Pod 32 (Luxury).
In A Few Ideas, choose Midnight Surprise.
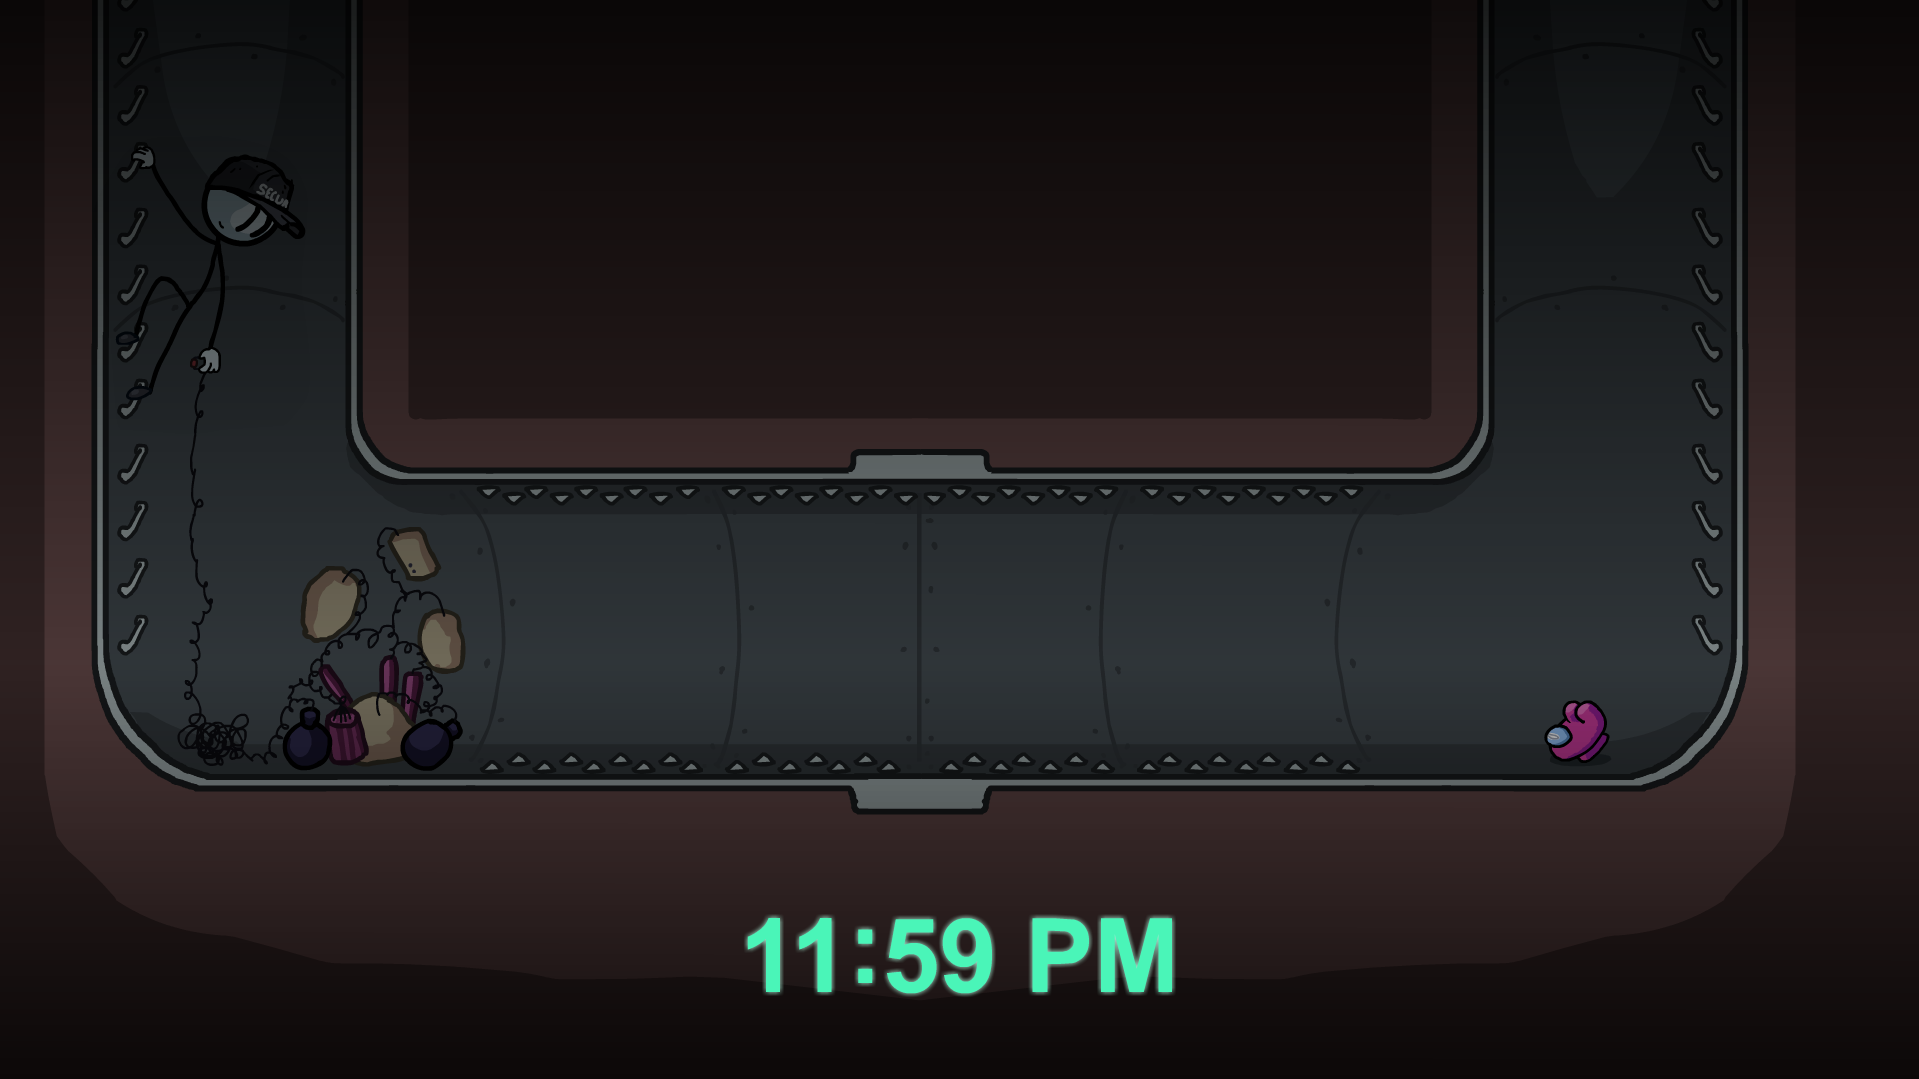
In Train Assault, choose Fire.
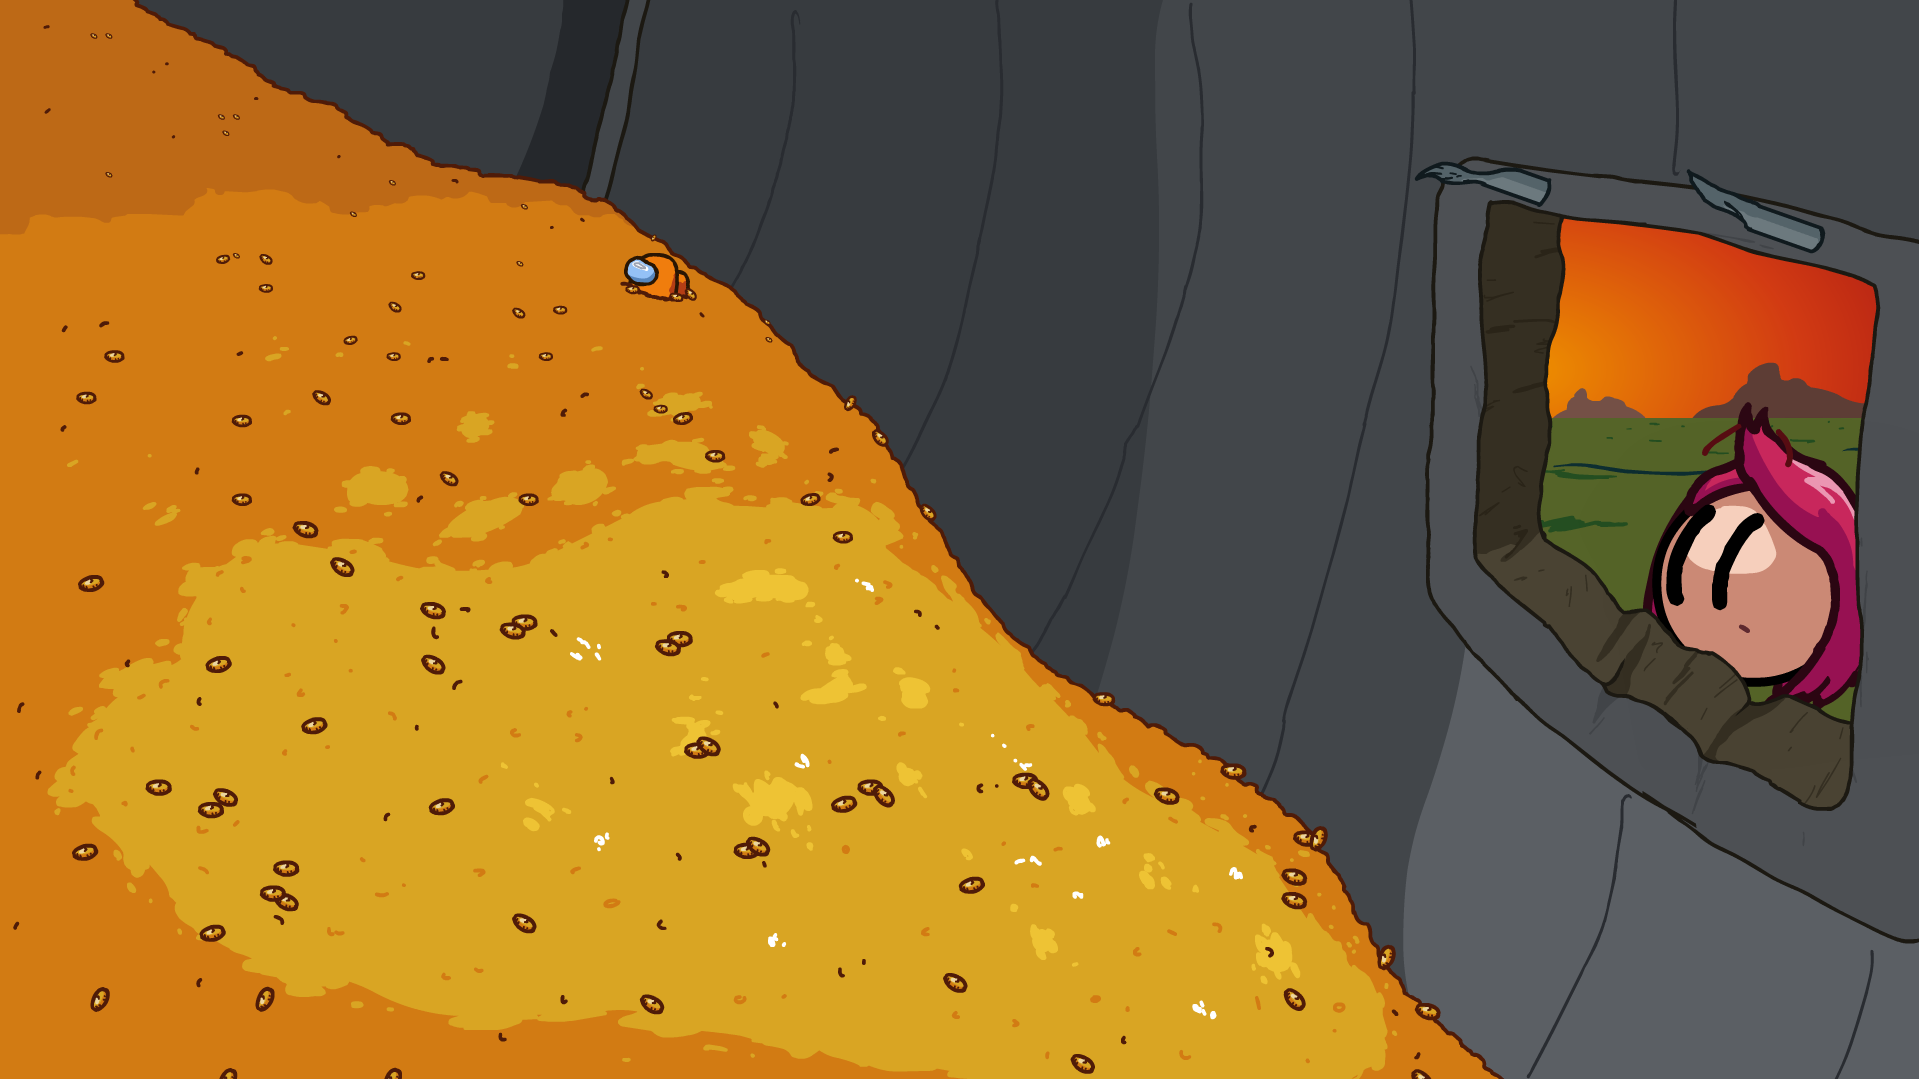
In Intro.
 THIS is Play of the Game..?
Revenged path (8th from top on right)
In Finishing Move, choose Absorb nad click blue text in failure message.
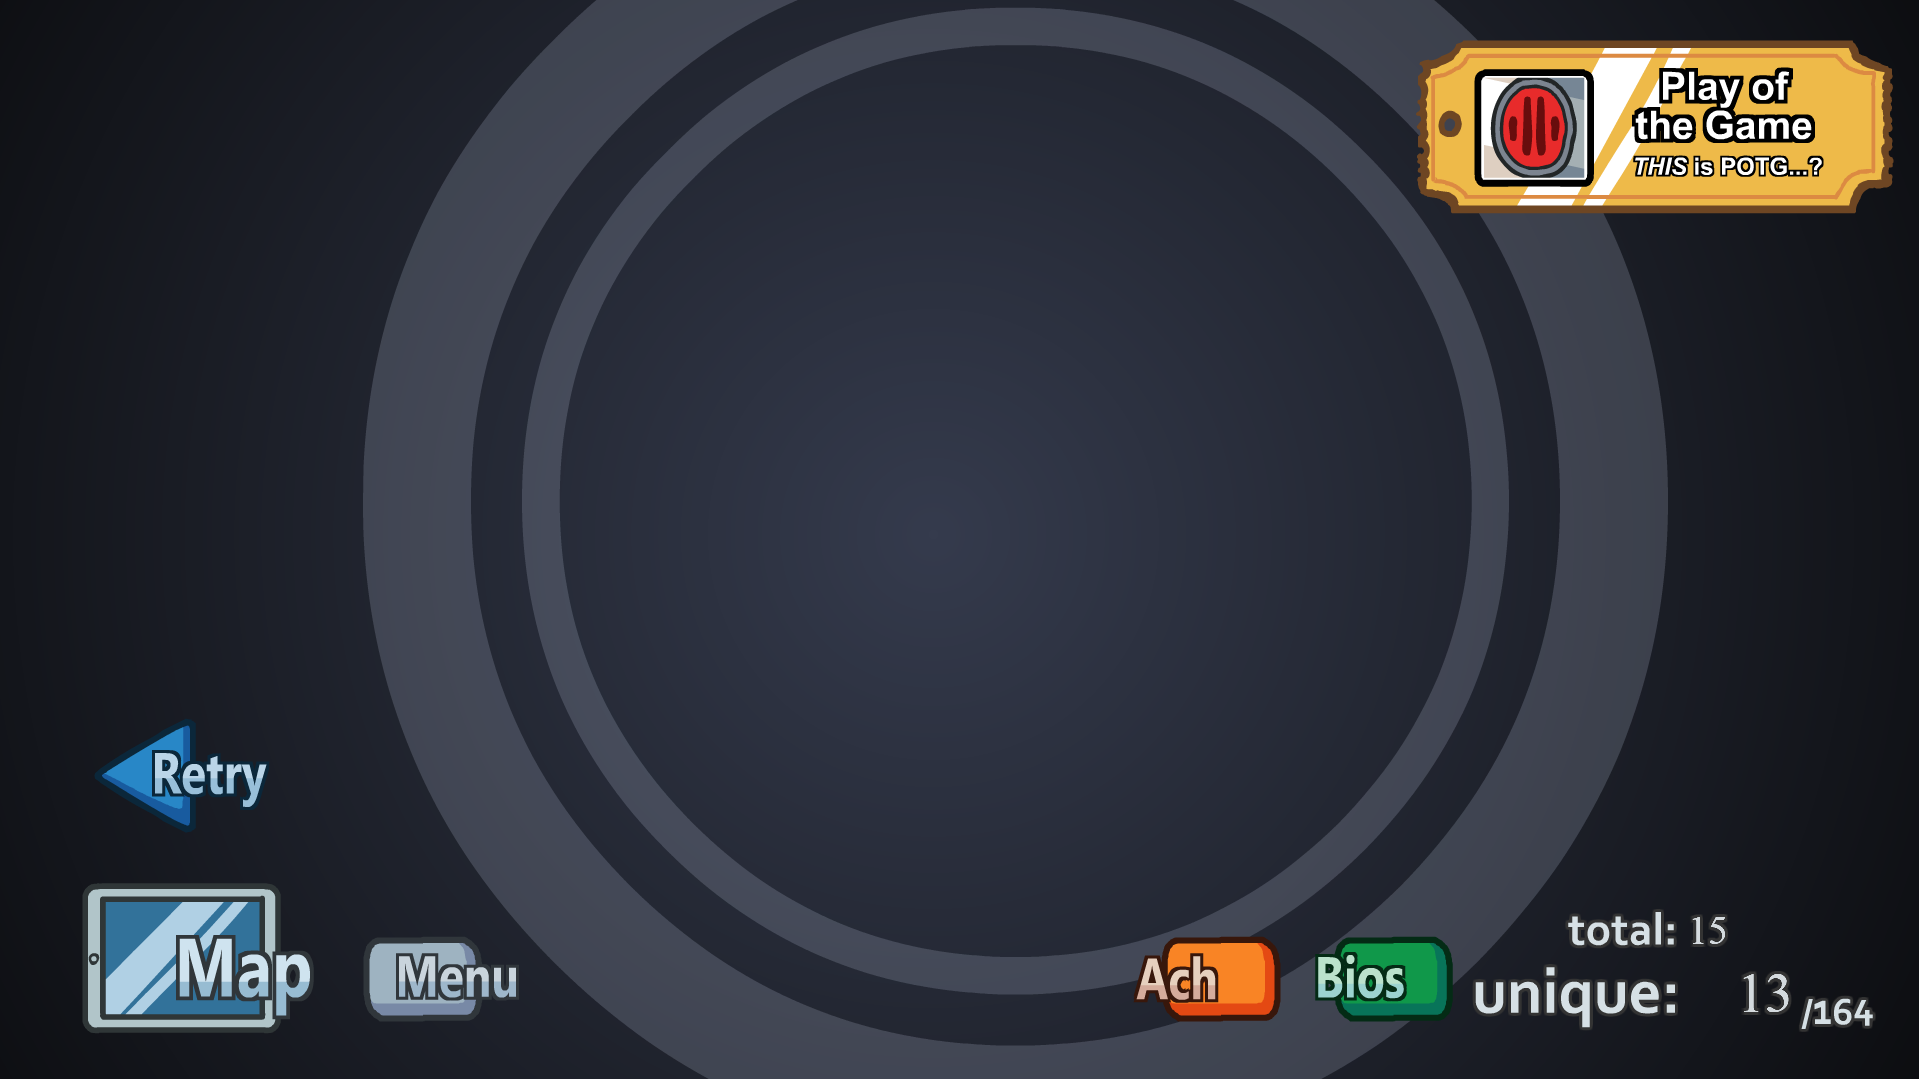
 Rub some butter on that bad boy.
Valiant Hero path (5th from top on right)
In Orbital Hull, choose Hot Knife and click failure message.
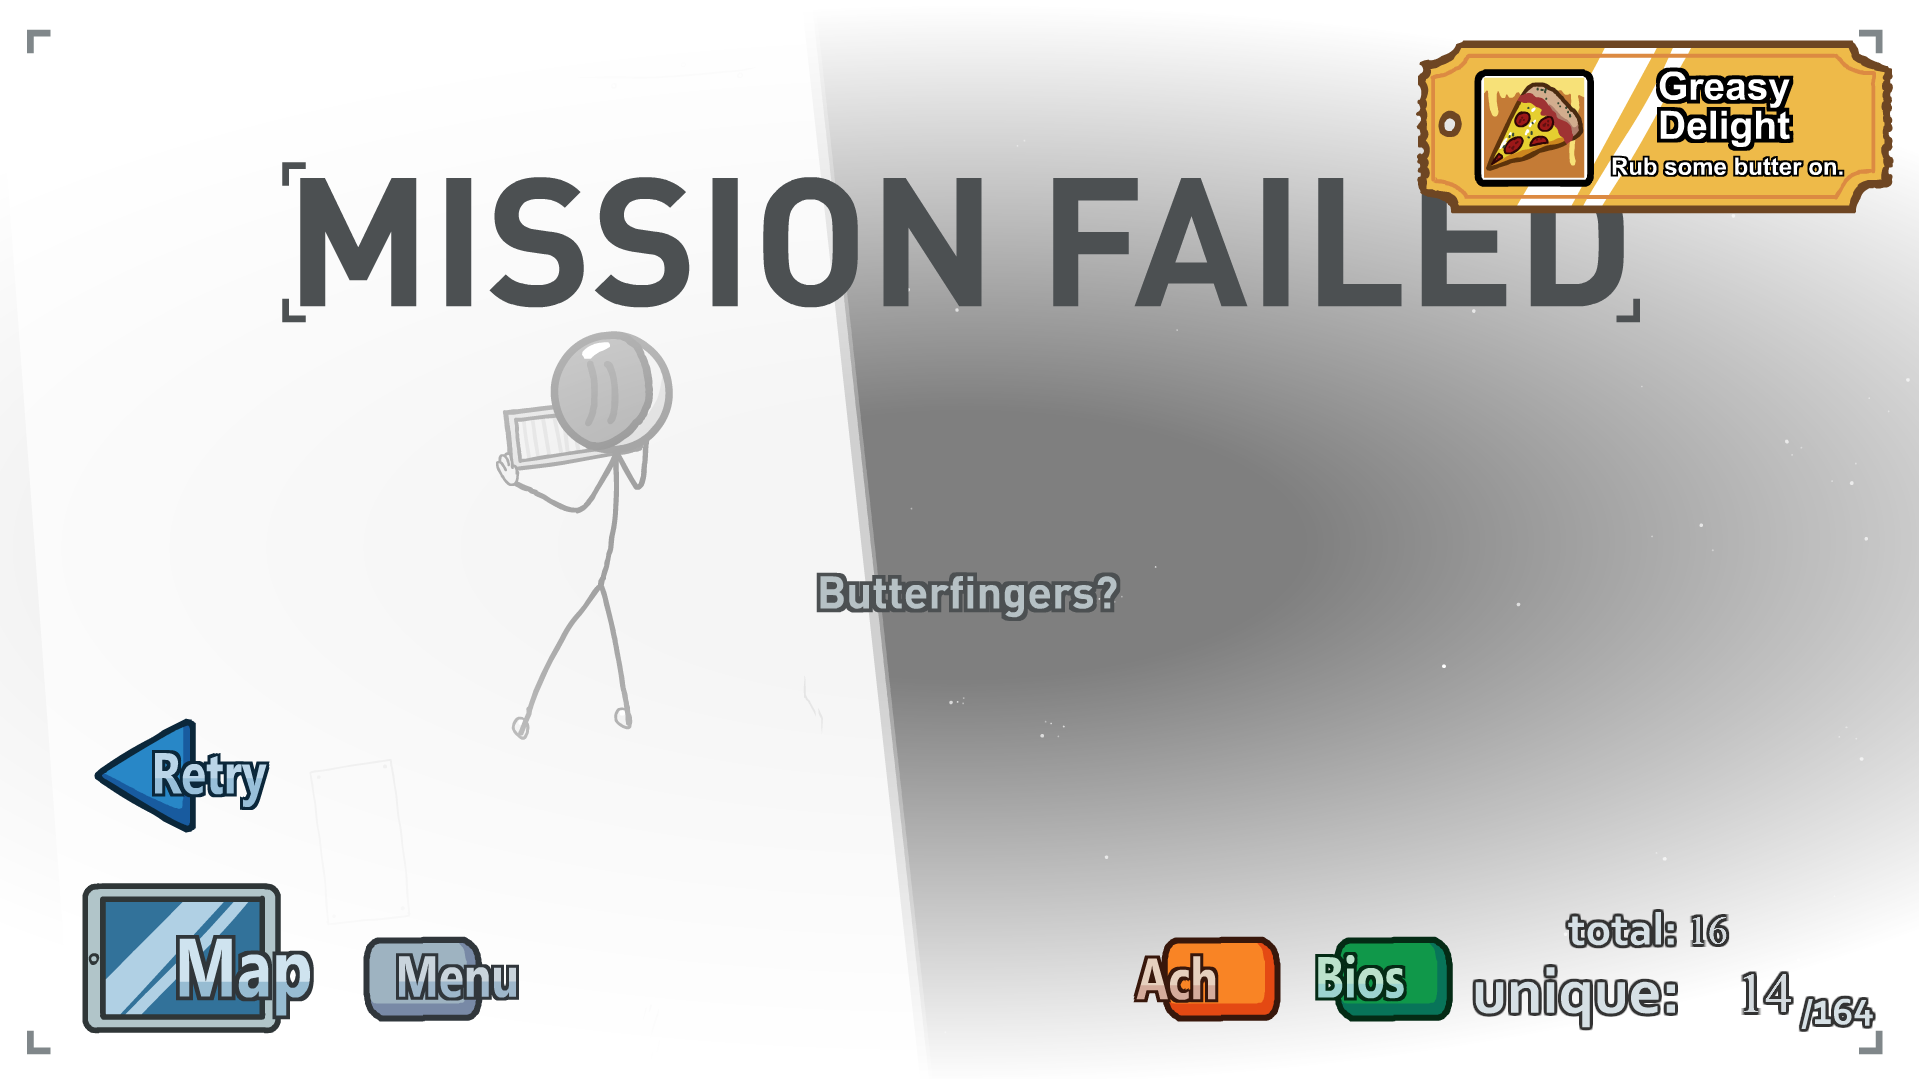
 No lock, no problem.
Free Man path (2nd from top on left)
In Orbital Cell (Still), choose Lockpick 6 times.
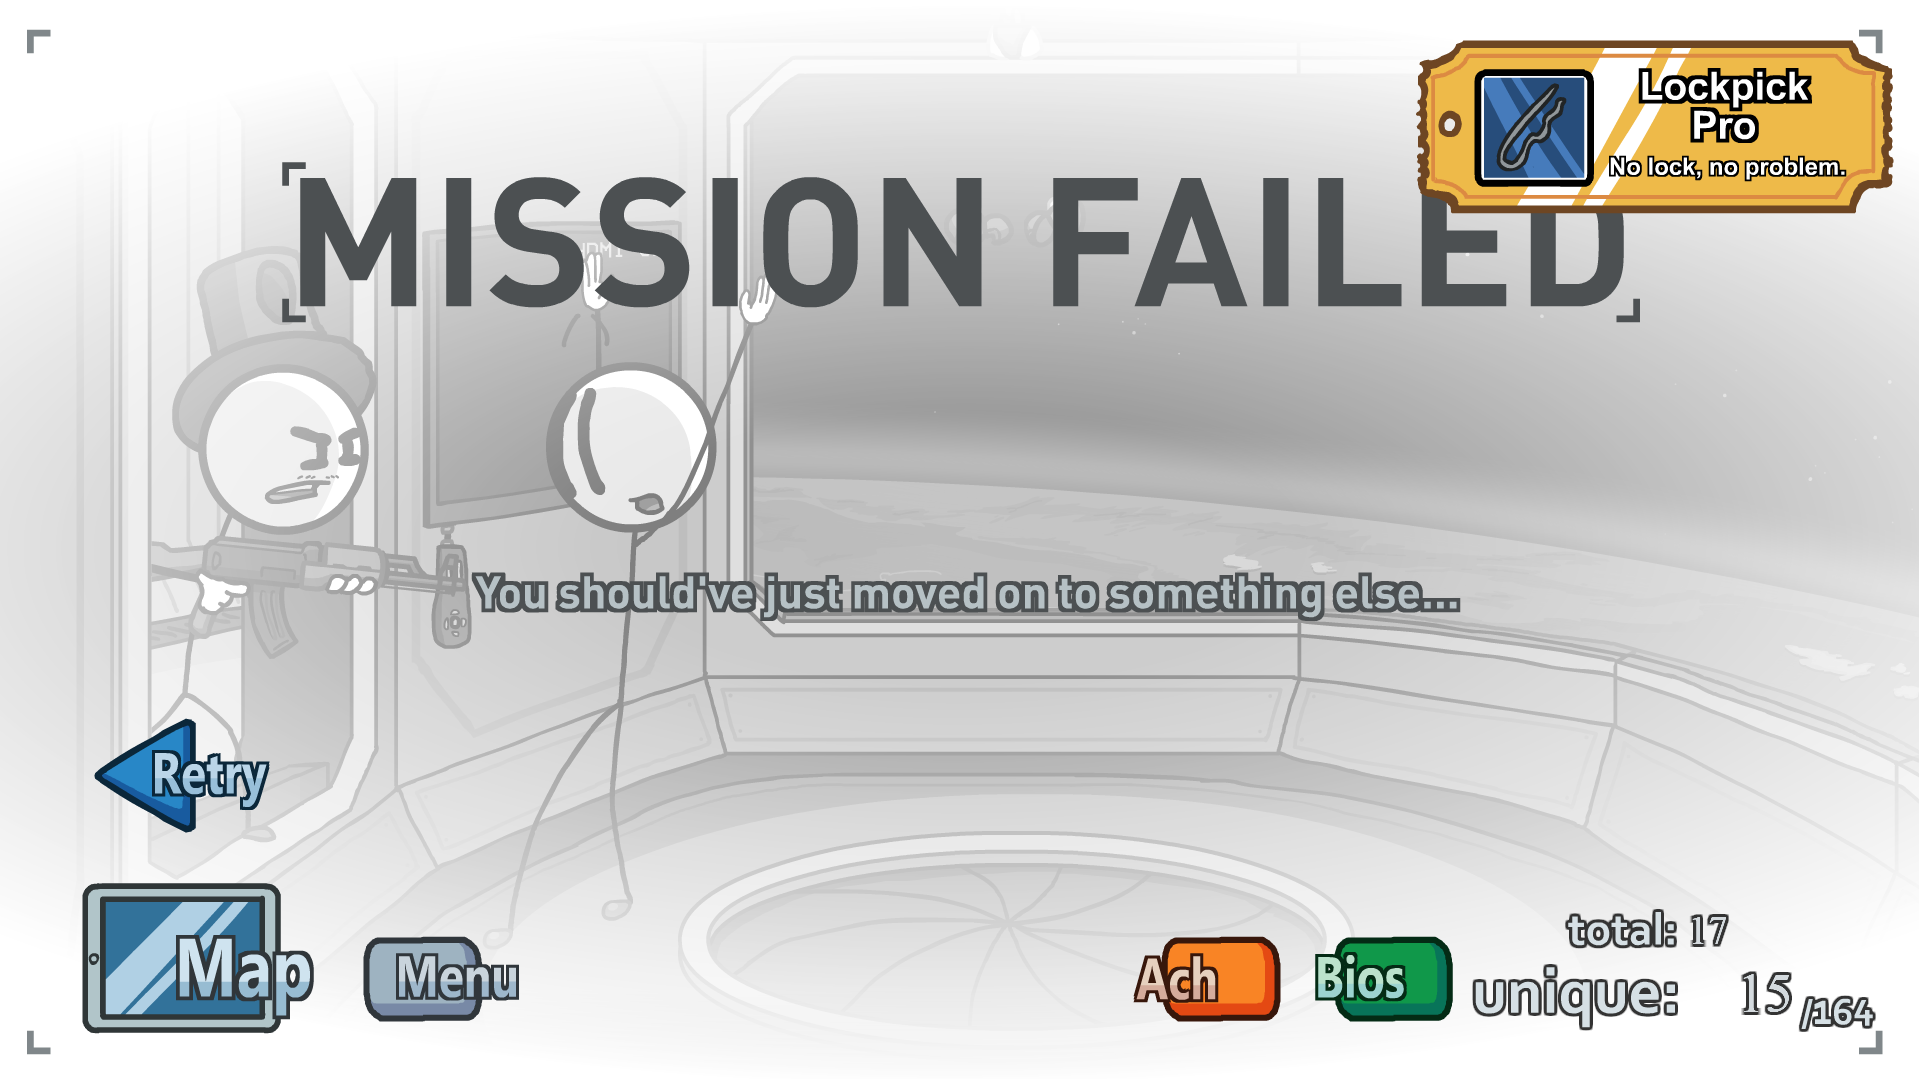
 Hee Hee Hee haha!
Triple Threat path (4th from top on left)
In Rocket Boarding: Last Call, choose Swap 6 times.
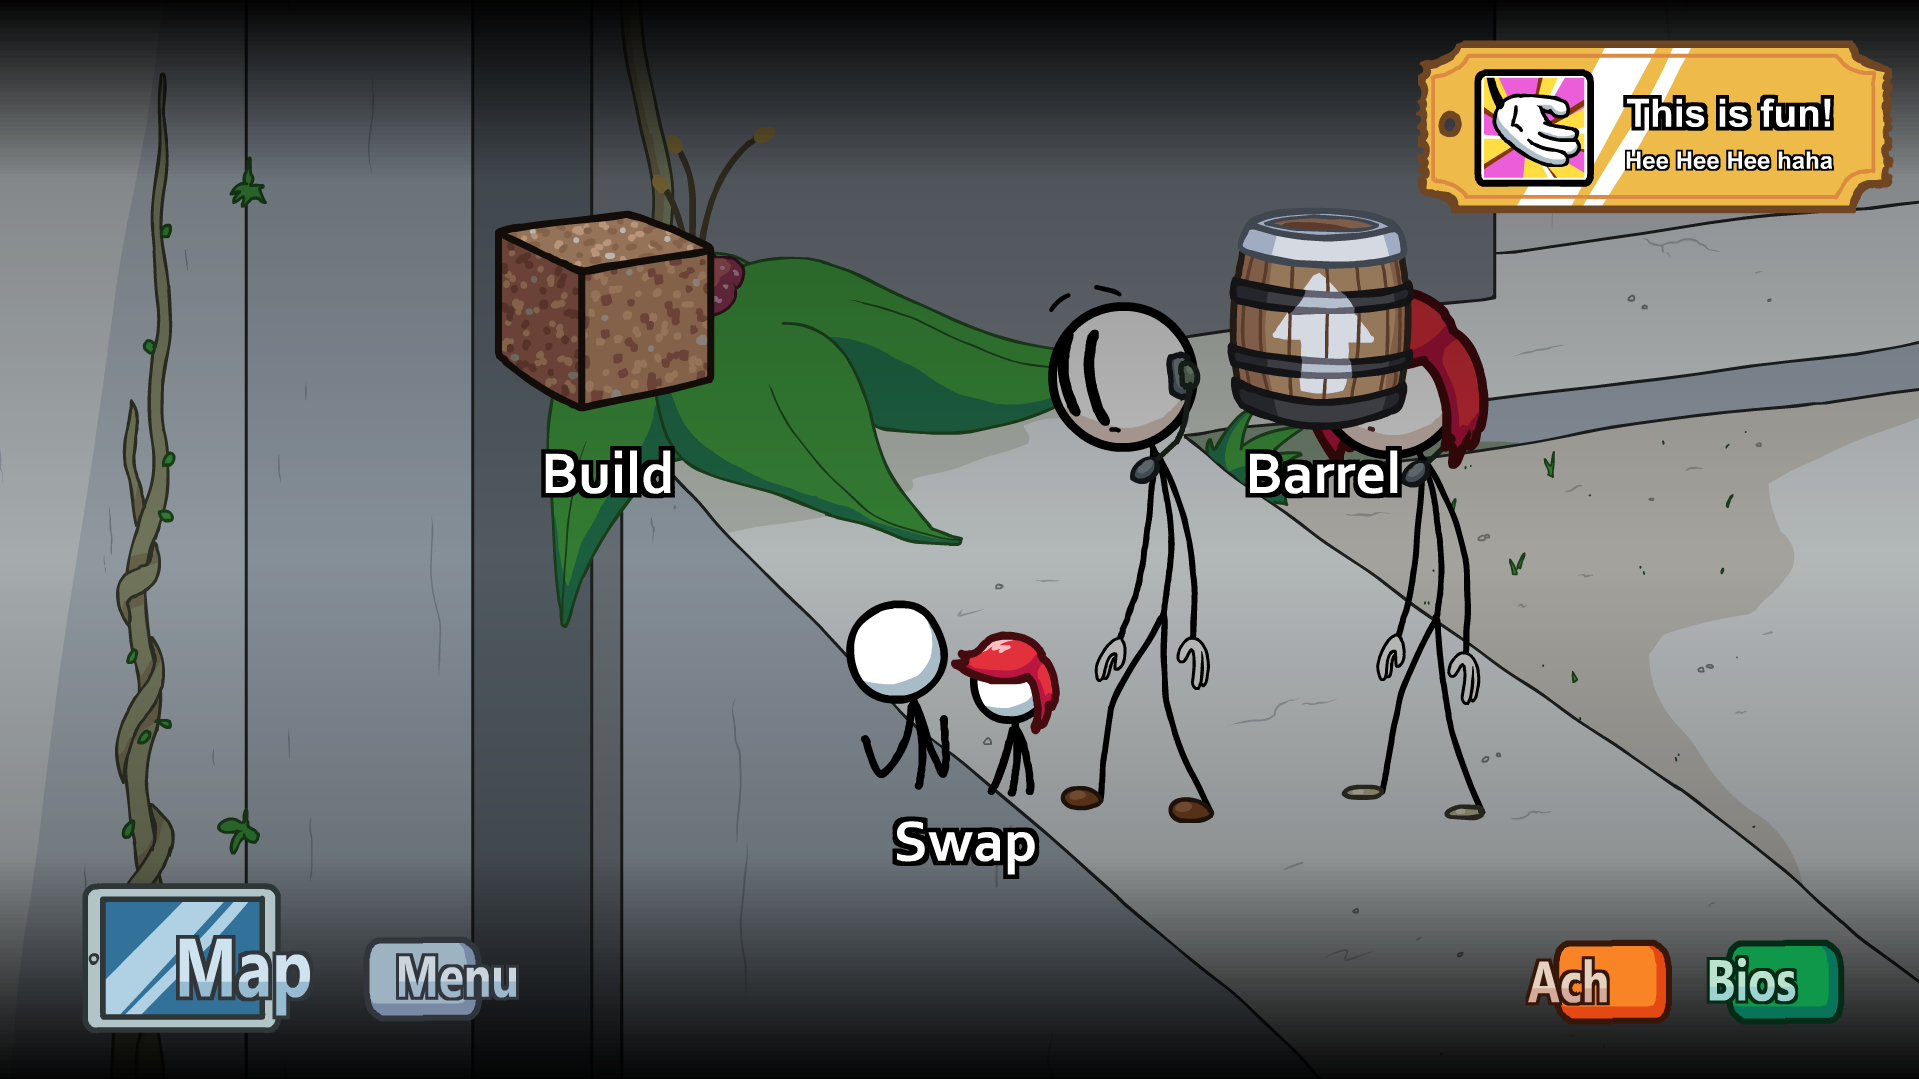
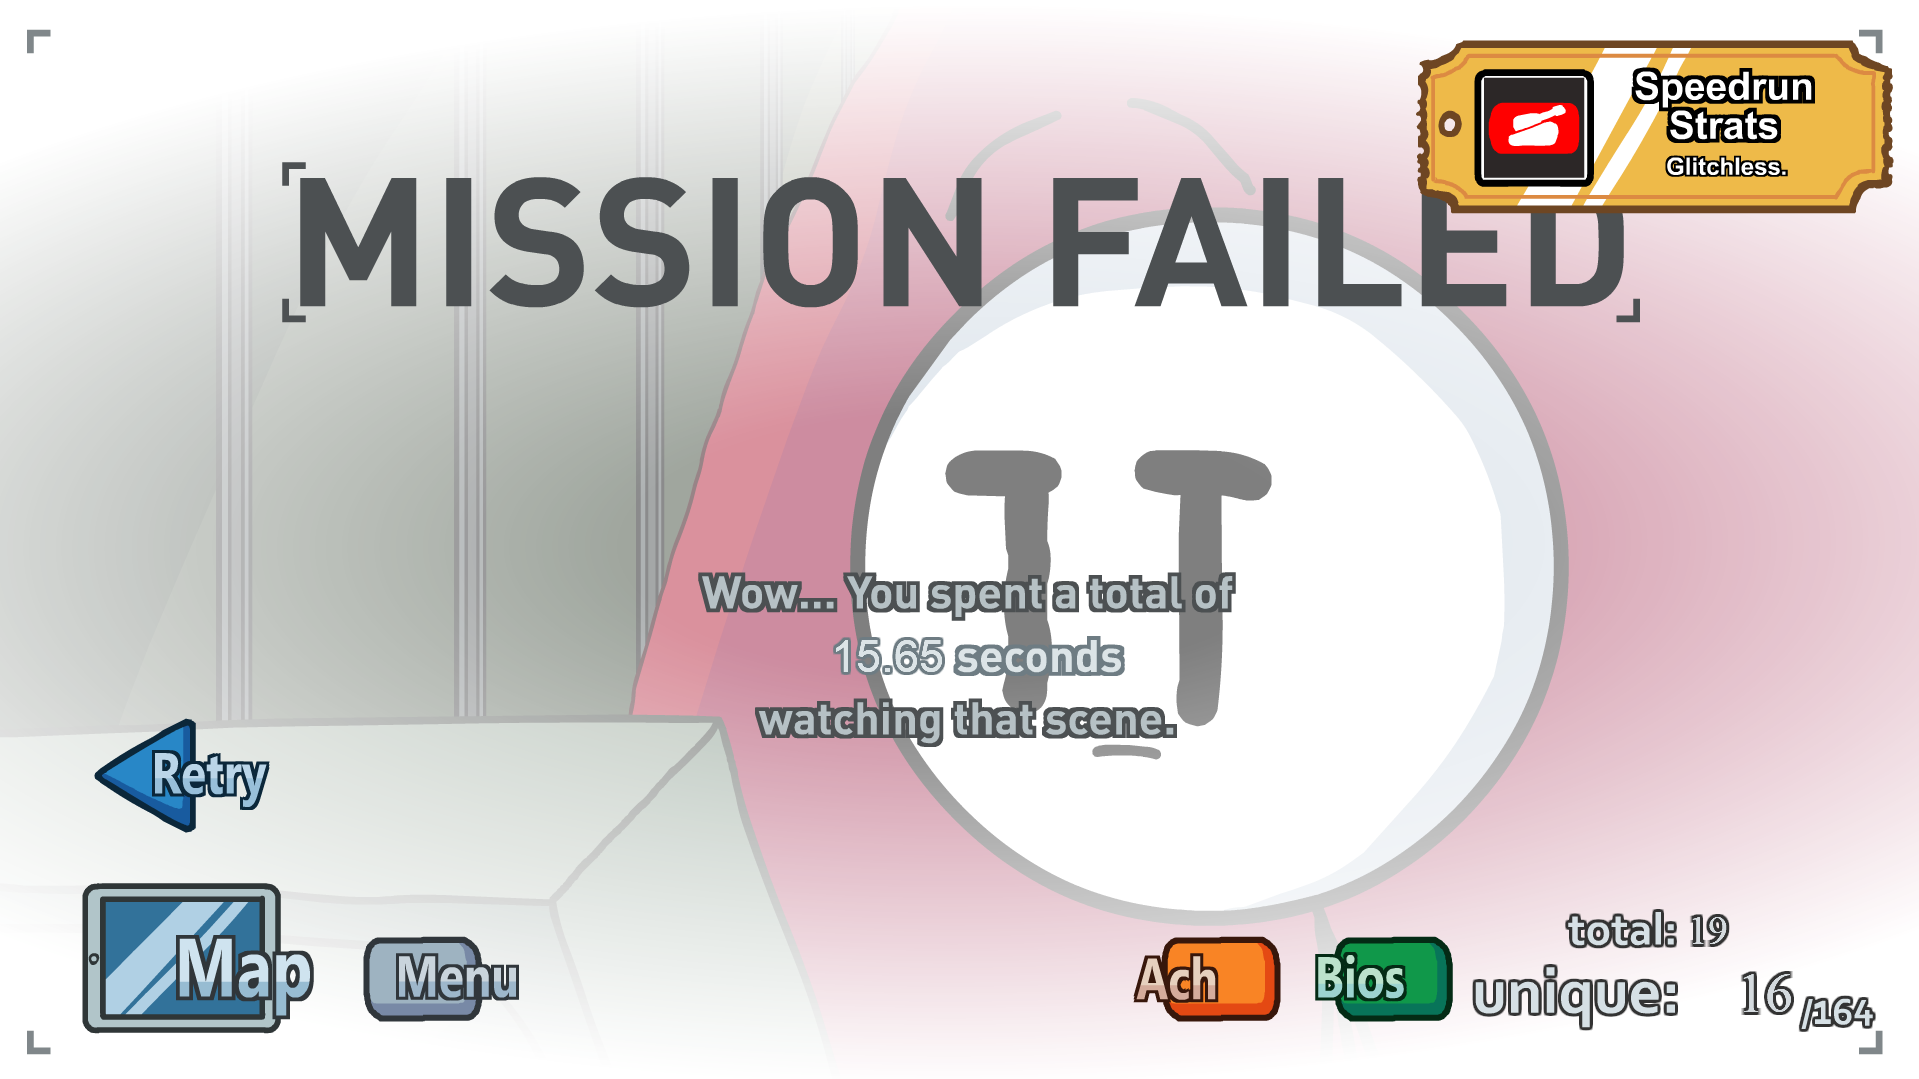
 Glitchless.
Toppat 4 Life path (2nd from top on right)
In Secret Weapon, choose Walkthrough and spamclick, after 15 seconds you get achivment.
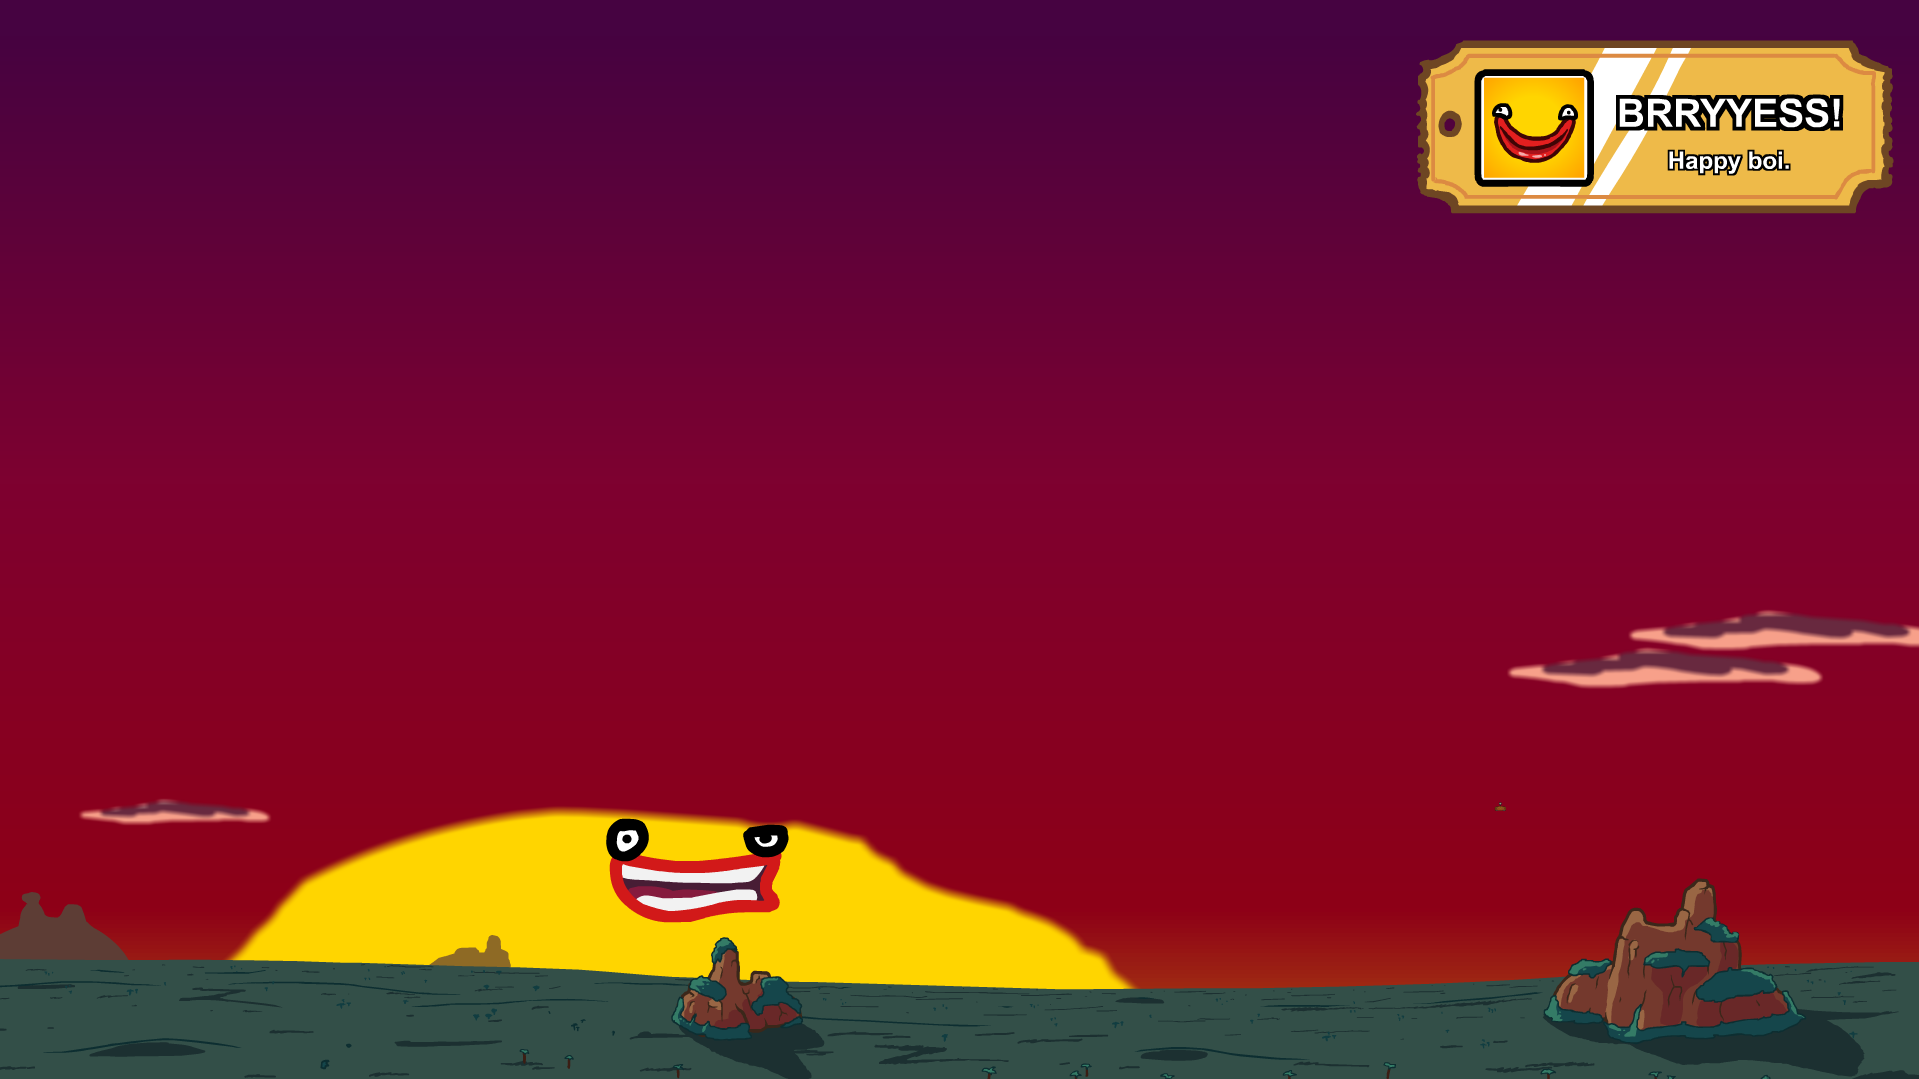
 Happy boi.
Capital Gains path (7th from top on right)
In The Floating Cart, choose Wombo Combo and click the Sun in ending cutscene.
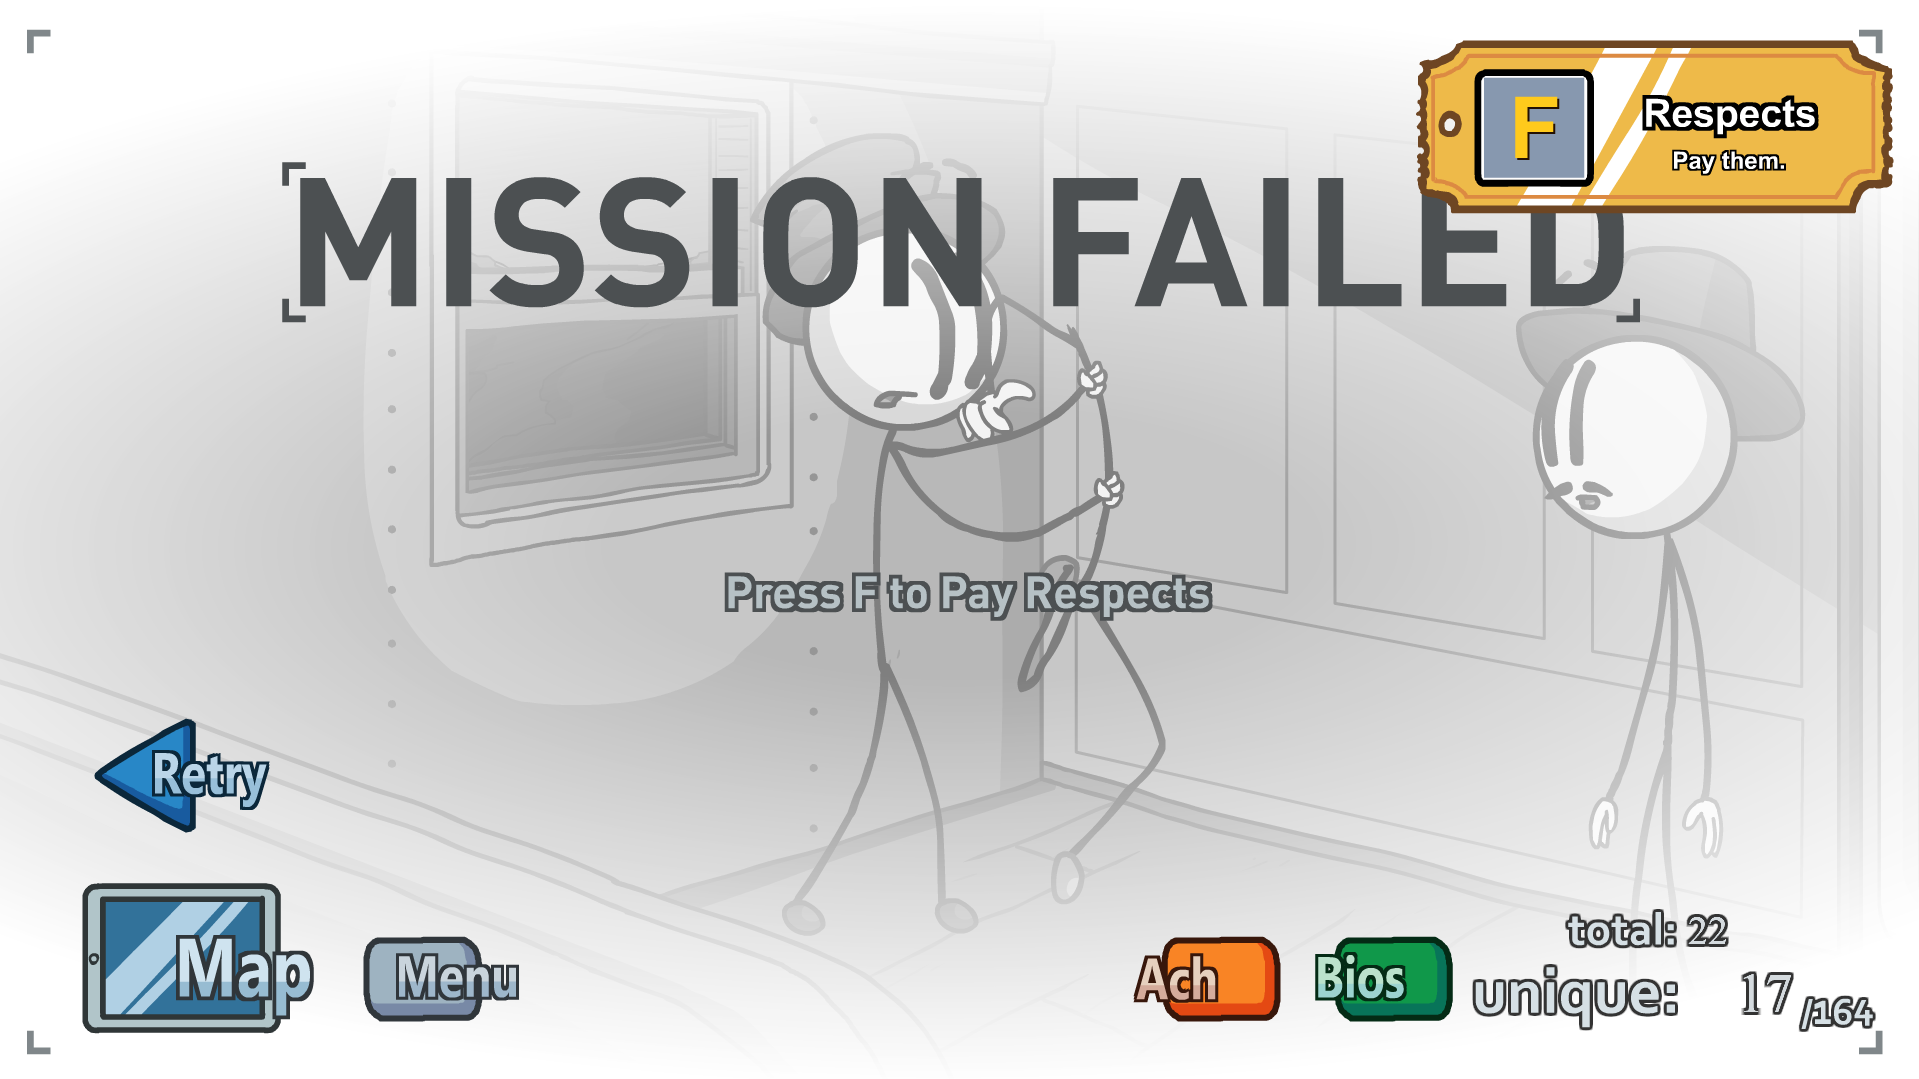
 Pay them.
Cleaned 'em Out path (3rd from top on right)
In Passenger Car, choose Mannequin and press F key when the failure message appears or click the F in the message itself.
 Anomaly detected.
You need to get all Endings and Unique Fails in entire game
Then Toppat 4 Life path (2nd from top on right)
In CCC Mobile Unit, remove sticky notes and press Button to Fix Multiverse Imbalance.
Beat The Henry Stickmin Collection's achievements?
Flex it — let your friends know you pulled it off.
- 100% Guide for Henry Stickmin★ 5 (2.5k)52k views3.6k ♥30 minUpdated Sep 24, 2025
- 100% achivment guide★ 5 (684)29k views1.4k ♥8 minUpdated Jan 10, 2023
- DEFINITIVE 100% achievement guide for Henry Stickmin Collection★ 5 (383)23k views516 ♥1 minUpdated Apr 29, 2021
- Red/Secret Achievements Guide★ 5 (561)22k views923 ♥4 minUpdated Aug 8, 2020
- Все достижения The Henry Stickmin Collection★ 5 (743)18k views1.6k ♥15 minRussianUpdated Jul 26, 2025
- Bios Guide★ 5 (258)16k views435 ♥5 minUpdated Aug 23, 2020




- Upgrading to PremiumTeam Fortress 2★ 5 (20k)1441k views11k ♥6 minUpdated May 11, 2022
- No More Room in Hell Official ManualNo More Room in Hell★ 5 (2.8k)569k views2.1k ♥29 minUpdated Apr 22, 2019
- NMRiH Community Hosting GuidesNo More Room in Hell★ 5 (526)351k views653 ♥1 minUpdated Aug 10, 2022
- ULTIMATE GUIDE FOR GAME DEV TYCOONGame Dev Tycoon★ 5 (5.8k)326k views10k ♥4 minUpdated 23 Jan, 2014
- How to 'Git Gud' Soon™MORDHAU★ 5 (2k)318k views3k ♥68 minUpdated Nov 16, 2024
- Лучшие кооперативные игры SteamPAYDAY 2★ 5 (1.5k)315k views2.1k ♥56 minRussianUpdated Apr 27, 2025






This guide was created by its original author on the Steam Community. Are you the author and want it removed? Request removal.