Creating a mod.pack using PFM in 4 easy steps
Links
Pack File Manager (PFM) can be found here[www.twcenter.net]
For assistance with your mod, be sure to visit the Mod Workshop[www.twcenter.net] at TWC
Content
Step 1: Add a new personal mod in PFM
File -> MyMods -> New. Enter the name and location that you want to store it. (IMPORTANT: Do not put any spaces in this name or the official mod manager will not install your mod when it comes time to use it)
-- When you have a mod selected under MyMods, extracted files are automatically added to the specified mod pack
Step 2: Import required files into your mod
The next step after naming and locating your mod, is to choose what it contains. Open the relevant official pack (more than likely: data_rome2.pack) and PFM will pop out a new window for you to choose the files from. Double click on the files you want to include in your mod, and hit OK when you are done.
Step 3: Make your changes
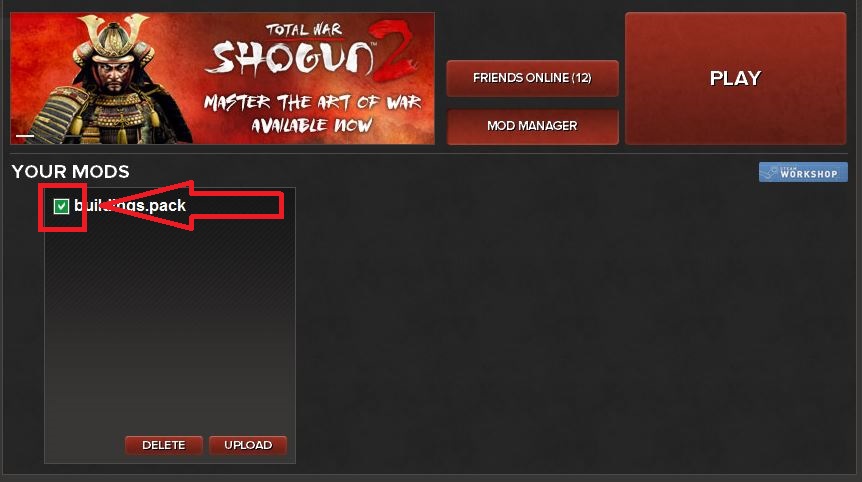
Step 4: Install your mod
UPDATE
With the addition of the official mod manager, manually editing the user.script file and/or PFM's install function no longer works as a reliable method of installing a mod.
- The Noob's Guide To: Taking A City Without Going Into "Total War"★ 5 (758)57k views667 ♥4 minUpdated Aug 15, 2021
- Rome 2: Formations (unit control tips)★ 5 (1k)49k views1.5k ♥5 minUpdated Sep 21, 2013
- ROME 2... EMPEROR EDITION. Easy public order and money income guide★ 5 (1.4k)47k views2.9k ♥33 minUpdated Feb 1, 2019
- A Comprehensive Guide to the Power & Politics System★ 5 (575)45k views1.1k ♥13 minUpdated Jul 5, 2018
- The one and only mod list for Rome II★ 5 (649)44k views1.6k ♥7 minUpdated Oct 19, 2023
- Ancient Roman Battle Formations★ 5 (650)34k views1.1k ♥38 minUpdated Mar 31, 2015



- Upgrading to PremiumTeam Fortress 2★ 5 (20k)1441k views11k ♥6 minUpdated May 11, 2022
- No More Room in Hell Official ManualNo More Room in Hell★ 5 (2.8k)569k views2.1k ♥29 minUpdated Apr 22, 2019
- NMRiH Community Hosting GuidesNo More Room in Hell★ 5 (526)351k views653 ♥1 minUpdated Aug 10, 2022
- ULTIMATE GUIDE FOR GAME DEV TYCOONGame Dev Tycoon★ 5 (5.8k)326k views10k ♥4 minUpdated 23 Jan, 2014
- How to 'Git Gud' Soon™MORDHAU★ 5 (2k)318k views3k ♥68 minUpdated Nov 16, 2024
- Лучшие кооперативные игры SteamPAYDAY 2★ 5 (1.5k)315k views2.1k ♥56 minRussianUpdated Apr 27, 2025






This guide was created by its original author on the Steam Community. Are you the author and want it removed? Request removal.