Dishonored: All Coin Locations
Before you started
It's best to knock out or kill everything before loot as it might be hard to stealth in some areas.
Use Mission Stats mod: https://www.nexusmods.com/dishonored/mods/17
It helps me very much that you know you would count coins without this mod. And quicksave often after each coins collected.
Some certain coins will become points of no return and unobtainable, e.g. sleep in your bed, so make sure you've done these areas before proceeding. In addition, walls of light will also destroy pouches carried by any human, rewired or not.
As this guide was played on Low Chaos, powers through the game: Bend Time I+II -> Blink II -> Agility I -> Possession I+II is a must. Dark Vision is optional but if you think coins are so hard to find, then go ahead. Whether chaos and powers is yours.
Although there is no achievement for finding every coin, you can upgrade everything as well as refill your ammo much early rather than you do lately.
Let's start.
Mission 1 - Dishonored (1010)
Points of no return
- Jump into the water from the prison
- Drop down into an area with four guards in the sewers
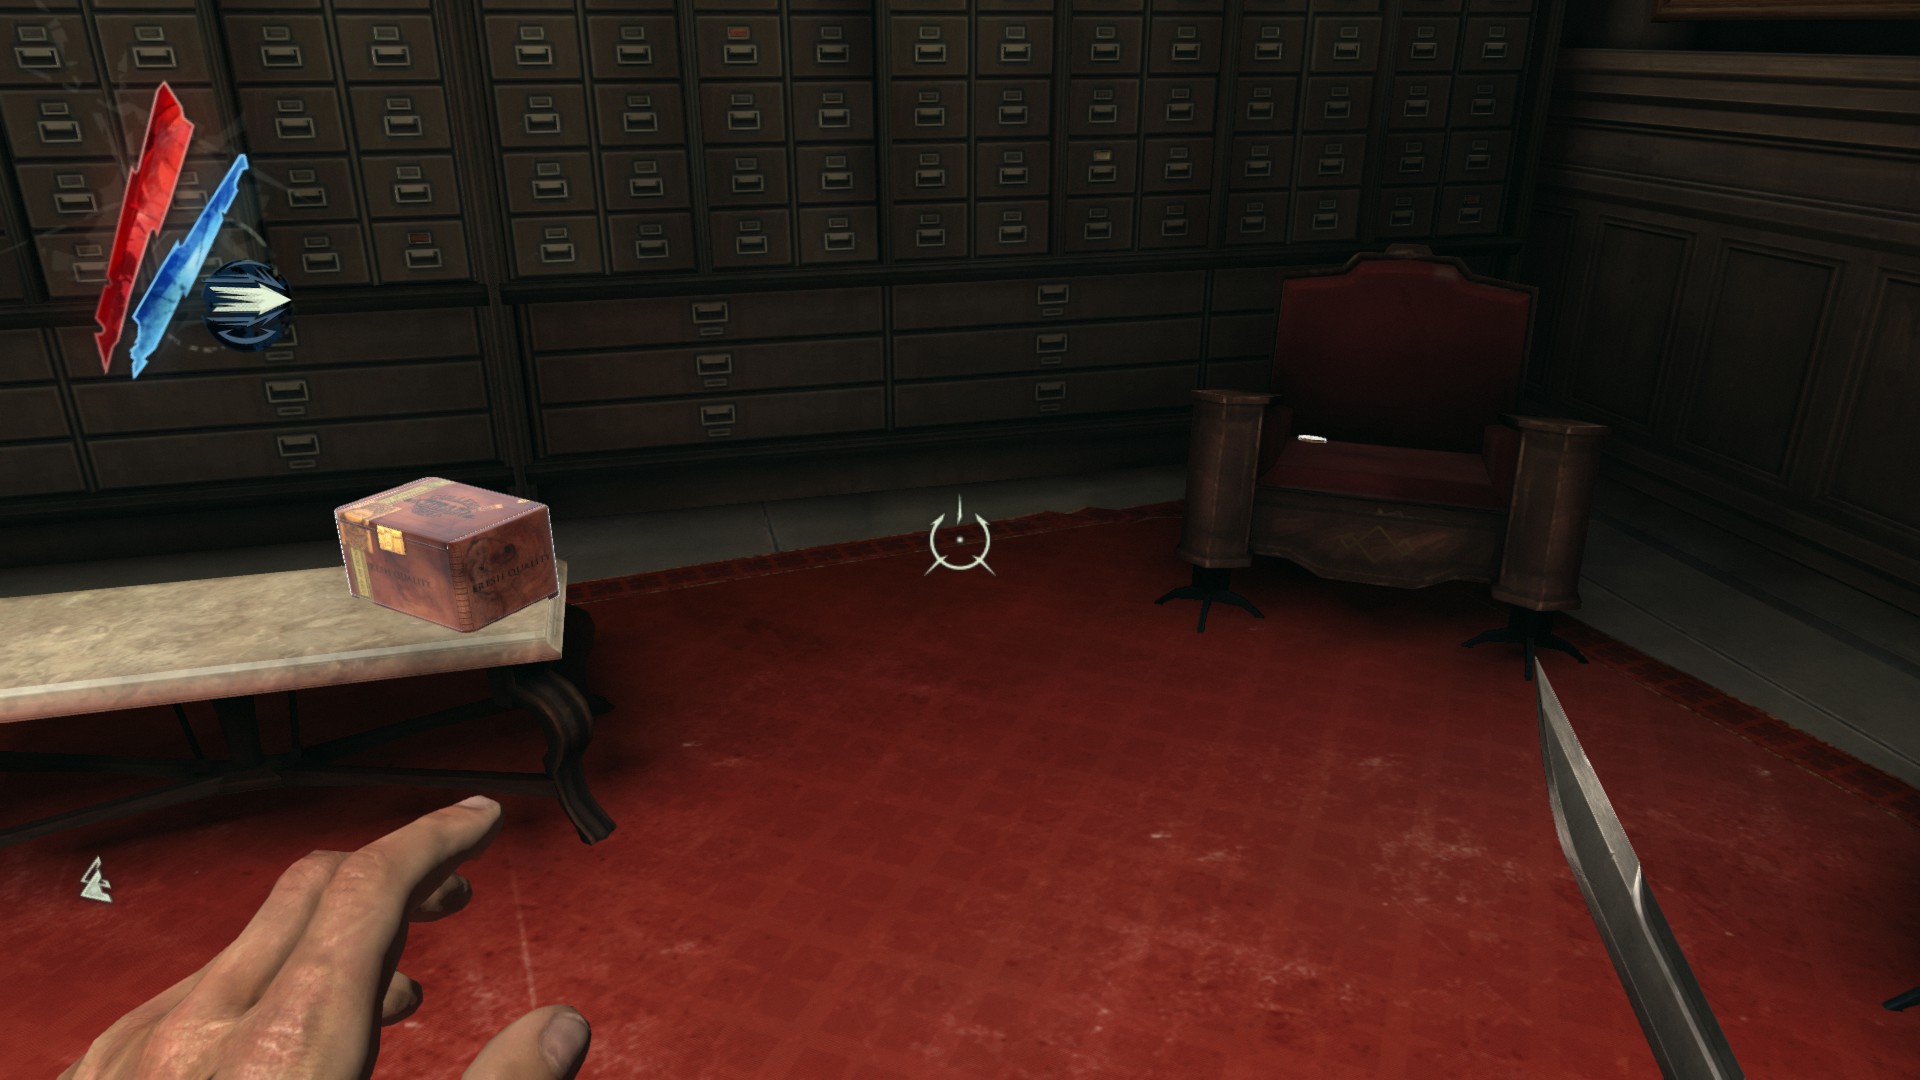
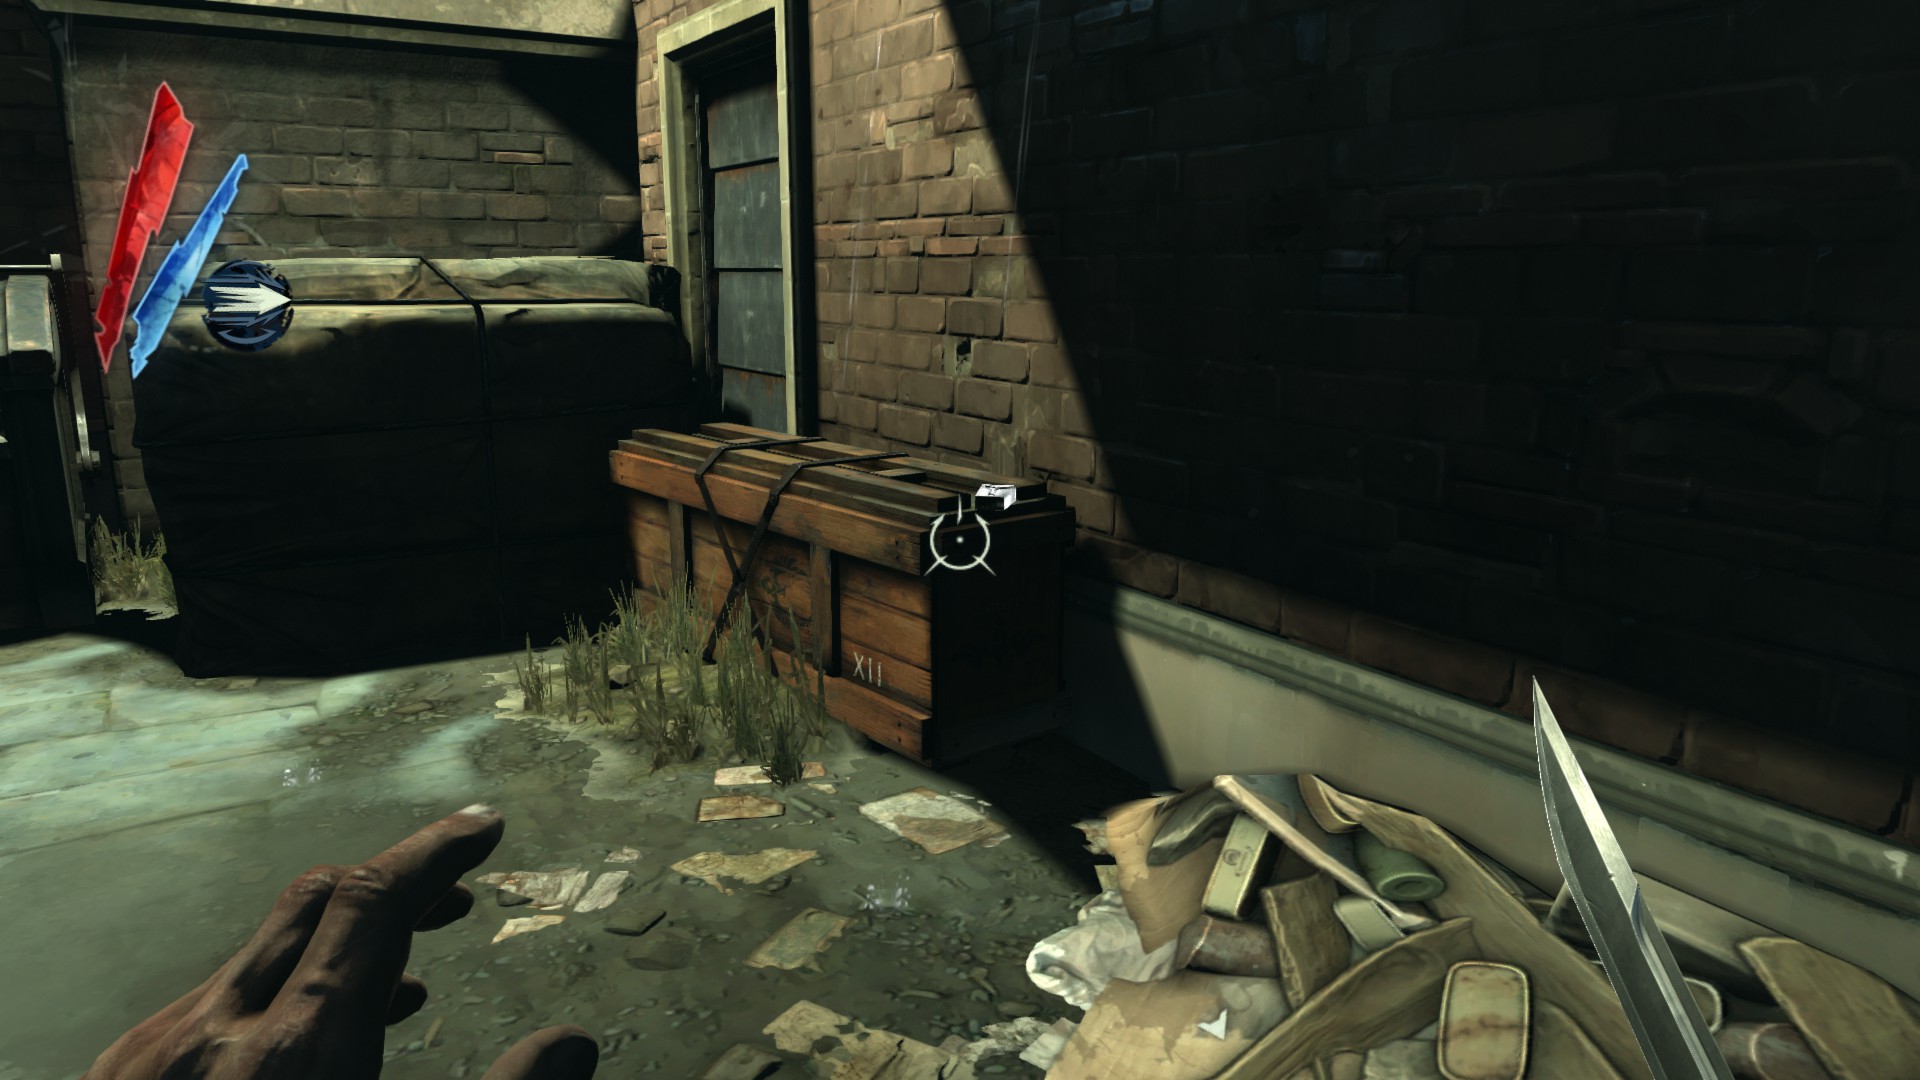
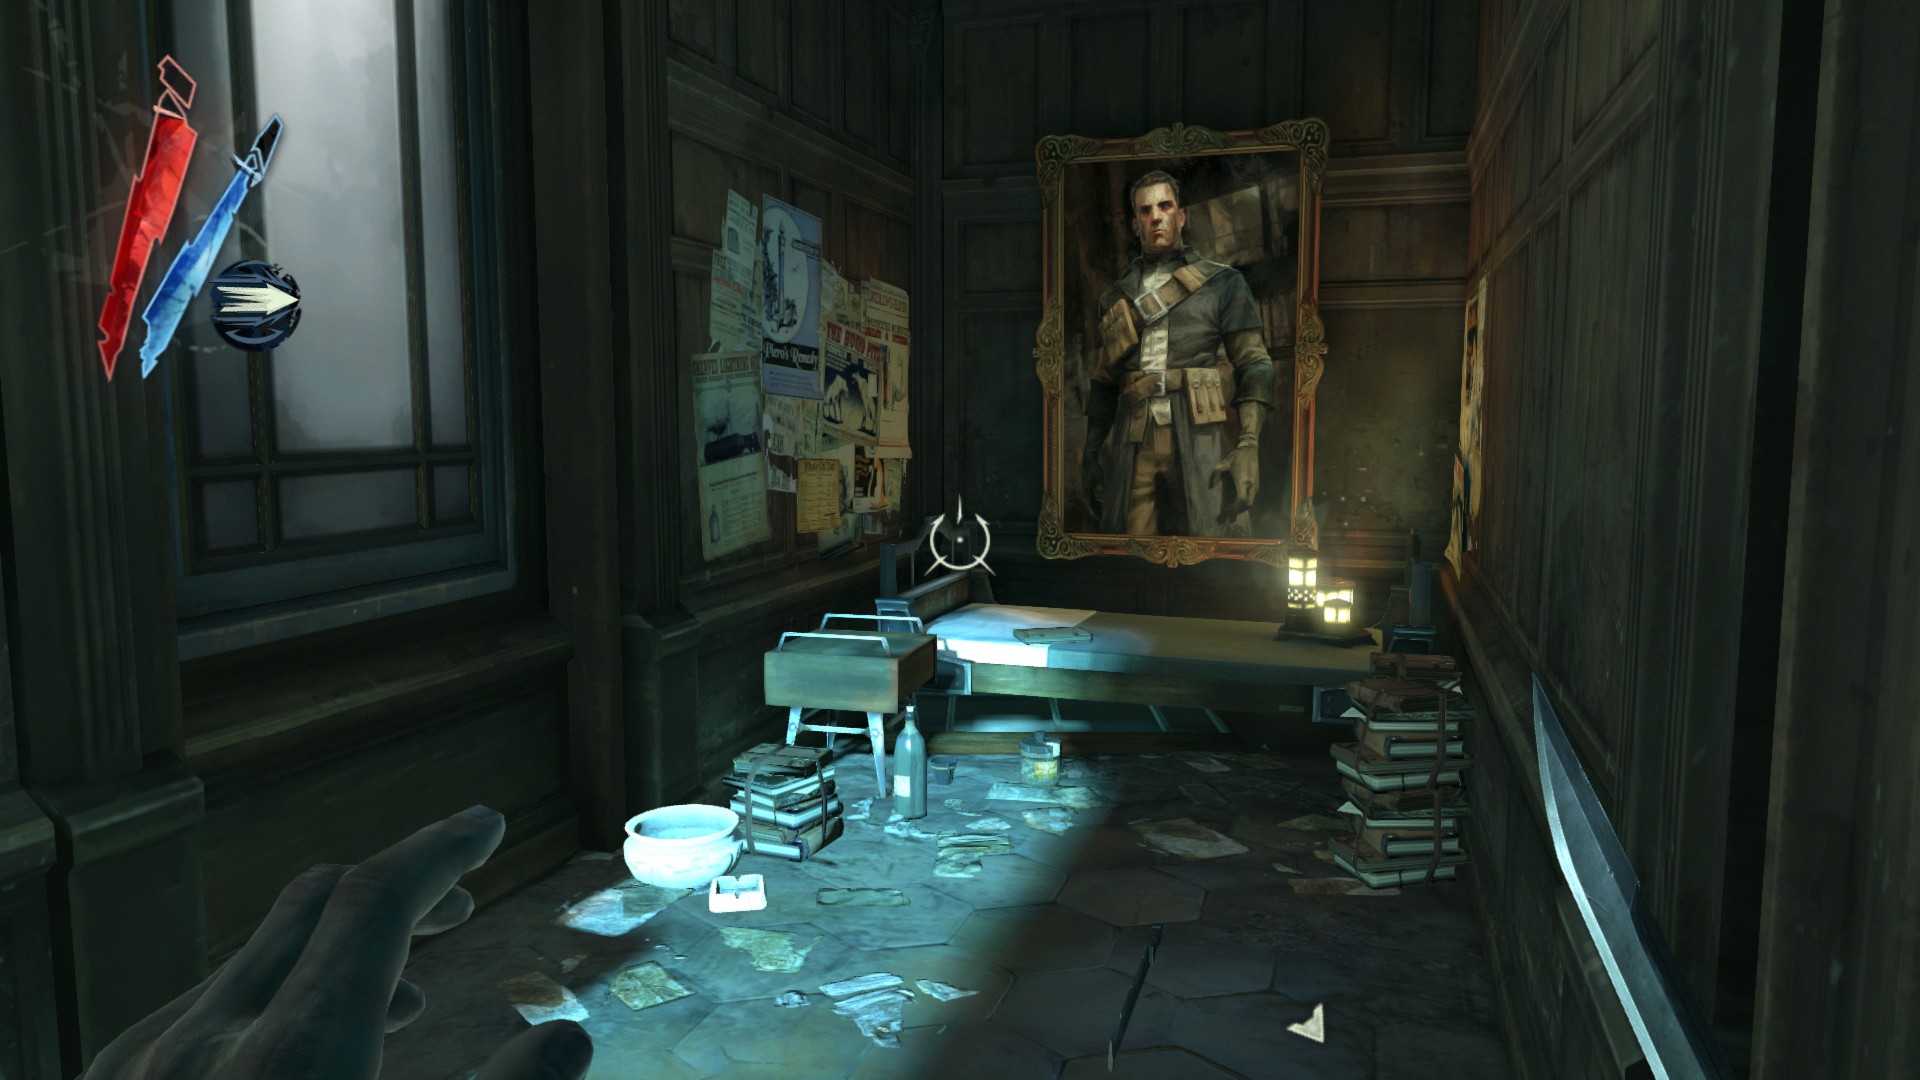
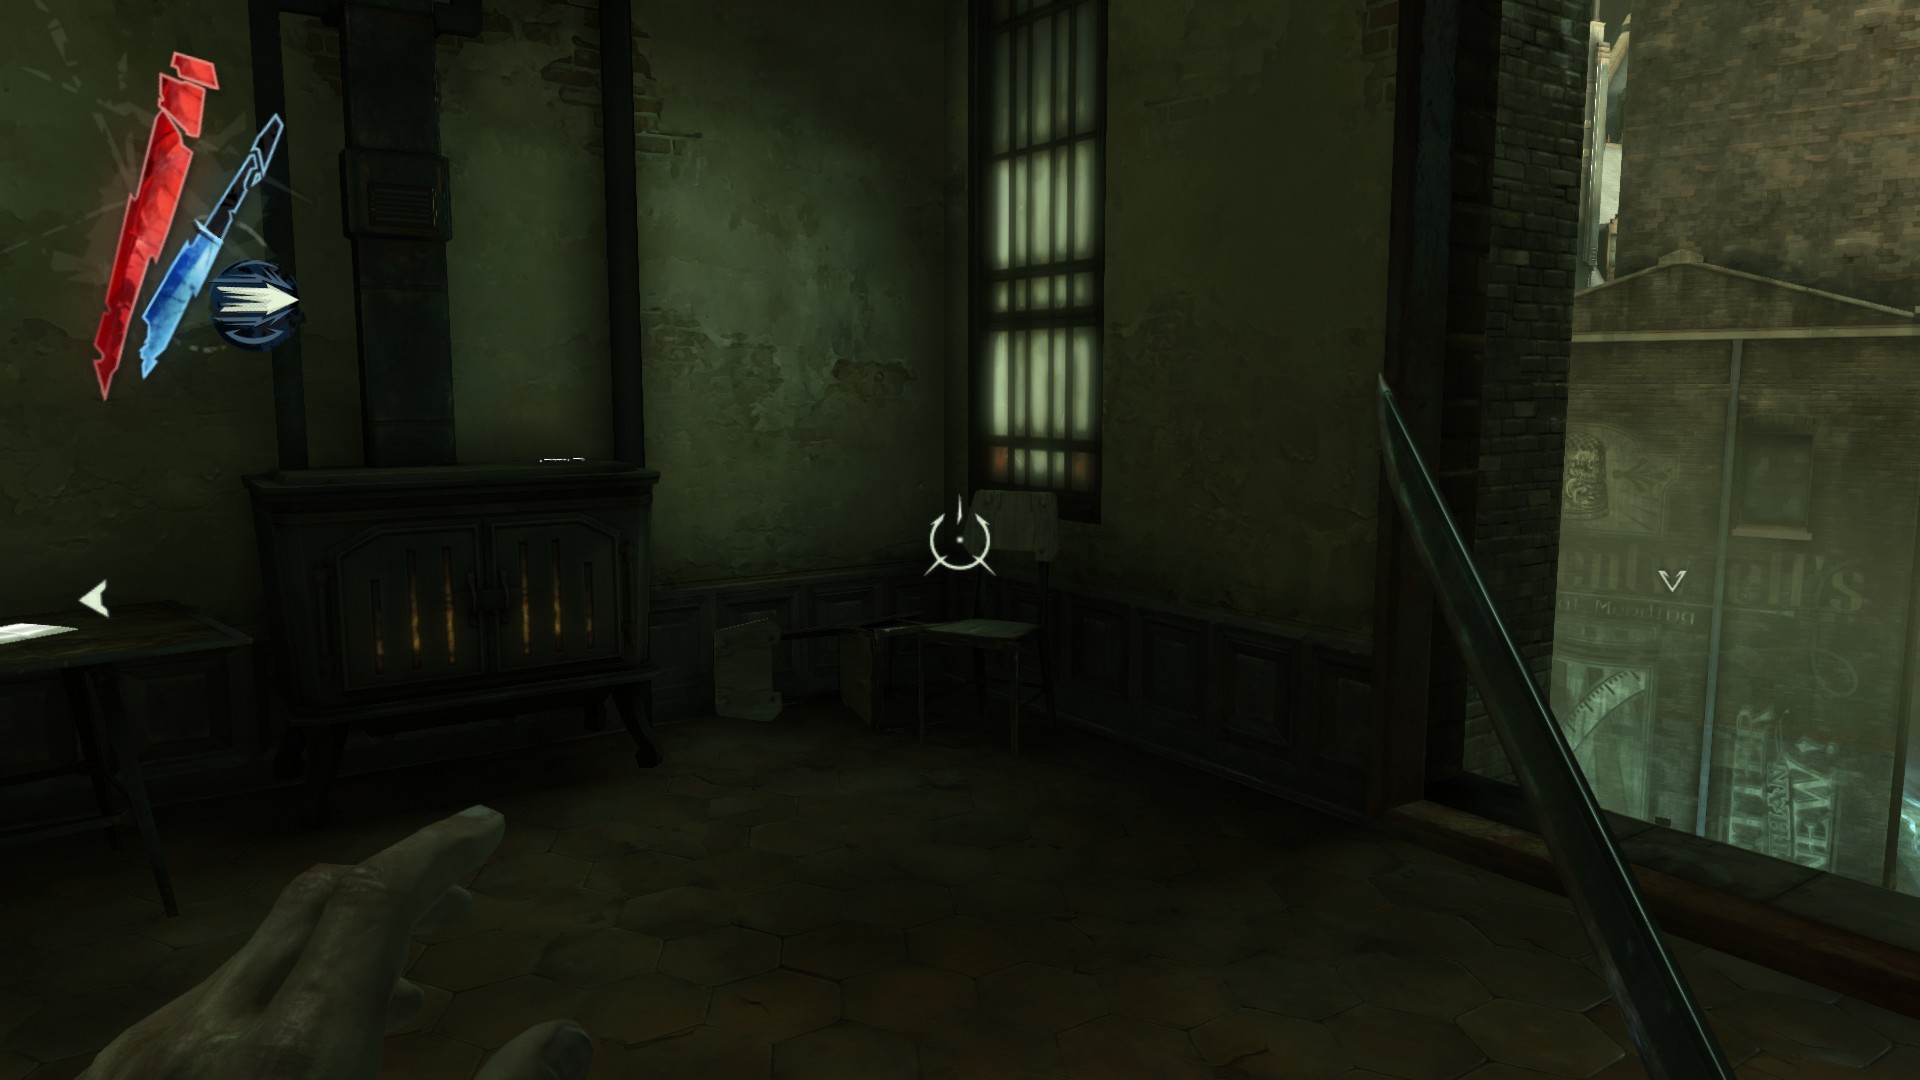
Coldridge Prison
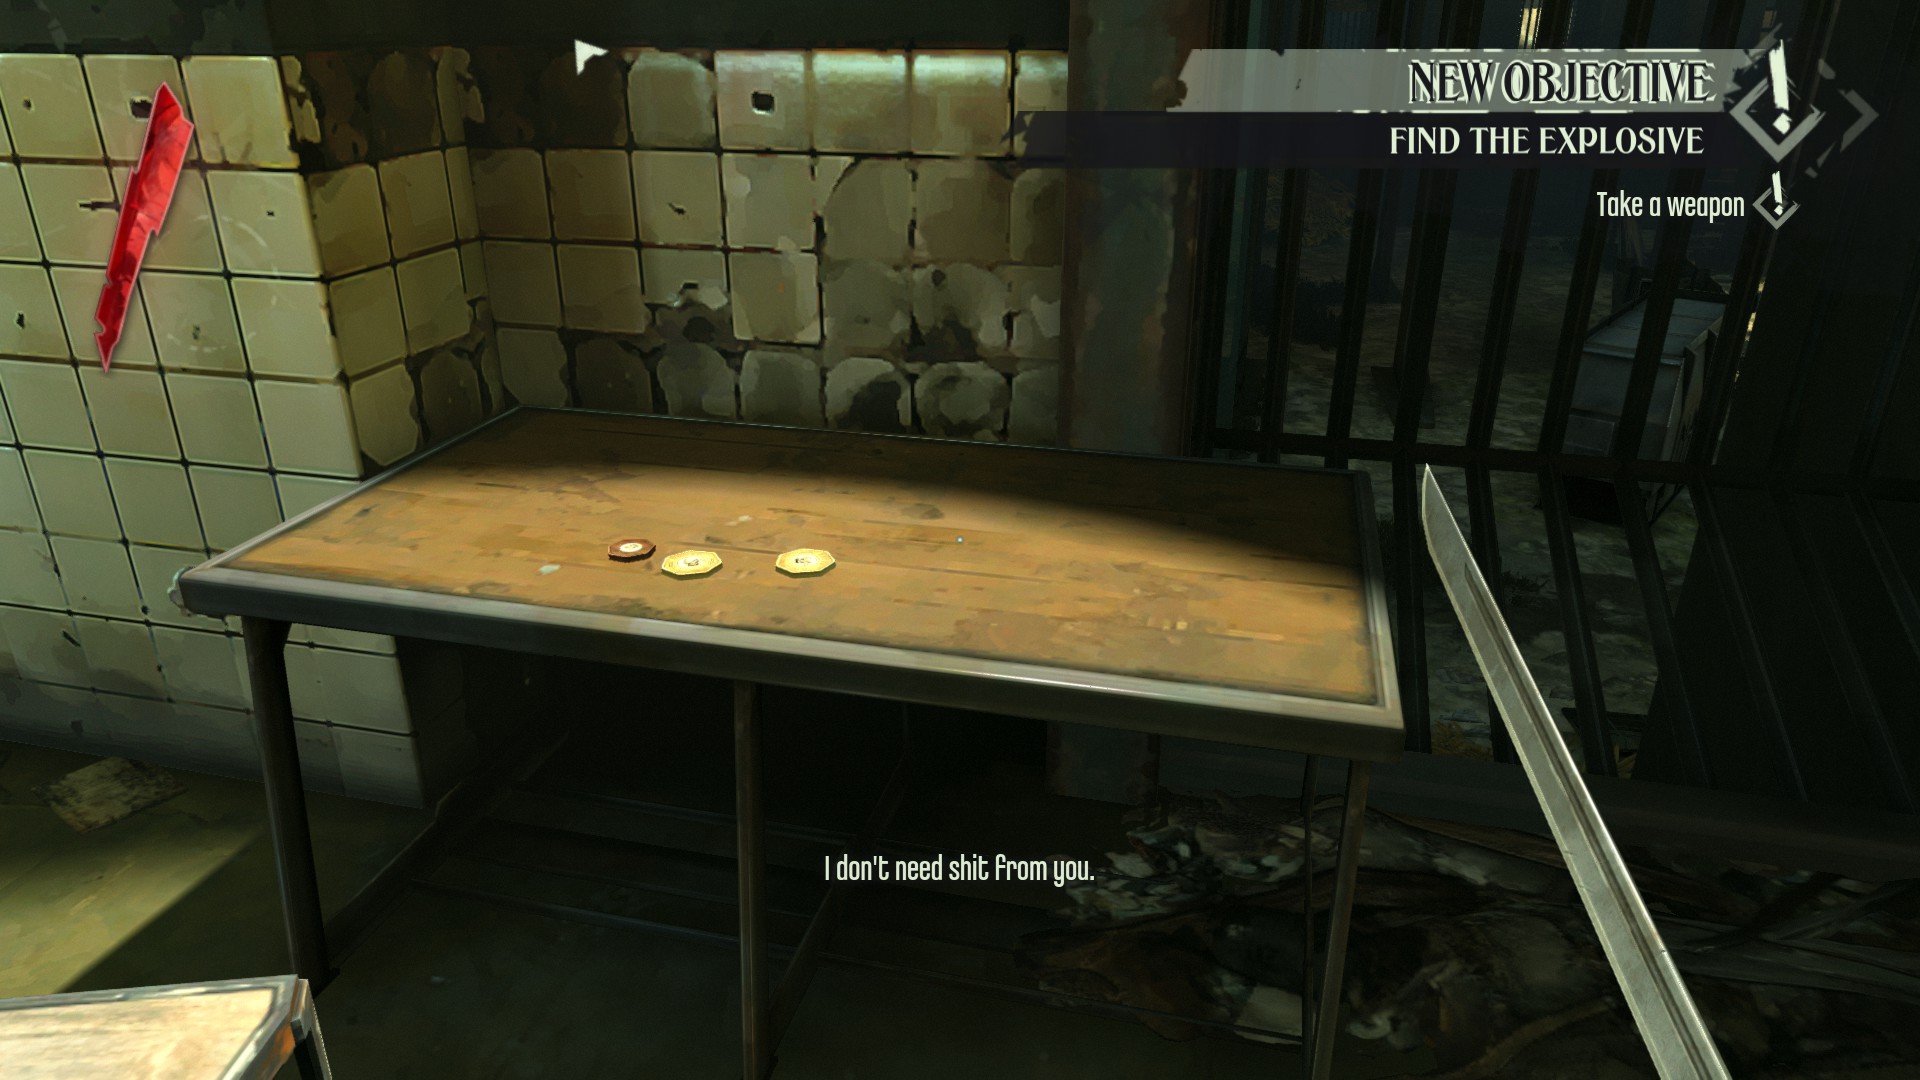
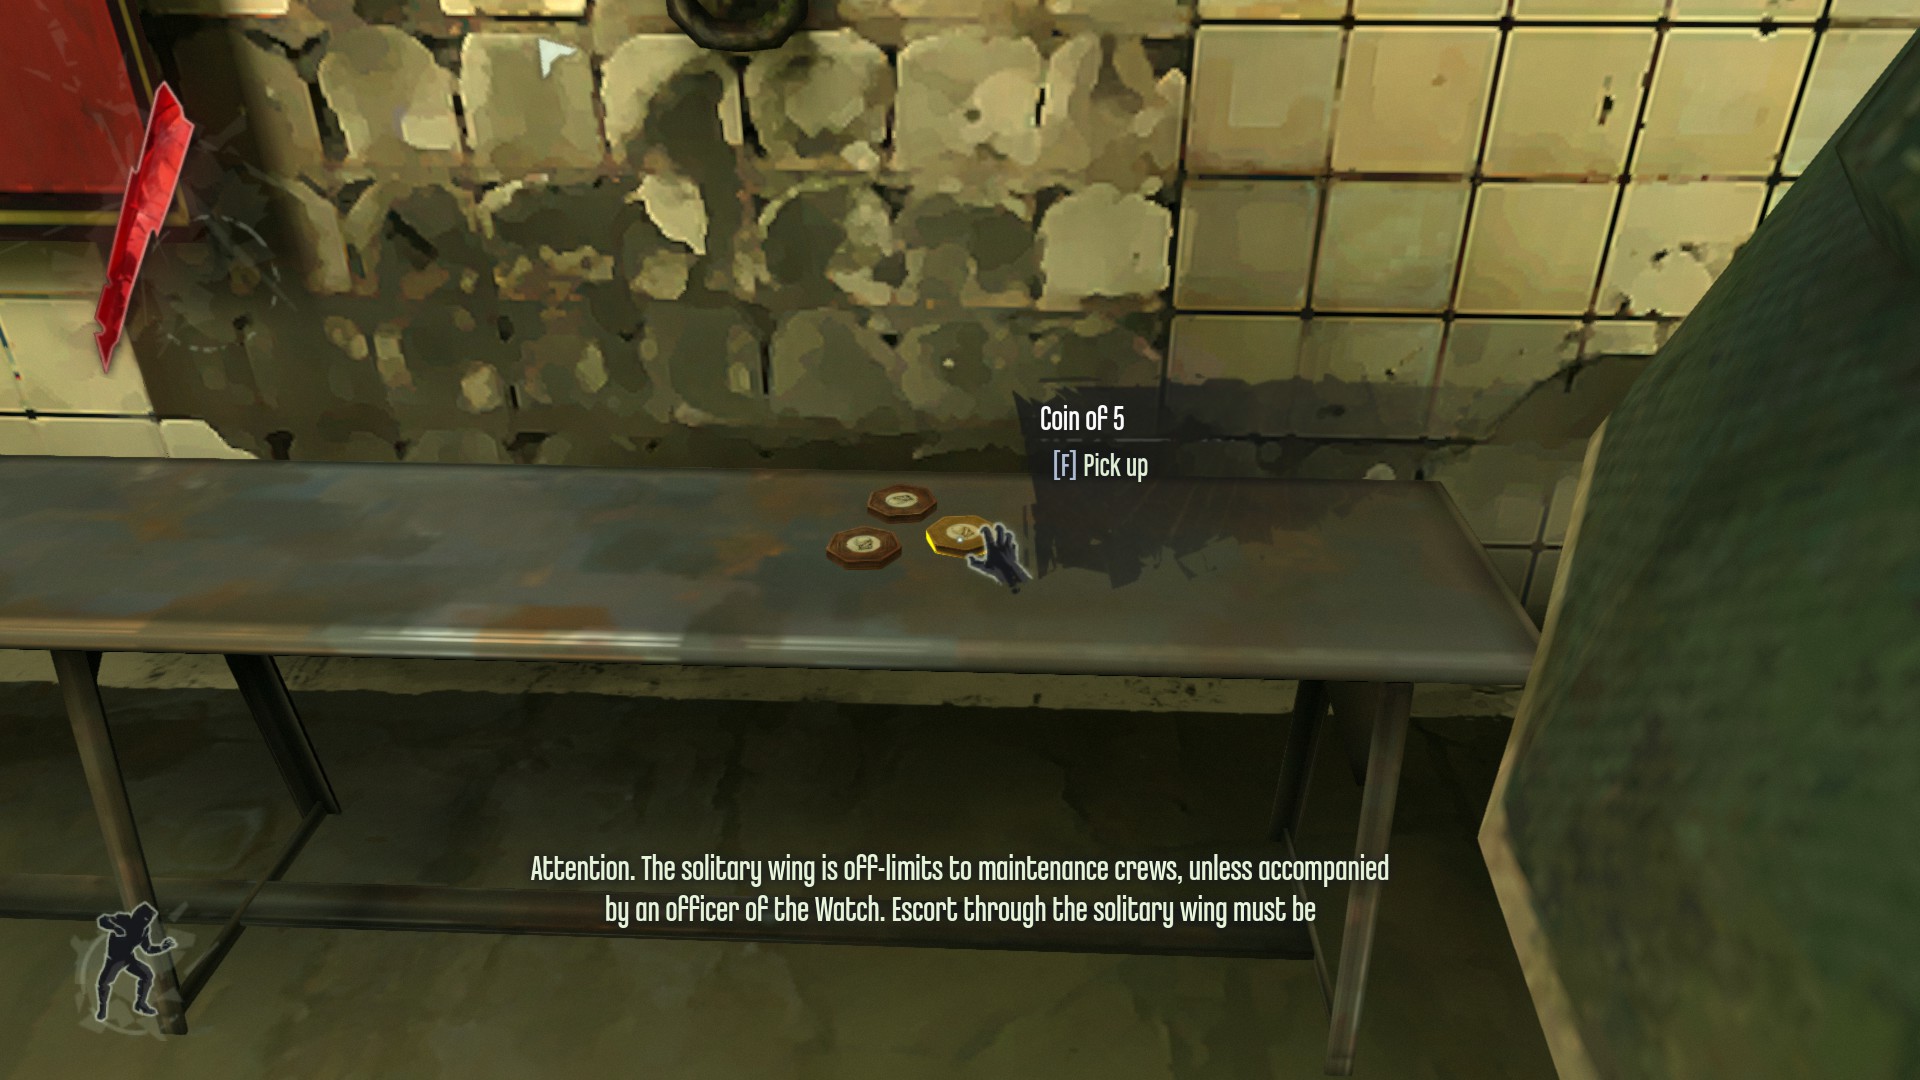
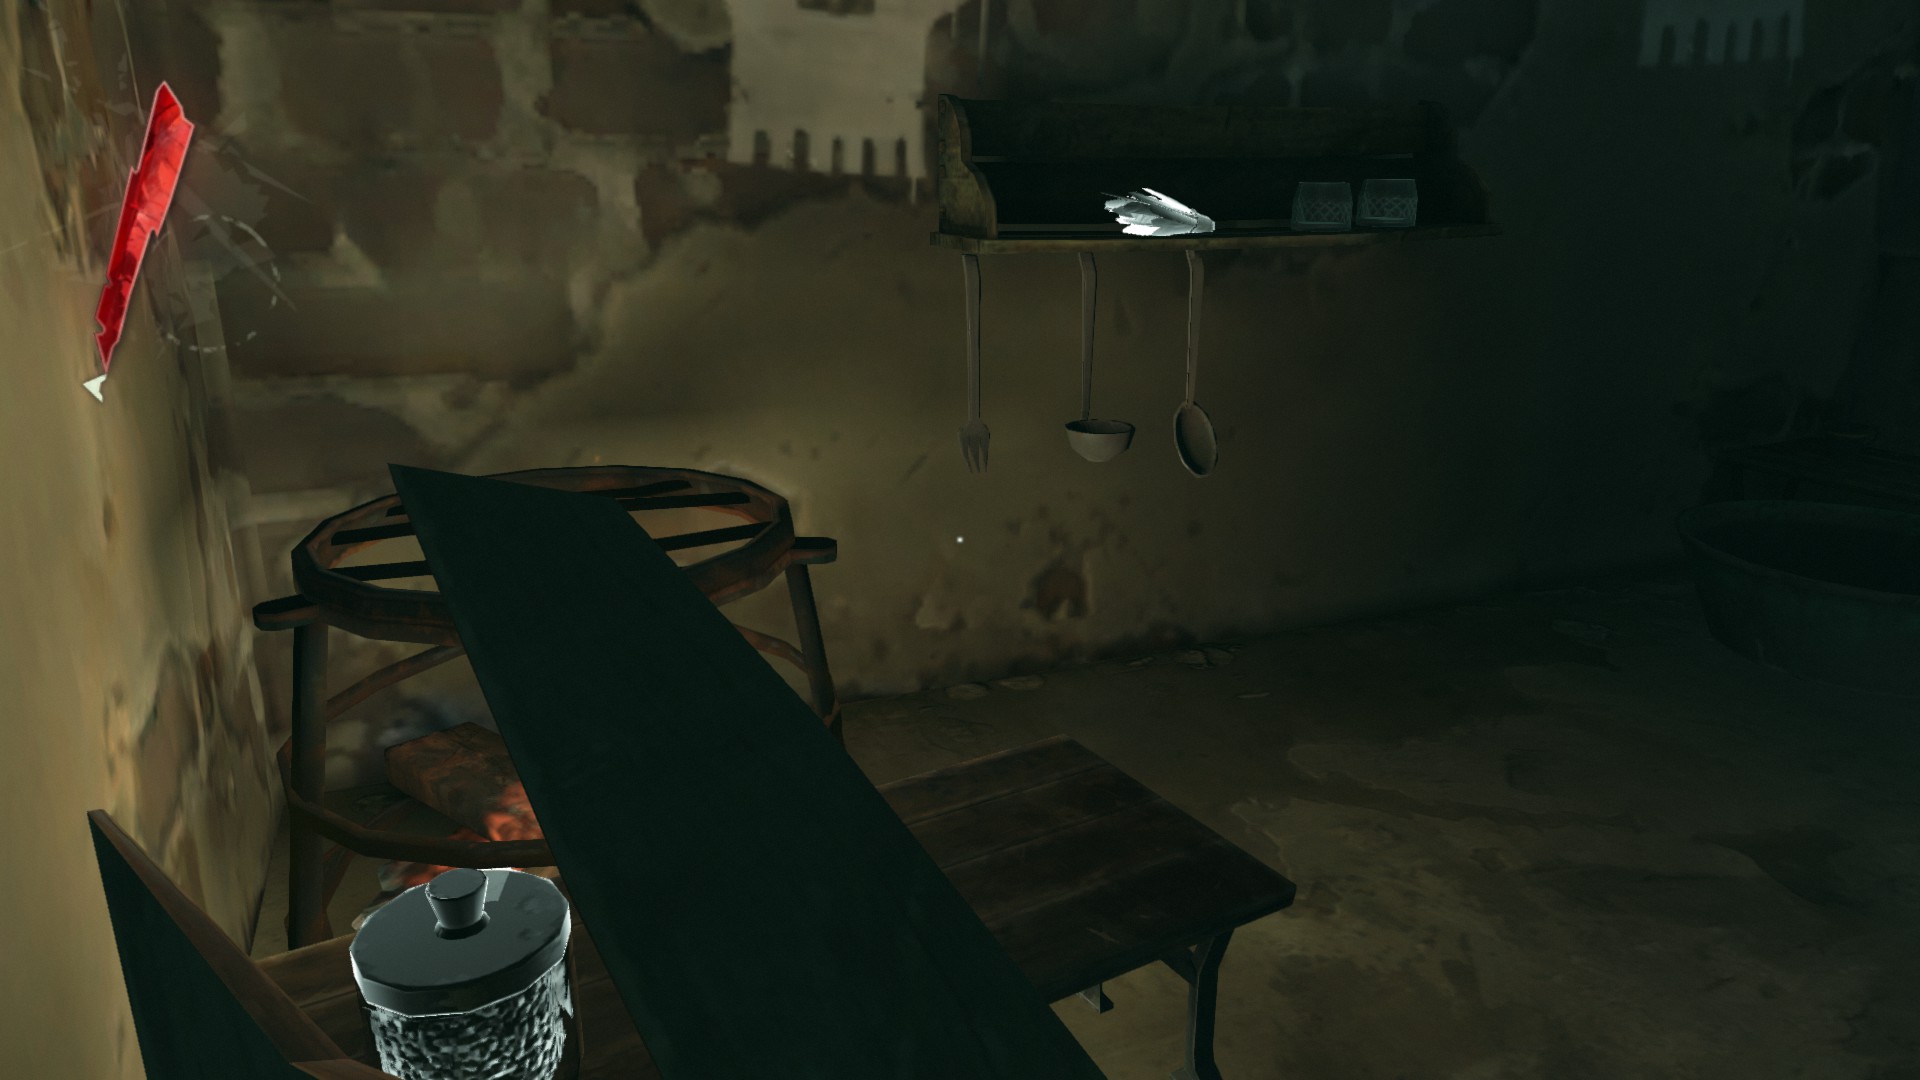
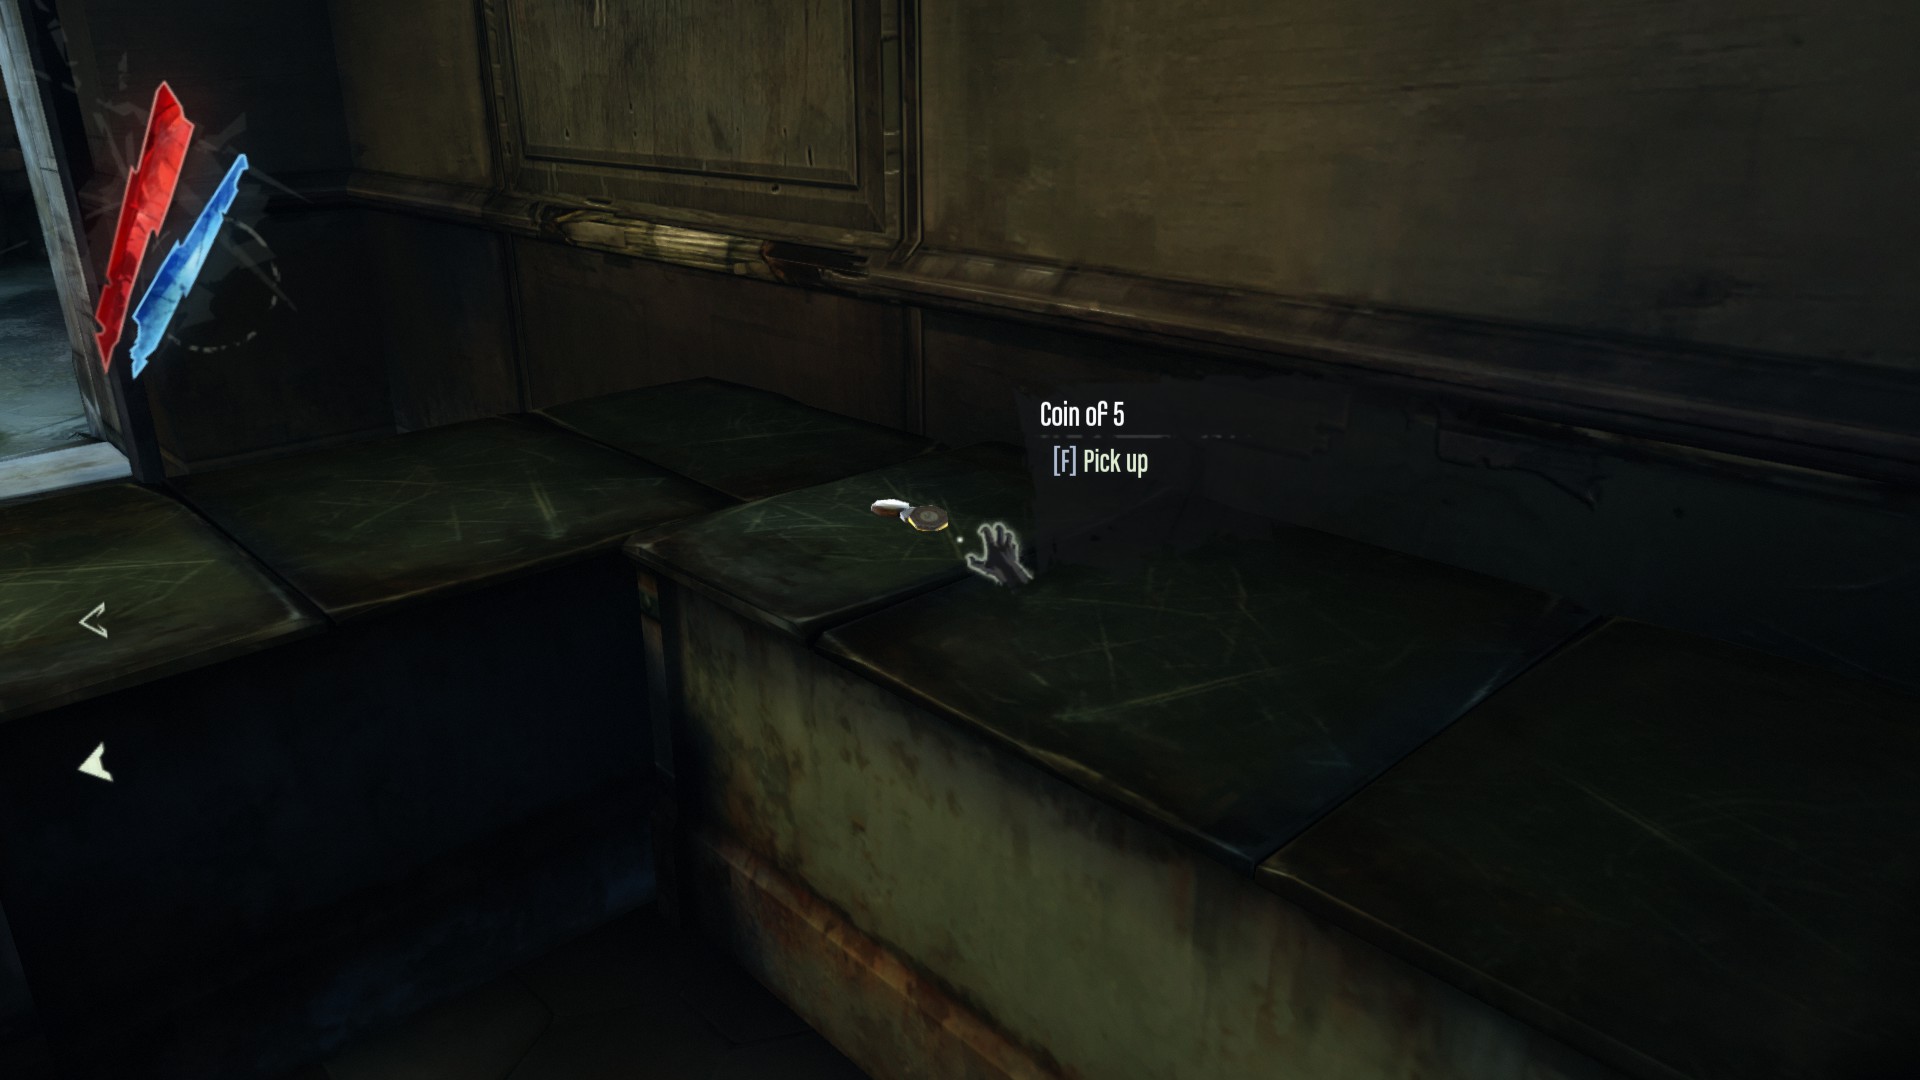
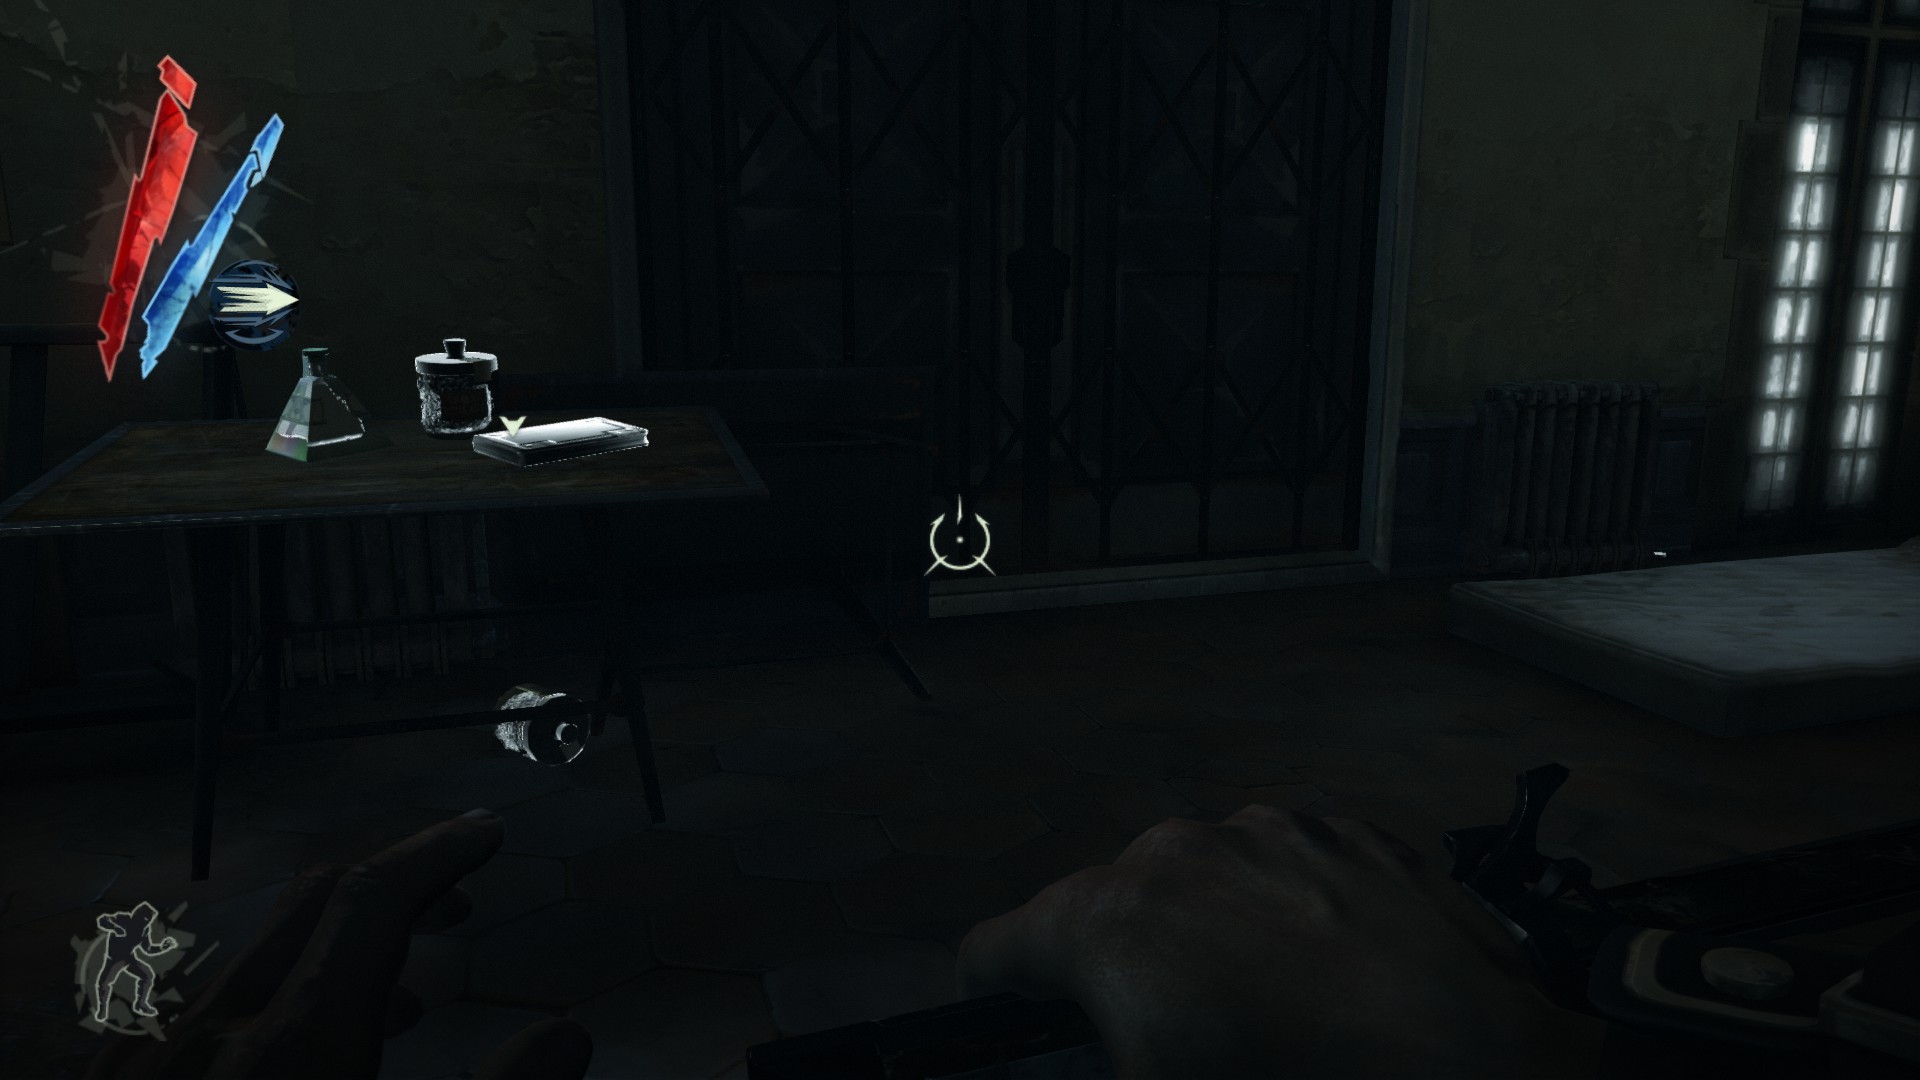
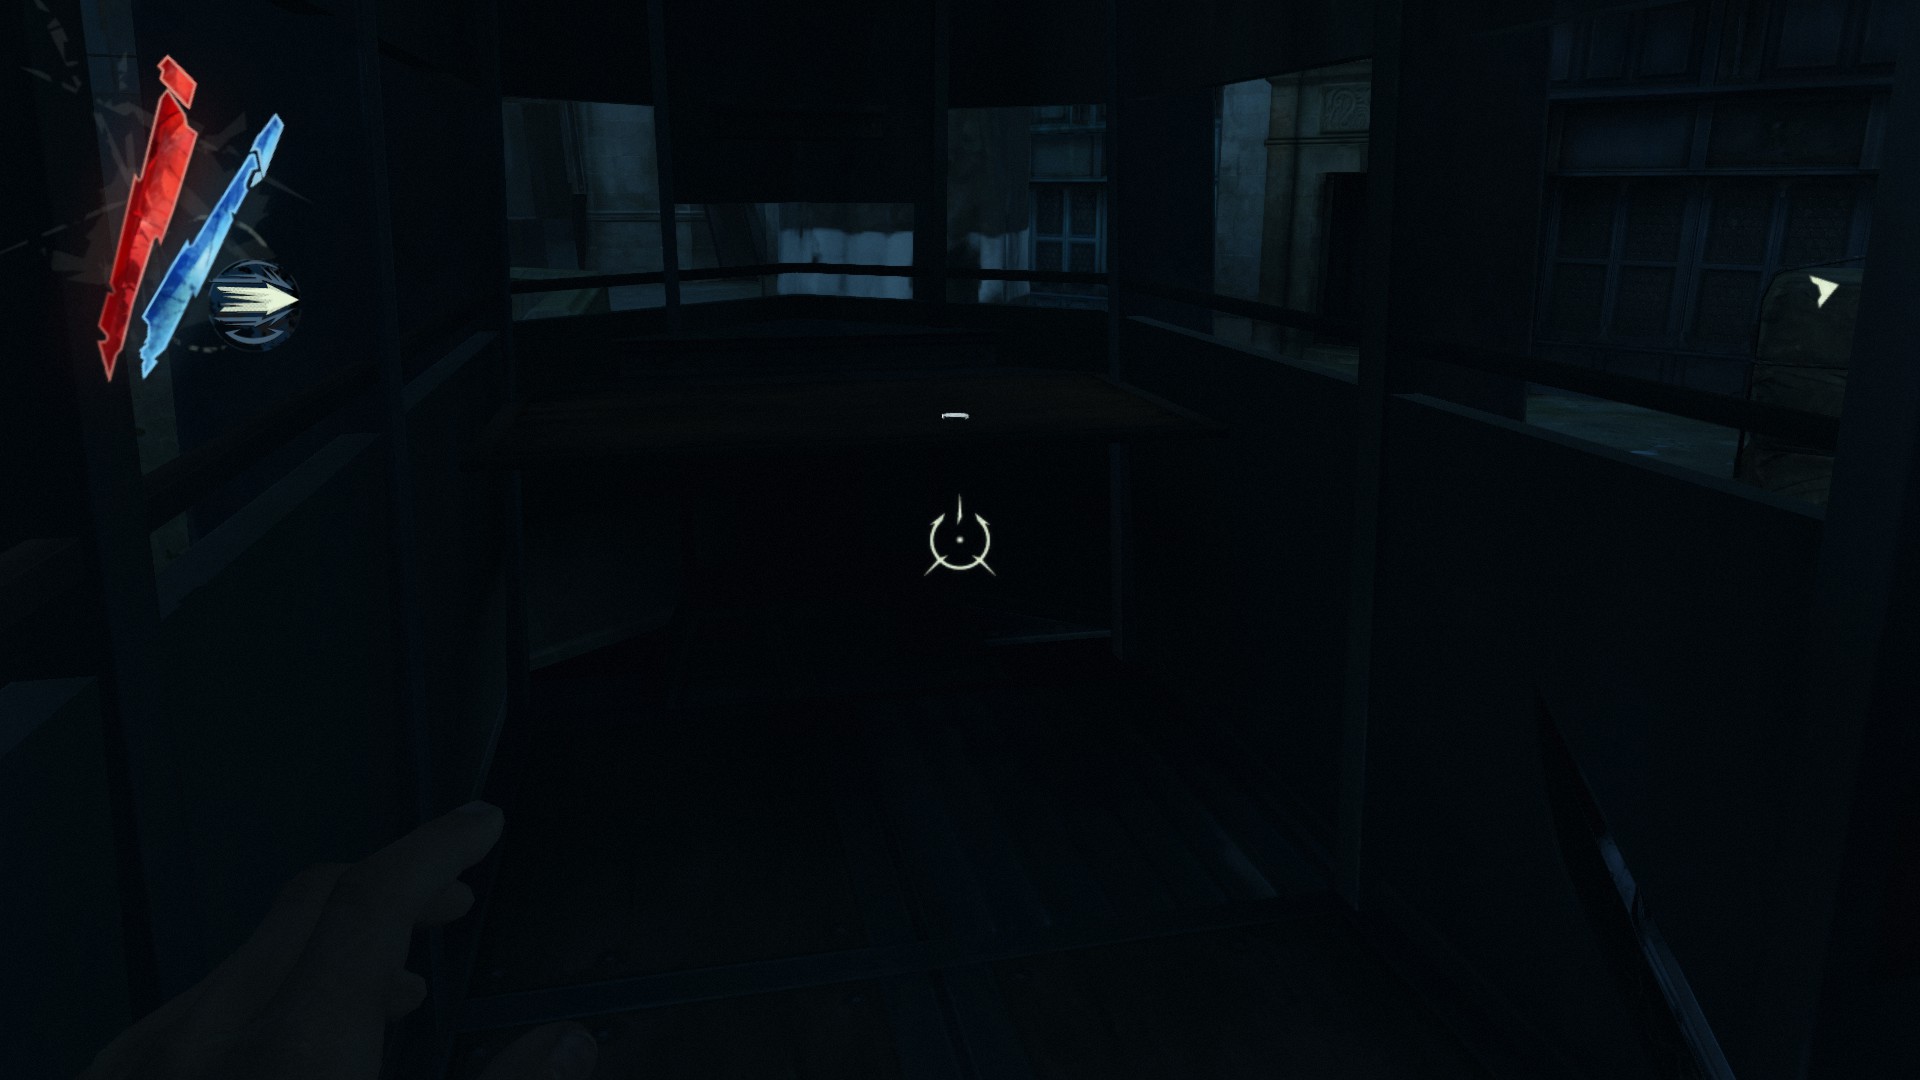
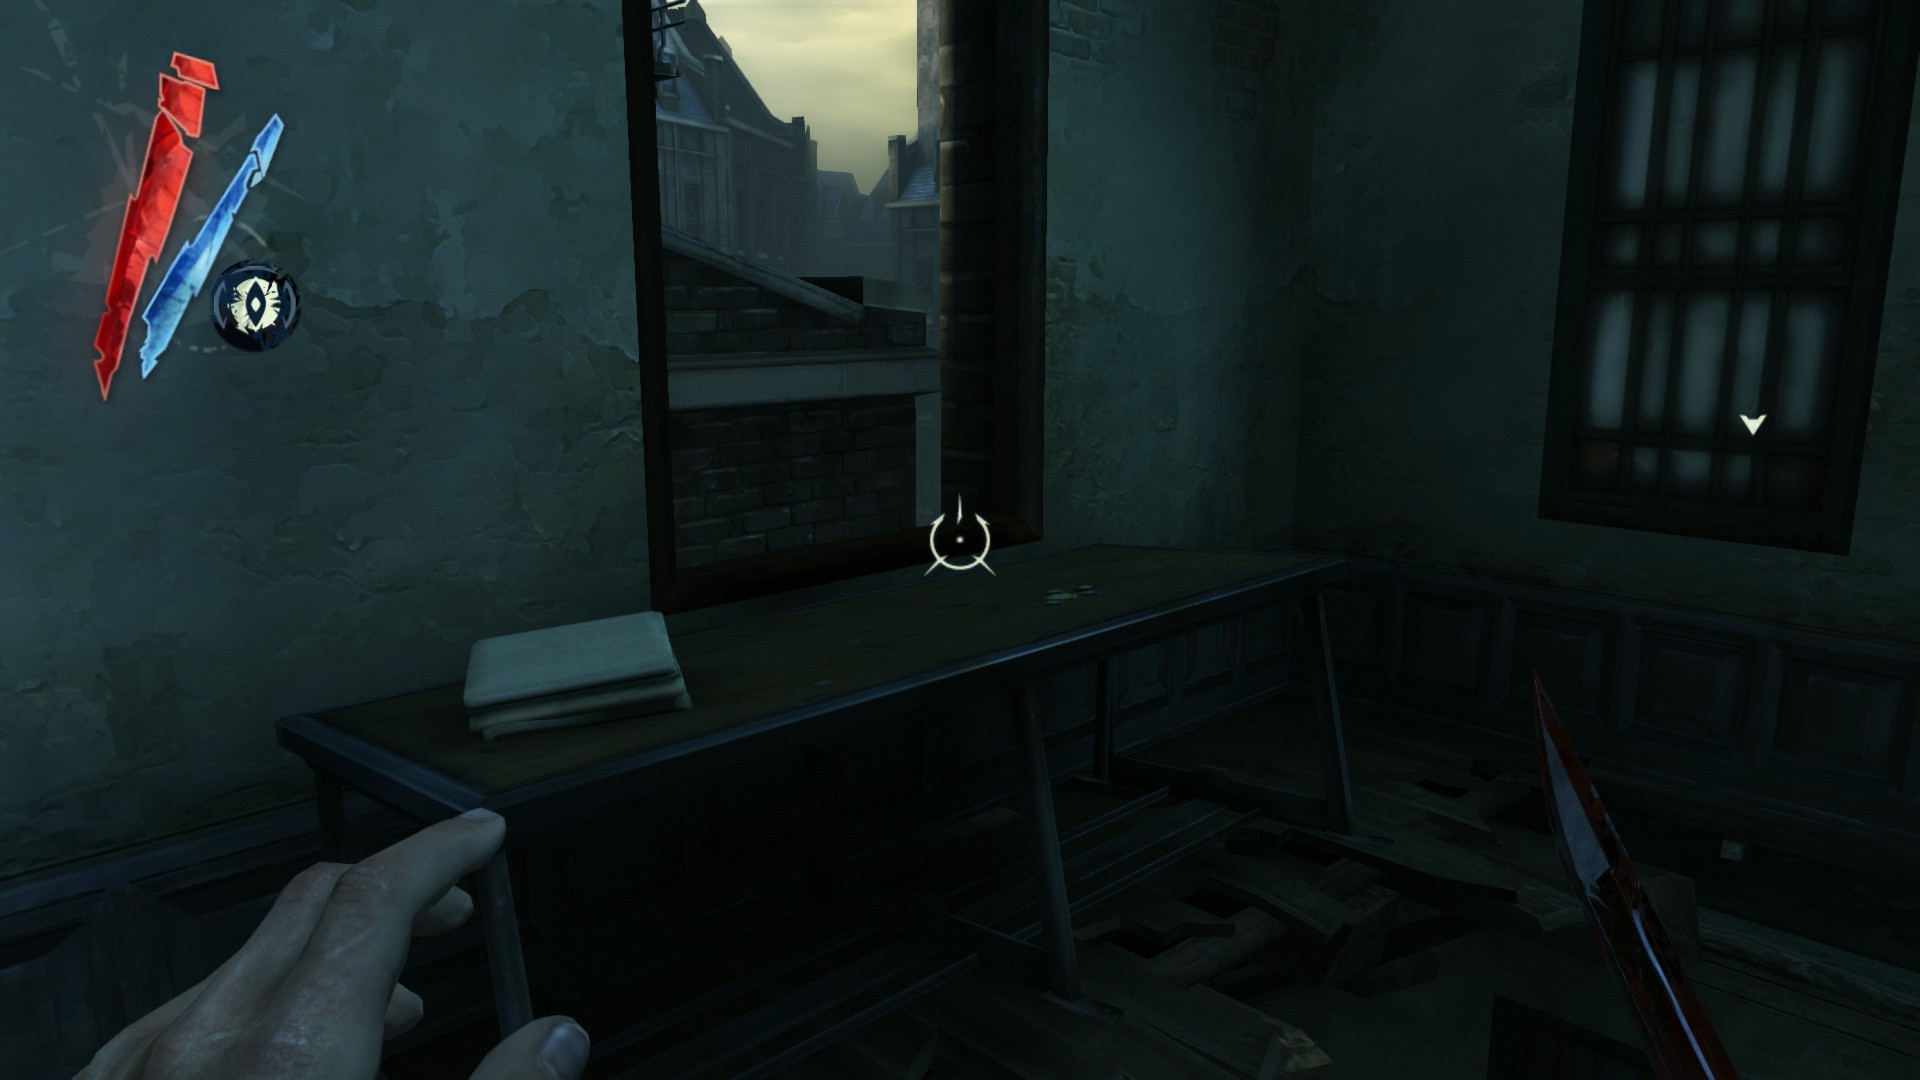
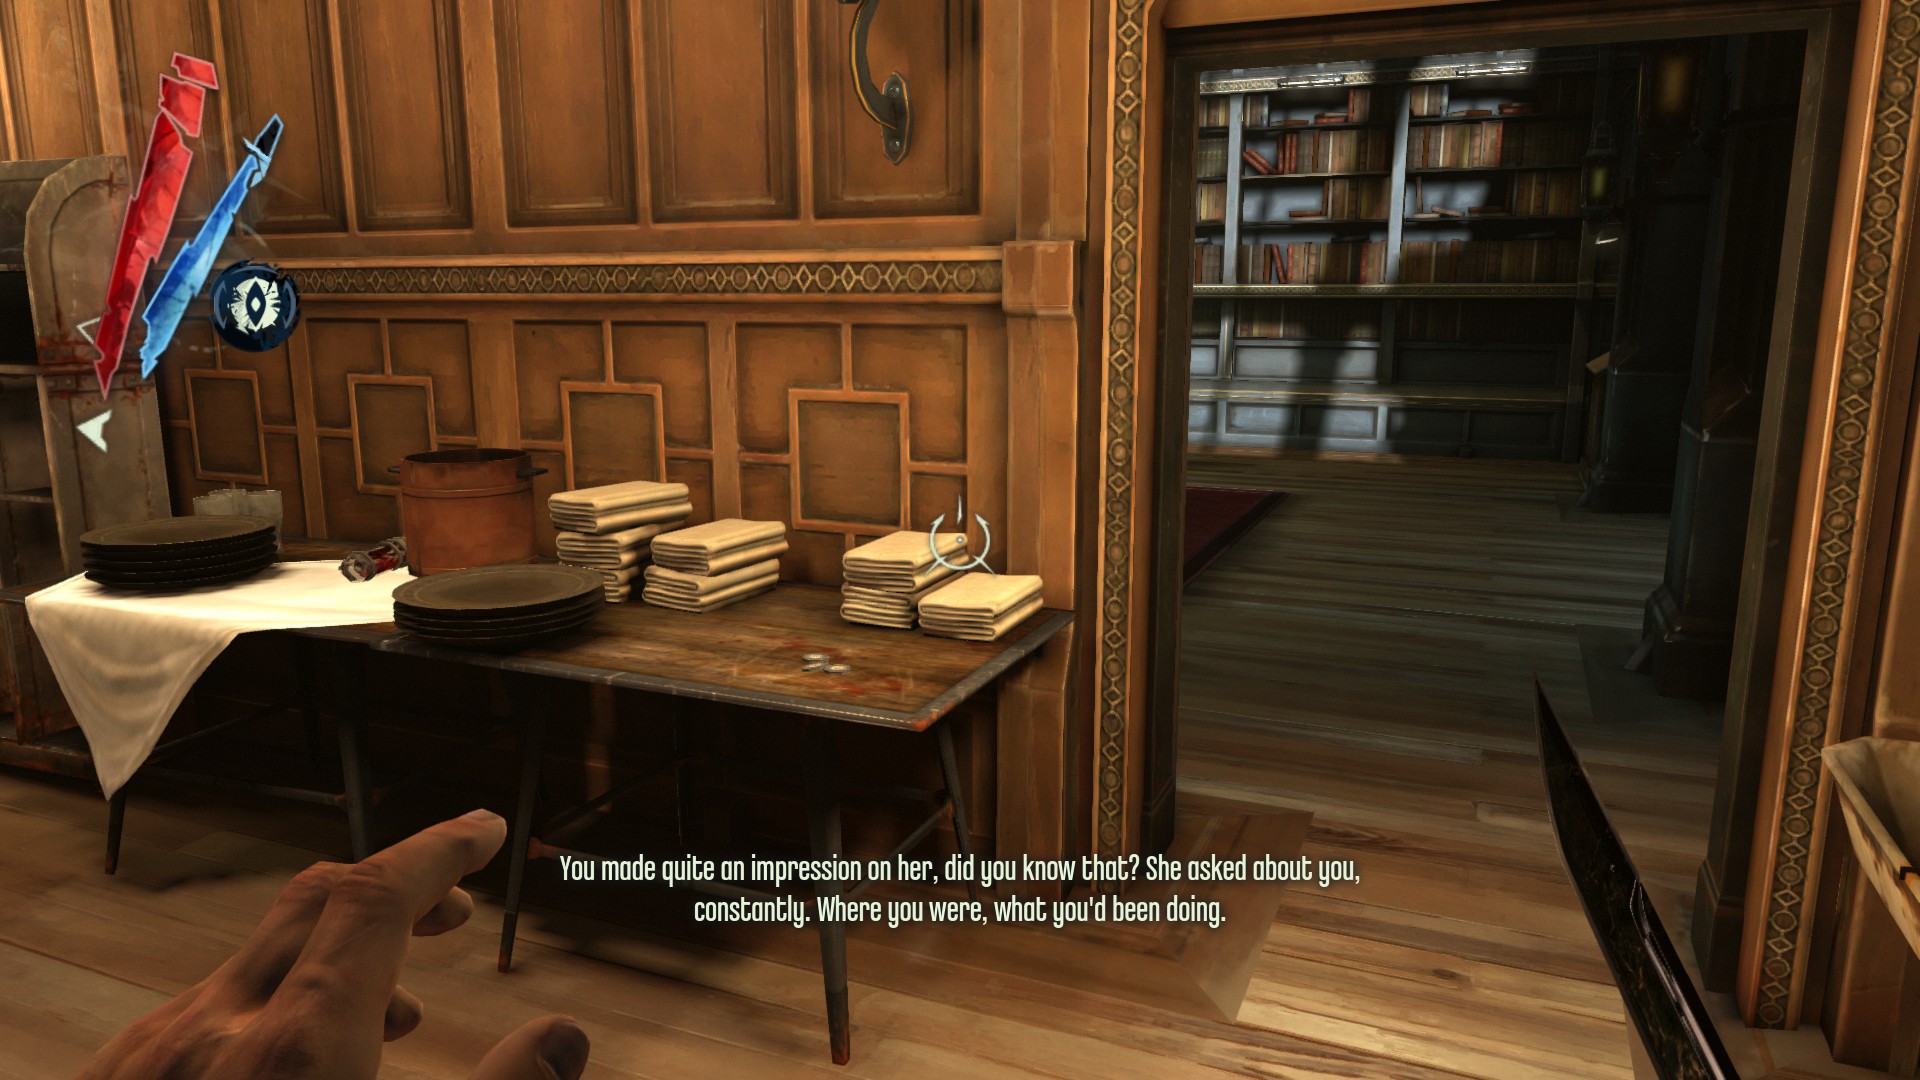
After escaping Corvo's cell, there are 3 coins on a table.
(+25 -> 25/1010)
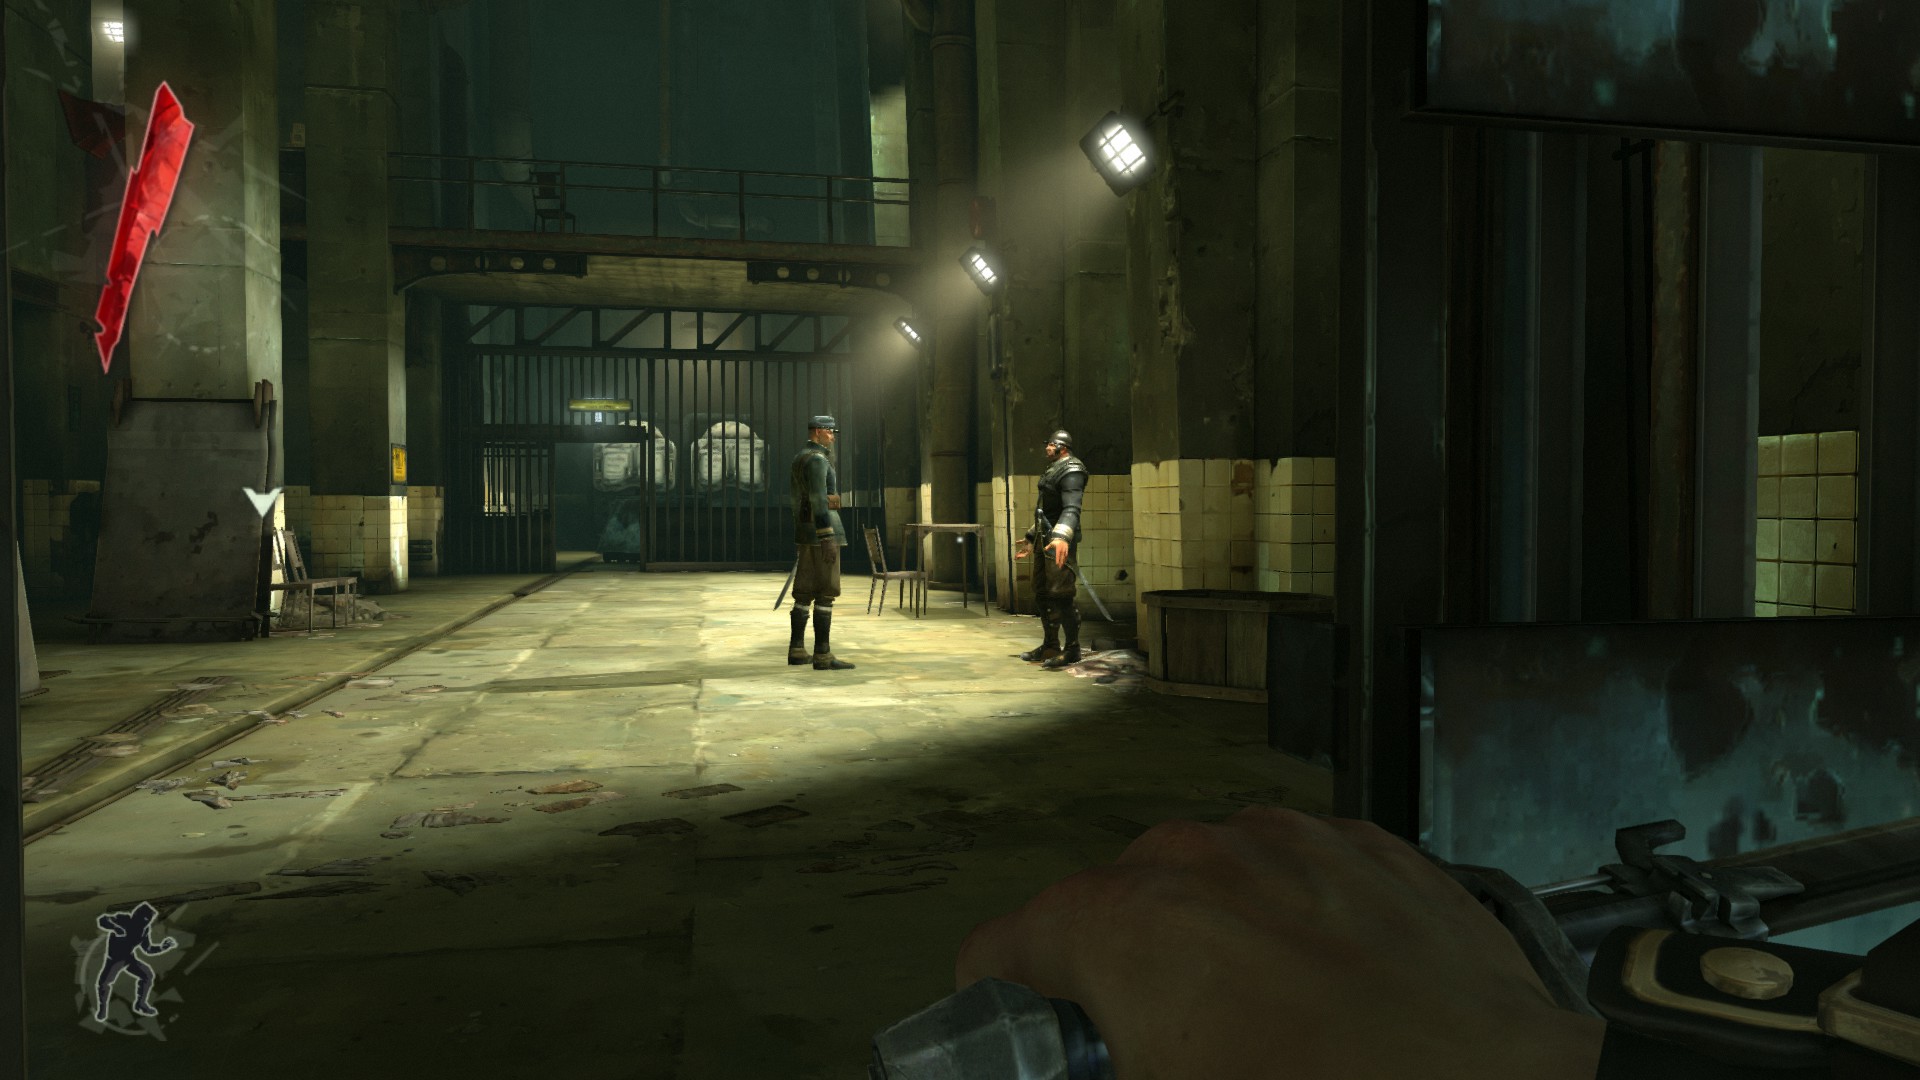
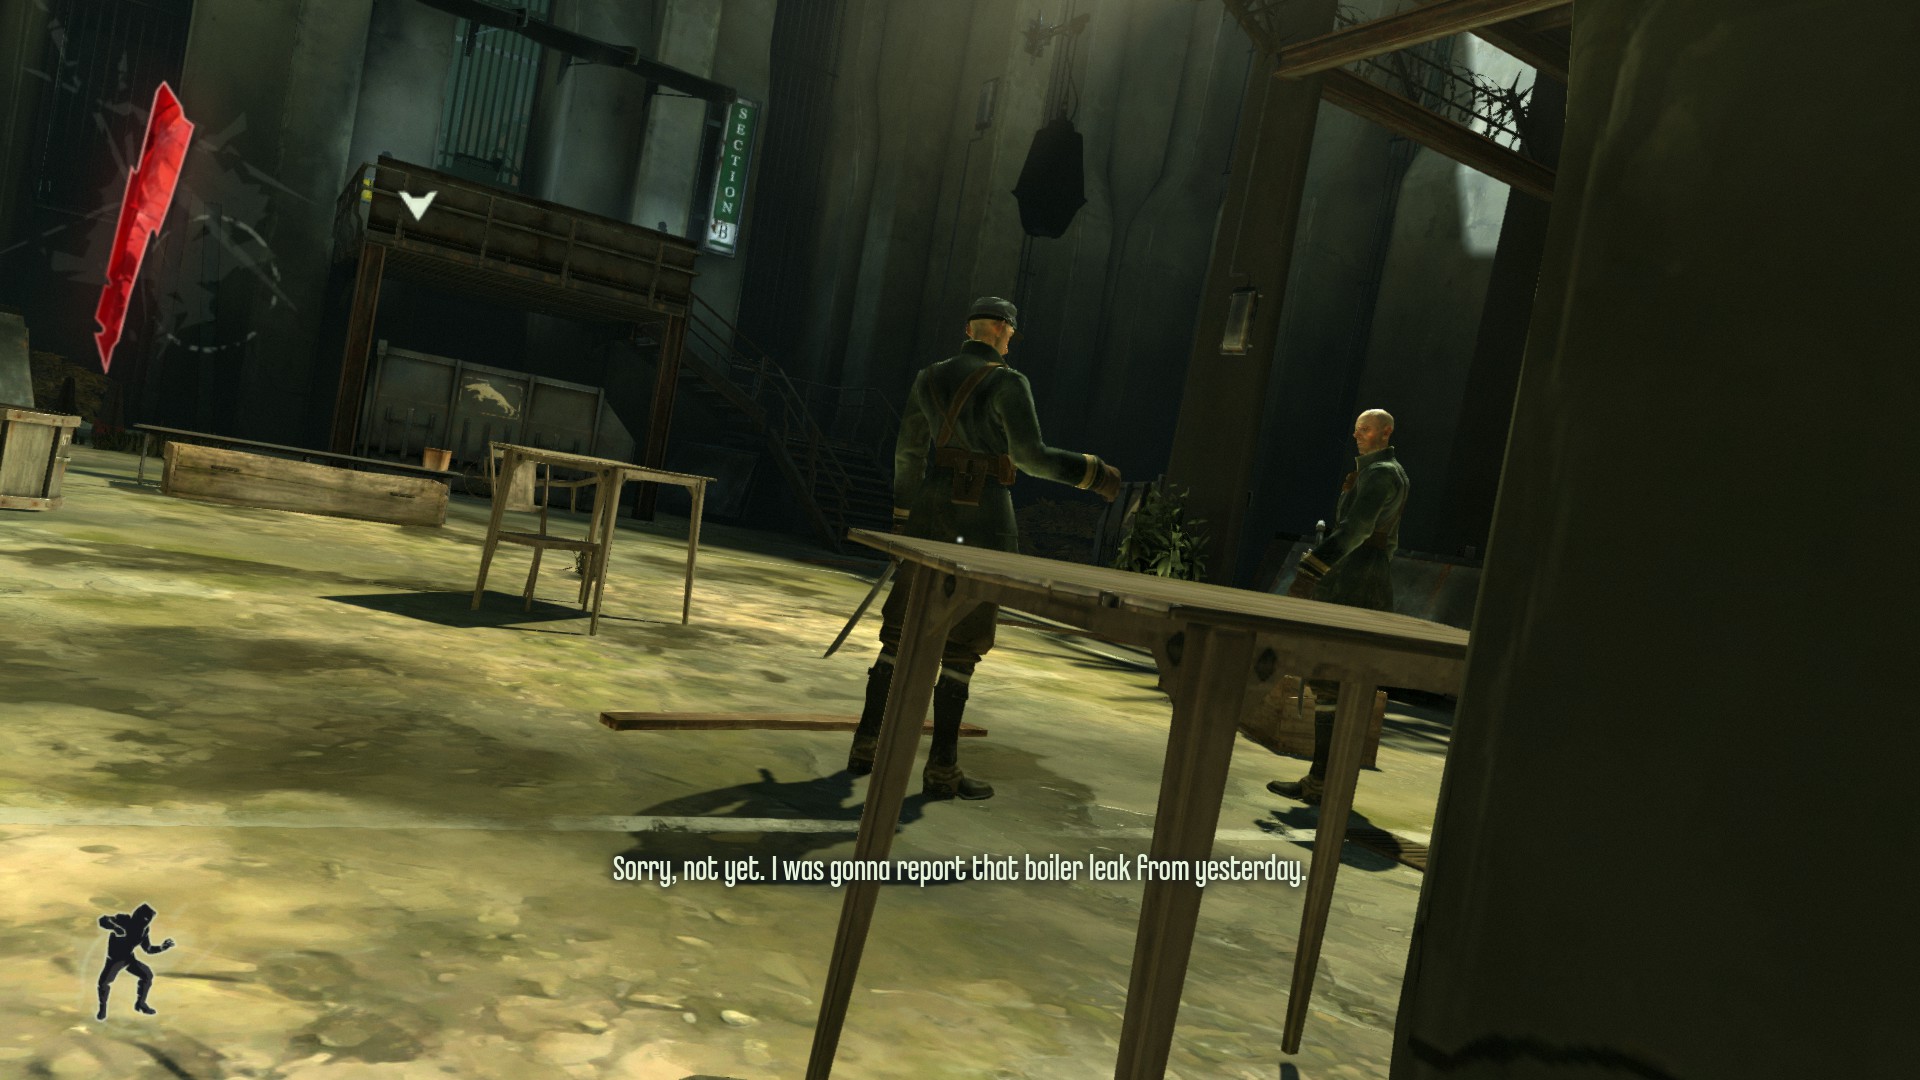
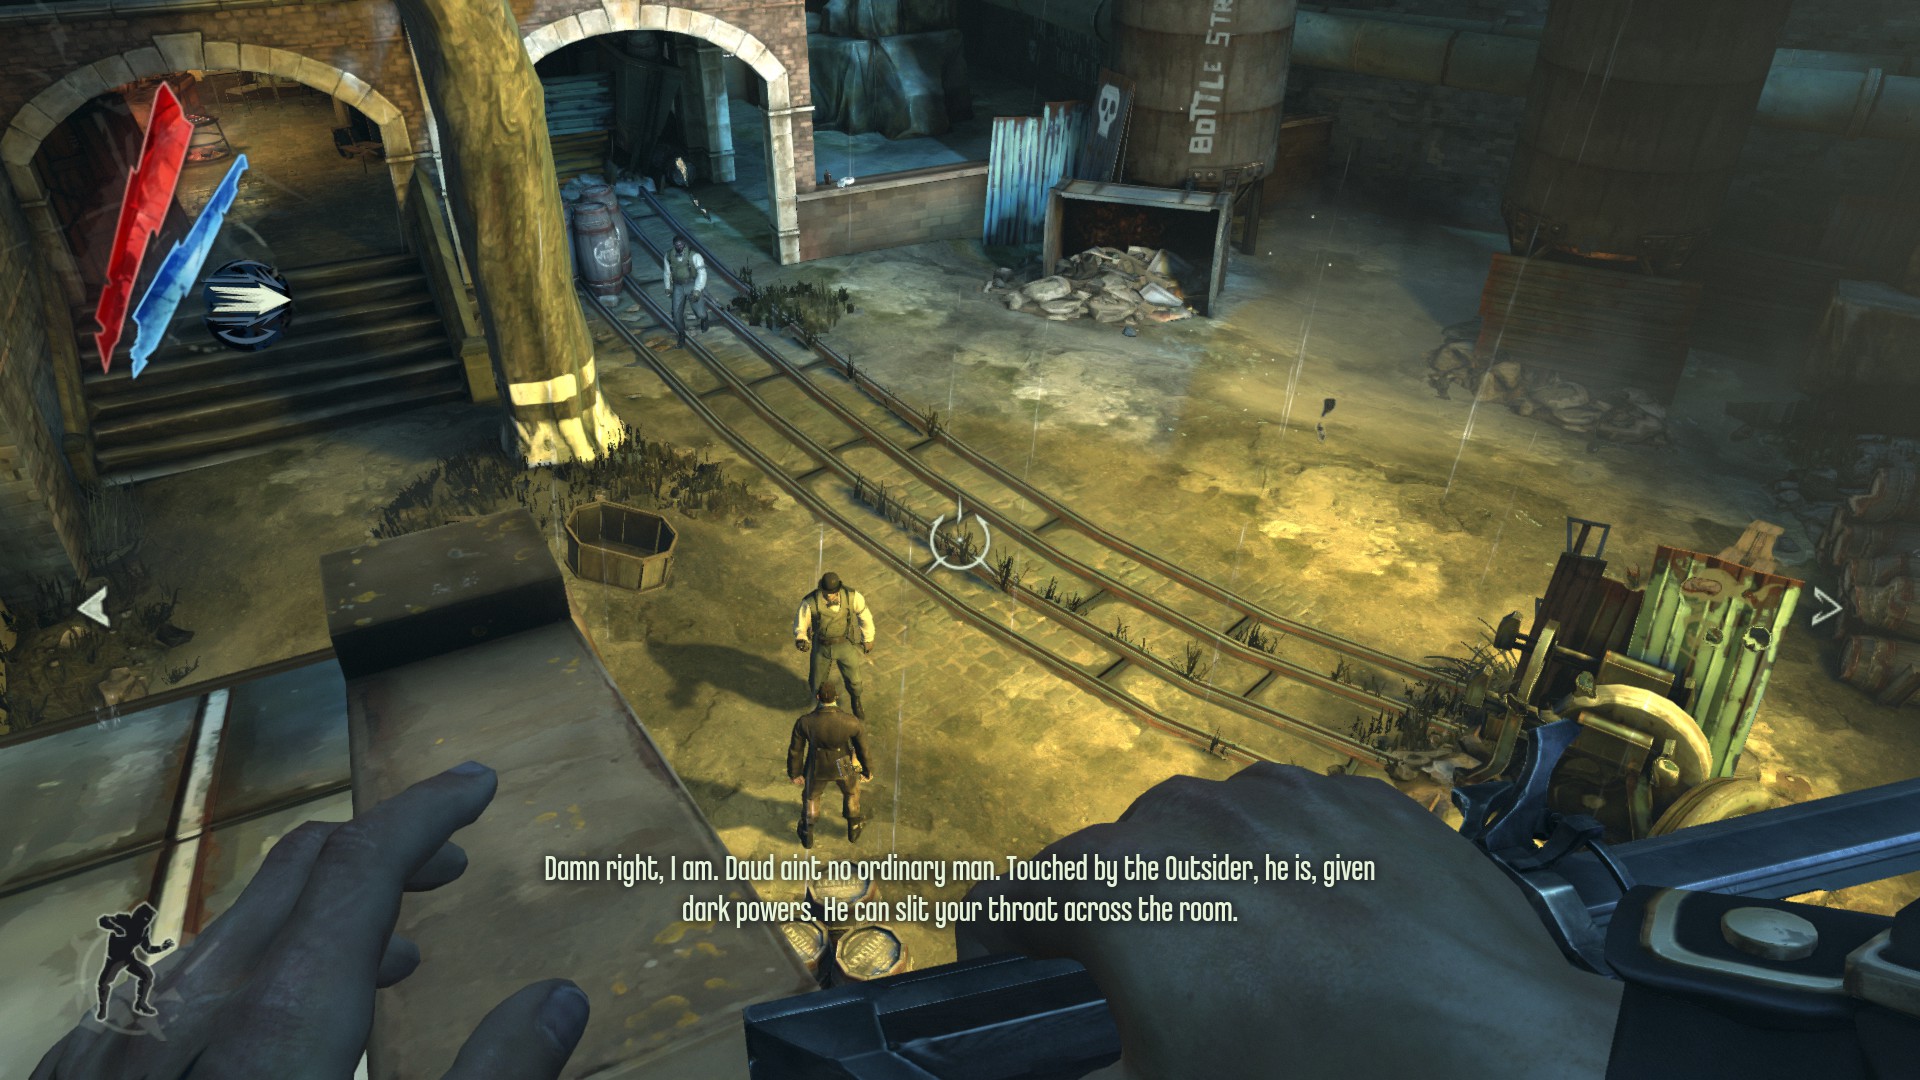
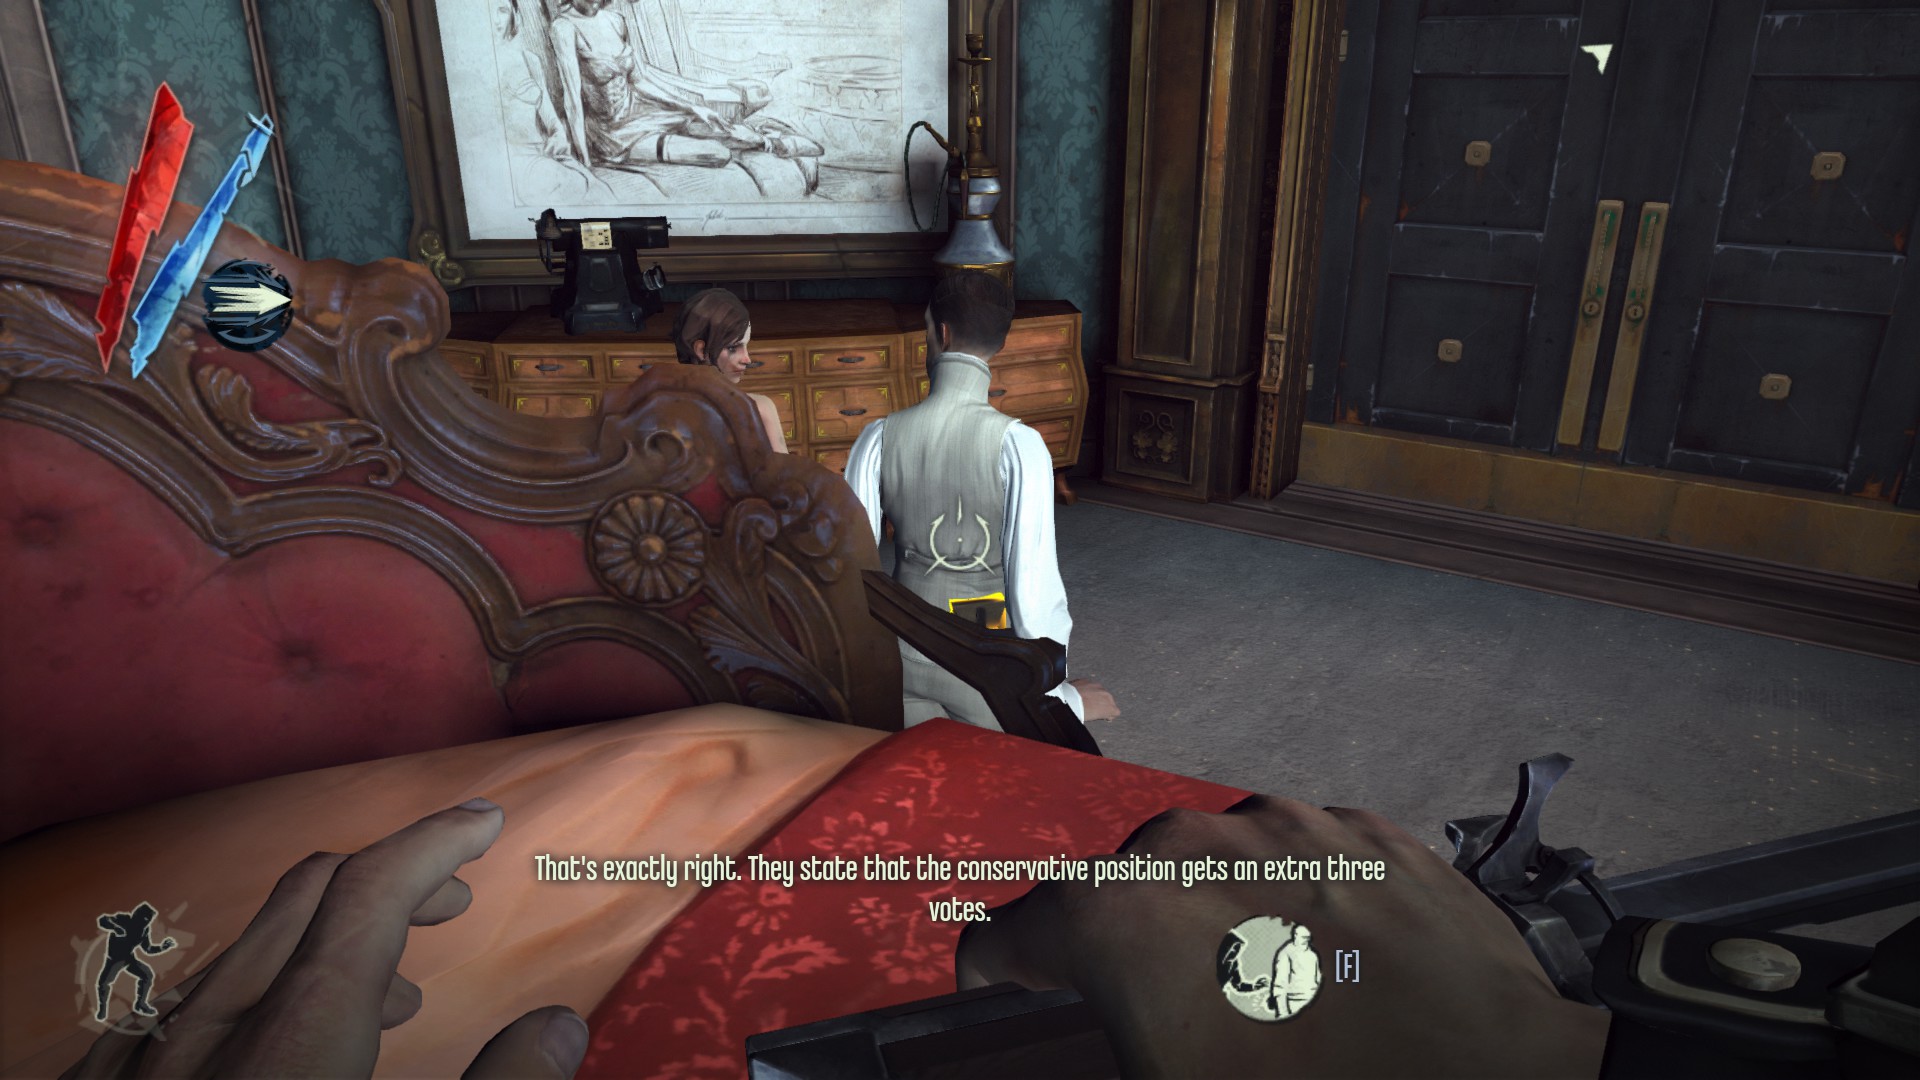
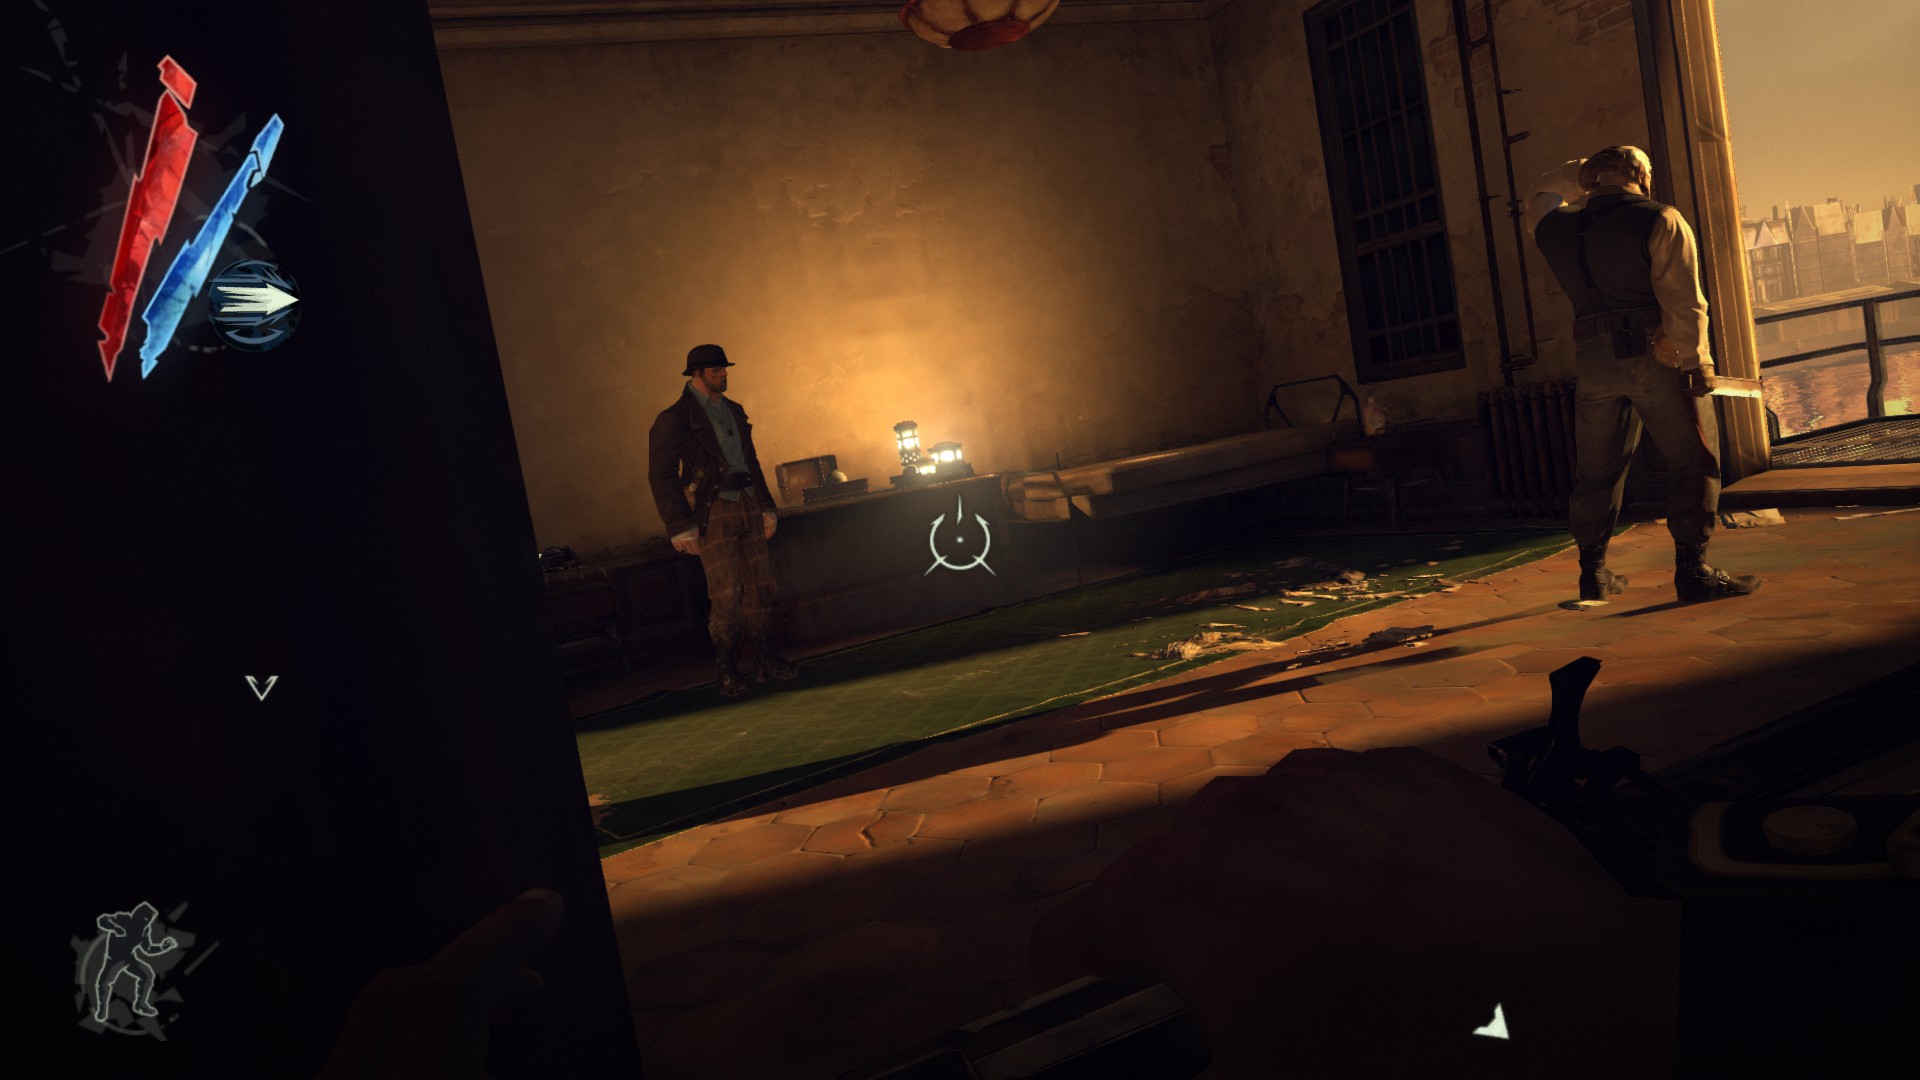
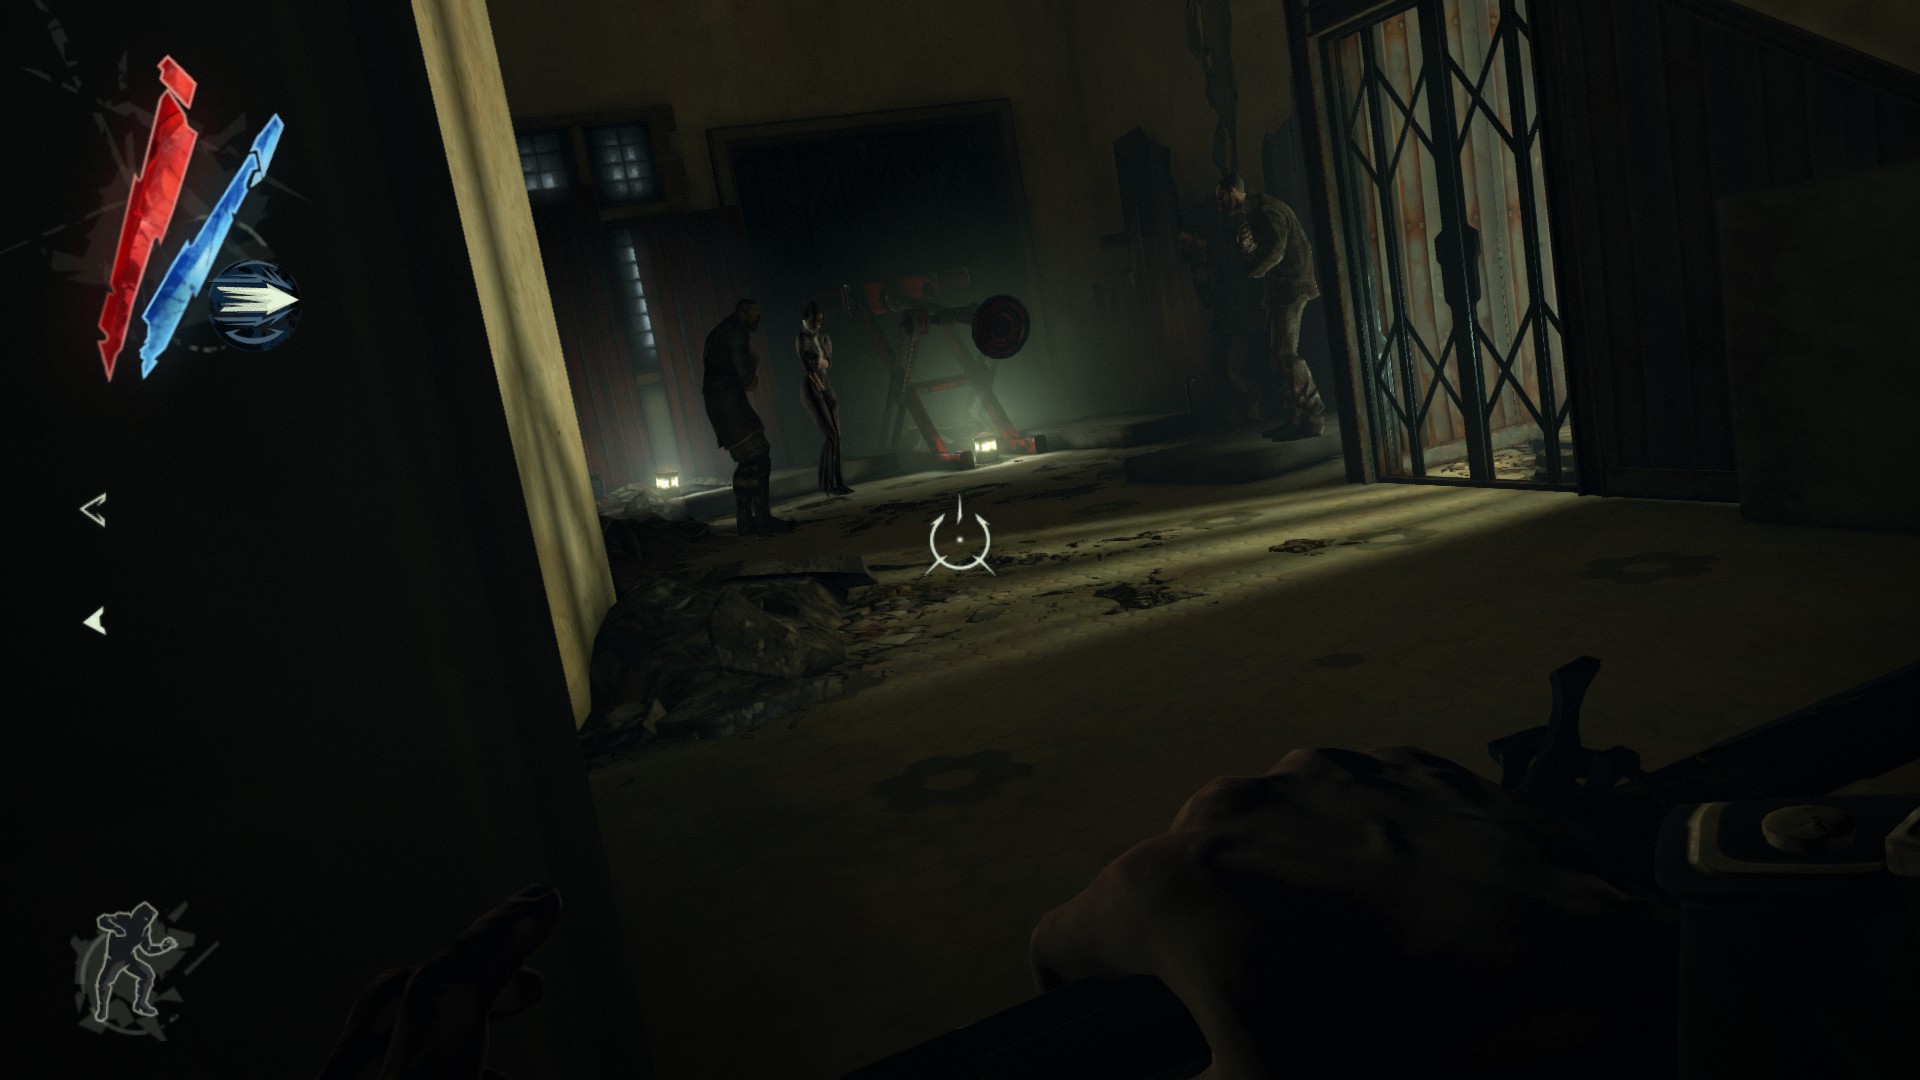
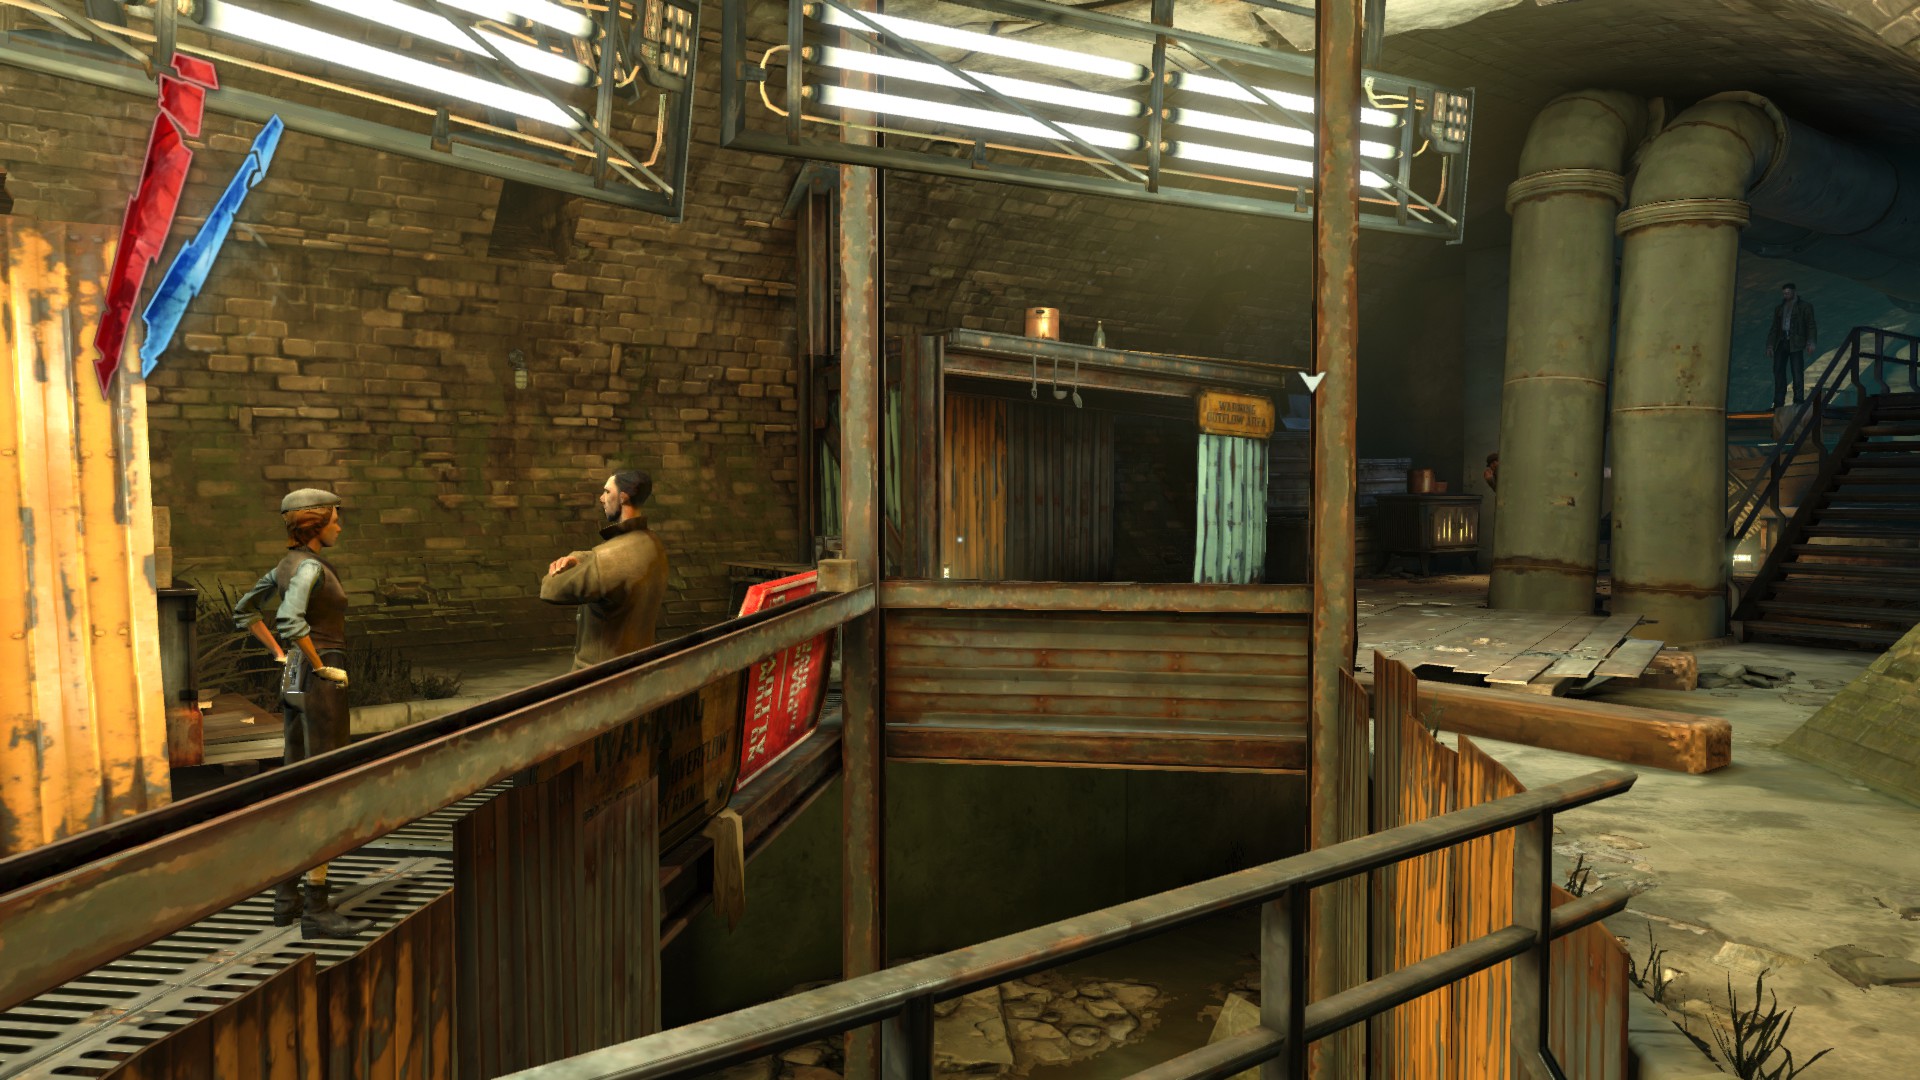
There are two guards having a conversation in the next room. They carry pouches of coins so pickpocket them.
(+70 -> 95/1010)
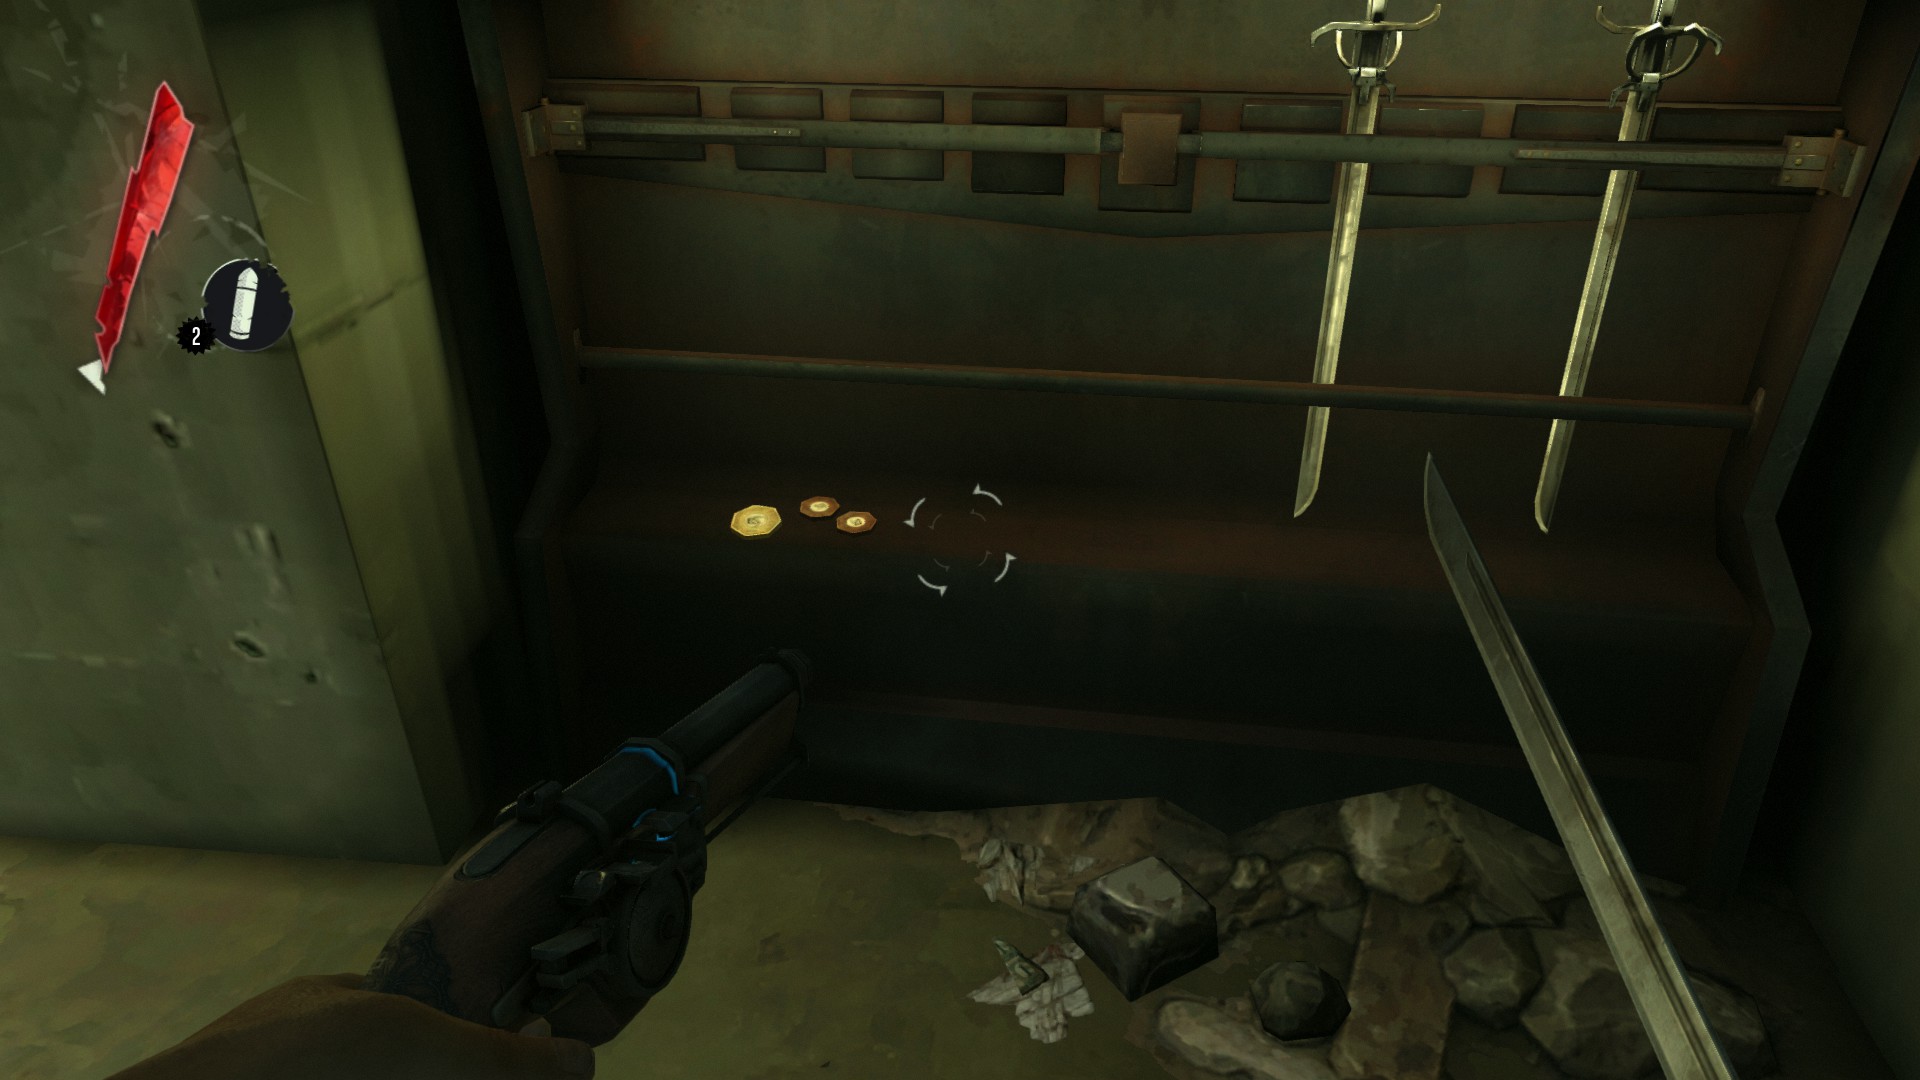
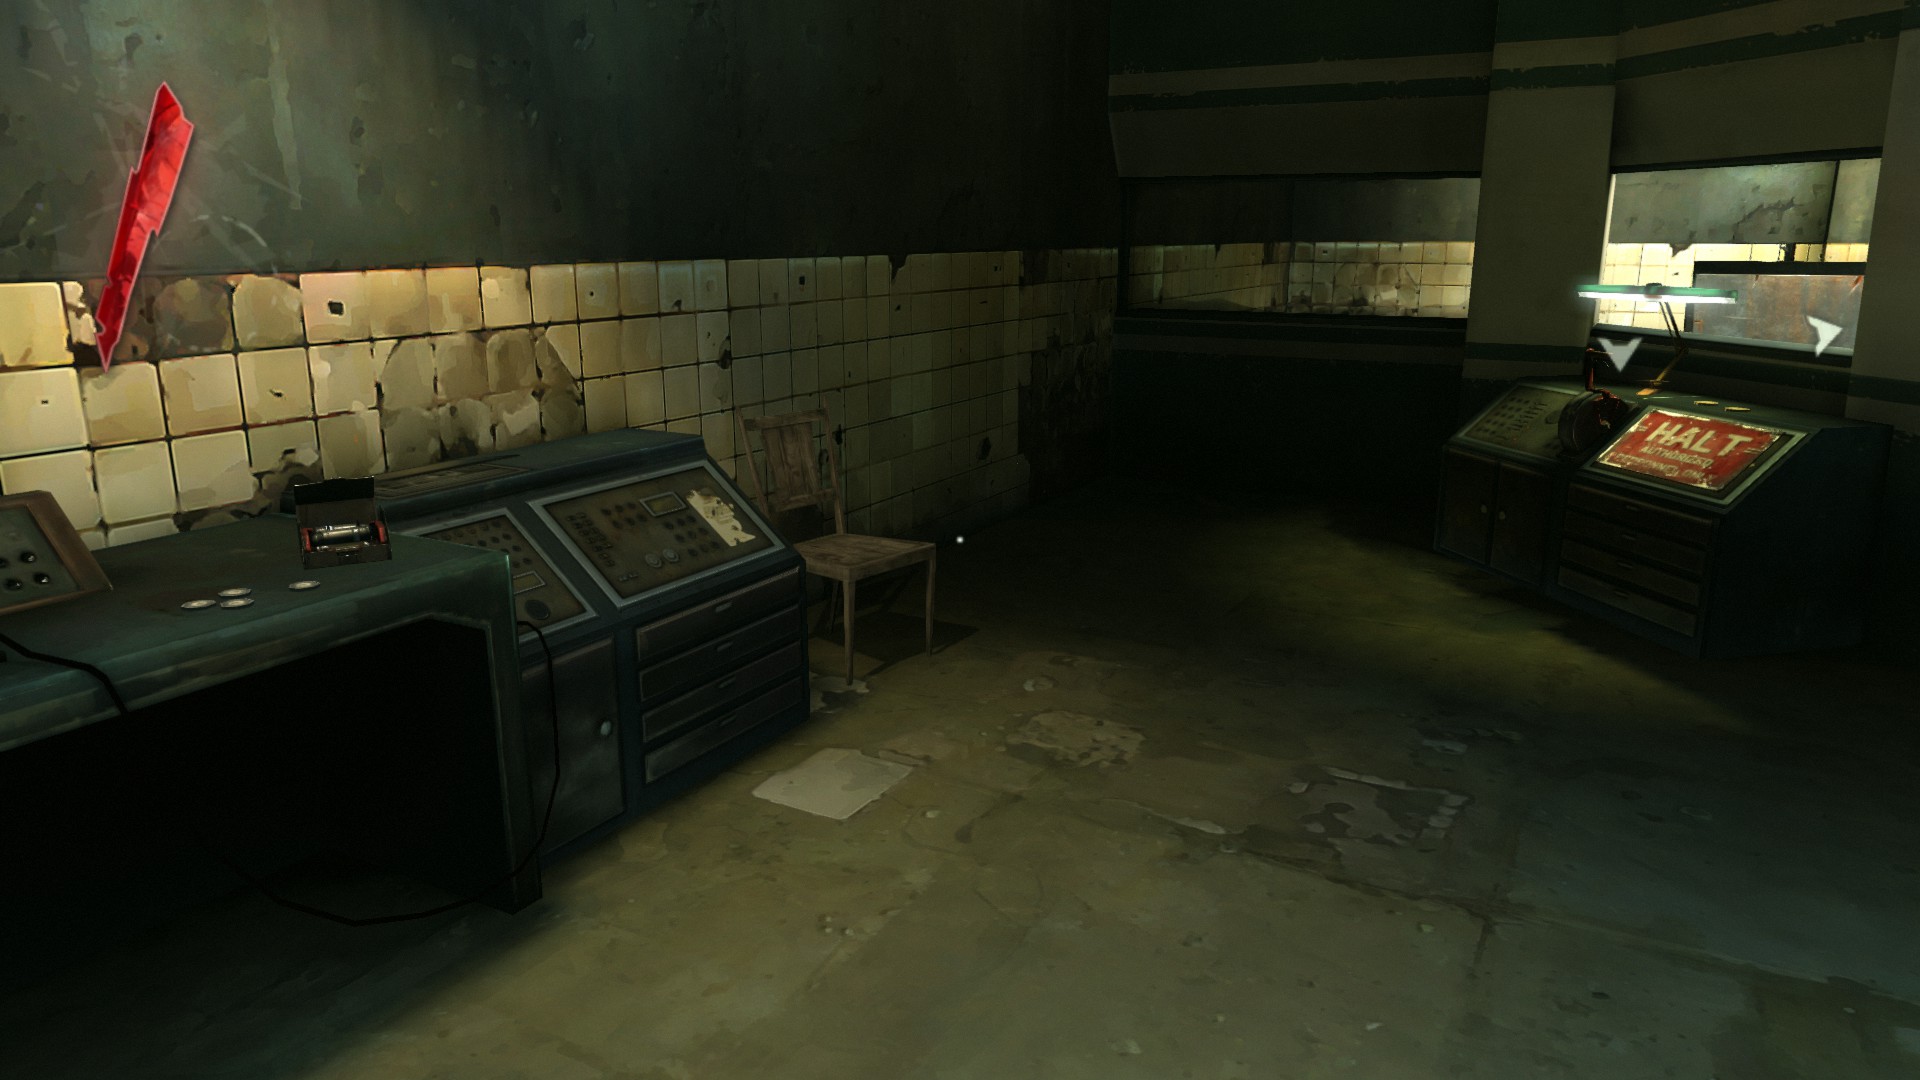
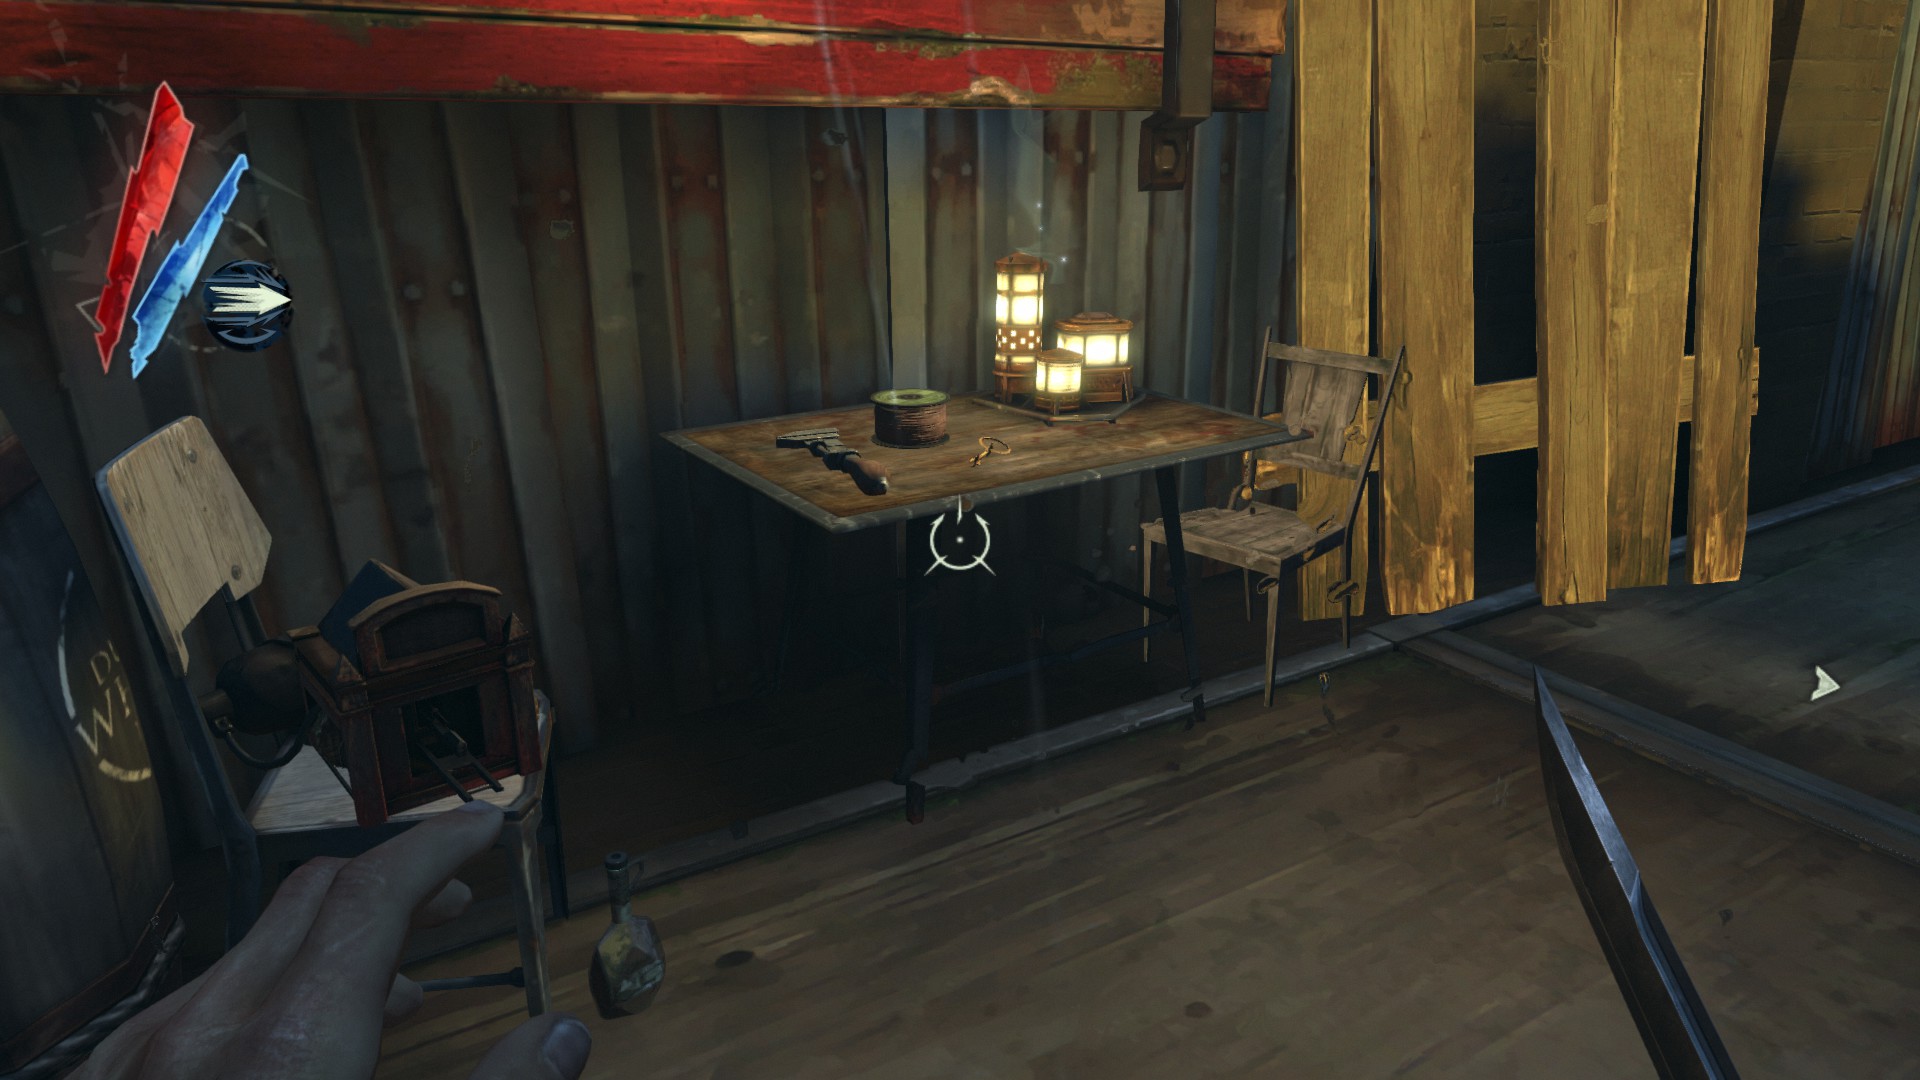
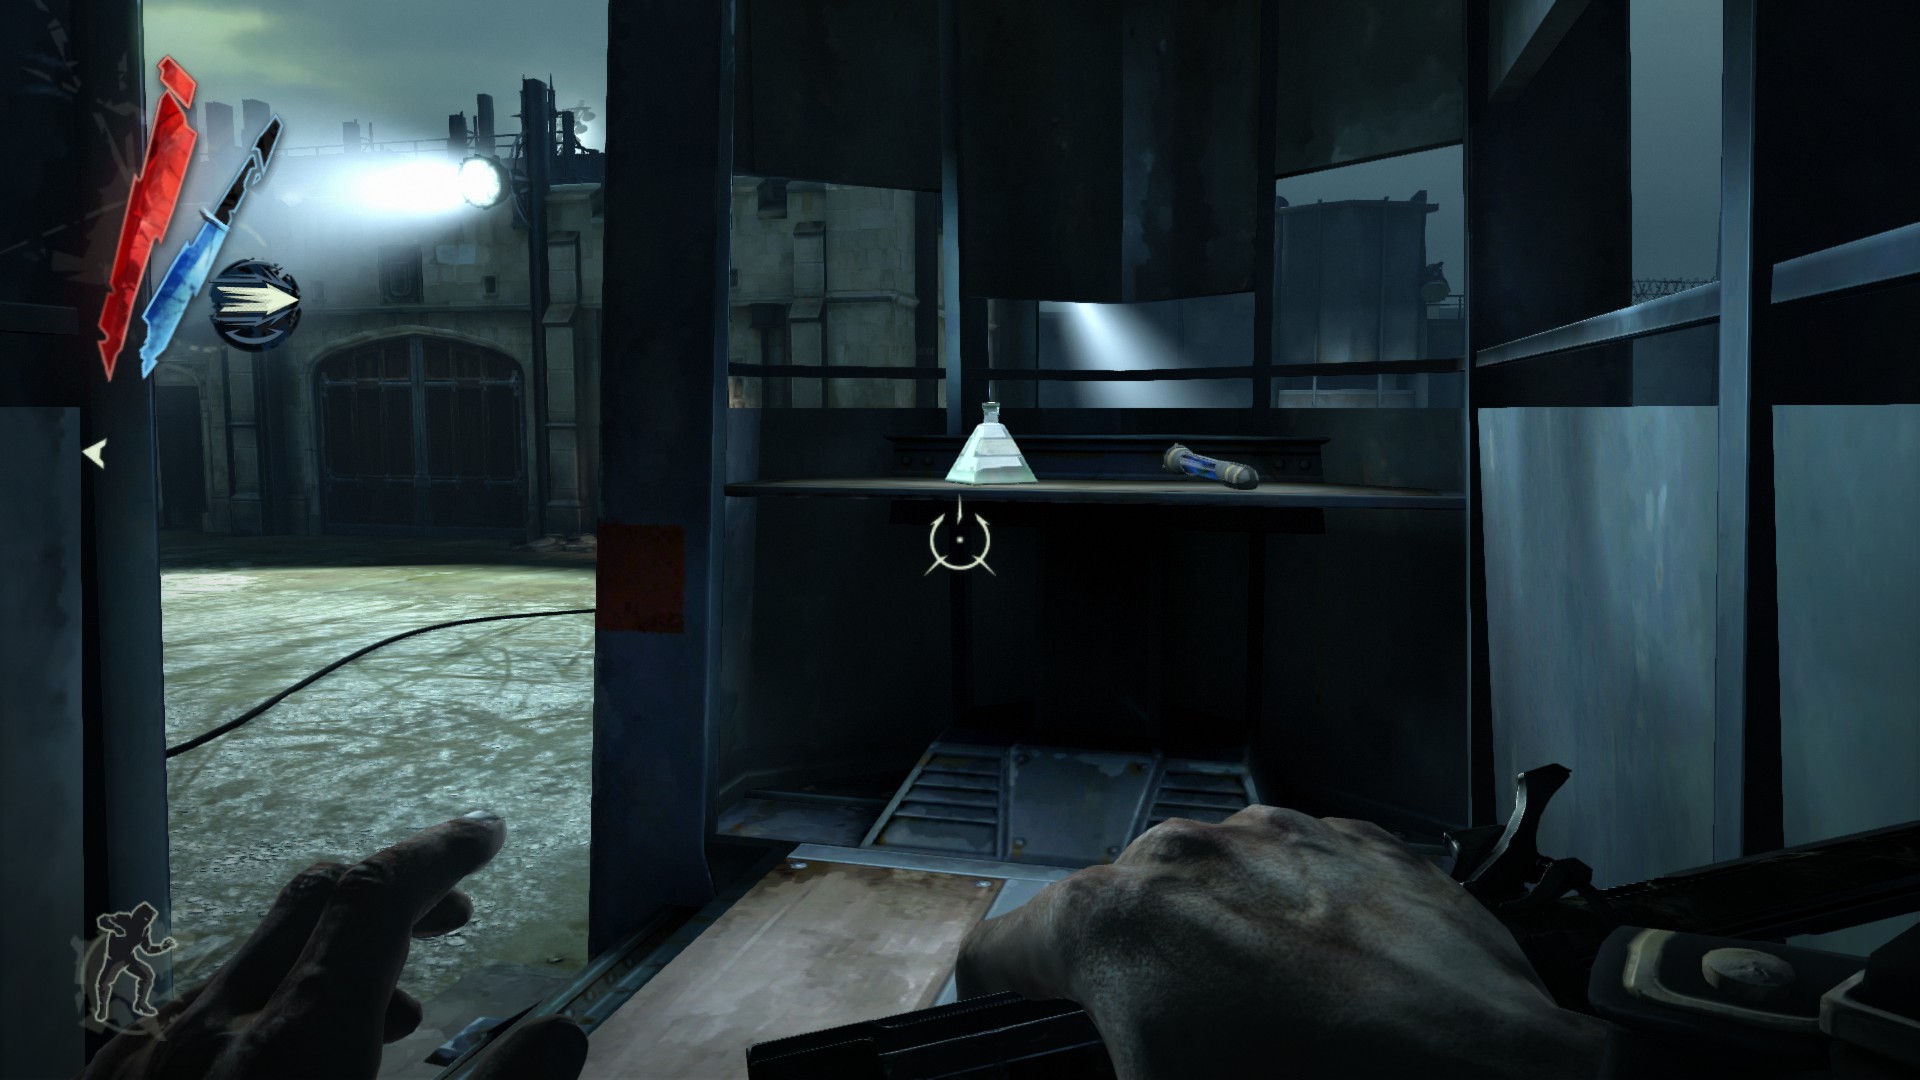
In the room where you take your first pistol, there are 3 coins on the weapon rack to collect.
(+20 -> 115/1010)
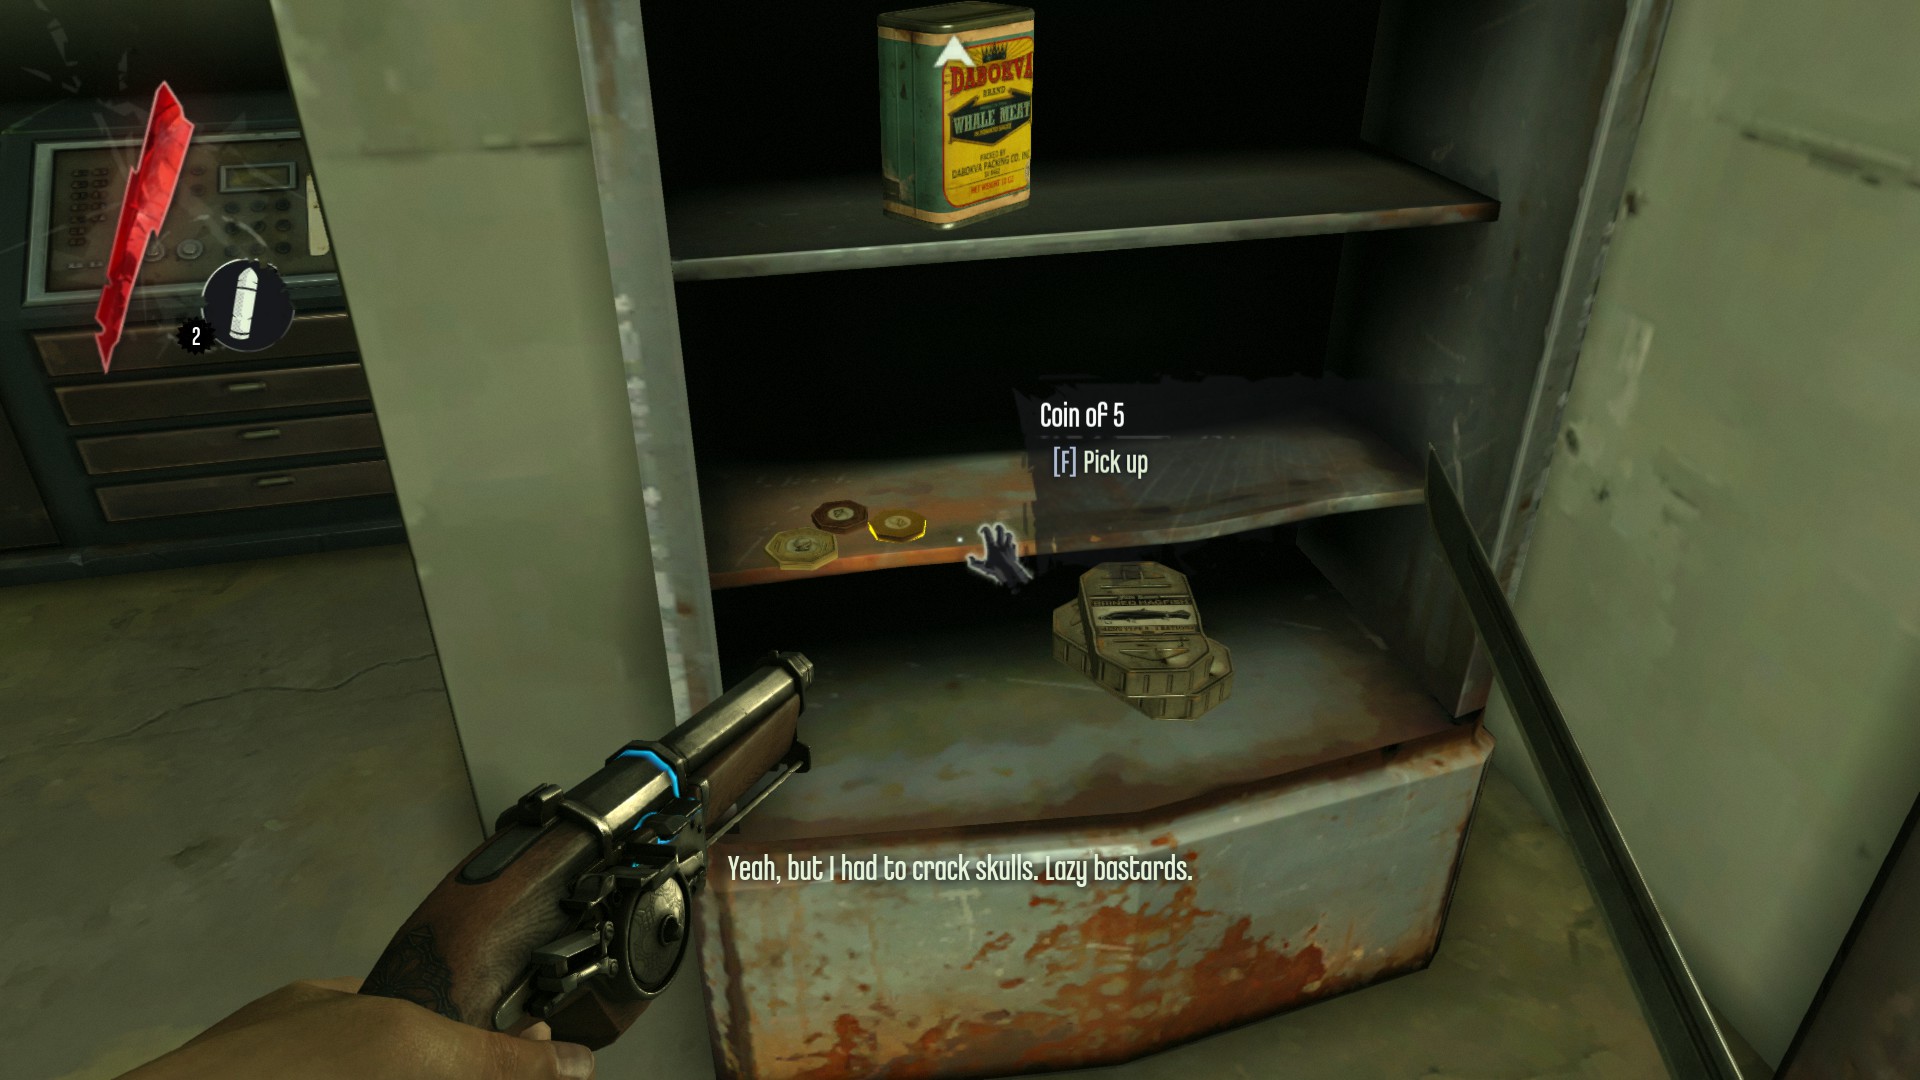
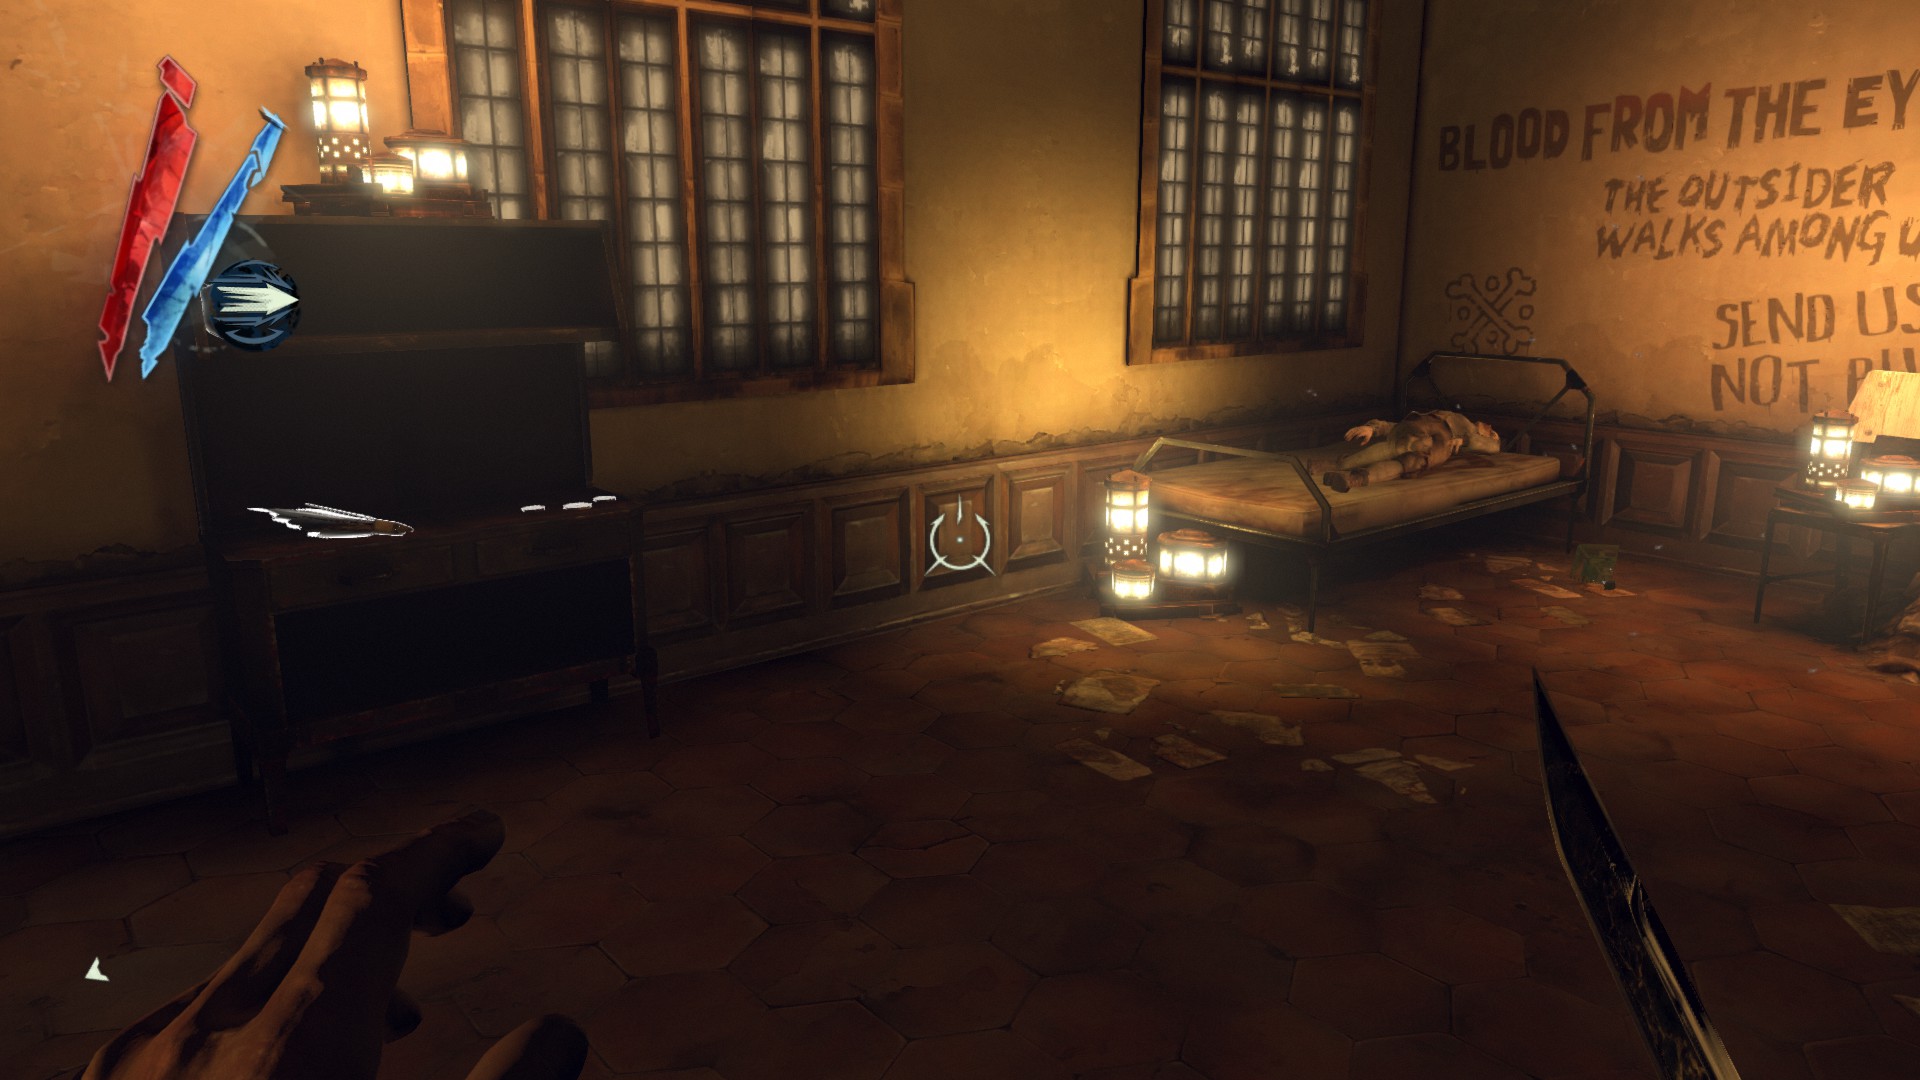
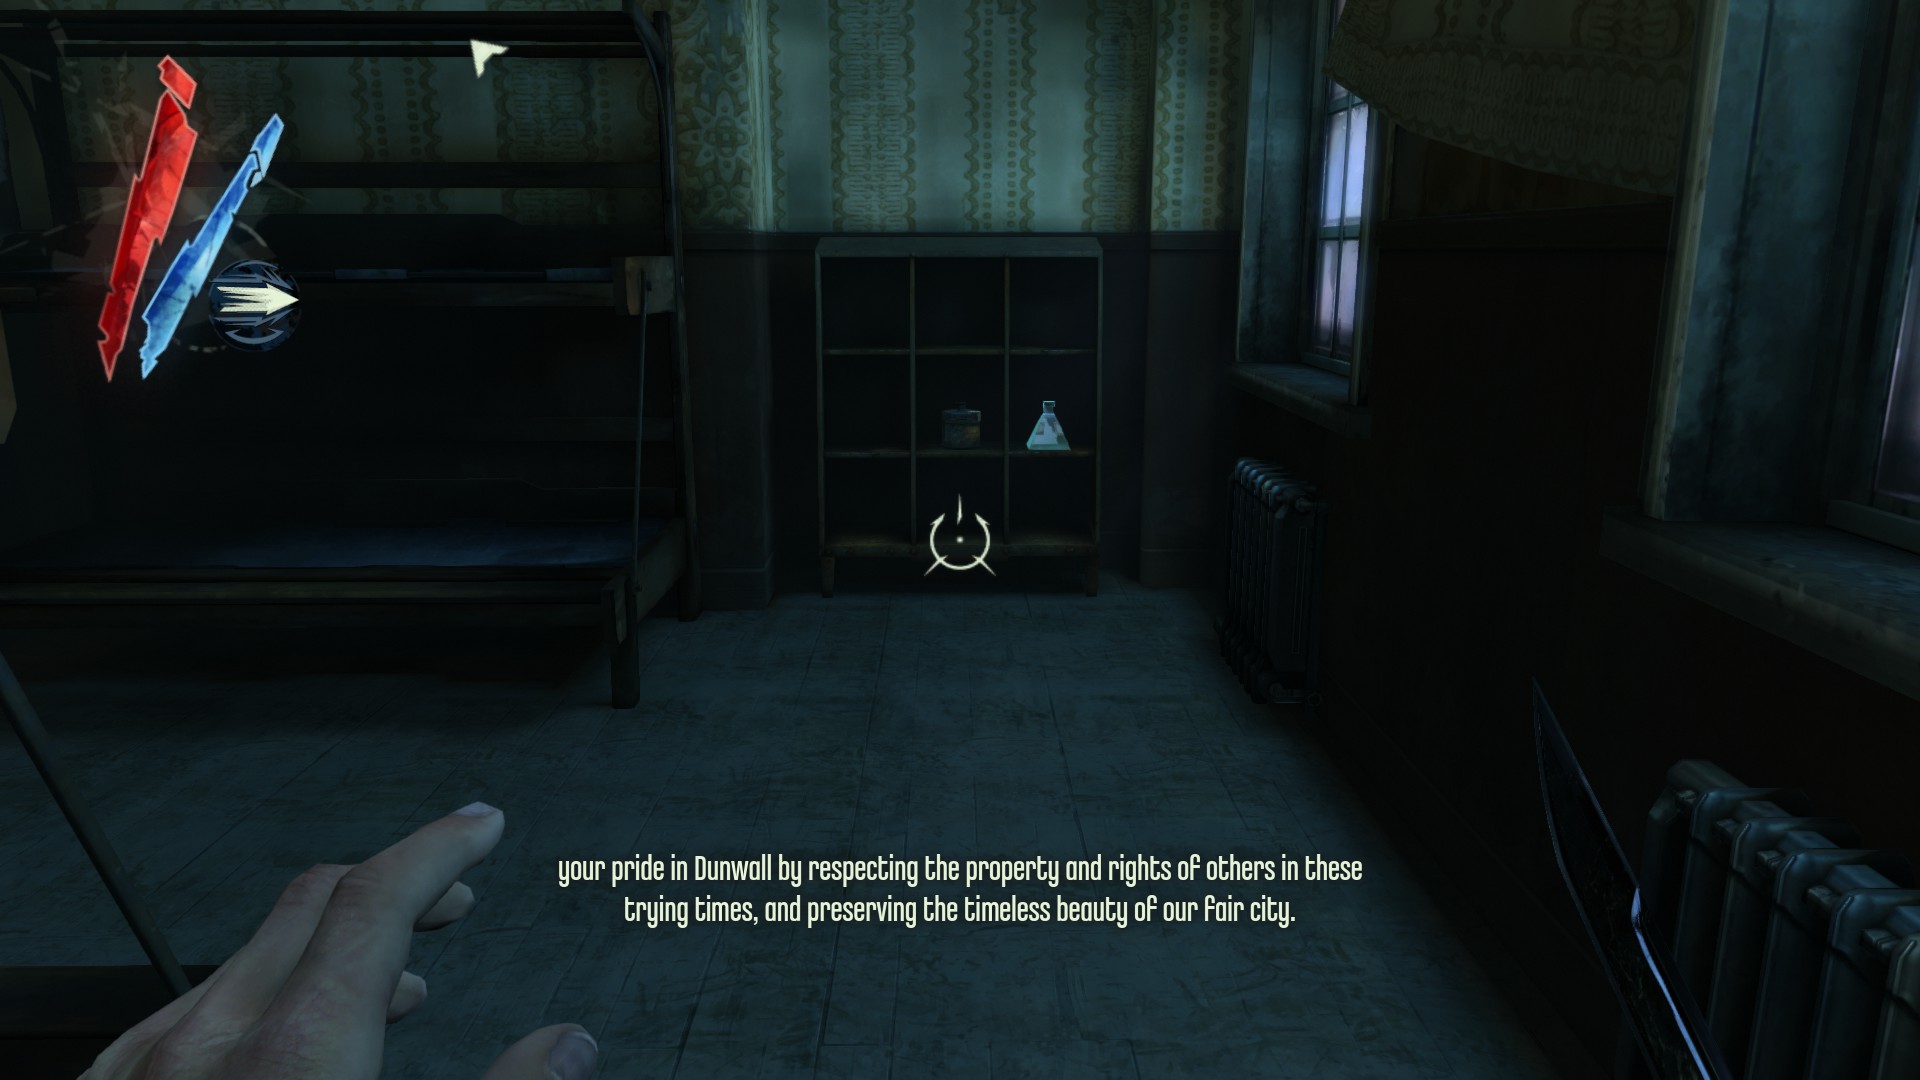
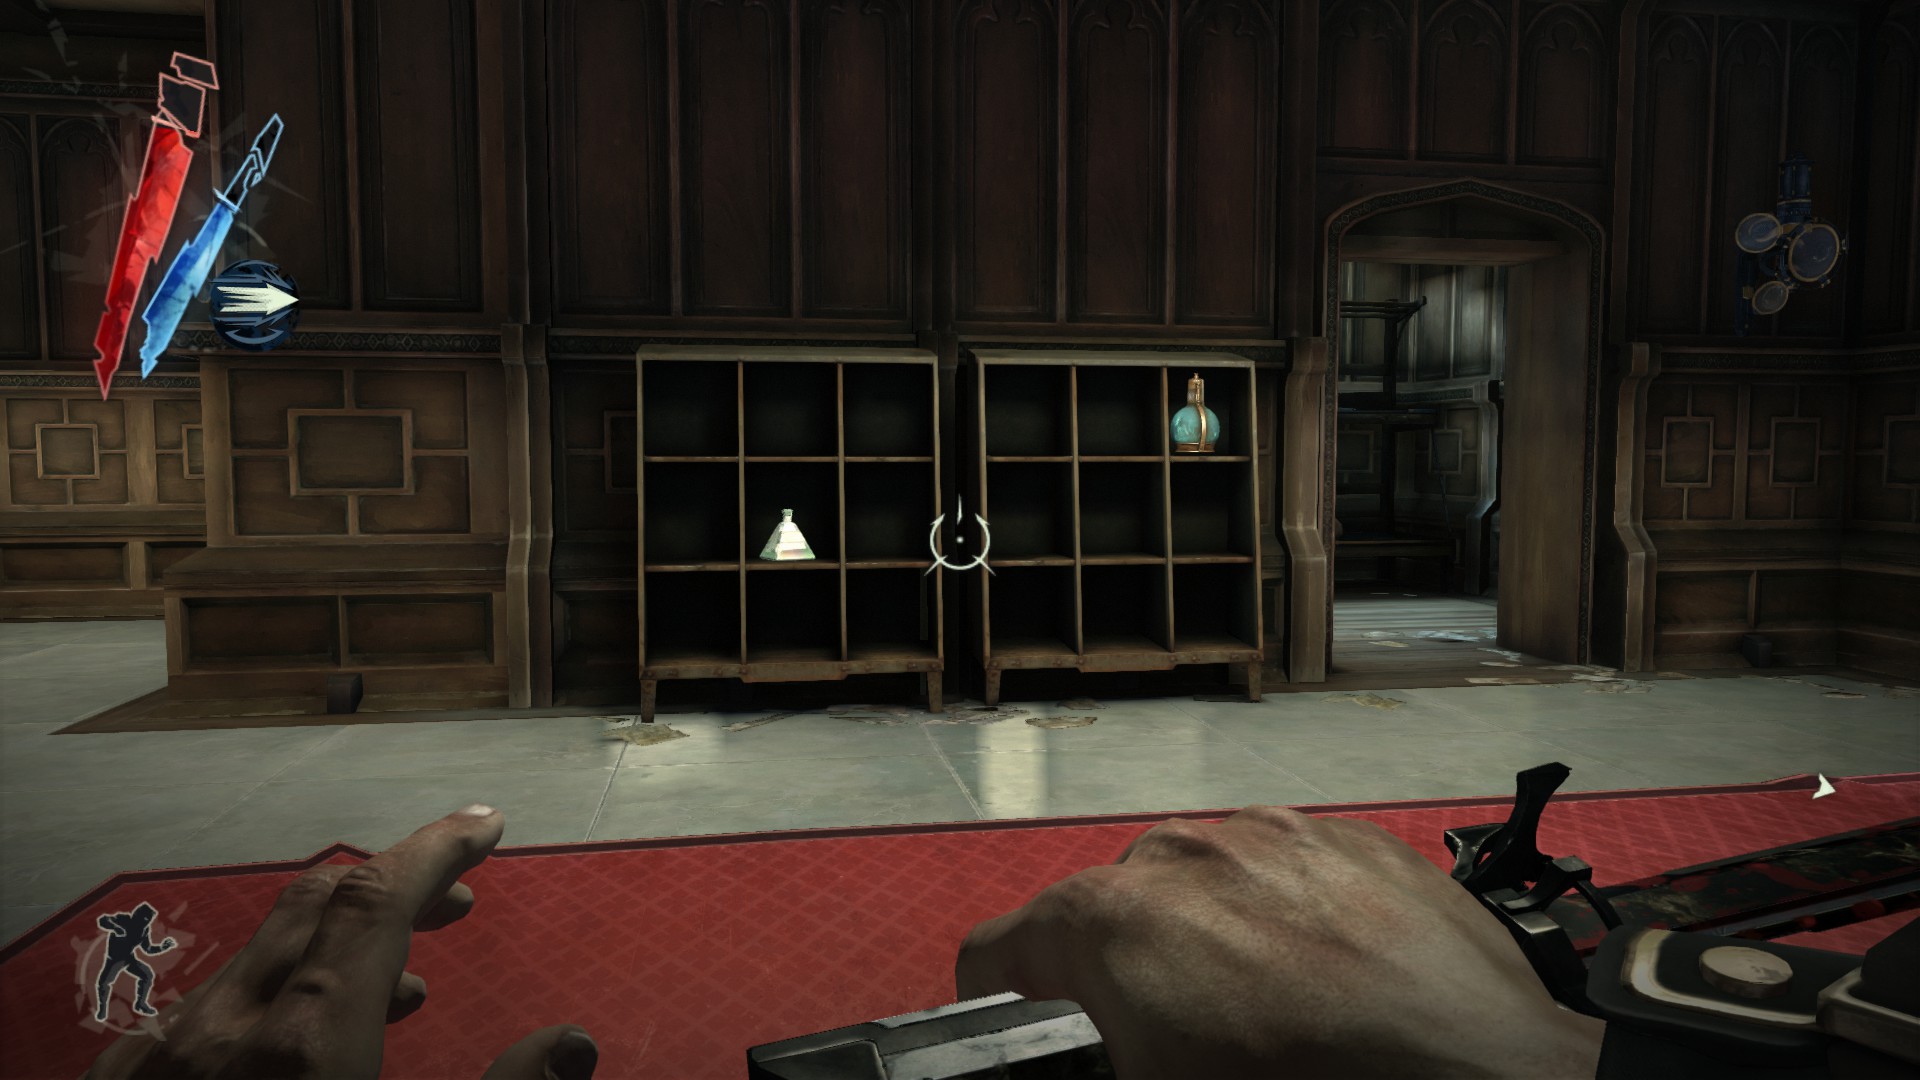
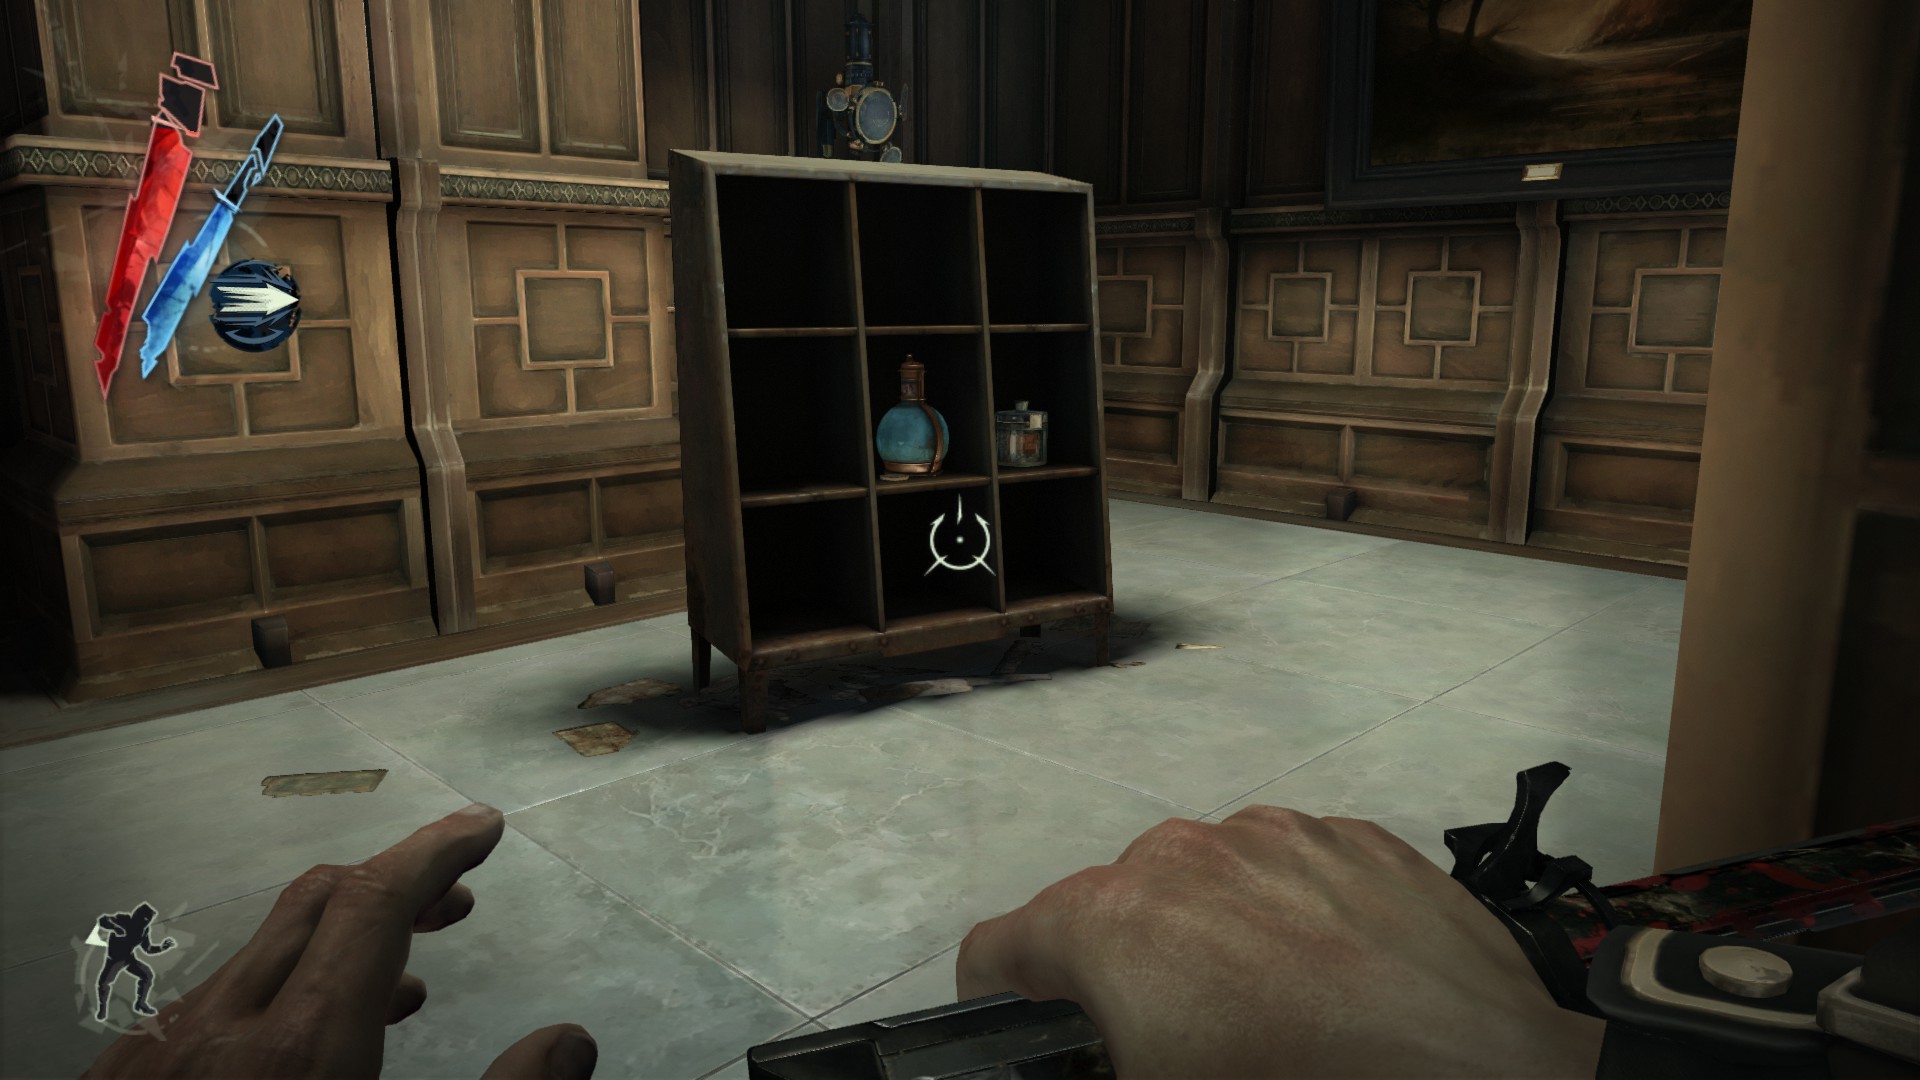
In the same room, on a shelf with 3 coins.
(+20 -> 135/1010)
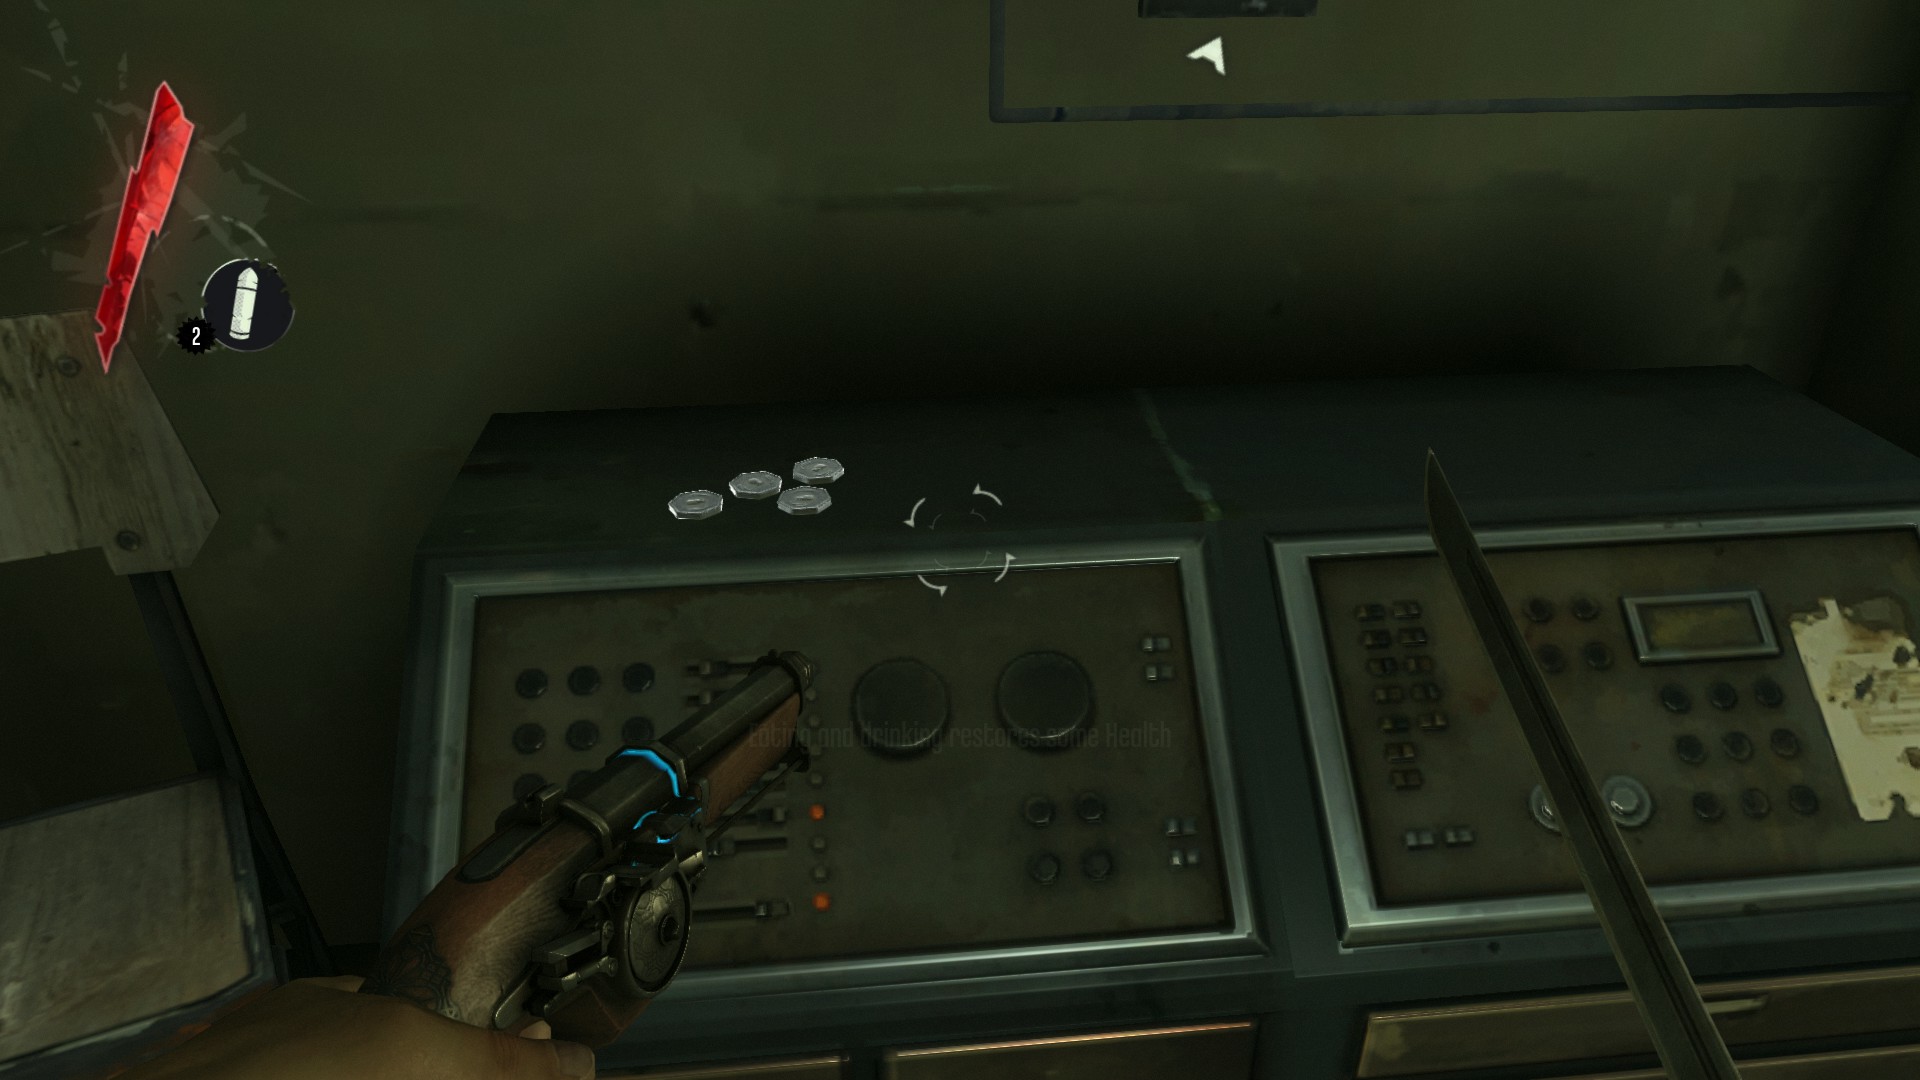
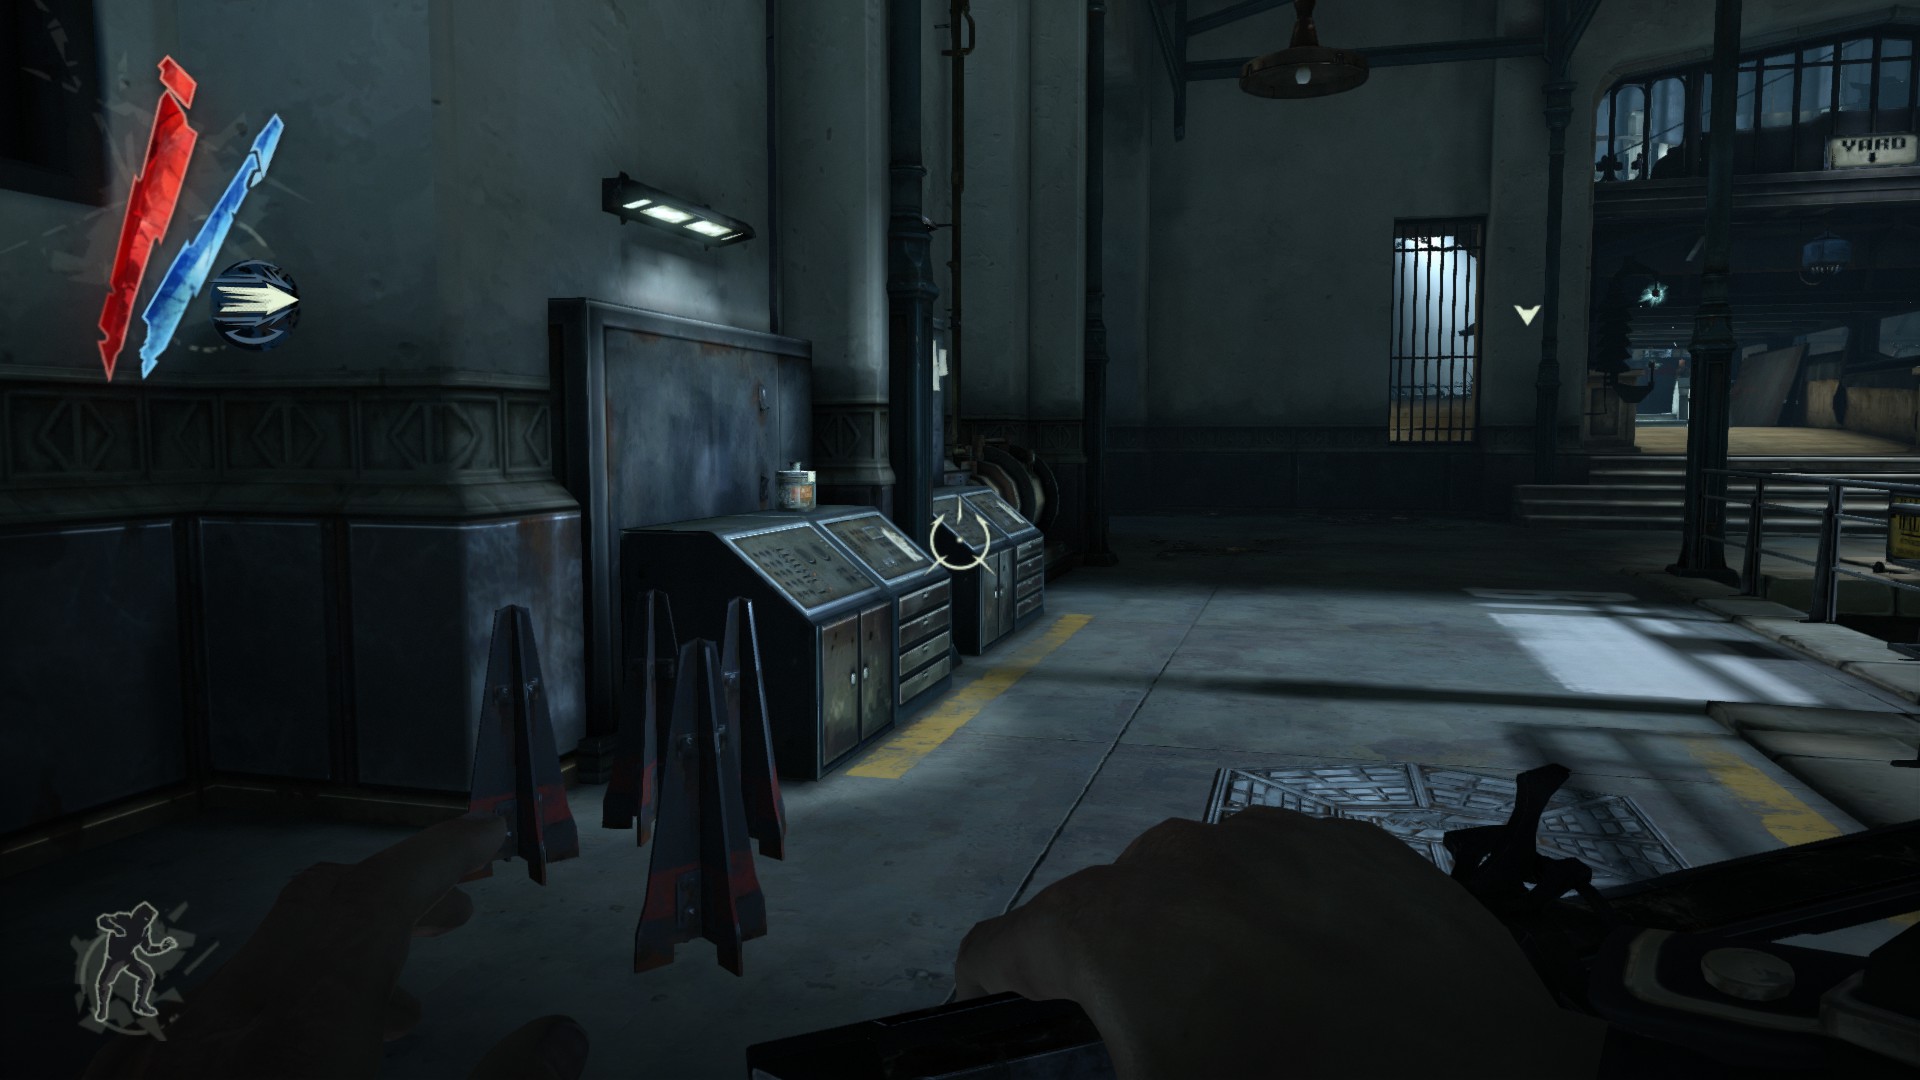
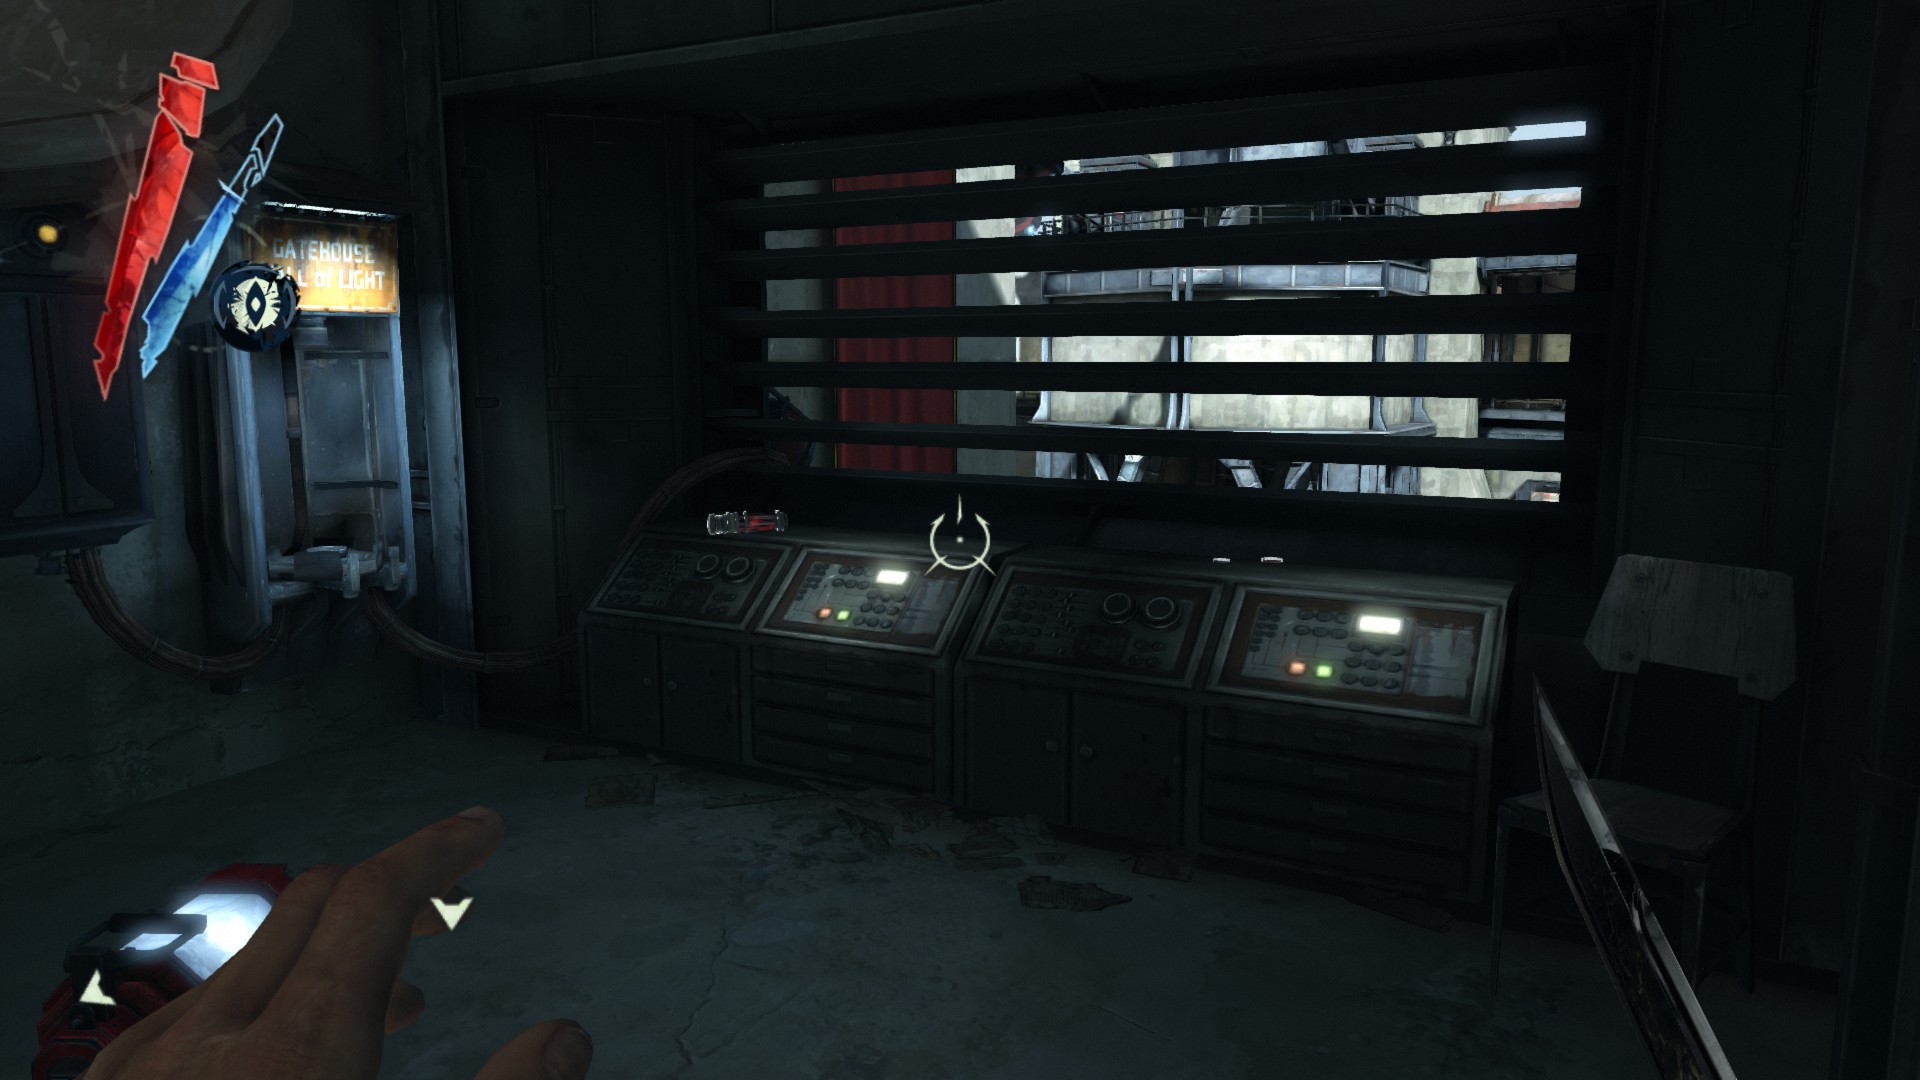
In the same room, there are also 4 coins on a control console.
(+4 -> 139/1010)
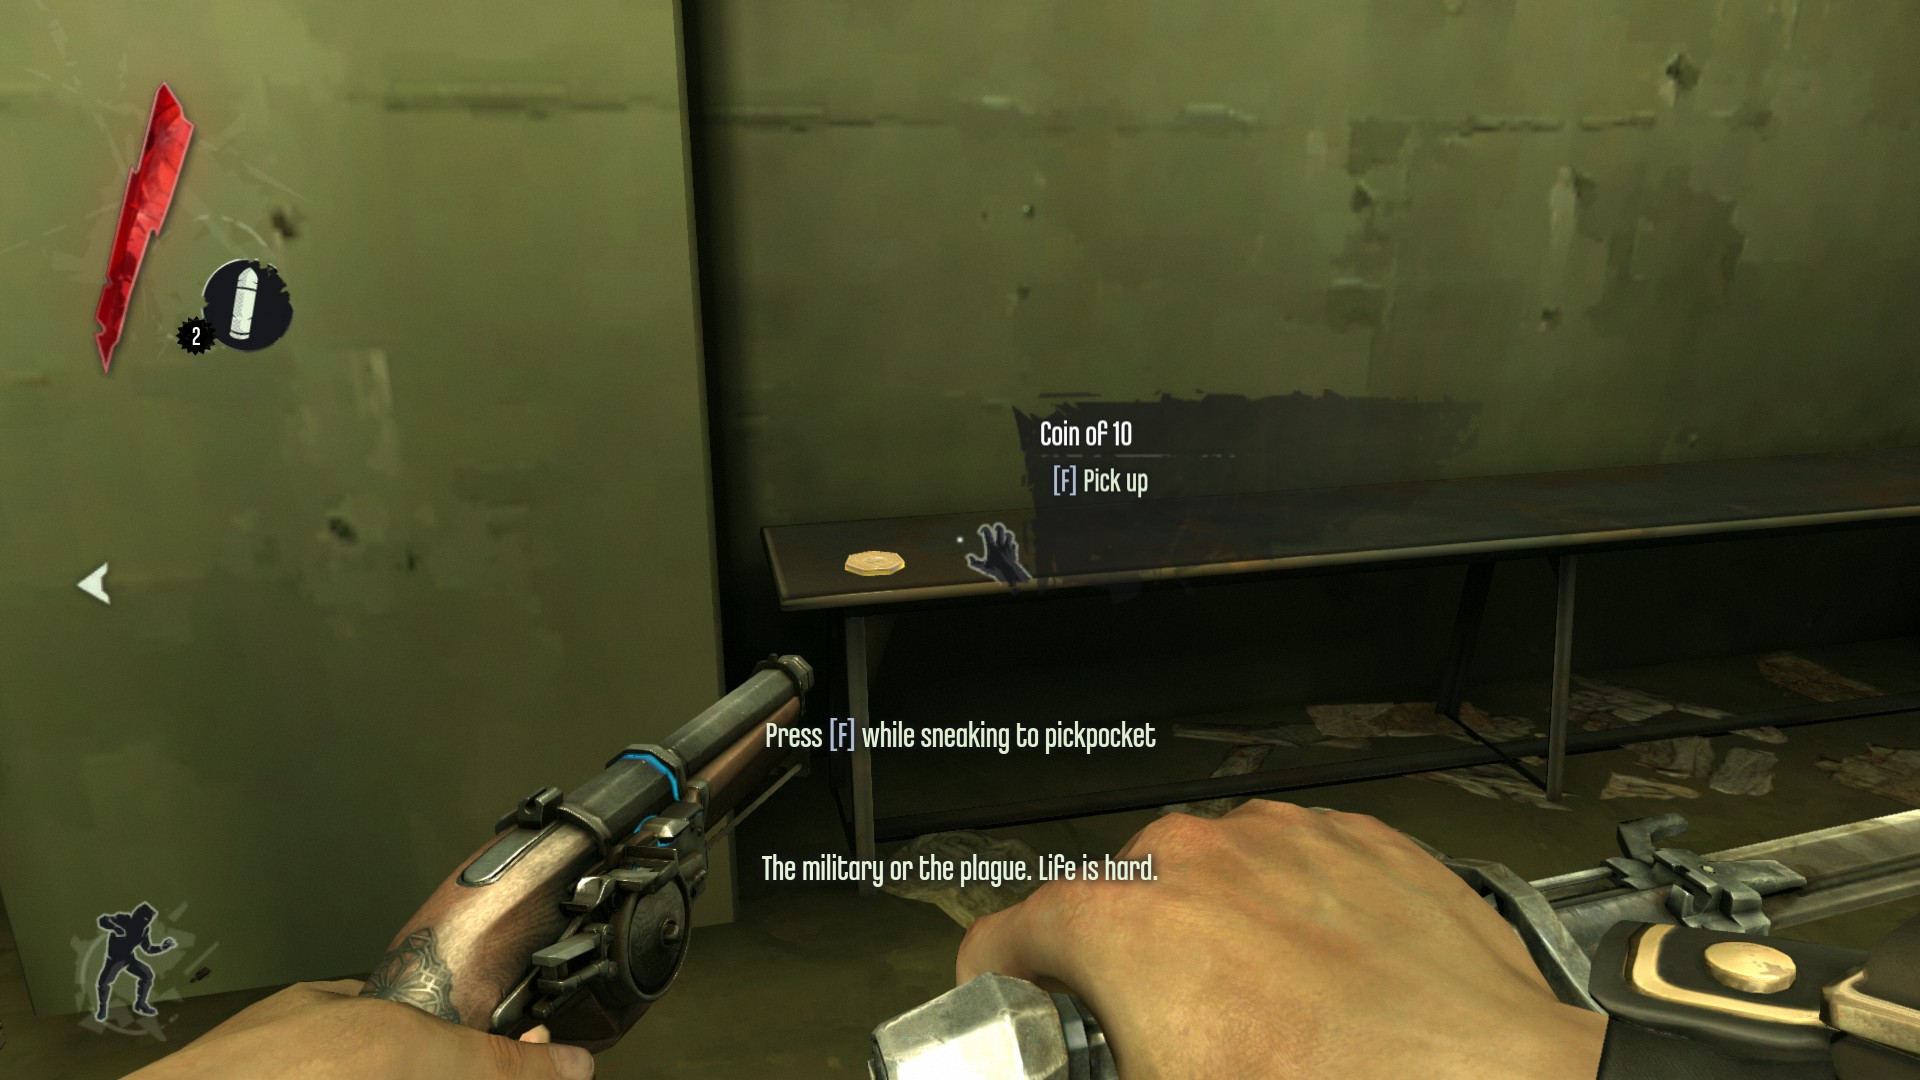
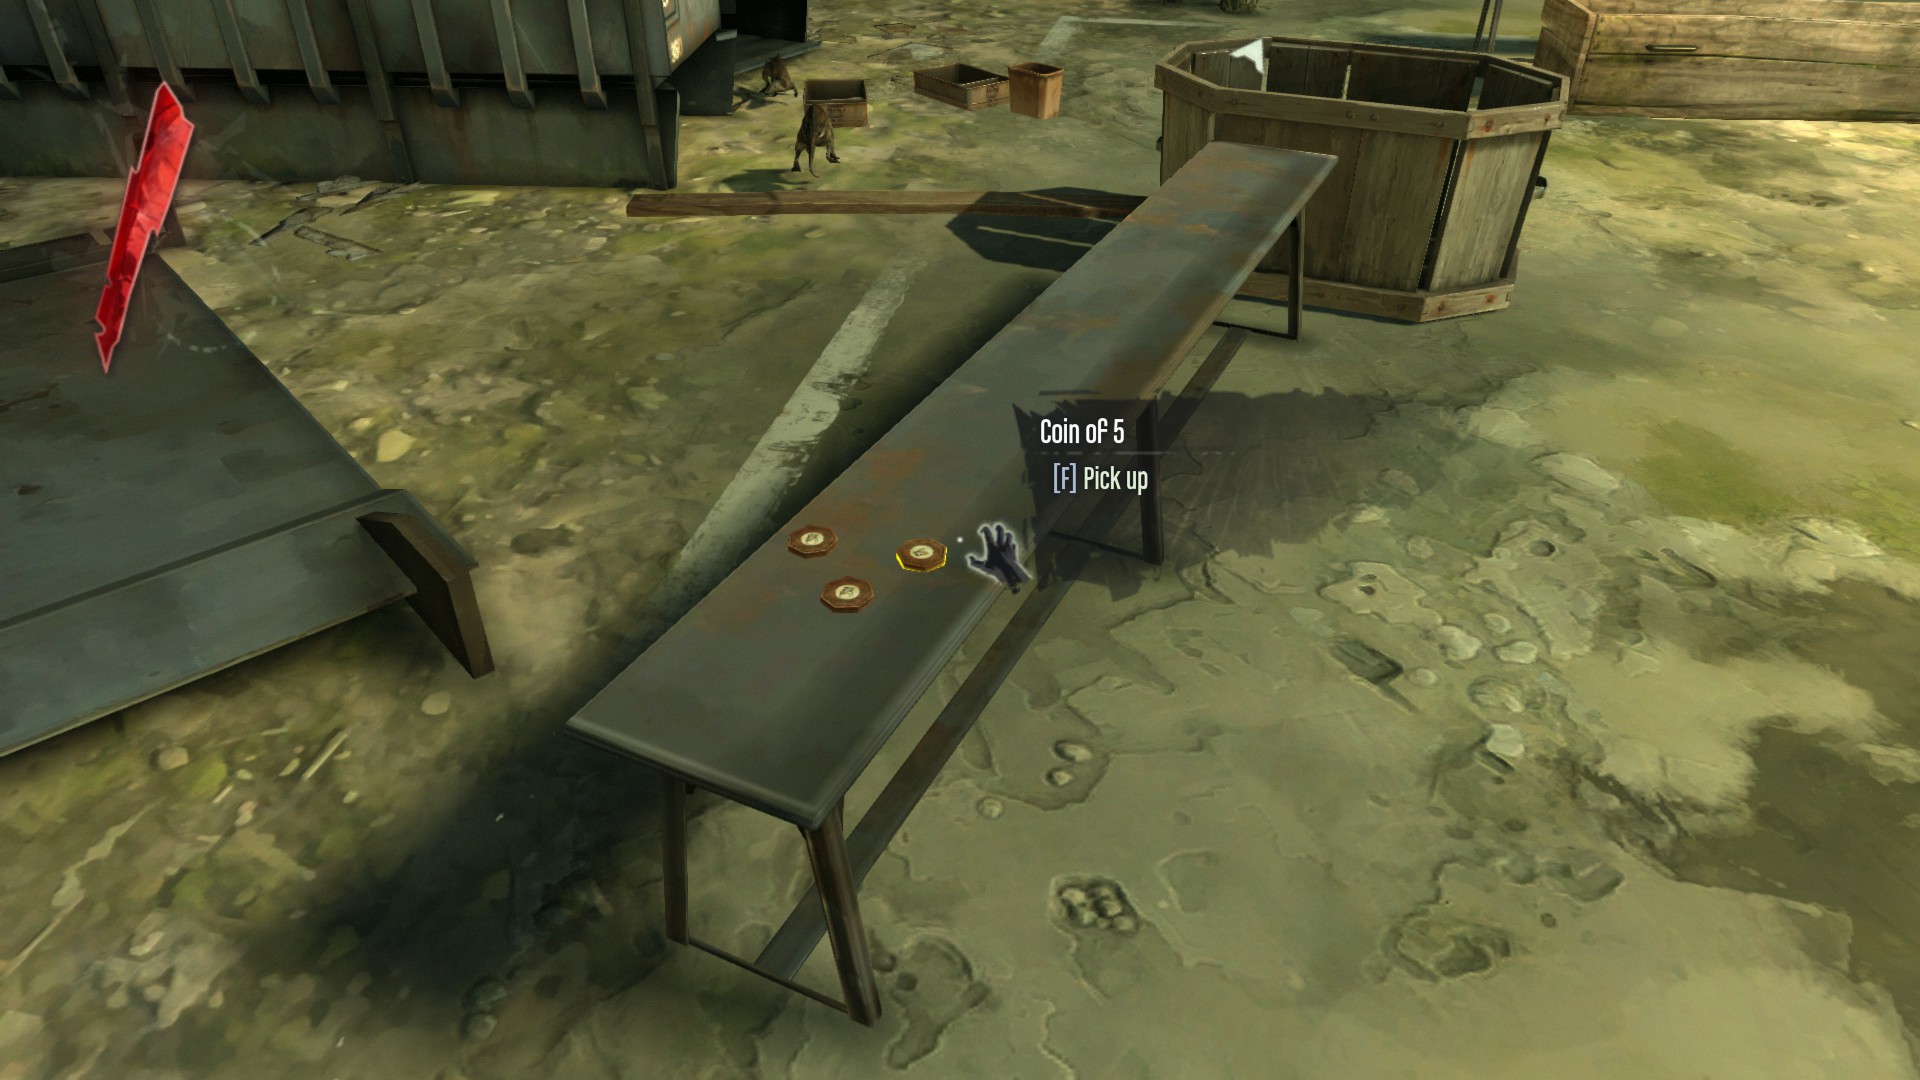
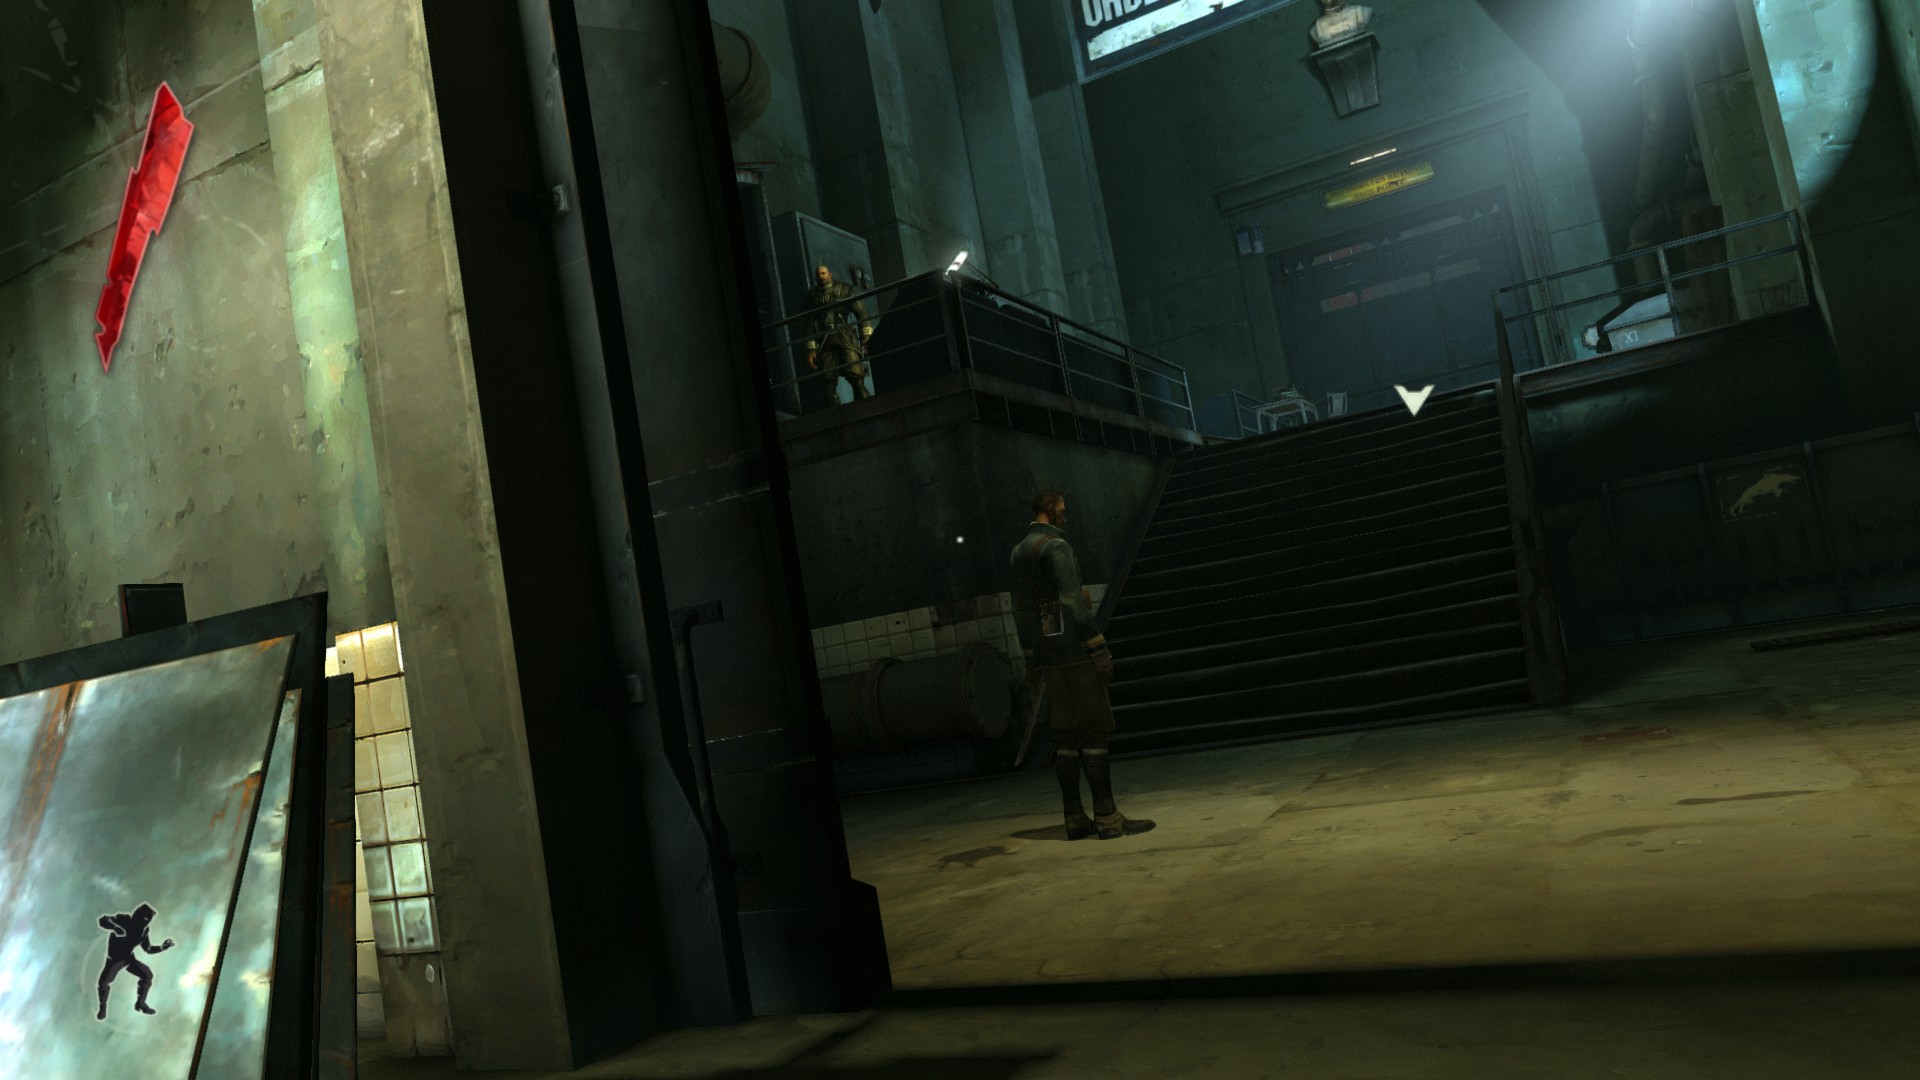
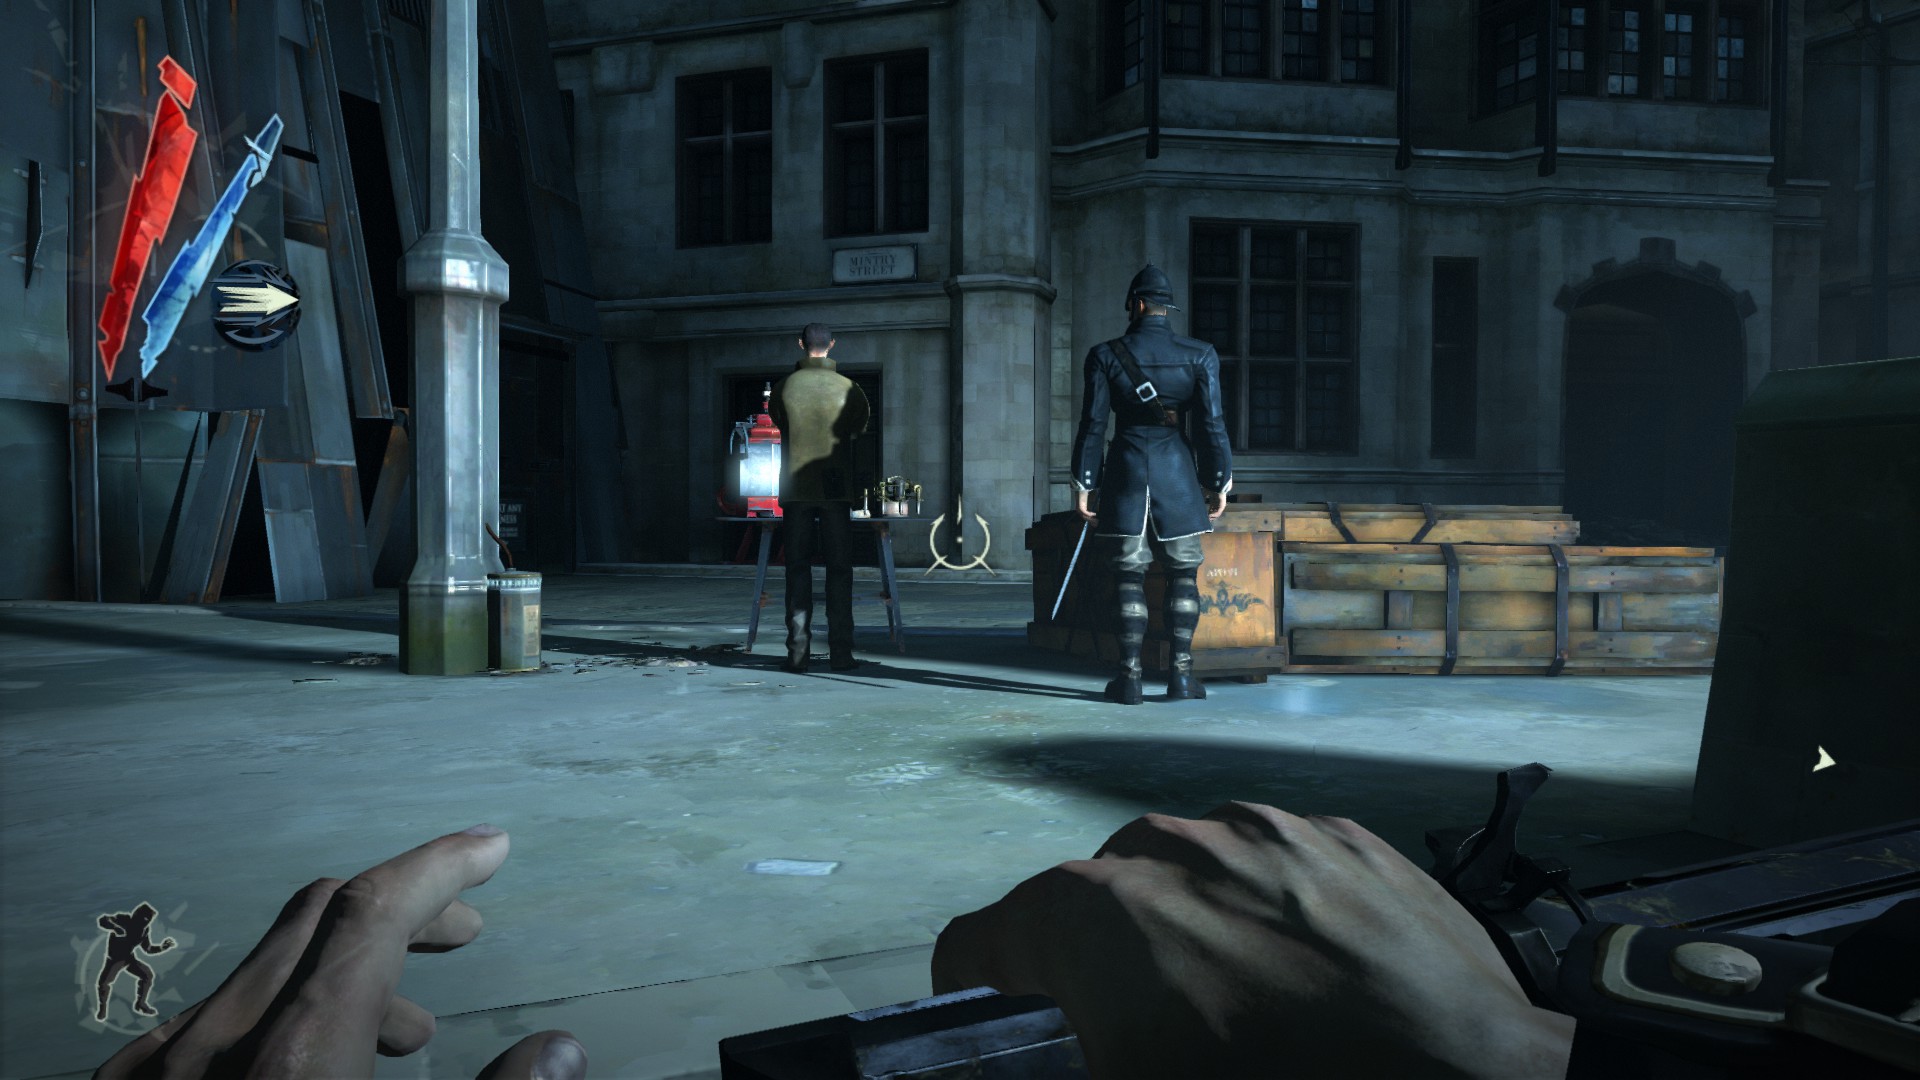
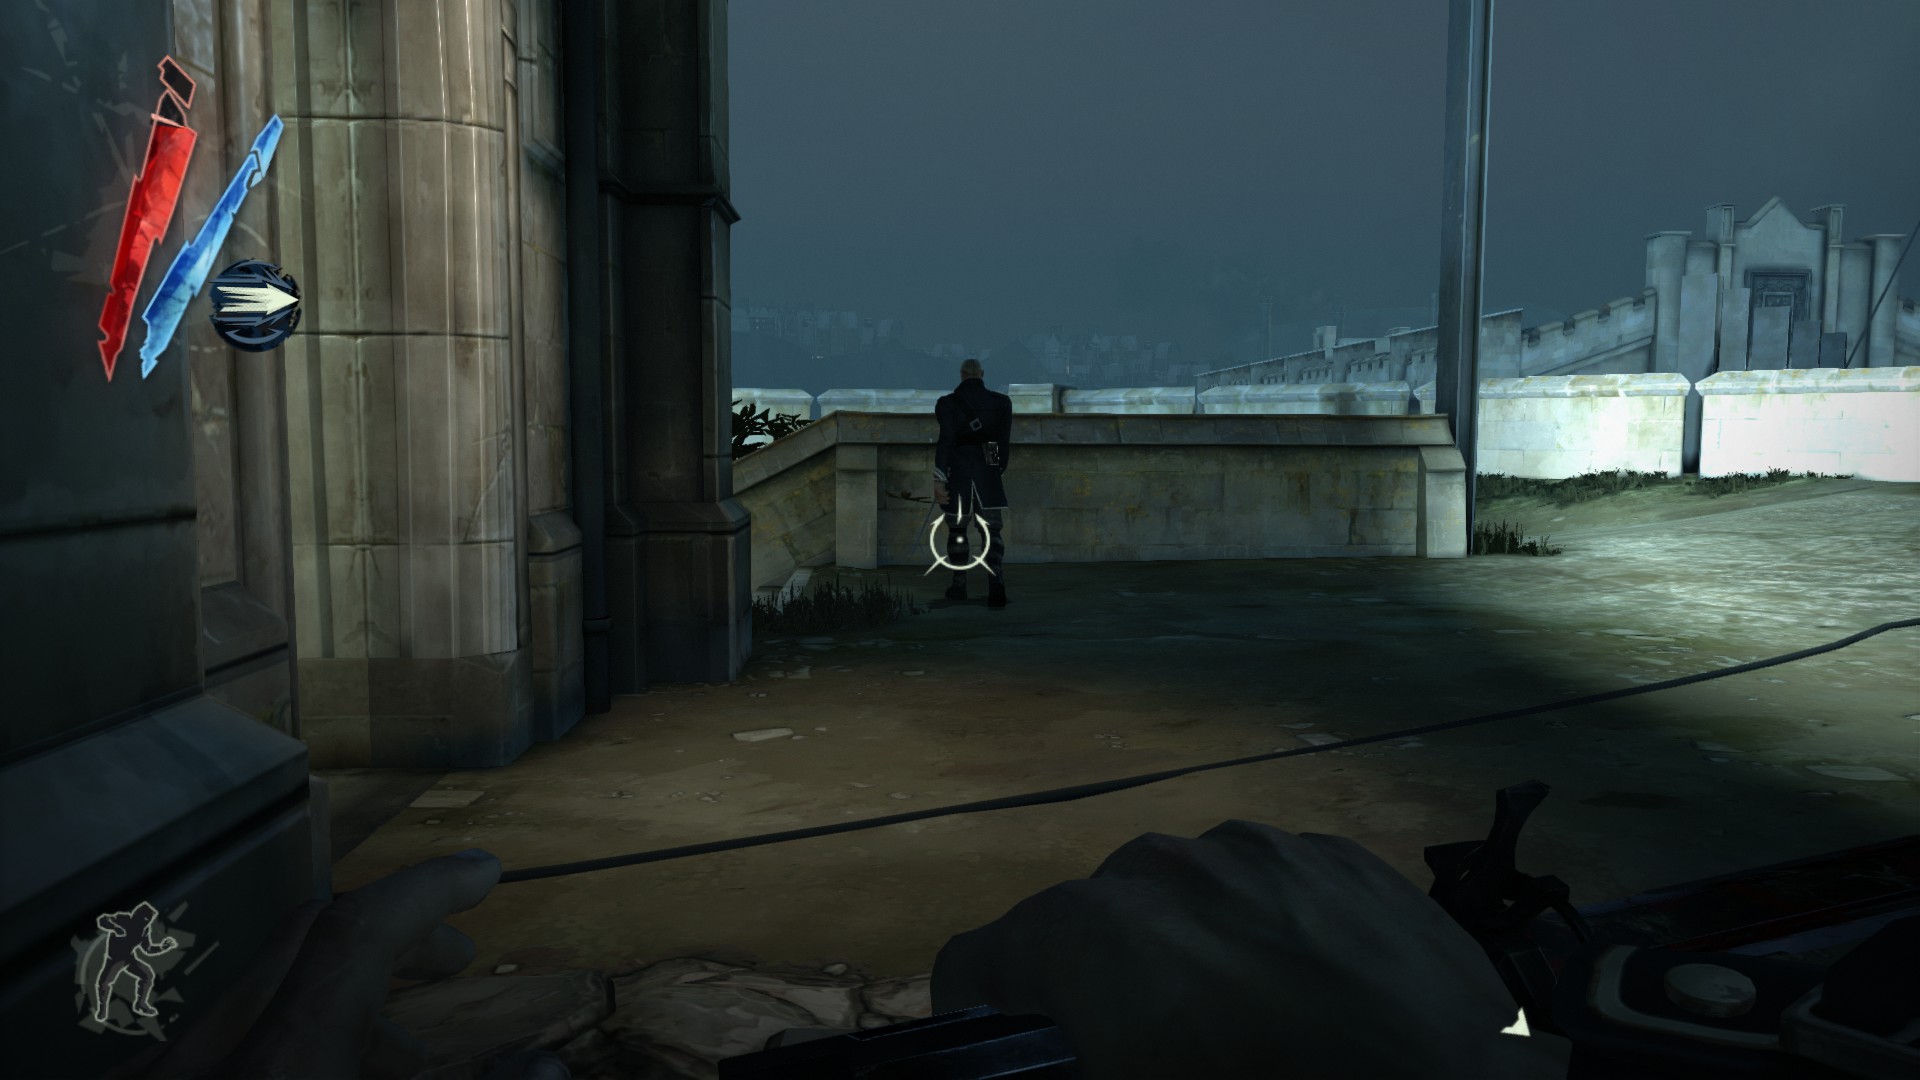
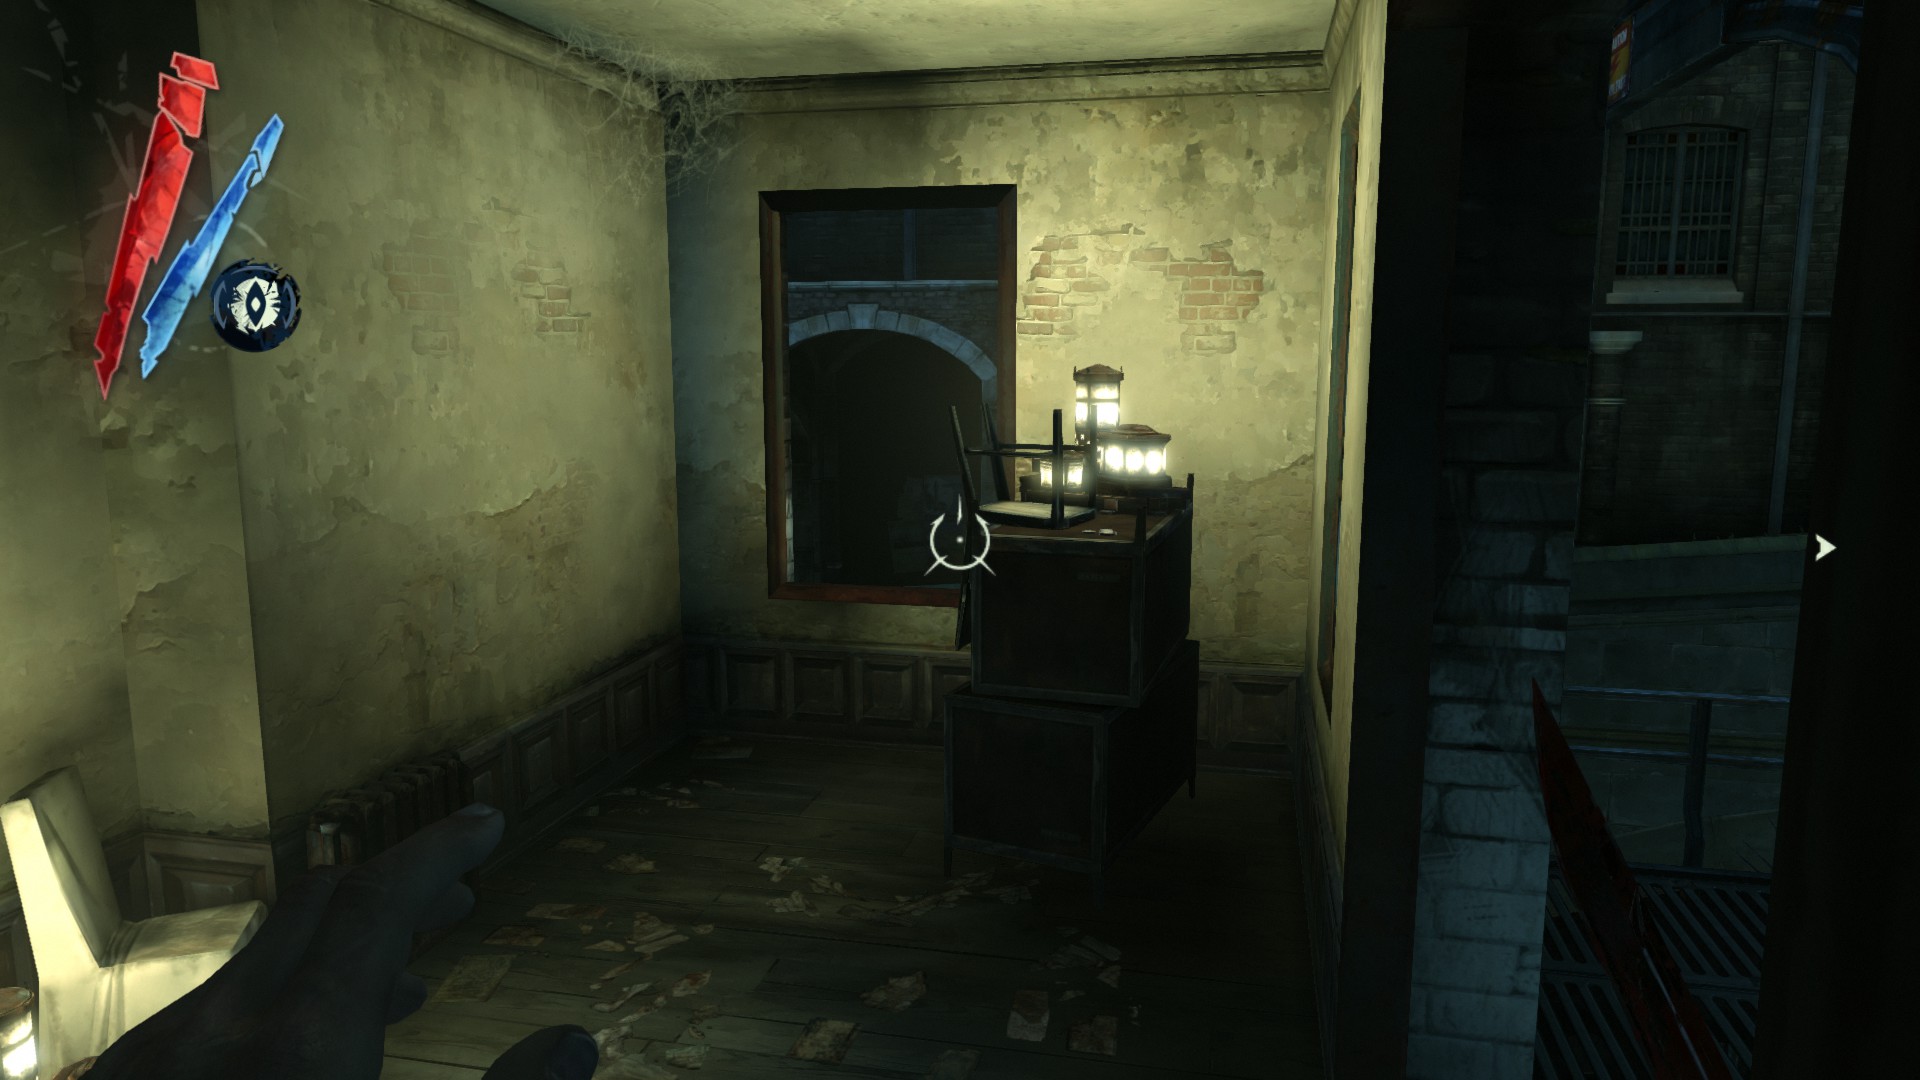
Go through the door into the next area. You'll find a coin on a bench next to a guard.
(+10 -> 149/1010)
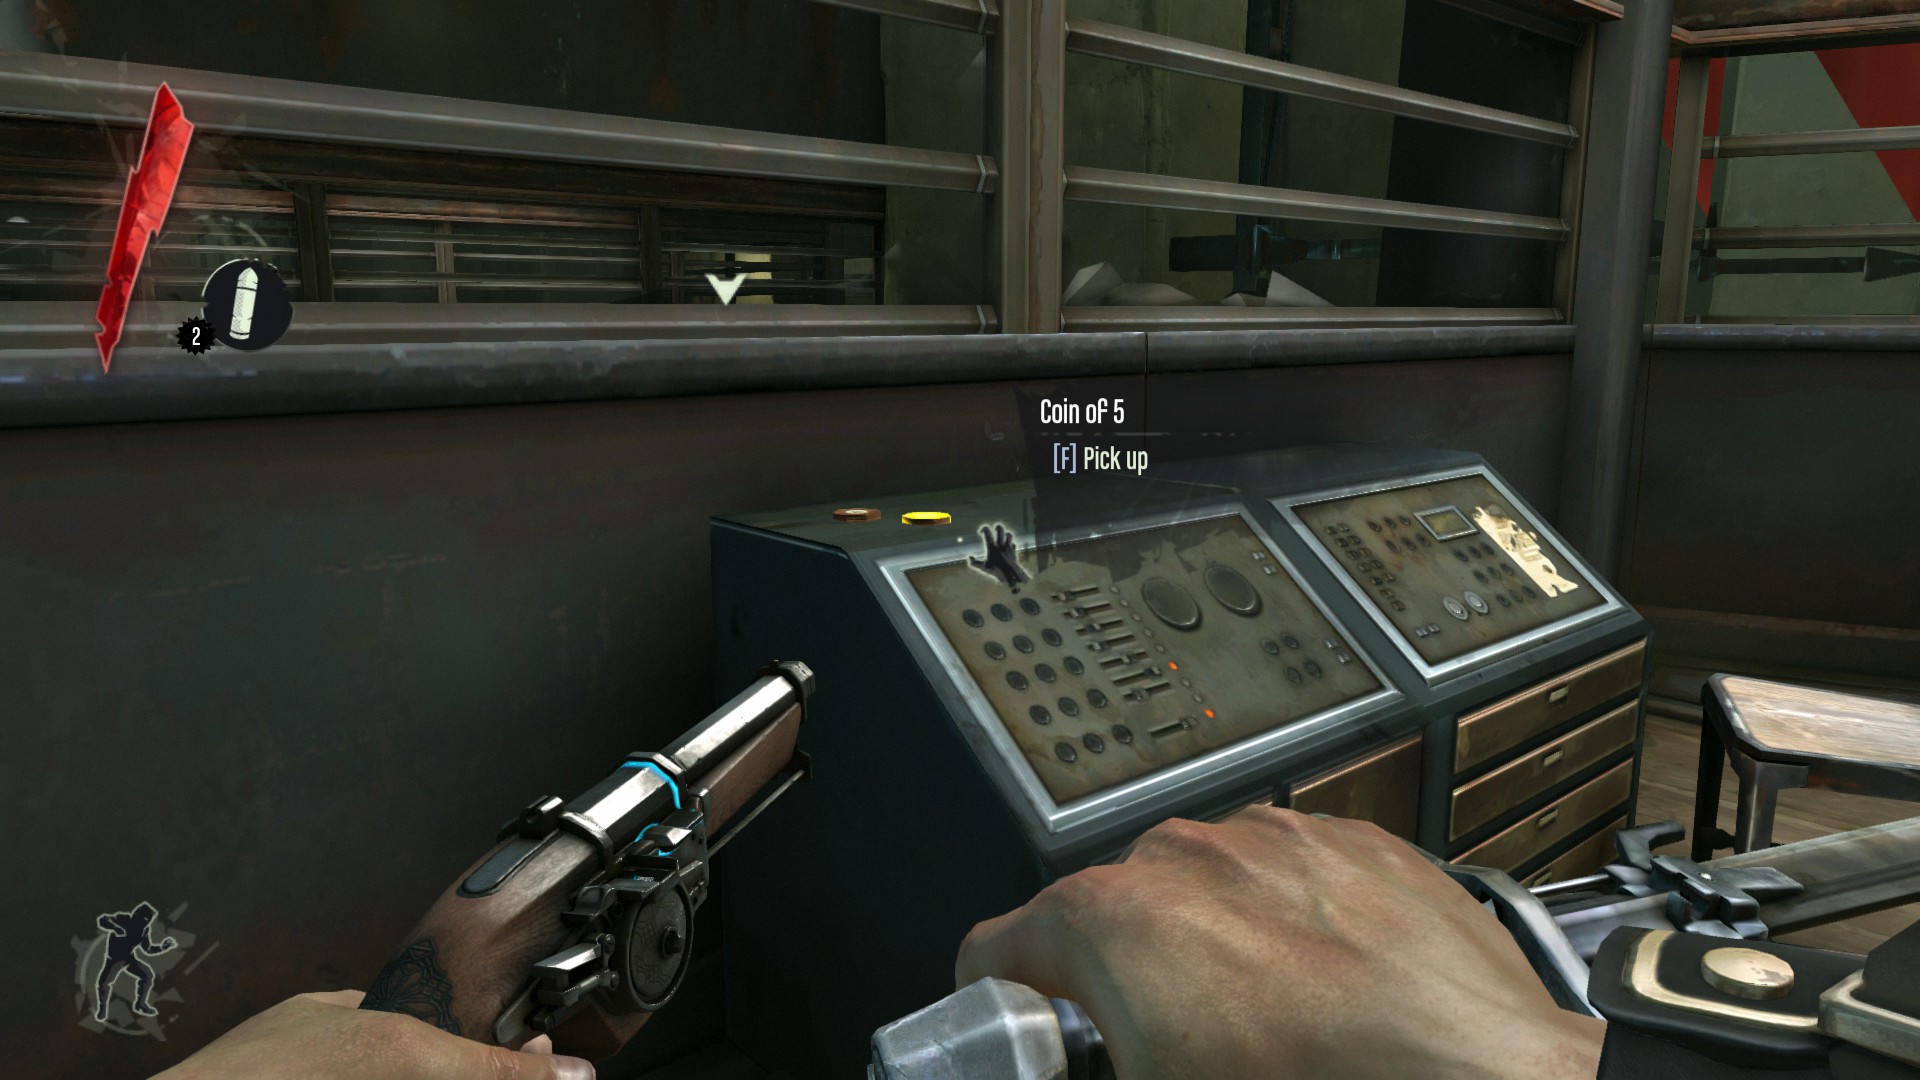
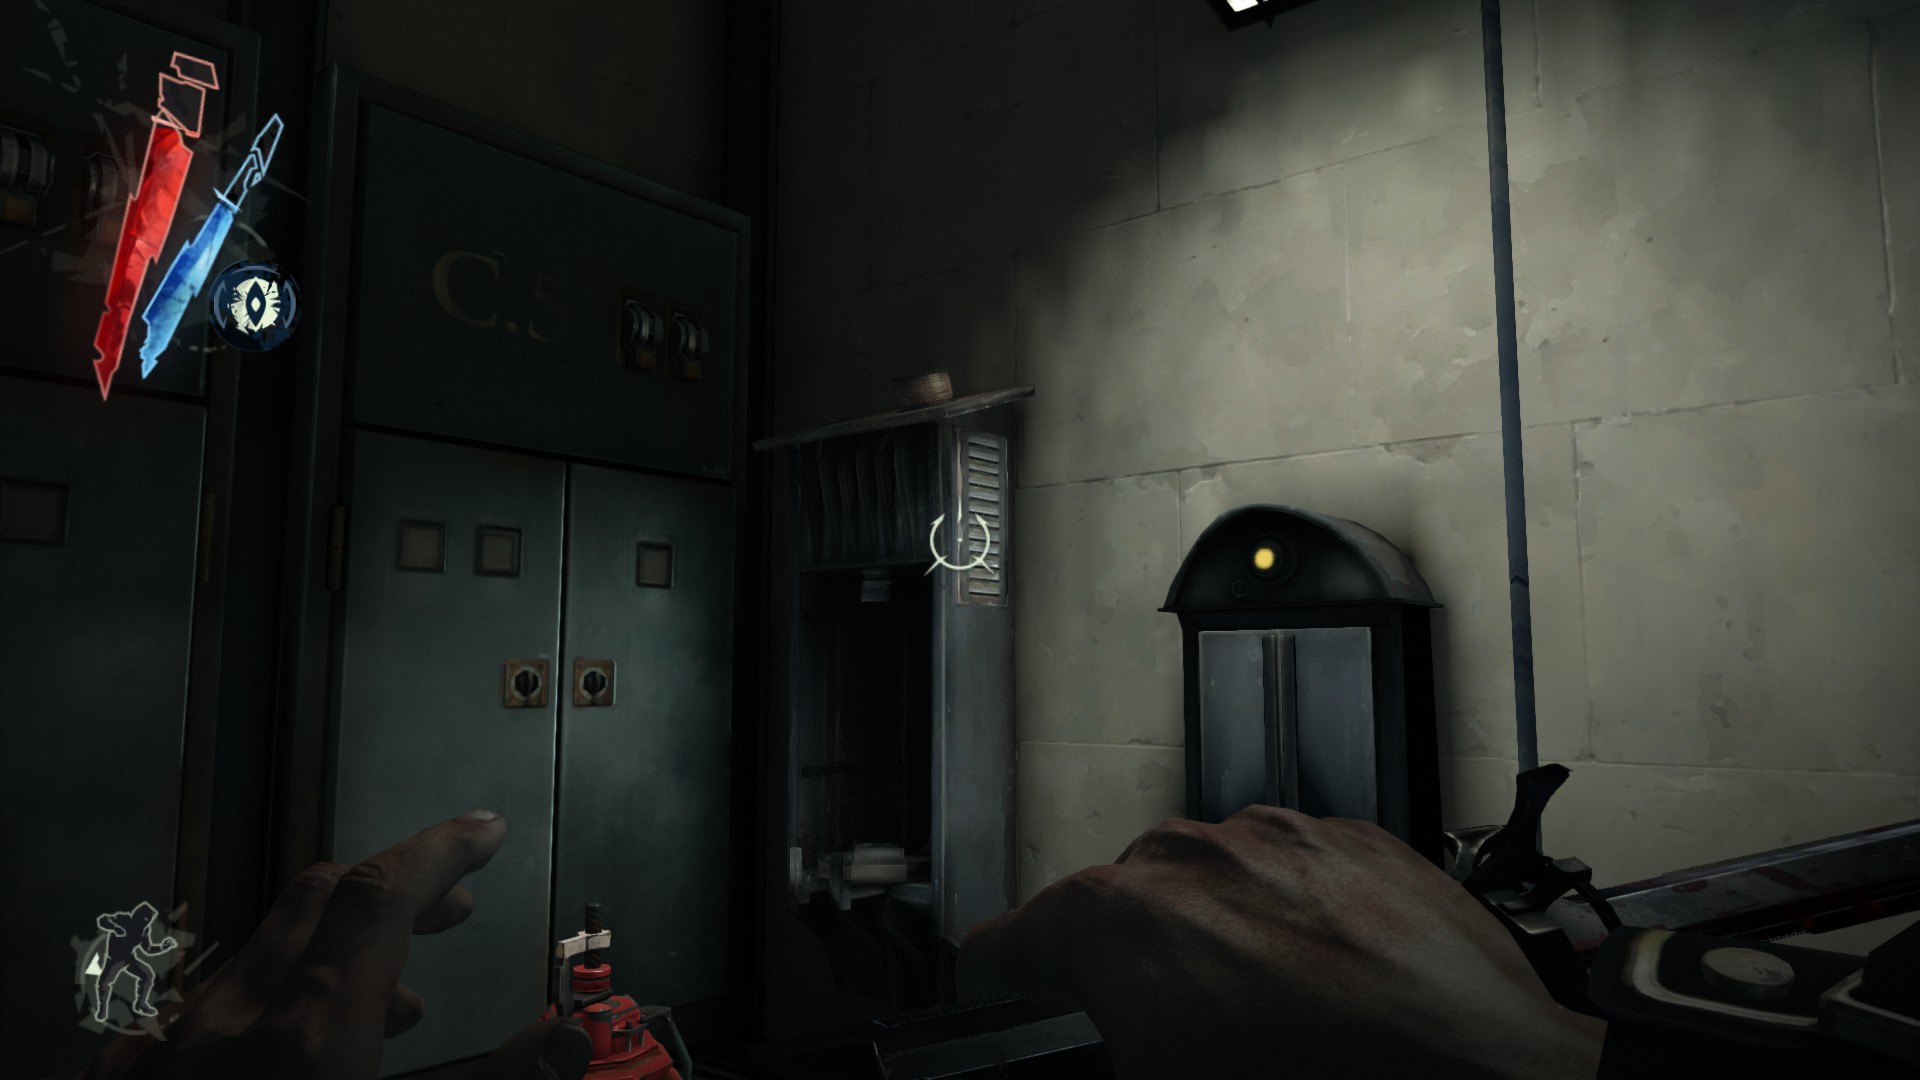
Open the door using the yard walkway key and get into it. There are 2 coins on a control console.
(+10 -> 159/1010)
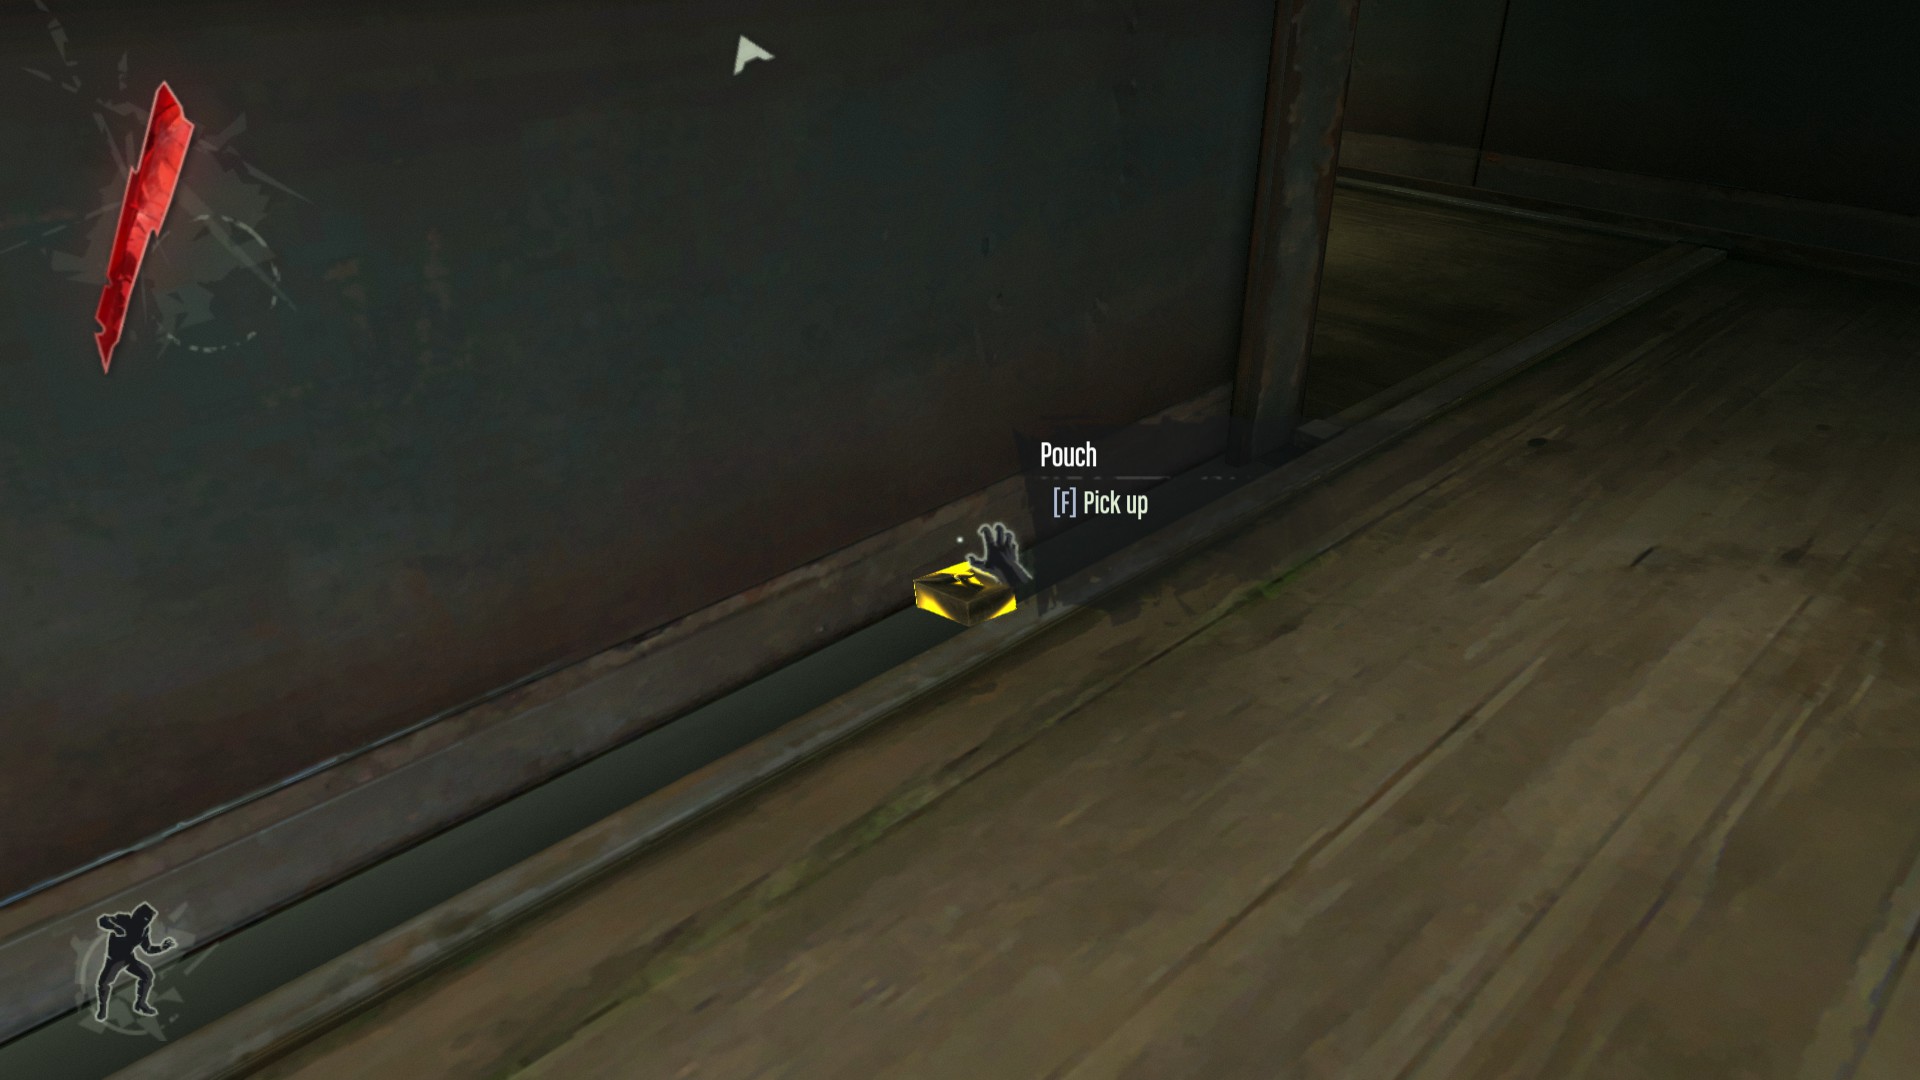
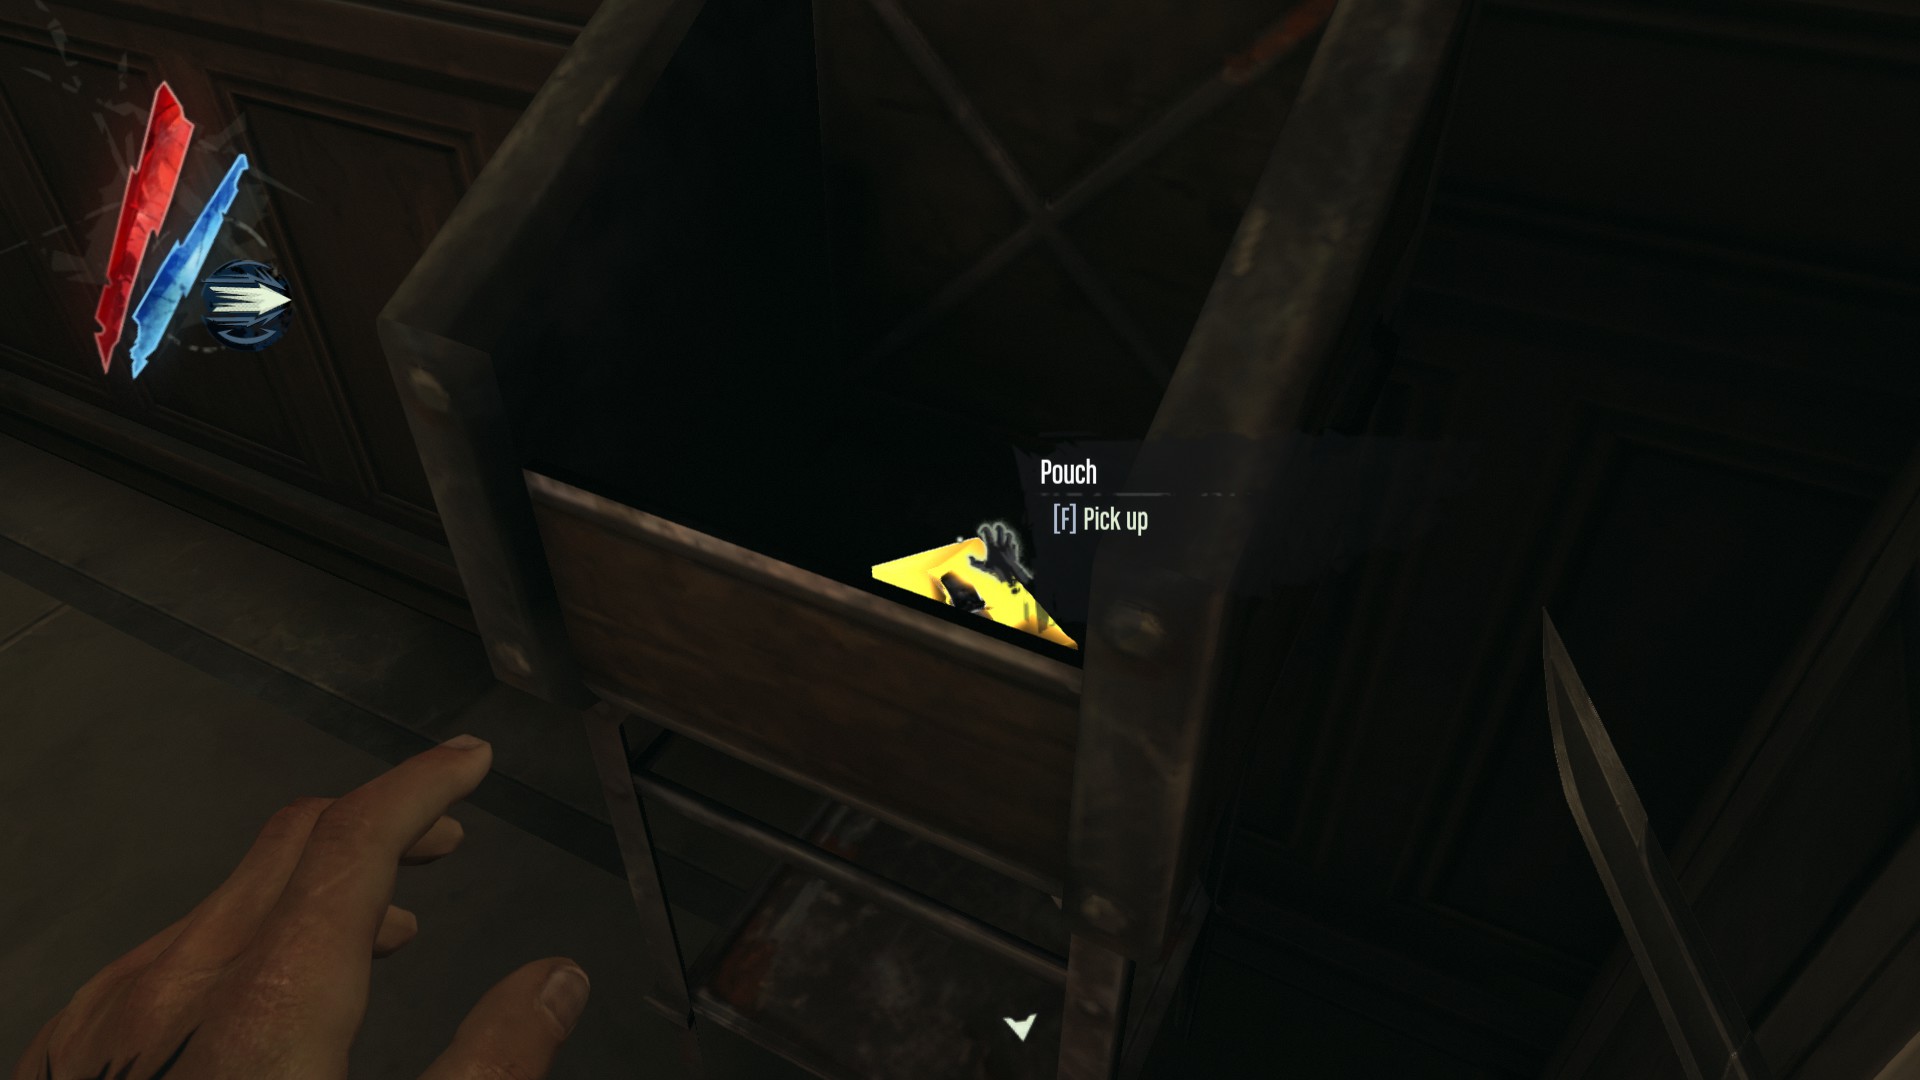
In the corridor, a pouch is on the floor here.
(+10 -> 169/1010)
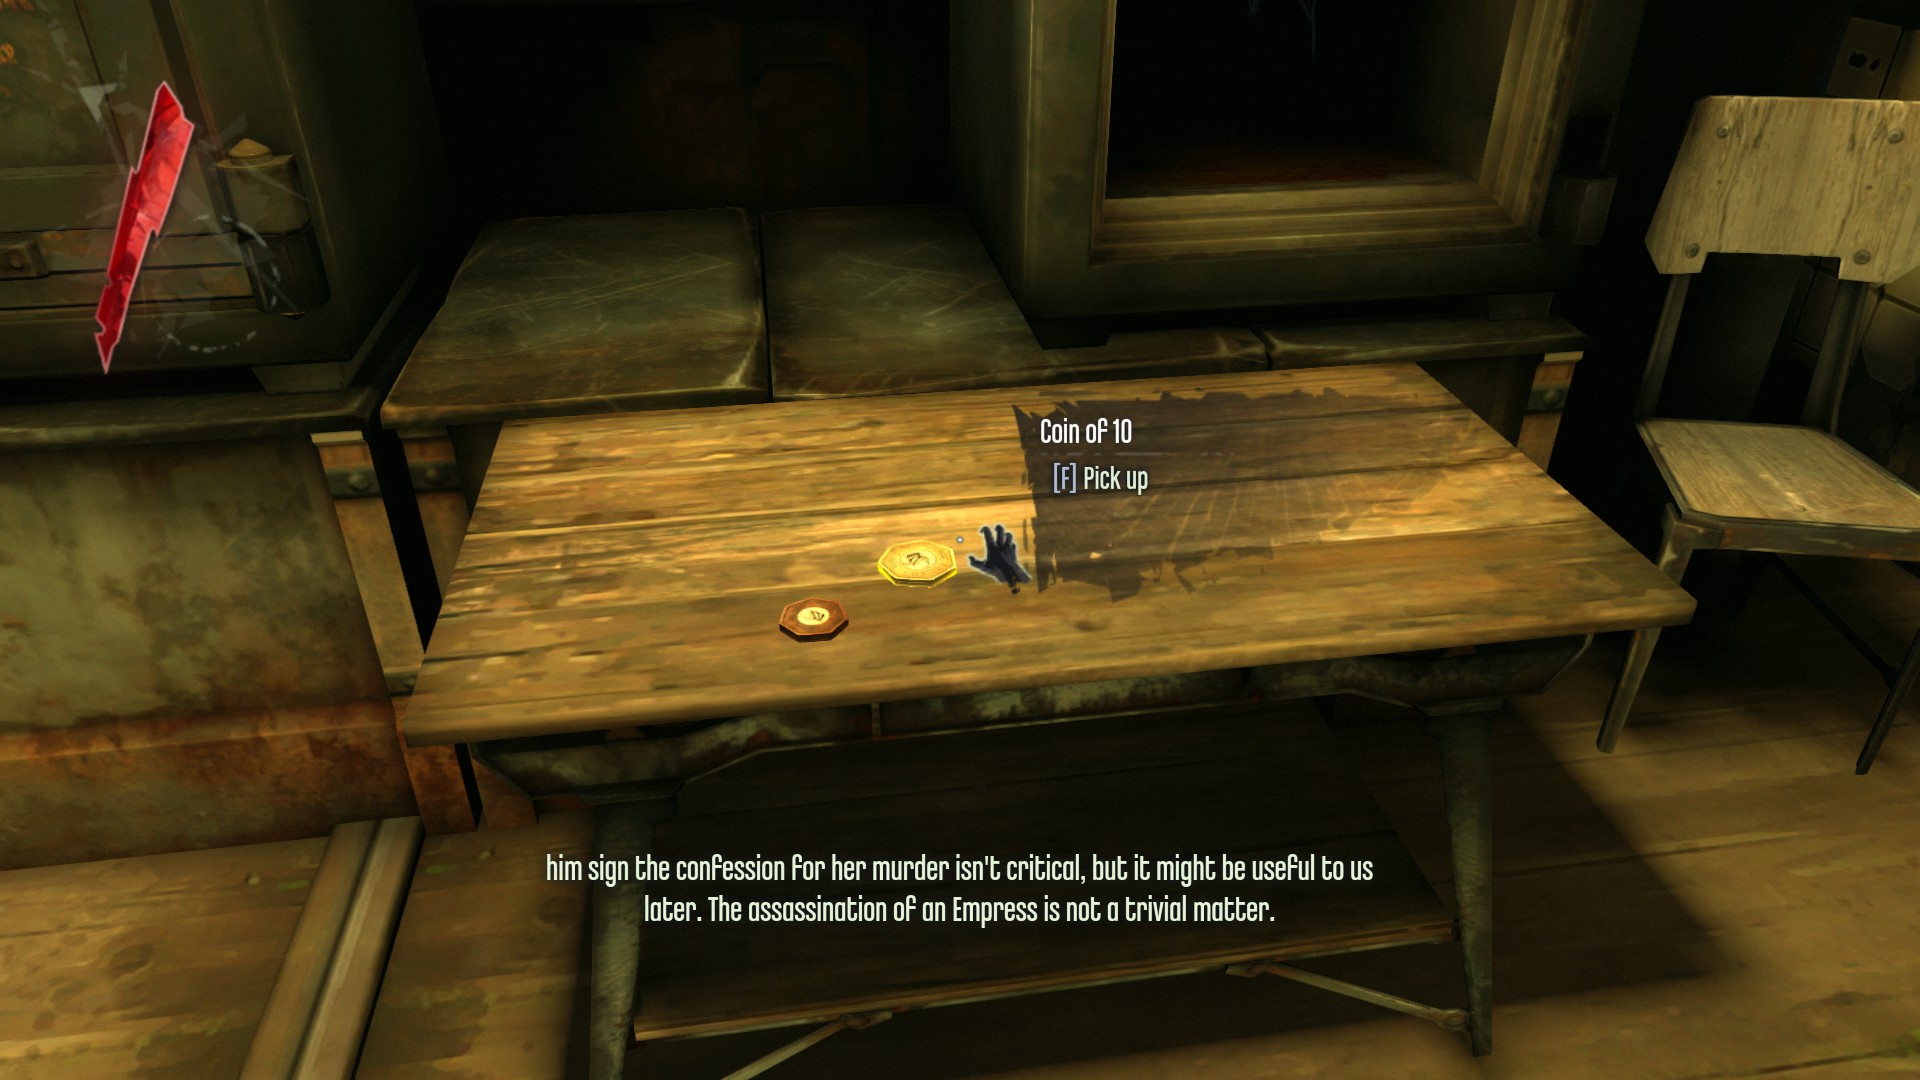
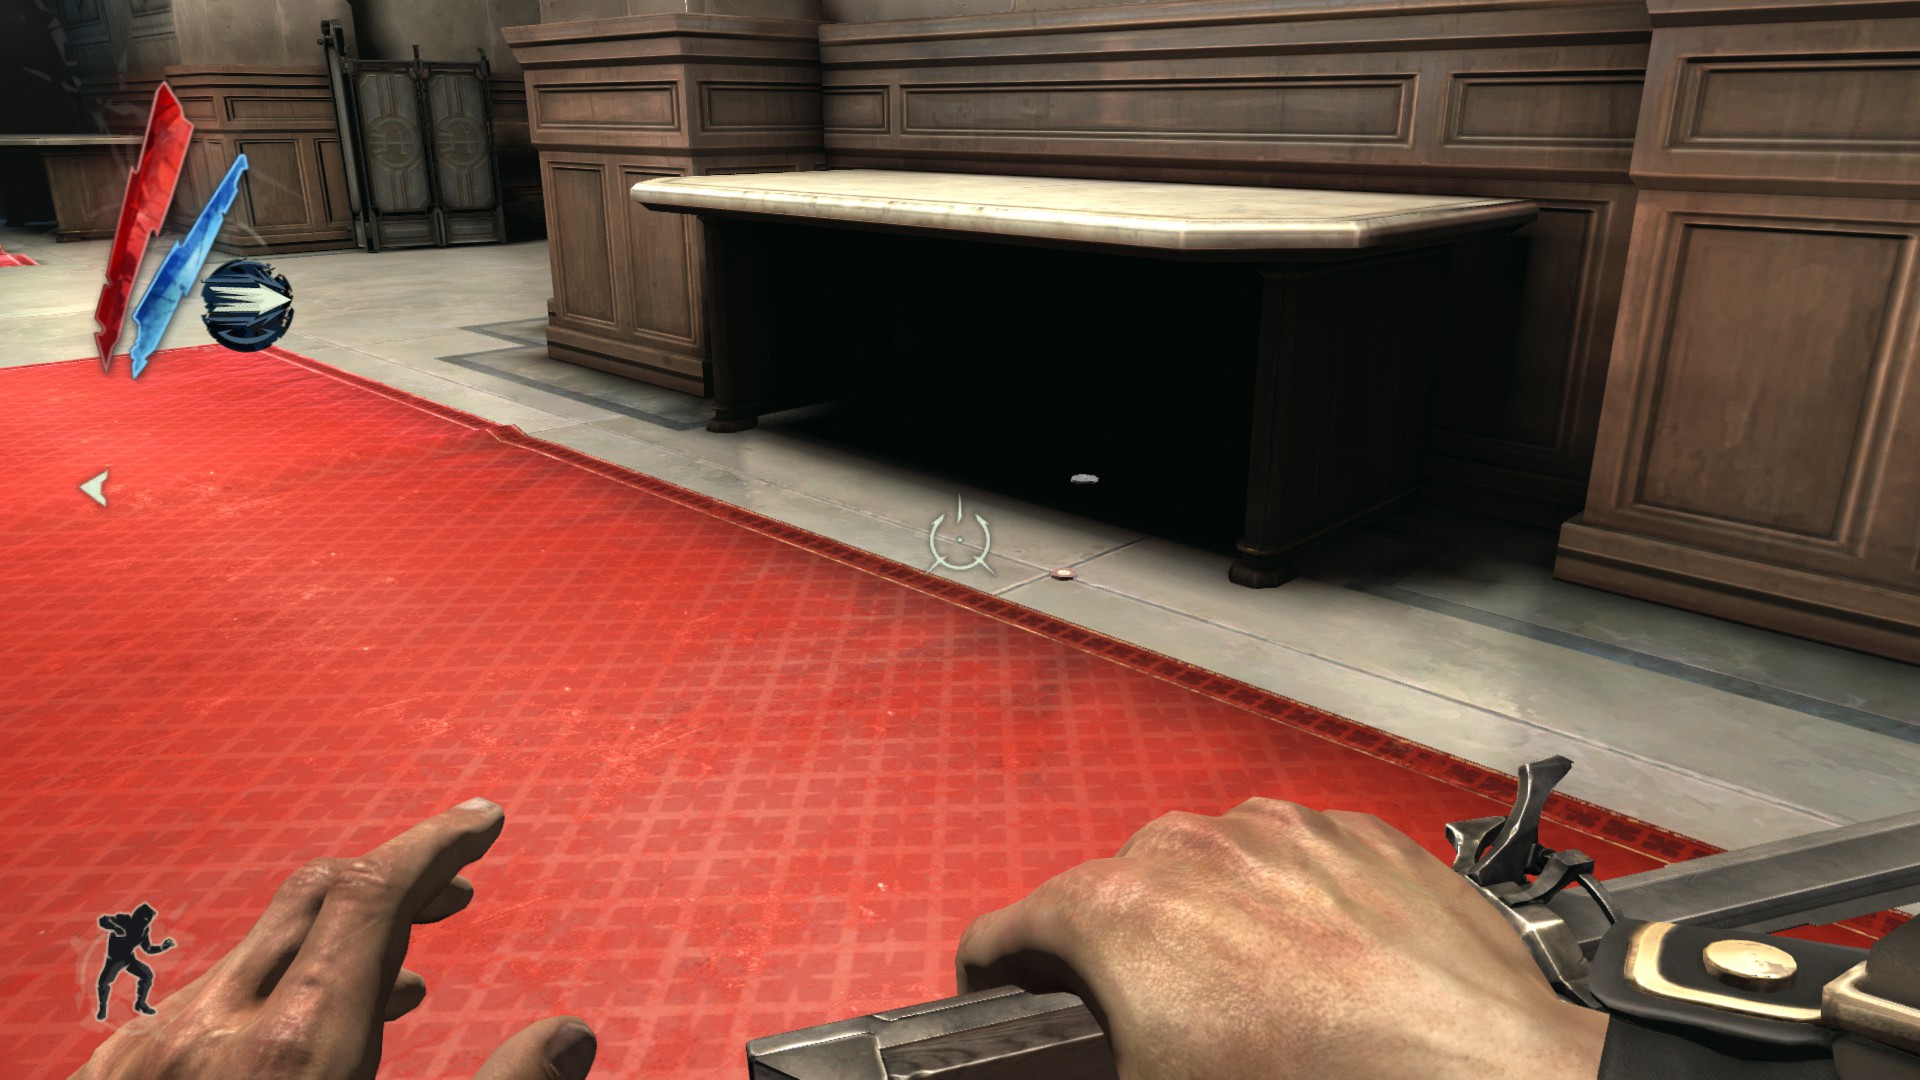
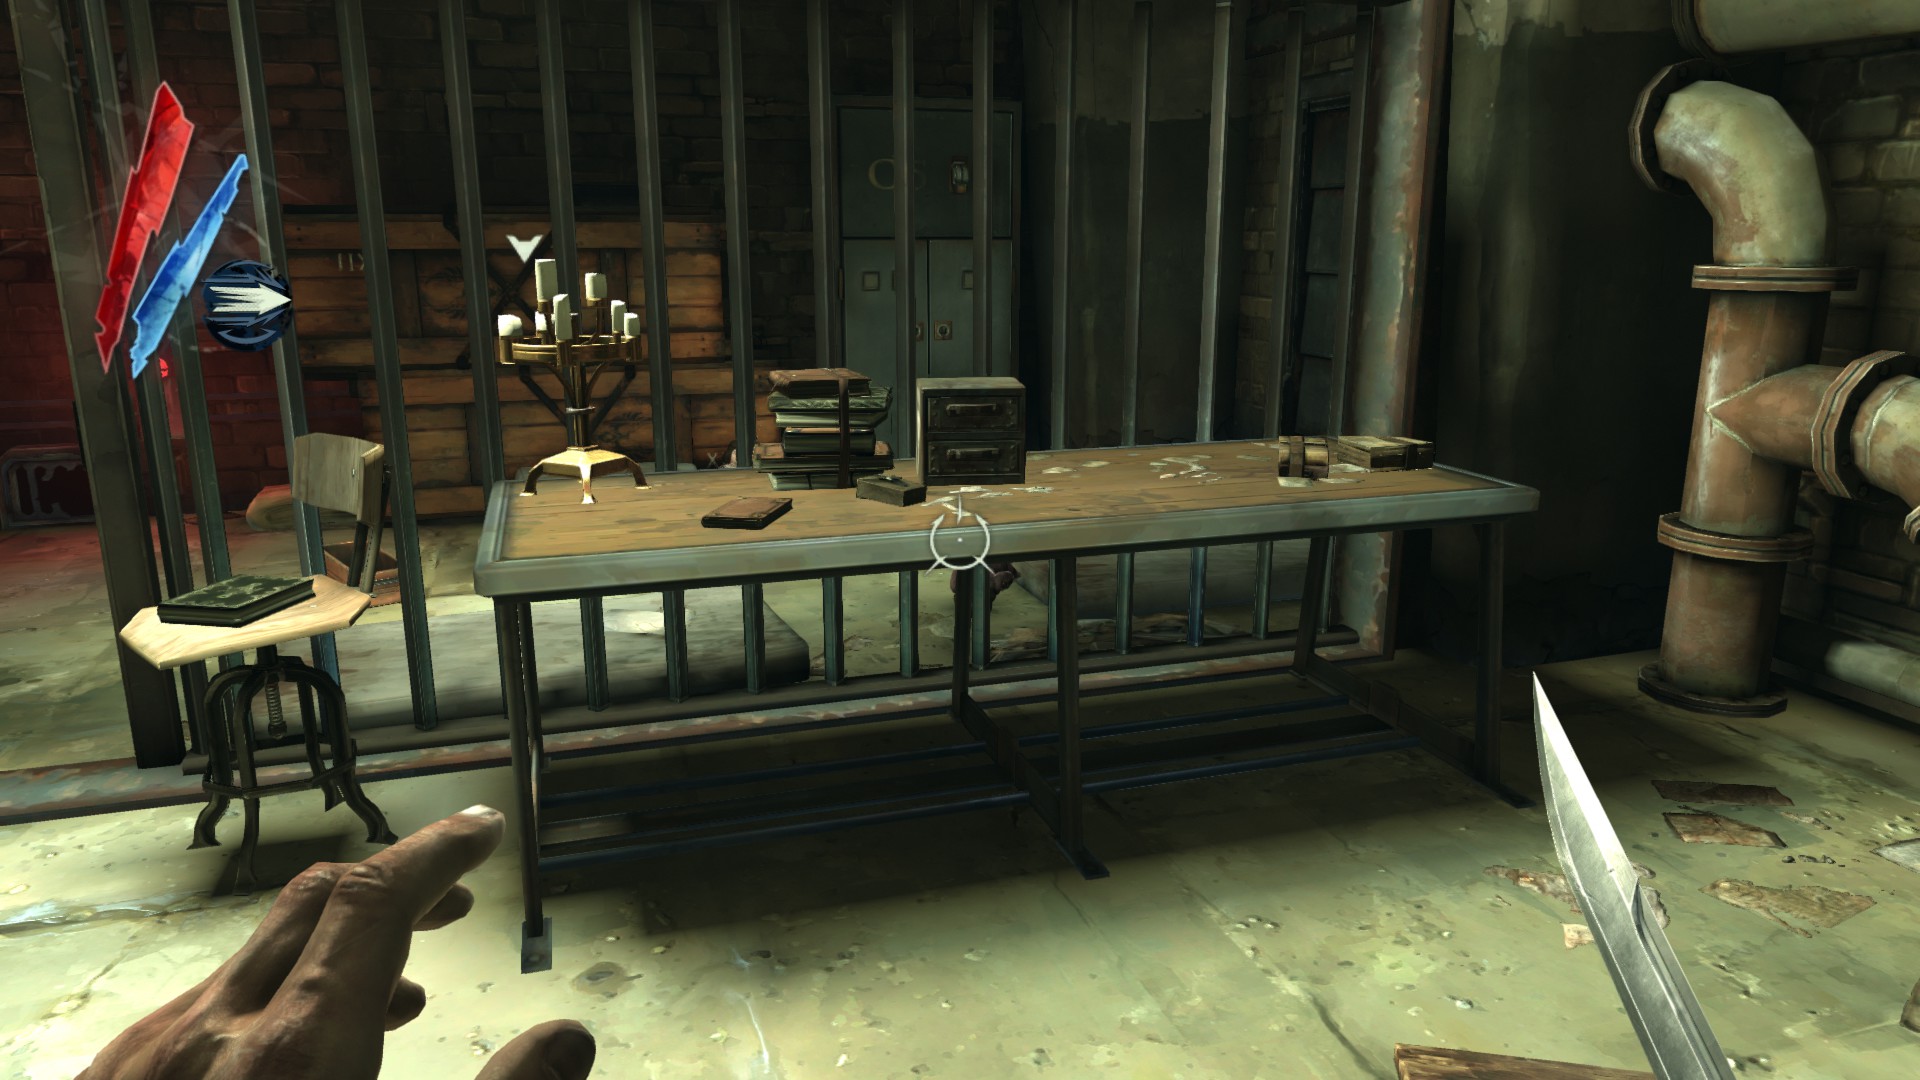
At the entrance of the interrogation room, on the bench.
(+15 -> 184/1010)
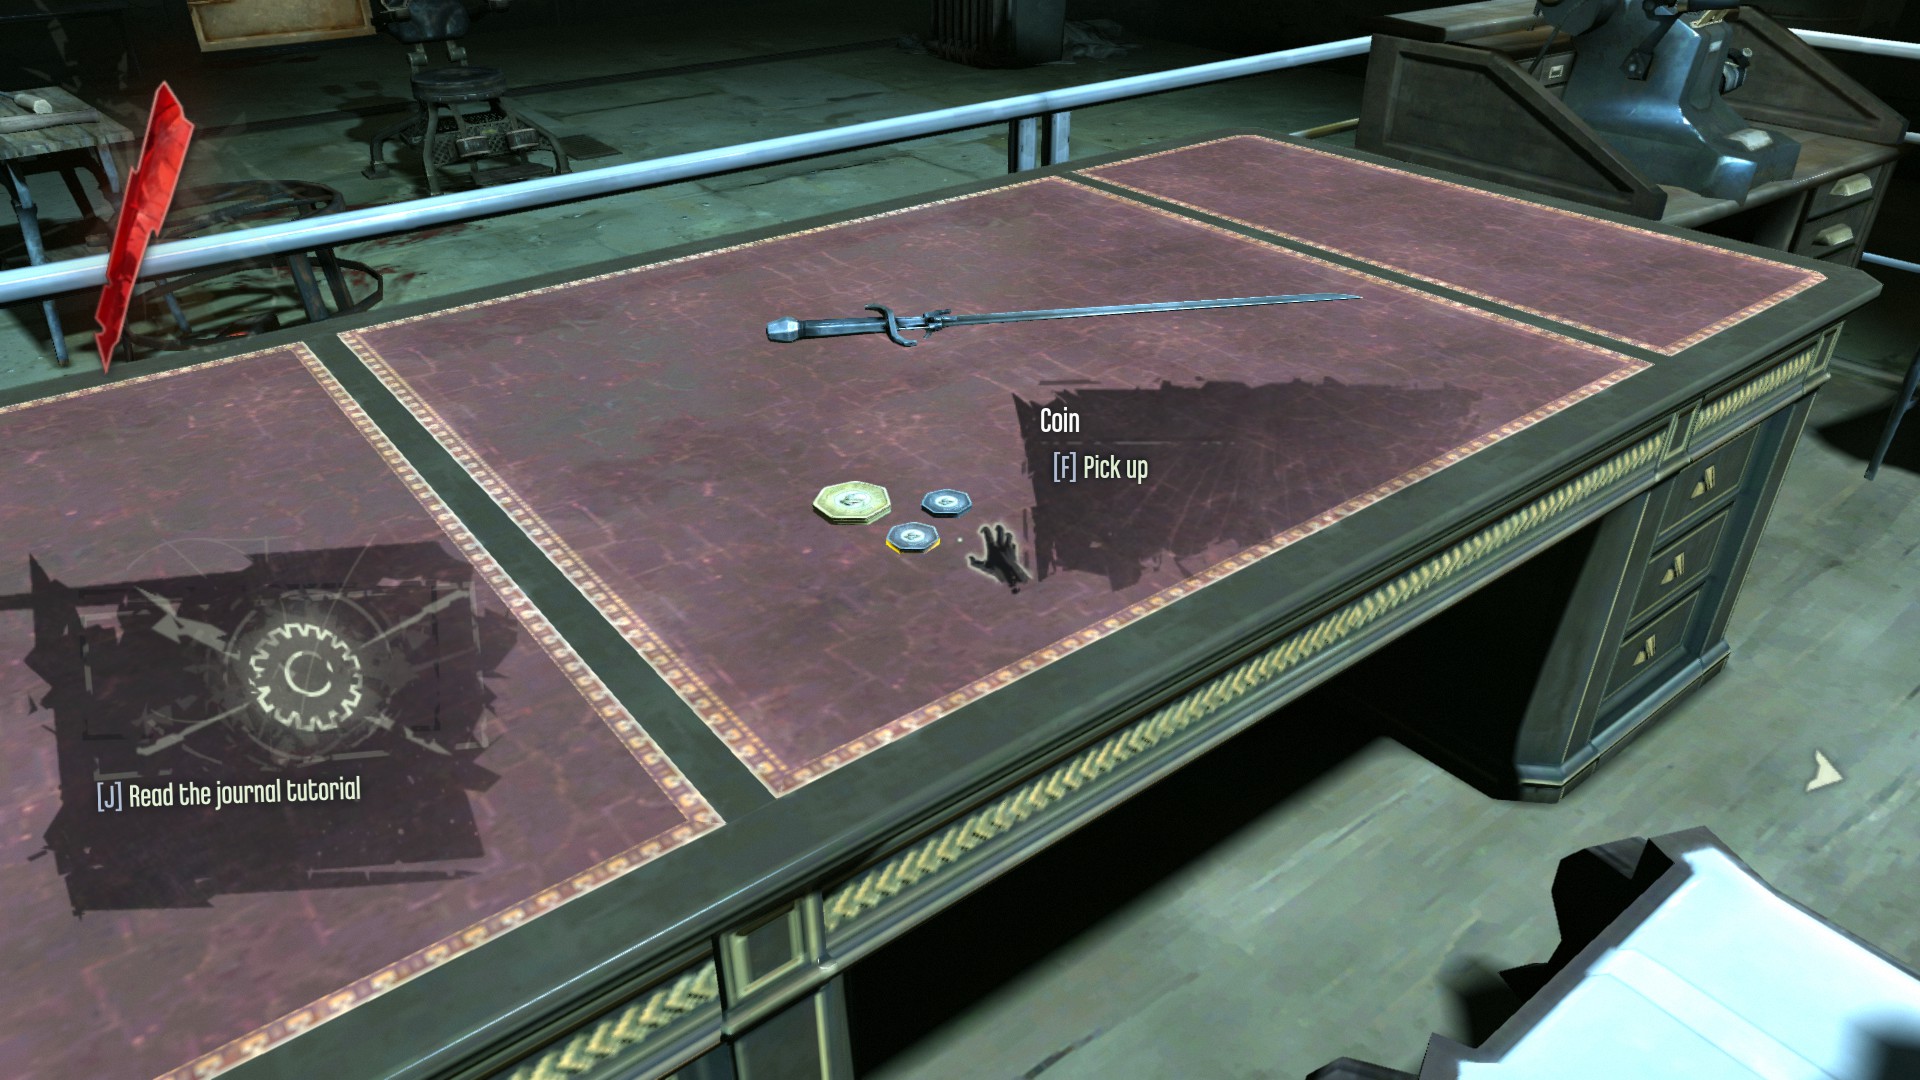
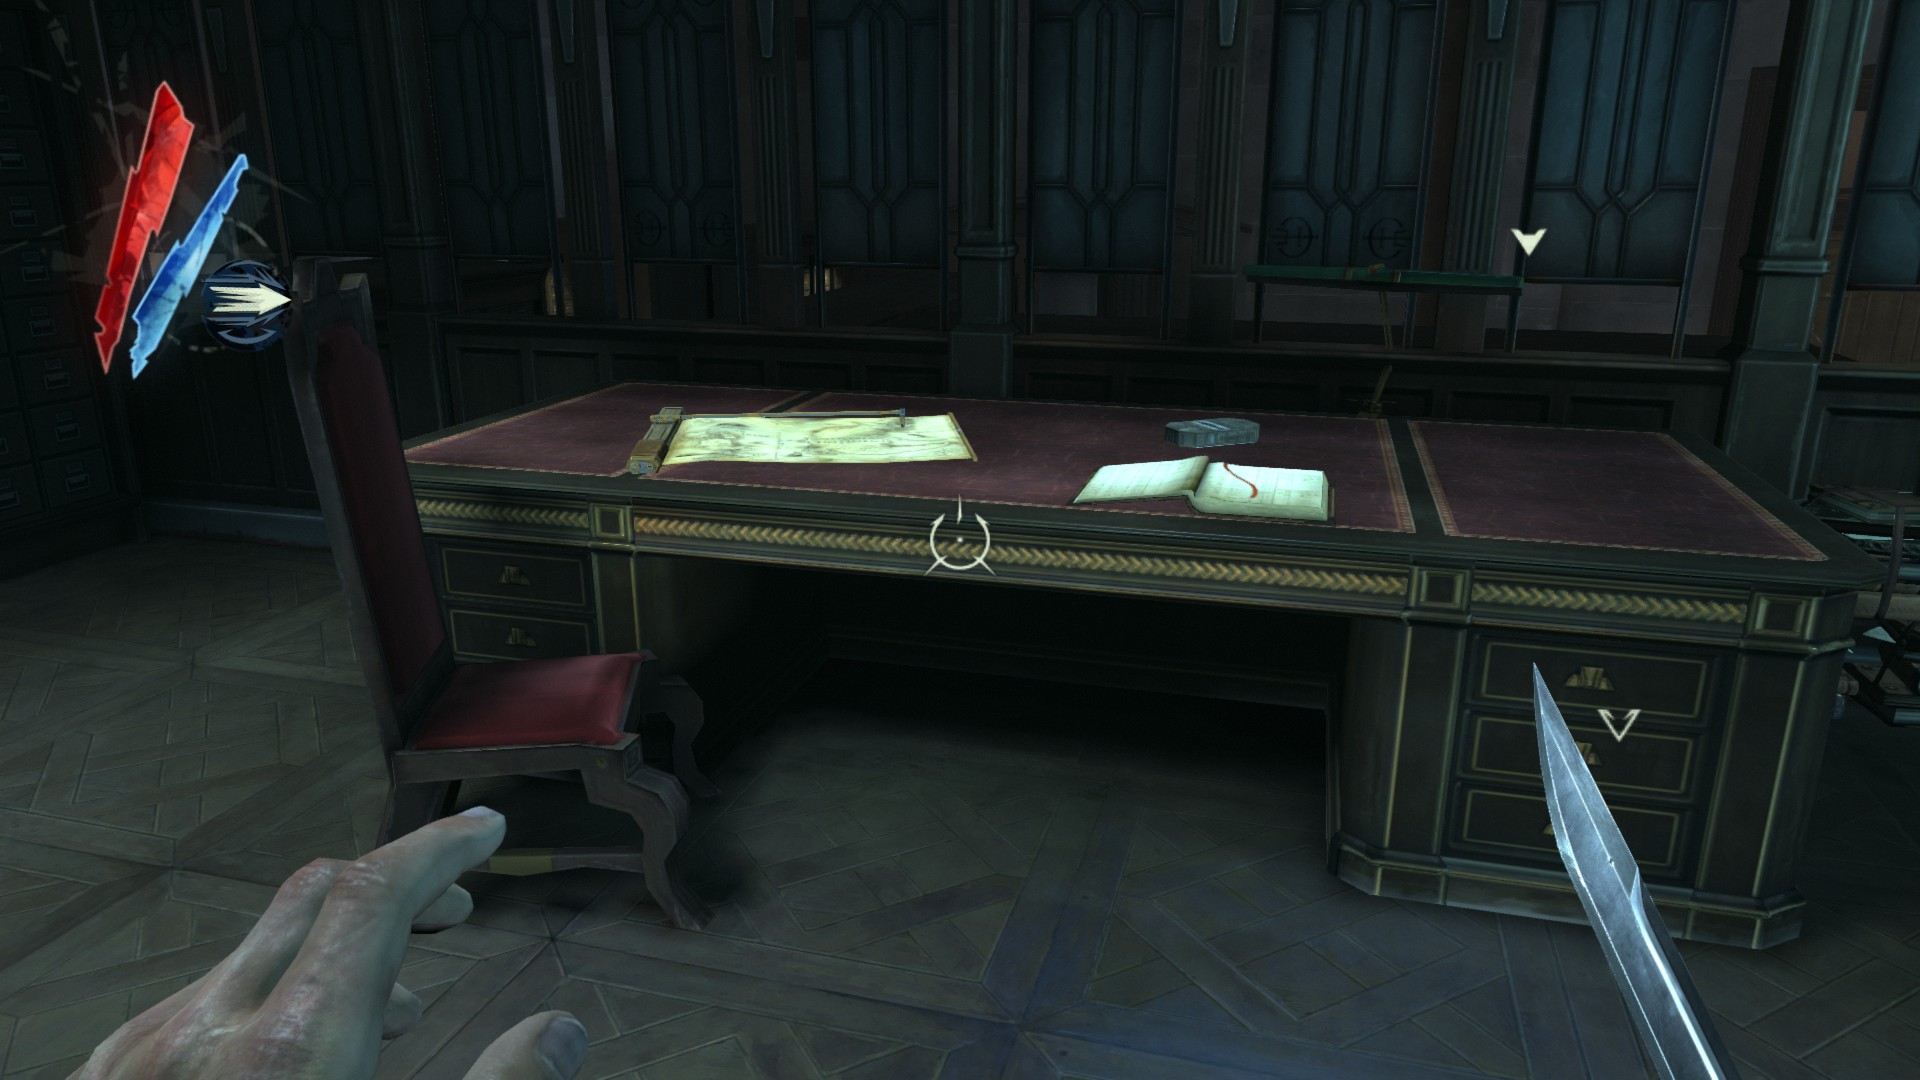
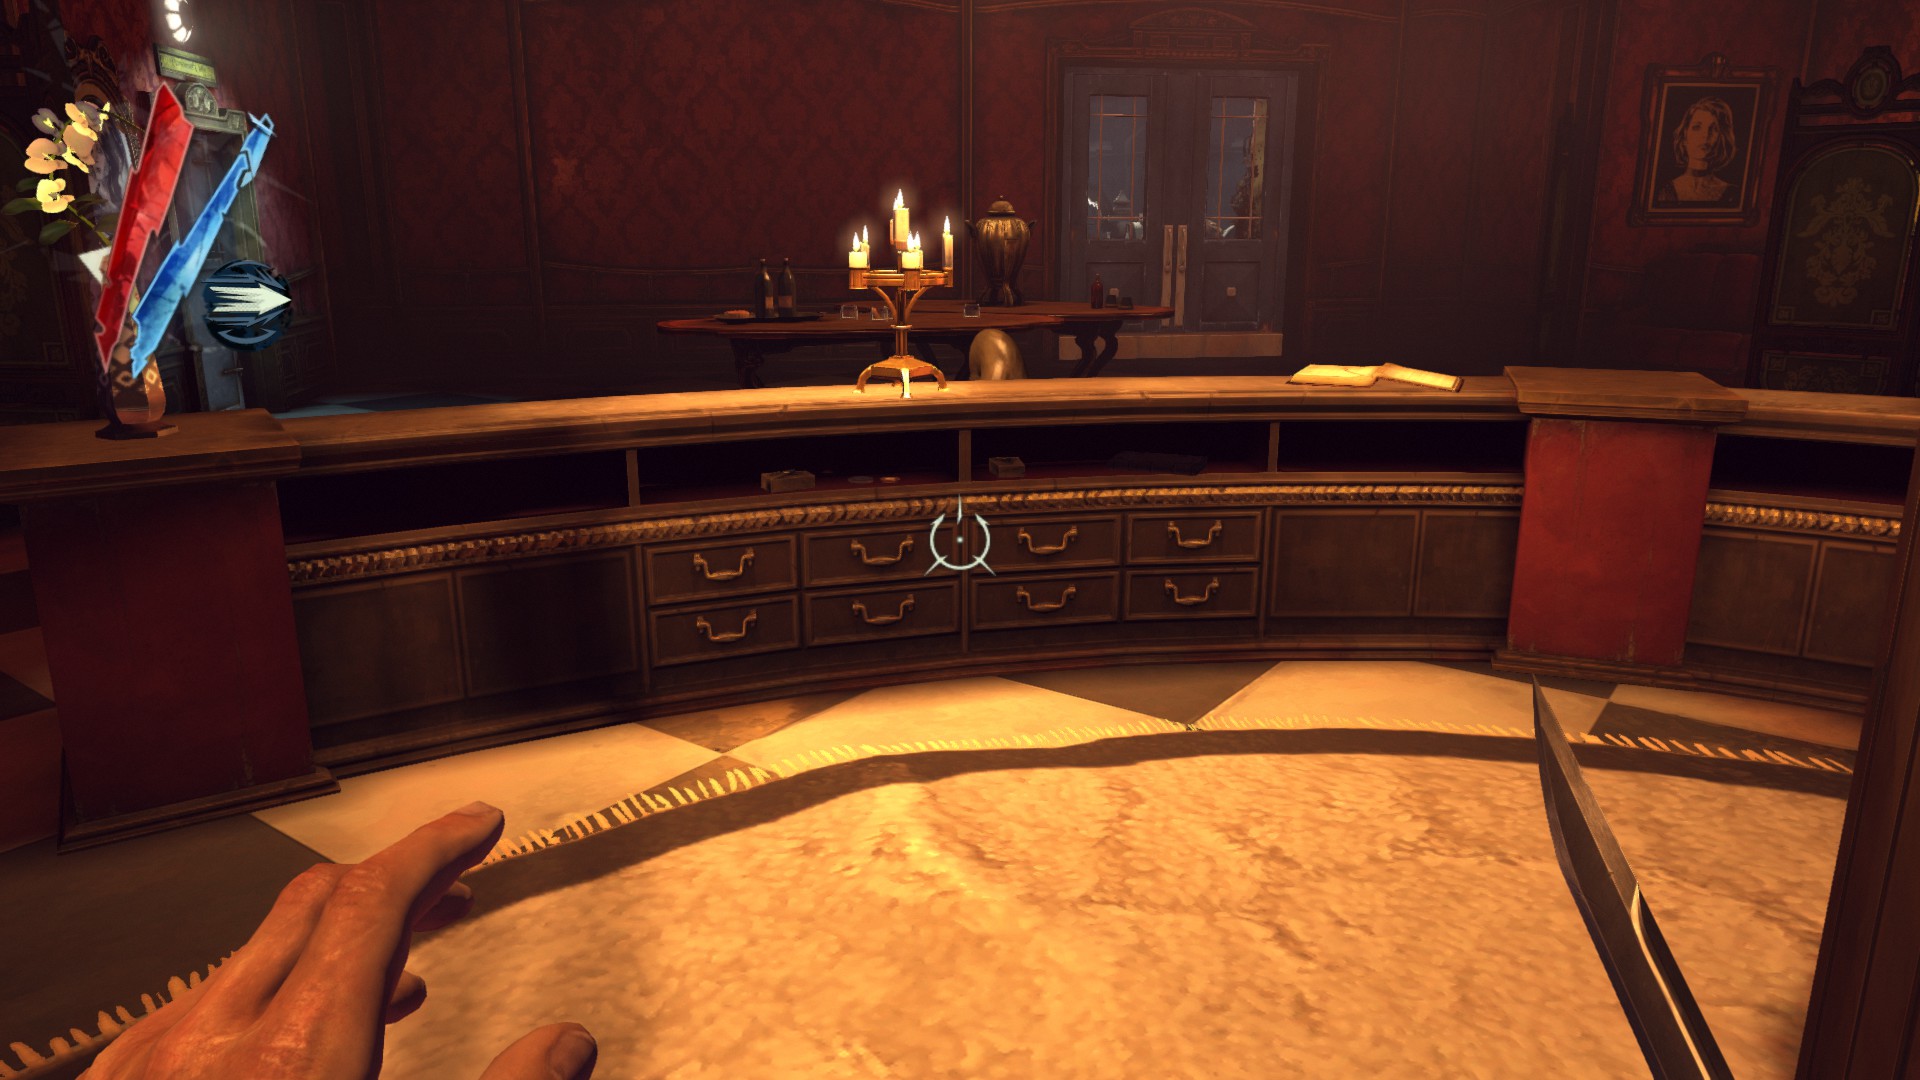
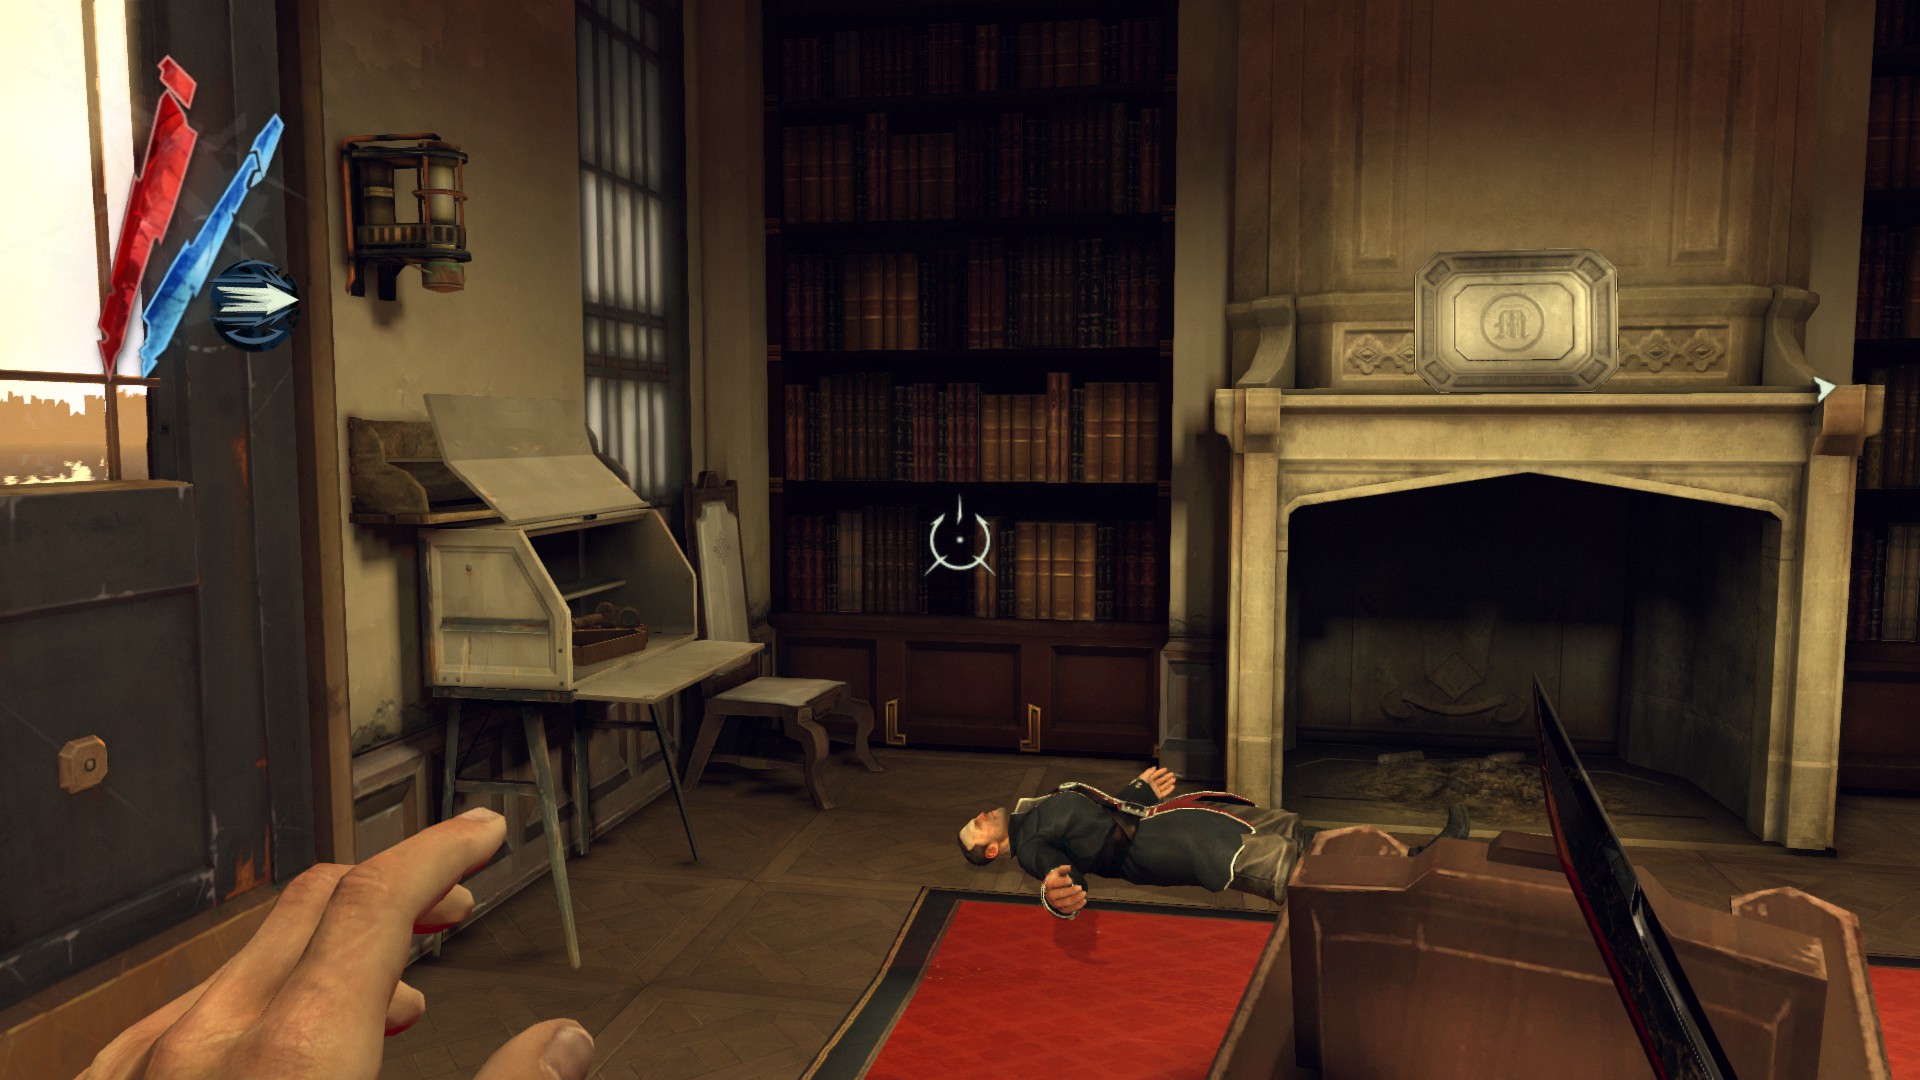
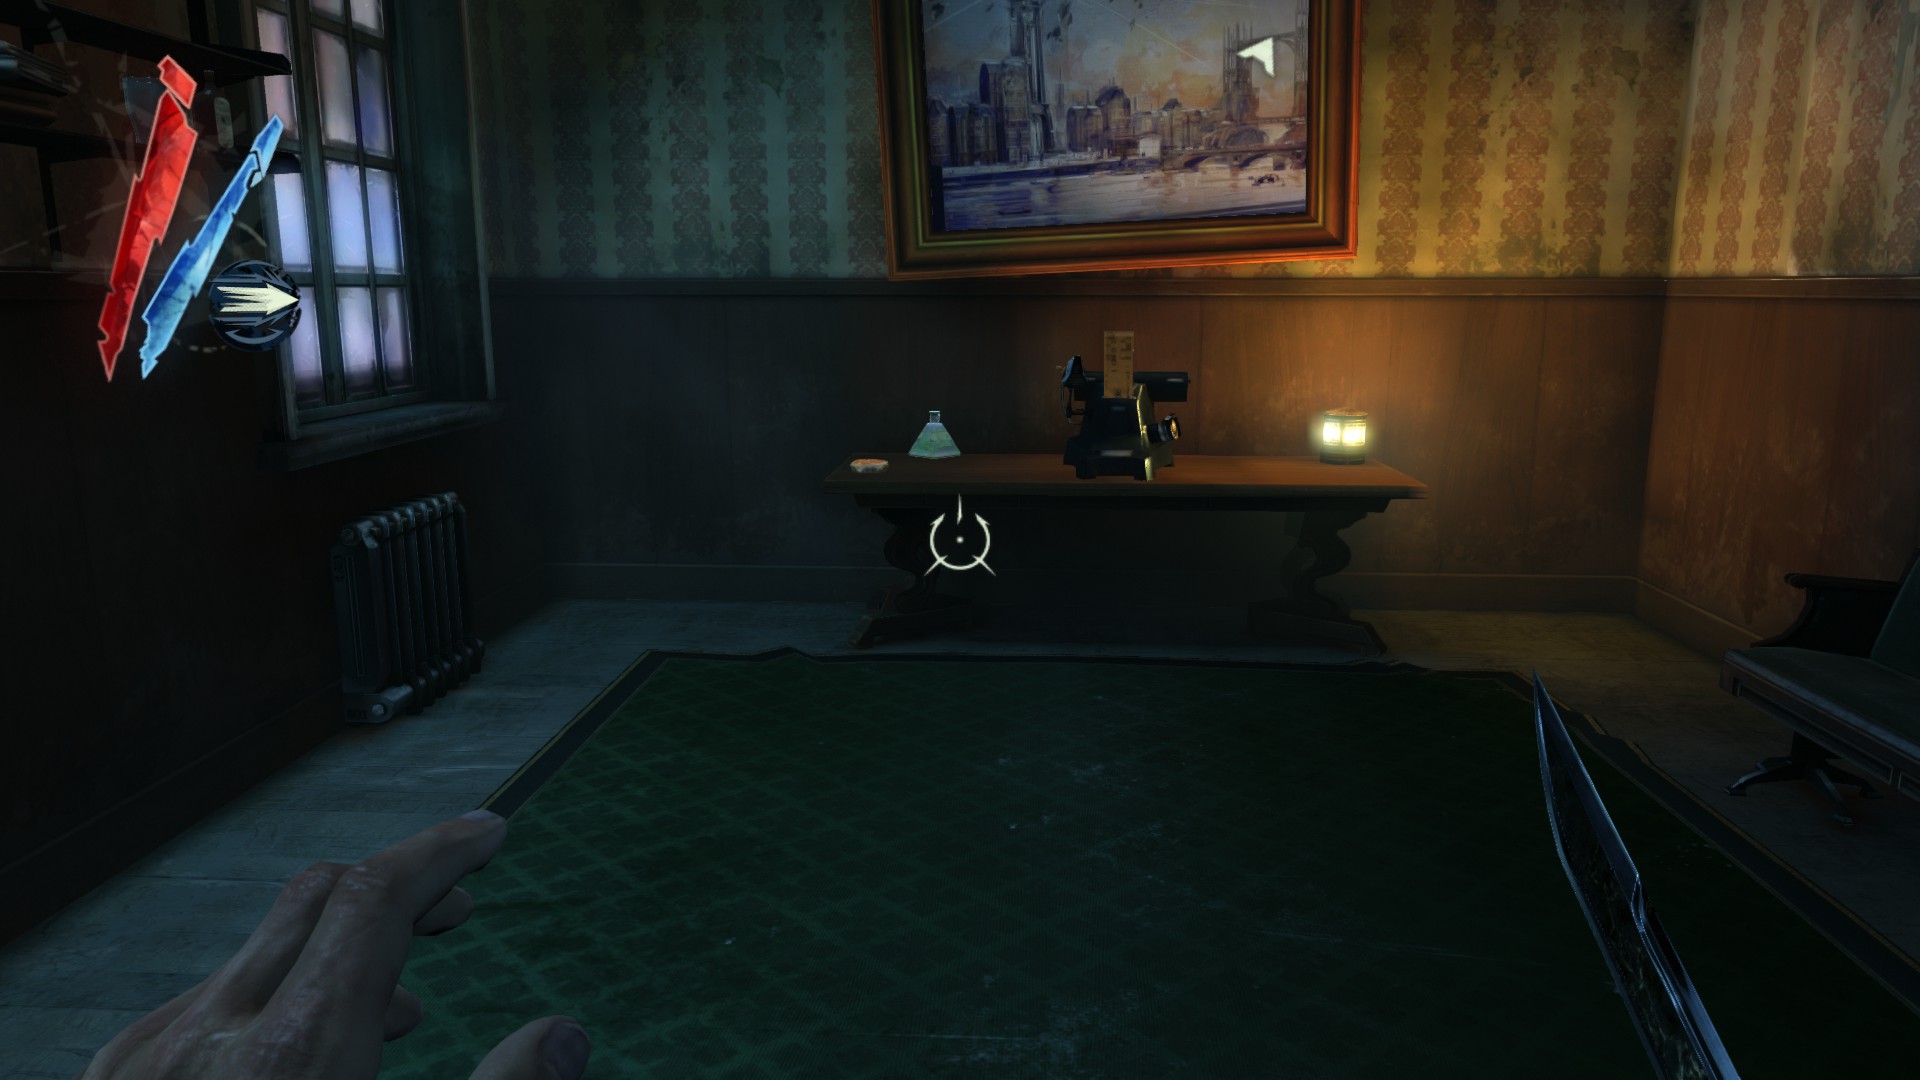
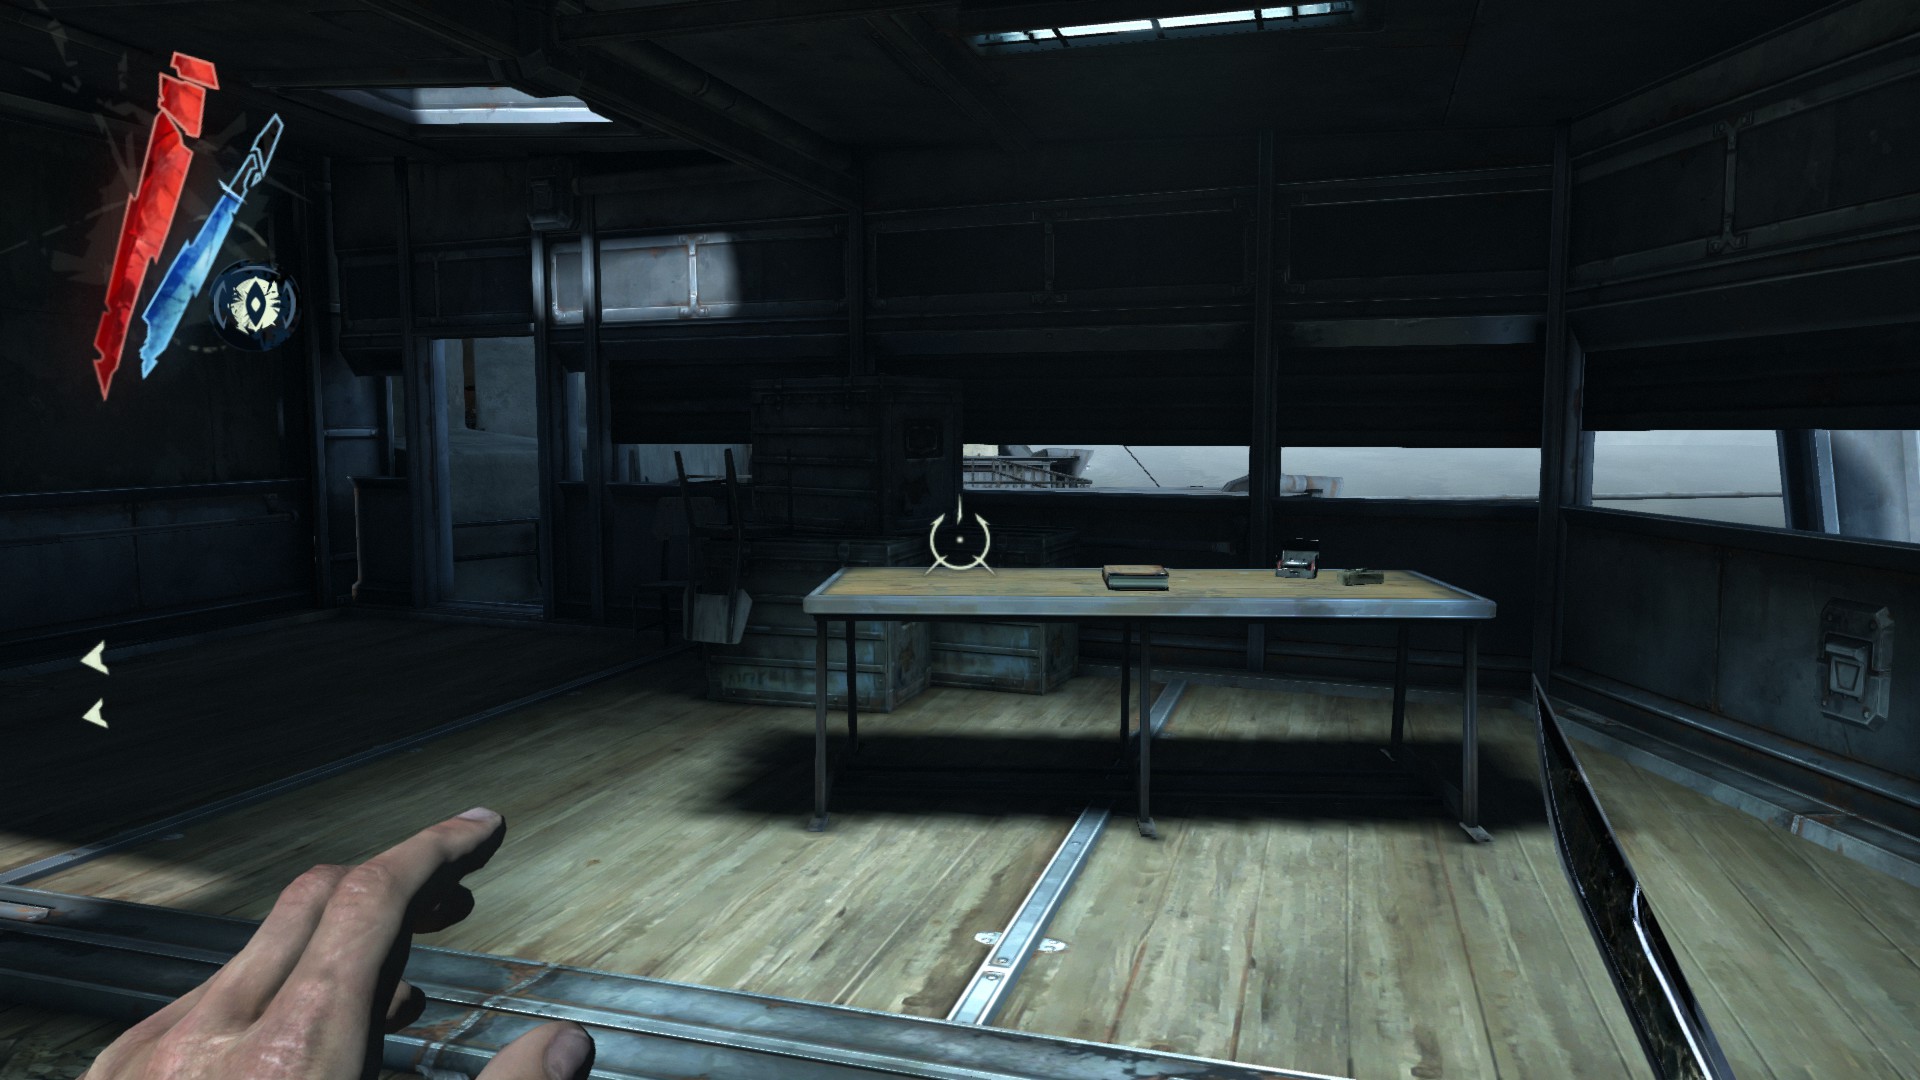
In the interrogation room, there are 3 coins on the desk.
(+12 -> 196/1010)
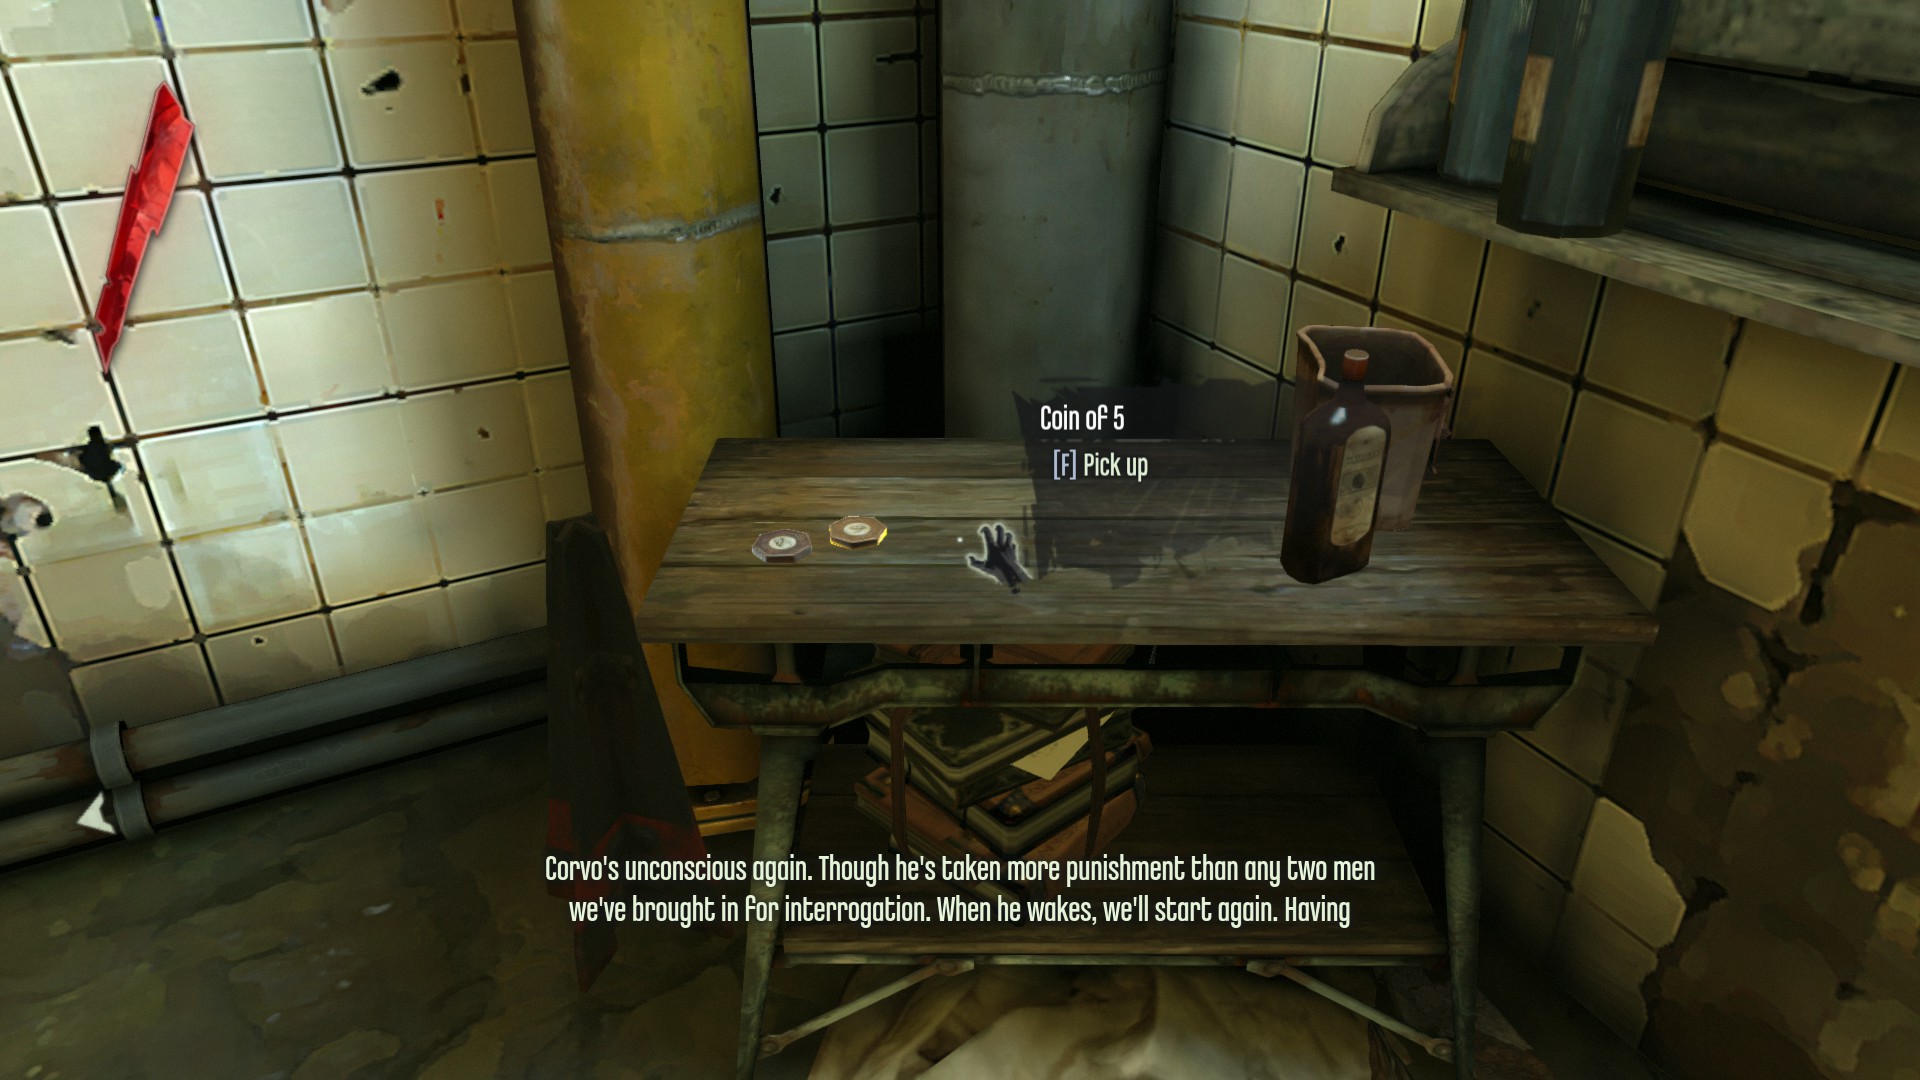
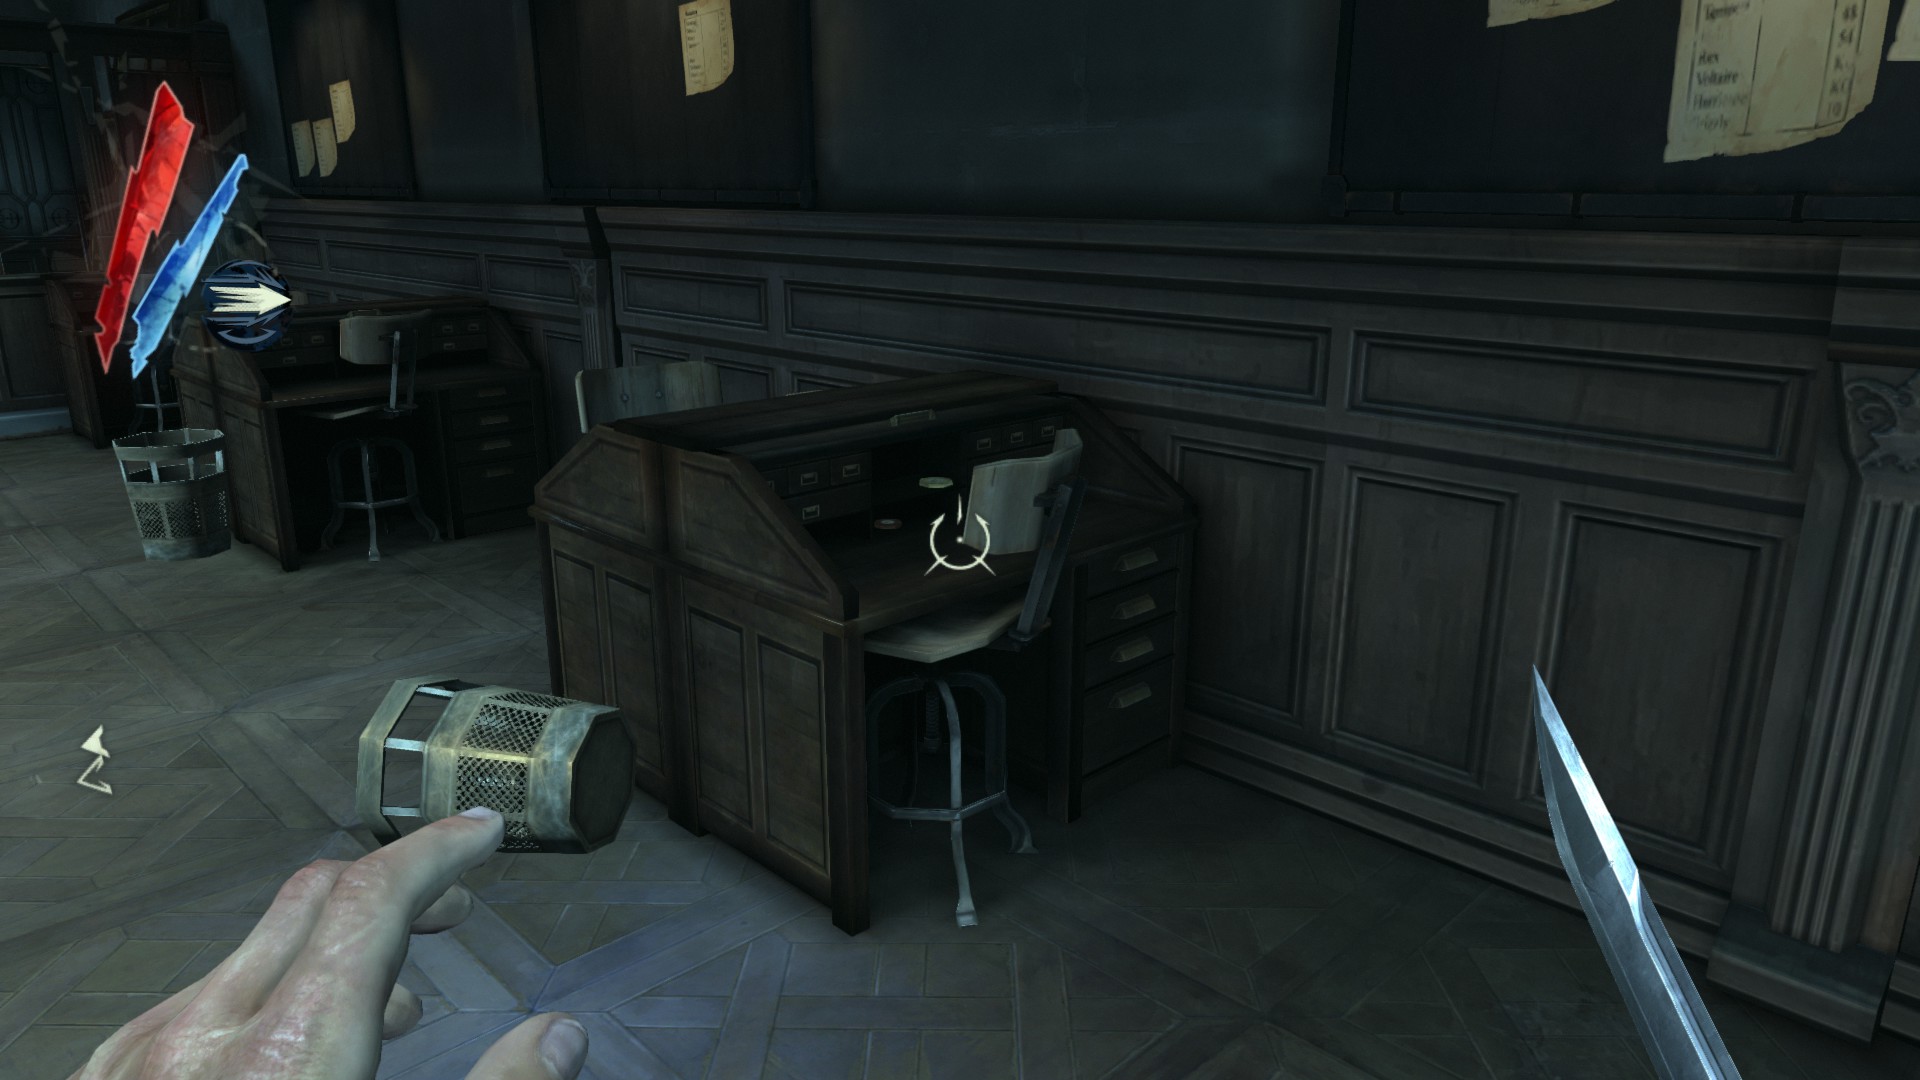
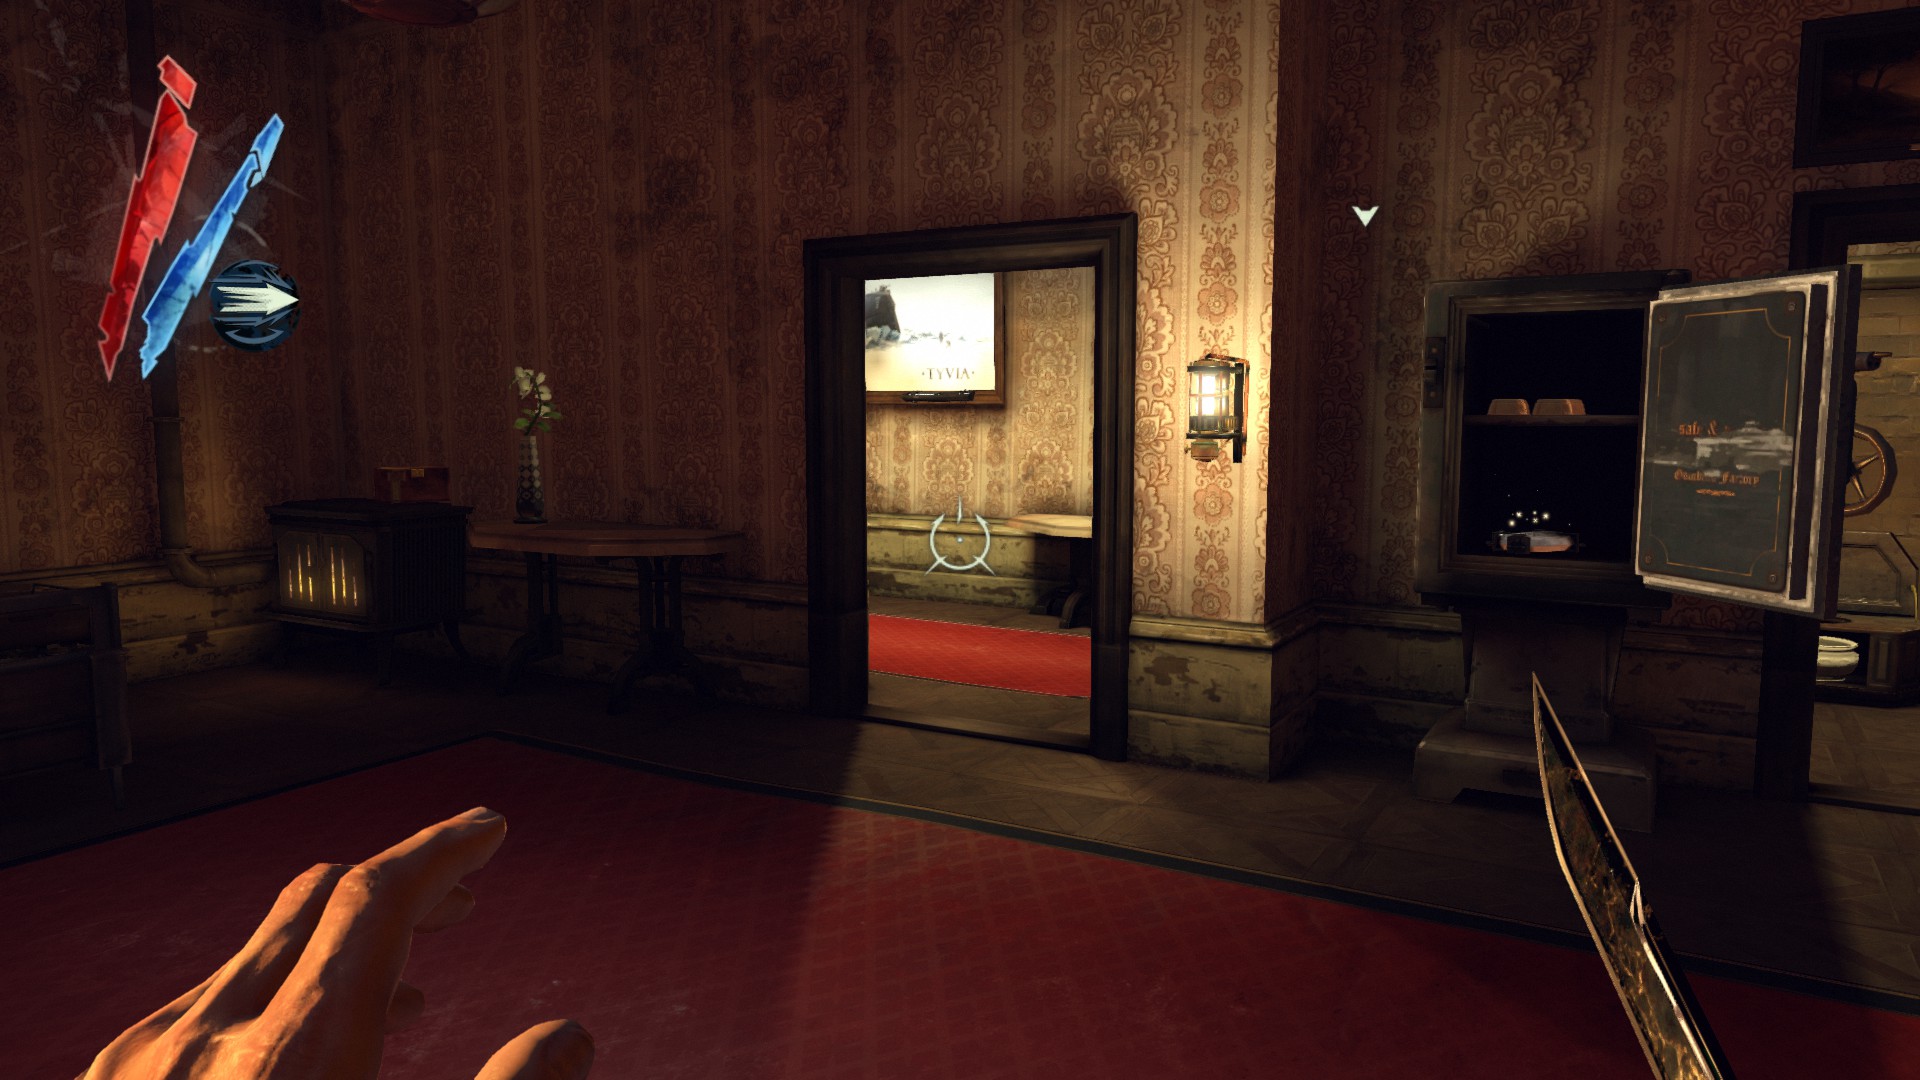
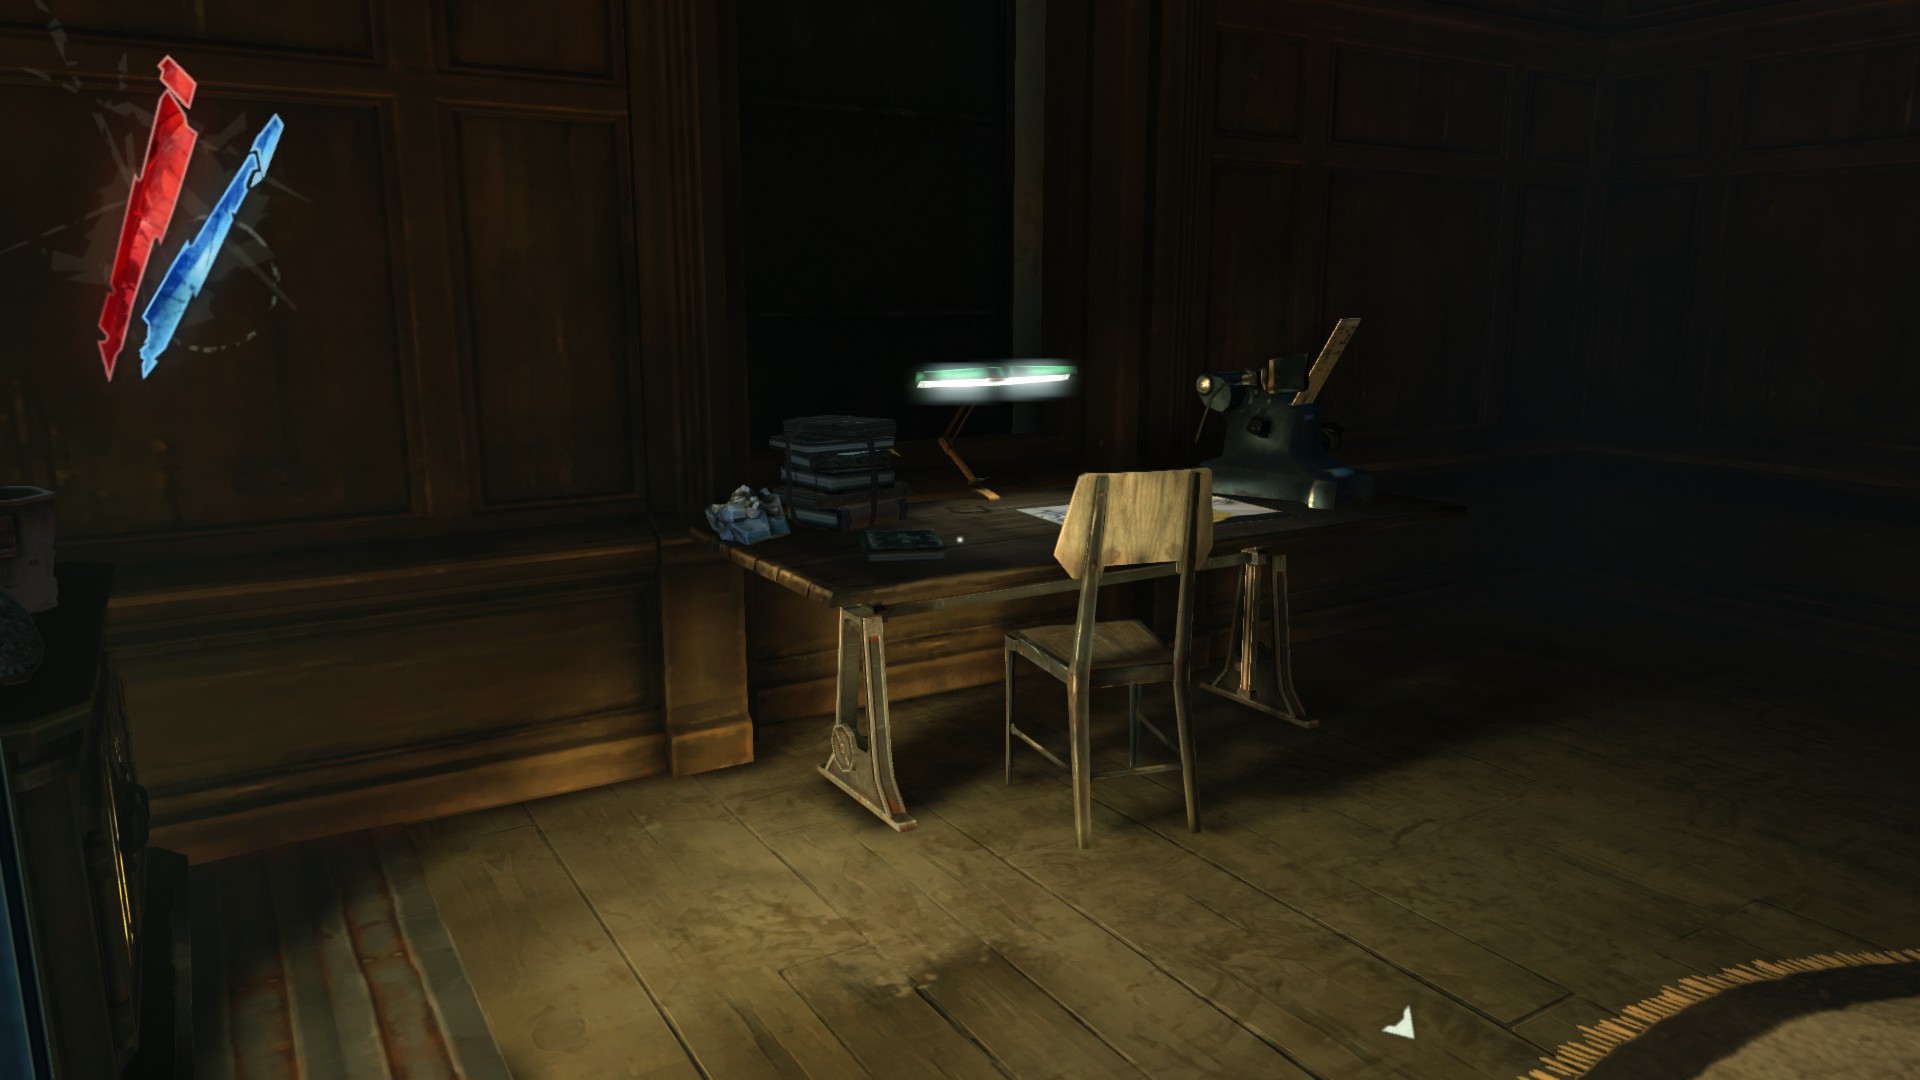
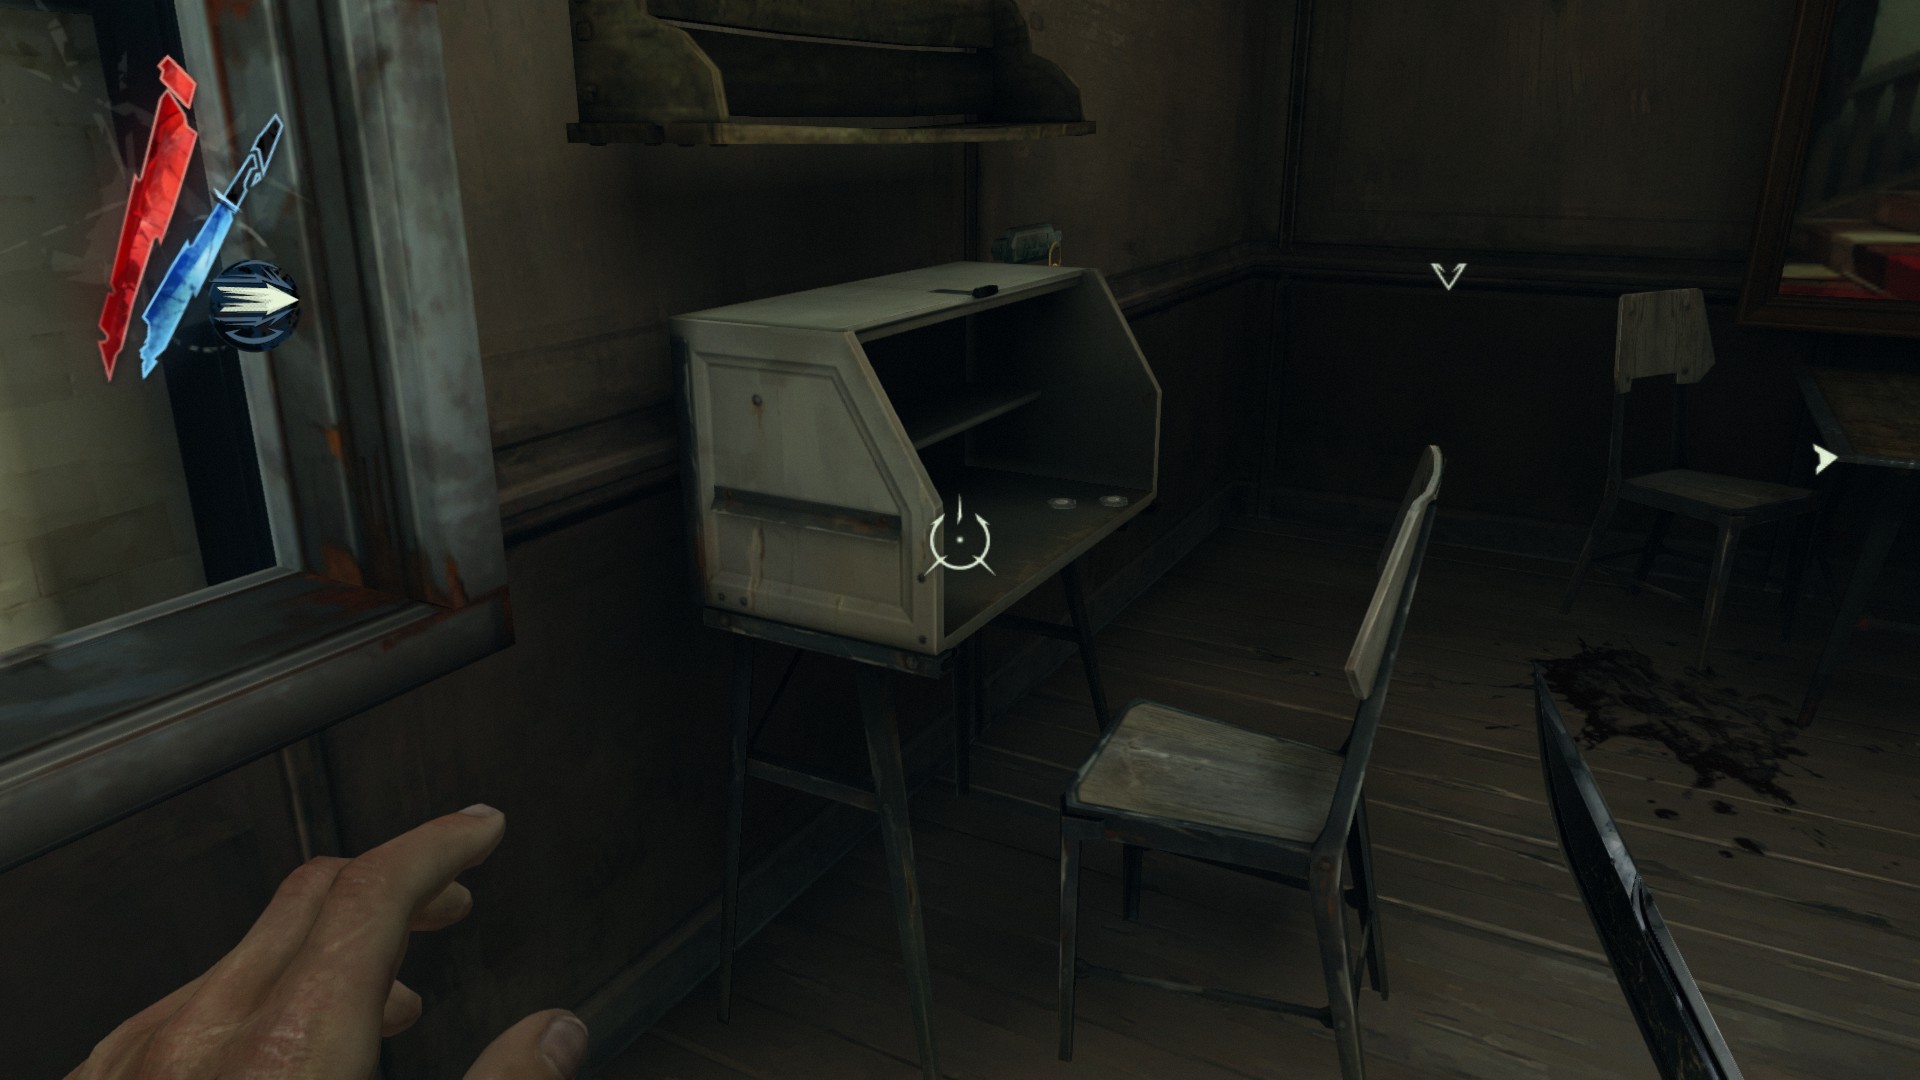
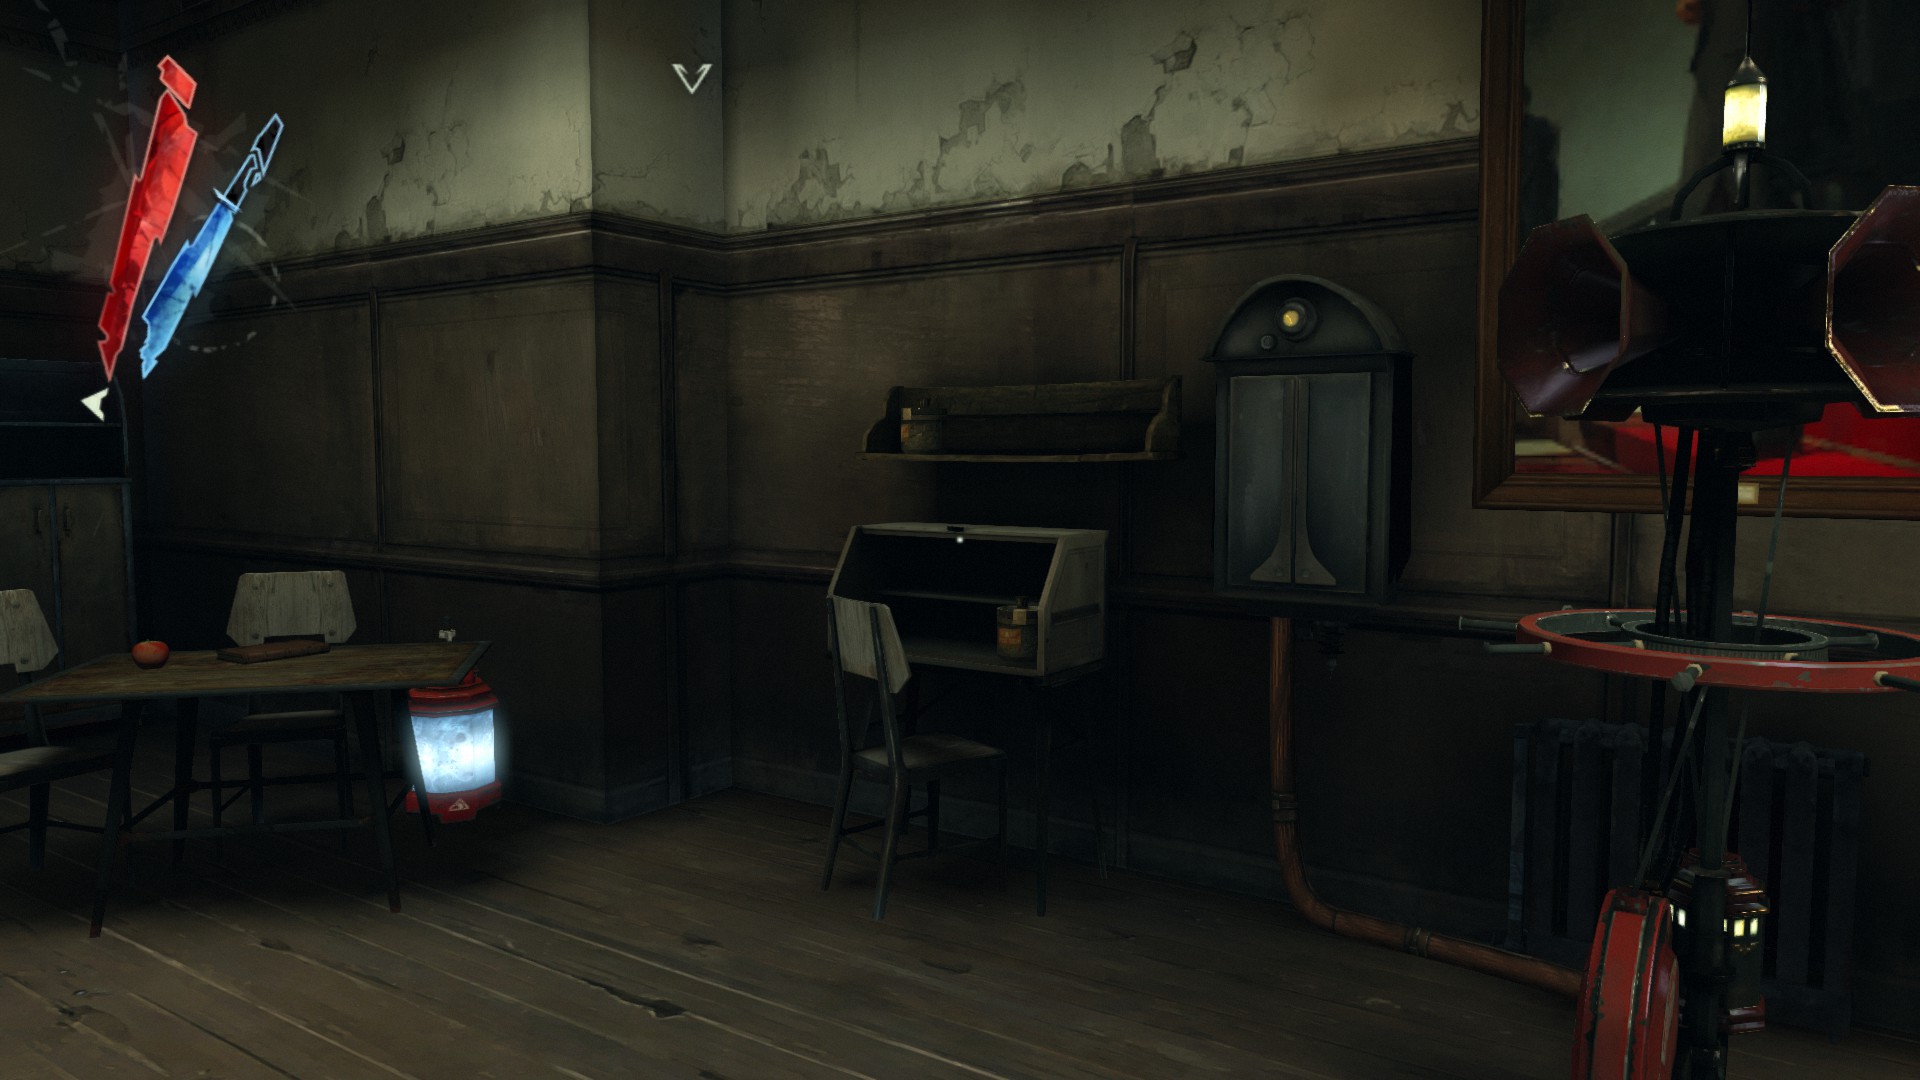
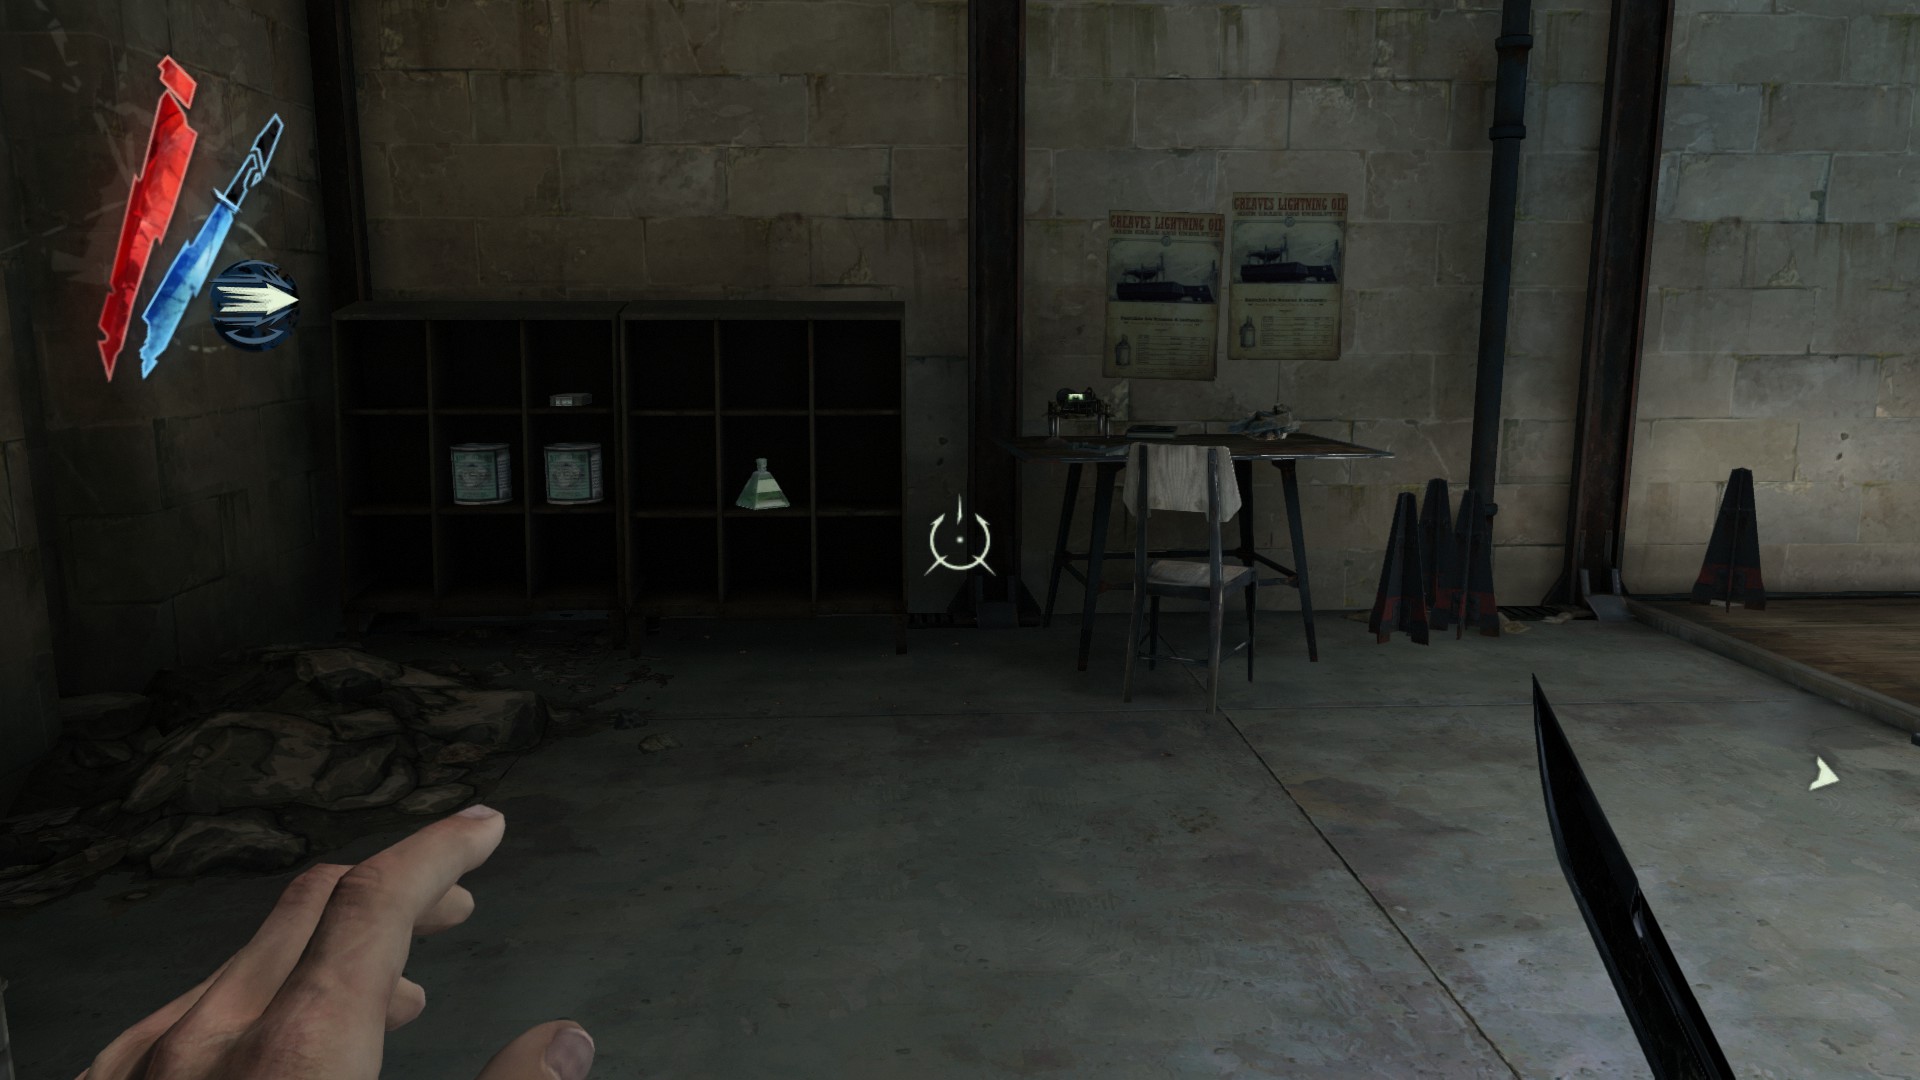
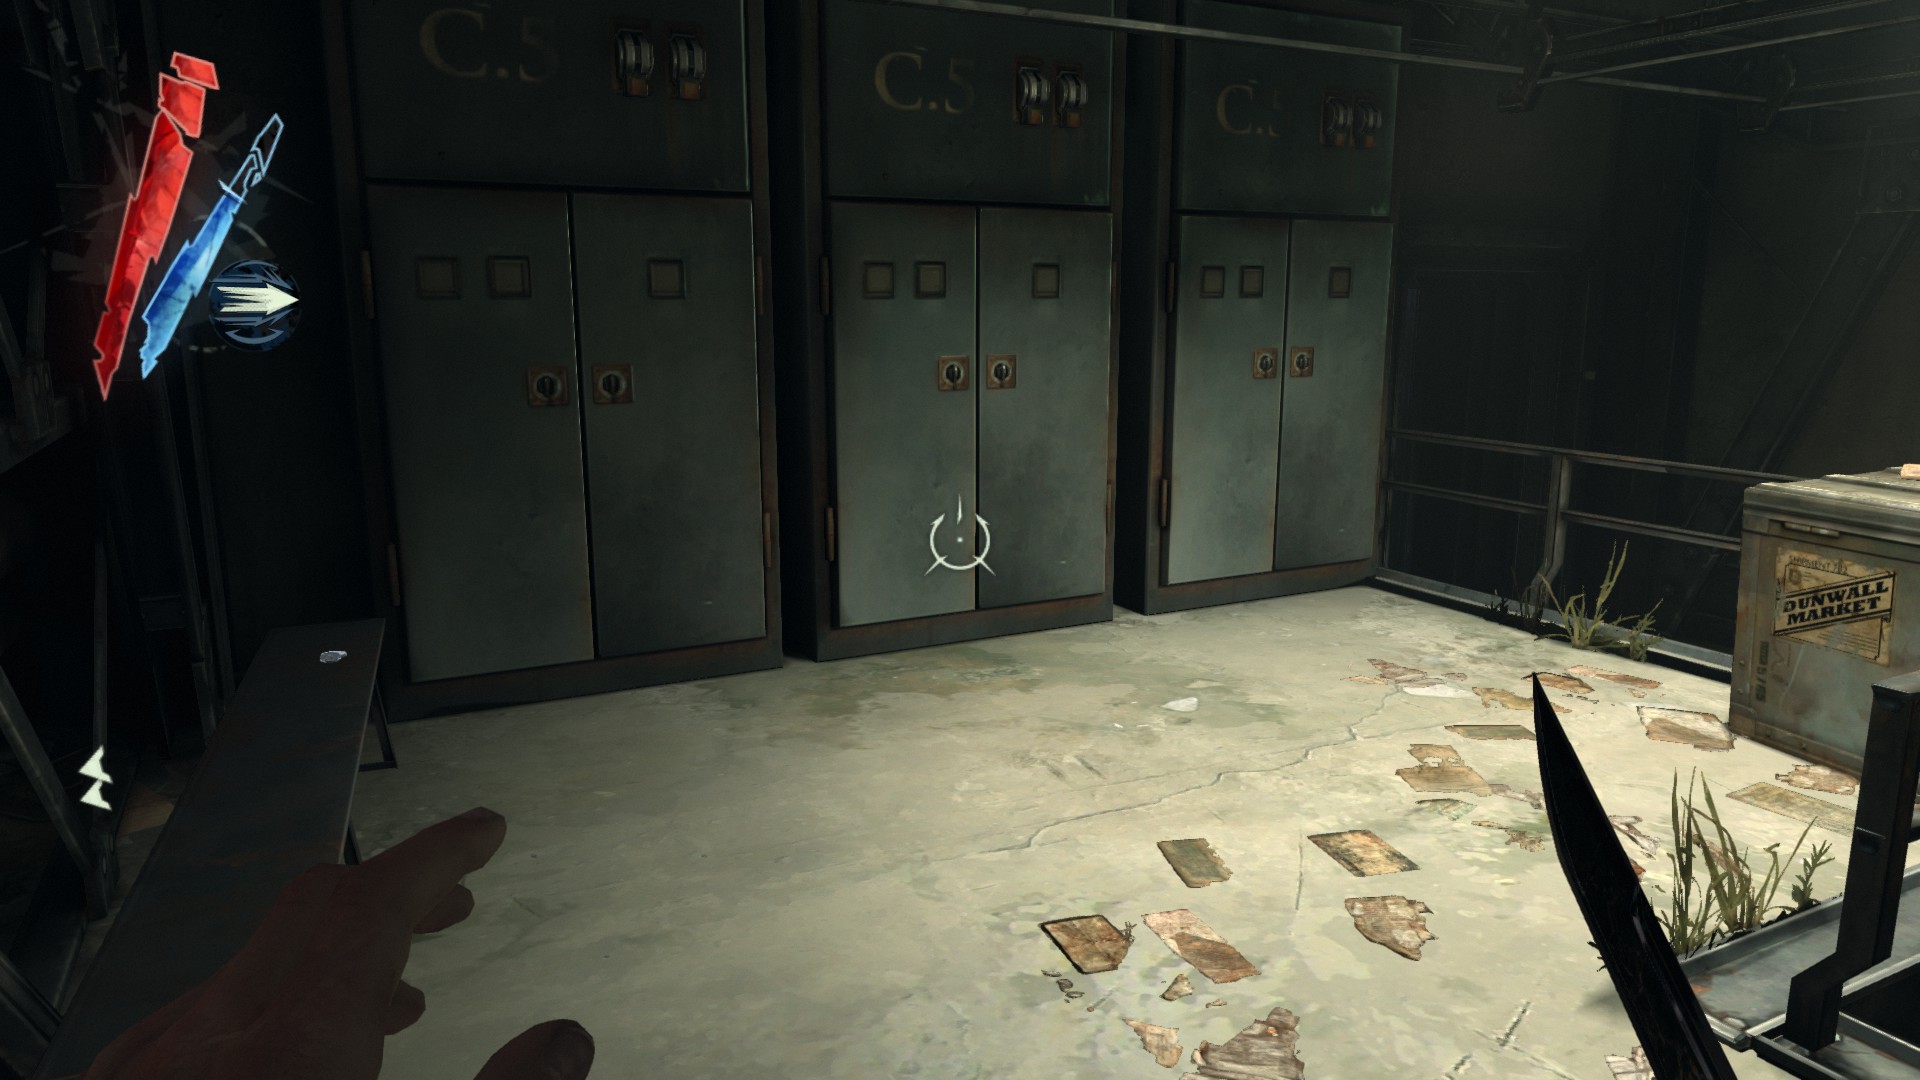
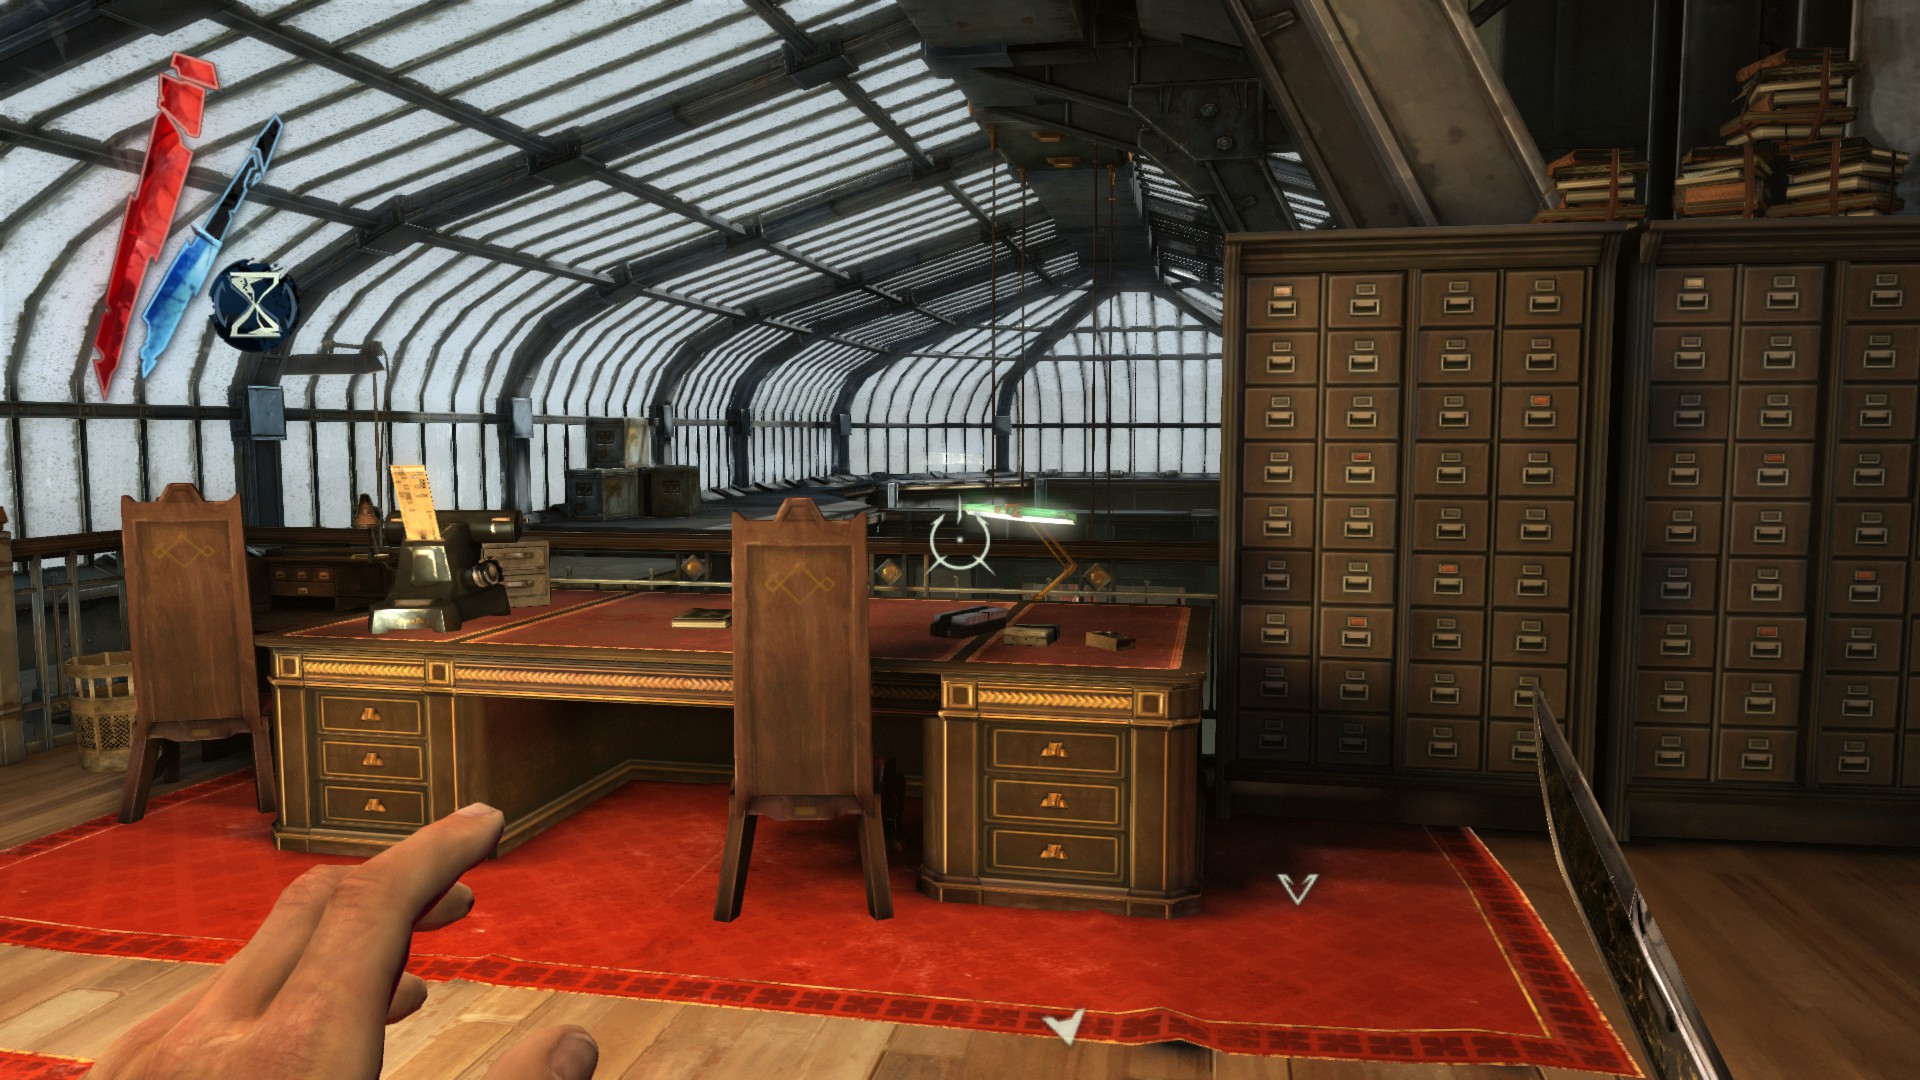
Go to the storage room and turn immediately right. There is a desk with 2 coins.
(+10 -> 206/1010)
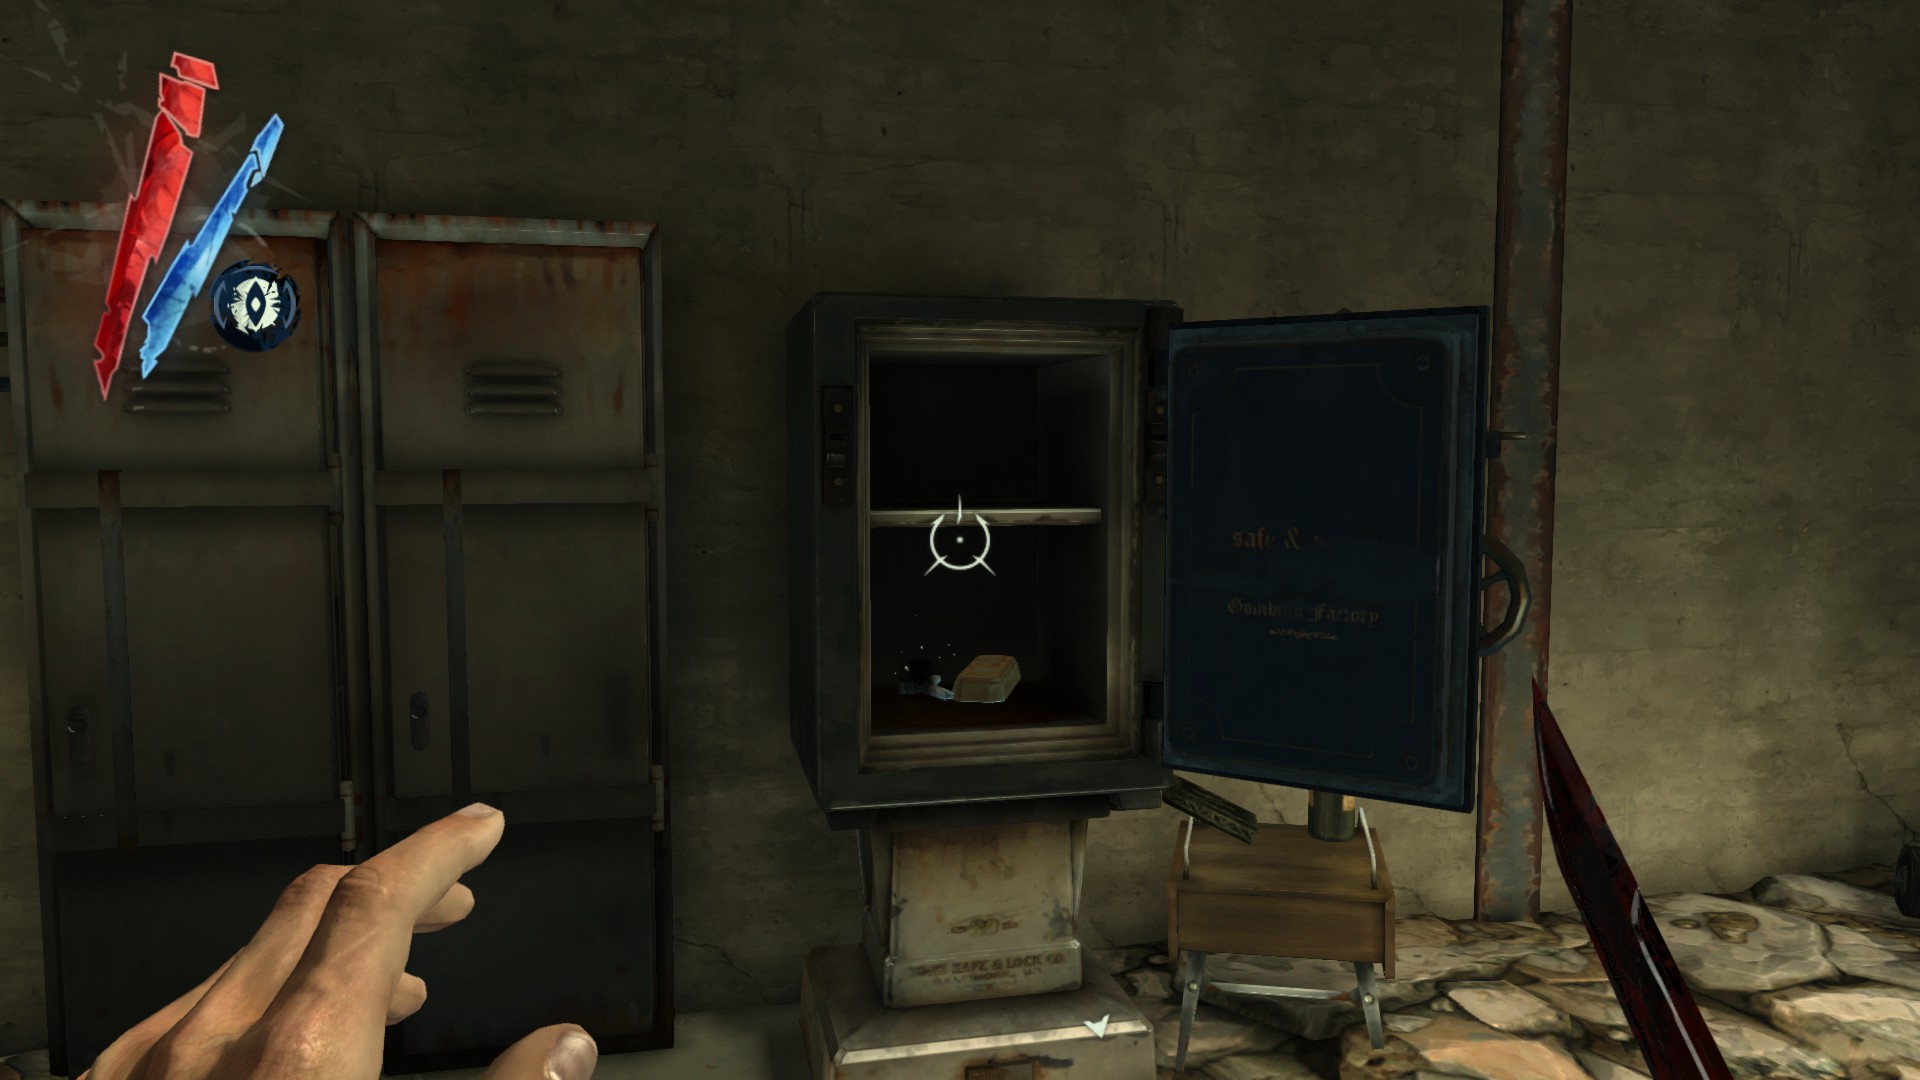
In the same room, beside a safe.
(+15 -> 221/1010)
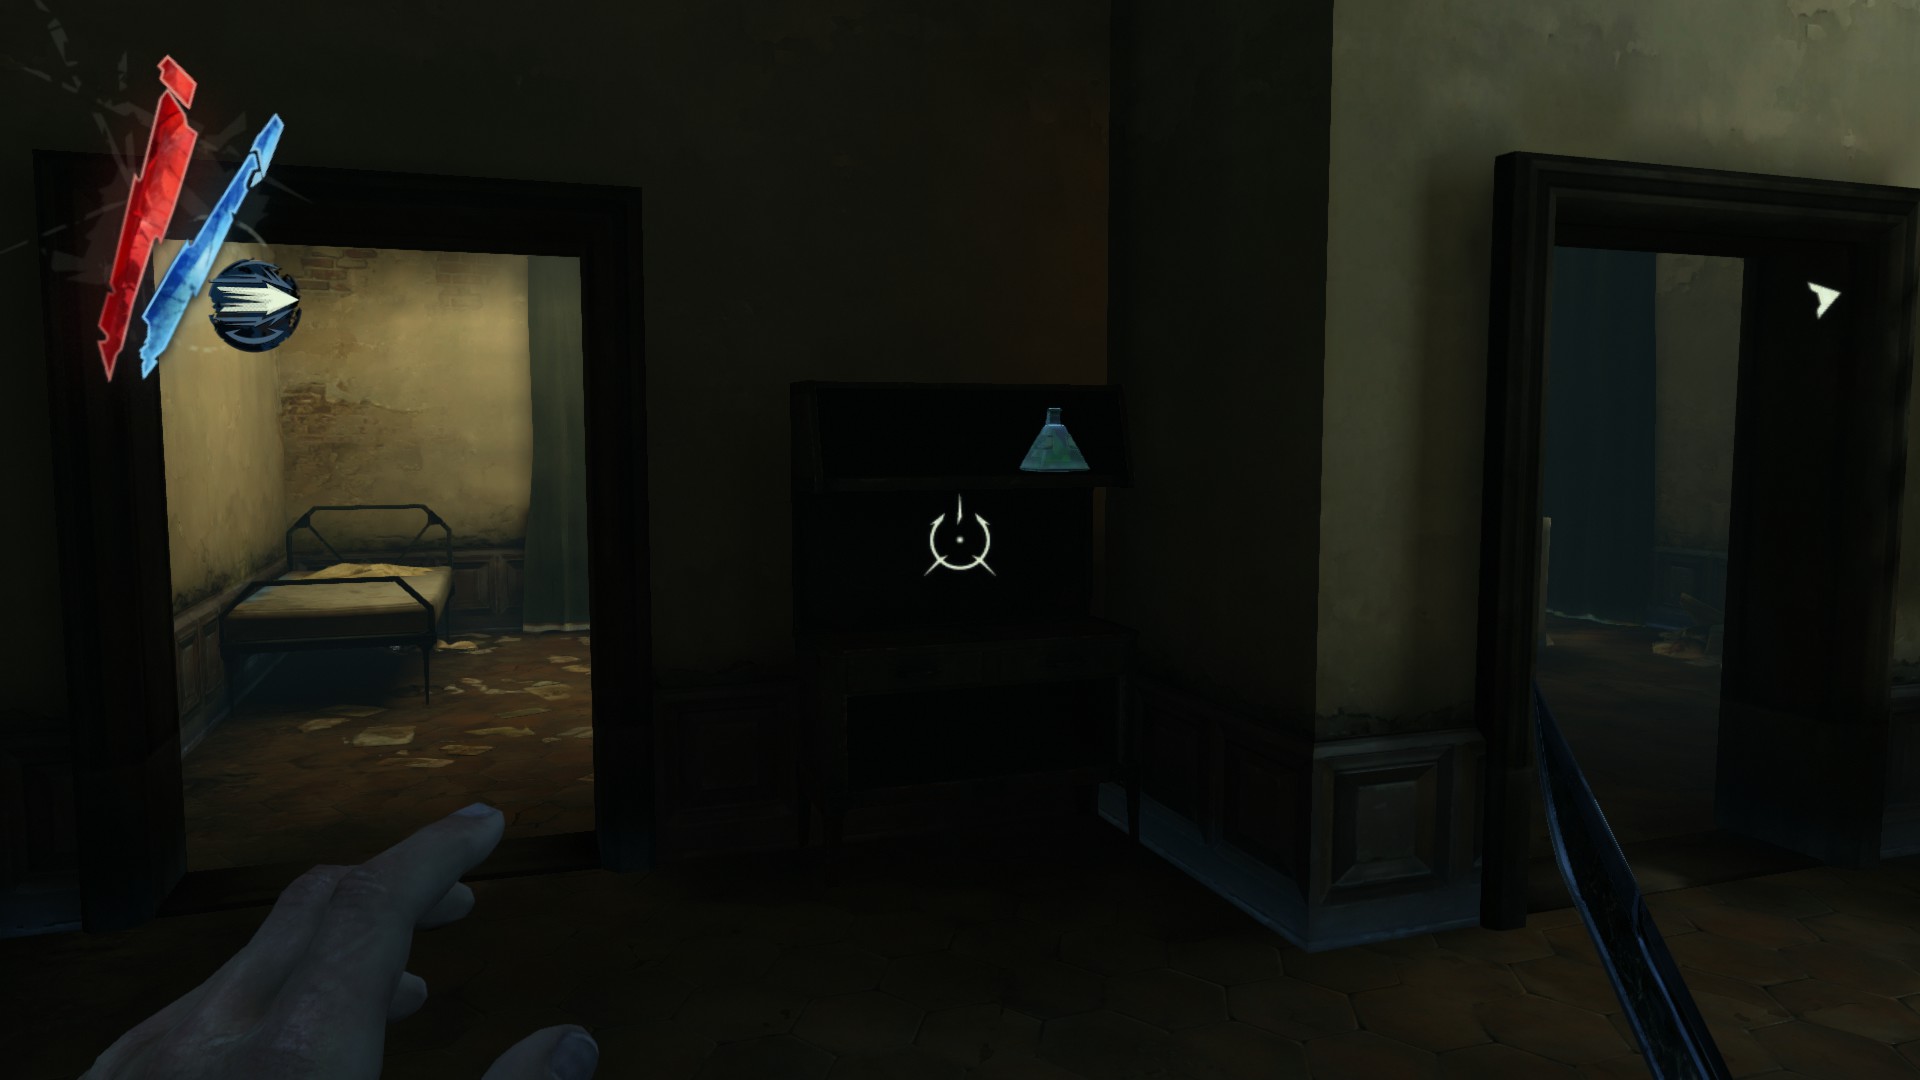
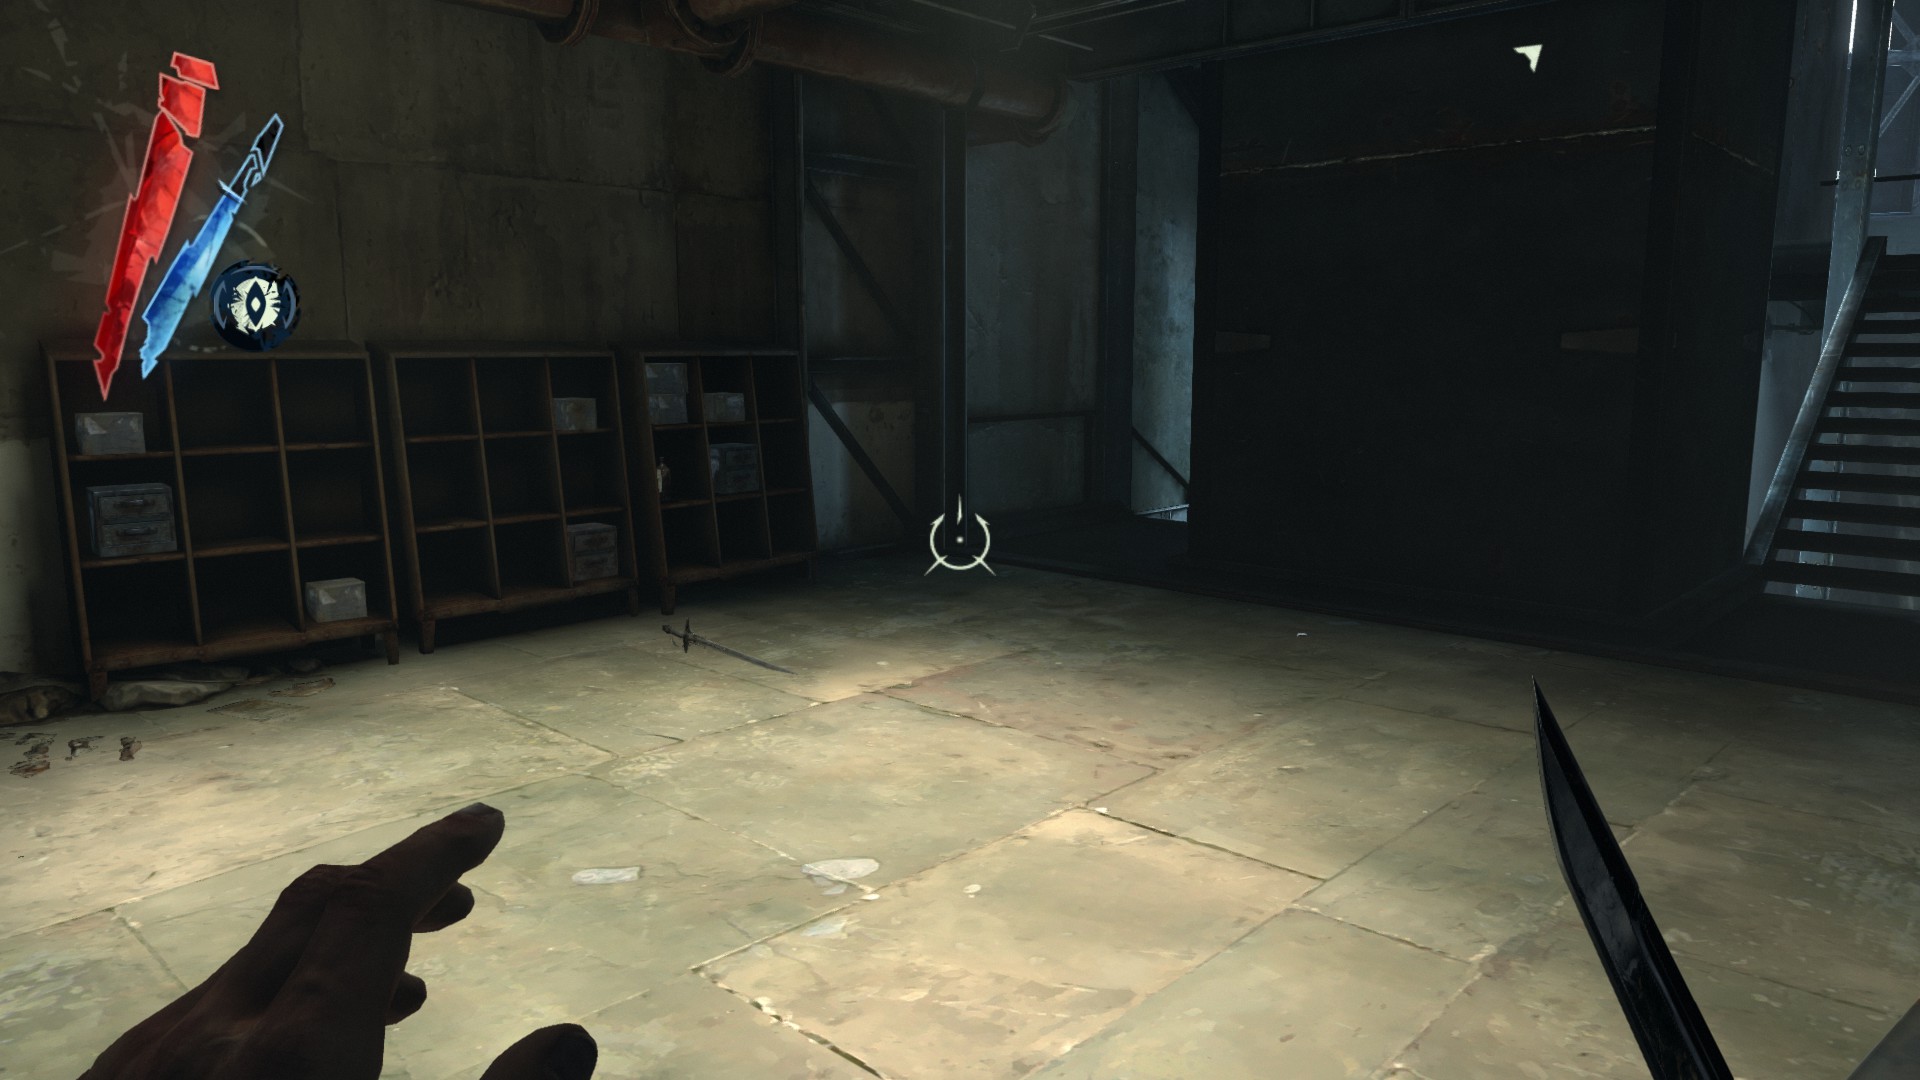
Go back to the room with three doors, and head into the next area a guard walks in. One of two guards is carrying a pouch.
(+20 -> 241/1010)
In the same area, on a bench.
(+15 -> 256/1010)
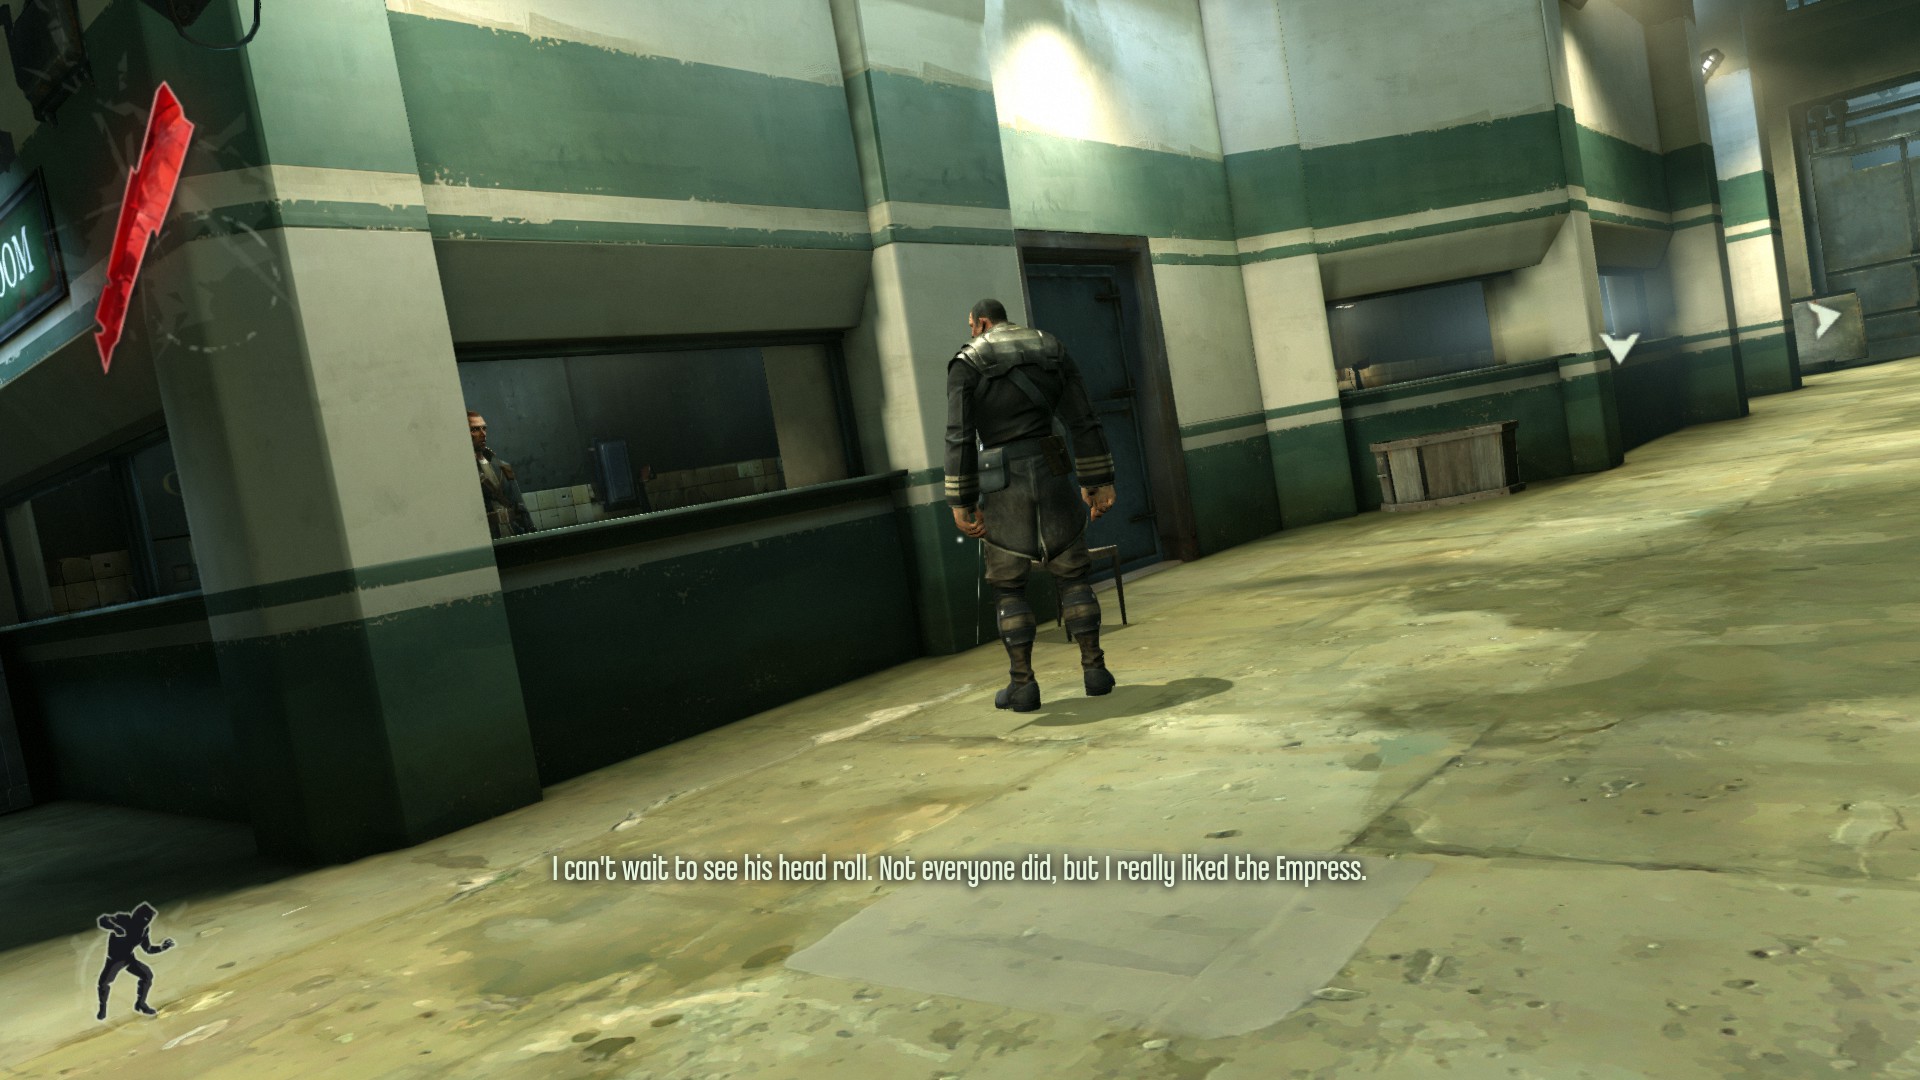
Head to a long hallway with a room marked "Control Room", there are three guards patrolling here. Two of them are carrying pouches.
(+75 -> 331/1010)
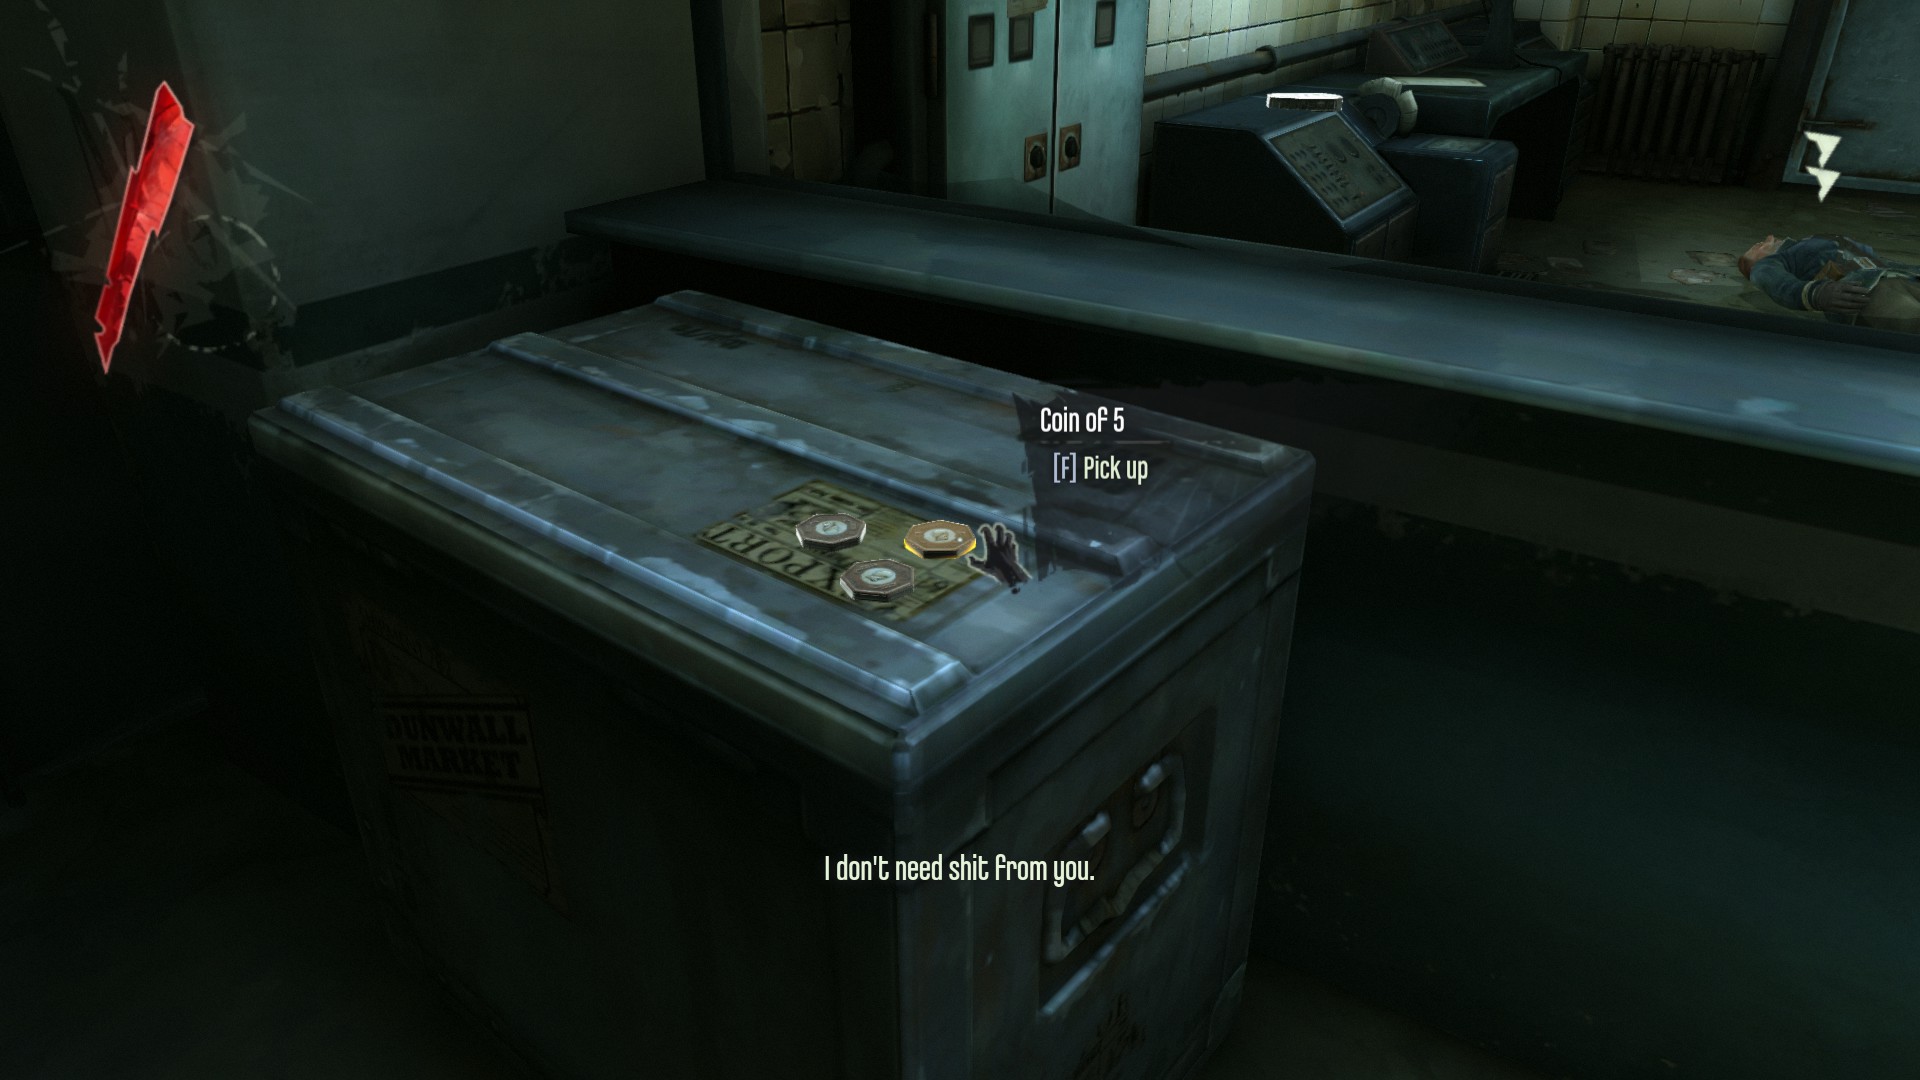
On a crate, outside of the control room.
(+15 -> 346/1010)
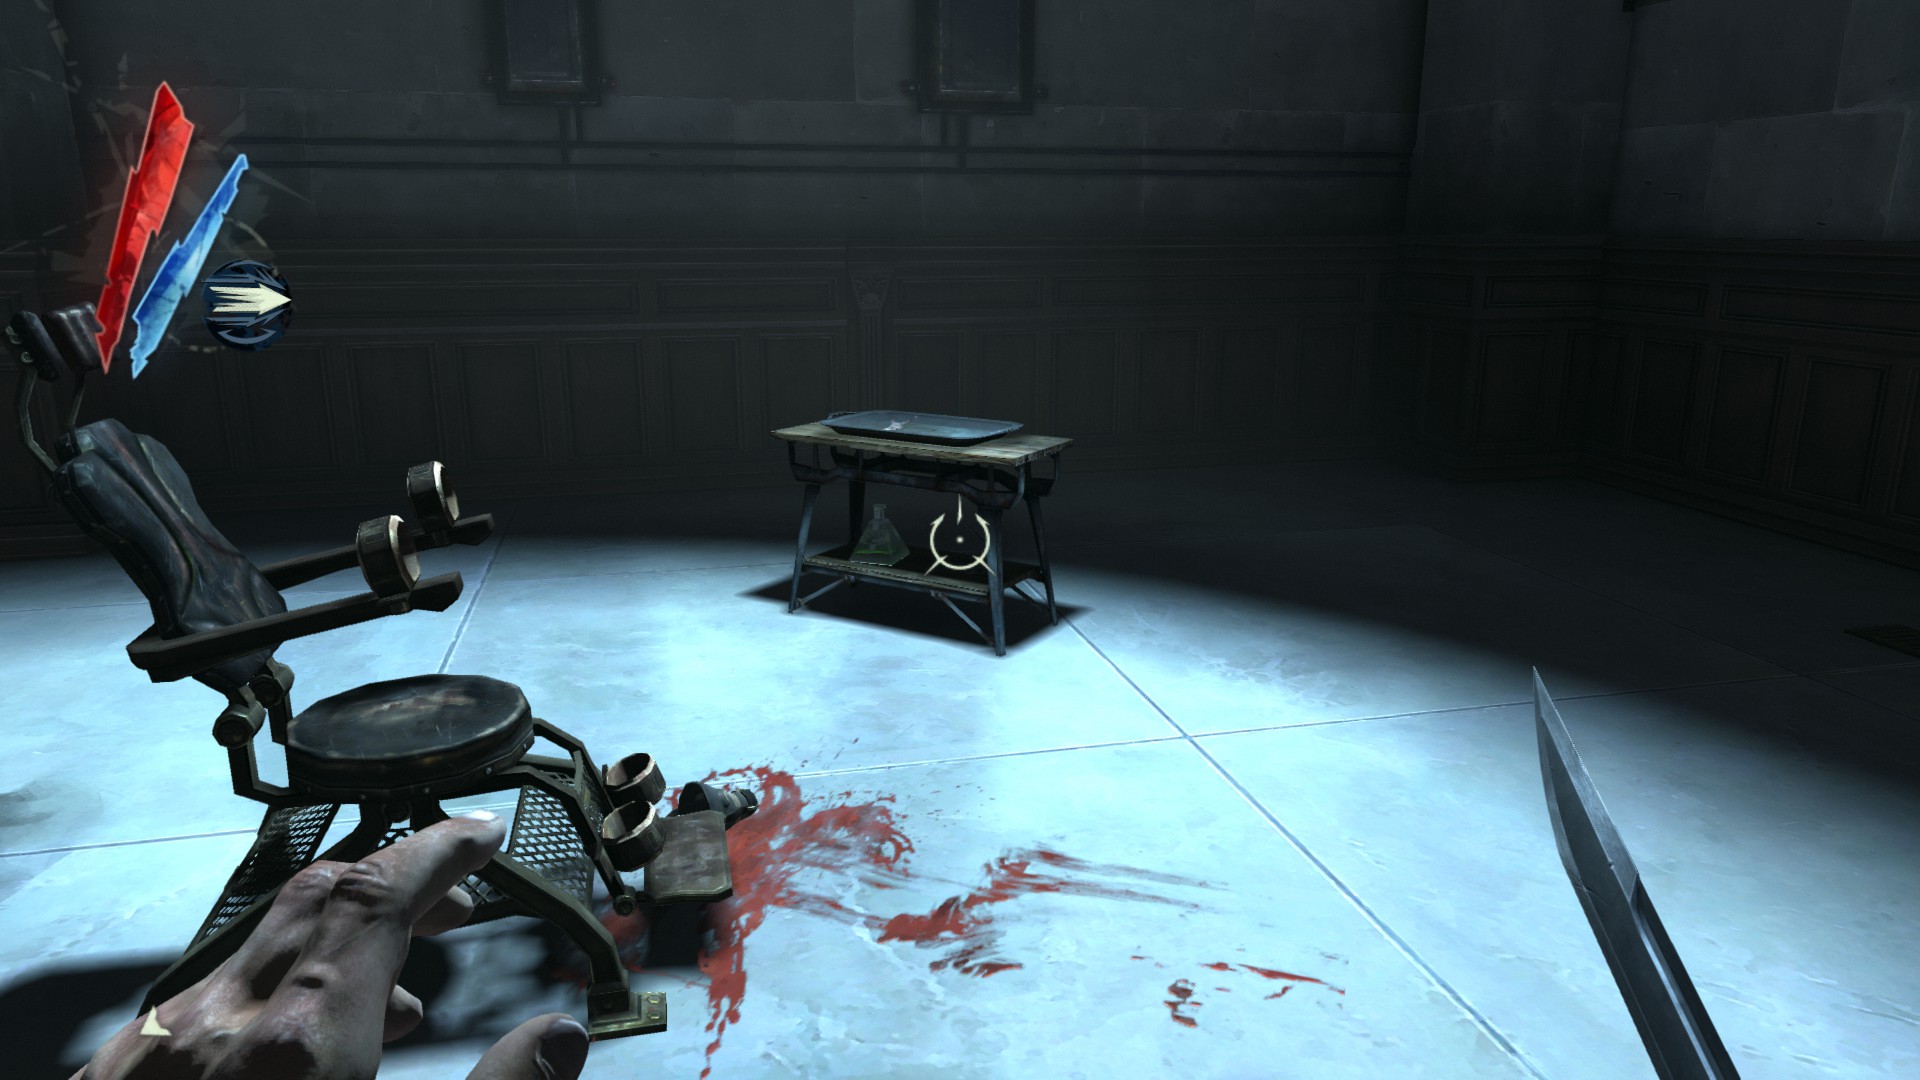
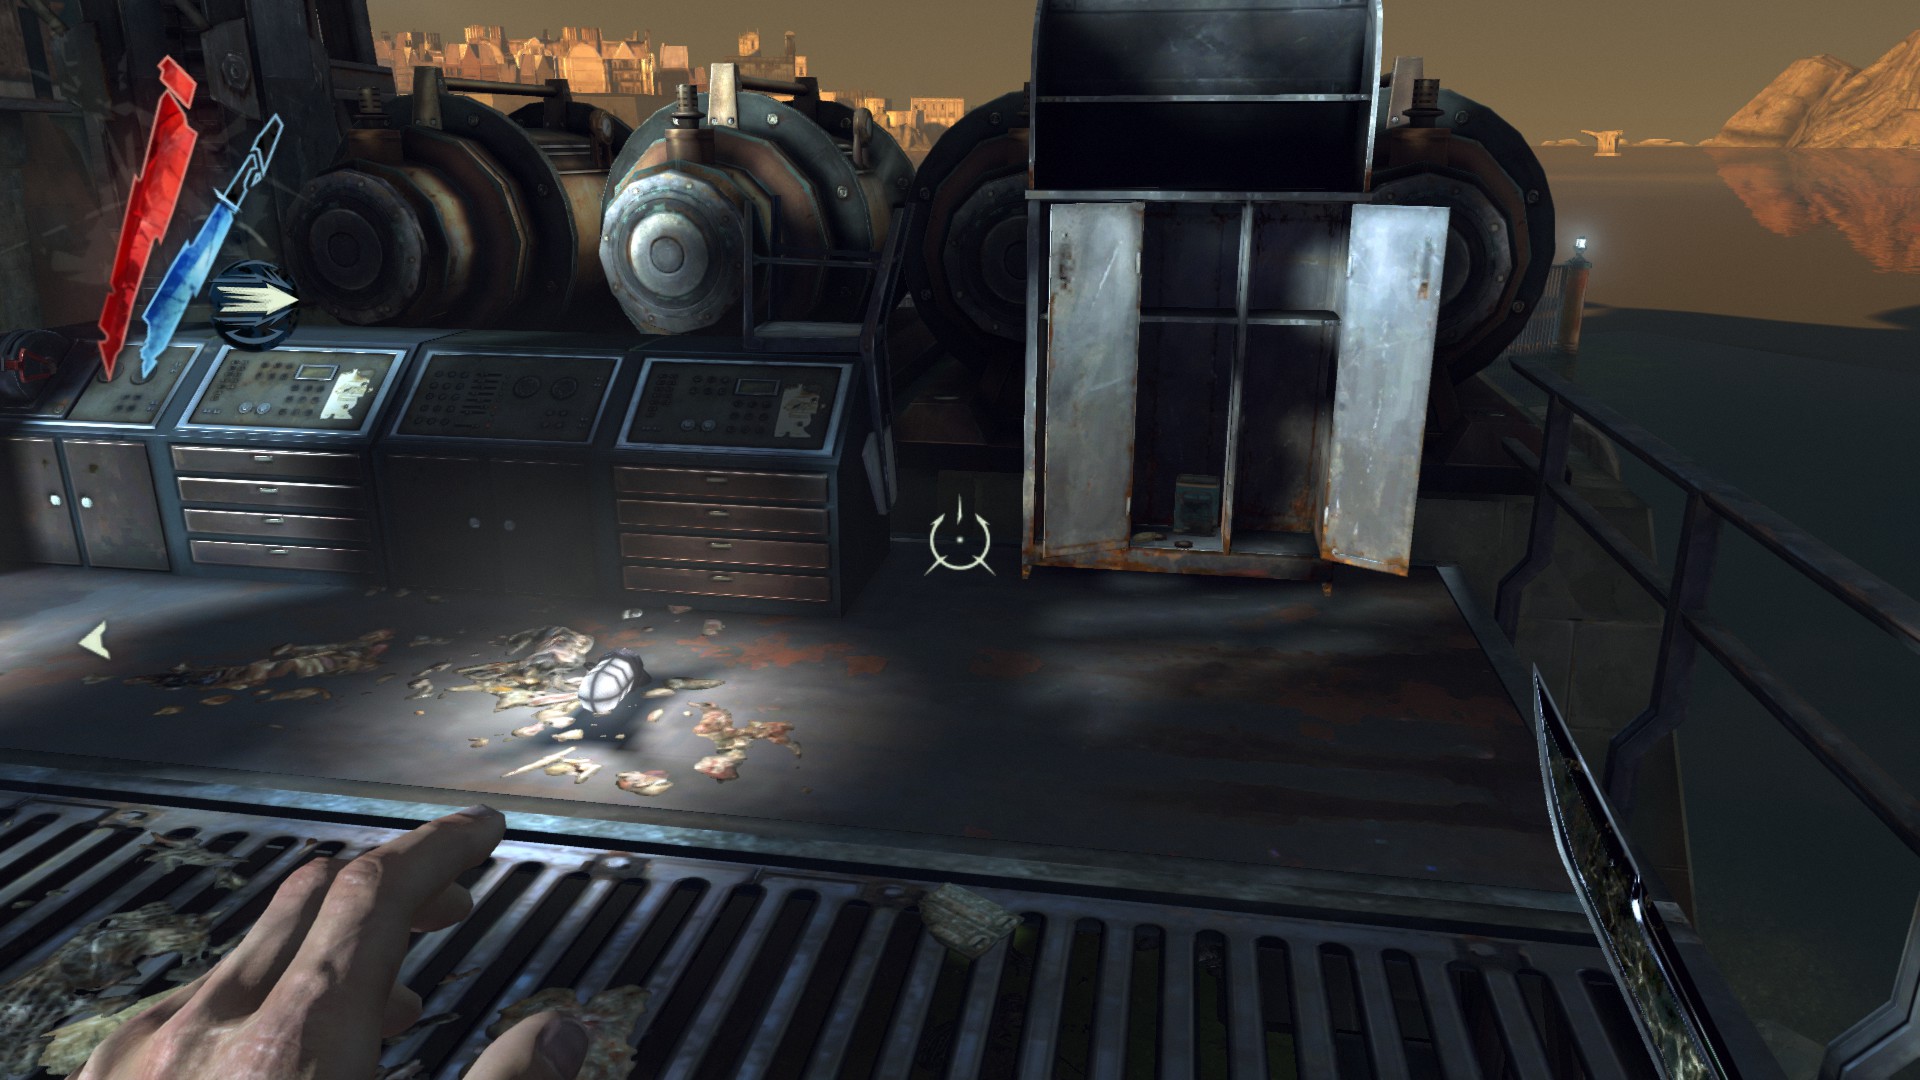
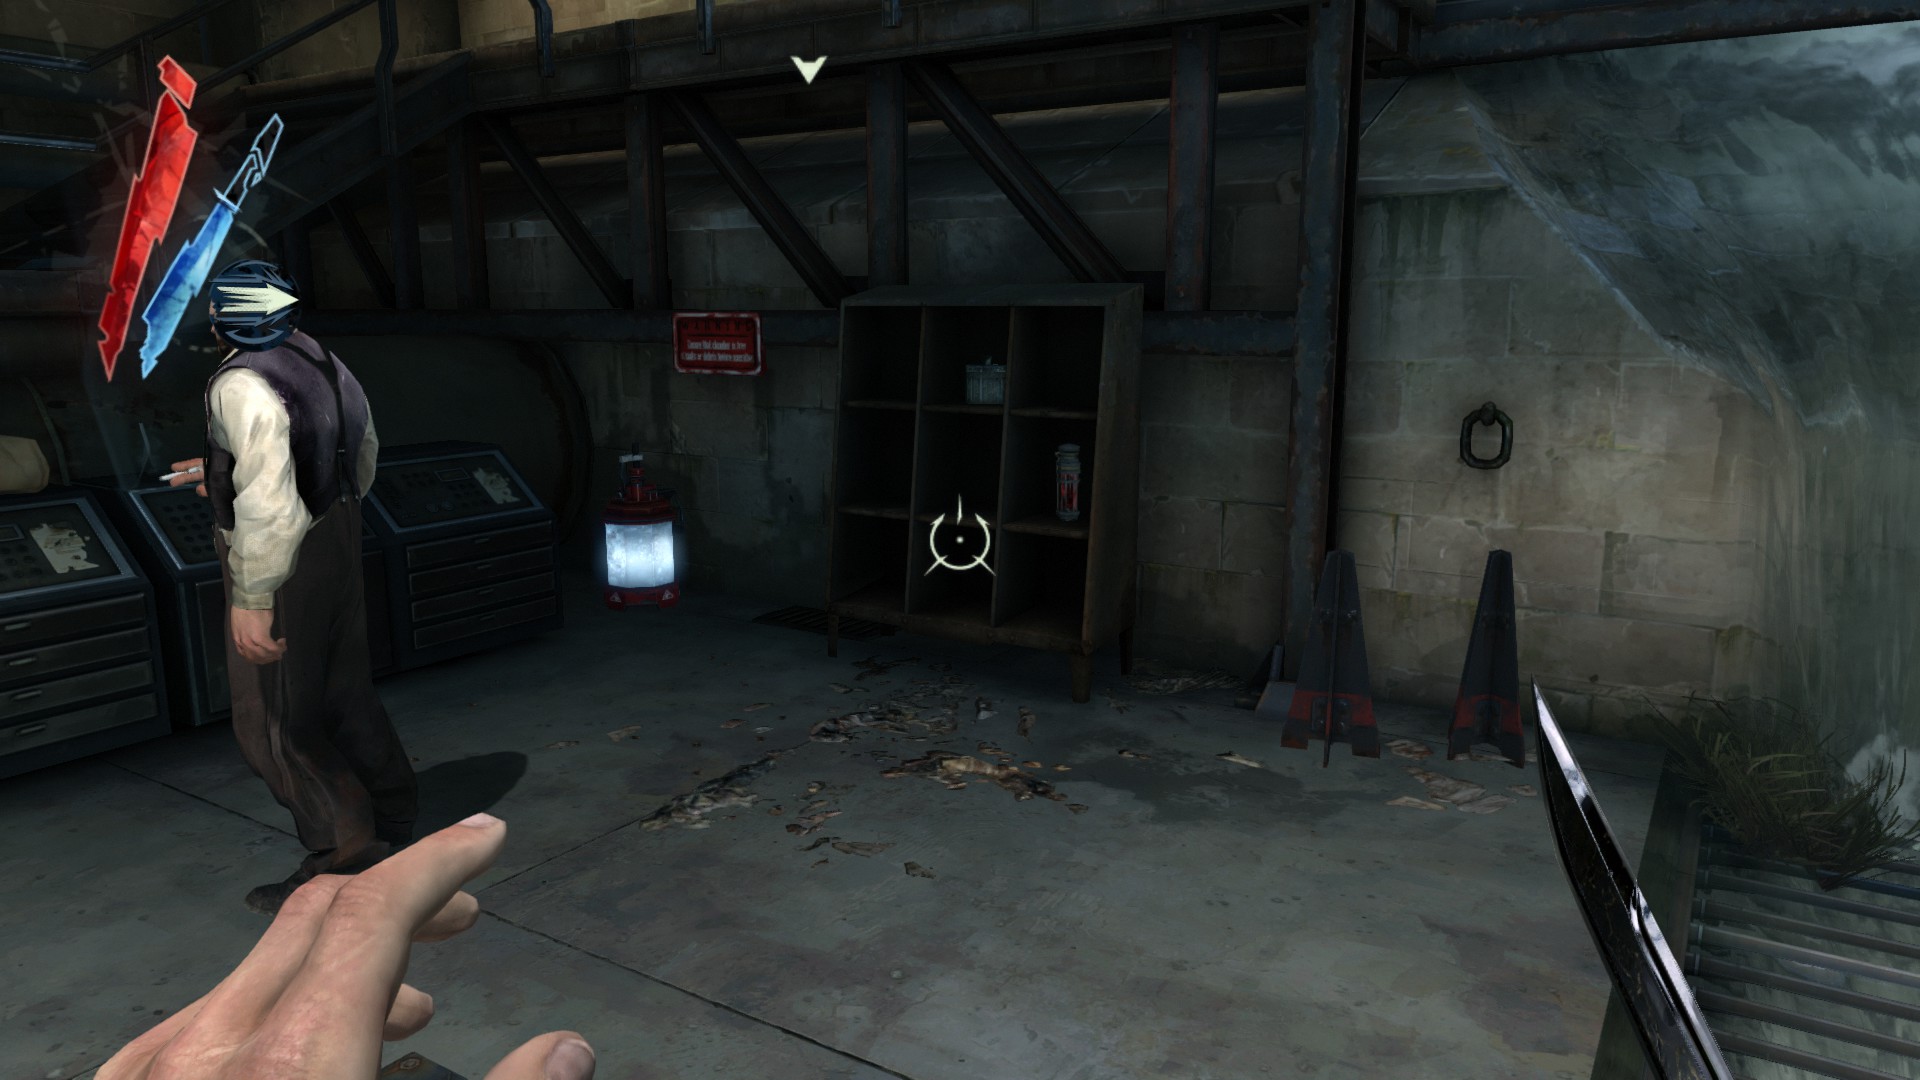
In the control room, there are 4 coins on a desk and 2 coins on a lever control console.
(+24 -> 370/1010)
Two guards patrolling a next room here, they are carrying pouches.
(+30 -> 400/1010)
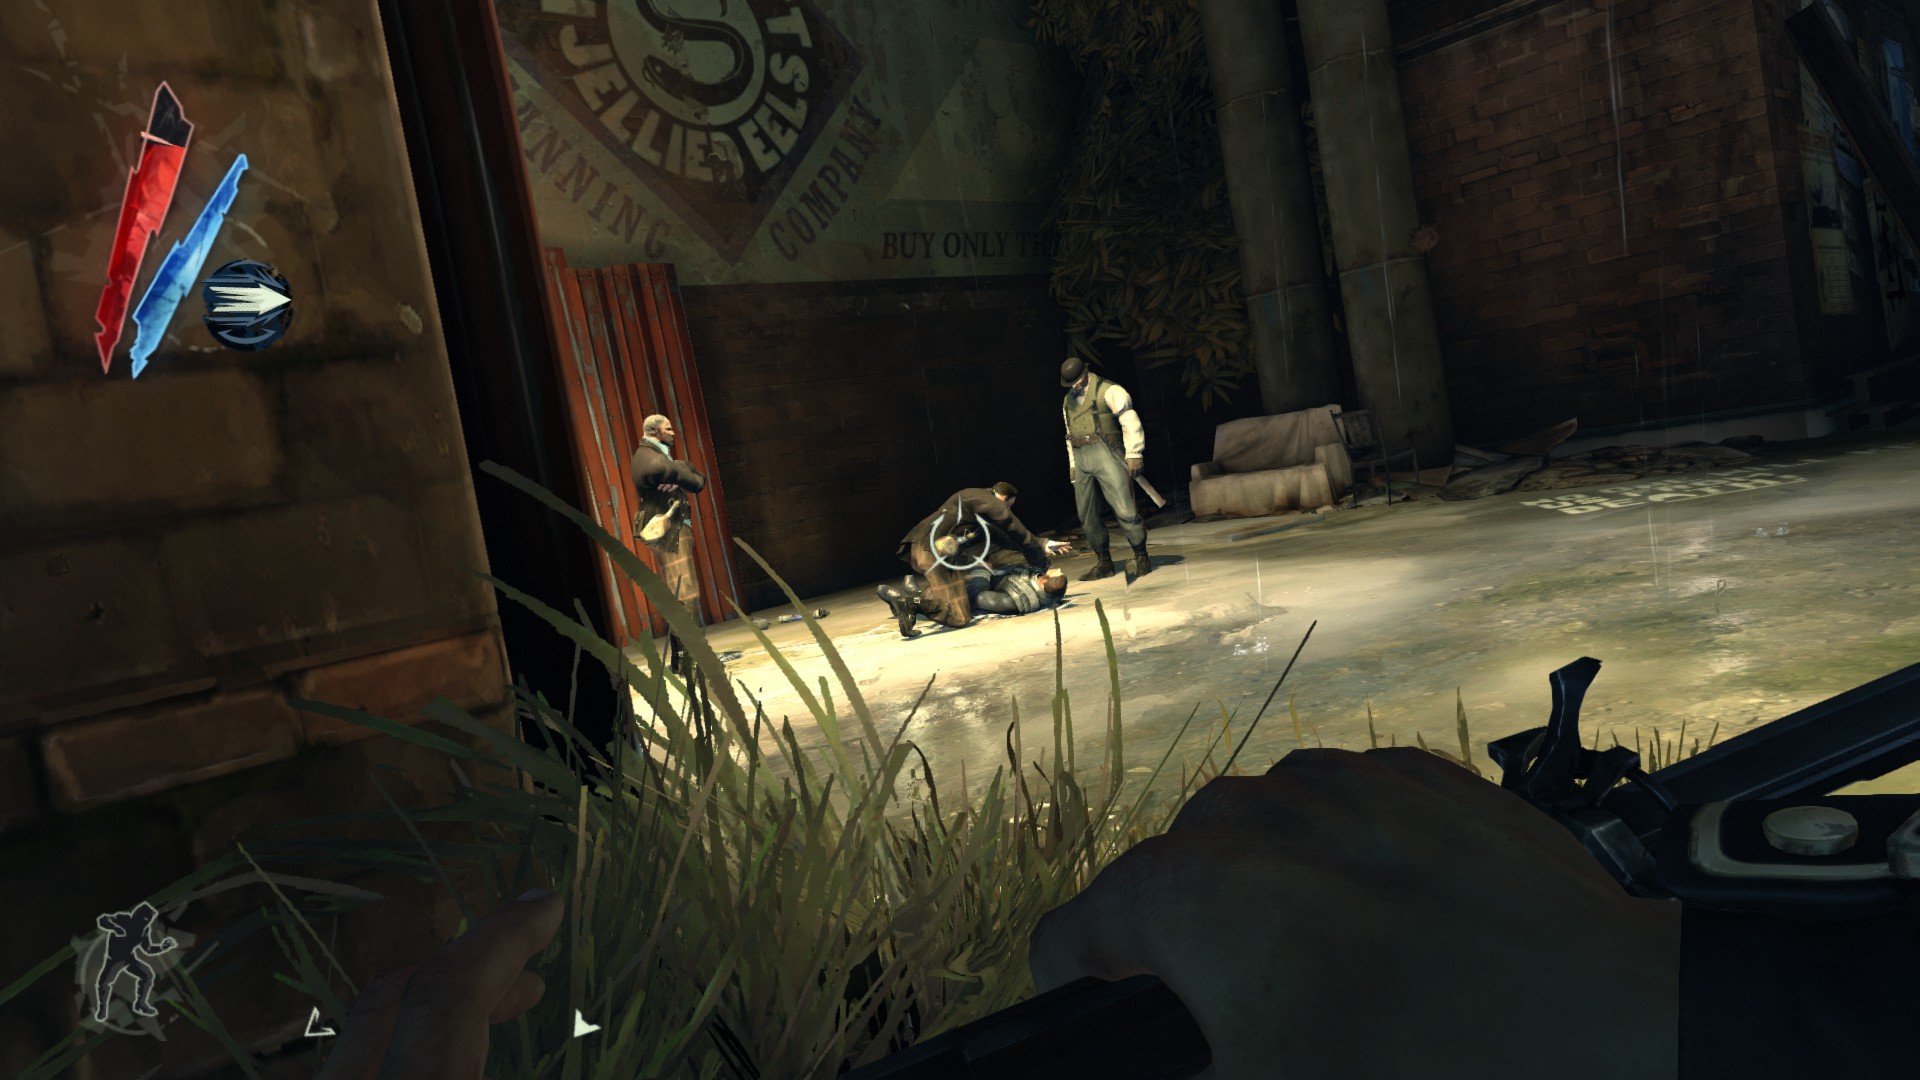
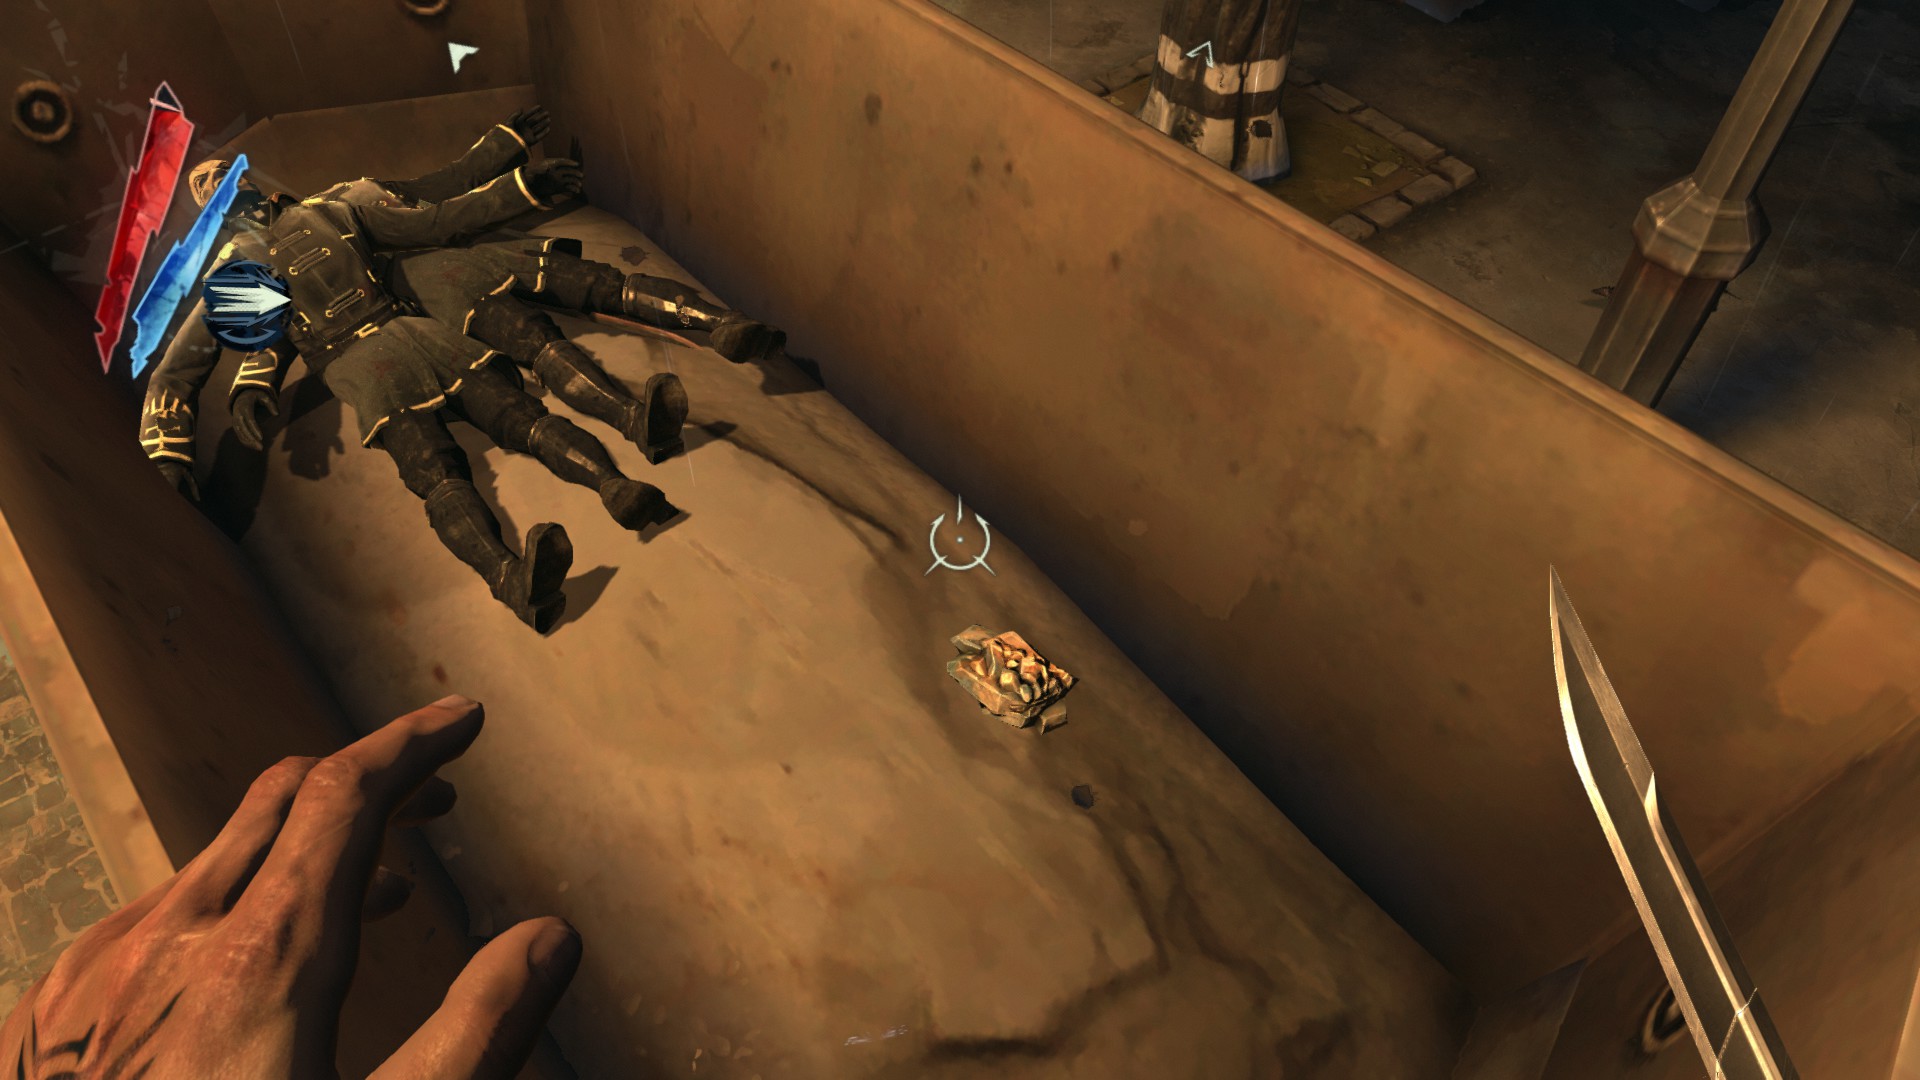
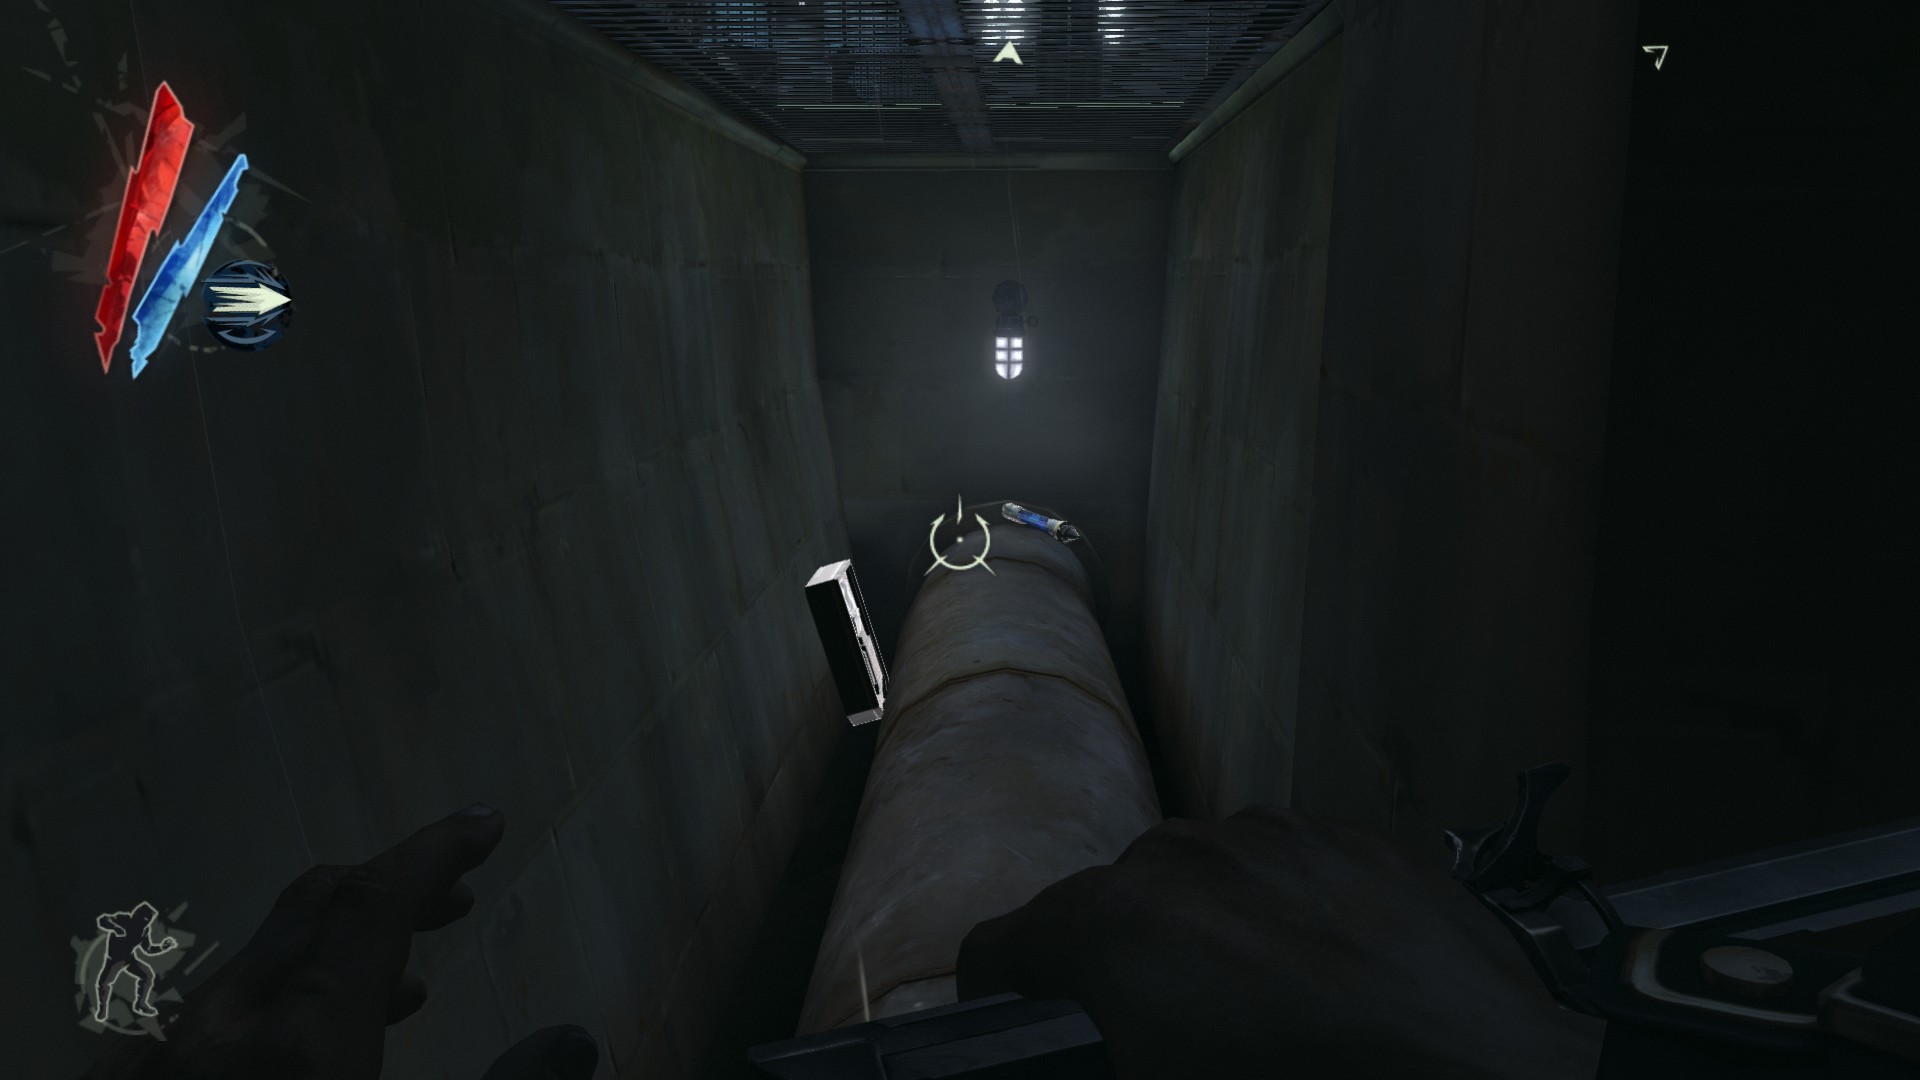
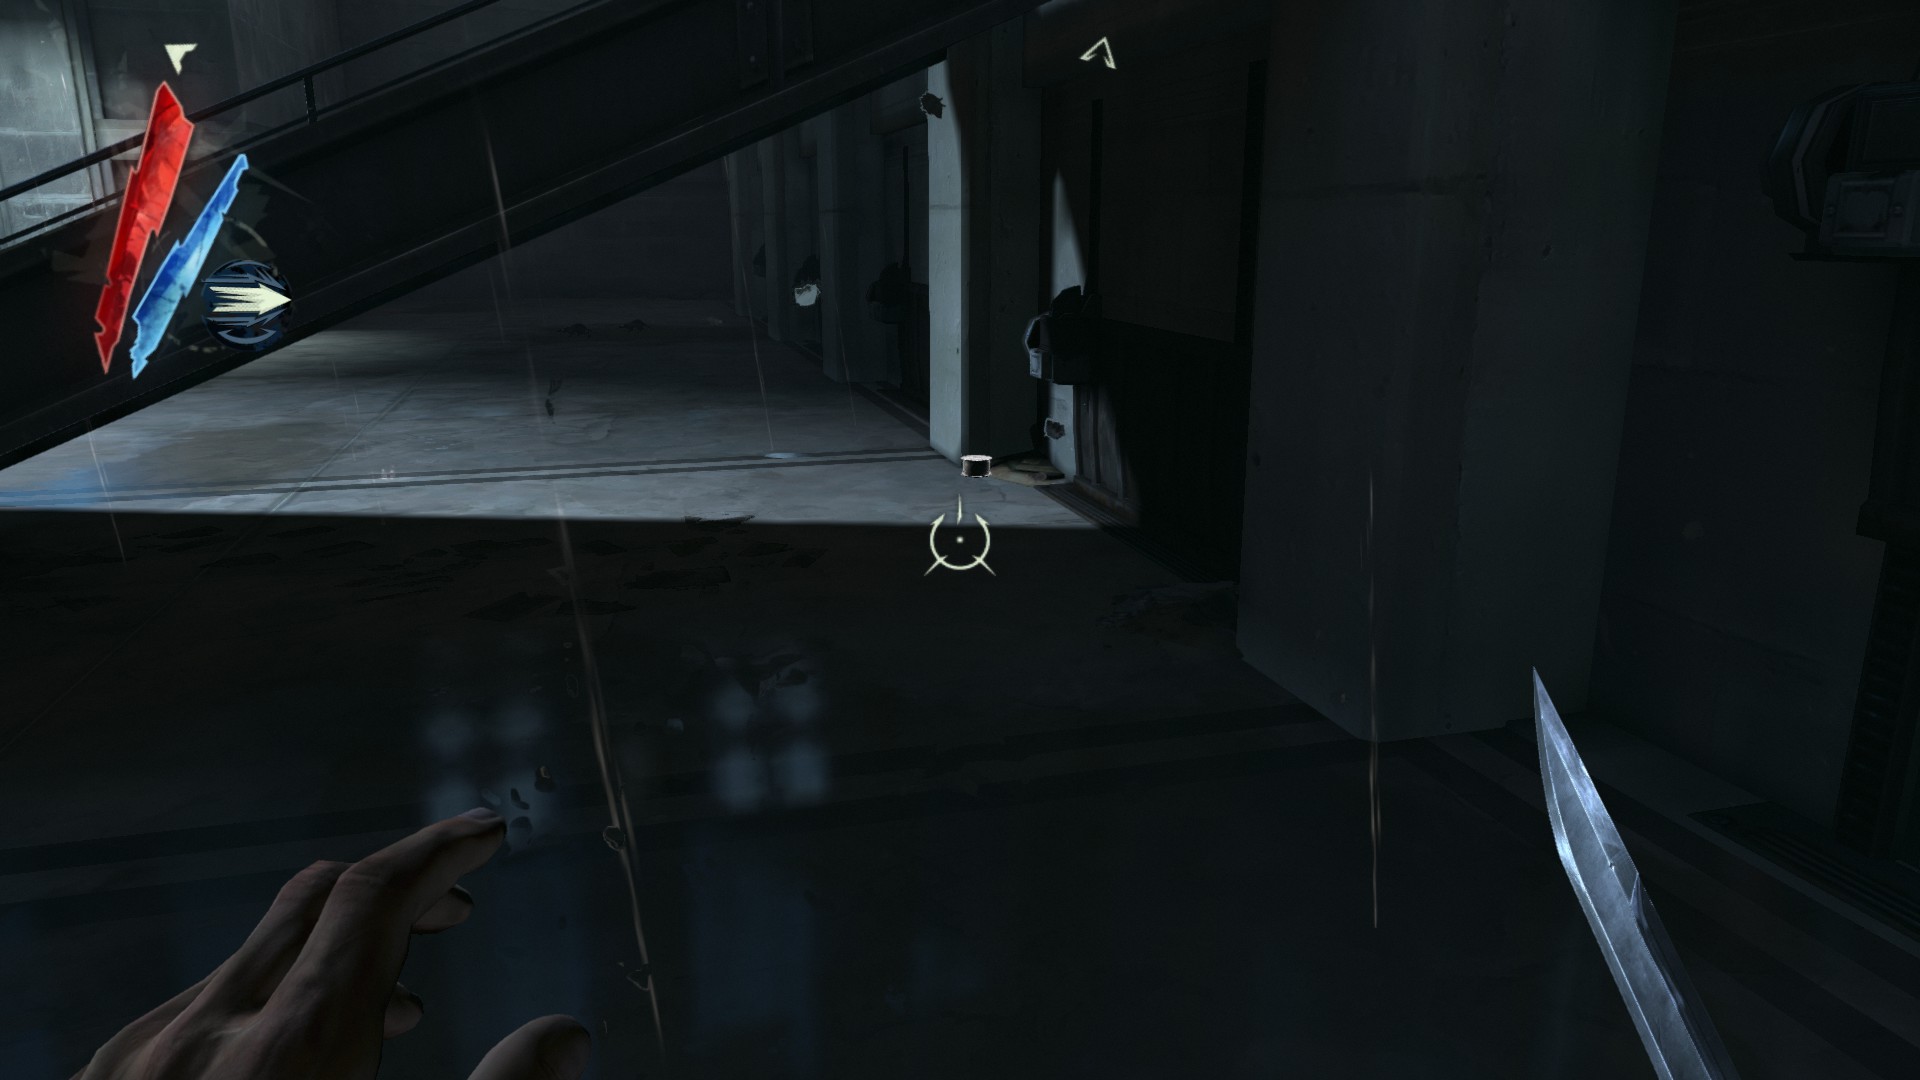
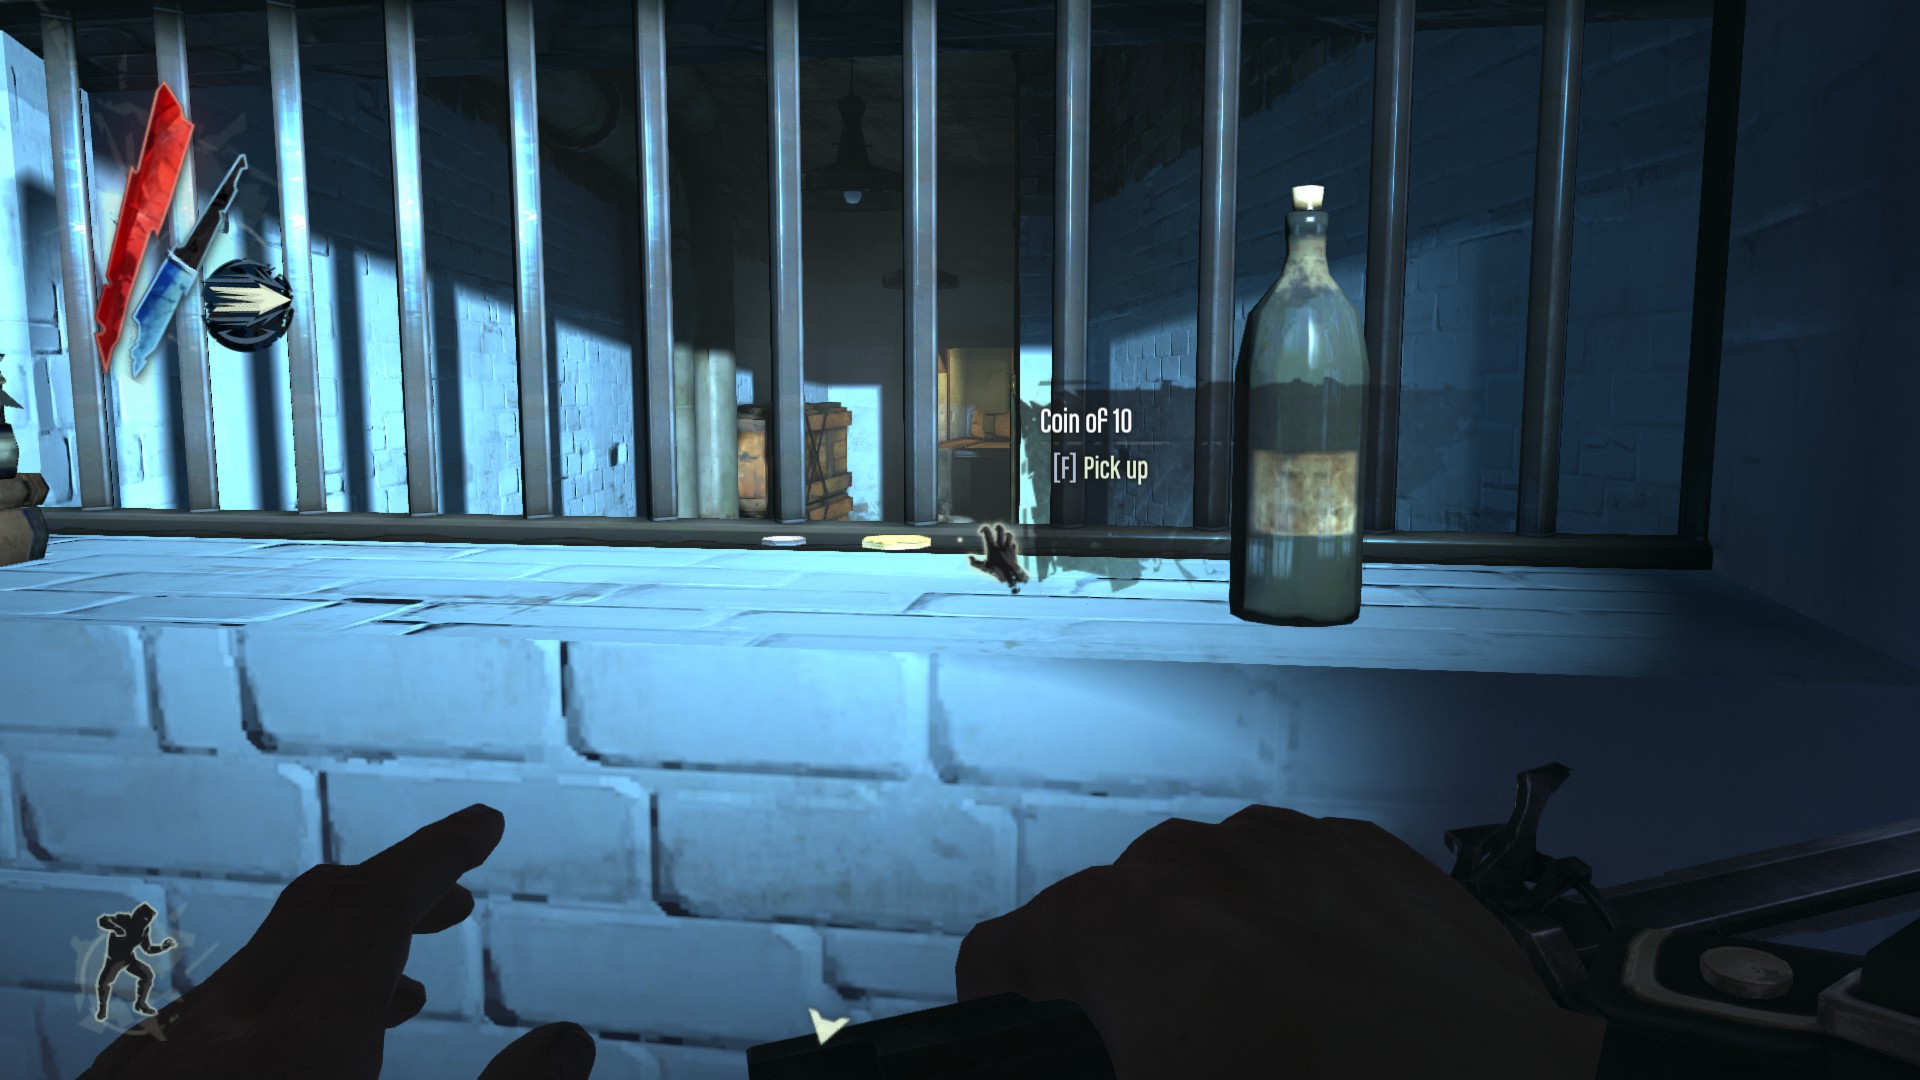
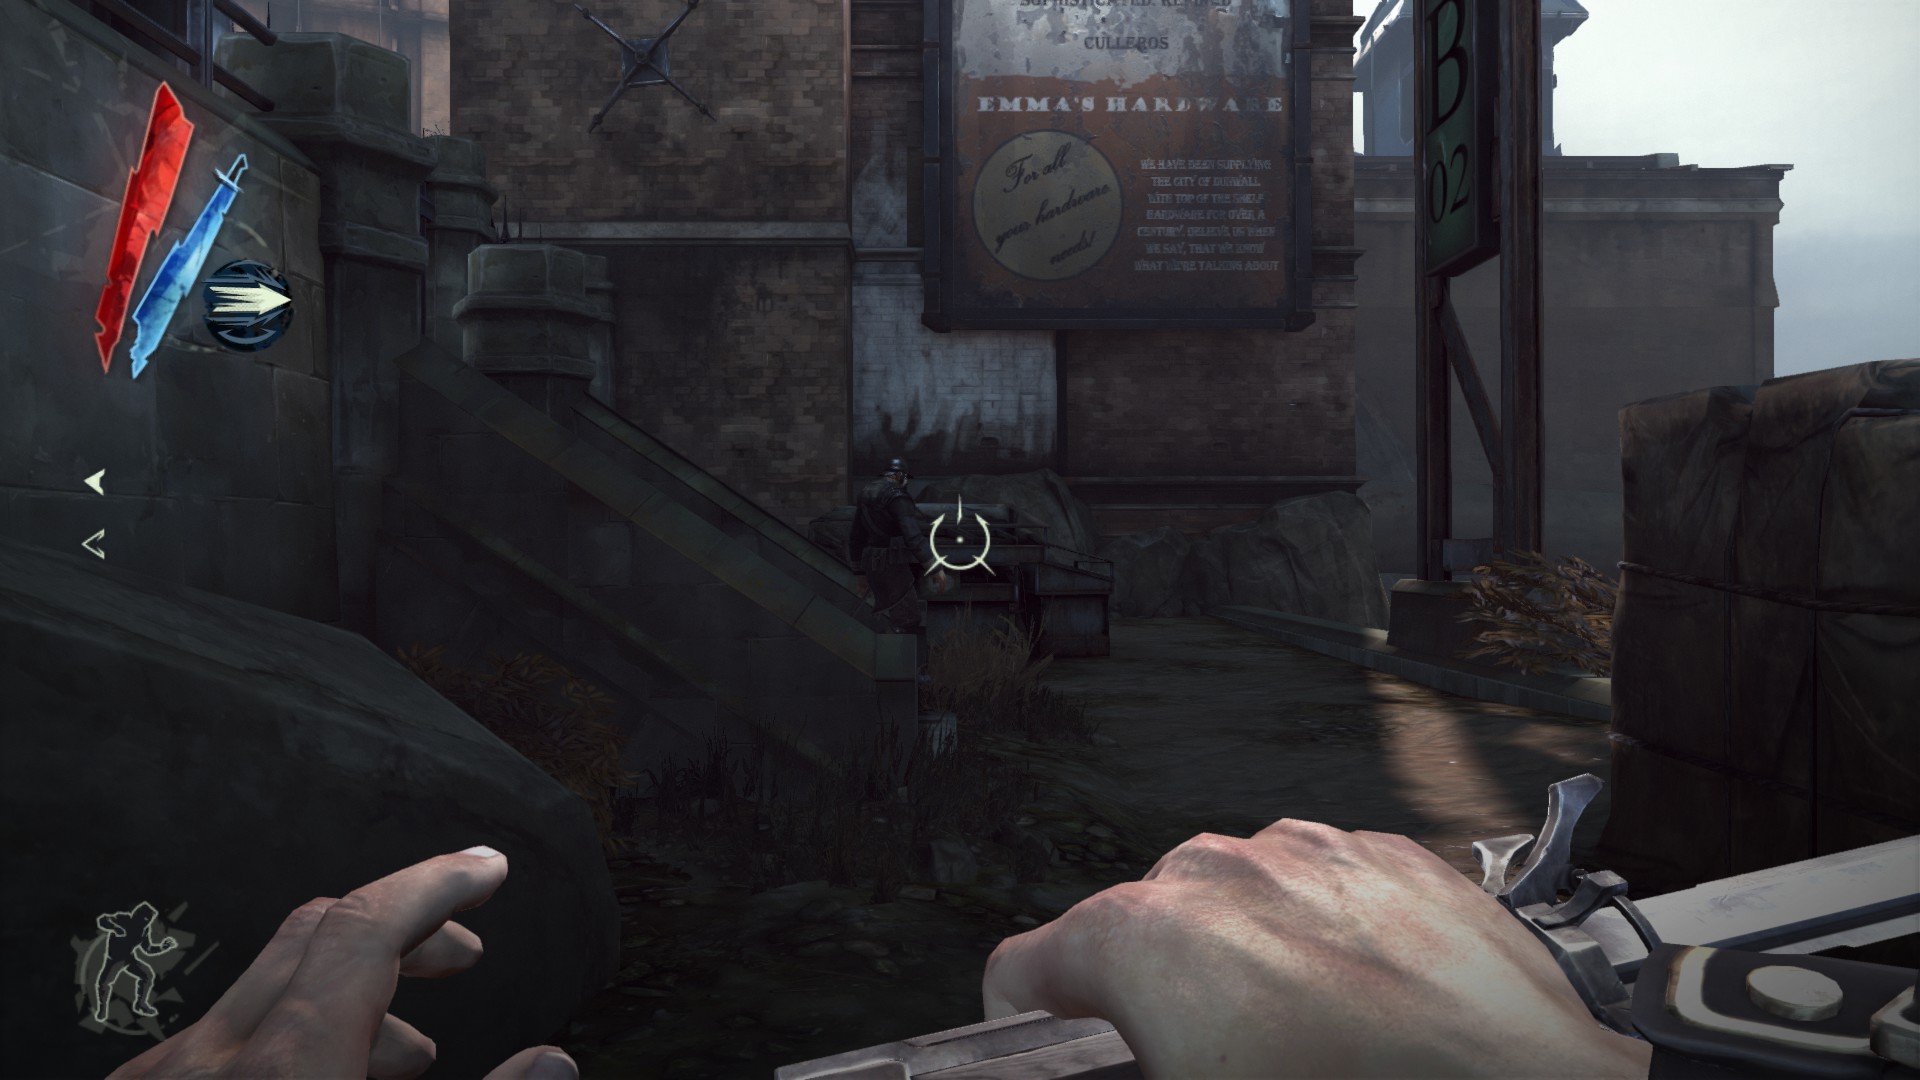
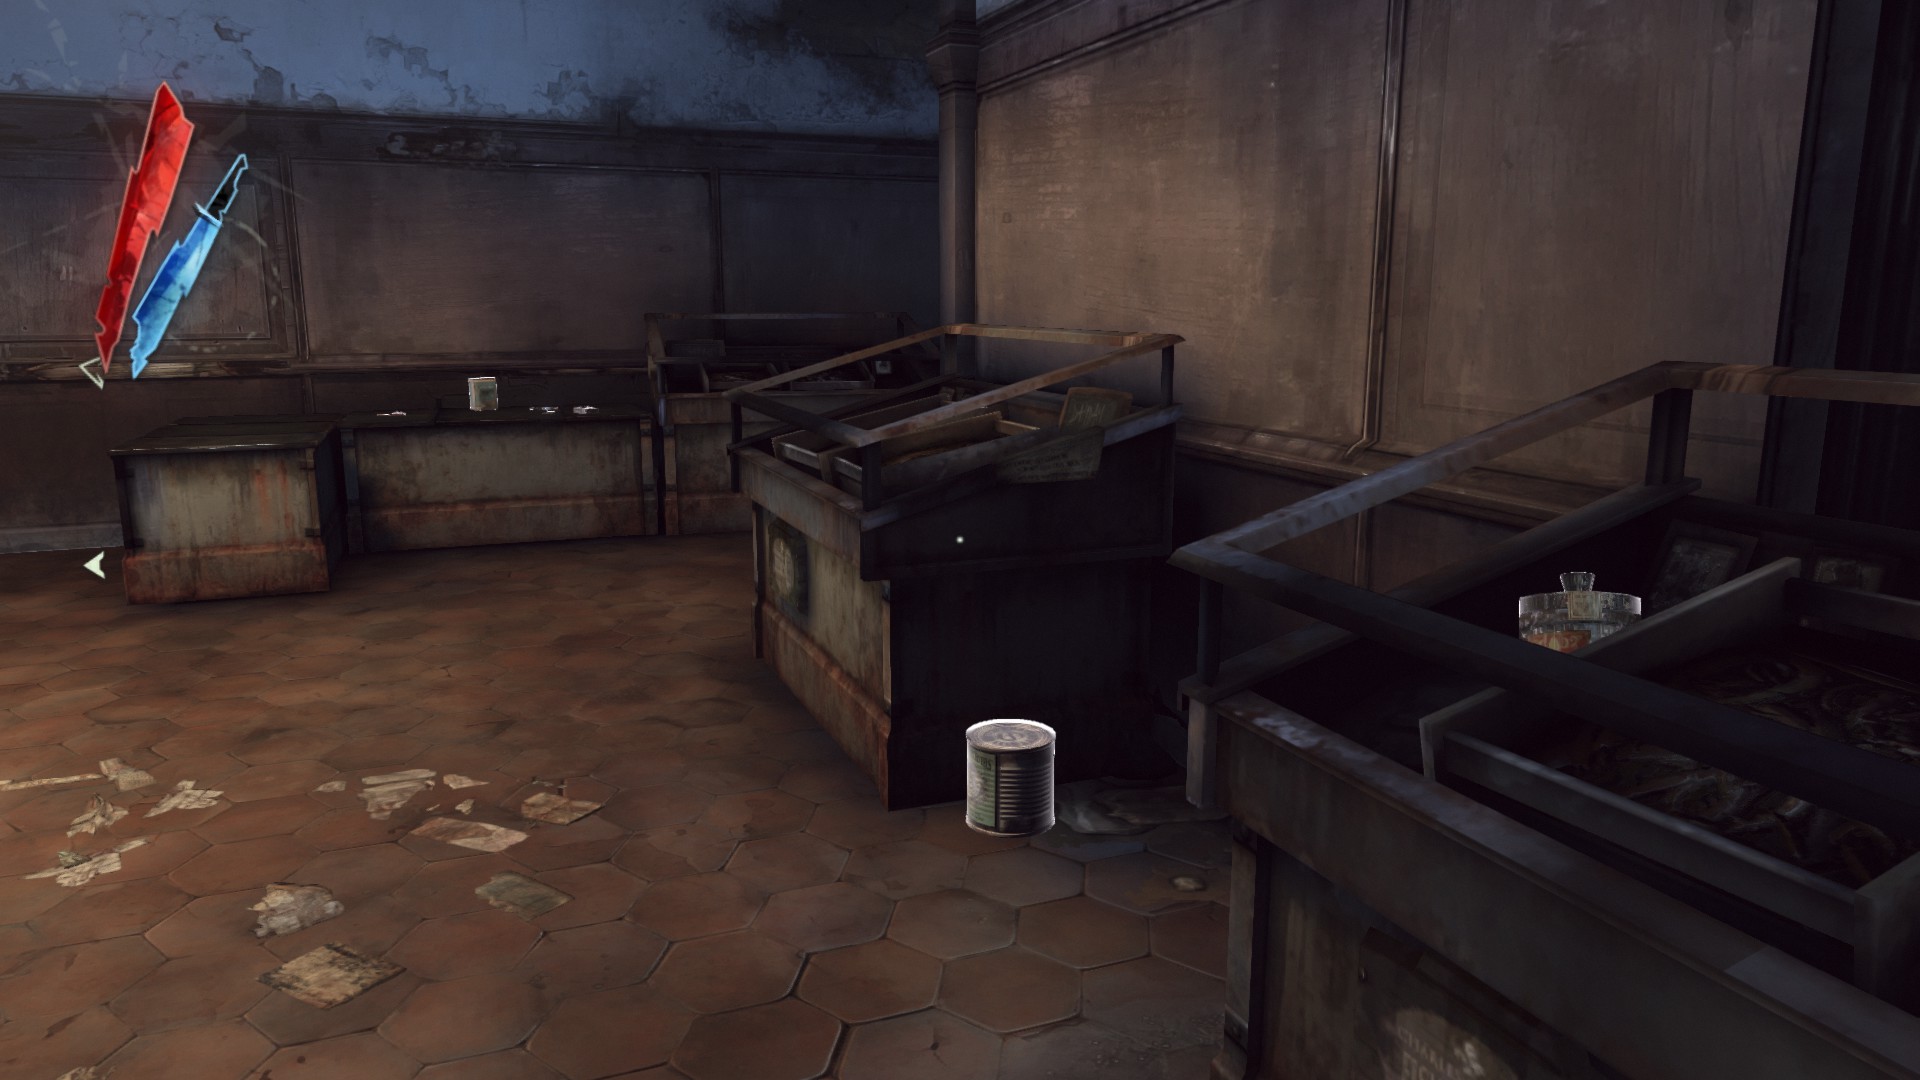
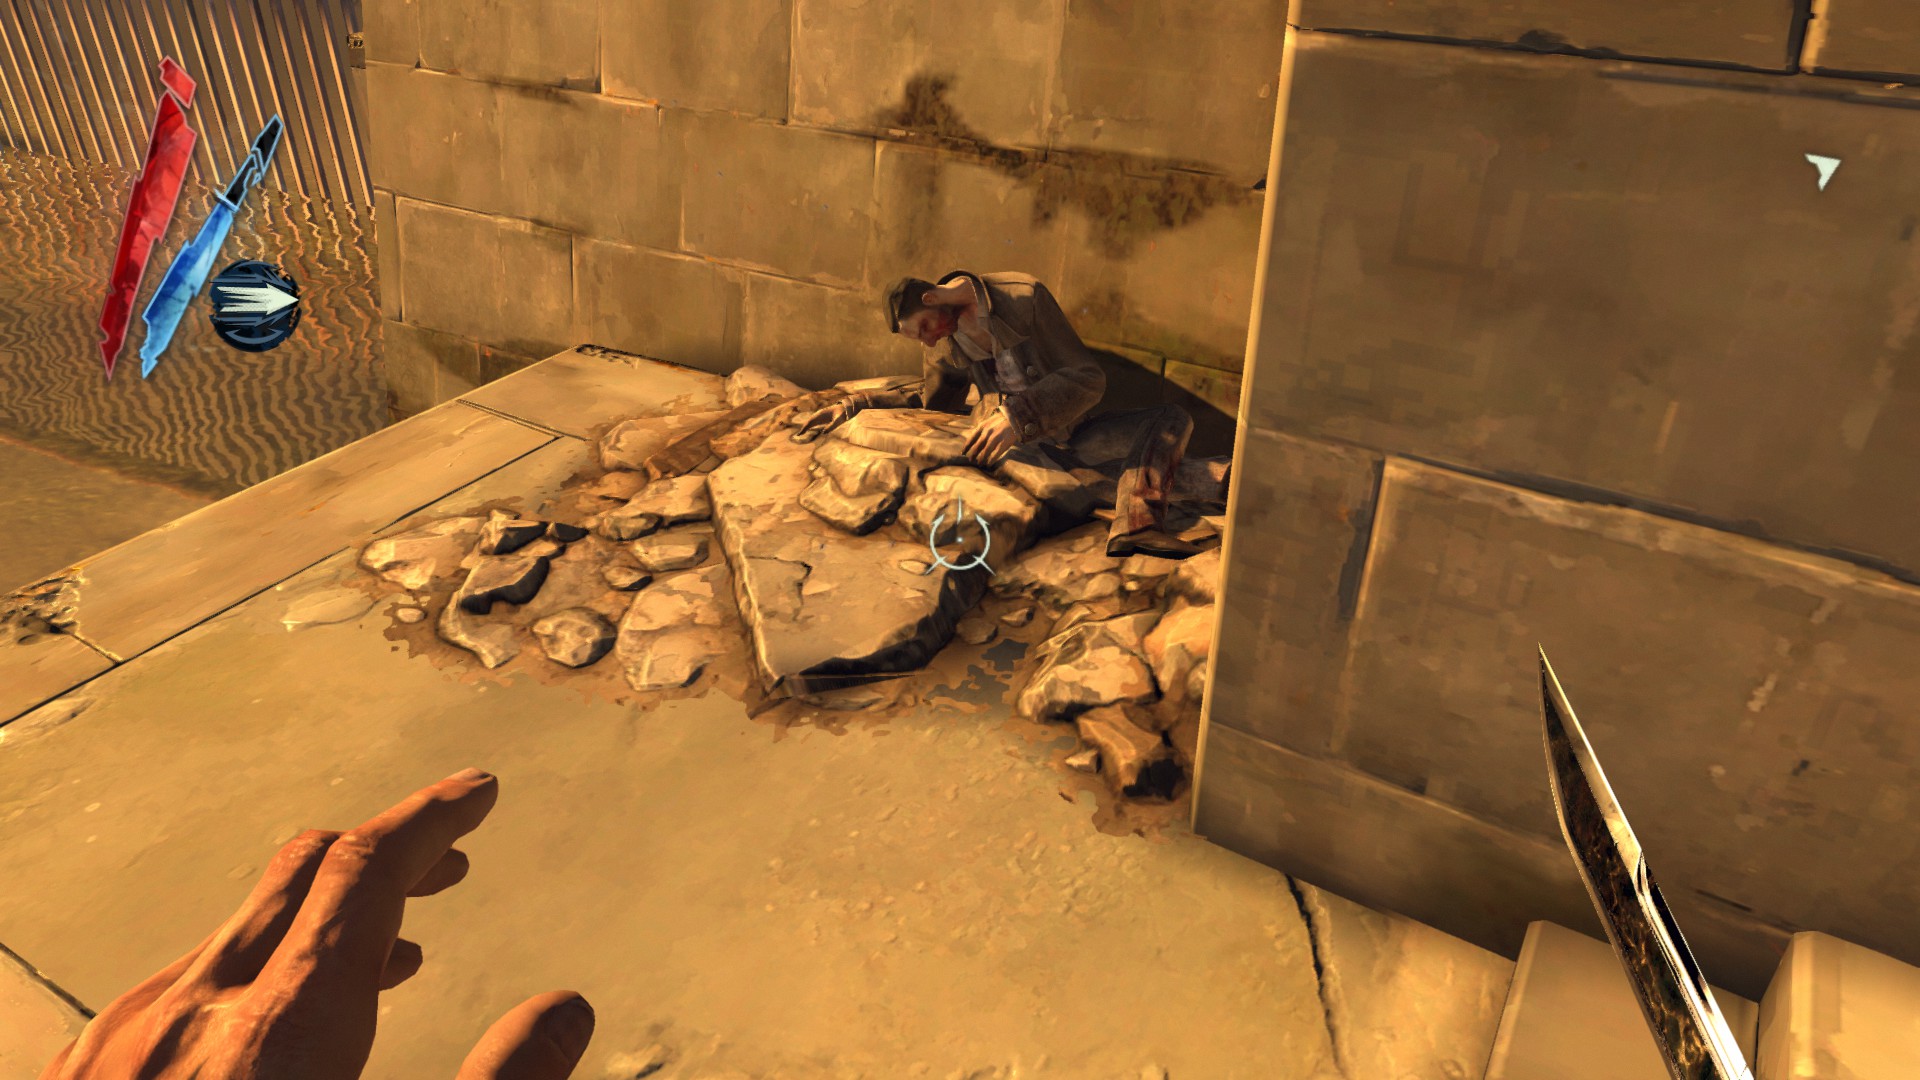
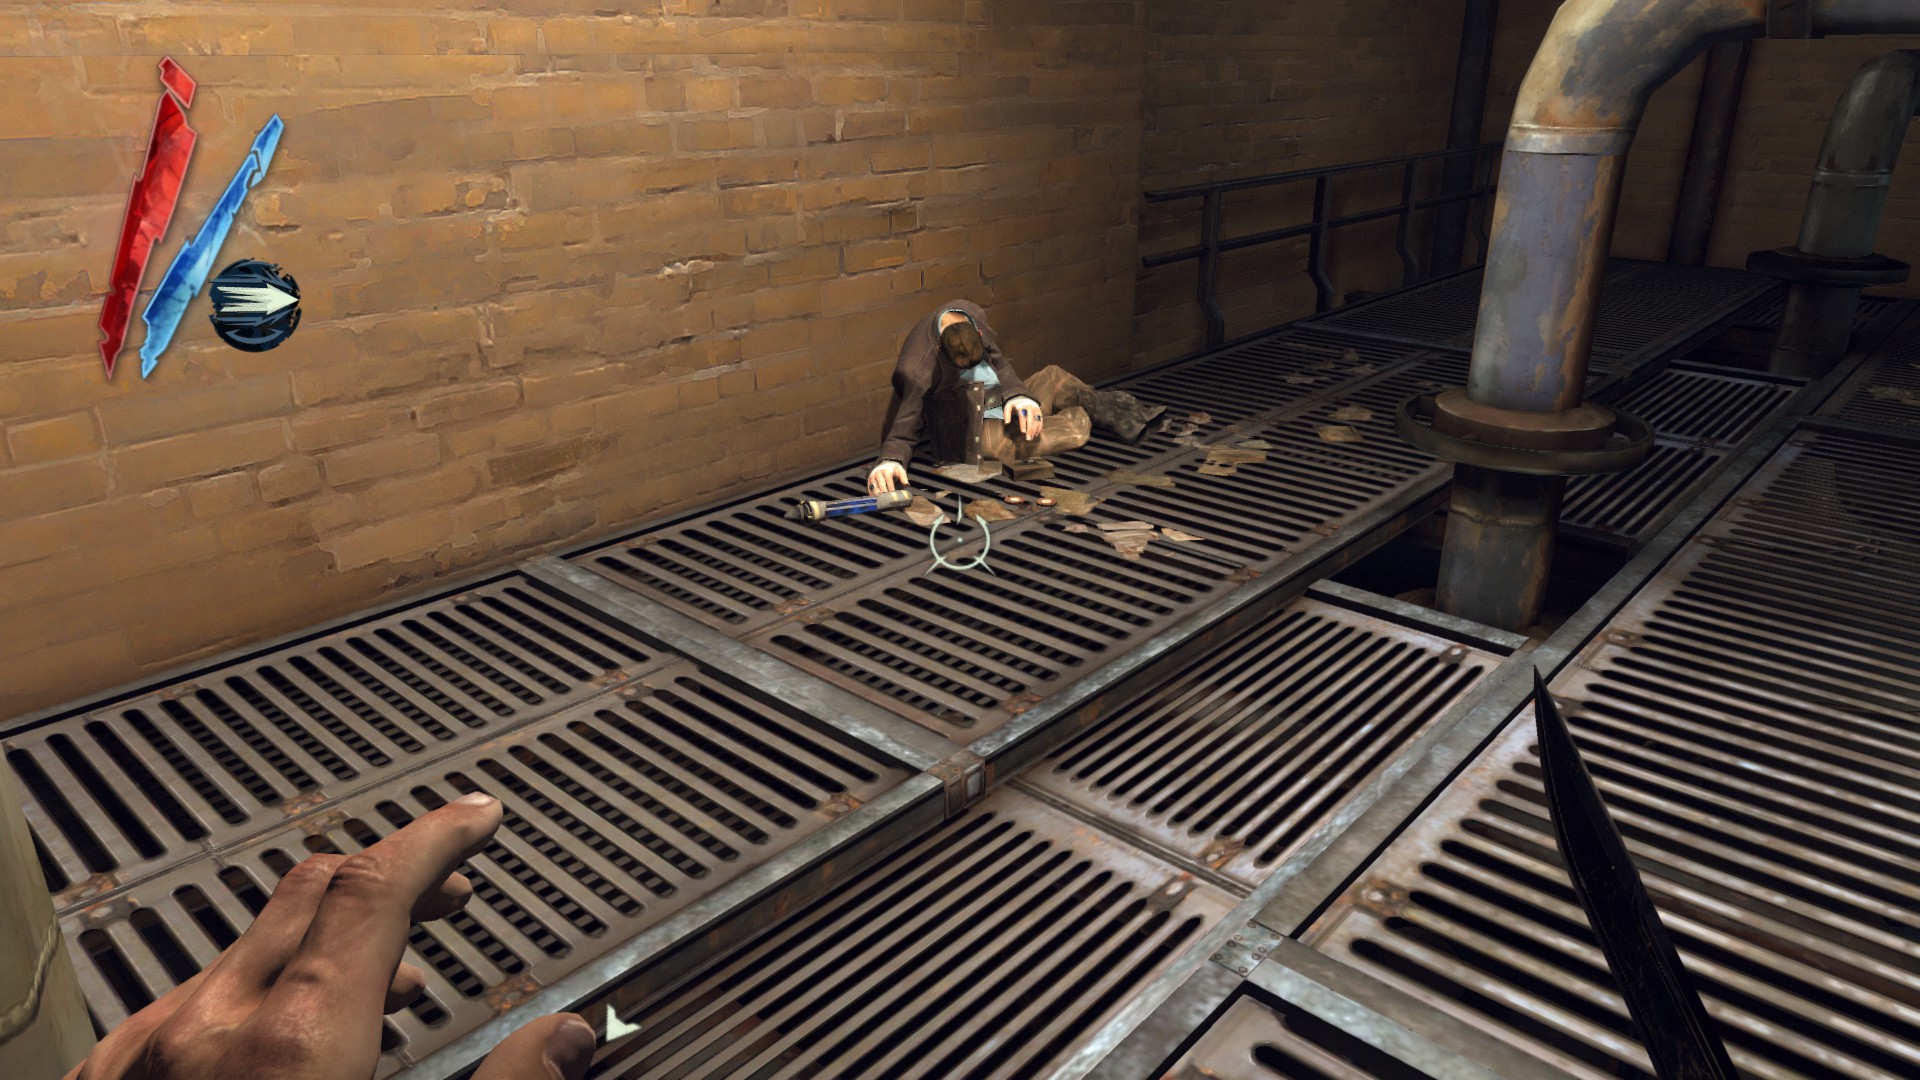
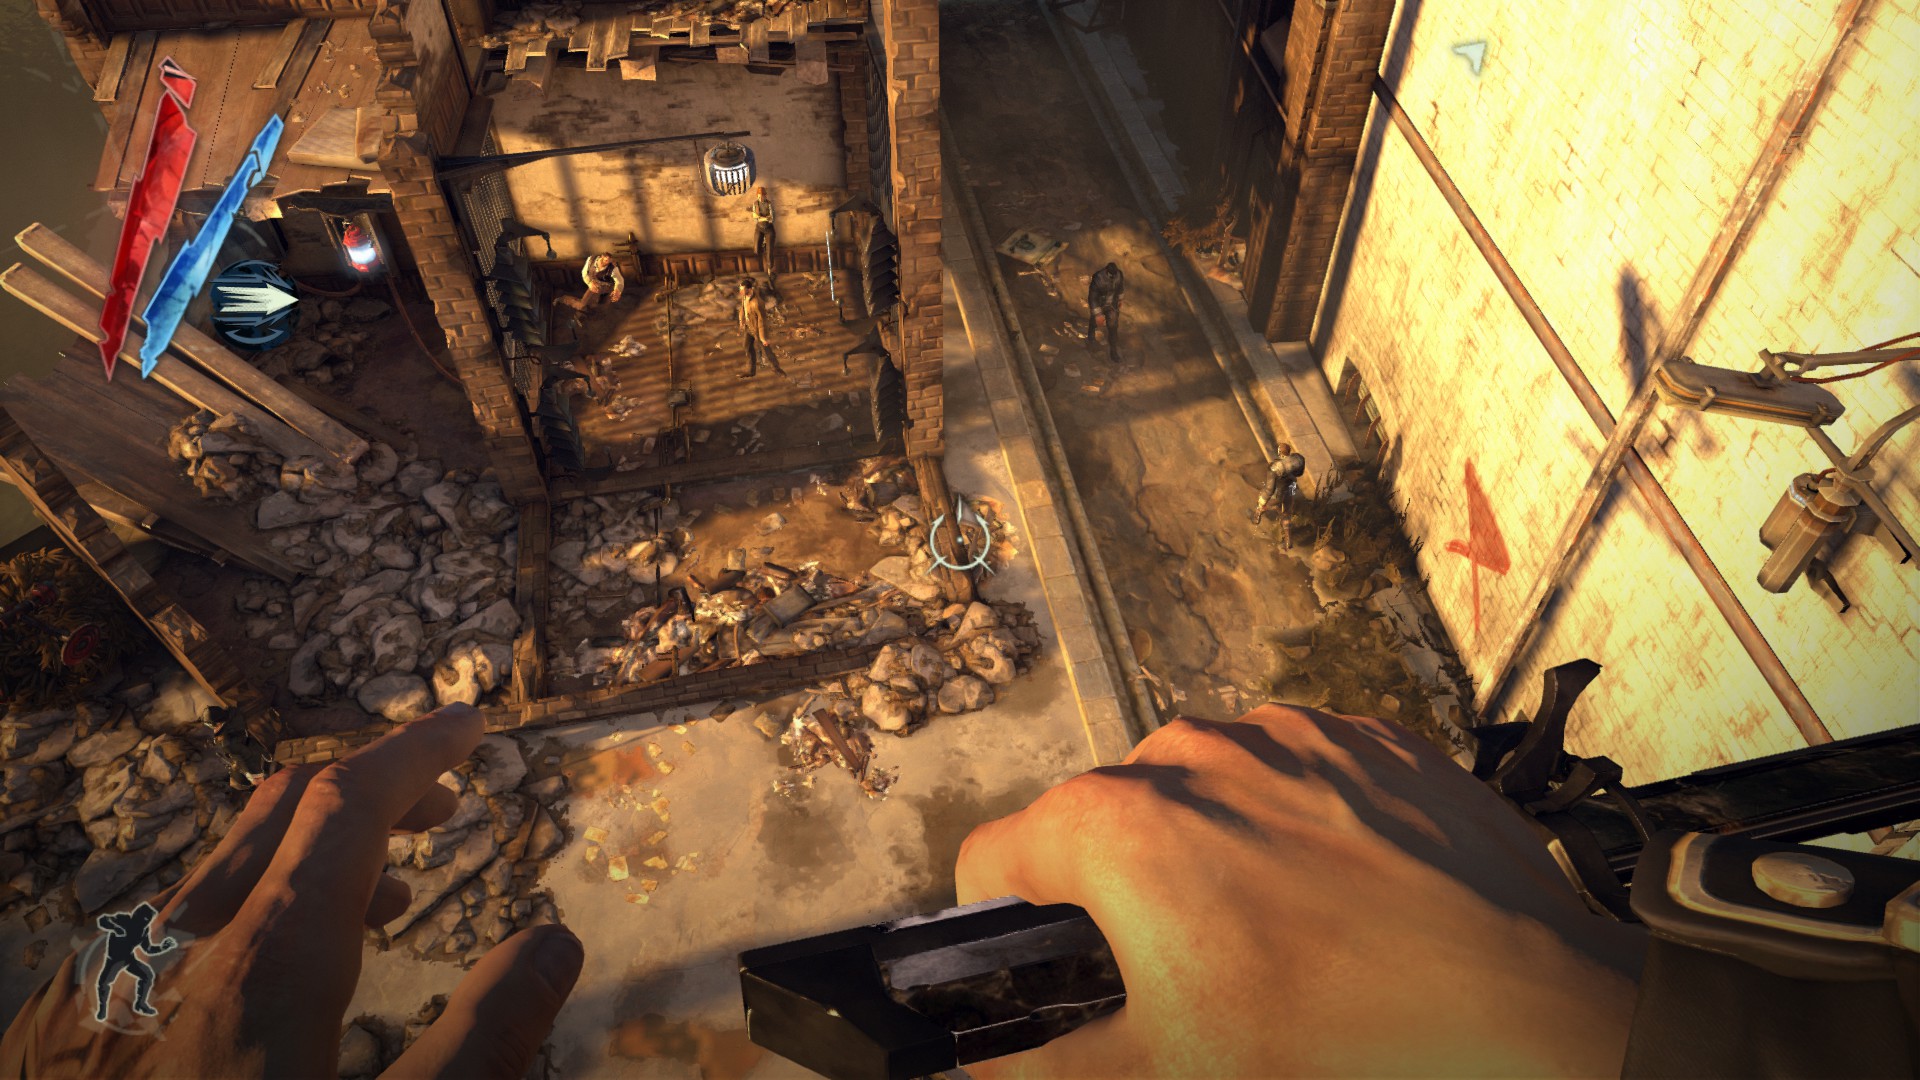
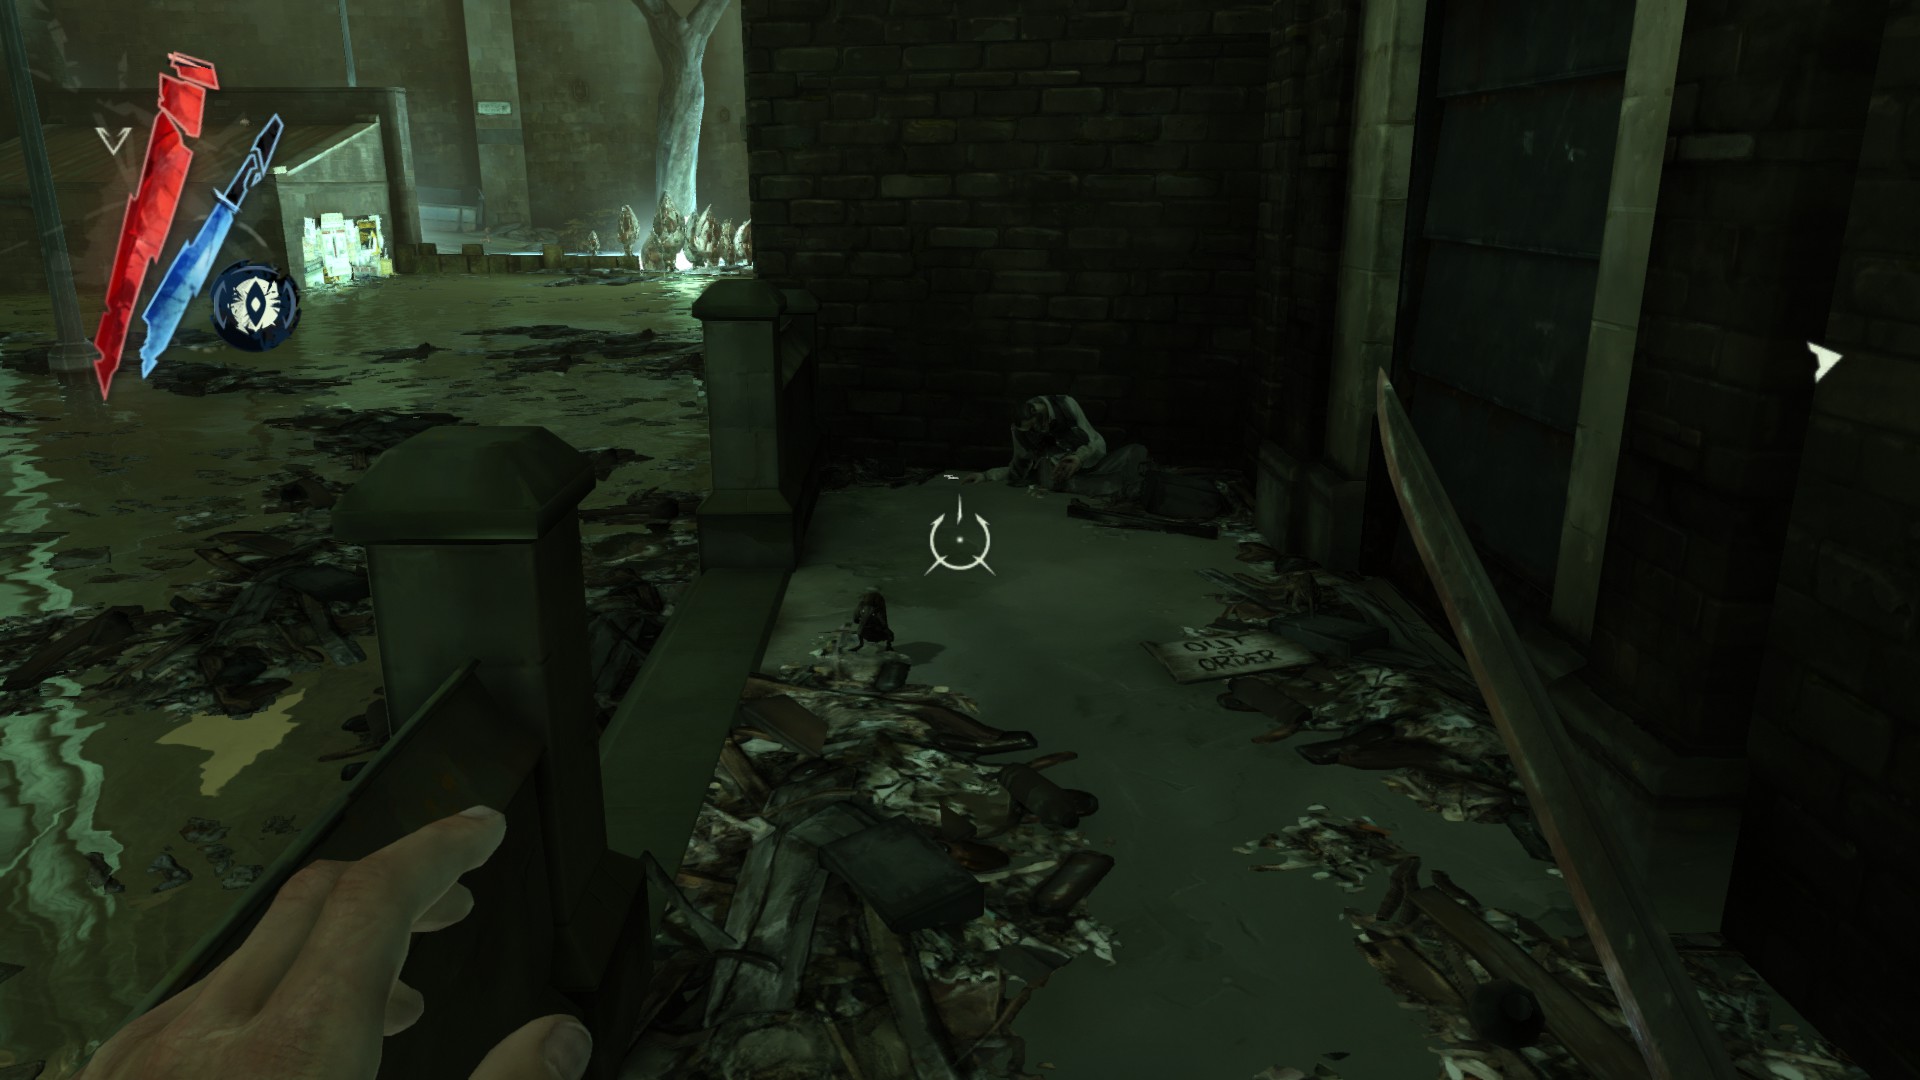
Dunwall Sewers
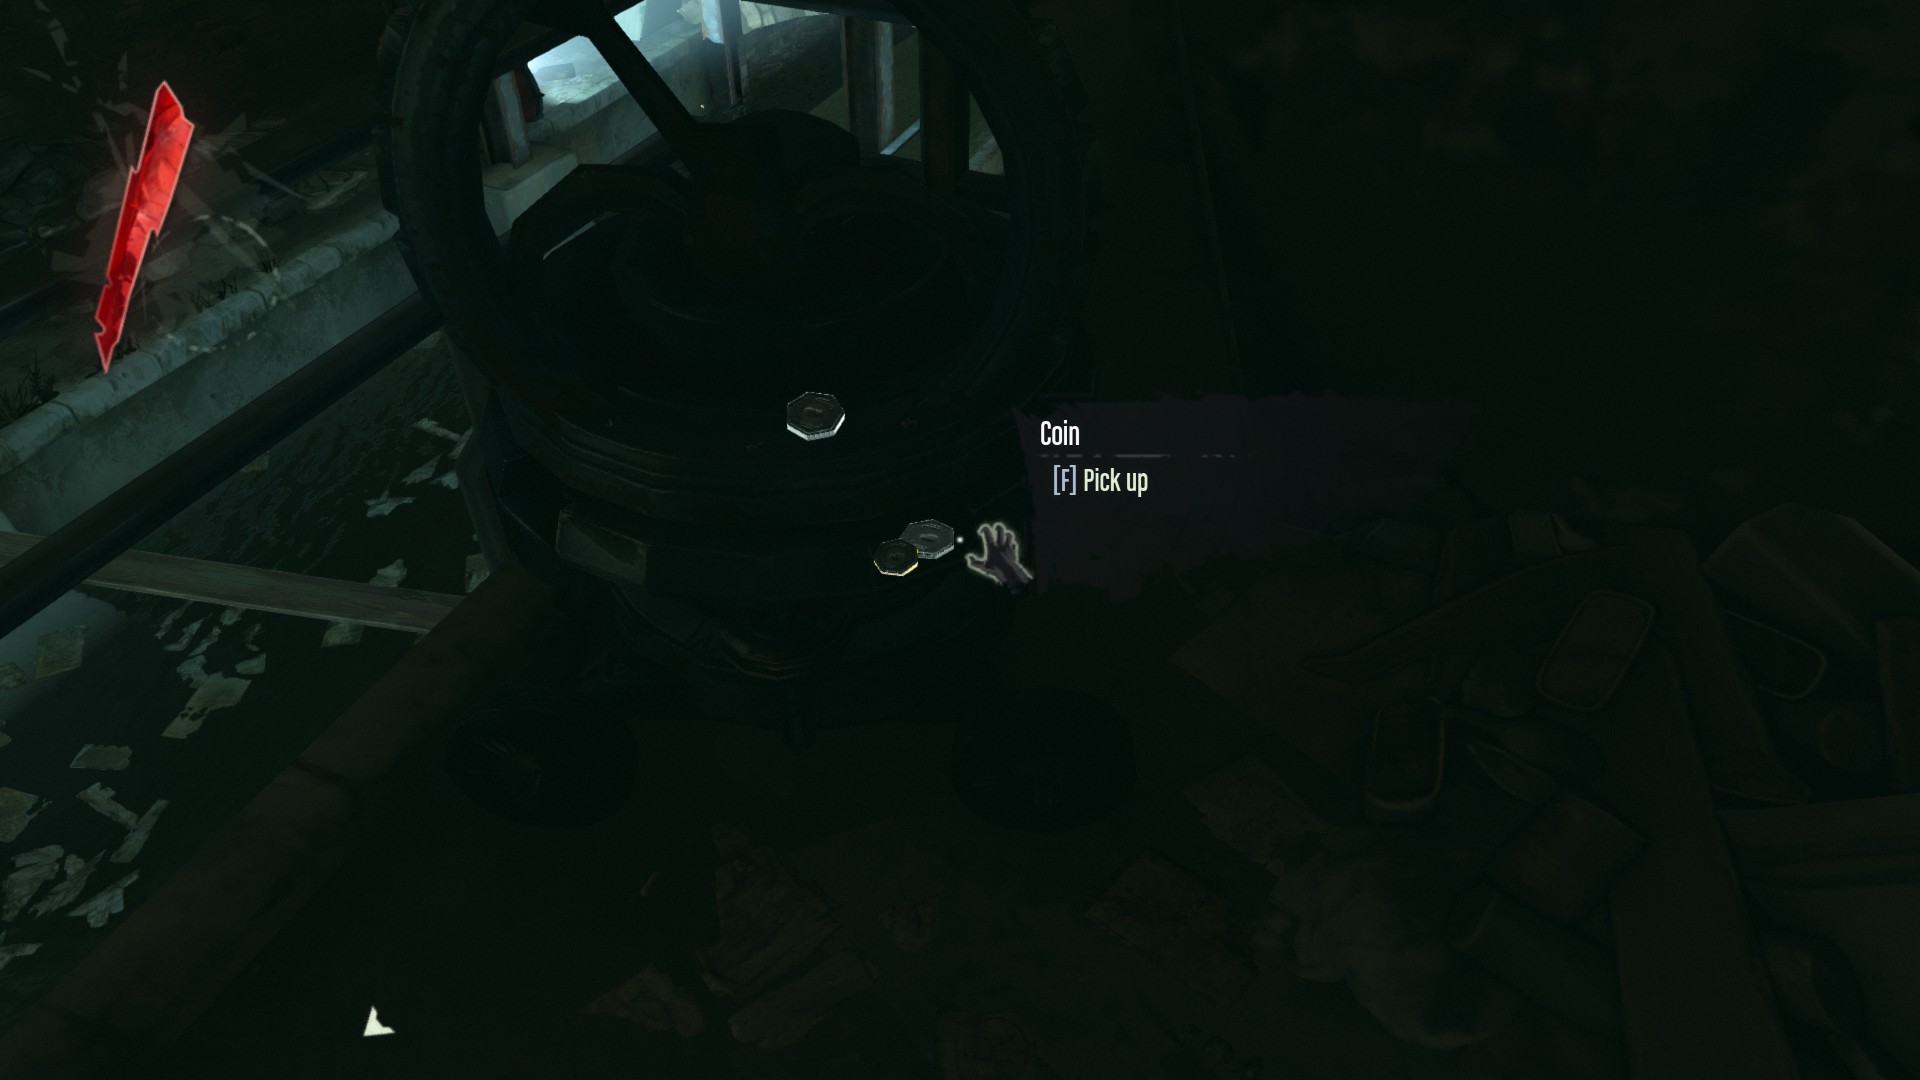
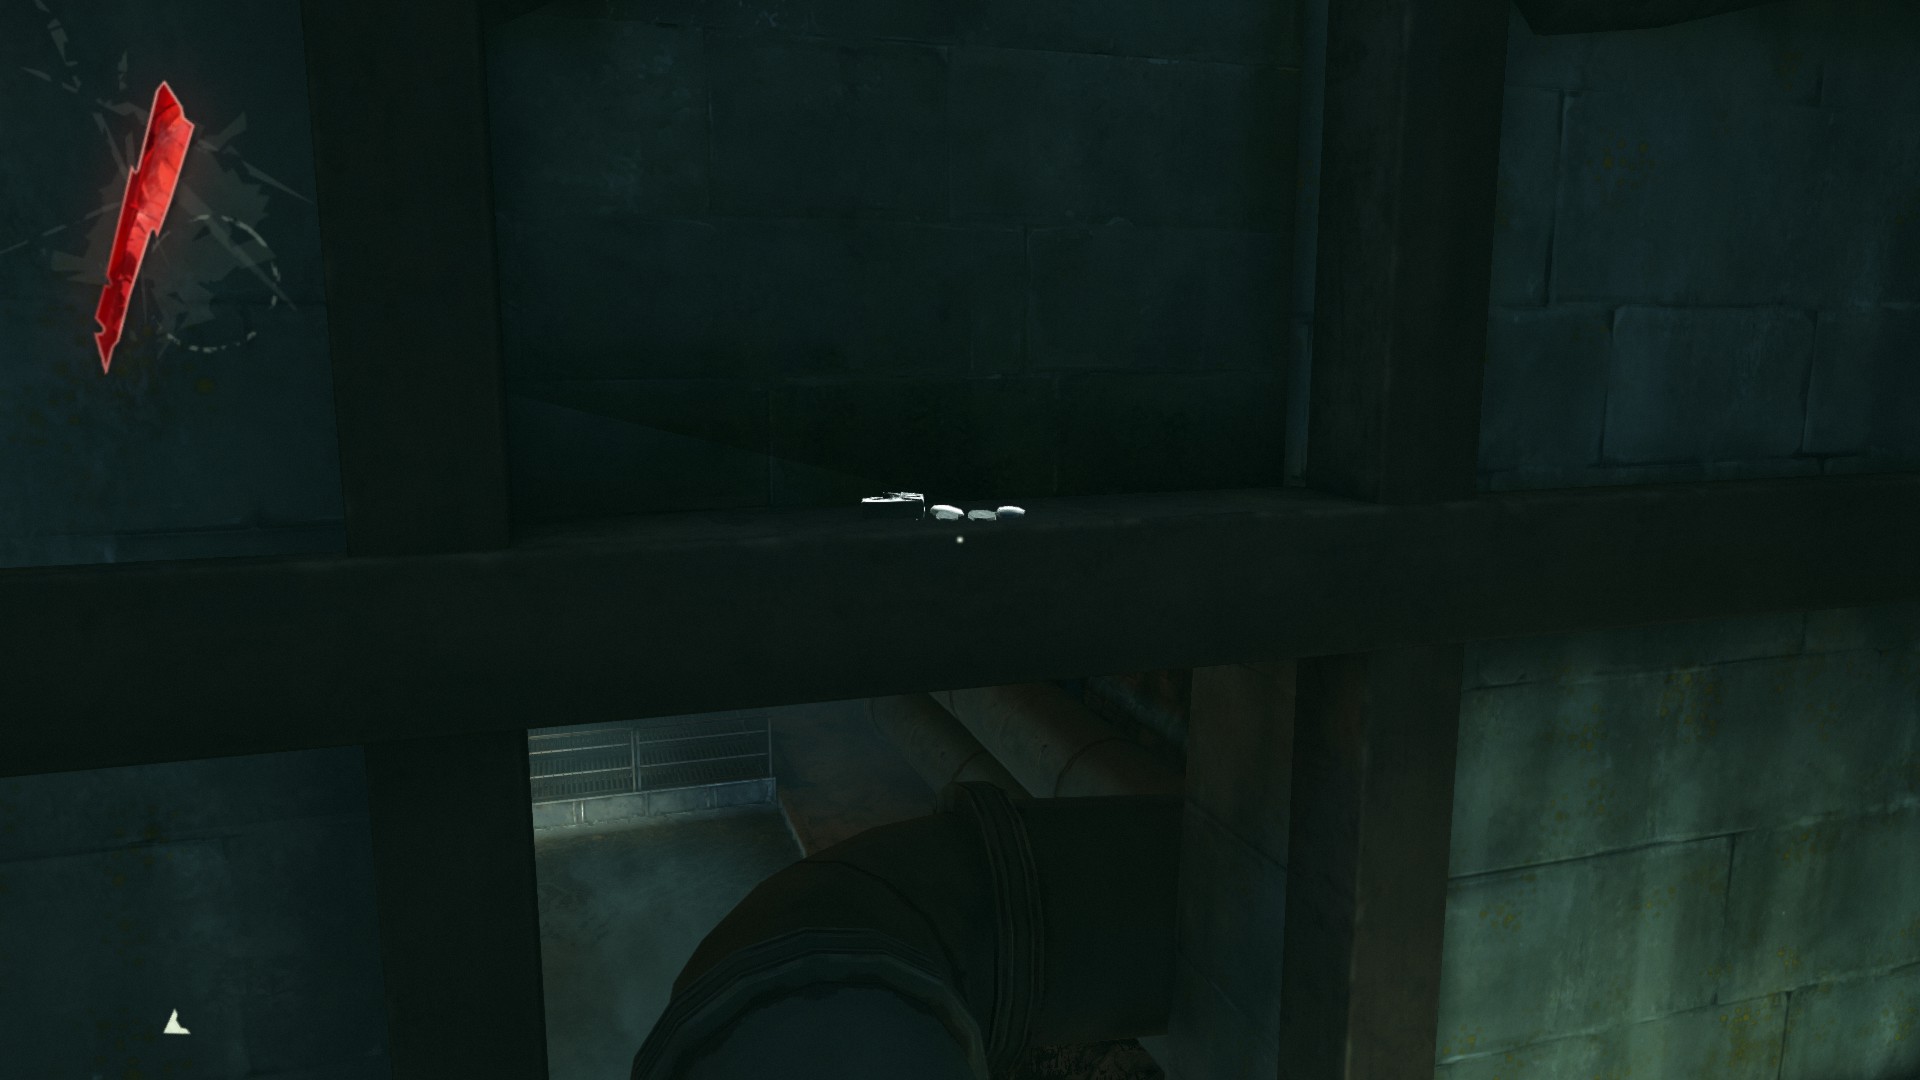
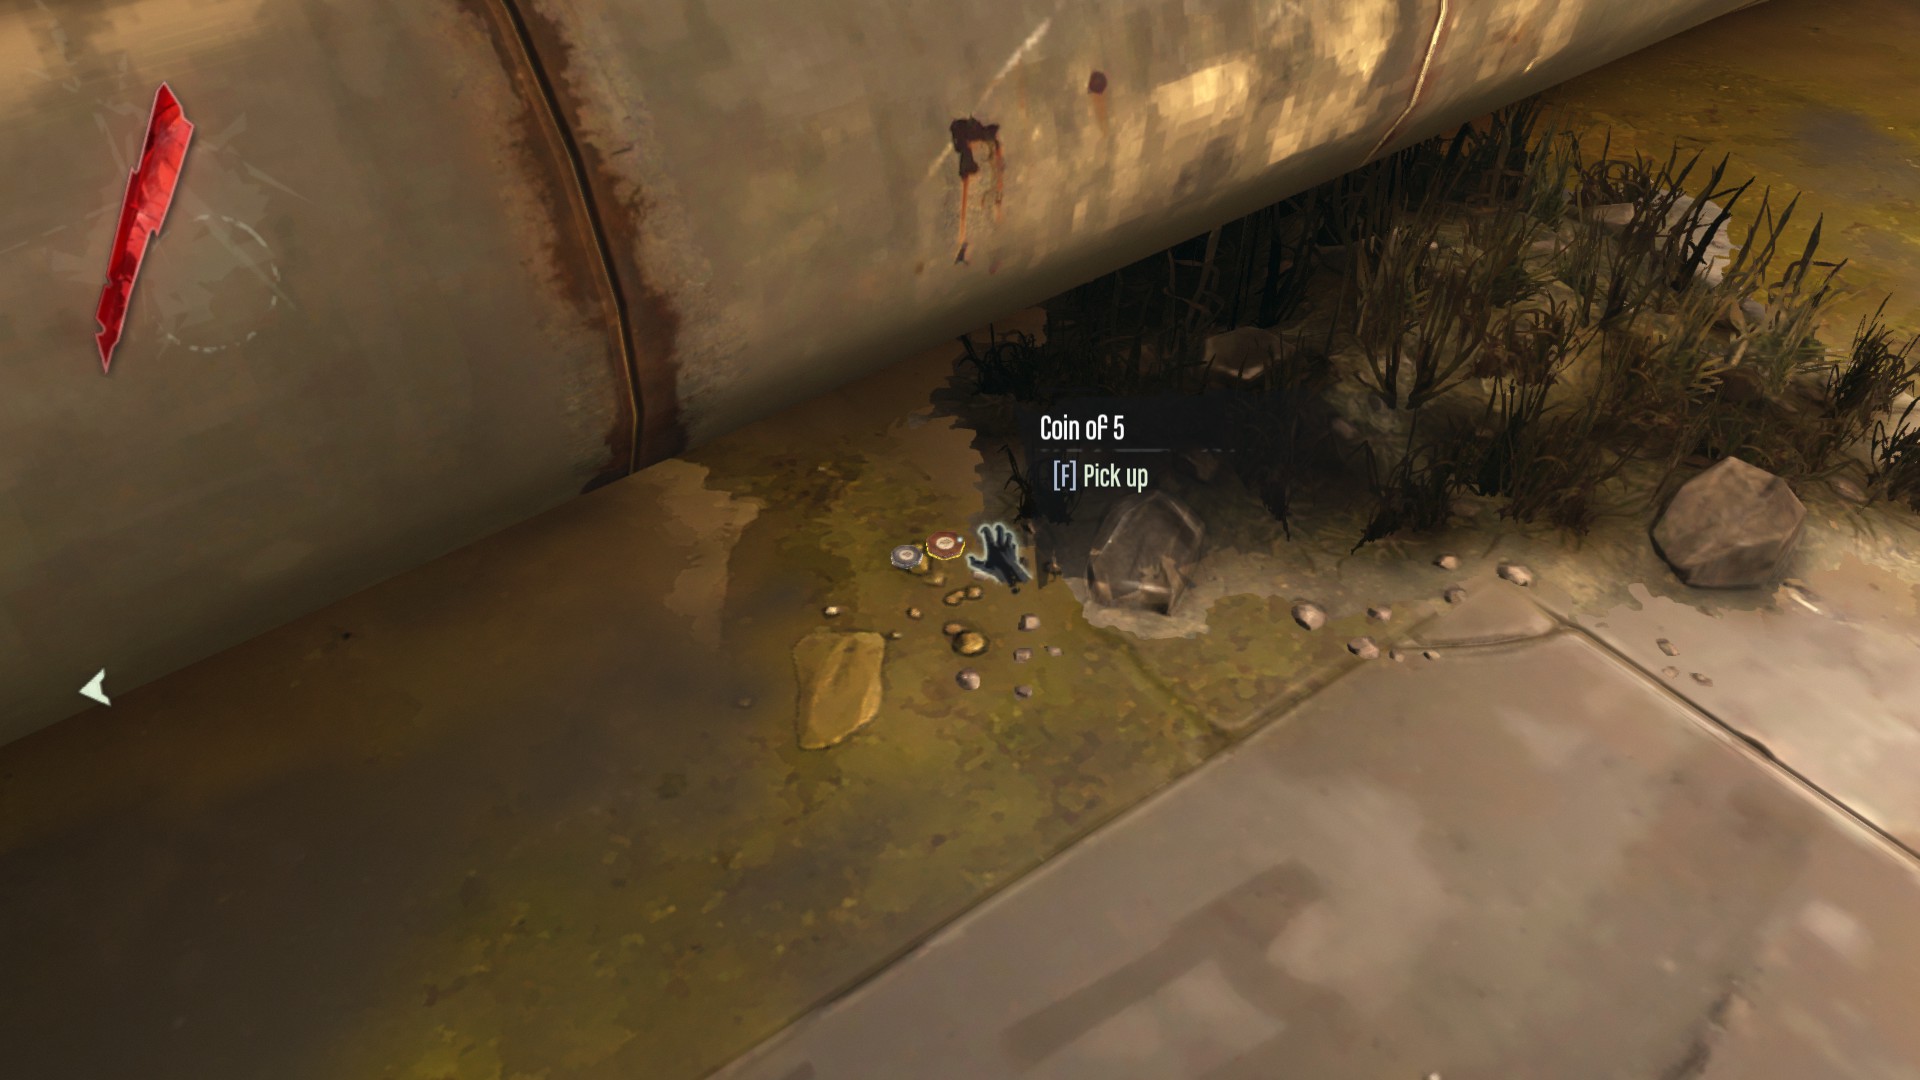
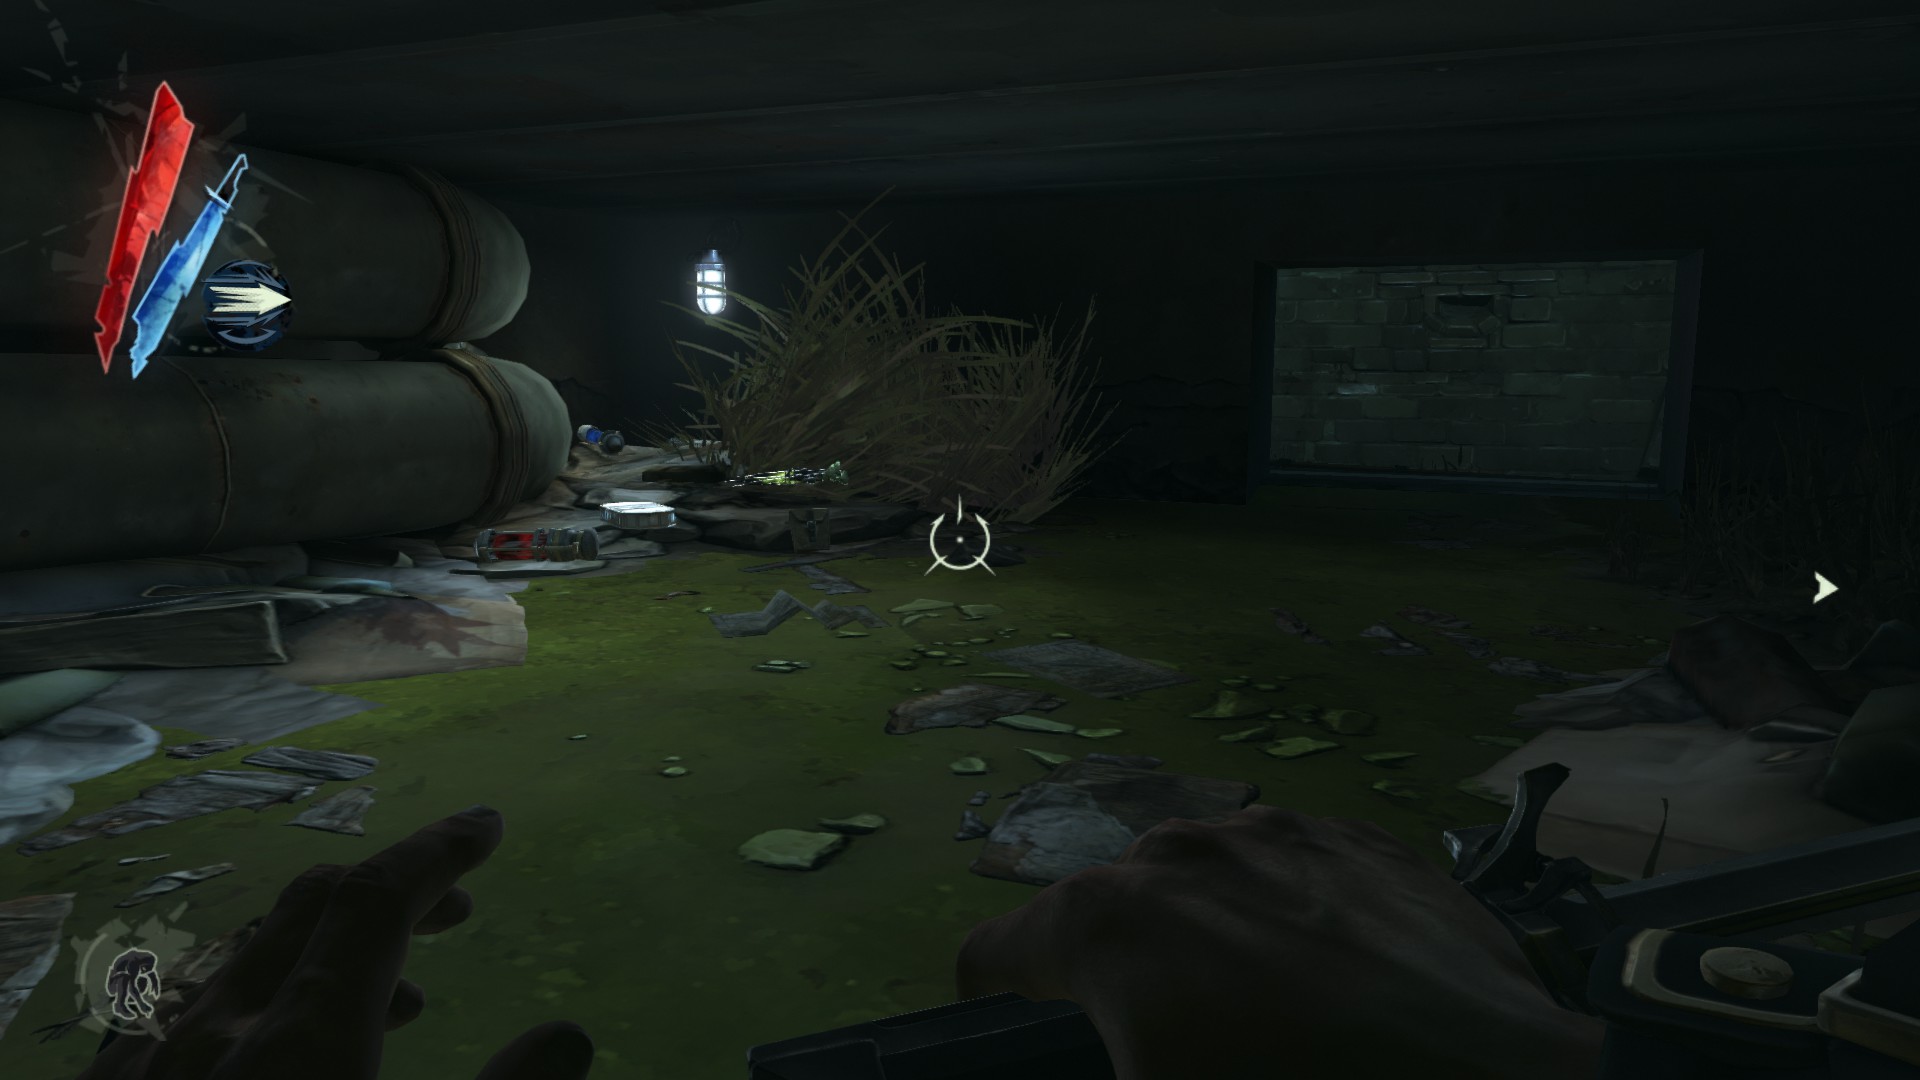
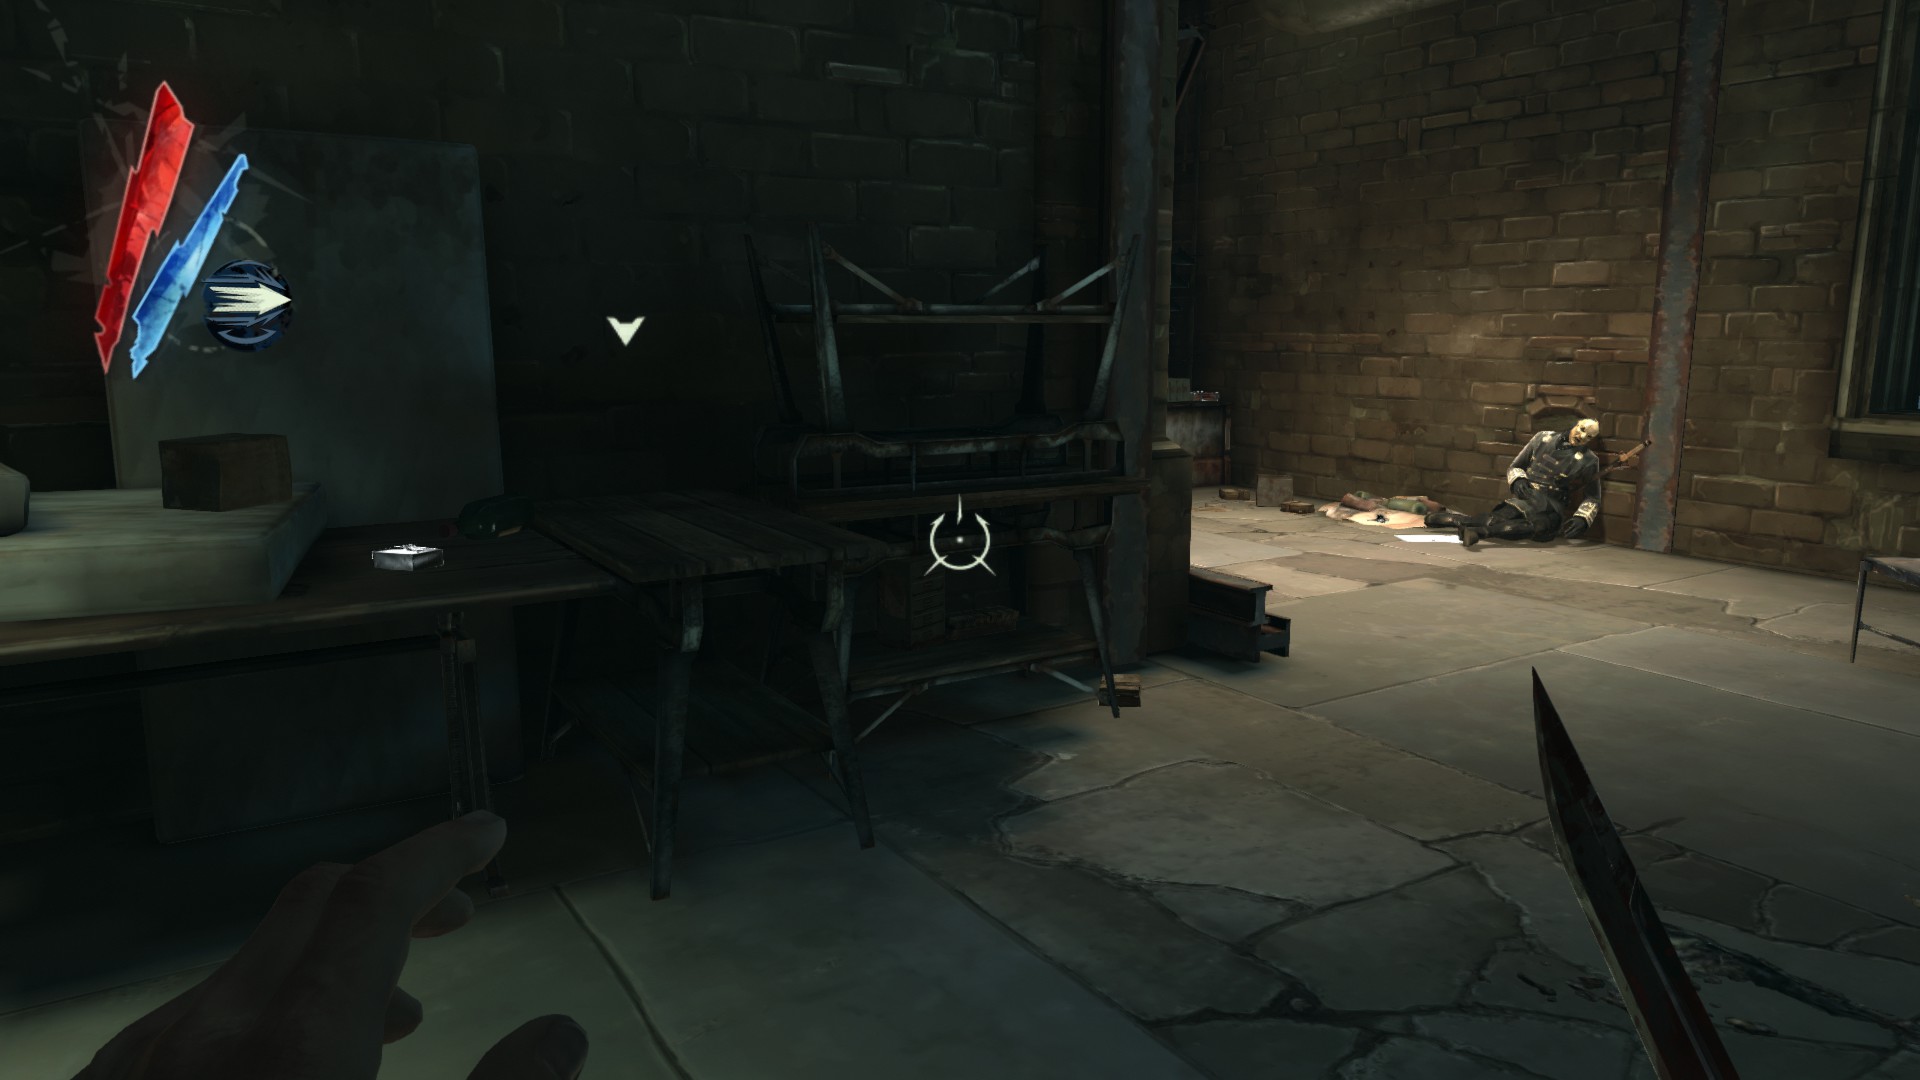
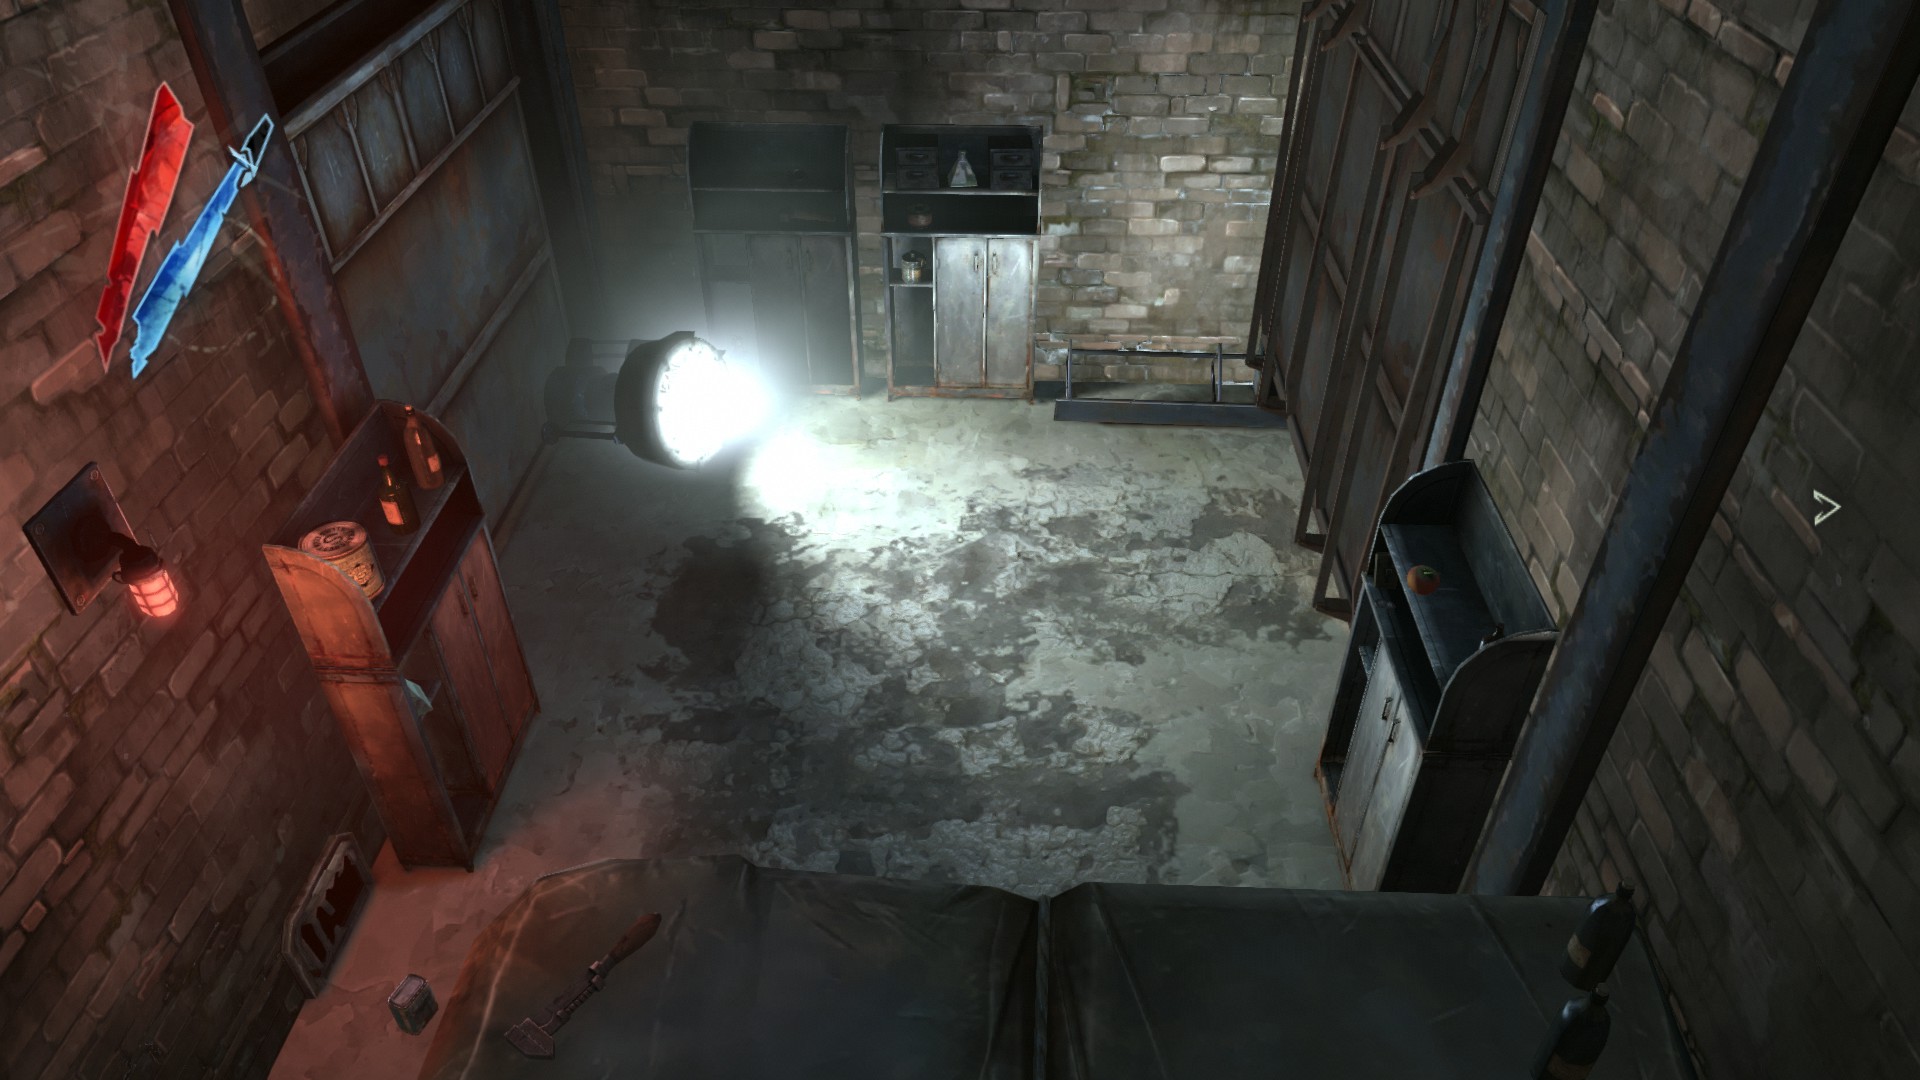
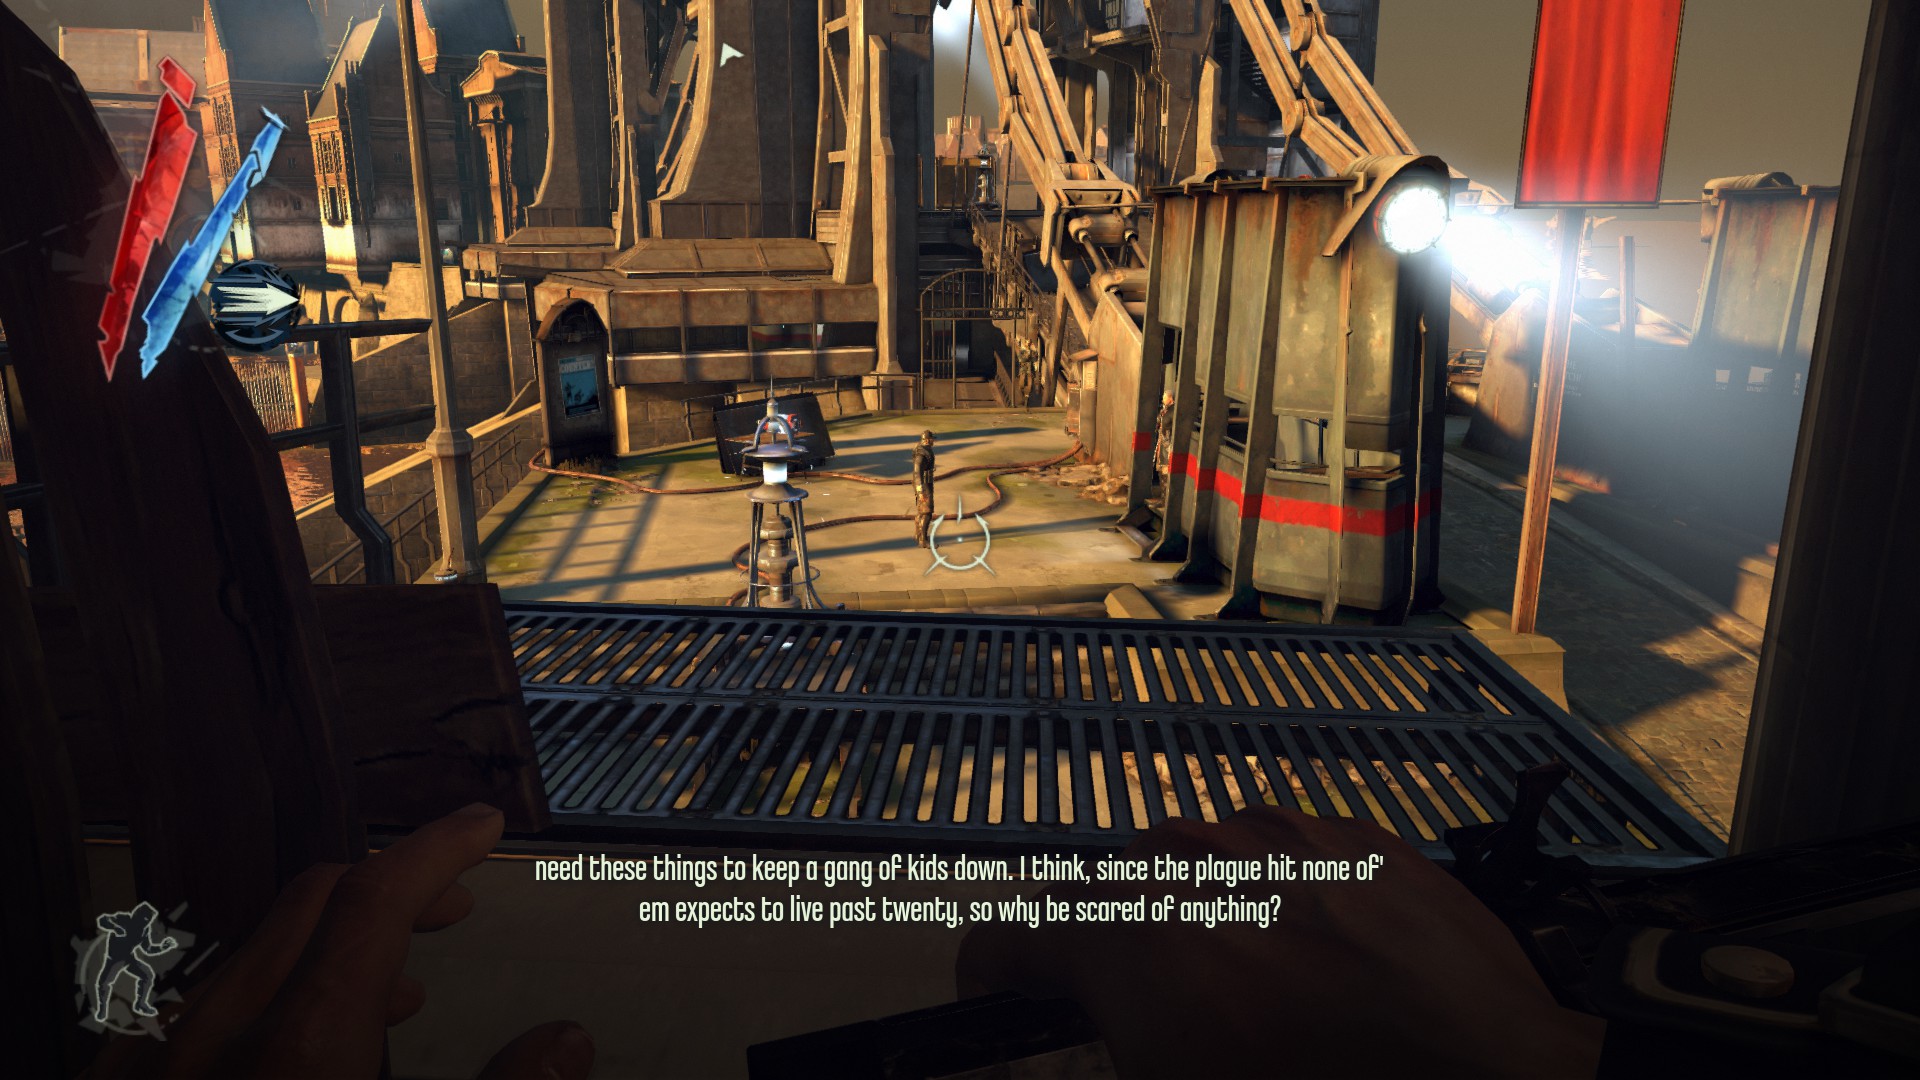
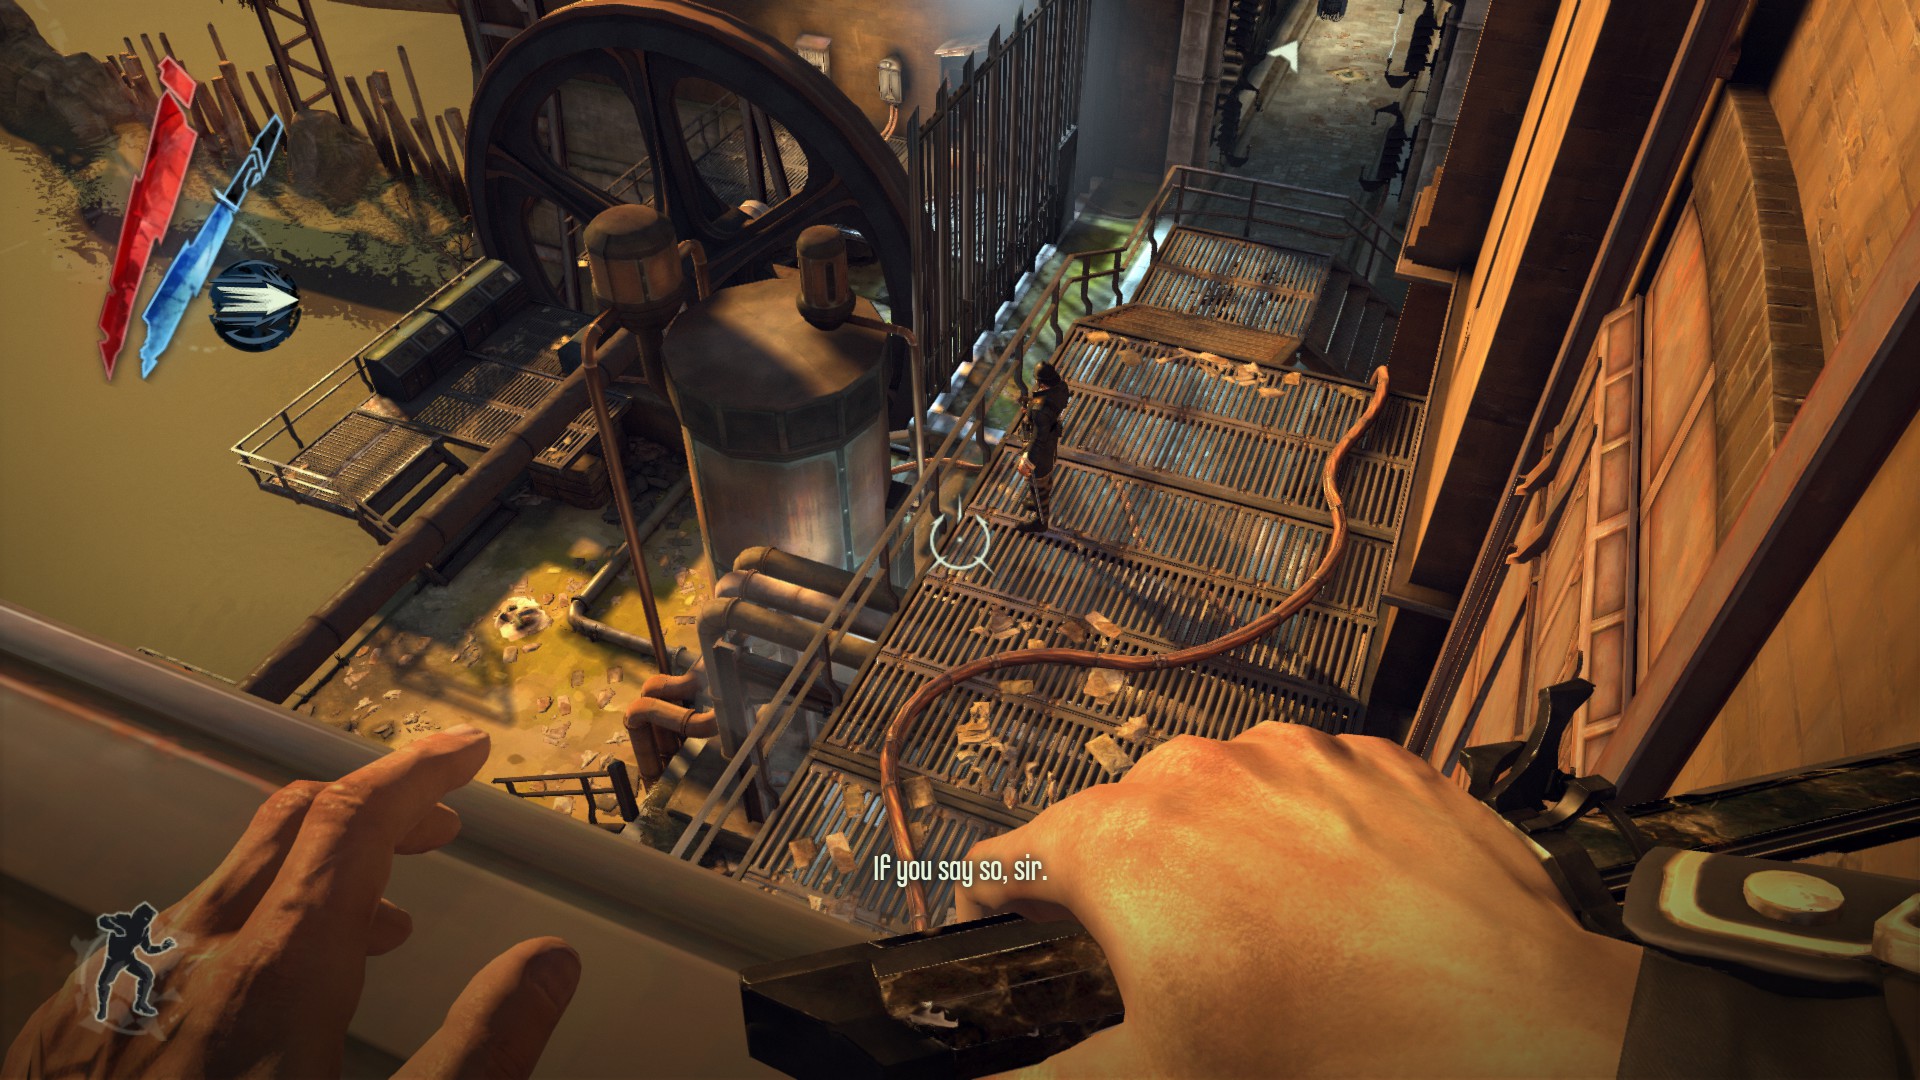
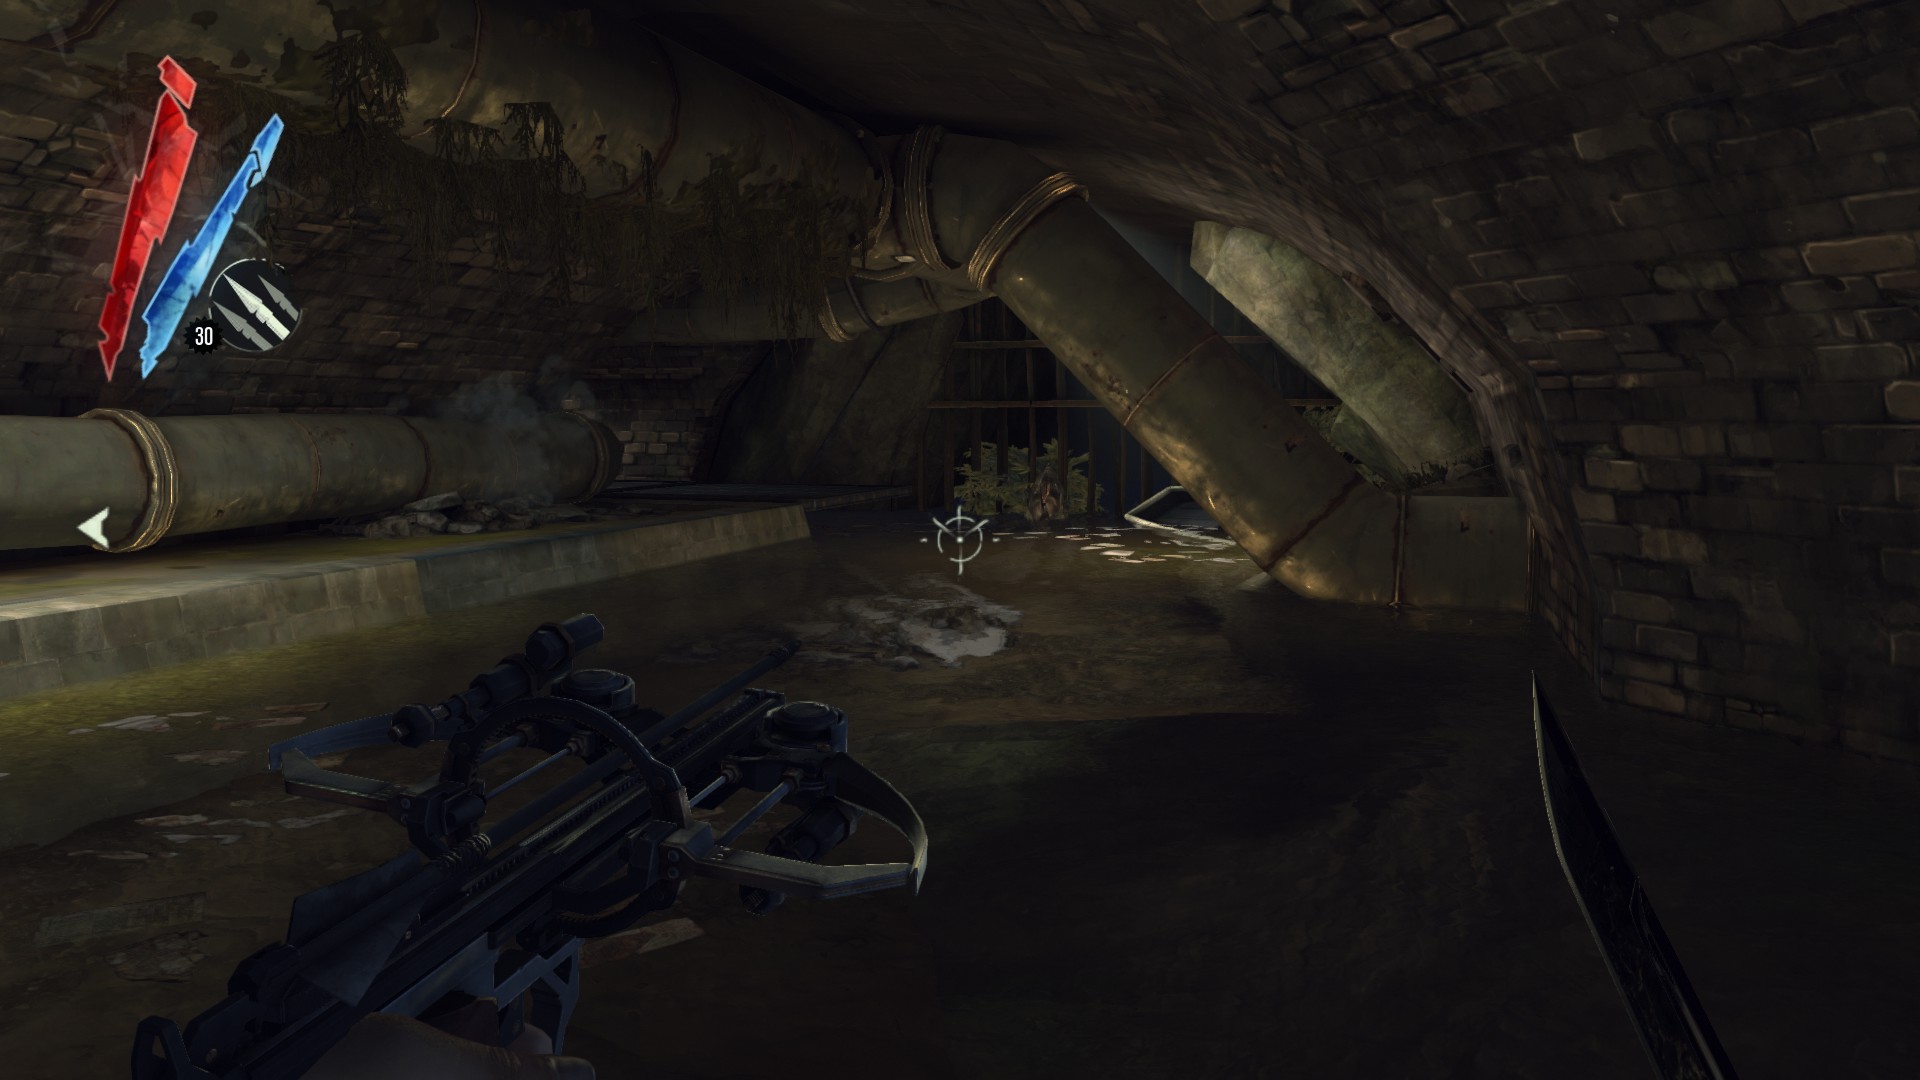
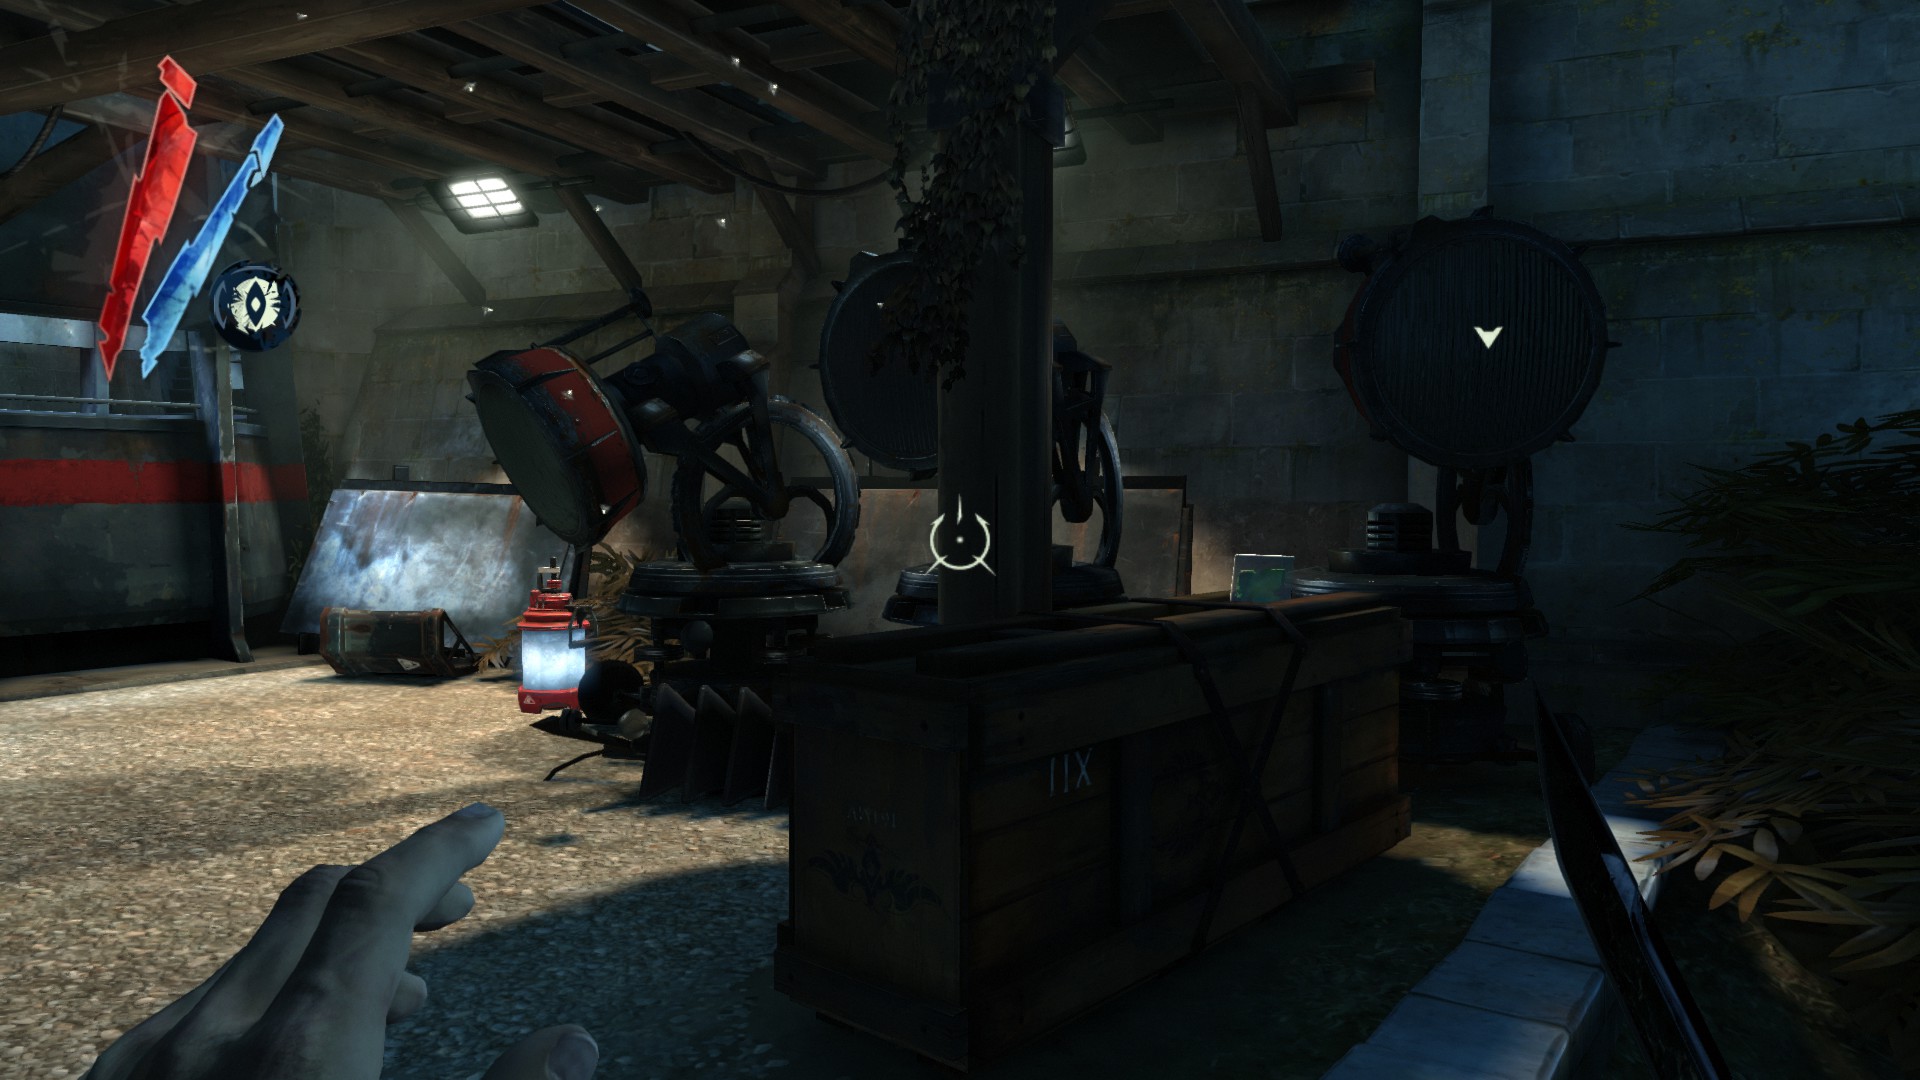
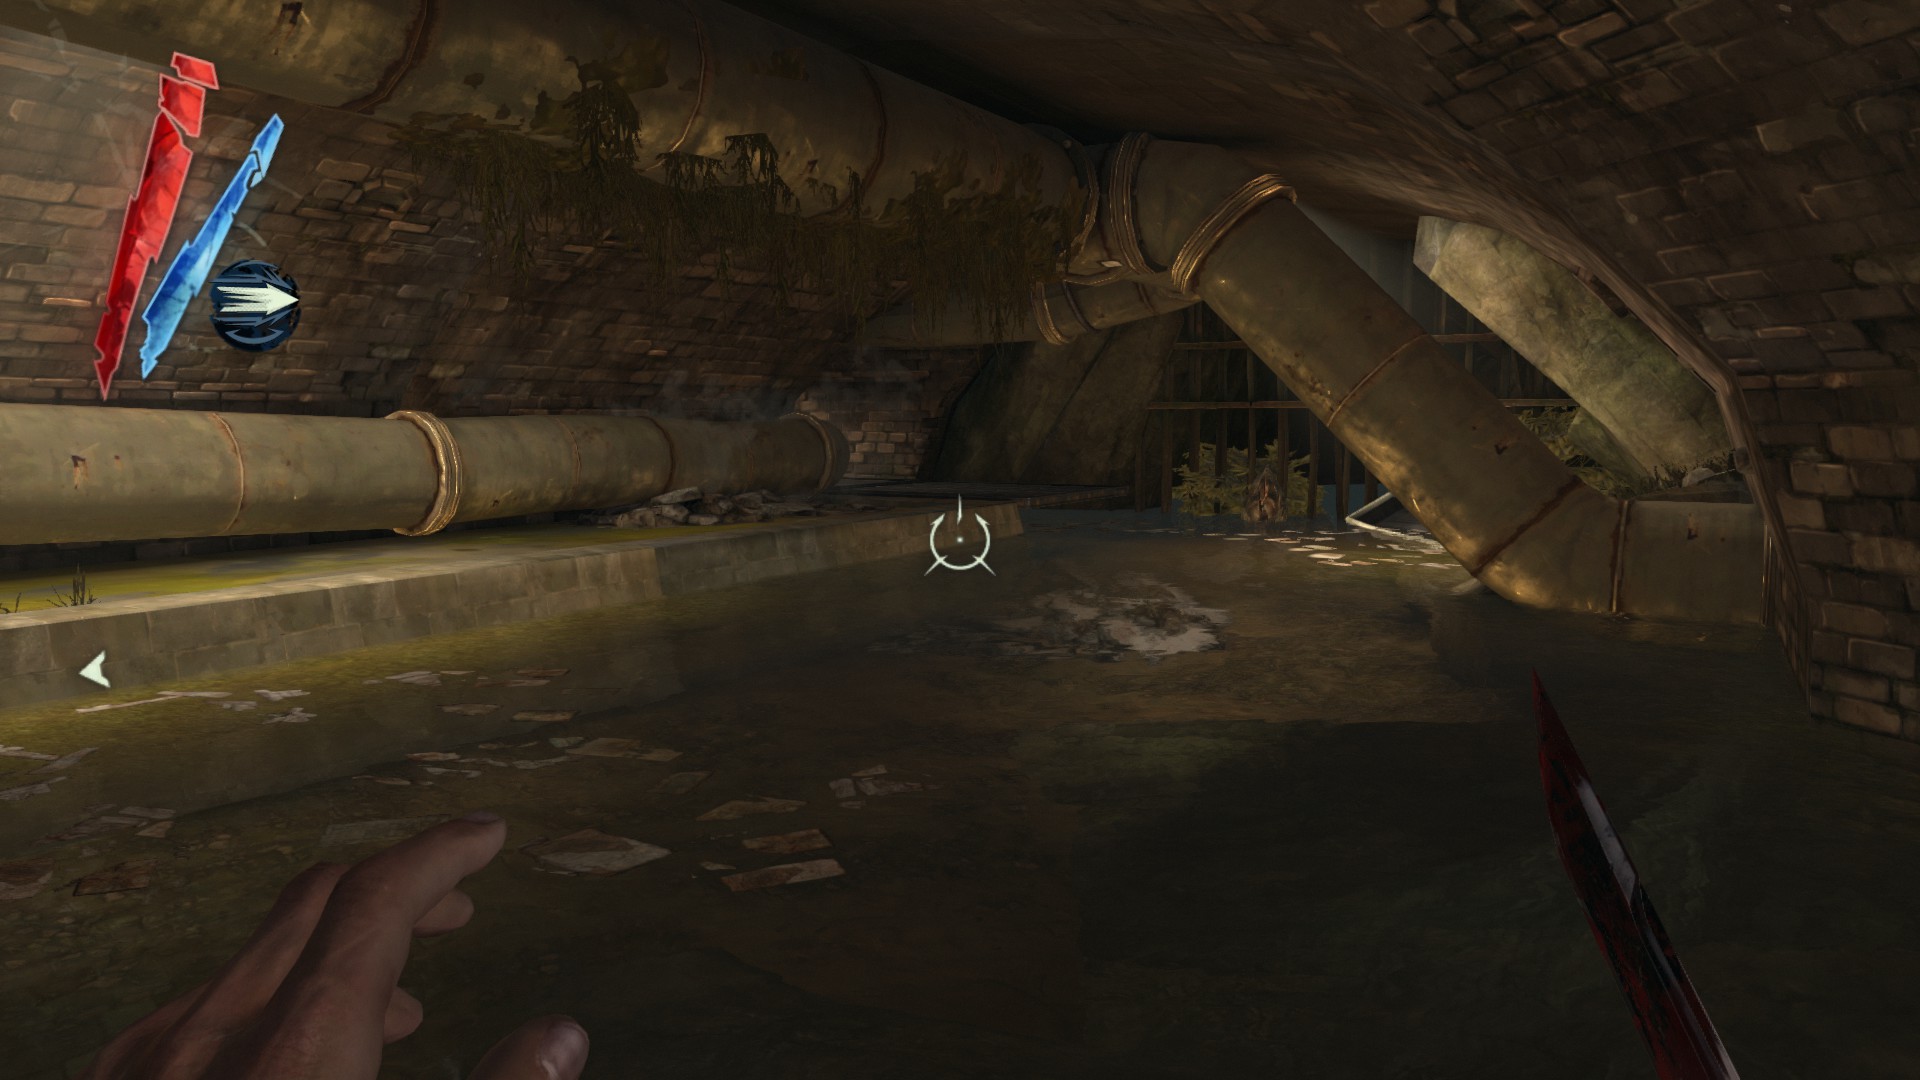
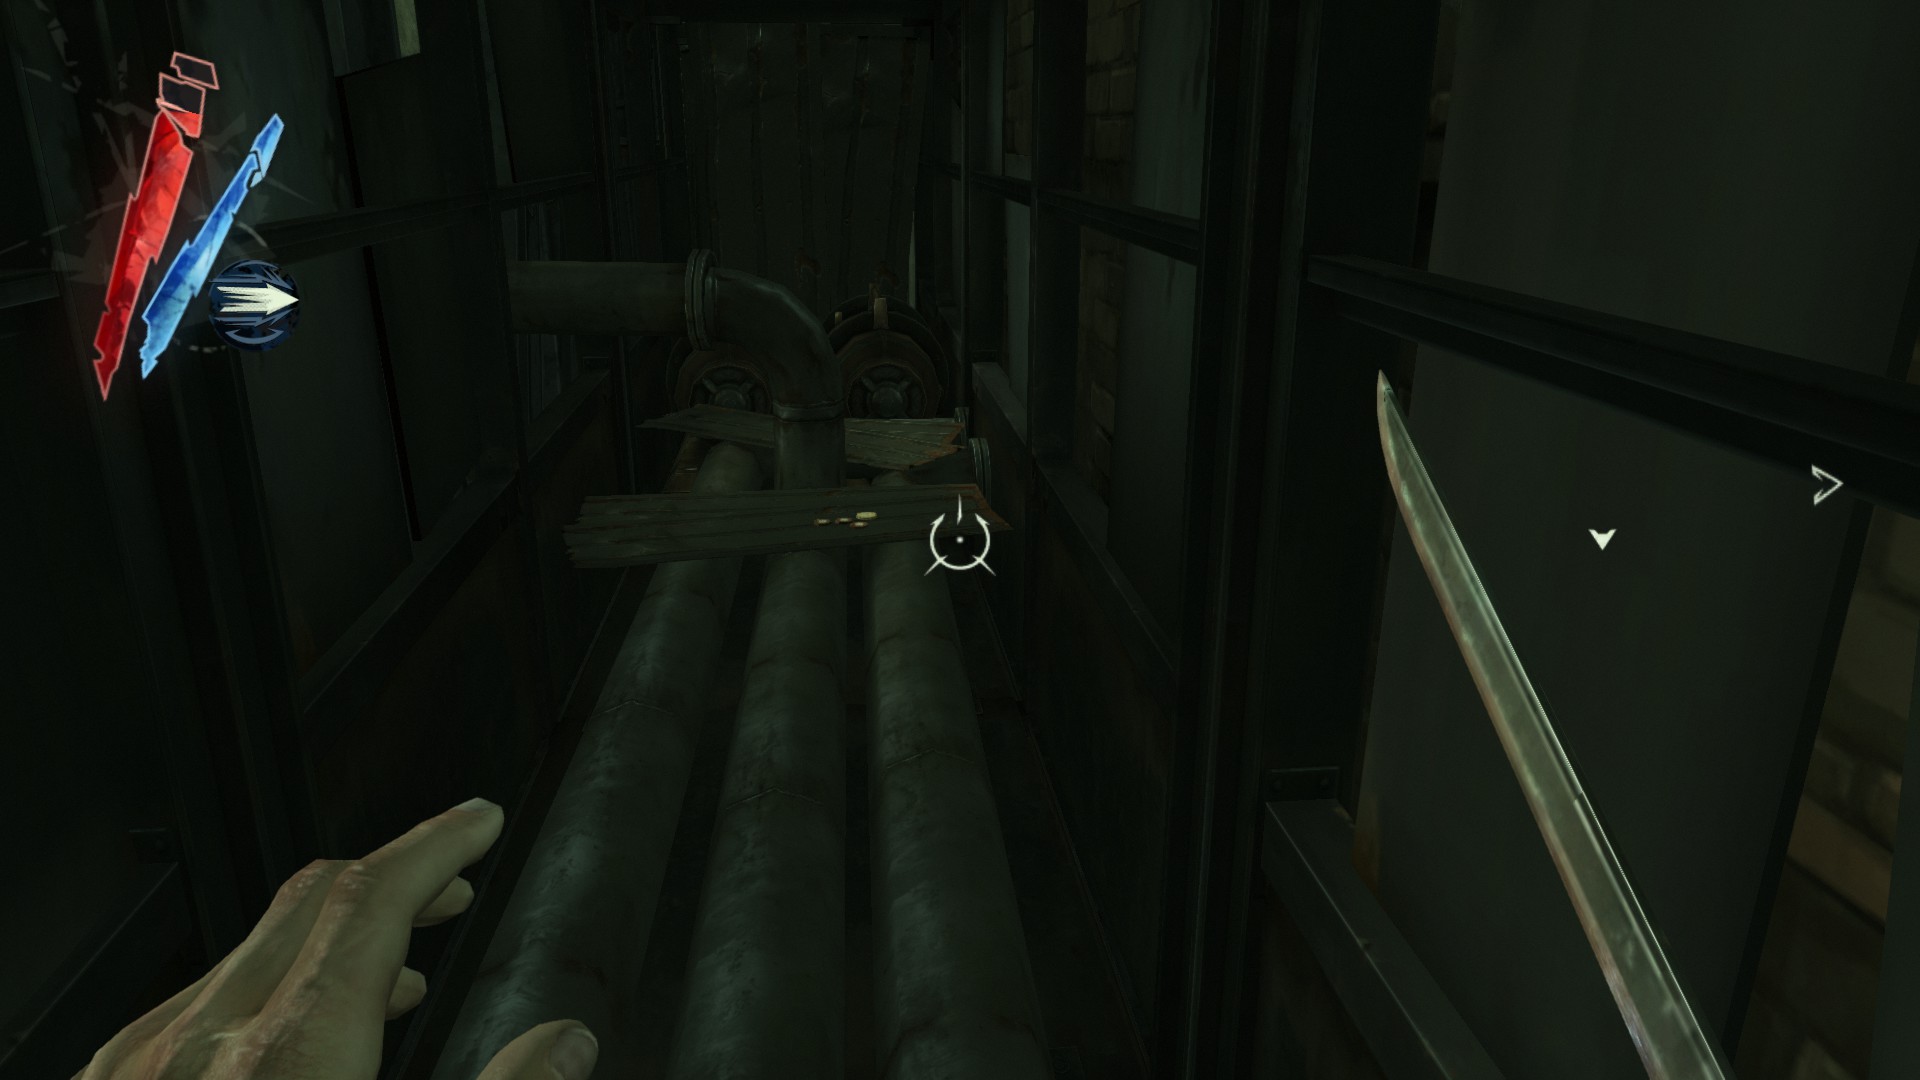
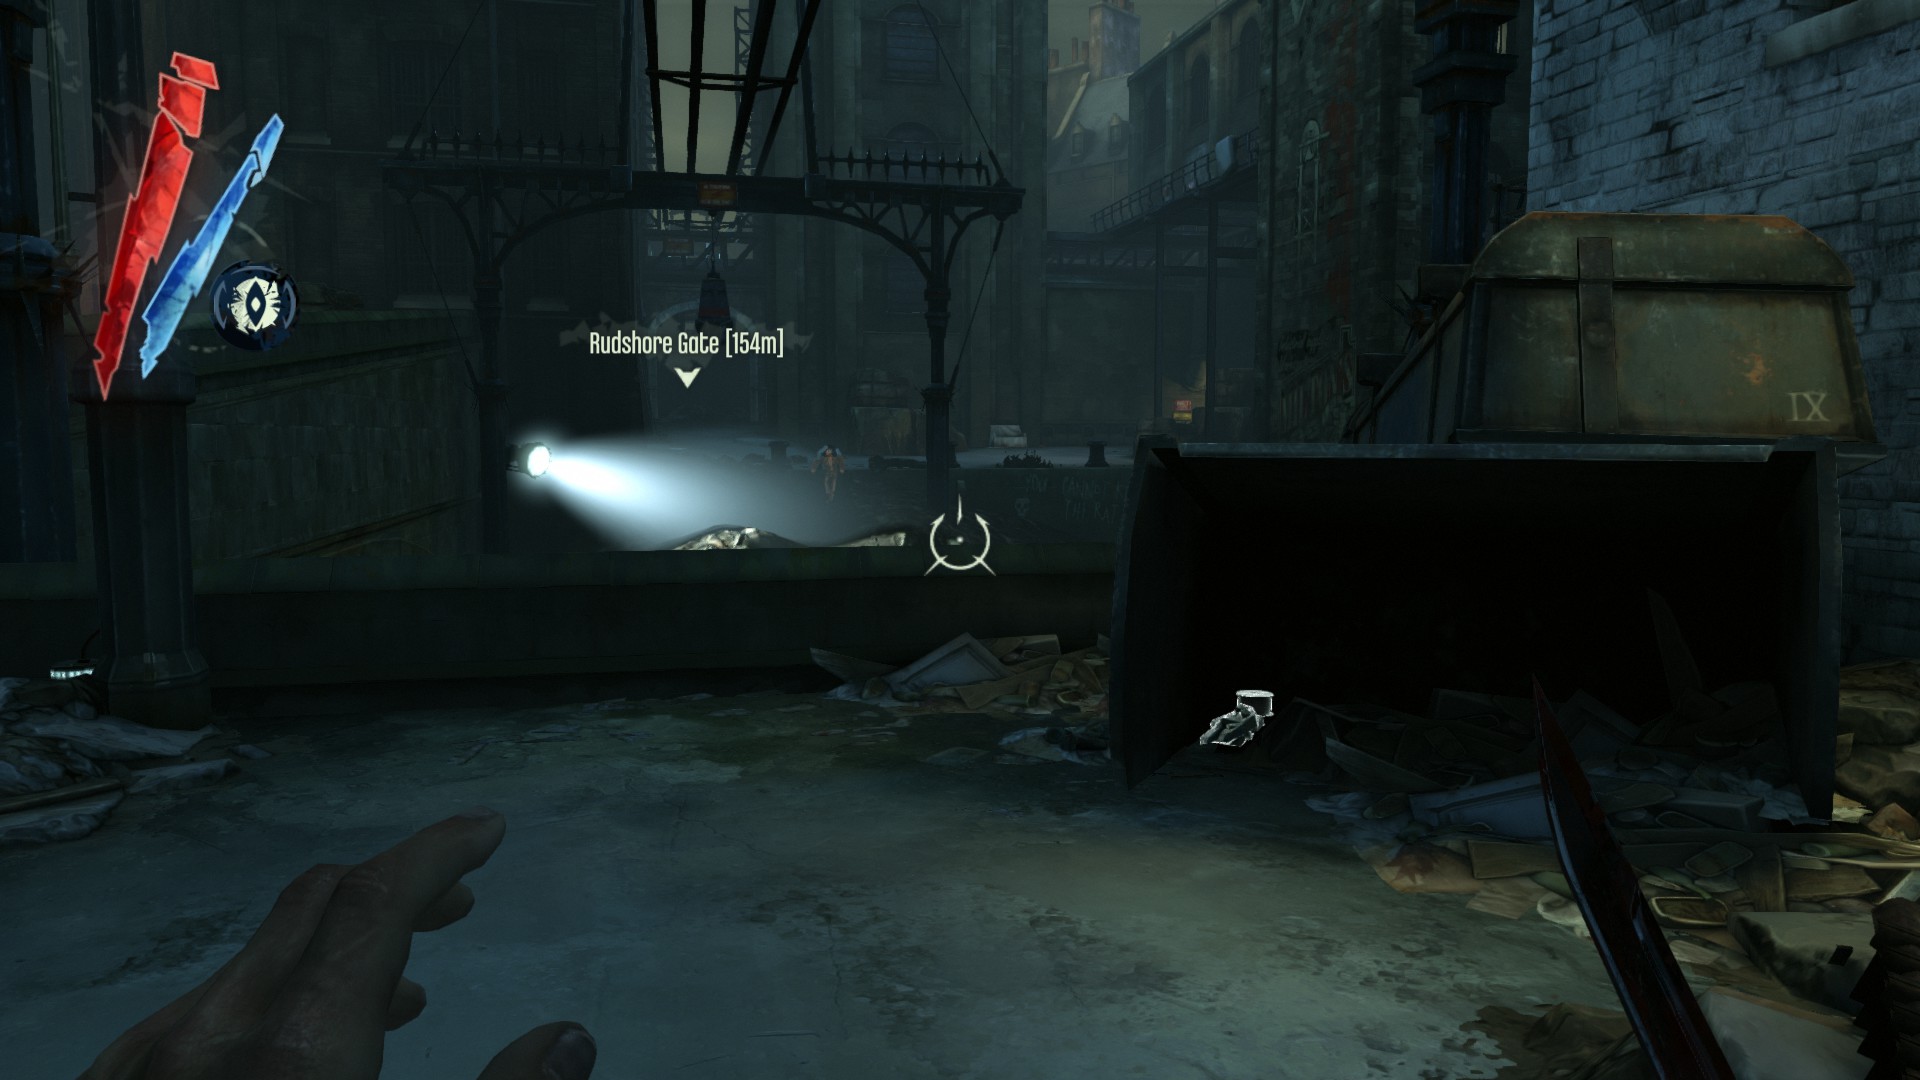
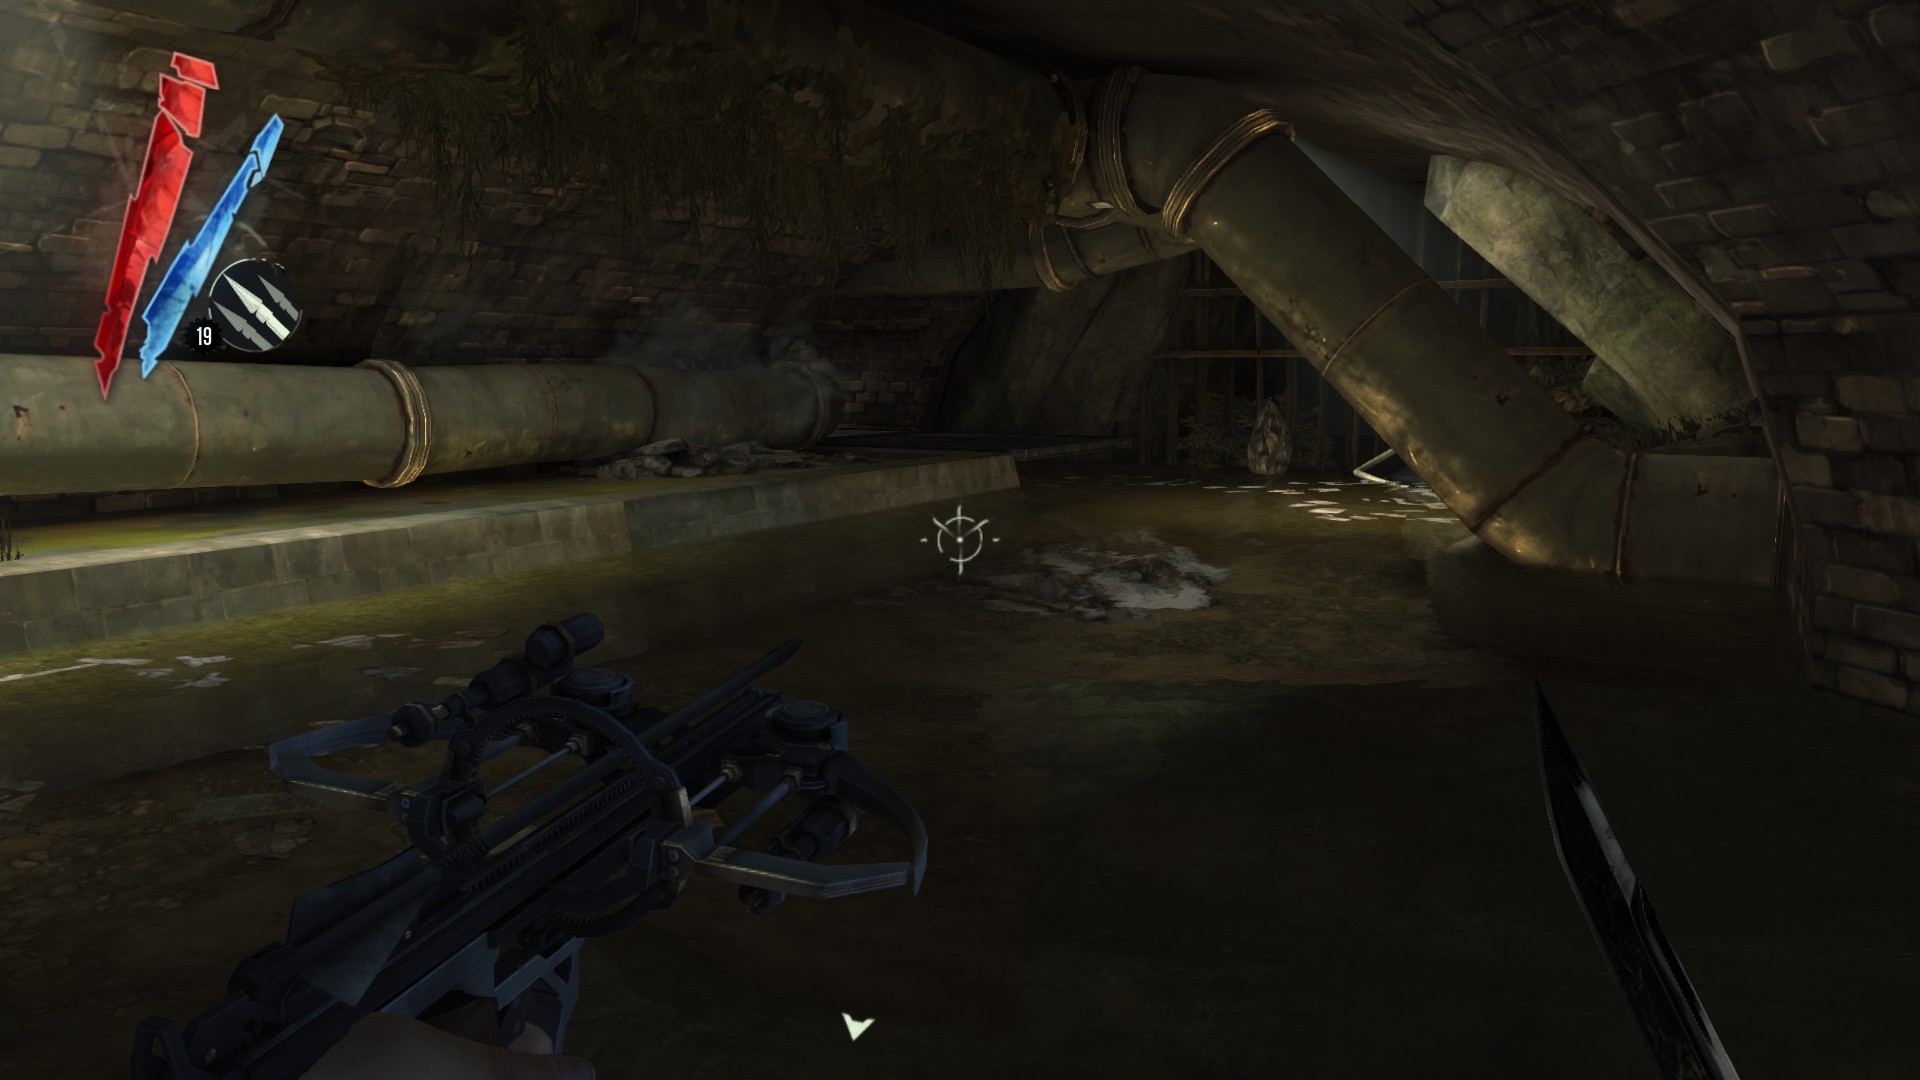
Proceed through the sewer until you get to the crank wheel with a corpse on it. Turn left and duck under the pipe to find 3 coins on a searchlight.
(+11 -> 411/1010)

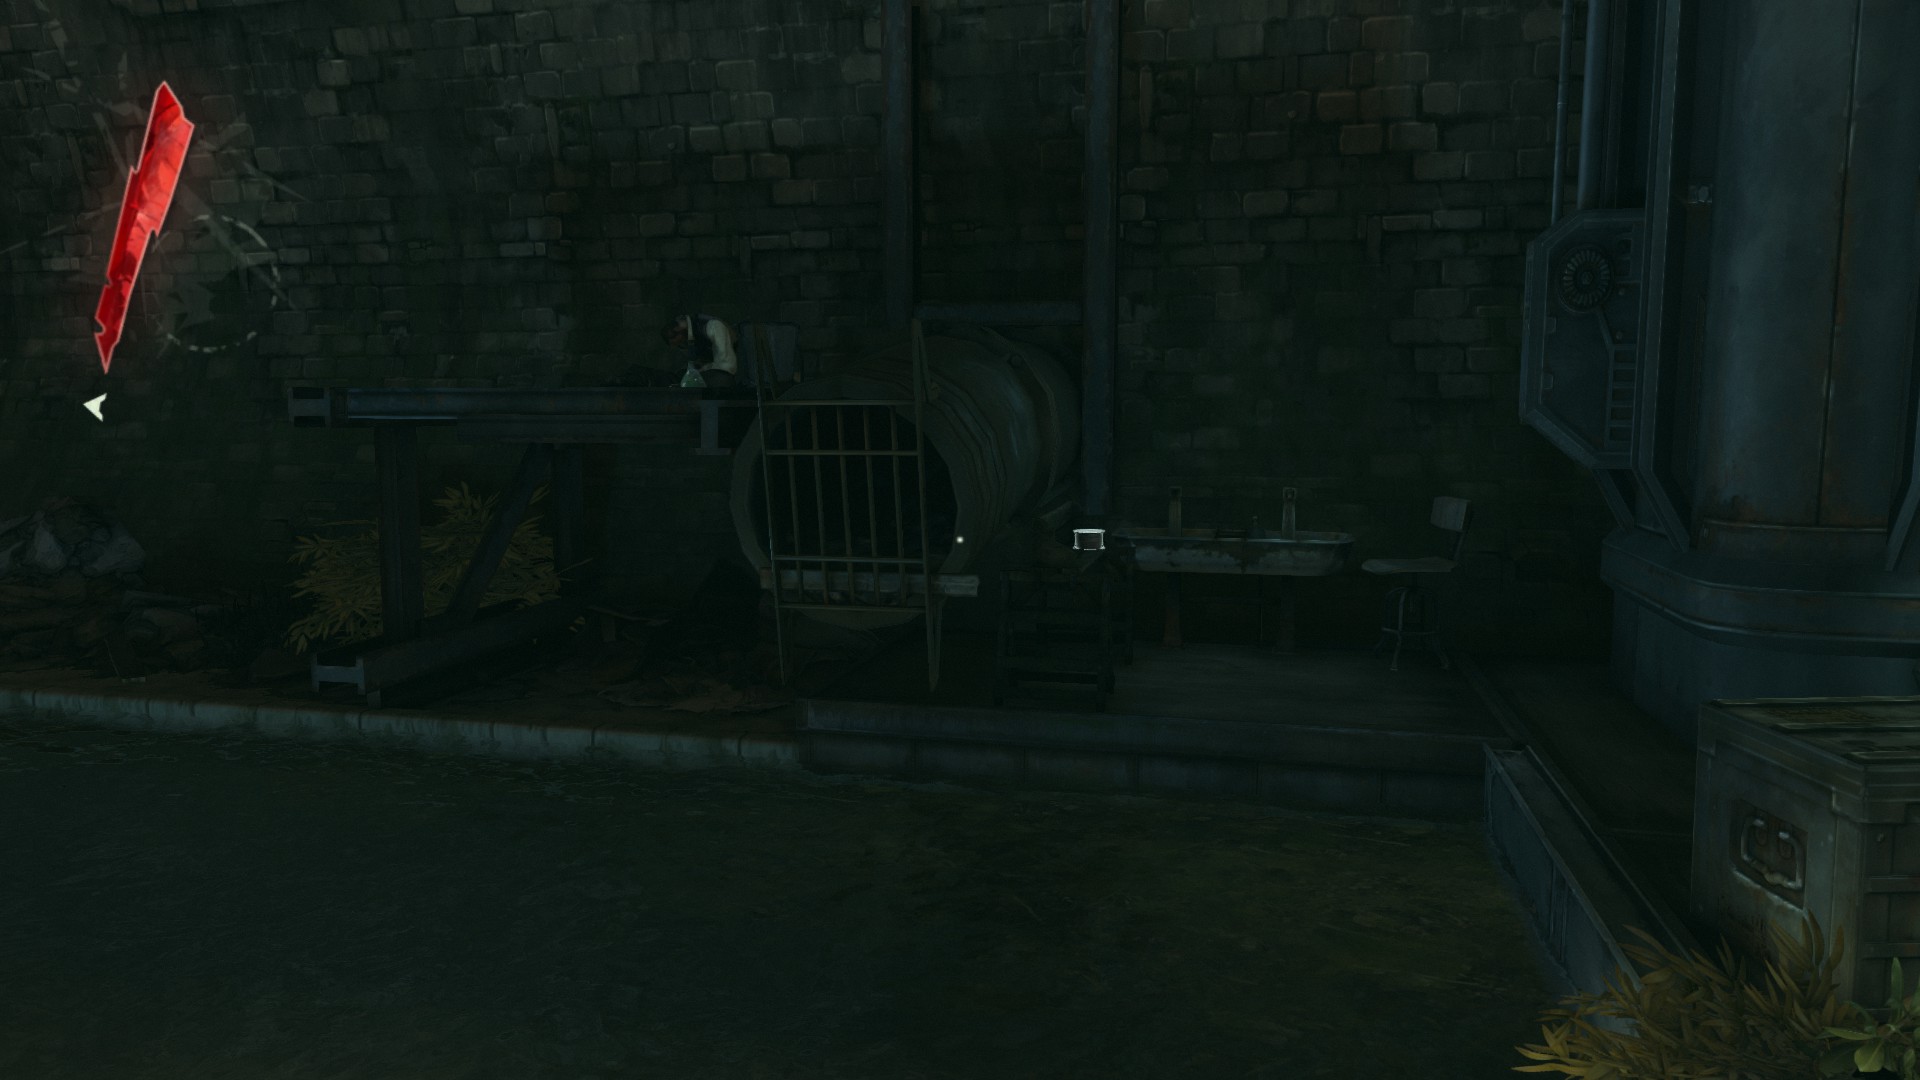
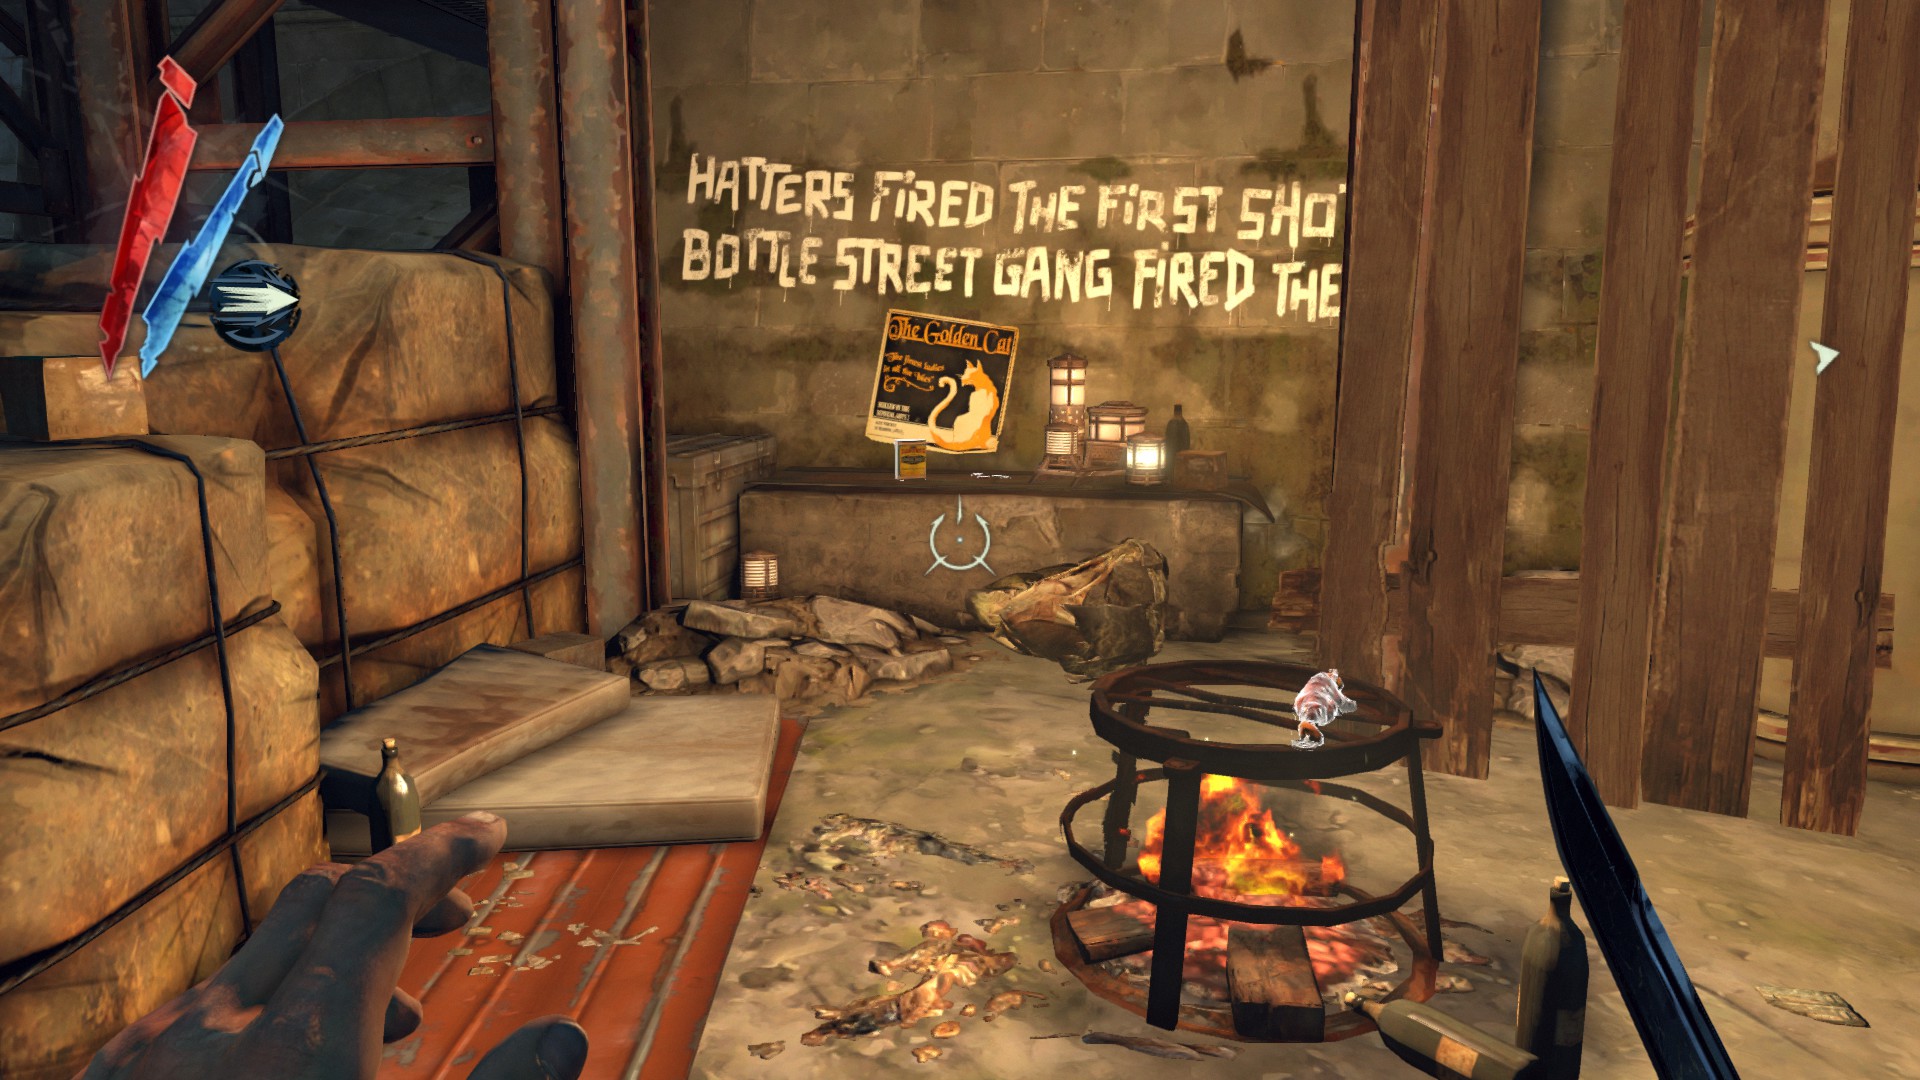
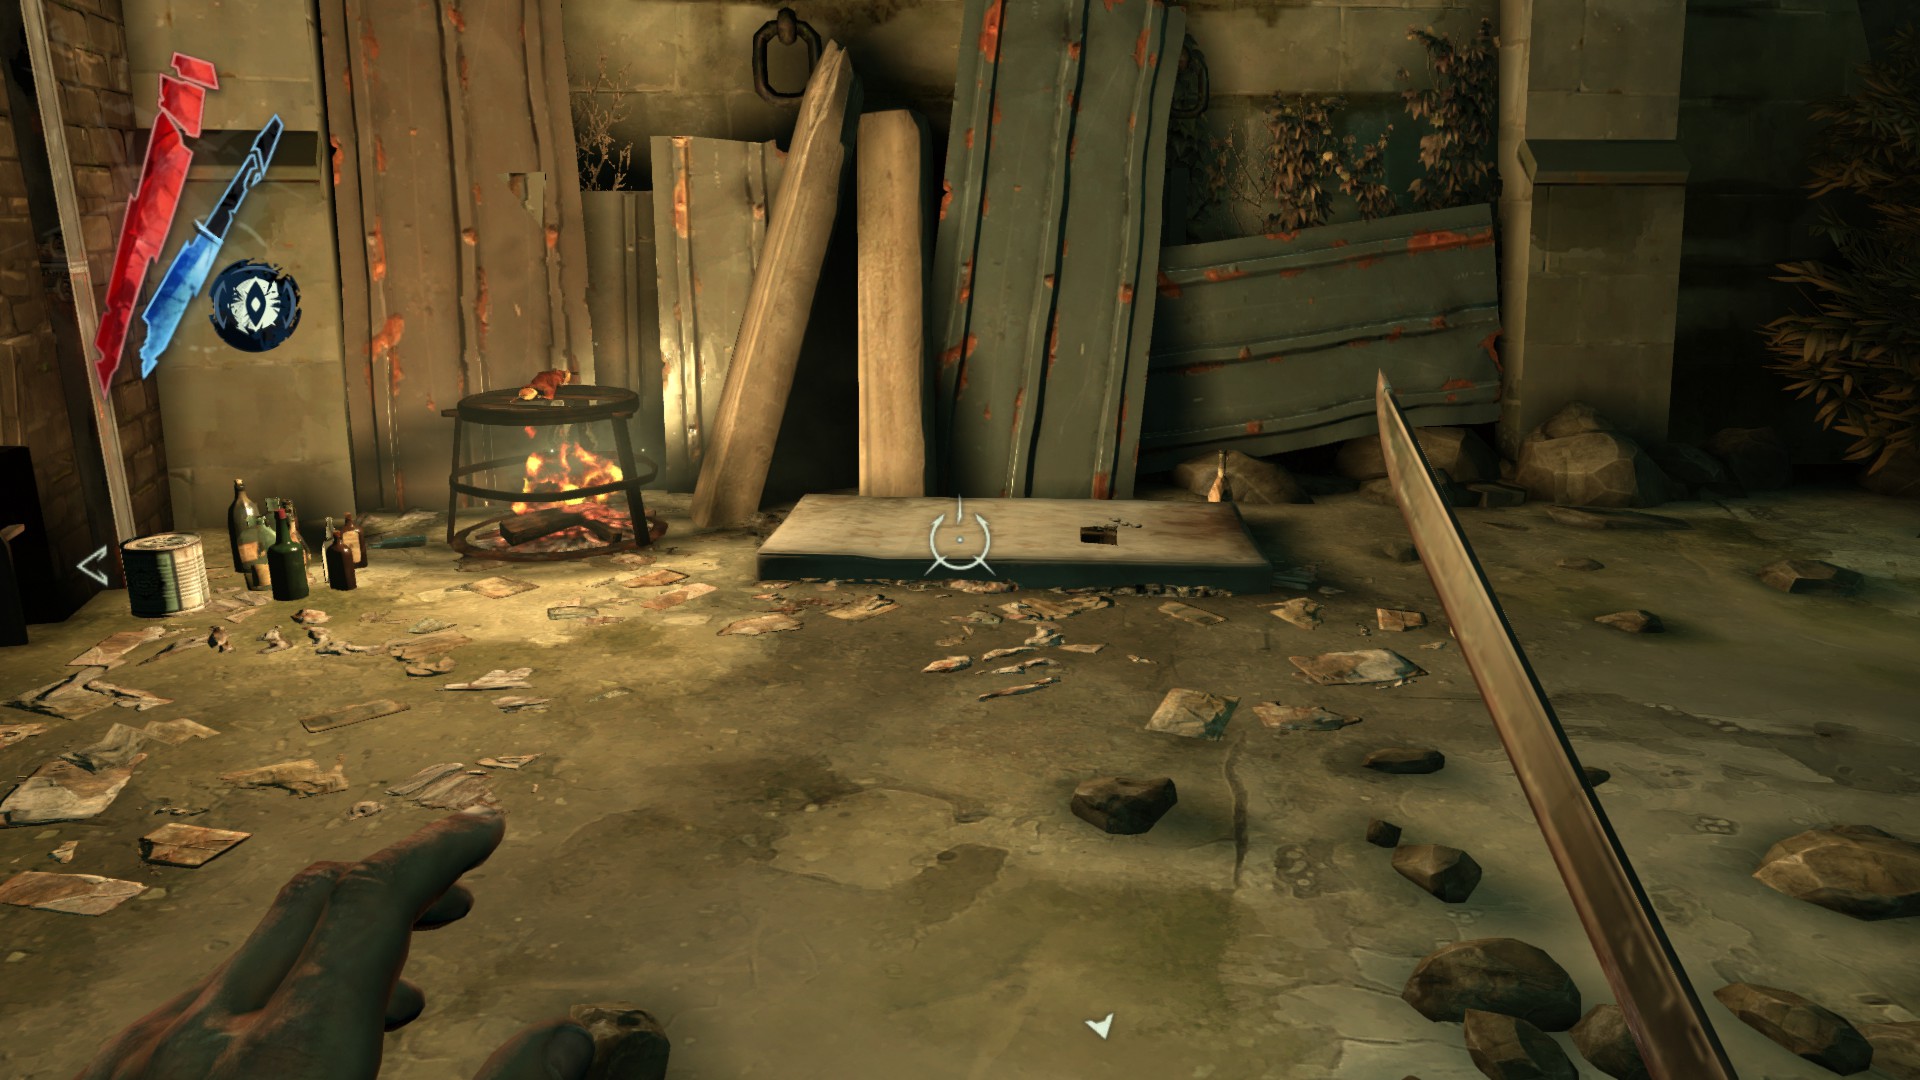
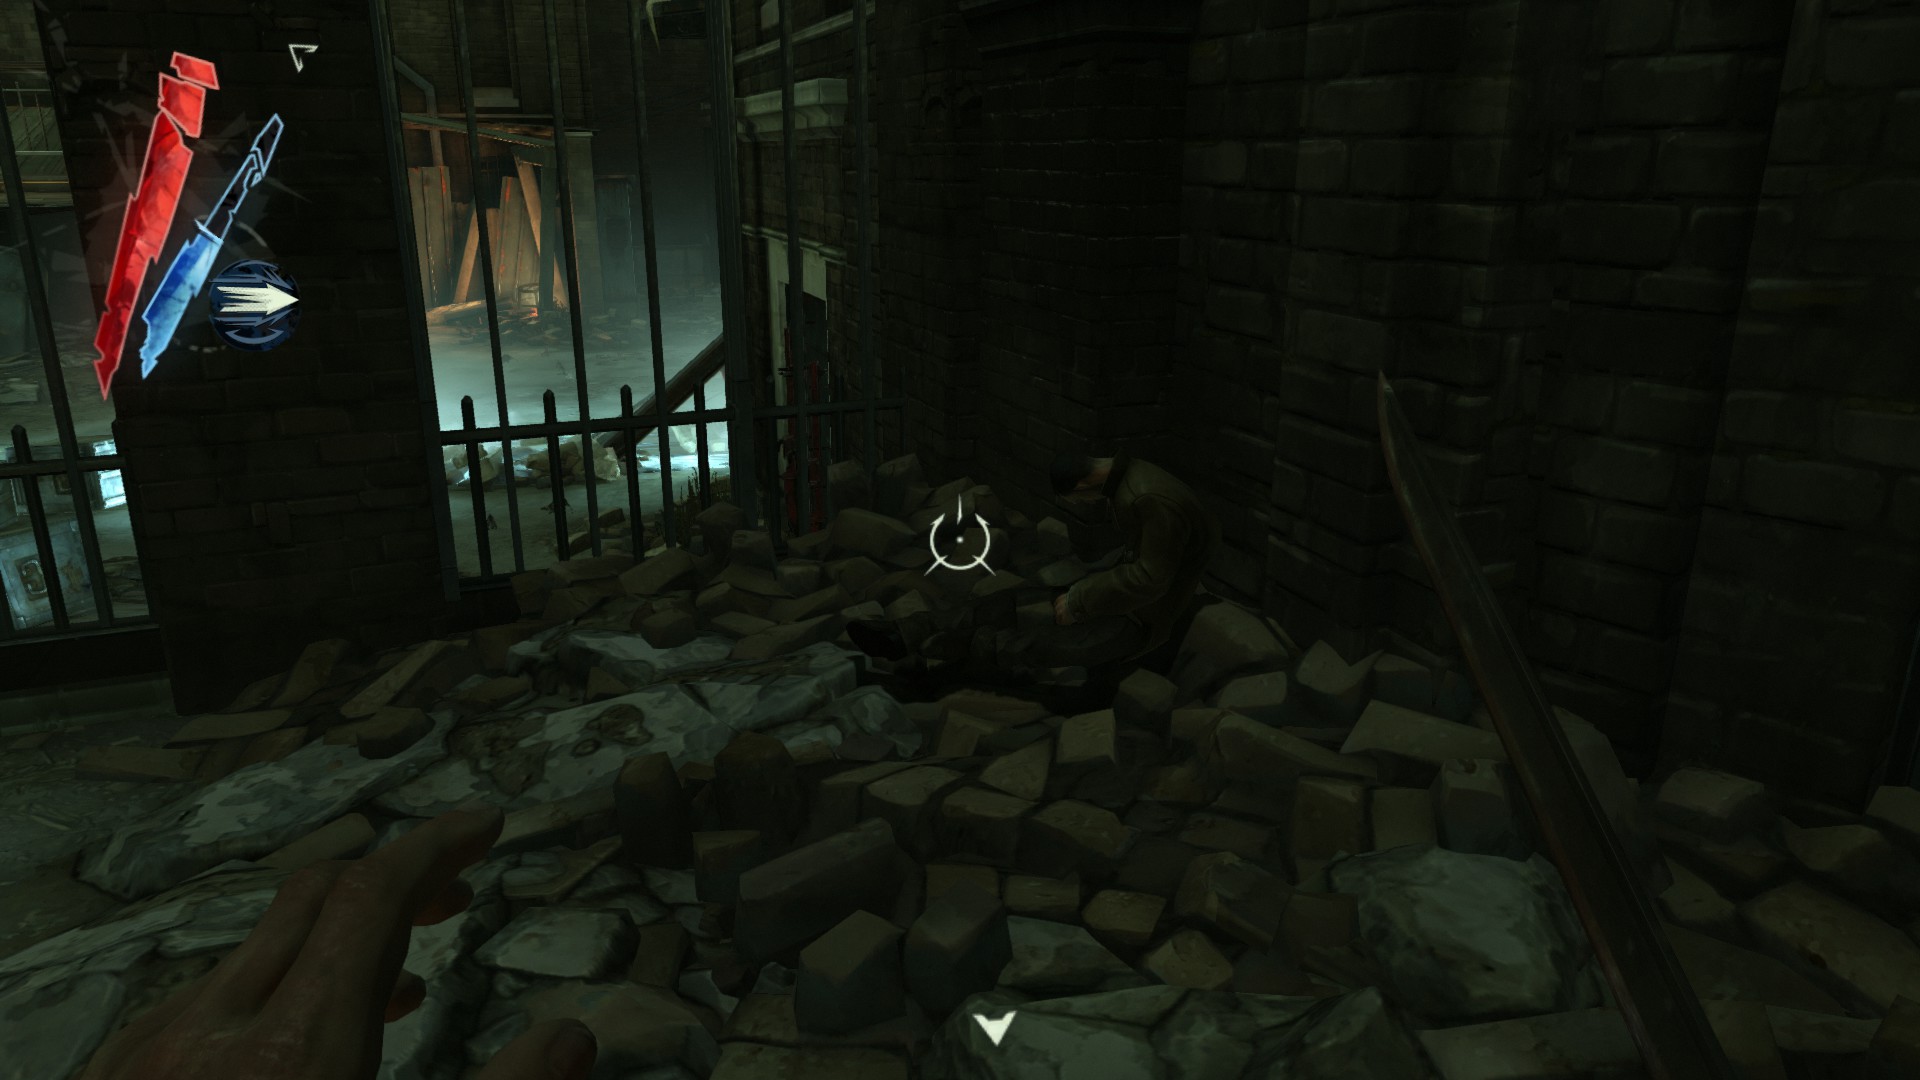
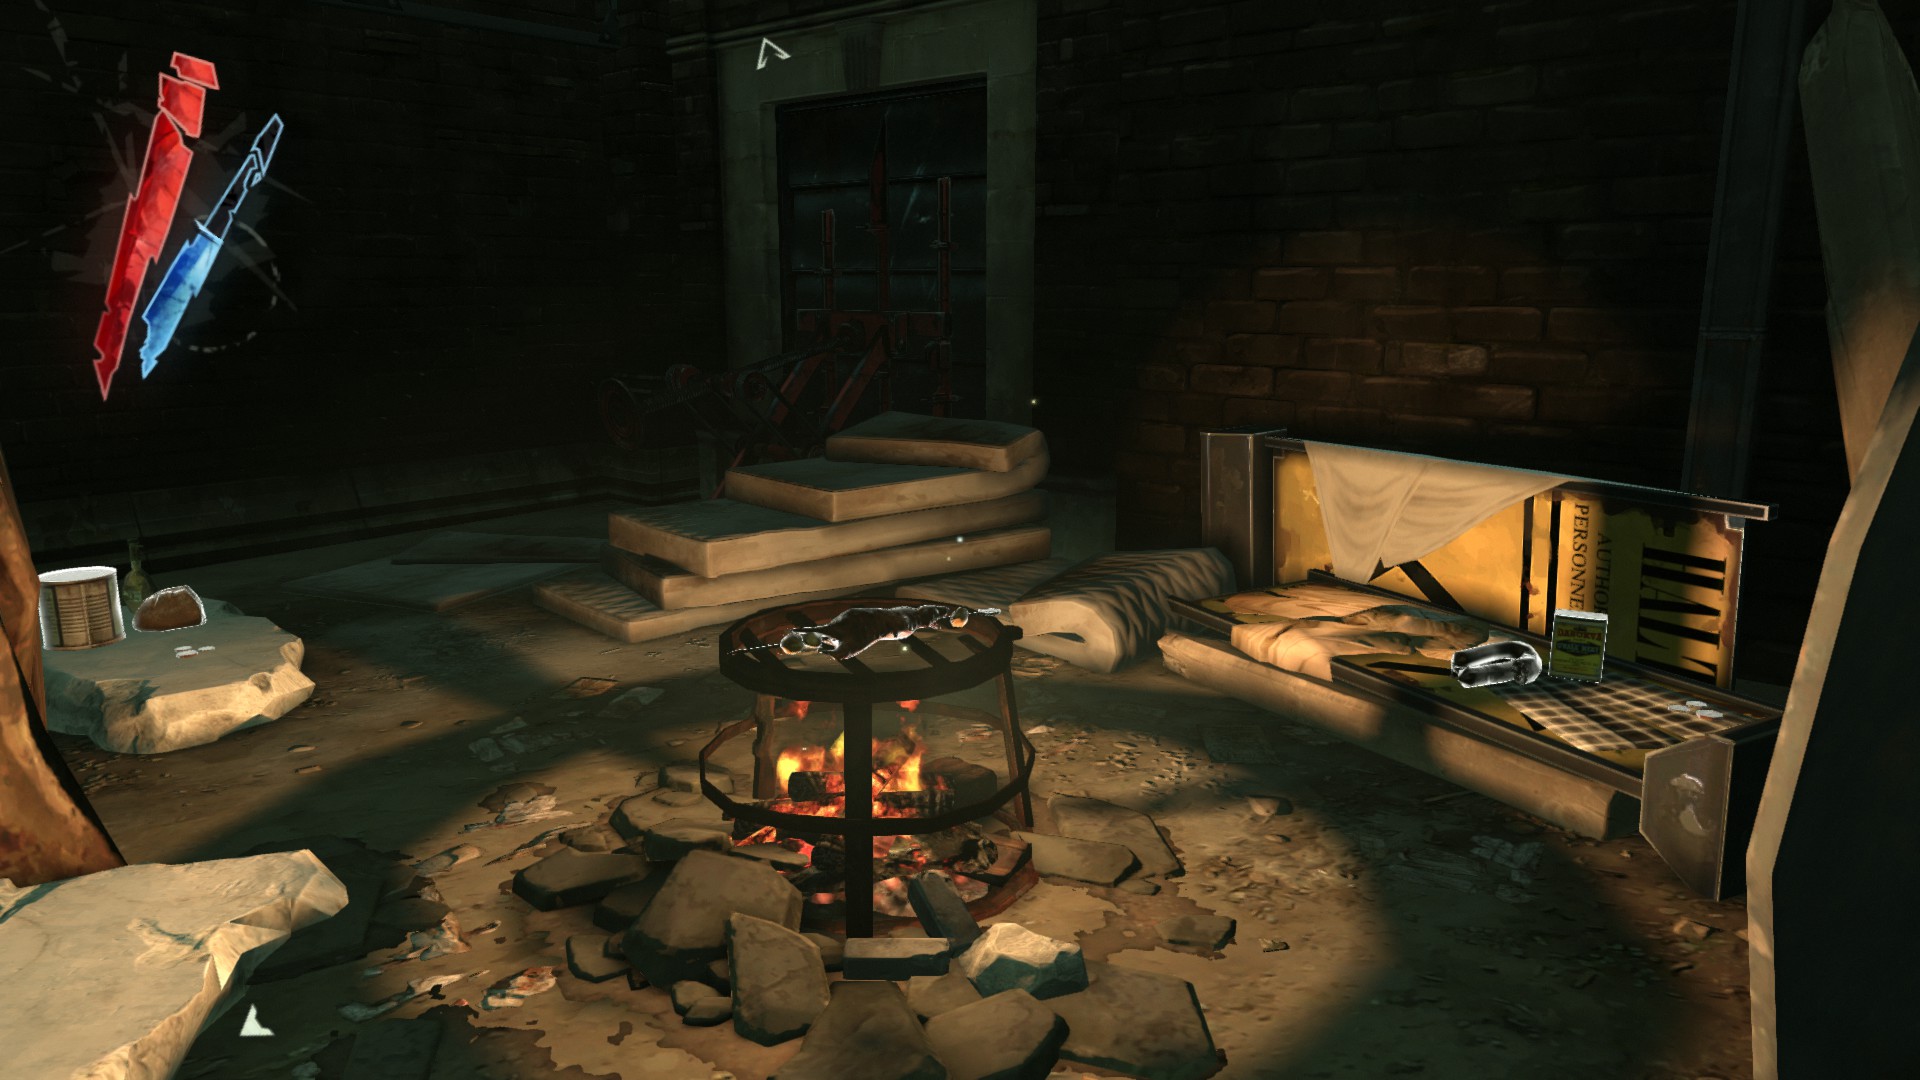
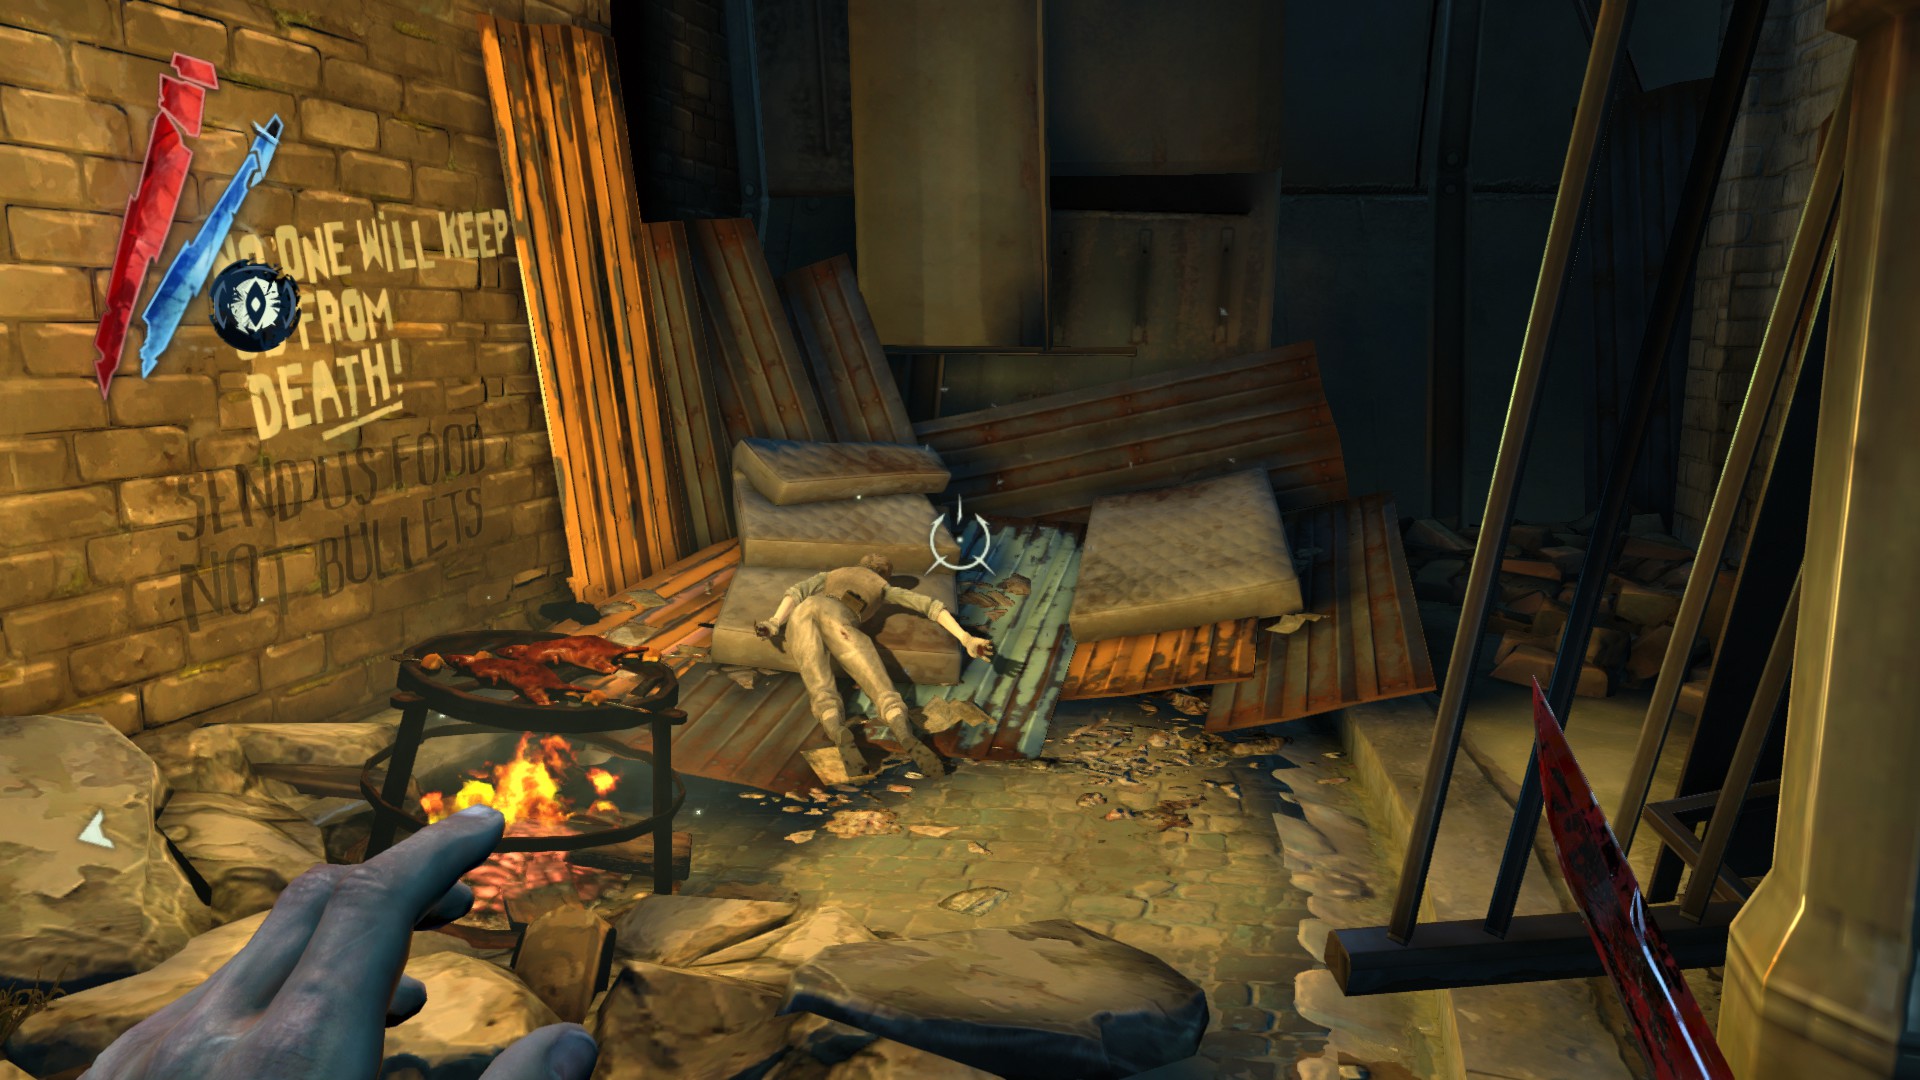
Grab a pouch near a campfire before climbing up the chain.
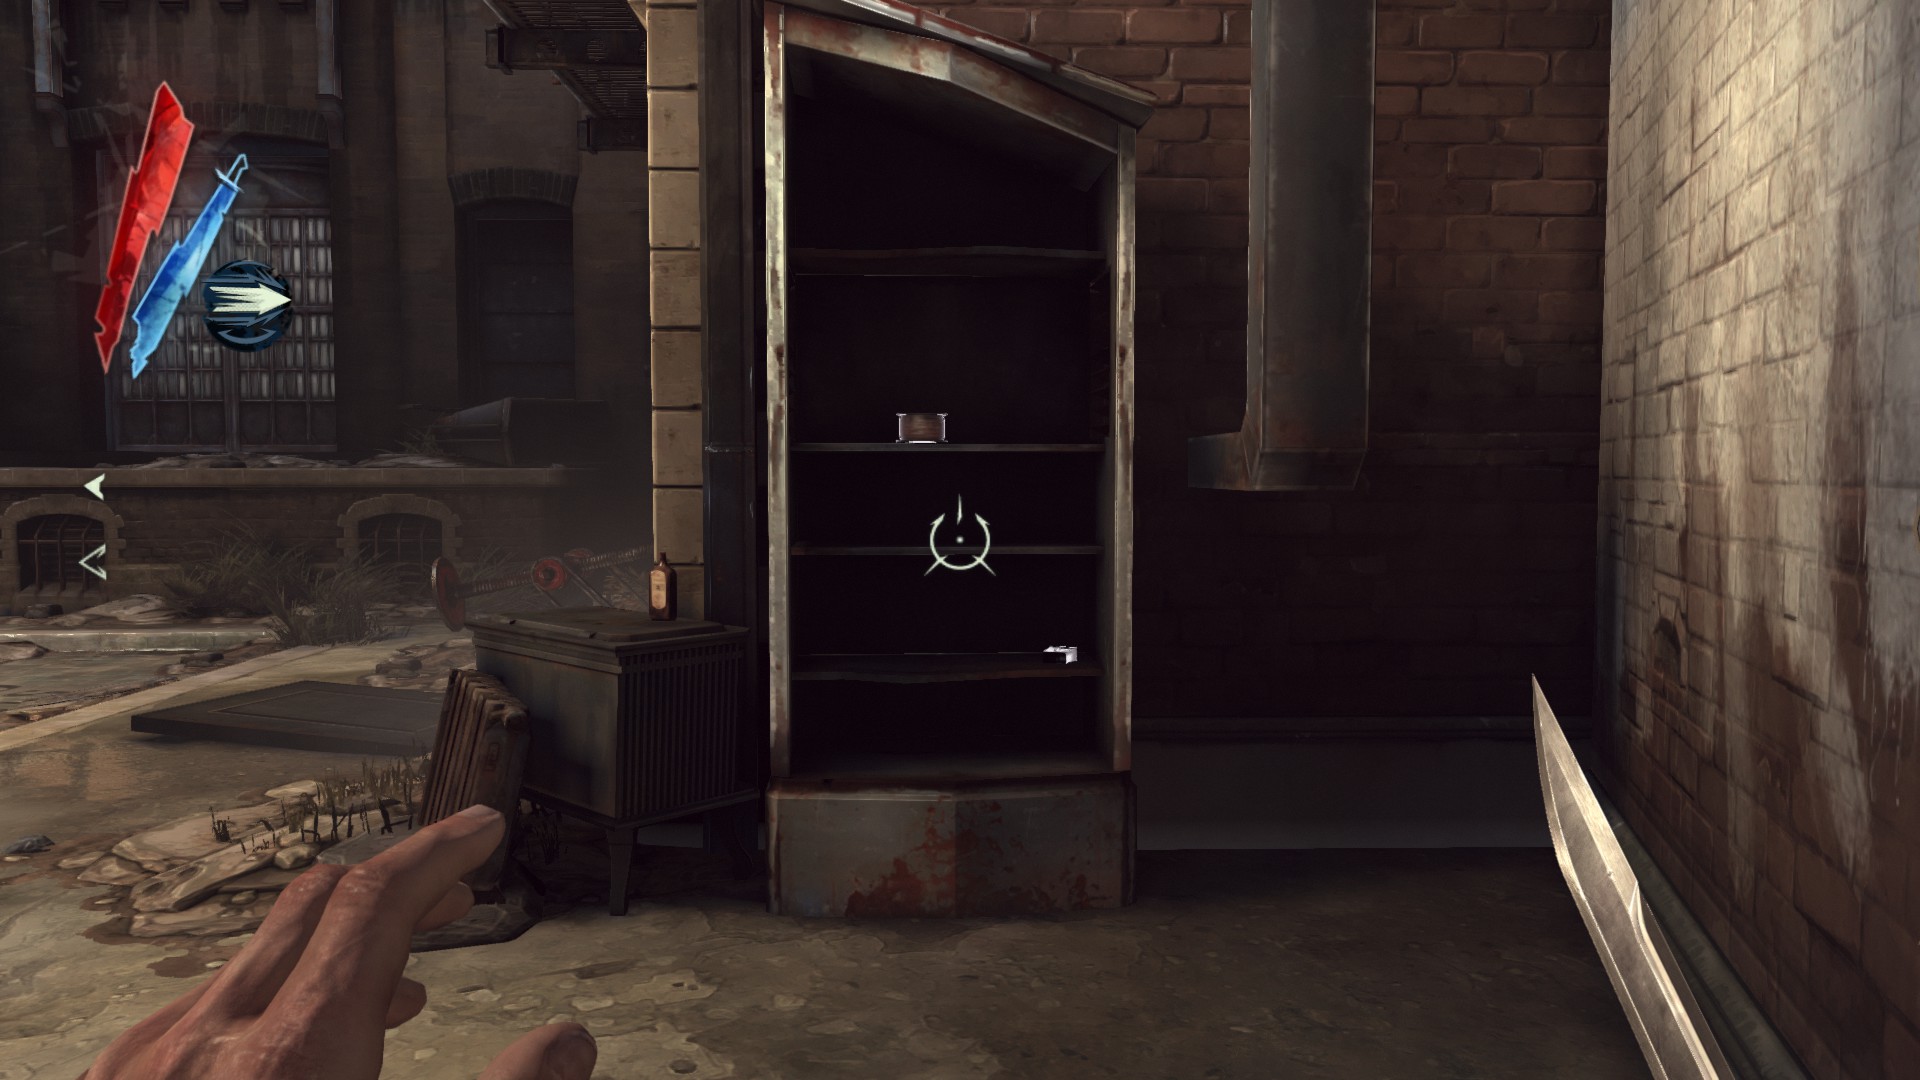
(+20 -> 431/1010)
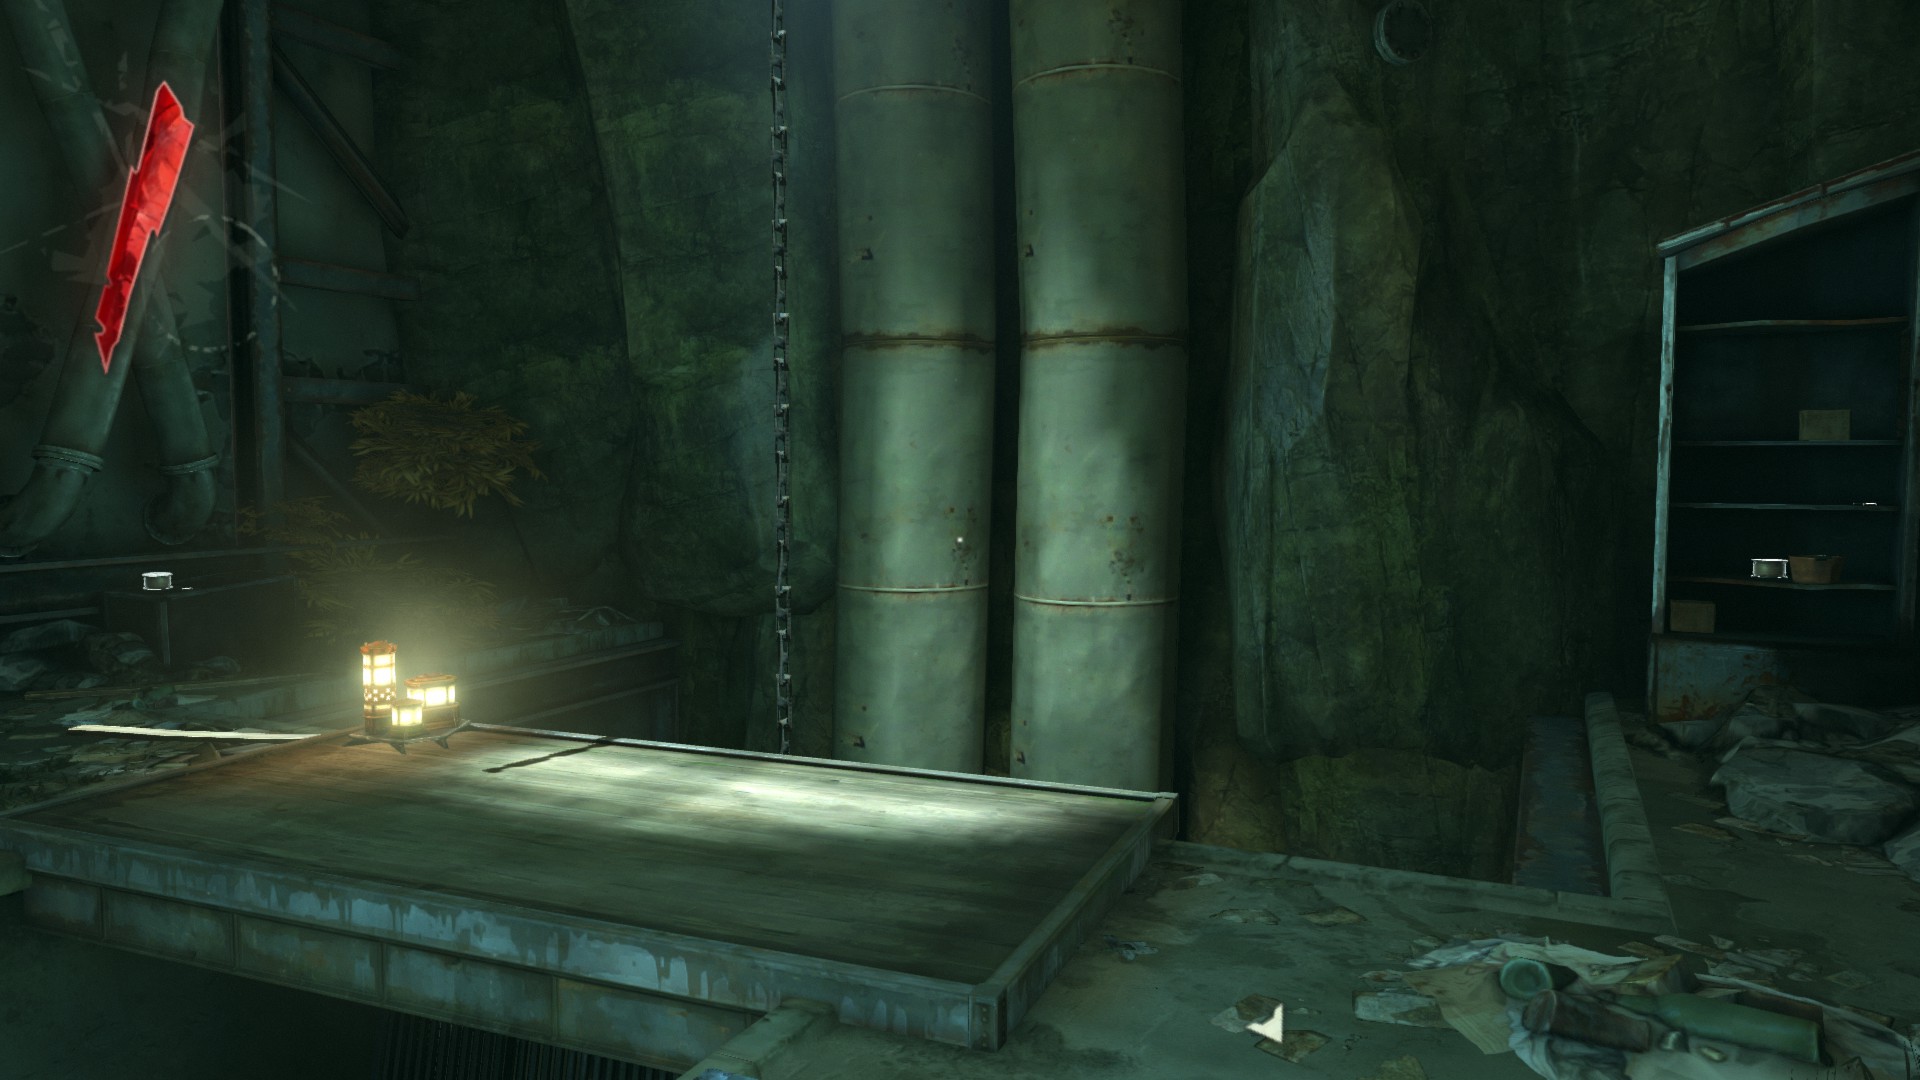
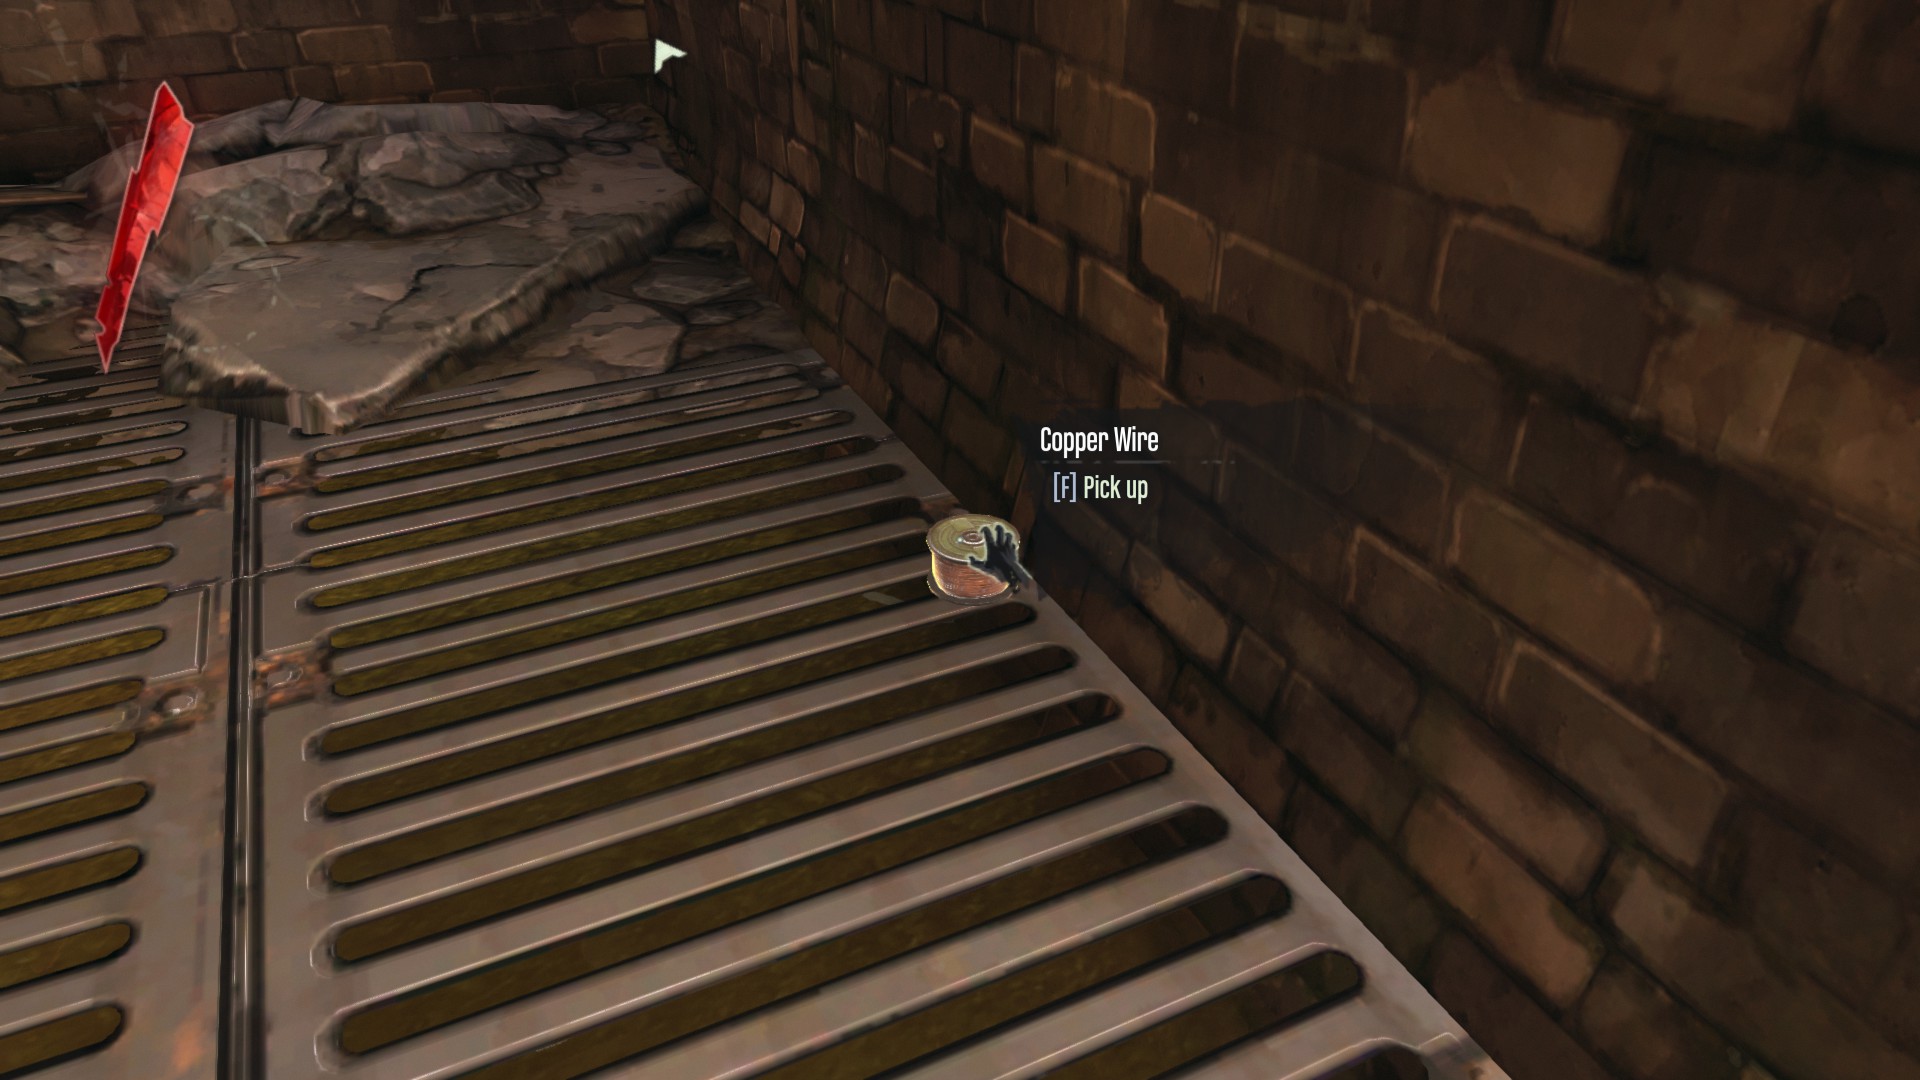
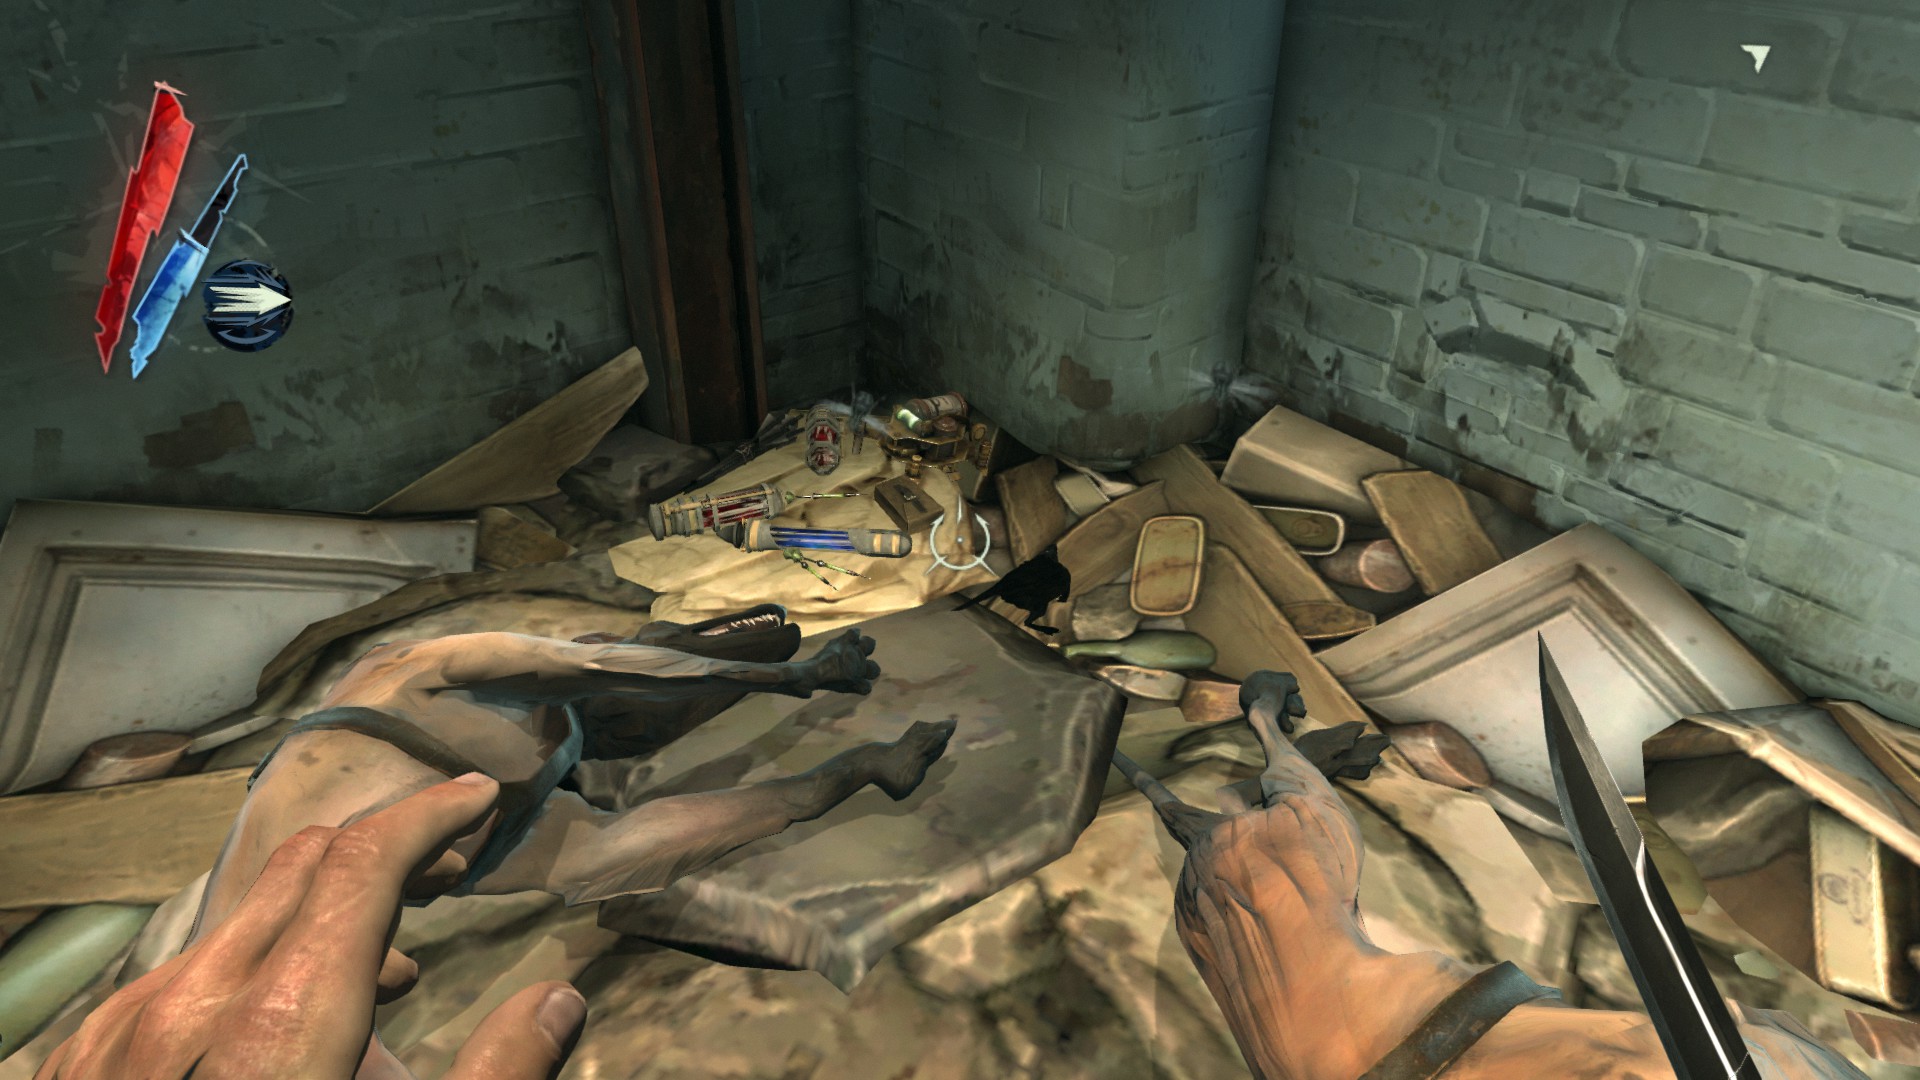
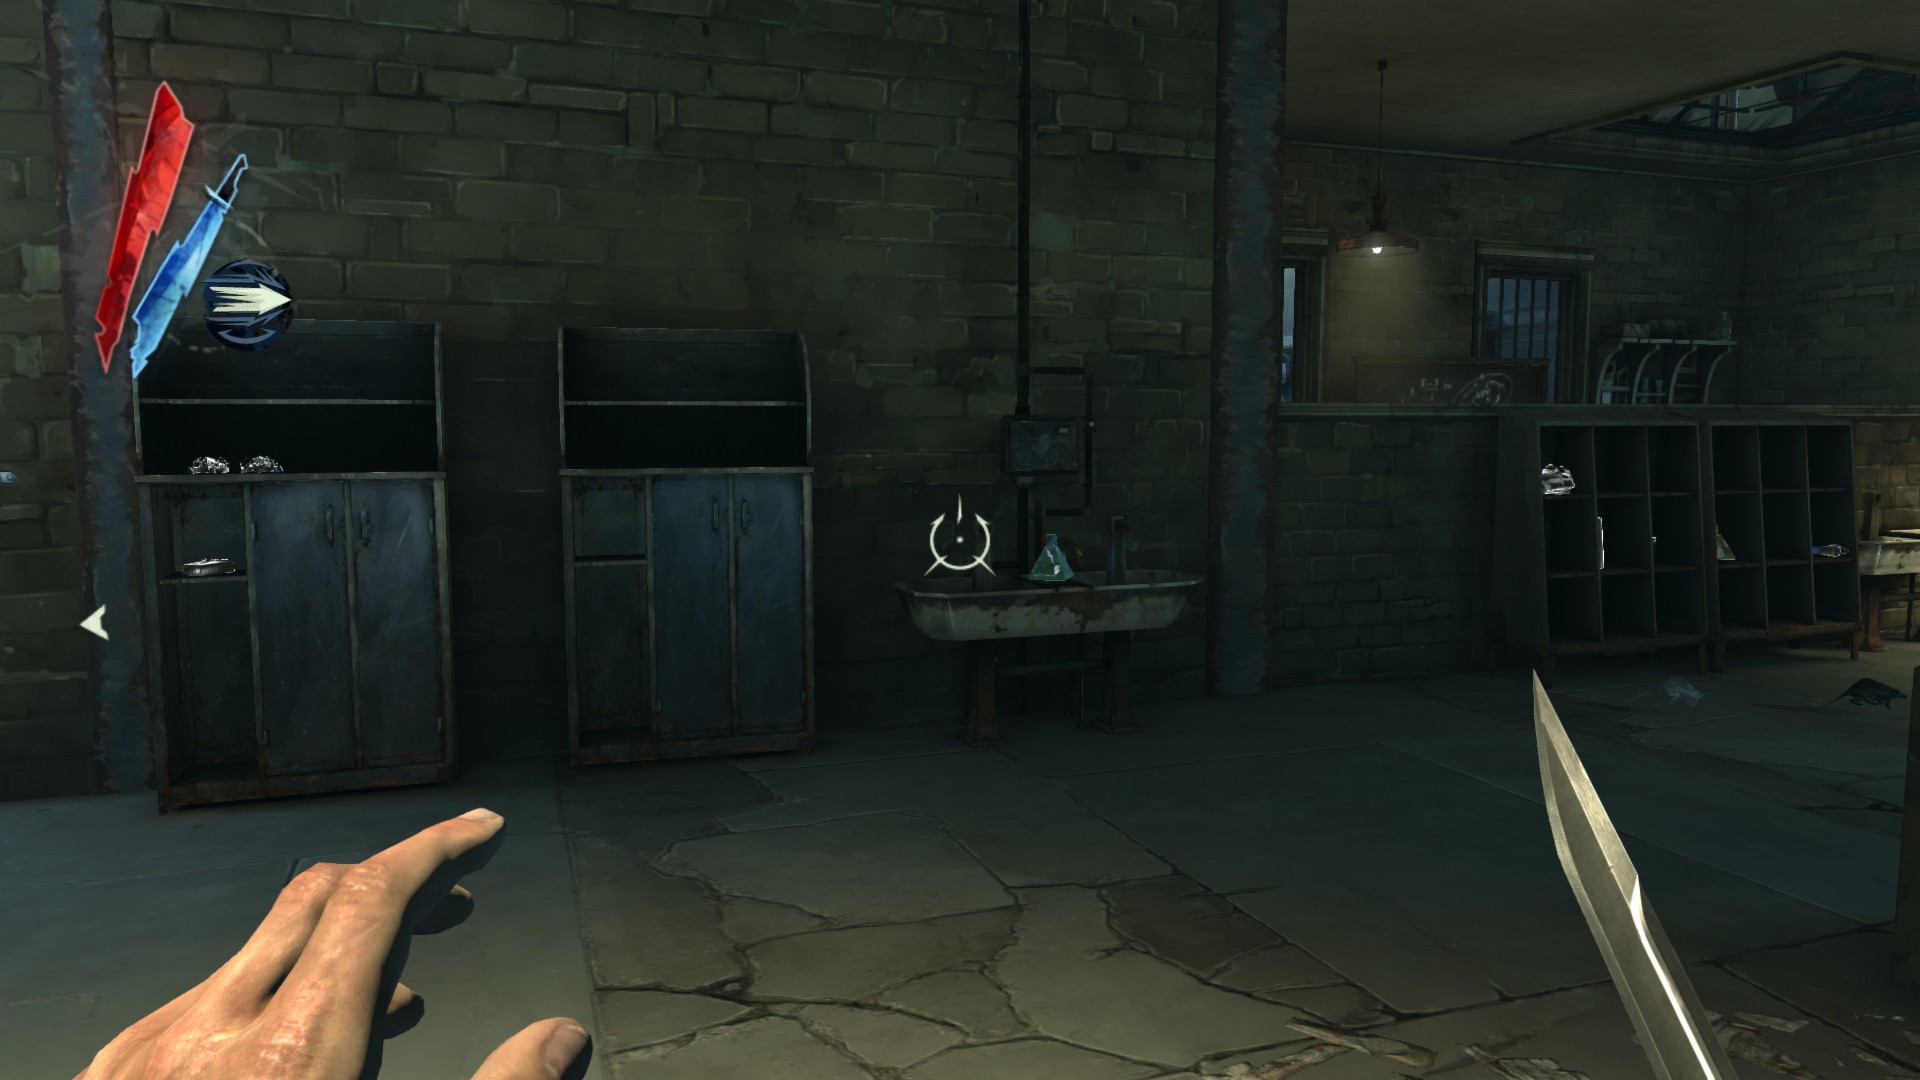
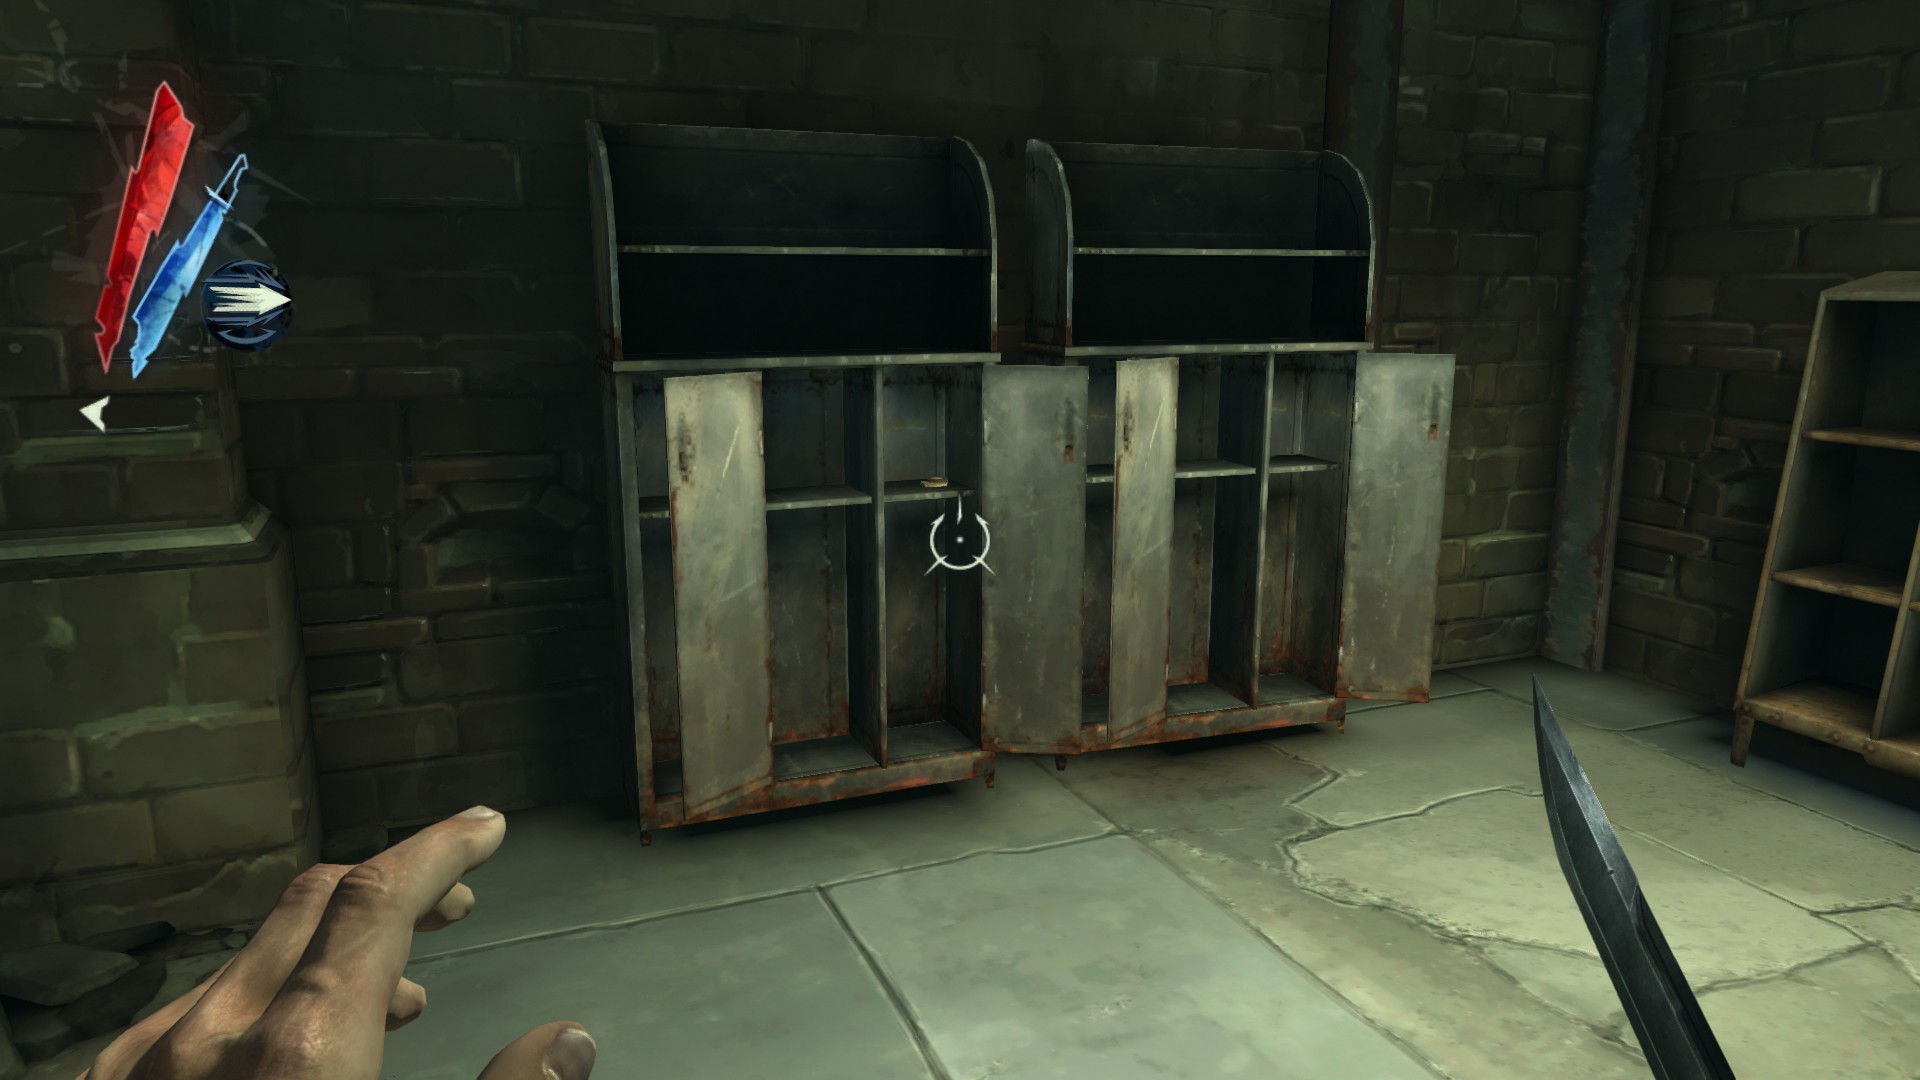
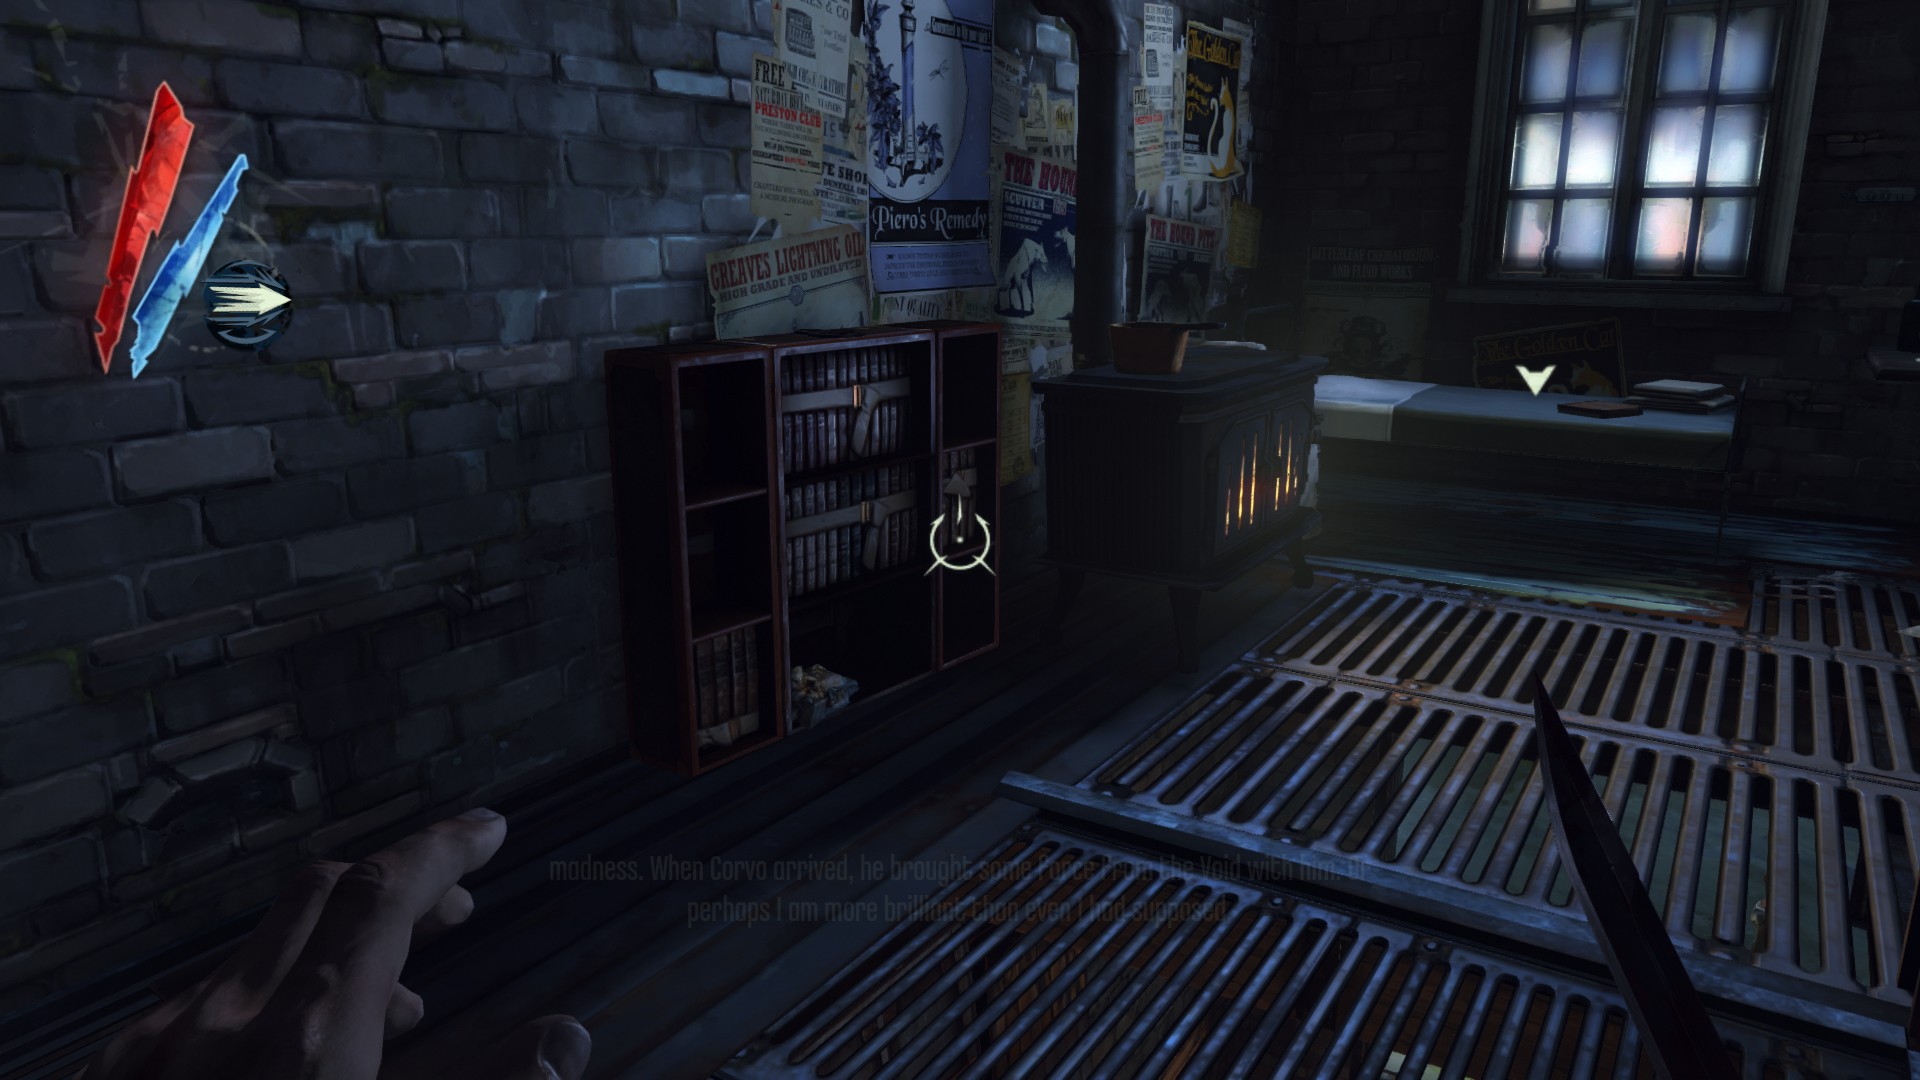
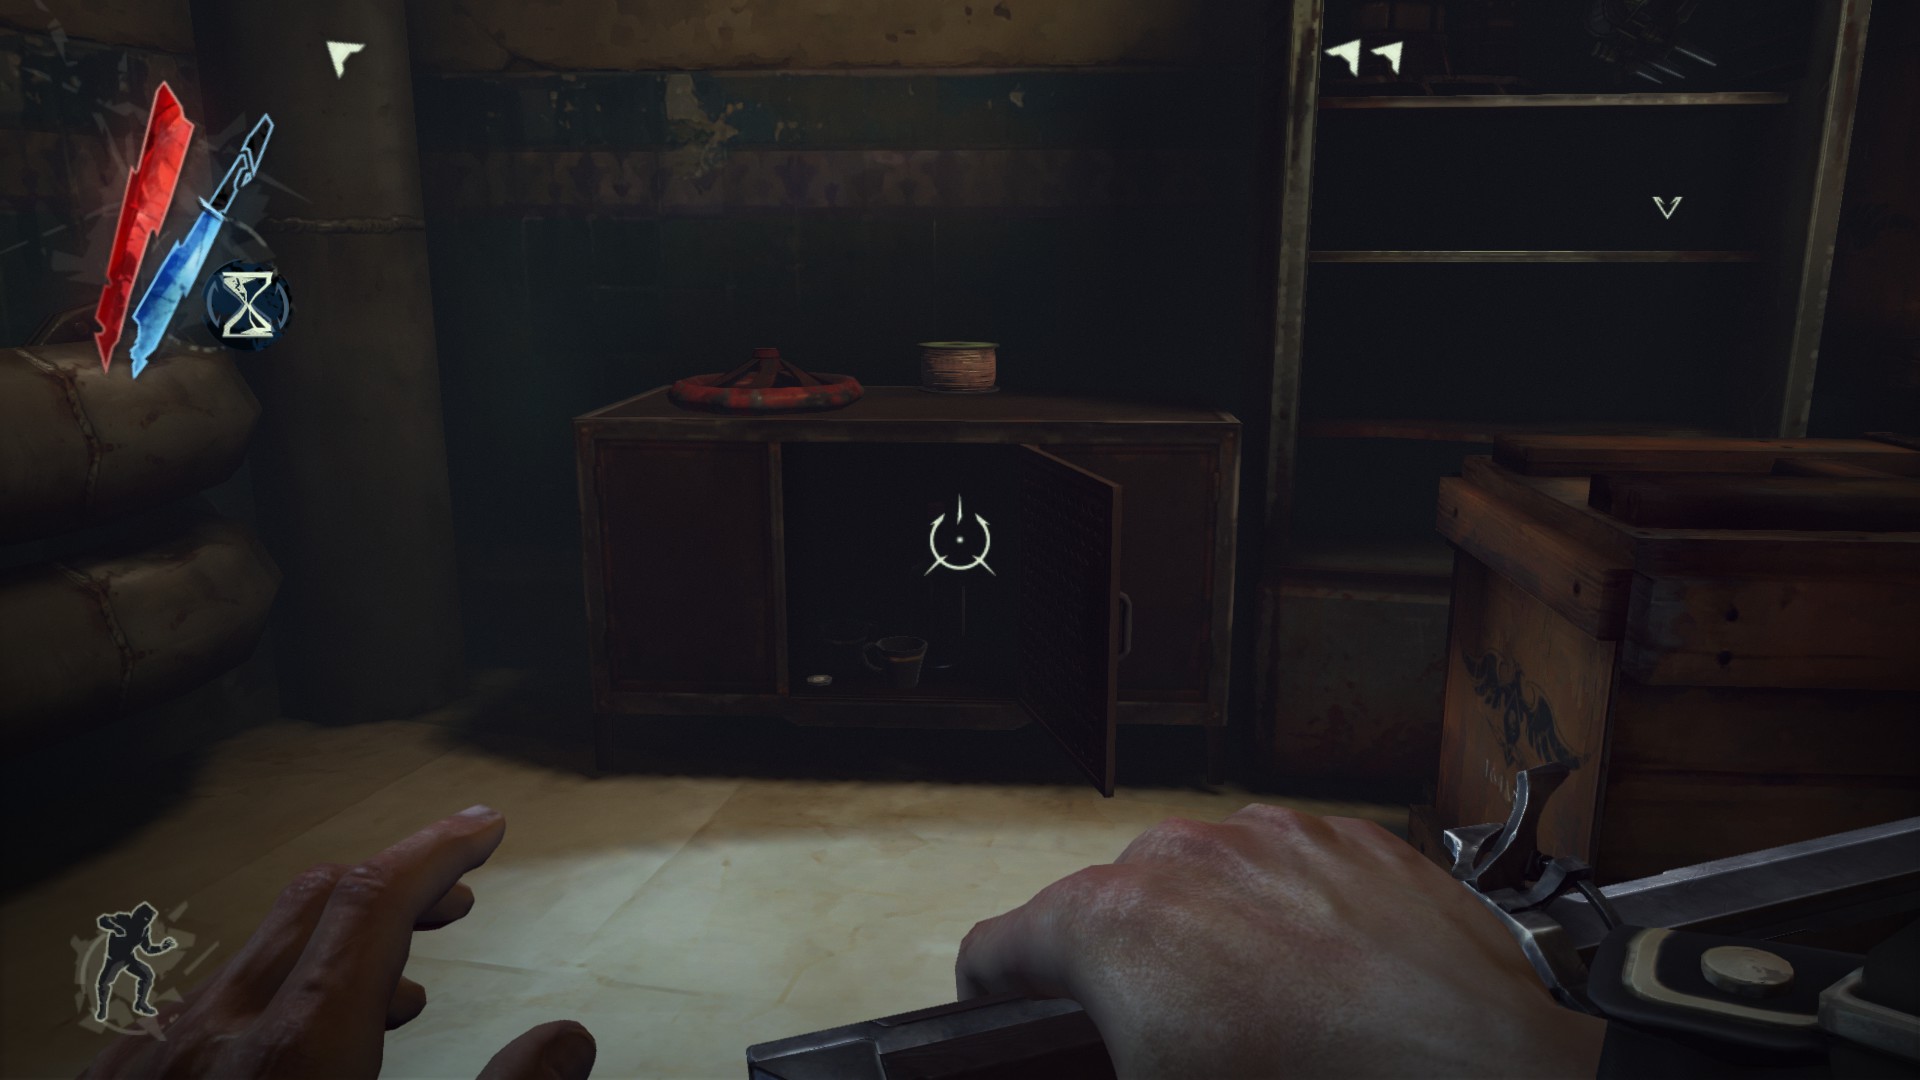
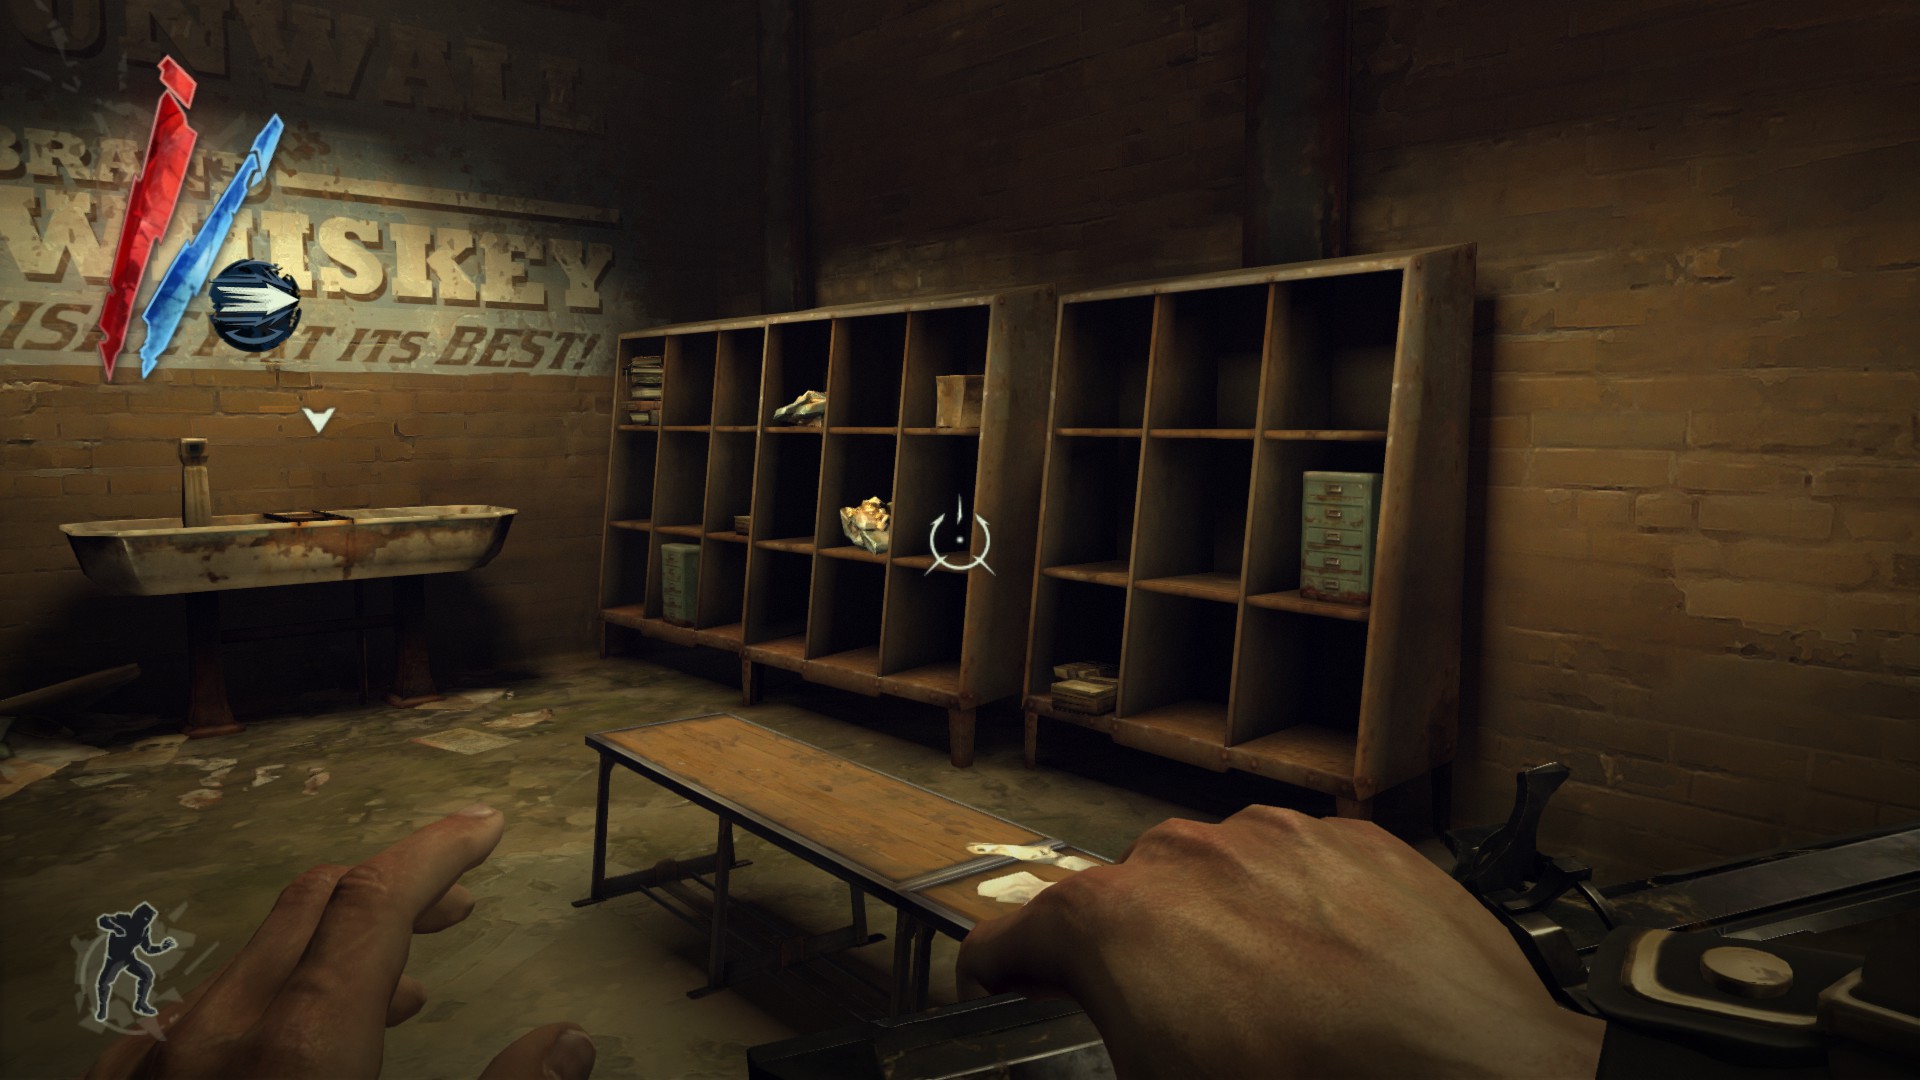
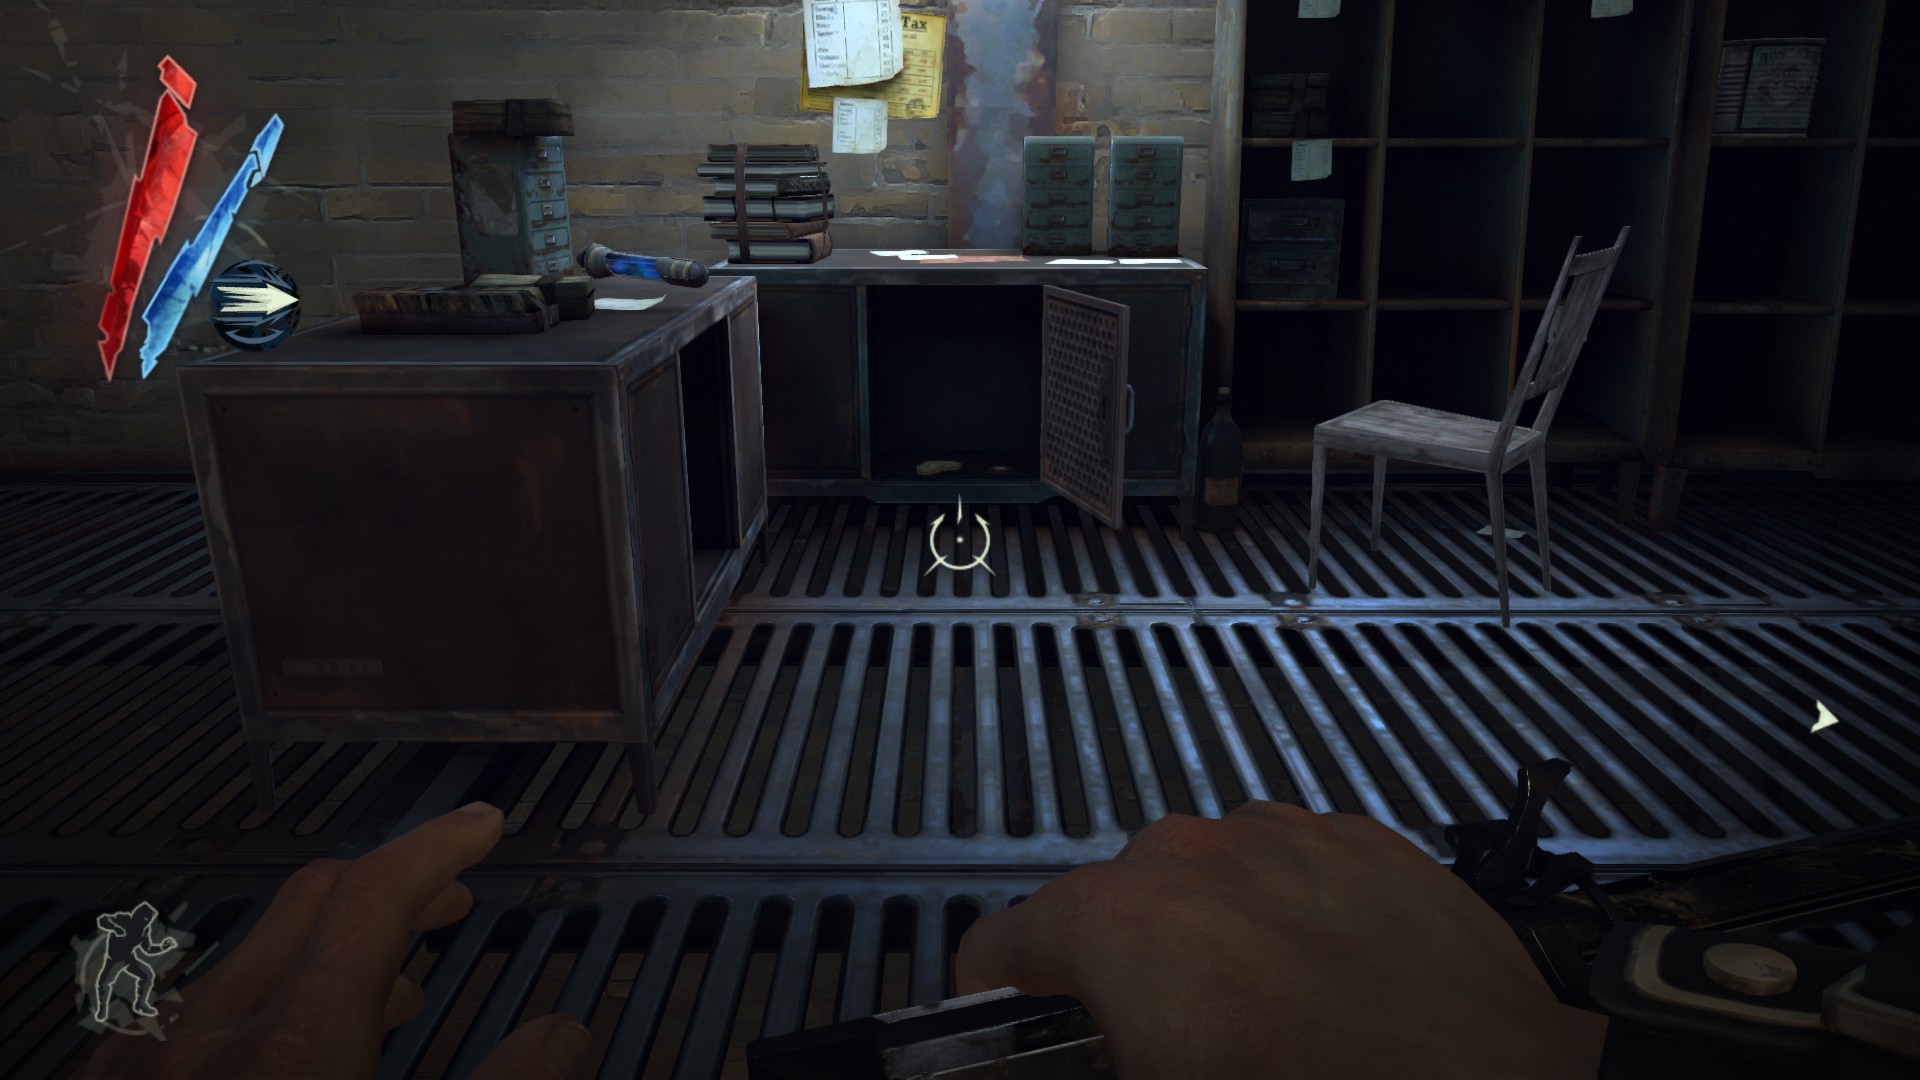
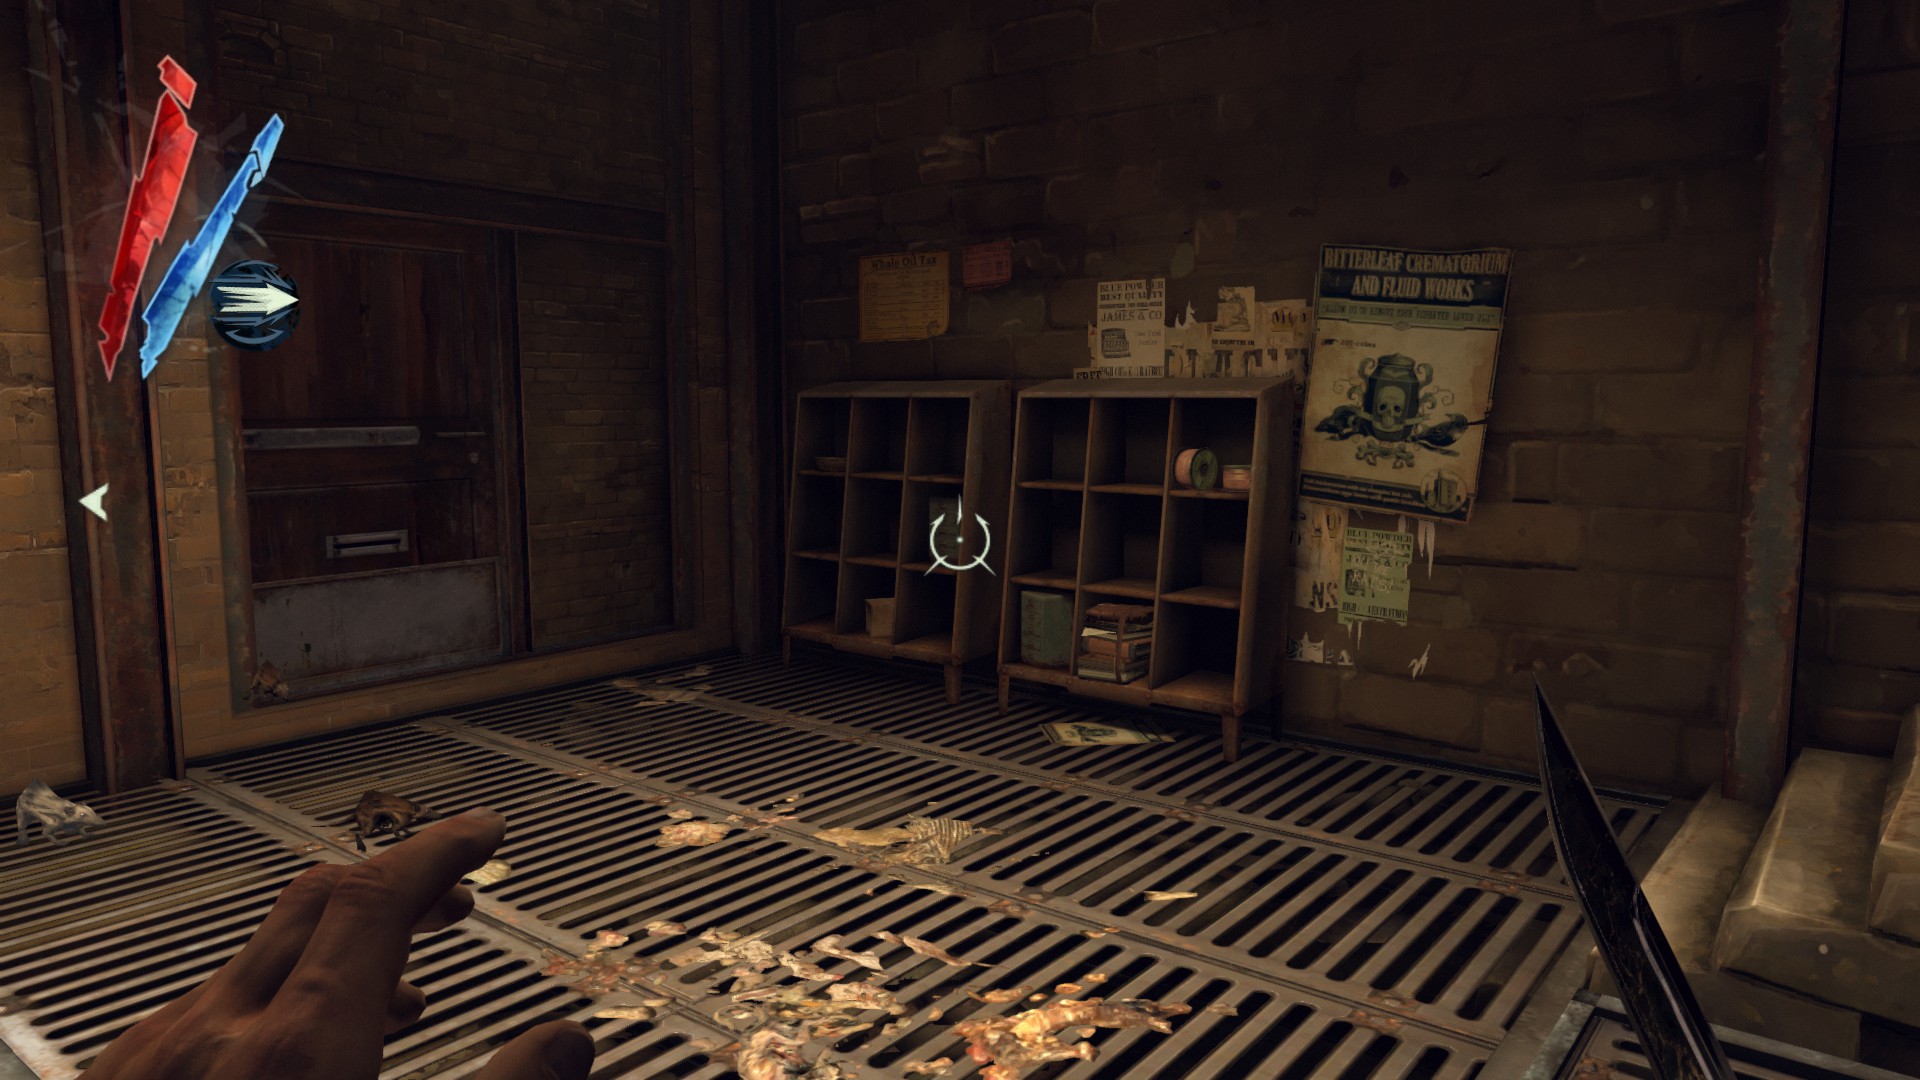
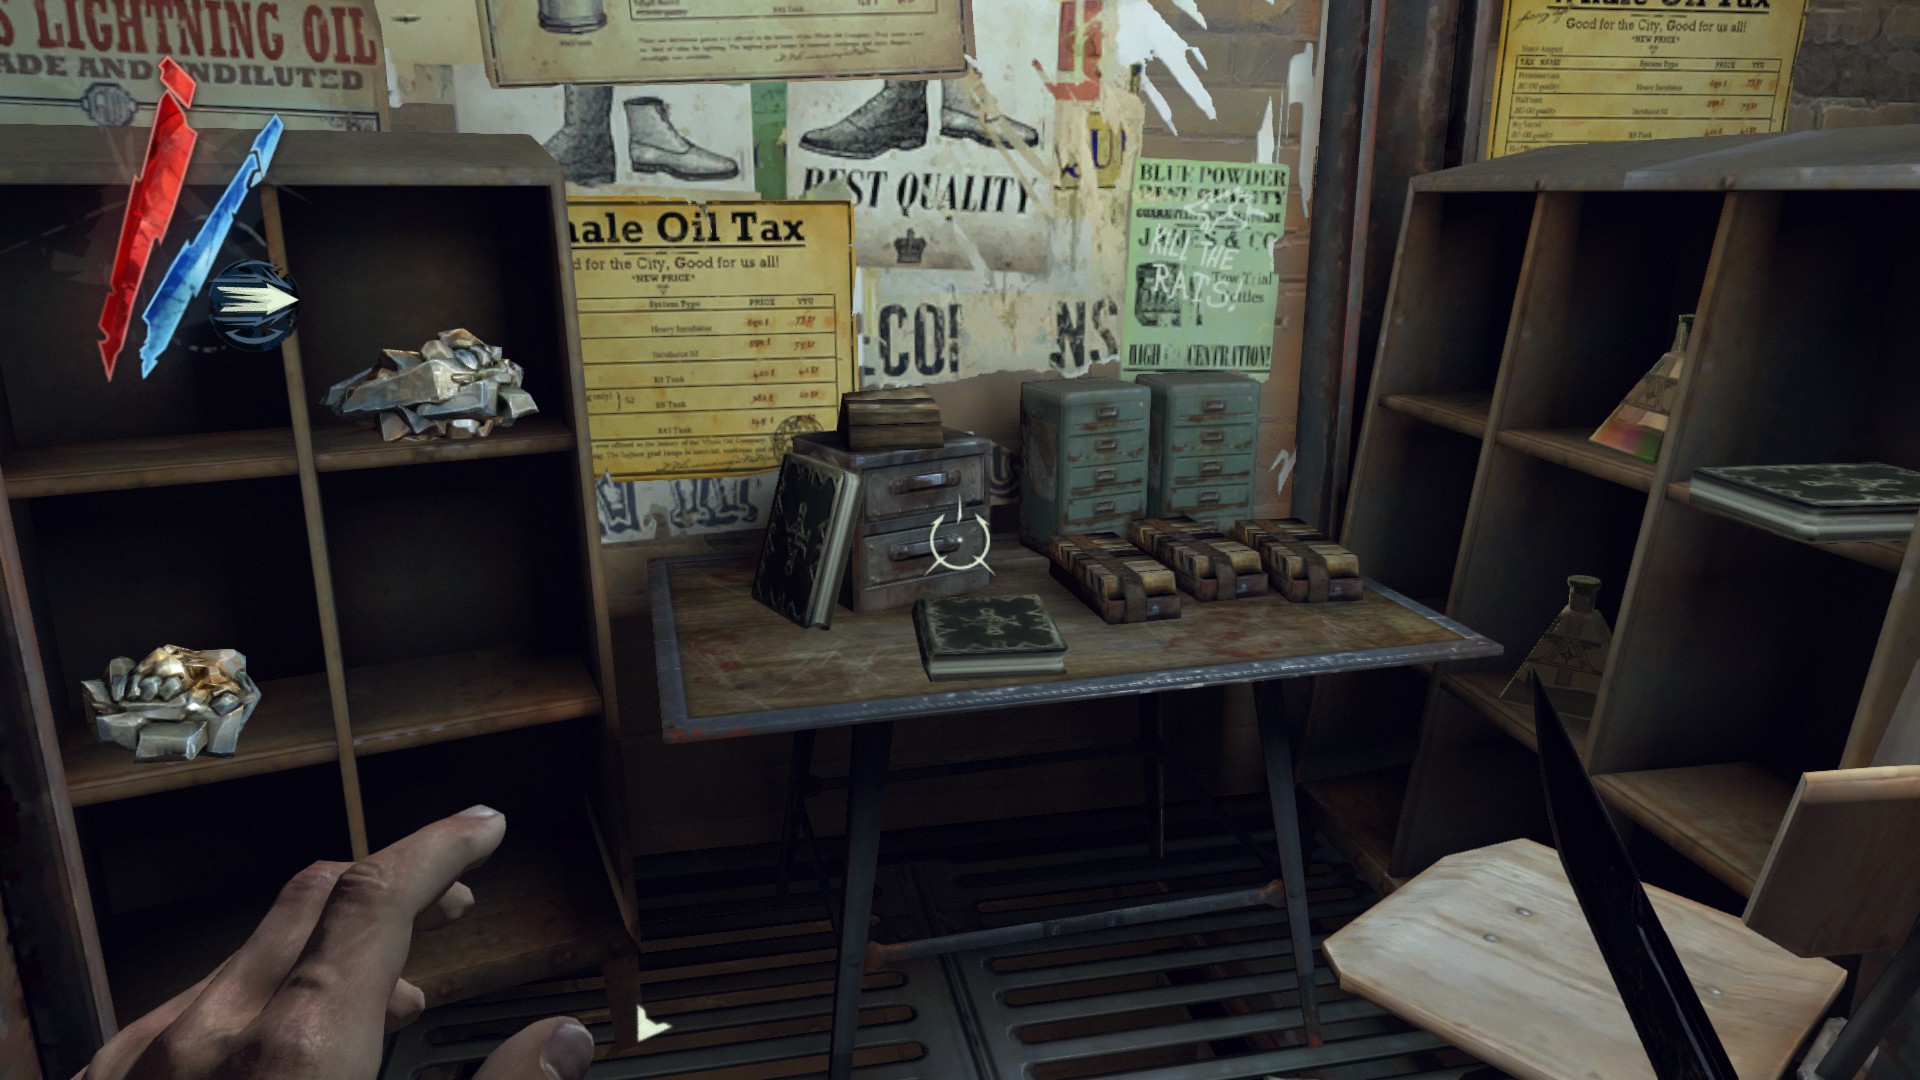
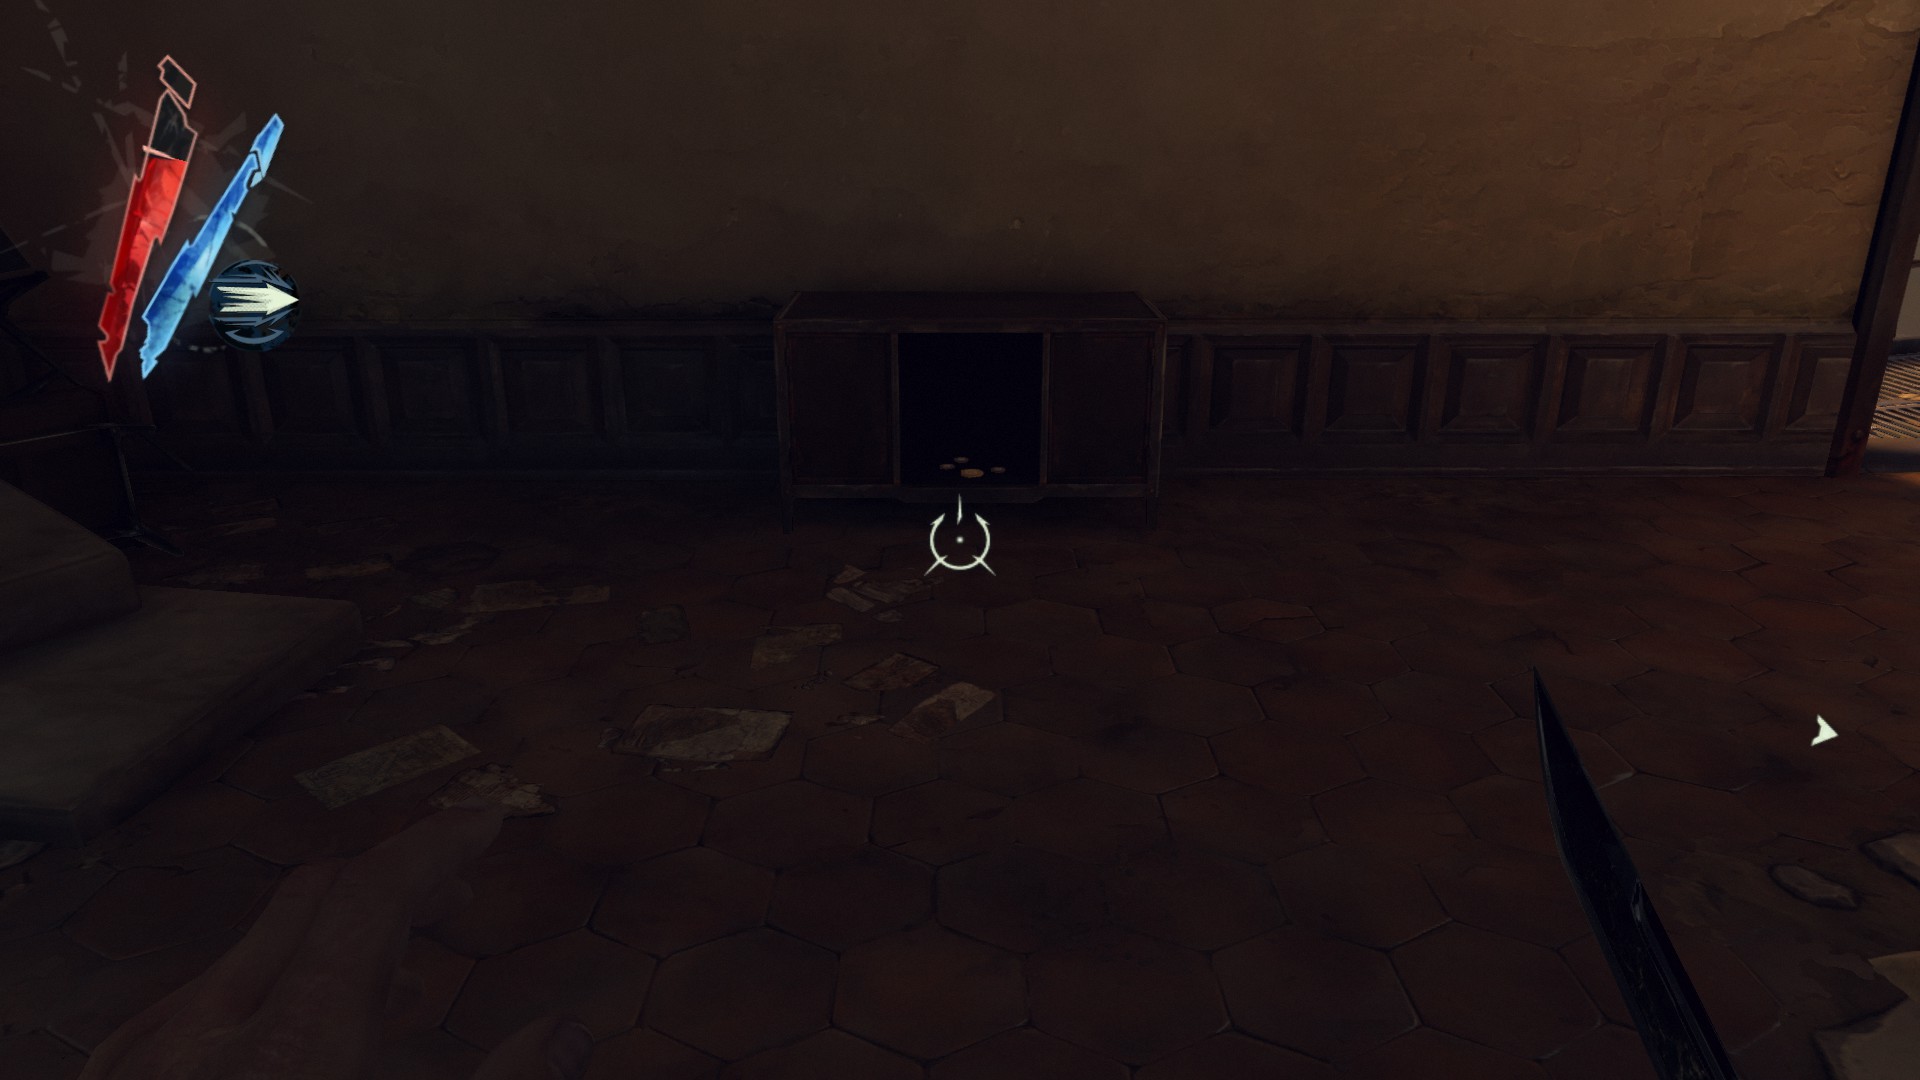
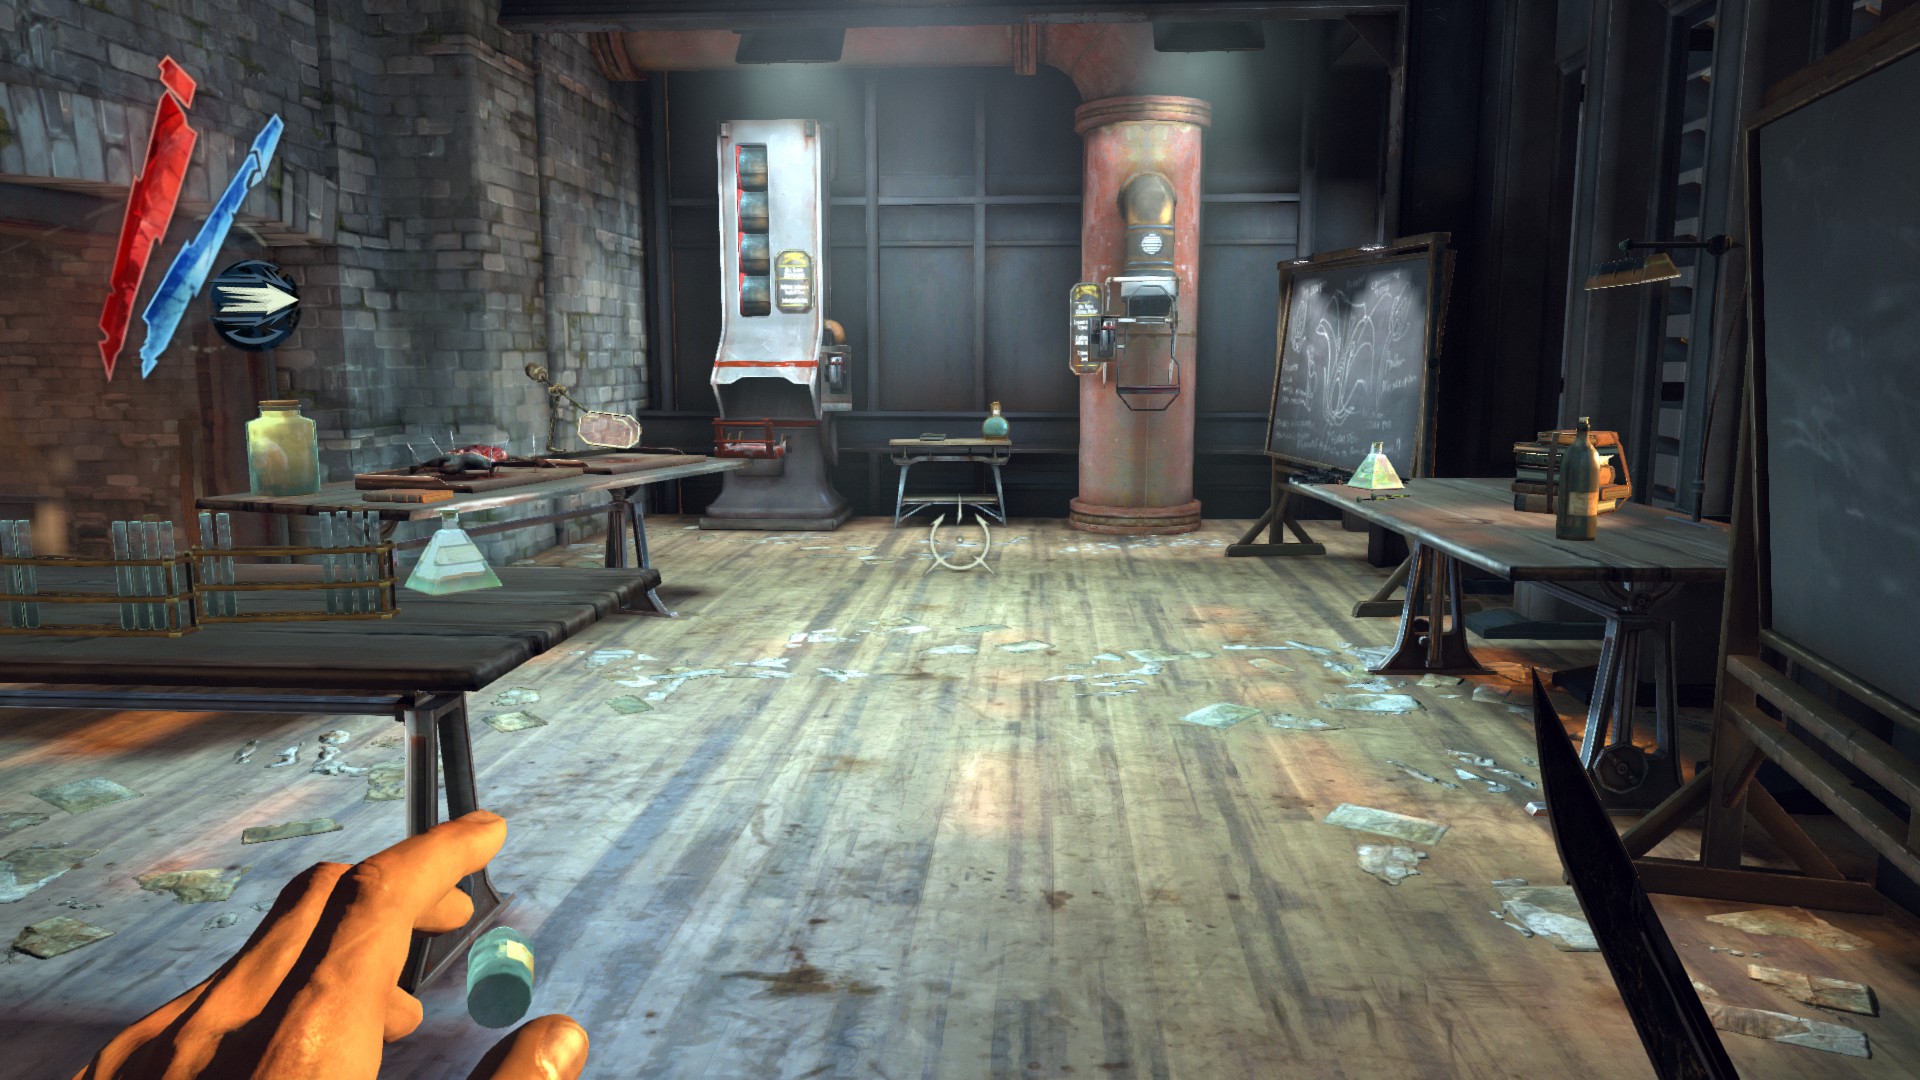
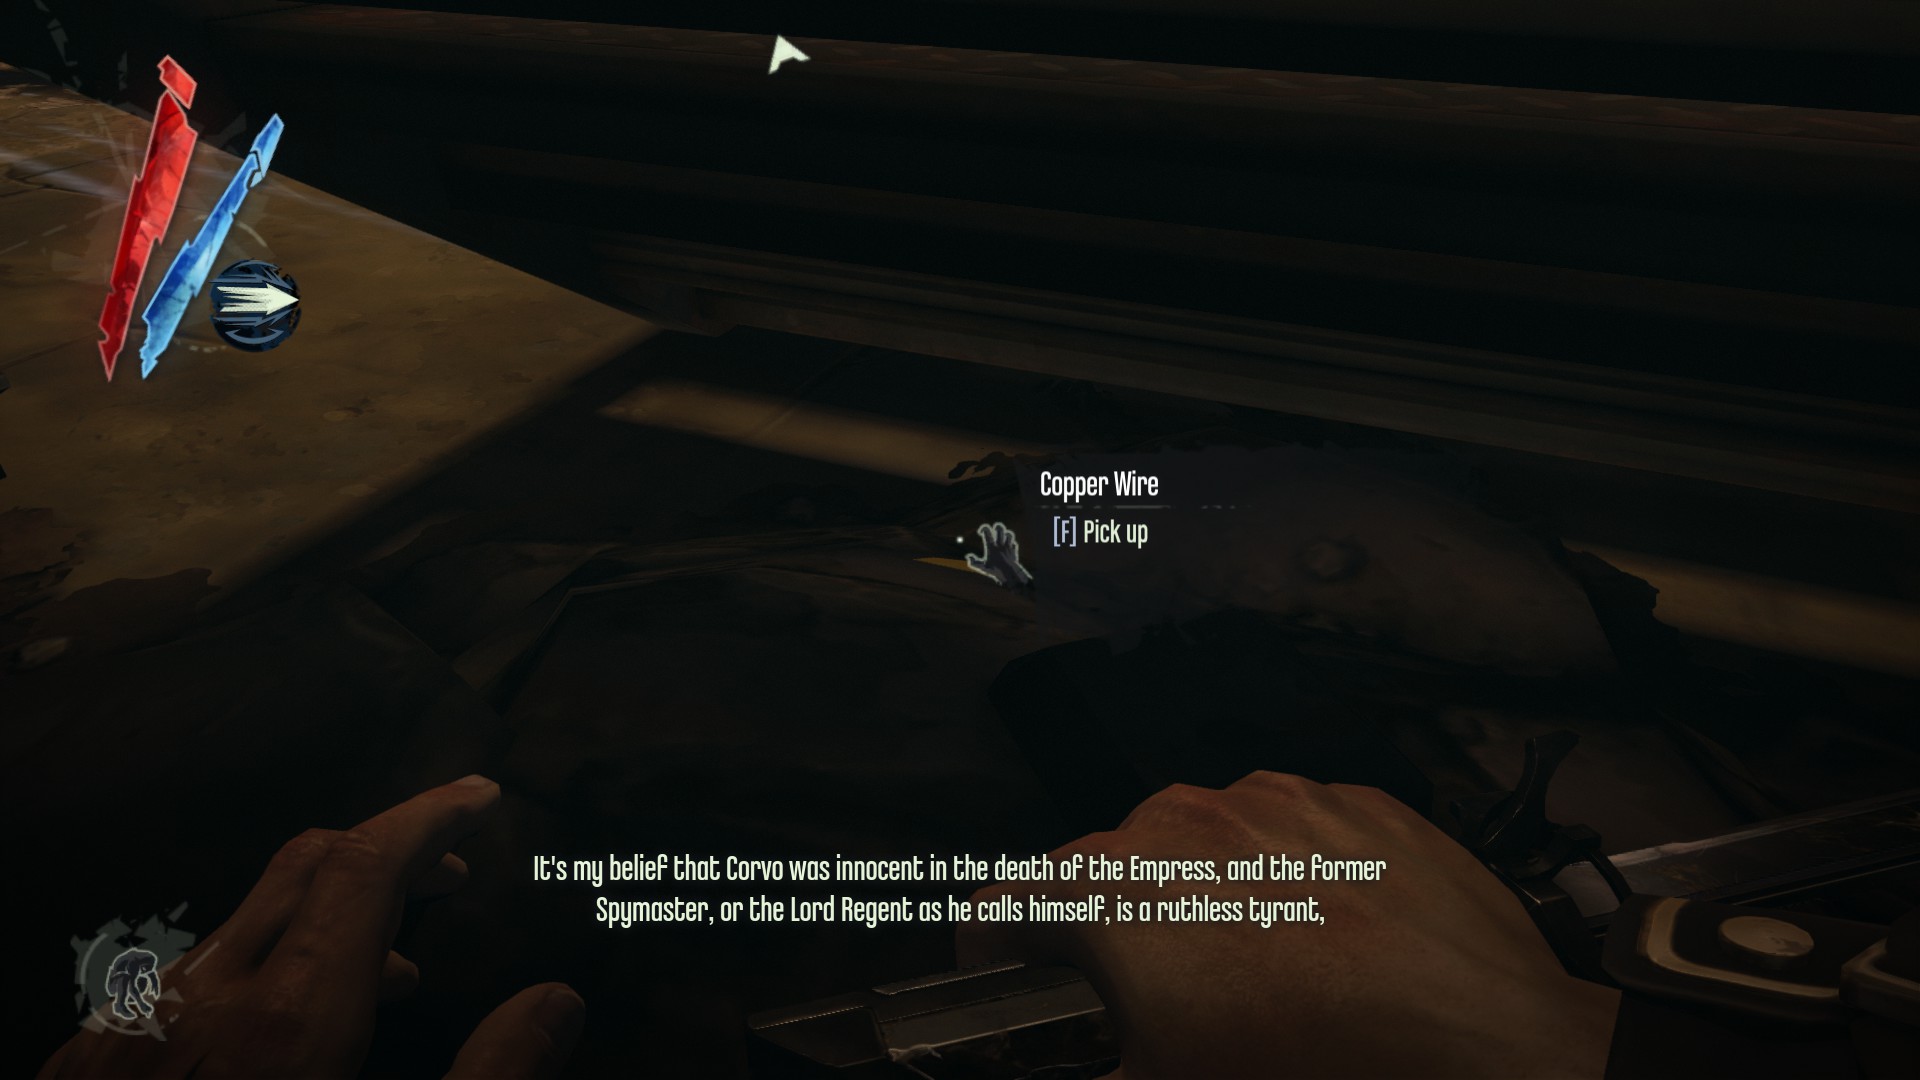
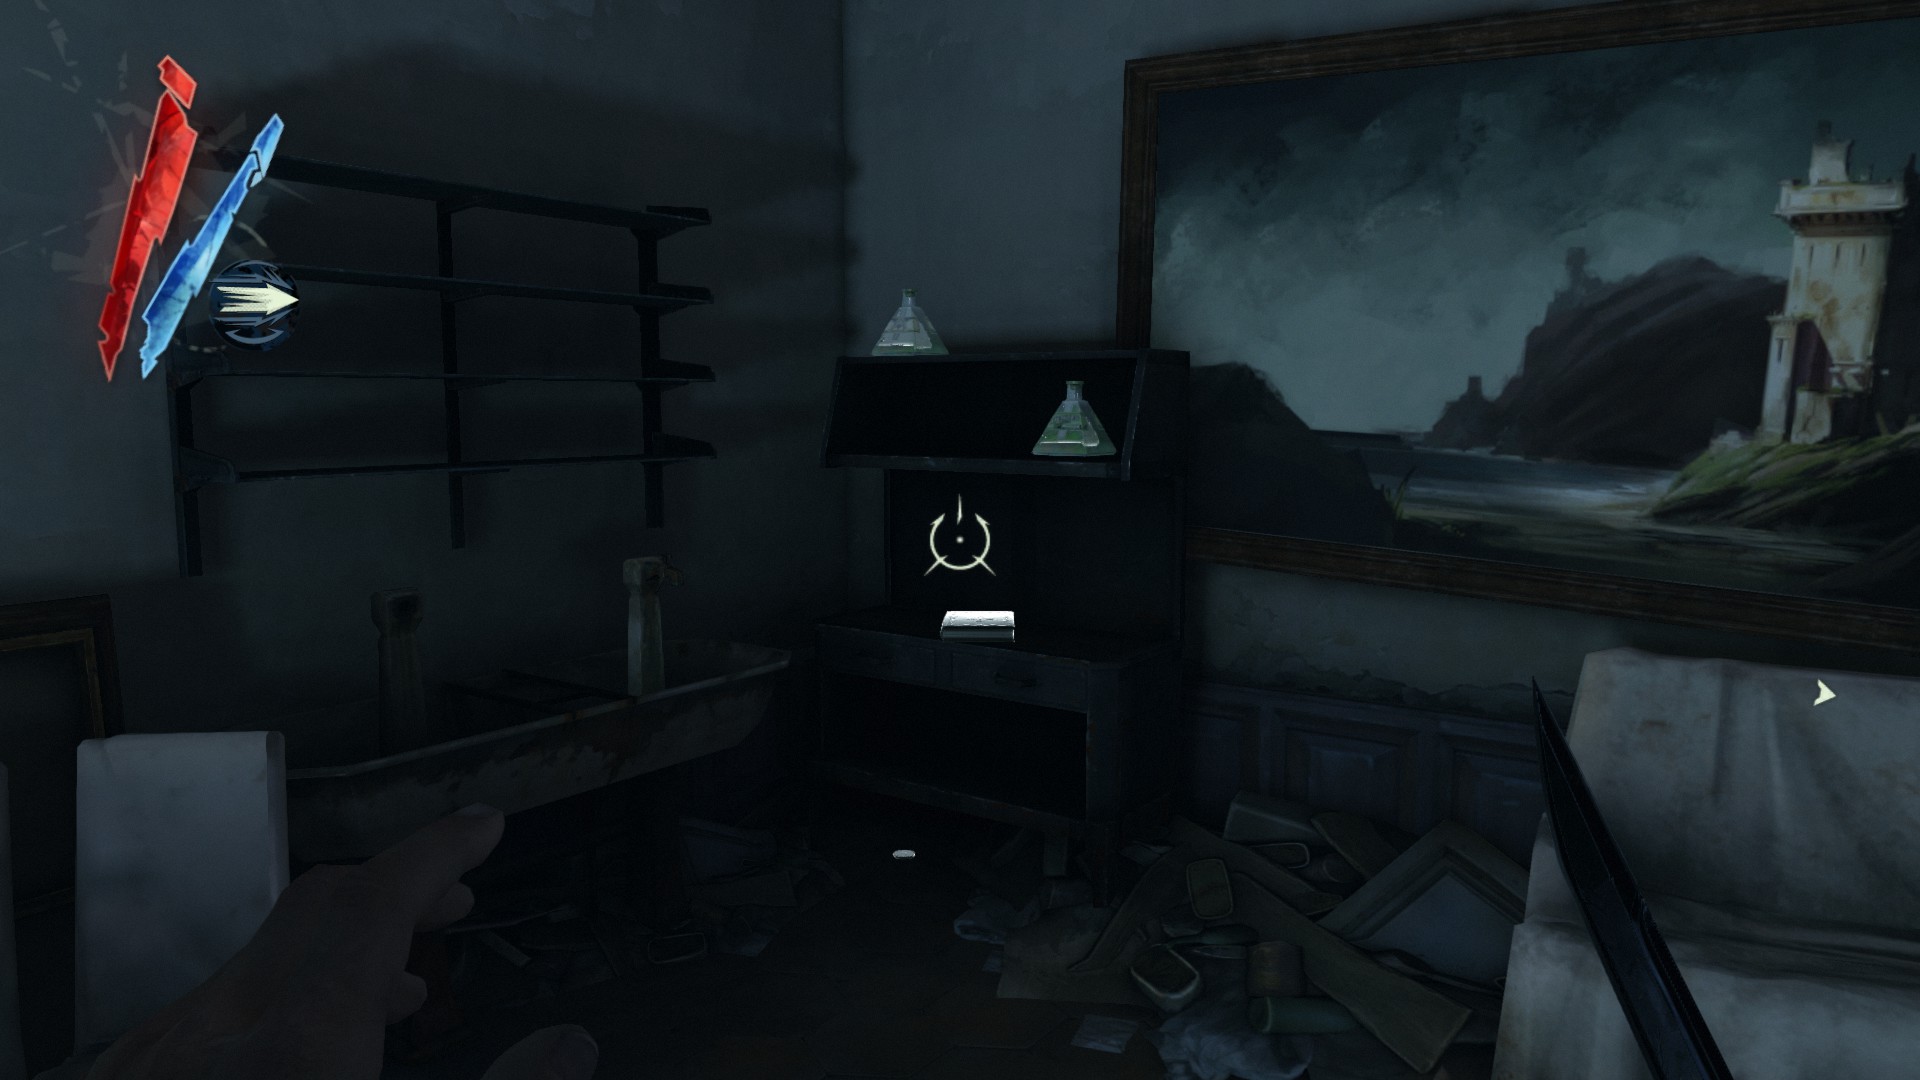
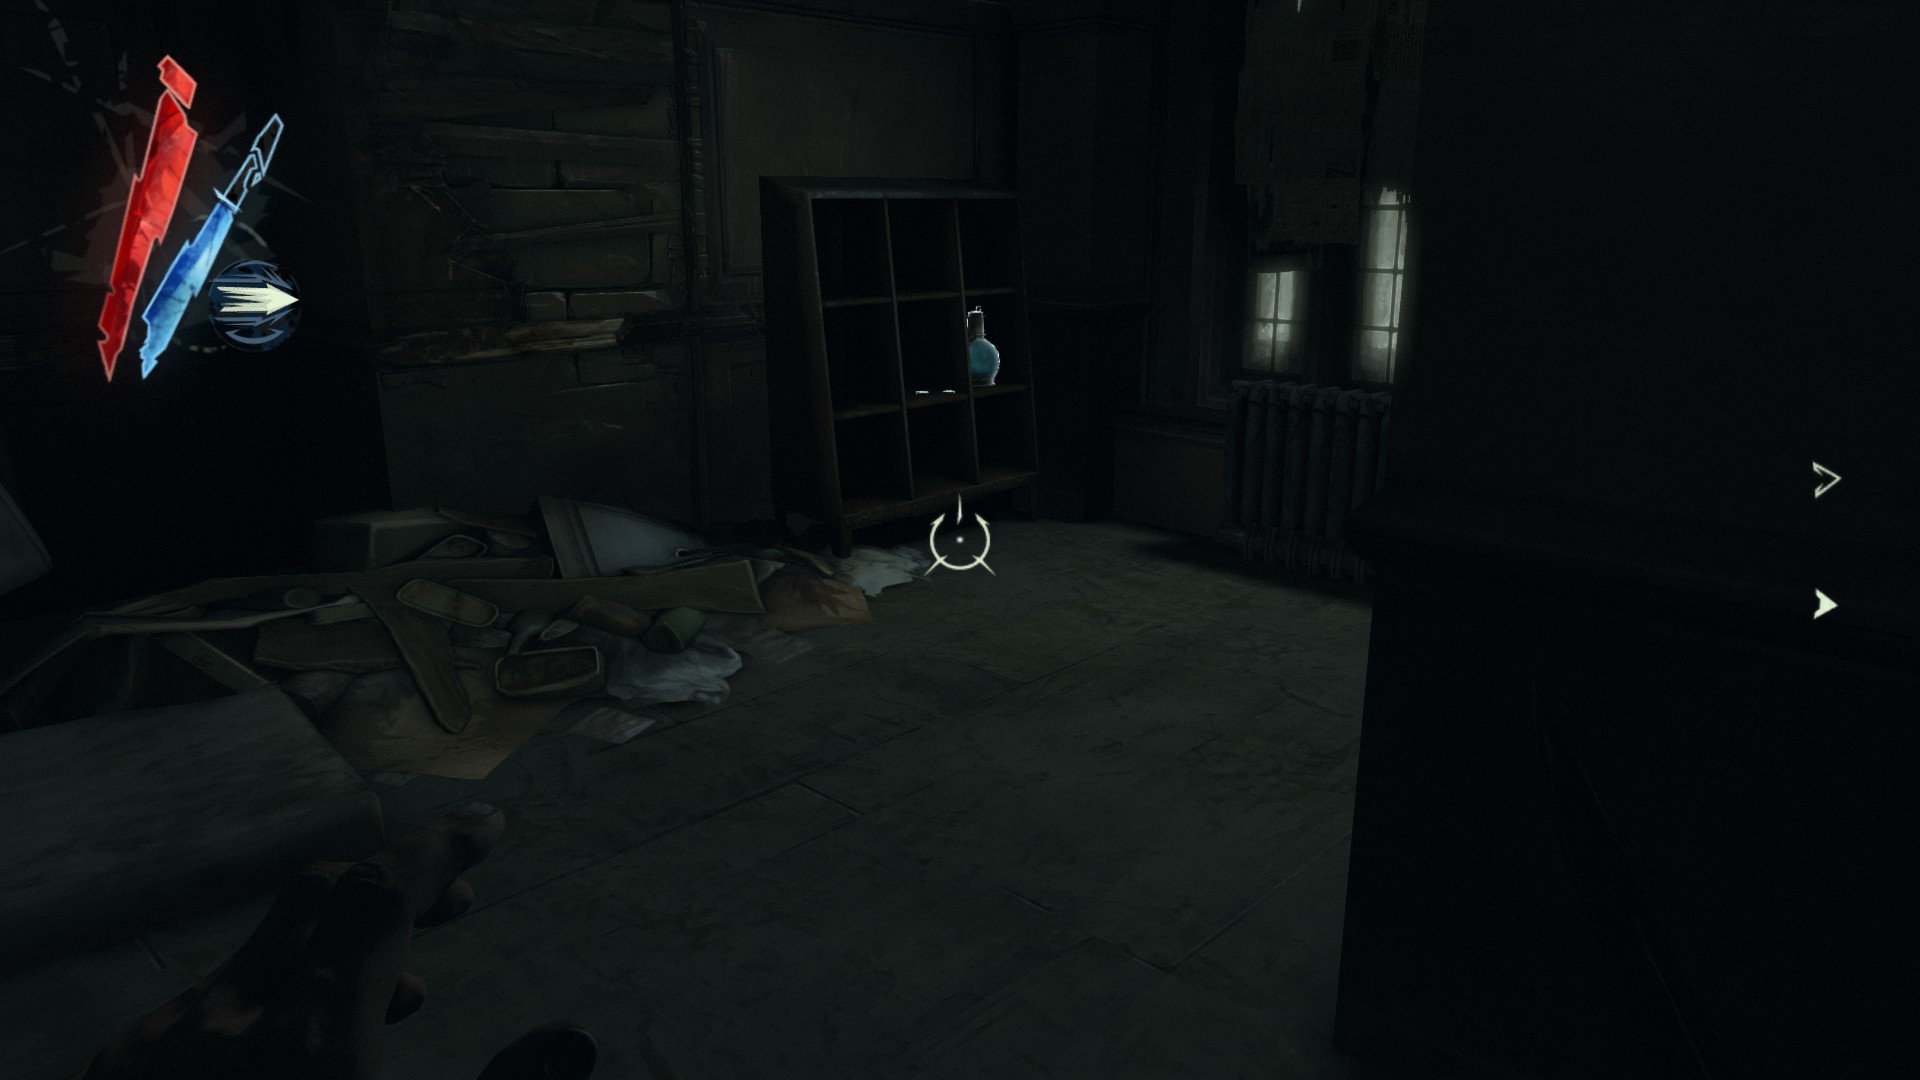
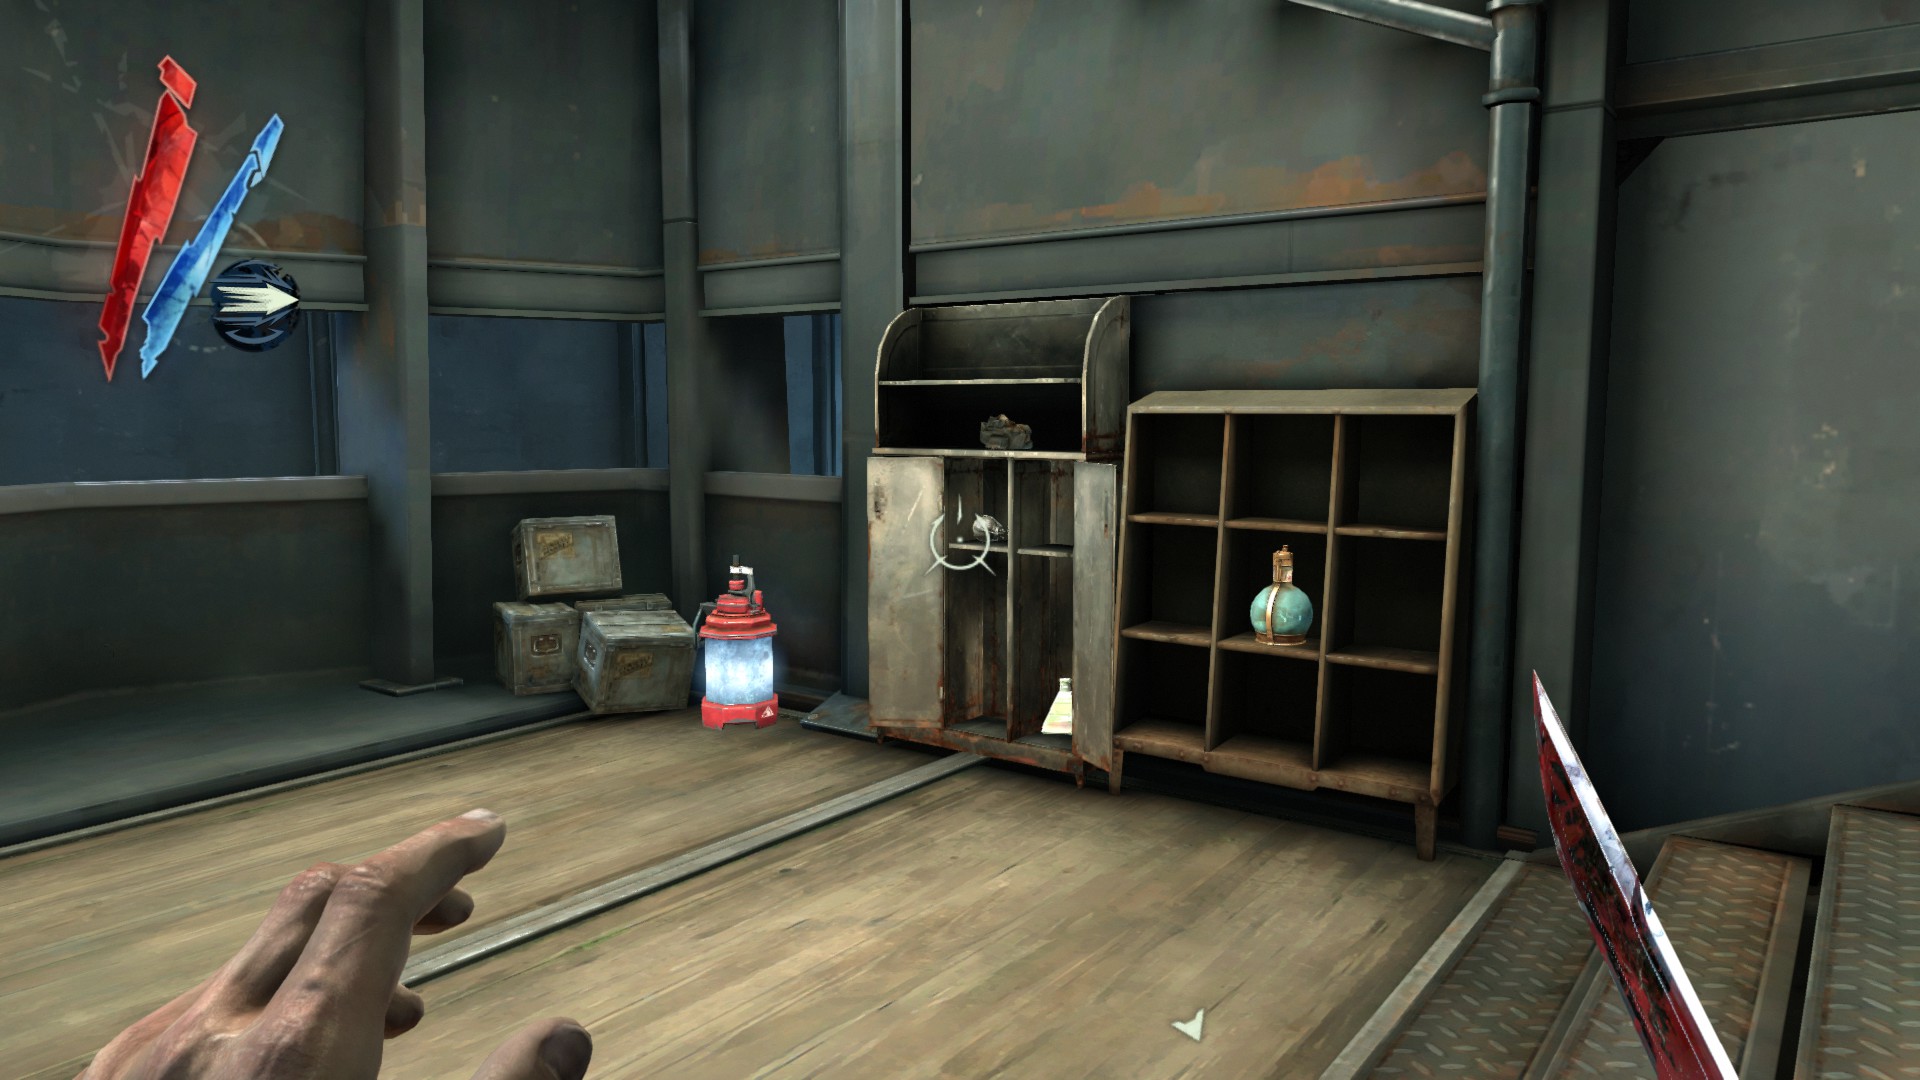
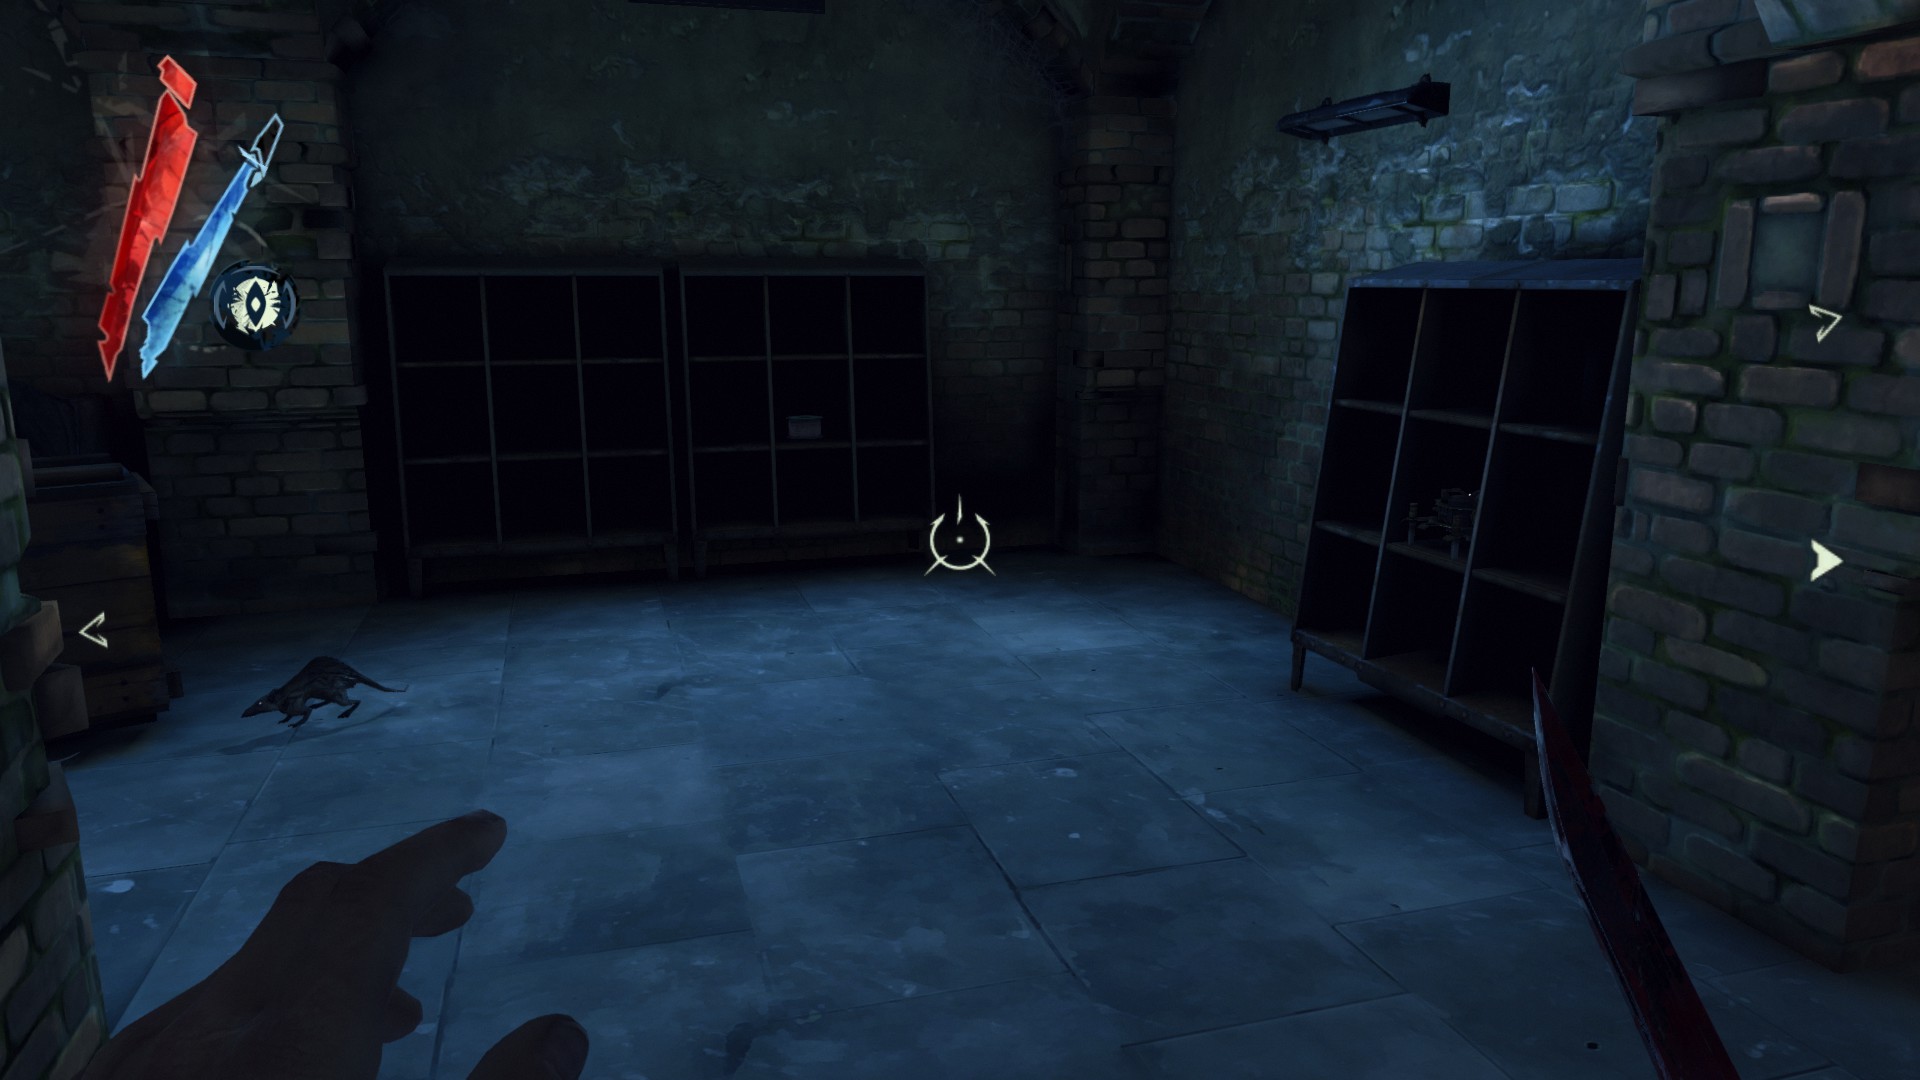
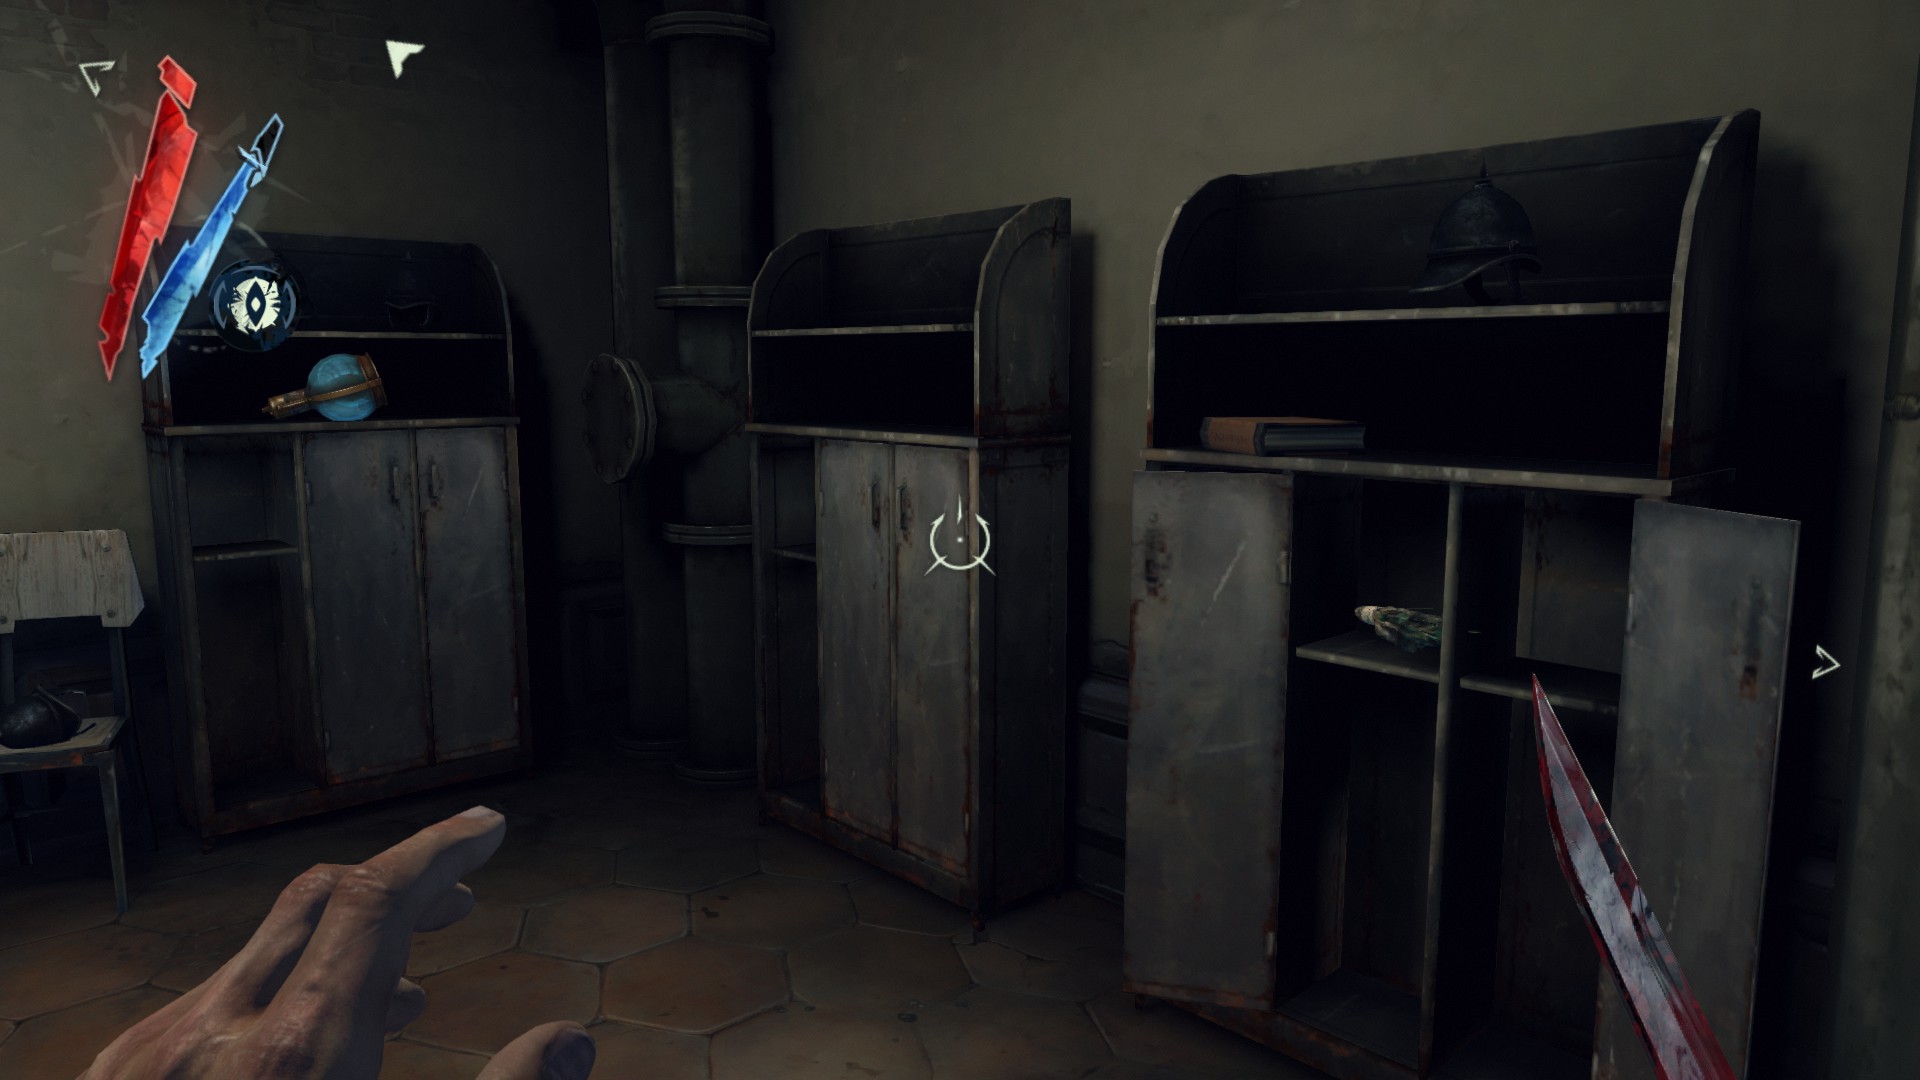
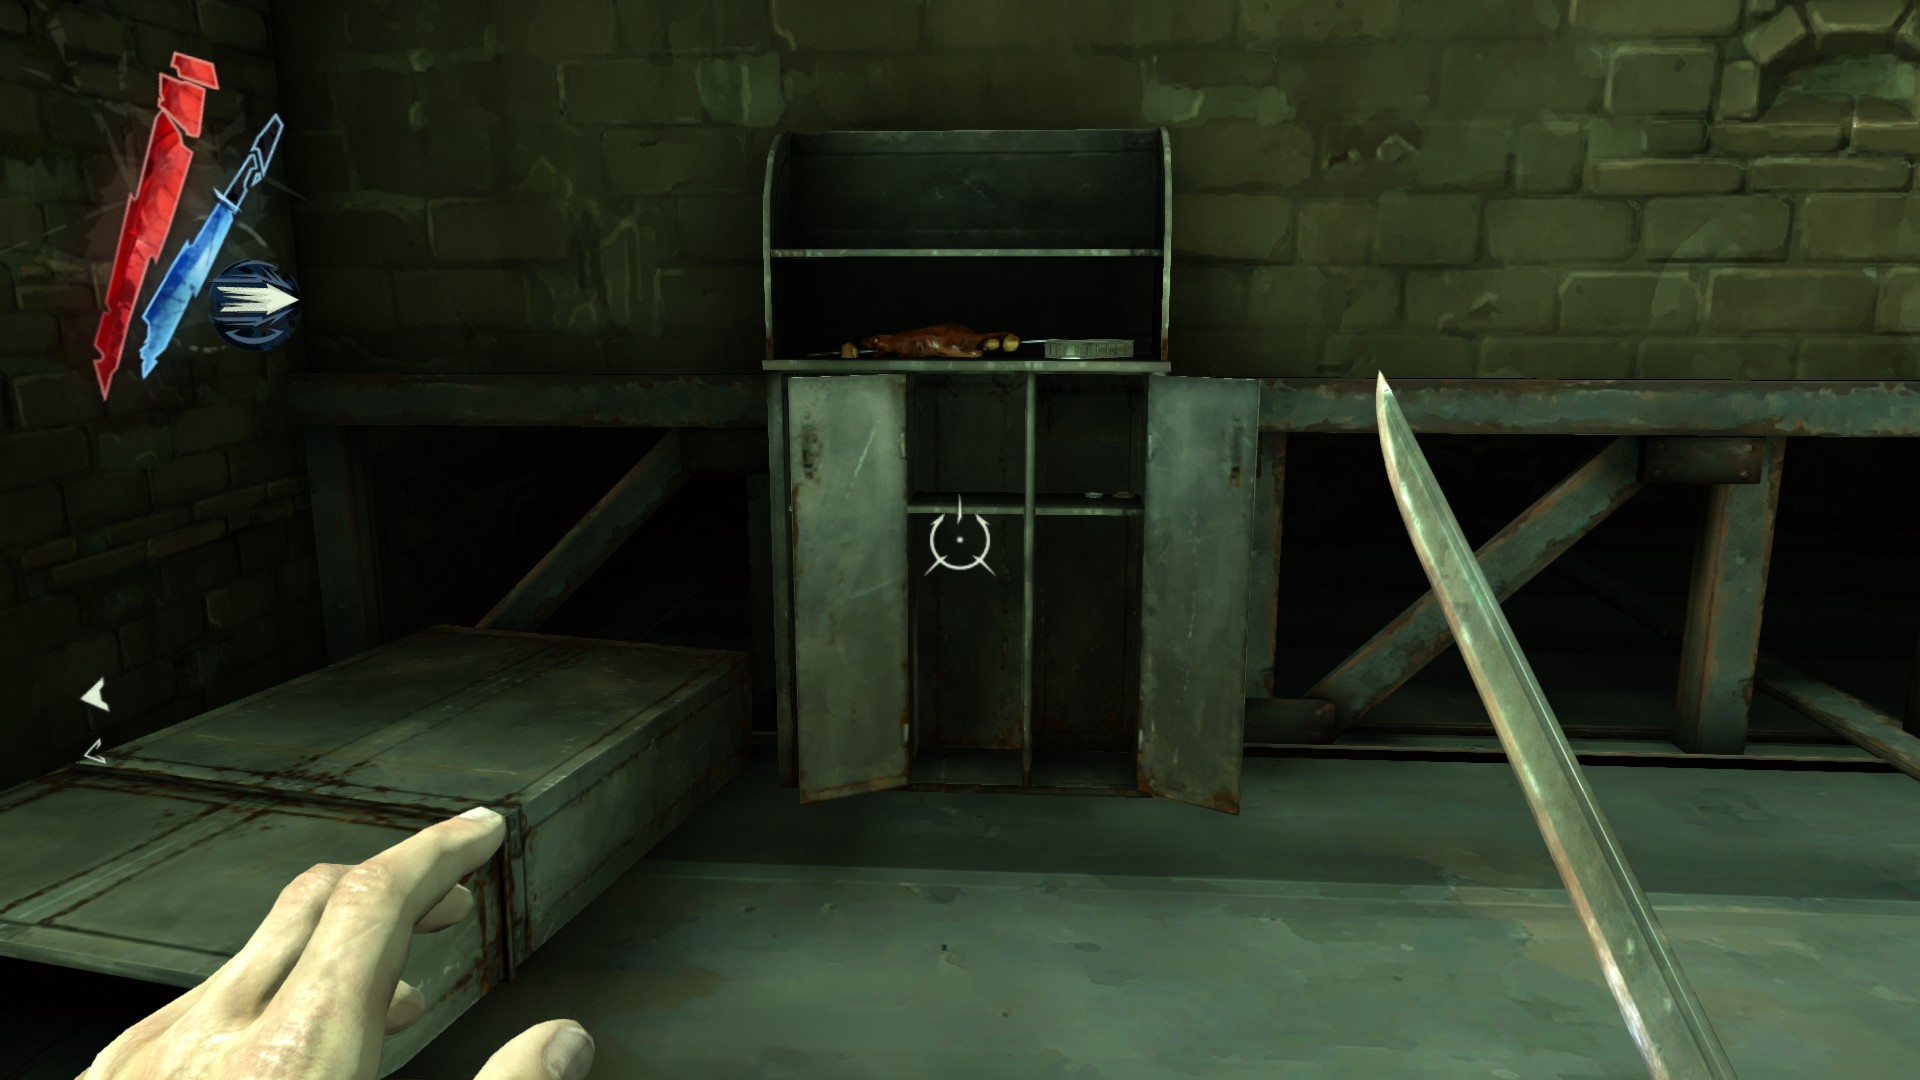
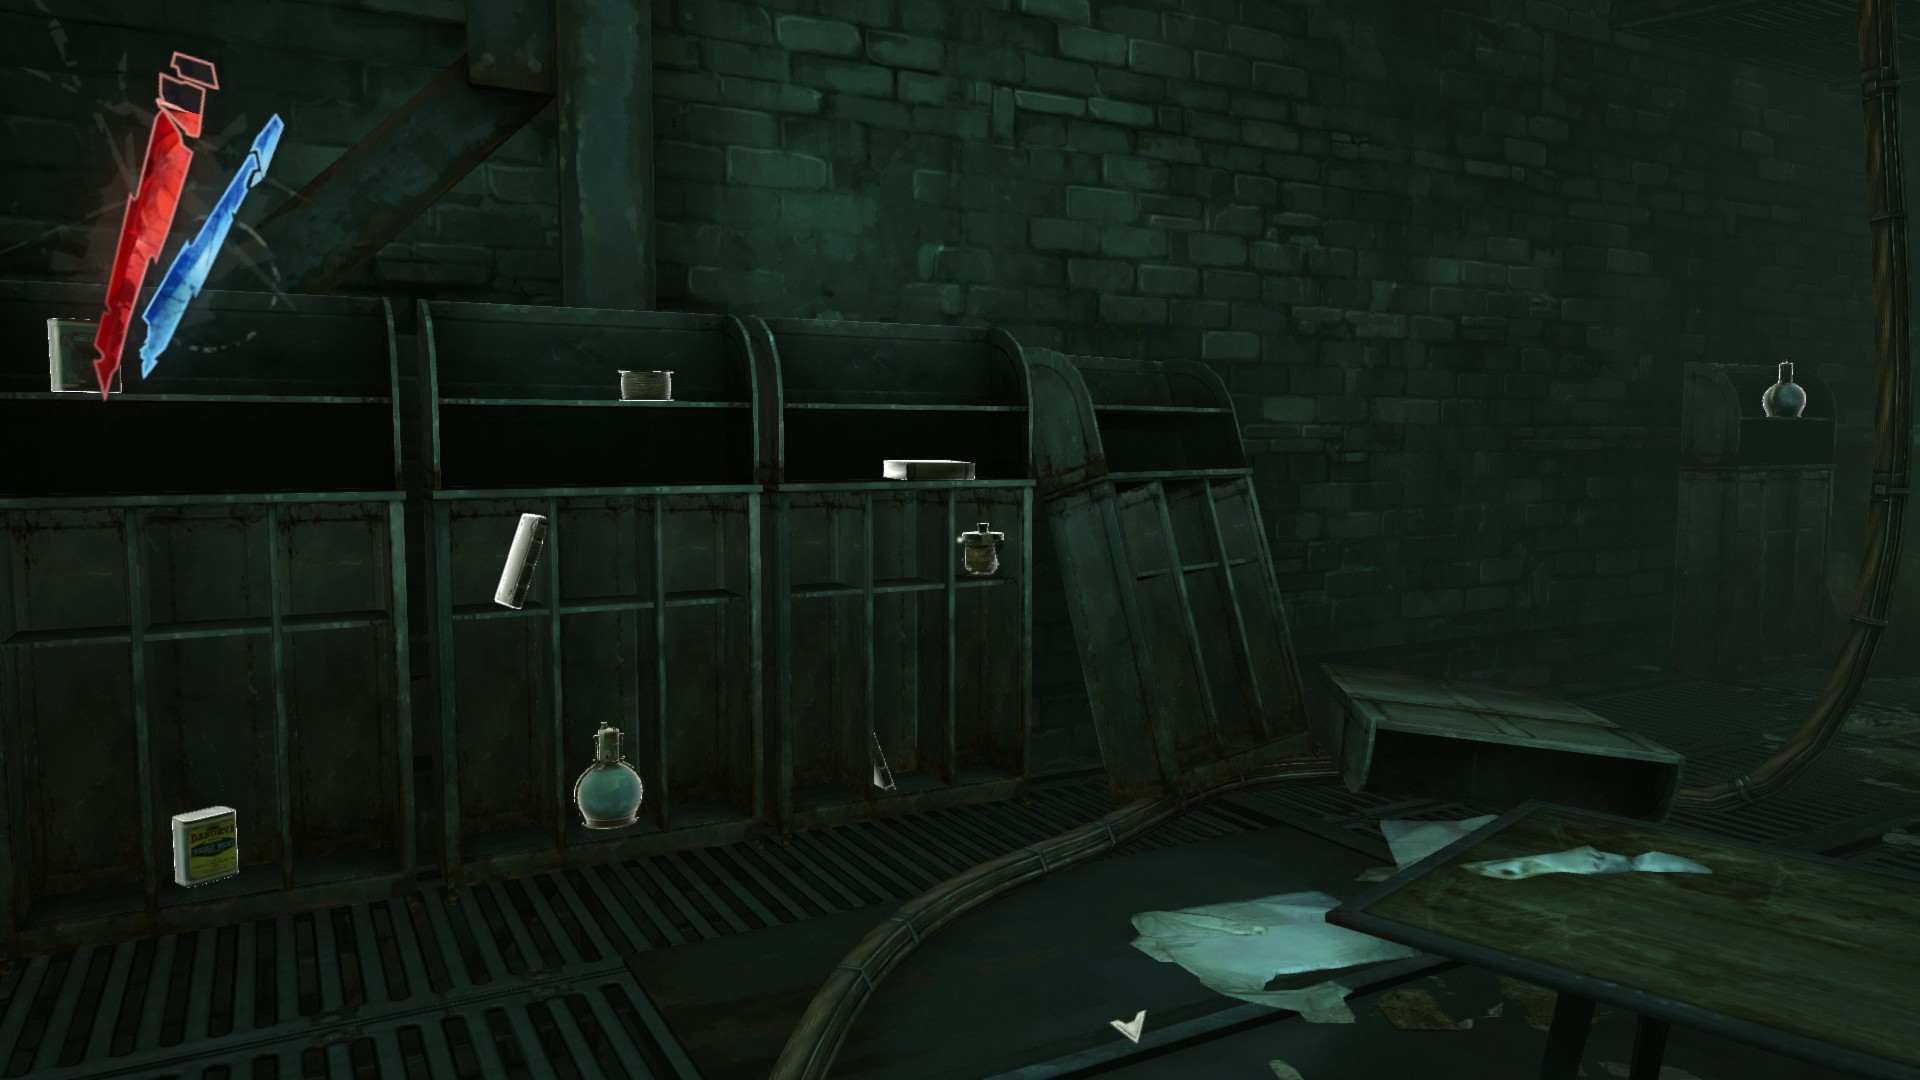
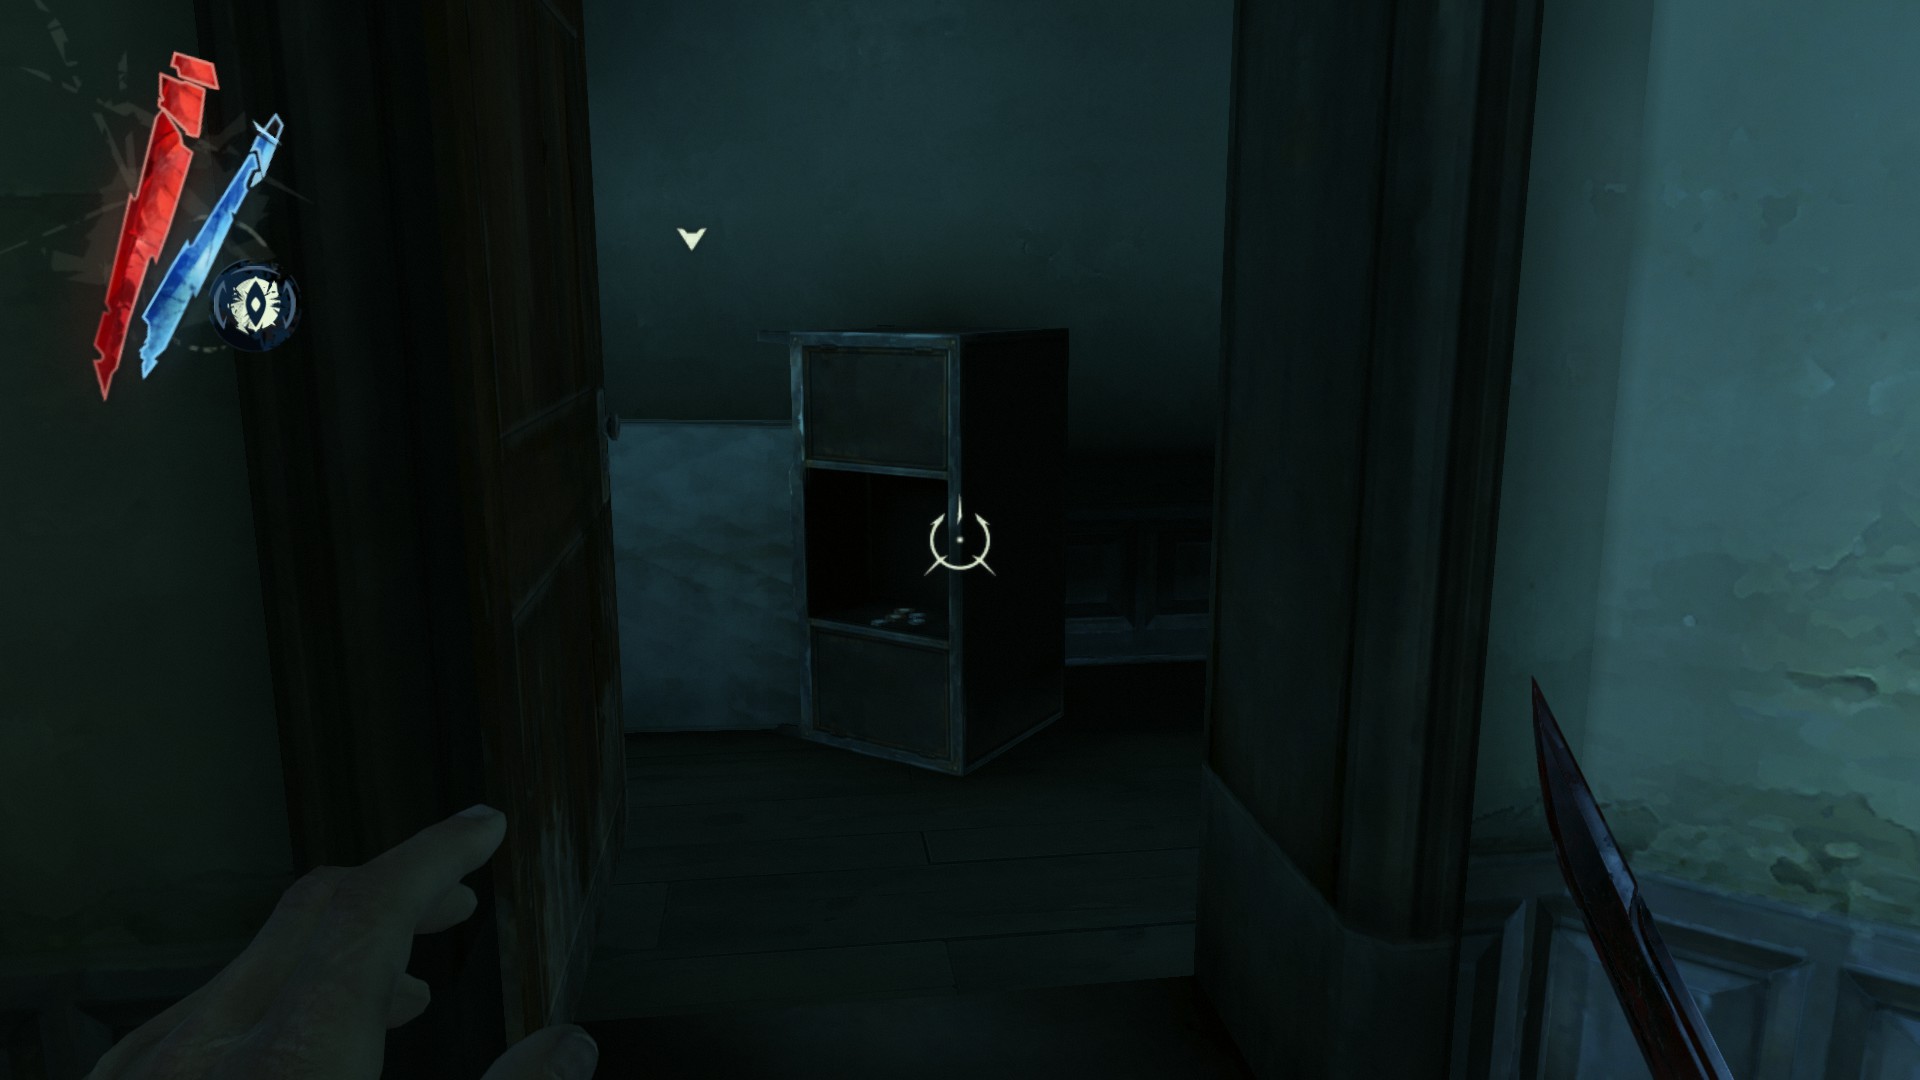
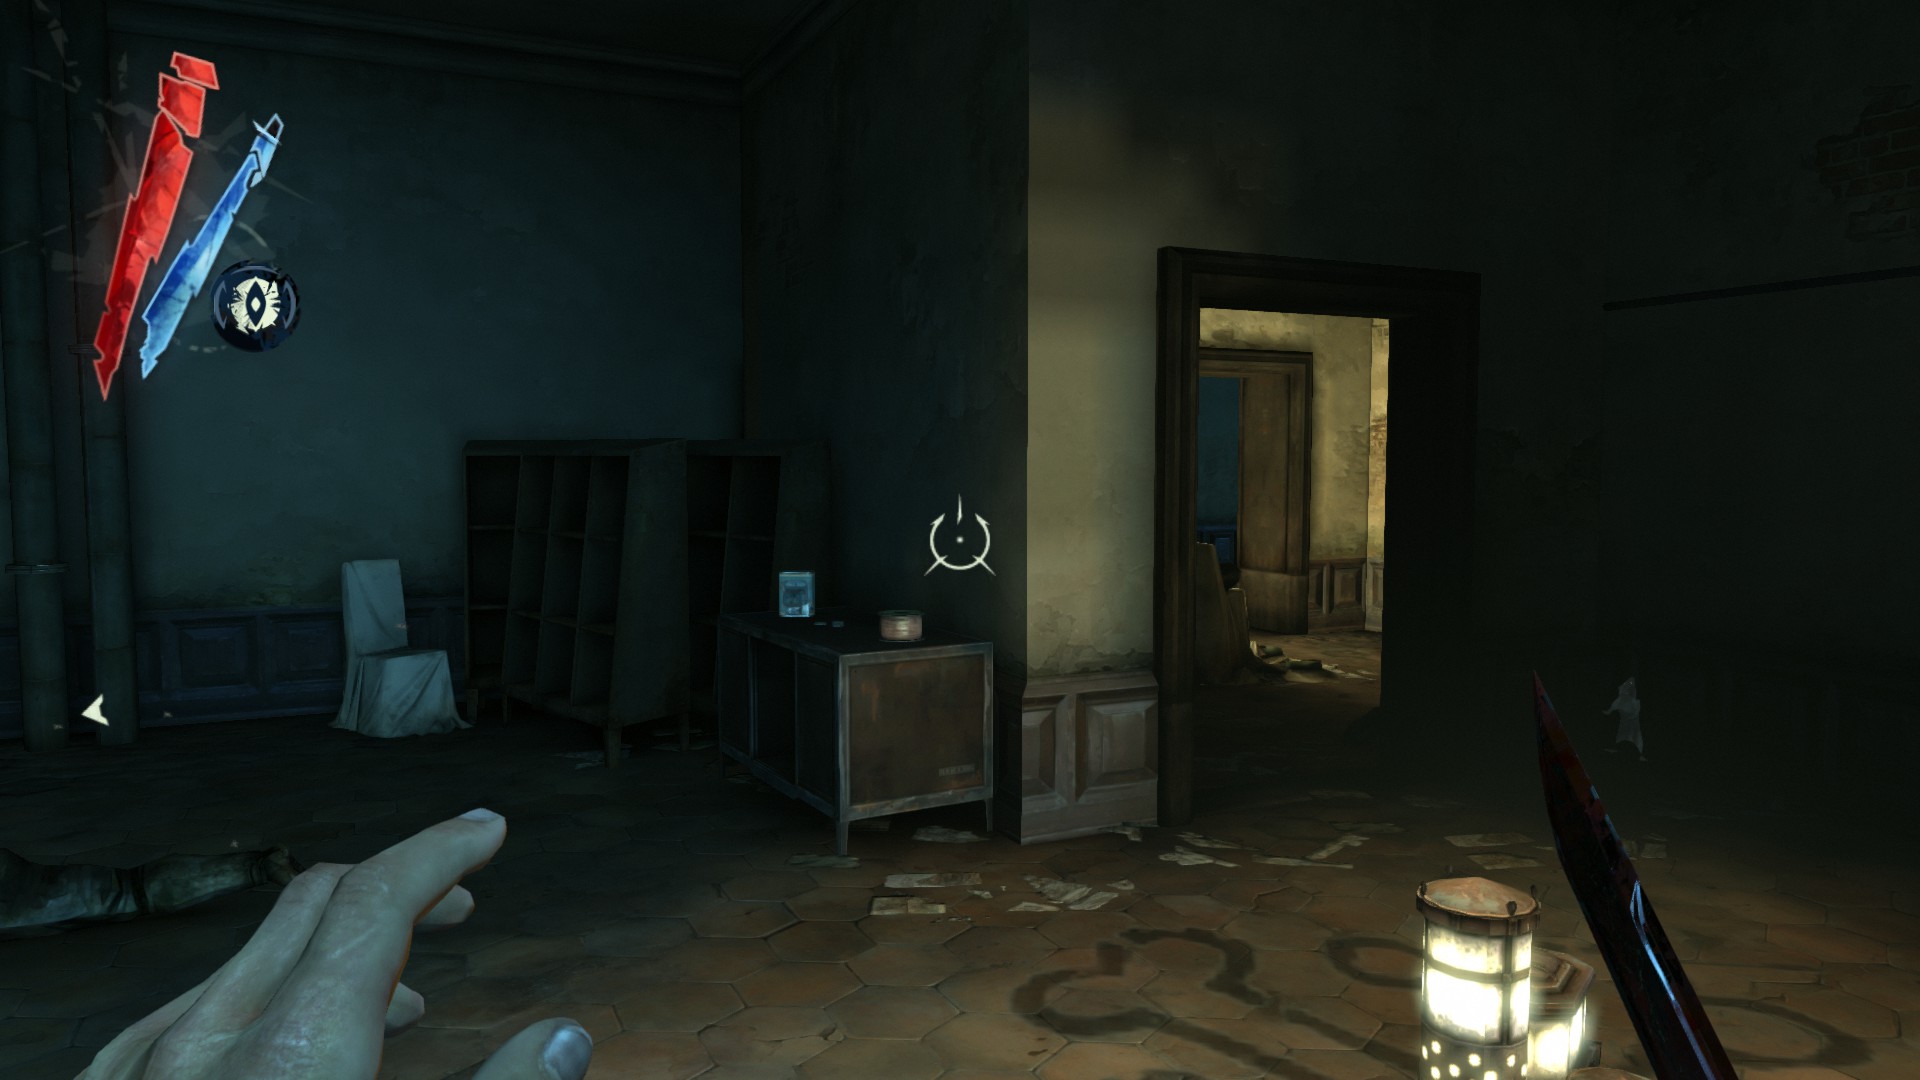
Climb up the chain to the next area. Turn around, you'll find a copper wire and a coin on a cabinet, and 2 coins and another copper wire on a shelf.
(+31 -> 462/1010)
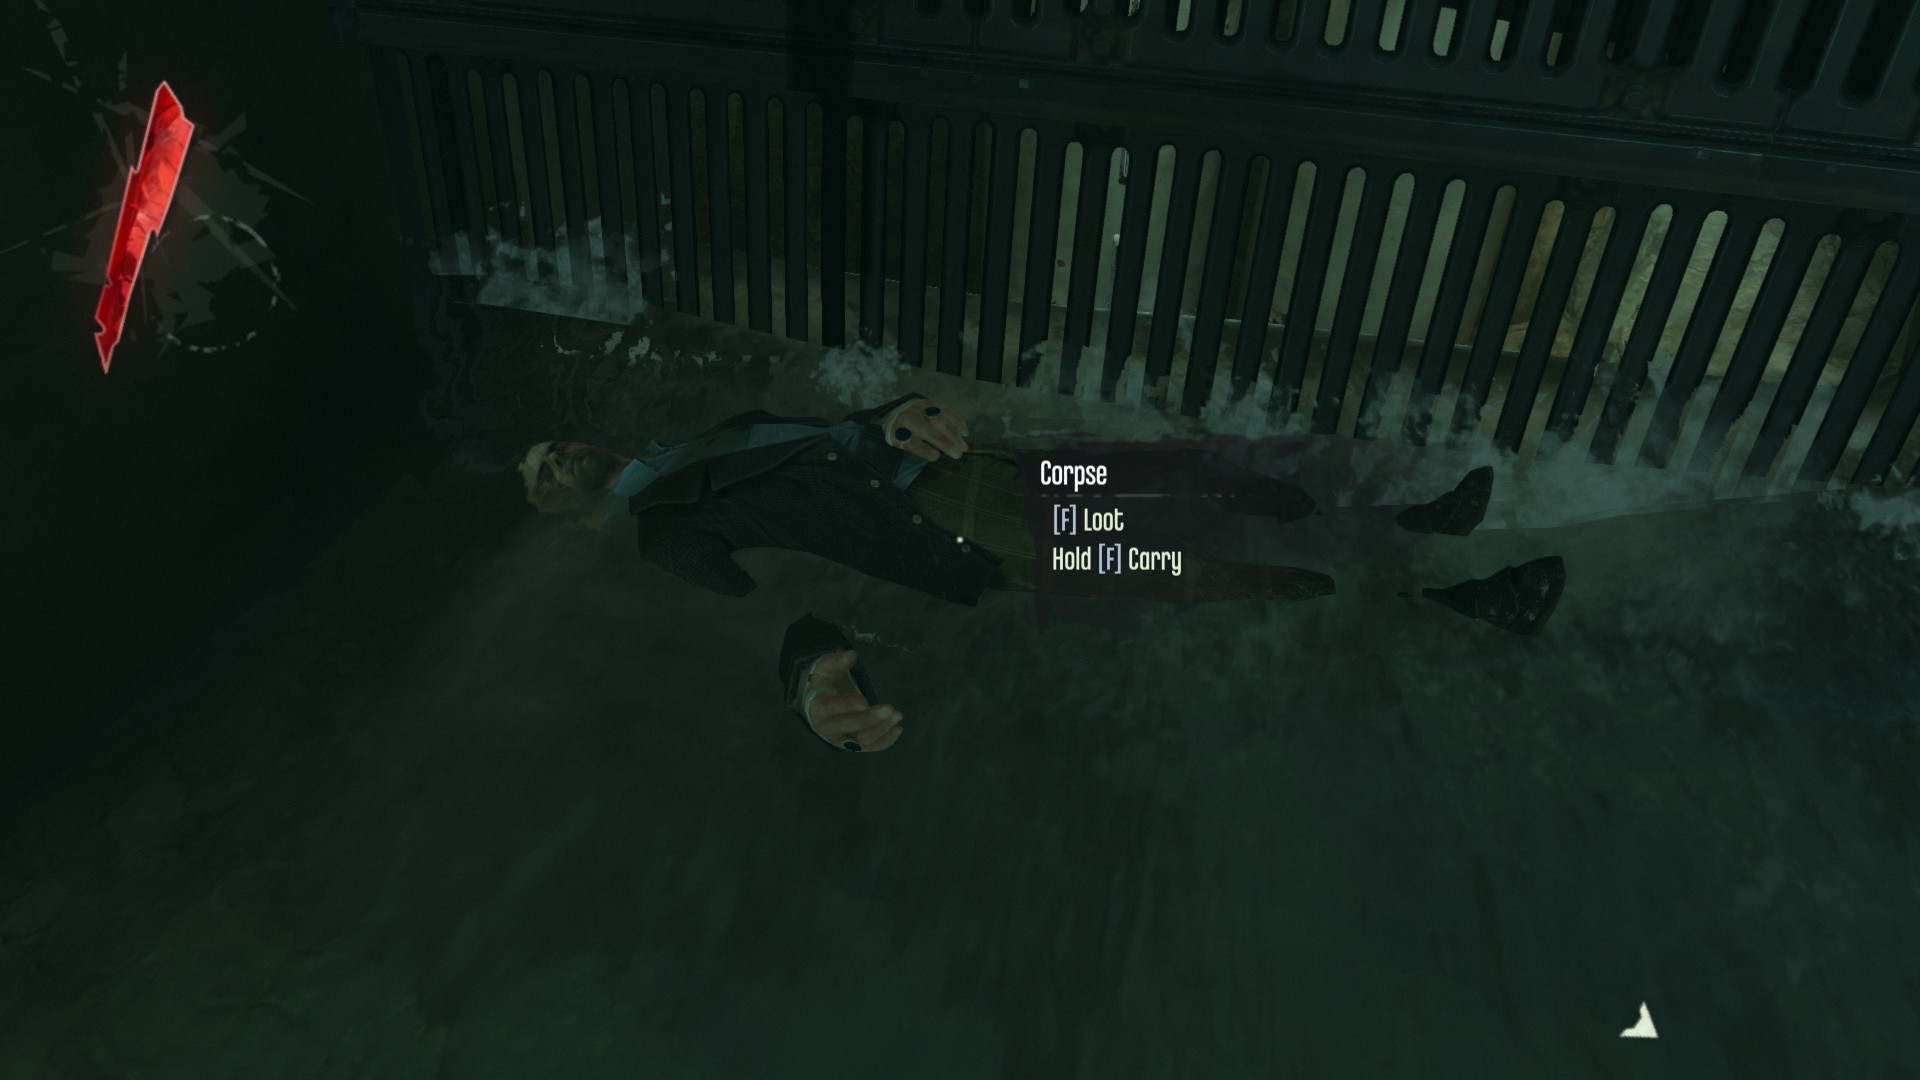
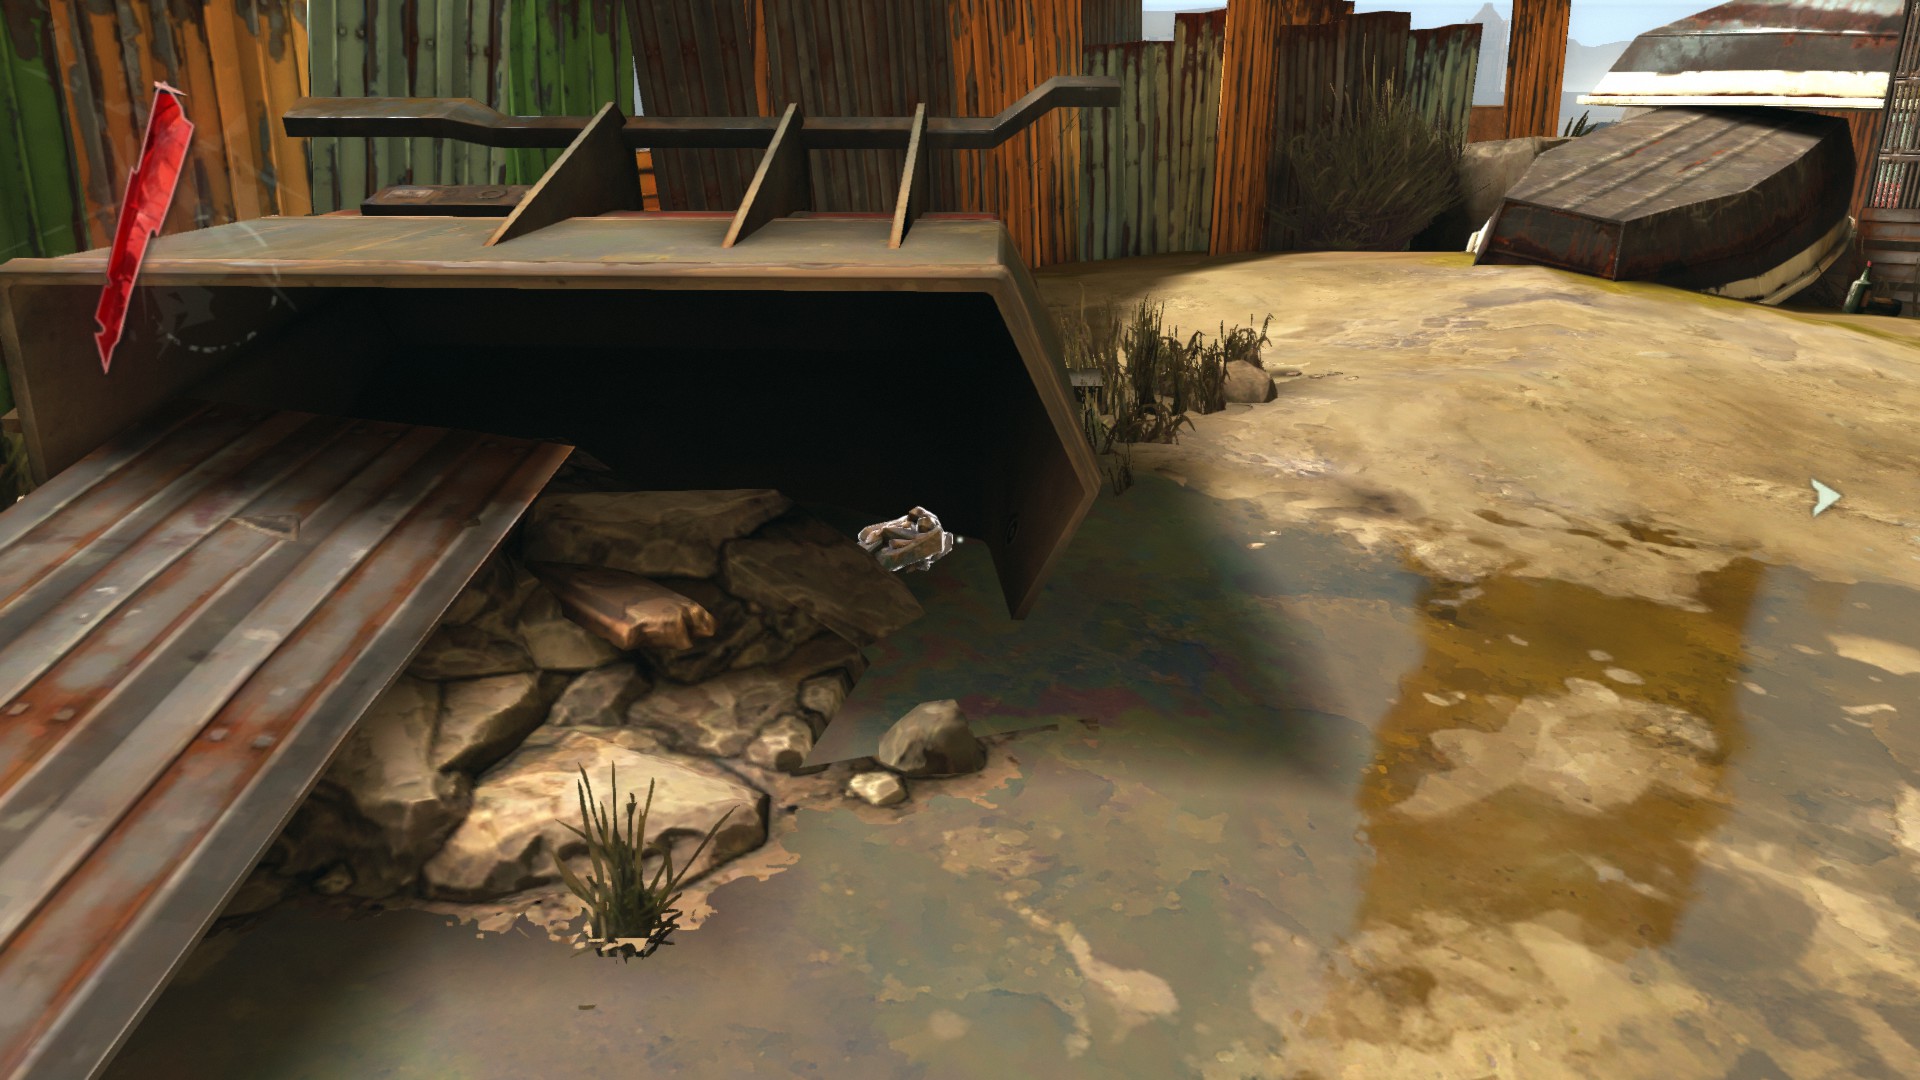
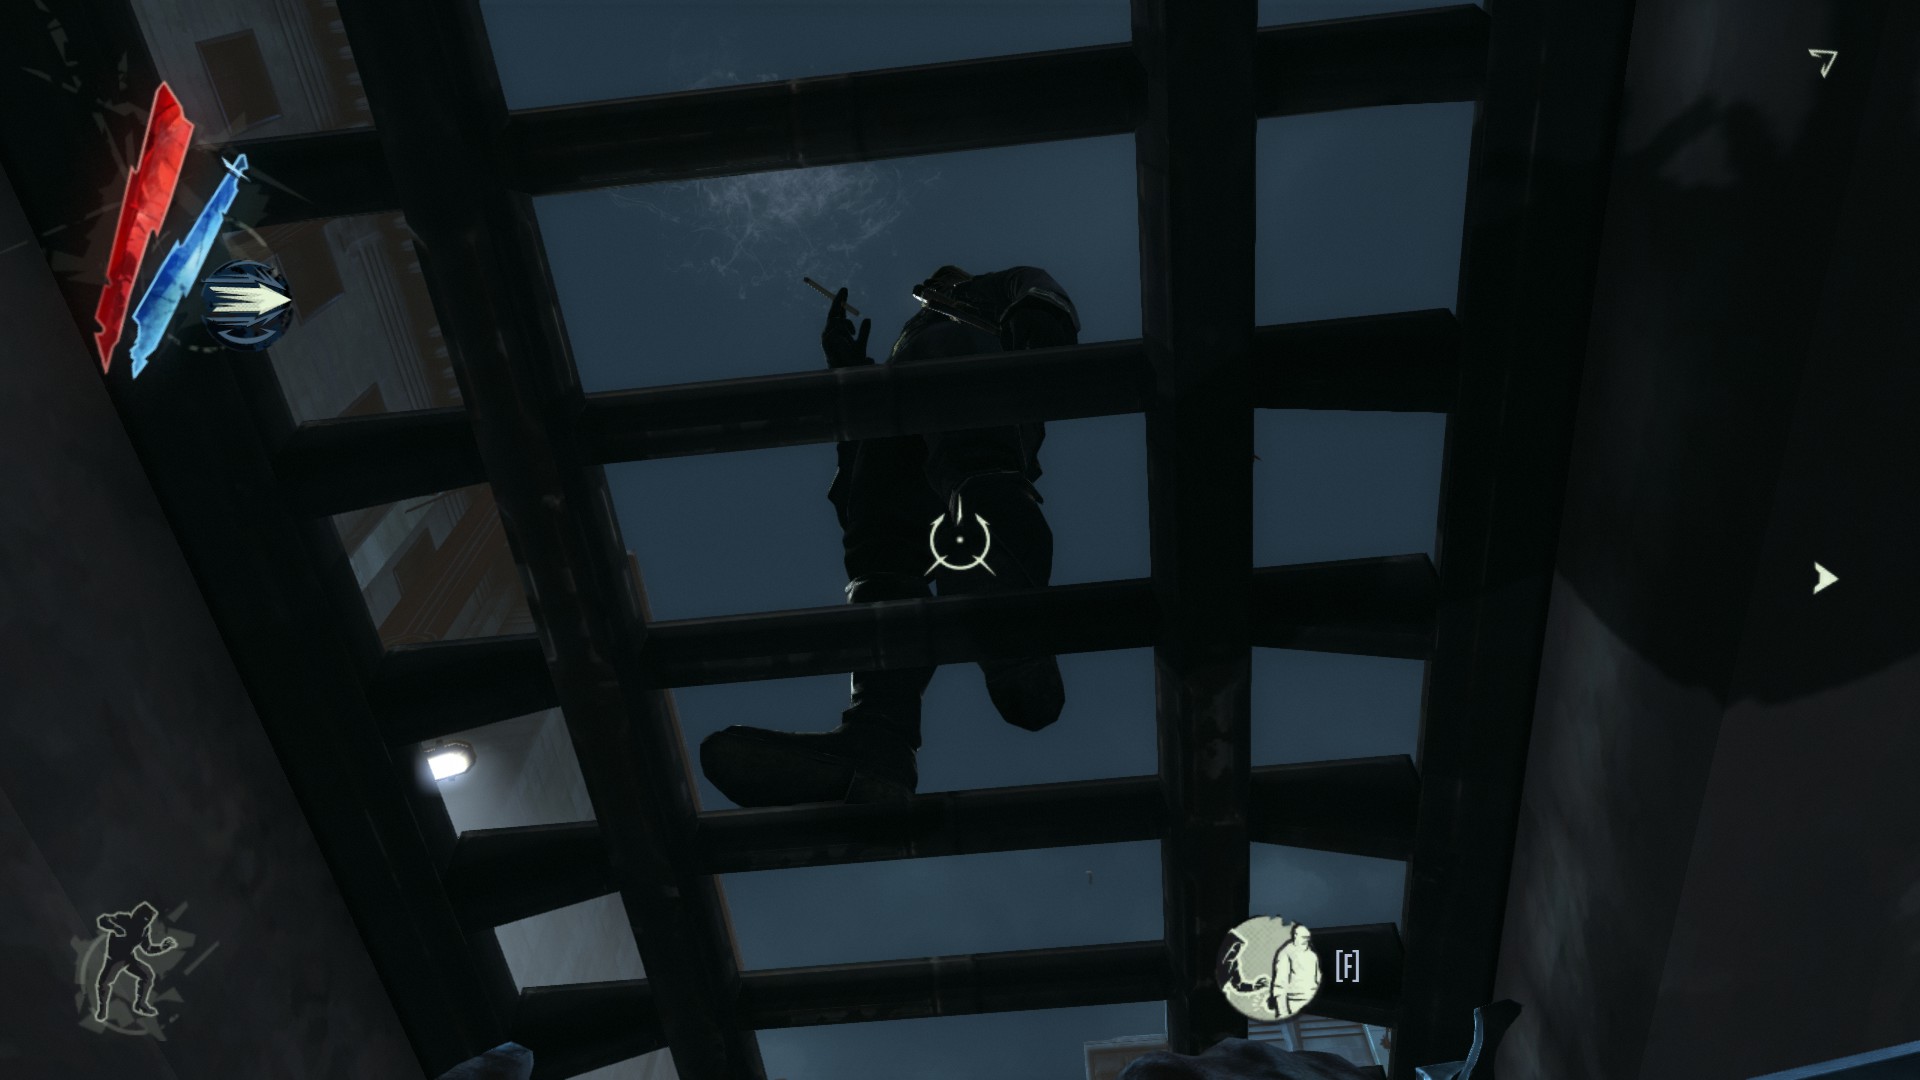
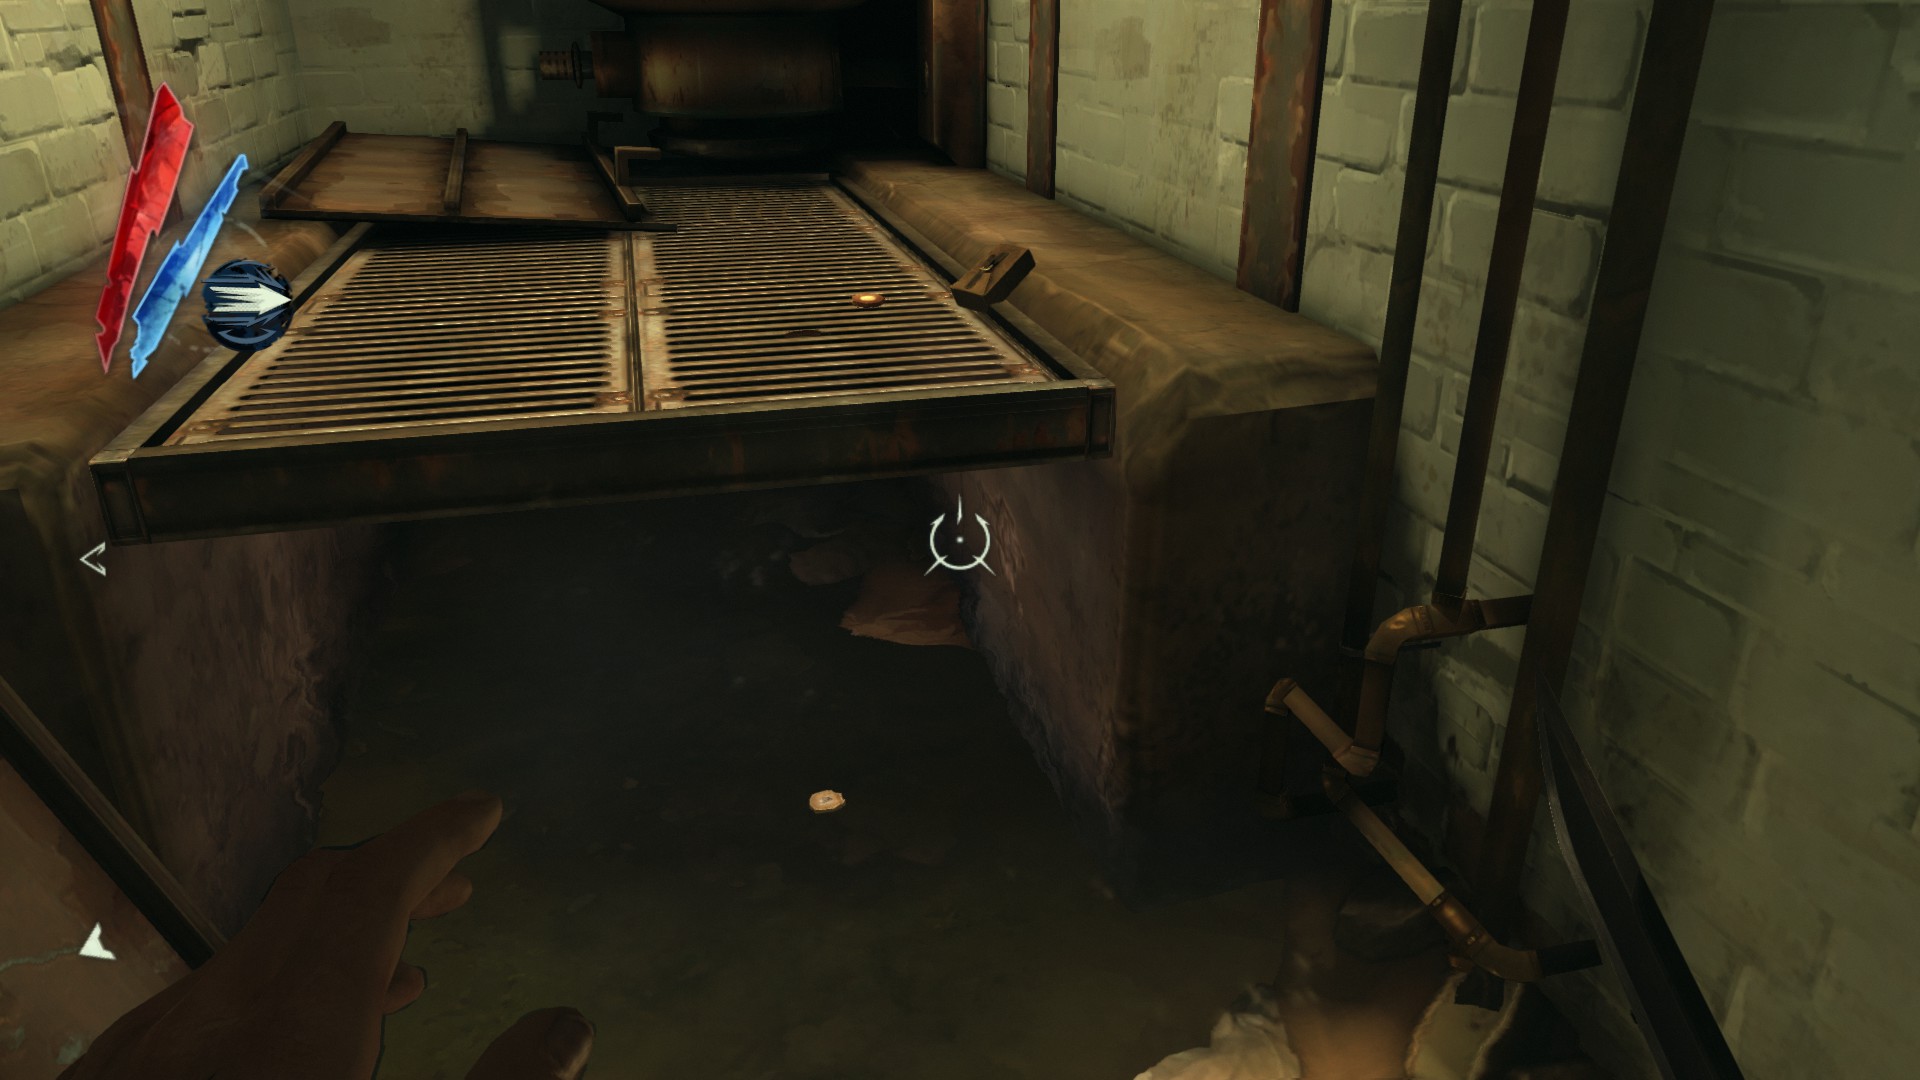
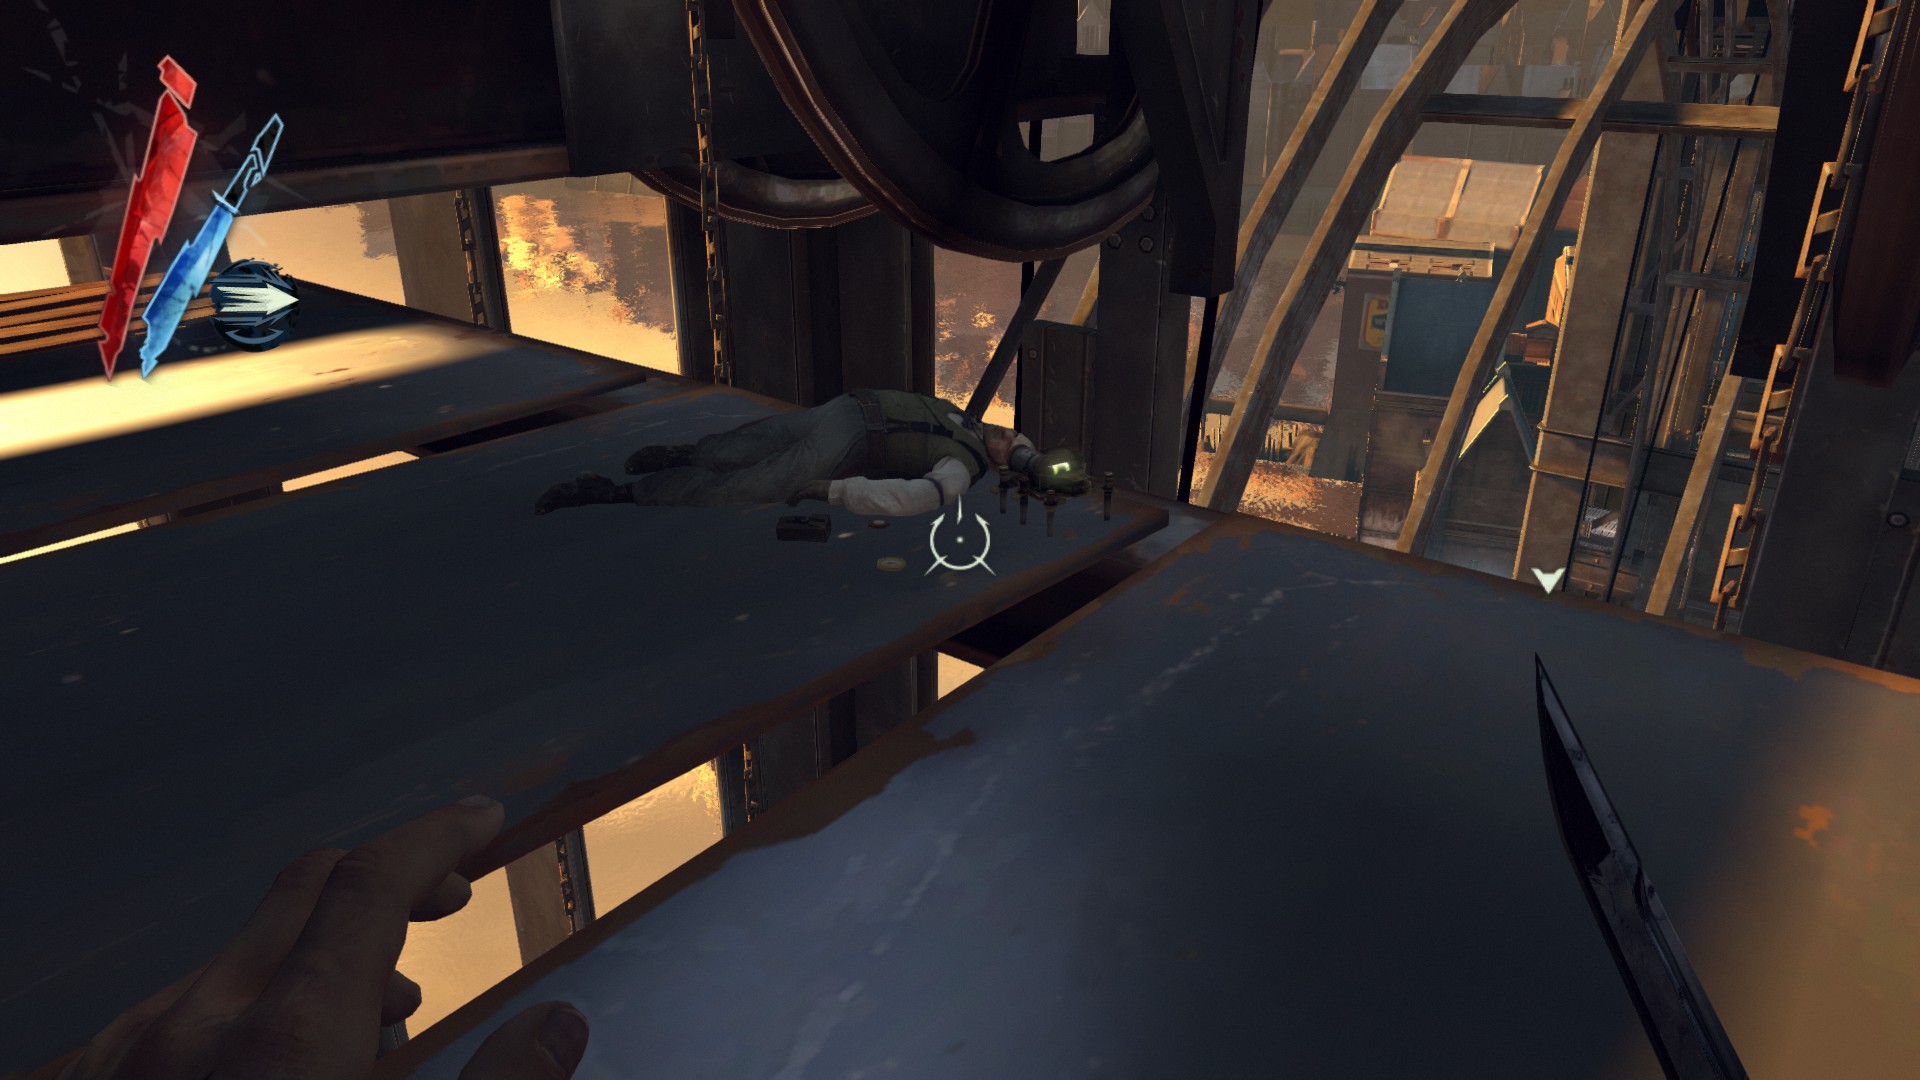
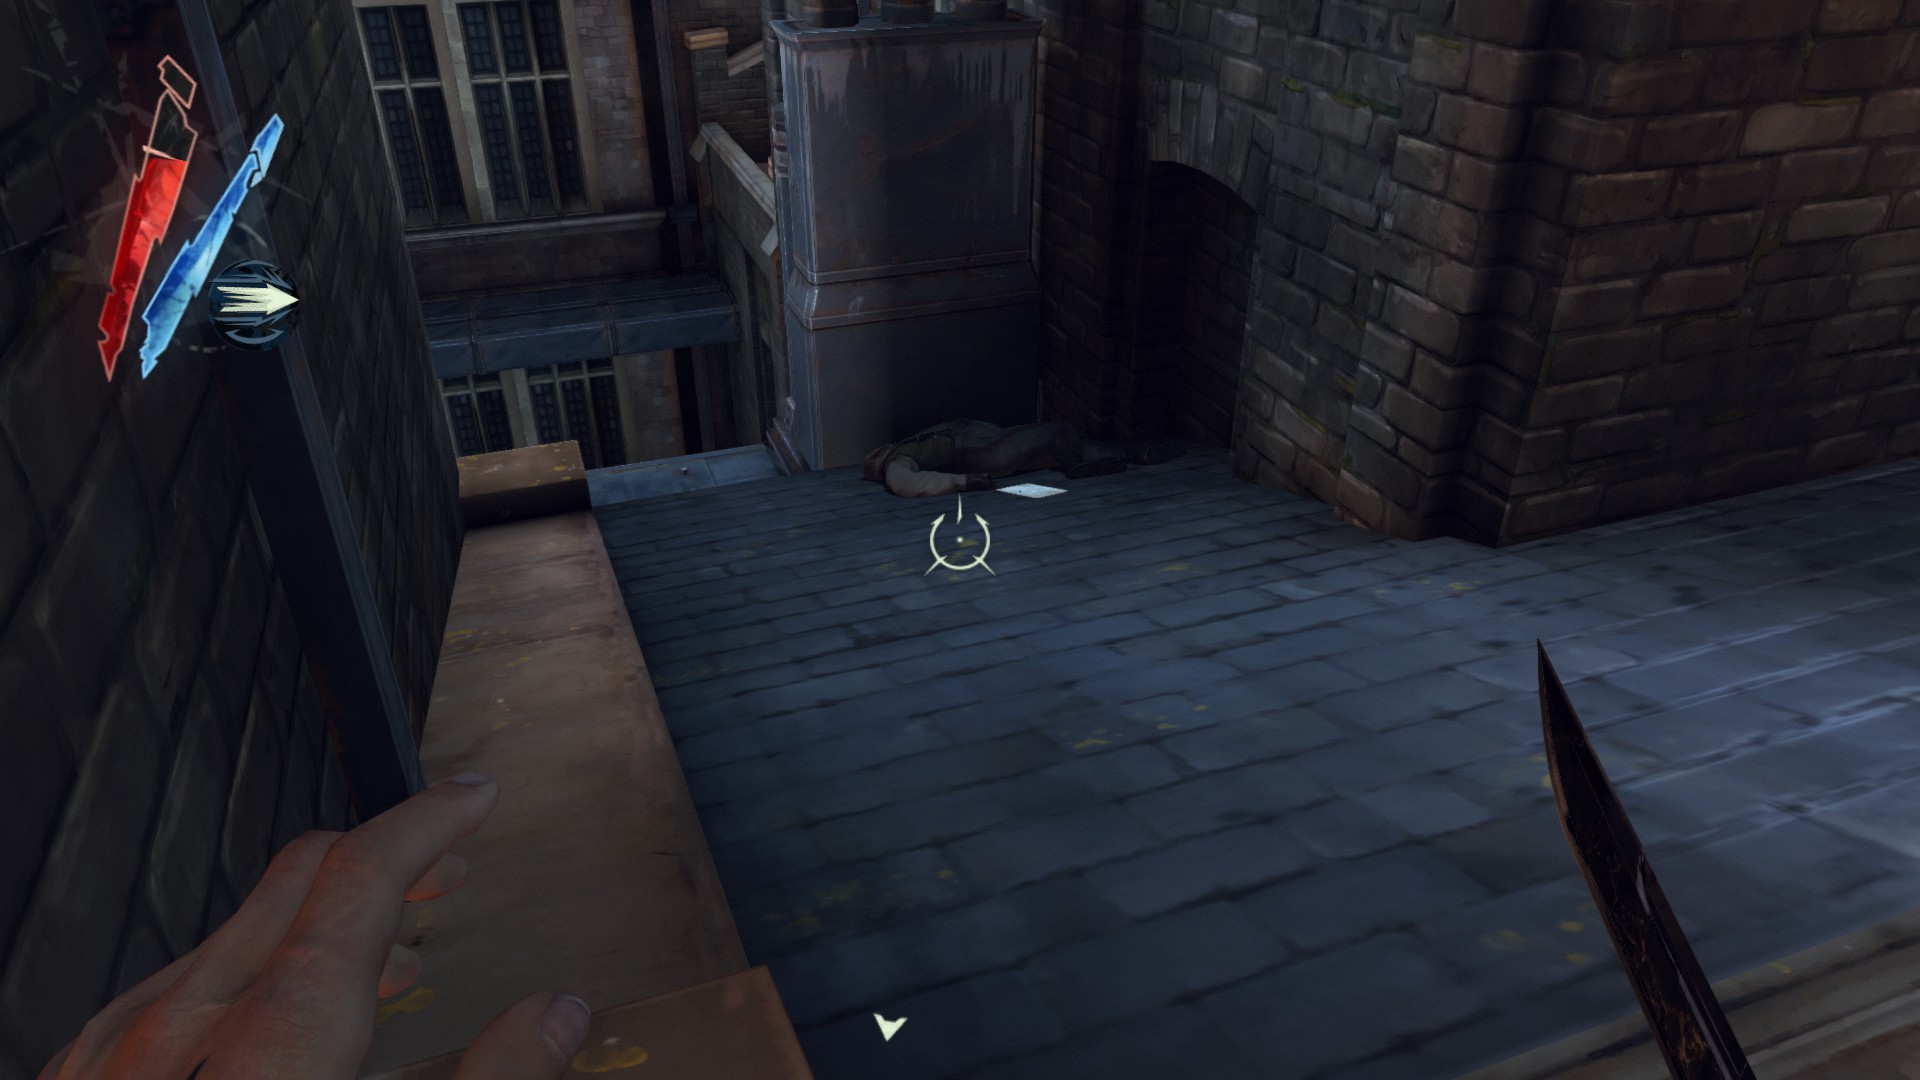
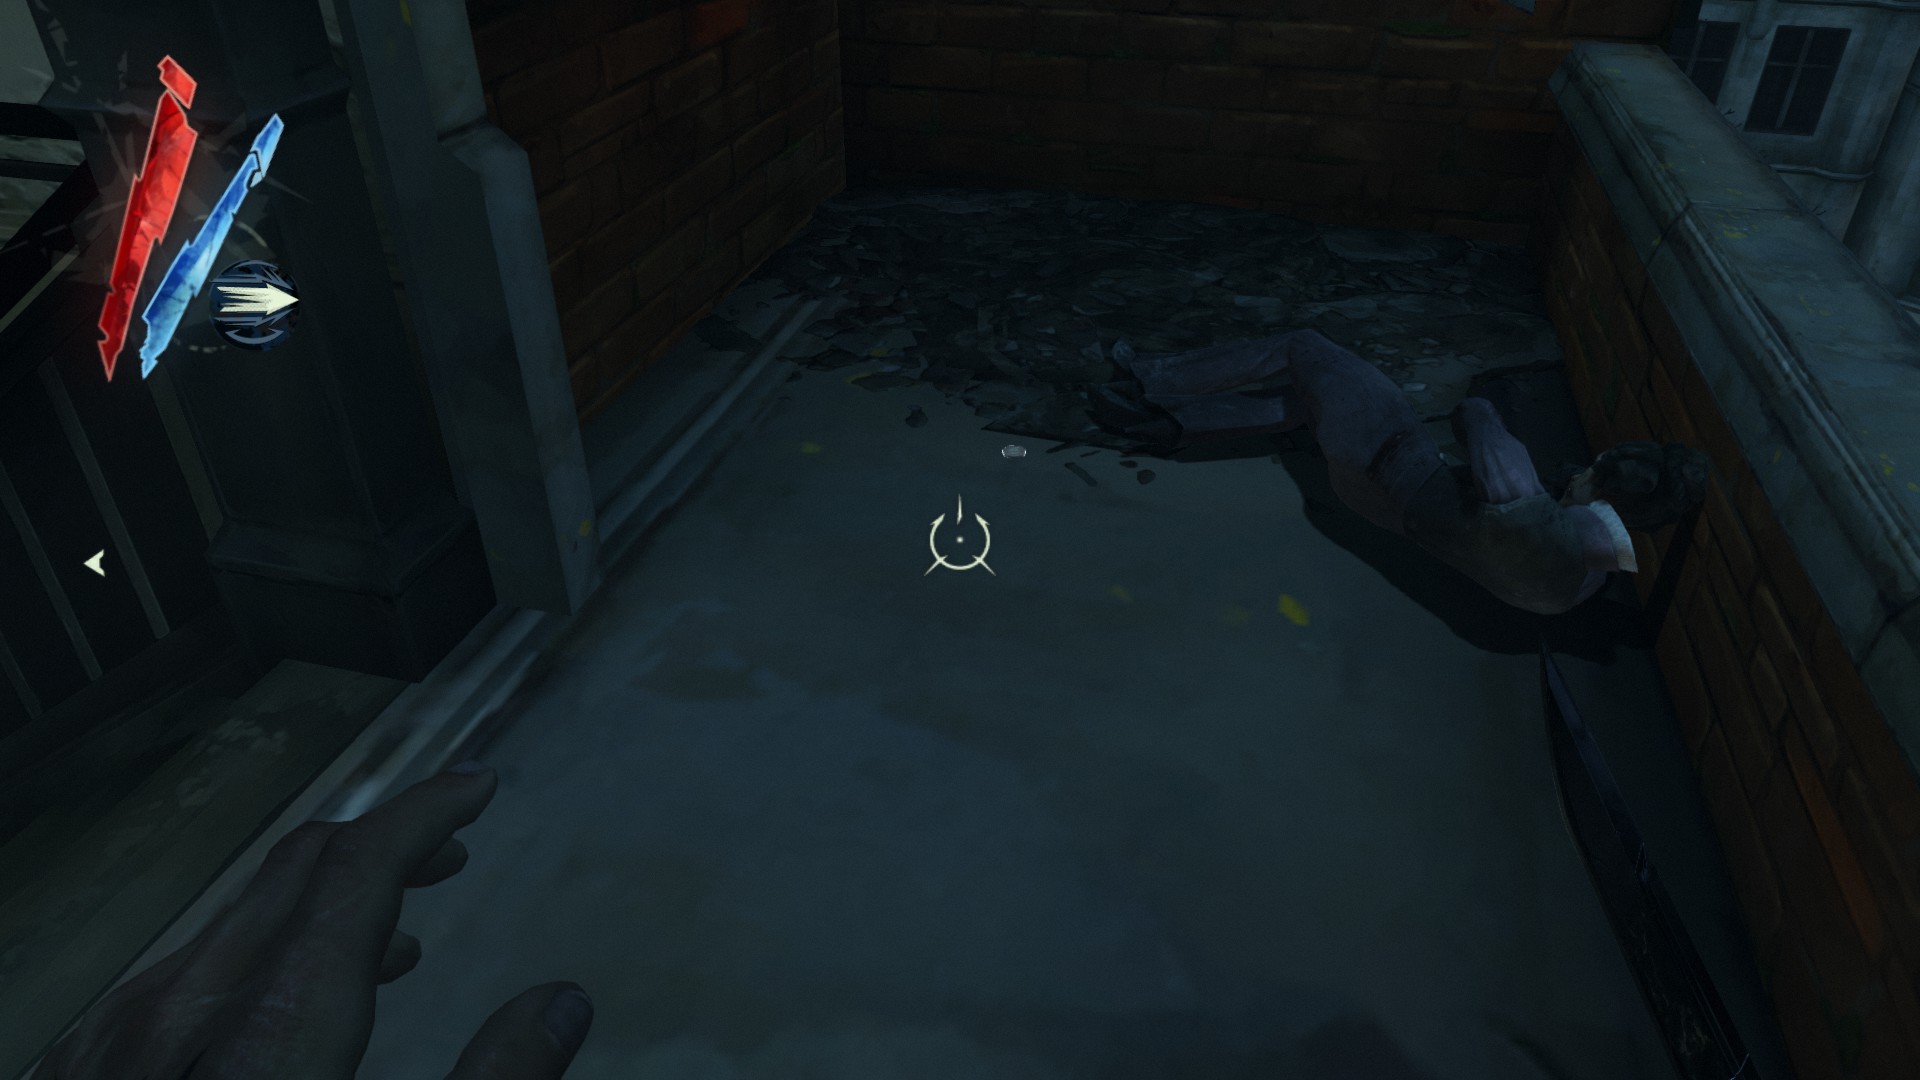
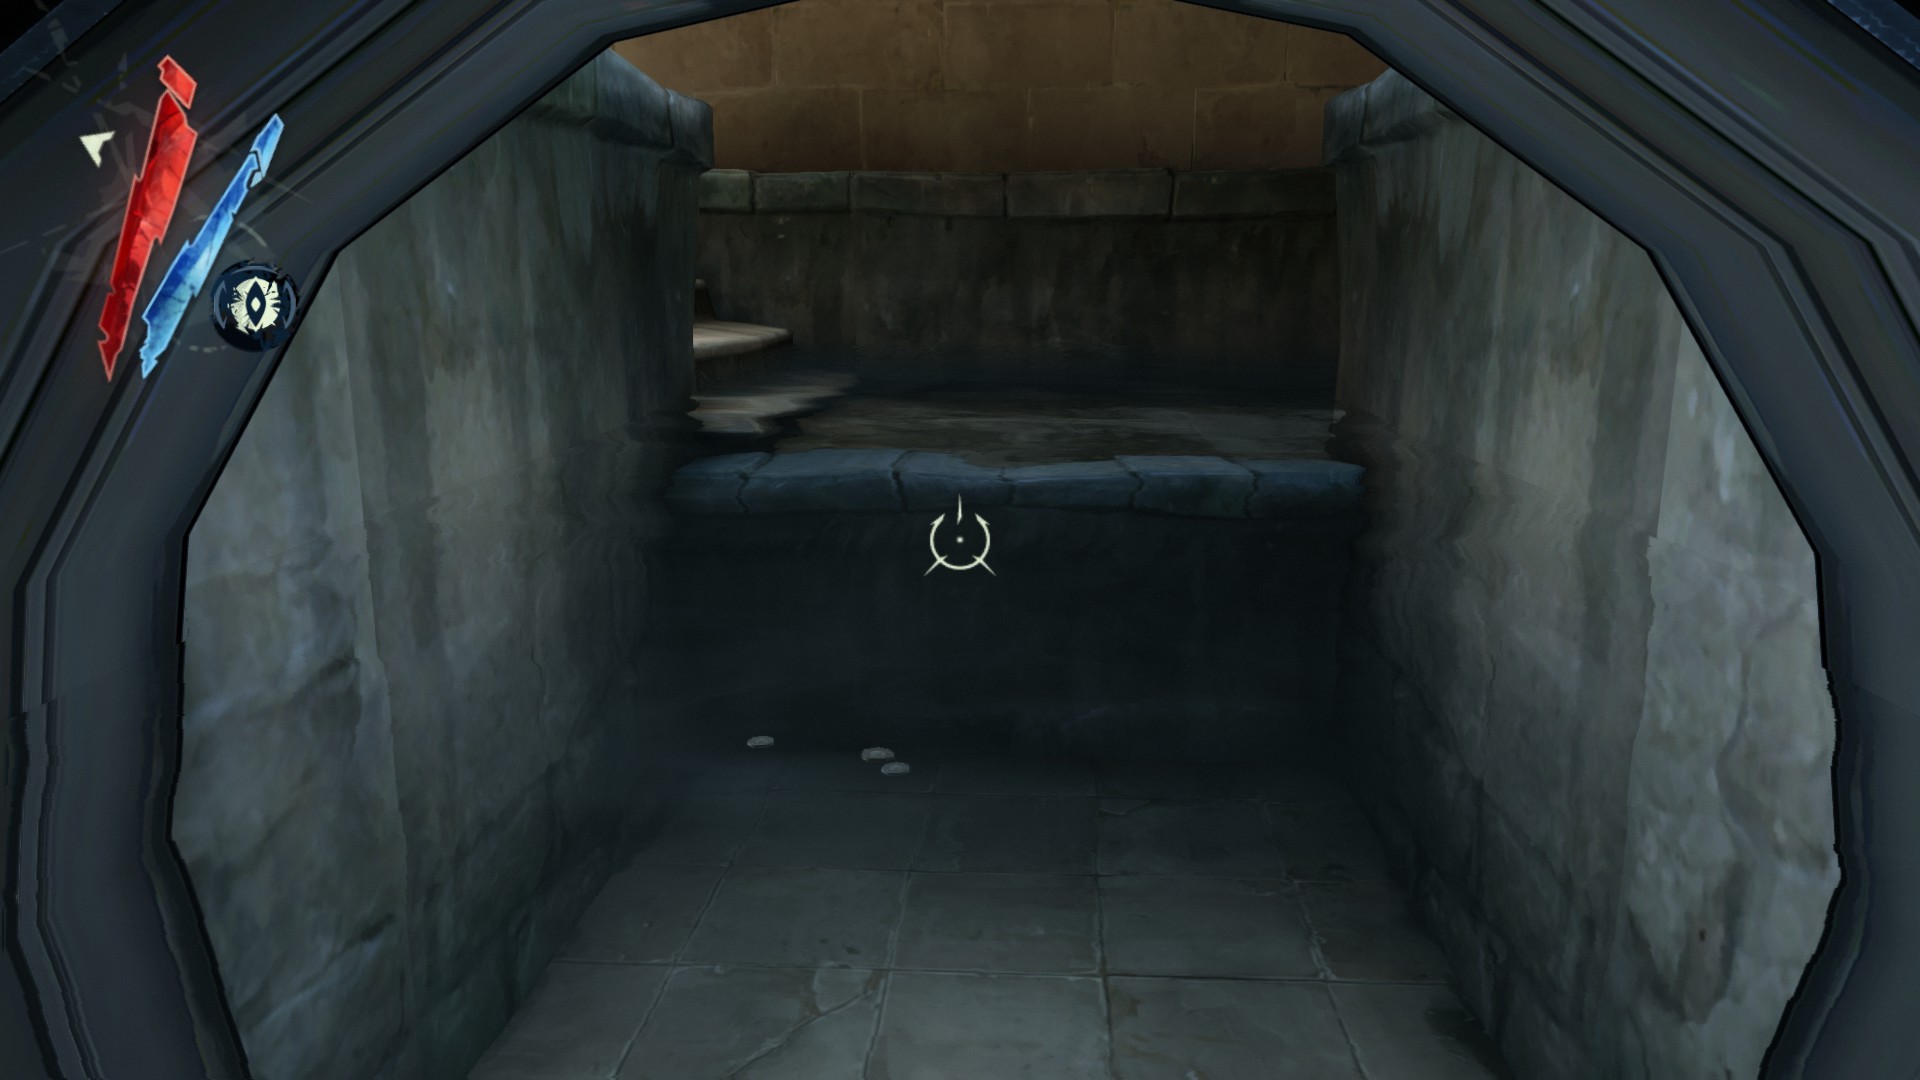
Drop into the water channel right in front of you and turn around. There is a corpse here with a pouch.
(+20 -> 482/1010)
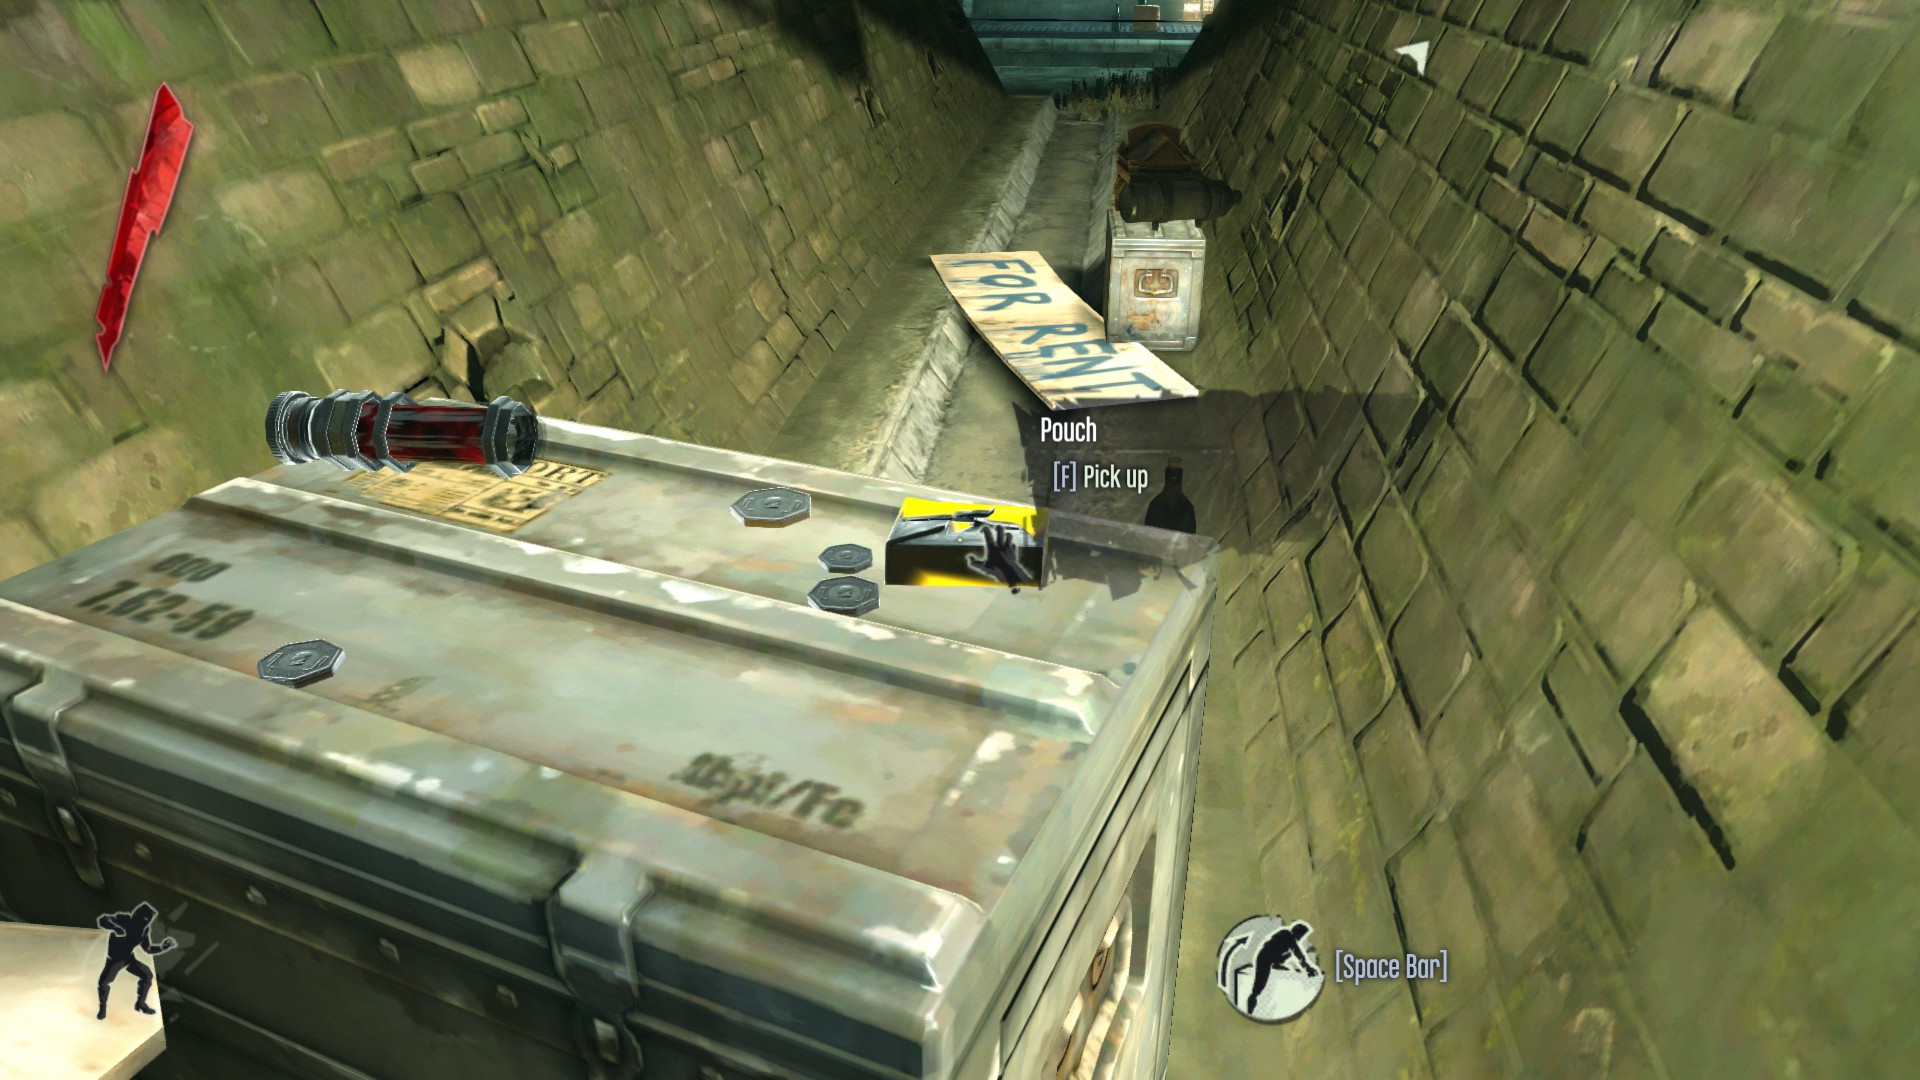
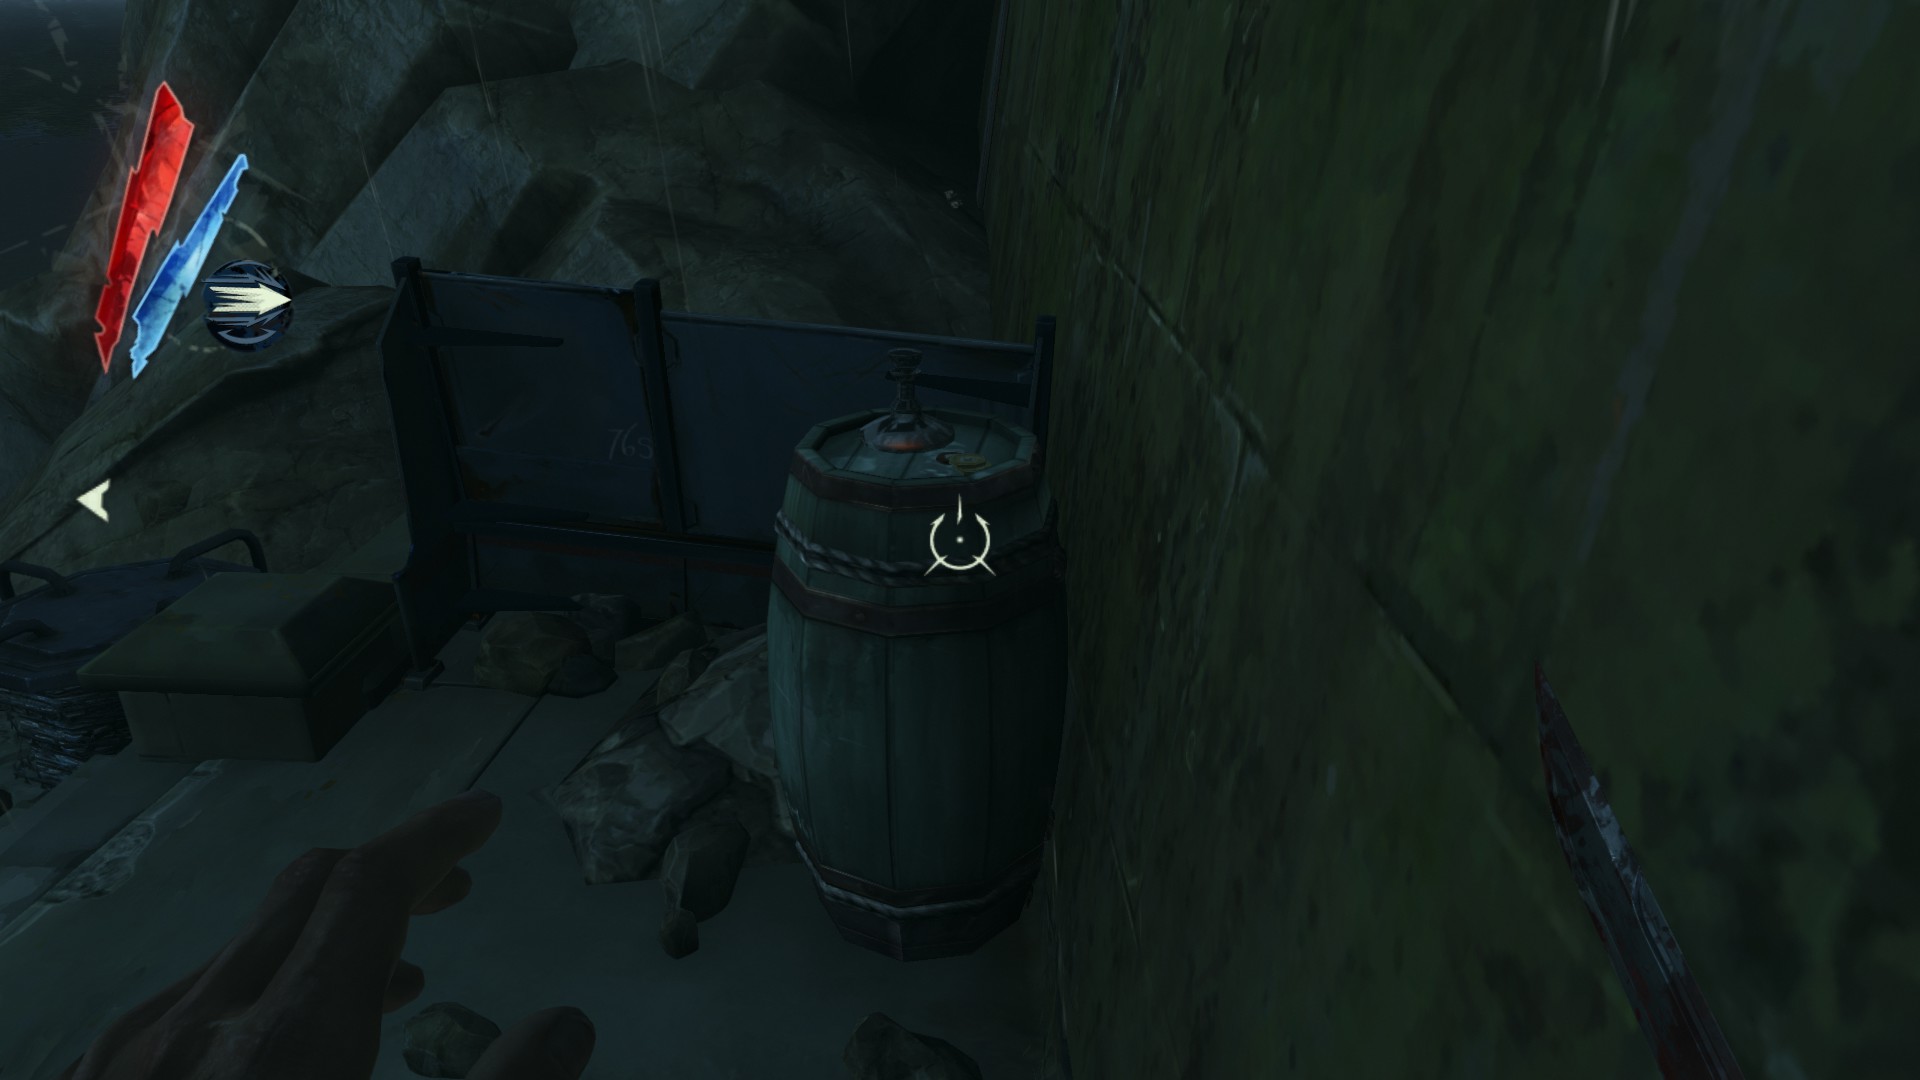
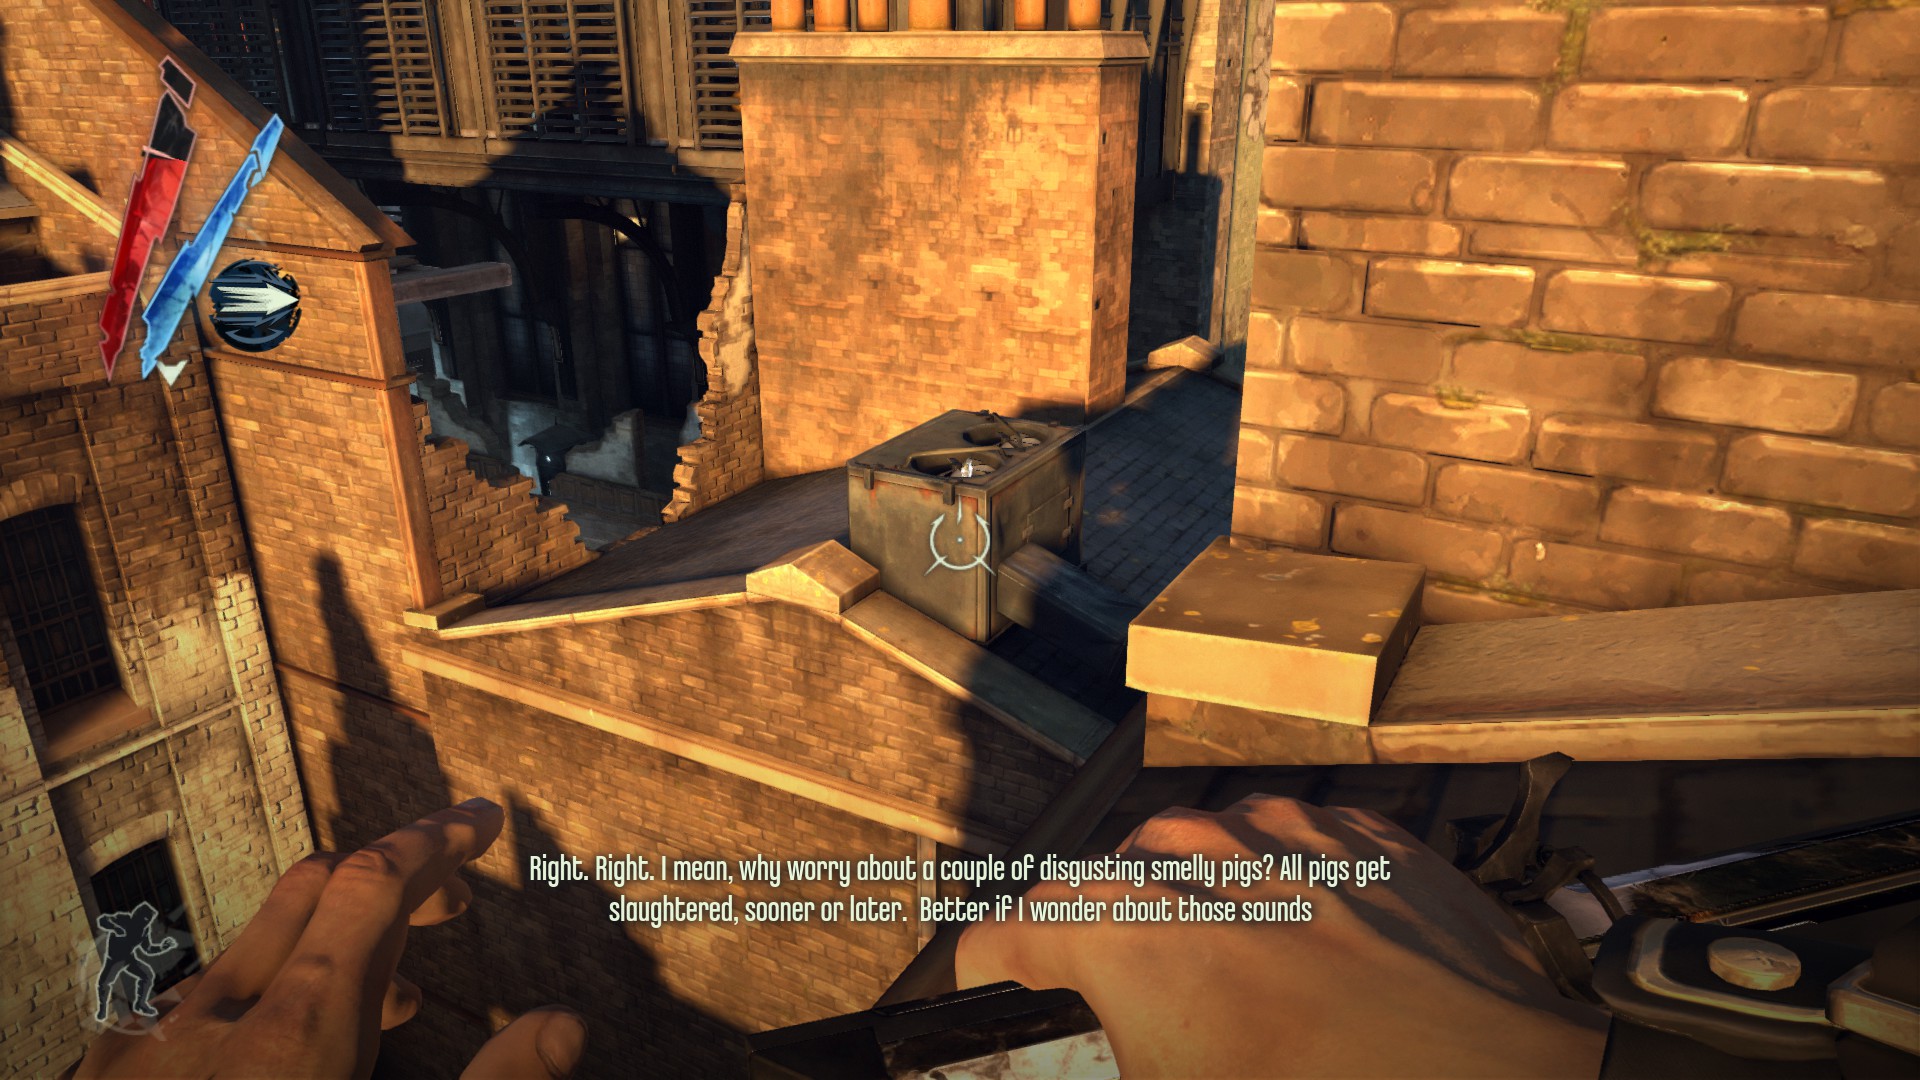
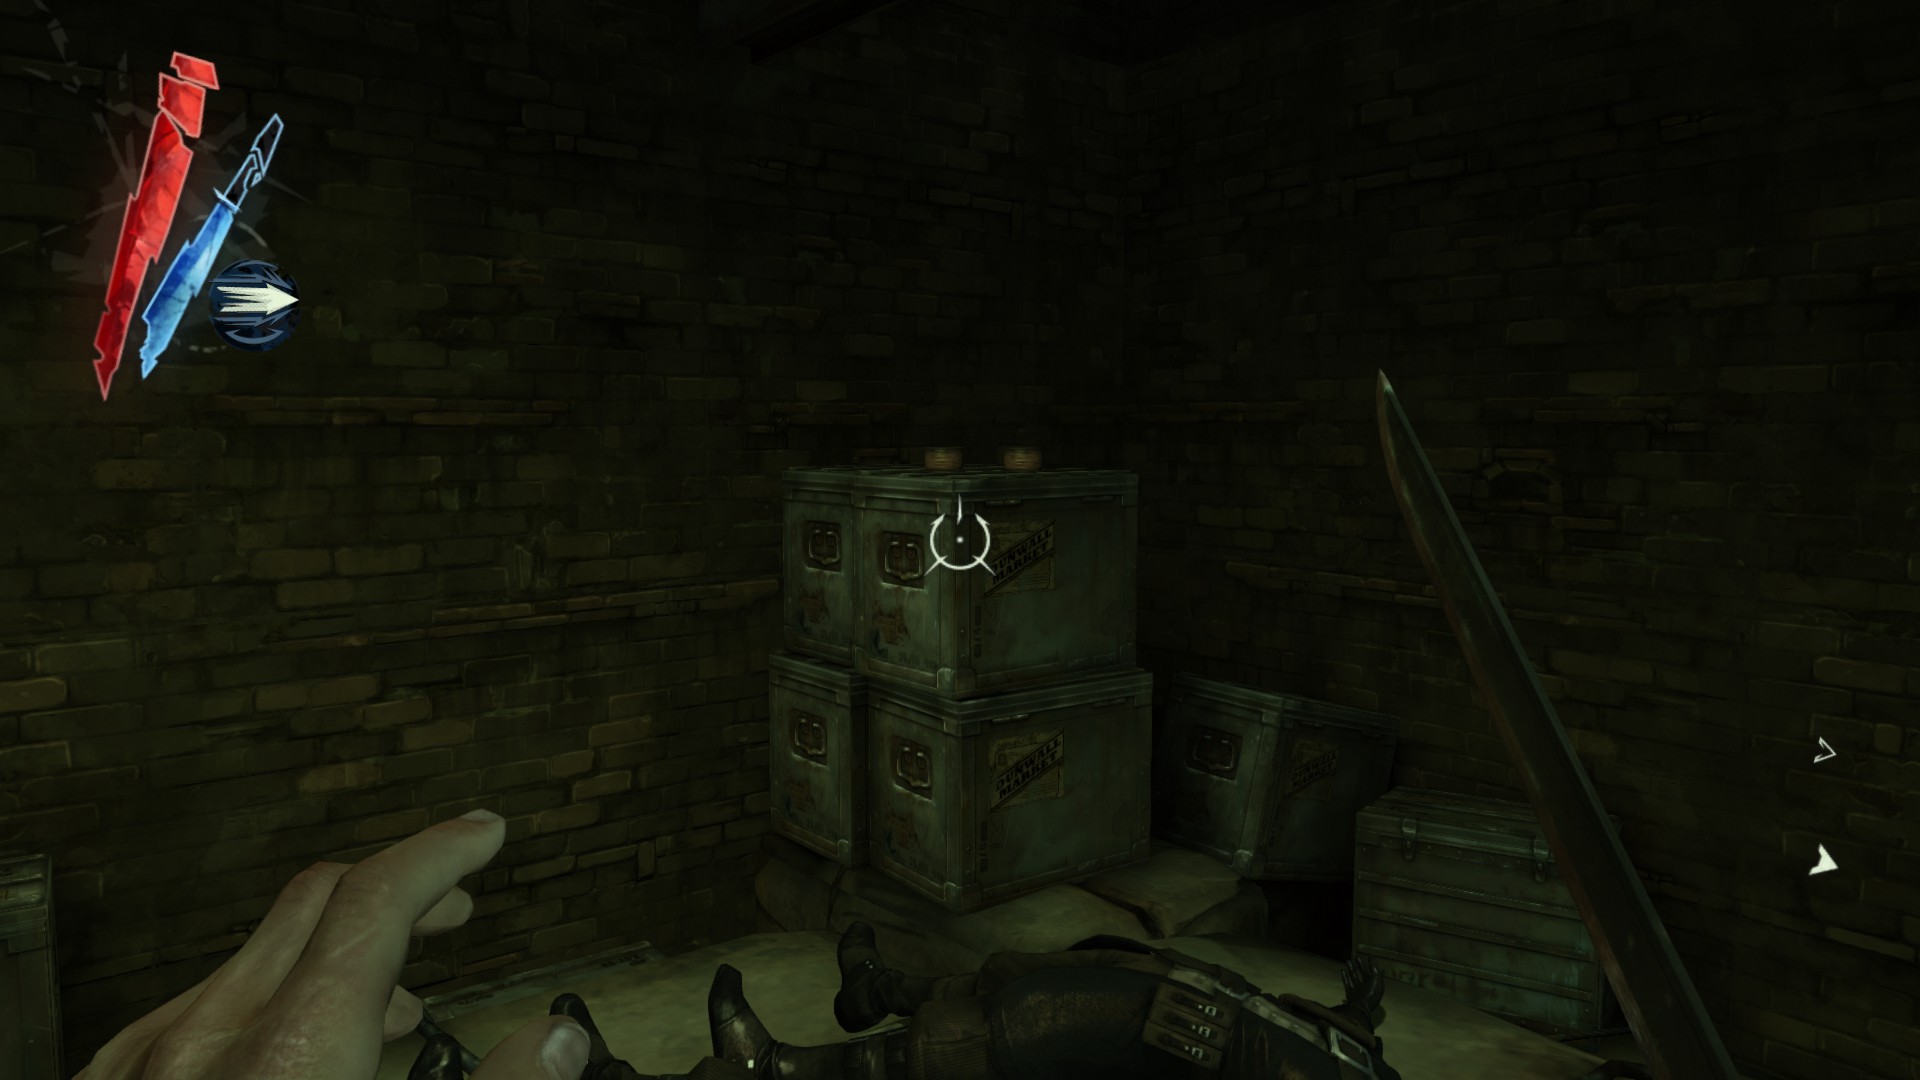
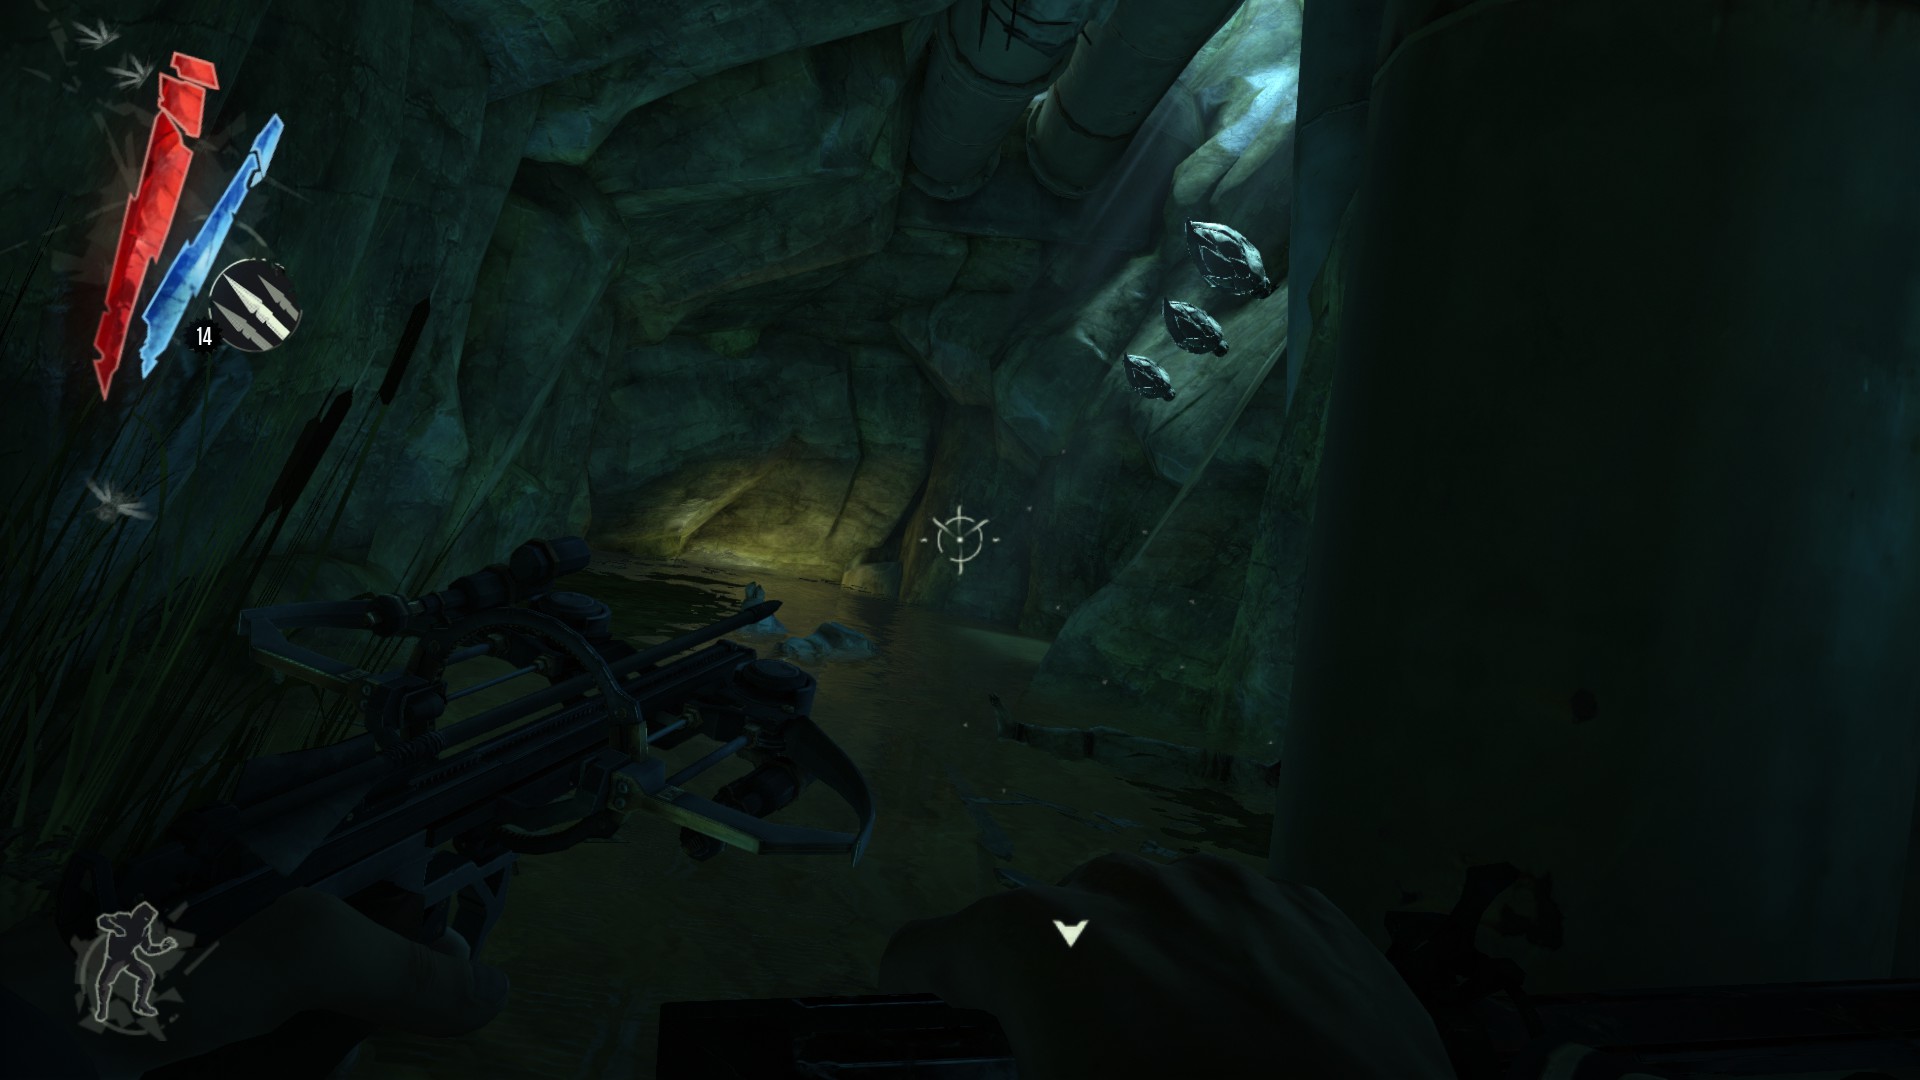
At the right side of the chain is a small passage guarded by a bolt trap. There are 4 coins and a pouch on a crate.
(+71 -> 553/1010)
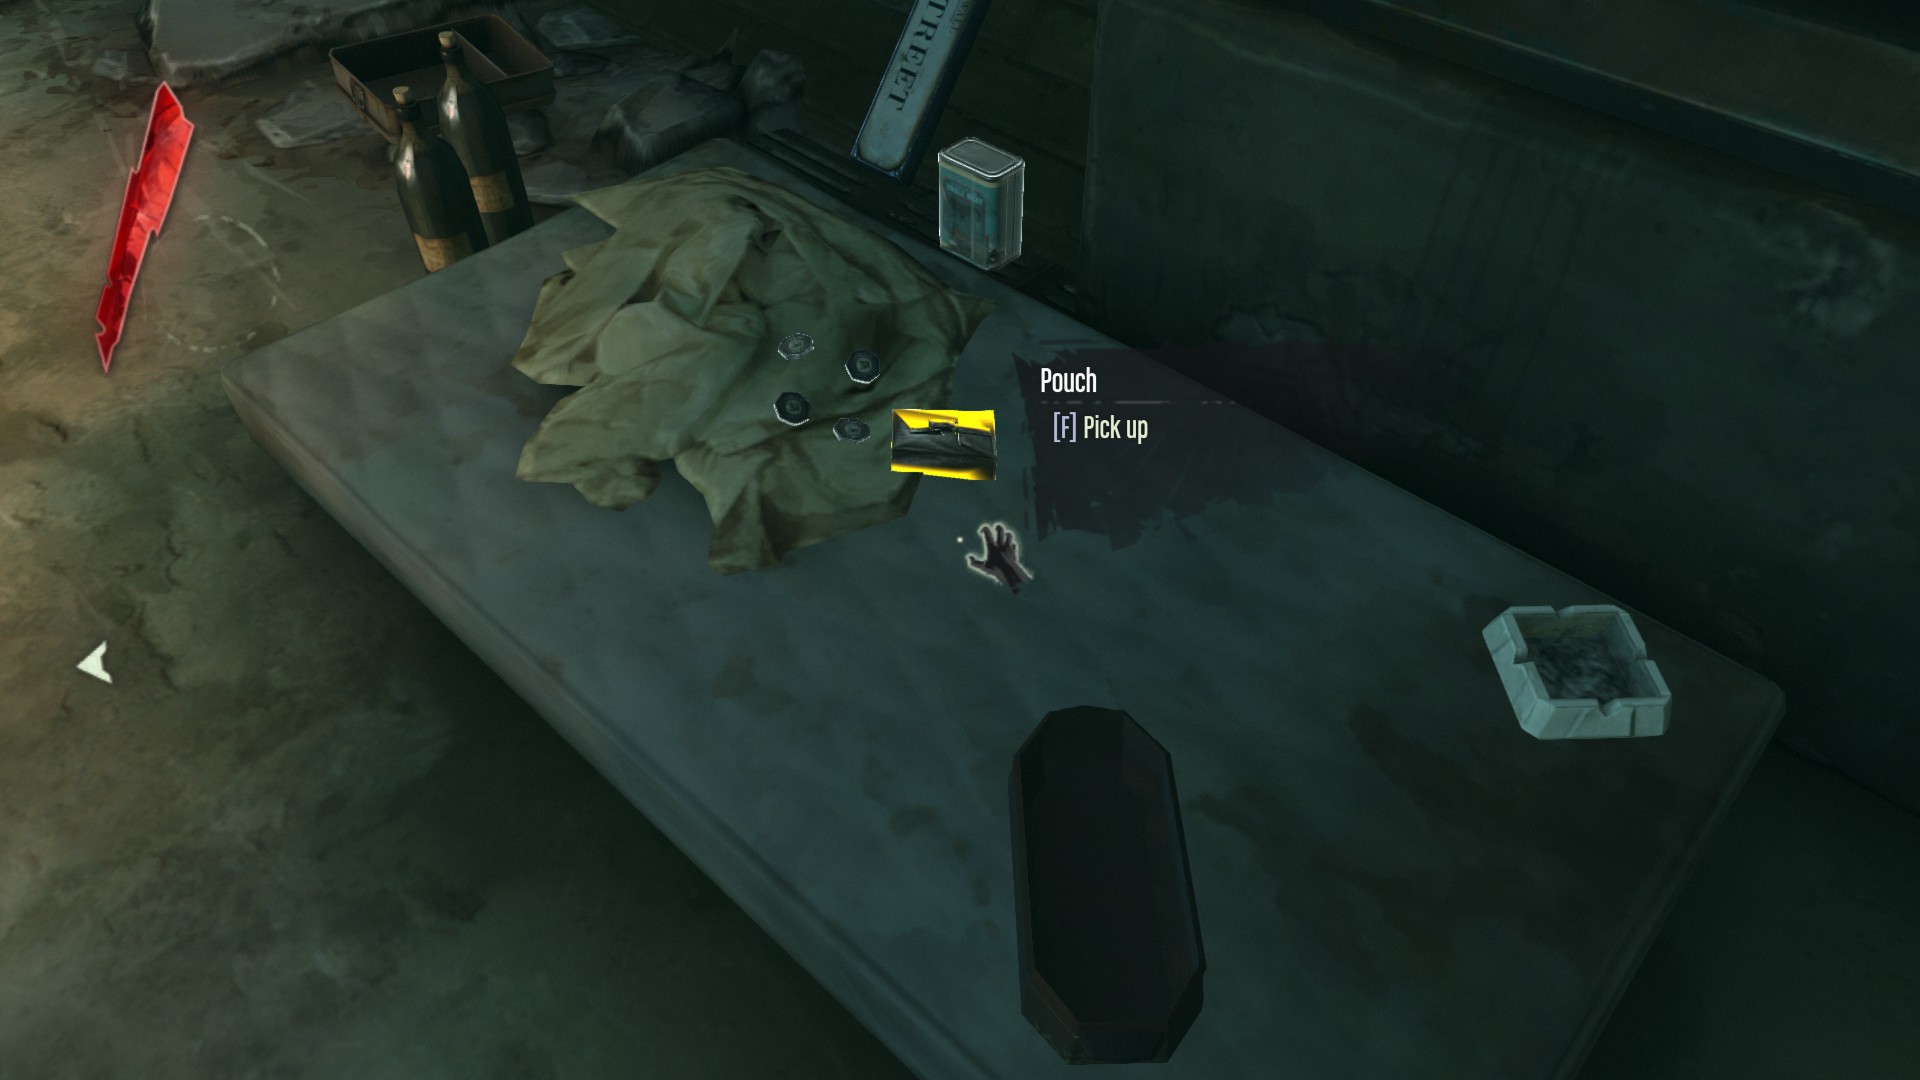
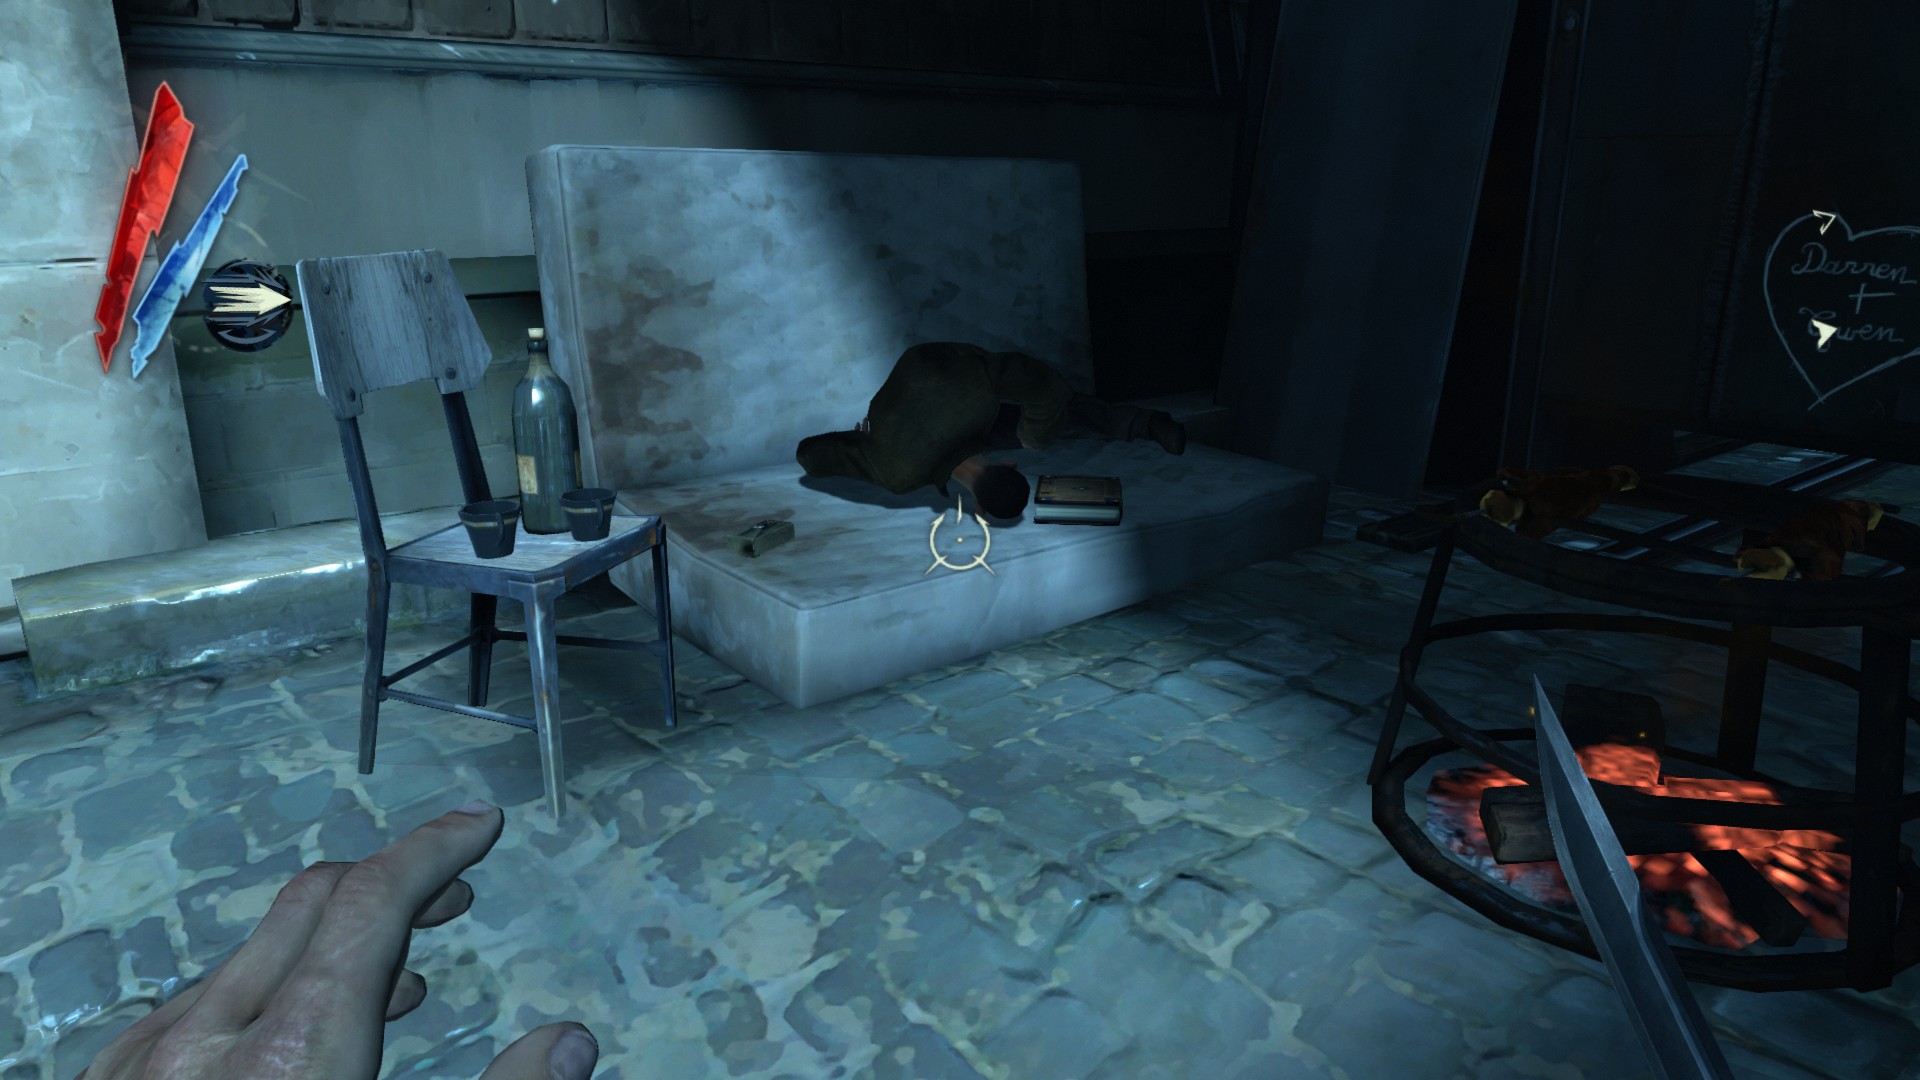
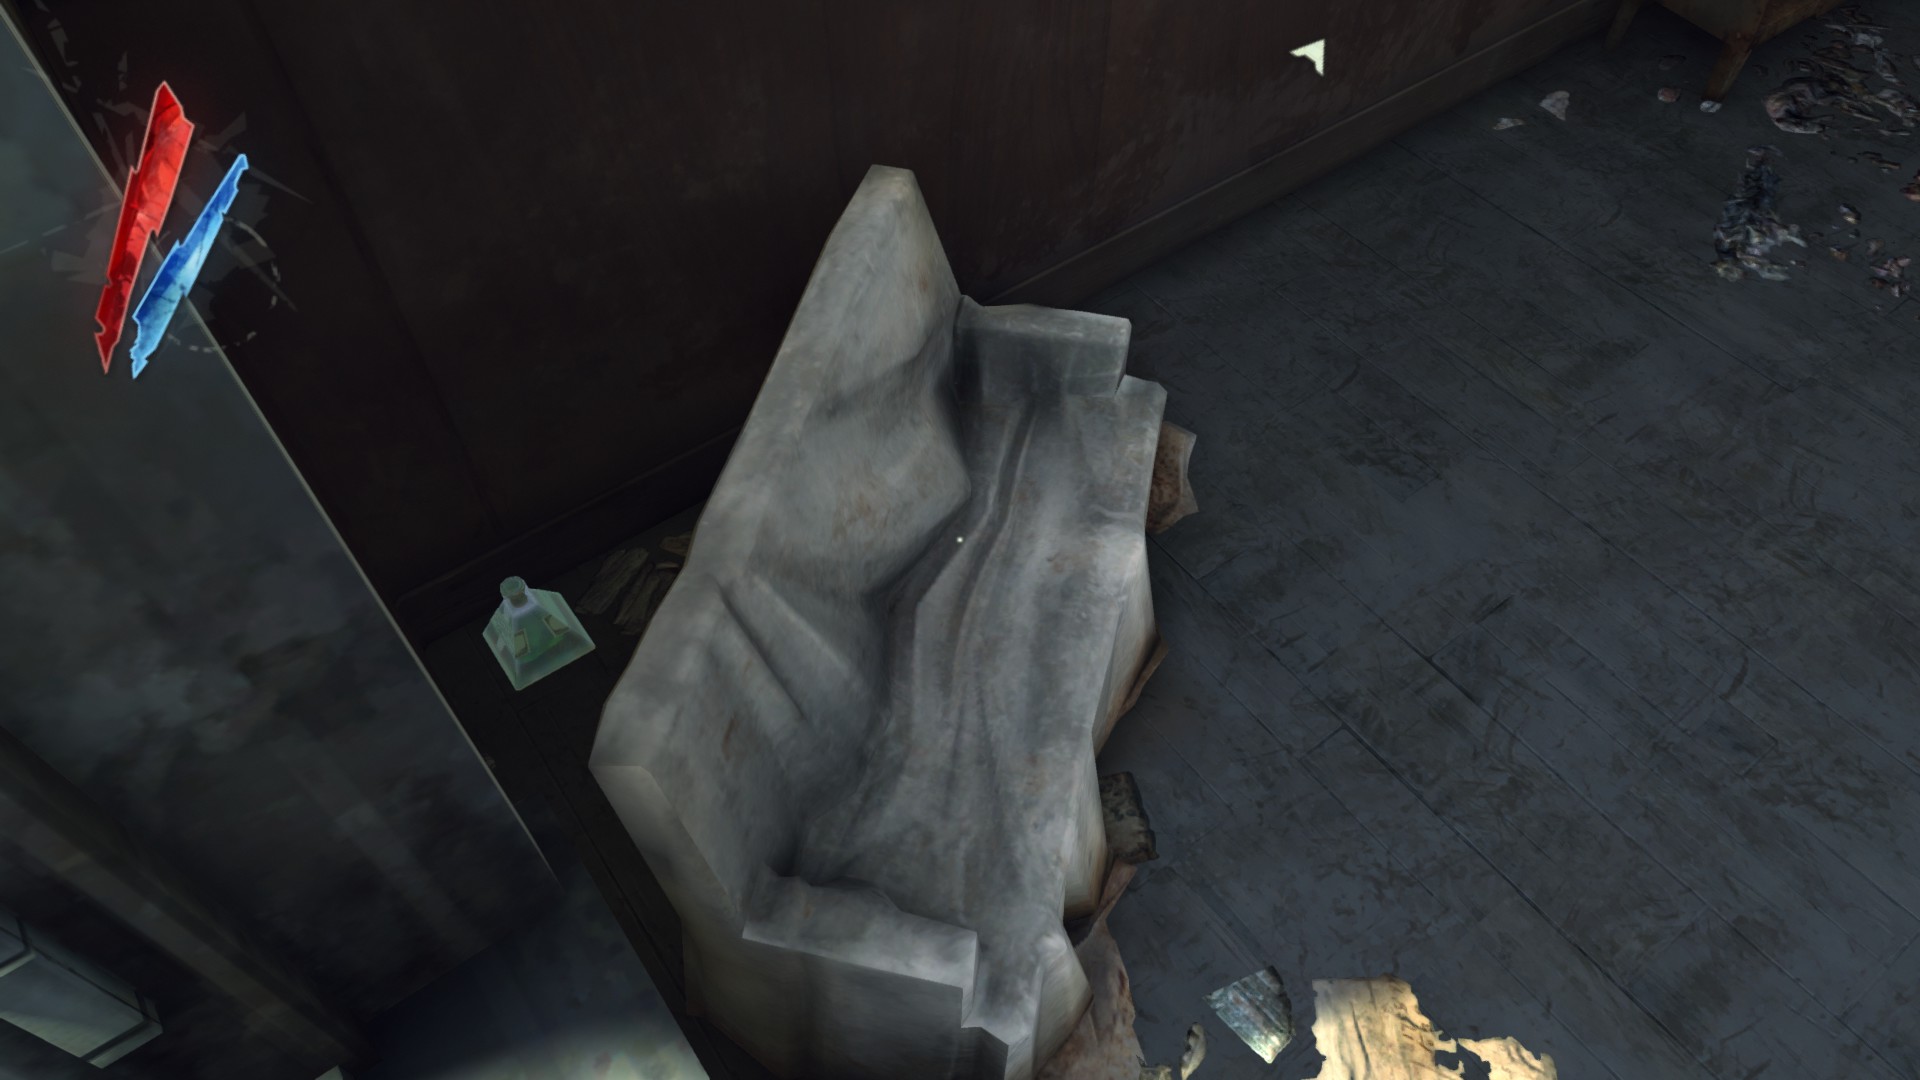
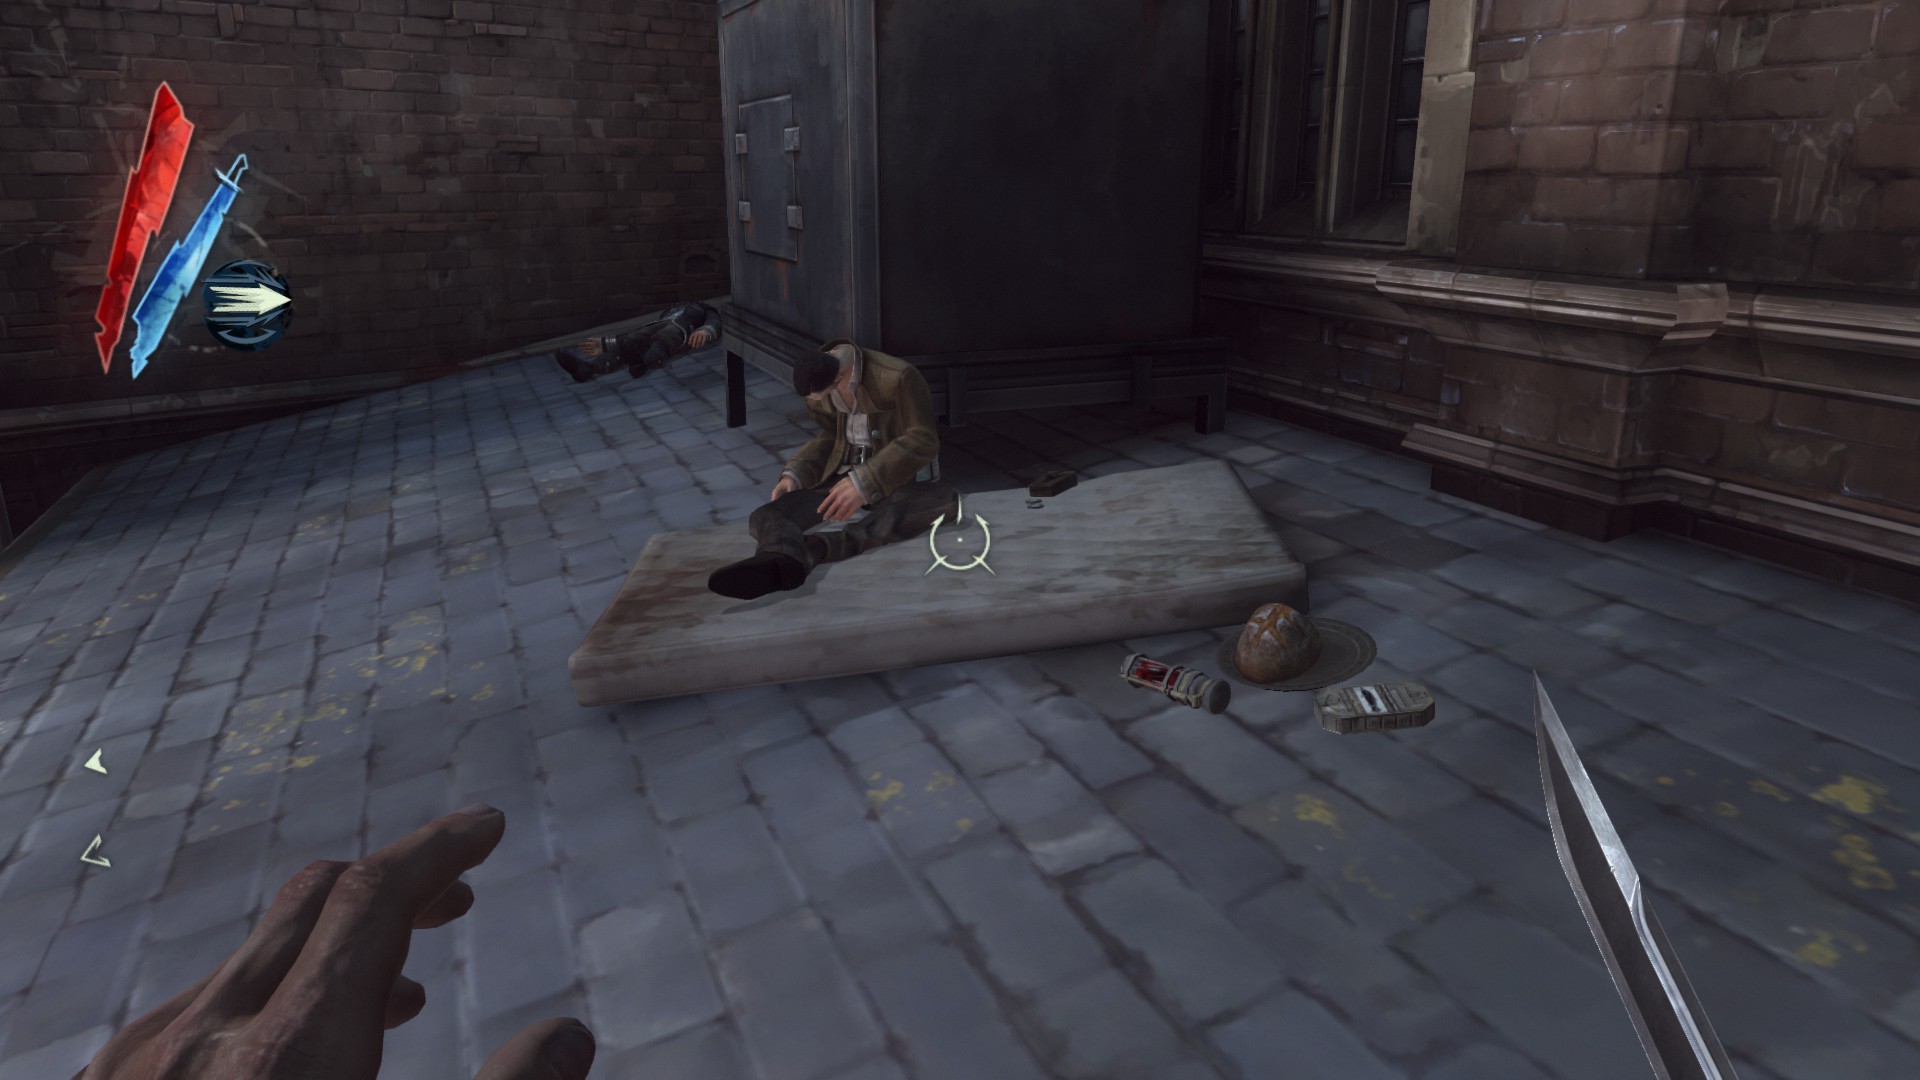
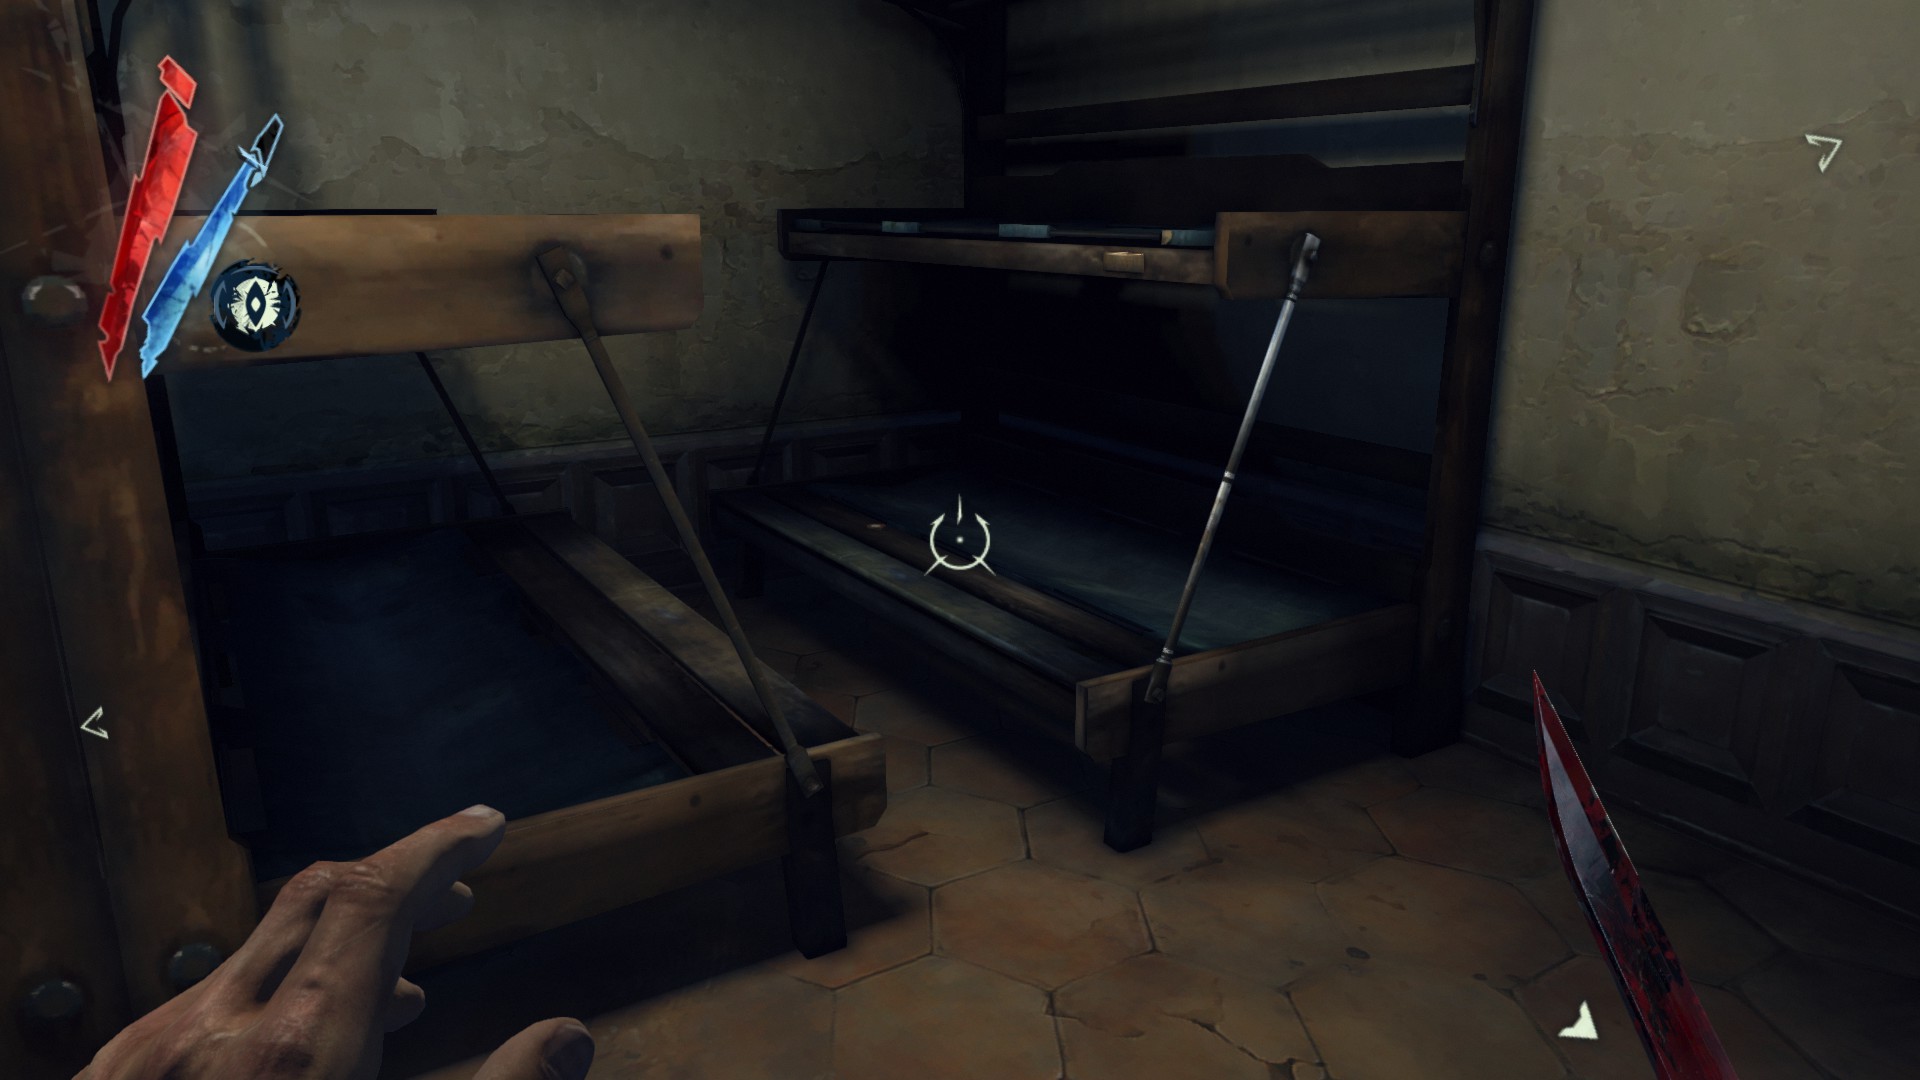
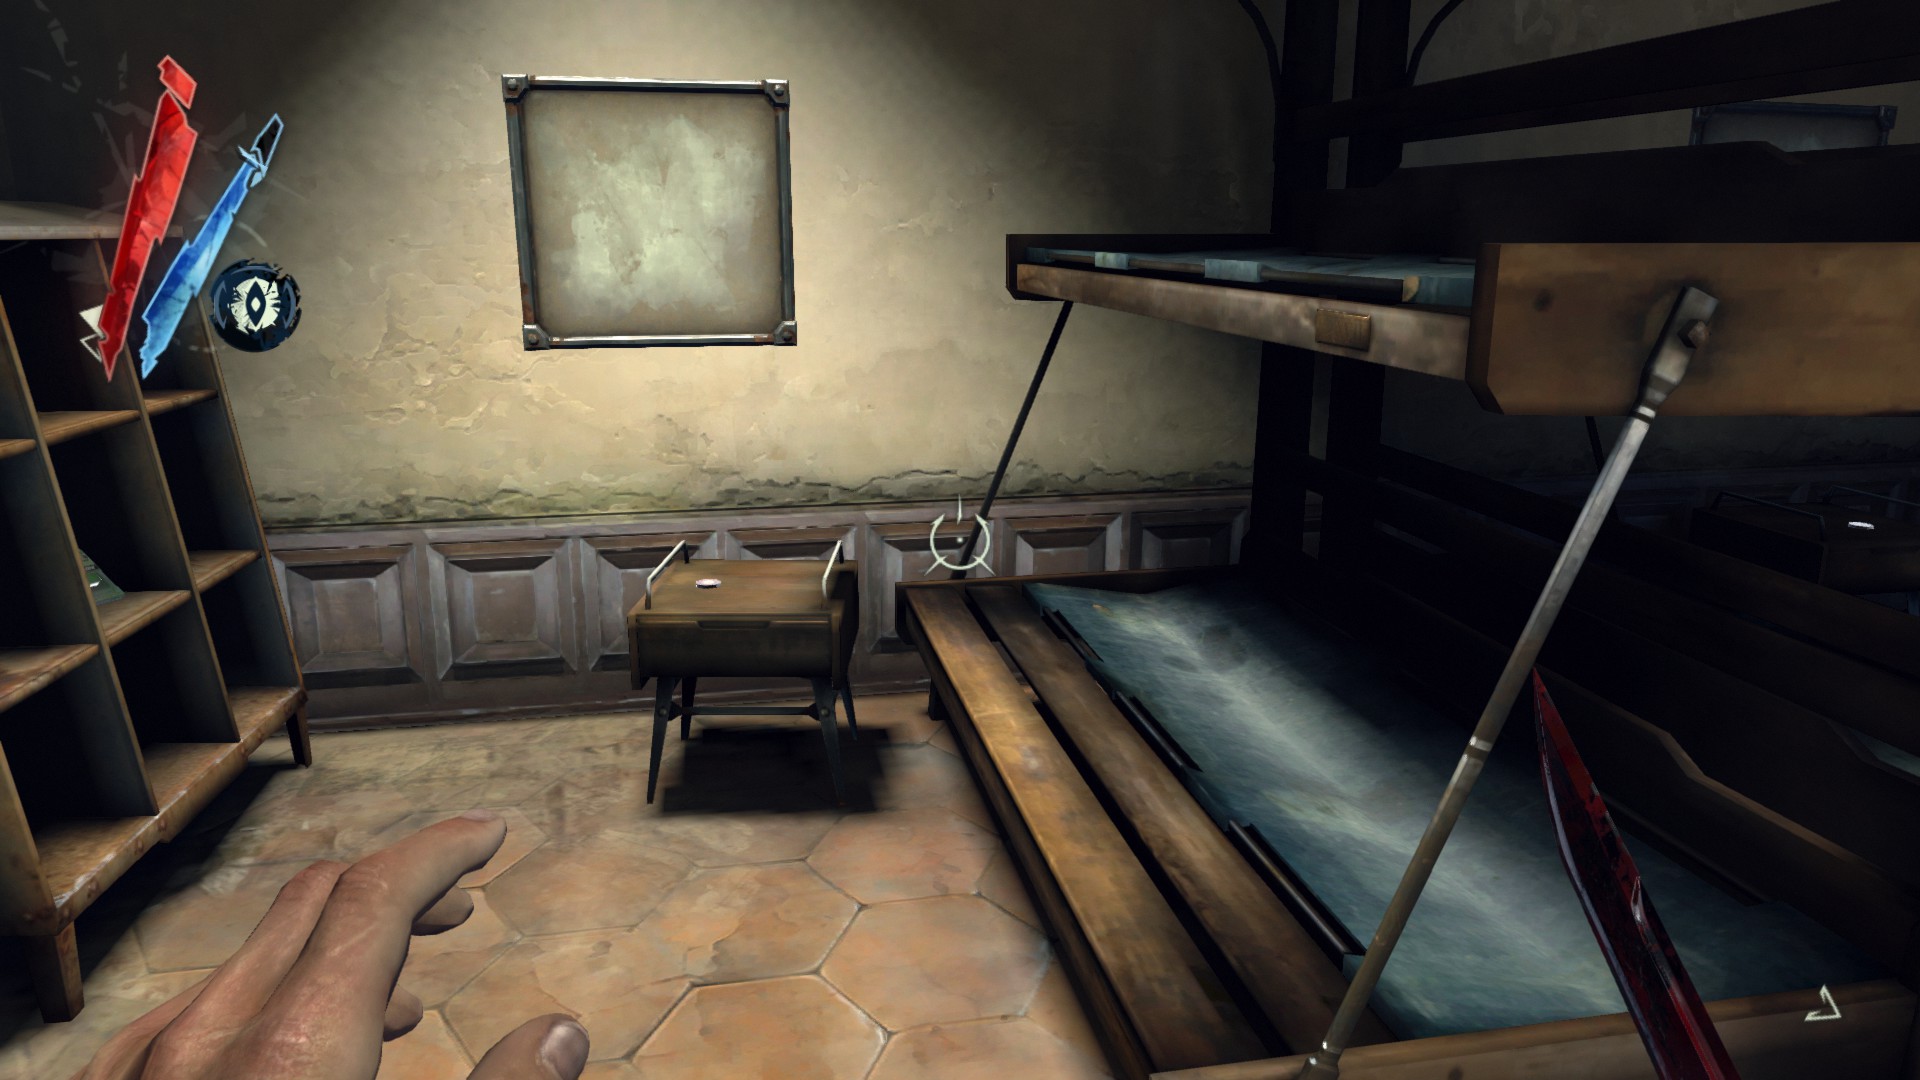
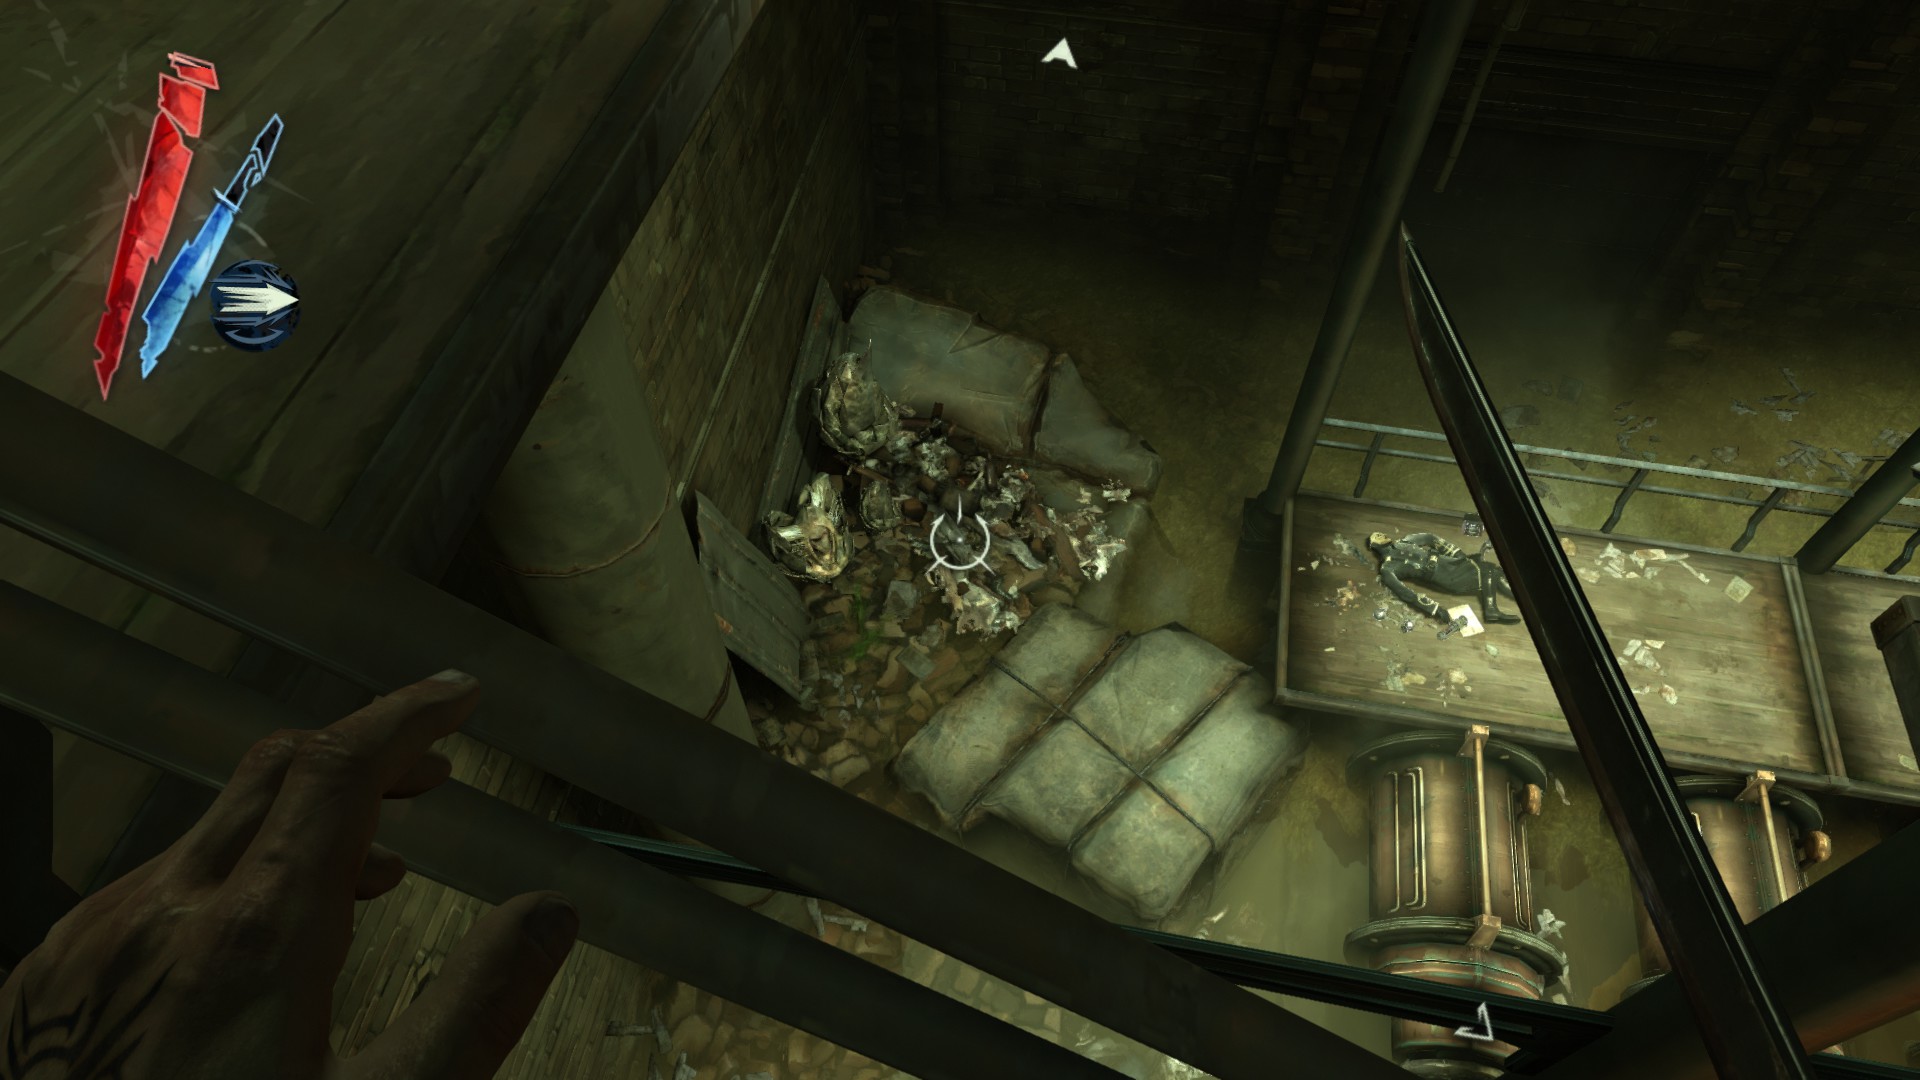
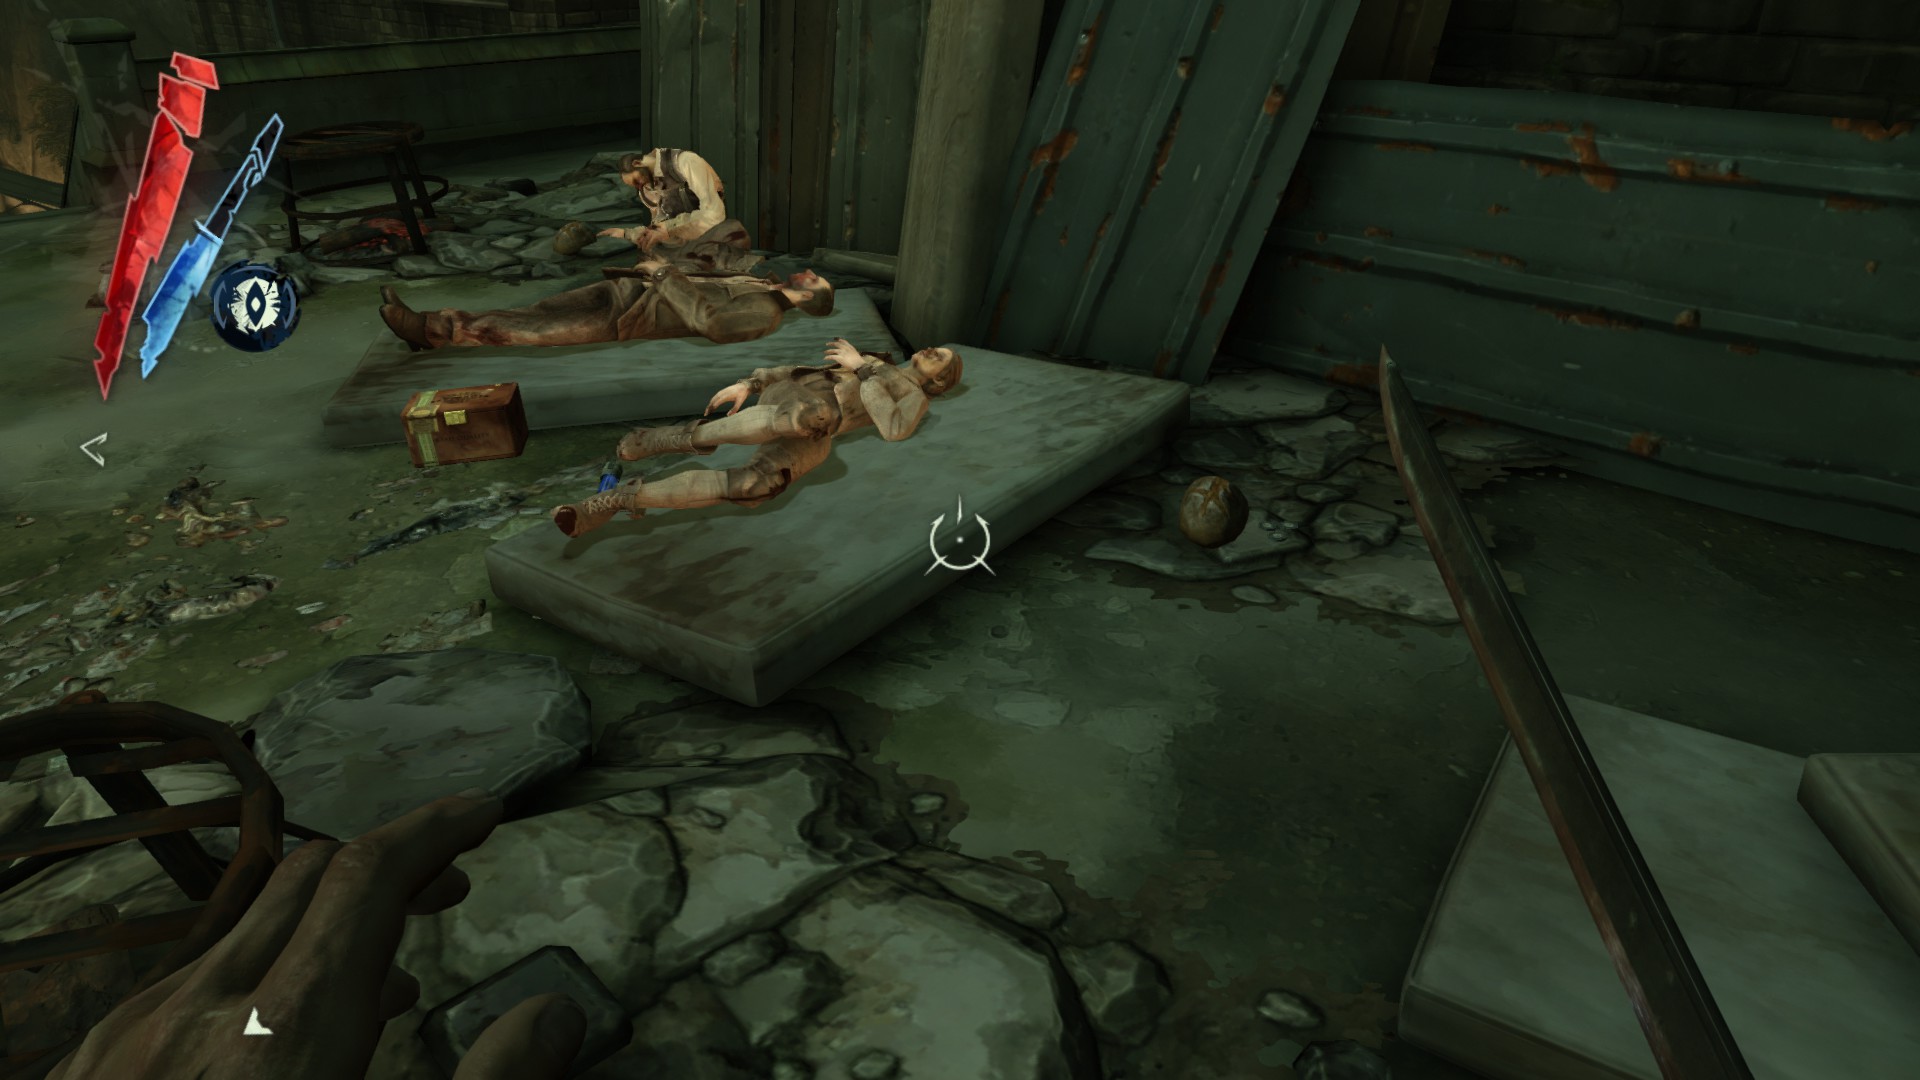
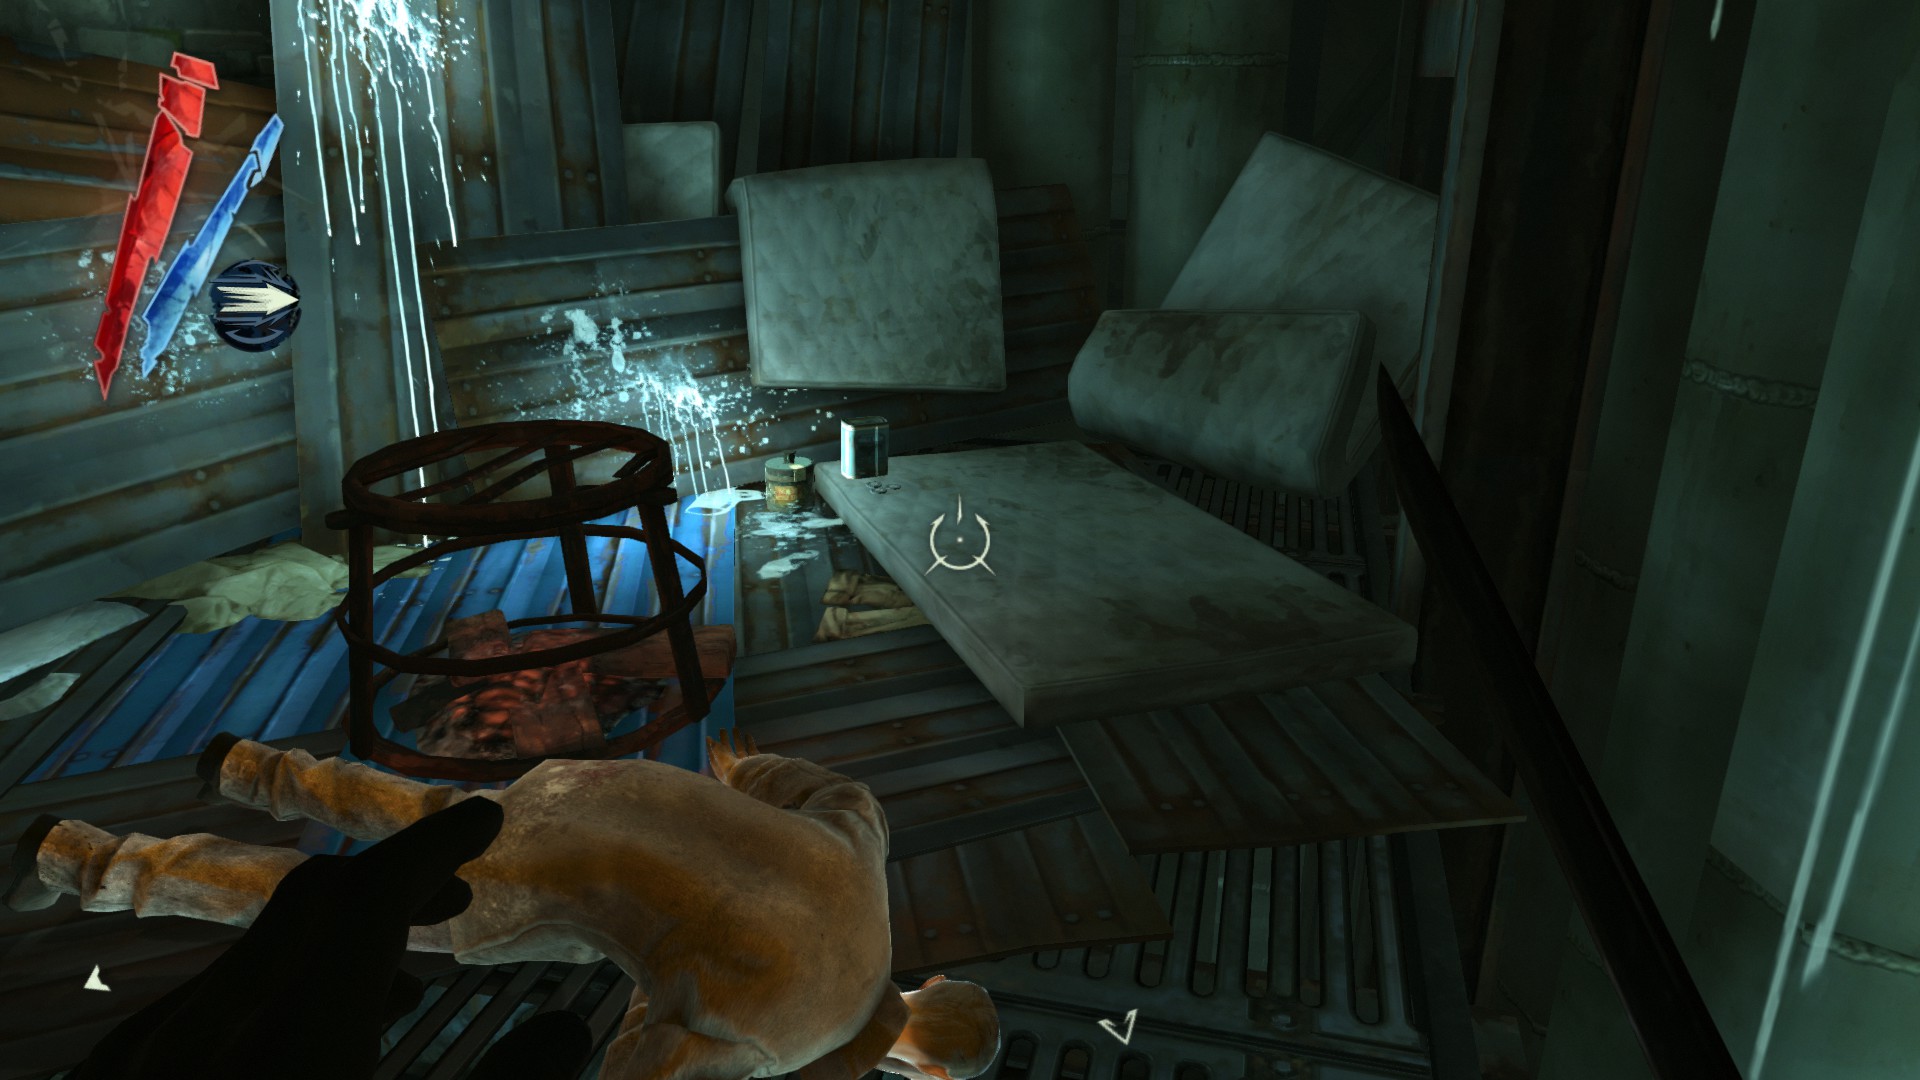
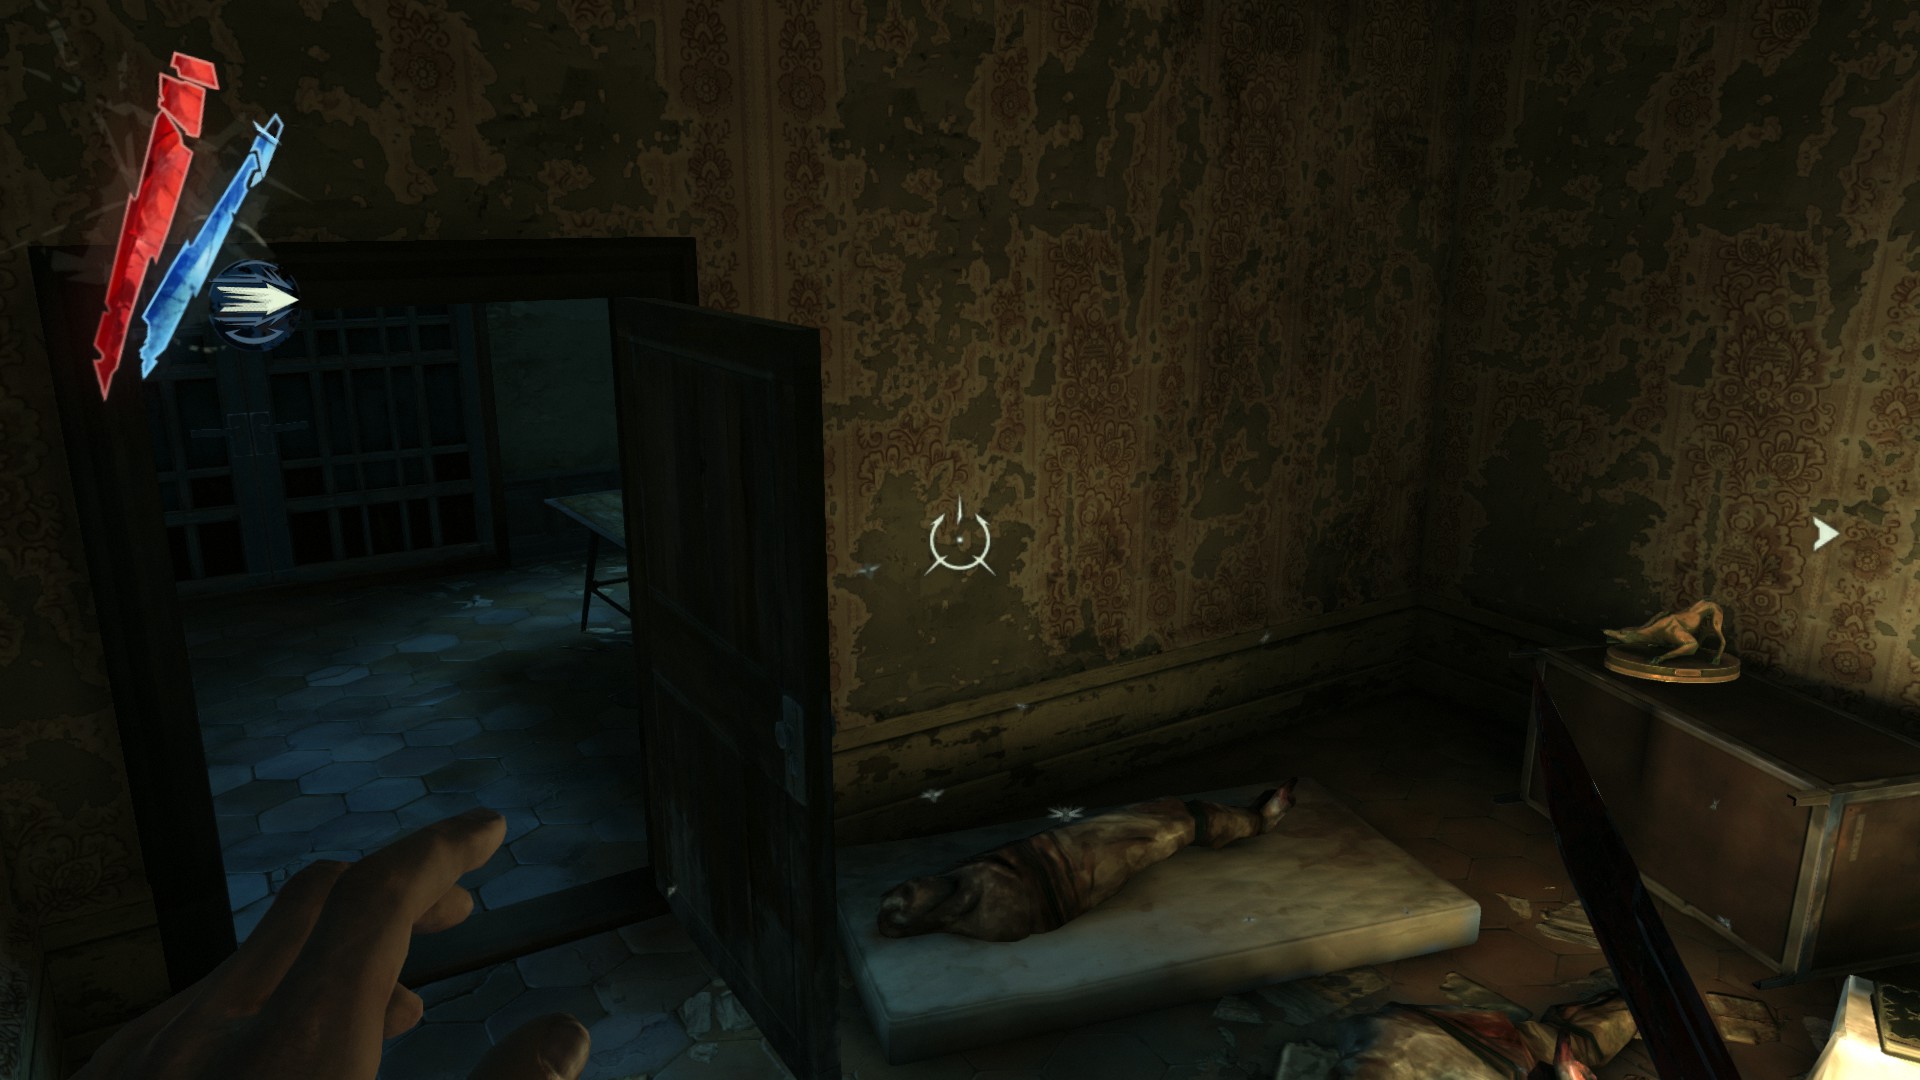
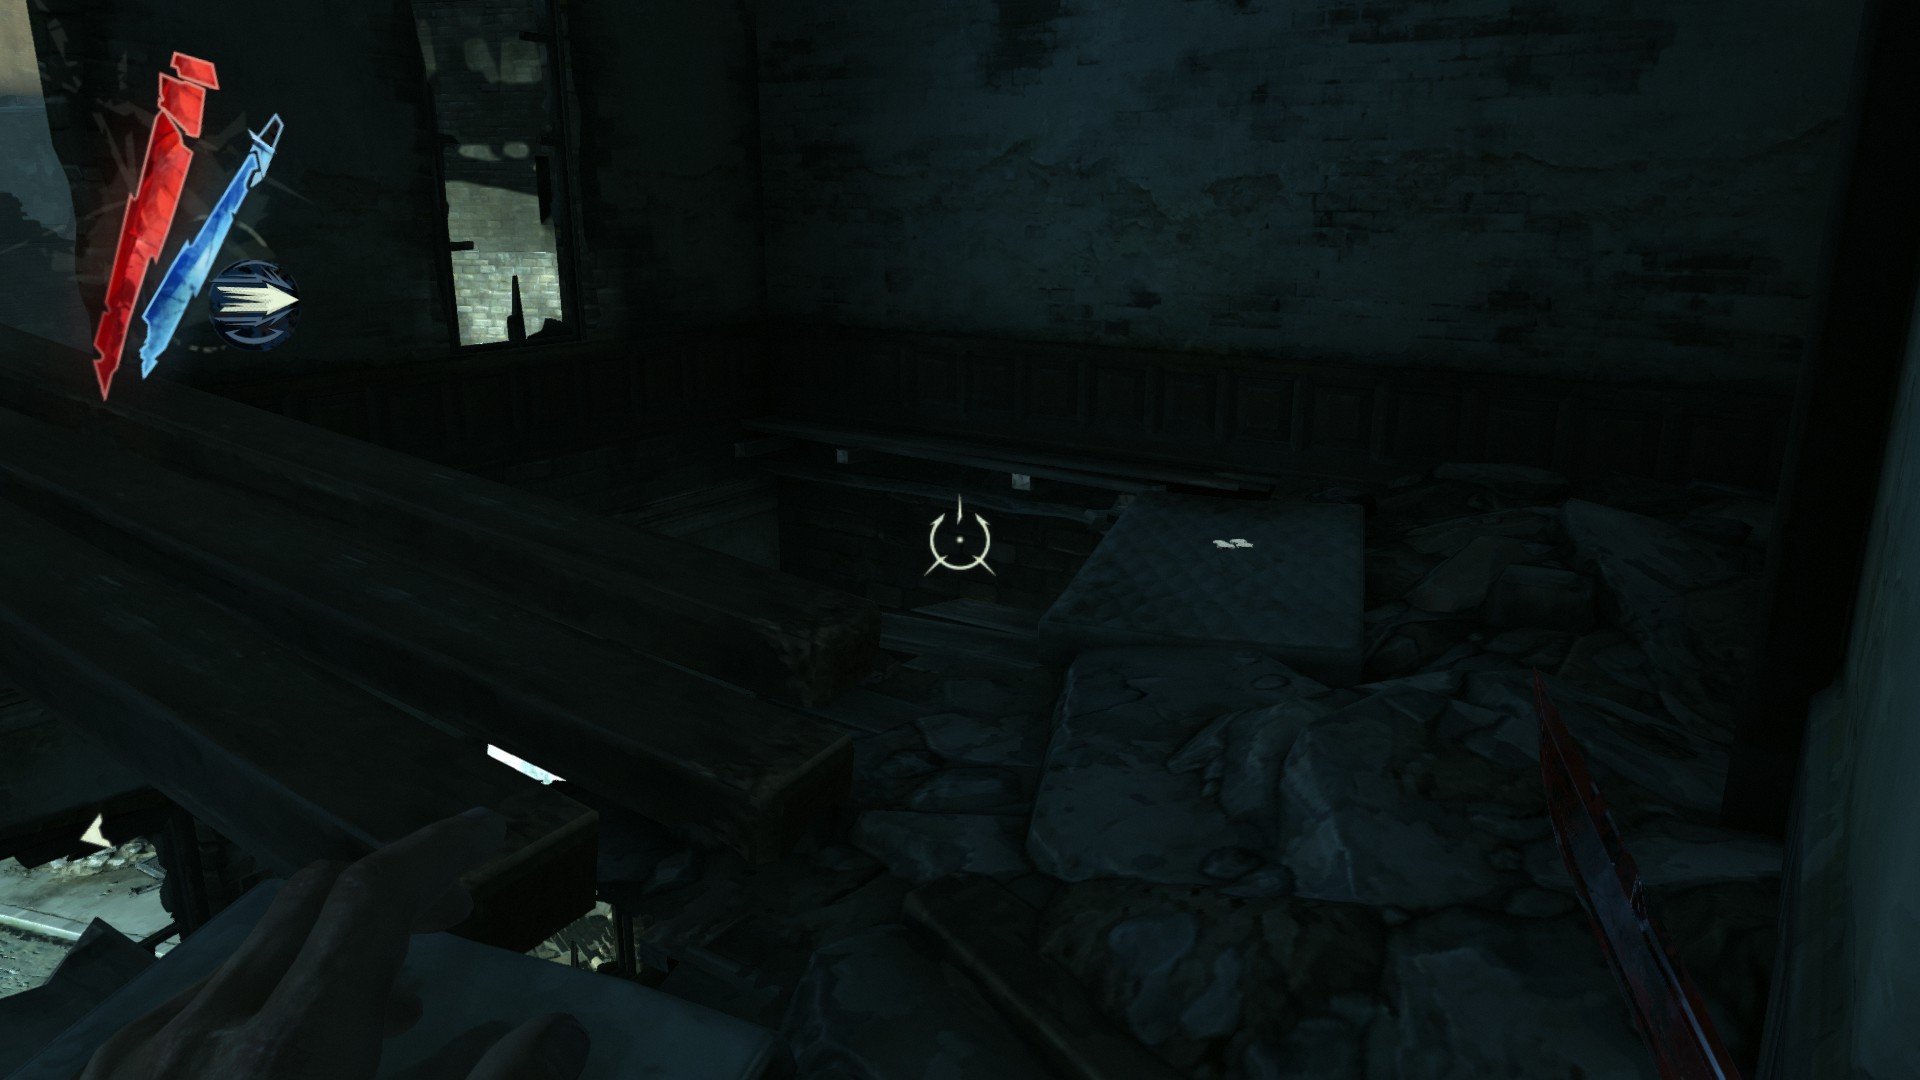
Following the right side is a mattress with 4 coins and a pouch on it.
(+29 -> 582/1010)
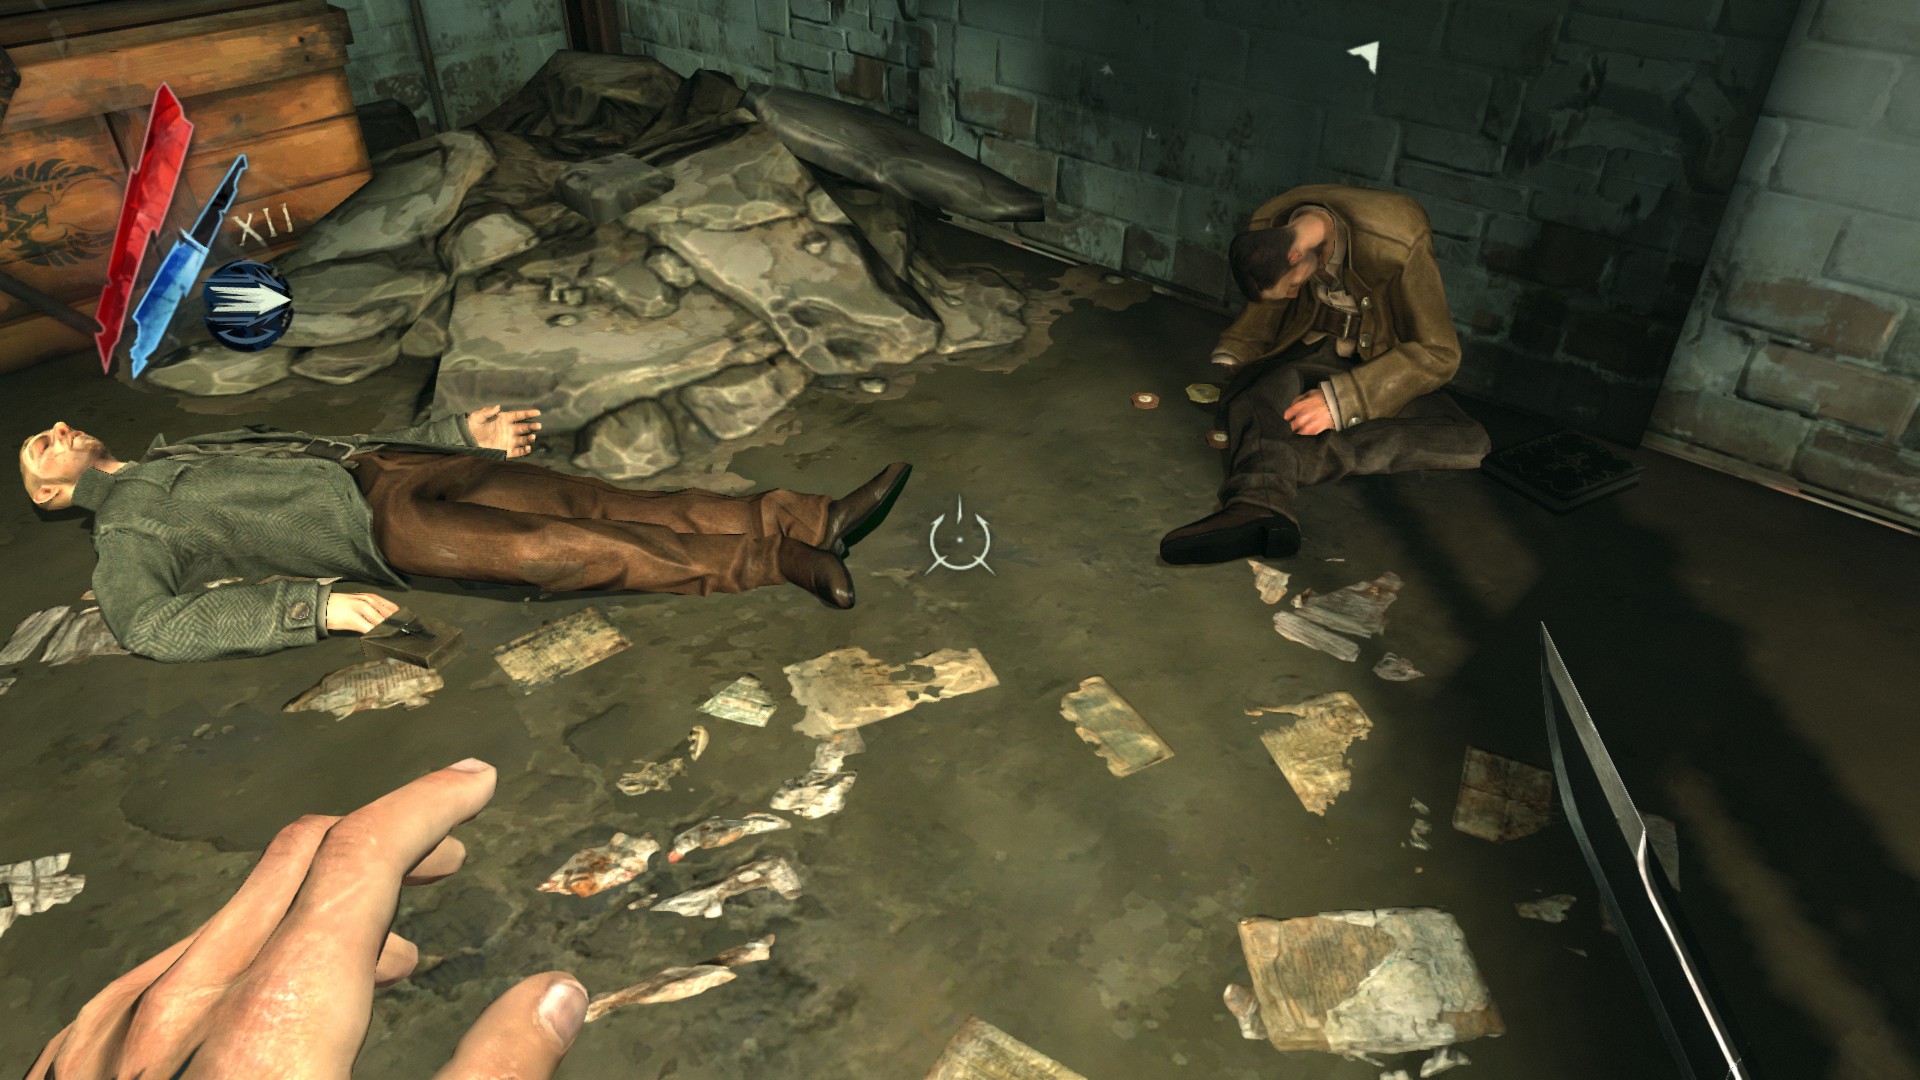
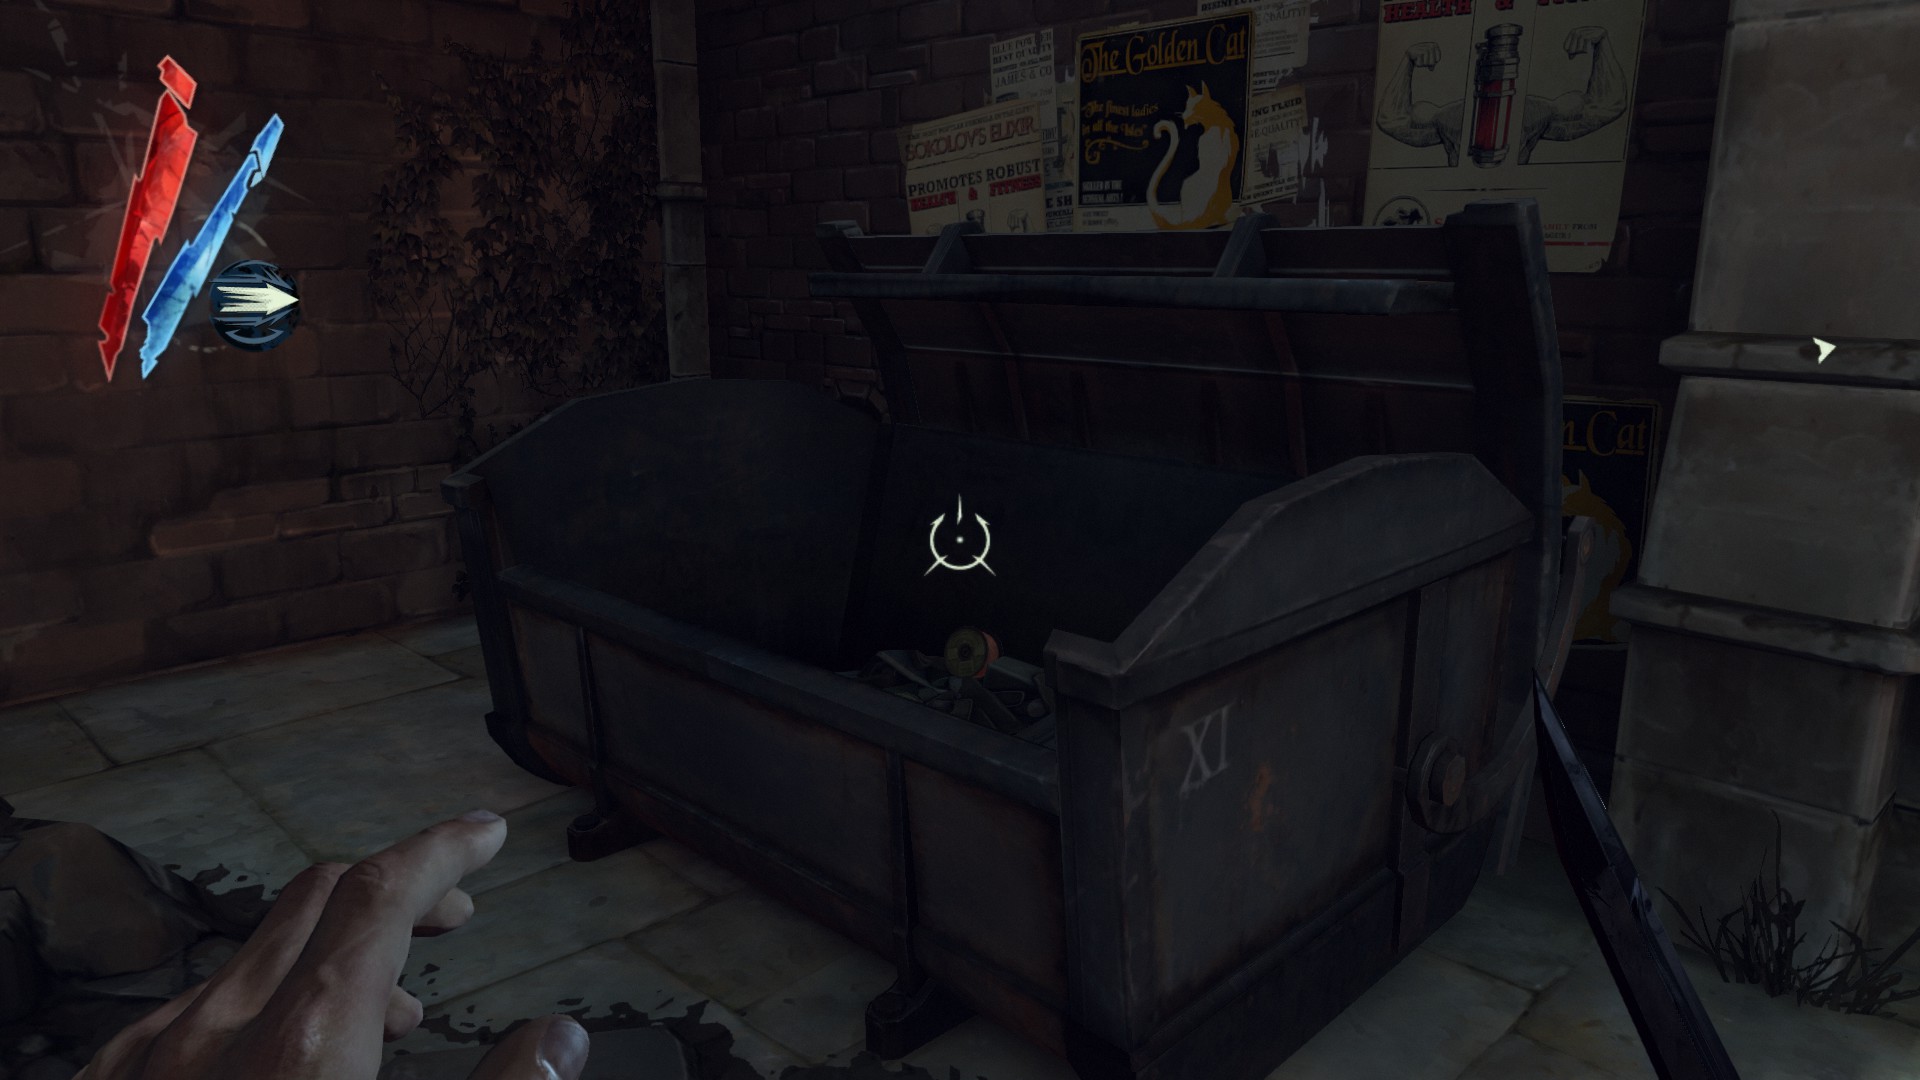
Grab pouches out of both corpses between a large trunk.
(+15 -> 597/1010)
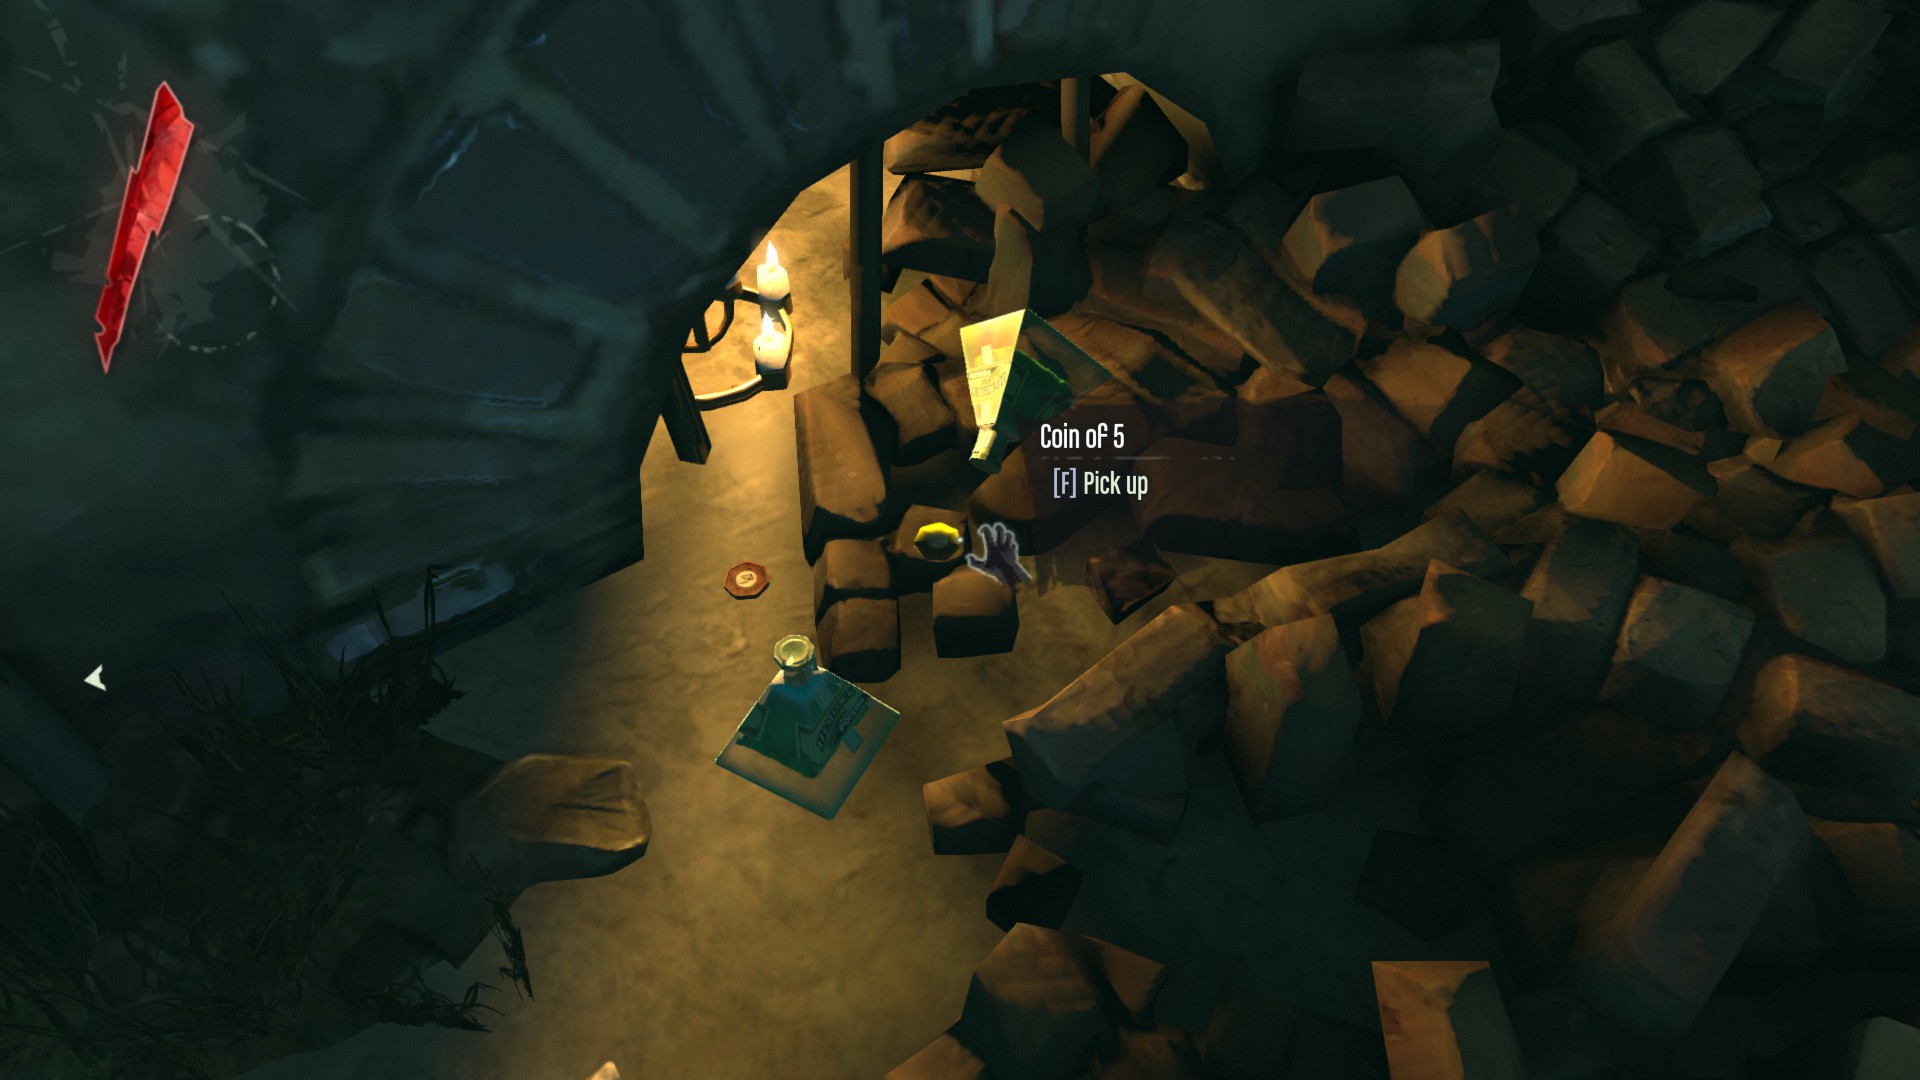
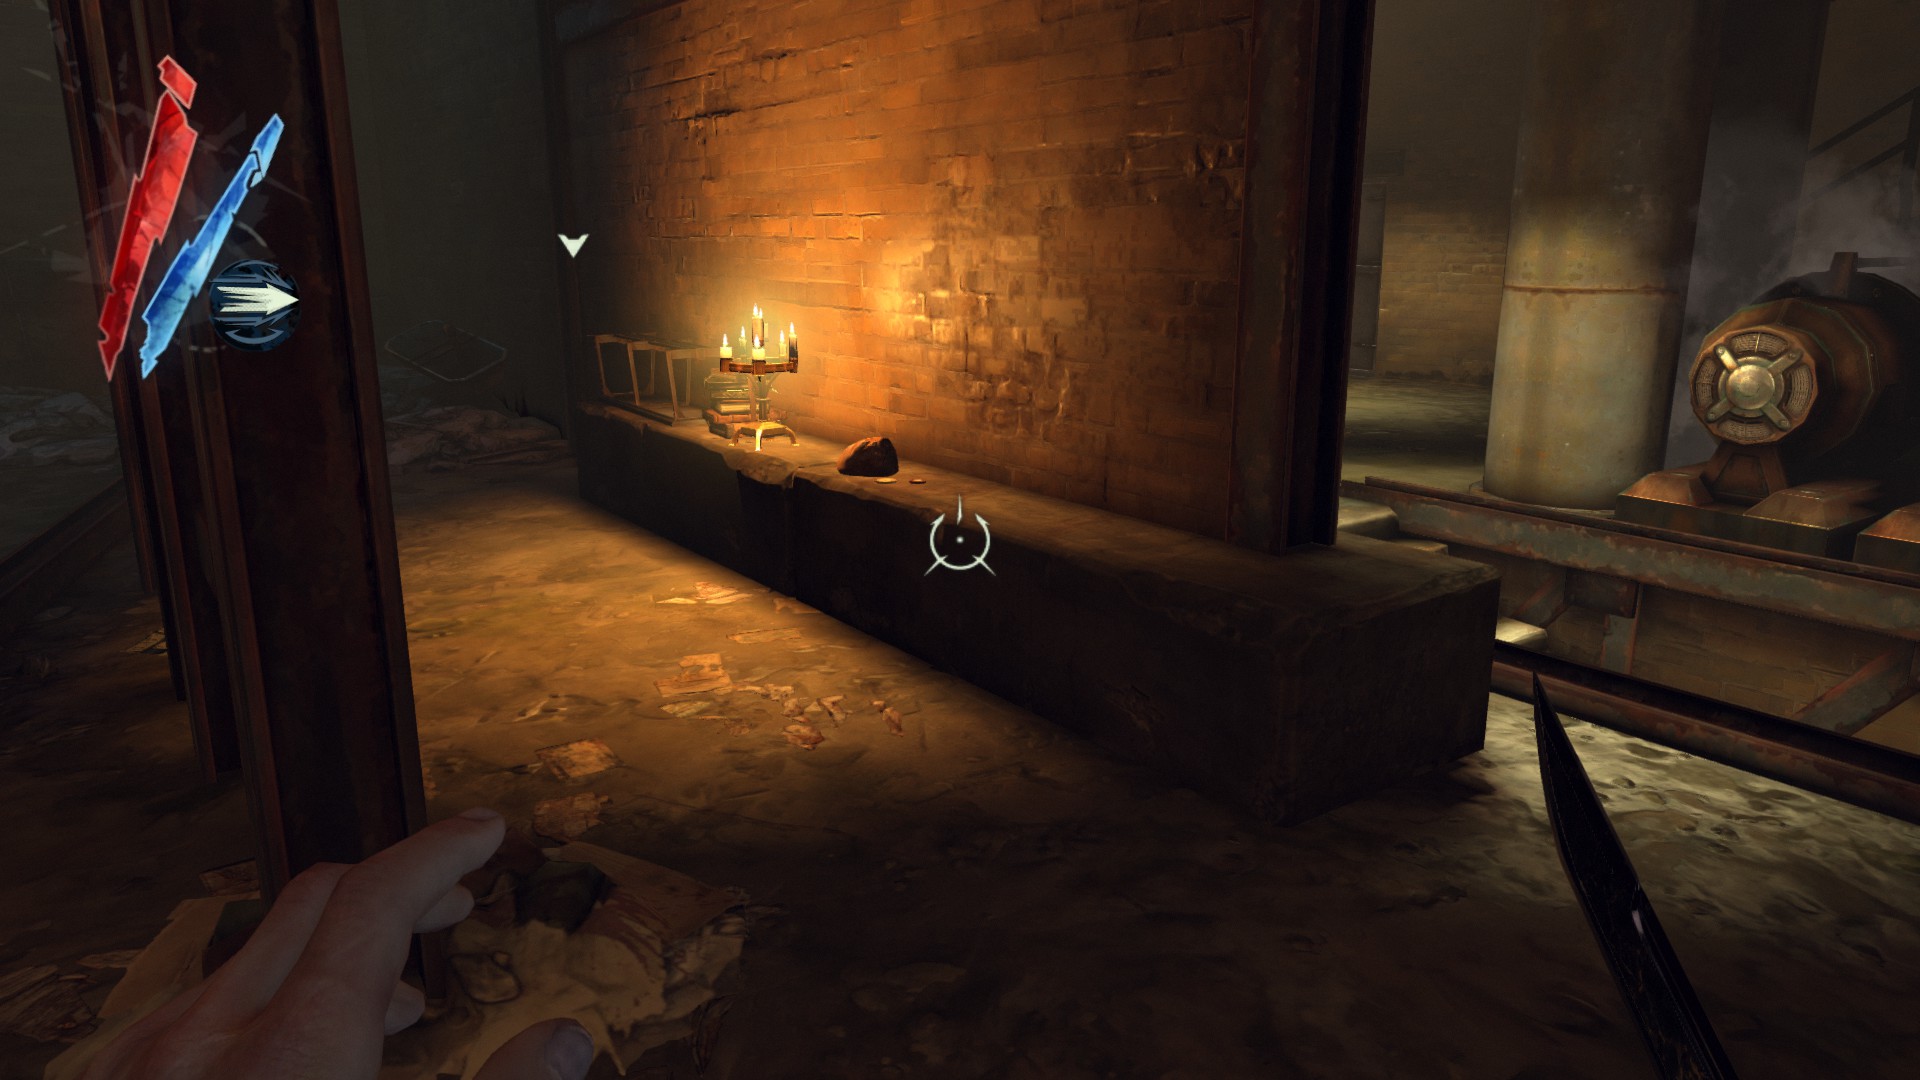
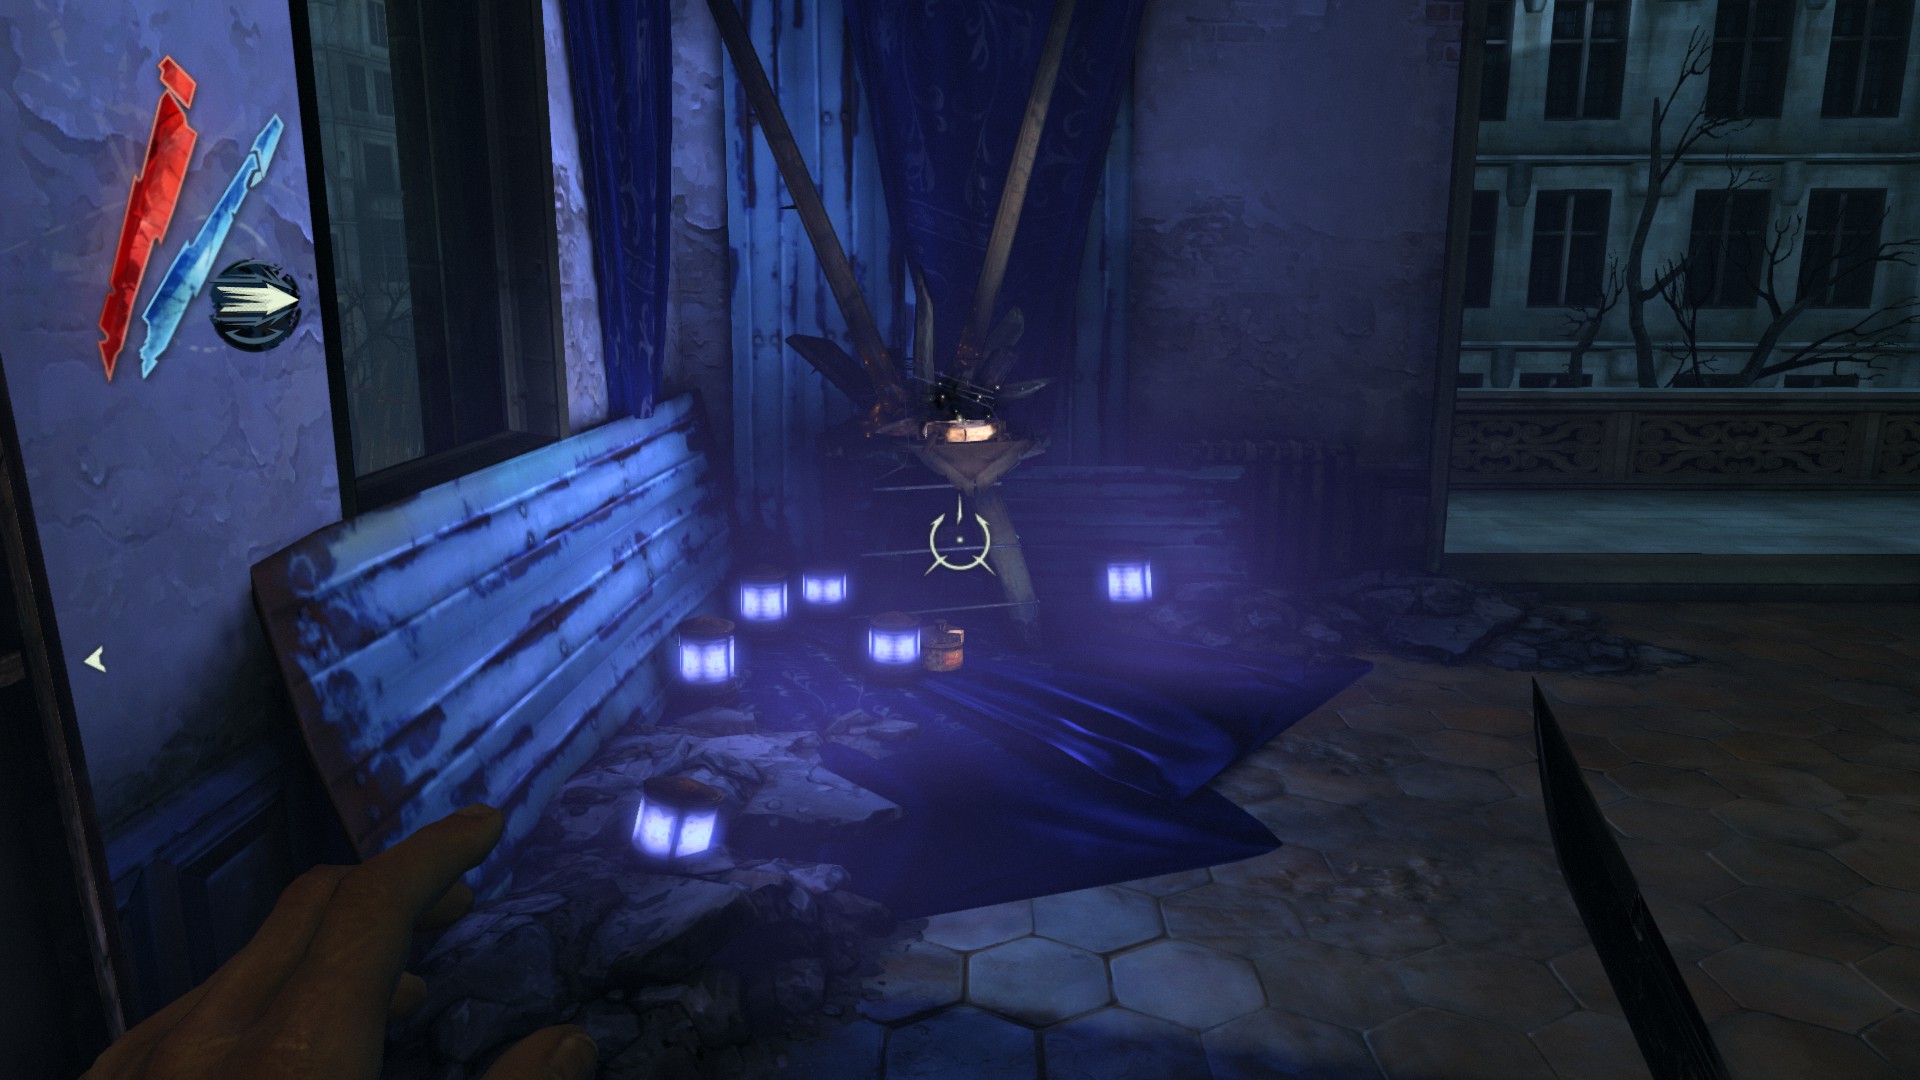
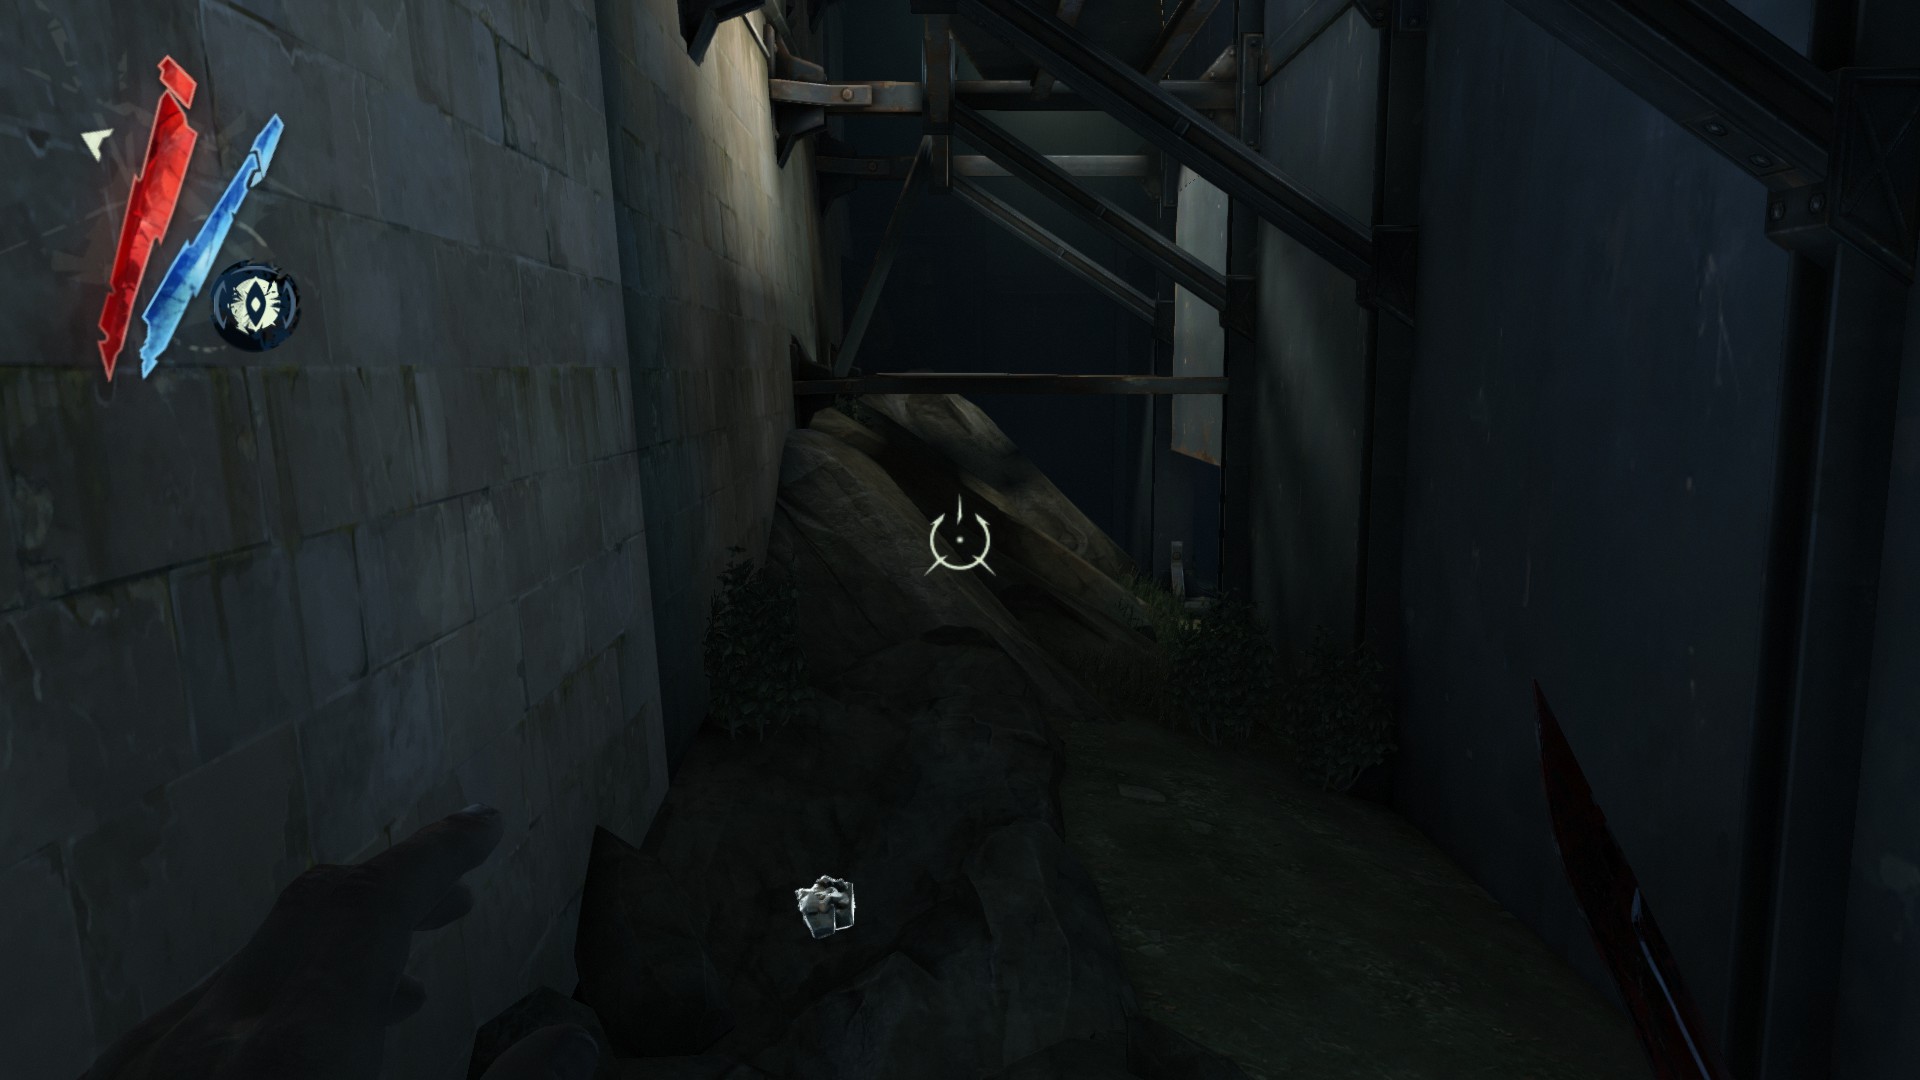
Before going through the gate, follow the ledge past it to find 2 coins and 2 hemlock essences near some candles.
(+50 -> 647/1010)
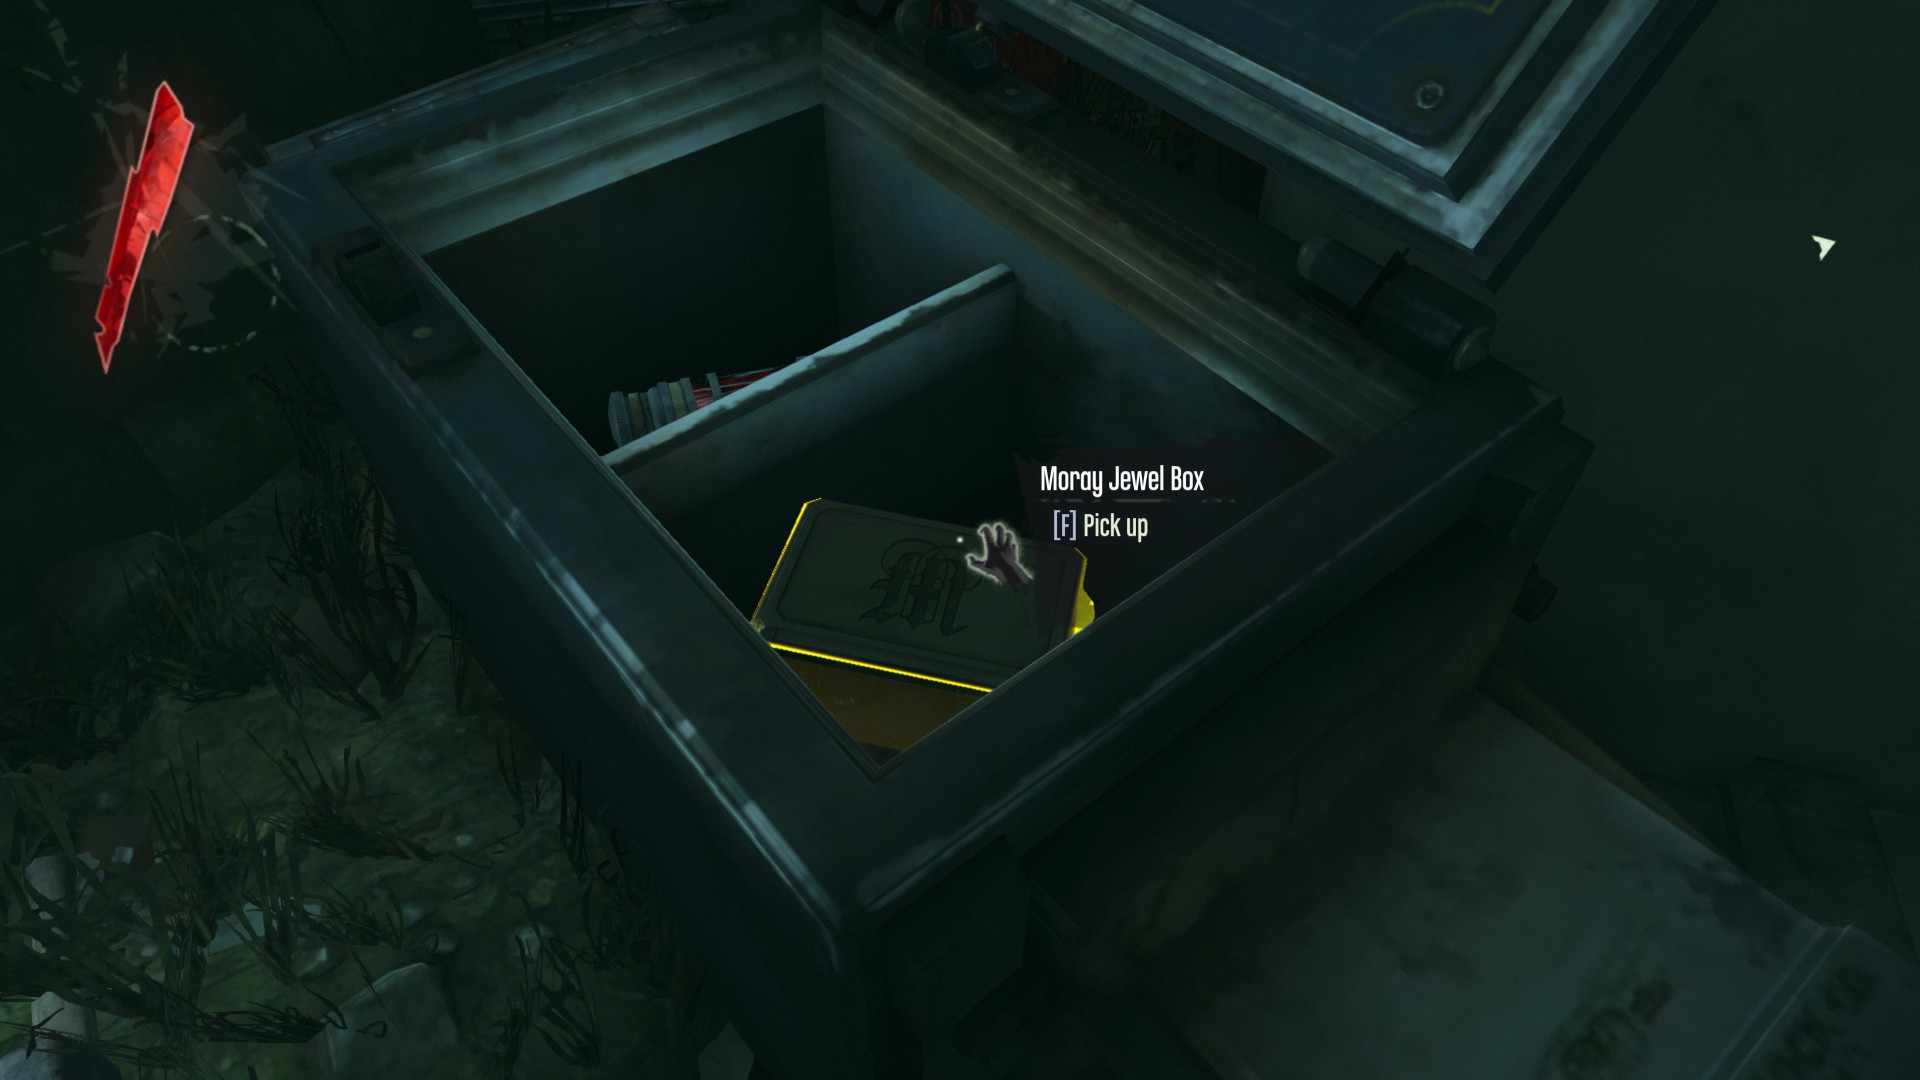
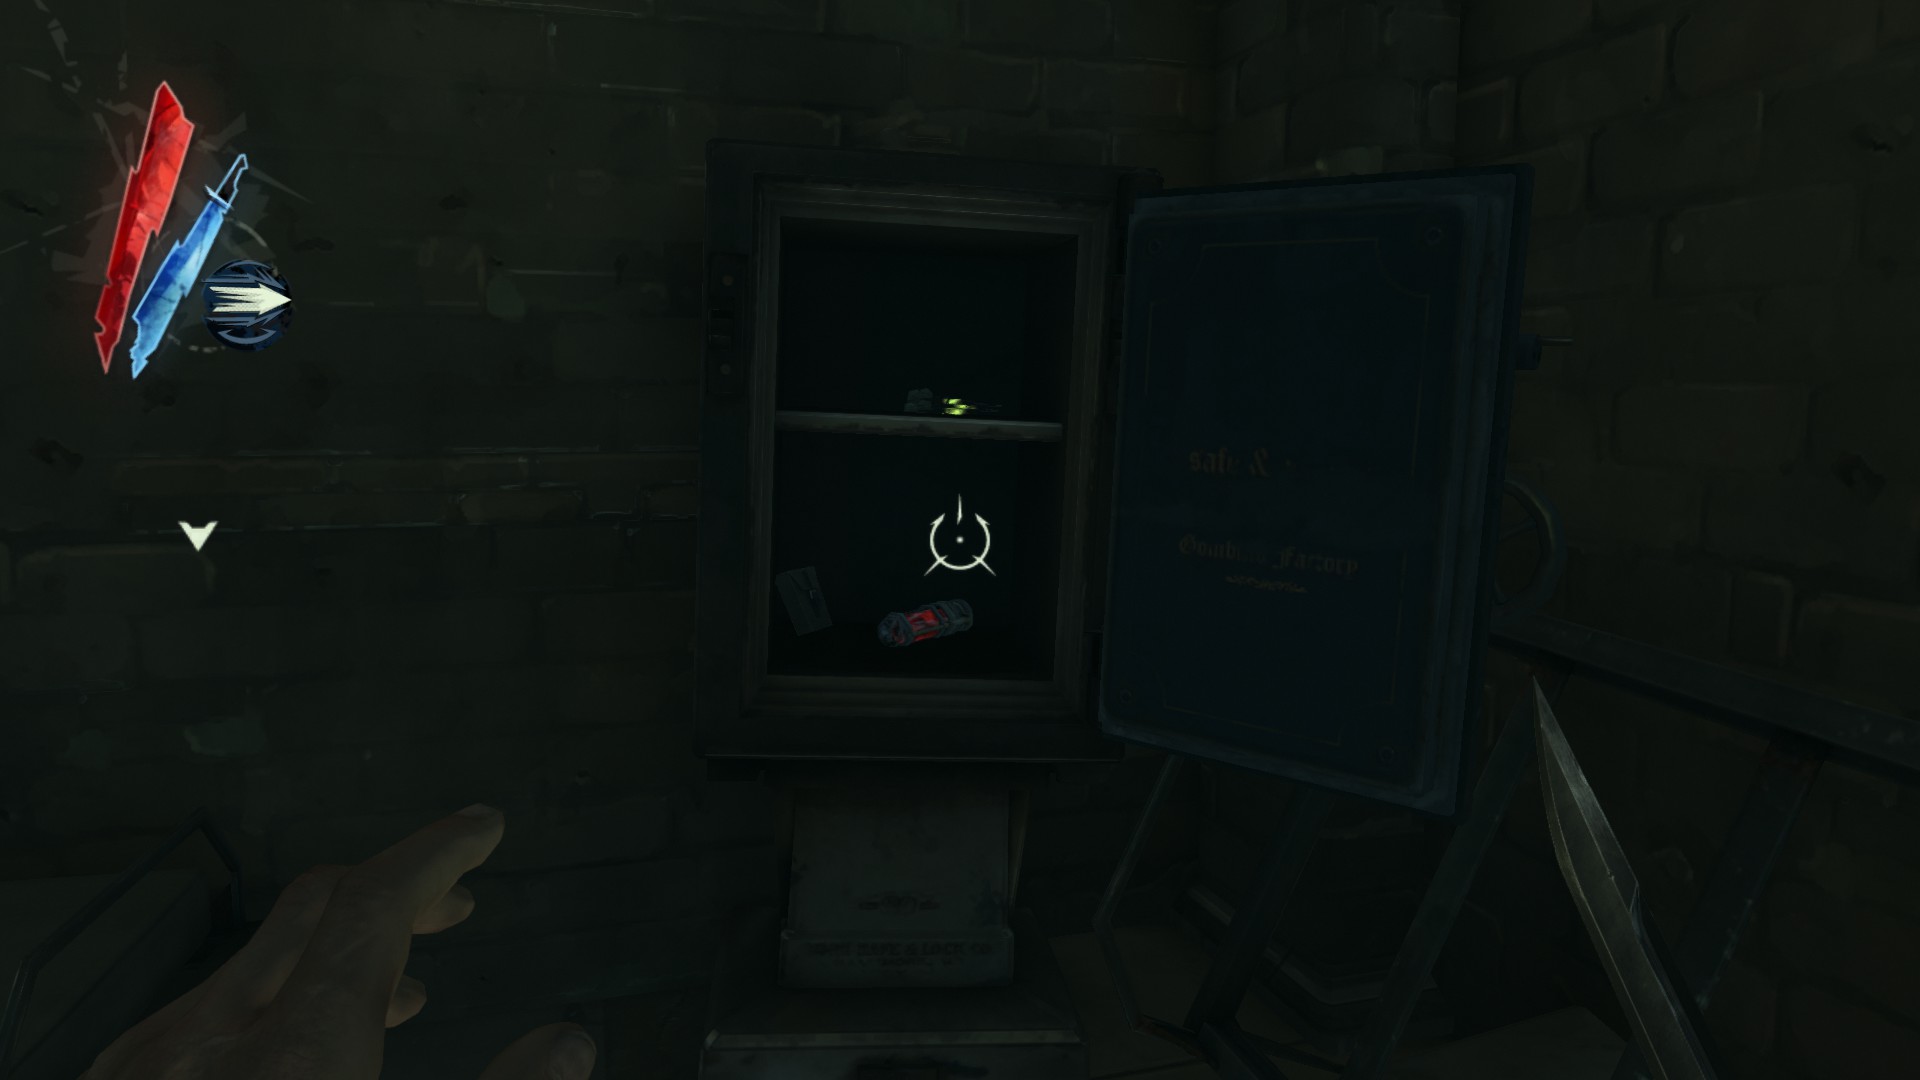
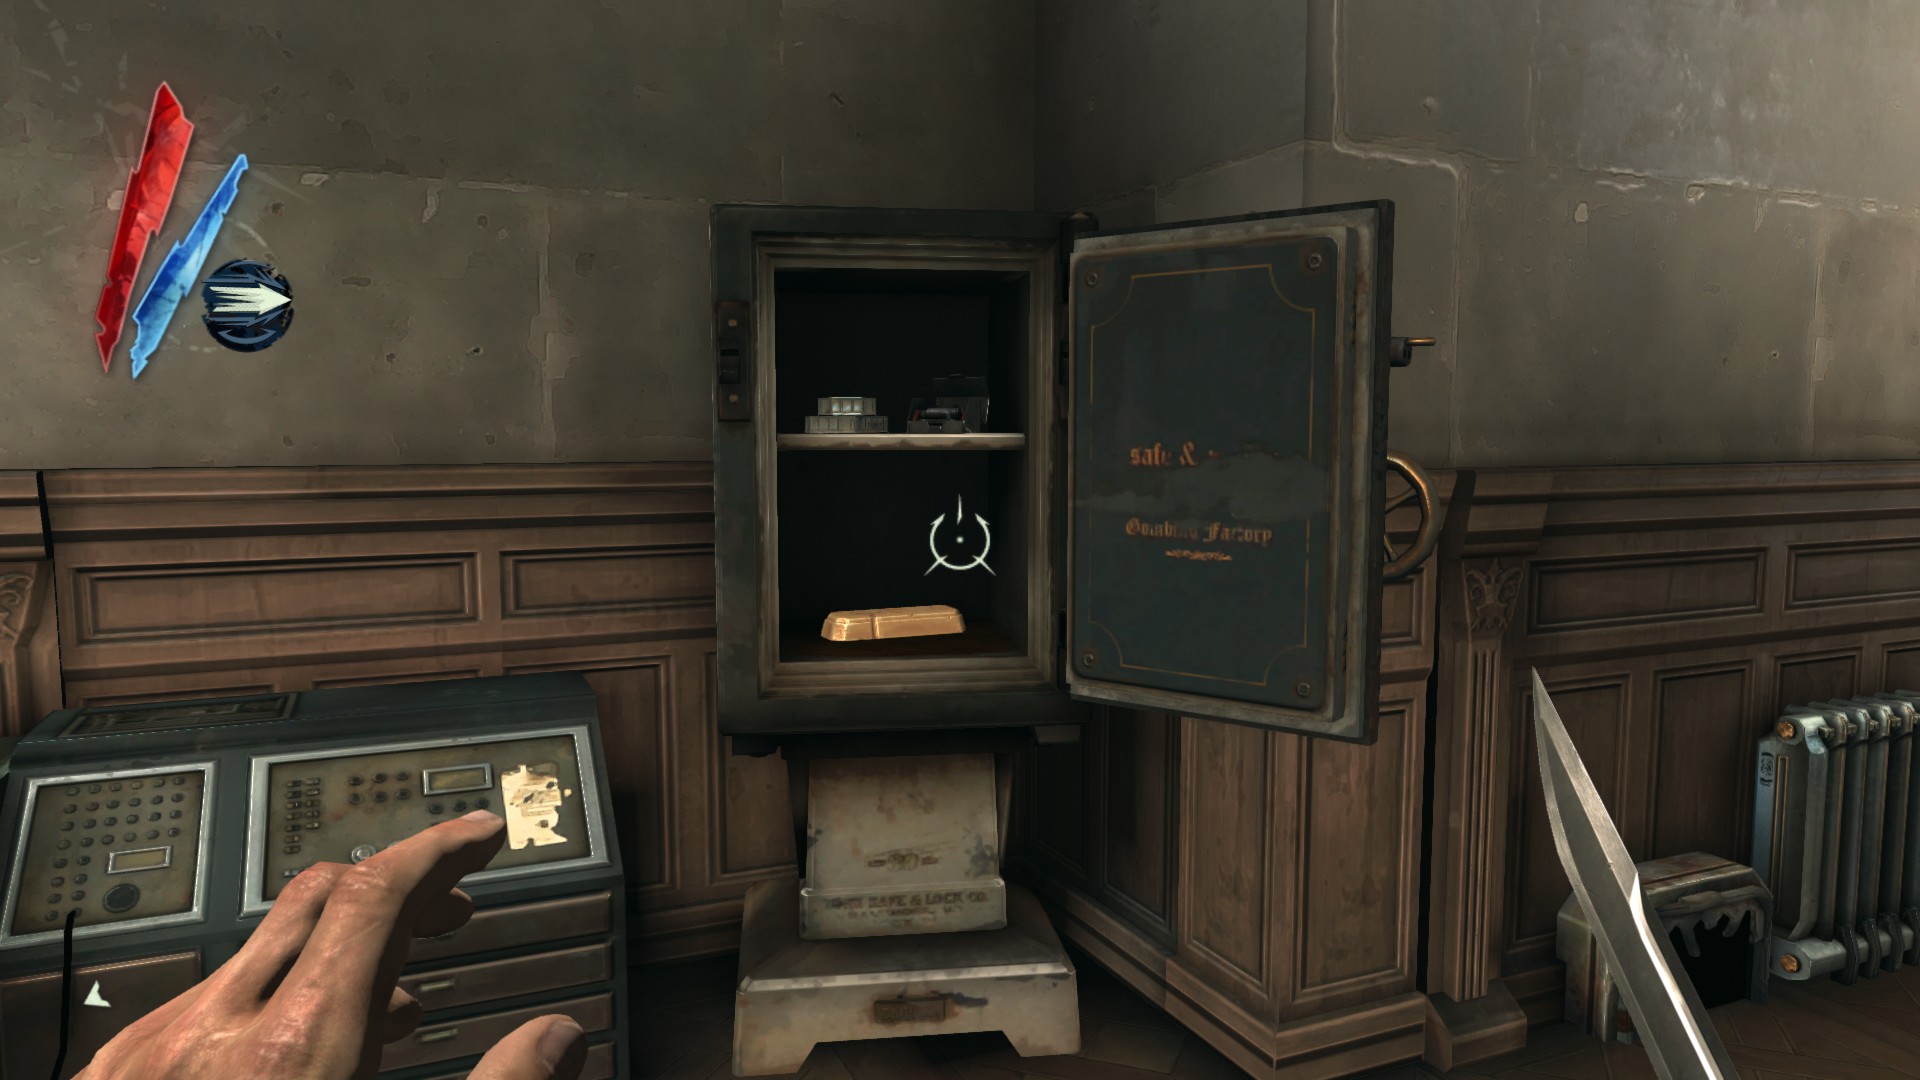
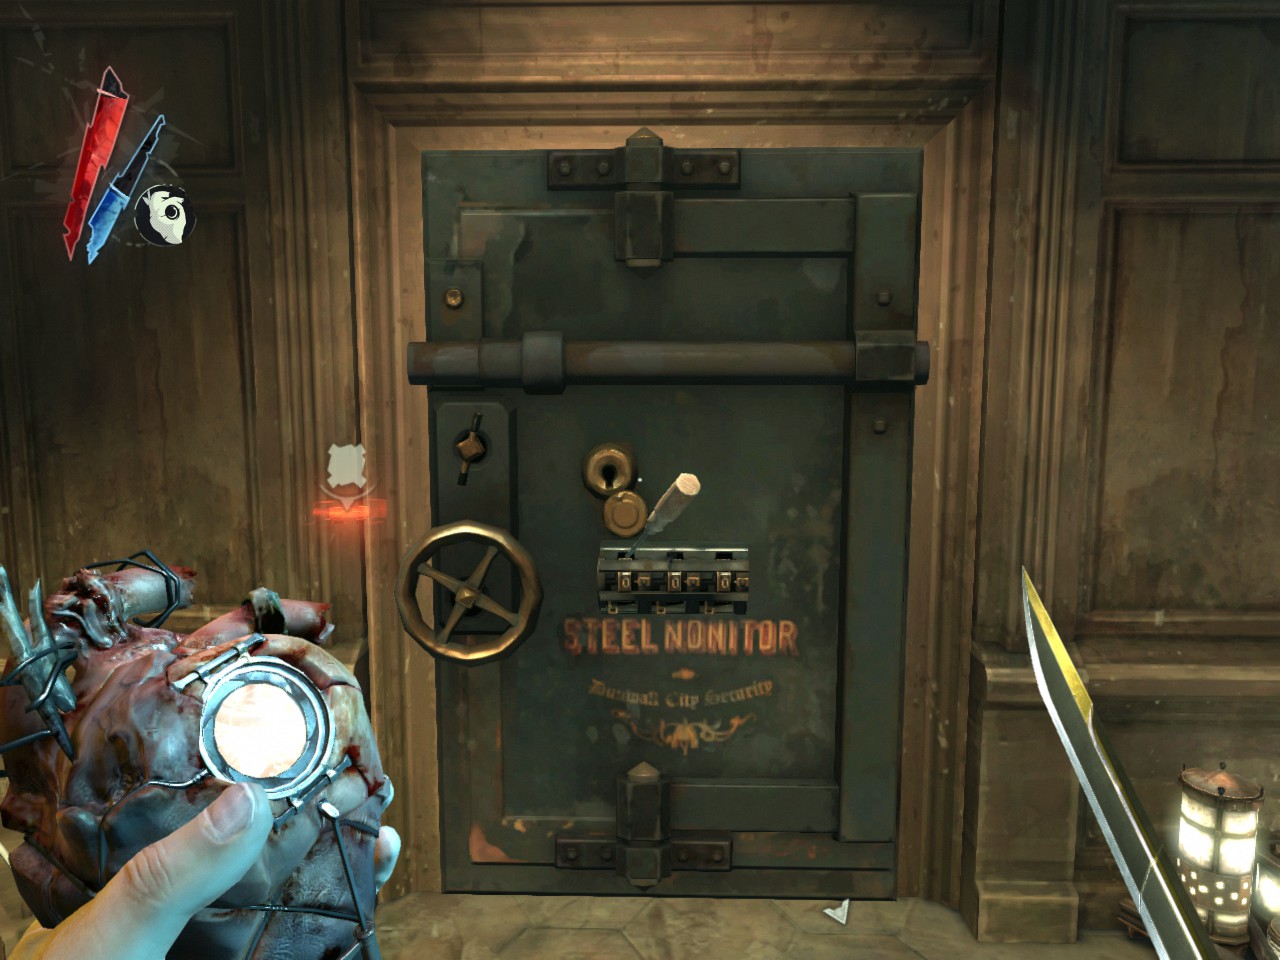
Now go through the gate into the next area, watch out for the bolt trap. There is a safe here containing a Moray Jewel Box. The code is 451.
(+50 -> 697/1010)
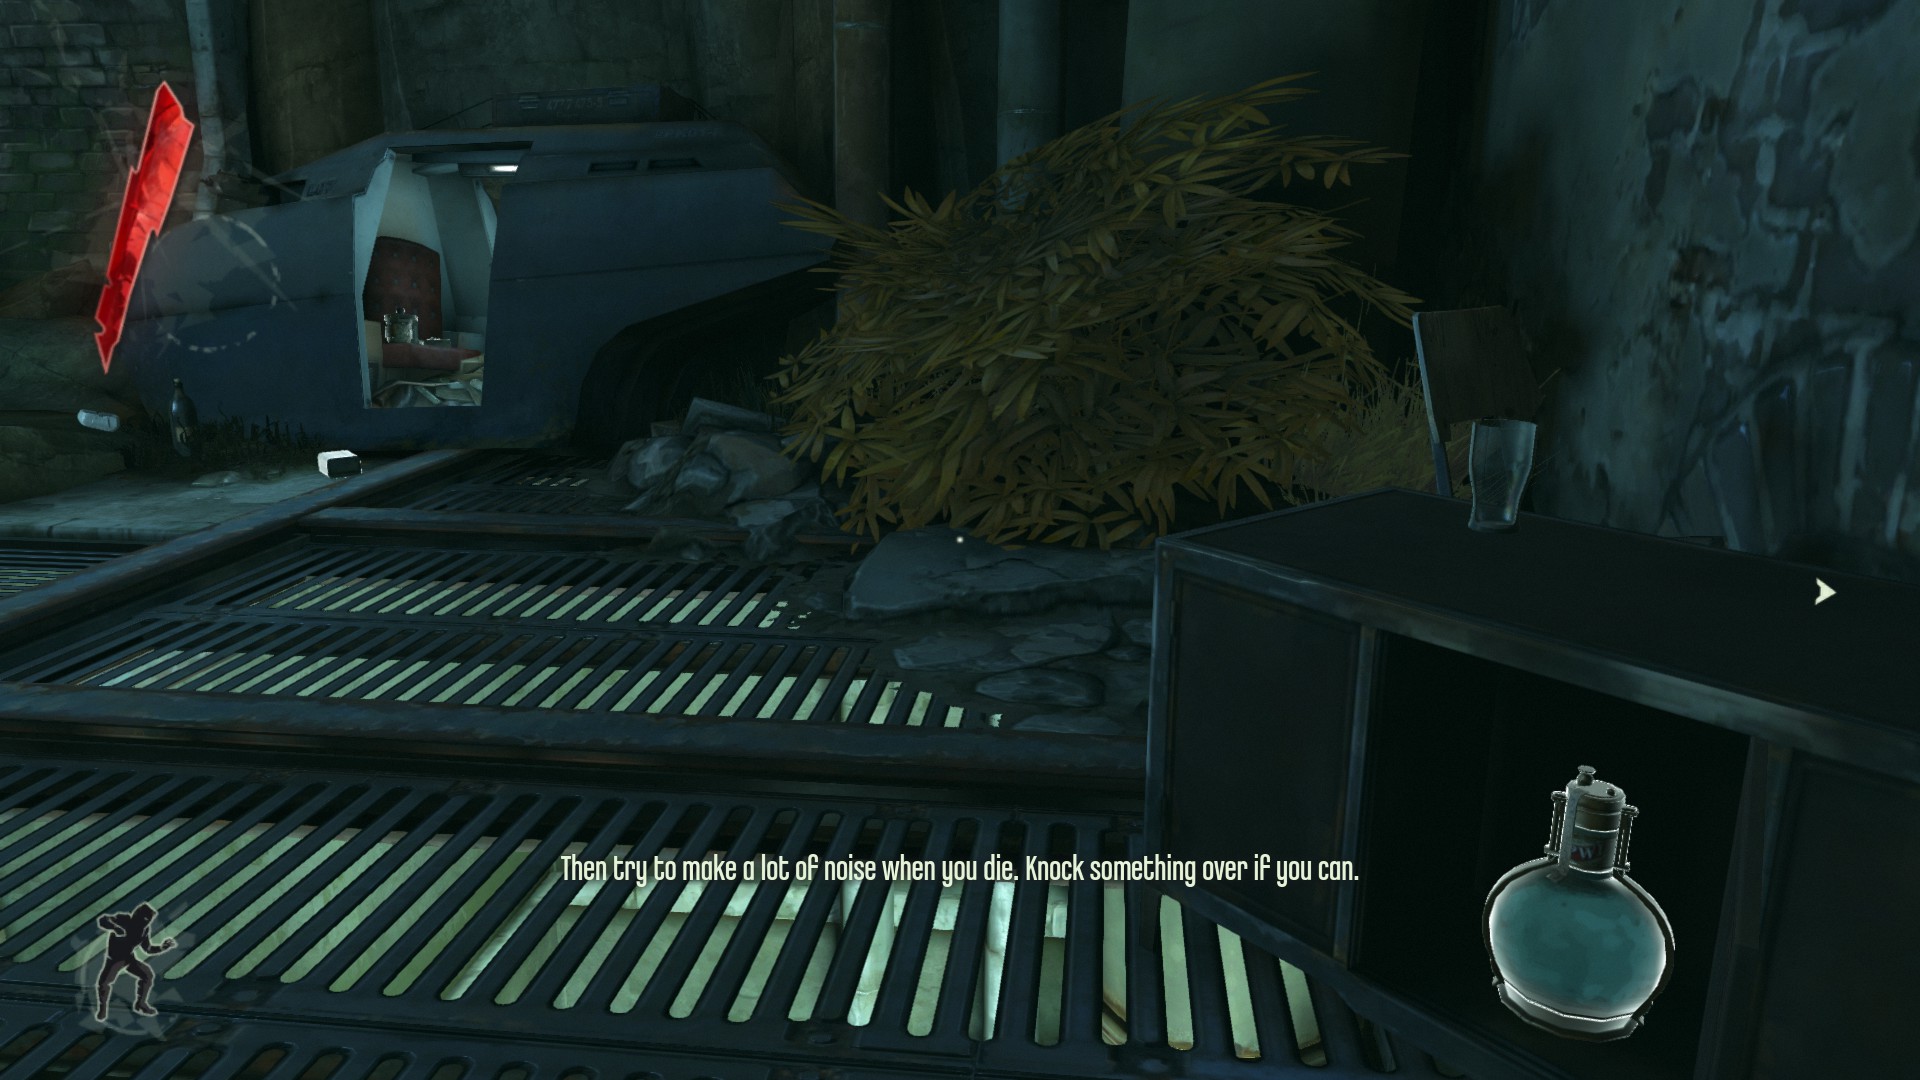
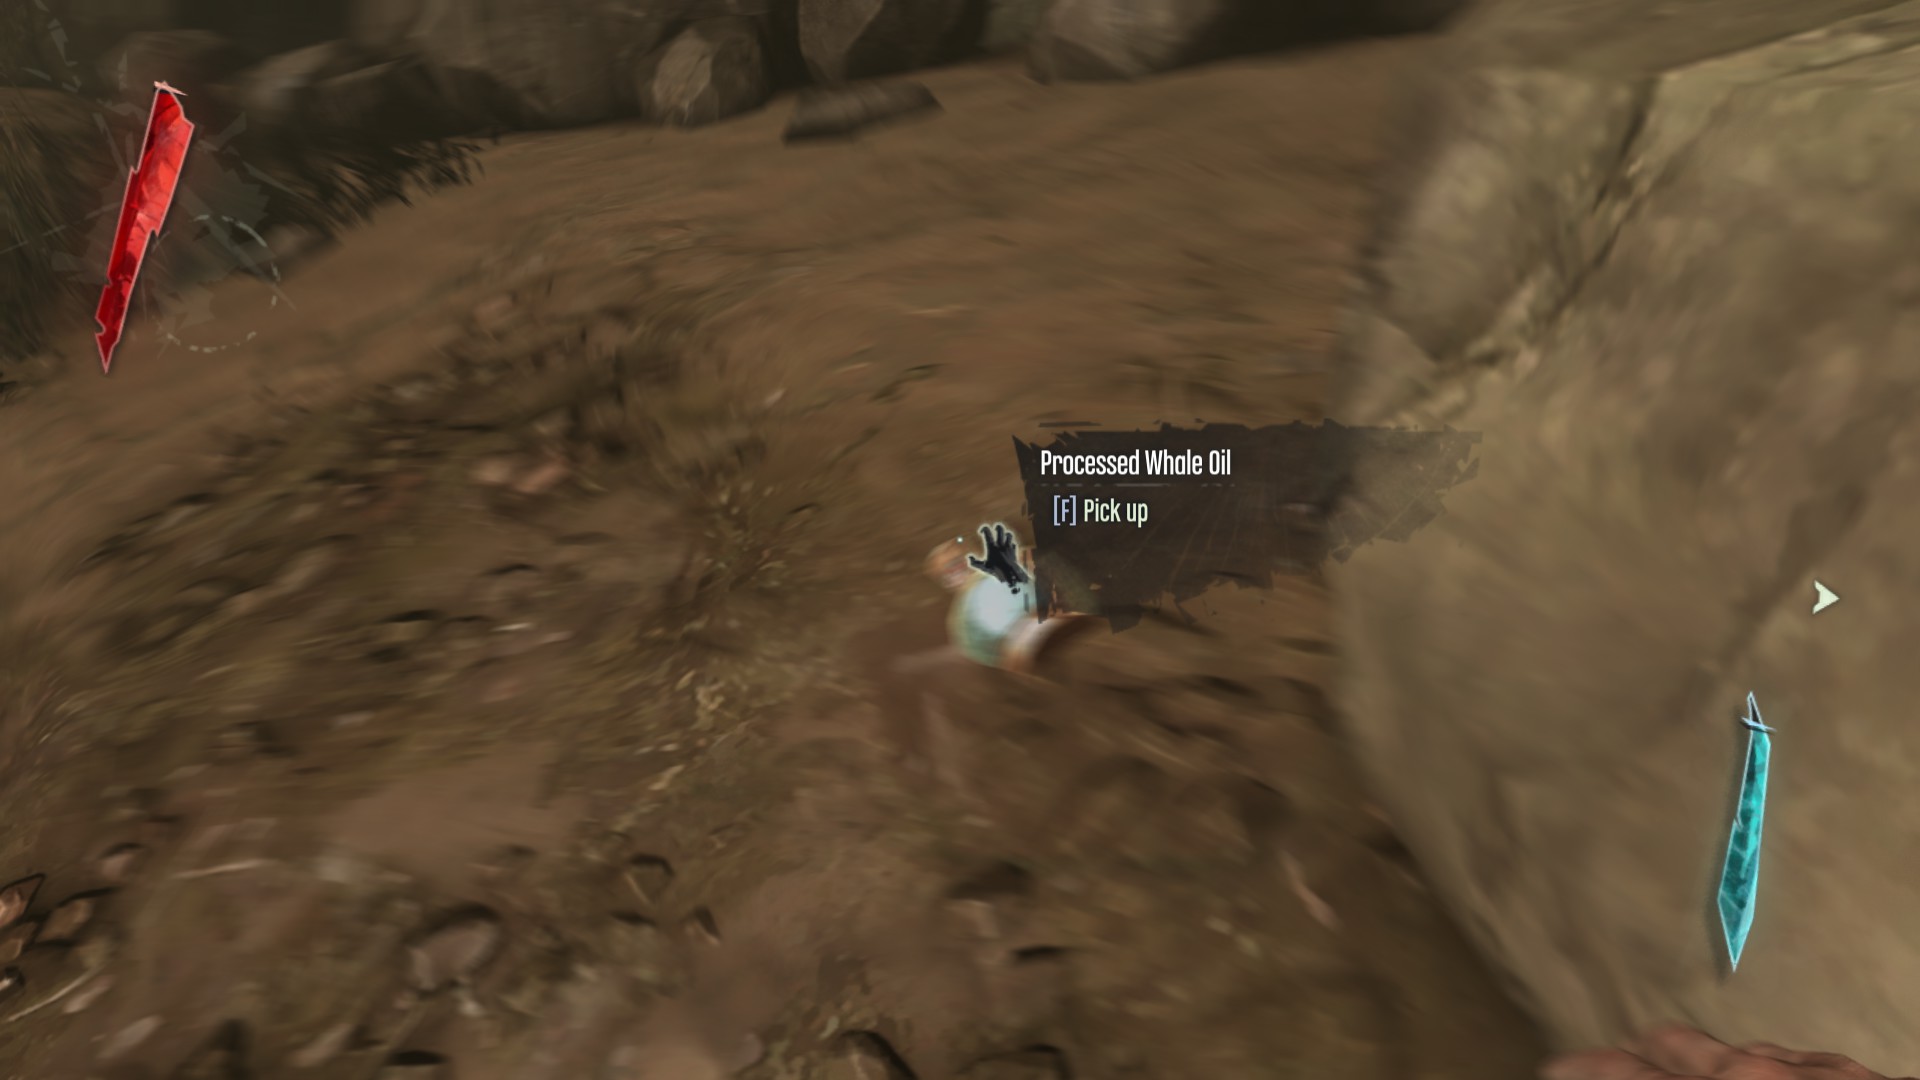
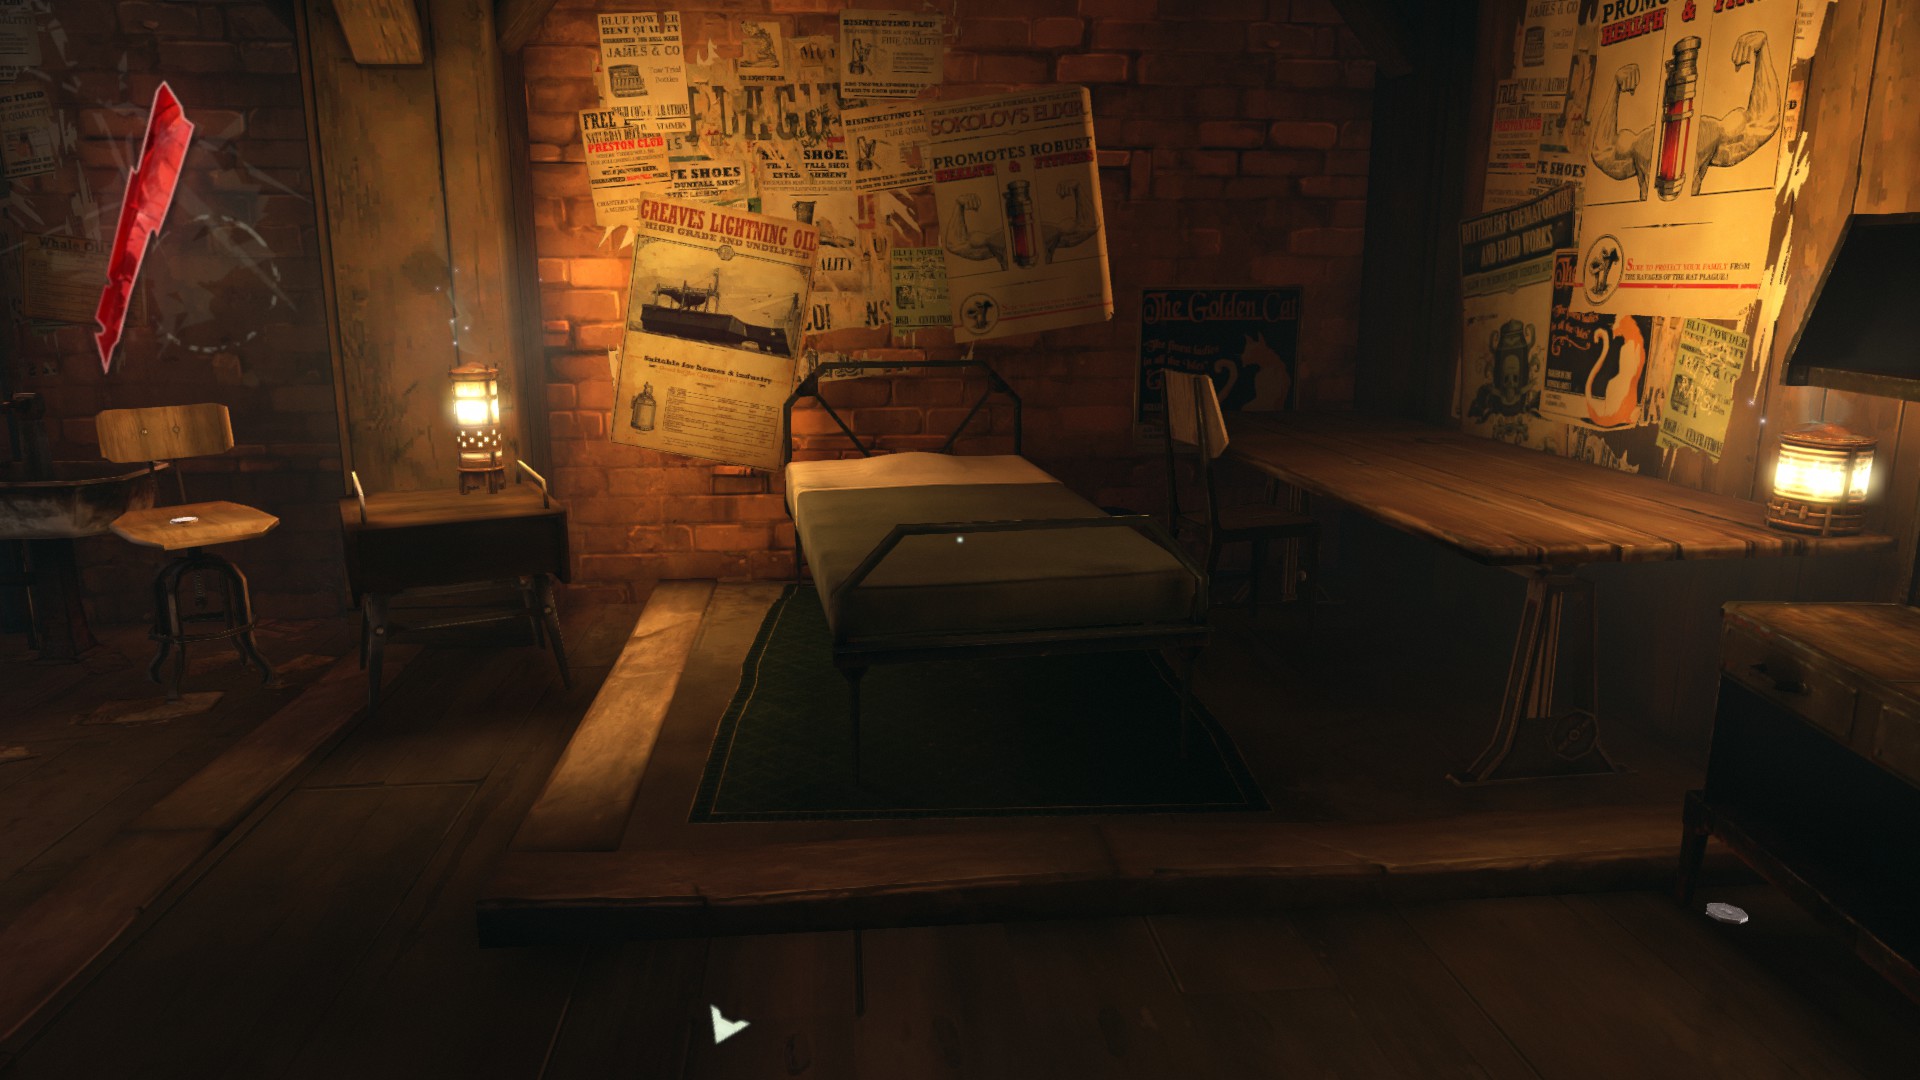
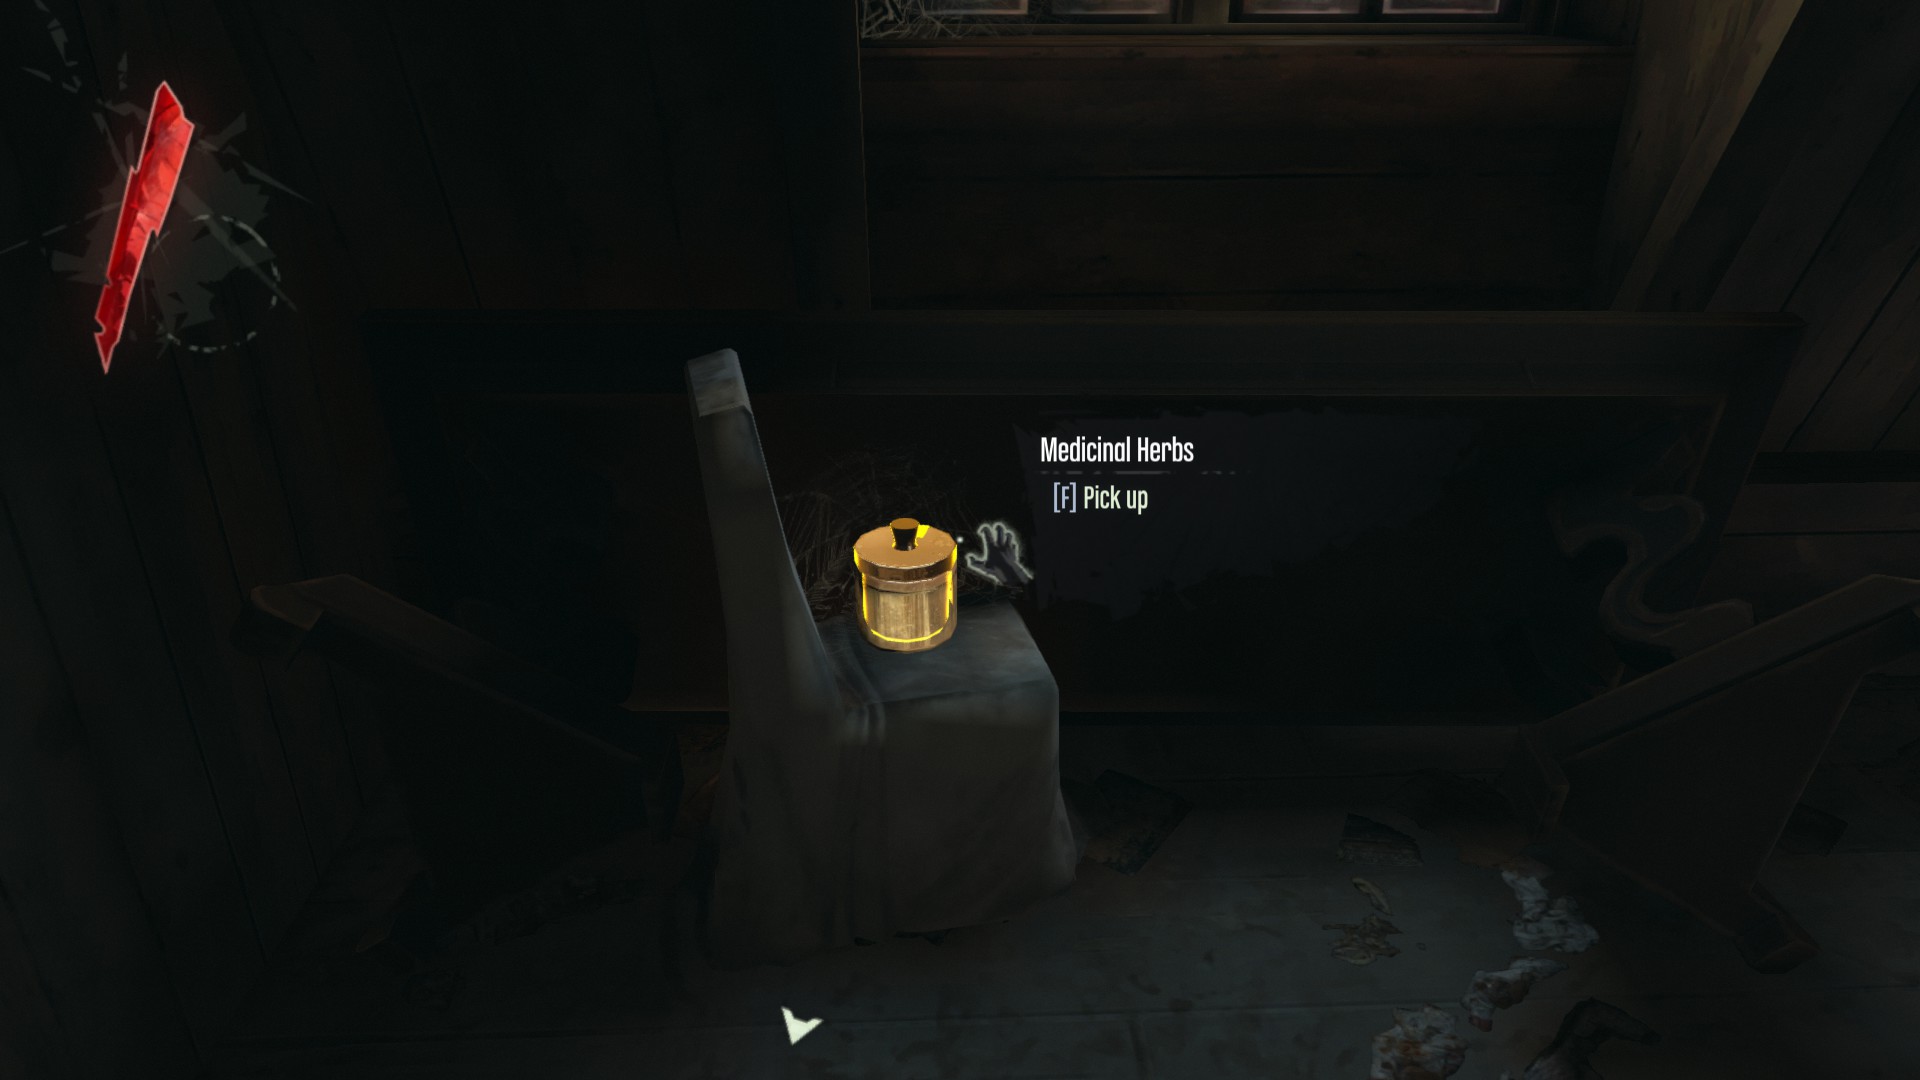
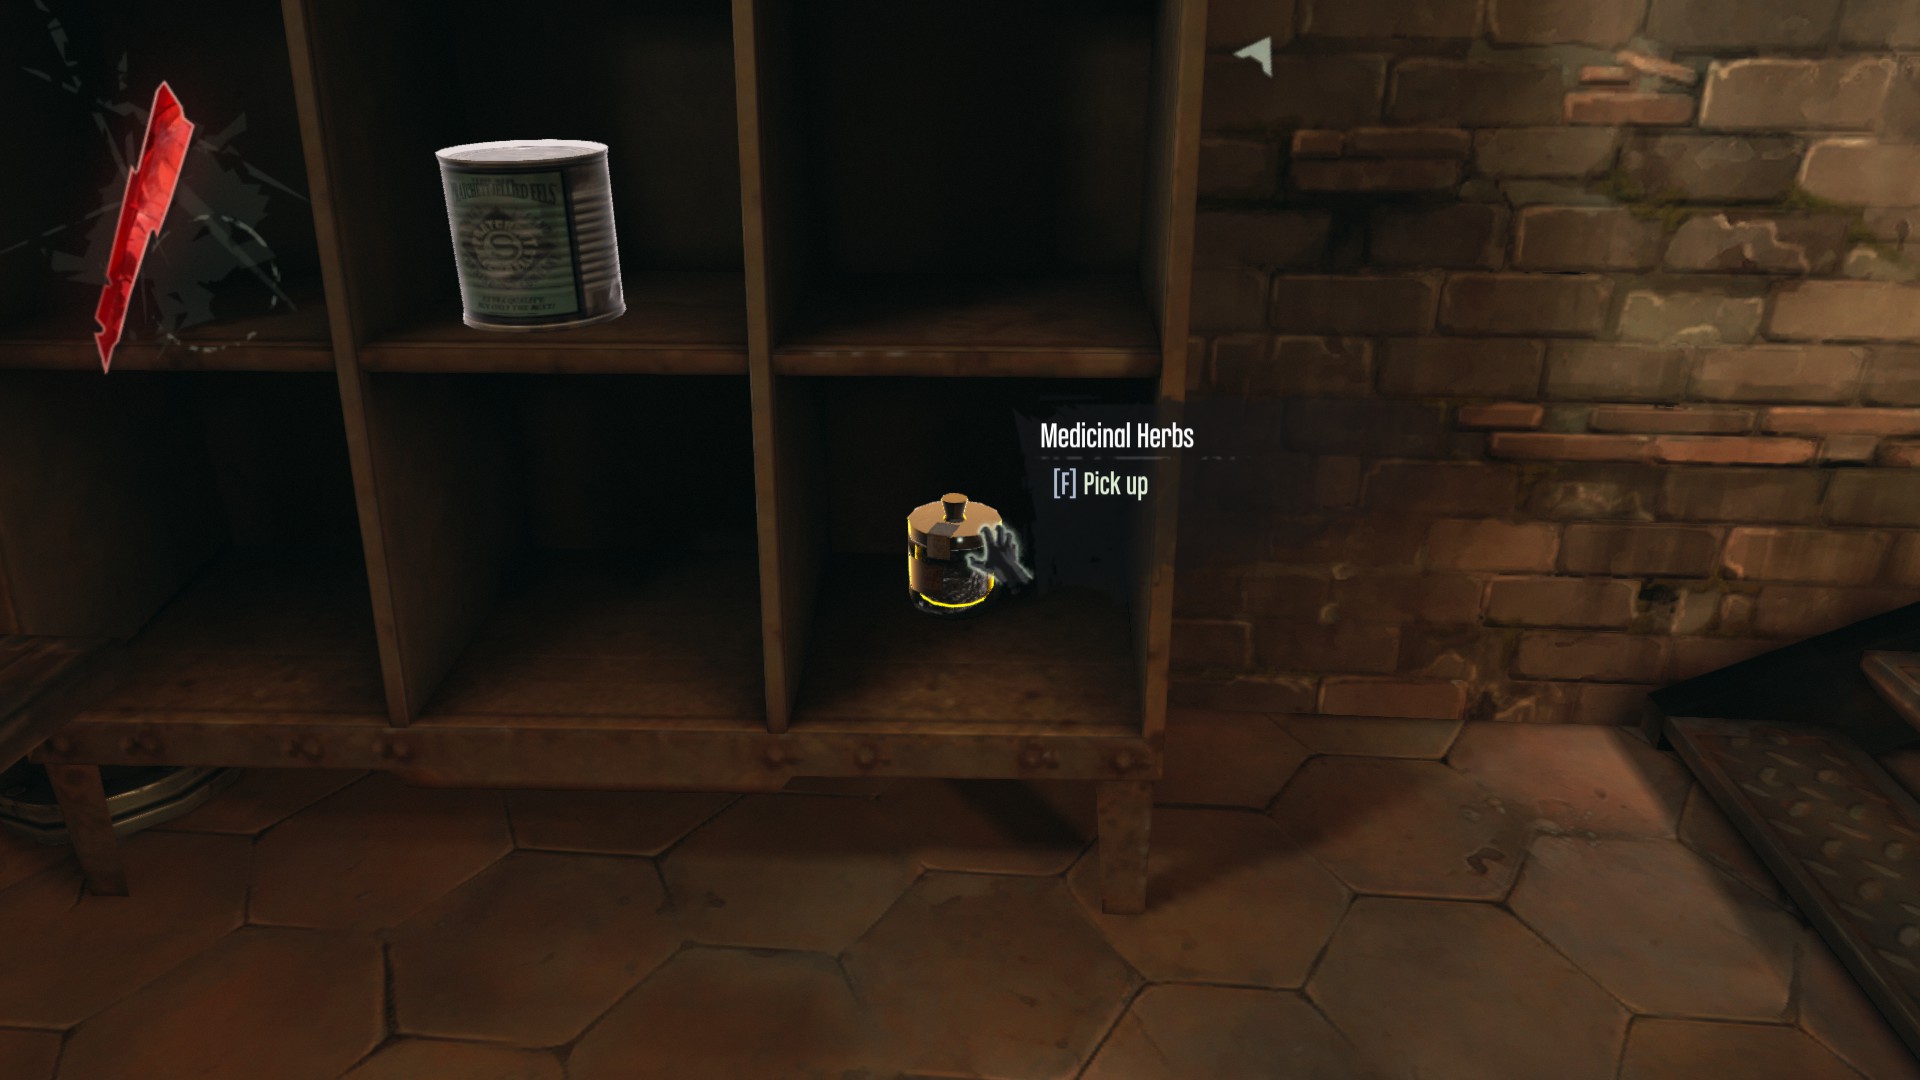
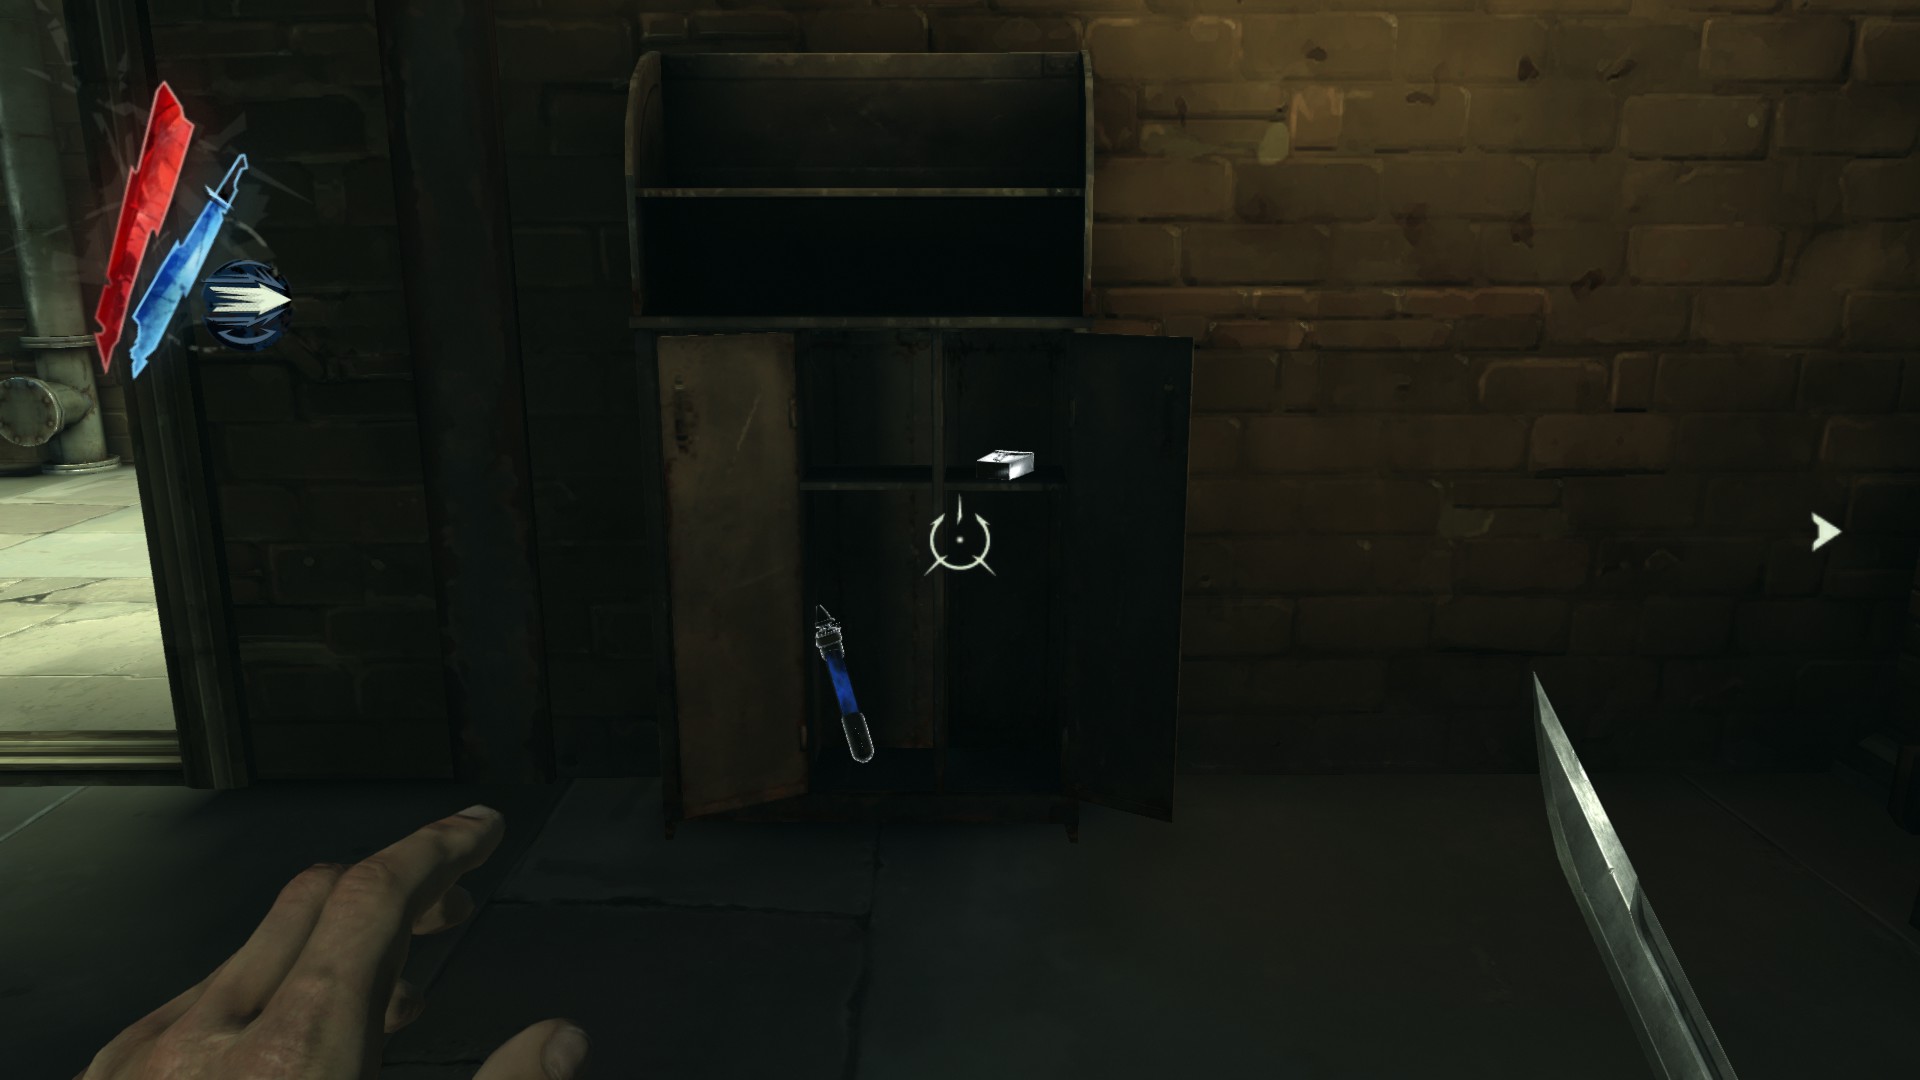
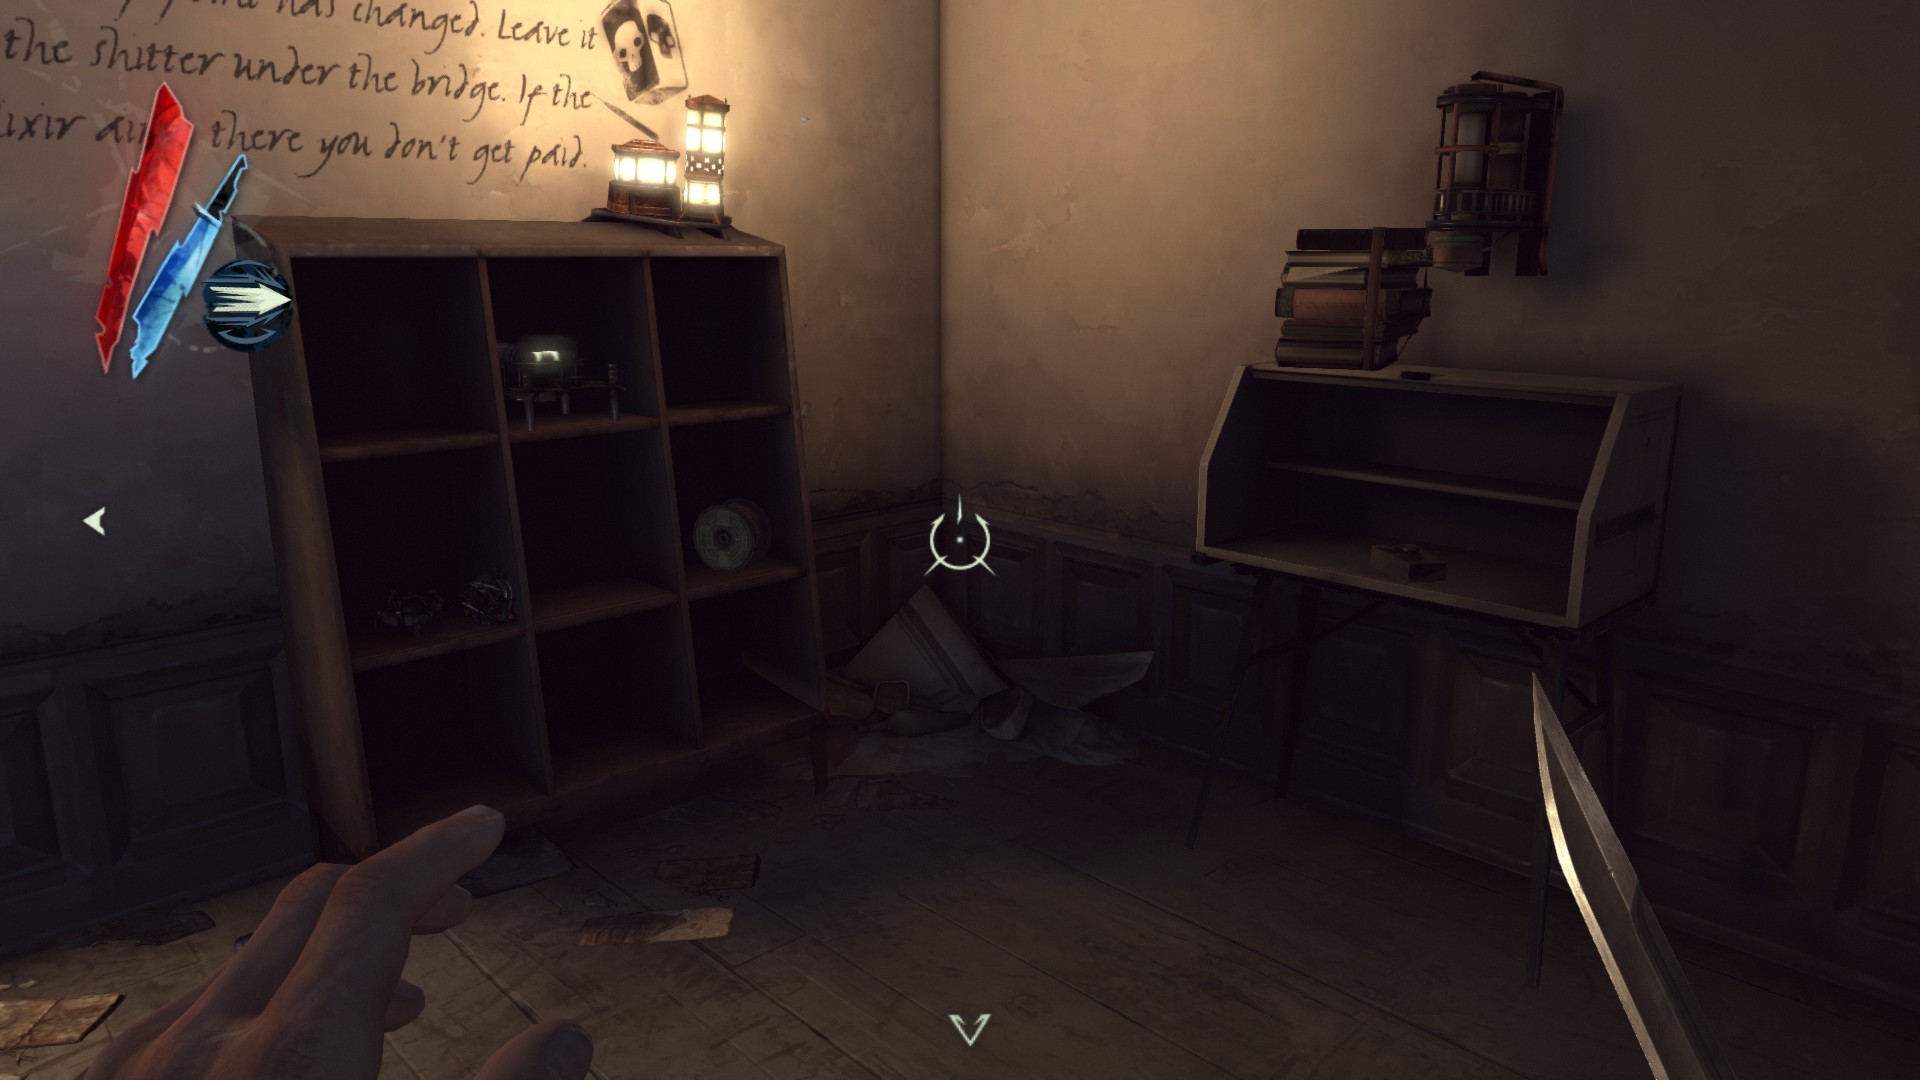
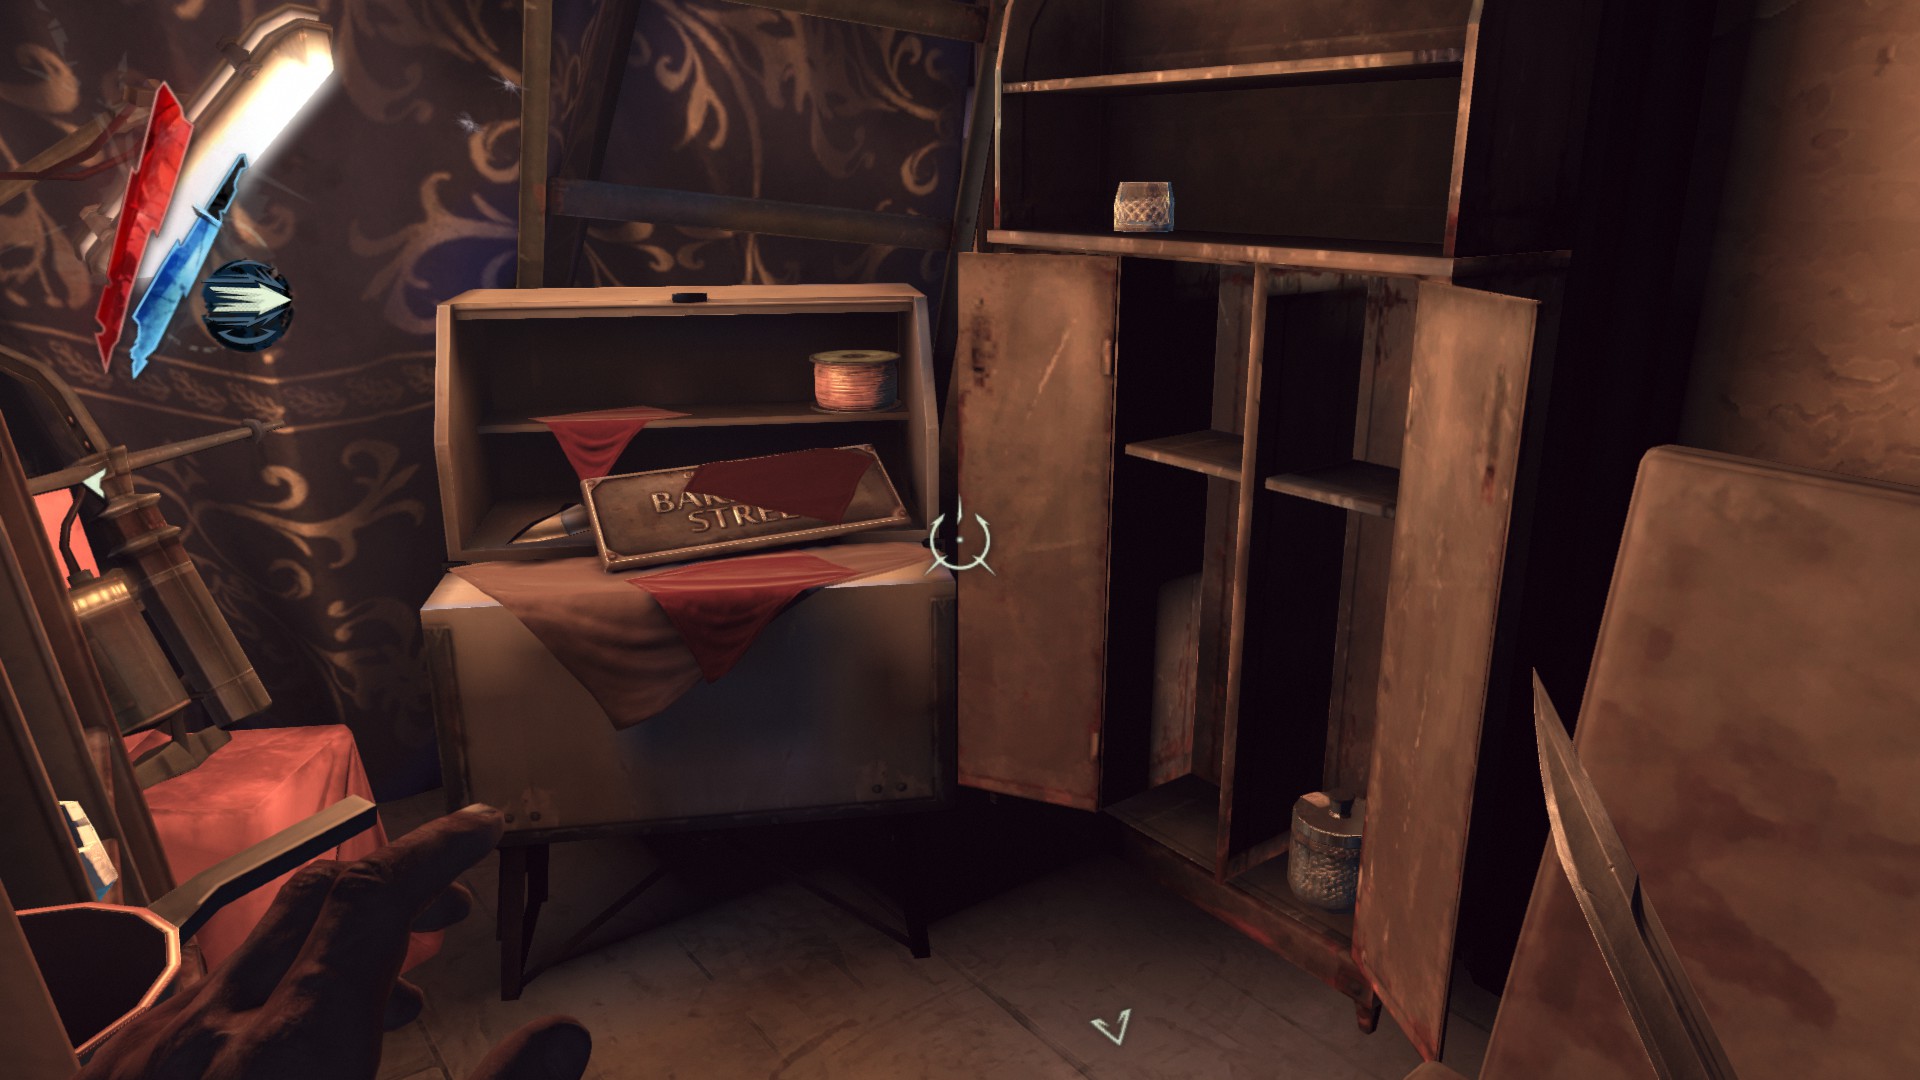
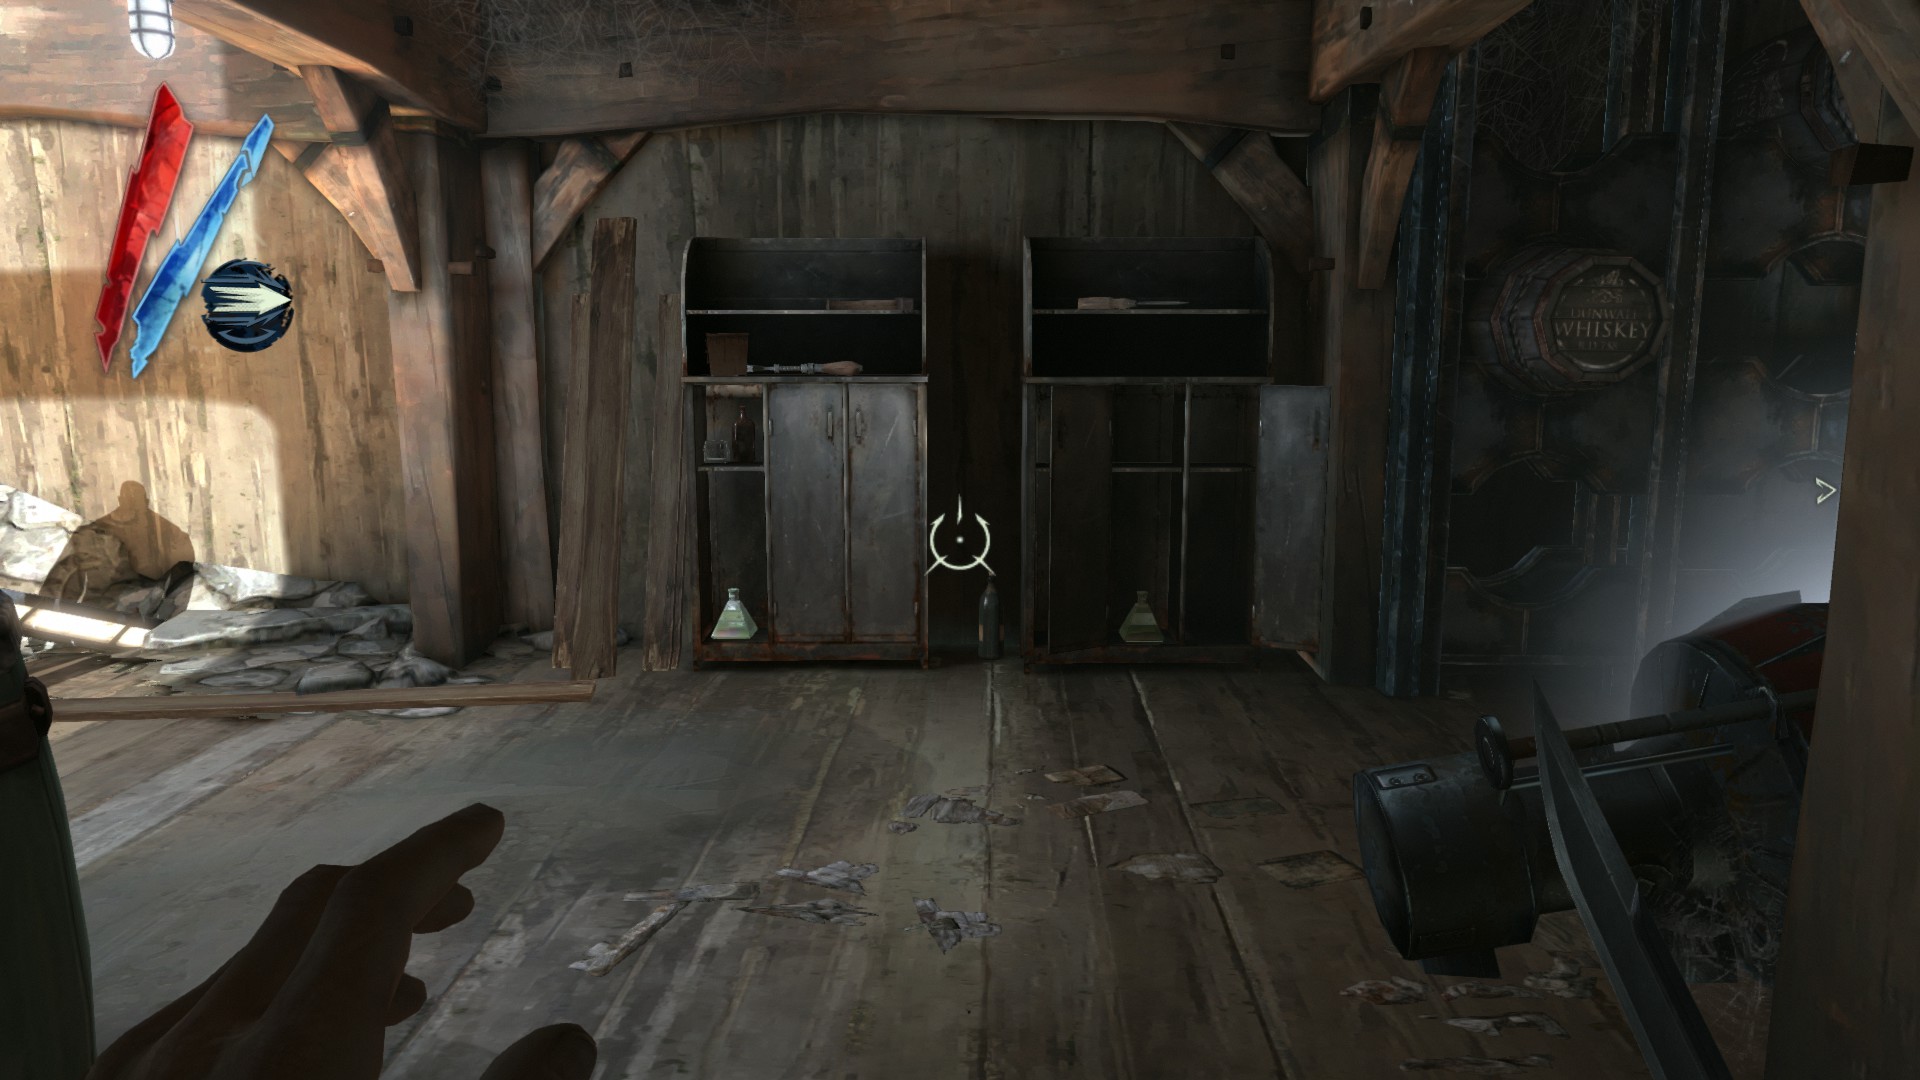
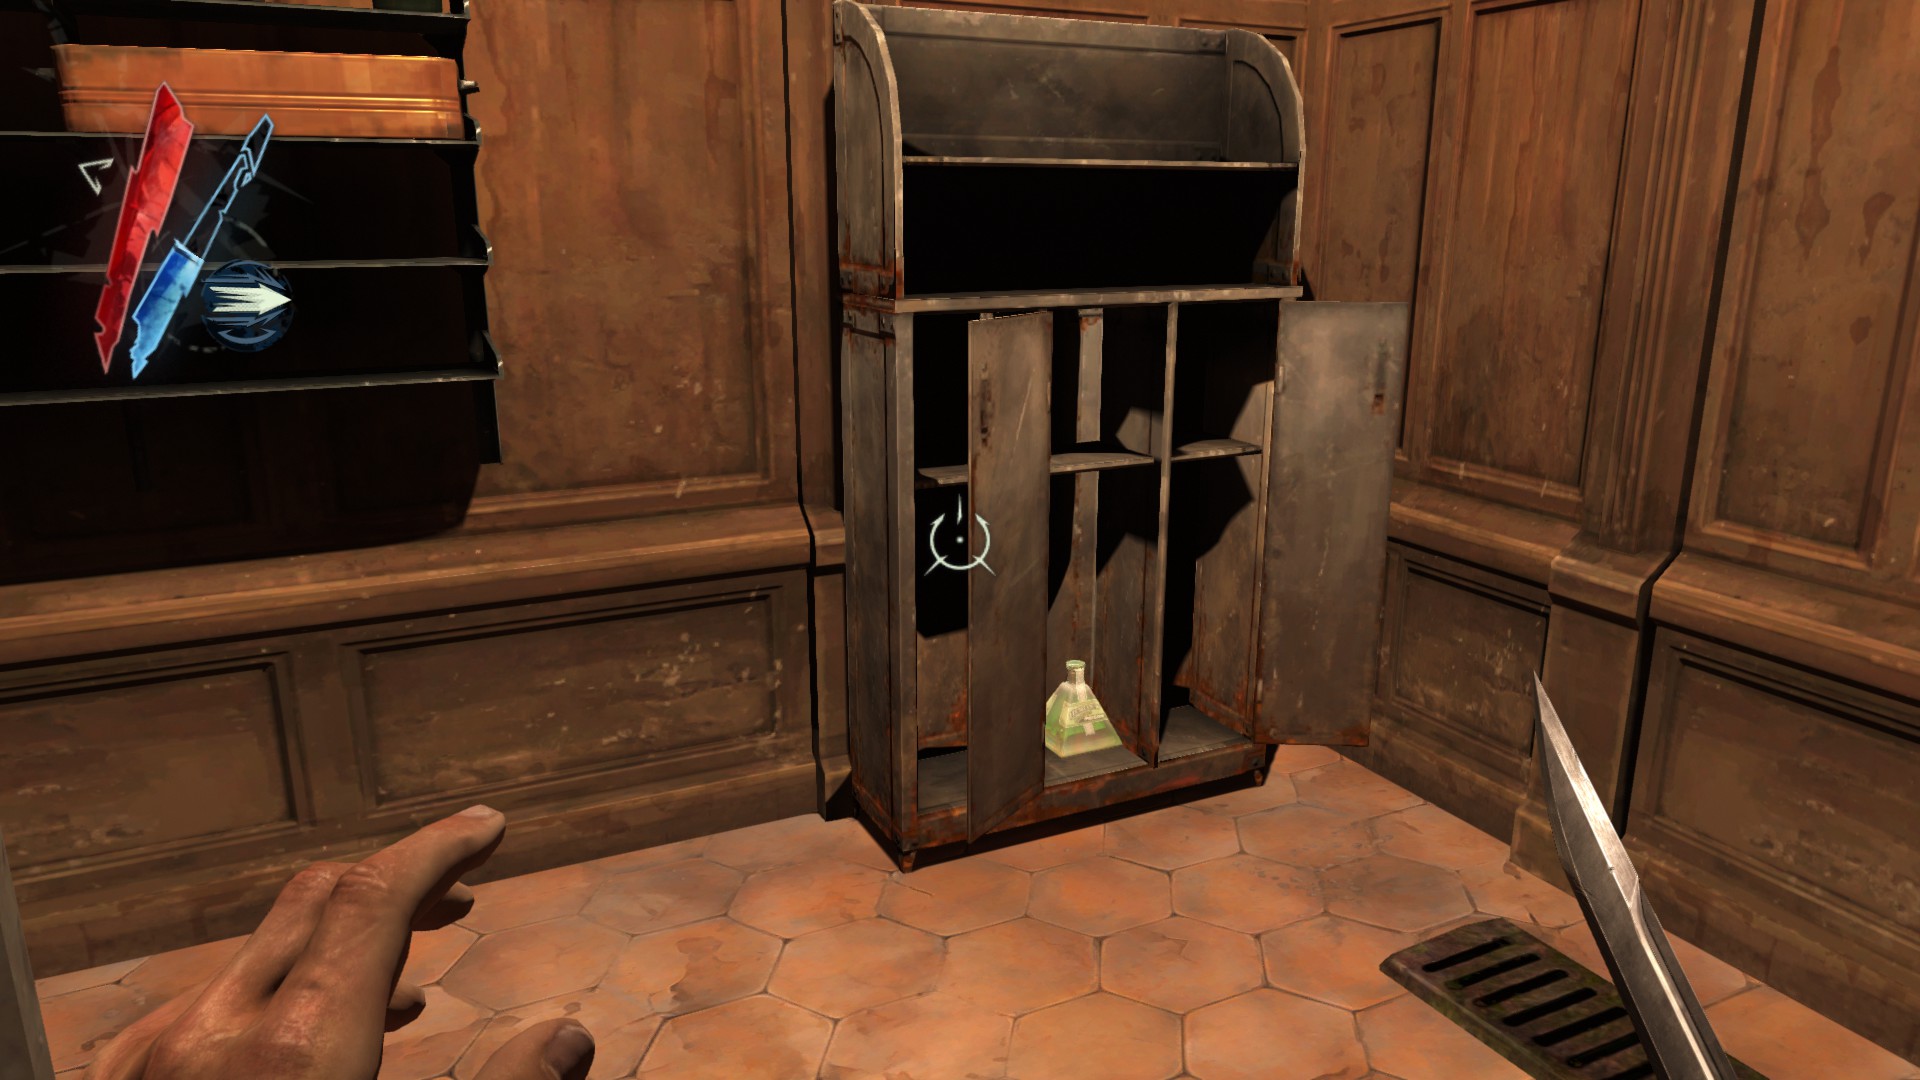
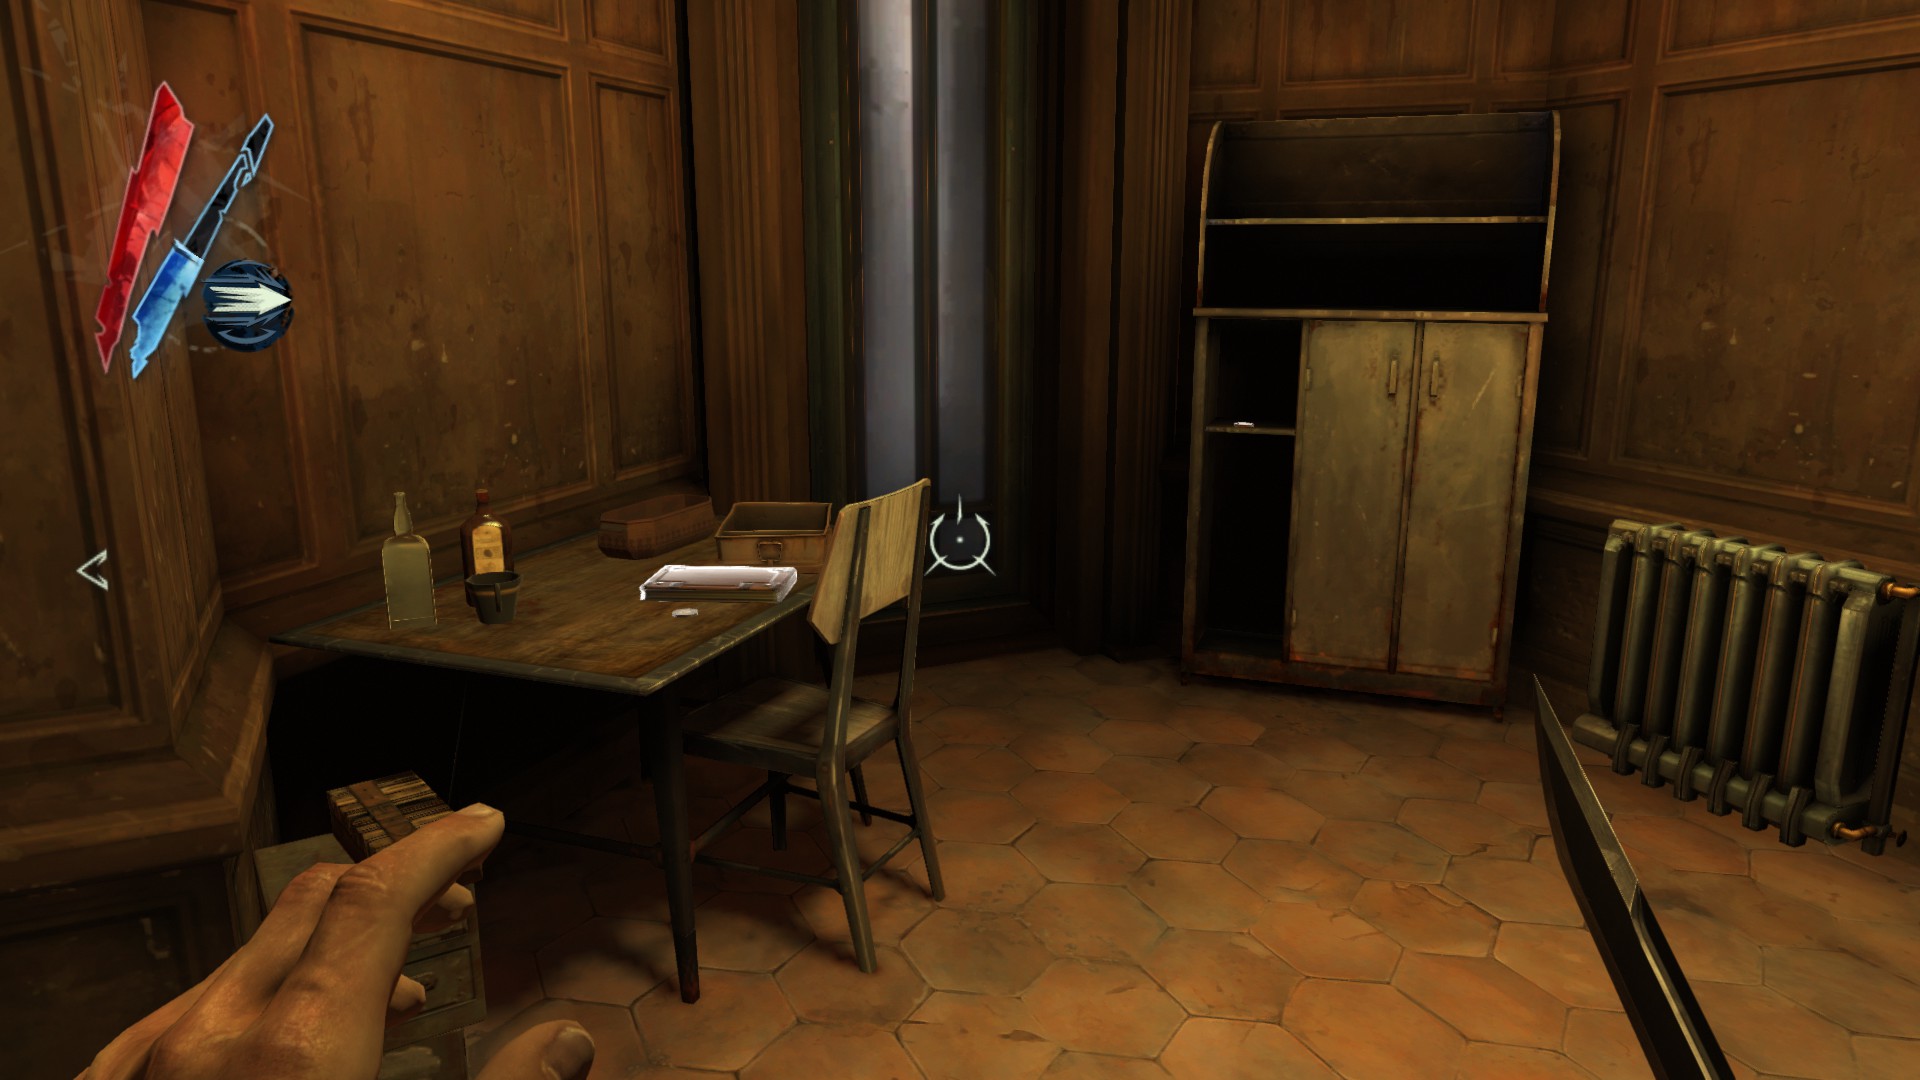
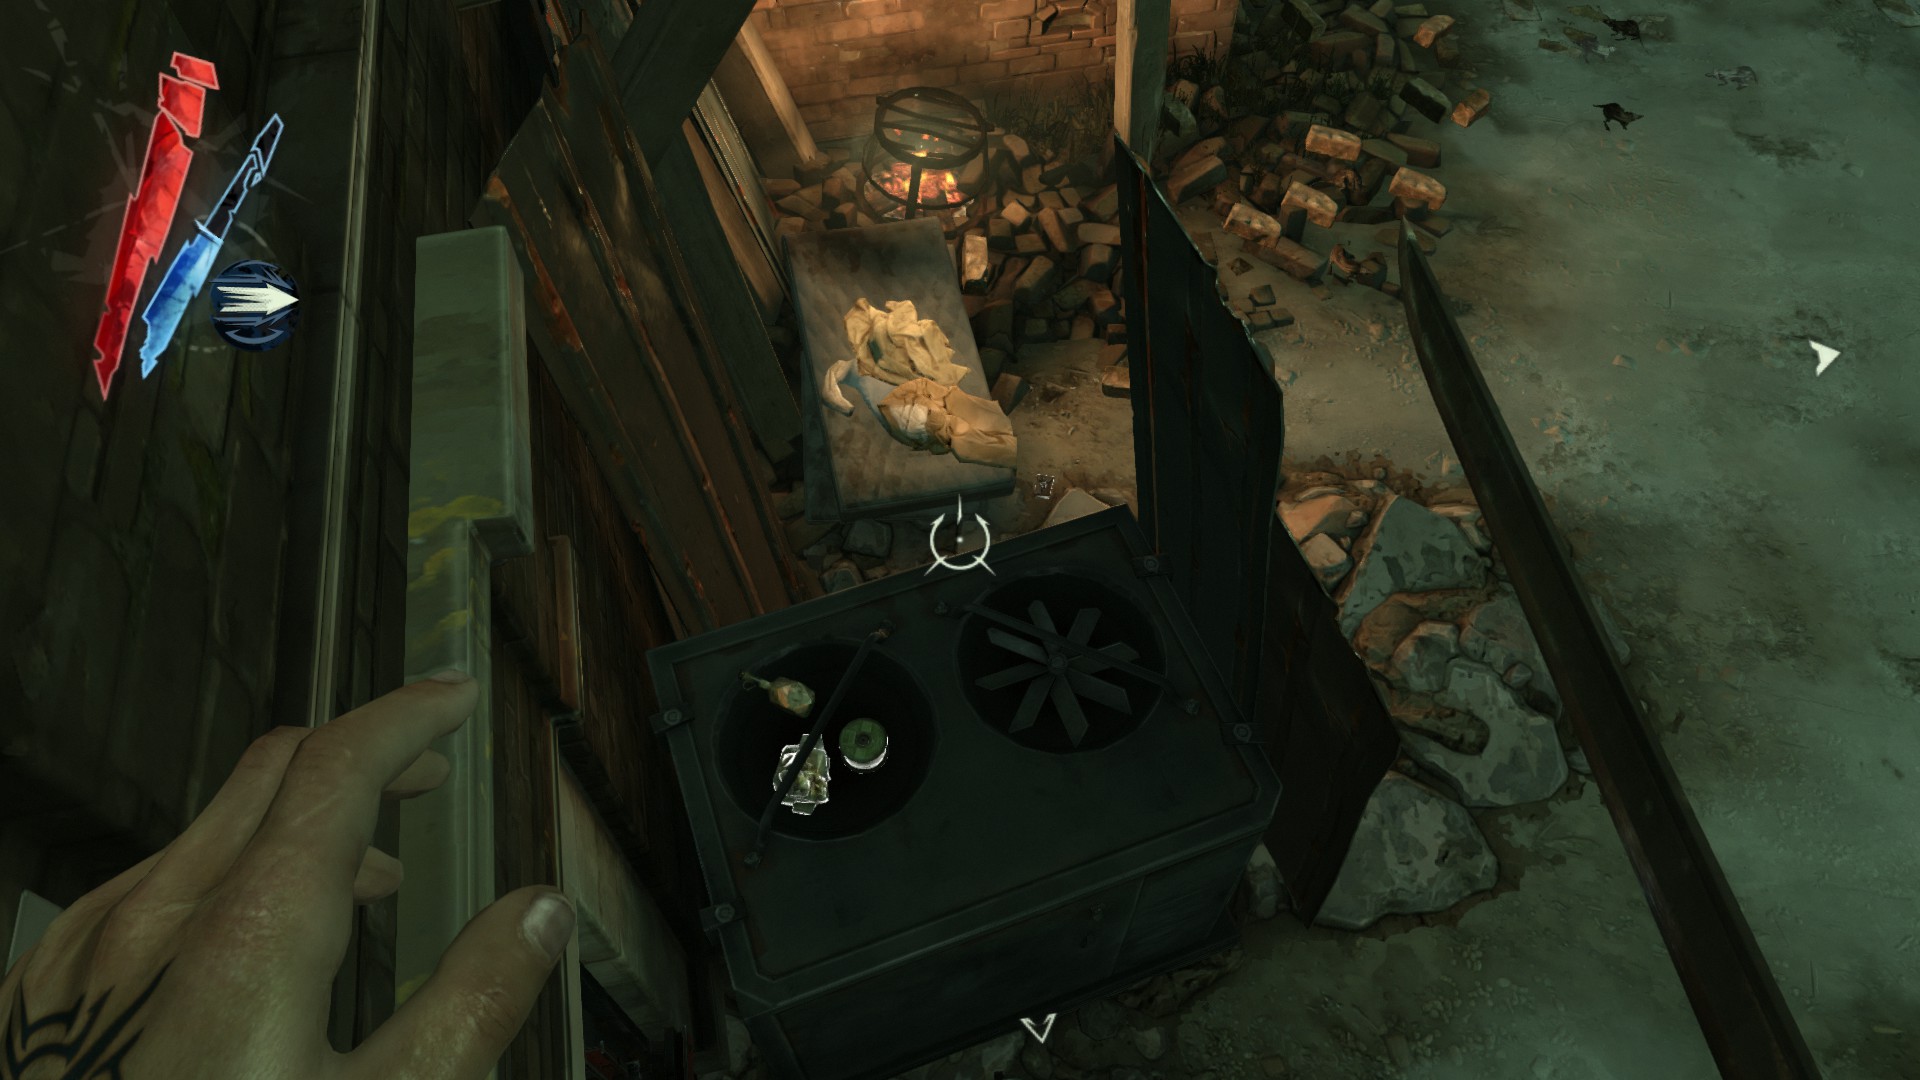
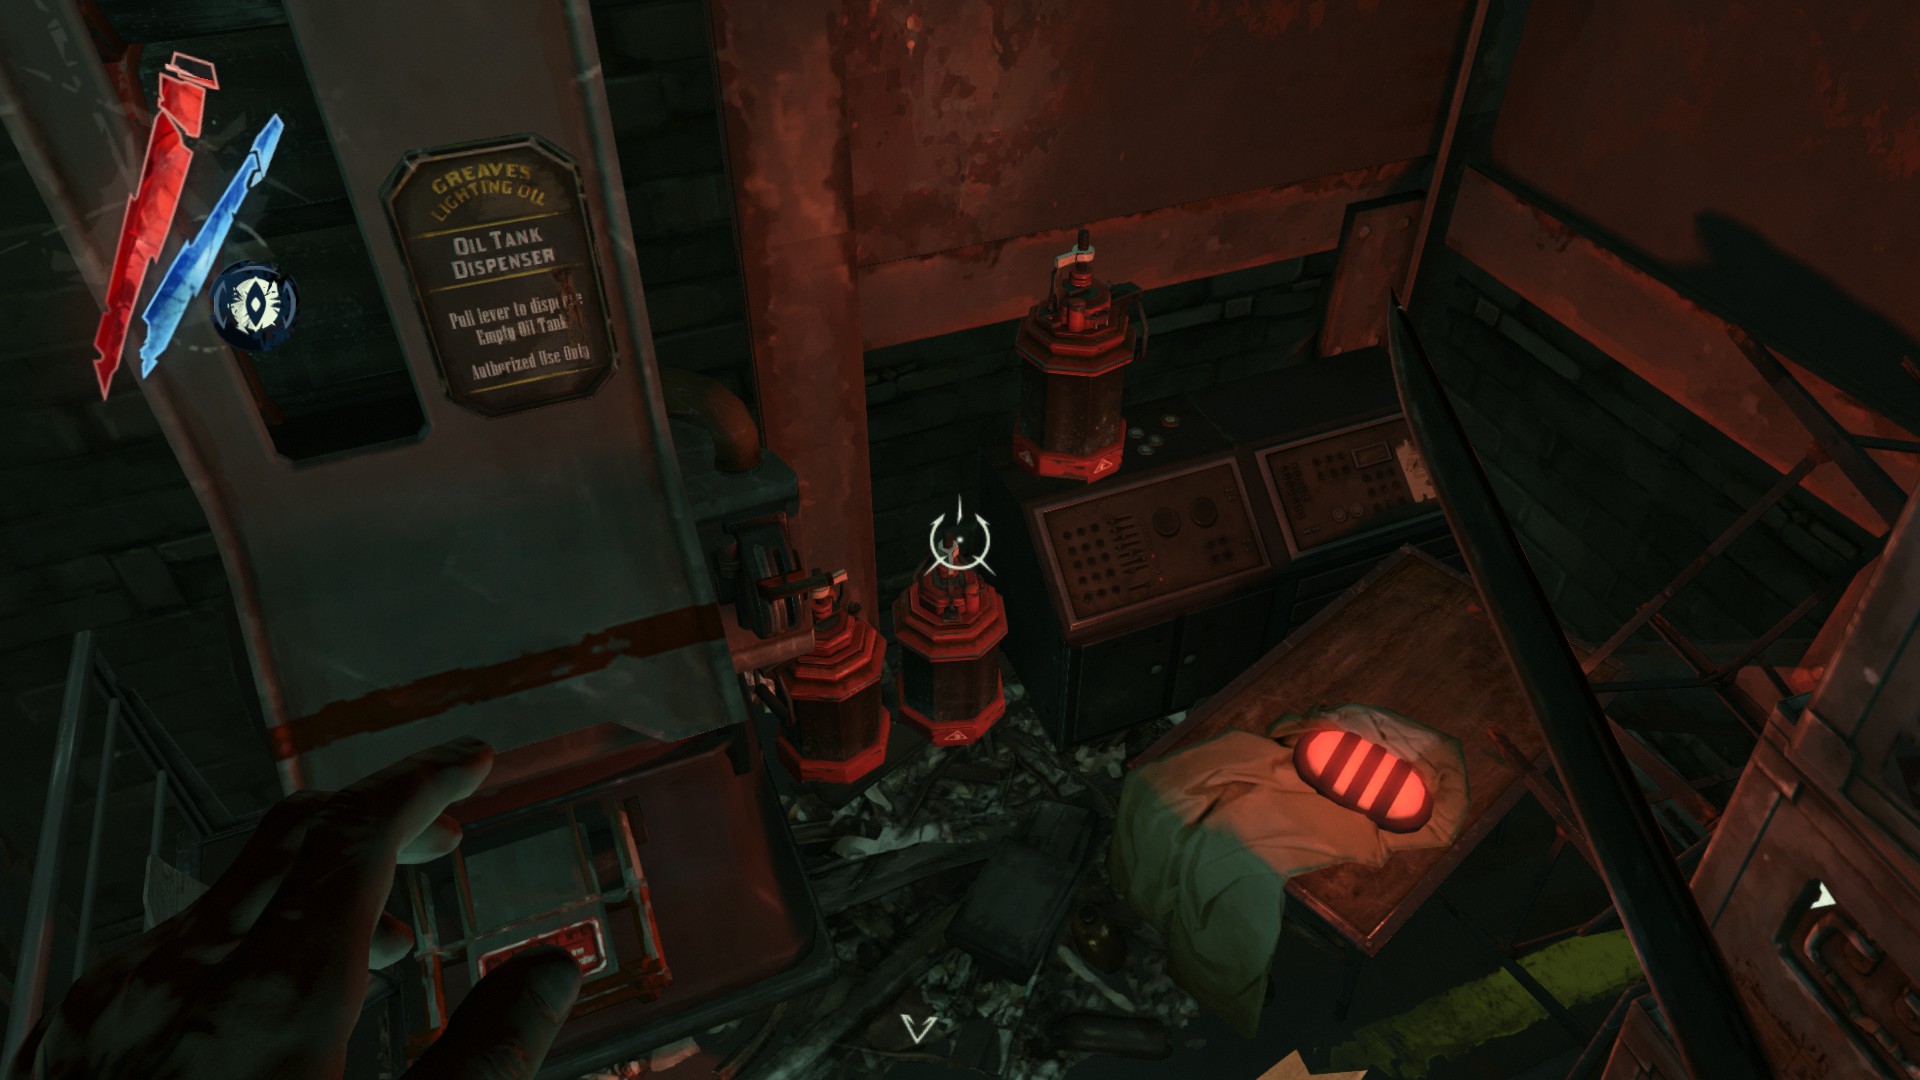
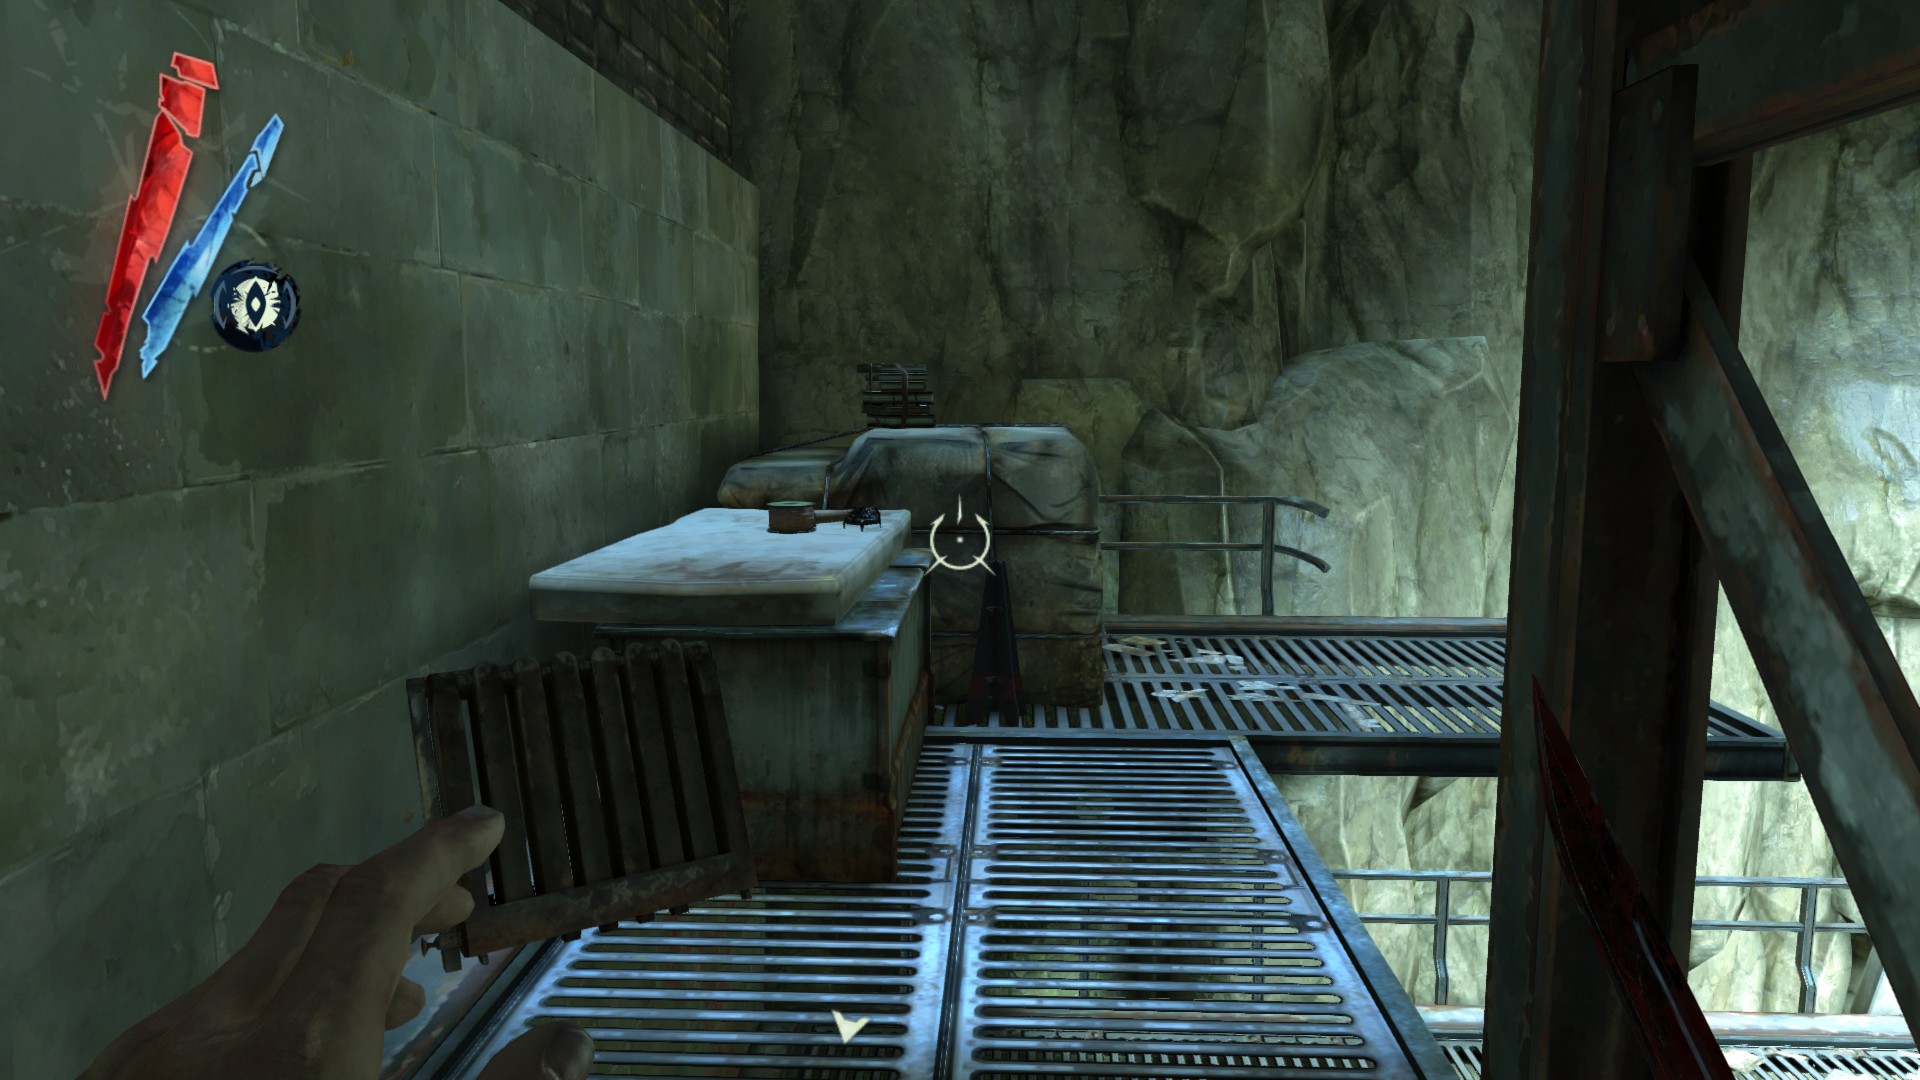
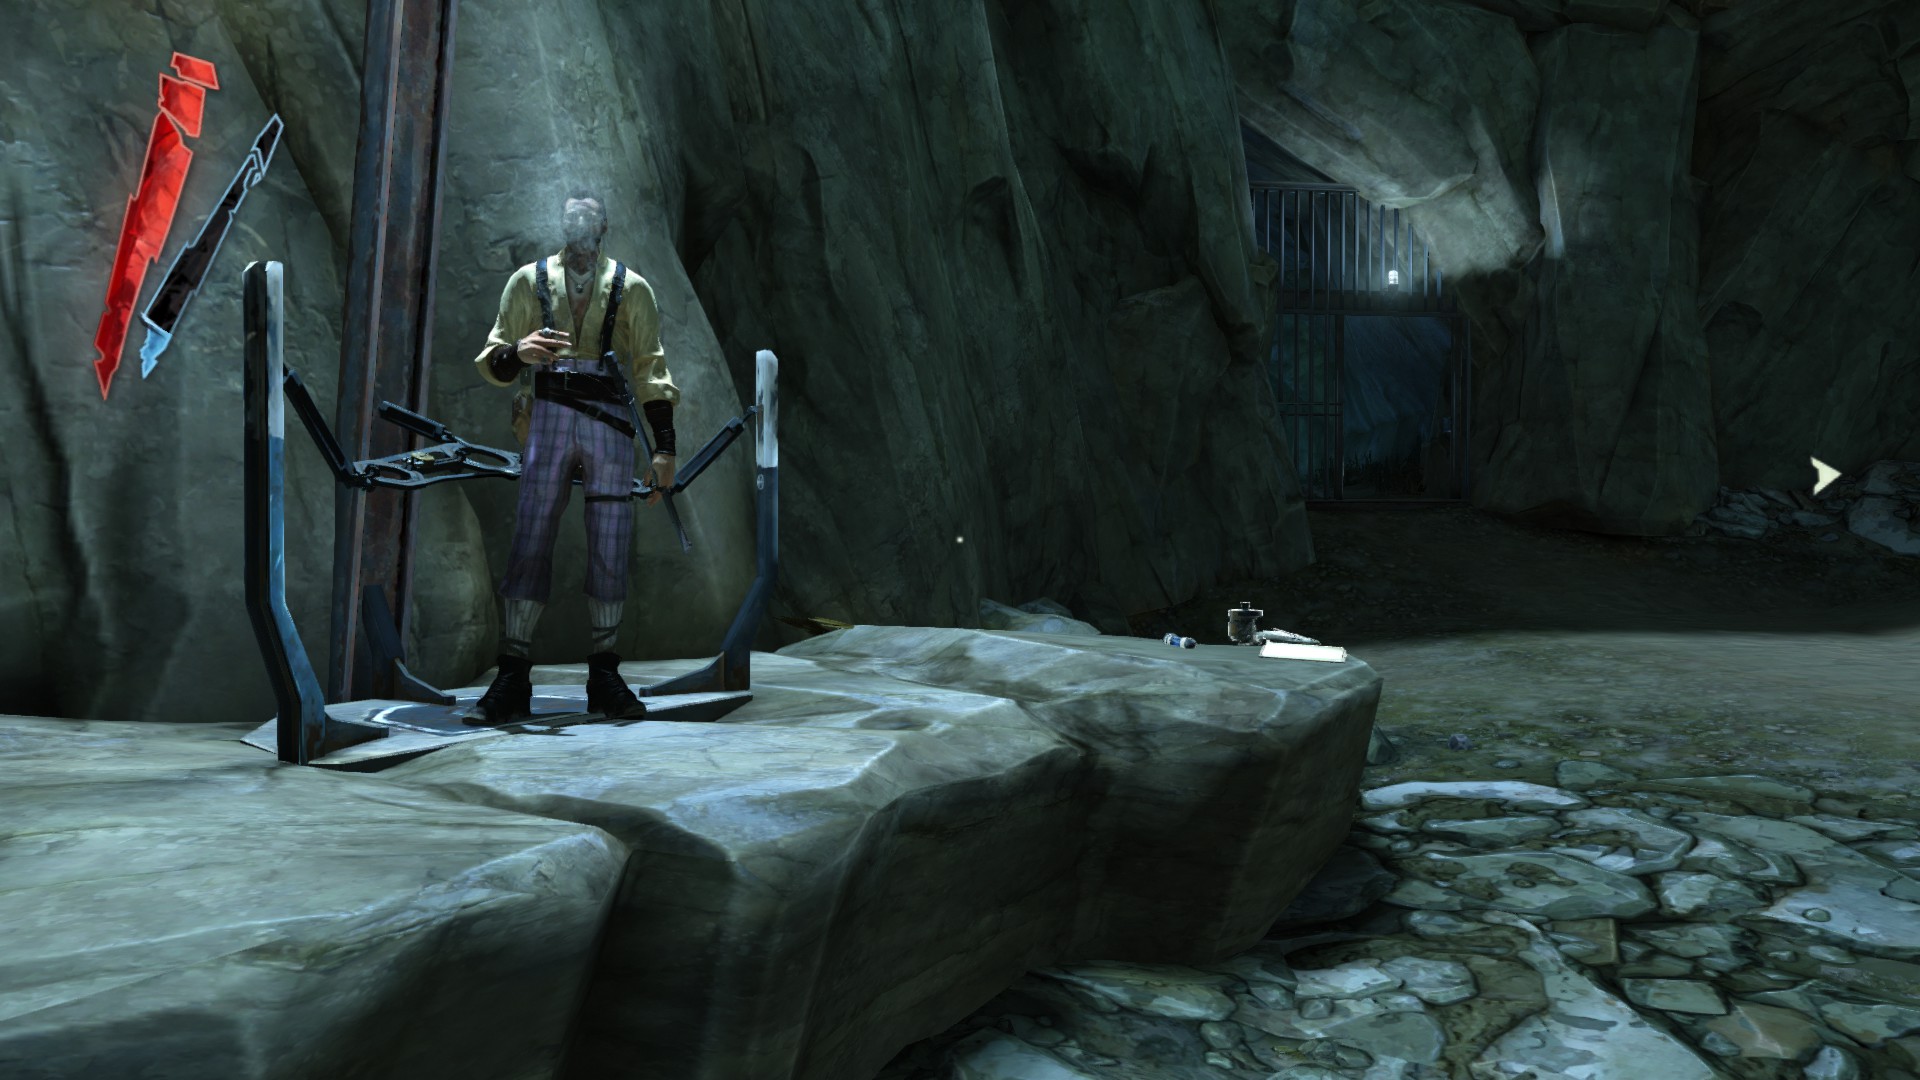
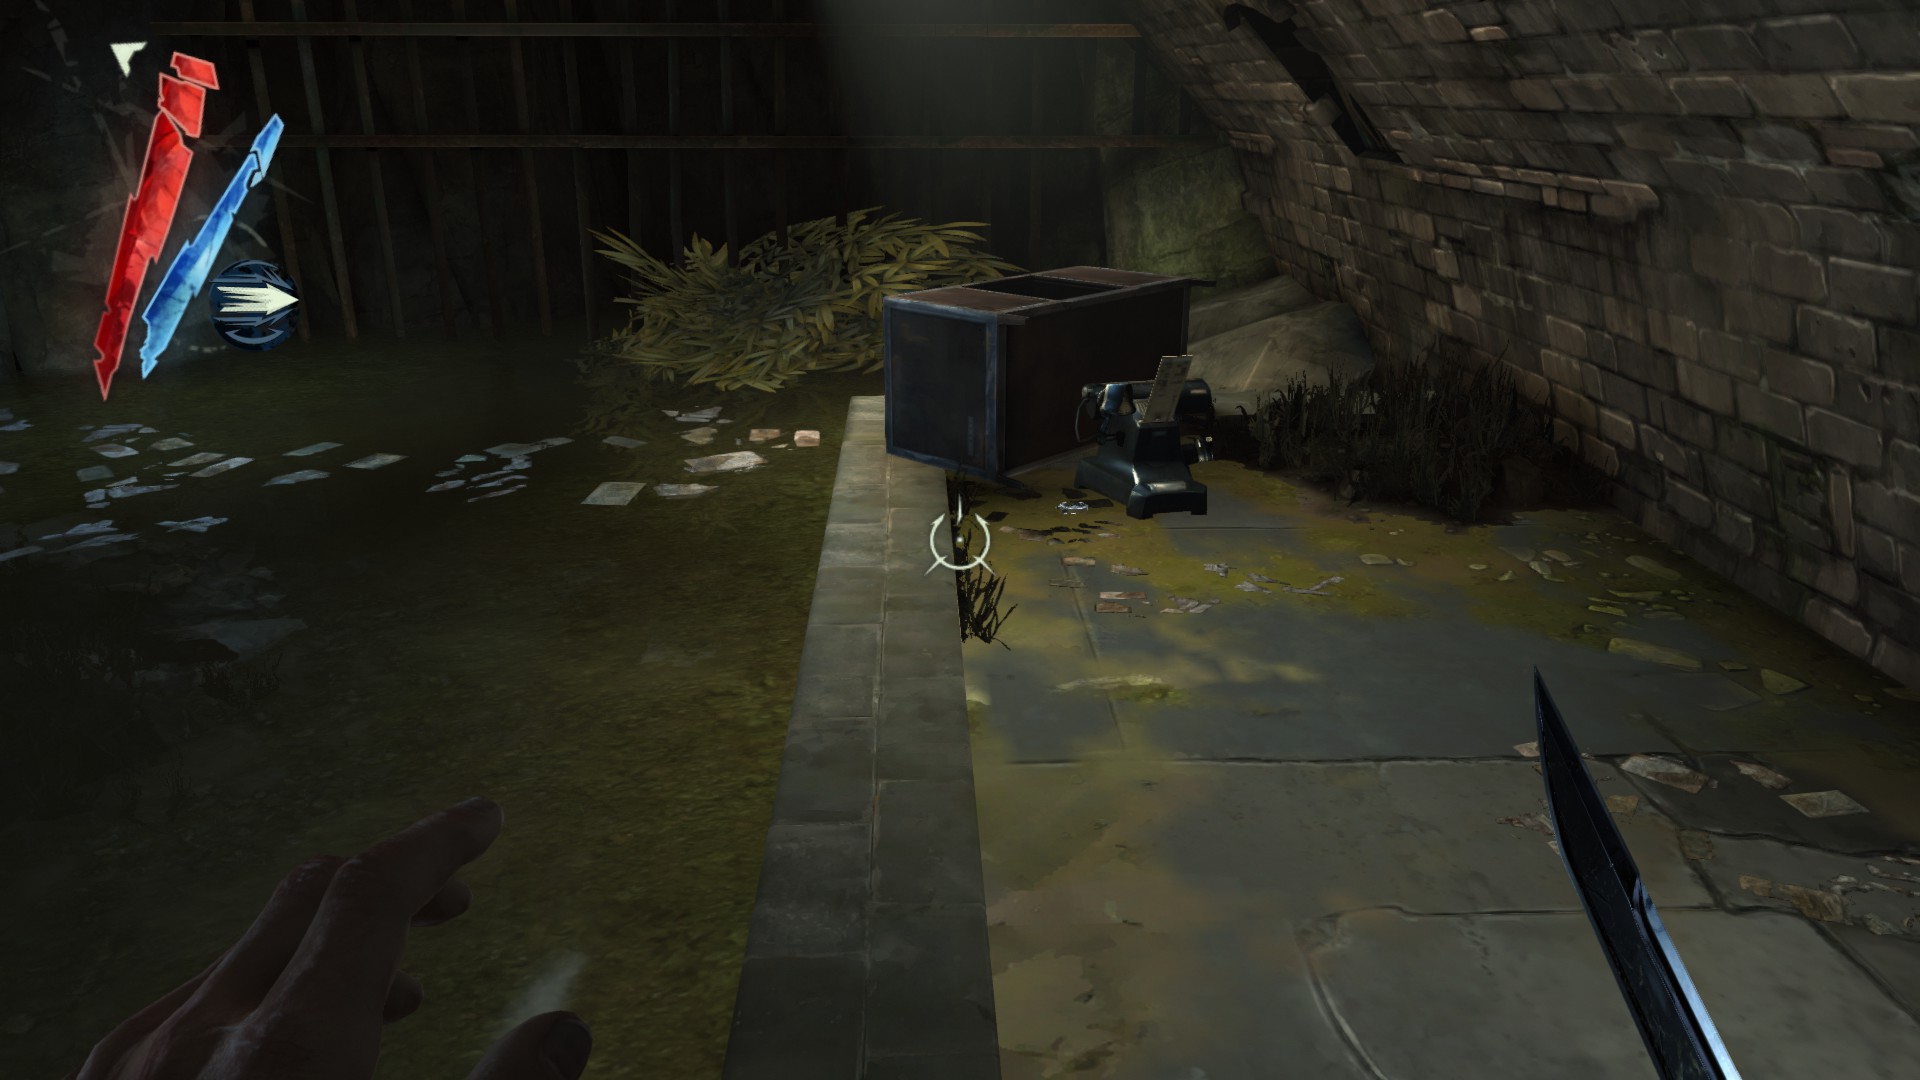
Climb up the ledge to get to the next area. In this area, there is a processed whale oil inside a cabinet, and a medicinal herbs and a pouch inside an abandoned car.
(+70 -> 767/1010)
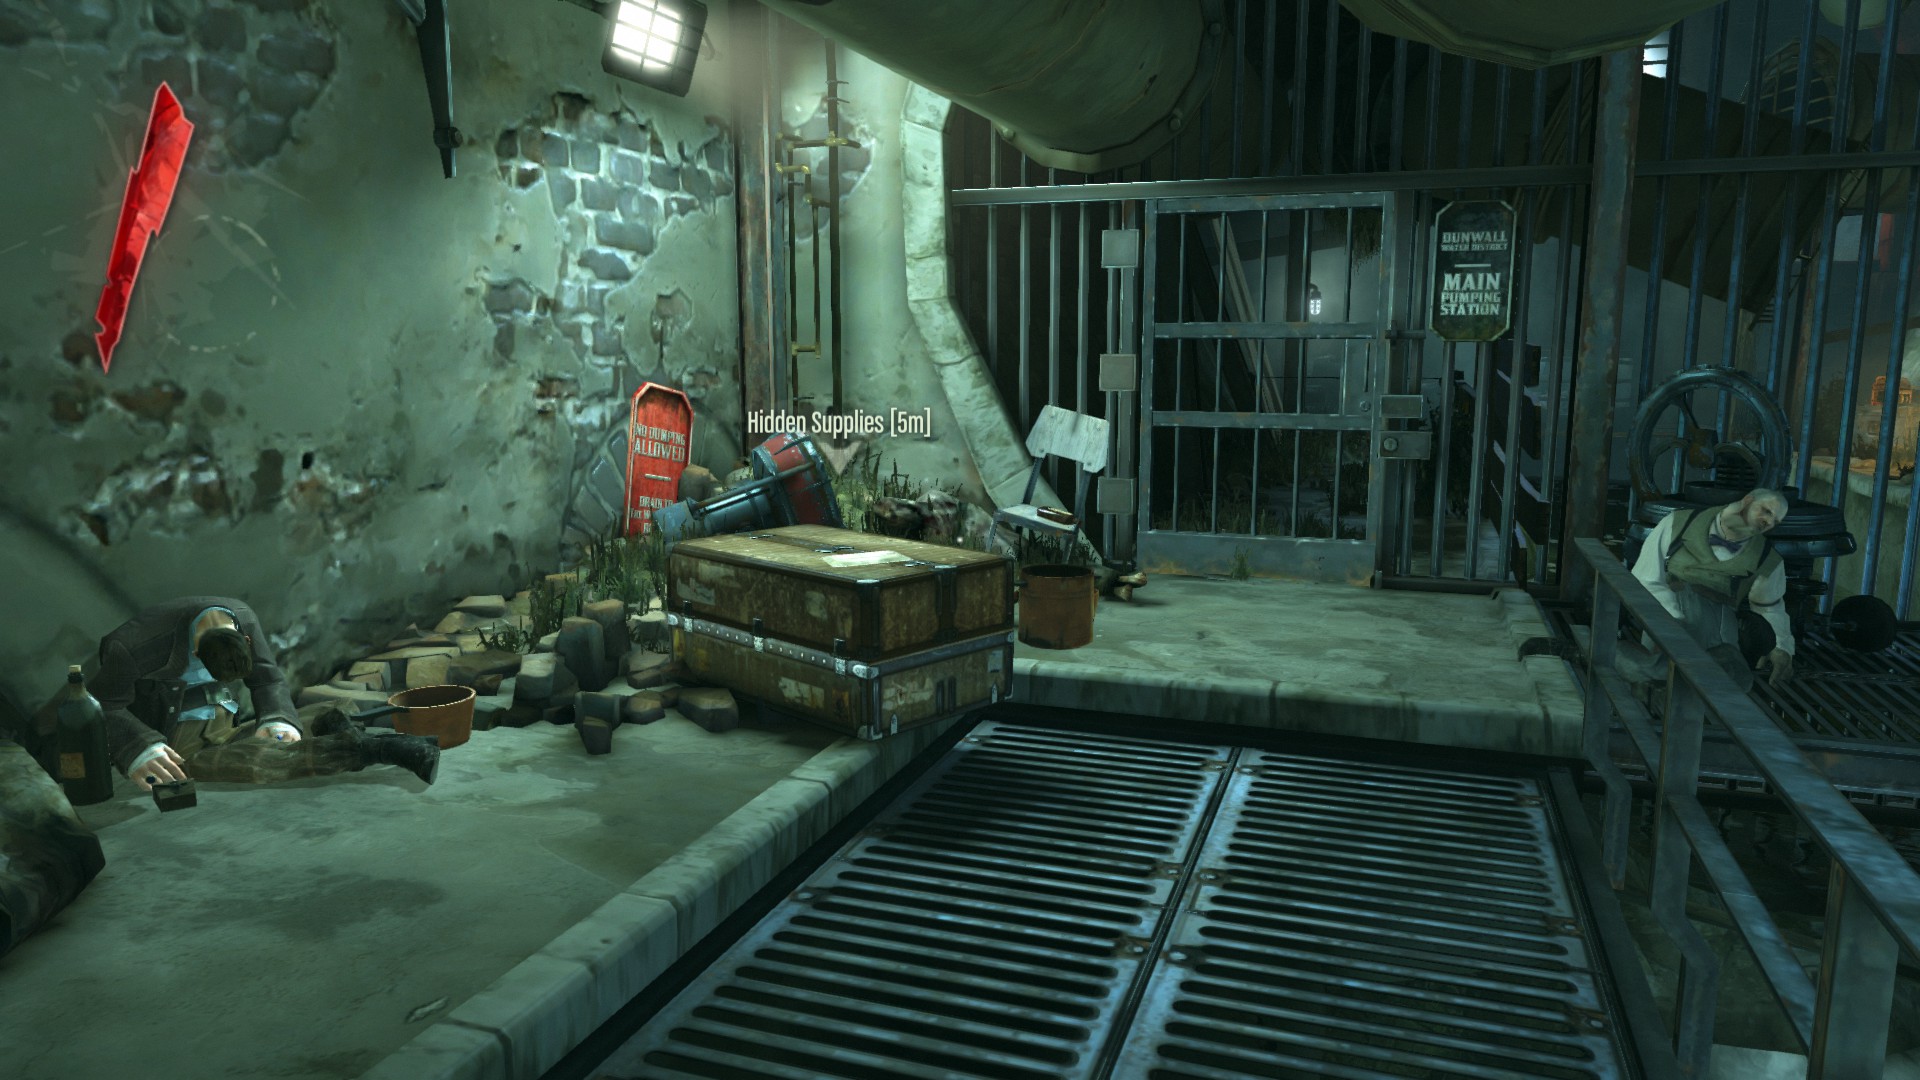
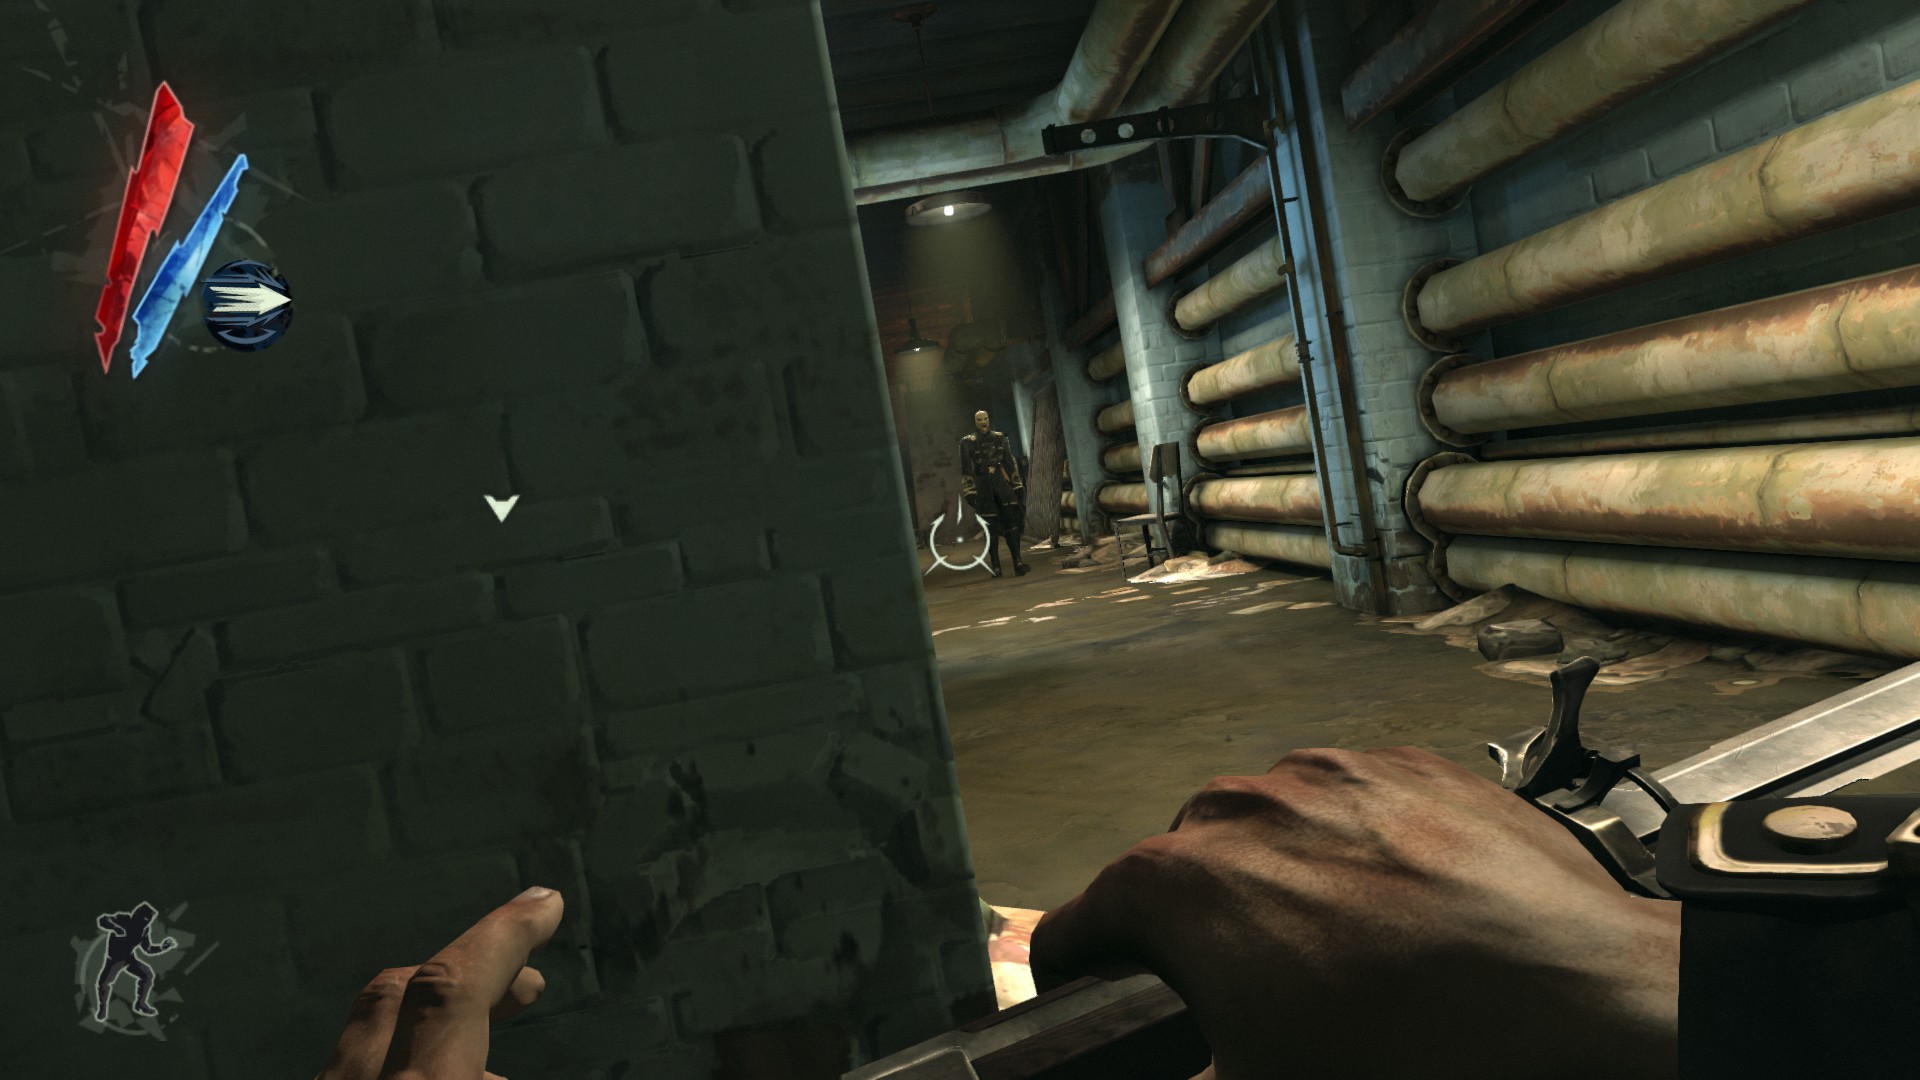
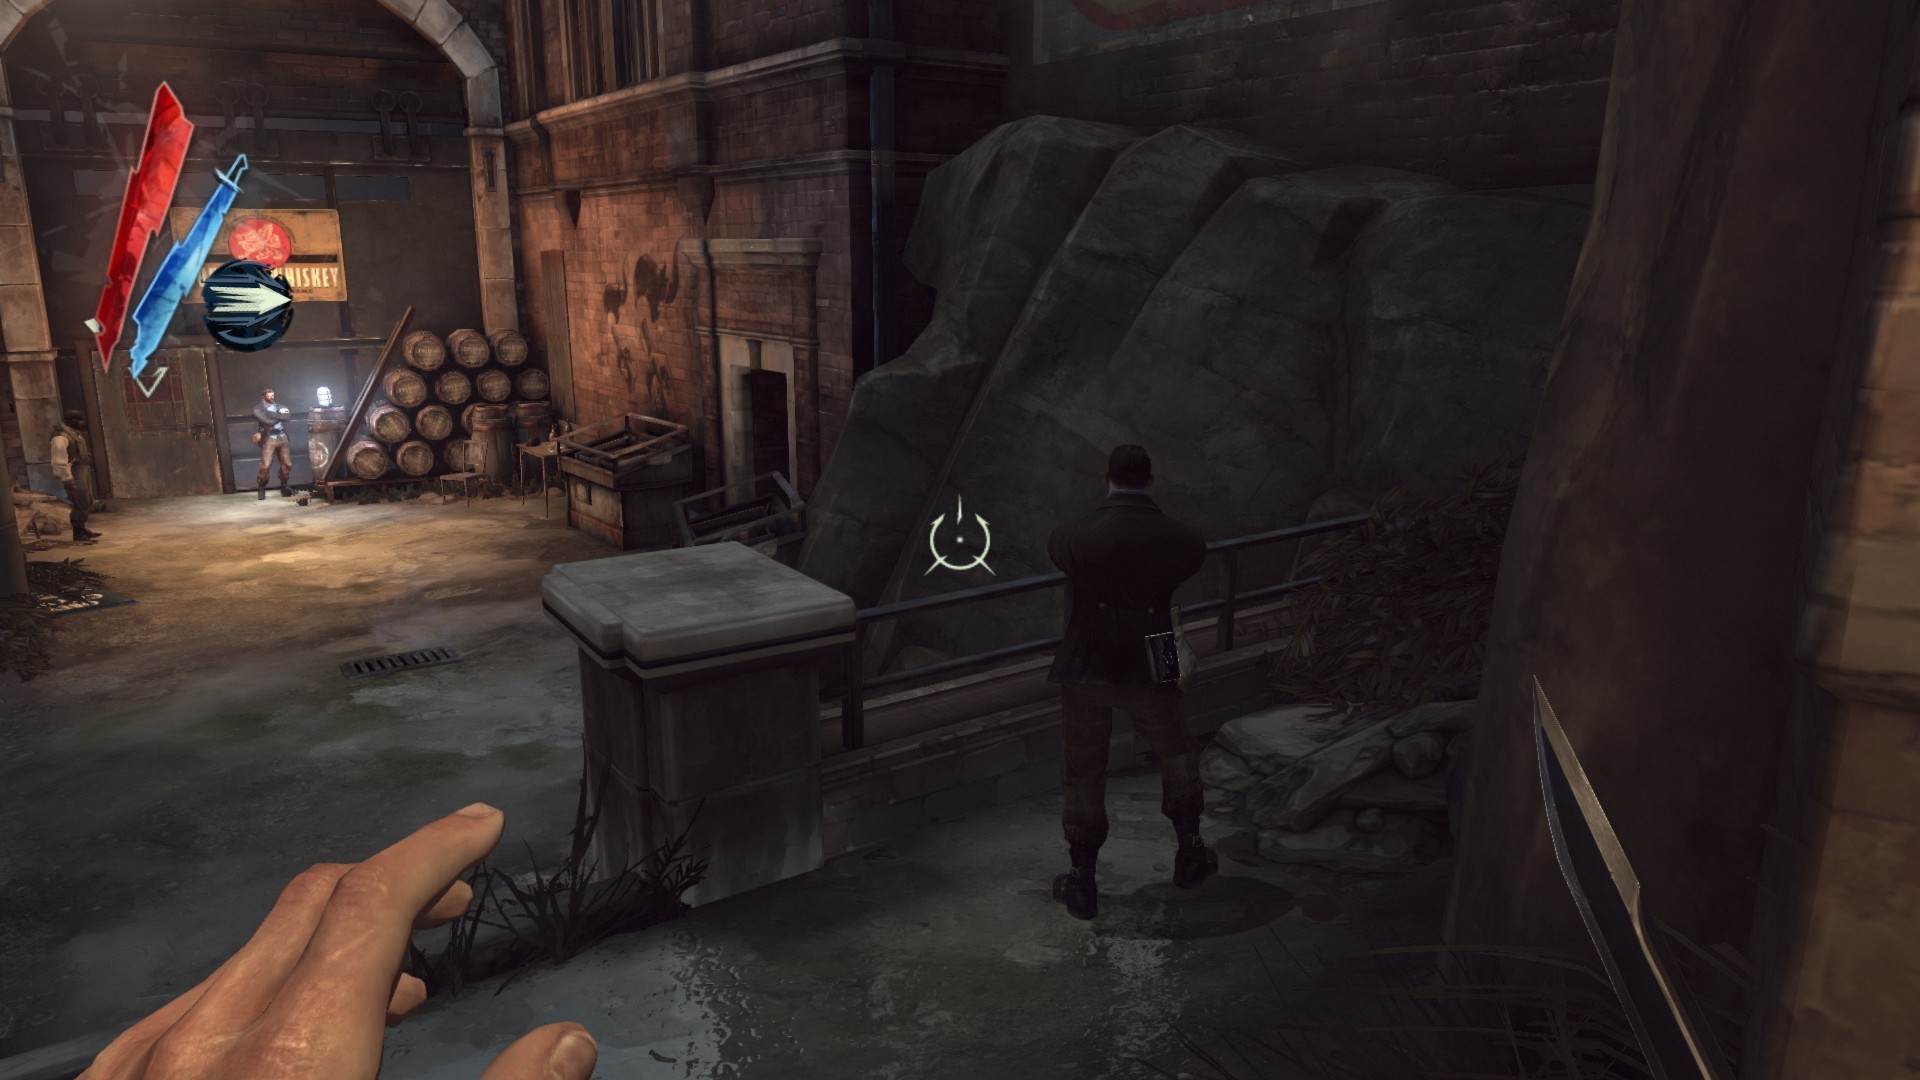
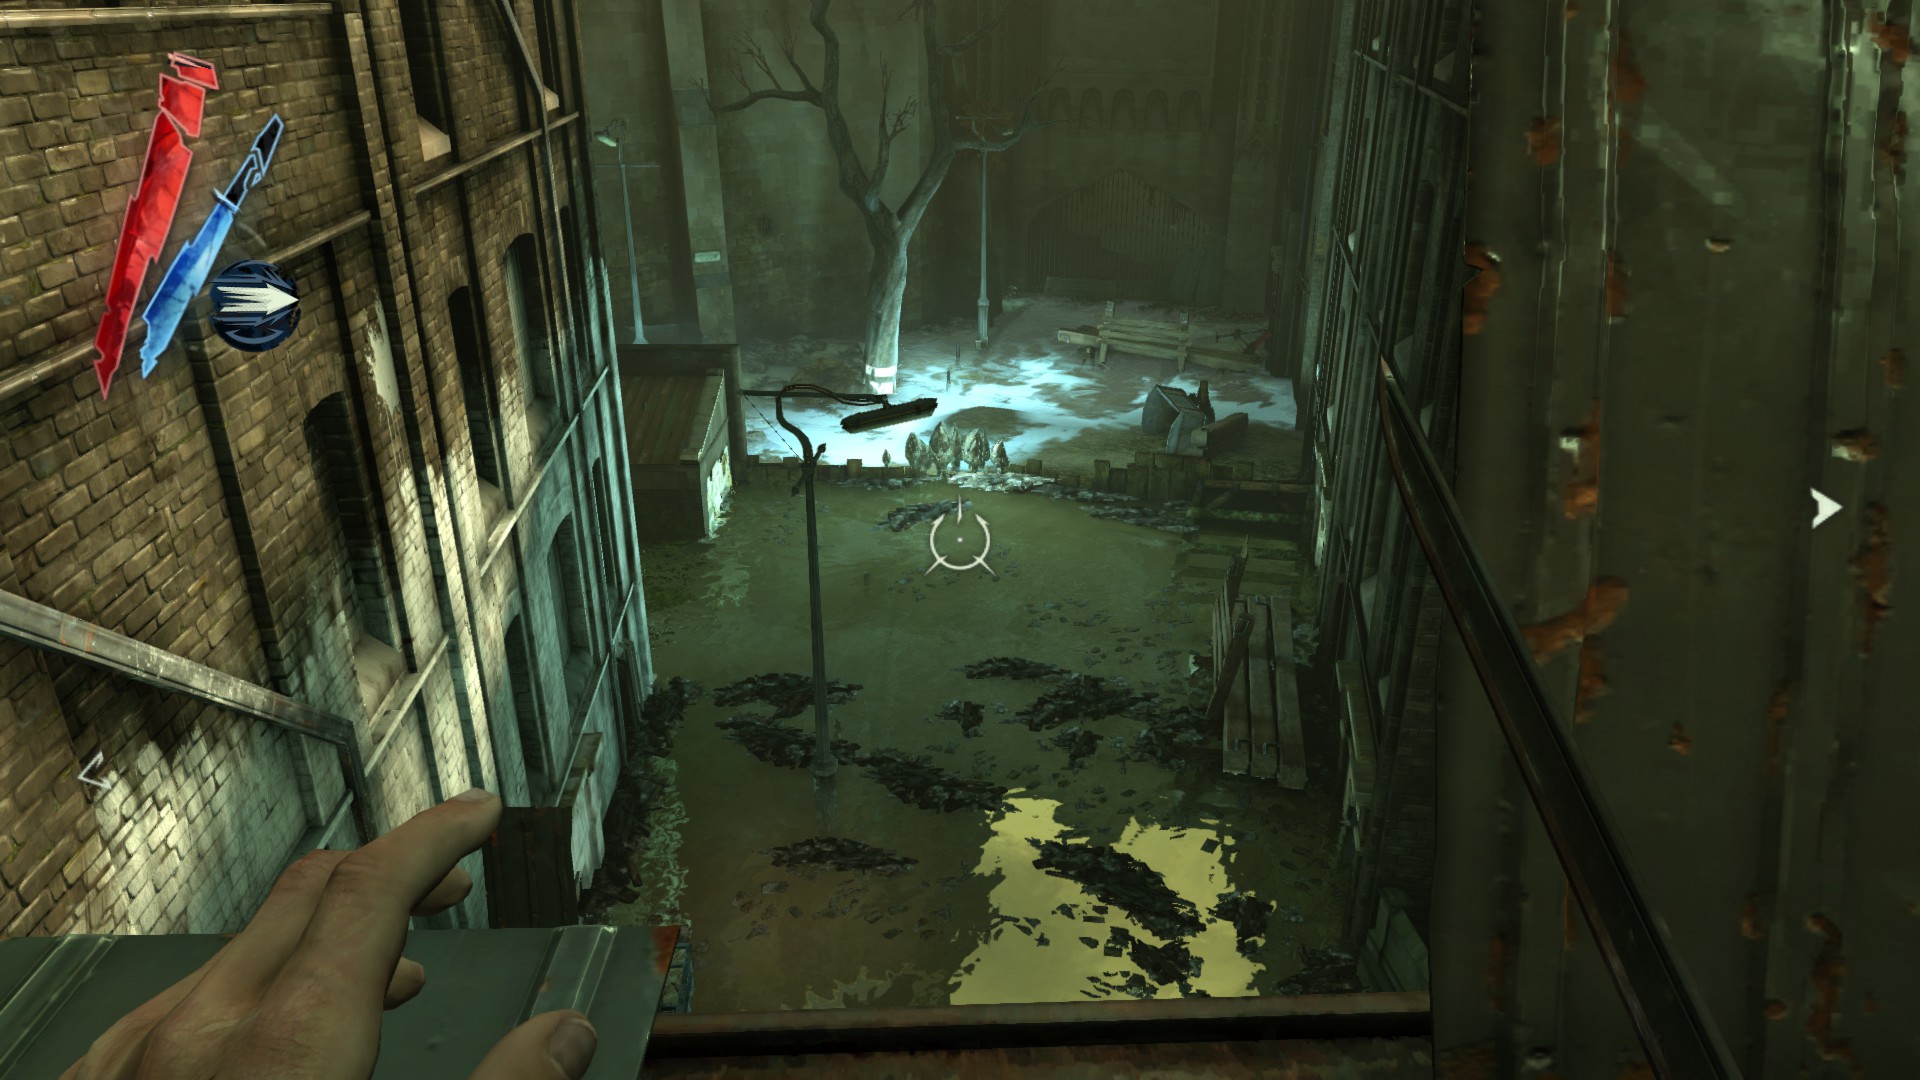
Now go down to the next area, there are four guards patrolling here. They all carry pouches.
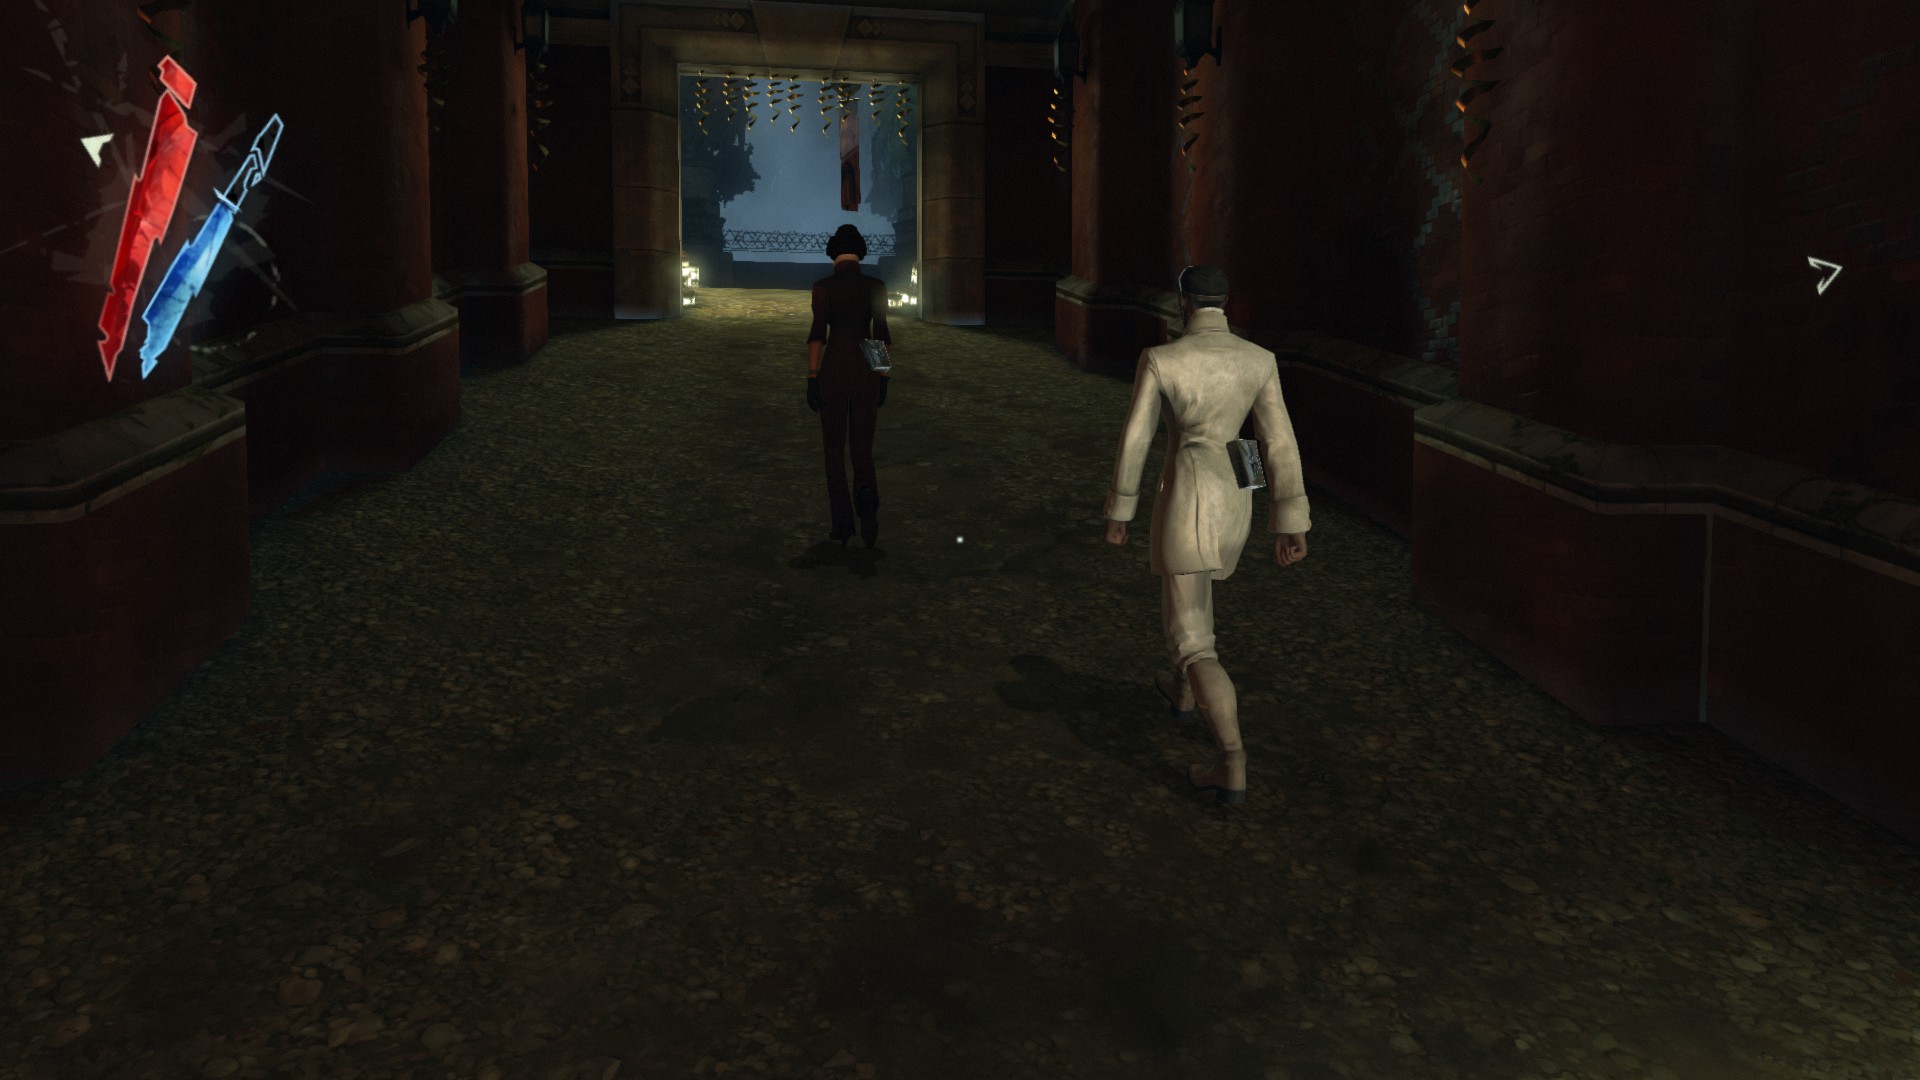
(+50 -> 817/1010)
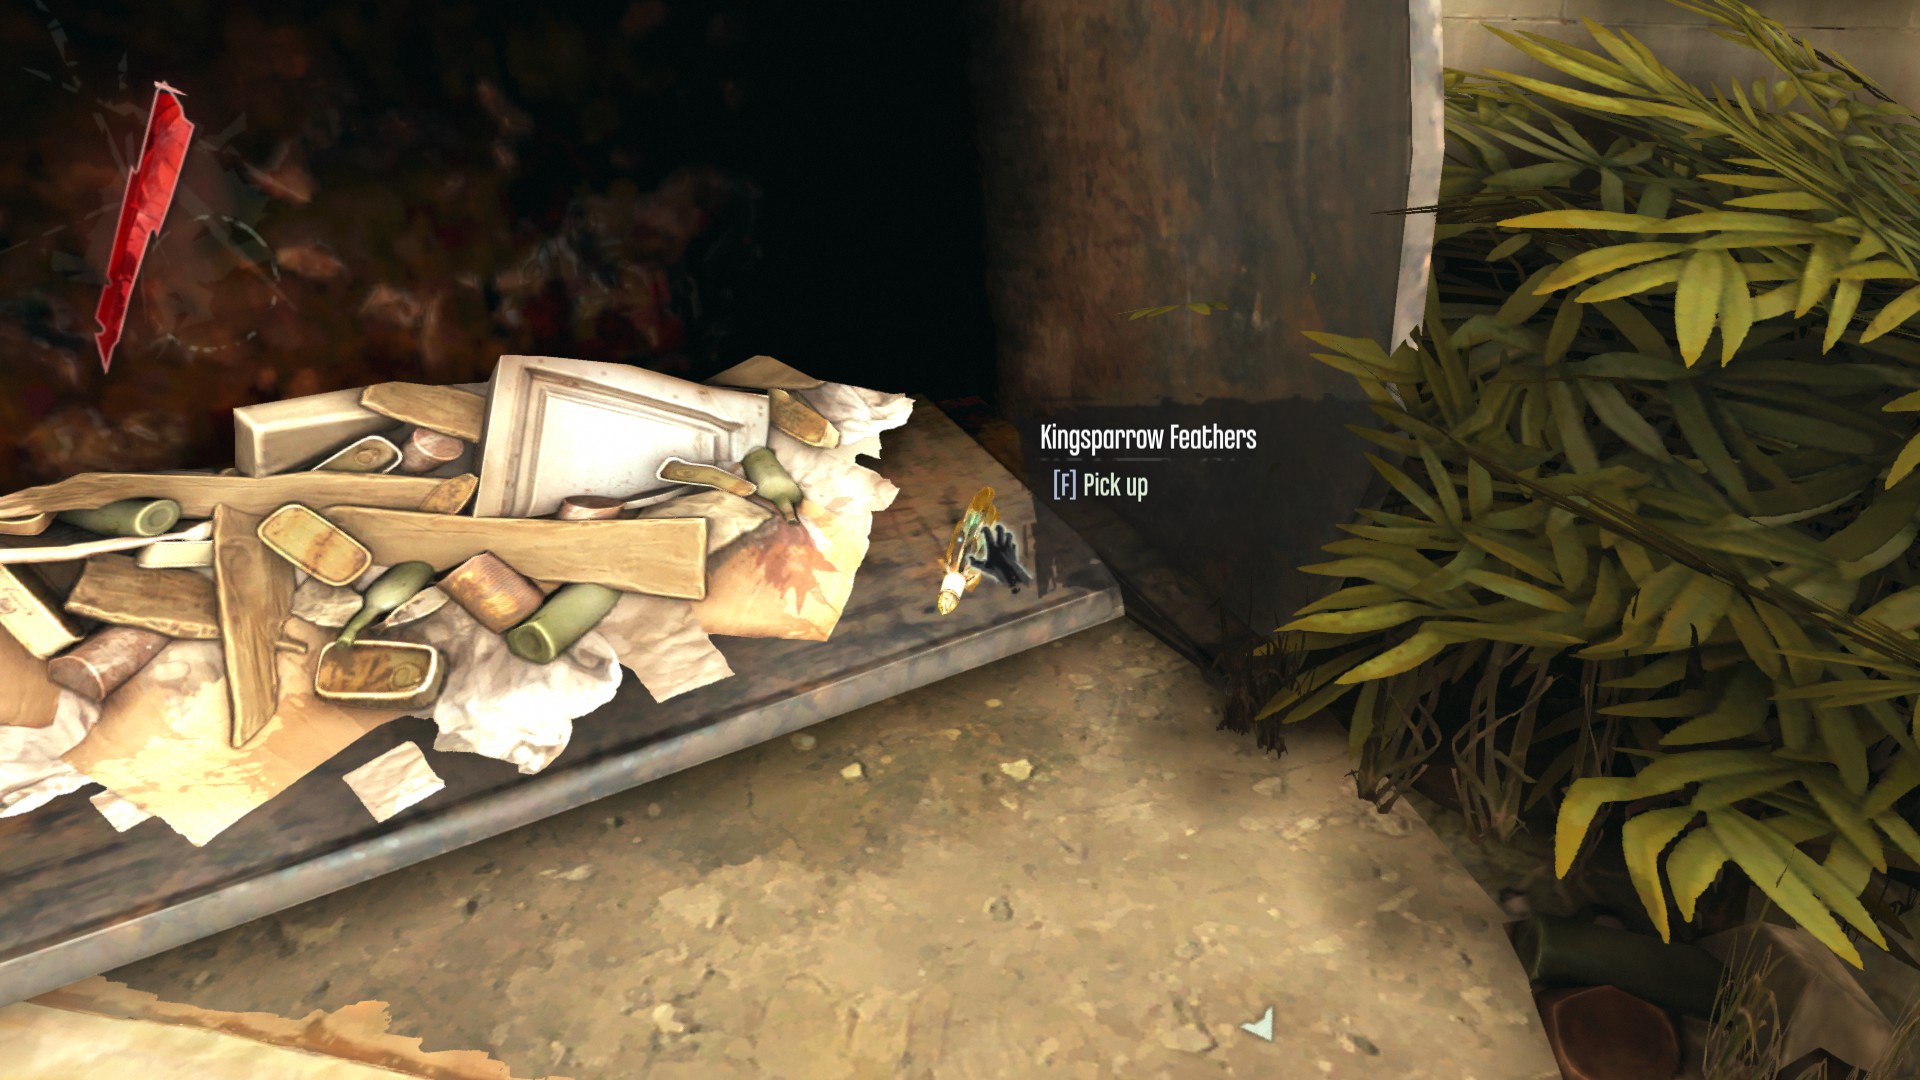
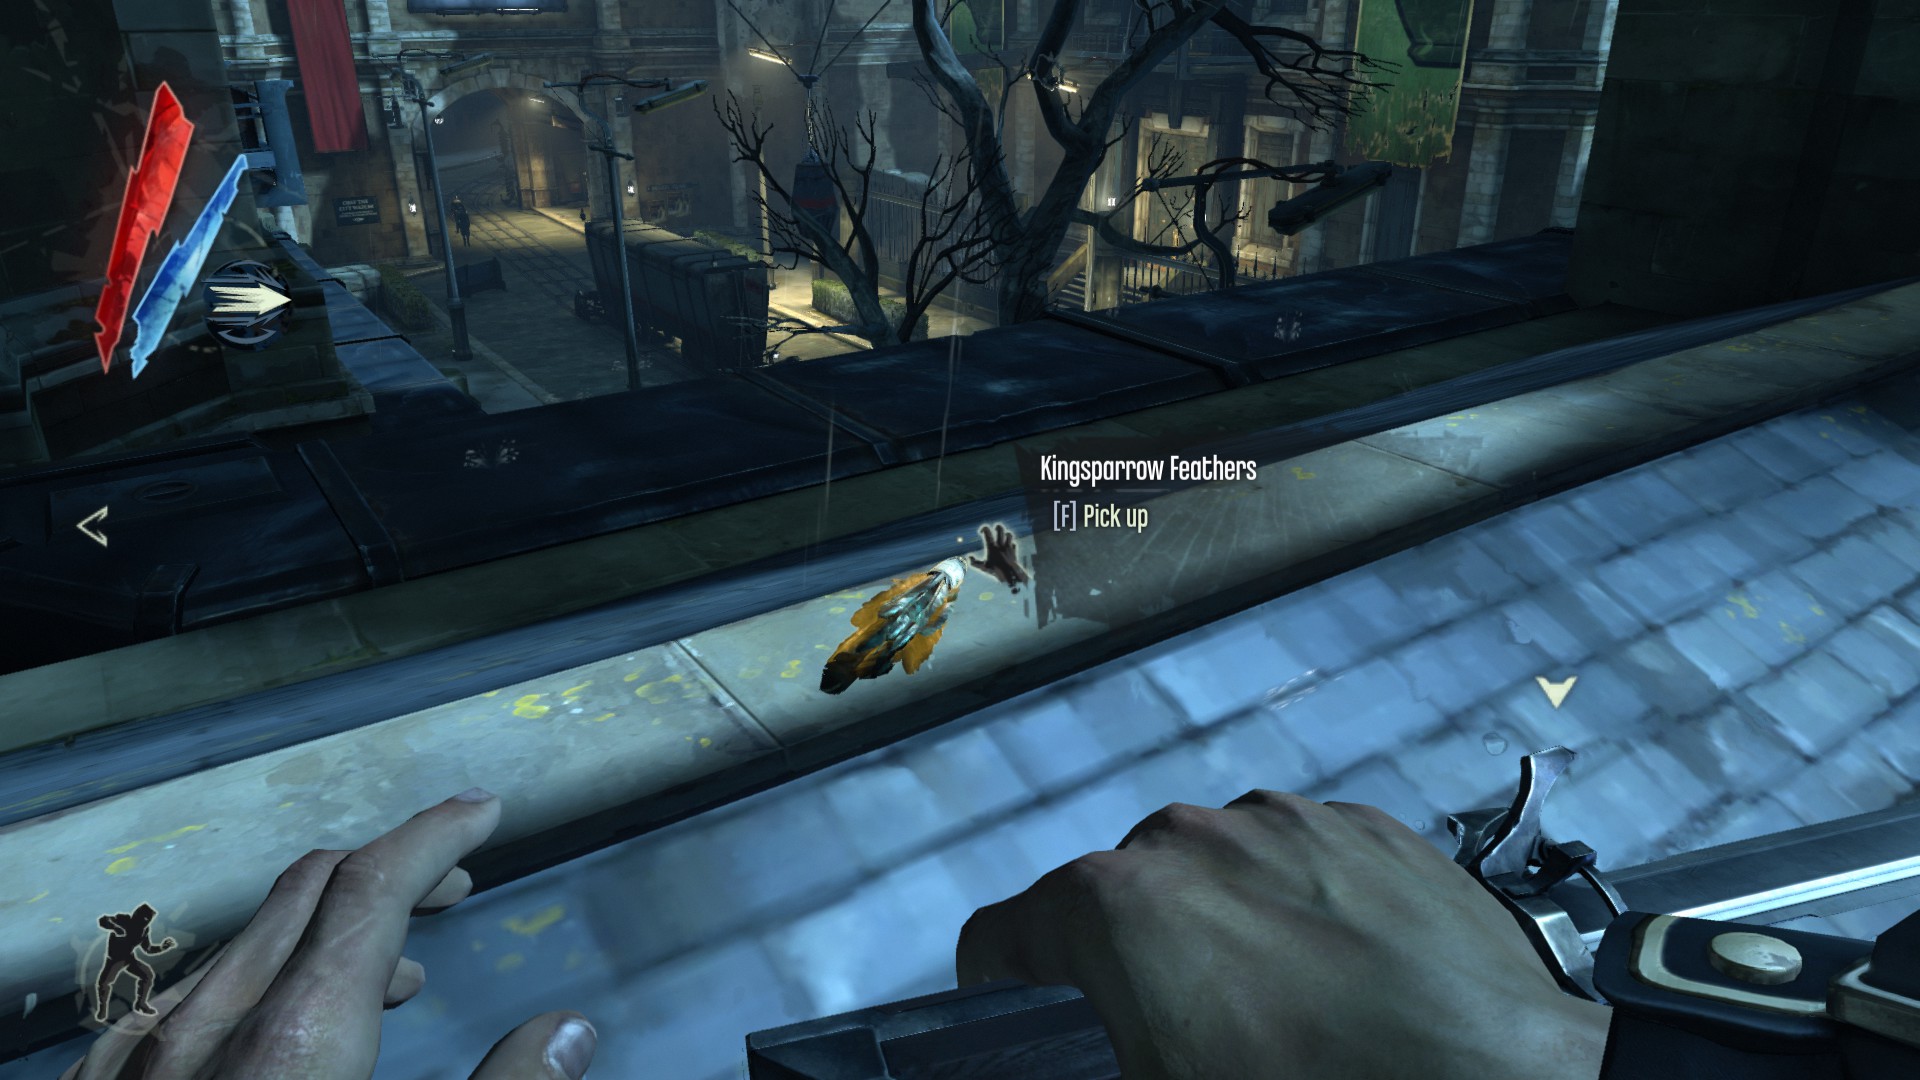
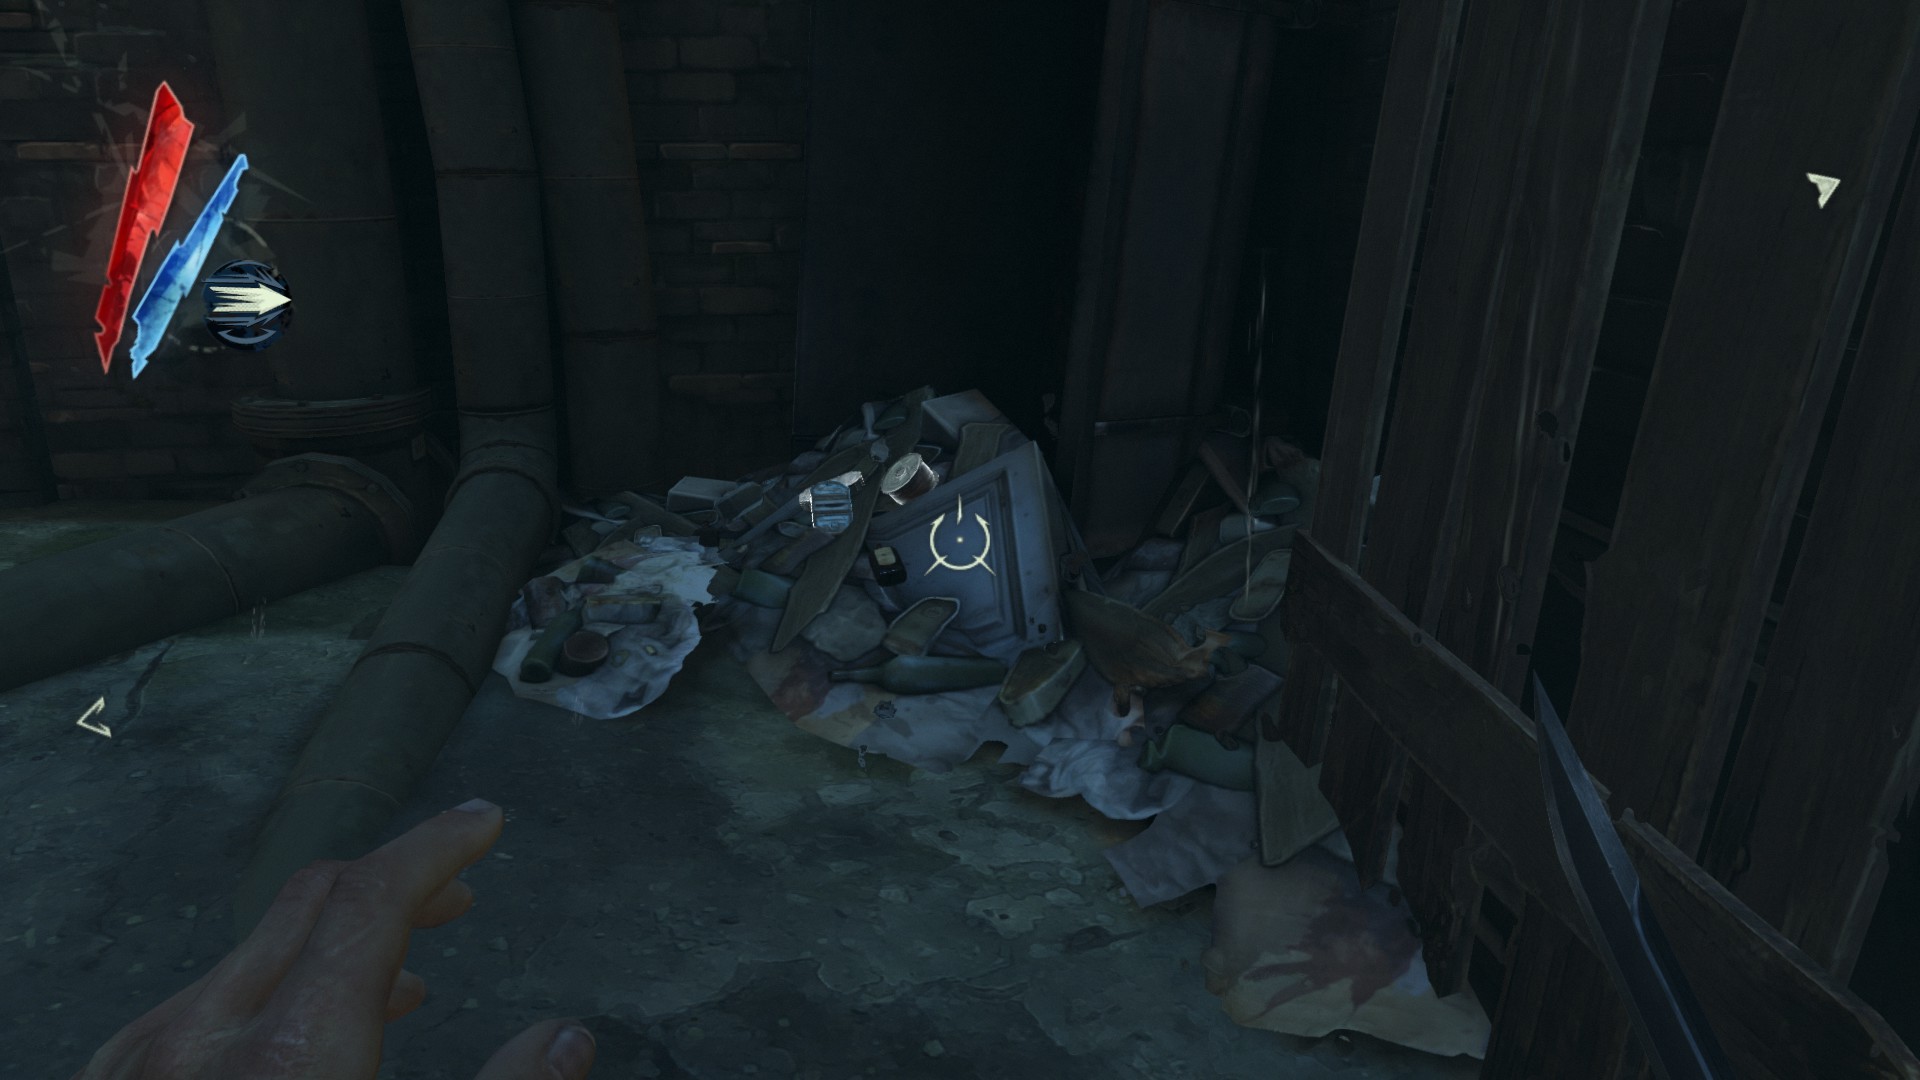
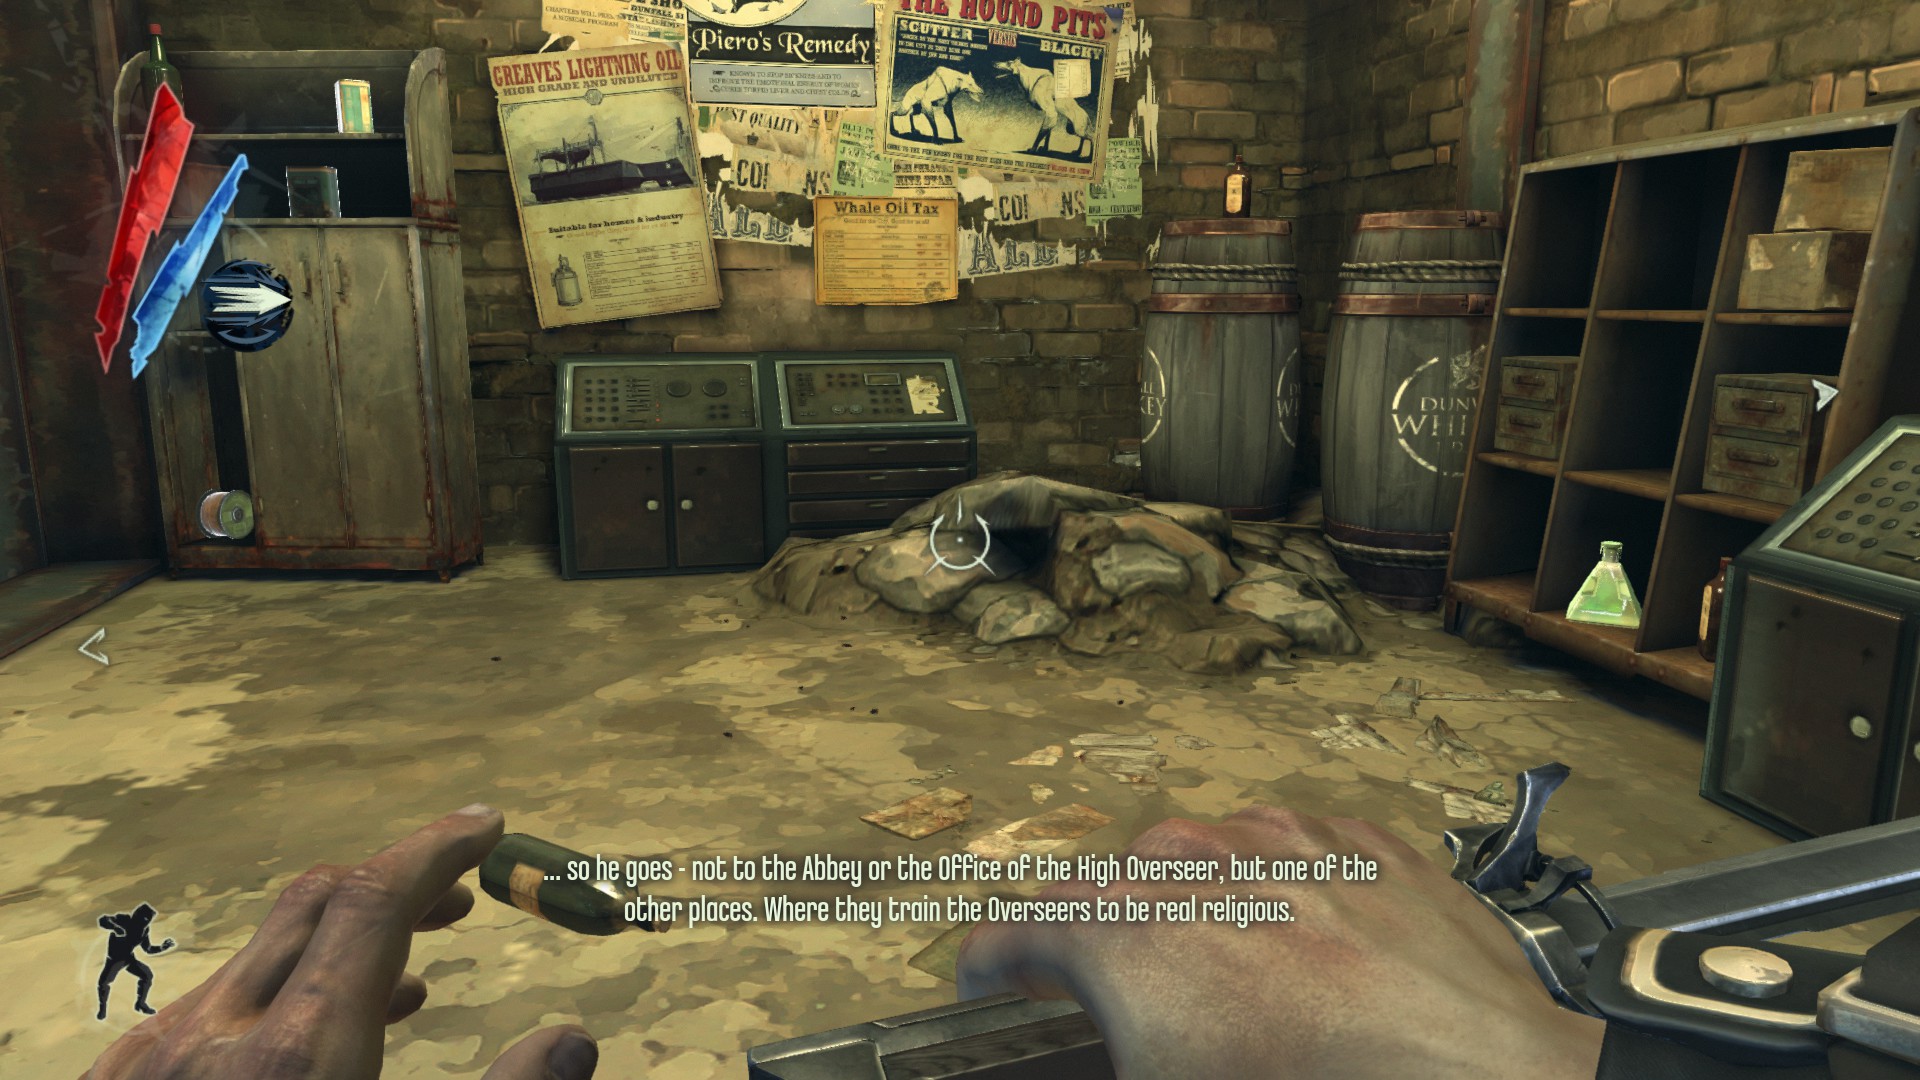
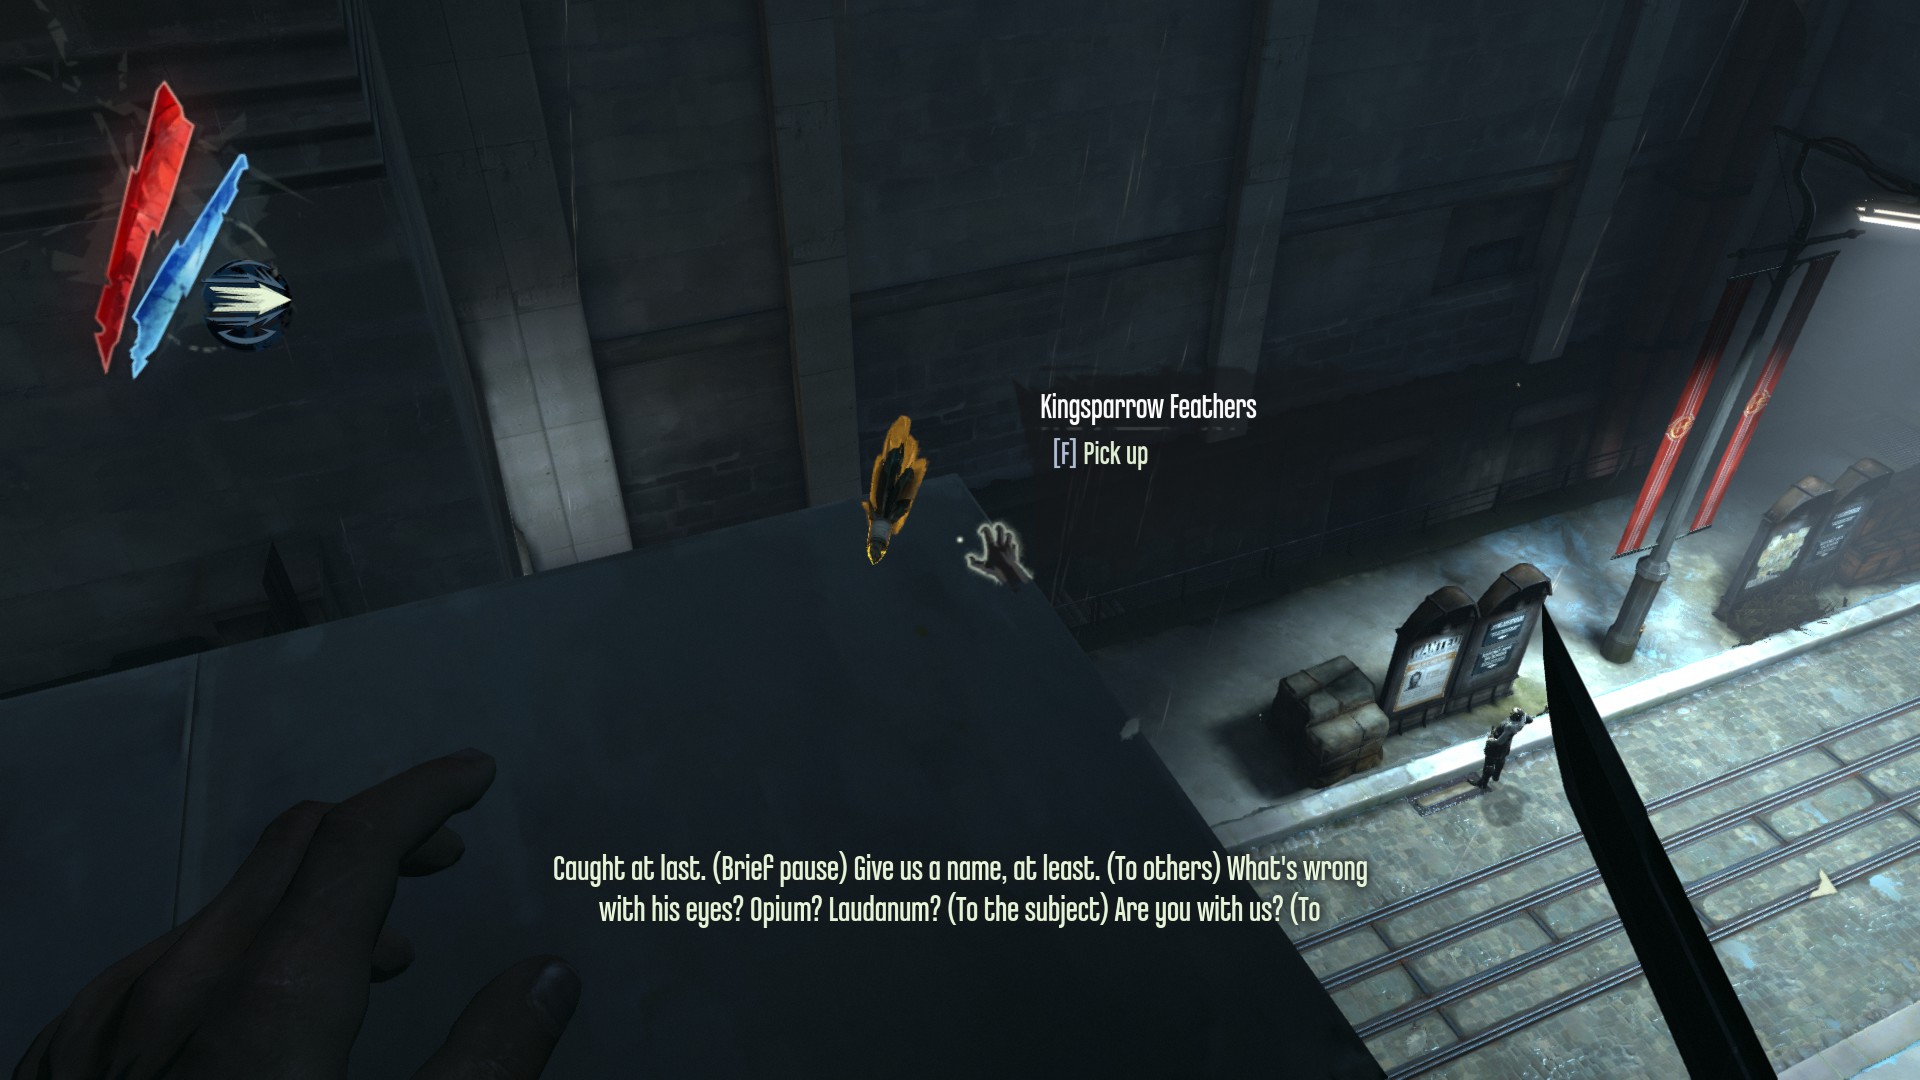
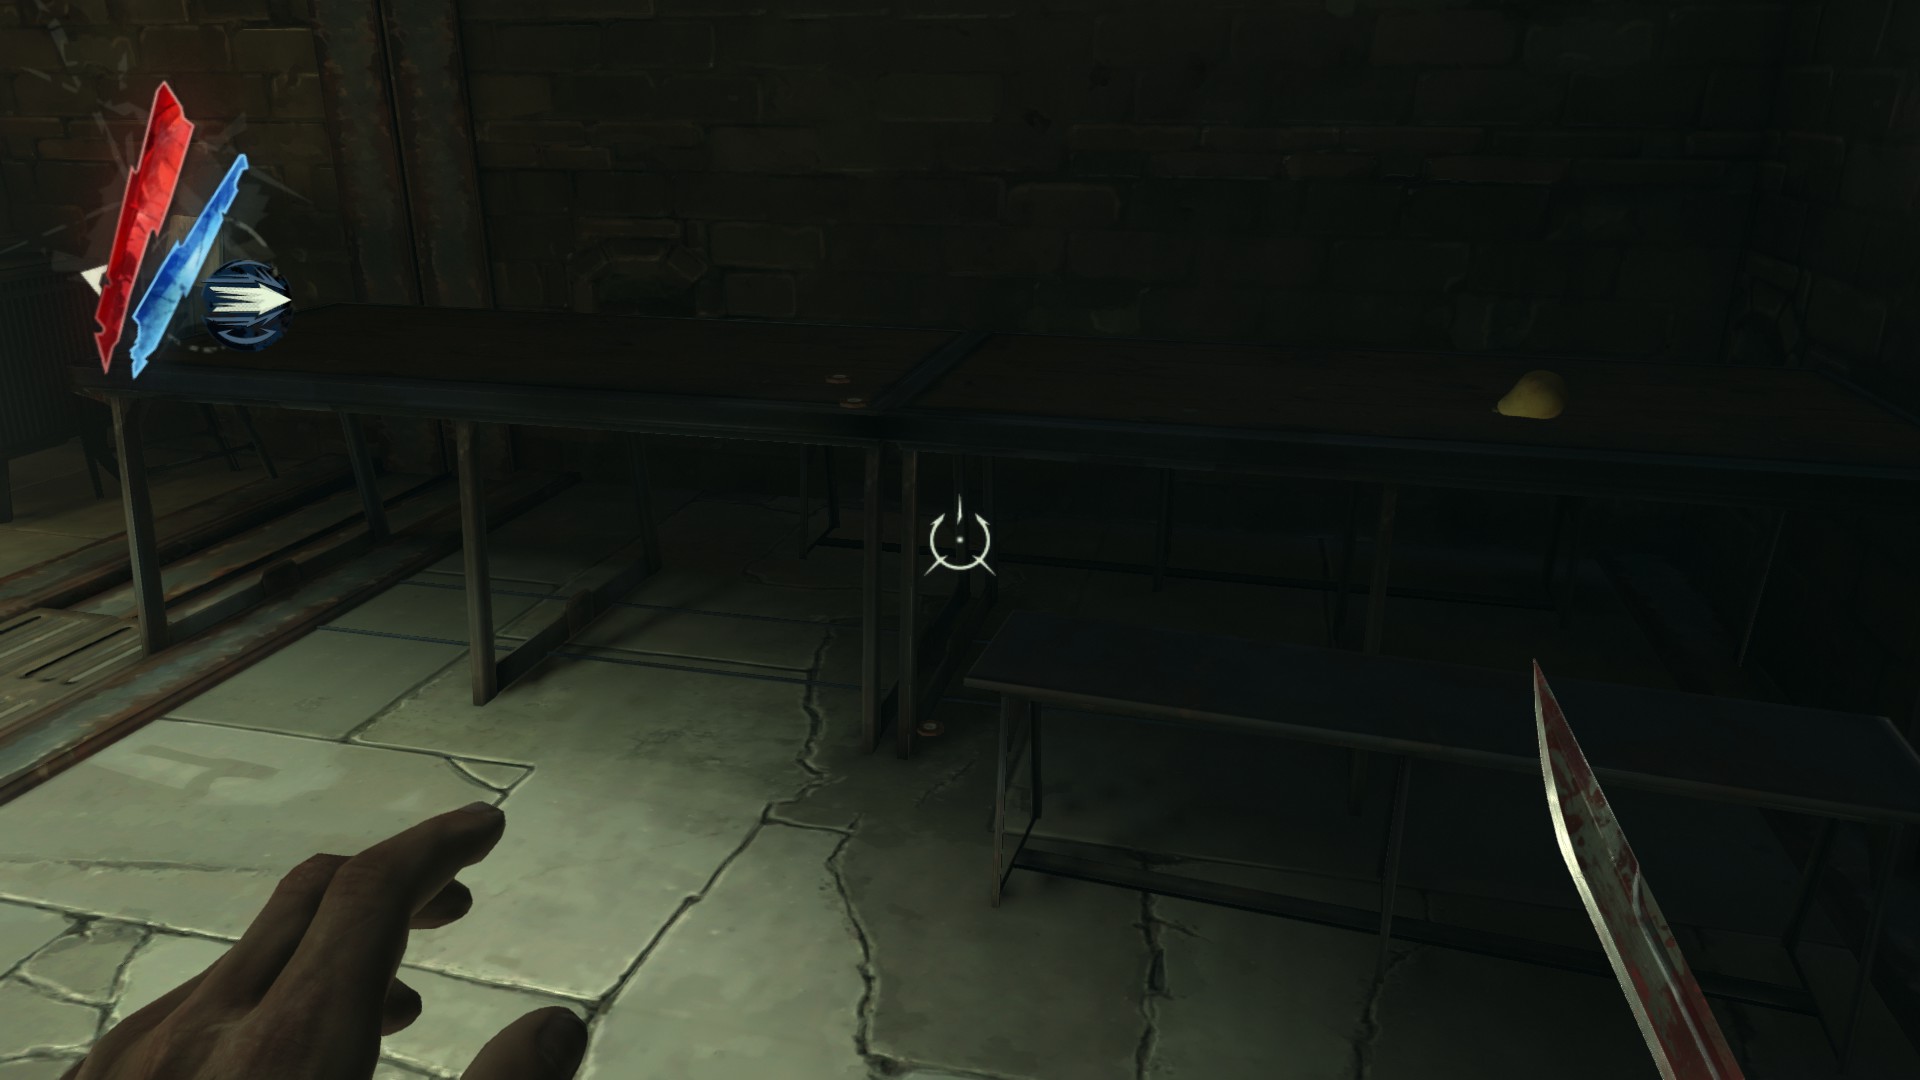
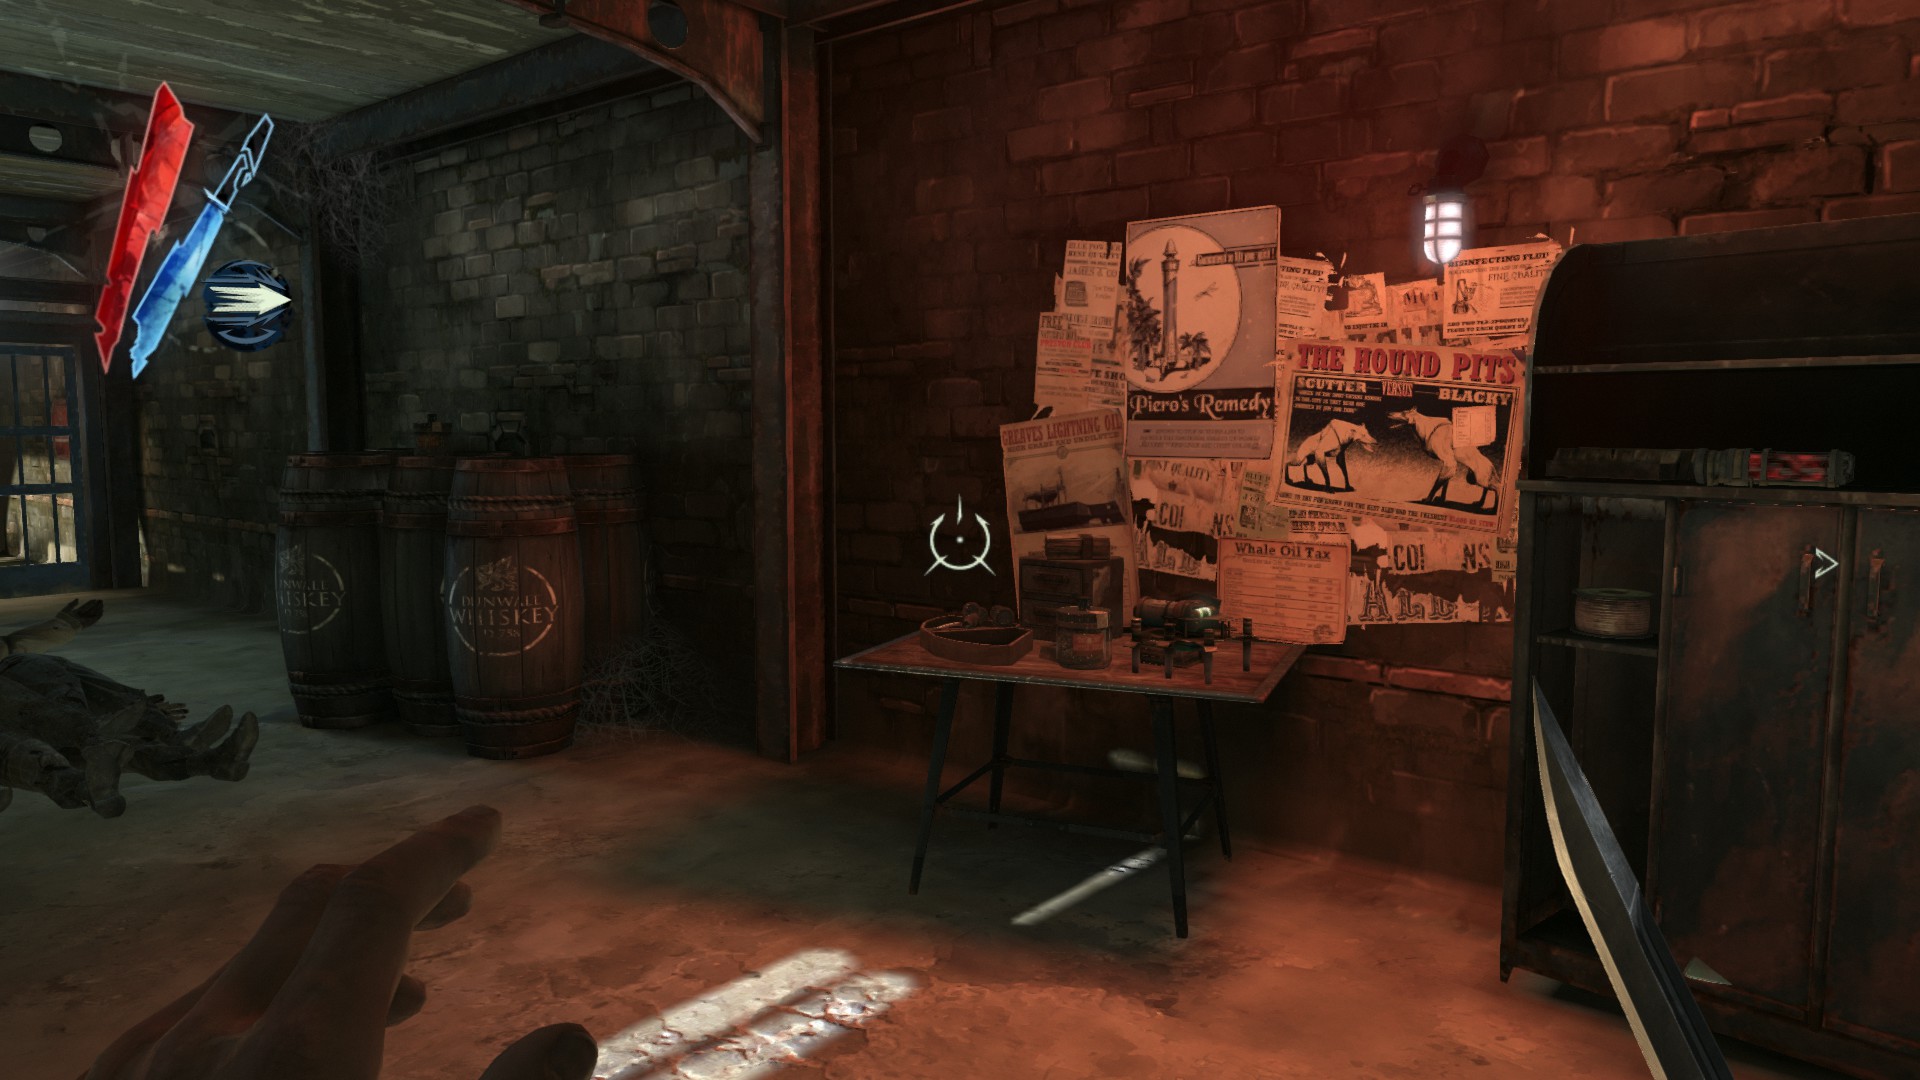
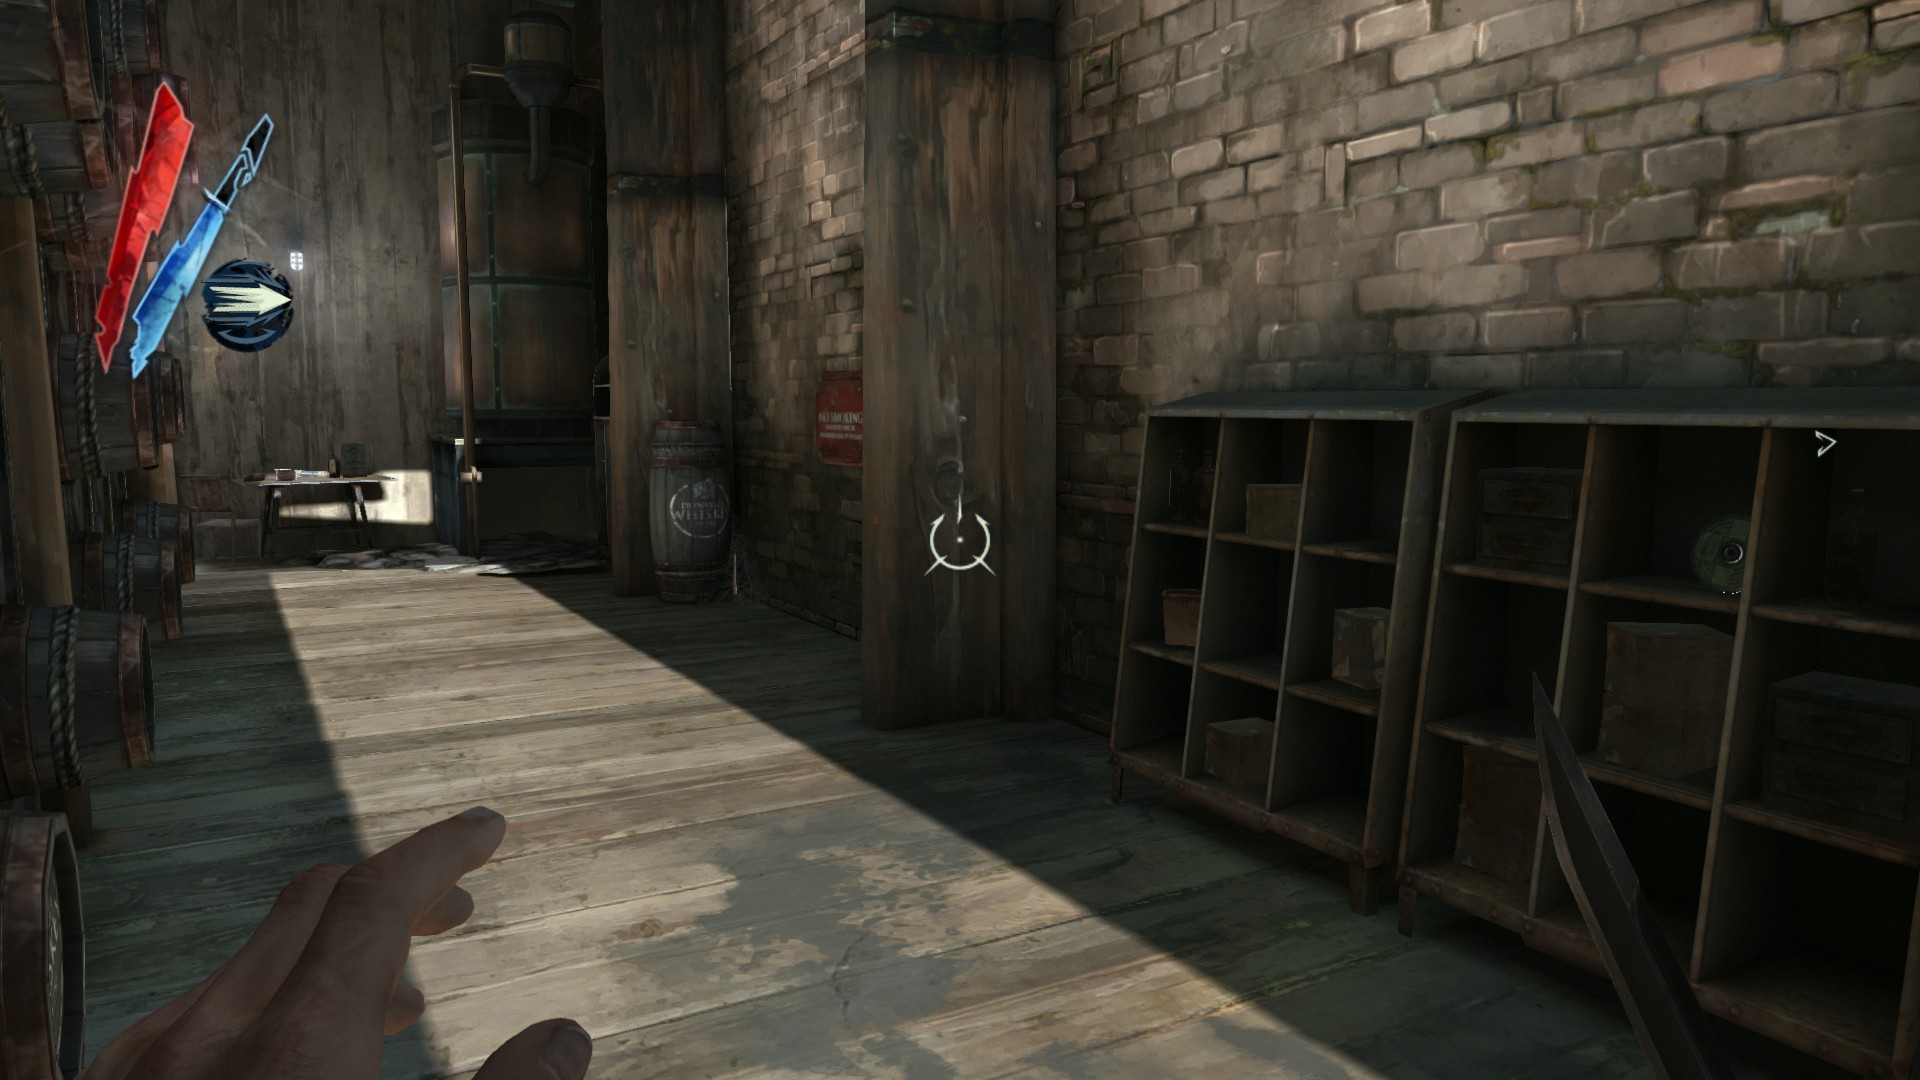
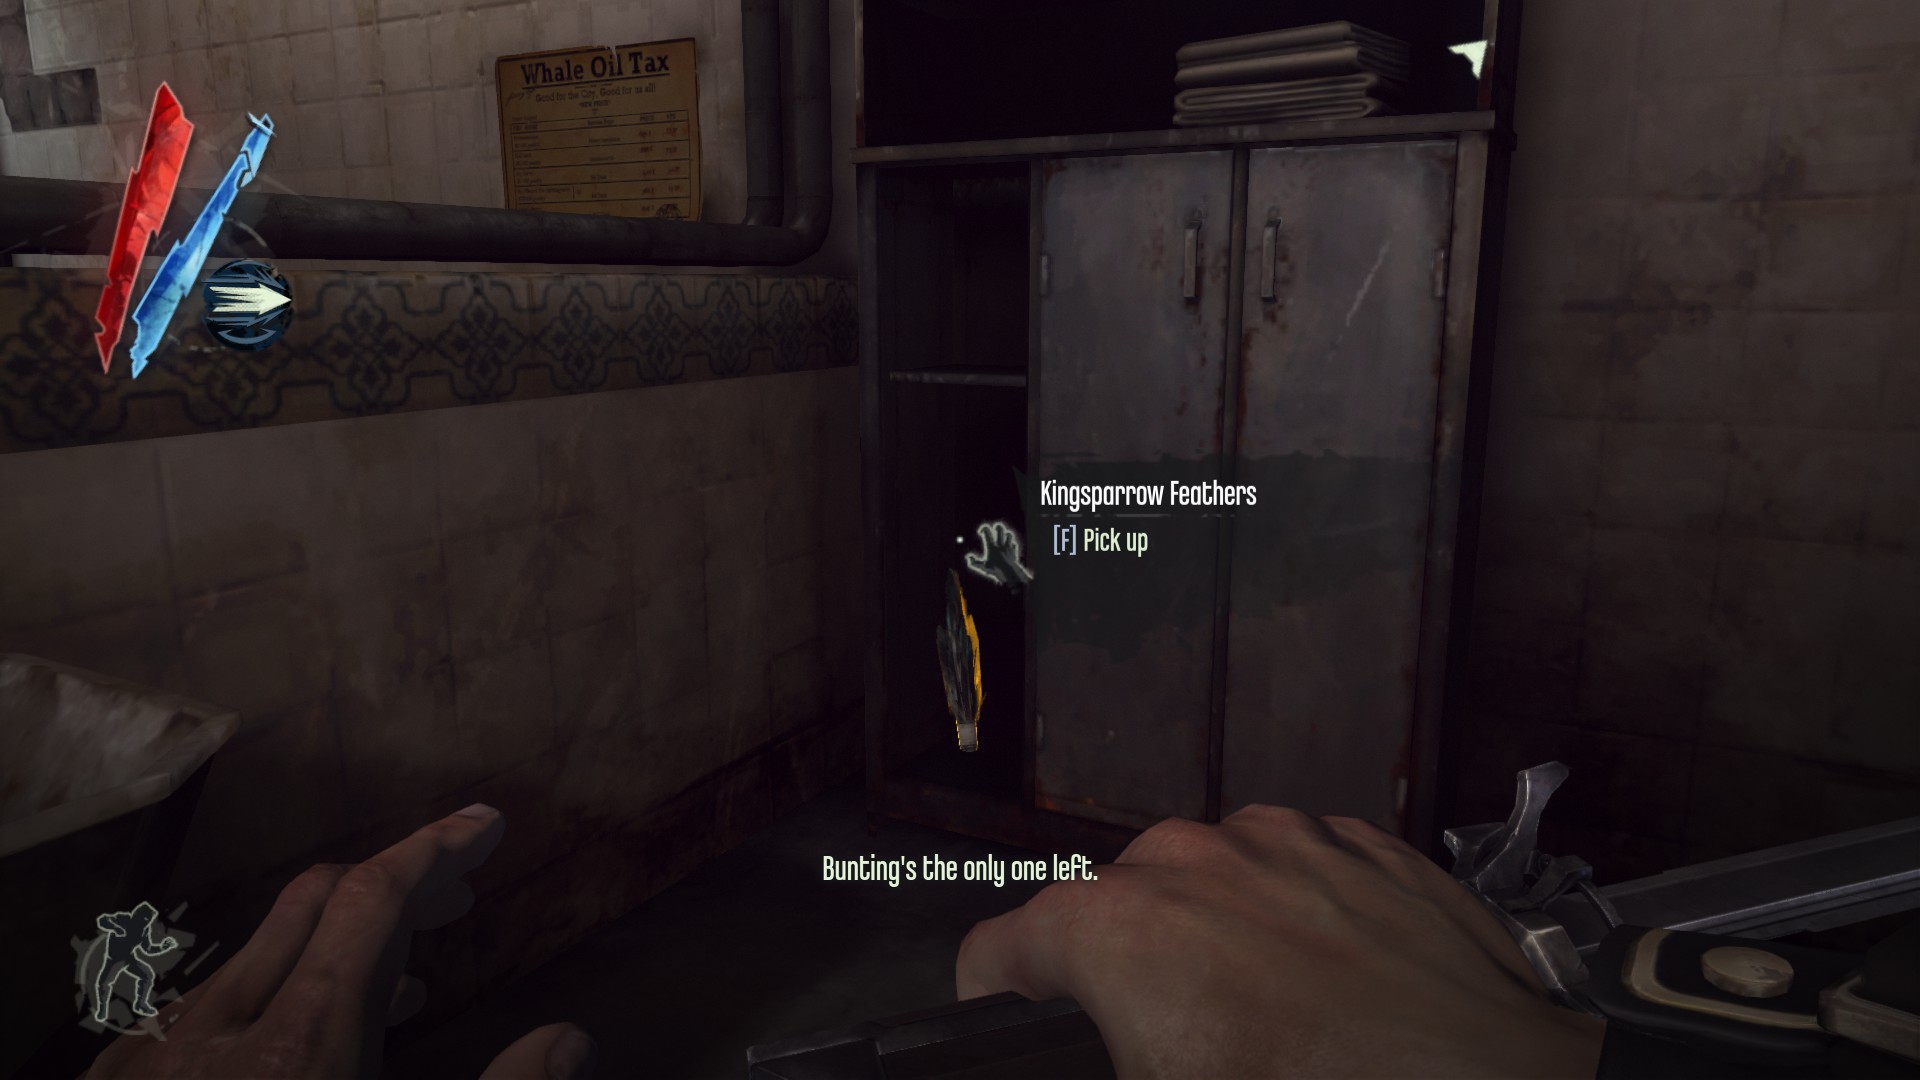
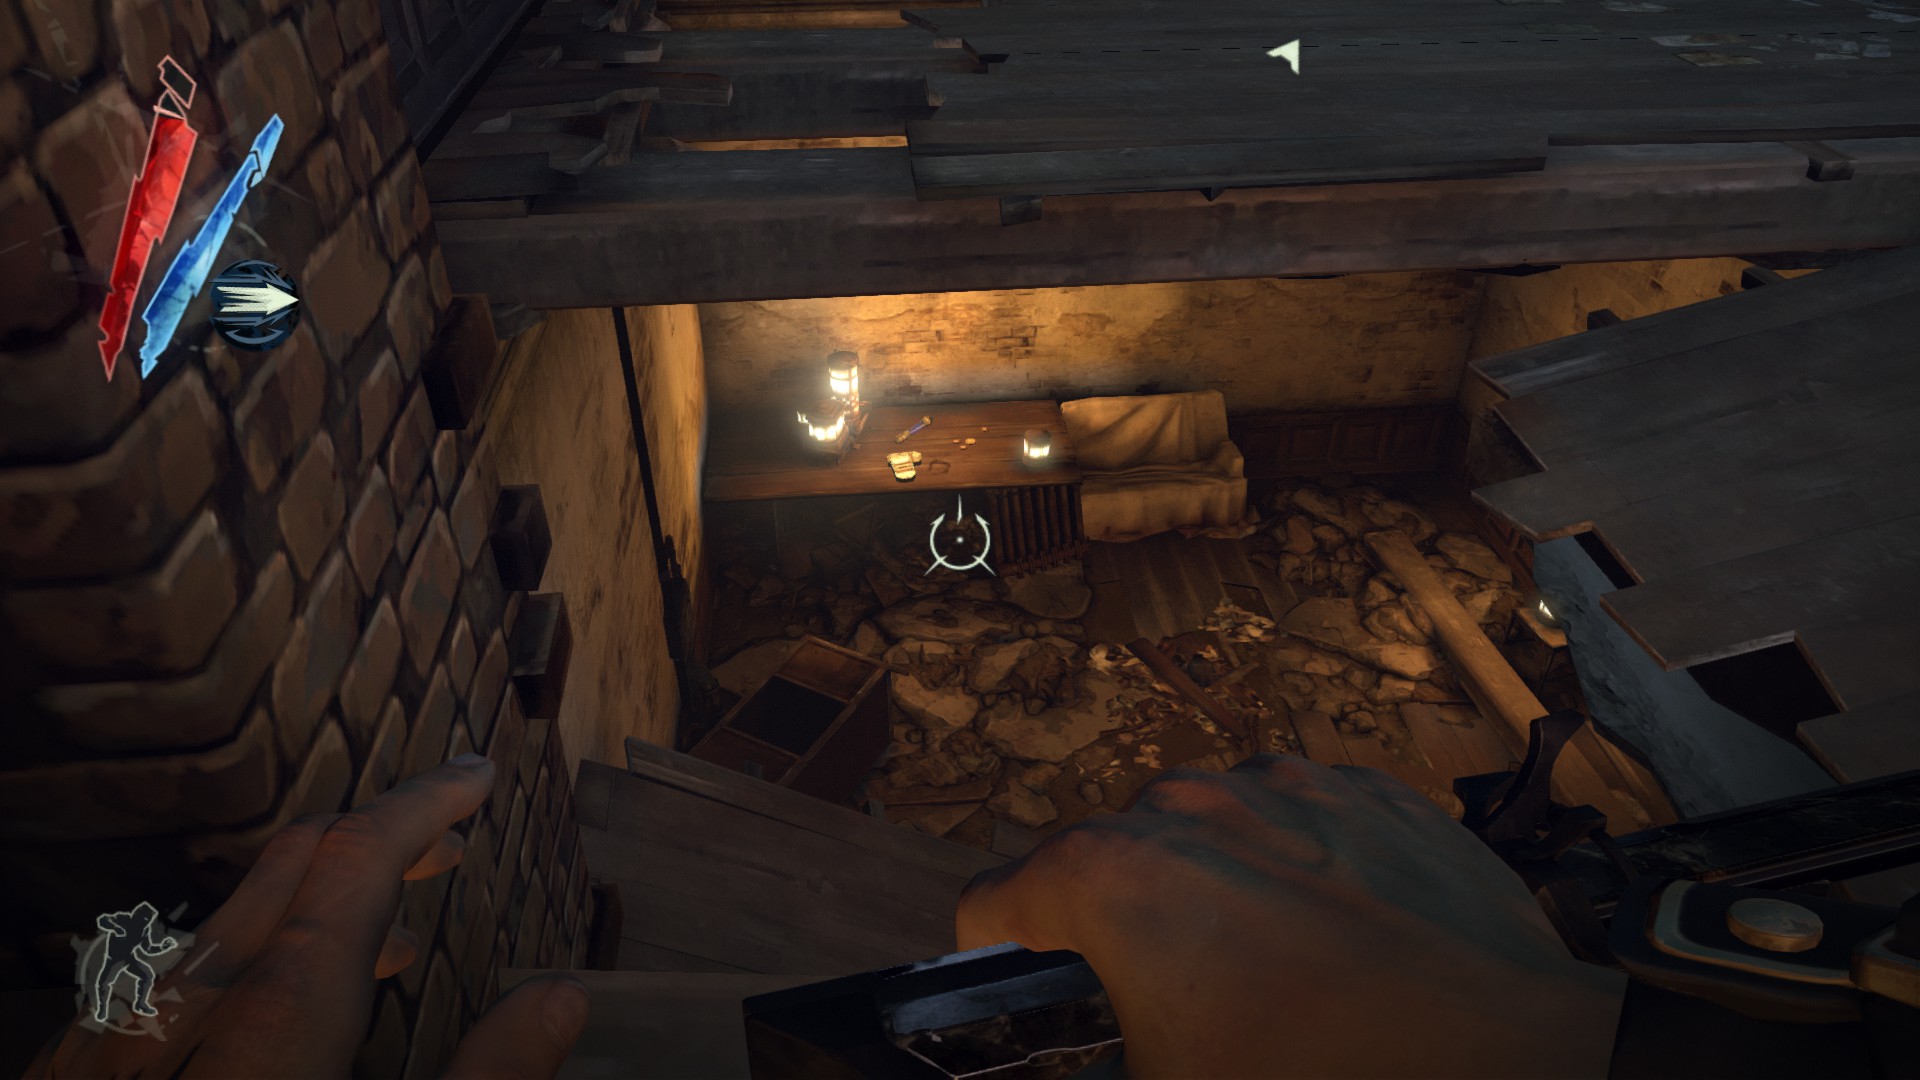
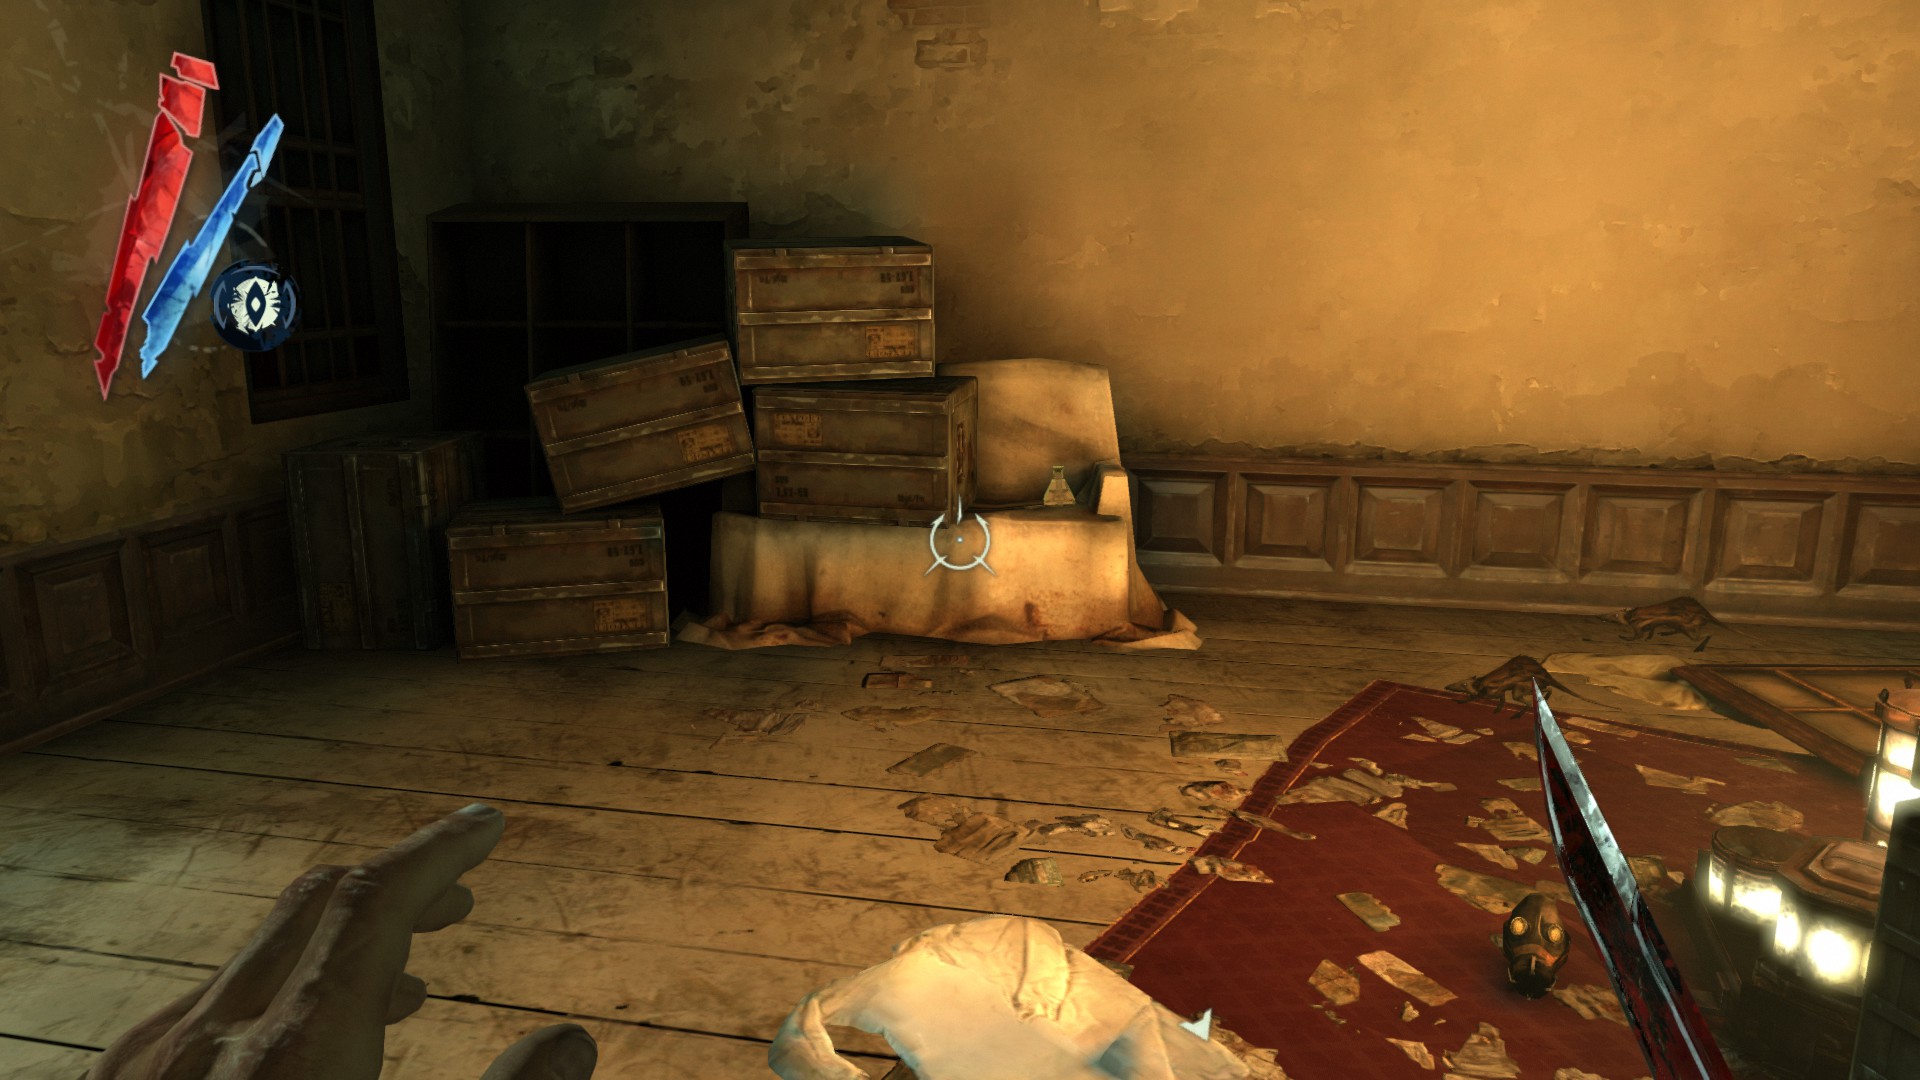
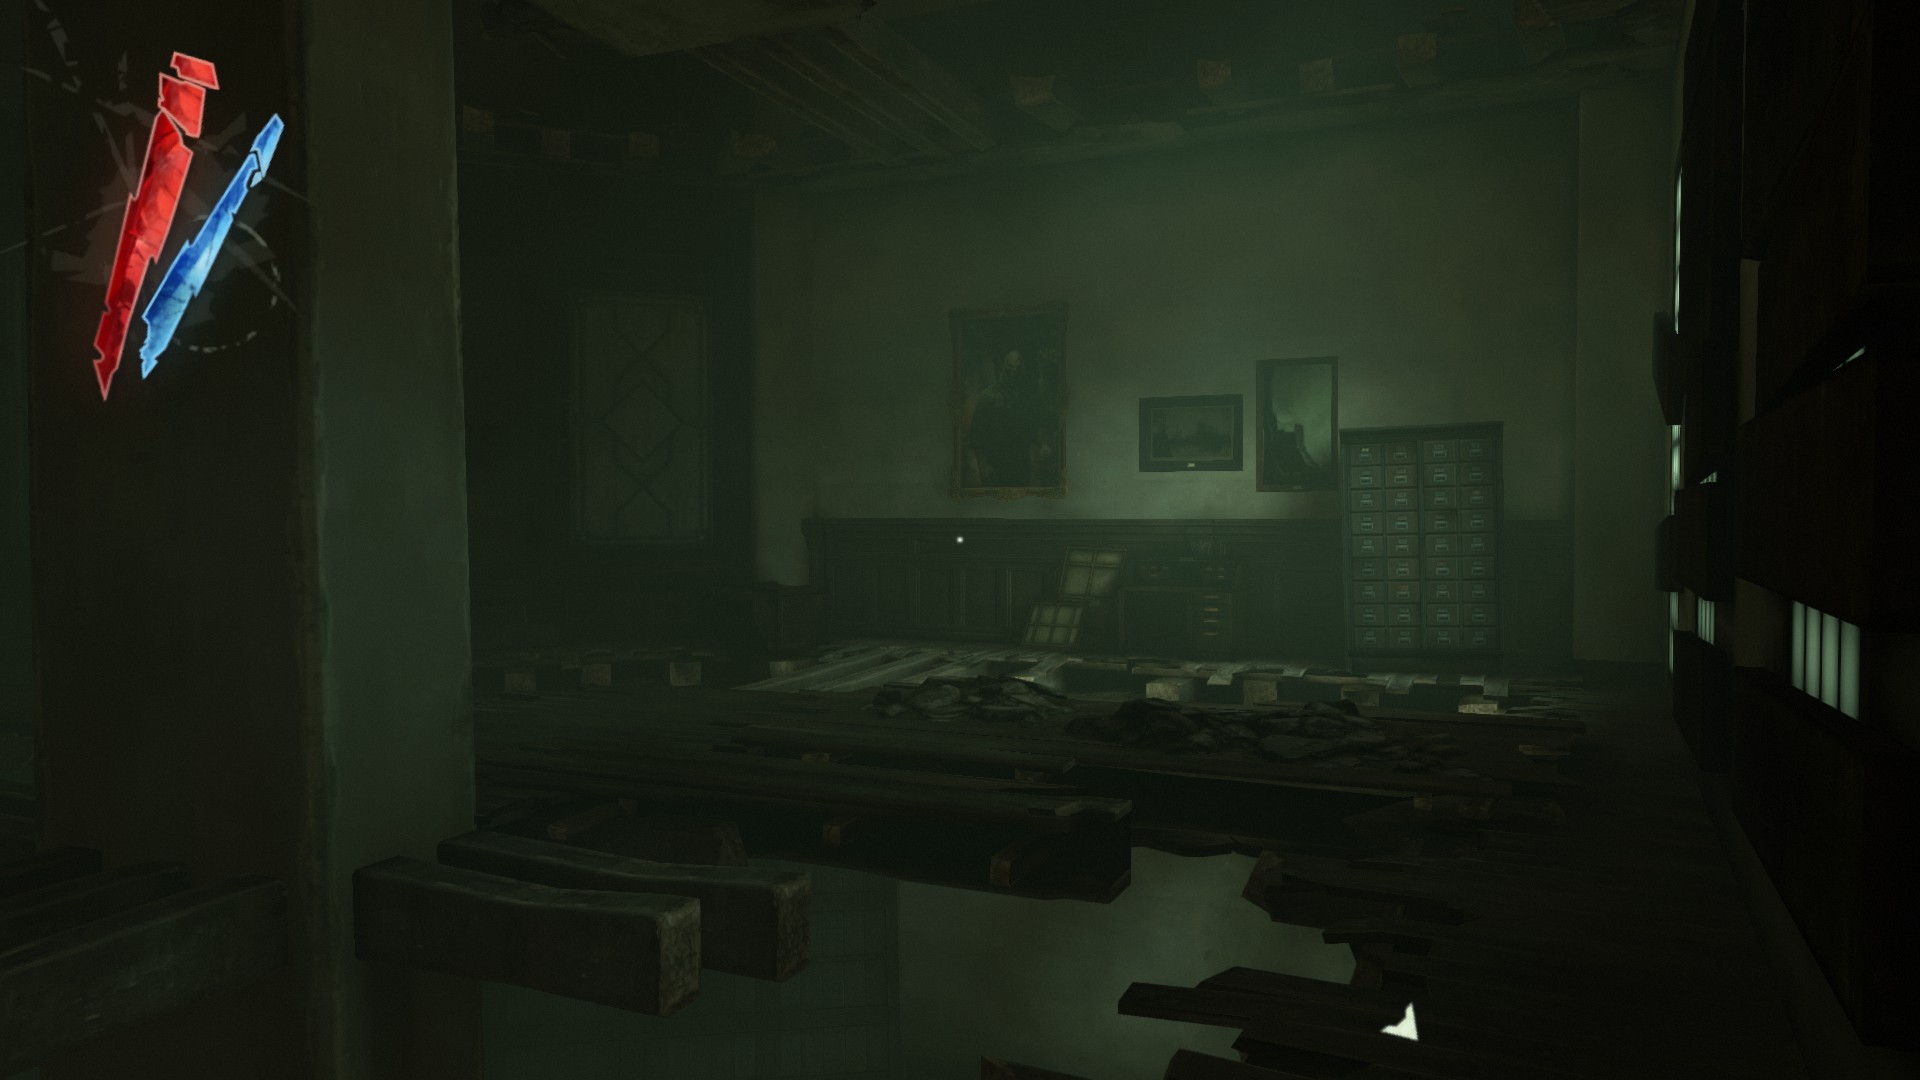
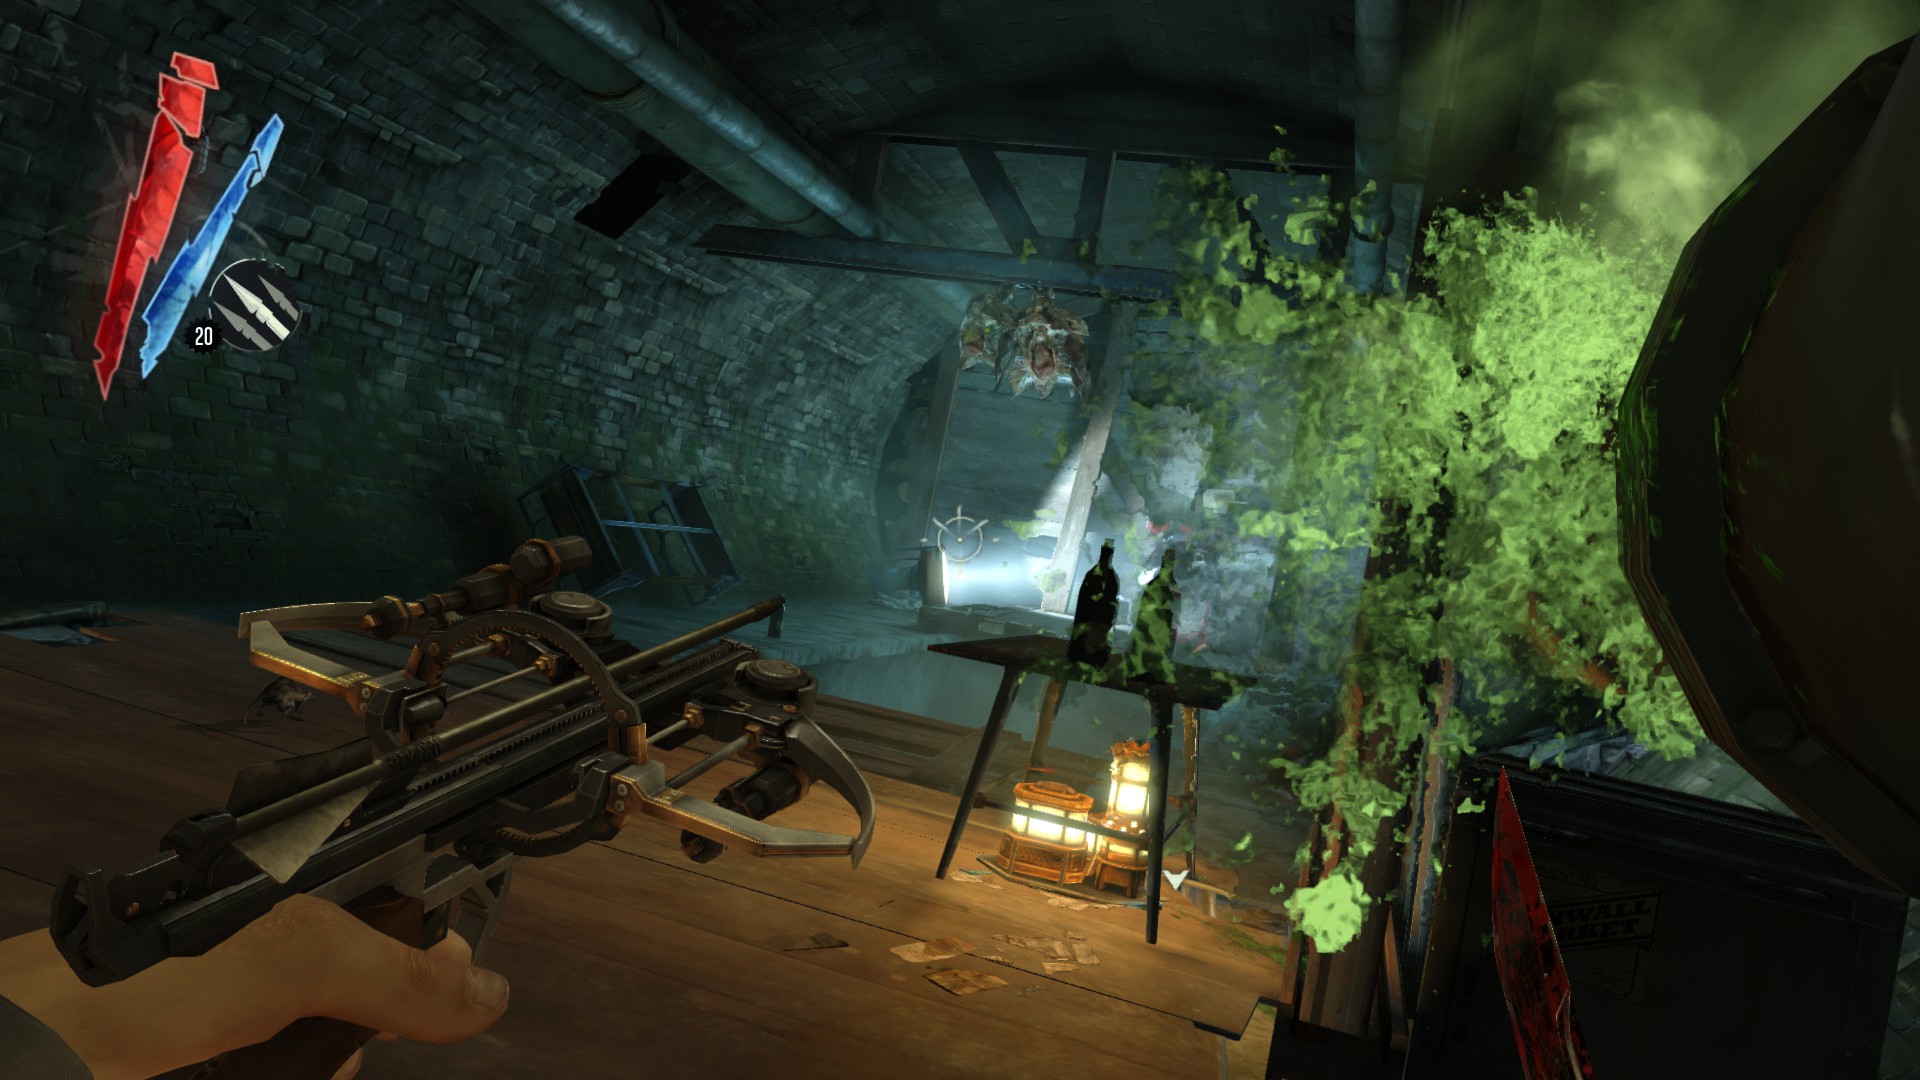
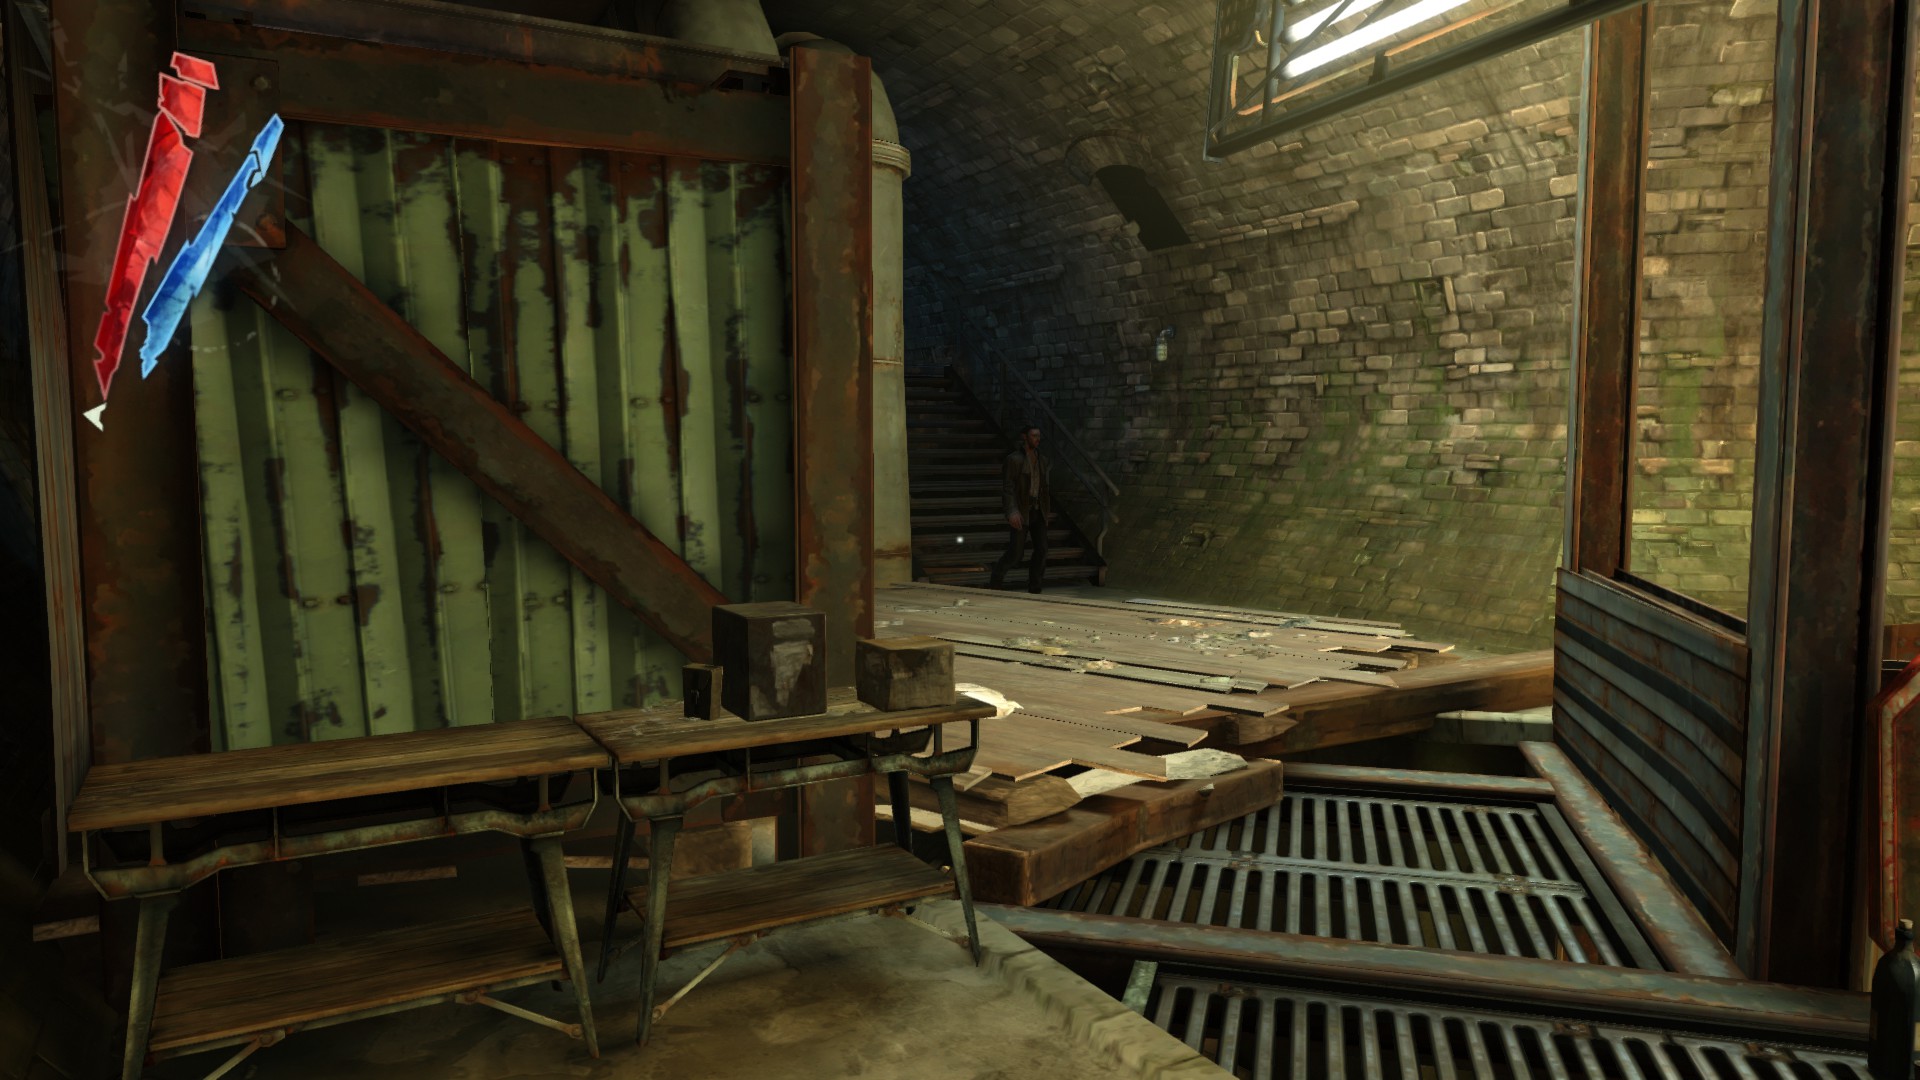
Once they are down, look ahead. You should see a doorway barricaded by some wooden planks, so break them through. On the table is a medicinal herbs, and kingsparrow feathers on the shelf.
(+30 -> 847/1010)
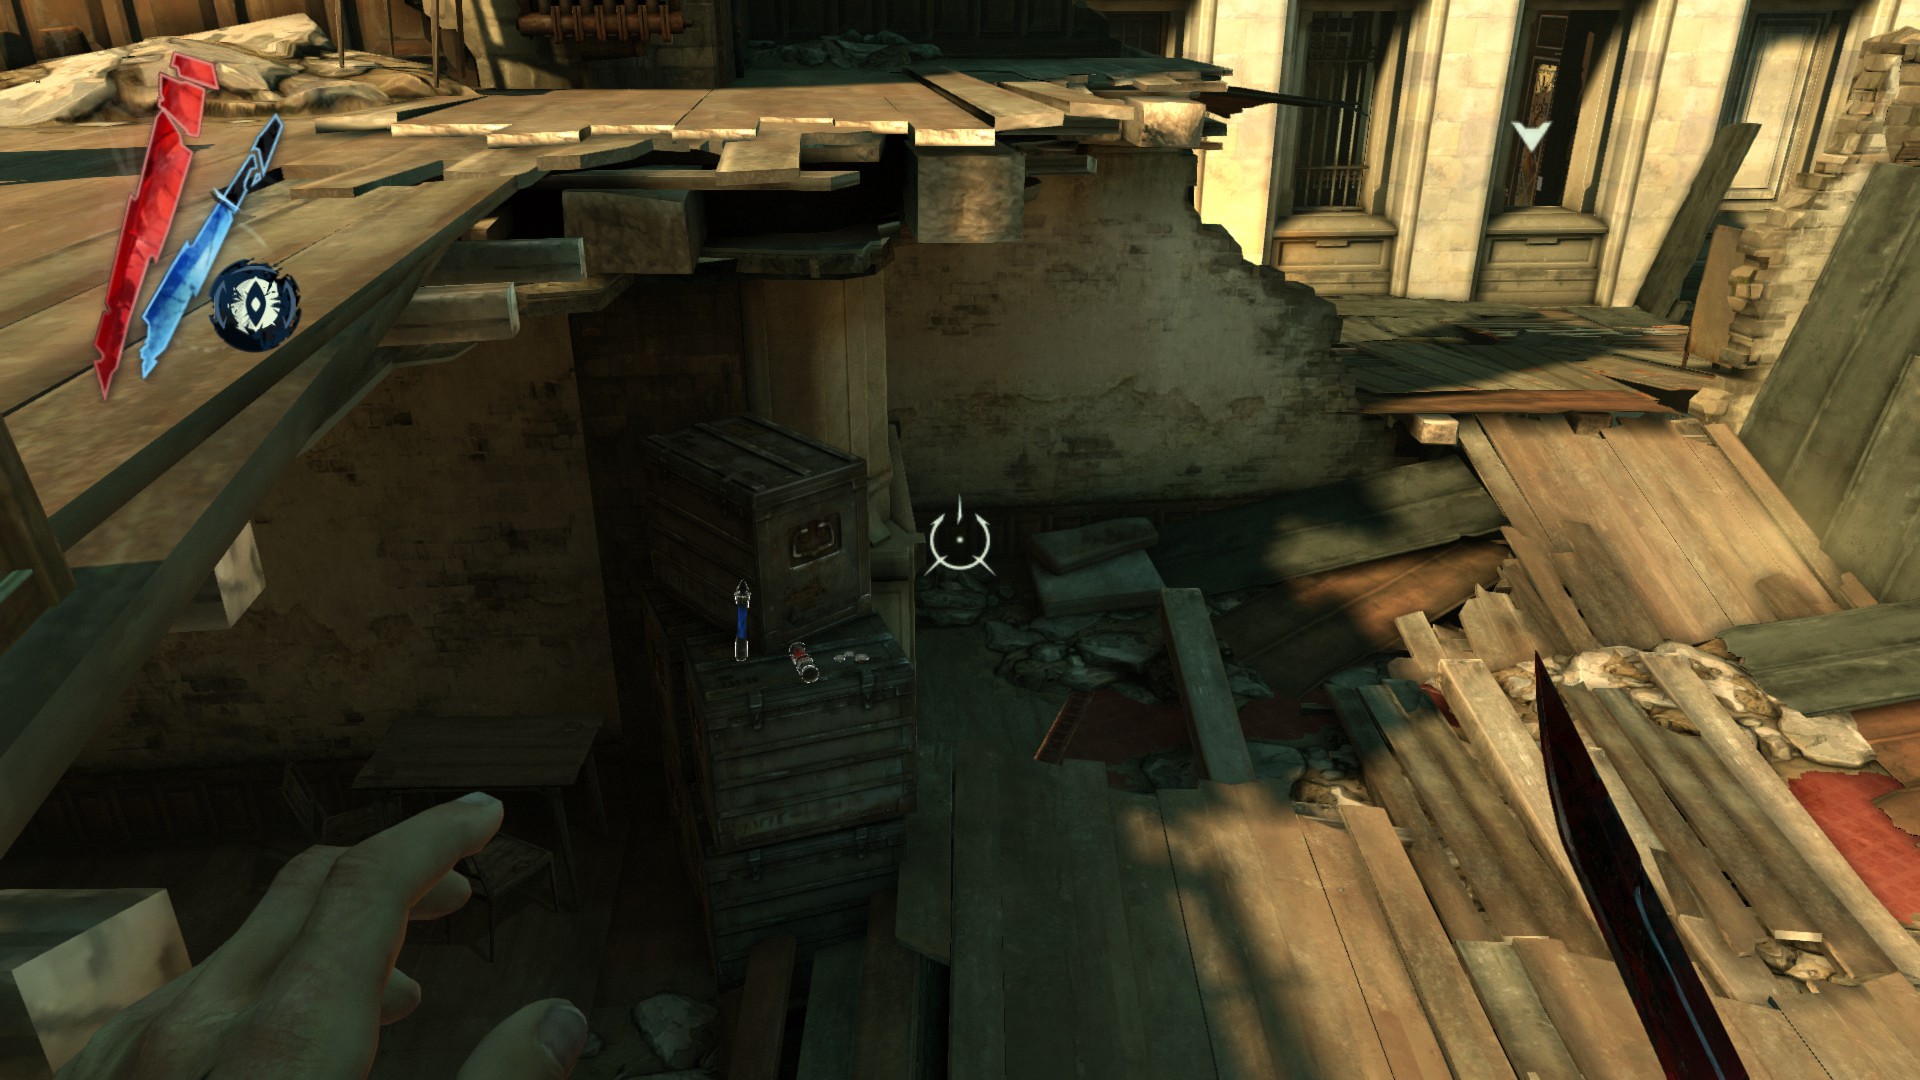
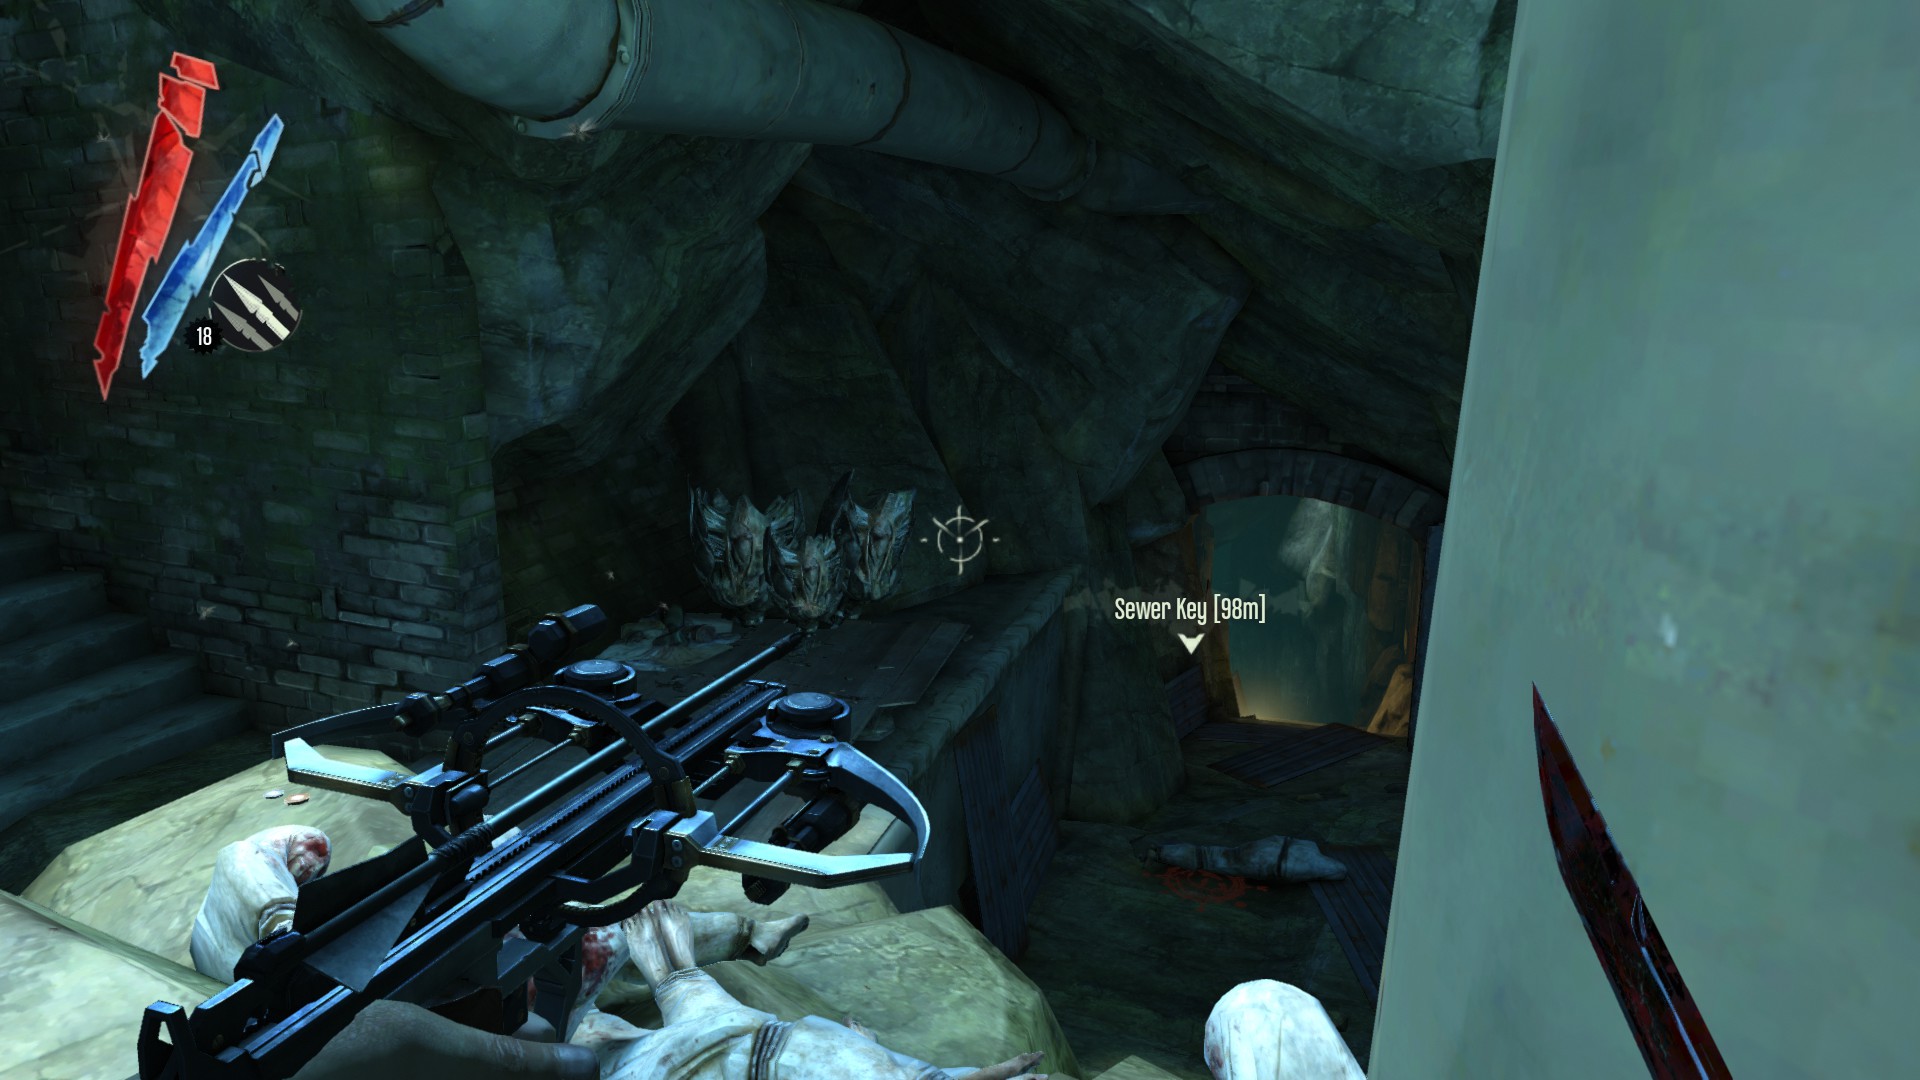
In the same room, climb up some pipes and you will find 5 coins and a pouch on a rafter.
(+43 -> 890/1010)
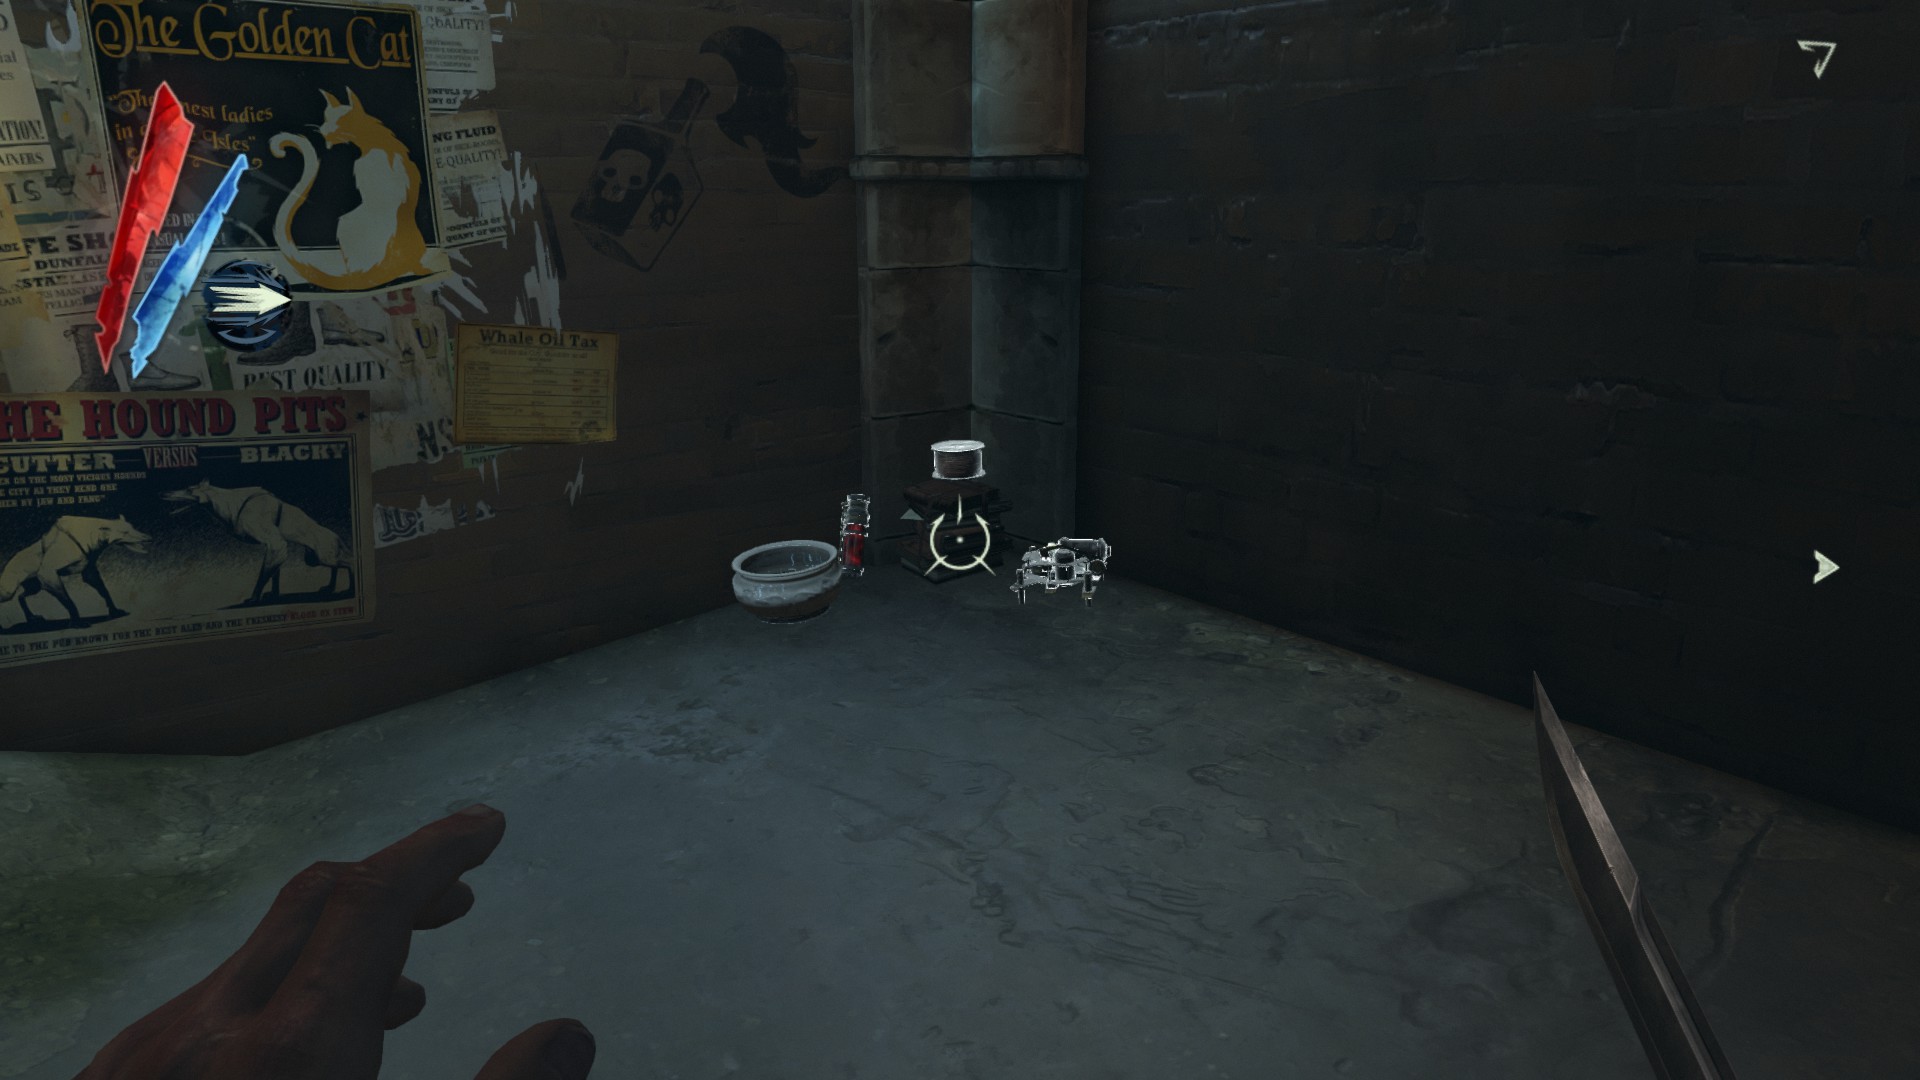
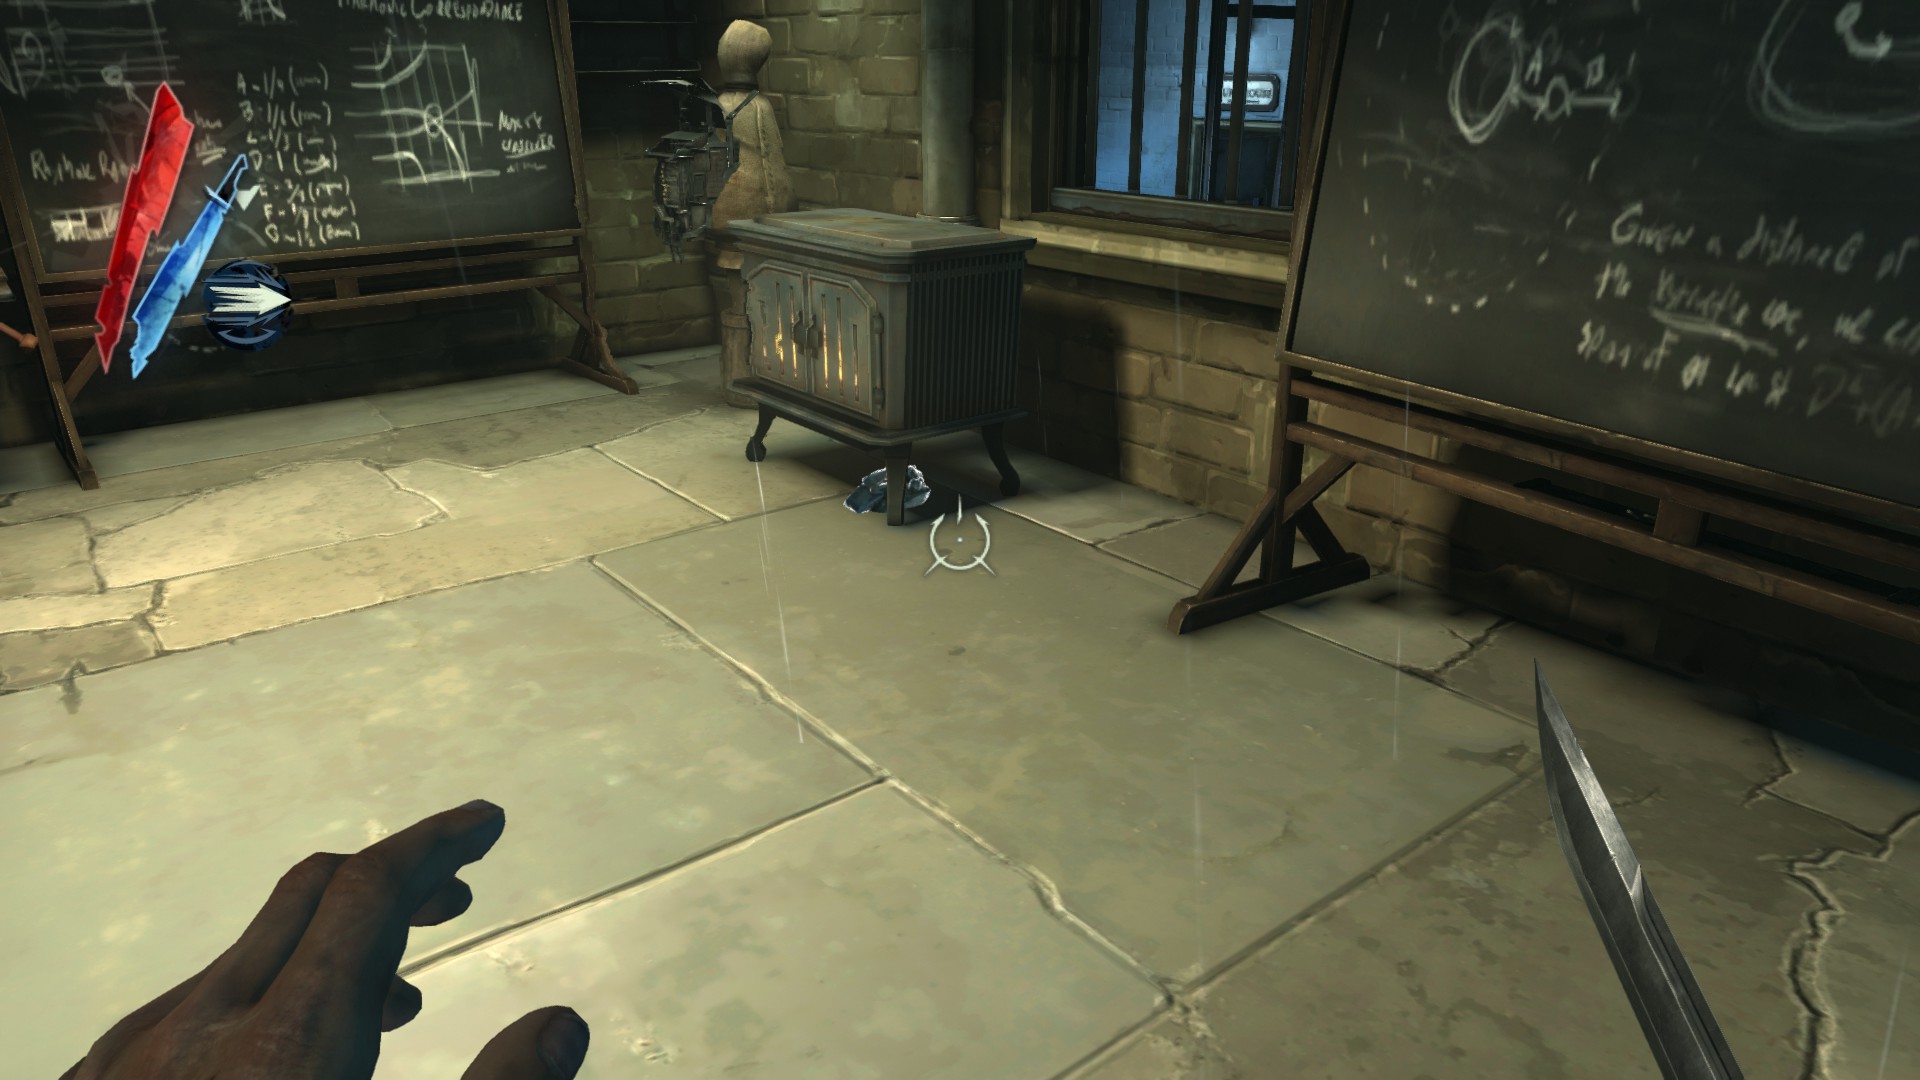
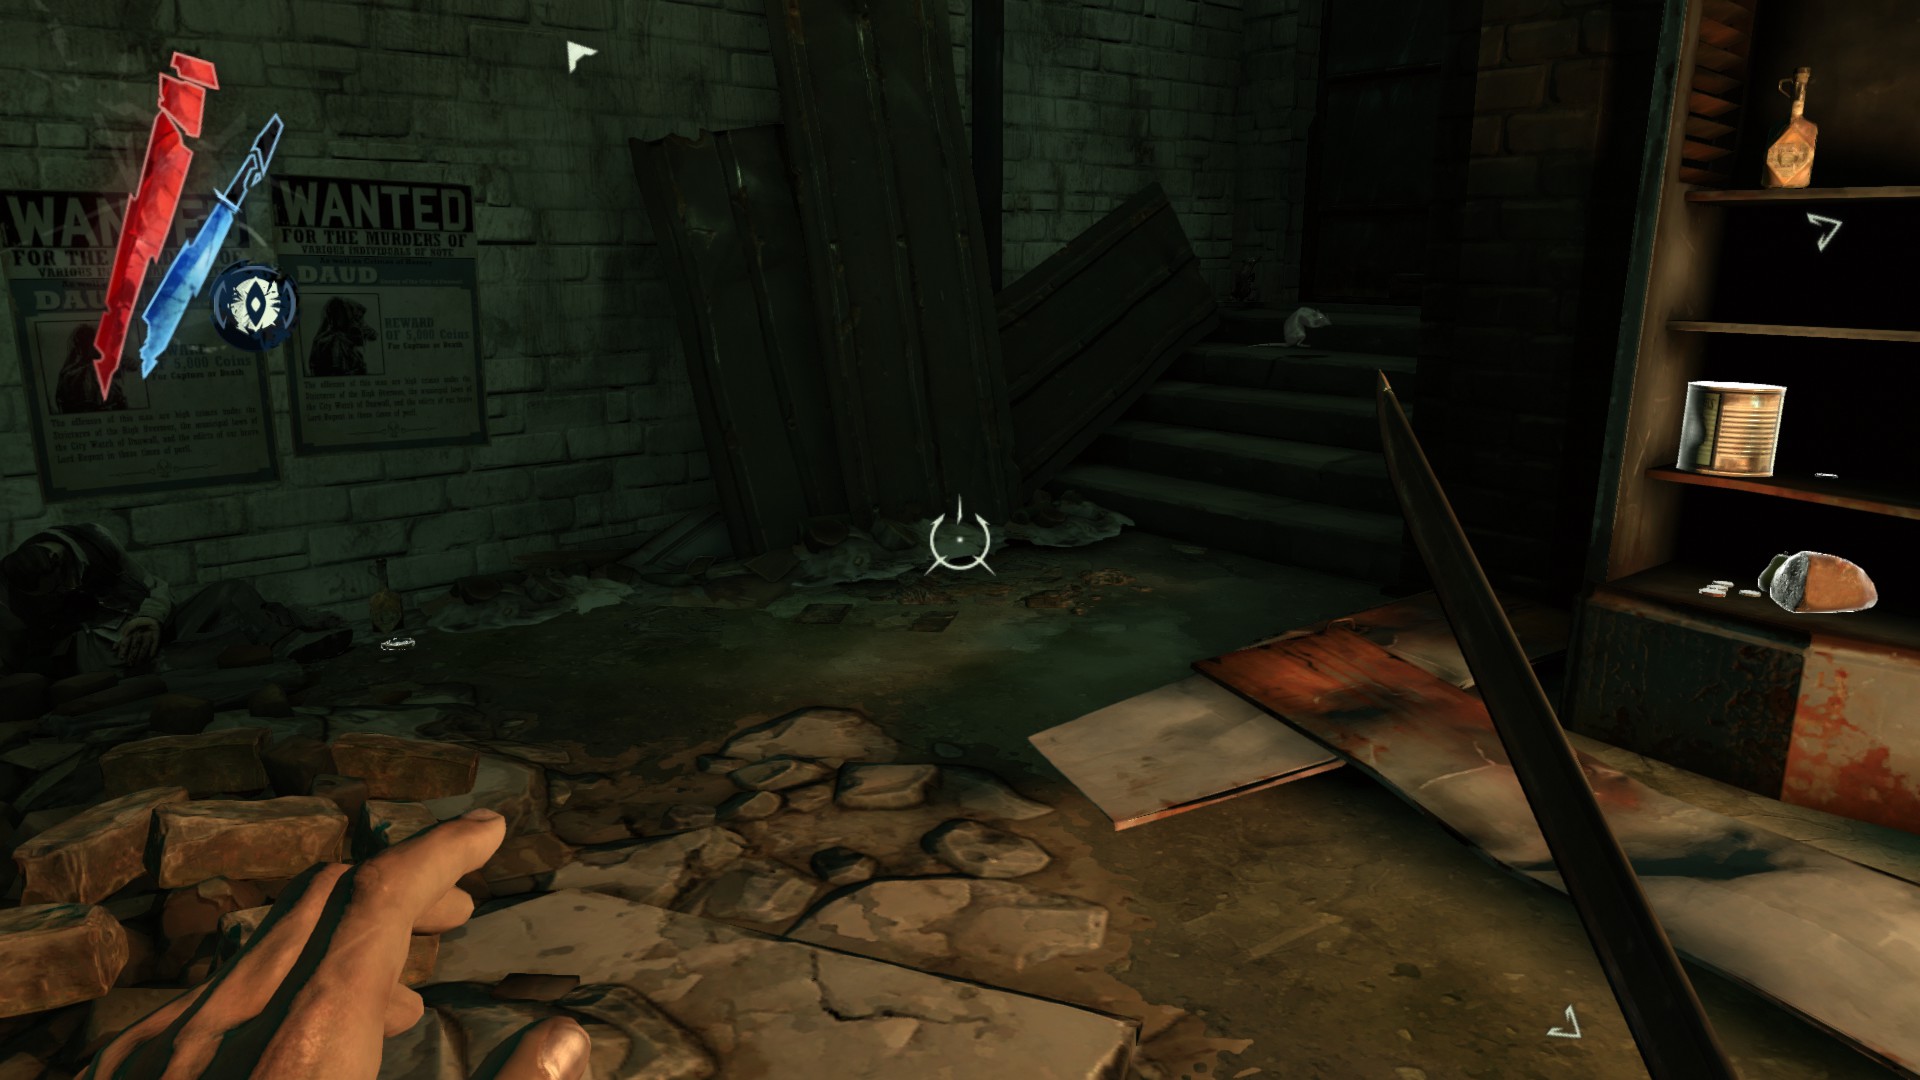
Go back into the main area and head left. Before heading another left, there is a hemlock essence next to a corpse on a platform and a copper wire on a desk.
(+30 -> 920/1010)
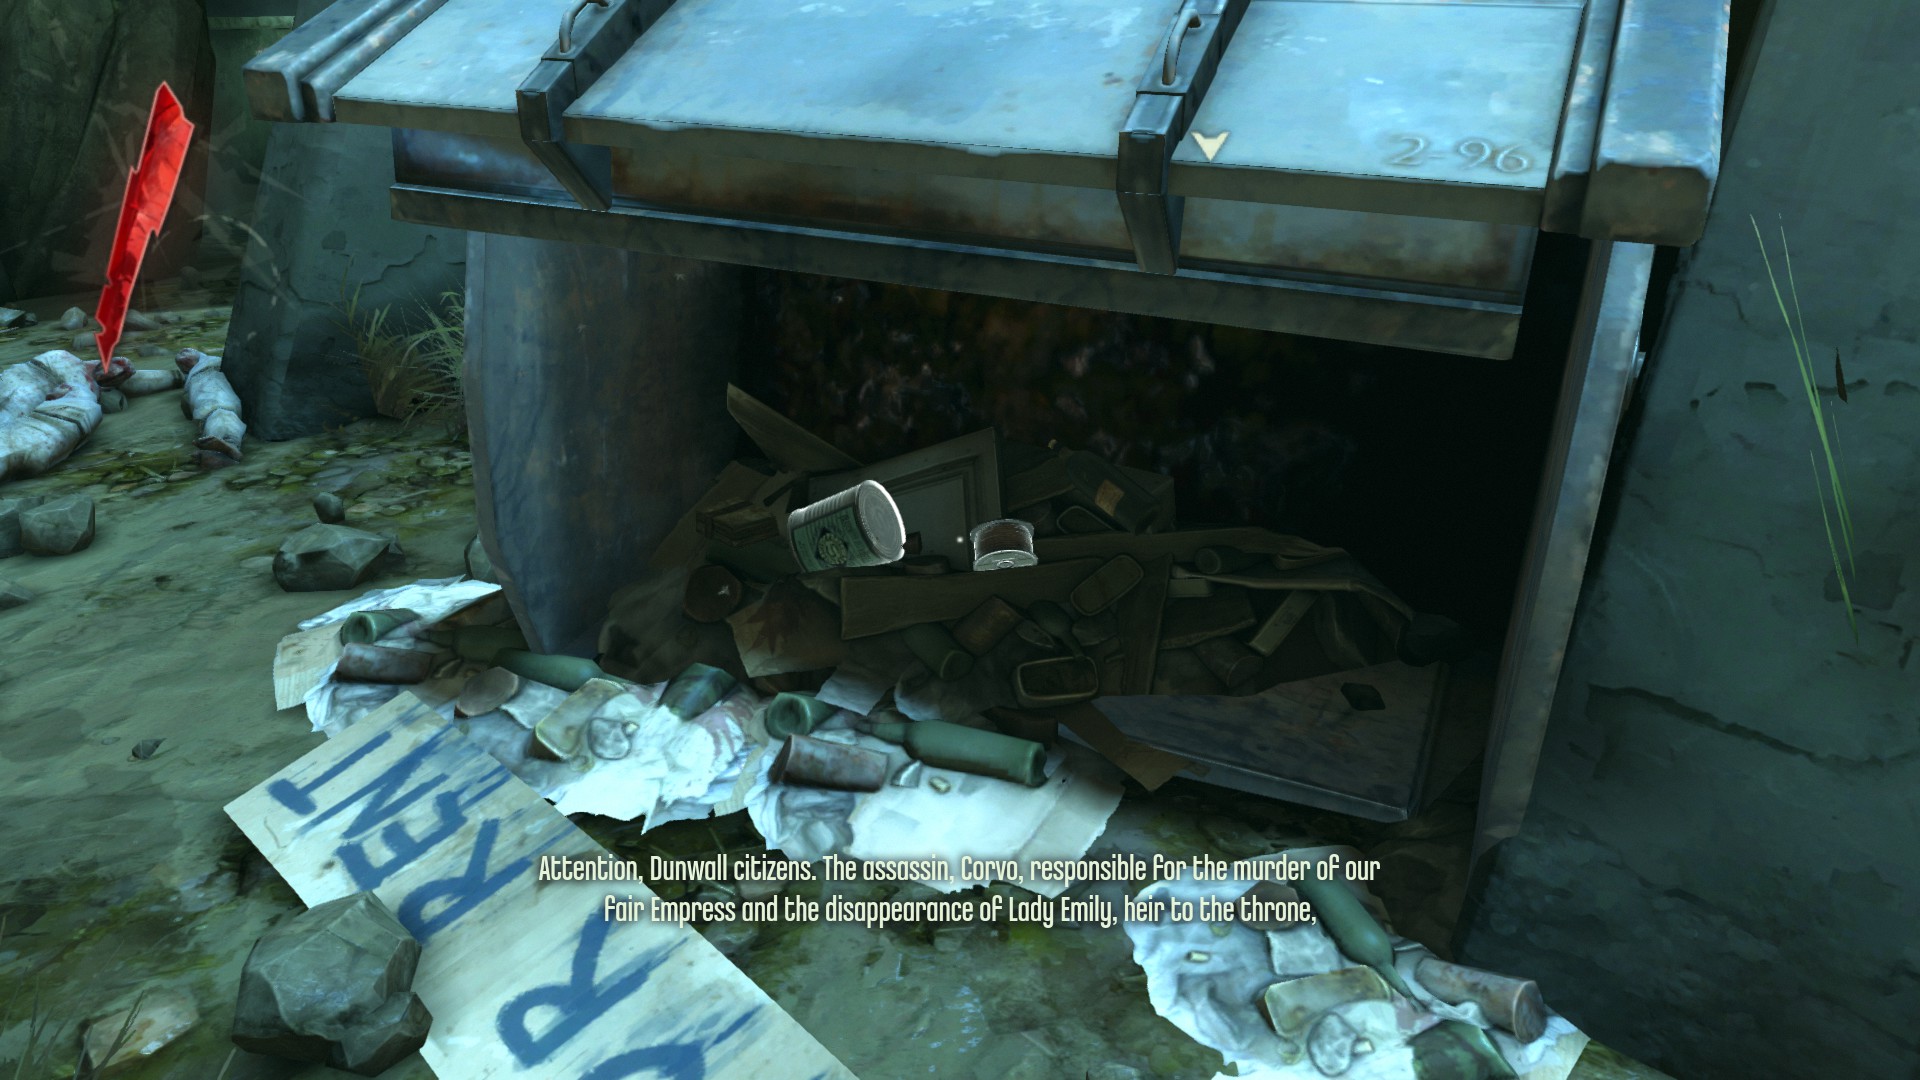
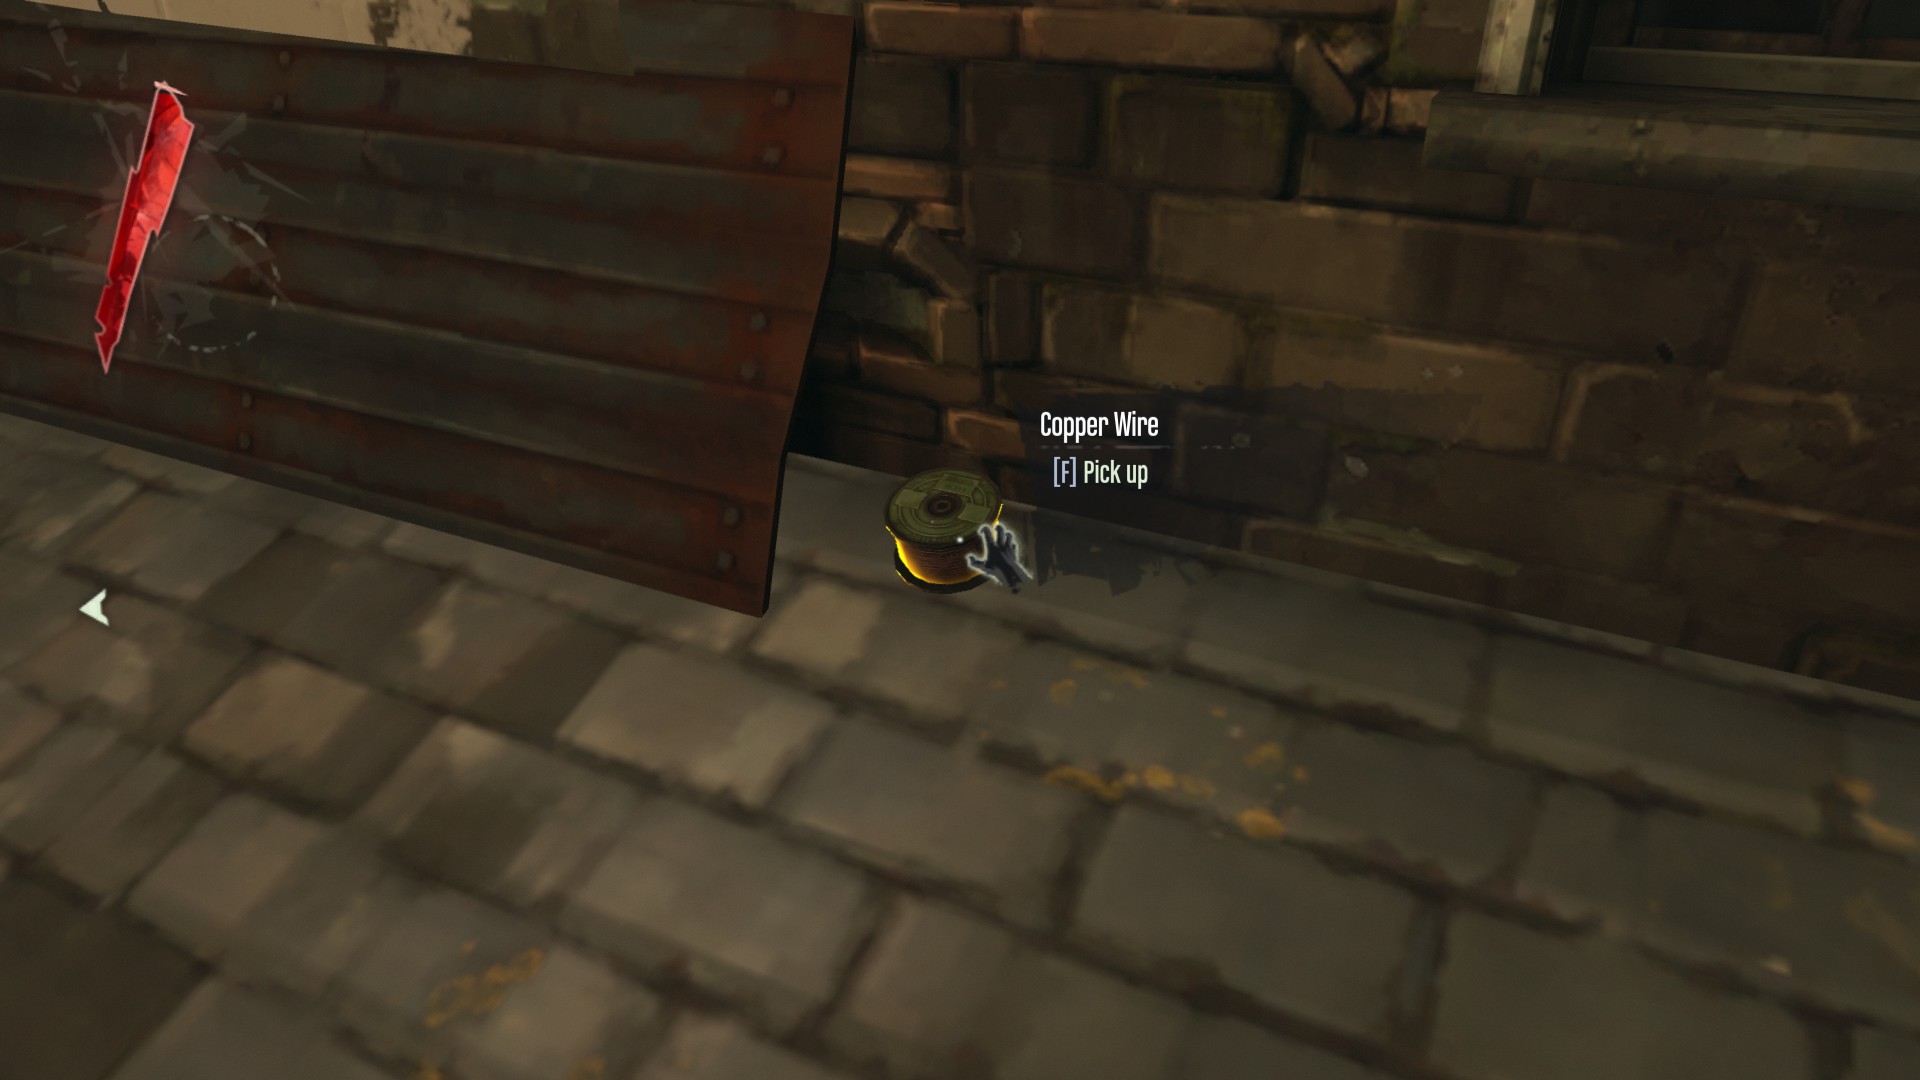
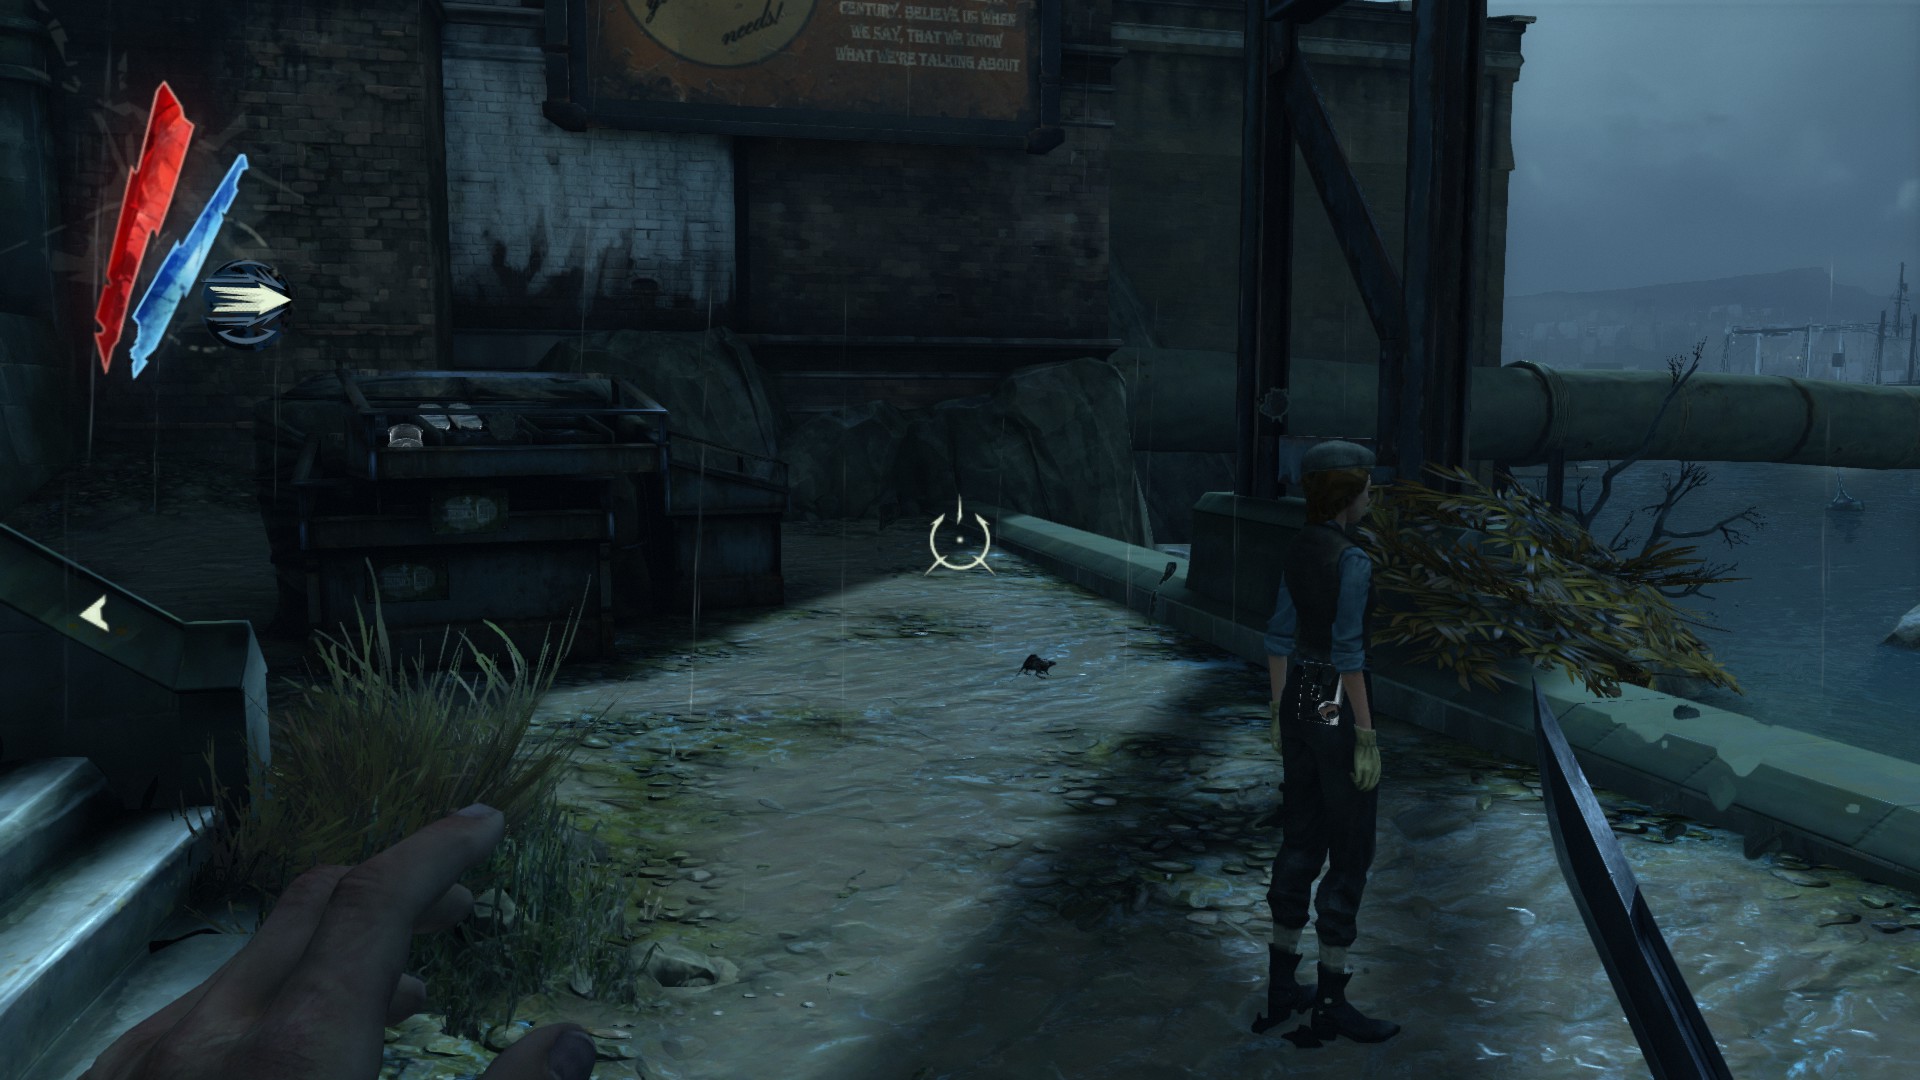
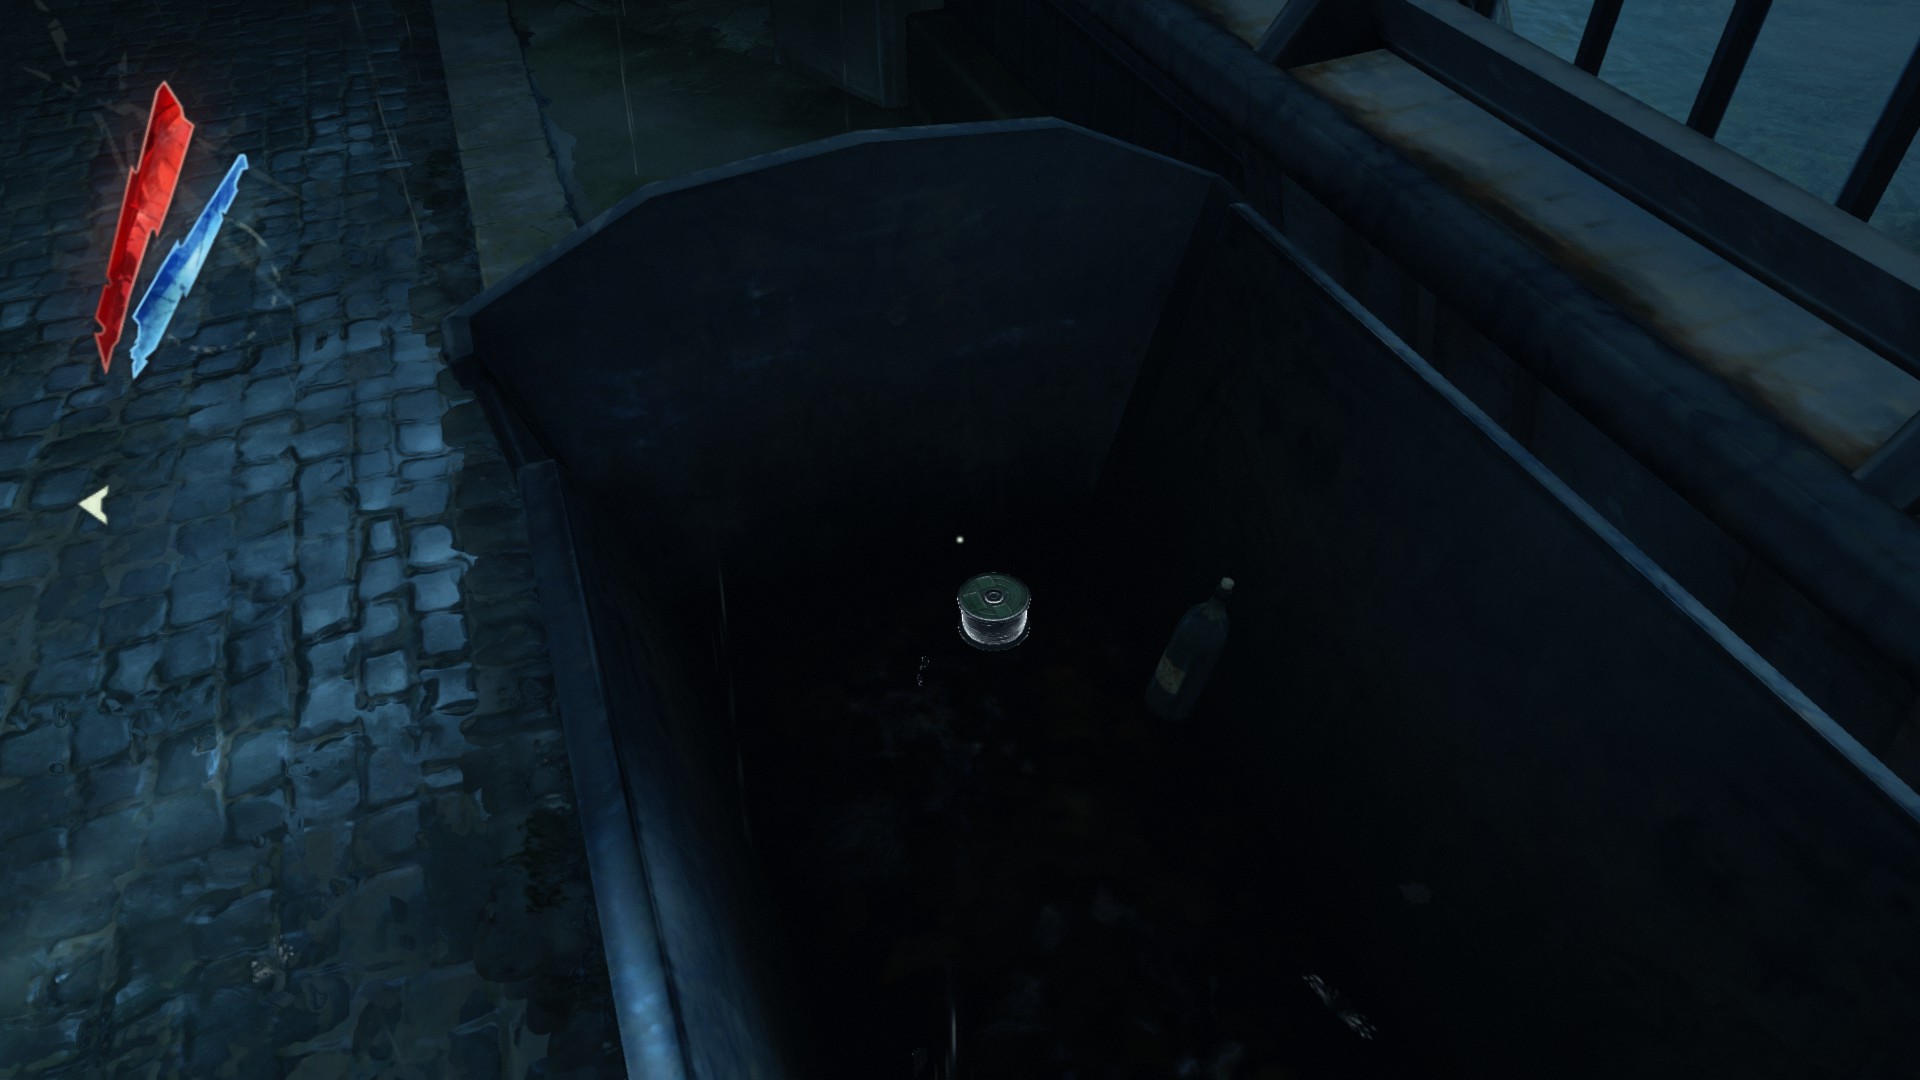
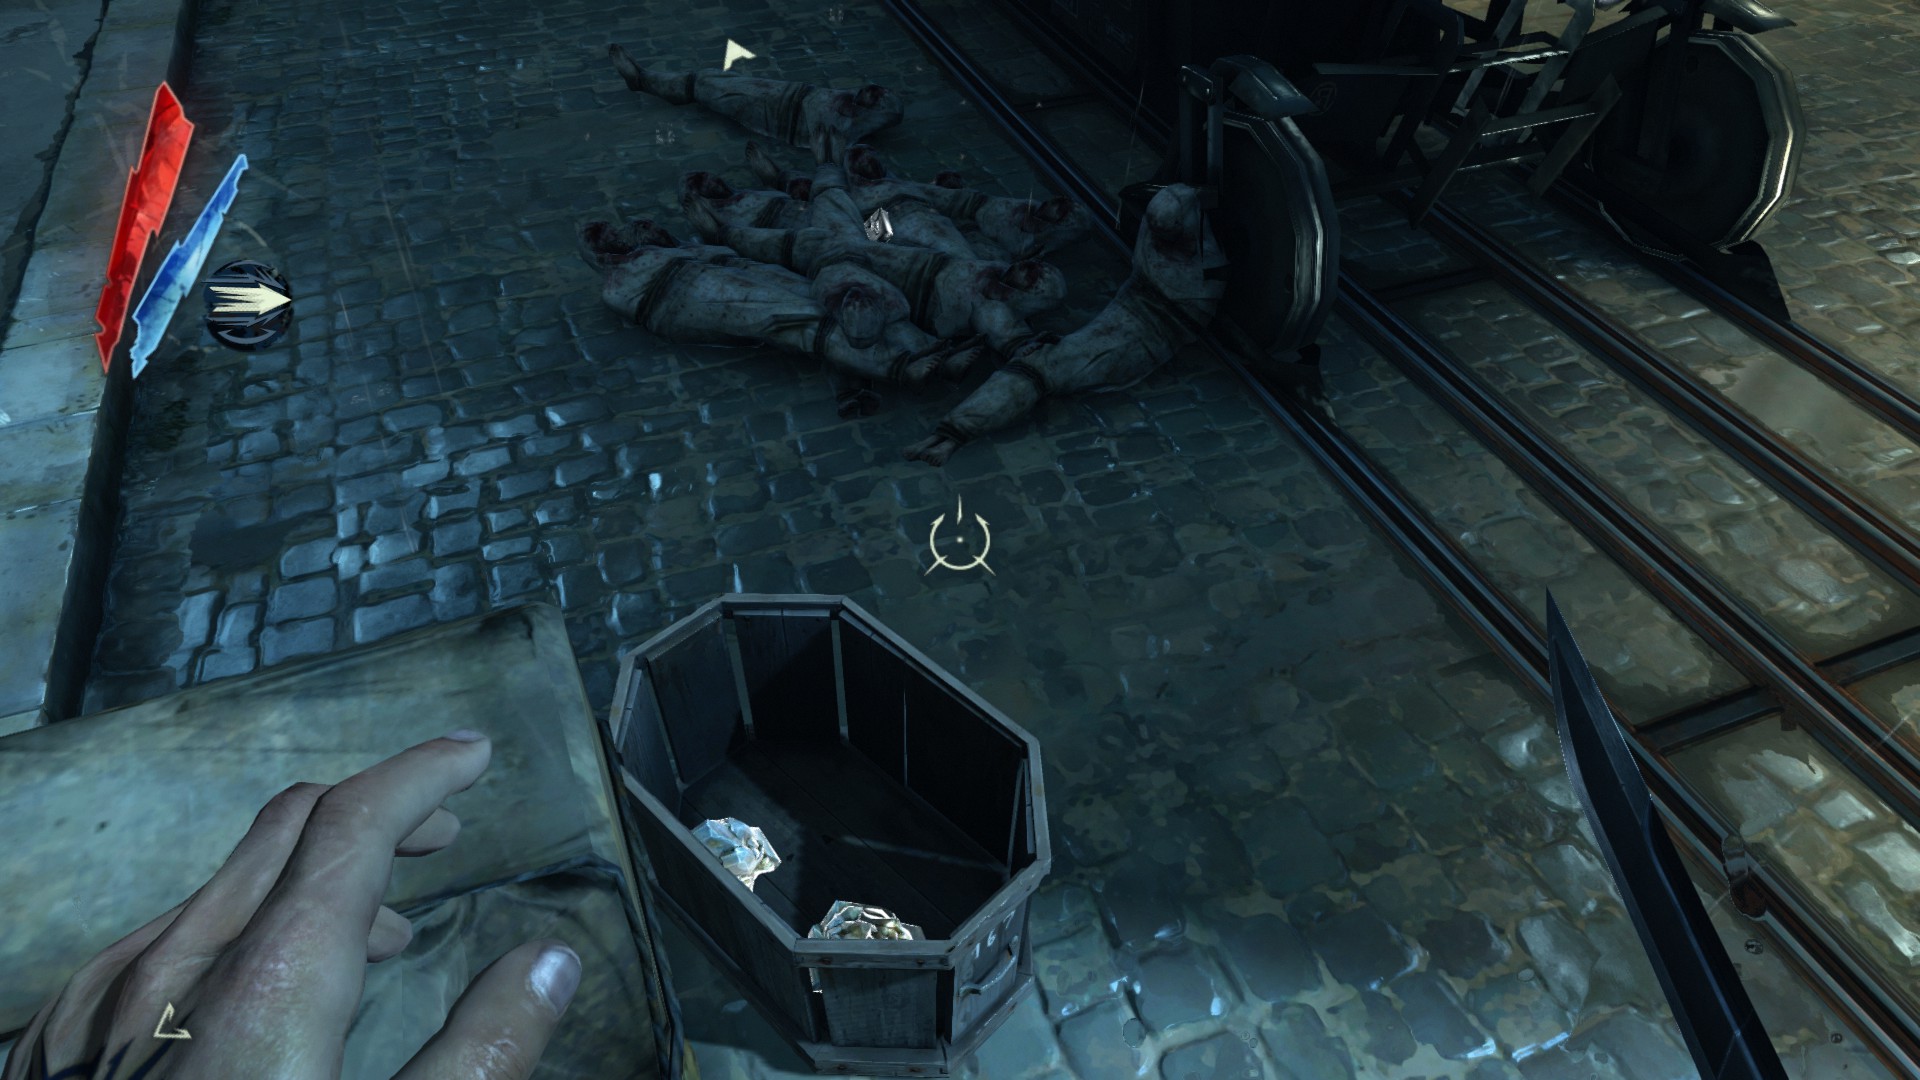
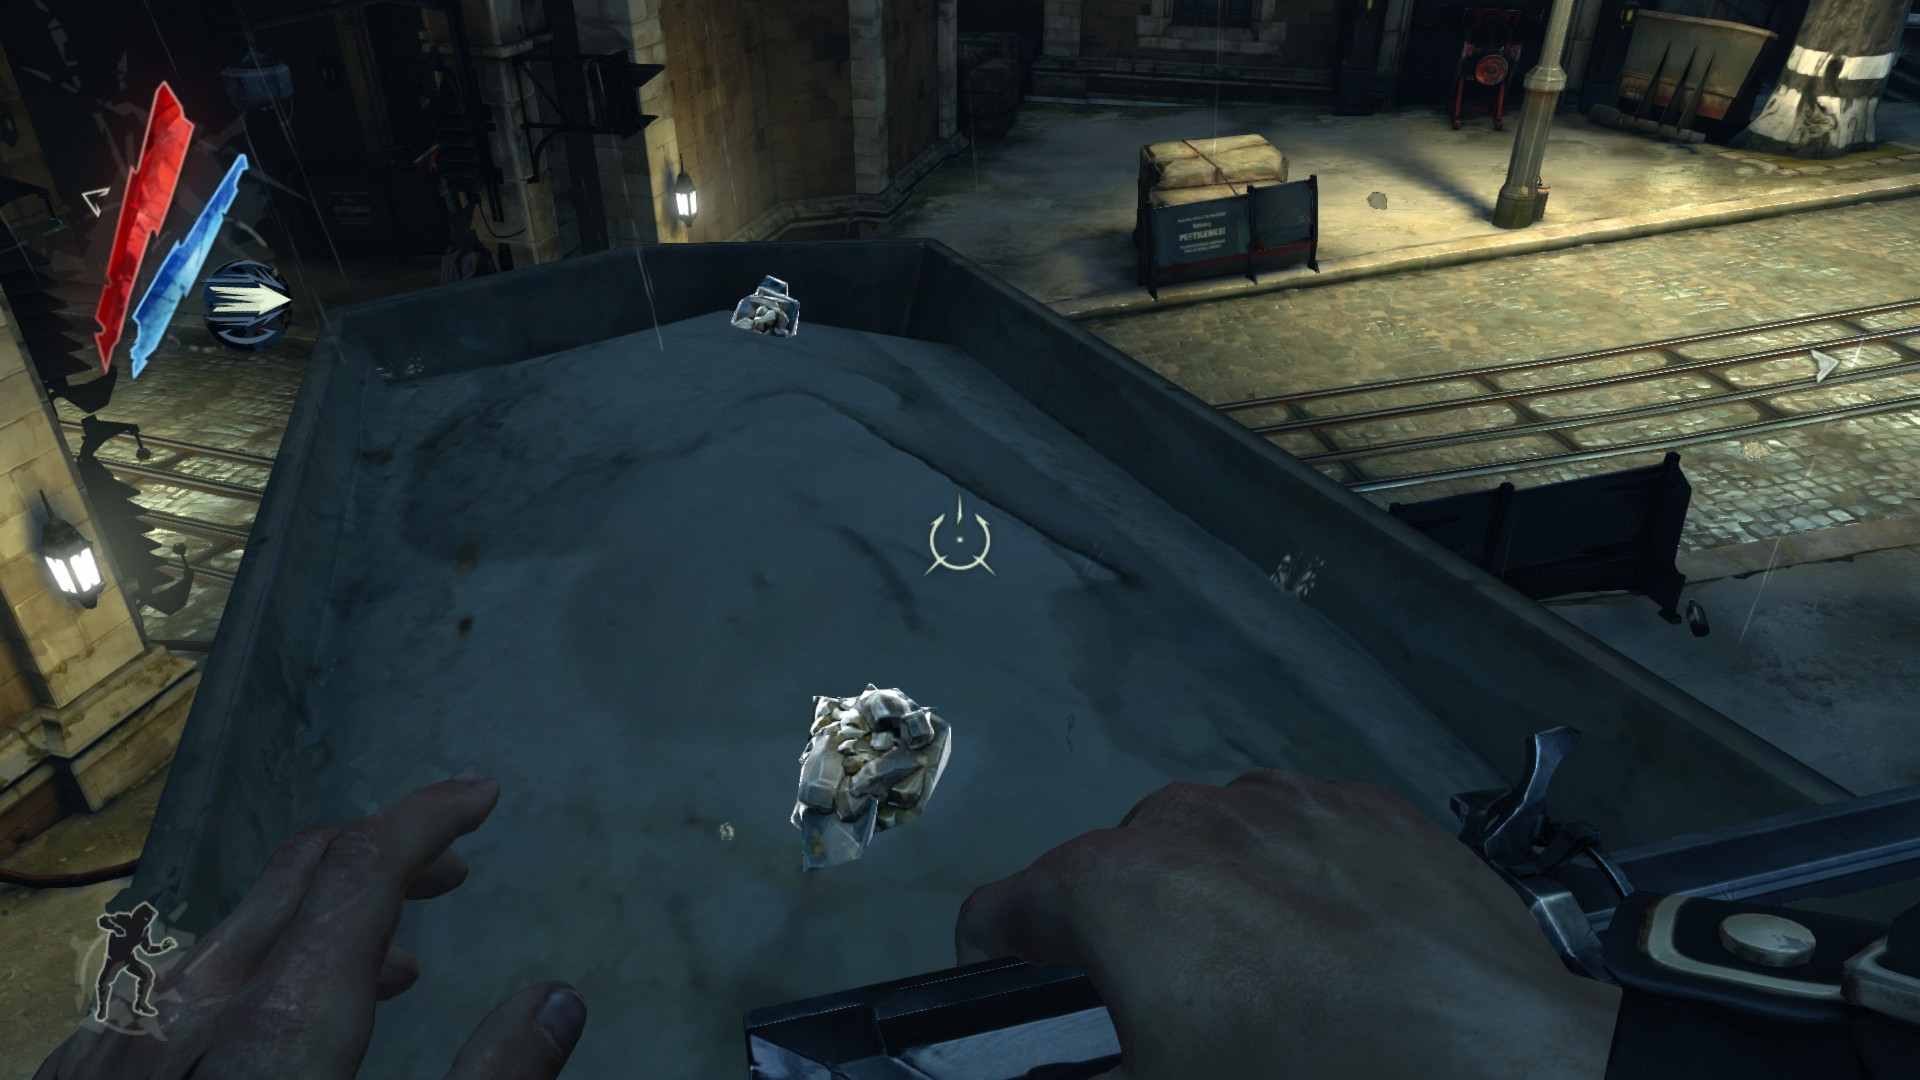
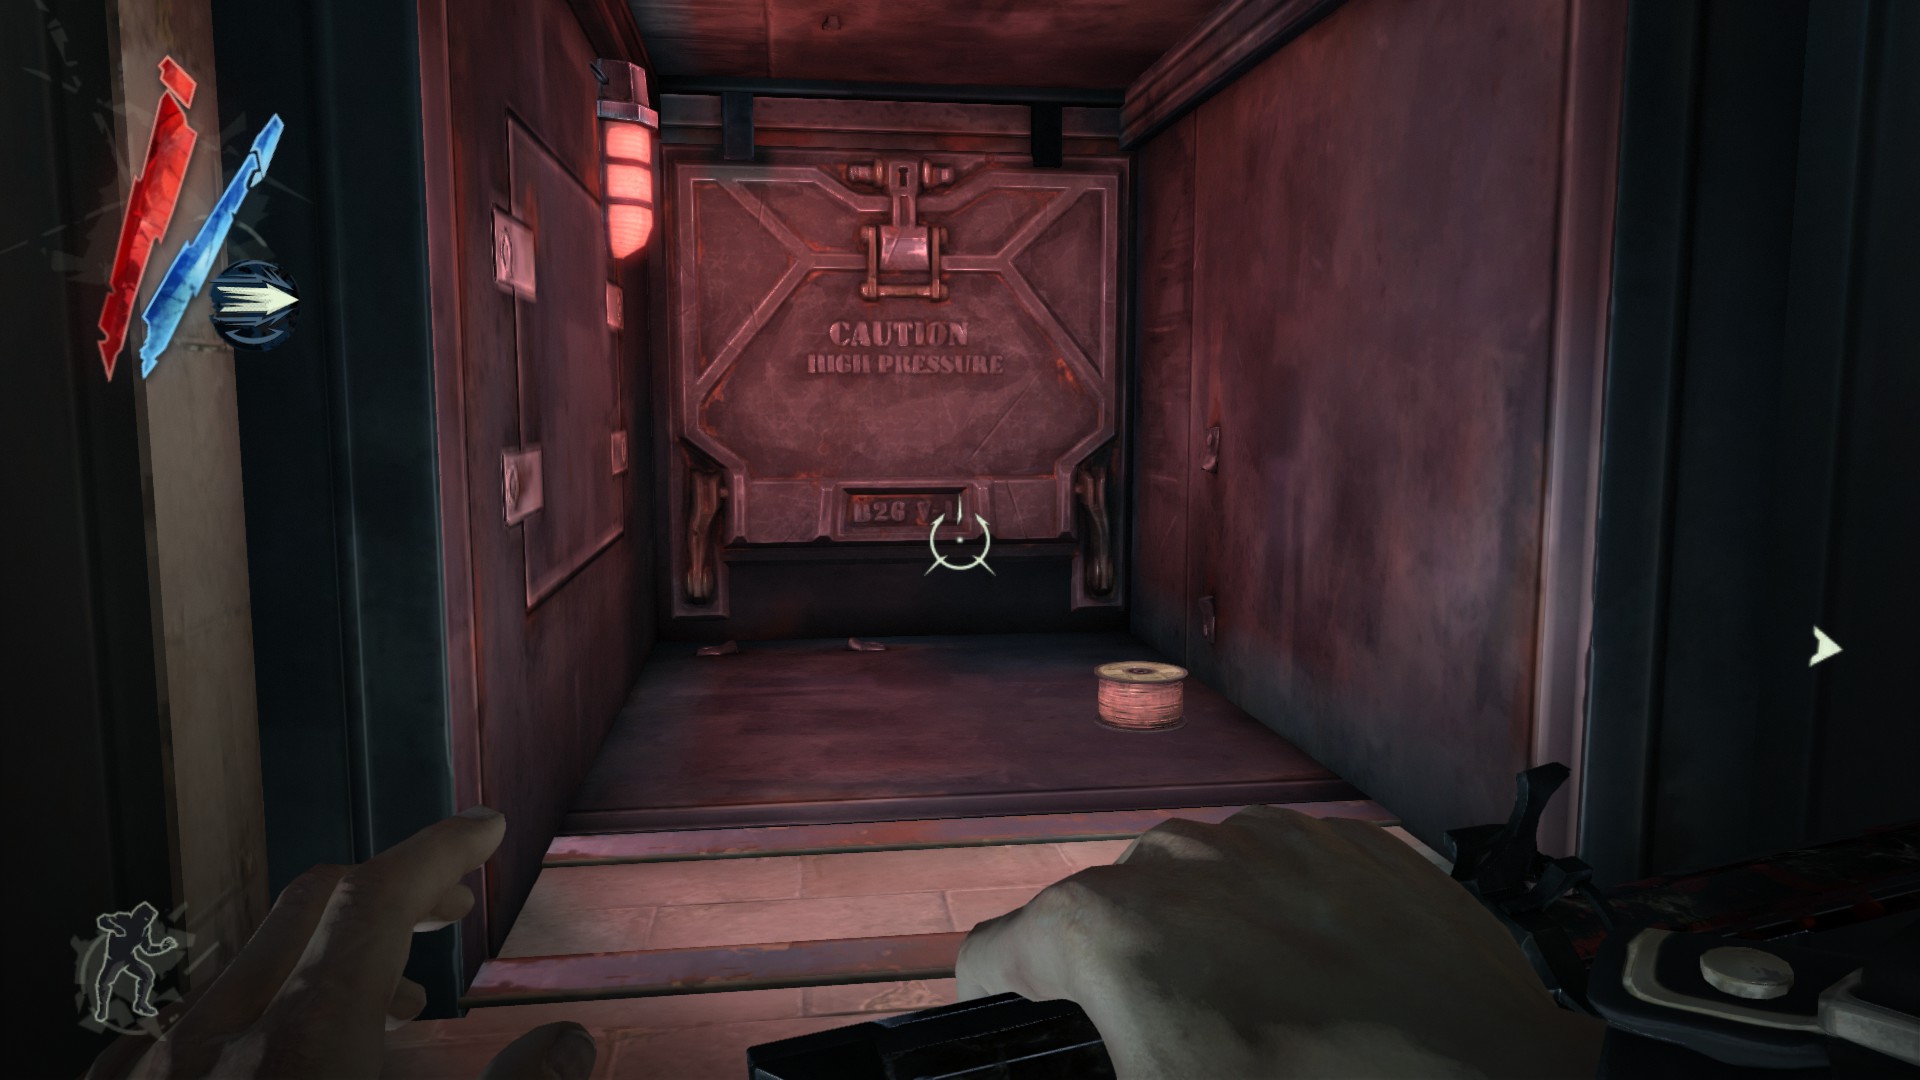
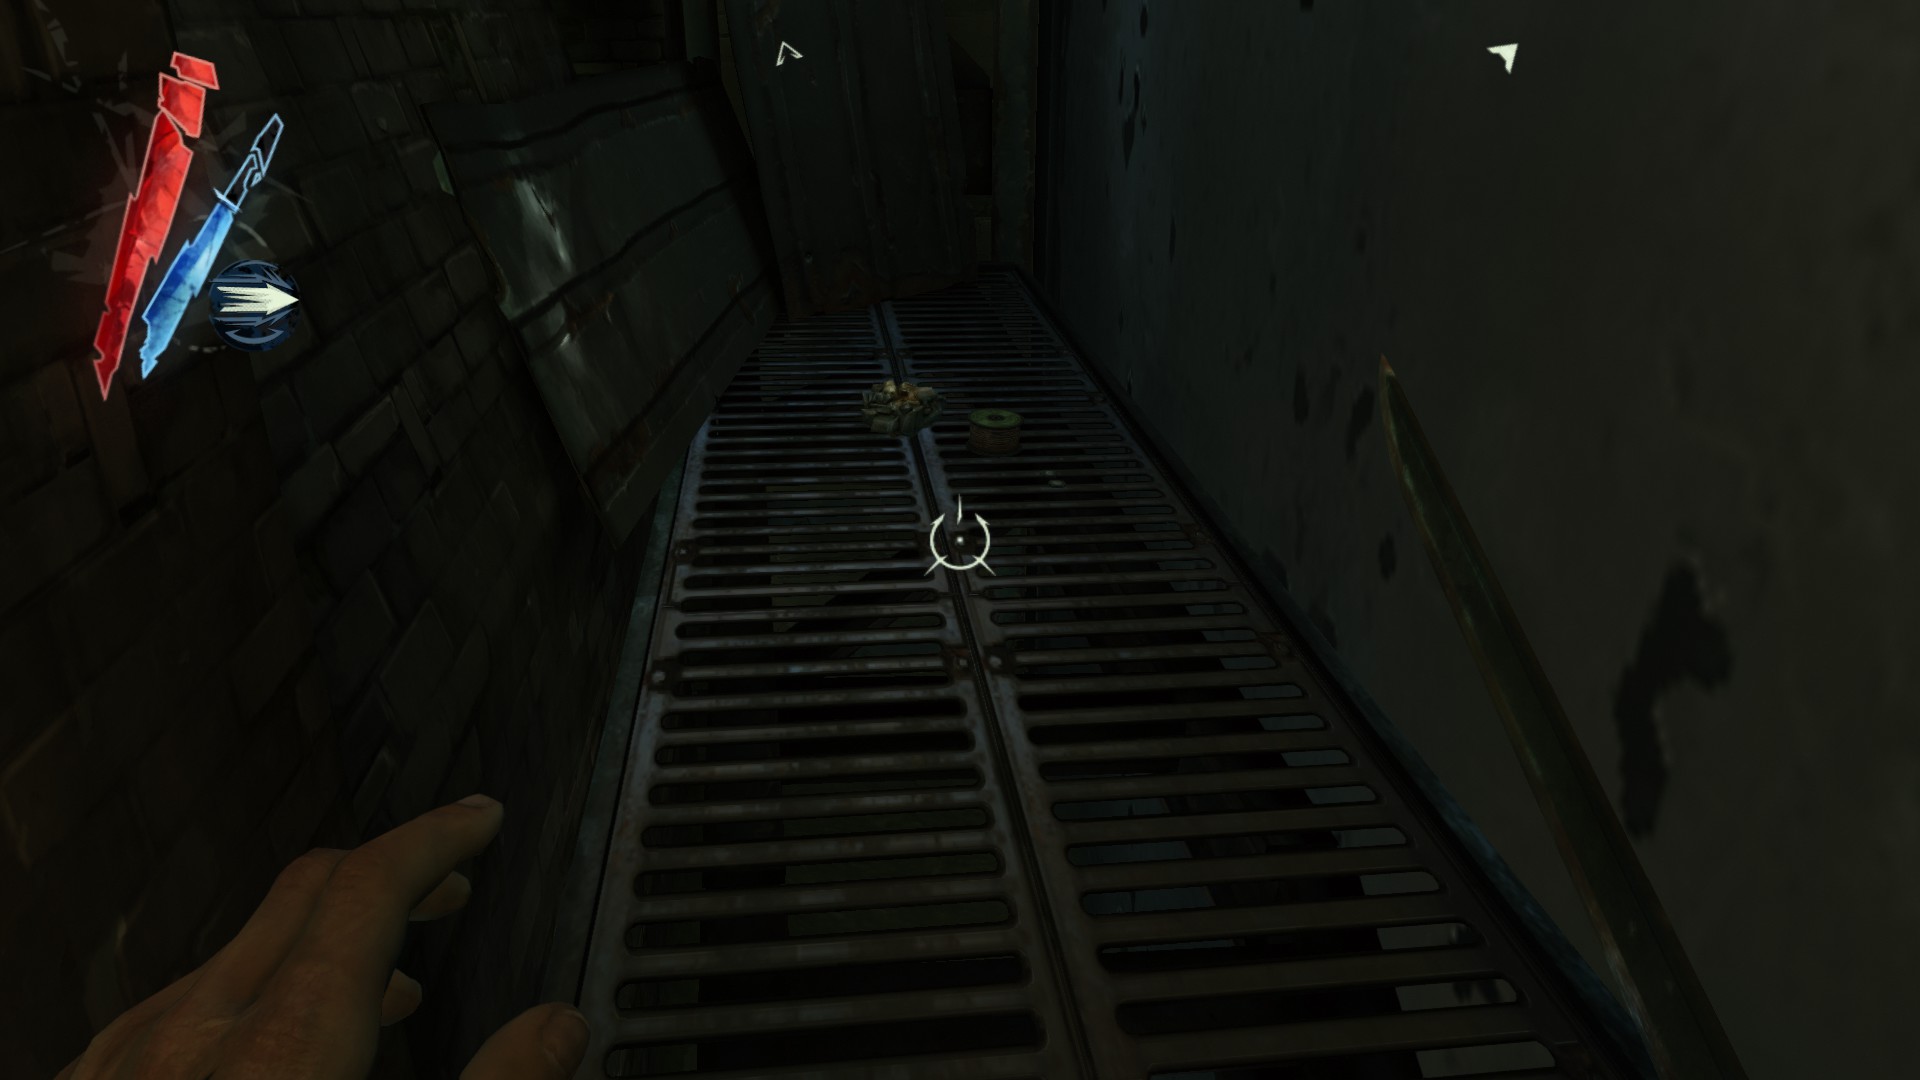
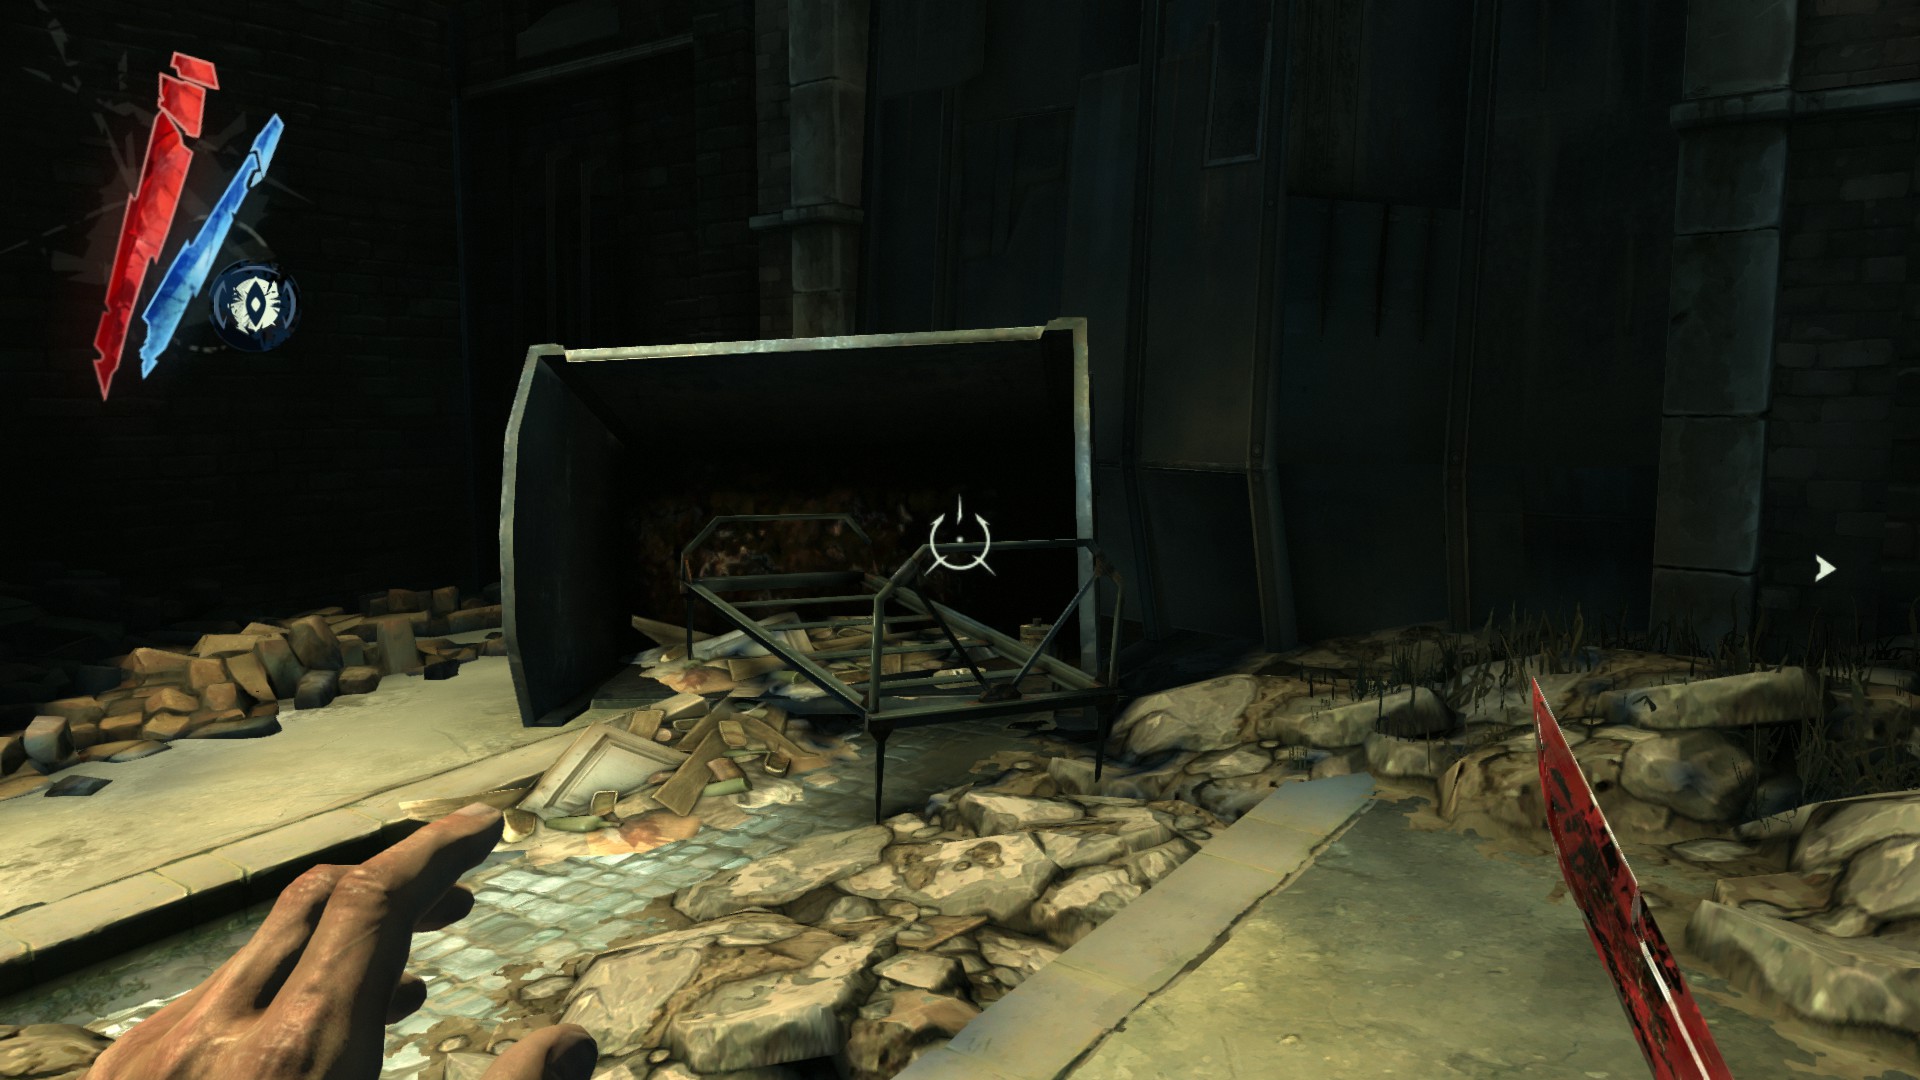
Now follow your objective marker. Inside a dumpster is a copper wire.
(+10 -> 930/1010)
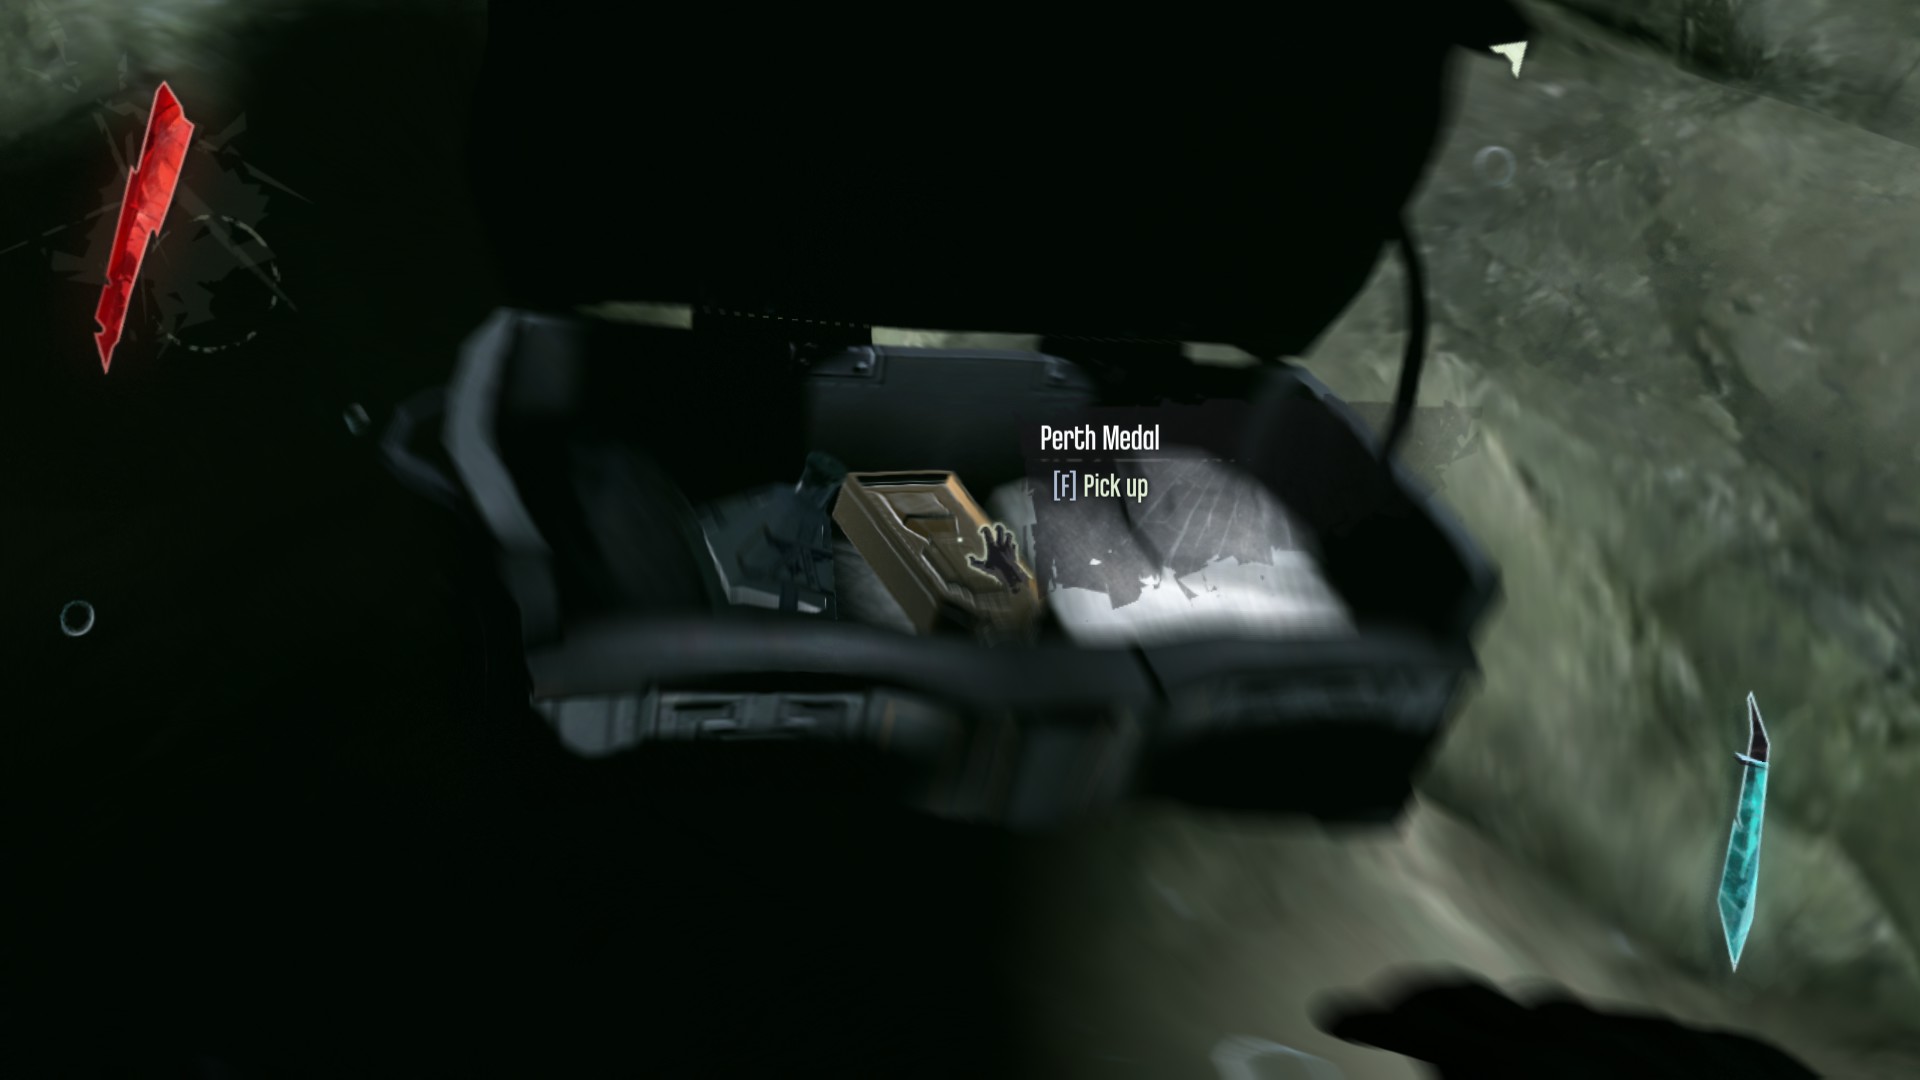
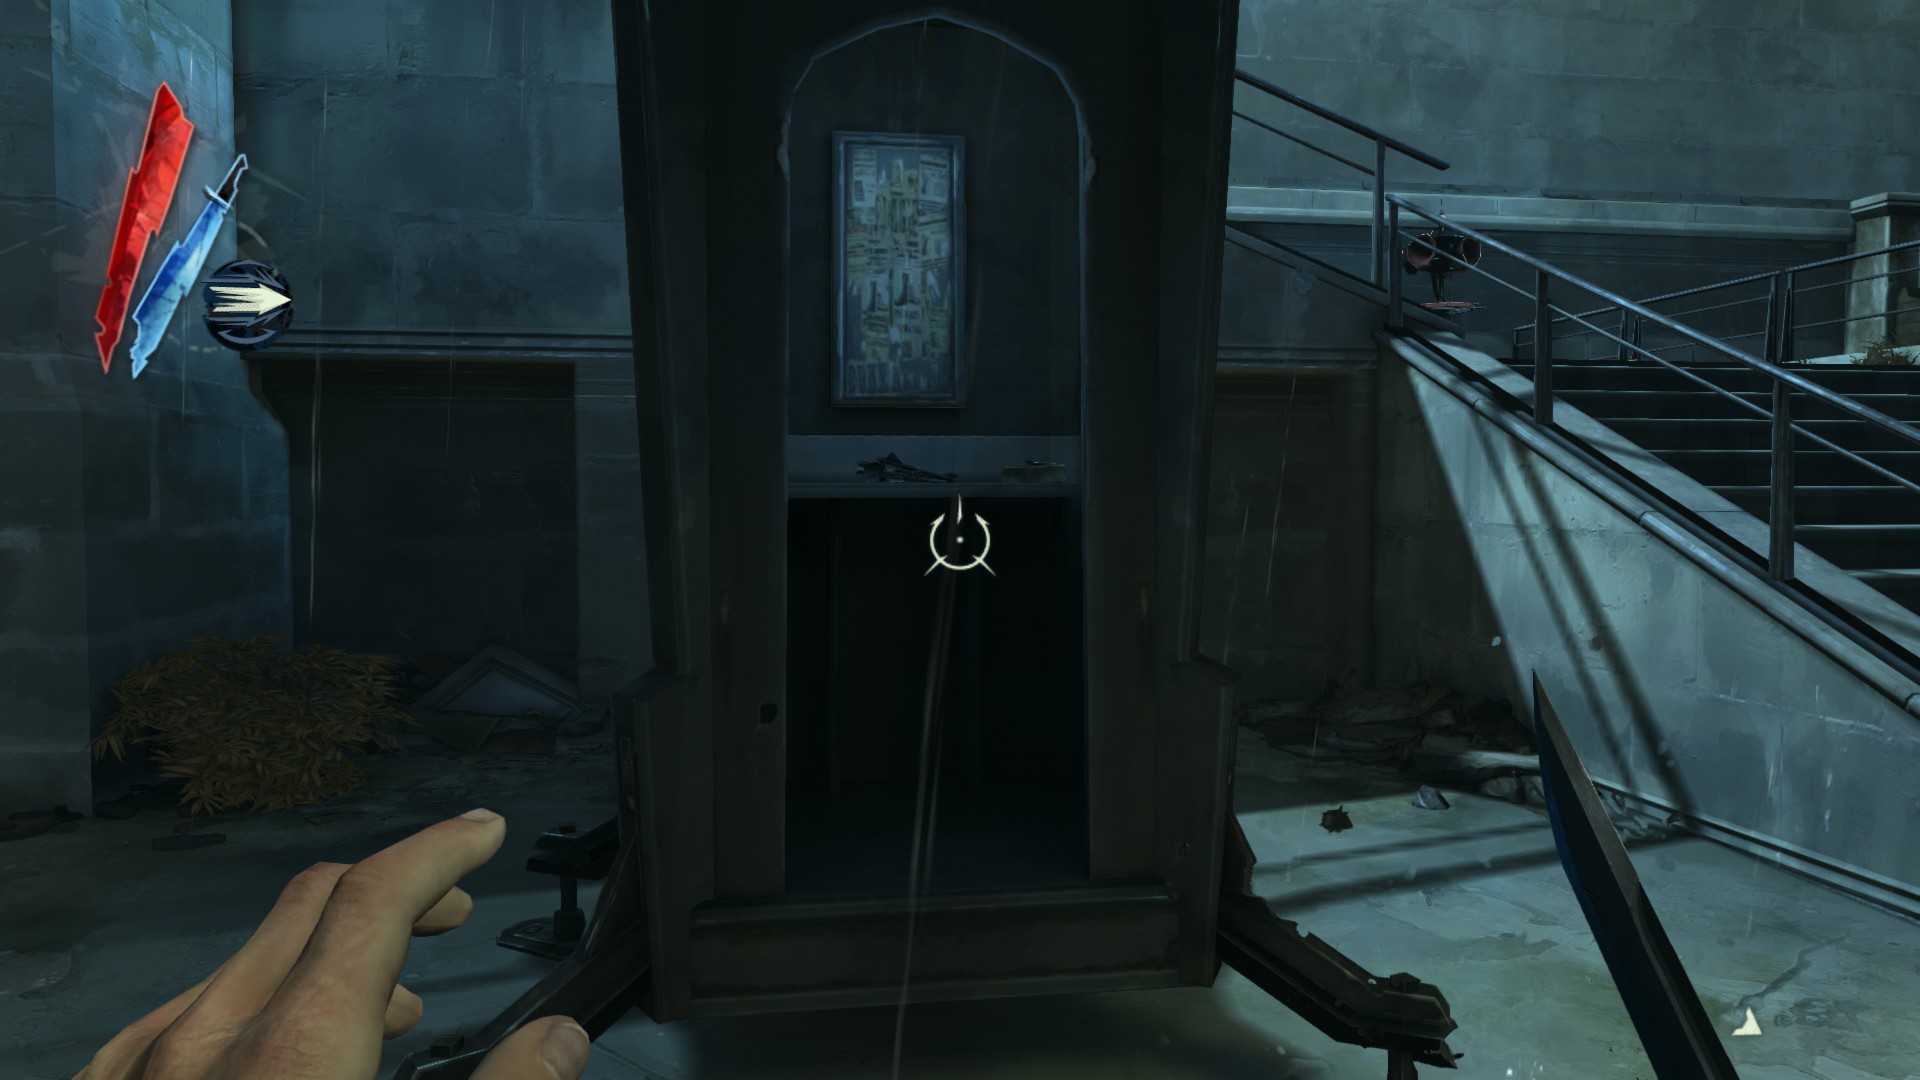
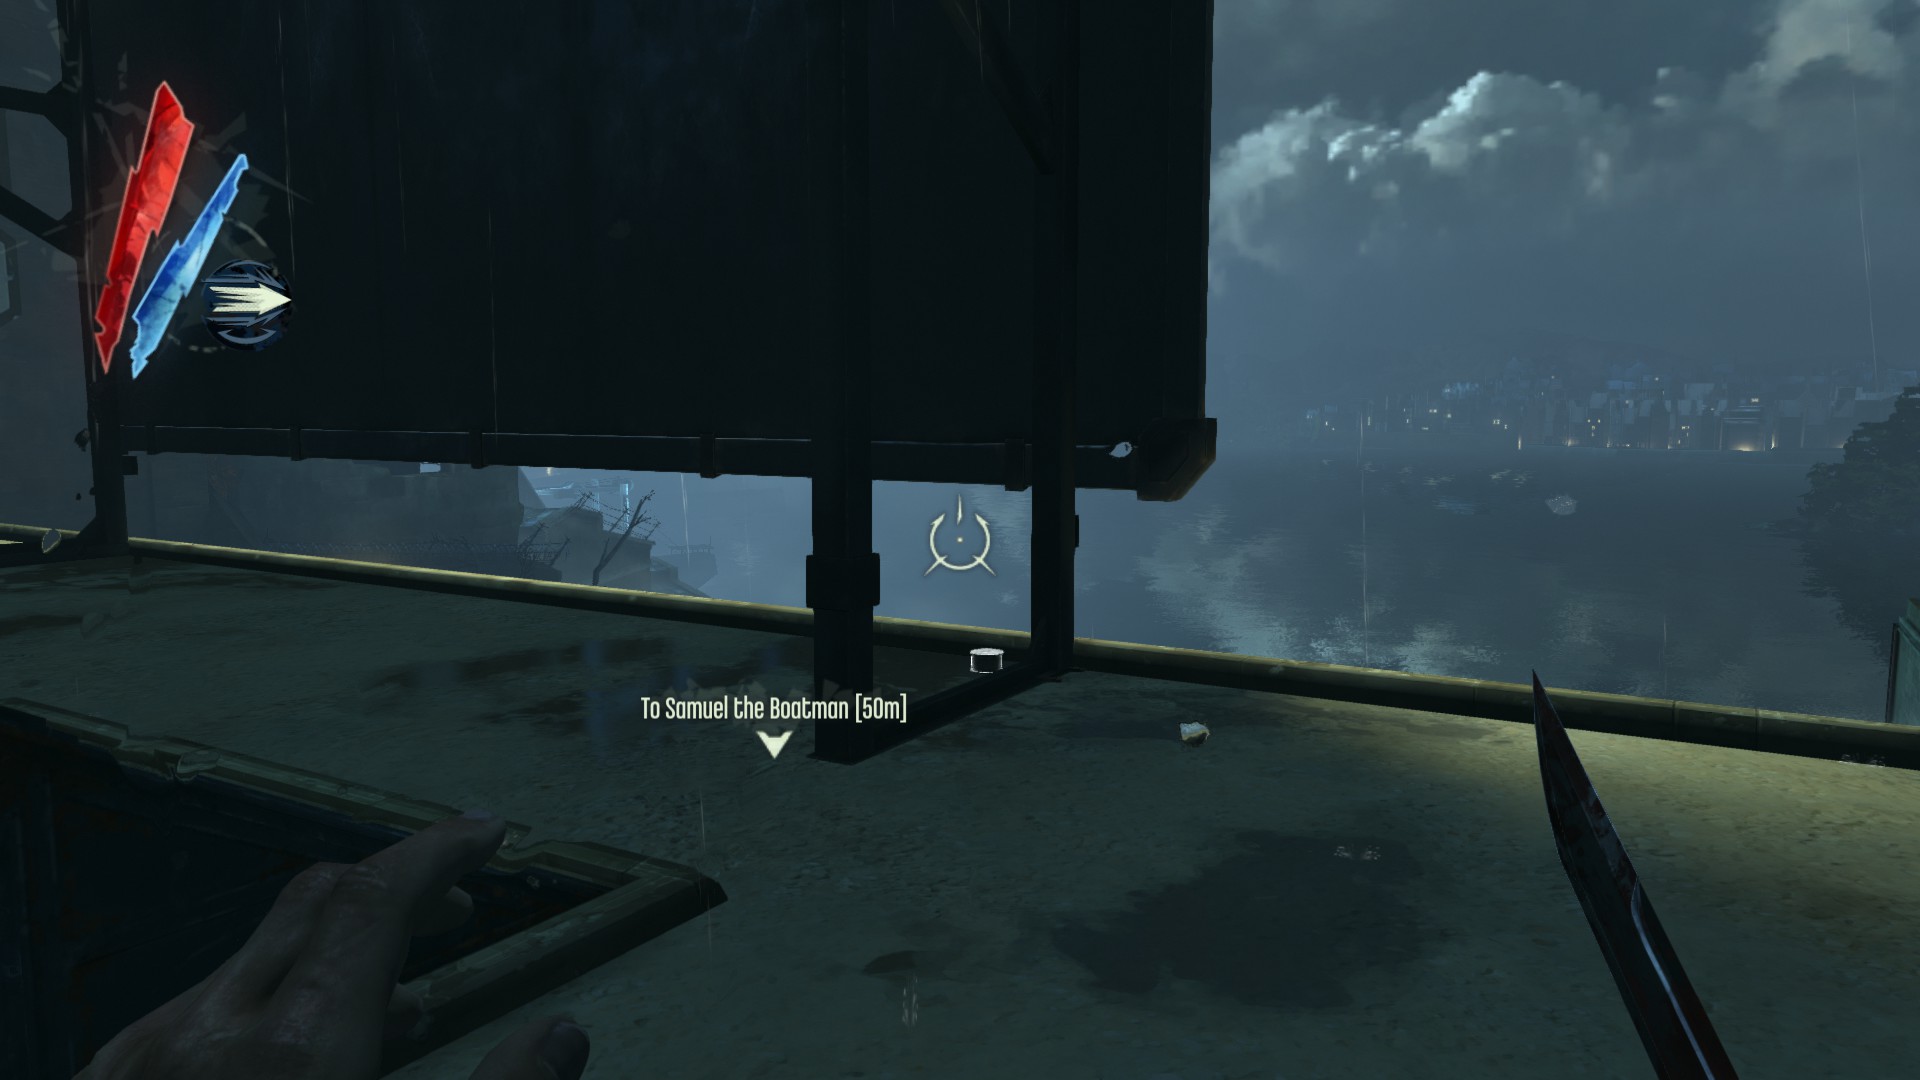
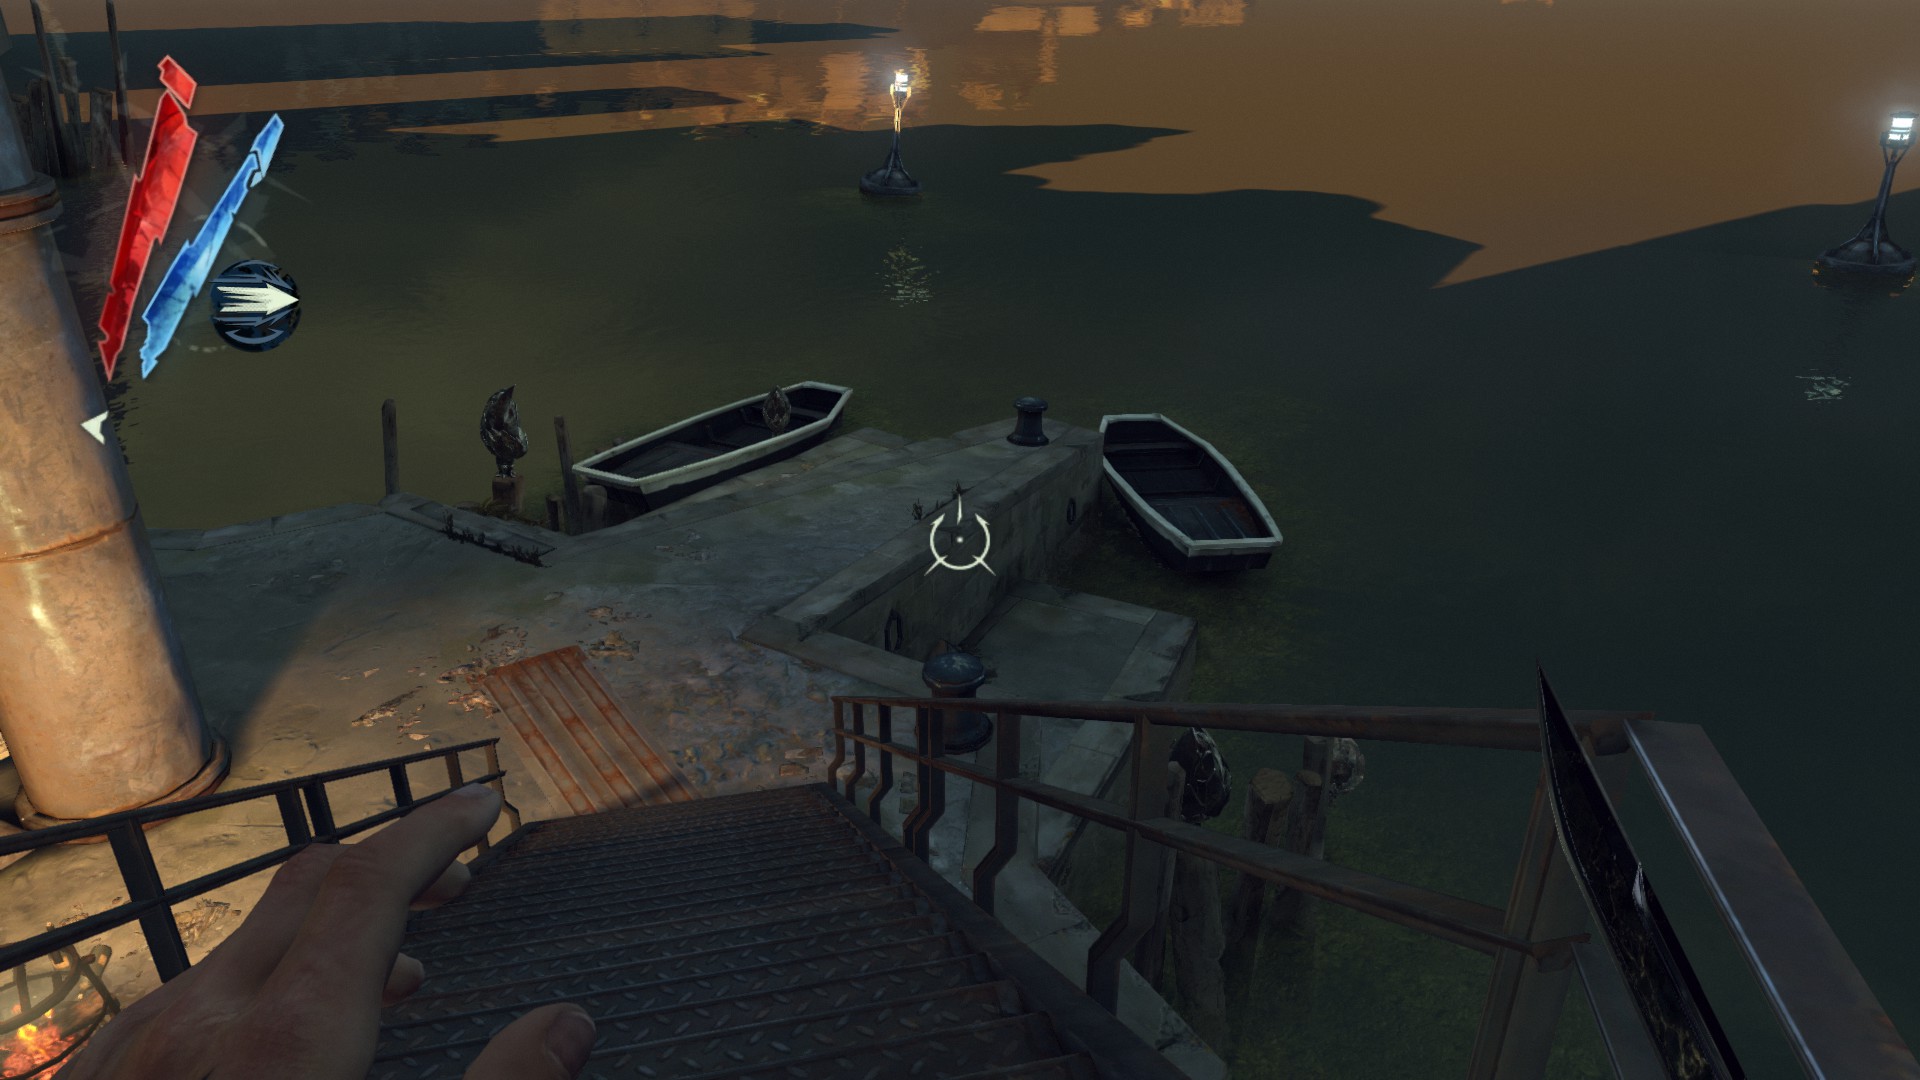
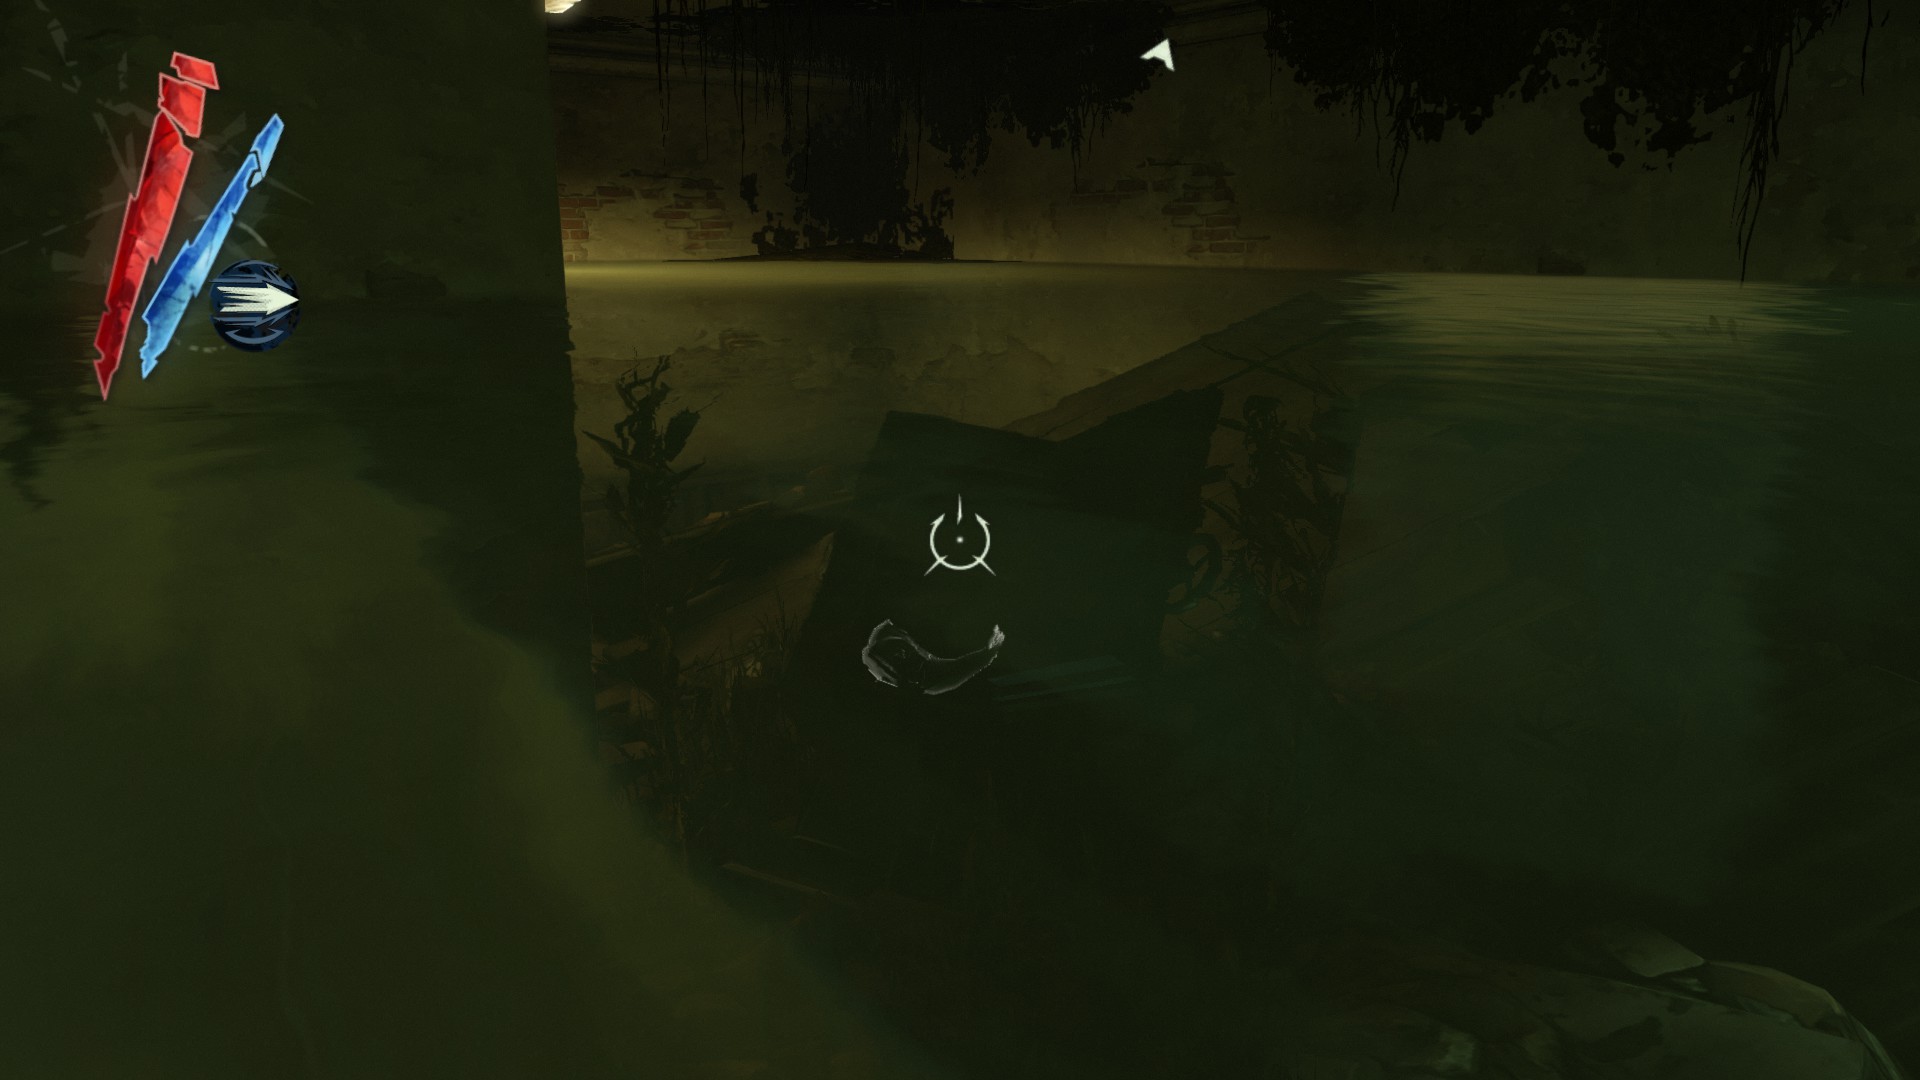
Don't talk to Samuel yet, instead jump into the water and swim down to look for a large chest in the right side of his boat. This chest contains the Perth Medal and a powdered crystal.
(+80 -> 1010/1010)
The Hound Pits Pub, 1st visit (1164 + 2000)
Points of no return
- Processed whale oil beneath the catwalk in the basement disappear after sleep
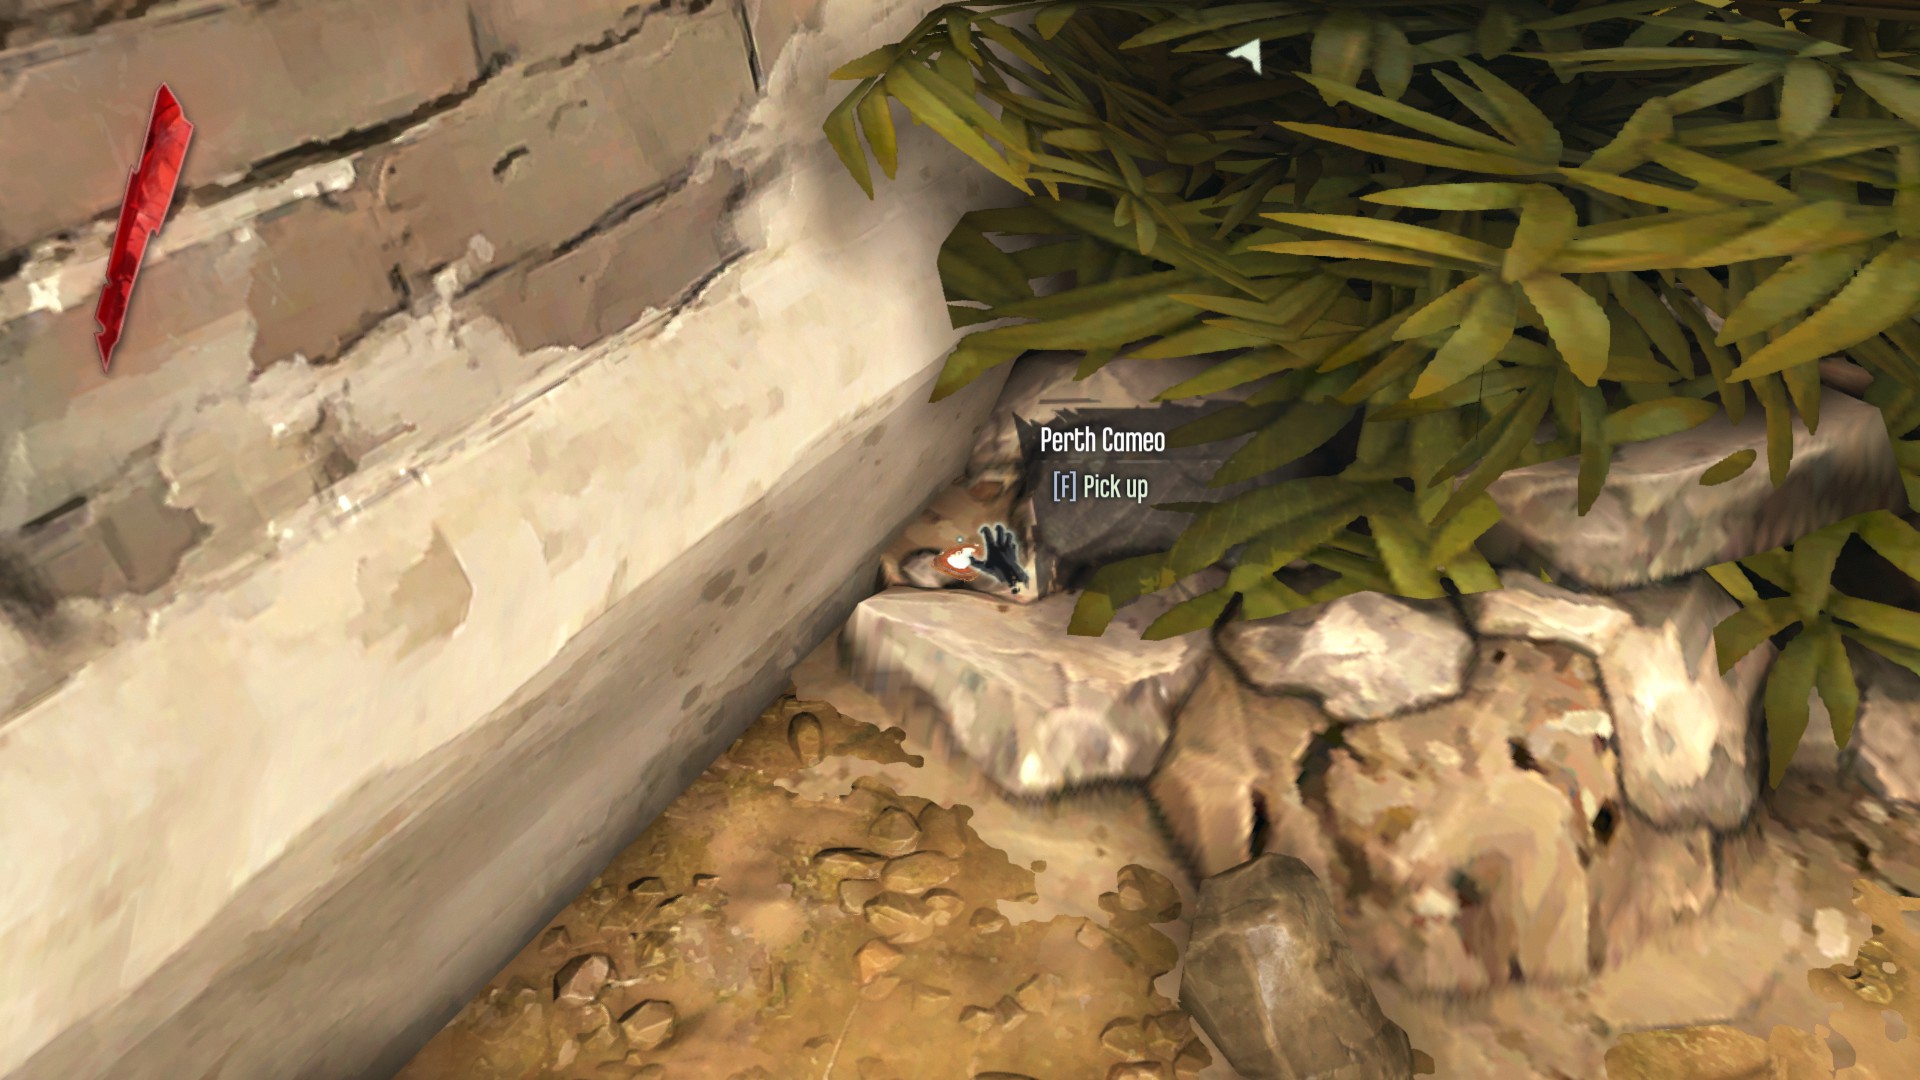
After leaving Samuel's boat, look to the left and search around the bush to find the Perth Cameo.
(+50)
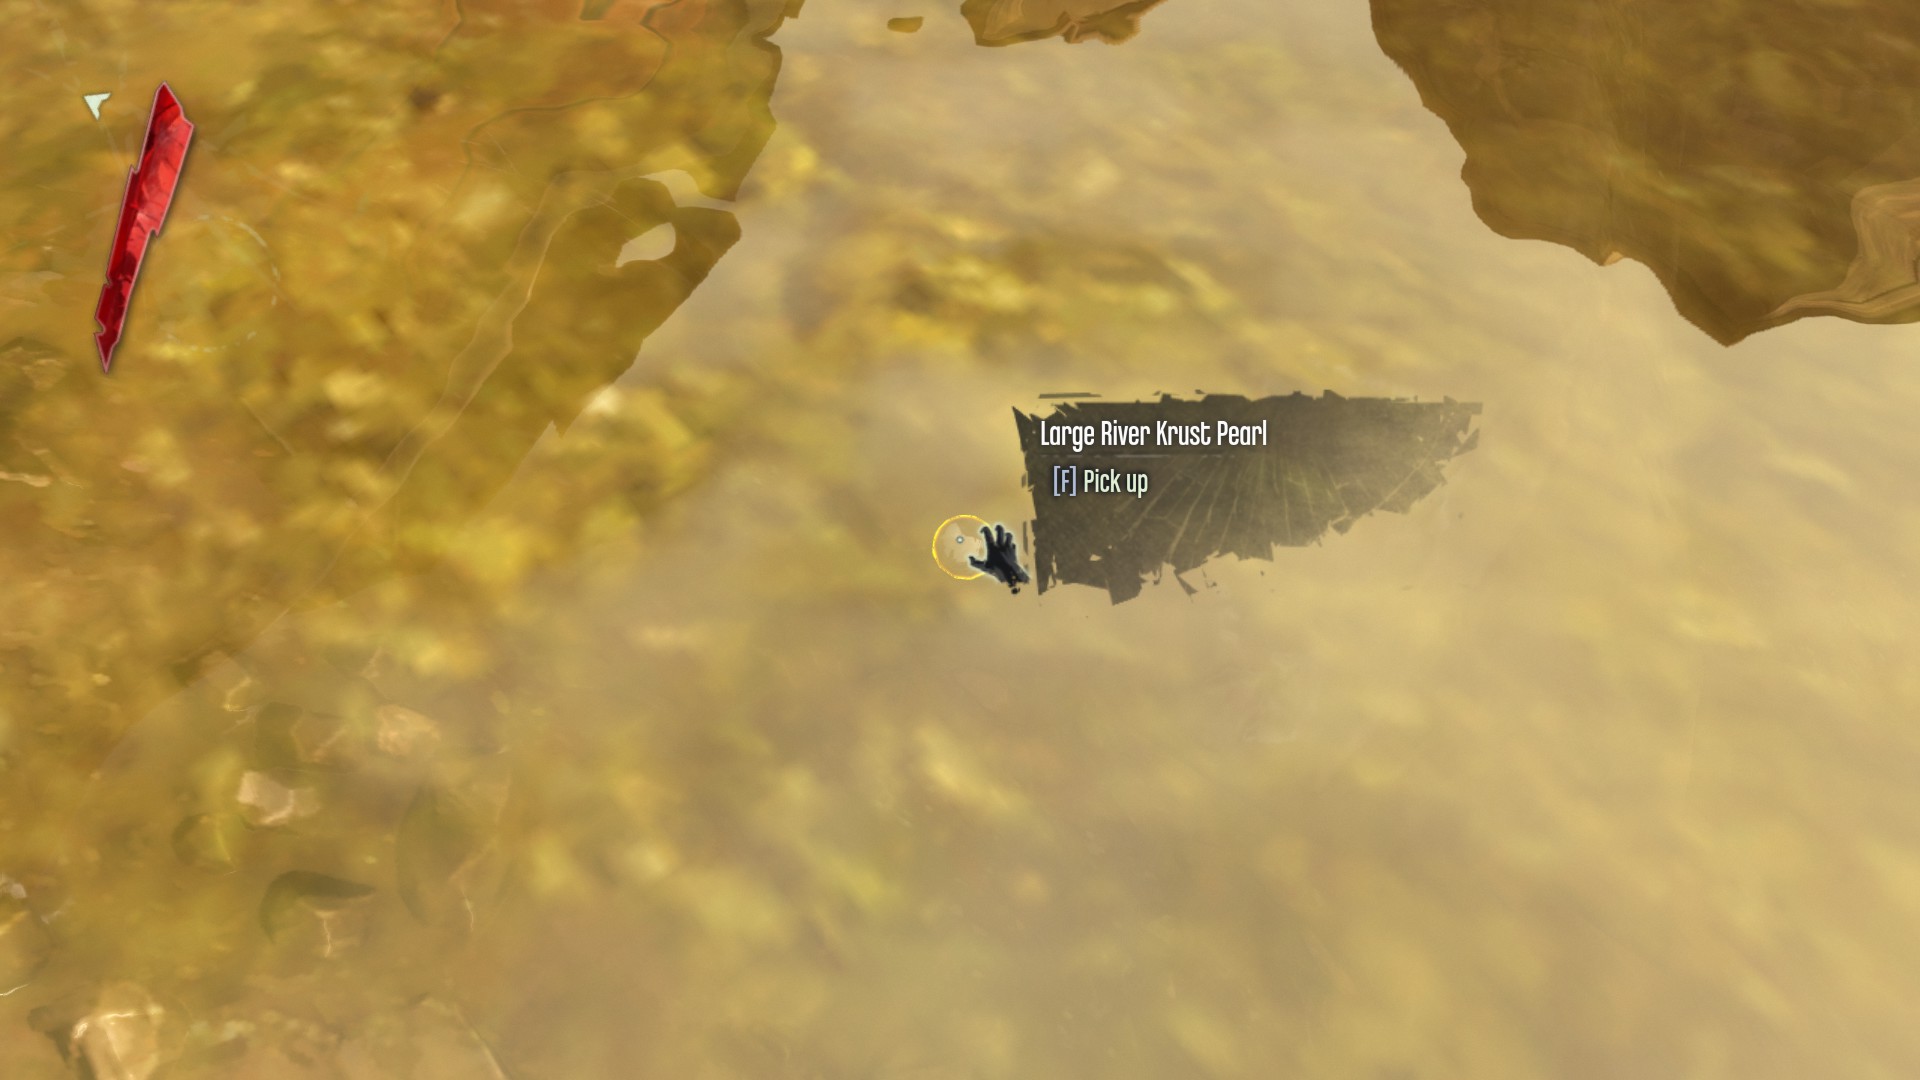
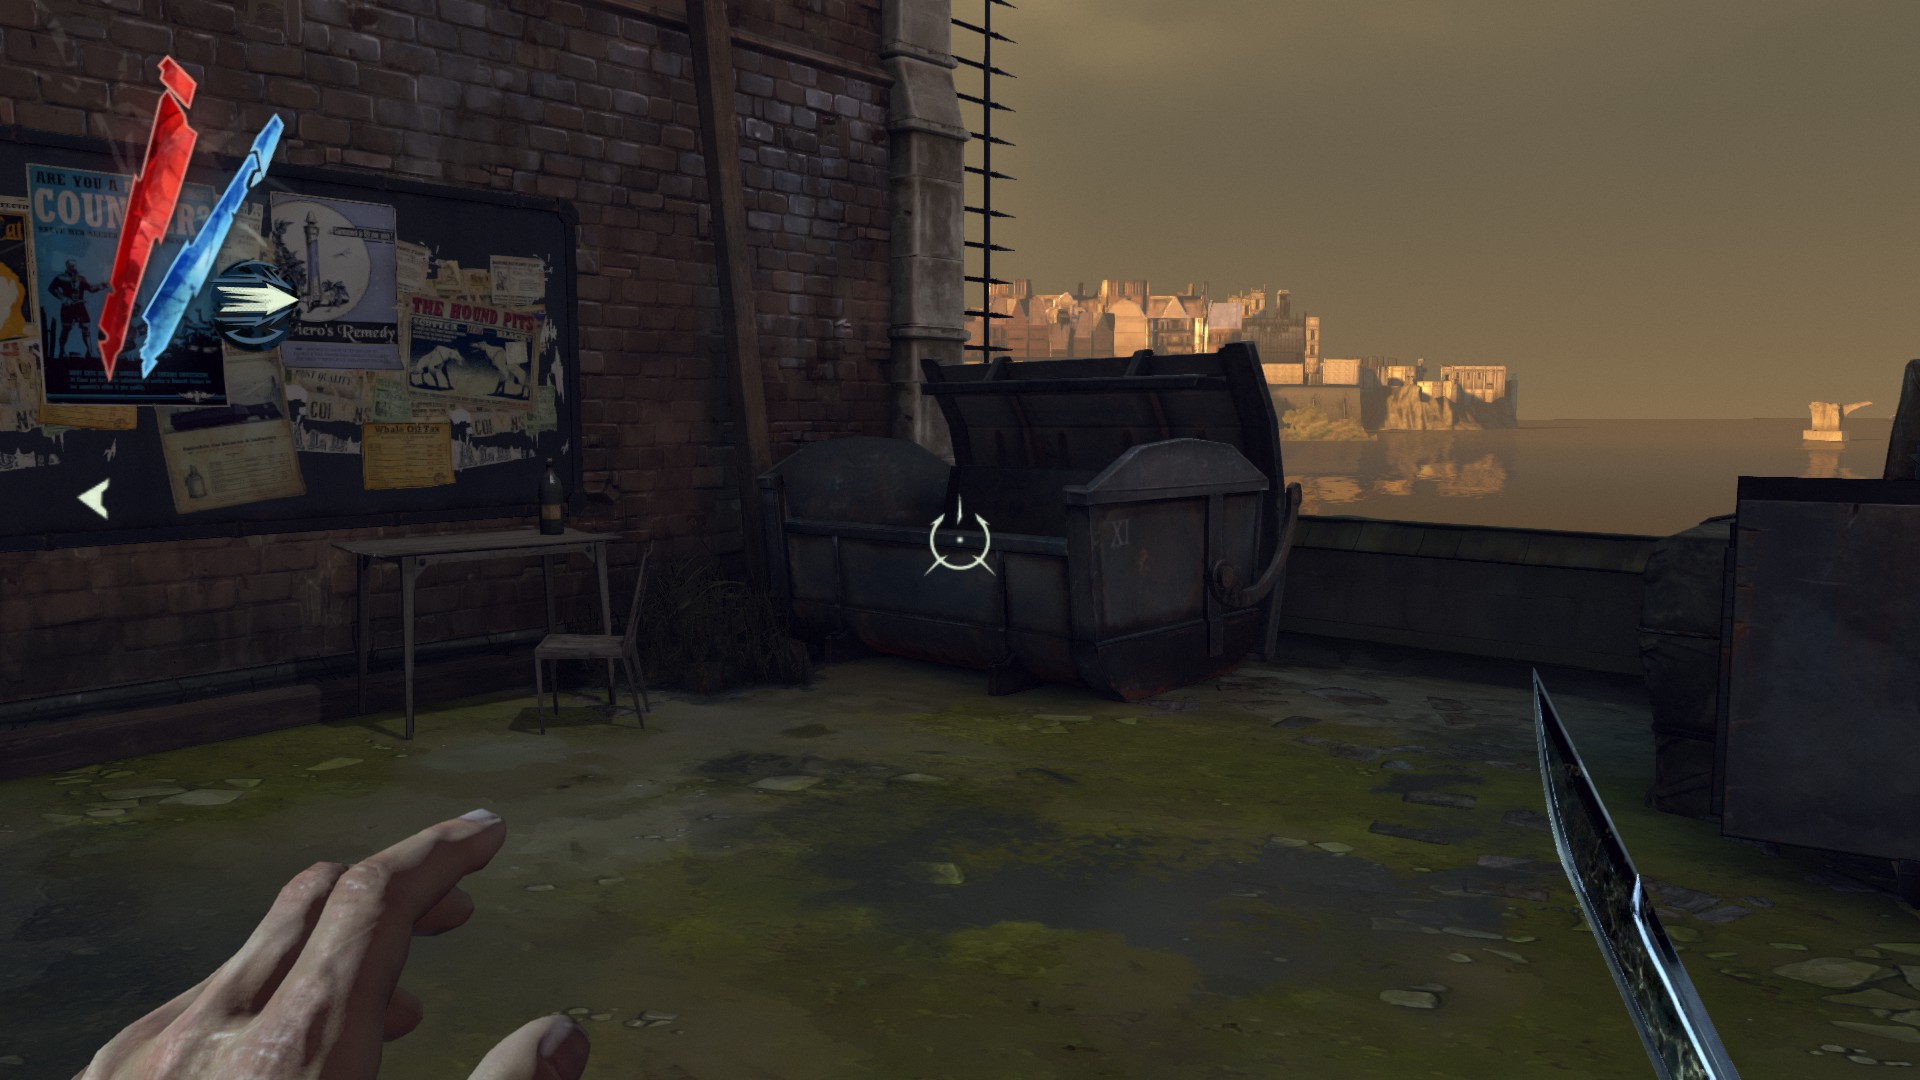
Look out over the water, you should see a sunken boat. You will find a large river krust pearl underwater at the right of the boat.
(+50)
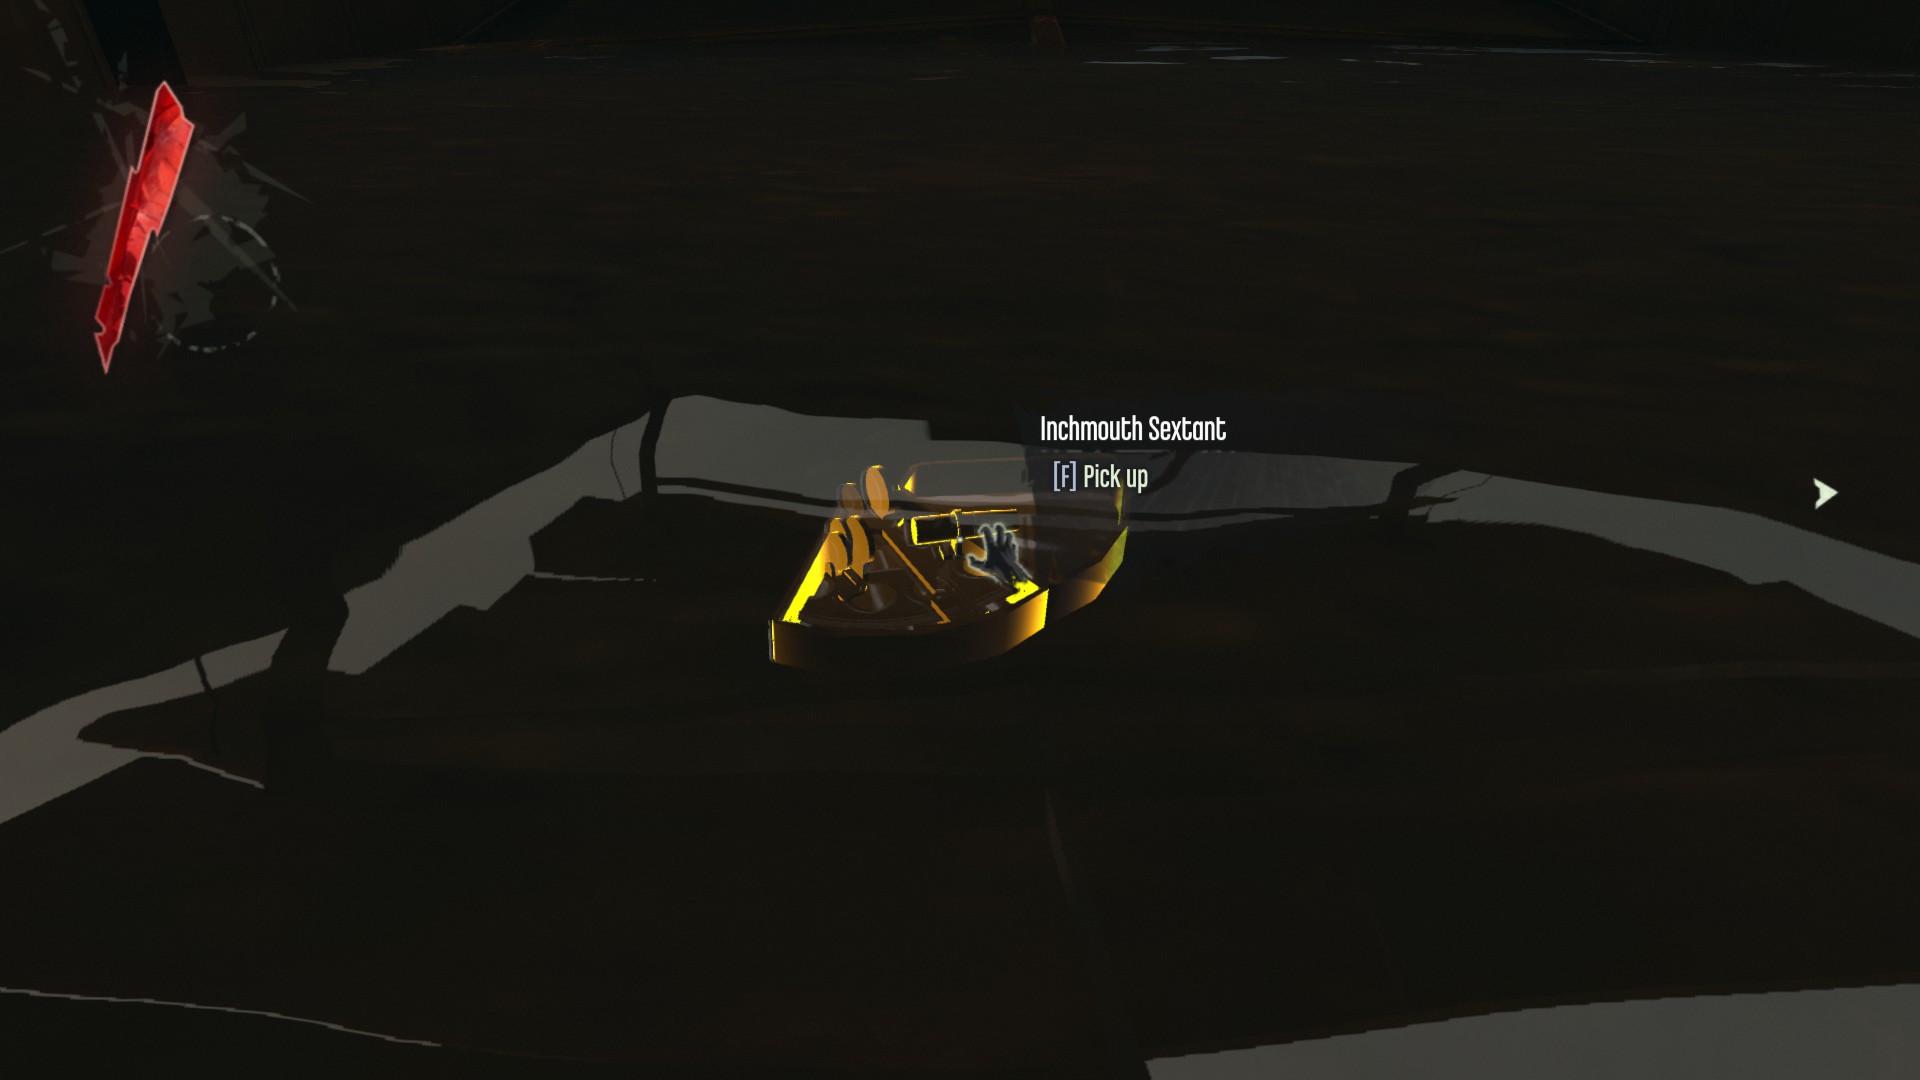
Now swim inside the boat and you will find the Inchmouth Sextant.
(+100)
Head back to where you start, jump into the water and swim left. There are some large boulders in the water here, and there is a processed whale oil underwater.
(+30)
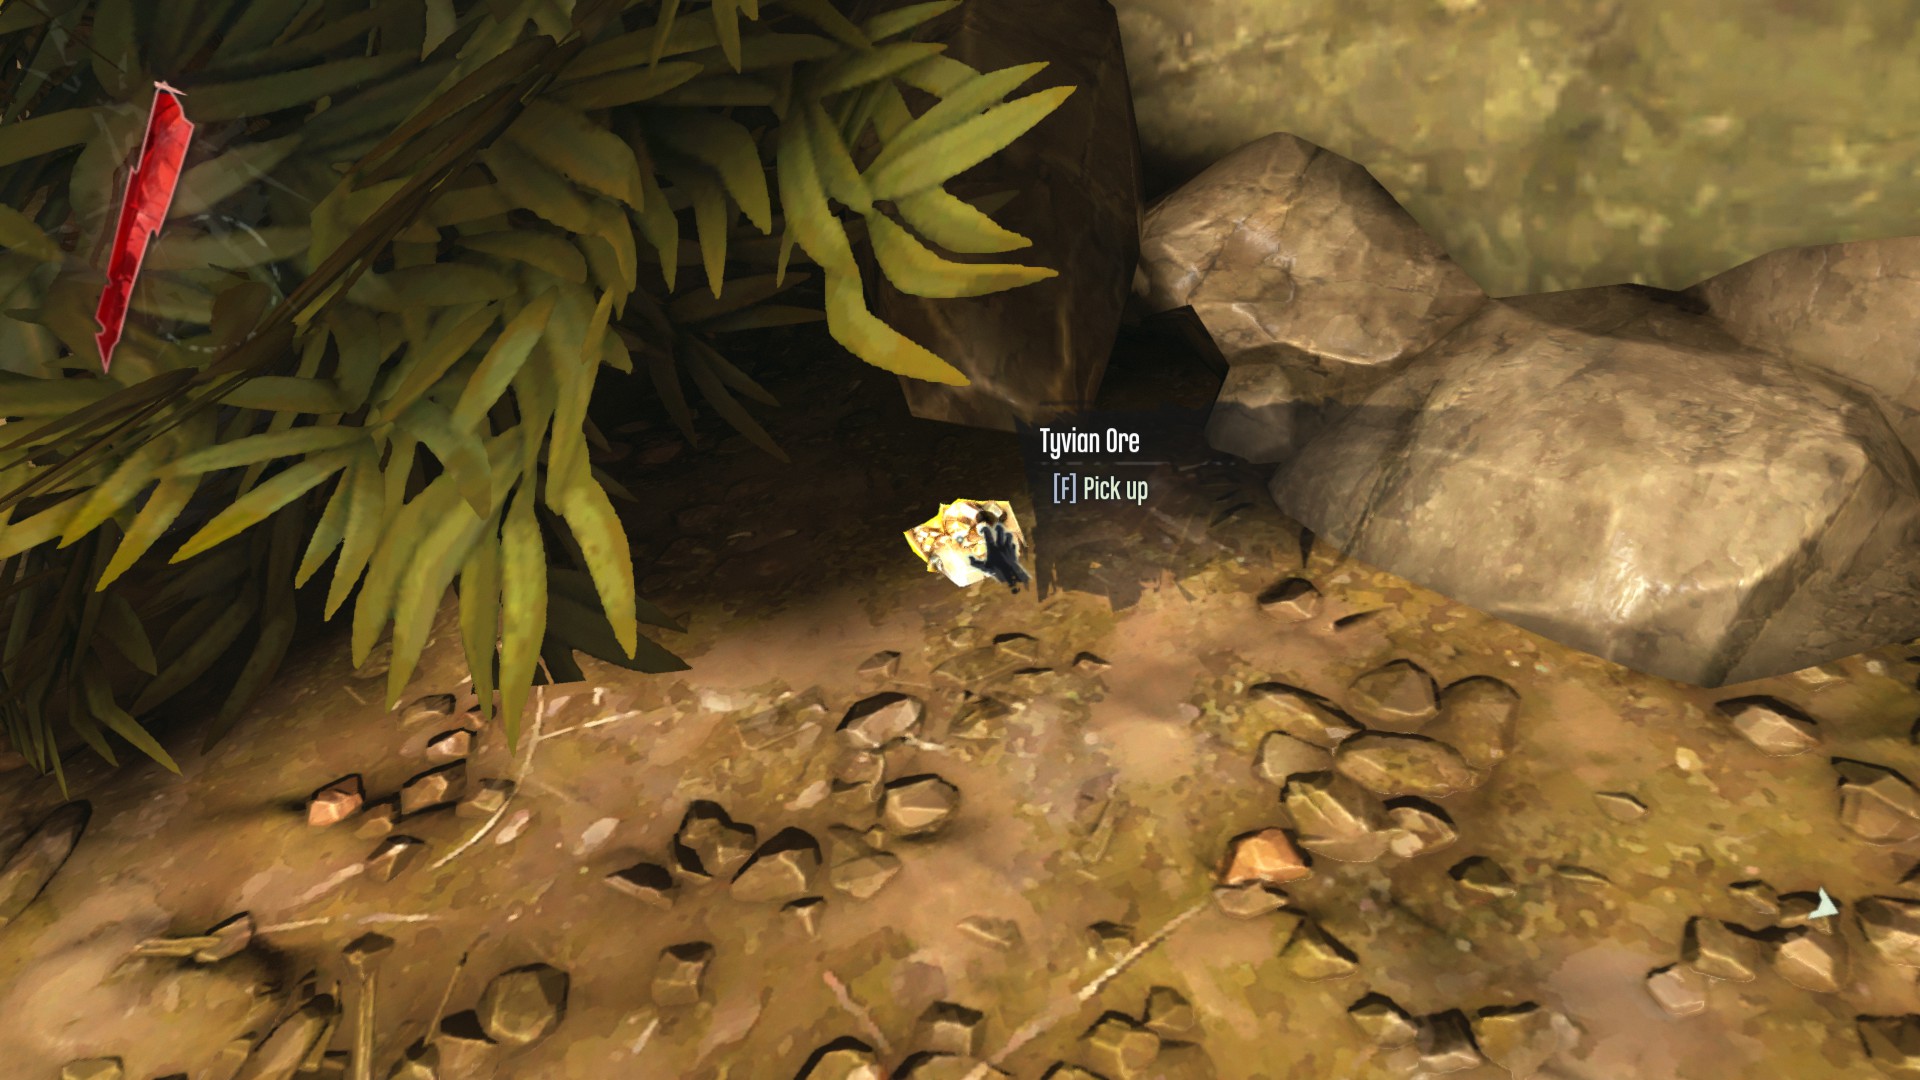
Keep swimming around to the other side of the tower, there is a small beach here. At the left bush is a tyvian ore.
(+20)
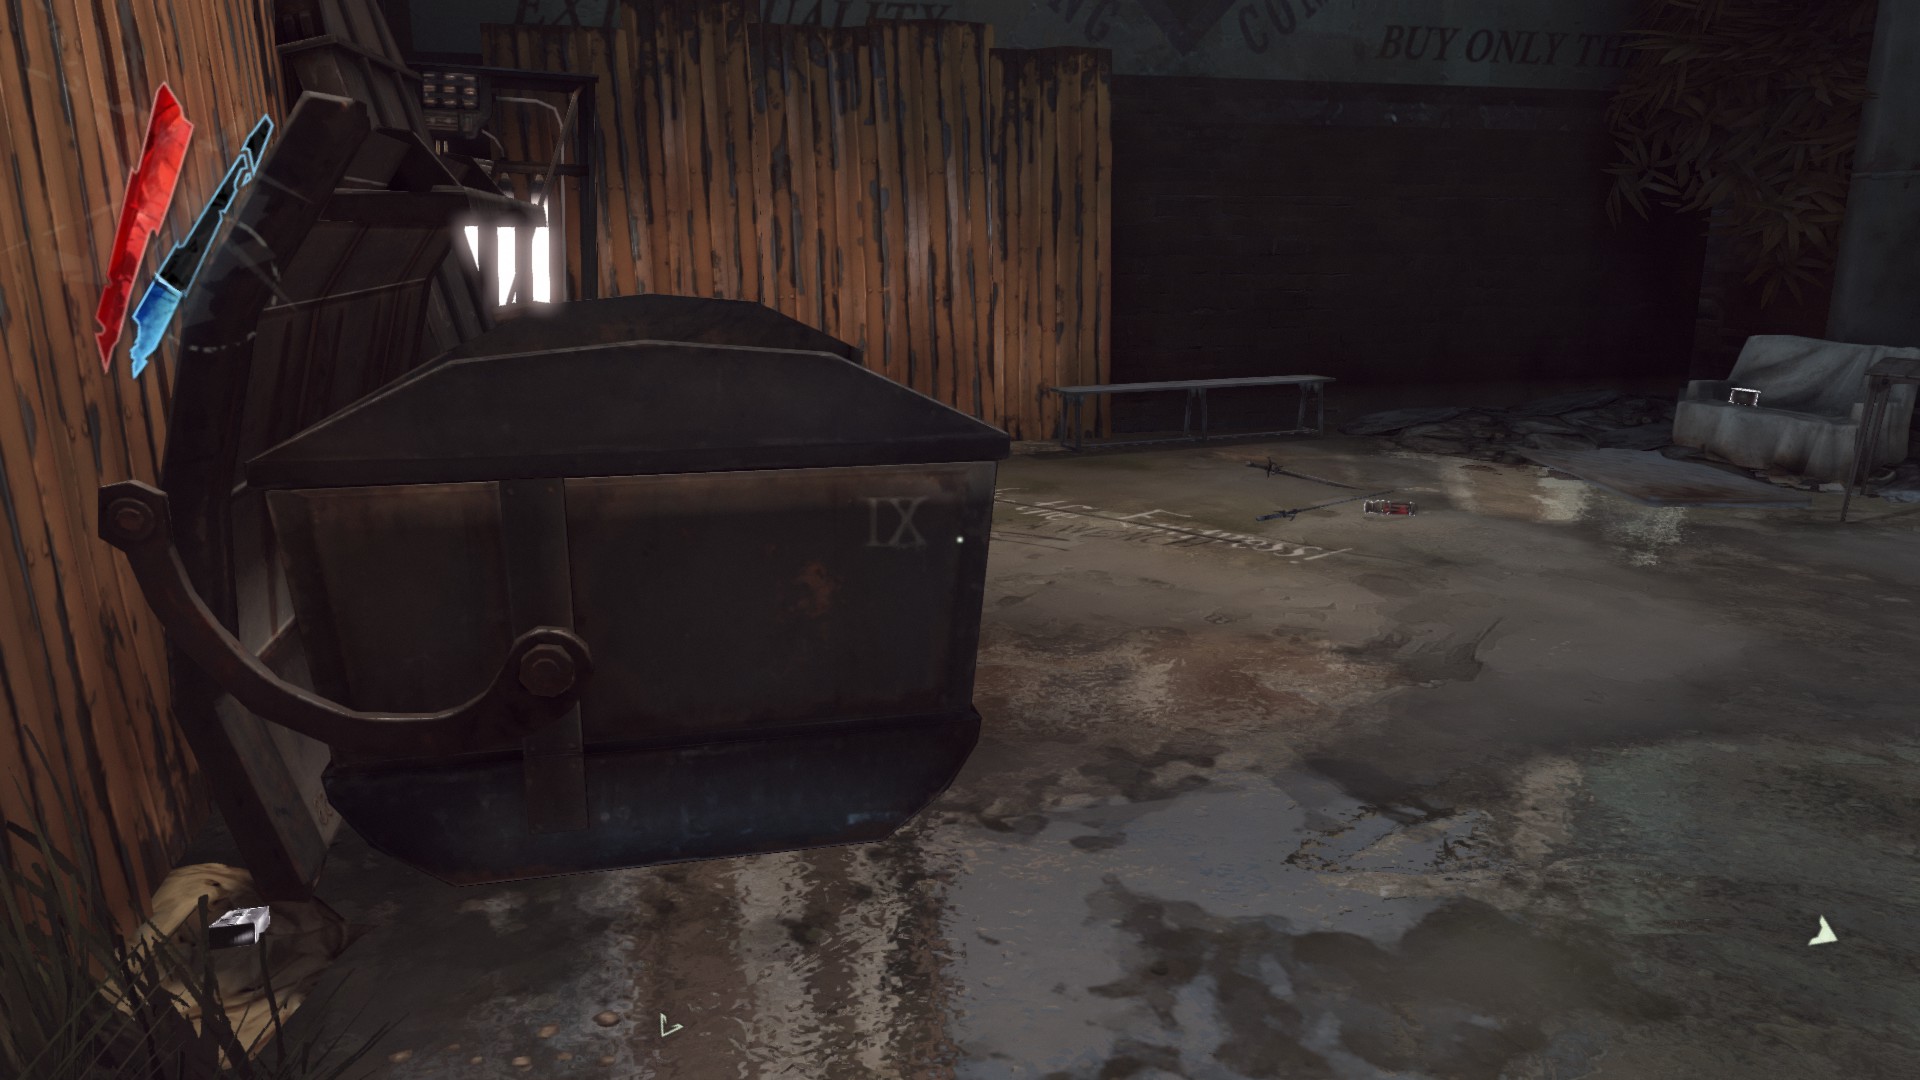
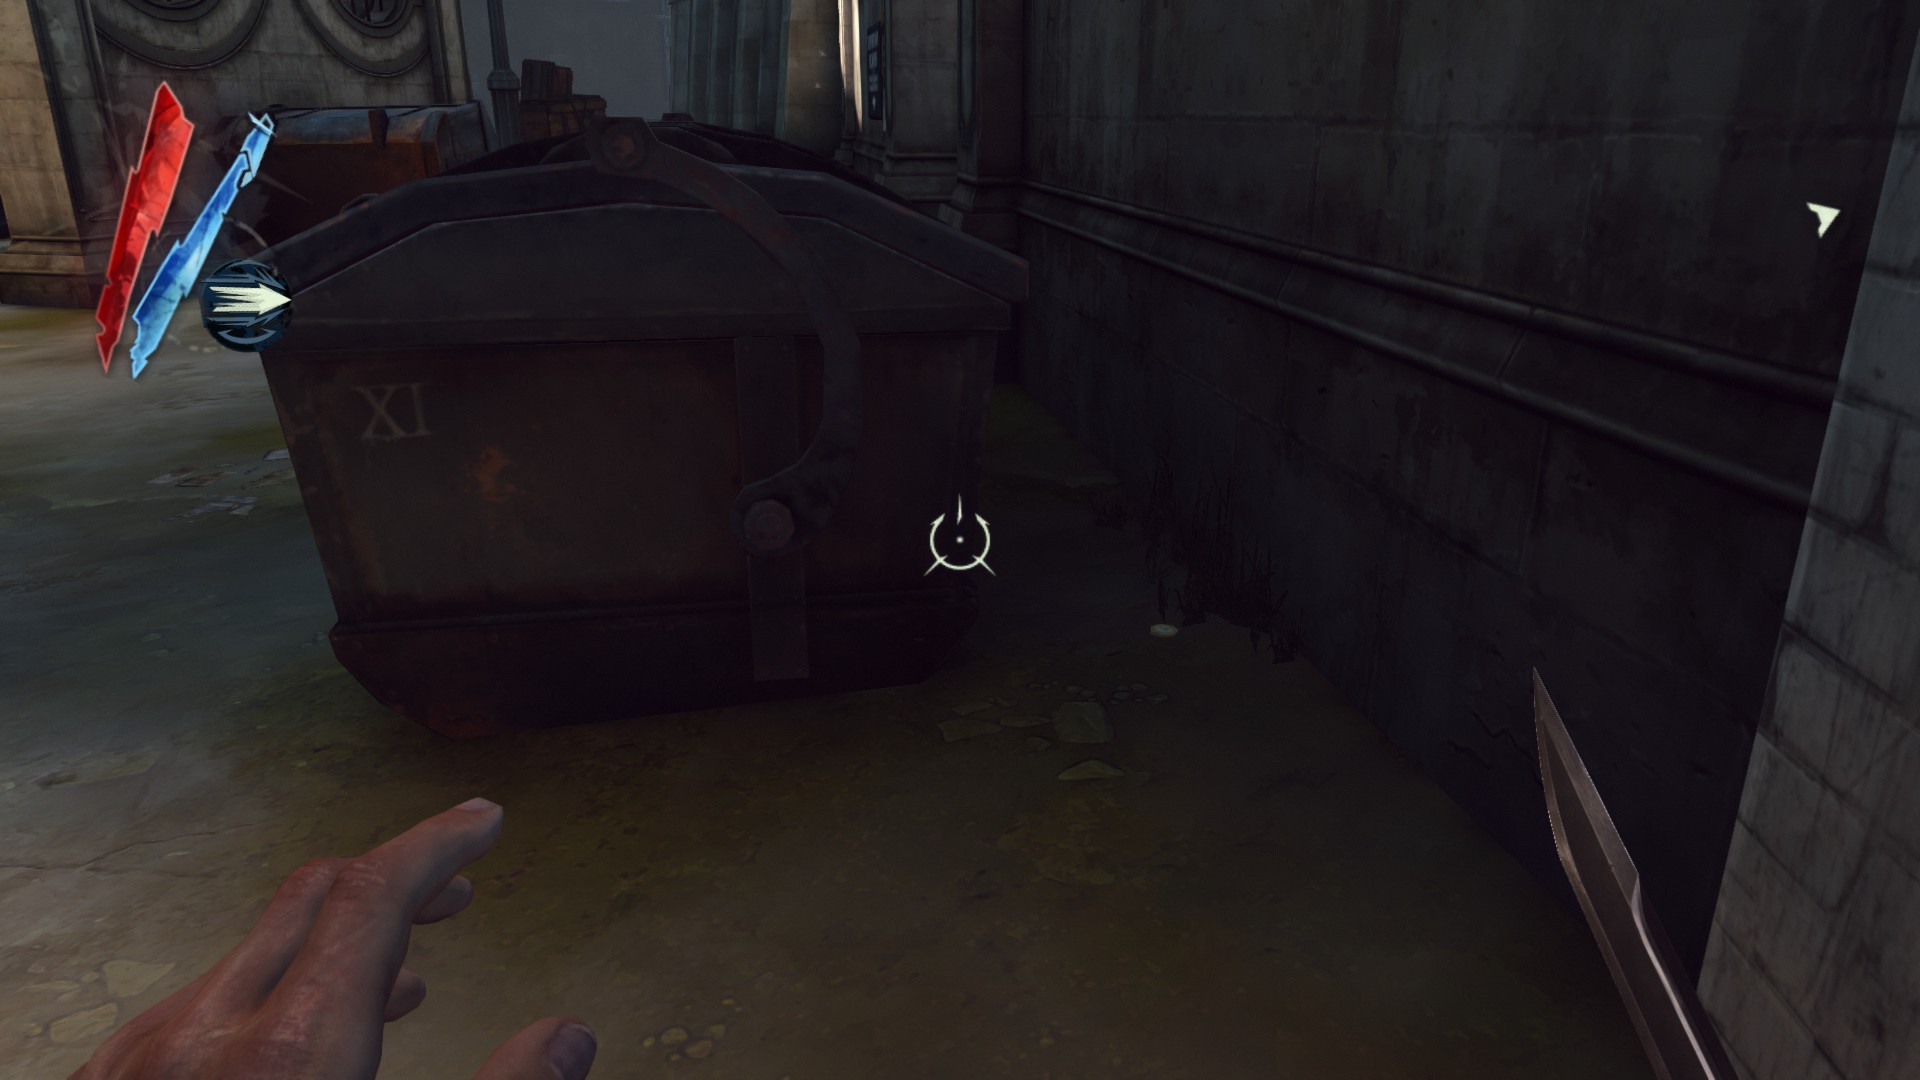
Head back to where you start, and this time go up the staircase. There is a tyvian ore inside a mine cart.
(+20)
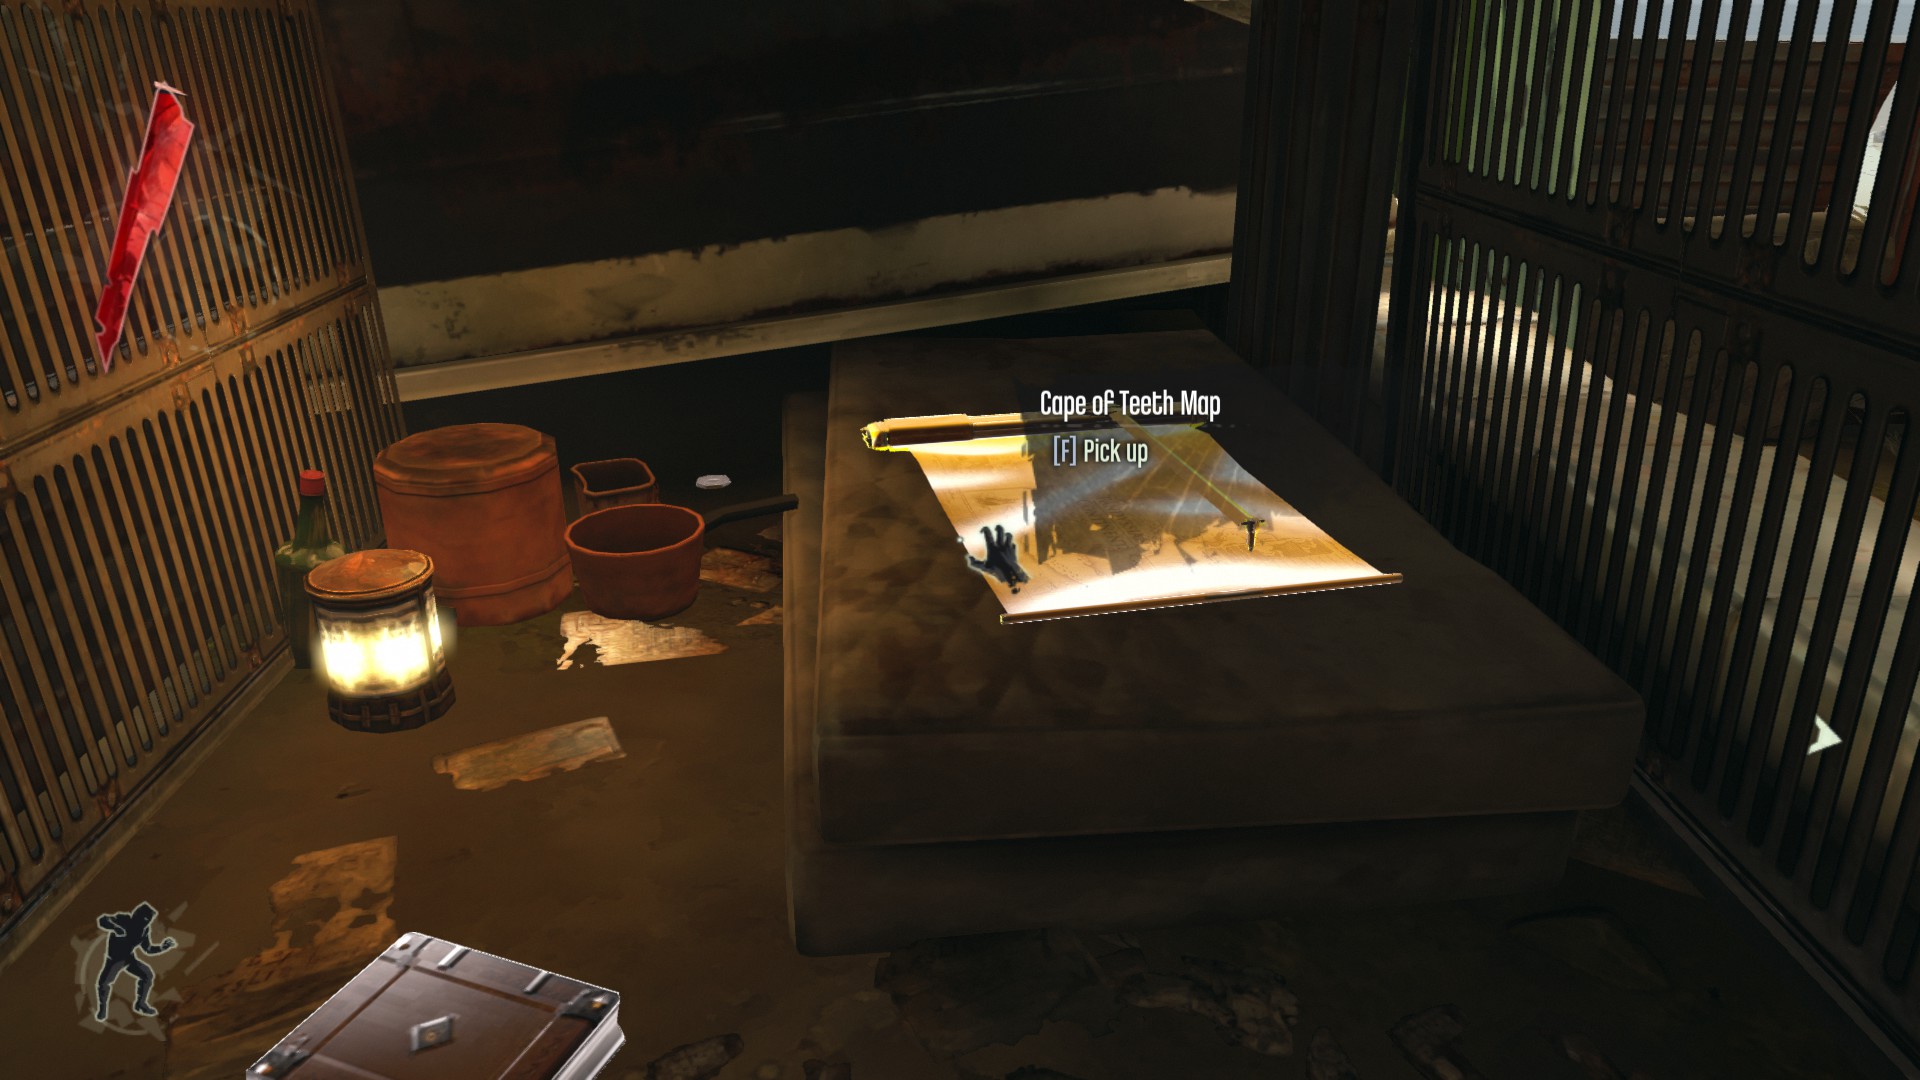
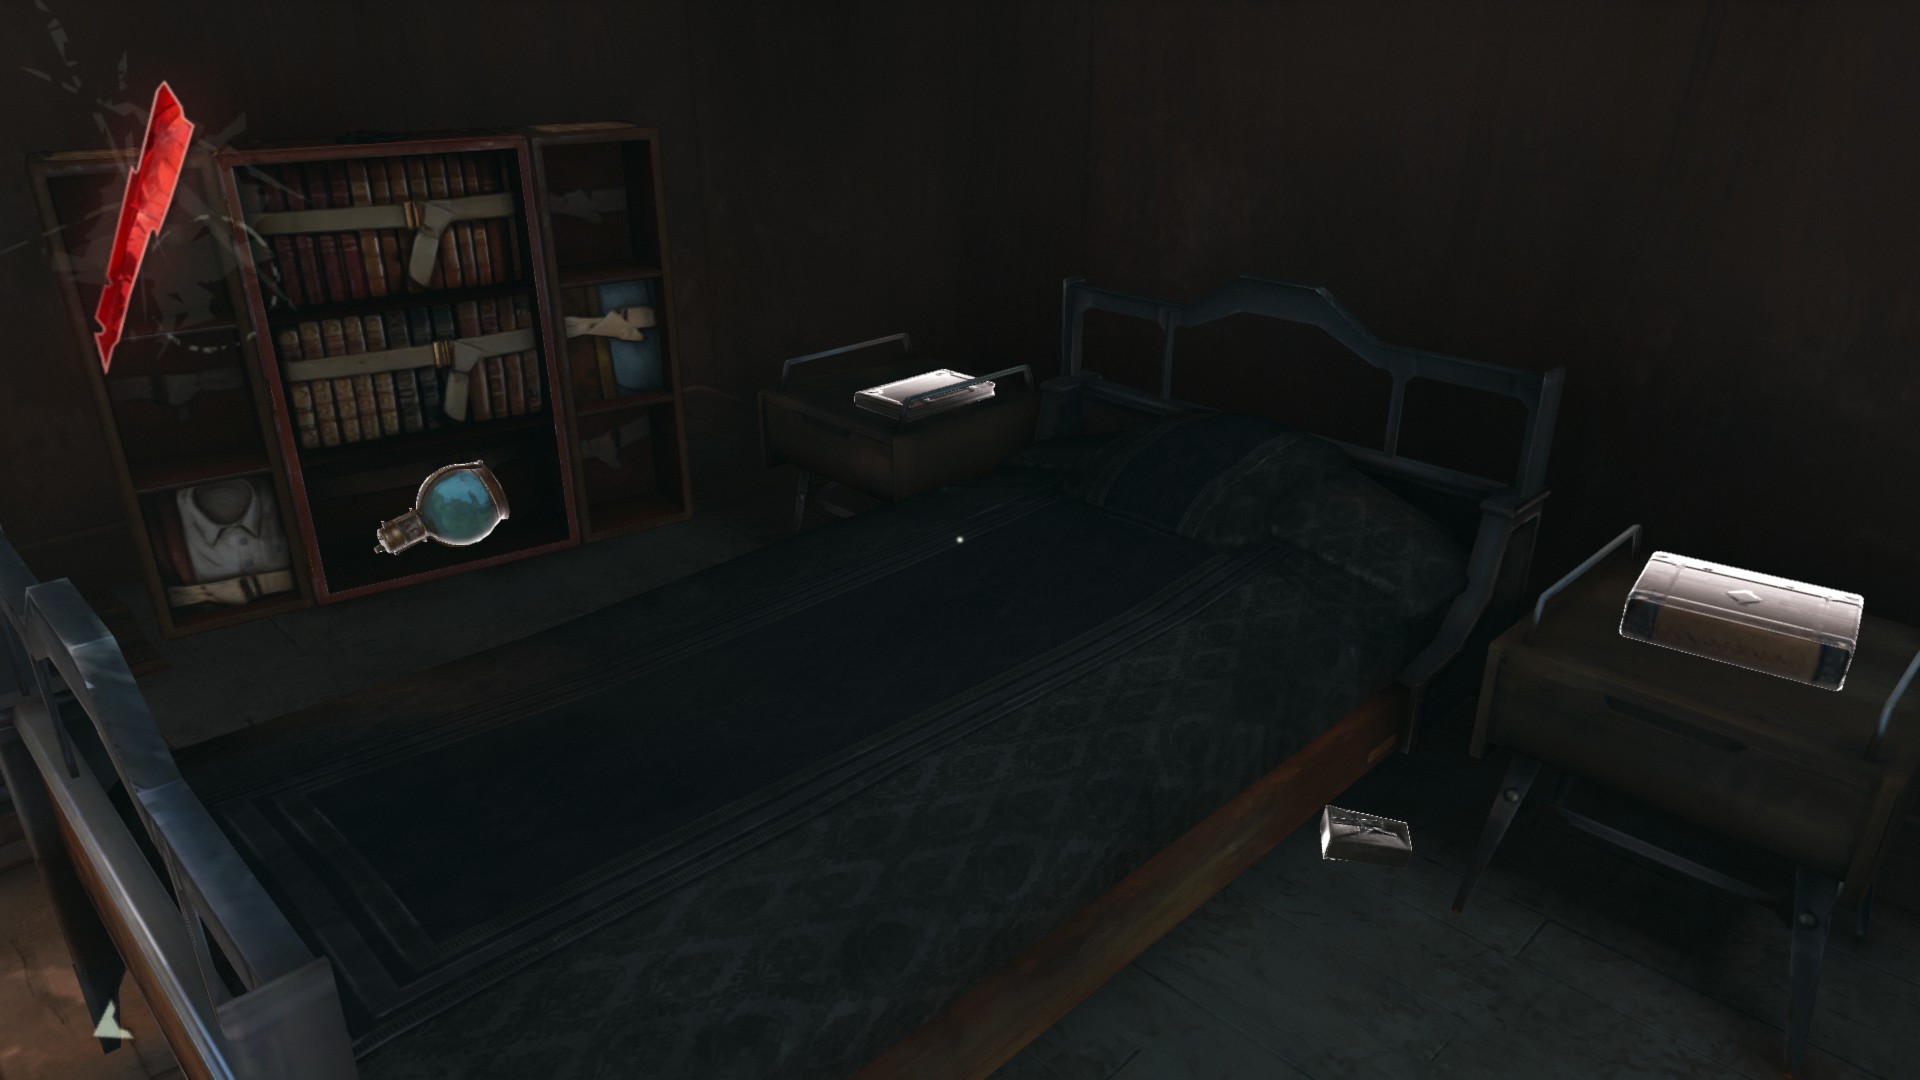
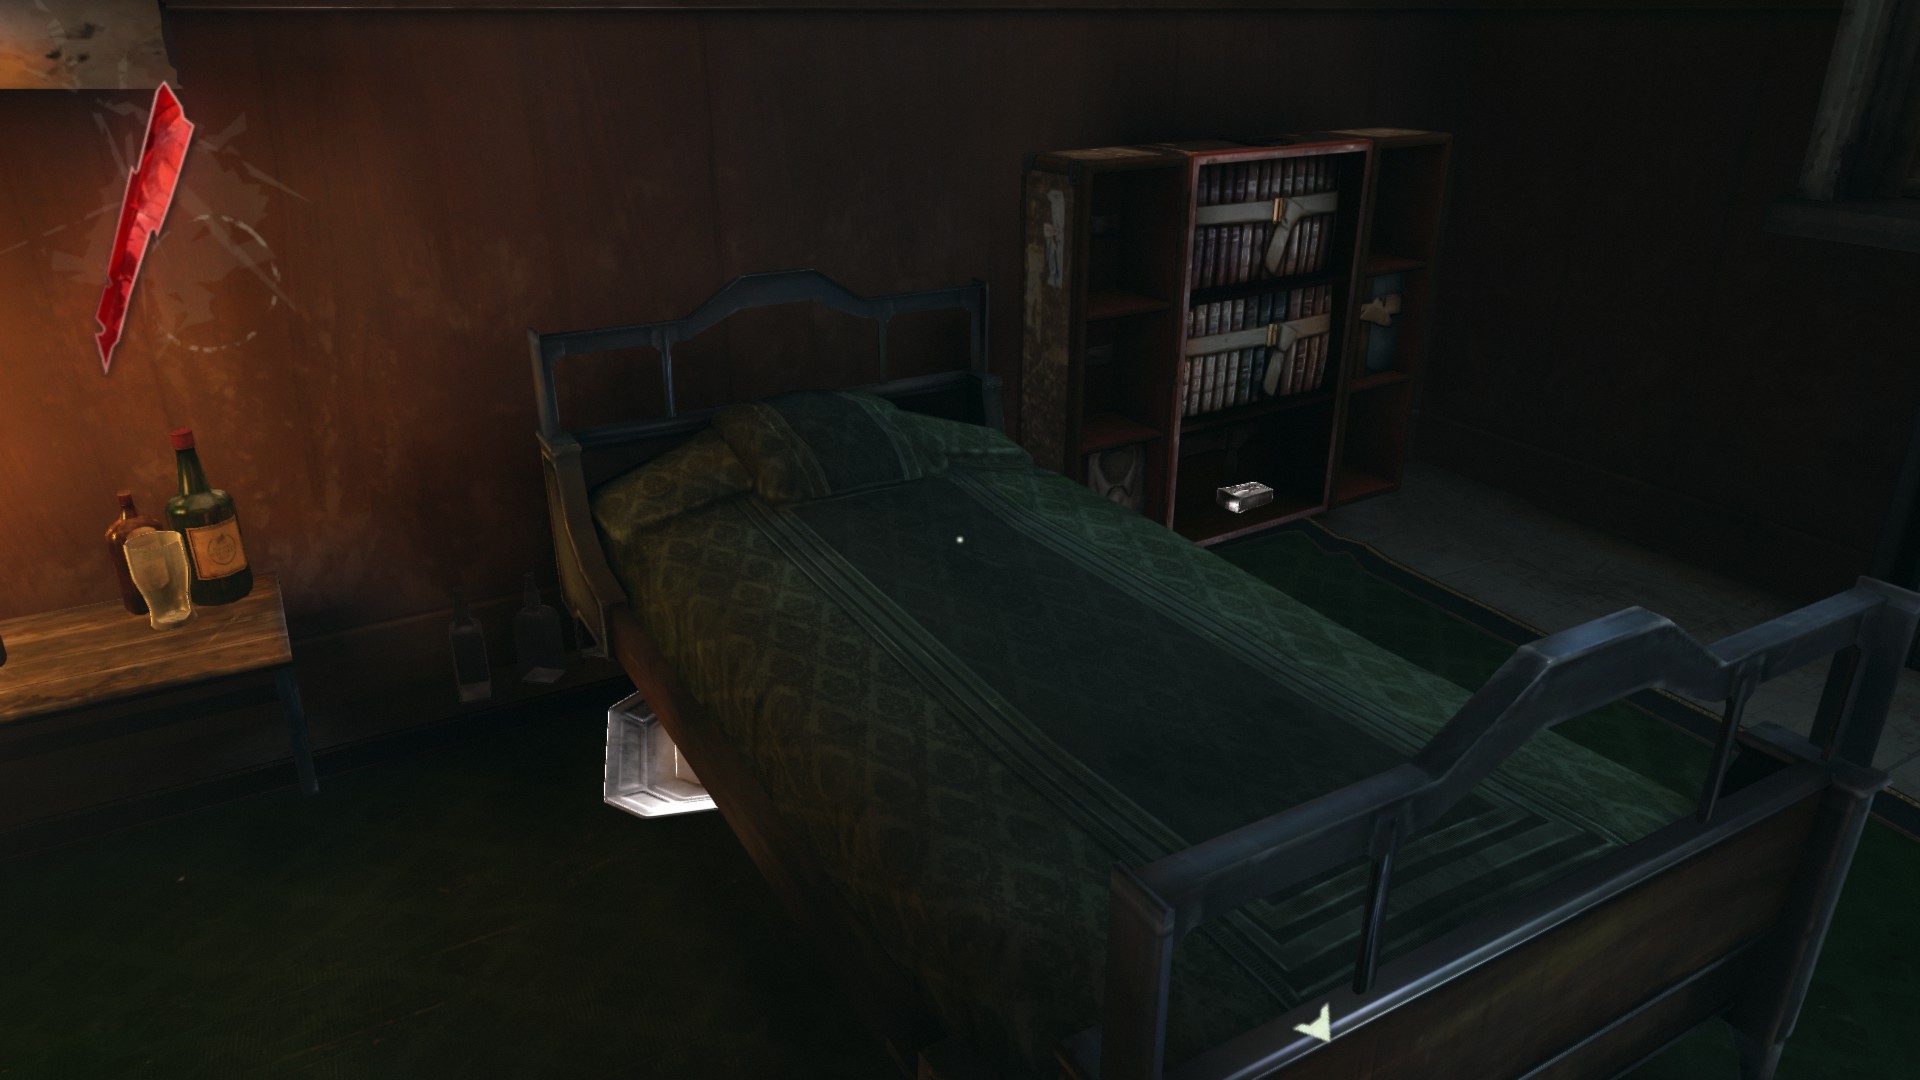
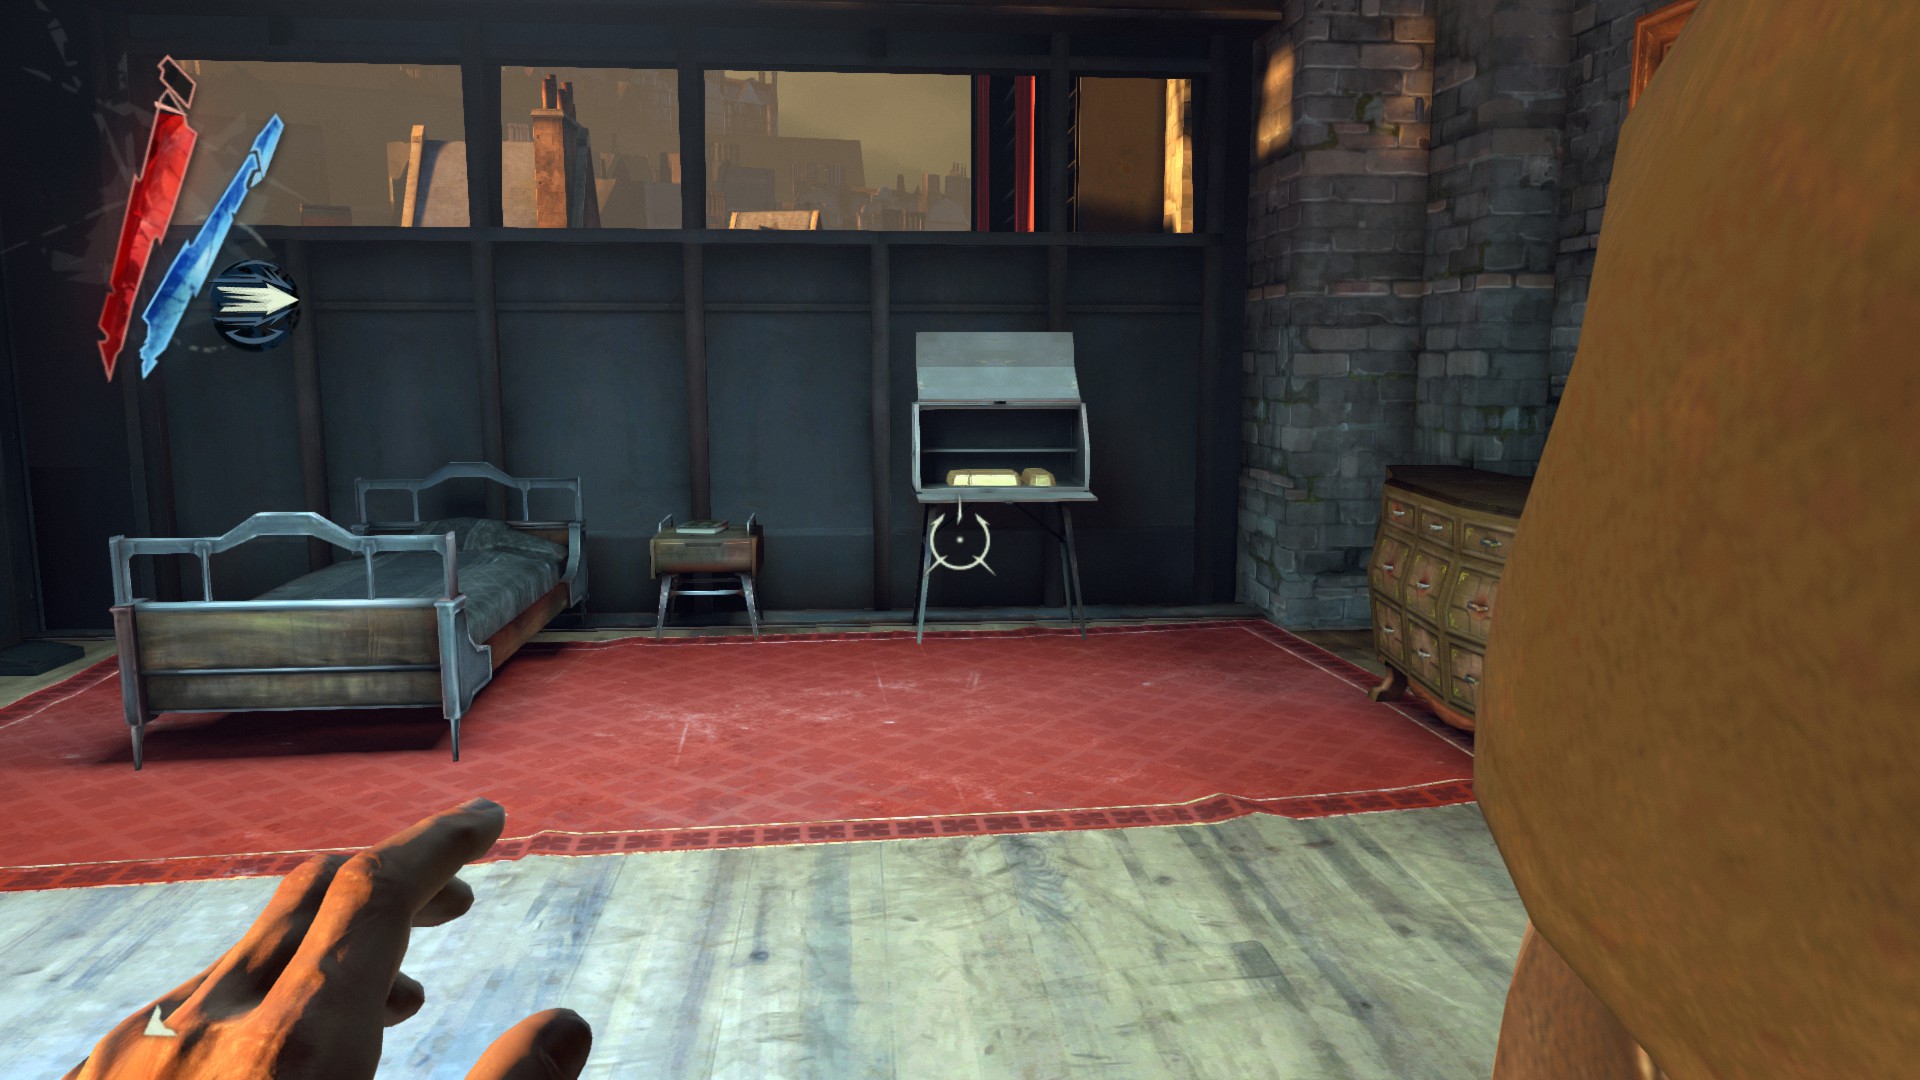
Go up another staircase and turn immediately right to Samuel's home. Inside there is a coin next to his mattress and the Cape of Teeth Map.
(+85)
Exit Samuel's home and here you will find another mine cart with a tyvian ore inside.
(+20)
Now you can reach a small rooftop by jumping onto the railing. Next to a piece of tin is a copper wire.
(+10)
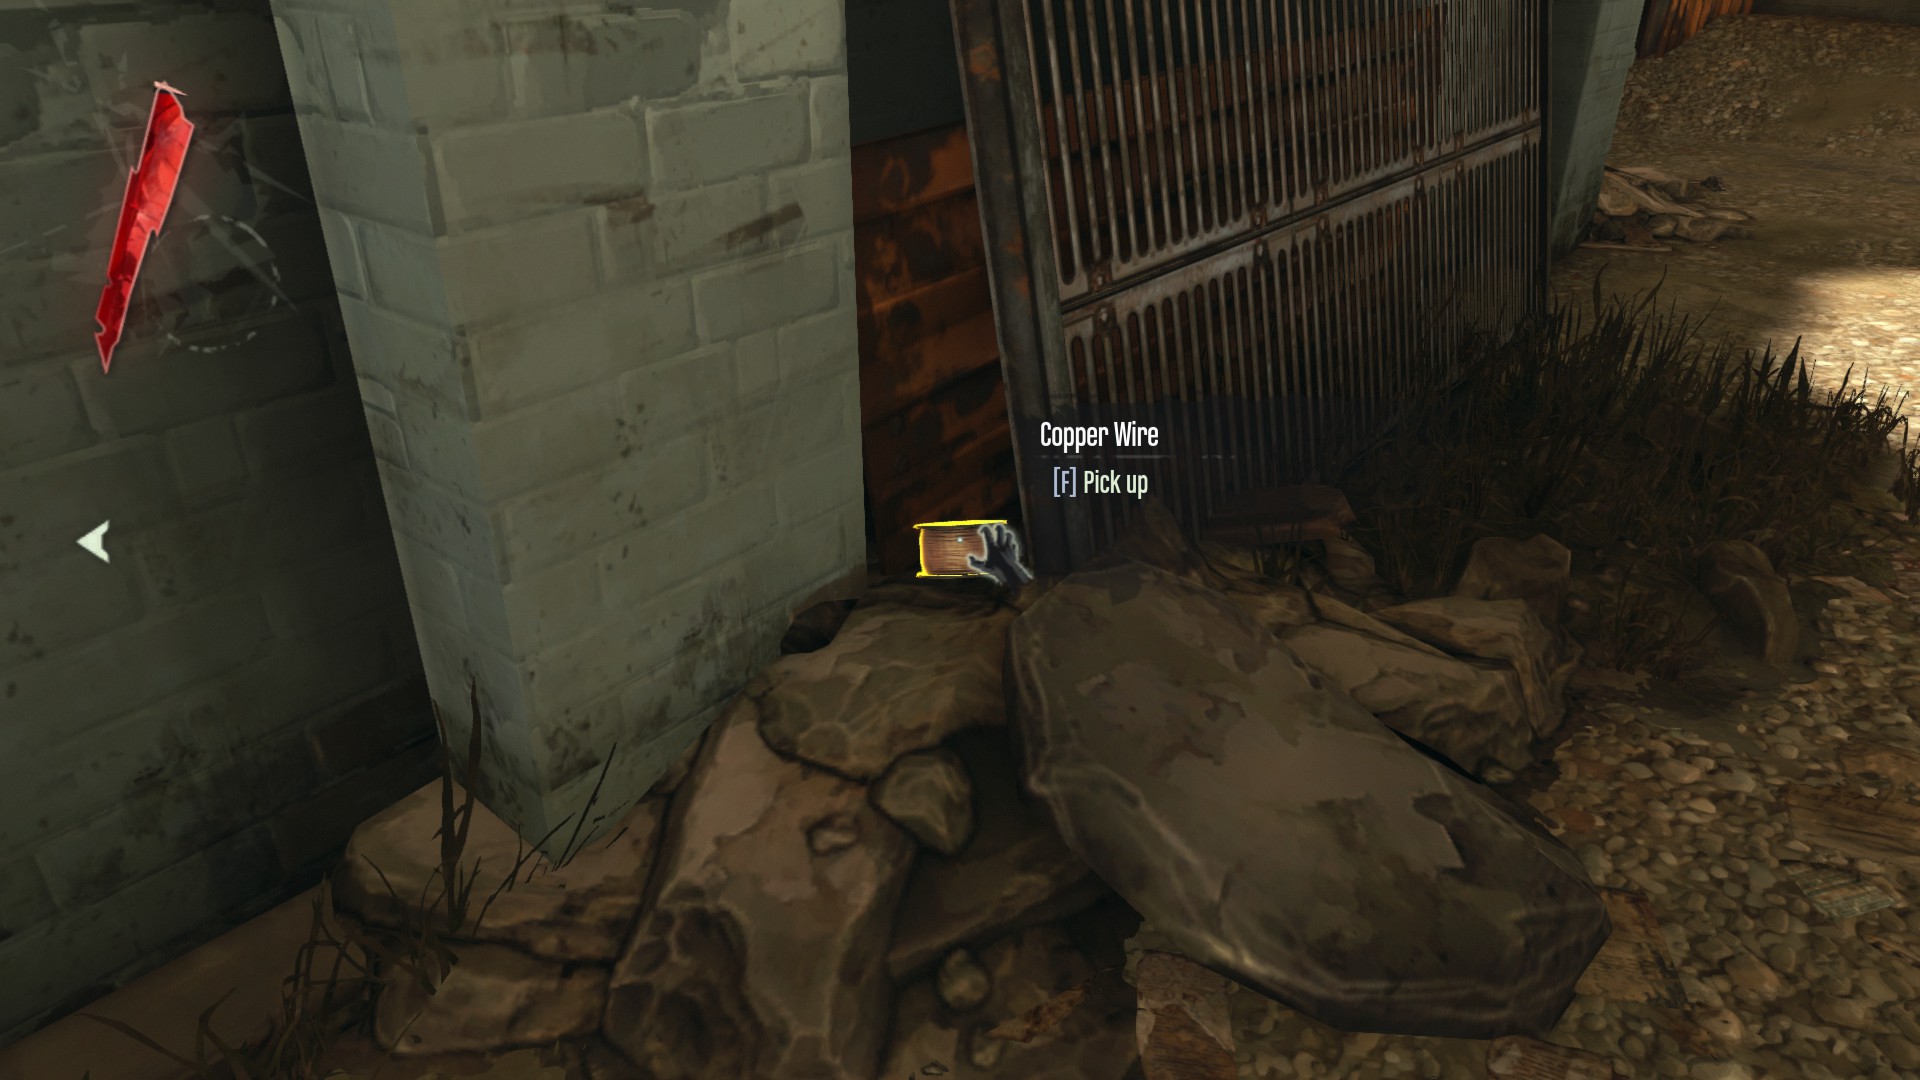
Head back to the area and go through the gate between two buildings, then turn immediately left. There is a copper wire next to the side of Piero's Workshop.
(+10)
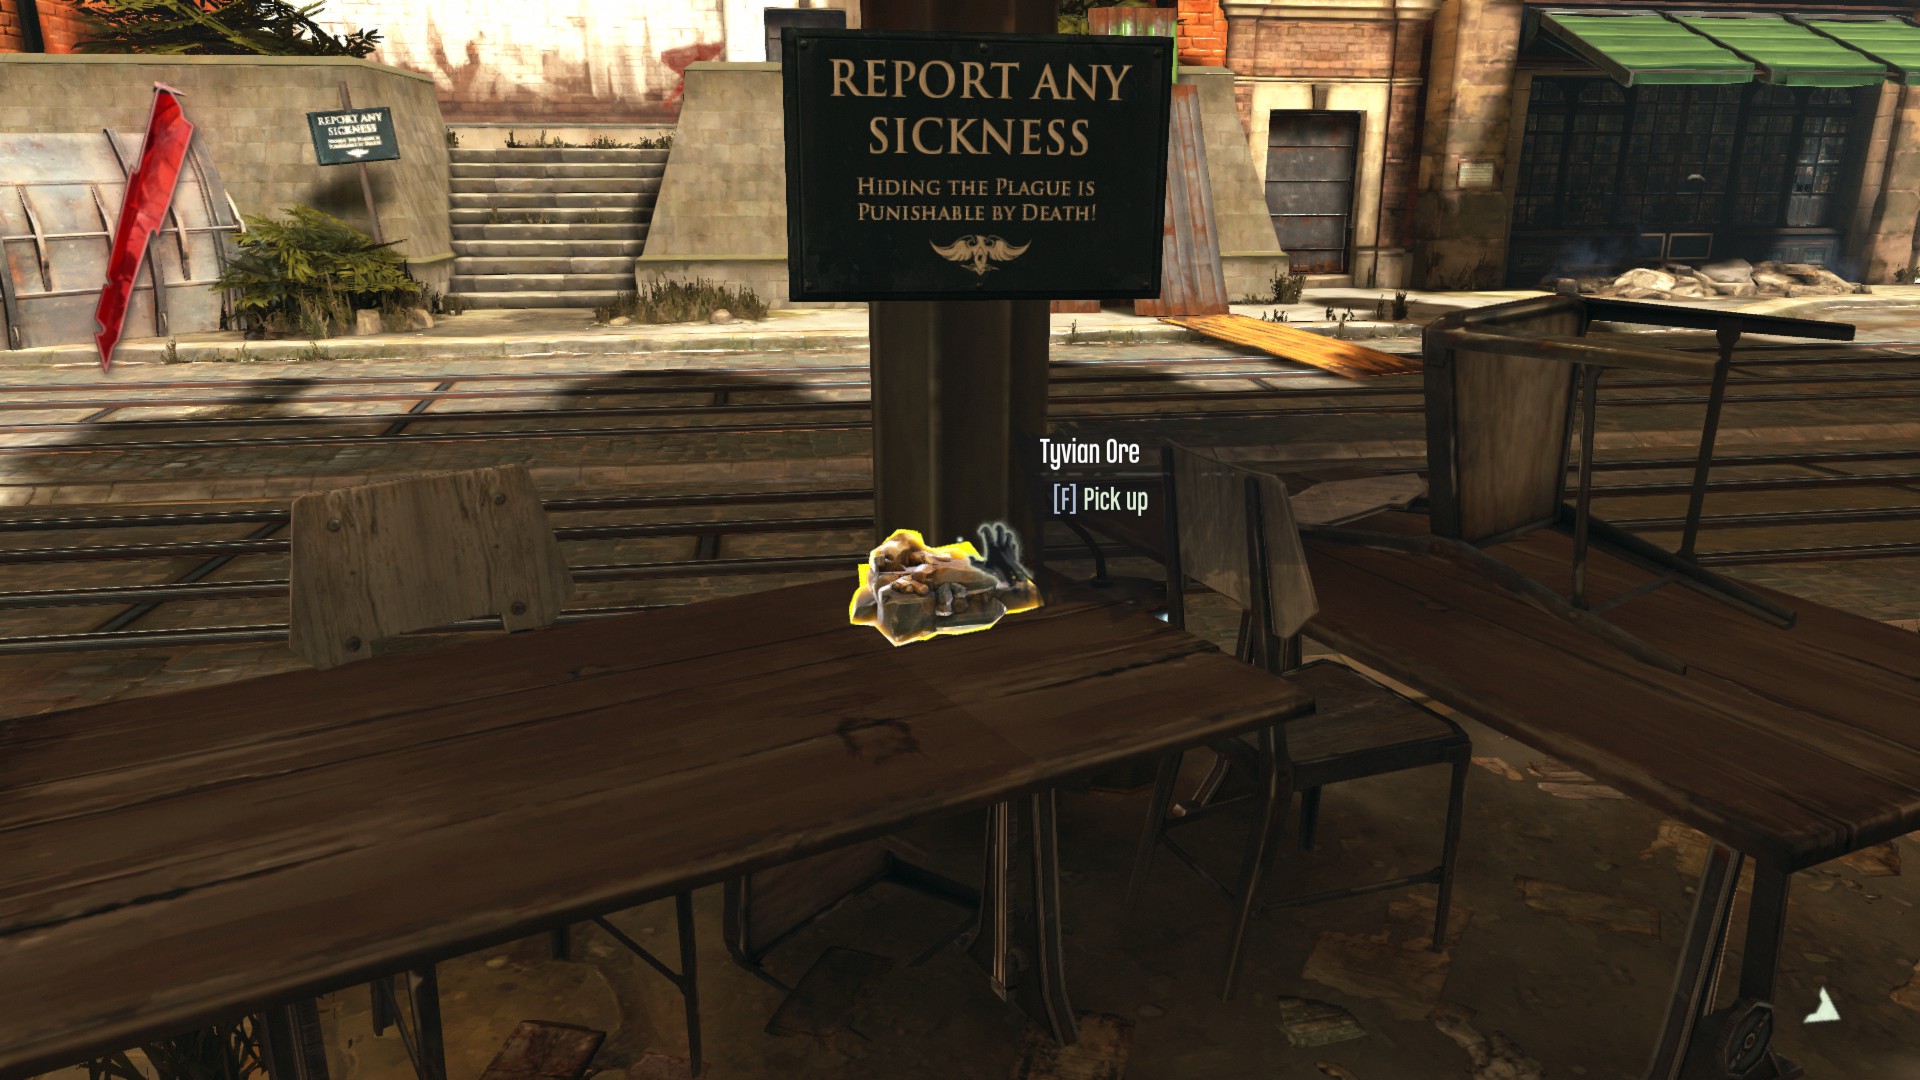
Turn around and walk down the street next to the pub. There is a tyvian ore on one of the desks.
(+20)
Directly front of you is a dumpster. Inside it is a kingsparrow feathers.
(+10)
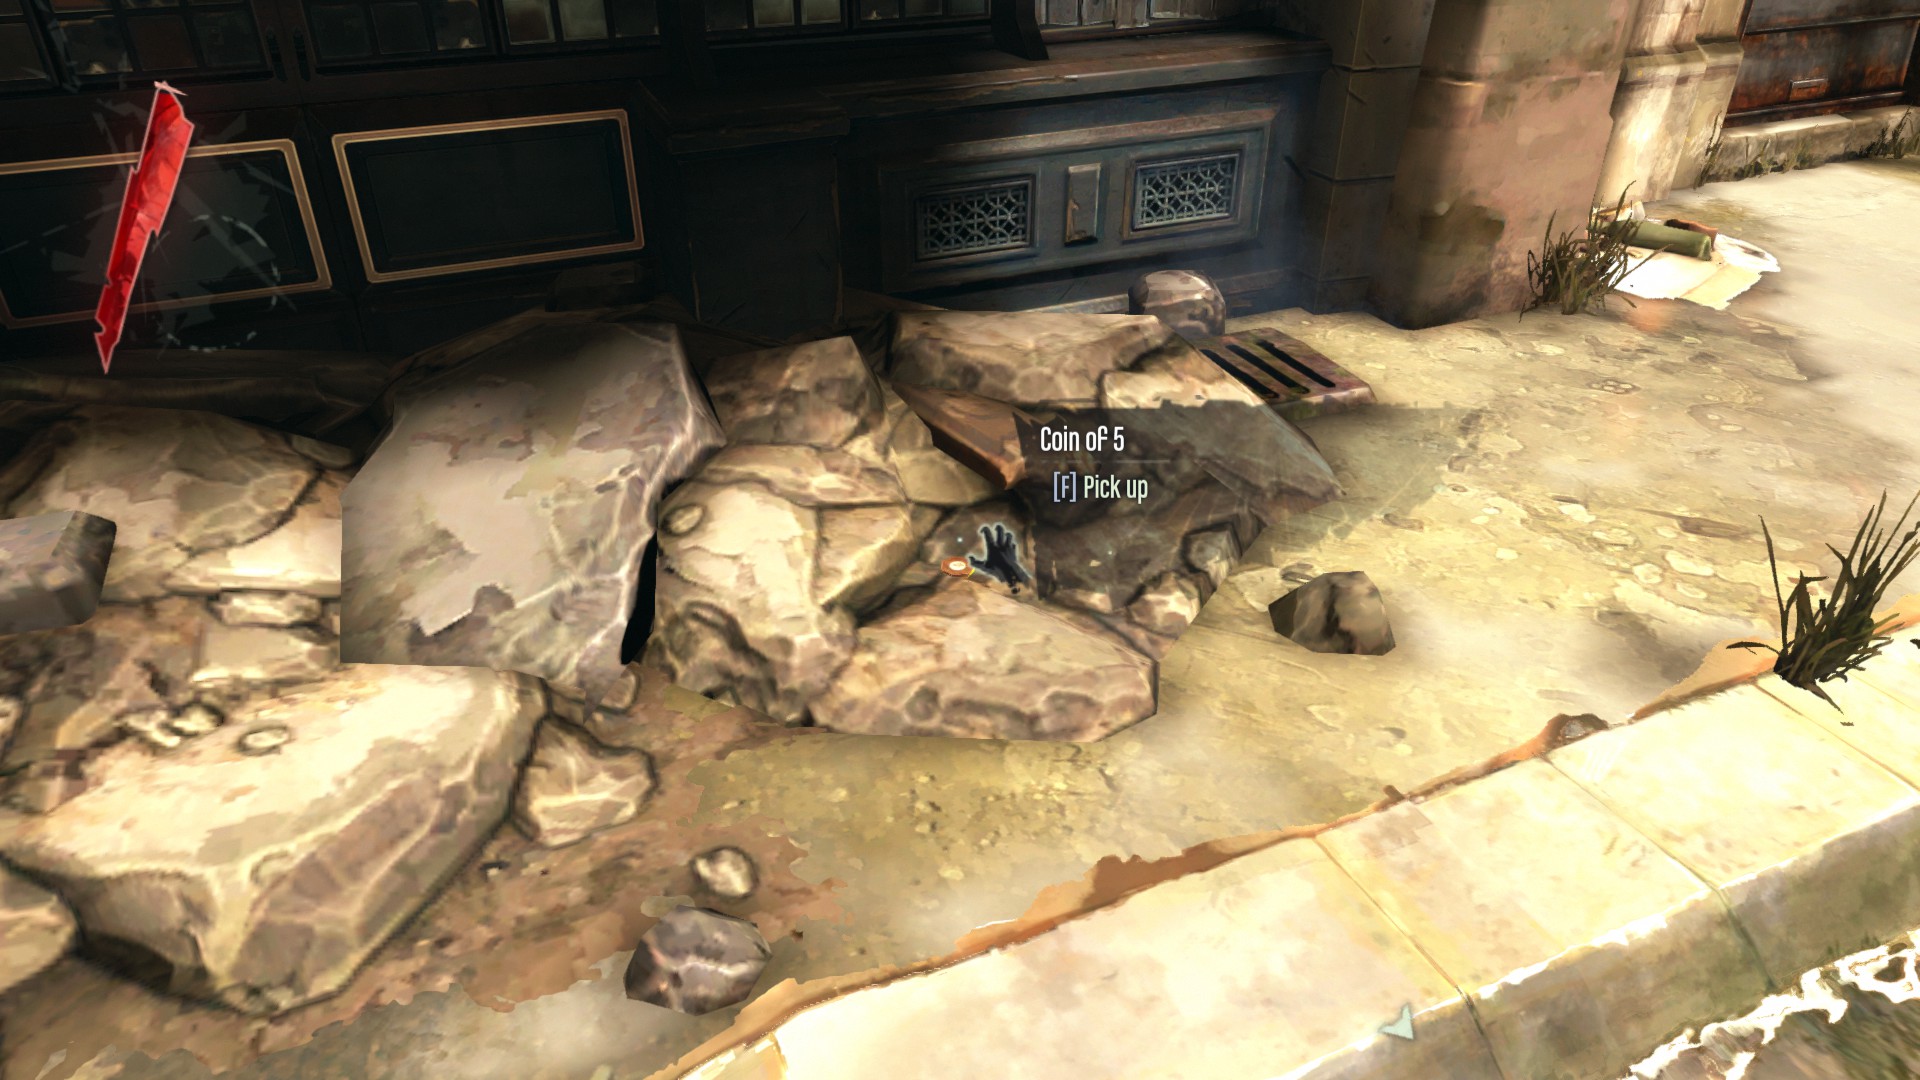
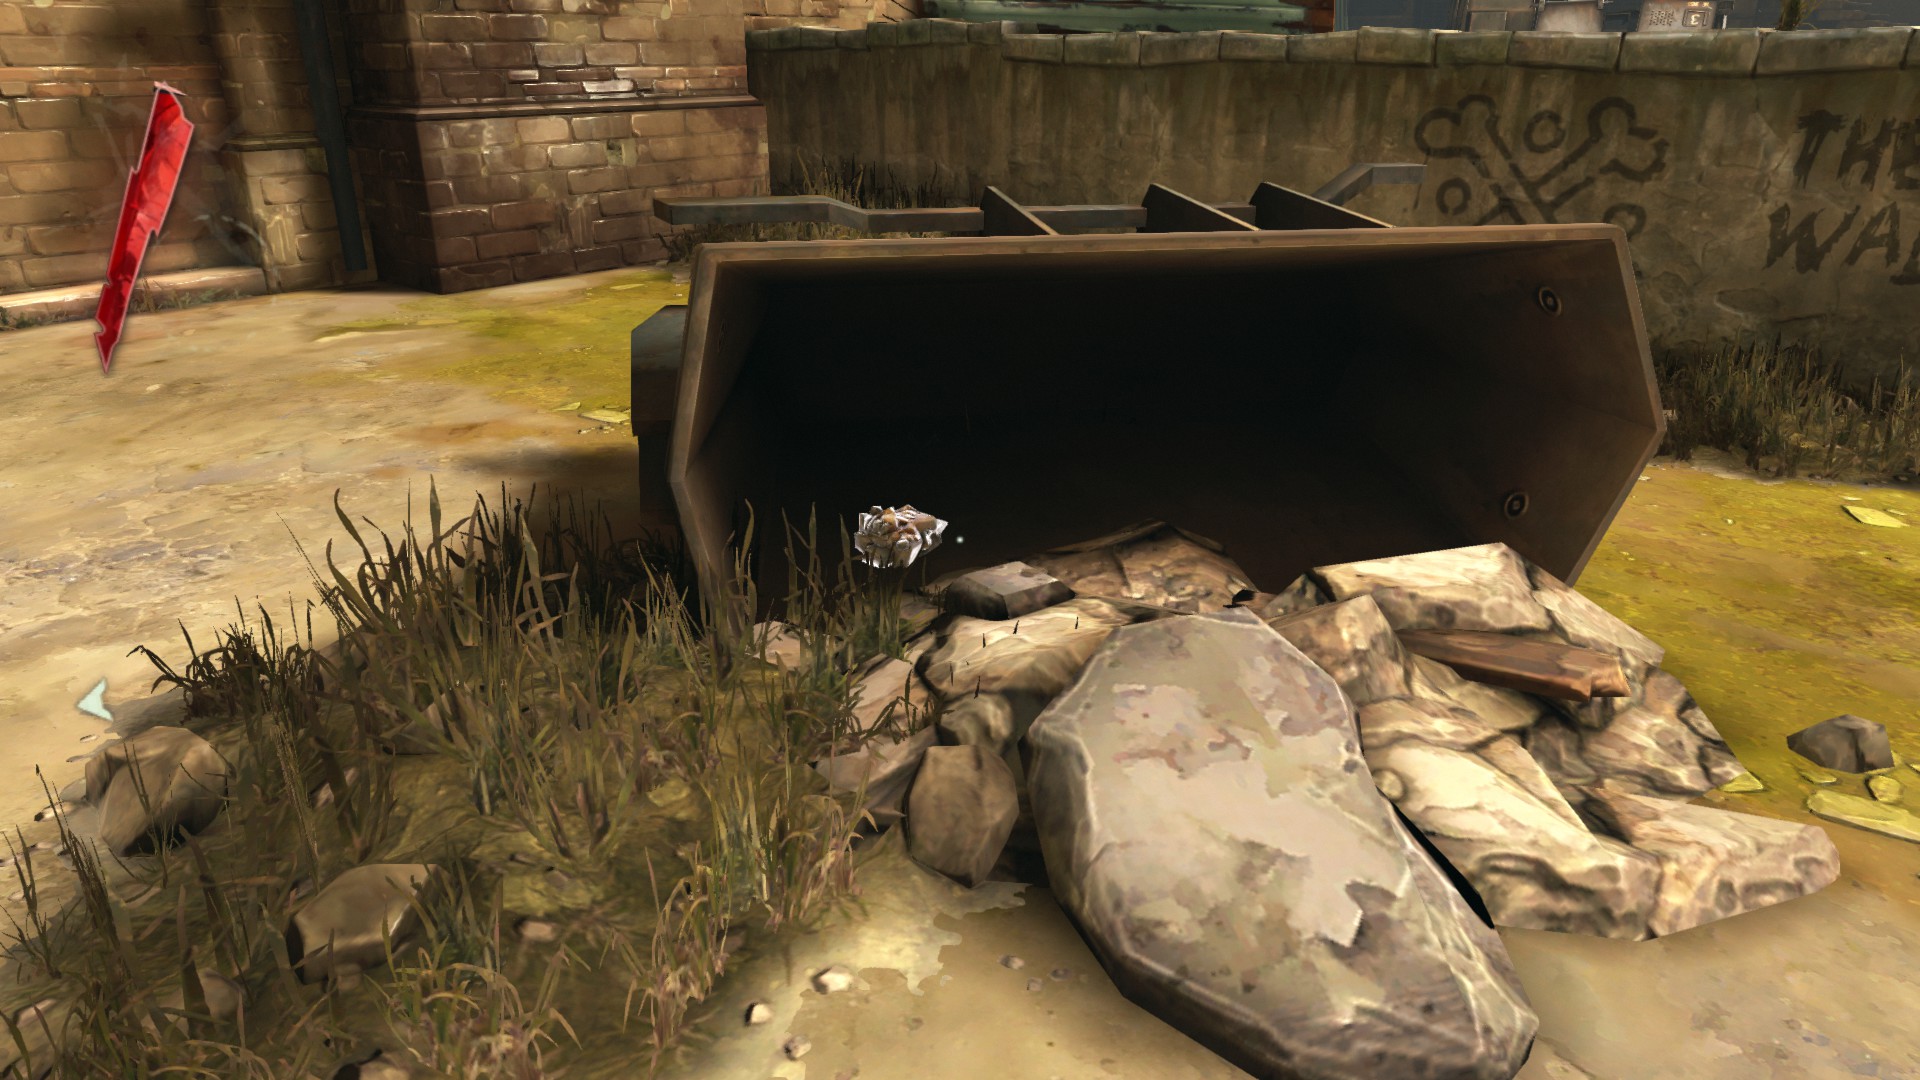
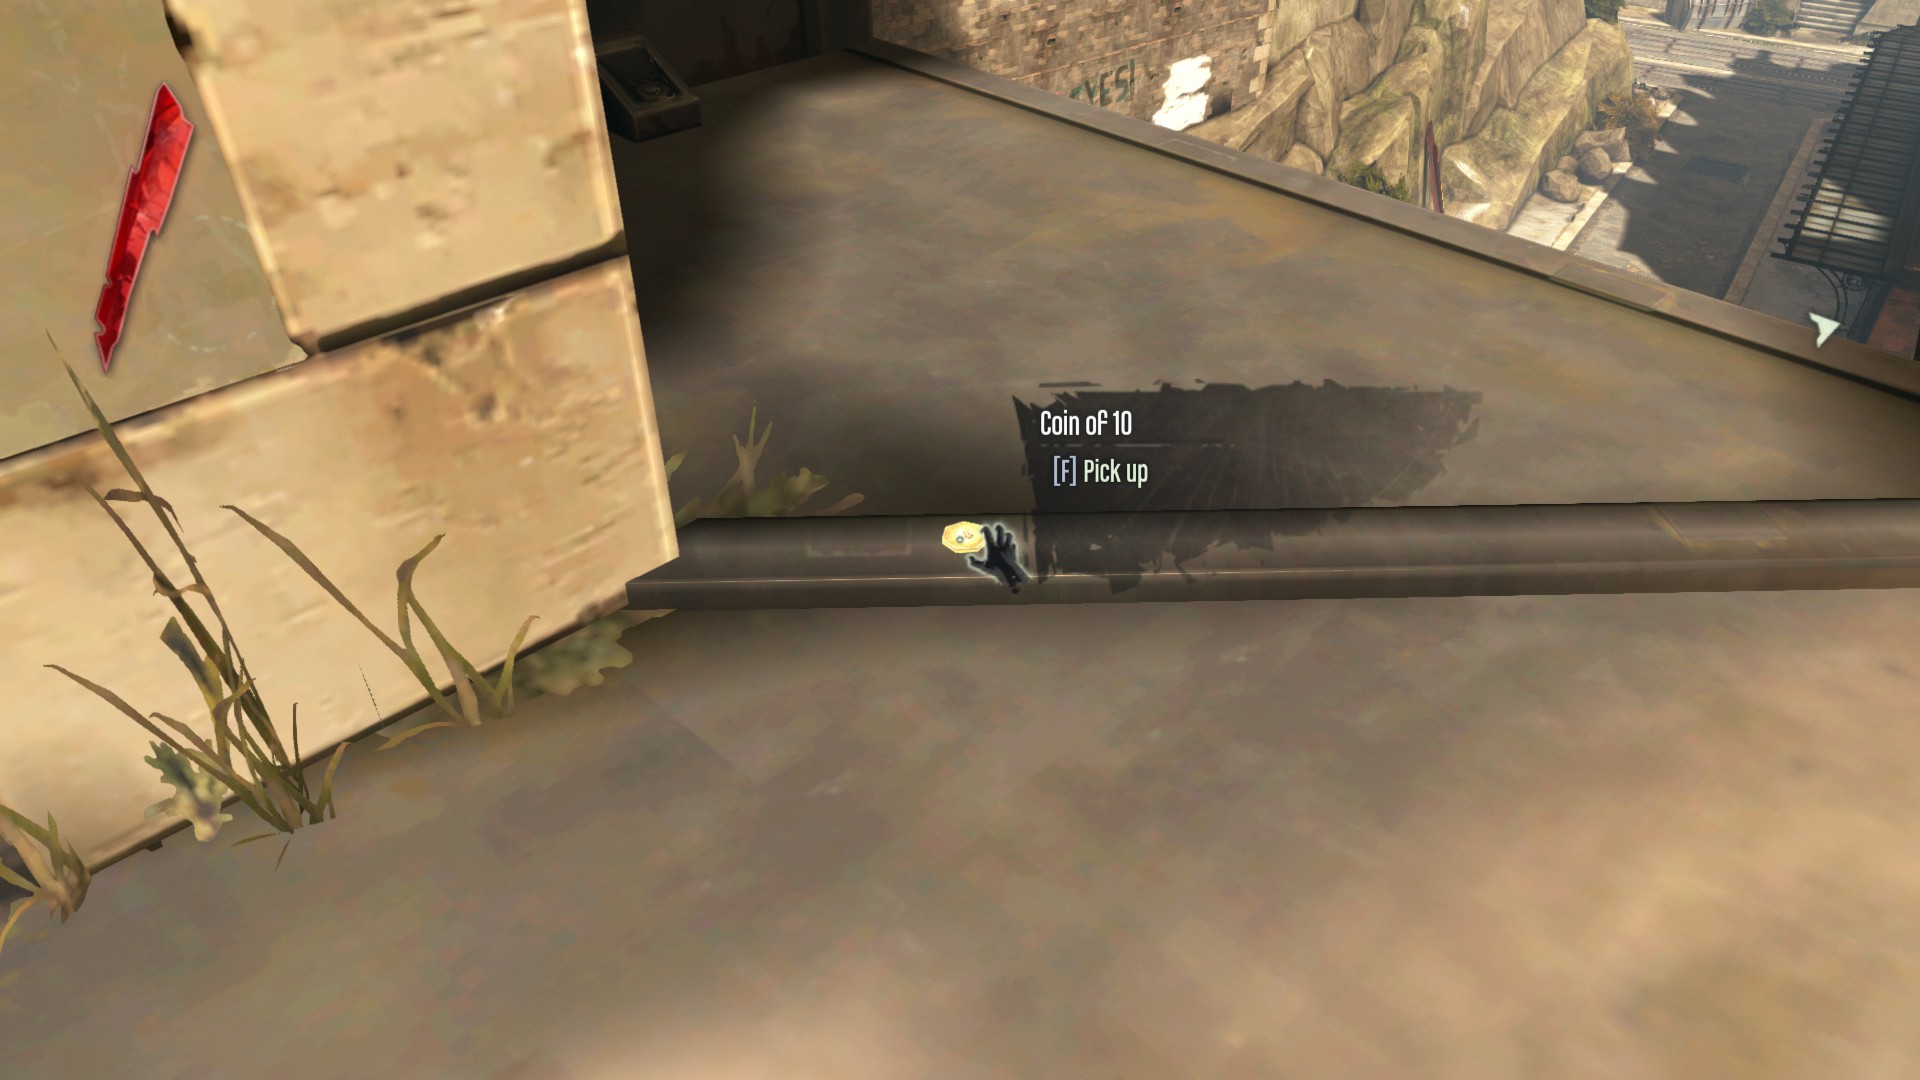
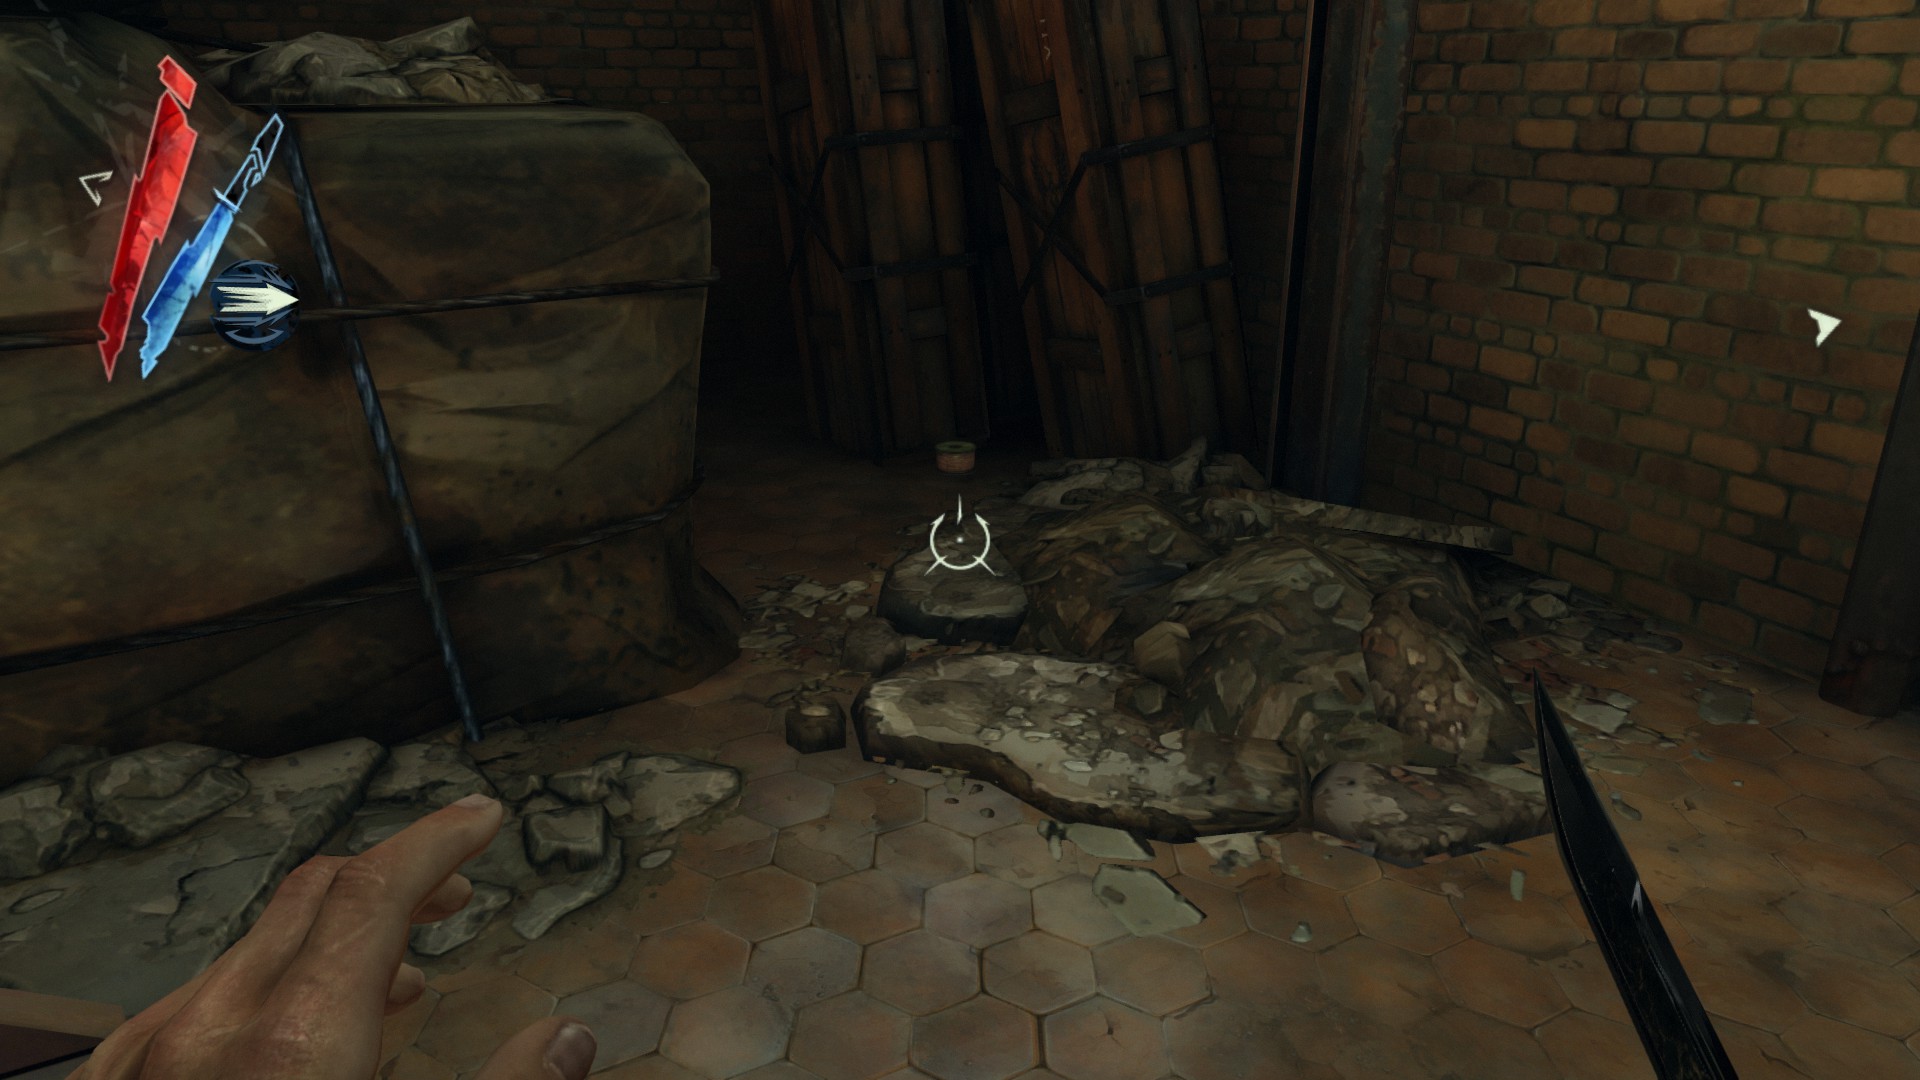
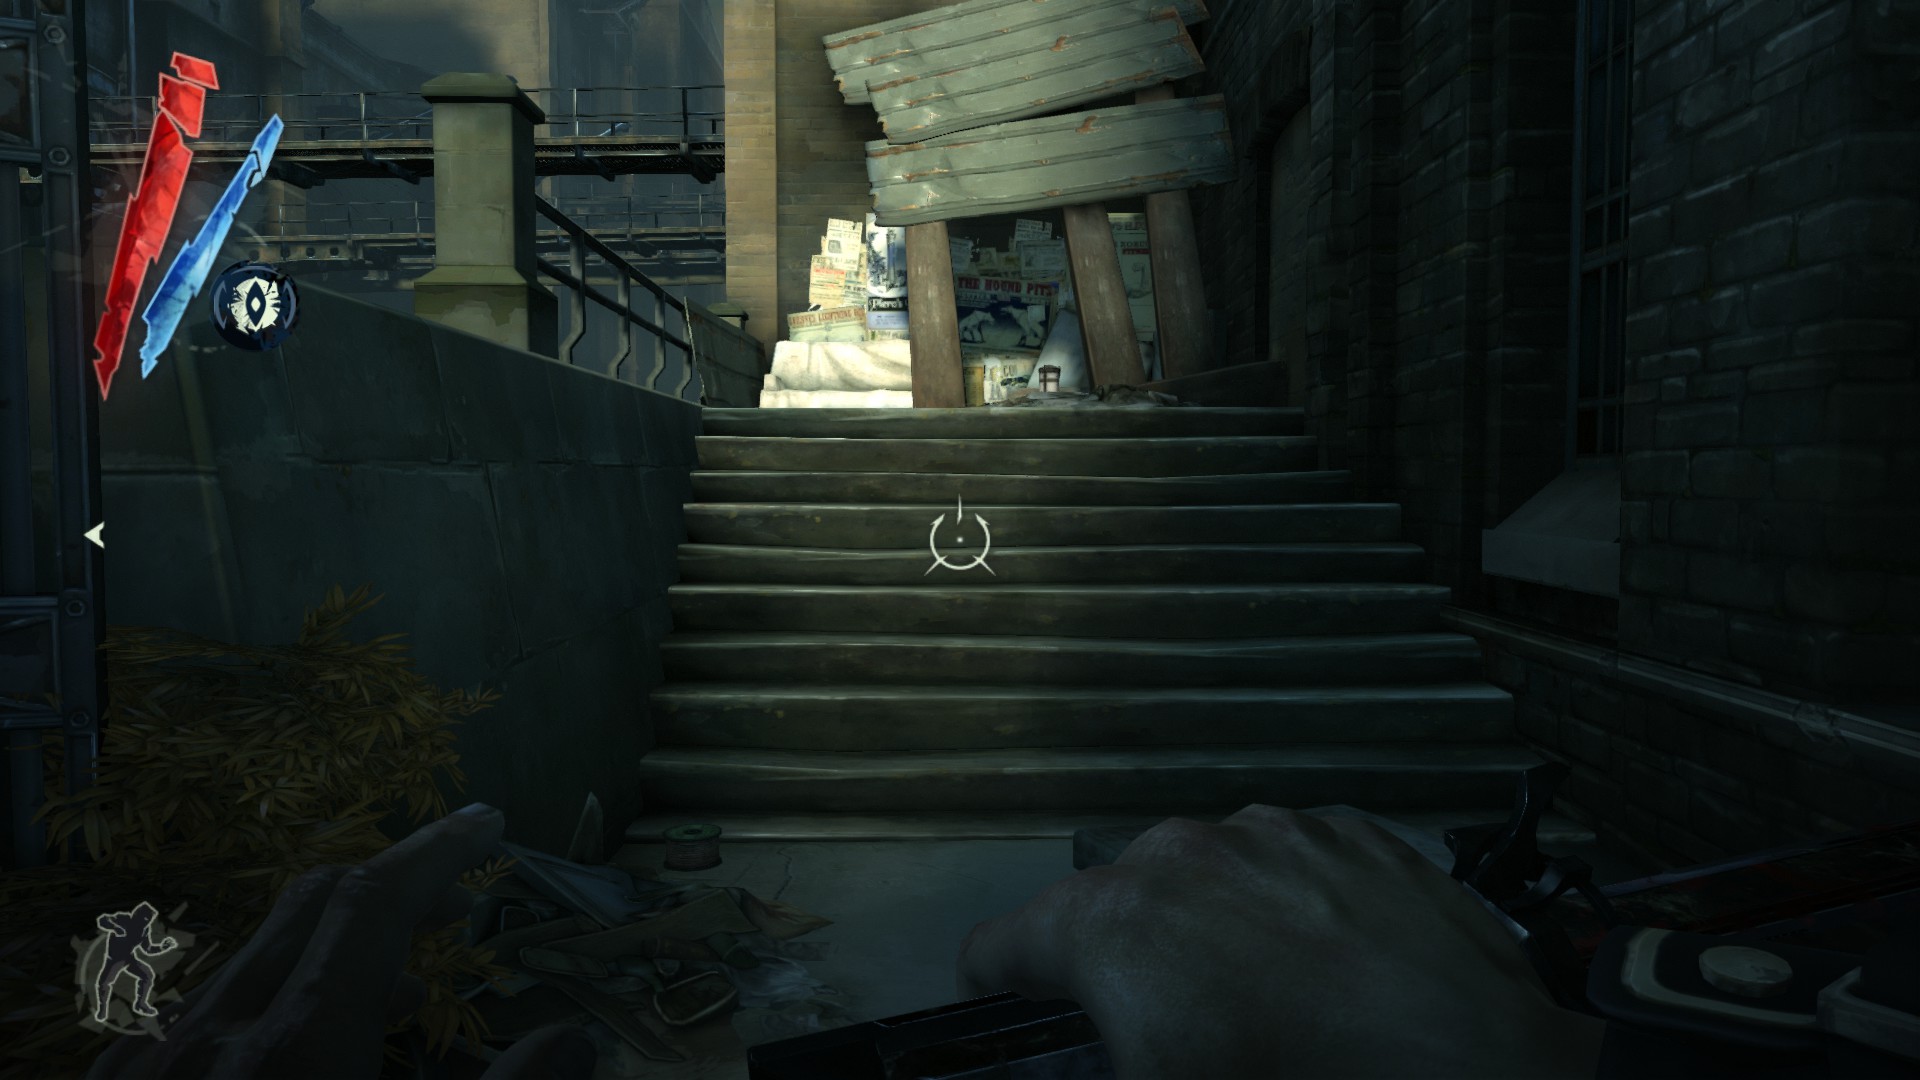
Turn right, and look down the street. Search the large pile of rubble beneath a green awning to find a coin on it.
(+5)
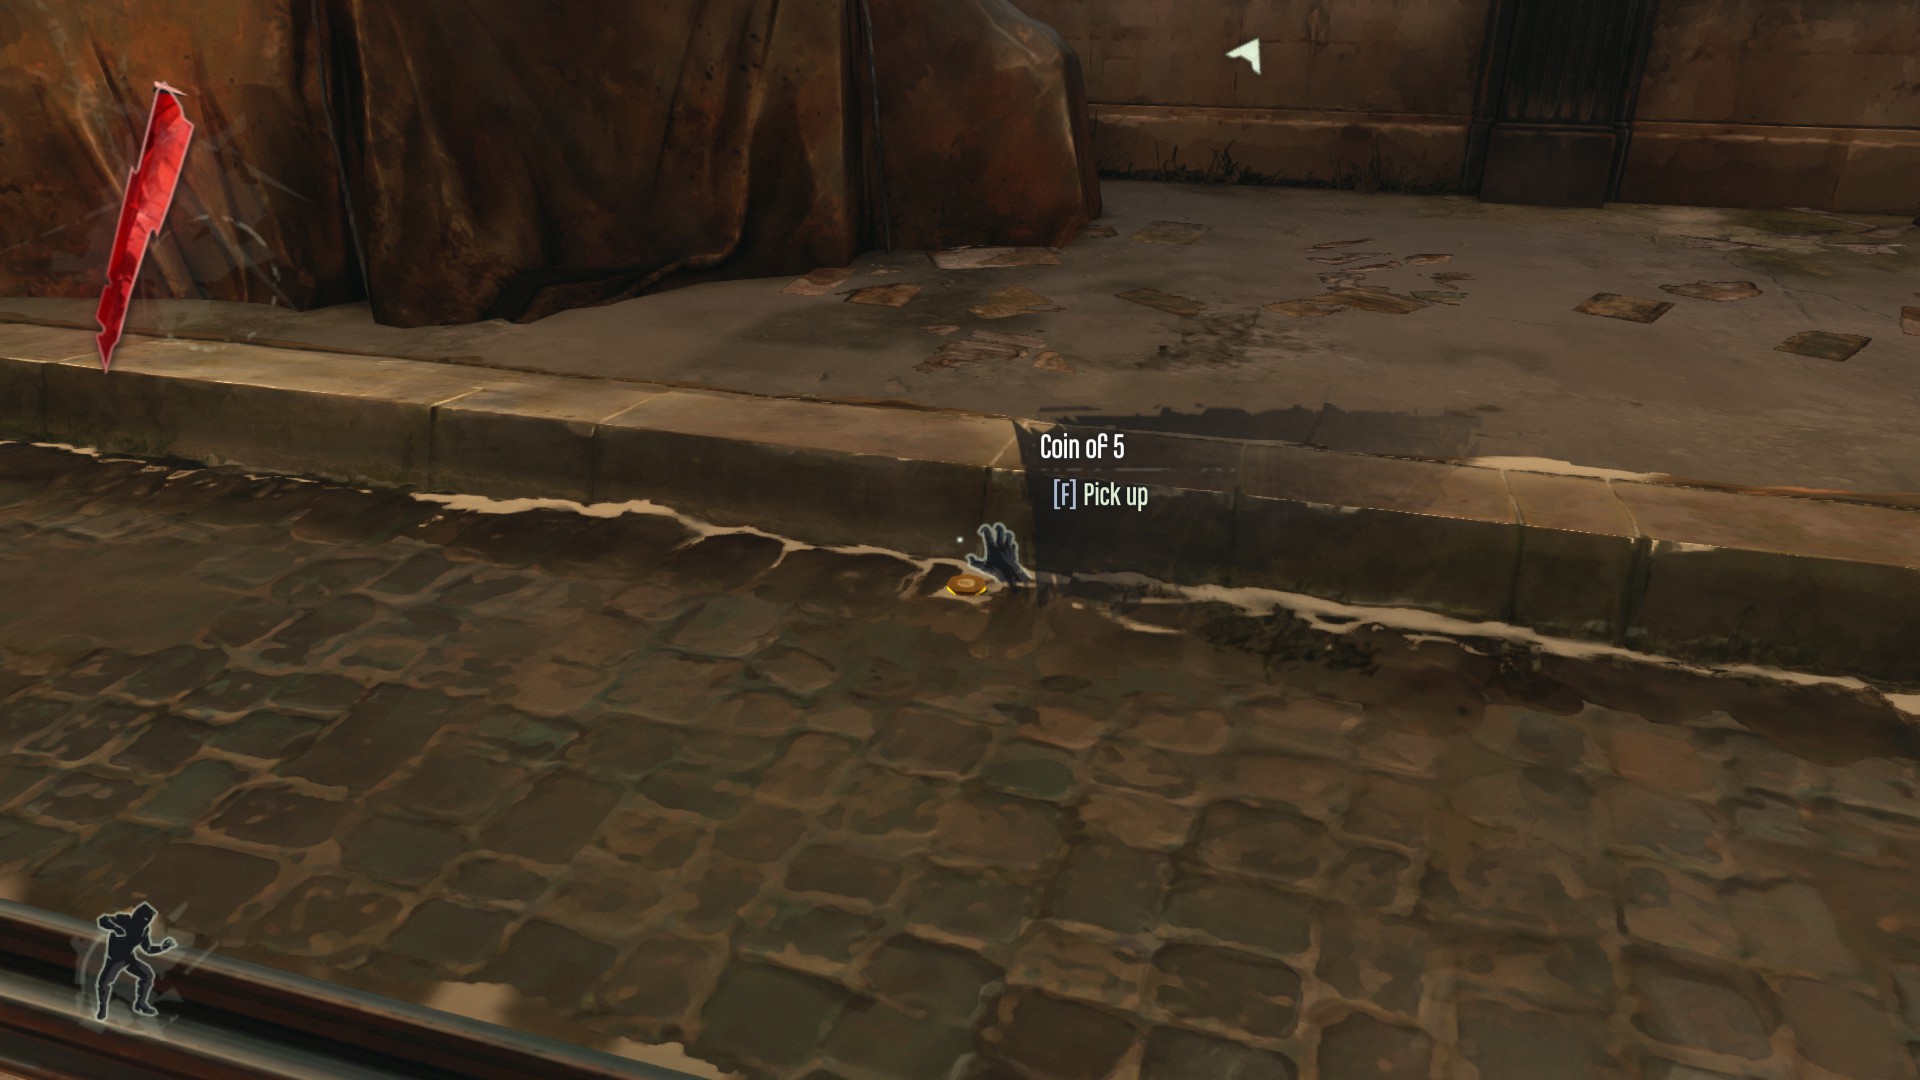
Turn around and face the pub. You will find a coin next to a curb and some crates.
(+5)
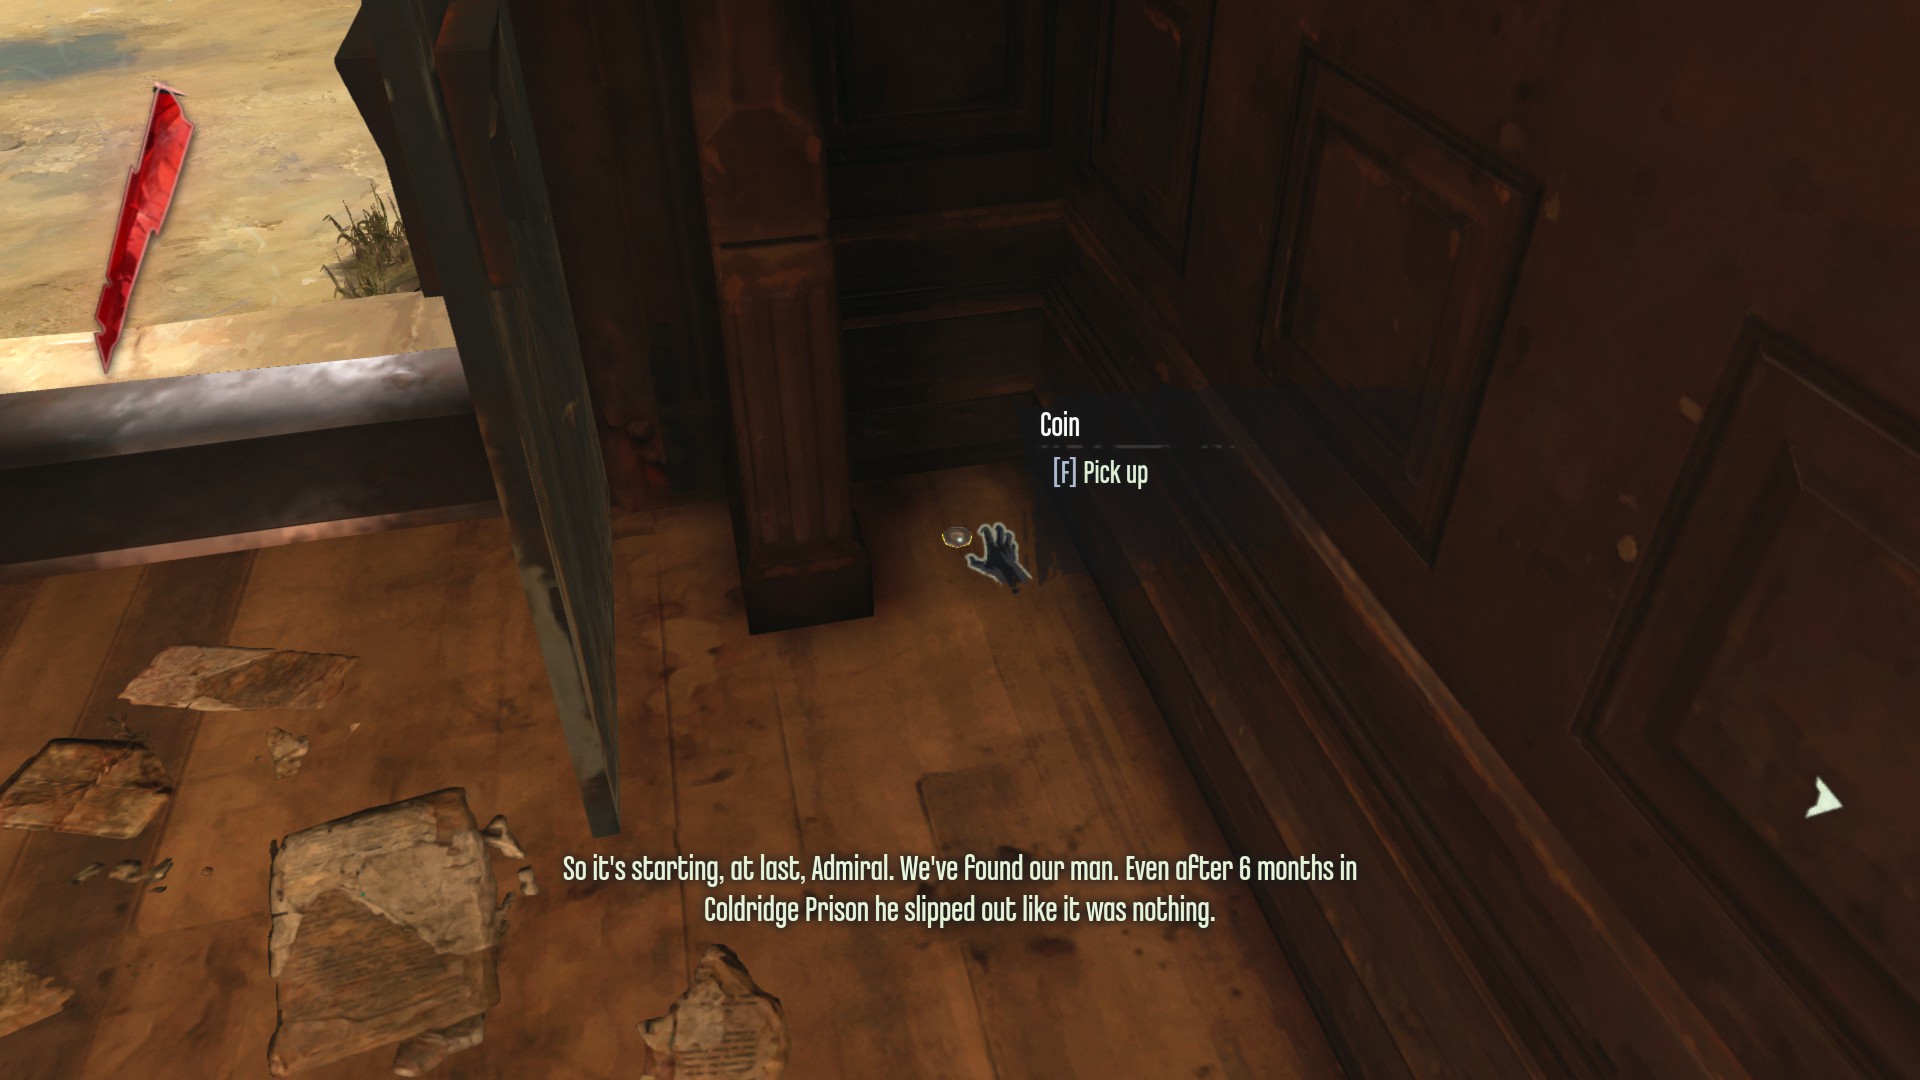
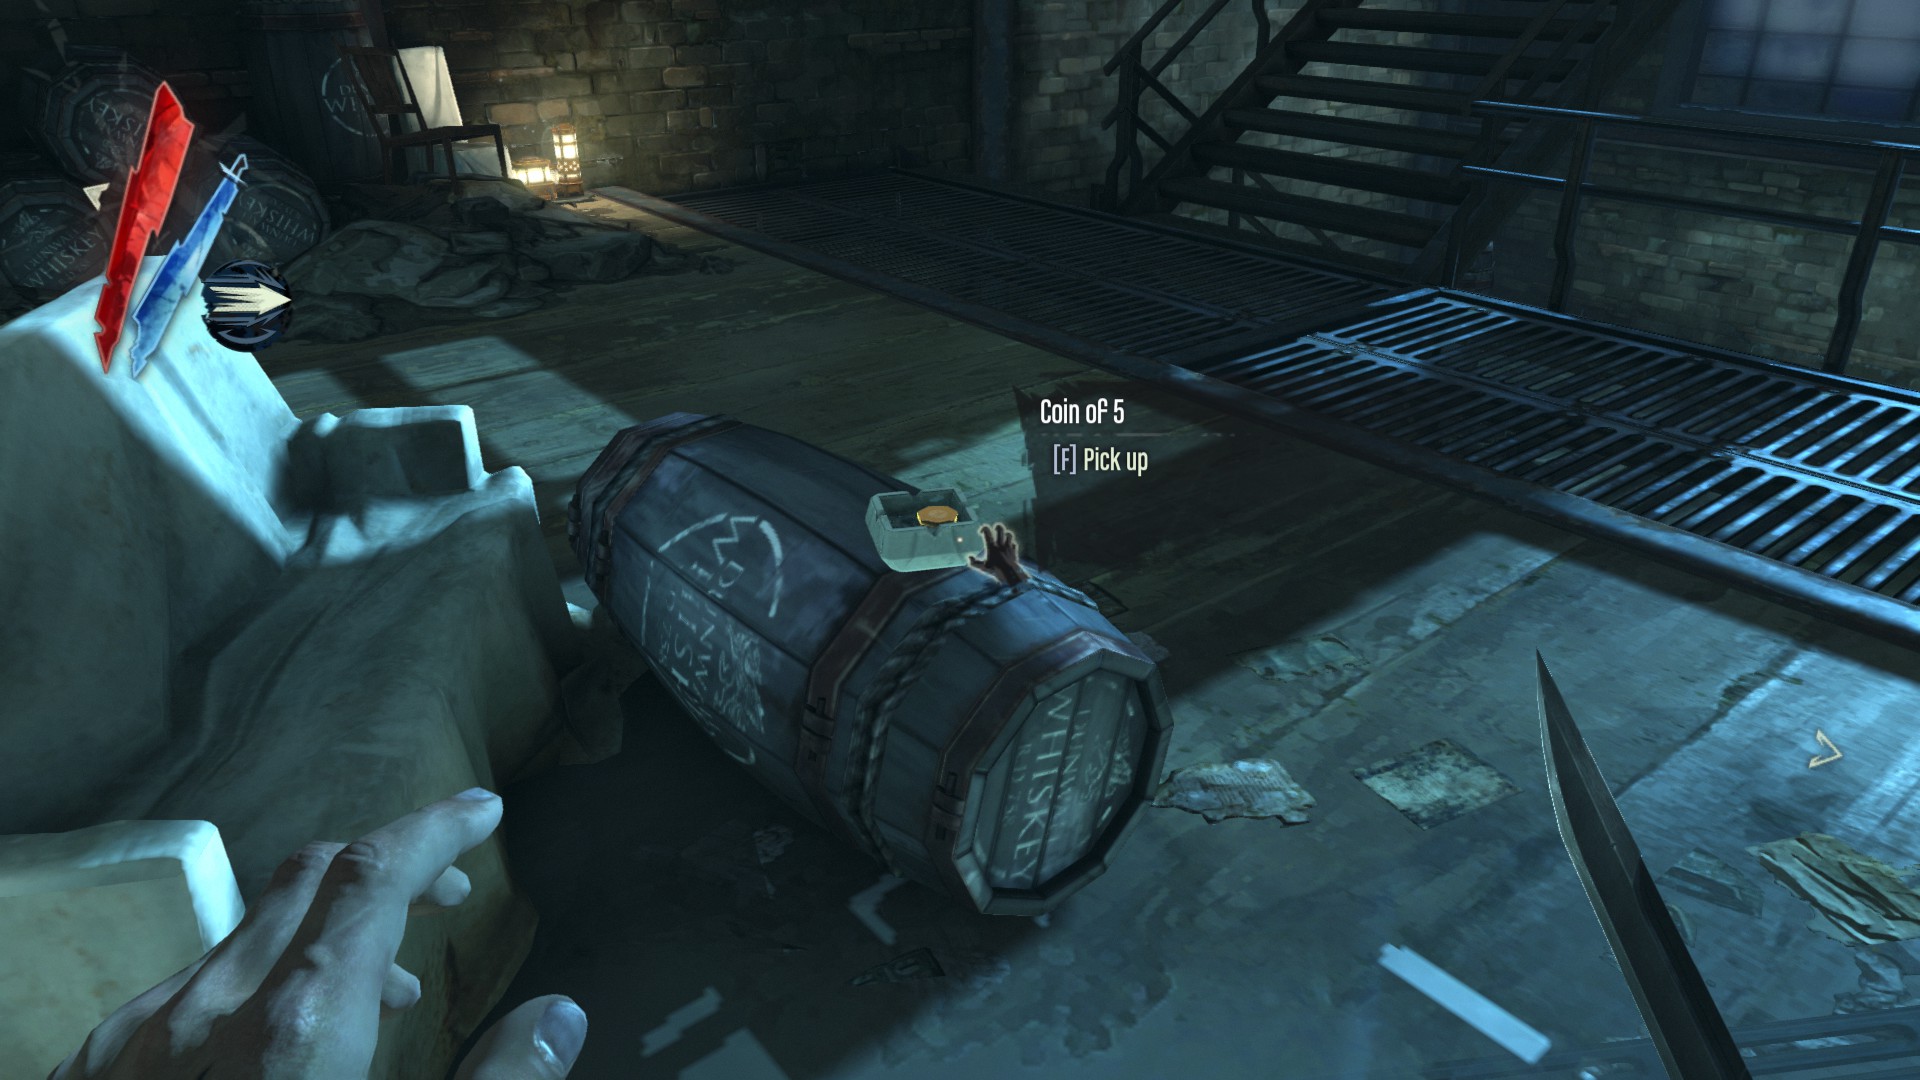
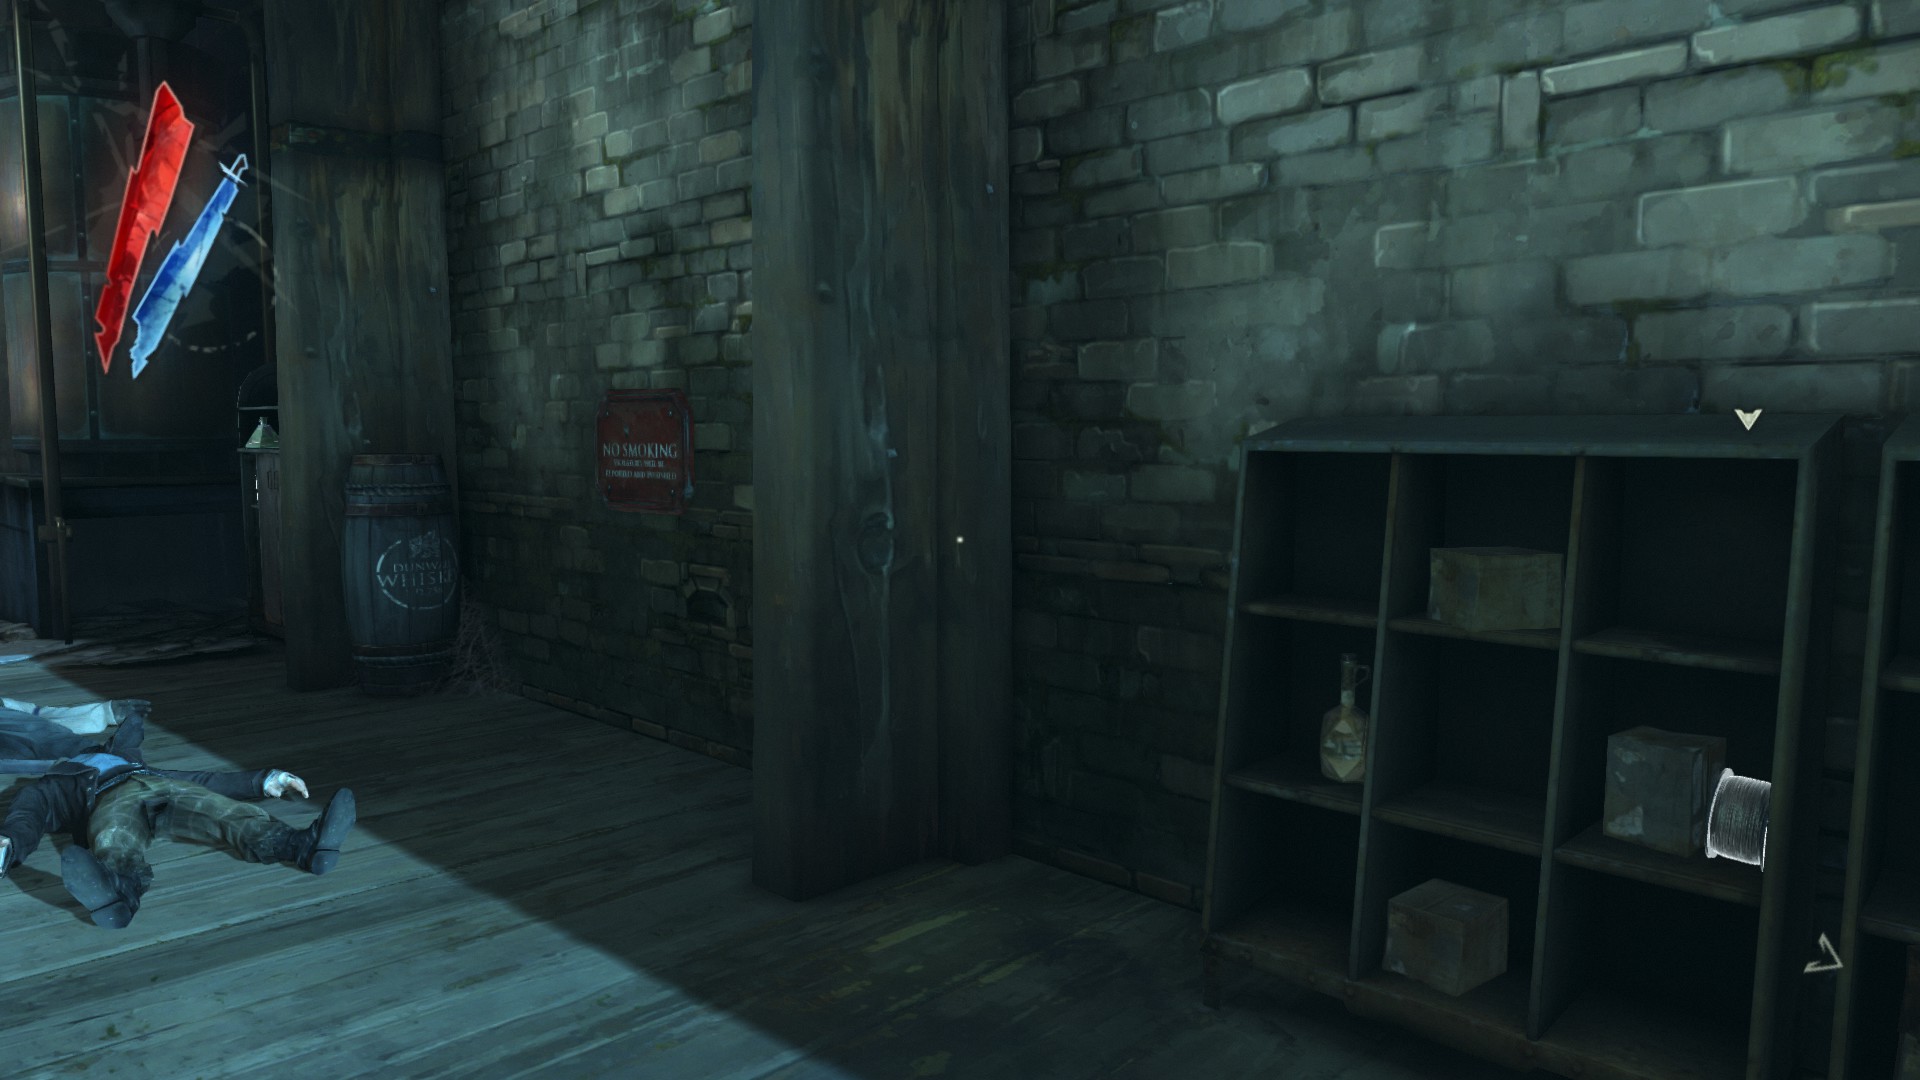
Now go back to the front of the building. There are two doors, go into the side door over on the right. A coin is on the floor, turn around immediately to find it.
(+1)
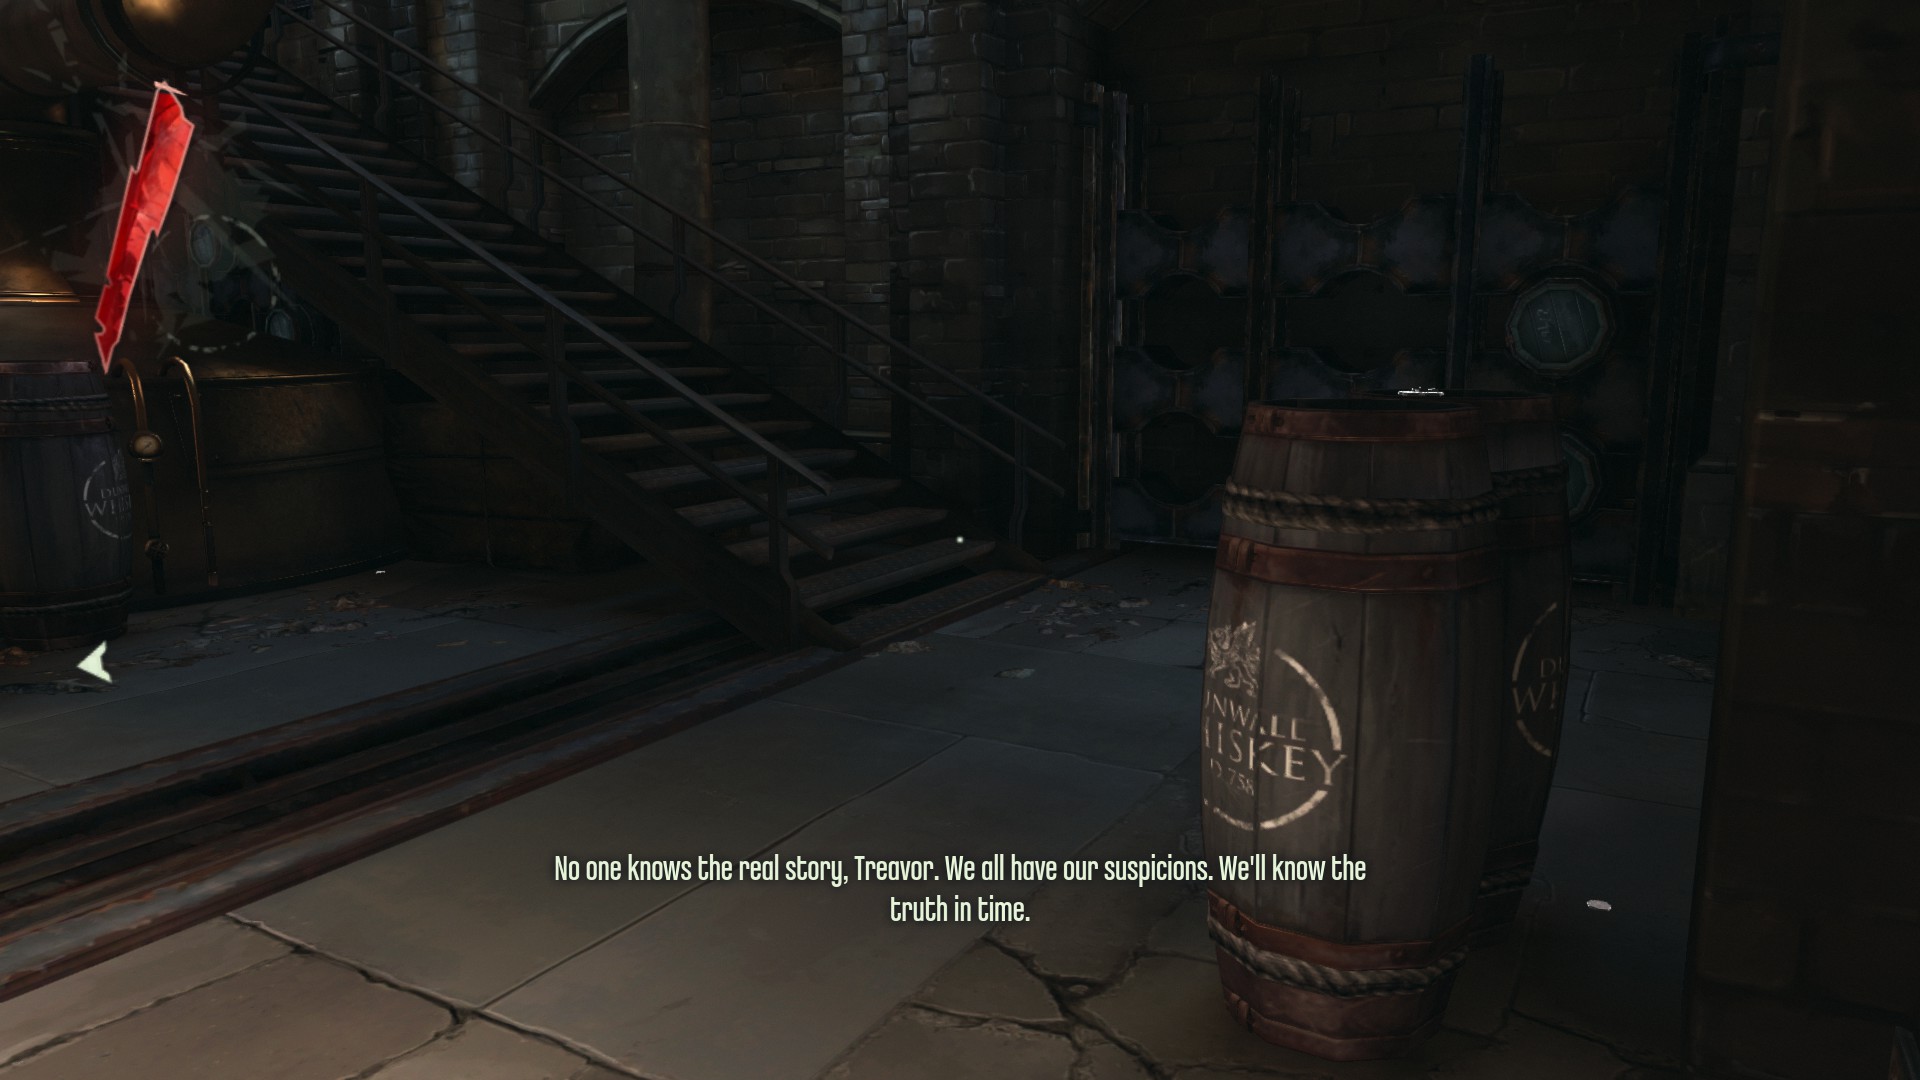
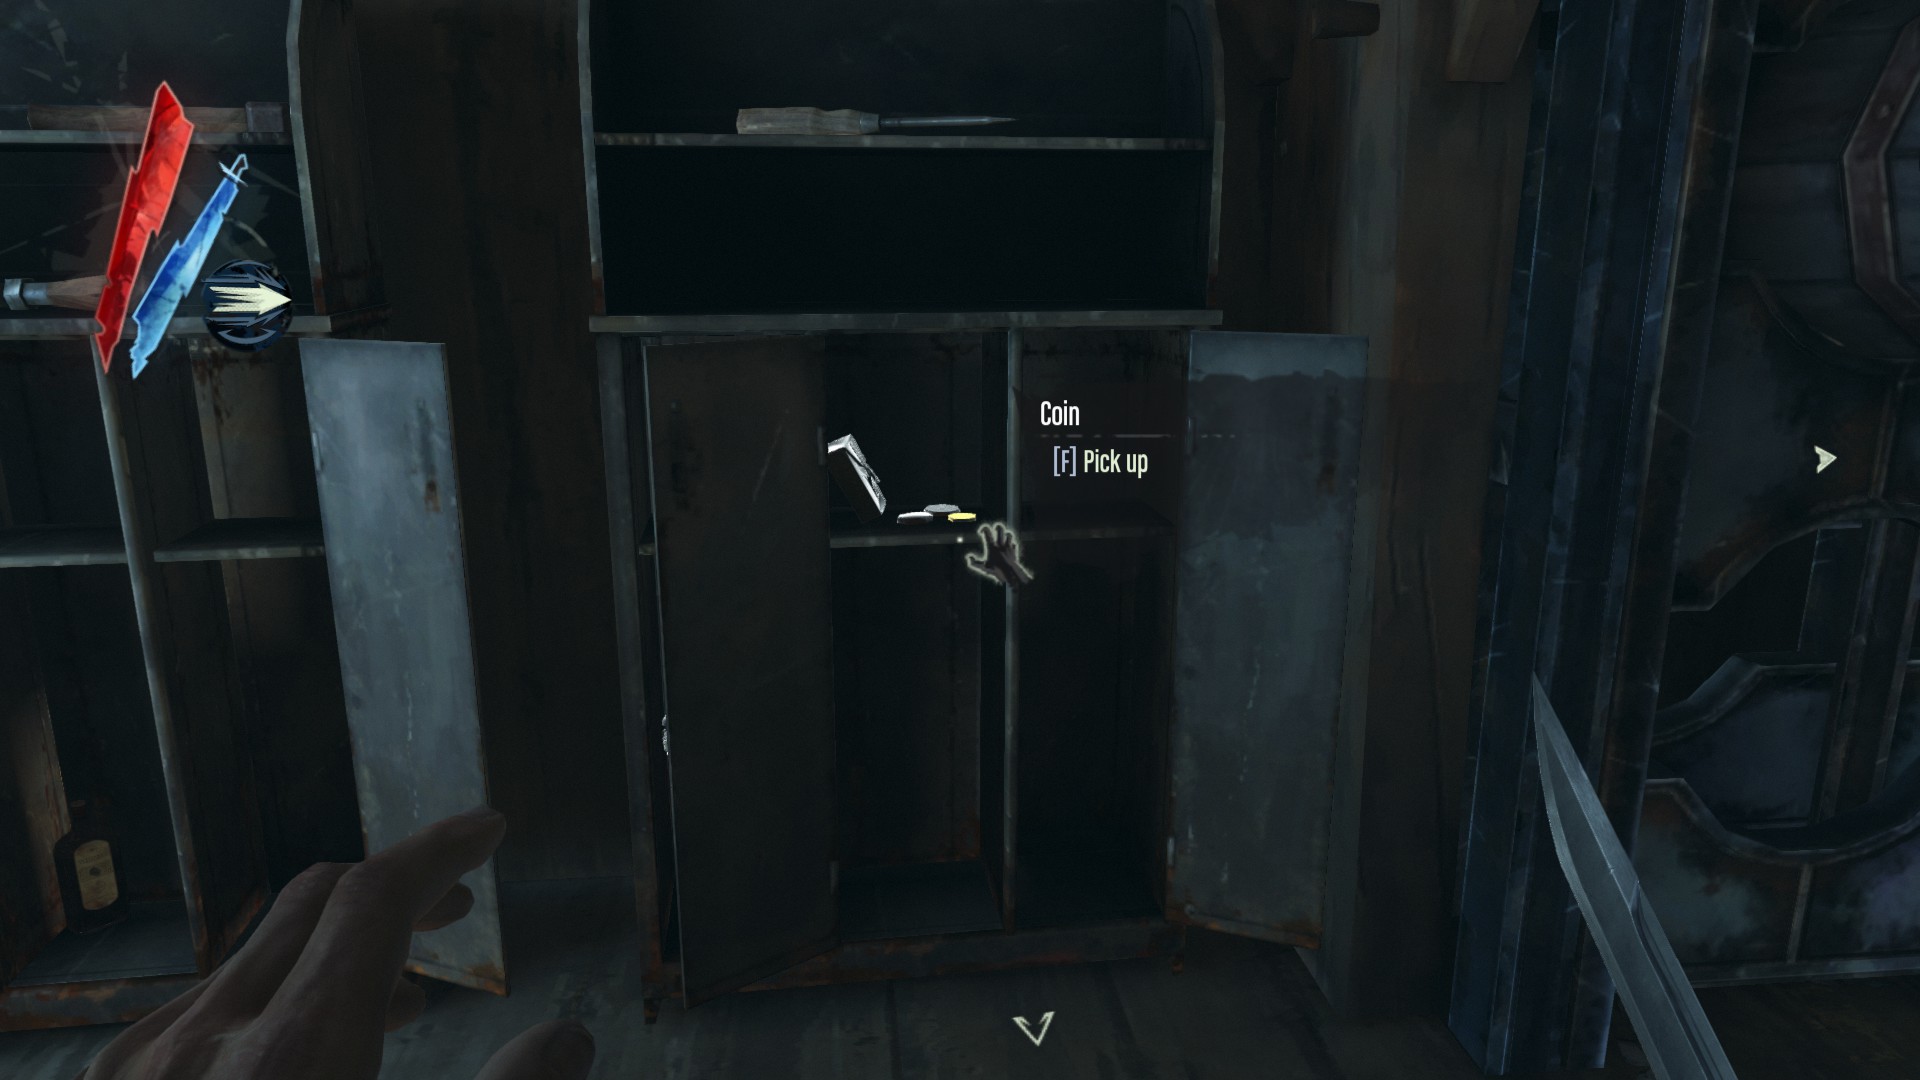
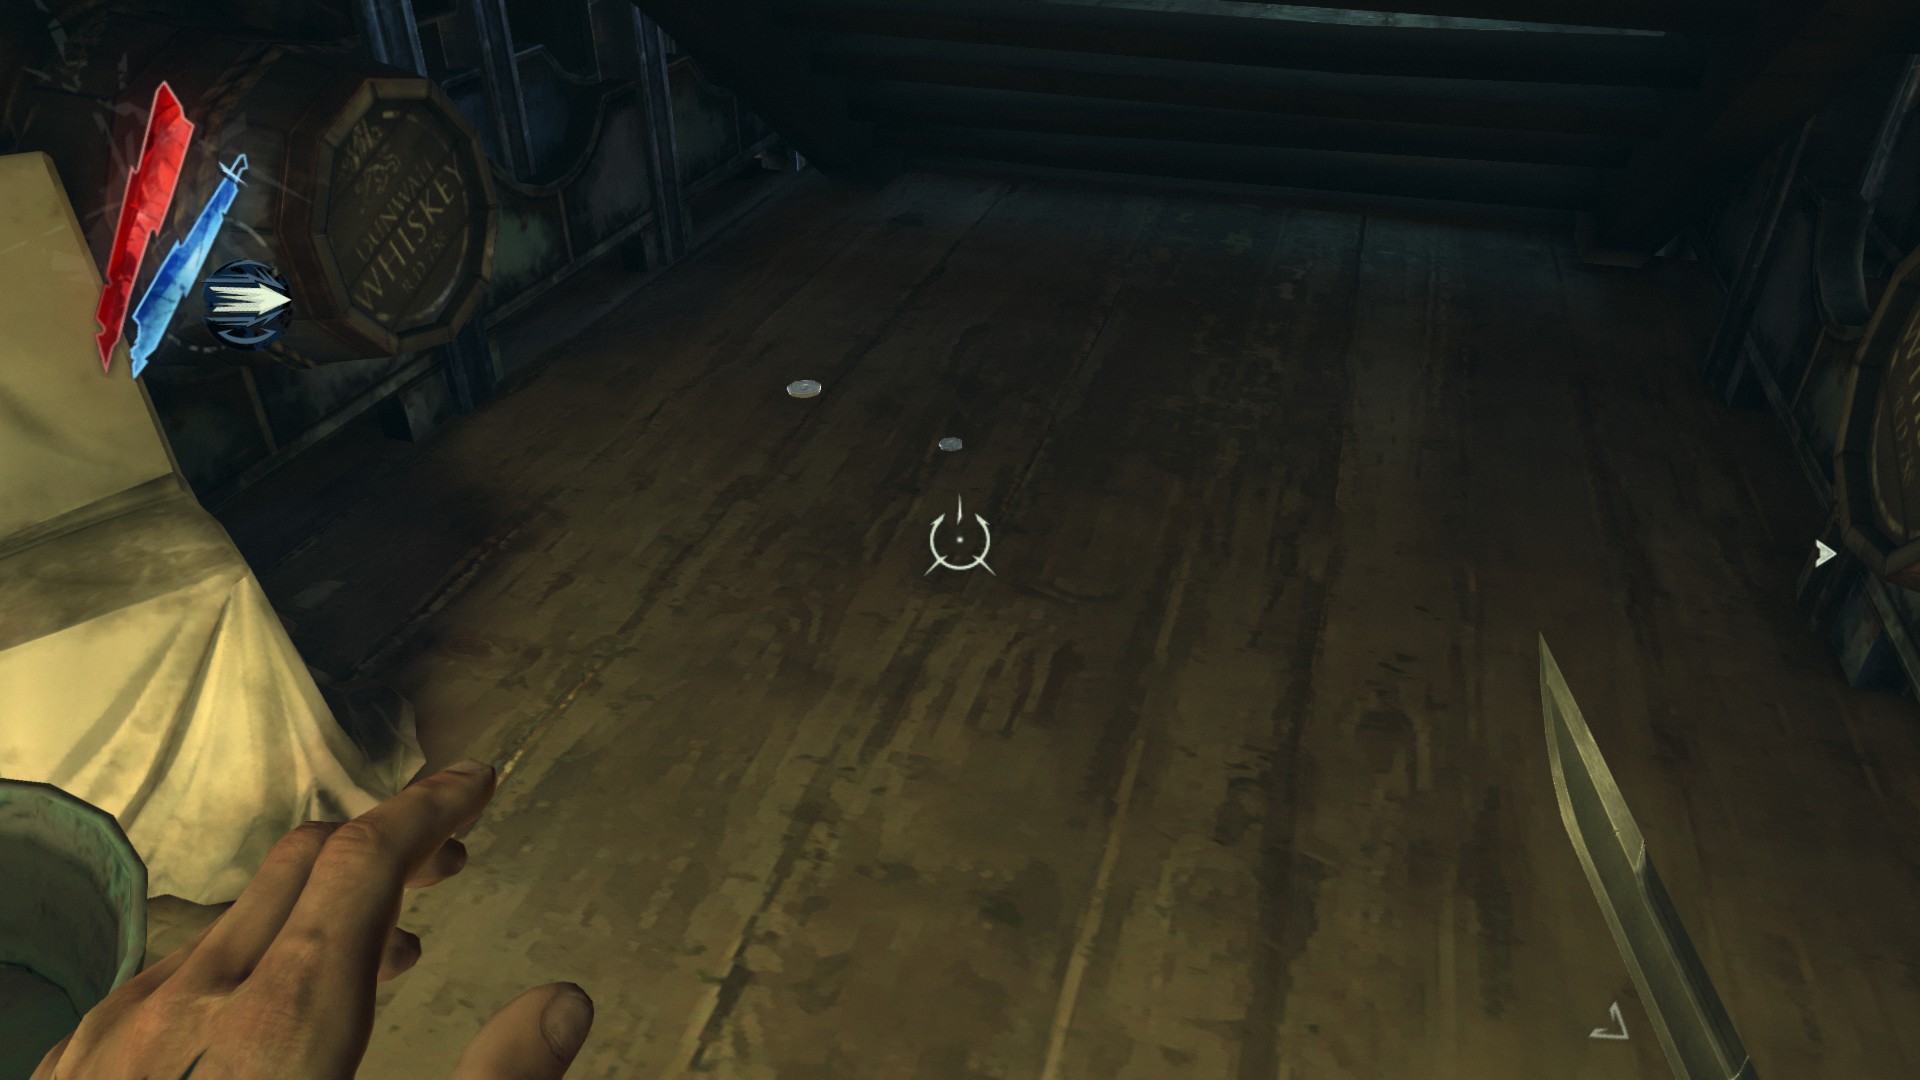
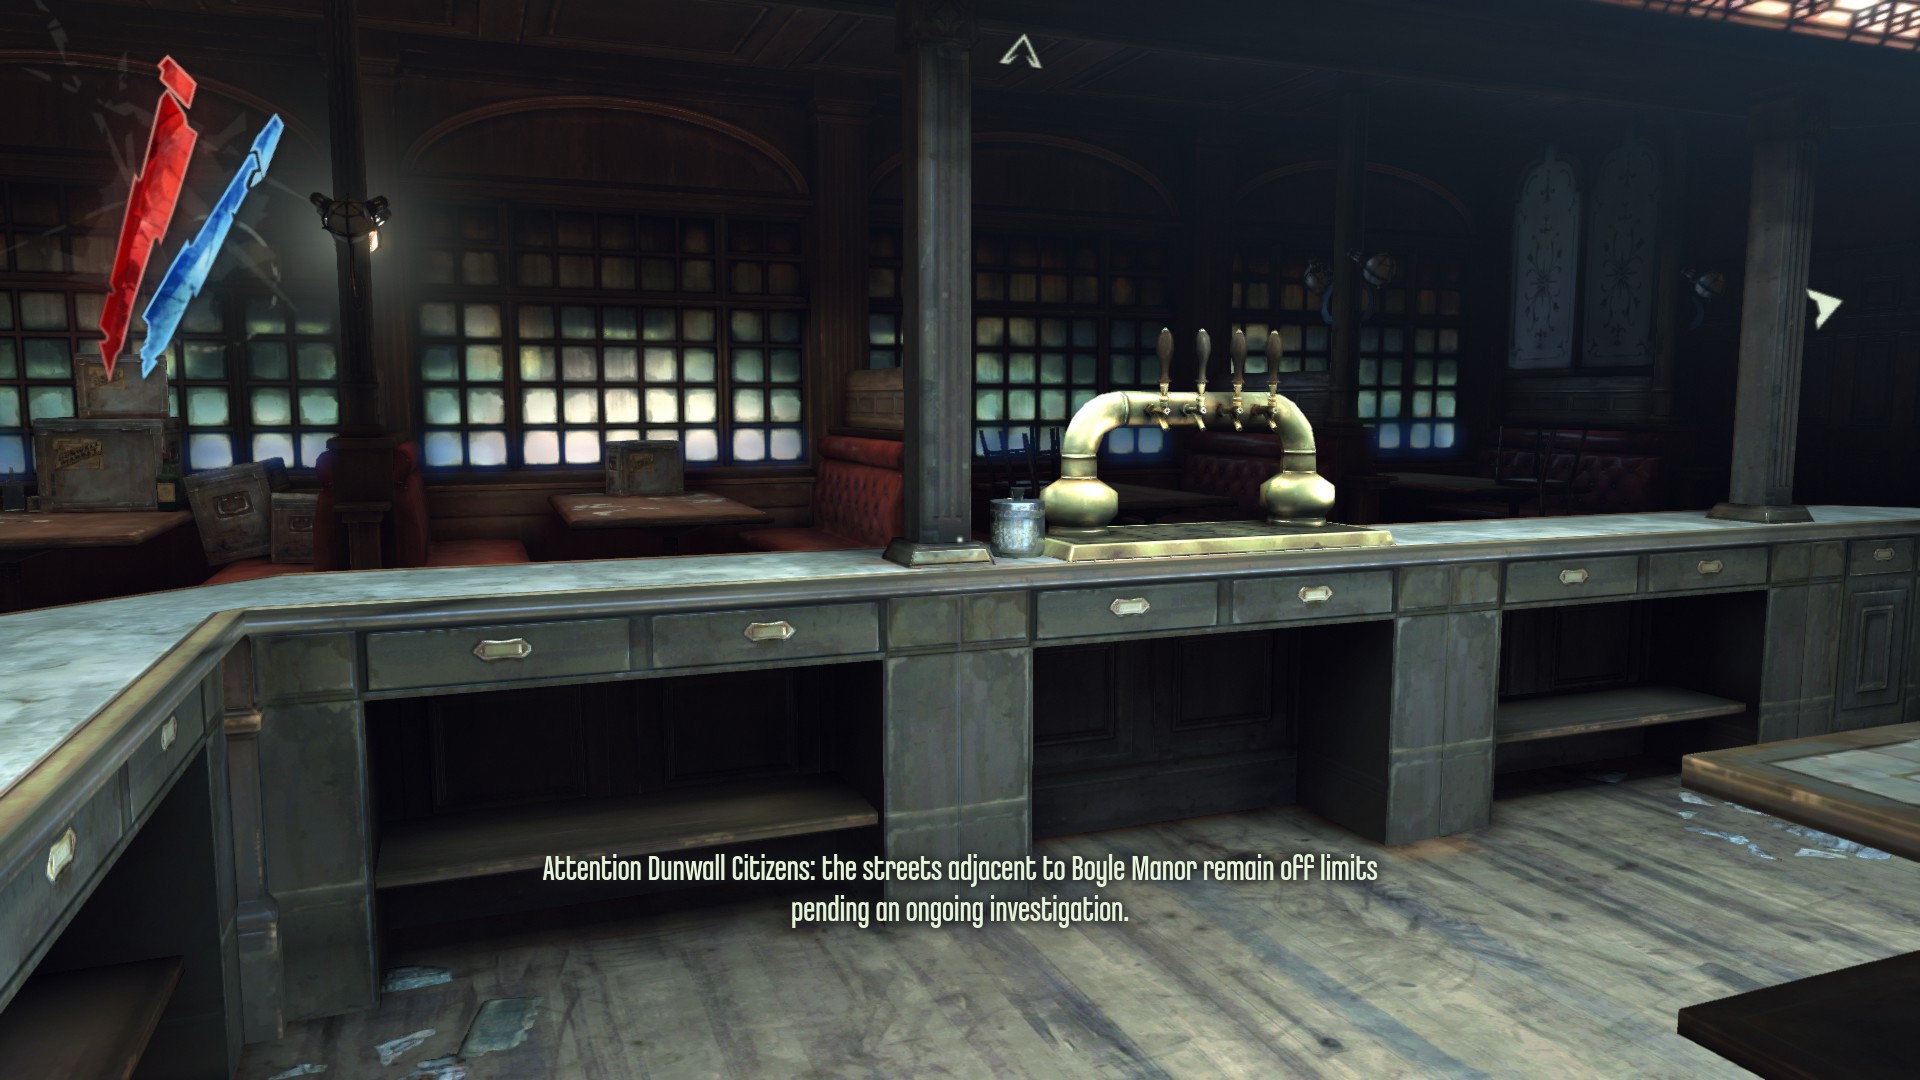
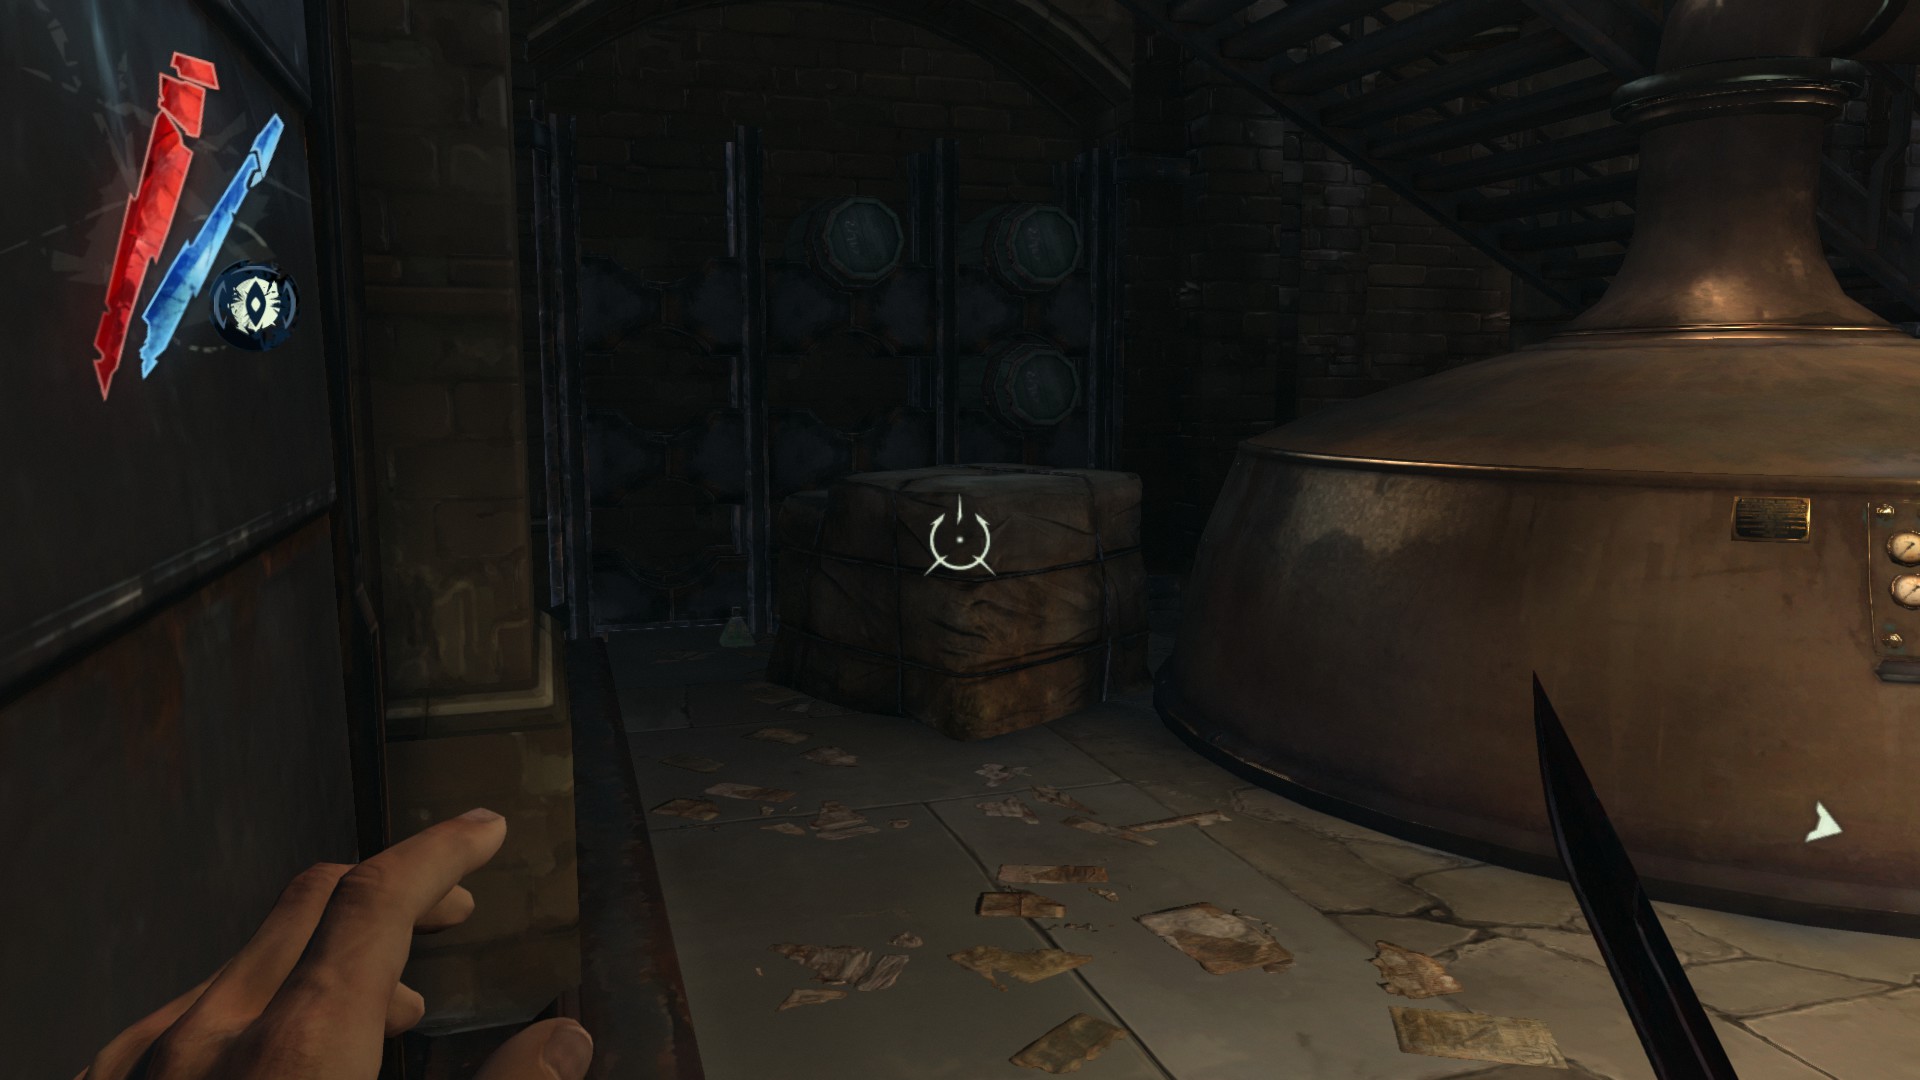
In the brewery, there are 7 coins on the top of the barrel and one coin on the floor below it. Turn around, there is another coin here on the floor next to a barrel.
(+9)
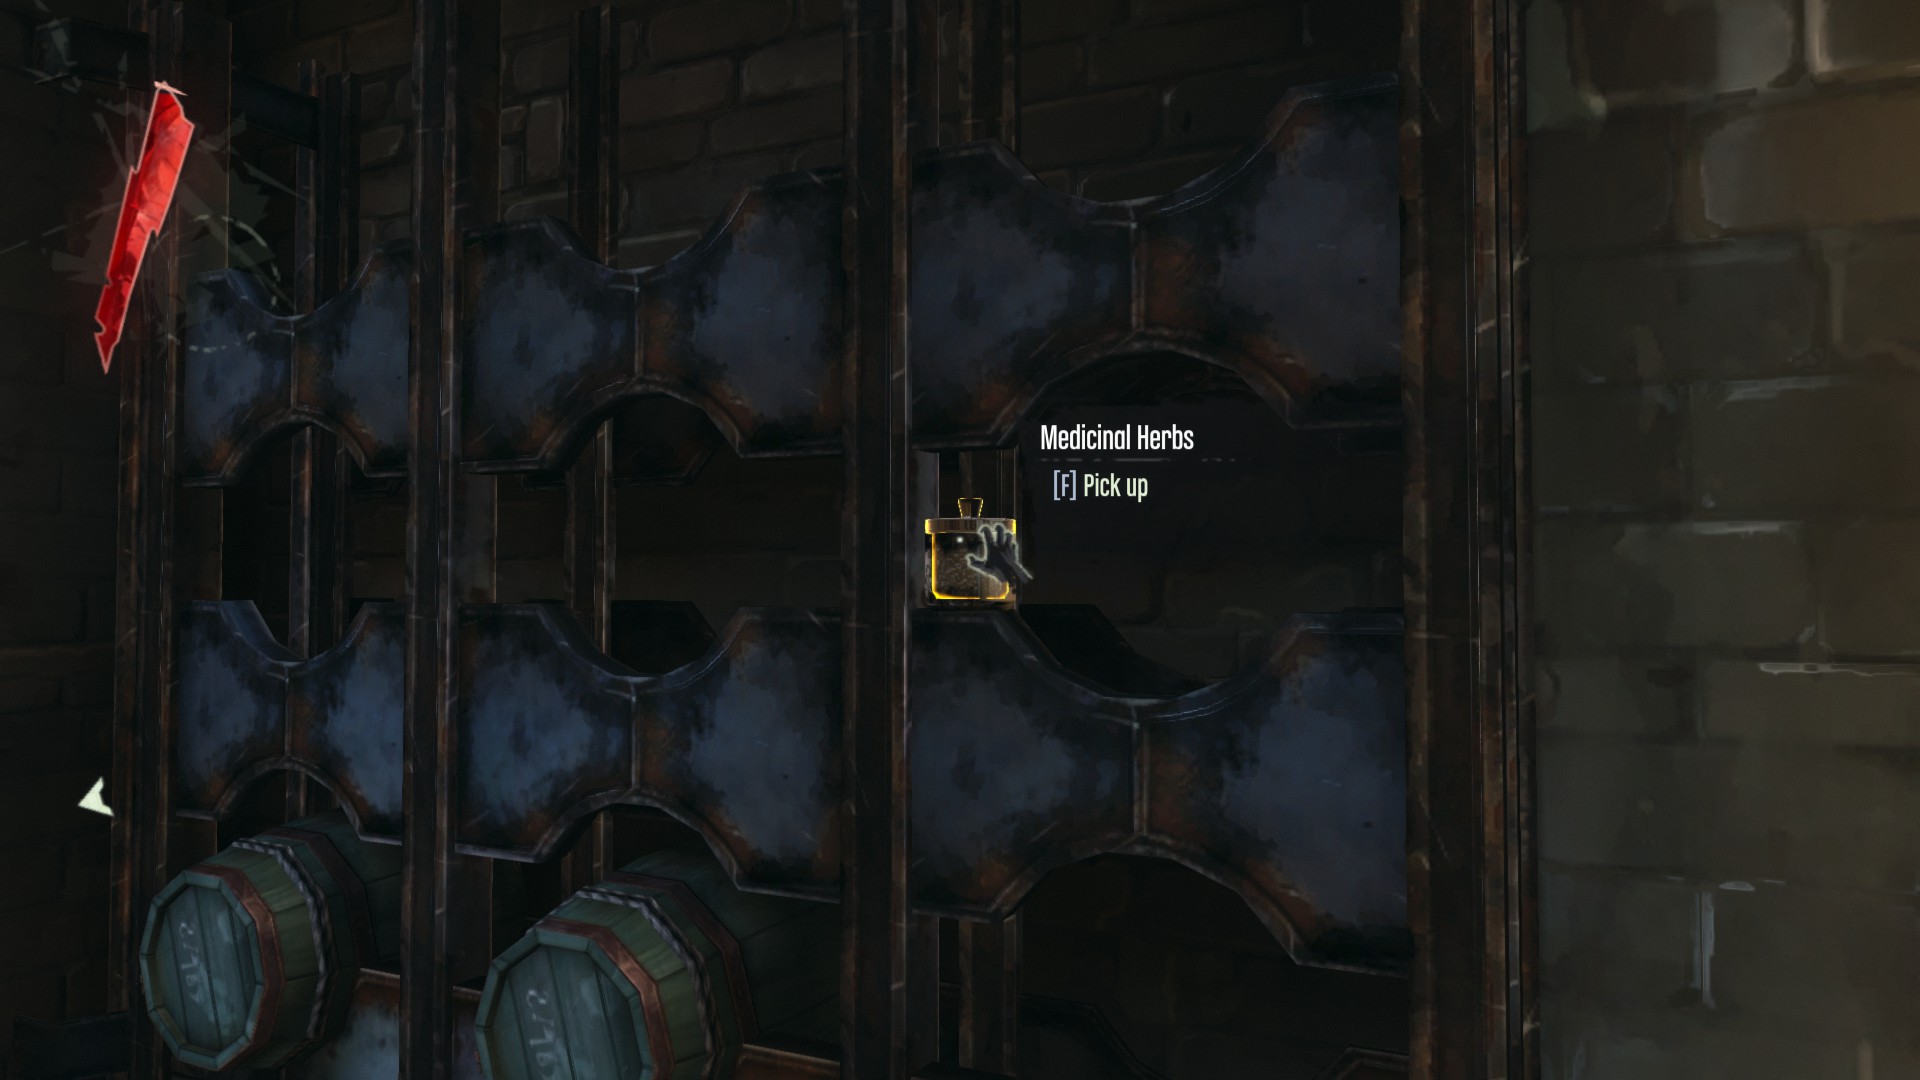
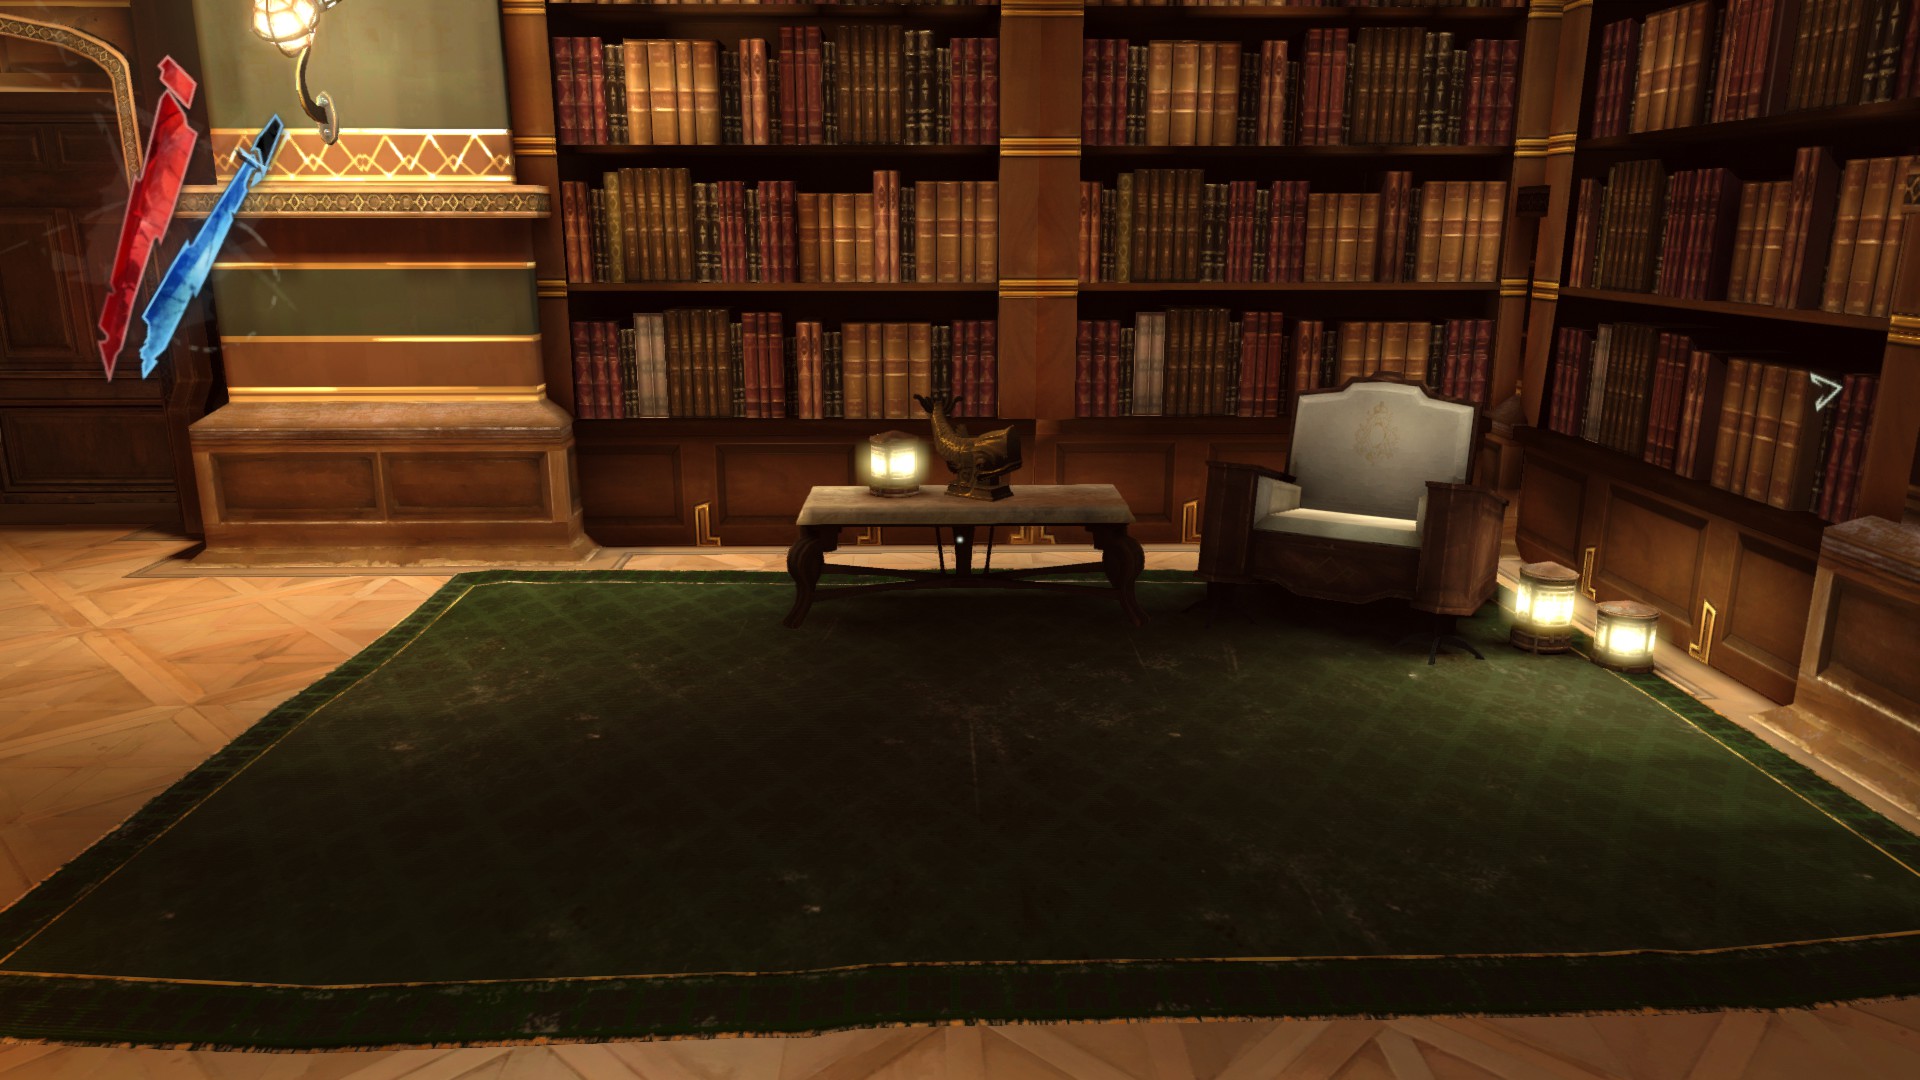
In the same room, go up staircase and follow the catwalk all the way around, there is a shelf for whiskey barrels here. One slot of the shelf is a medicinal herbs.
(+20)
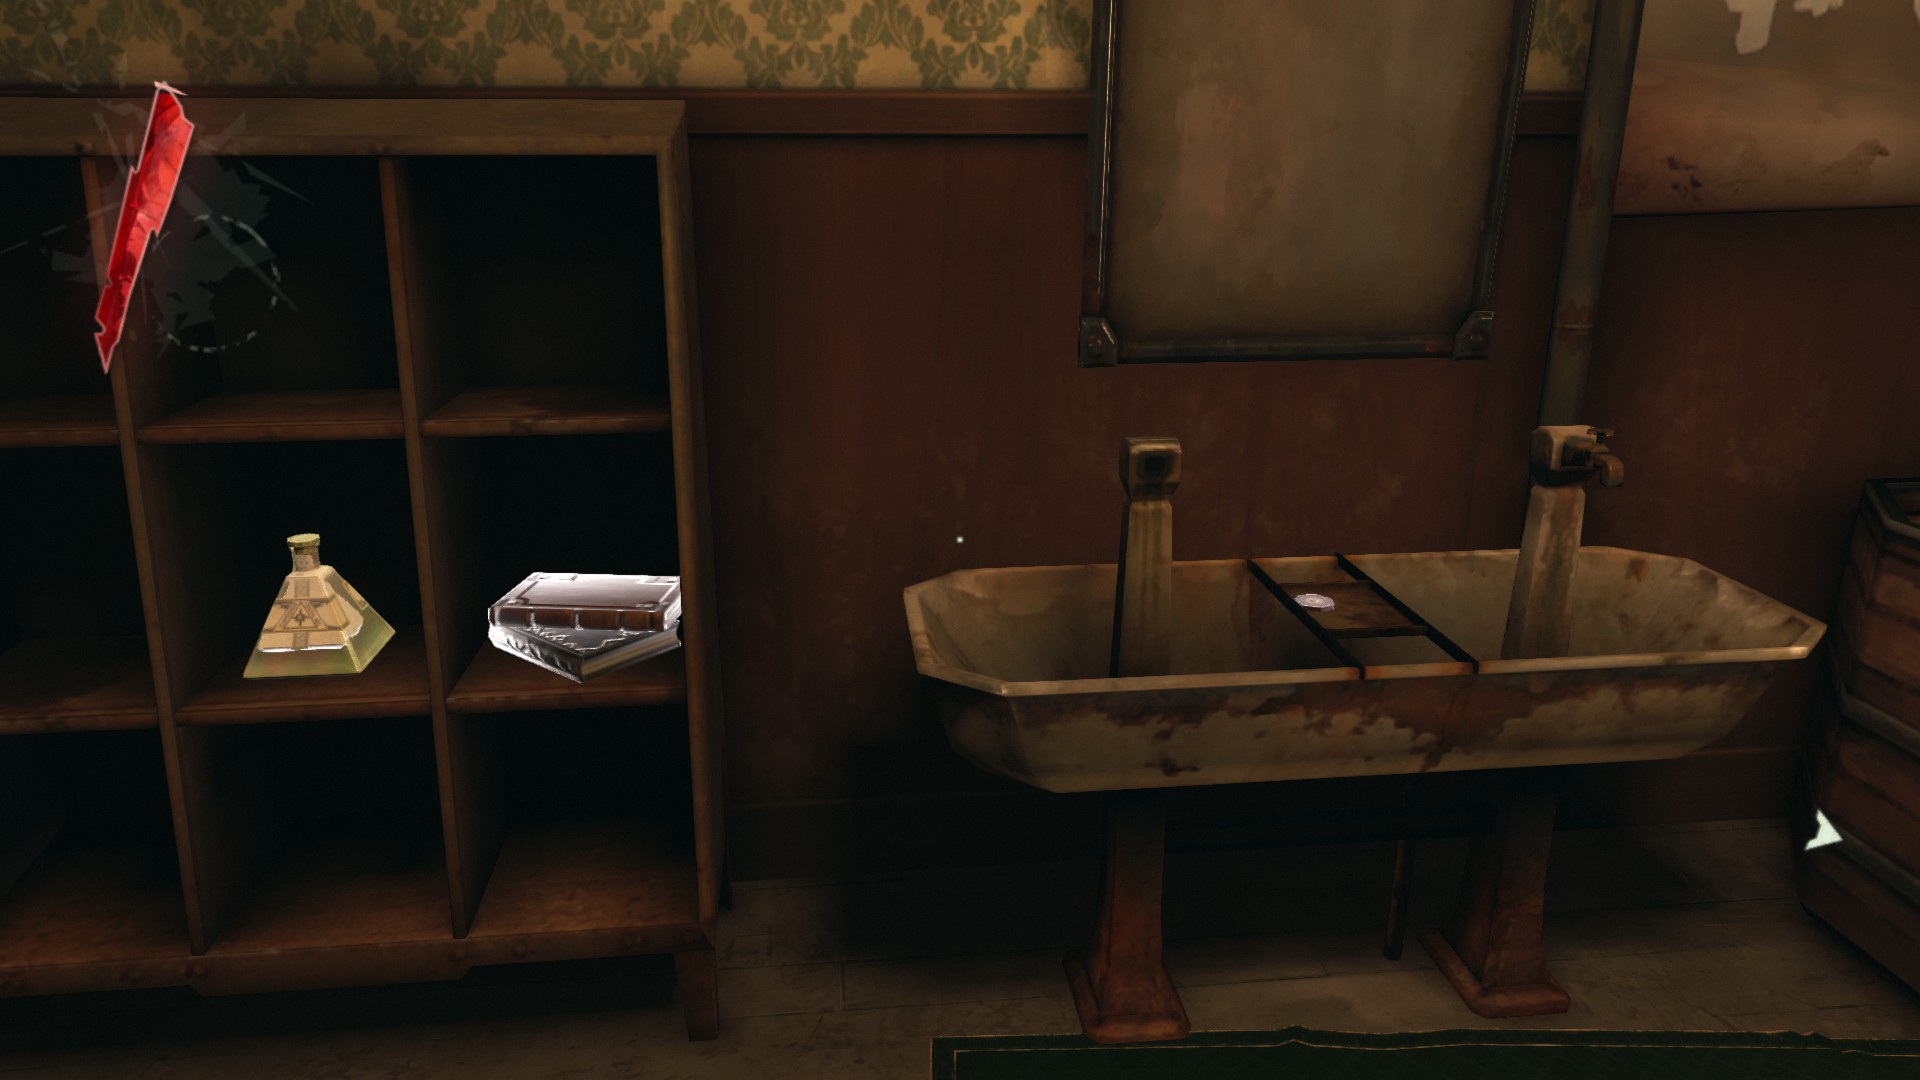
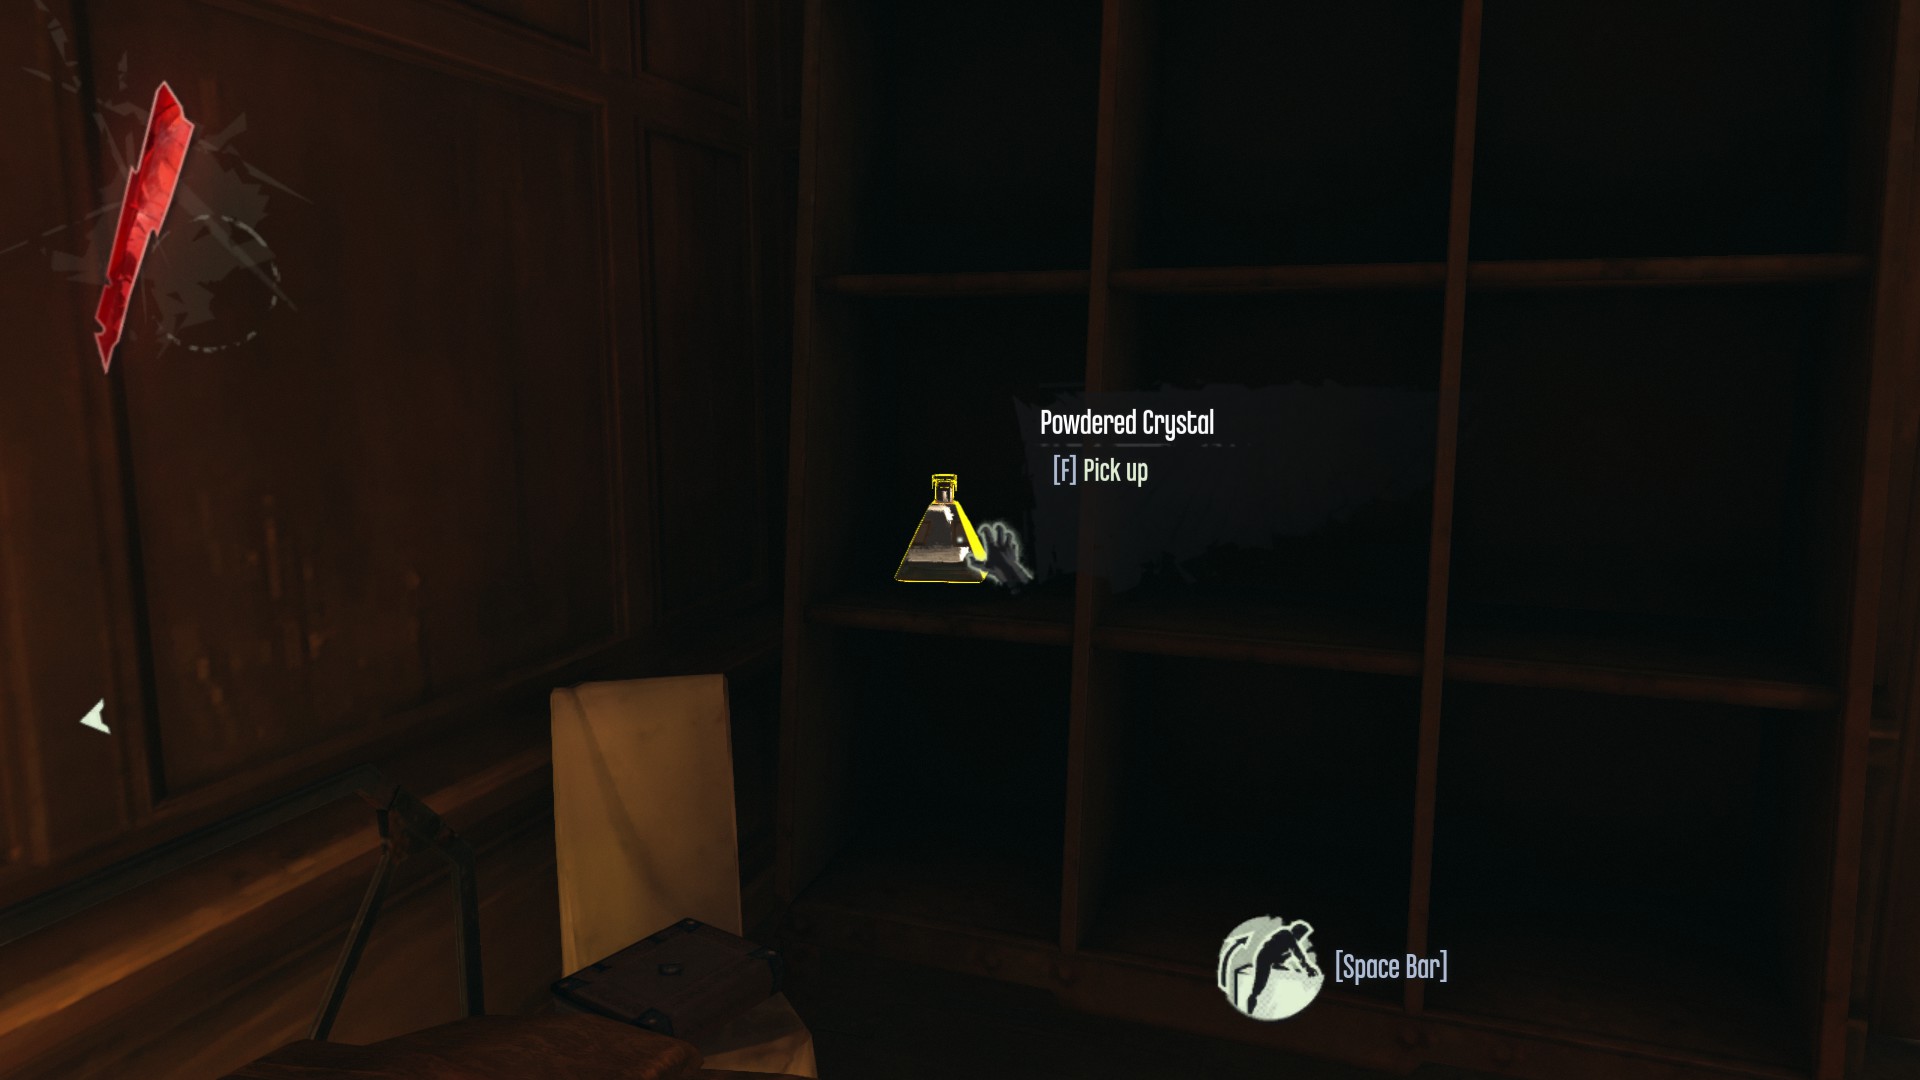
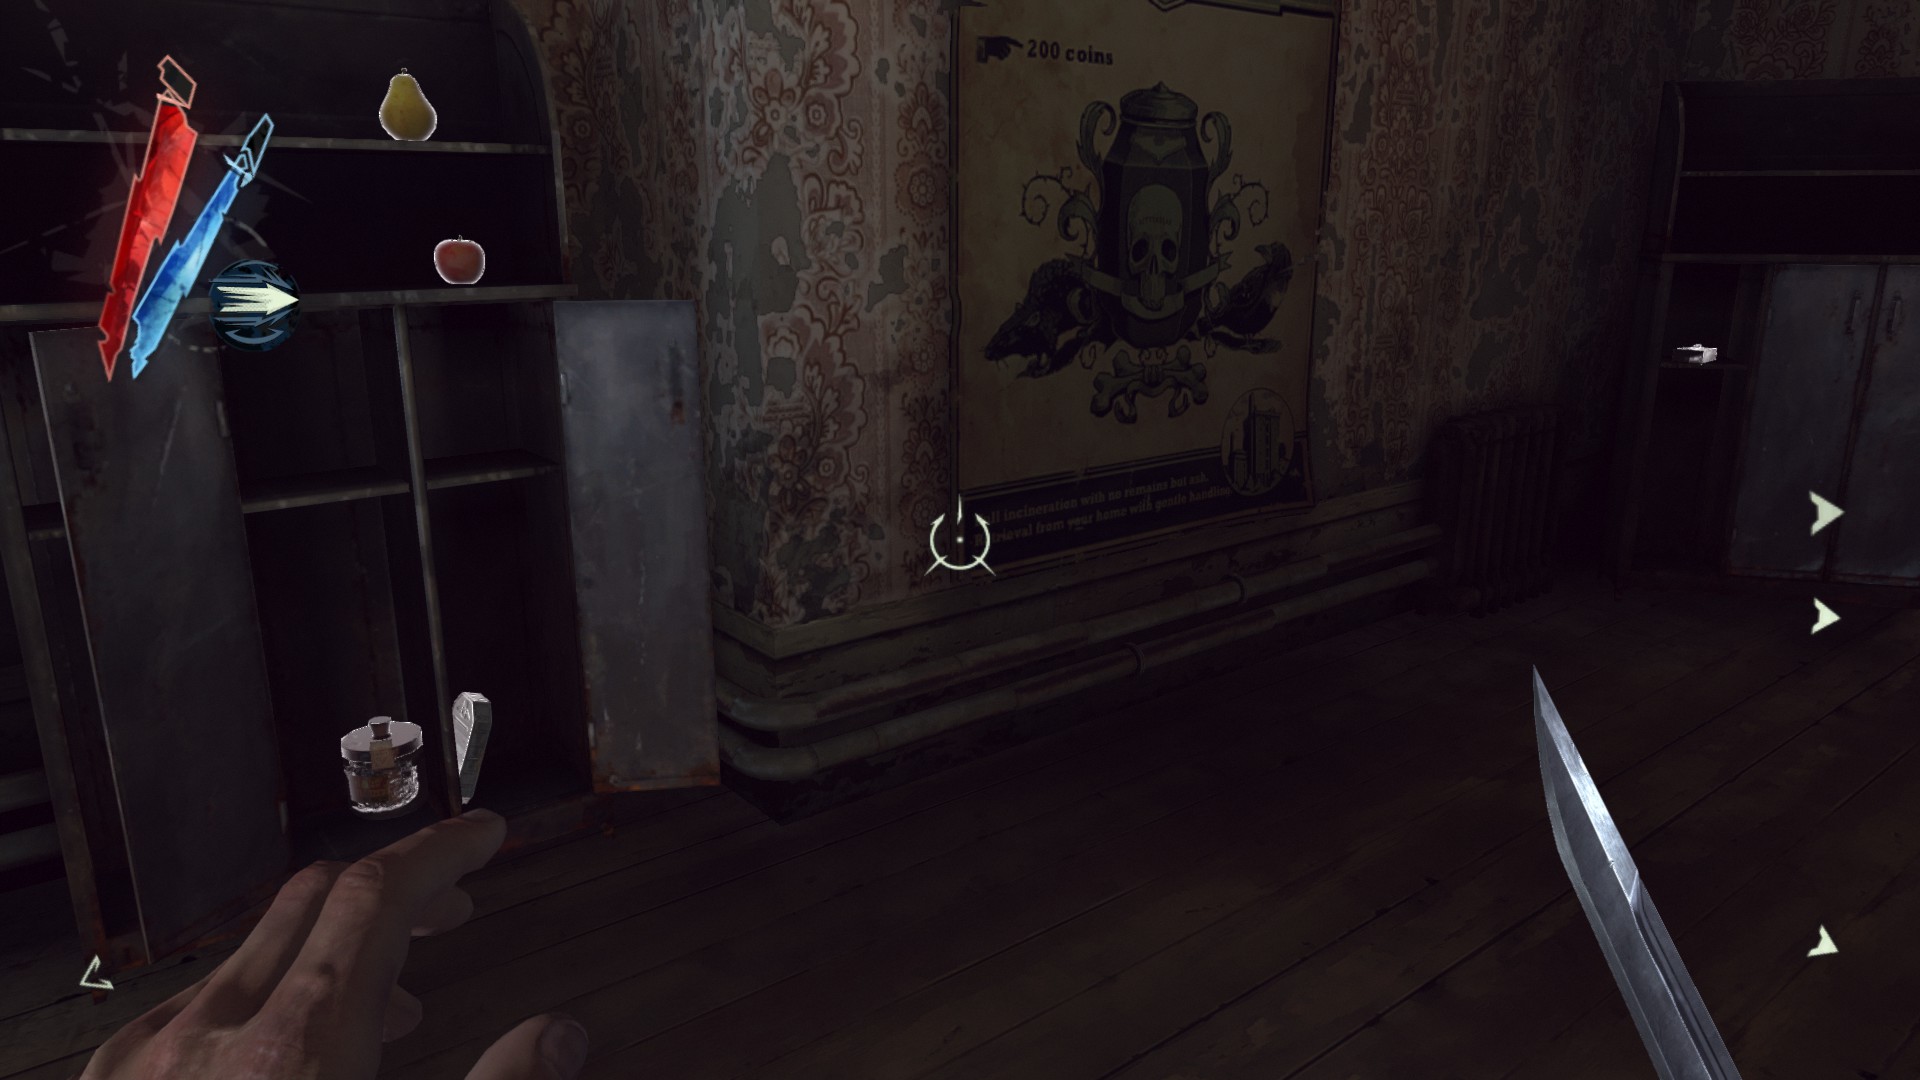
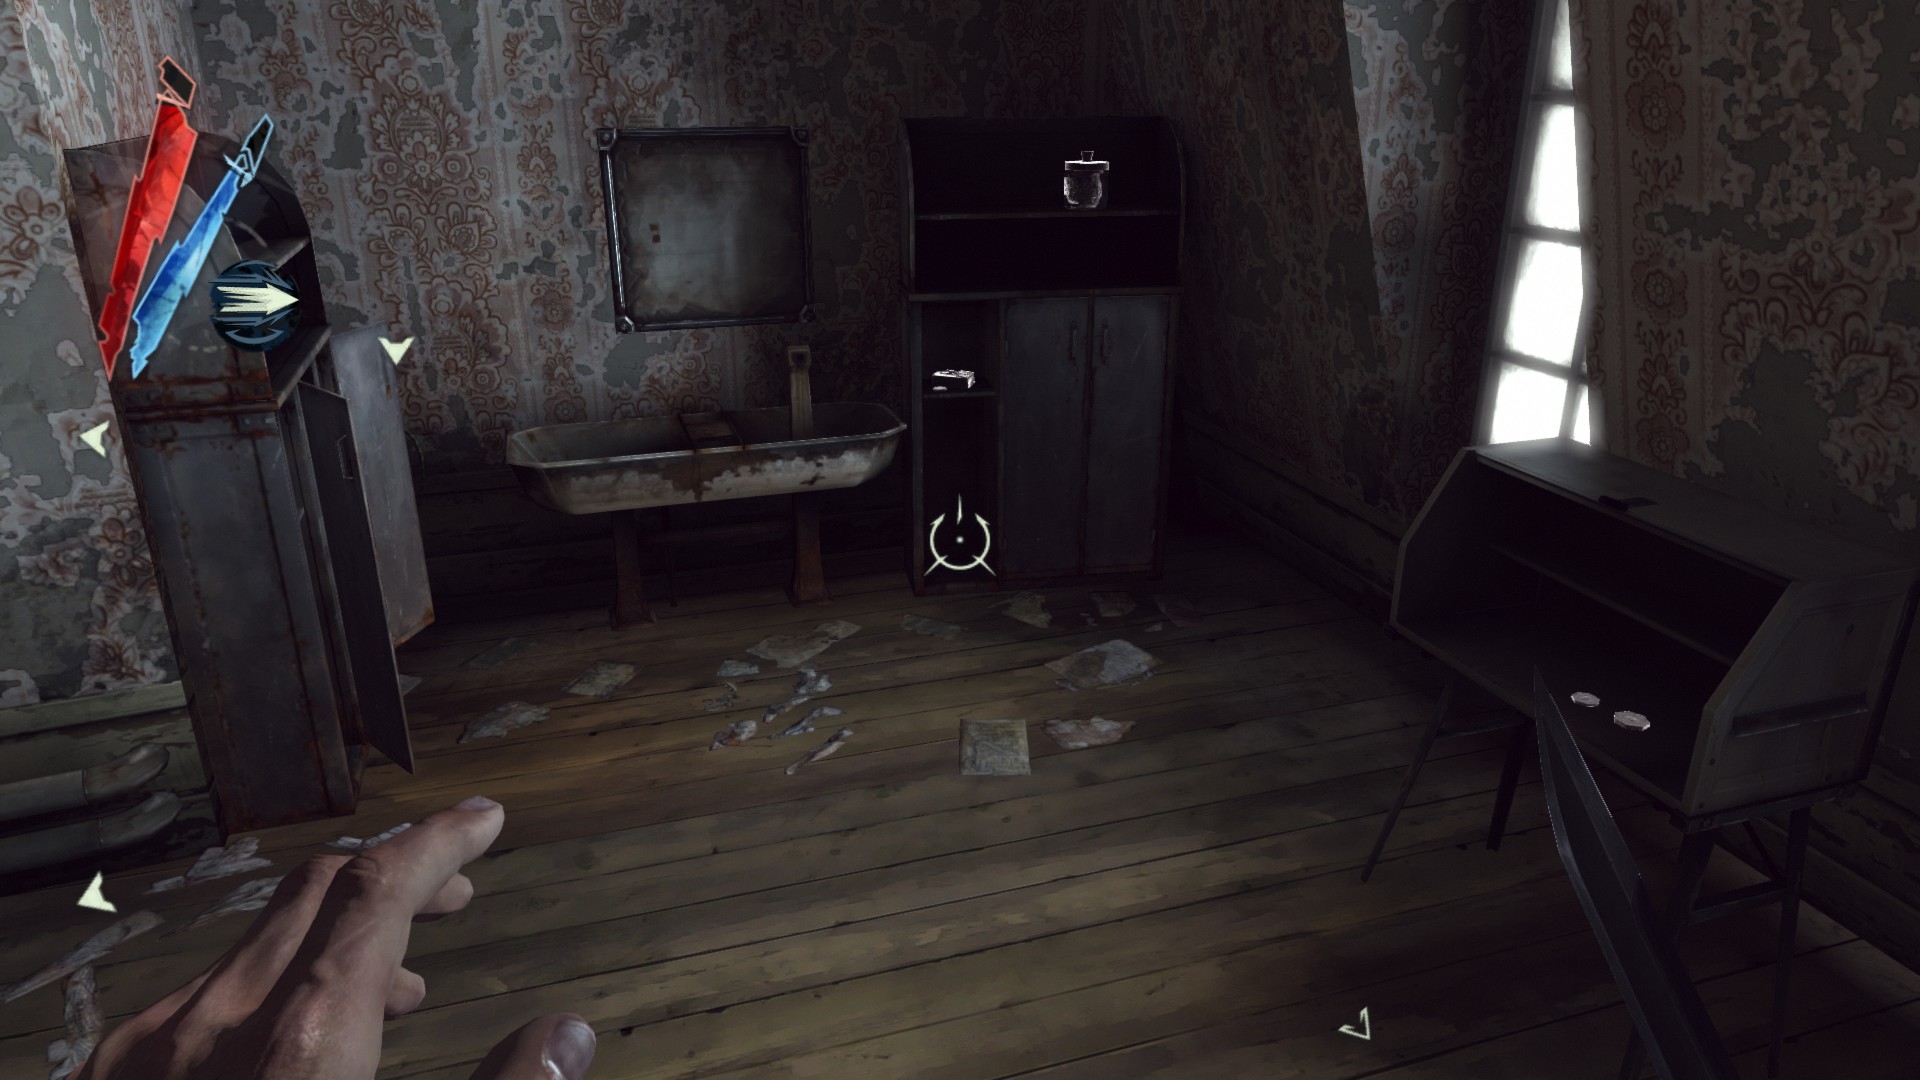
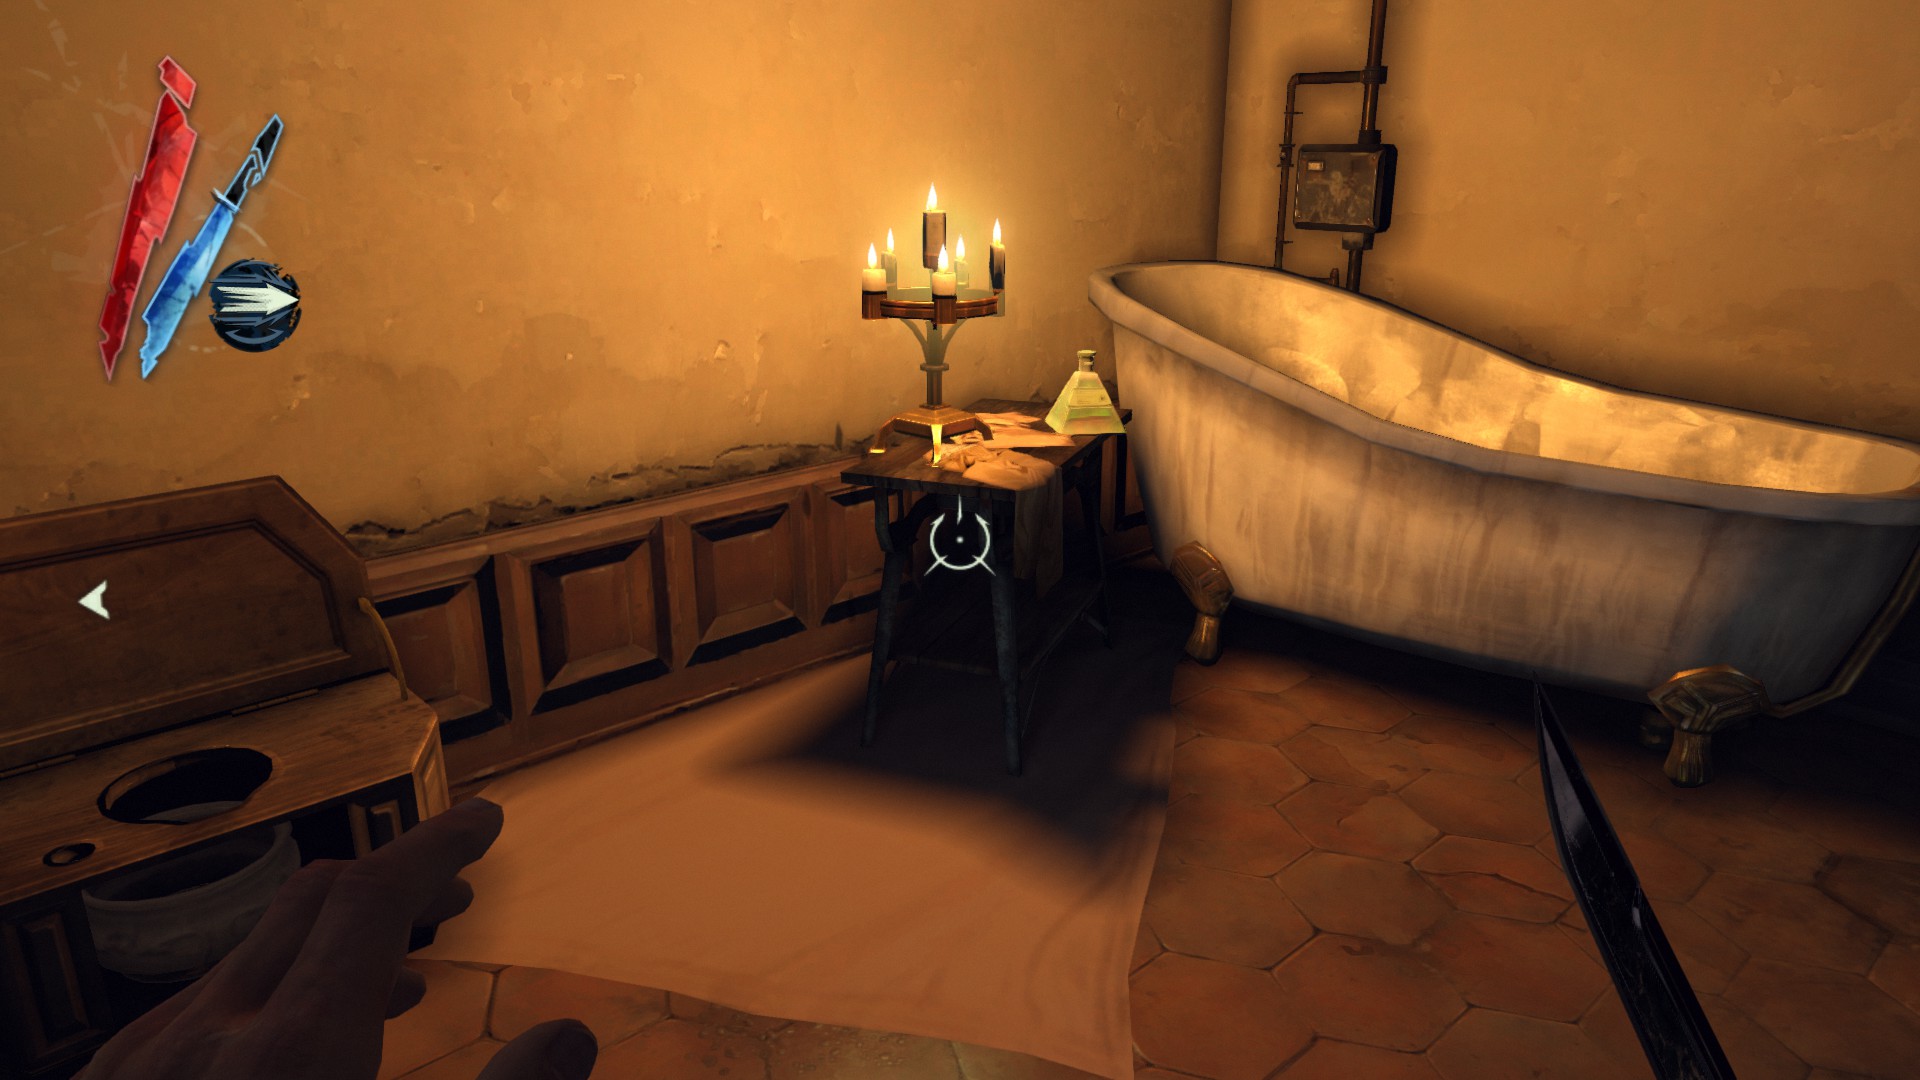
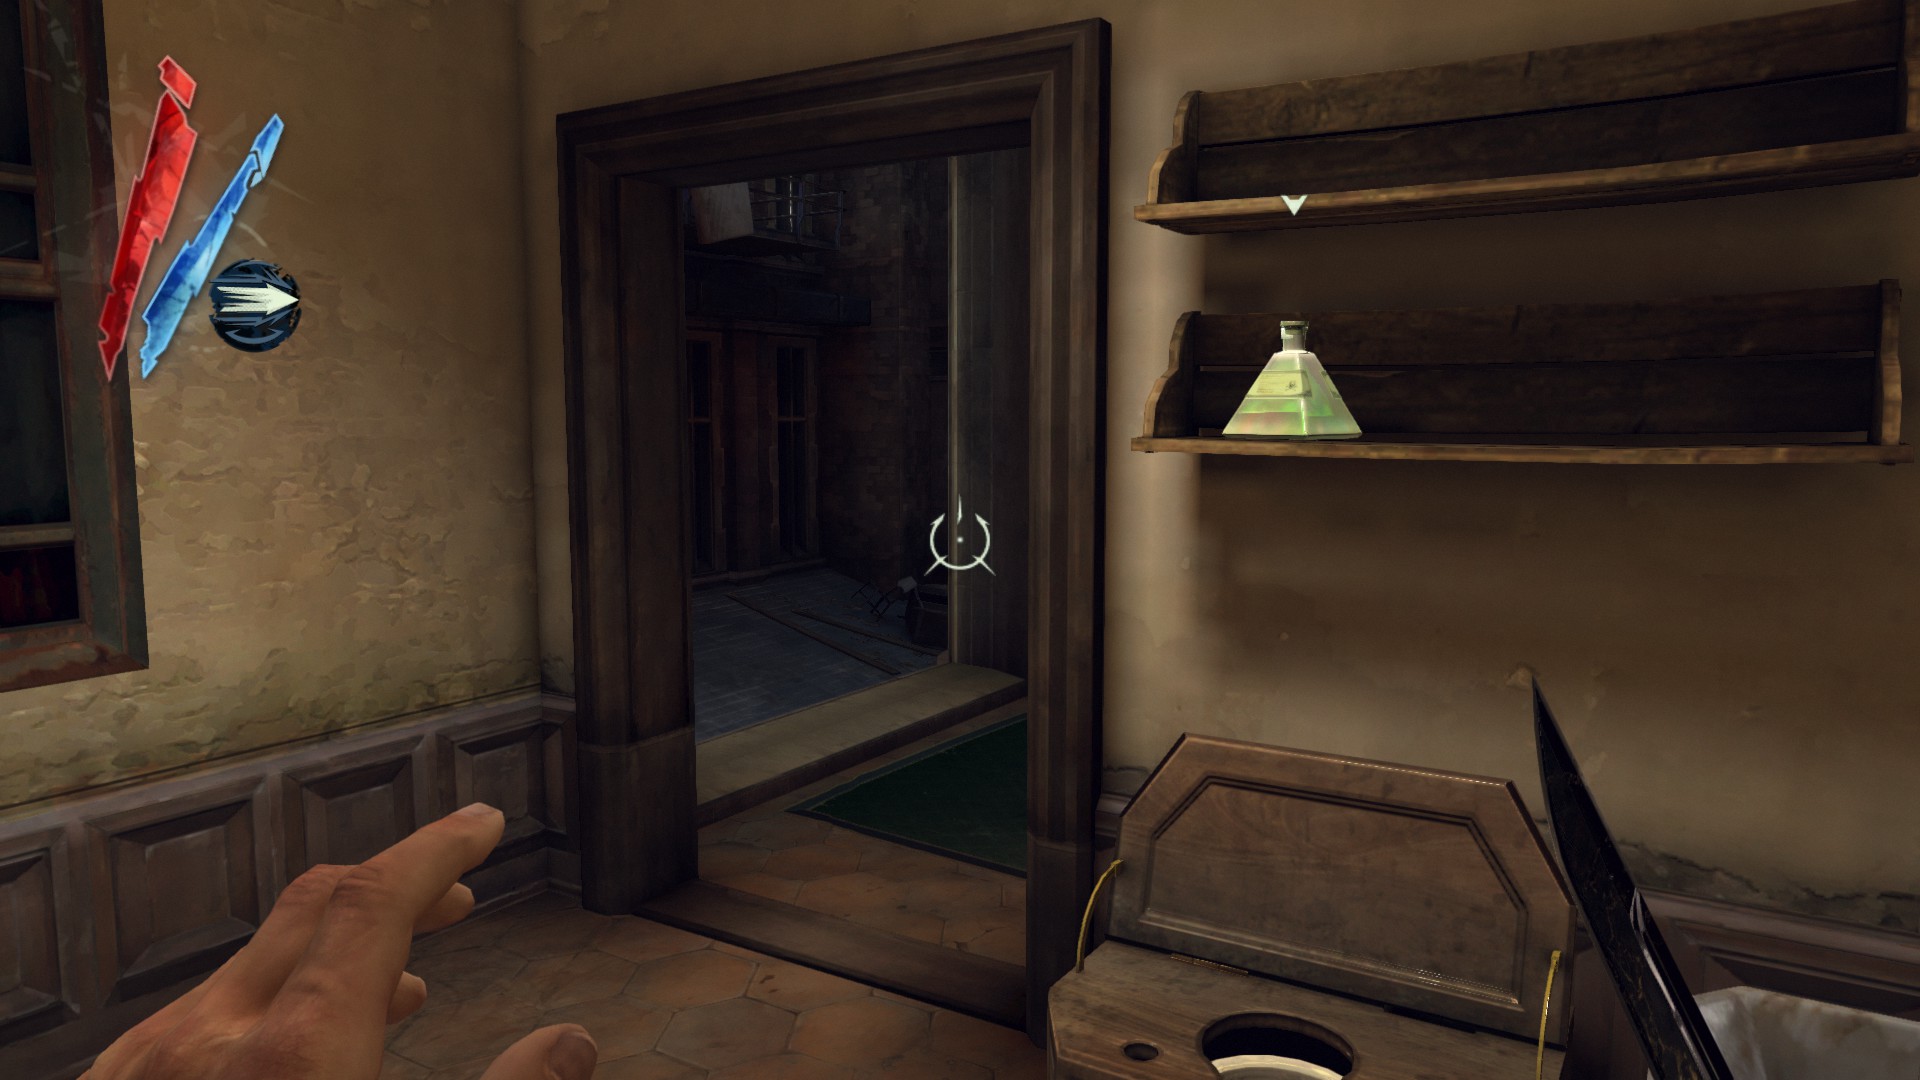
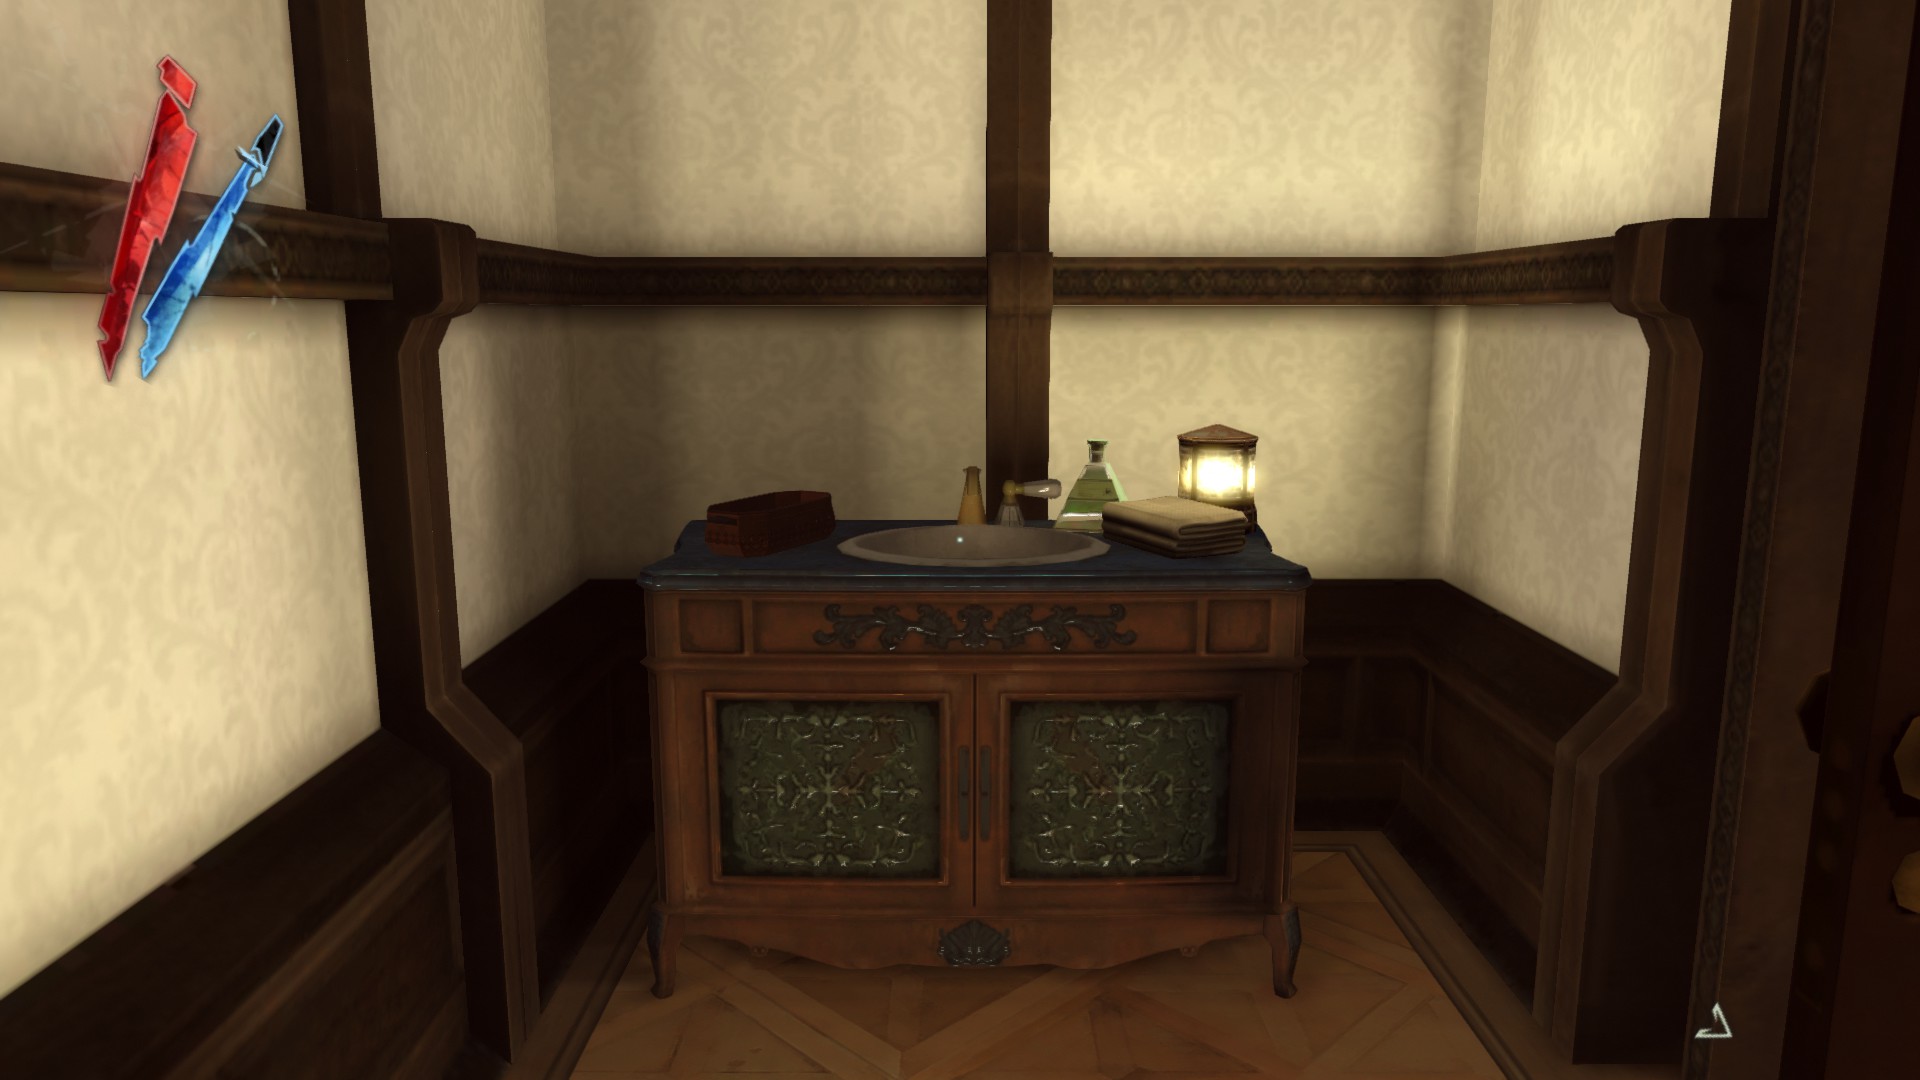
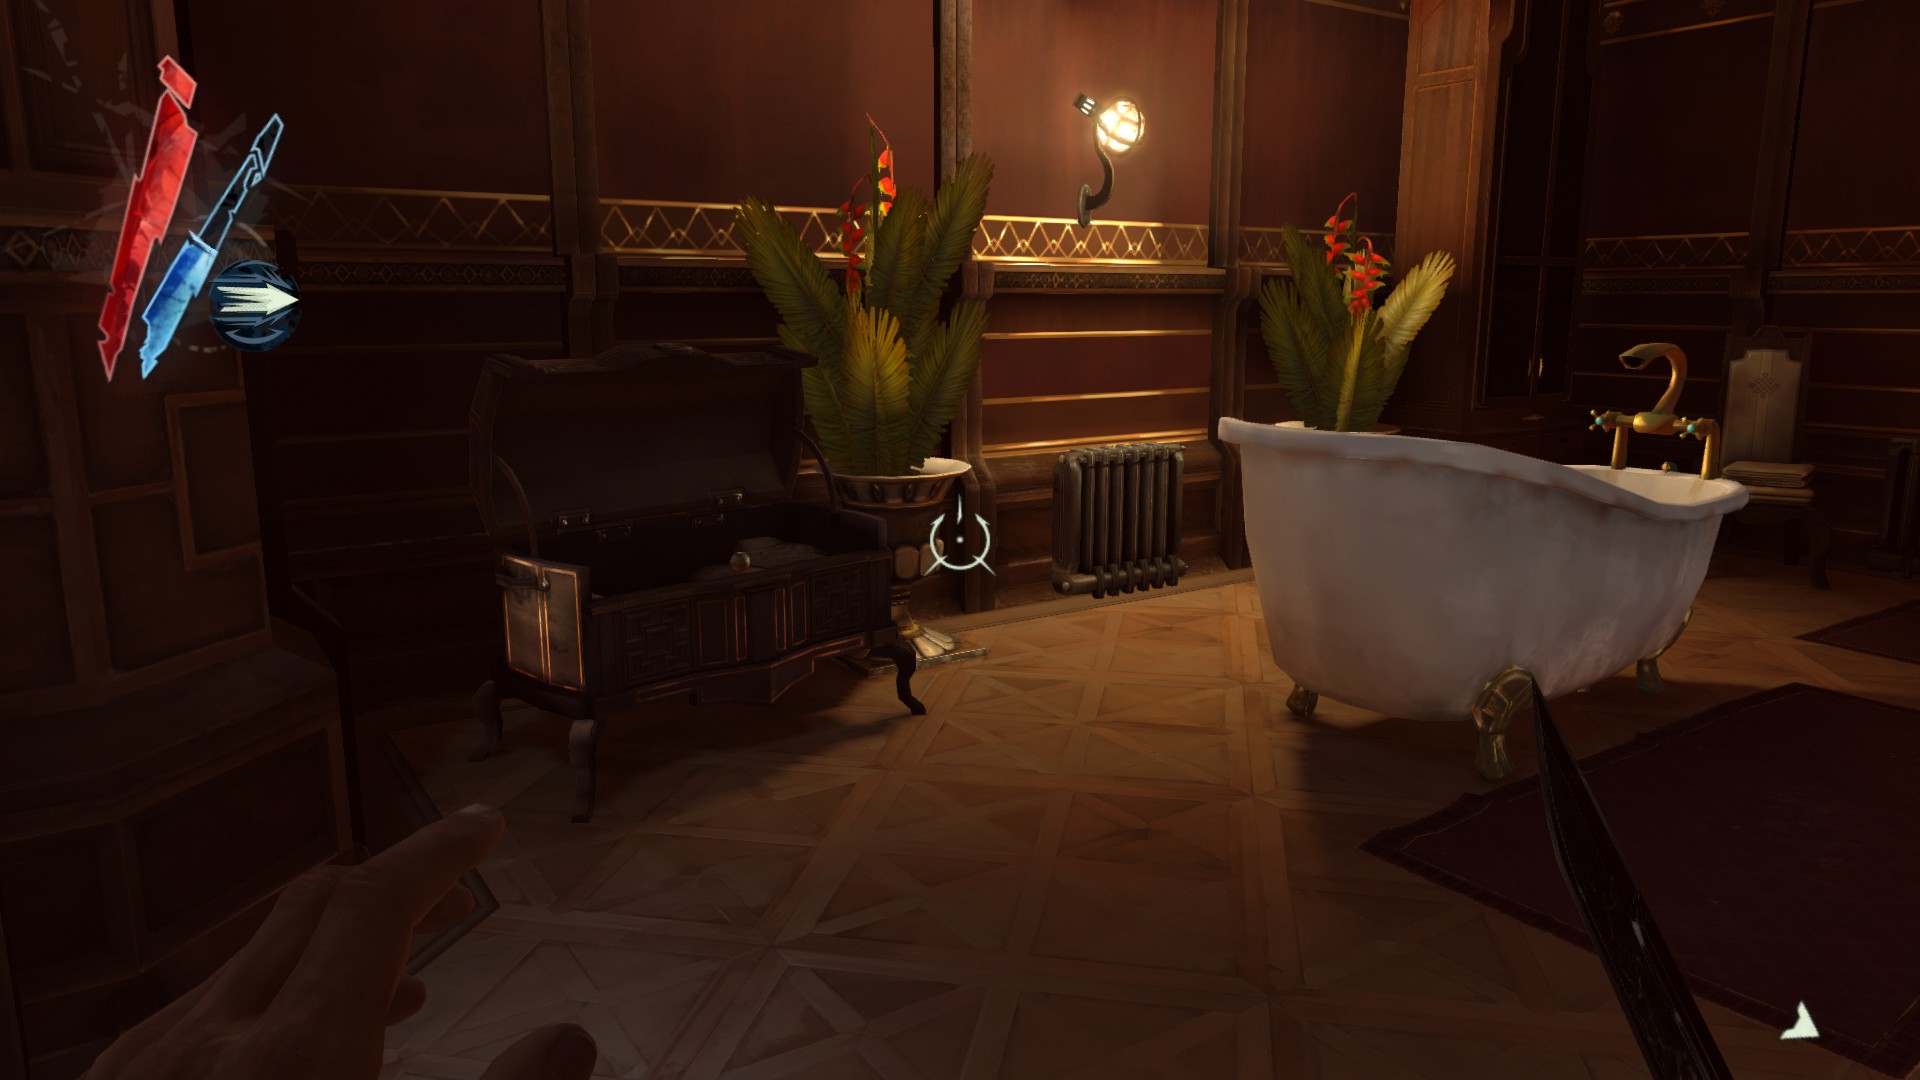
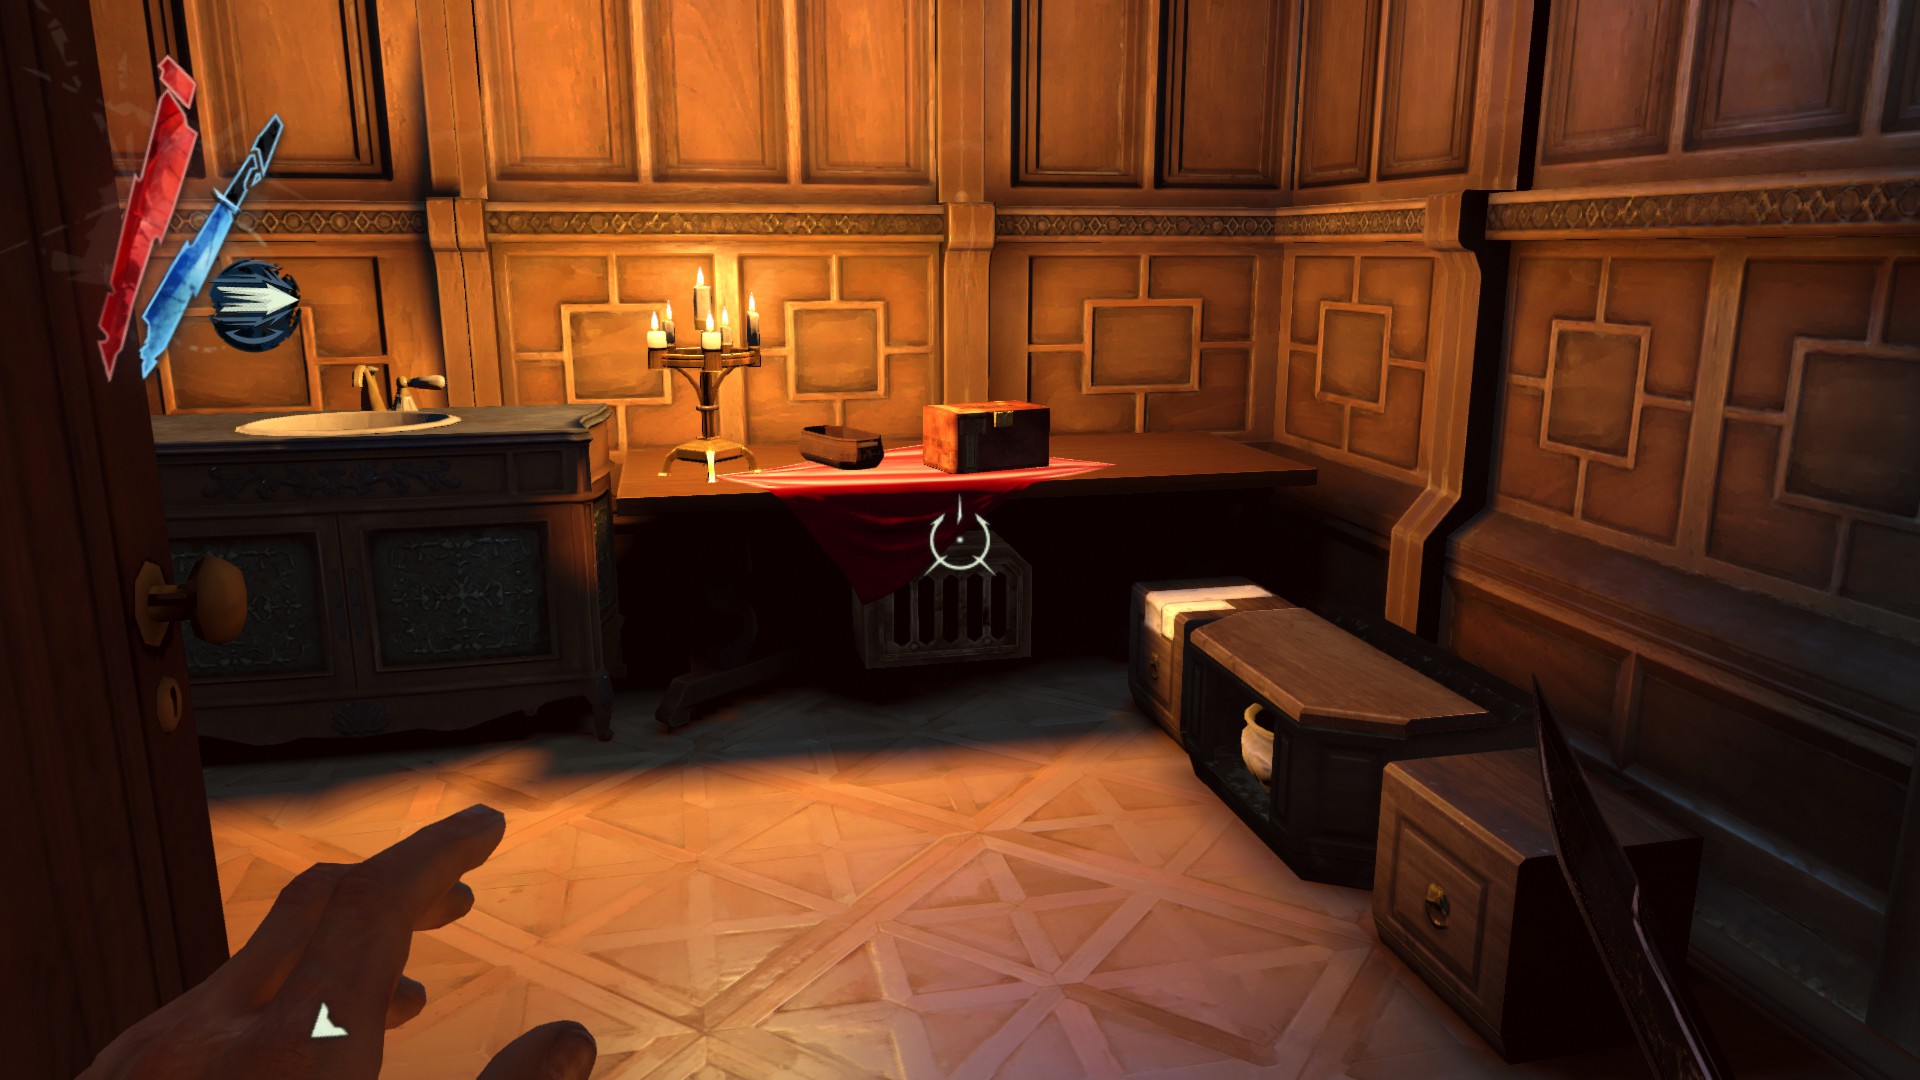
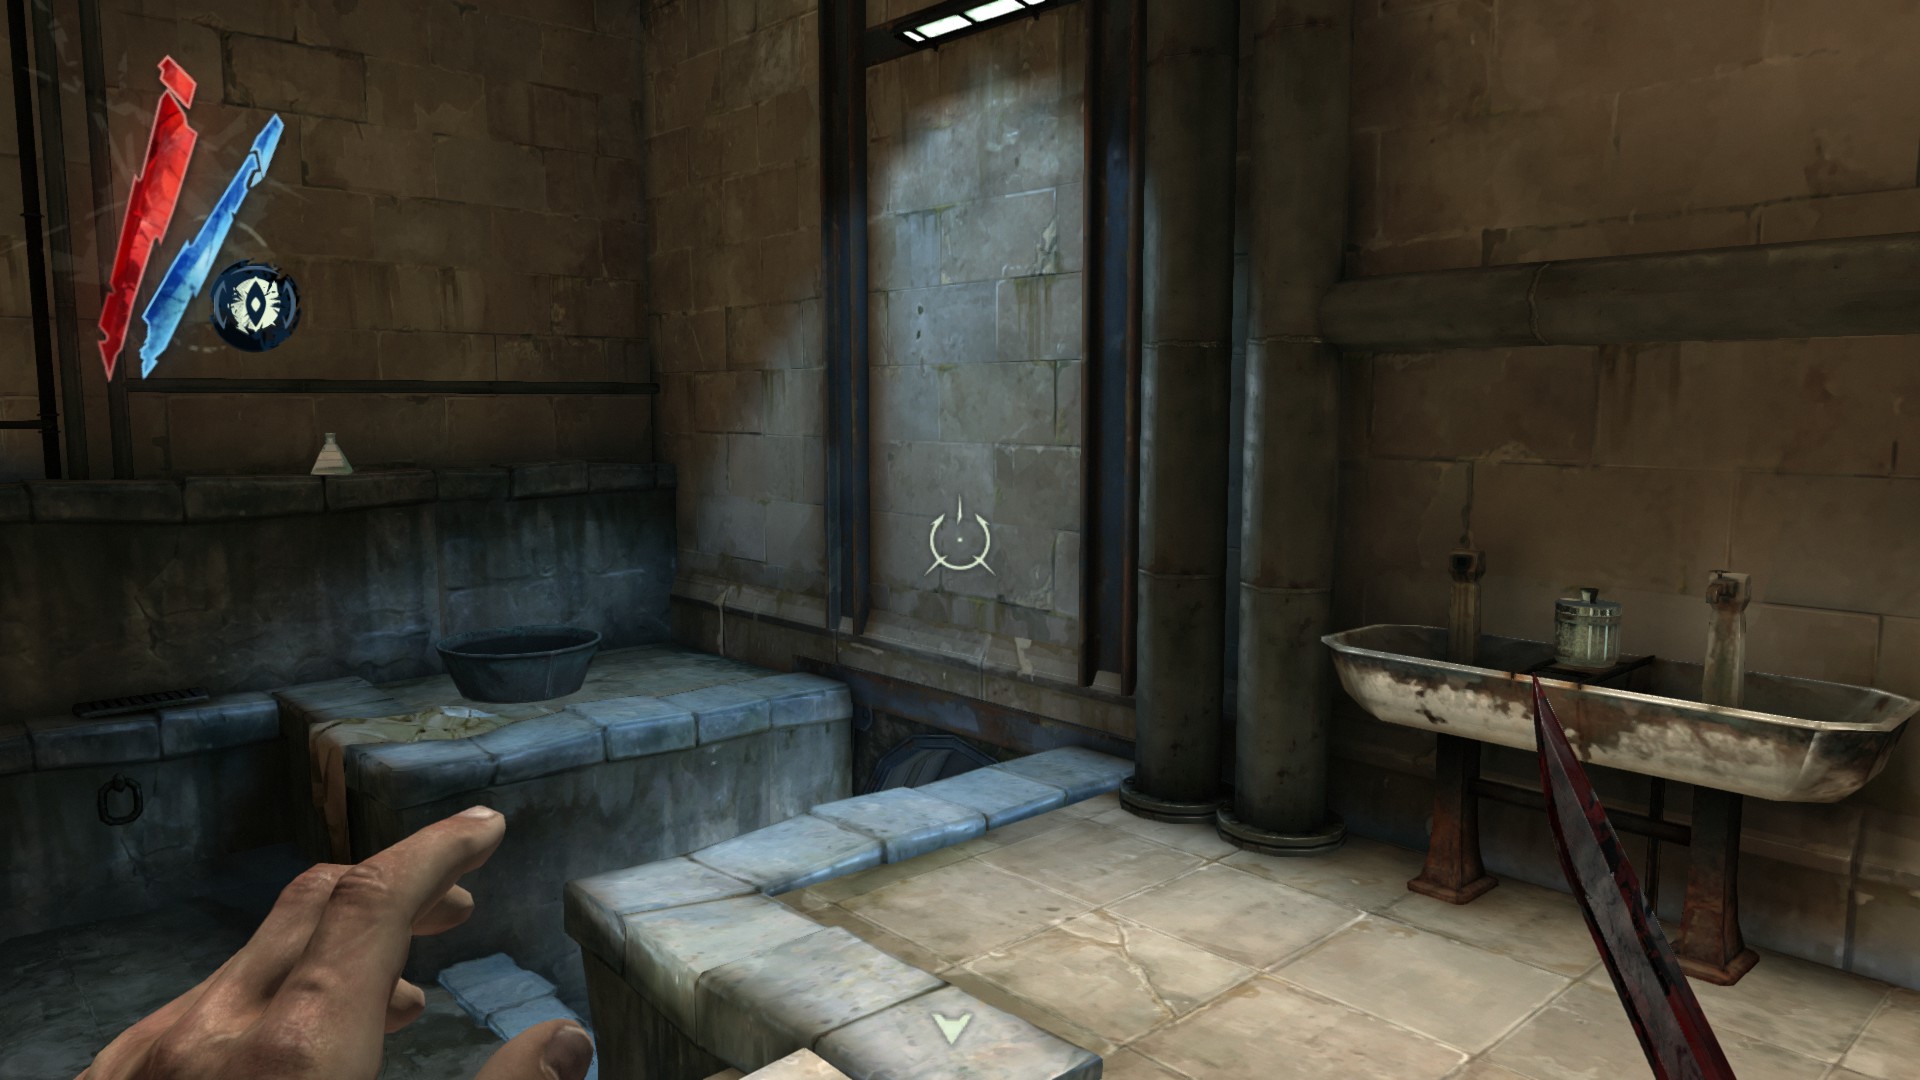
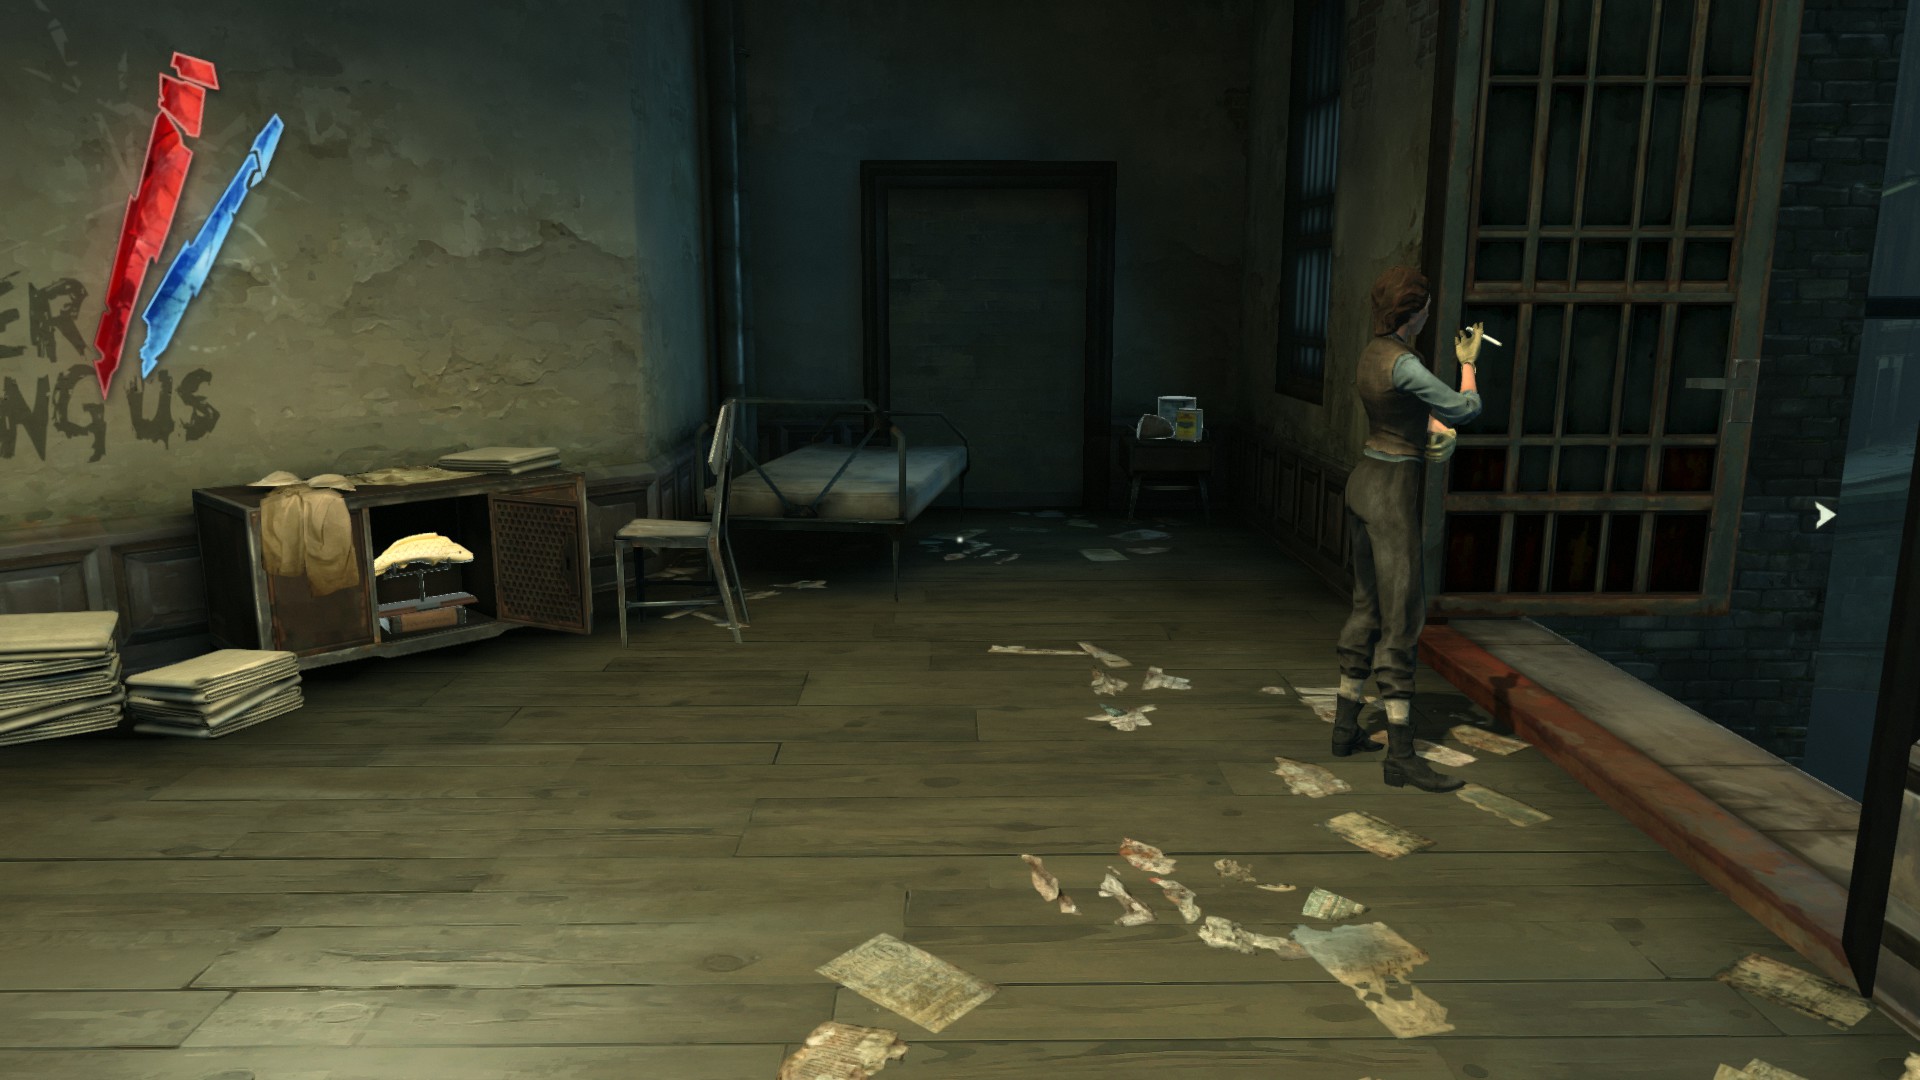
In the servants' quarters, enter your left door to the bathroom. There is a coin on the sink and a powdered crystal on the shelf.
(+35)
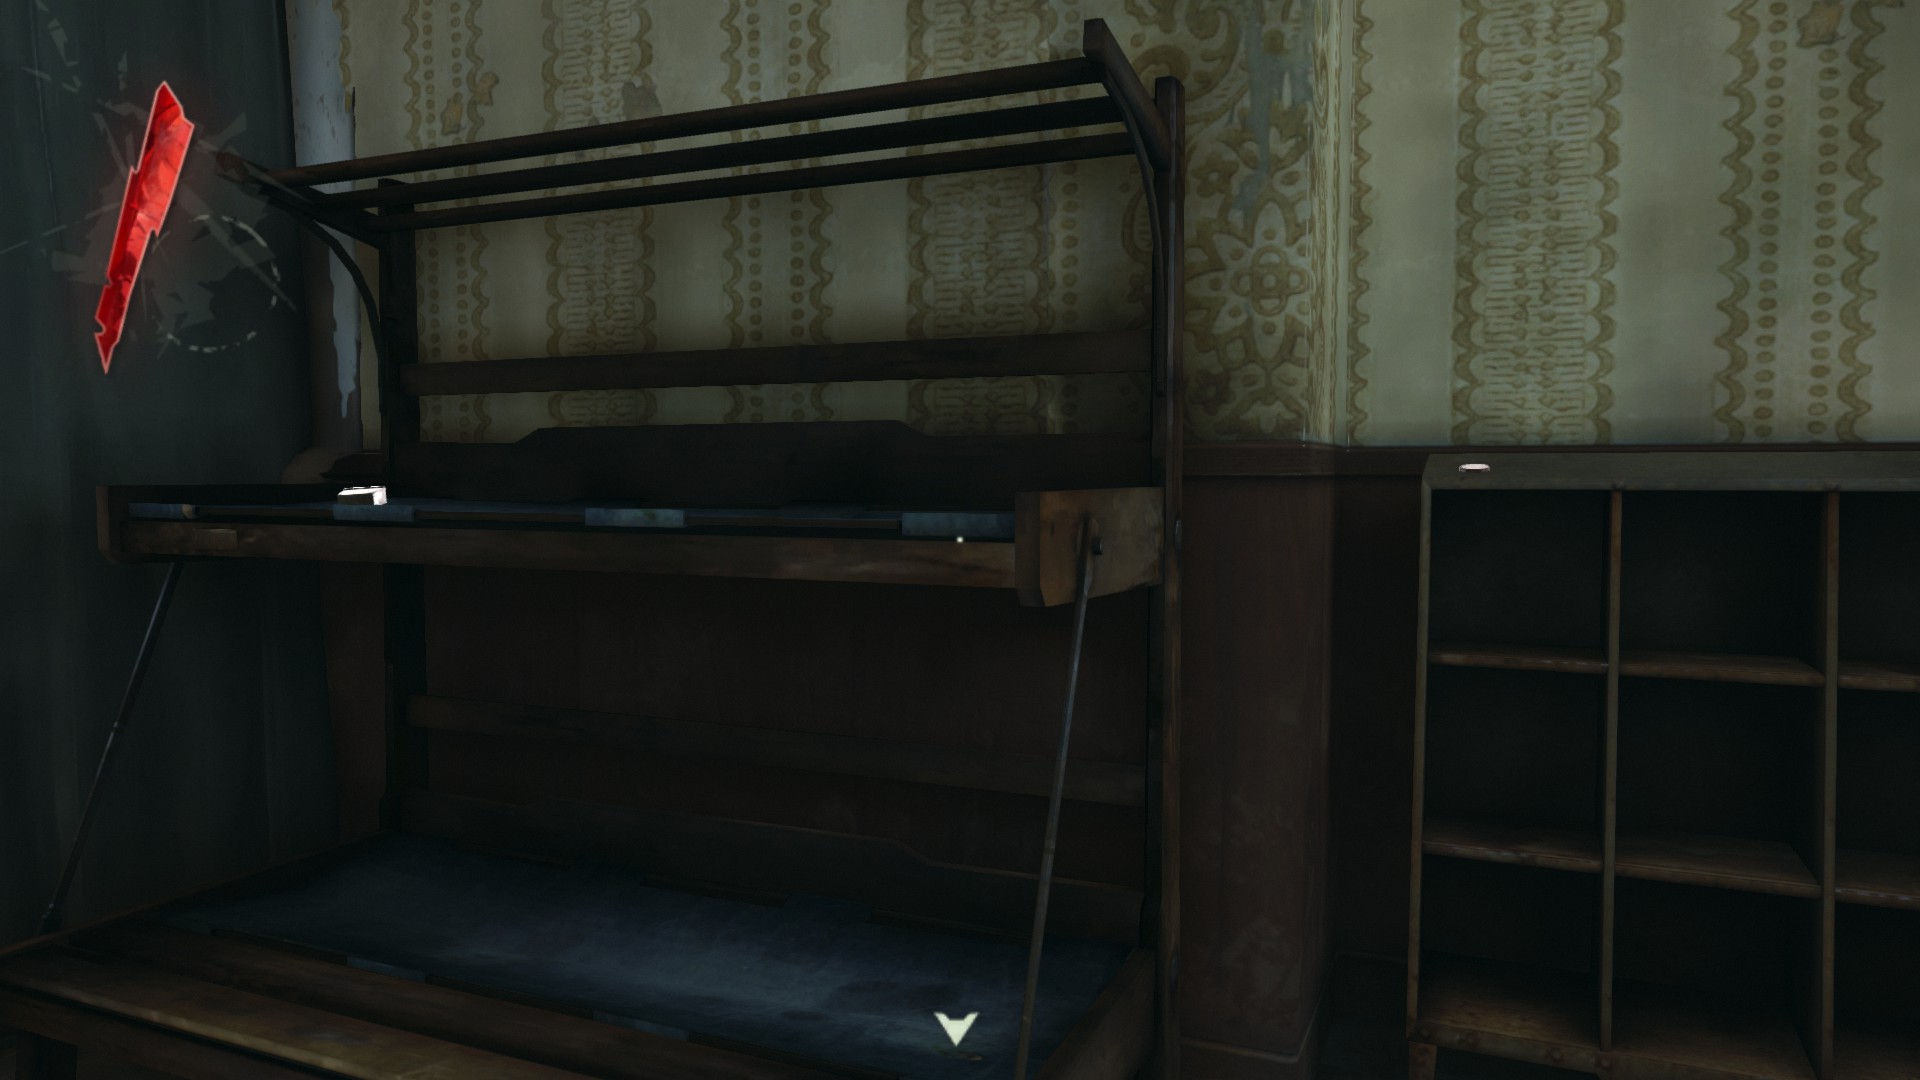
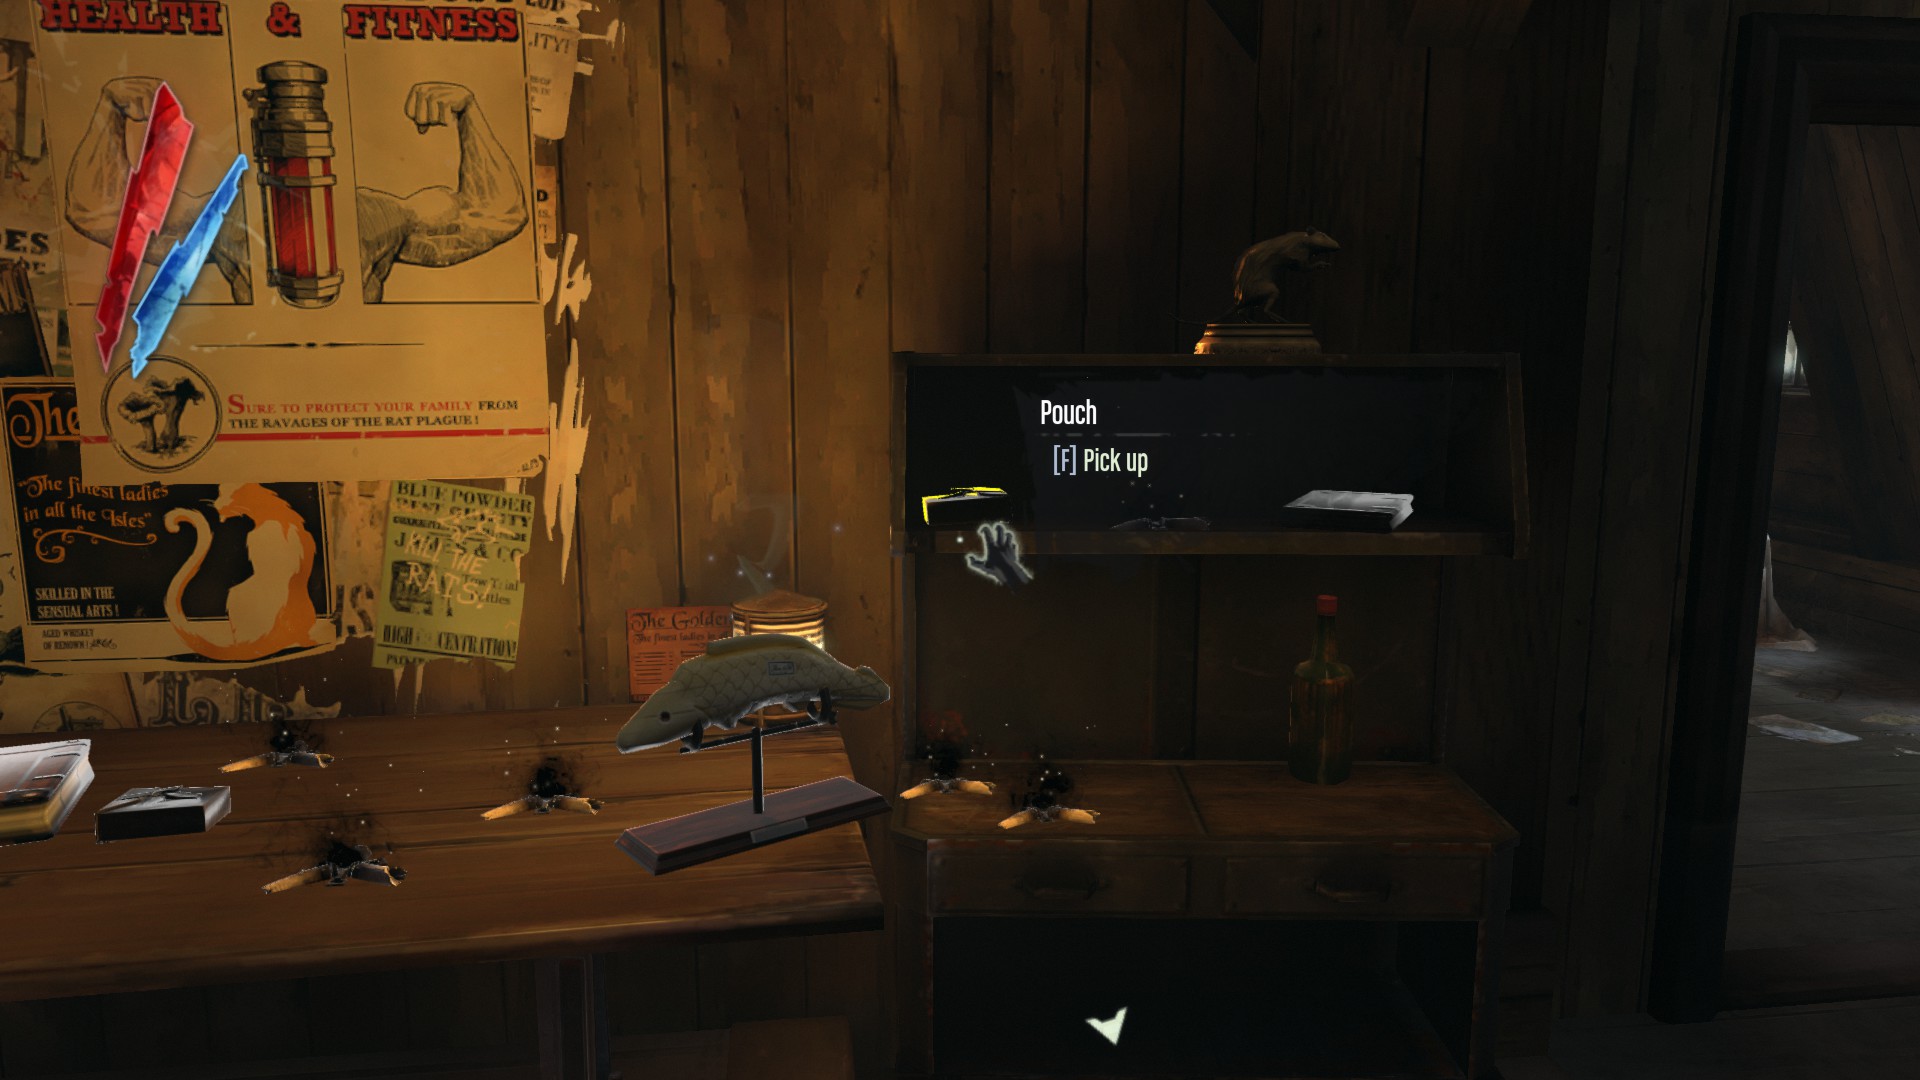
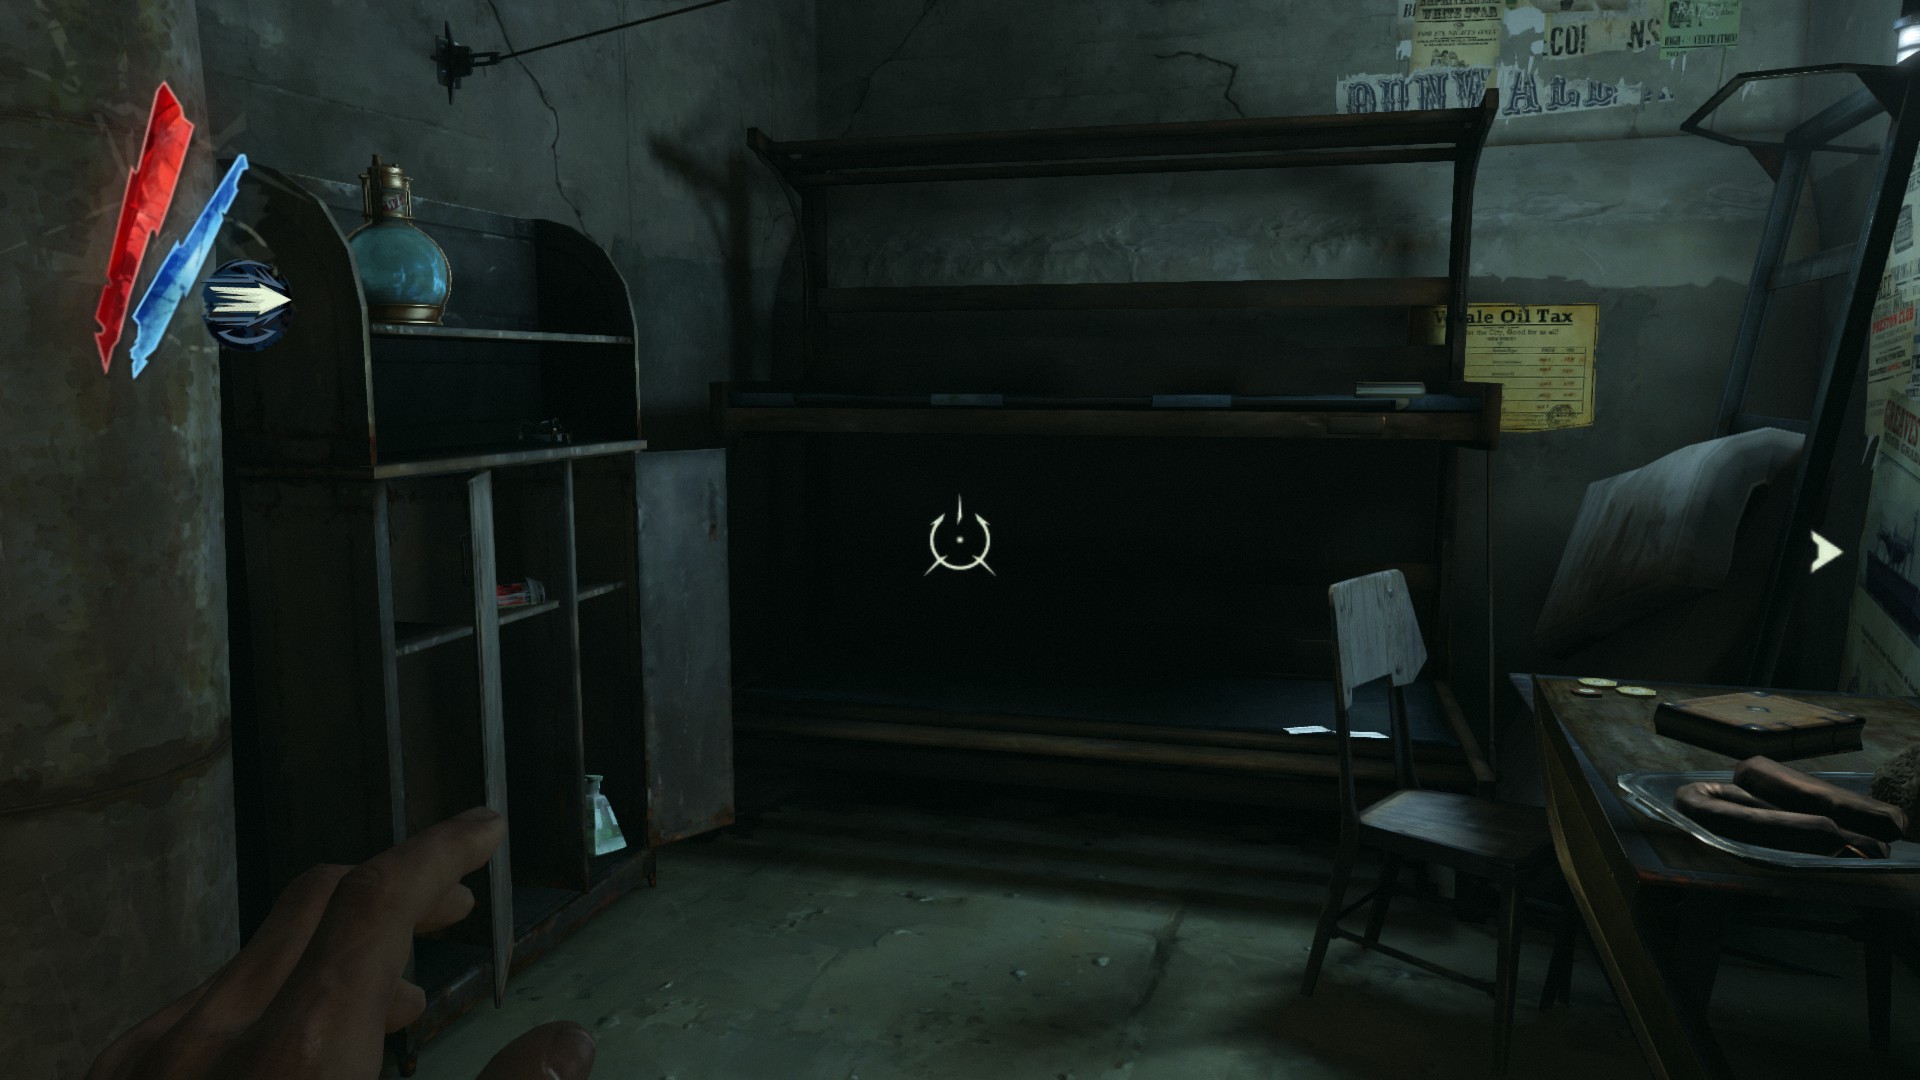
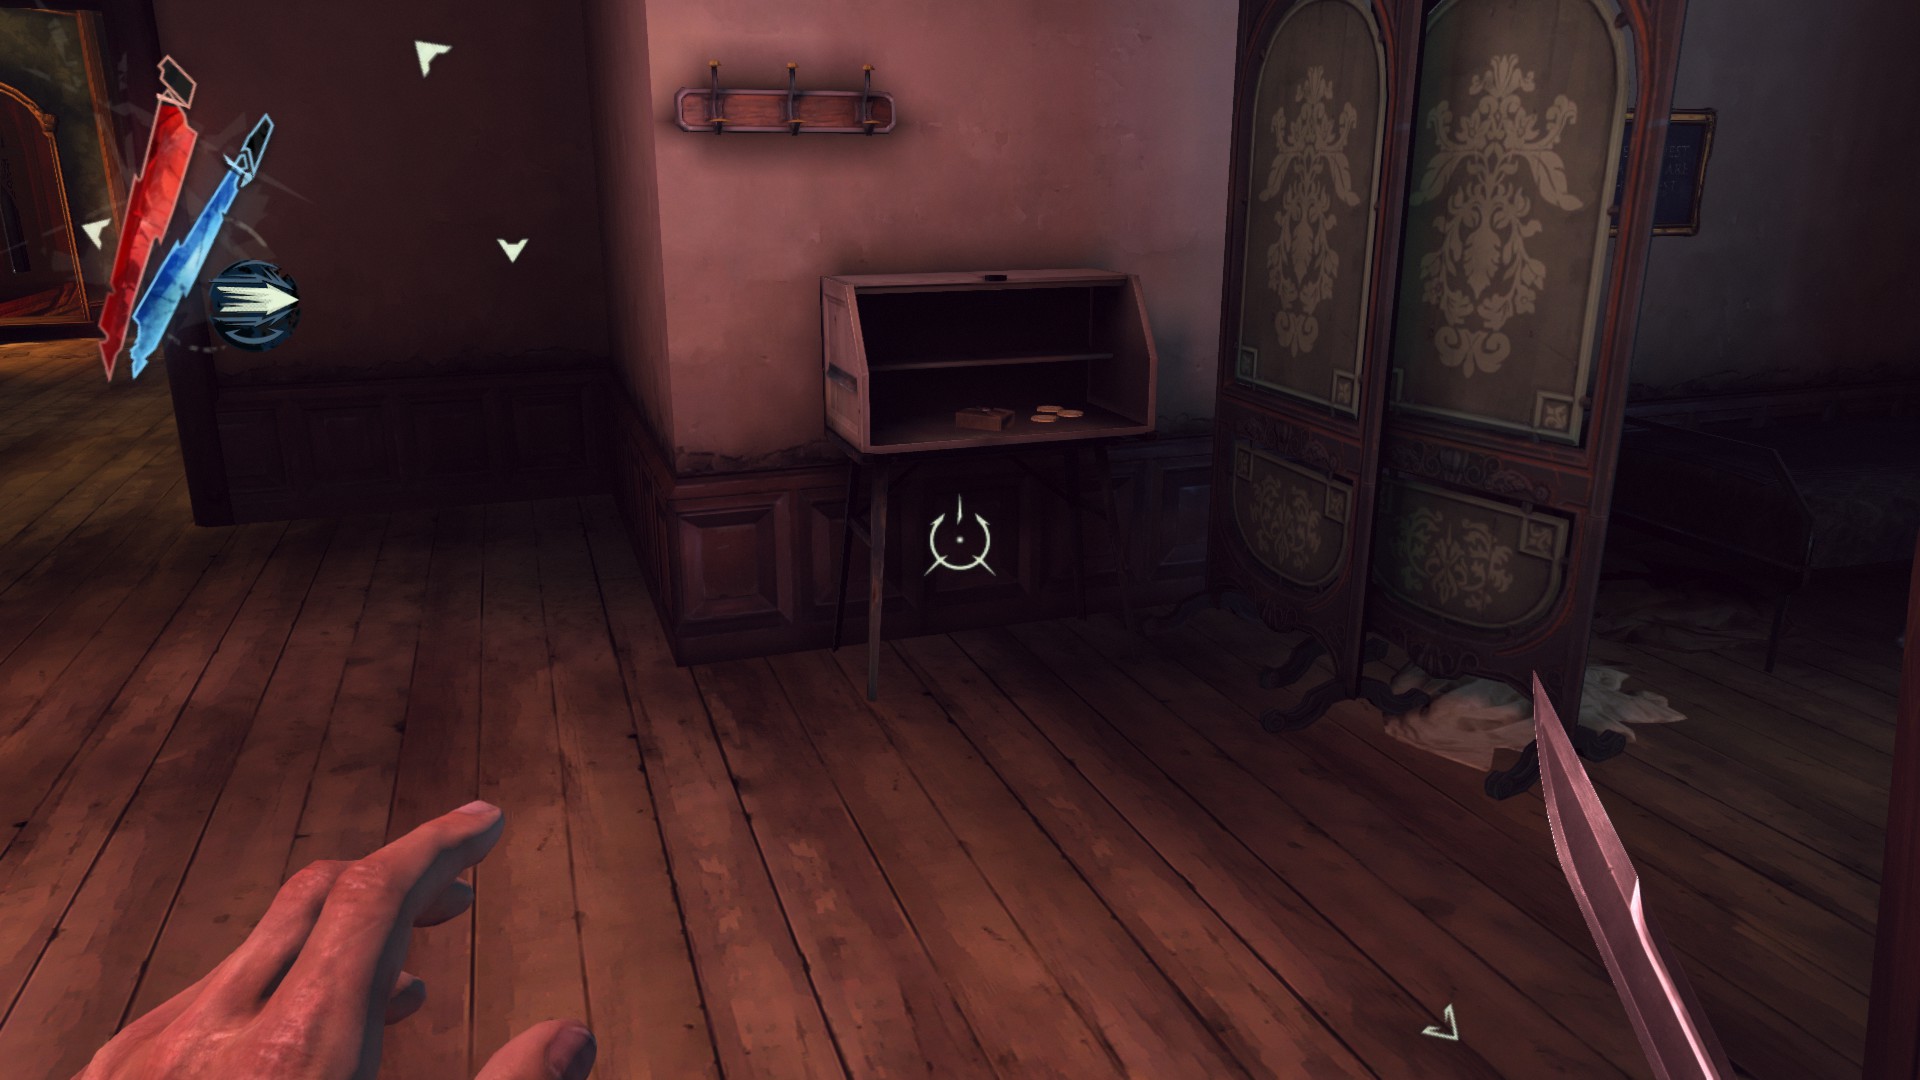
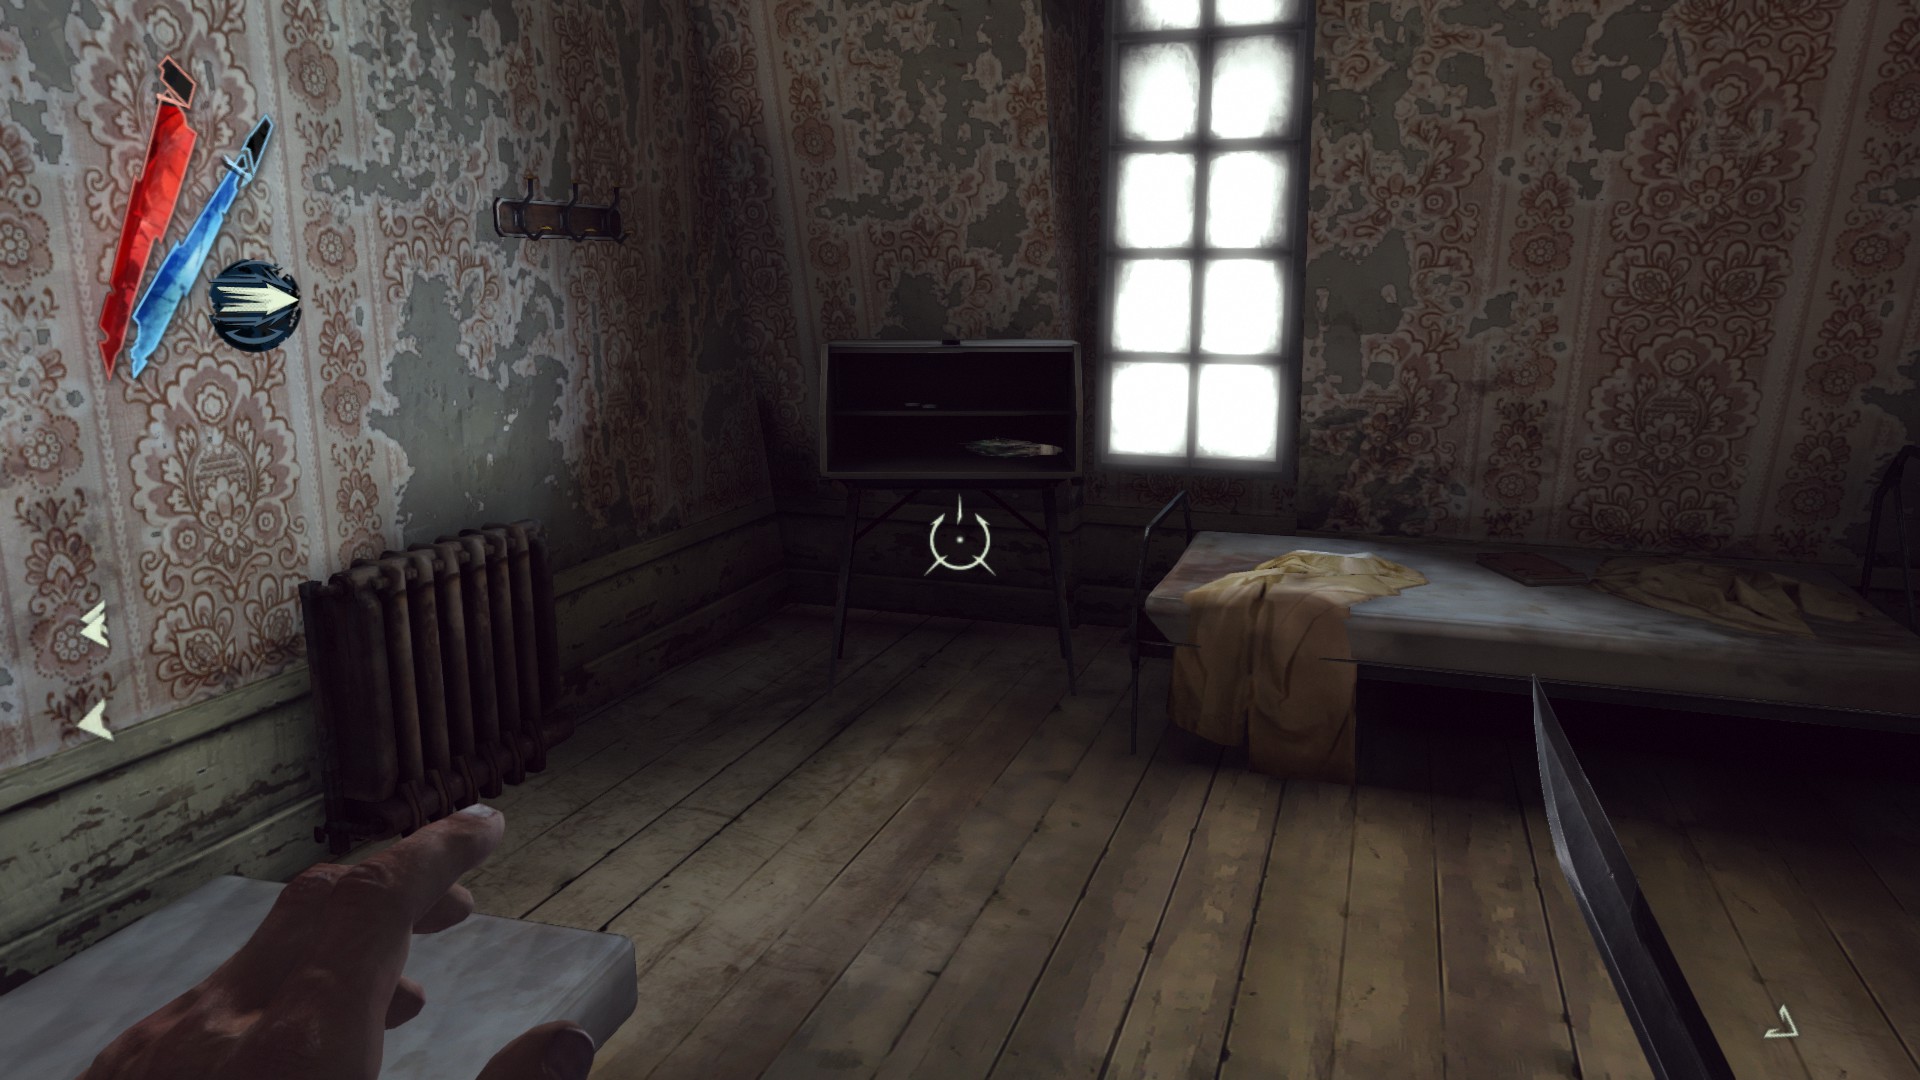
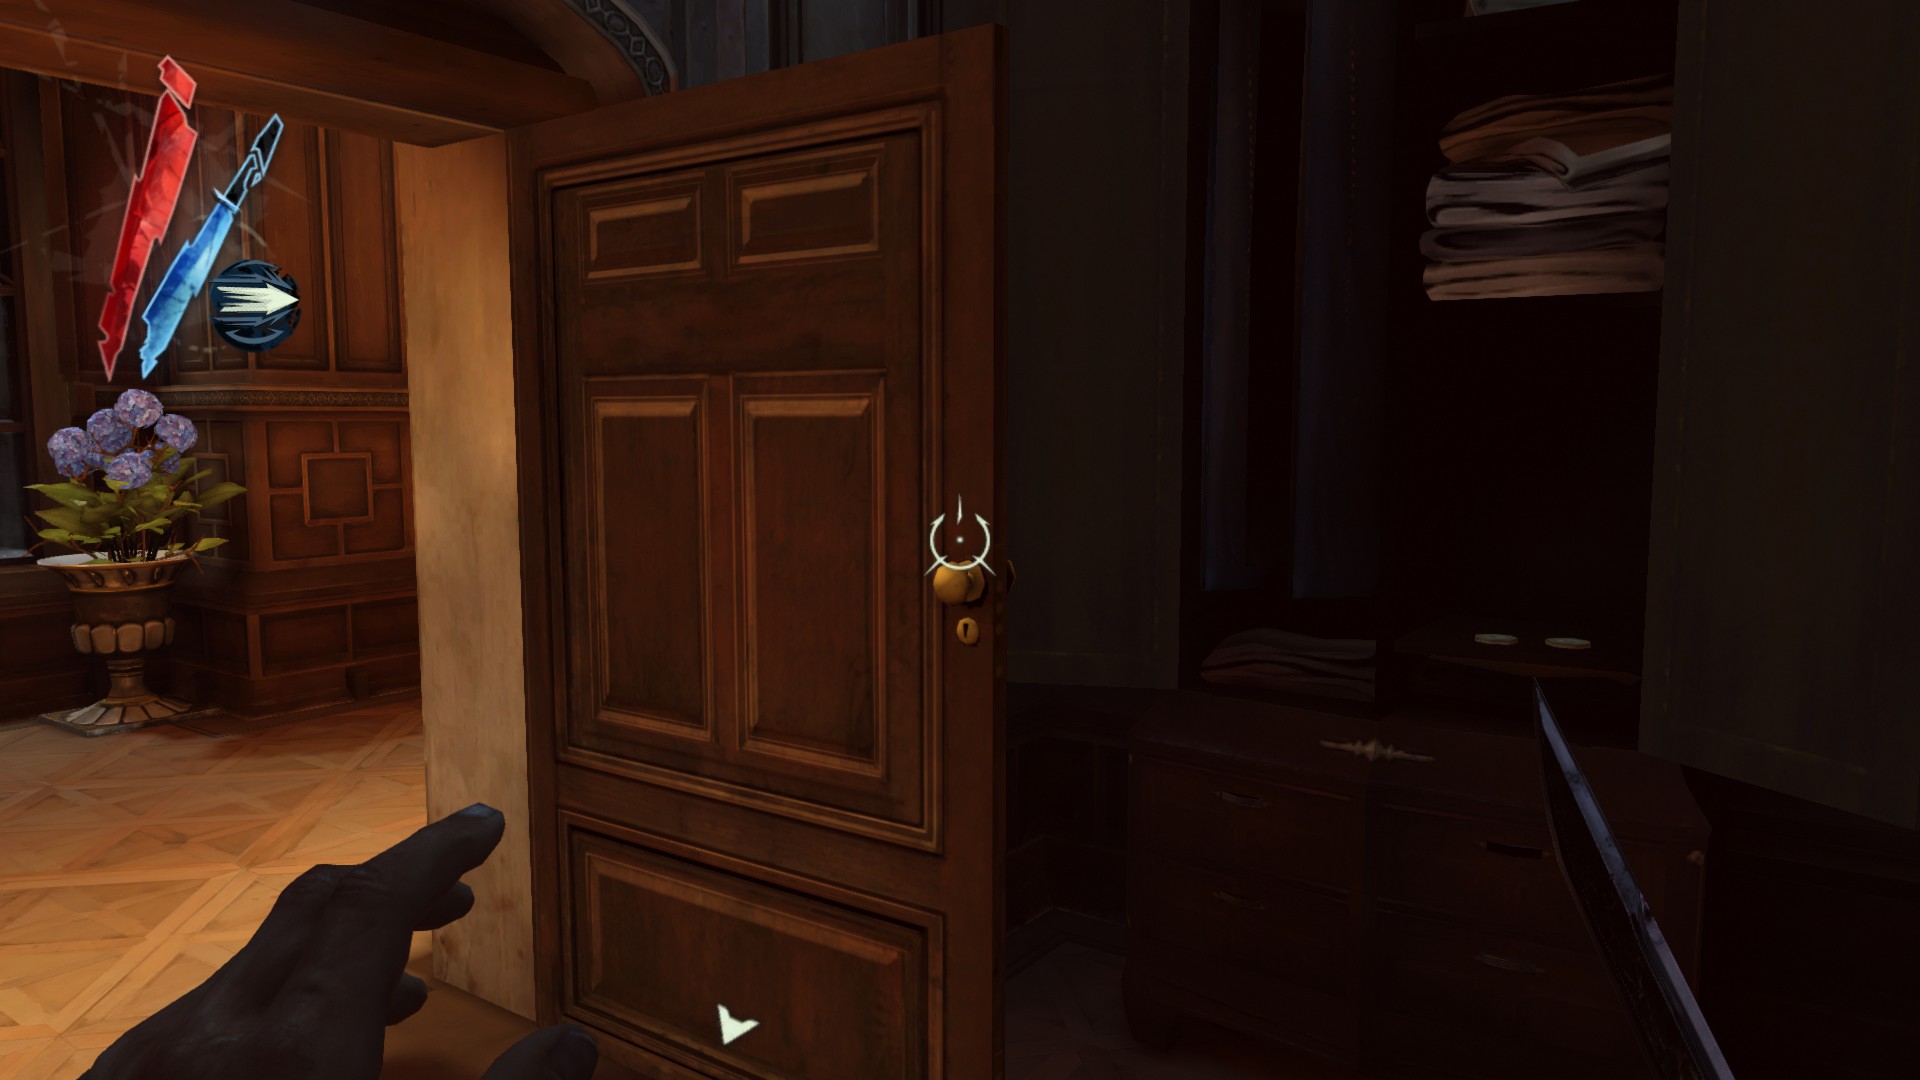
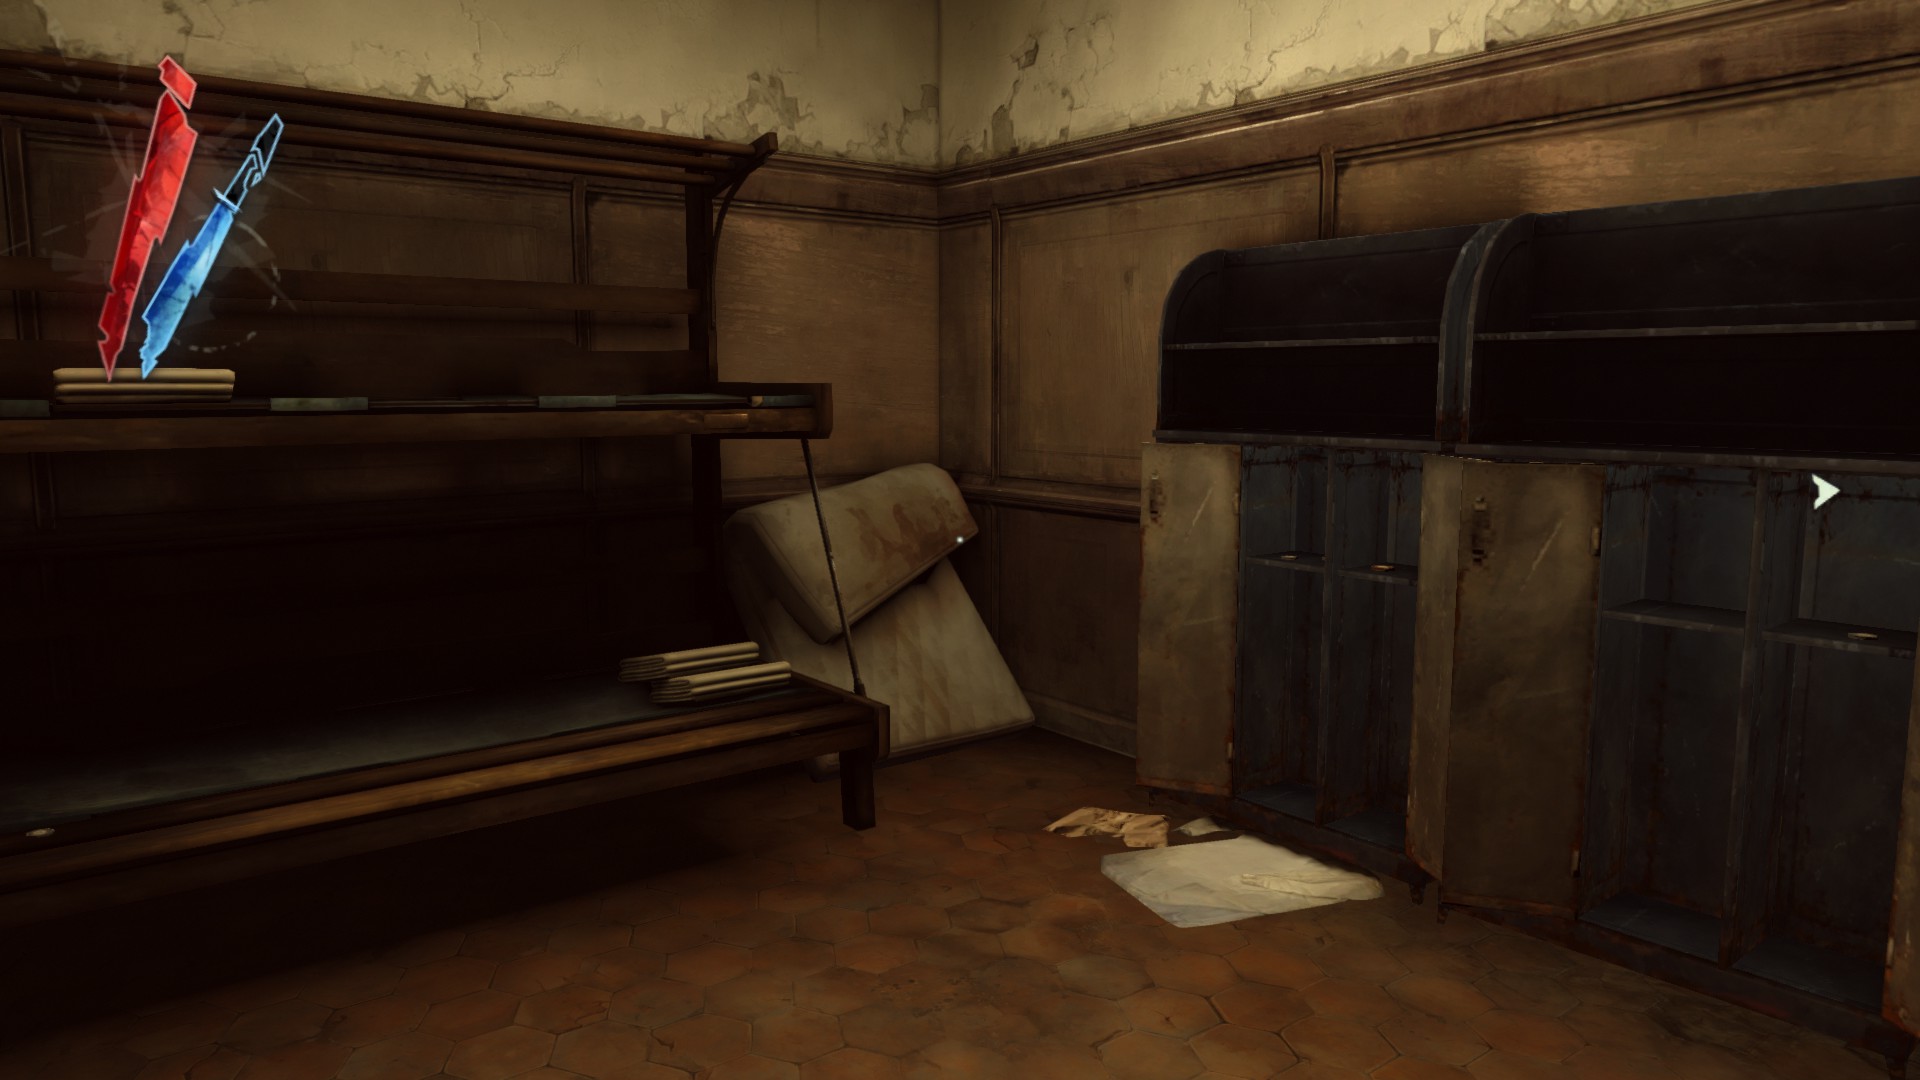
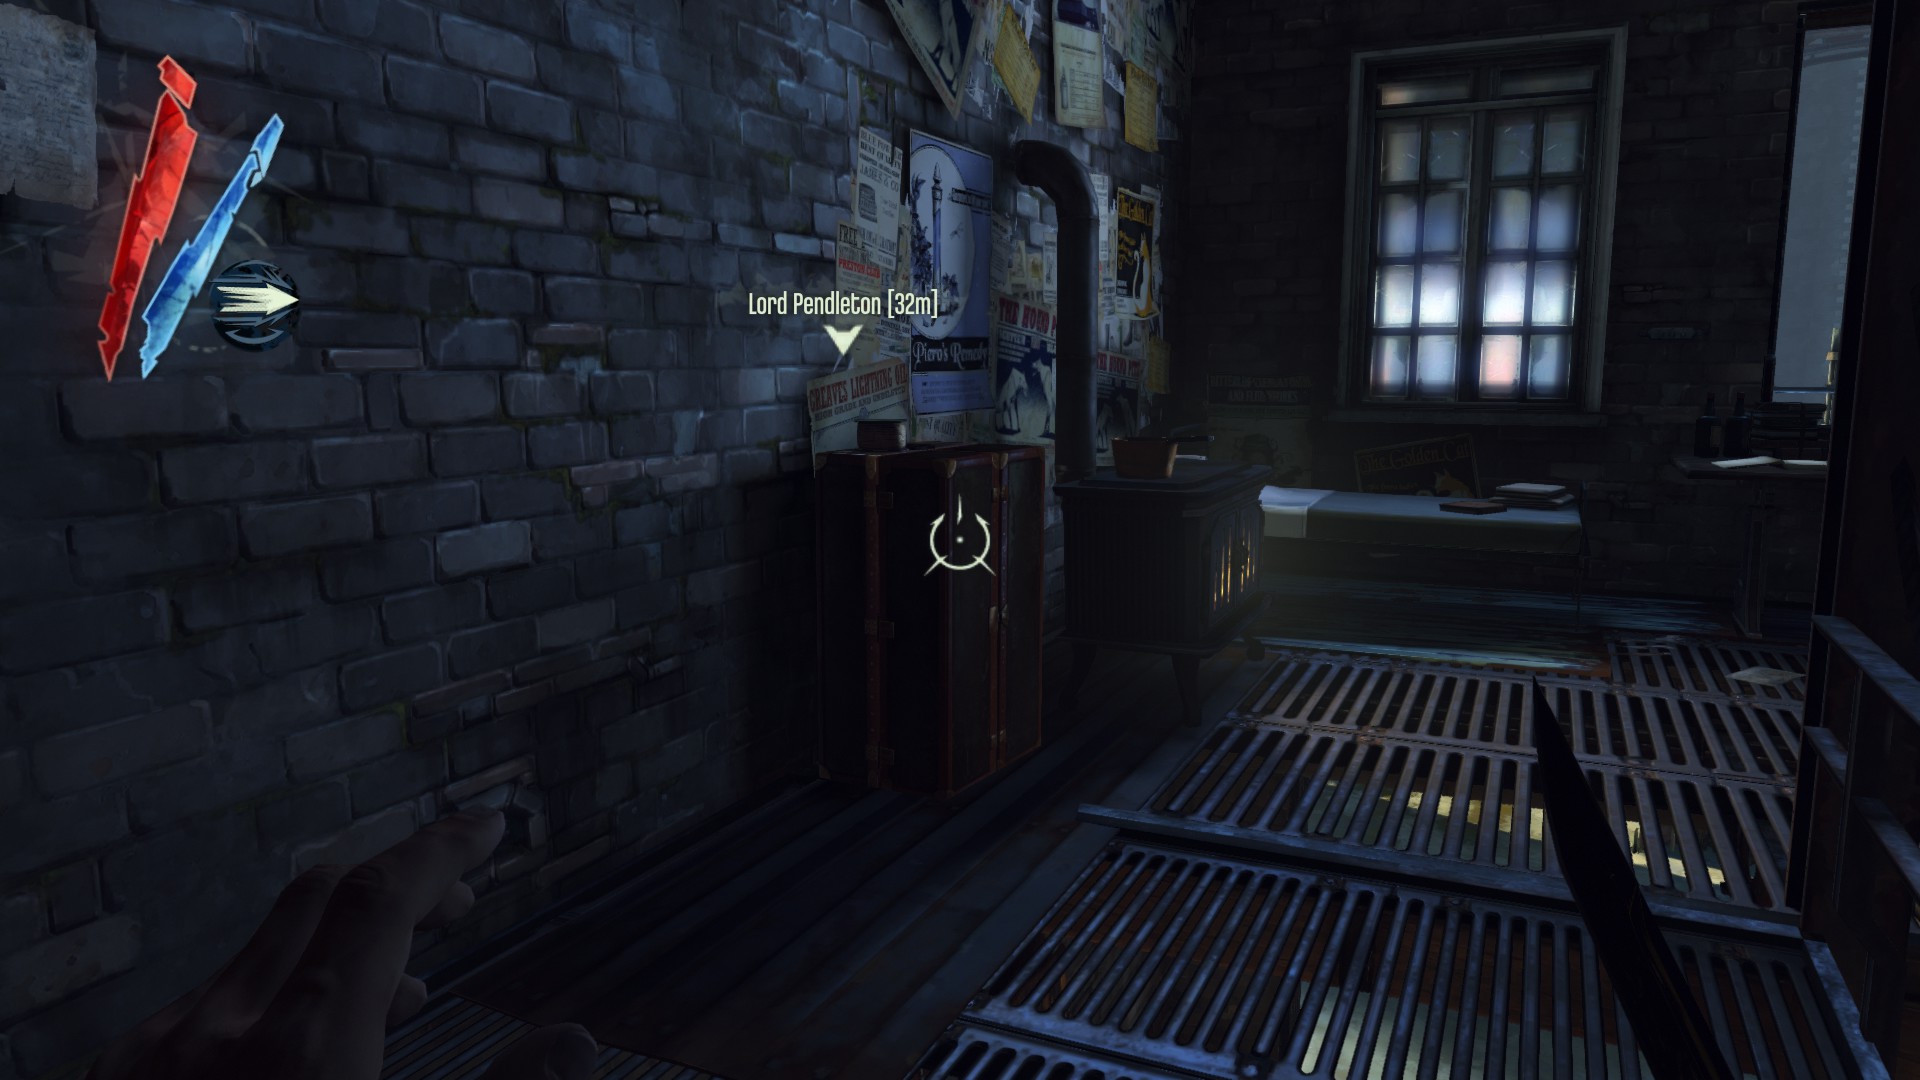
Go back into the servants' quarters. There is a coin on top of a shelf, and a pouch on the bunk bed next to it.
(+10)
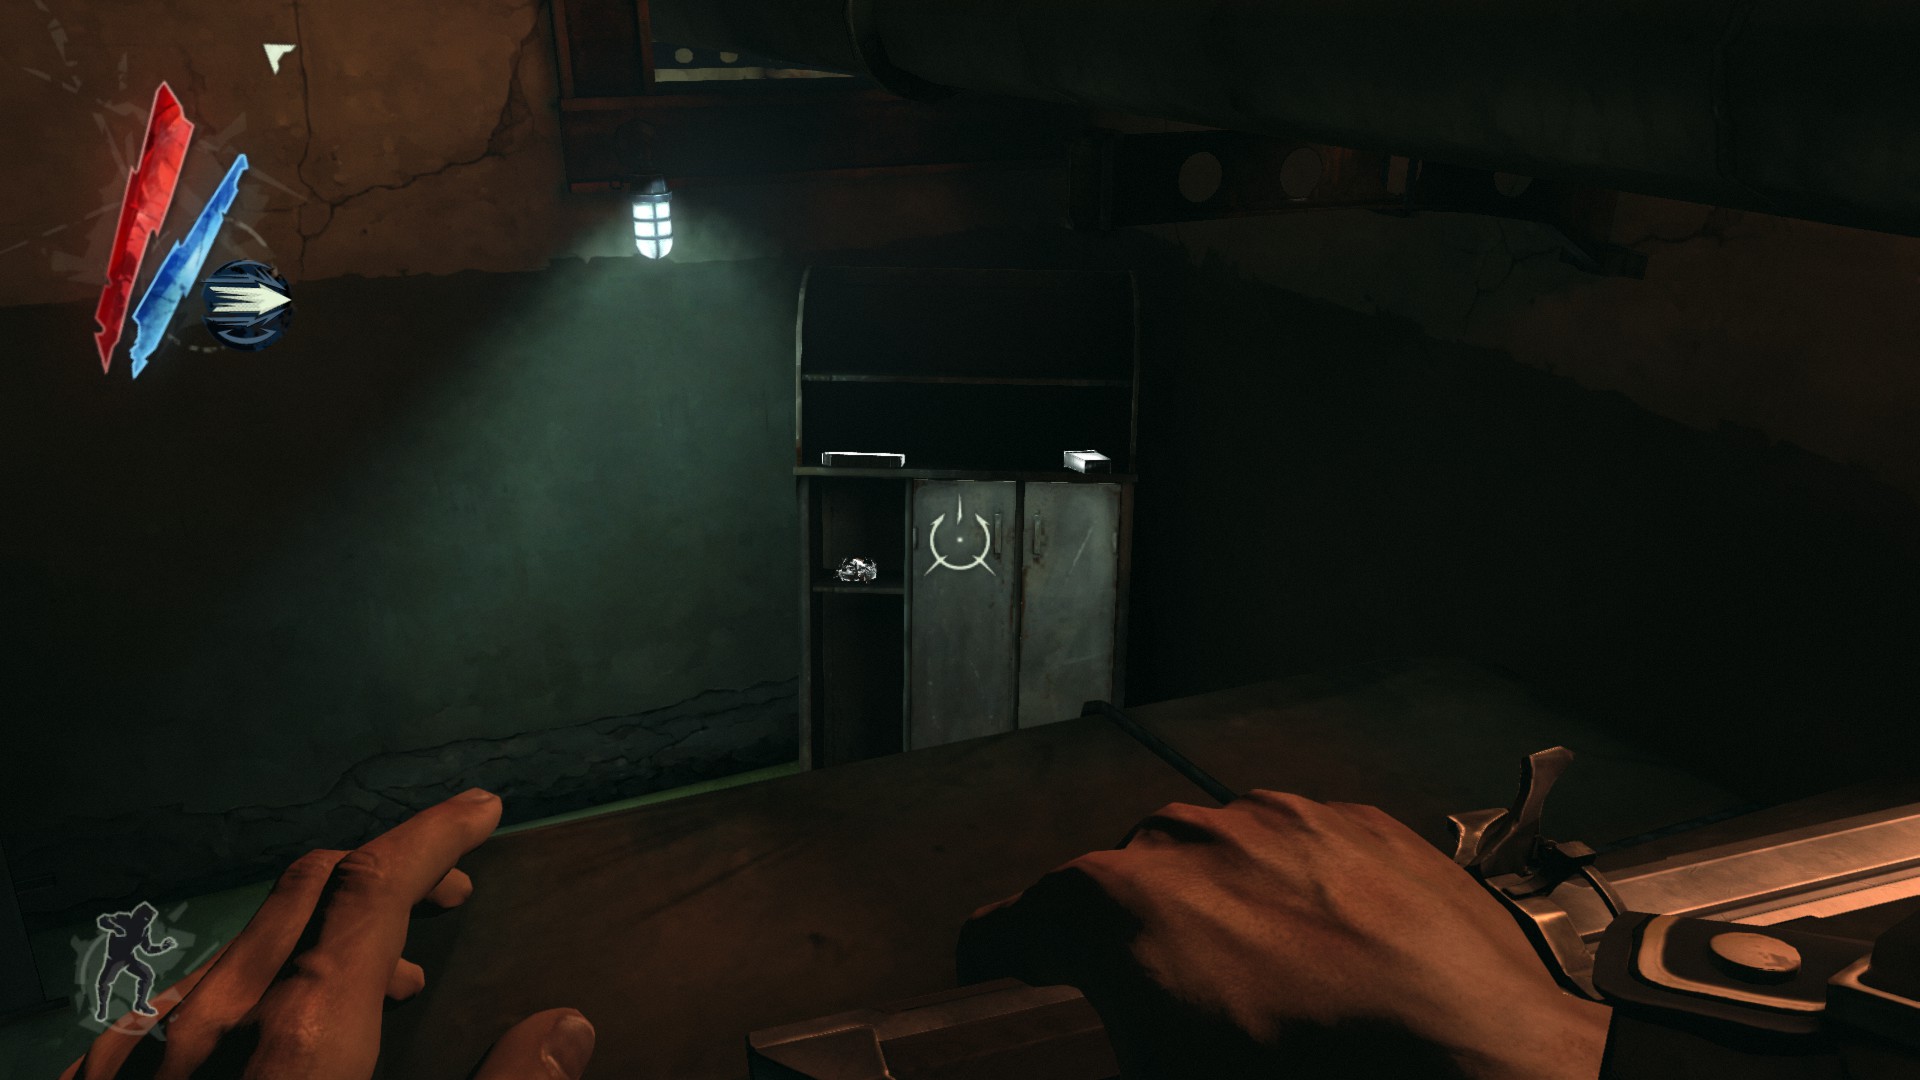
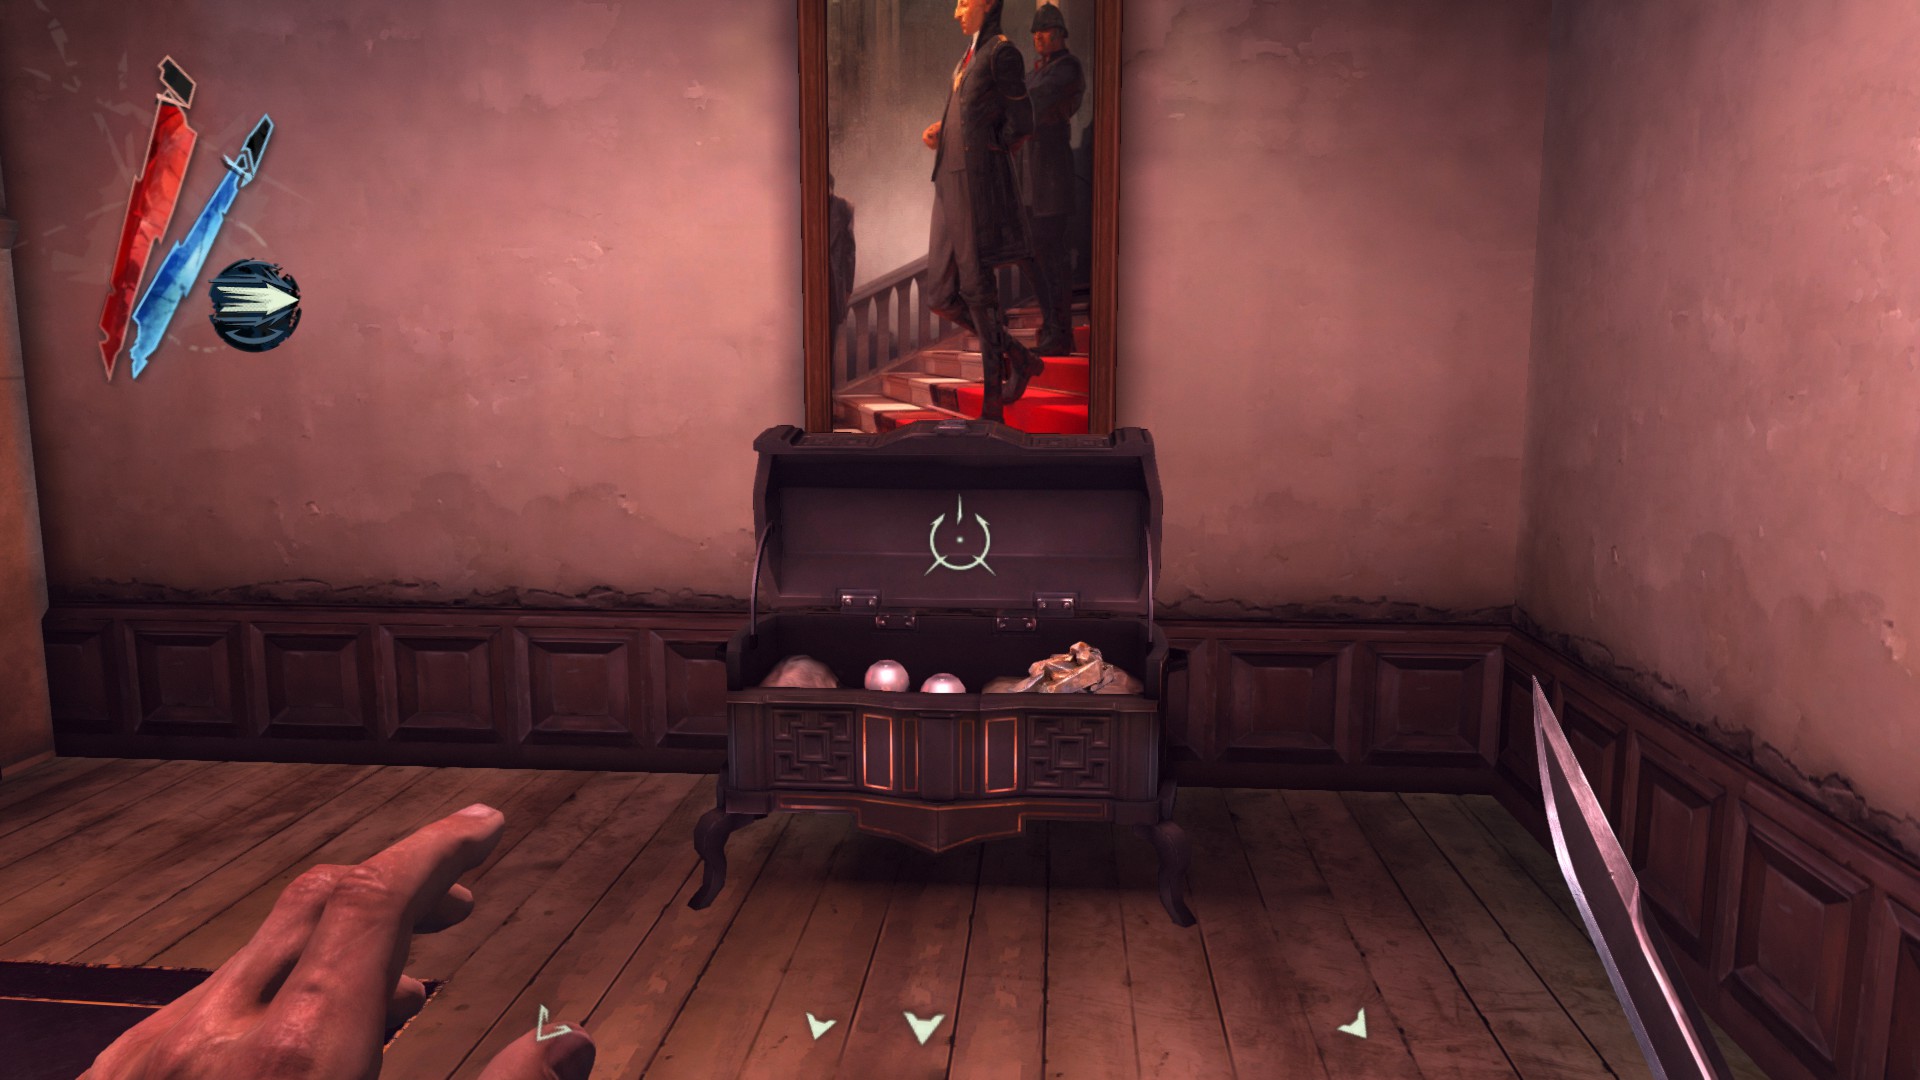
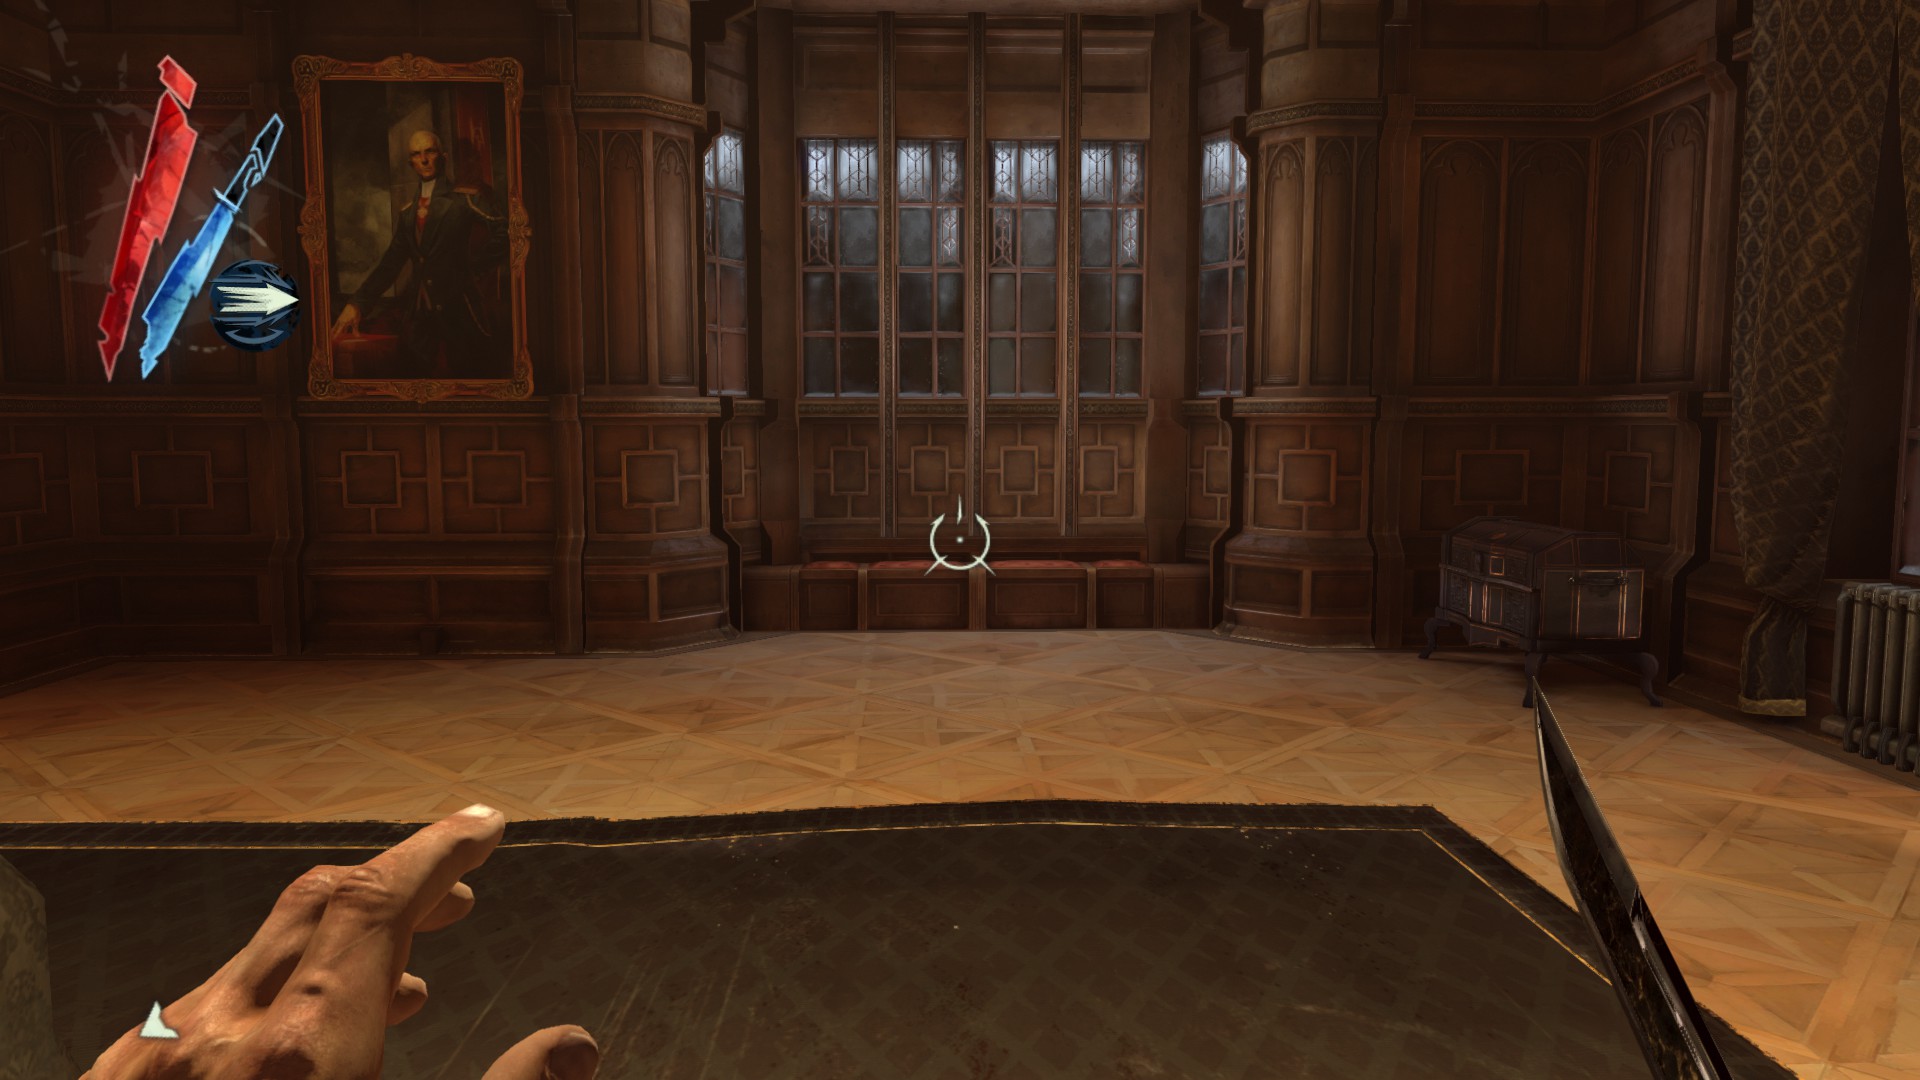
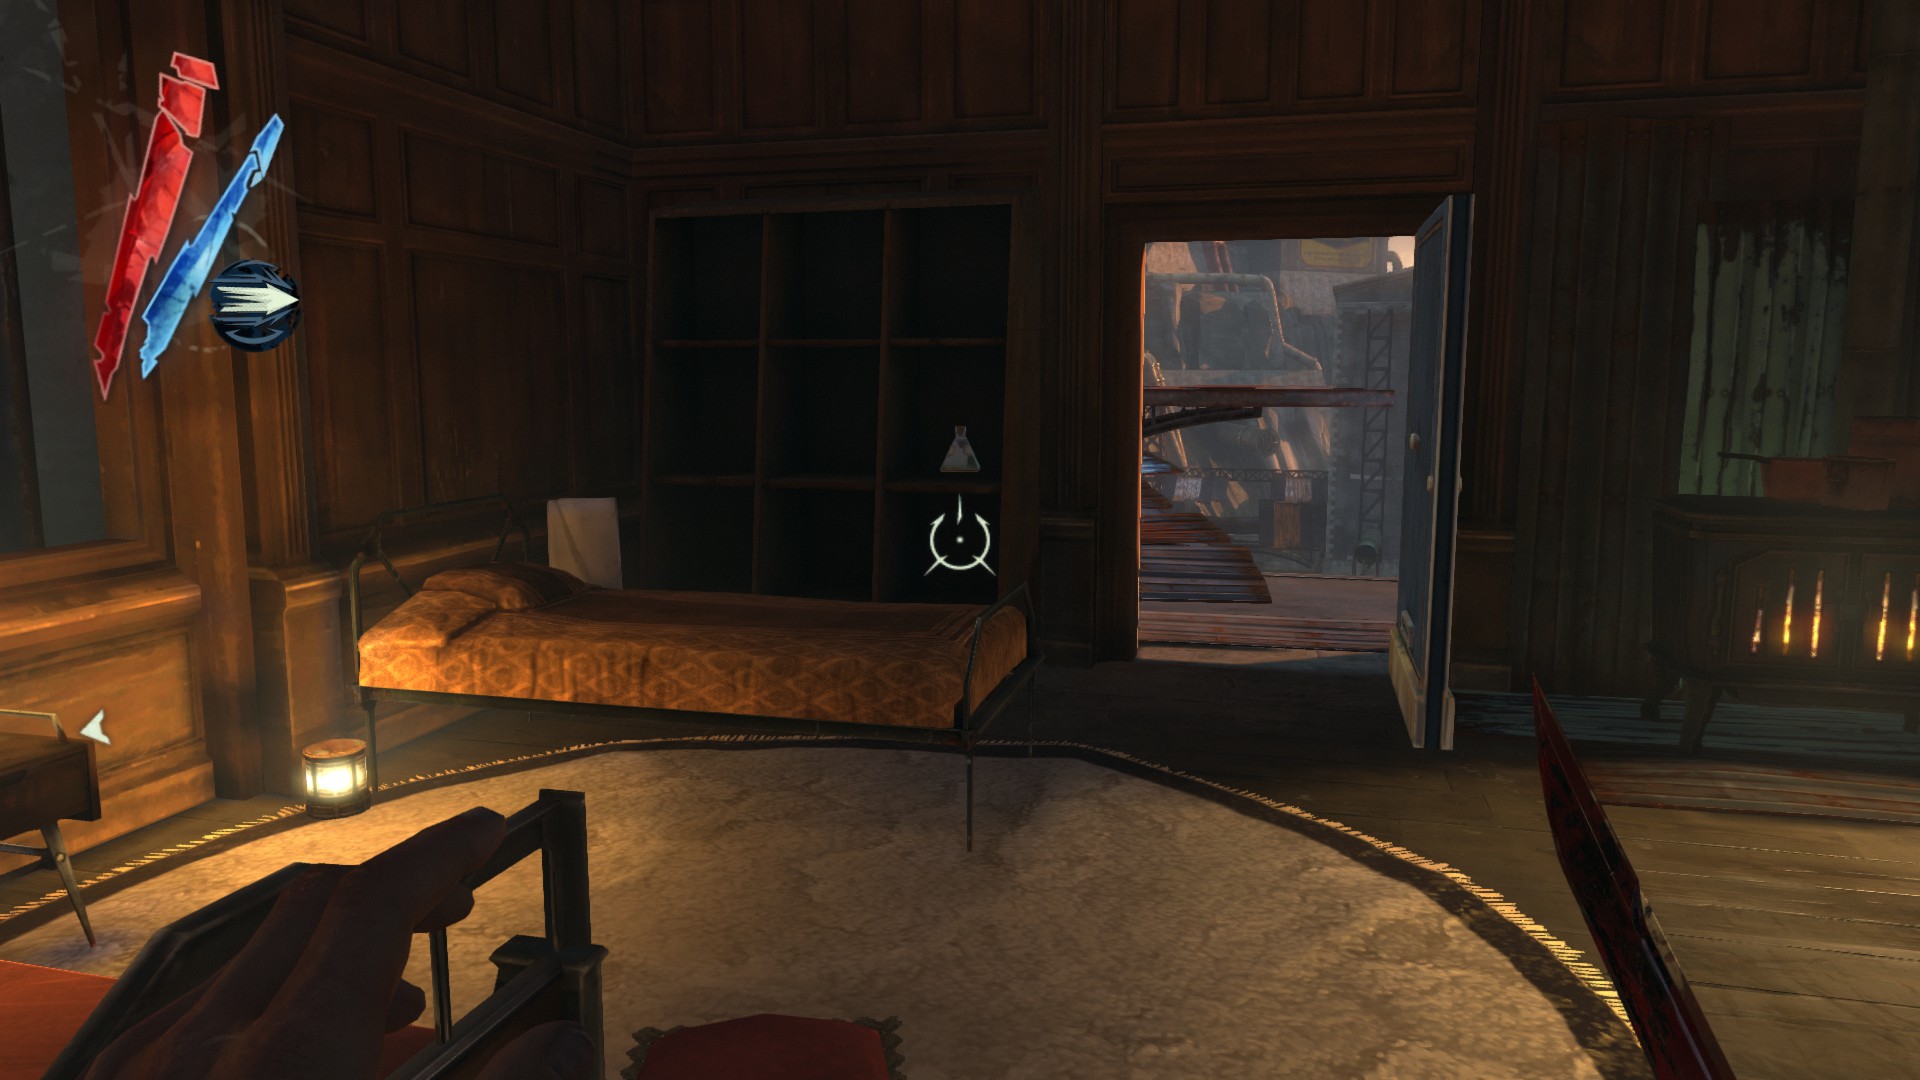
In Havelock's room (marked "202"), underneath his bed is a pouch and inside the trunk is a processed whale oil.
(+55)
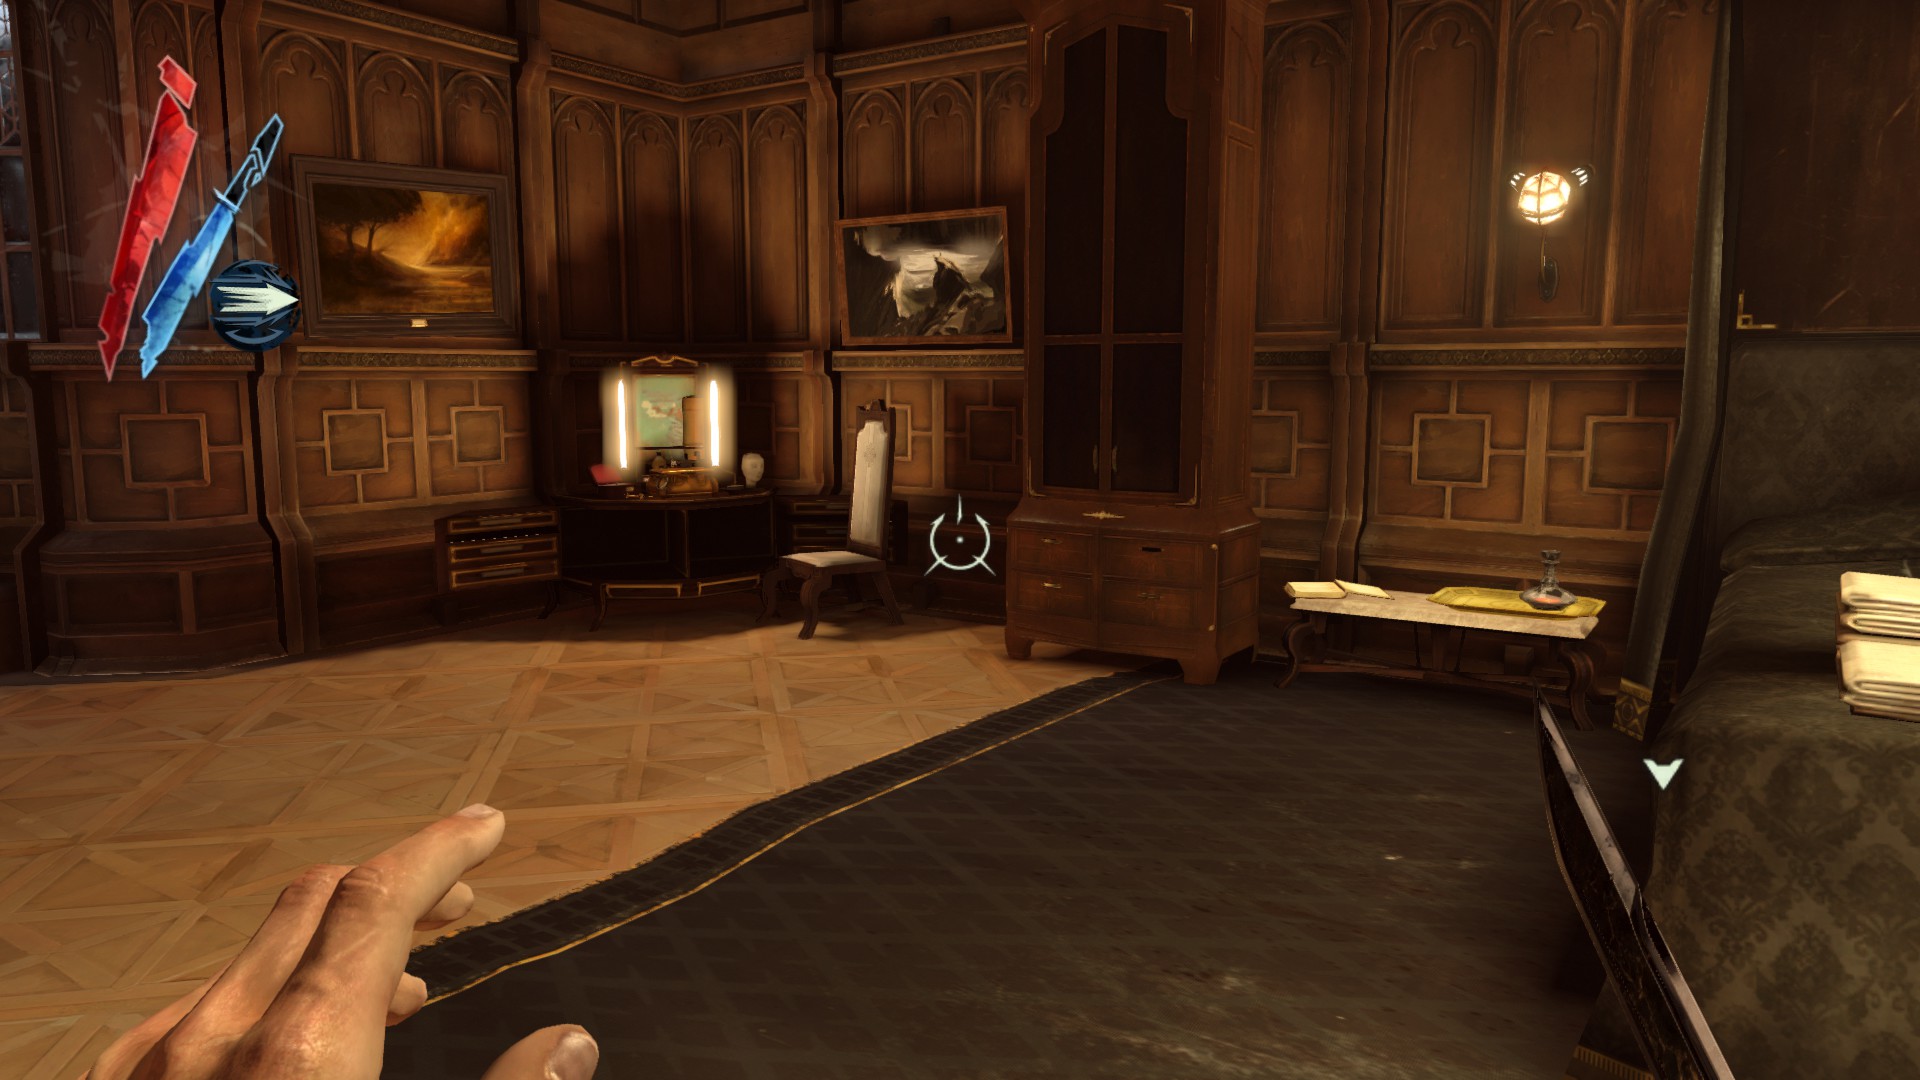
In Pendleton's room (marked "201"), inside the trunk is a pouch next to his bed and the Inchmouth Decor Plate is underneath it.
(+150)

In the same room, a powdered crystal is on his desk.
(+30)
Before entering Corvo's chambers, turn left and climb out of the window onto the pieces of tin leading to the tower. Before going inside, look to the right and find a coin on the roof.
(+10)
Inside the tower, a powdered crystal is on the shelf.
(+30)
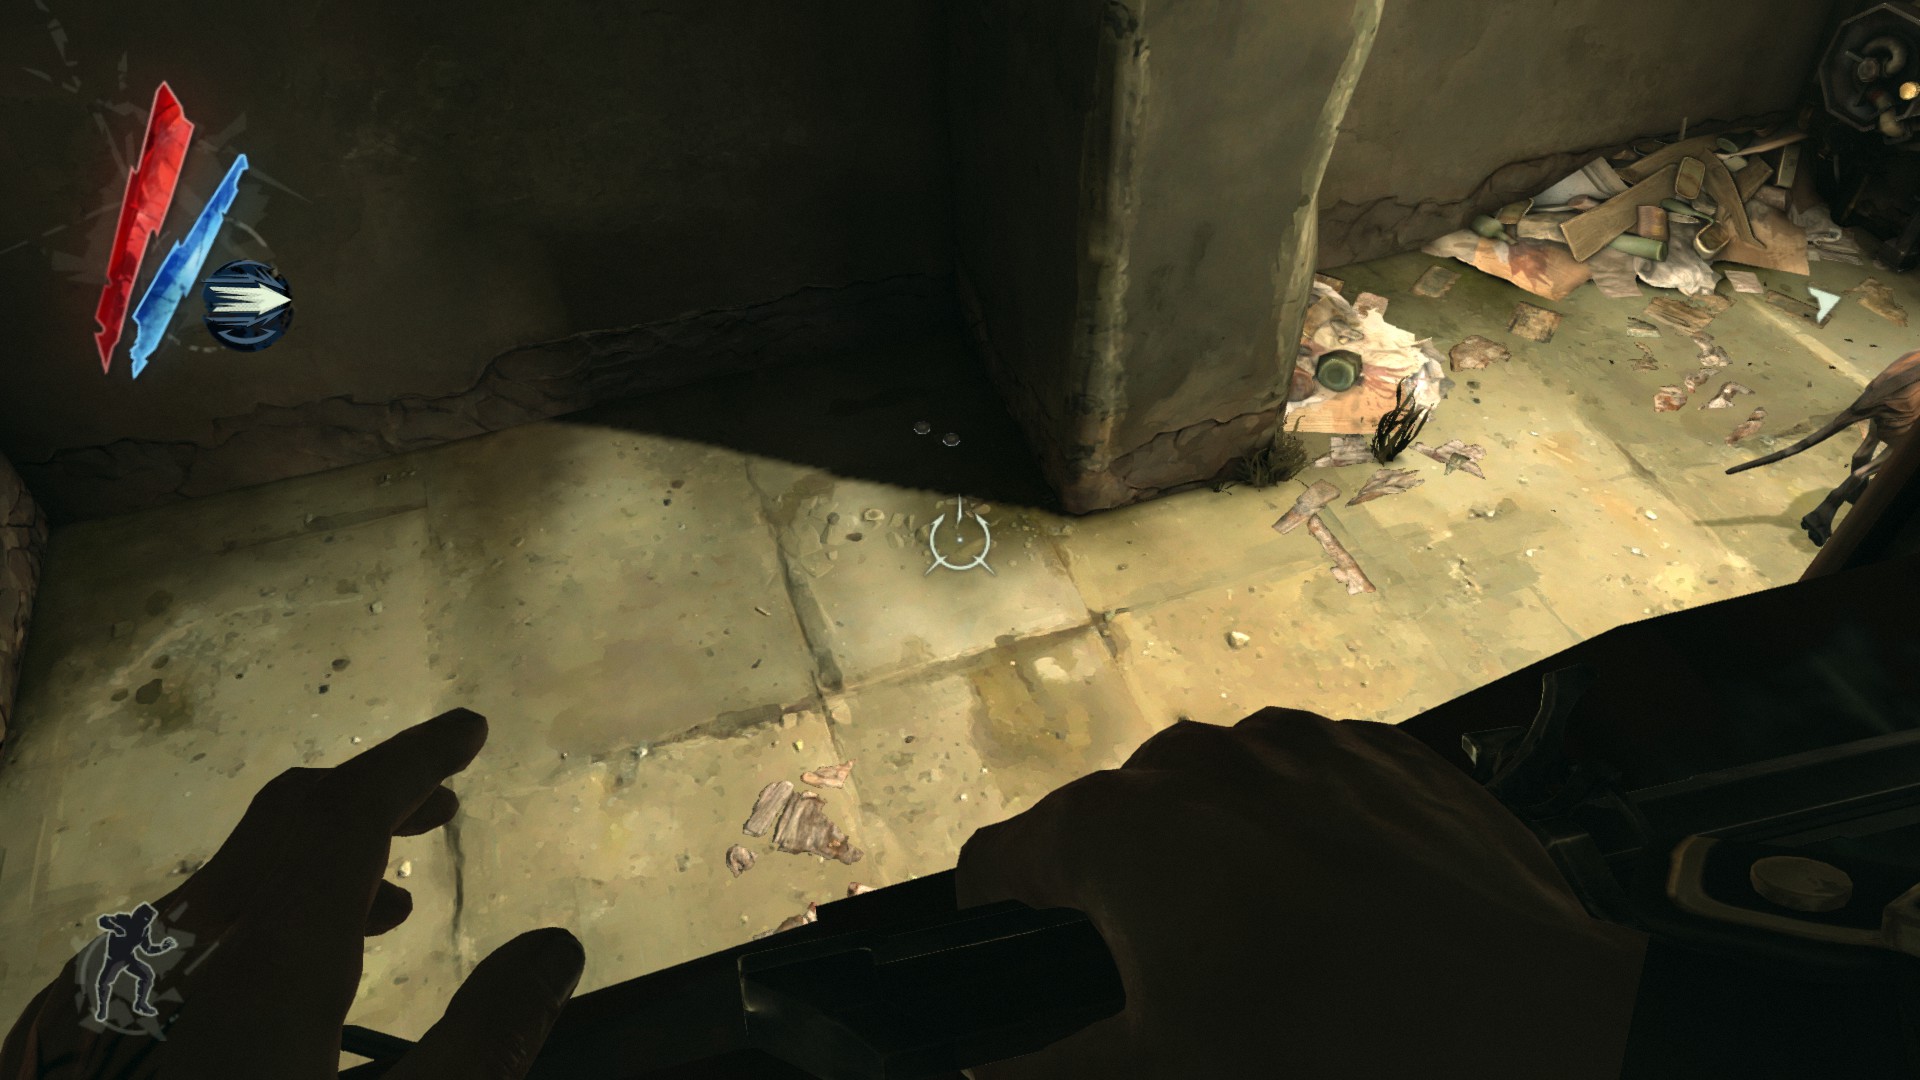
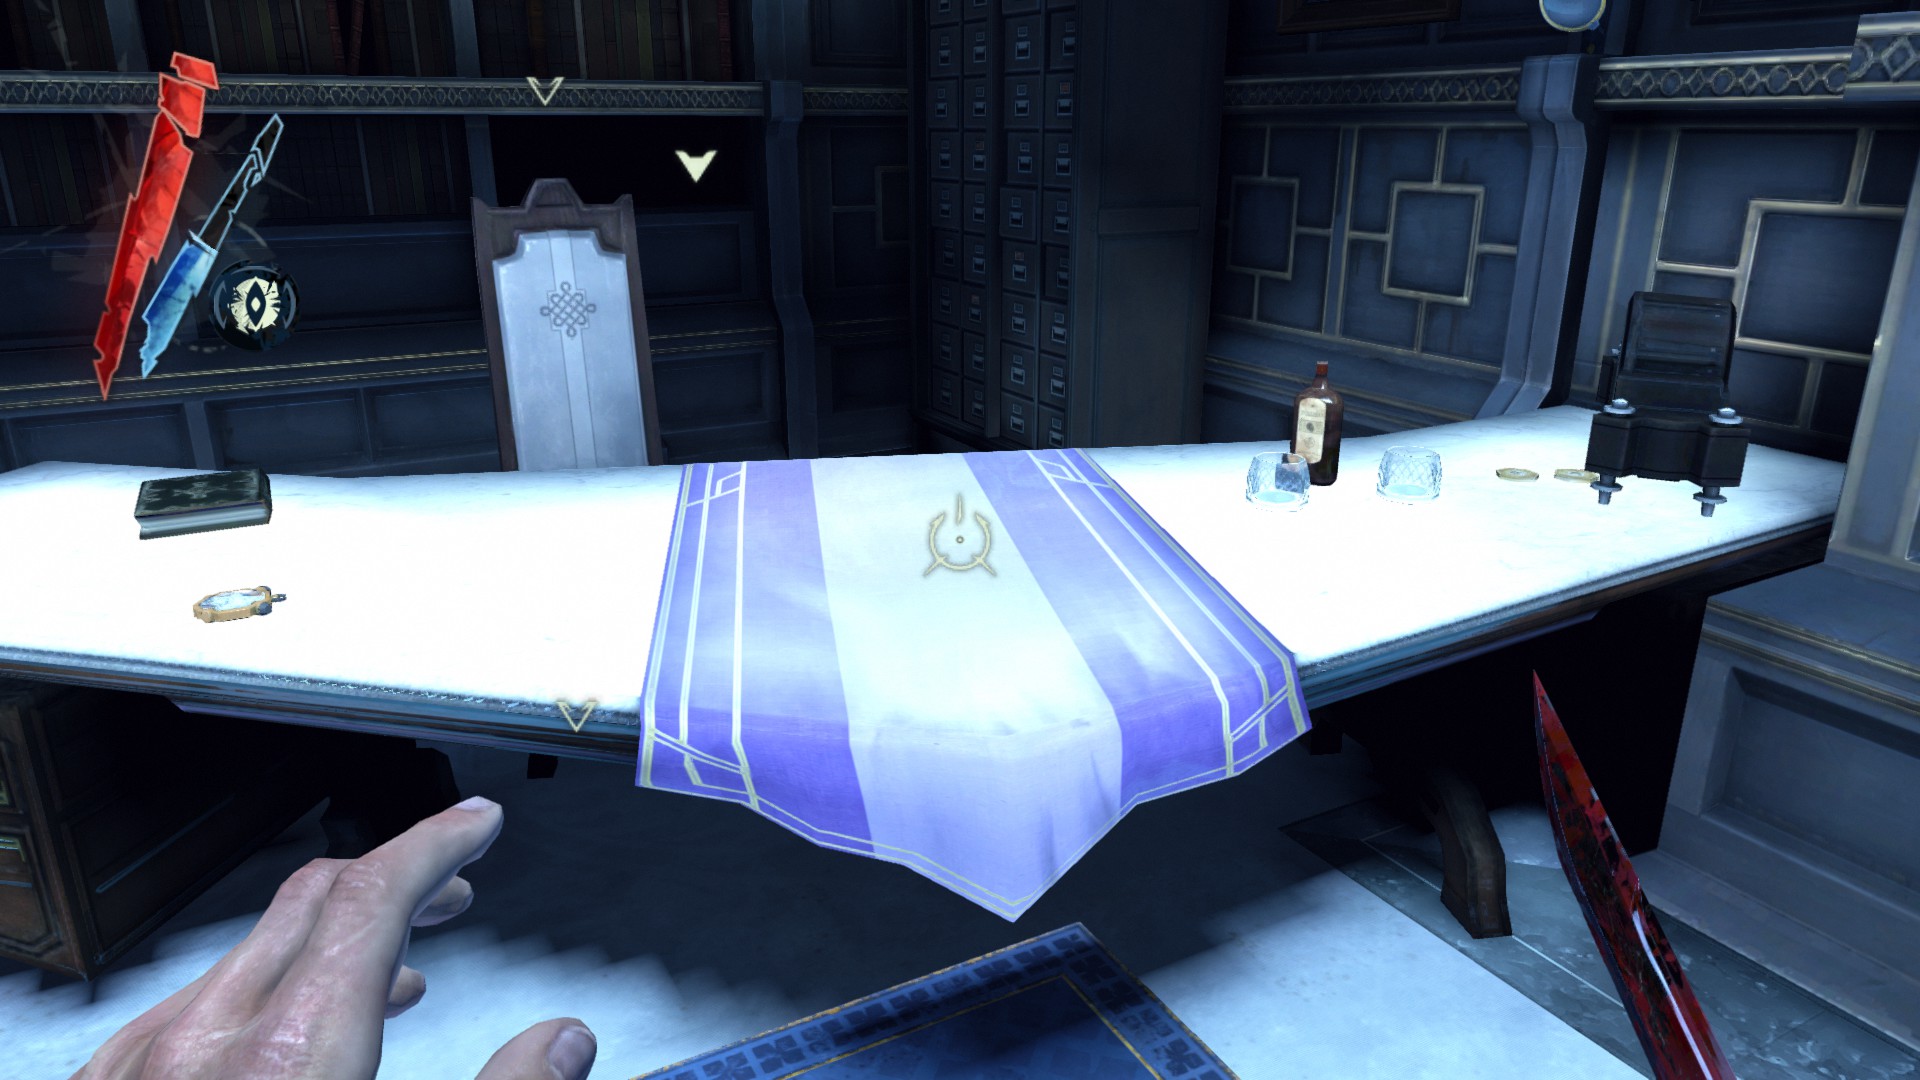
In Corvo's chambers, there is a coin underneath the desk and another coin on the chair next to his bed.
(+20)
Go out the opposite door, and turn immediately left. A medicinal herbs is on a chair.
(+20)
On the rooftop of the brewery, walk to the edge and look left. You will see a processed whale oil on a ventilation unit. Sprint jump to get it.
(+30)
In the basement, there are 2 processed whale oils here; one underneath the catwalk and the other one between two furnaces.
(+60)
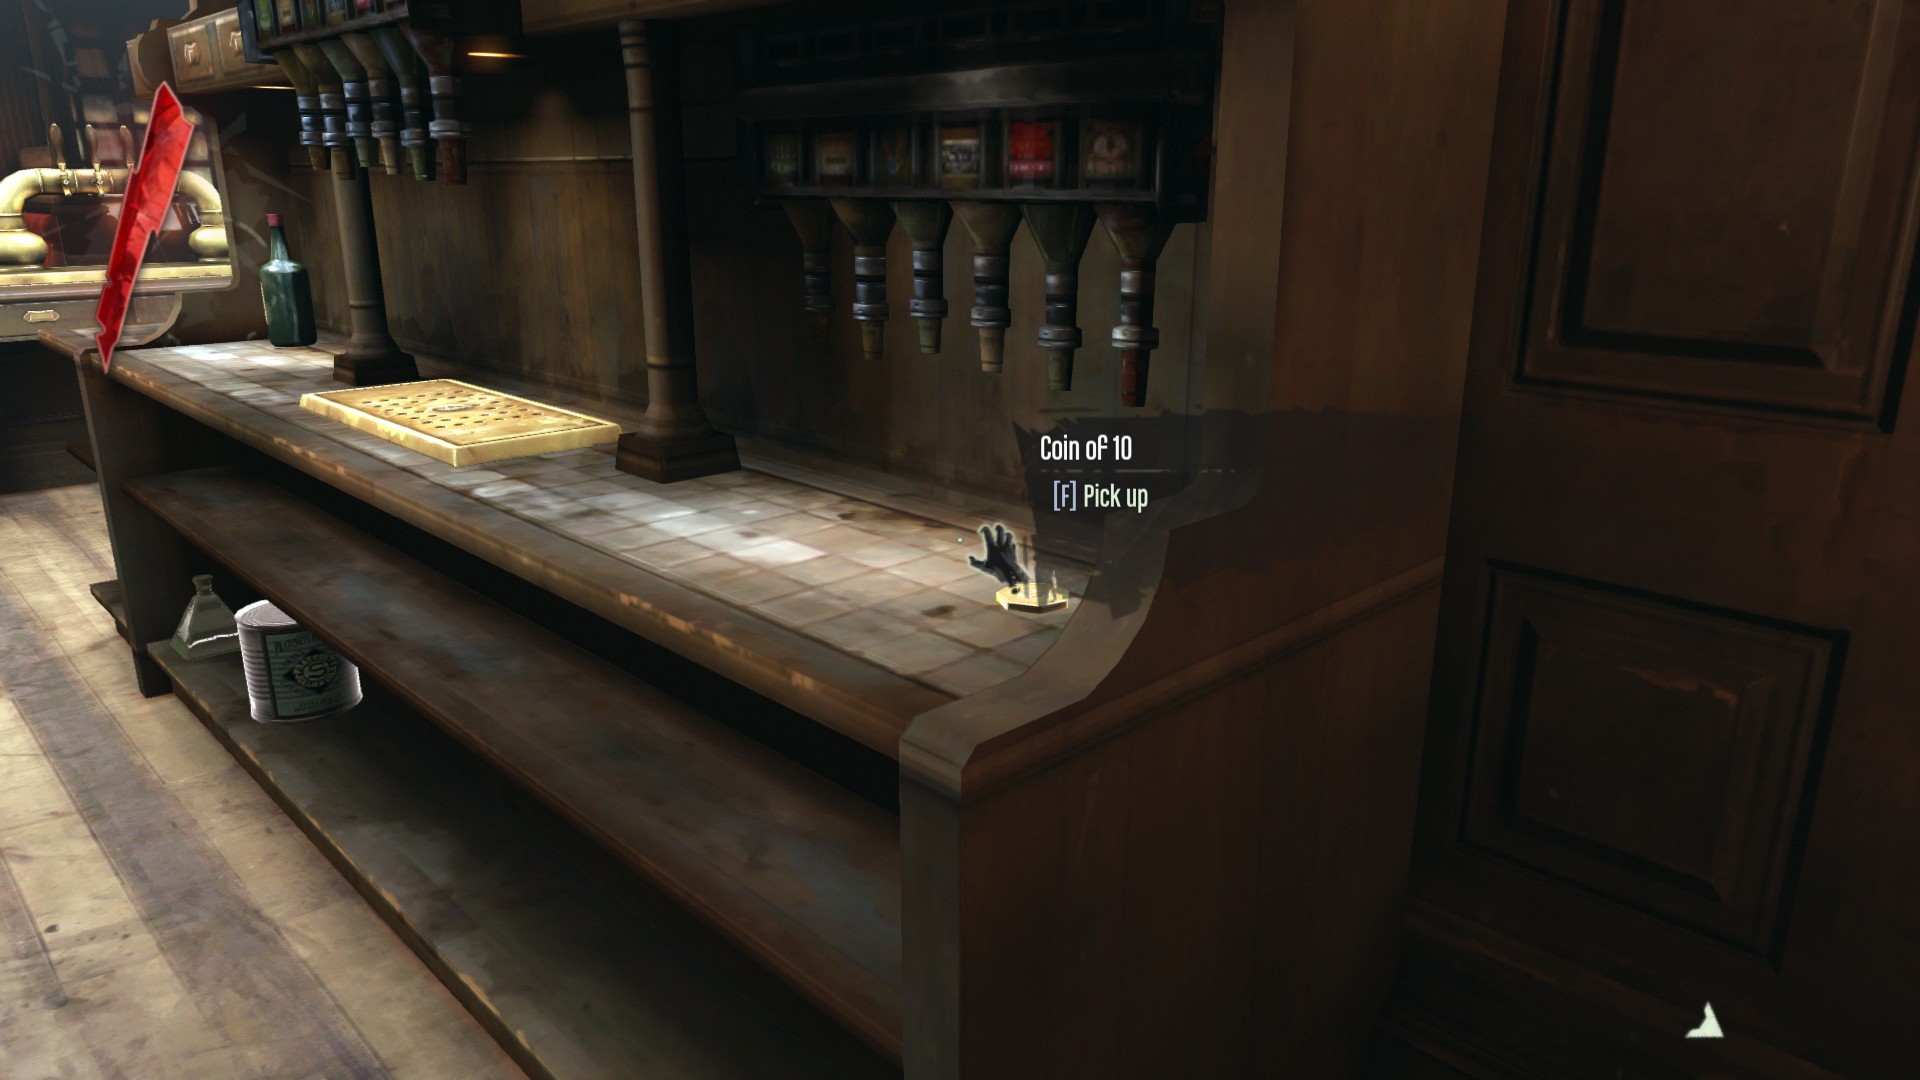
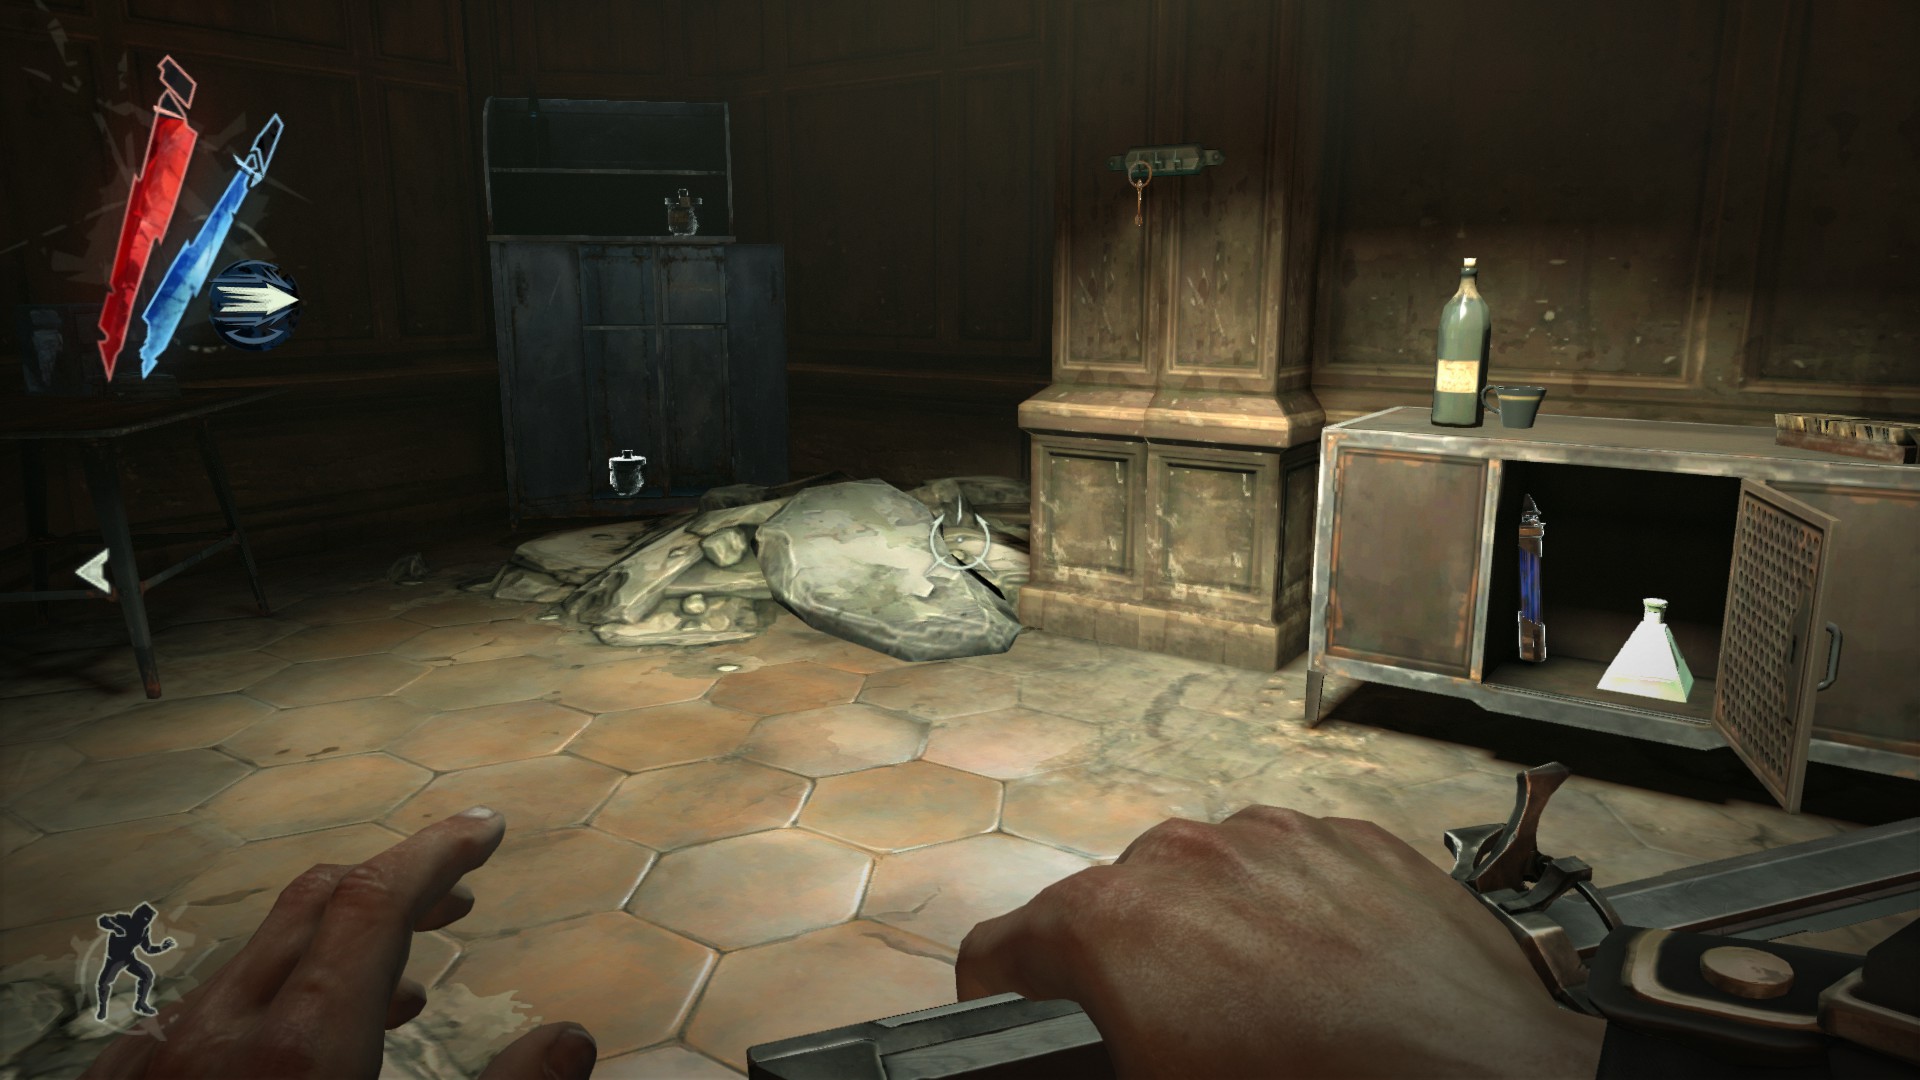
In the pub, there is a coin underneath some spigots, and a hemlock essence on the lowest shelf.
(+30)
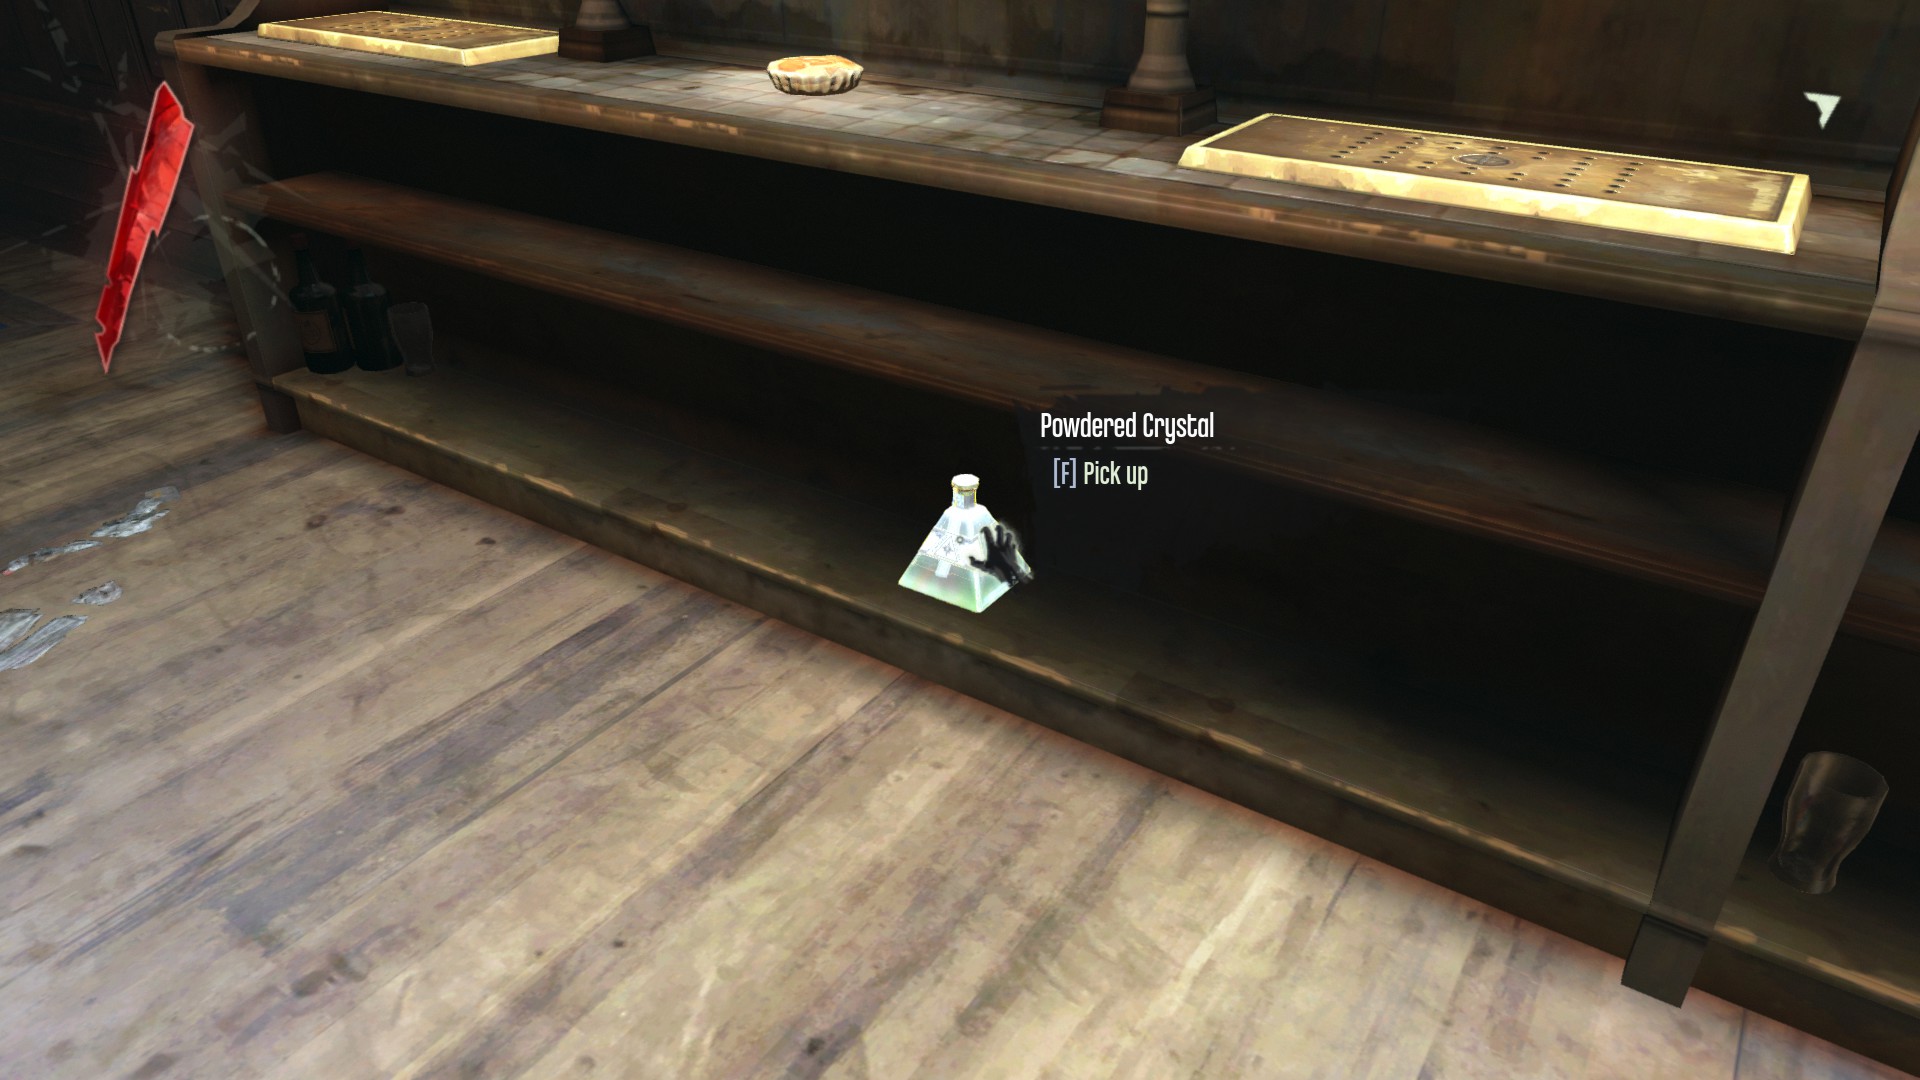
A powdered crystal is on the same shelf, side of the pub.
(+30)
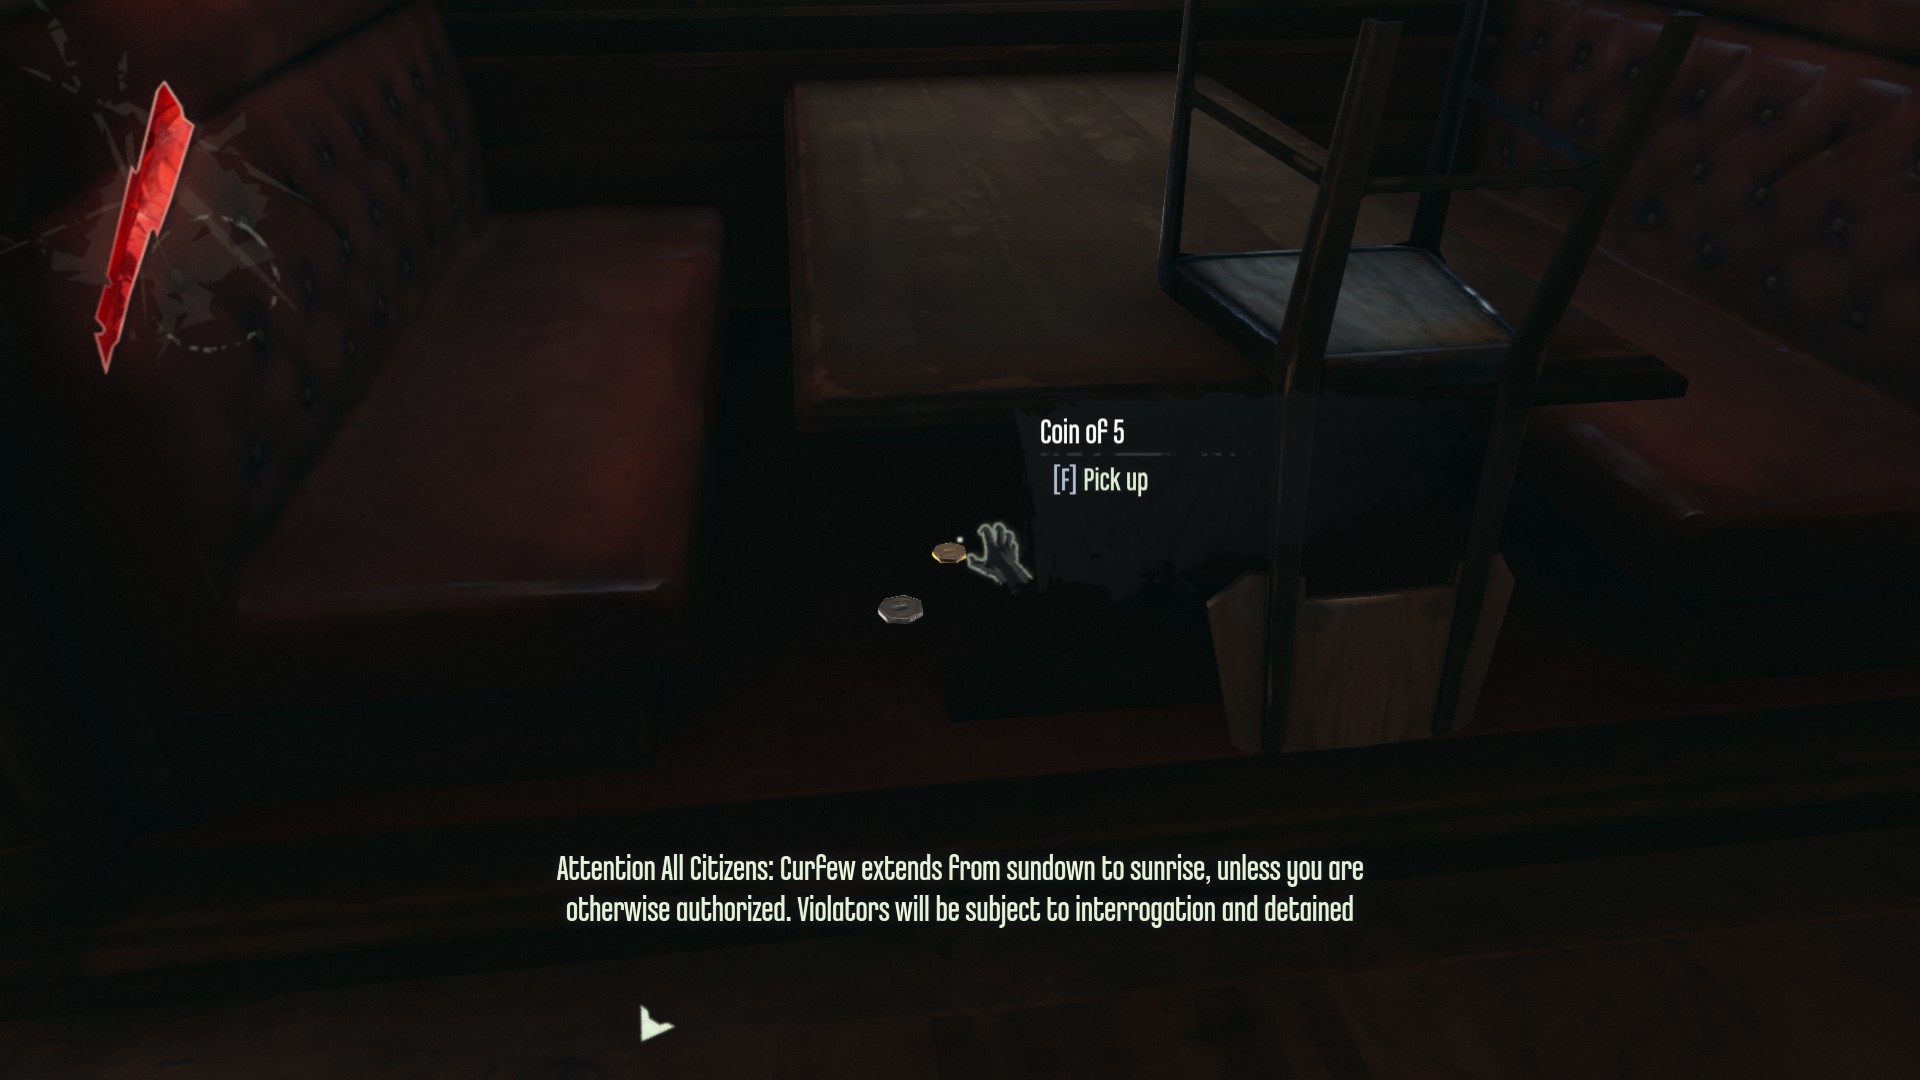
2 coins are under the booth.
(+15)
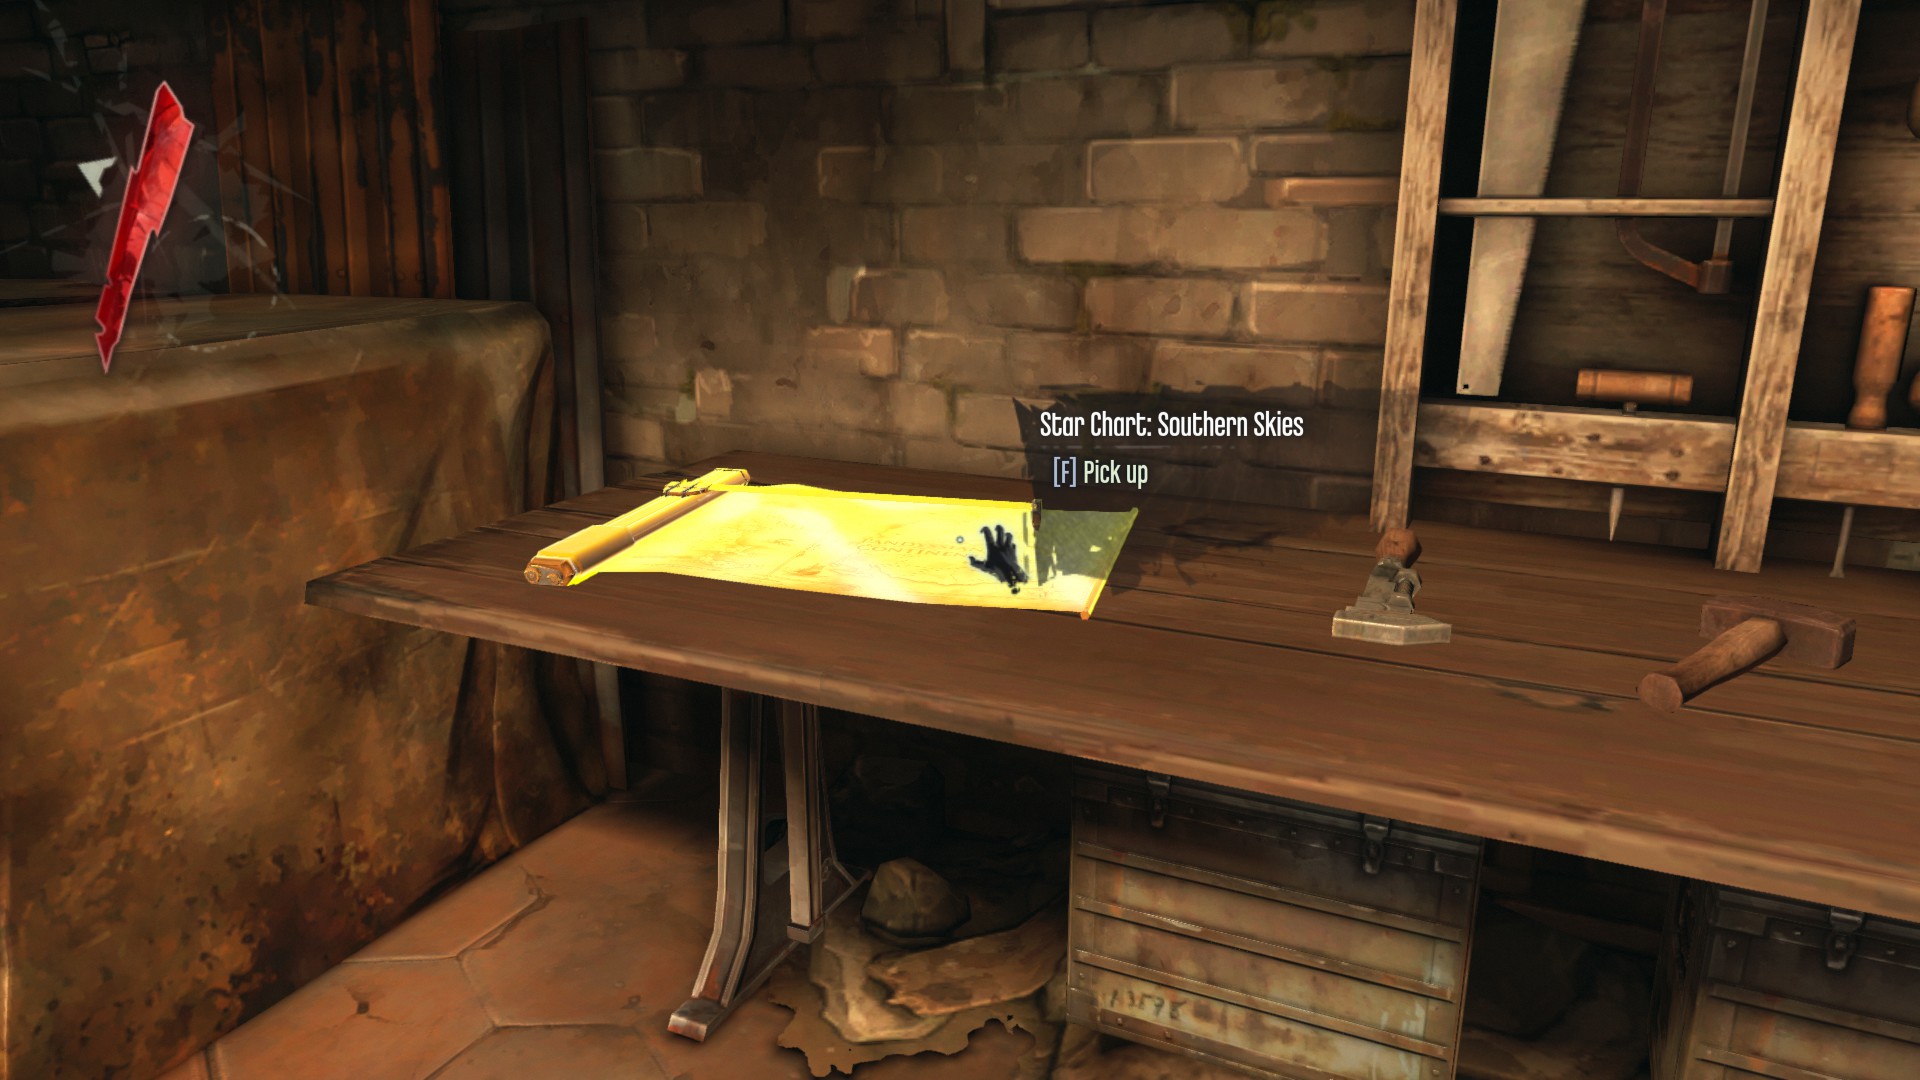
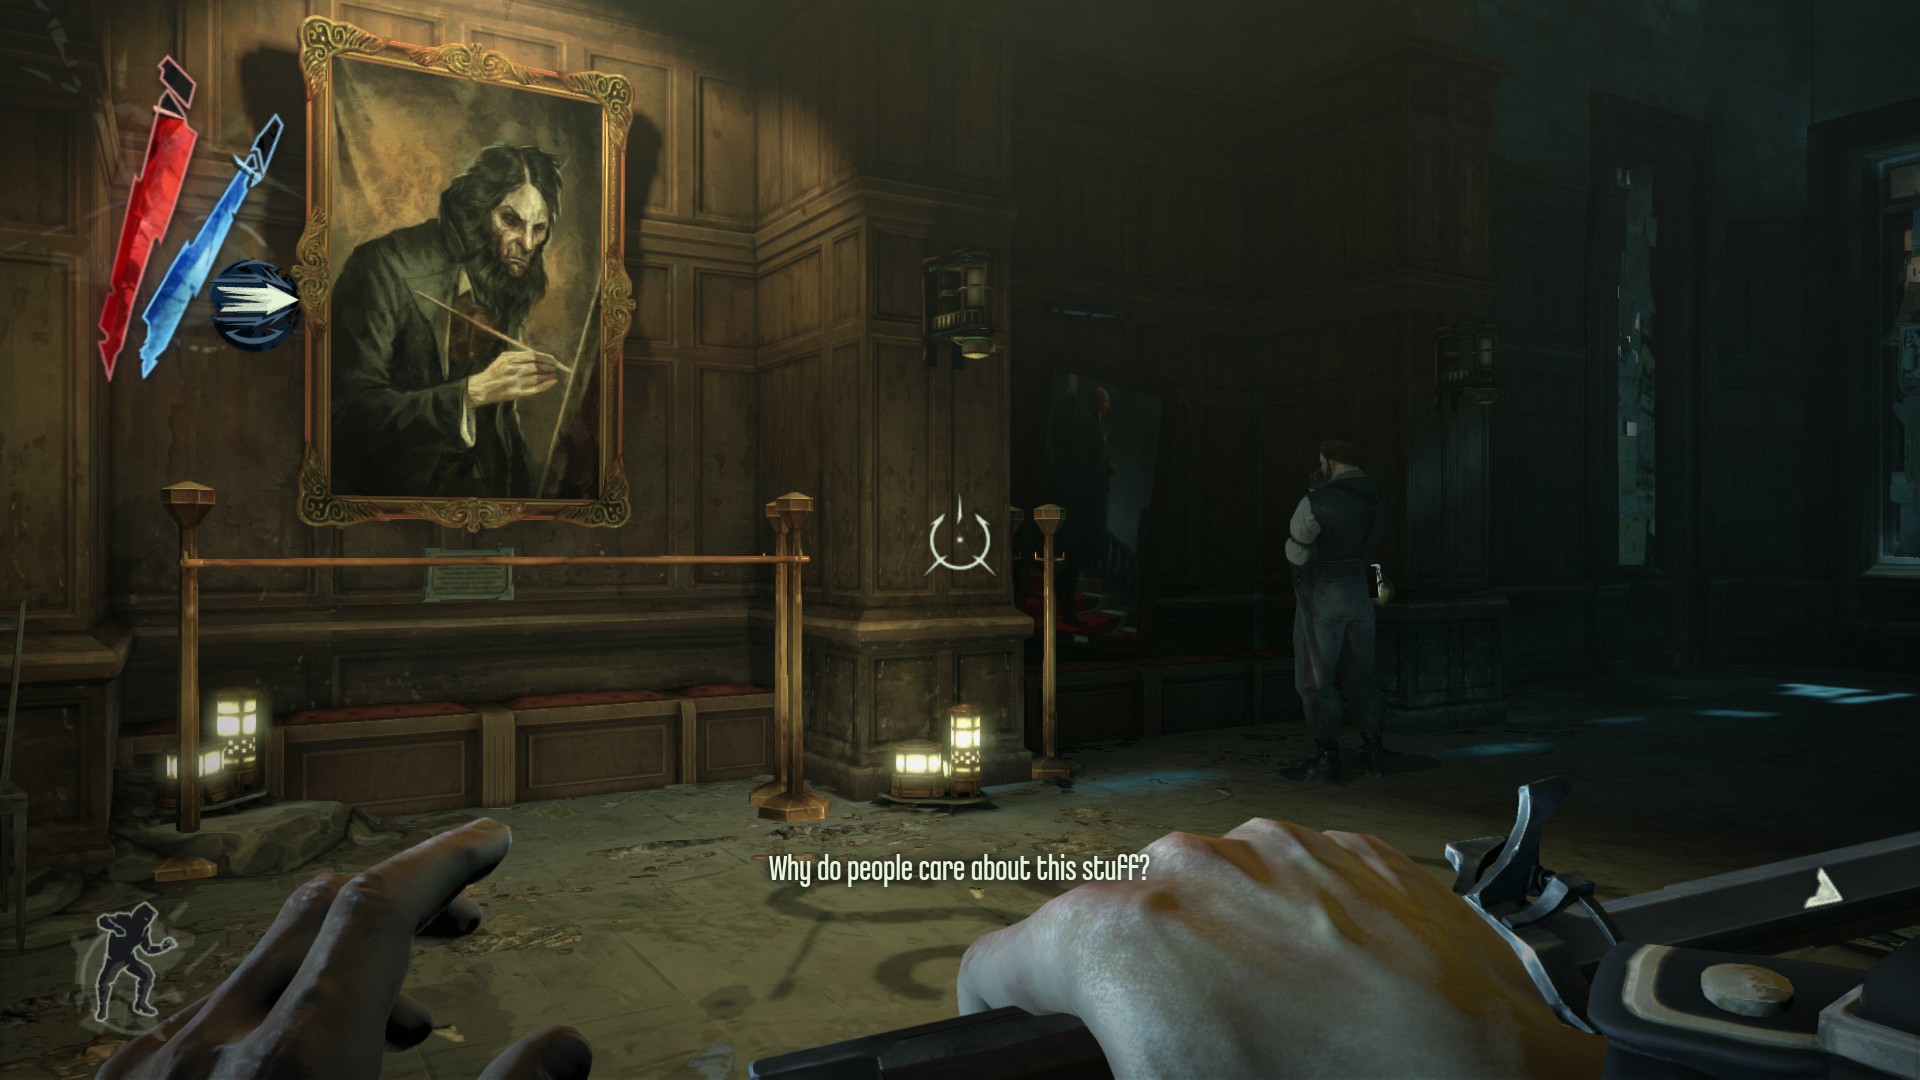
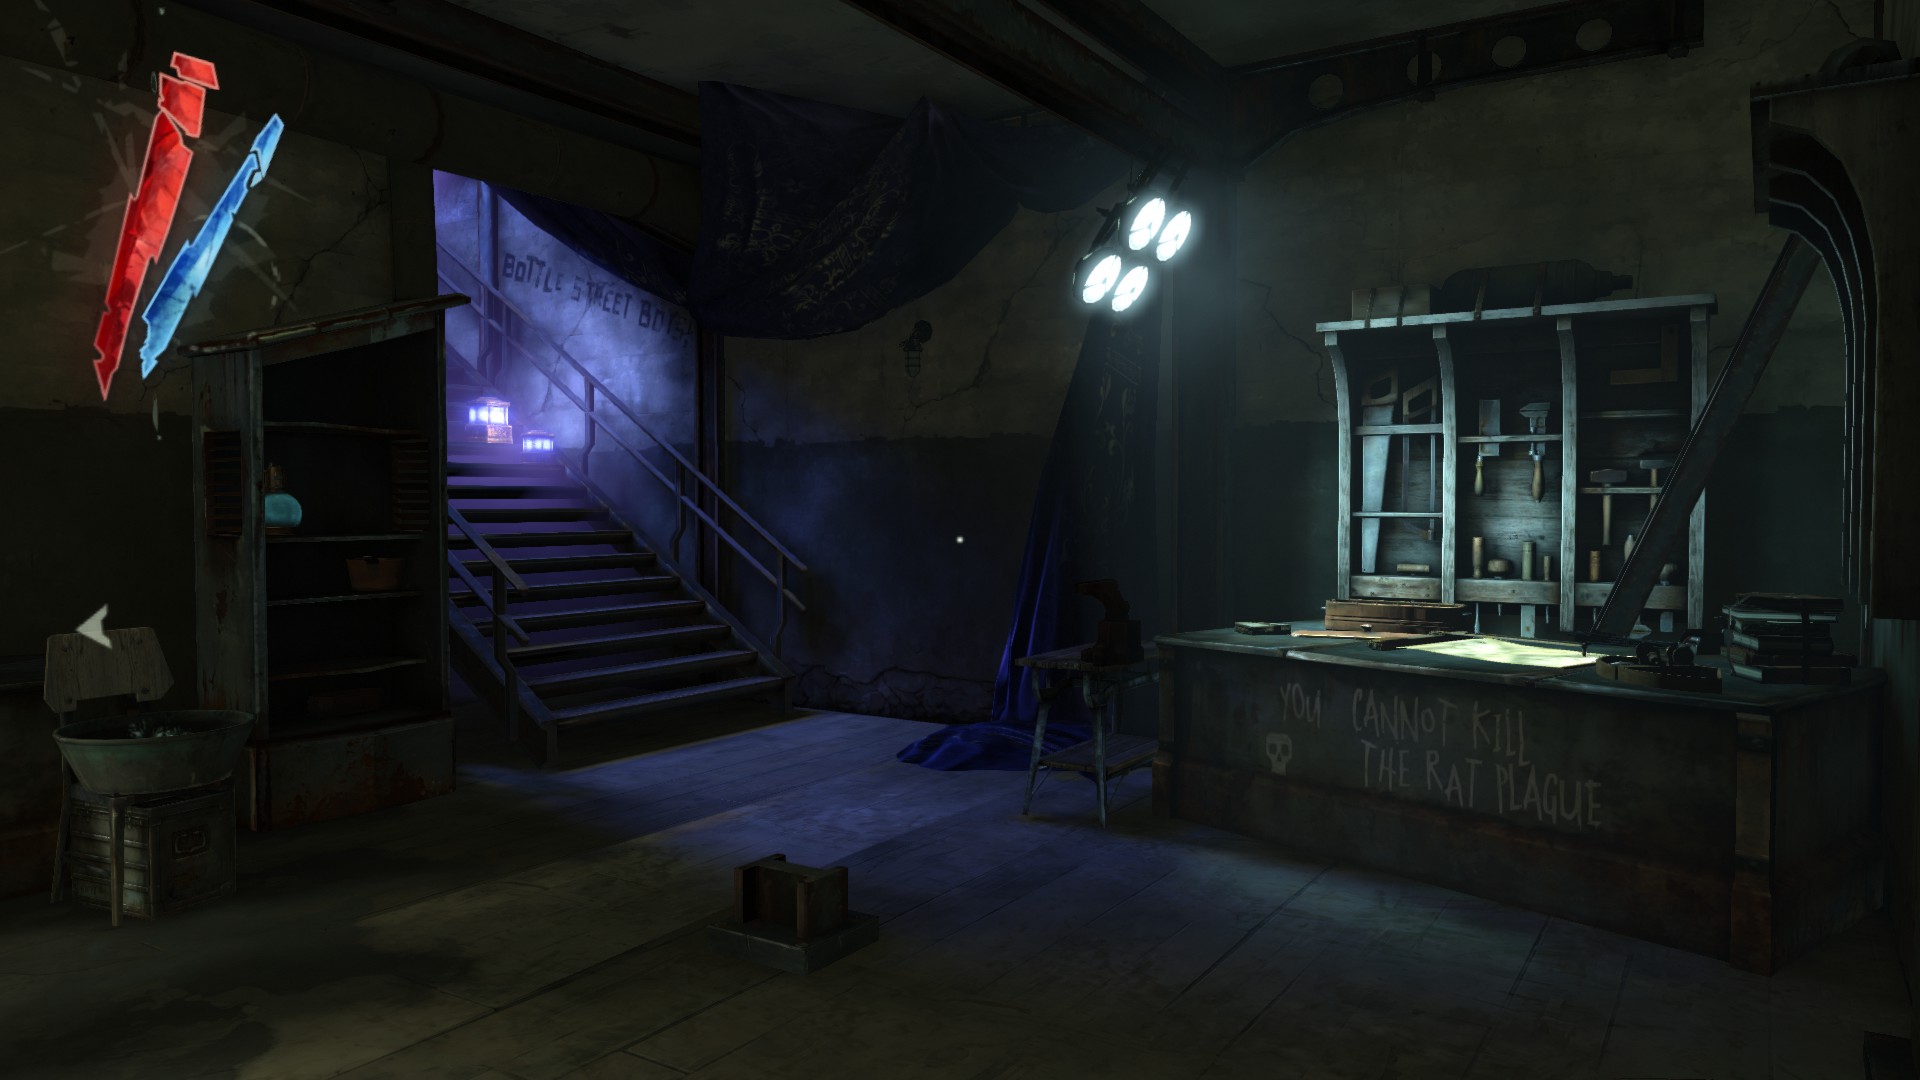
In Piero's Workshop, there is a large table with the Star Chart: Southern Skies on it.
(+75)
A medicinal herbs is on the lowest shelf.
(+20)
In the second floor of Piero's Workshop, there is a hemlock essence on the desk and a coin on the window next to the whale oil tank dispenser.
(+30)

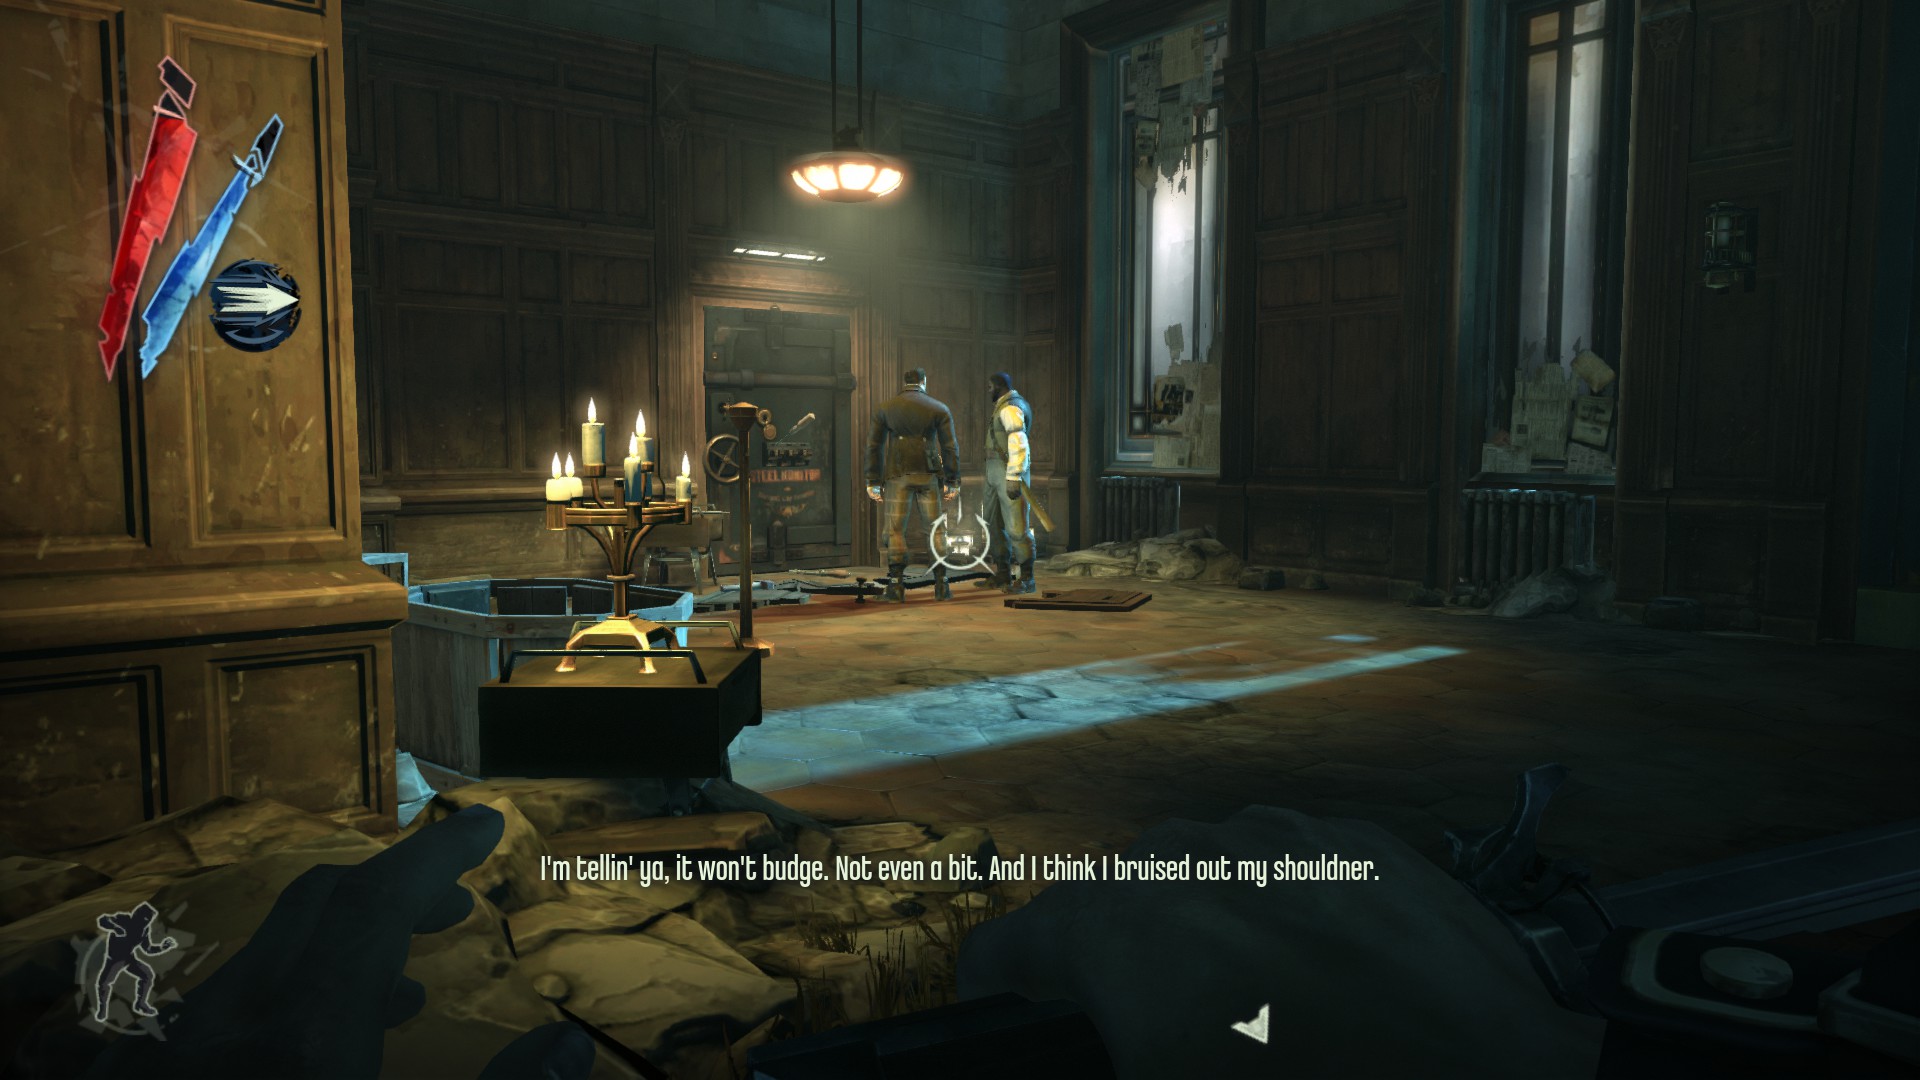
Now head back to Samuel's boat, and look left to see a sewer locked up with bars. You can open it by either rotate the wheel through the bars or use Blink to go through the bars in certain places.
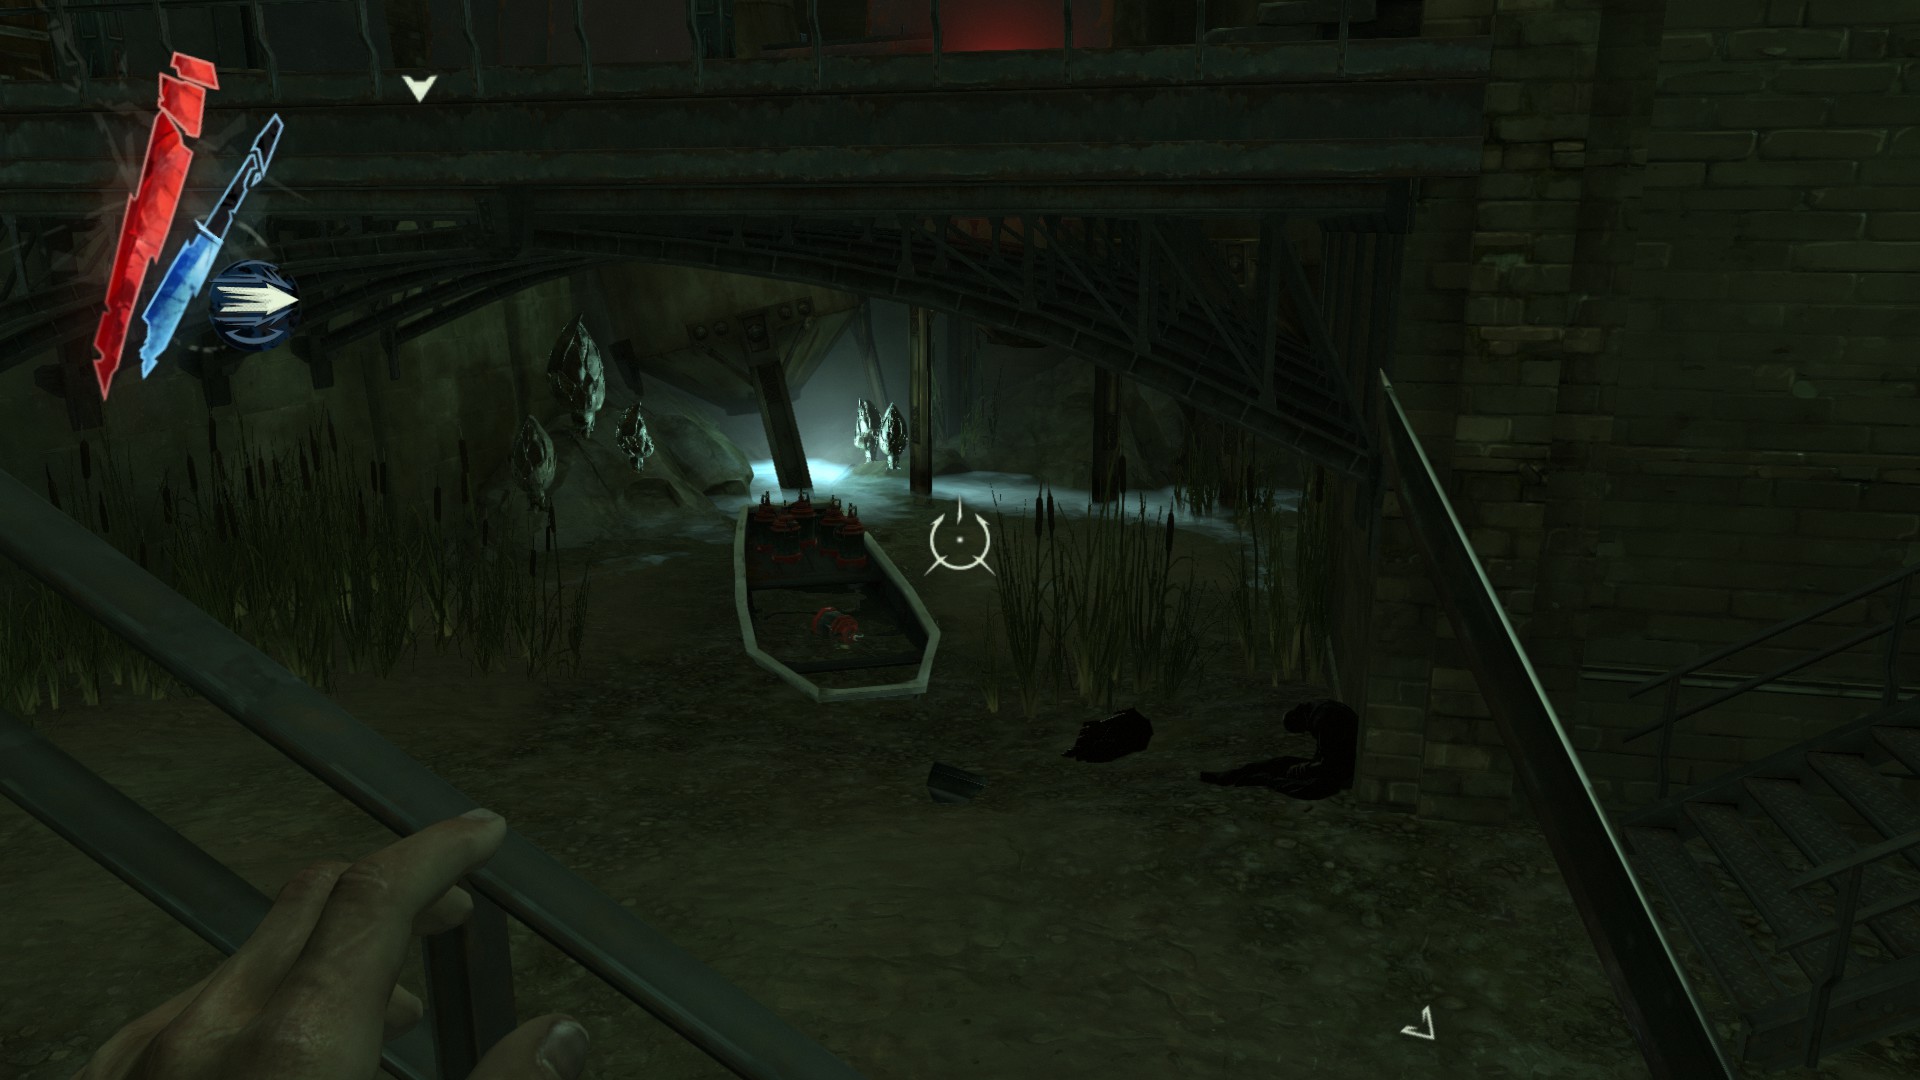
In the sewers, go right and you will see a submerged boat. There are 3 coins on it.
(+11)
Follow the path to left and you will find a copper wire on the floor near the end of this tunnel.
(+10)
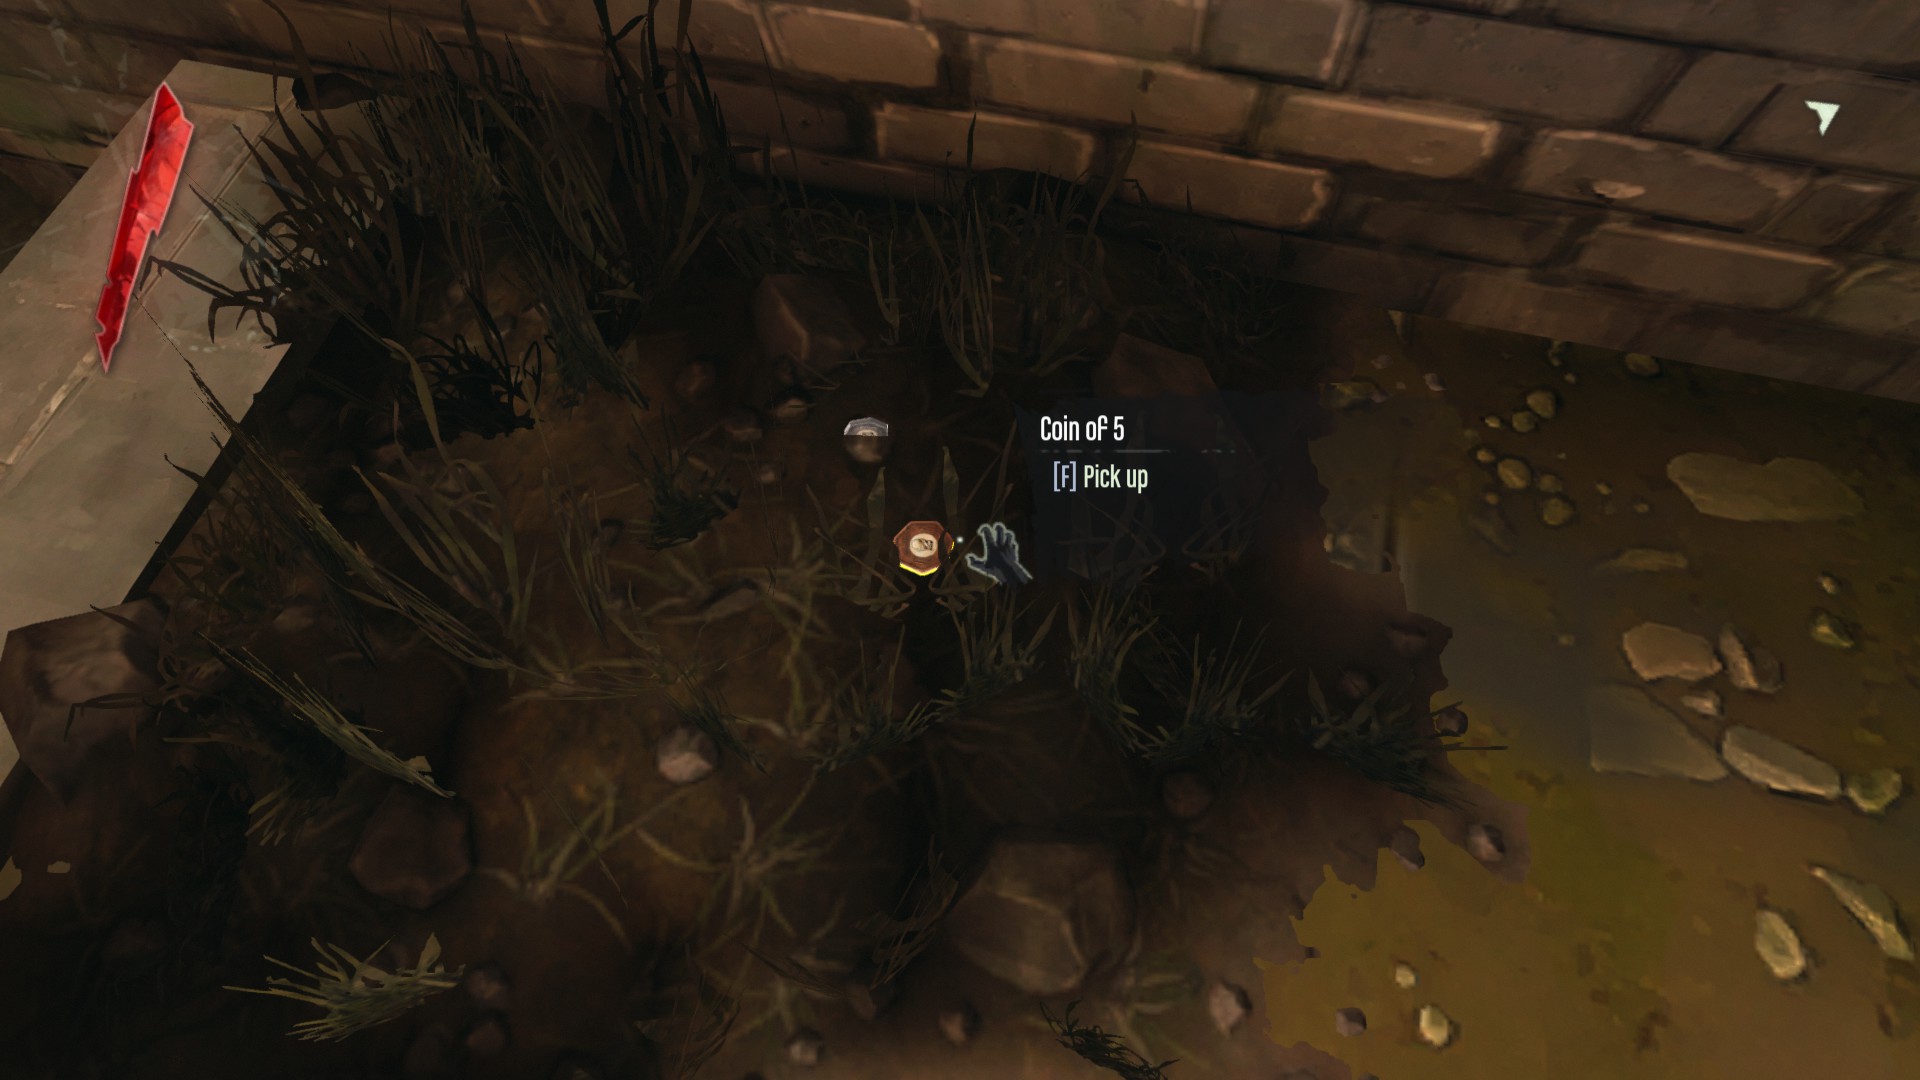
Go back to the sewers and start walking down the sewer passage. At the right grass patch next to pipes is two coins.
(+6)
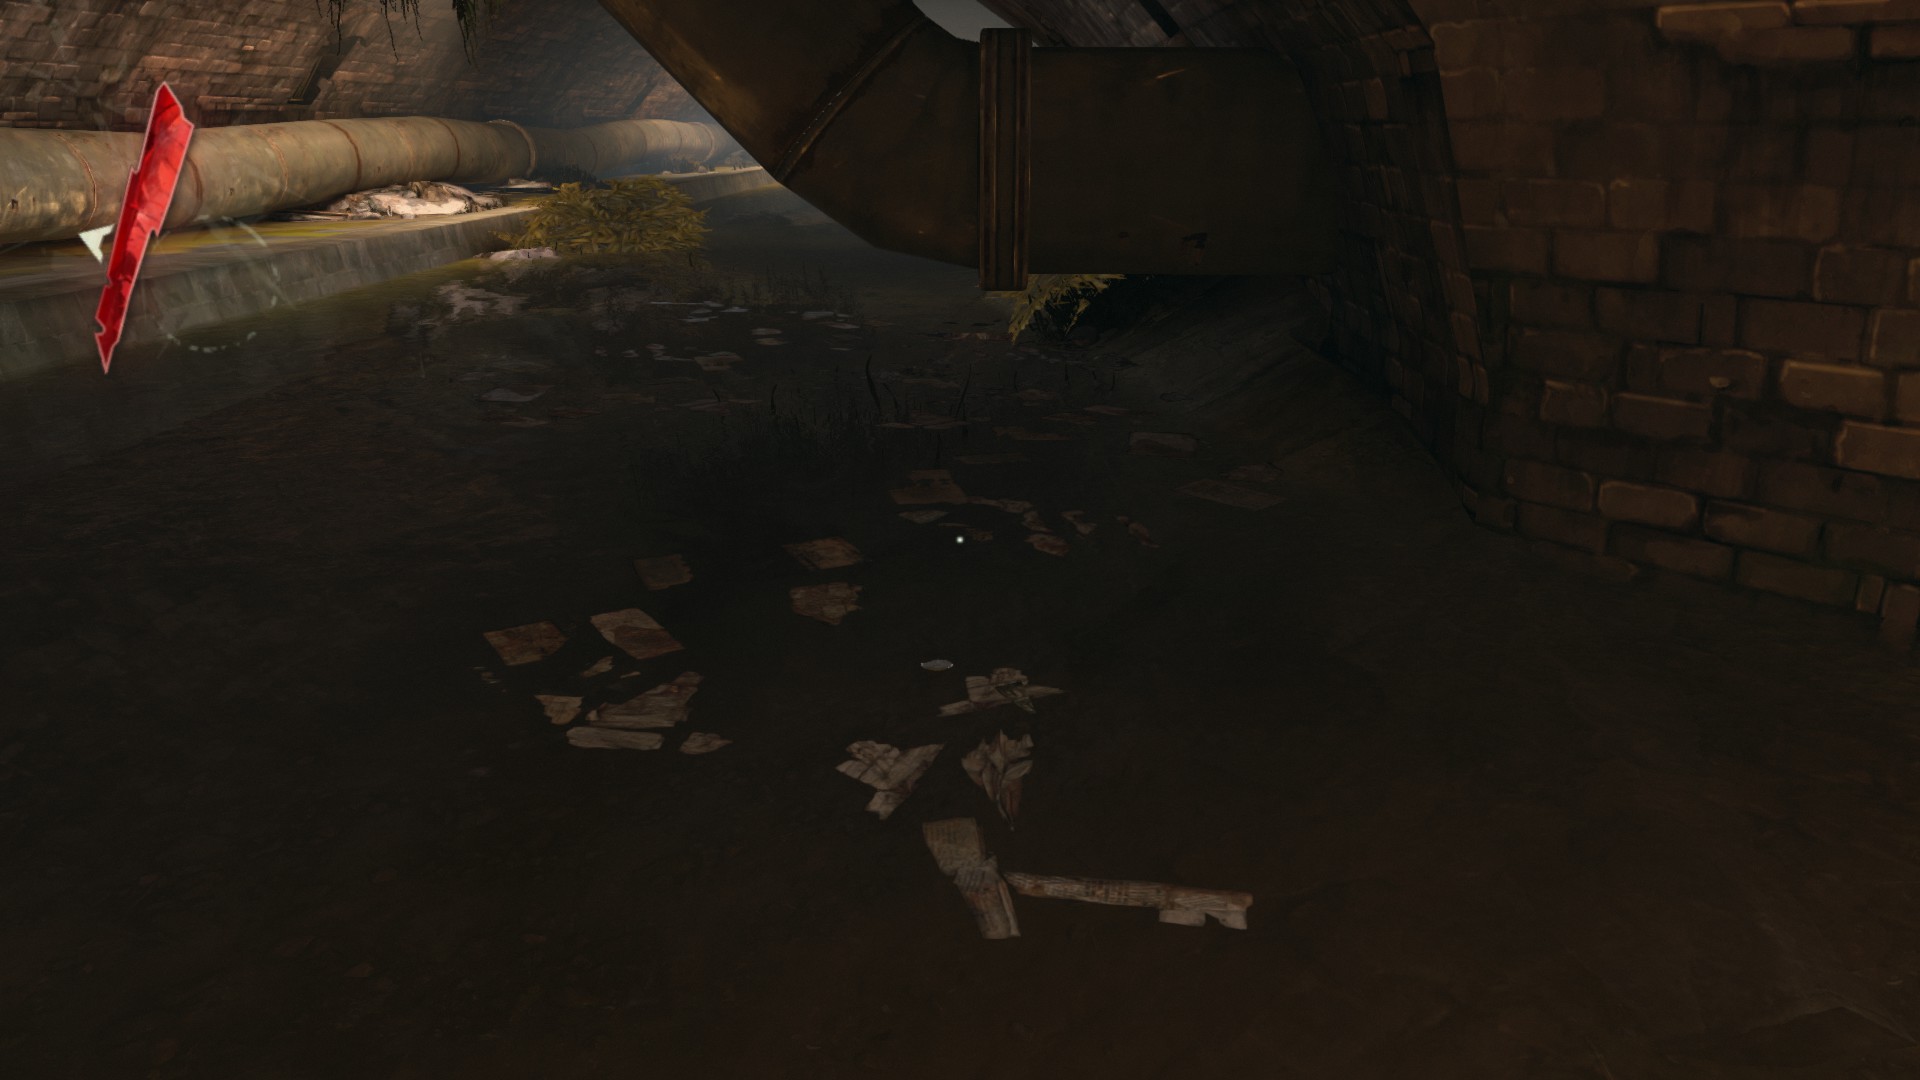
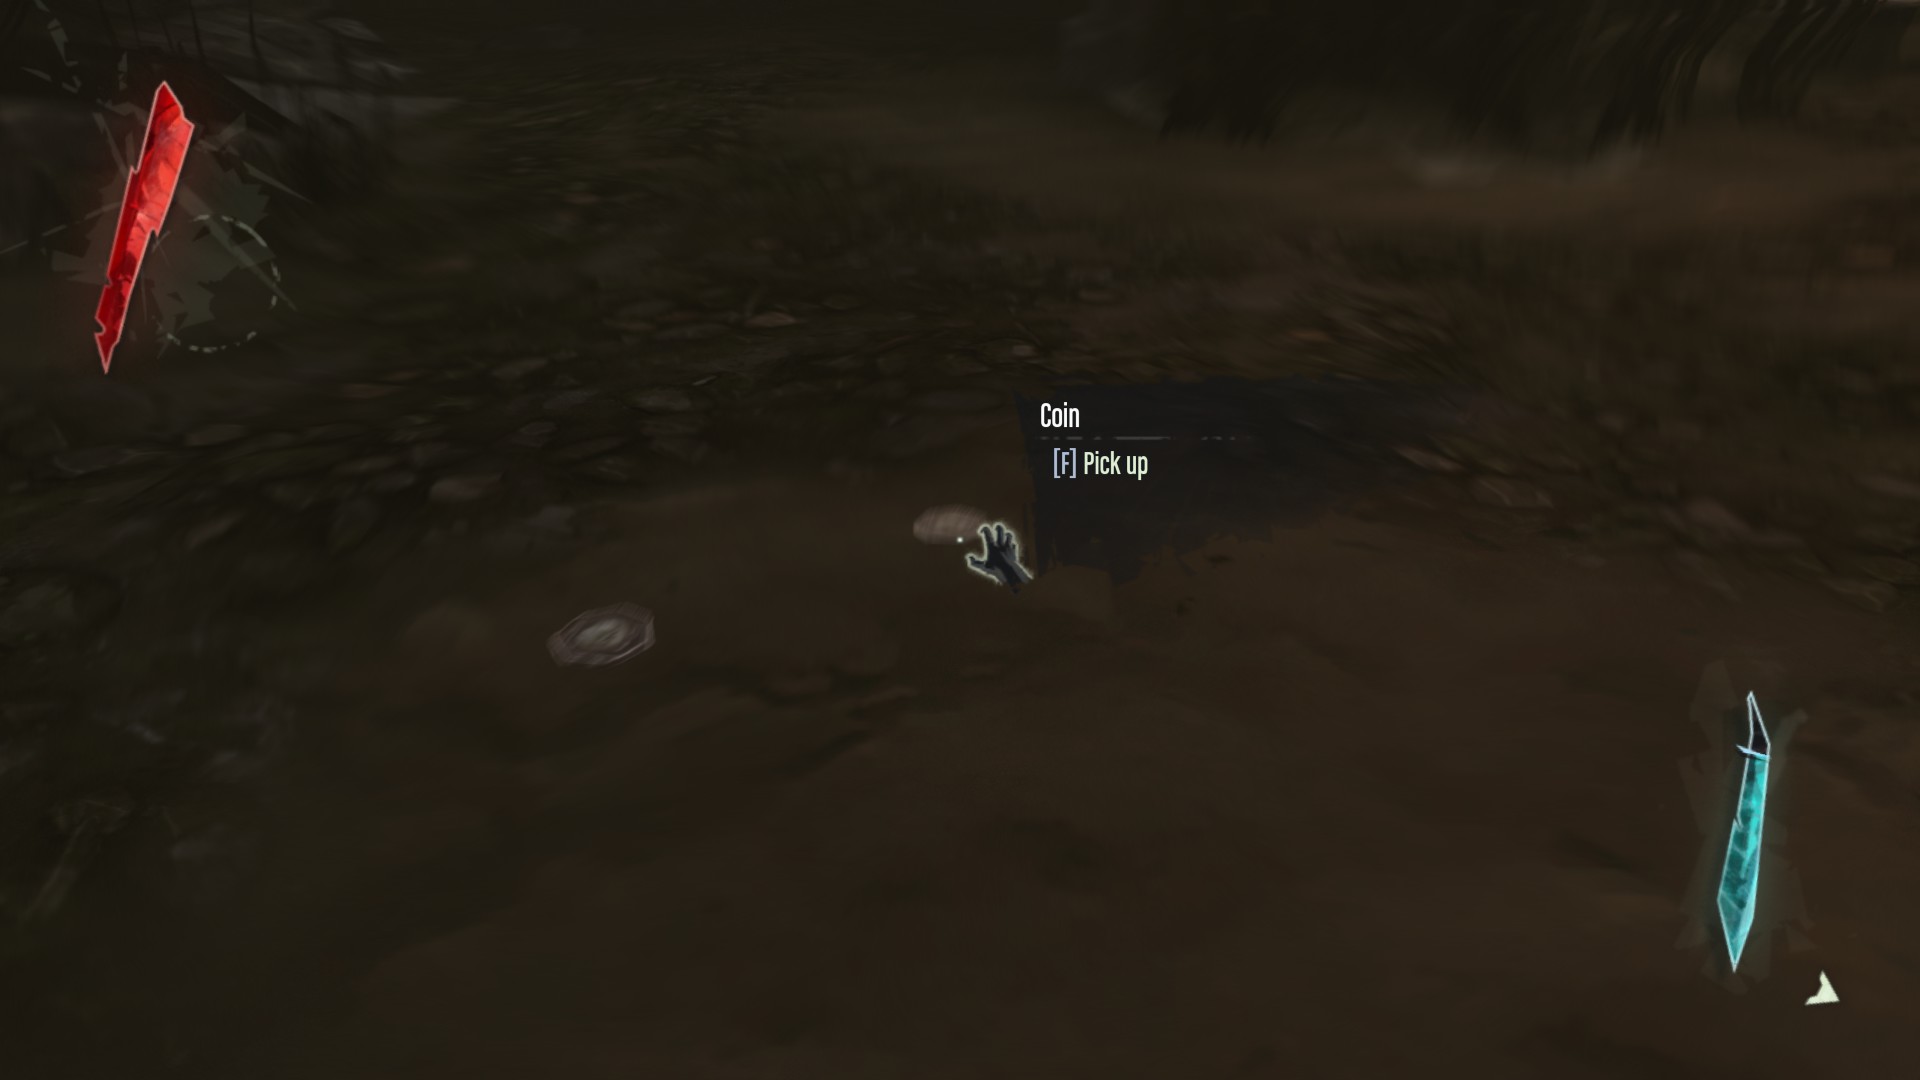
A coin is in the water just to the right of the pipe leading up to the ceiling.
(+10)
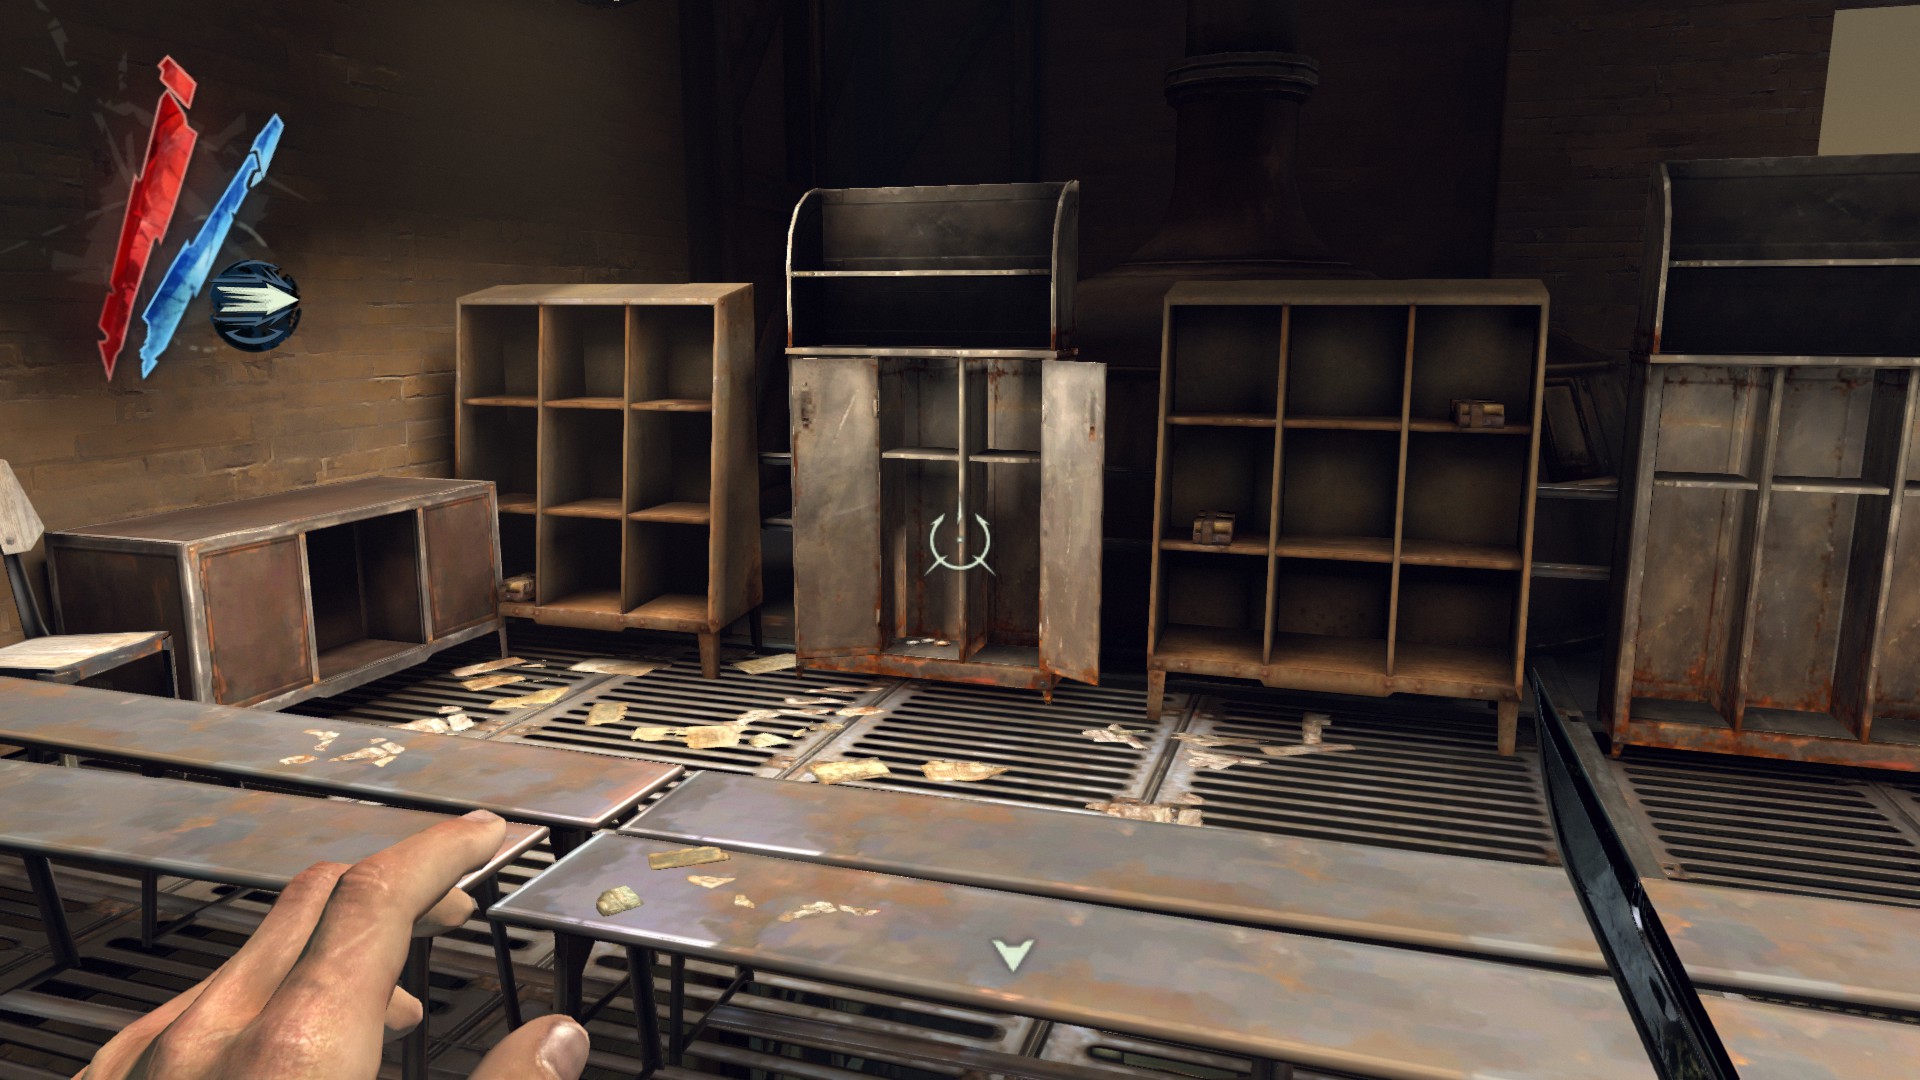
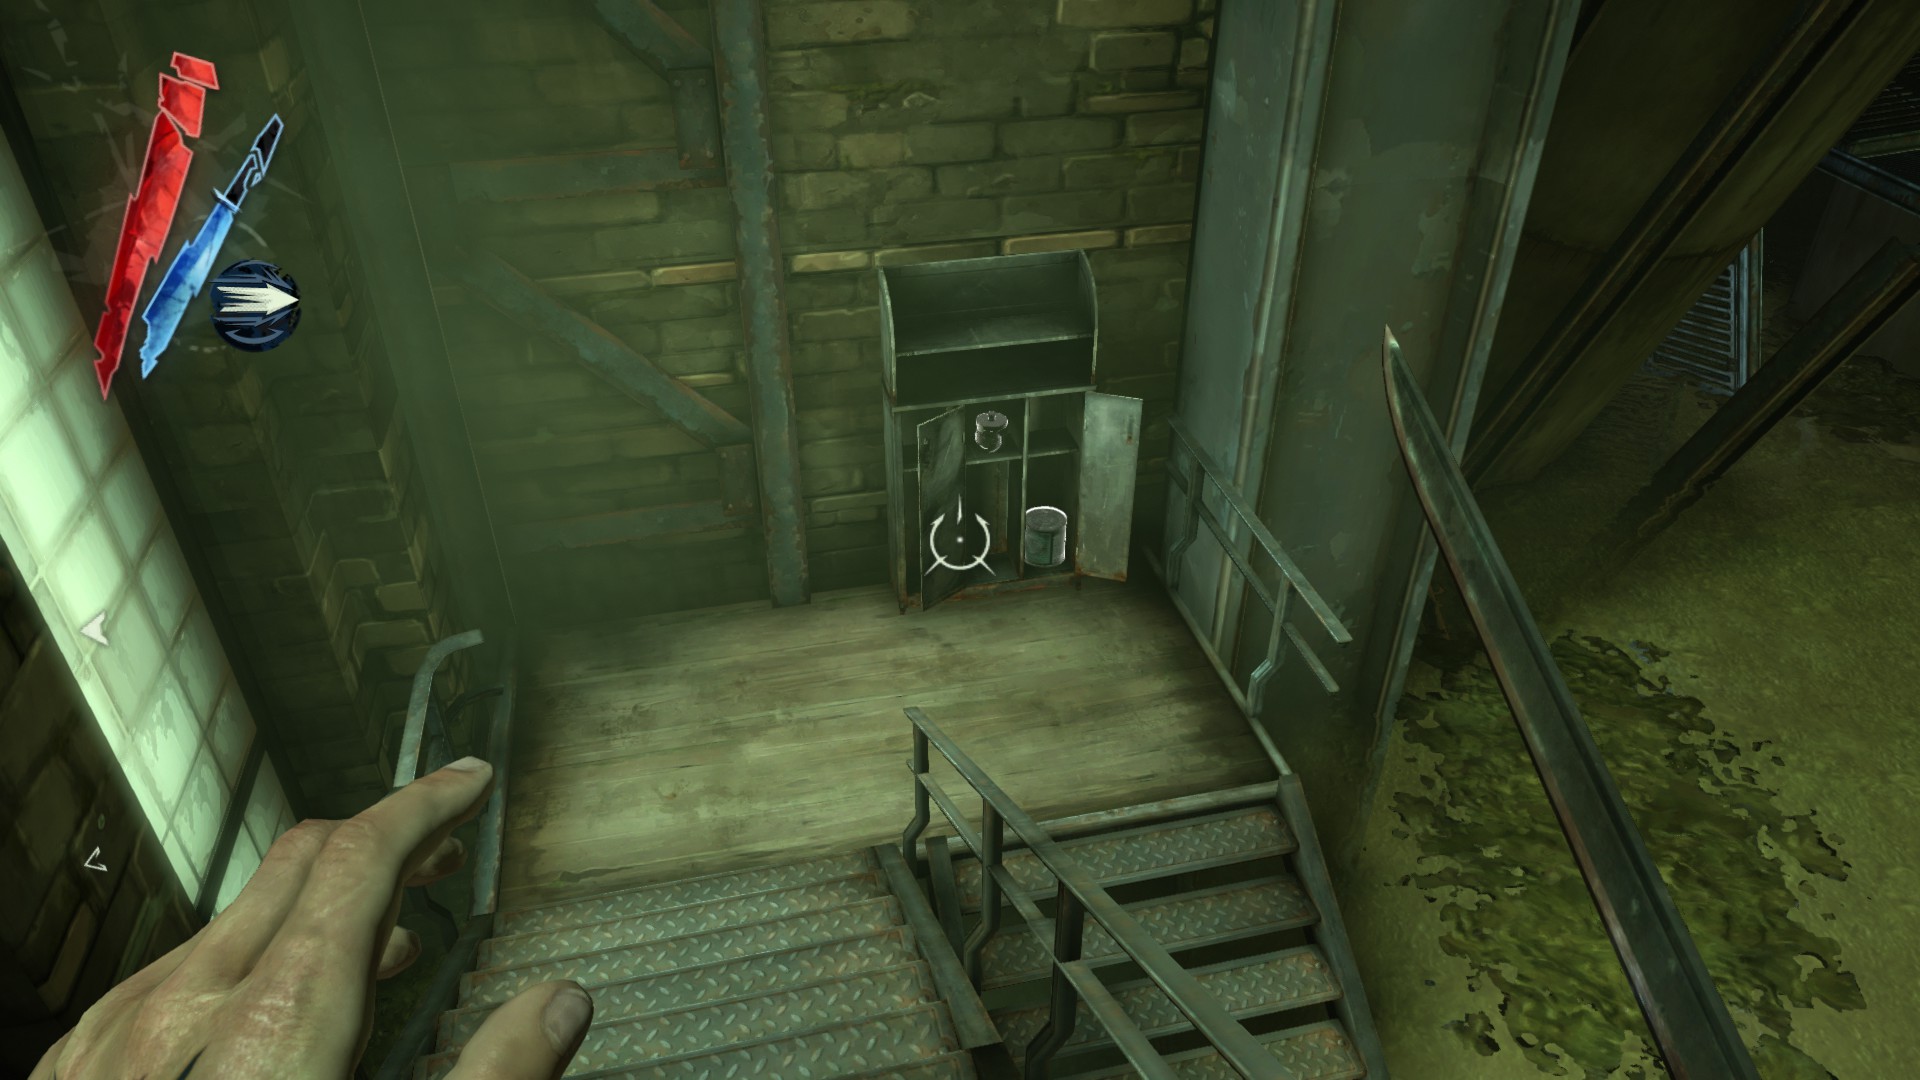
At the end of the sewer passage, there are 2 coins on the ground next to a cabinet.
(+6)
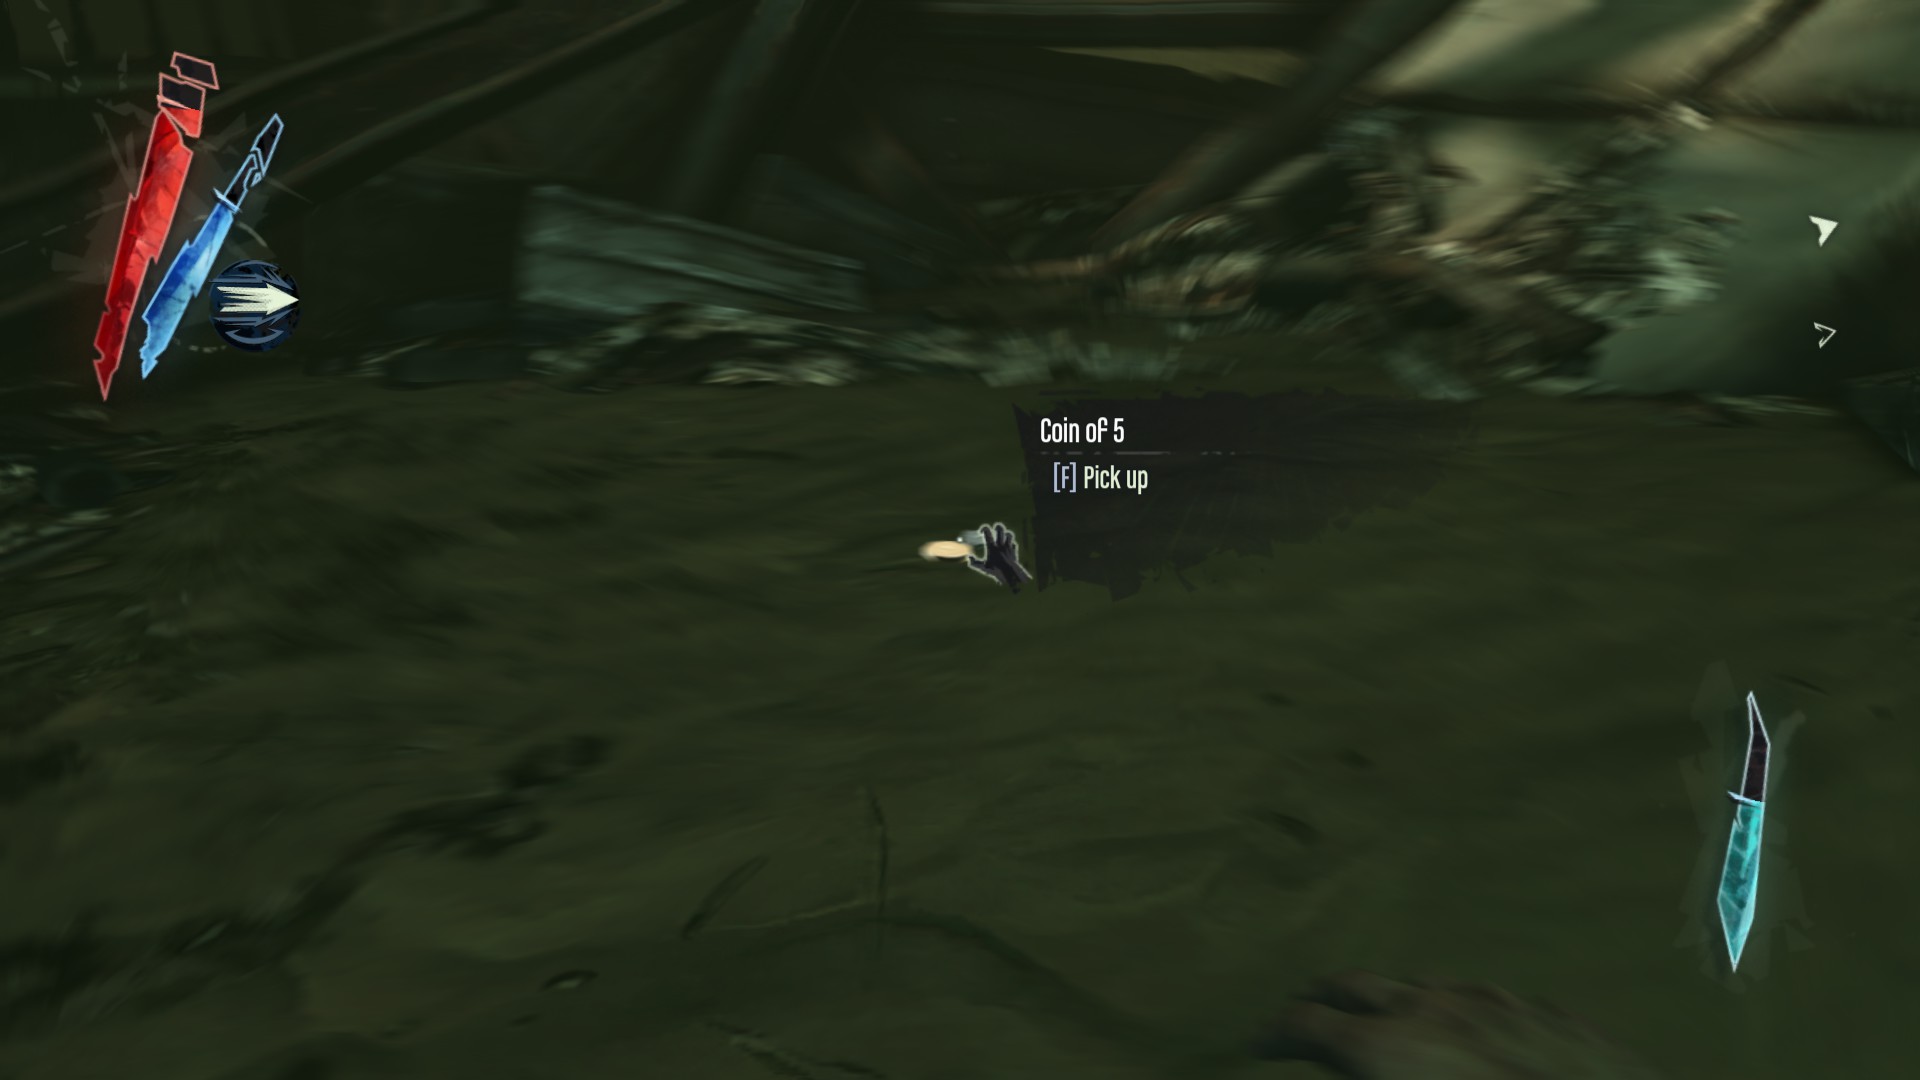
Jump into the water to find 2 coins laying on the bottom.
(+6)
If you bought Void Walker Arsenal DLC, each pouch of 500 coin will appear in Corvo's chambers after you sleep in your bed. 4 pouches are found around his room.
(+2000)
Mission 2 - High Overseer Campbell (3794)
Points of no return
- Callista will not give you coins next visit if Geoff Curnow is killed during this mission
Distillery District
Walk along the riverbank and up the stairs, you will see a female survivor carrying a pouch. There is also a copper wire on an old display rack.
(+15 -> 15/3794)
Walk up the stairs on the left and keep going to the street, under the bridge. The dumpster on the left side of the street has a copper wire inside.
(+10 -> 25/3794)
Go back the way you came, and to the Endoria Street. There are two survivors wandering around this area, one of them is carrying a pouch.
(+5 -> 30/3794)
Climb your way up to the rooftops above Granny Rags' house, and you should find a corpse with a pouch.
(+20 -> 50/3794)
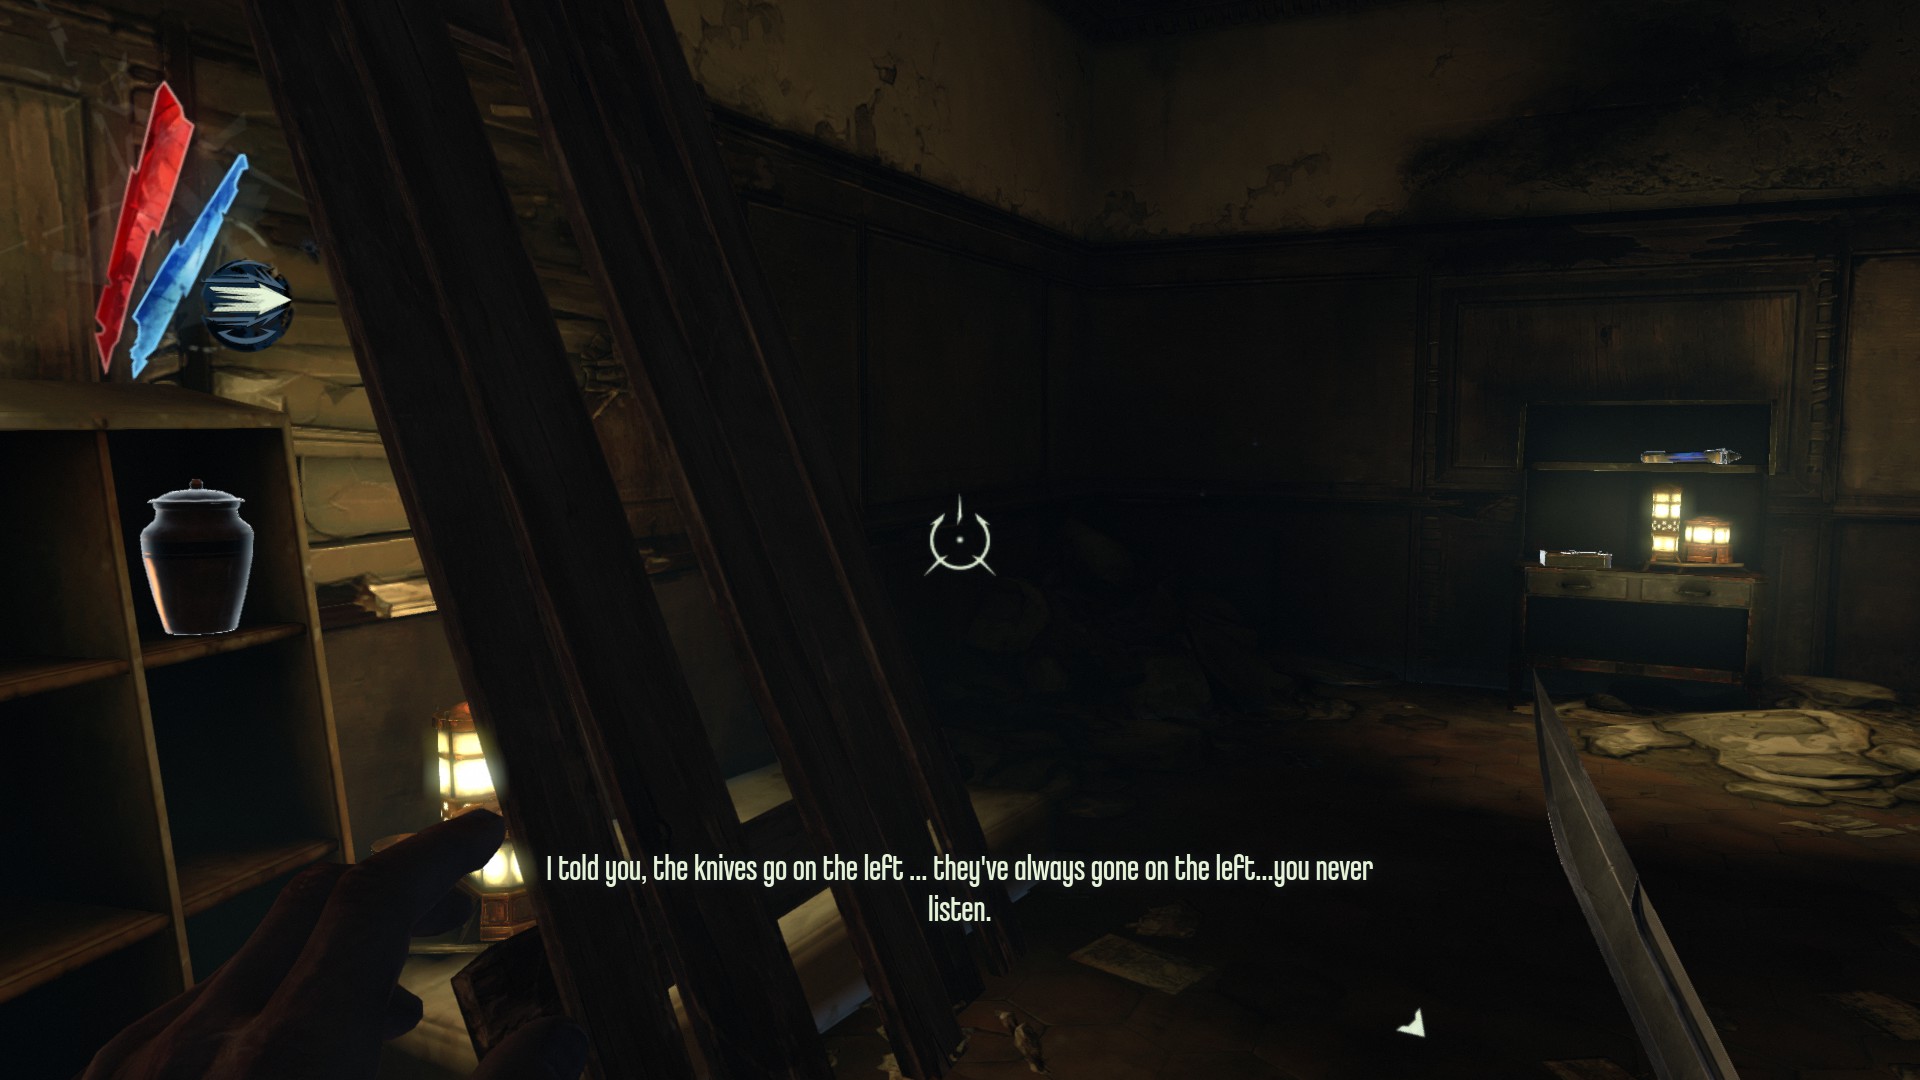
Go to Granny Rags' house through her open balcony. In the ground floor of her house, there is the Moray Urn on the shelf and the Moray War Medal on an old kitchen counter.
(+100 -> 150/3794)
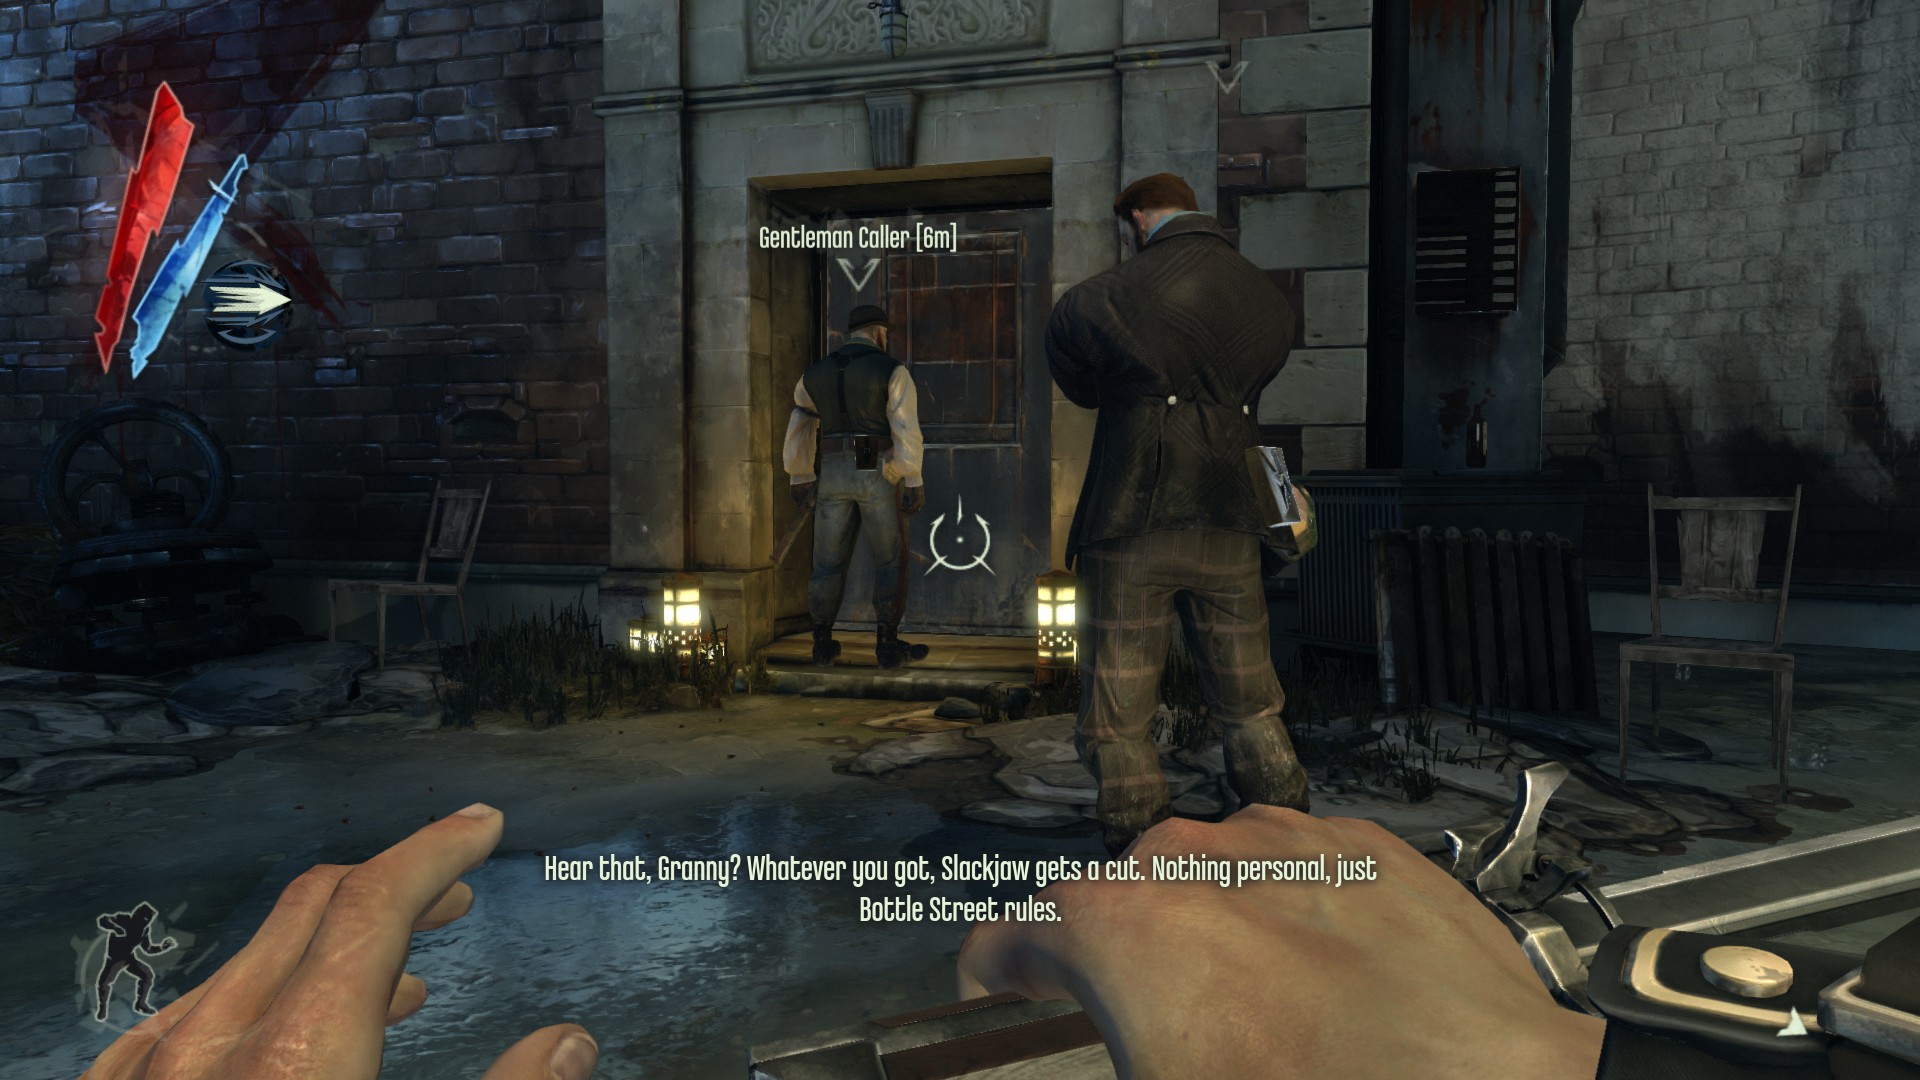
Do Granny Rags side objective. Three thugs will appear knocking on her door. Two of them are carrying pouches.
(+30 -> 180/3794)
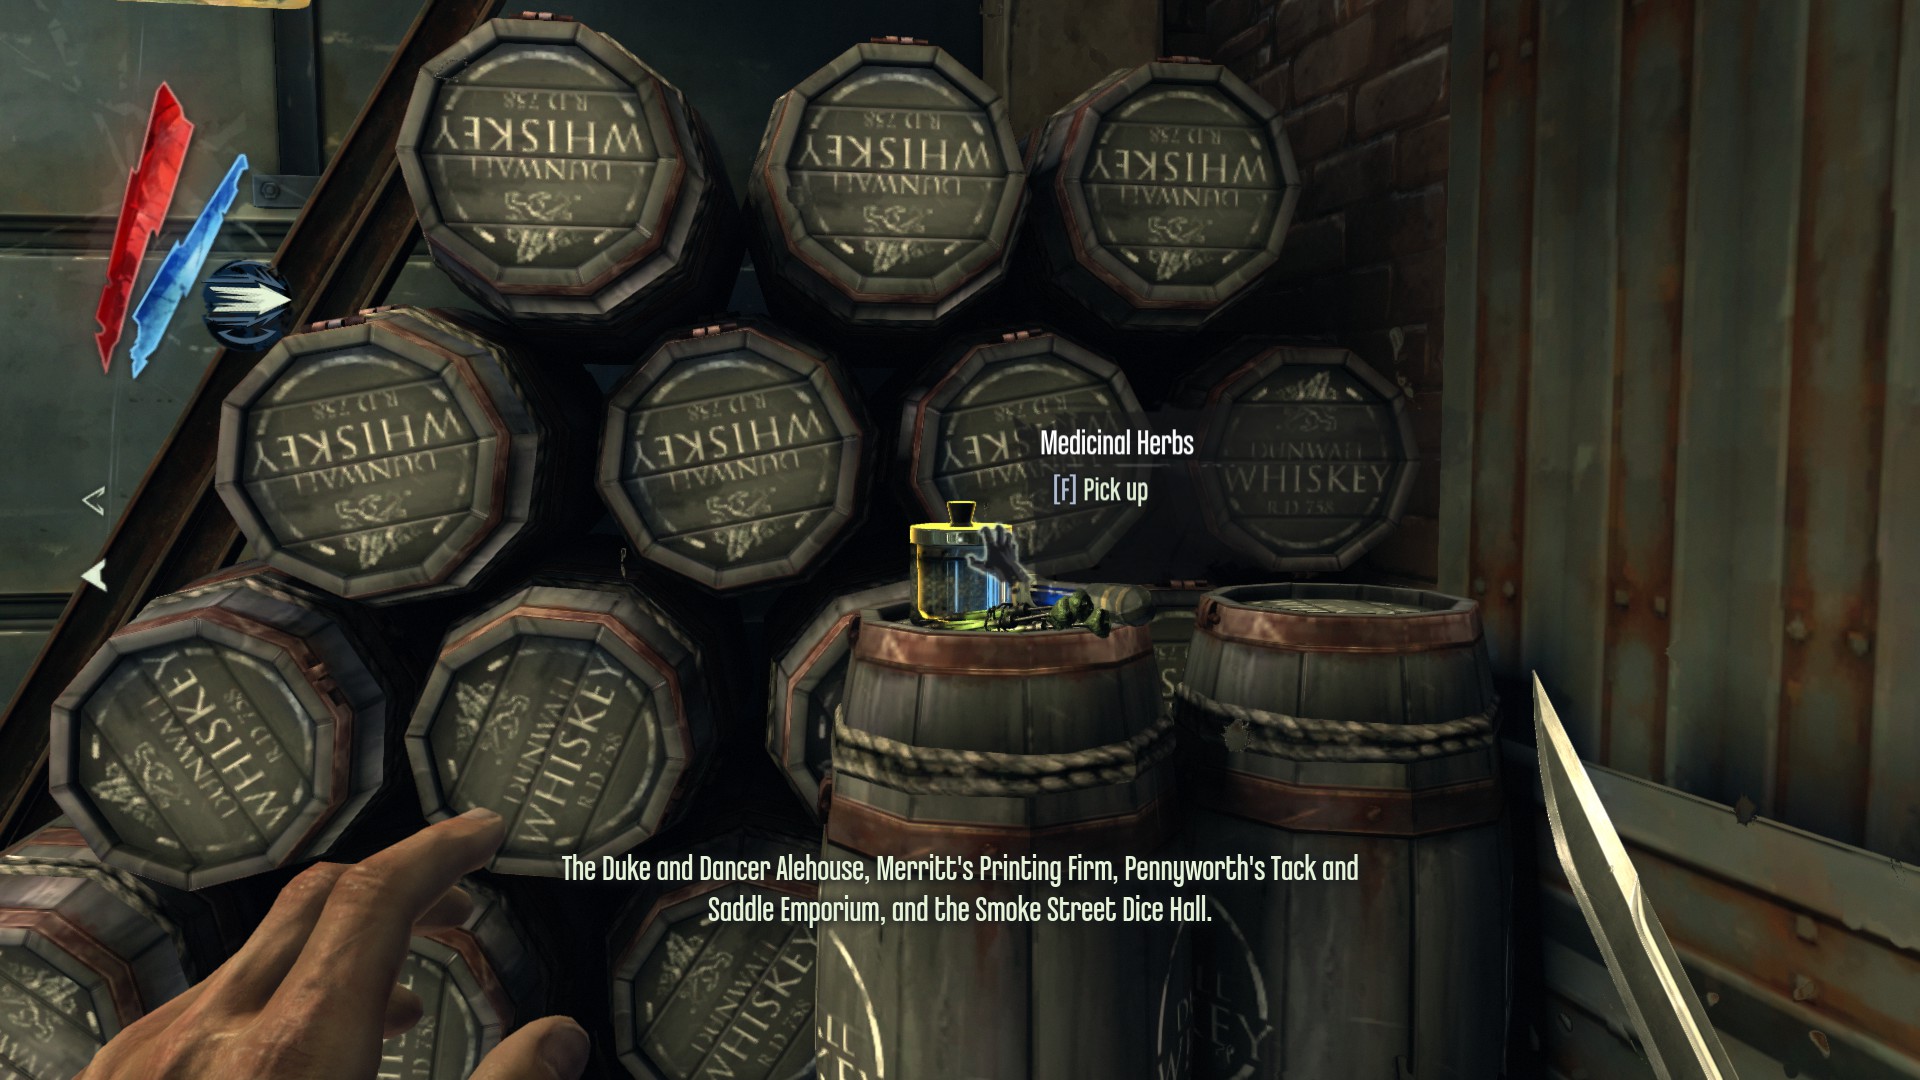
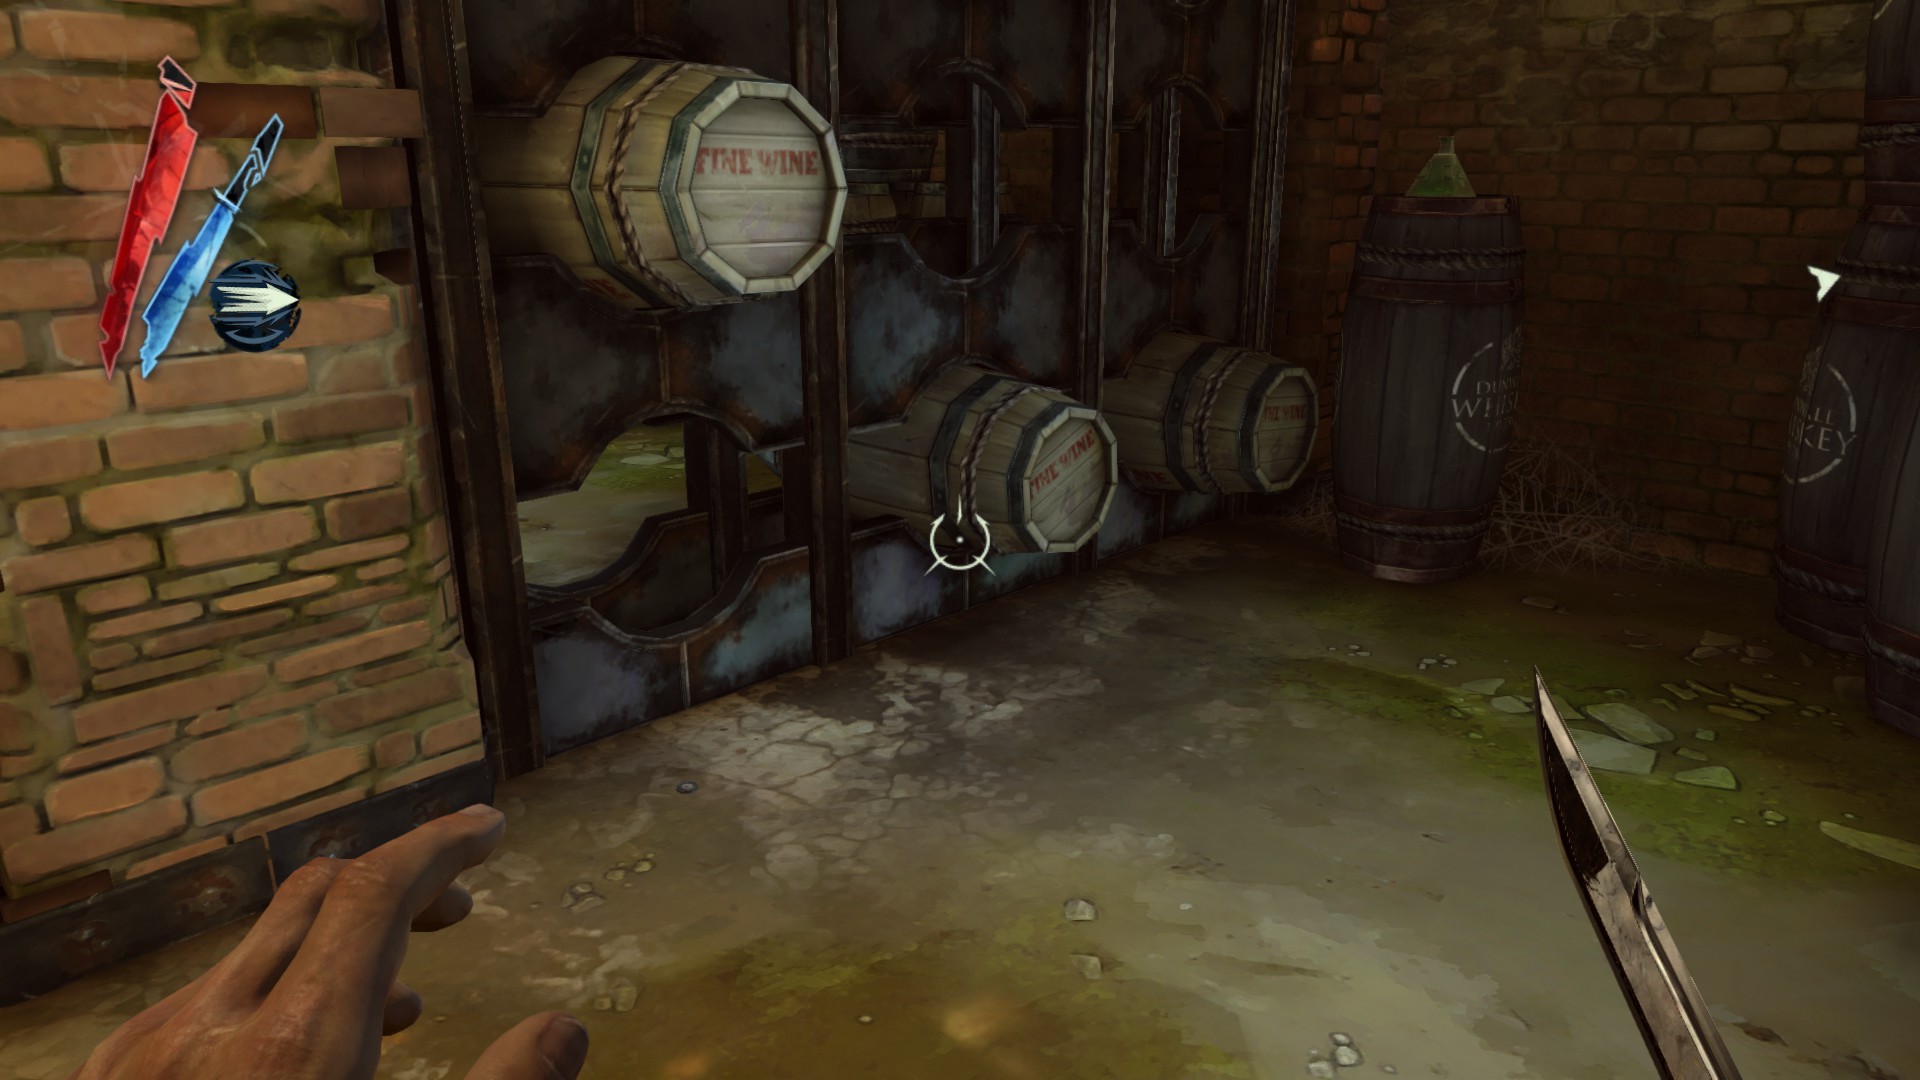
At the entrance of the Dunwall Whiskey Distillery, there is a medicinal herbs on a whiskey barrel.
(+20 -> 200/3794)
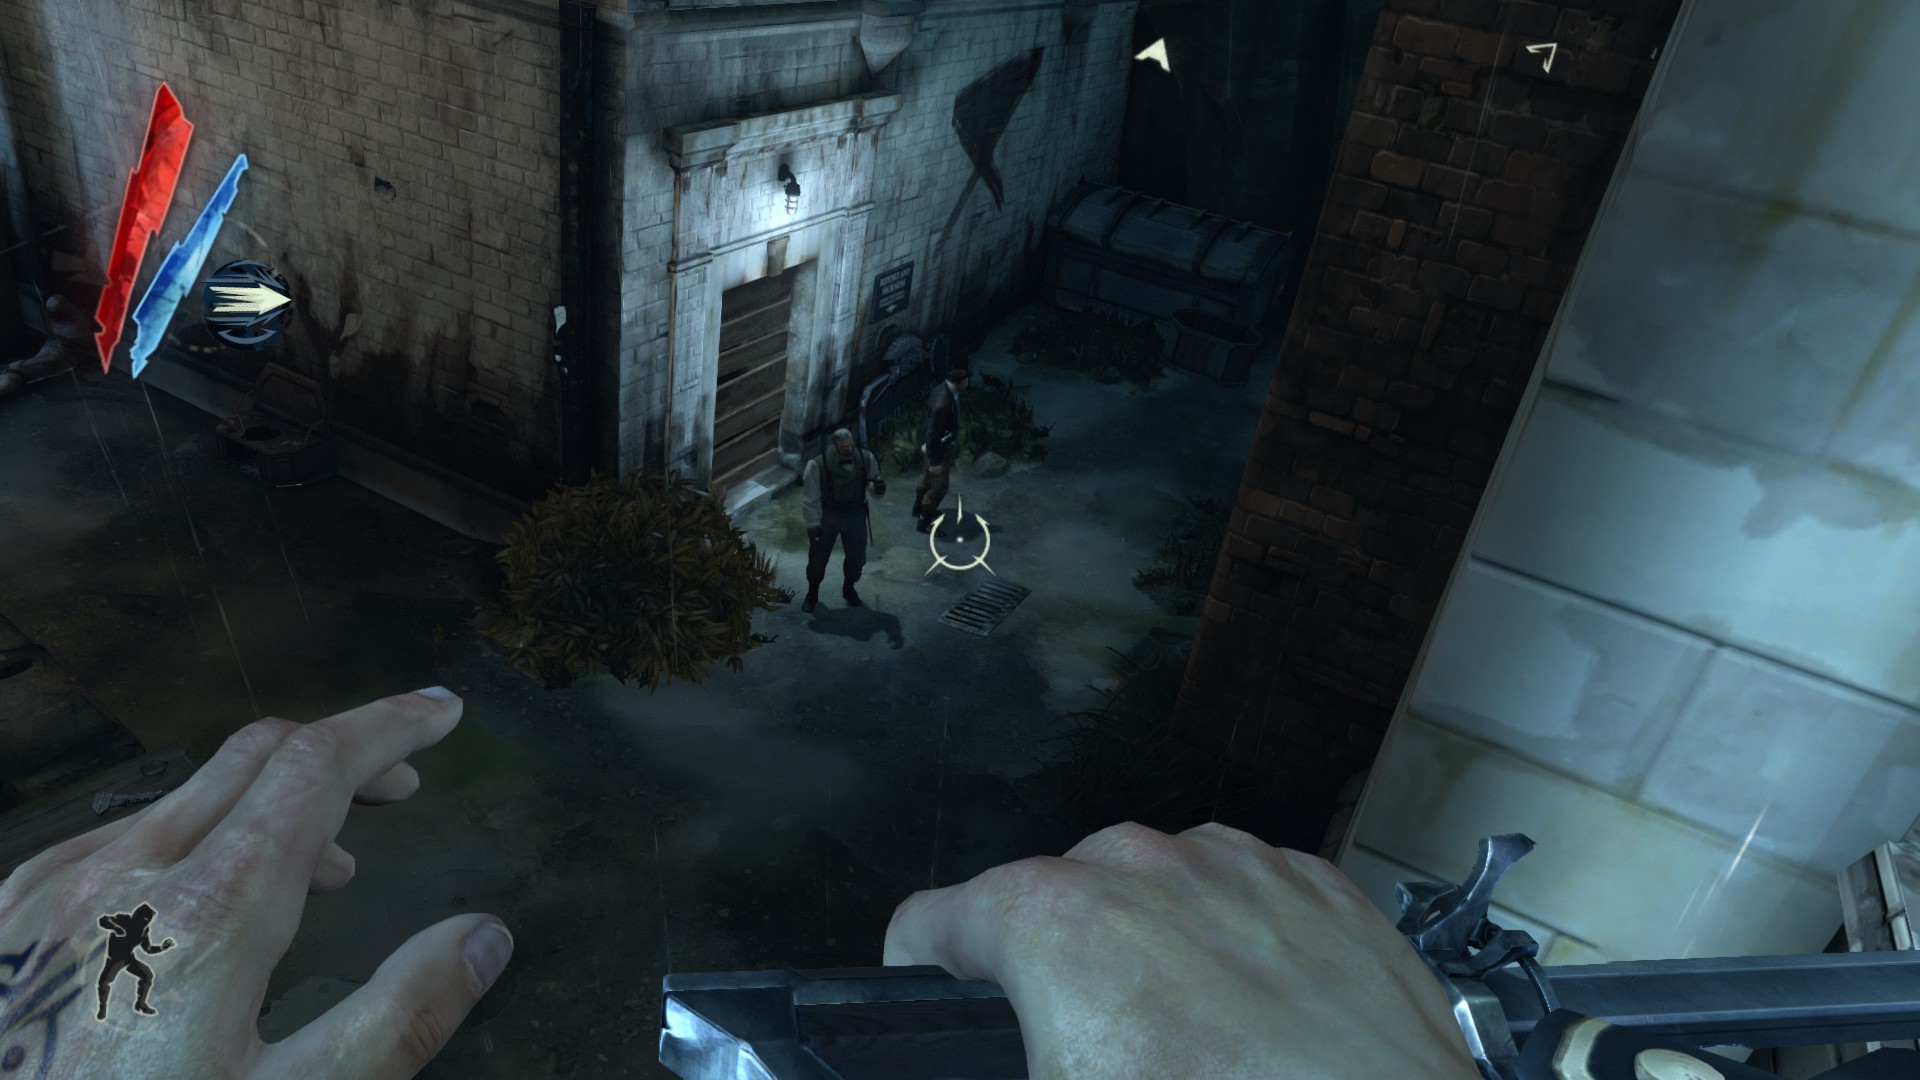
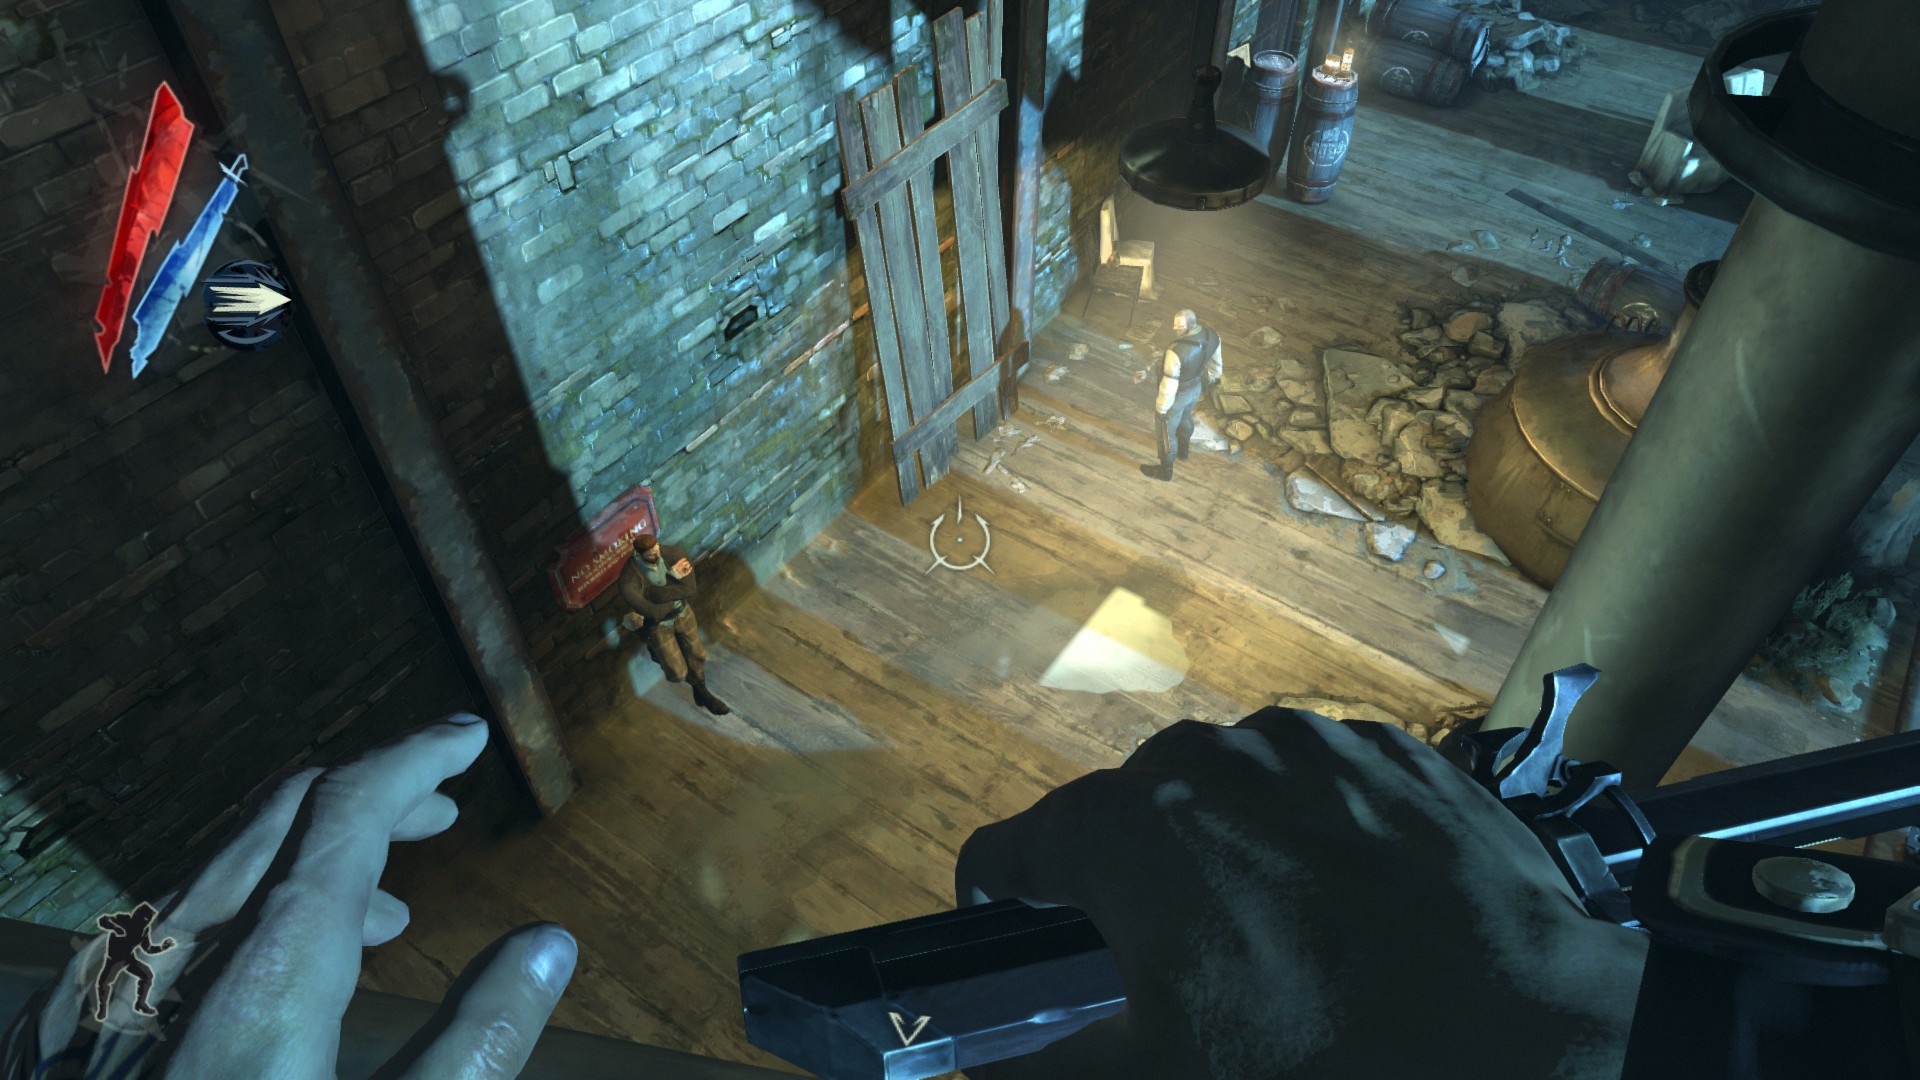
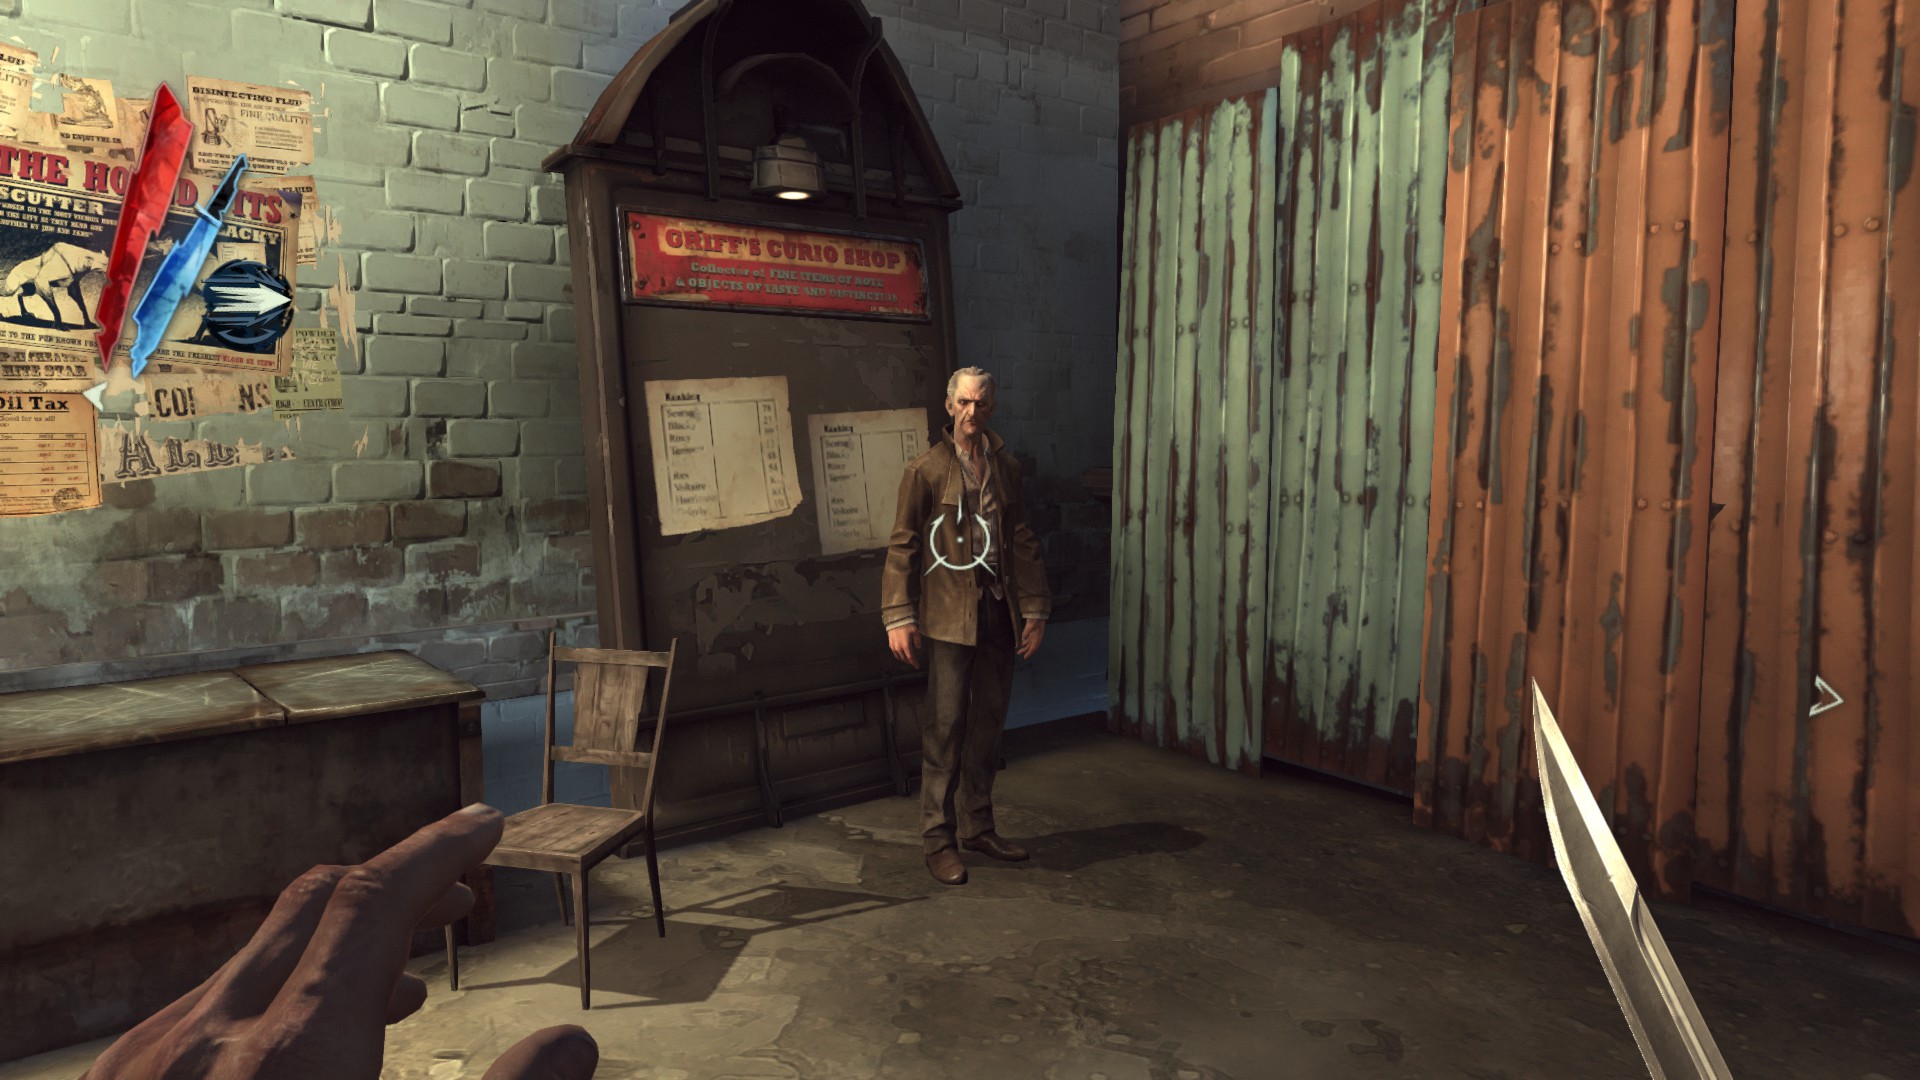
Walk down the alley, you will see two thugs threatening Griff inside a building. One of two thugs is carrying a pouch.
(+10 -> 210/3794)
Inside the building you rescued Griff, there are 3 coins on a counter.
(+15 -> 225/3794)
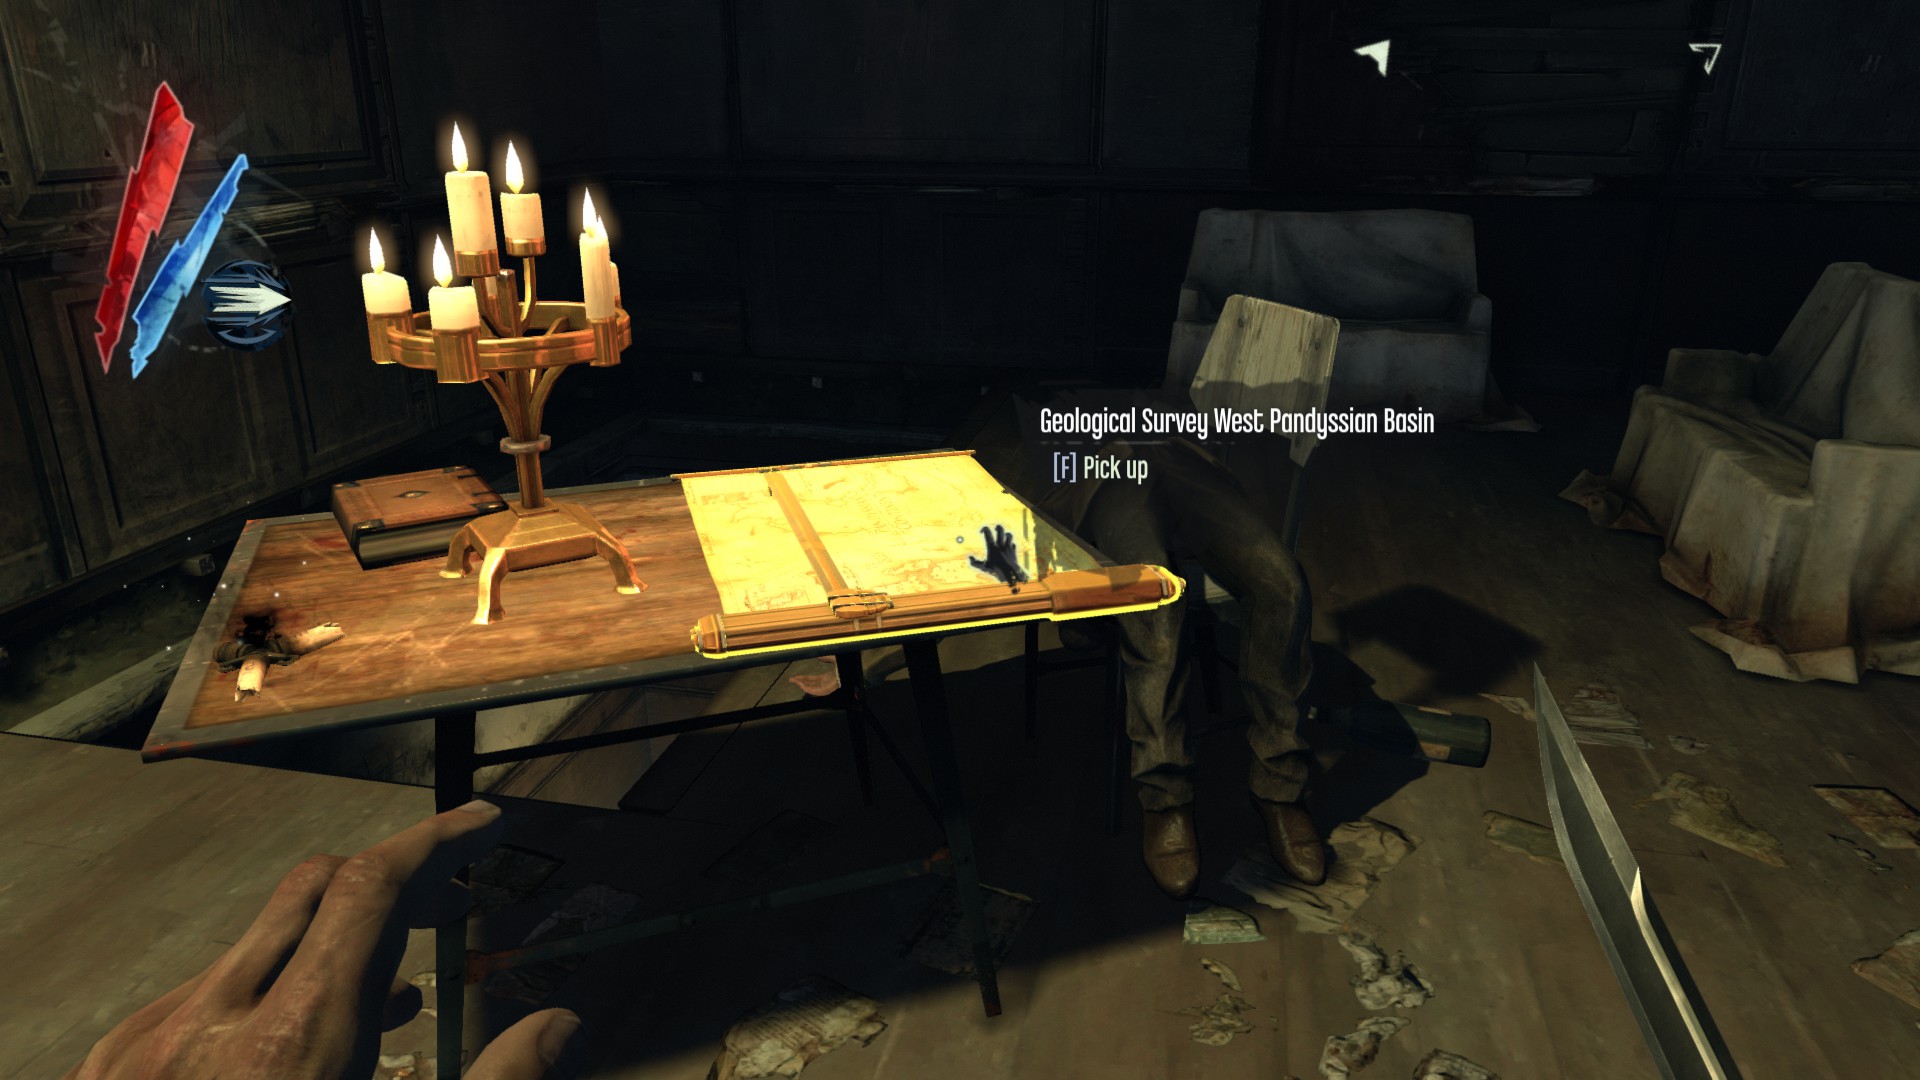
In the second floor of this building, the Geological Survey West Pandyssian Basin is on a table.
(+75 -> 300/3794)
Head outside and turn right, then look up. You should see two balconies, make your way up to the balcony on the right. Inside here, a processed whale oil is on the floor and a hemlock essence is on a table.
(+50 -> 350/3794)
Now go to the other balcony with a mattress hanging. There is a processed whale oil on a shelf. The desk has another processed whale oil, 3 coins, and the Perth Jewel Box.
(+140 -> 490/3794)
Head outside and go to the second section of Bottle Street by climbing over the roof below Griff's shop. Now walk down this alley to the end that is Gaff Street. There are three thugs quarreling over loot from a dead guard, two of them are carrying pouches.
(+30 -> 520/3794)
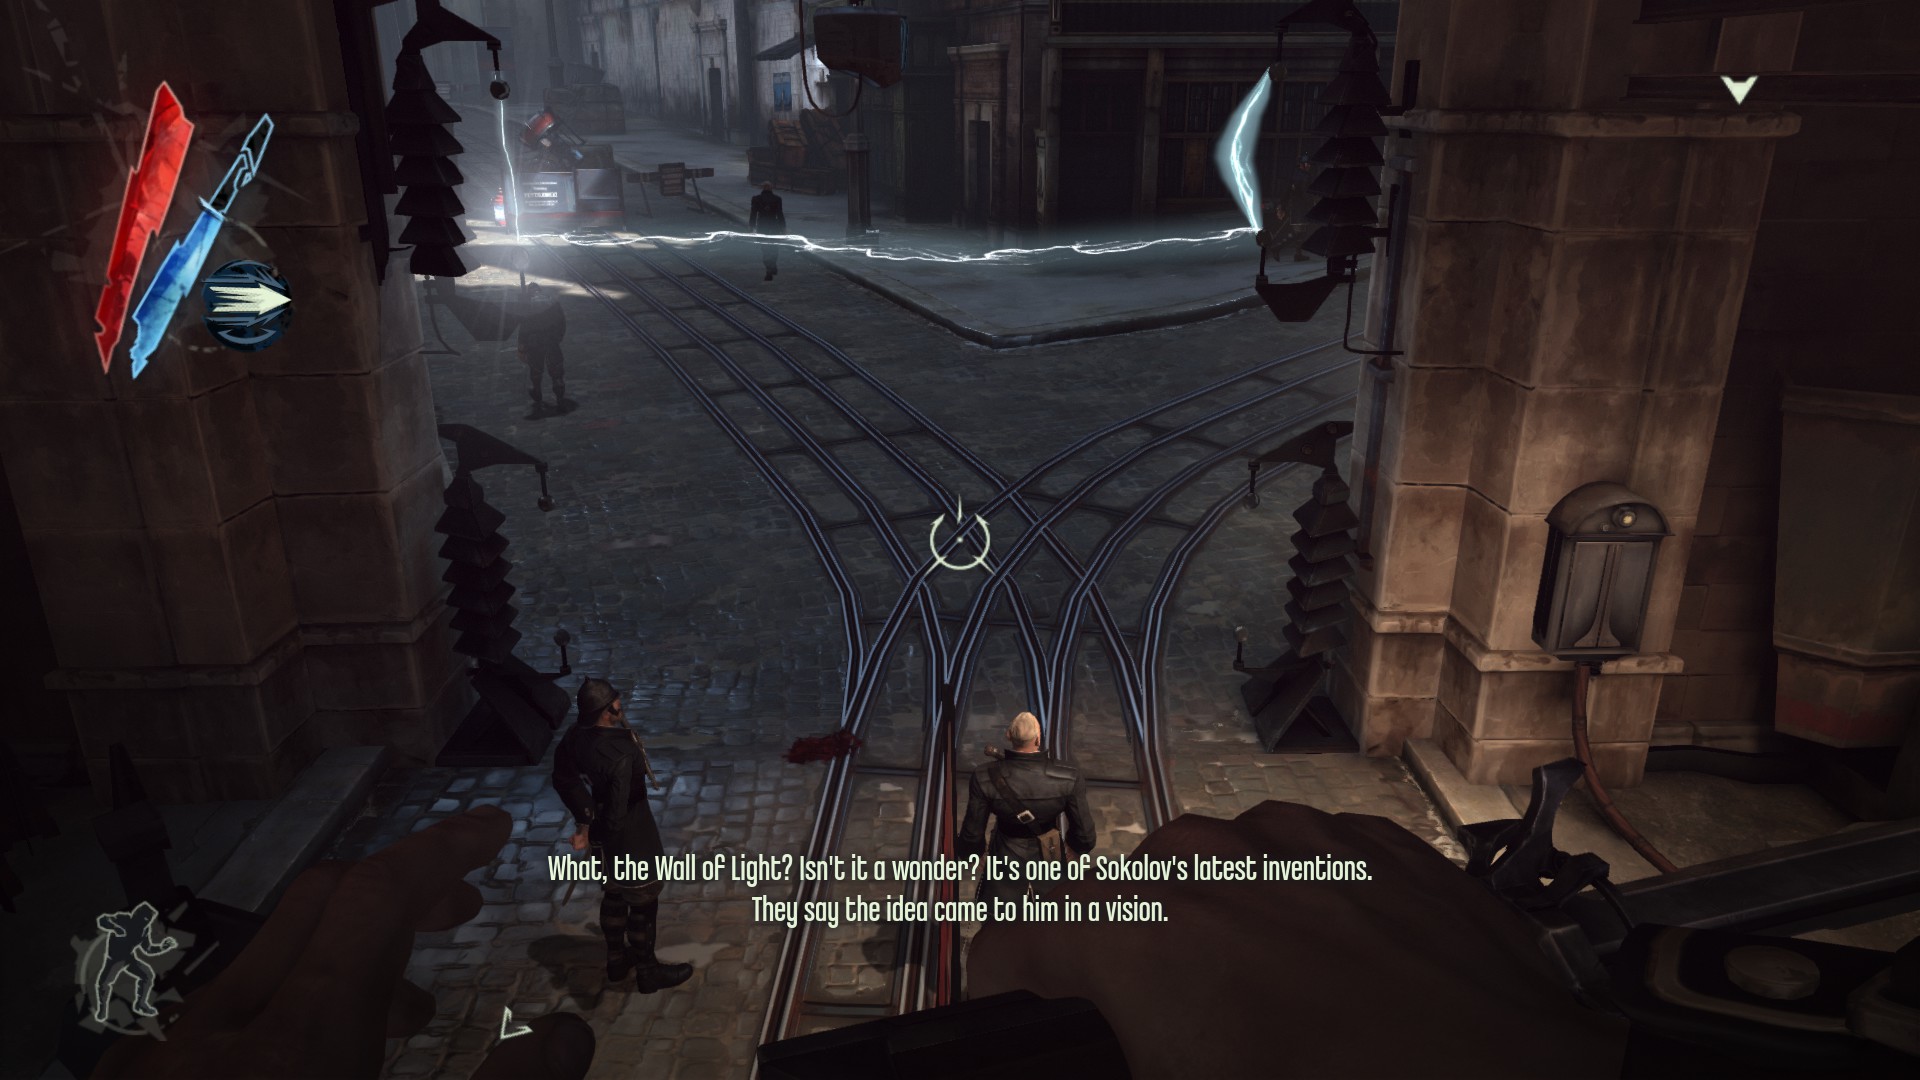
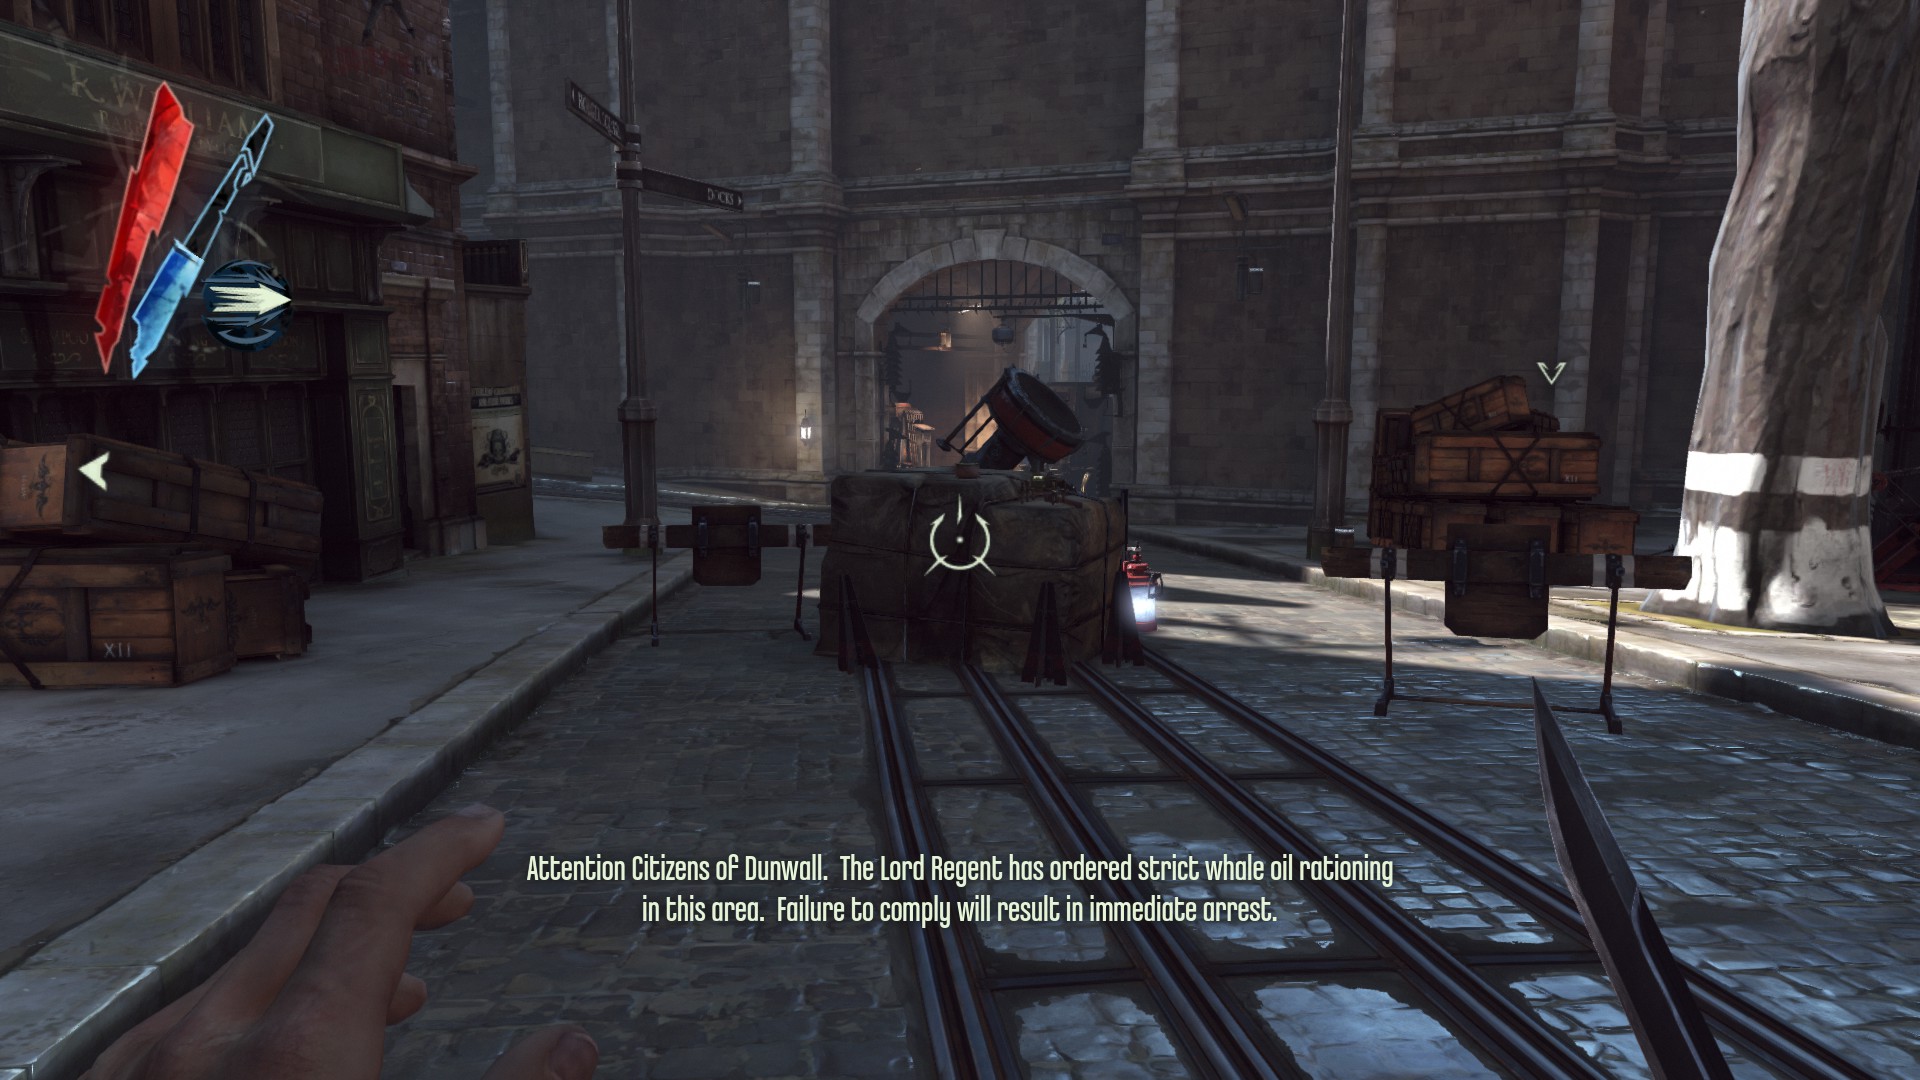
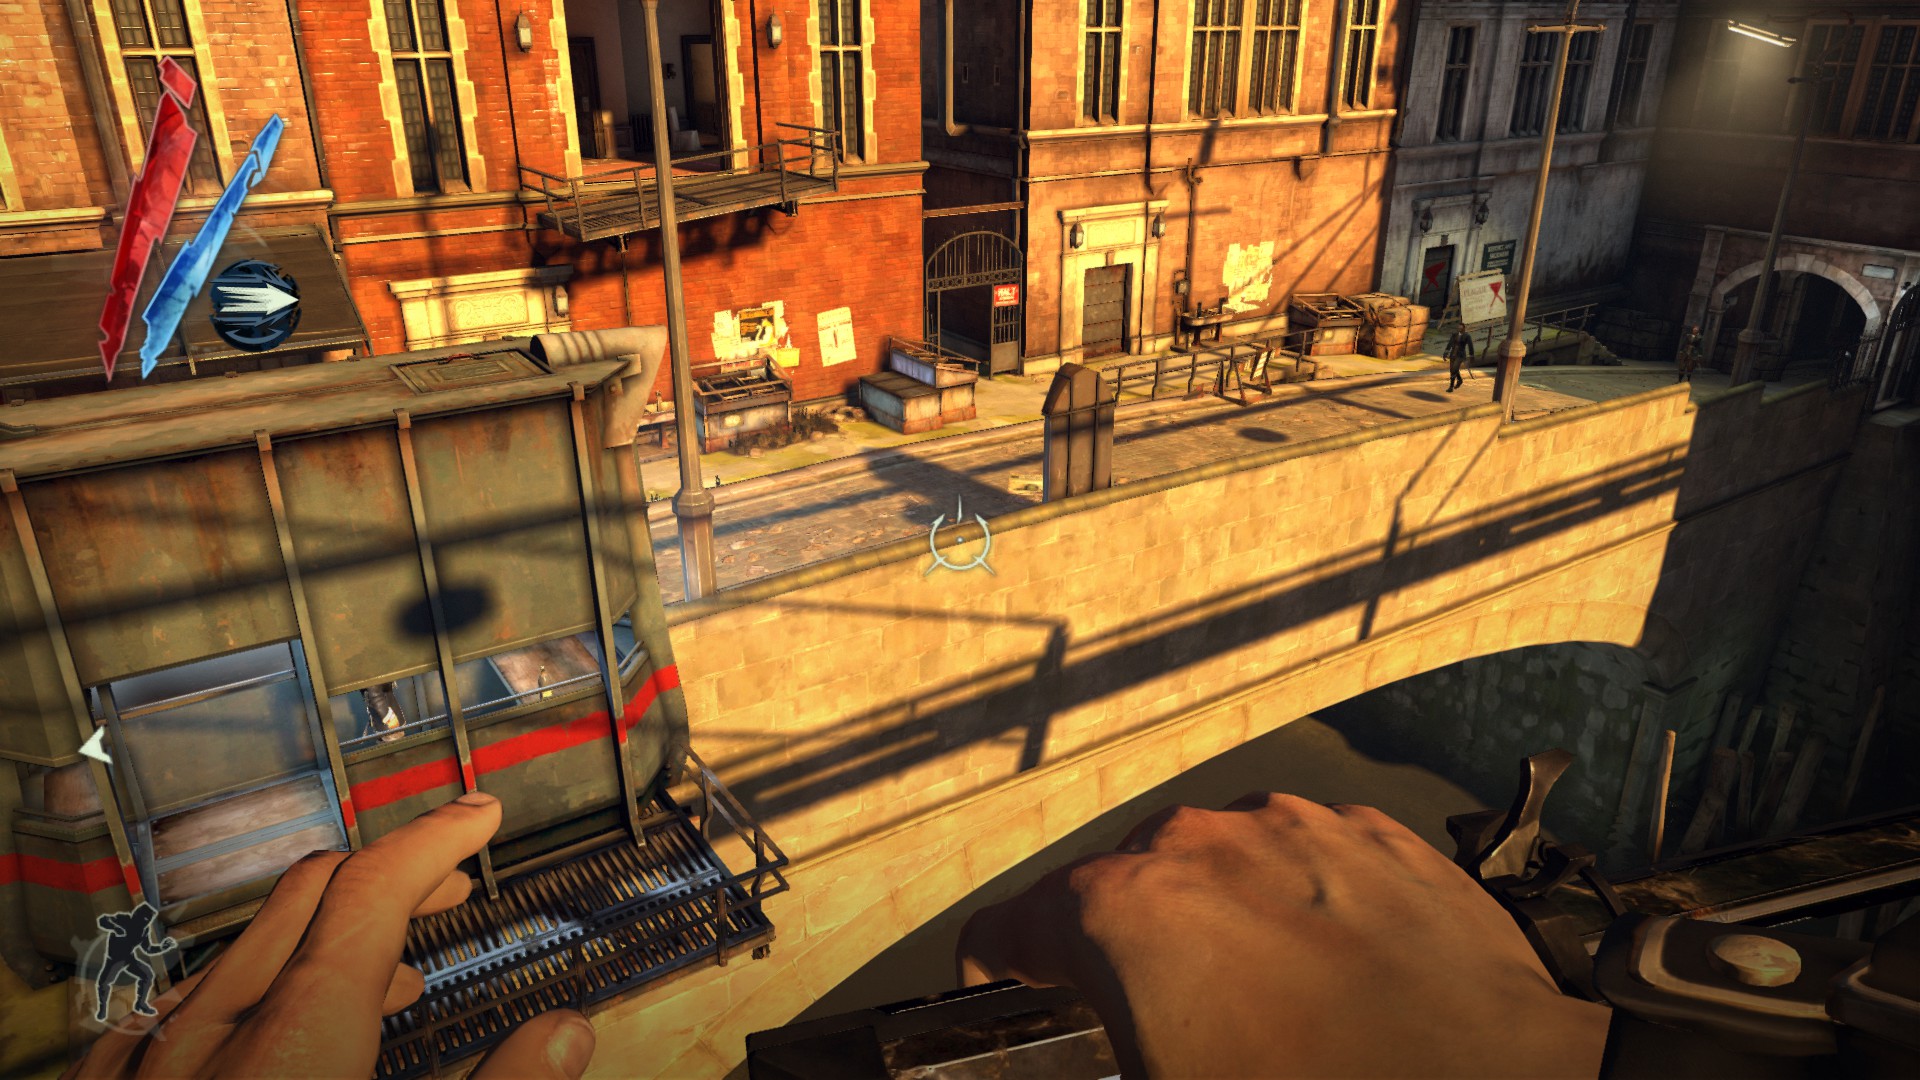
Clavering Boulevard
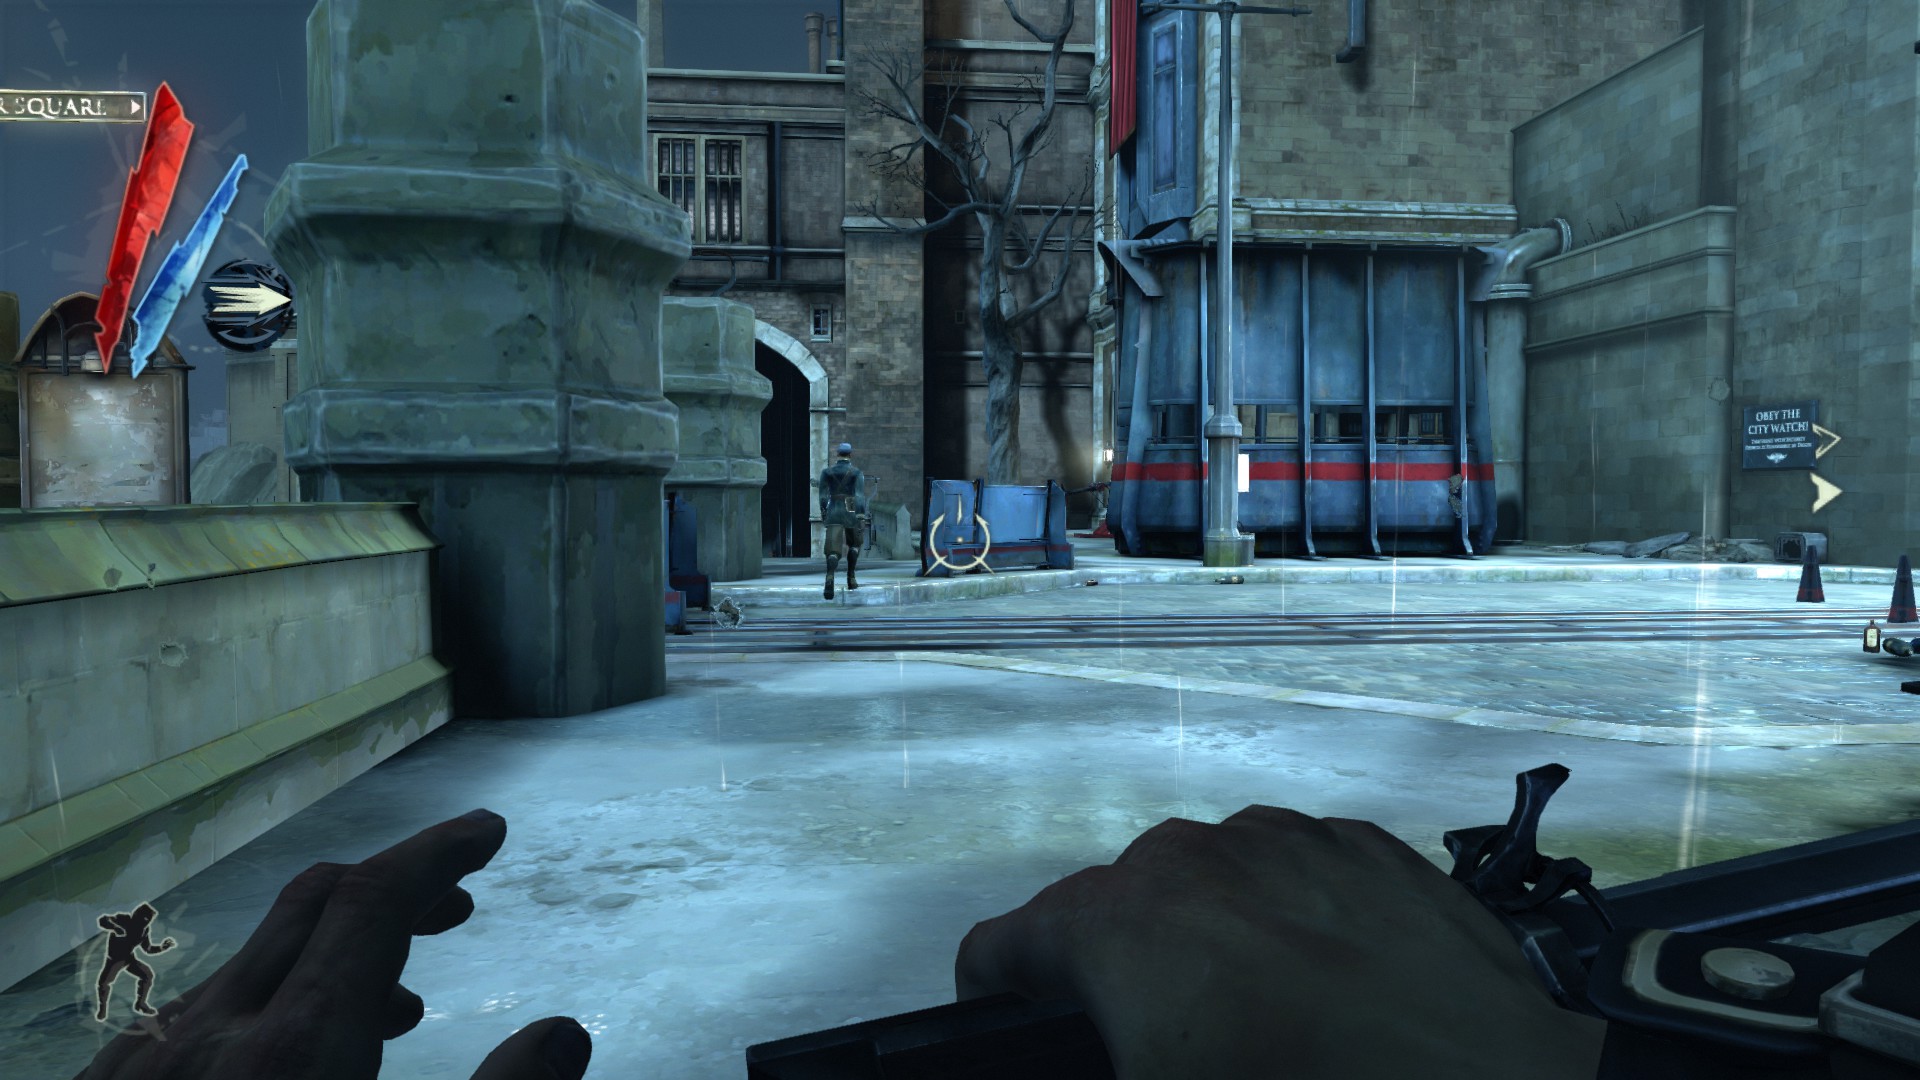
Go back all the way to Endoria Street and to the area guarded by the first wall of light. A guard is carrying a pouch.
(+10 -> 530/3794)
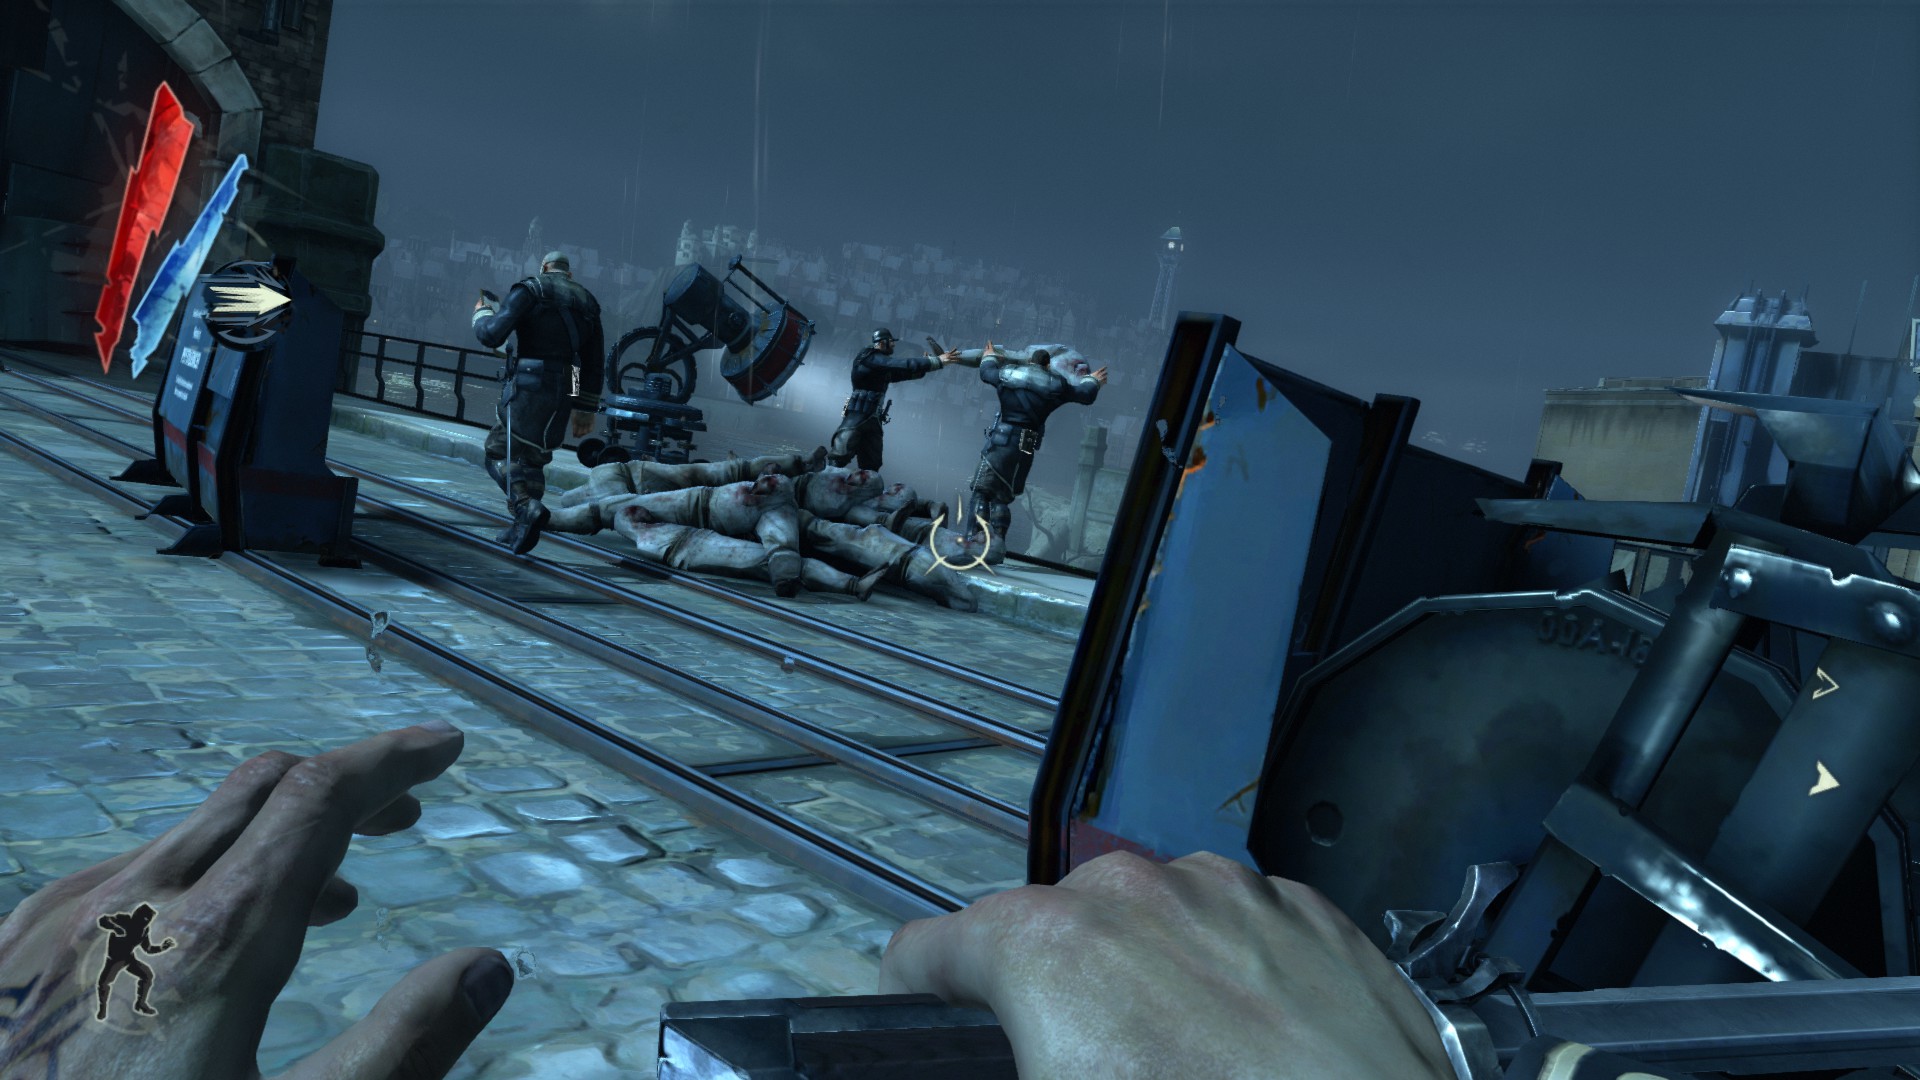
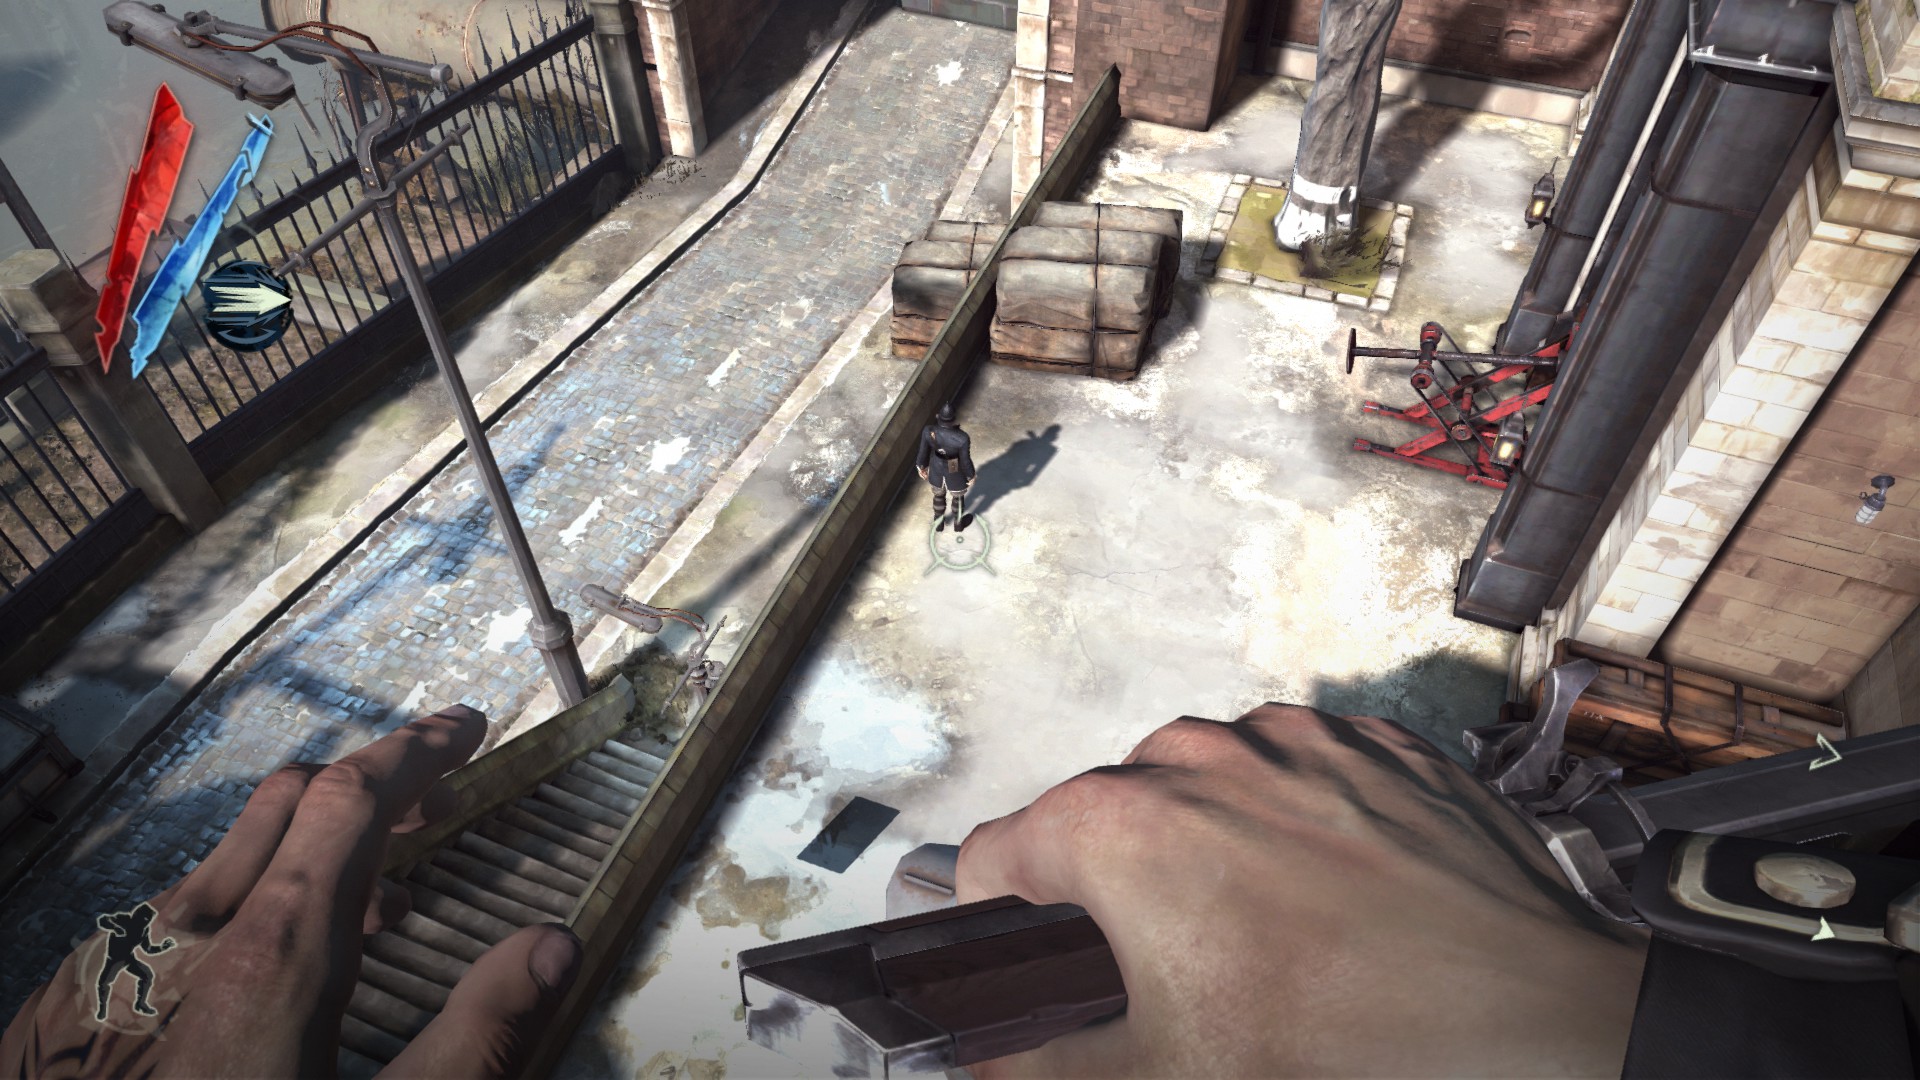
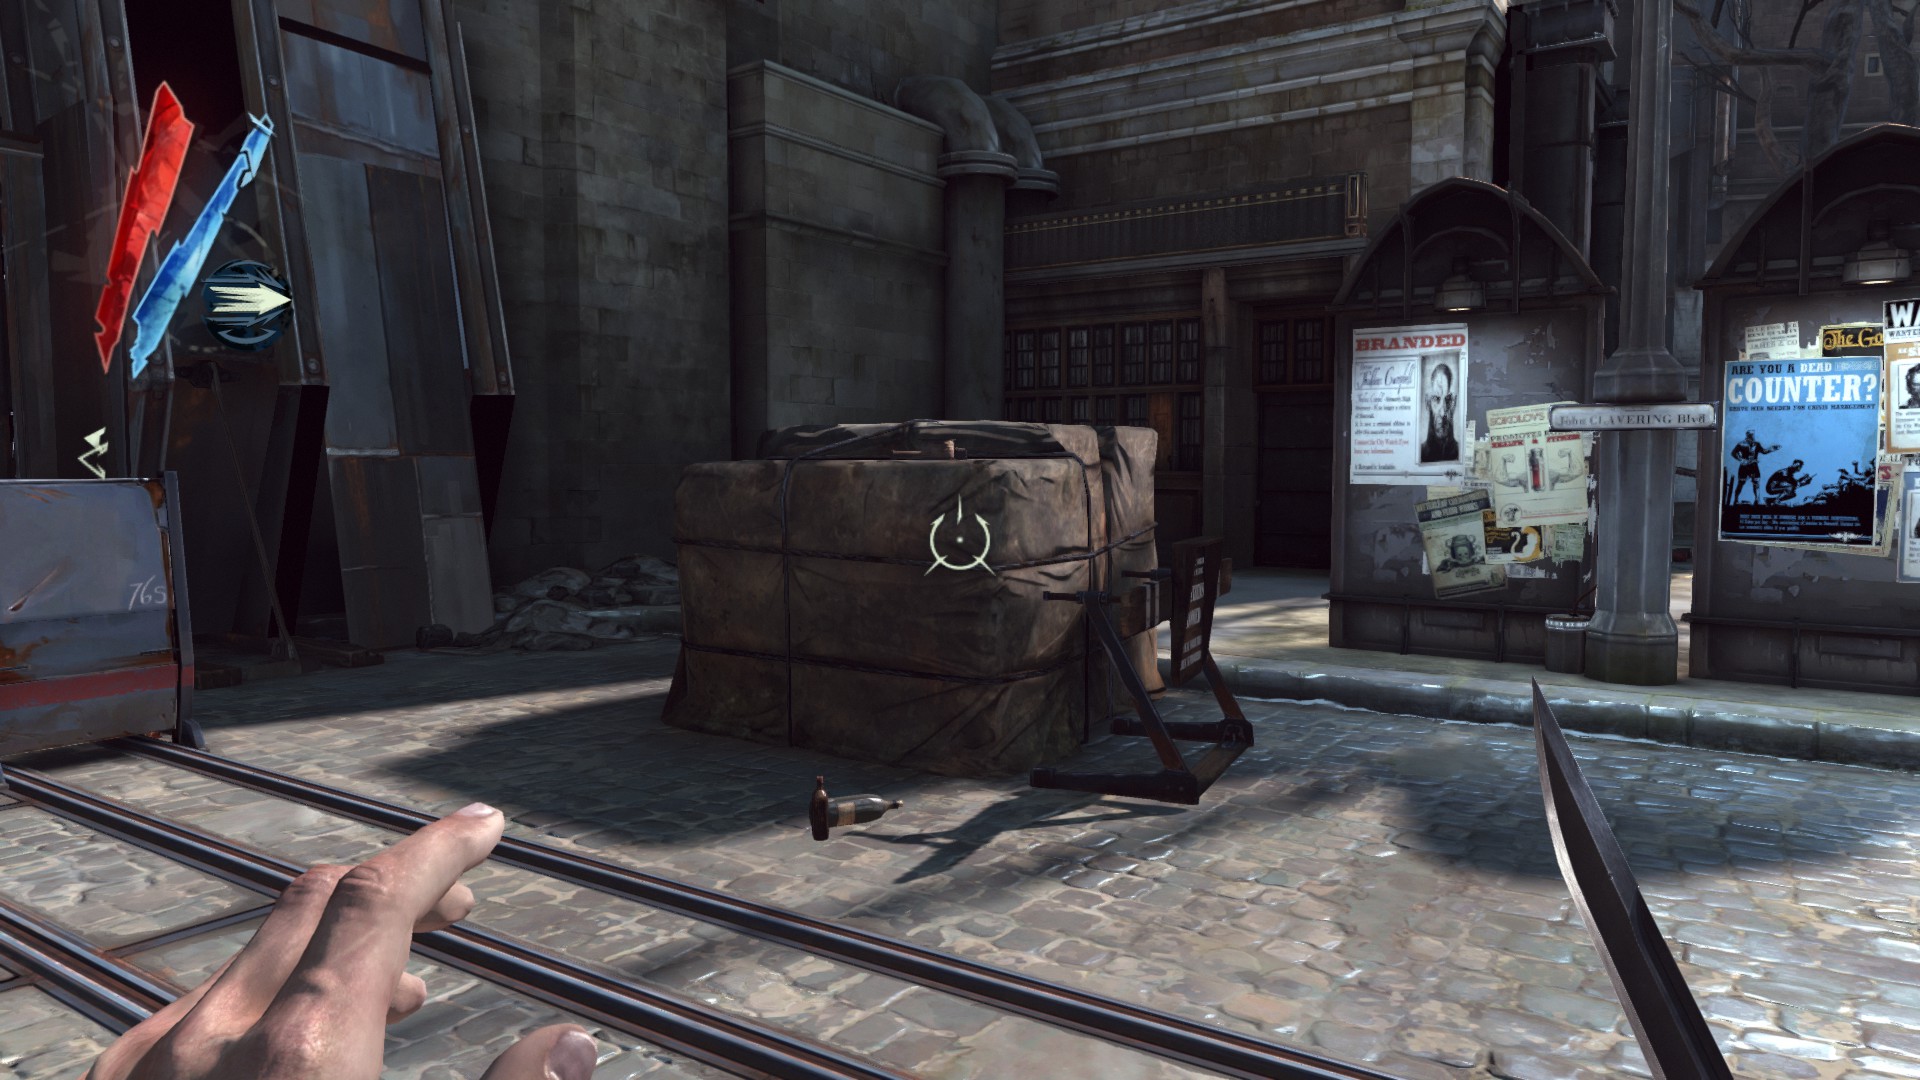
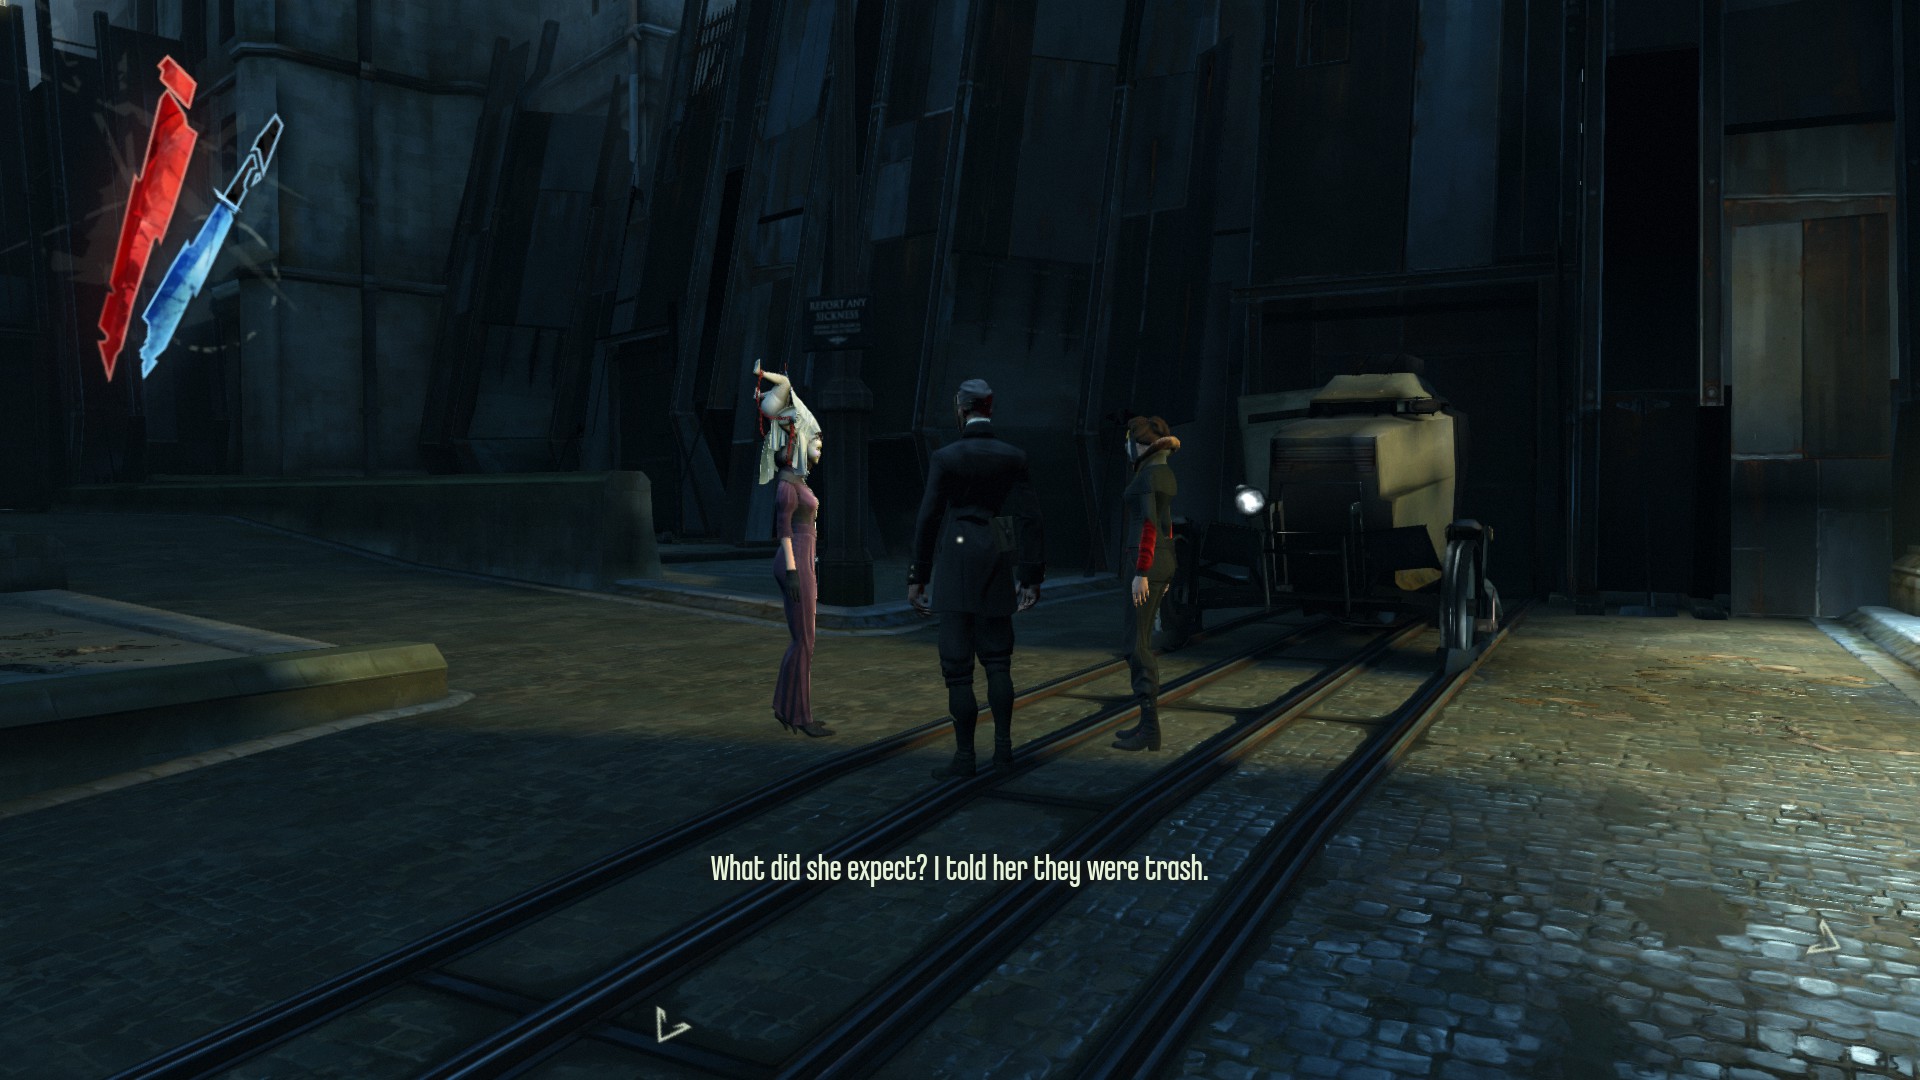
Cross the bridge here, there are three guards throwing corpses off the bridge. They all carry pouches.
Strike your sword at the train cart, then hide under it to make them move.
(+30 -> 560/3794)
At the end of this bridge is a mattress with a pouch next to a corpse.
(+100 -> 660/3794)
Go back to the wall of light and climb up the left side ledge, there is a kingsparrow feathers here.
(+10 -> 670/3794)
In this area, there is a wooden basket with 2 tyvian ores inside. Search around a pile of corpses to find a pouch.
(+50 -> 720/3794)
Go to the area past the second wall of light, there is a train cart here with 2 tyvian ores.
(+40 -> 760/3794)

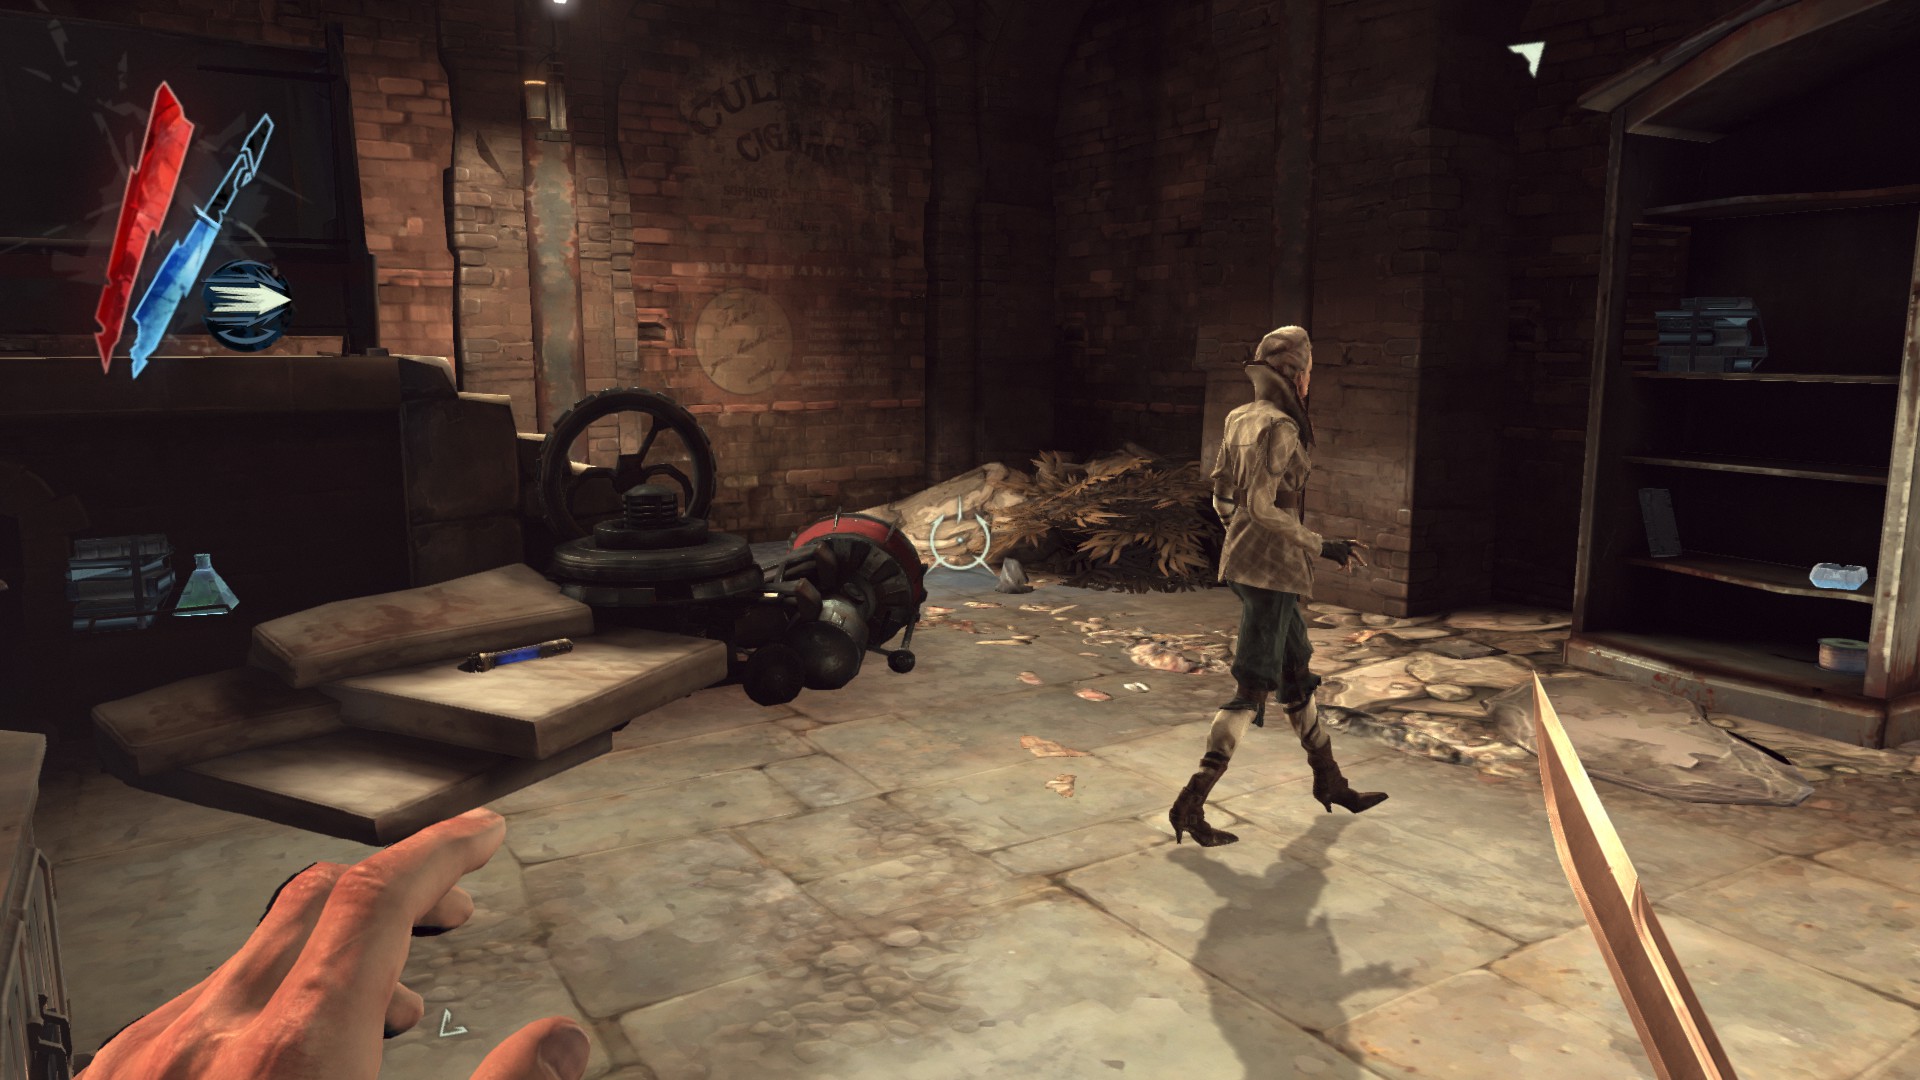
Climb up to the top of the building with the "Cullero Cigars" advertisement, and in one corner of the roof you will find a kingsparrow feathers.
(+10 -> 770/3794)
Dr. Galvani's Offices
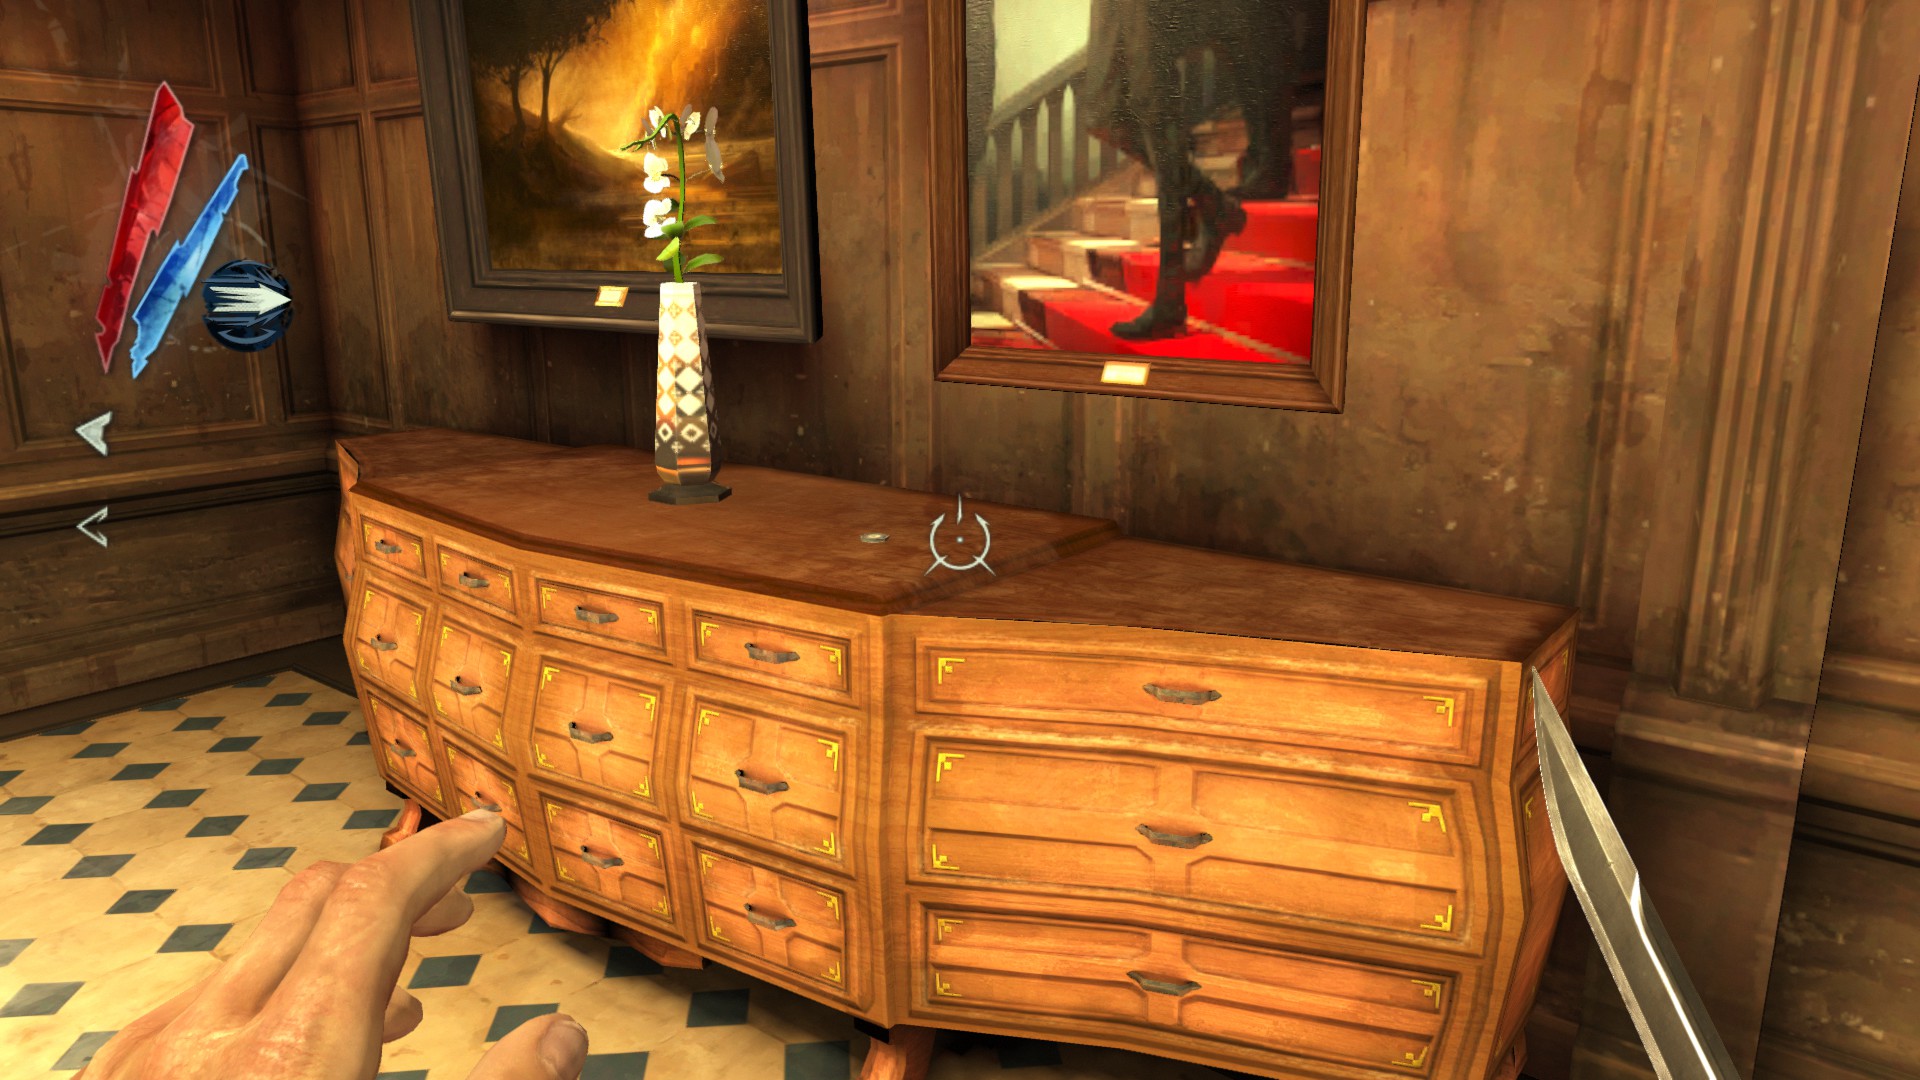
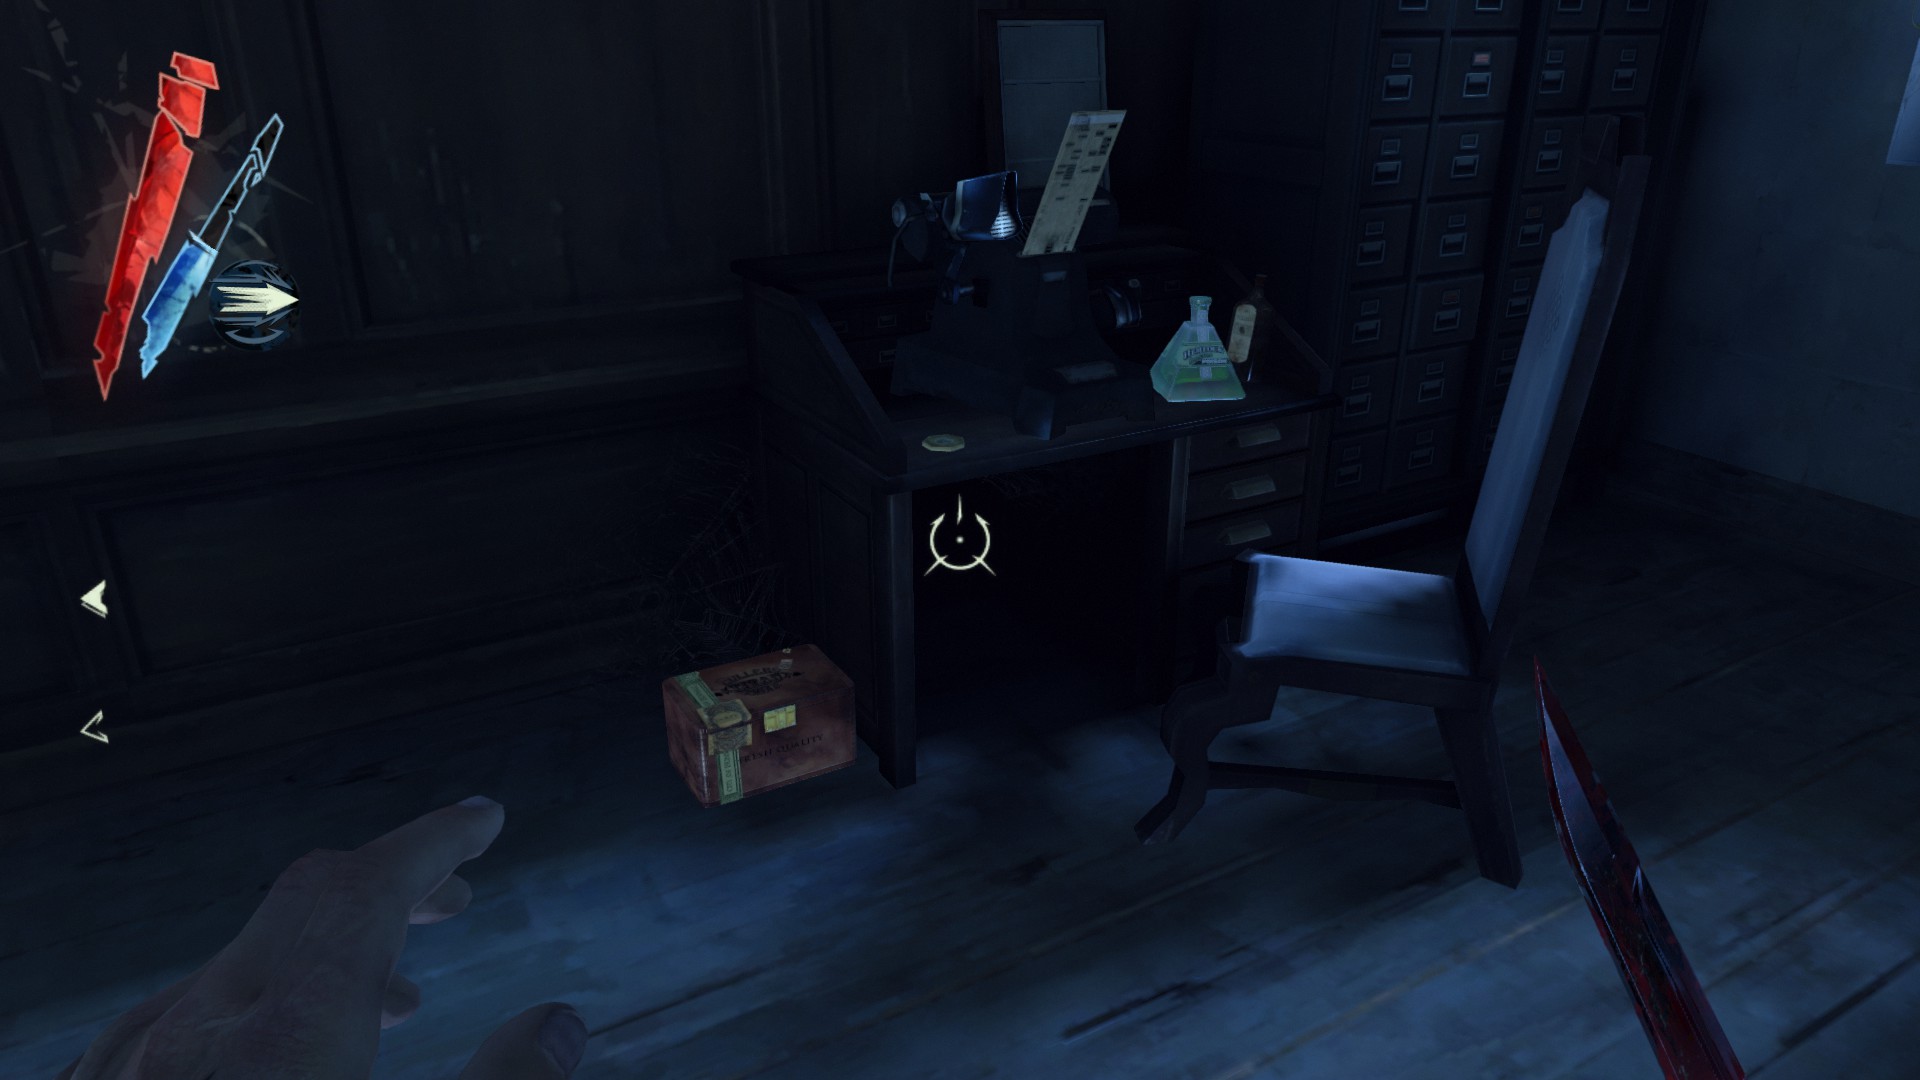
There is a coin on top of the bureau.
(+1 -> 771/3794)
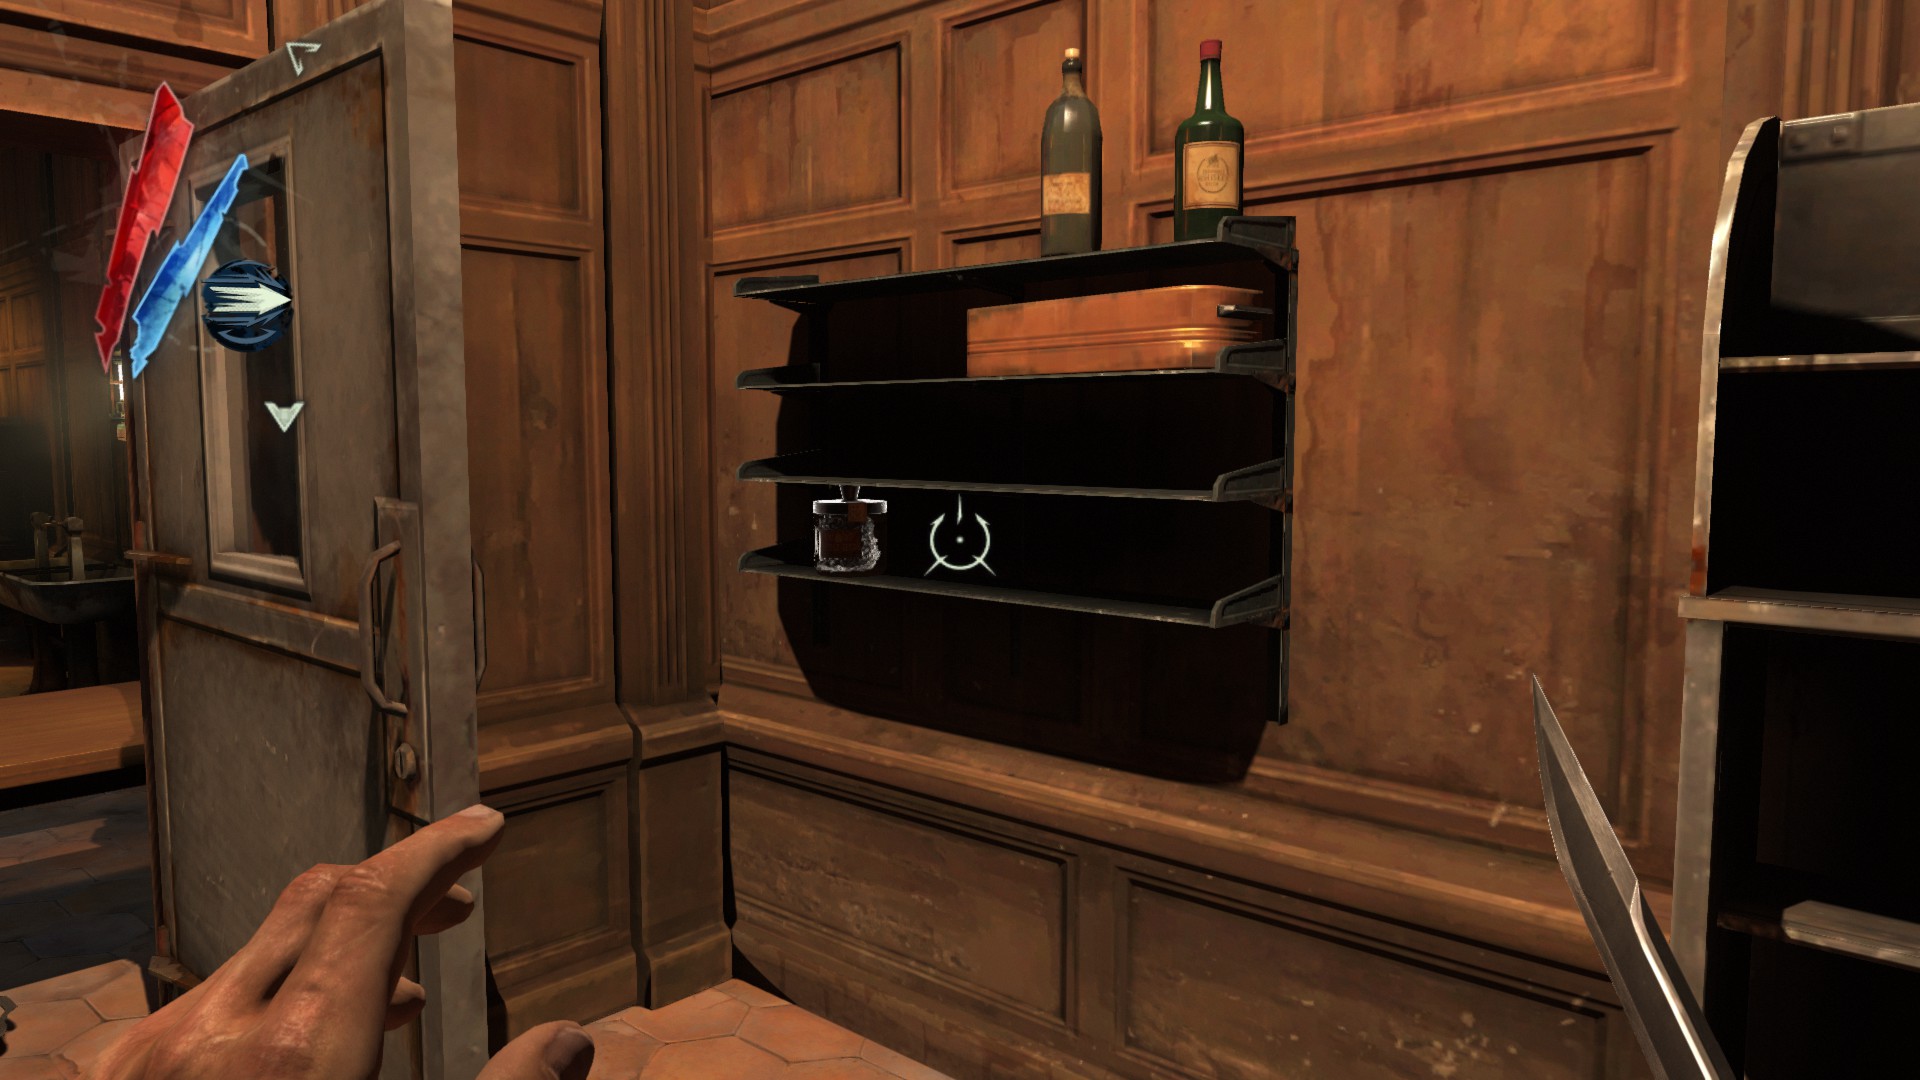
In a pantry full of rats, a medicinal herbs is on a shelf.
(+20 -> 791/3794)
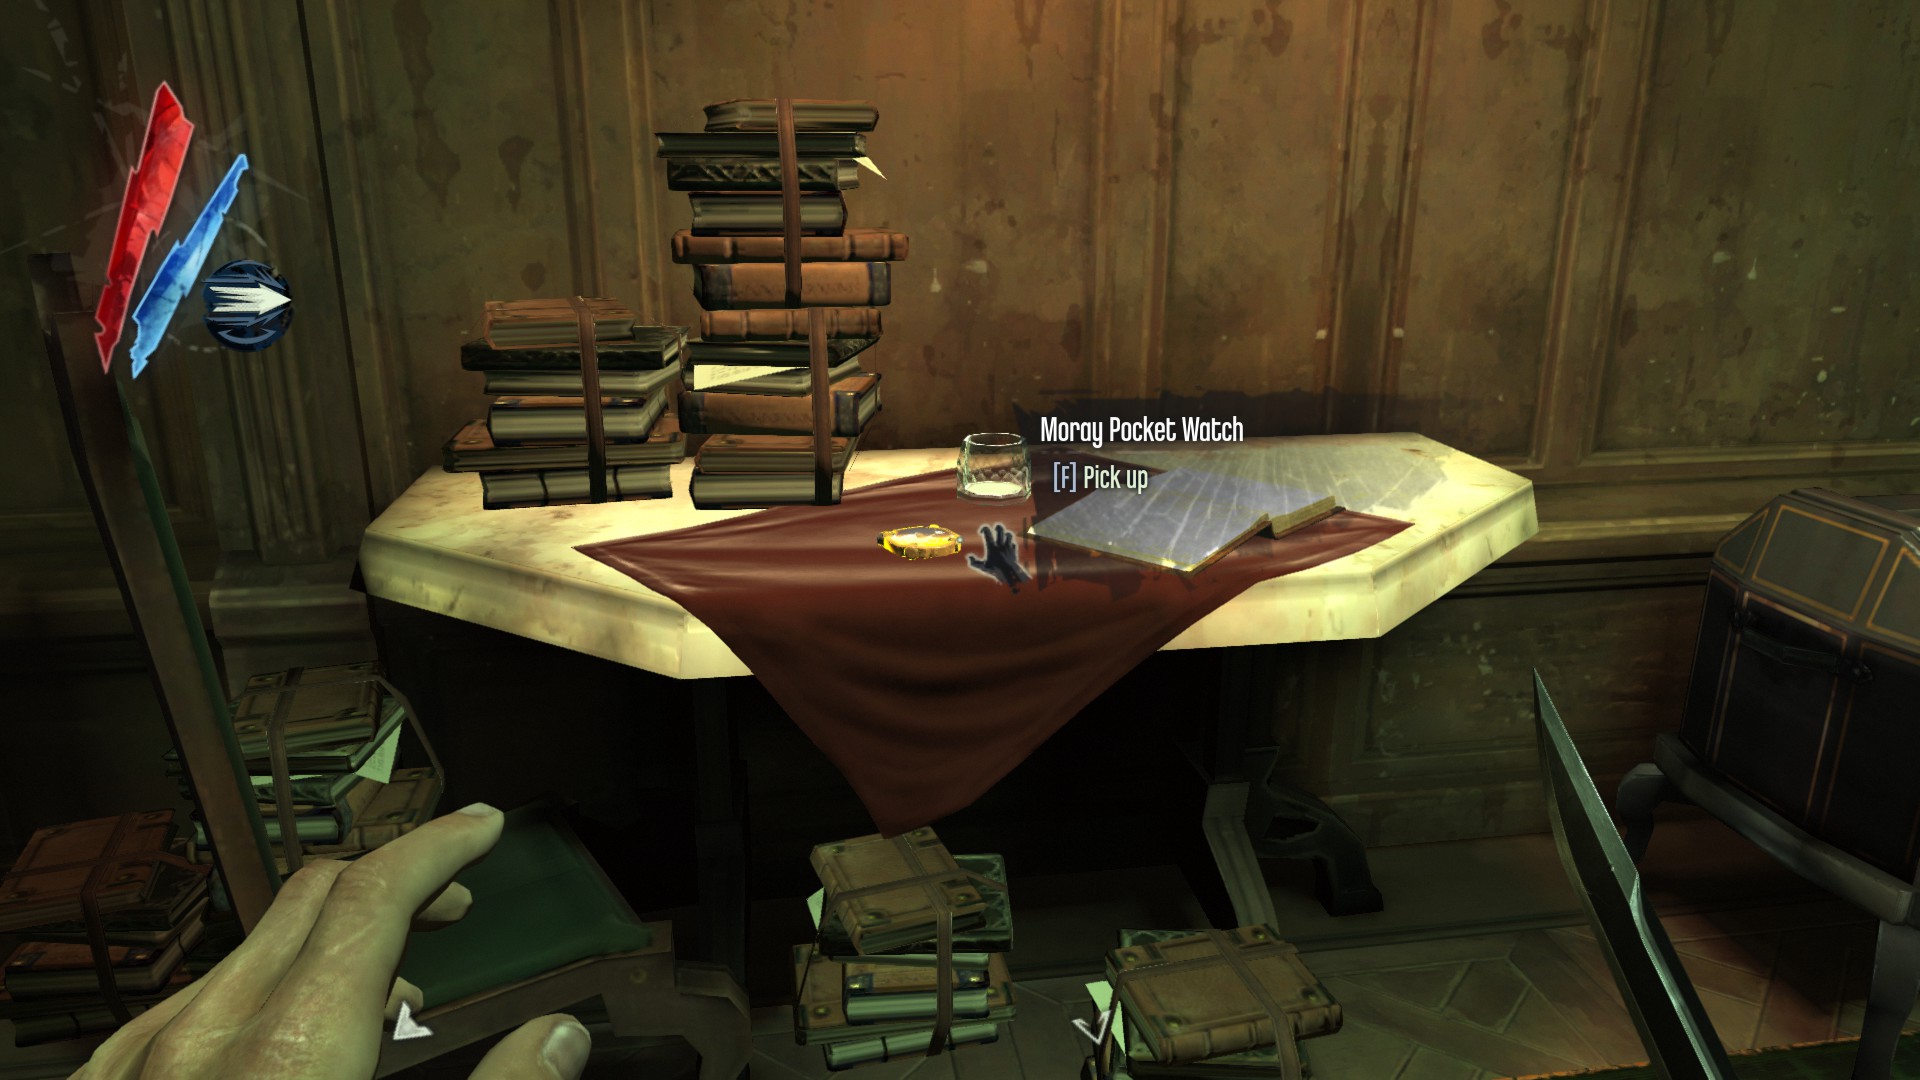
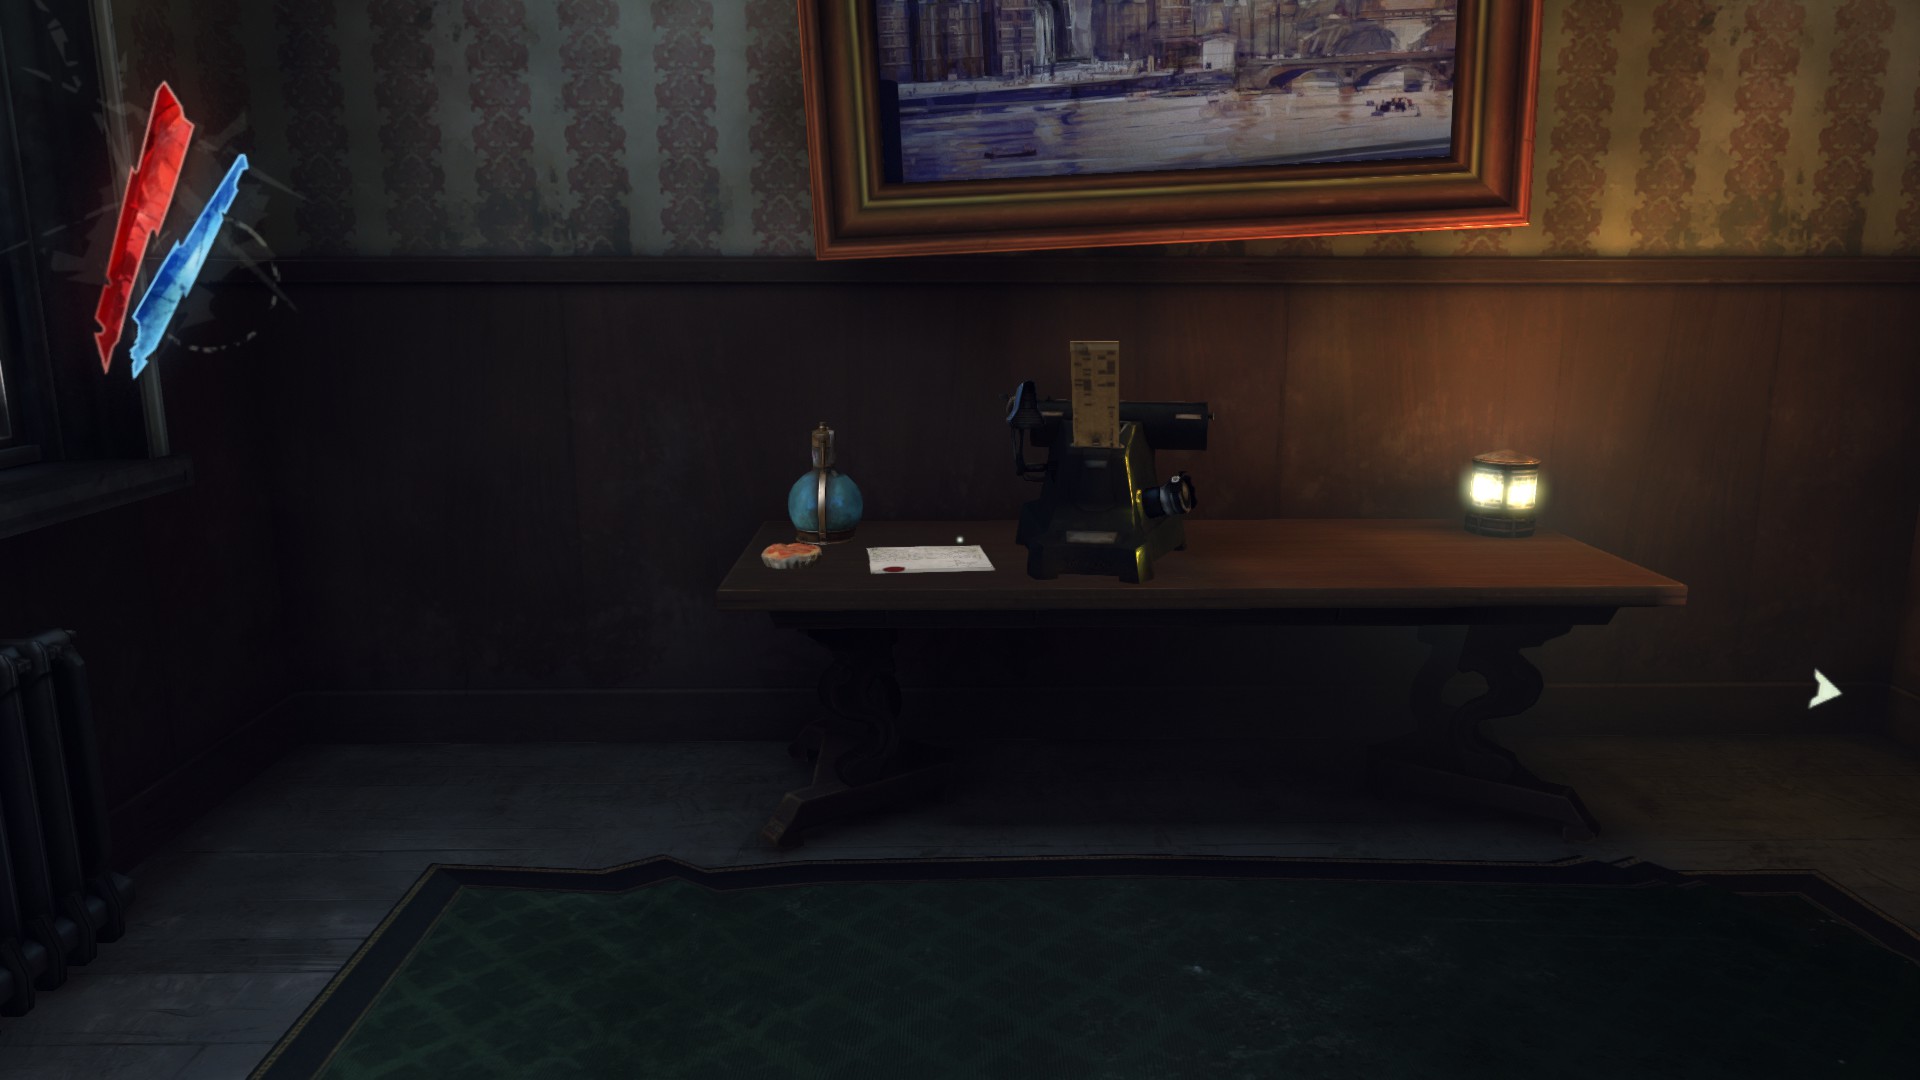
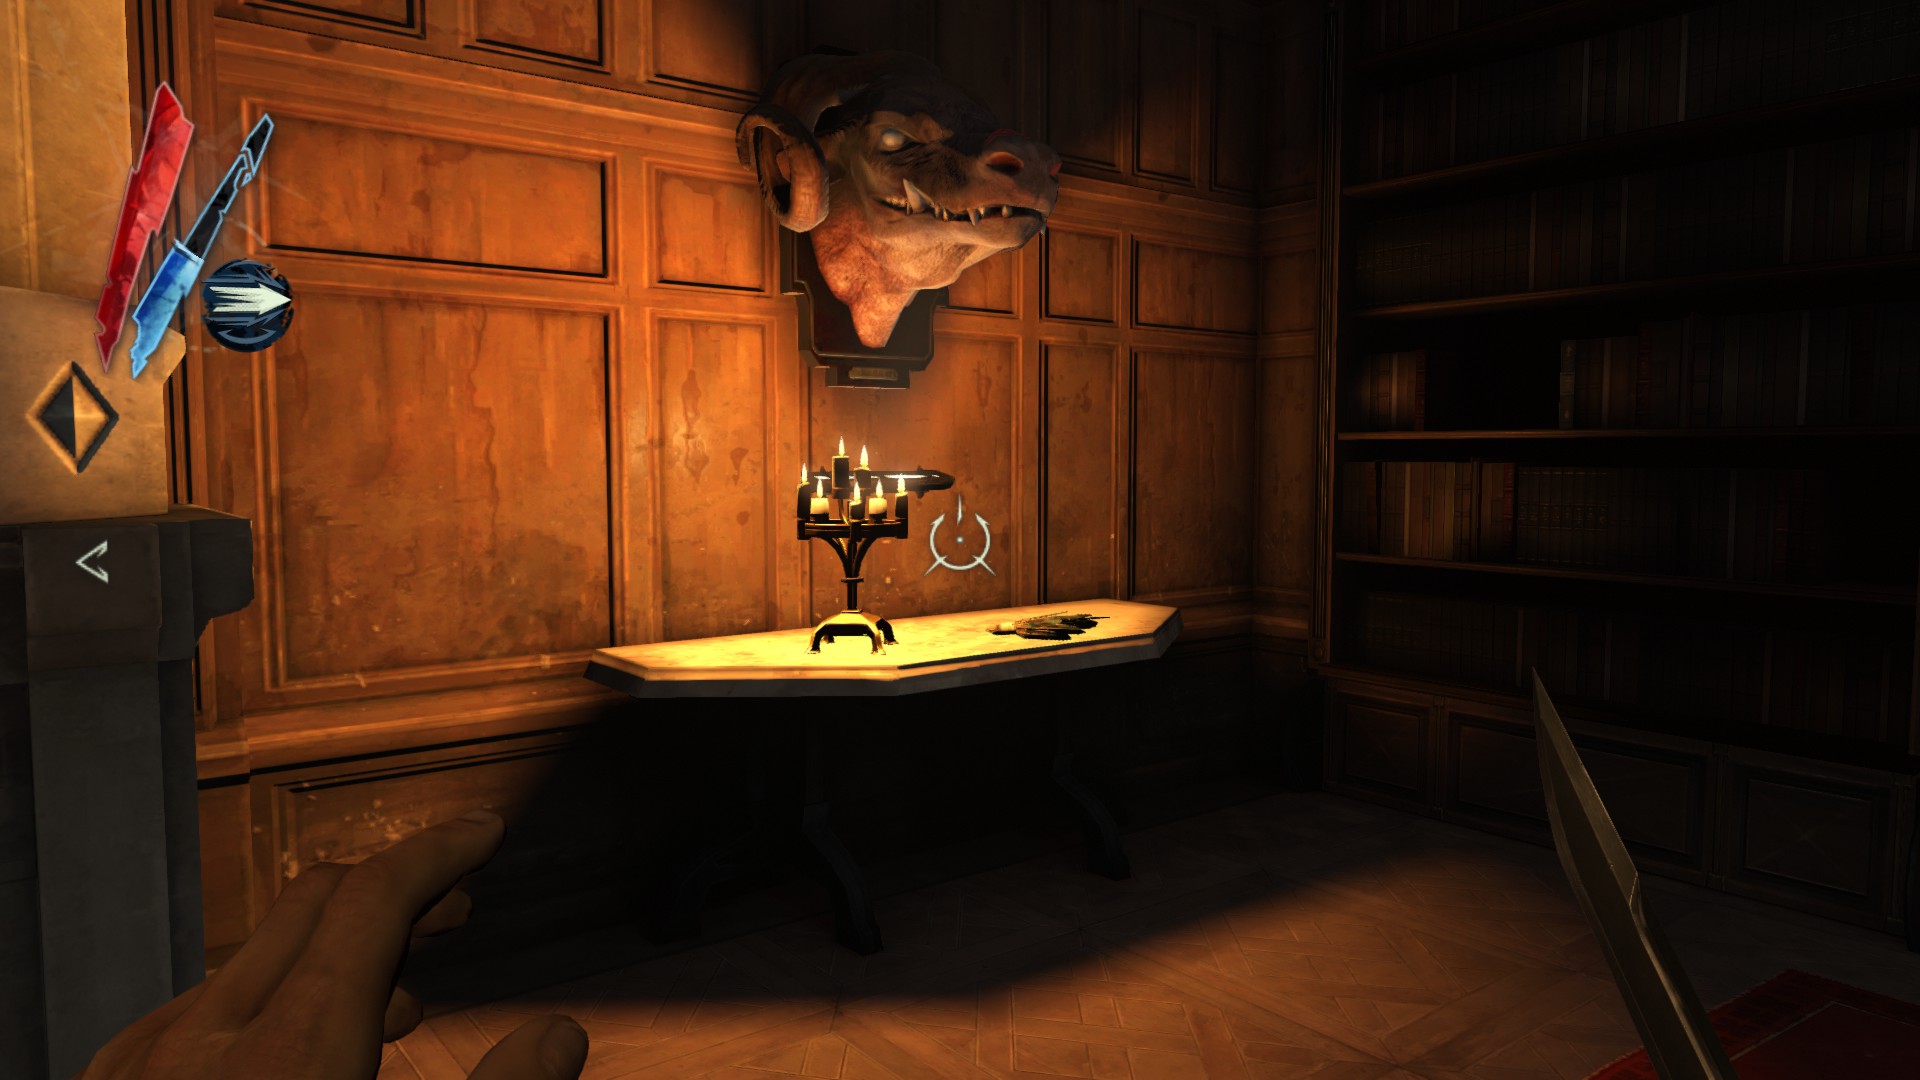
Go to Galvani's bedroom in the second floor. The Moray Pocket Watch is on the desk.
(+50 -> 841/3794)
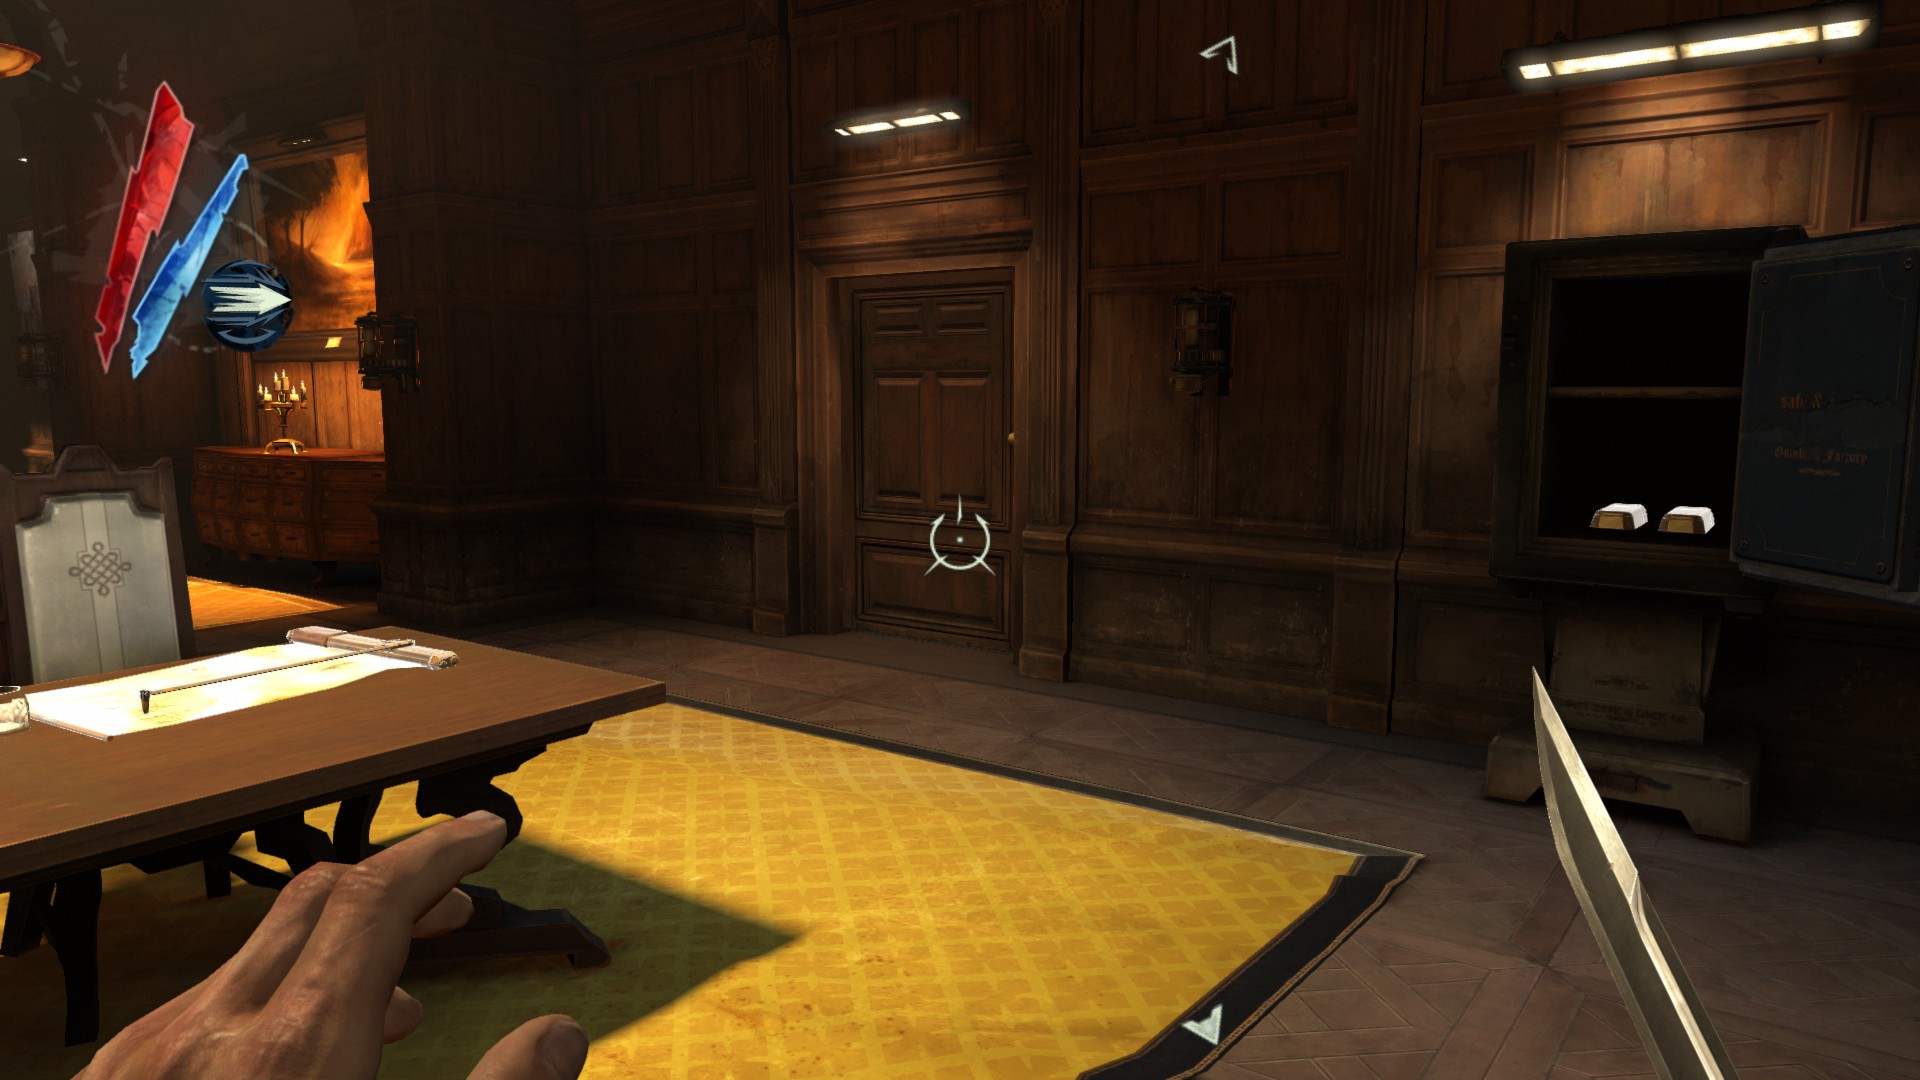
In the dining room, there is the Canker Mouth Gulf Map here, and the safe contains 2 ingots. The code is 287.
(+275 -> 1116/3794)
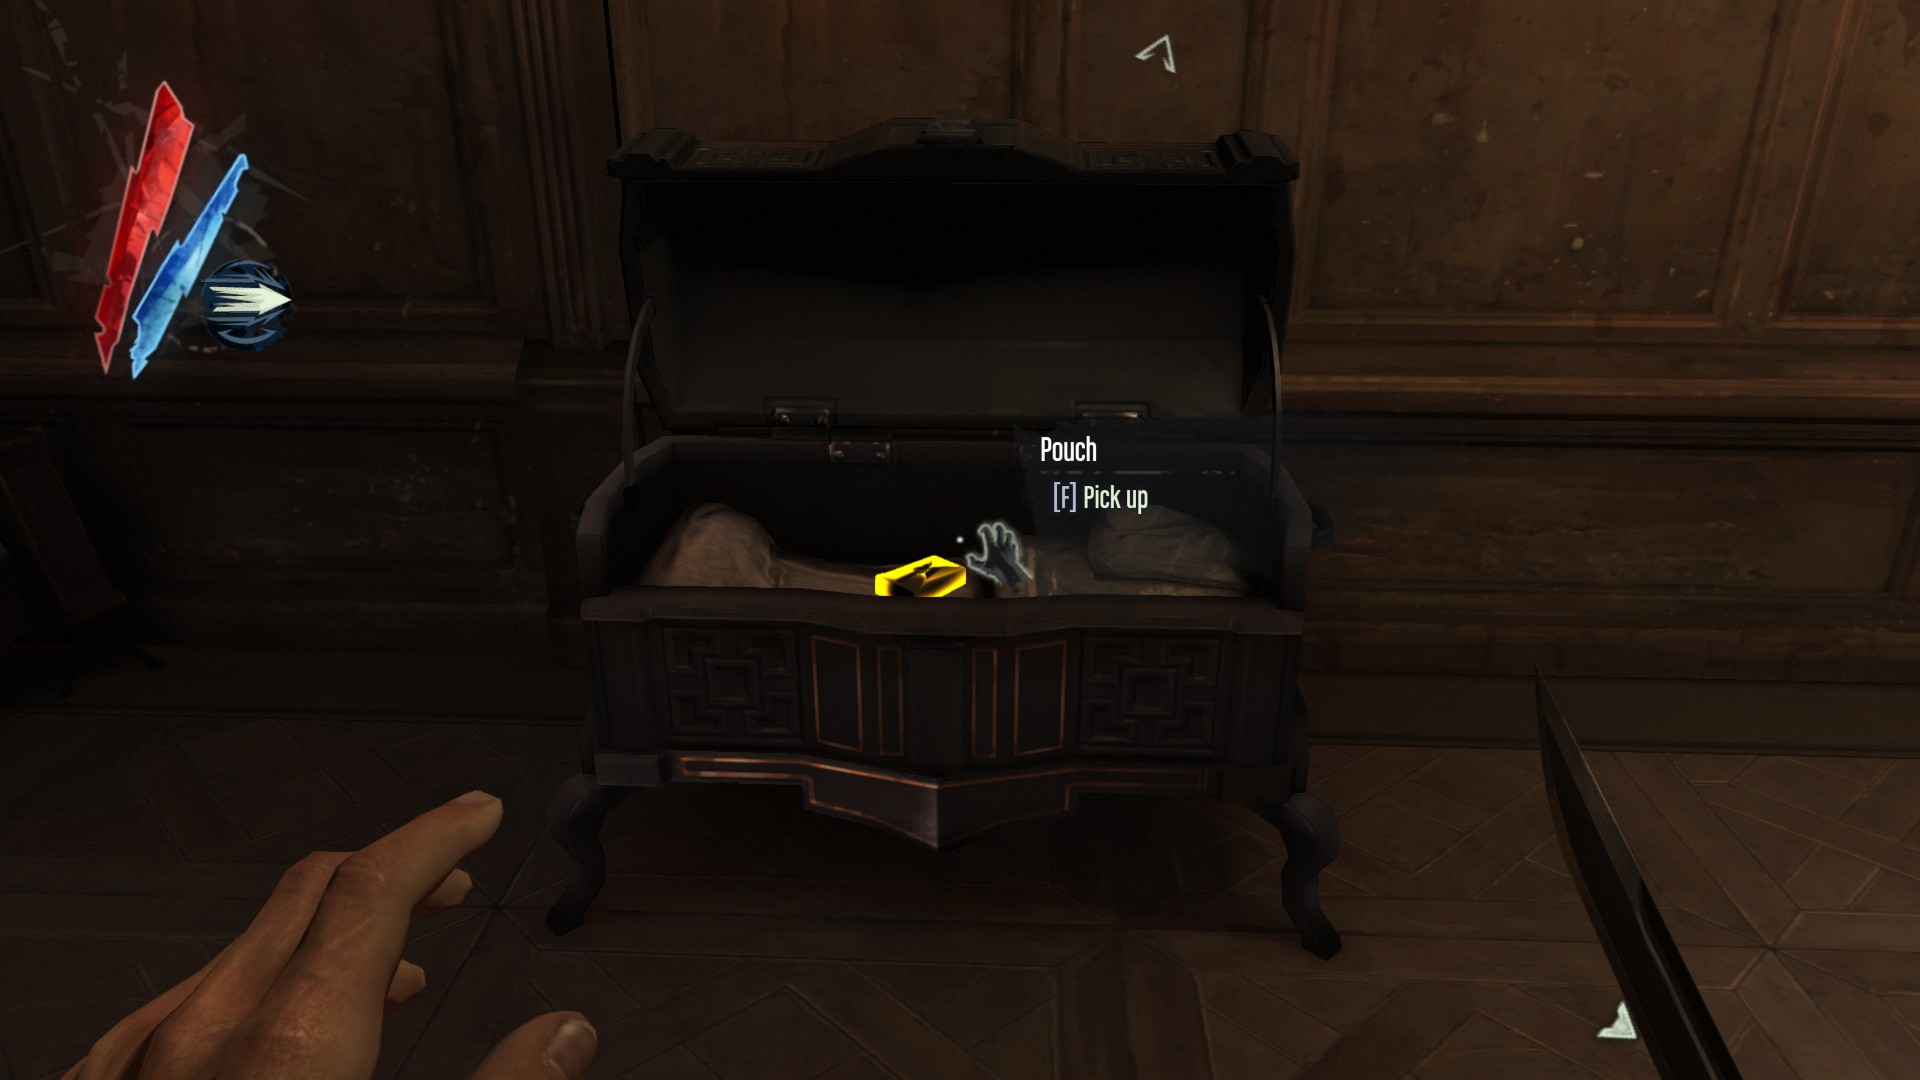
Go through the door next to the safe, there is a pouch on a chest.
(+25 -> 1141/3794)
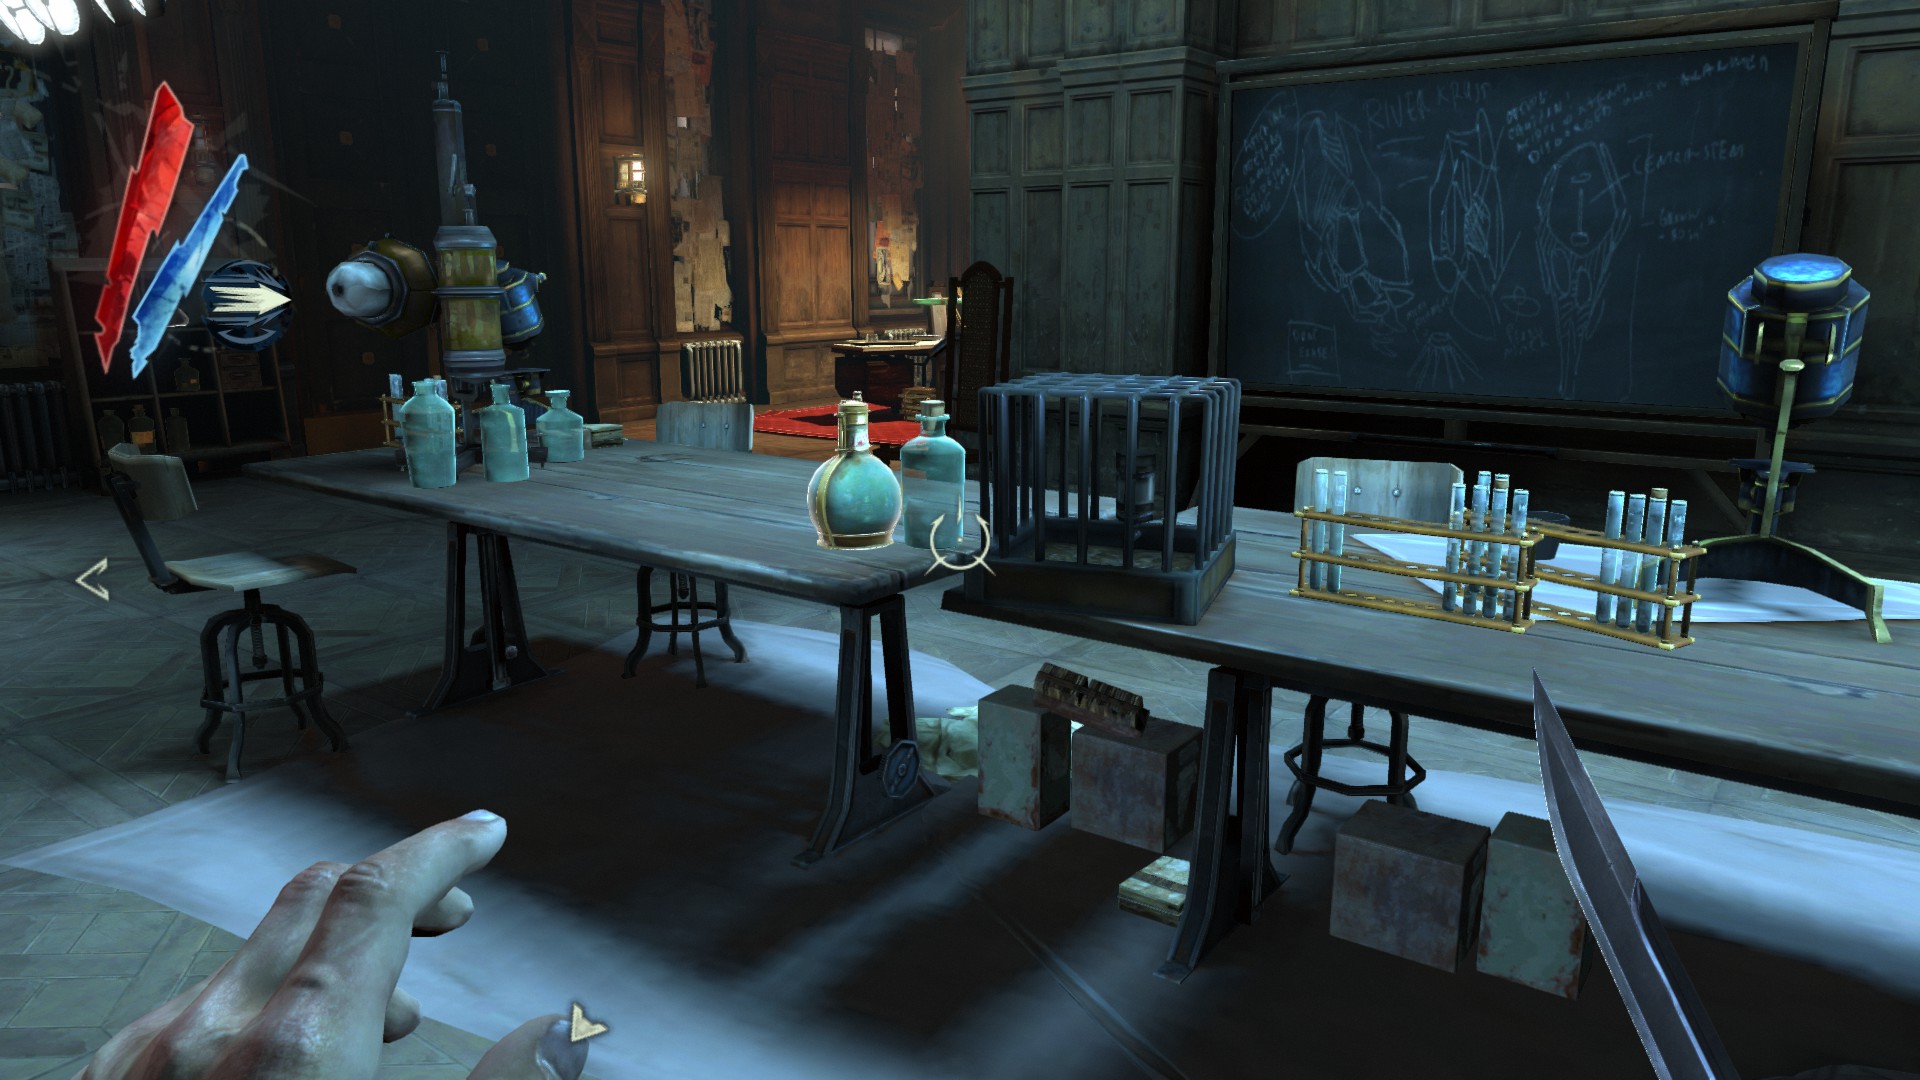
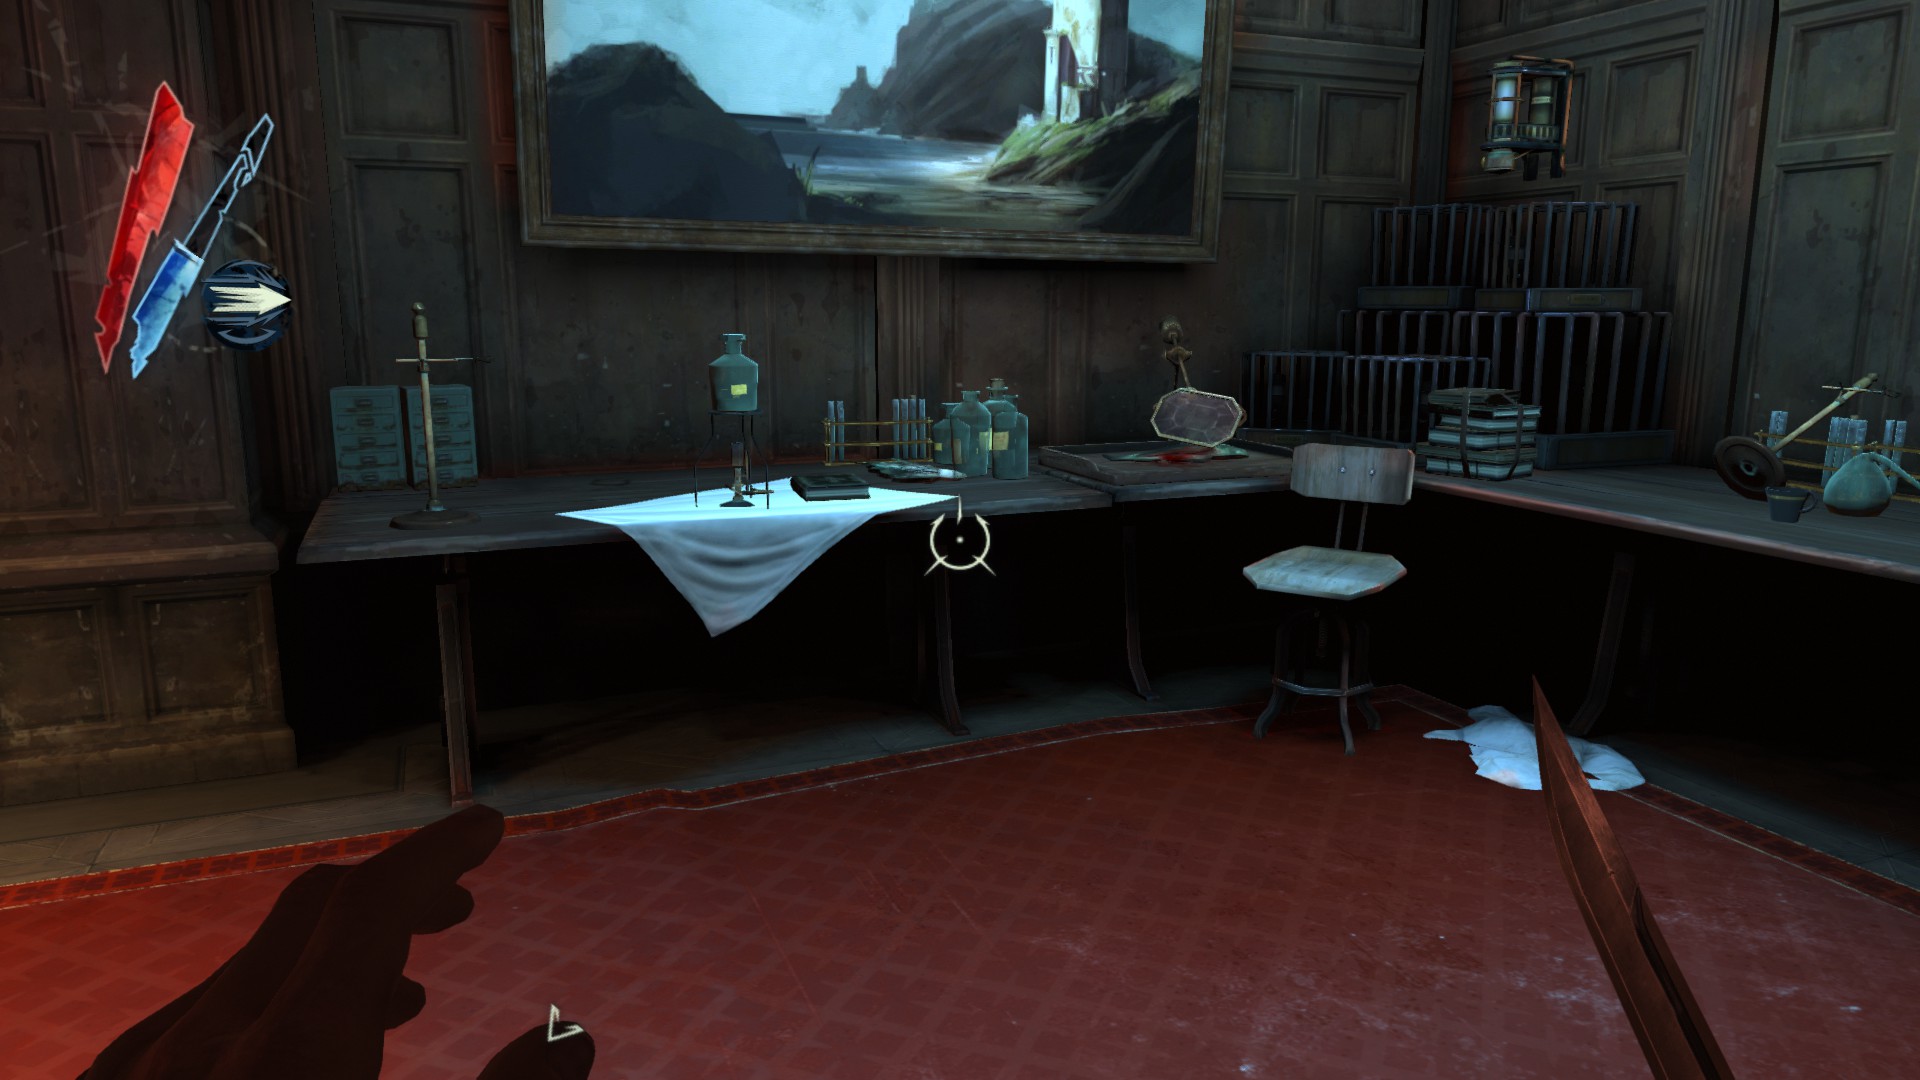
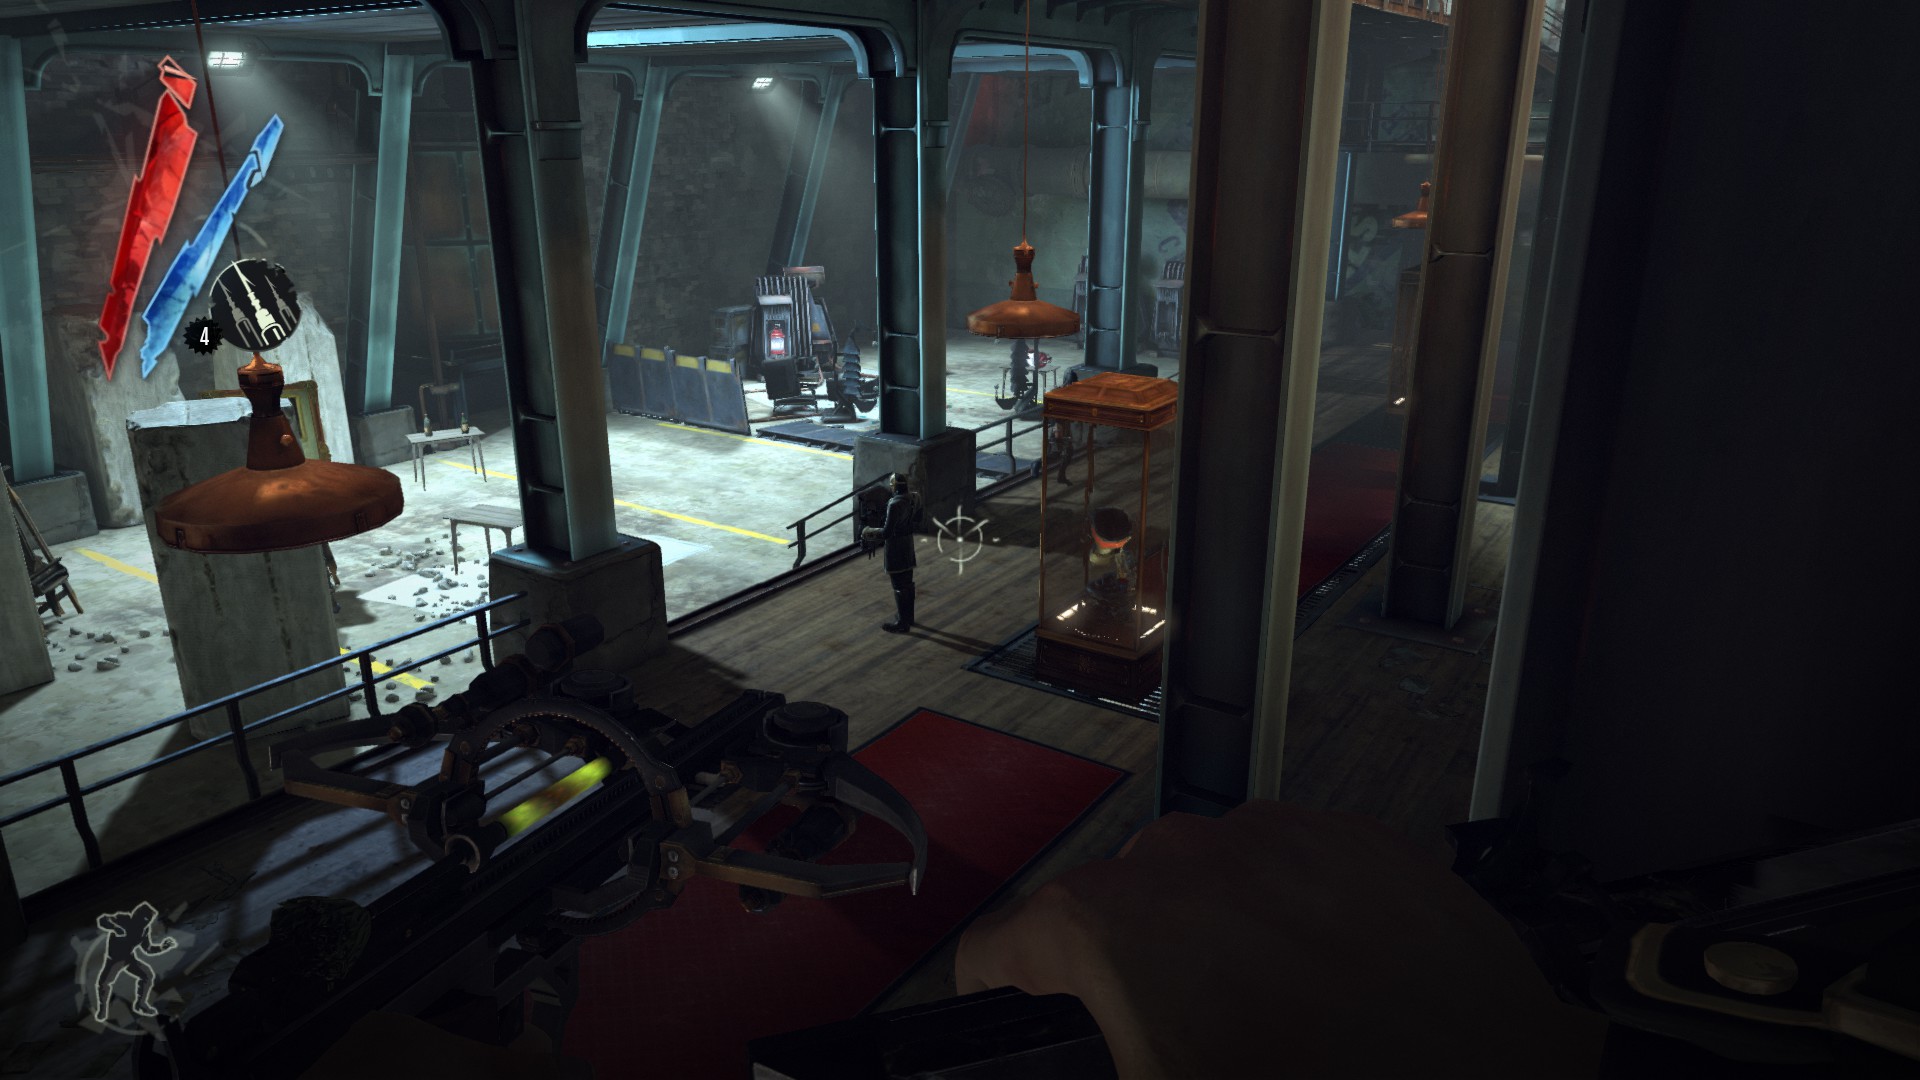
In the third floor, in Galvani's laboratory, a processed whale oil is on one of the tables.
(+30 -> 1171/3794)
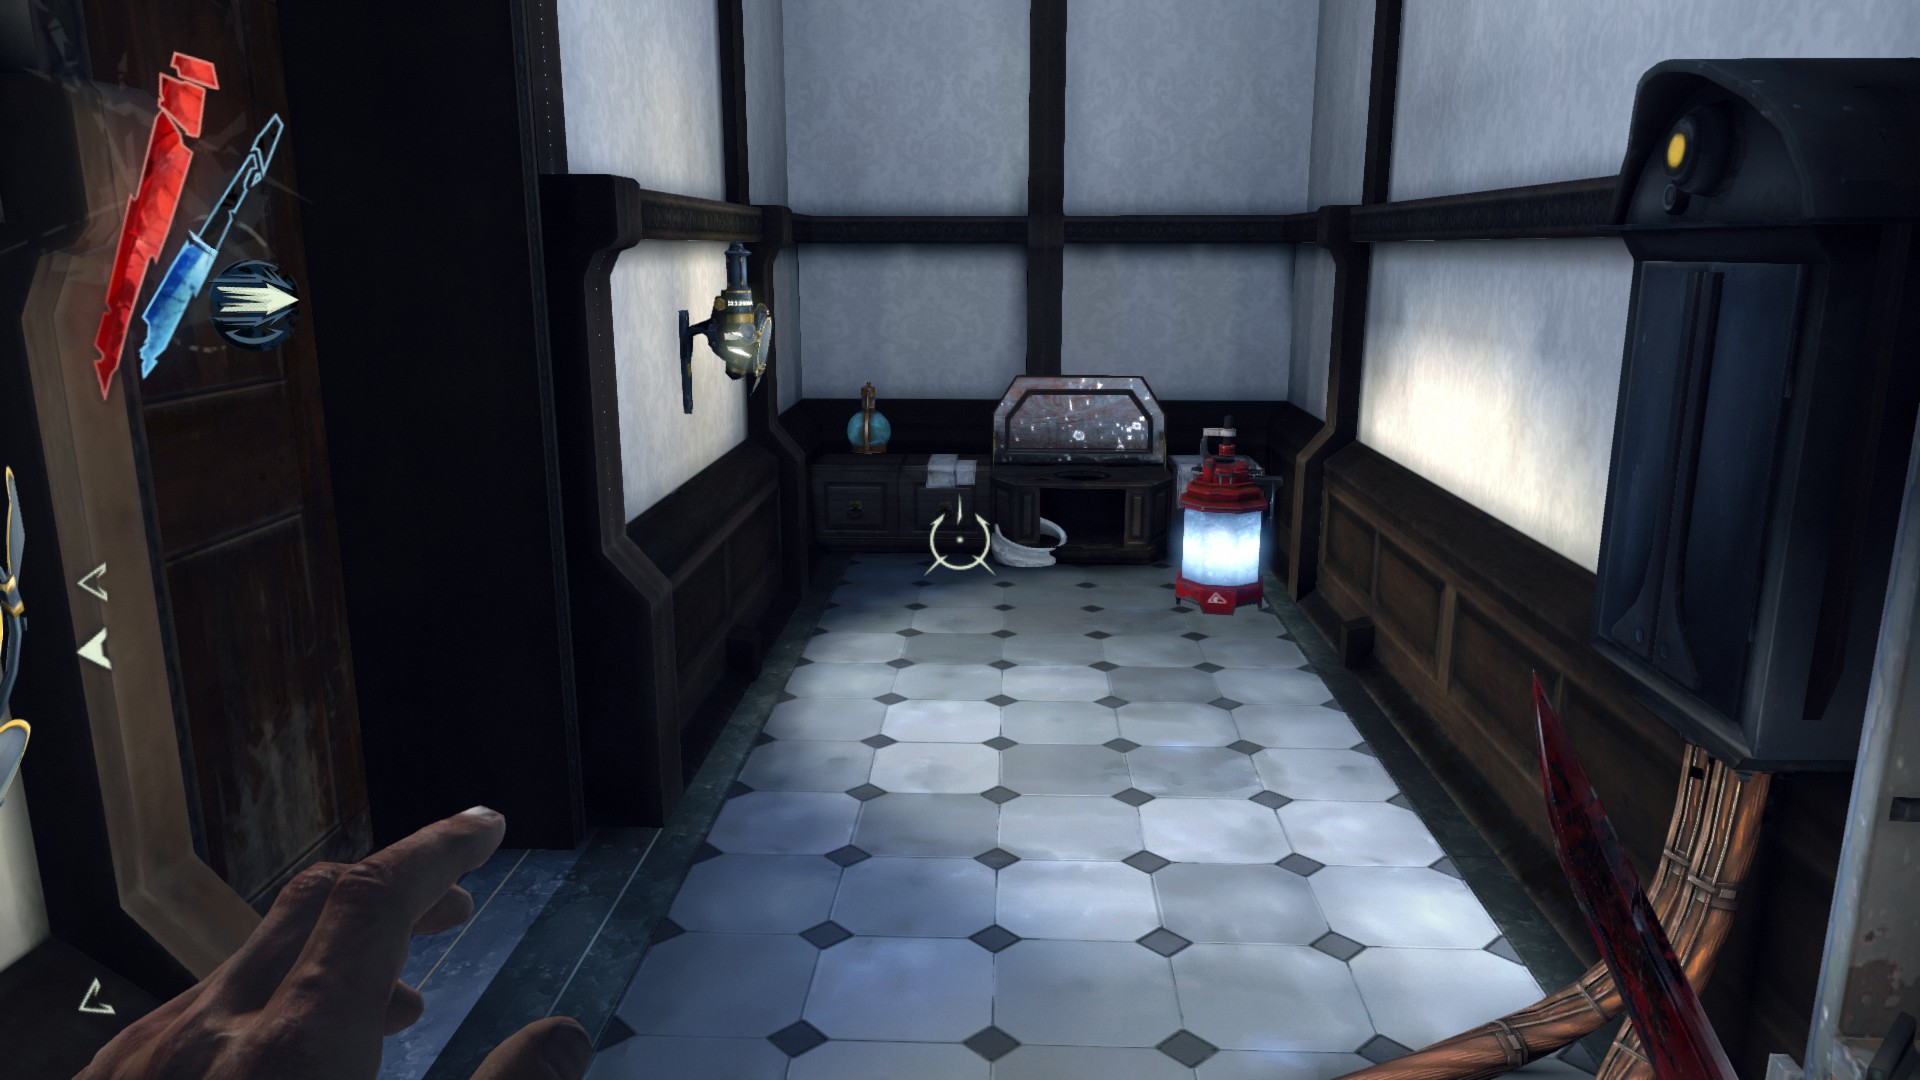
In the laboratory, there is a display cabinet here. Break the glass to get 2 coins.
(+11 -> 1182/3794)
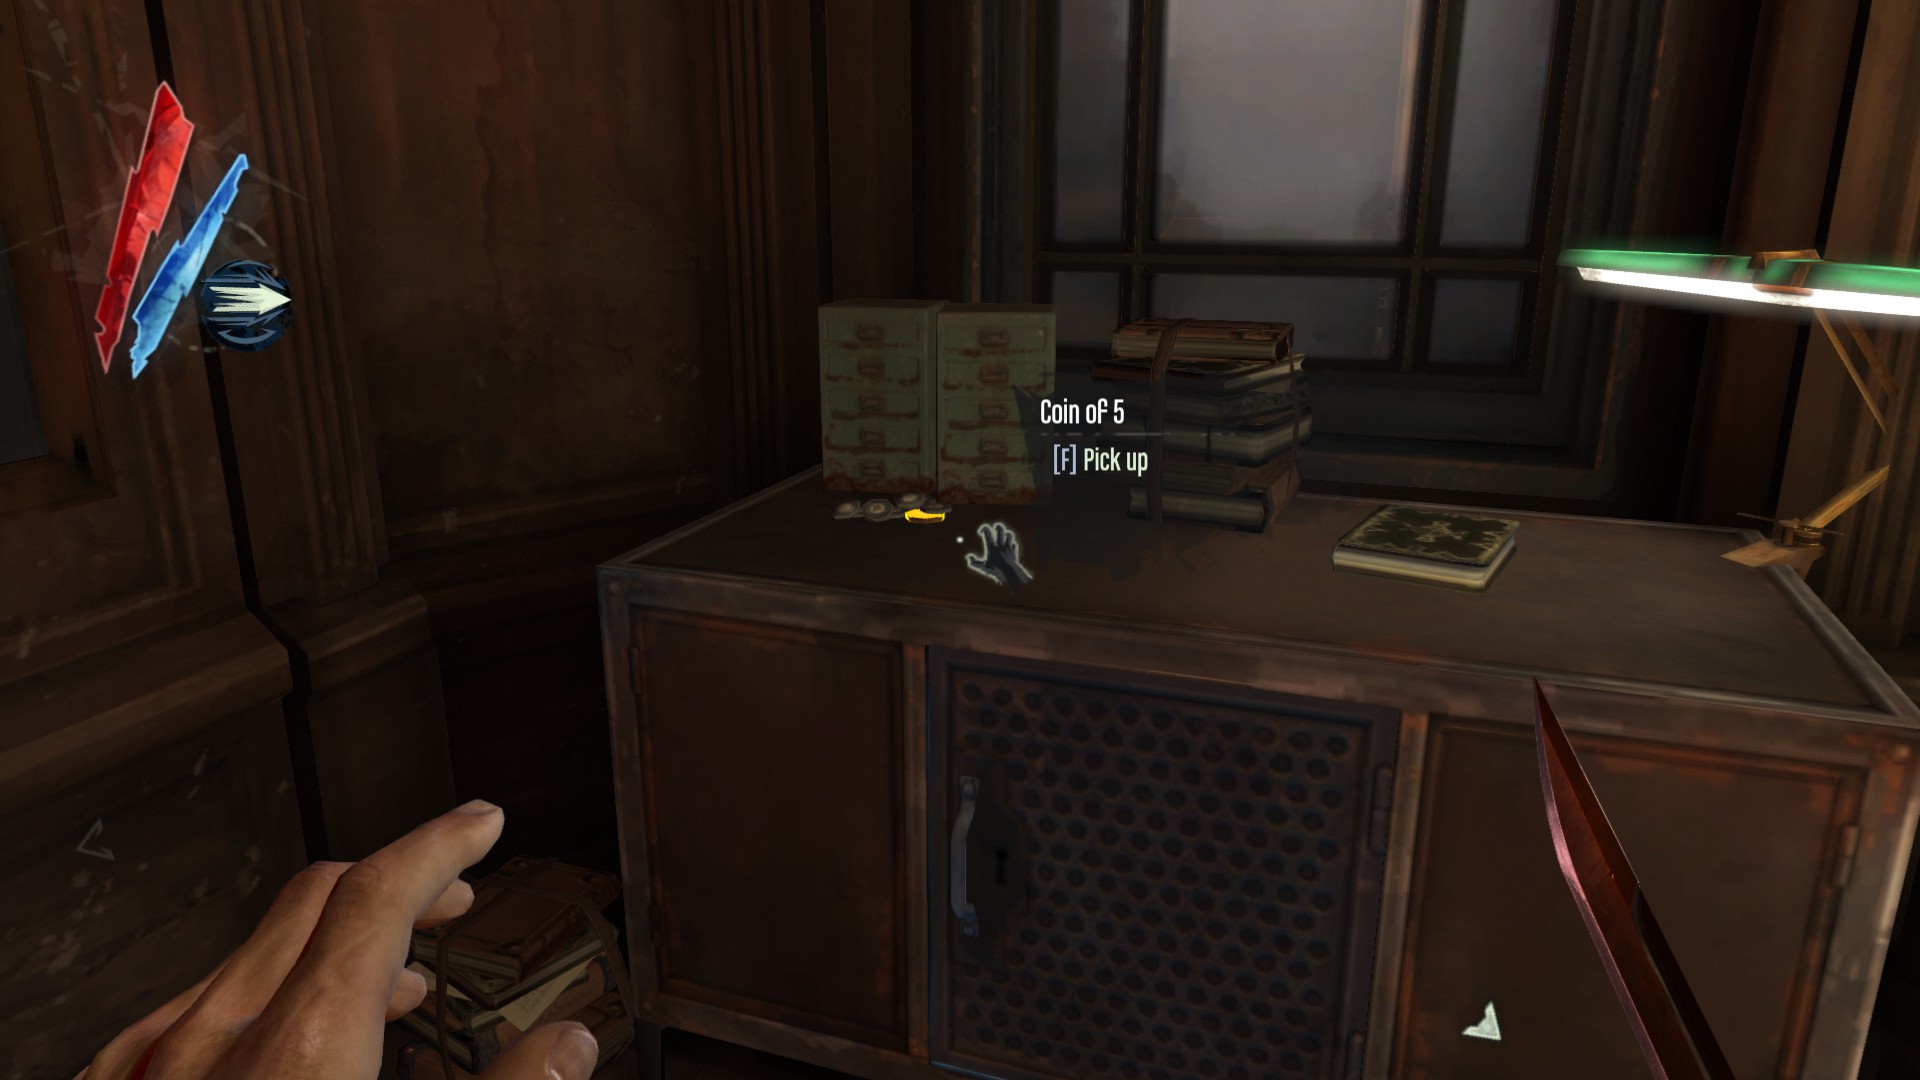
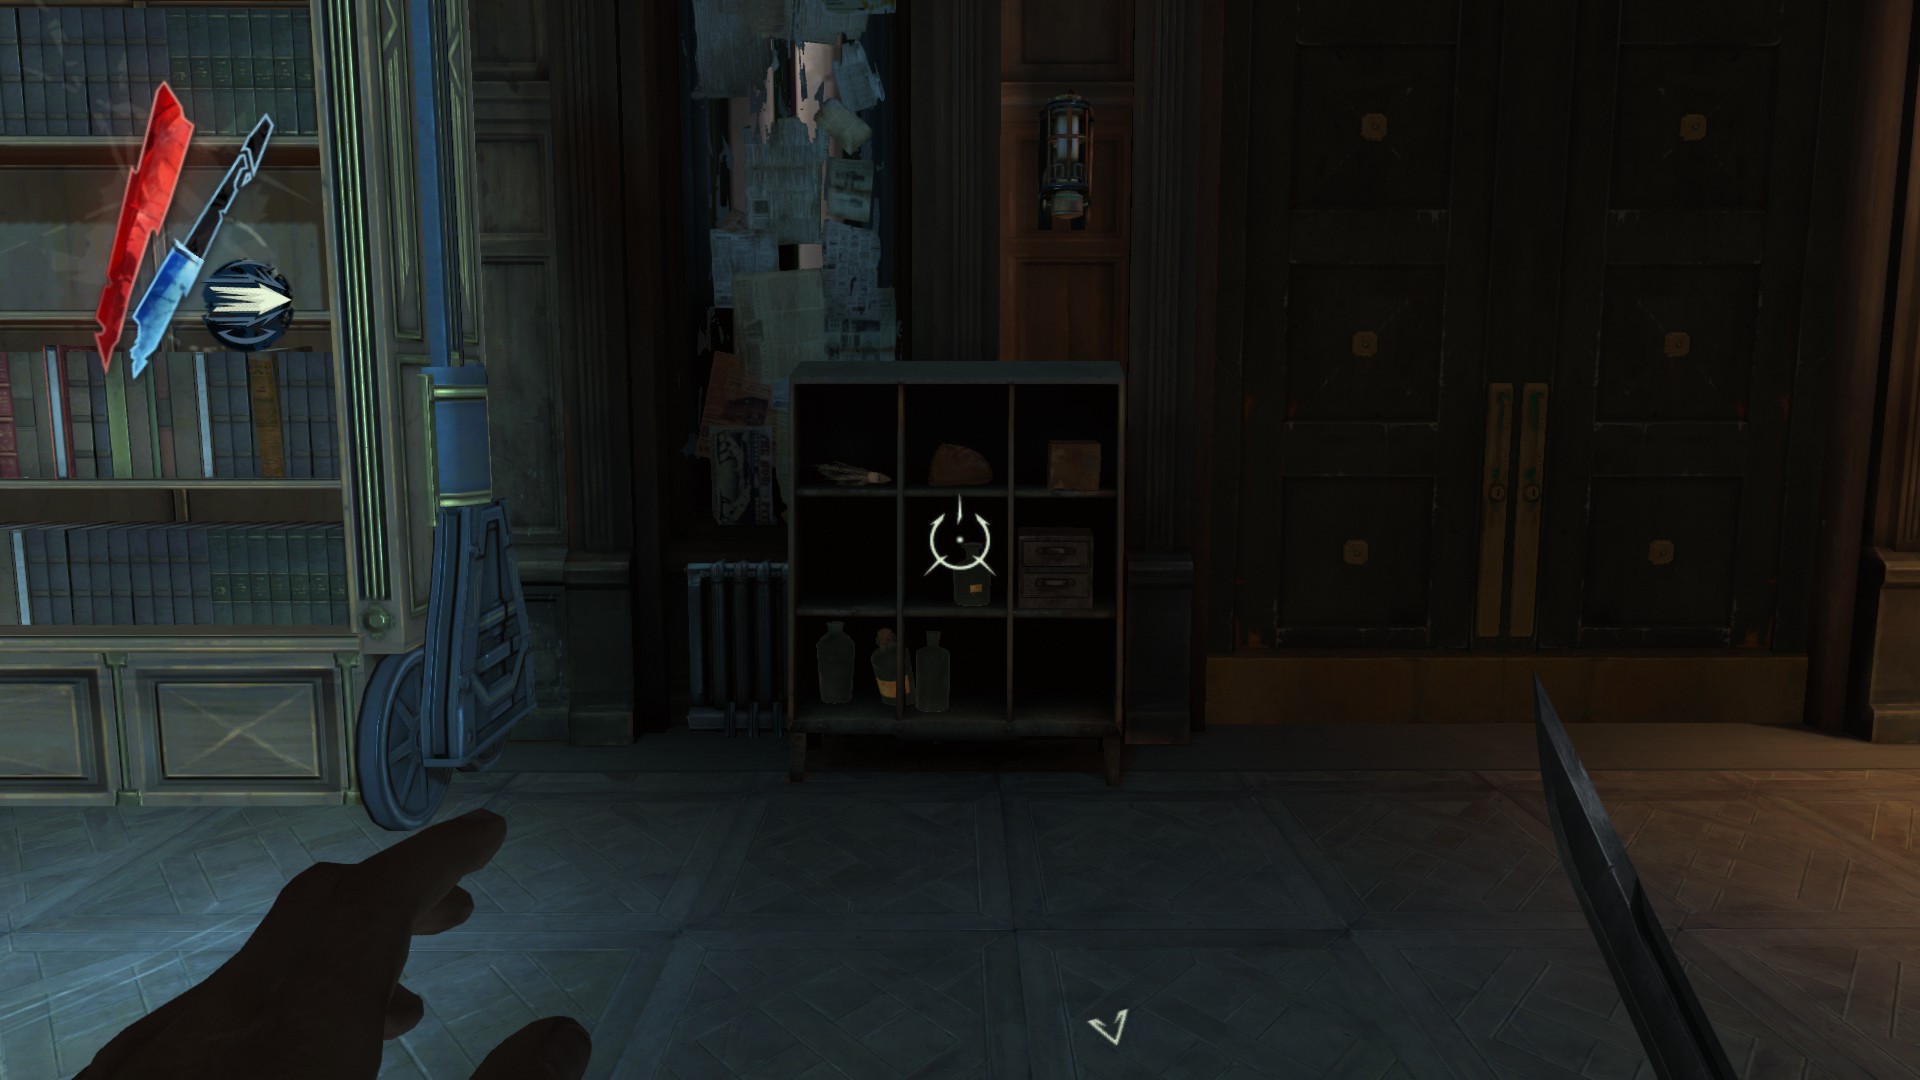
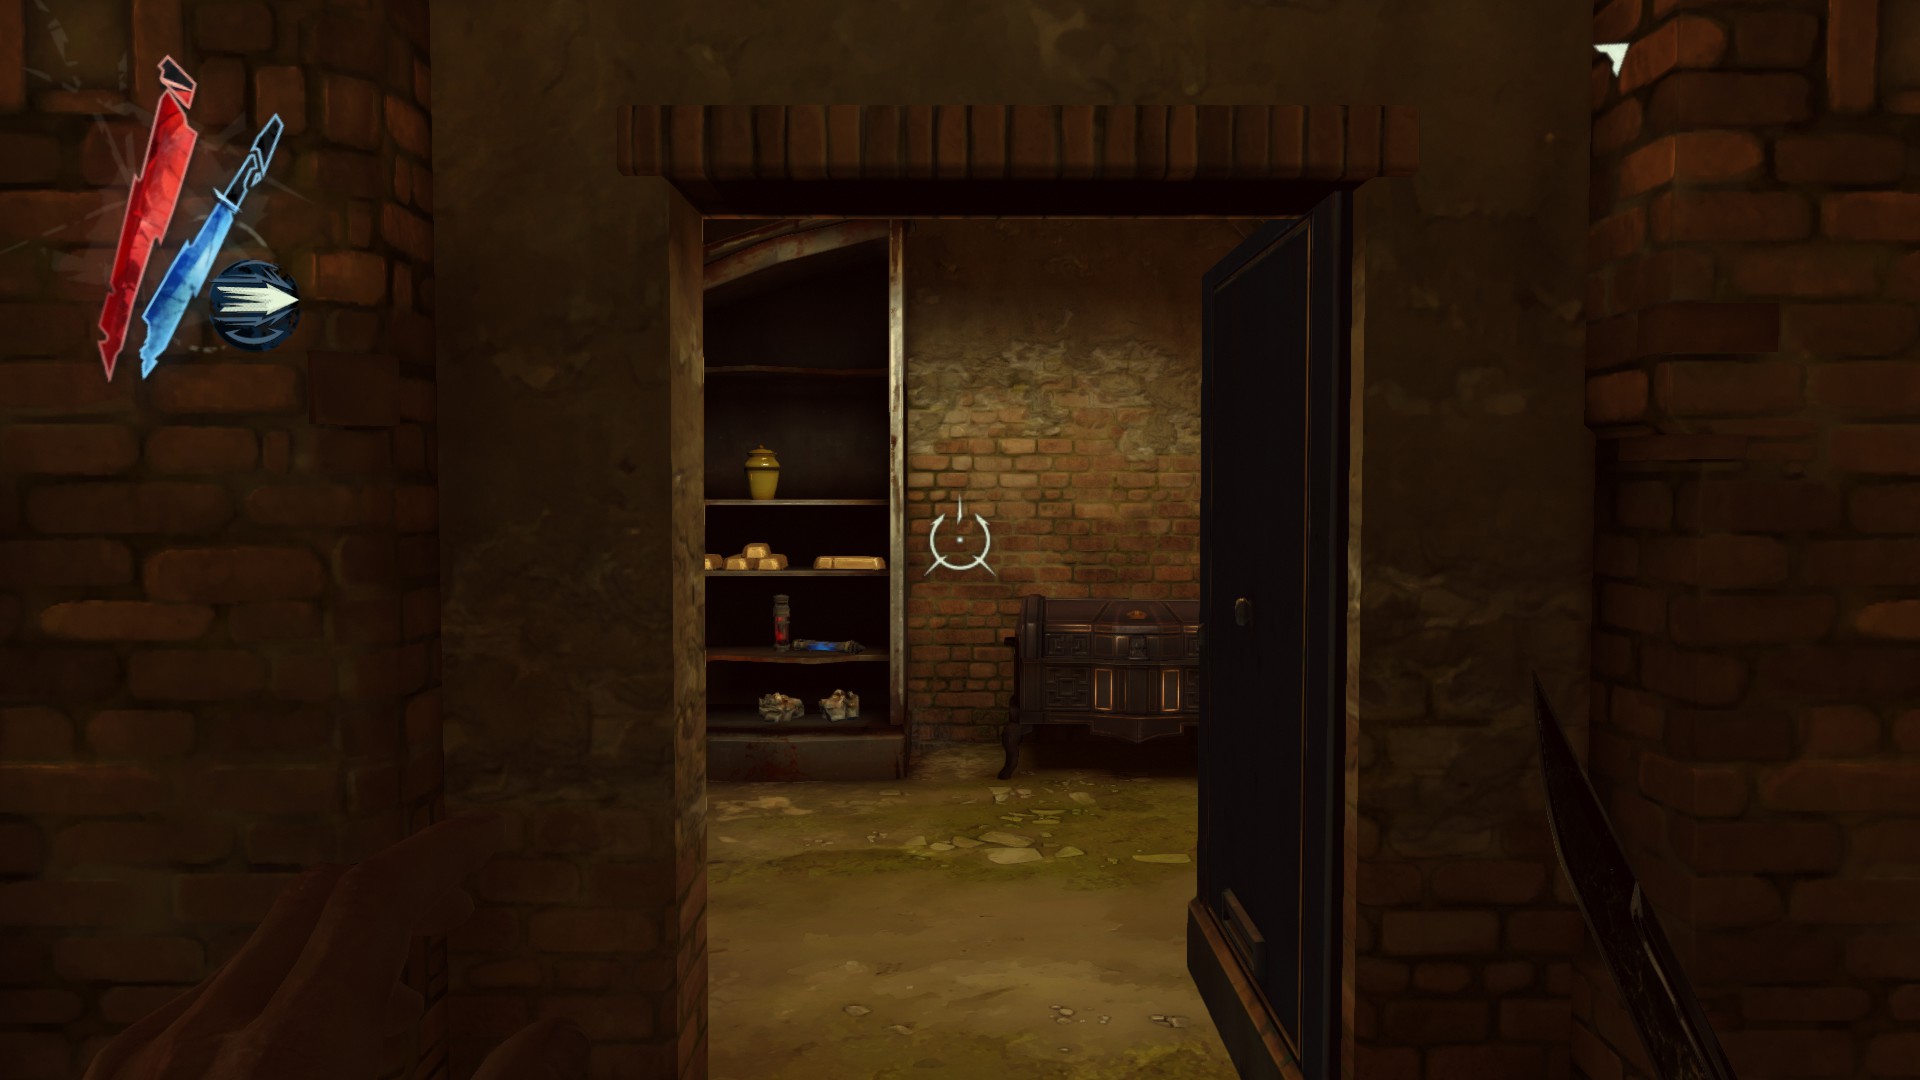
Now head into the secret room and you will find 9 coins on a cabinet.
(+13 -> 1195/3794)
Mission 2 - High Overseer Campbell, pt. 2
Dunwall Whiskey Distillery
Climb up the pipe near the entrance to find a medicinal herbs on a wooden platform.
(+20 -> 1215/3794)
There are many thugs patrolling the distillery yard. Two of them are carrying pouches.
(+35 -> 1250/3794)
At the left side of the area there is a campfire here. A medicinal herbs is on one of the crates and 2 tyvian ores are on a desk.
(+60 -> 1310/3794)
Go through the gate, there is a copper wire on a dumpster to your right.
(+10 -> 1320/3794)
Inside a cell is a copper wire on a stack of books.
(+10 -> 1330/3794)
Before entering the distillery, grab a copper wire on a table just to the right of the door.
(+10 -> 1340/3794)
In the distillery, go to the control console room. There is a copper wire on a locker, and a hemlock essence on a shelf.
(+30 -> 1370/3794)
Spin the wheel and then Blink through a storage room before it closes. A pouch is on a locker, and a processed whale oil is on another locker.
(+50 -> 1420/3794)
There are many thugs patrolling the distillery, two of them are carrying pouches.
(+40 -> 1460/3794)
In this area, a coin is in an ashtray on a barrel.
(+5 -> 1465/3794)
In the second floor, there is a copper wire on a shelf, and a hemlock essence on a locker behind a barrel.
(+30 -> 1495/3794)
Head downstairs now, there are 3 coins and a pouch inside a second locker.
(+31 -> 1526/3794)
Underneath the stairs, 2 coins are located here.
(+11 -> 1537/3794)
Holger Square
After rescuing Teague Martin, climb over the gate to the main street. A tyvian ore is inside a train cart here.
(+20 -> 1557/3794)

Right in front of the train cart is a pile of crates and barbed wires. Under them is a copper wire.
(+10 -> 1567/3794)
Now head through the gatehouse on the left side of the large gate, and go down the stairs to your left. See the pipeline there? Climb onto it to find the Inchmouth War Medal.
(+100 -> 1667/3794)
Go to the outflow tunnel and forward until you get to a room. 2 coins are here.
(+11 -> 1678/3794)
In the same room, an overseer will walk onto the sewer grate above you. He is carrying a pouch.
The overseer does not spawn until you come into this room and will disappear upon leaving this tunnel, dropping his pouch on the ground if not pickpocket.
(+100 -> 1778/3794)
Follow this tunnel to a room with two doors; the door to the square and the other one to the Kennels. Take the door to the square and walk up the stairs, there is a copper wire here underneath a staircase.
(+10 -> 1788/3794)
At the other side of the square, head right and into the corner with boxes. There is a small window that leads to a small room here. There is a coin under the grate, and two coins and a pouch on top of it.
(+30 -> 1818/3794)
The Kennels
There are three overseers and a wolfhound patrolling here. One of the overseers is carrying a pouch.
(+25 -> 1843/3794)
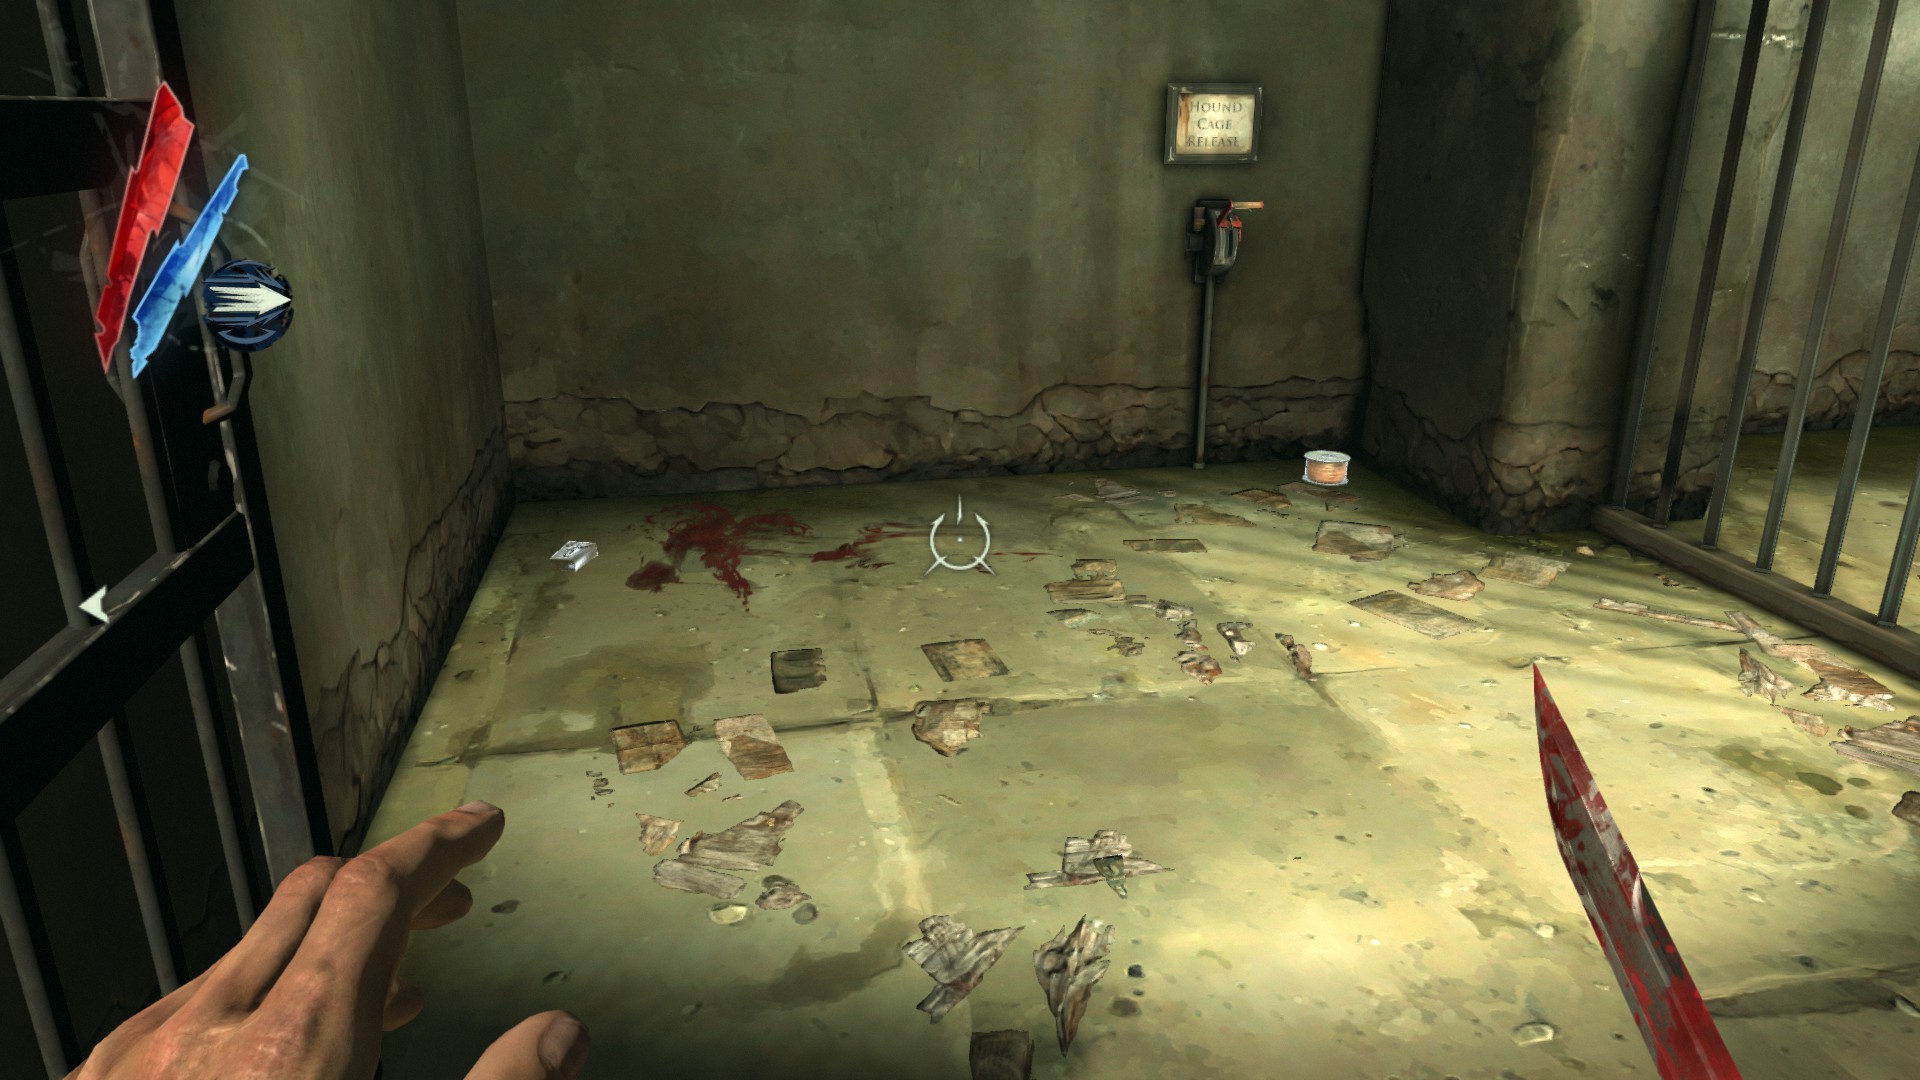
In cage F, 3 coins are next to a corpse and a pouch is next to another corpse.
(+45 -> 1888/3794)
Go to the locked door marked "Sick Hound Disposal" and you will find a pouch next to dead hounds. The code is 217.
(+50 -> 1938/3794)
Now head to the large room, take out the overseer here. There is a processed whale oil on a locker, and a hemlock essence inside. There are also 3 coins on a desk.
(+75 -> 2013/3794)
Between cages B and C, a pouch is on a locker.
(+50 -> 2063/3794)
In front of cage A, 2 coins are on the floor here.
(+10 -> 2073/3794)
Inside cage A is a pouch next to a corpse and a copper wire.
(+60 -> 2133/3794)
Mission 2 - High Overseer Campbell, pt. 3
Office of the High Overseer
I suggest you to explore all the rooms and leave the meeting room and secret room as non-lethal method is much safer.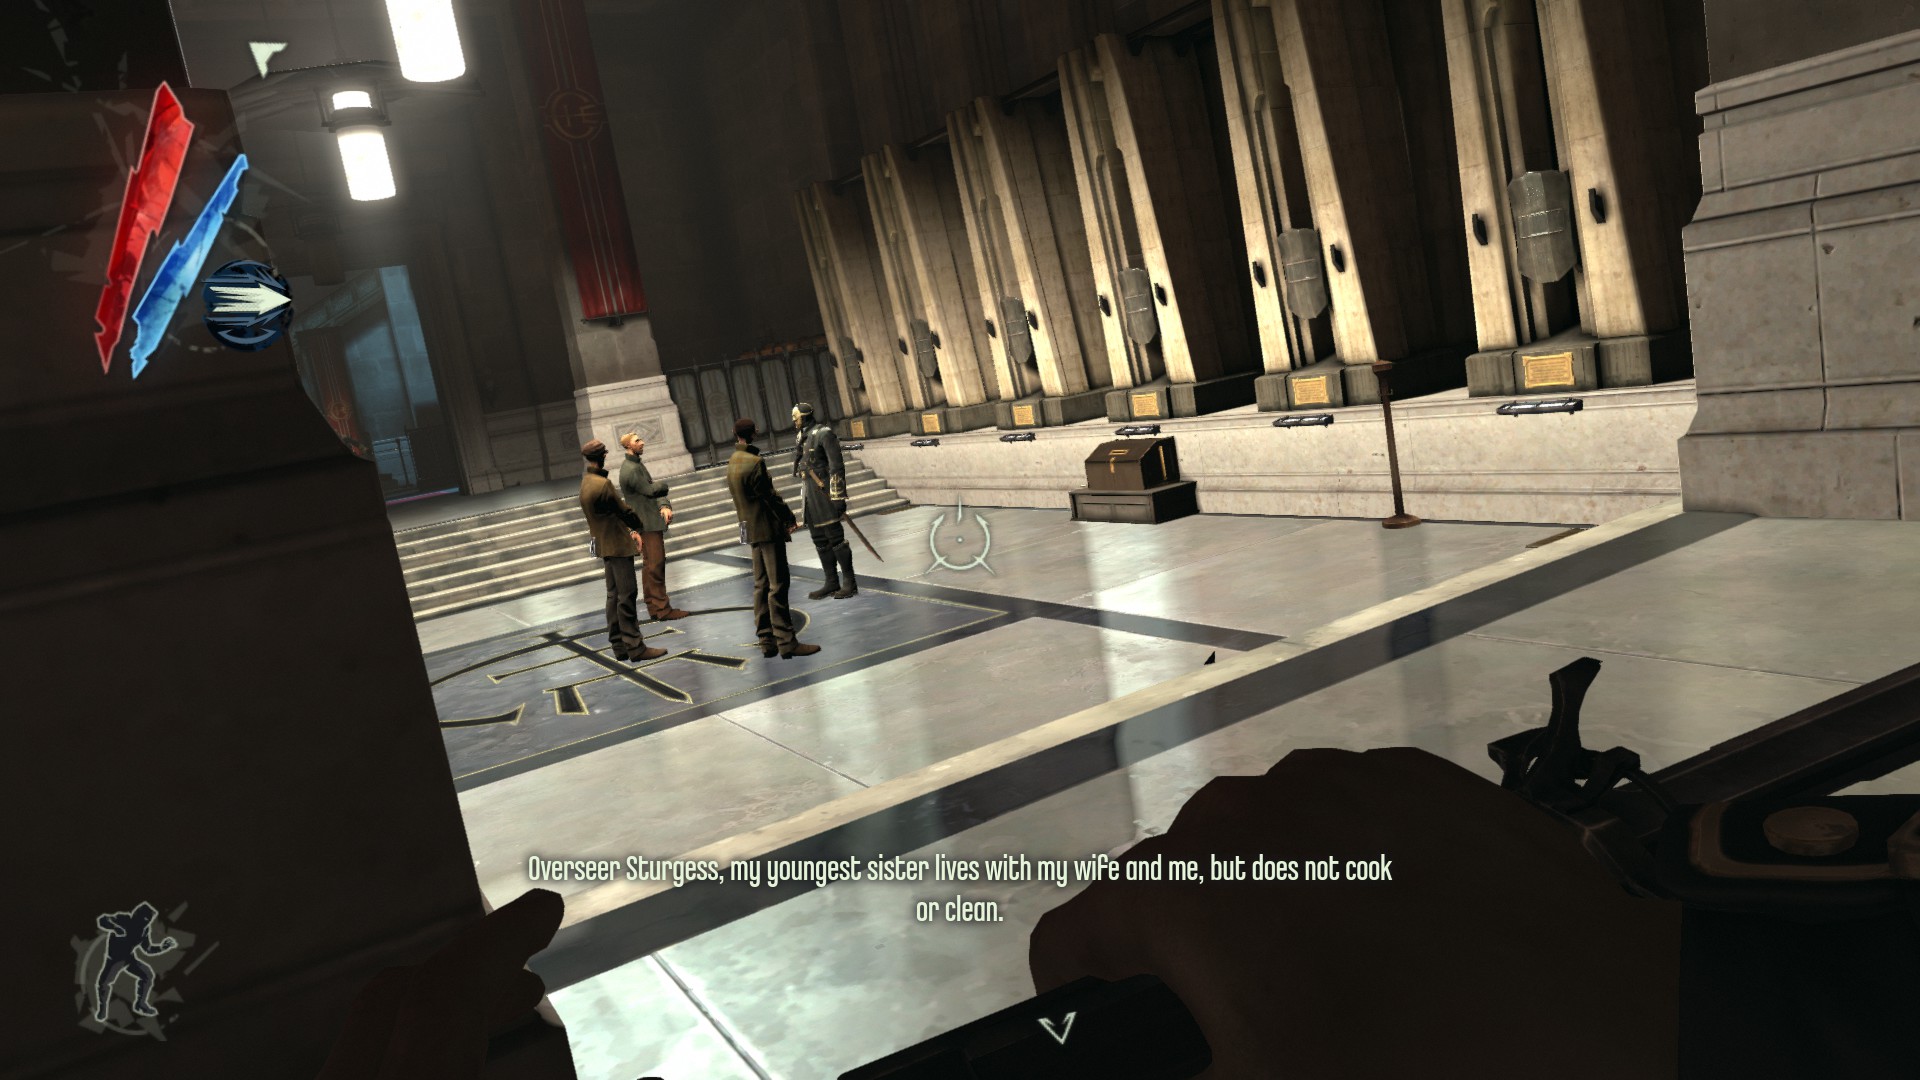
In the main hall, you will see three survivors talking with an overseer. These survivors carry pouches and will put their coins into a donation box. Now steal coins out of it.
(+87 -> 2220/3794)
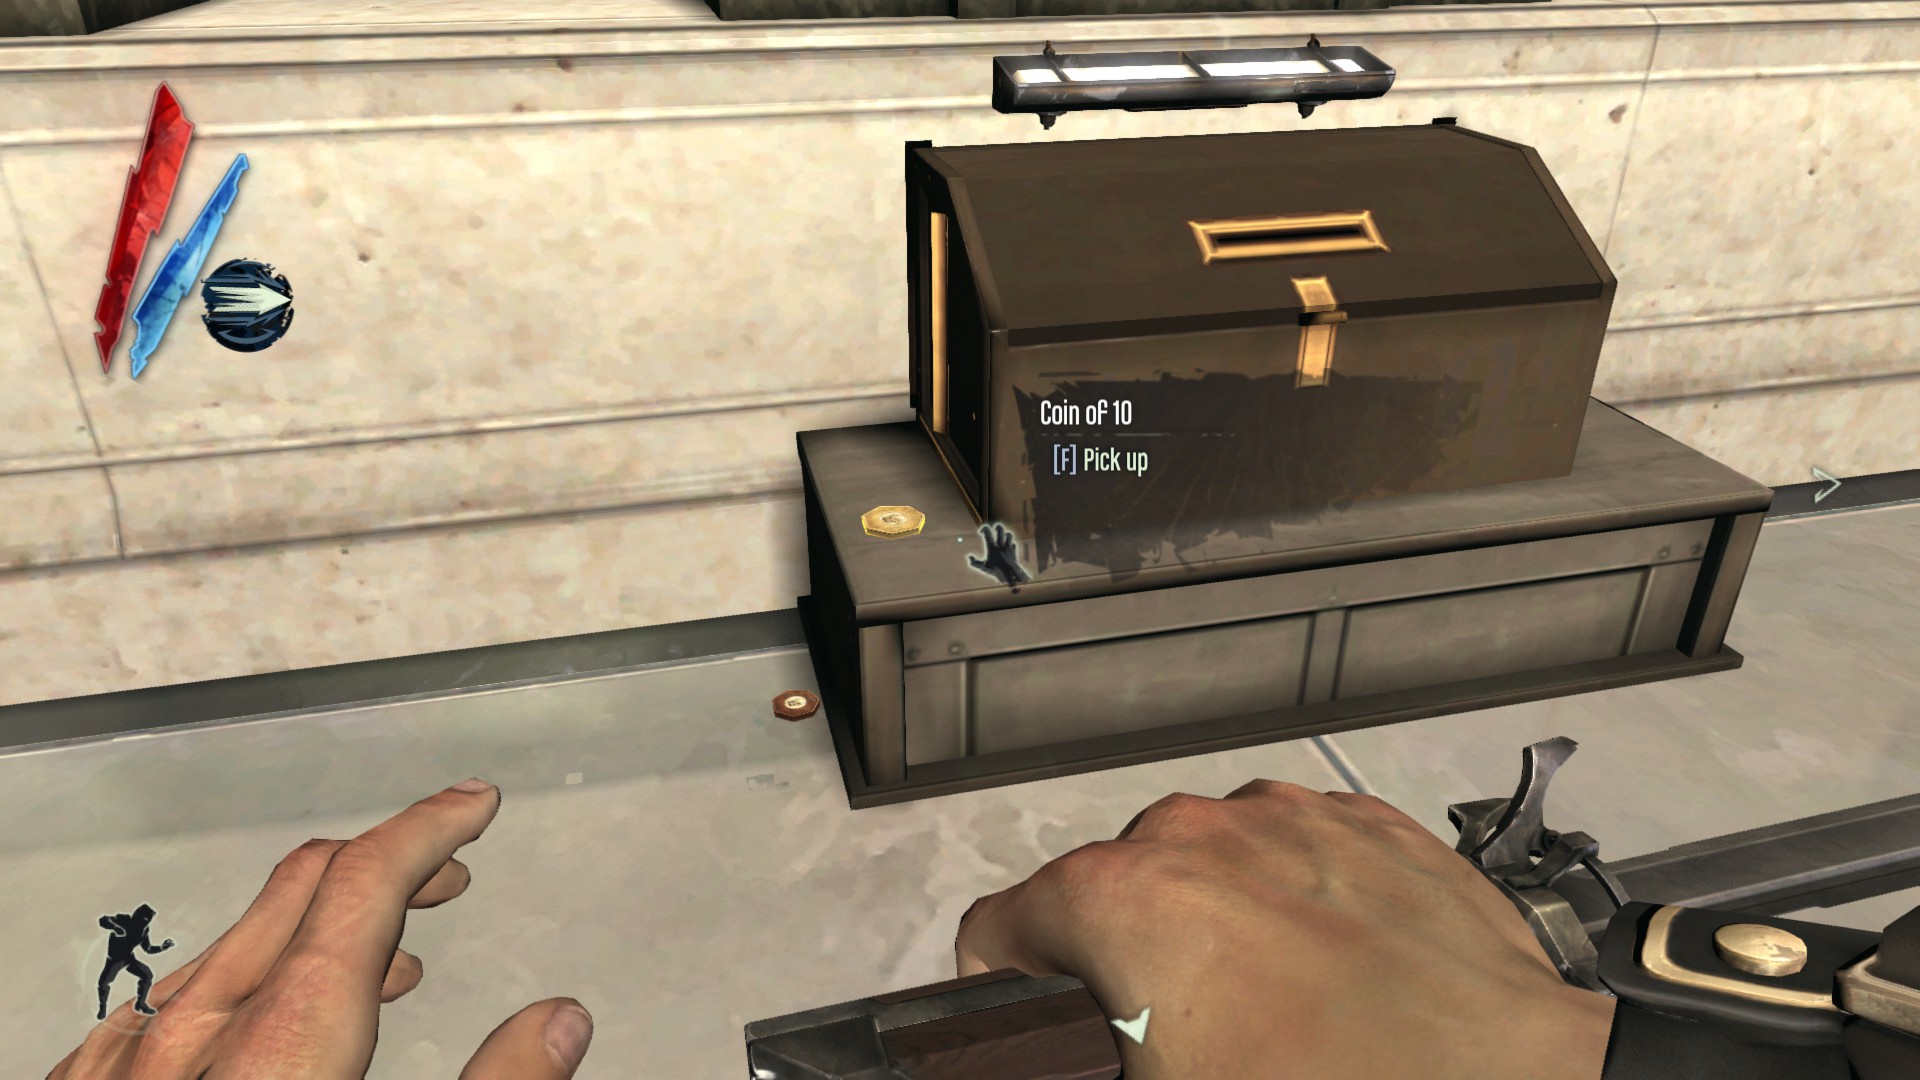
Beside the donation box.
(+15 -> 2235/3794)
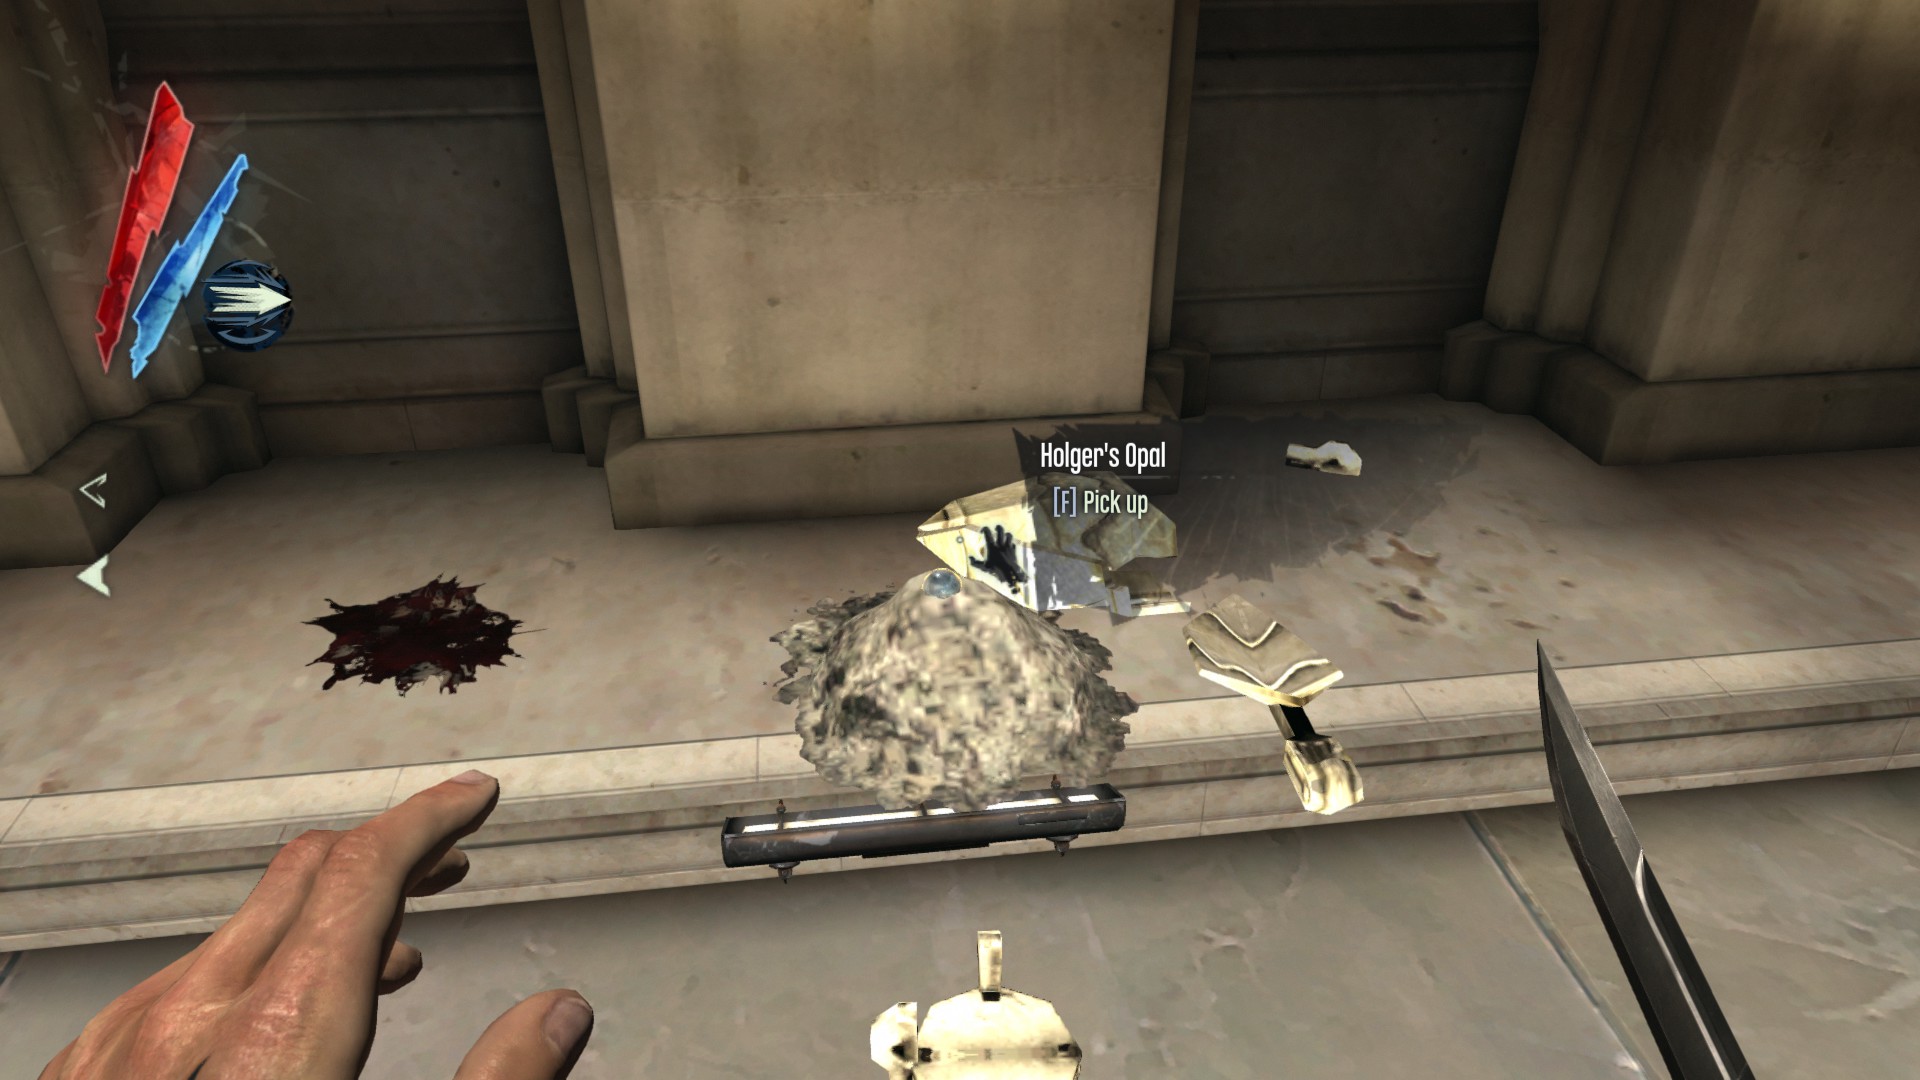
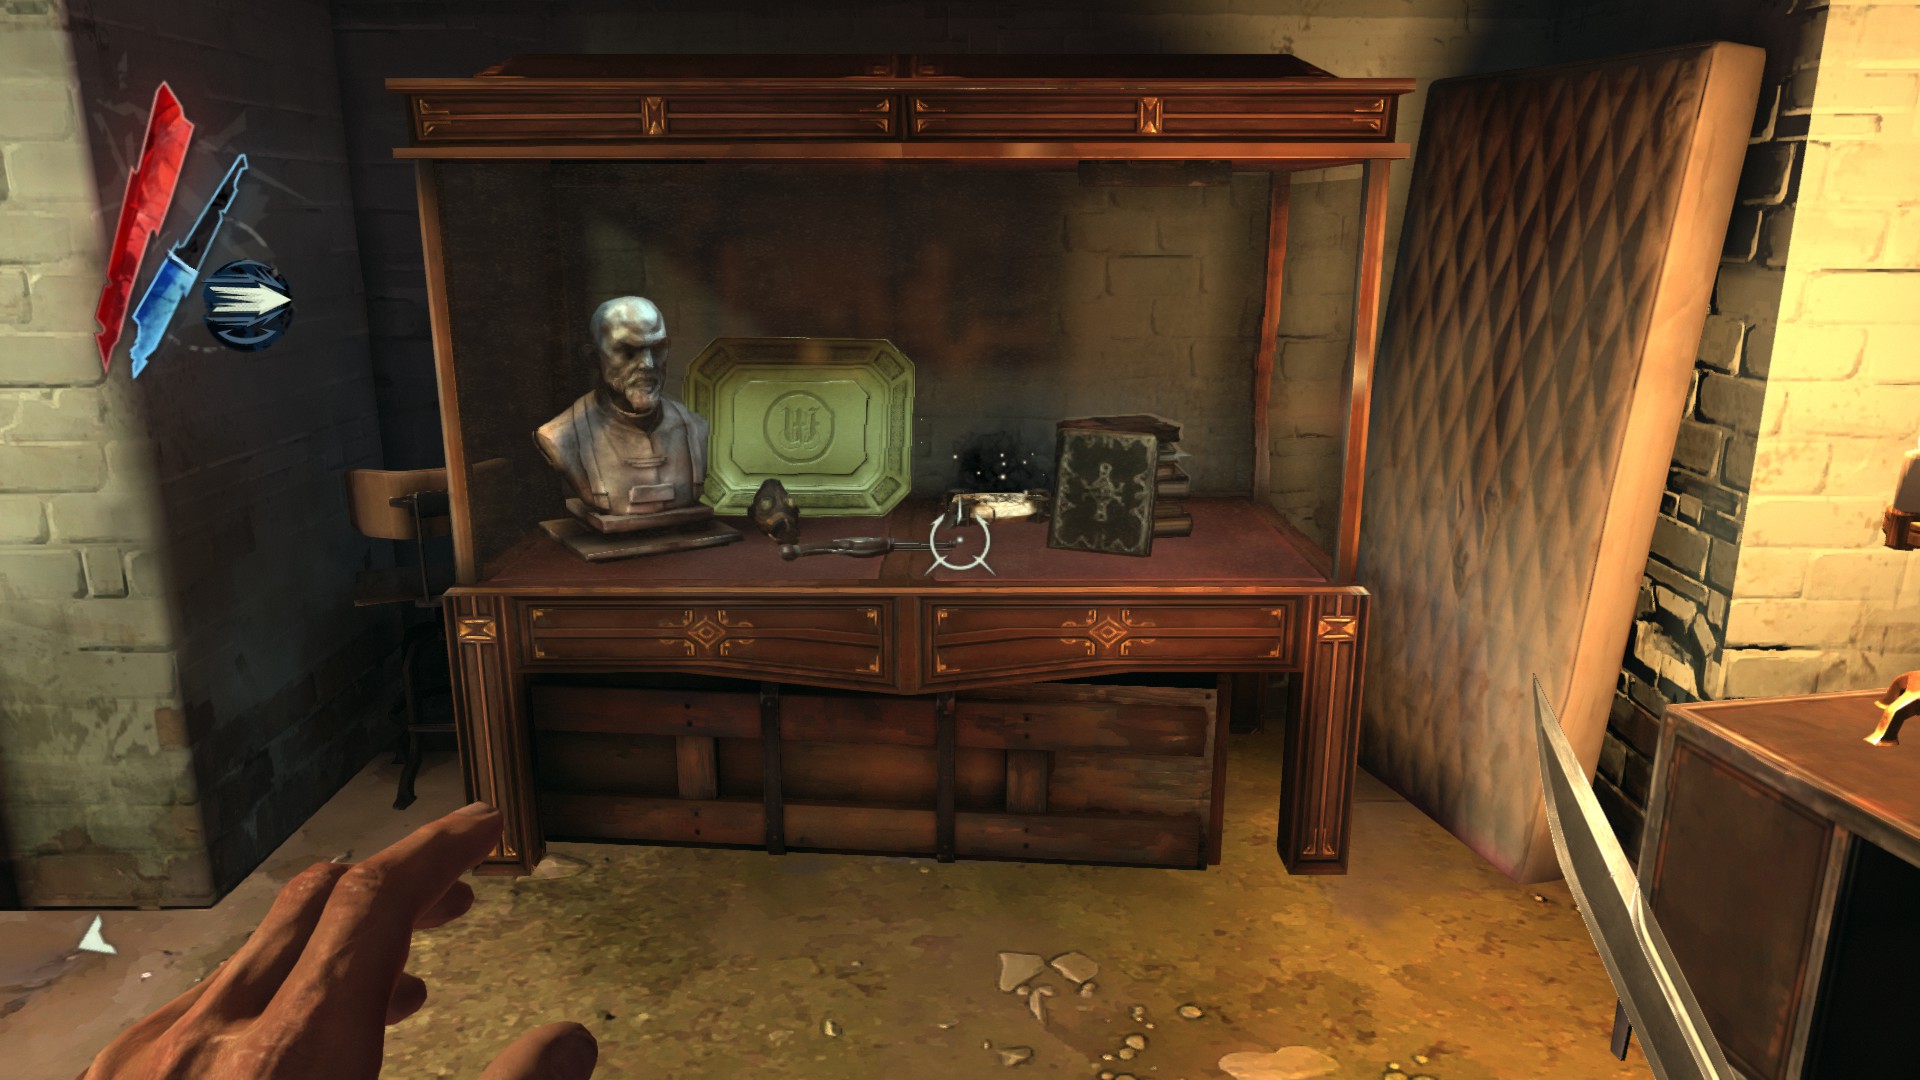
Go to the room on the left side of the main hall, and smash the second urn to collect Holger's Opal.
(+200 -> 2435/3794)

In the second floor, in the Archive room, there is a pouch under a large double desk.
(+25 -> 2460/3794)
Head up the stairs and you will find 2 coins on a third desk.
(+15 -> 2475/3794)
The Old Coast Map is on the desk next to an overseer reading a book.
(+75 -> 2550/3794)
Before going to the interrogation room, there are 2 coins on the floor beneath a desk.
(+15 -> 2565/3794)
In the interrogation room, a hemlock essence is on a table.
(+20 -> 2585/3794)
Go through the door that leads to an office above the interrogation room. Right there is a pouch inside a locker.
(+25 -> 2610/3794)
Now climb out of a window right next to the door and follow the ledge to your left, you will find a kingsparrow feathers.
(+10 -> 2620/3794)
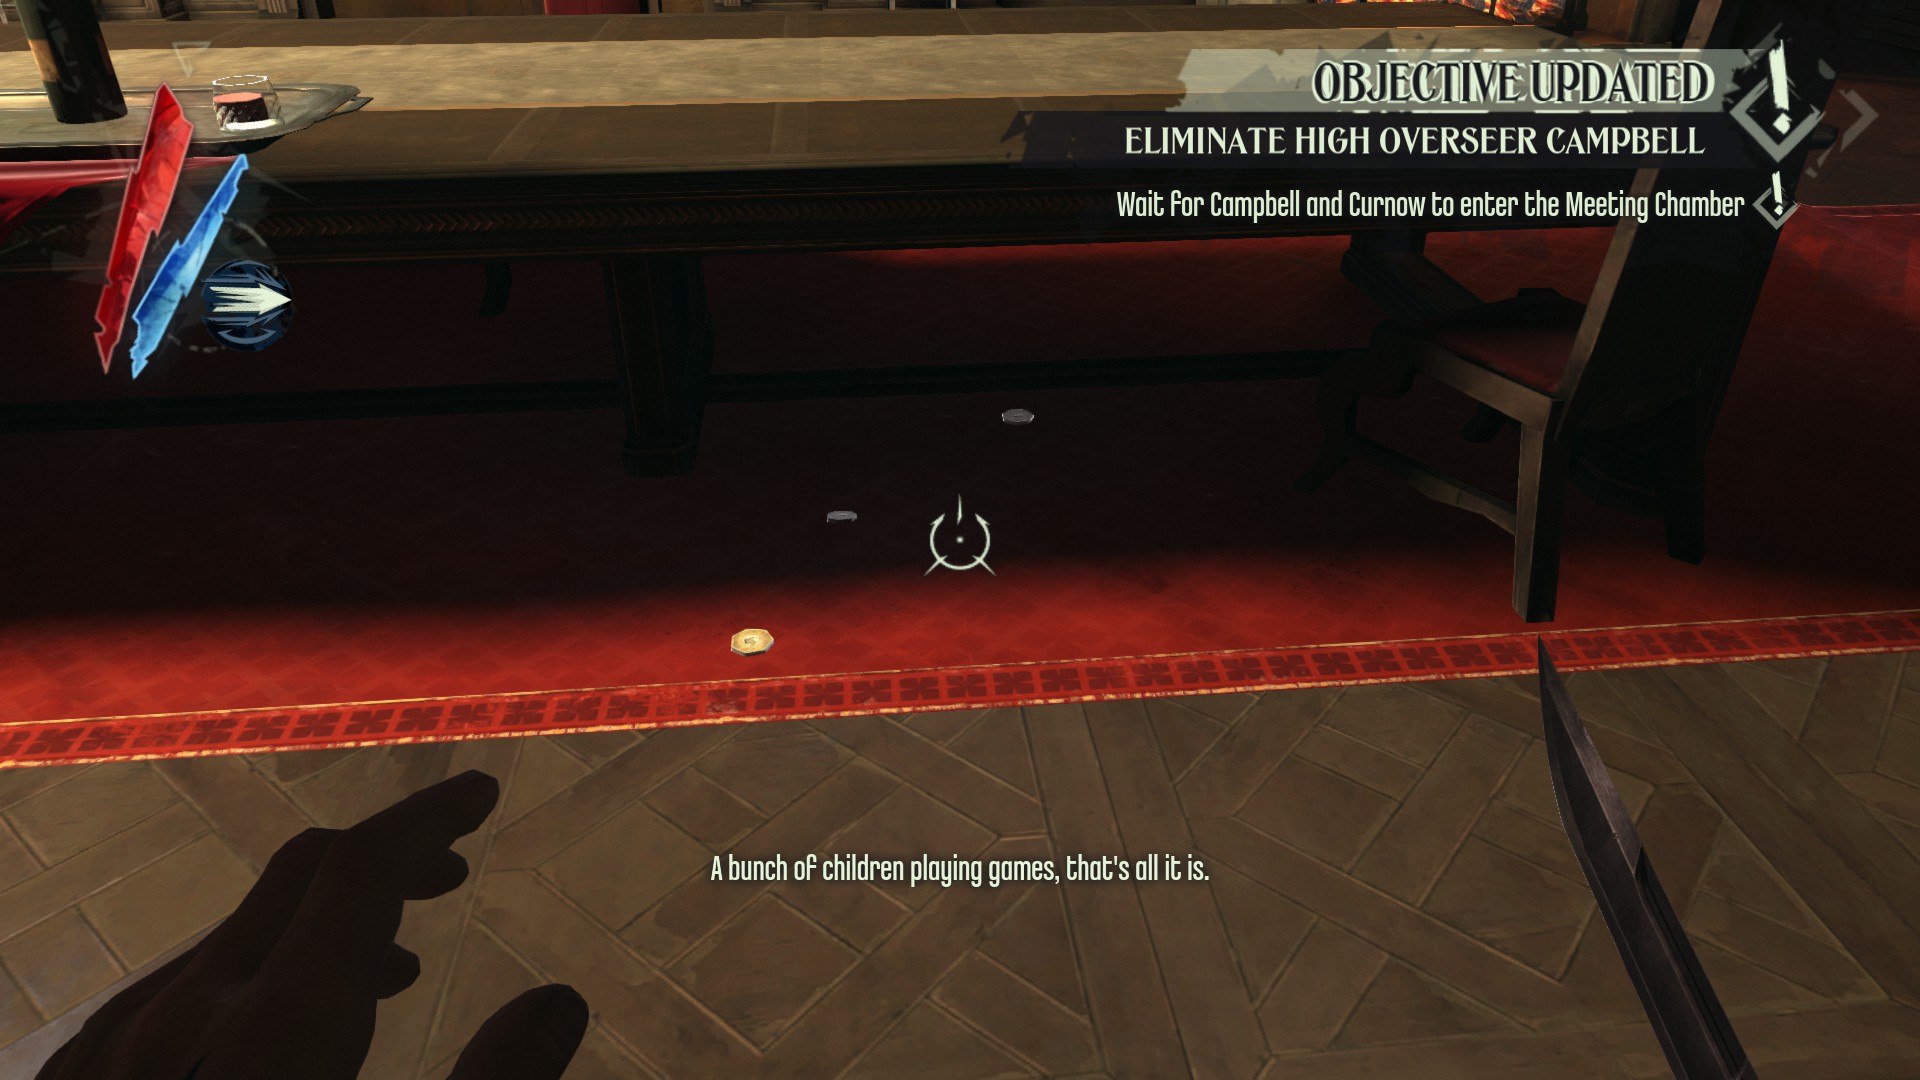
In the meeting room, there are 3 coins under the table here.
(+25 -> 2645/3794)
In the same room, a pouch is inside a locker next to a fireplace.
(+25 -> 2670/3794)
In the sitting room, there is the Inchmouth Cigarette Case on a table, and a coin on a chair.
(+110 -> 2780/3794)
Now head into Campbell's secret room assuming you're doing the non-lethal method. There are 2 coins next to a barred window.
(+11 -> 2791/3794)
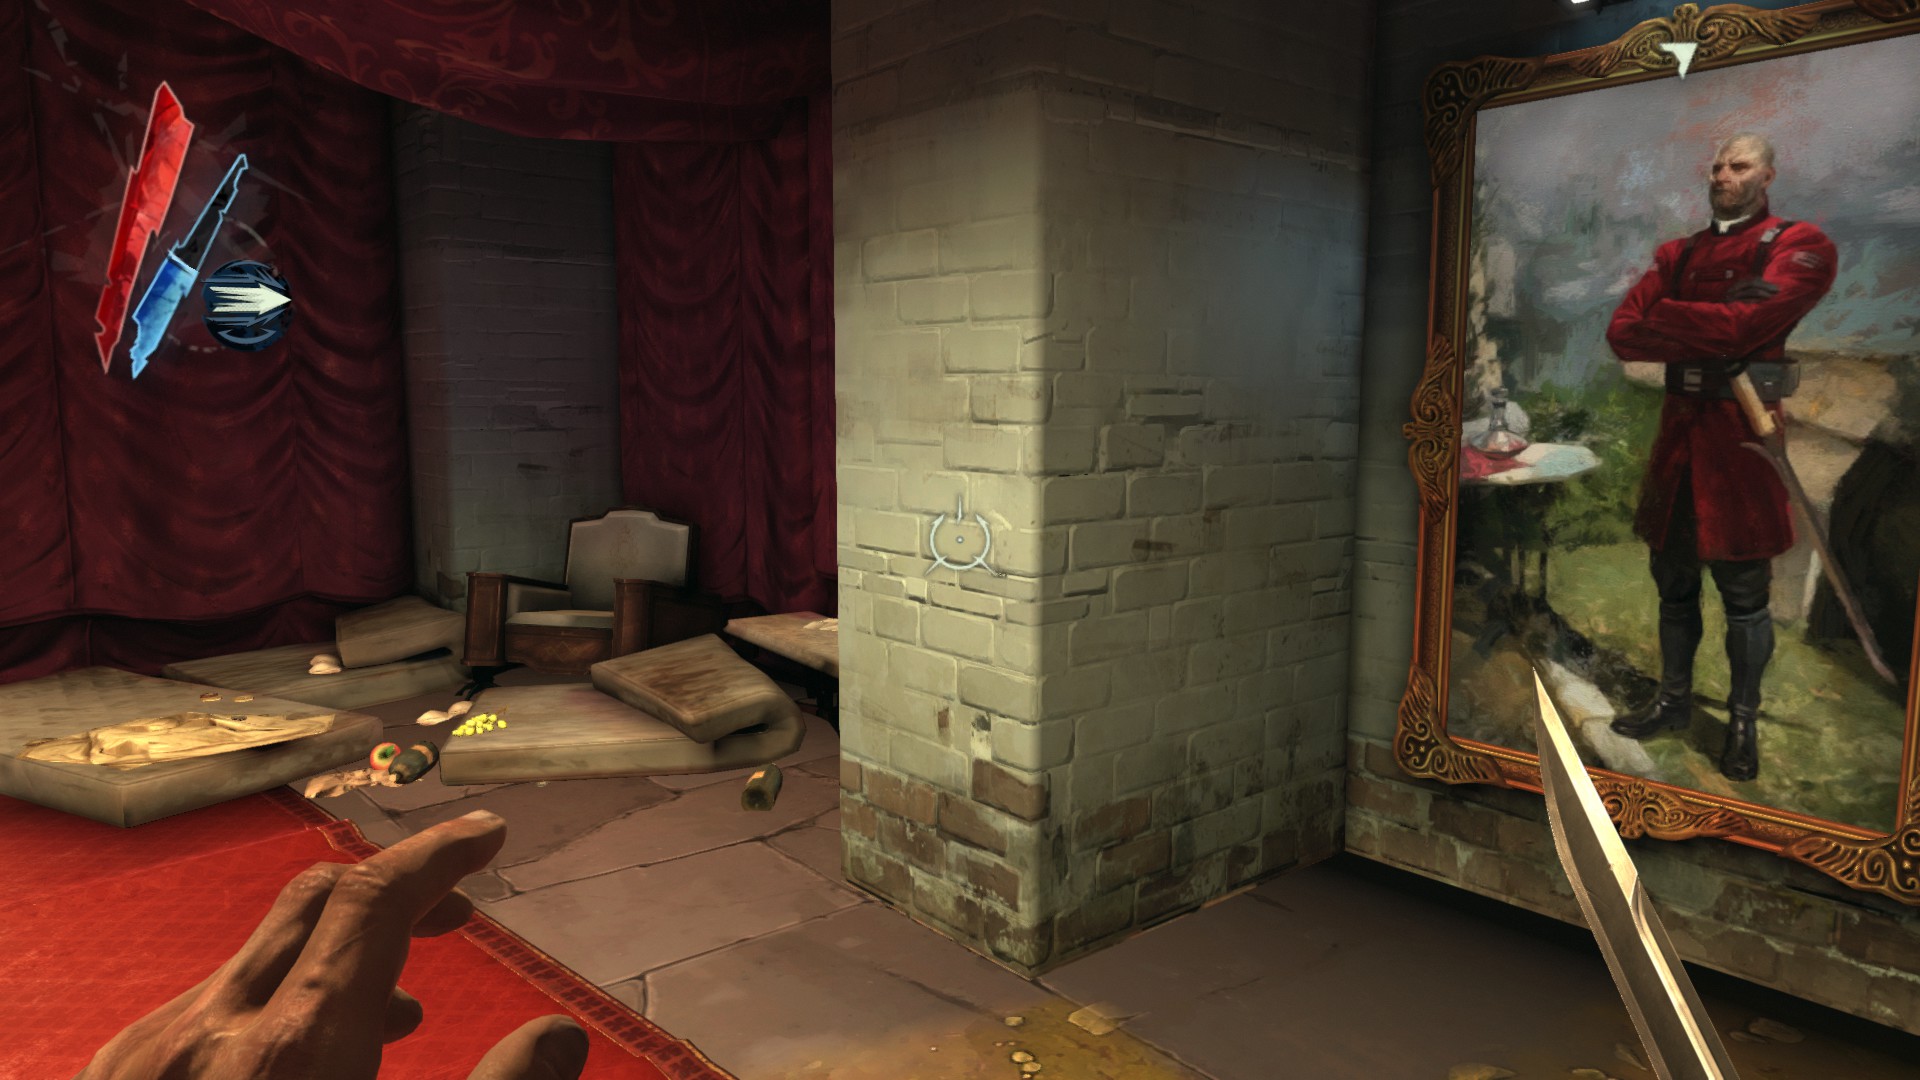
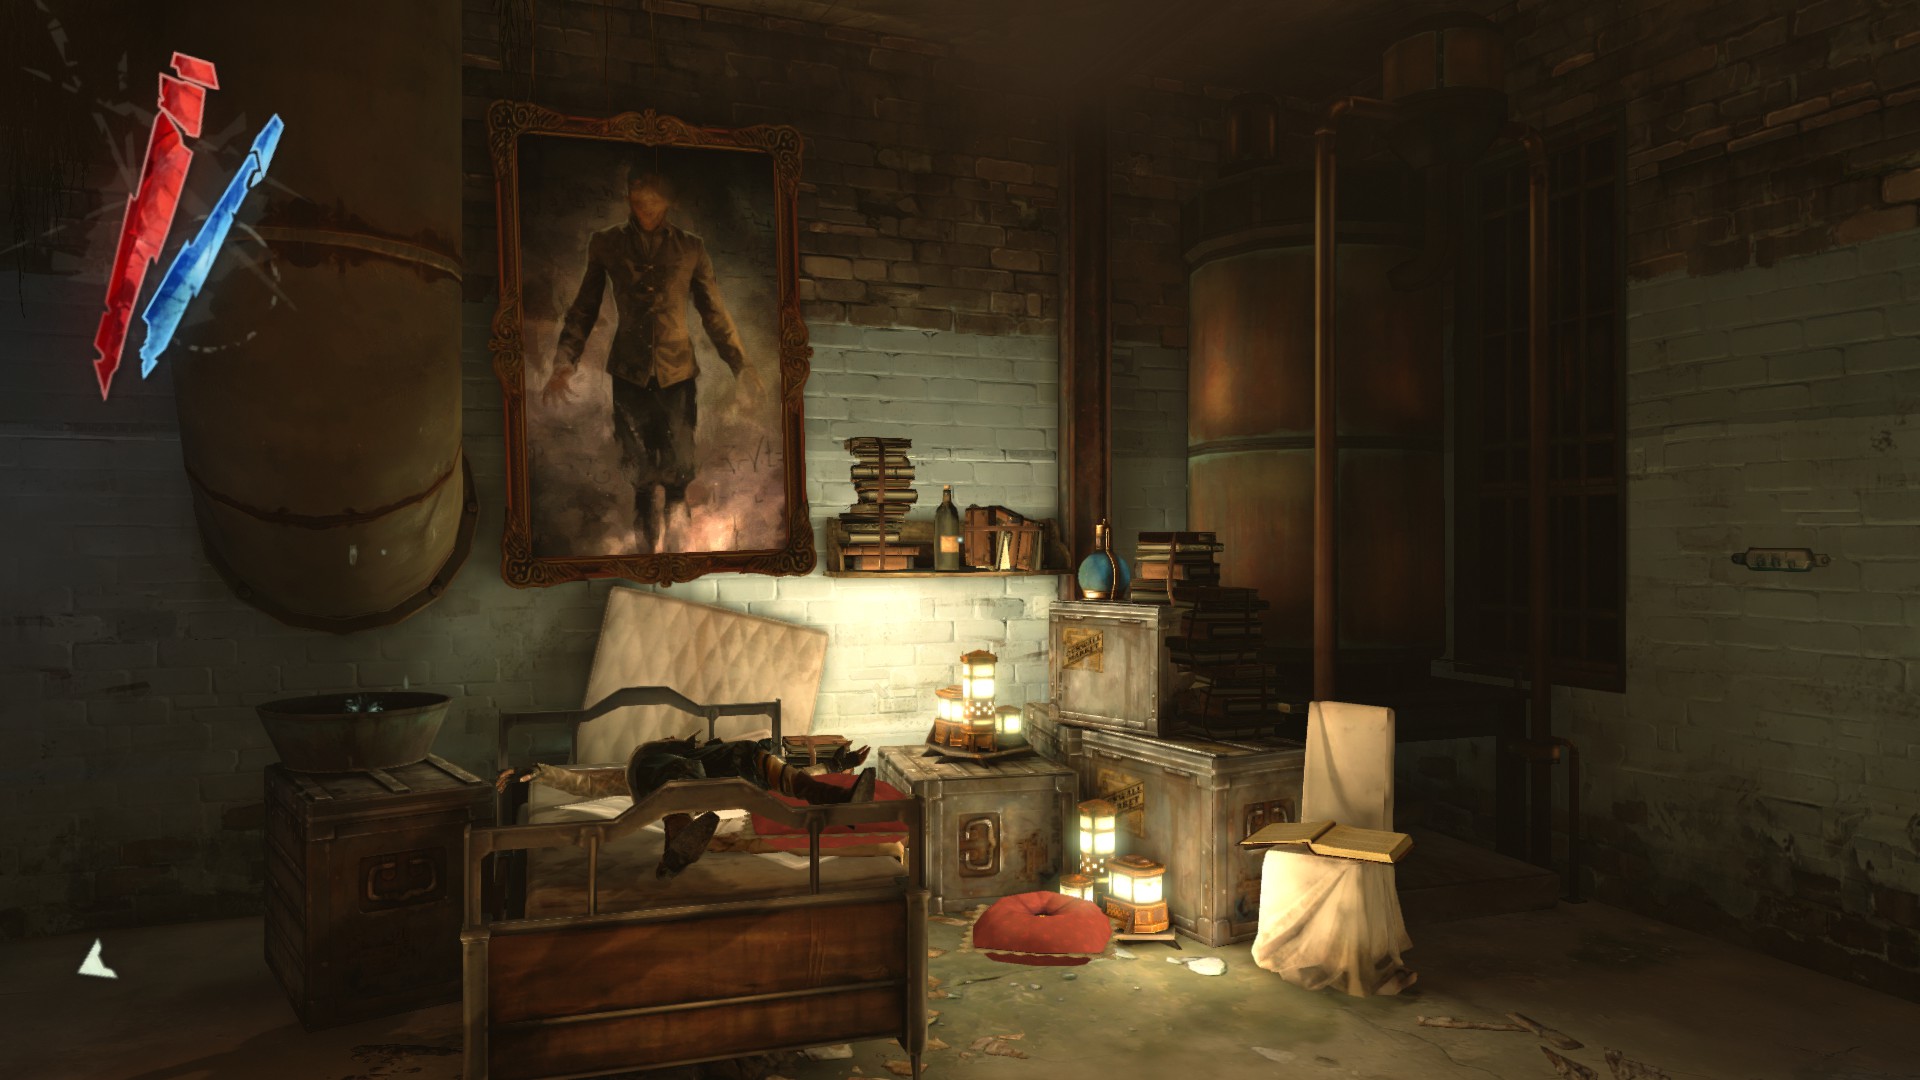
"The Isometry of High Overseer Thaddeus Campbell" painting is hanging on the right wall of the room. There are also 6 coins on the mattresses here.
(+328 -> 3119/3794)
Now smash the display case and grab the Imperial Decor Plate.
(+150 -> 3269/3794)
Back Yard
Head to the Back Yard through the door in Holger Square. Upon entering, go up the stairs and turn immediate left, there is a pouch on a crate.
(+10 -> 3279/3794)
You should see a basement window right next to the staircase after grabbing the pouch. Inside there is a pouch on a table.
(+20 -> 3299/3794)

In the room filled with rats where you found a bone charm (use the Heart), there are 2 coins and a pouch near a crate.
(+30 -> 3329/3794)
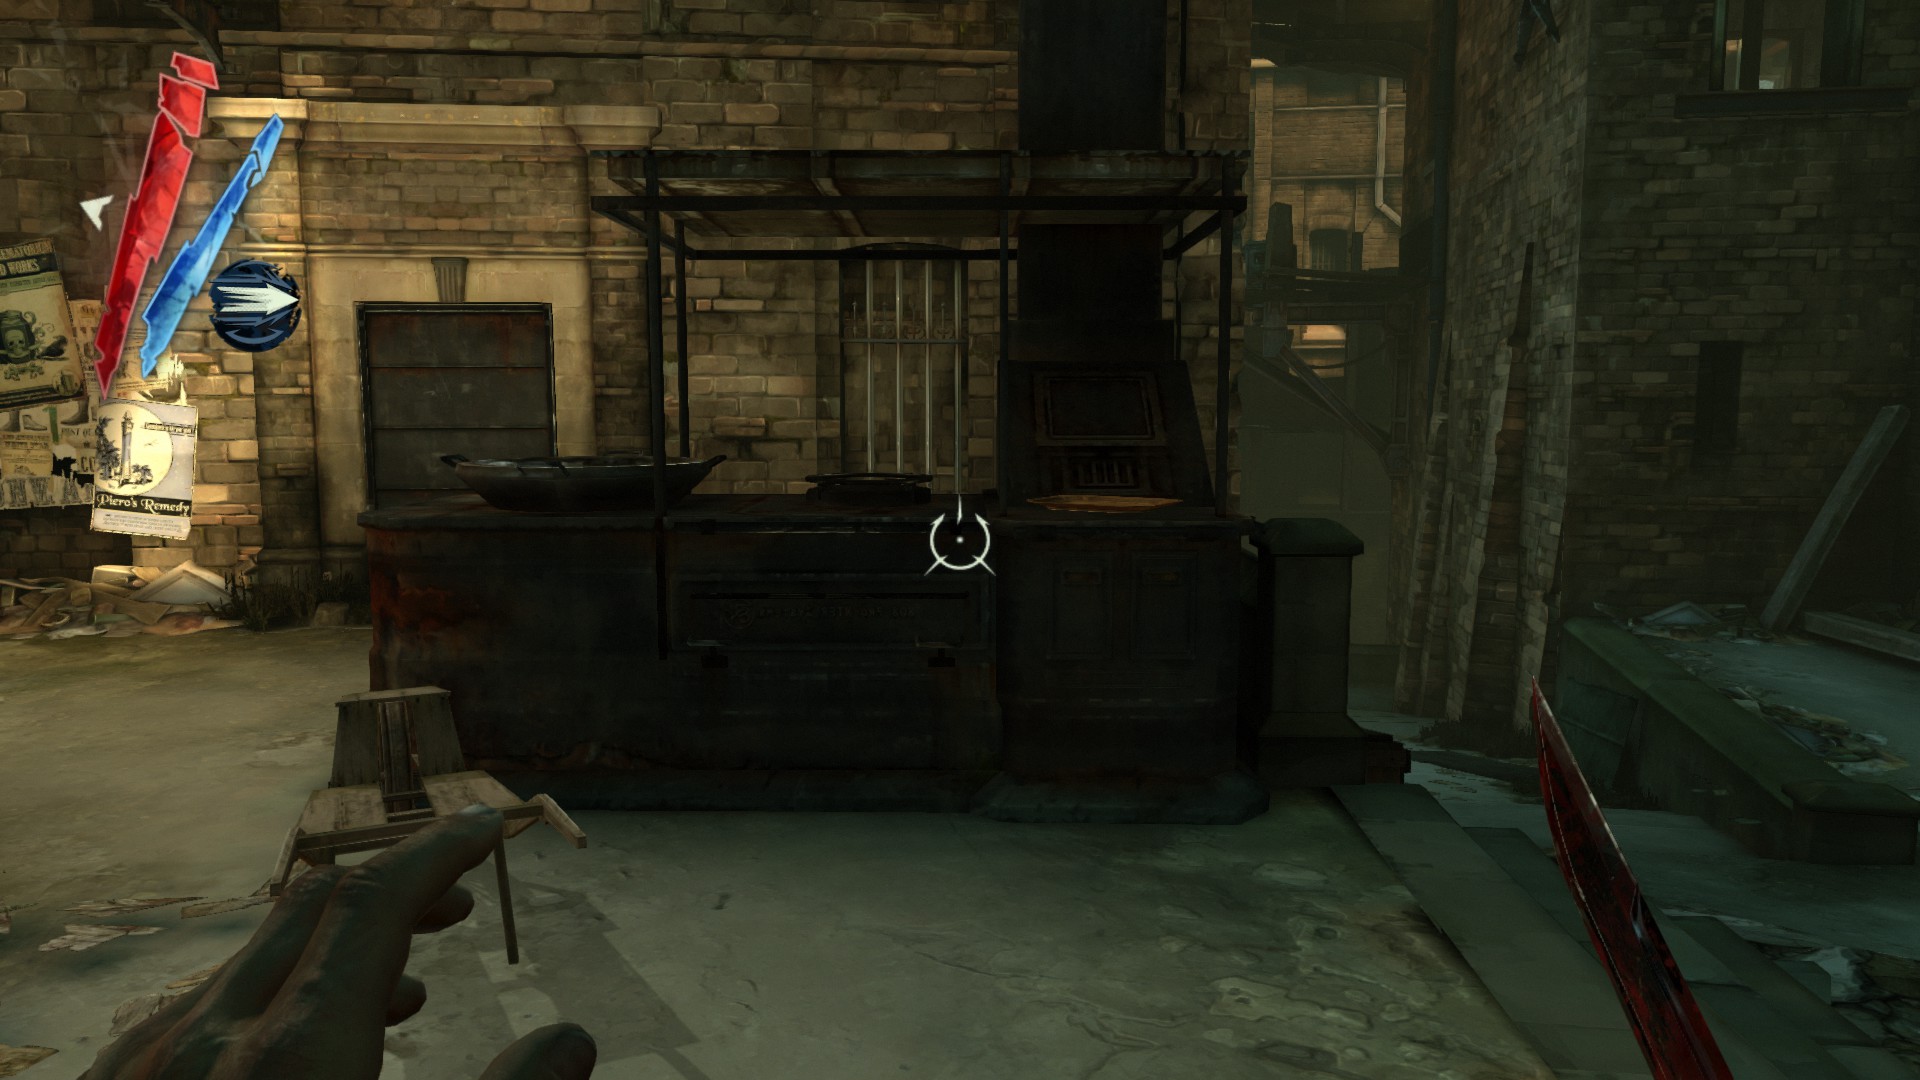
In the Workshop, either break the glass from rooftops or take the key out of an overseer outside this building, there is a pouch on a locker and a hemlock essence on a sink. Right there is a tyvian ore, a medicinal herbs, a powdered crystal and a copper wire on the shelves.
(+125 -> 3454/3794)
There is also a tyvian ore under a stove.
(+20 -> 3474/3794)
In the Bunkhouse, there are 2 coins inside a locker.
(+15 -> 3489/3794)
In the same room, a safe here contains a pouch. The code is 203.
(+50 -> 3539/3794)
Go through the door, there is a pouch in a locker to your left.
(+10 -> 3549/3794)
Inside a small guard shack in the open area is a pouch.
(+20 -> 3569/3794)
You will see a basement window behind the guard shack, so go inside. There is a pouch here.
(+50 -> 3619/3794)
Look up above the entryway at the top of the staircase, there is an open window that leads to the announcement room. Climb your way up there. Inside you will find a safe with an ingot inside.
(+100 -> 3719/3794)
In the Mass Hall, there are 3 coins near two tables.
(+15 -> 3734/3794)
A copper wire is near a billboard in the roof of the Bunkhouse.
(+10 -> 3744/3794)
In the supply depot that you have to use the wheel from the Workshop, there is a pouch on a table.
(+25 -> 3769/3794)
Climb down the chain at the end of the area, and you will find 3 coins on a barrel.
(+25 -> 3794/3794)
The Hound Pits Pub, 2nd visit (280)
Points of no return
- Callista will not give you coins after sleep
- River krust disappear after sleep
- 2 hemlock essences in a tray disappear after sleep
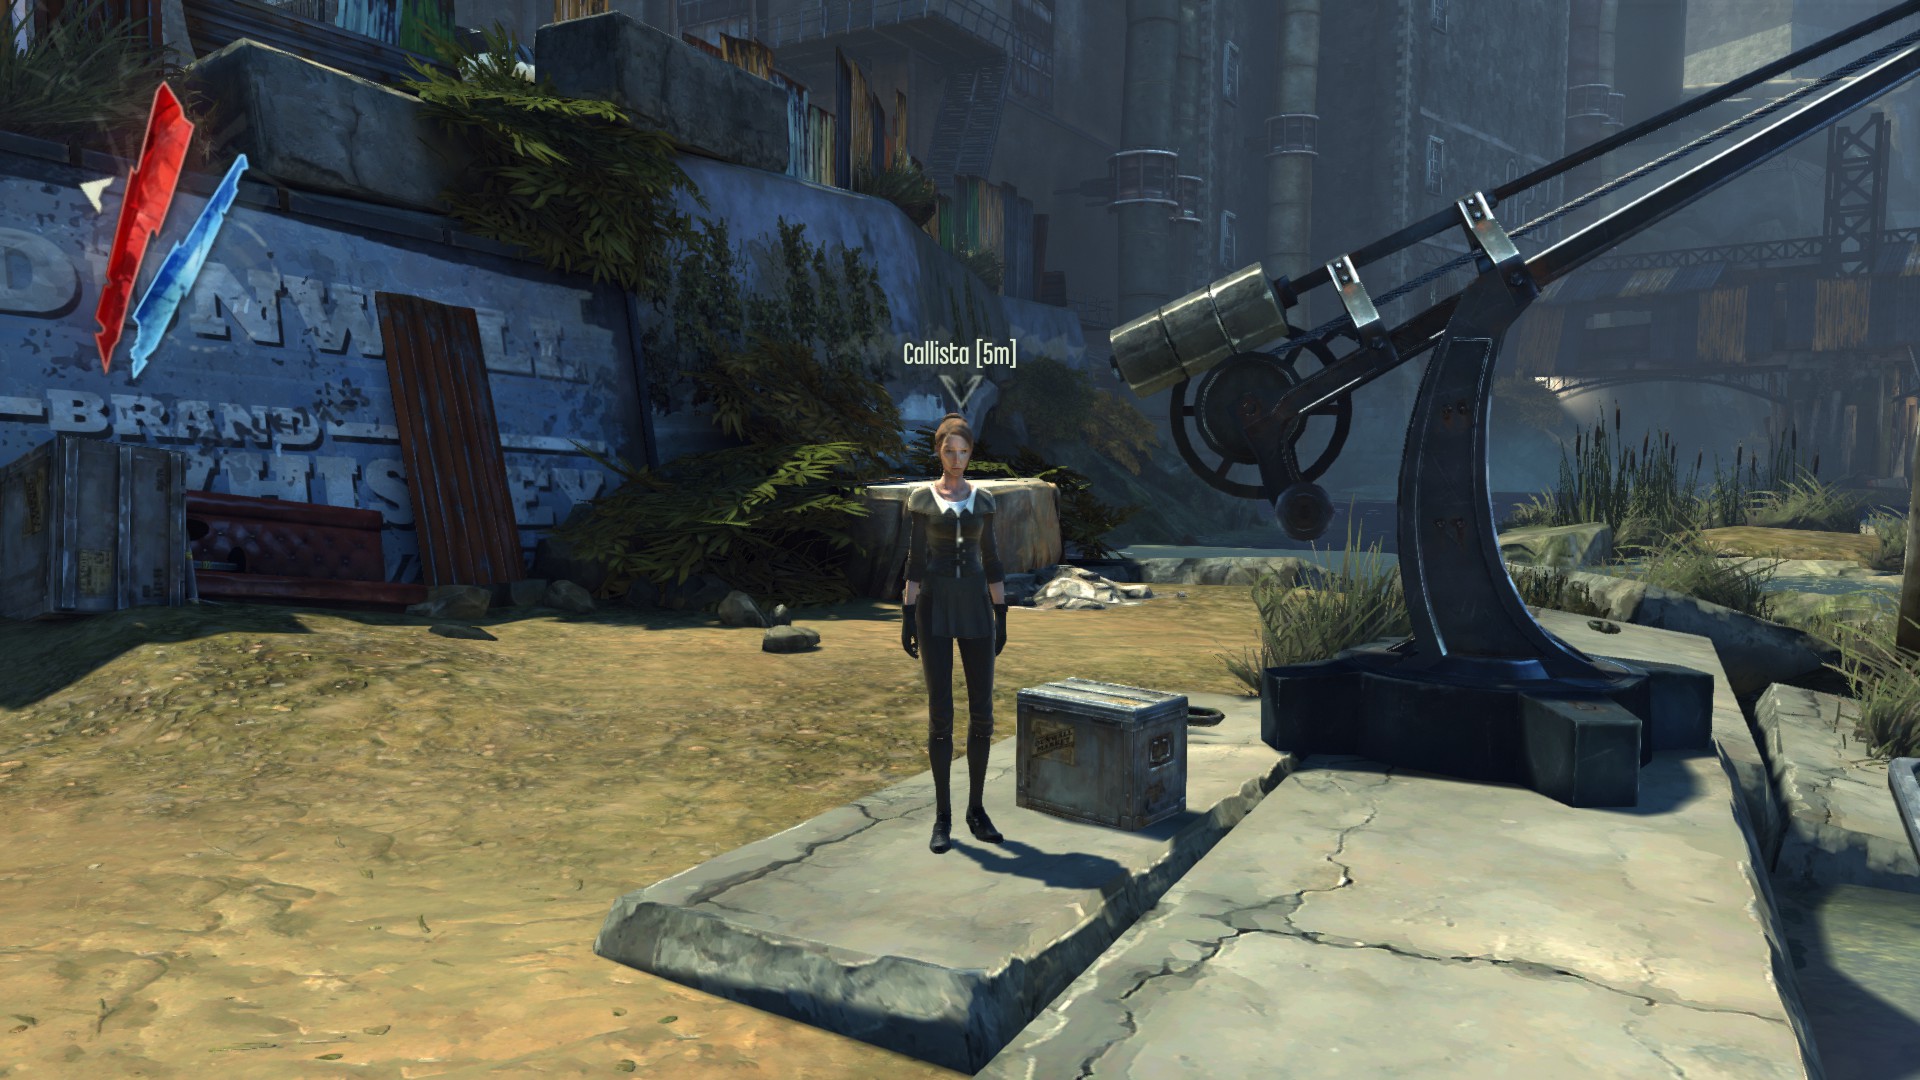
Talk to Callista and she will give you coins after Curnow is saved.
(+100)
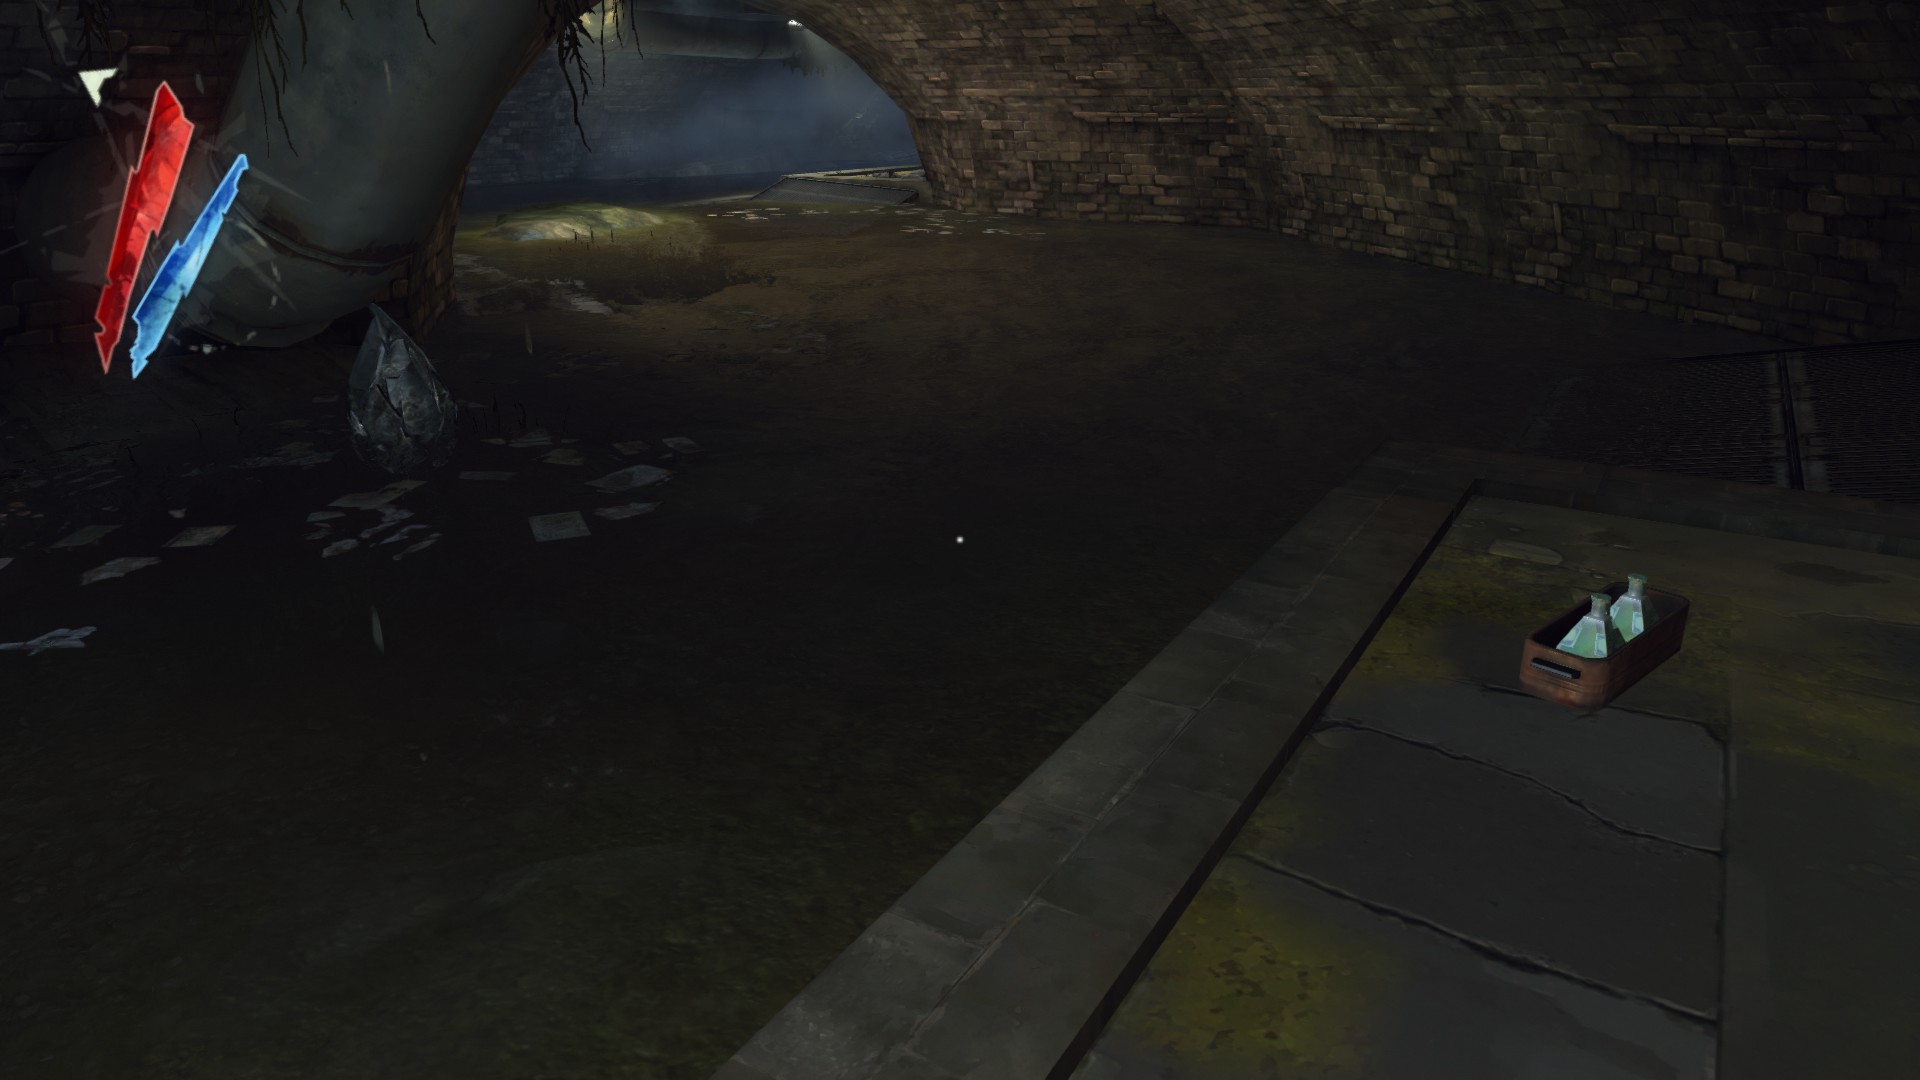
In the sewers, kill a river krust to get a large river krust pearl. Also grab 2 hemlock essences in a tray.
(+90)
In the second floor of Piero's Workshop, there is a tyvian ore inside the trunk next to the stove.
(+20)
In the servants' quarters, there is a hemlock essence behind a couch.
(+20)
In Pendleton's room, on the desk.
(+30)
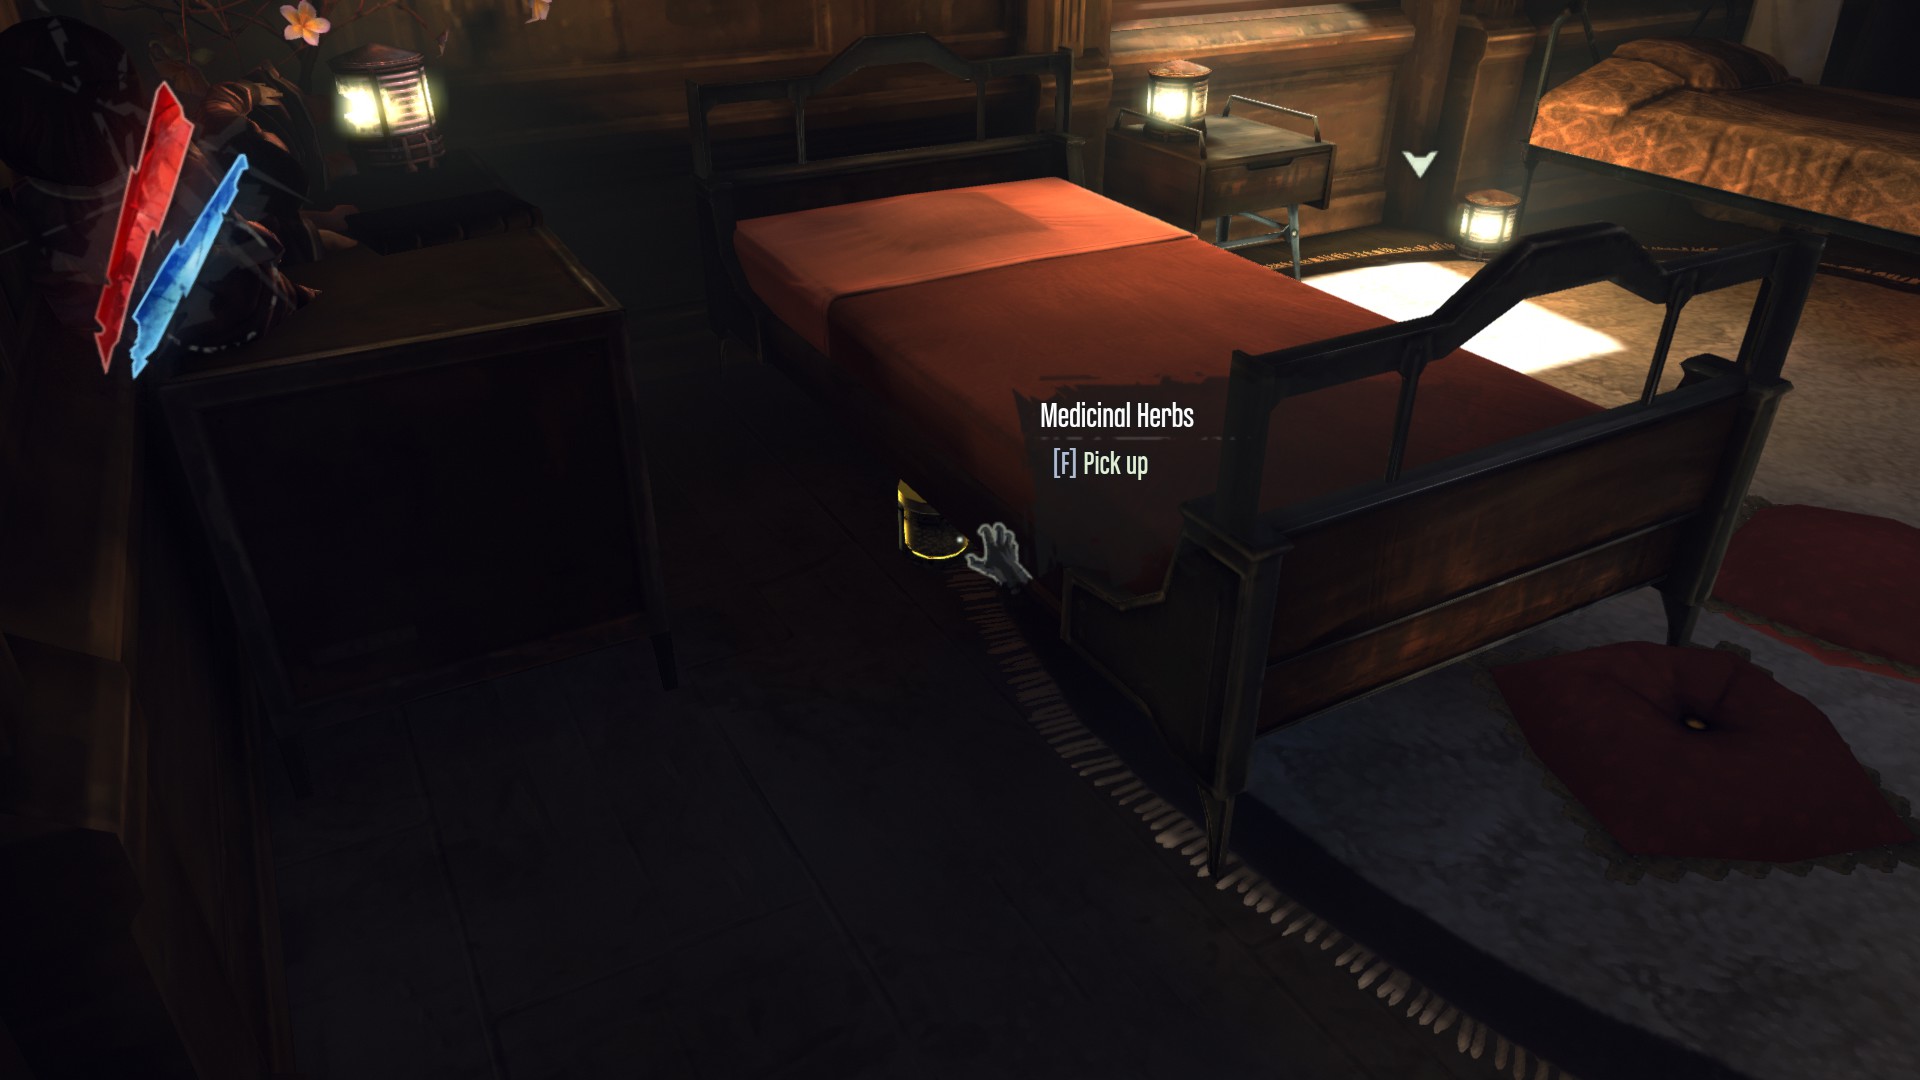
In the tower, there is a medicinal herbs under the bed.
(+20)
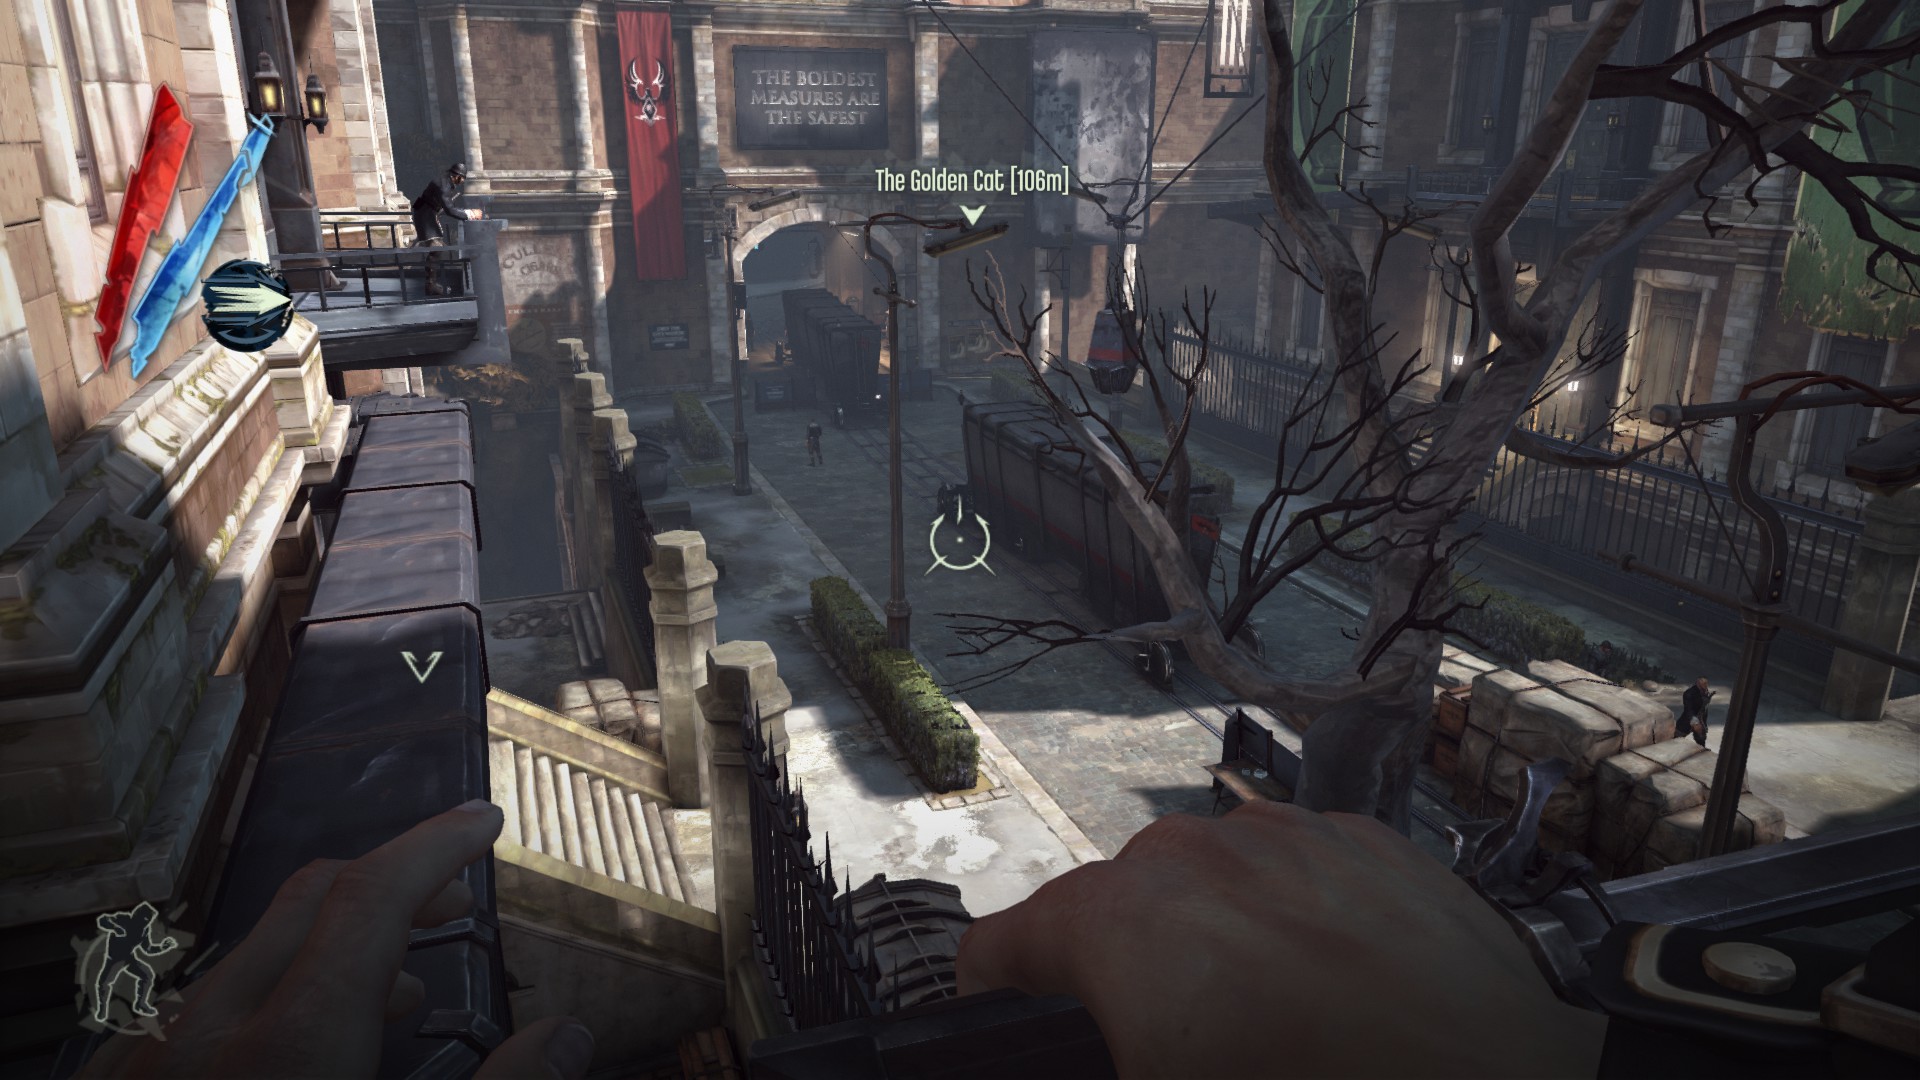
Mission 3 - House of Pleasure (4084)
Points of no return
- If doing lethal method on Pendleton twins, Treavor will not give you ingots after mission 4, The Royal Physician
- Aristocrat at the main entrance of the Golden Cat eventually leaves the map, disappearing without returning
Distillery District
Walk along the riverbank and up the stairs, you will see a guard carrying a pouch.
(+10 -> 10/4084)
Near Granny Rags' house, there is a shelf next to the door with a copper wire and a pouch on it.
(+20 -> 30/4084)
Climb your way up to the rooftops above Granny Rags' house, and you should find a corpse with a pouch and 2 coins.
(+12 -> 42/4084)
One of these thugs is carrying a pouch.
(+10 -> 52/4084)
In the building Griff was rescued (beware of assassins from the roof/balconies above), there are 6 coins and a pouch on a counter. A medicinal herbs is in one of the fish display boxes.
(+48 -> 100/4084)
Head up to the balcony with the mattress hanging. Inside there is a copper wire on a shelf, and a pouch on a table.
(+60 -> 160/4084)
Duck under the boards or break them to find a copper wire on a table, and a medicinal herbs inside the locker.
(+30 -> 190/4084)
Griff is carrying a pouch.
(+50 -> 240/4084)
Climb over the roof behind Griff to get into the second section of Bottle Street. Look for, and head to the metal door at the right side of the alley. Inside there is a copper wire on a shelf, and a hemlock essence on a small table here.
(+30 -> 270/4084)
In Gaff Street, you will see two guards threatening a woman. Next to the dumpster on the left is a pouch, and the couch on the right is a copper wire.
(+15 -> 285/4084)
Dunwall Whiskey Distillery
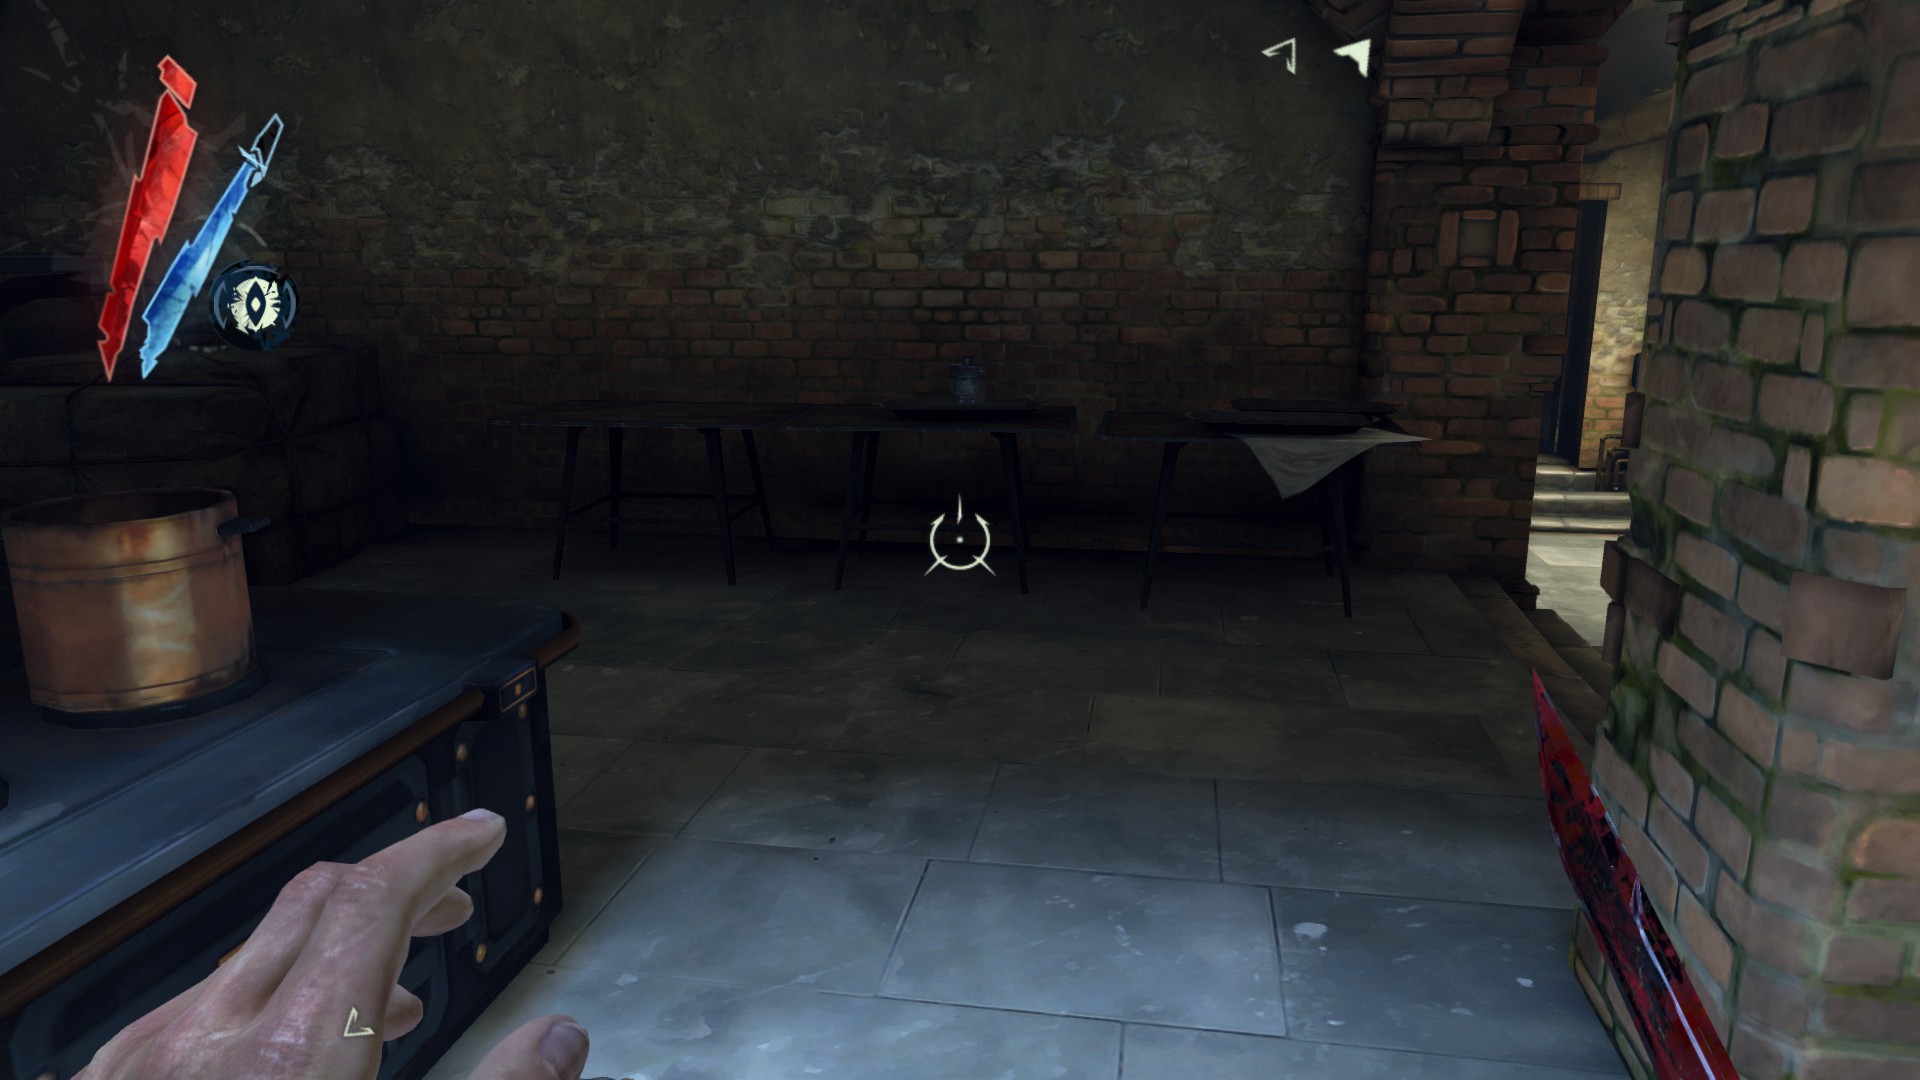
Inside the building where you found the campfire, there are 2 coins and a hemlock essence on a table.
(+22 -> 307/4084)
In the distillery, in the control console room, there is a hemlock essence on a locker.
(+20 -> 327/4084)
Use the wheel and Blink through the storage room. Inside there is a processed whale oil, a powdered crystal, a copper wire, a medicinal herbs, a hemlock essence, 2 coins and a pouch on the lockers in here.
(+122 -> 449/4084)
On the bottom floor, you will see the large cell contains loot here but guarded by three weepers. Bend Time II and 2 sleep darts + 1 choke made it a cakewalk.
Inside there is a medicinal herbs on a barrel; a pouch, another medicinal herbs and the Moray Sextant on a table; a copper wire, a hemlock essence and a pouch in the locker.
(+270 -> 719/4084)
In the second floor, a copper wire is on a shelf and another copper wire is on a table.
(+20 -> 739/4084)
Now go downstairs to find 2 hemlock essences on the lockers.
(+40 -> 779/4084)
Clavering Boulevard
In the area with the watchtower you saw at the start (disable it first), one of these guards is carrying a pouch.
(+10 -> 789/4084)
There is also a copper wire on some boxes.
(+10 -> 799/4084)
Inside the nearby guard shack, there are 3 coins here.
(+7 -> 806/4084)
At the end of the bridge is a pouch next to a campfire.
(+5 -> 811/4084)
There are many guards patrolling the area between wall of lights here. A guard in a balcony and three of them below are carrying pouches.
(+40 -> 851/4084)
Four of them are carrying pouches here around the second wall of light.
(+40 -> 891/4084)
On the left side of the area, you will find a copper wire on some boxes.
(+10 -> 901/4084)
Dr. Galvani's Offices
A guard is carrying a pouch in the first floor.
(+10 -> 911/4084)
In the pantry, there is a hemlock essence in the locker.
(+20 -> 931/4084)
In the servants' quarters, There is a coin on the table and another coin on the locker.
(+6 -> 937/4084)
In the second floor, head into the hallway. There are 3 coins and a pouch on a desk, and another pouch on the chest.
(+517 -> 1454/4084)
A guard is carrying a pouch in the third floor.
(+20 -> 1474/4084)
There is also a kingsparrow feathers on a table to your right.
(+10 -> 1484/4084)
In the laboratory, a kingsparrow feathers is on a shelf.
(+10 -> 1494/4084)
A kingsparrow feathers is on a table next to some bottles.
(+10 -> 1504/4084)

Go into the small bathroom to your left. There is a pouch on a bureau.
(+25 -> 1529/4084)
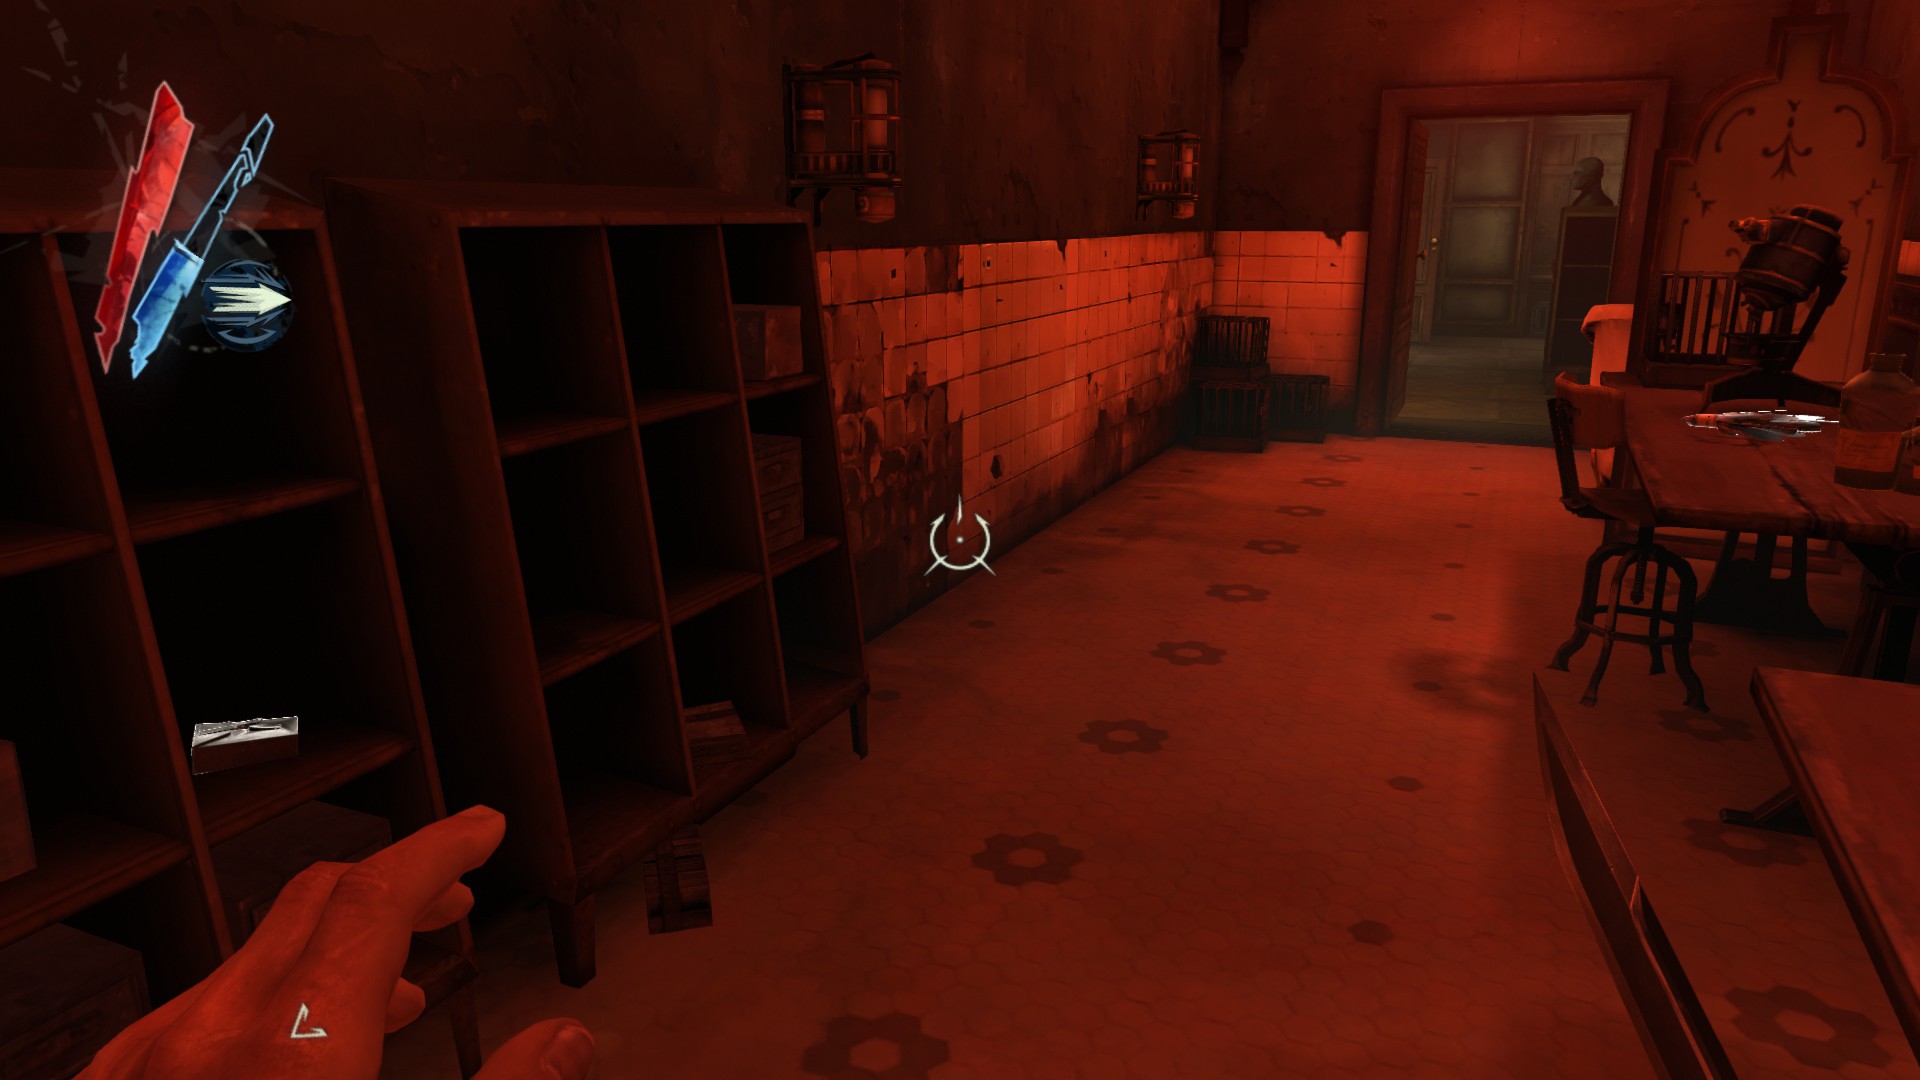
In the red room, there is a pouch on a shelf and a kingsparrow feathers on a table.
(+20 -> 1549/4084)
Mission 3 - House of Pleasure, pt. 2
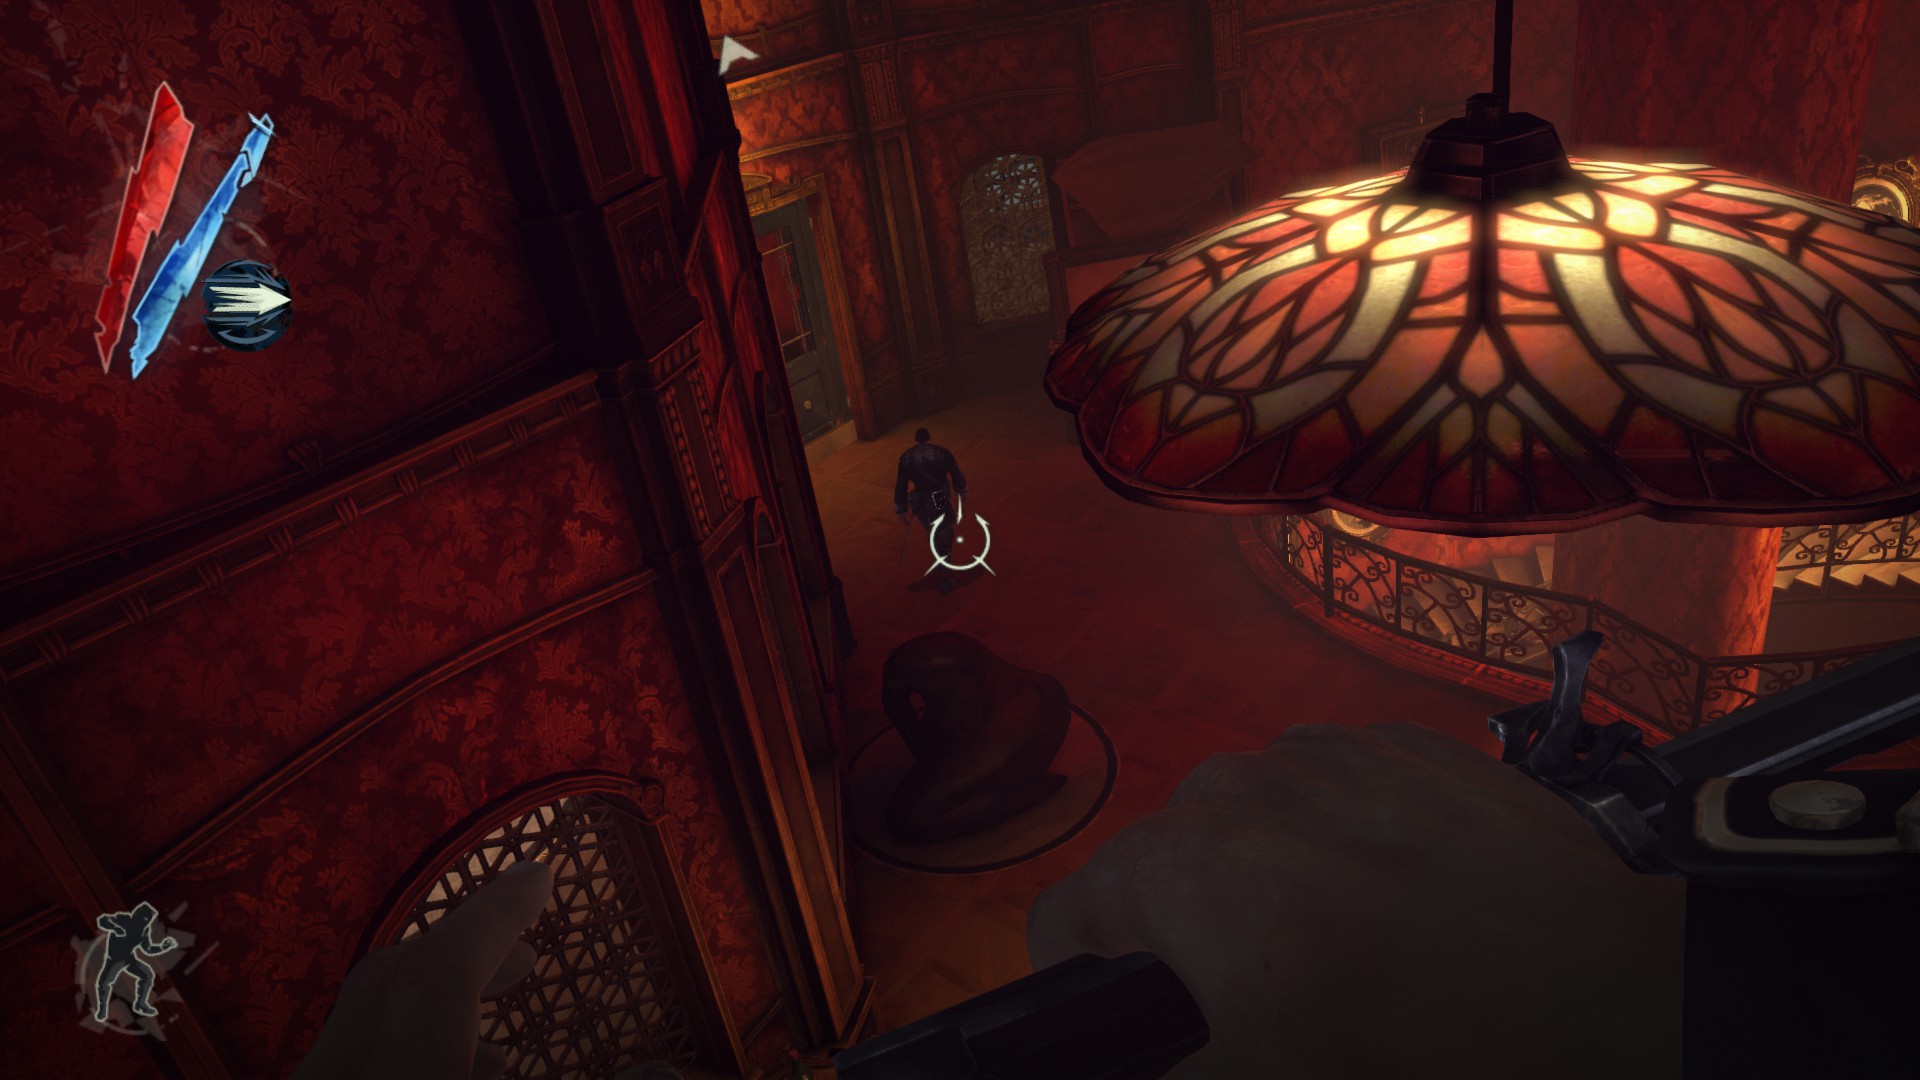
The Golden Cat
Note: Certain coins are randomized in the second and third floors of the Golden Cat per Pendleton twin place.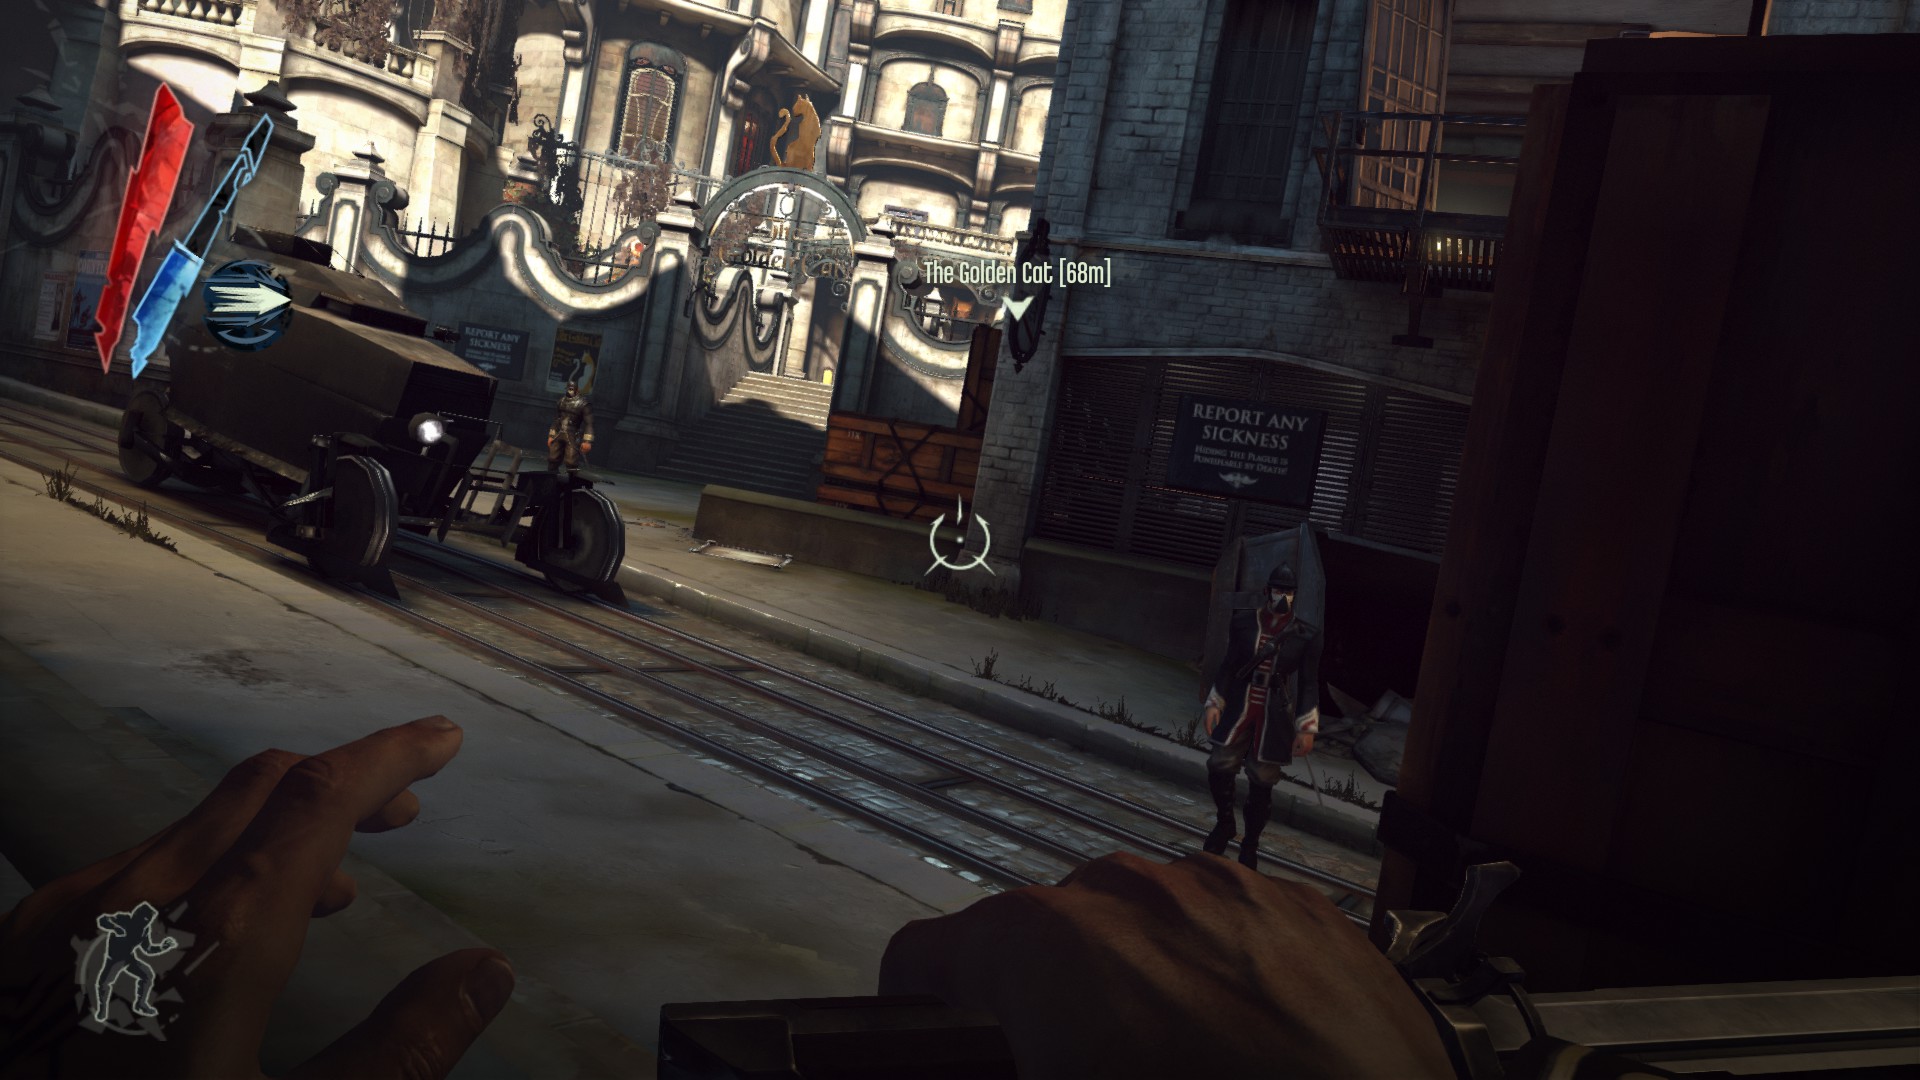
There are few guards patrolling the street here, two of them are carrying pouches.
(+50 -> 1599/4084)
Behind the dumpster at the gate of the Golden Cat is a coin.
(+10 -> 1609/4084)
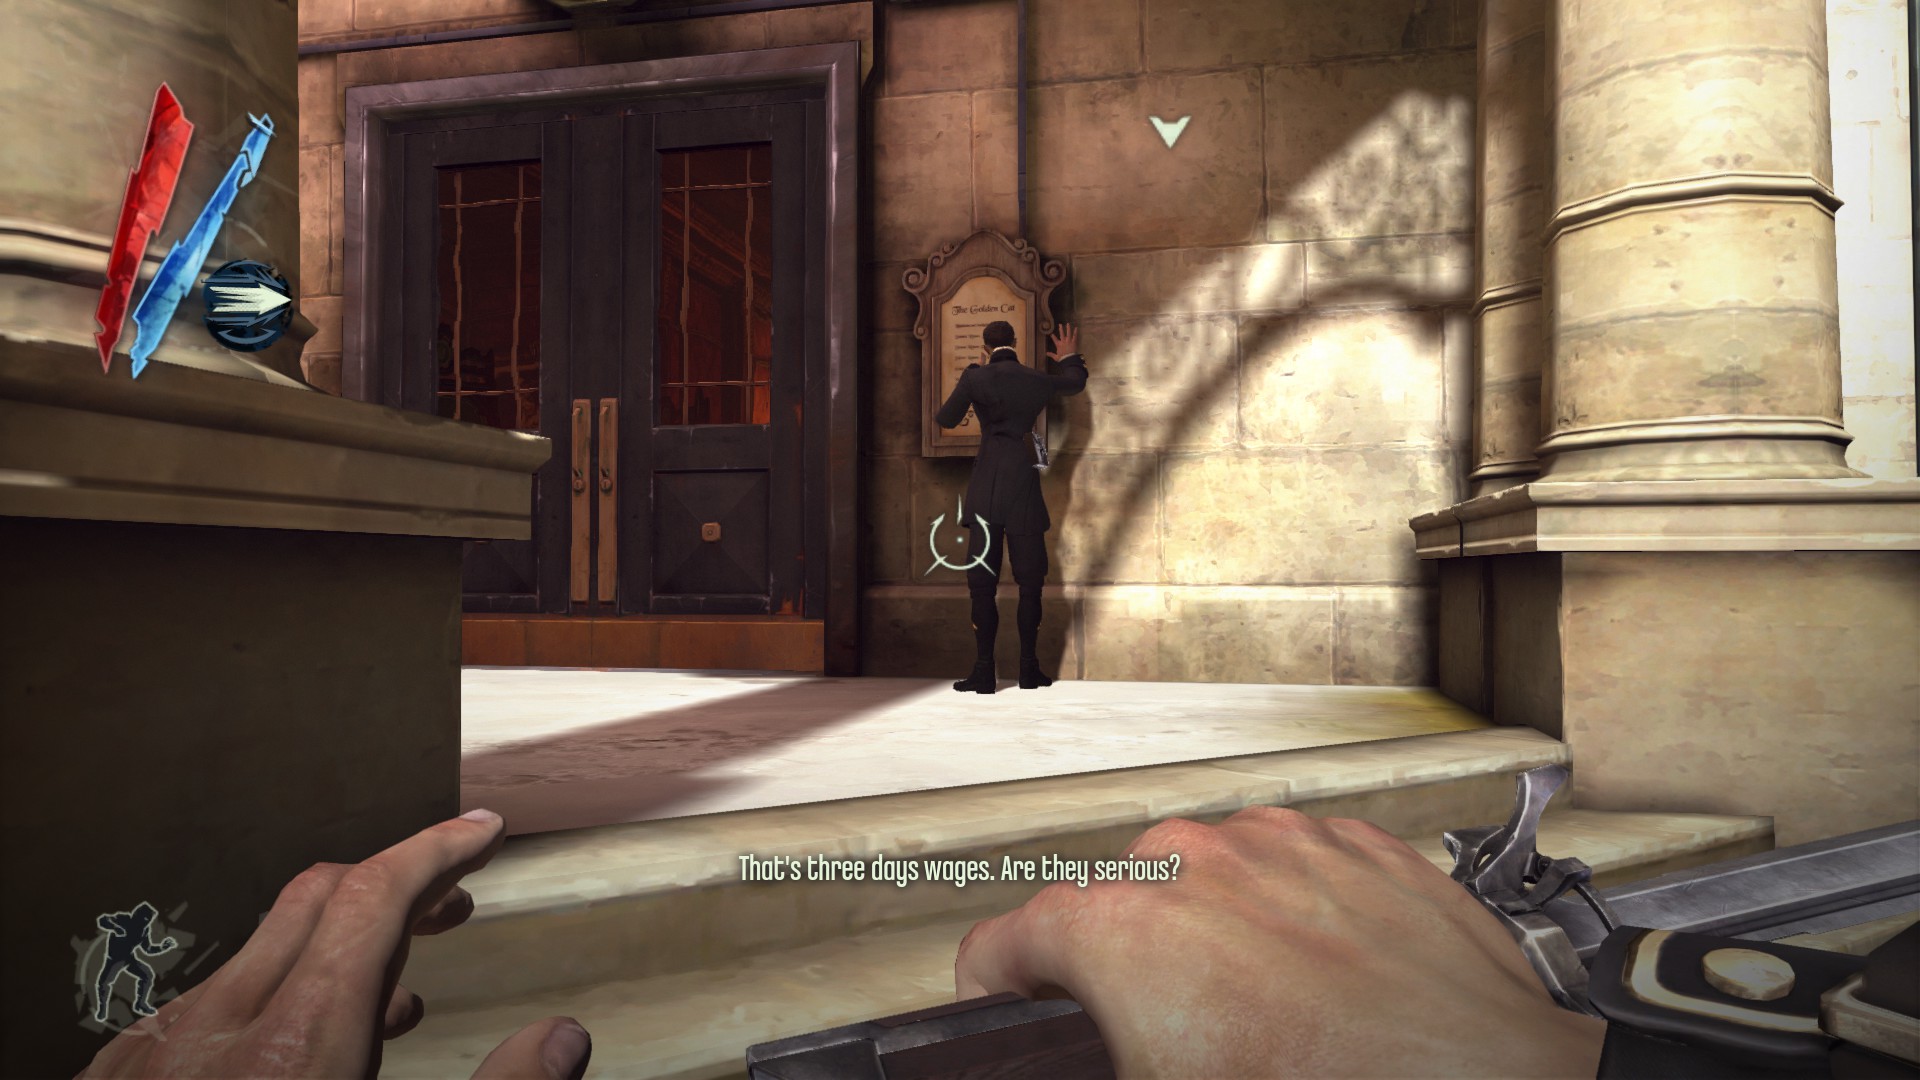
An aristocrat is carrying a pouch at the main entrance of the Golden Cat.
Encountering him will make him walk away and eventually leave the map.
(+50 -> 1659/4084)
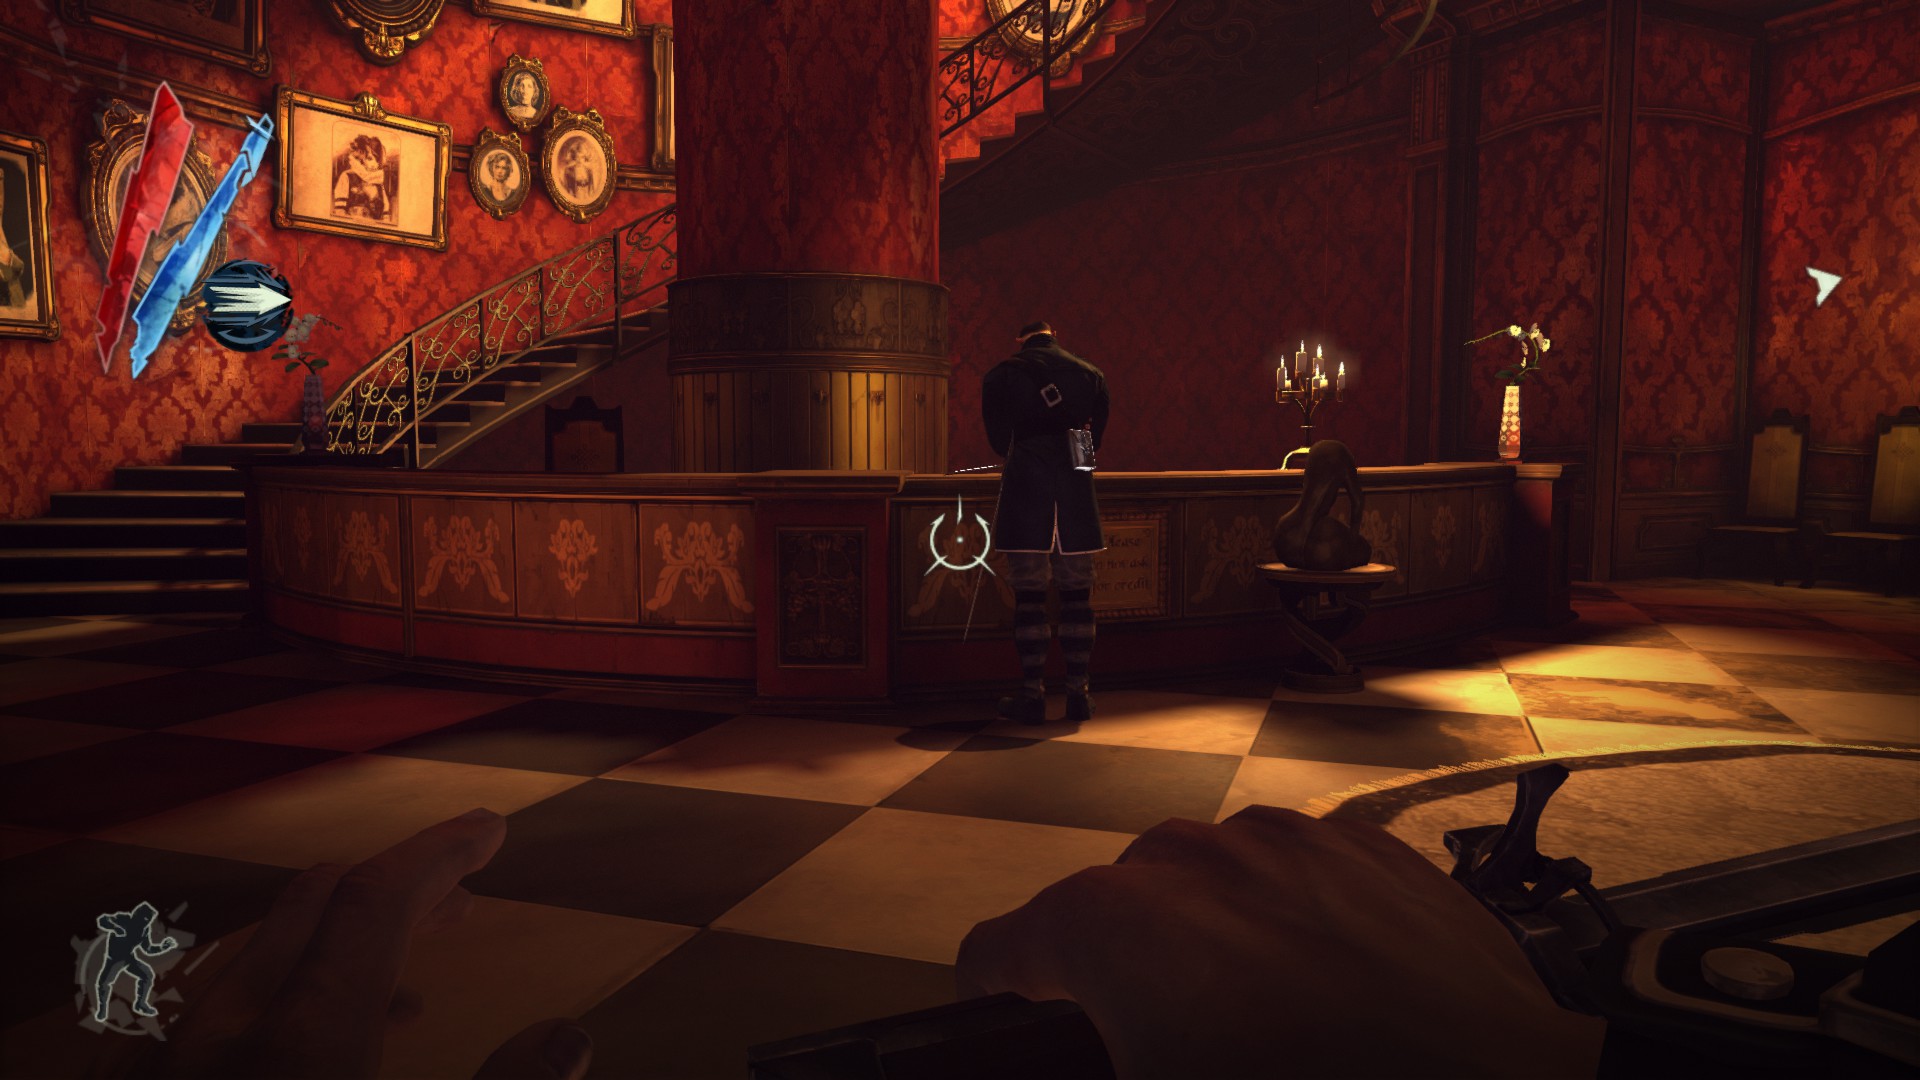
A guard is carrying a pouch in the lobby.
(+25 -> 1684/4084)
Check behind the counter to find 2 coins and 2 pouches.
(+125 -> 1809/4084)
Go through the door to a stairwell and a door to a bathroom. There is a hemlock essence on a counter in front of the mirrors.
(+20 -> 1829/4084)
Go to your left and you will find a kingsparrow feathers on a locker.
(+10 -> 1839/4084)
Head upstairs and to the left door that is Madame Prudence's office. A hemlock essence is on her desk.
(+20 -> 1859/4084)
There are many guards patrolling the second floor. Three of them are carrying pouches.
(+40 -> 1899/4084)
From the stairway foyer, climb out a window right next to the double doors. The Carmine Hound Statuette is on a pillar.
(+100 -> 1999/4084)
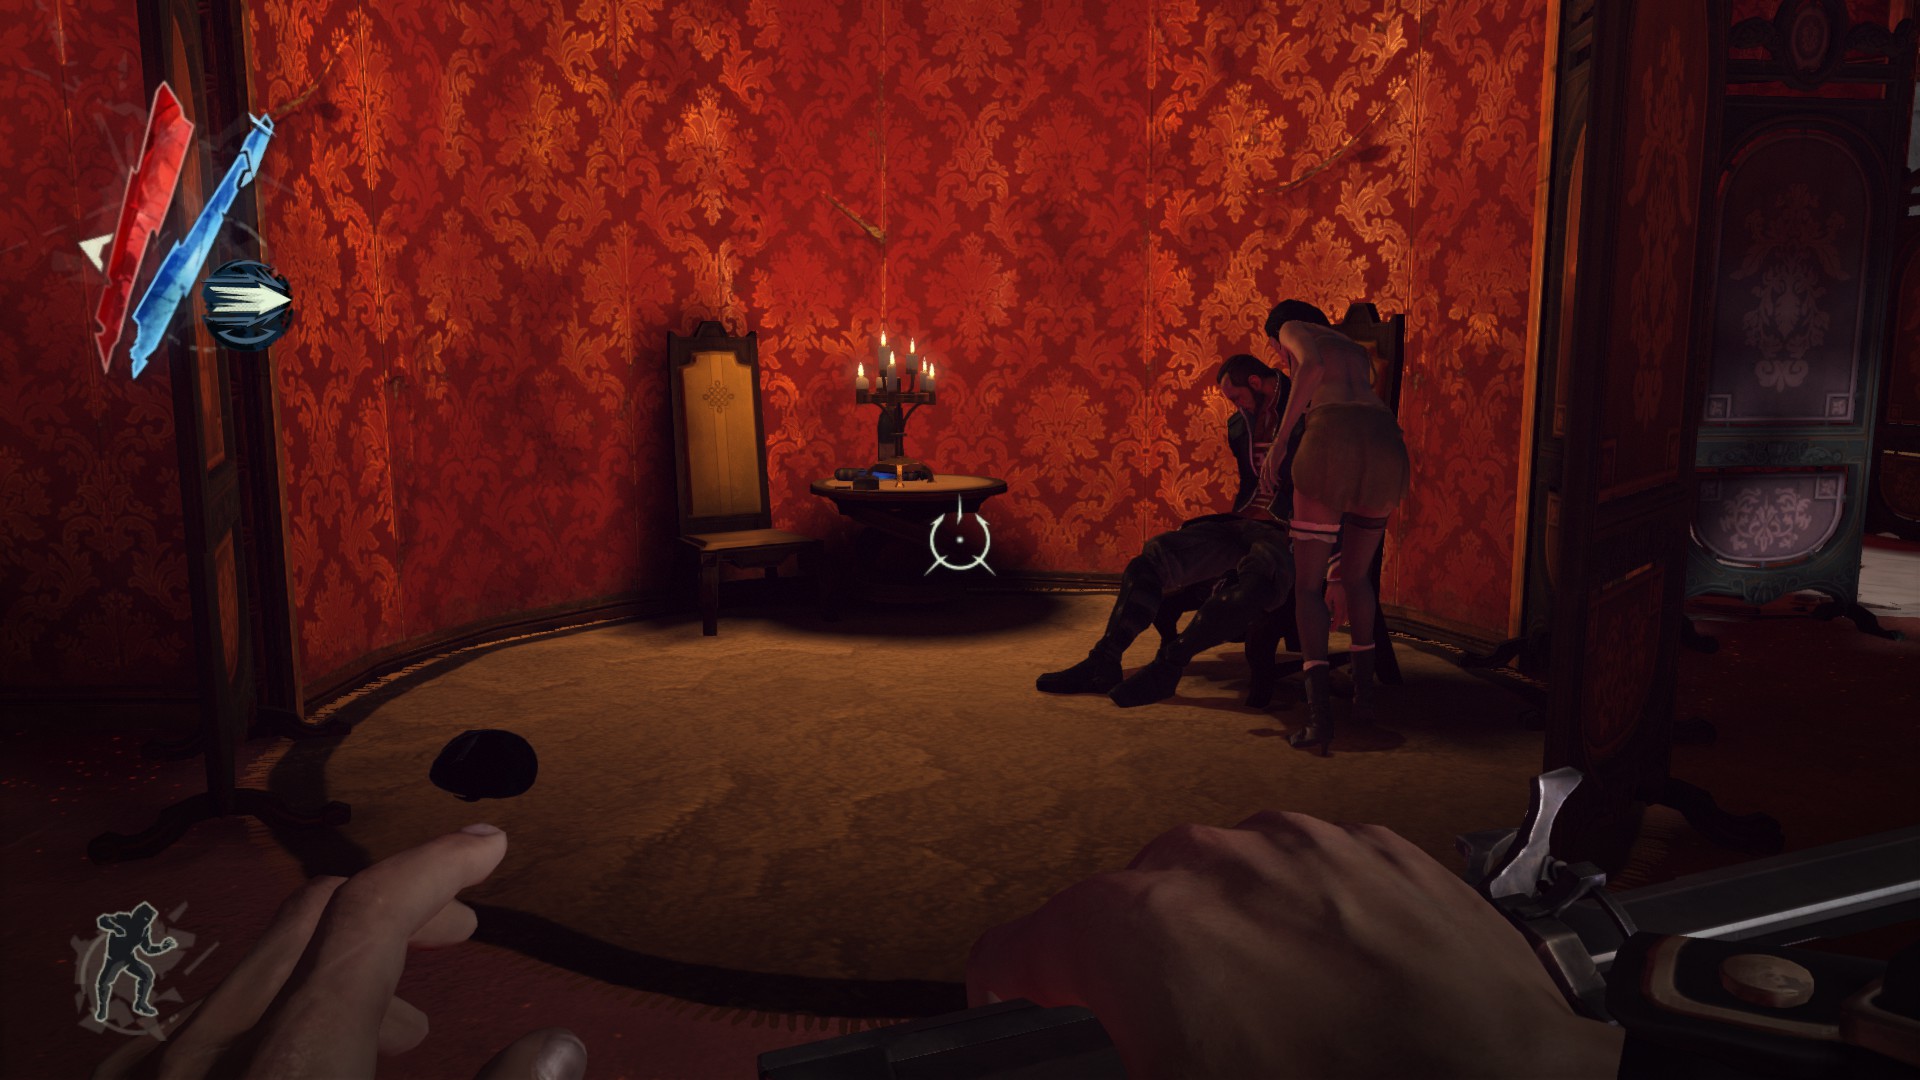
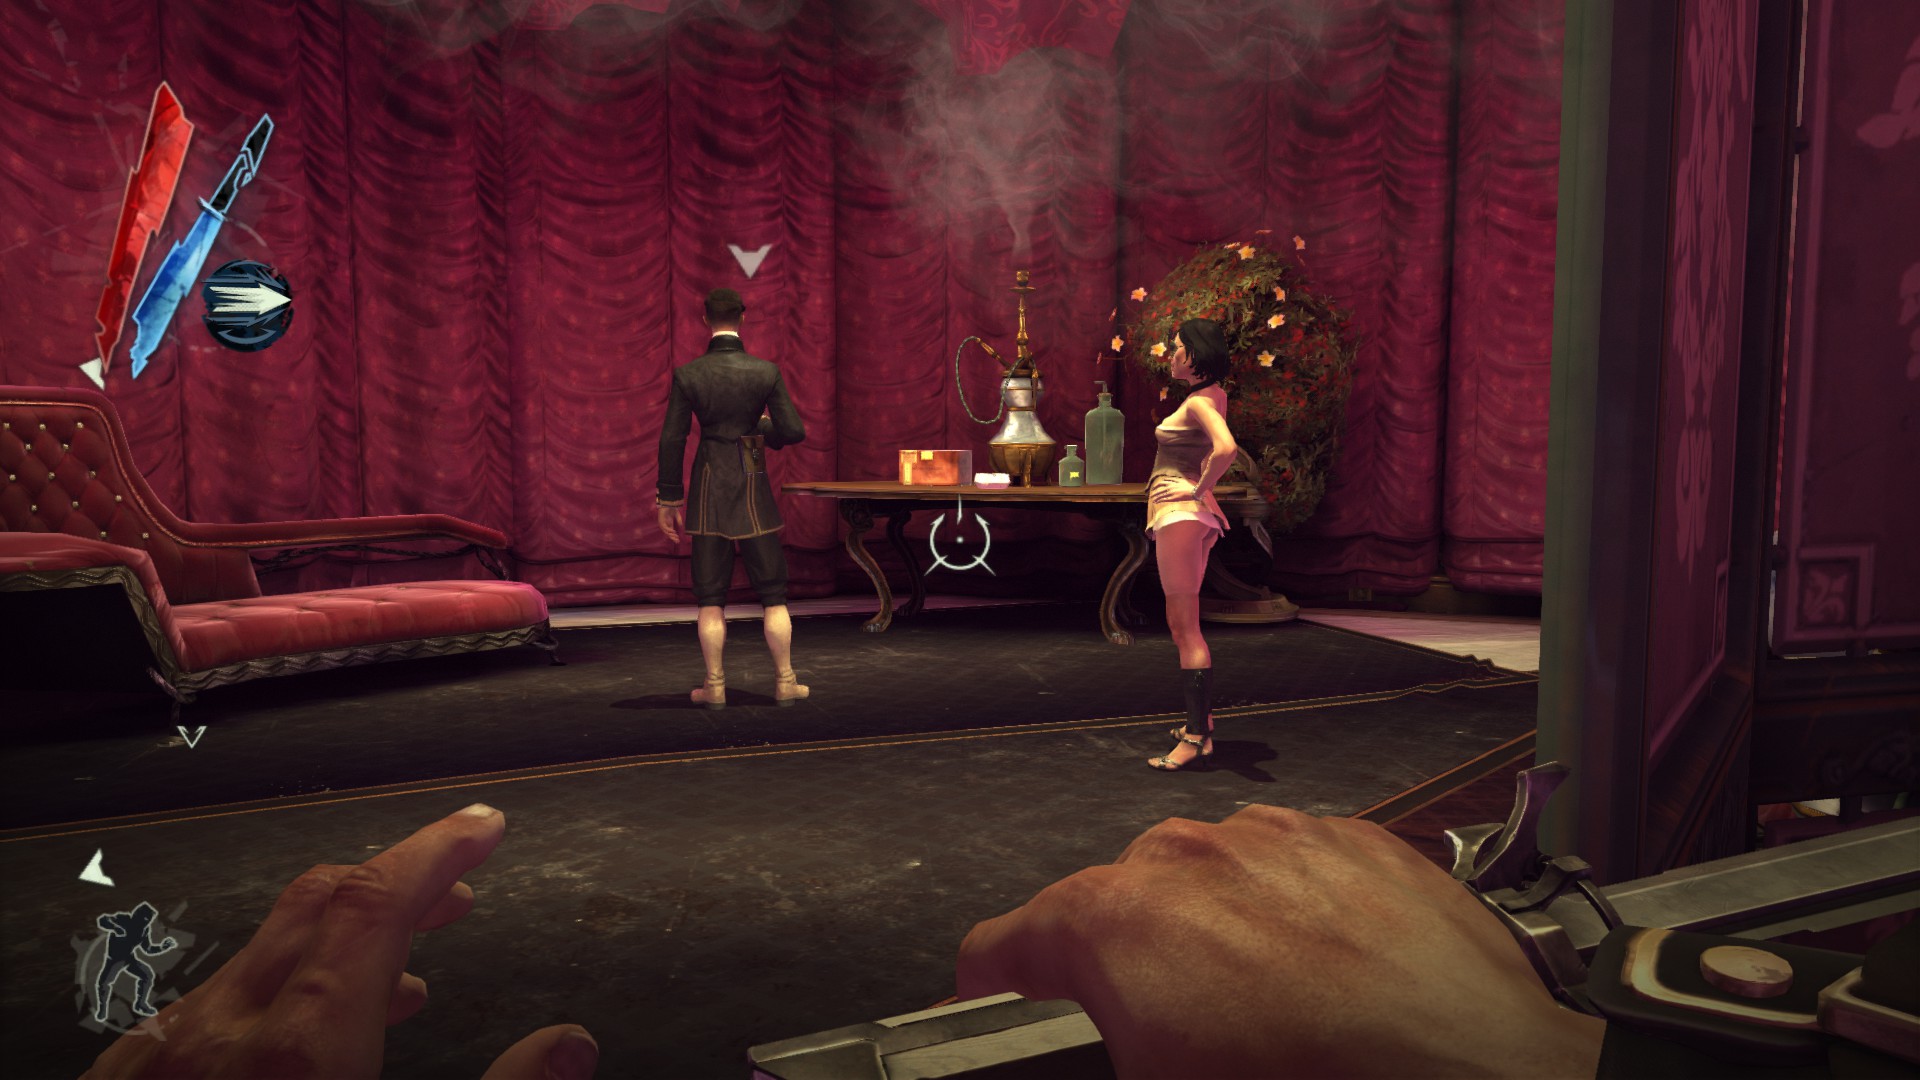
In the parlor, there is a coin and a pouch on a table next to a passed out guard.
(+55 -> 2054/4084)
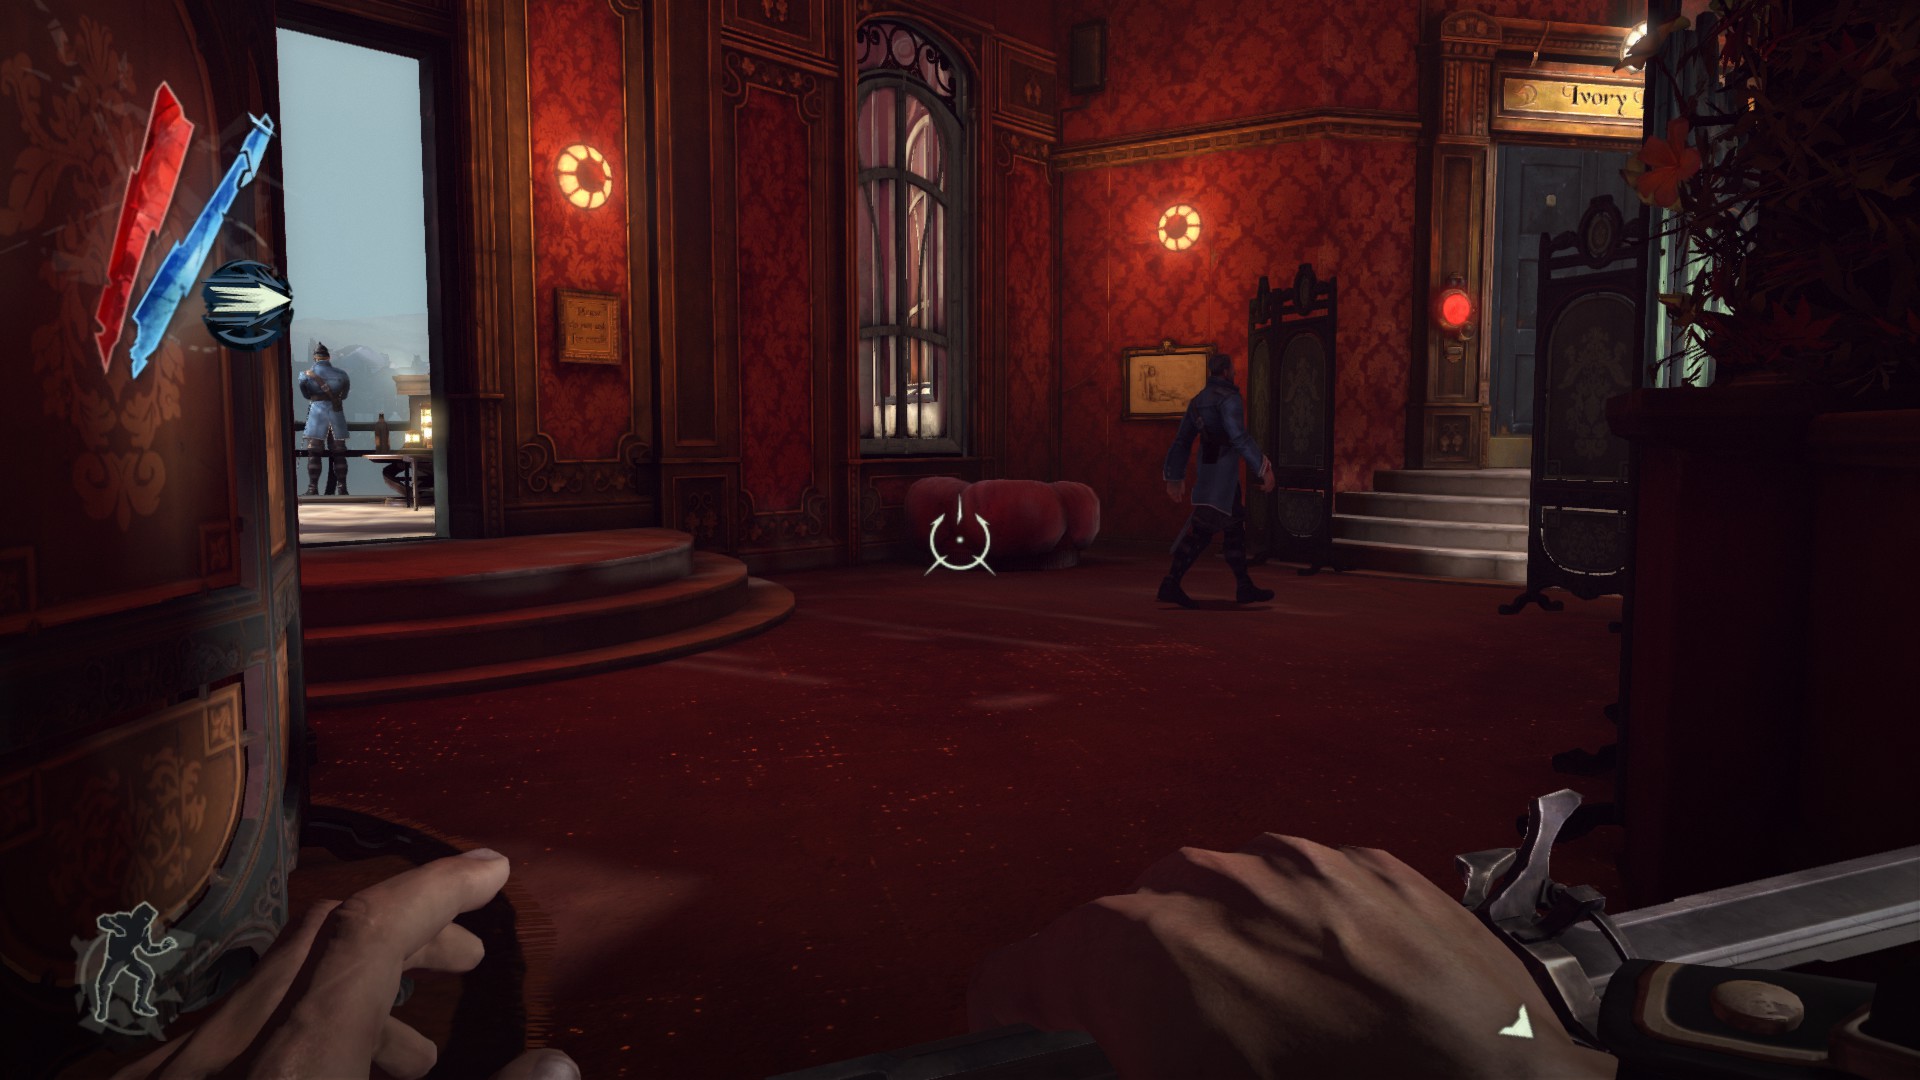
Two blue guards protecting Morgan Pendleton in either the Ivory Room or the Steam Room. They are carrying pouches.
(+50 -> 2104/4084)
Morgan Pendleton is carrying a pouch.
(+100 -> 2204/4084)
A guard is carrying a pouch in either the Steam Room or the balcony next to the Ivory Room.
(+50 -> 2254/4084)
In the boiler room of the Steam Room, there is a copper wire on a cabinet and a coin inside it.
(+11 -> 2265/4084)
A pouch is in either the Gold Room or the Steam Room; located on a bed or a pile of towels, respectively.
(+100 -> 2365/4084)
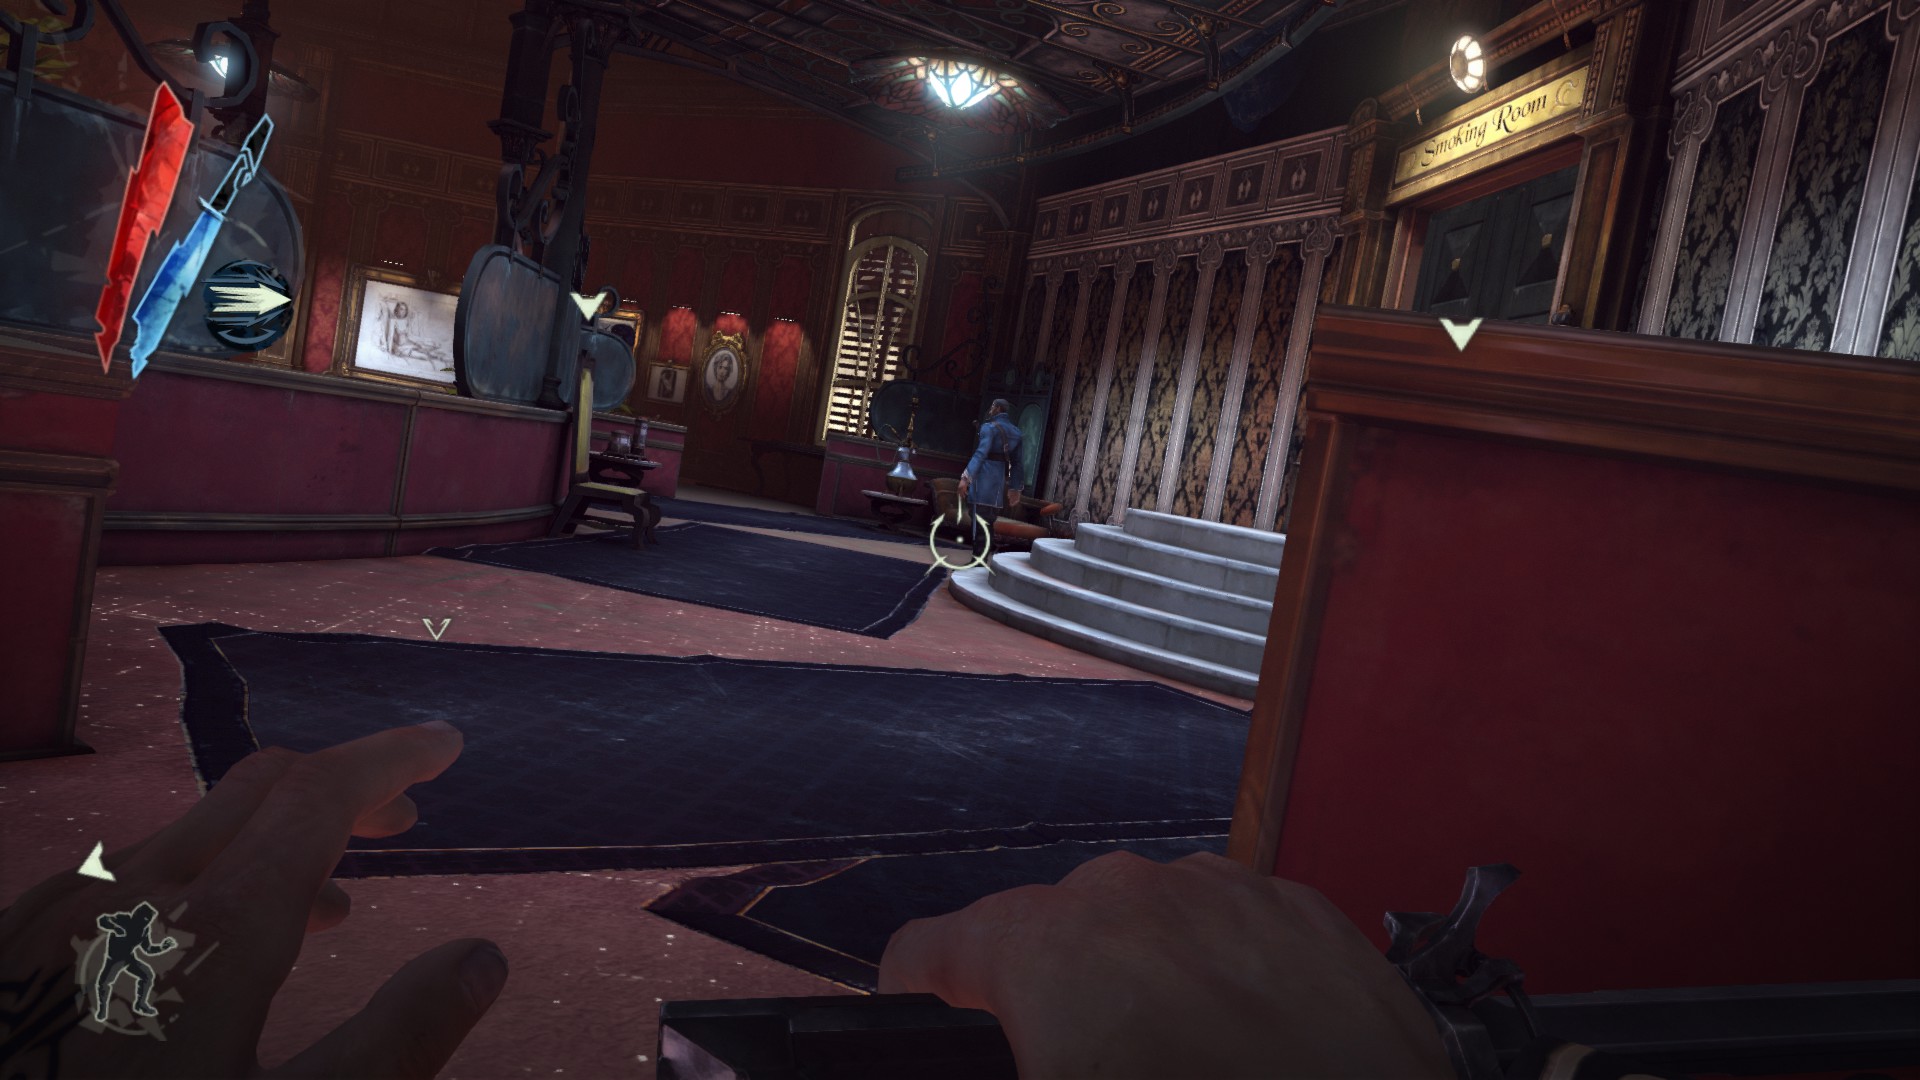
Two blue guards protecting Custis Pendleton in either the Smoking Room or the Gold Room. They are carrying pouches.
(+50 -> 2415/4084)
In the balcony next to the Gold Room, there is a copper wire on a table.
(+10 -> 2425/4084)
Custis Pendleton is carrying a pouch.
(+100 -> 2525/4084)
In the Smoking Room, there are 3 coins on a table and the Perth Cigarette Case on another table.
(+80 -> 2605/4084)
From the stairwell where Madame's office is, go upstairs and through the door. A chest here contains 2 large river krust pearls and a tyvian ore.
(+120 -> 2725/4084)
Turn around to find a desk with 3 coins and a pouch.
(+130 -> 2855/4084)
In the dormitory (four floor), go into the first room. A medicinal herbs is in a locker and a pouch is on another locker.
(+25 -> 2880/4084)
There are also 2 coins and a kingsparrow feathers on a desk here.
(+12 -> 2892/4084)
Go into the room past Emily's room. 2 coins are on a desk, and 2 medicinal herbs, a coin and a pouch are in the lockers.
(+57 -> 2949/4084)
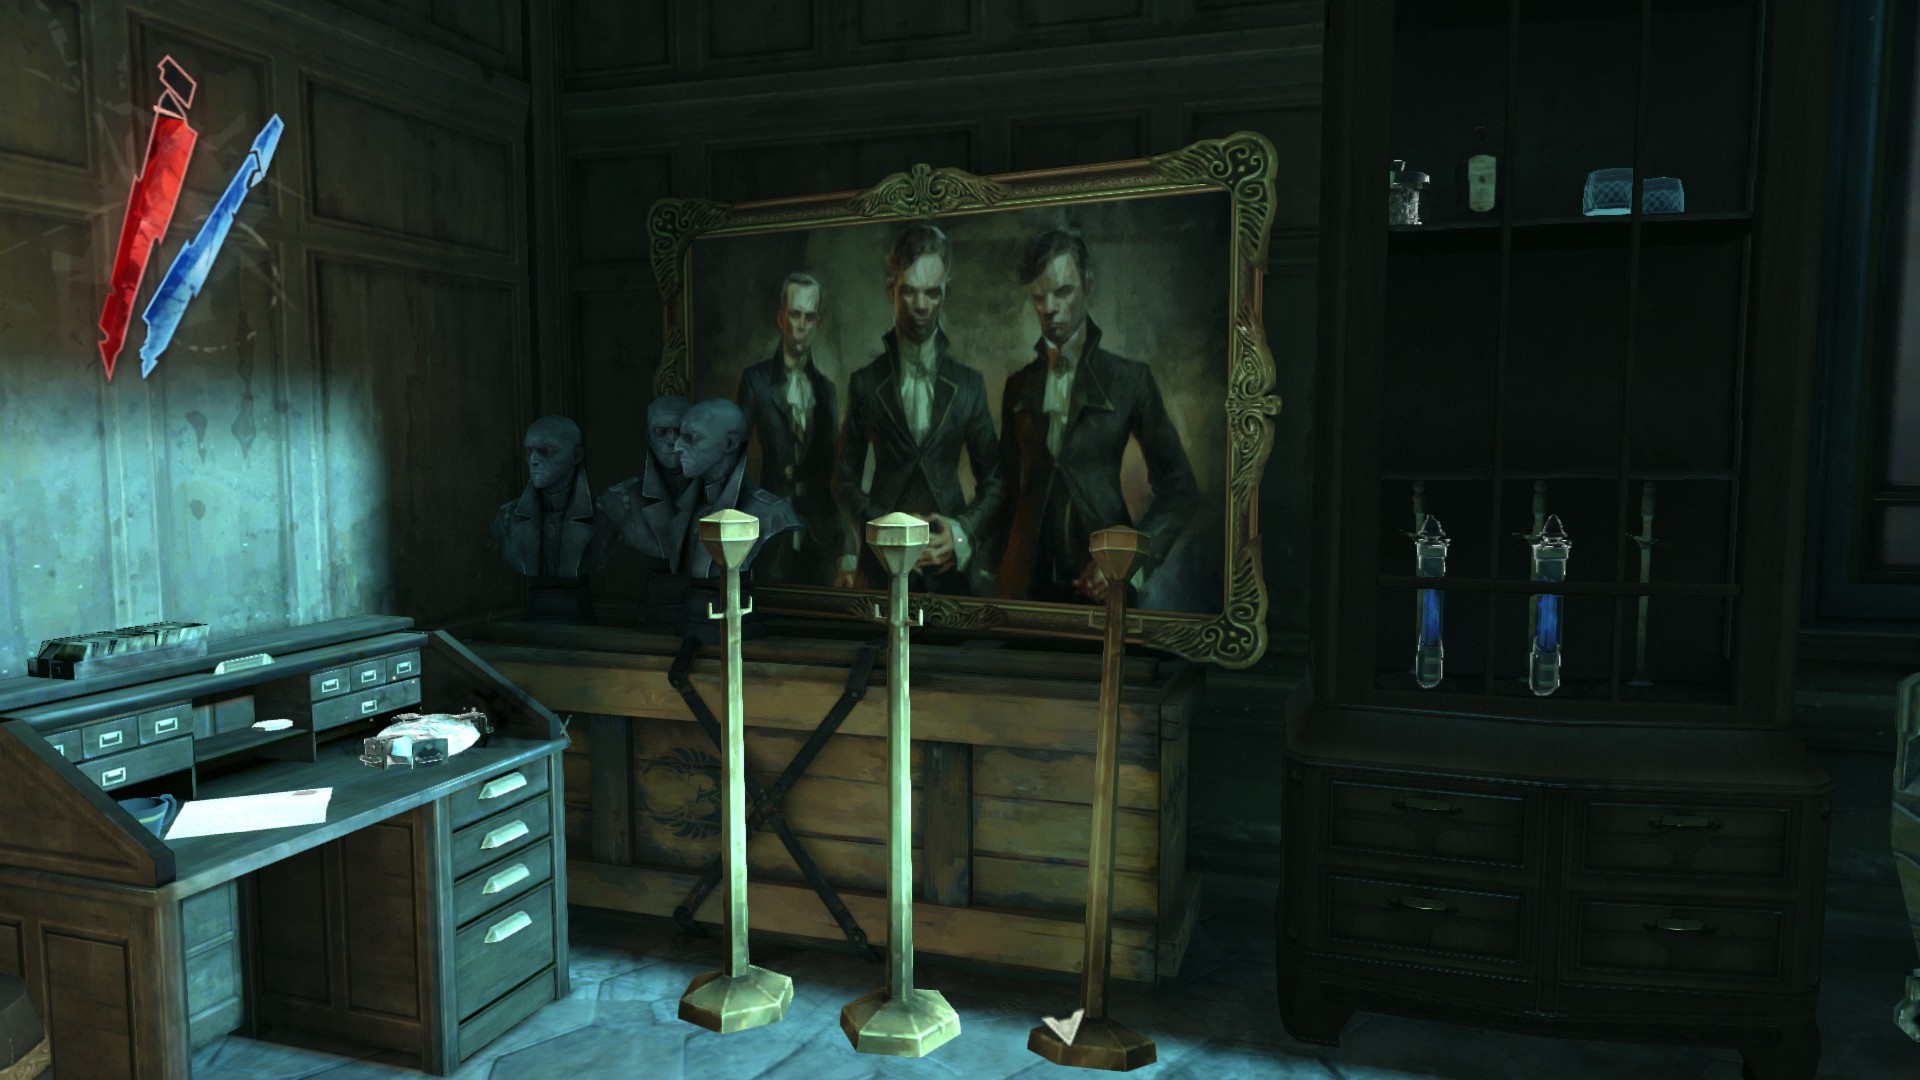
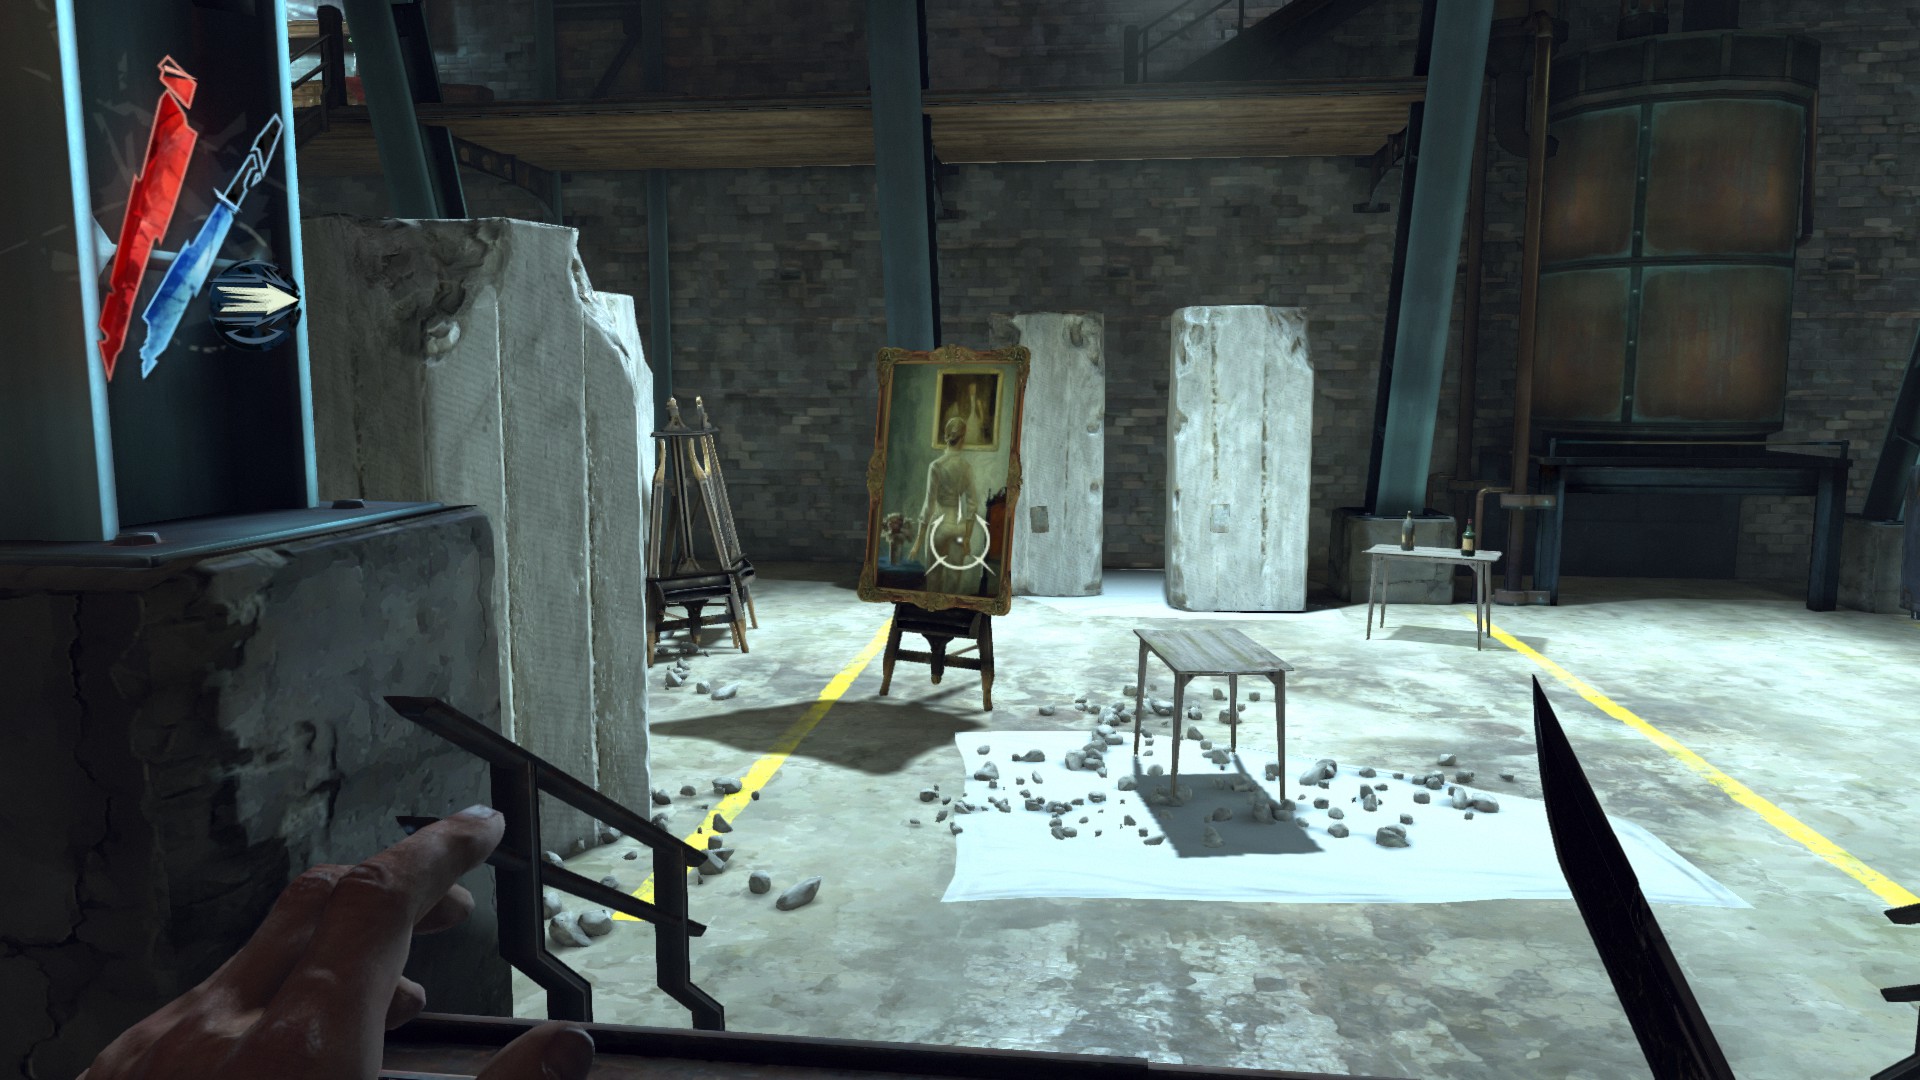
Art Dealer's Apartment
Start at the first floor, go into the room next to the stairway. There is a powdered crystal in a cabinet, and 2 medicinal herbs in a locker.
(+70 -> 3019/4084)
A thug is carrying a pouch in the second floor. "Light Along the Inverse Curve, Sokolov's Self Portrait" painting is here.
(+305 -> 3324/4084)
A thug is carrying a pouch in the third floor.
(+5 -> 3329/4084)
In this floor, go into a bedroom. A medicinal herbs is on the floor next to a bed, and "Daud and the Parabola of Lost Seasons" painting is above it. Turn around to find a coin on a cabinet.
(+325 -> 3654/4084)
Now go to the safe room. The code is random generated from Bunting in the Golden Cat.
Inside there is a coin on a desk, a medicinal herbs in the display case, and the Carmine Urn on a small table. "Custis, Morgan and the Postulate Child" painting is on a crate.
(+430 -> 4084/4084)
The Hound Pits Pub, 3rd visit (40)
Points of no return
- None
There is a tyvian ore and a medicinal herbs on the table in front of Piero's Workshop.
(+40)
Mission 4 - The Royal Physician (3623)
Points of no return
- None
Southside Bridgeway
There are four guards patrolling this area, one of them is carrying a pouch.
(+20 -> 20/3623)
There is also the dumpster in this area, right before the guard shack. There are 2 copper wires inside it.
(+20 -> 40/3623)
Now go through the next door, and turn immediately left at the top of the stairs. There are 2 coins here next to a candelabra.
(+15 -> 55/3623)
Go into the room with lockers and shelves past the stairs, there are 2 tyvian ores on the shelves here.
(+40 -> 95/3623)
Head upstairs to find 3 coins inside a cabinet with the blueprint on top of it.
(+25 -> 120/3623)
If you take a minecart route to go outside, you should see some boxes below the guard shack. There is a corpse with a pouch here next to the water.
(+25 -> 145/3623)
There are five guards patrolling the street, two of them are carrying pouches.
(+30 -> 175/3623)
In this street, go to a balcony. Inside there are 3 coins on a table.
(+20 -> 195/3623)
Go into a bathroom to grab a hemlock essence on a table.
(+20 -> 215/3623)
Before entering Drawbridge Way, go through a door marked "Waterlock Access" and continue forward until you reach the controls. There are 3 coins in a locker.
(+20 -> 235/3623)
Go across the waterlock and to a balcony. Inside there is the Carmine Cameo on a table.
(+100 -> 335/3623)
Drawbridge Way
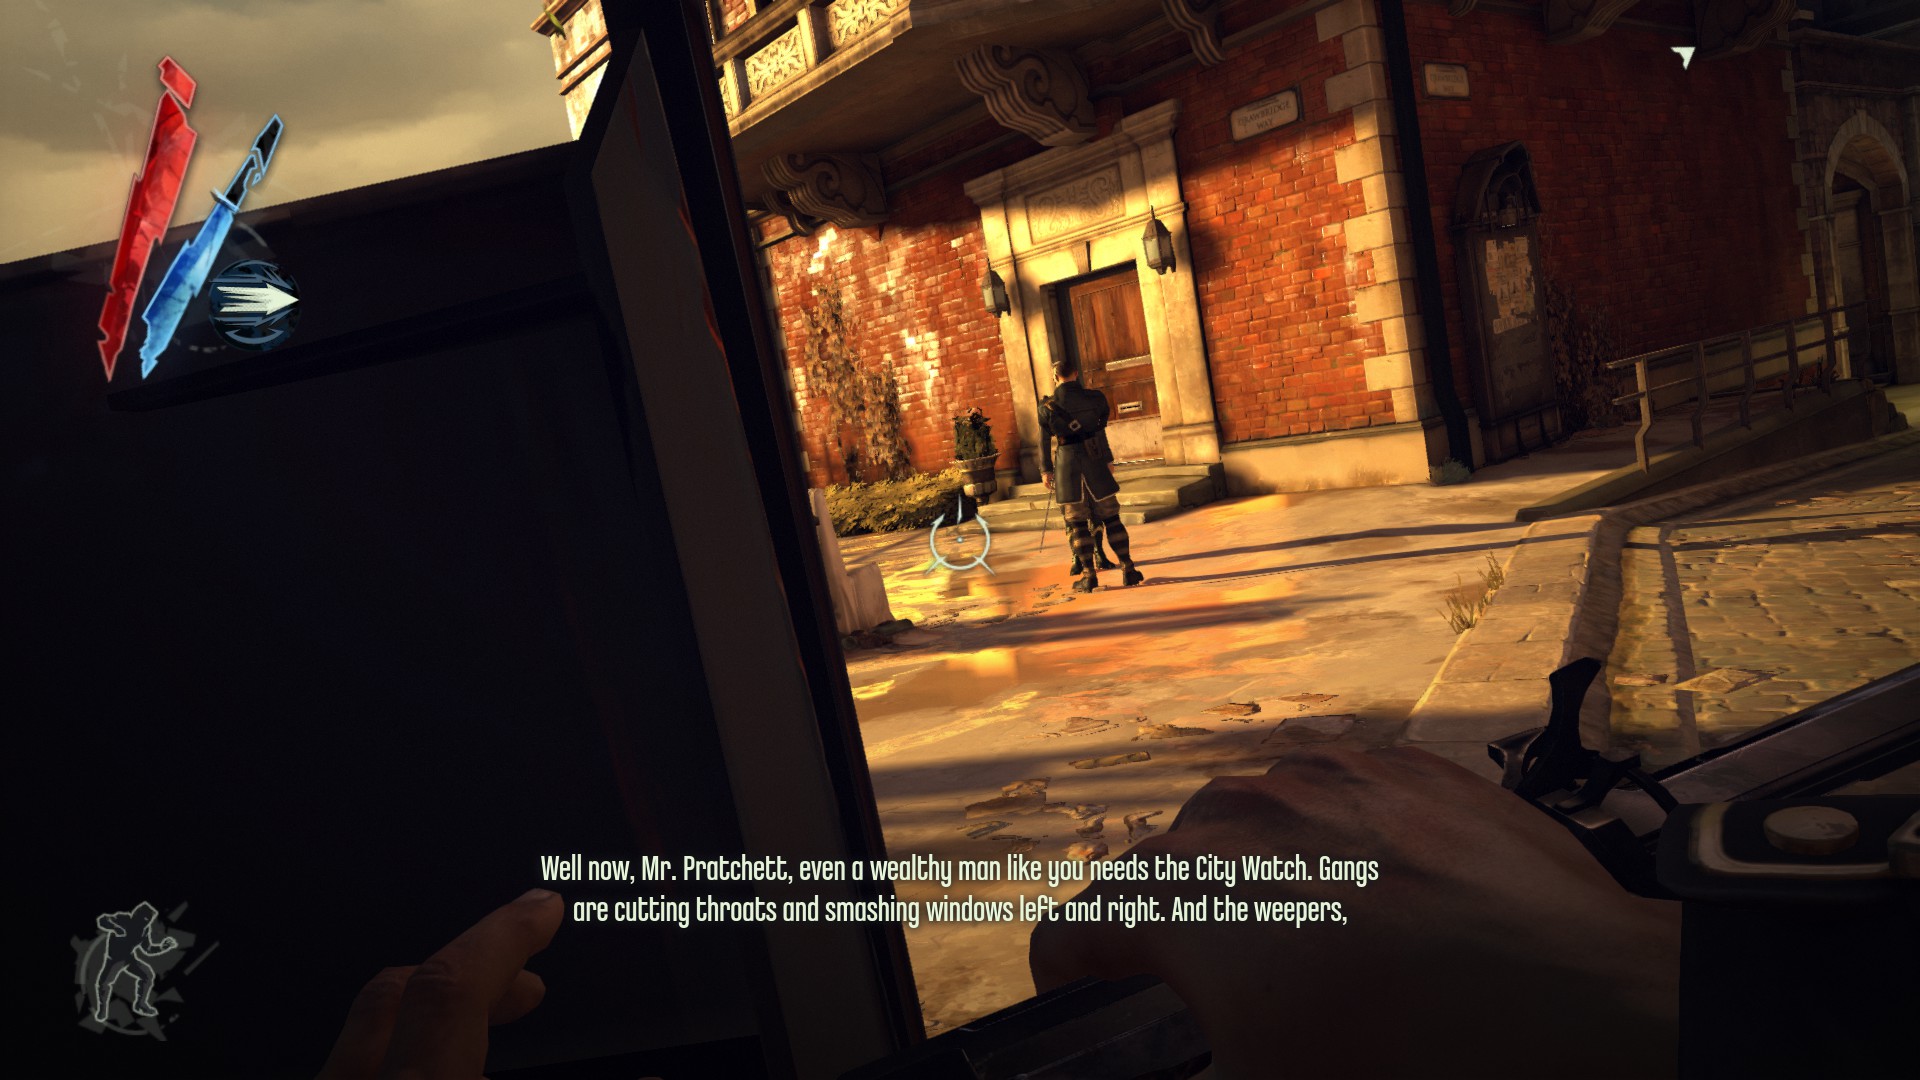
A guard talking with Pratchett is carrying a pouch.
(+20 -> 355/3623)
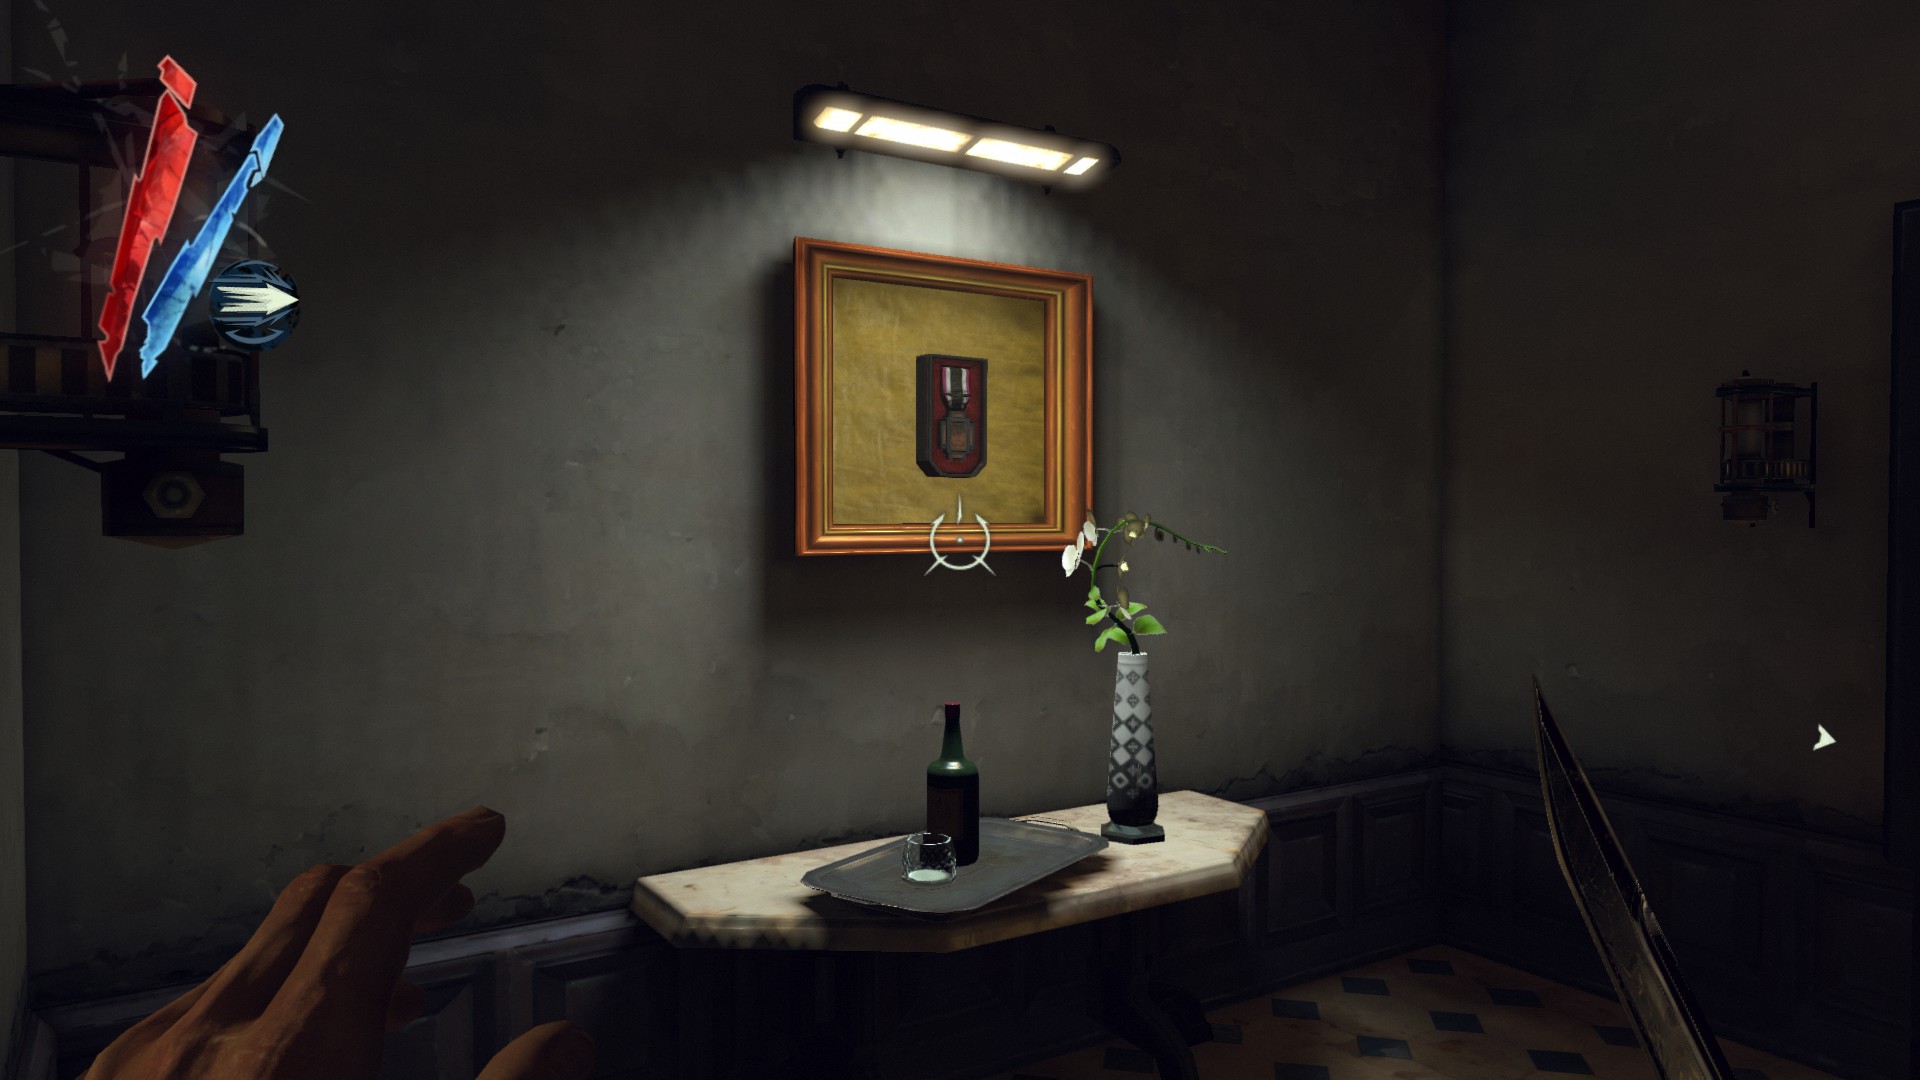
Start at the first floor of Pratchett's house (either by the balcony or take the key from Pratchett to open the door he walks in), there is the Carmine War Medal displayed on the wall just before the staircase.
(+100 -> 455/3623)
In the second floor, there is the Carmine Decor Plate above the fireplace, and the Carmine Sextant inside the desk.
(+200 -> 655/3623)
In the third floor, the Carmine Cigarette Case is on the stove. The safe here contains 2 ingots. The code is 473.
(+300 -> 955/3623)
From this, go out on the balcony and into an apartment. Go to your right to find a hemlock essence on a shelf.
(+20 -> 975/3623)
Go back to the window, you should see an apartment with purple lights and a balcony. Go there. 2 coins are on a table and a medicinal herbs is on a shelf.
(+30 -> 1005/3623)
Climb up the rooftops from the opposite balcony and walk along them to find a doorway that leads down to an apartment. Inside there is a kingsparrow feathers and 3 coins on a counter and a hemlock essence next to a bed.
(+50 -> 1055/3623)
Head downstairs now and drop down onto an alley. Go left and you will see an alcove barricaded with some boards. There are 3 coins on a shelf here. You can even grab them through the boards.
(+11 -> 1066/3623)
Keep going down the alley to find another alcove with a shelf and 2 copper wires on it.
(+20 -> 1086/3623)
Go back to the alley below the balcony where you came on and look up. You should see a window barricaded with some boards, so go there. On a counter is a medicinal herbs, and on a table between corpses are 2 coins.
(+30 -> 1116/3623)
There are many guards patrolling this area here, two of them are carrying pouches.
(+30 -> 1146/3623)

At the right of the second guard shack, there is a boat down here with a processed whale oil on it.
(+30 -> 1176/3623)
From the south side of the drawbridge, go staircase up all the way until you reach a shelf with some bullets and an elixir on it. Look up, there are a lot of pulleys, ropes, chains and precarious ledges, so you have to climb all the way up. At the top there are 2 coins and a pouch next to a corpse.
(+40 -> 1216/3623)
Across the bridge to the north side, one of the guards here is carrying a pouch.
(+10 -> 1226/3623)
At the end of the bridge, there are two guards patrolling the left guard shack while the right one is empty. A guard inside it is carrying a pouch.
(+20 -> 1246/3623)

There are five river krusts underneath this area here, they all drop large river krust pearls.
(+250 -> 1496/3623)
The building near the end of the level has two thugs in the second floor. If doing Alec side objective, he will use the faucet to alert them to that presence.
They are carrying pouches. There is also a table here with 1 large and 2 small river krust pearls on it.
(+135 -> 1631/3623)
Midrow Substation
A guard with a pouch patrolling a catwalk and elevated guard shack.
(+25 -> 1656/3623)
Next to the warehouse is a gate leading down to a dock. There are five river krusts in this area, and they all drop large river krust pearls.
(+250 -> 1906/3623)
There are also 4 coins on a ledge here above the river krust.
(+12 -> 1918/3623)
In the warehouse, there are 2 copper wires on a shelf.
(+20 -> 1938/3623)
From this shelf, go through the door and you will find the dumpster with a copper wire and 2 coins inside.
(+20 -> 1958/3623)
There is an abandoned factory on the left after passing the wall of light. Go inside and in one of the lockers are 4 coins.
(+8 -> 1966/3623)
Go upstairs, there are 2 tyvian ores and 2 powdered crystals on the shelves.
(+100 -> 2066/3623)
At the very top level, there is a corpse here with 2 coins and a pouch next to him.
(+35 -> 2101/3623)
After saving a woman at the very bottom level, there is a medicinal herbs on a metal container next to her.
(+20 -> 2121/3623)
Mission 4 - The Royal Physician, pt. 2
North End
Upon entering go through the door on your immediate left, then a door to your right. There is a locker against the far wall with 3 coins inside.
(+7 -> 2128/3623
In the same room, use the faucet 3 times to open up a secret room. Inside there are 2 coins and the Inchmouth Urn on a table.
(+120 -> 2248/3623)
Go back to the street and look up, you should see a ventilation unit. Climb up your way here and you will find a corpse with a pouch.
(+20 -> 2268/3623)
In the room with a bone charm (use the Heart), there are 4 coins inside a cabinet.
(+13 -> 2281/3623)
Head back to the rooftops with the corpse and walk down a ventilation shaft leading to a ventilation unit with a kingsparrow feathers on it.
(+10 -> 2291/3623)
In front of you is a damaged building, go inside and you will find 4 coins on a table in this bottom floor.
(+25 -> 2316/3623)
There are two guards patrolling the street next to the wall of light, one of them is carrying a pouch.
(+10 -> 2326/3623)

On the third floor of the wrecked building below the prisoners, open a painting to reveal a safe. It contains 2 ingots. The code is 294.
(+200 -> 2526/3623)
Go onto either the left or right balcony in this floor. Inside there is a hemlock essence on a counter.
(+20 -> 2546/3623)

Drop down that hole to find a safe with the Inchmouth Jewel Box inside.
(+100 -> 2646/3623)

Go back to the street now, and look up at the buildings on the right. You will see a balcony on the third floor, climb up there. There are 4 coins inside a desk.
(+22 -> 2668/3623)
A guard here is carrying a pouch before entering Sokolov's House.
(+20 -> 2688/3623)
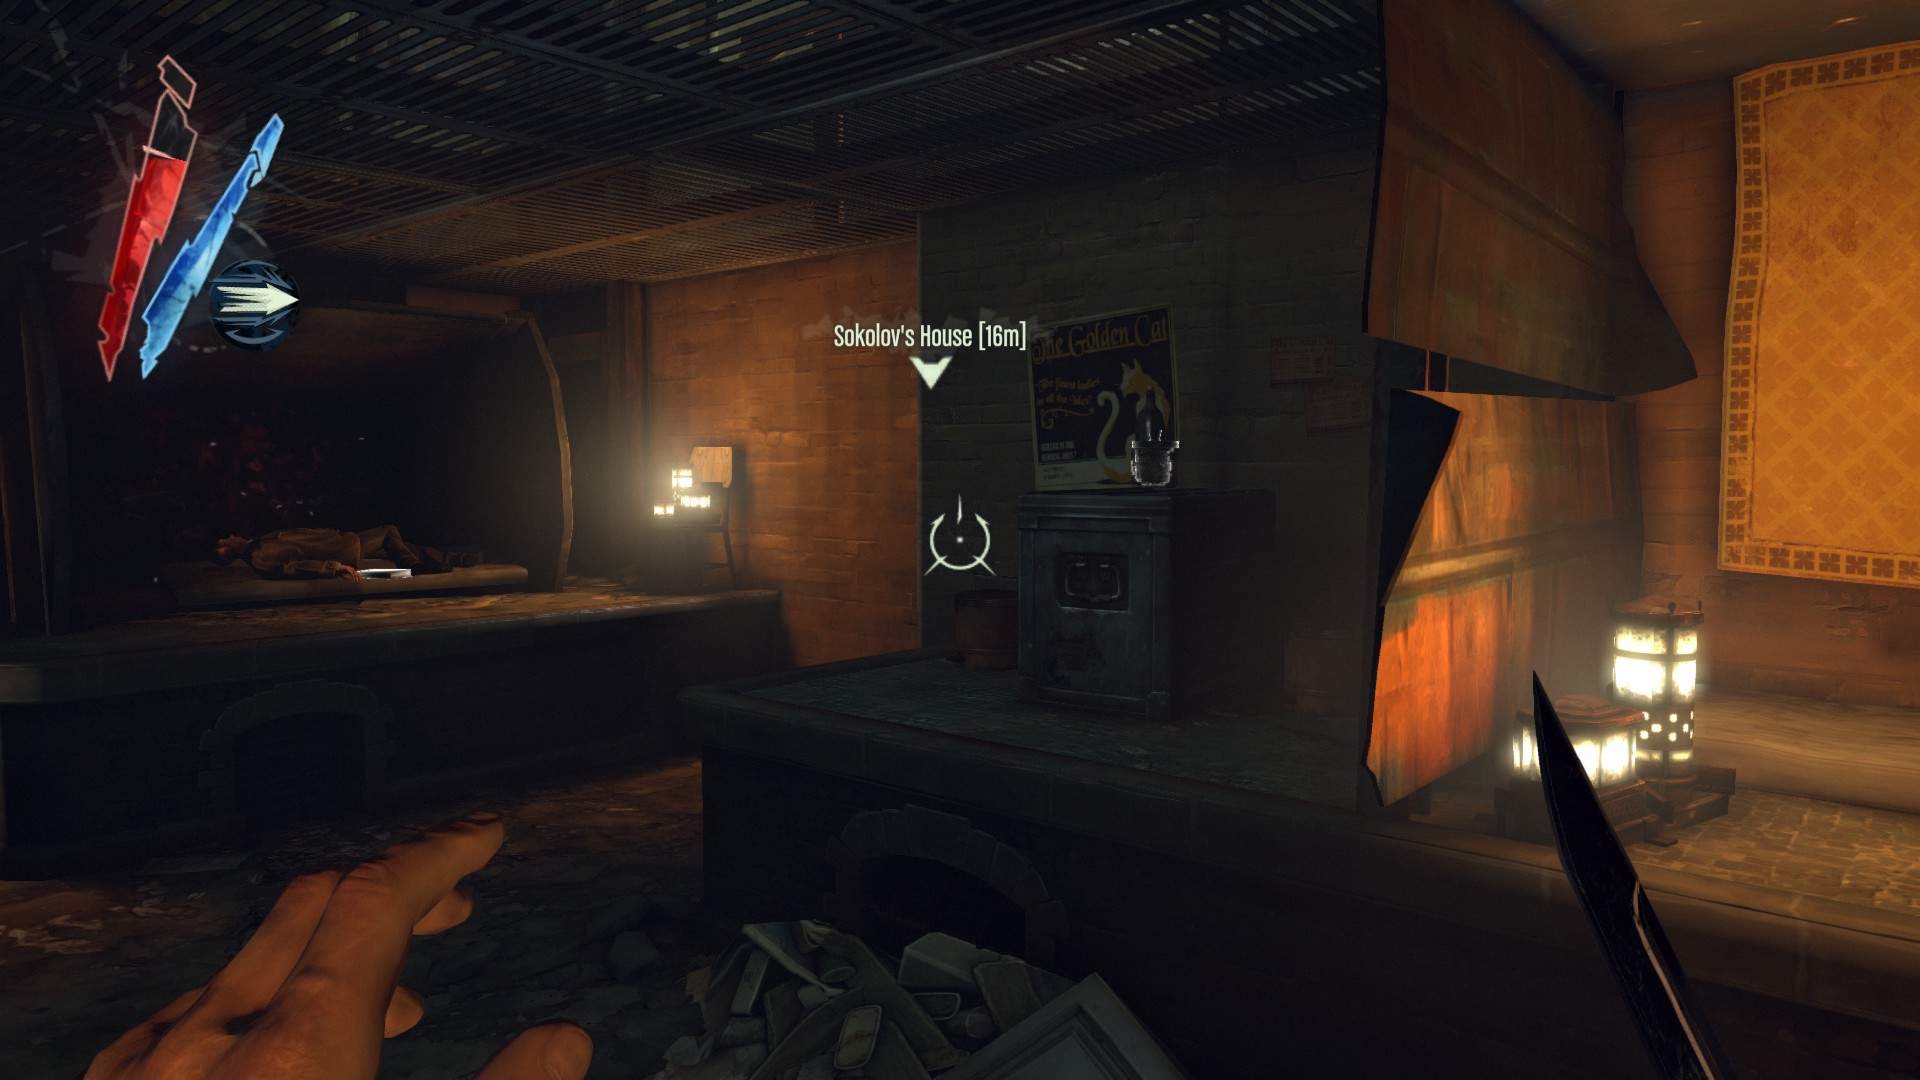
Sokolov's House
The first floor is heavily guarded by many guards and an overseer. Two of the patrolling guards are carrying pouches: the one looking at a painting while the other one walking up the right staircase.
(+40 -> 2728/3623)
As said, "The Obtuse Arguments of Lady Boyle" painting is located here for you to grab.
(+300 -> 3028/3623)
On the metal platform with an alarm, there are 2 copper wires on a table and 2 processed whale oils in a locker.
(+80 -> 3108/3623)
Head upstairs past the walls of light now. There are two guards patrolling the hallway, one of them is carrying a pouch.
(+10 -> 3118/3623)
The Old Coast Map is on a bureau in Sokolov's bedroom.
(+75 -> 3193/3623)
In the laboratory, 2 powdered crystals and a medicinal herbs are on the left table, a hemlock essence is on the right table and a processed whale oil is on the middle table.
(+130 -> 3323/3623)
Once you take Sokolov's House key from Sokolov himself, you can unlock and open the desk to grab 3 ingots in his bedroom.
(+300 -> 3623/3623)
The Hound Pits Pub, 4th visit (640)
Points of no return
- River krust under the bridge disappear after sleep
After leaving Samuel's boat, head right and go across the water to where the rune is. There is a river krust under the bridge near the already-obtained rune (if you get it previously). It drops a large river krust pearl upon killed.
(+50)
A copper wire is on the ground outside Piero's Workshop, next to the gate.
(+10)
In the servants' quarters, there is a powdered crystal and a medicinal herbs on a shelf.
(+50)
A hemlock essence is on the table in Pendleton's room.
(+20)
A tyvian ore is on the table in the tower.
(+20)

2 ingots are on the counter in Corvo's chambers.
This loot is only available after doing non-lethal method on Pendleton twins.
(+200)
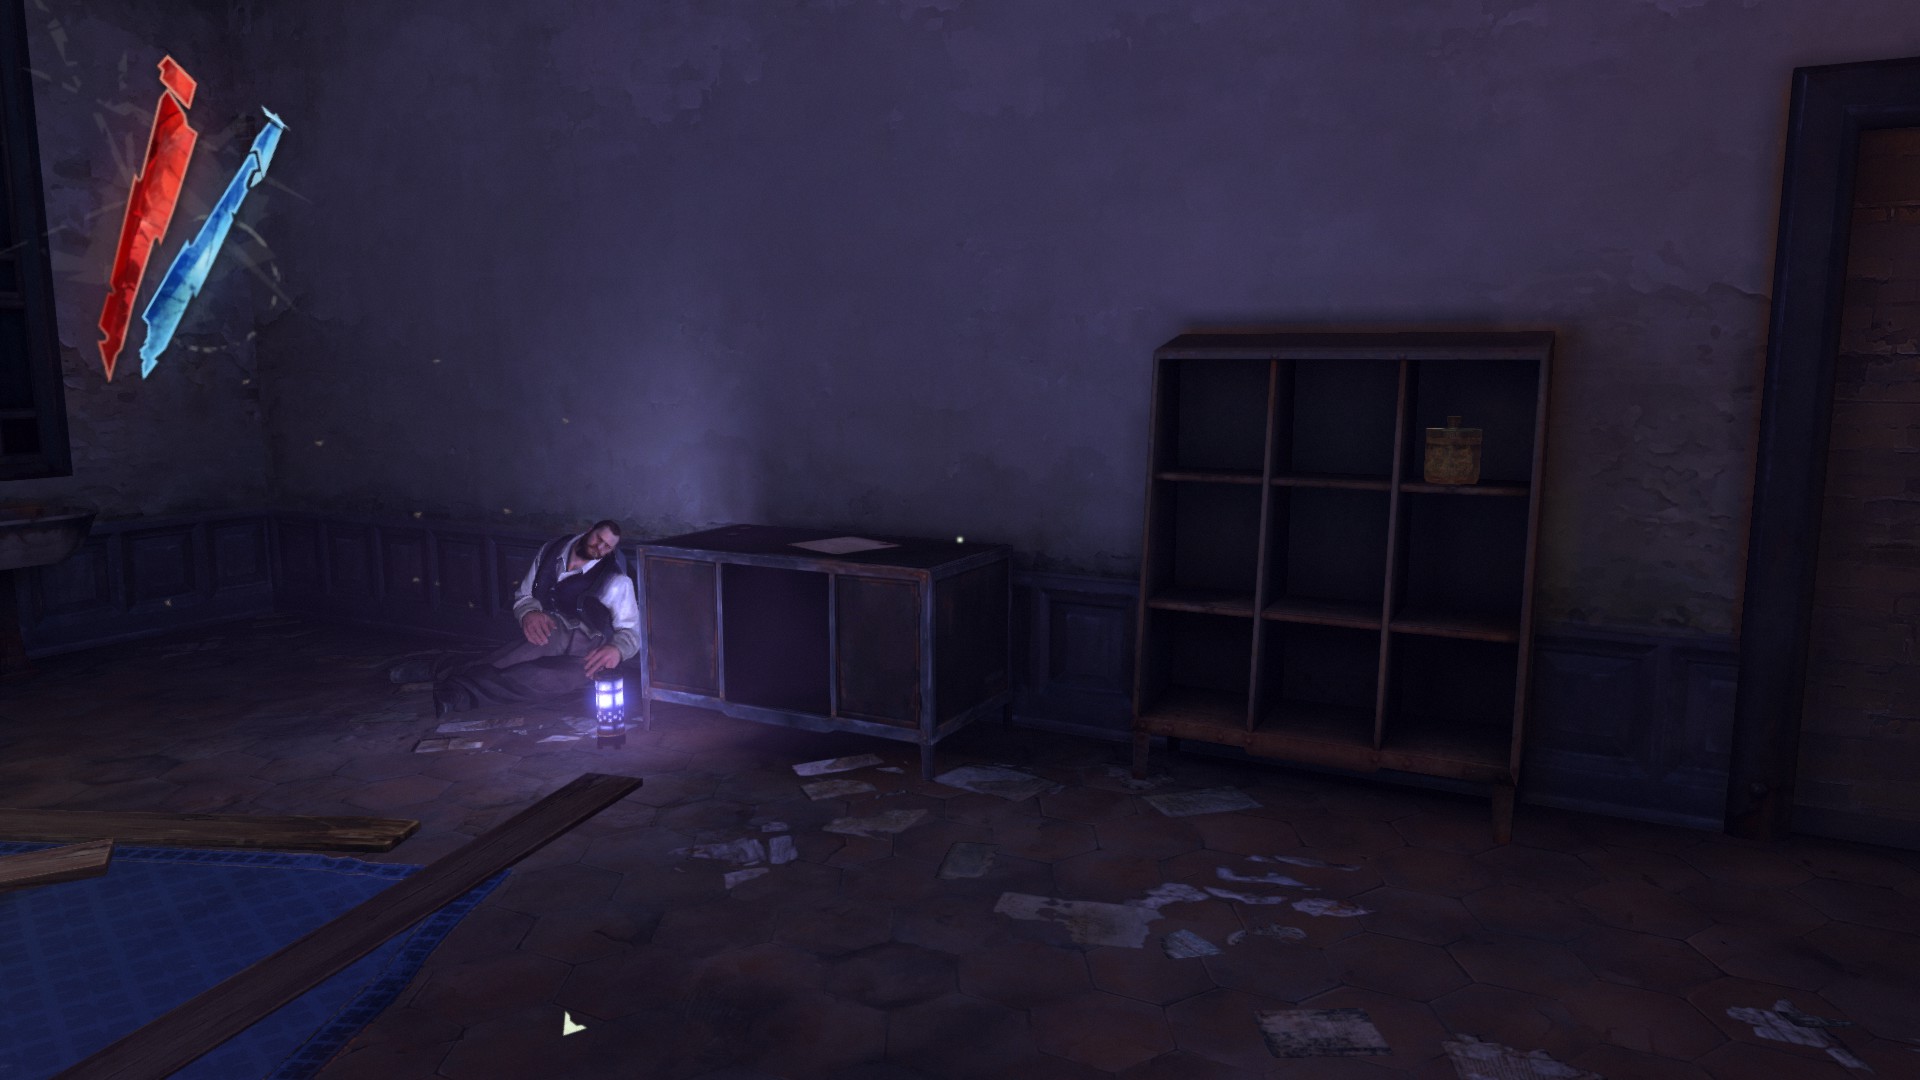
Go to the abandoned apartment. The key is located under Cecelia's bed in the servants' quarters. Inside there is a hemlock essence on the counter.
(+20)
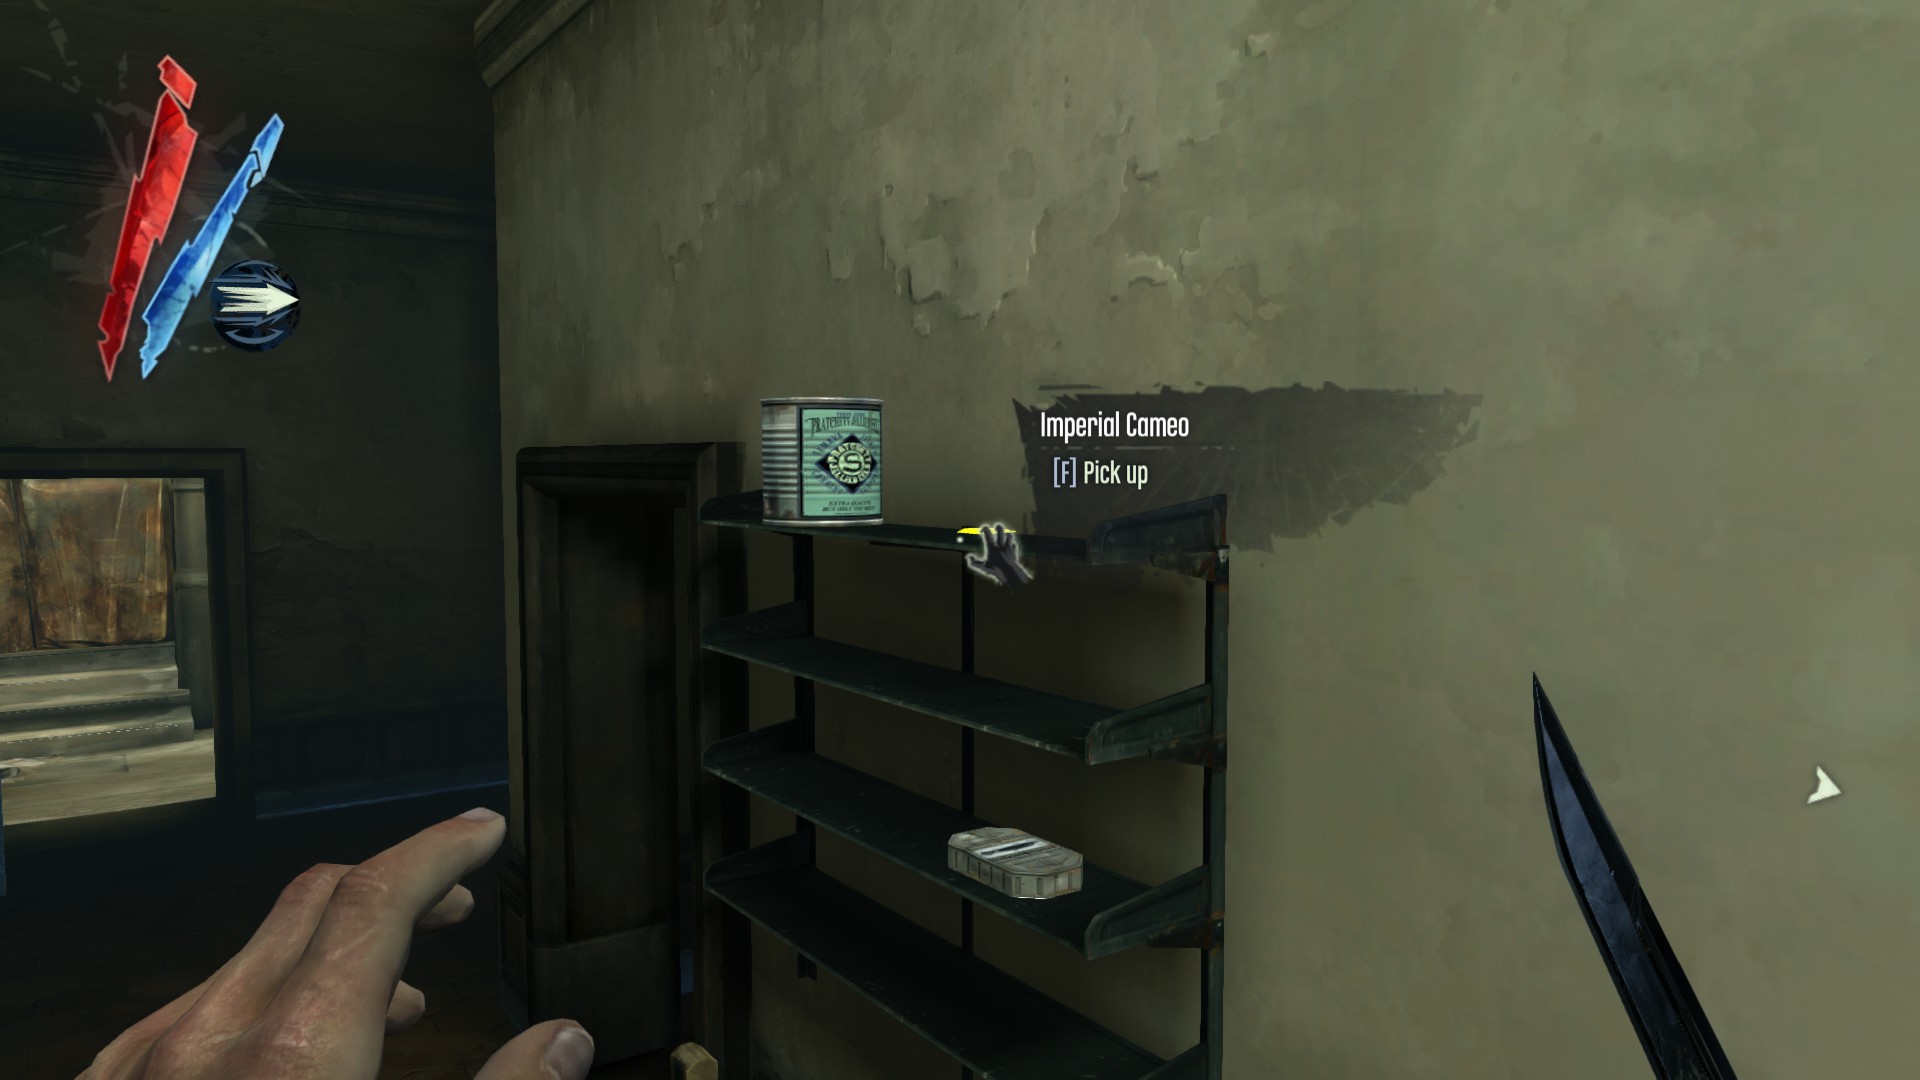
Above the nearby sink are a series of shelves. Check the very top shelf to find the Imperial Cameo.
(+150)
A processed whale oil is on the floor in the next room.
(+30)
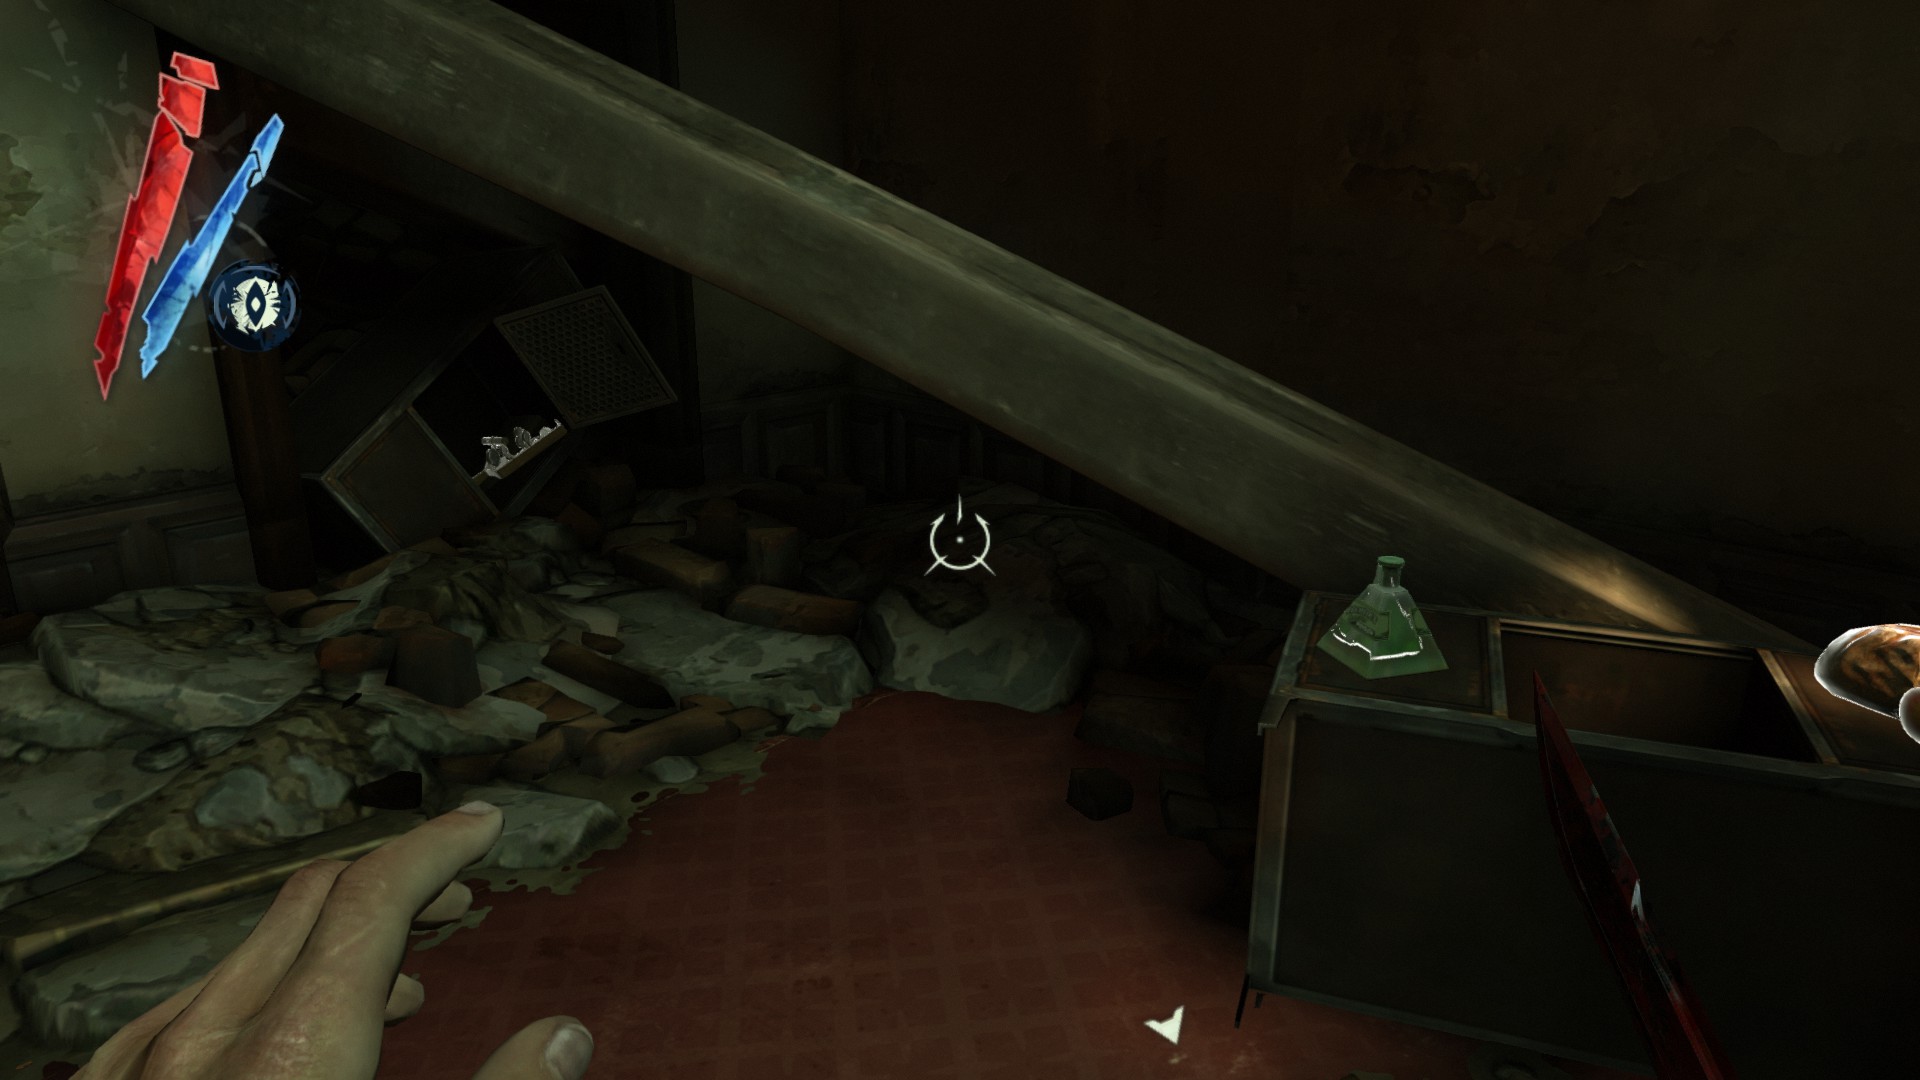
In the kennels Sokolov is imprisoned (this area is only opened after sleep), there is a copper wire in the rubble underneath the stairs leading to the second floor. It's very hard to see, but Dark Vision made it much easier.
(+10)
There is also a hemlock essence on one of the large metal containers.
(+20)

Head upstairs now. There are shelves on both sides of this room: the left side has a tyvian ore and a medicinal herbs, and the right side has another tyvian ore.
(+60)
Mission 5 - Lady Boyle's Last Party (4915)
Points of no return
- Three guests at the main entrance of the Boyle Estate disappear if you approach the estate by other two methods (sewers or guard quarters), and the banner "Boyle Estate" will appear onscreen to identify this warning
- Lord Brisby disappear after non-lethal method is done if not pickpocket early
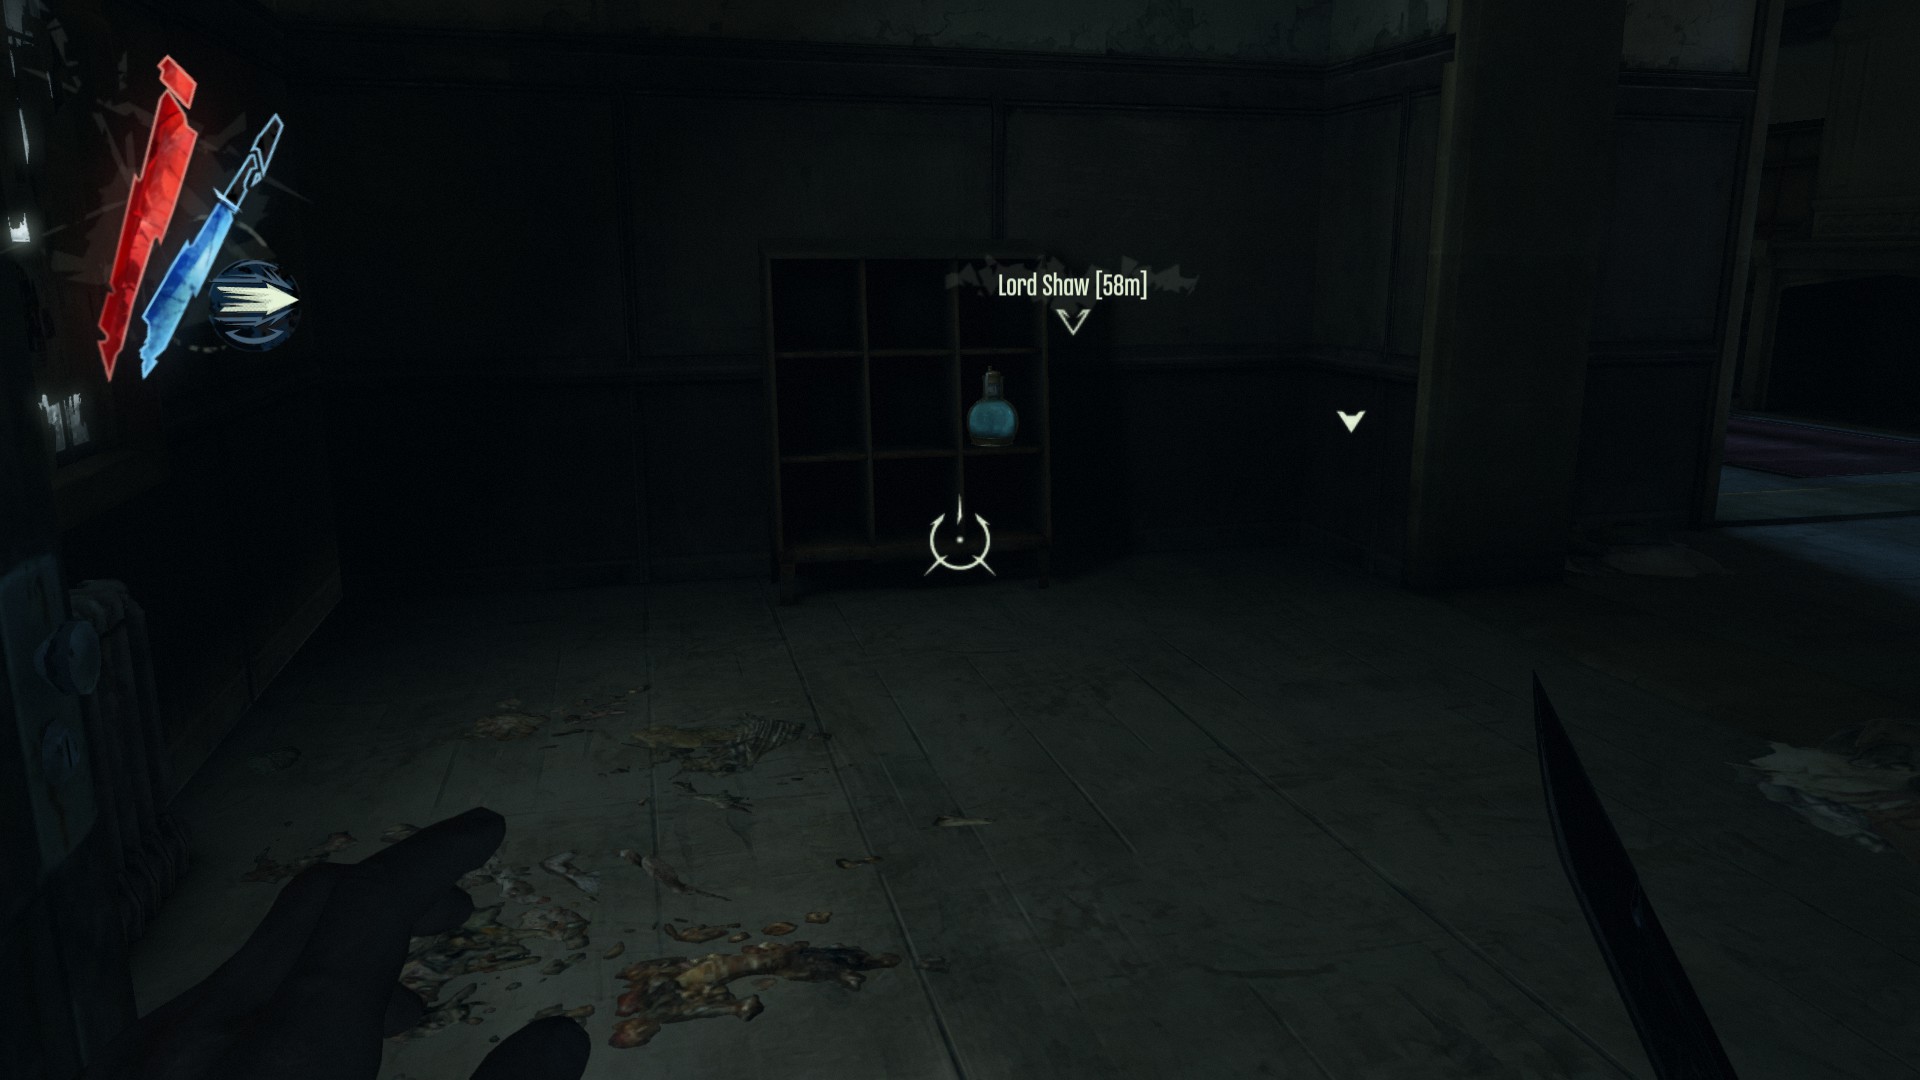
- If you deliver the letter to Lord Shaw instead of kill him anyway, Treavor will give you a rune instead 100 coins next visit
Estate District

From the start, go up the stairs and then, on the streets, go down another stairs. Through a doorway, you will find a coin laying on the ground. If hard to see, use Dark Vision.
(+1 -> 1/4915)
A survivor is carrying a pouch in the spotlight area.
(+10 -> 11/4915)

There are 3 copper wires on this area: on a table next to a rewire tool, on the ground next to a crate, and on a platform behind three whale oil tanks.
(+30 -> 41/4915)
Go inside the nearby building via front door. Up a few floors, go to your right that is marked "GO AWAY" on a door. Near the Outsider Shrine is a medicinal herbs.
(+20 -> 61/4915)
In this room, there is a hemlock essence and a powdered crystal on the counter. There is also a coin below it.
(+55 -> 116/4915)
Go up to the roof, you will find a coin on the floor next to the doorway.
(+1 -> 117/4915)
Now climb up the rooftops and head to the left edge. Look down, you should see a balcony that you can drop down onto. Inside there is a powdered crystal and 2 medicinal herbs on and under a table, and a coin next to a radiator.
(+75 -> 192/4915)
Go into the next room. There is a kingsparrow feathers on a small table, and a processed whale oil on a shelf.
(+40 -> 232/4915)
Go back to the street and find a guard shack next to the bridge. There is a coin in a locker inside.
(+5 -> 237/4915)
There is also a coin inside the dumpster next to this shack.
(+1 -> 238/4915)
Go across the bridge to find another guard shack. There is a coin inside it.
(+5 -> 243/4915)
Follow the way to your left, and at the end is a coin laying on the ground.
(+1 -> 244/4915)
Now keep going down the street while avoiding a tallboy. Look up to see a stone balcony that you can climb your way up here. On the floor is a coin.
(+1 -> 245/4915)
Go inside the guard quarters via the front doorway. There is a medicinal herbs inside a dumpster, and a coin on the ground near this dumpster.
(+21 -> 266/4915)
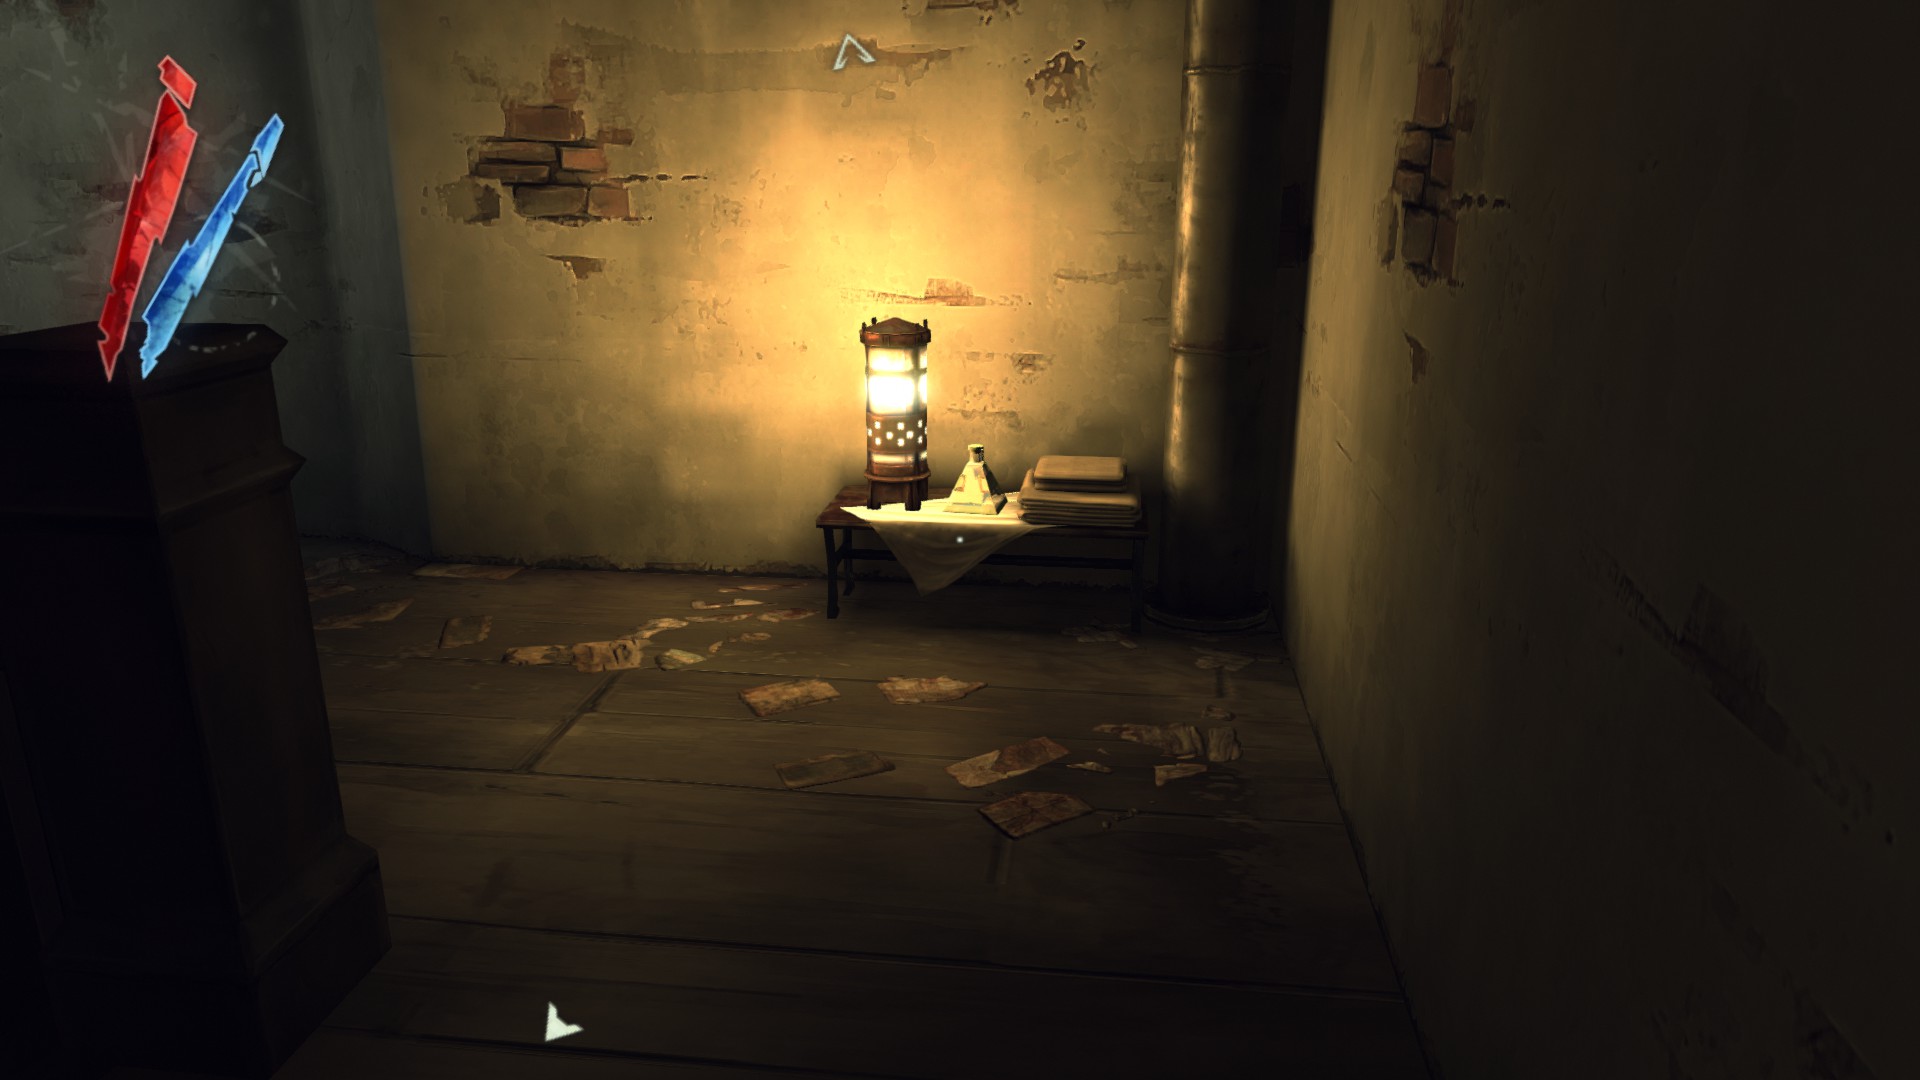
Next room, there is a coin next to a lamp surrounded by four weepers. Use Bend Time II to grab this coin.
(+5 -> 271/4915)
In the third floor, there is a processed whale oil on a shelf in front of you.
(+30 -> 301/4915)
A kingsparrow feathes is on a counter, and a medicinal herbs is inside a locker nearby.
(+30 -> 331/4915)
There is a cabinet next to the fireplace with 2 processed whale oils inside.
(+60 -> 391/4915)
There are 2 coins and a processed whale oil on a shelf in the next room.
(+32 -> 423/4915)
Go through the opposite door now, and through a window right in front of you. Inside there are 2 coins on a desk.
(+2 -> 425/4915)
Outside the main entrance of the estate, there are three guests here, two of them are carrying pouches.
Assuming you've grabbed the other loot from Estate District and as long as the banner doesn't appear while ignoring other two methods.
(+75 -> 500/4915)
Boyle Estate
2 medicinal herbs are on a shelf and a desk in the guardhouse.
(+40 -> 540/4915)
Two guests are carrying pouches at the main entrance of the estate. These guests will eventually walk to the main door of the mansion and stay there.
(+50 -> 590/4915)
Next to a guard and an alarm is a building. Go through that door, there is a copper wire on the ground on your right.
(+10 -> 600/4915)
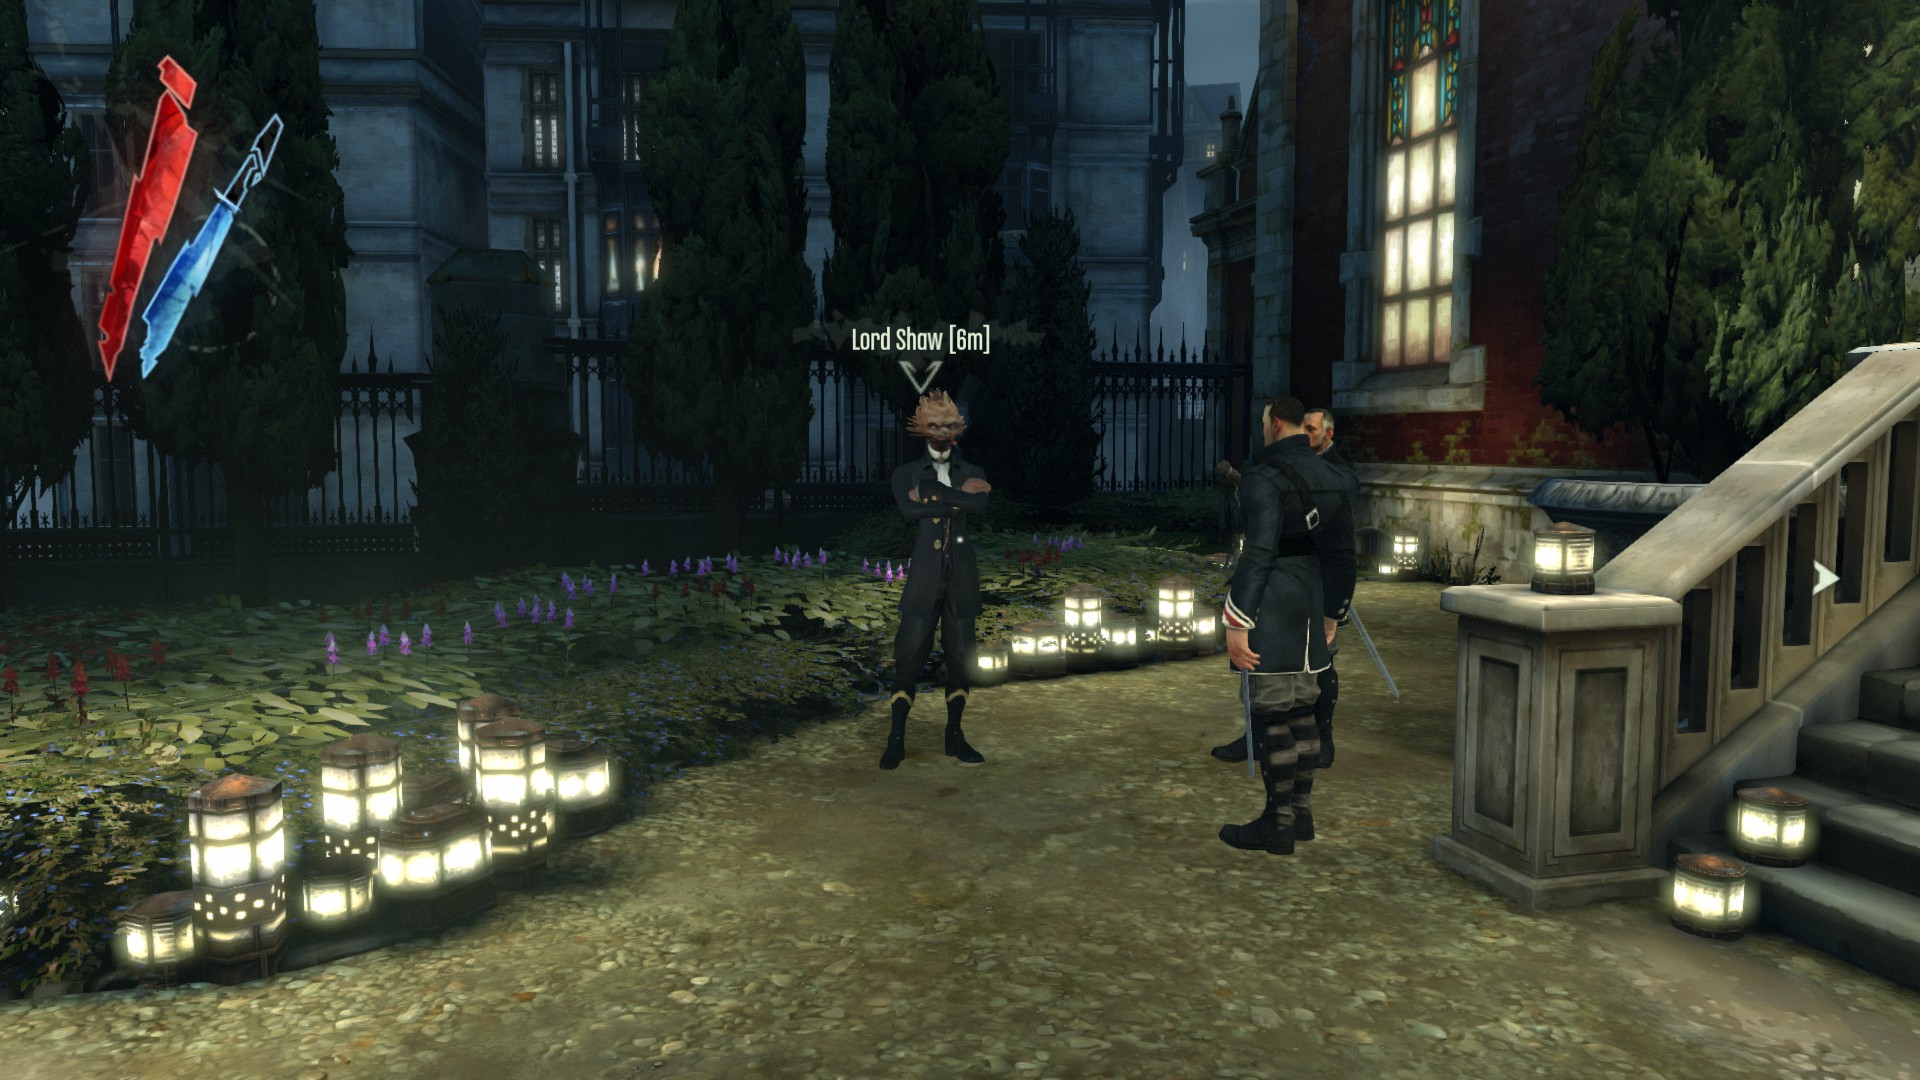
Lord Shaw is carrying a pouch.
(+100 -> 700/4915)
Boyle Mansion First Floor
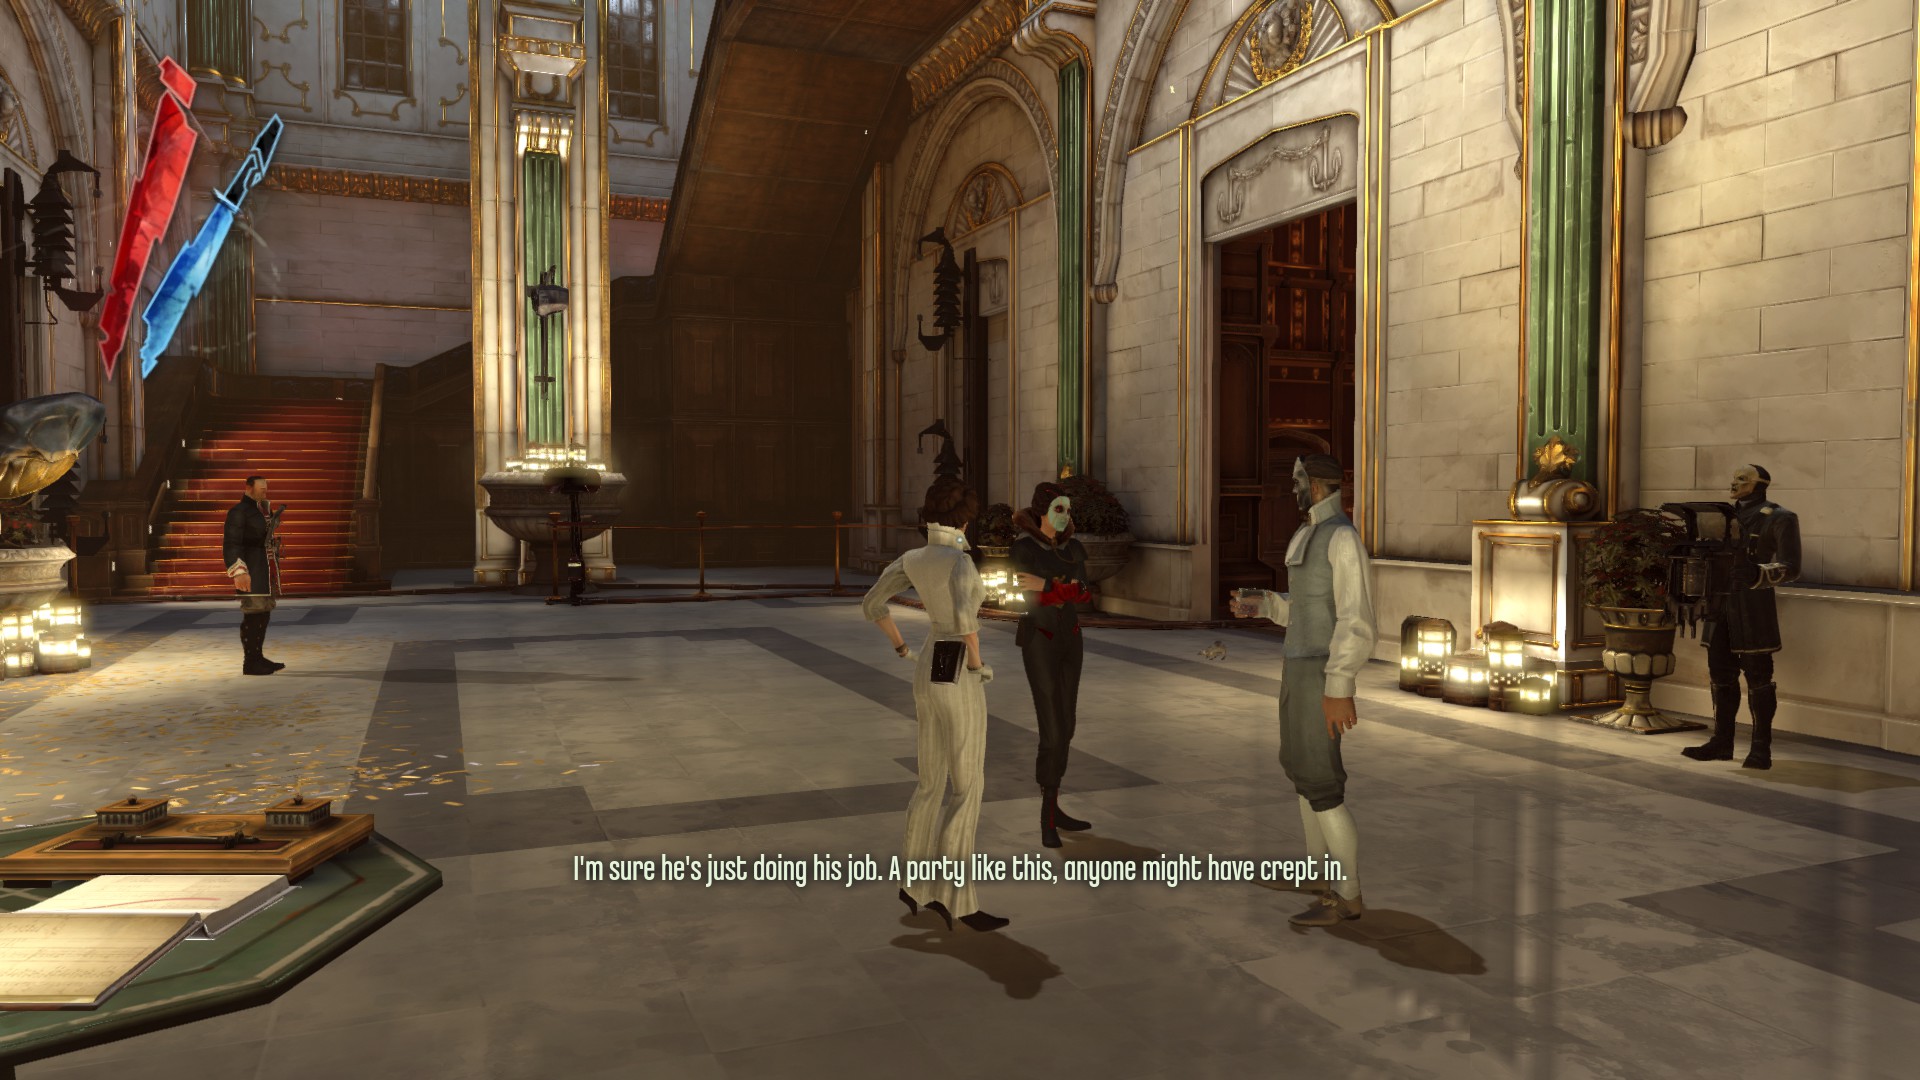
There are many guests, three Boyle sisters and a guard carry many pouches in the first floor. It's Pickpocket Time! Make sure you've pickpocket them while guards and overseers' line of sight is blocked off. Being seen twice by the same enemy within about 20 seconds will cause you to be detected.
Here are the locations:
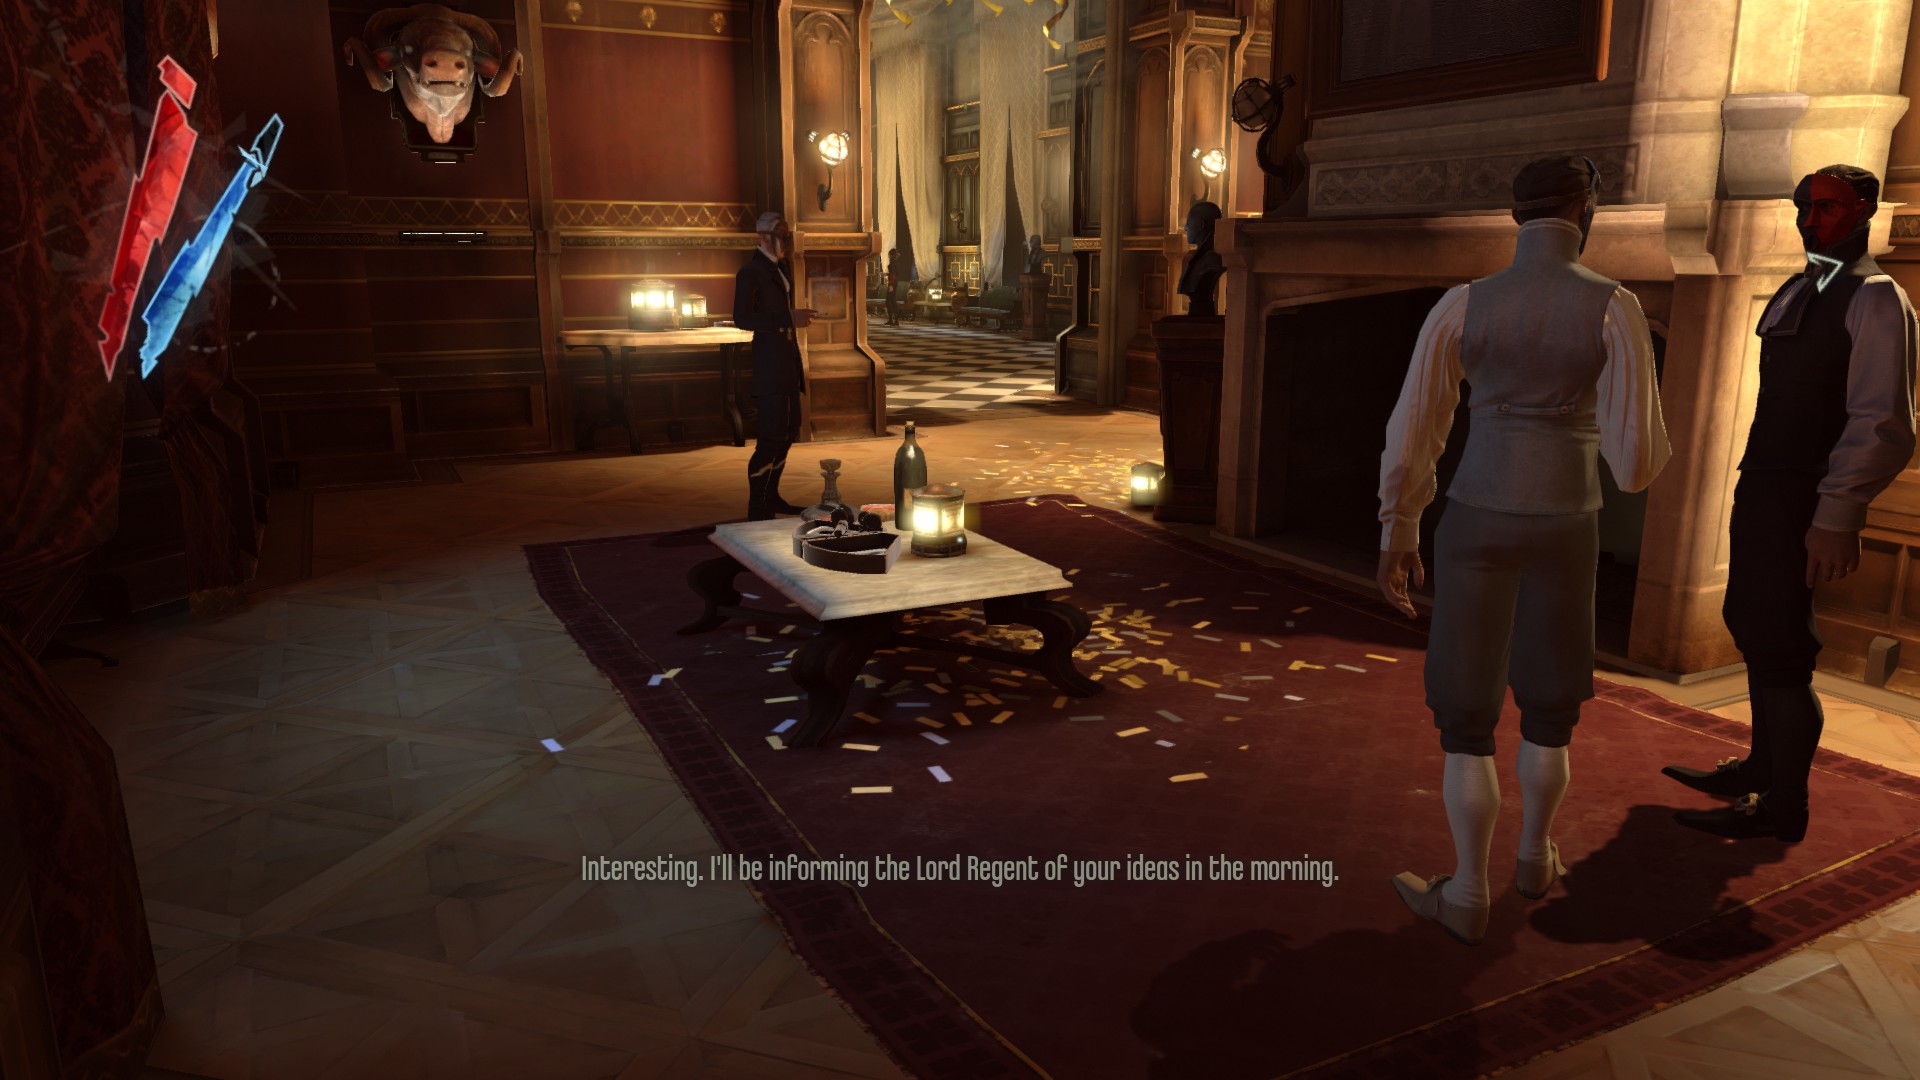
- In the foyer, there are three guests conversing with each other, they all carry a pouch of 20 coin each, totalling 60
- Three guests are in the library, carrying pouches of 20, 20 and 50 coin, totalling 90
- Ramsay and Miss White are carrying pouches of 100 coin in the parlor, totalling 200
- Three Boyle sisters are carrying pouches of 100 coin, totalling 300
- Three guests are in the smoking room, carrying pouches of 10, 20 and 50 coin, totalling 80
- Lord Brisby is carrying a pouch of 100 coin
- Three guests are in the banquet hall, carrying pouches of 25, 20 and 50 coin, totalling 95
- A guard patrolling the banquet hall and the music room, is carrying a pouch of 25 coin
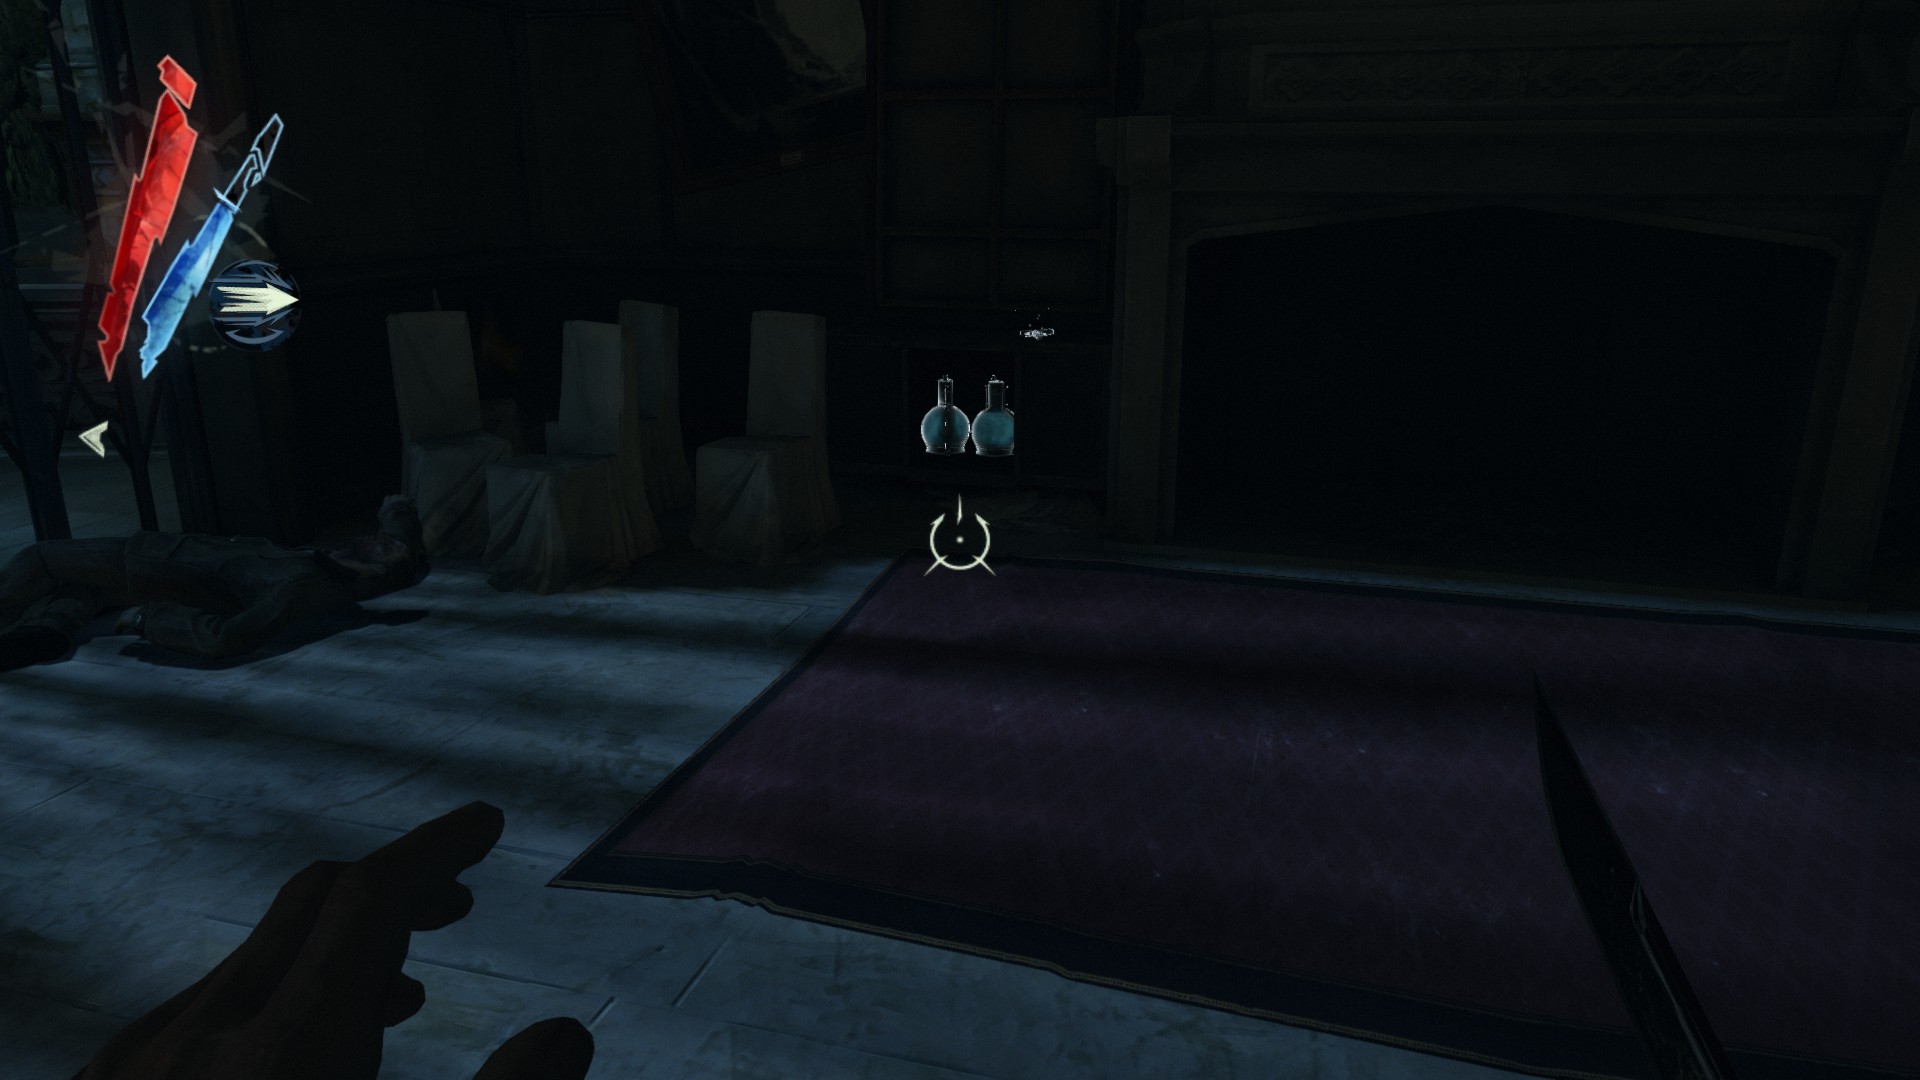
In the parlor, there is the Boyle Whale Statuette on a table.
(+150 -> 1800/4915)
In the hallway, there is a door between the parlor and the smoking room, so go through it. A hemlock essence is on the sink.
(+20 -> 1820/4915)
In the smoking room, there is the Boyle Sextant on a table.
(+150 -> 1970/4915)
Mission 5 - Lady Boyle's Last Party, pt. 2
Boyle Mansion Second Floor
Go back to the estate and climb up to the large balcony to enter the door that leads to Esma Boyle's room.
There is the Boyle War Medal on a table here.
(+150 -> 2120/4915)
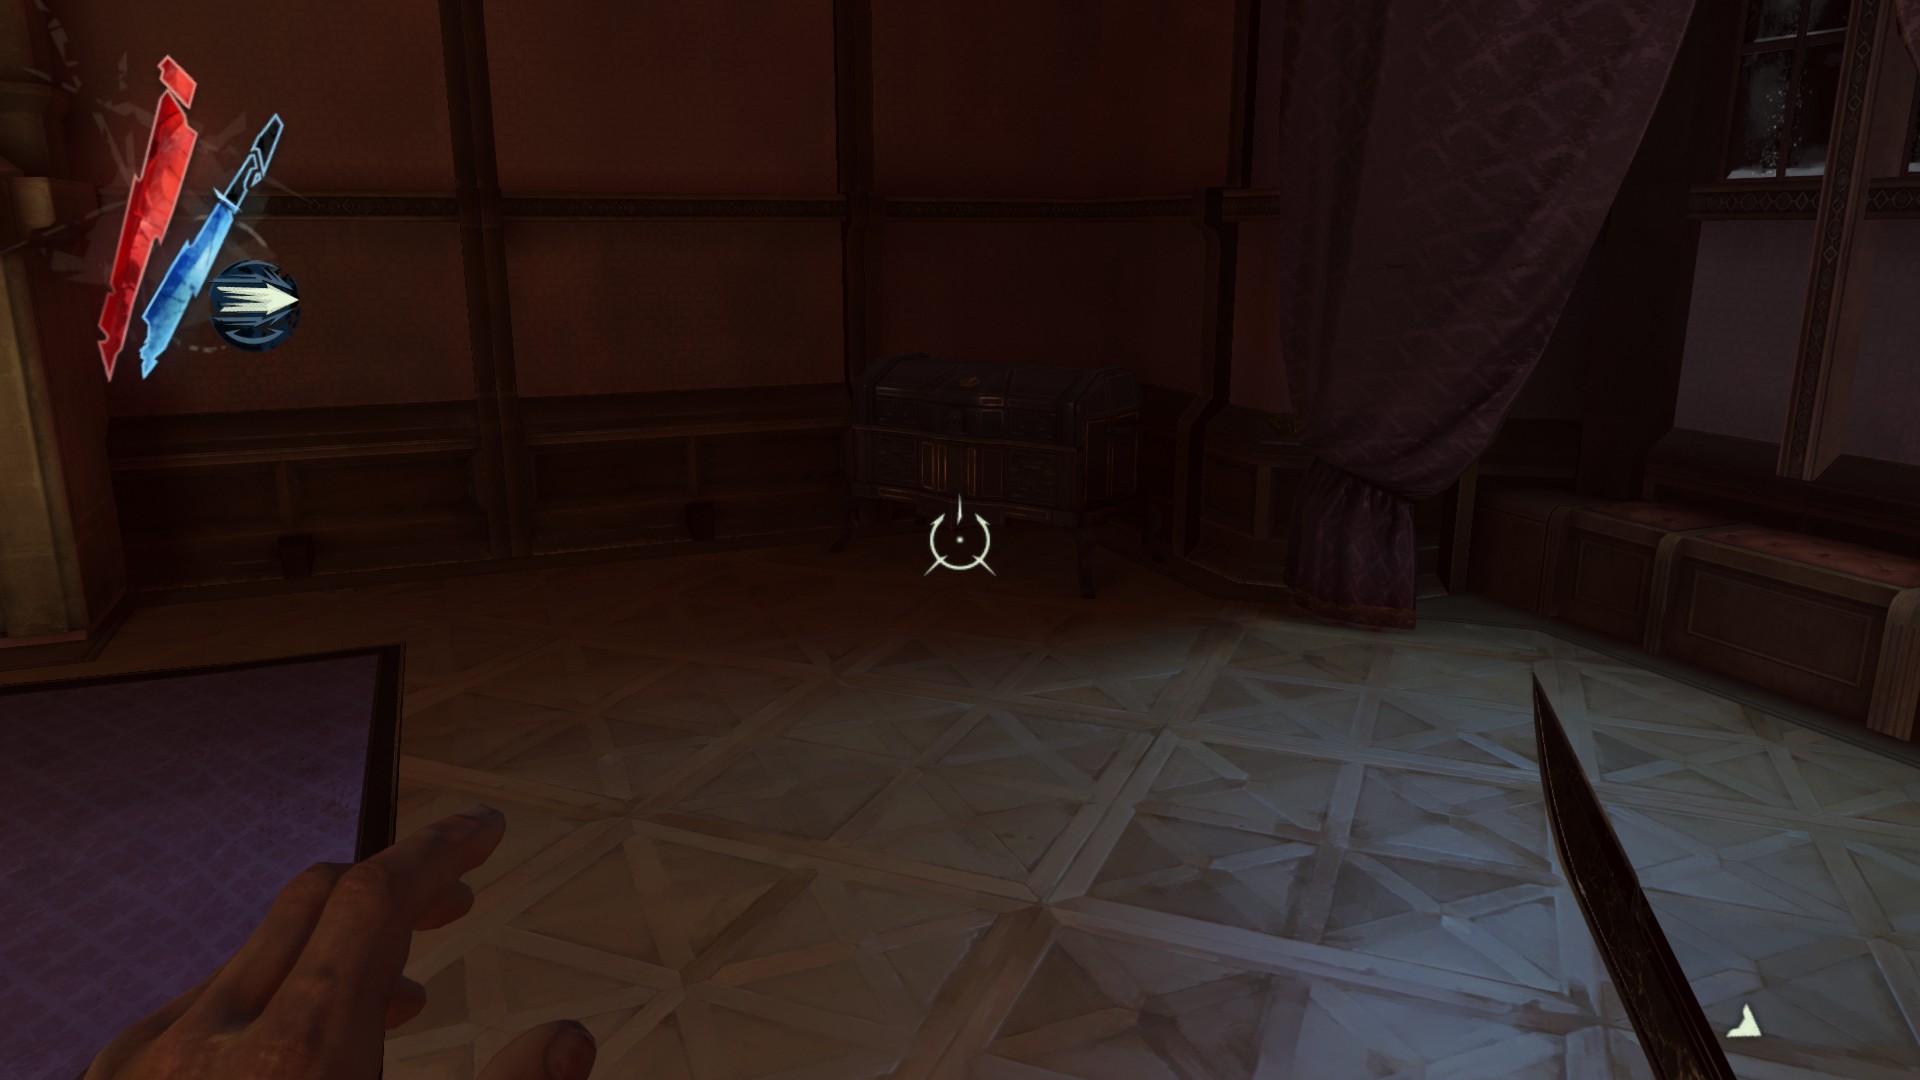
Go into the bathroom, and in the chest next to the bathtub is a small river krust pearl.
(+25 -> 2145/4915)

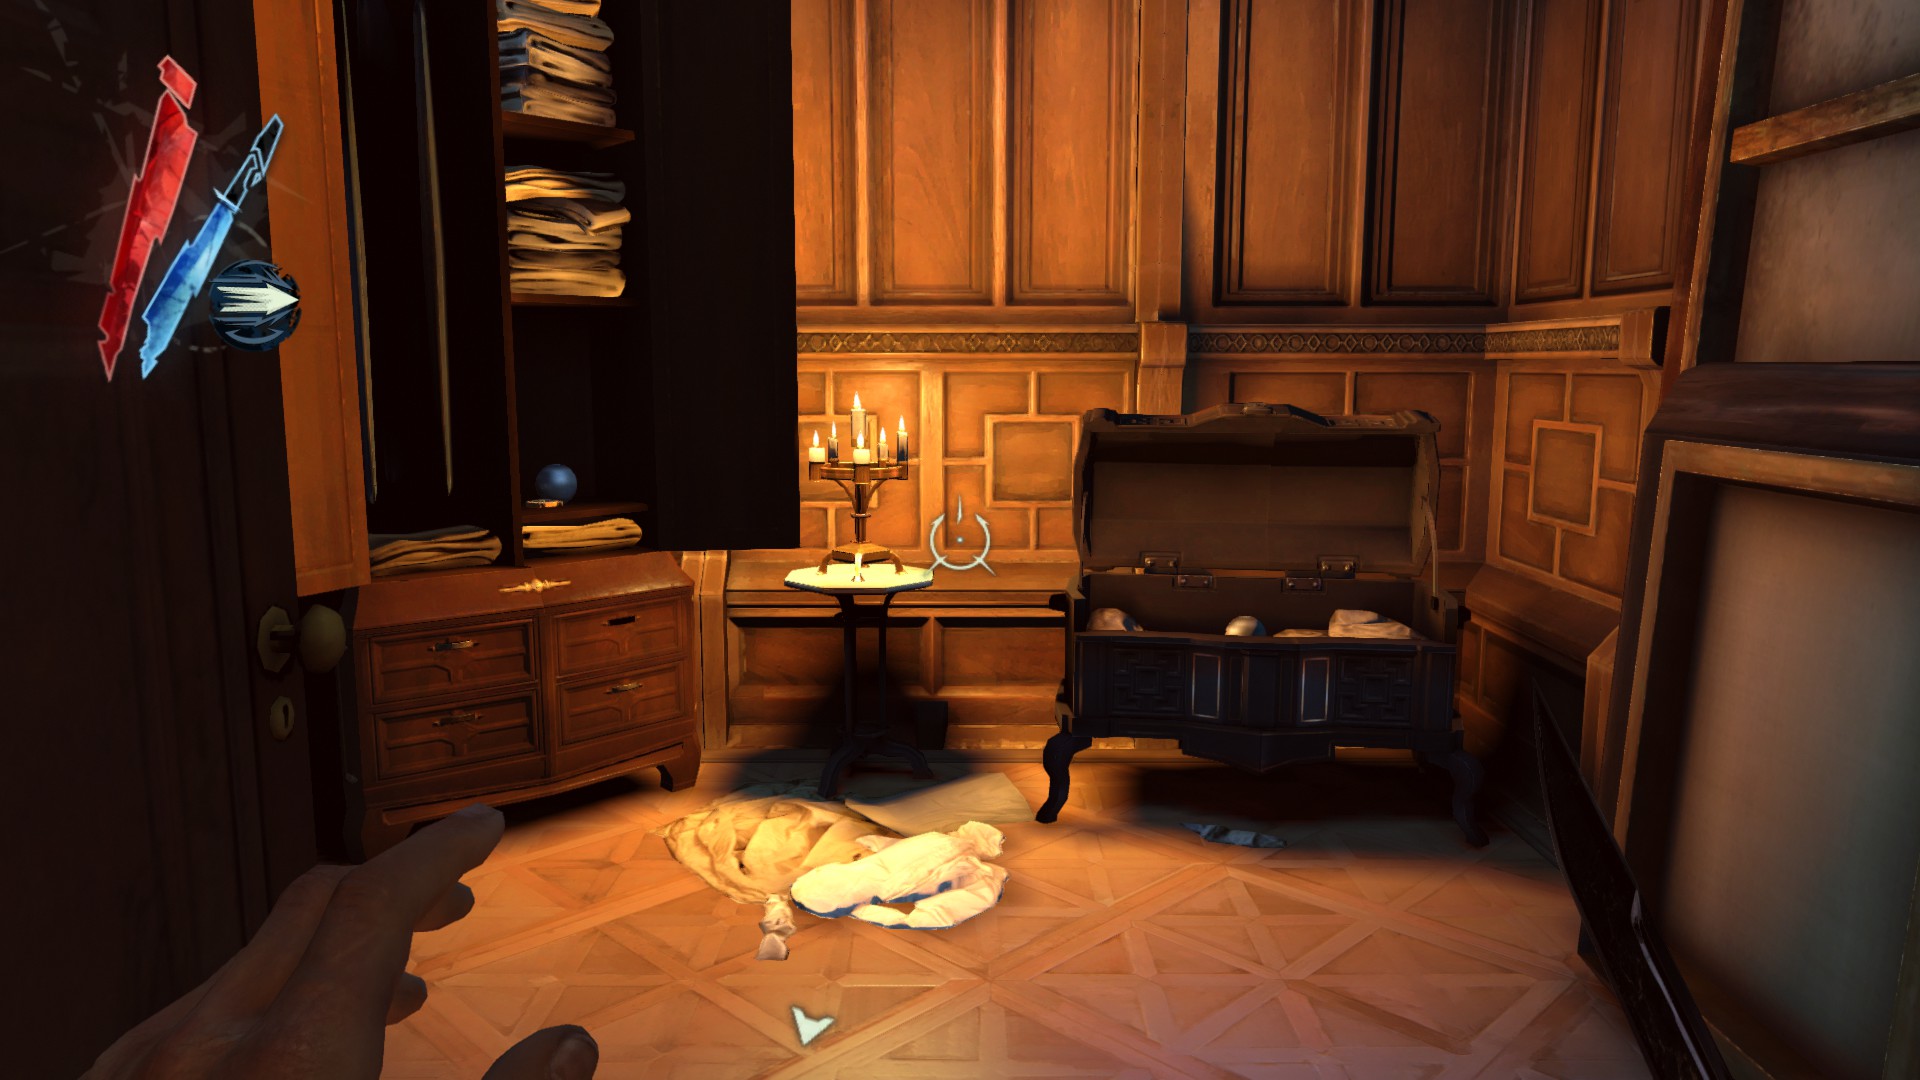
Use the switch to open the door to the attic above you. Inside there are 2 ingots and the Boyle Cameo in the chest.
(+350 -> 2495/4915)
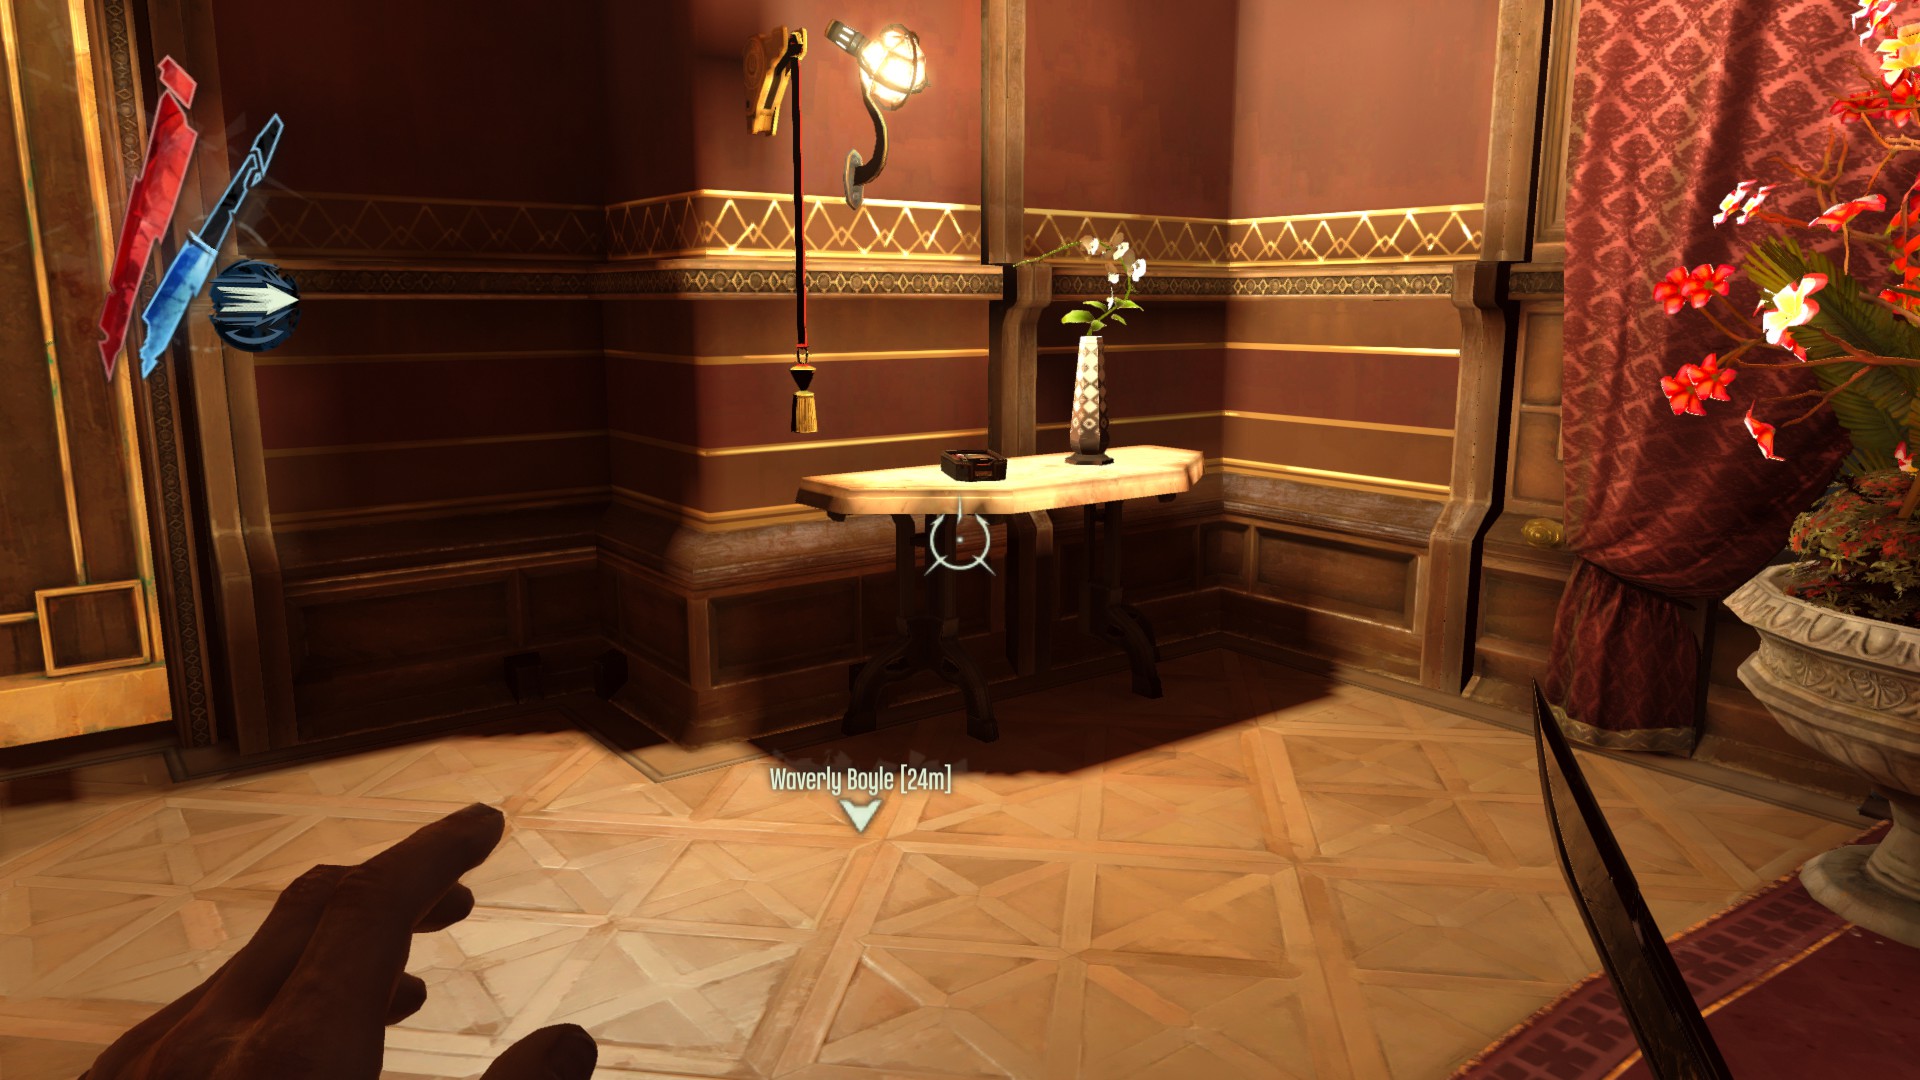
From the attic to Waverly Boyle's room, the chest here contains a small river krust pearl.
"The Spymaster's Axis of Asymmetry" painting here is located in one of the Boyle sisters' rooms, it's random whenever the sister is the target.
(+325 -> 2820/4915)
The Boyle Decor Plate is on the table next to her bed, and the Boyle Jewel Box is on the vanity nearby.
(+300 -> 3120/4915)
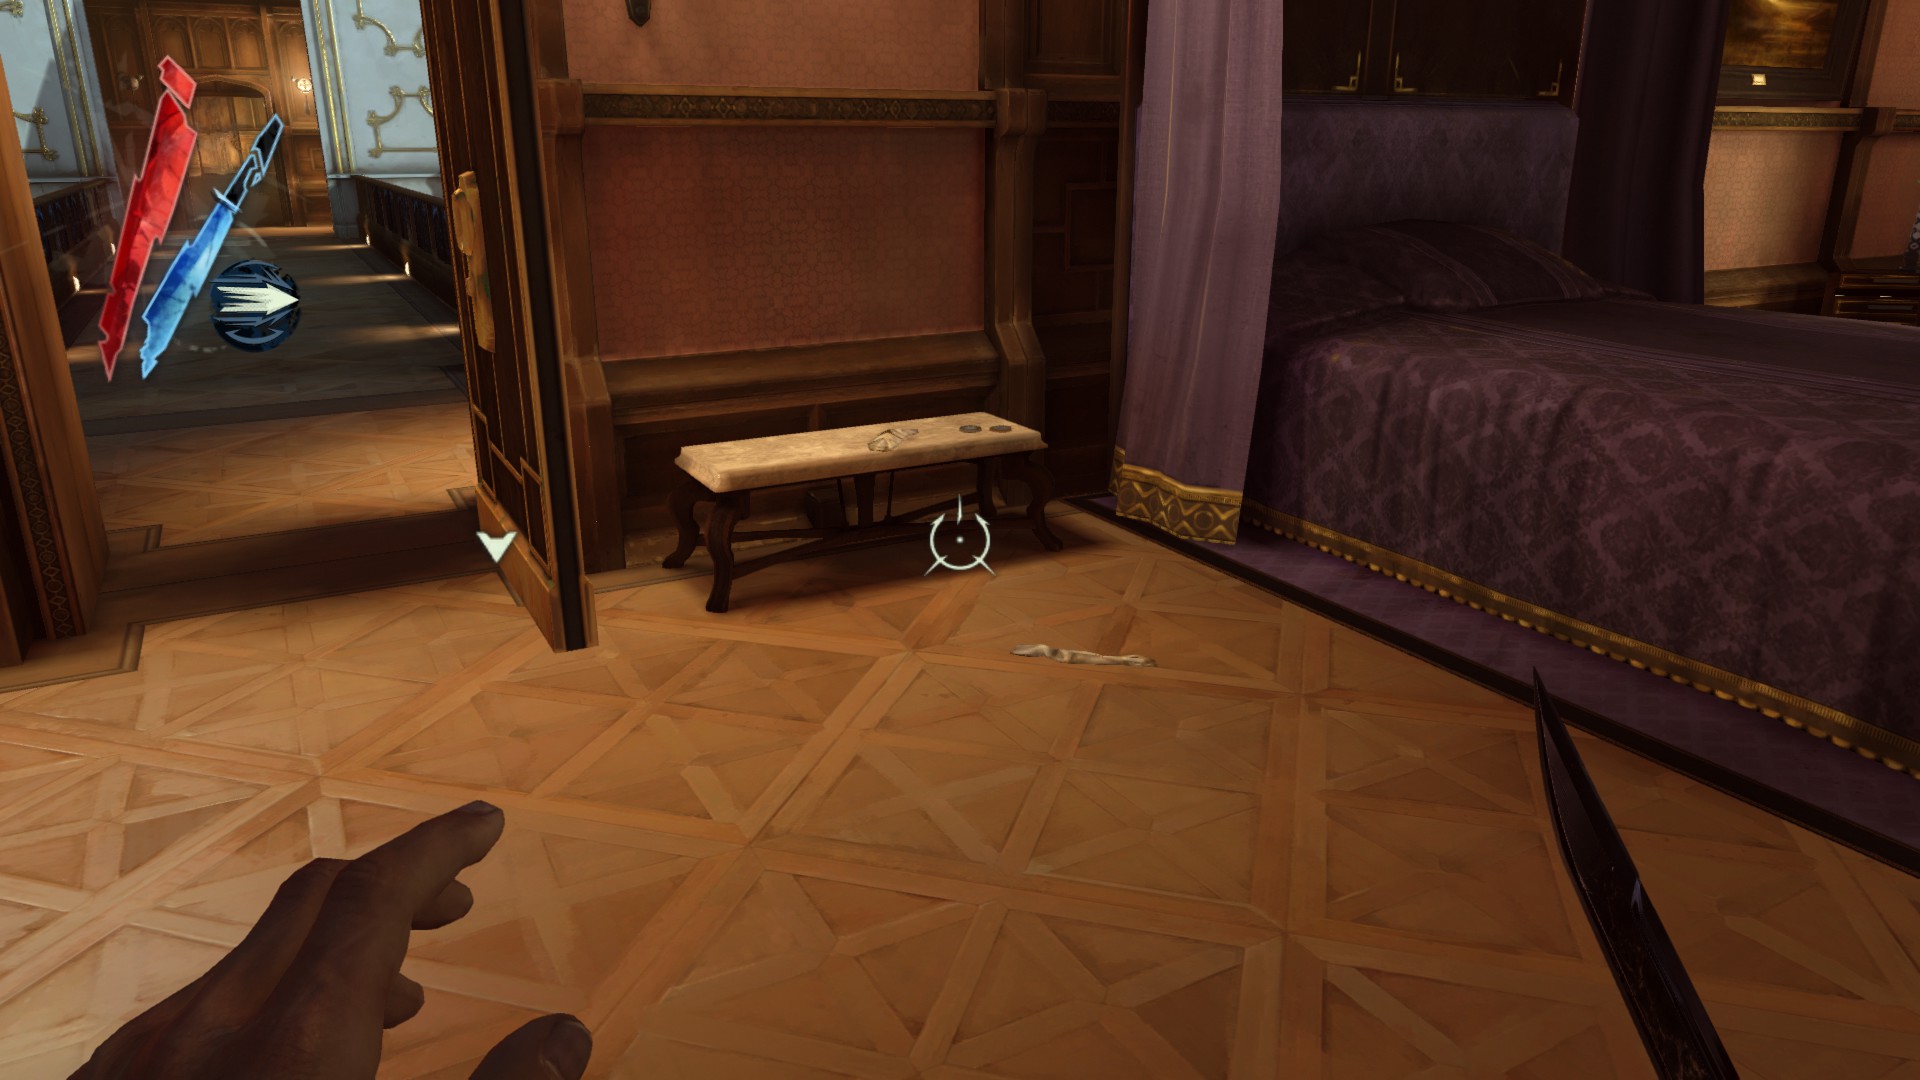
Exit this room, and right on the left in the hallway is a small closet. There are 2 coins in the wardrobe.
(+20 -> 3140/4915)
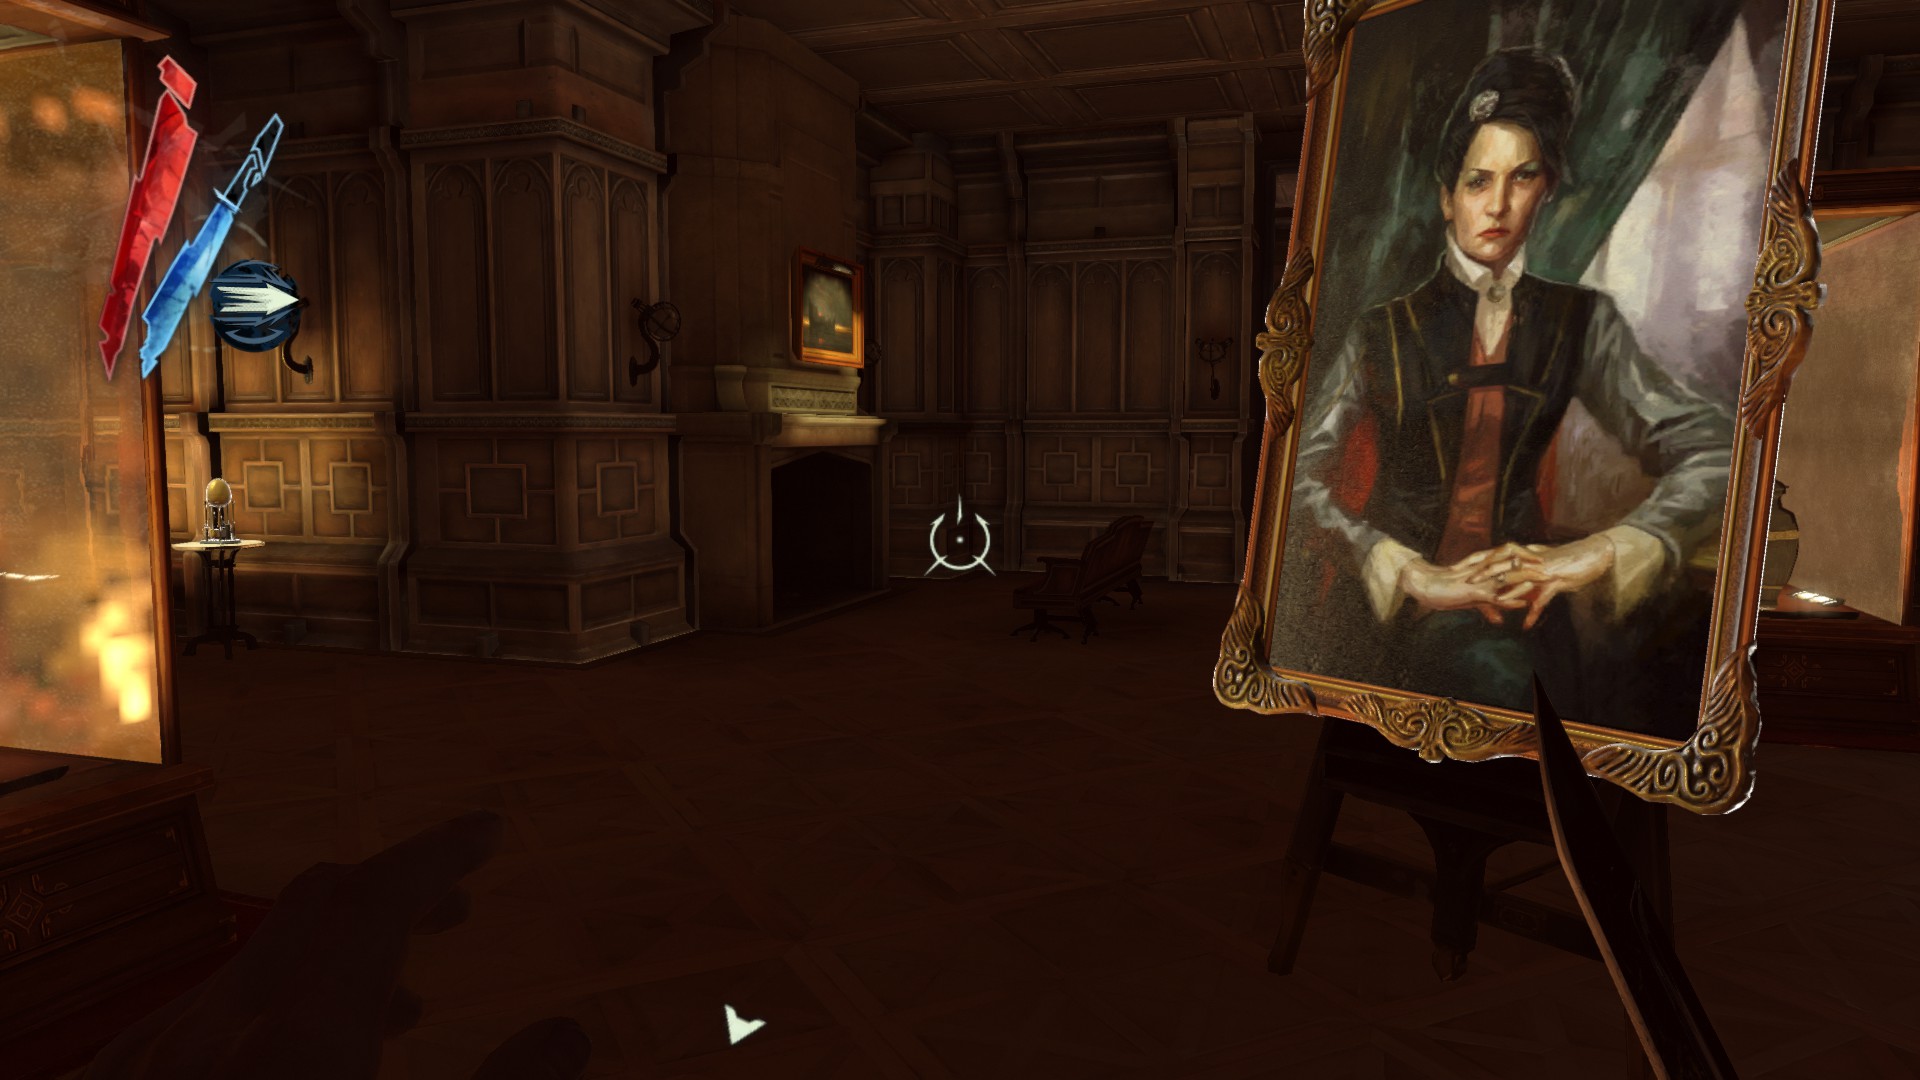
In the gallery full of urns, "Vera Moray and the Affix of Her Skin" painting is sitting on its easel. There is also the Boyle Egg on a small table near it.
(+450 -> 3590/4915)
In Lydia Boyle's room, there is 1 large and 5 small river krust pearls in the chest.
(+175 -> 3765/4915)
Turn around to find 2 coins on the table.
(+20 -> 3785/4915)
Go into the bathroom, there is a large river krust pearl and the Boyle Pocket Watch in the wardrobe, and another large river krust pearl inside the chest.
(+250 -> 4035/4915)
Now go down the hall from Lydia's room, and at the end is a bathroom. Inside there is the Boyle Cigarette Case here.
(+150 -> 4185/4915)
Boyle Mansion Cellar
Head downstairs all the way down to the cellar from Esma's room.
Go through the left door, and on the bunk bed is a coin and in the lockers are 4 coins.
(+9 -> 4194/4915)
In the area full of barrels, there is a hemlock essence on a barrel between storage shelves, and on the ground nearby is a coin.
(+21 -> 4215/4915)
There is the door to the basement vault. The key is located in Lydia's room, or just possess a rat and crawl through the vent in the kitchen. Inside there is the Imperial Urn, 5 ingots, and 2 tyvian ores on the shelf.
(+690 -> 4905/4915)

Exit to the sewers from the cellar, there is a copper wire next to a chair.
(+10 -> 4915/4915)
The Hound Pits Pub, 5th visit (260)
Points of no return
- None
There are two river krusts here in the sewers; the one is next to the submerged boat and the other one is near the pipes. Each has a large river krust pearl.
(+100)
A copper wire is on the trunk in the second floor of Piero's Workshop.
(+10)
A medicinal herbs is on the bar in the pub.
(+20)
A powdered crystal is on the table in the stairwell on the third floor.
(+30)
If you didn't deliver the letter to Lord Shaw but killed him anyway, Treavor will give you 100 coins instead a rune.
(+100)
Mission 6 - Return to the Tower (2175)
Points of no return
- None
Dunwall Tower Waterlock
Start climbing up through the waterlock, there is a tunnel about halfway up, on the left side, with a corpse. There are 4 coins beneath this corpse.
(+16 -> 16/2175)
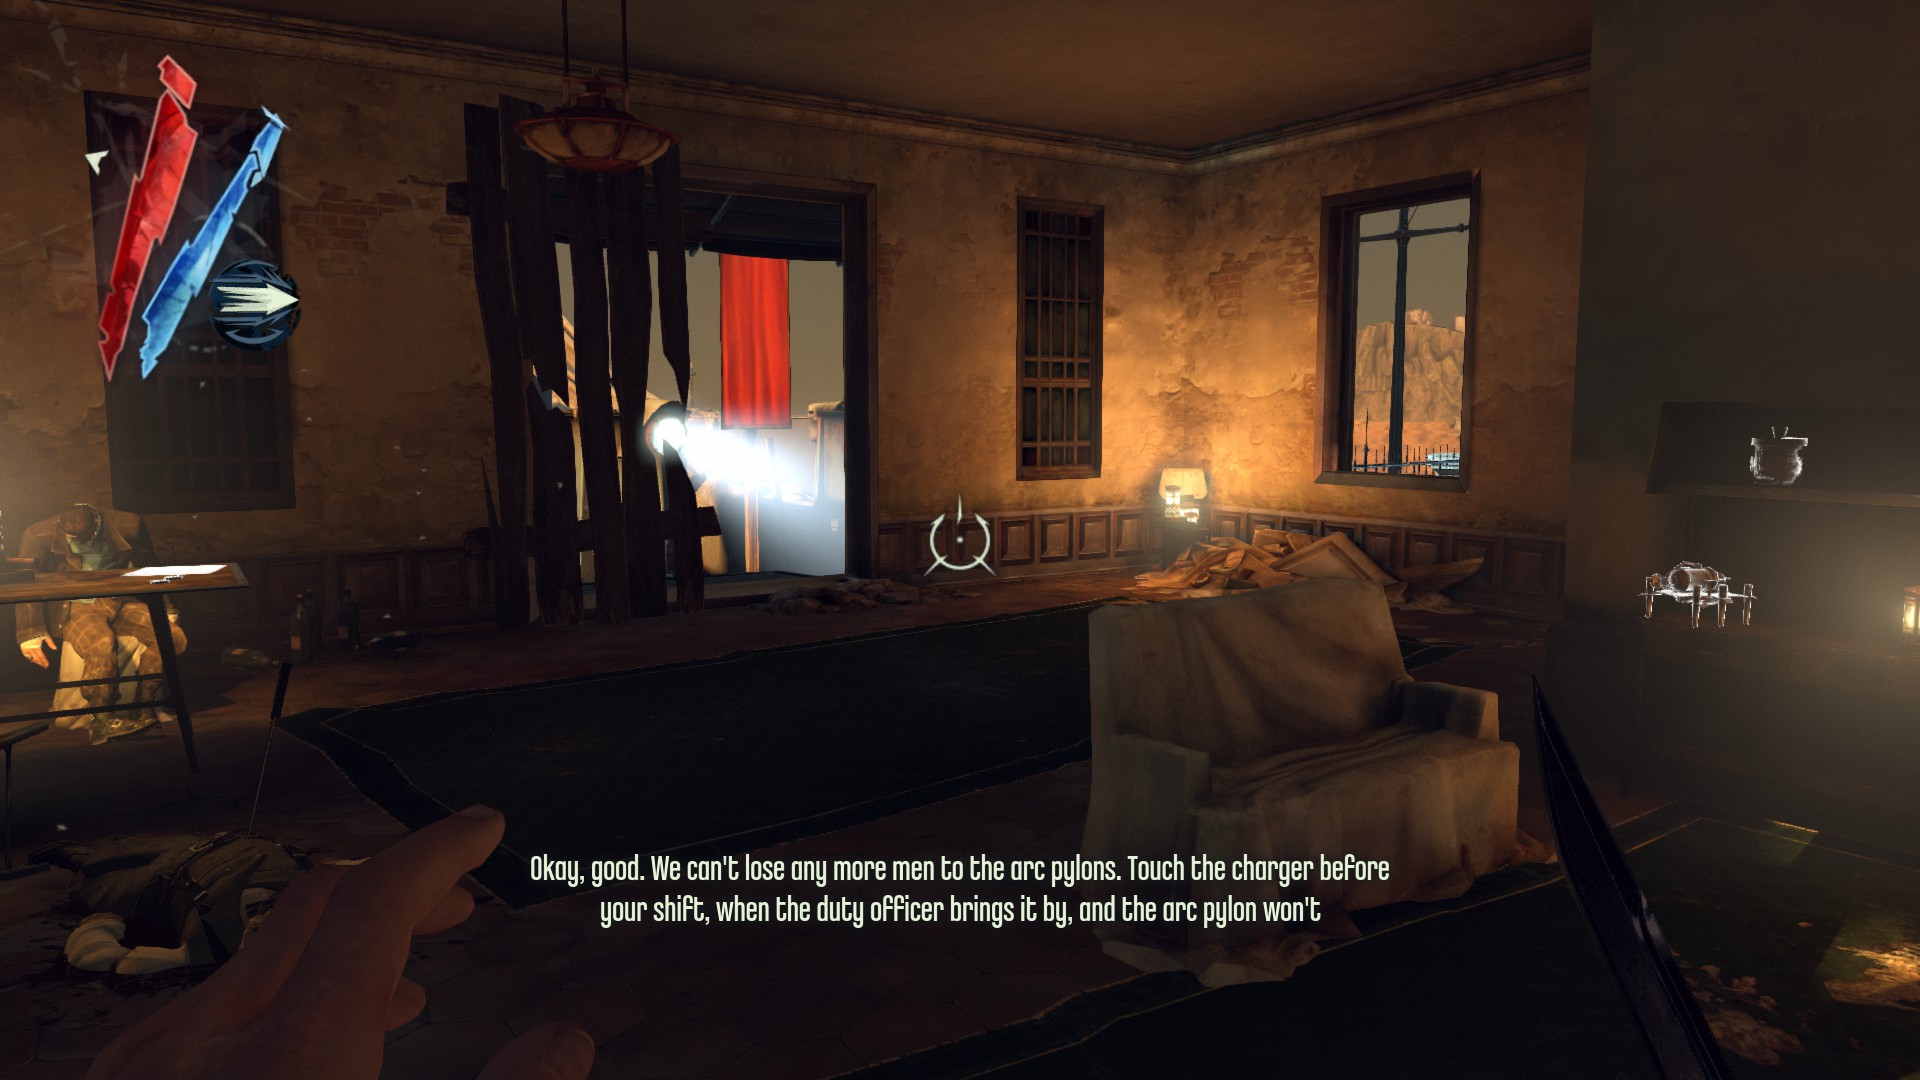
There is a door near the top leading to a room with an arc pylon. Near the arc pylon is a processed whale oil on a control console, and near the whale oil power source is a copper wire on top of an electrical cabinet.
(+40 -> 56/2175)
Now go upstairs and through a door. A guard in this area here is carrying a pouch.
(+20 -> 76/2175)
In the next area, there is a medicinal herbs on a control console at the left side.
(+20 -> 96/2175)
At the end of the left side is a door that leads down a stairway to an area with crates. You will find a processed whale oil on a crate. Beware of a tallboy.
(+30 -> 126/2175)
From the bridge with the wall of light, there is a hemlock essence on a crate next to a guard shack.
(+20 -> 146/2175)
Dunwall Tower Exterior
At the middle of the courtyard is a guard shack with a kingsparrow feathers on top of it.
(+10 -> 156/2175)
Go inside it, you will find a powdered crystal in a shelf.
(+30 -> 186/2175)
At the left side of the yard is the gazebo, and in the back is the waterworks room. A guard is carrying a pouch in the gazebo.
(+50 -> 236/2175)
In the waterworks room, there is a tyvian ore on a table, and a hemlock essence on a shelf.
(+40 -> 276/2175)
Near the large grate is a medicinal herbs on a shelf.
(+20 -> 296/2175)
There are 3 coins at the bottom of the moat, under the stairs leading up to the front door.
(+3 -> 299/2175)
Keep going swim down to the right side of the tower. There are 2 coins at the bottom here.
(+2 -> 301/2175)
One of two guards is carrying a pouch in the middle of the yard.
(+50 -> 351/2175)
A processed whale oil is inside a nearby guard shack.
(+30 -> 381/2175)
At the right side of the yard is a building. There are three guards patrolling this area, one of them is carrying a pouch.
(+10 -> 391/2175)

In the room with bunk beds, there is a medicinal herbs on a shelf, and 4 coins on a table.
(+32 -> 423/2175)
Exit this room through the doorway next to the table, and go up the stairs to a small room. A processed whale oil is on a shelf, and a tyvian ore and a hemlock essence are in a locker.
(+70 -> 493/2175)
From this room, go to the left past the stairs and drop down to find a tyvian ore at the bottom.
(+20 -> 513/2175)
A copper wire is in the ventilation shaft, one of the routes for entering the Dunwall Tower.
(+10 -> 523/2175)
Jump down into the moat and look for the small gate towards the right end of the moat. You can either rotate the wheel through bars or possess a hagfish and swim through them.
Right in front of you are 3 coins on the ground.
(+7 -> 530/2175)
In this room, there is a medicinal herbs on a sink, and a powdered crystal on a nearby ledge.
(+50 -> 580/2175)
Dunwall Tower
Note: If you take the Skeleton Key from previous mission, all locked doors can be unlocked without needing to search for each key. The key is located in the Boyle sister's room whenever the sister is the target.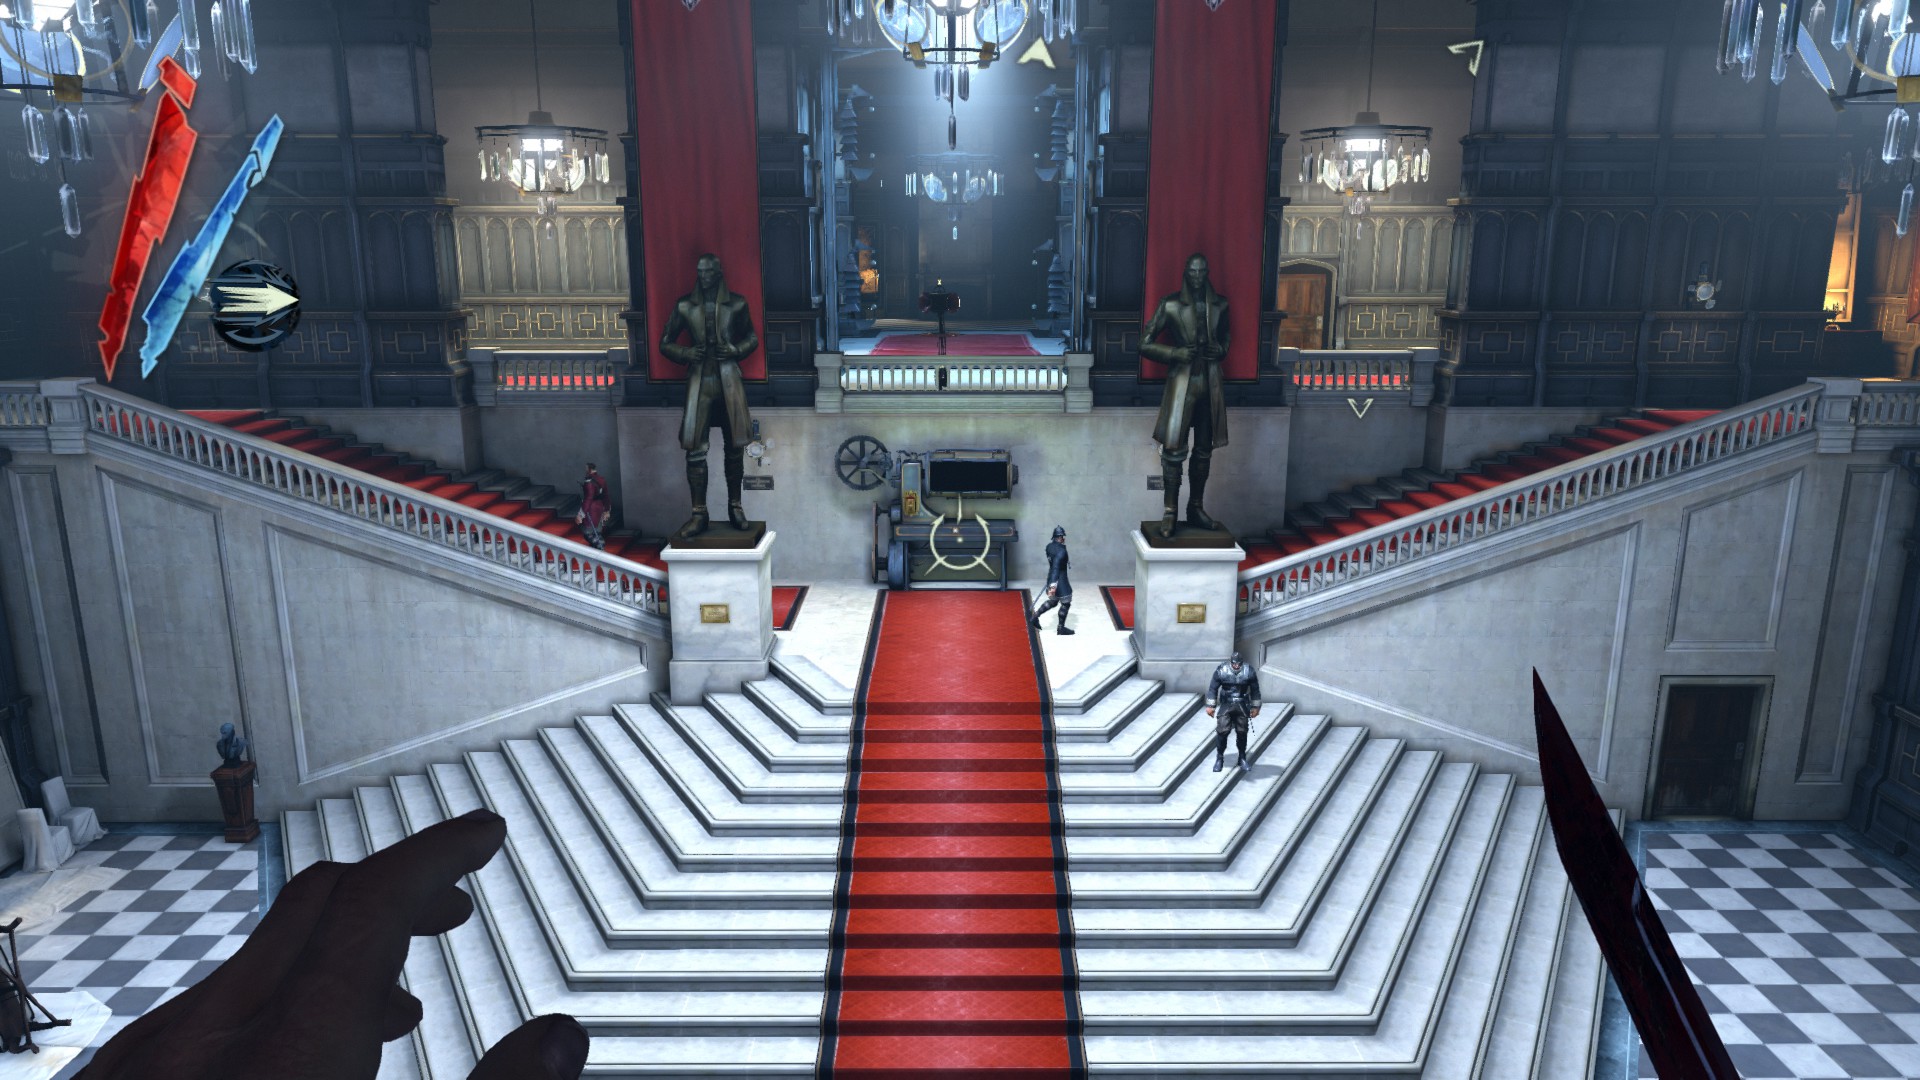
One of the patrolling guards is carrying a pouch in the foyer.
(+50 -> 630/2175)
In the kitchen, there is a medicinal herbs on one of the three tables.
(+20 -> 650/2175)
There is also a copper wire on one of the three shelves.
(+10 -> 660/2175)
At the hallway in the servants' area, go to the first room with bunk beds. There is a kingsparrow feathers and a processed whale oil in the lockers.
(+40 -> 700/2175)
Grab a coin just on the last bunk bed.
(+5 -> 705/2175)
Now go into the second room with bunk beds. There is a hemlock essence on a shelf, and 2 coins, one on the small table each.
(+30 -> 735/2175)
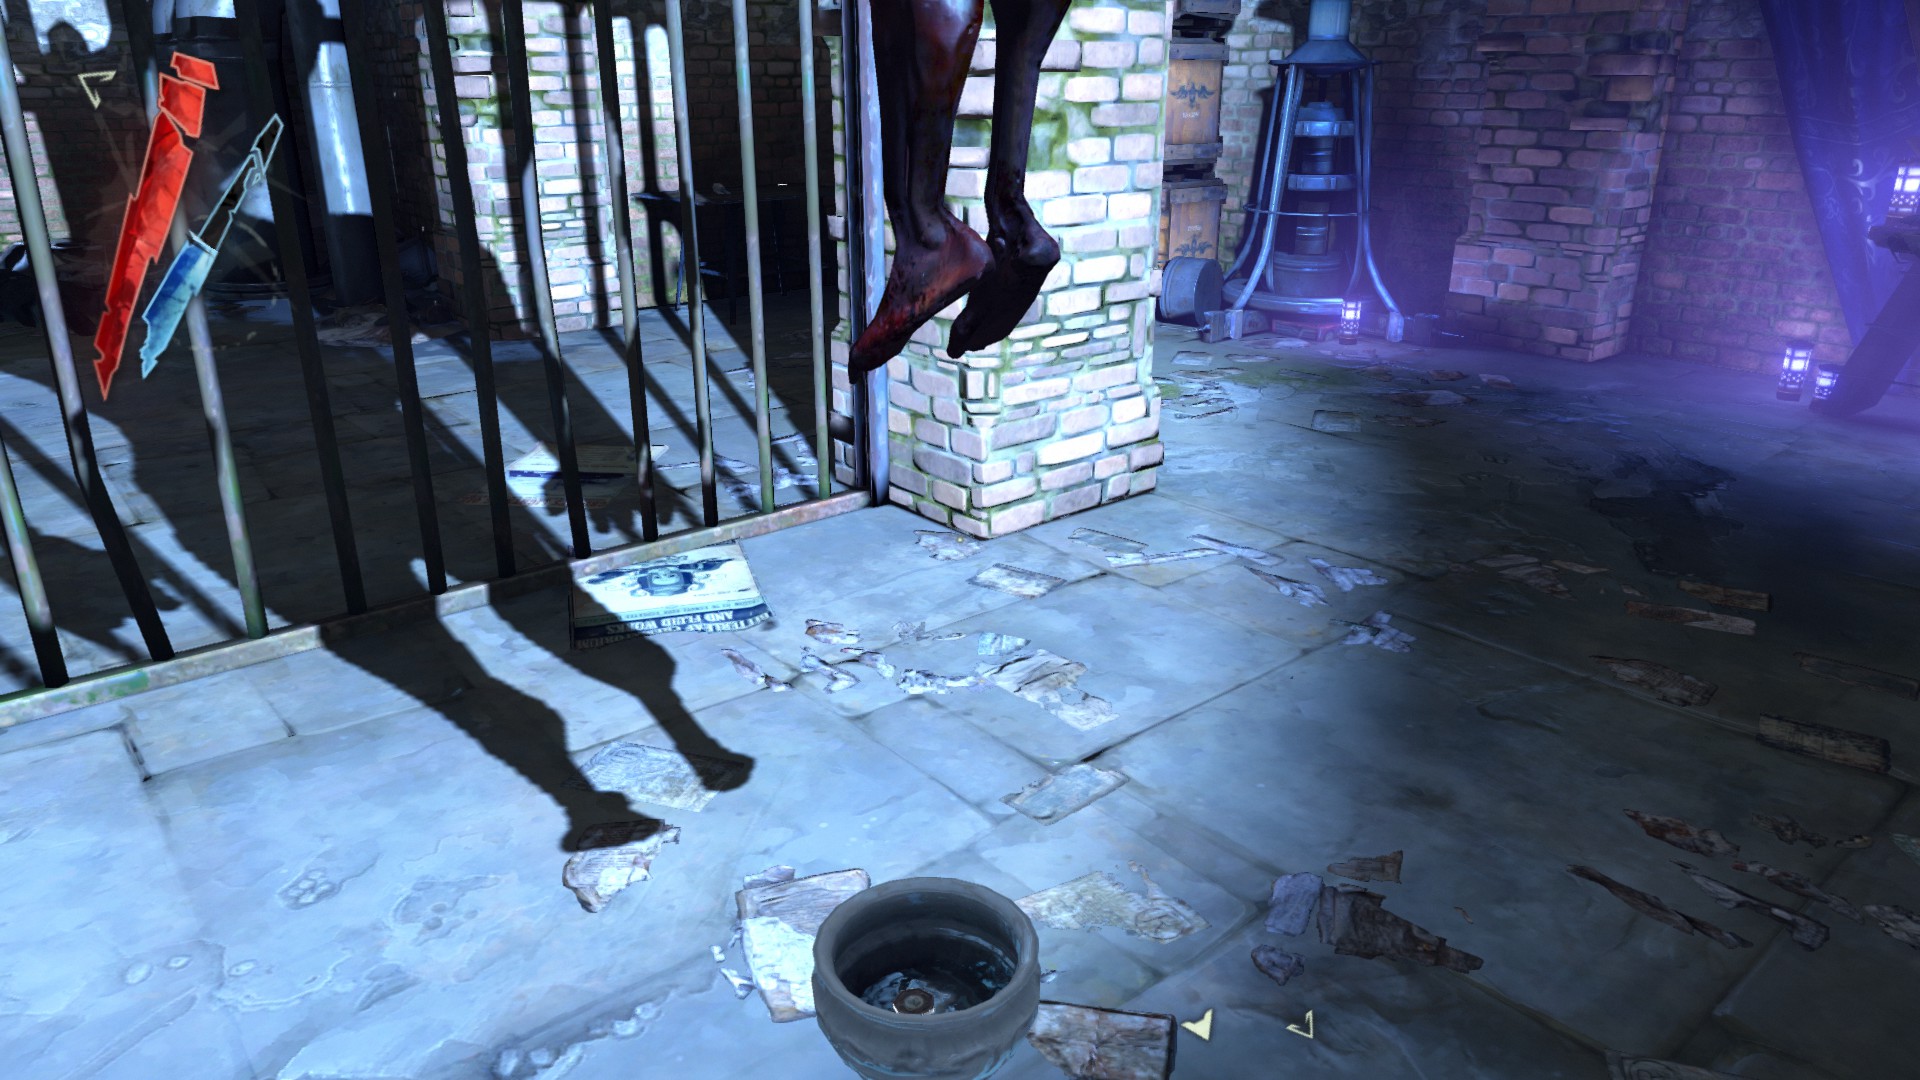
In the torture chamber, there is a coin on a table, and another coin inside the pot below the corpse.
(+10 -> 745/2175)

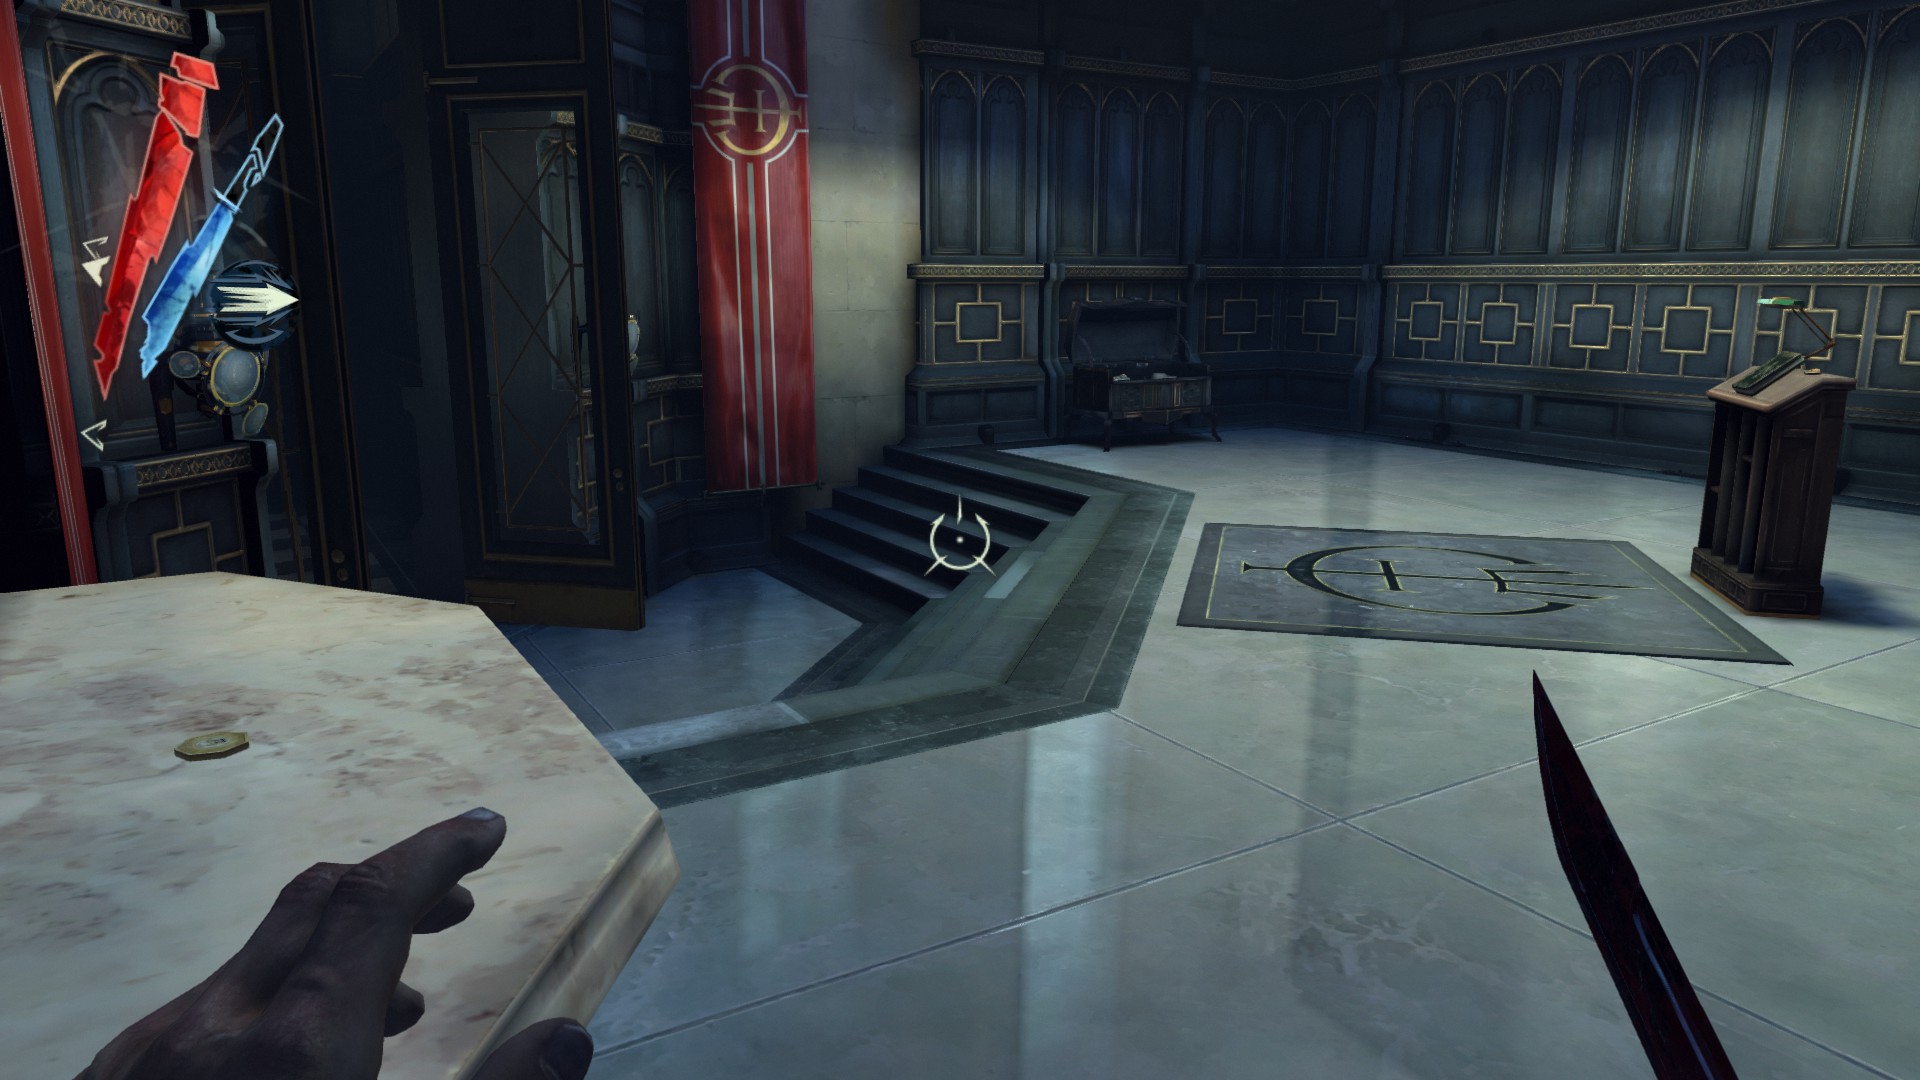
At the lower floor room with display cases, there is the Imperial Egg inside the case beneath a staircase.
(+150 -> 895/2175)
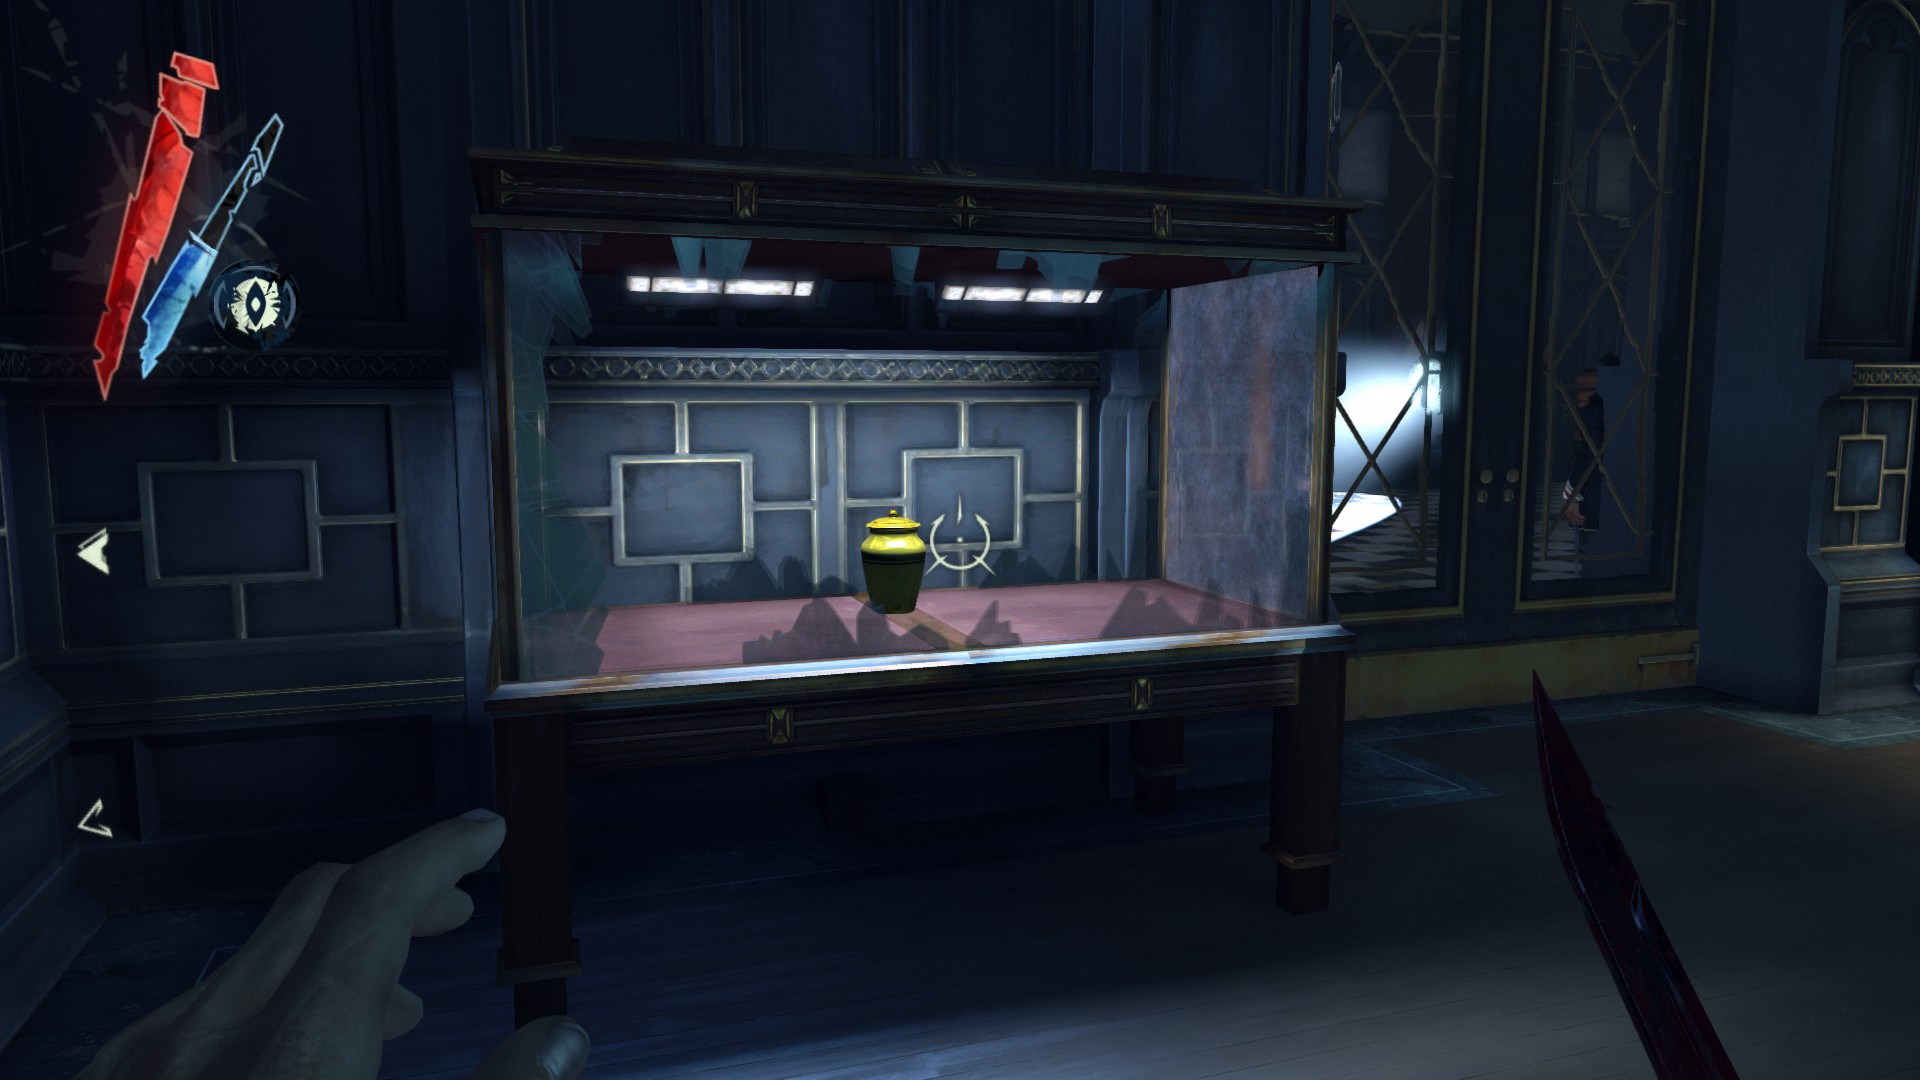
Next to the door to the room with a spotlight is another display case with the Boyle Urn inside.
(+150 -> 1045/2175)
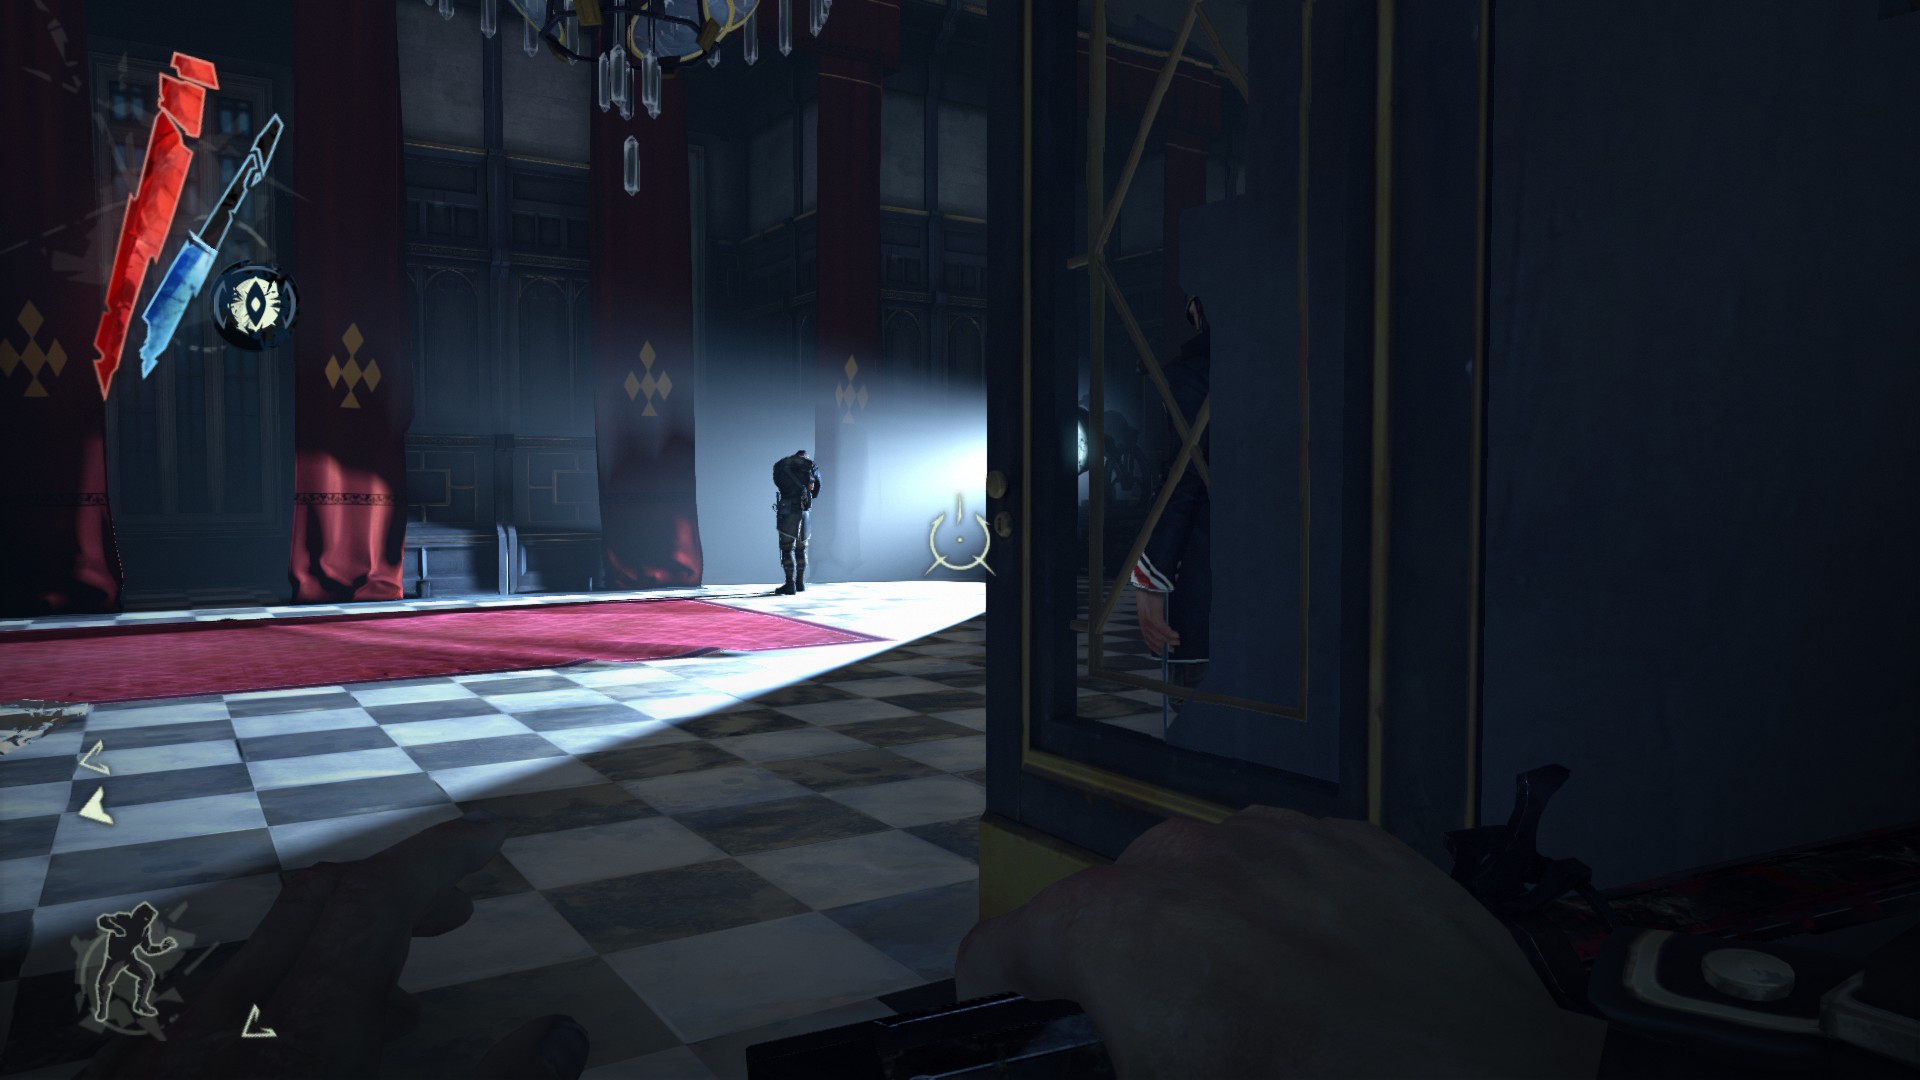
A patrolling guard is carrying a pouch in said room.
(+10 -> 1055/2175)
At the Abbey shrine on the first floor an overseer is reading a book, there is a chest with a tyvian ore inside, a coin on the book stand and another coin on a table.
(+35 -> 1090/2175)
The Imperial Pocket Watch and 2 coins are on the desk in General Tobias's quarters.
(+170 -> 1260/2175)
Exit this room and go into the next room down the hall. There is a hemlock essence next to the bed, and on the bureau is a powdered crystal and a coin.
(+55 -> 1315/2175)
At the end of the green hallway is a fireplace that you can open up a secret room by using a nearby light on the wall. There is a hemlock essence and a coin on the desk, and the Imperial Cigarette Case next to it.
(+180 -> 1495/2175)
In the bathroom near the Lord Regent's chambers, there is a processed whale oil next to the toilet.
(+30 -> 1525/2175)
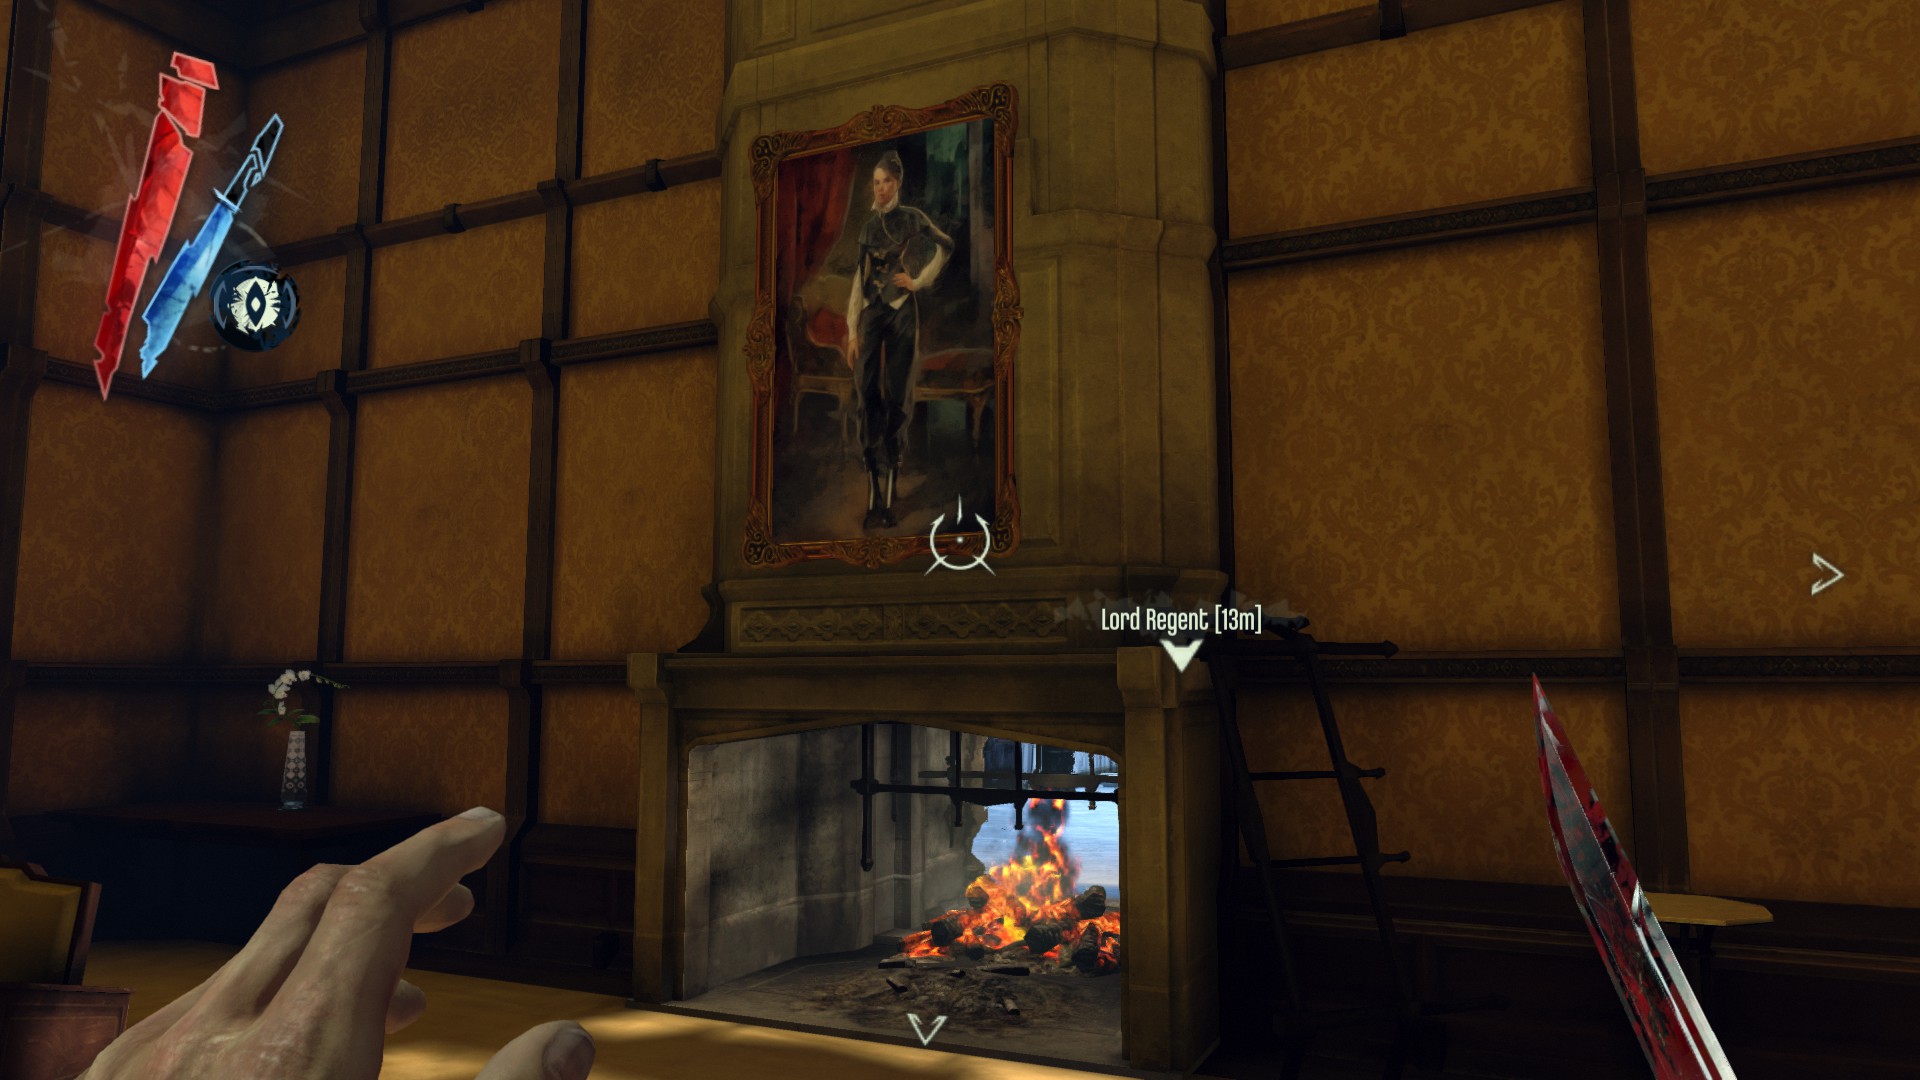
"The Empress and the Empty Set" painting is hanging above the fireplace in the music room.
(+300 -> 1825/2175)
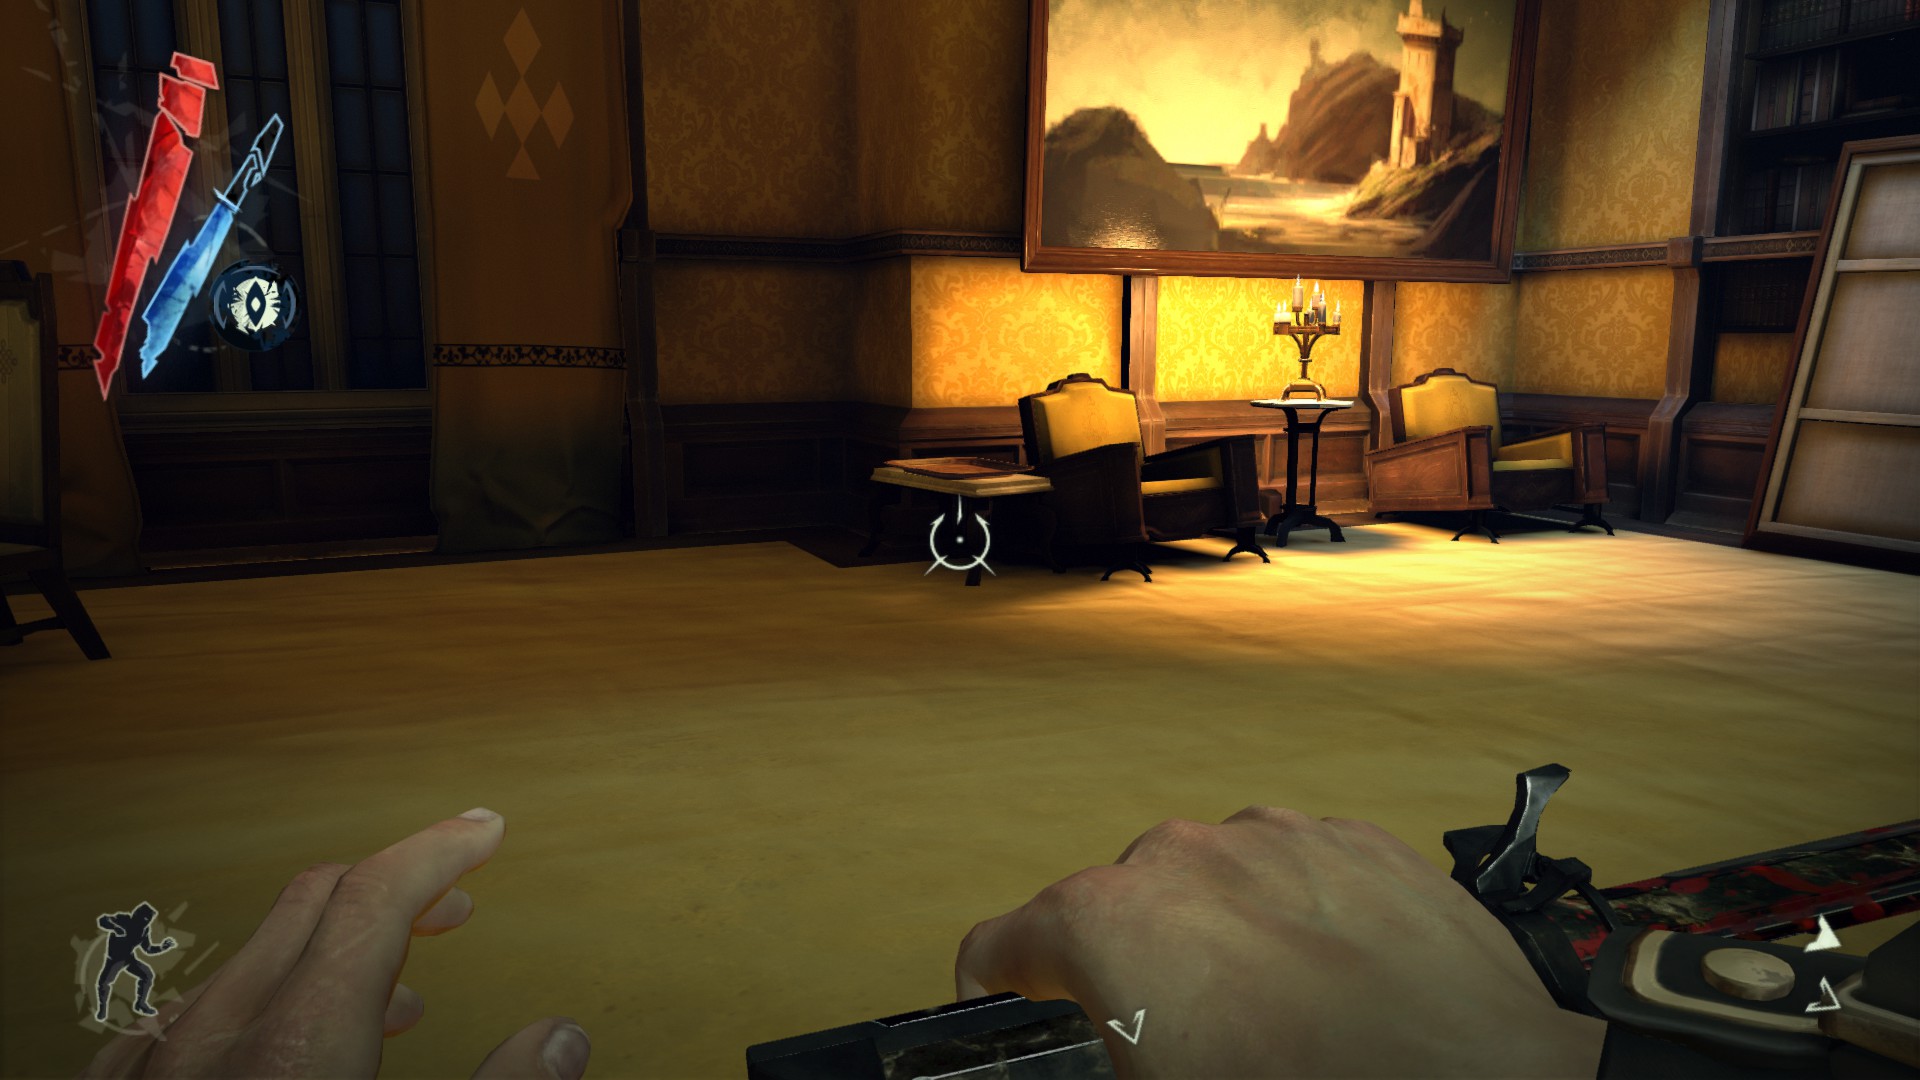
The Moray Decor Plate is also on the table here.
(+50 -> 1875/2175)
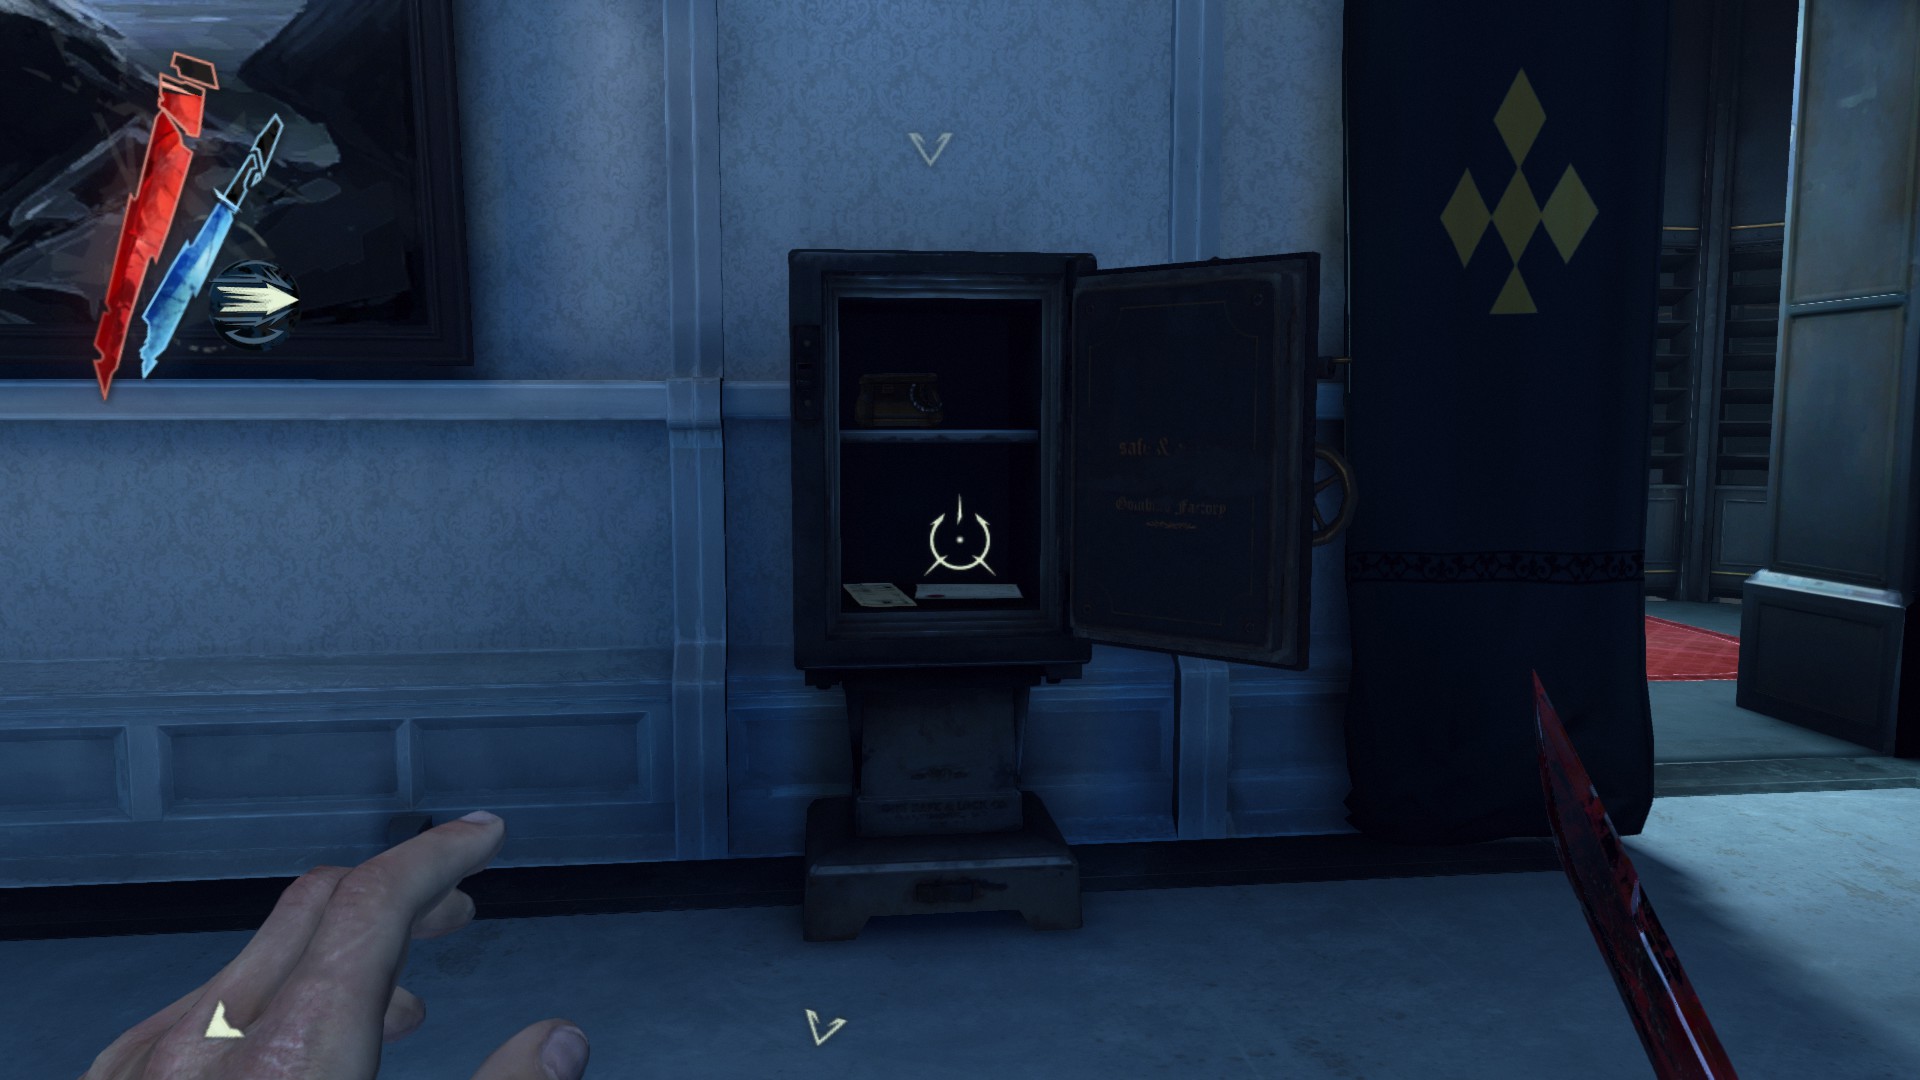
Open the safe that contains the Imperial Jewel Box in the Lord Regent's chambers. The code is 935.
(+150 -> 2025/2175)
Mission 6 - Return to the Tower, pt. 2
Dunwall Tower Rooftop
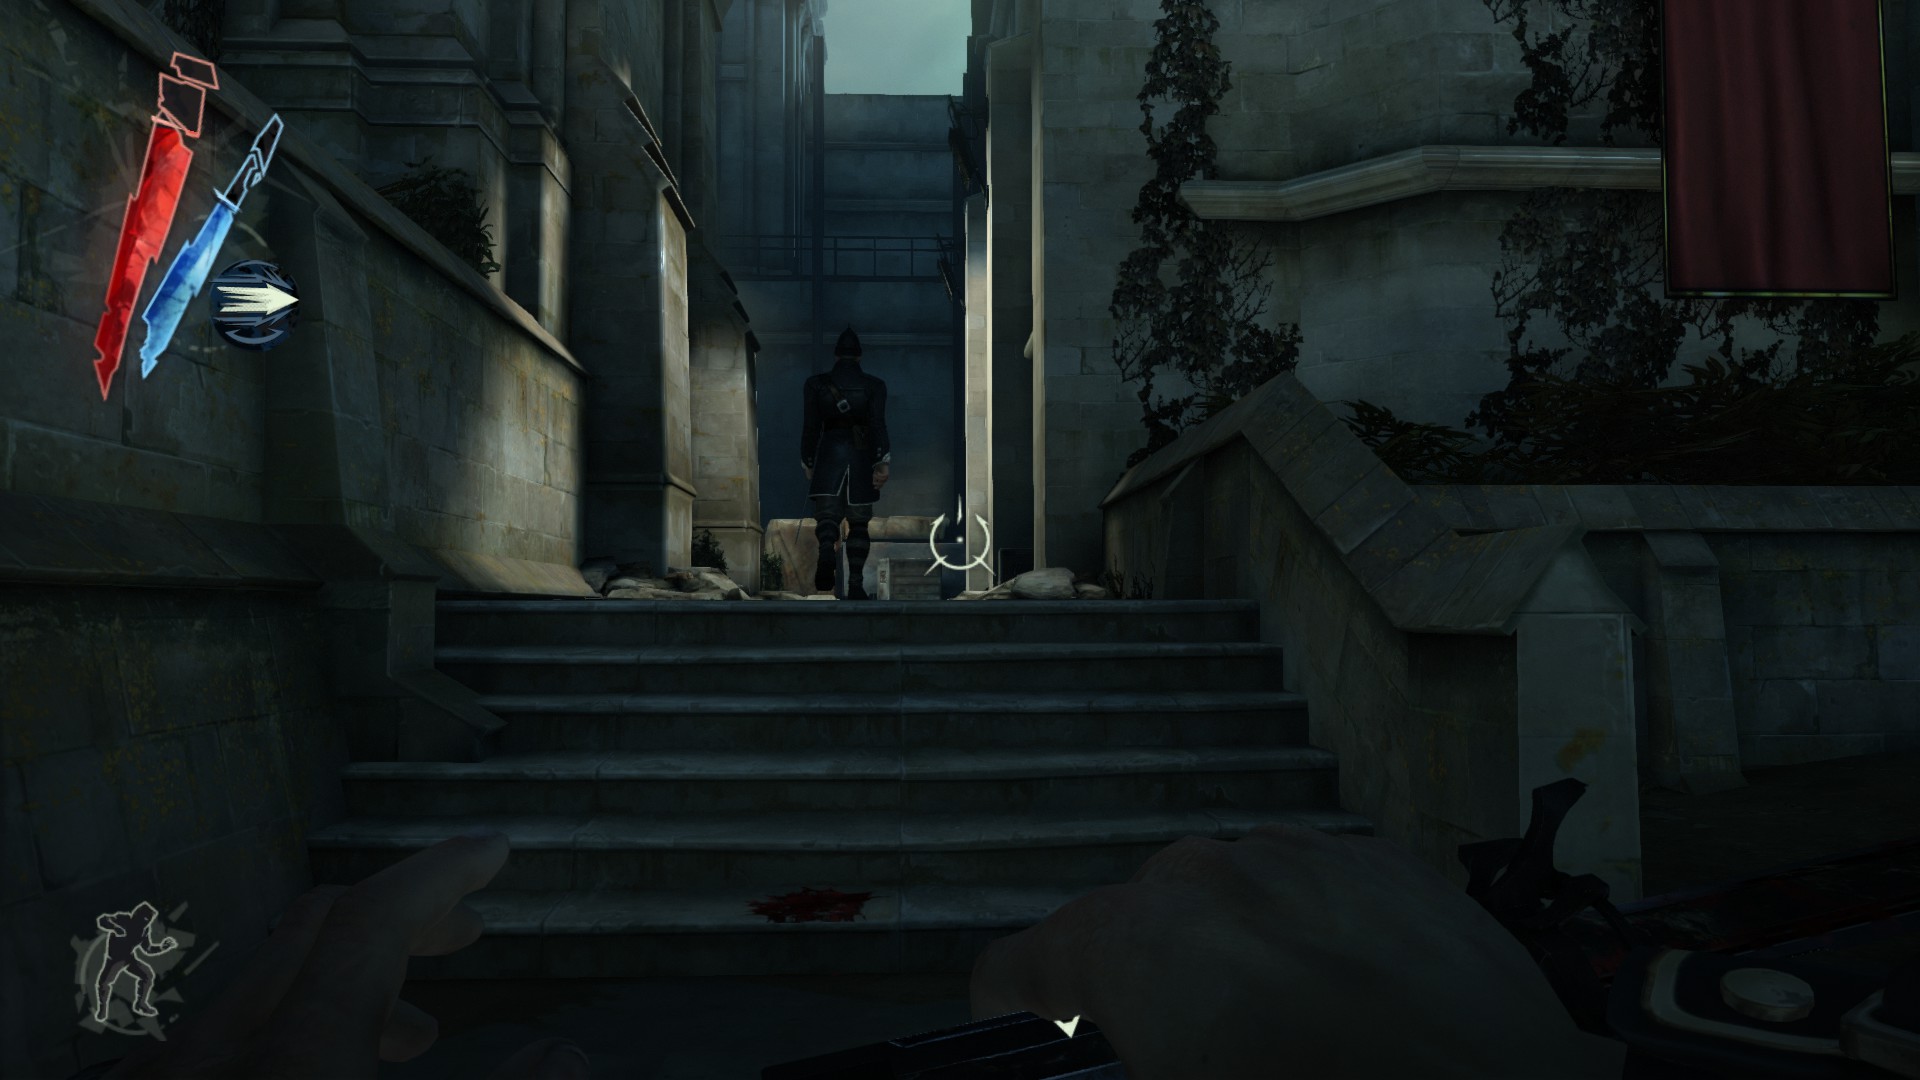
One of the patrolling guards is carrying a pouch.
(+20 -> 2045/2175)
In the safe room (beware of a tallboy), go into the room filled with shelves. There are 2 processed whale oils, a medicinal herbs, a powdered crystal and a coin on these shelves.
(+120 -> 2165/2175)
A copper wire is on top of the whale oil power source.
(+10 -> 2175/2175)
The Hound Pits Pub, 6th visit (170)
Points of no return
- None
There are two river krusts here in the sewers; the one is next to the submerged boat and the other one further down in the water. Each has a large river krust pearl.
(+100)

A tyvian ore is inside one of the mine carts near the kennels.
(+20)
A hemlock essence is on the floor behind some boxes in the brewery.
(+20)
A powdered crystal is on a shelf in the tower.
(+30)
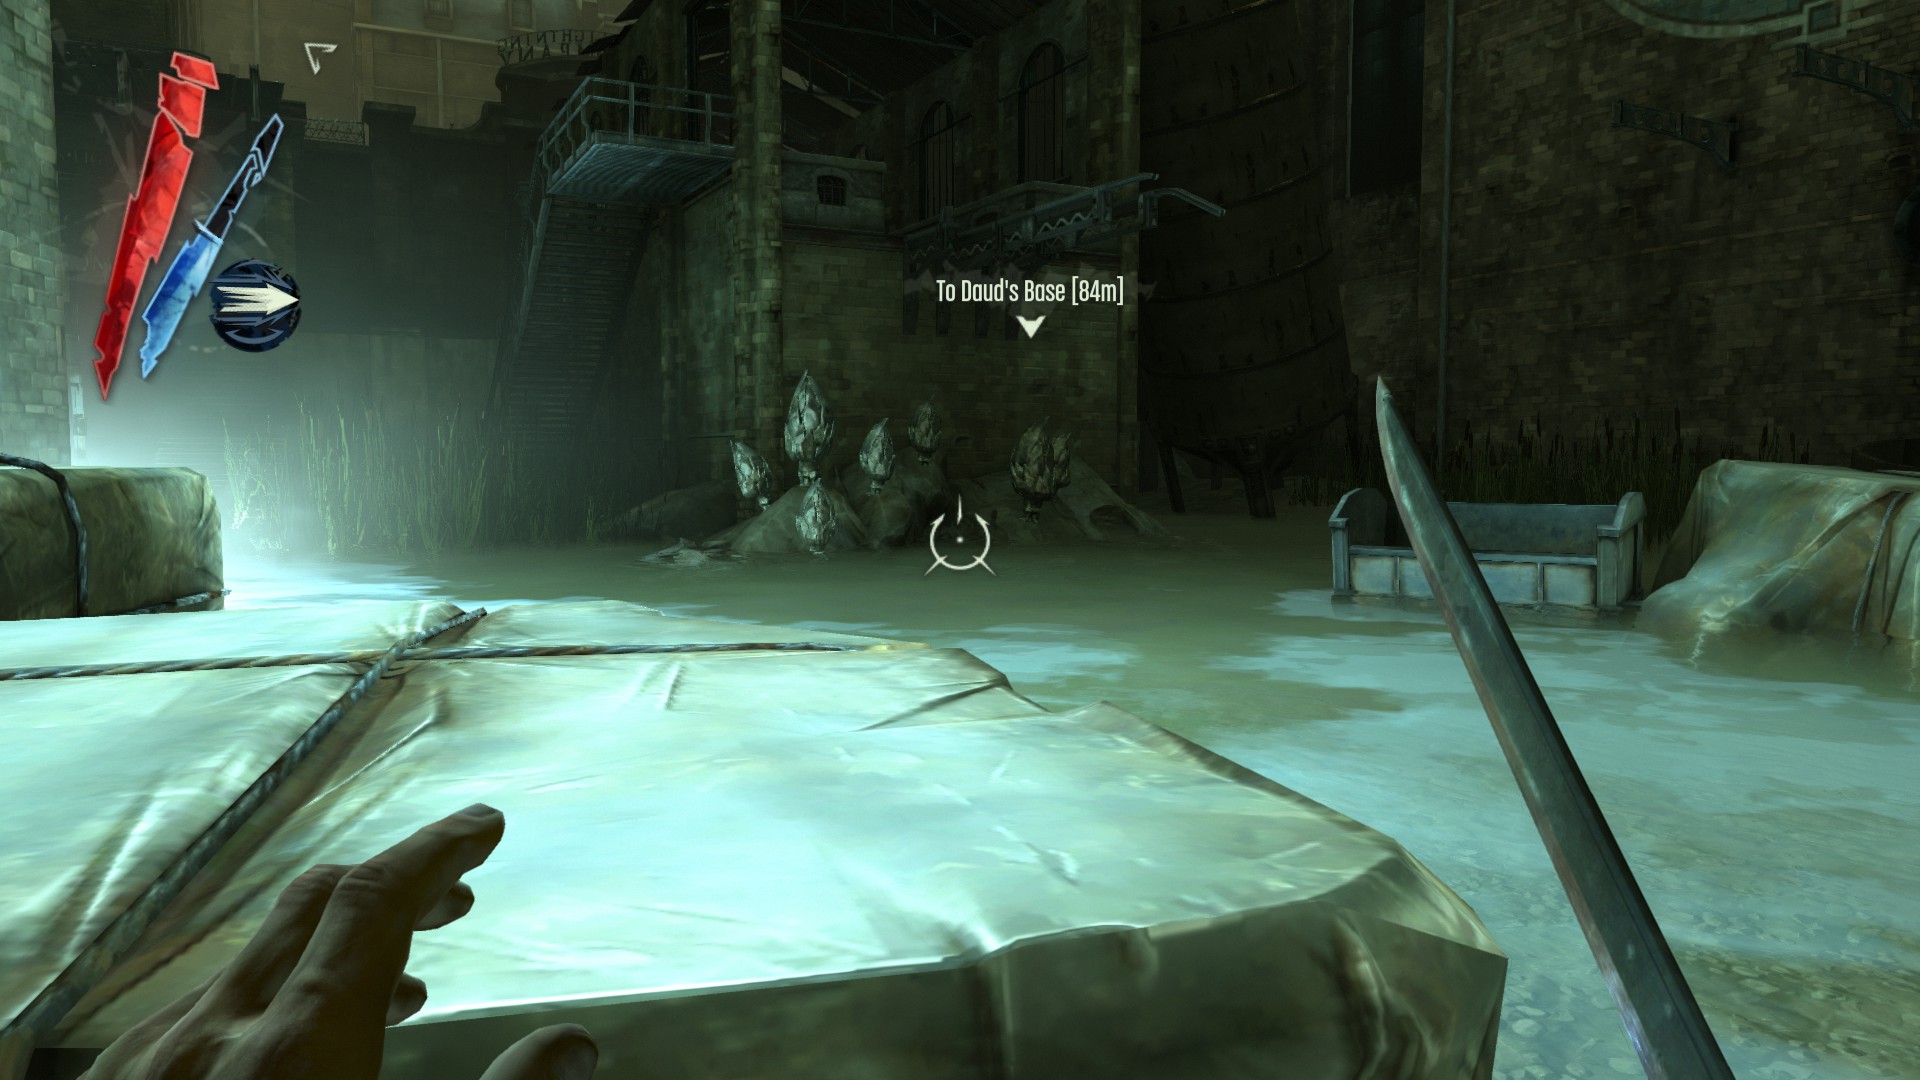
Mission 7 - The Flooded District (5635)
Points of no return
- Drop down into the sewers after opening the hatch
- The passageway to Granny Rags' hideout is blocked without doing at least one of her sidequests
- Side with Granny Rags give you nothing because you literally can get her reward by pickpocketing her
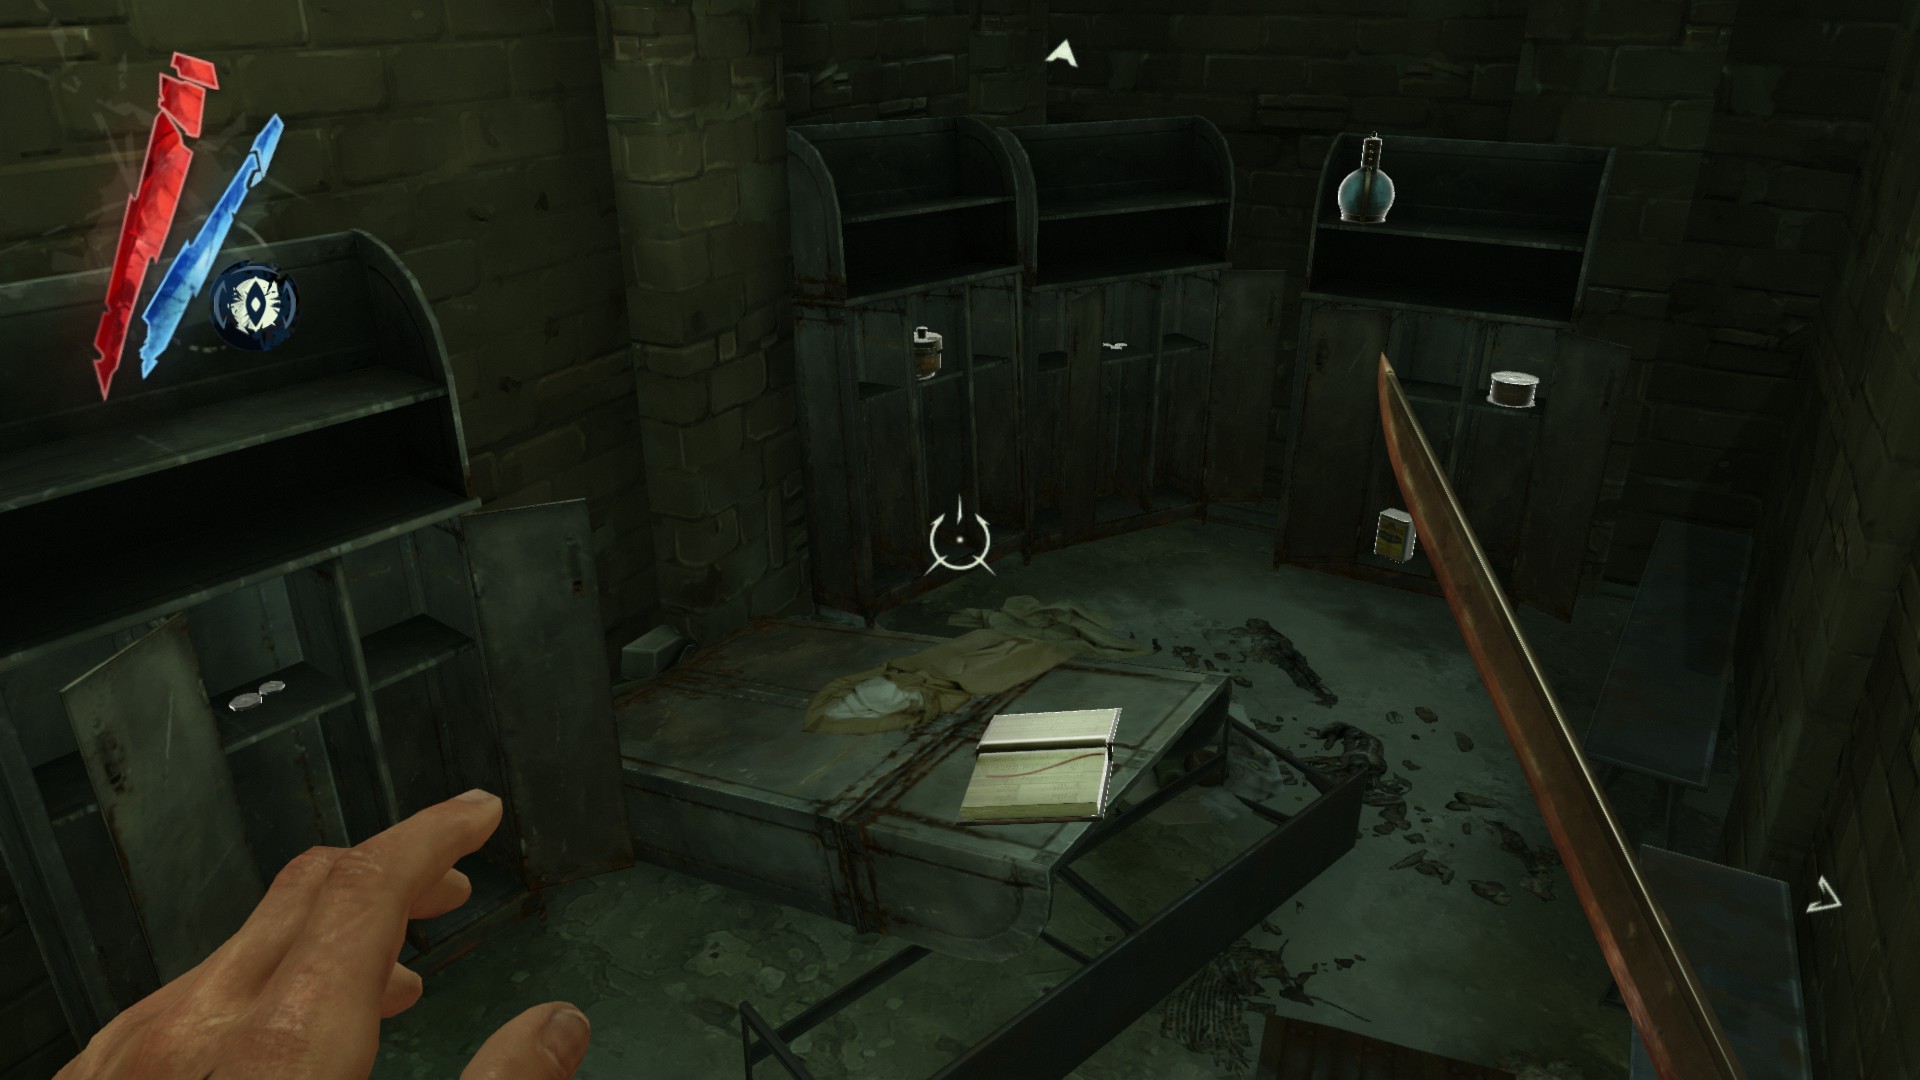
Rudshore Waterfront
Break out of your cell and go downstairs. There is a locker with a medicinal herbs inside.
(+20 -> 20/5635)
Jump down into the water and you will find 2 coins on the ground underwater.
(+6 -> 26/5635)
Head upstairs from your cell. There is a locker with 2 coins inside.
(+6 -> 32/5635)
At the top, there are 2 copper wires on top of some crates.
(+20 -> 52/5635)
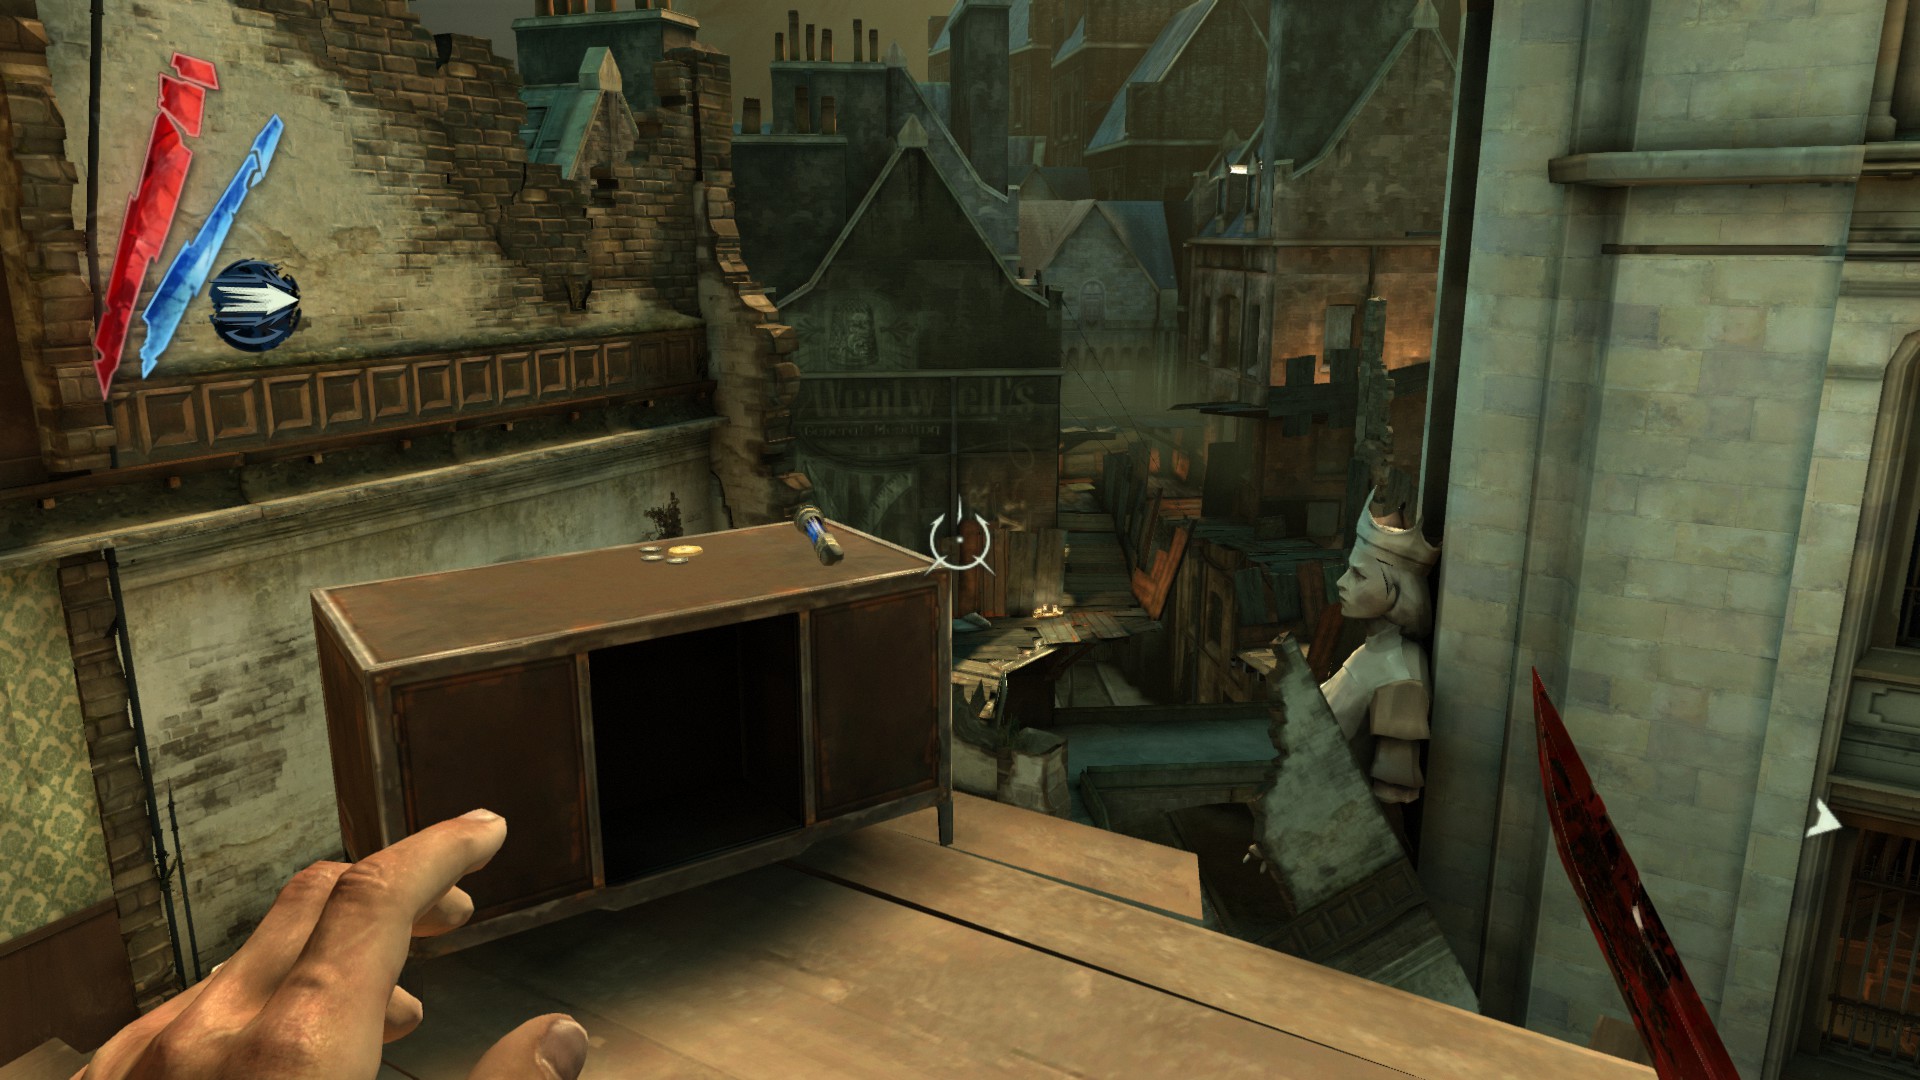
Look across the flooded street. You should see a giant billboard that reads "Davidson's Wax". Make your way down there, and behind the billboard is a copper wire, a tyvian ore and 2 coins.
(+32 -> 84/5635)
Down the street is a building with a "Cullero Cigars" advertisement. There is a window you can get inside. There is a locker here with a powdered crystal and 4 coins inside, and the Moray Fish Statuette on top of it.
(+92 -> 176/5635)
On the right side of the street you will see a corpse with 2 coins laying on the ground.
(+6 -> 182/5635)
Climb up your way to the bridge with dead overseers, then to the roof and you should get in through the skylight. There are six river krusts down here, two have large river krust pearls and two have small ones.
(+150 -> 332/5635)
There are also eight river krusts at the end of the flooded street. Three have large river krust pearls and four have small ones.
Use a grenade to kill them all, it can ignore their shields, too.
(+250 -> 582/5635)

Go to the left, you will find a tyvian ore inside the dumpster.
(+20 -> 602/5635)
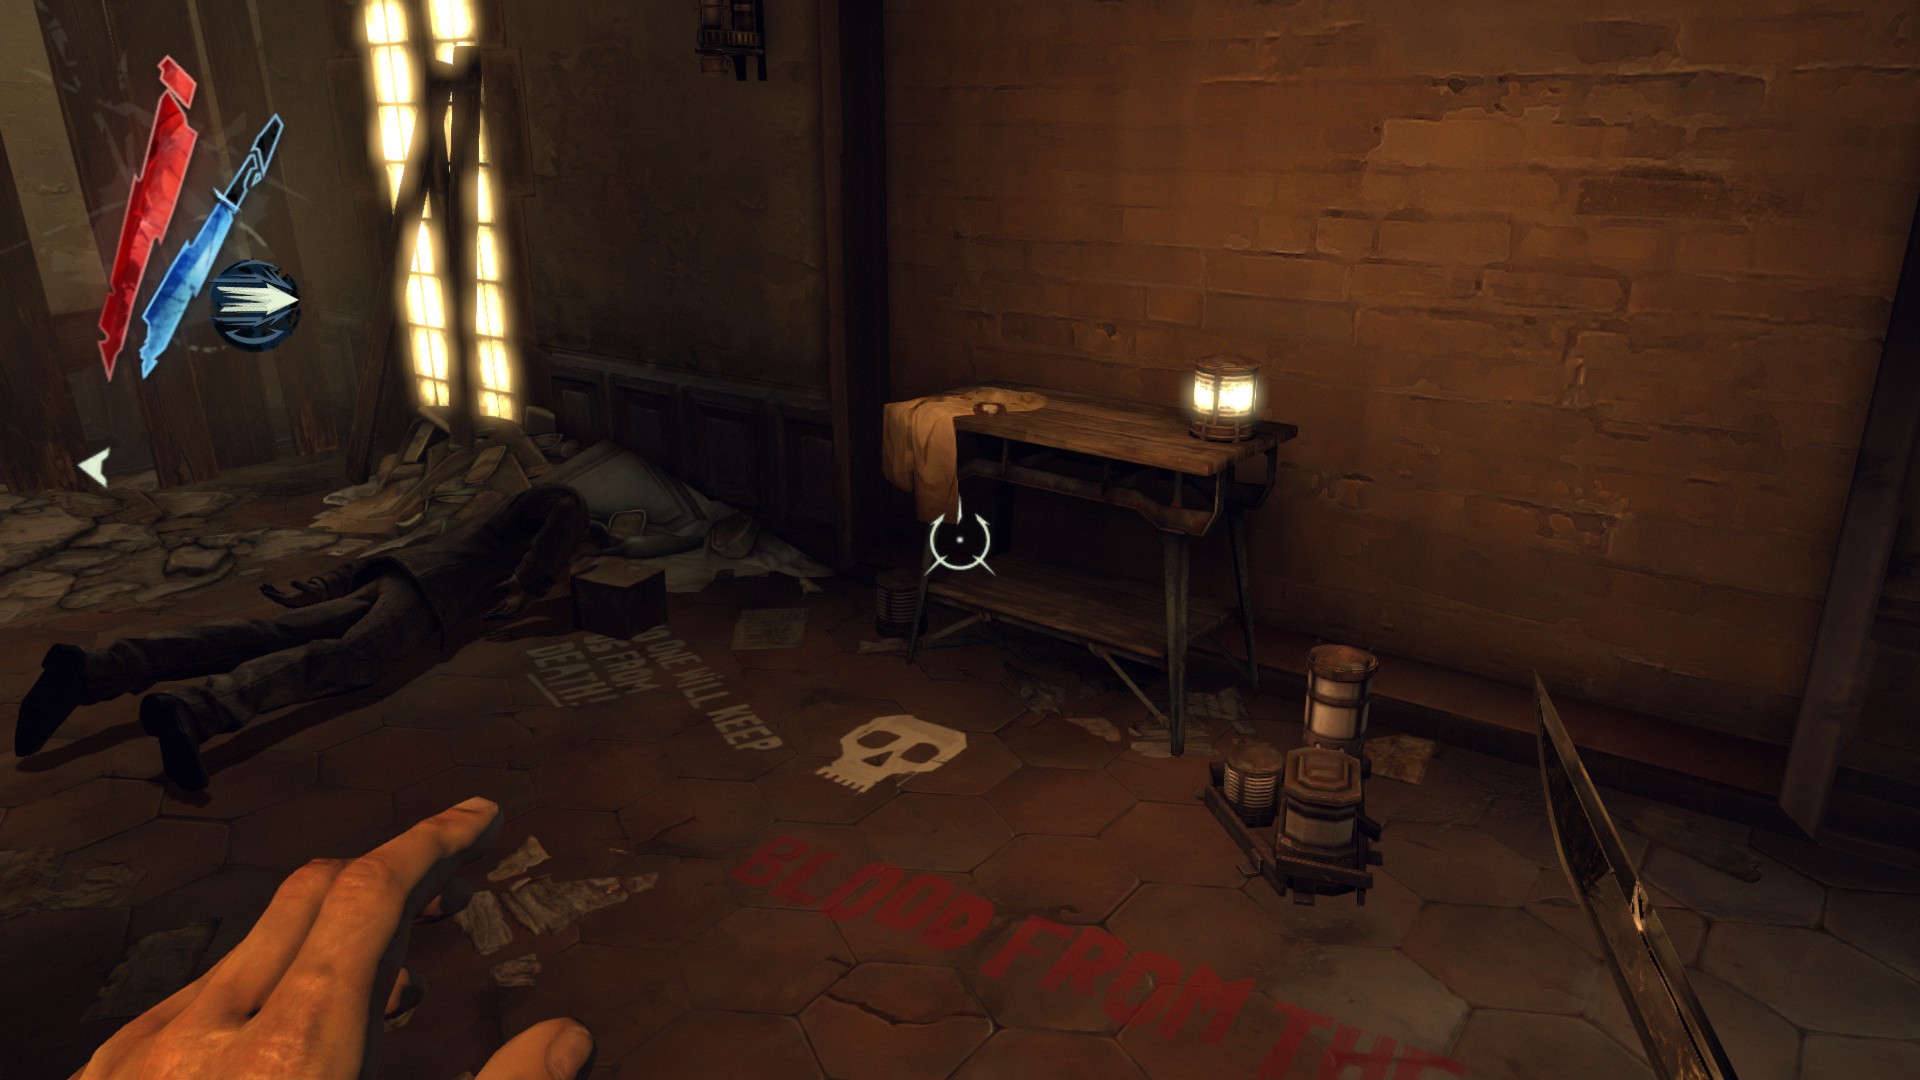
Take the left that leads to a campsite with weepers at the end of Ebenazar Causeway. Next to the corpse in the corner is the Perth Pocket Watch and on the nearby shelf are 5 coins.
(+59 -> 661/5635)
Head to the third campsite past the door now. On a mattress is a pouch and 4 coins.
(+14 -> 675/5635)
Go up to the top of the stairs to find the Moray Cigarette Case near mattresses and 3 coins next to a bread.
(+53 -> 728/5635)
Look across the street and you will see an apartment. Go inside and you will find 3 coins on a counter.
(+3 -> 731/5635)

Climb up to the rooftop of this building, and go to the next rooftop. Around the chimney, you will find a corpse with the Moray Cameo and 2 coins laying on the ground.
(+52 -> 783/5635)
Look across the flooded street from this rooftop. You should see a balcony with a mattress hanging over it, so make your way there. "The Commutative Rats and the Weeper" painting is on a table in this room.
(+300 -> 1083/5635)
Climb out the window and go to another apartment. There are 3 coins on a stove here.
(+3 -> 1086/5635)
In the Rudshore Market Place, with assassins, there is an apartment you can reach. Inside there are 4 coins on a counter, and the Slave Routes Map underneath a couch.
(+88 -> 1174/5635)
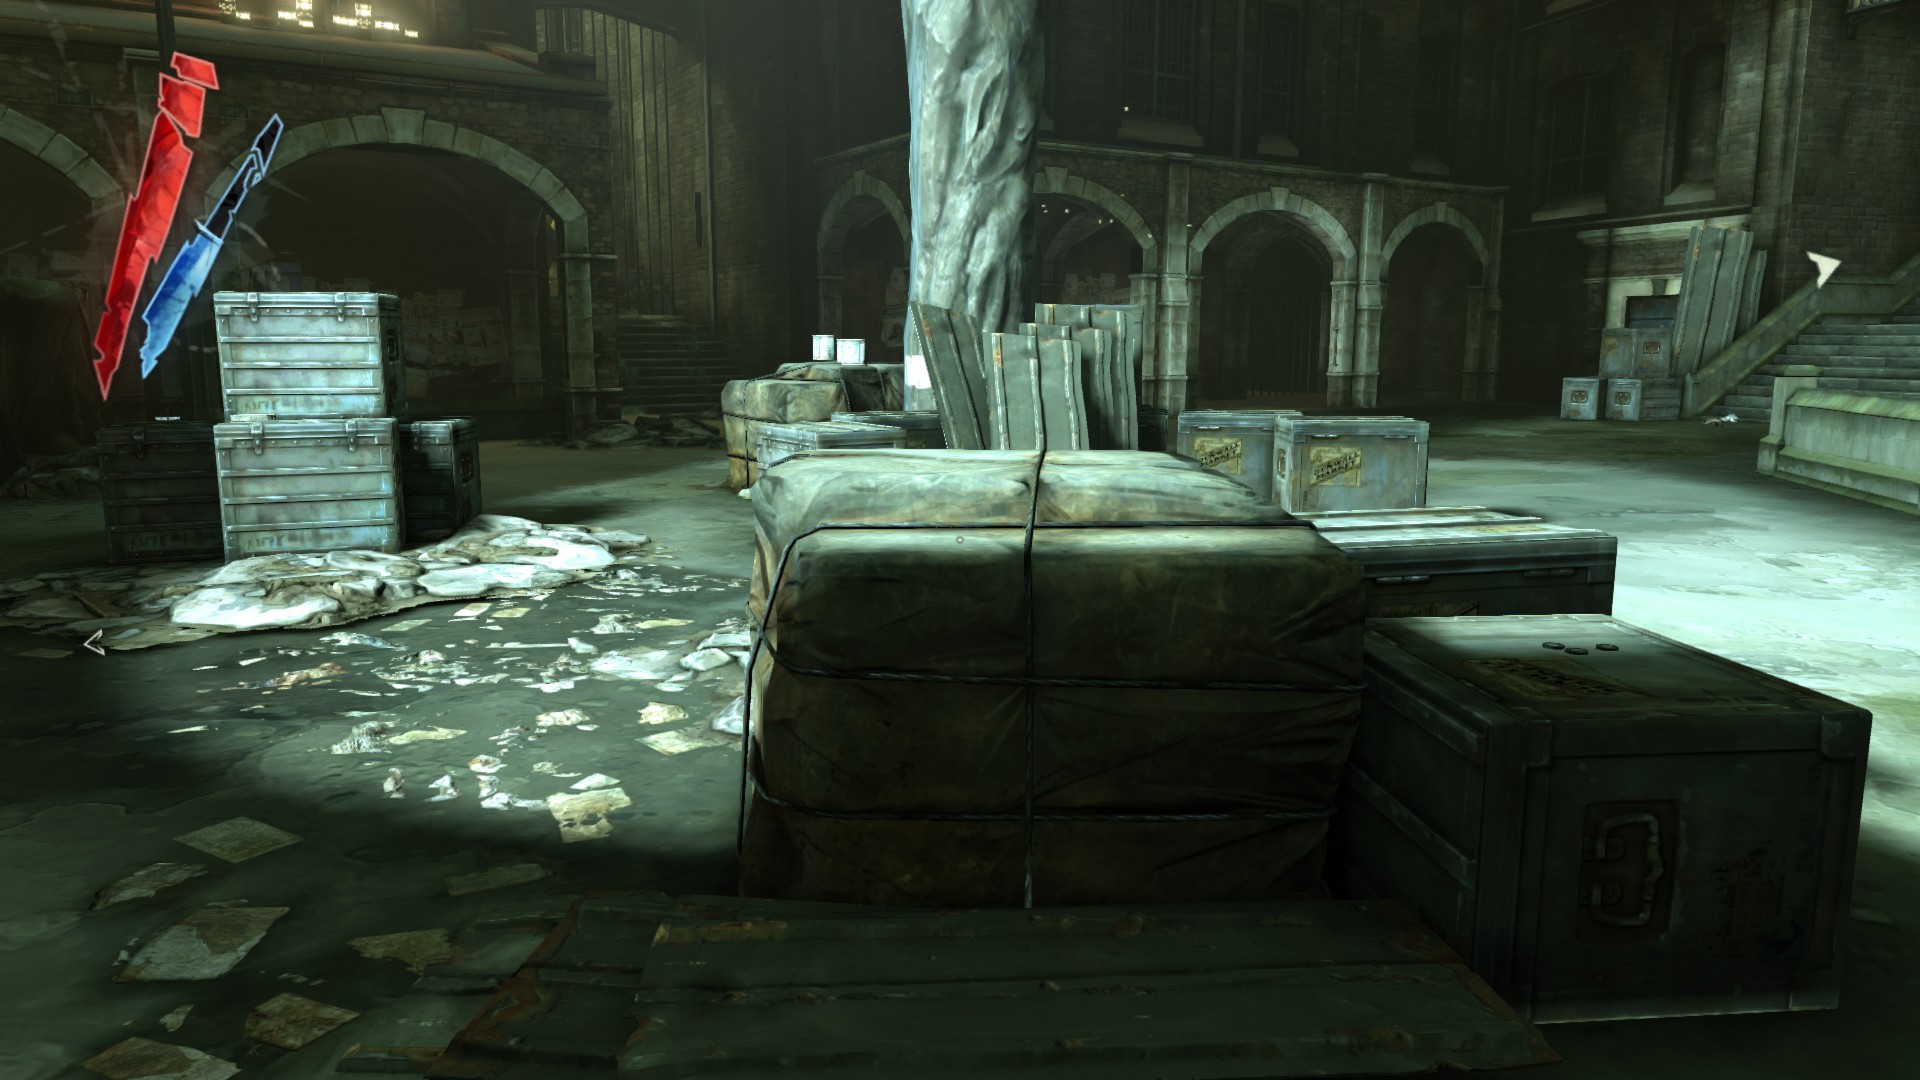
5 coins are on two of some crates in the middle of this area.
(+9 -> 1183/5635)
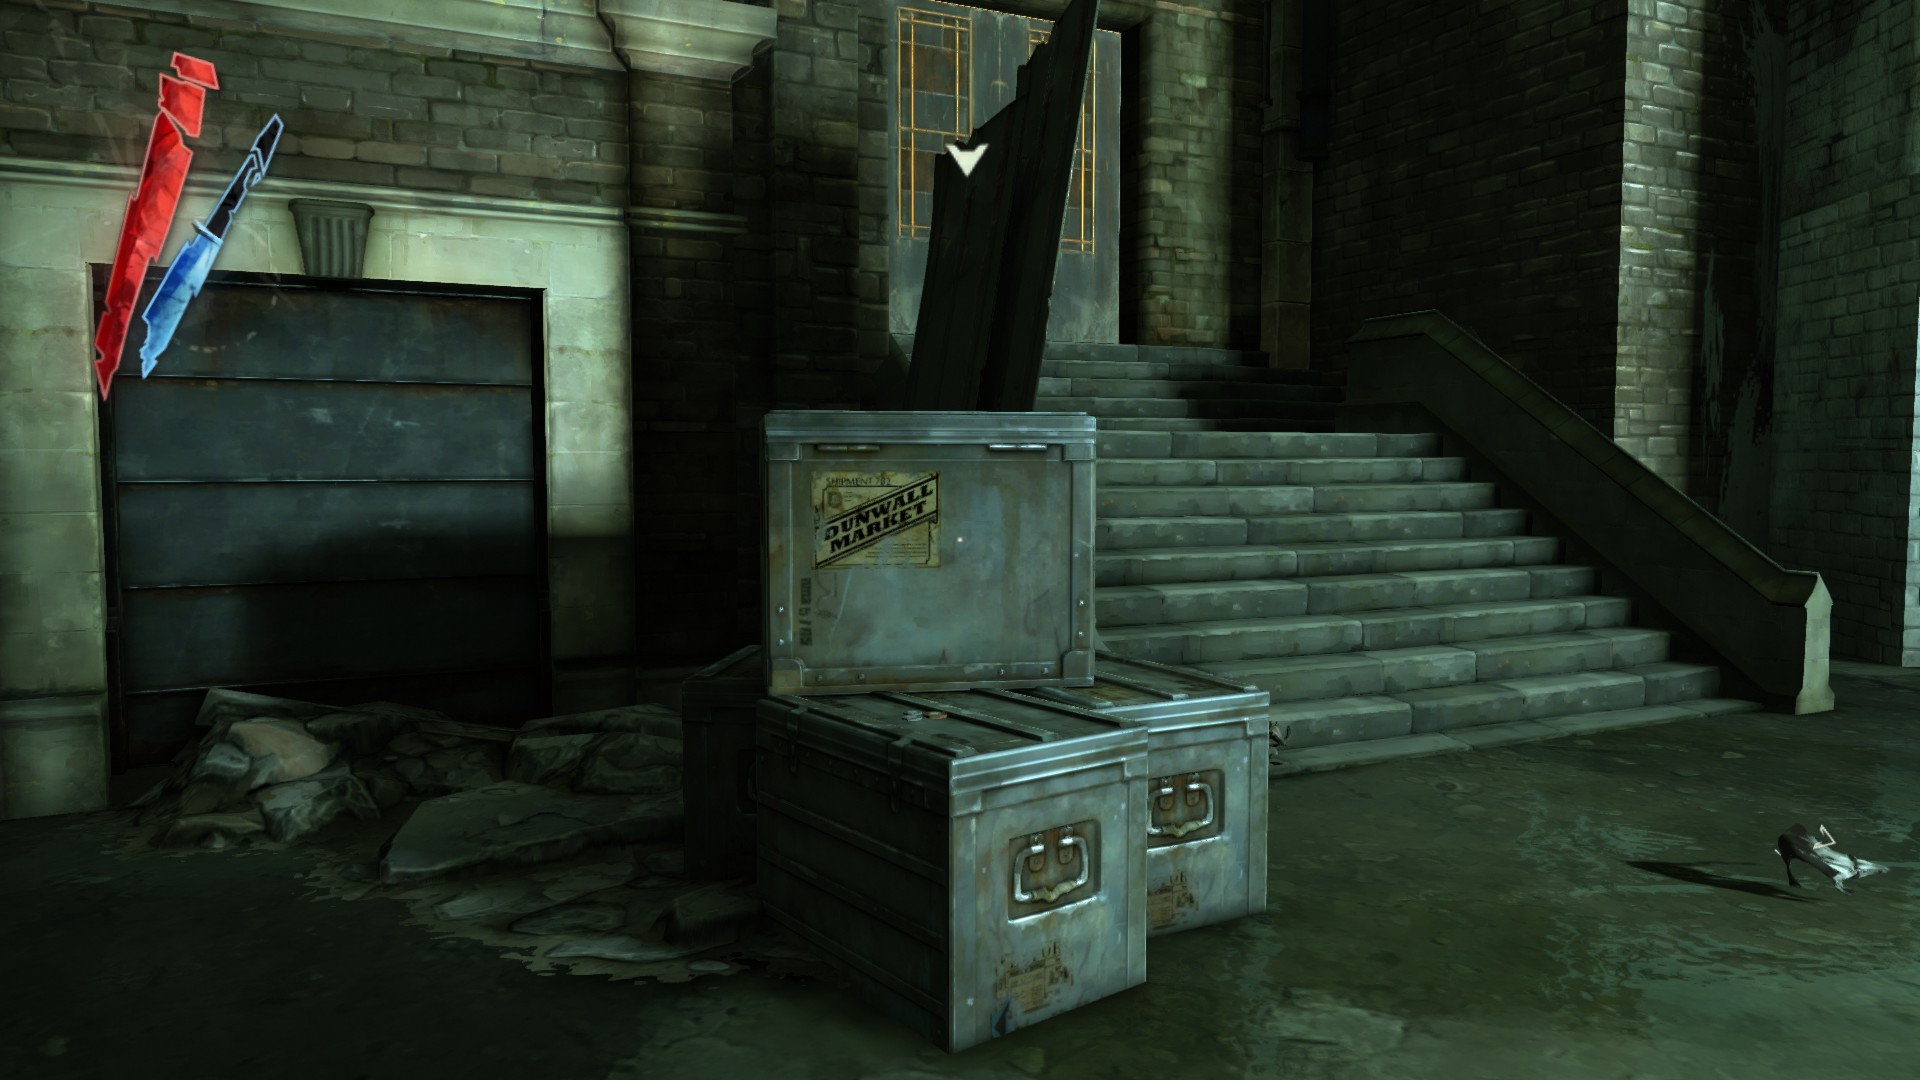
3 coins are on a crate near the entrance to Central Rudshore.
(+7 -> 1190/5635)
Greaves Refinery
Start from the building full of dead overseers, there is a corpse with a pouch at the right side of the gate.
(+10 -> 1200/5635)
In the area with two campfires, there is a tyvian ore and a copper wire inside a ventilation unit near the right campfire, and a pouch next to a mattress.
(+40 -> 1240/5635)
3 coins are on a rock and other 3 coins are on one of two metal signs at the left campfire.
(+14 -> 1254/5635)
There are eight river krusts under the bridge near the wrecked boat here, two have large river krust pearls and three have small ones. Also check the boat for 3 coins.
(+187 -> 1441/5635)
Head to the end of this bridge, there are seven more river krusts, two have large river krust pearls and four have small ones.
(+200 -> 1641/5635)
There is a skylight on the building with the stair control you get in through. A copper wire, a medicinal herbs, a processed whale oil and 5 coins are inside the lockers in this room.
(+69 -> 1710/5635)
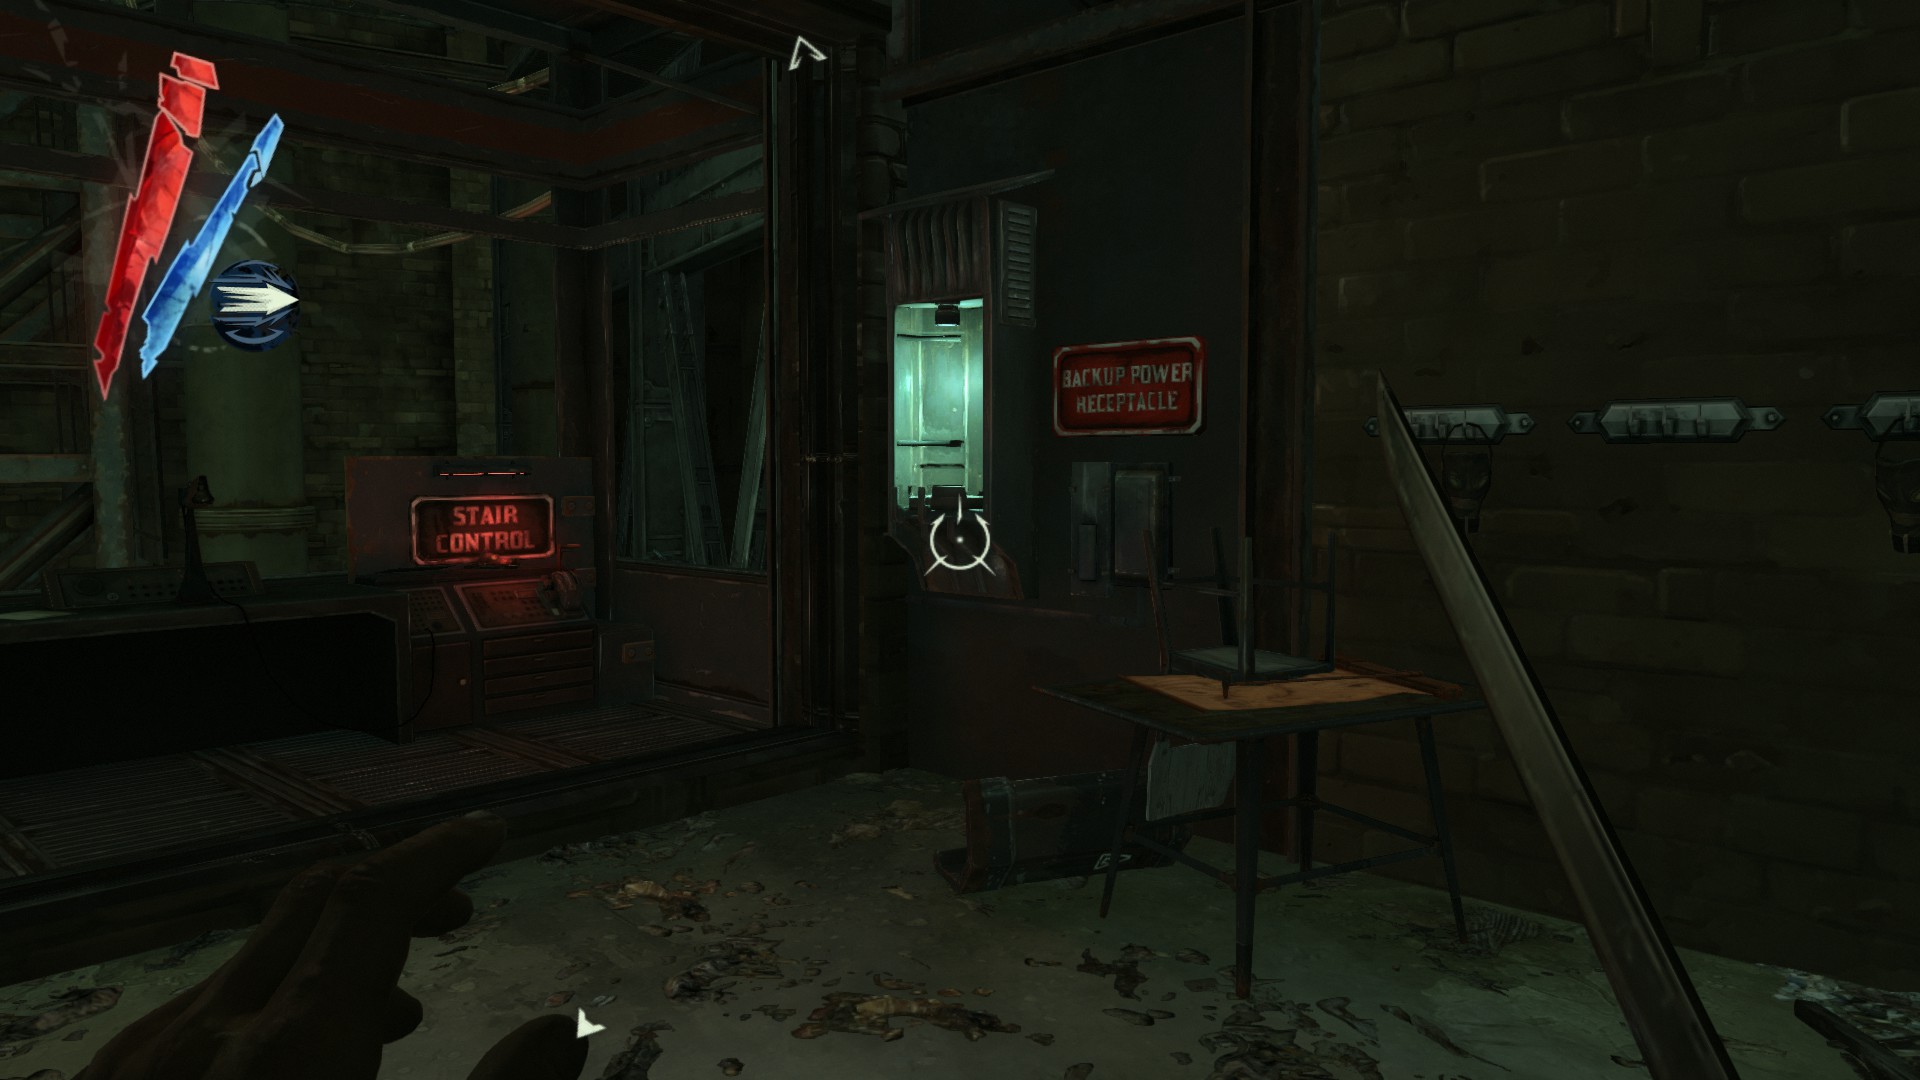
In the stair control room you will find the Western Ocean on a table.
(+75 -> 1785/5635)
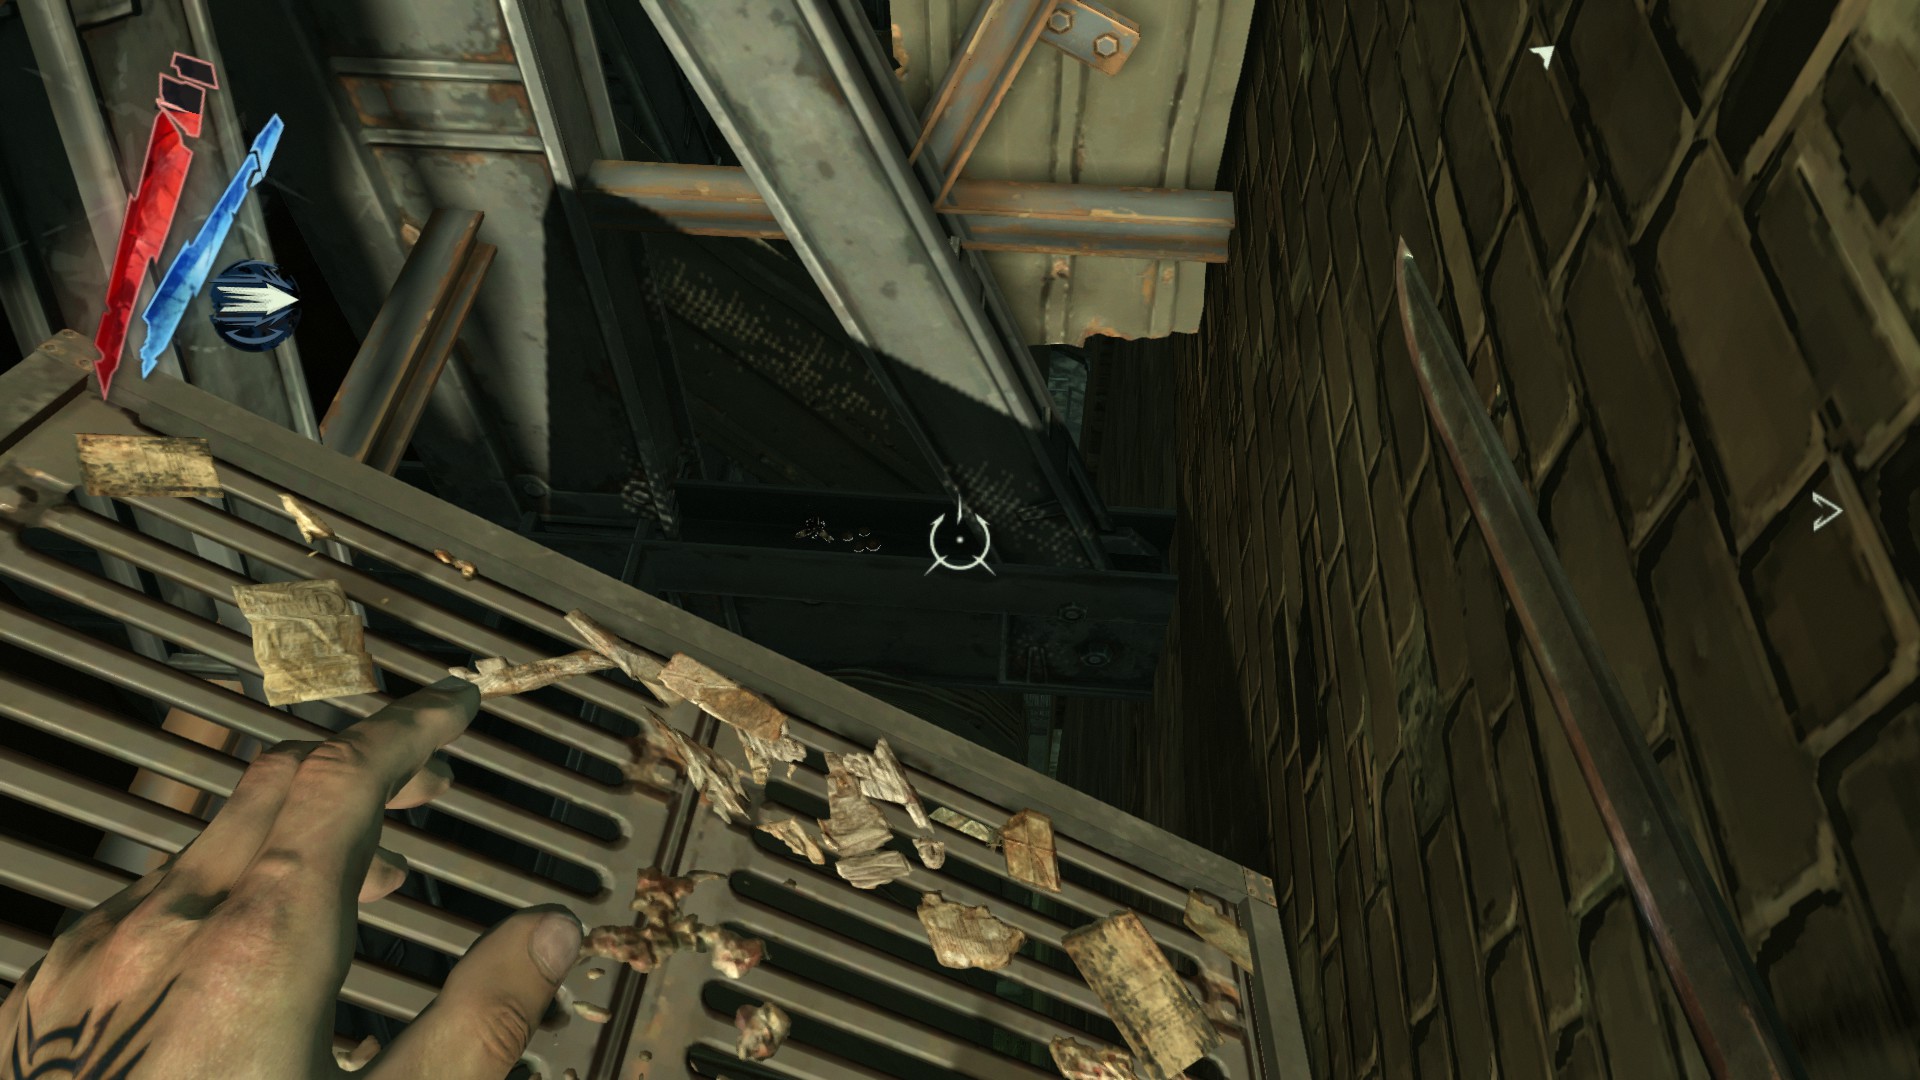
Put a whale oil tank to the power source to open up the stairs and continue forward until you reach a broken platform. Drop down onto this, then turn around to find 4 coins on a steel beam.
(+8 -> 1793/5635)
After climbing the first chain, turn around and go around the back of the refinery. There are 4 coins here.
(+25 -> 1818/5635)
Upon entering the refinery, go to the left to find a copper wire, a medicinal herbs and 2 processed whale oils on the lockers.
(+90 -> 1908/5635)

Jump onto the ledge below and grab the Whaling Territories Map on a crate.
(+75 -> 1983/5635)
As you carry a whale oil tank for the power source, there are 4 coins on a control console.
(+8 -> 1991/5635)
Climb down the chain now, at the bottom is a campfire with a medicinal herbs and 3 coins around it.
(+23 -> 2014/5635)
On other side of the chain is a processed whale oil on a control console.
(+30 -> 2044/5635)
Keep going down the stairs, you will find another processed whale oil on a control console.
(+30 -> 2074/5635)
Once you recover your gear back, there is a processed whale oil and a tyvian ore on a shelf, and a copper wire in a dumpster underneath the stairs.
(+60 -> 2134/5635)
Mission 7 - The Flooded District, pt. 2
Central Rudshore
Continue forward the path until you reach the ruined building. There is a hemlock essence on a crate right before the building.
(+20 -> 2154/5635)
3 coins are on a pile of crates in the ruined building.
(+7 -> 2161/5635)
Go back to the path, you should see a ledge above it. Climb up there and head into the apartment on the left. There is a powdered crystal and 3 coins on a couch here.
(+33 -> 2194/5635)
Go out the opposite window and jump into the water. There is a door above a ventilation unit underwater, so go through. At the end of this building is a safe with the Imperial Whale Statuette inside. The code is 428.
(+150 -> 2344/5635)
Head back to the ruined building and go to the alley. There is the Perth Decor Plate on a kitchen.
(+50 -> 2394/5635)
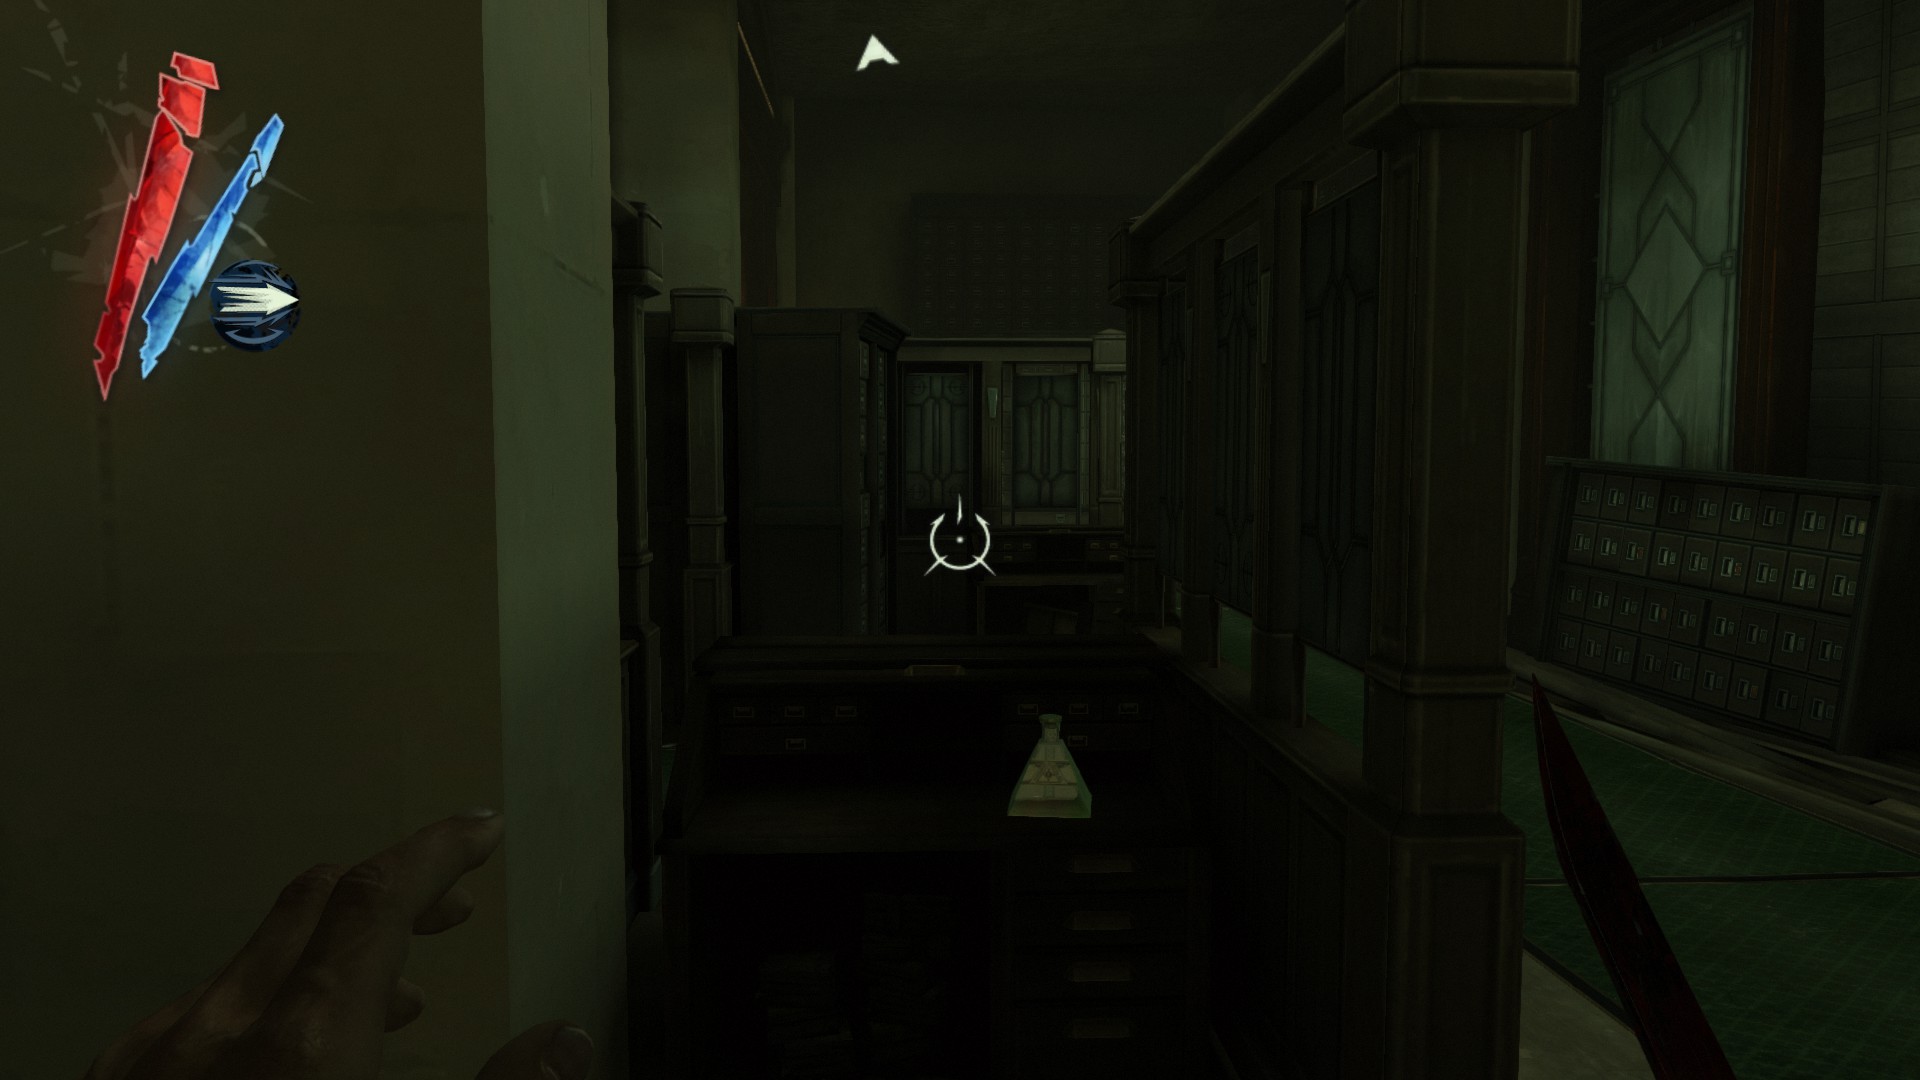
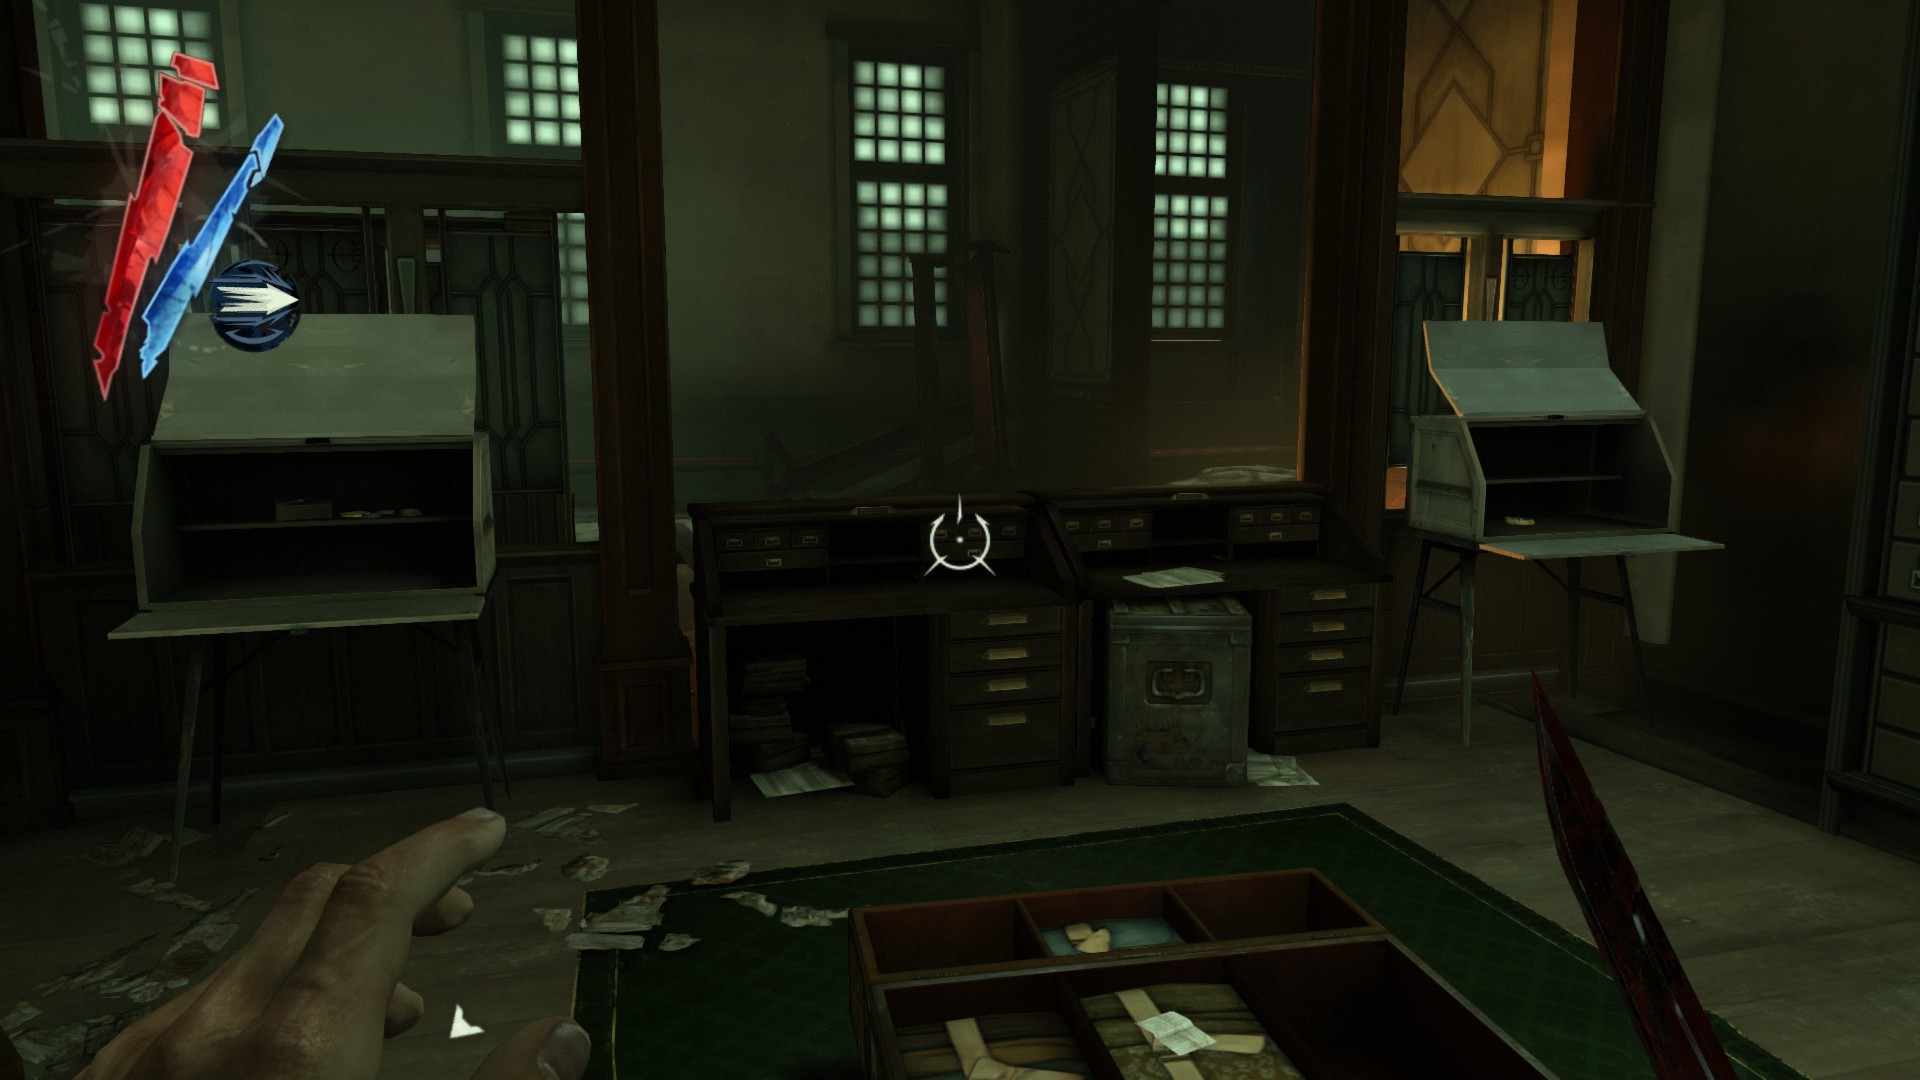
As you walk into the Chamber of Commerce building, go forward to find a powdered crystal on a roll-top desk.
(+30 -> 2424/5635)
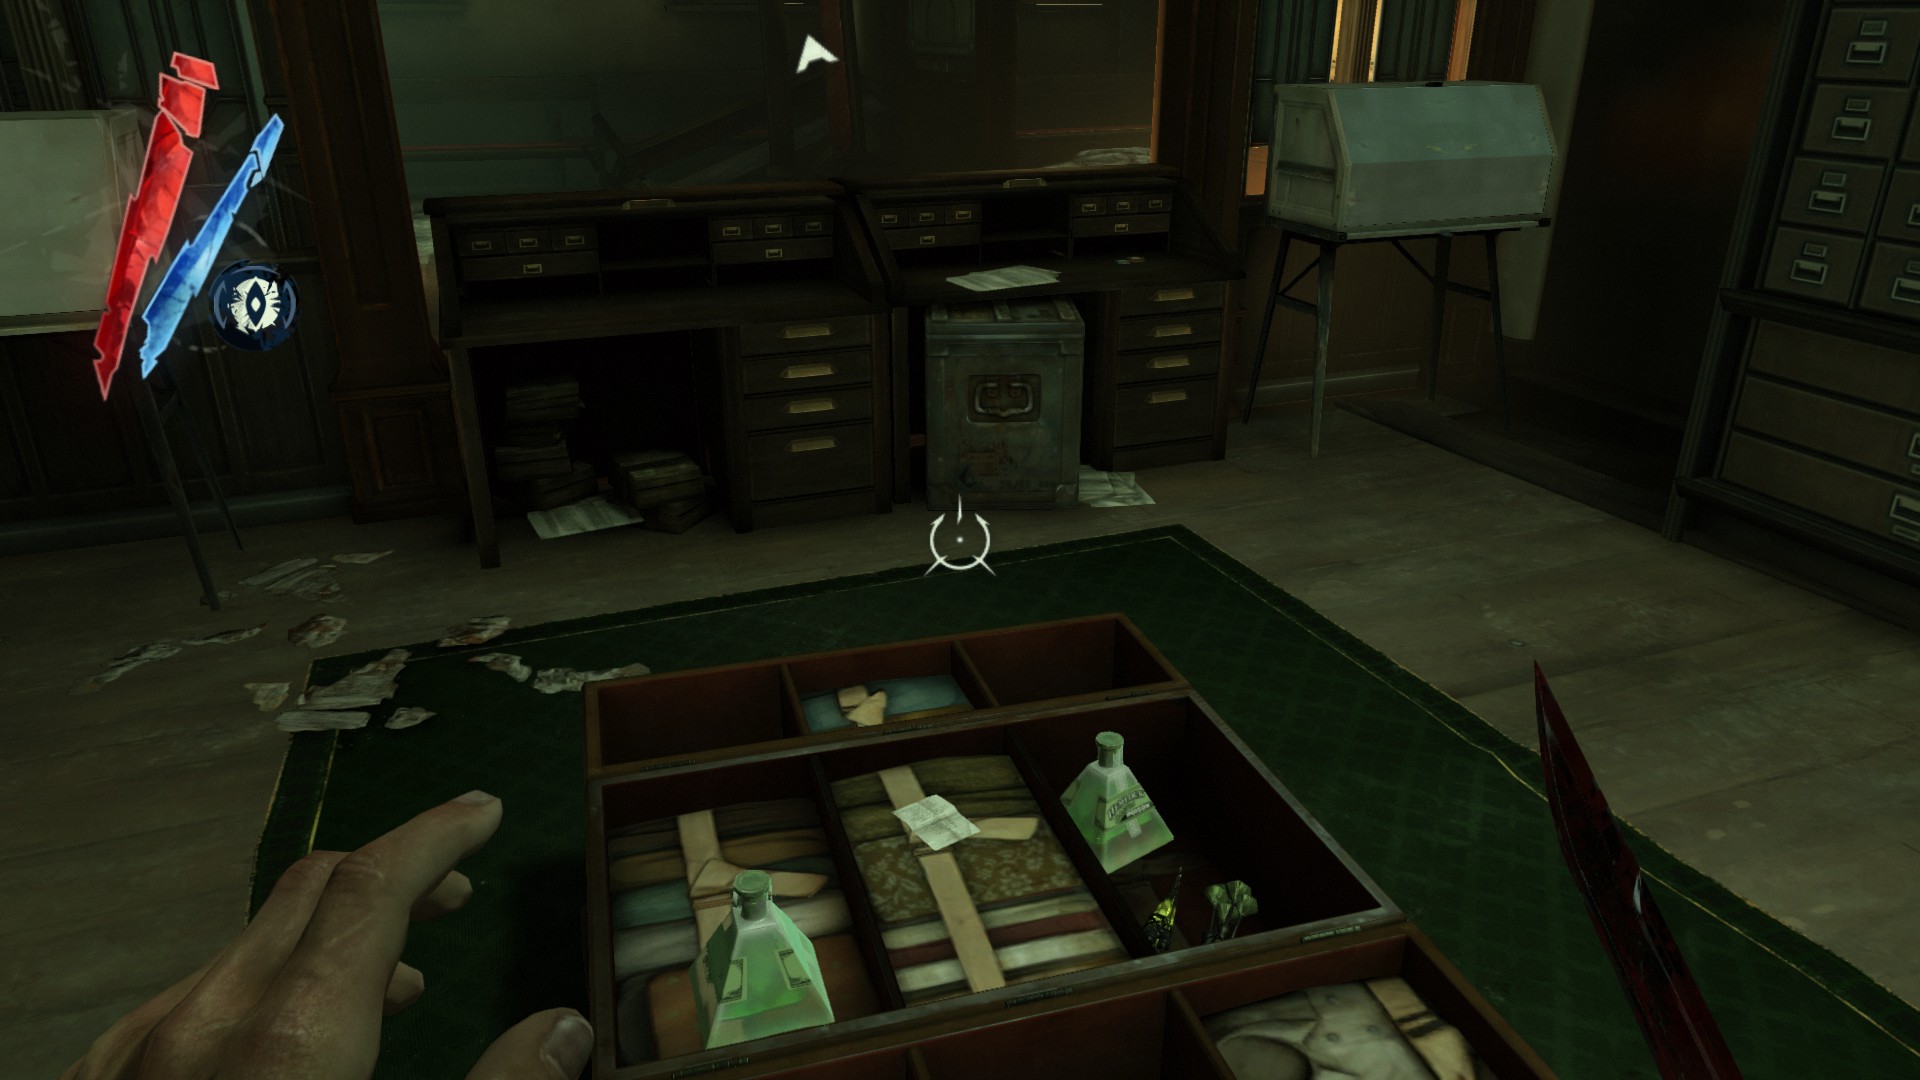
From the powdered crystal, go to the left and you will find a trunk and two locked desks. Inside the trunk are 2 hemlock essences, and on a nearby desk are 2 coins.
(+46 -> 2470/5635)
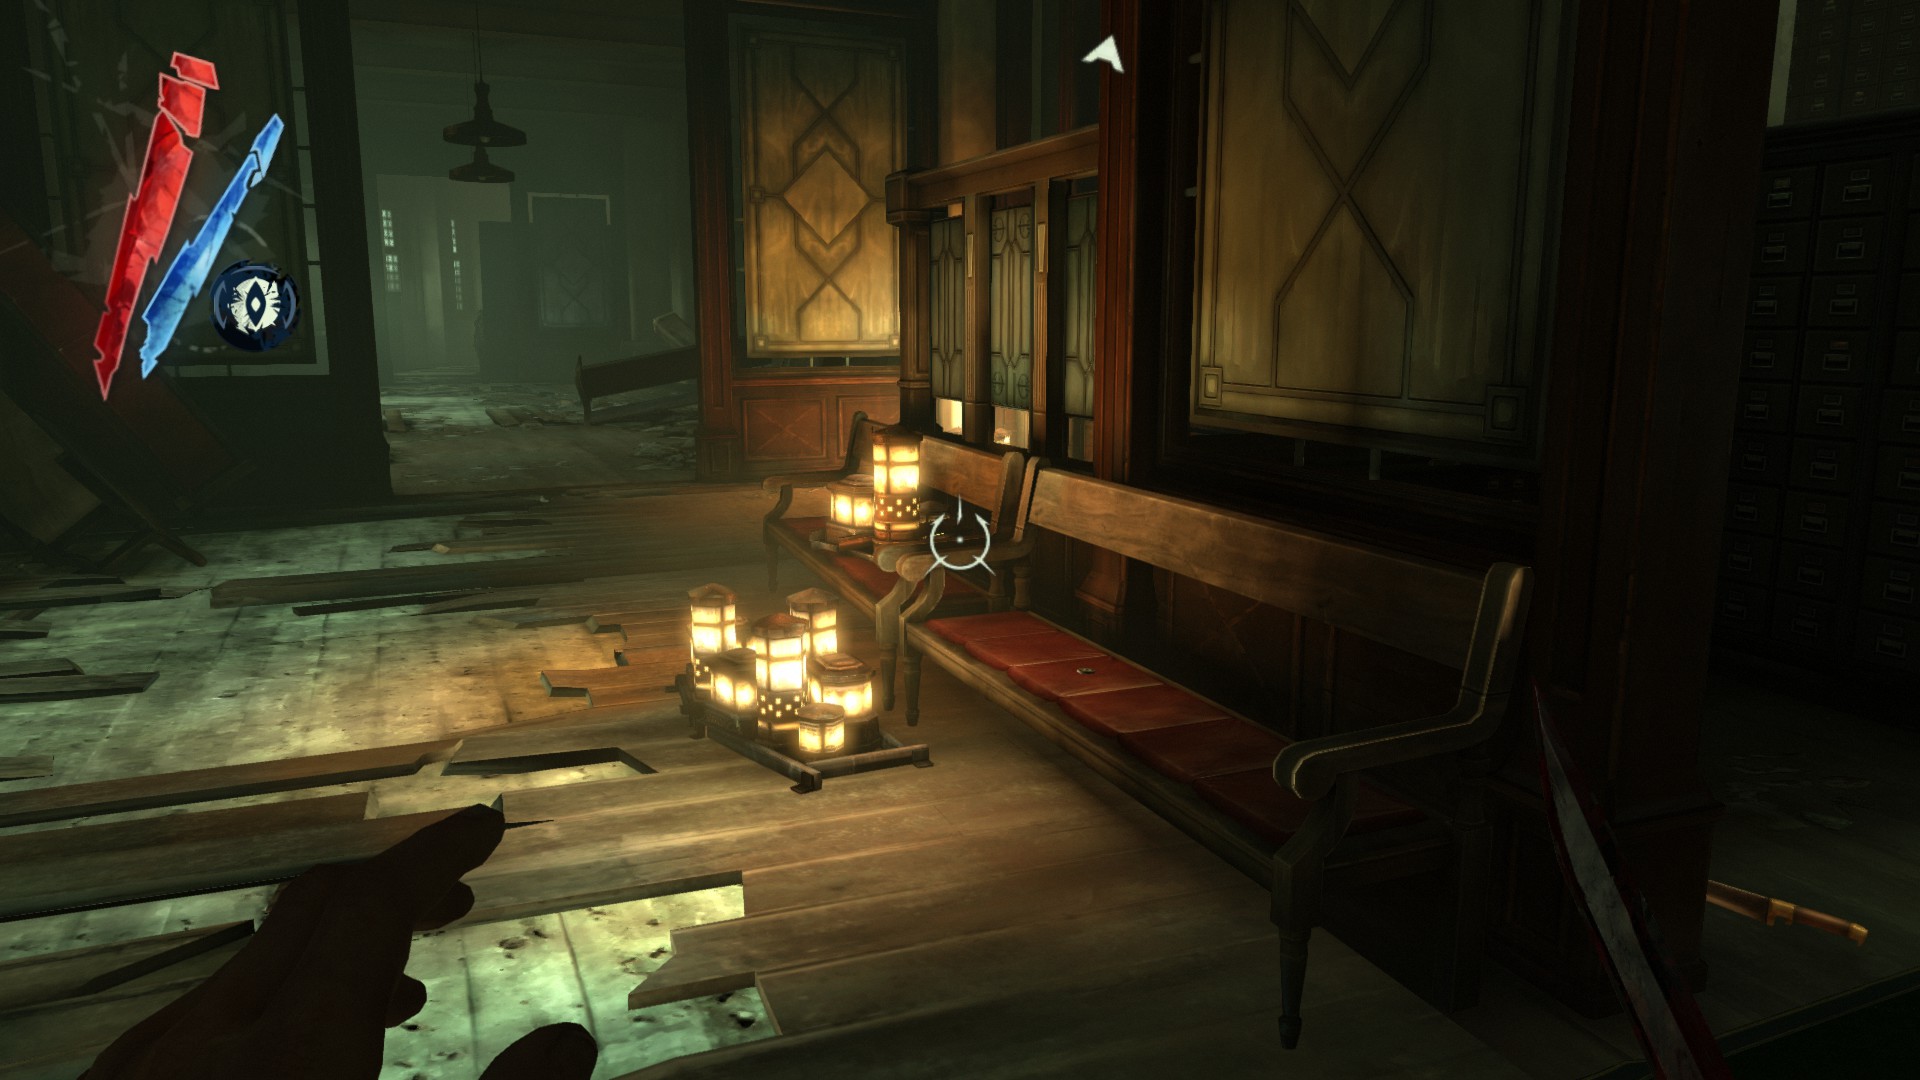
Go out into the hallway, there is a coin sitting on one of the benches here.
(+1 -> 2471/5635)
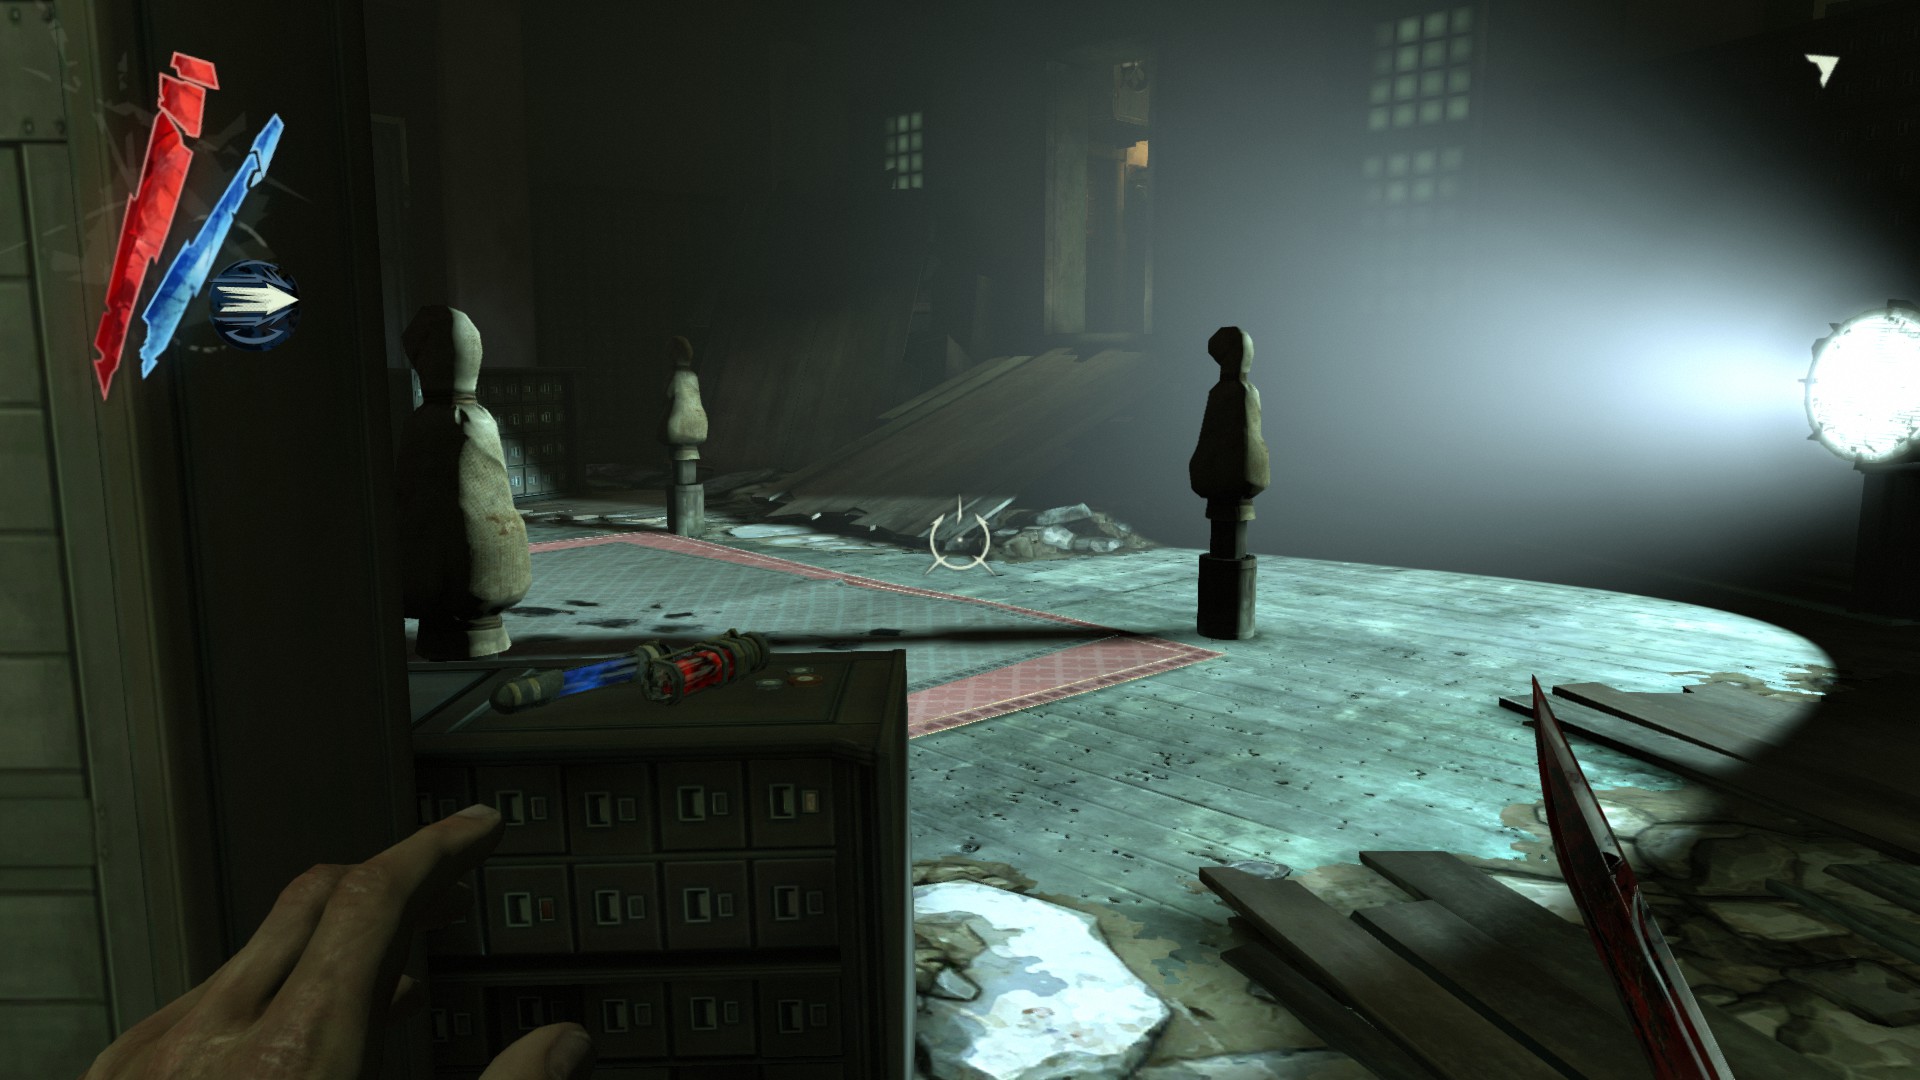
3 coins are on a storage drawers in the assassin training room.
(+7 -> 2478/5635)

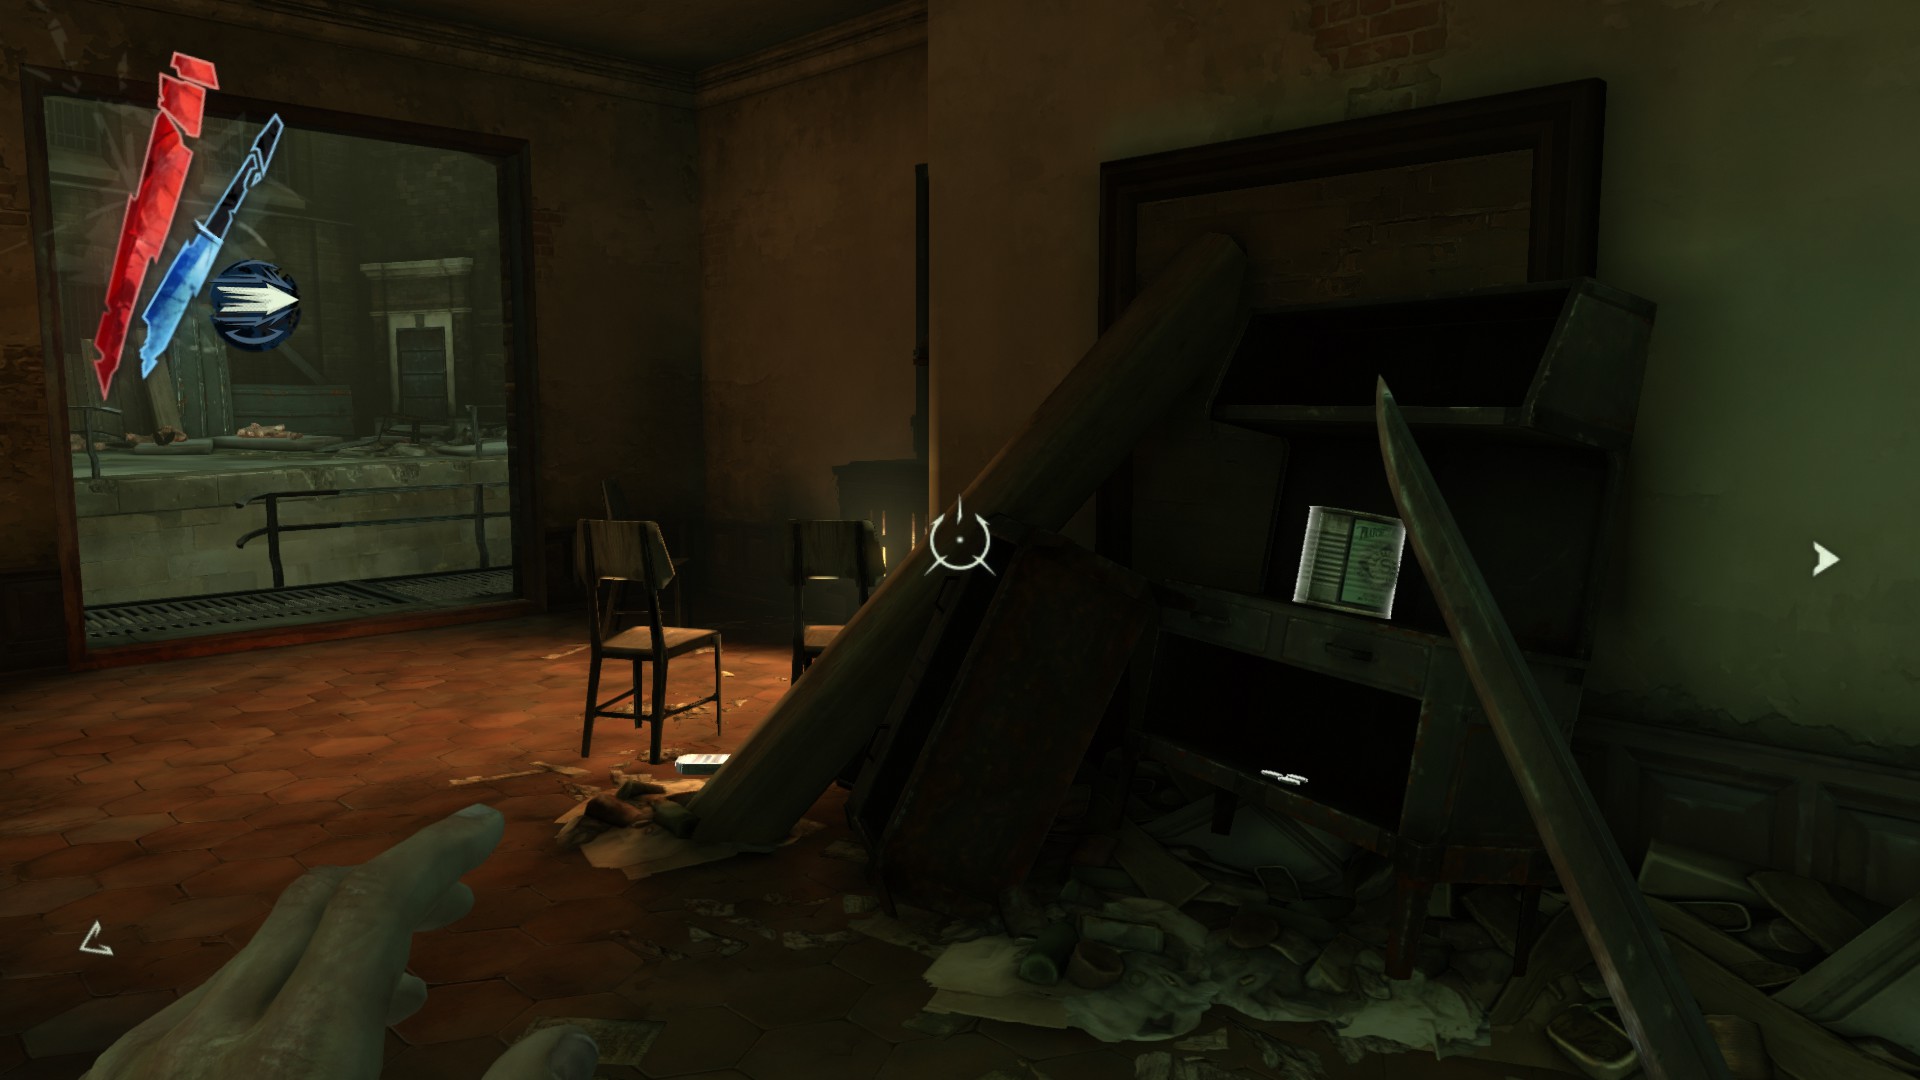
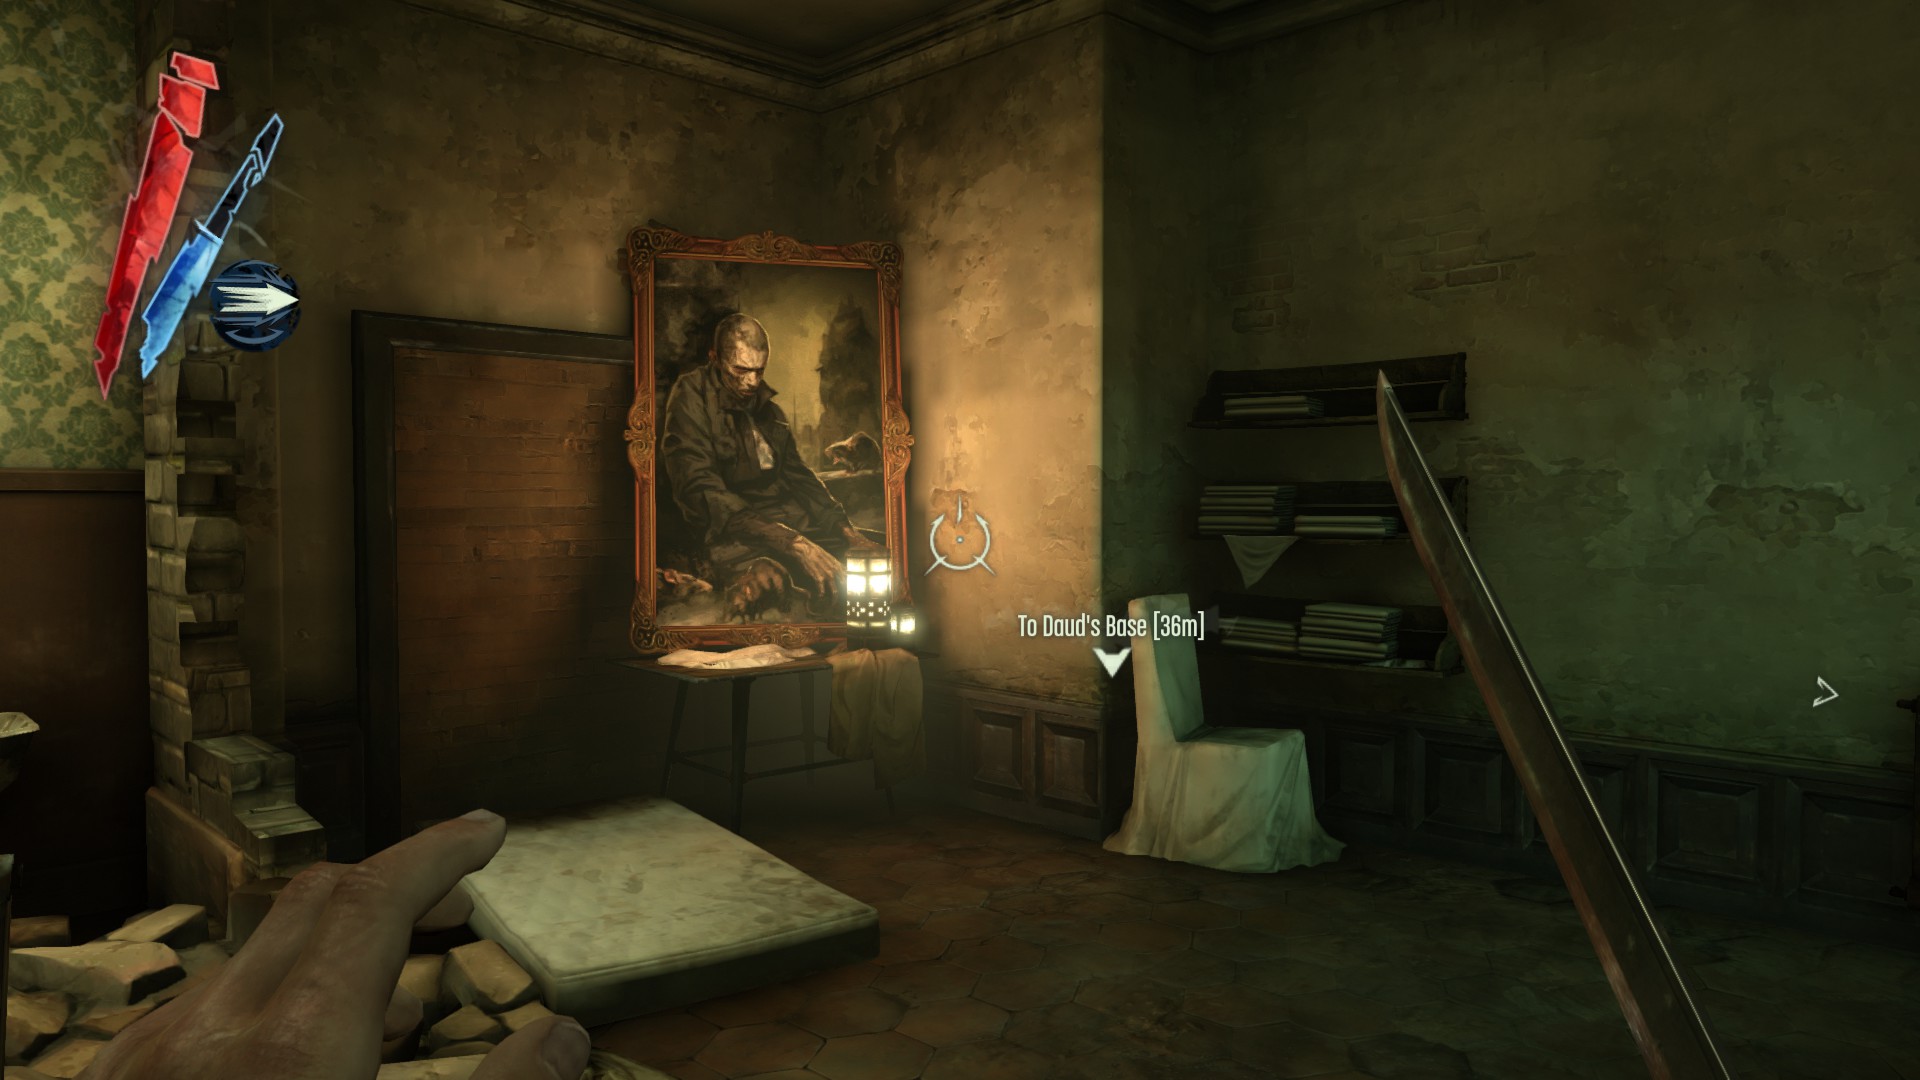
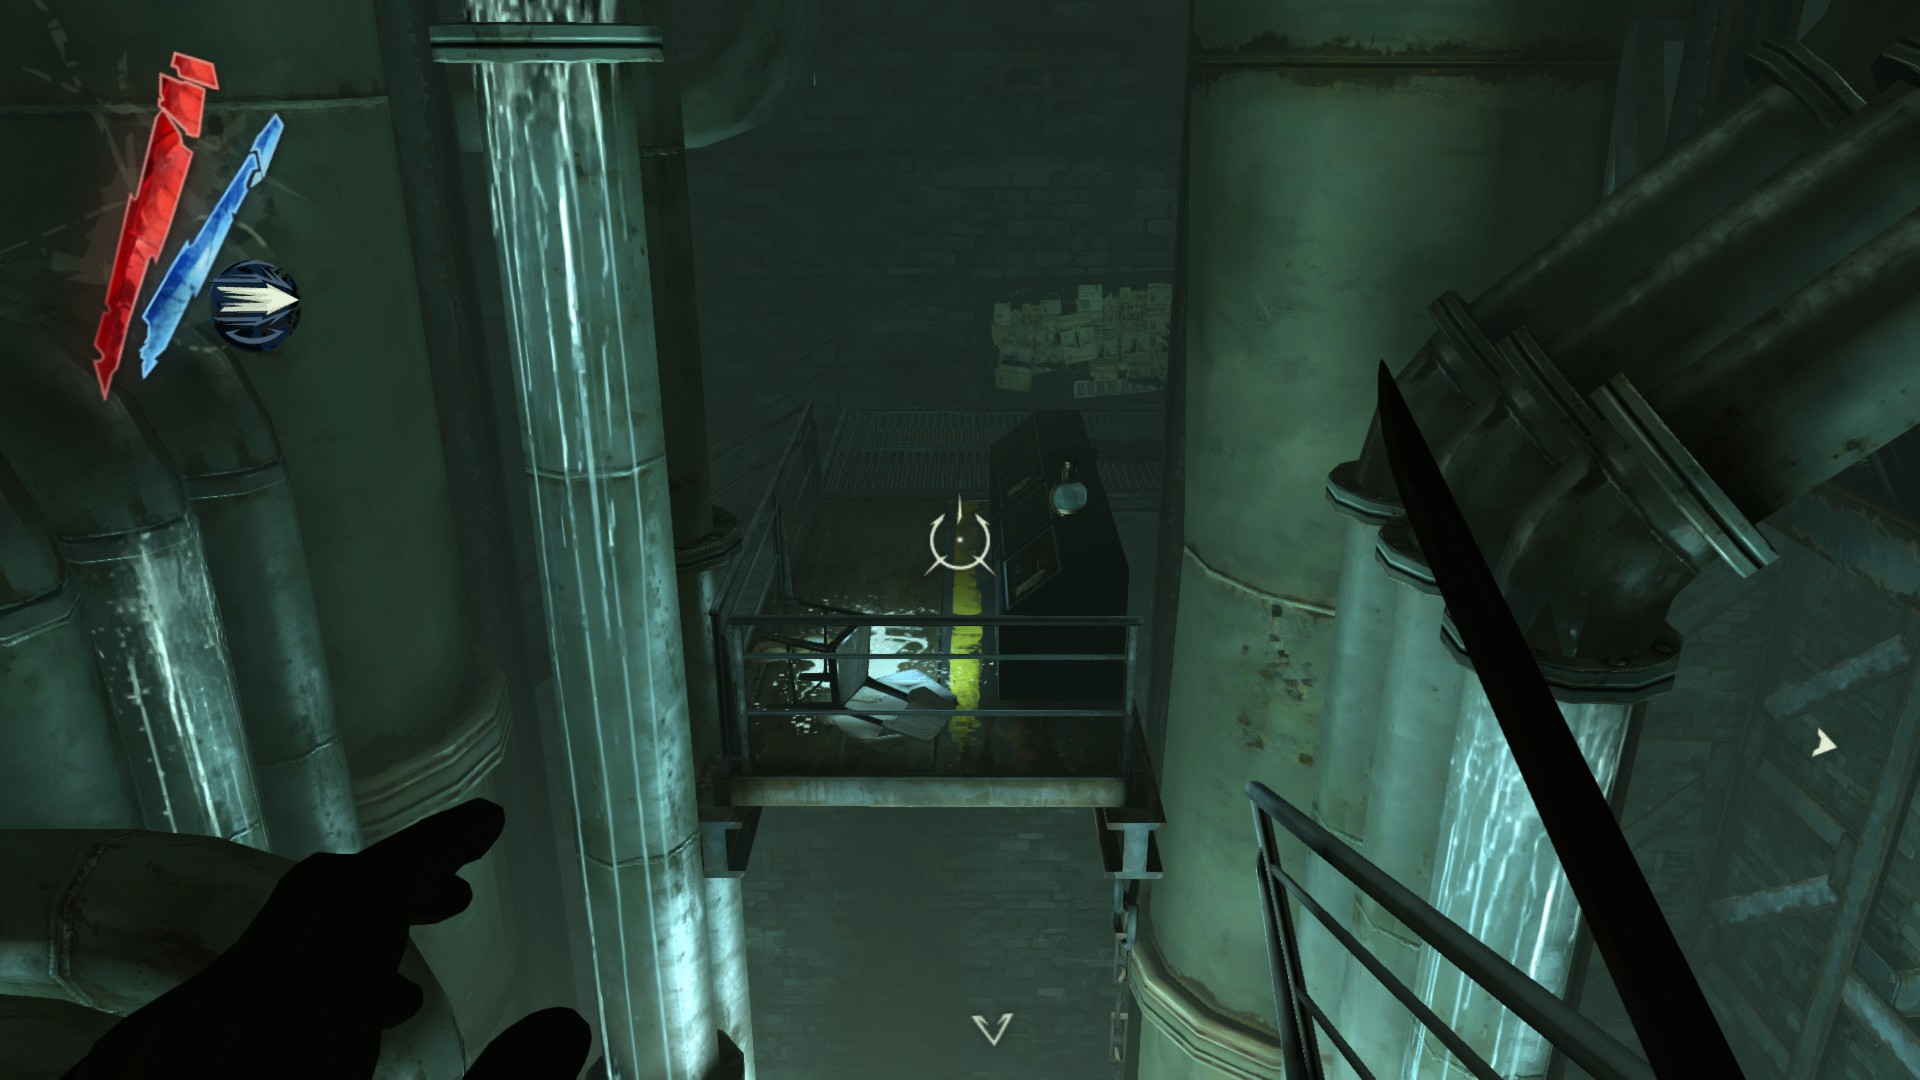
Before entering Daud's quarters, on the right side, there are 4 coins on the ground next to a bench.
(+4 -> 2482/5635)
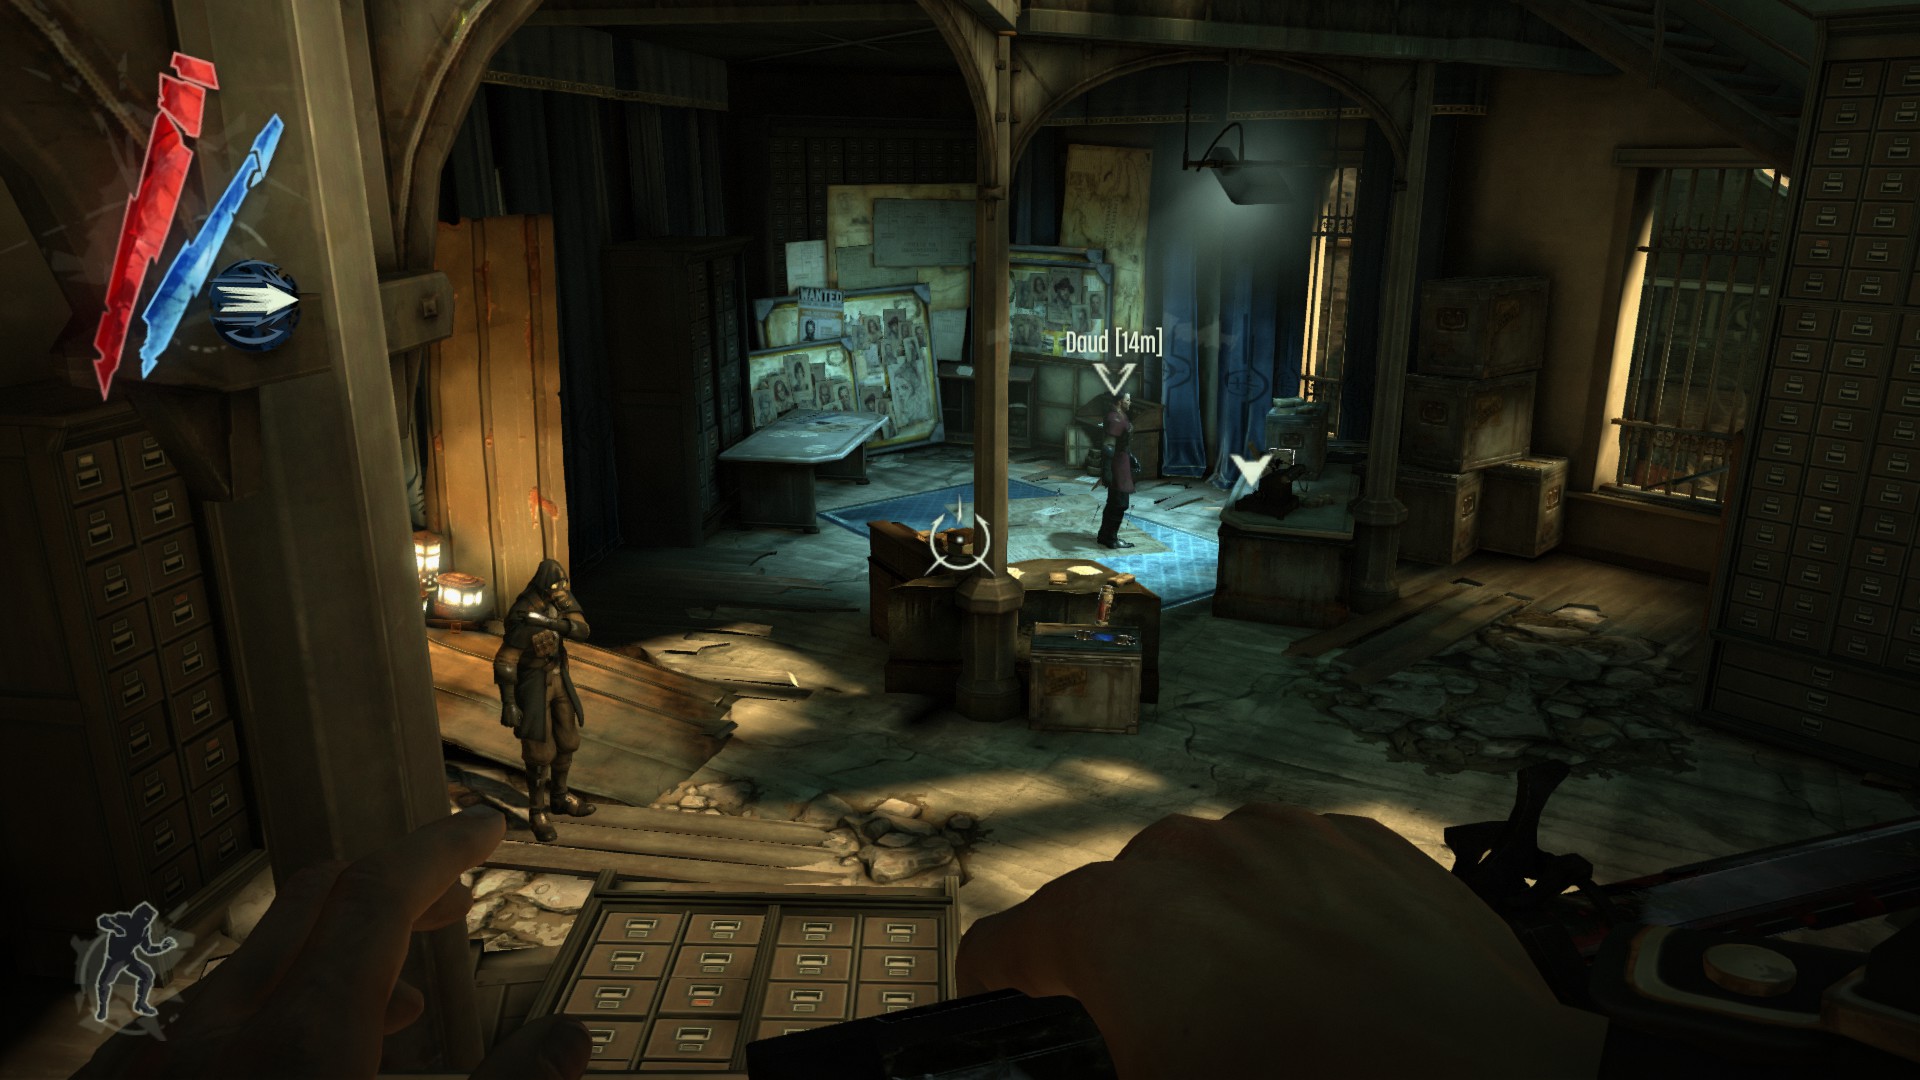
Daud is carrying a pouch.
(+15 -> 2497/5635)

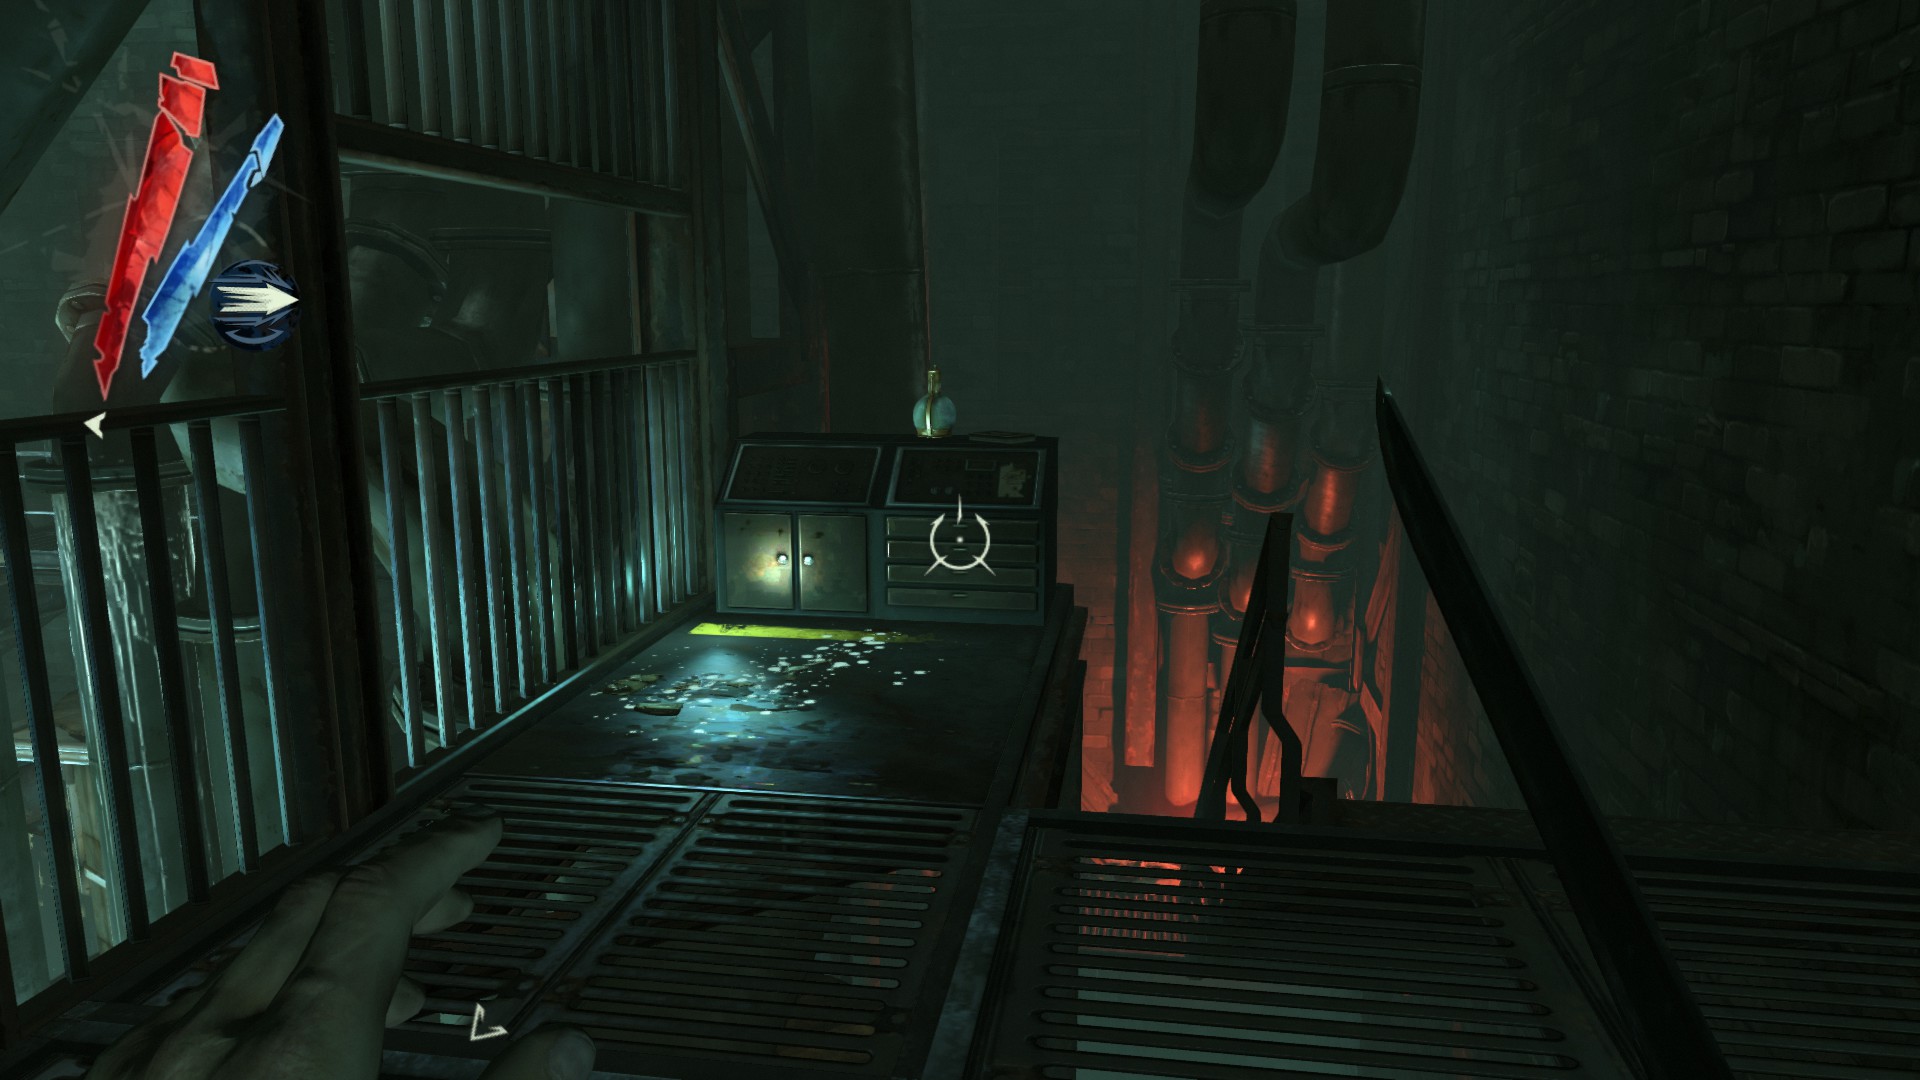
In this area, go upstairs to find 4 coins on a shelf next to the bed and the Carmine Jewel Box inside the chest.
(+108 -> 2605/5635)
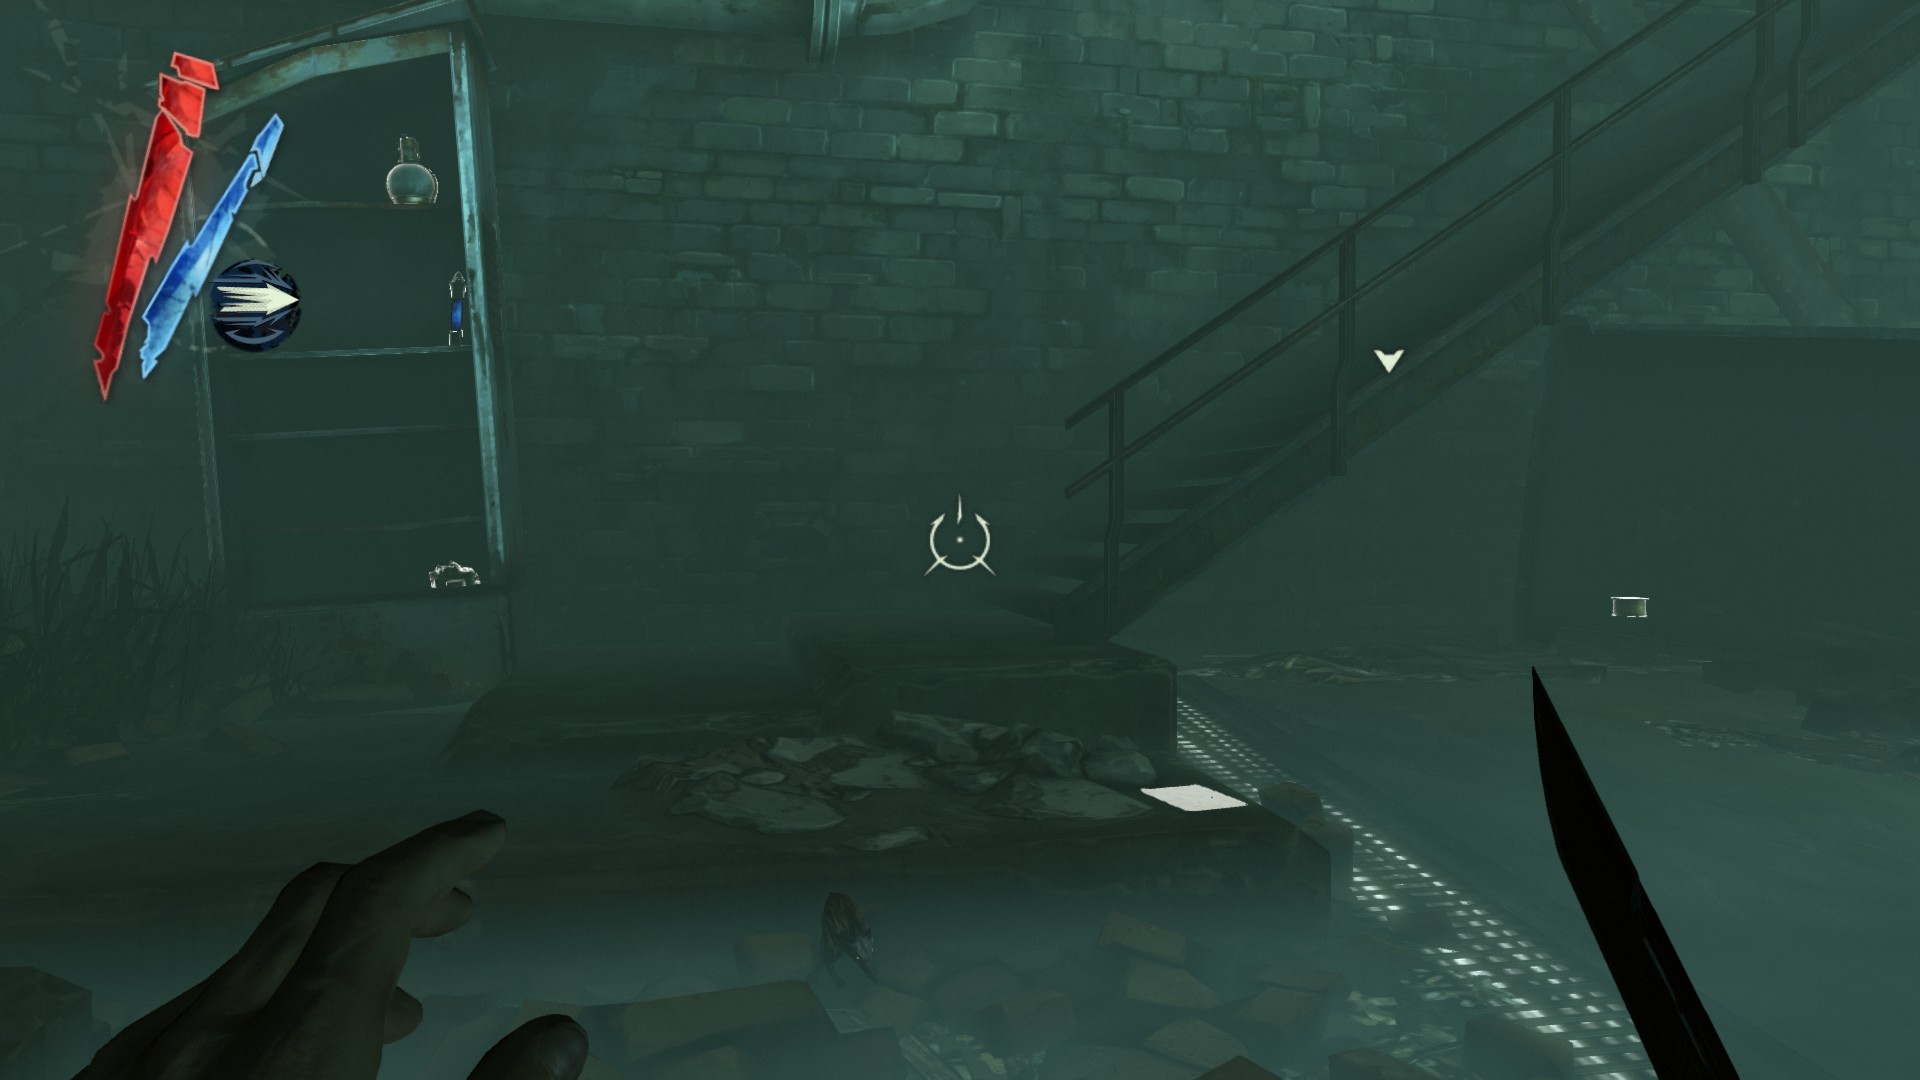
Go into the next area with the ruined building. On the top floor, there are 4 coins on a cabinet near a fireplace.
(+13 -> 2618/5635)
At the bottom floor you will find a cabinet with a hemlock essence and 2 coins on it, and just to the left is another cabinet with the Imperial Sextant inside.
(+172 -> 2790/5635)
Head back to the area with the trunk and unlock both desks you get from Daud. Inside the left desk is a pouch and 5 coins, and the right desk is the Inchmouth Pocket Watch.
(+128 -> 2918/5635)
Now go through the unlocked glass doors and climb down the chain two floors. On this floor, you will find "The Torturer's Quaternionic Groan" painting on the wall.
(+300 -> 3218/5635)
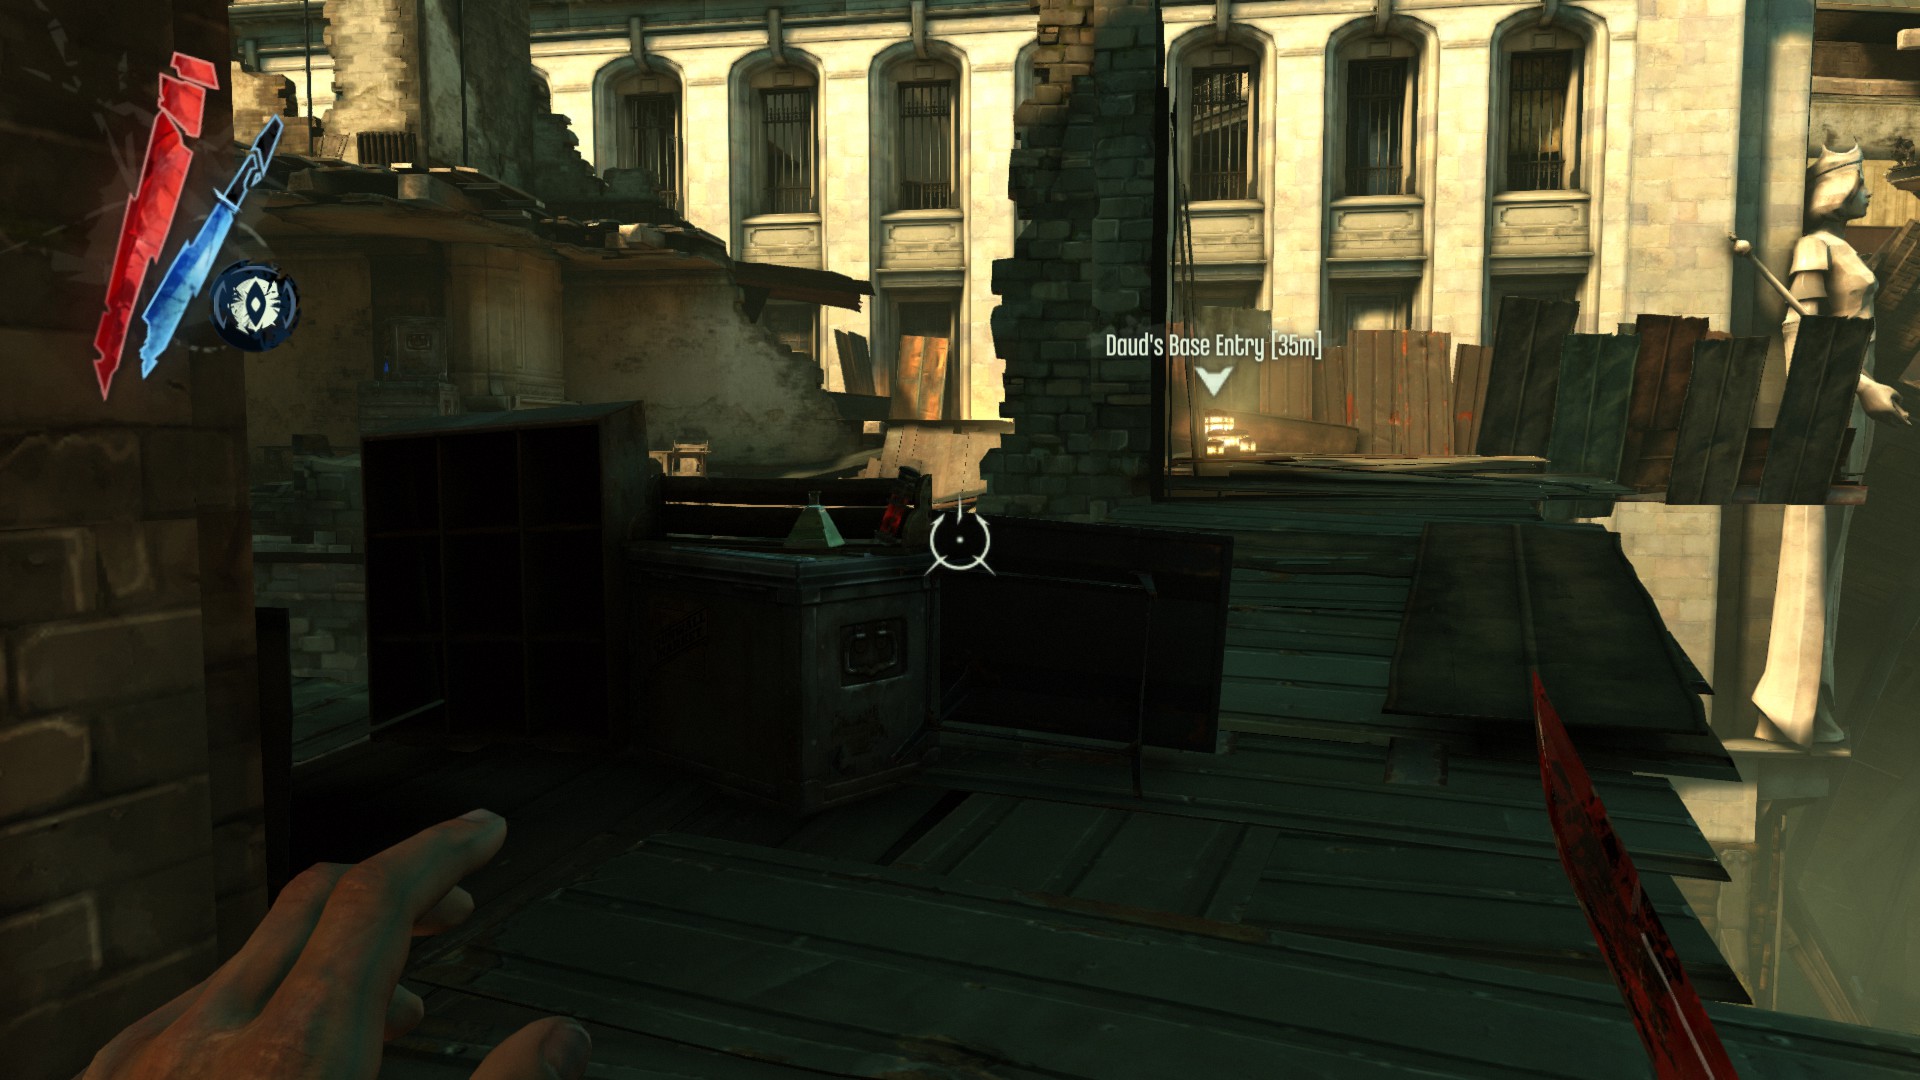
Rudshore Gate
Head left after getting out of the tunnel. You should see a bridge with part of a wrecked ship leaning against it, so climb your way up there. At the right end of the bridge is a coin and the Inchmouth Cameo.
(+110 -> 3328/5635)
Follow the bridge to the other end and turn left. There is a copper wire on the ground next to the stairs, and a medicinal herbs on a mattress at the top of the stairs.
(+30 -> 3358/5635)
Head onto a balcony past the bridge, and climb up into the room from windows. The Perth Fish Statuette is in the cabinet in this room.
(+50 -> 3408/5635)
Cross to the next building and go up the staircase. 5 coins are on a table in here.
(+18 -> 3426/5635)
Head back to the bottom. The next building over has an apartment on the bottom, inside there are 3 coins on top of a cabinet.
(+7 -> 3433/5635)
Climb out the window to find a tyvian ore and a copper wire in one of the dumpsters.
(+30 -> 3463/5635)
Follow the alley all the way down, it ends at another dumpster with a medicinal herbs in it.
(+20 -> 3483/5635)
Go to the right before the dumpster and you will find 3 coins on a table.
(+3 -> 3486/5635)
Head back to the area where a victim is carrying a dying man, you should see a staircase in a building. Before you go up the staircase, turn right and climb through the rubble to find a copper wire.
(+10 -> 3496/5635)
Now head upstairs, there are two looters here. One of them is carrying a pouch.
(+10 -> 3506/5635)
Unlock a nearby door you get from the looter and go in. Inside there are 5 coins, the Imperial War Medal and the Perth Urn on a table.
(+214 -> 3720/5635)
On the right side of the area, guarded by tallboys, is a staircase leading to a building full of survivors (weepers in High Chaos). Open the closet at the back of the Brimsley's room (the key is on a table next to Blake) to grab 5 coins in a cabinet.
(+13 -> 3733/5635)
Head all the way upstairs, in the last room there is a copper wire and 3 coins on a cabinet.
(+13 -> 3746/5635)
Go out on the balcony to see a window that you can go through a next building. In the back room, there is the Inchmouth Hound Statue on a cabinet.
(+100 -> 3846/5635)
At the left side of the area are ruined buildings. Go inside the first building, and around the stairwell there is a chair with 3 coins on it.
(+12 -> 3858/5635)
Climb up to the top floor of this building to find 4 coins on a mattress.
(+16 -> 3874/5635)

There is a locked door that you can get in by Blink through the windows outside. There is a hemlock essence and a pouch next to a dead guard here.
(+30 -> 3904/5635)
Mission 7 - The Flooded District, pt. 3
Old Dunwall Sewer
Continue forward, and you will see a campsite with four weepers. A dead weeper here is carrying a pouch.
You can either break the boards and hide behind a pillar to make them move, or use Bend Time II and grab it.
(+20 -> 3924/5635)
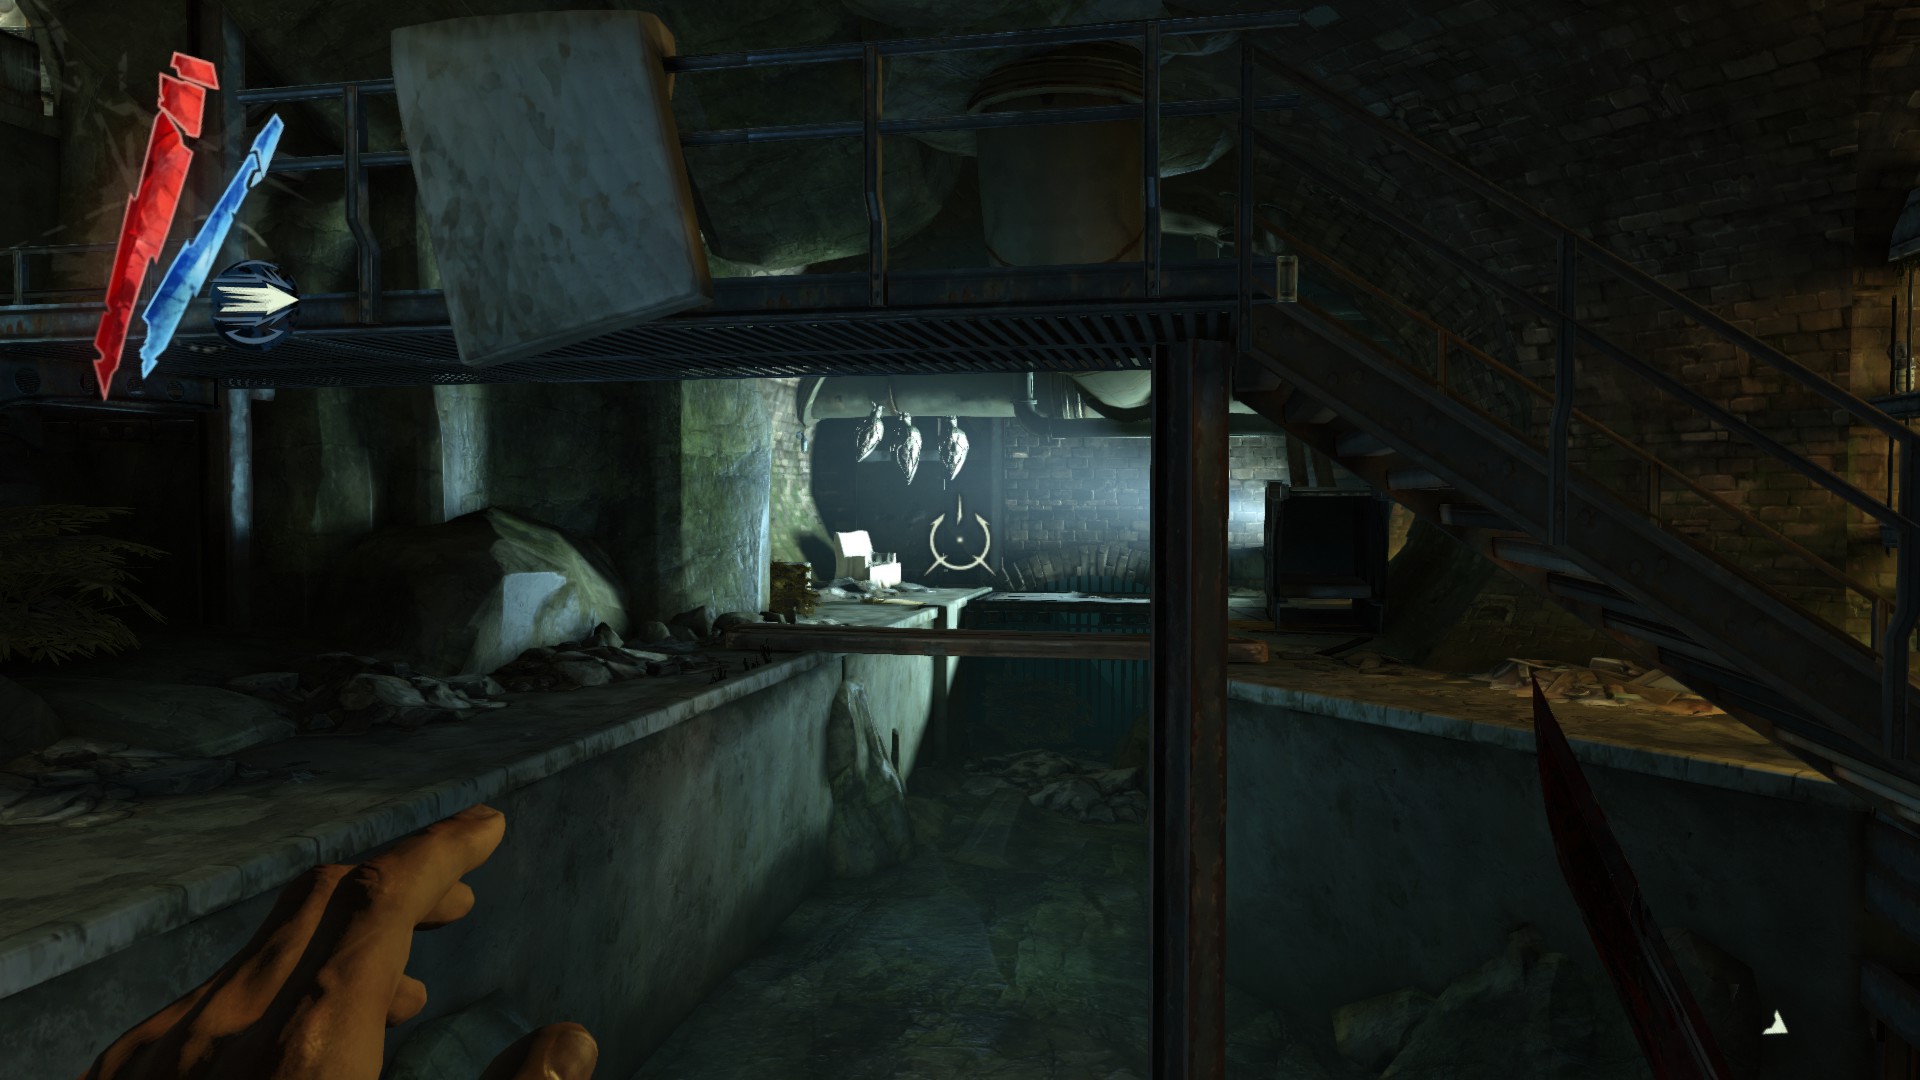
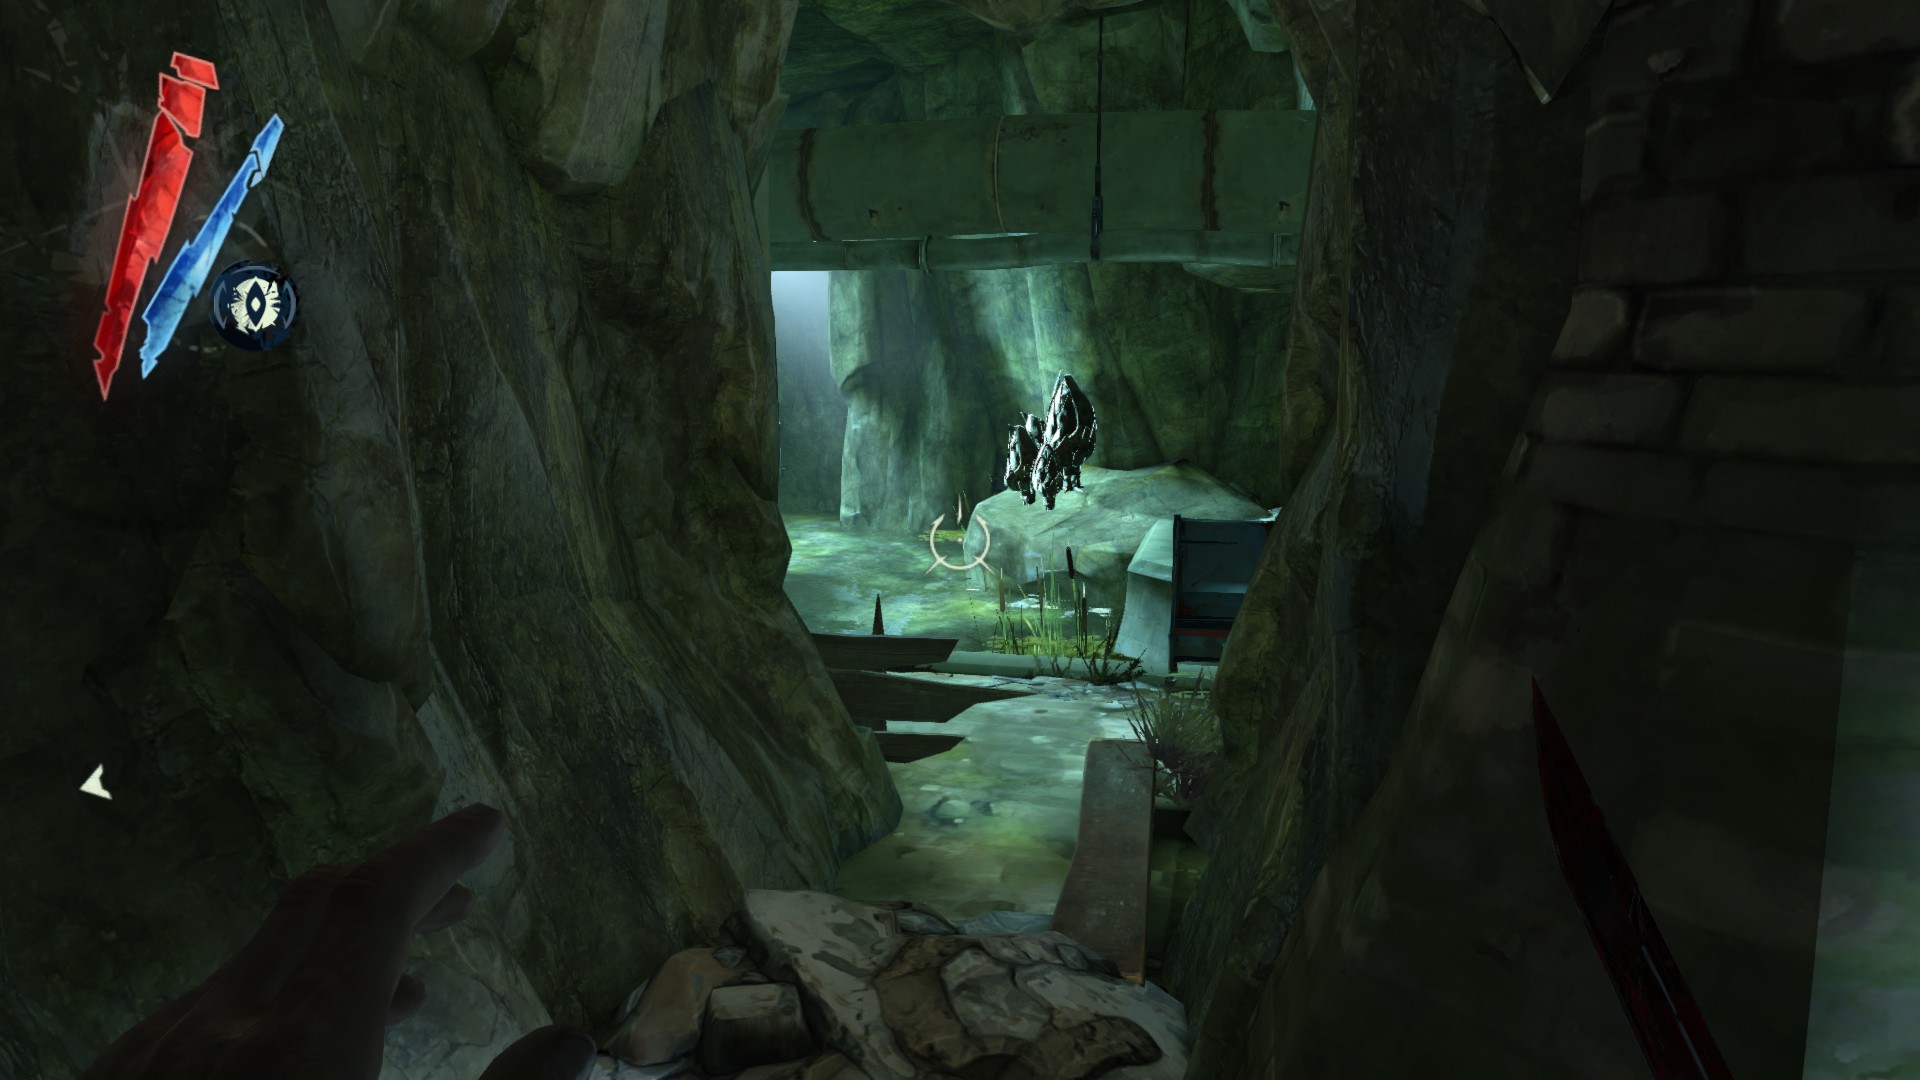
Follow your objective marker and soon you'll come into the area with two river krusts hanging from the ceiling. One of them has a large river krust pearl.
(+50 -> 3974/5635)
The next area has four more river krusts, two have large river krust pearls and one has small one. There are also 6 coins on the rocks nearby.
(+143 -> 4117/5635)
Follow the stairs on the left, there is a safe with an ingot inside in the room. The code is 528.
(+100 -> 4217/5635)
Now follow your objective marker along the area with three river krusts. One of them has a large river krust pearl.
(+50 -> 4267/5635)
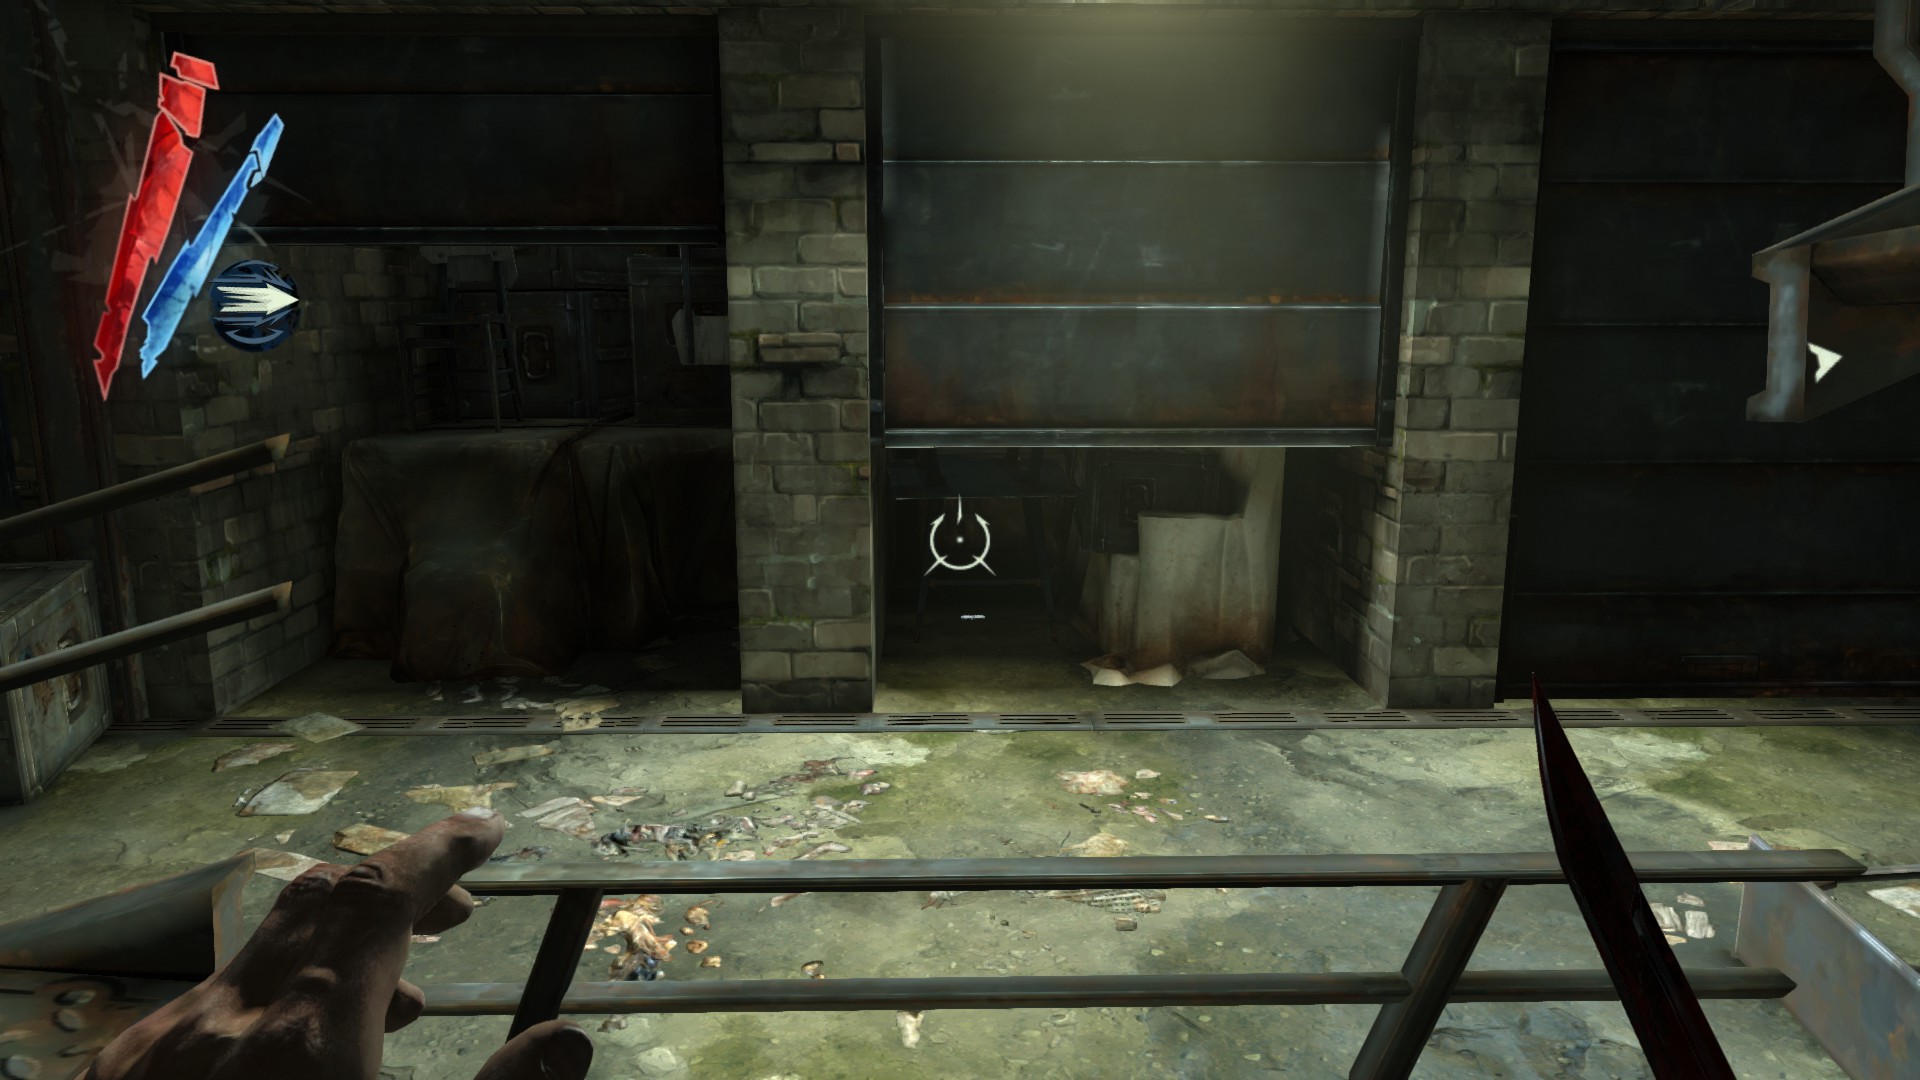
In the underwater tunnel, there is a shelf with 4 coins on it above the pipe. If hard to see, use Dark Vision.
(+40 -> 4307/5635)
After you get out of the water, climb up the stairways all the way up and past the gate to find a copper wire laying on a mattress.
(+10 -> 4317/5635)
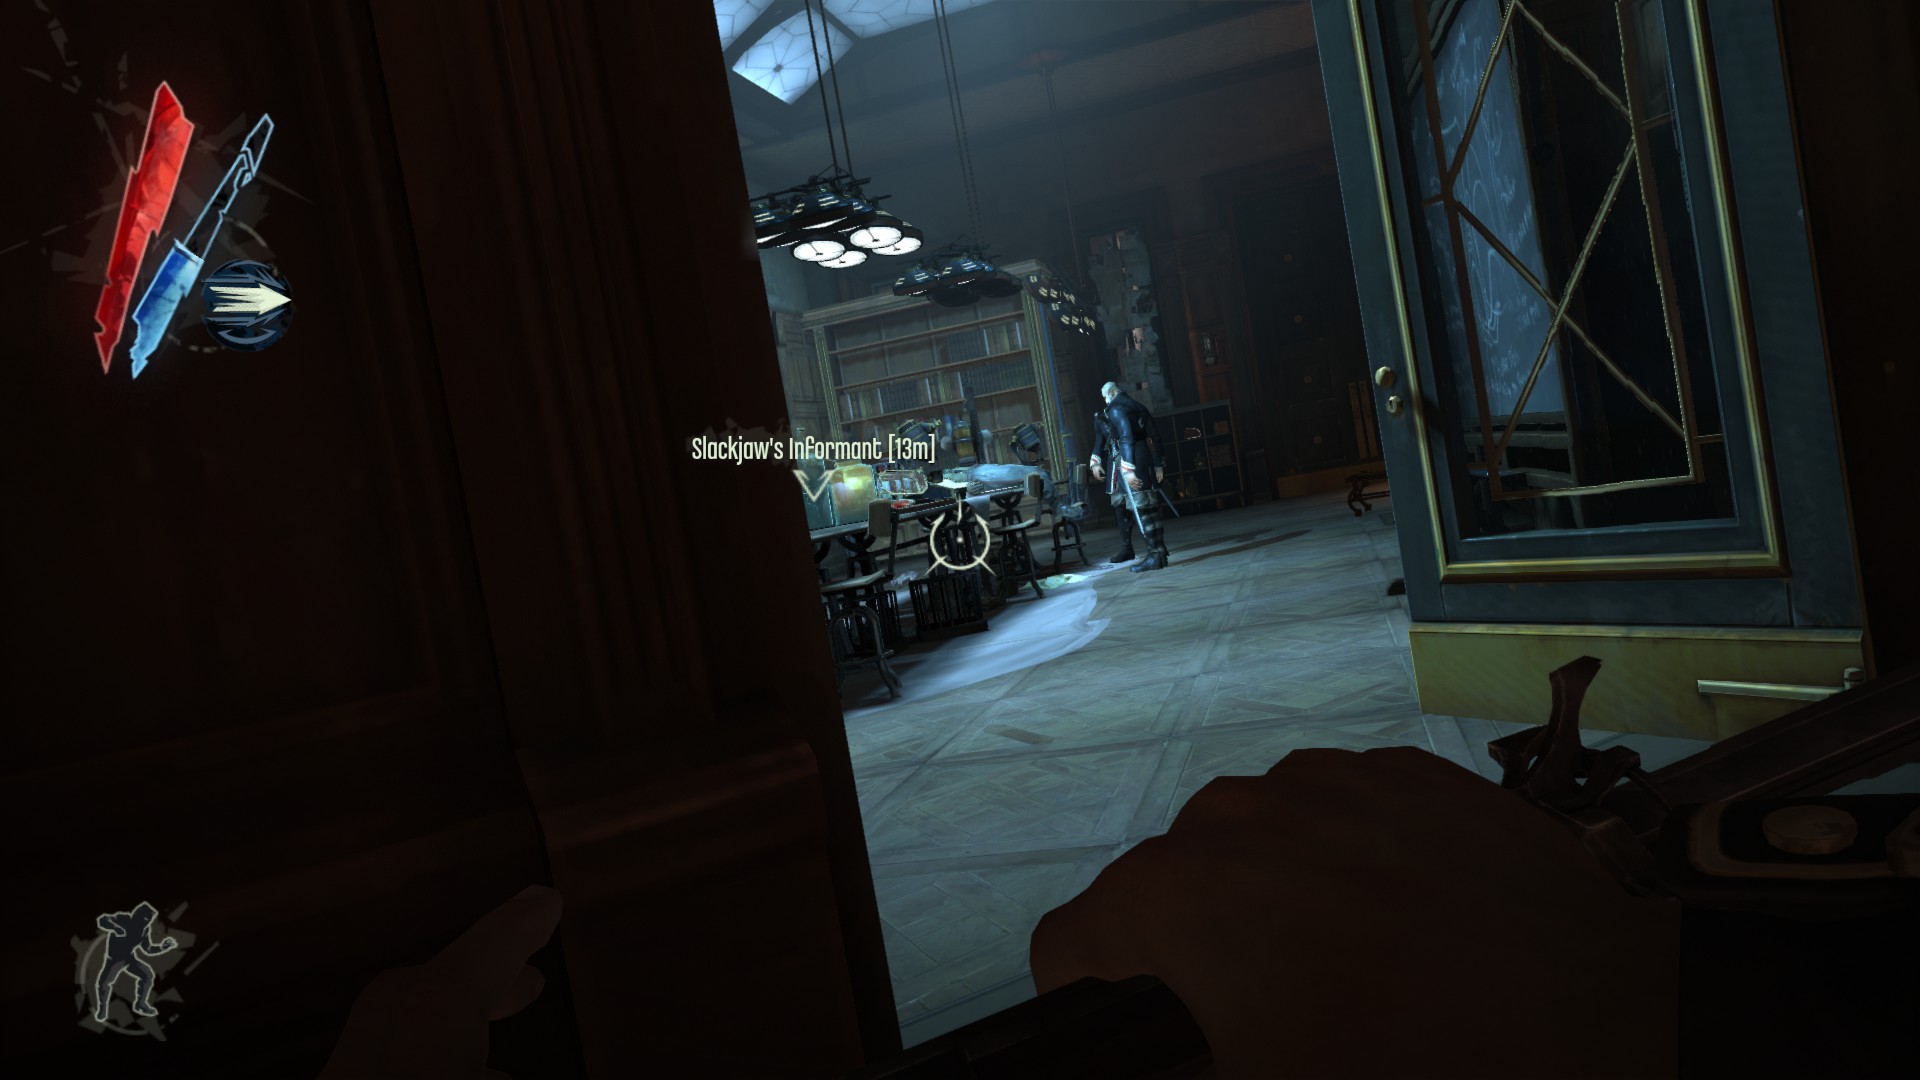
Slackjaw will give you 600 coins after defeating Granny Rags. Use Bend Time II right the moment her cameo is burned and then choke/sleep dart (or kill) her.
There is also a kingsparrow feathers and a medicinal herbs on the stone next to him.
(+630 -> 4947/5635)
A processed whale oil is on the crate in Granny Rags's room. "The Outsider and the Circumscribed Void" painting is on the wall here.
(+330 -> 5277/5635)
Go into the next room to grab the Continent Pandyssa Map, the Perth Sextant and a kingsparrow feathers on the table, and a processed whale oil on the shelf.
(+165 -> 5442/5635)
Now follow your objective marker from the sewer gate. Before you reach the area full of survivors (weepers in High Chaos), turn left to see three river krusts hanging from a pipe. One of them has a small river krust pearl. There are also 5 coins on a couch above them.
(+38 -> 5480/5635)
A female survivor (or weeper) is carrying a pouch.
(+20 -> 5500/5635)
There is also a pouch on a table near a shack.
(+50 -> 5550/5635)
The next area has five river krusts, one has a large river krust pearl and one has small one.
(+75 -> 5625/5635)
There are some storage areas on the left just before you go up the broken stairs. In the second storage area are 2 coins on the ground.
(+10 -> 5635/5635)
Mission 8 - The Loyalists (360)
Points of no return
- "Burn them" option used on the special arc pylon will destroy every pouch carried by guard unlike normal ones
The Hound Pits Pub

There are 6 guards carrying pouches throughout the Hound Pits Pub. It's better to rush the special arc pylon objective as this make the mission much easier. If not, then good luck. Remember to select option (Put them sleep).
Here are the locations:
- Two guards outside of the abandoned apartment, carrying pouches of 5 and 10 coin, totalling 15
- Two guards out in front of the pub, carrying pouches of 10 and 25 coin, totalling 35
- Two guards in Corvo's chambers, eventually leave it and patrol the pub. Carrying pouches of 10 and 100 coin, totalling 110
There are two river krusts here in the sewers; the one is next to the submerged boat and the other one is near the pipes. Each has a large river krust pearl.
(+100 -> 260/360)
You will find the Carmine Pocket Watch at the end of the sewers, next to an audiograph player.
(+100 -> 360/360)
Mission 9 - The Light at the End (187)
Points of no return
- The elevator switch no longer works after reaching the lighthouse
Kingsparrow Fort
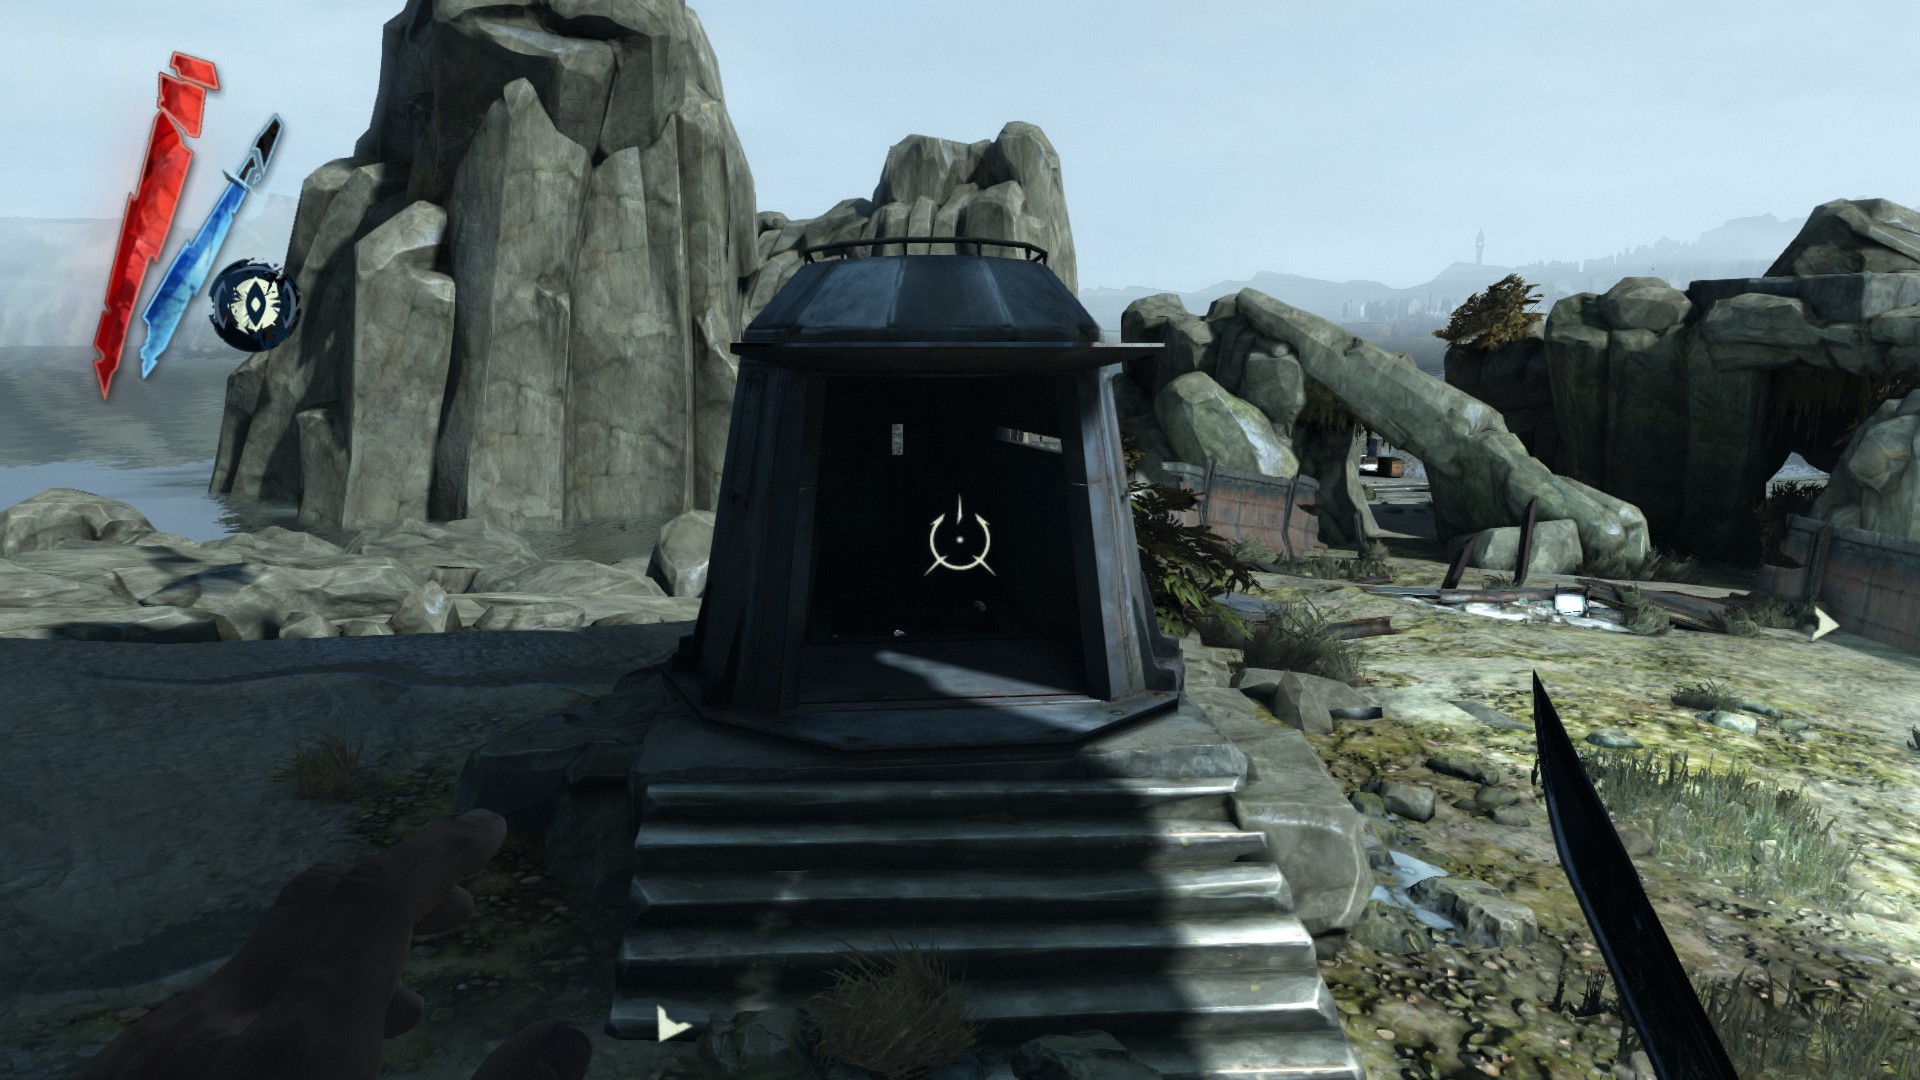
There are 2 coins inside the trap door in the bunker, on the beachside.
(+2 -> 2/187)
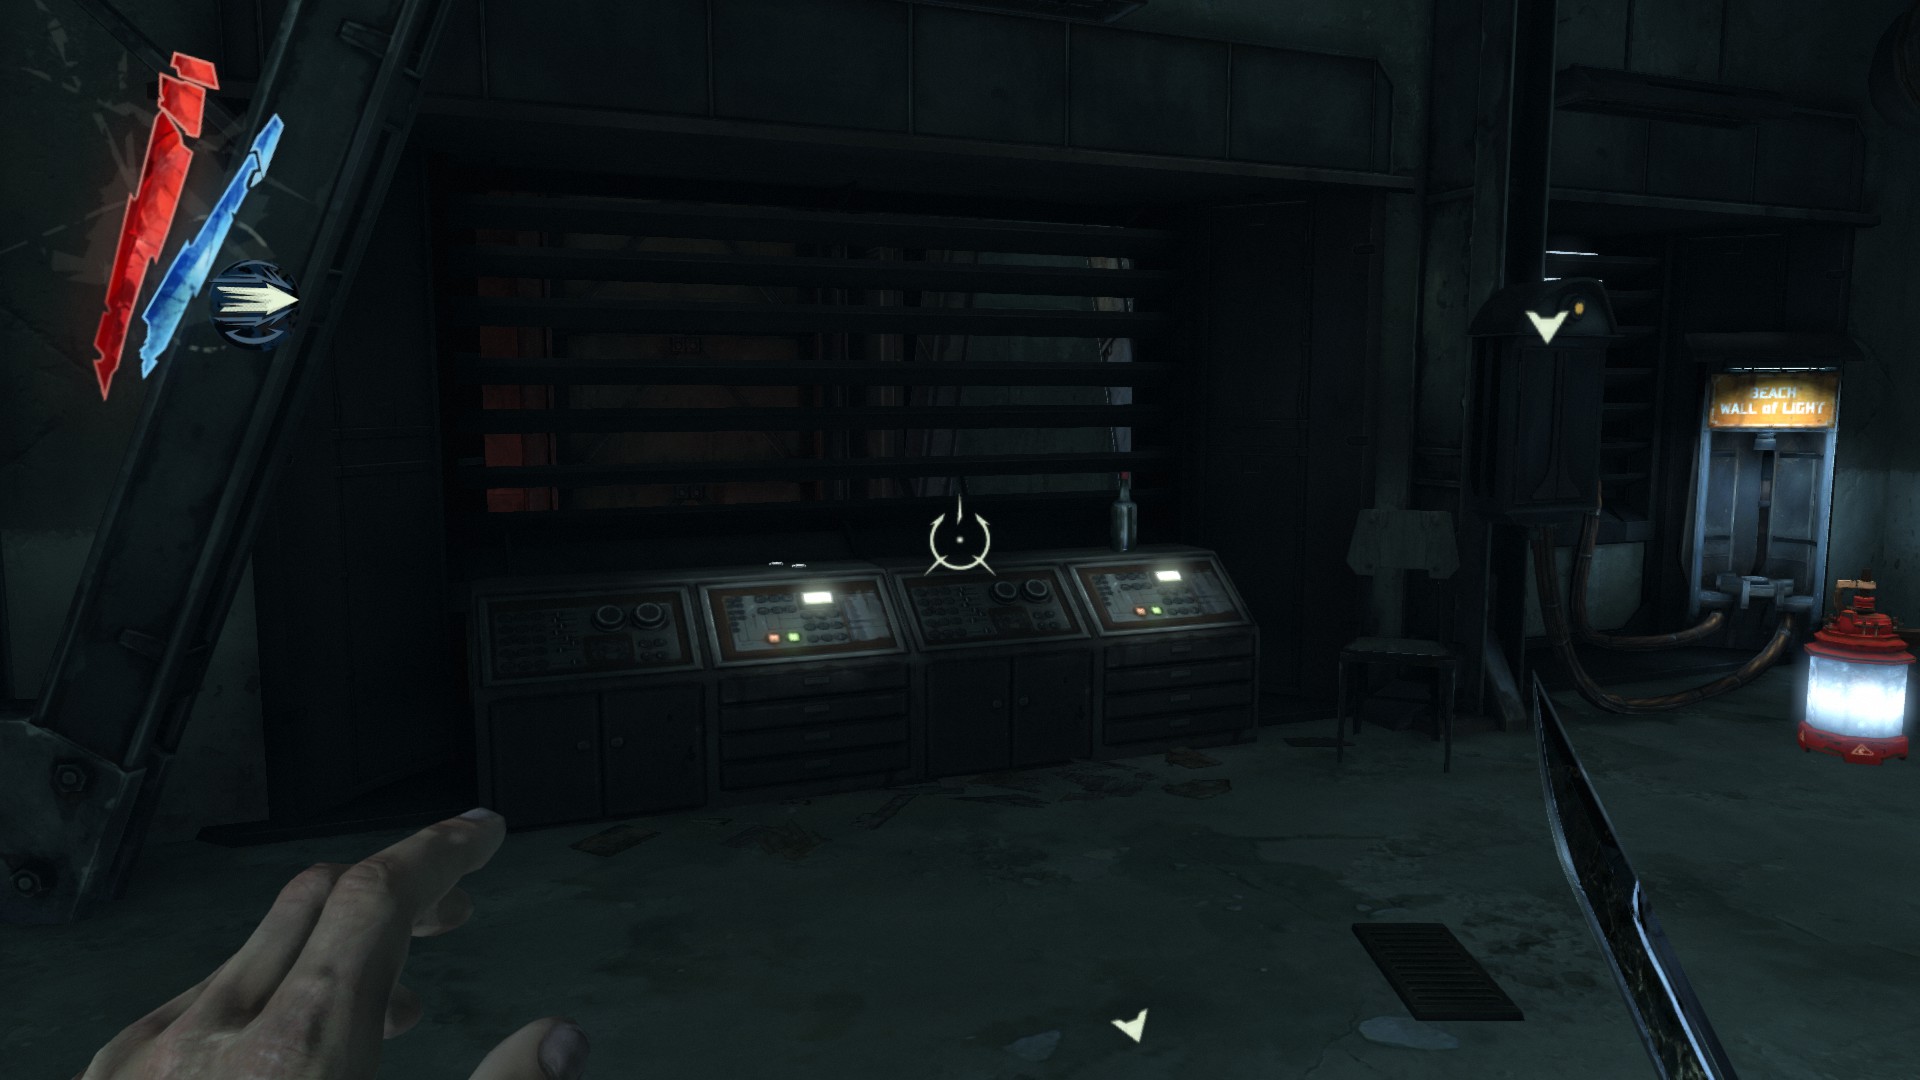
Between two entrances to the fort there is an opening hatch you can reach to get into the wall of light control room. Inside there are 2 coins on a control console at the beachside entrance.
(+2 -> 4/187)
Once you get into the fort, look for the gatehouse control room on the top floor at the left side of the courtyard. Inside there are 2 coins on a control console.
(+6 -> 10/187)
Exit this room and follow the outer walkway. In the first lookout room it leads to, there is a pouch on the table.
(+50 -> 60/187)

A pouch and 3 coins are on the table in the next lookout room.
(+17 -> 77/187)
Drop down to the stairway with an alarm and go into the room above this lookout room. There are 2 coins on a bench here.
(+6 -> 83/187)
In the third floor of the gatehouse, there is a coin laying on the floor between stairways. (In High Chaos, that's where Treavor Pendleton is.)
(+1 -> 84/187)
Burrows Lighthouse
3 coins are on the table in the small servant room on the second floor of the penthouse.
(+3 -> 87/187)
Head upstairs to grab a pouch on Havelock's desk.
(+100 -> 187/187)
More Dishonored guides
- Safe codes★ 5 (1.7k)54k views3.5k ♥1 minUpdated Feb 15, 2017
- Dishonored: All Canonical Choices! - What did Corvo do?★ 5 (951)50k views1.6k ♥11 minUpdated Apr 29
- Dishonored - Complete Achievement guide (all 50 base game achieves)★ 5 (1.5k)44k views3.3k ♥20 minUpdated Nov 29, 2024
- Русификатор Dishonored +DLC | Текст от 1С [Google Диск]★ 5 (540)37k views1.2k ♥1 minRussianUpdated Dec 6, 2025
- Safe Combinations for Dishonored + DLCs★ 5 (1.2k)35k views2.7k ♥2 min
- Mission by Mission Achievement Guide + DLC★ 5 (1.2k)34k views2.6k ♥12 minUpdated Mar 26, 2016


This guide was created by its original author on the Steam Community. Are you the author and want it removed? Request removal.