End Game Loot & Build
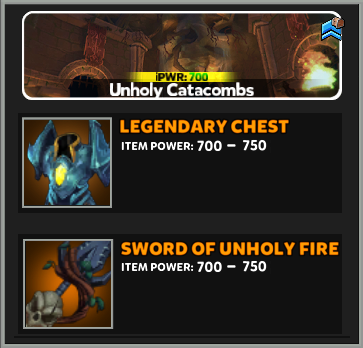
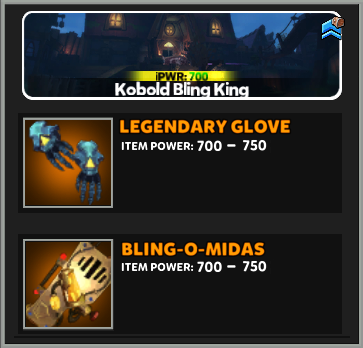
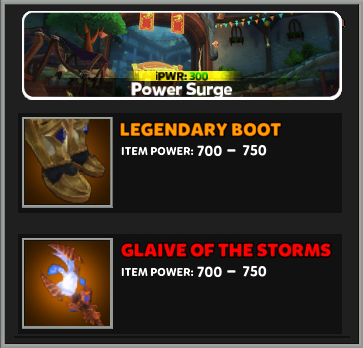
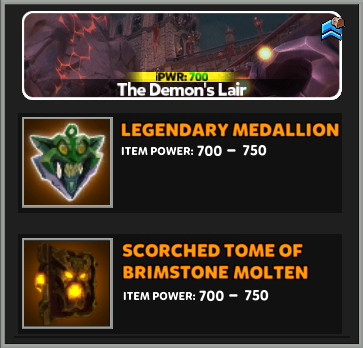
Loot Drops

Pets
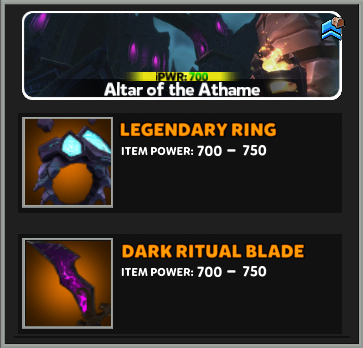
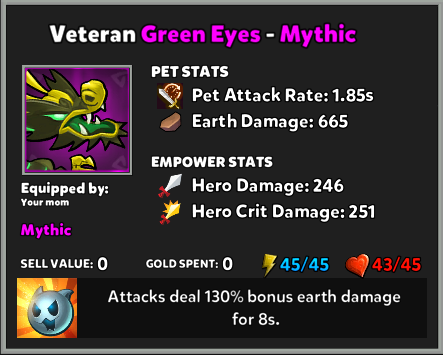
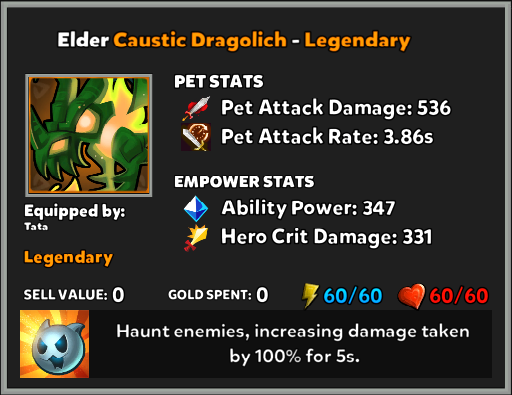
Pets are an important item in your build, once fully Leveled Up, they can provide up to 350 Points of your choice of two Stats. However not only that, they are some really powerful Abilities that pets can have. One of the easiest one to get is the Poisonous Tips for an Earth Damage Pet. Make sure to re-roll your pet stats into the necessary ones.
In this section you will learm about which Pet Abilities will support your DPS heroes. There won't be a Builder Pet Abilities section because there are no Abilities in the game that support Buildings.

[More coming]
[Builder] Huntress - Poison Dart Tower (PDT)
The Huntress' Poison Dart Towers (or PDTs) are one of the most powerful towers in the game! When properly geared, they can do over 100,000 Posion Damage per second. The PDT's main Damage Dealer is not the normal damage. It's the posion damage that matters.
Unlike any other builds, the PDT Huntress only requires alot of Defense Power. Poison Damage, which the PDT focuses on can not crit, therefore having Defense Crit Damage on your gear would be wasteful. The only necessary stat is Defense Power. Other useful stats may include Tower Health.
- Defense Speed (Hero Stat)
- Defense Power
- Defense Range
- Defense Health
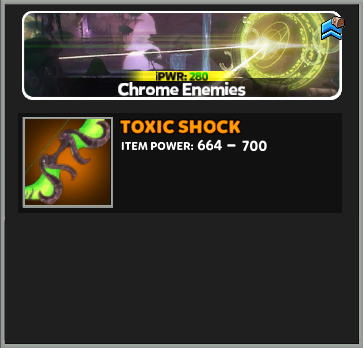
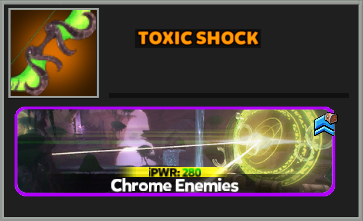
The equipment of the PDT Huntress' stats should include Defense Power and Defense Health. The Toxic Shock is a necessary Equipment that boost your PDT's Poison Damage and defeated enemies by the PDTs will explode causing surrounding enemies to take damage. The Toxic Shock drops at the Chrome Enemies Incursion. There are other maps where it will drop as a reward but the best possible one can drop after completing Chrome Enemies Incursion. The Toxic Shock will provide you with three useful passives. Increase in Poison Damage, Exploding Enemies and Envenom. (Envenom is not a special passive)
- Toxic Shock
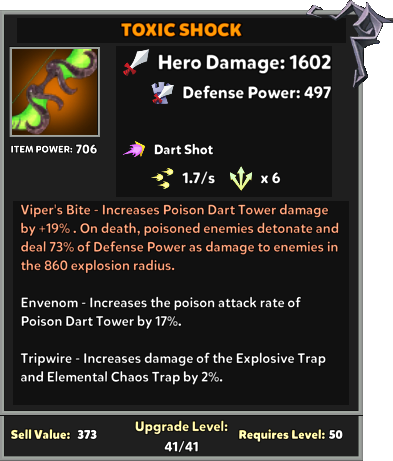
(Example Bow Passive Stats)
- Defense Speed Sphere V
- Defense Damage Sphere V
- Defense Health Sphere V
- Posion Dart Range Sphere I
- Posion Dart Range Sphere I
- Poisonous Fangs I
- Your Choice Of Sphere

Note: Only build one PDT per lane since Poison Damage From the same Player does not stack.
[Builder] Monk - Serenity Aura (SA)
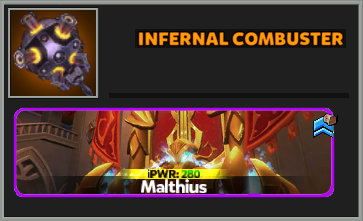
The Serenity Aura by itself is not much of a use. The Aura's basic usage is to heal friendly allies. However with the help of some Spheres and Equipment, the Serenity Aura can become one of the most used Support Buildings in the game. If you equip your monk with the Infernal Combuster it allows the Monk's Serenity Aura's to put an effect on the enemies inside of the aura that once killed they will explode dealing damage to the surrounding enemies according to the Defense Power of the Monk.
The Monk's Aura's effectiveness comes from the Range of the Aura and the Defense Power.
- Defense Power
- Defense Range
- Defense Health
The Monk requires the Infernal Combuster weapon for the Serenity Aura's to be able to cast explosion on defeated enemies. The Infernal Combuster is dropped after winning the Malthius Incursion. However you can make it even more powerful by equiping gear with useful passives. You can get the Karma Vortex passive on gloves which improve your Serenity Aura's range by alot. The oher useful passive is Idle Flow on your relic which slows down enemies within the Aura.
- Infernal Combuster
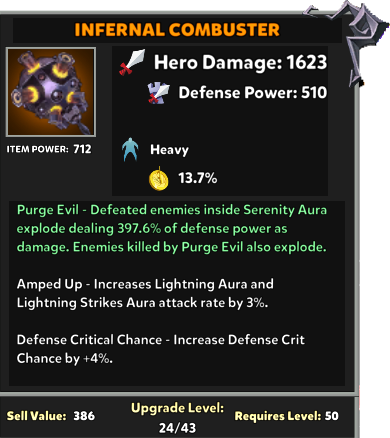
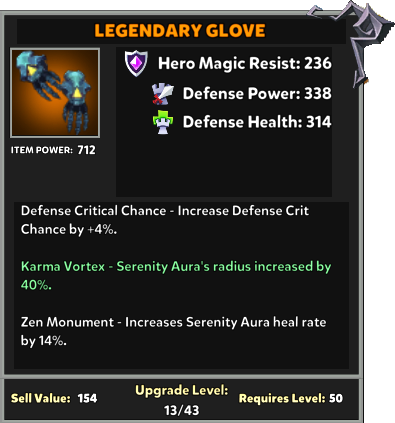
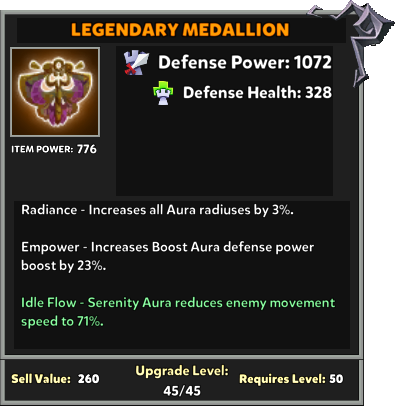
- Defense Power Sphere V
- Defense Health Sphere V
- Serenity Aura Range Sphere I
- Monk Defense Range Ii
- Monk Defense Range Ii
- Serenity Range Gambit Sphere I
- Your Choice Of Sphere
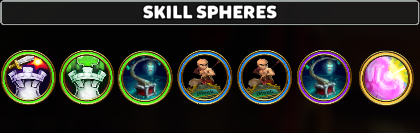
If you are playing on a Boss Map, it is useful to switch to the Empowering Calm Sphere I because it increases Hero Damage by 25% for Players within the Aura
[Builder] EV2 - Protons
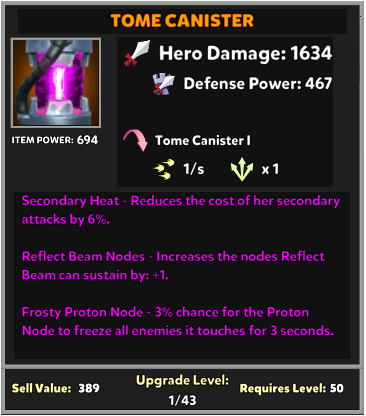
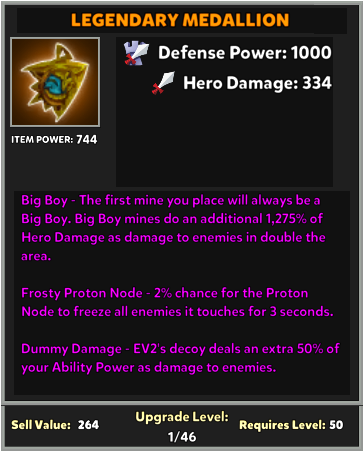
EV2 and her protons are again one of the best supportive buildings because you can have a passive on your Weapon or Relic which allows your protons to freeze the enemies it's hitting for a few seconds.
The EV2's protons hit the enemies multiple times in a matter of seconds, for them to be the most effective, it's good to focus on Defense Crit Damage because it's going to crit frequently.
- Defense Speed
- Defense Crit Damage
- Defense Power
- Defense Range ( ͡° ͜ʖ ͡°)
EV2's equipment is as basic as it gets, the only useful passive is the Freeze Node which is randomly applied to a randomly dropped weapon or relic. There are no specific weapon drops for the EV2 that support her Protons.
Necessary Passive(s):
- Frosty Proton Node
No Builder Sphere available
[Builder] Squire - Blockade
The main purpose for a Blockade is to stop incomming Kobolds from damaging your towers. Make sure to place them away from the towers so splash damage wont get them, however make sure to place it in a manner so Kobolds will run into them, instead of your towers.
- Defense Health (ʸᵒᵘ ᵈᵒᶰ'ᵗ ˢᵃʸ﹖)
- Defense Damage
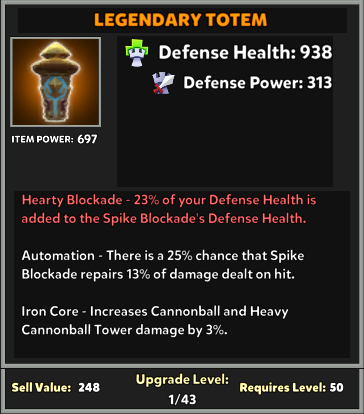
Each of your equipment must have Defense Health as one of it's stat, the other one can be anything else since we are only focusing on Defense Health this build. Your relic however should be a Totem which grately increases Defense Health. The totem should also include the Hearty Blockade passive which add's onto your blockade's health.
- Defense Health V
- Defense Health III
There are no other Spehers that increase the Health of your Blockade. Other Spheres are all up to you depending on your play style with the Hero.
[Builder] Squire - Ballista
- Defense Speed (Hero Stat)
- Defense Damage
- Defense Range
- Defense Crit Damage
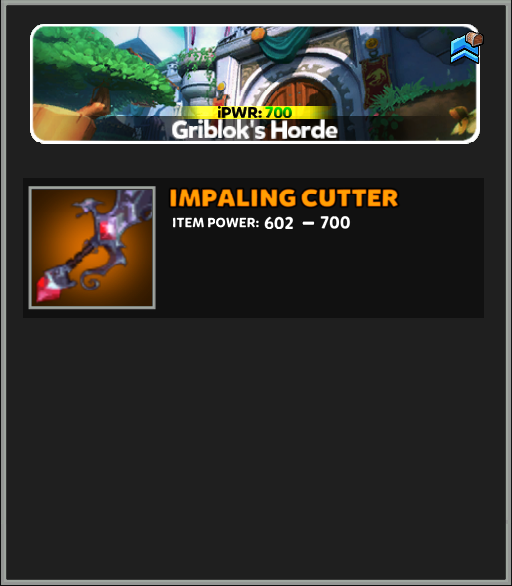
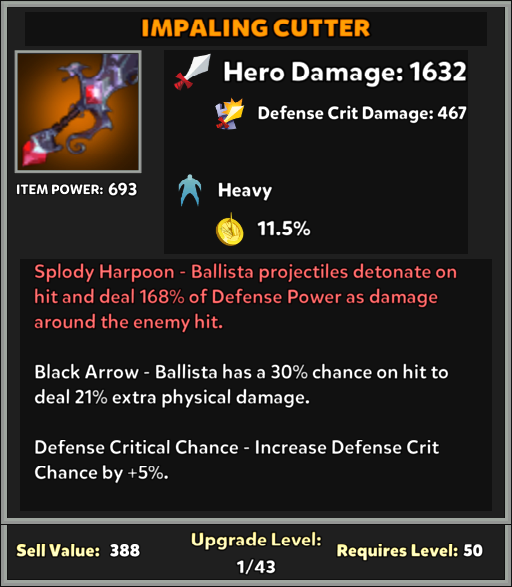
The equipment of your Squire should all have the Defense Damage Stat. The other stat should be Defense Crit Damage. You need the weapon Impaling Cutter. The Impaling Cutter adds a passive to your Ballista Towers allowing their Harpoons to explode dealing AOE (Area Of Effect) damage. The Impaling Cutter drops after completing Griblok's Horde Incursion. You can also get a passive with Splody Harpoon called Black Arrow, it gives a chance for Ballista's harpoons to deal extra damage.
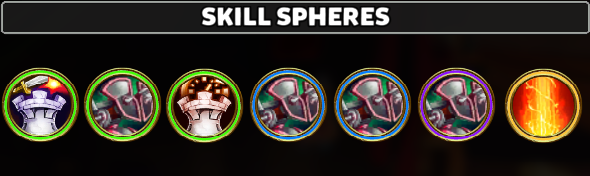
- Defense Power Sphere V
- Ballista Range Sphere II
- Defense Speed Sphere V
- Ballista Pierce Sphere I
- Ballista Range Sphere I
- Oily Harpoon Sphere I
- Your Choice Of Sphere
[Builder] The Abyss Lord - Skeletal Archers
[PICTURES COMING SOON]
- Defense Speed (Hero Stat)
- Defense Range (Hero Stat)
- Defense Power
- Defense Crit Damage
The Abyss Lord's equipment should include Defense Power and Defense Crit Damage or Defense Health. The Abyss Lord's Weapon and Relic must include the Explosive Arrows Passive.
Necessary Passive(s):
- Explosive Arrows (Weapon & Relic Only)
- Archer Damage
- Your choice of sphere
[Builder] The Abyss Lord - Skeletal Orcs
[PICTURES COMING SOON]
- Defense Health
- Defense Power
- Defense Range
The Abyss Lord's equipment must have Defense Health. The other stat can be Defense Damage.
Necessary Passive(s):
- Electric Fingers
- Skeletal Orc Health
- Fortitude
- Fatal Guard
Building Combos
[W.I.P.]
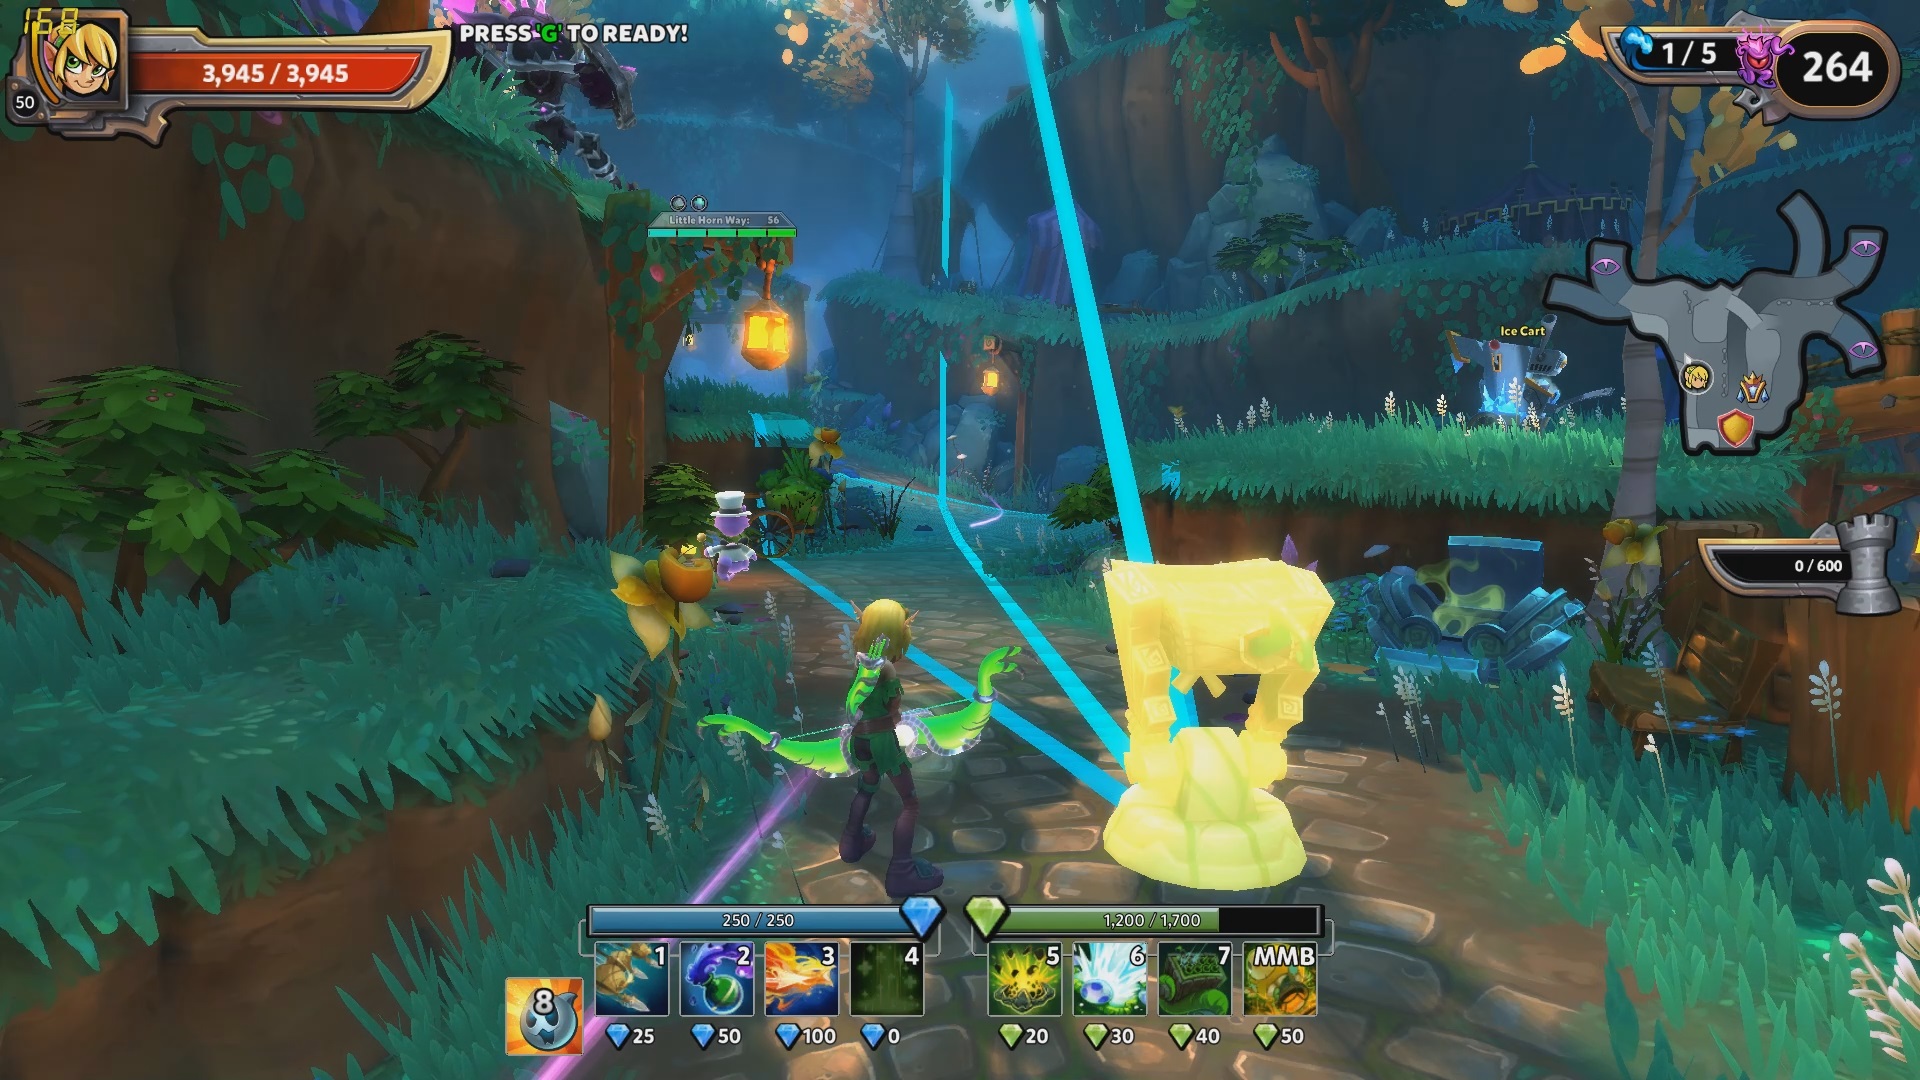
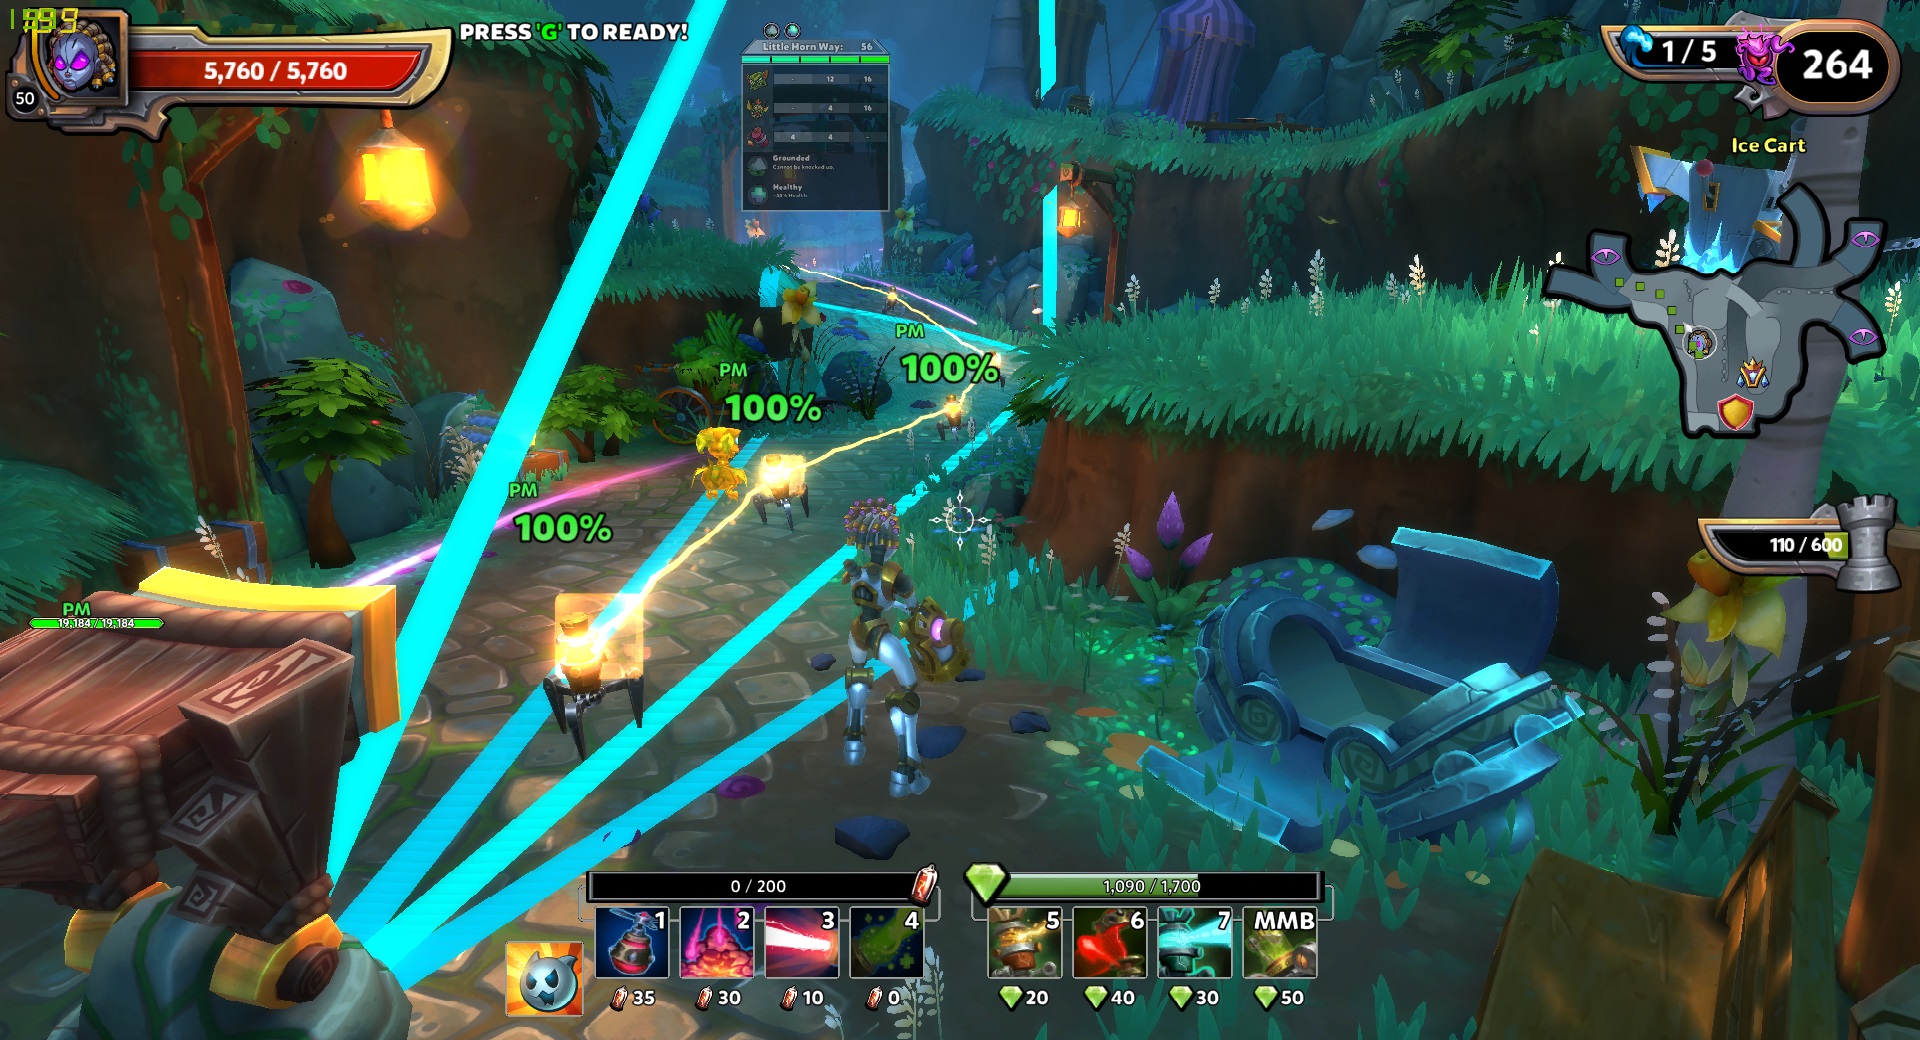
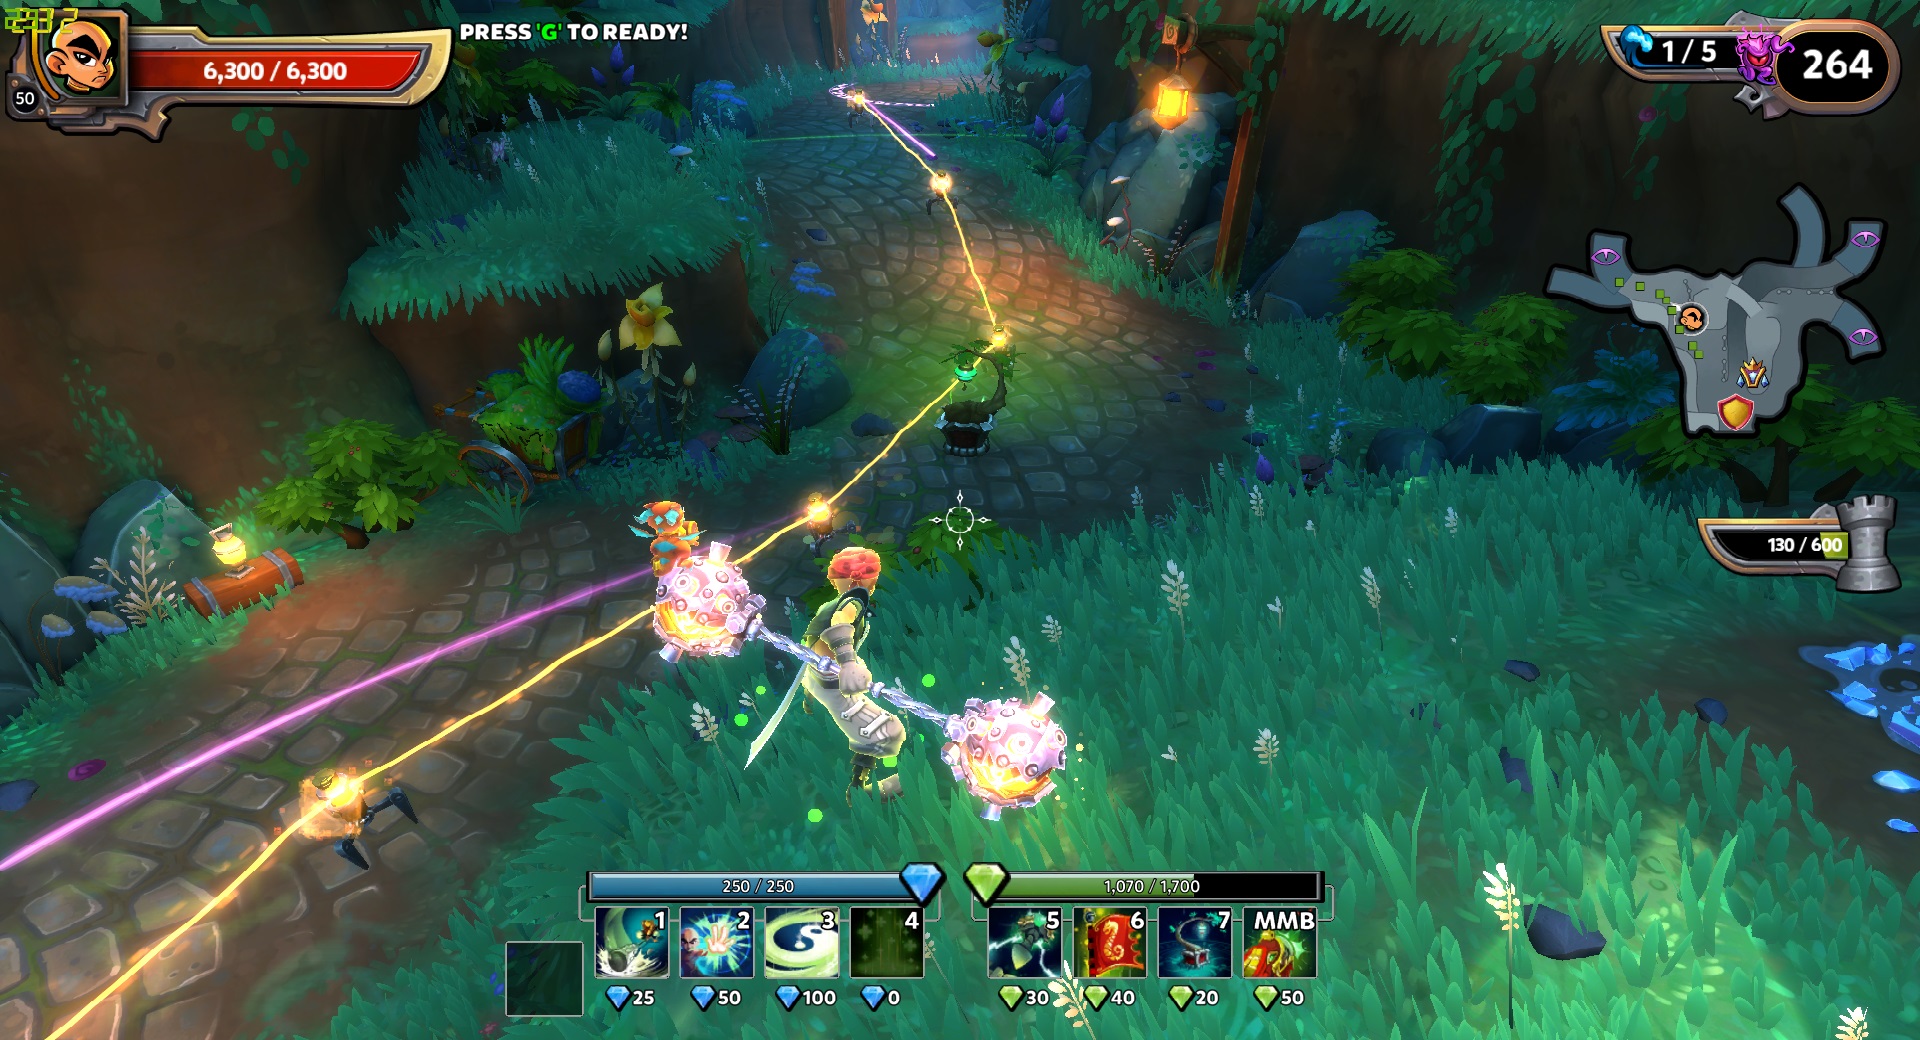
This combo is one of the most used build styles in the game. You build one PDT per lane, mostly boosted by Monk's Aura and EV2's Buff. A Serenity Aura is placed in the range of the PDT which causes enemies to explode on death. Protons are also placed in the range of the PDT, however the protons are there to freeze enemies, there are not your main damage dealers in a lane. Upgrade Pattern
- Poison Dart Tower
- EV2 Defense Buff
- Monk's Boost Aura
- Proton Beam
- Serenity Aura
Placement
Updates
DD/MM/YY
Update 23/10/16
- Added Squire Blockade Build
- Updated Pets
- Fixed some Image Problems
- Fixed some Typos
- Changed Guide Logo
- Moved Updates to the bottom
- Added Building Combos Section
- Updated Huntress - PDT
- Added Squire Ballista Build
- Updated Incursion Loot Drop
- Updated Pets - Added Dragolich
- Fixed Inqrusion to Incursion that stupid me made (:
- Fixed Grammar and English Mistakes (Thanks Butt_er <3)
- Added Abyss Lord Builds
Pet Comparison
My grammar nazi

NO MORE UPDATES ):
- [Outdated!] Complete Beginners Guide to DD2 (Class Overview and Builds)★ 5 (1.1k)55k views1.7k ♥56 minUpdated Aug 29, 2022
- Dungeon Defenders II Ultimate FPS Guide★ 4 (161)26k views166 ♥3 minBulgarianUpdated Jun 1, 2017
- NM4 April 2016 Gear Guide for Primary Building Characters★ 5 (363)16k views672 ♥8 minUpdated Apr 25, 2016
- How to be a badass , ultimate noob friendly guide v1★ 4 (124)14k views271 ♥49 minUpdated Feb 15, 2020
- [Archived] SAS Soft Caps★ 5 (172)13k views285 ♥8 minUpdated Mar 9, 2017
- How to farm EXP | Level up fast★ 4 (77)13k views95 ♥4 minUpdated Oct 26, 2015





- Upgrading to PremiumTeam Fortress 2★ 5 (20k)1441k views11k ♥6 minUpdated May 11, 2022
- No More Room in Hell Official ManualNo More Room in Hell★ 5 (2.8k)569k views2.1k ♥29 minUpdated Apr 22, 2019
- NMRiH Community Hosting GuidesNo More Room in Hell★ 5 (526)351k views653 ♥1 minUpdated Aug 10, 2022
- ULTIMATE GUIDE FOR GAME DEV TYCOONGame Dev Tycoon★ 5 (5.8k)326k views10k ♥4 minUpdated 23 Jan, 2014
- How to 'Git Gud' Soon™MORDHAU★ 5 (2k)318k views3k ♥68 minUpdated Nov 16, 2024
- Лучшие кооперативные игры SteamPAYDAY 2★ 5 (1.5k)315k views2.1k ♥56 minRussianUpdated Apr 27, 2025






This guide was created by its original author on the Steam Community. Are you the author and want it removed? Request removal.