Fighting The Radiance (non-godhome and explained) WIP
Introduction - How to even fight (get to/access) the Radiance
If you haven't already found the radiance, you need to go through a series of steps to even get to her. Firstly it requires getting the left and right side of the Kingsoul charm. In order to obtain the right side of the king soul charm you must enter the white palace, though if you haven't already, make sure you have already found this white knight located in the Ancient Basin.
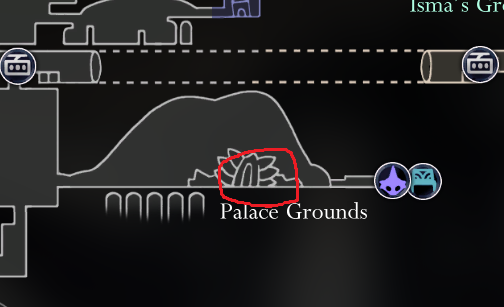
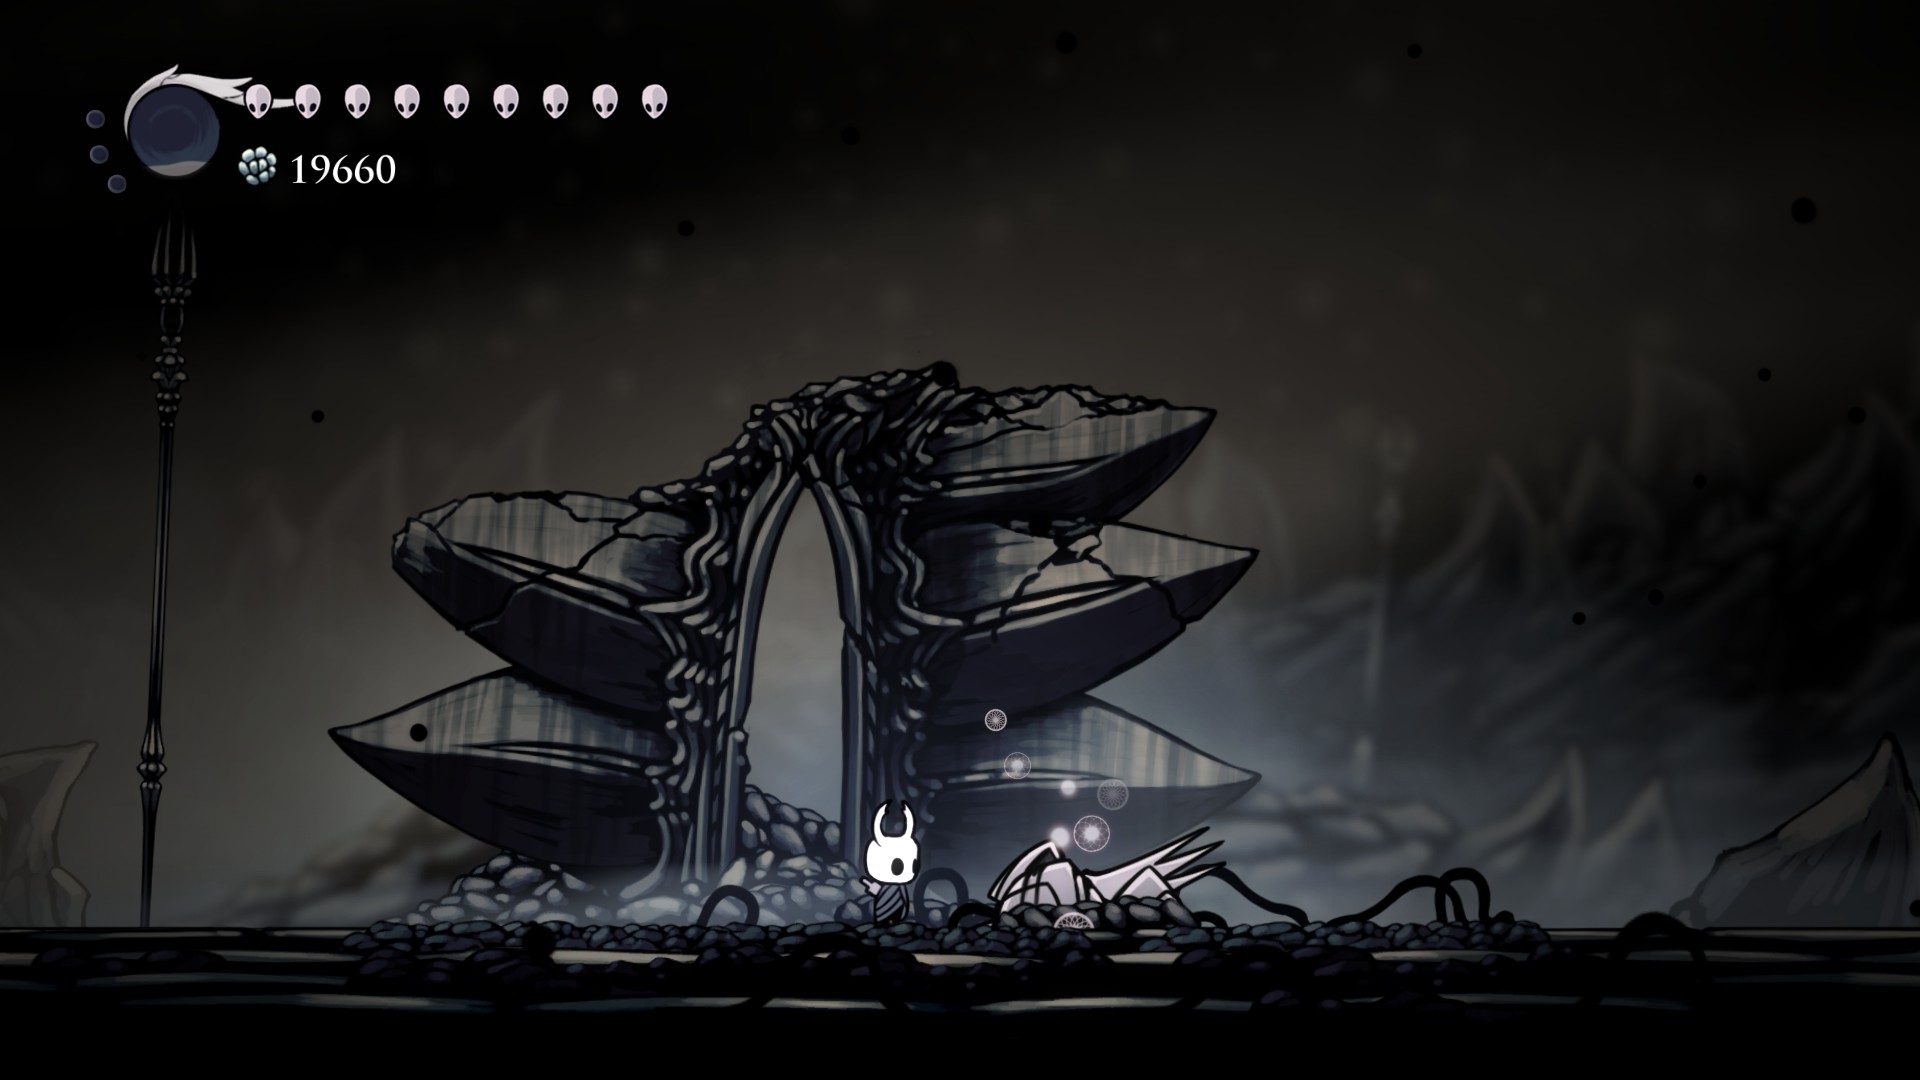
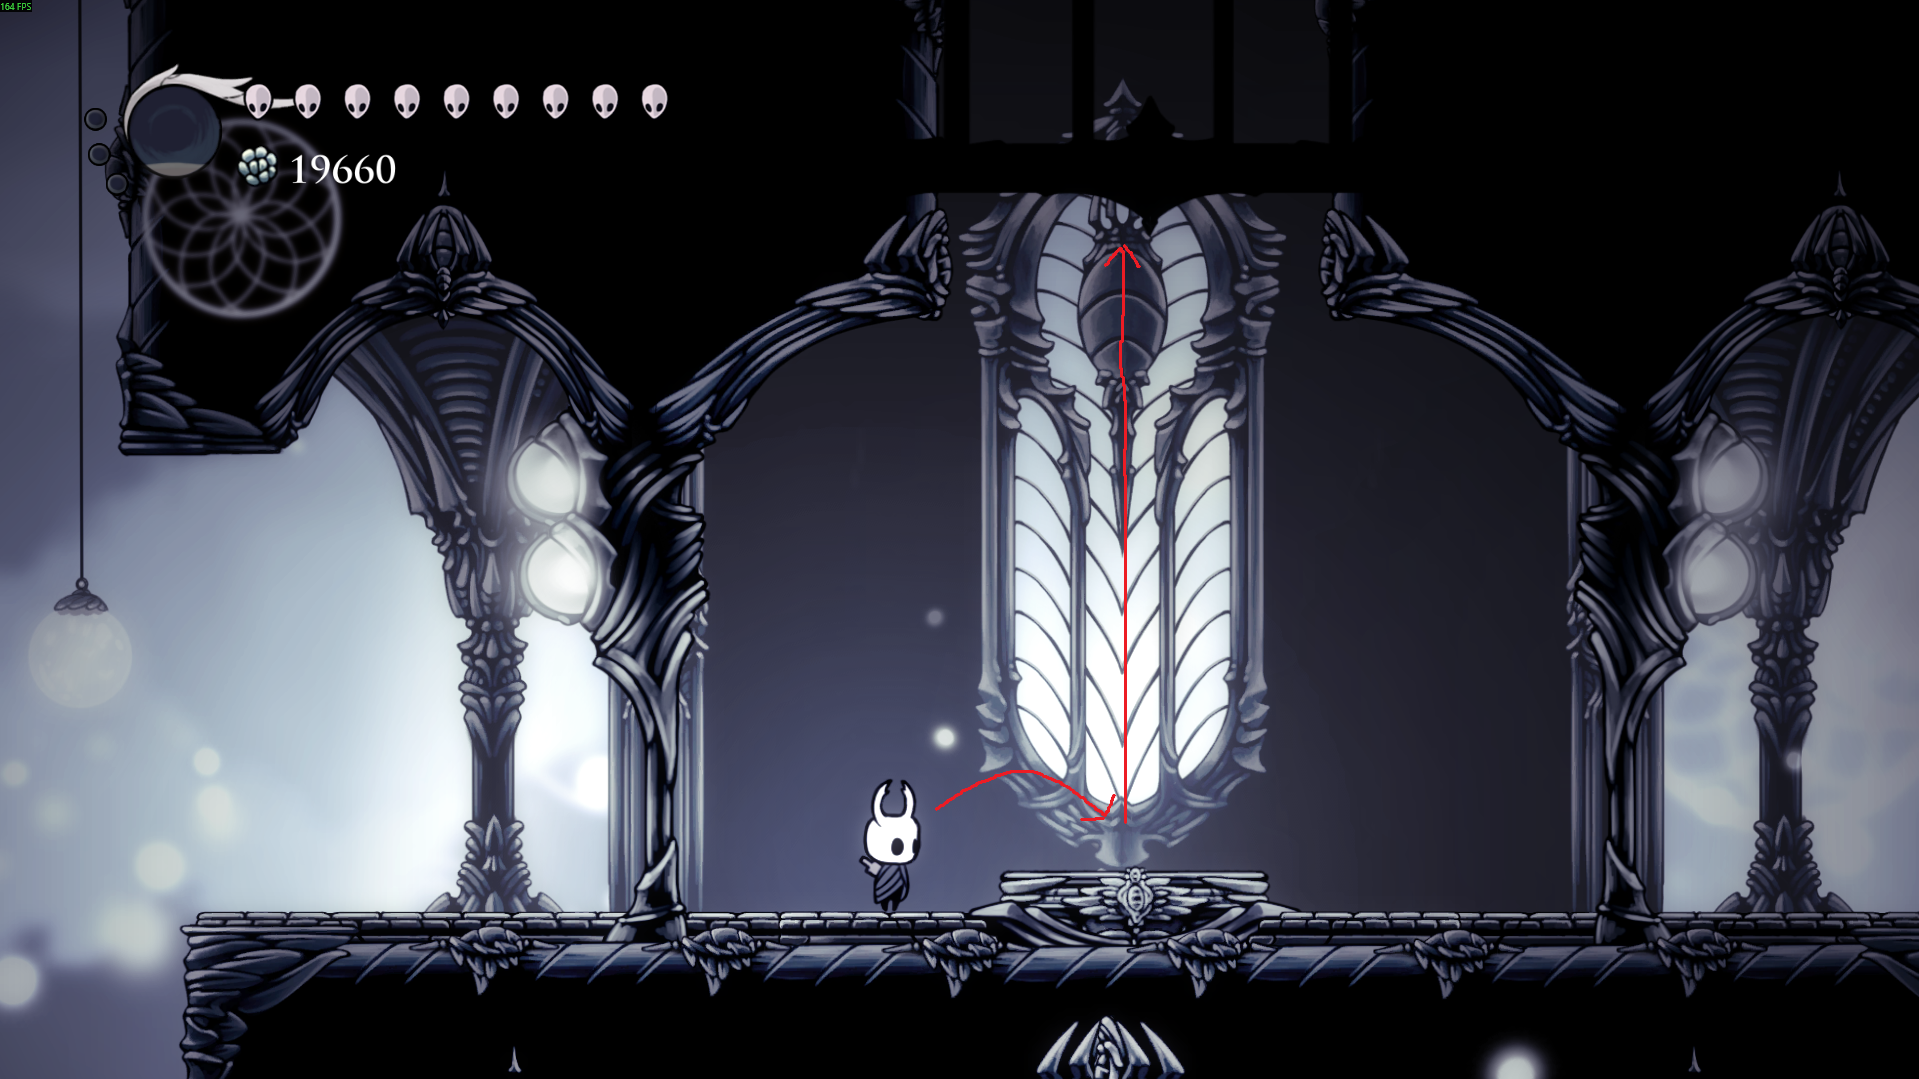
This platform acts like an elevator with no controls on which floor you will go to so once you get on, it will go up like at 20 mph or more (I suck at doing math so don't trust me). After this comes the real challenge, pain... . This is a somewhat hard parkour challenge that really puts your platforming skills to the test. The best 2 necessary charms would be the Hive Blood charm and Mark of Pride.
 1. Hive Blood: Costing 4 charm notches, without focusing soul, it allows you to automatically regenerate 1 mask/Hp for the cost of no soul (Note that it ONLY regenerates 1 mask meaning that when the charm regenerates 1 mask back, it can't regenerate anymore masks, only 1. Also it is canceled if you use soul to regenerate your masks back so bee wise... get it?) .Obtained by defeating Hive knight in The Hive area located somewhere around near the tram entrance in the Kingdom's Edge area. There are 2 routes to take to hive knight. I would personally recommend route 2 due to there being a bench somewhat near the direction you are going, but the choice is yours.
(The big oval shaped room is where Hive Knight is located)
1. Hive Blood: Costing 4 charm notches, without focusing soul, it allows you to automatically regenerate 1 mask/Hp for the cost of no soul (Note that it ONLY regenerates 1 mask meaning that when the charm regenerates 1 mask back, it can't regenerate anymore masks, only 1. Also it is canceled if you use soul to regenerate your masks back so bee wise... get it?) .Obtained by defeating Hive knight in The Hive area located somewhere around near the tram entrance in the Kingdom's Edge area. There are 2 routes to take to hive knight. I would personally recommend route 2 due to there being a bench somewhat near the direction you are going, but the choice is yours.
(The big oval shaped room is where Hive Knight is located)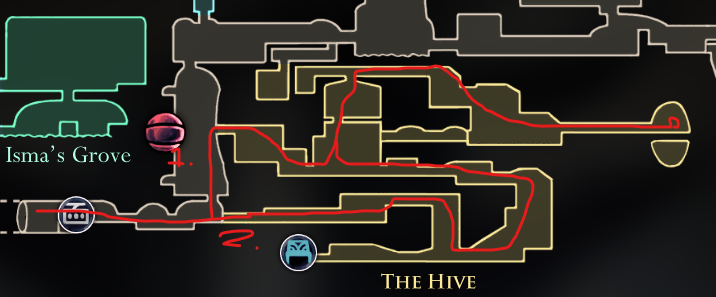
 2. Mark of Pride: Costing 3 charm notches, gradually increases nail length by %25 so its really nothing special, only when you really need it for platforming challenges such as trying to endlessly pogo on spikes... . This charm can being obtained after fighting the mantis lords which then allows you to access a "secret" room (Note that you couldn't access this before you fought the mantis lords) in the mantis town located above the main area where you fight the mantis lords. Overall this is an easy early game charm to get.
Tips for the fake path of pain (yeah I said it >:])
- You are not on a timer so just take your time
- Practice your pogo skills on like spikes (pogo just means looking down and slashing at something that allows you to bounce such as spikes... or buzzsaws... .)
- Keep trying and trying until you get it
Goodluck with the fake path of pain!
----------------------------------------------------------------------------------------------
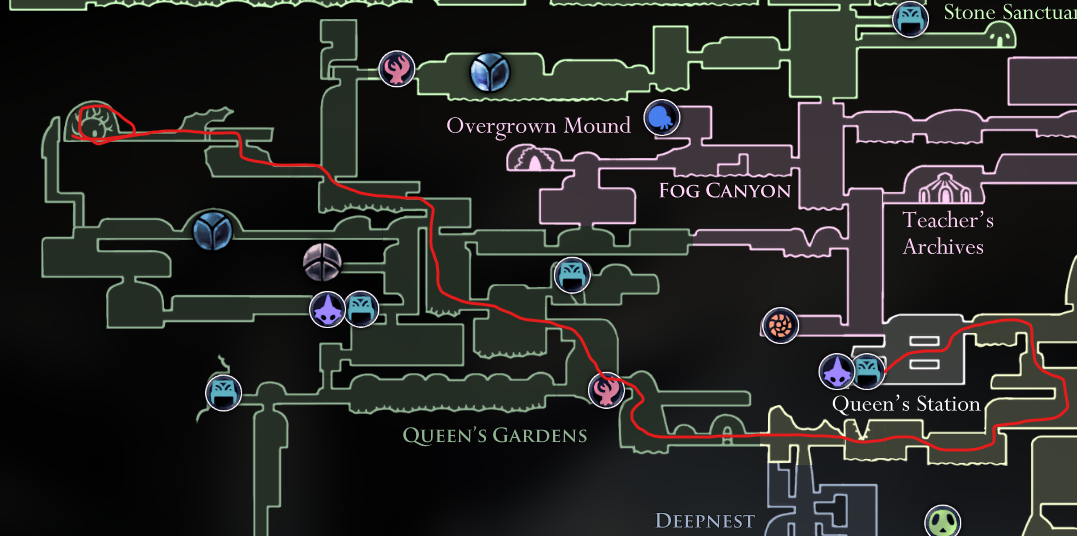
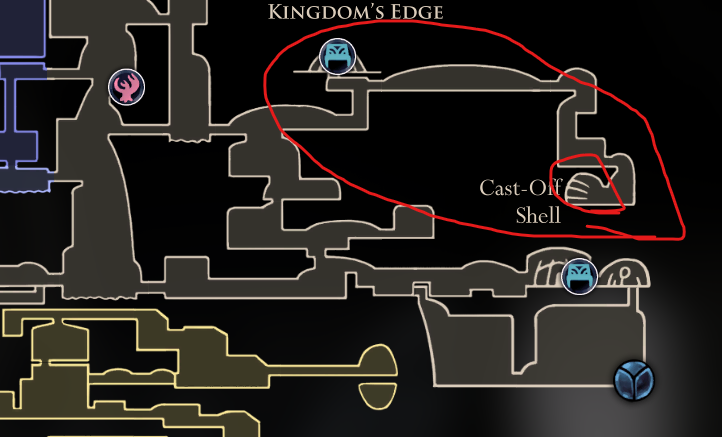 Once you get the King's Brand and open the gate into the Abyss...
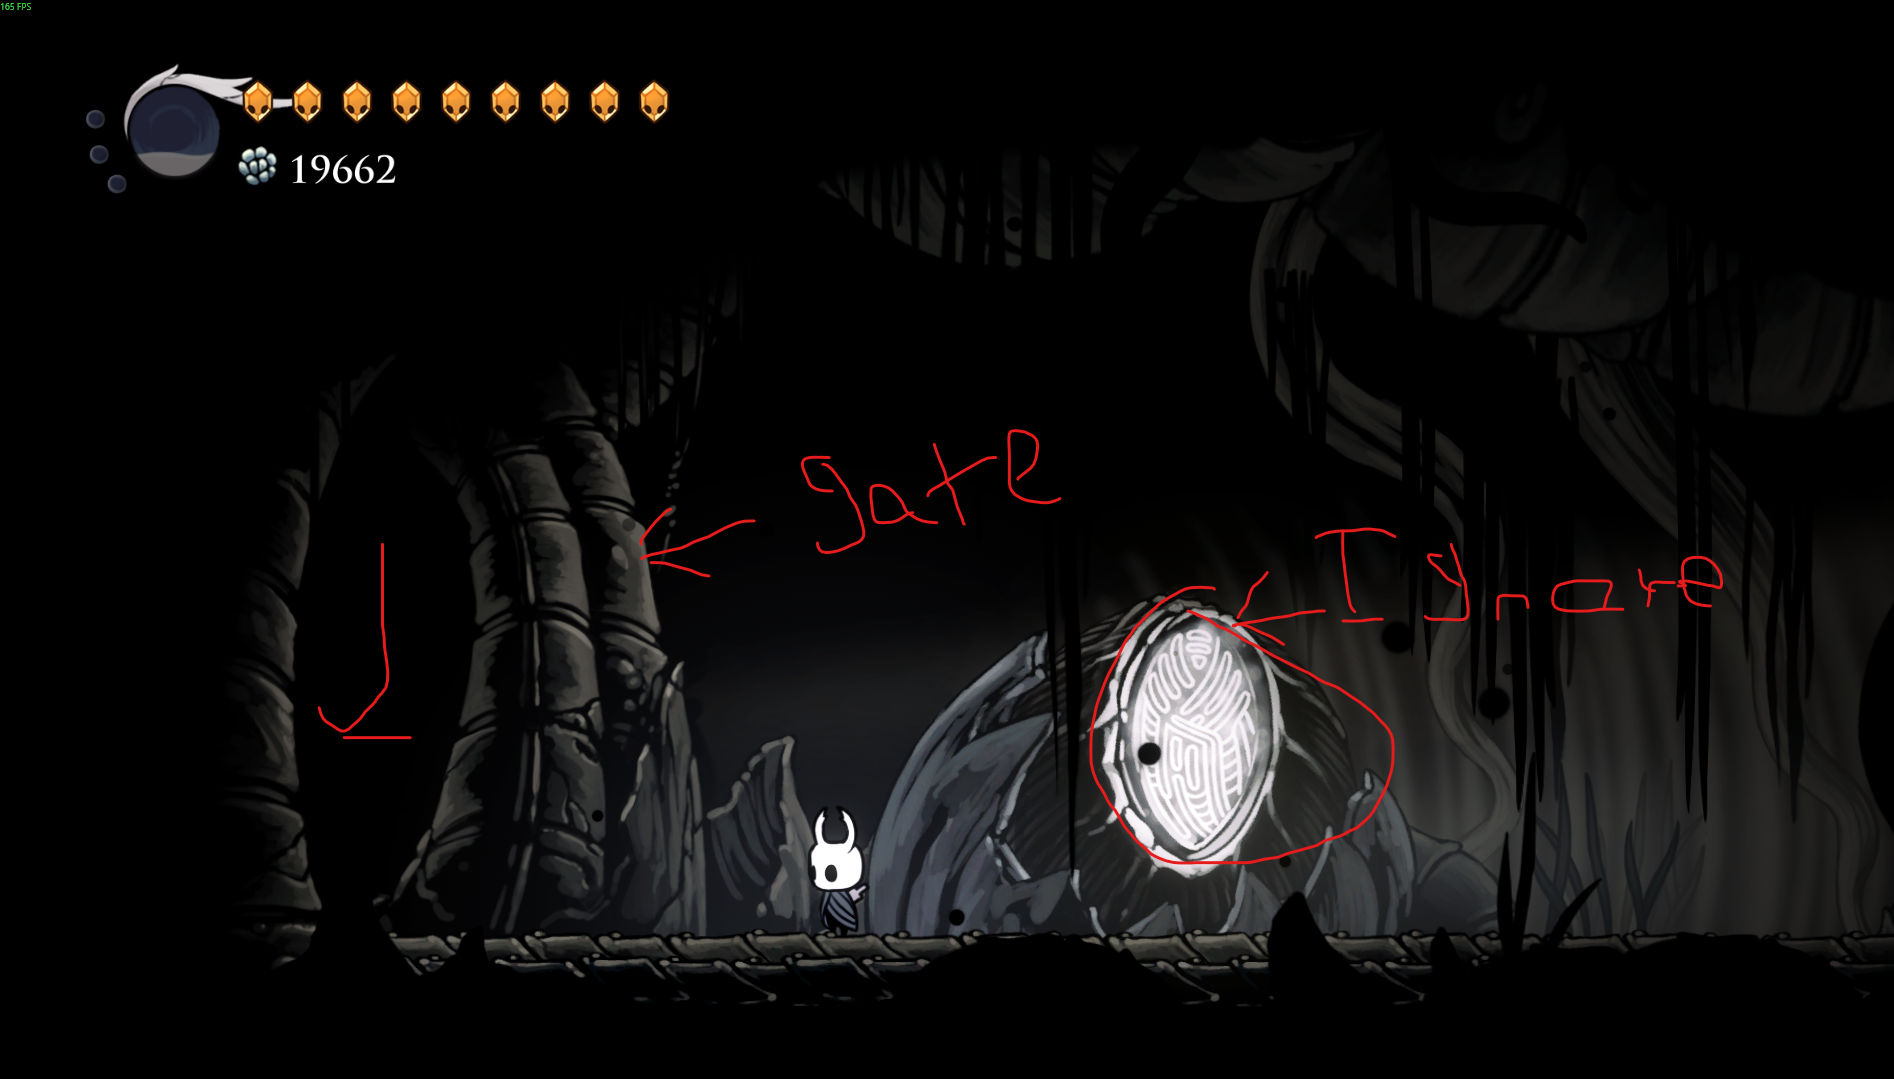 You can now drop down to the bottom of the pit and find the room (Do make sure you have the Kingsoul charm equipped or else it won't open and watch out for spikes along the way). The passage way should look like this when opened...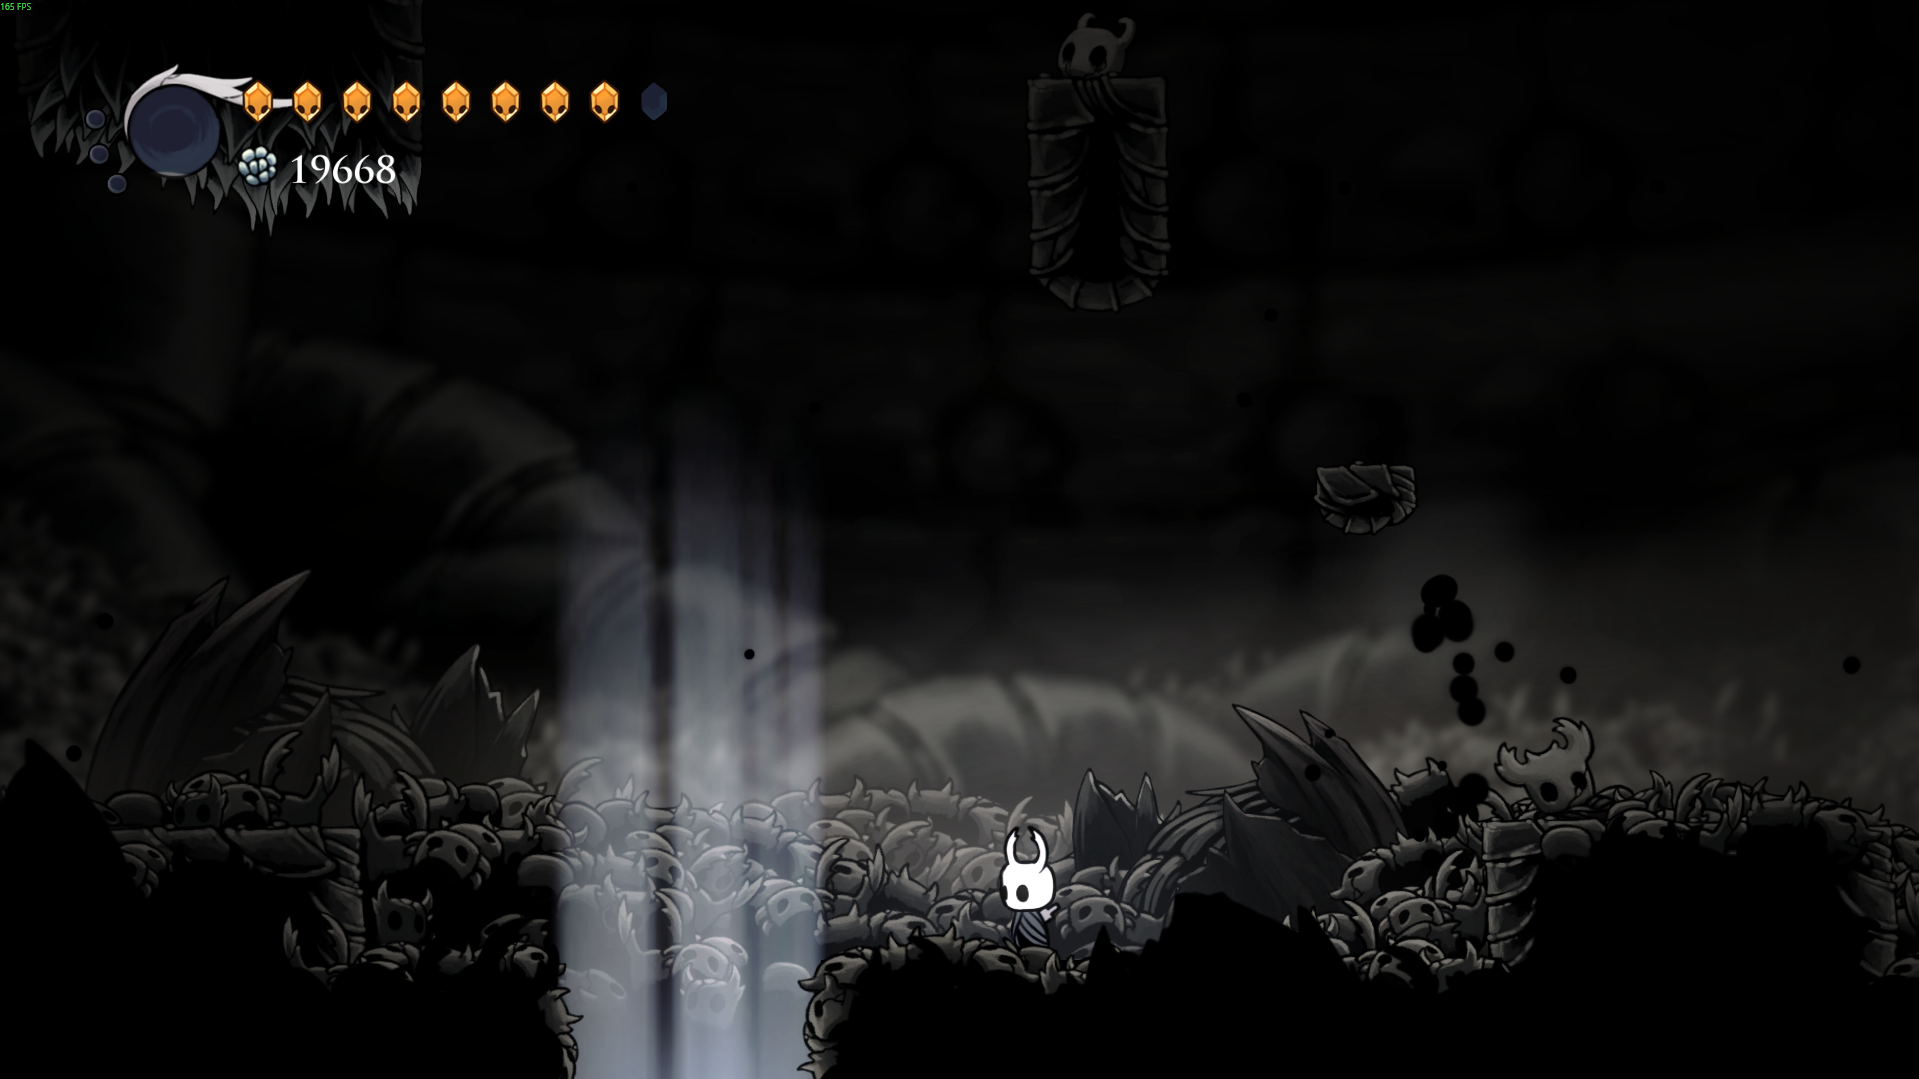
Once its open just jump in! Make sure to be on the lookout though because when you reach the end you will end up at a dead end with a black orb. When you are there looking at your handsome self, dreamnail that orb and remember your past! ( got tired of doing the image thing so no image for the orb sadly... also make sure the get the shade cloak because it is required for this). Once you finally finish that act or whatever, then you will be automatically equipped with the Void heart needed to access the radiance fight. (Note that the Void heart is a charm that cannot be unequipped but uses no charm notch slots). When you do get the Void heart "charm", you can now access the radiance fight through dream nailing the Hollow Knight when he goes down to hornet.
Well that's it for trying to access the radiance fight. Now its time for the actual fight! >:]
Preparations Before the Epic Showdown
Before the fight you want to make sure you have some good charms and one of the Void upgraded spells. As always, I will be explaining how to get the charms first and why they are useful then I will discuss the Void upgraded spell I have in mind.
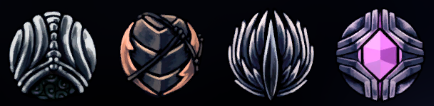
I would highly recommend using this charm build due to its massive buffs and you can learn why by reading on. This charm build consists of Soul Catcher, Mark of Pride, Quick Slash, and Quick Focus.
1. Mark of Pride: I already explained that one so if you haven't read about it on the earlier paragraphs of this guide, I recommend taking a good look at it.
 2. Soul Catcher: Soul Catcher is a 2 notch charm that can be found to the left after defeating the Eldur Baldur in the Ancestral Mound. This charm basically doubles the amount of soul you draw when striking enemies. This is great for when you are face tanking The Hollow Knight because you mainly want to max out on soul by the time you get into the radiance fight.
 3. Quick Focus: A 3 charm notch charm that allows you to heal %50 faster than usual. This can be found/bought at Salubras charm shop for 800 geo. This allows you to heal faster so when the radiance is doing a slow attack you have time to heal quick so then you can return to fighting condition in no time.
 4. Quick Slash: A 3 charm notch charm that allows you to slash almost %50 faster than usual. Is found in Kingdom's Edge - in the bottom right/south-east corner, on an altar in front of an ancient Nail Smith. This allows (In the Radiance fight) situations where you need to do lots of damage come true because you can basically at this point do double damage because of this massive boost.
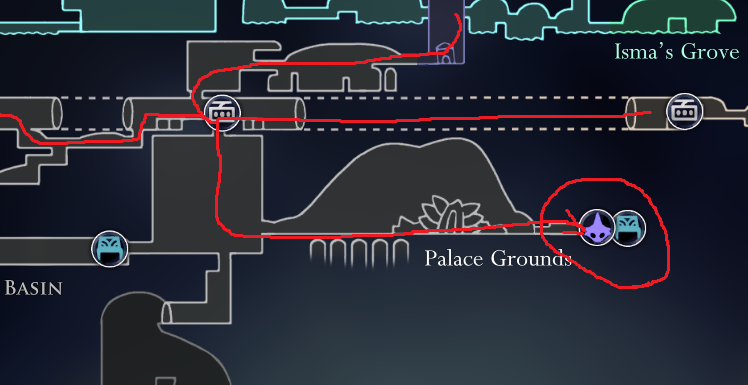 From the hidden station you can take this simple route to the room you need to go to to get this ability.
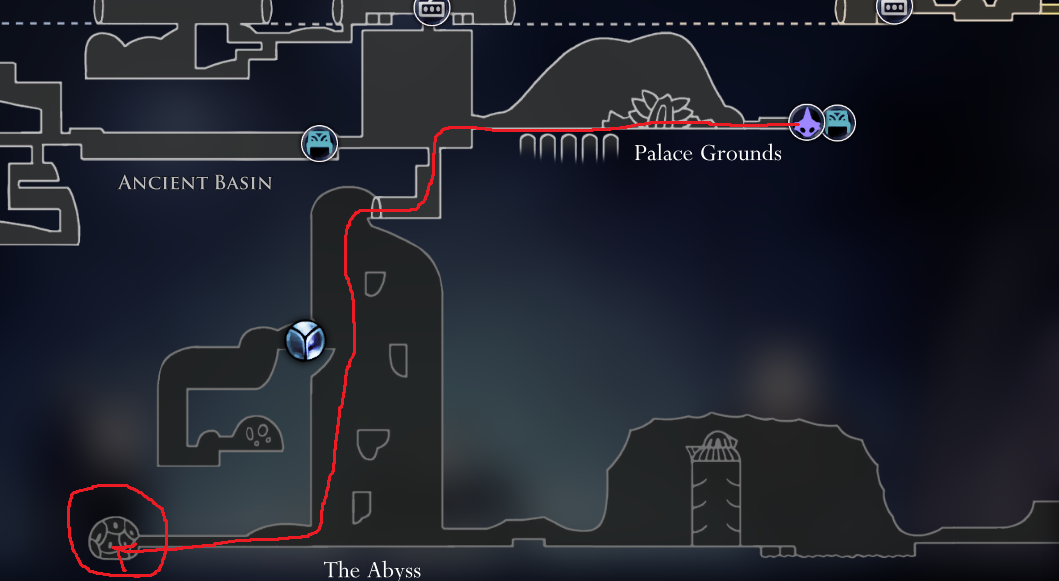 Once you are close to this location the entrance should look like this...
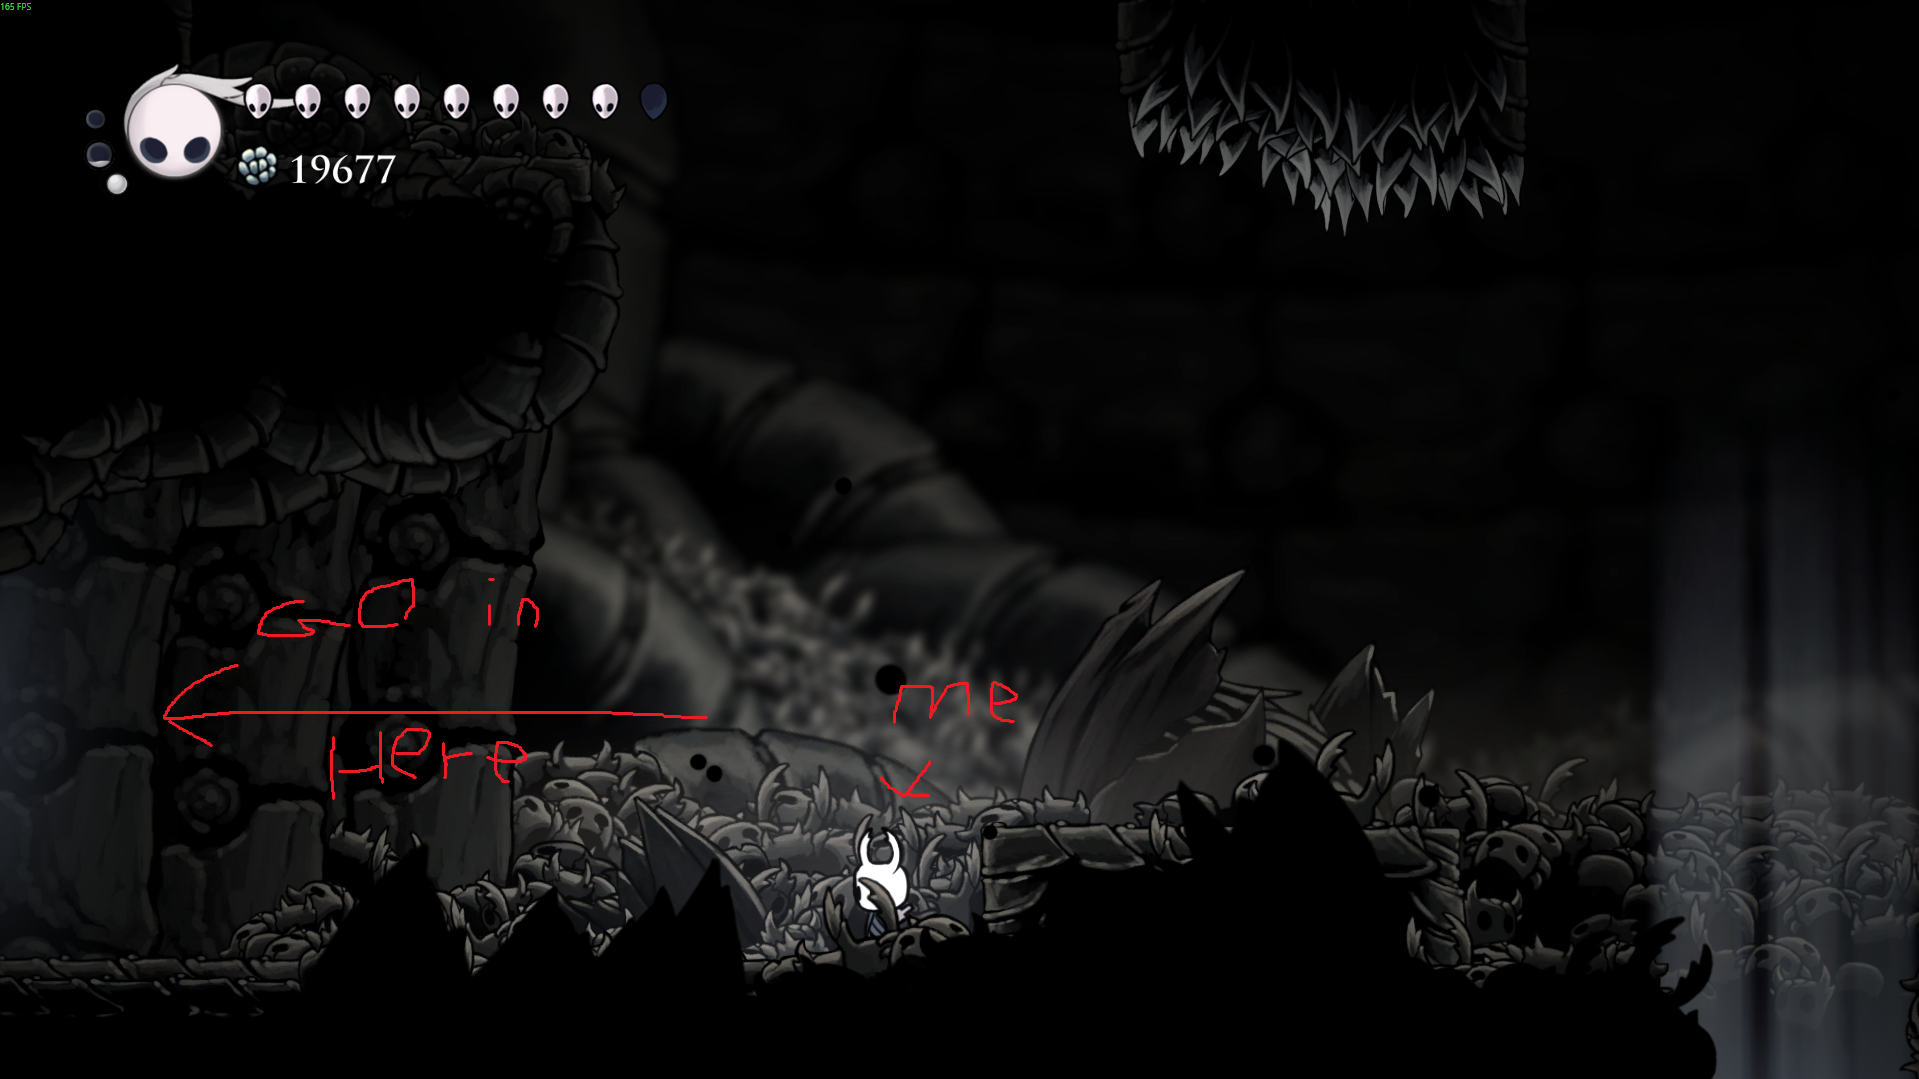 Once you do get into the main room after killing some of those rock dudes then you will use your shriek and your normal classic shriek should upgrade to the Abyss shriek. Now its time for the actual pain >:]!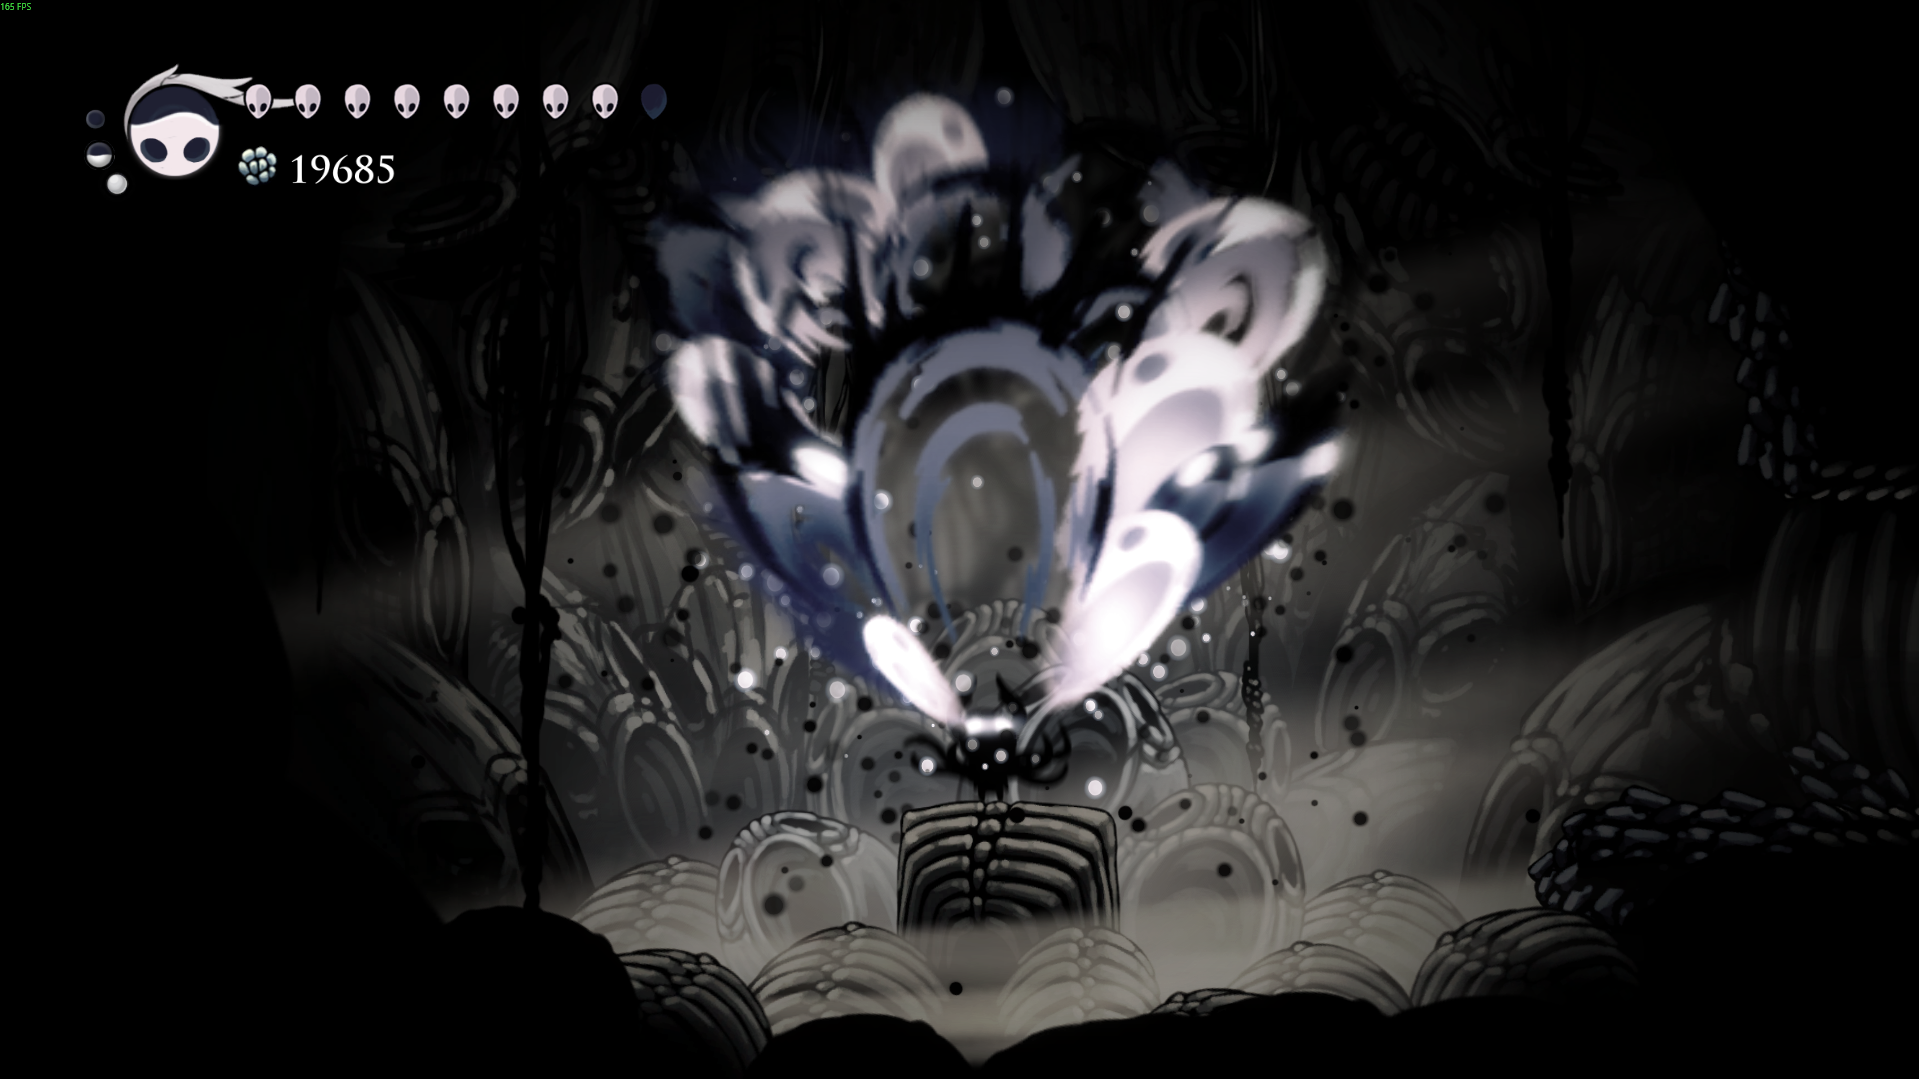
The Final Showdown (The Hollow Knight and the Radiance)
The actual radiance fight begins here basically after the Hollow Knight fight (or should I say mid fight?). In order to fight the radiance you need to fight the Hollow Knight just for a little bit then Hornet will come from the main entrance pinning the hollow knight down leaving little dream particles that you can dream nail. In this part of the guide I will be explaining the Hollow Knight's attacks and how to dodge them along with the radiance's attacks. Let's get to it!
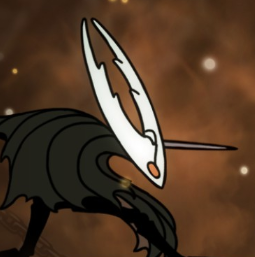 1. Lounging Pounce:With this attack the Hollow Knight comes charging at you with his blade facing outward at a very fast speed. In order to dodge this attack, you must: 1. jump, 2. wait, and 3. dash all towards the Hollow Knight. This will get you to go behind him allowing you to get a couple of strikes/hits on the Hollow Knight.
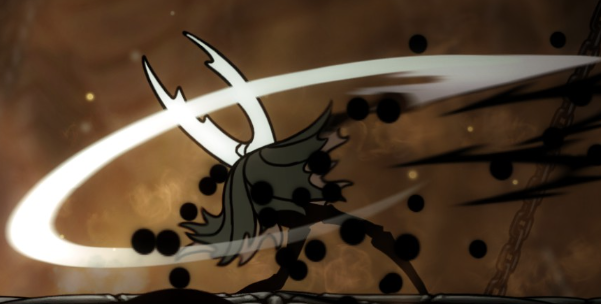 2. Casual Strike/Hit:The Hollow Knight attacks with a 3 strike blow within a quick succession. To dodge this attack you must: 1. jump while moving forward towards the Hollow Knight or just use the same strategy as the other attack said above with the lounging pounce. (PS Do not mind the shadow blood in the image because I definitely did not get hit... sorta)
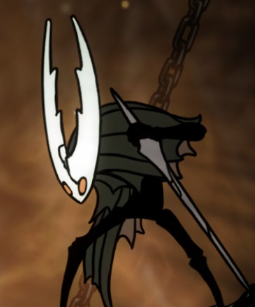 3. The Counter Strike (not the game):This attack only activates when you hit the Hollow Knight while he is doing somewhat this pose as shown in the image and said in the attack name. If you do hit him though, here are the steps to dodge the attack: 1. Dash through the Hollow Knight with the shade cloak ability. 2. (for the people that have the shade cloak on cooldown) Jump over the attack and dash towards the location the Hollow Knight started doing his counter pose.
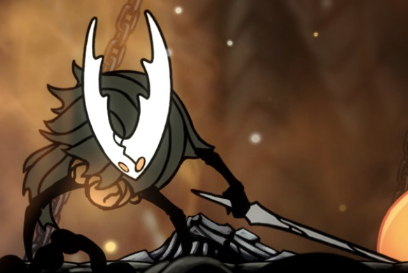 4. Infection Spray:As the first infection attack comes through, using the heart of the infection, this attack is basically a machine gun spraying little infection particles when used. In order to dodge this attack, you must: 1. find the perfect time to use the shadow dash, or 2. find the perfect little gap to just slide through without using the shade cloak. I highly recommend like the first dodge strategy though because it's much easier to preform, but you do whatever you feel like doing.
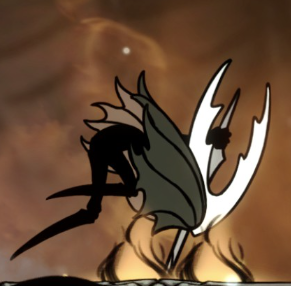 5. Plunging Strike:Resulting in basically the first ground pound and AoE attack the Hollow knight preforms, this can be pretty deadly if it is not dodged properly. To dodge this attack I recommend doing: 1. Finding a gap in-between these little spike concussion pillars, or 2. use the monarch wings and just fly up into the air where you won't get hit. Once again I recommend going with strategy 1 for people who suck at Hollow Knight like me since it is a much simpler dodge.
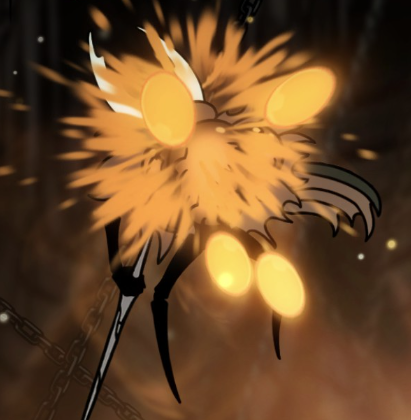 6. Infectious Barrage:Coming from the heart of the infection and resulting in the 2nd infection attack, within the Hollow Knight's body, he casts upon little infection particles from the air. I really have no tips for this attack other than try your best to avoid at least some of the particles.
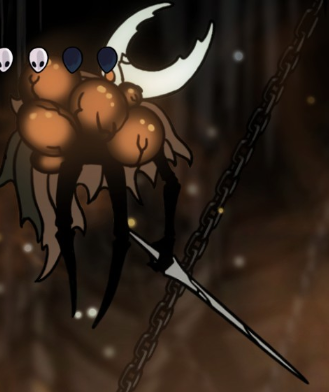 7. Hover Knight:As the last attack the Hollow Knight does, he takes it into the air with his little heart of the infection and starts ground pounding the floor like 3-5 times. To dodge this attack you can do: 1. dash back and forth, or 2. dash and dash until you reach one end of the arena and then dash back to the opposing side. Either way of dodging this attack is simple so preferably no strategic way is recommended for these are basically the only 2 ways to dodge this attack. (Do not mind the masks in the image because I forgot to turn the HUD off when taking this screenshot)
That's all it for the Hollow Knight's attacks and strategies to dodge his attacks. Moving onto the Radiance's attacks now, I wanted to make sure if you, the reader, could understand what I am describing about the layout of this guide now that were are getting closer to the end. If you have some suggestions on about changing something, say so in the comments and you may continue reading (If you don't see any problems, then just ignore this at will).
7. Hover Knight:As the last attack the Hollow Knight does, he takes it into the air with his little heart of the infection and starts ground pounding the floor like 3-5 times. To dodge this attack you can do: 1. dash back and forth, or 2. dash and dash until you reach one end of the arena and then dash back to the opposing side. Either way of dodging this attack is simple so preferably no strategic way is recommended for these are basically the only 2 ways to dodge this attack. (Do not mind the masks in the image because I forgot to turn the HUD off when taking this screenshot)
That's all it for the Hollow Knight's attacks and strategies to dodge his attacks. Moving onto the Radiance's attacks now, I wanted to make sure if you, the reader, could understand what I am describing about the layout of this guide now that were are getting closer to the end. If you have some suggestions on about changing something, say so in the comments and you may continue reading (If you don't see any problems, then just ignore this at will).
The End and Contributors
- 112% Completion Guide & Route★ 5 (3.9k)131k views9.2k ♥64 minUpdated Jan 30, 2022
- Hollow Knight - 5 Hour Speedrun Achievement Guide by a Speedrunner★ 5 (6.9k)122k views12k ♥10 minUpdated May 18, 2021
- 112% Completion Walkthrough with Maps★ 5 (1.6k)71k views4.9k ♥150 minUpdated May 30
- 100% achievement guide [Godmaster update]★ 5 (1.5k)67k views3.6k ♥18 minUpdated Jan 3, 2022
- Карта Hollow Knight. Все по полочкам★ 5 (589)63k views1.5k ♥21 minRussianUpdated Feb 5, 2024
- Прохождение hollow knight на 112% (+DLC) (с картинками)★ 5 (1.2k)59k views3.2k ♥23 minRussianUpdated Dec 19, 2024



- Upgrading to PremiumTeam Fortress 2★ 5 (20k)1441k views11k ♥6 minUpdated May 11, 2022
- No More Room in Hell Official ManualNo More Room in Hell★ 5 (2.8k)569k views2.1k ♥29 minUpdated Apr 22, 2019
- NMRiH Community Hosting GuidesNo More Room in Hell★ 5 (526)351k views653 ♥1 minUpdated Aug 10, 2022
- ULTIMATE GUIDE FOR GAME DEV TYCOONGame Dev Tycoon★ 5 (5.8k)326k views10k ♥4 minUpdated 23 Jan, 2014
- How to 'Git Gud' Soon™MORDHAU★ 5 (2k)318k views3k ♥68 minUpdated Nov 16, 2024
- Лучшие кооперативные игры SteamPAYDAY 2★ 5 (1.5k)315k views2.1k ♥56 minRussianUpdated Apr 27, 2025






This guide was created by its original author on the Steam Community. Are you the author and want it removed? Request removal.