Halo 3: Collectibles
Intro


The one we've all been waiting for. Halo 3 has finally landed, and it's good to be back. I think a lot of us could probably remember almost spawn, every sound, every line, and certainly the locations of the skulls. But, for those who can't, or maybe someone who just didn't live and breath Halo 3 back in the day, this guide is for you.
We will be going through all the levels in chronological order. Each level has a certain amount of collectibes, some of them being just skulls, terminals, or a mix of both. You do not have to complete the level for the achievement/progress to unlock; you can just pop out of the level as soon as the achievement pops.
An addendum. Looking for the Golden Moa statues? Try this Guide right here:
https://steamcommunity.com/sharedfiles/filedetails/?id=2627794328
There are 20 Skulls tied to achievements in total with 14 hidden in the Campaign mode and a further 6 in the Mythic map pack multiplayer maps.
- Skulls can only be found on Normal difficulty and above.
- Campaign Skulls will only appear if you start a mission from the beginning. They will not appear if you start a mission from a rally point.
- Campaign Skulls can be picked up in single or co-operative modes and when picked up, all players will receive the Achievement (if applicable)
When each instalment of the Master Chief collection lands, I will be publishing separate Guides on each one. And when all of them have have come up, I will be publishing a Mega-Guide with all titles compiled into one place for easy access.
You can follow me, and see my works here:
My complete selection of guides
Authors note: I have chosen to include a video version under ever mission. Please note, these are NOT my videos. Please go and support the amazing work content creators like these do for us.
The authors channel can be found here.
That's all the paperwork out of the way, lets get into this!
Sierra 117
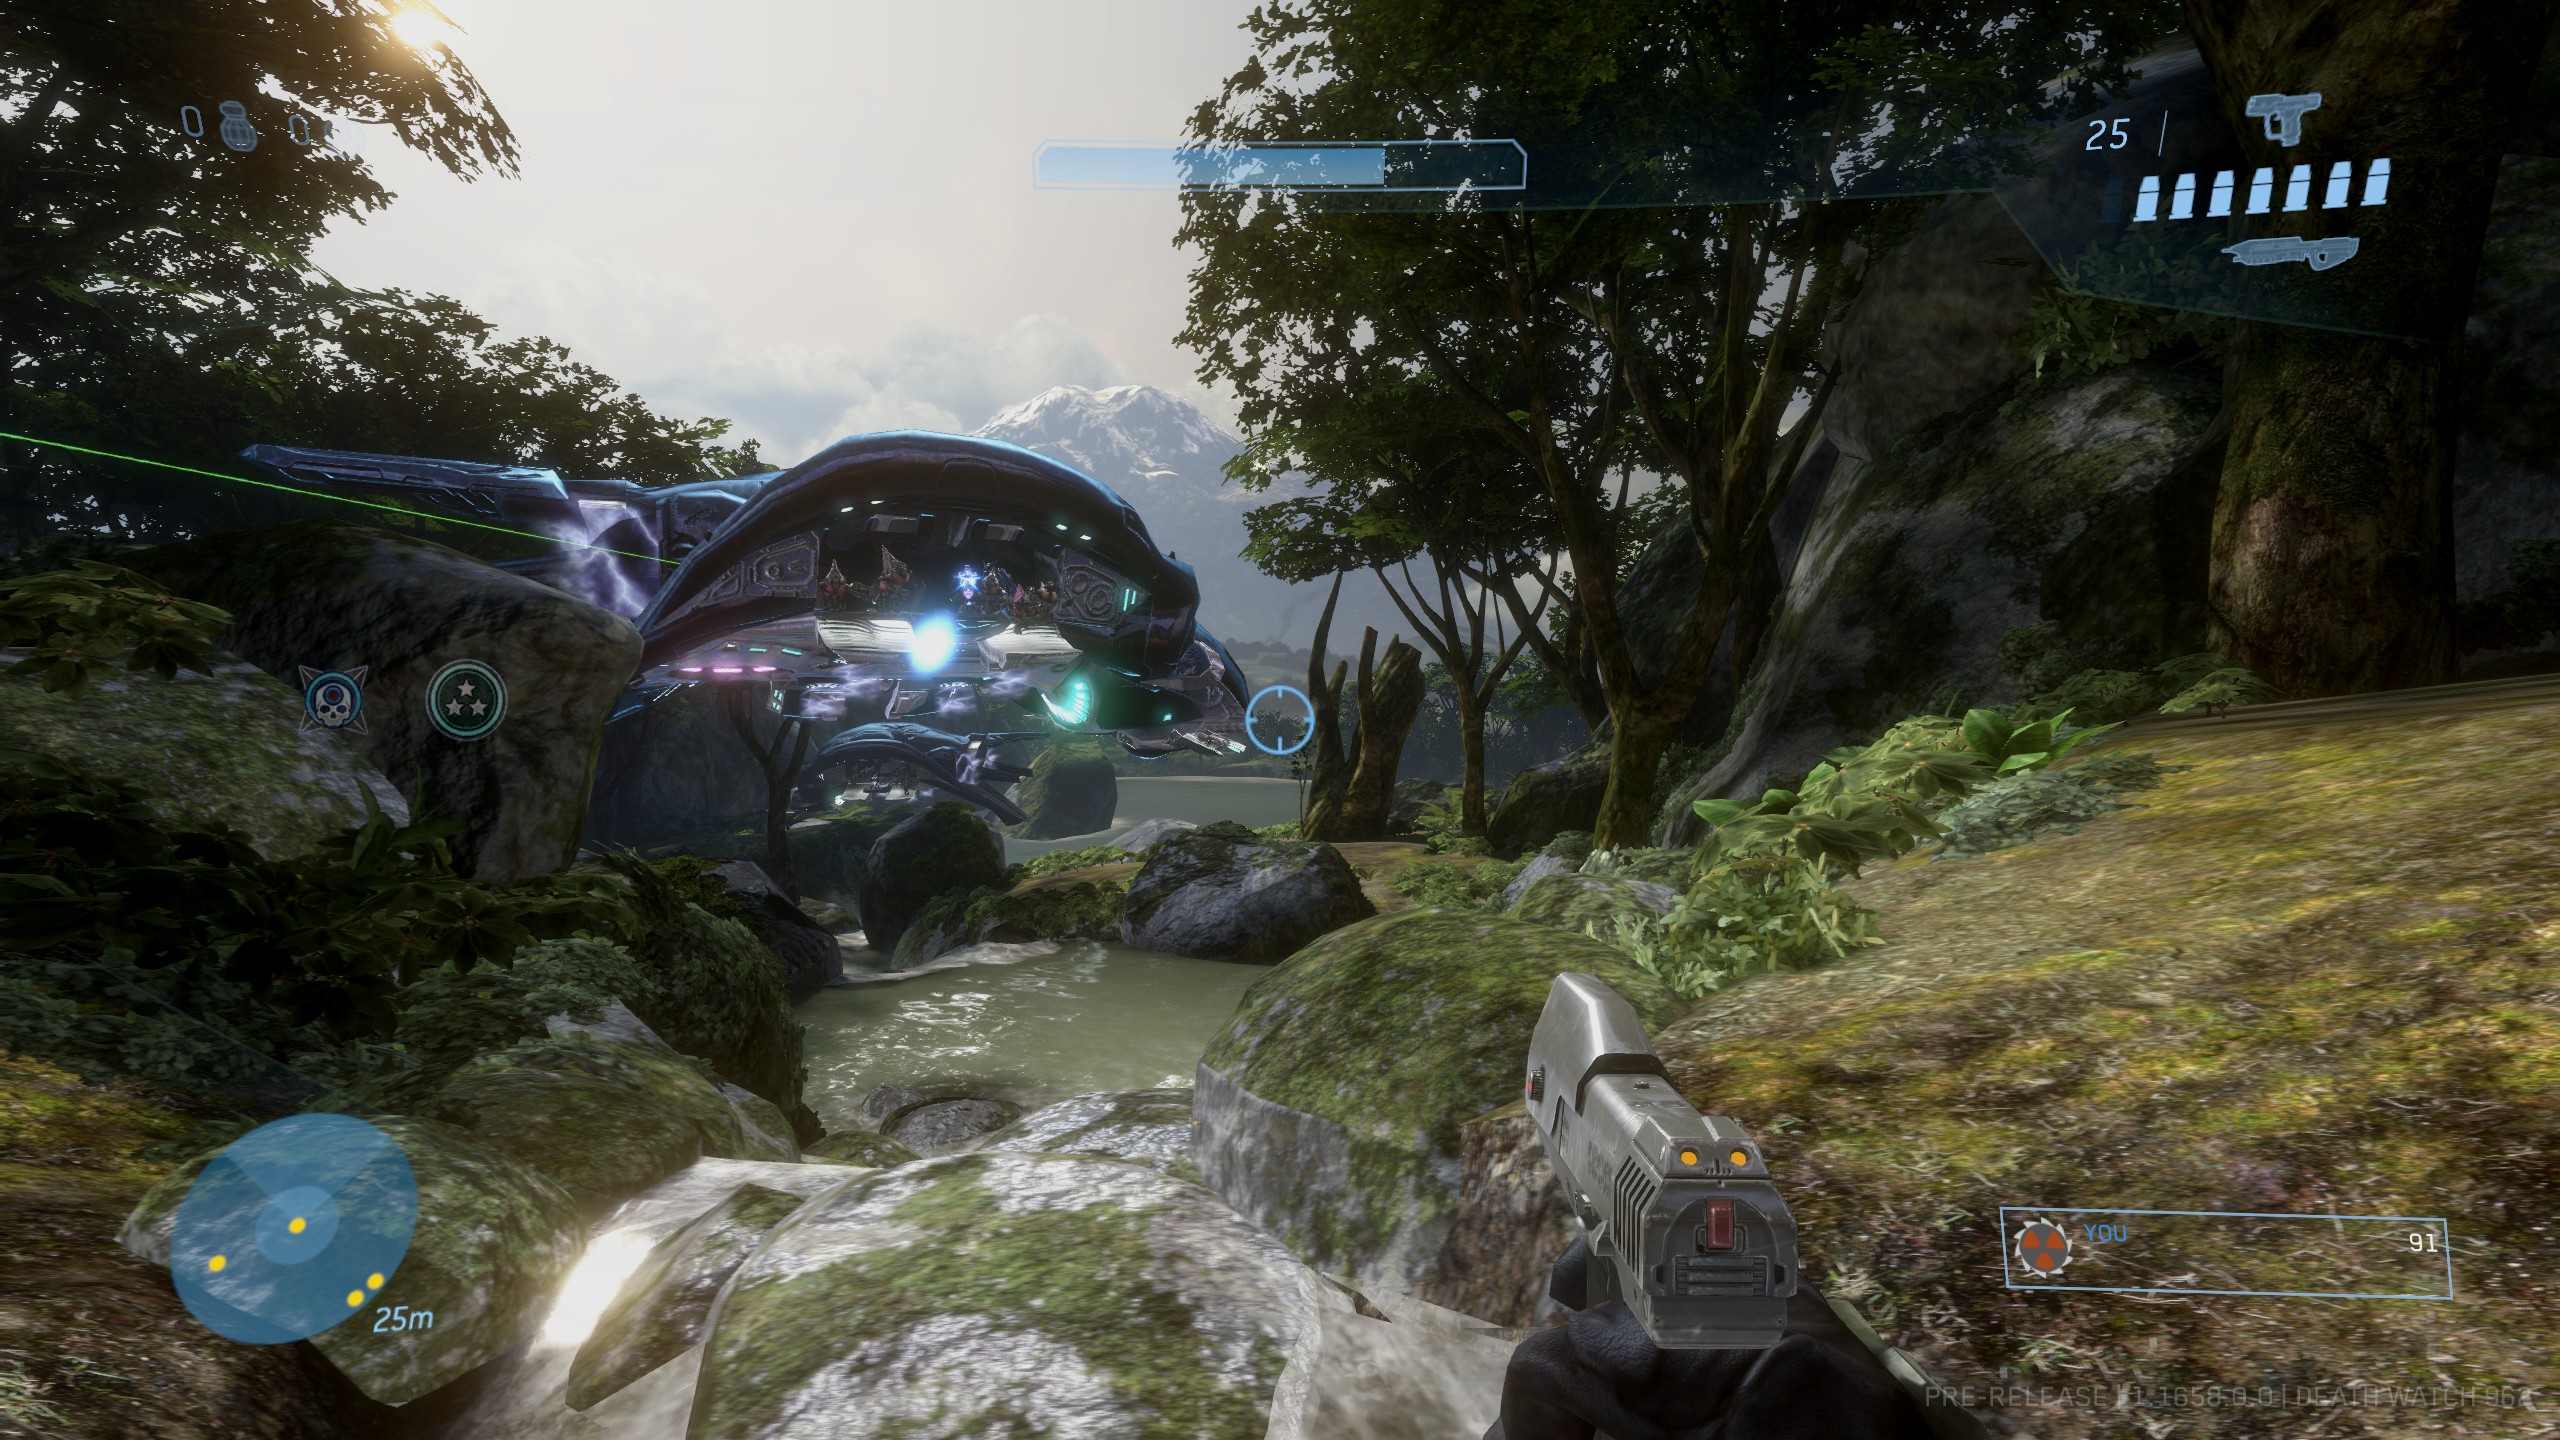
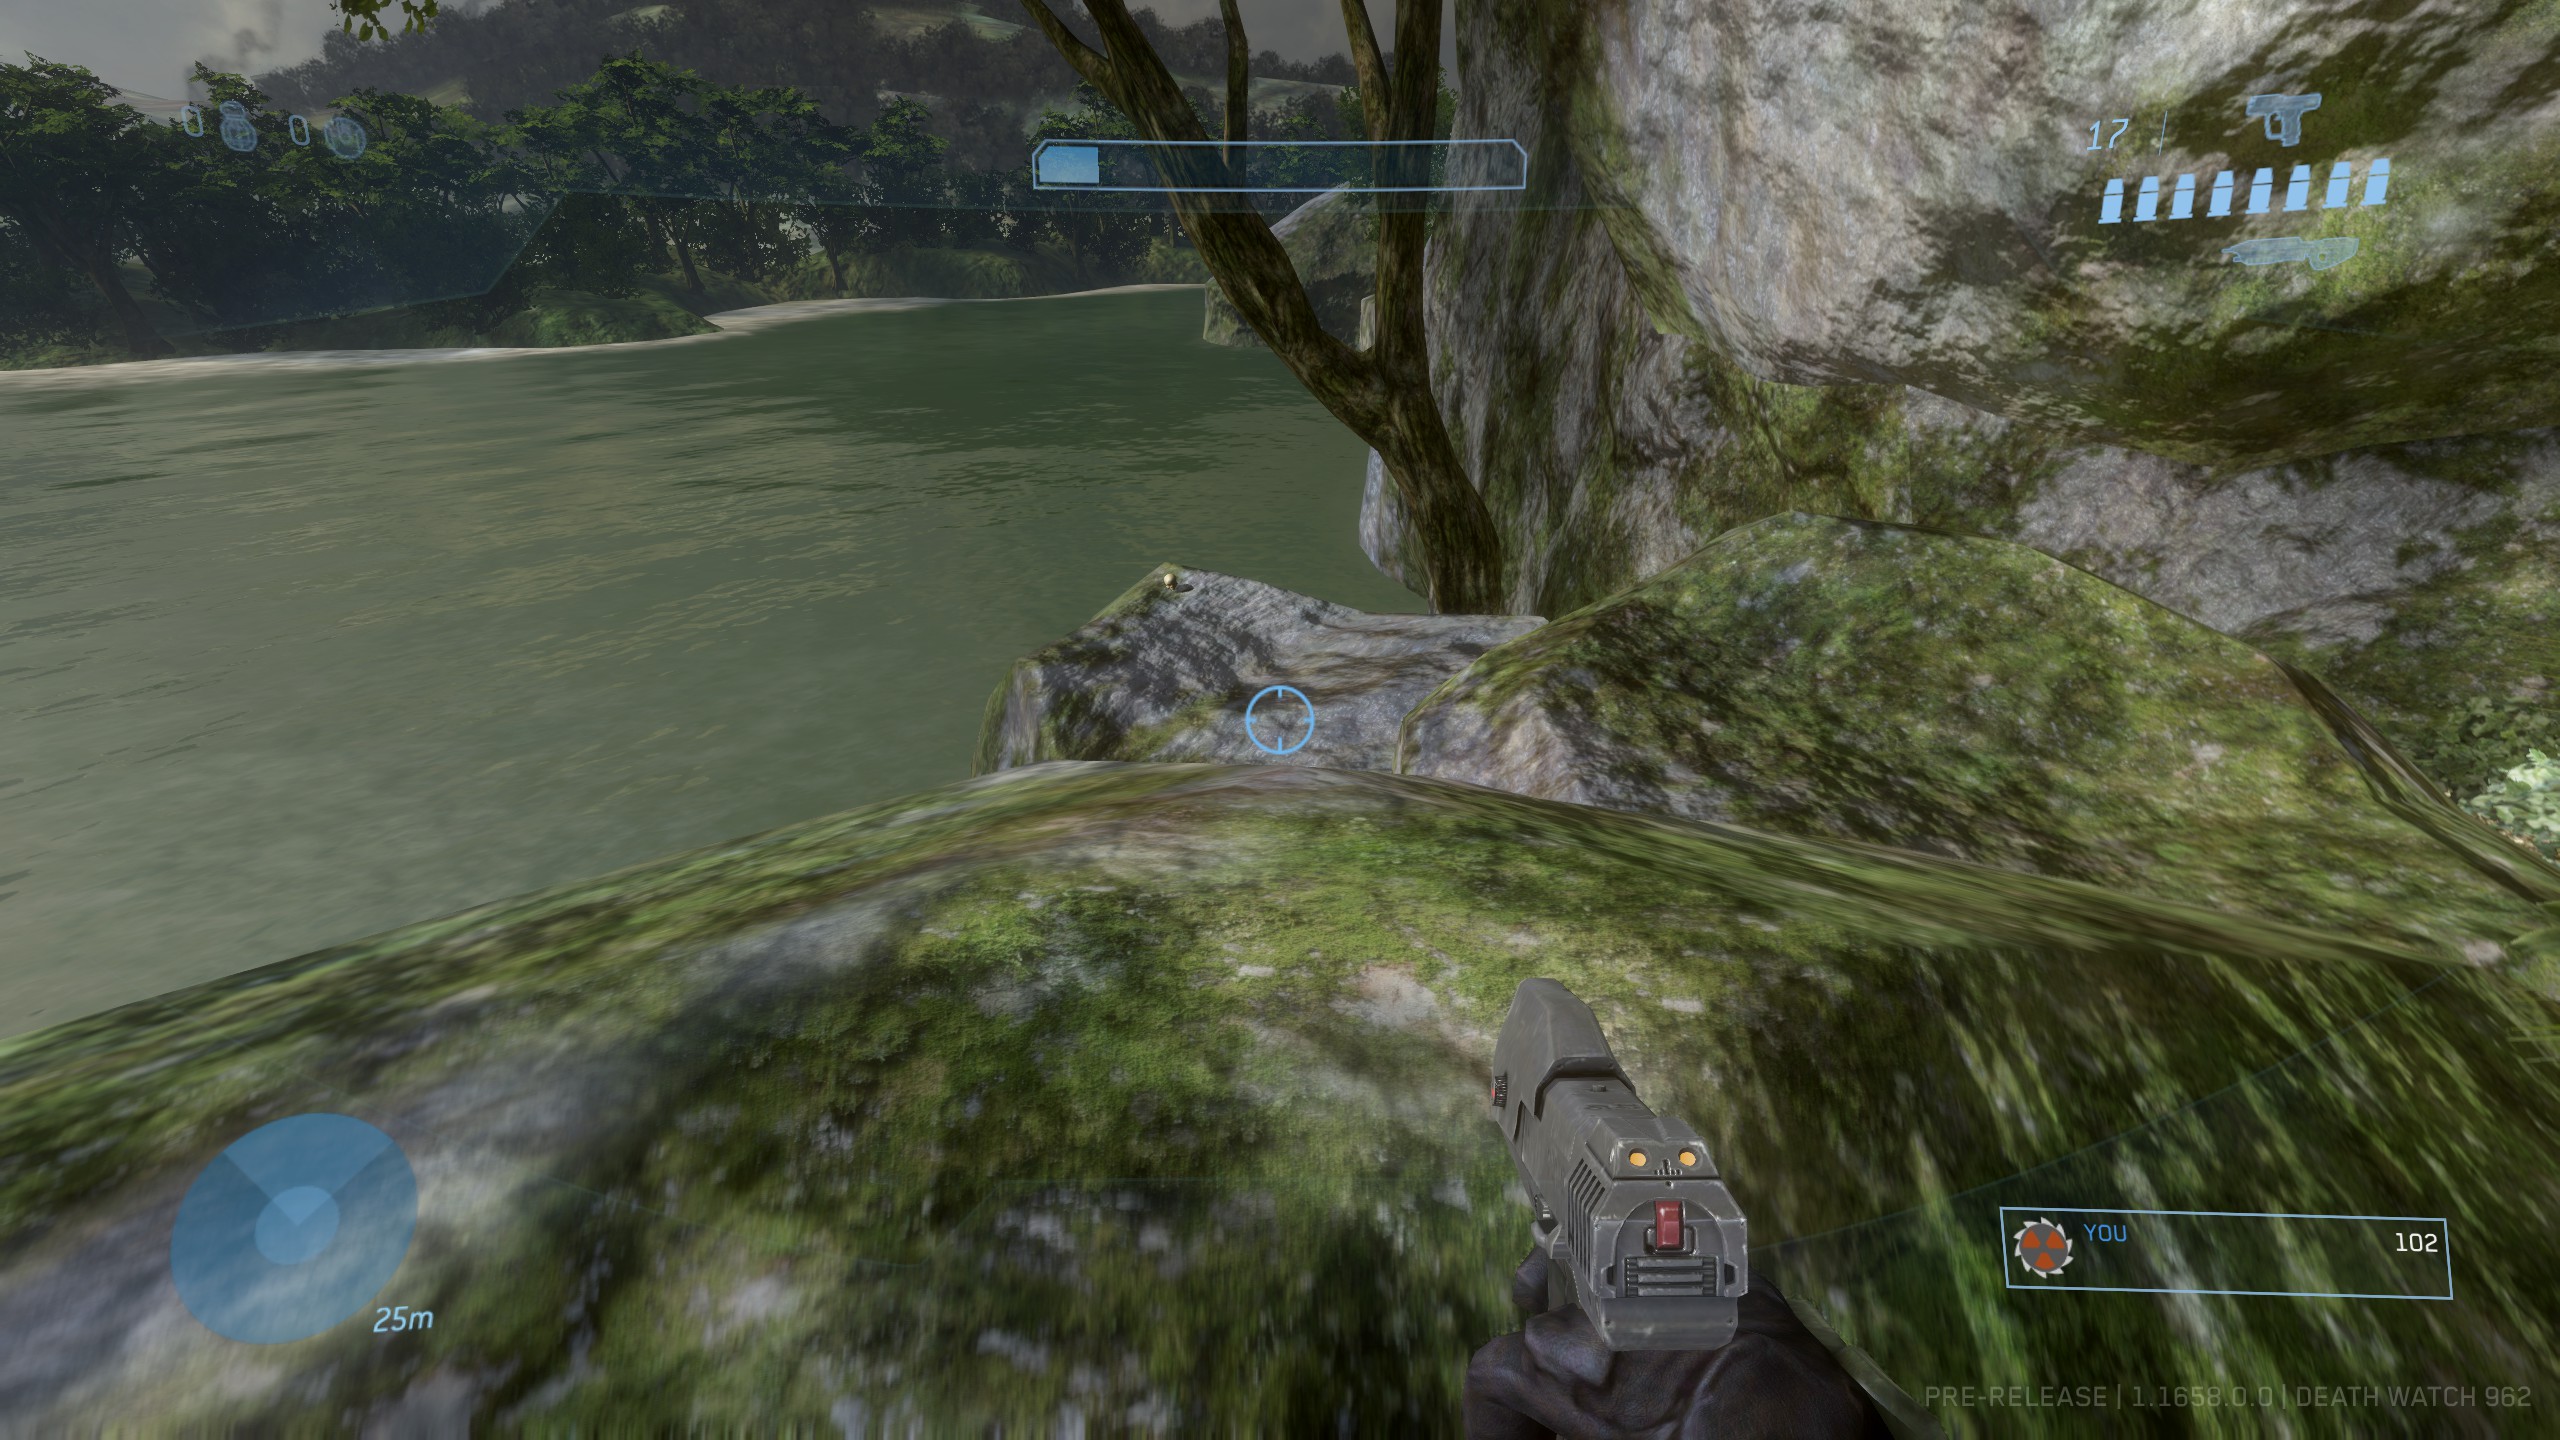
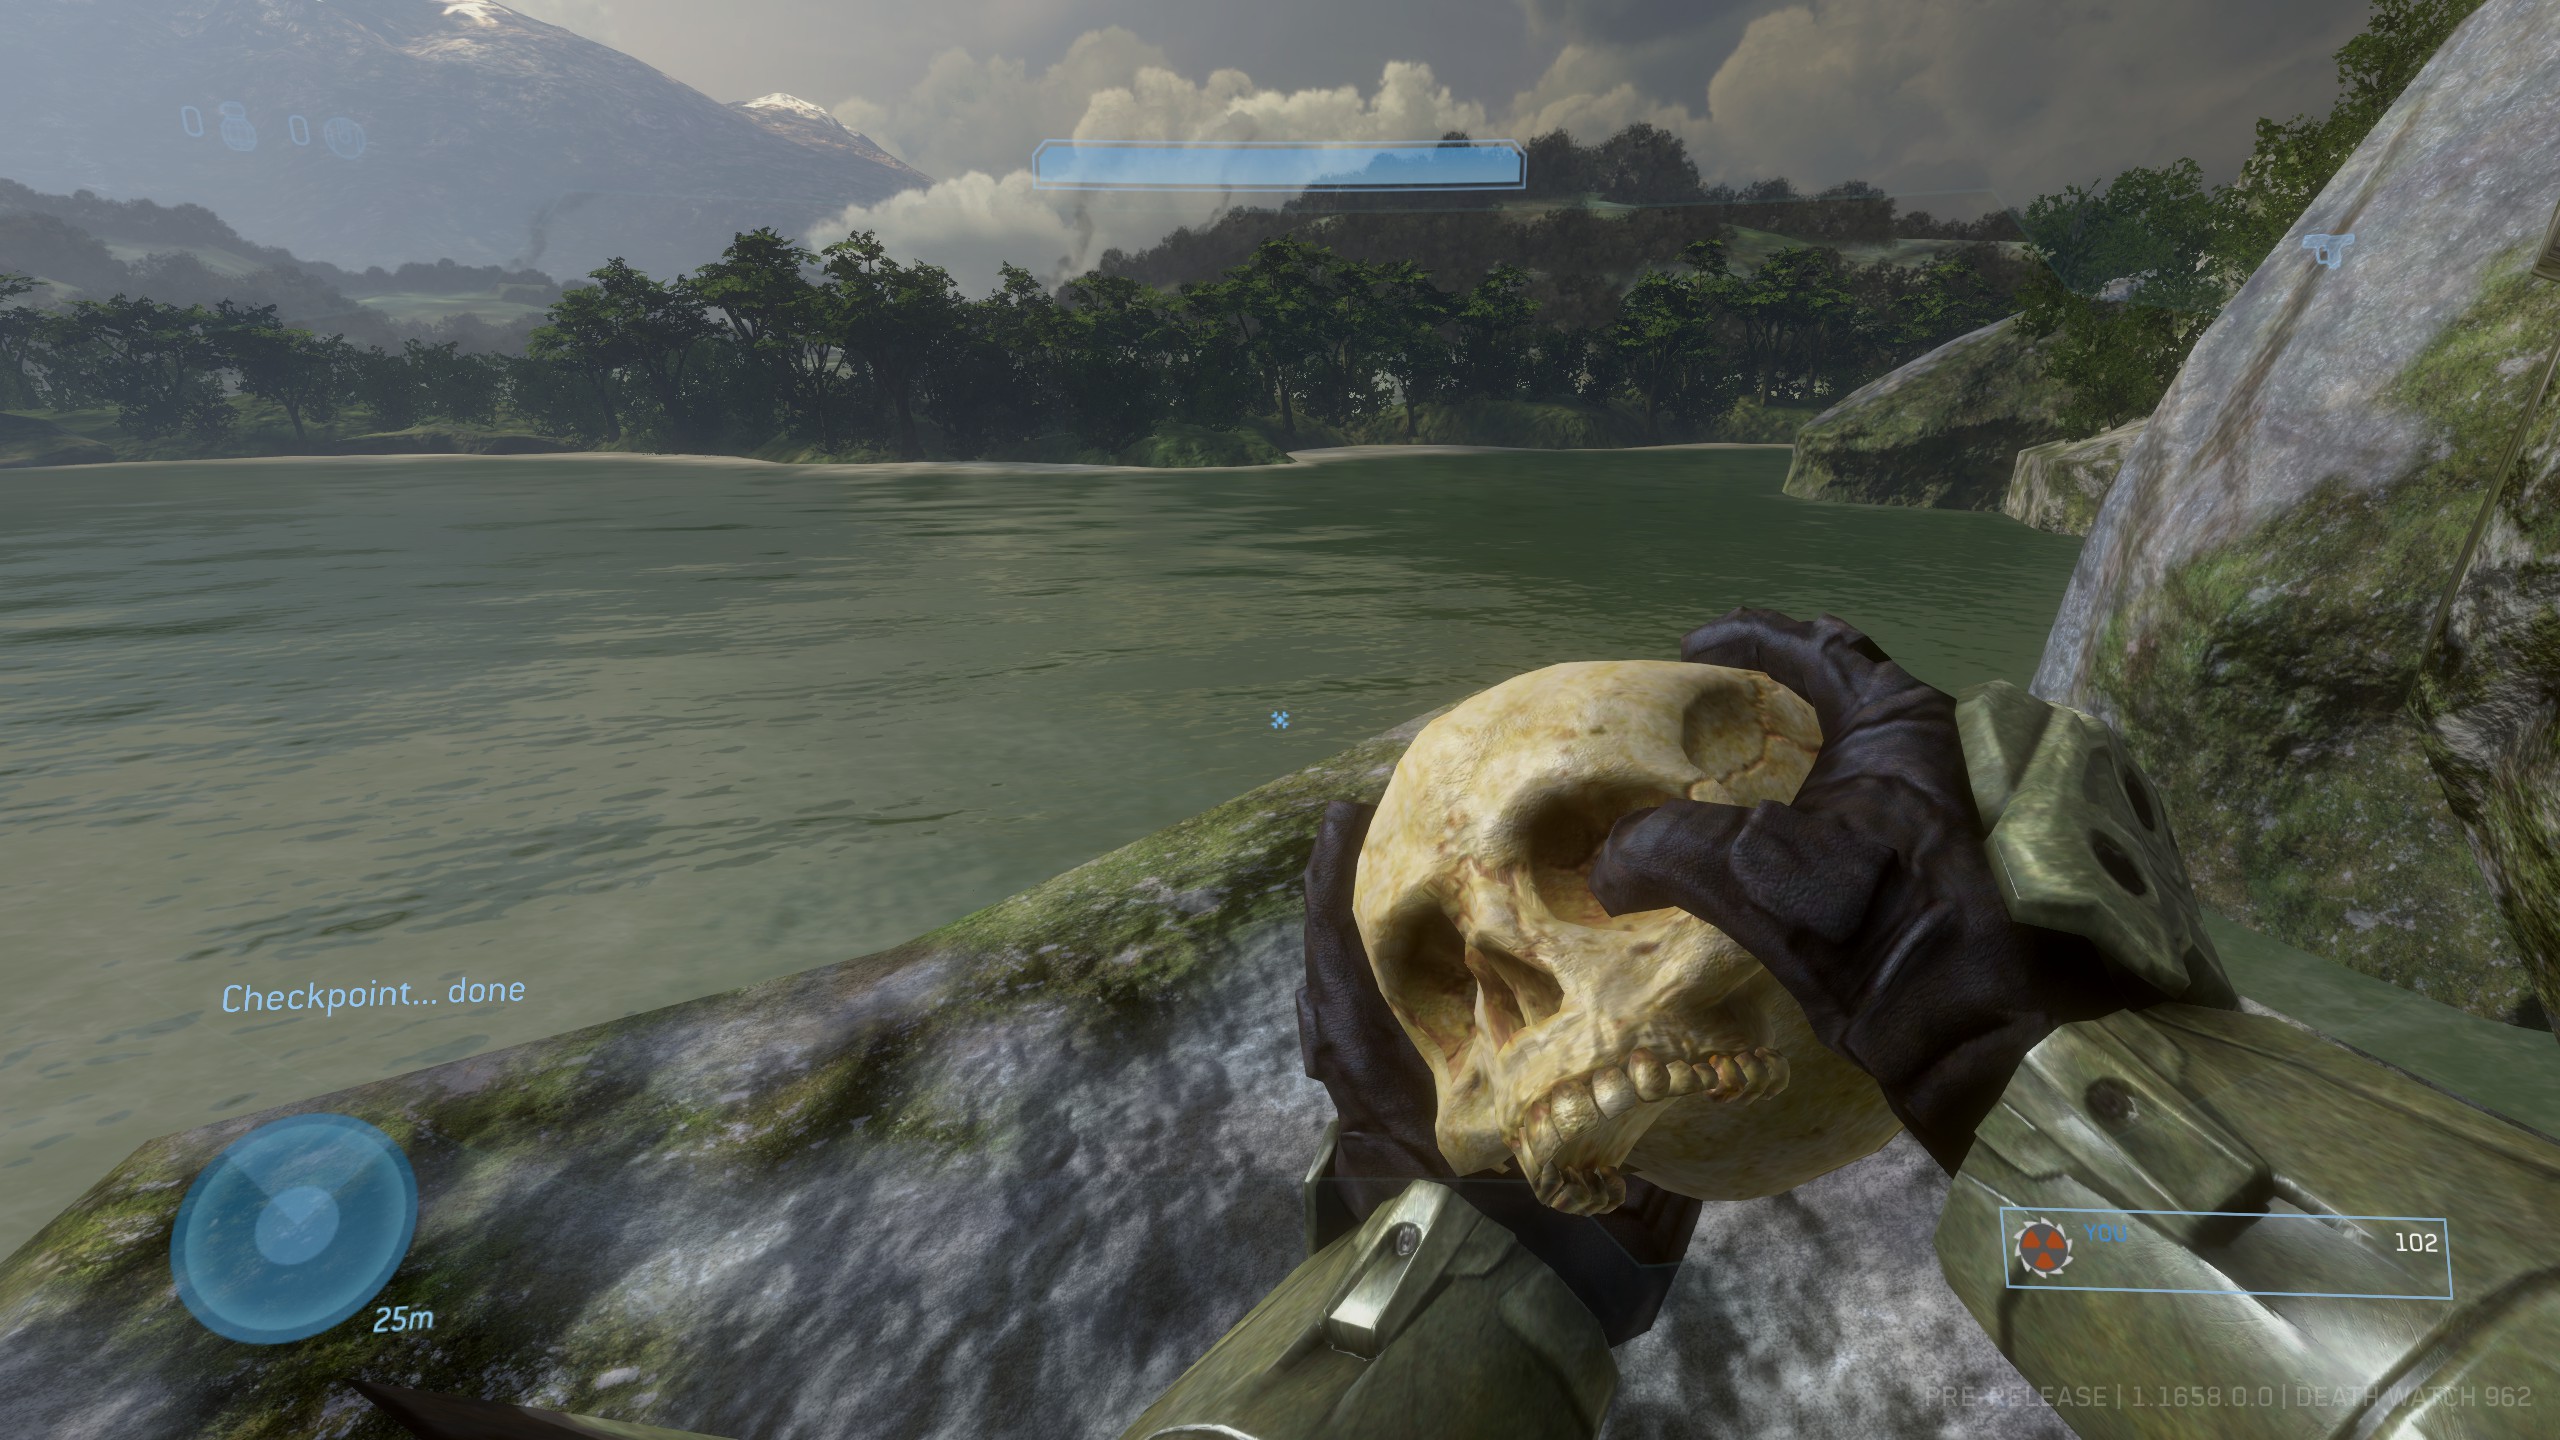
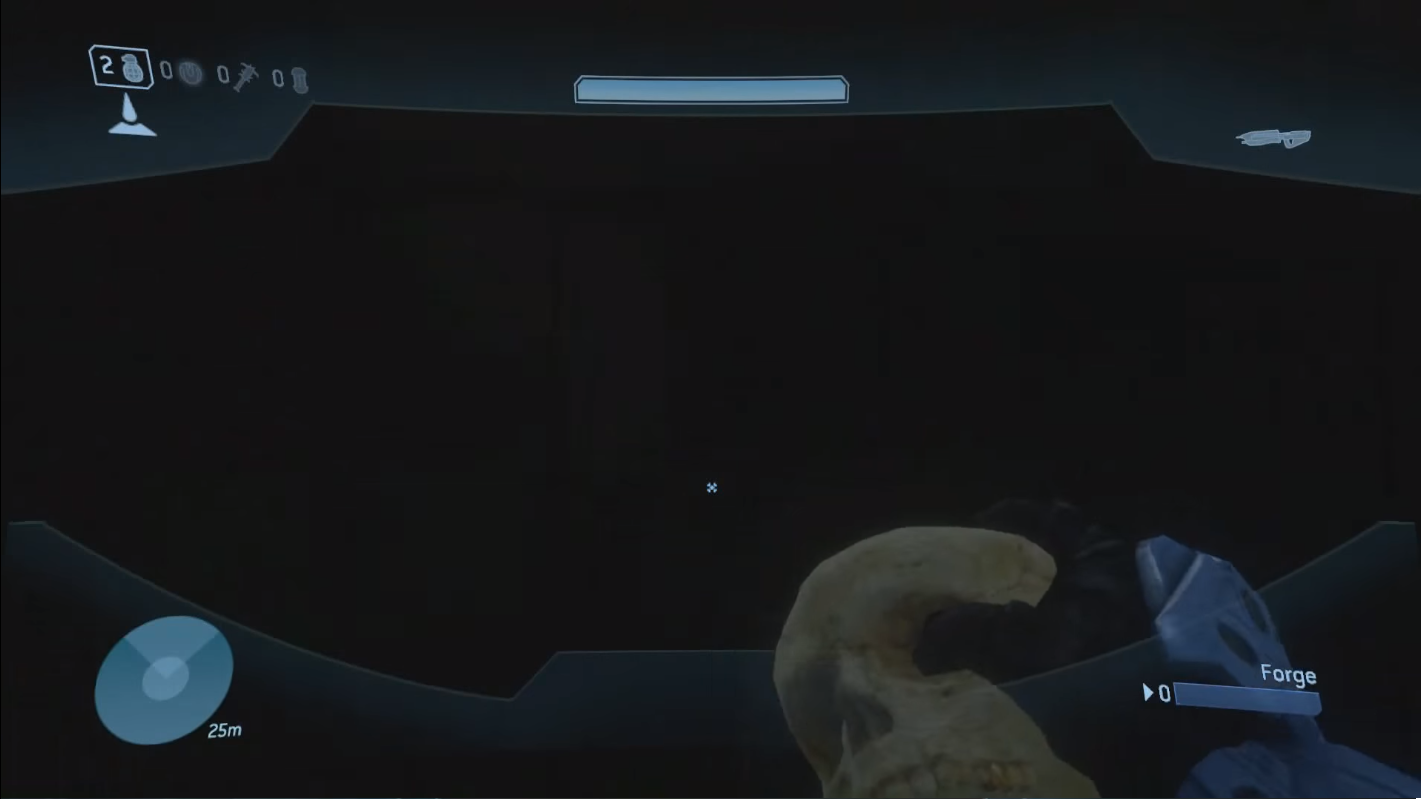
Effect: Your entire Heads-Up Display is disabled. You can't see your weapon, shield meter, motion sensor, or ammo/grenade count. Location: This Skull is quite close to the very start of the level. Proceed out of the starting location and follow the river downstream and mow your way through three Phantom-loads of Brutes and Grunts until you reach a waterfall. When you are at the waterfall, move up to the cliff and follow the ledge along to the right. You should be able to make out a lower platform to the left with the Skull on the ground in plain sight.
https://www.youtube.com/watch?v=XgyDtnx4FyI&t=2s
Effect: If a solo player dies, the level is restarted. If a co-op player dies, the last checkpoint is loaded. Location: Near the final part of the level at the dam where you need to rescue Sgt. Johnson and the other UNSC marines from an energy prison. Once you enter the area, you'll need to work your way up to and cross a bridge. Once you have crossed the it, continue ahead and instead of turning left to go to the prison, keep pressing forward and jump up on a platform to the right. From here you can again hop up to a narrow ledge running the length of the large building at the back of the area. Follow this narrow pathway to the left and continue to the very end. Here you will find the Skull in a cramped, dark corner.
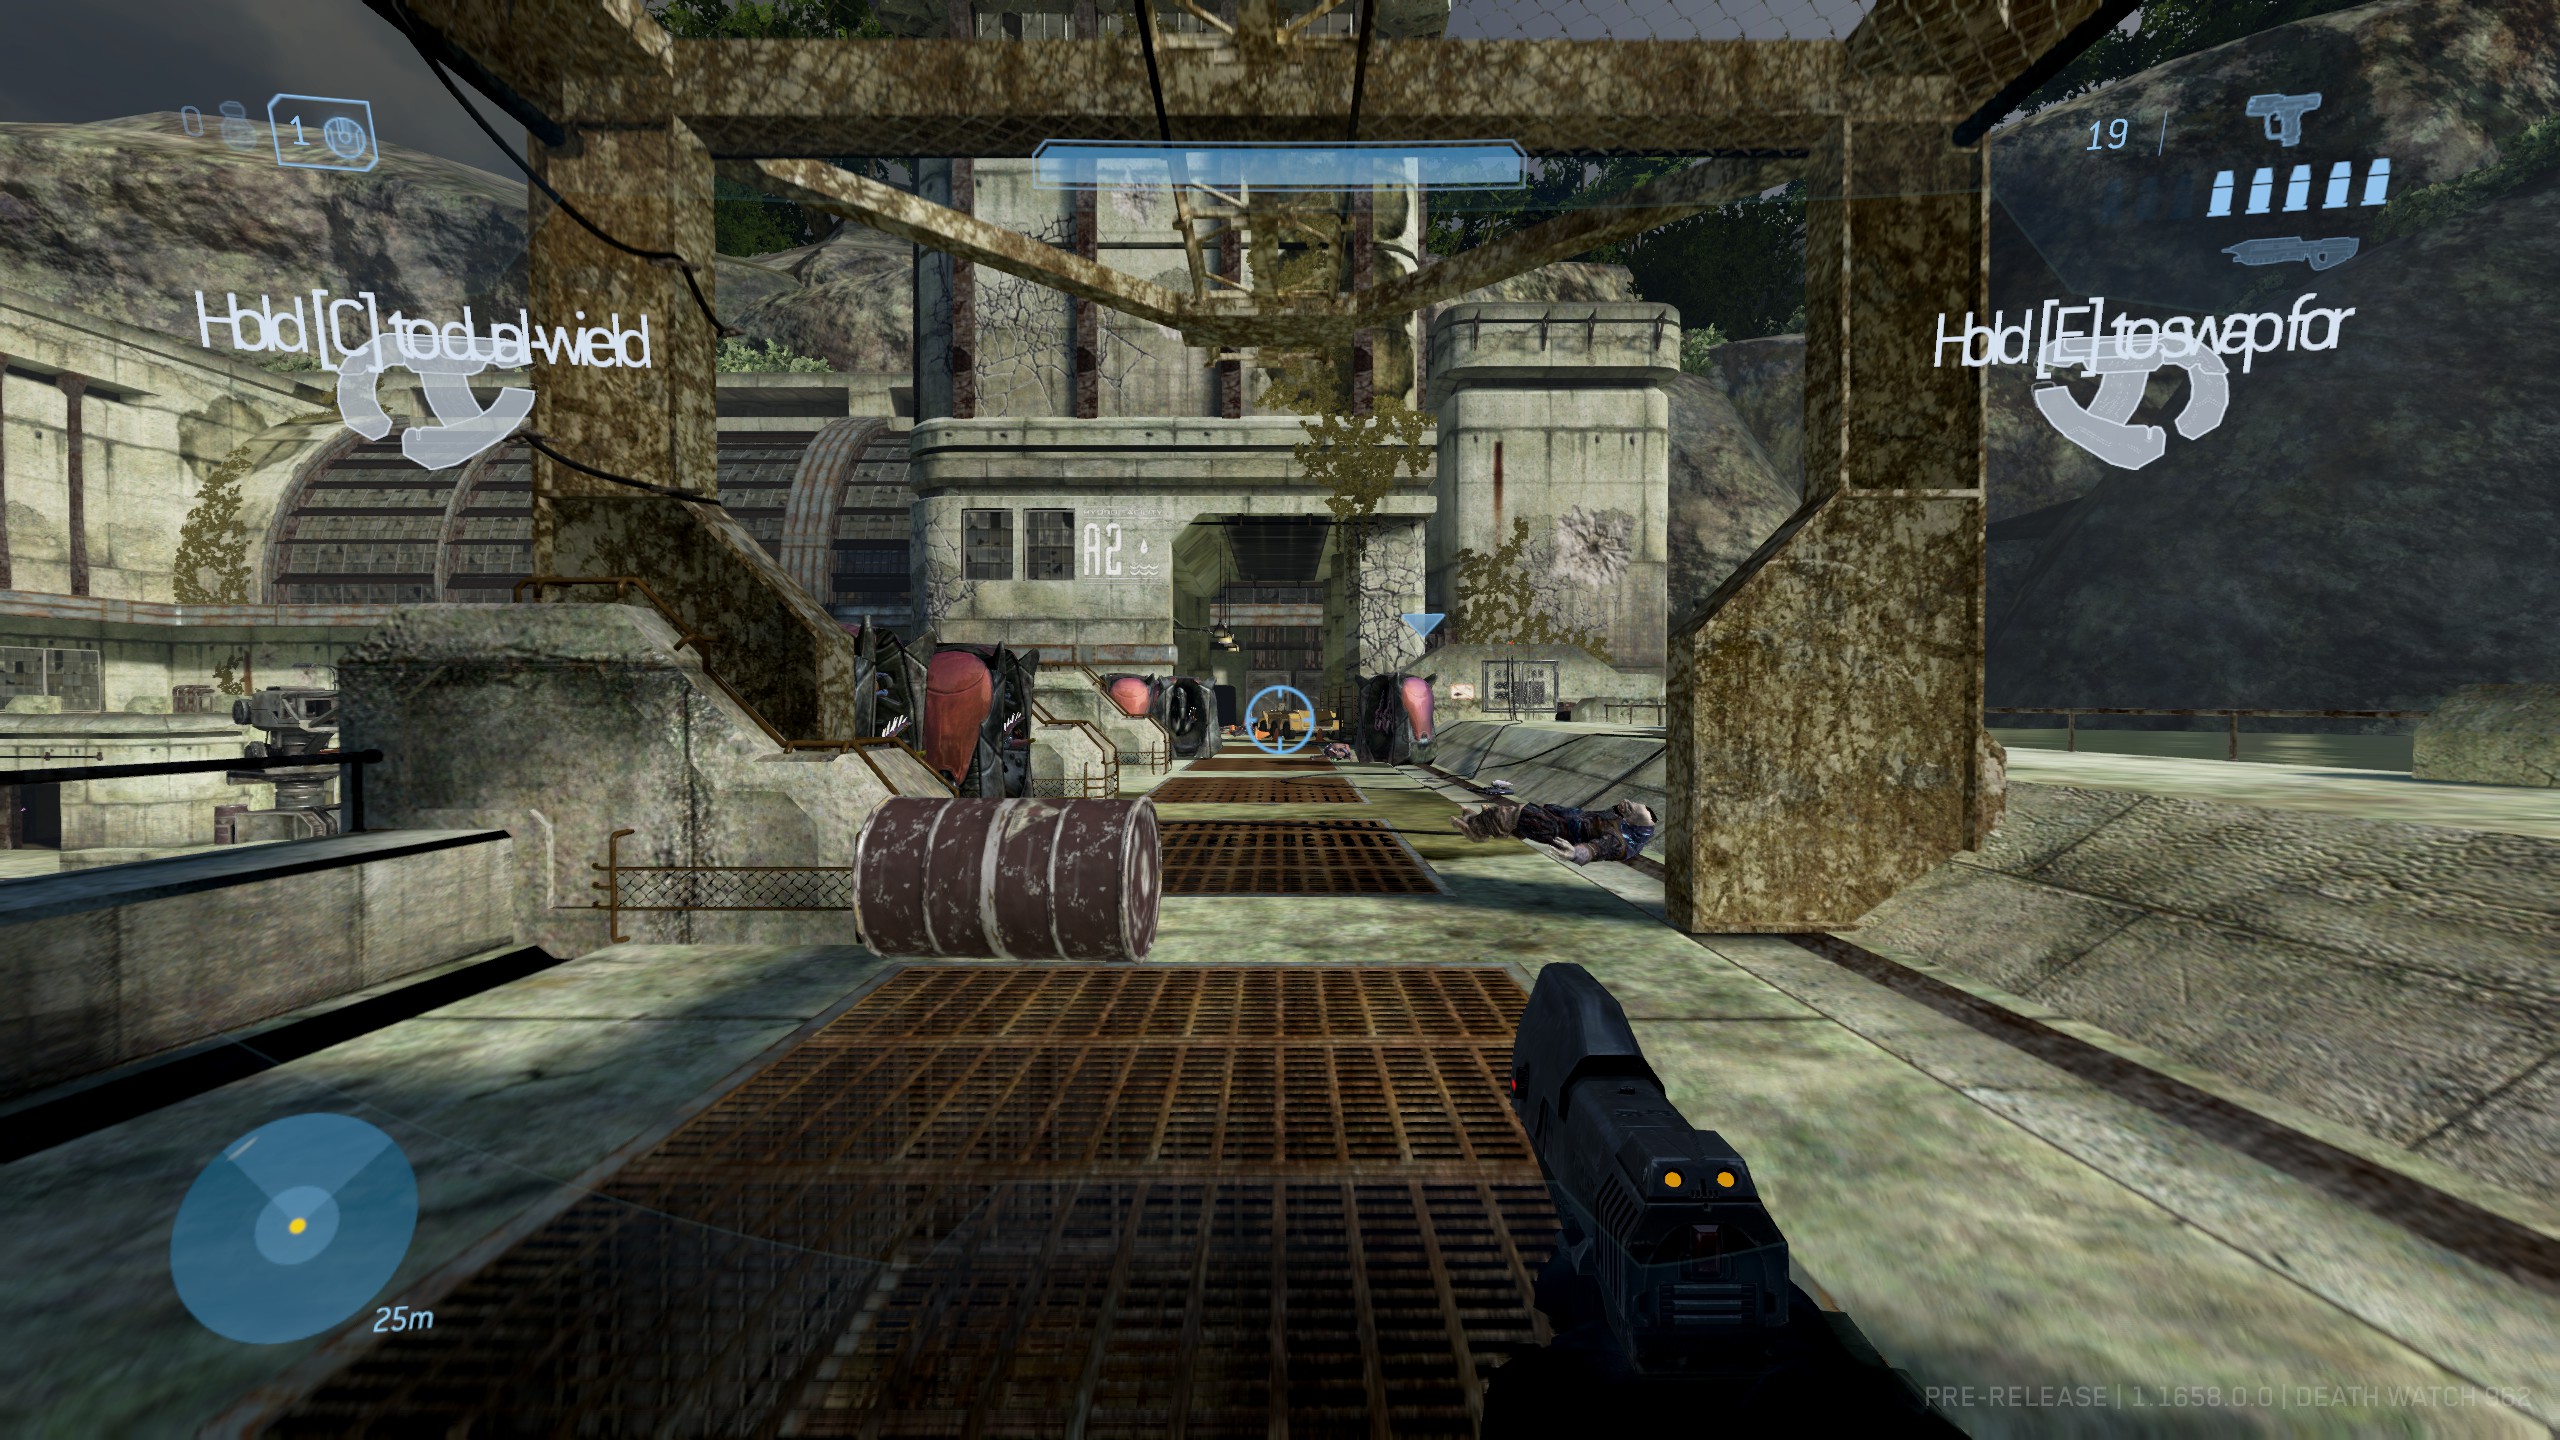
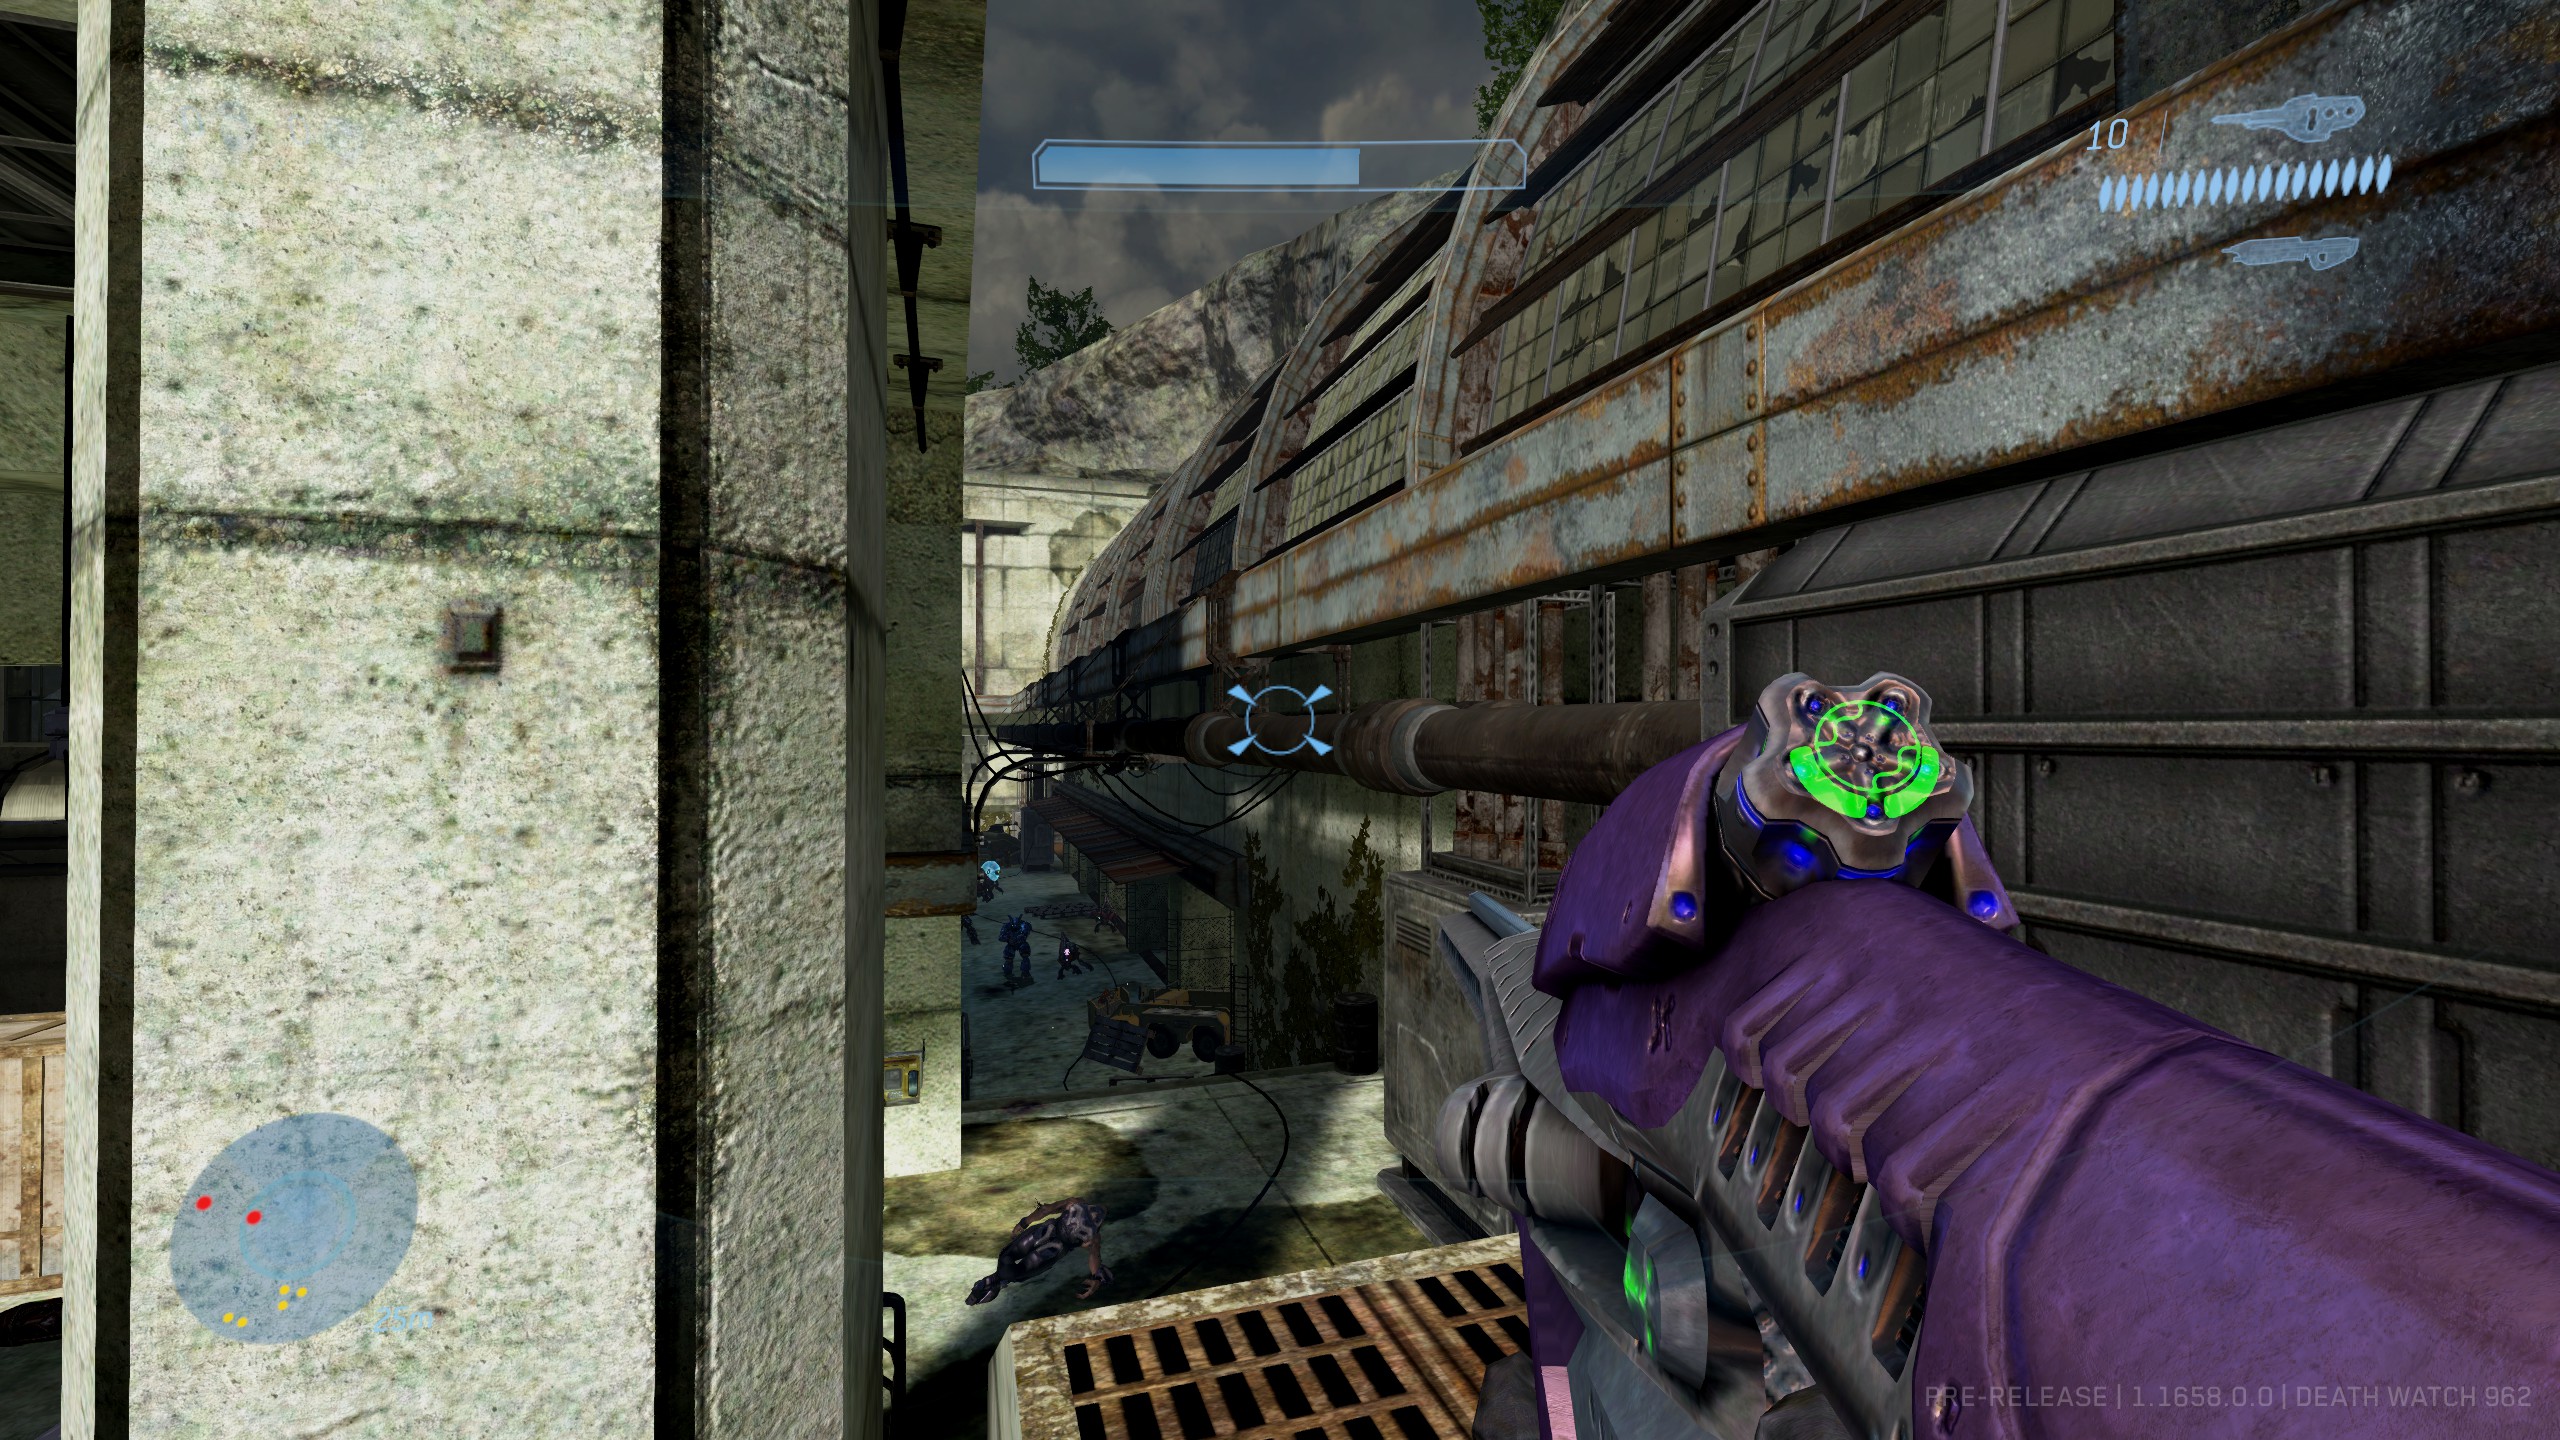
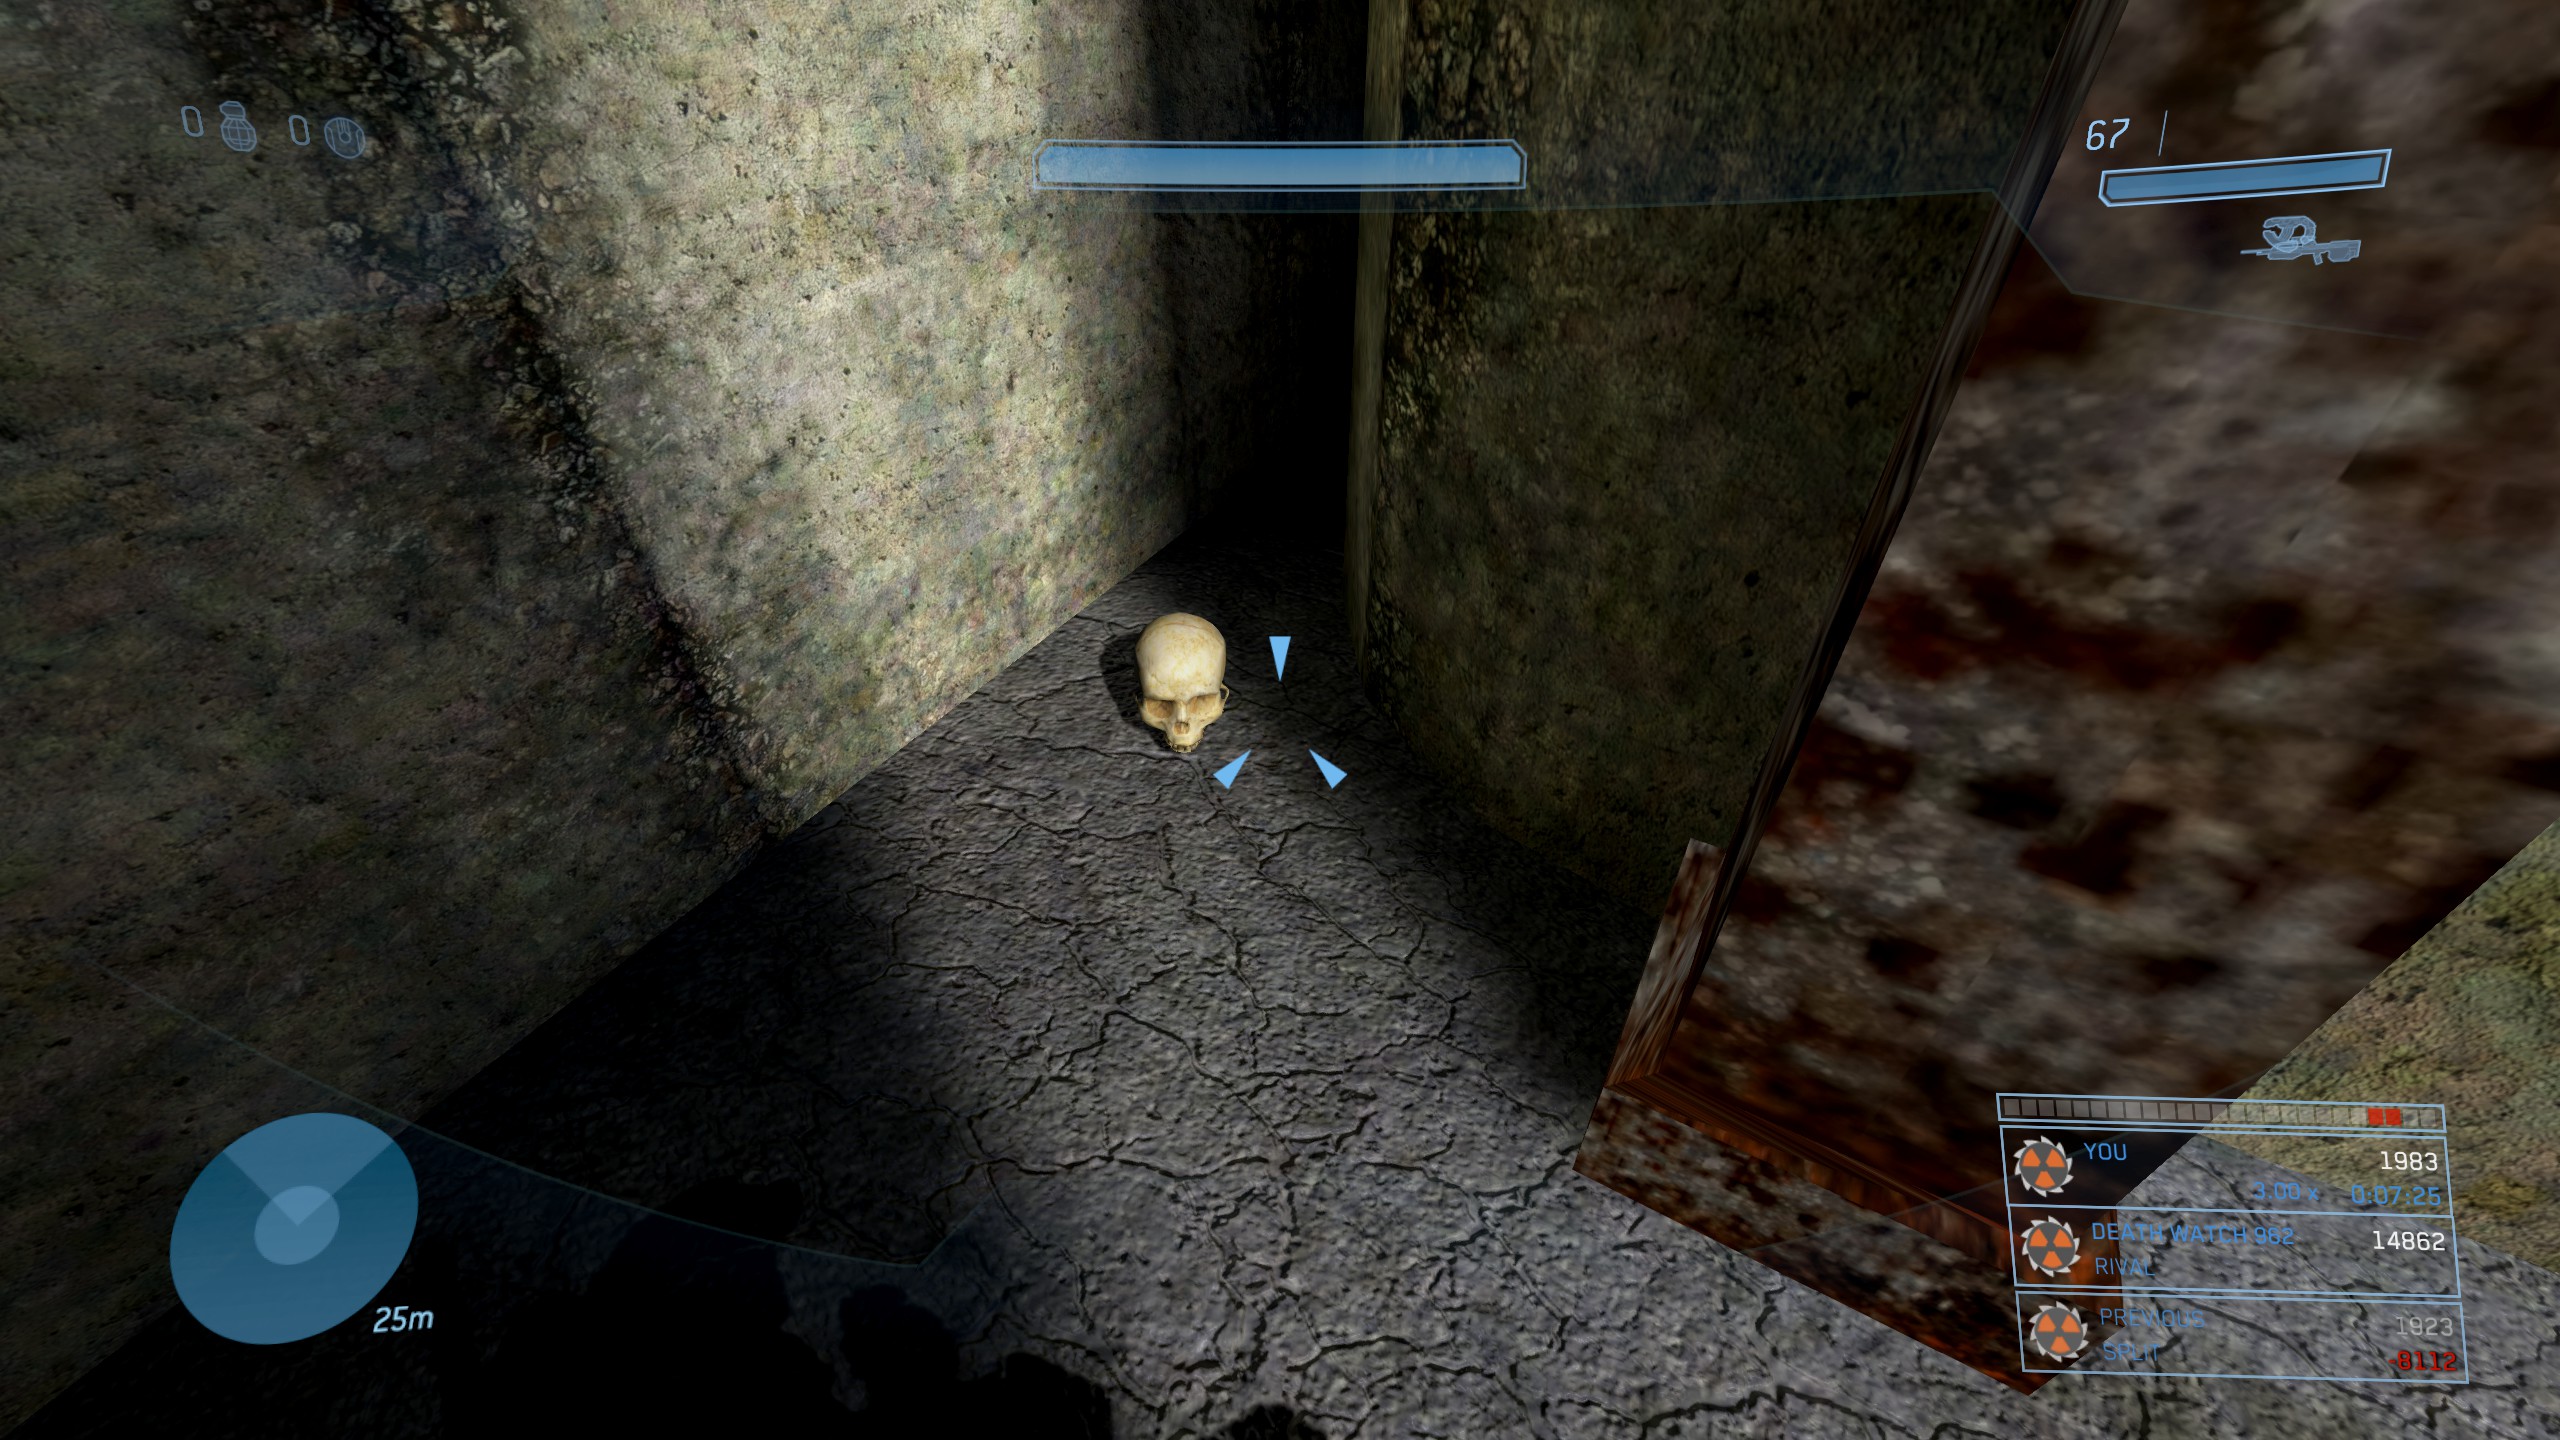
https://www.youtube.com/watch?v=EtQL-cVGddI
Crow's Nest
Effect: Shields only regenerate by melee attacking enemies.
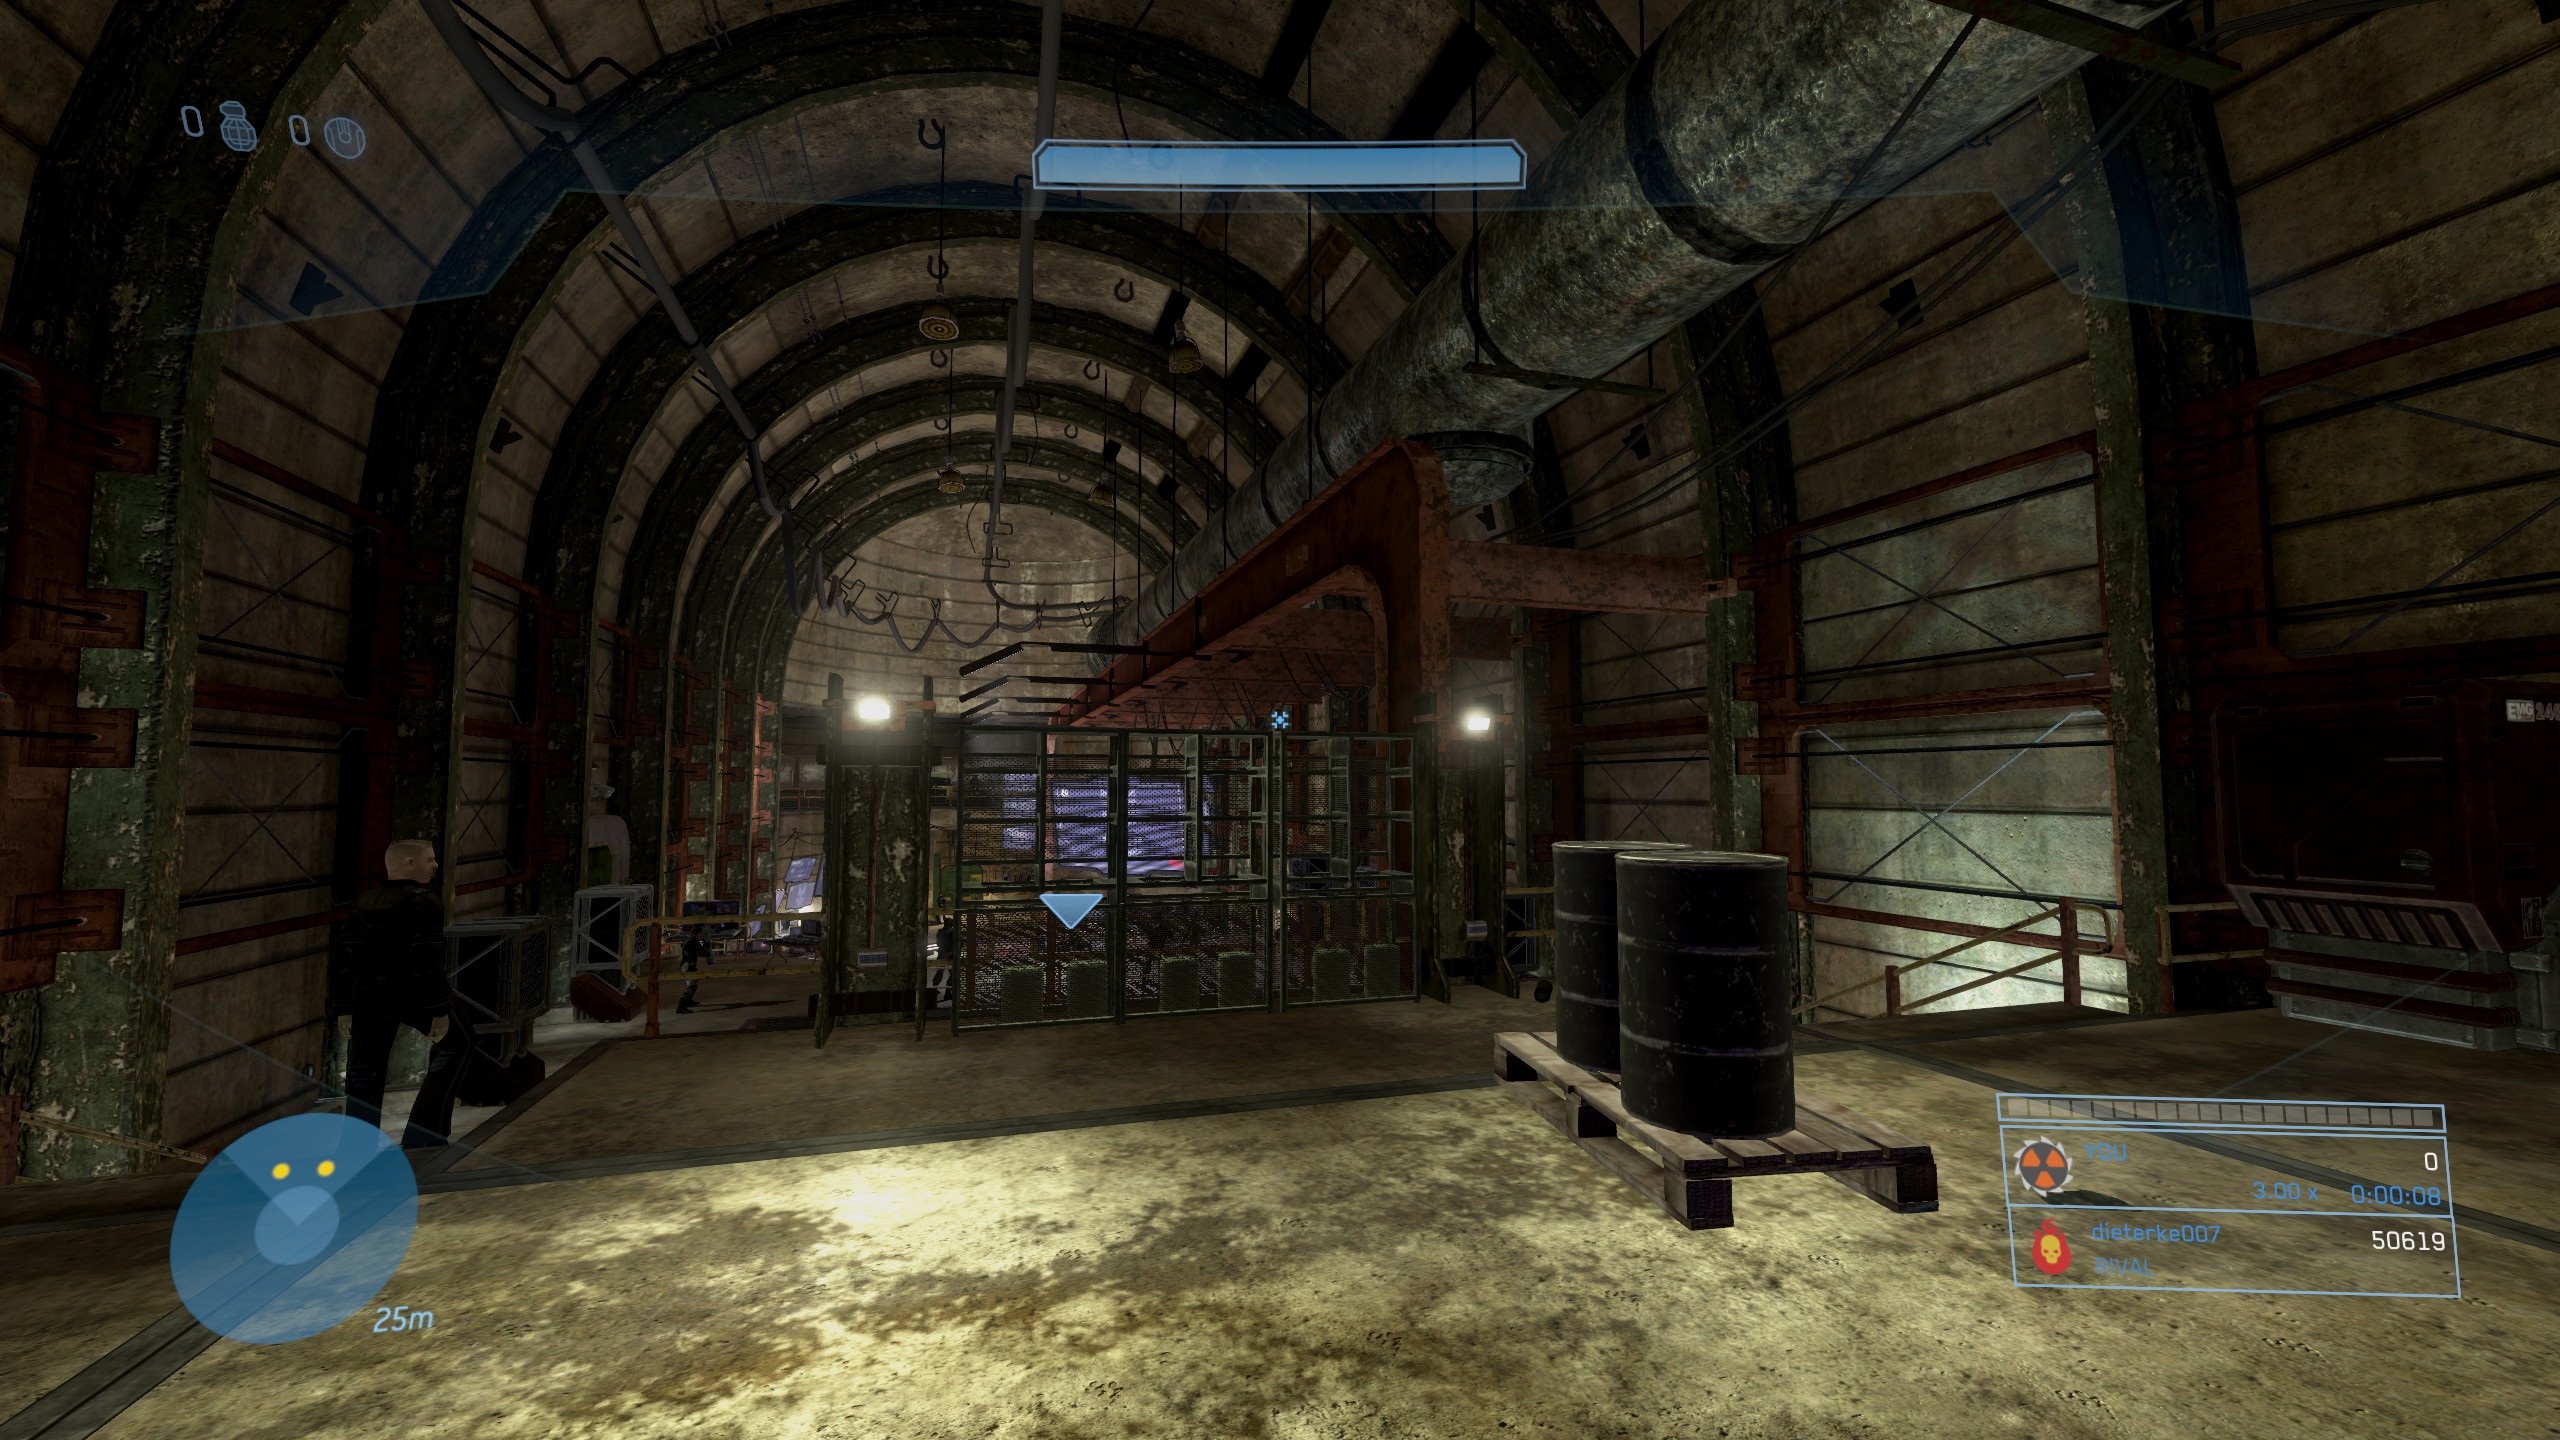
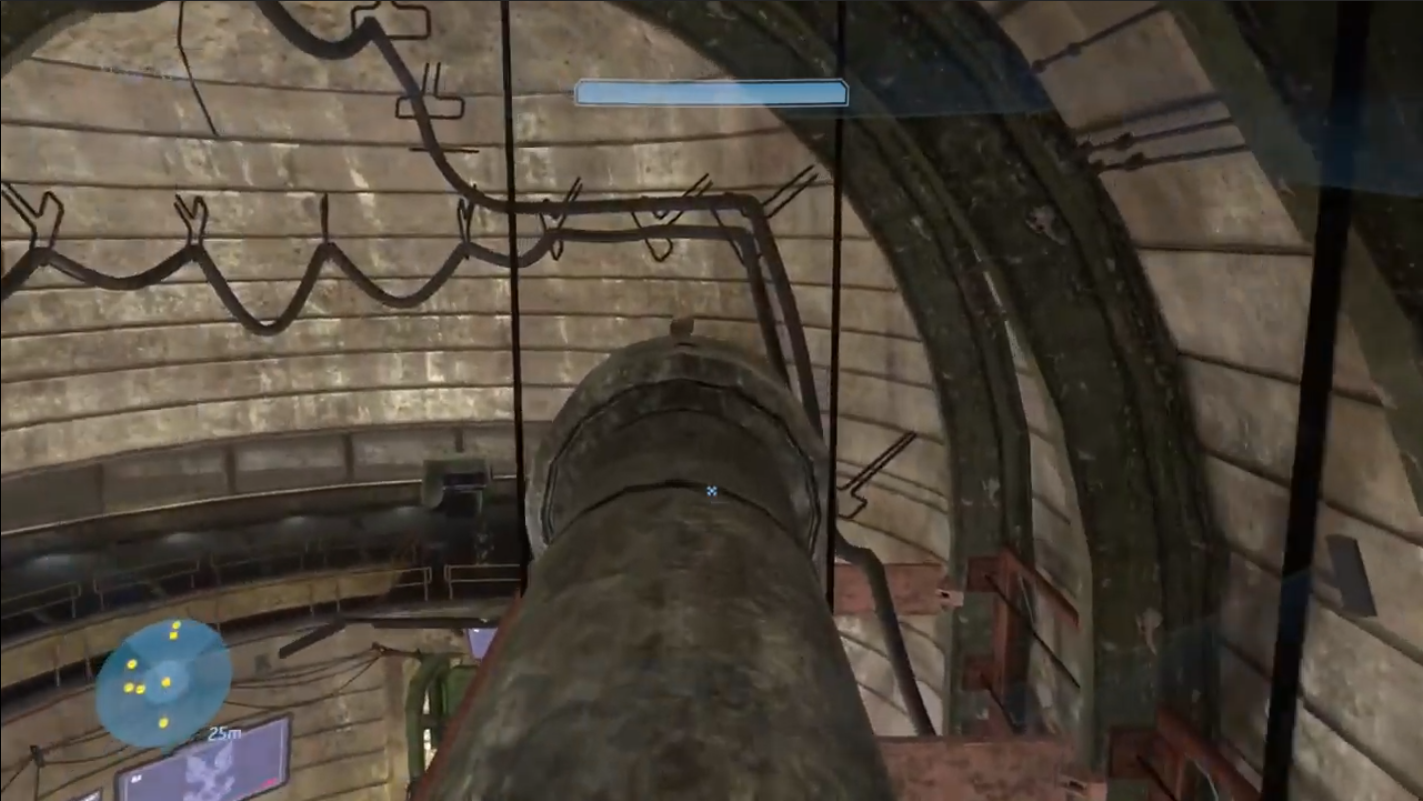
Location: When you start the mission, instead of going down the stairs as you are supposed to, you'll want to jump past them and go up the stairs. Approach the red, locked door here.
Next to the door you should see a red object up against the wall.
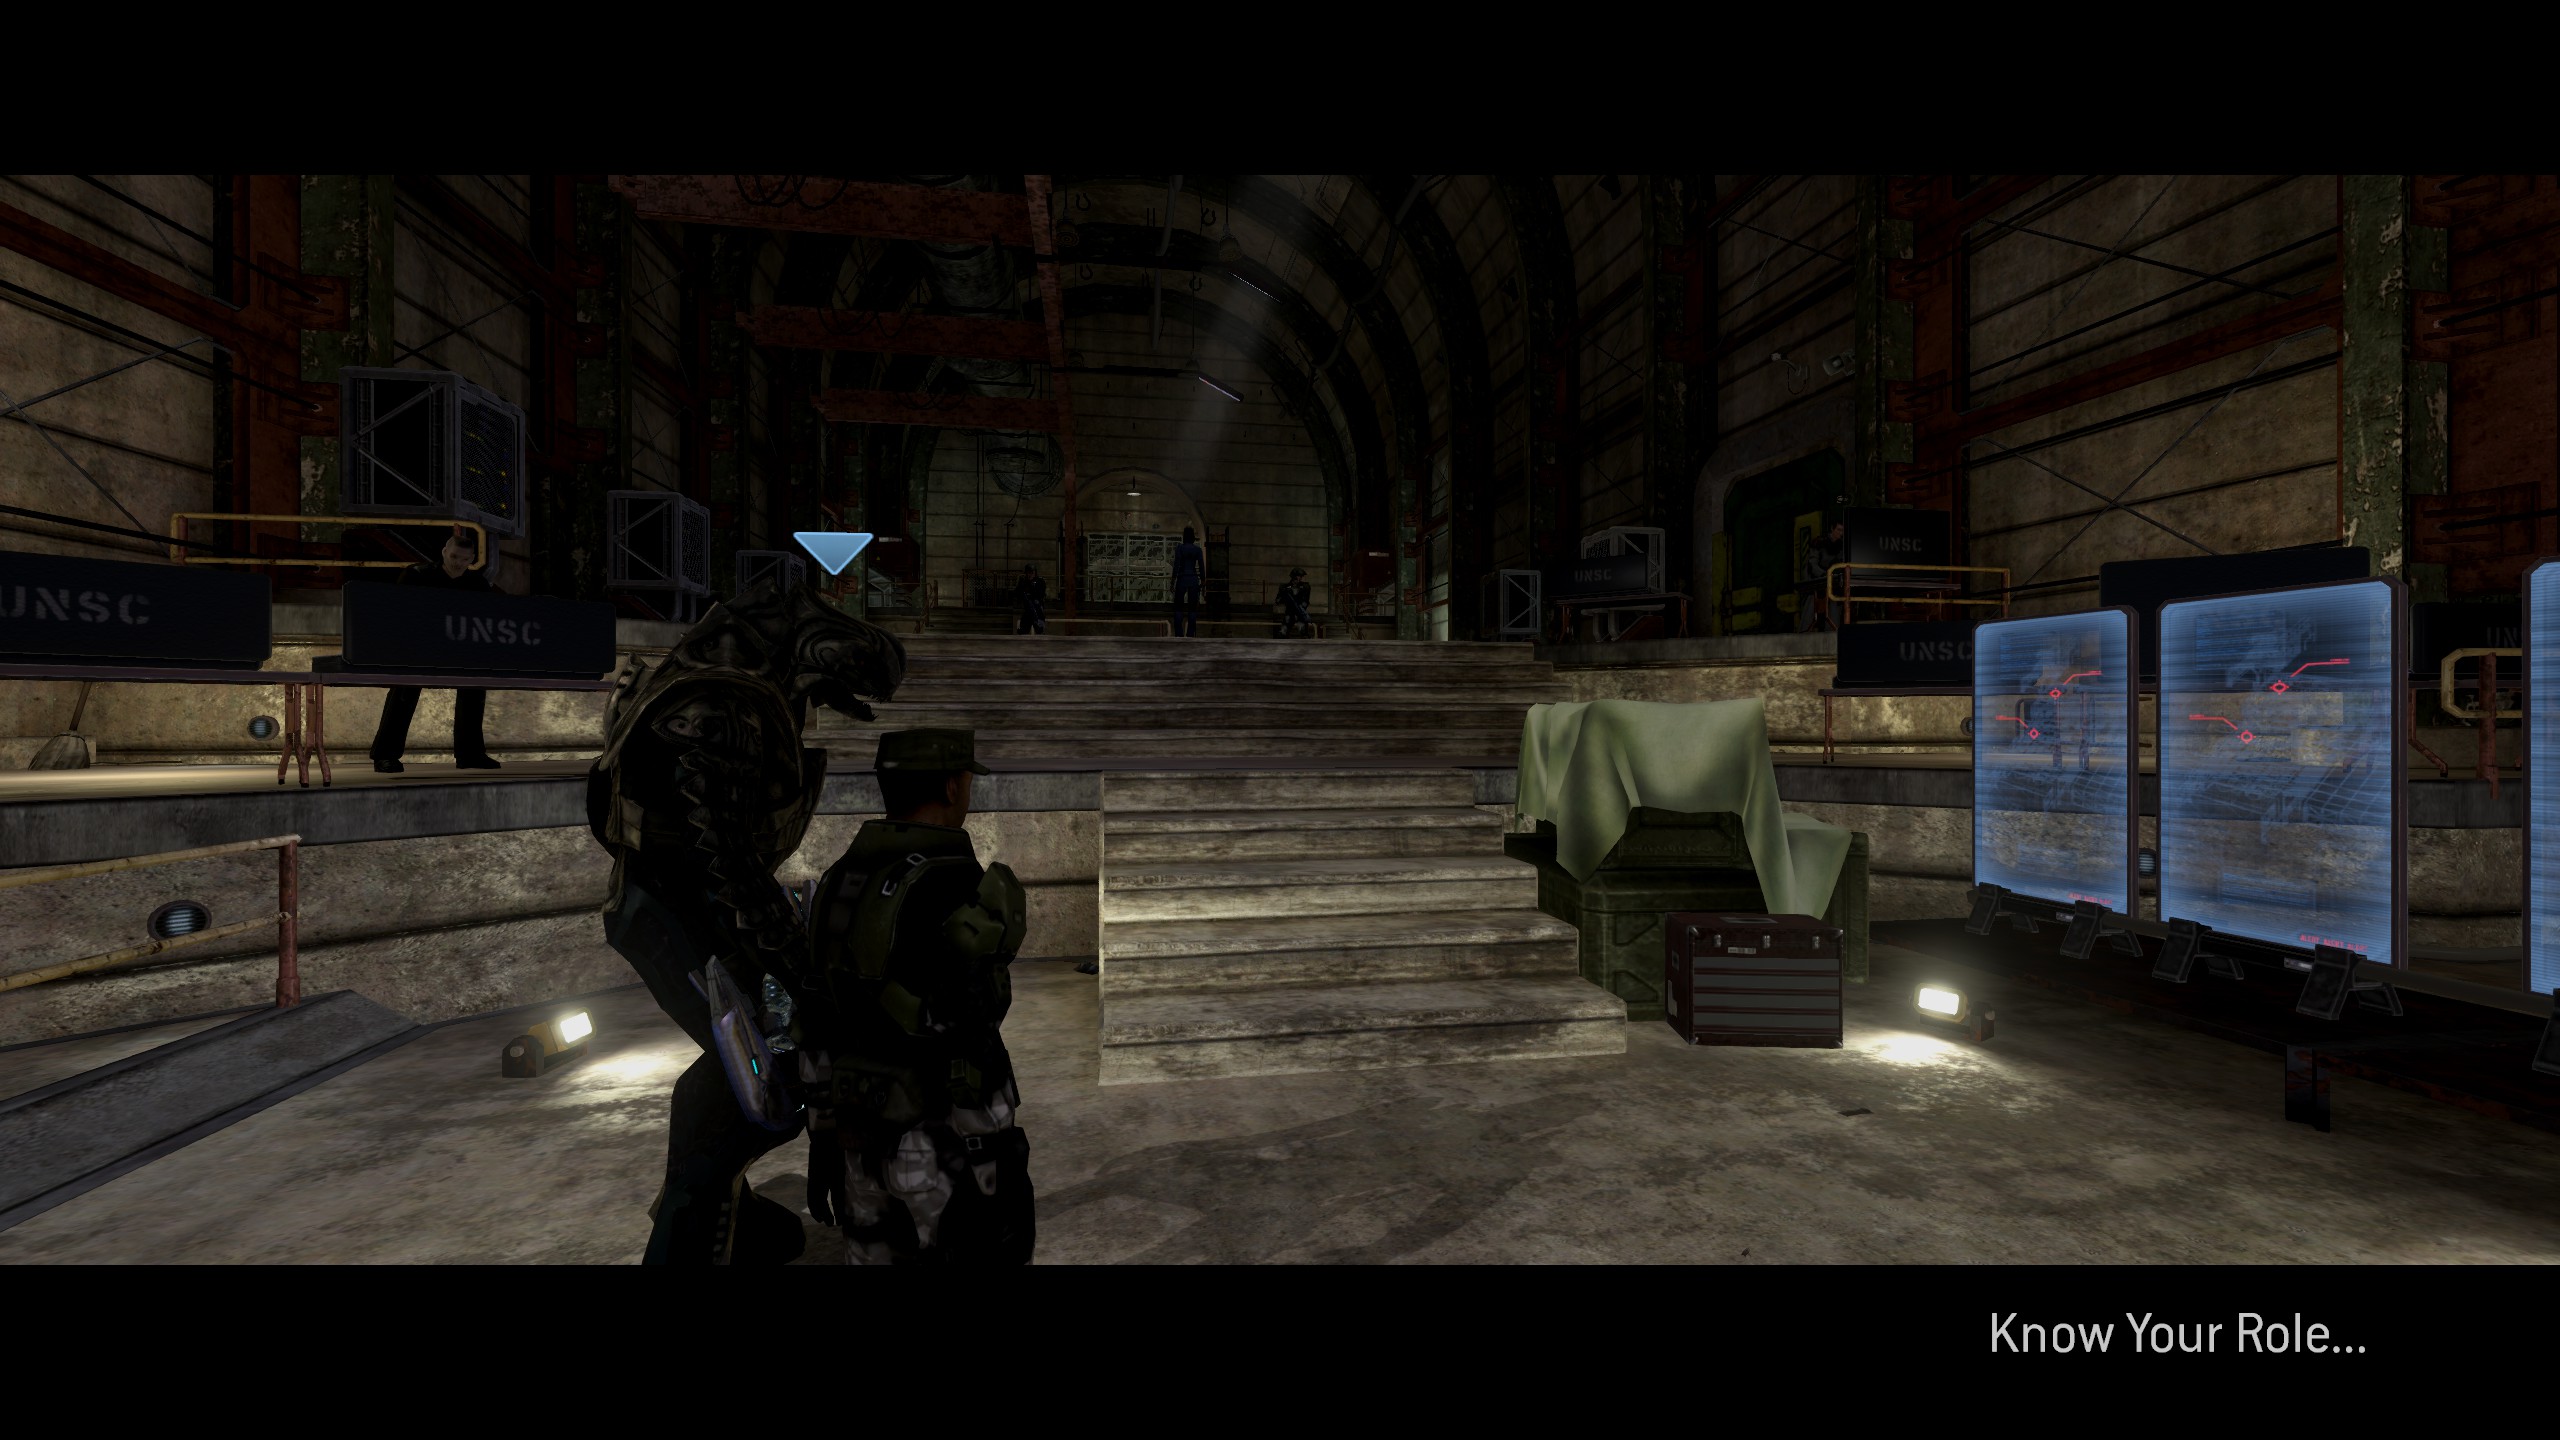
https://www.youtube.com/watch?v=we2g3kF9KCY
Effect:If a Grunt is shot in the head with a precision weapon, confetti will explode out, causing minor damage to nearby enemies.
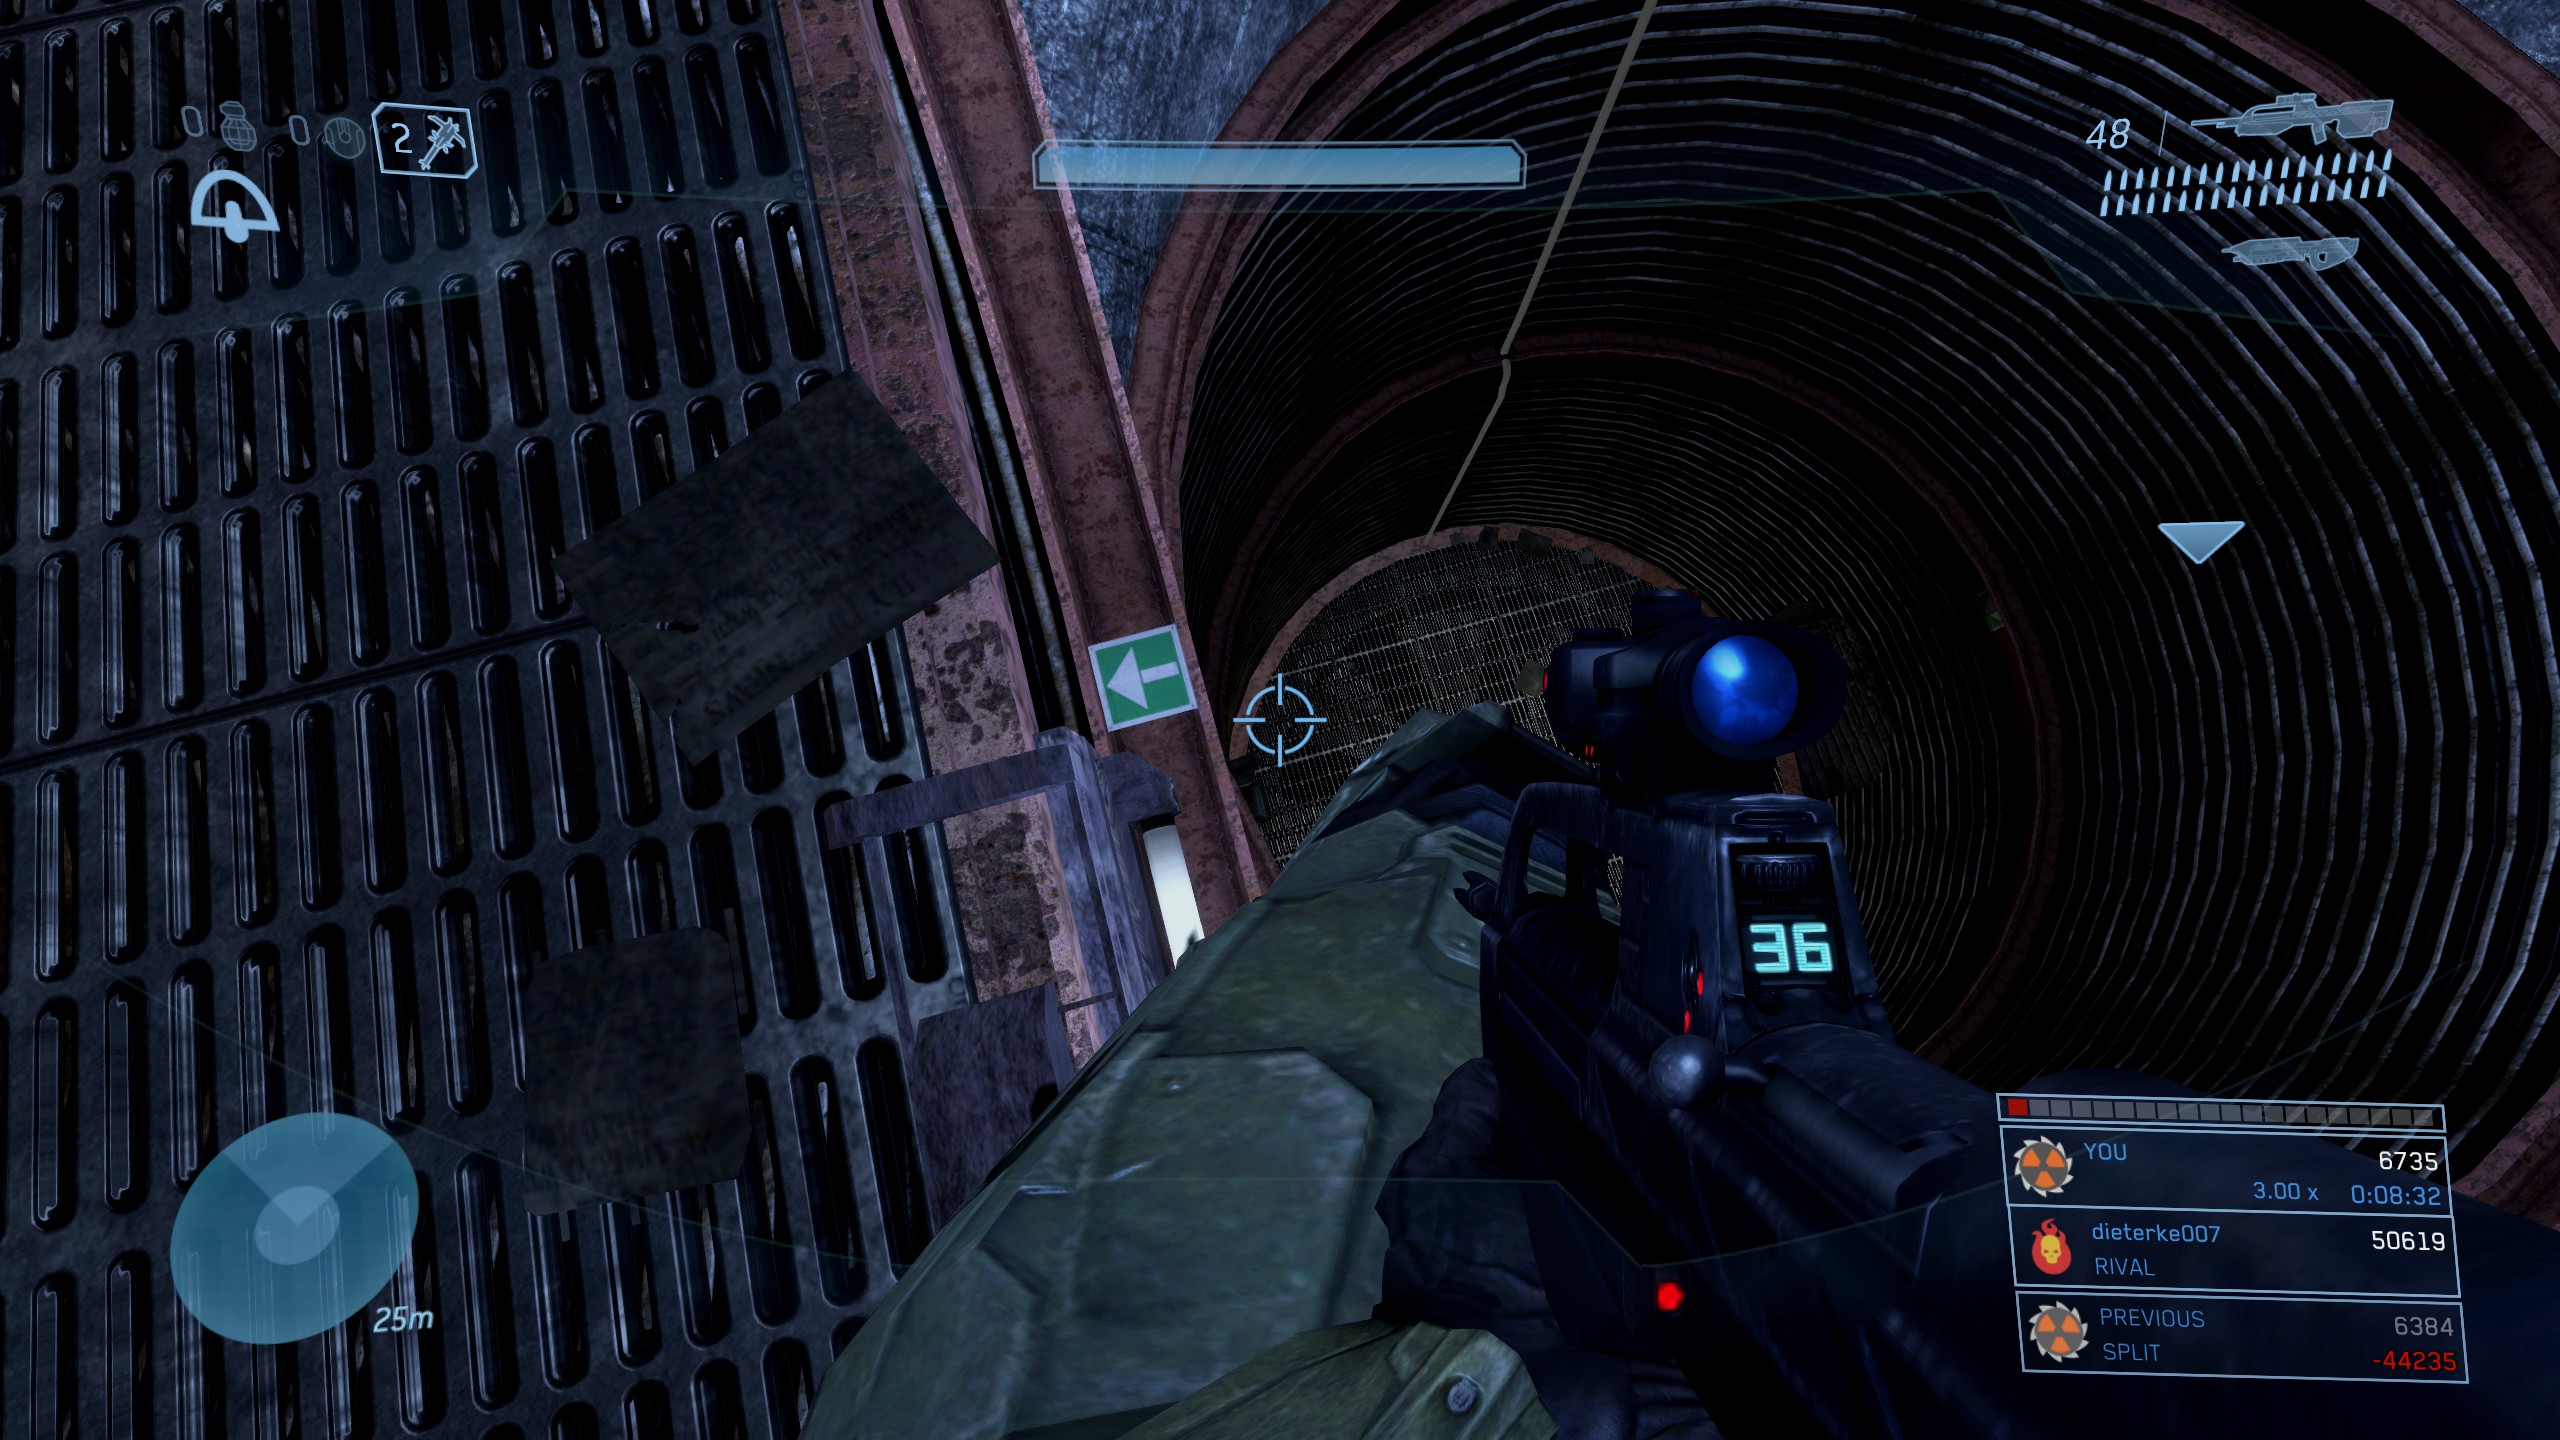
Location: On the way to the barracks you'll need to jump down a pipe. In the room at the bottom, you will see smaller pipes on either side of the room with the occasional Bugger flying across your path between them.
At the end of this room you'll need to drop down into a large circular room below. To get the skull, edge down looking over the edge until you see the second ledge beneath you. Slowly edge over the side, and as you fall so that you fall, pull back against the side of ledge below. This leads to a small, hidden room directly below the ledge we jumped from. The Skull is located in here.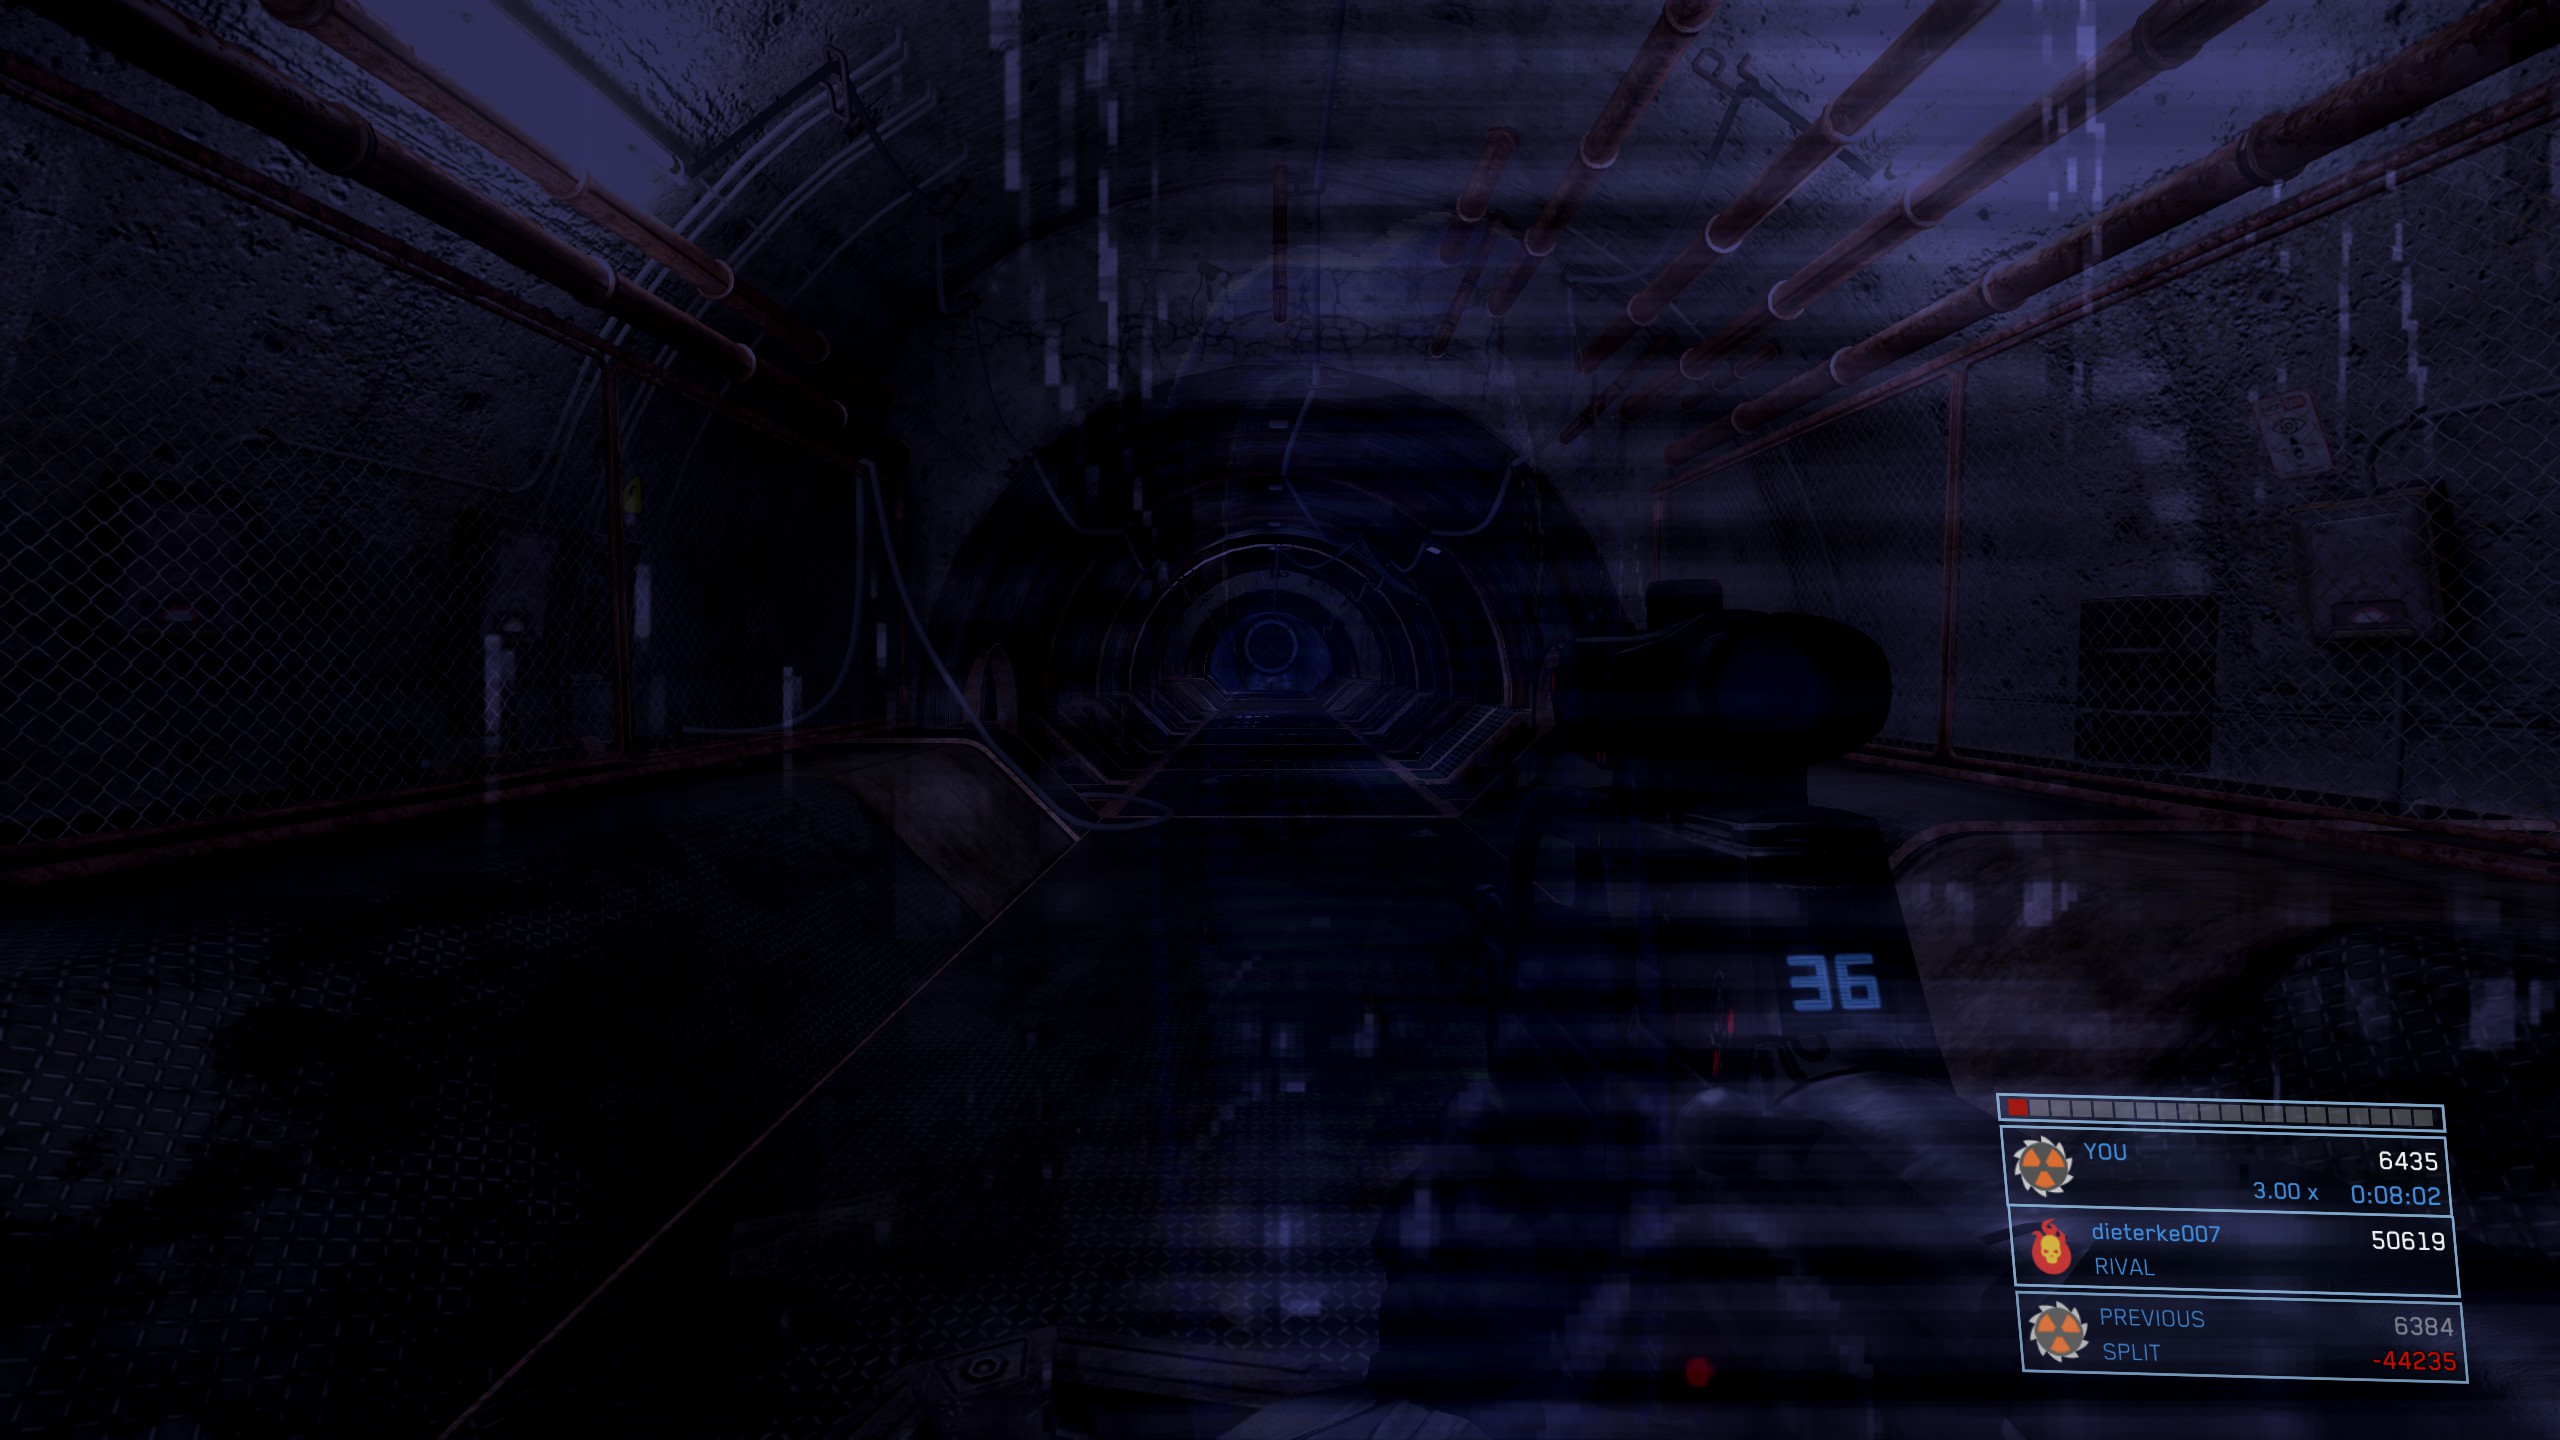
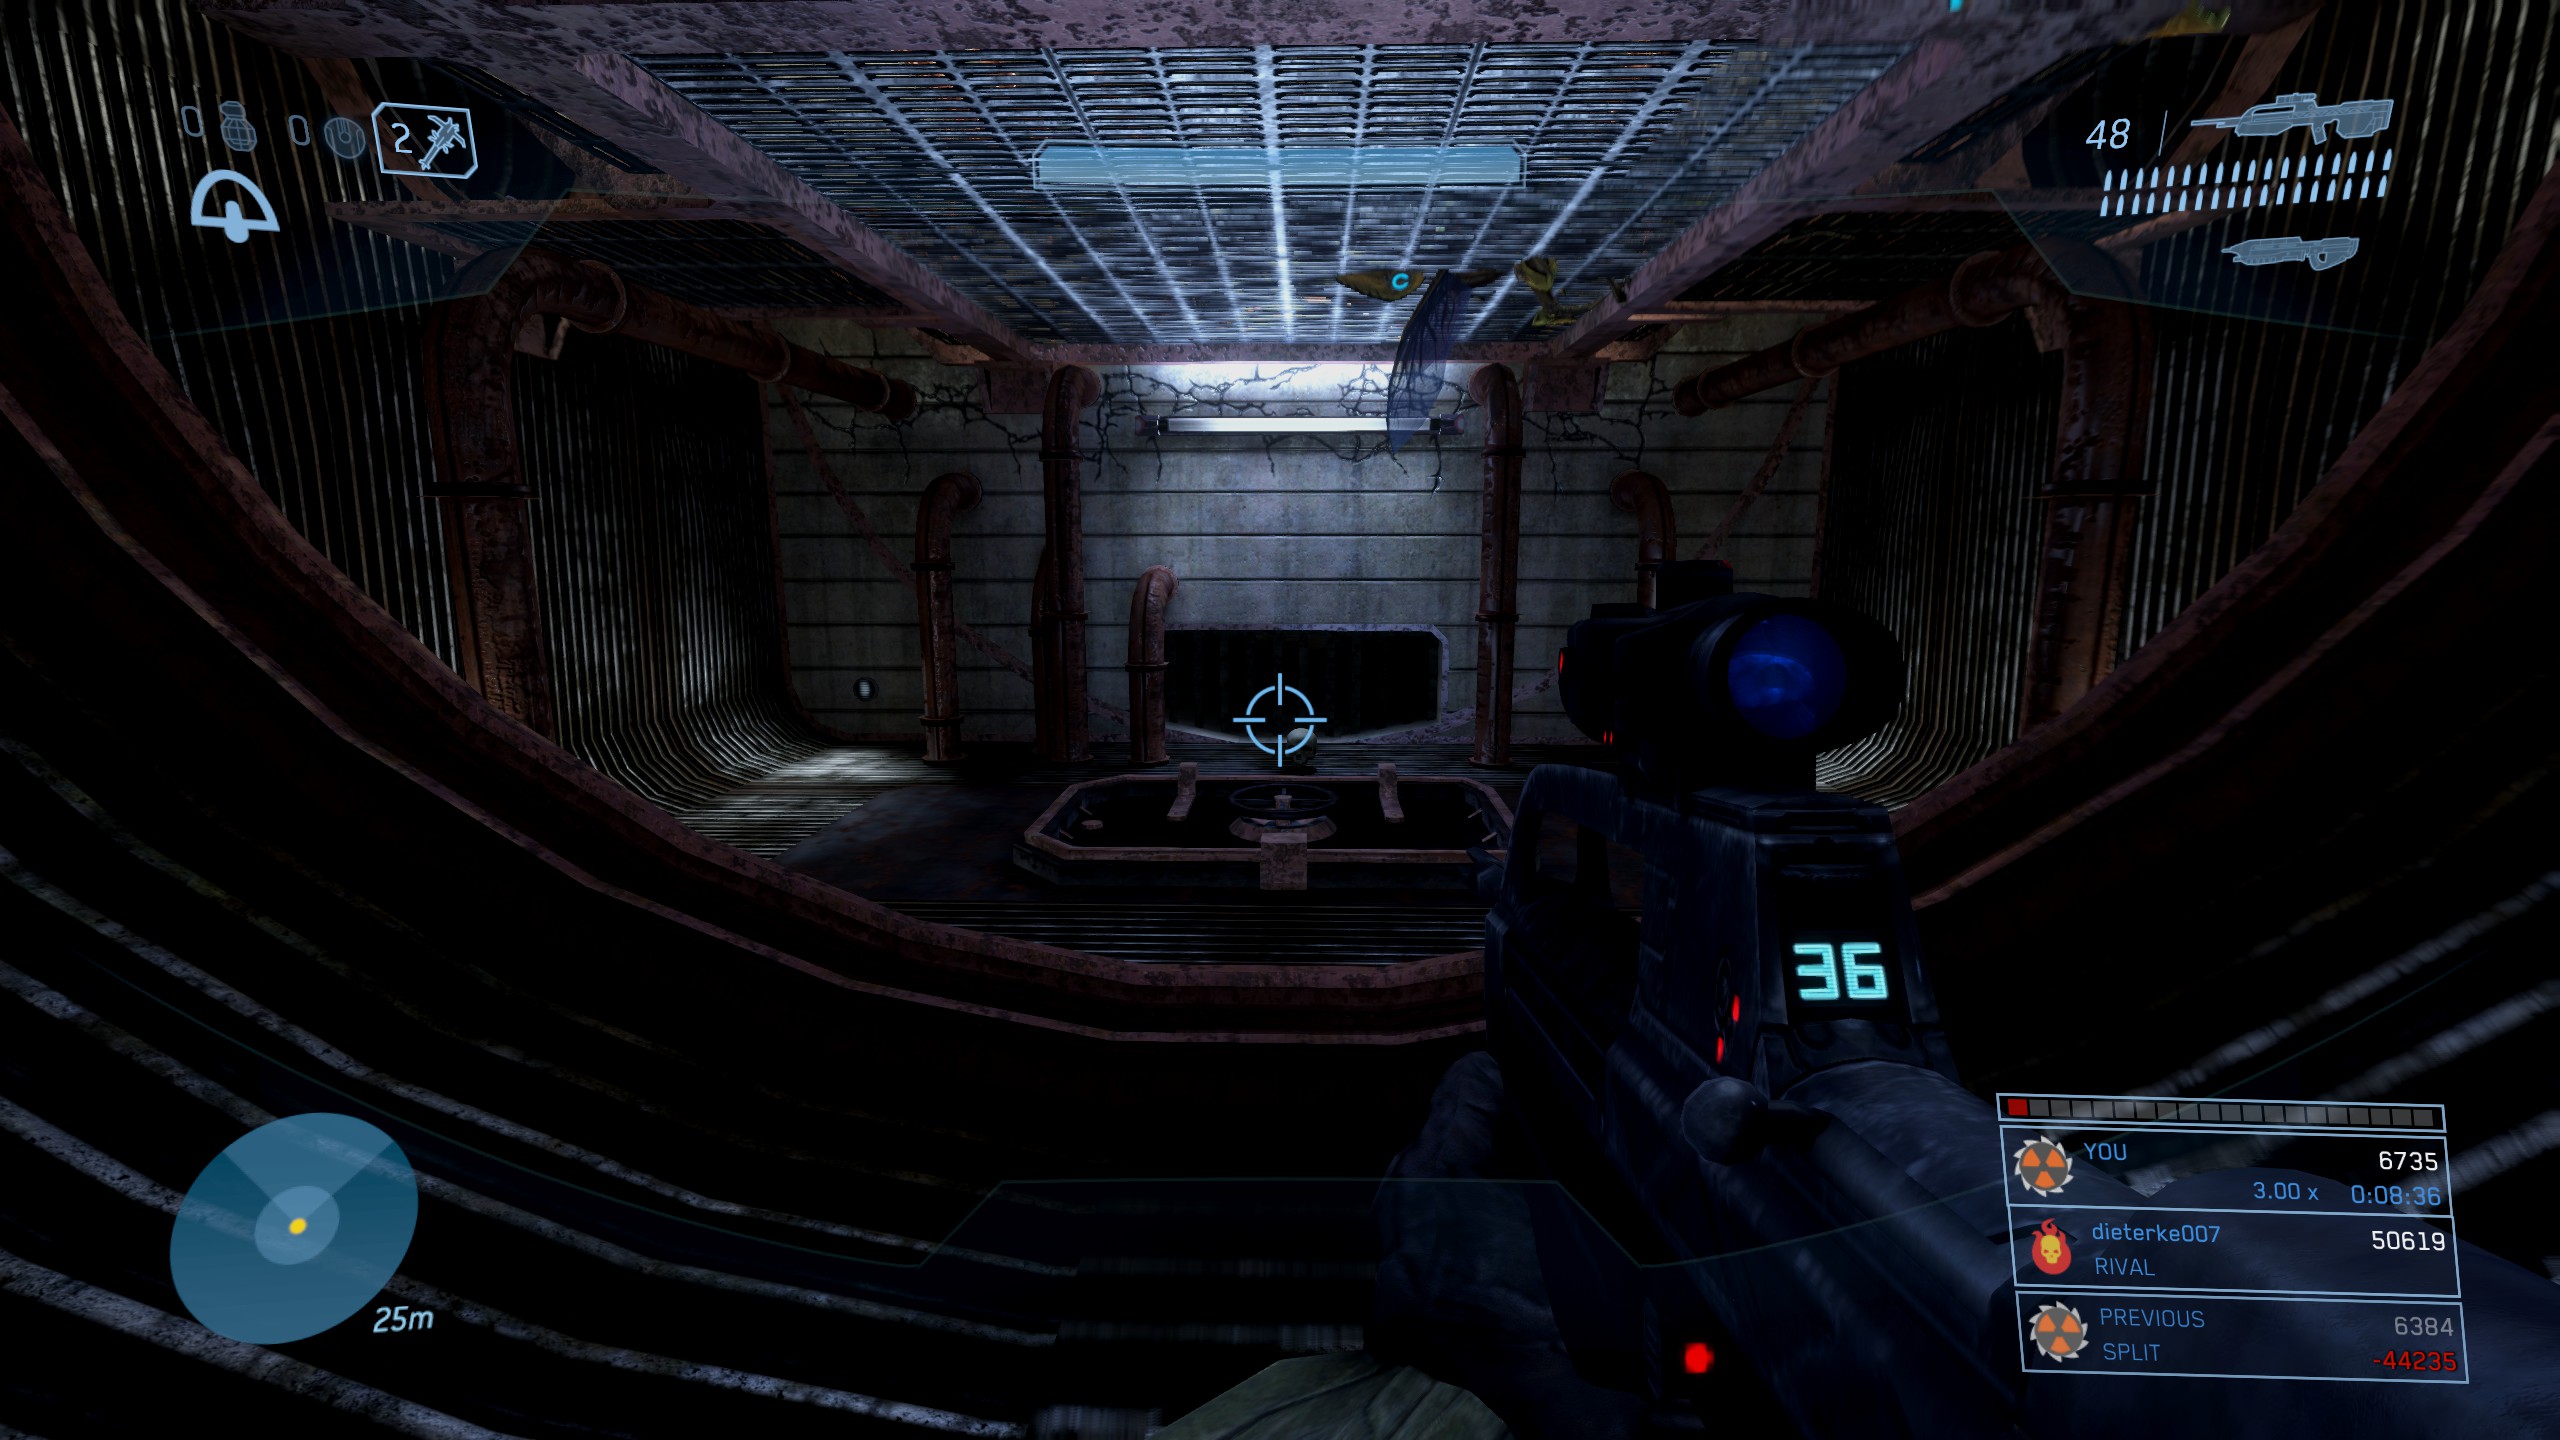
https://www.youtube.com/watch?v=NUvcL_jQ1f0
Tsavo Highway
Effect: Grenades, weapon projectiles, and splatter attempts are evaded more effectively by the AI. Brutes will berserk more often and Grunts will kamikaze more often.
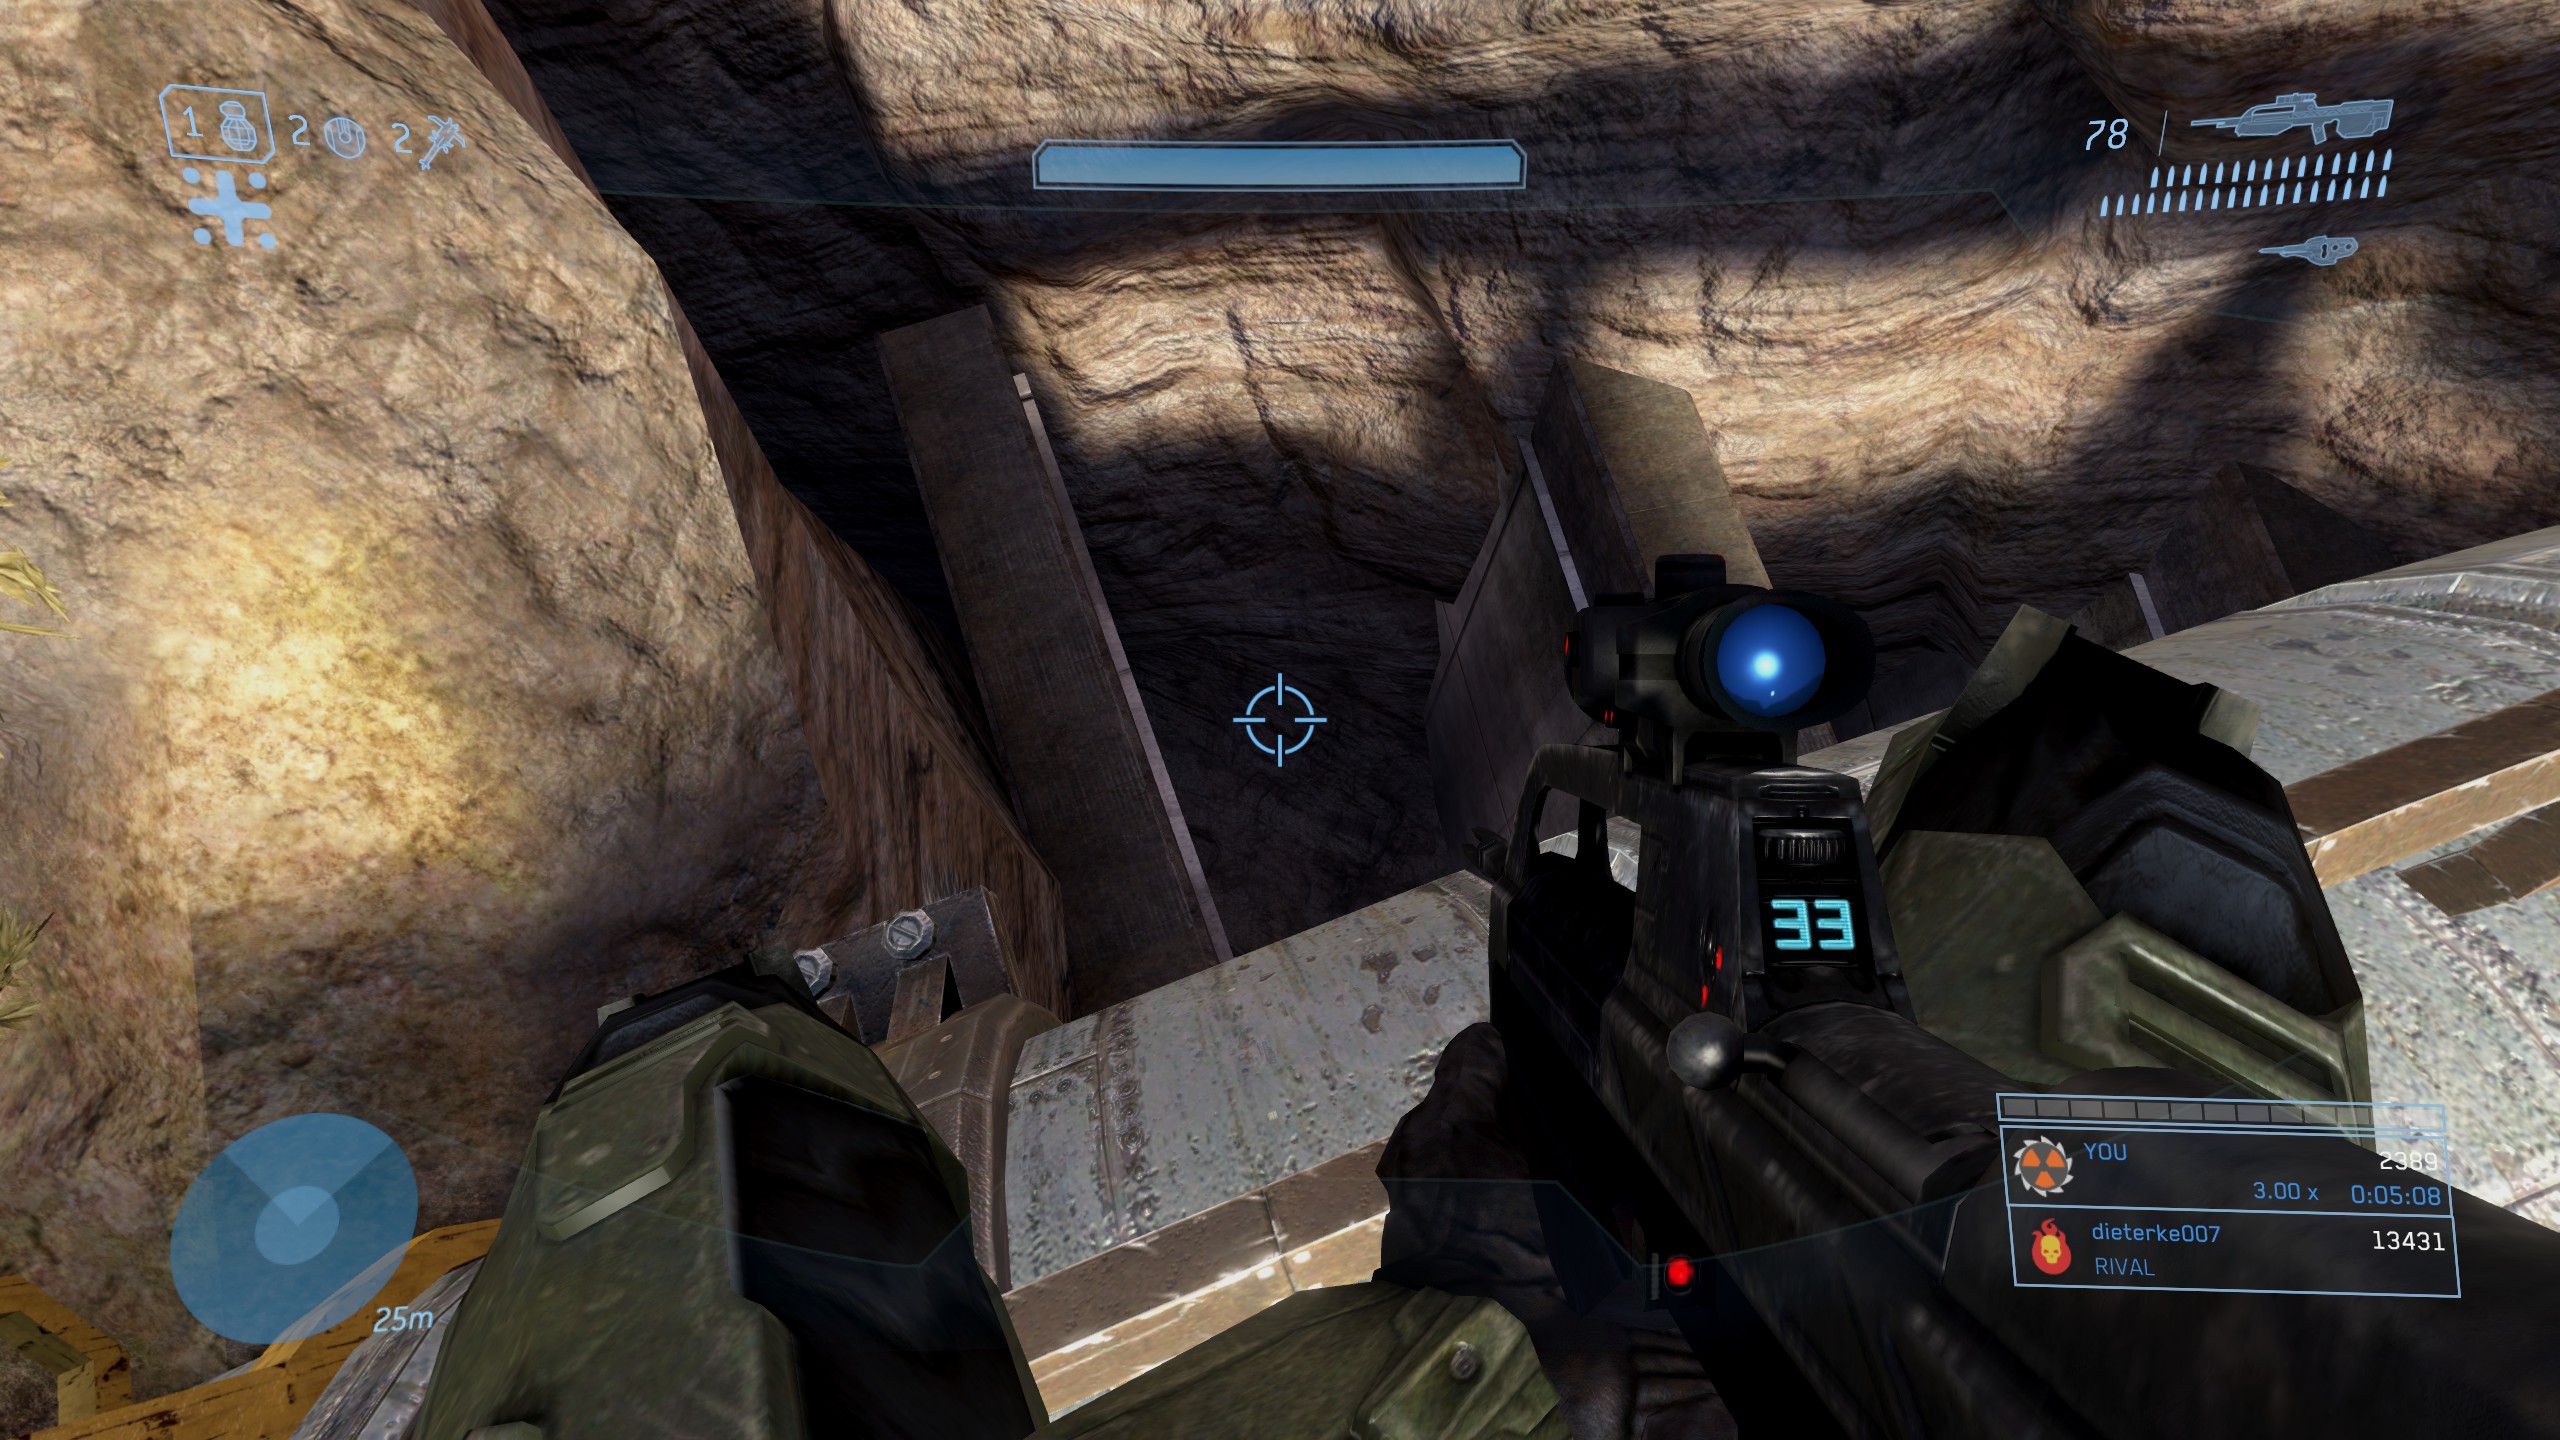
Location: Proceed through the level as per normal until you reach the first blue energy shield that blocks your entrance to the tunnel. Clear the area and disable the shield. Drive through the tunnel here until you are back outside.Once out of the tunnel, look to your left and you should see a large yellow pipeline running parallel to the road. When you see this, Jump over the left hand railing of the bridge and walk beneath the pipes until you come across the supports for the pipeline.
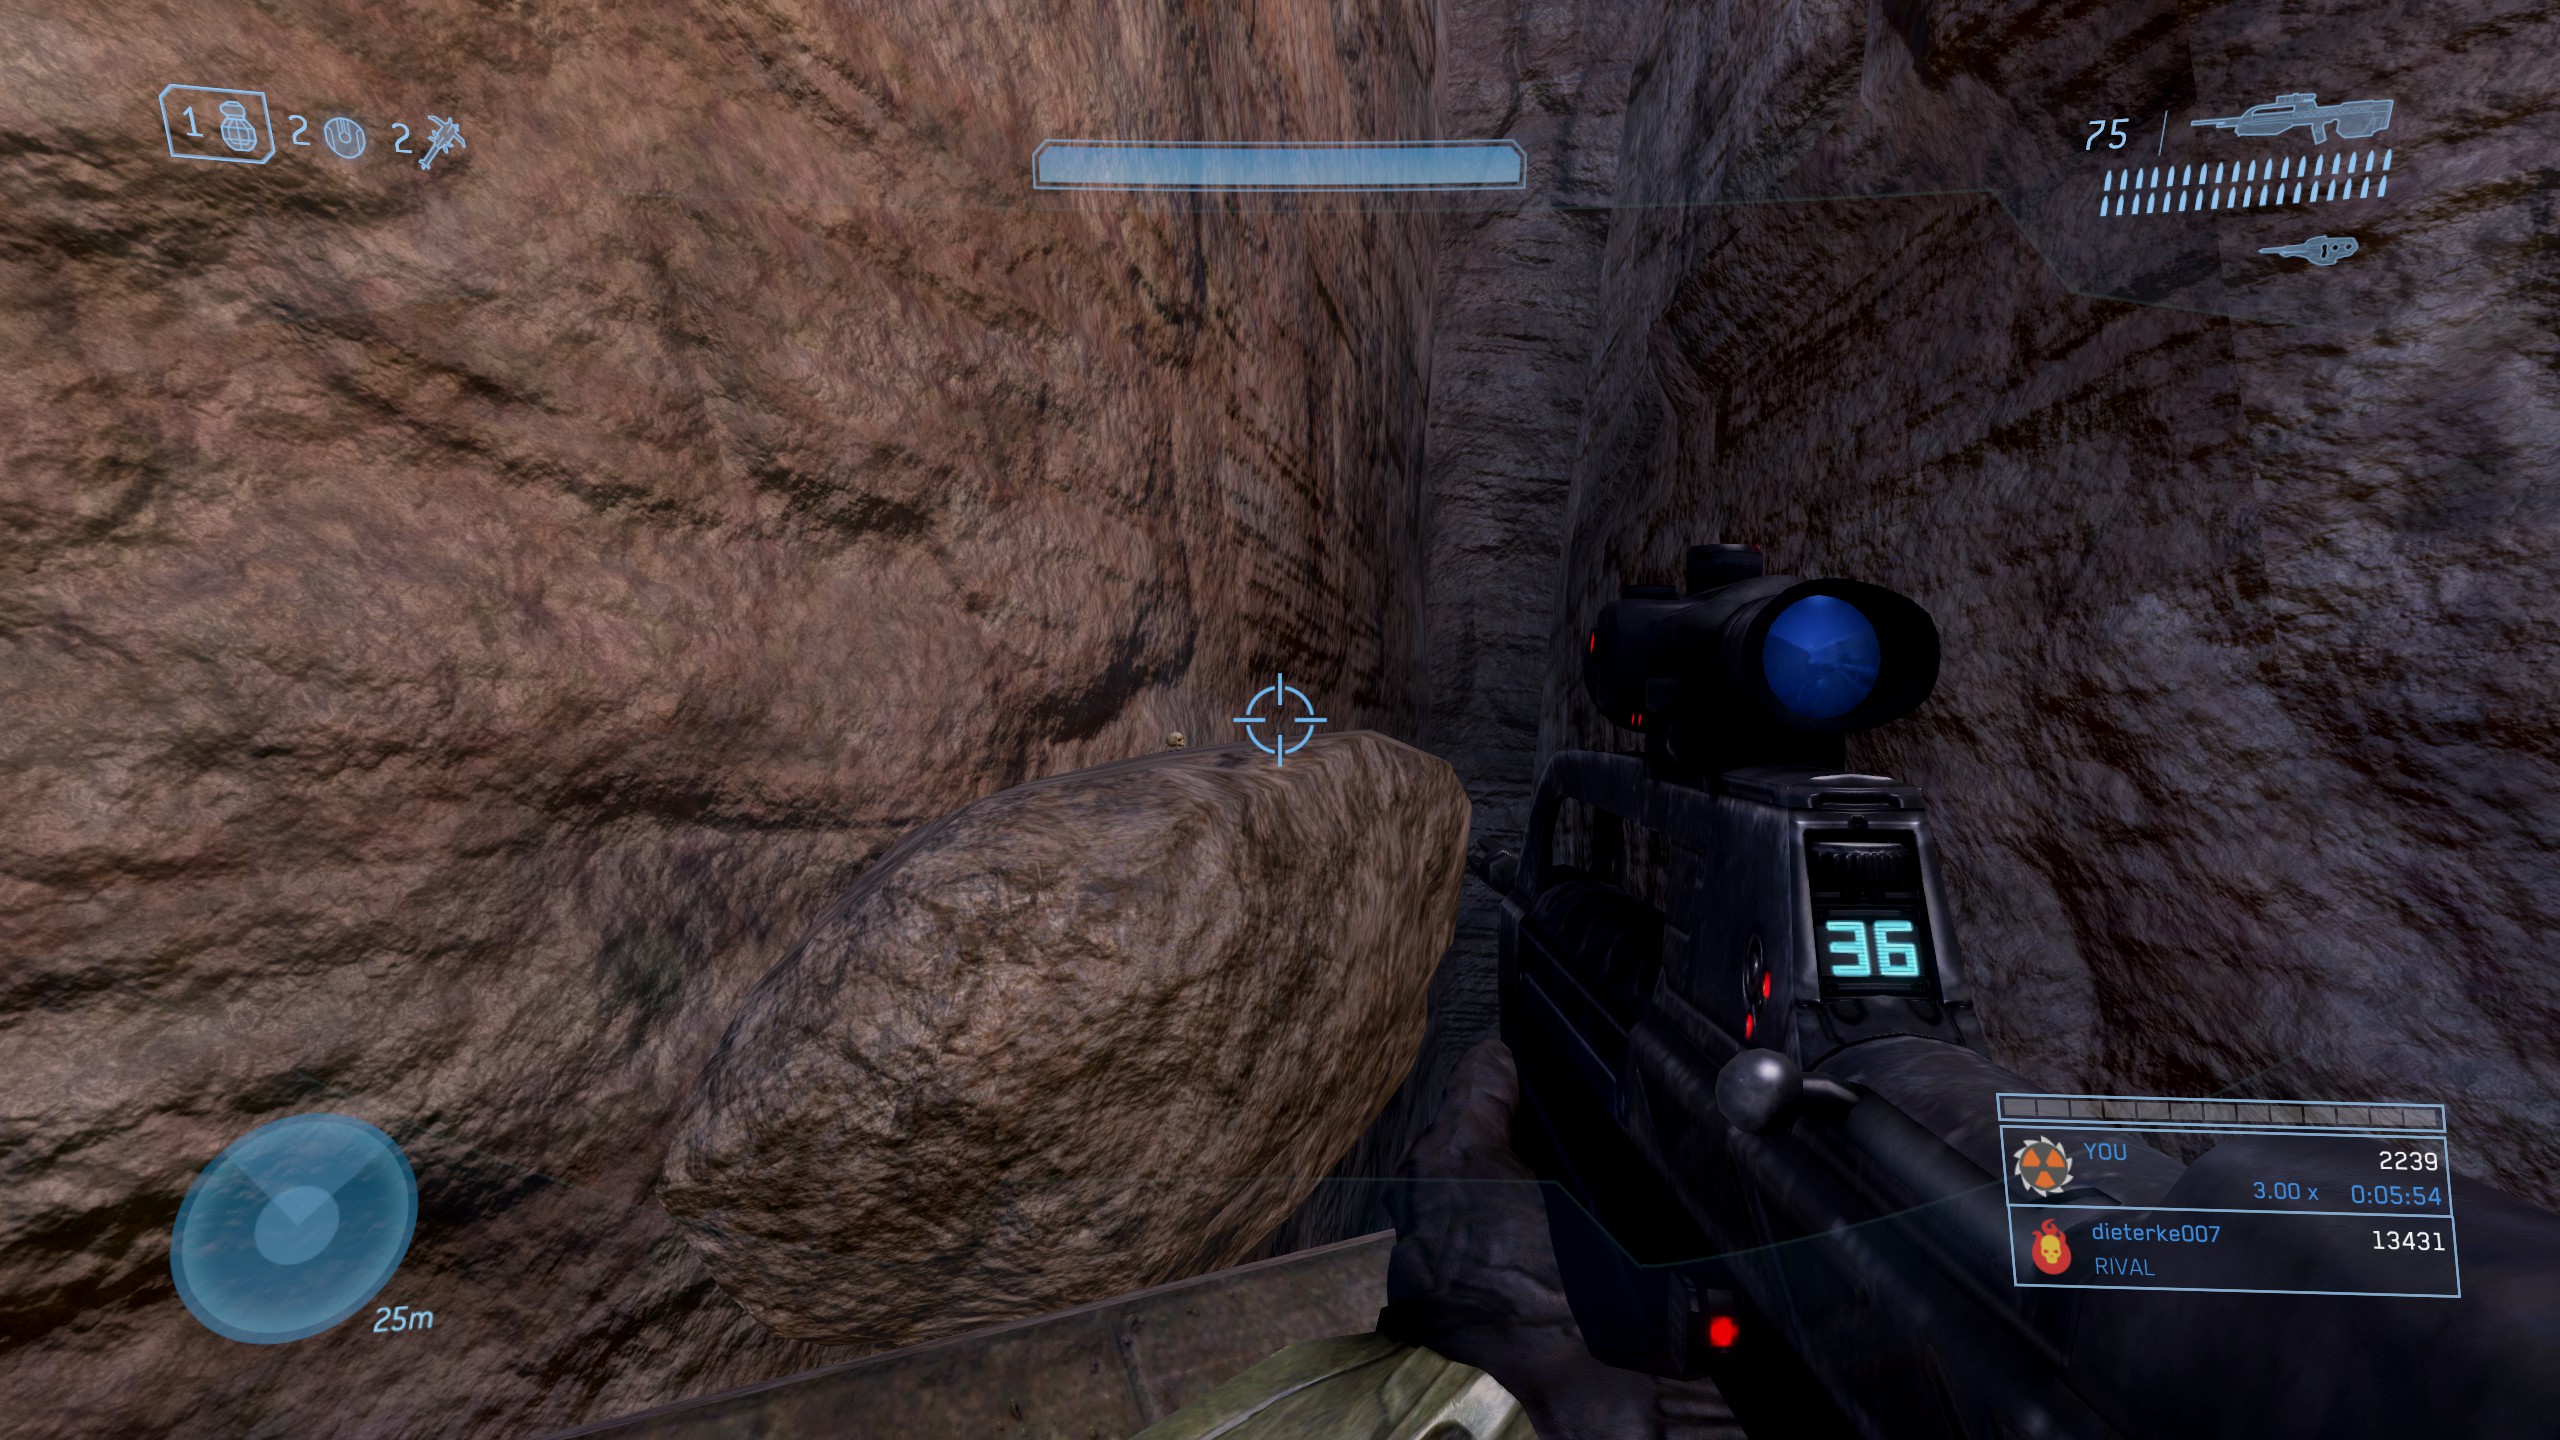
In the area where the pipelines supports are positioned over the cliff, jump onto the support closest to the tunnel you came out of. From here you should see the skull on a platform behind the cliff to the left. Jump over and grab it.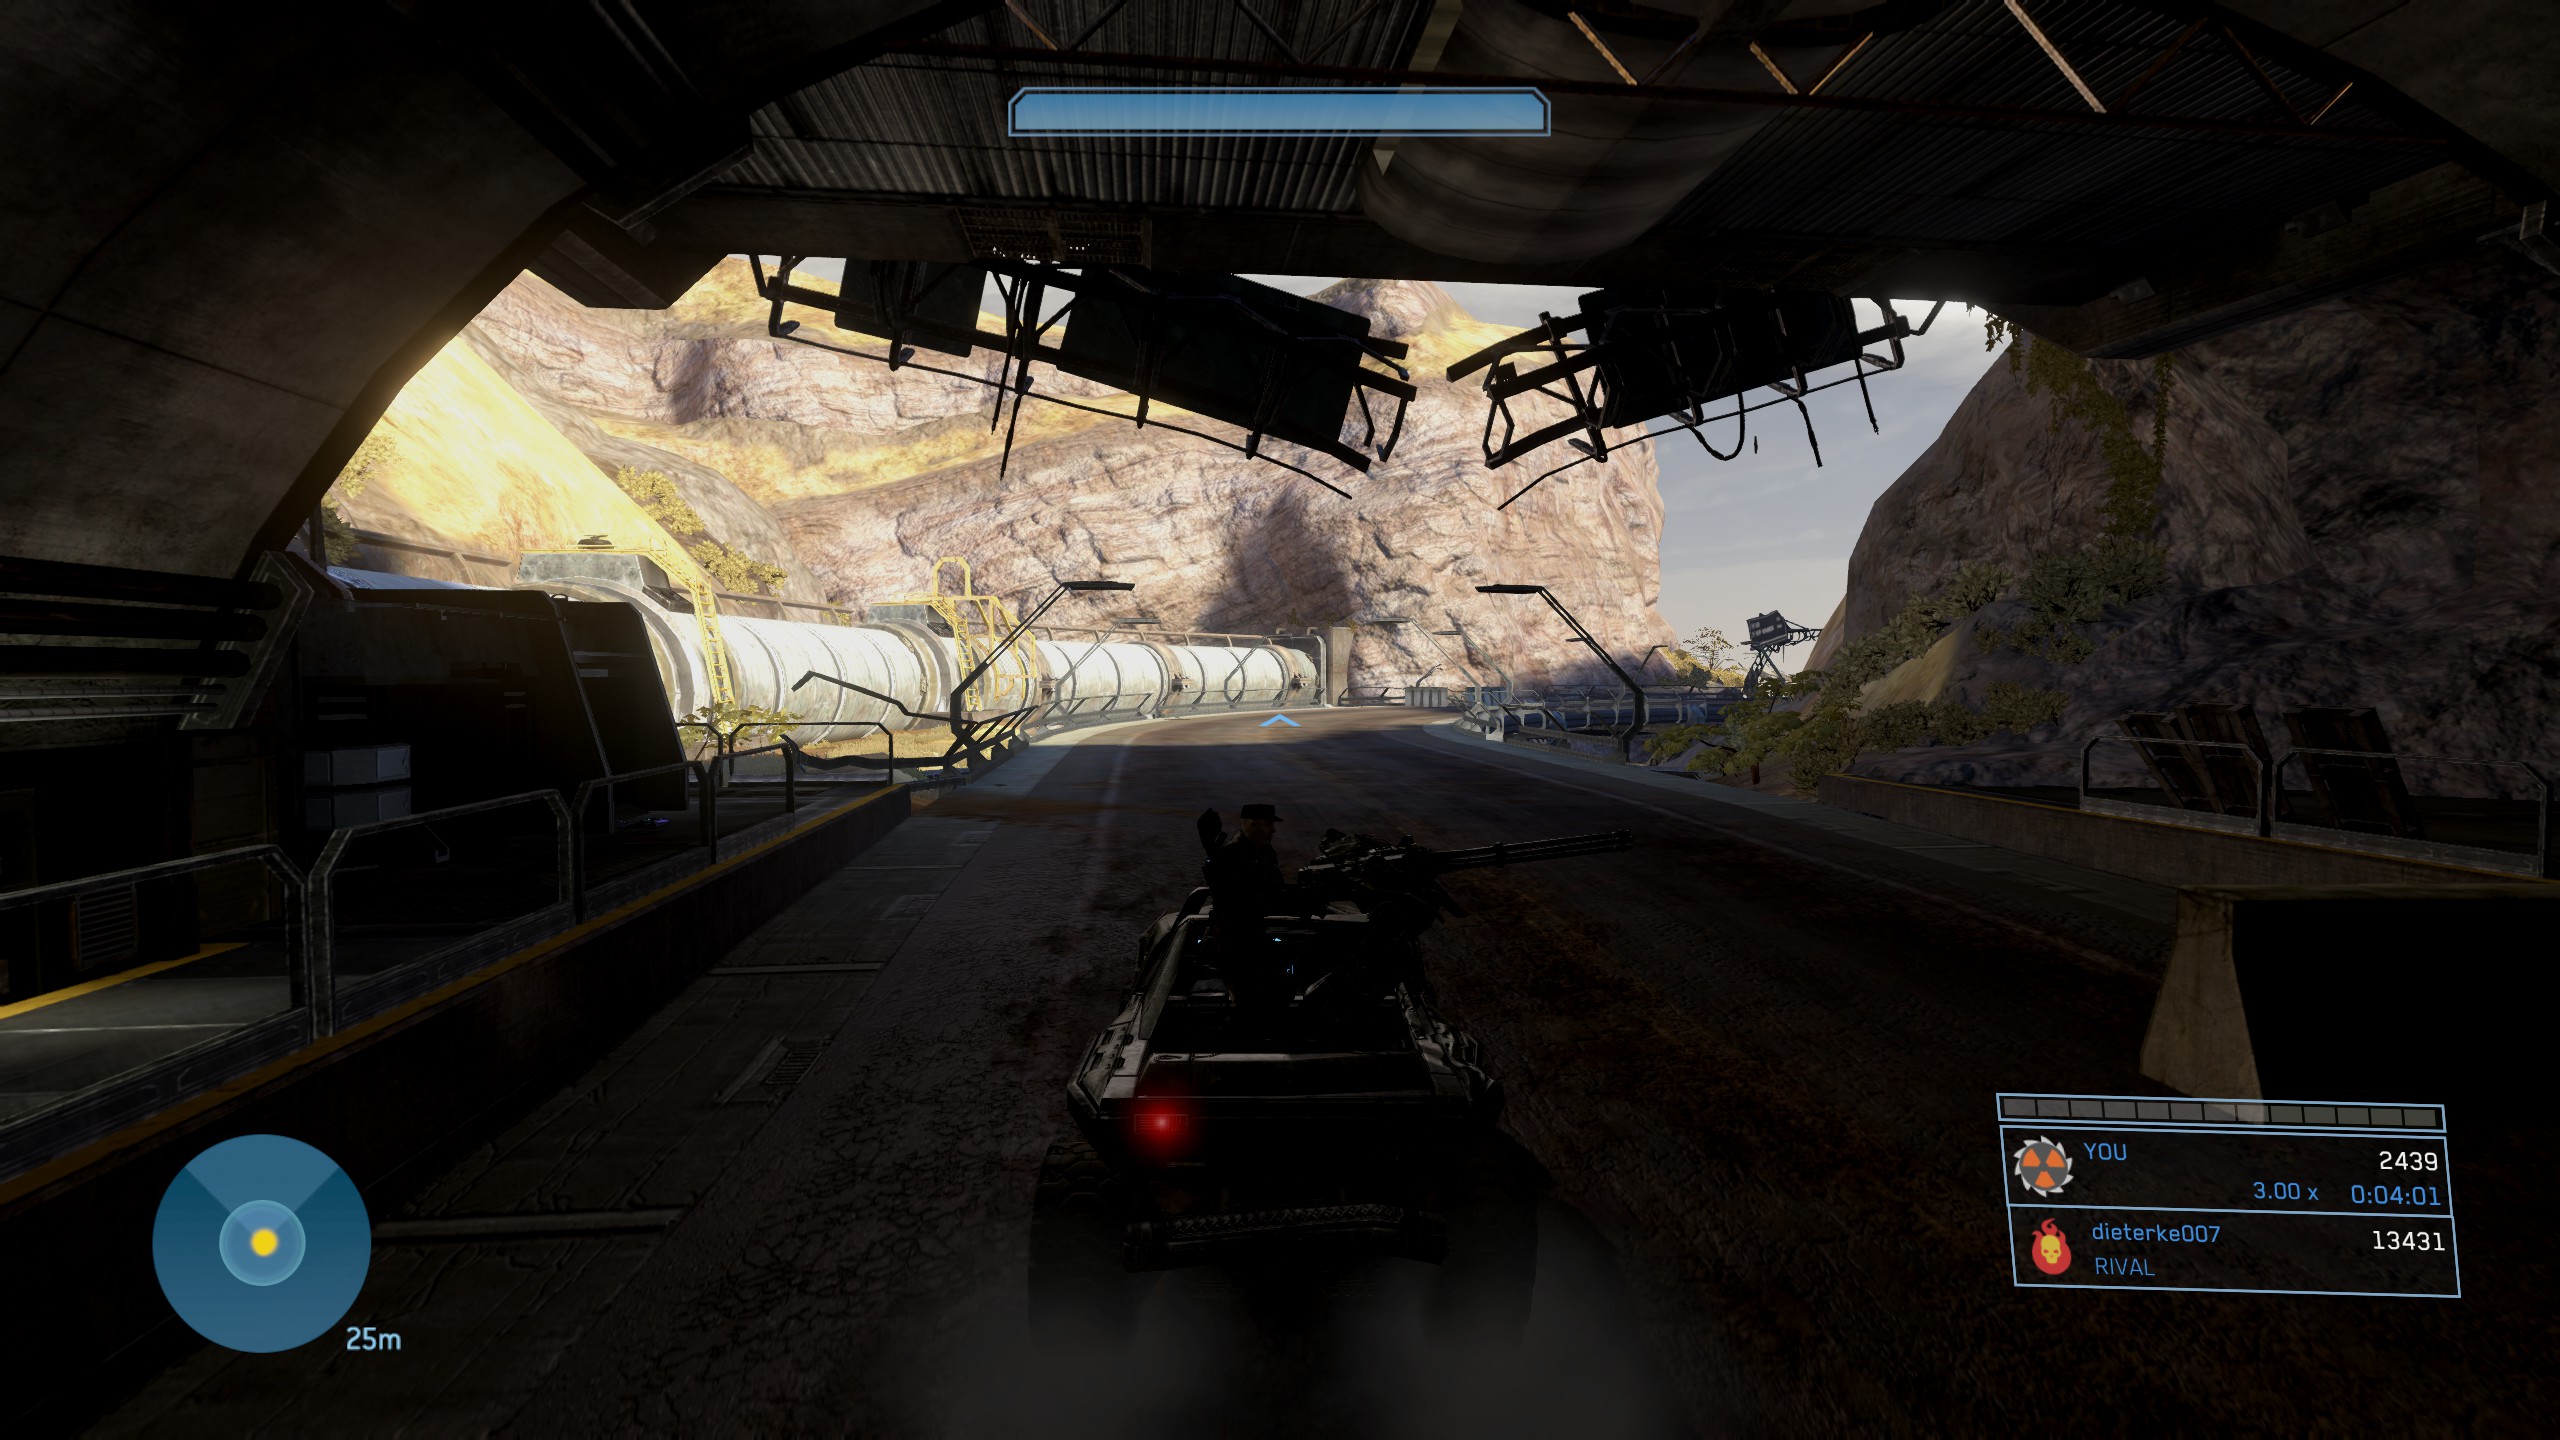
https://www.youtube.com/watch?v=T71yOmeR6uI
The Storm
Effect: All AI who are capable throw grenades more often, and will always drop two grenades after dying.
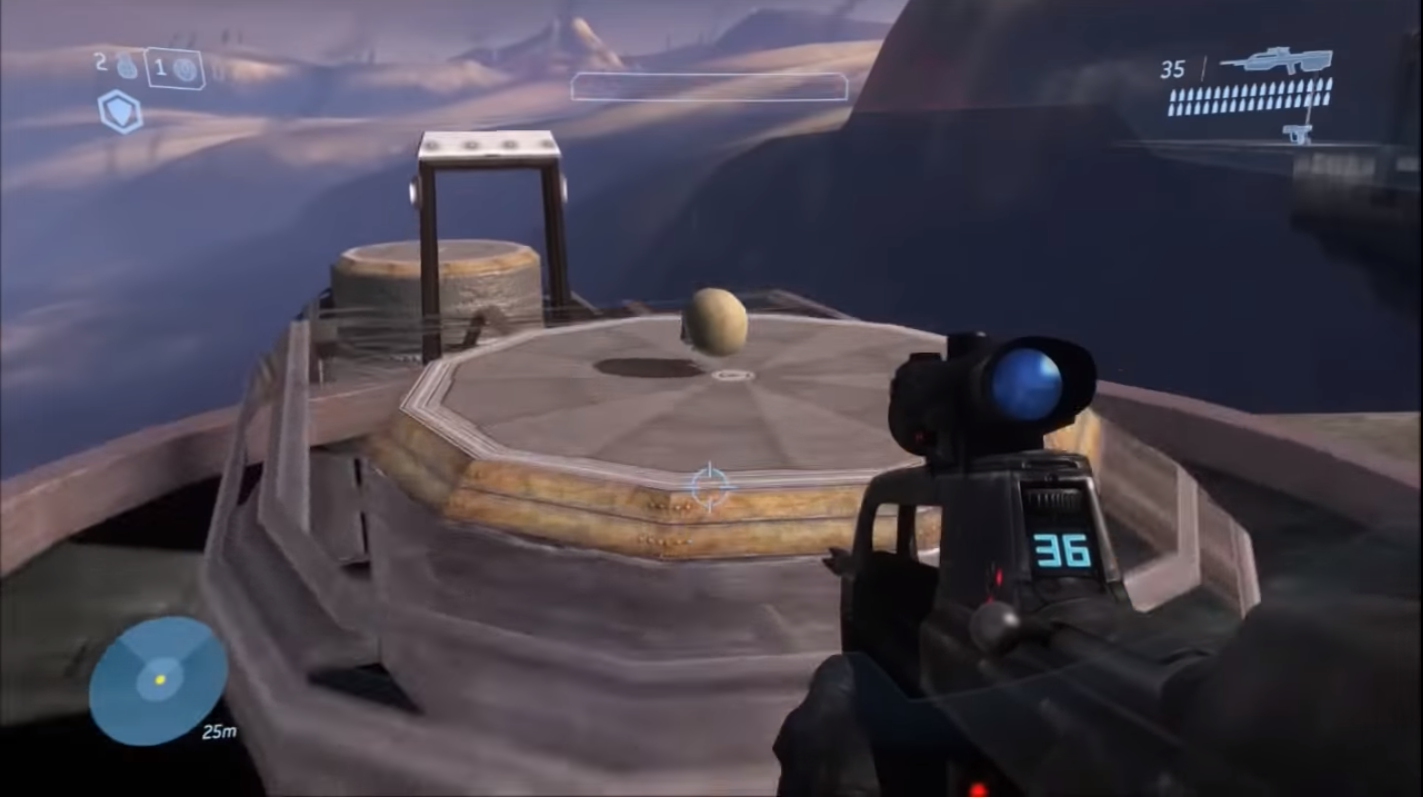
Location: In the first open area with the first AA Wraith that we need to eliminate there is a tall cylindrical shaped building close to the far wall from where we entered the area. The Skull is located on top of this structure.
Warning: The skulls will despawn if you destroy the AA Wraiths, so make sure to either shoot through and grab the skull before they skill you, or snipe out the gunners before they kill you.
The structure itself is quite high and jumping alone won't get you up there. Instead, you'll need to either use a grenade jump or park a vehicle (Warthog/Ghost) up against the structure and then jump up to the roof from the top of said vehicle. Switching on the Cowbell Skull if you have it will help increase the height of your grenade jumps so can be quite handy in obtaining this Skull if you are having trouble.
so make sure to either shoot through and grab the skull before they skill you, or snipe out the gunners before they kill you.
The structure itself is quite high and jumping alone won't get you up there. Instead, you'll need to either use a grenade jump or park a vehicle (Warthog/Ghost) up against the structure and then jump up to the roof from the top of said vehicle. Switching on the Cowbell Skull if you have it will help increase the height of your grenade jumps so can be quite handy in obtaining this Skull if you are having trouble.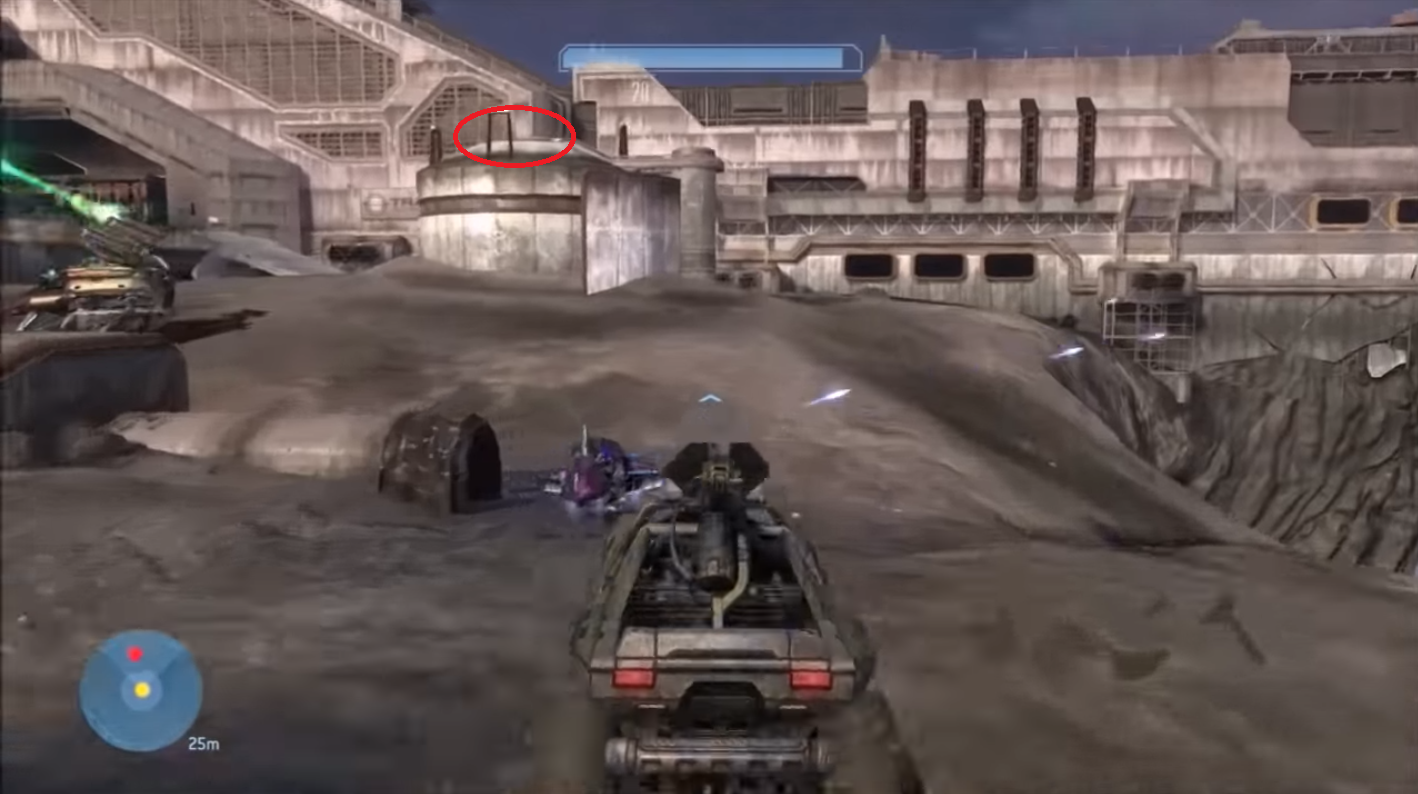
Floodgate
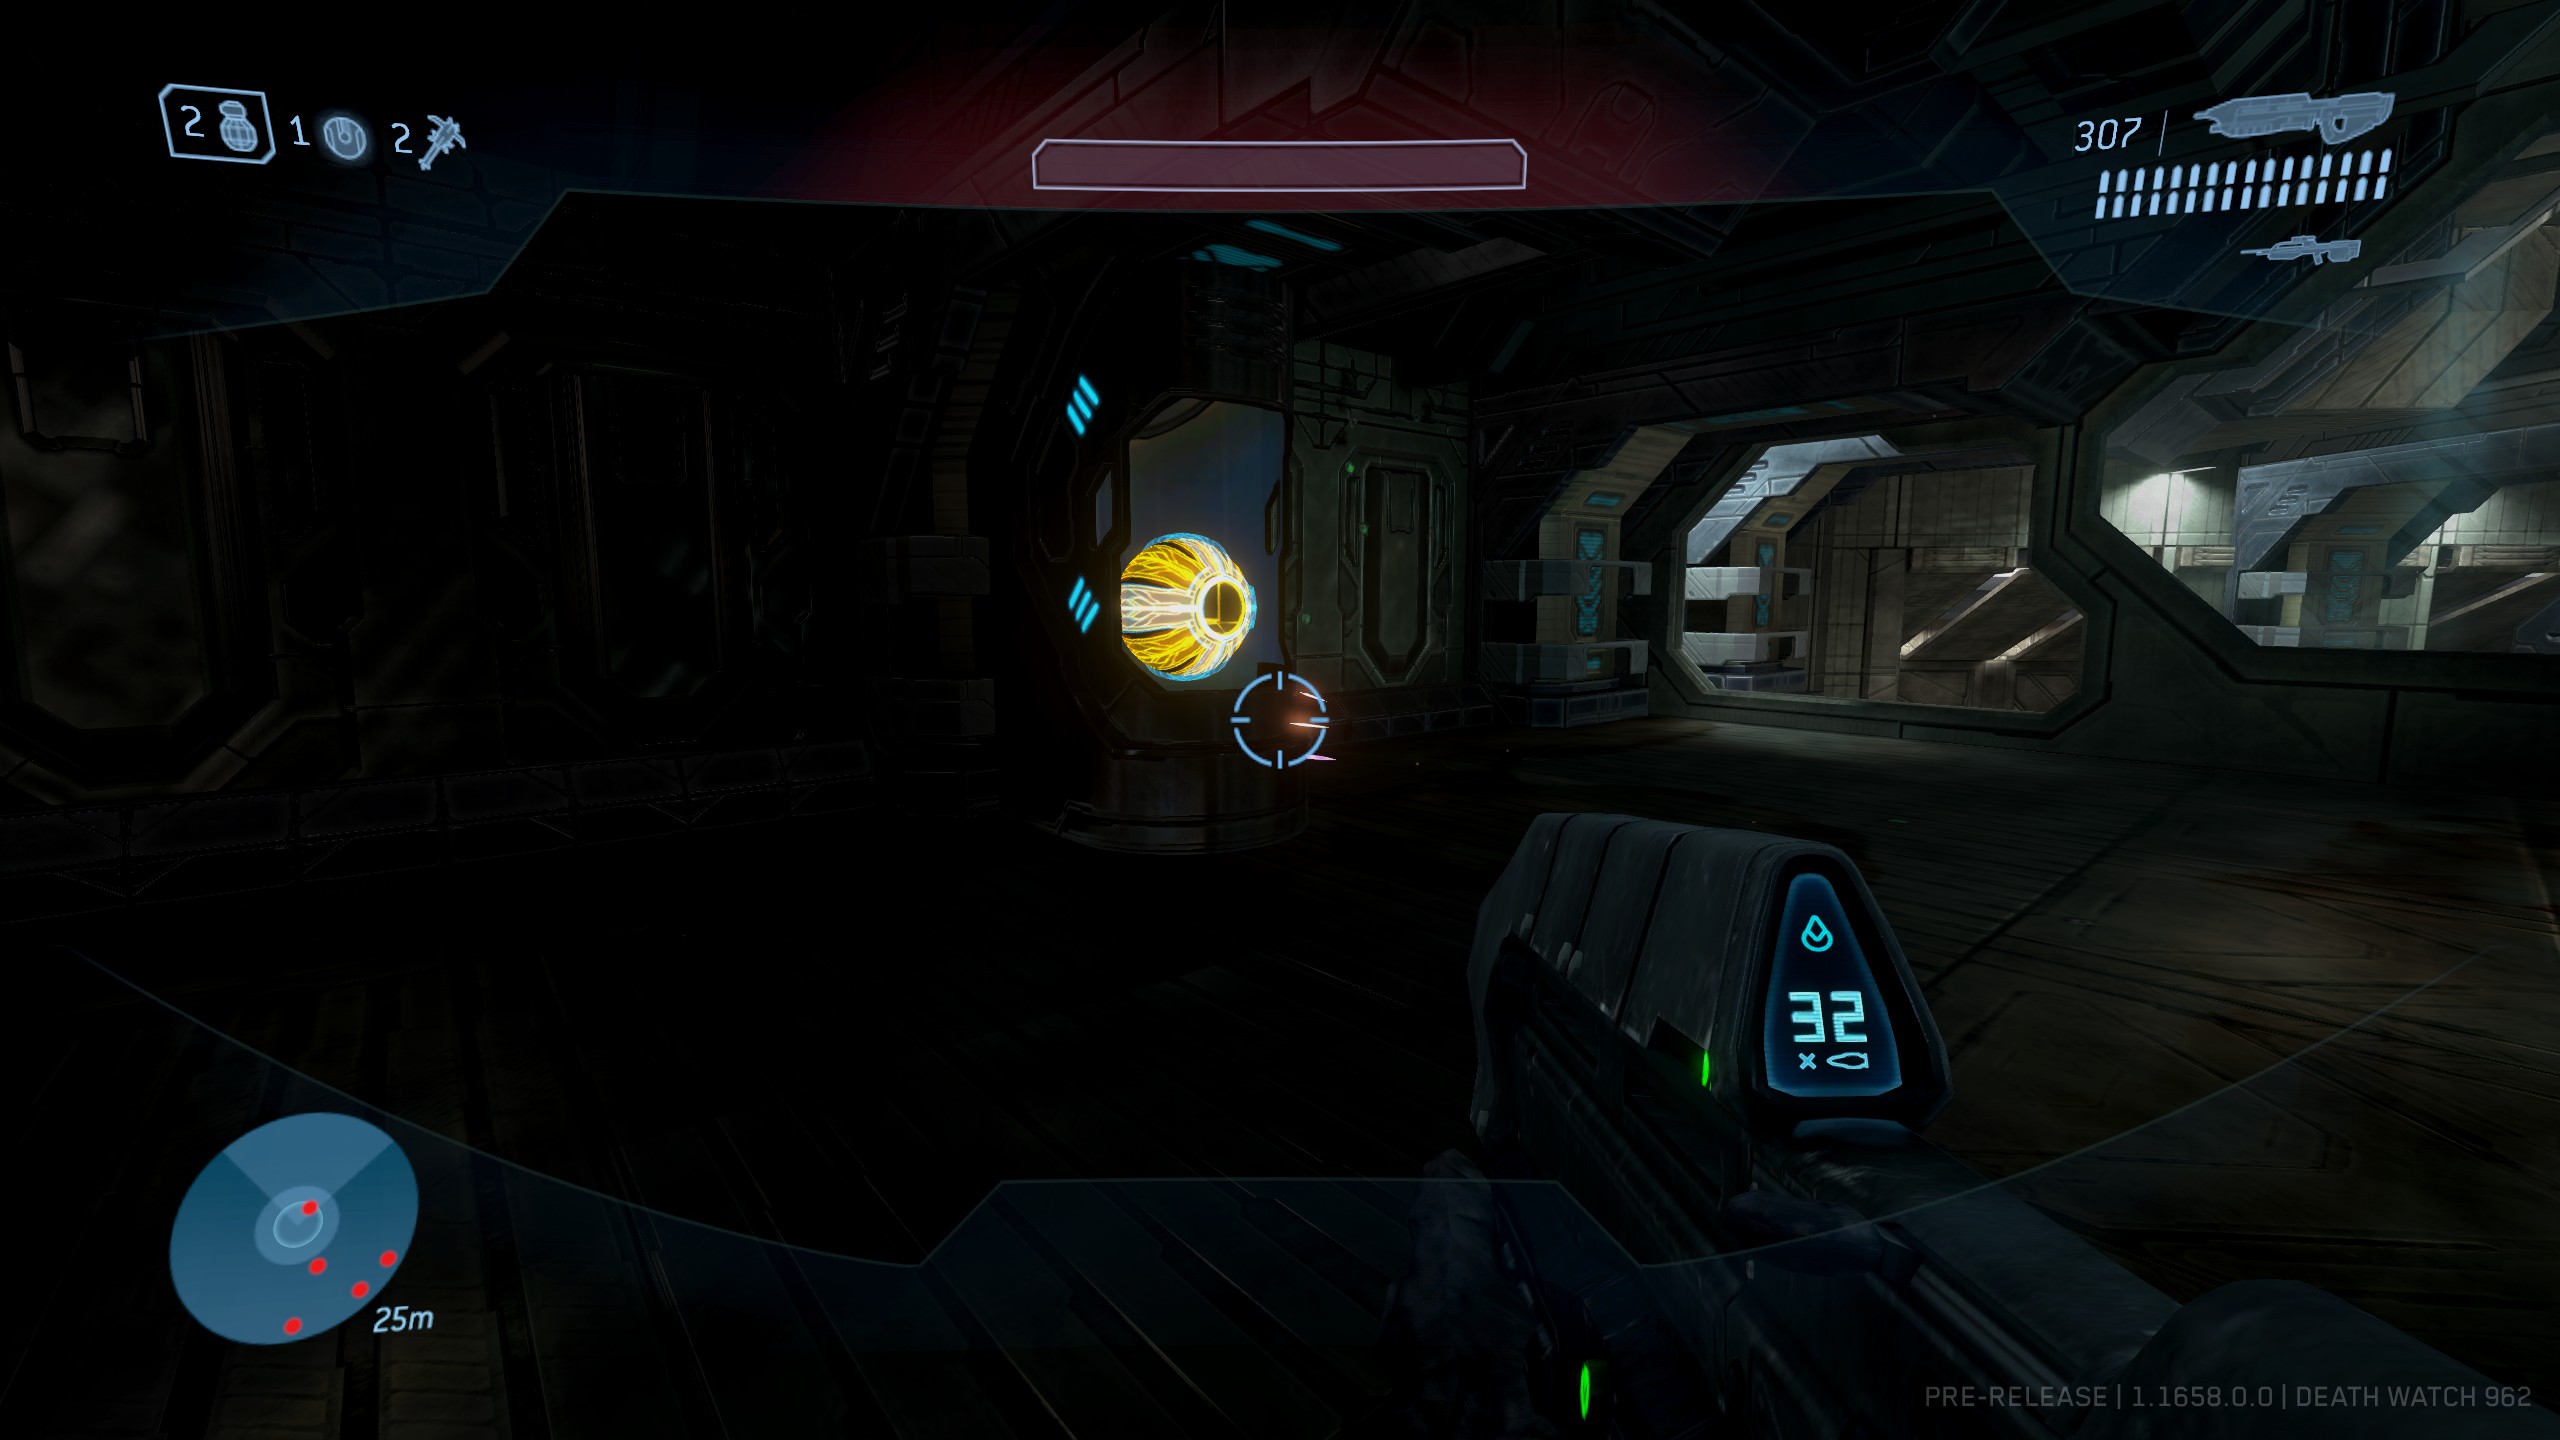
Effect: The motion sensor is disabled.
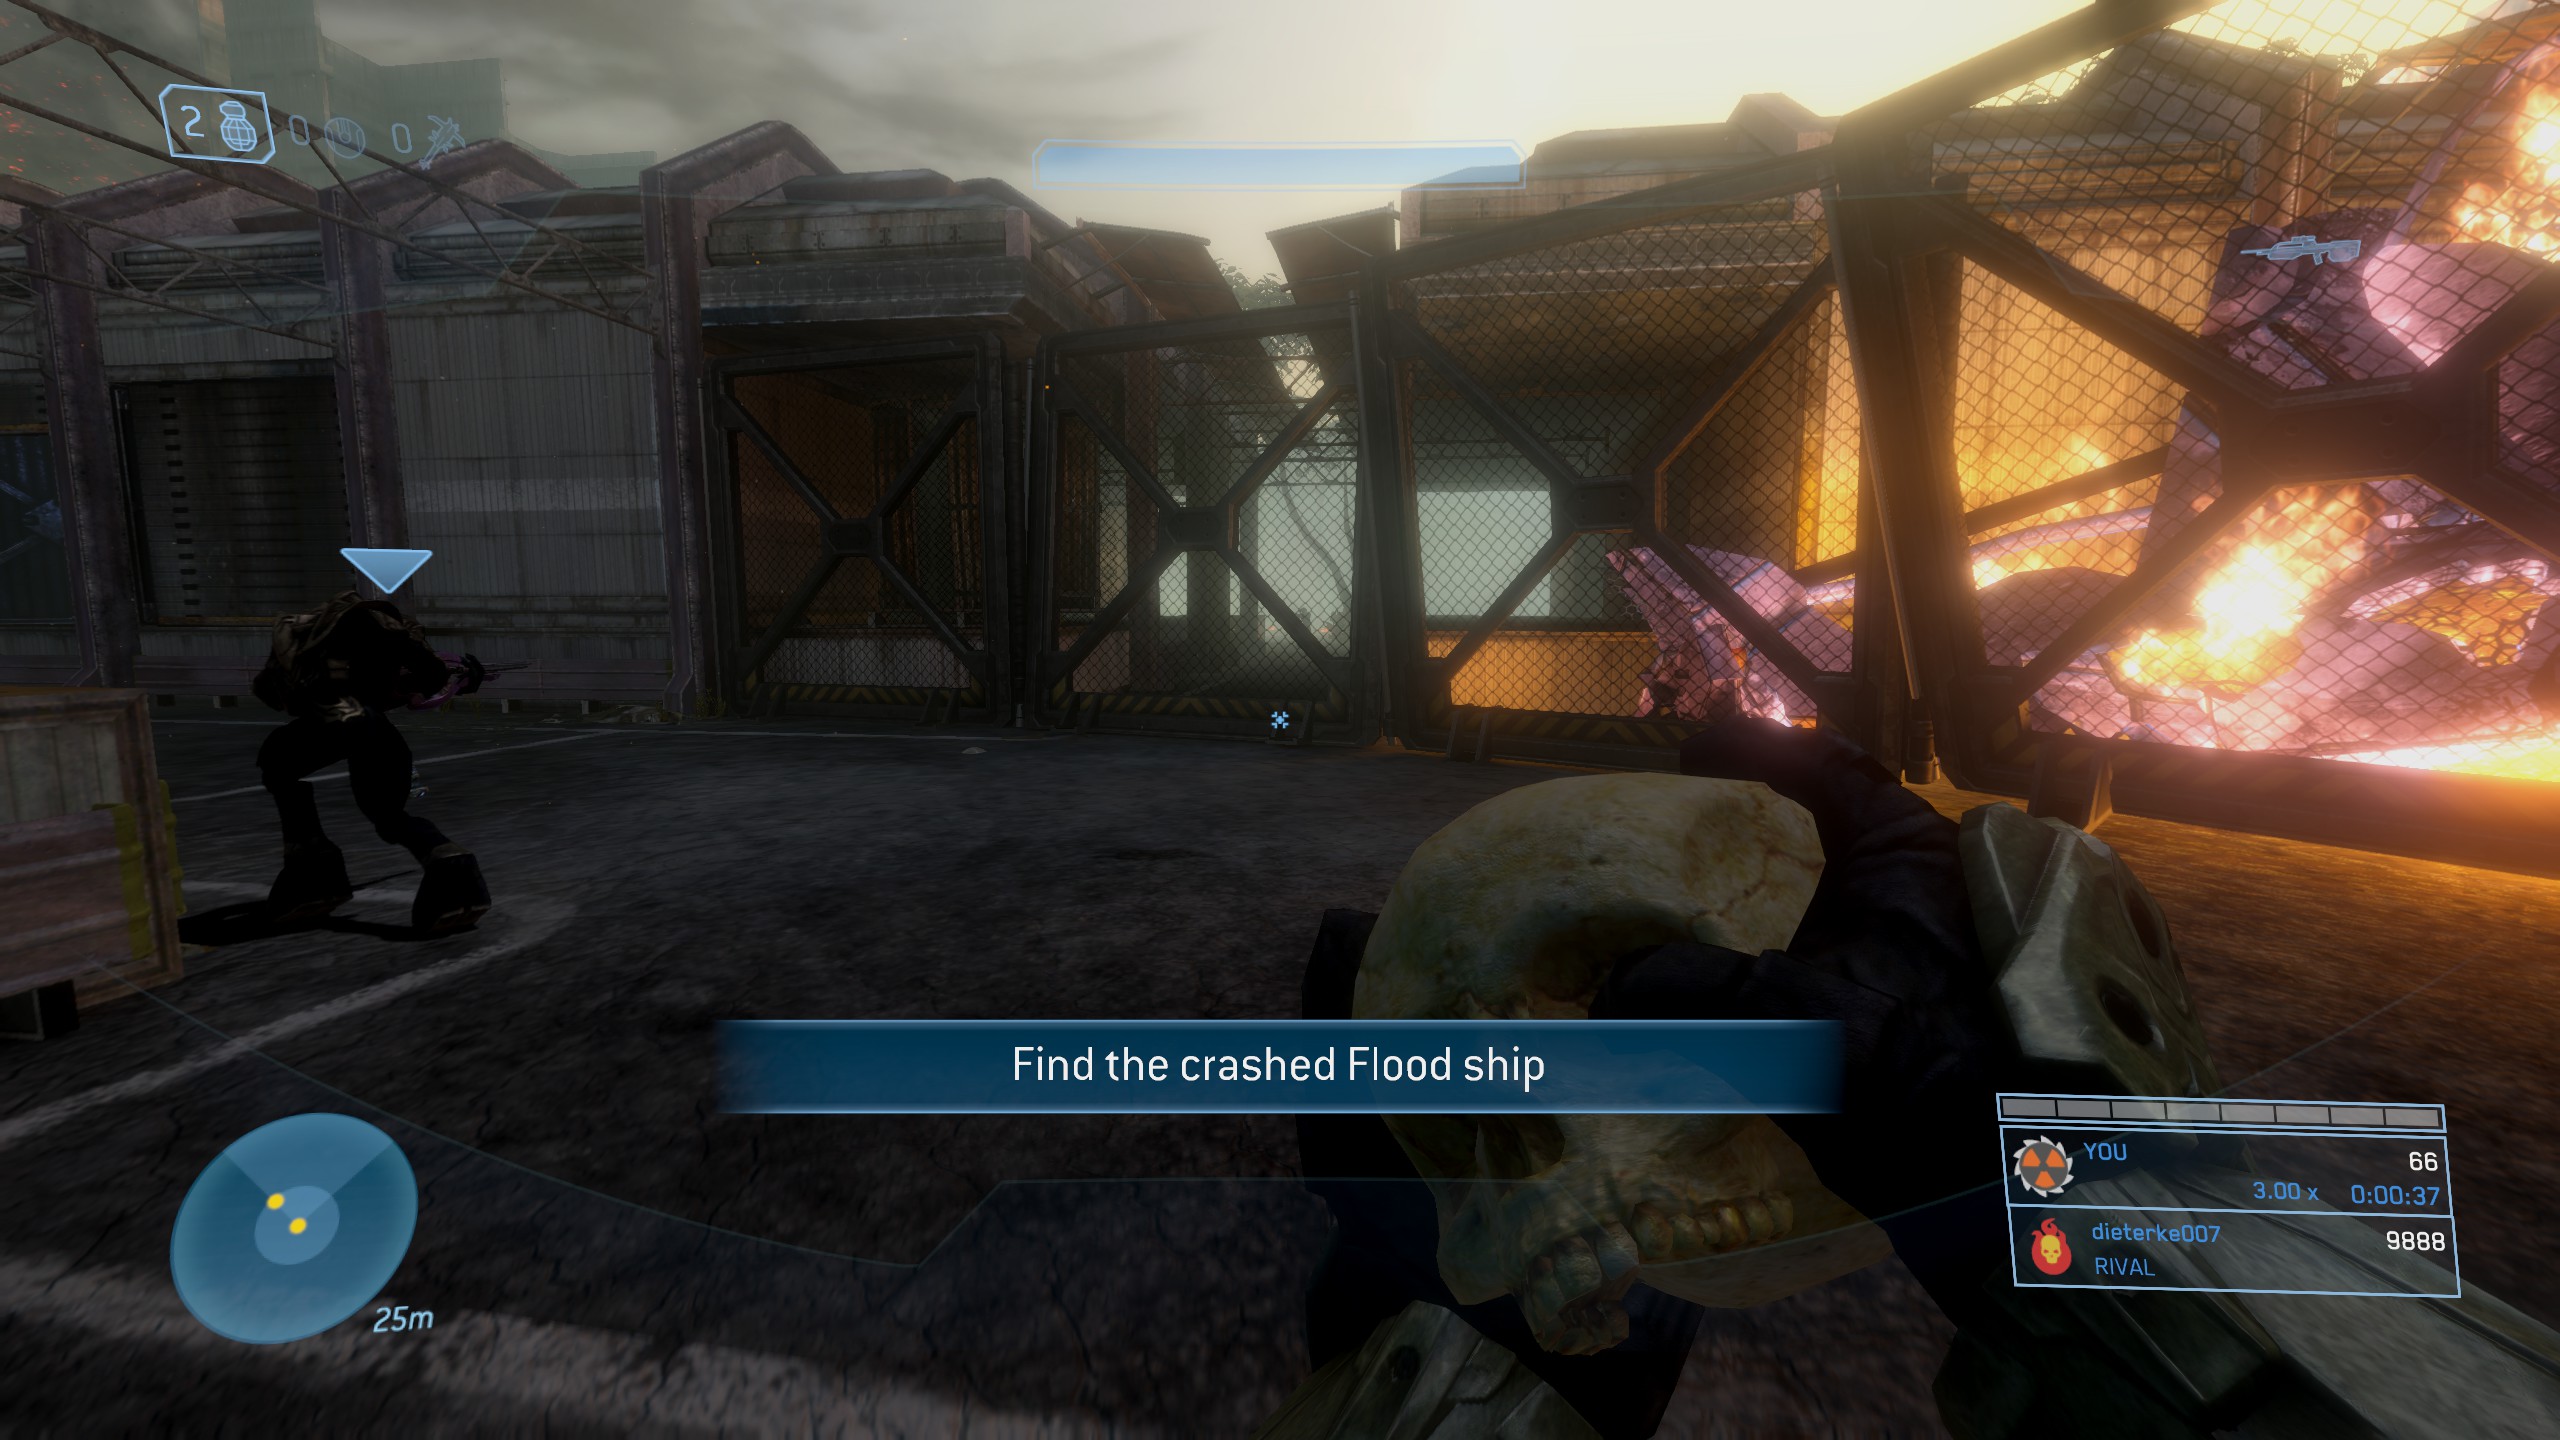
Location: At the very beginning of the level, climb down the hill with the anti-air battery that you destroyed in the previous mission into what looks like a small, flood-infested commercial area. As you are making your way down the hill you should see a fence on the left, another, smaller AA turret in front of you to the right and a building directly behind it.
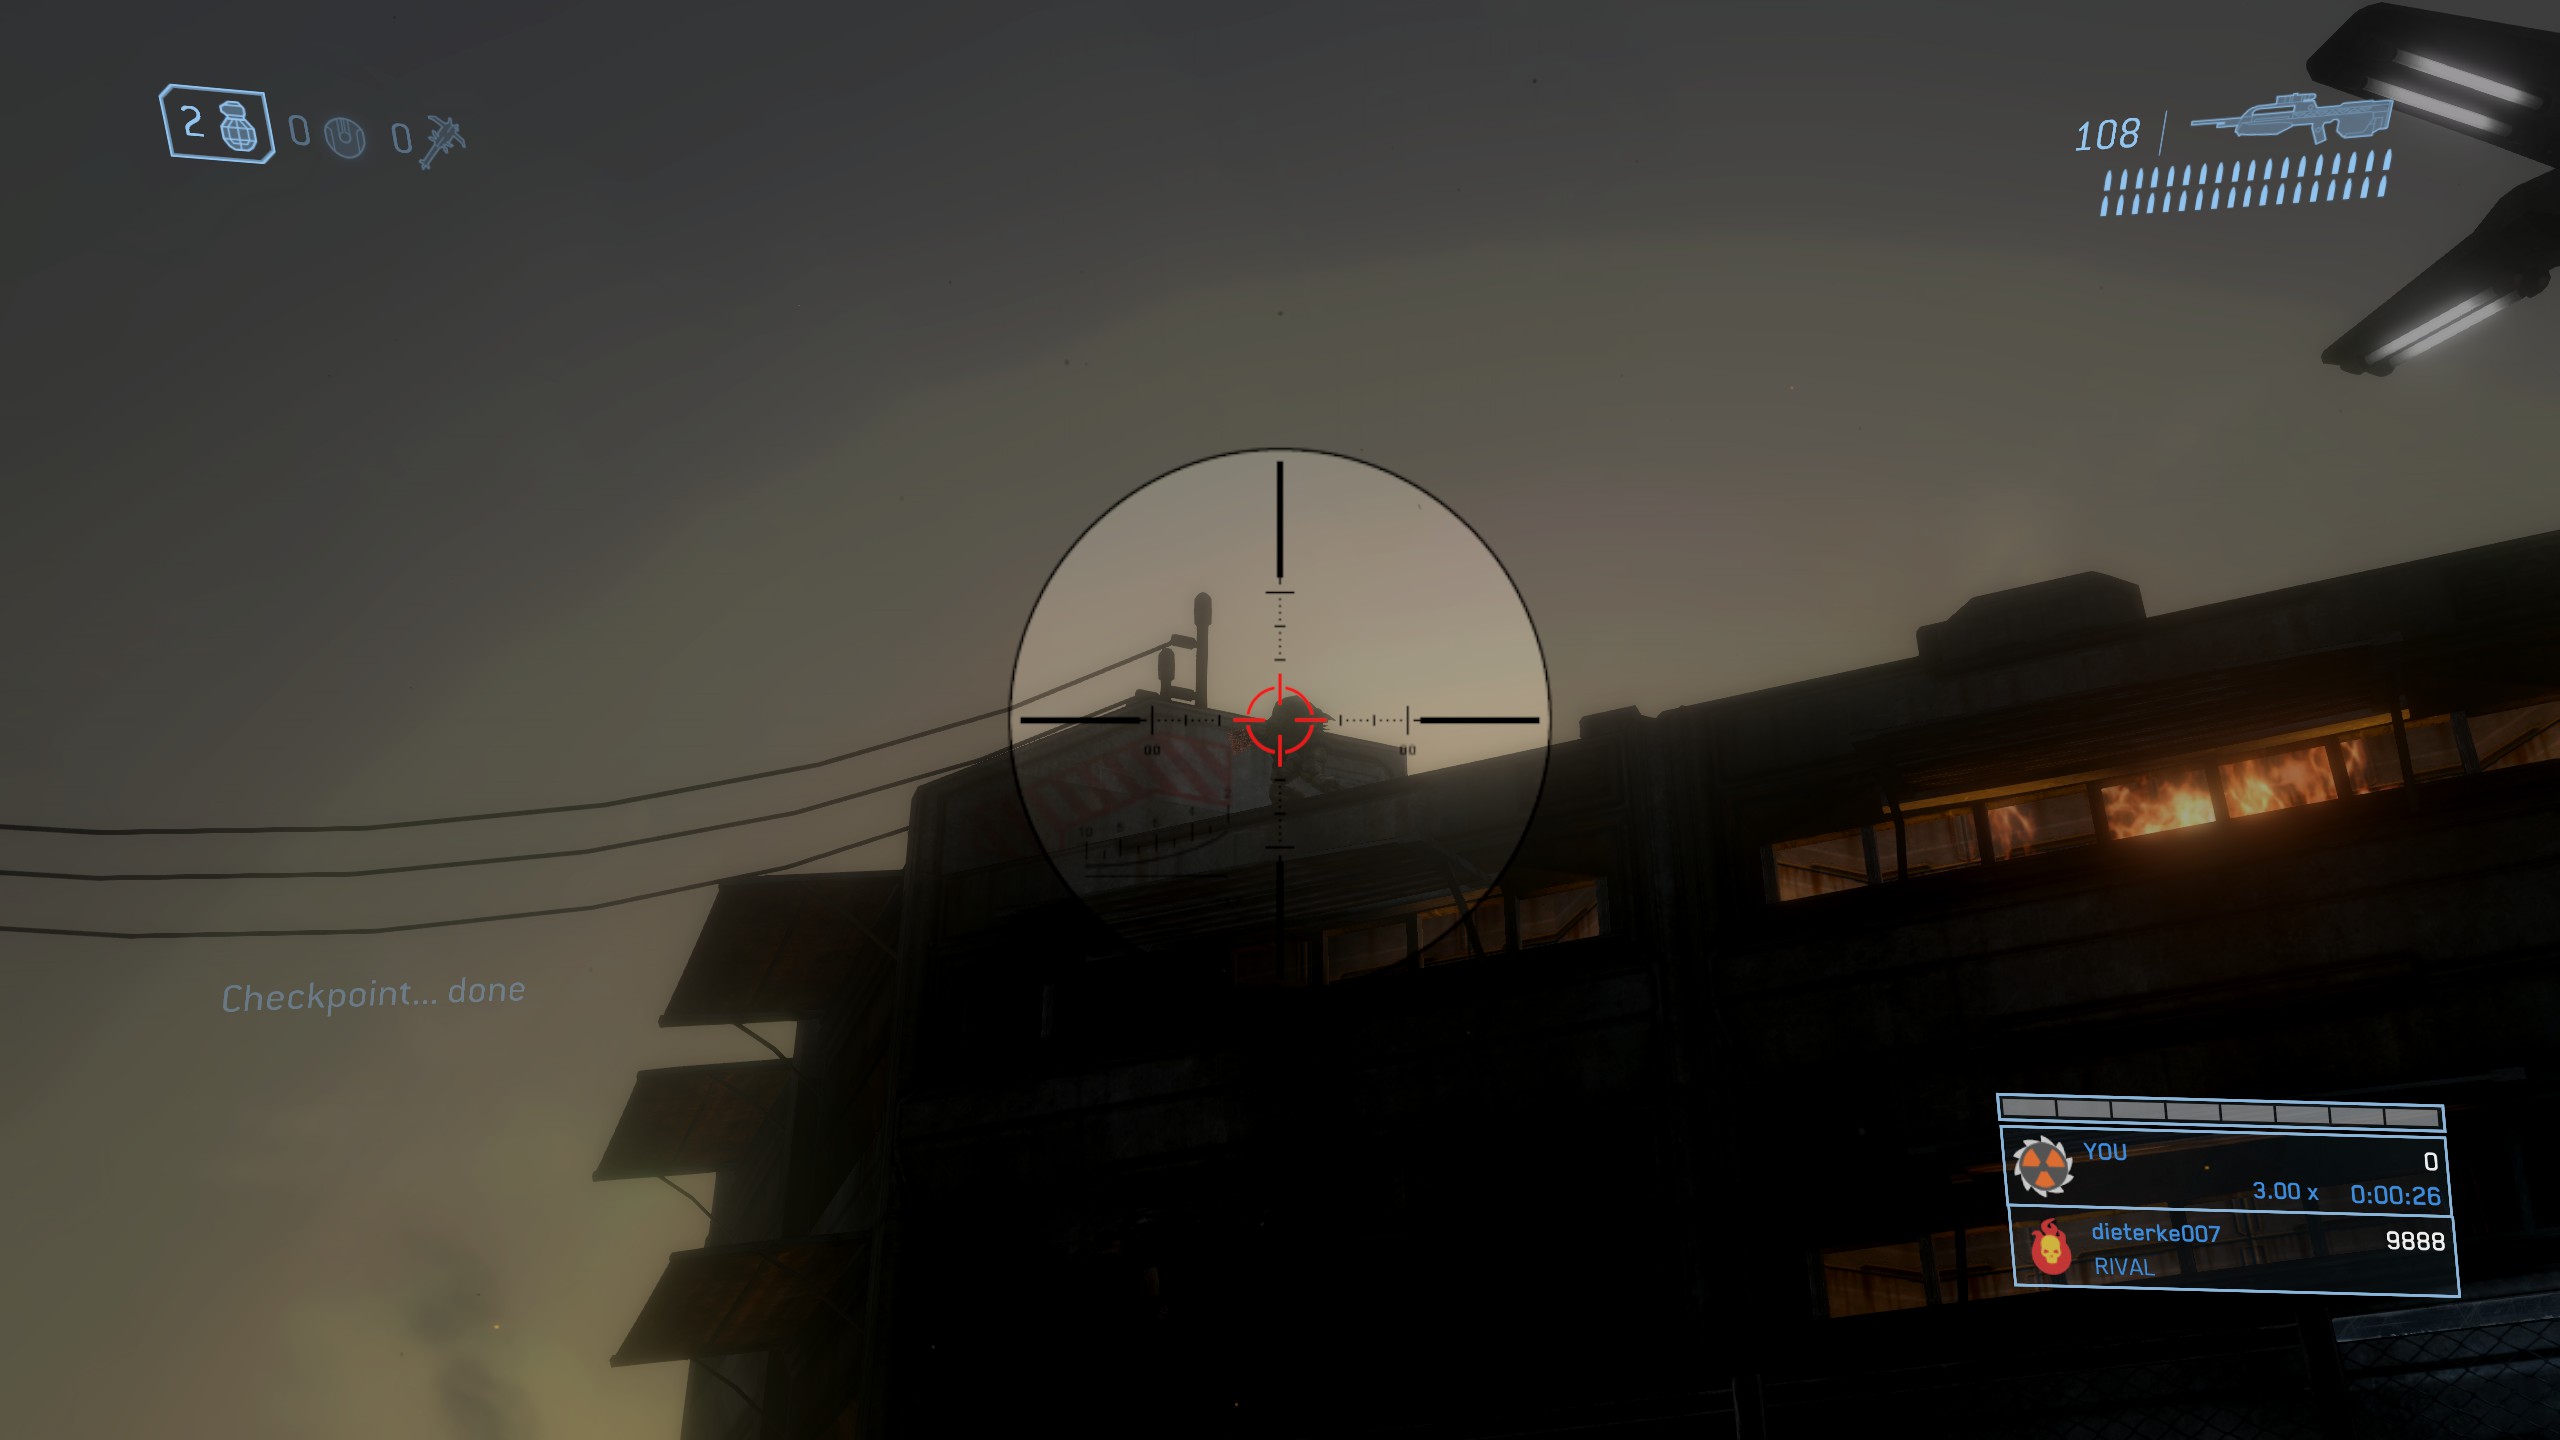
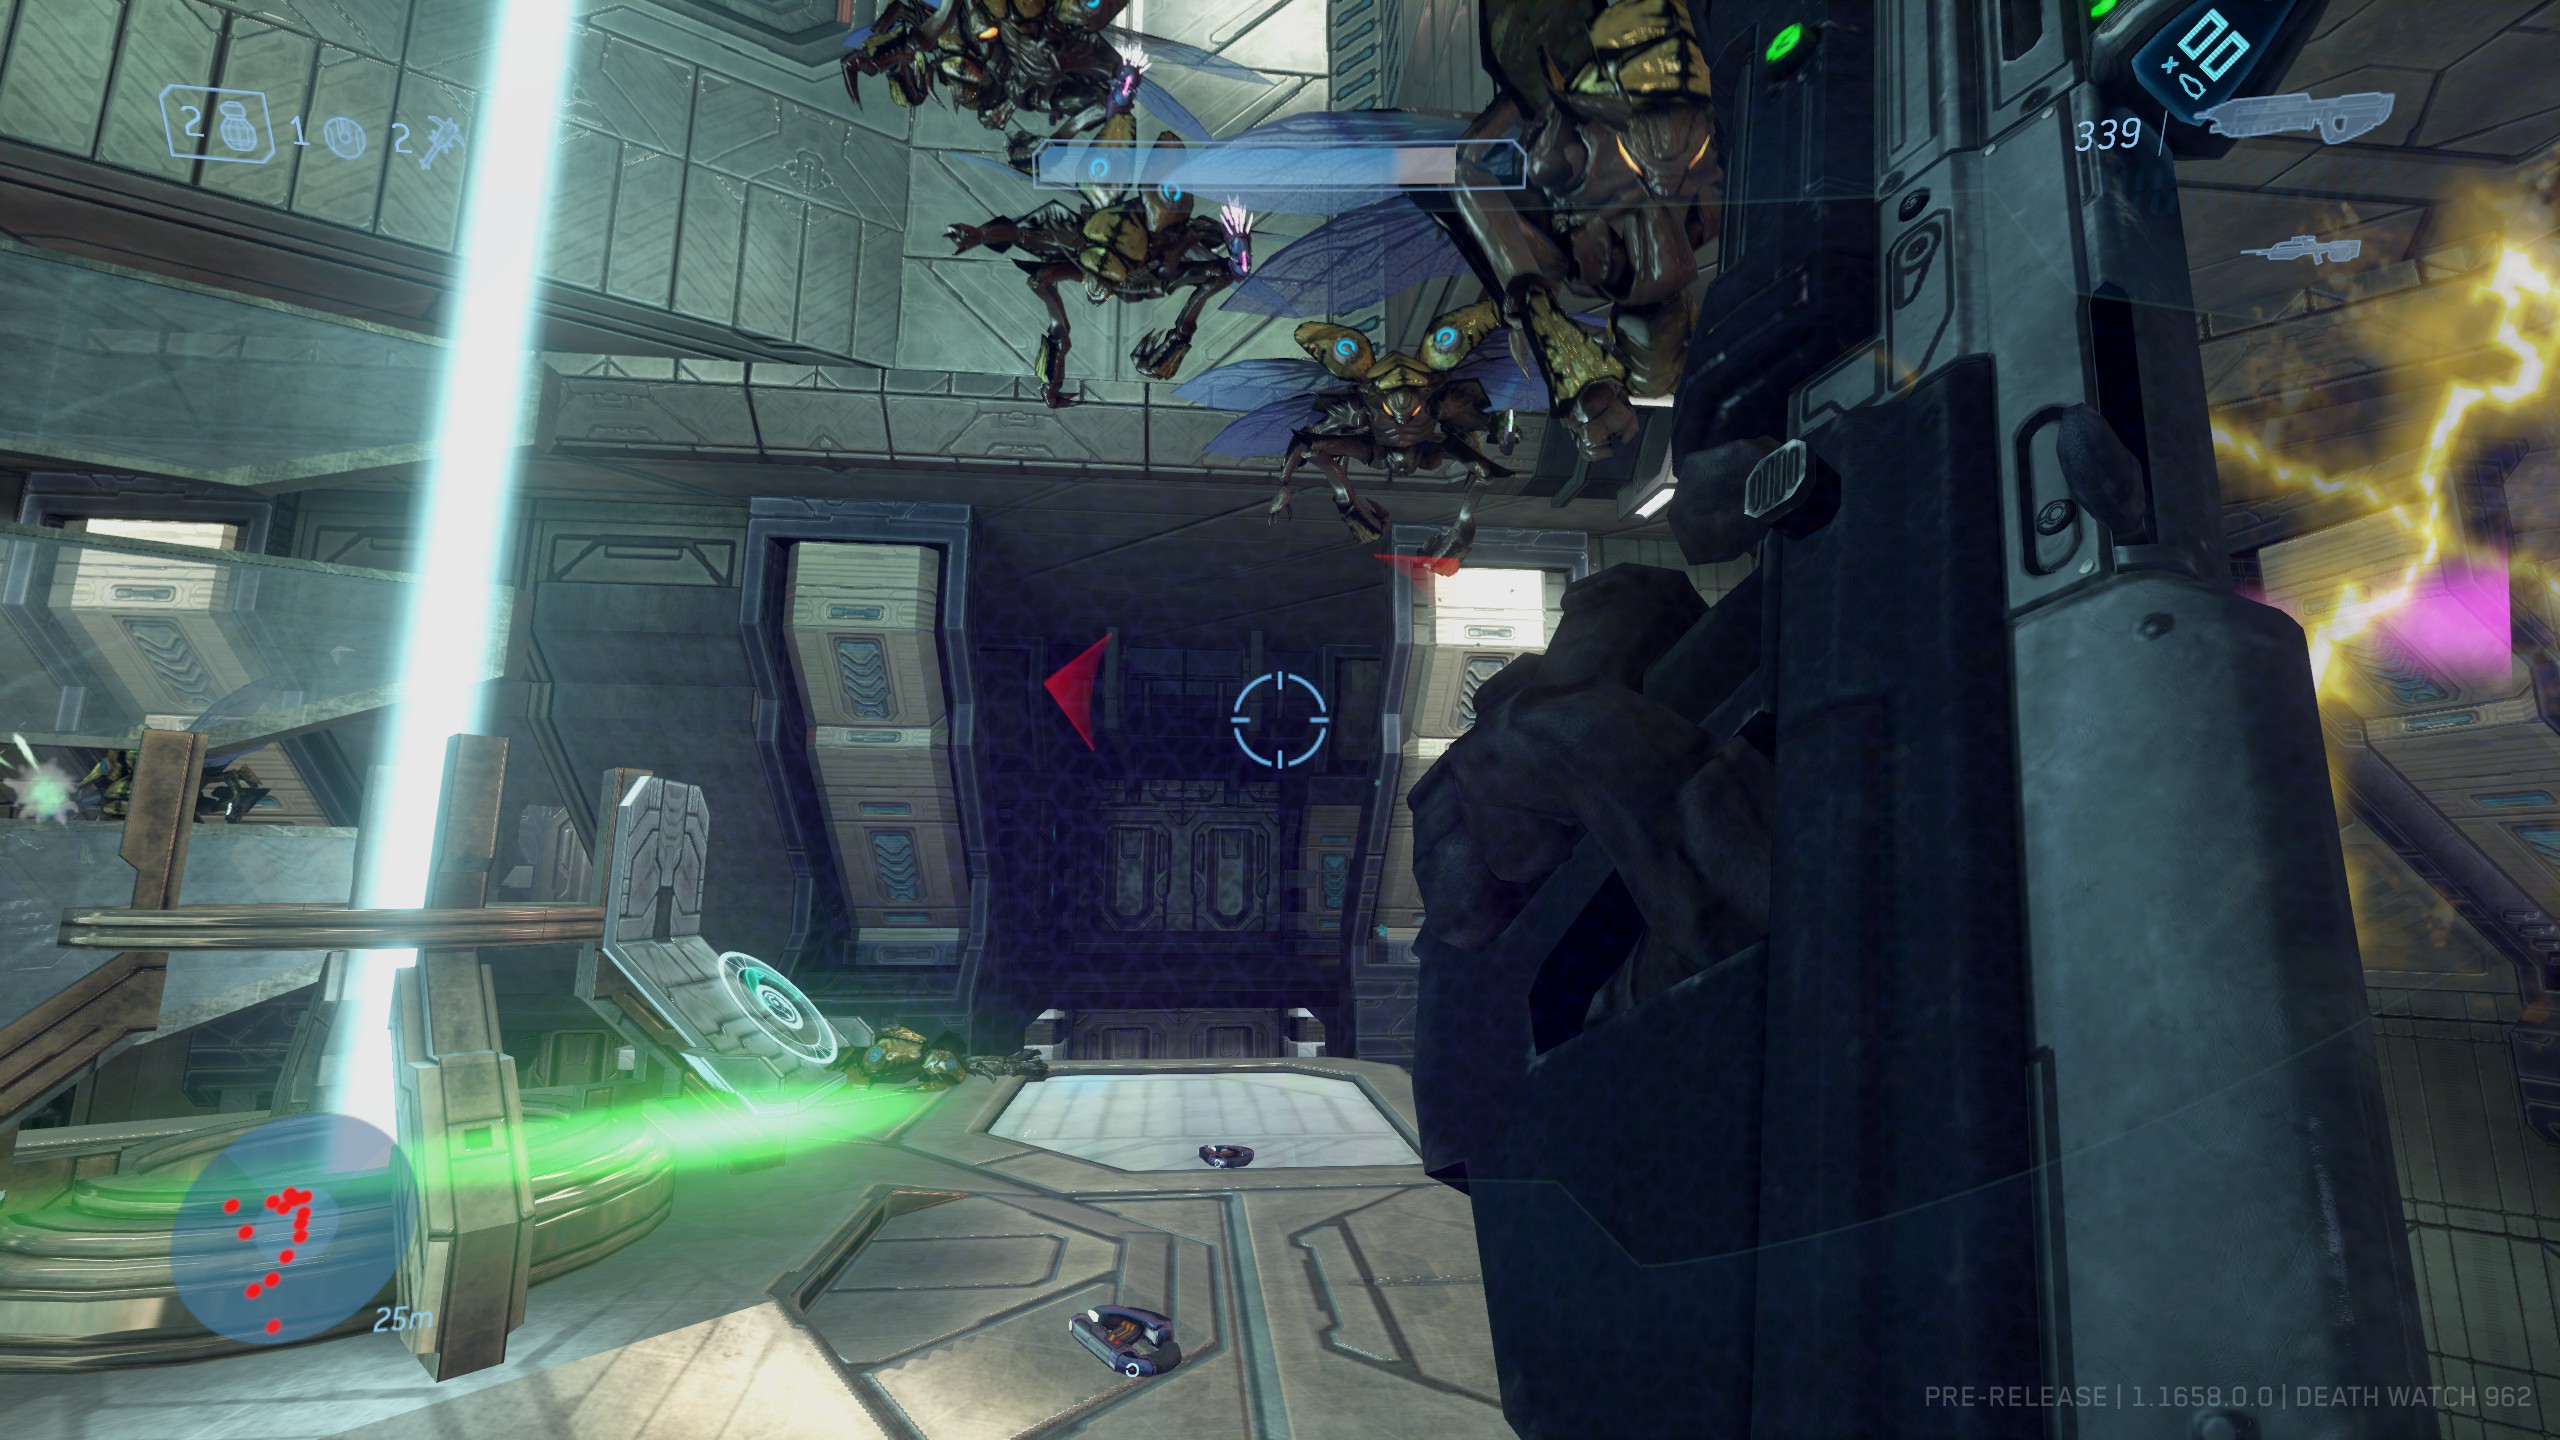
As we move into the area keep your eyes trained towards the roof of the building here. At this point, you should also hear a marine on the radio saying, “All squads, report”. As you move towards the building, you should see a single bipedal Flood form appear and jump from the roof of building all the way up and over the fence to your left. This enemy is actually carrying the Skull. Line it up and shoot it as it makes the leap and it will drop the Skull on the ground so that you can you can pick it up.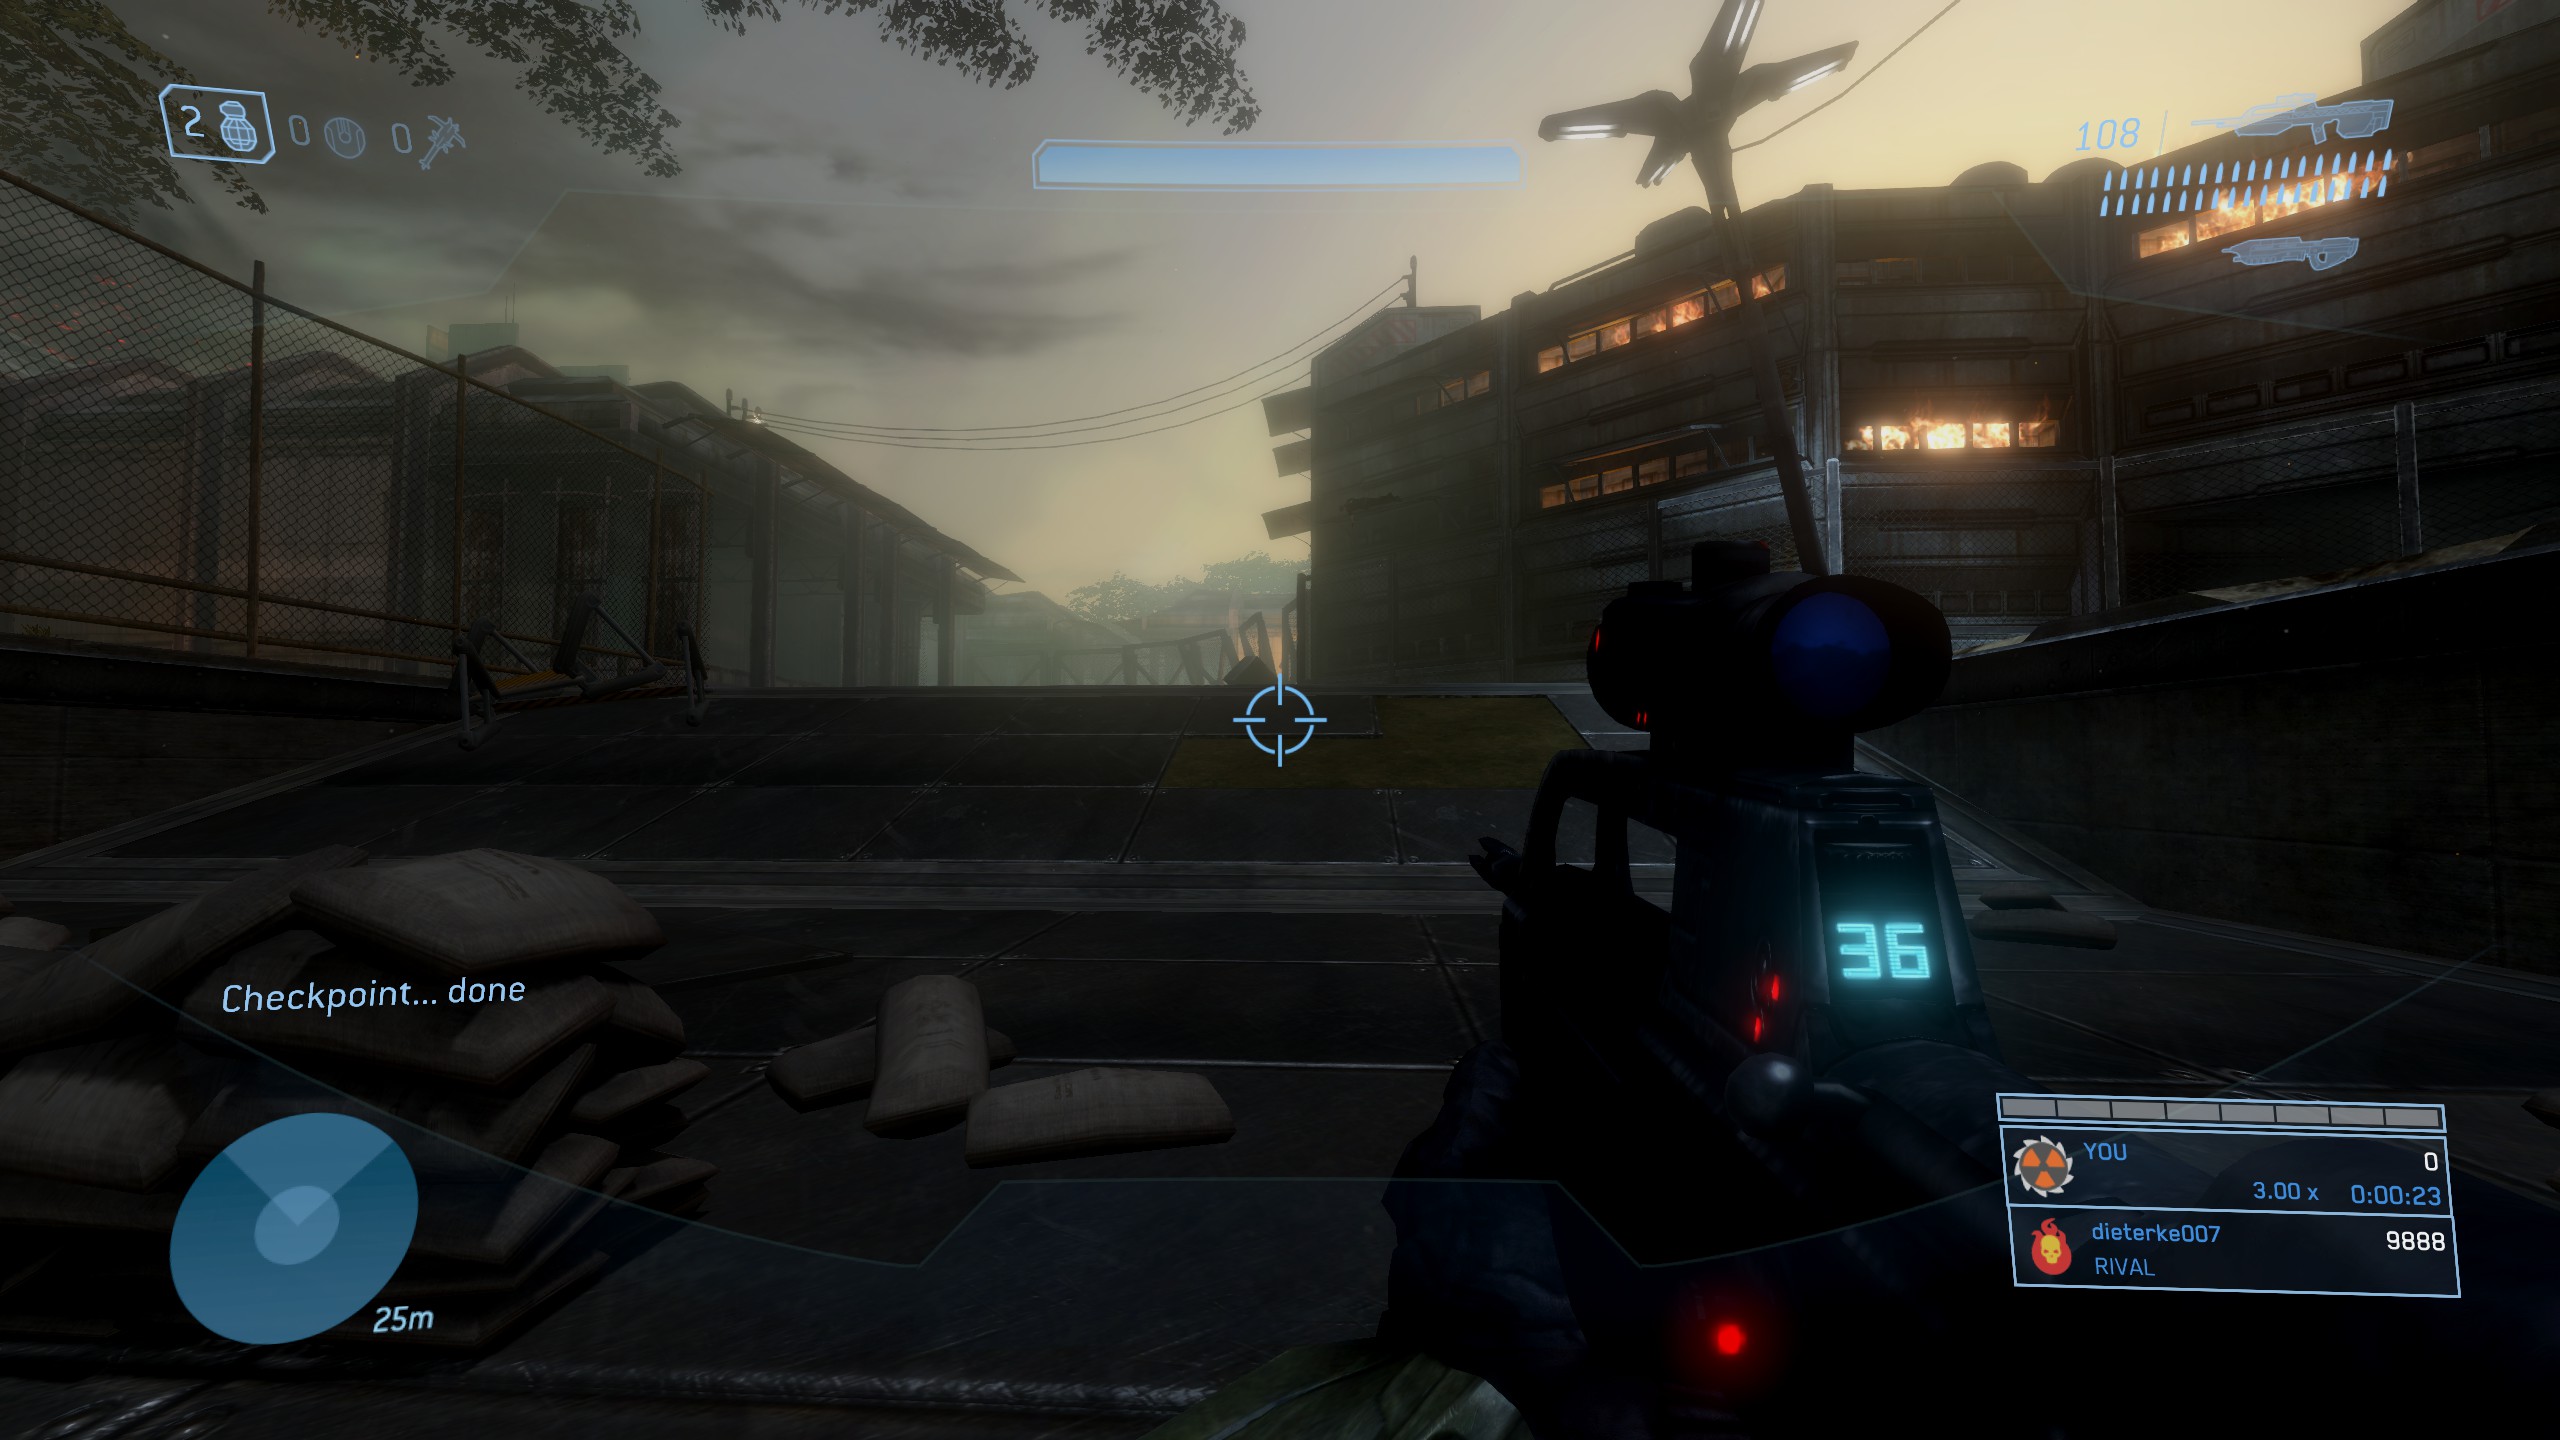
https://www.youtube.com/watch?v=SXsfjhIlPWw
The Ark
Effect: Dropped weapons have much less ammunition/charge.
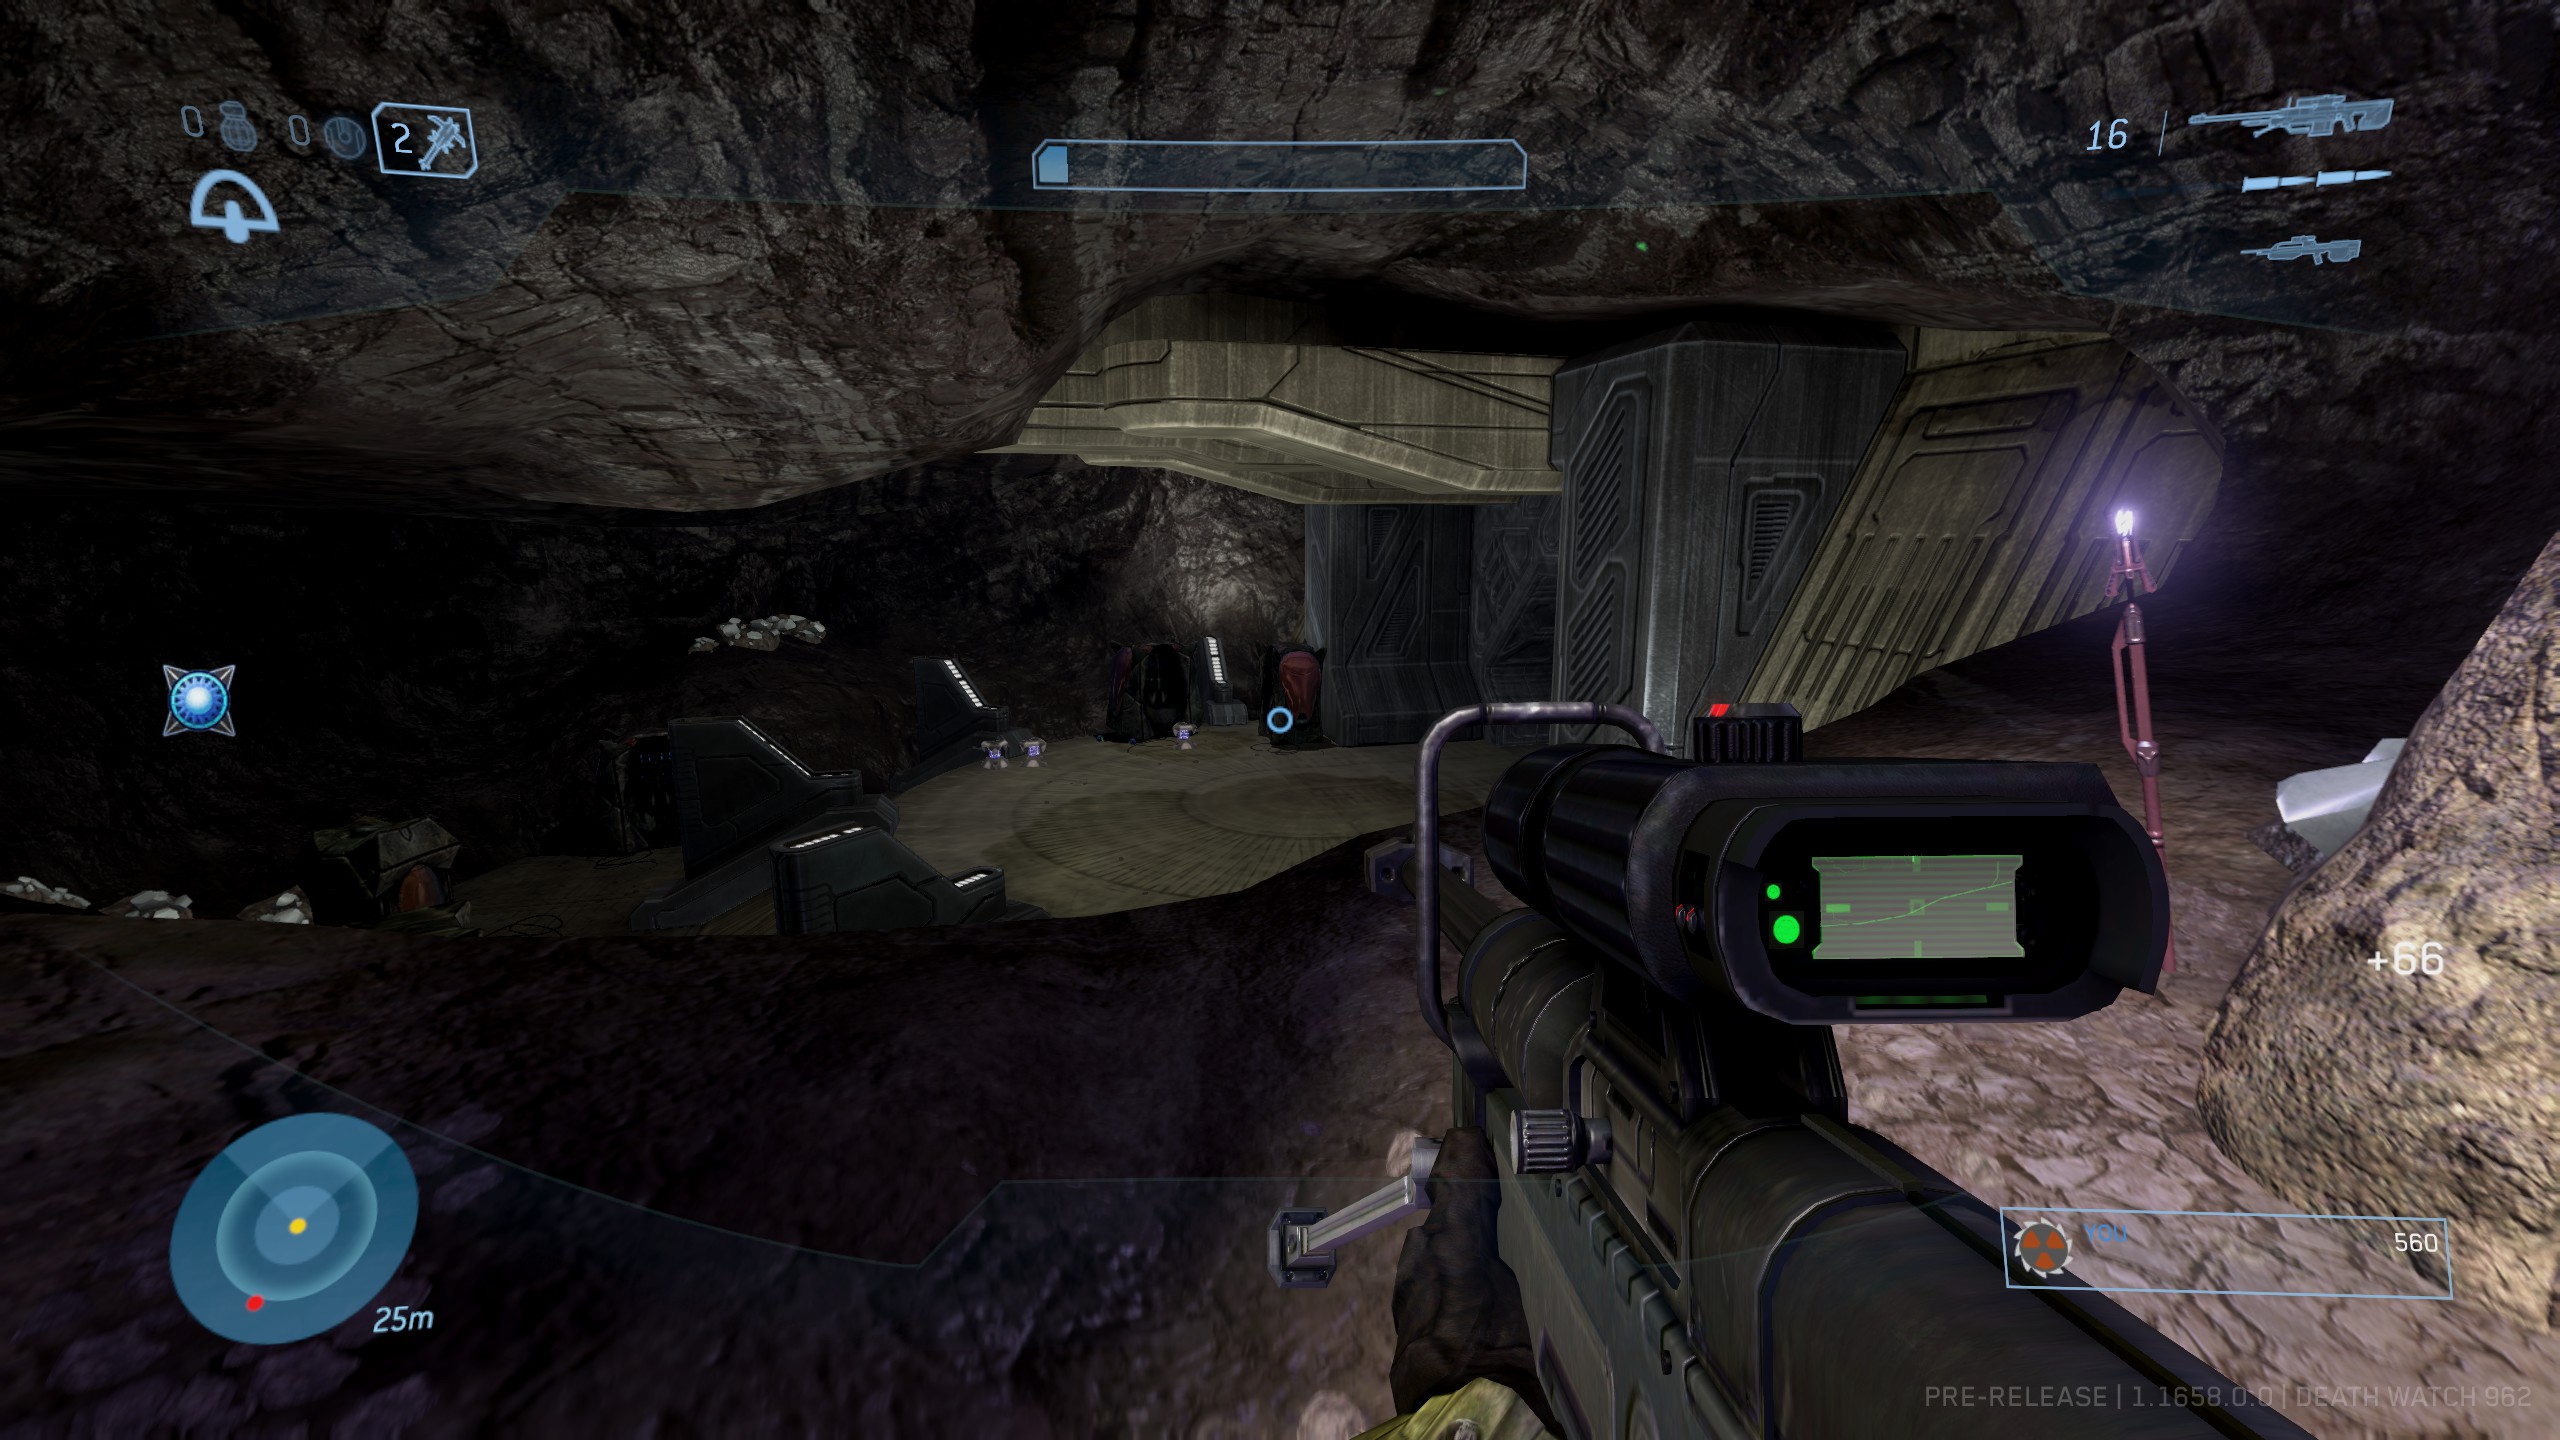
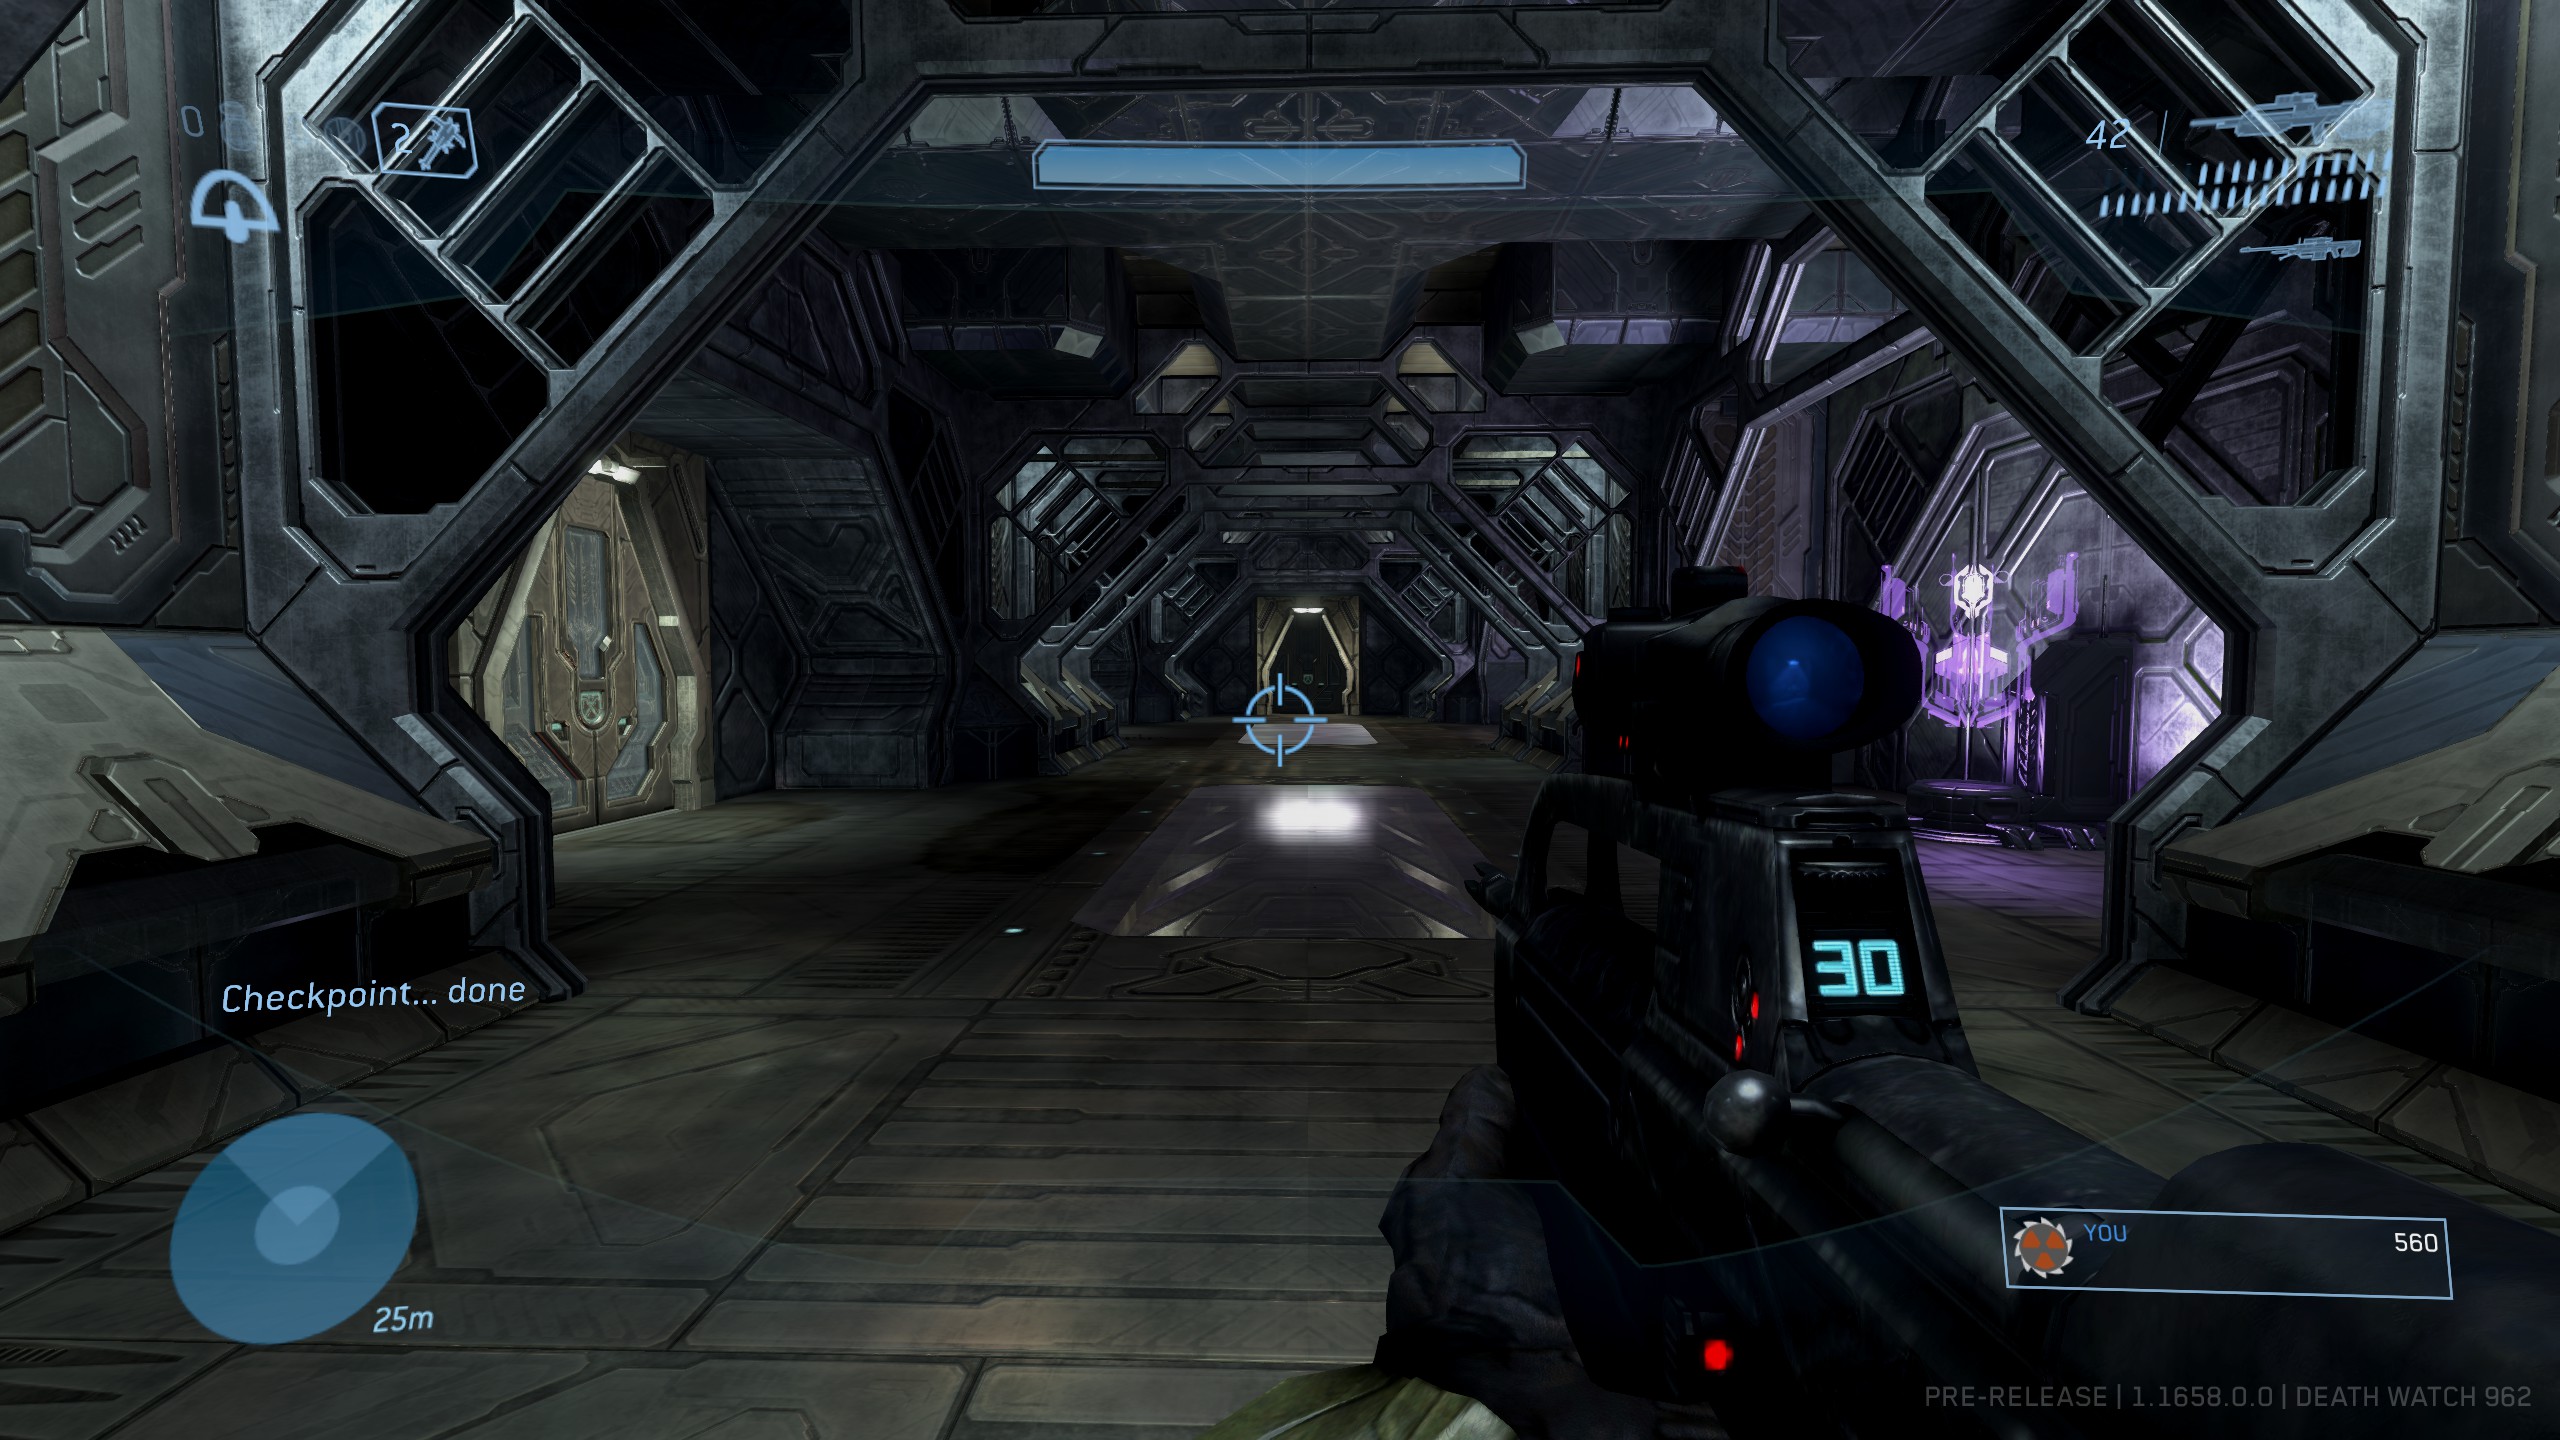
Location: After the sniping section is over and you head inland, you'll drive past a pair of Pelican crash sites and a Phantom crash site whilst fighting off various Covenant forces and vehicles before dropping down to continue.
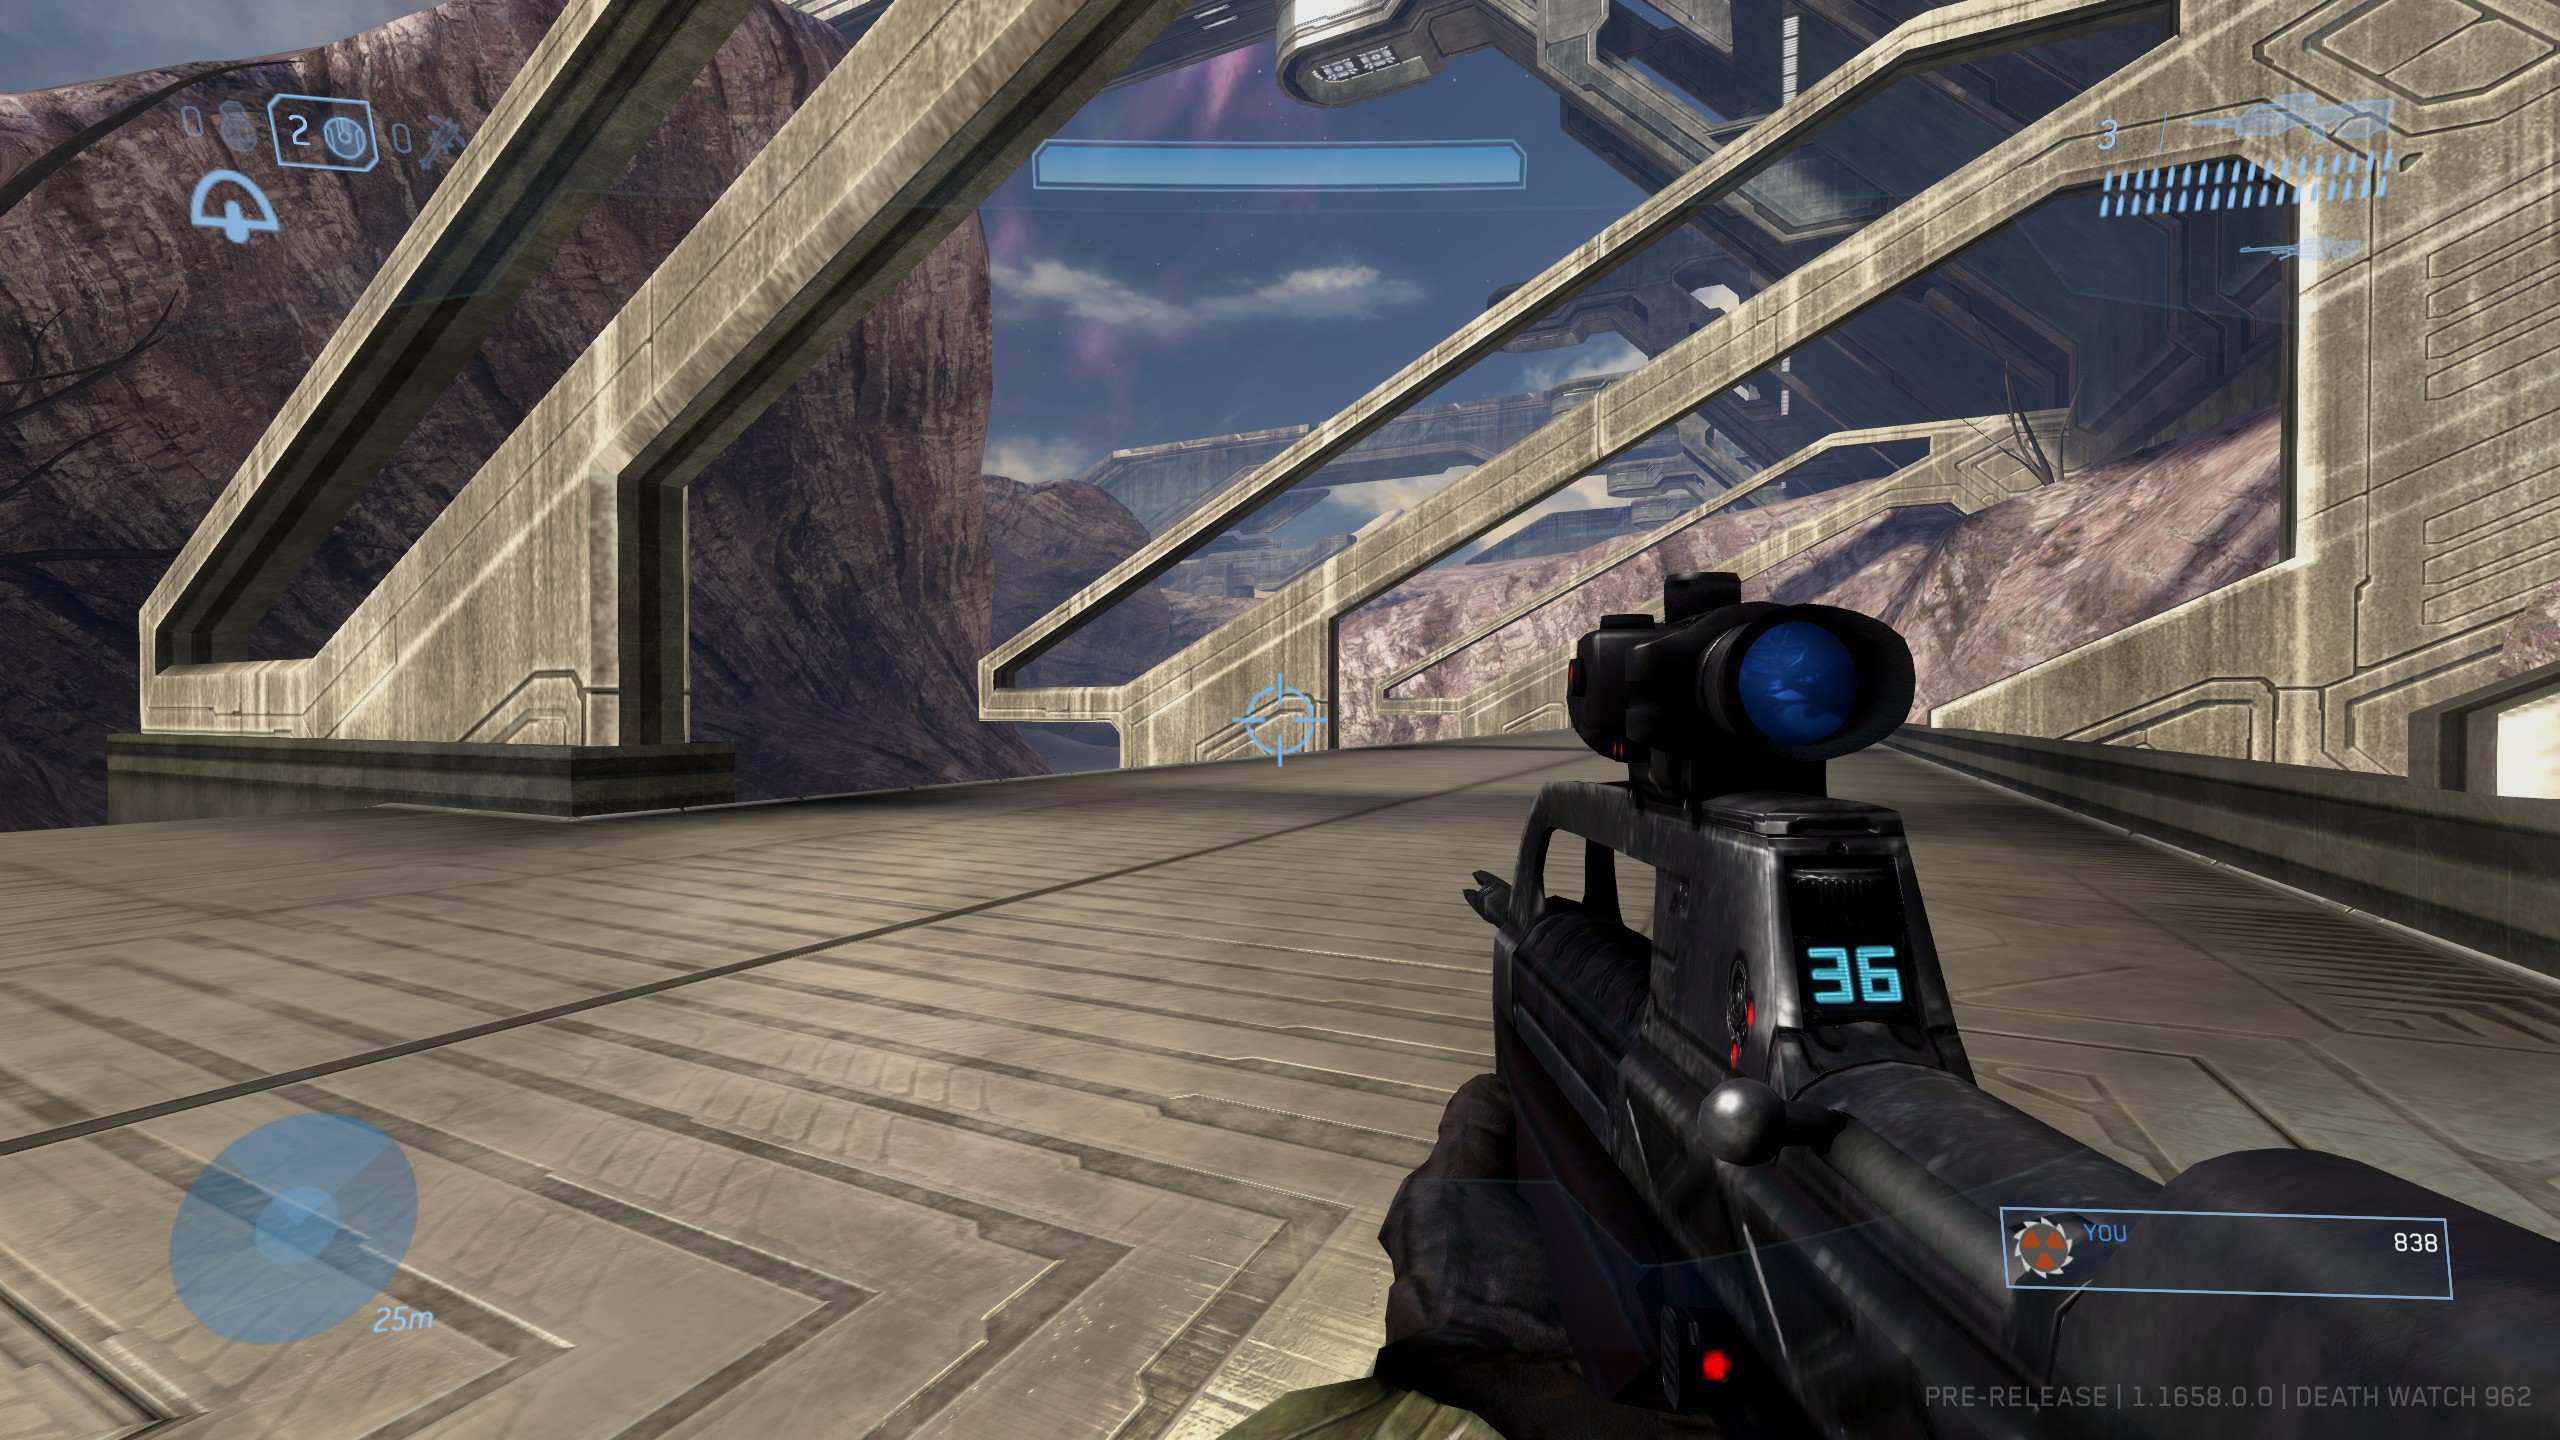
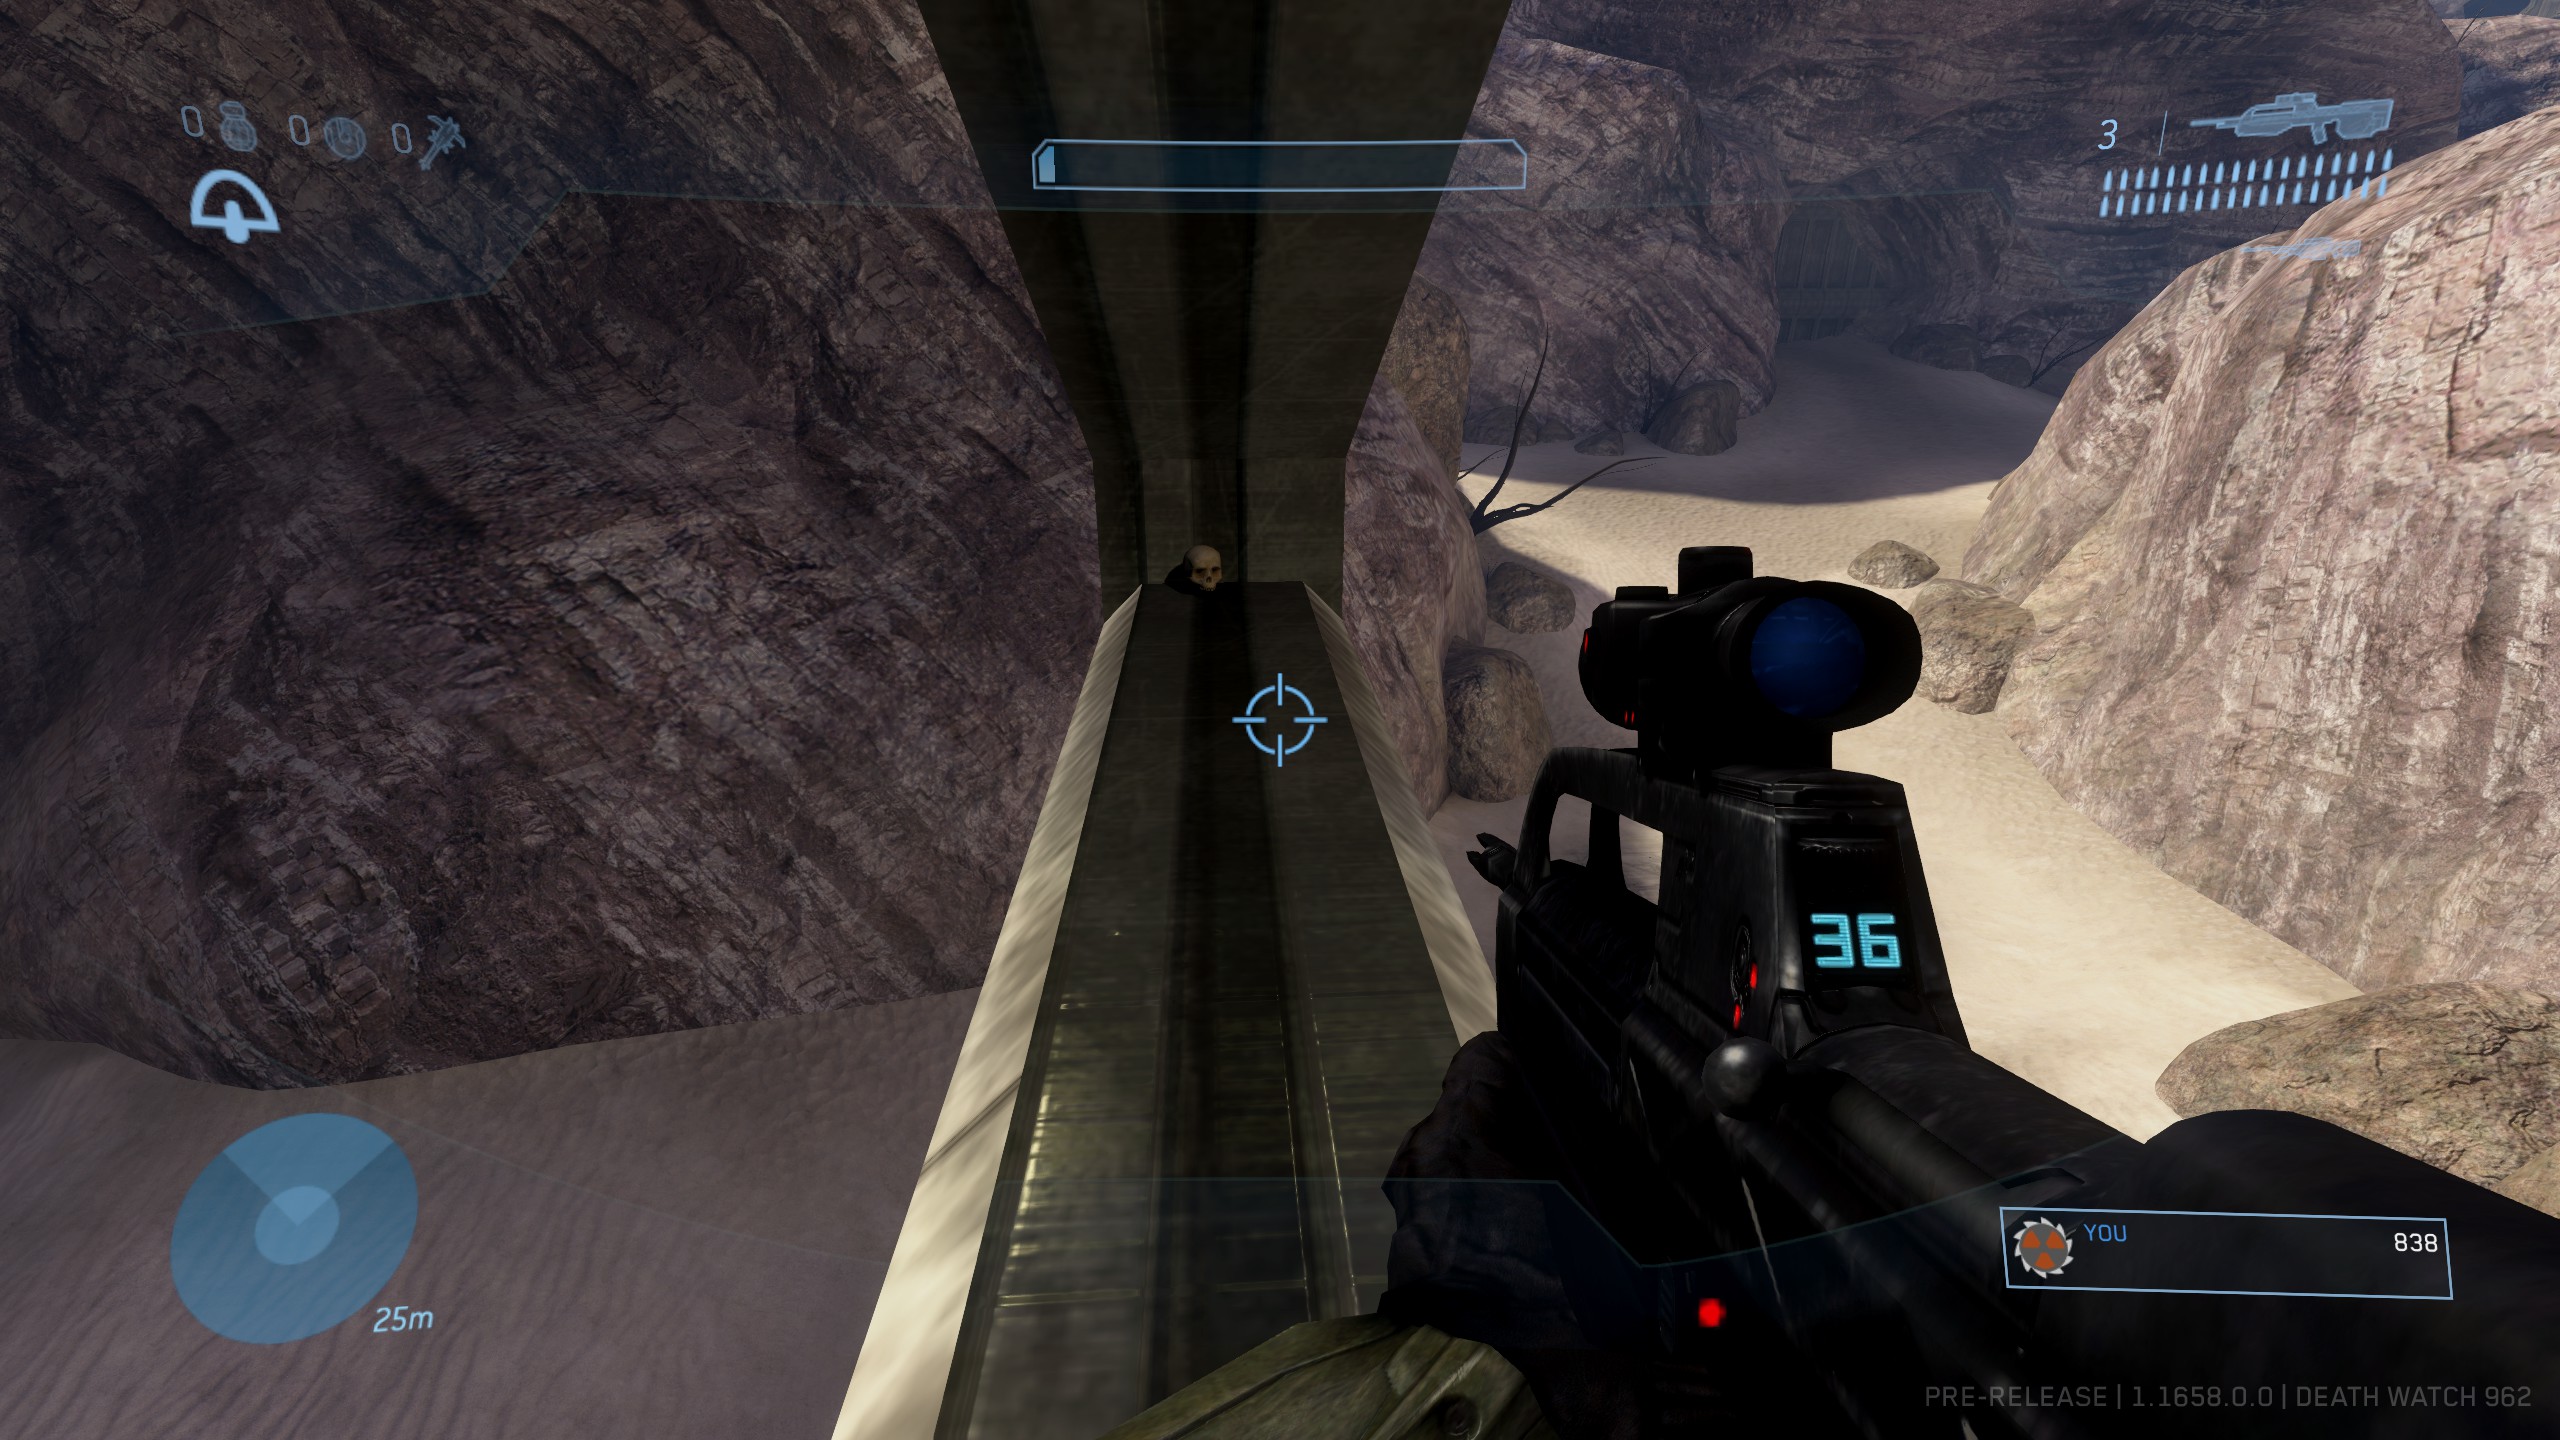
When you hit the fork in the road, take the right path. You'll come across a bridge-like Forerunner structure overlooking this small area. Destroy the 2 Ghosts buzzing around at ground level and then look towards the structure. Against the back wall to the left from where you entered you should find a stone ramp leading up to the bridge. Once you are on top of the bridge head as far as you can along the bridge back towards the way we came into the area. The skull is inside the large triangular support beam closest to where we entered the area. Use a grenade jump to get in there and the skull is yours!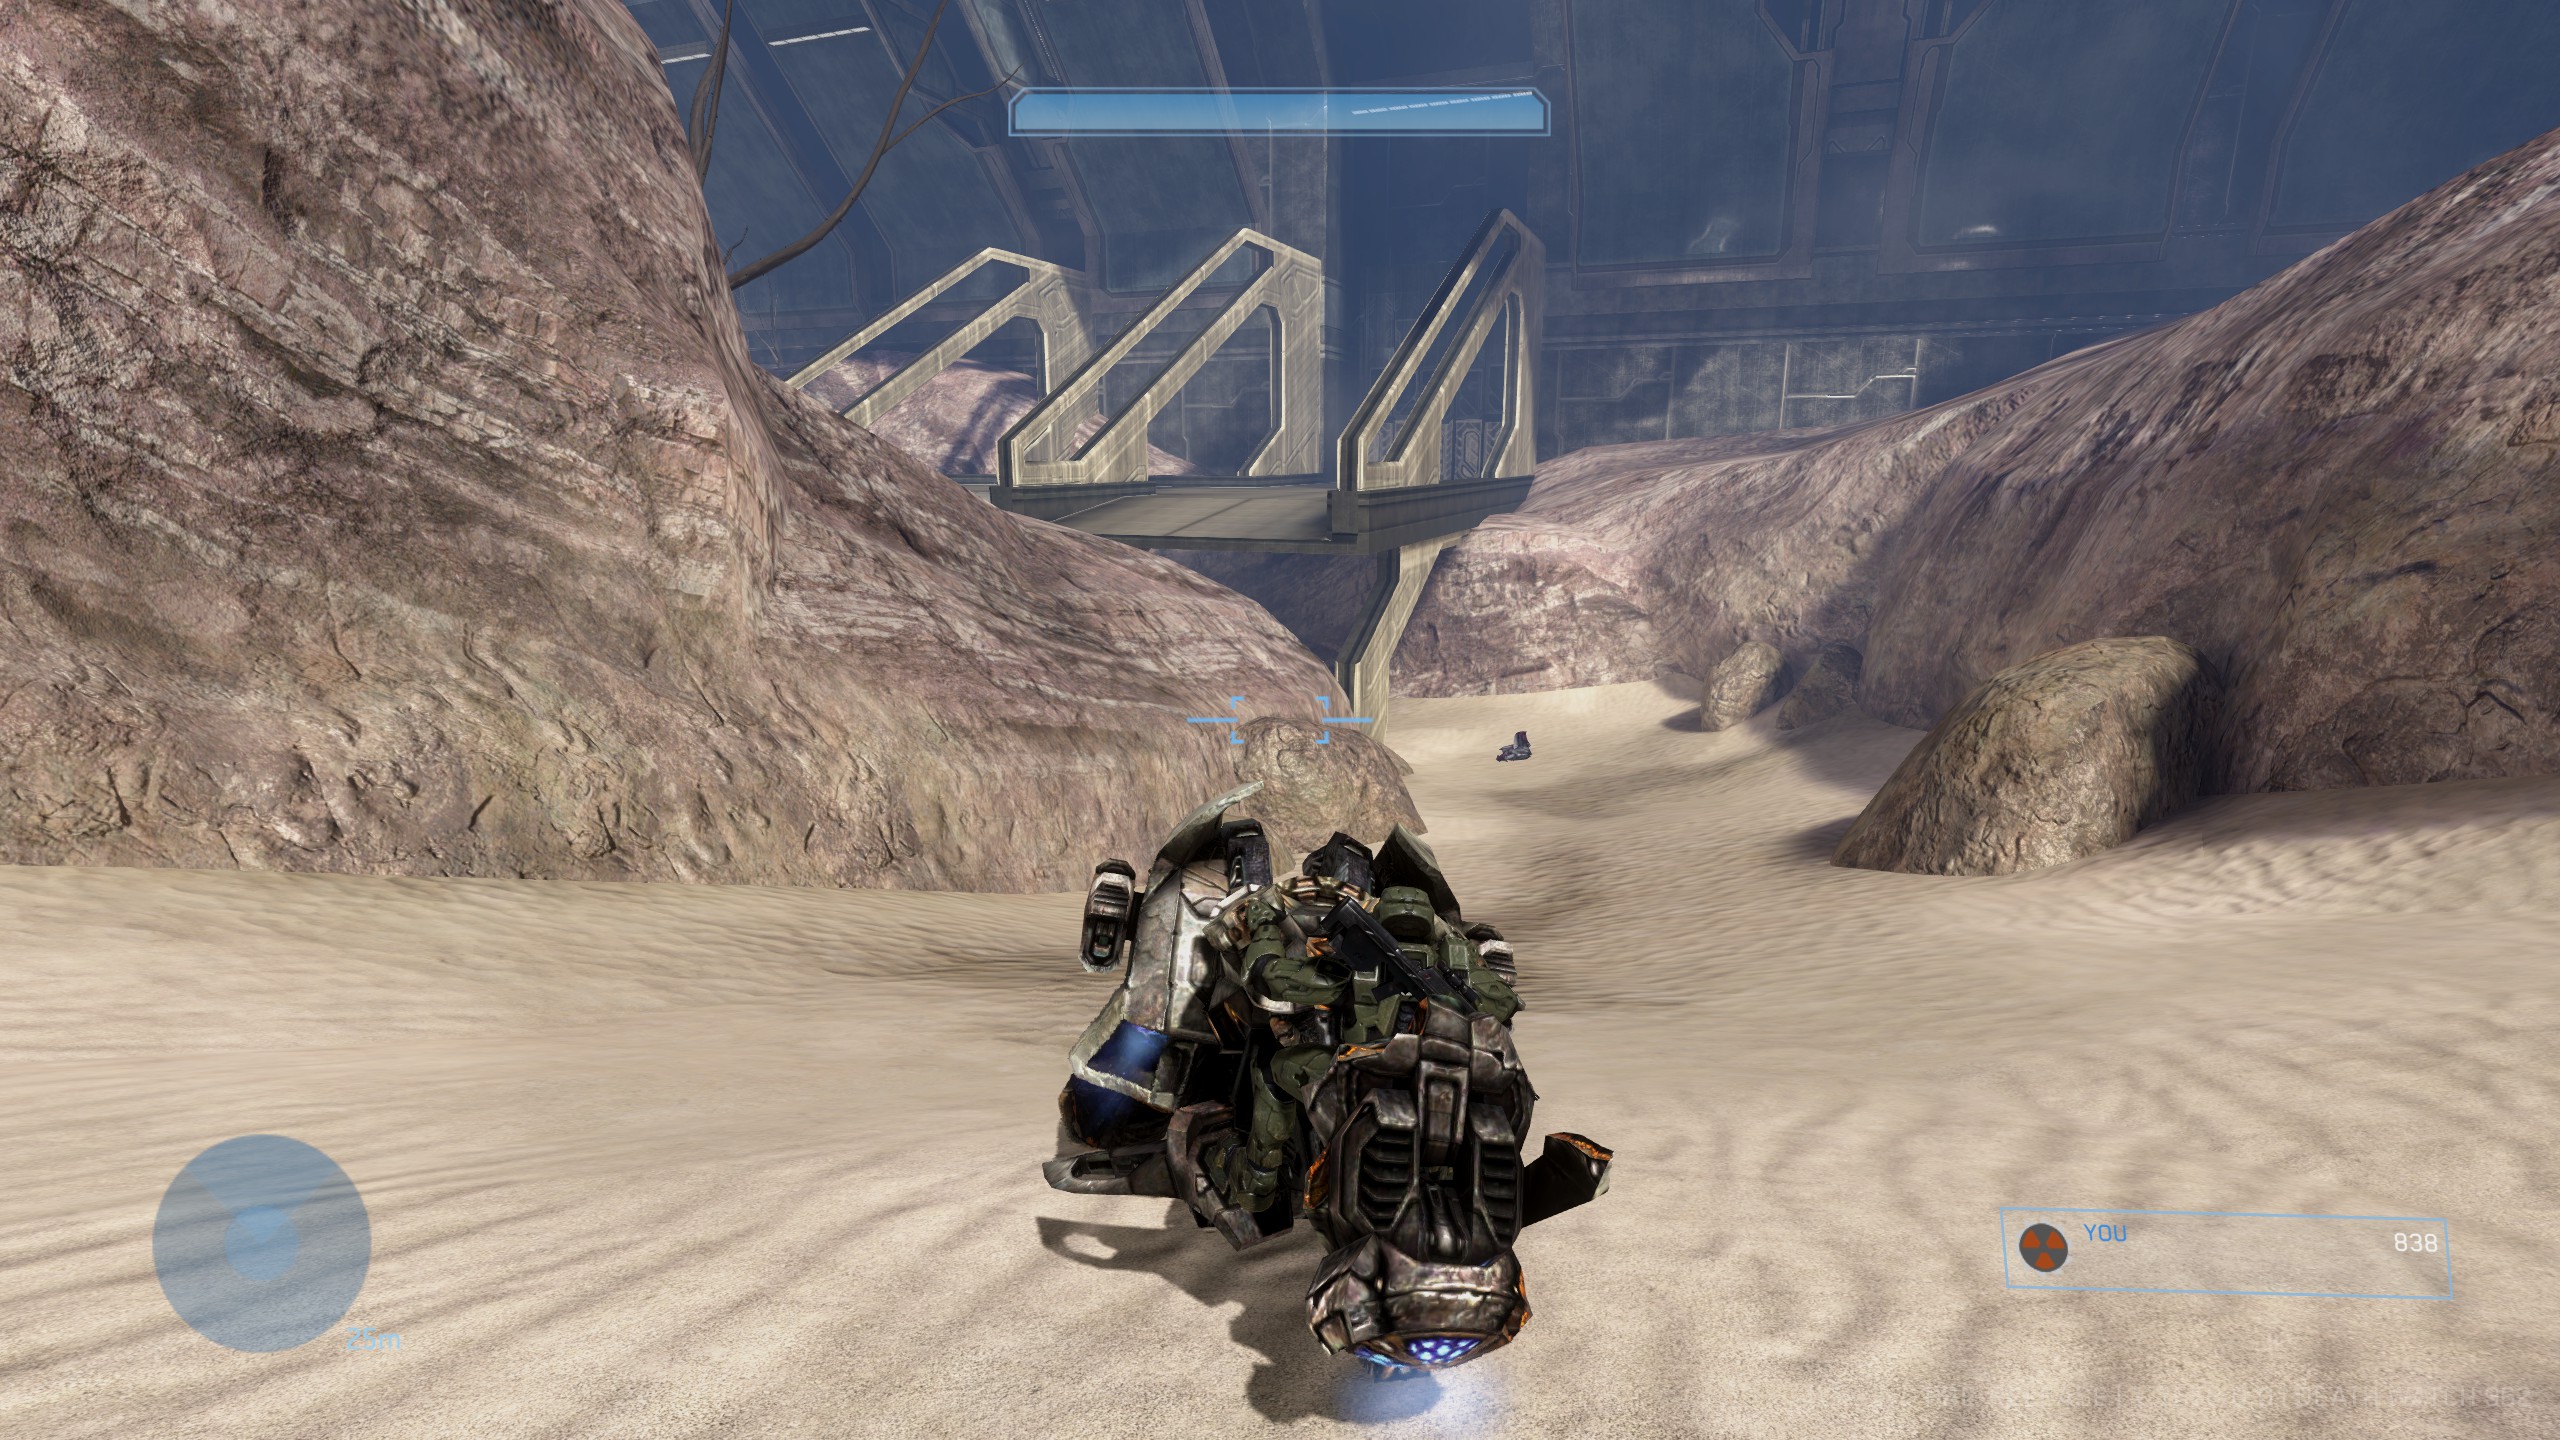
https://www.youtube.com/watch?v=tfTndyNneRQ
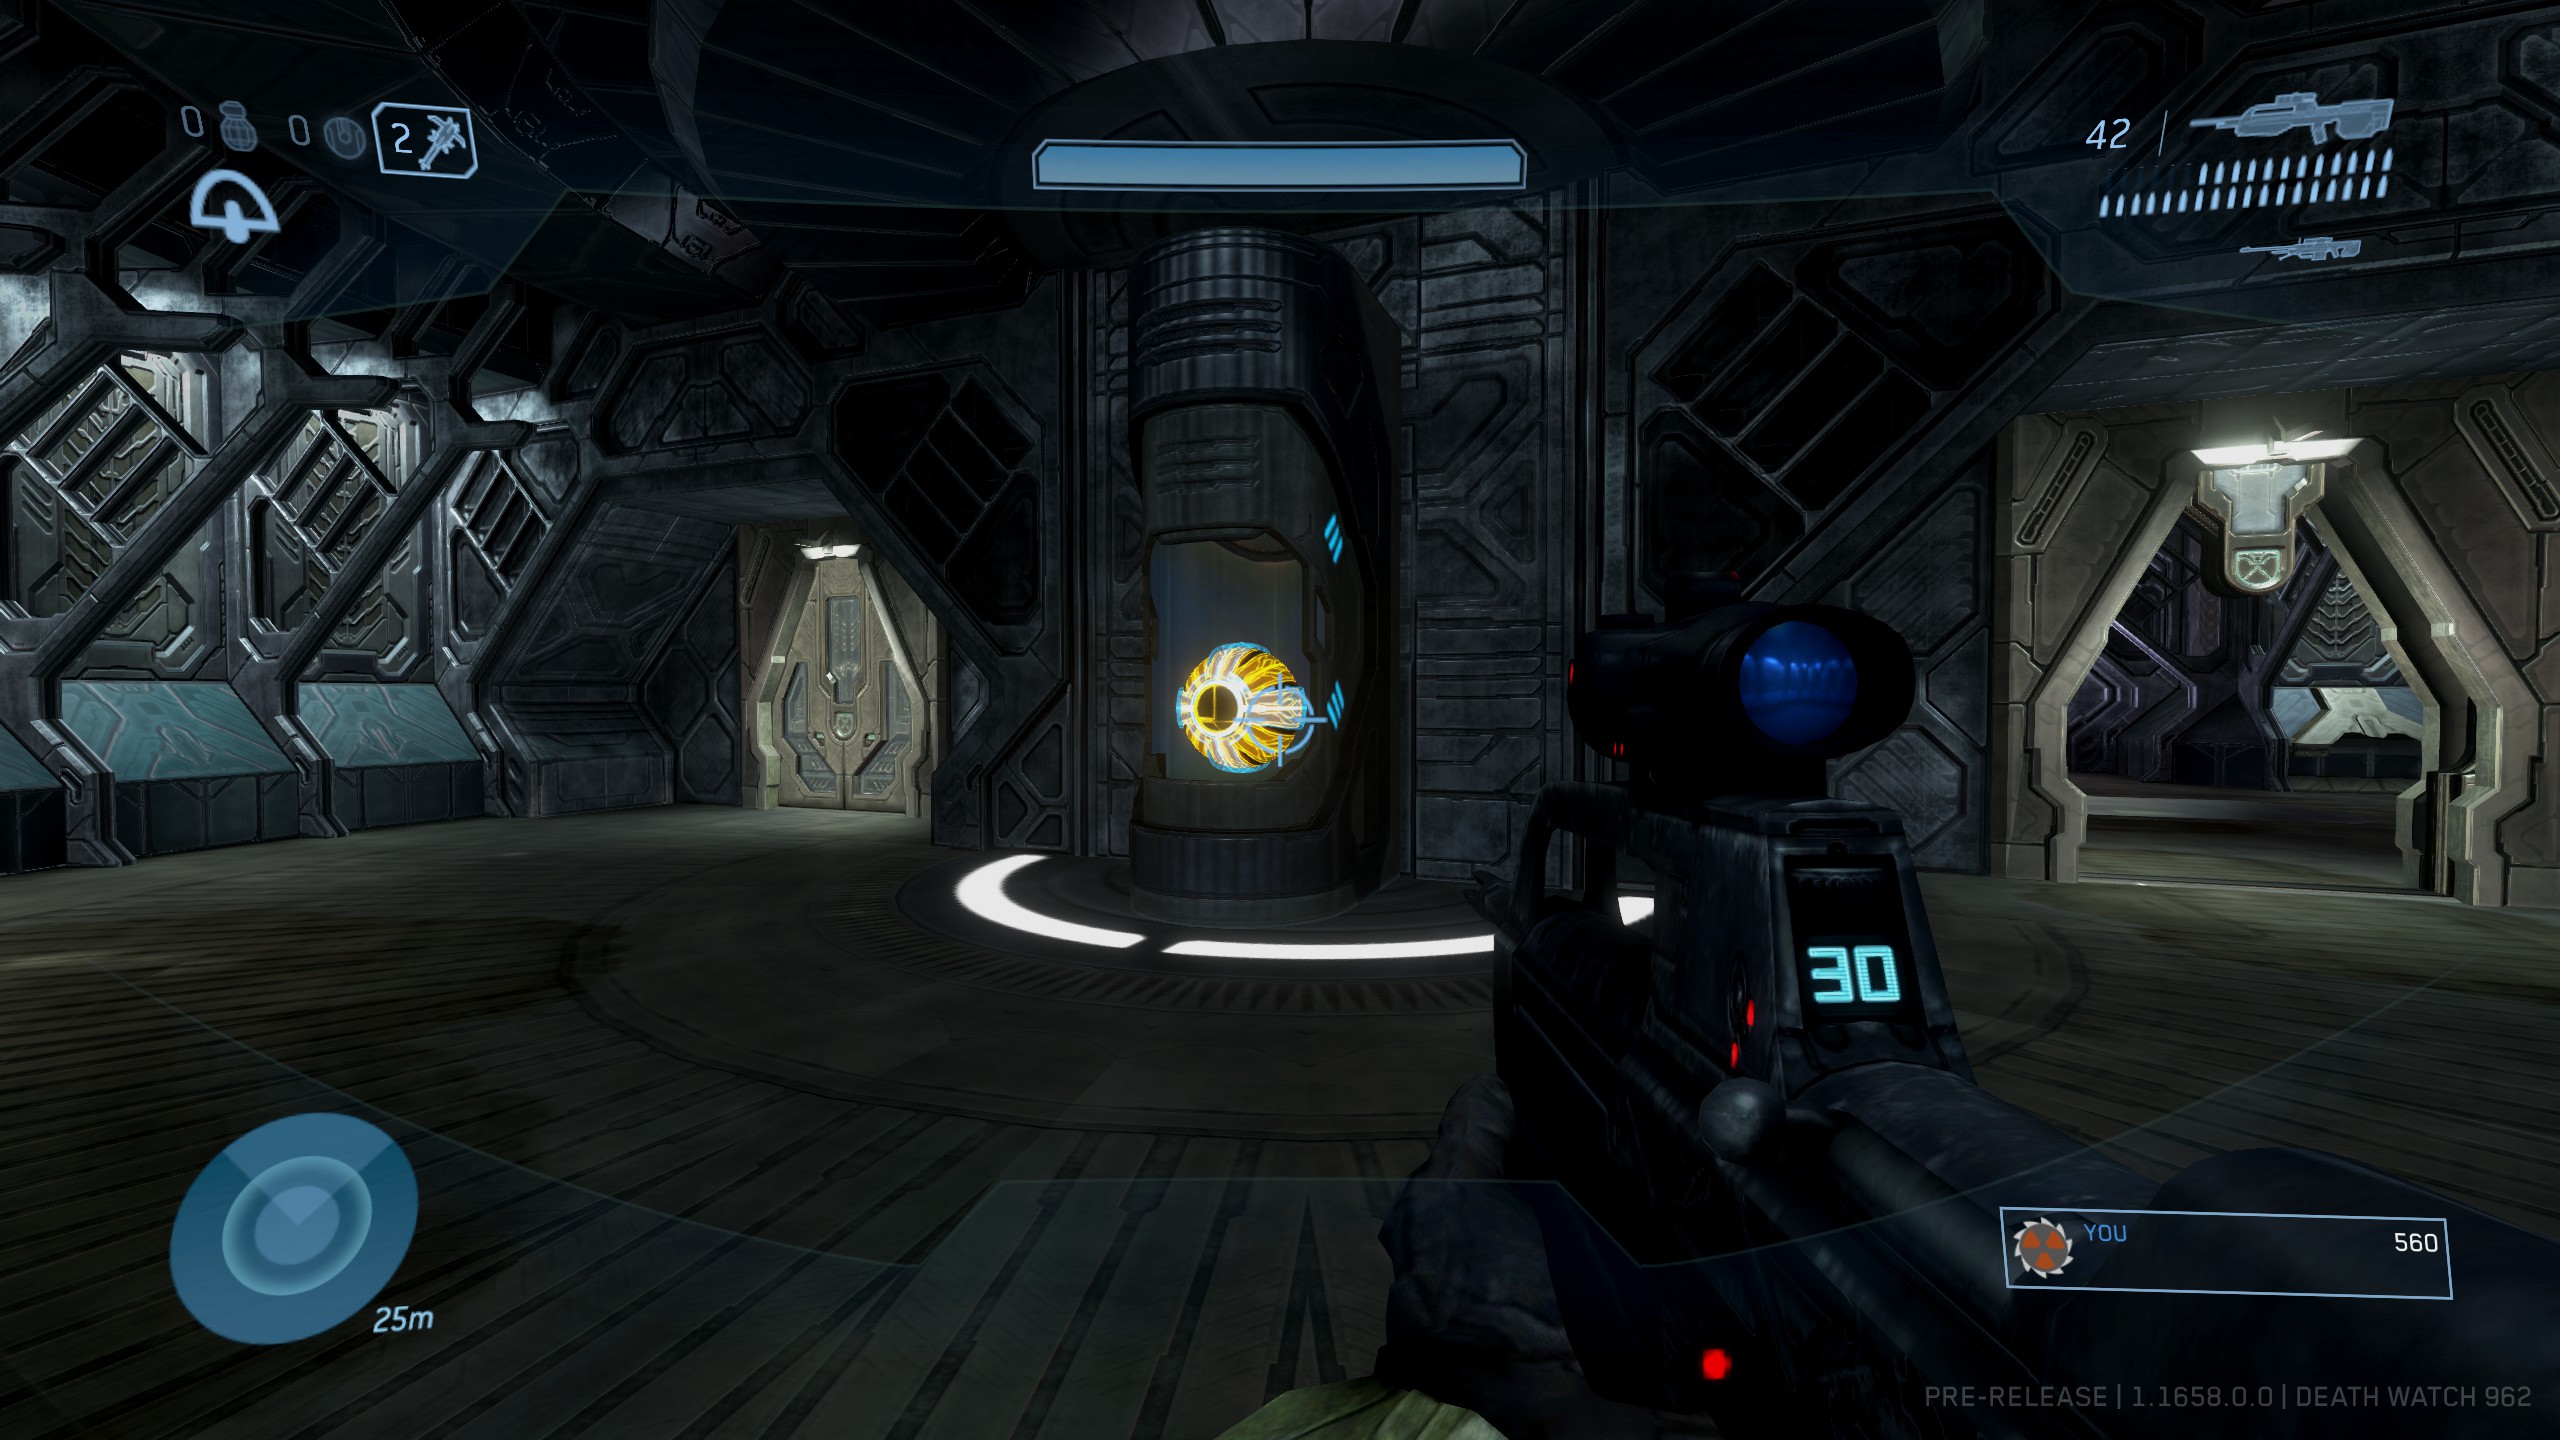
Location: Go outside to the desert area, commandeering transport. You must complete a significant section of this level until you obtain tanks after defeating the Anti-Air Wraiths, then return in the tanks to the main door to the structure.
When you go inside the structure to let the tanks across the energy bridge, there will be a Terminal directly behind the controls for the bridge. You must activate the bridge before you can access this Terminal.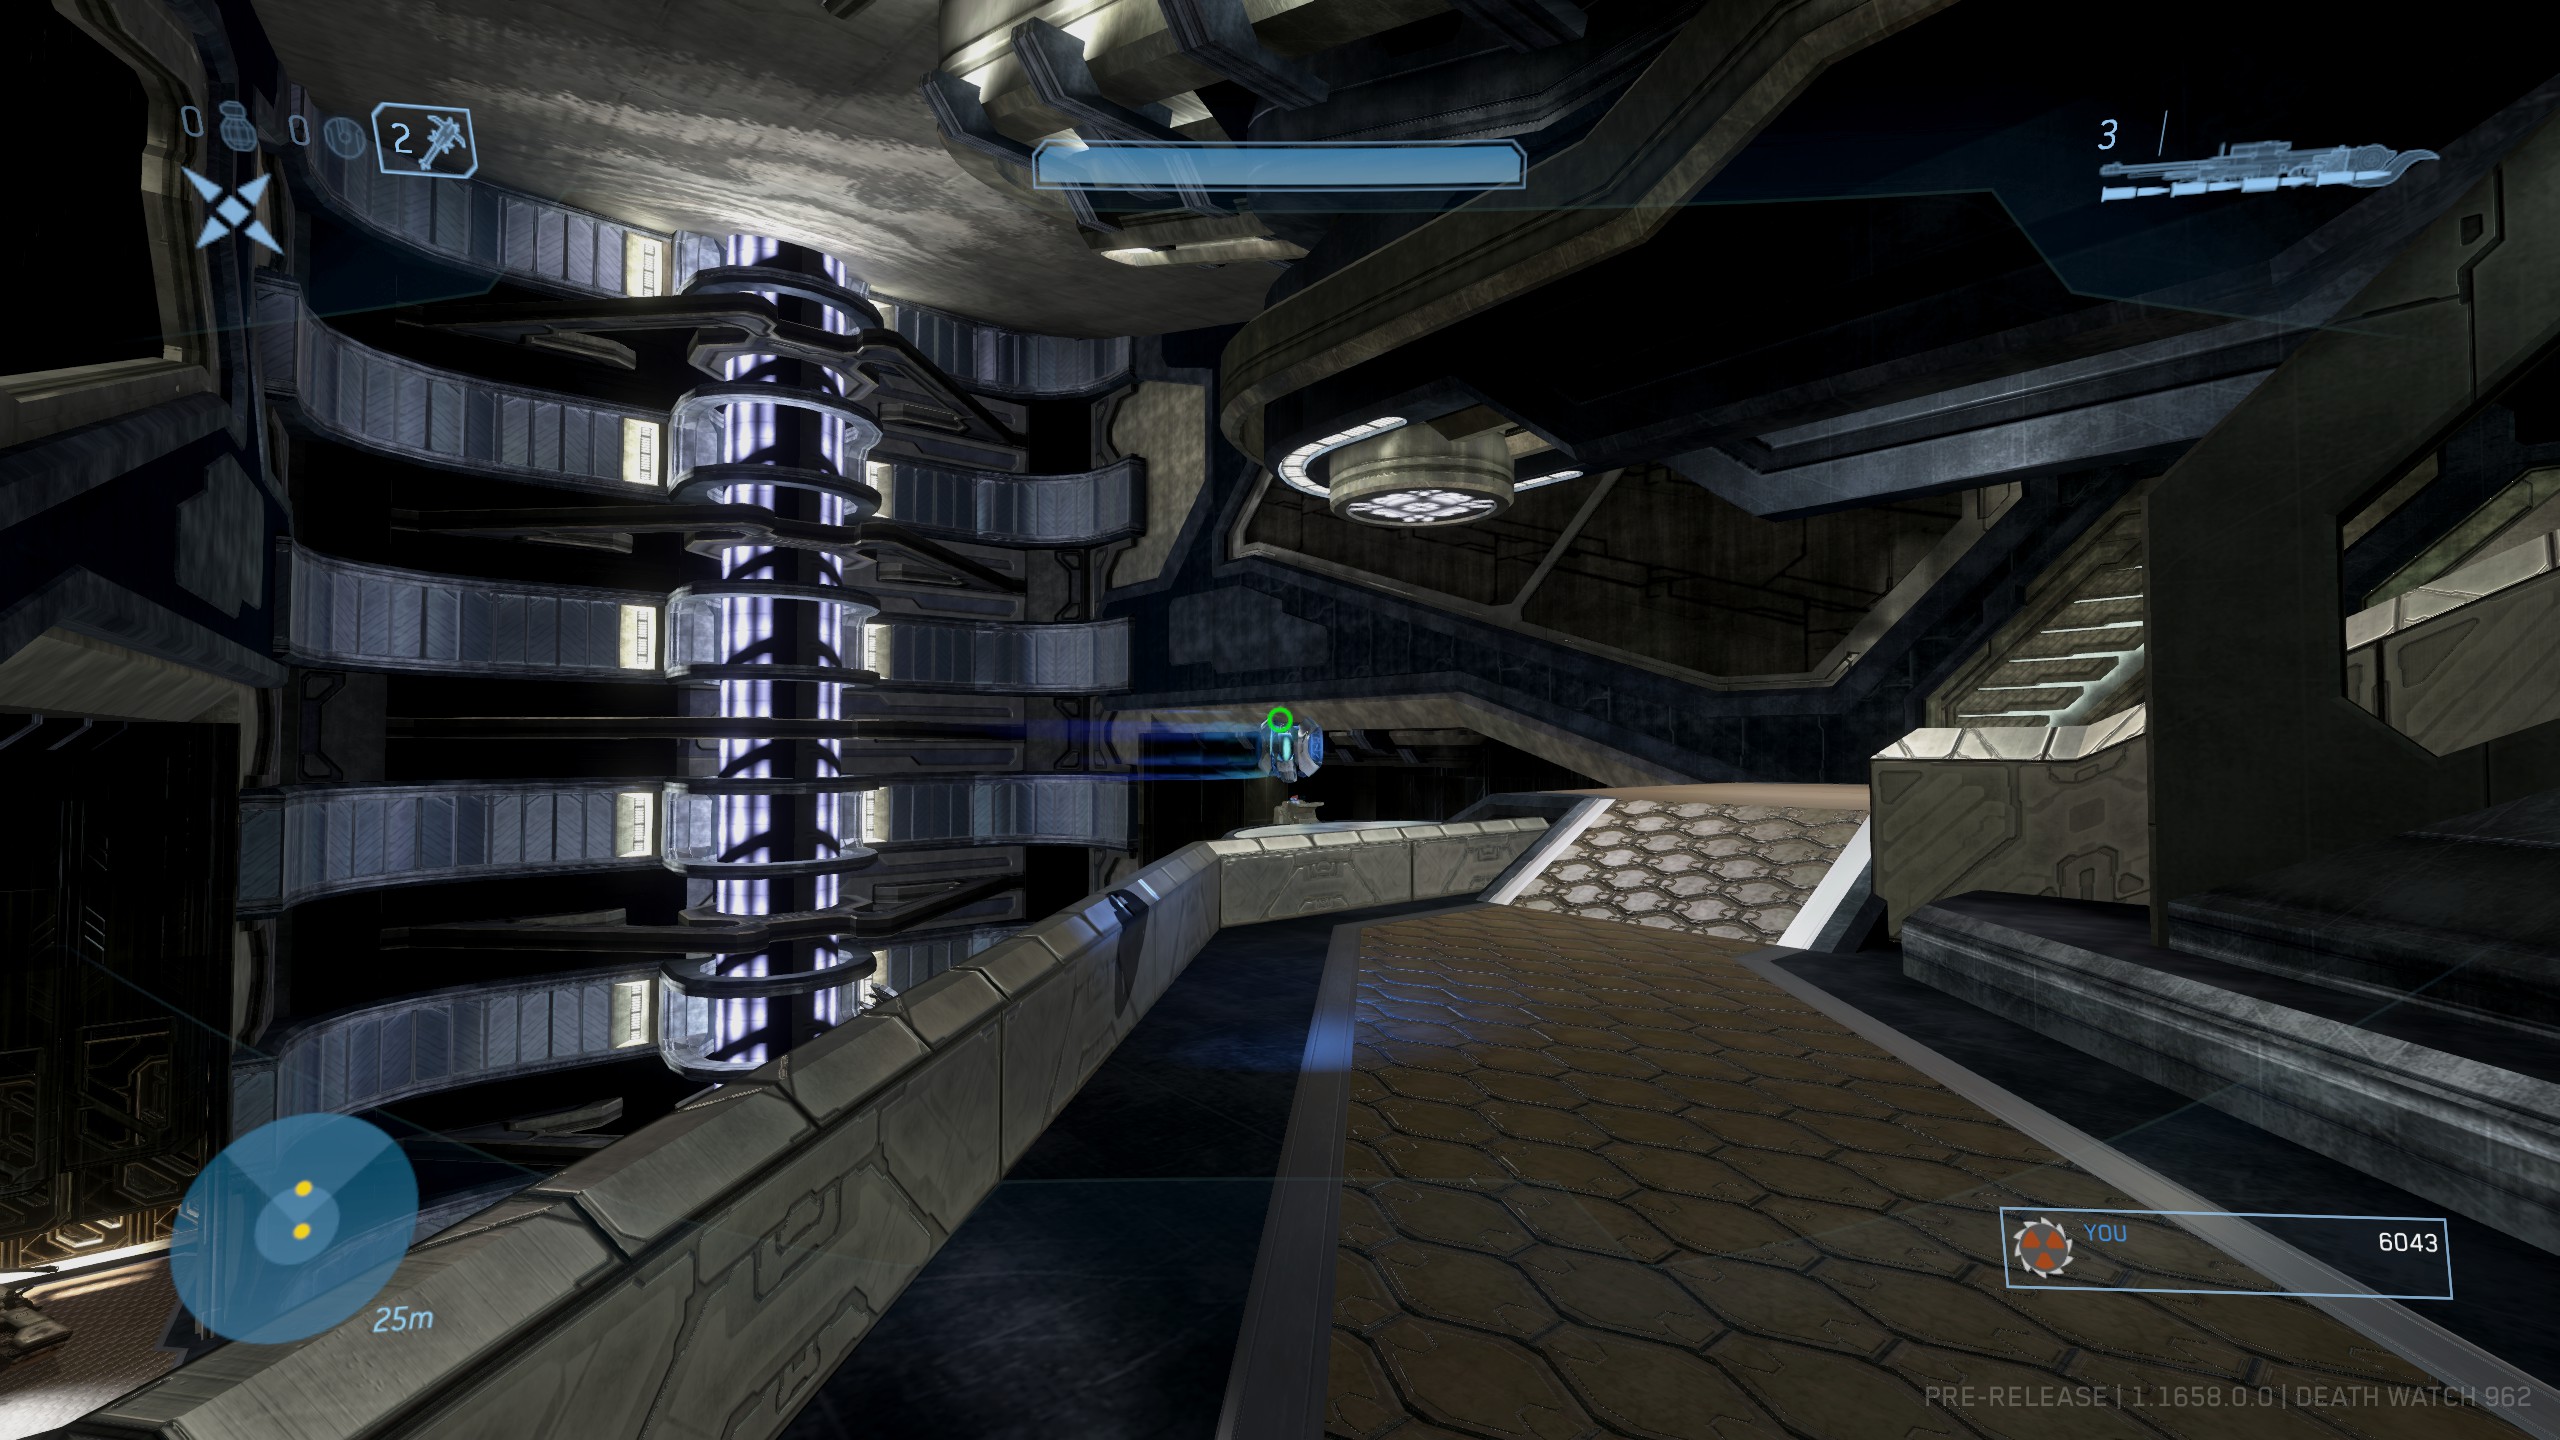
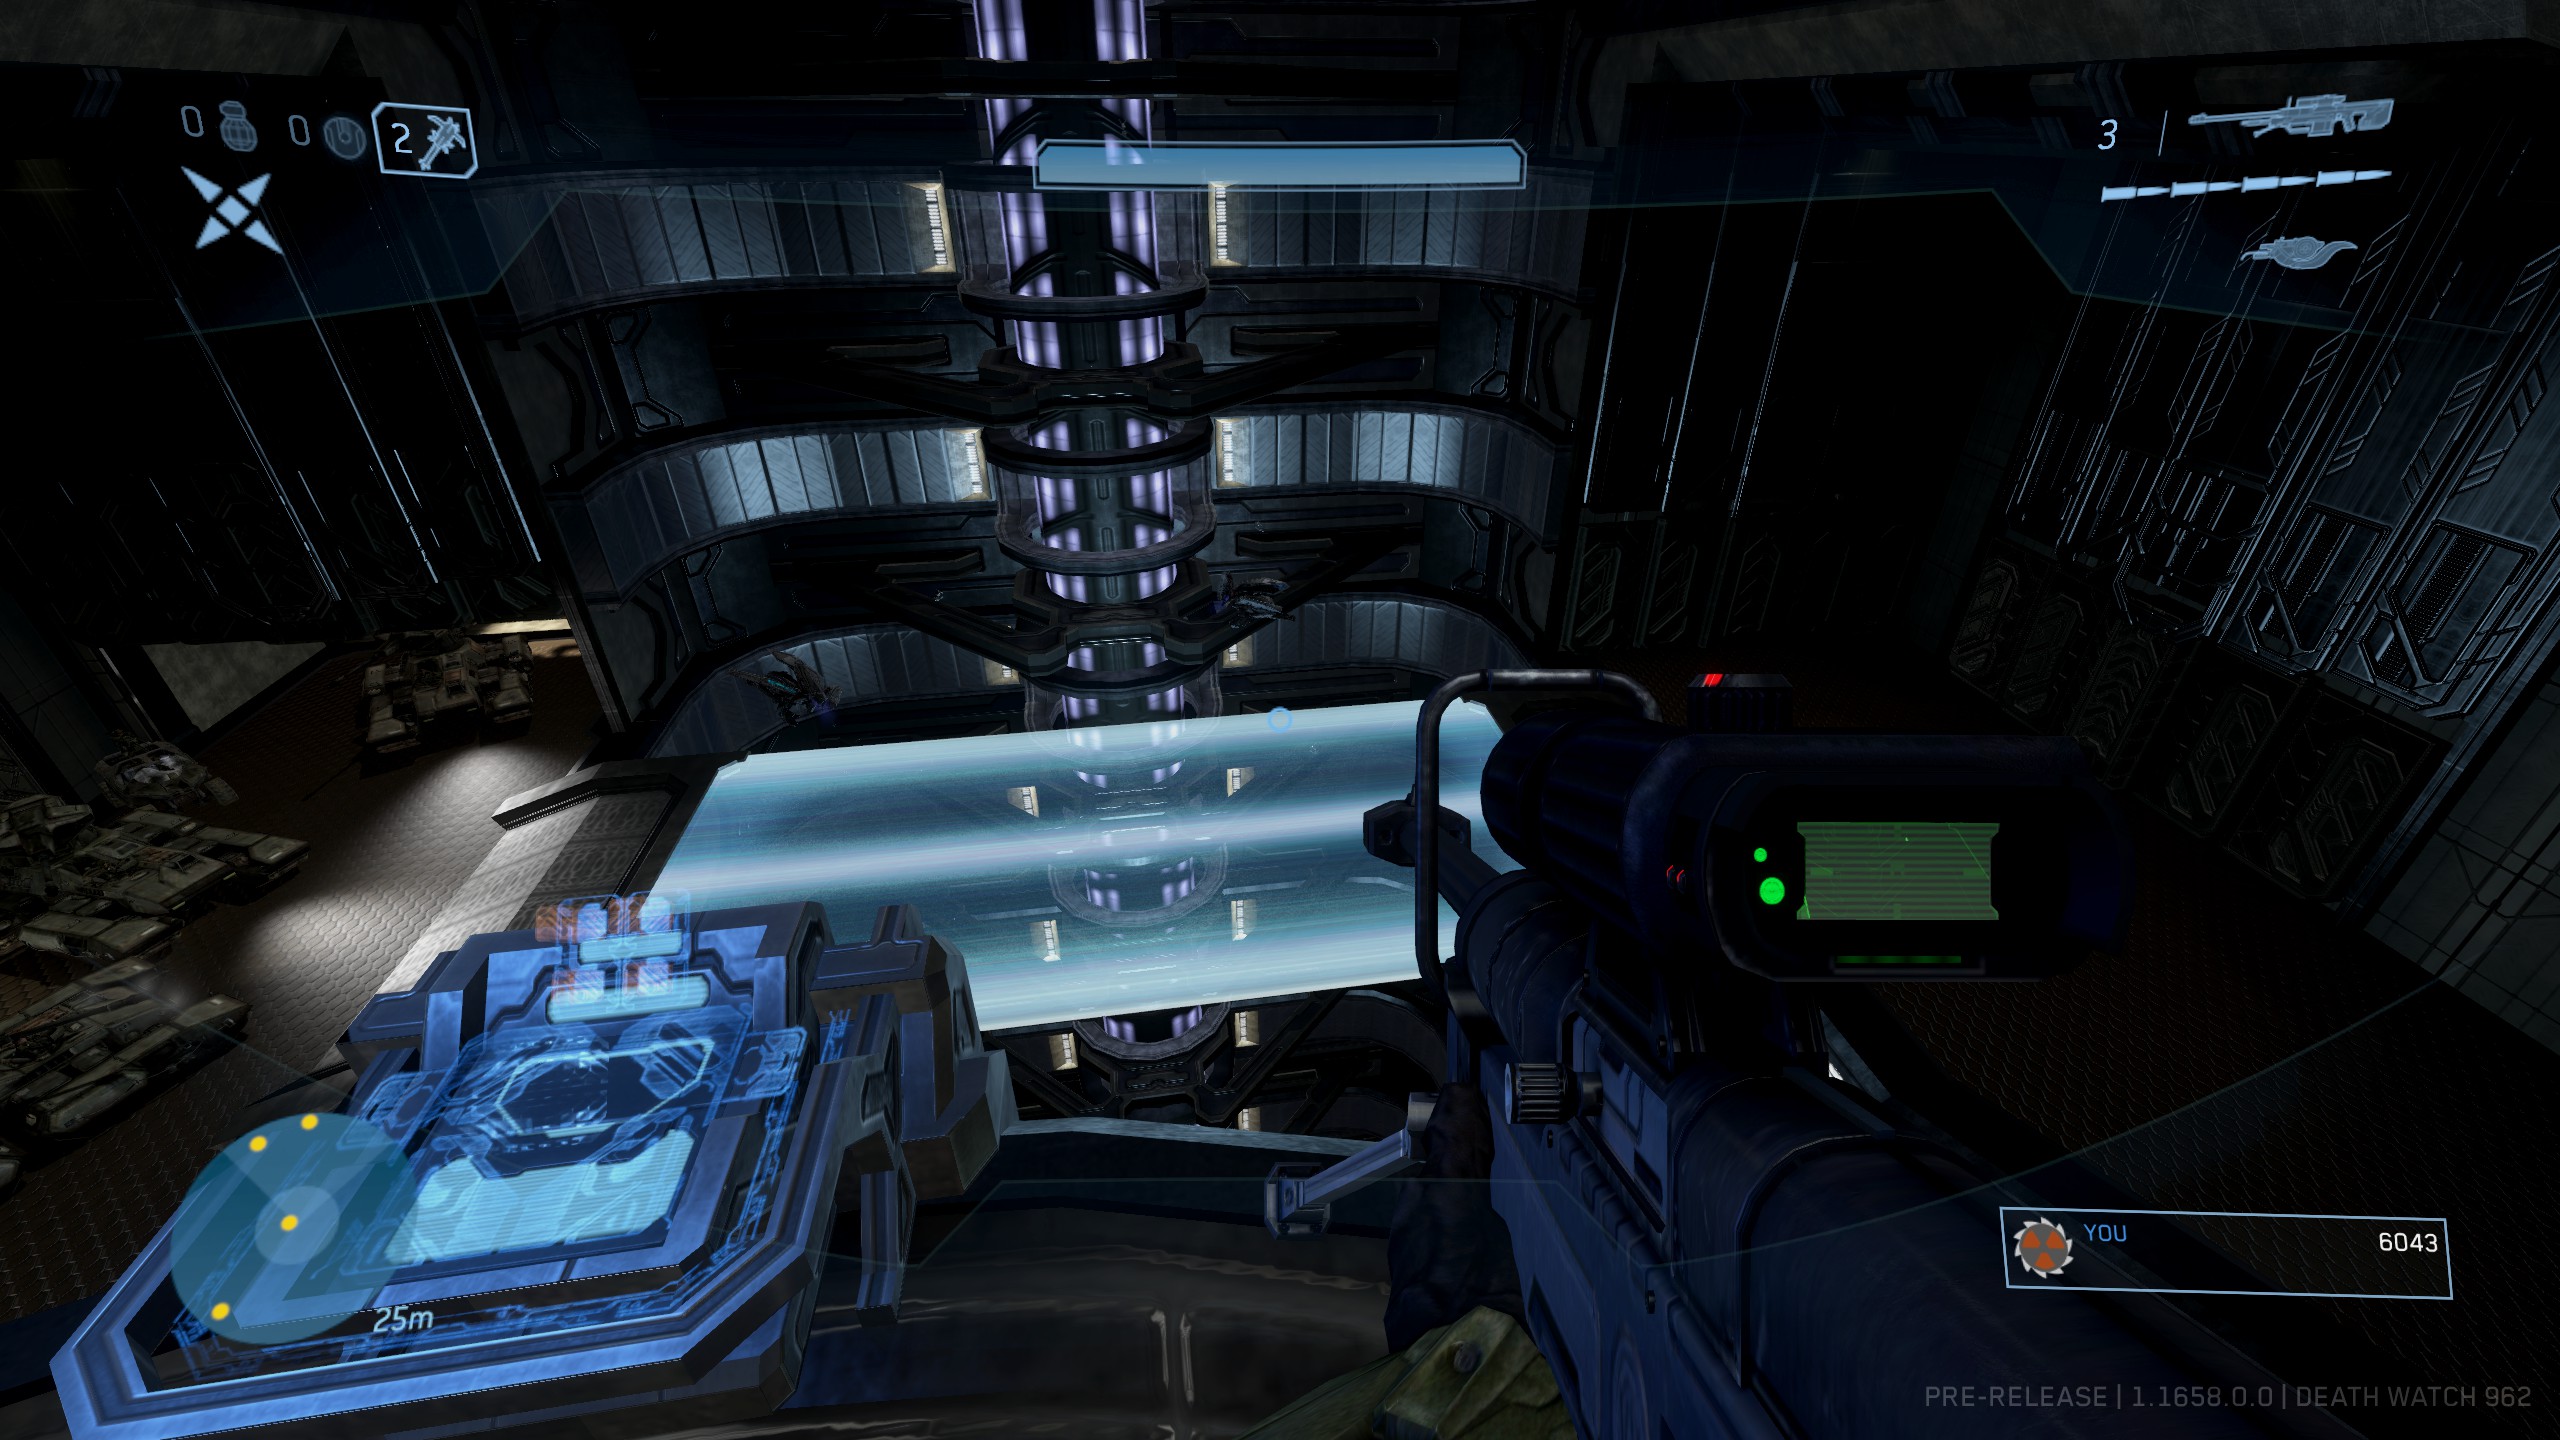
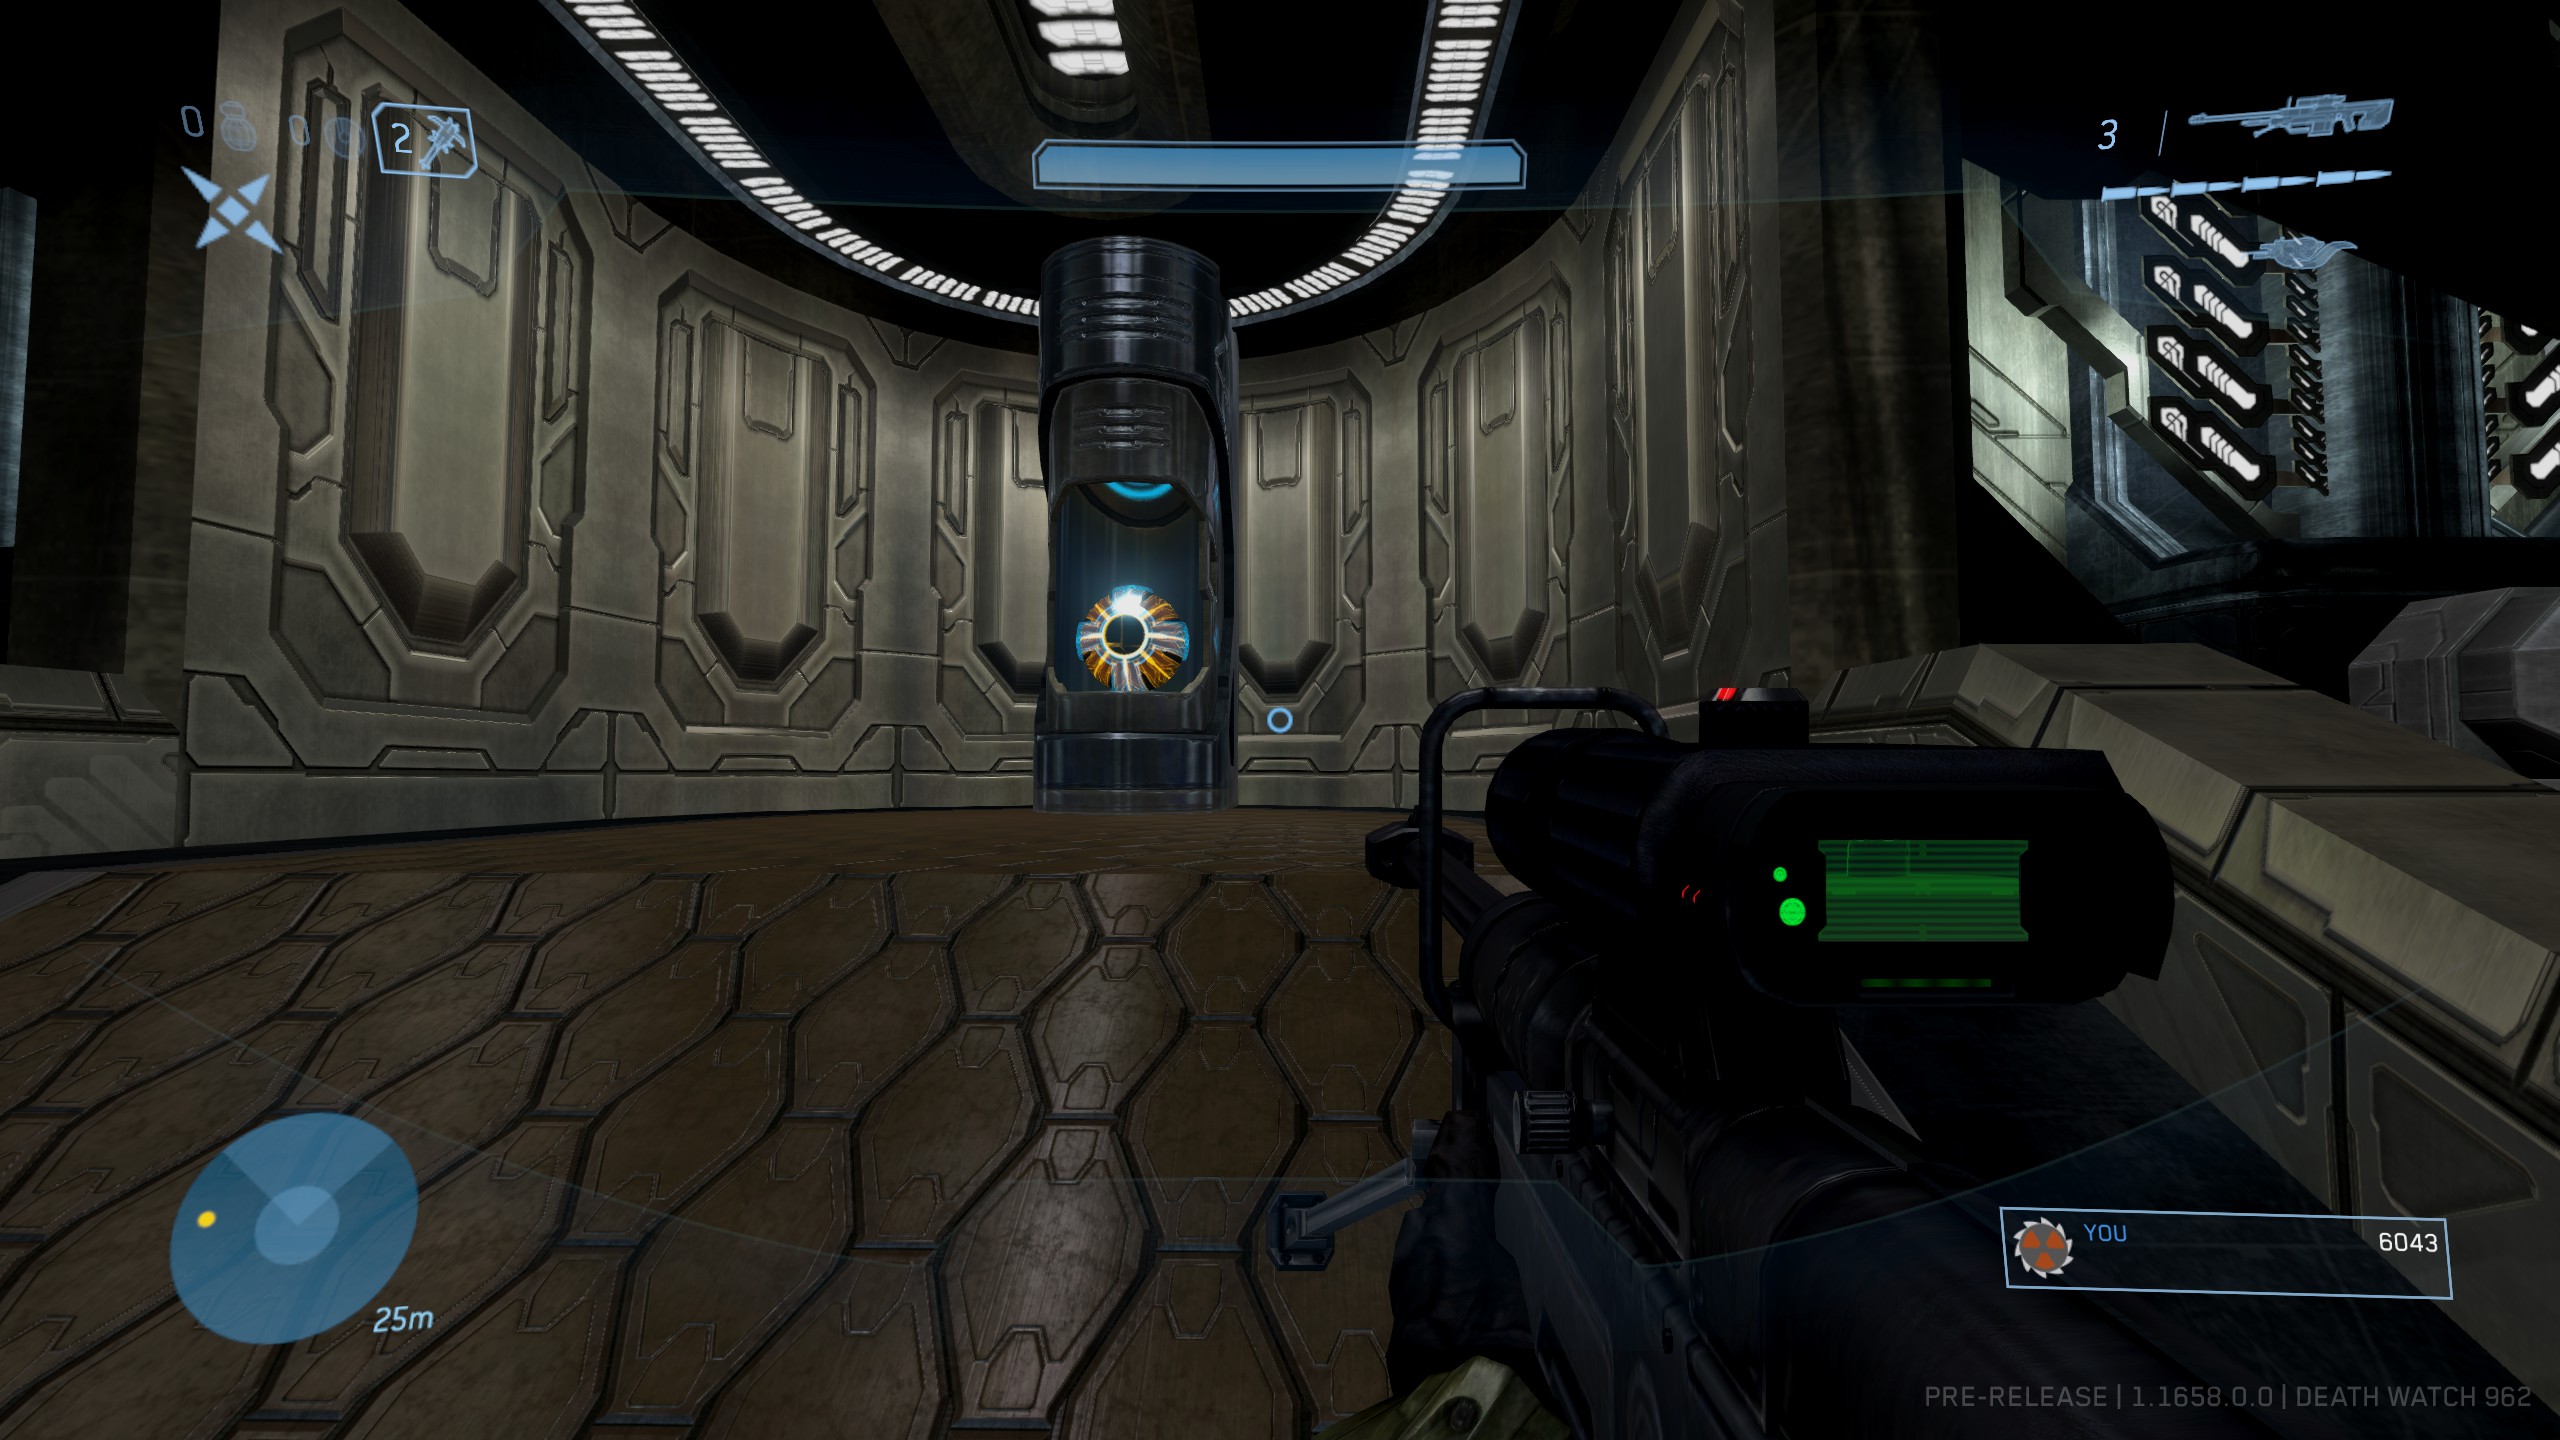
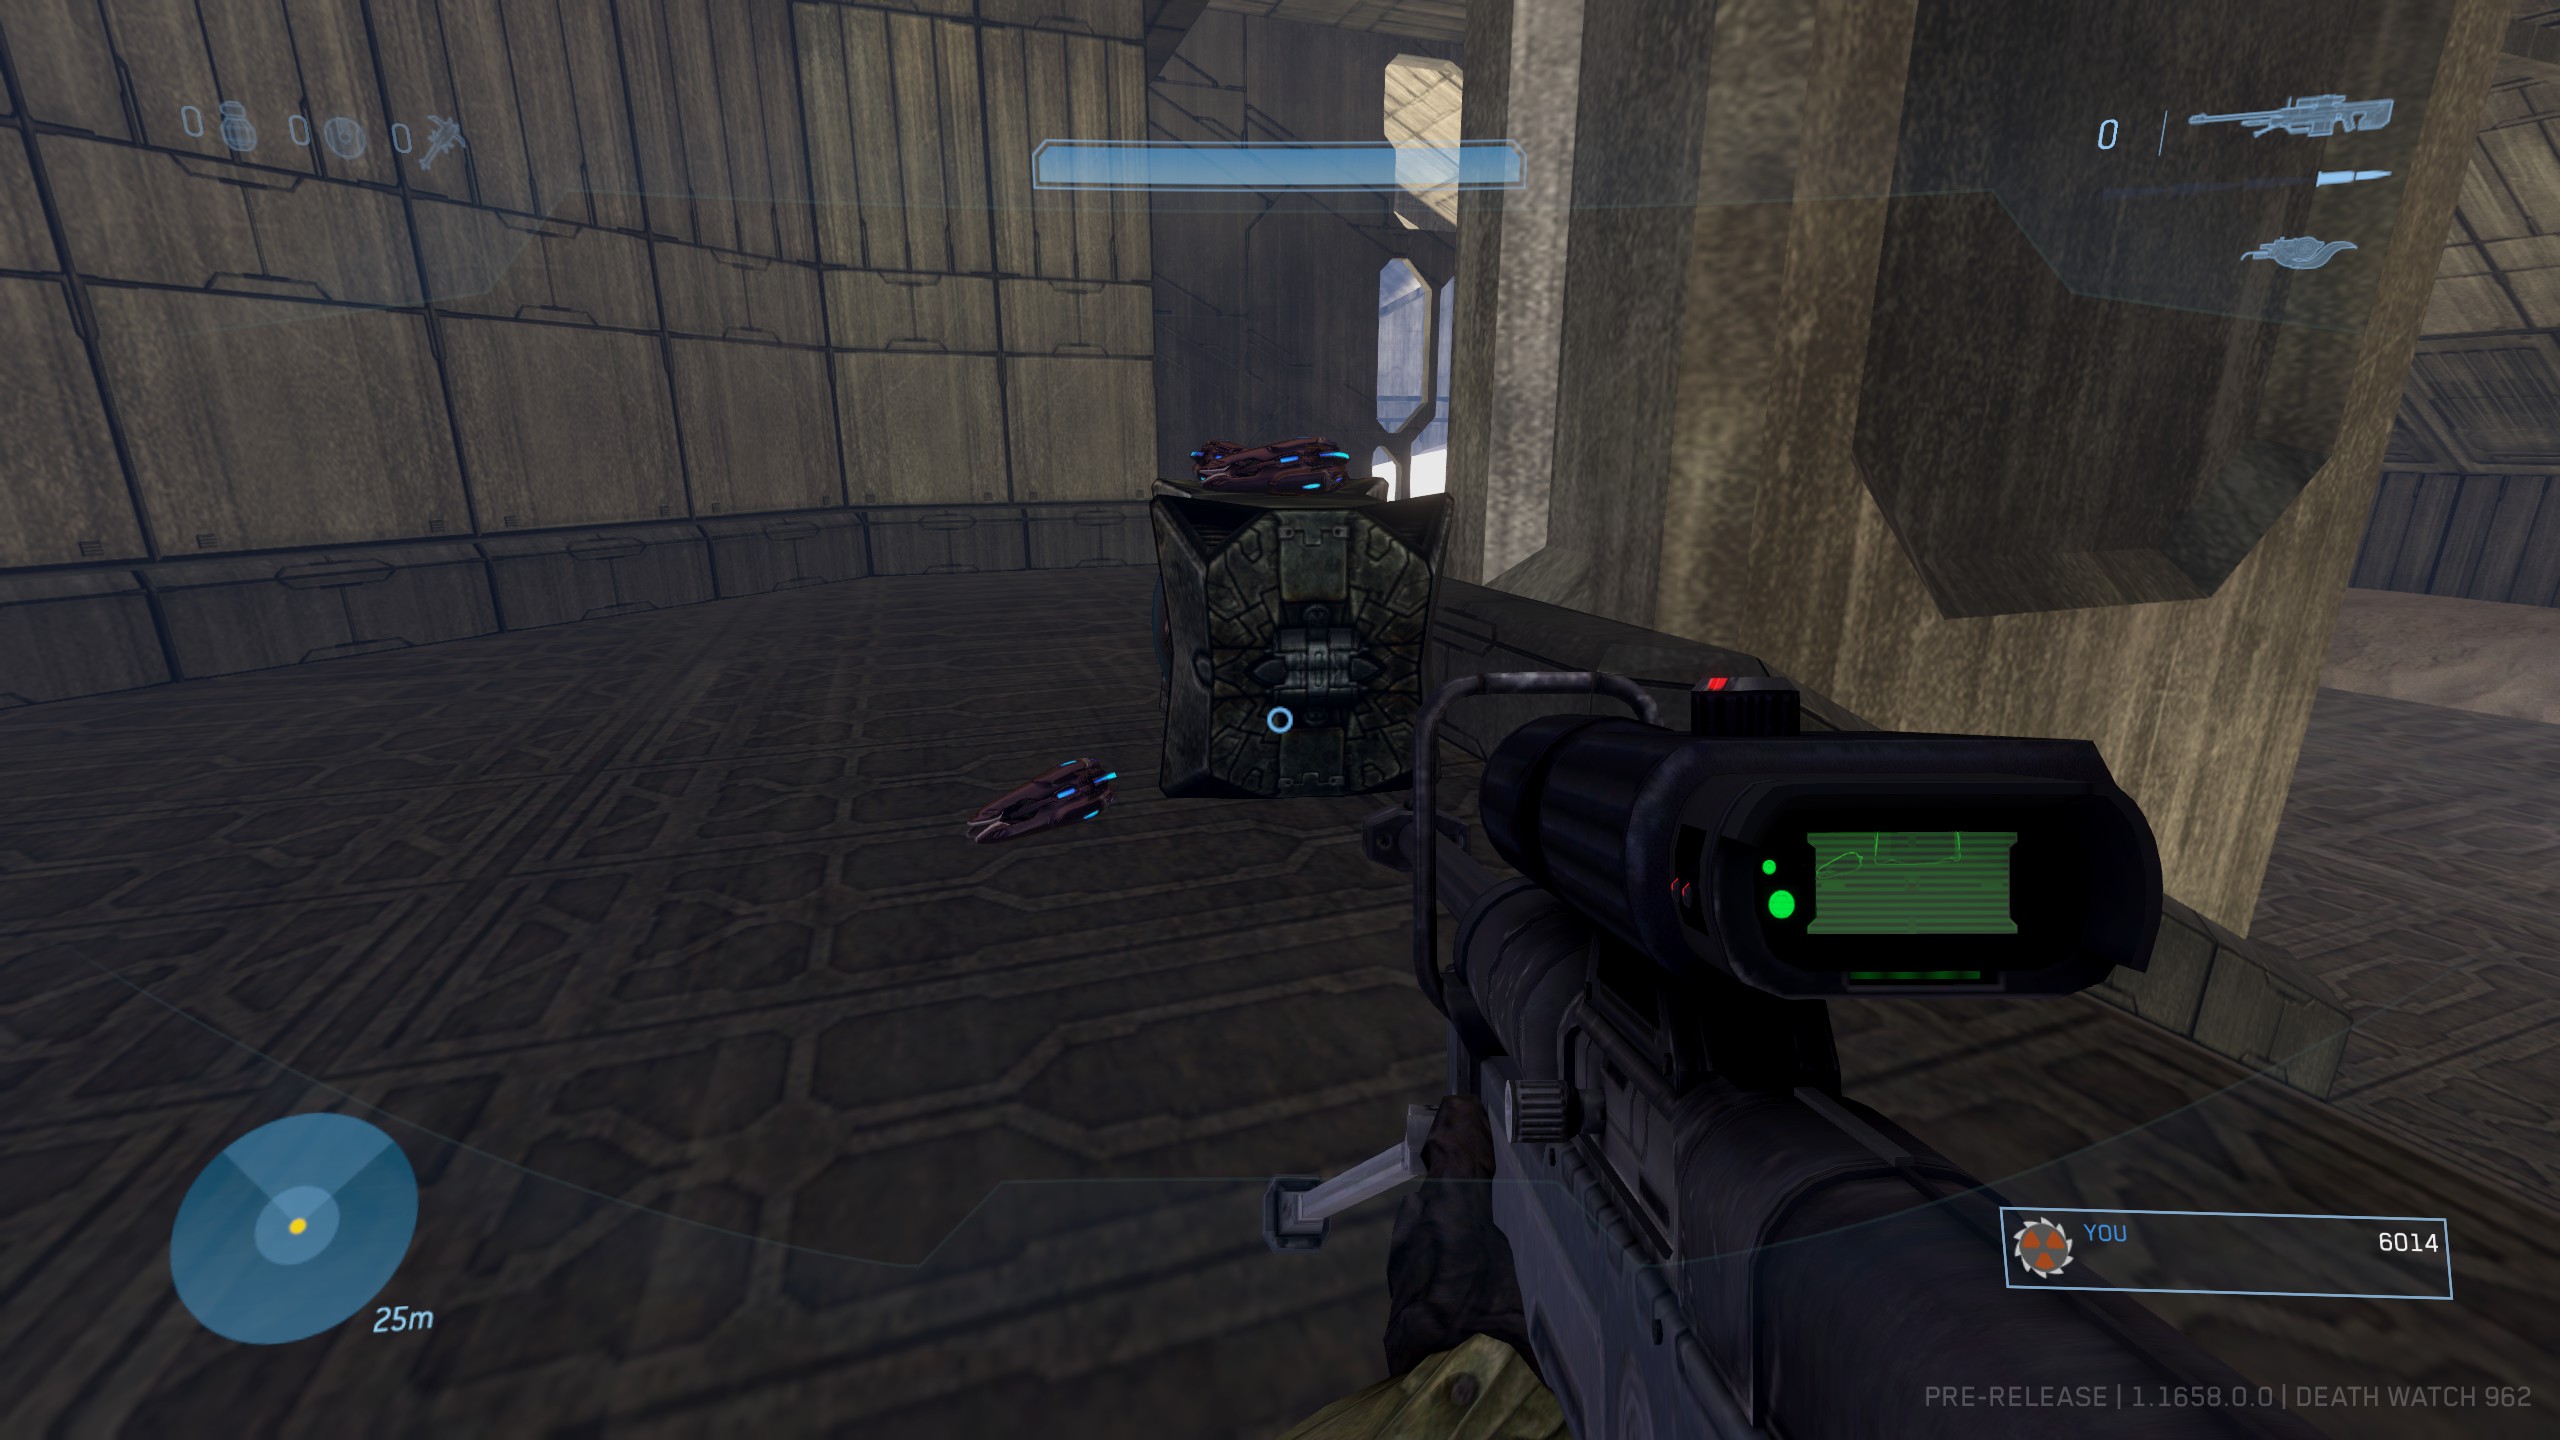
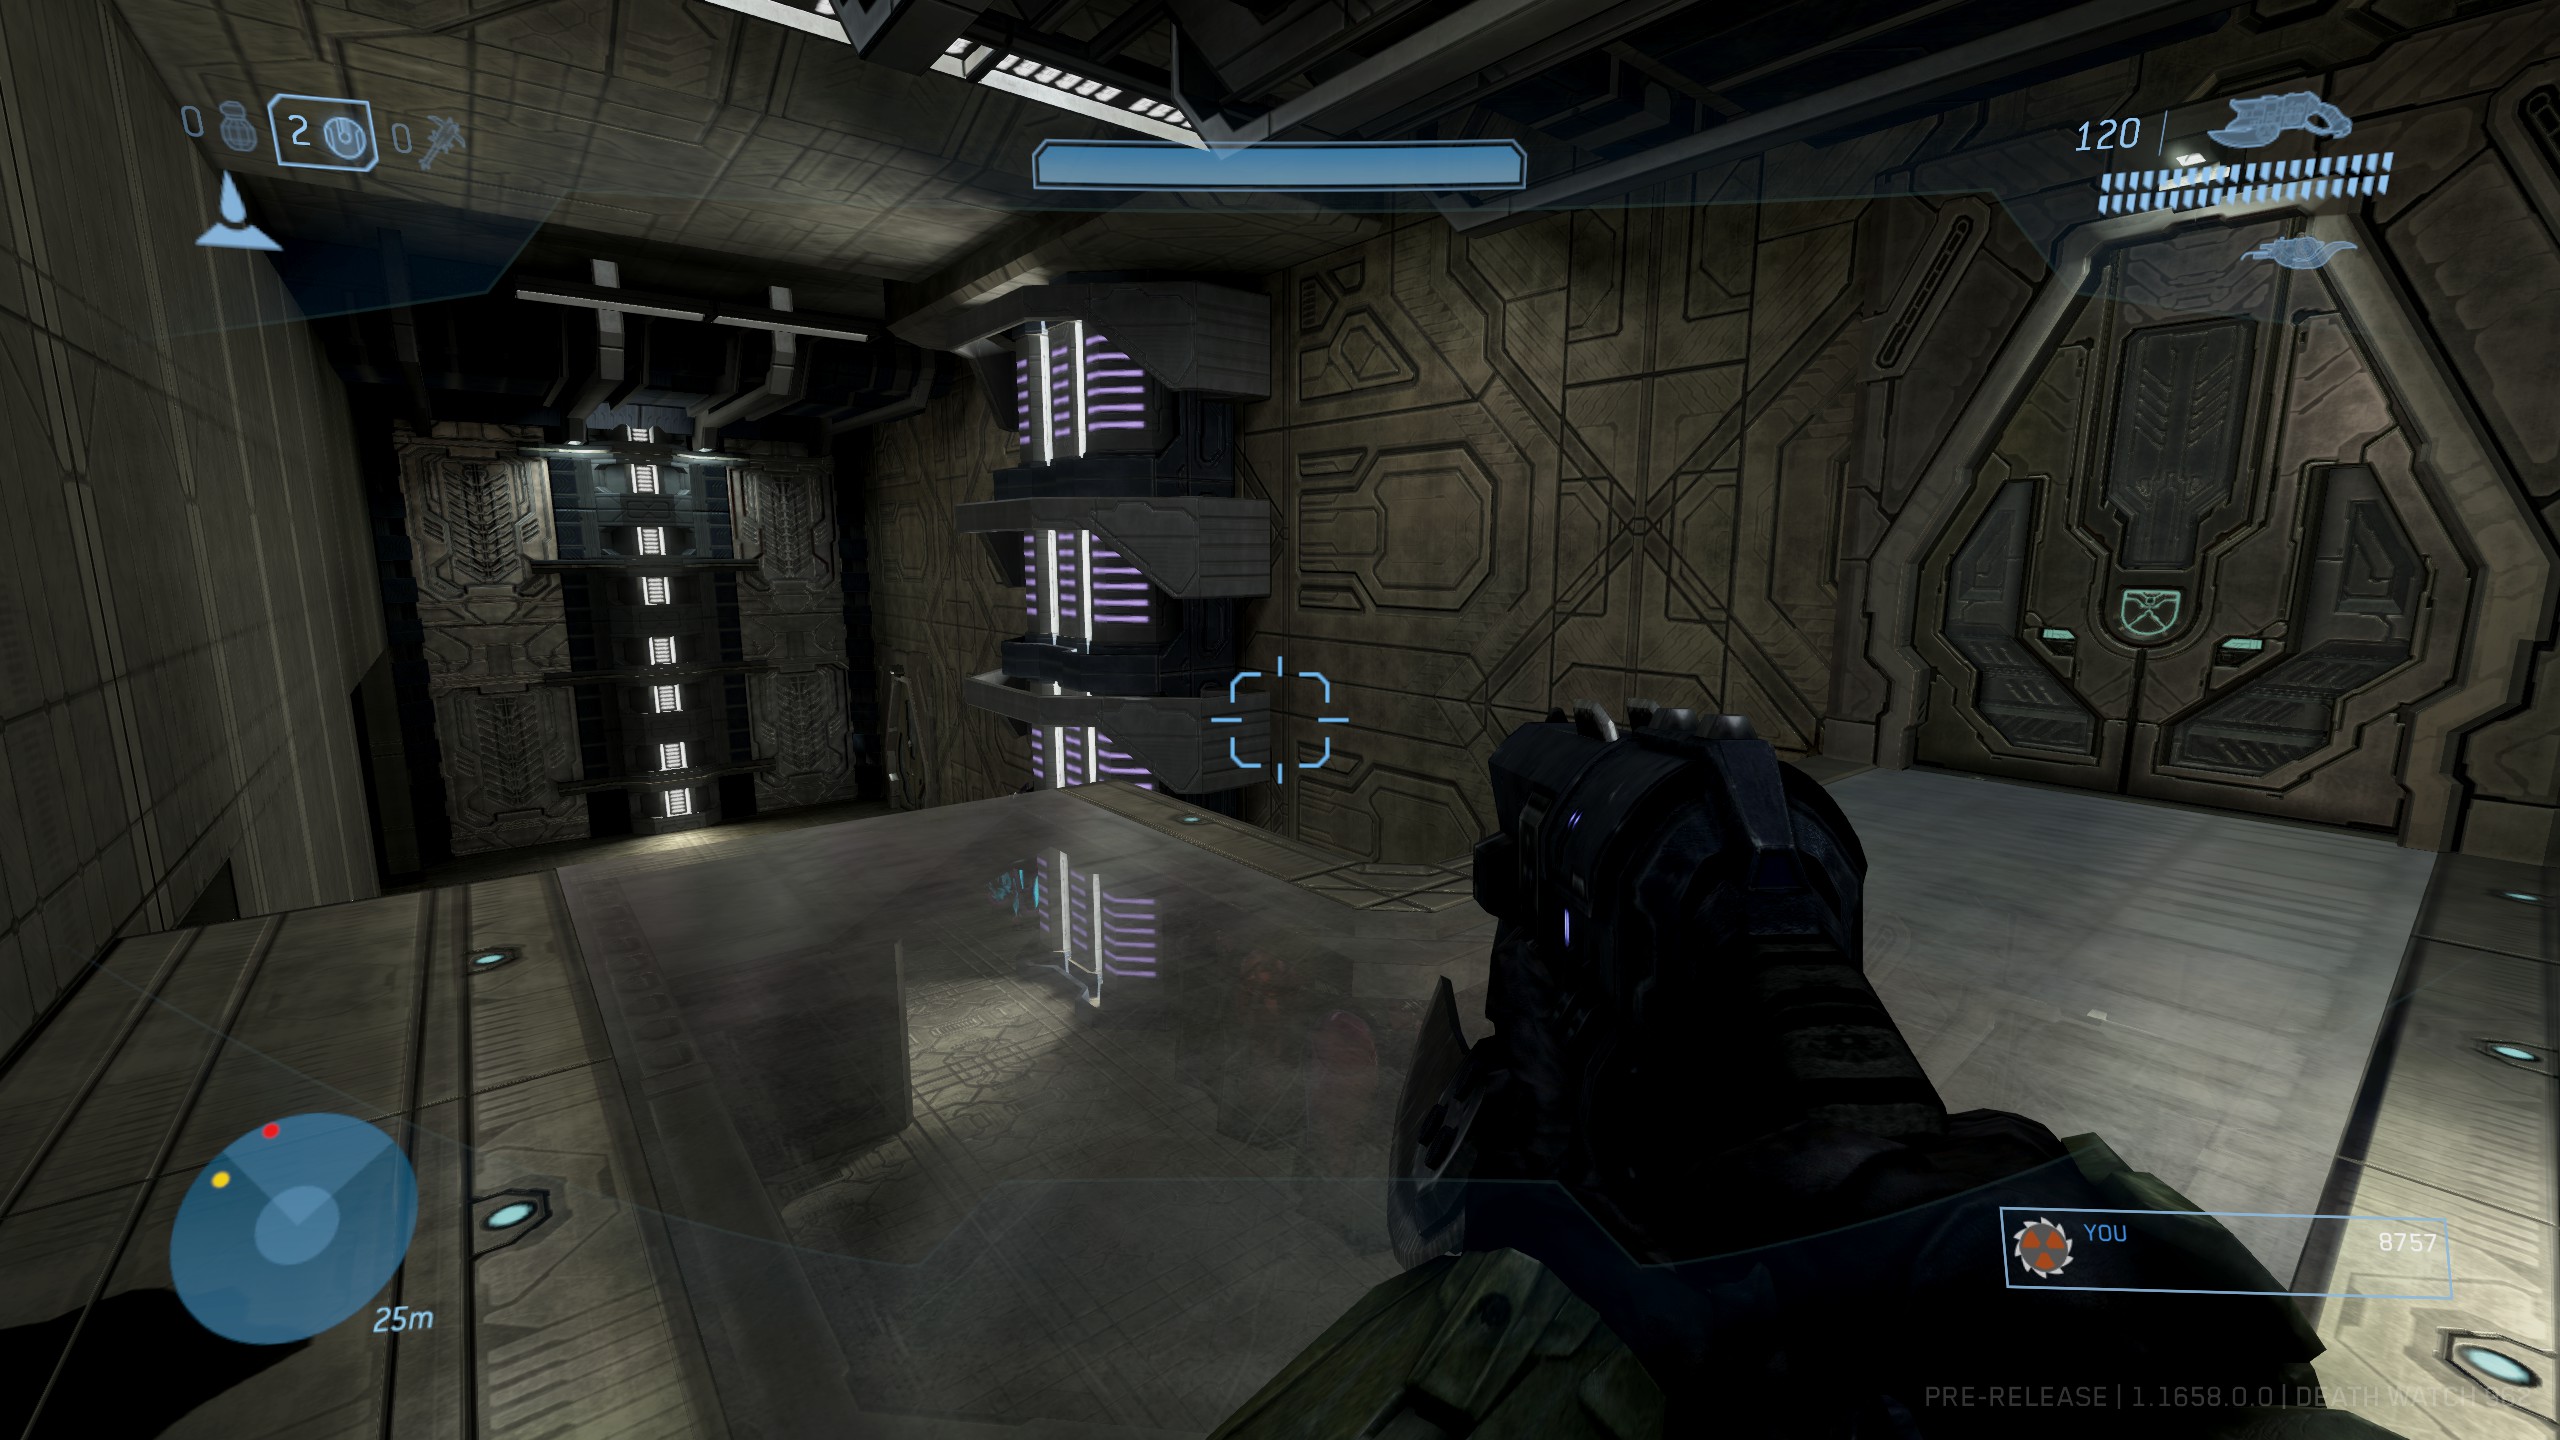
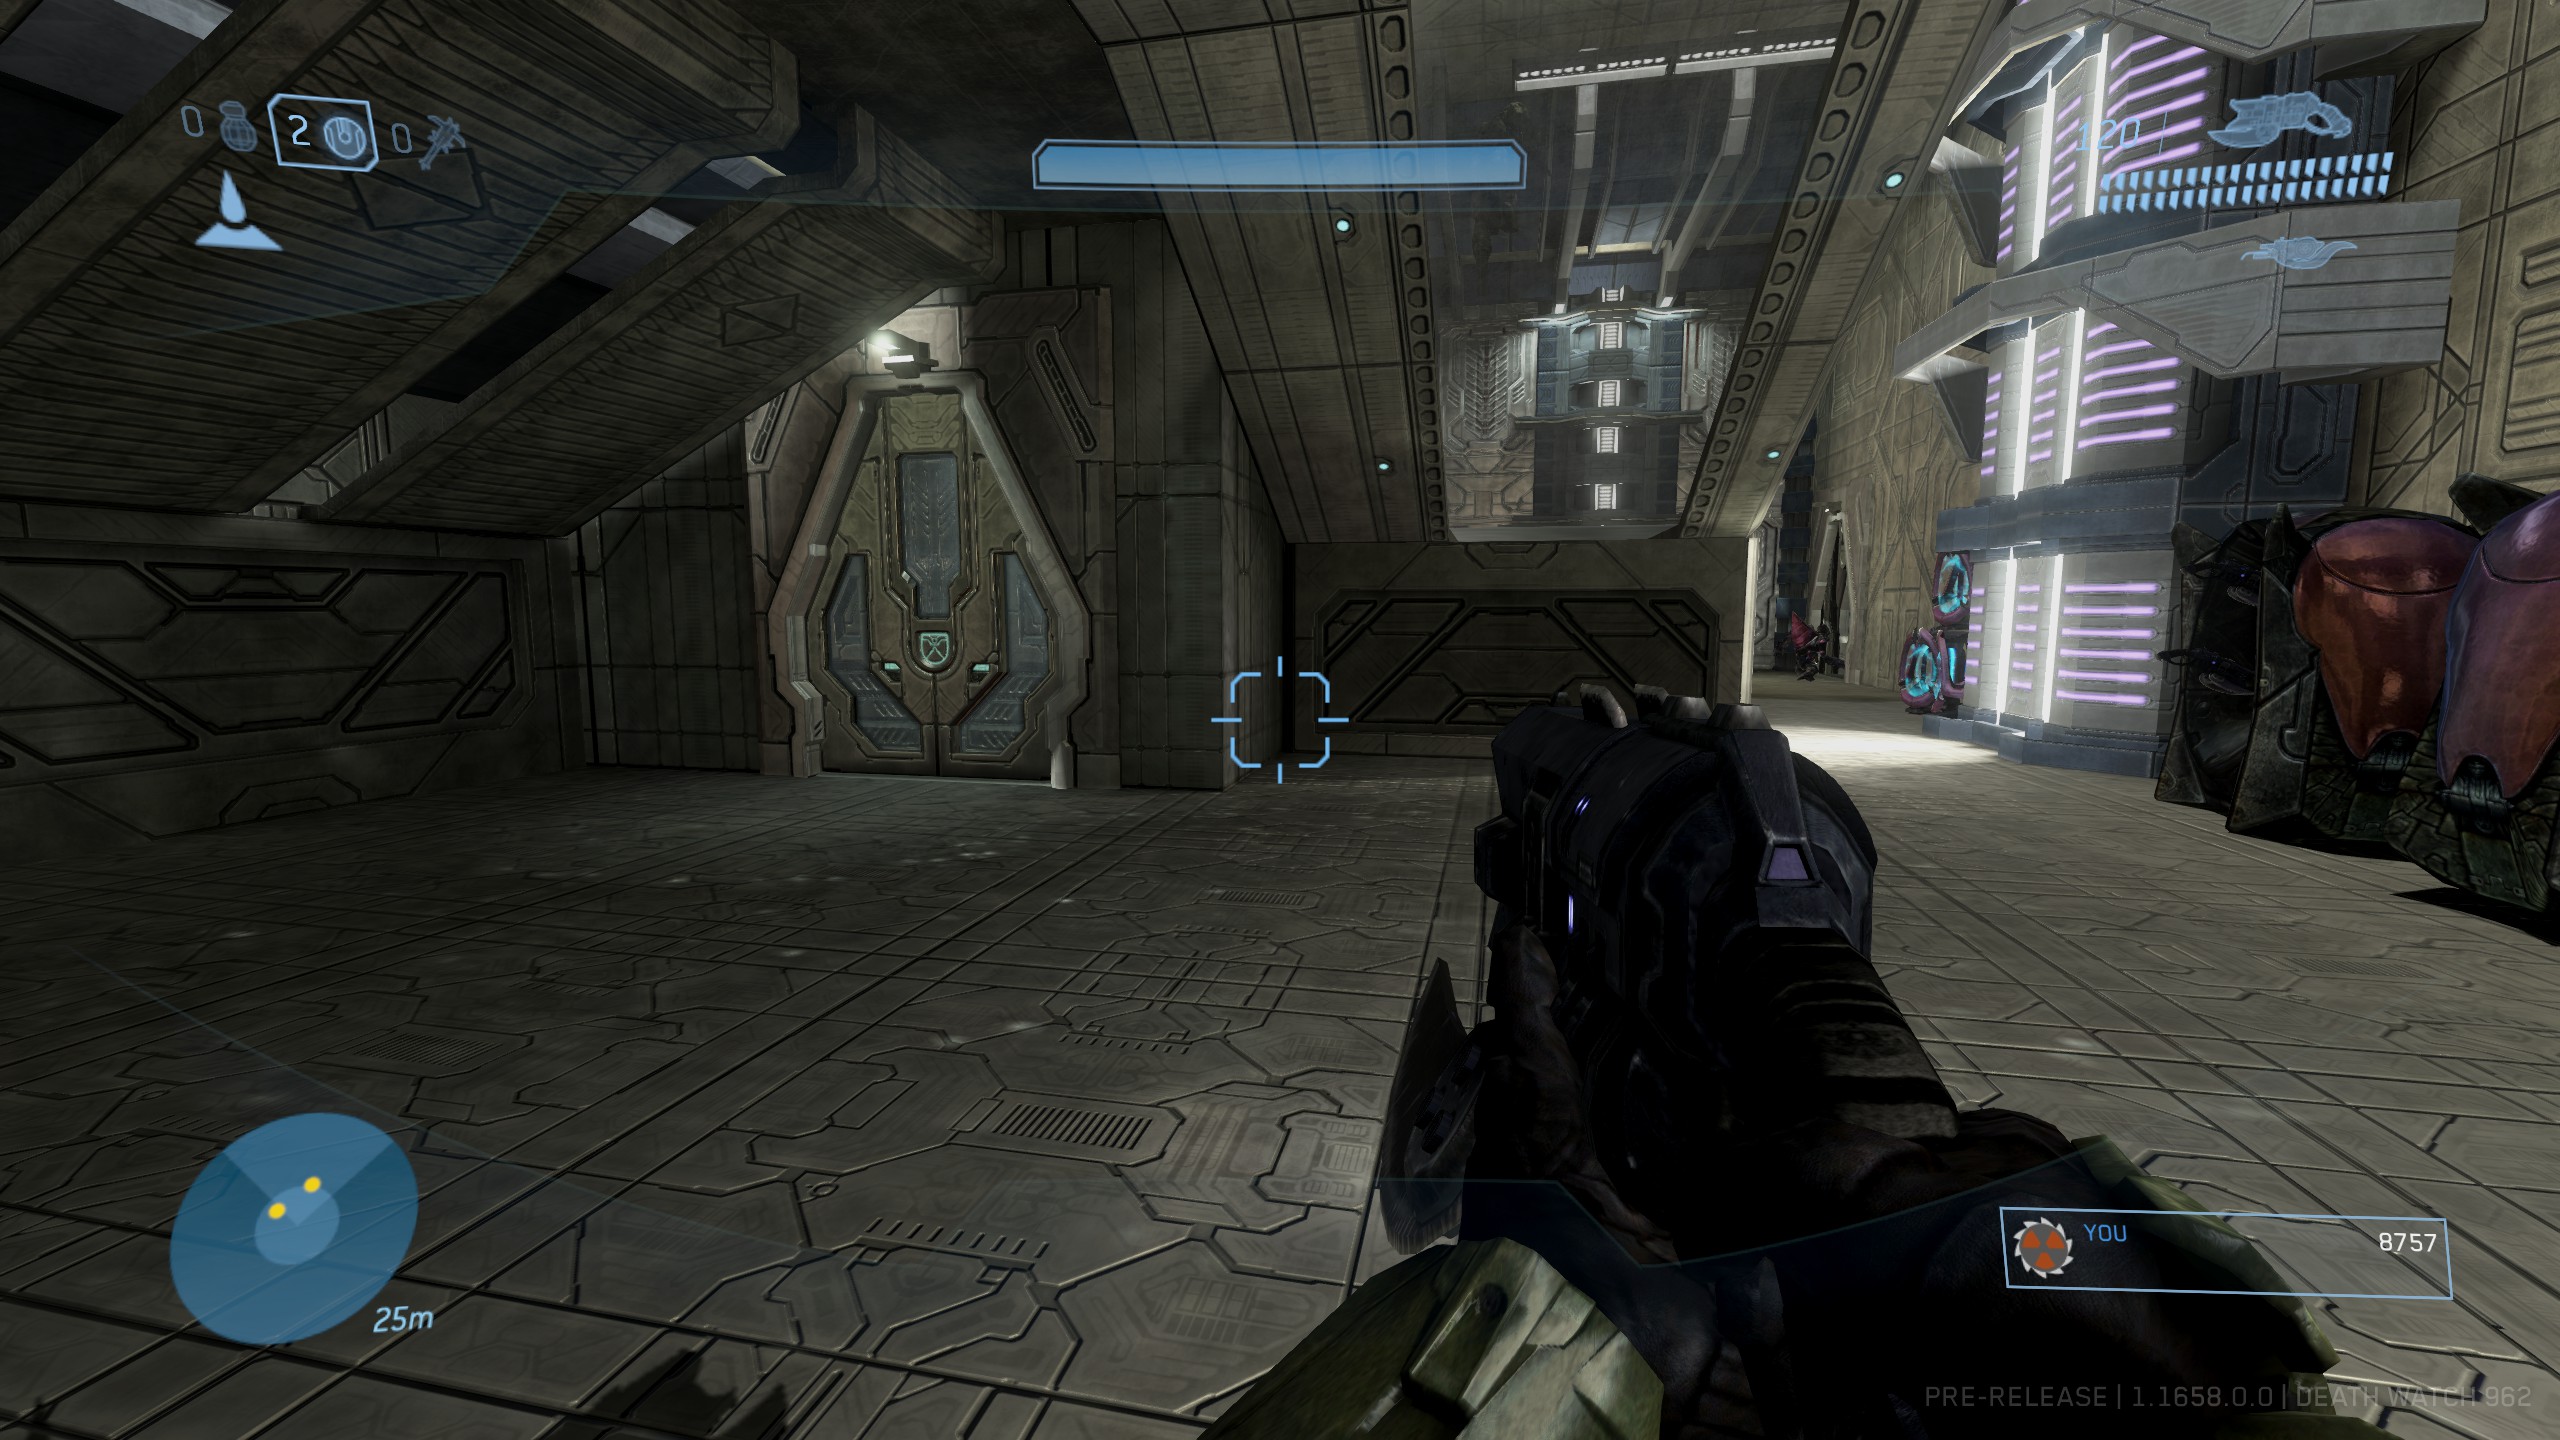
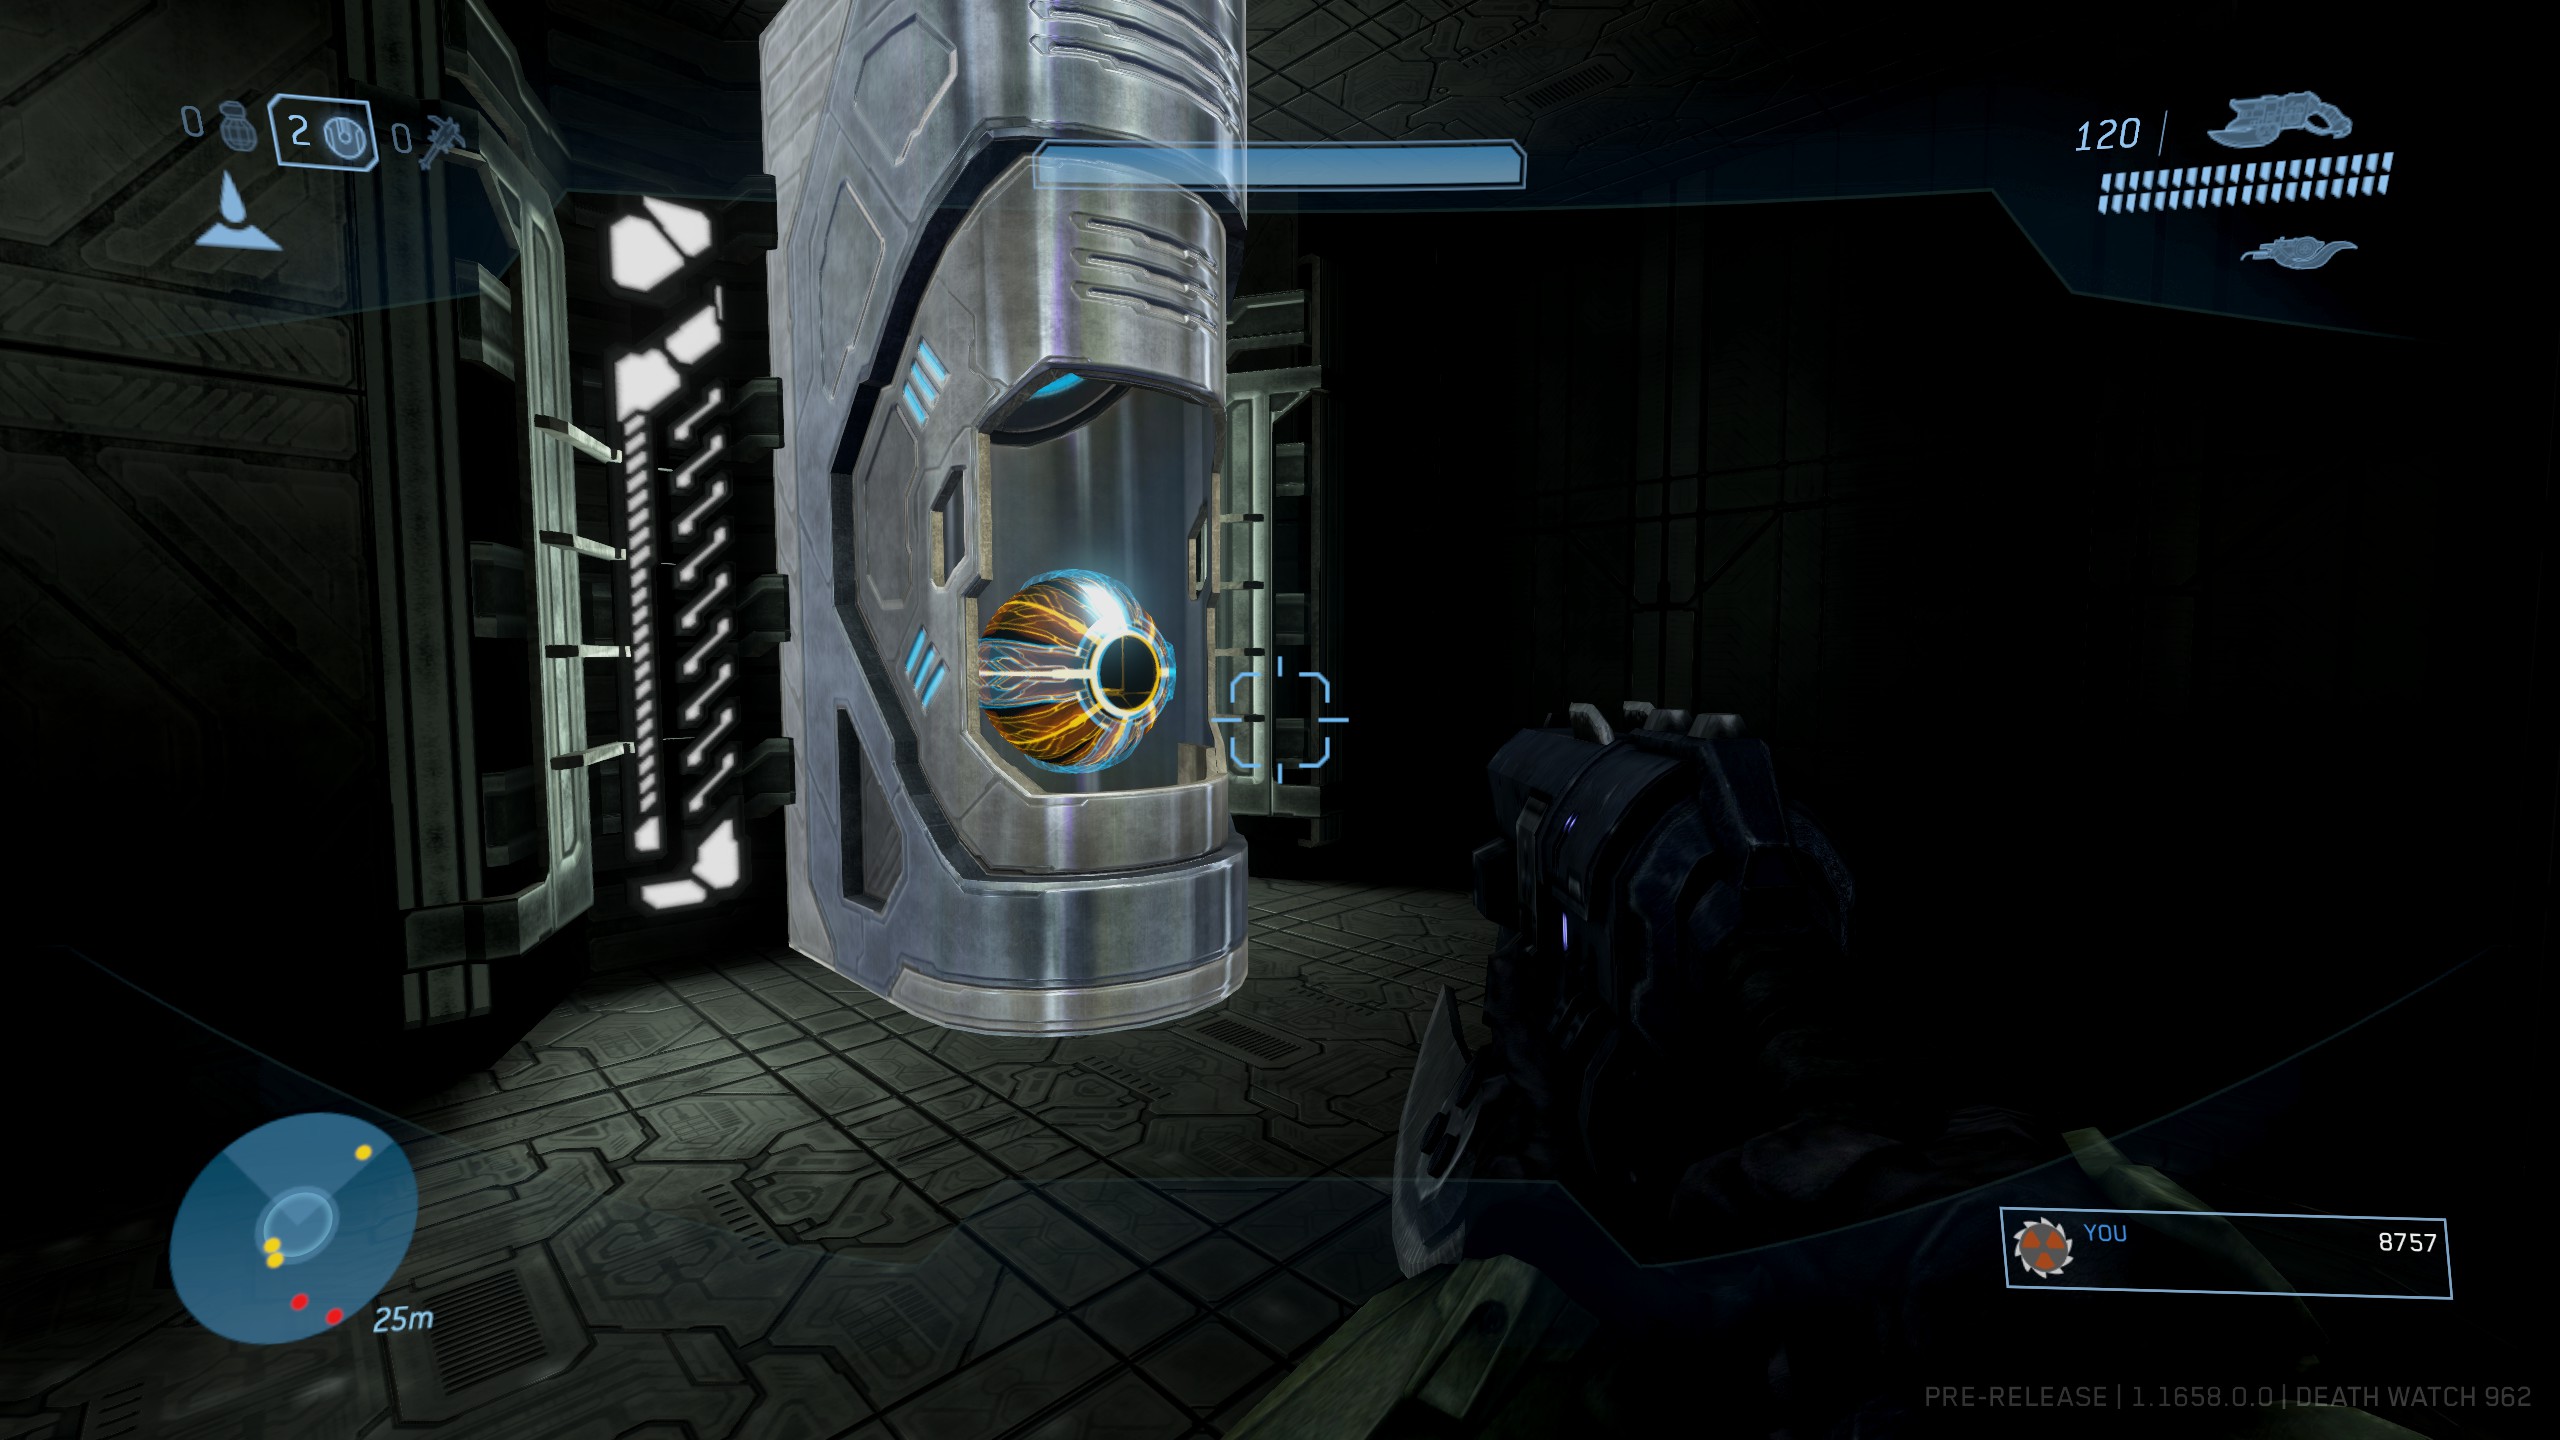
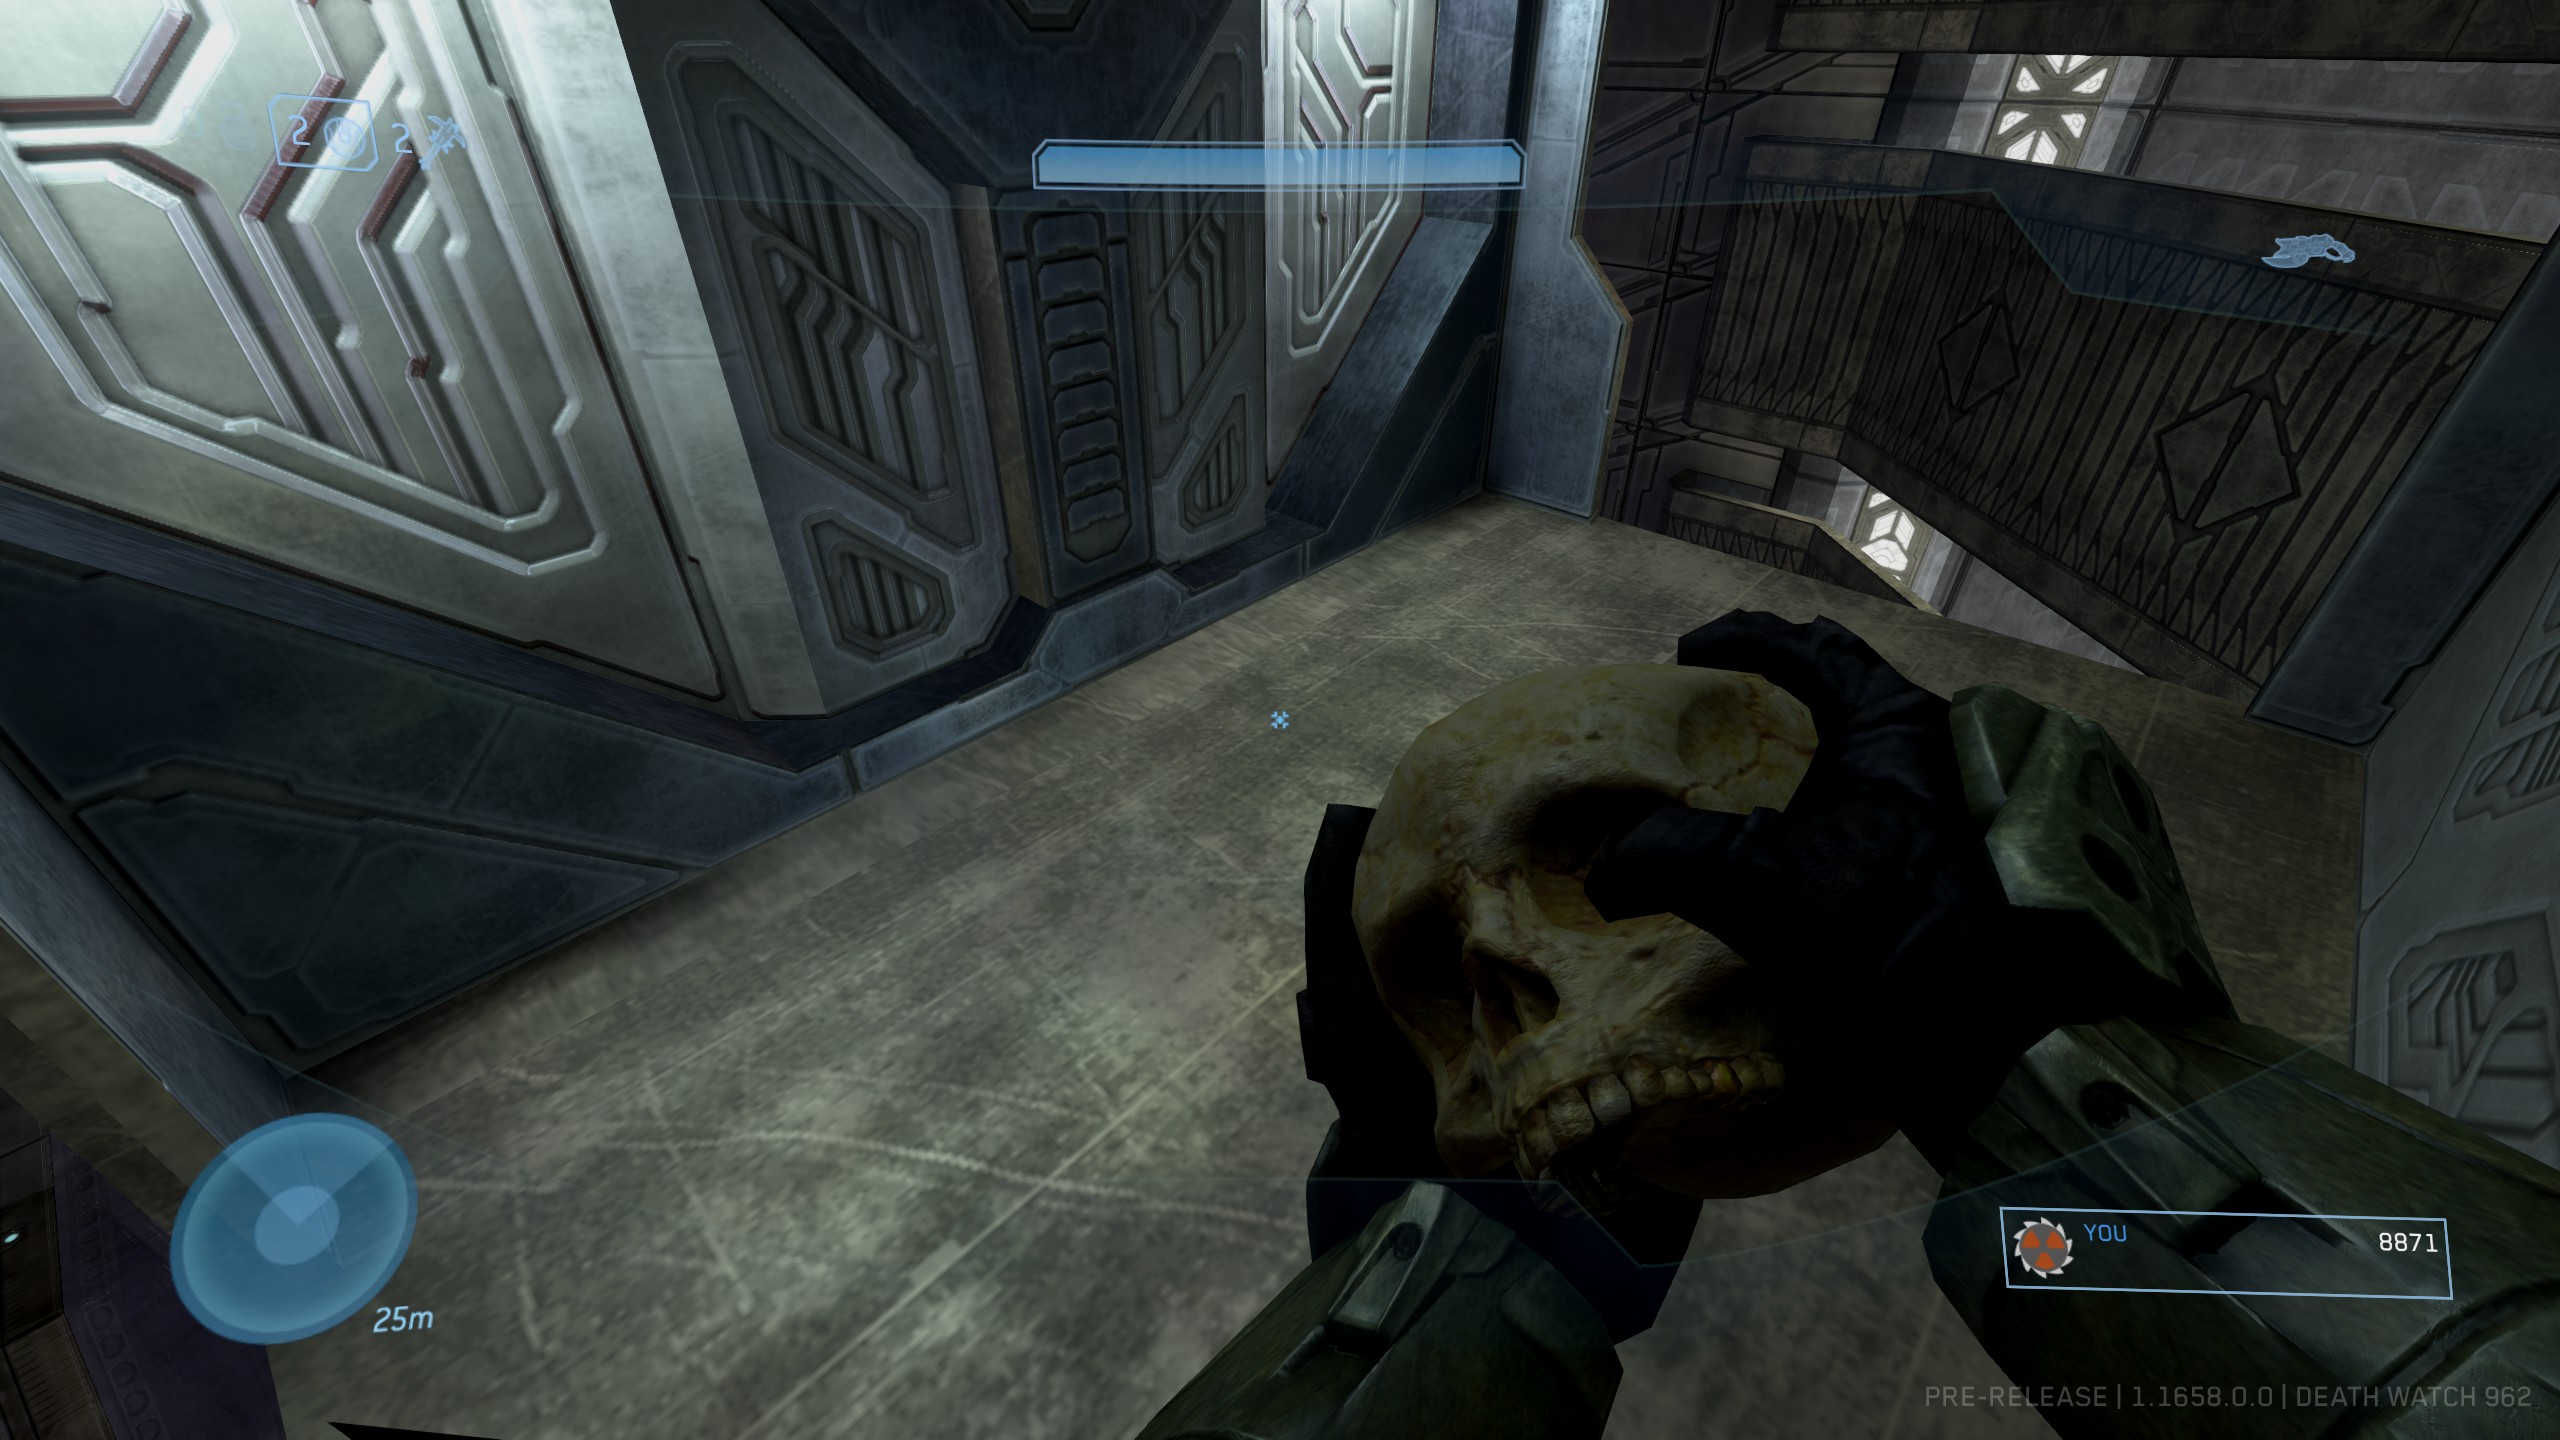
Effect: Explosions and melee attacks launch characters and objects farther (Damage is not affected).
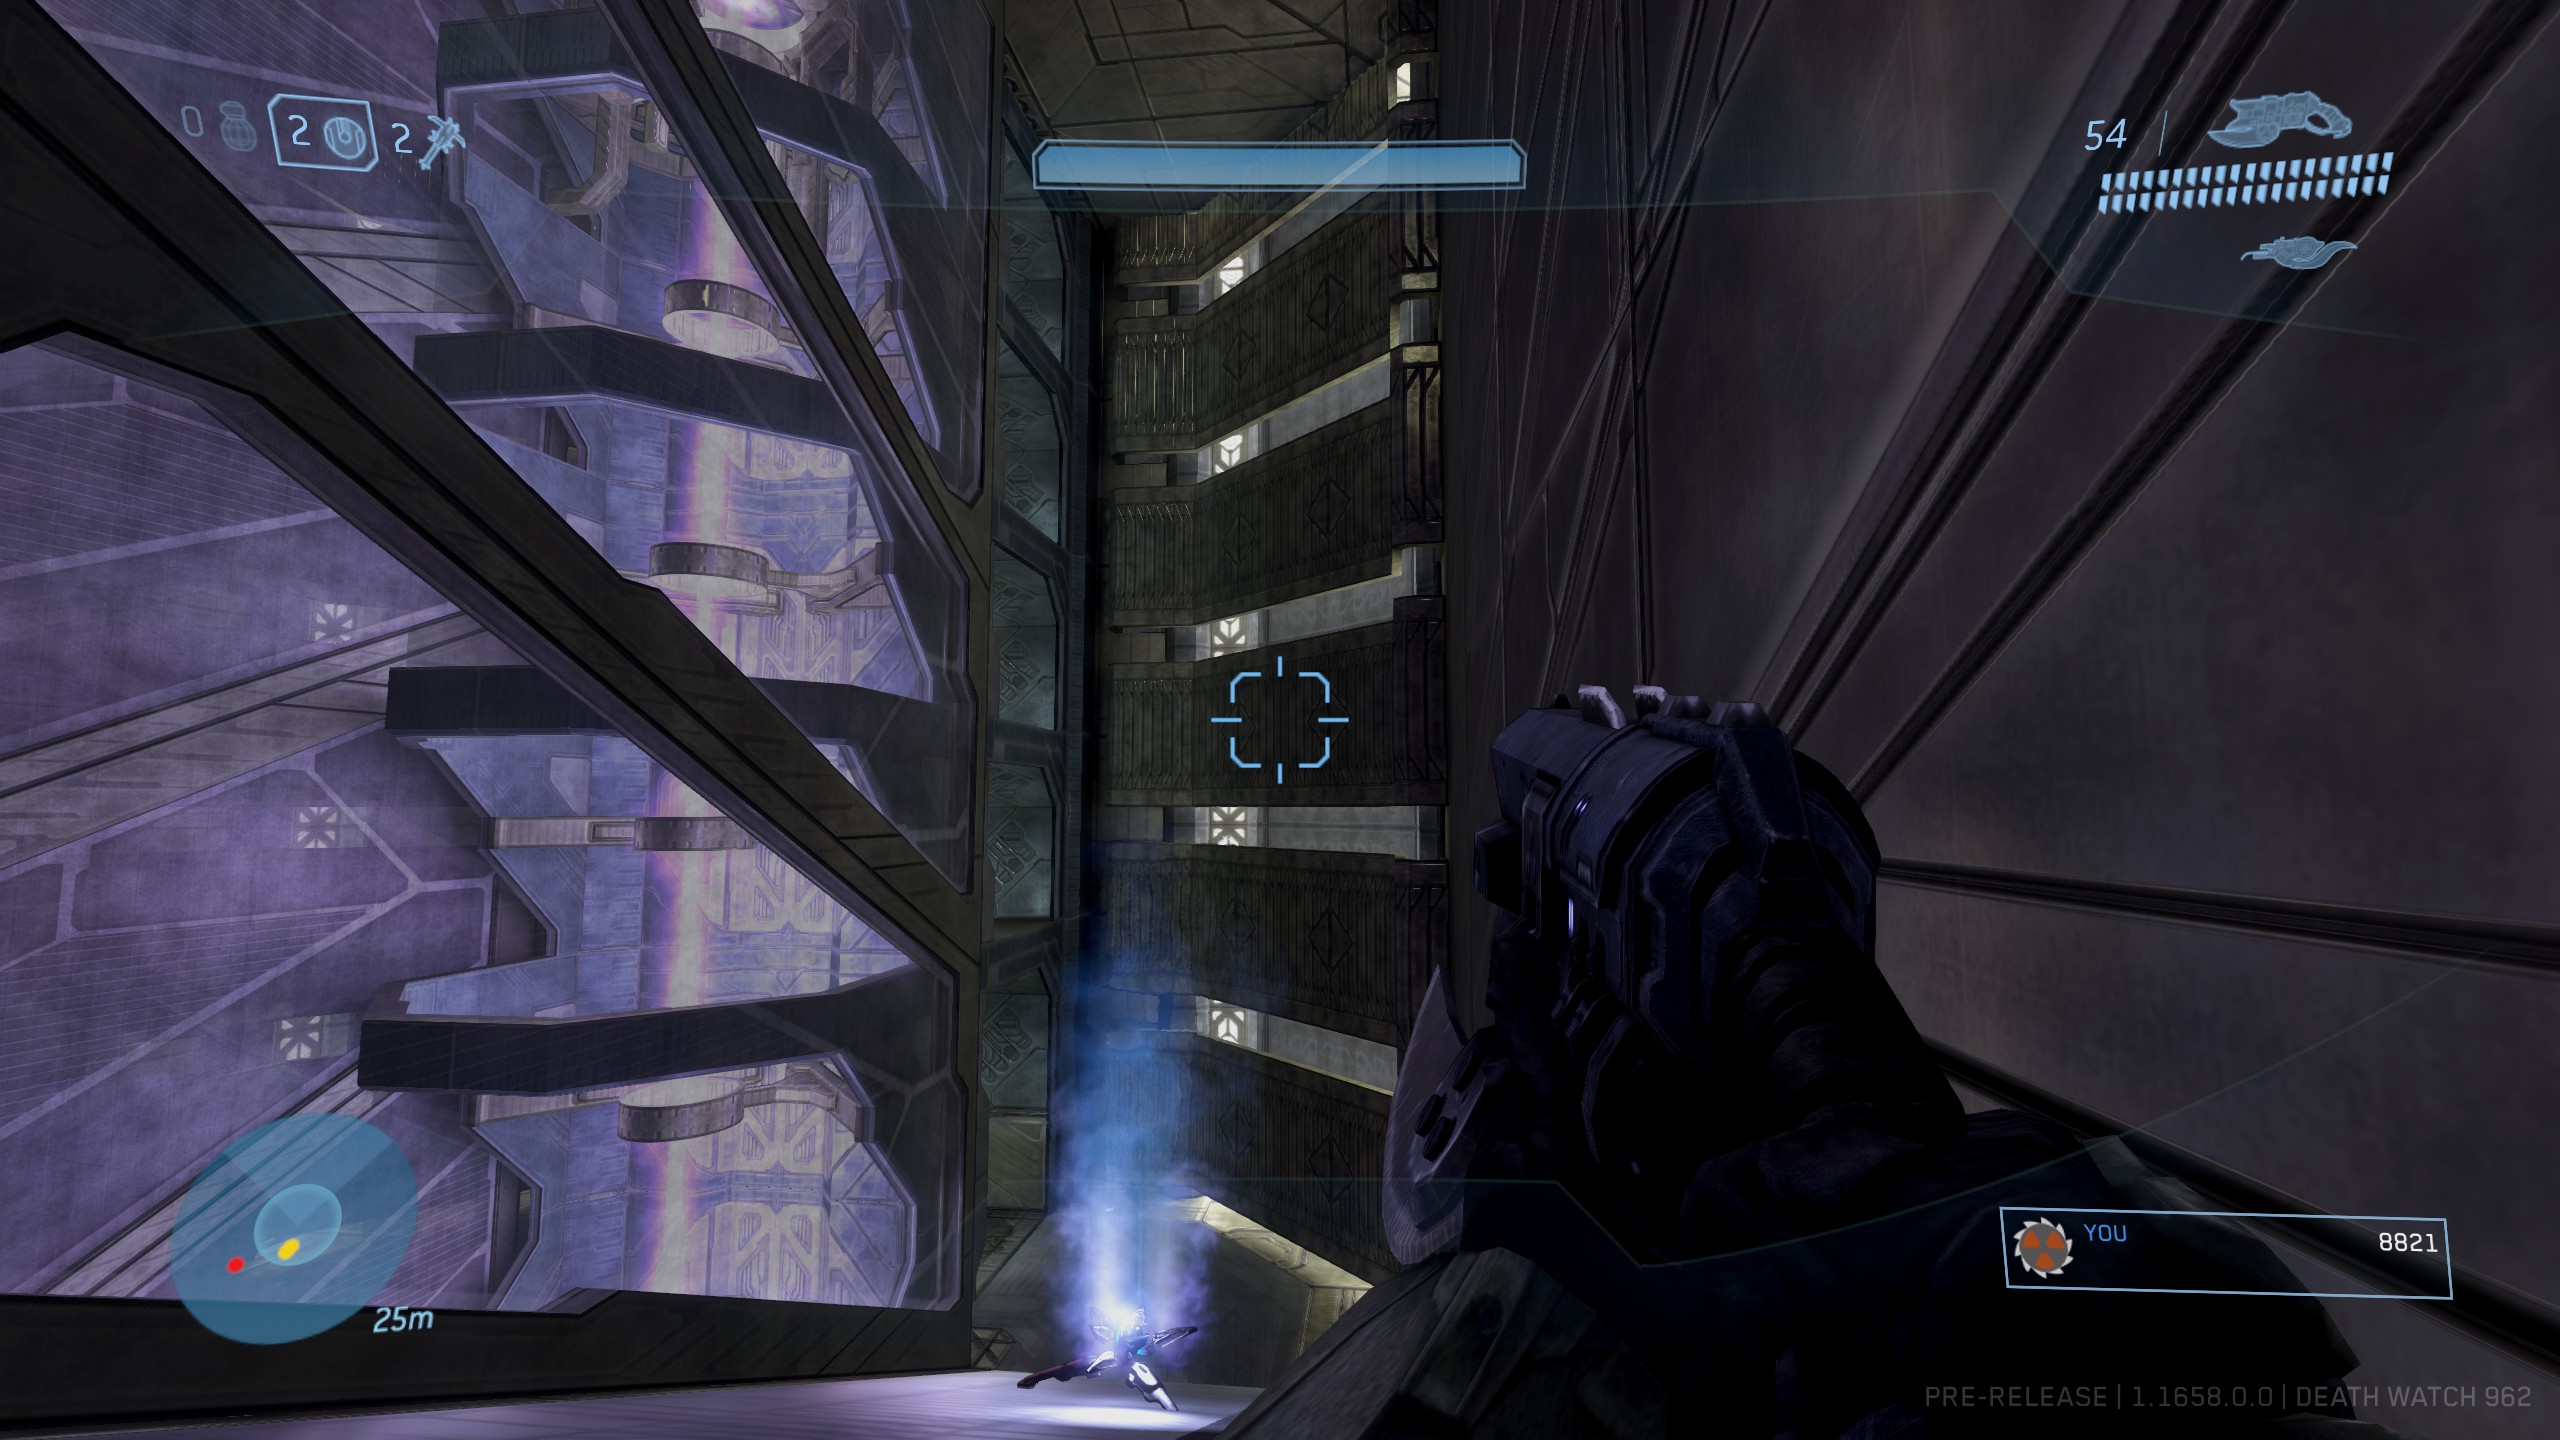
Location: After fighting your way up the spire and into the door at the top. Make your way through the interior until you get to the second downwards-sloping ramp hallway.
If you look up to the left above the door at the bottom of the room, you should see a series of platforms, the Skull is located on one of these. On the right side of the ramp you should see a series of small, green lights. Deploy the Grav Lift on or around the 5th light on the floor counting up from the foot of the ramp. Using the Grav Lift, jump towards the platforms above the door. You should land on the upper platform and see the Skull there for the taking.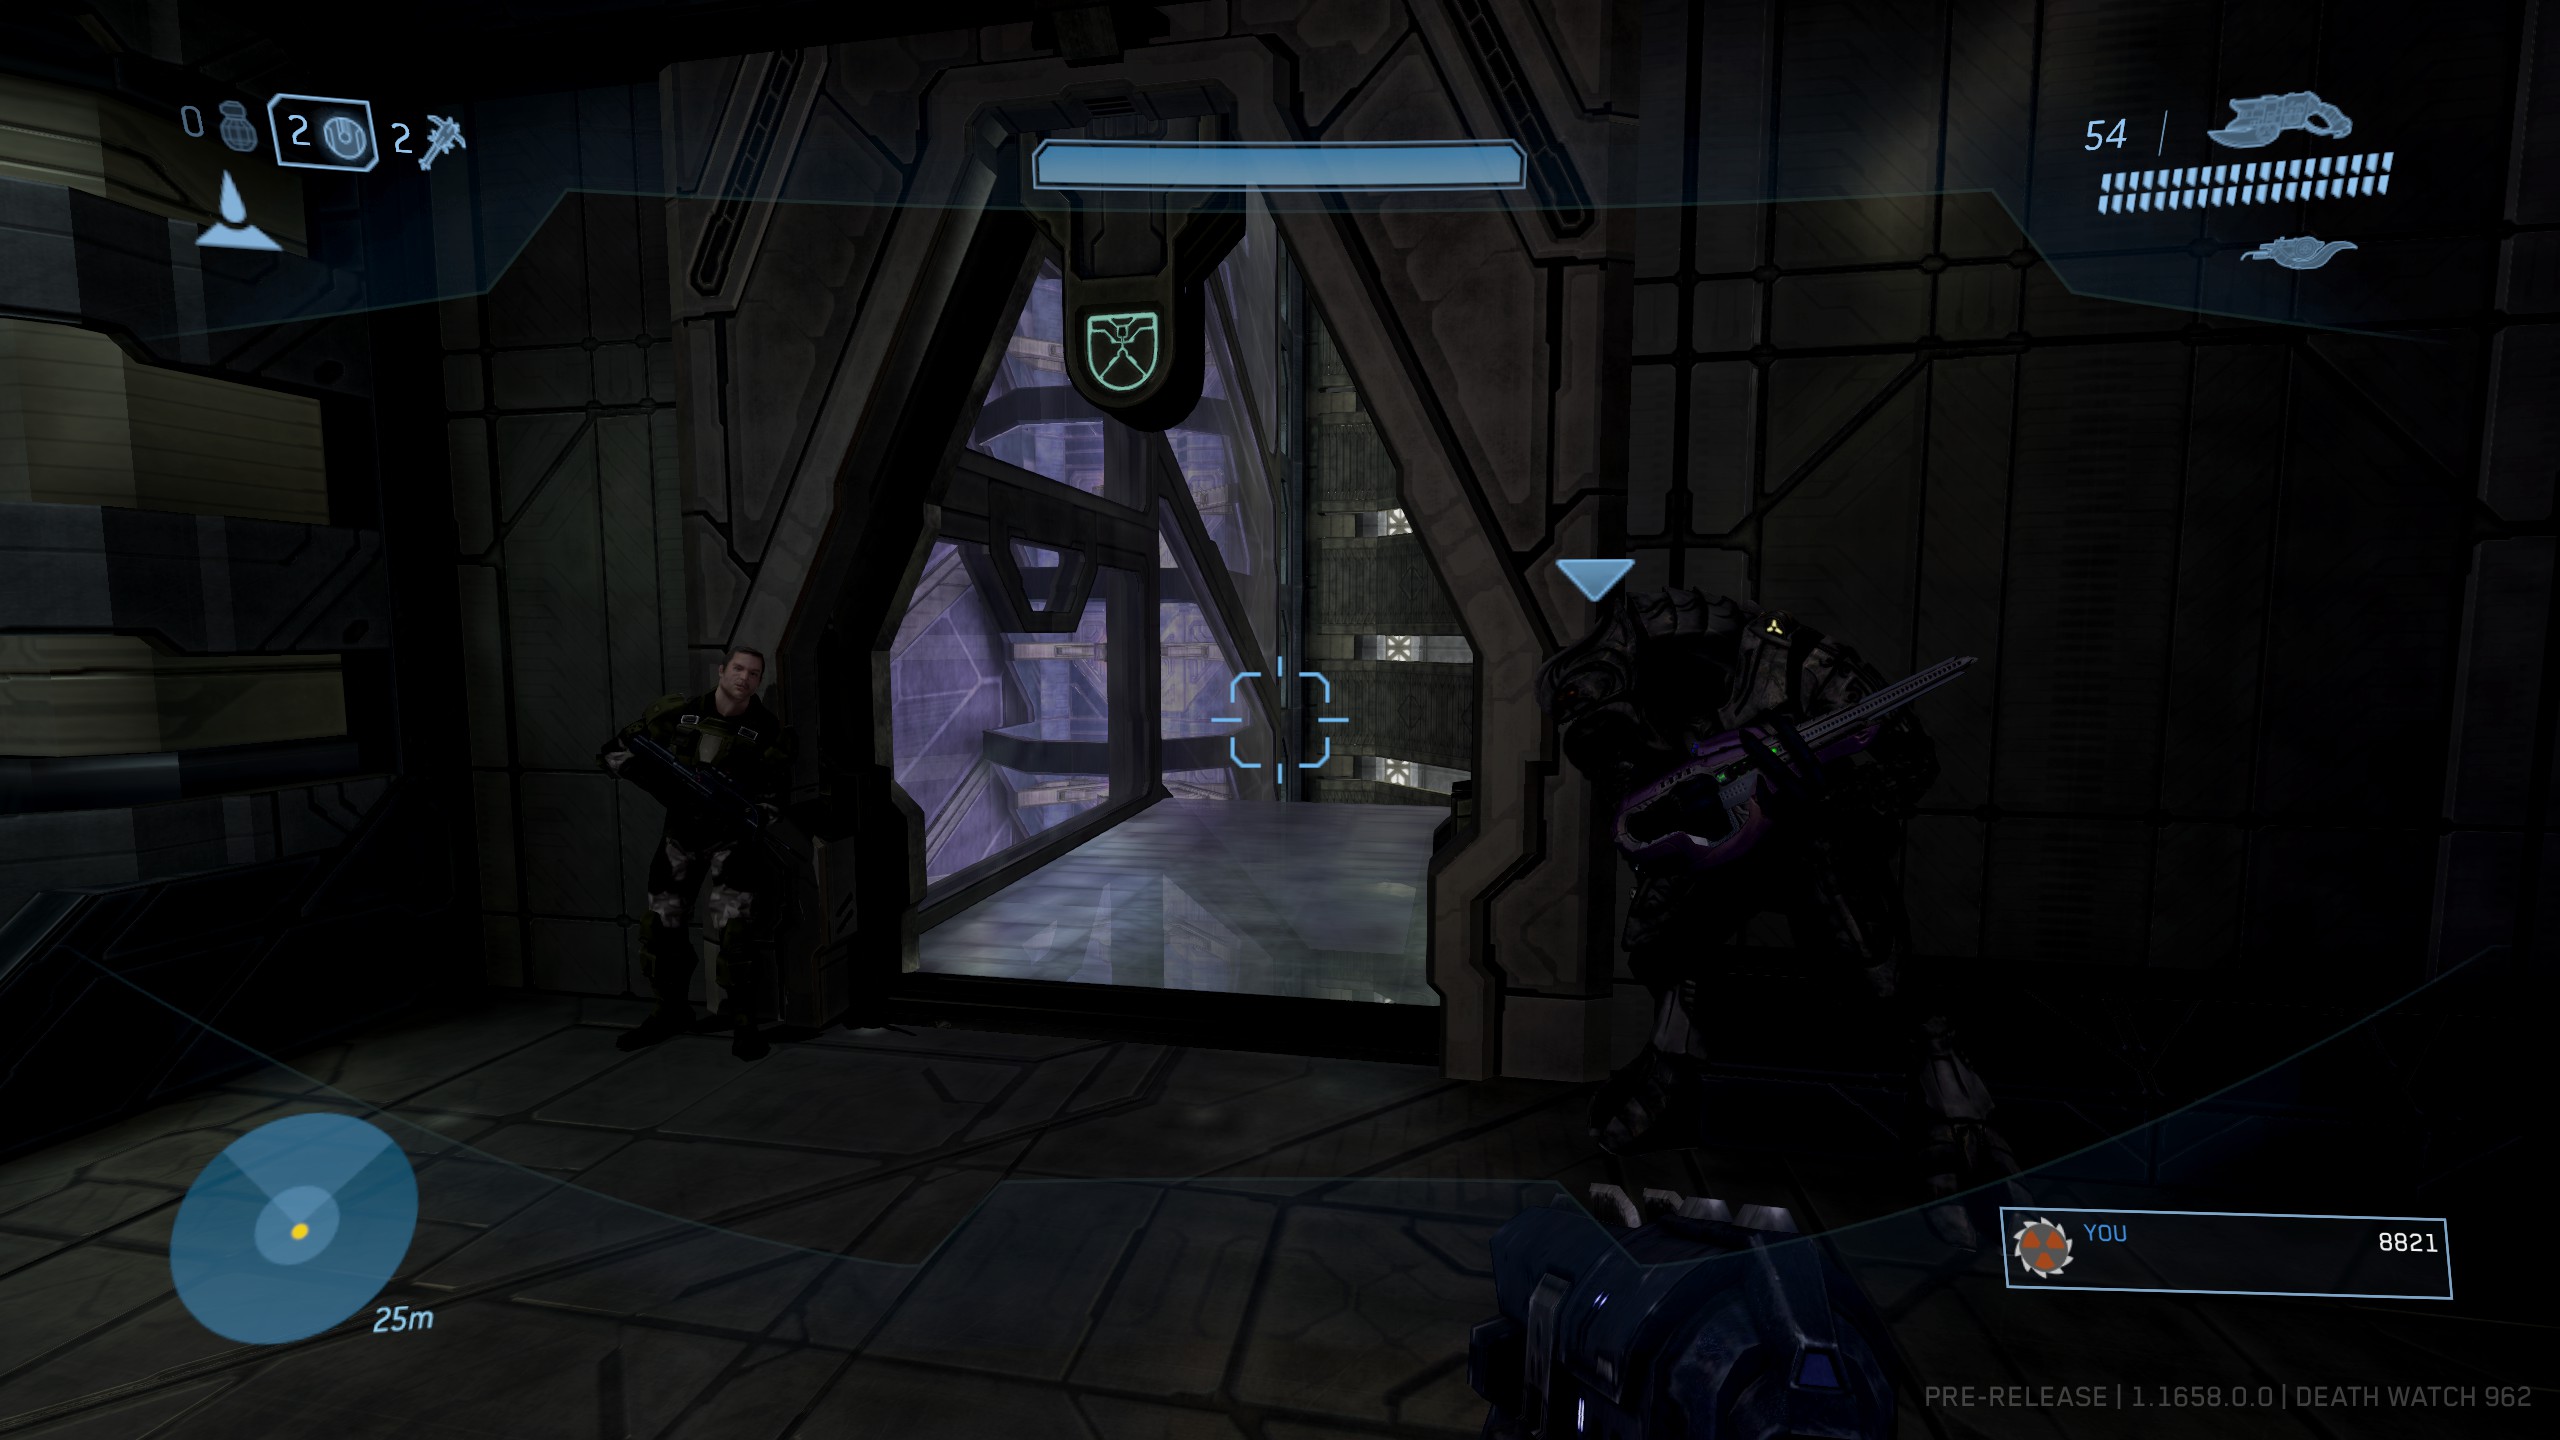
https://www.youtube.com/watch?v=IuHA8JLoN3k
The Covenant
Location: Fight your way past the Covenant beach defenses, then obtain the Warthog and fight onwards up the hill and eventually past the Wraith. Go inside the structure and fight past the various Covenant inside. The fourth Terminal is located near the first elevator control. Before you ride the elevator up, look at the opposite side of the elevator from which you came. You will see a dark ledge; jump on to it and you should see the Terminal to your left.
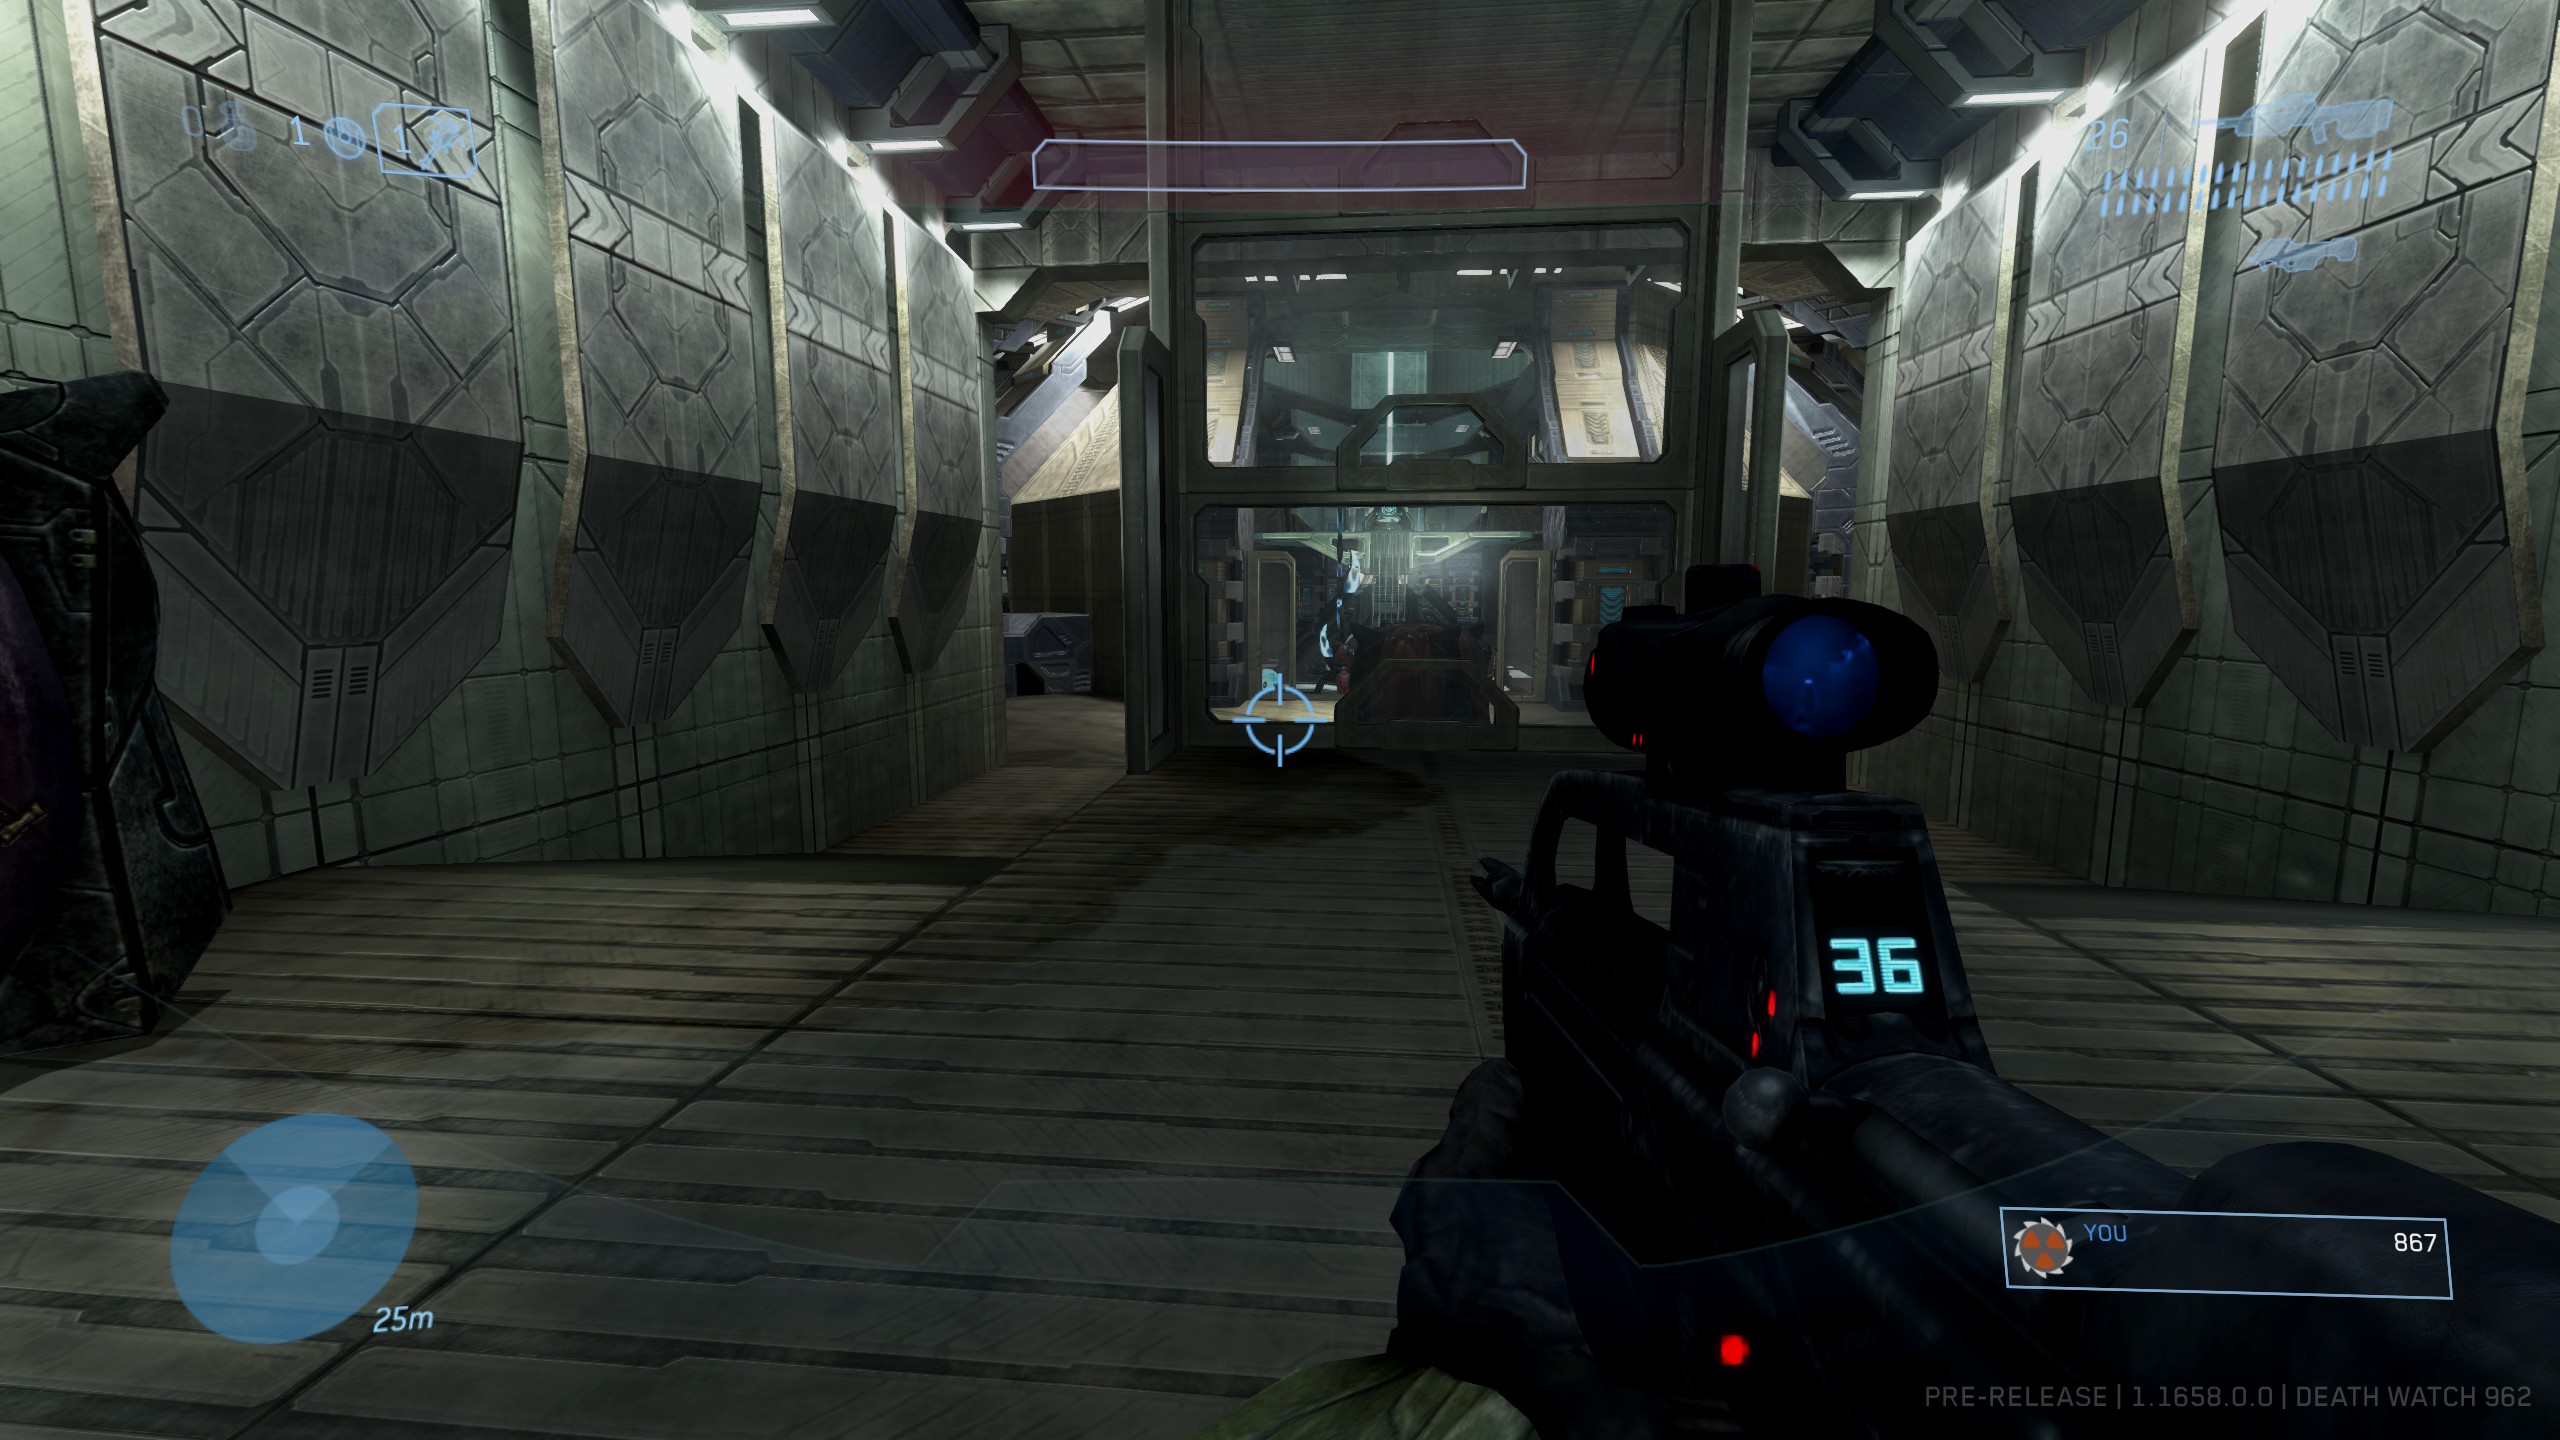
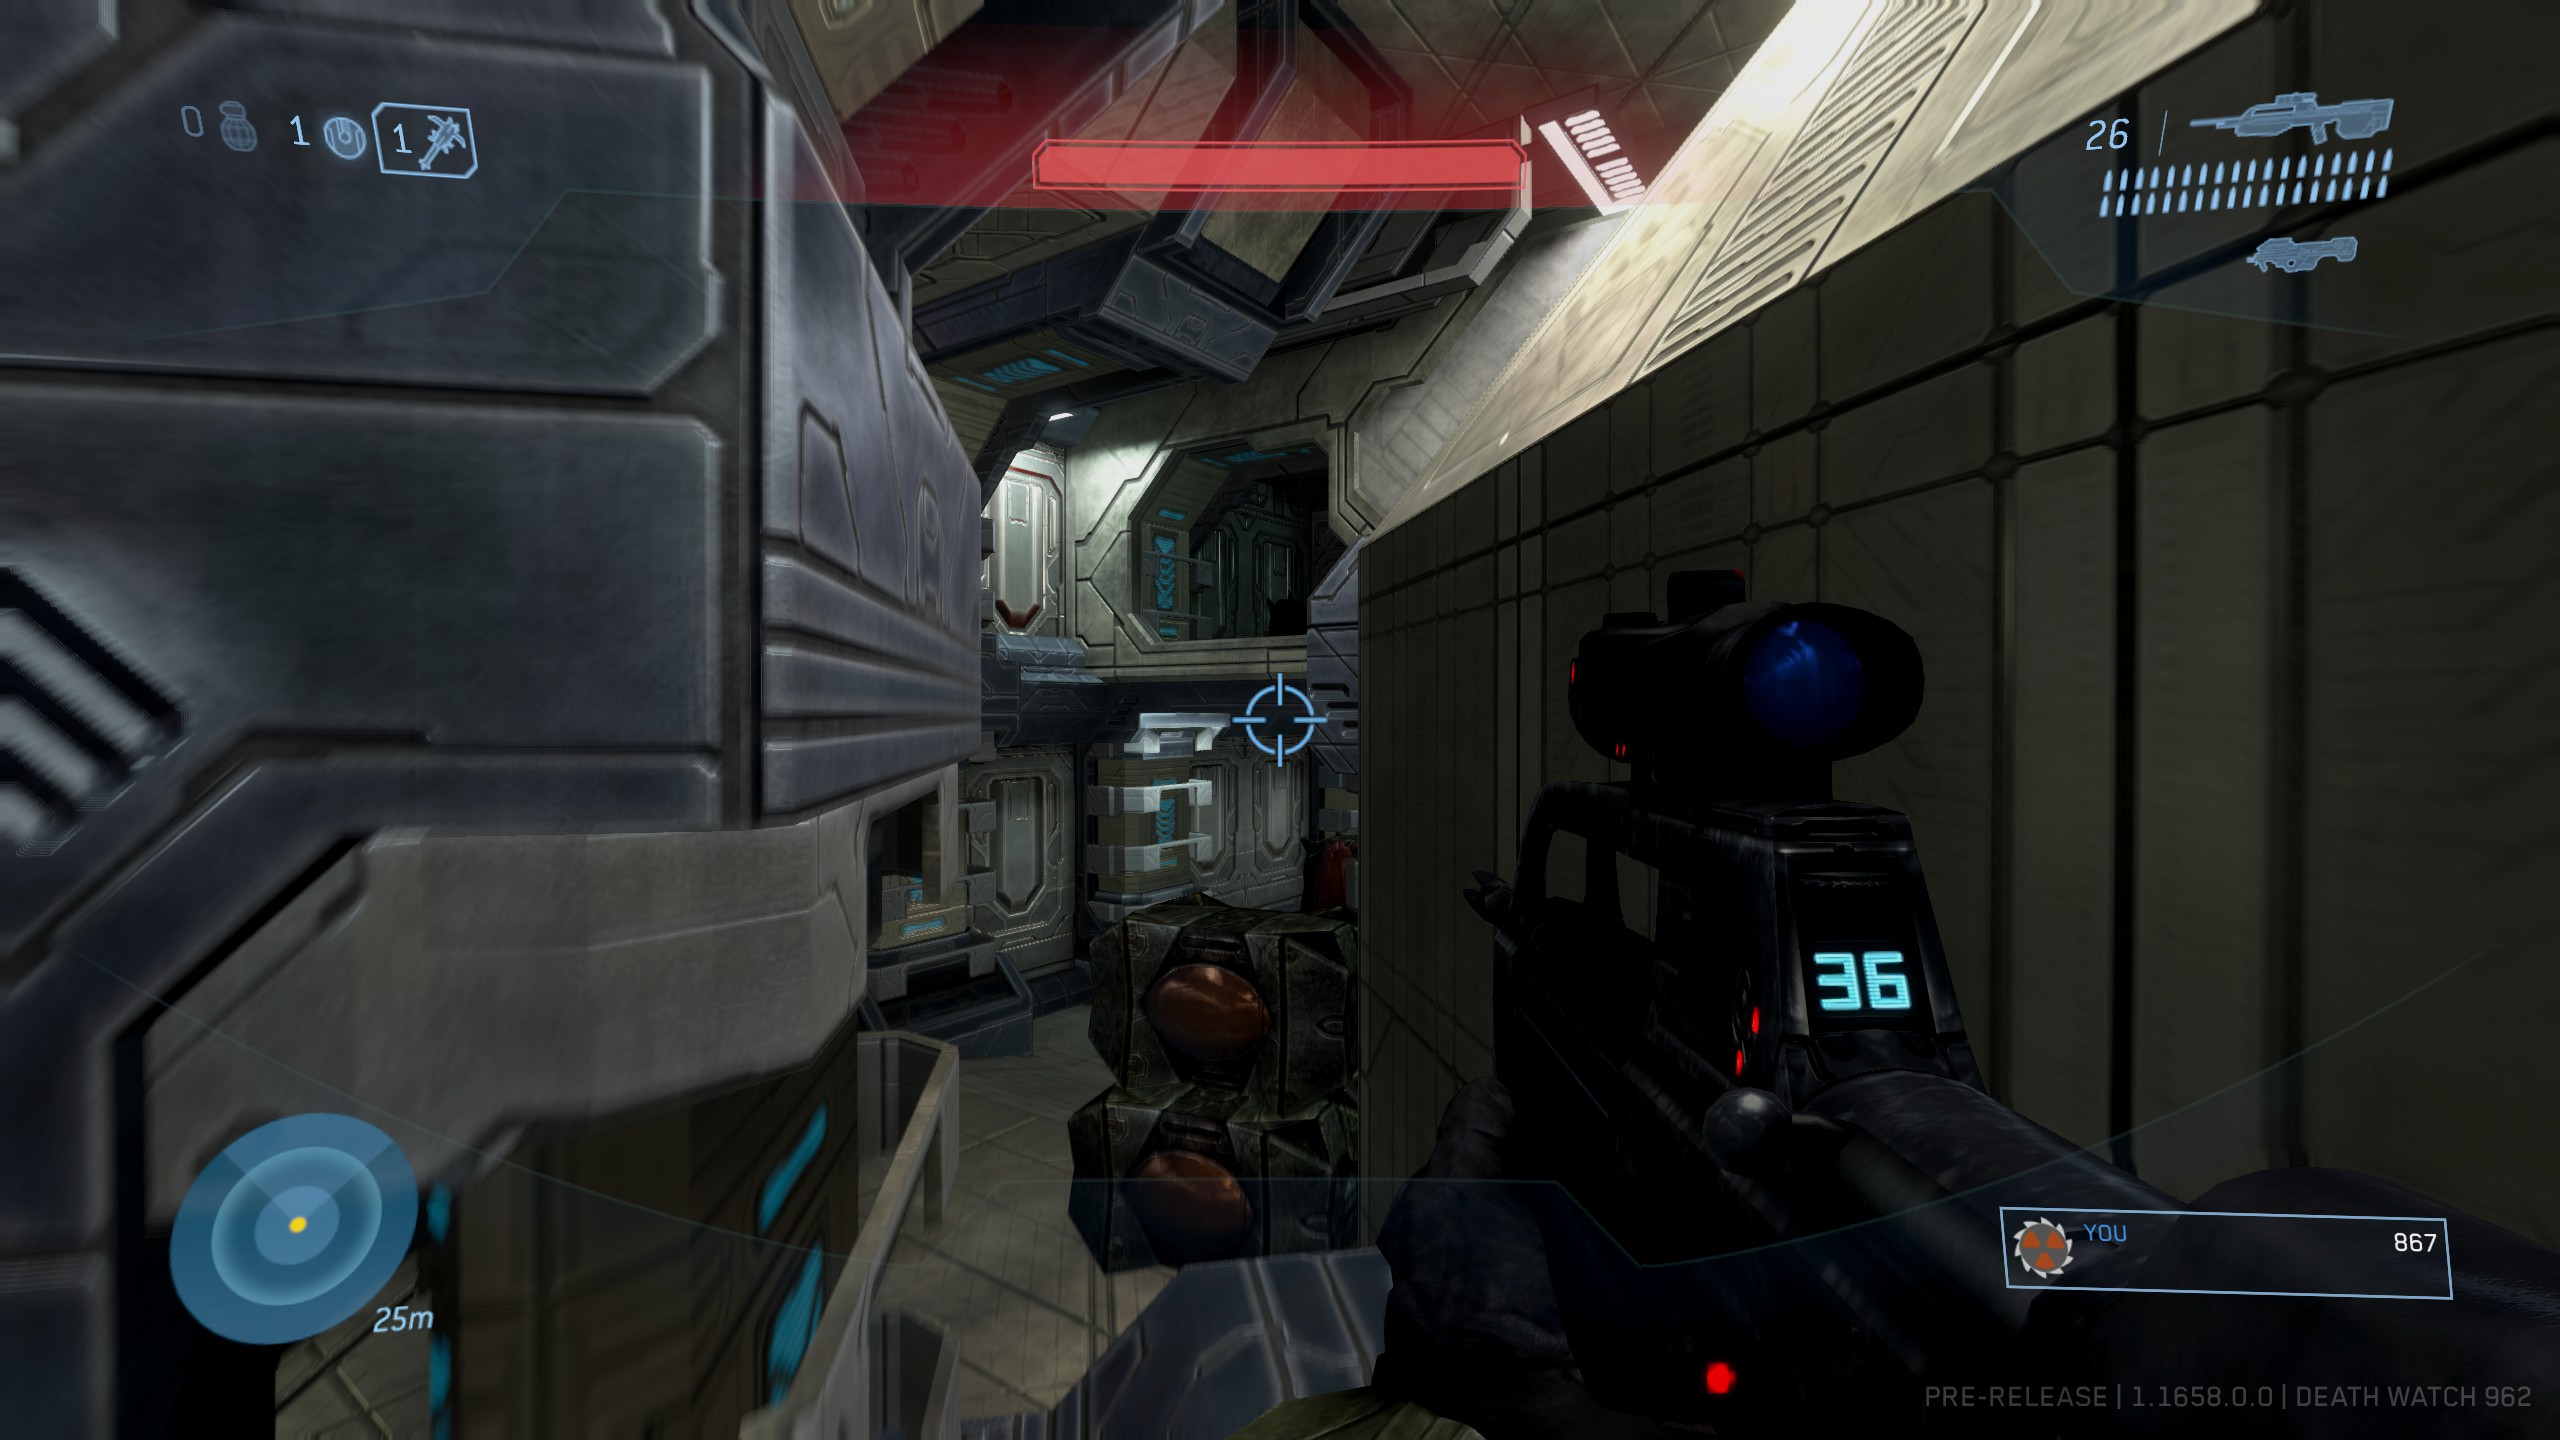
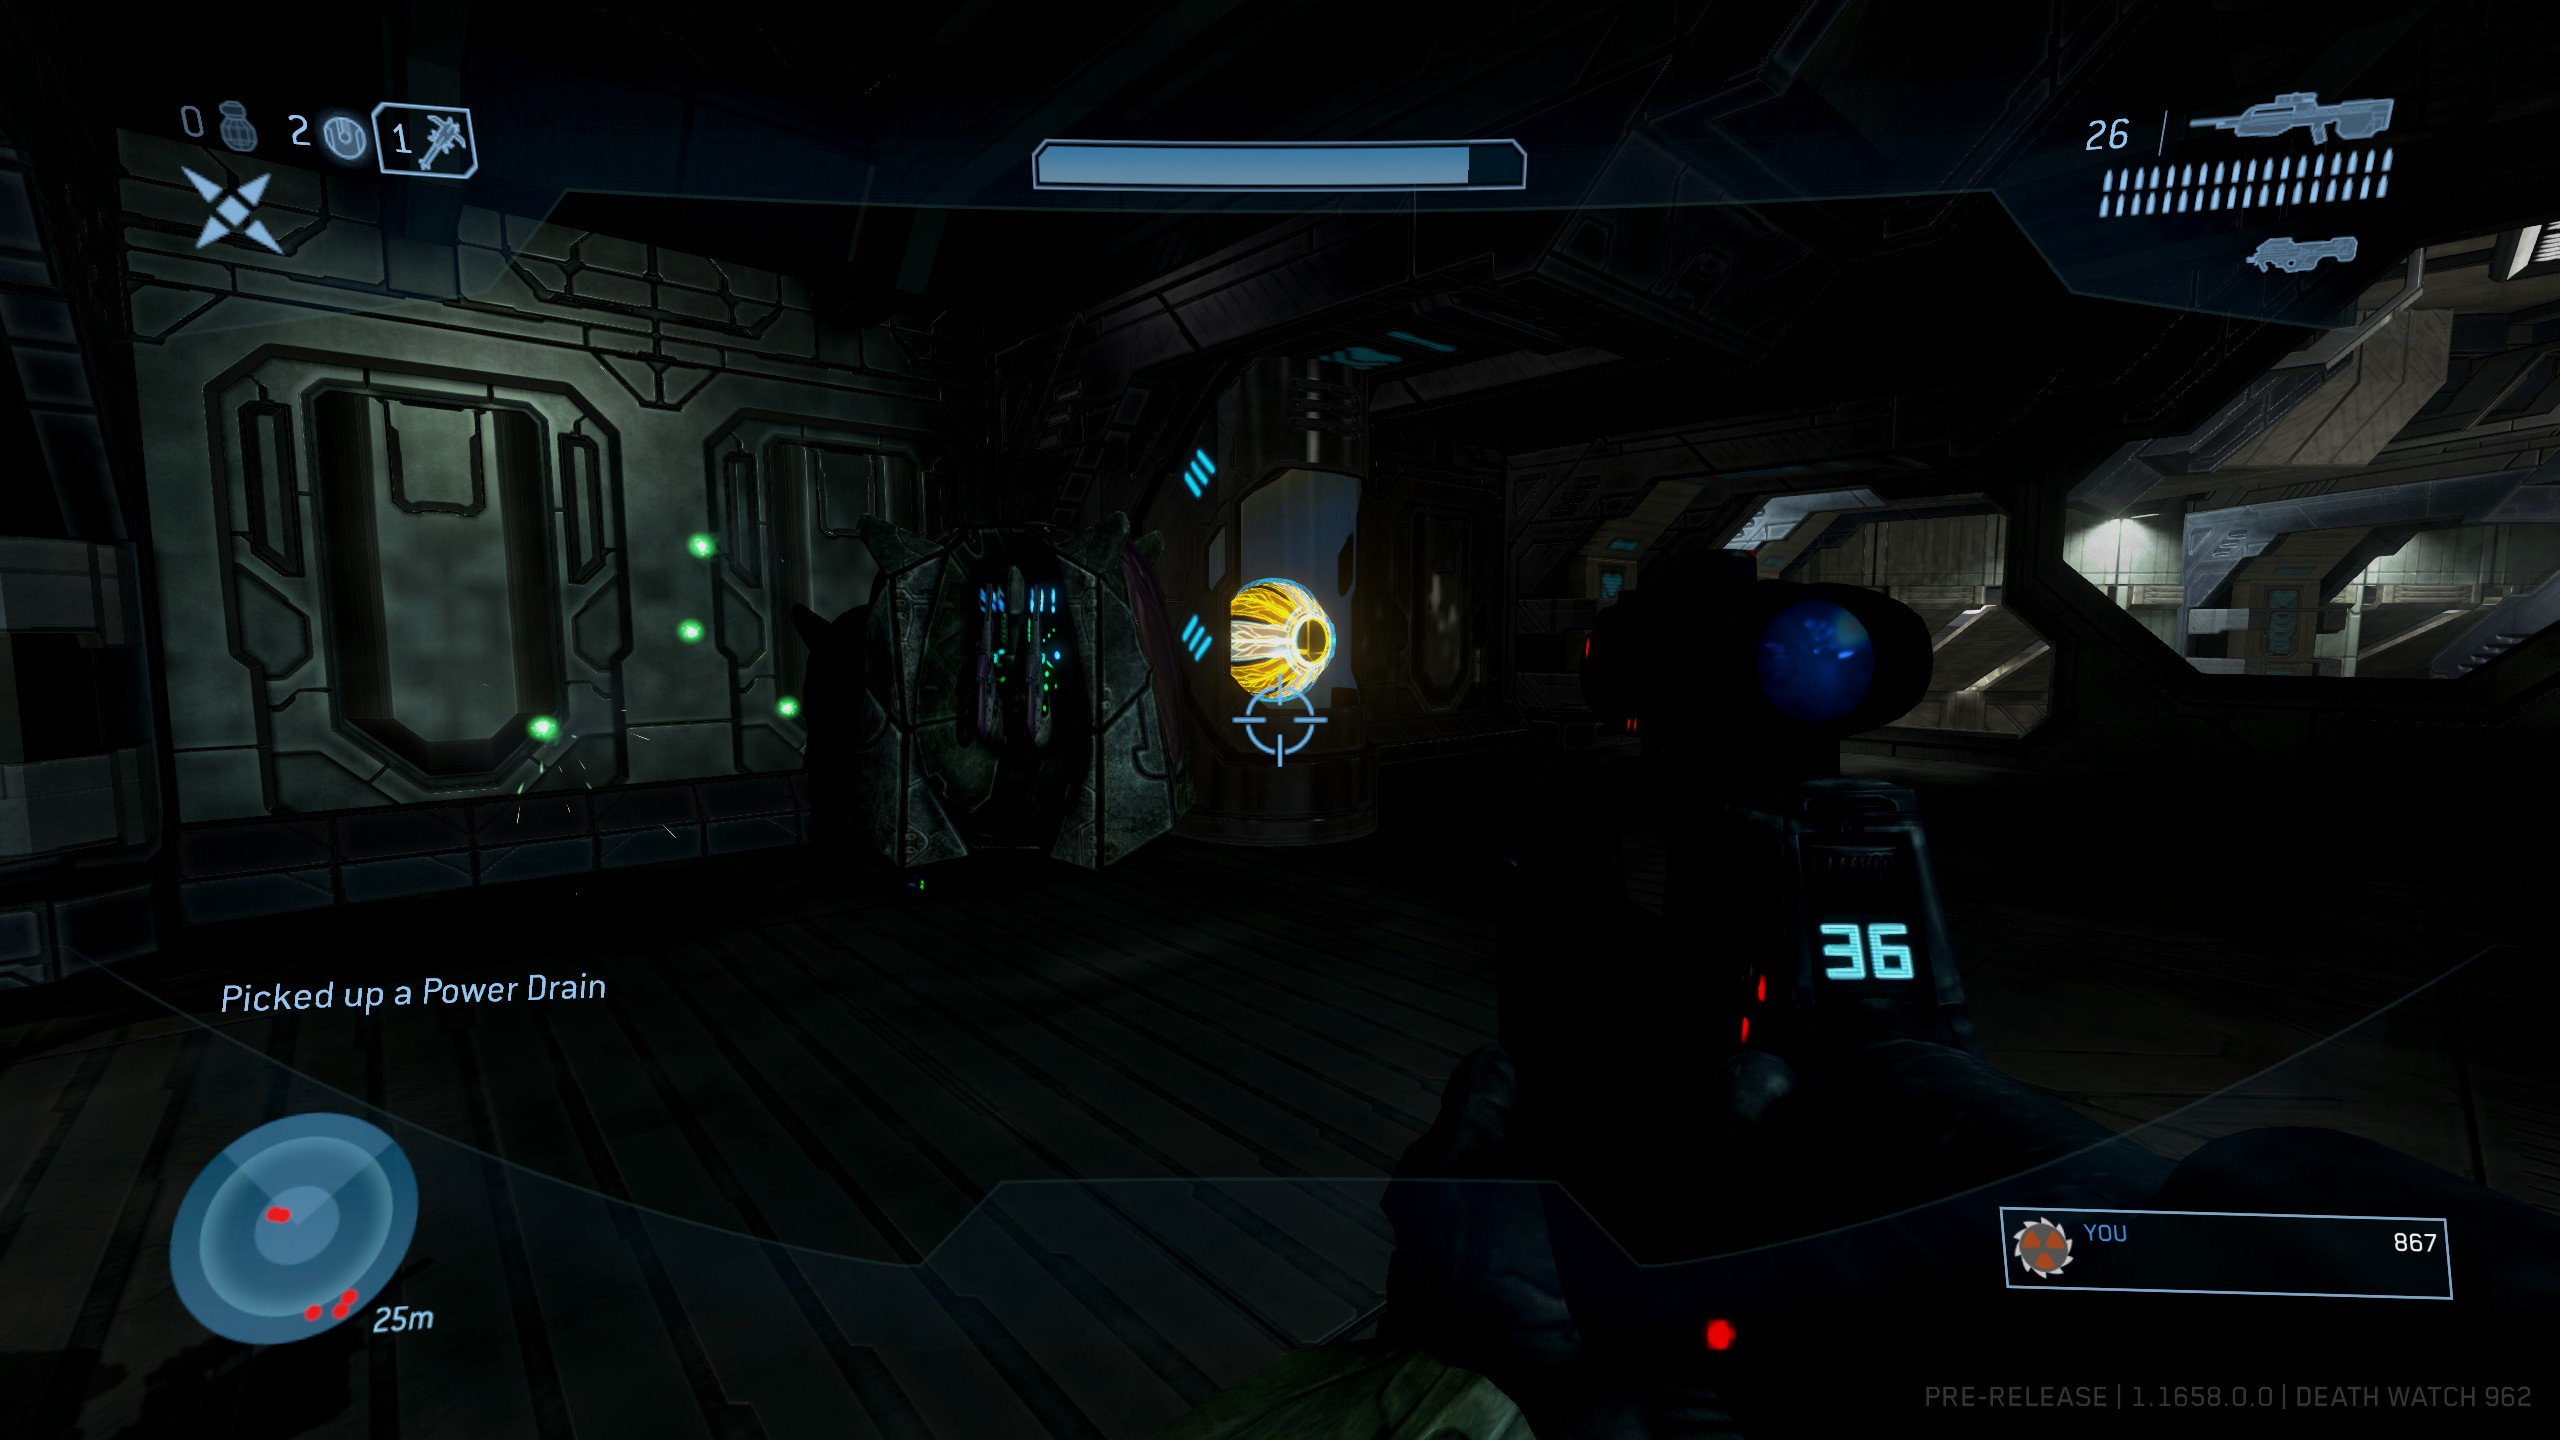
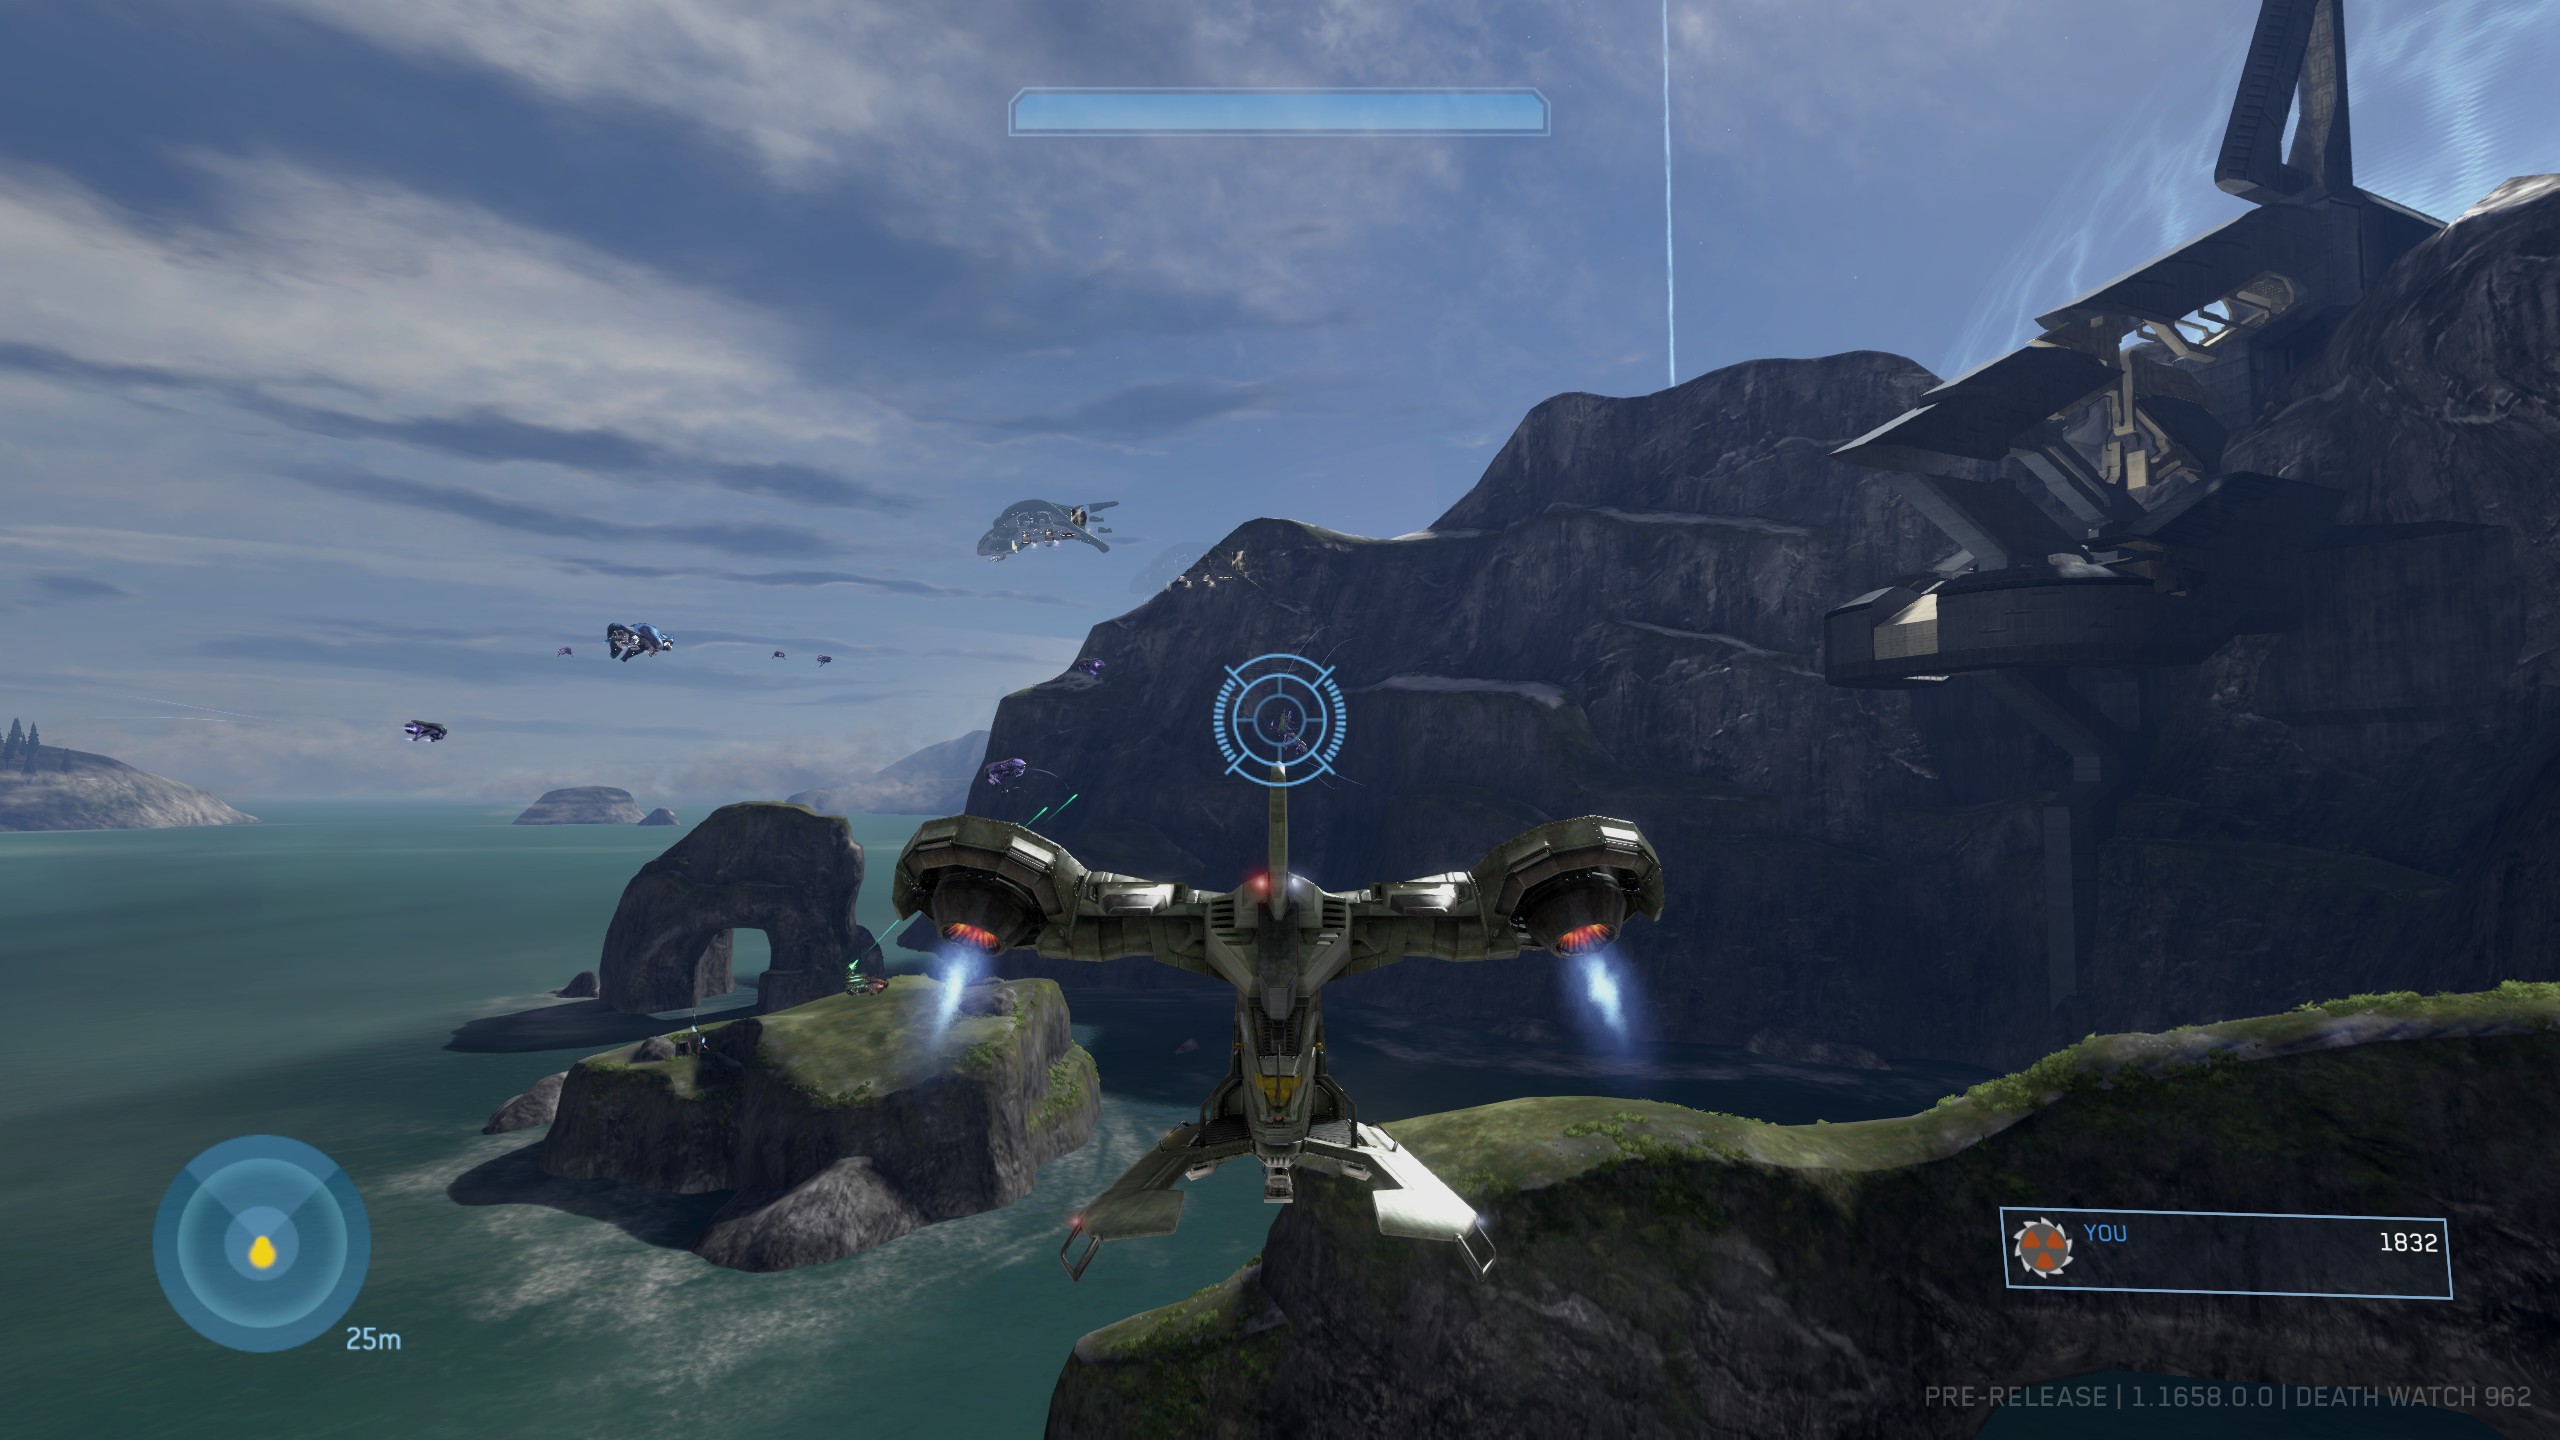
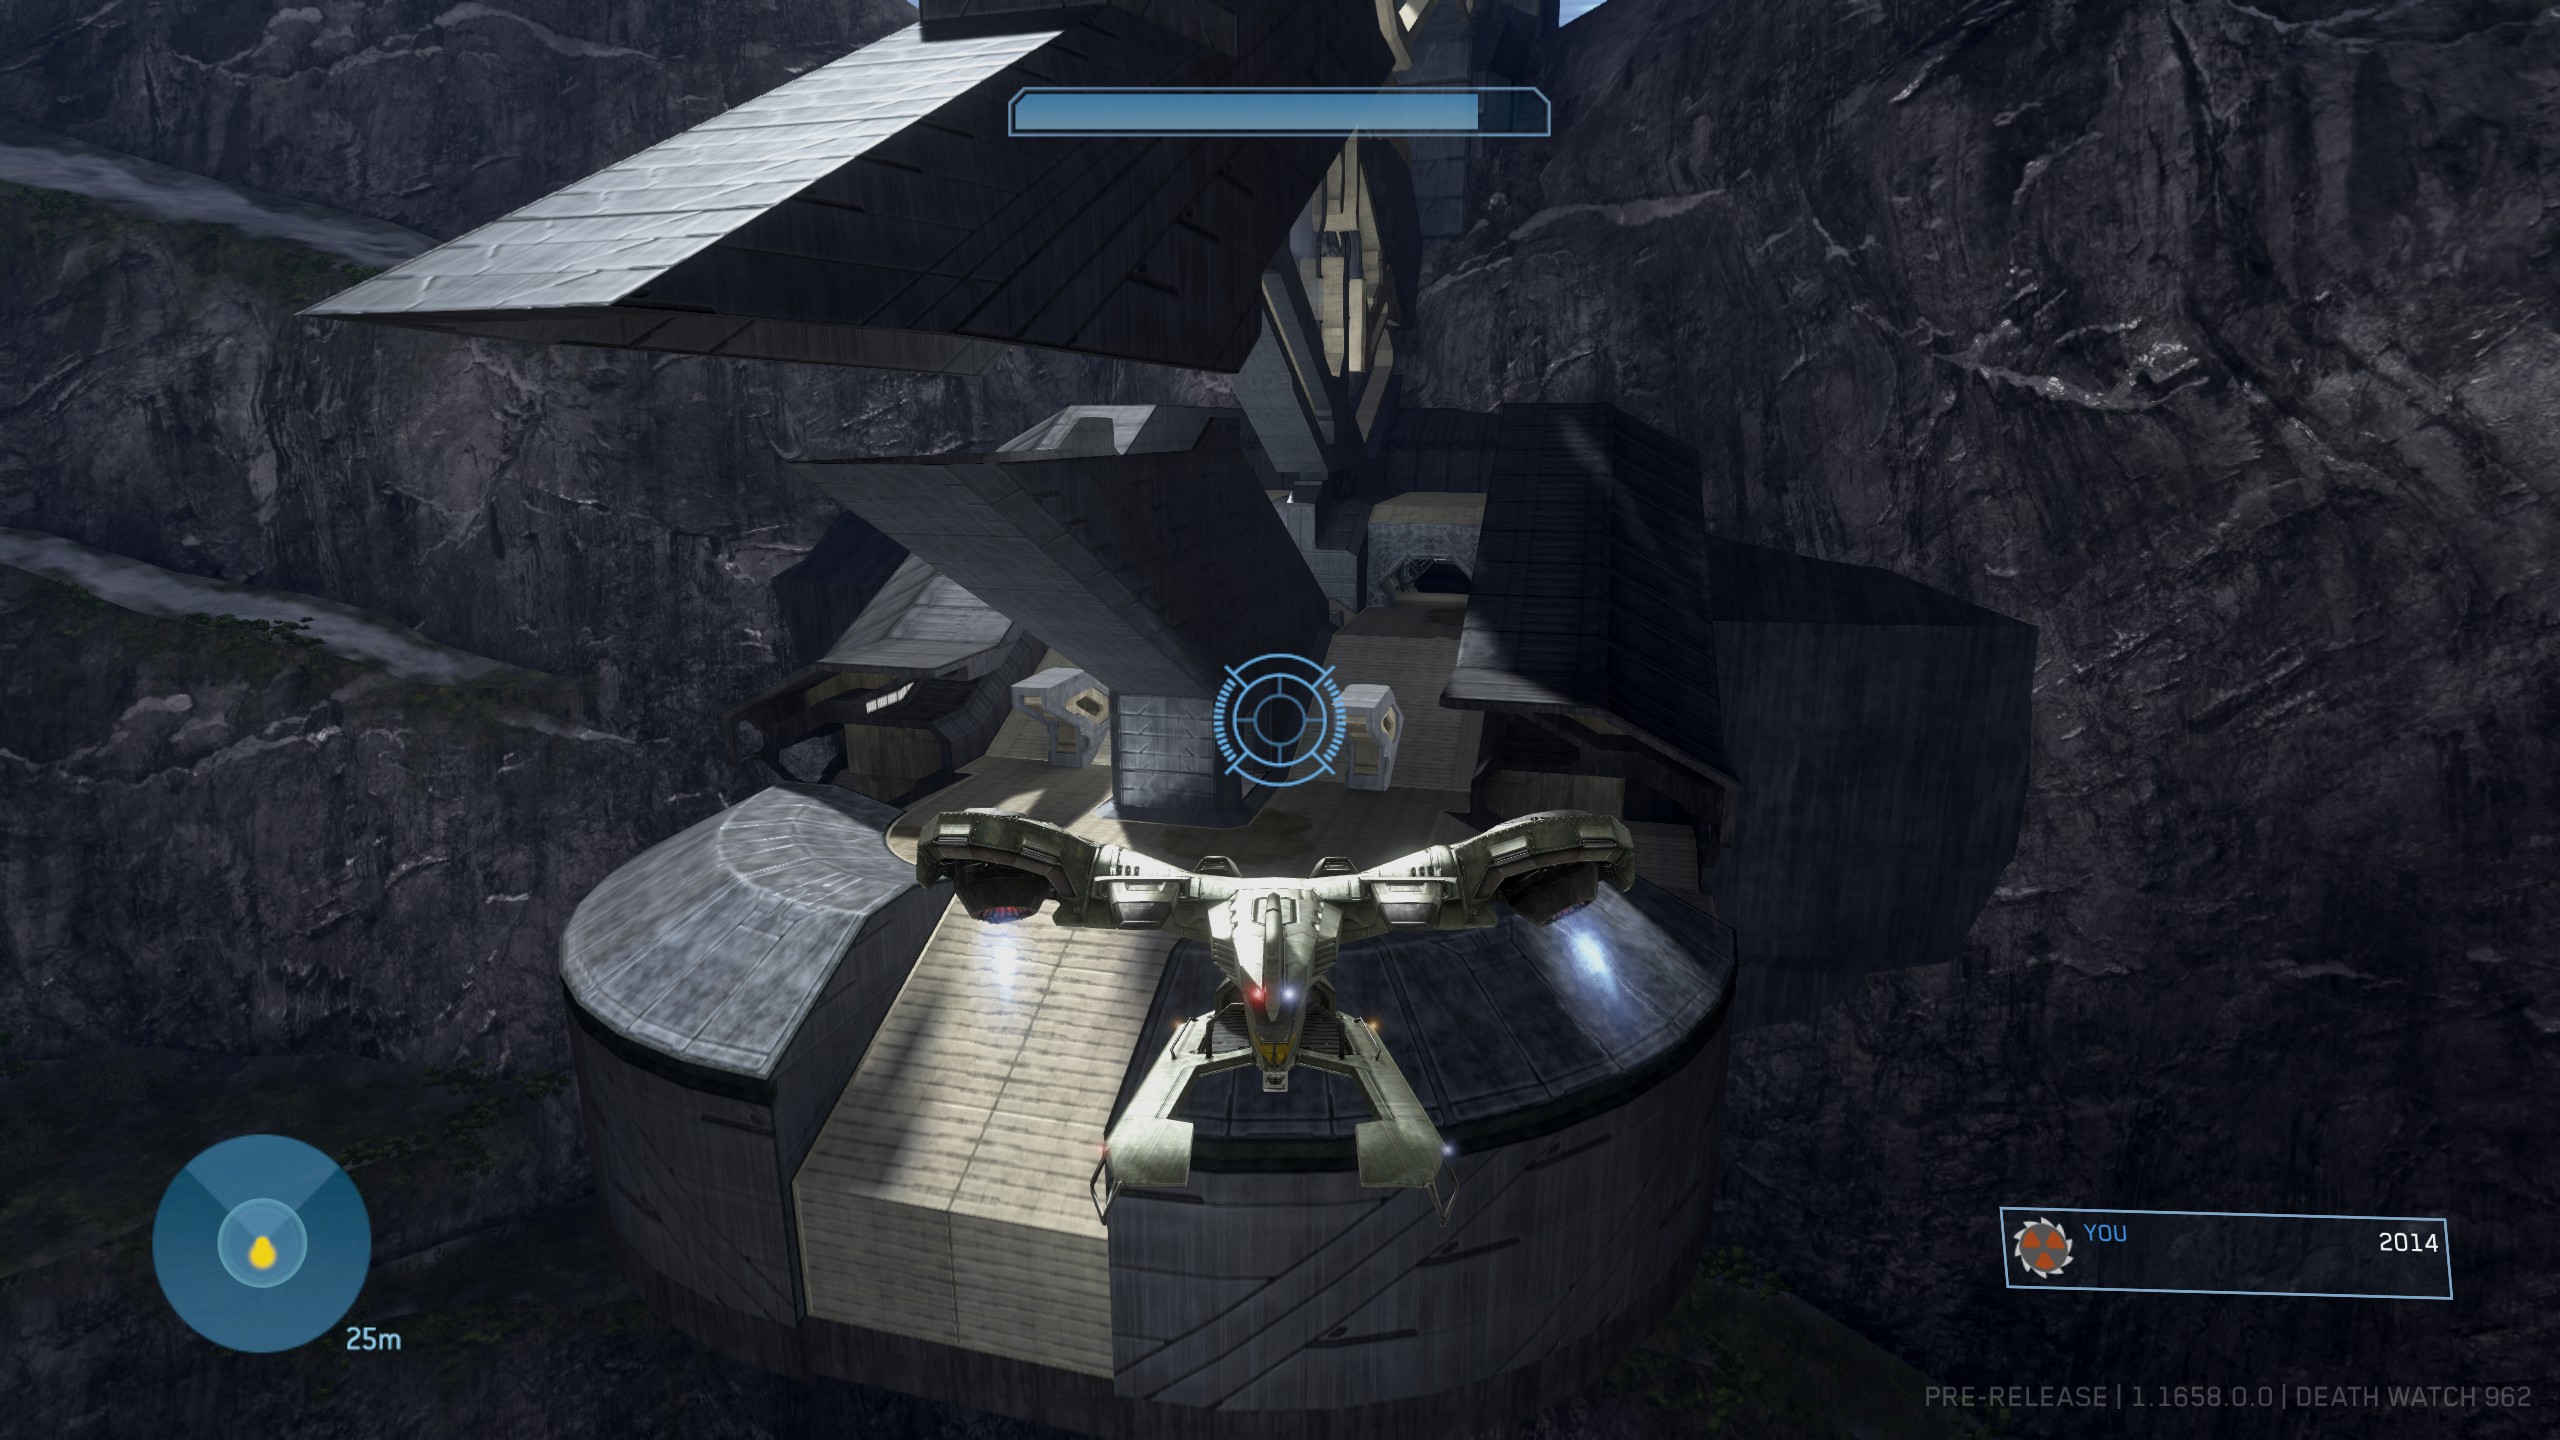
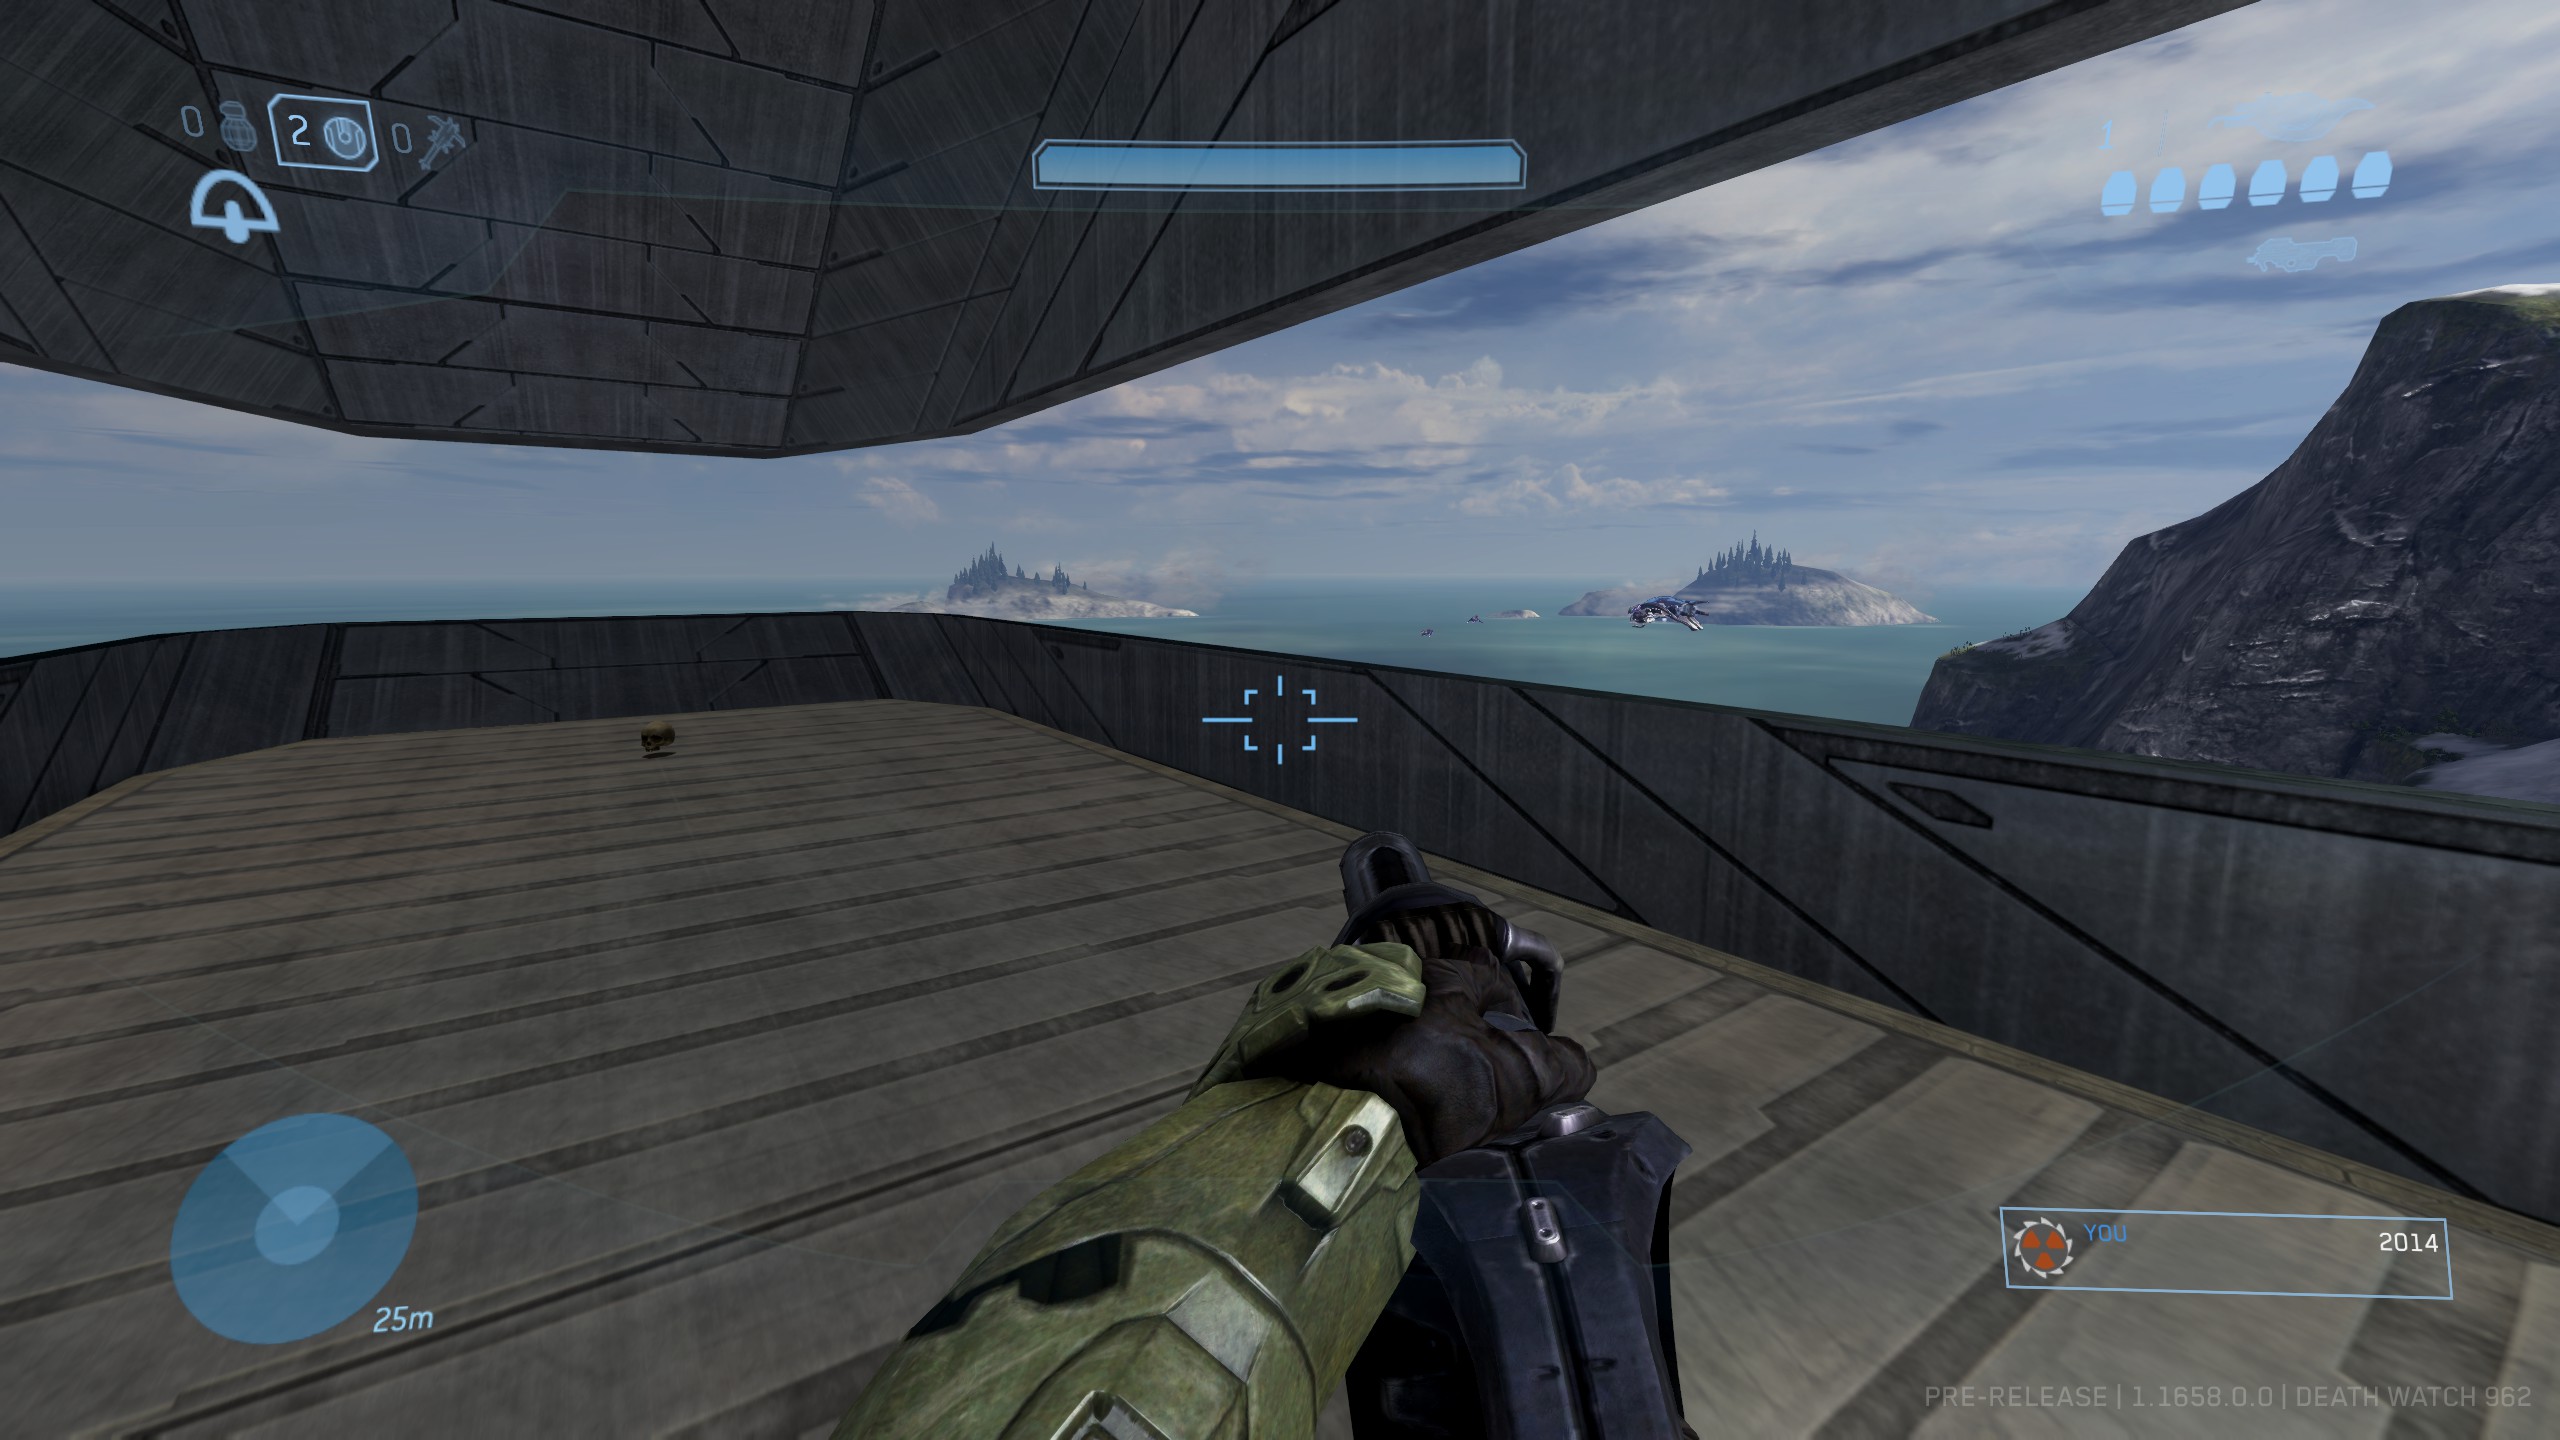
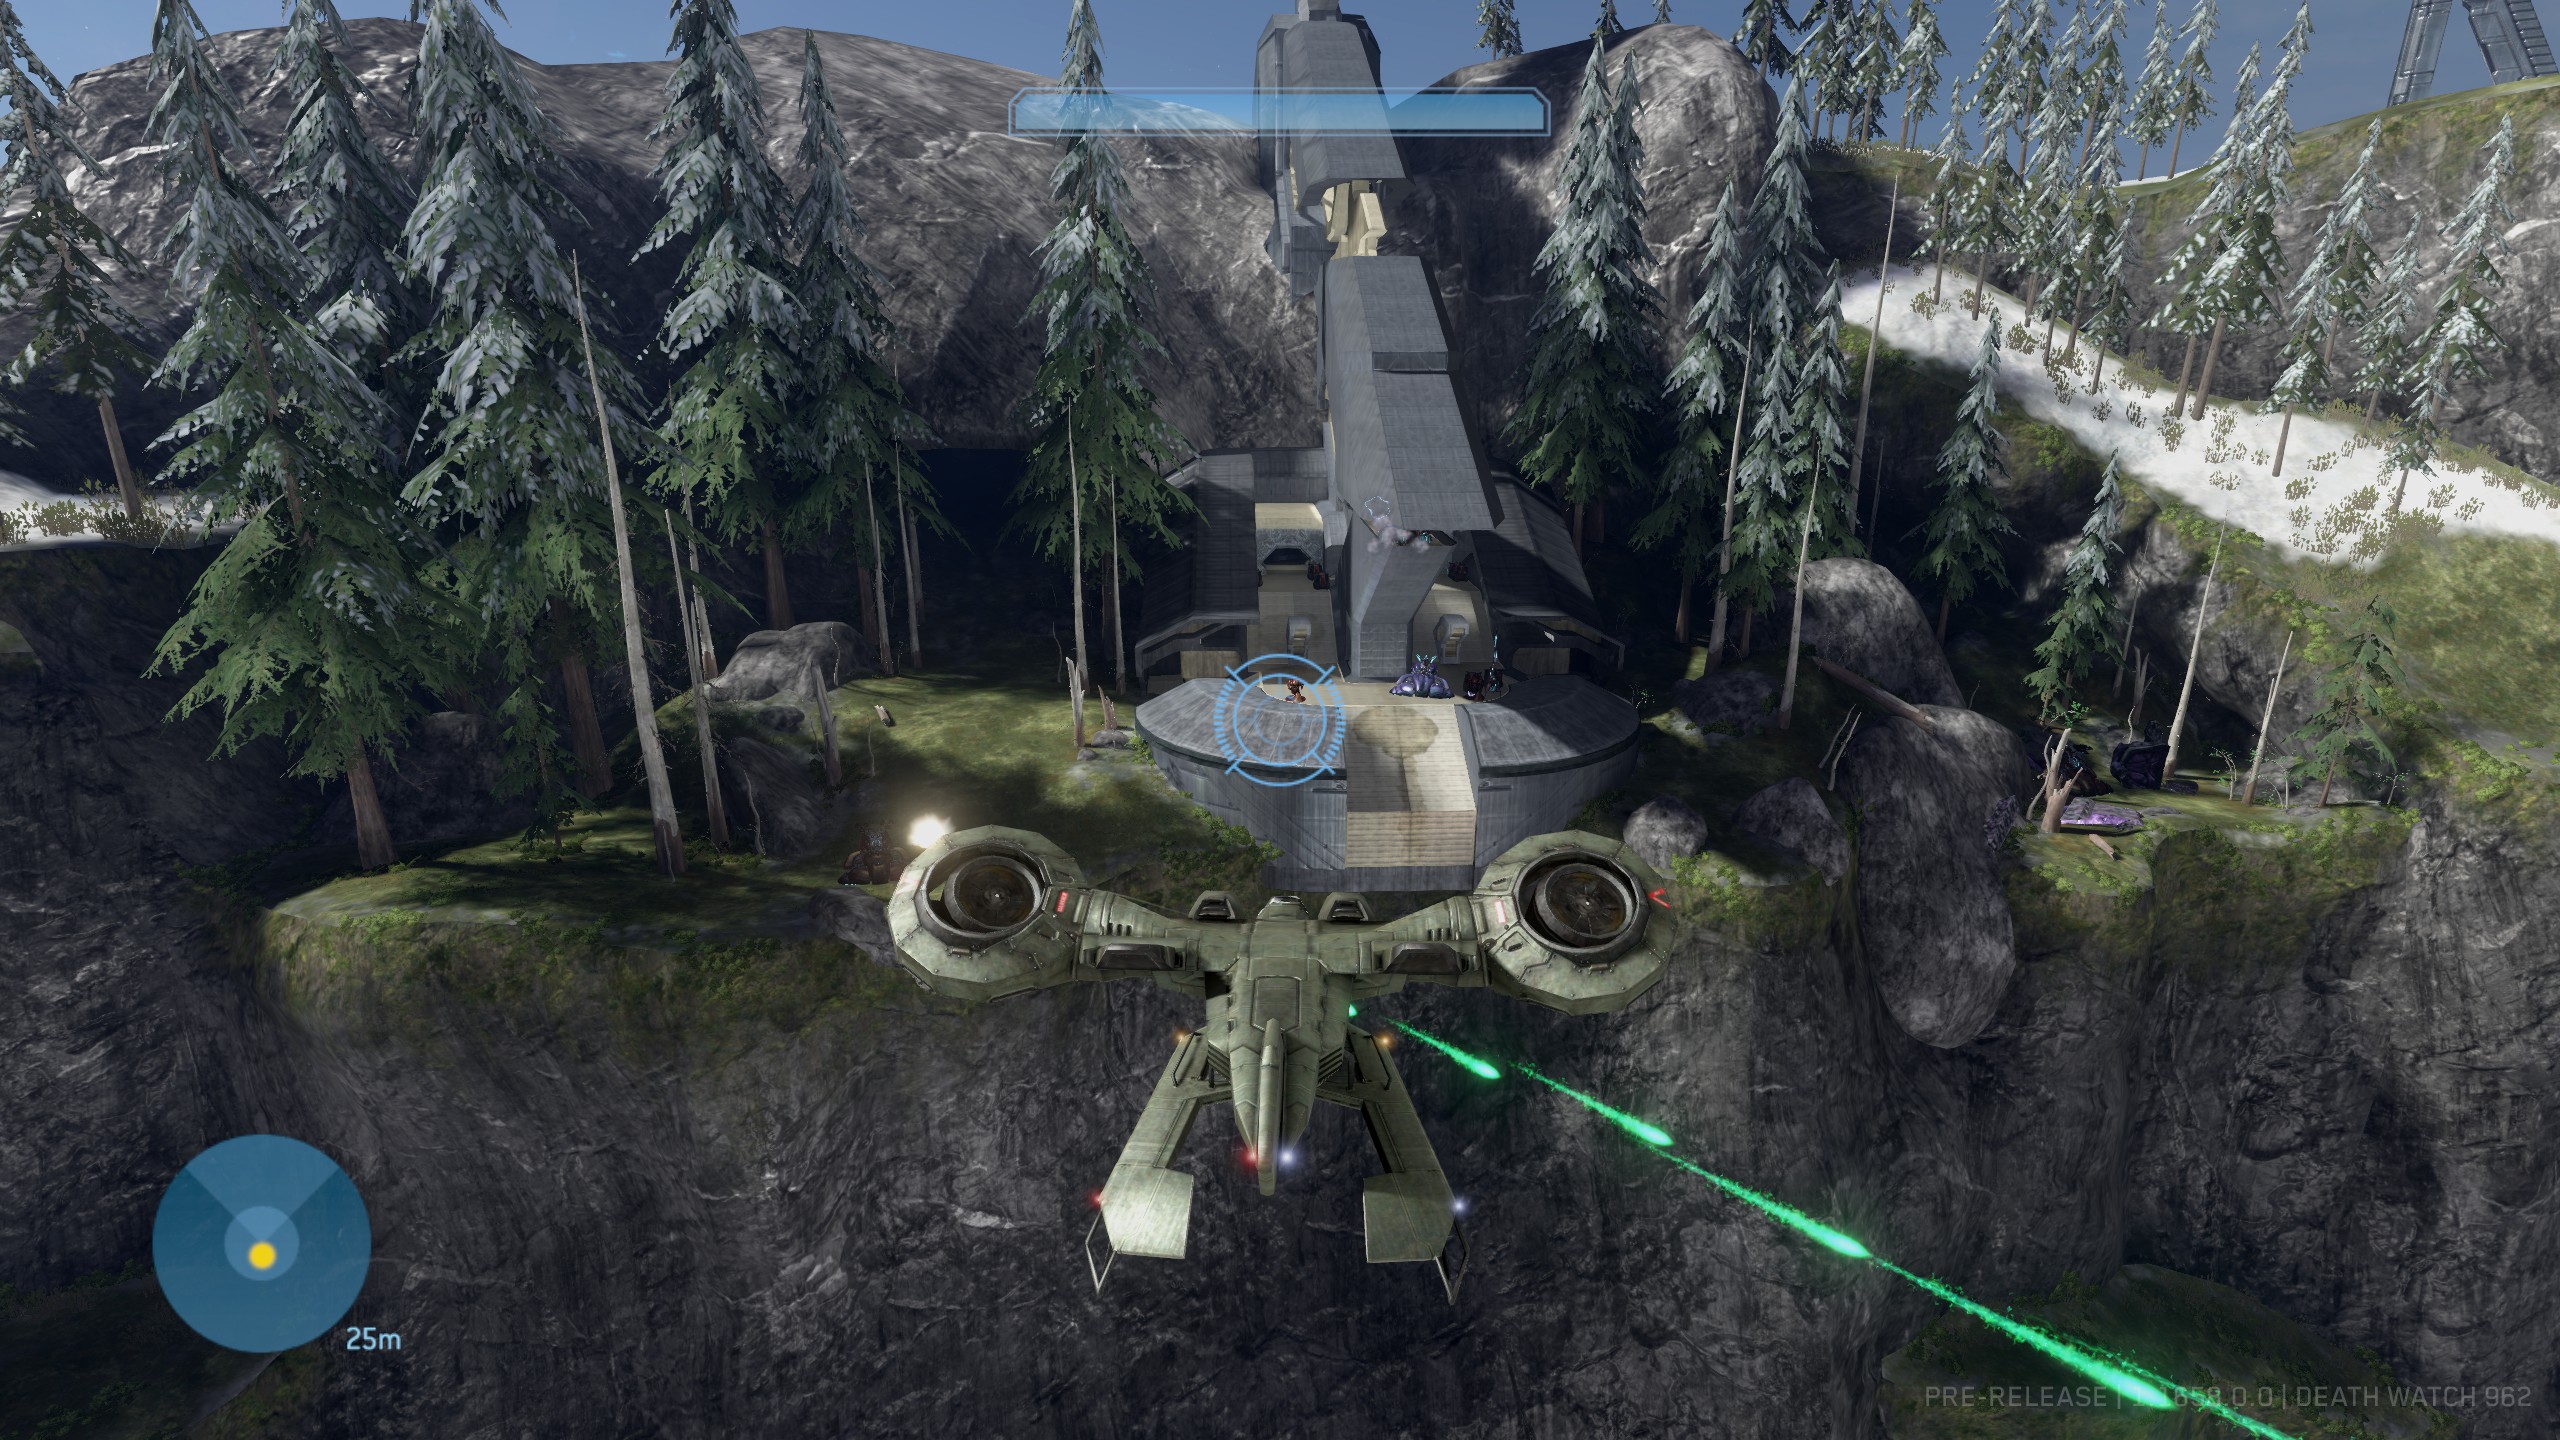
Effect: All enemies are promoted to the highest available ranks. Location: After you have disabled the first tower and return to the beach, you'll be required to hop in a Hornet to continue. About halfway to the next location, you should see a large Forerunner structure built high up into the cliff on the right. Fly up to this structure and look inside for the skull.
https://www.youtube.com/watch?v=CVHygDpkJQM
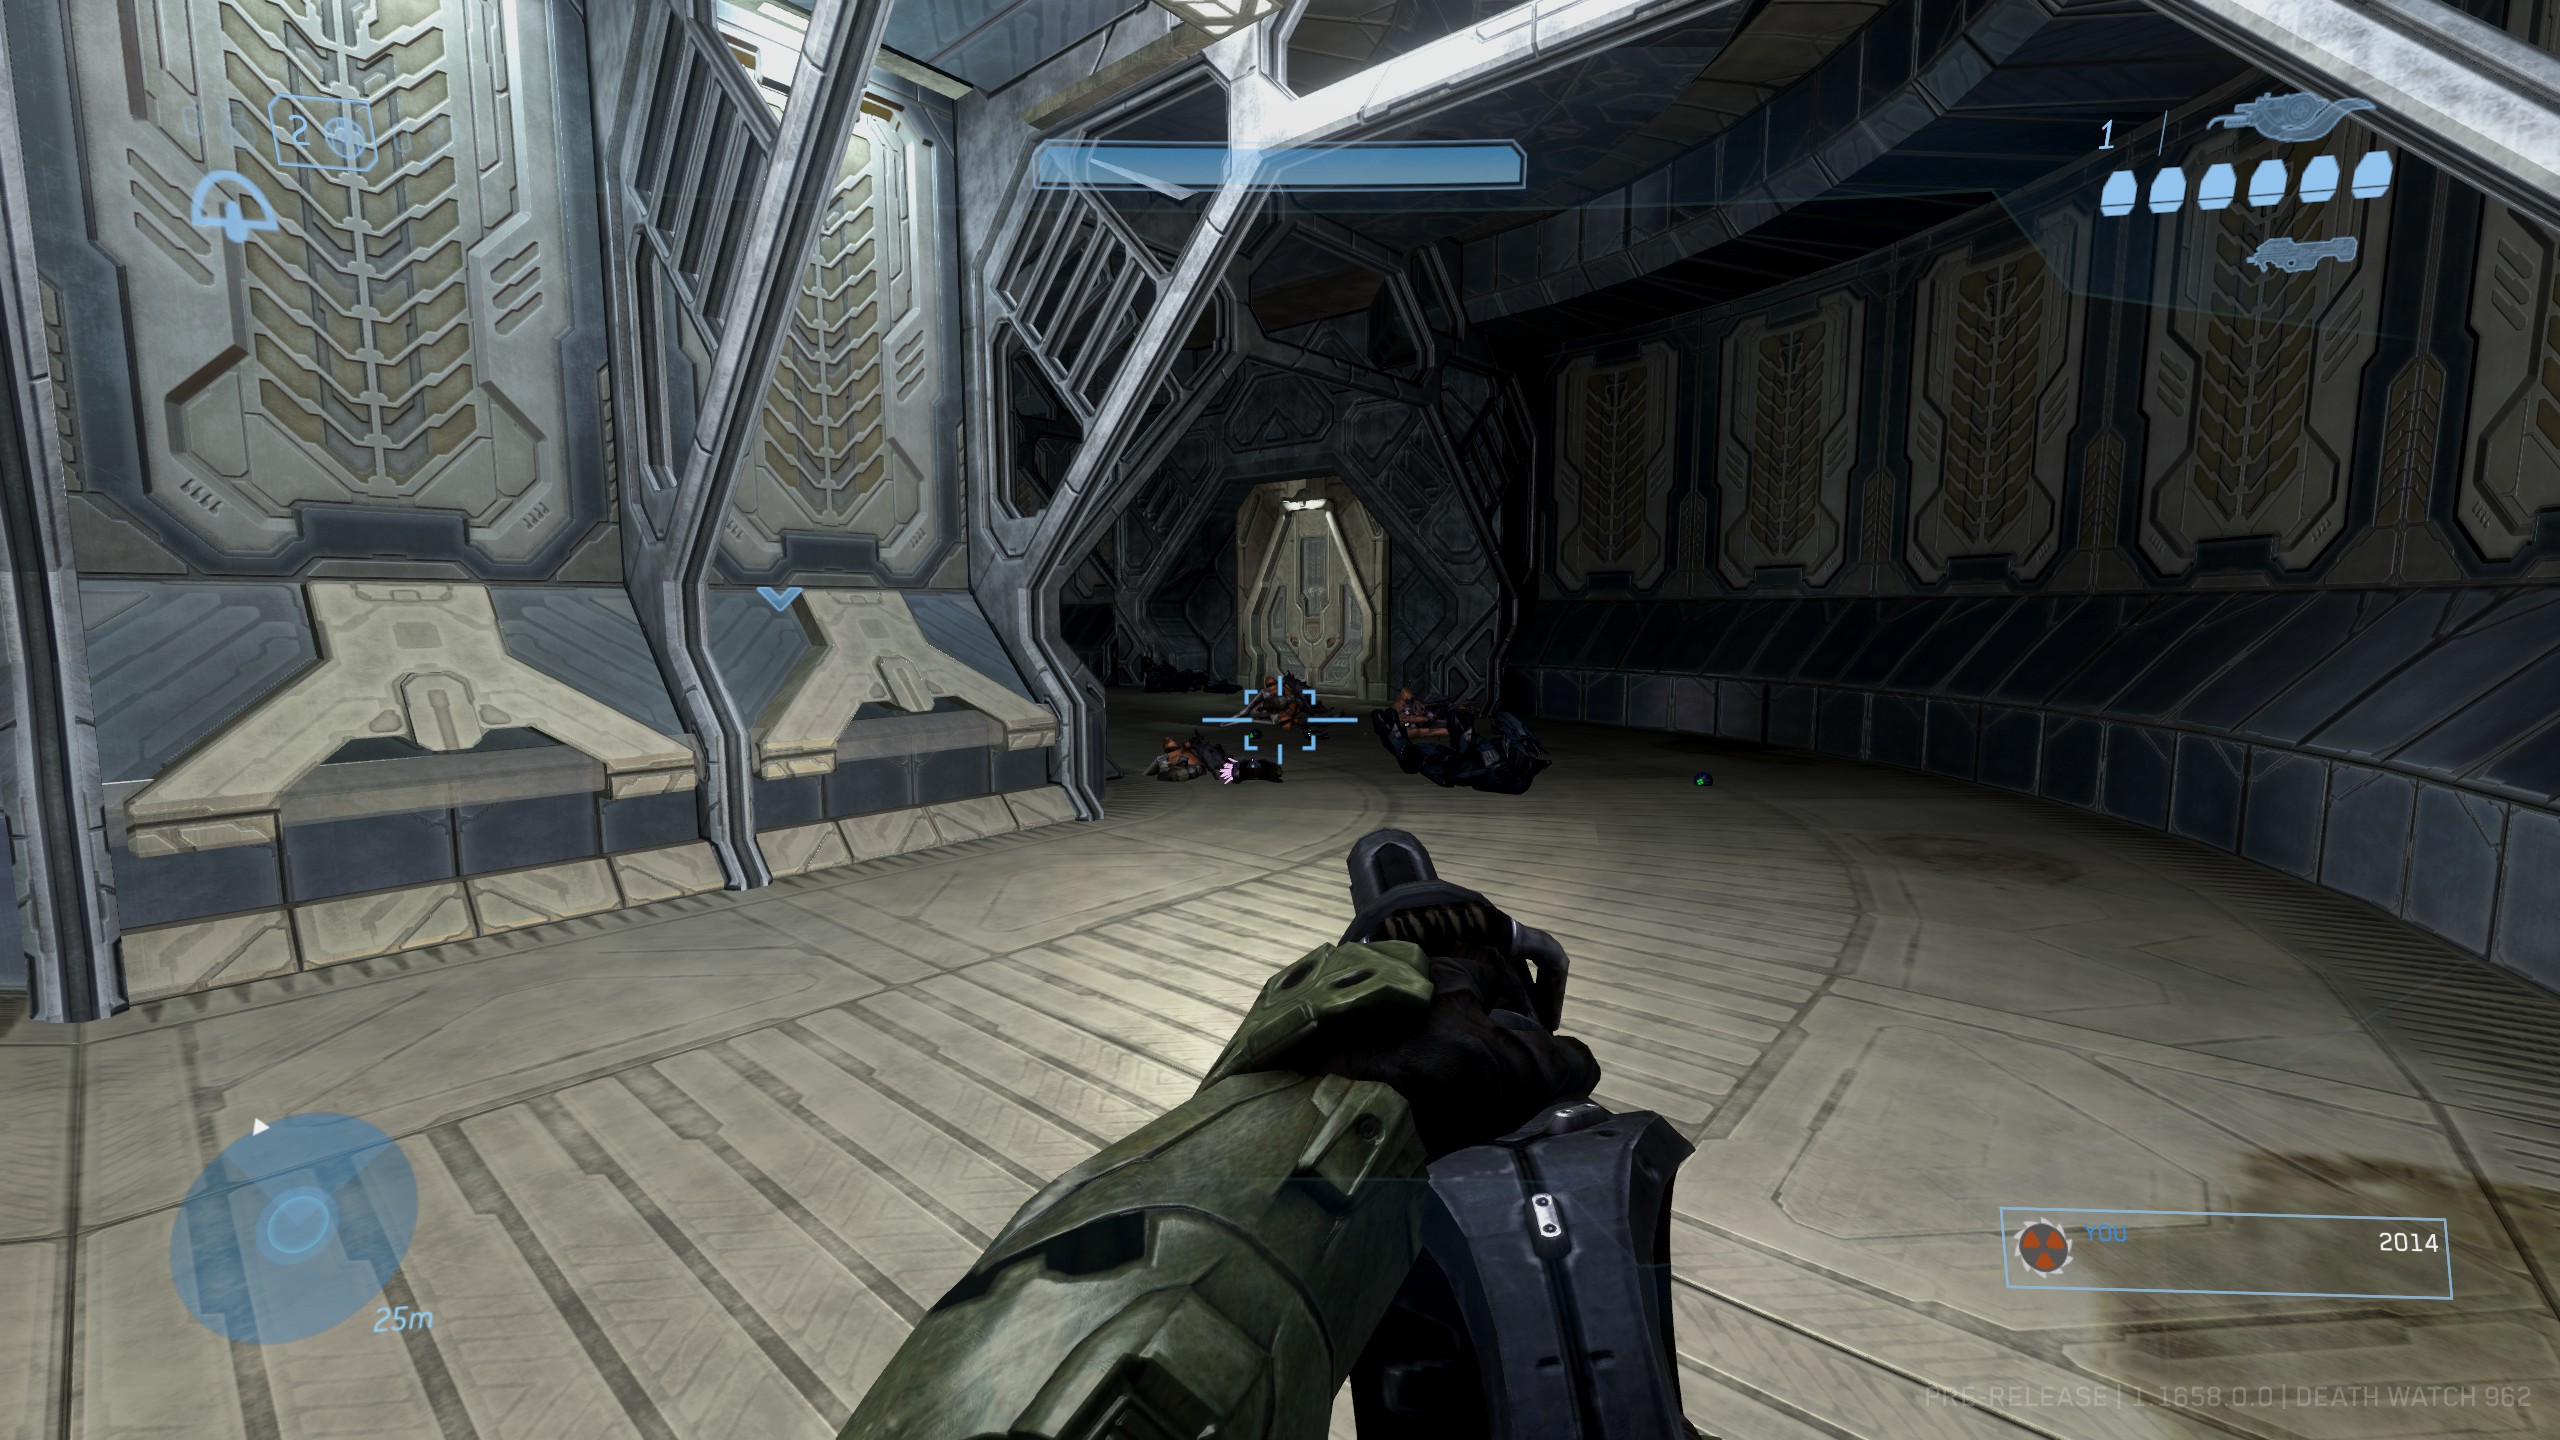
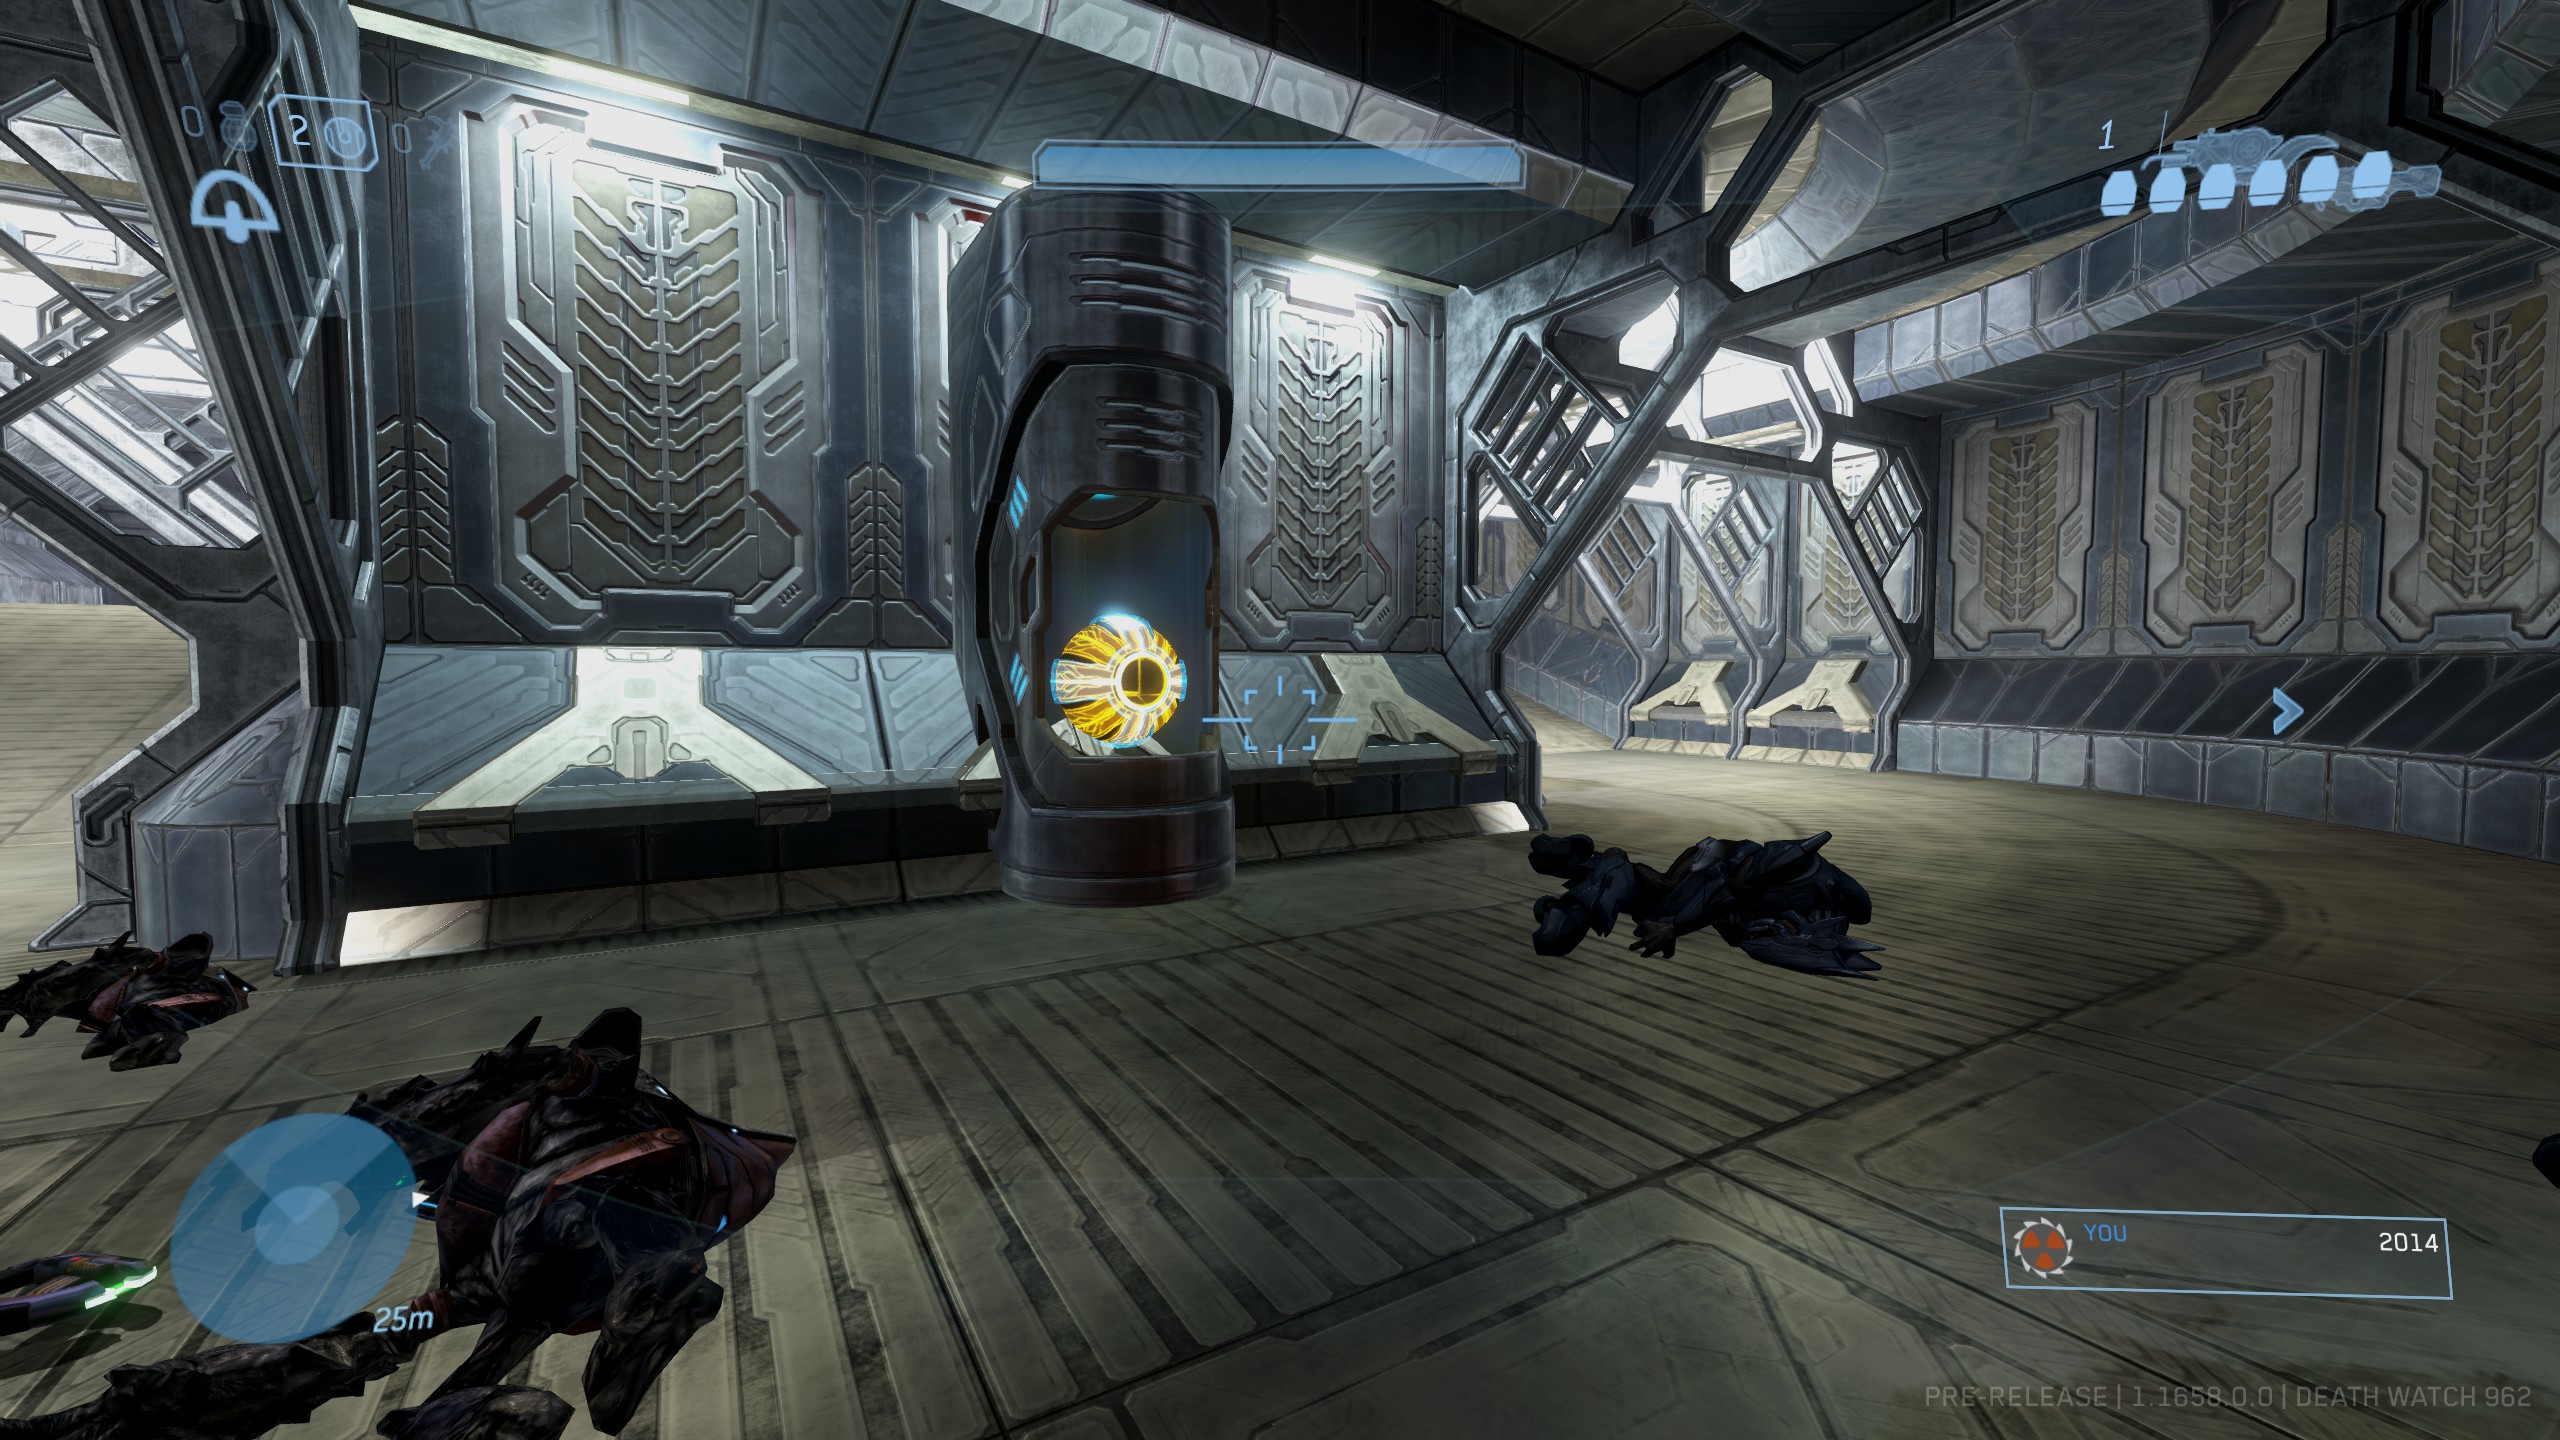
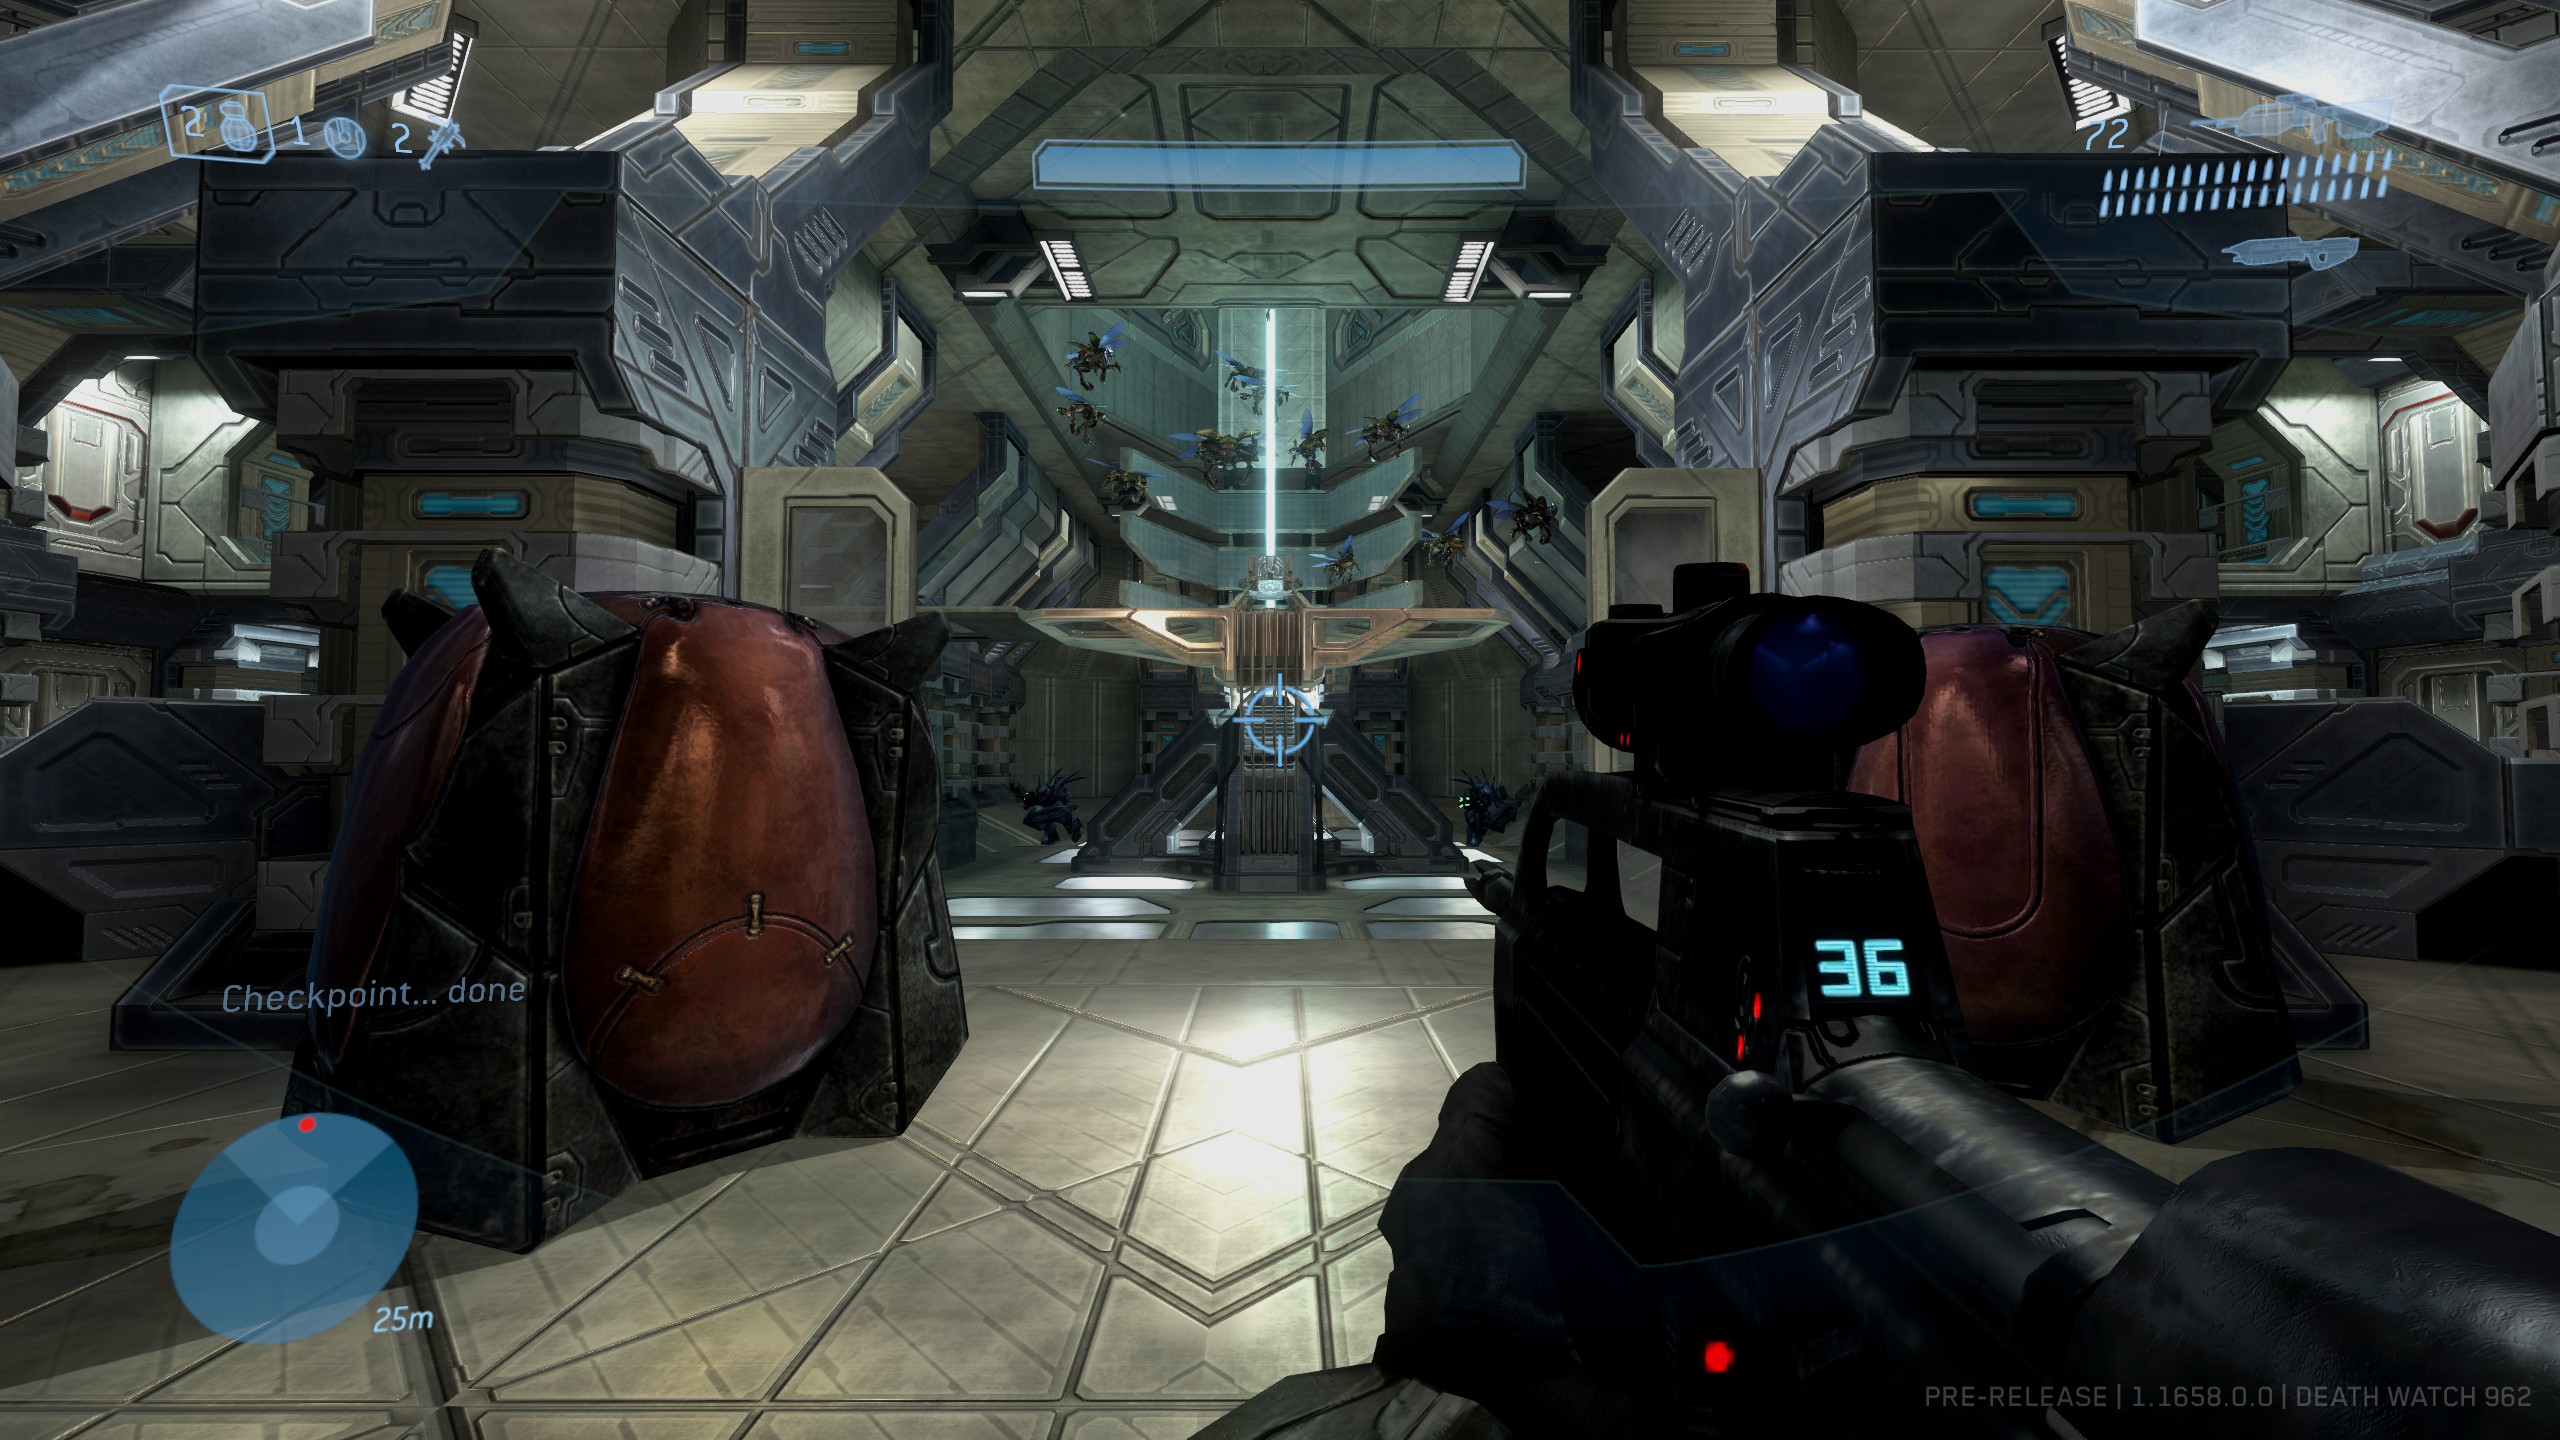
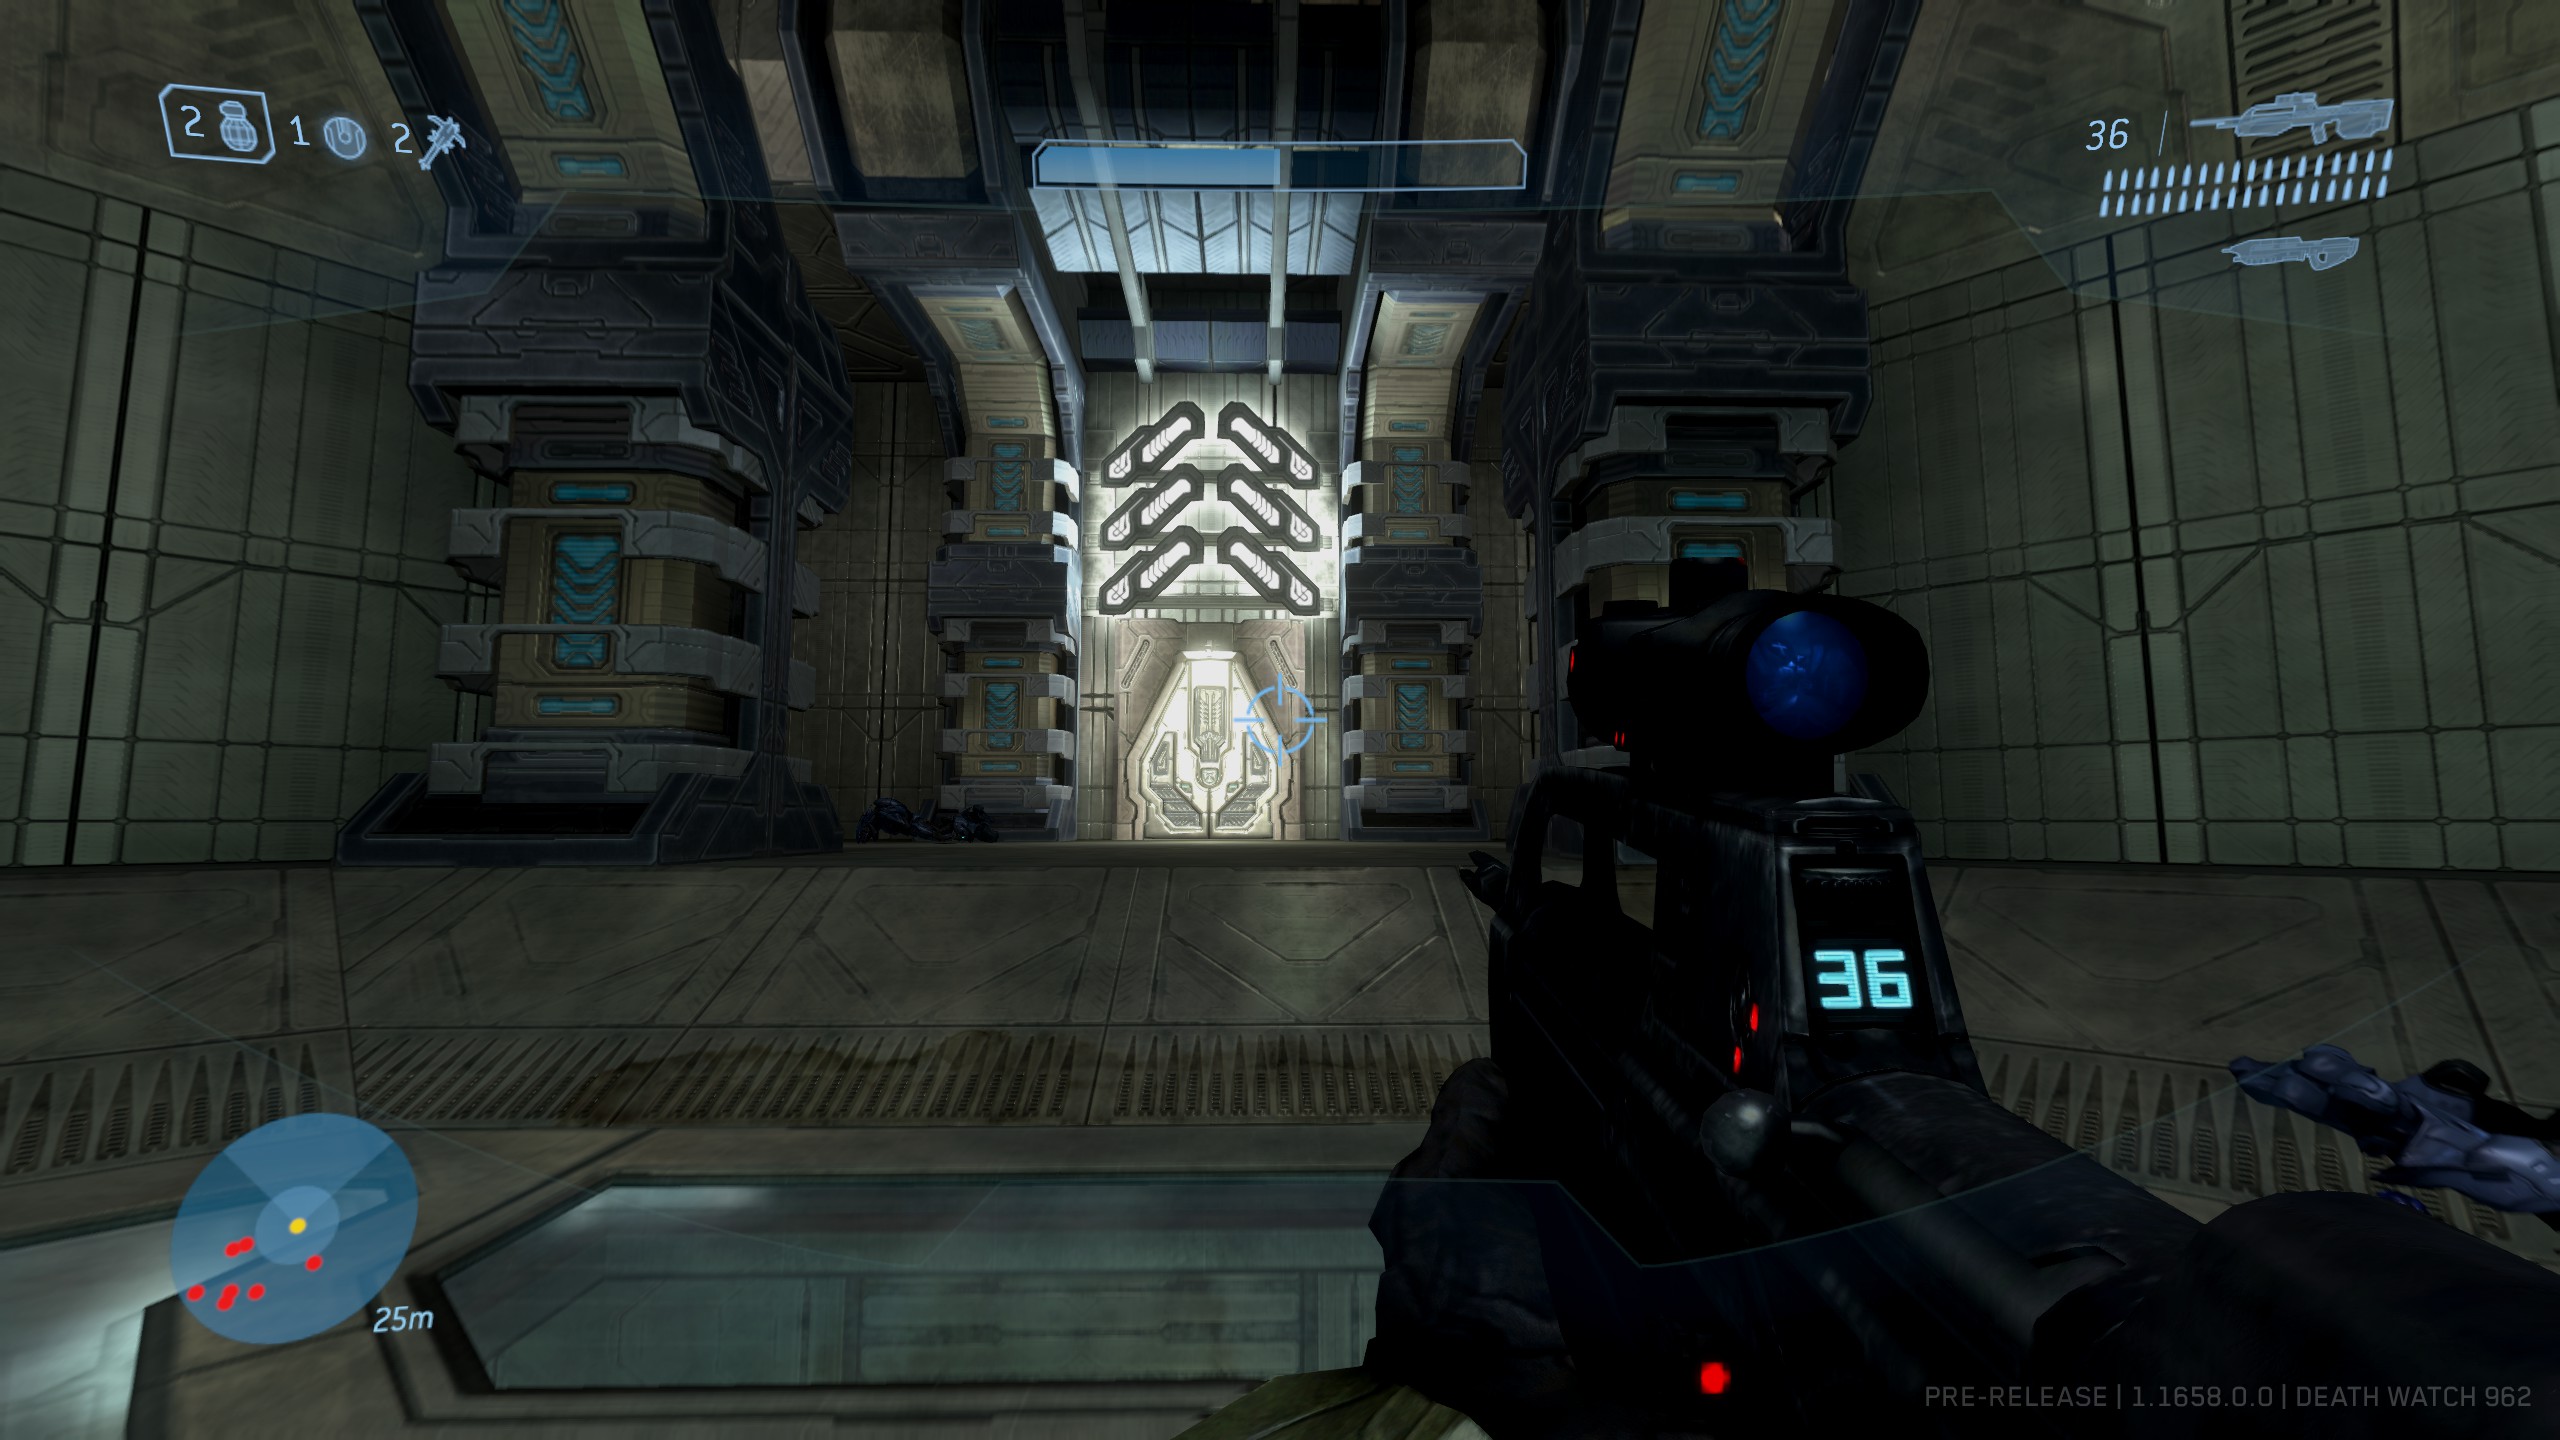
Effect: Unlocks new and often humorous dialogue for the AI.
Location: Much like its equivalent in Halo 2, the IWHBYD Skull is by far the most difficult to obtain. To find it, once we have discovered the Prophet of Truth's fate we'll want to clear the whole room of Flood. You don't need to, but it makes it a whole lot easier.
Above the length of the temple room from the elevator, all the way to where you encountered Truth you should see a series of suspended, glowing blue rings.
There are seven rings in total. The one closest to the elevator ring is 1 and the one closest to the light bridge with the Prophet of Truth is 7, with the ring with 1/3 of it red being 4. You'll want to jump through each of them in the RIGHT ORDER.
Here is the order required: 4, 6, 5, 4, 5, 3, 4.
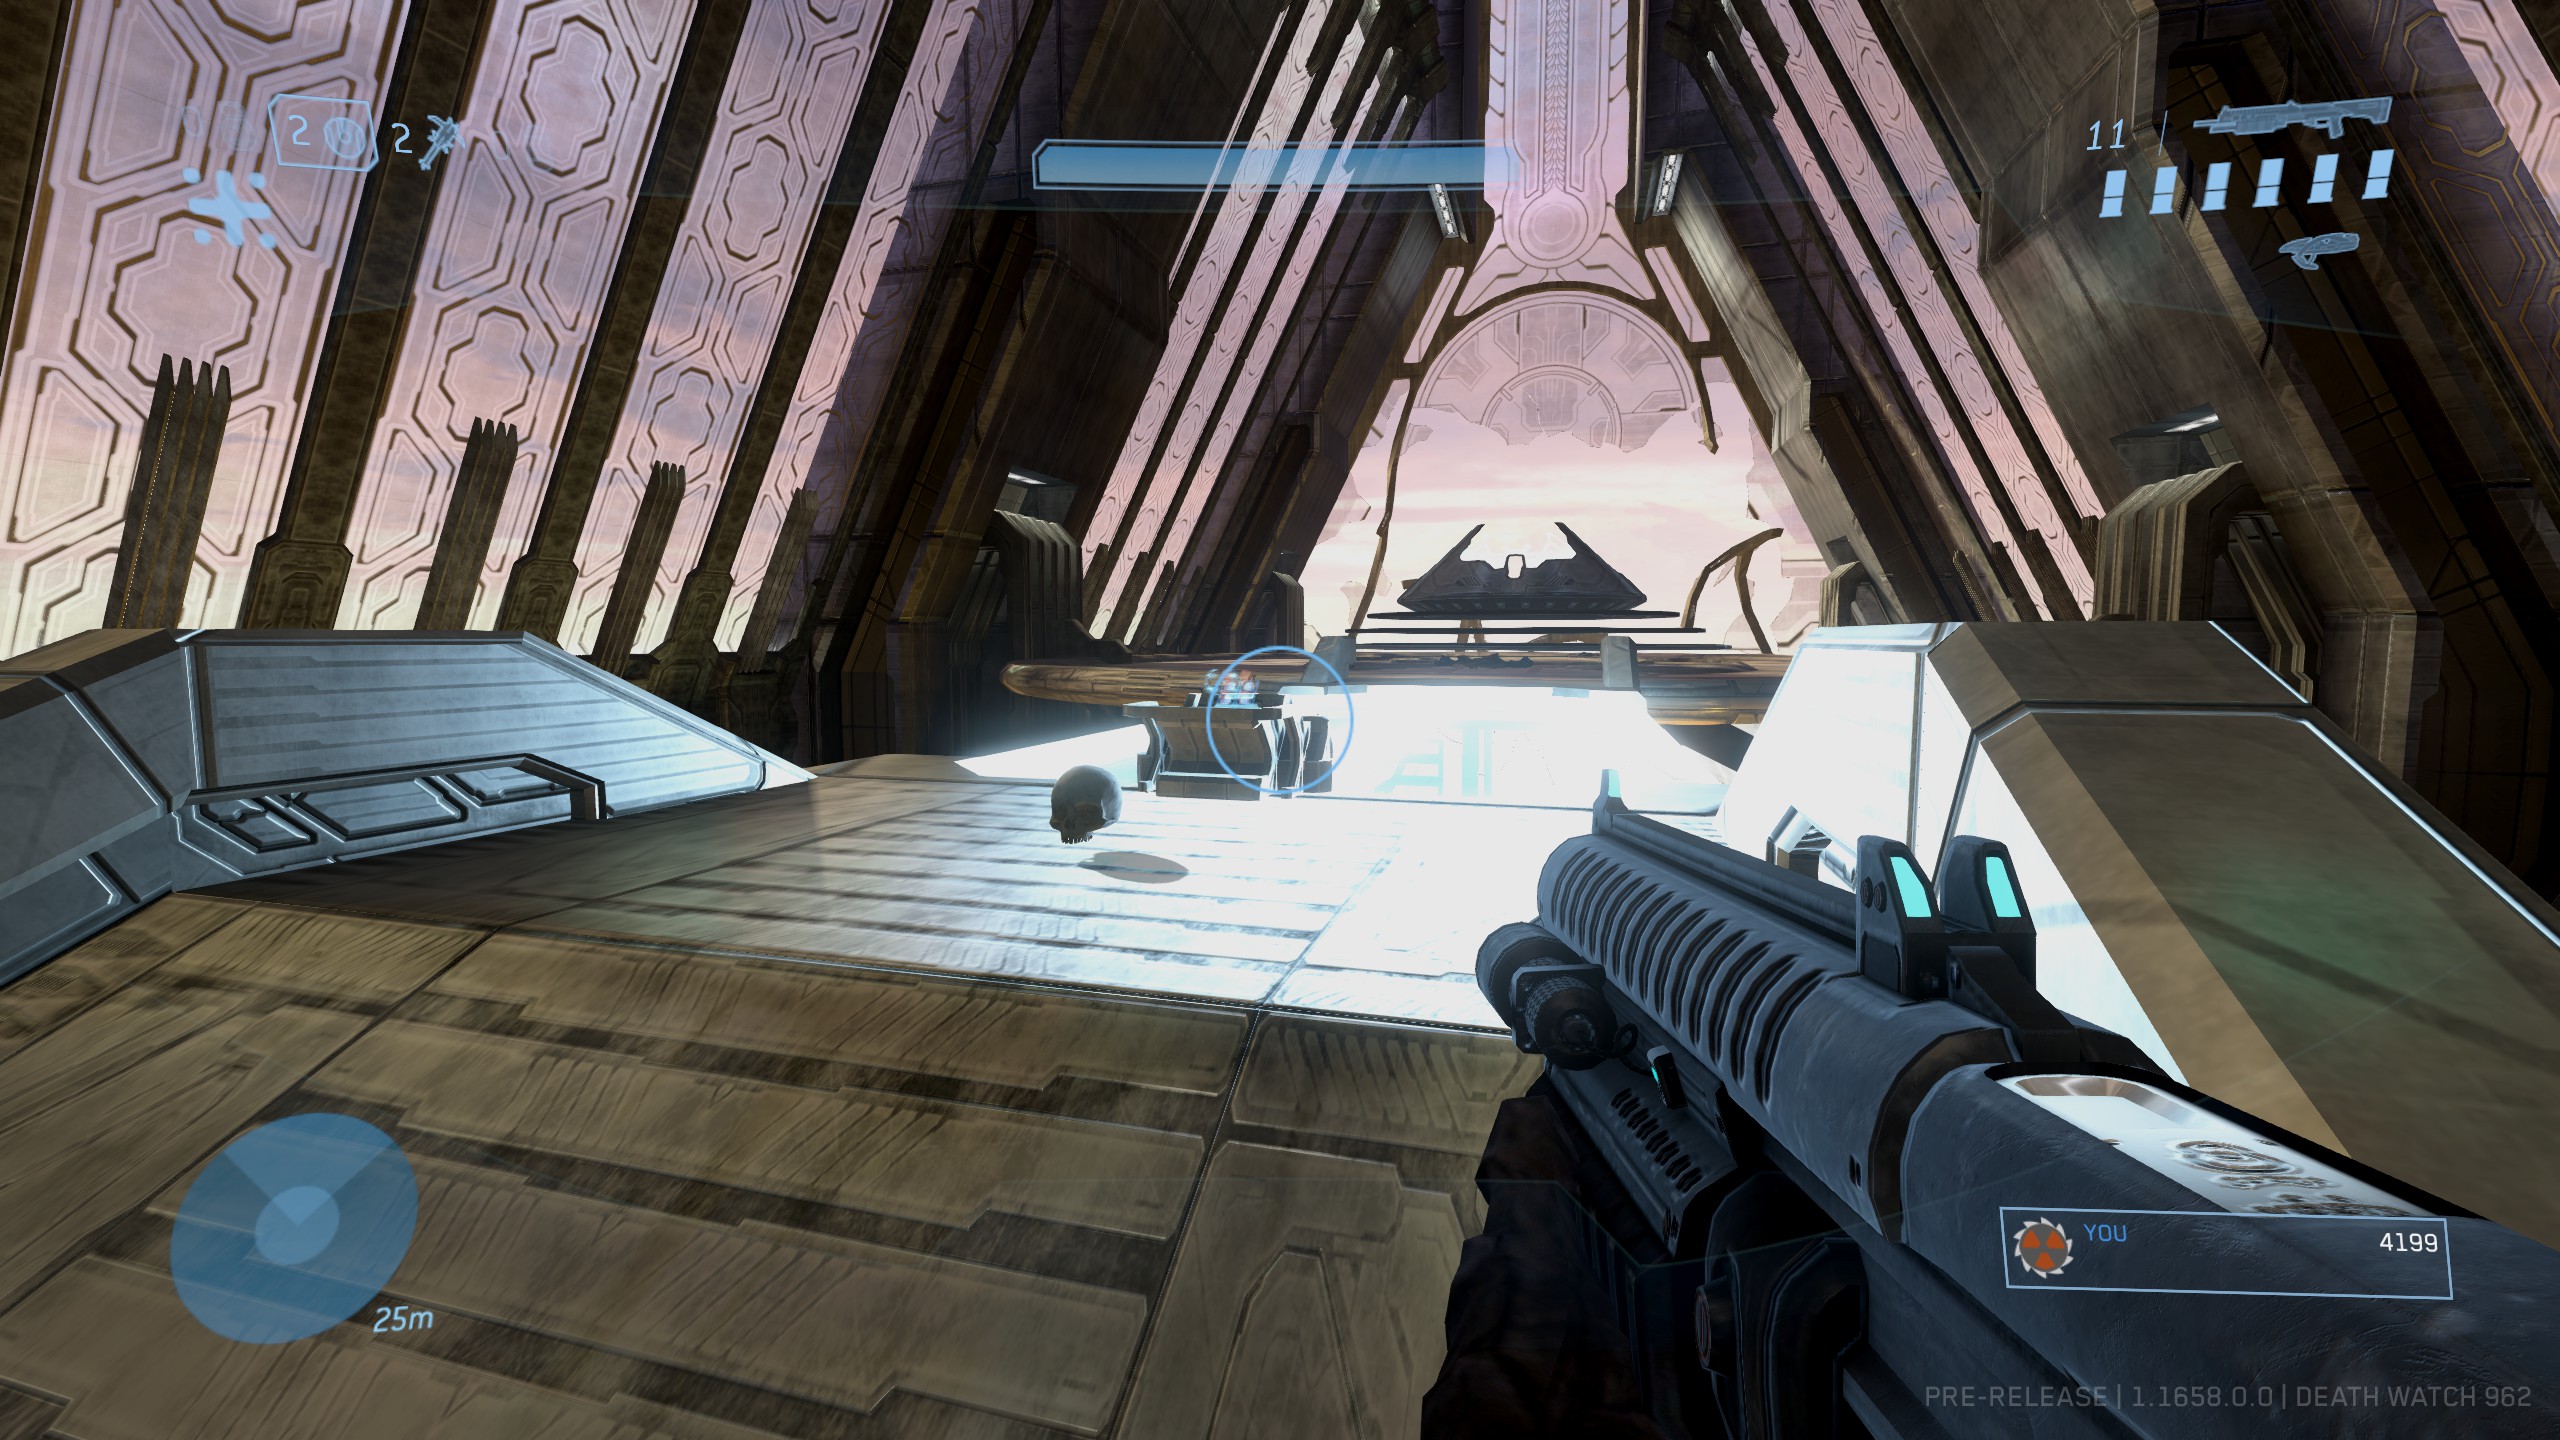
[Order of images goes from left to right]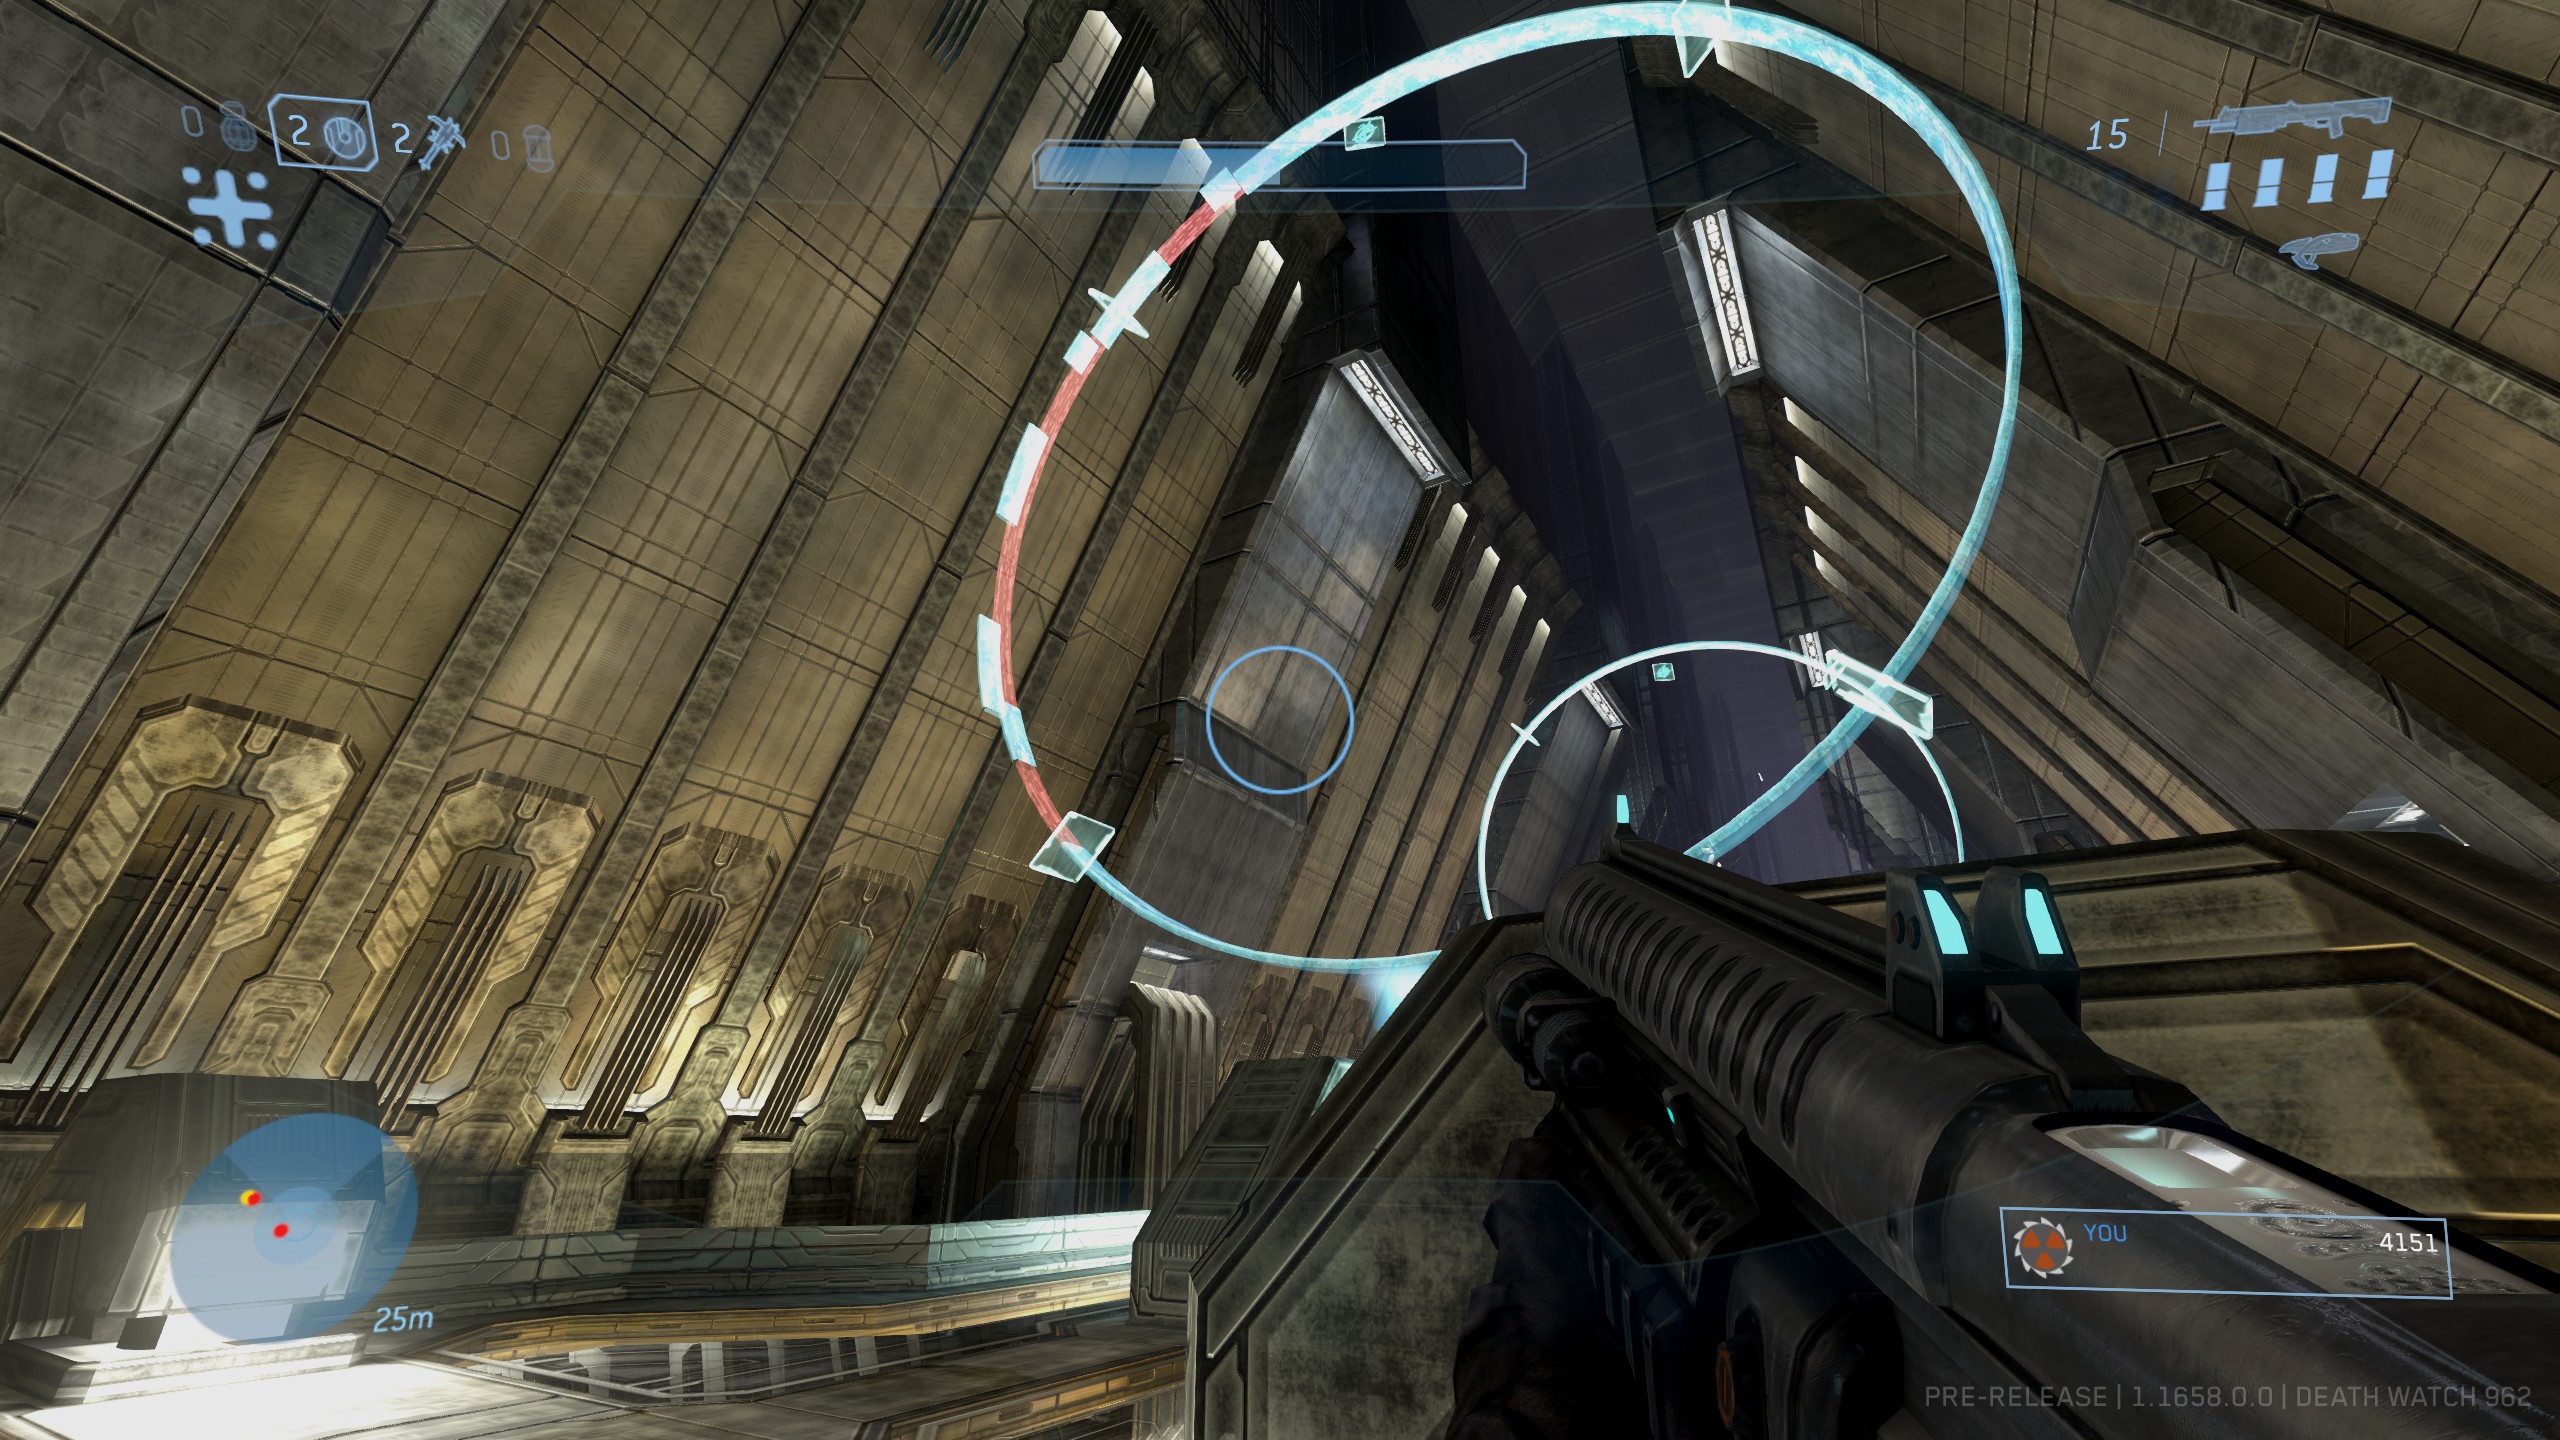
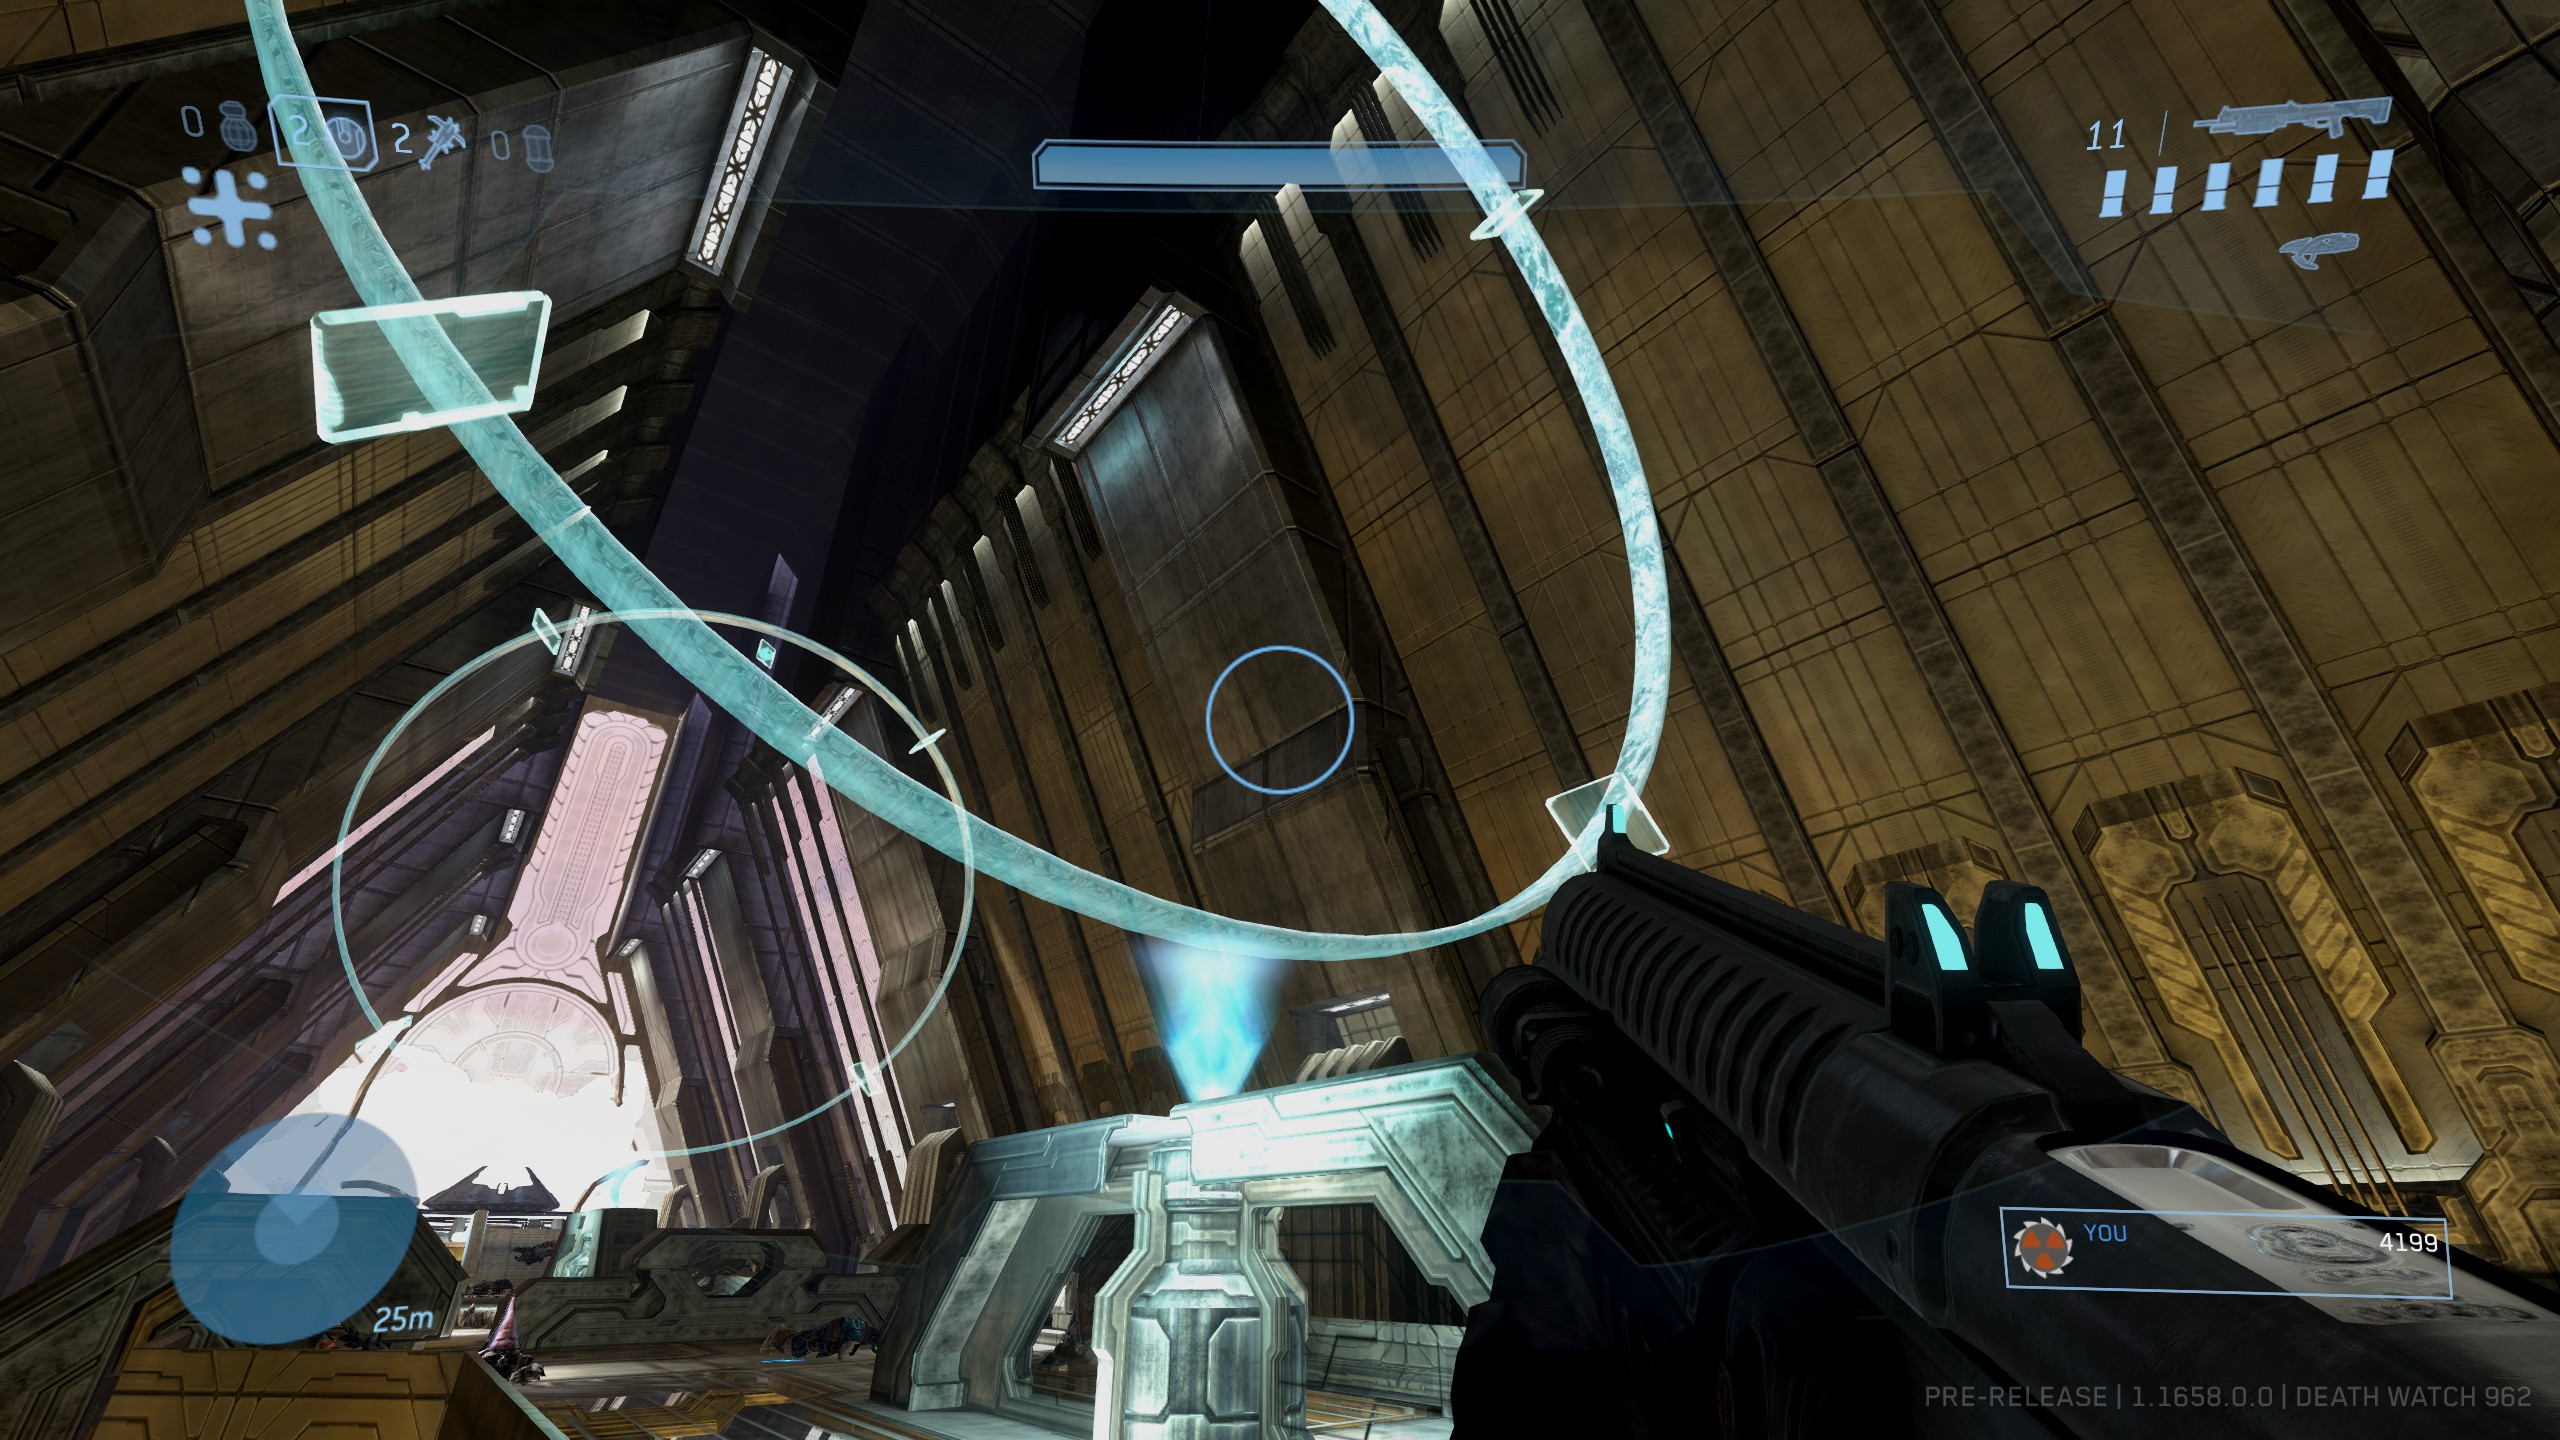
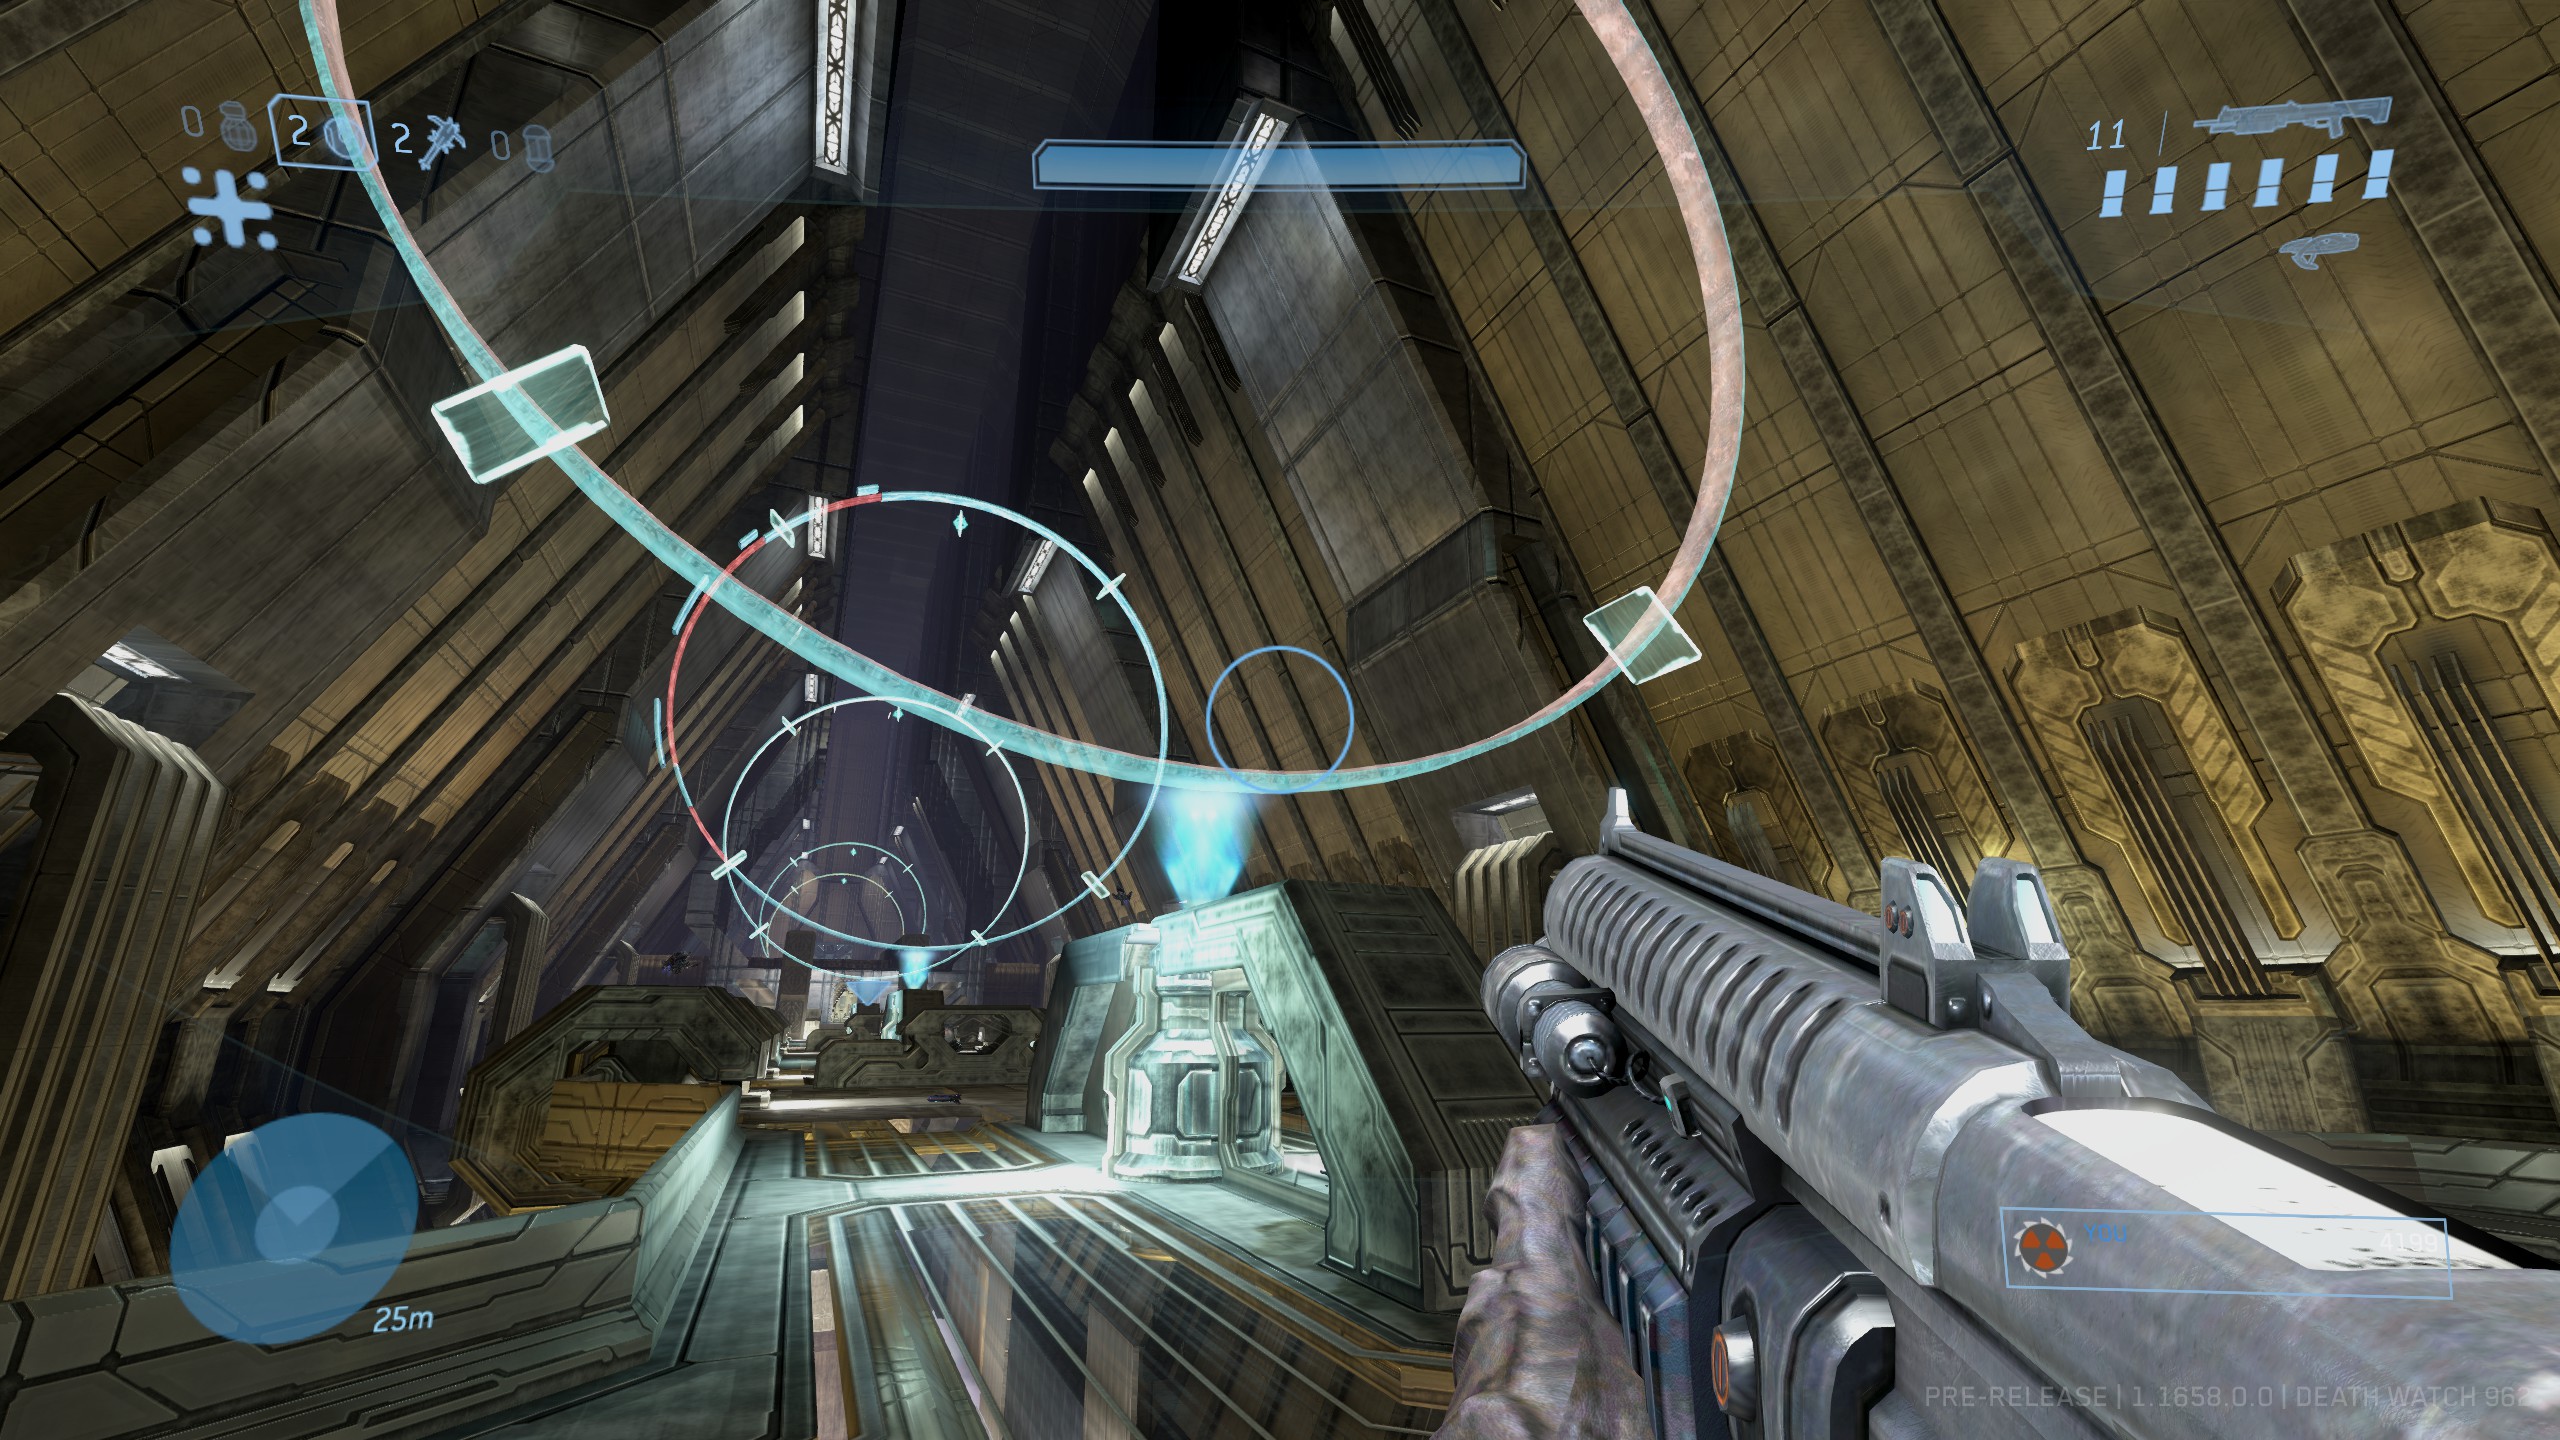
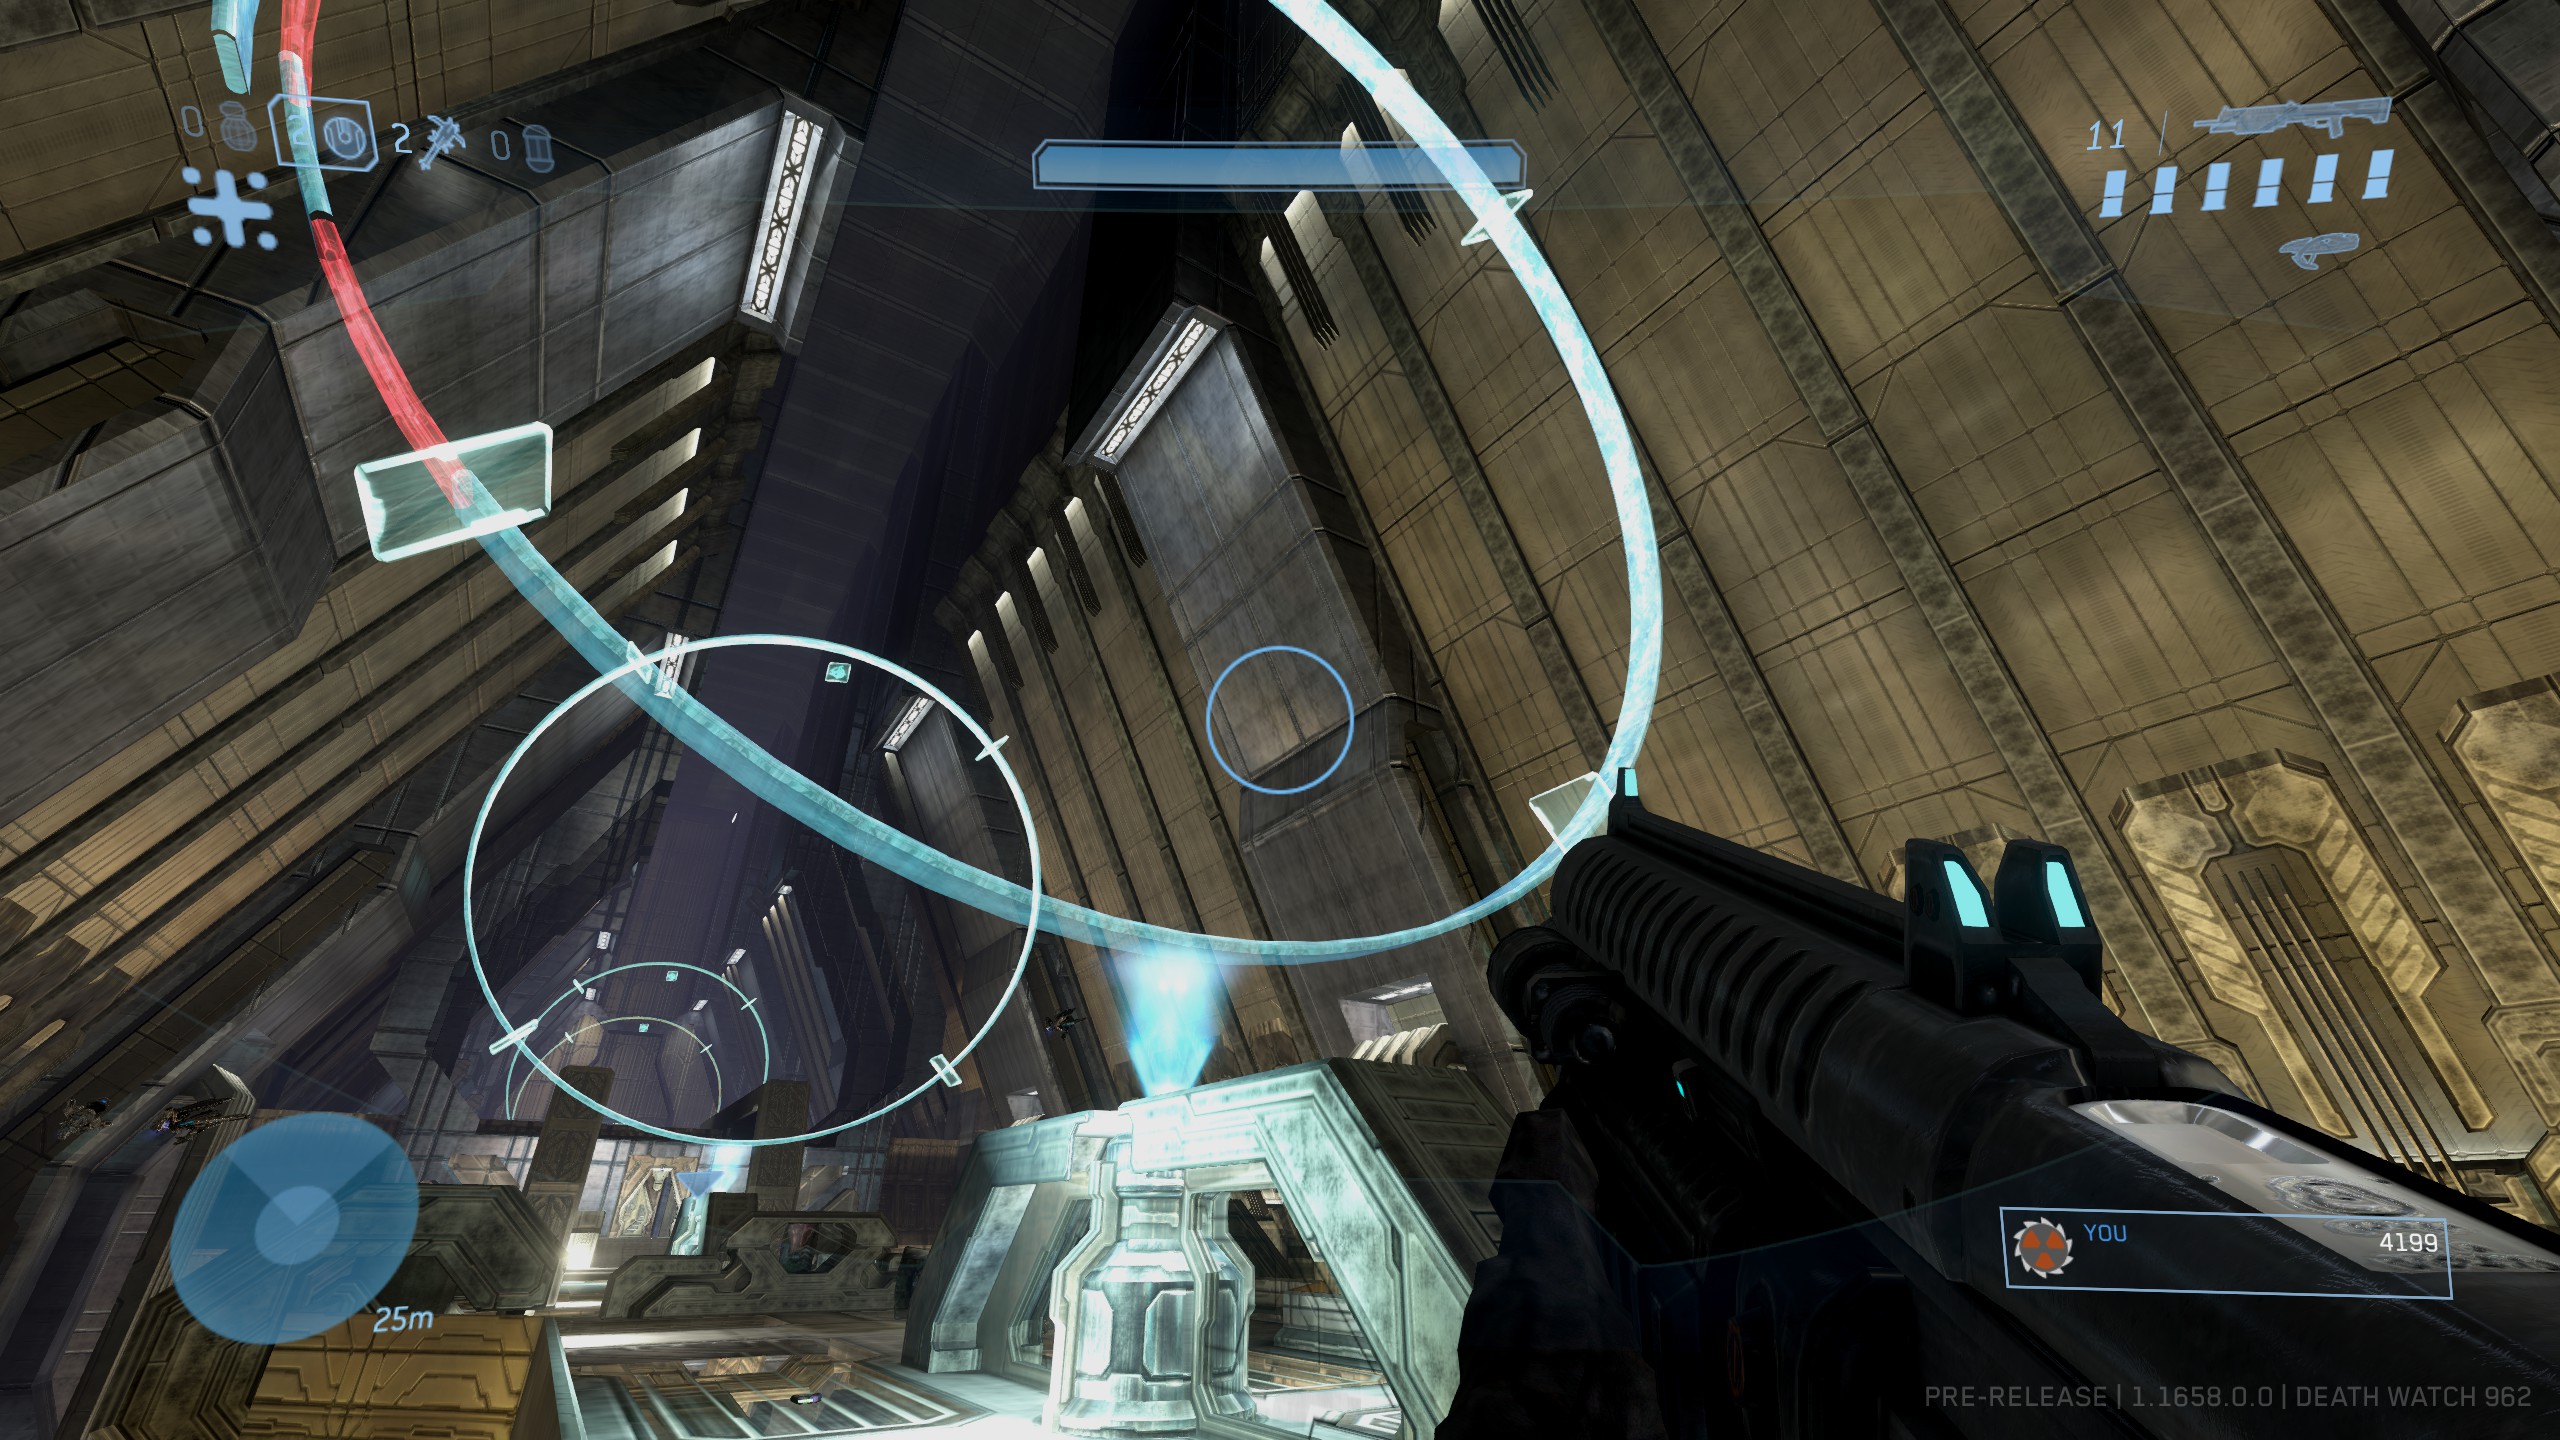
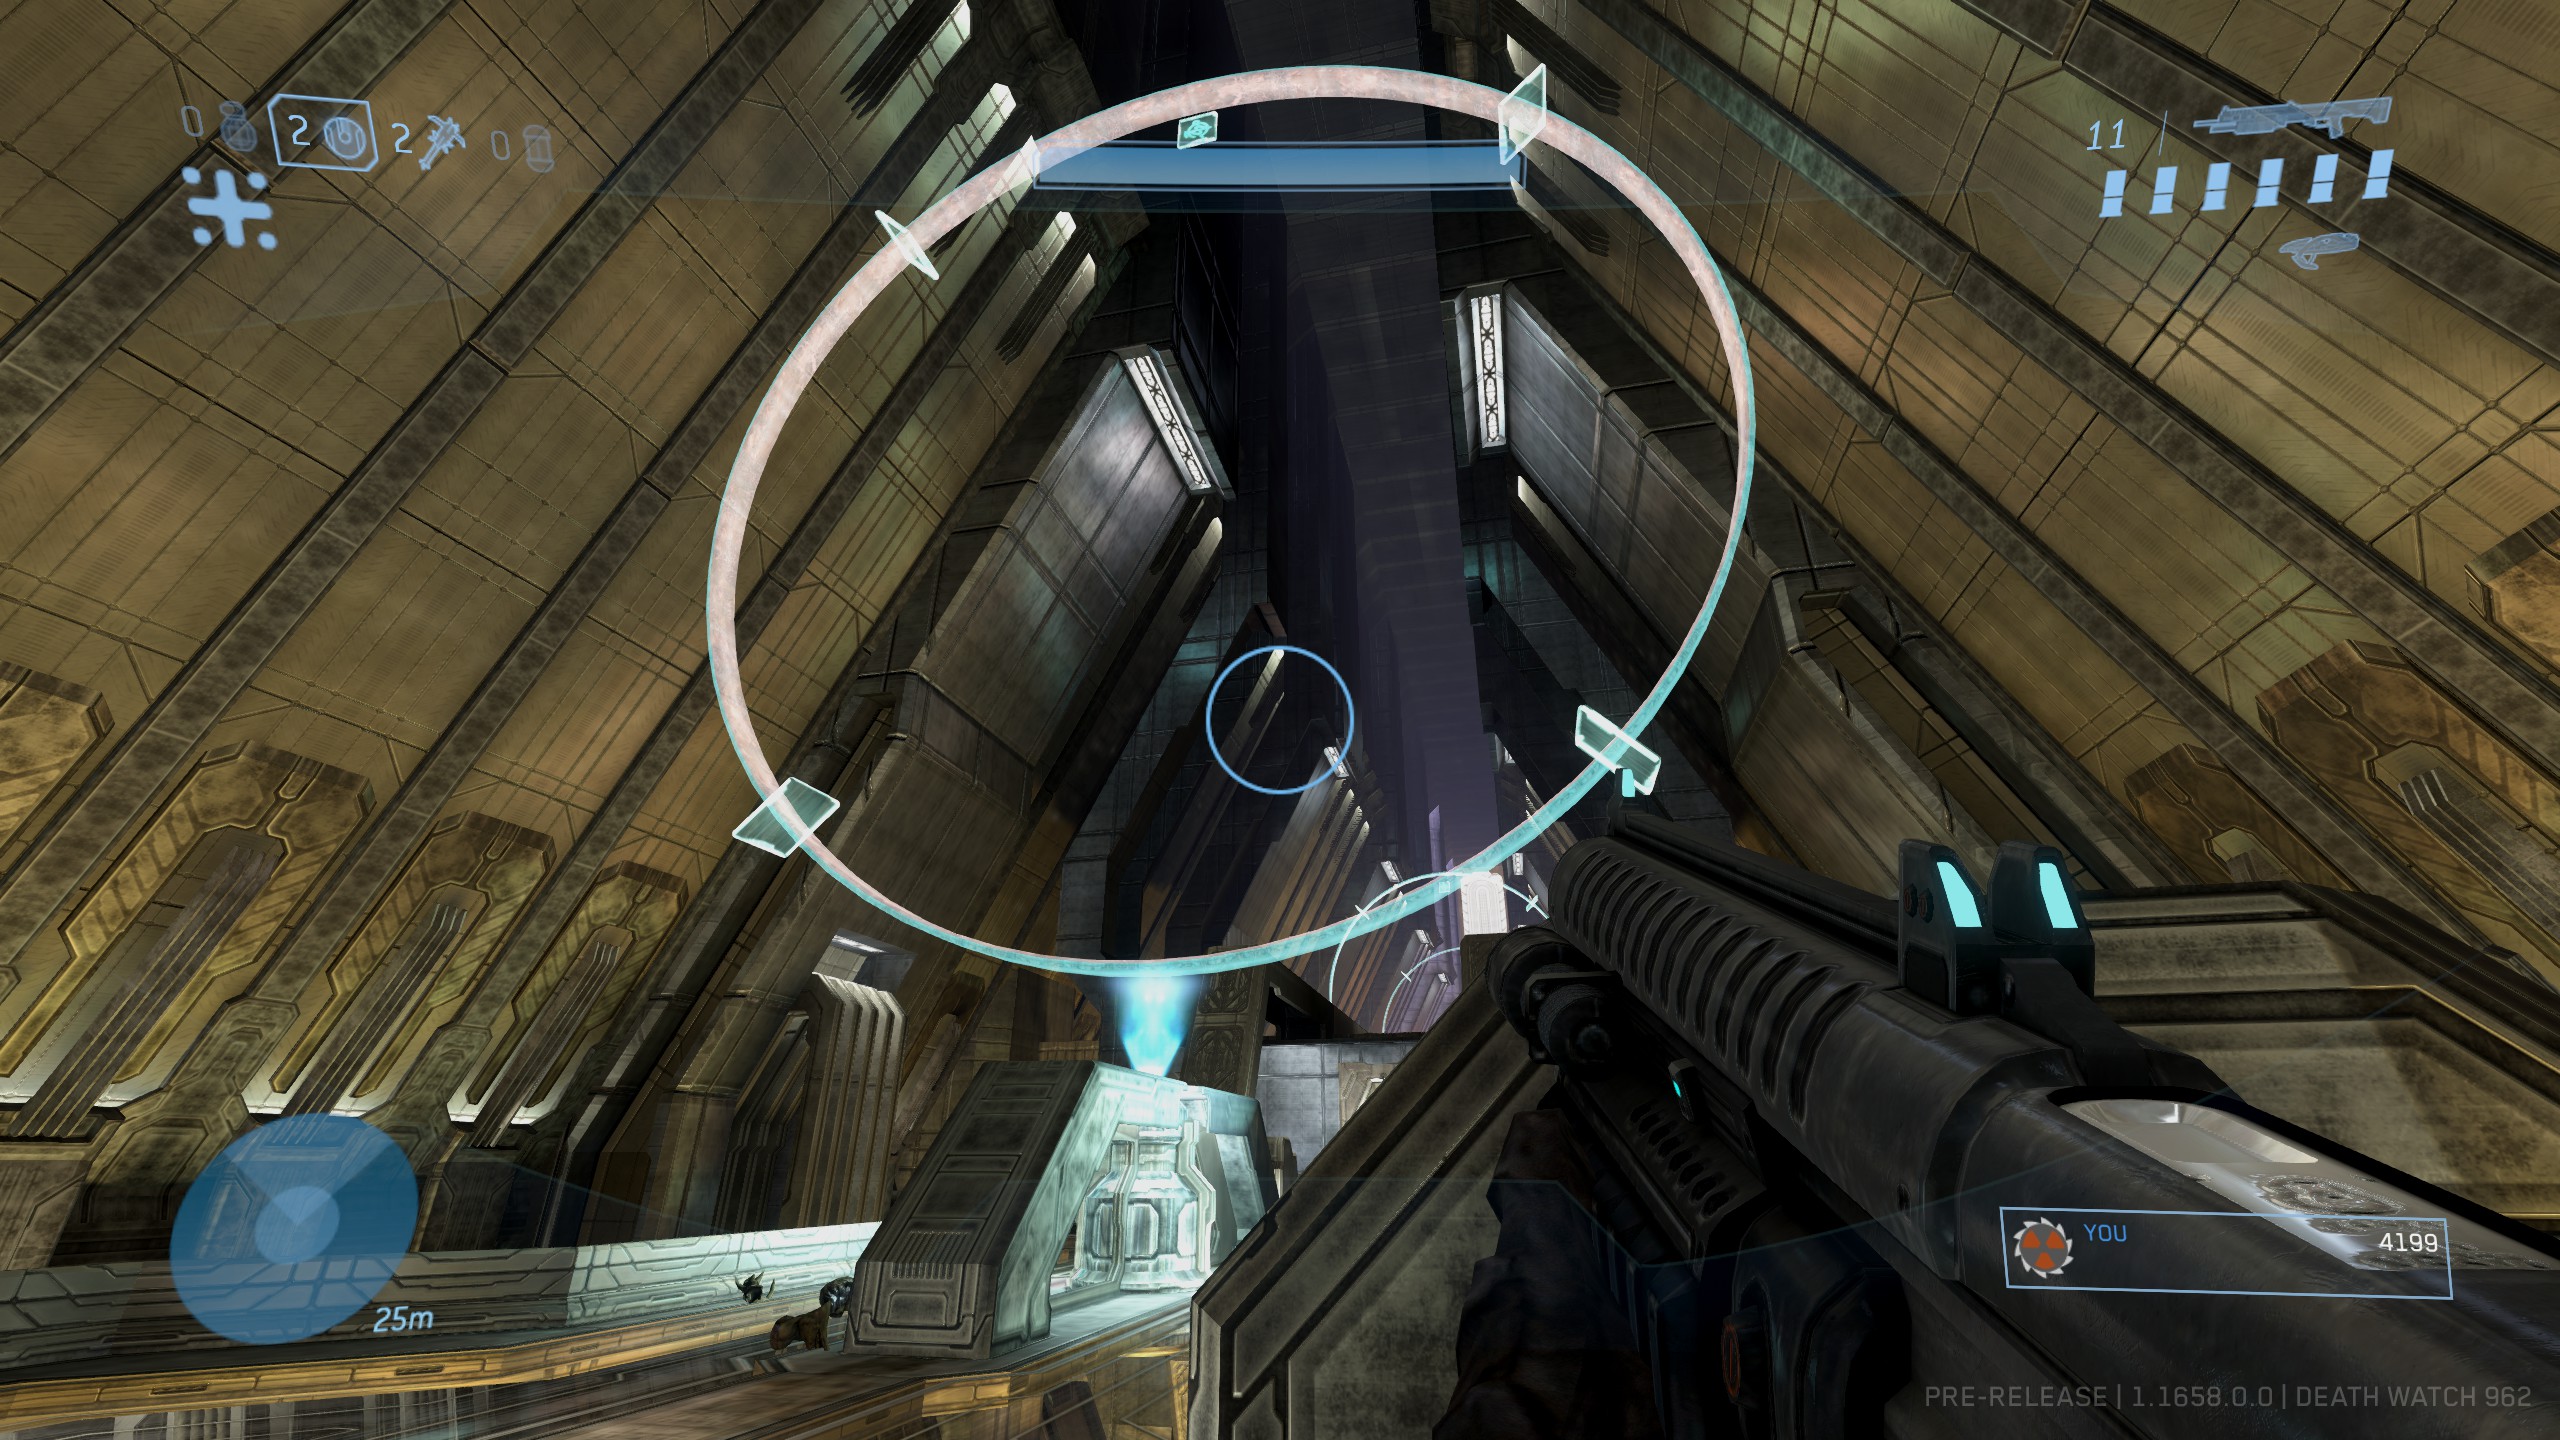
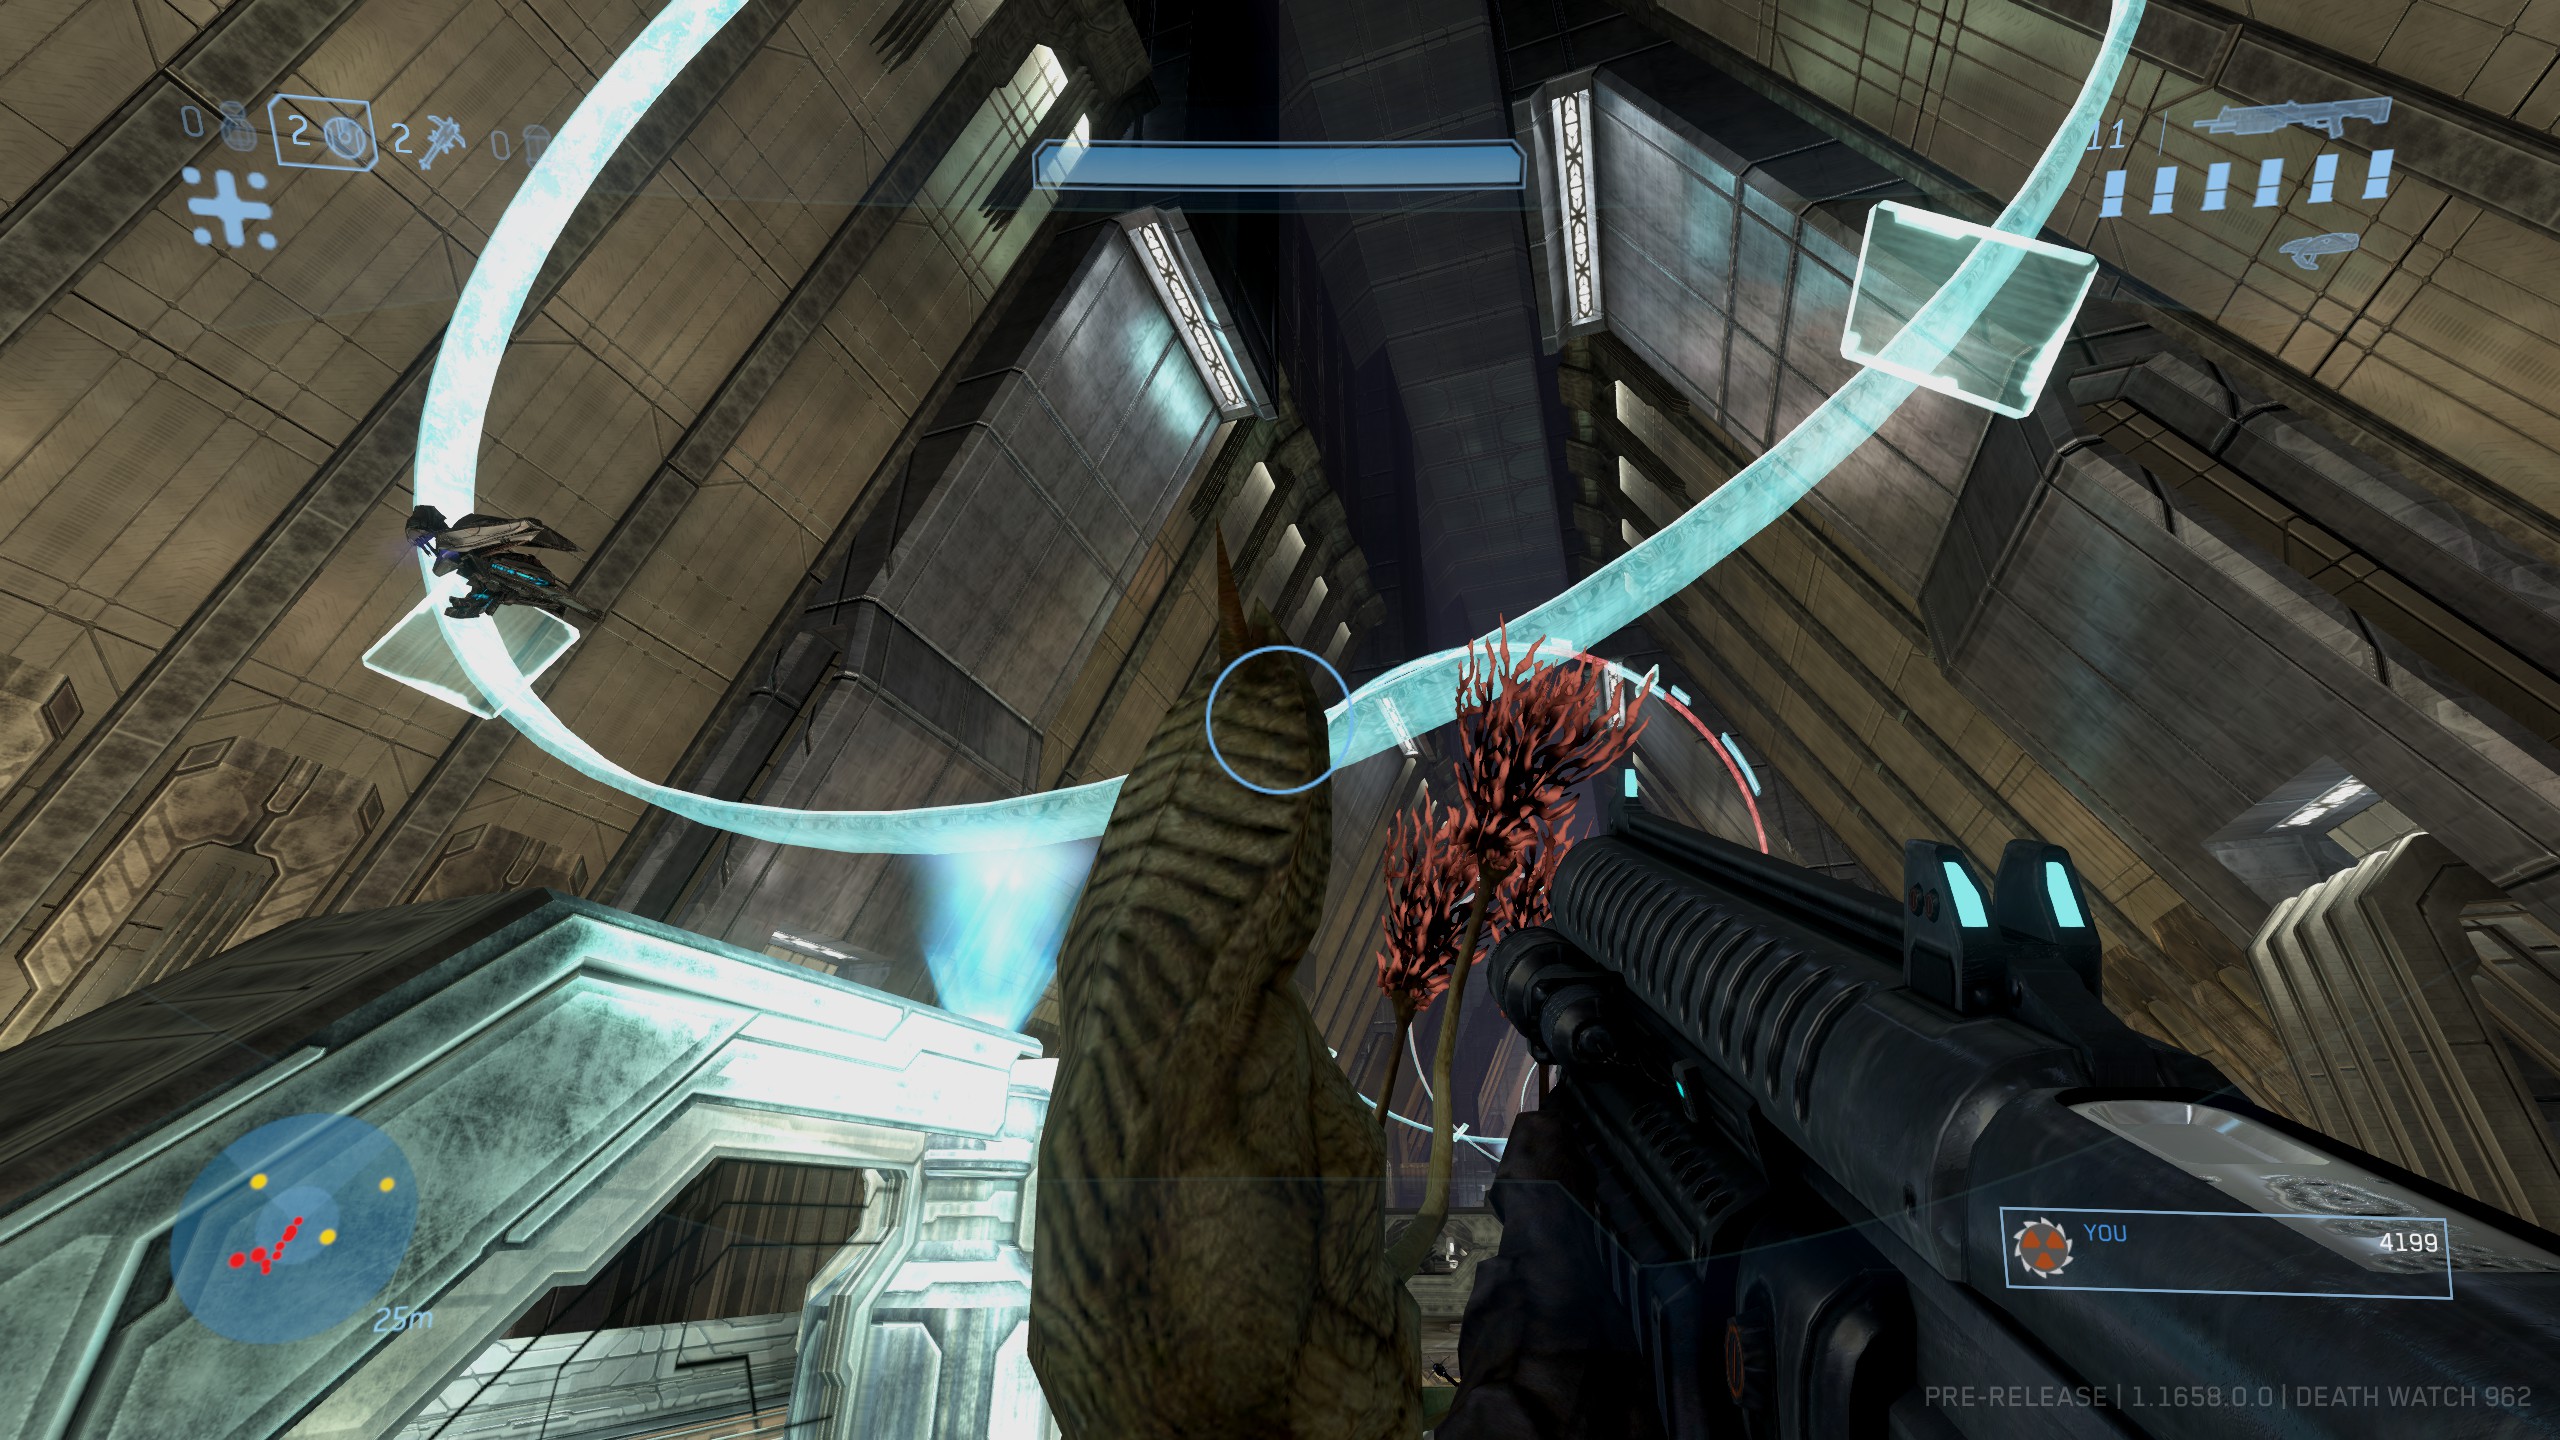
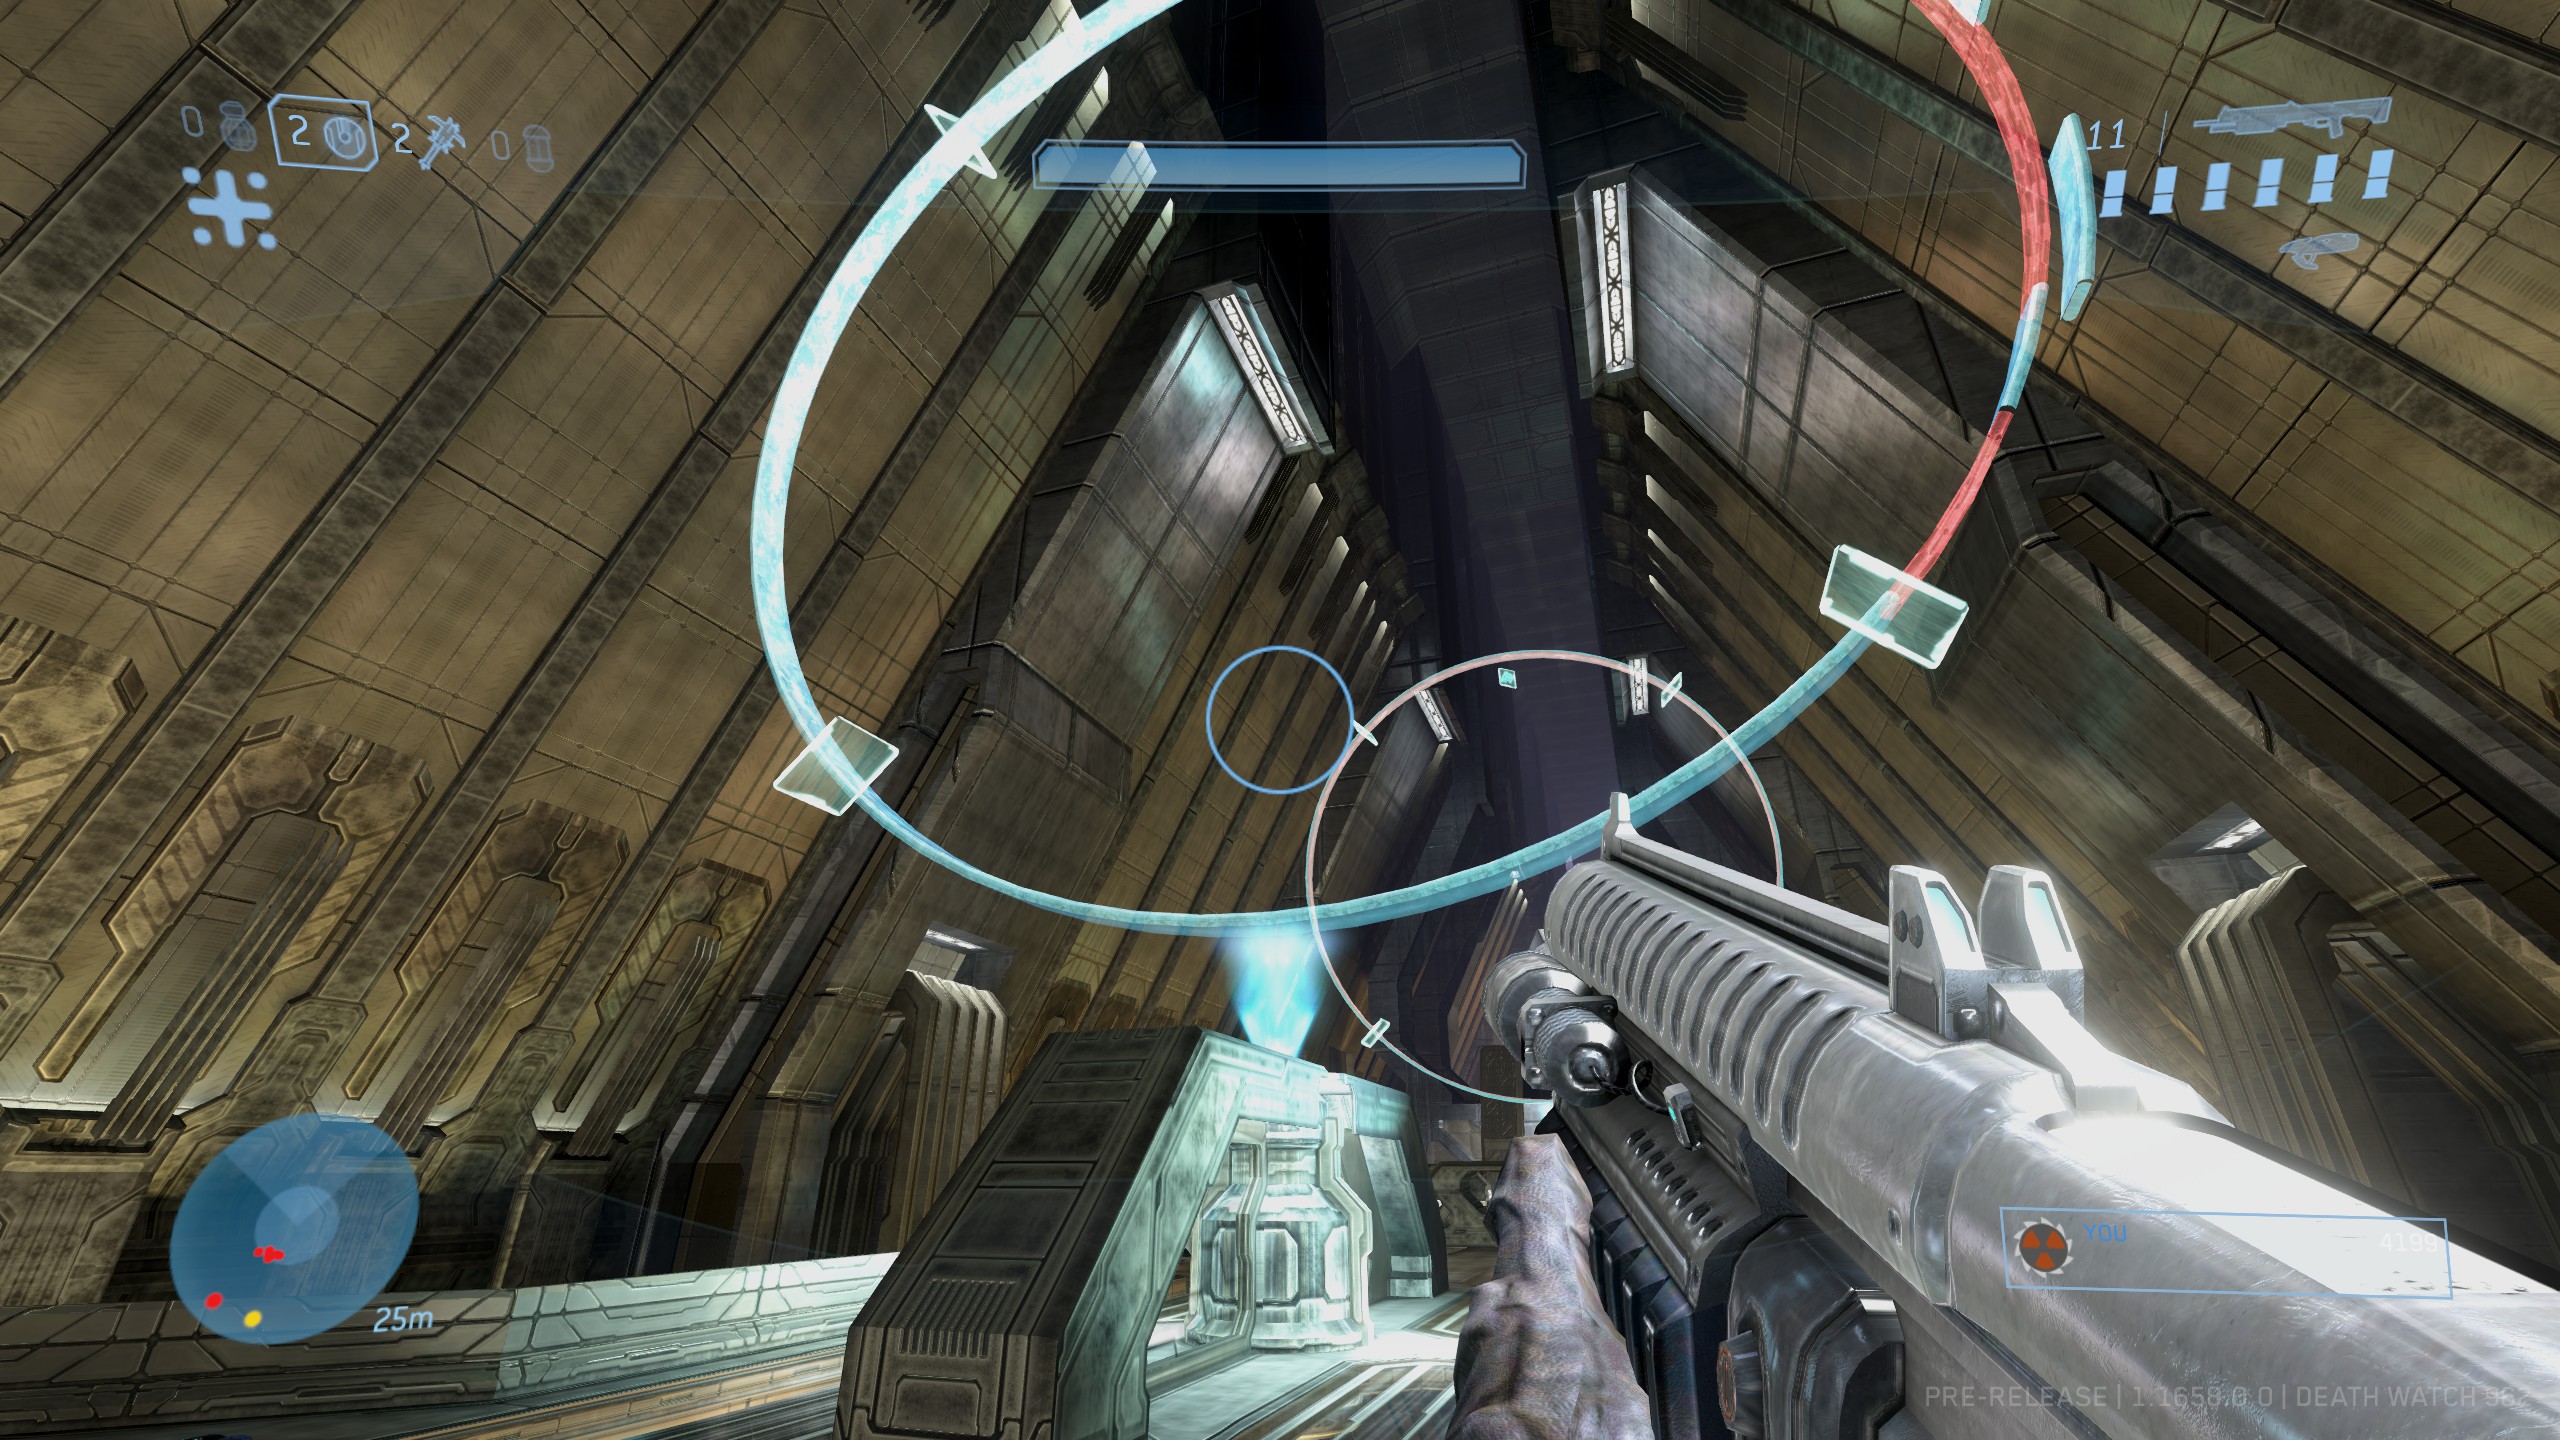 If done successfully, the rings should flash. Head back to the Platform with the Prophet of Truth and you should see the skull sitting by the end of the light bridge. If not, try it again and make sure you jump completely through the rings! It's also worth noting that you are supposed to jump through the rings facing towards Truth and the temple, and away from the elevator. This seems to be inconsistent however.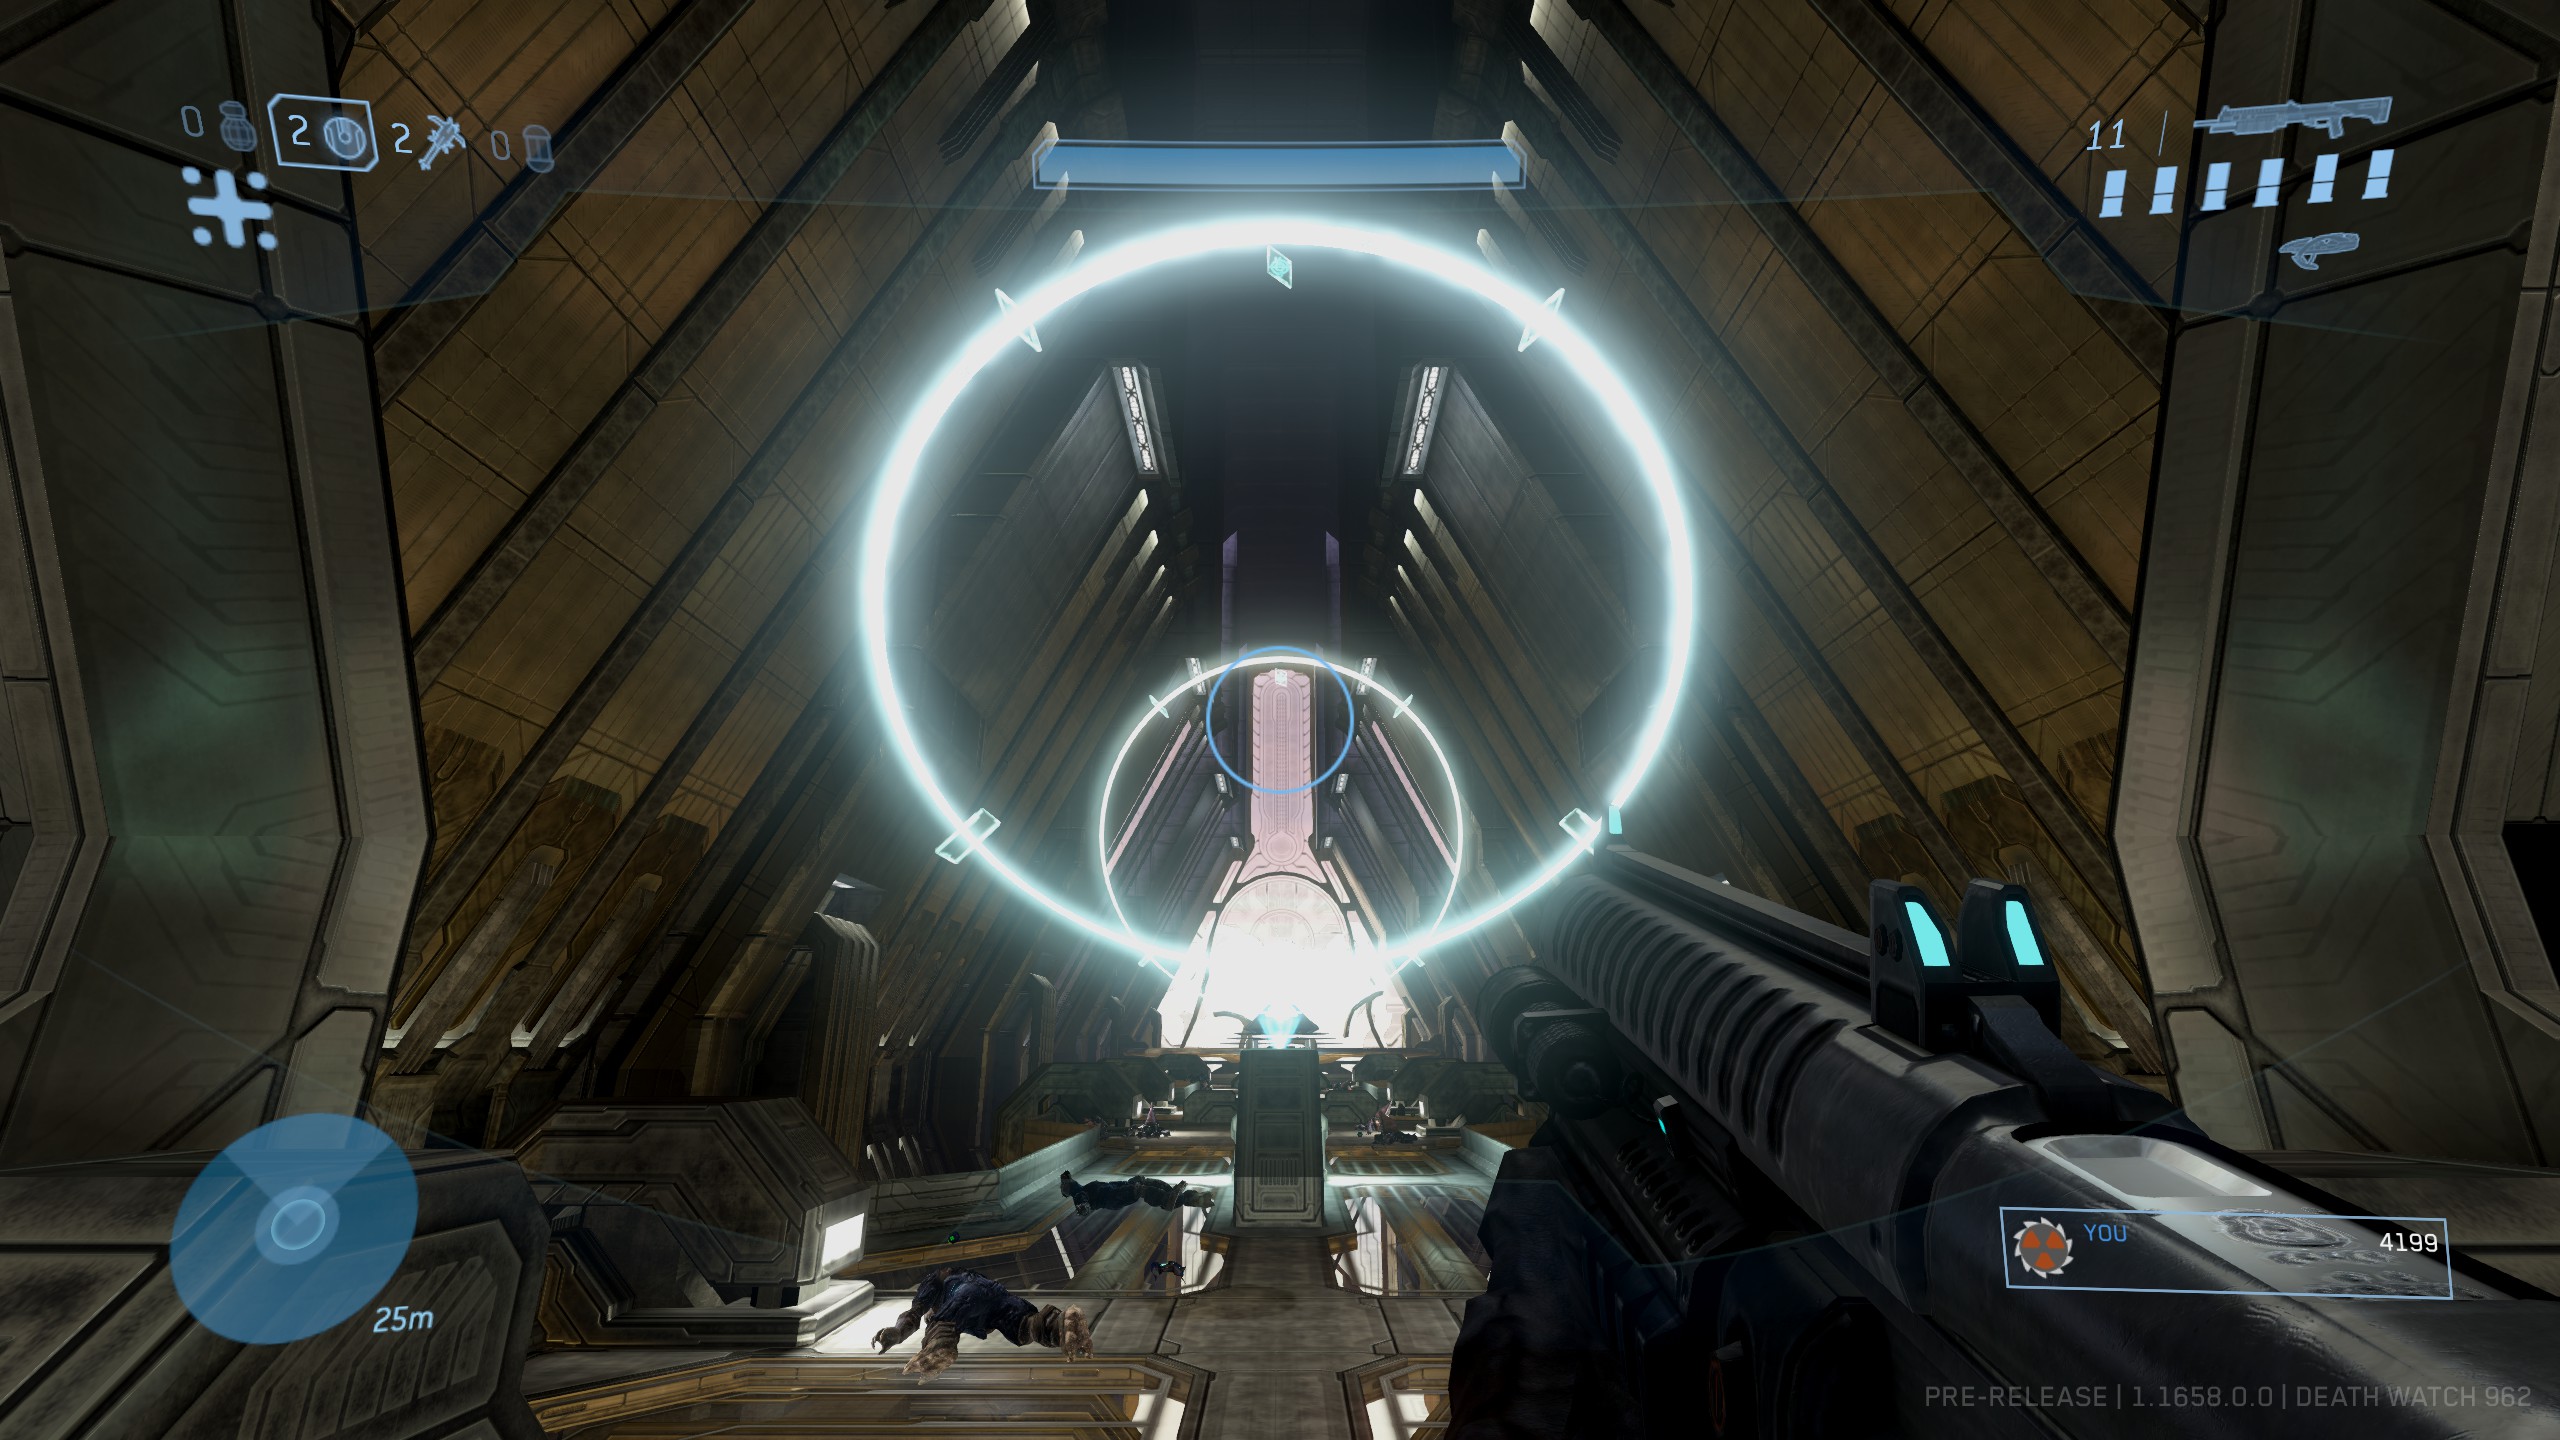
 https://www.youtube.com/watch?v=h099SpXL_90
Cortana
Effect: Enemy defensive resistances and weaknesses are doubled.
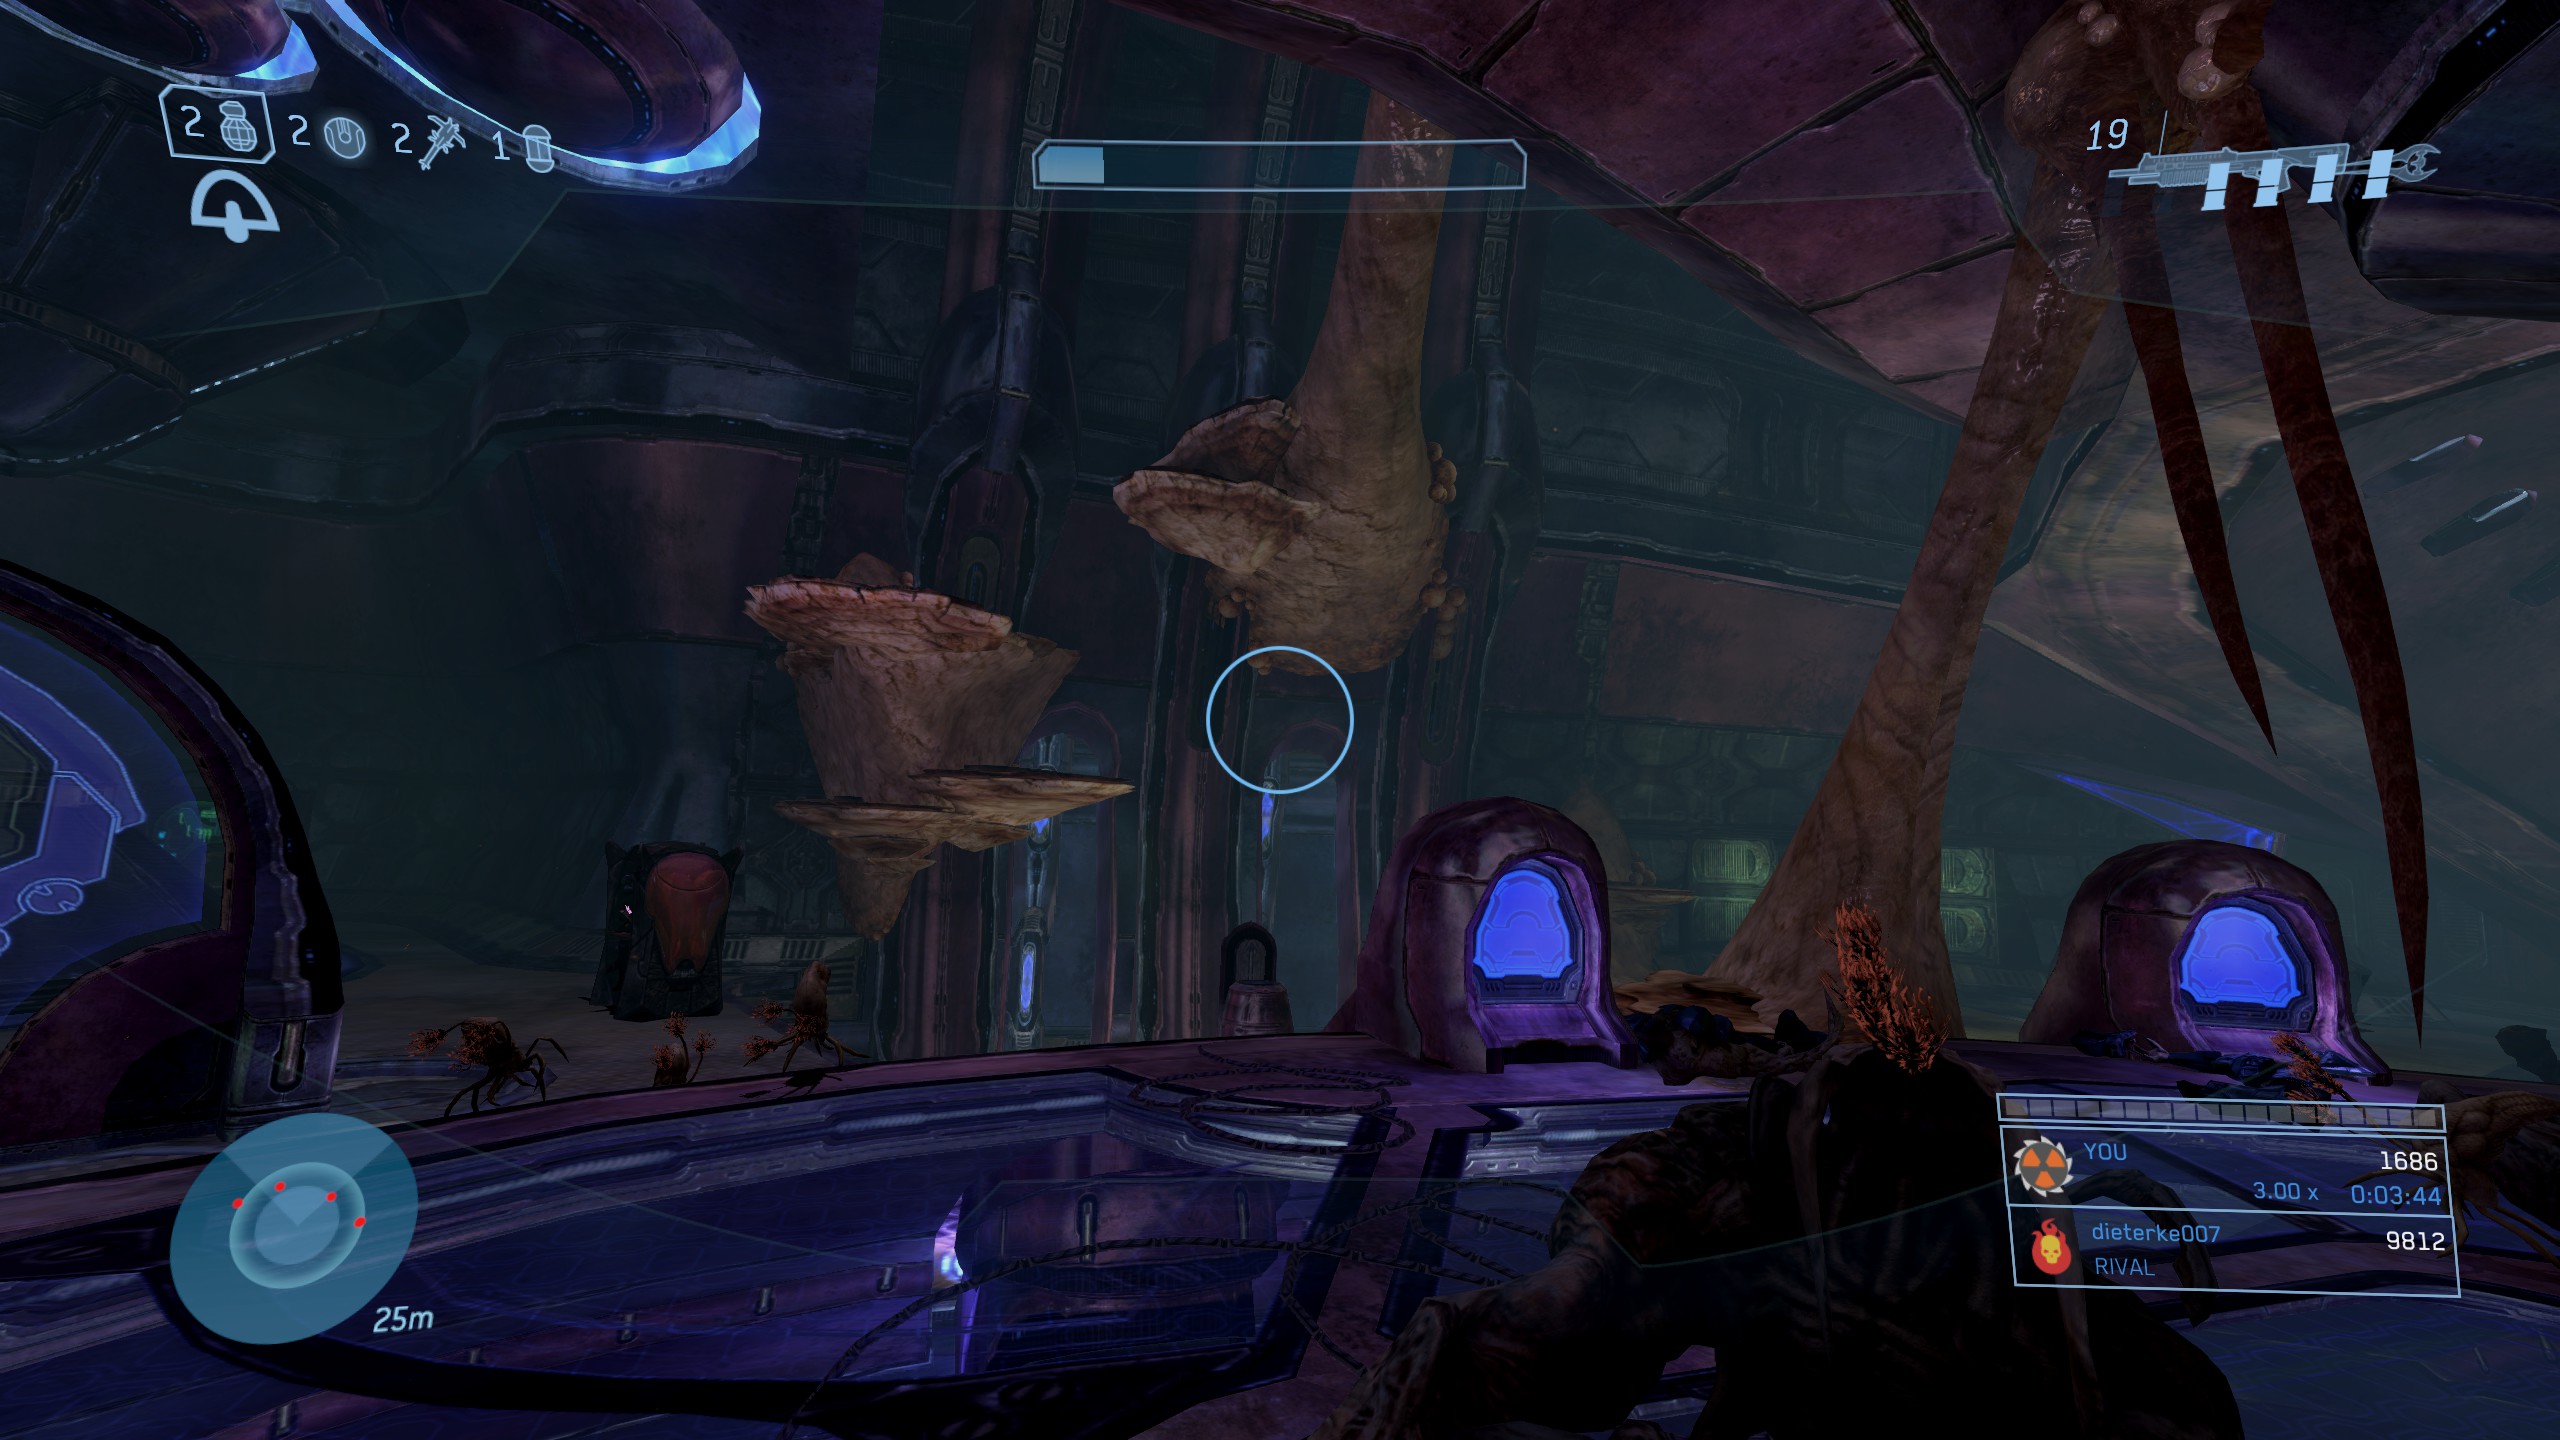
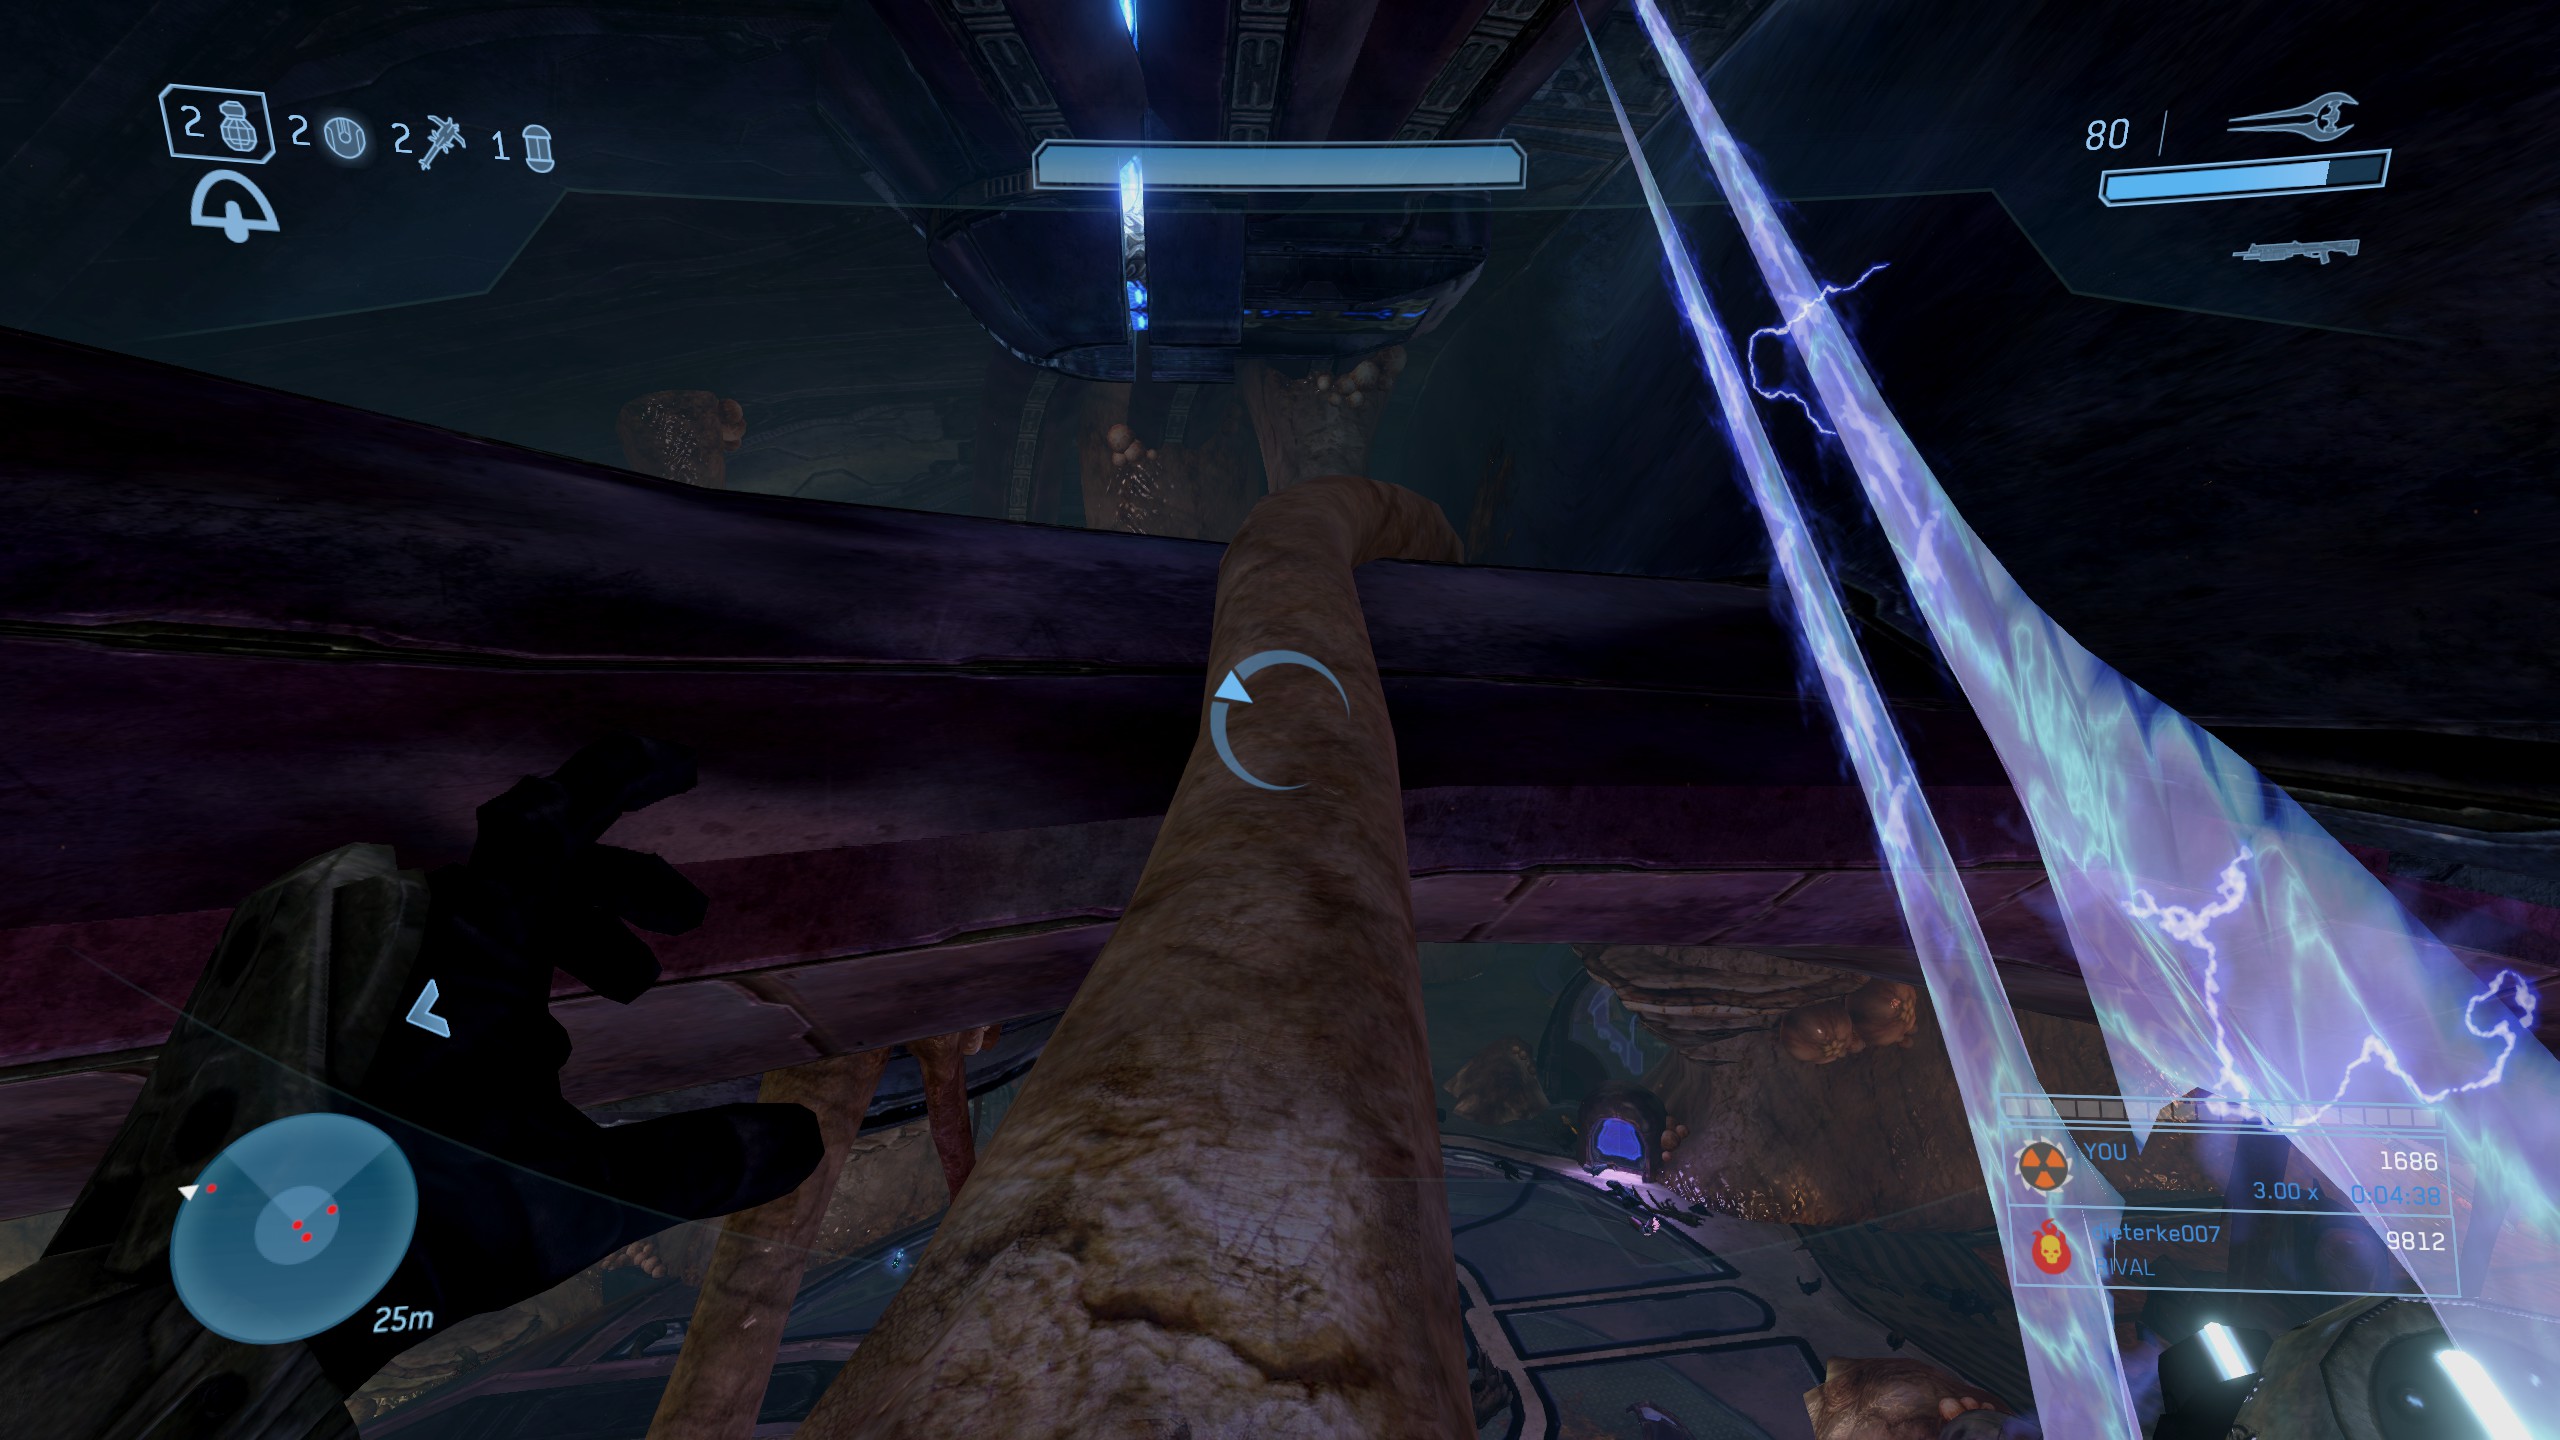
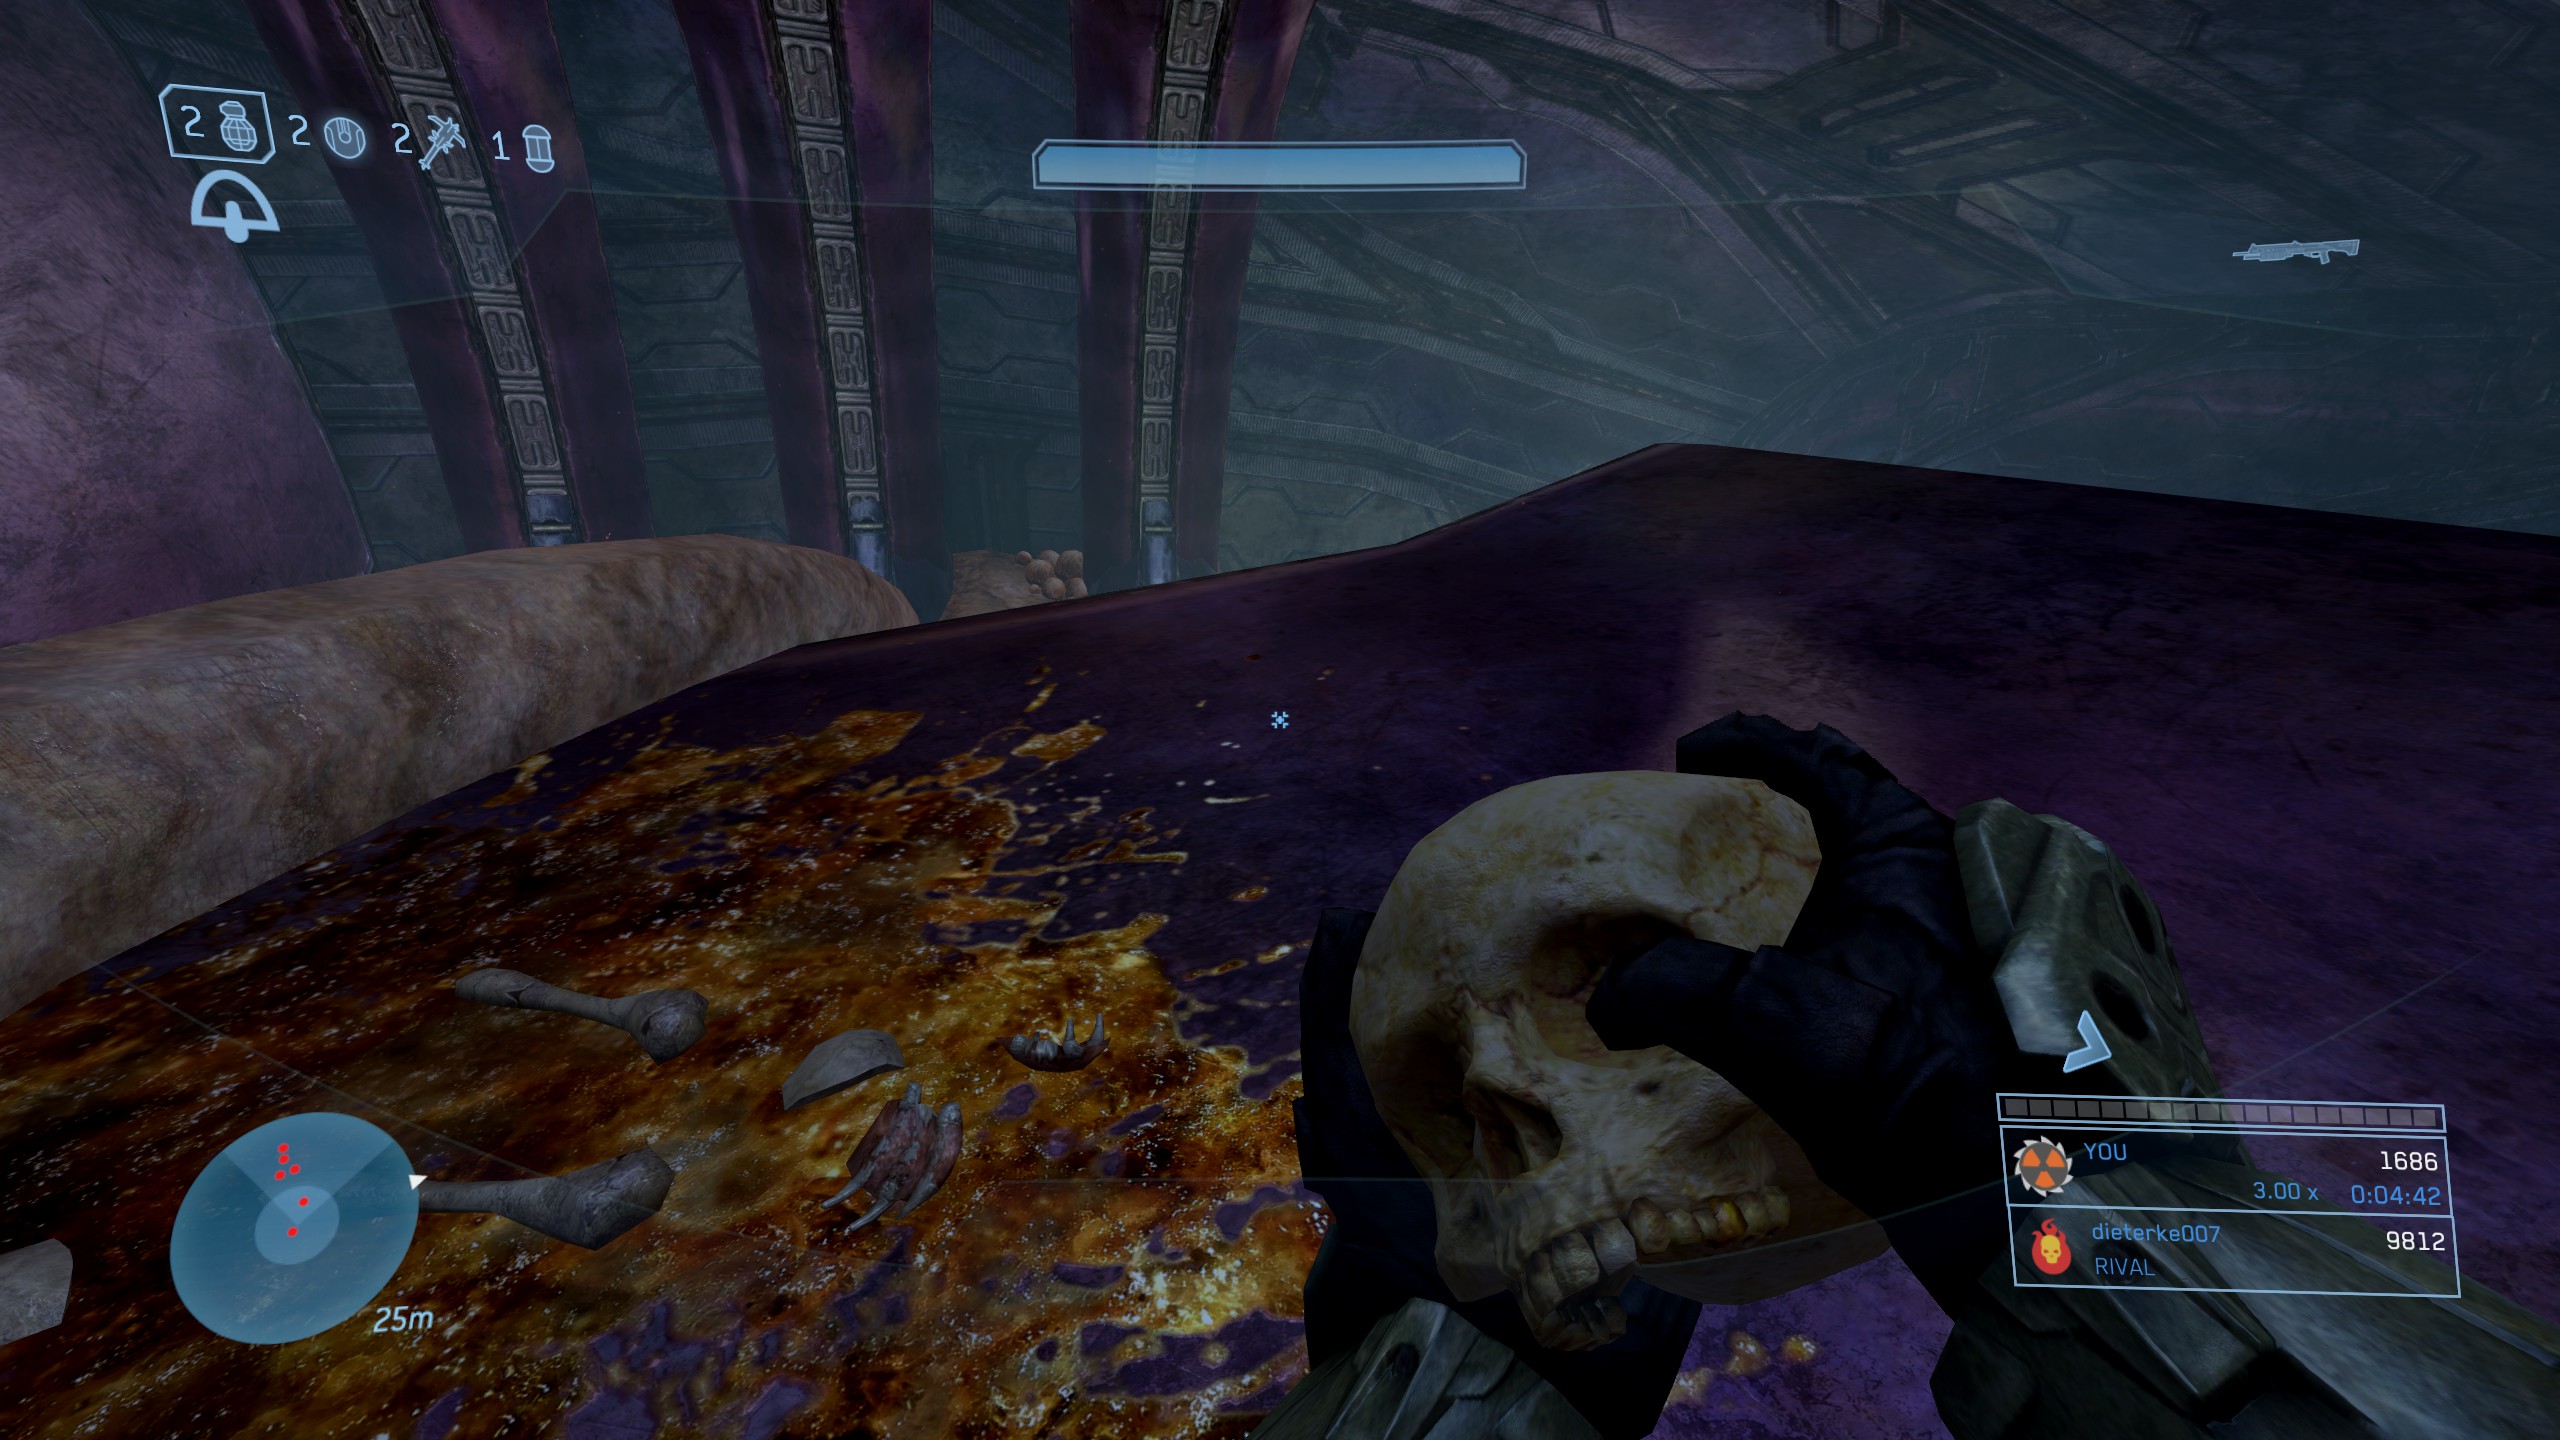
Location: About a third of the way into the level you should reach a large circular room, which most resembles the interior of a Covenant ship… or what's left of one. In this room you need to look around for a lichen-like growth on the left hand wall beside the upper ‘deck' area.
Using these lichen growths as platforms, you can jump and climb your way up to a support beam above the room and claim the Skull hidden there.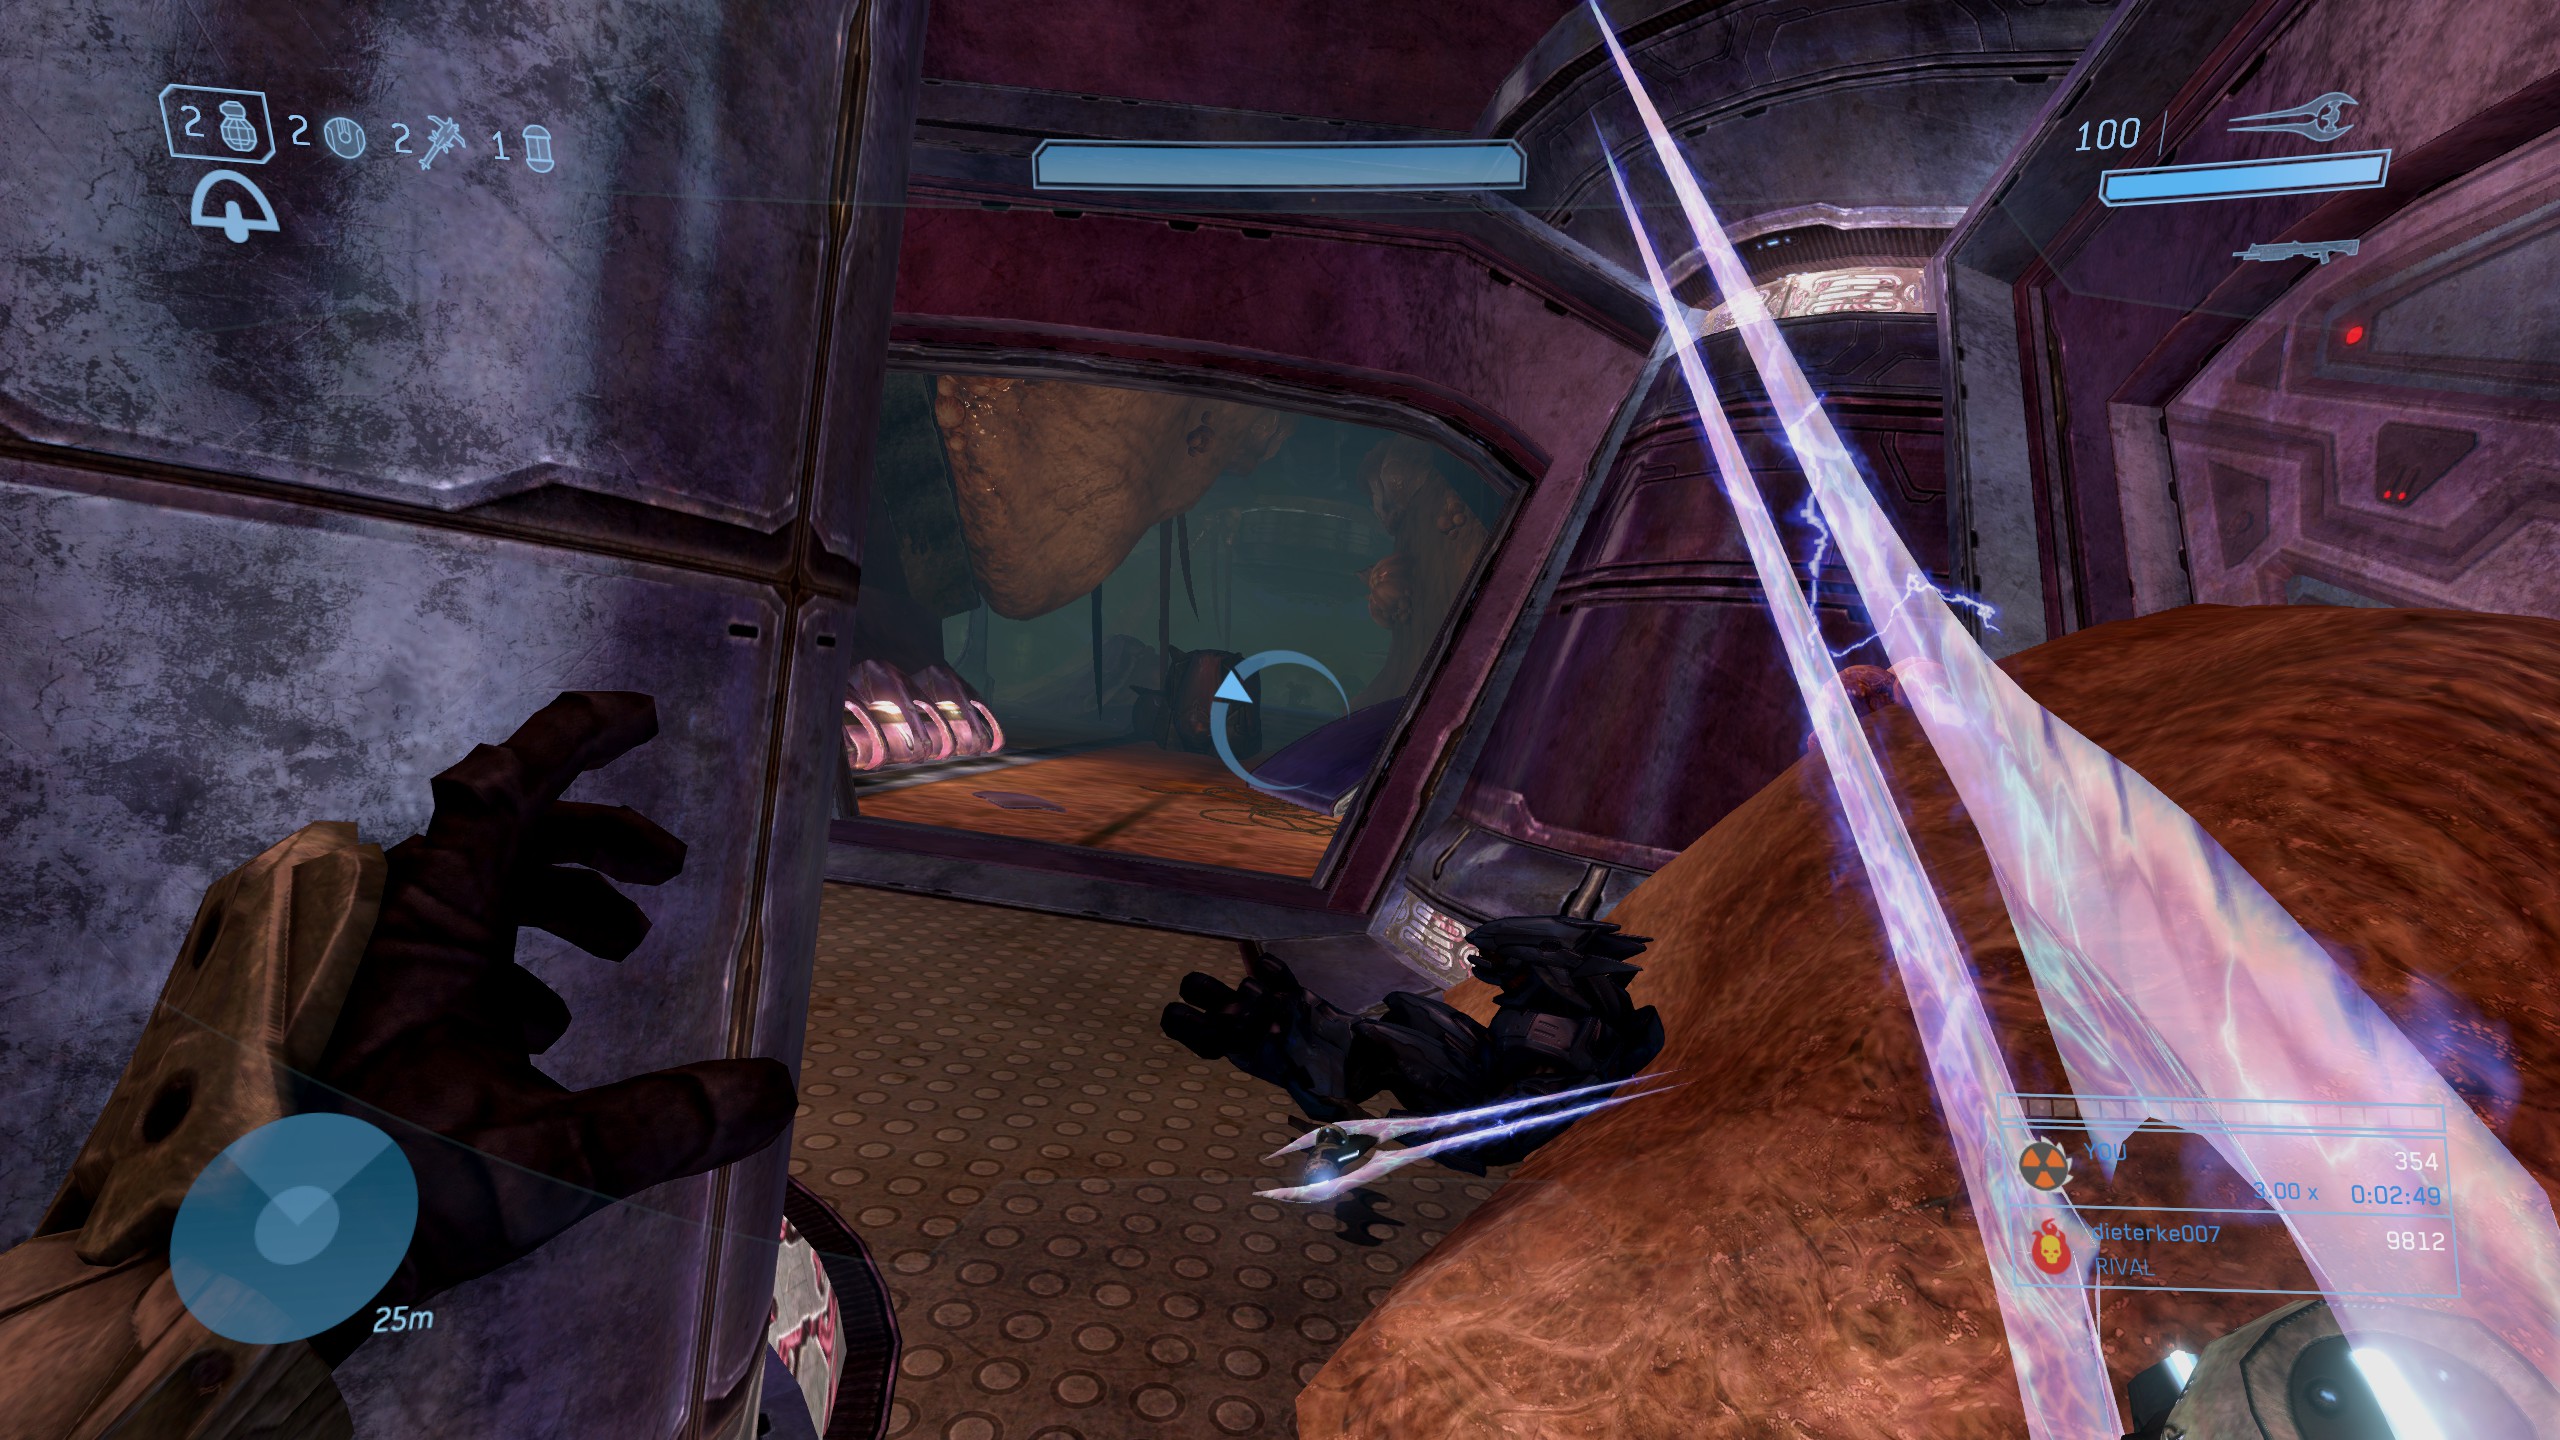
 https://www.youtube.com/watch?v=q-sZmiGSbJE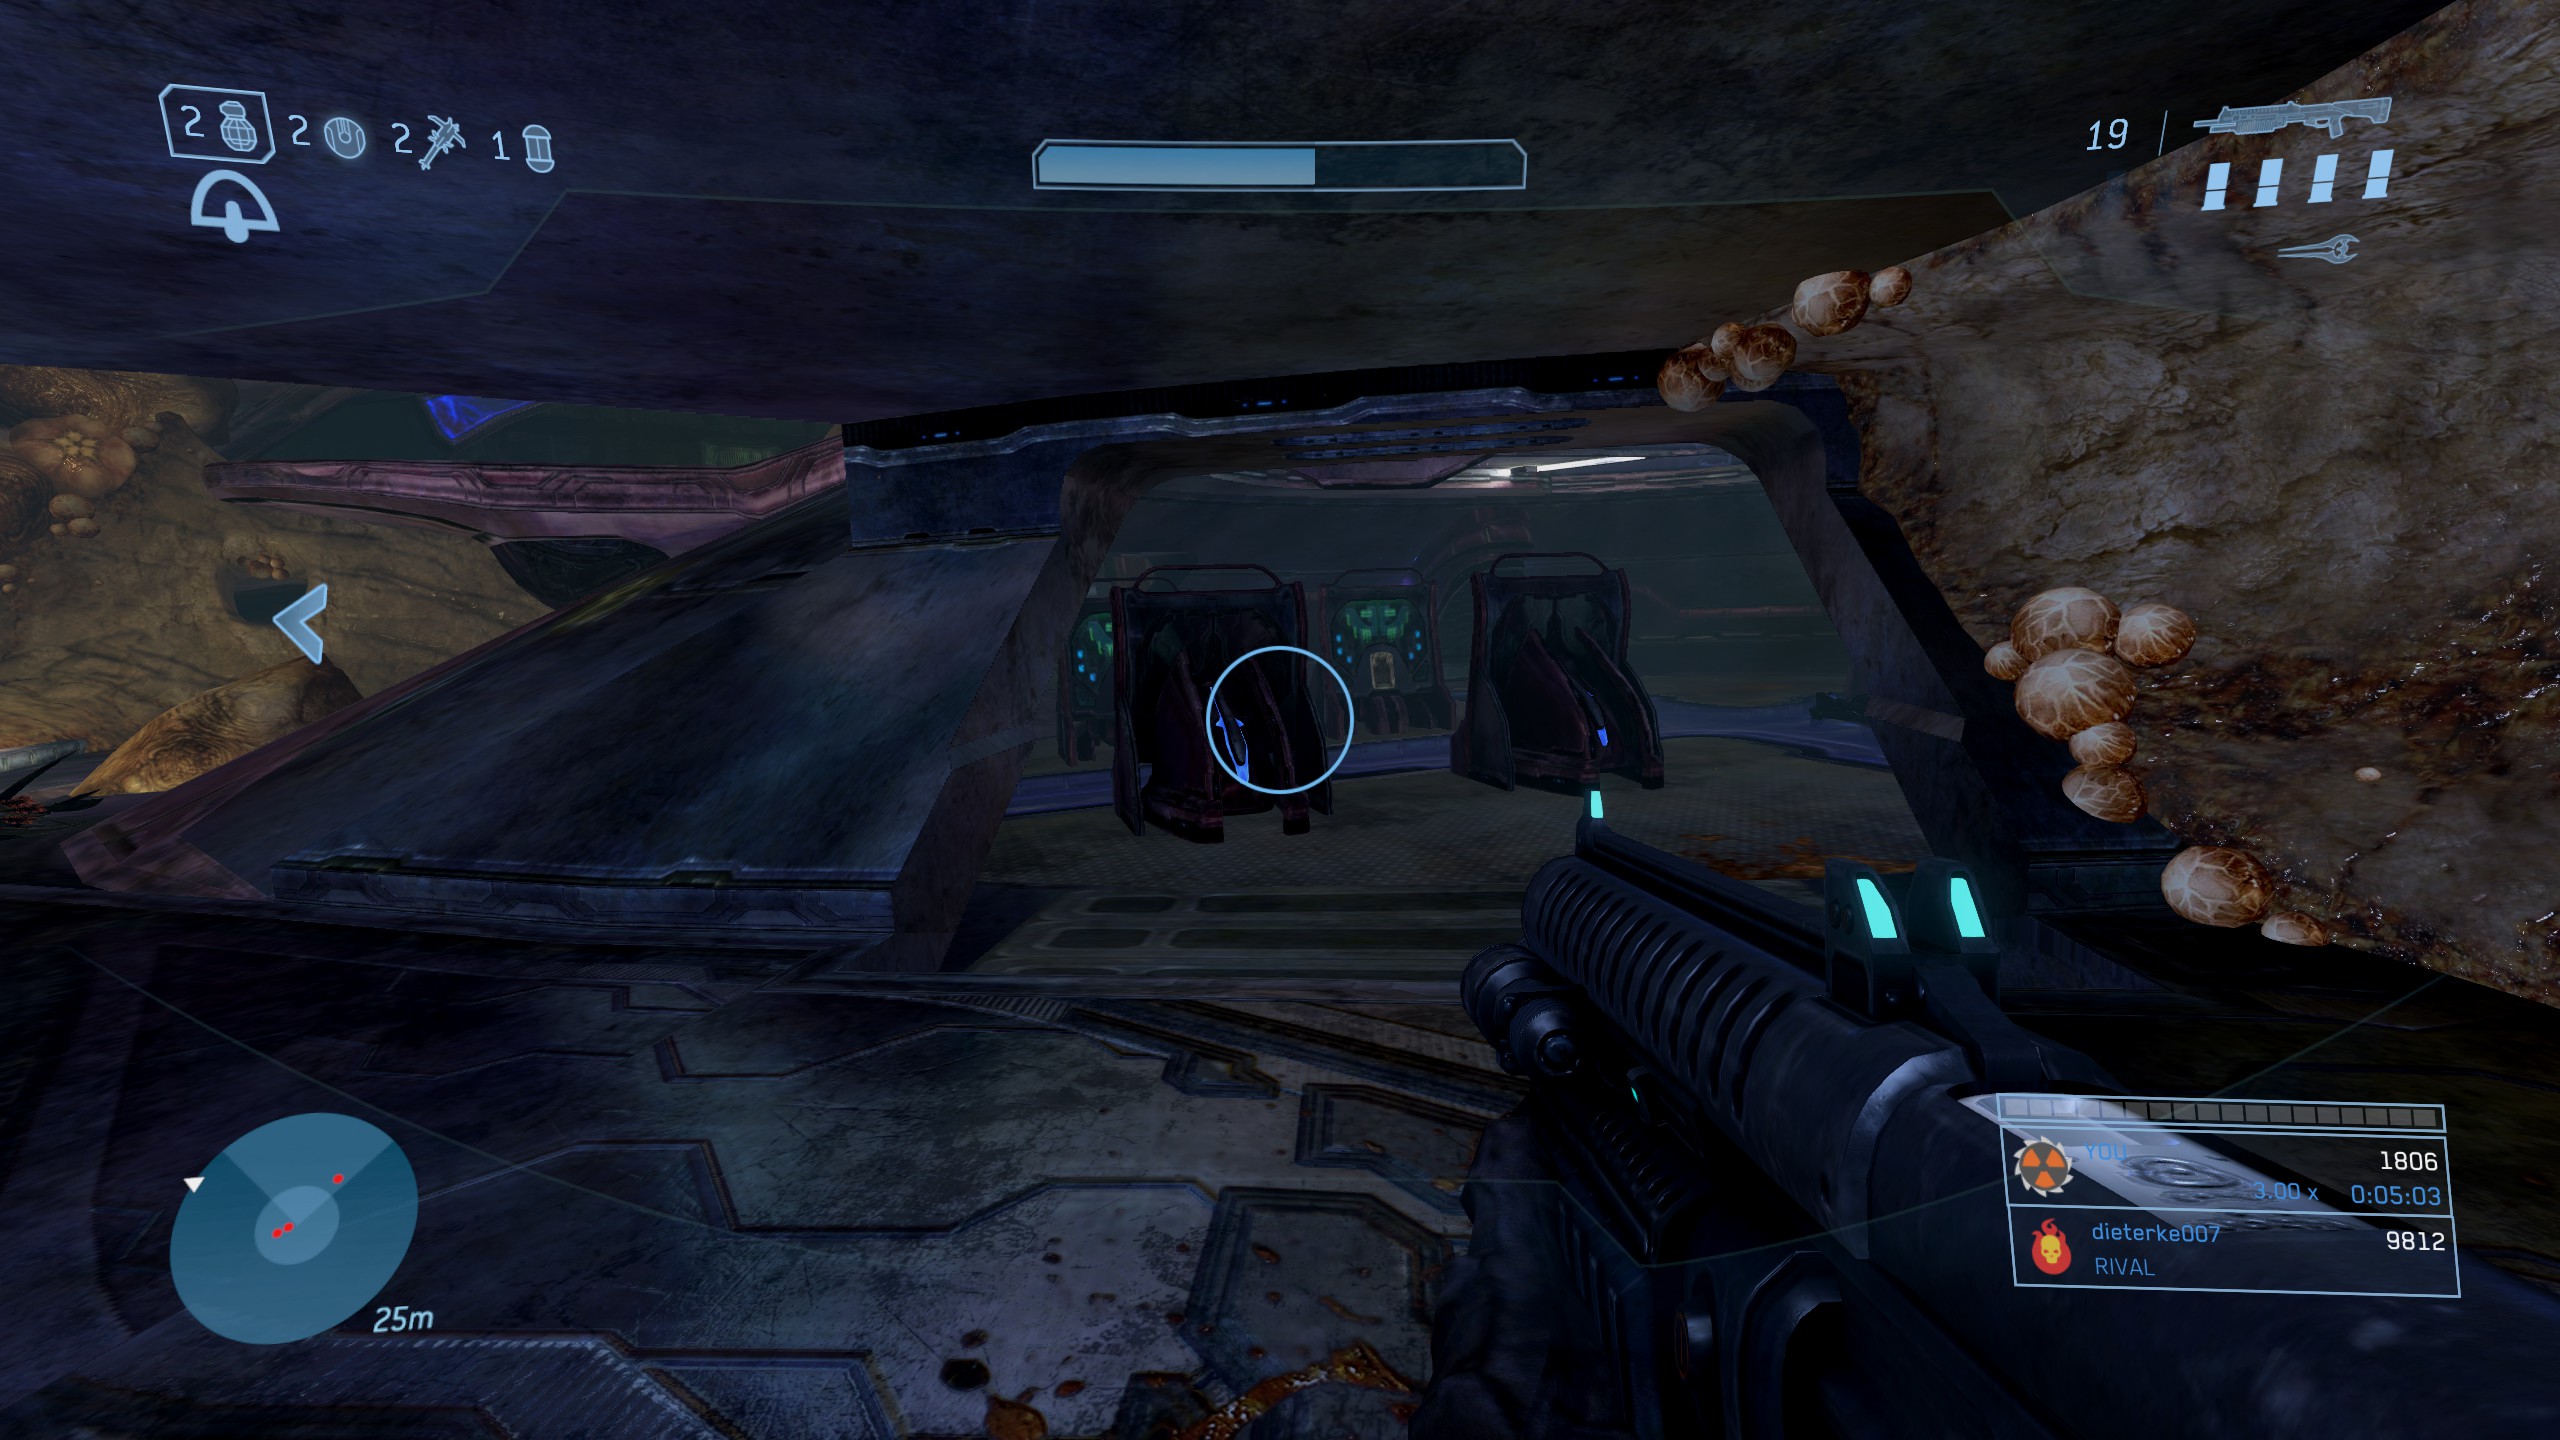
Halo
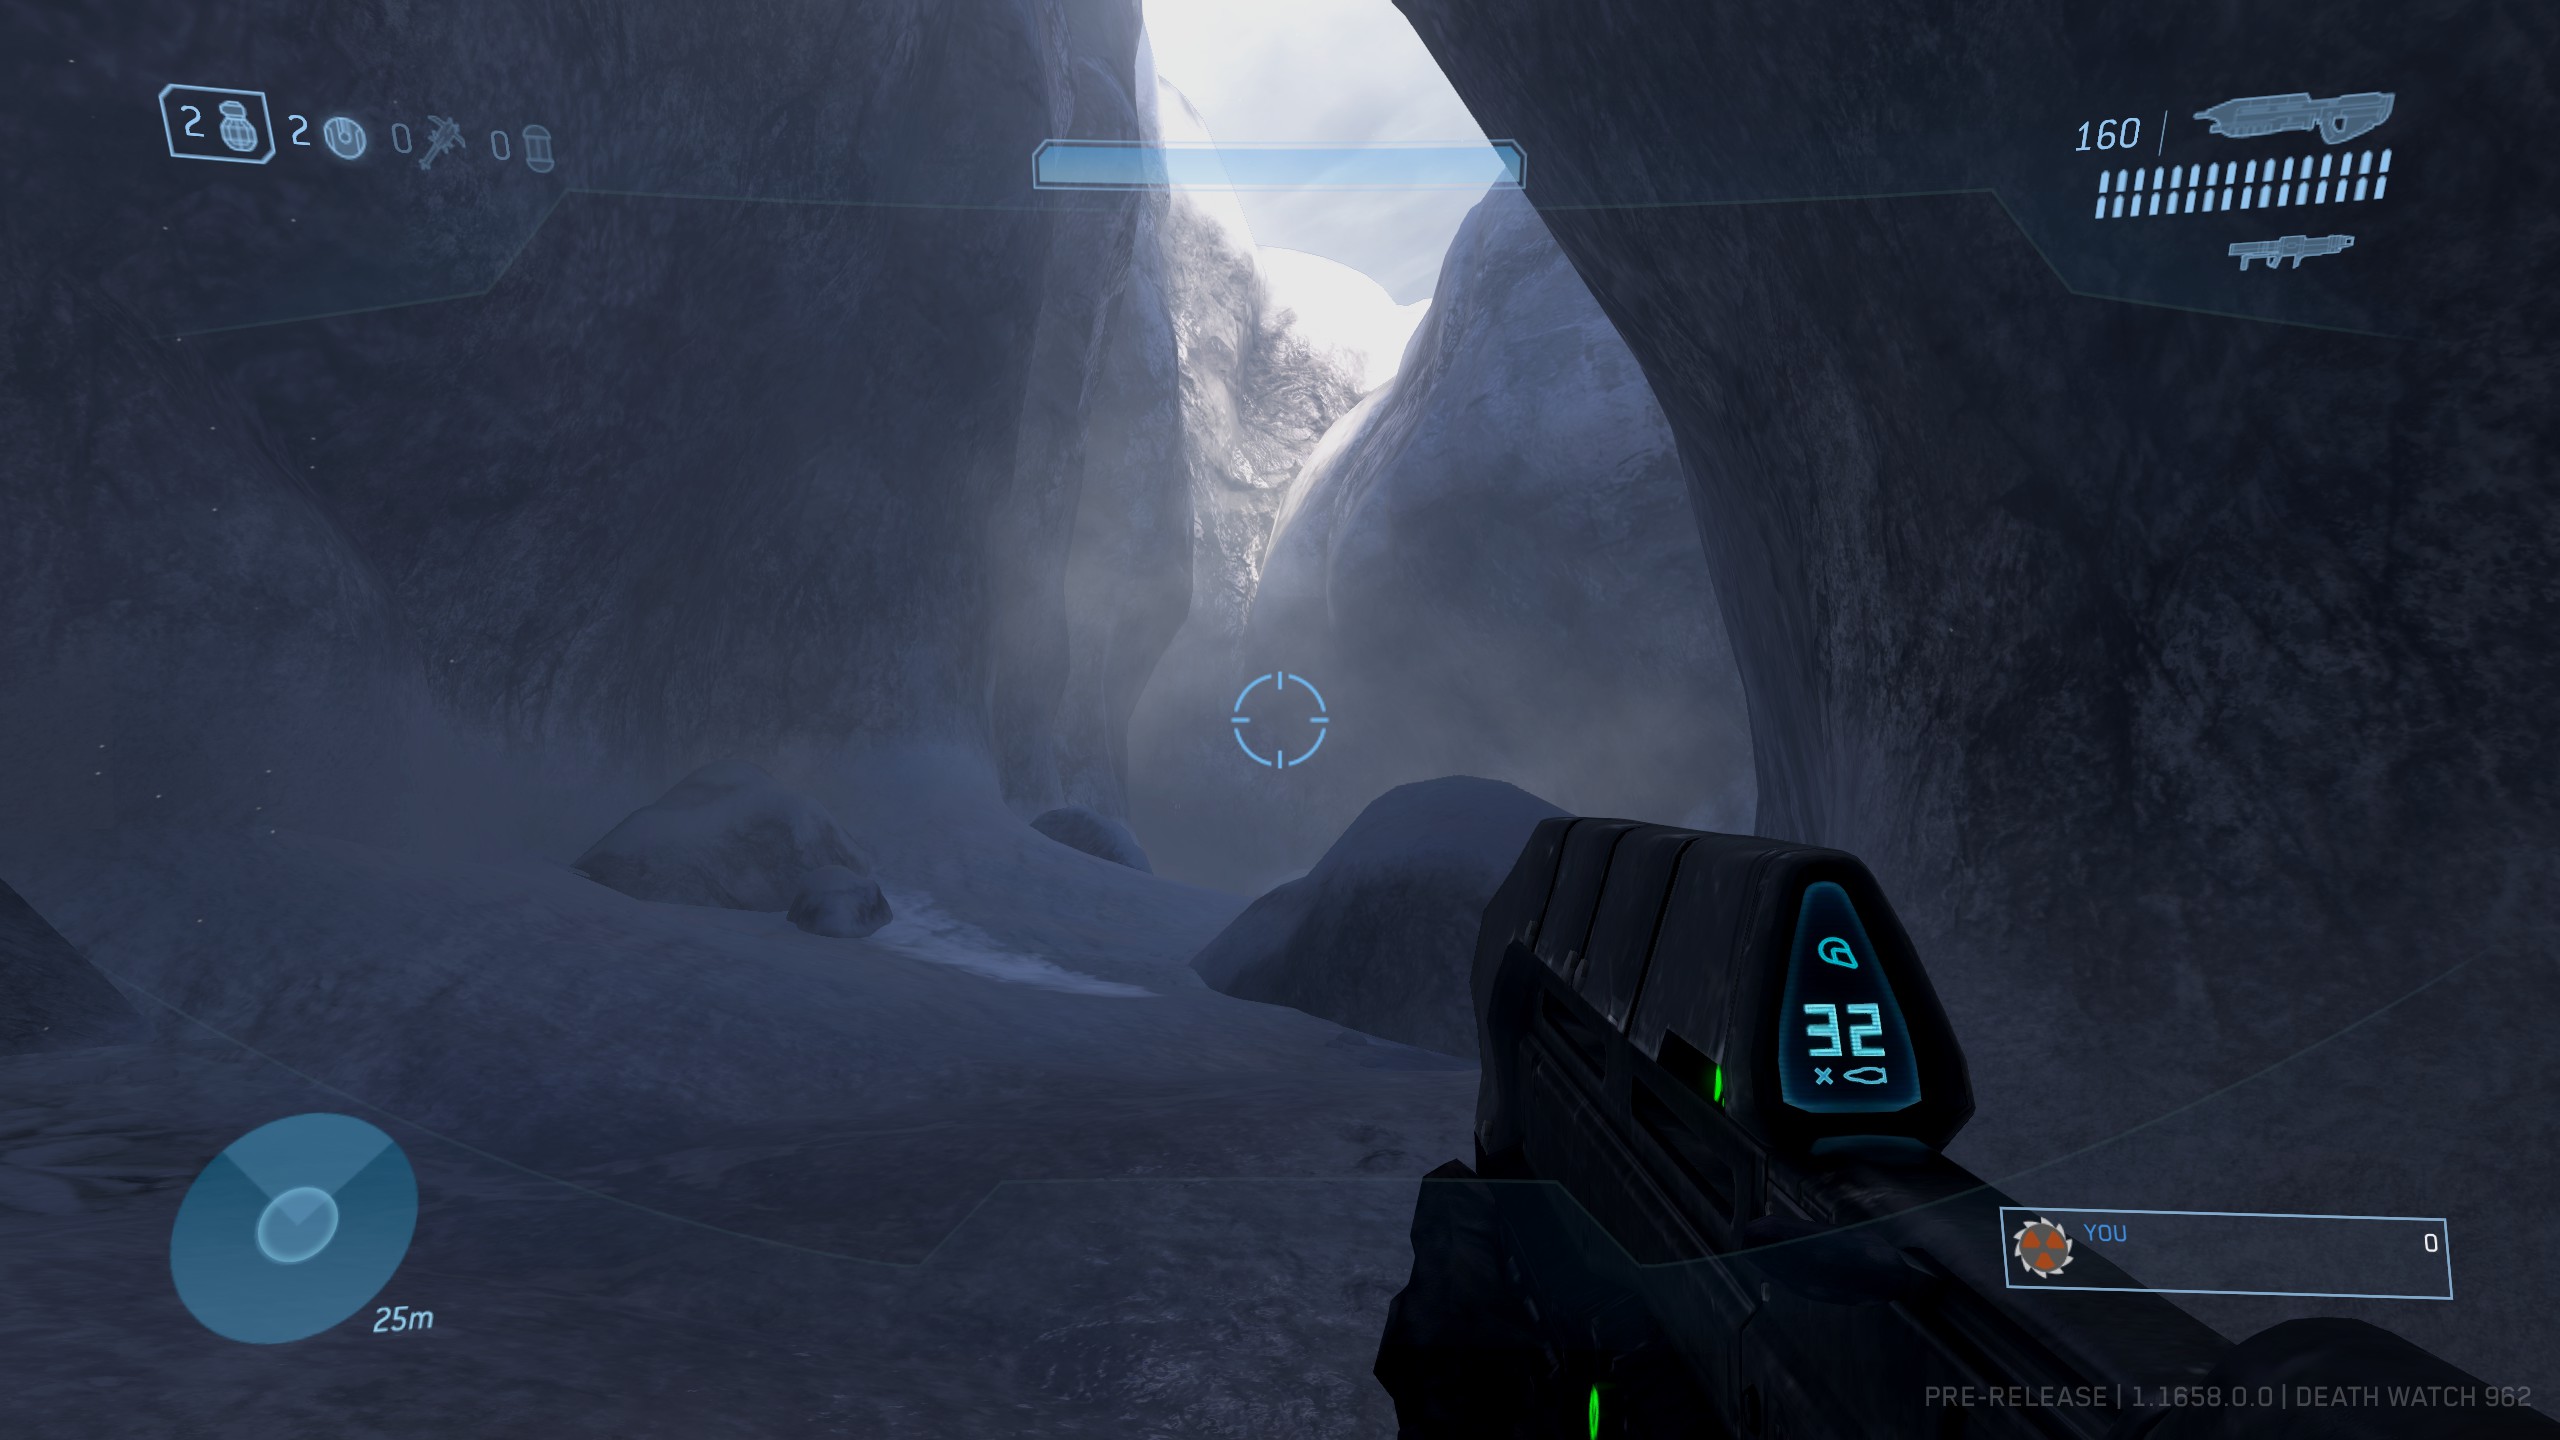
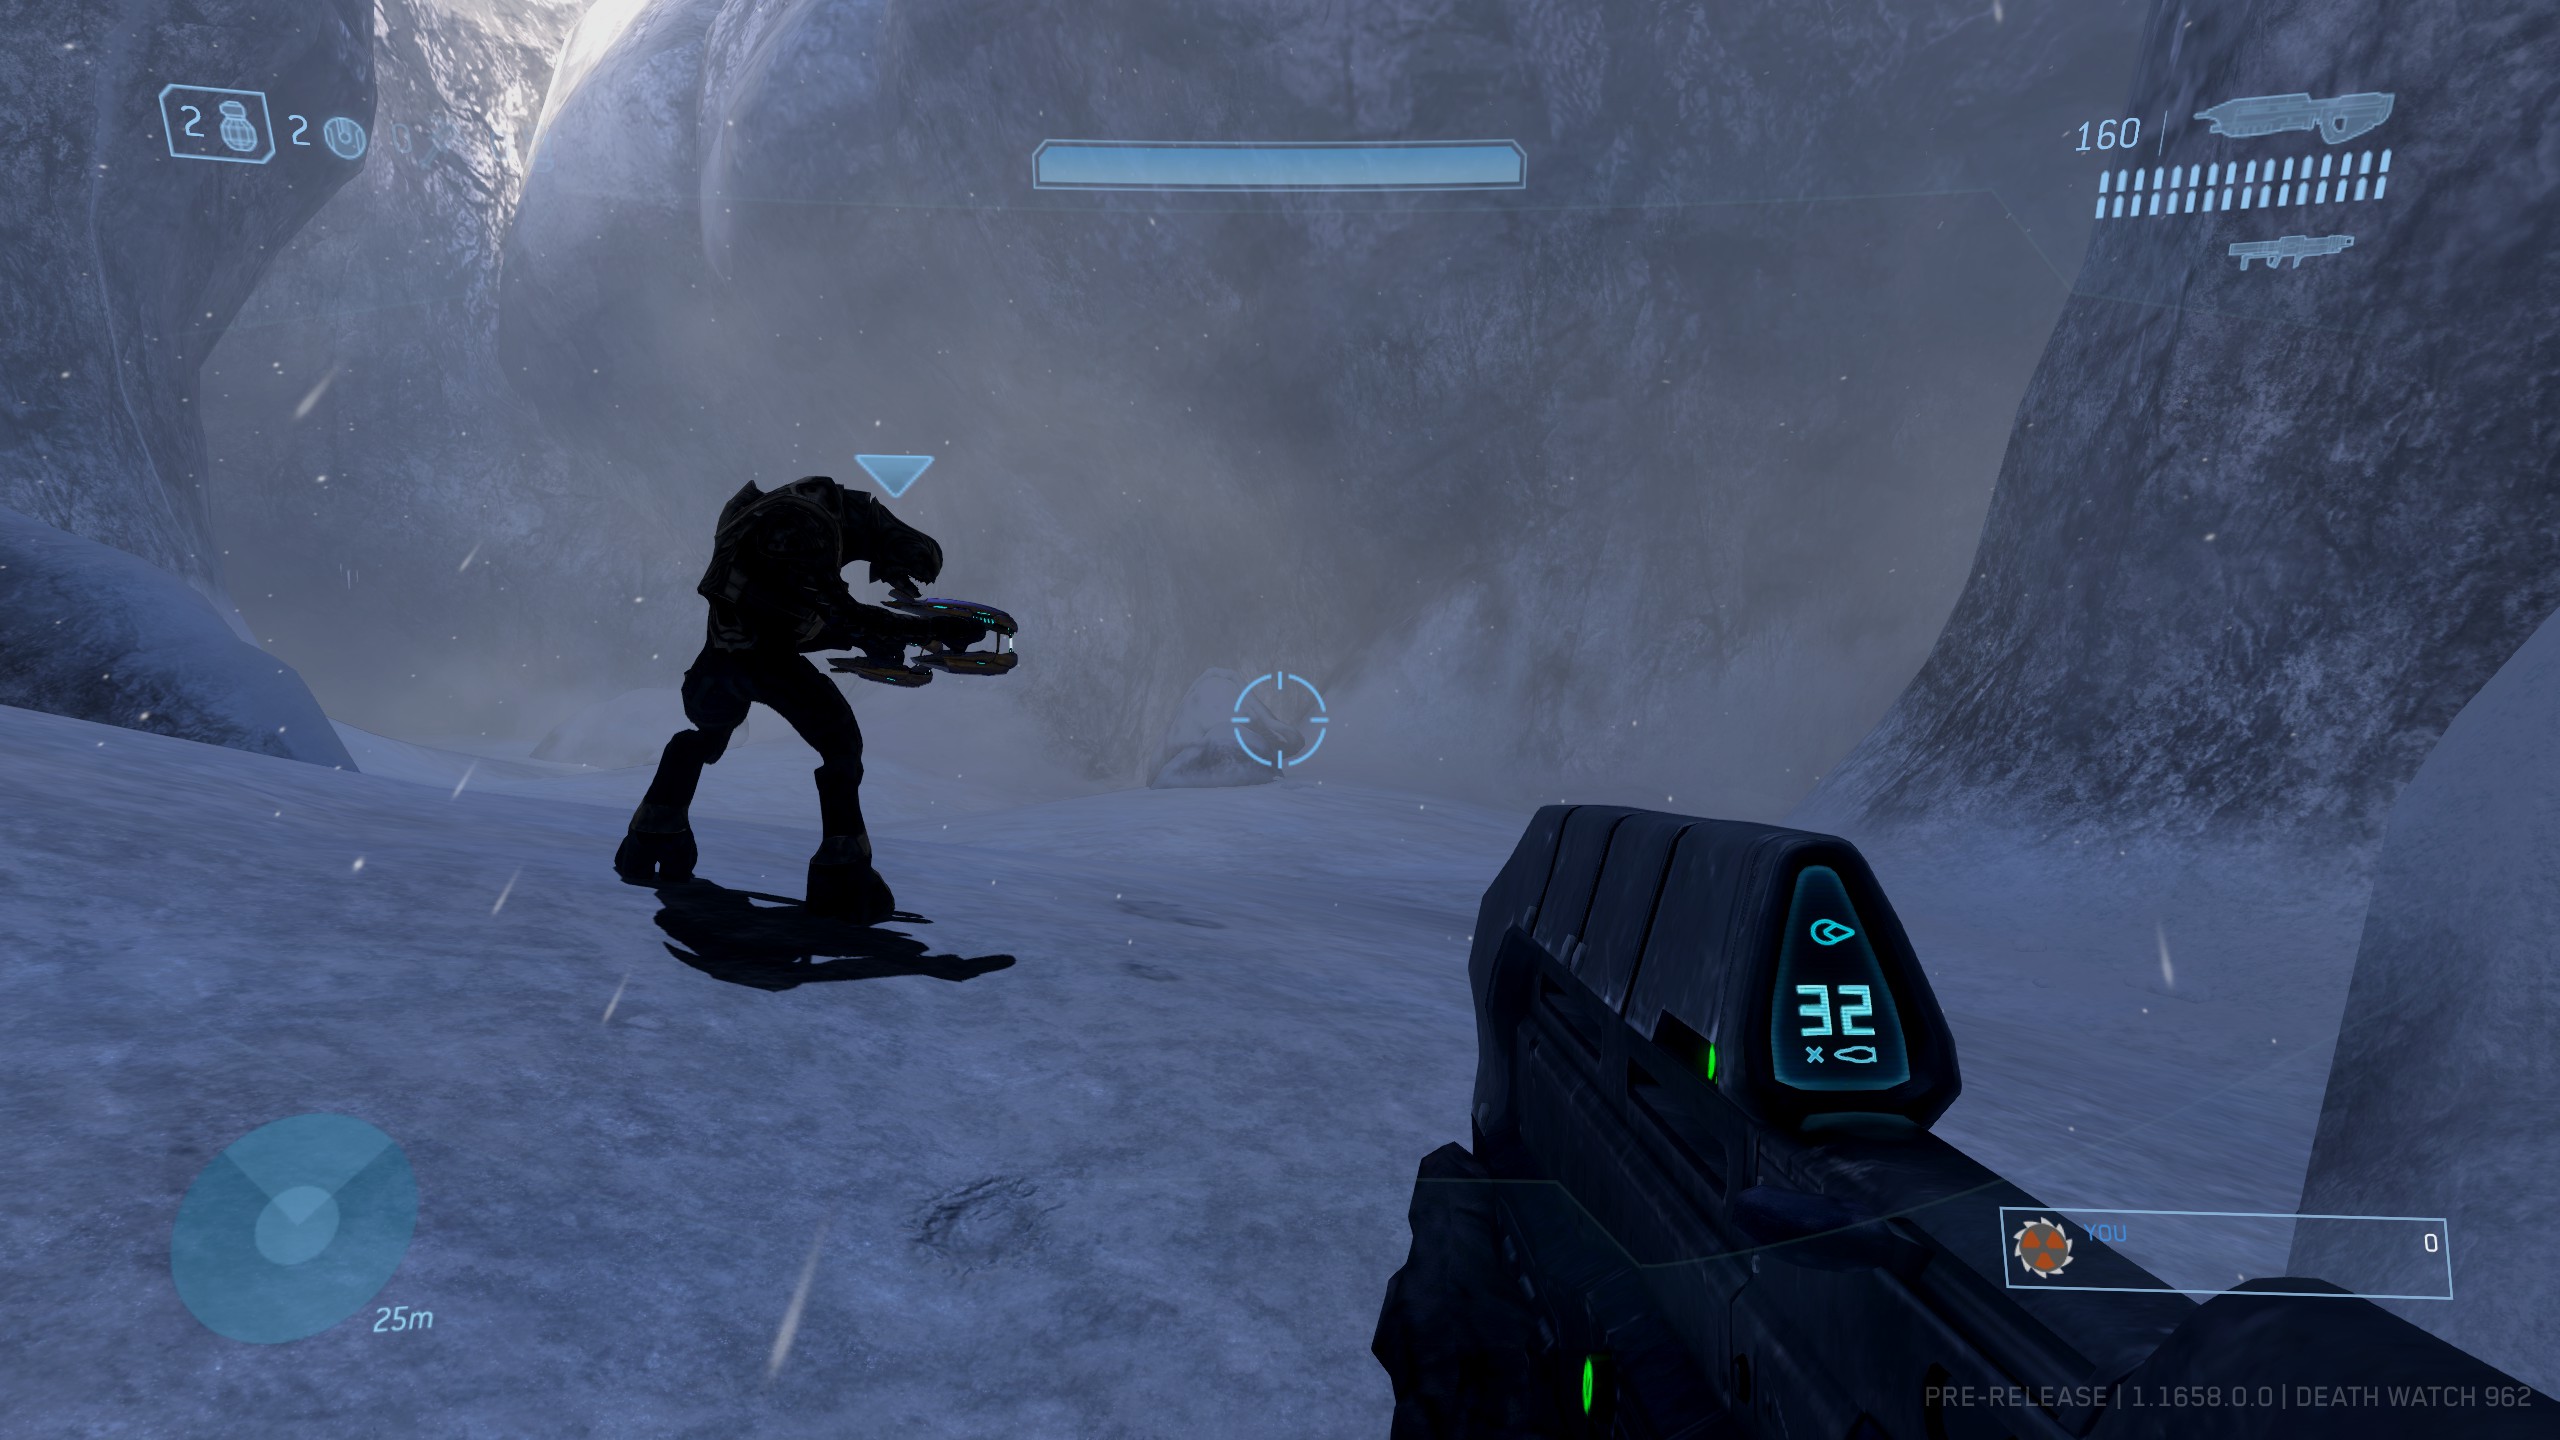
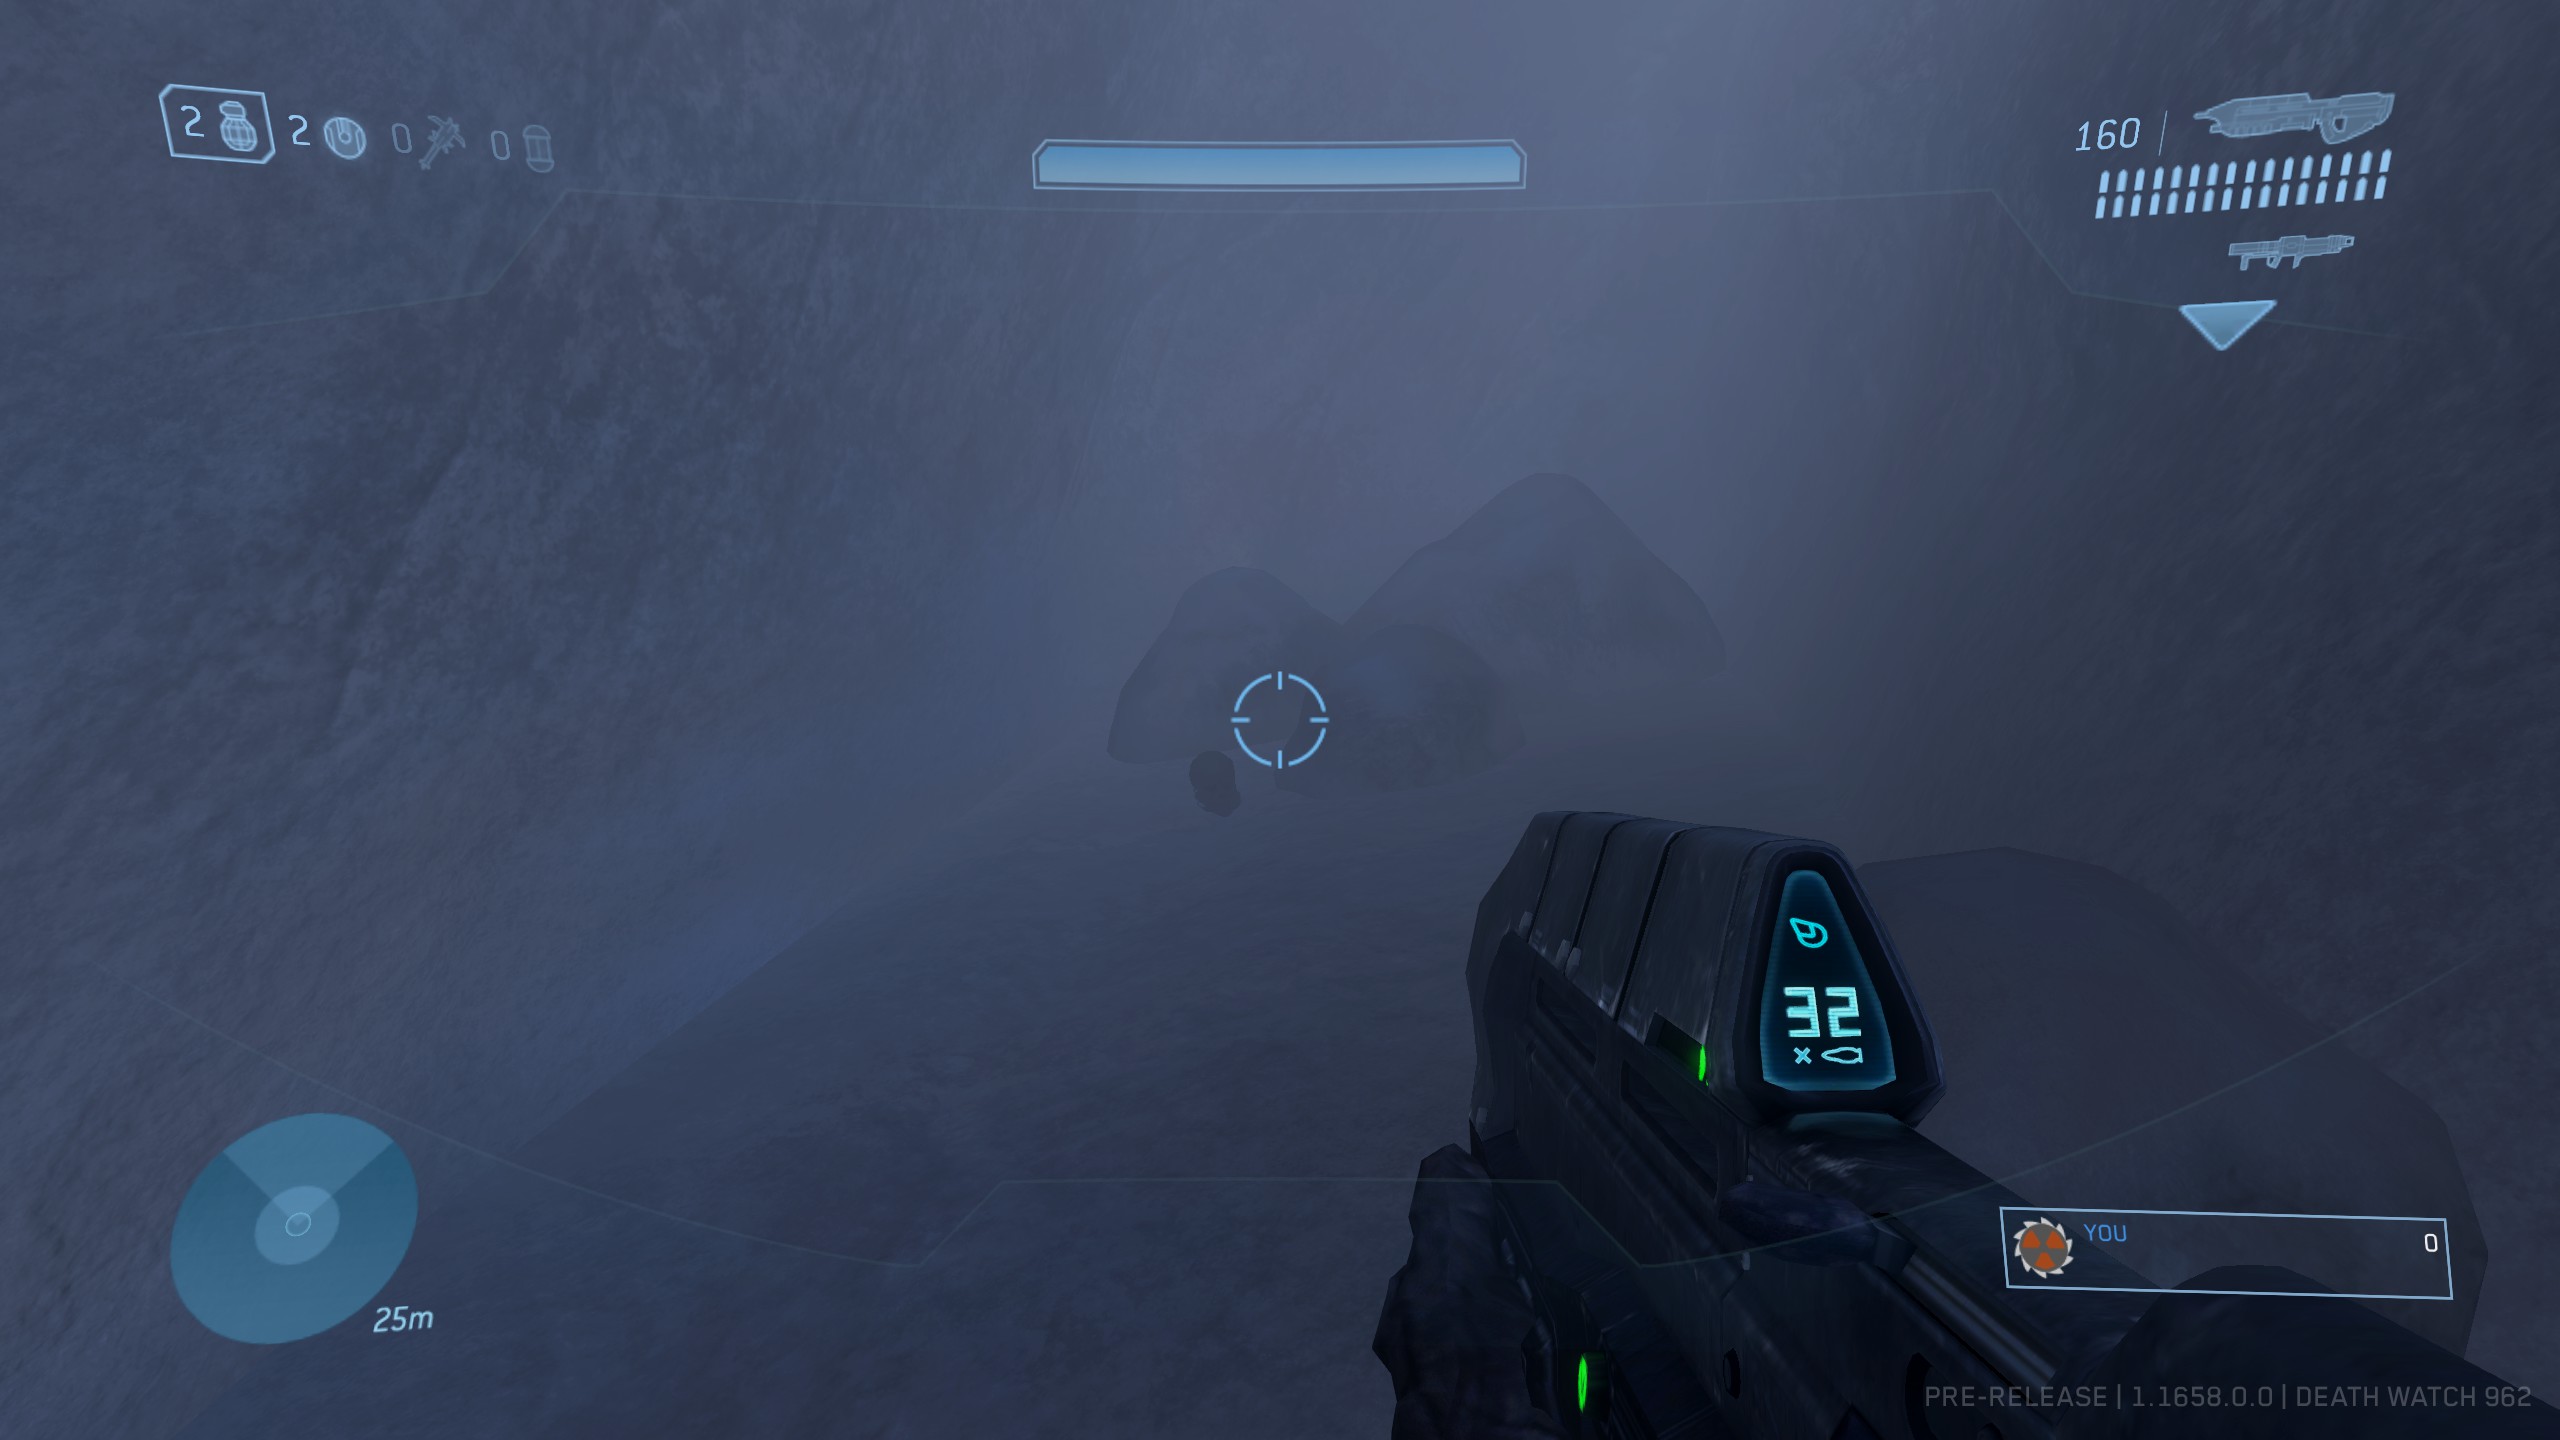
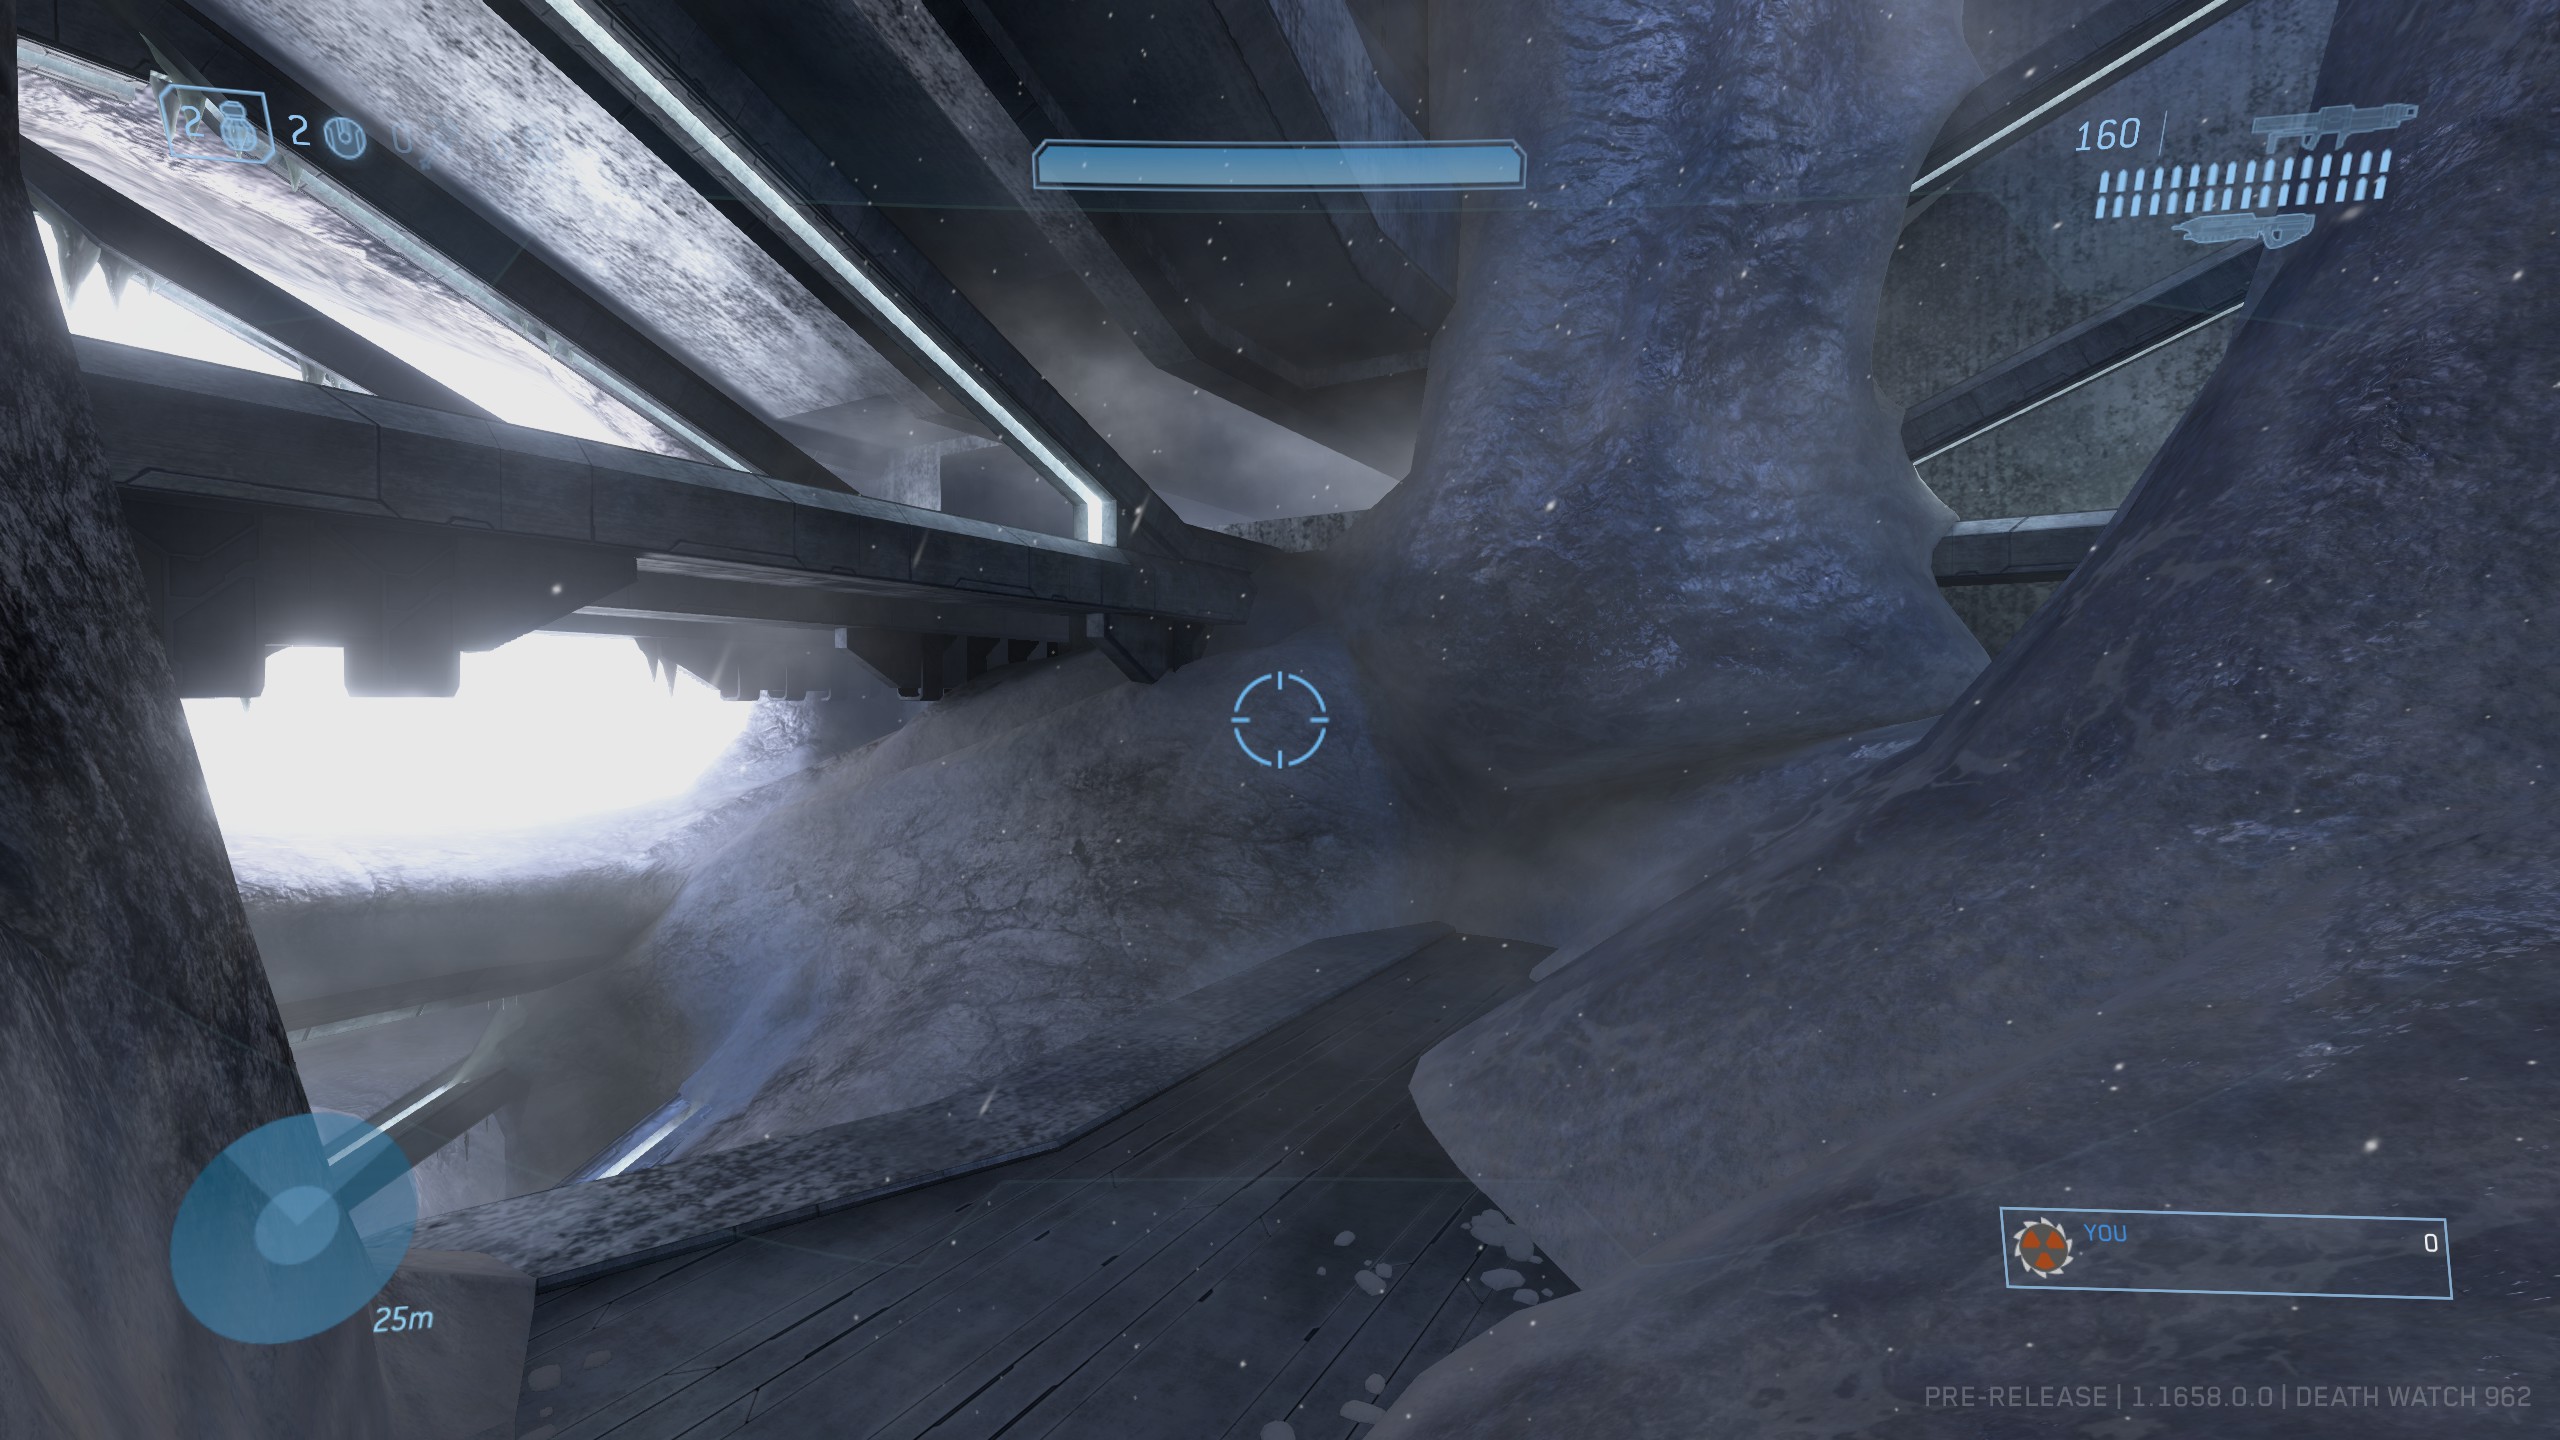
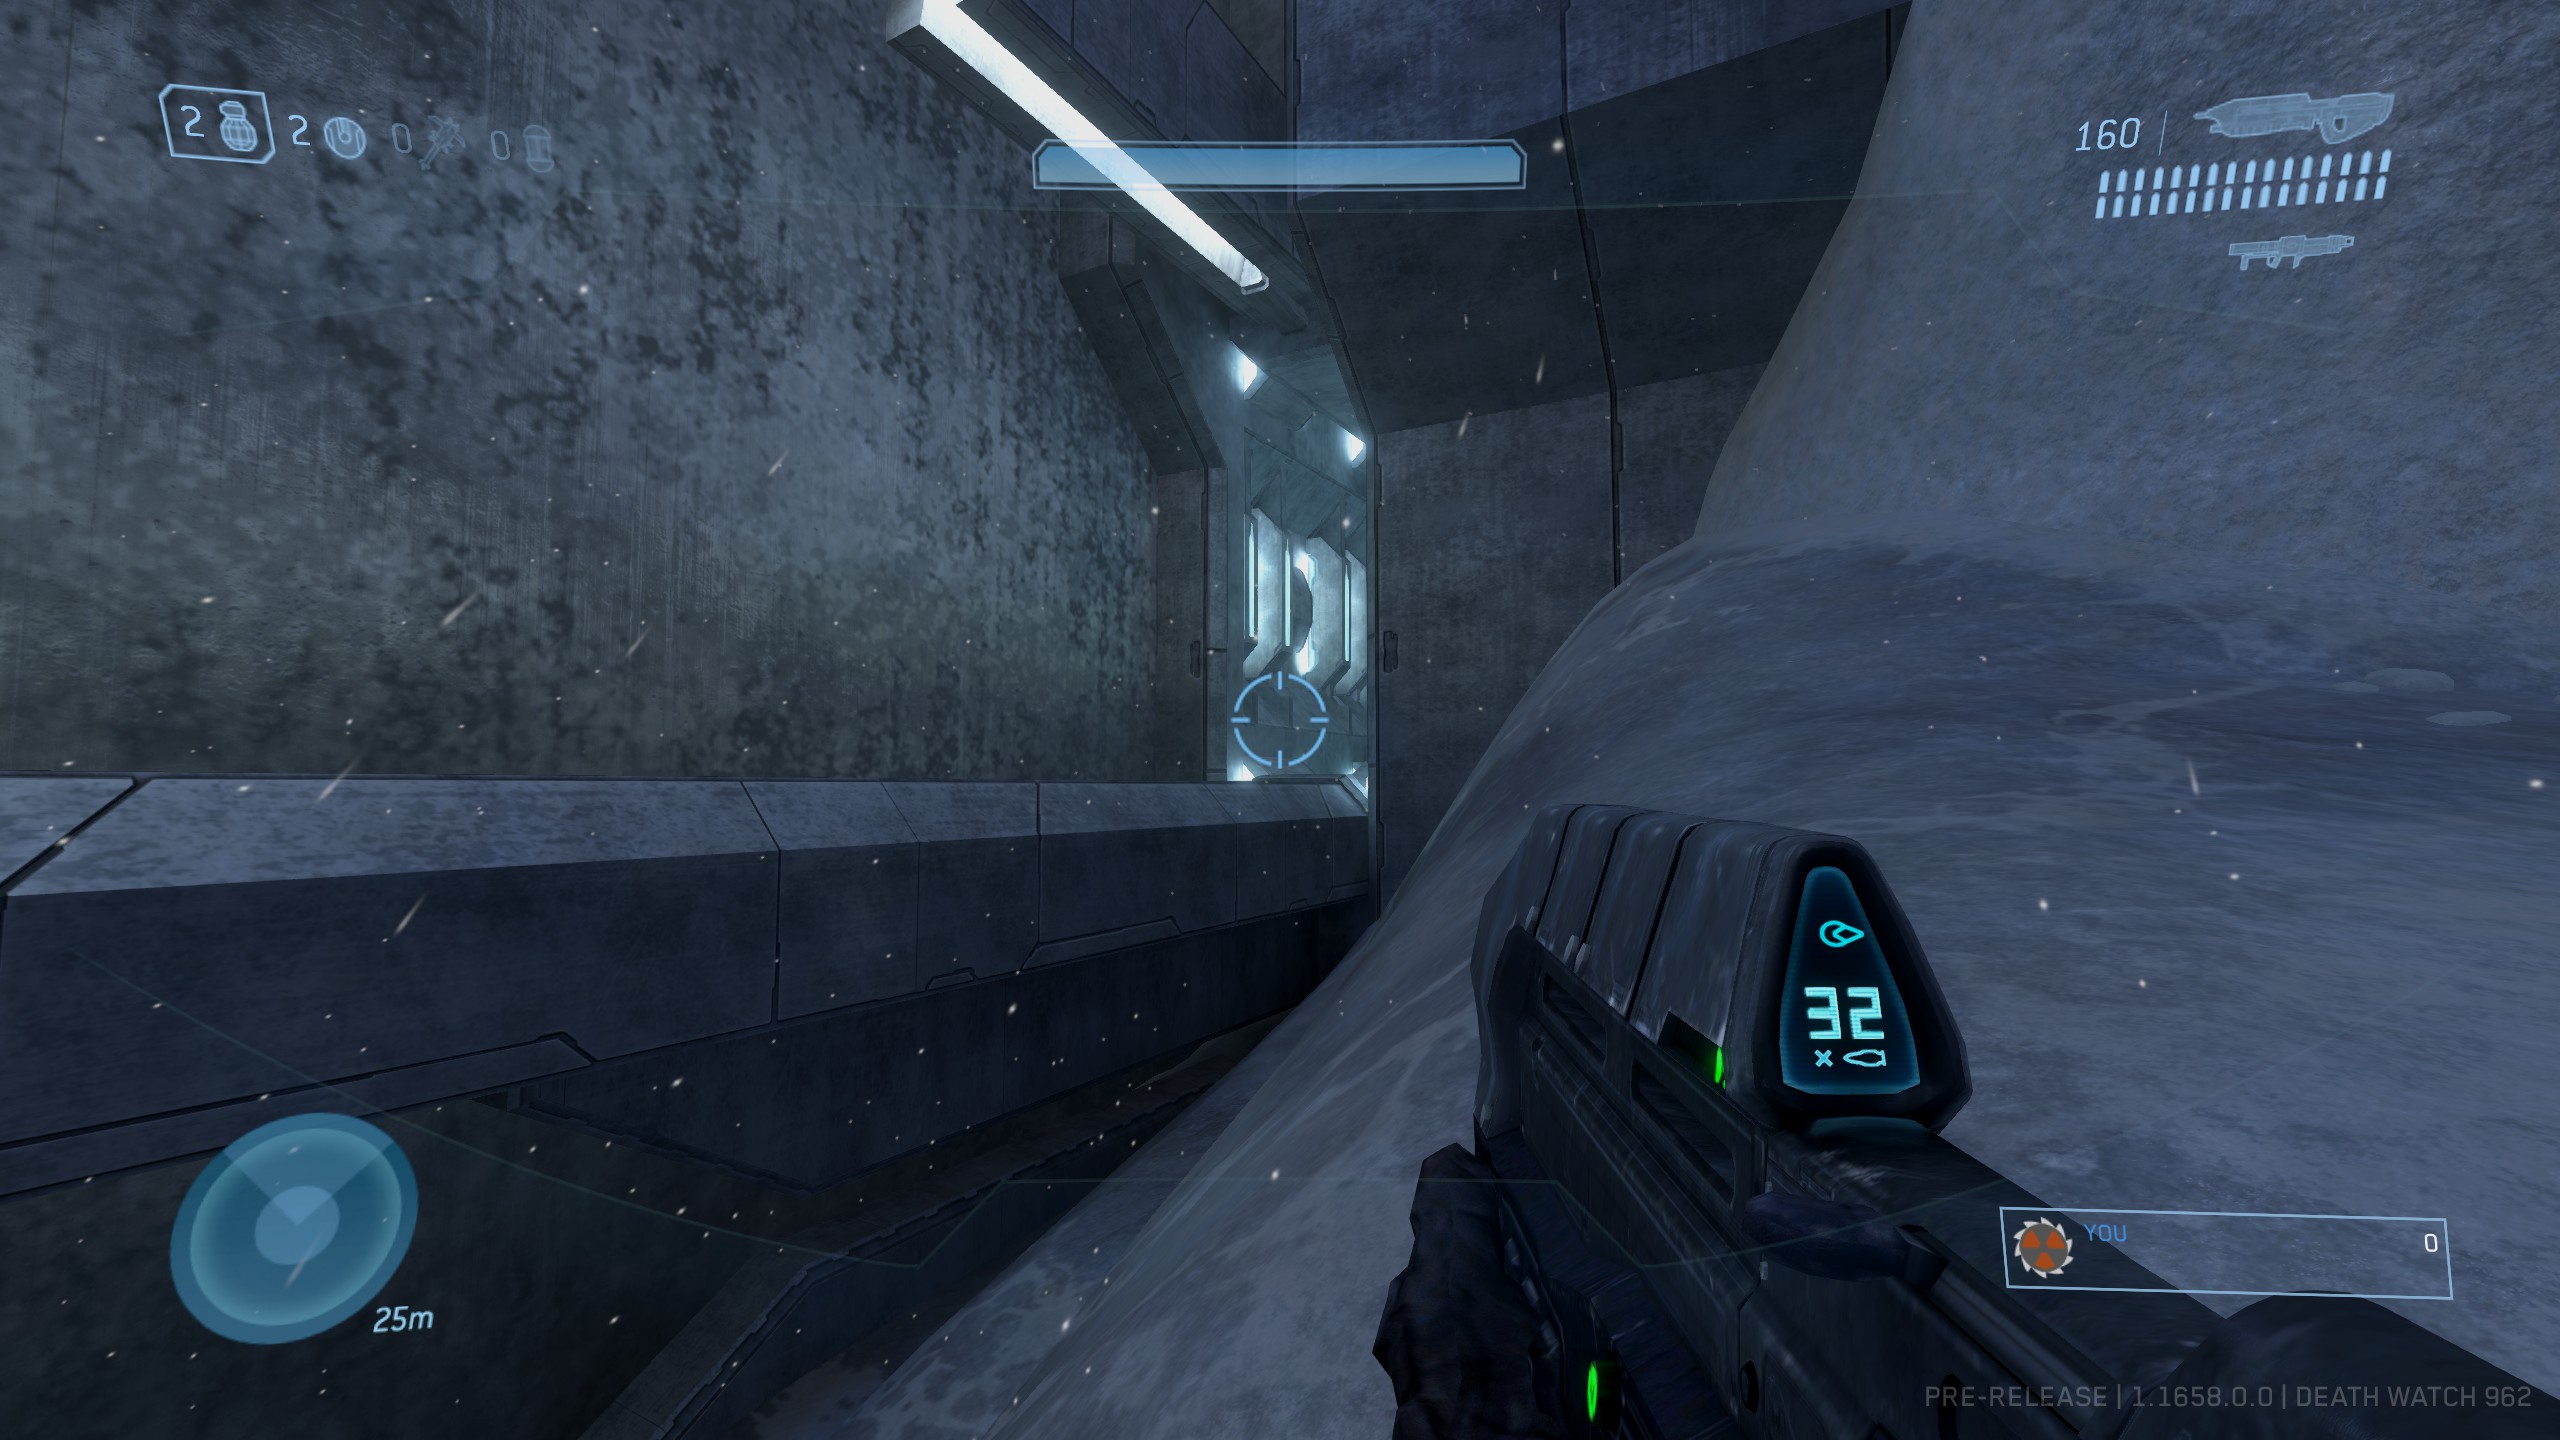
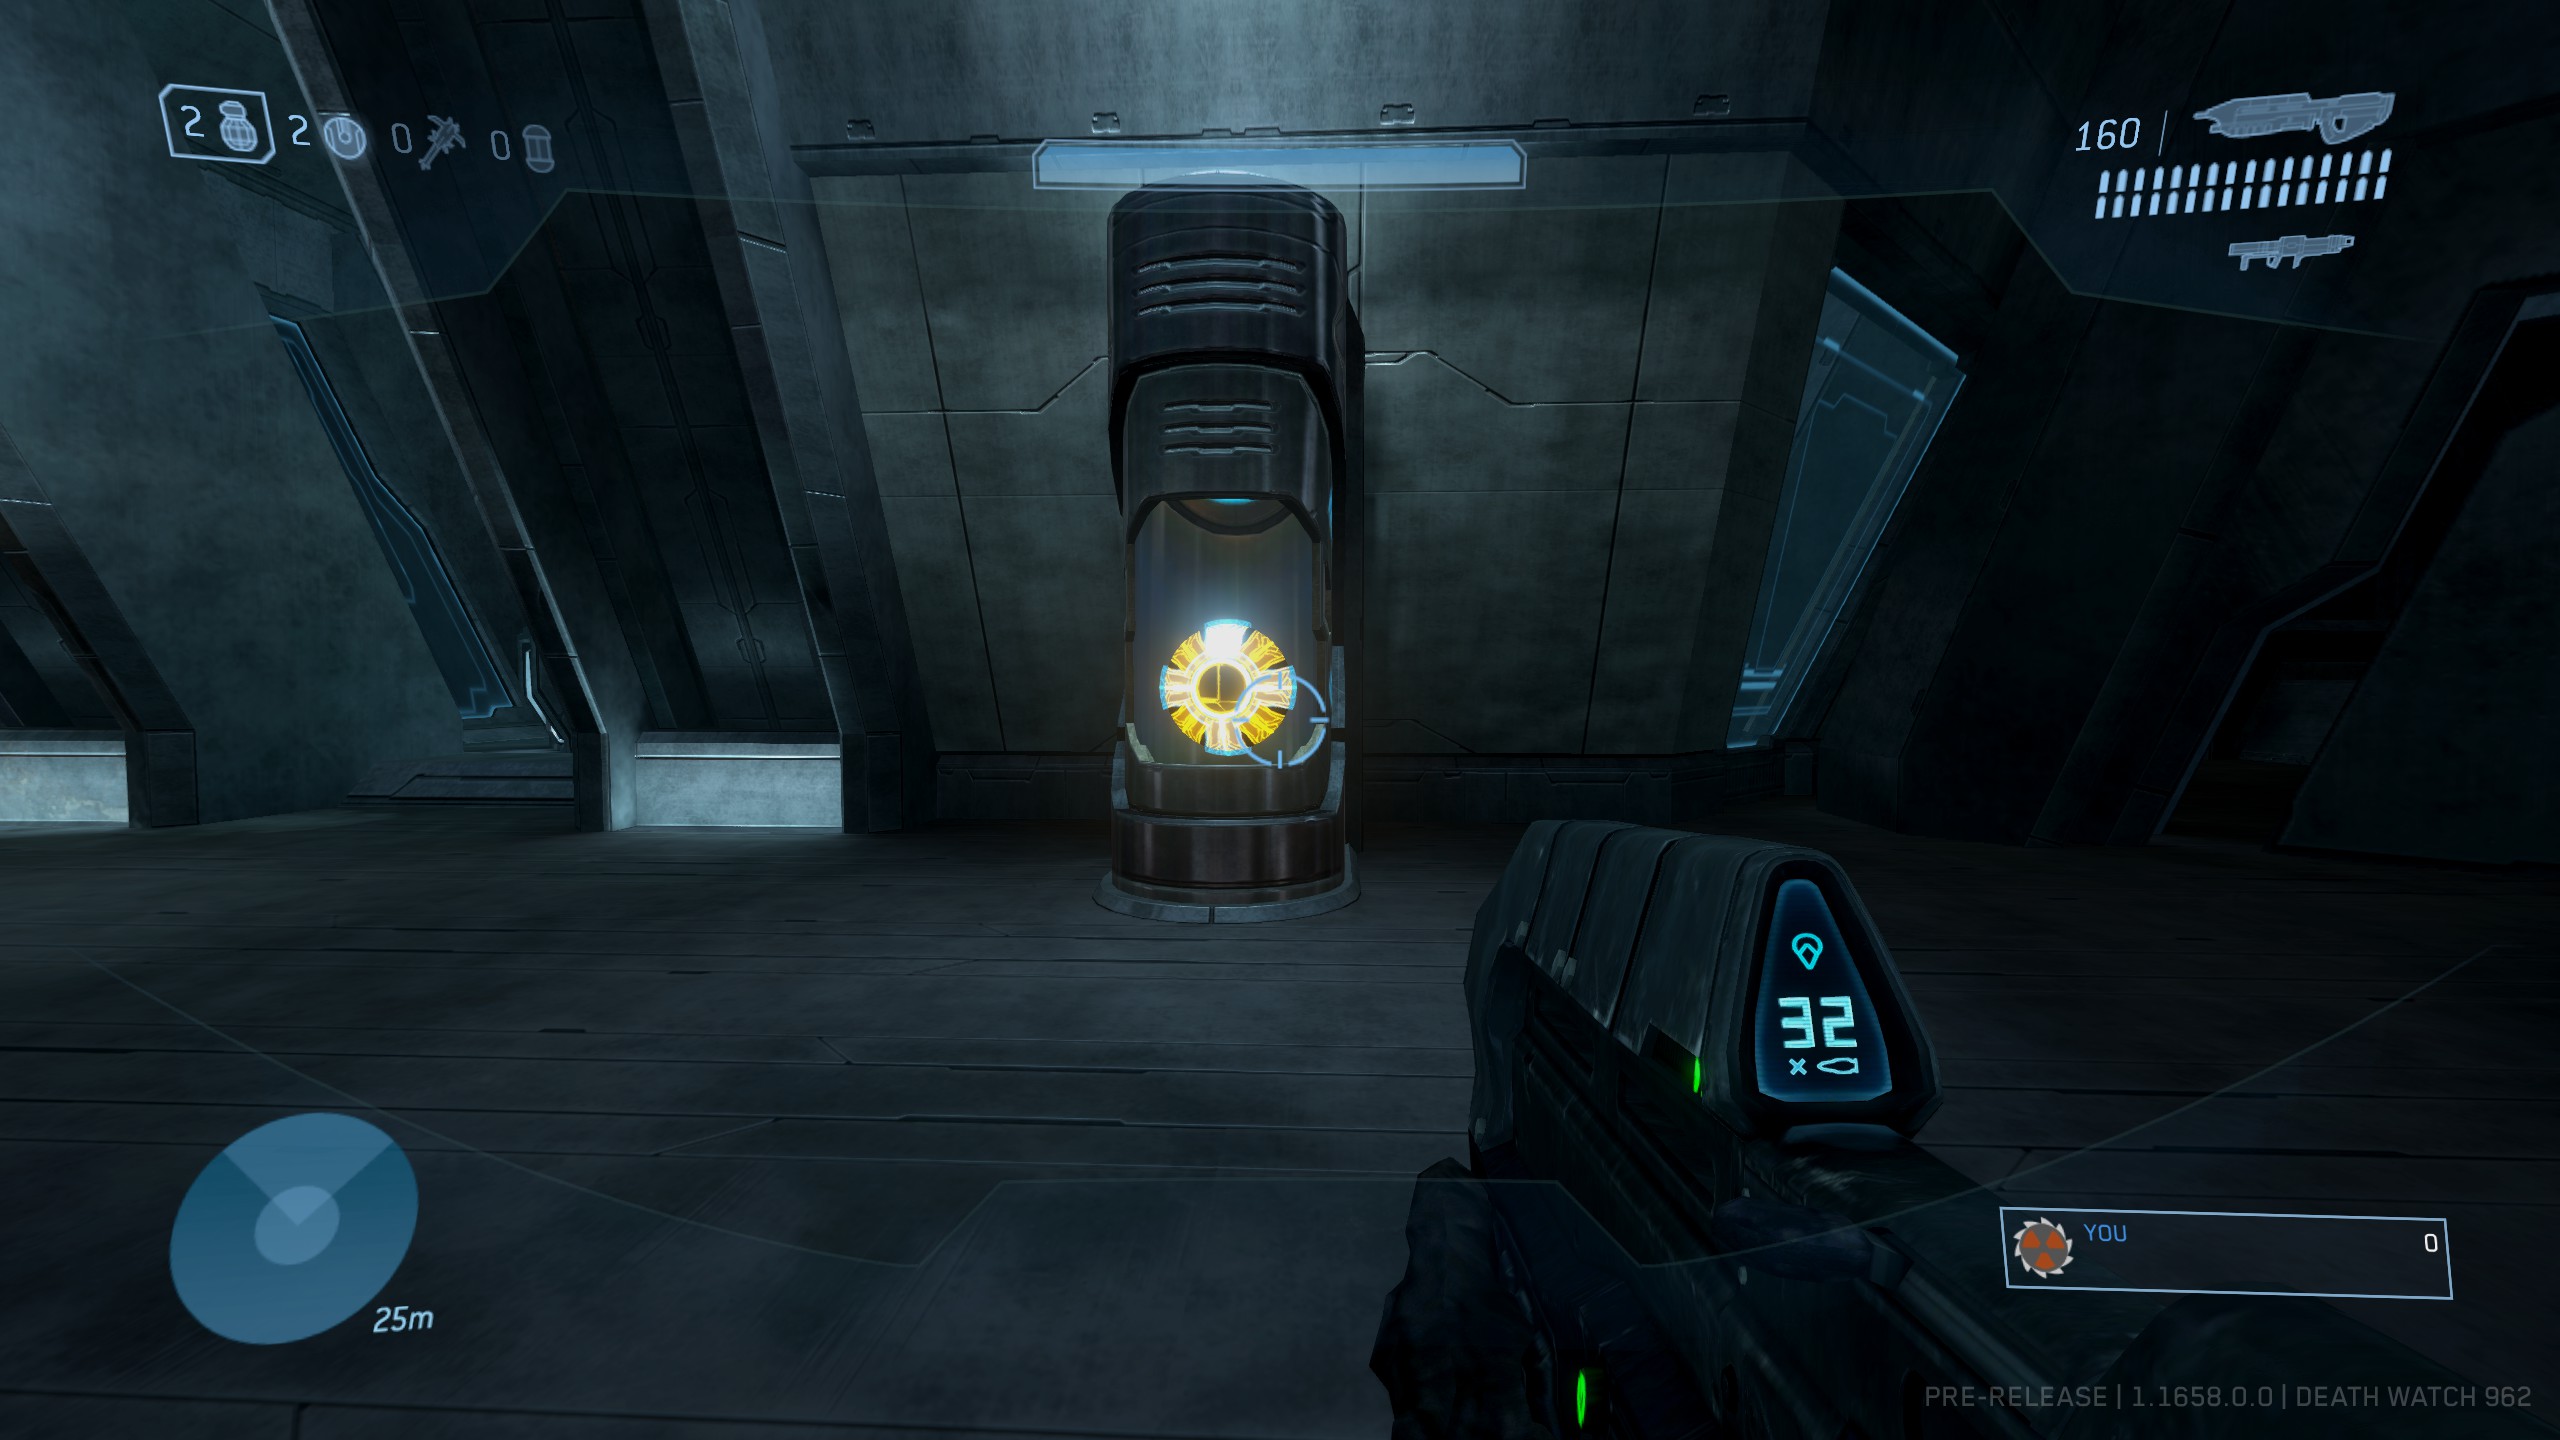
Effect: All Covenant enemies have twice the amount of health. Location: From the start of the level head from the pelican crash site and through the first tunnel. As you move through it, keep an eye on the right hand wall. Shortly after you enter there should be a path leading to the right. Follow this to the end to find the Skull on the ground here.
https://www.youtube.com/watch?v=gXrEioY80h4
MP Skulls
Right, we're nearly there. The MP skulls appear in the DLC (in the original 07 game) maps: Assembly, Orbital, Sandbox, Citadel, Heretic, and Longshore.
Just a reminder to everyone:- These skulls skulls do have extra gameplay modifiers added when you pick them up; your only reward is the achievement.
- They only appear via Forge mode
Let's get started:
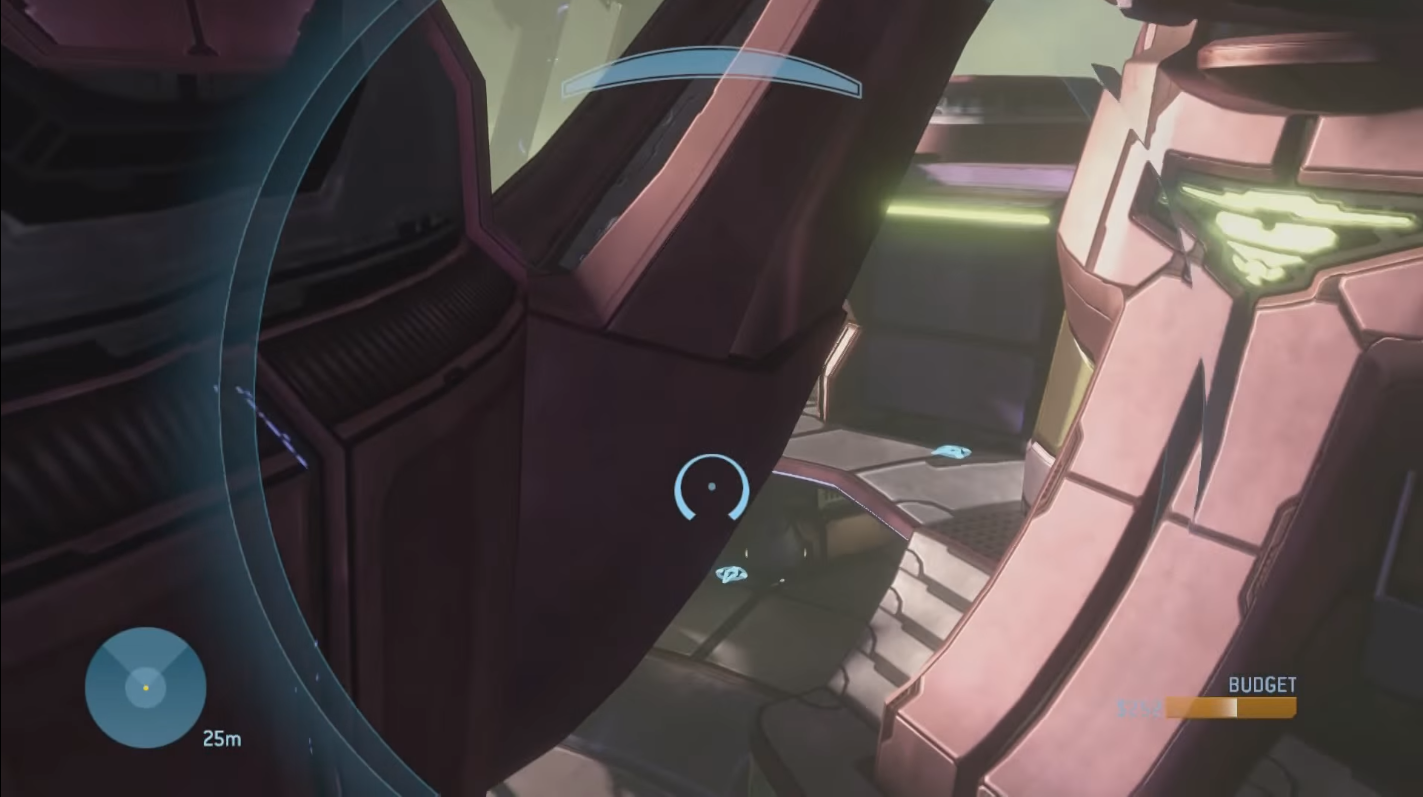
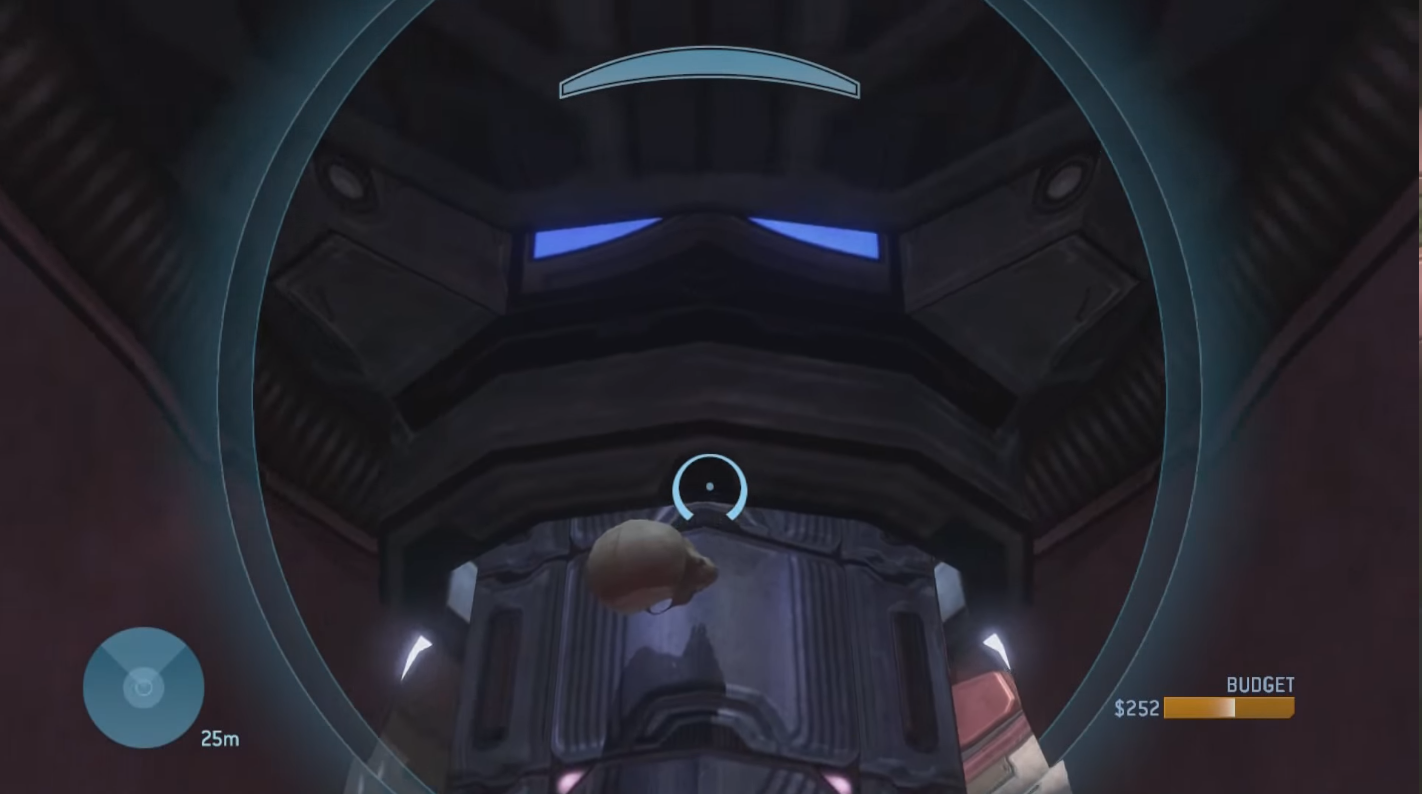
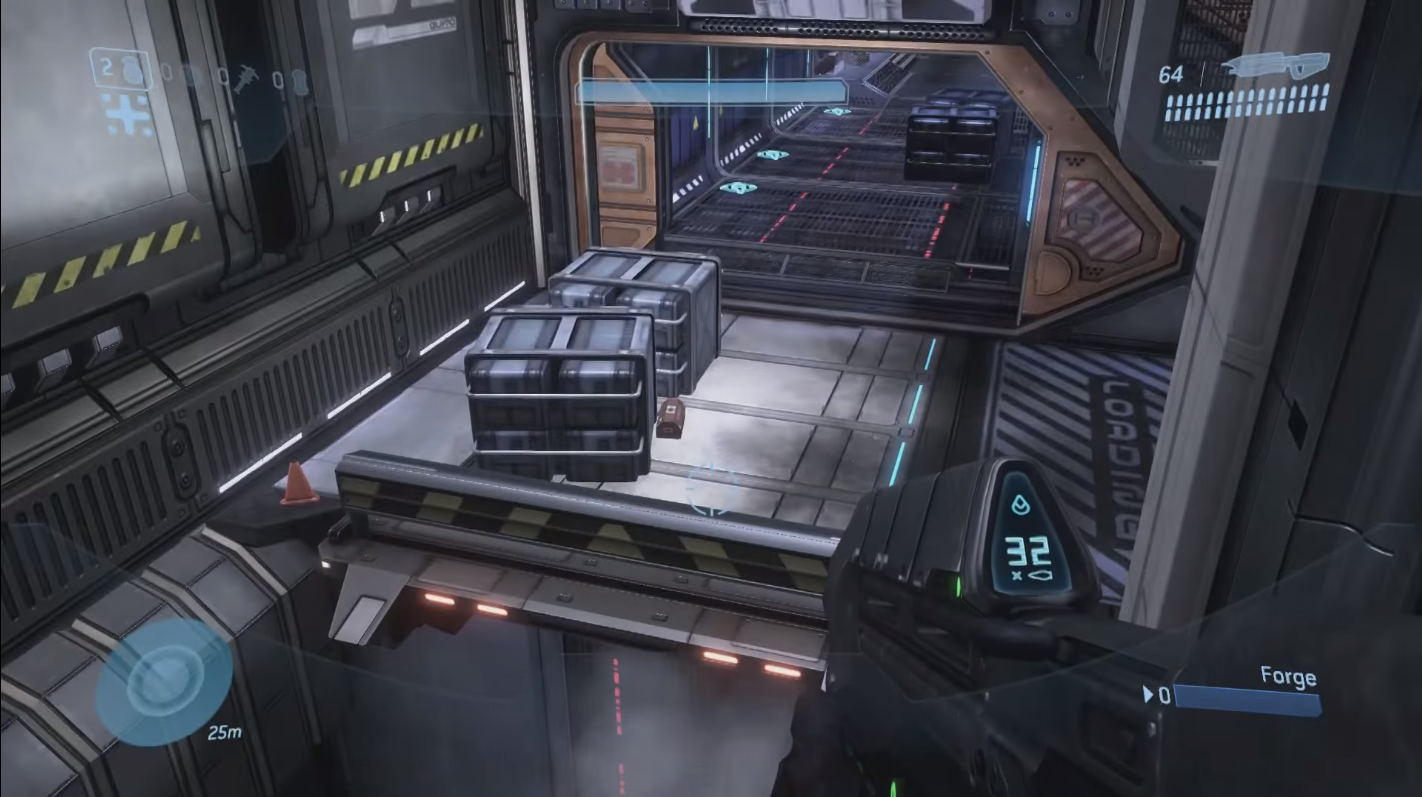
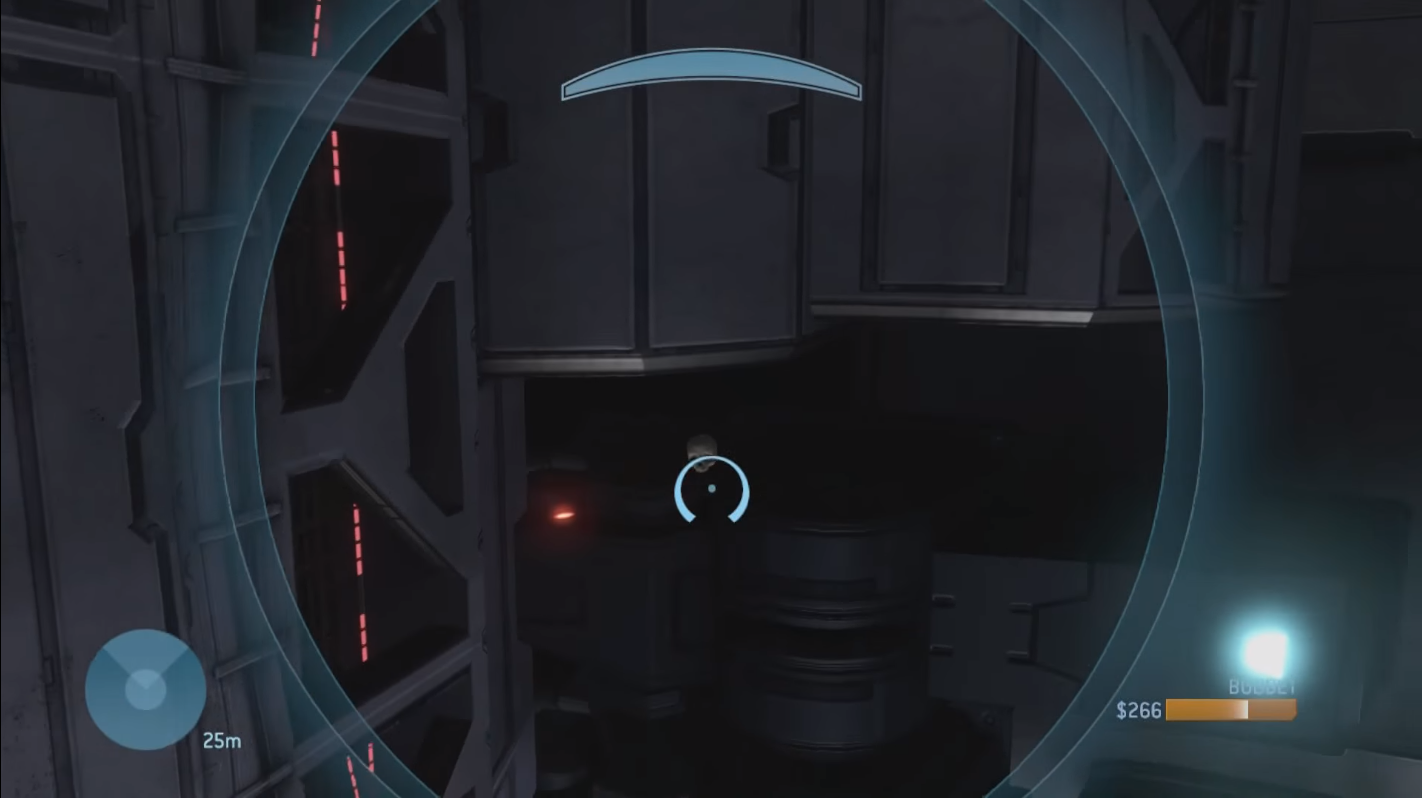
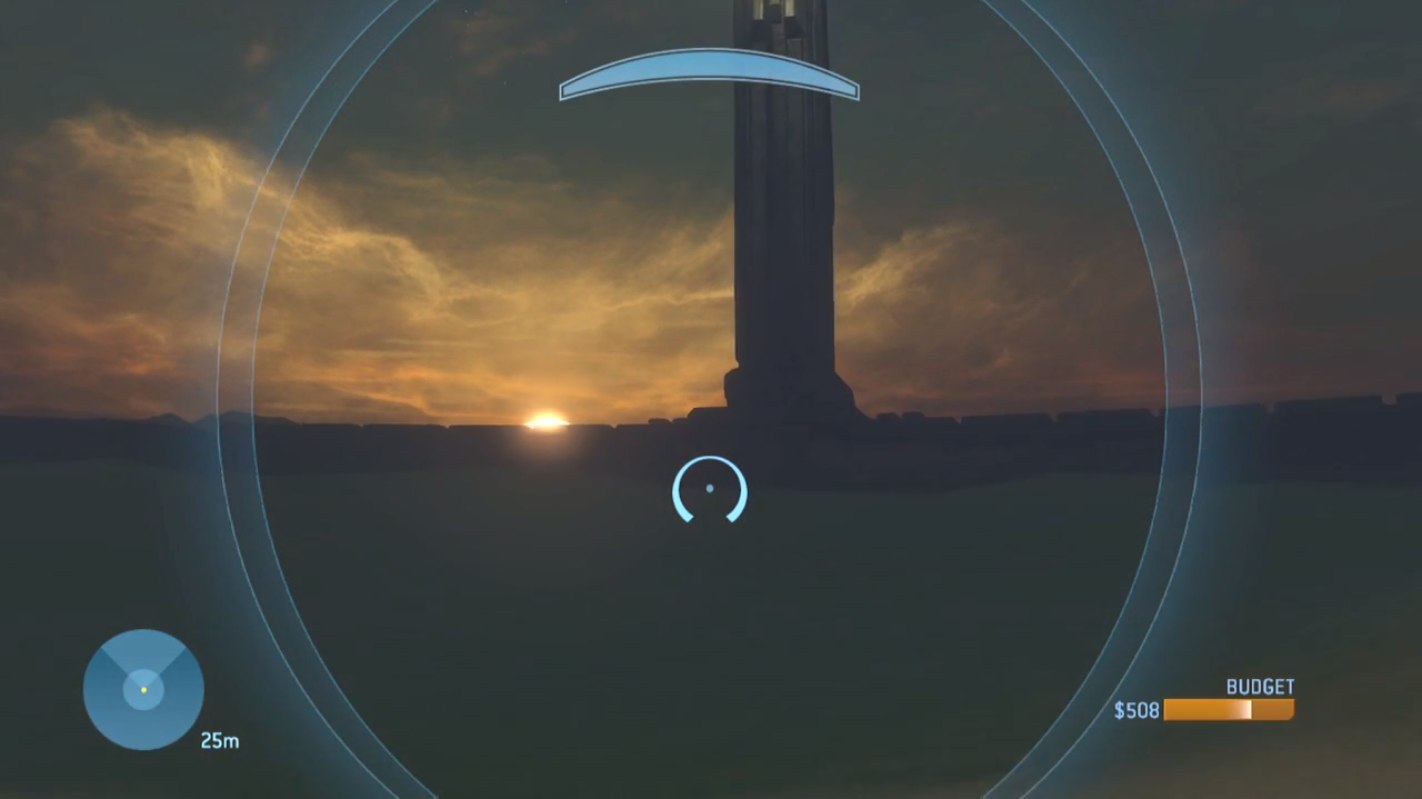
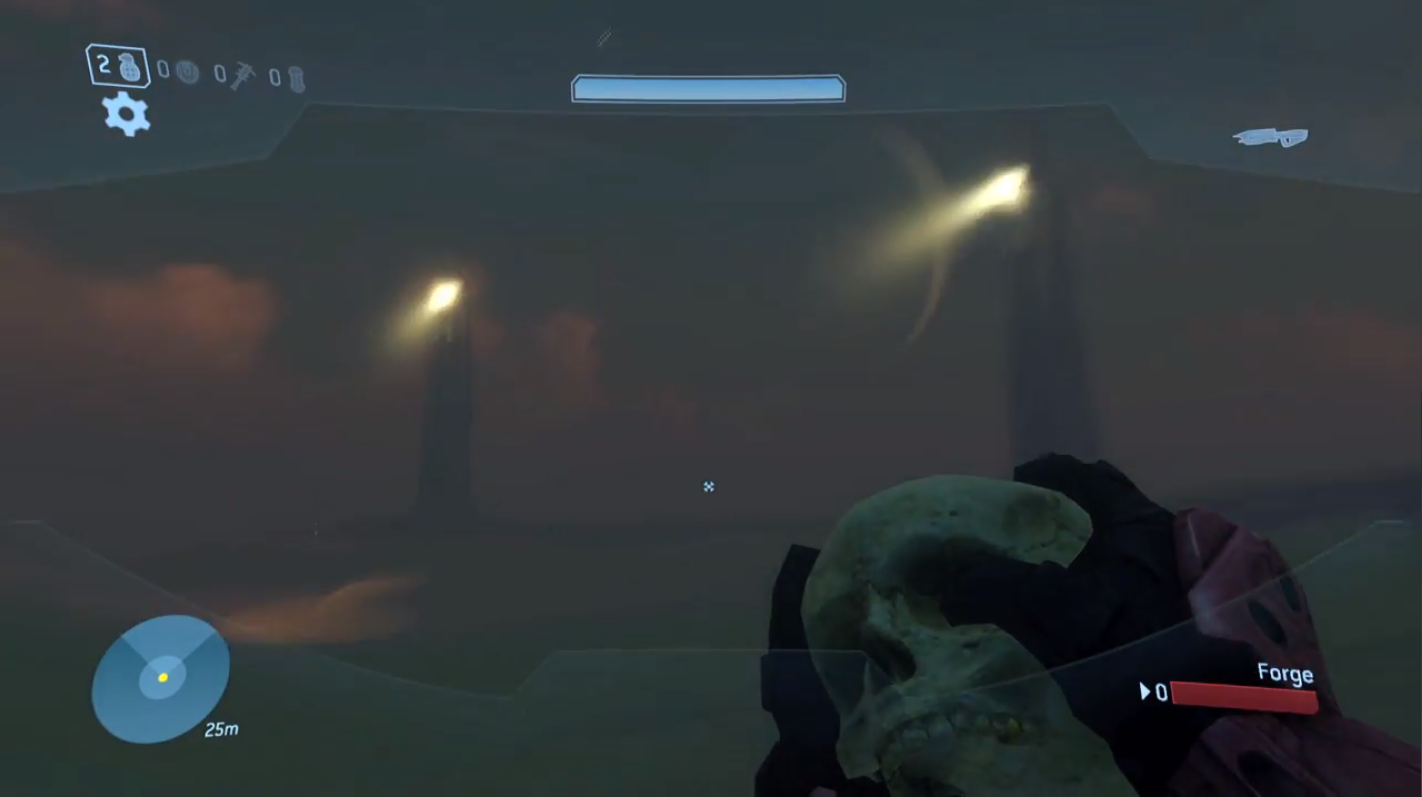
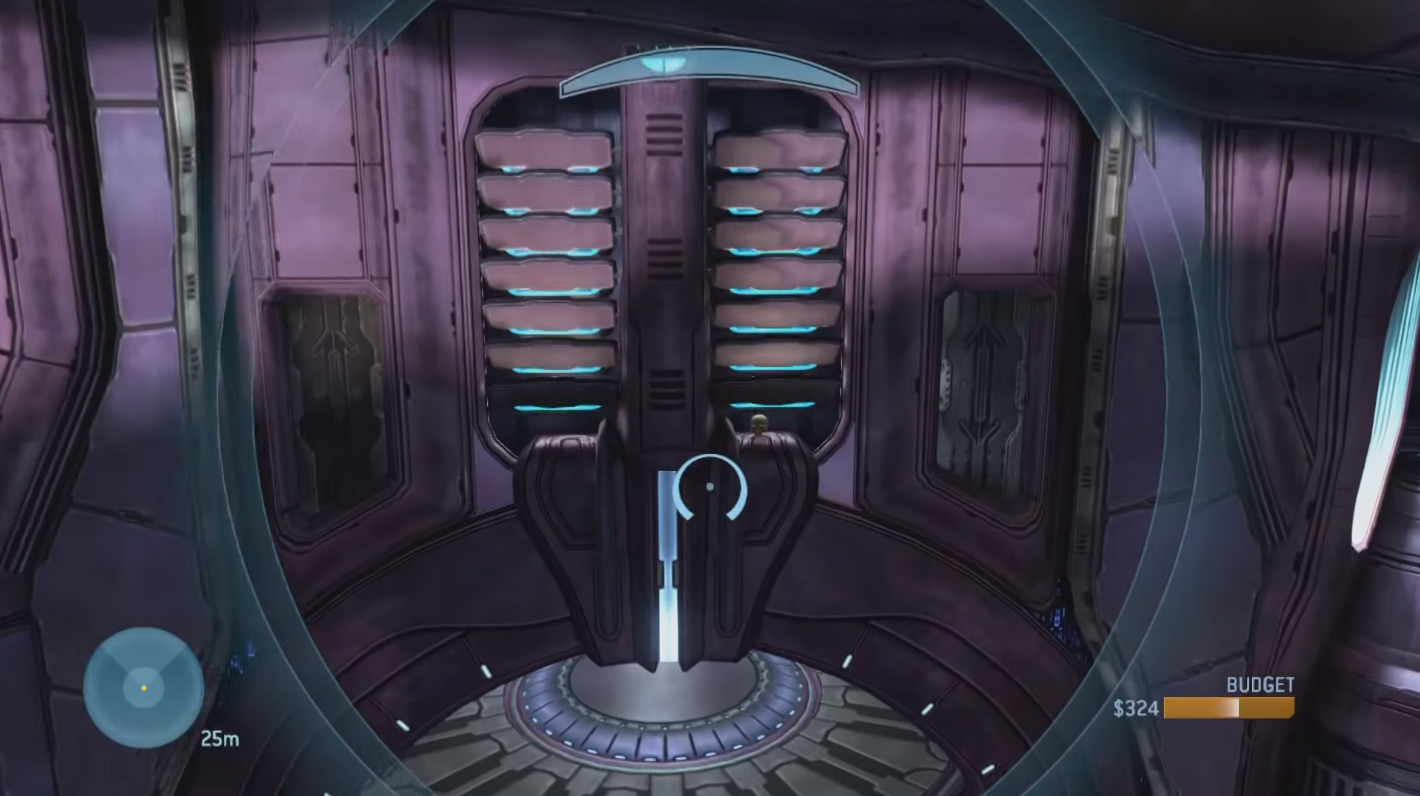
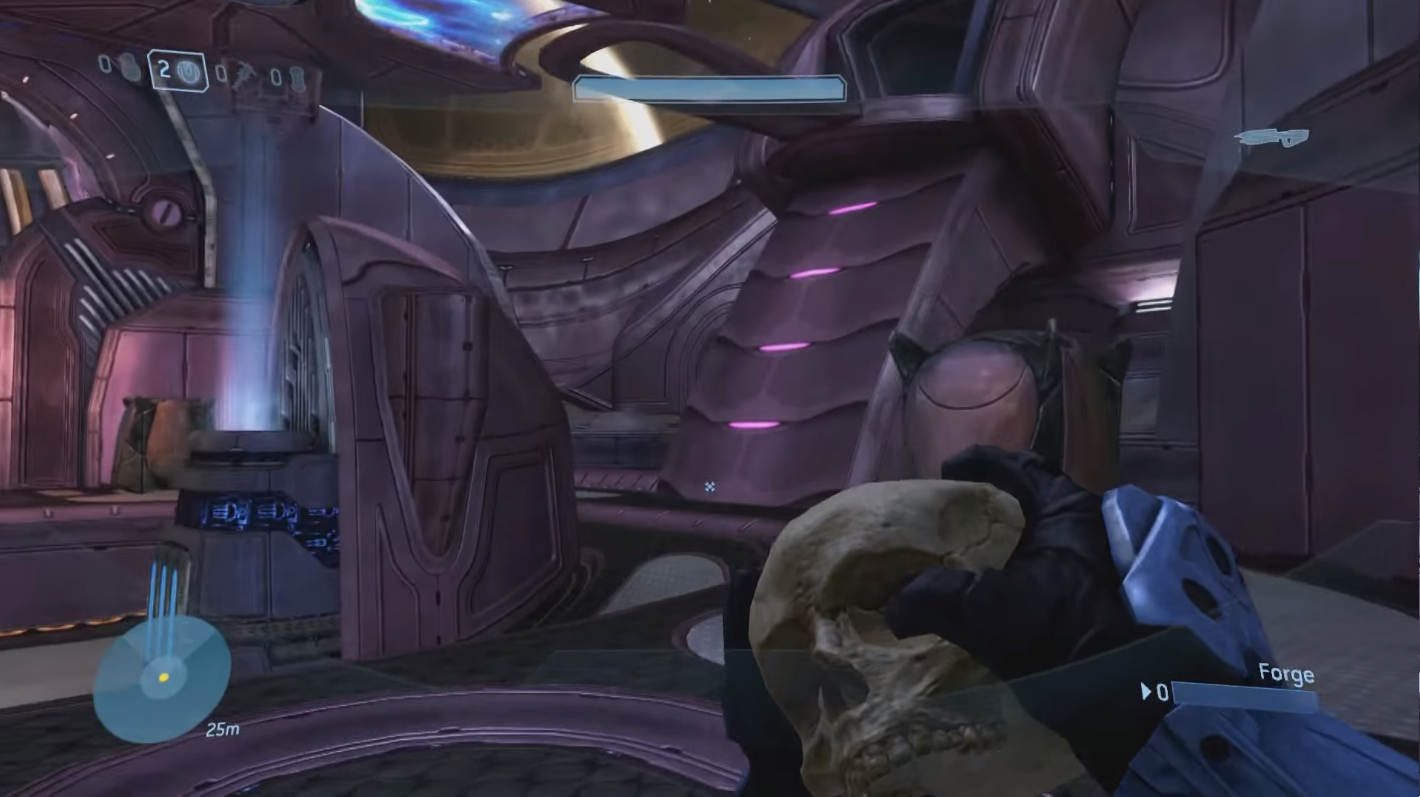
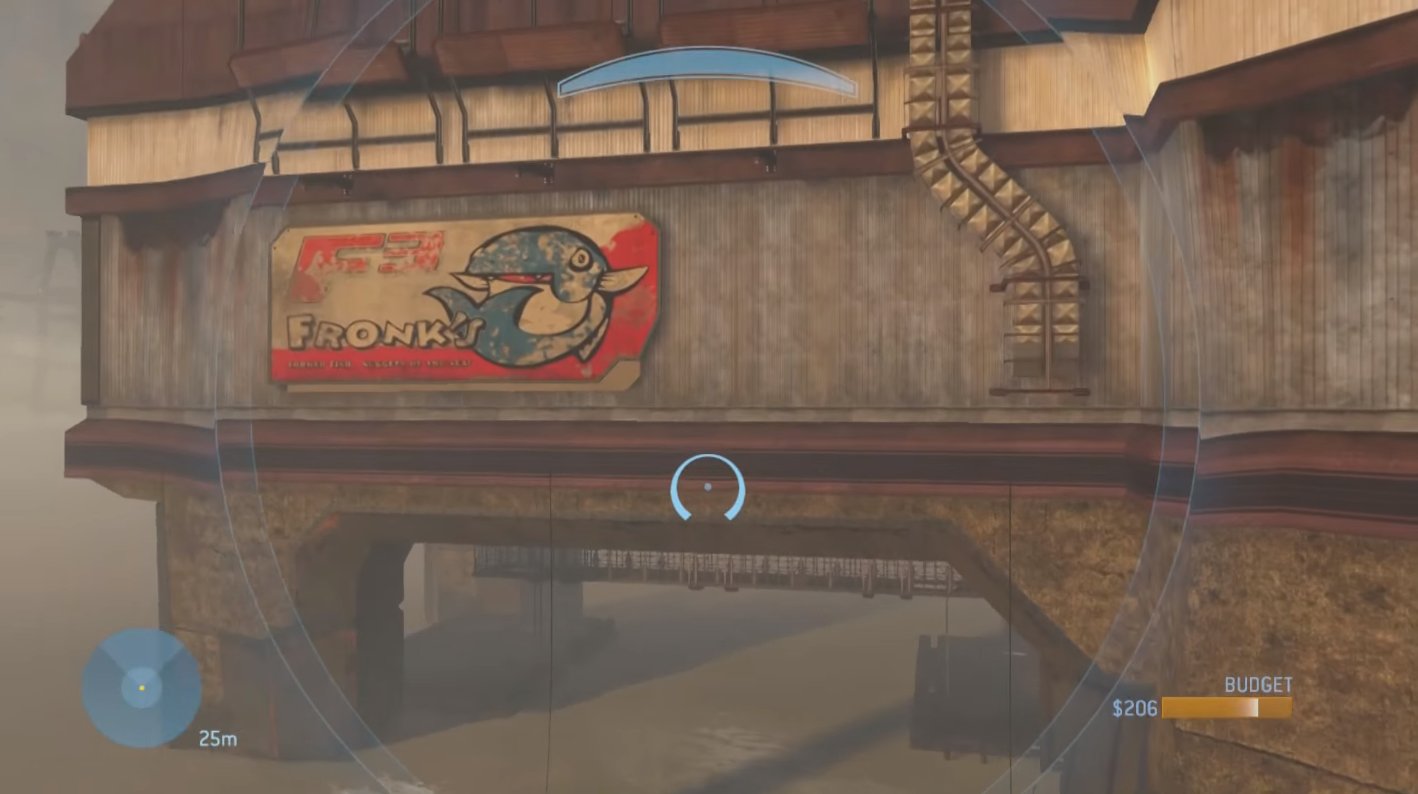
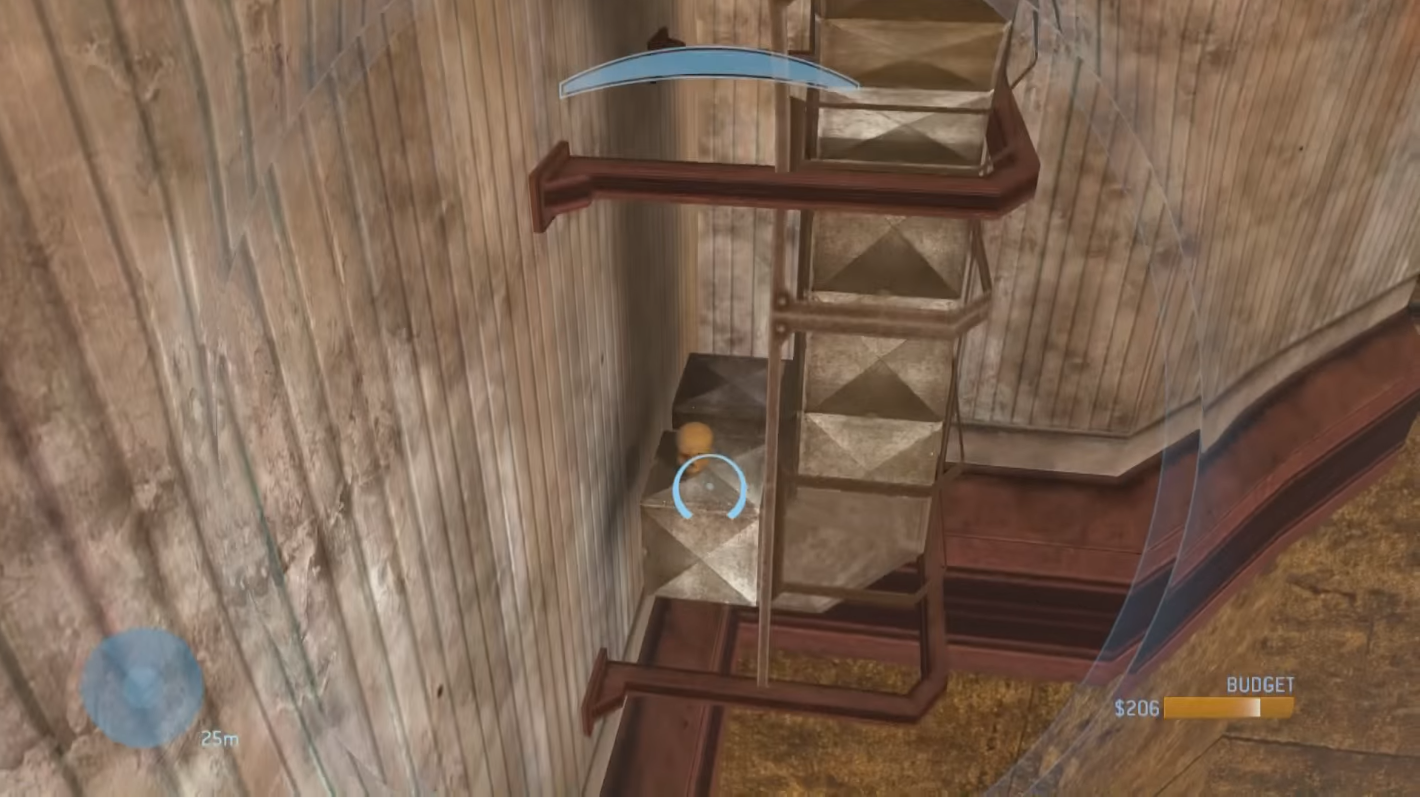
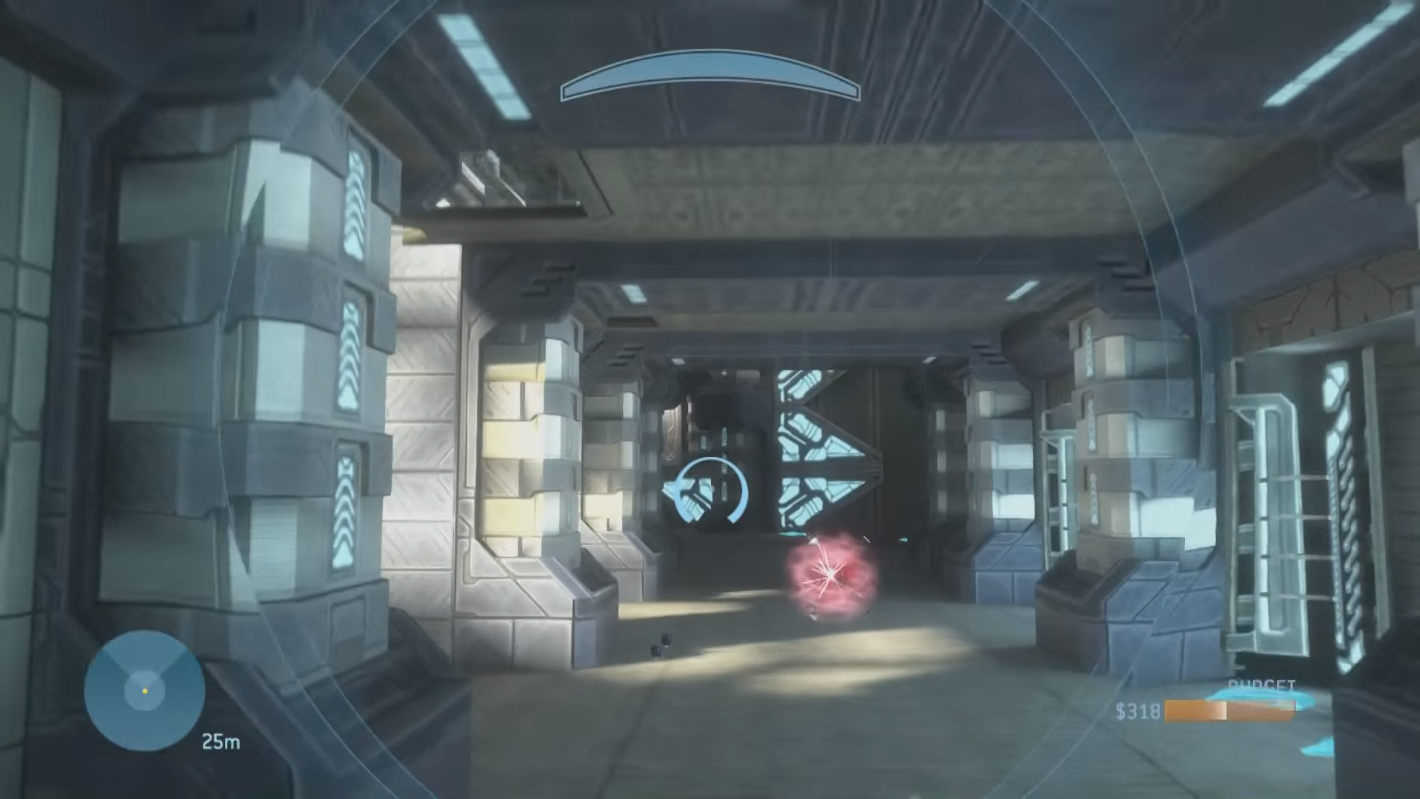
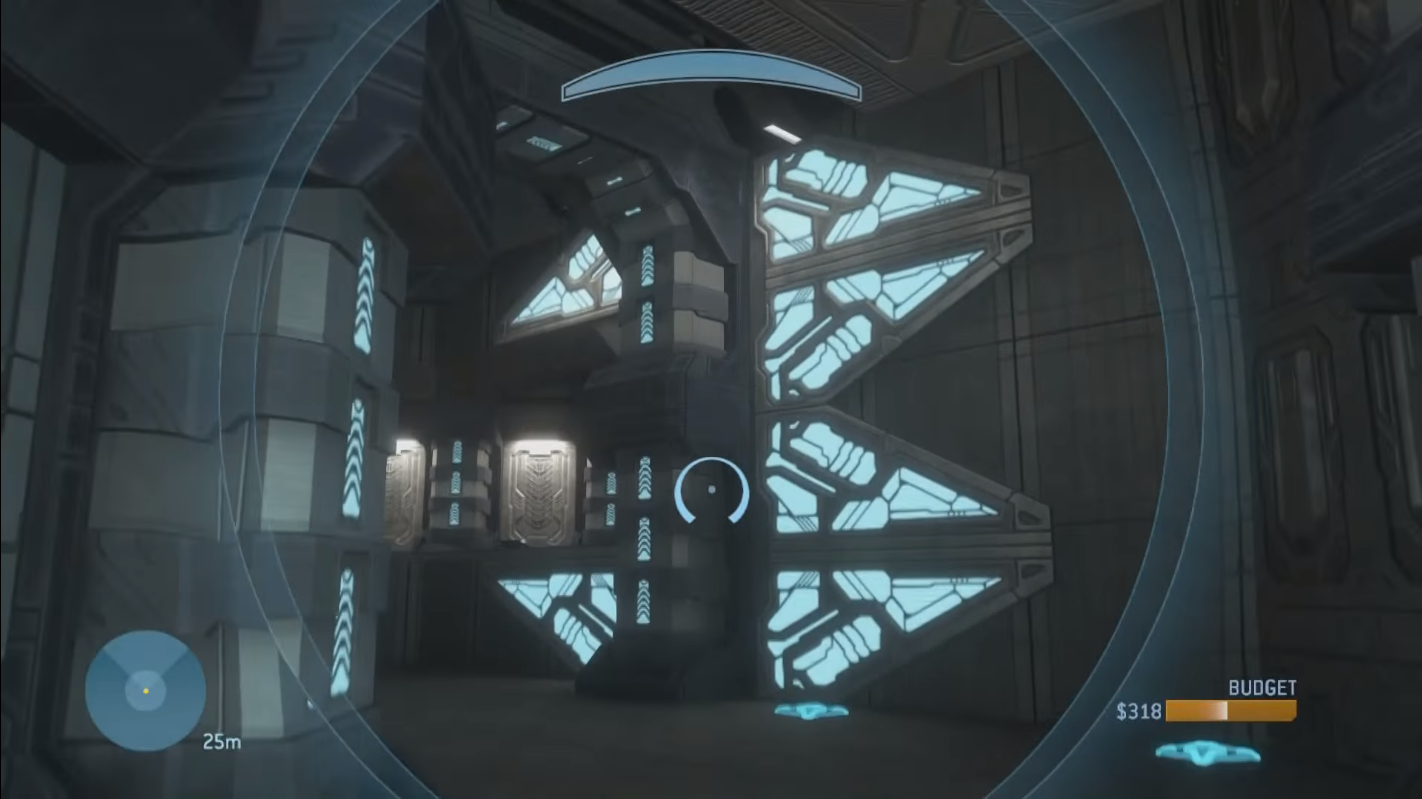
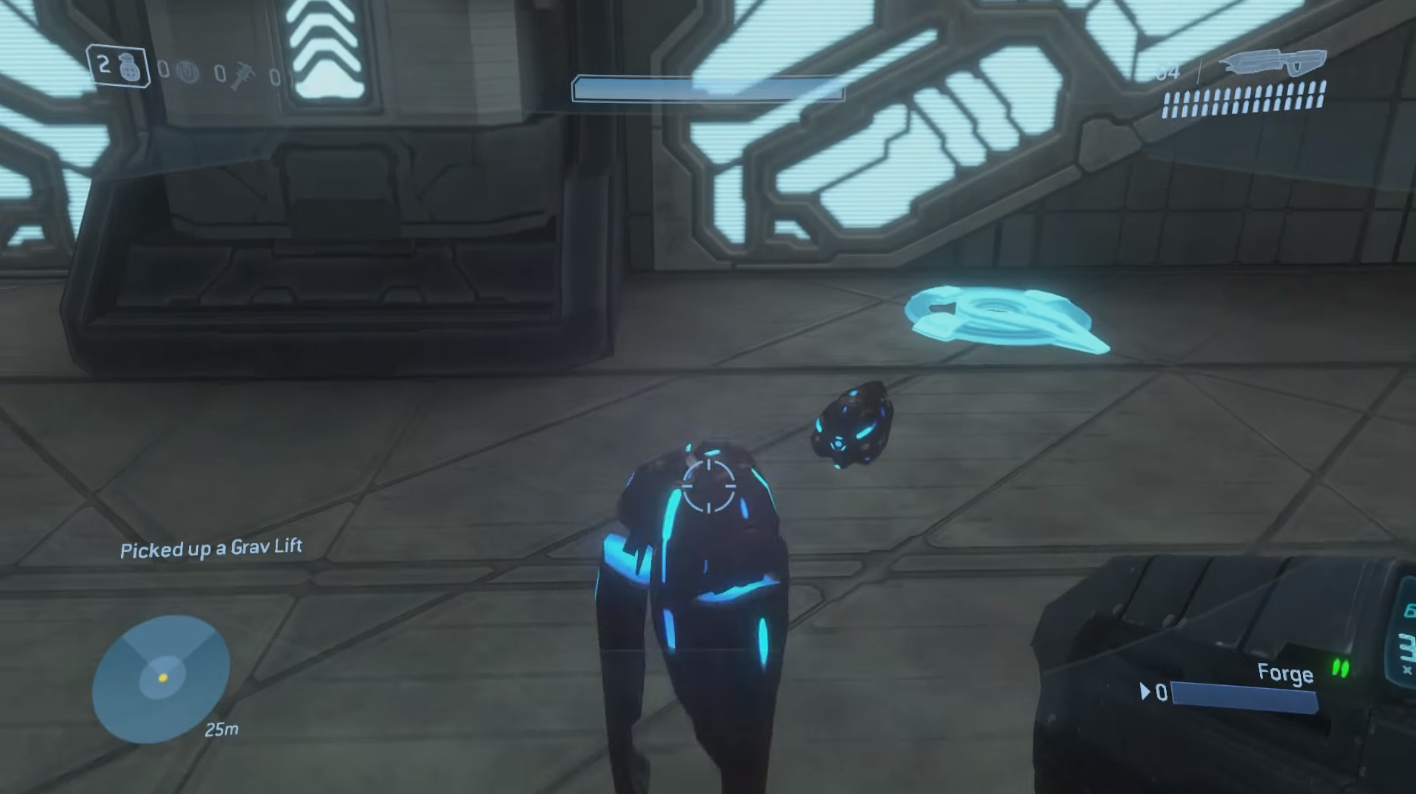
There are so many ways to get the skull, a few choices are:
Picking up a Y intersection, going inside it, picking it up and flying in the direction of the skull, jump out quickly and grabbing the skull
Overloading the map with the max number of tripmines, and simply walking over to the skull.Vid included: https://www.youtube.com/watch?v=3-hVGNGngbA
Change Log
Date/month/year notation are written in the UK standard.
--14/07/20 - Guide Published.
--02/02/20 - Revised descriptions and added new screenshots for added clarity.
--14/10/20 - Moa guide injected.
The Russian conversion of this guide can be found here:
https://steamcommunity.com/sharedfiles/filedetails/?id=2026748052
Conclusion
Yep, still as good as I remember. Halo 3 has aged like a fine wine in almost every regard, so I really hope all of you enjoyed following along with me as we collected all the skulls..again..maybe even for the 3rd time?
Now, if you want to keep playing the MCC and want to follow along with me, you'll want to bring up this Guide for Halo 2 first: https://steamcommunity.com/sharedfiles/filedetails/?id=2016485668
You can follow me, and see my works here:
My complete selection of guides
[Optional] Donate!

https://steamcommunity.com/tradeoffer/new/?partner=38602821&token=A3SrzMse
Donations are not needed, and are certainly not expected. However, they are highly appreciated none the less, and give me extra motivation to carry on supporting my hobby. If you feel like throwing something my way, just use the trade link found above.
- Halo Reach: Collectibles★ 5 (1.2k)33k views2.3k ♥9 minUpdated Jul 4, 2021
- Halo: Reach - Full Achievement Guide★ 5 (823)28k views1.7k ♥12 minUpdated May 9, 2025
- MCC - Master Achievement Guide (Complete)★ 5 (479)19k views1.2k ♥5 minUpdated Aug 8, 2020
- Halo Combat Evolved: Collectibles★ 5 (1k)17k views2k ♥8 minUpdated Nov 20, 2020
- Halo: Combat Evolved - Full Achievement Guide★ 5 (504)16k views1.1k ♥7 minUpdated Jun 2, 2022
- Рекомендованный порядок прохождения серии Halo★ 4 (209)13k views448 ♥8 minRussianUpdated Feb 3



- Upgrading to PremiumTeam Fortress 2★ 5 (20k)1441k views11k ♥6 minUpdated May 11, 2022
- No More Room in Hell Official ManualNo More Room in Hell★ 5 (2.8k)569k views2.1k ♥29 minUpdated Apr 22, 2019
- NMRiH Community Hosting GuidesNo More Room in Hell★ 5 (526)351k views653 ♥1 minUpdated Aug 10, 2022
- How to 'Git Gud' Soon™MORDHAU★ 5 (2k)318k views3k ♥68 minUpdated Nov 16, 2024
- Лучшие кооперативные игры SteamPAYDAY 2★ 5 (1.5k)315k views2.1k ♥56 minRussianUpdated Apr 27, 2025
- Desert Eagle Heat Treated | Blue GemCounter-Strike 2★ 5 (1.6k)292k views1.5k ♥2 minUpdated Jan 16





This guide was created by its original author on the Steam Community. Are you the author and want it removed? Request removal.