Halo Reach: Collectibles
Intro


Hello everyone!! and welcome to my guide! There are those that said this day would never come!
But they were wrong. Halo MCC has finally launched on PC, Reach anyway. At the time of the writing of this guide, only Reach has landed.

You can follow me, and see my works here:
My complete selection of guides
See my guide on Firefight here: https://steamcommunity.com/sharedfiles/filedetails/?id=1928595692
Authors note: Due to popular demand, I have chosen to include a video version under ever mission. Please note, these are NOT my videos. The authors channel can be found here.
Noble Actual
Winter Contingency
de-spawn. If you can tag him before he reaches the gate, the elite will pause and look at you, giving you time to bring down his shields and finish him off. Alternative, depending on the Elites' AI path-finding, it might be possible to assassinate him. This isn't easy. Don't waste a shot or you'll have to reload. It will be a lot easier to do in Co-op.
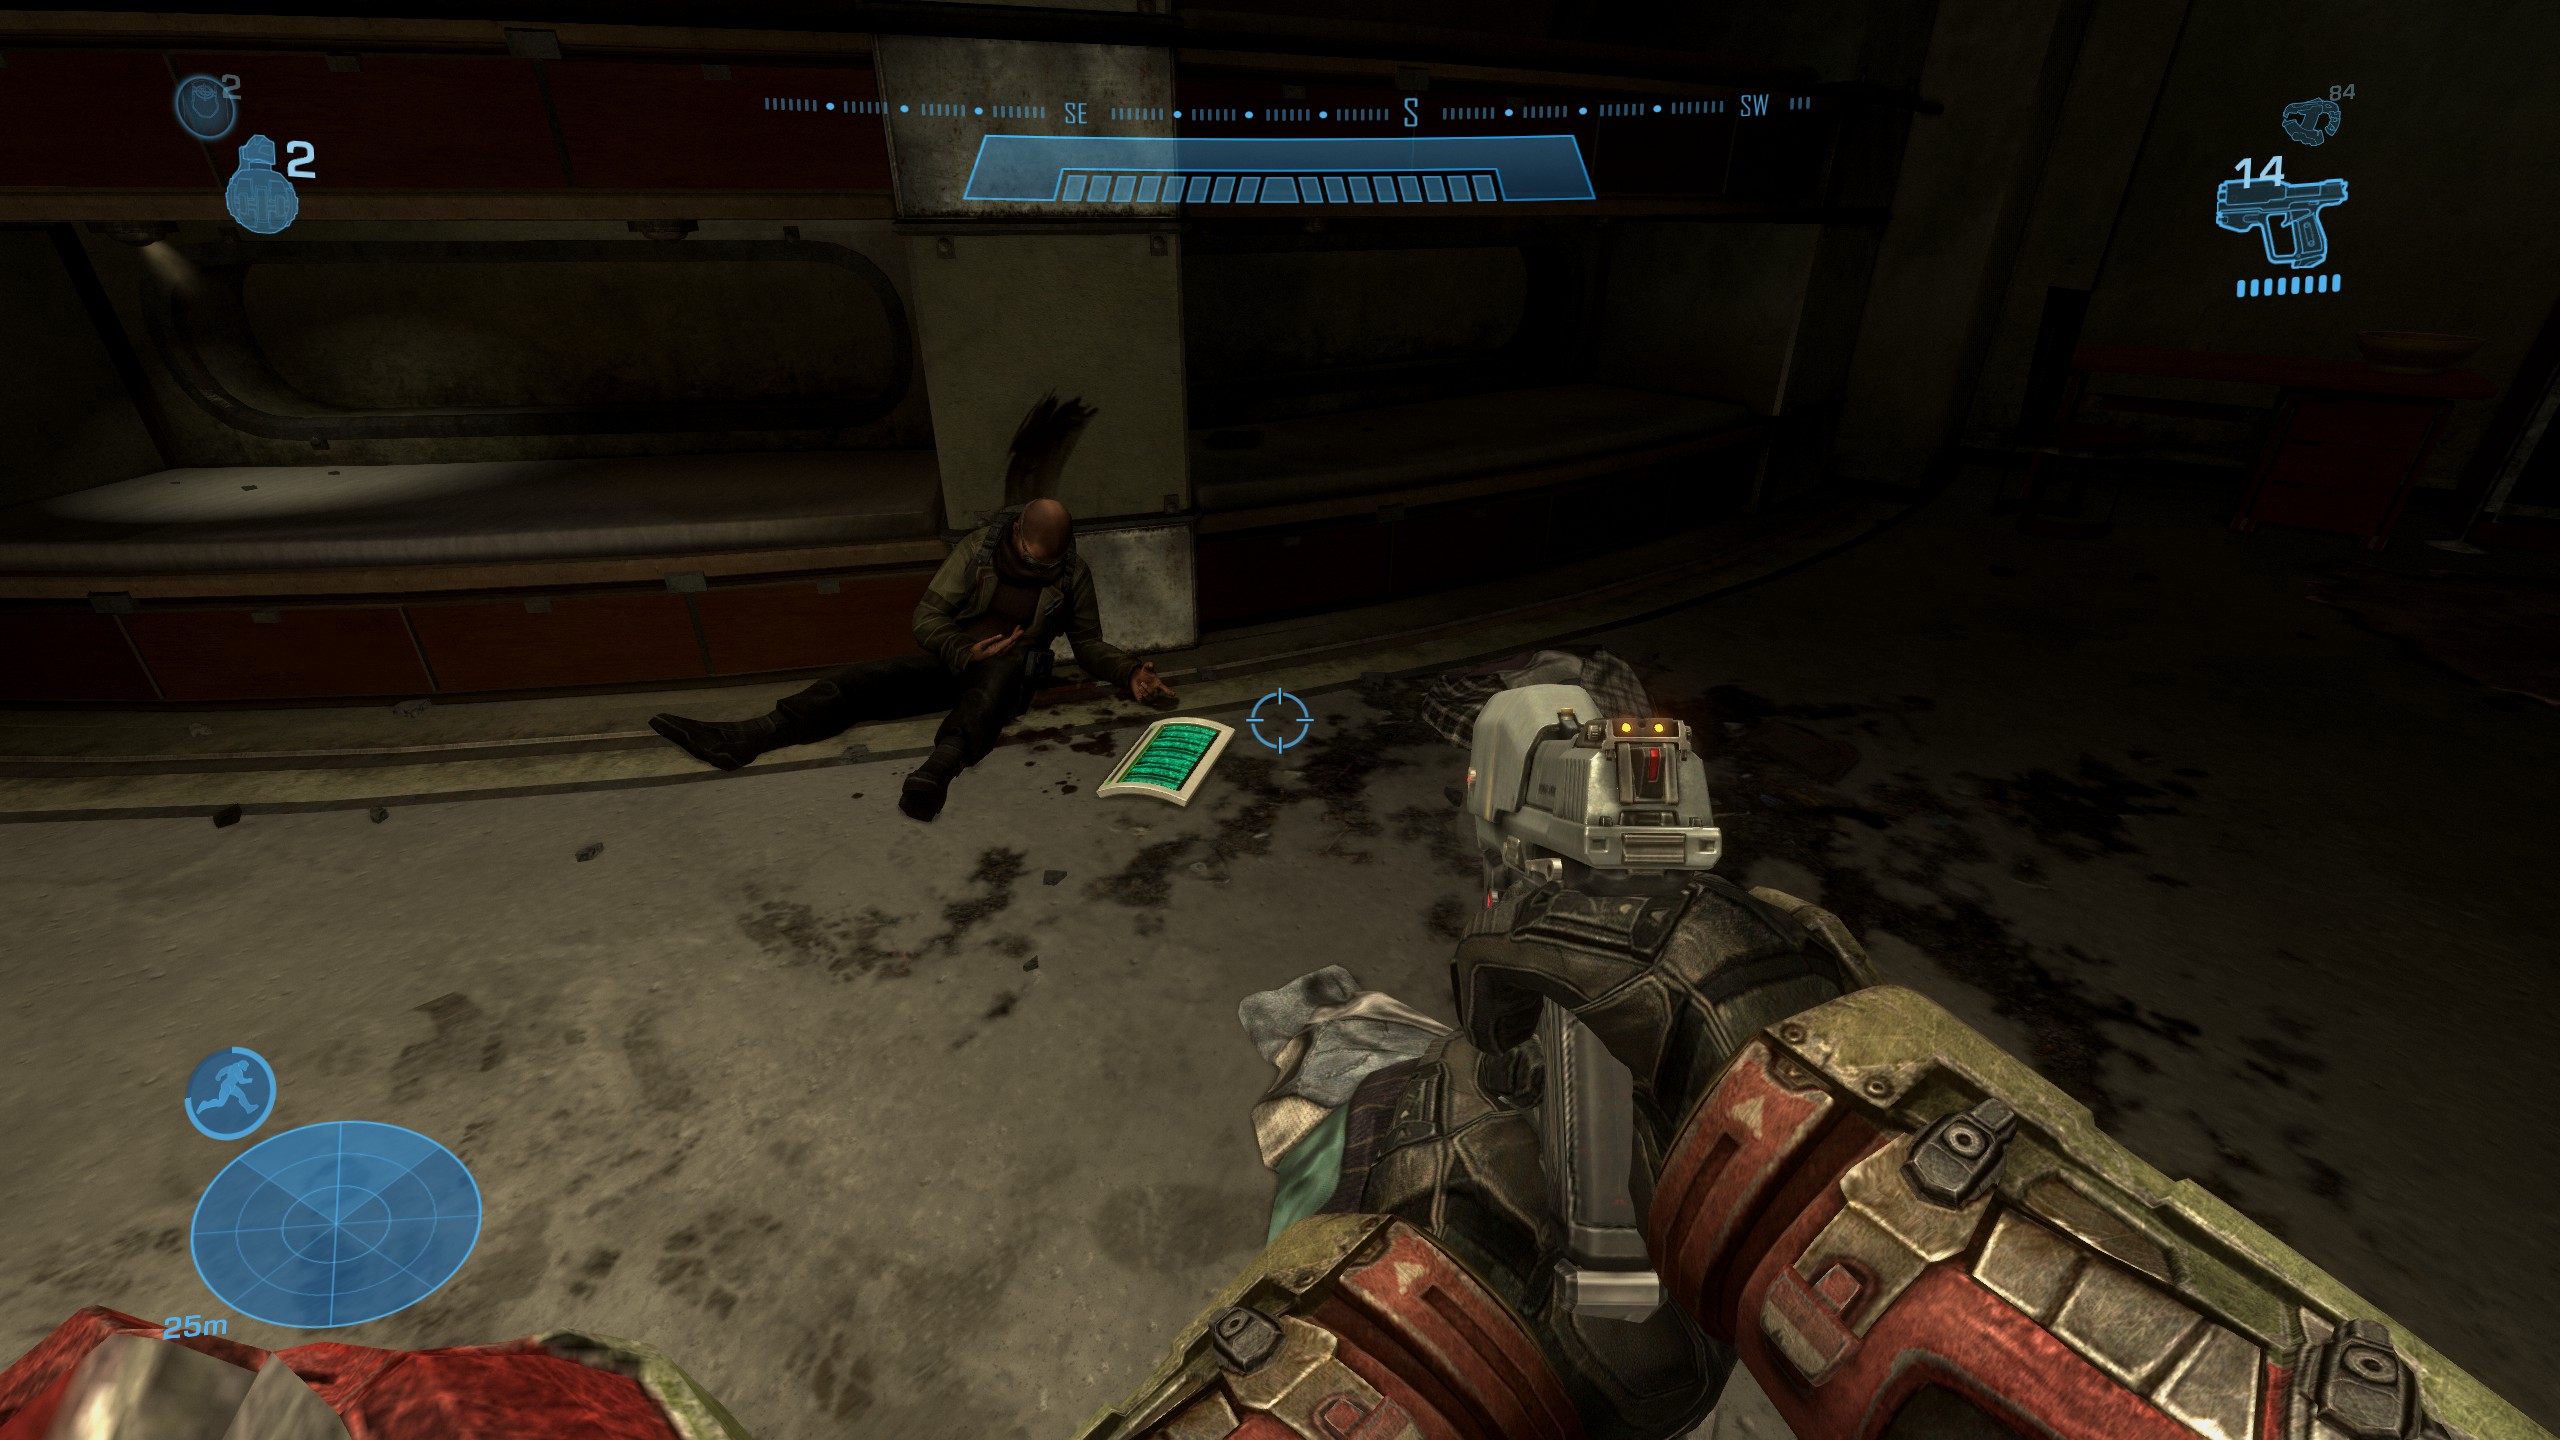
 Data Pad #1
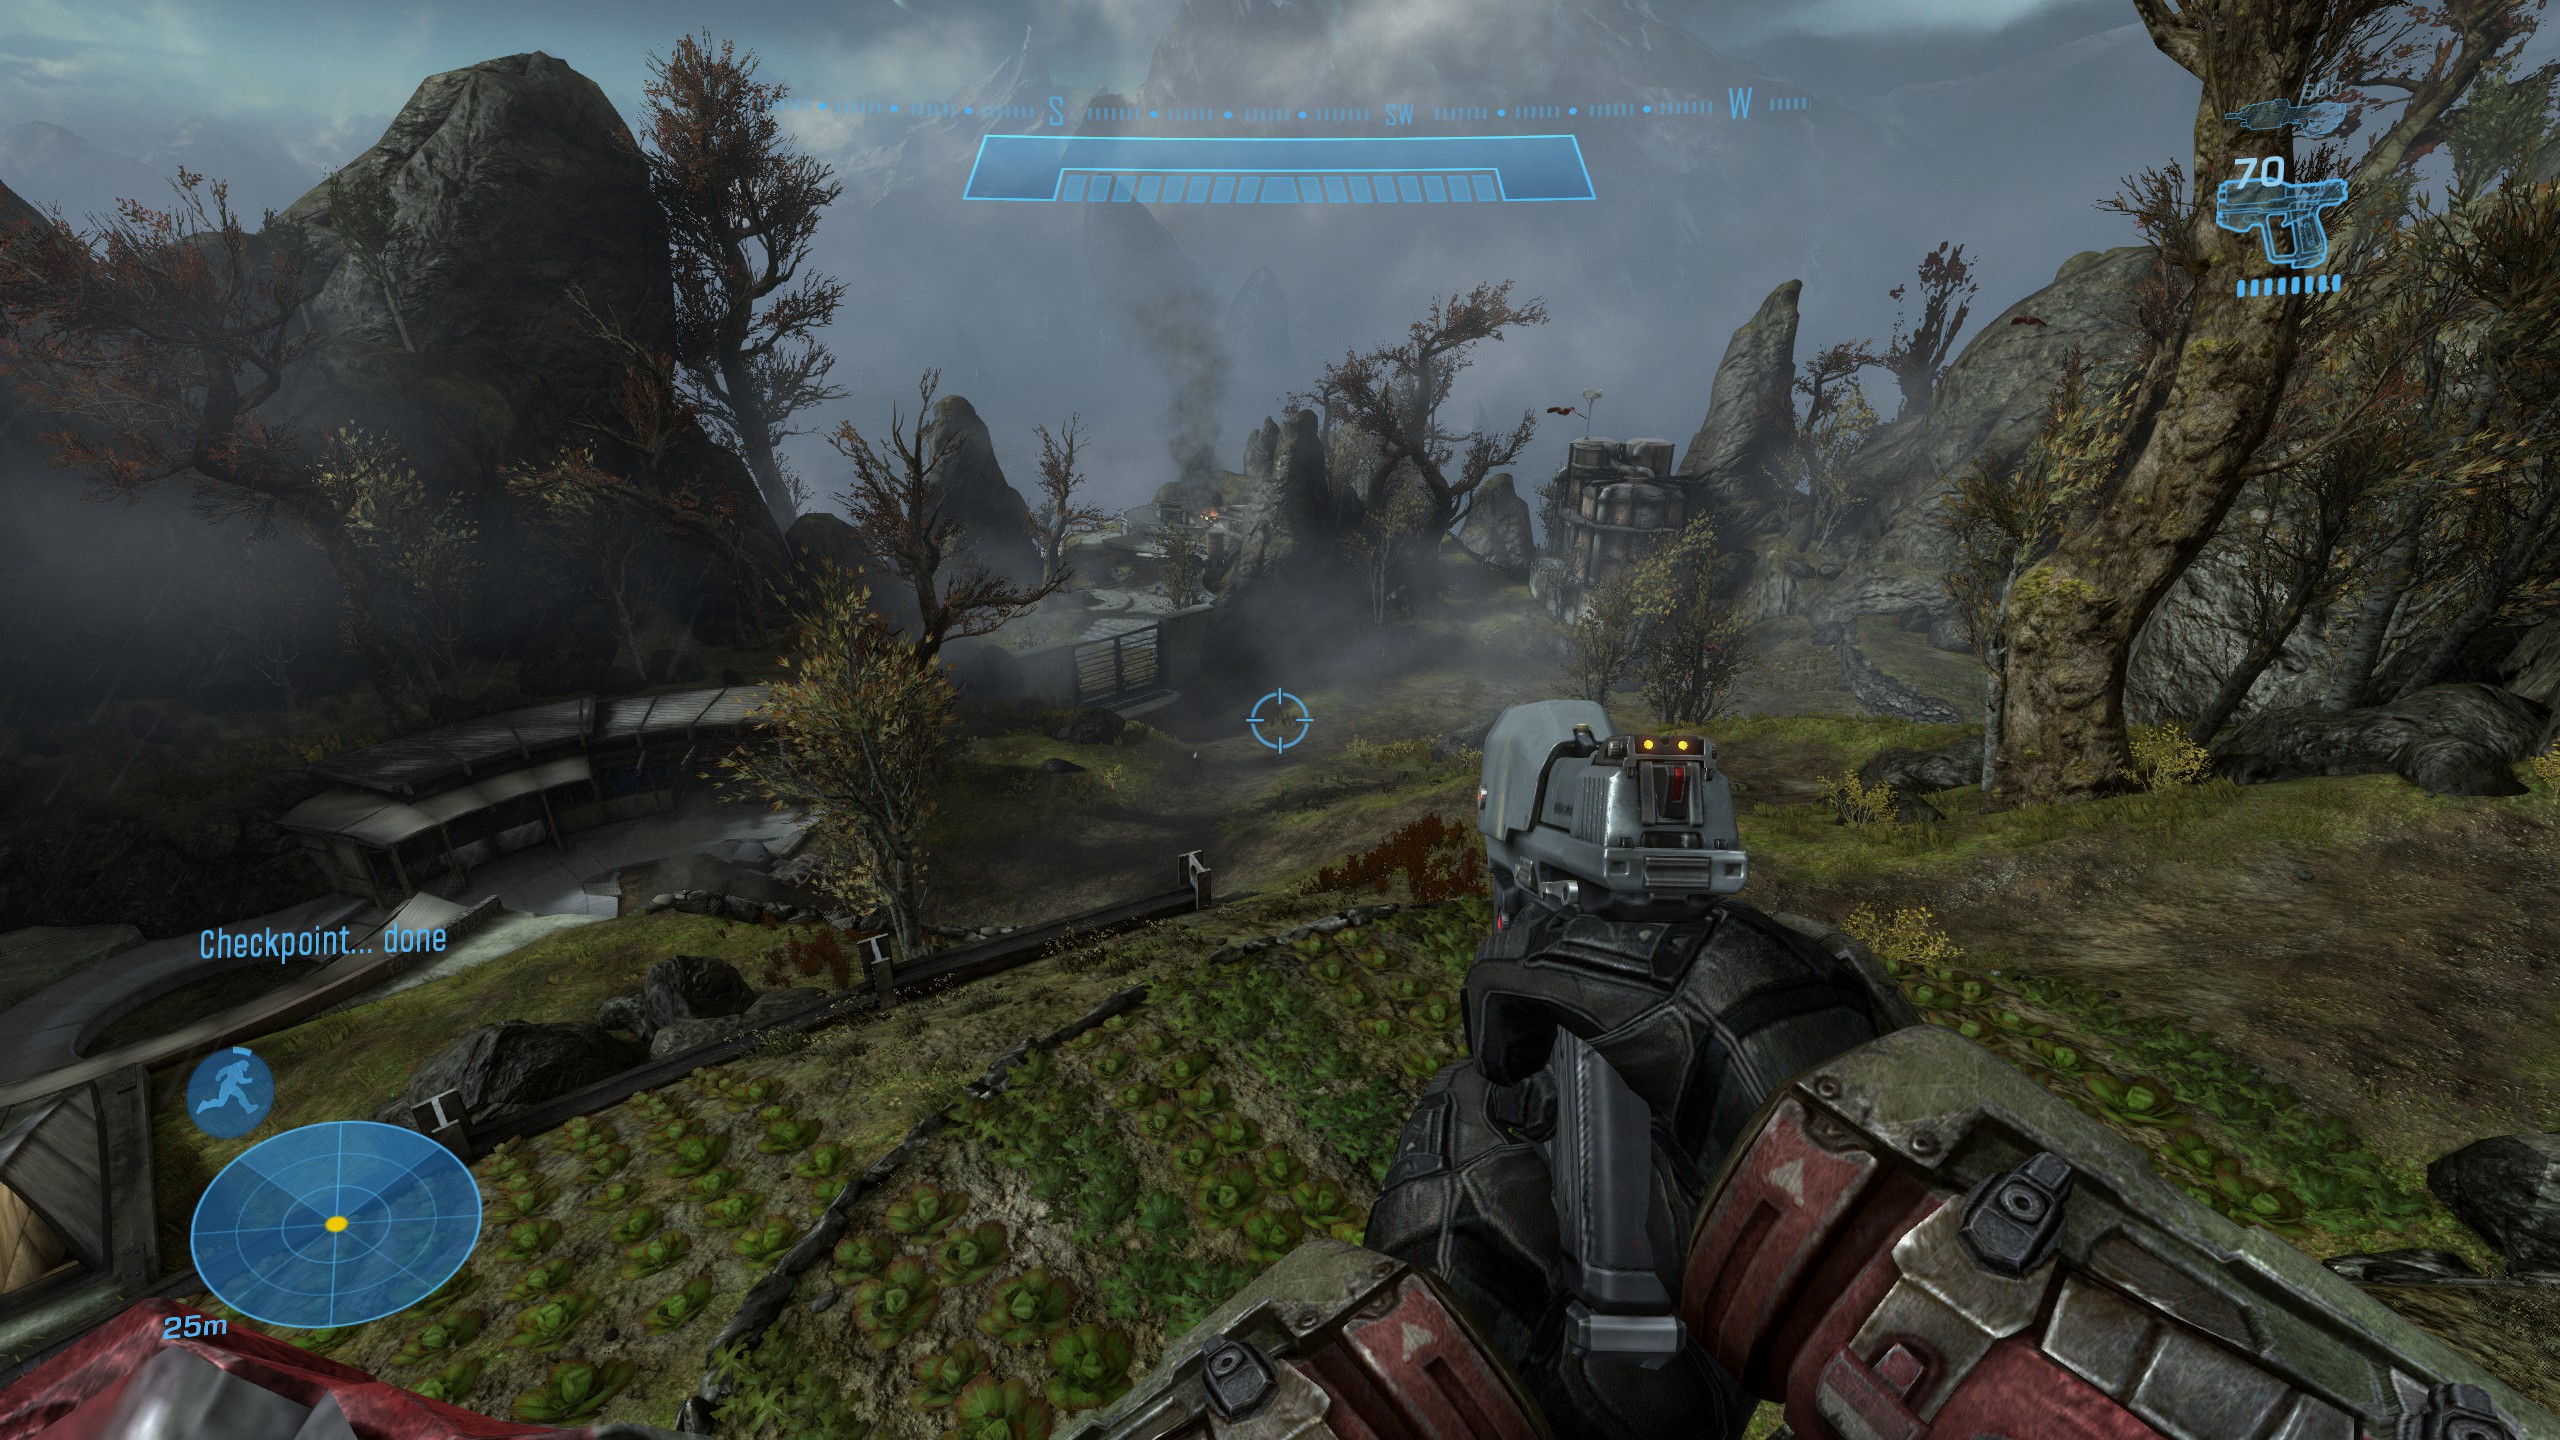
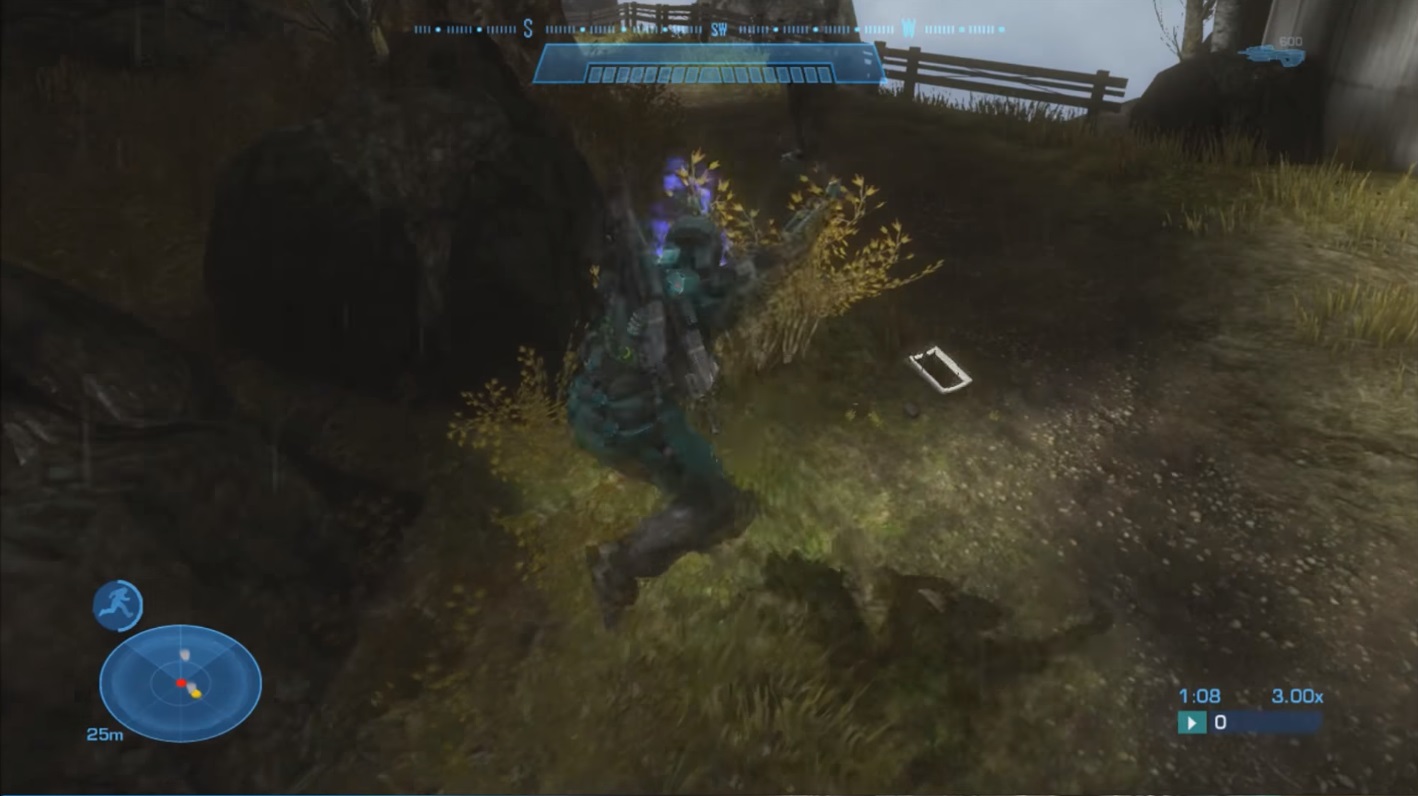
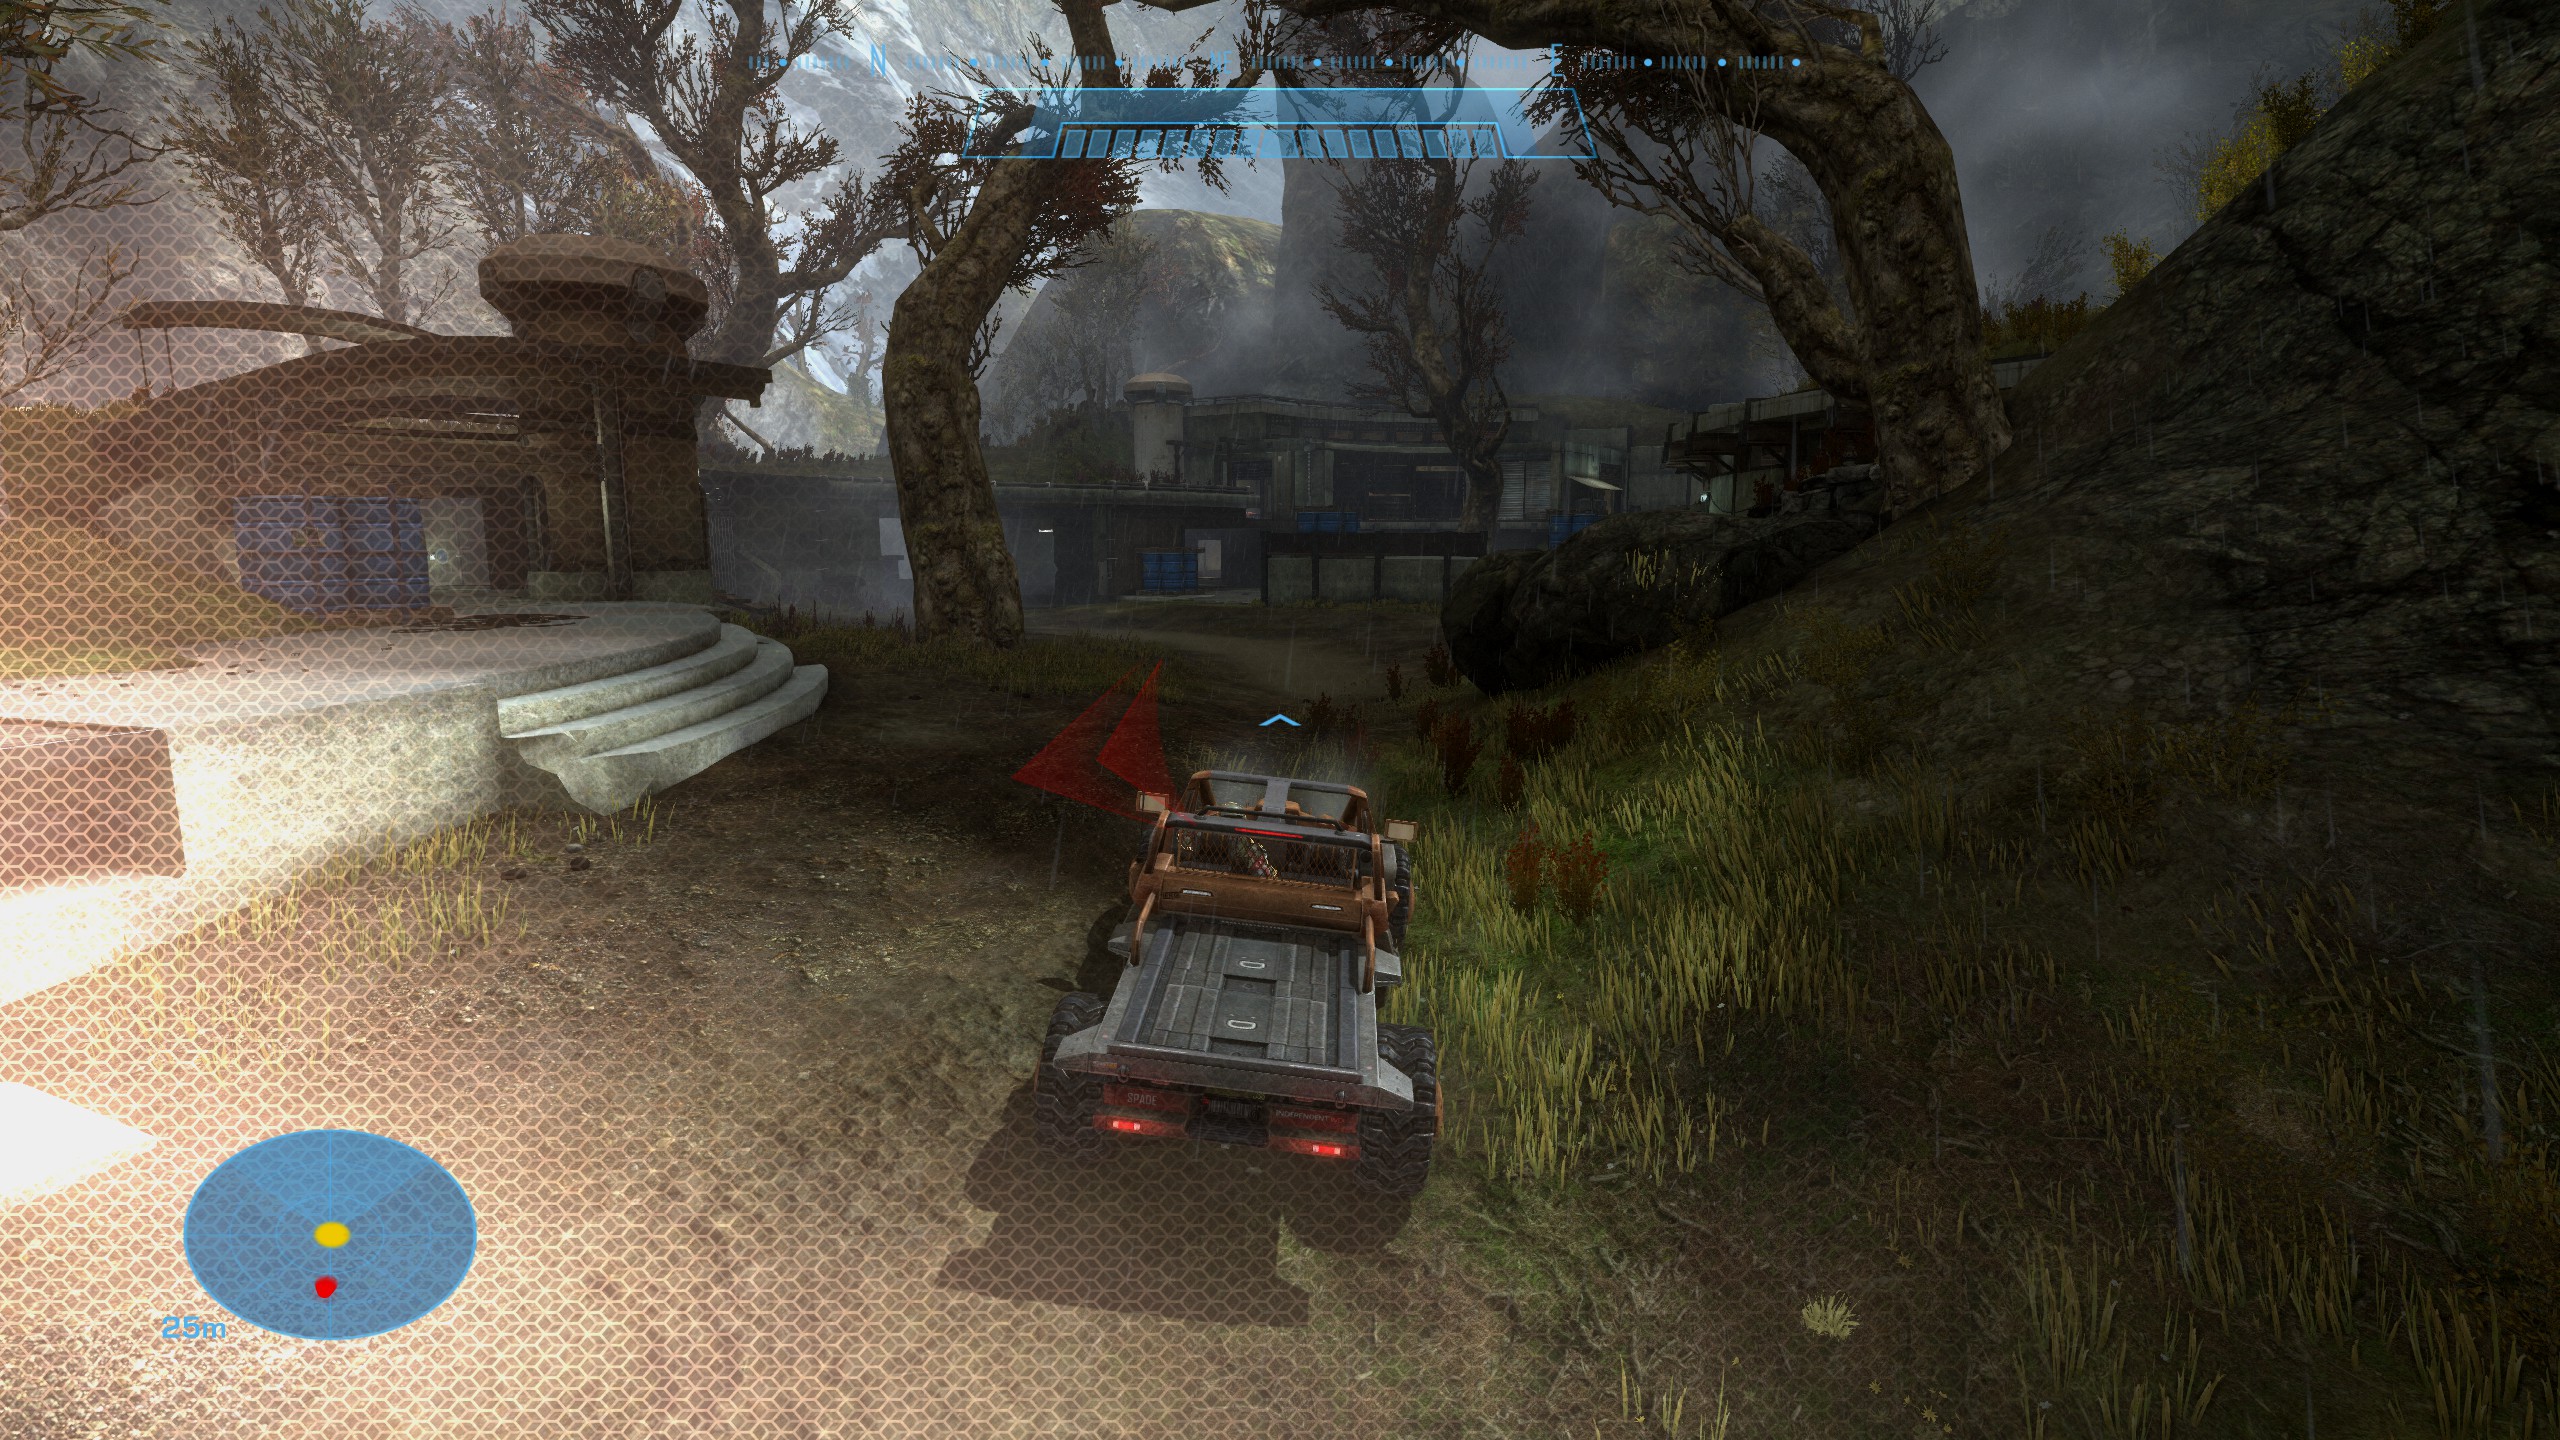
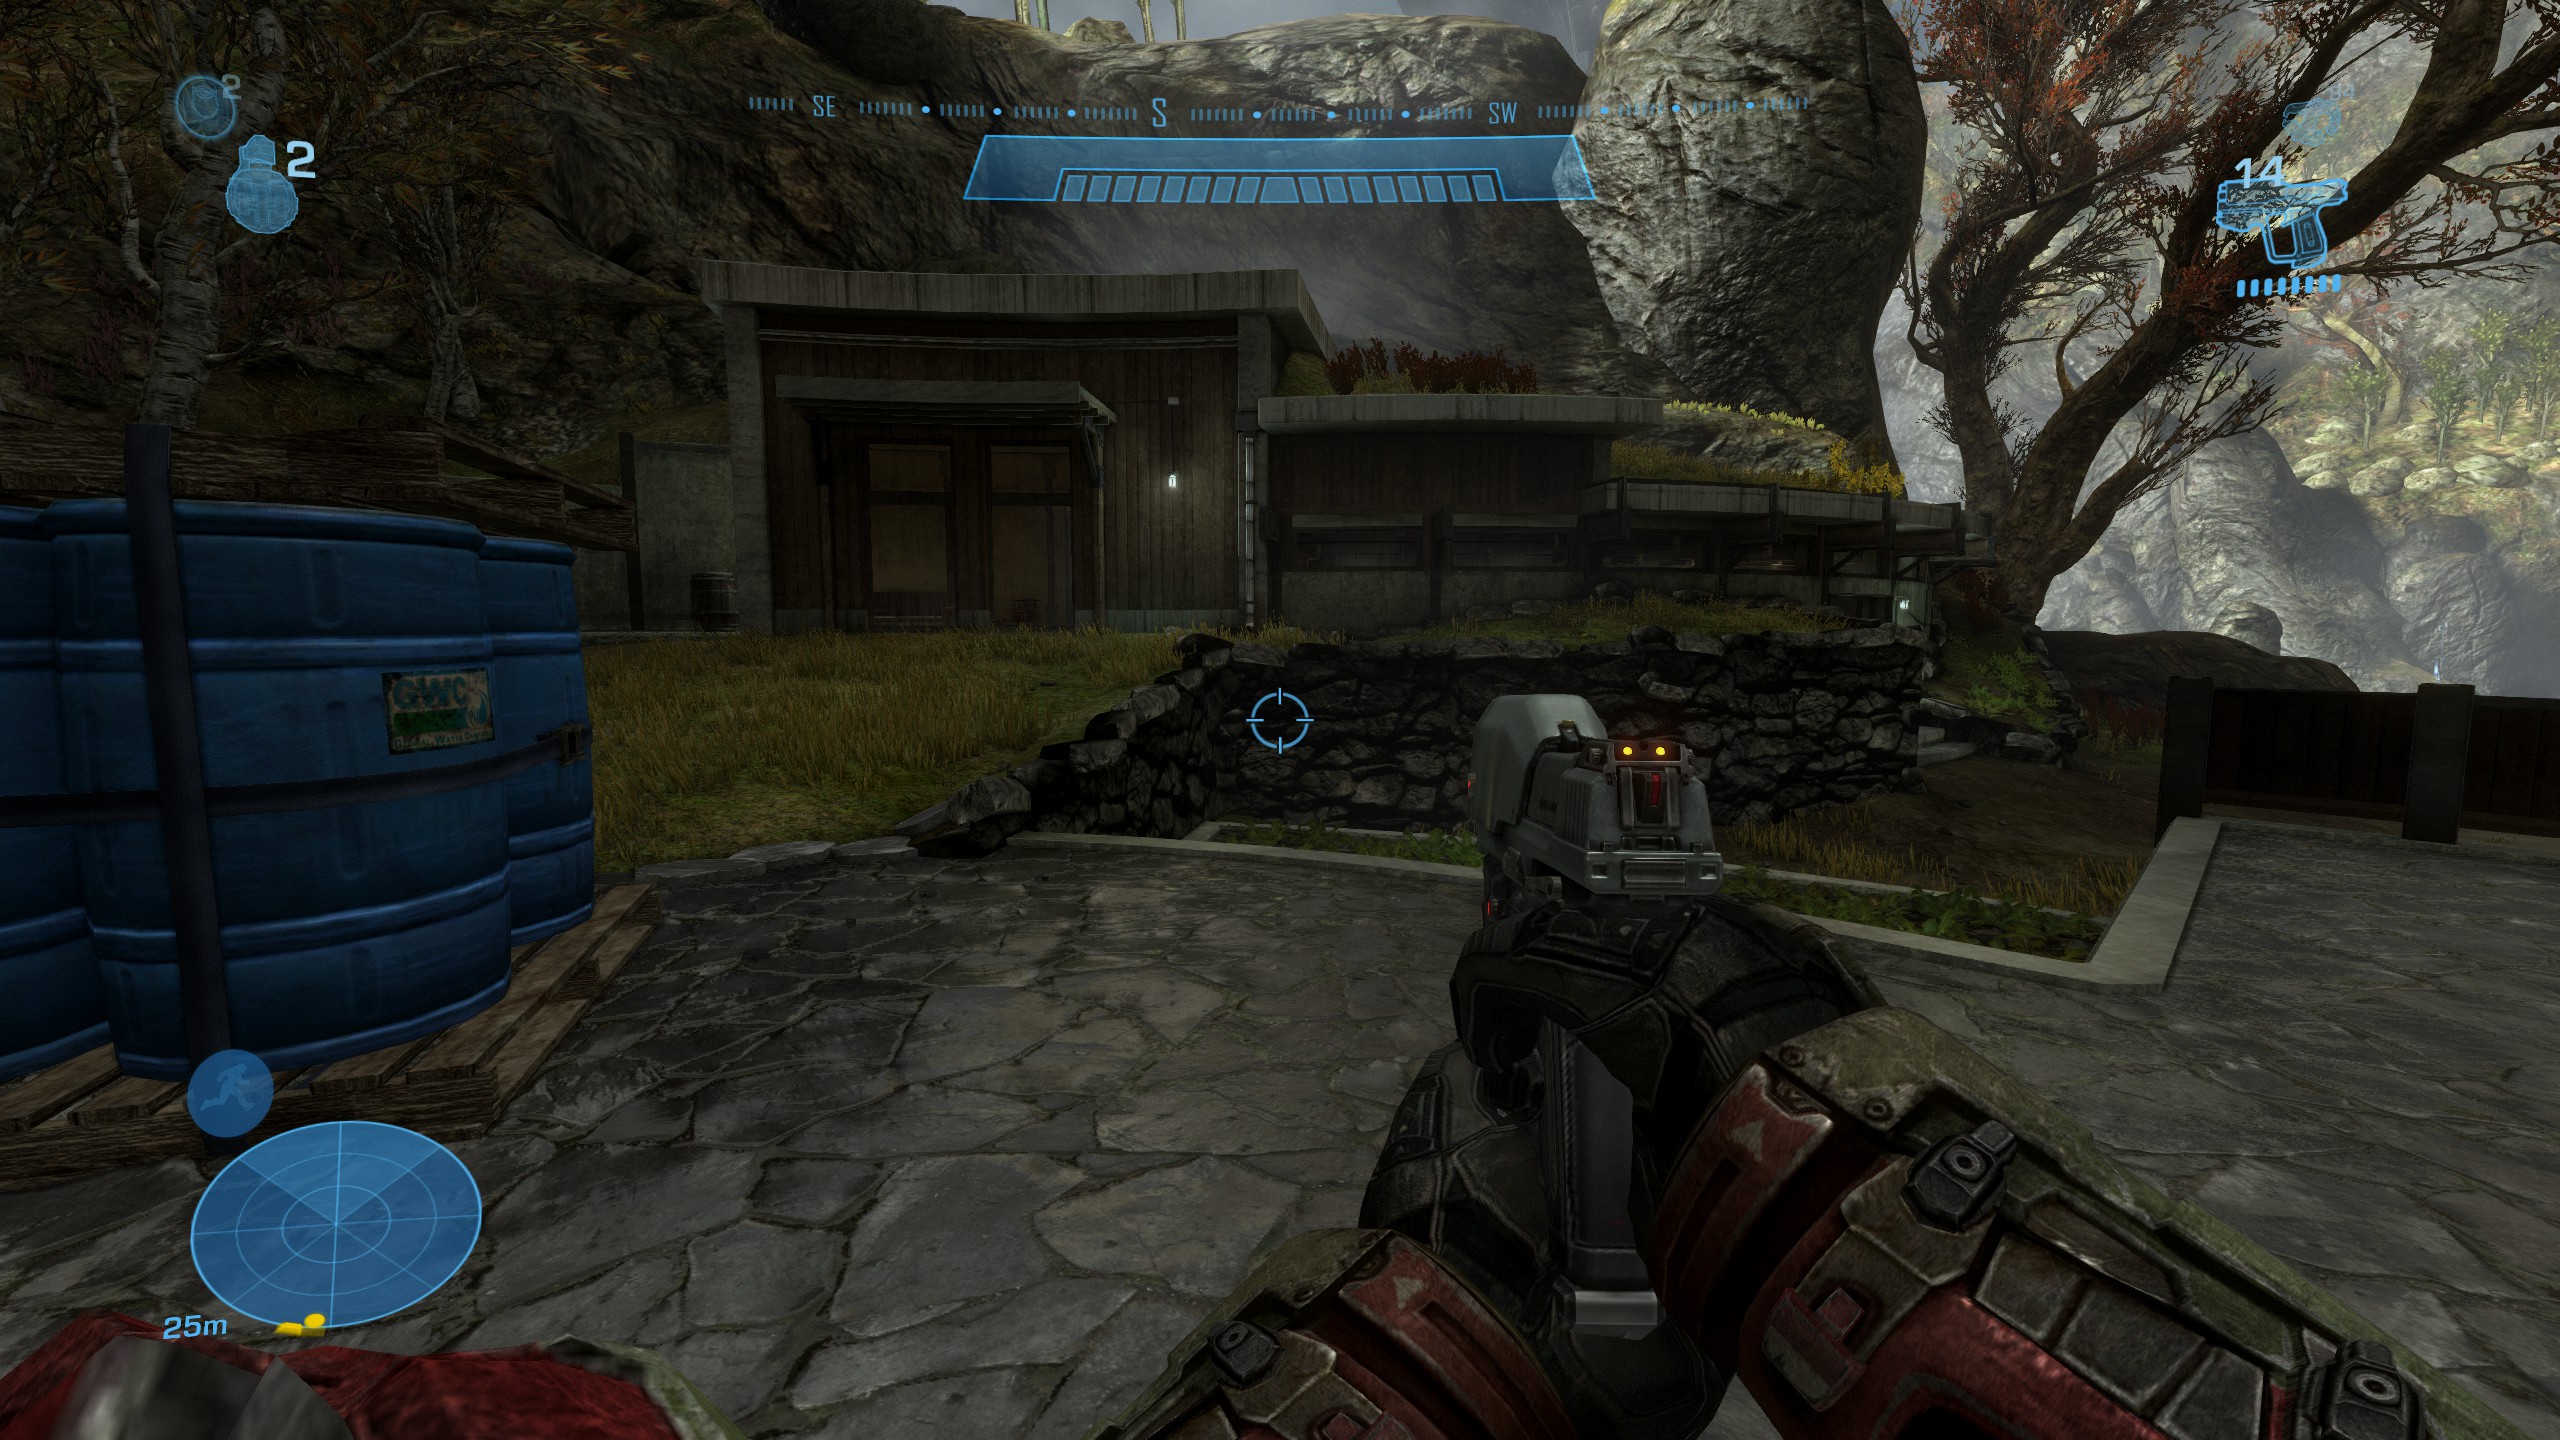
Difficult to miss unless speed running through the level. When you find the truck, drive northwest. After crossing a bridge, keep left to drive into an area in front of some buildings. Look for the data pad in the building on the right.
Oni: Sword Base
 Data Pad #2
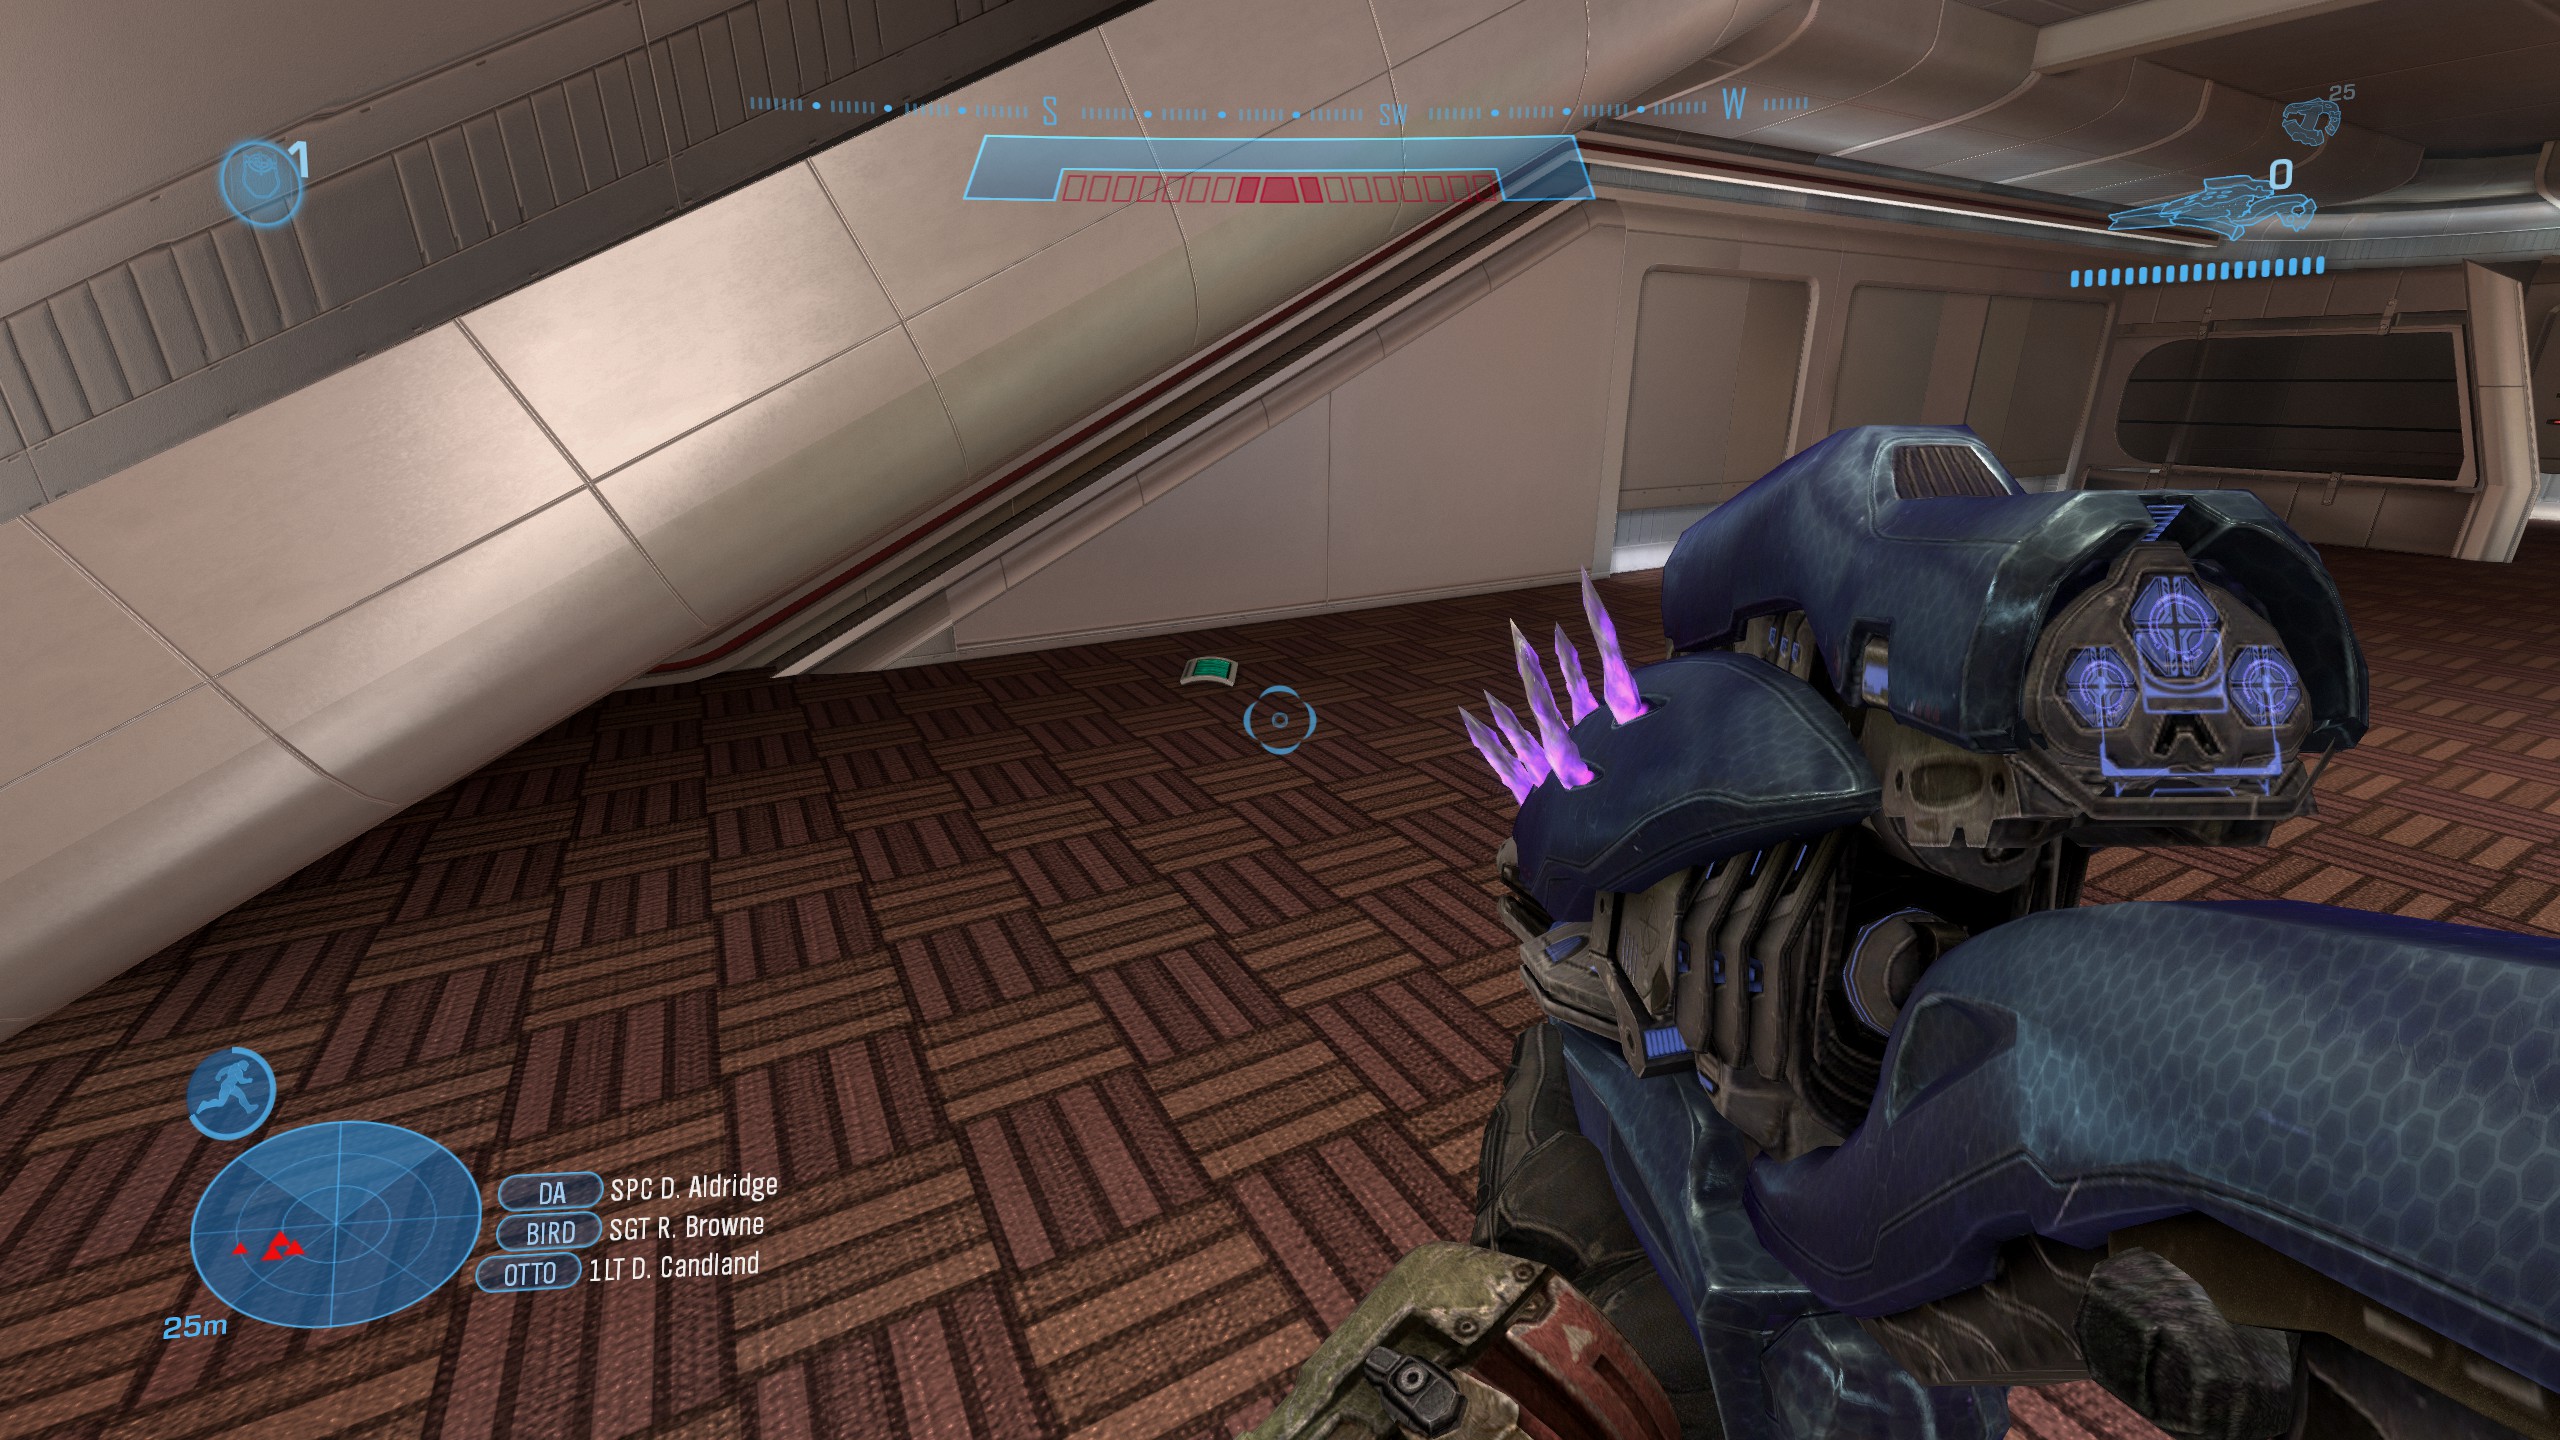
You'll ride an elevator up to a hall, blast through some enemies and regroup with some fellow humans fighting on the ground floor. Look to the north side of the hall for a passage into a side room. The side room leads to a ramp that'll bring you to the second floor. You'll cross three bridges to the fourth floor before reaching the hall with the data pad, located under a staircase.
Nightfall
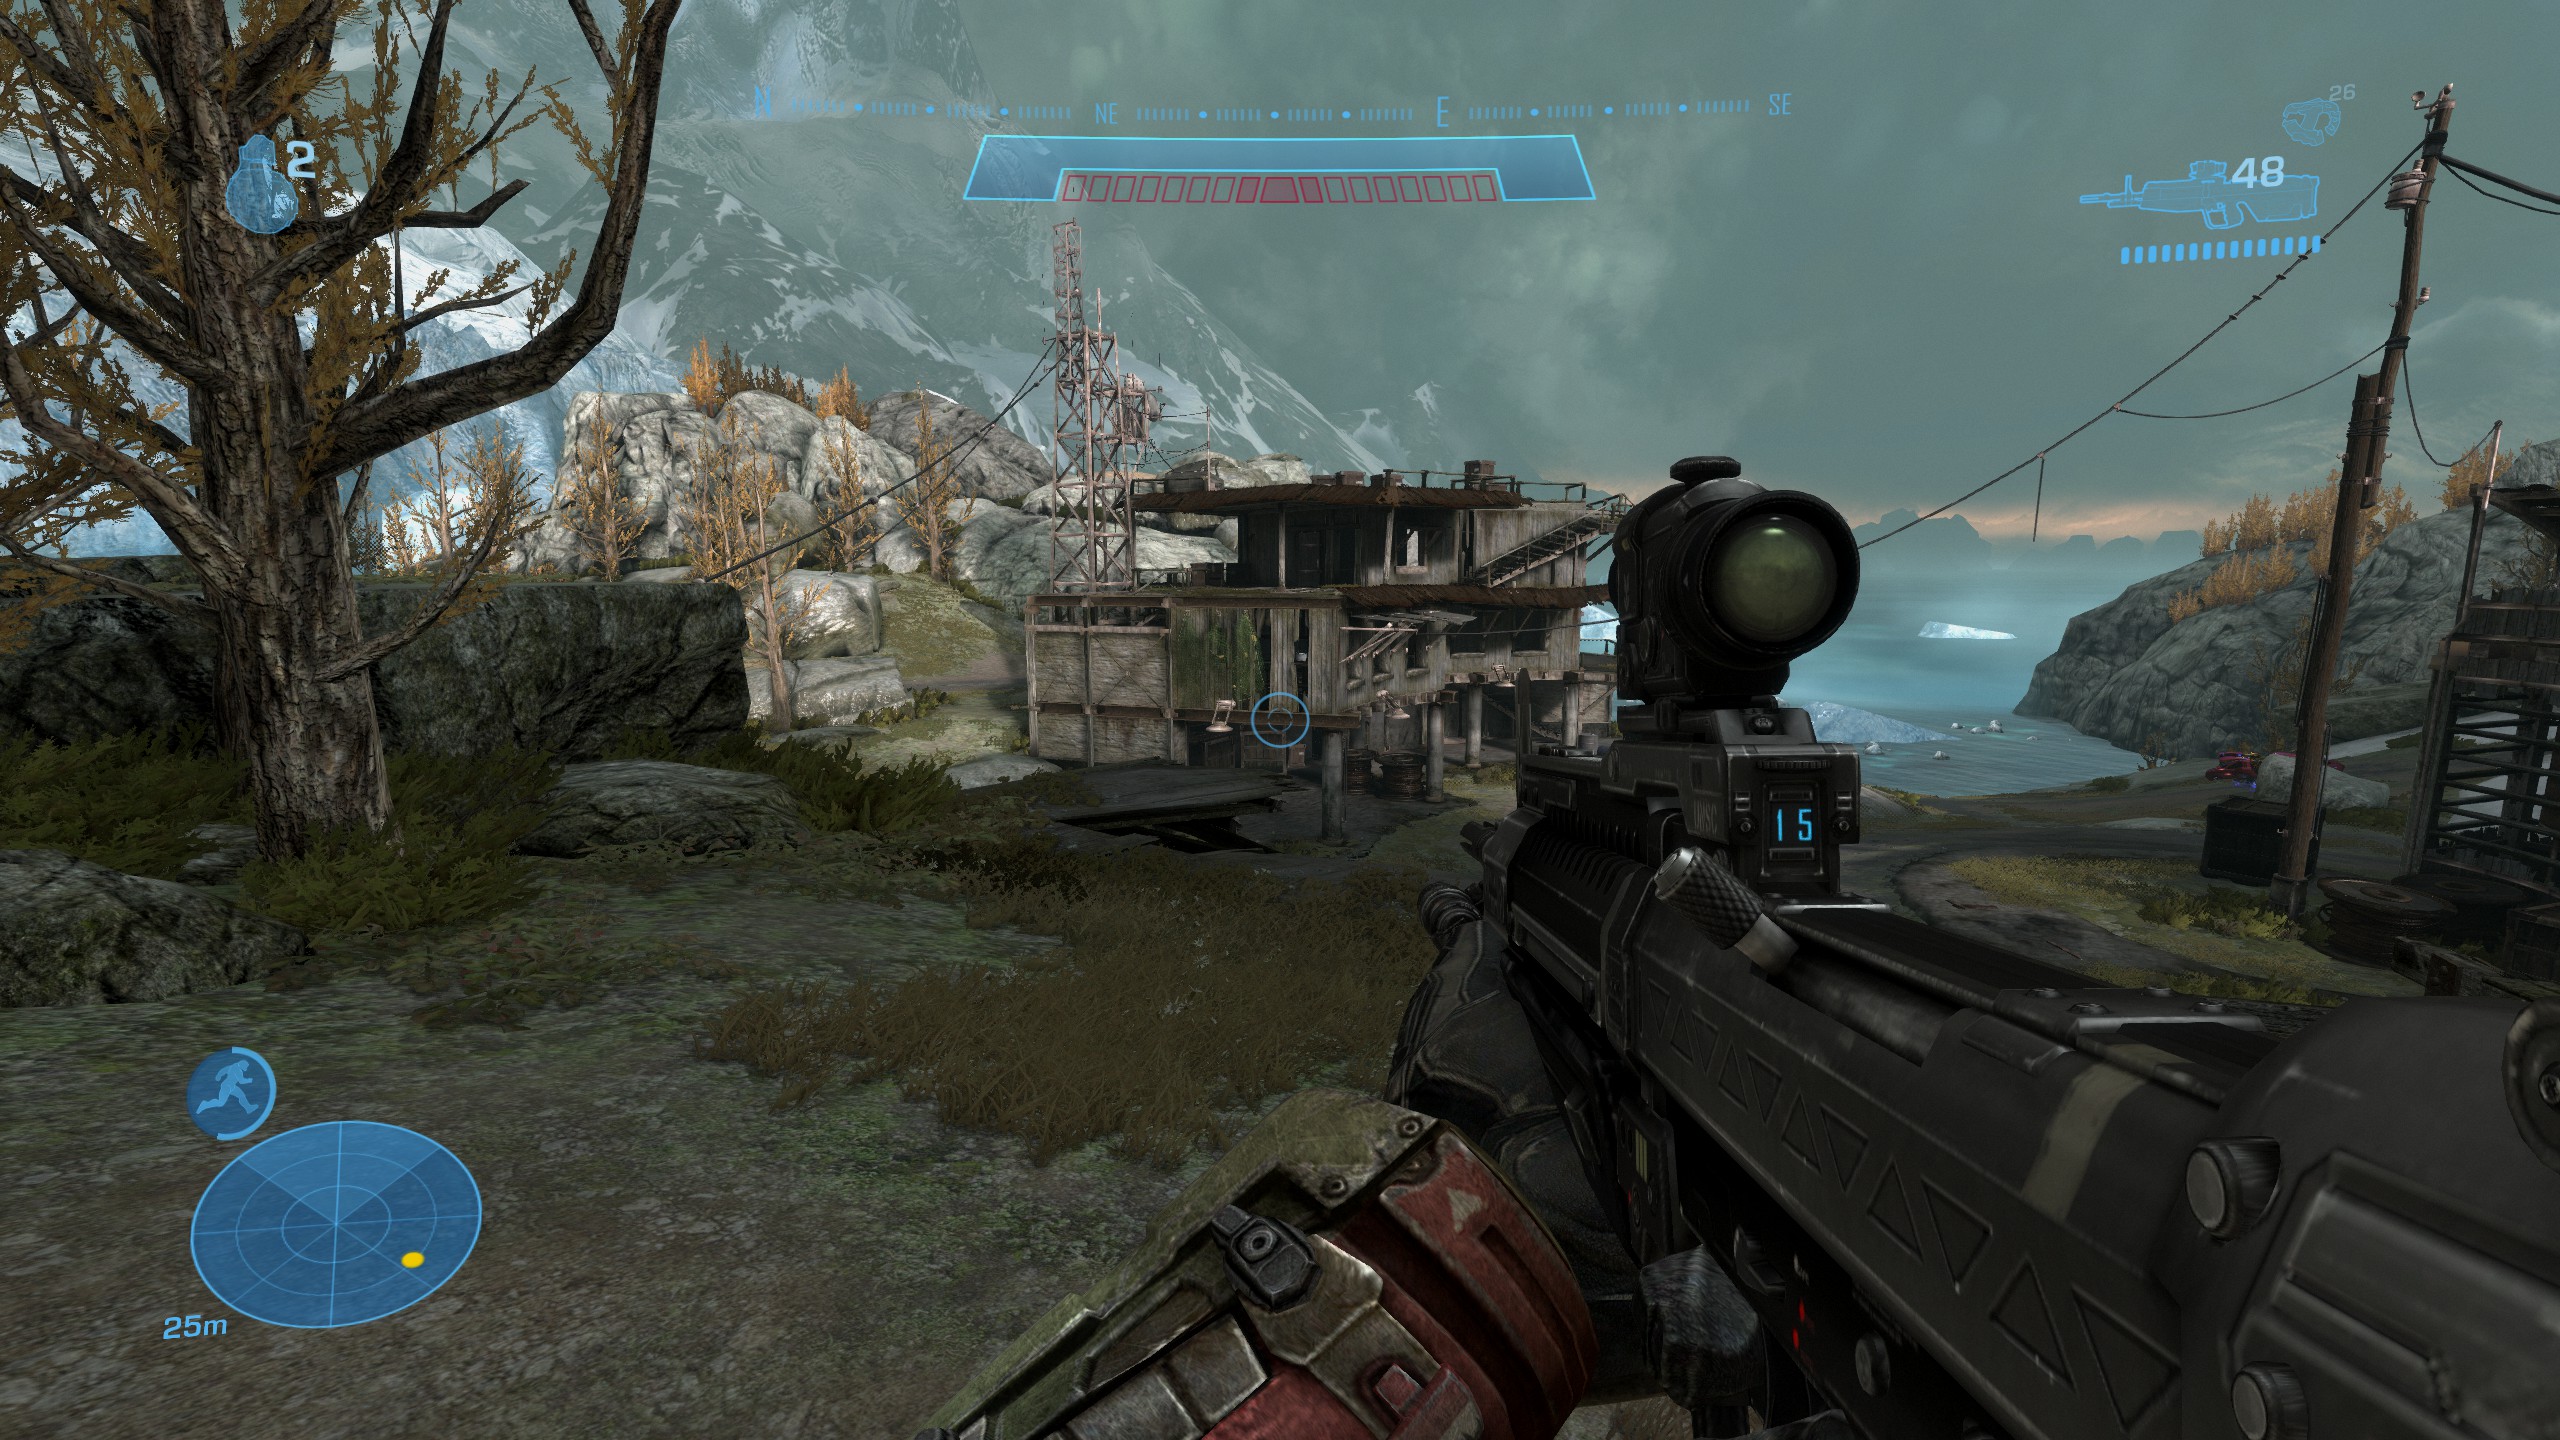
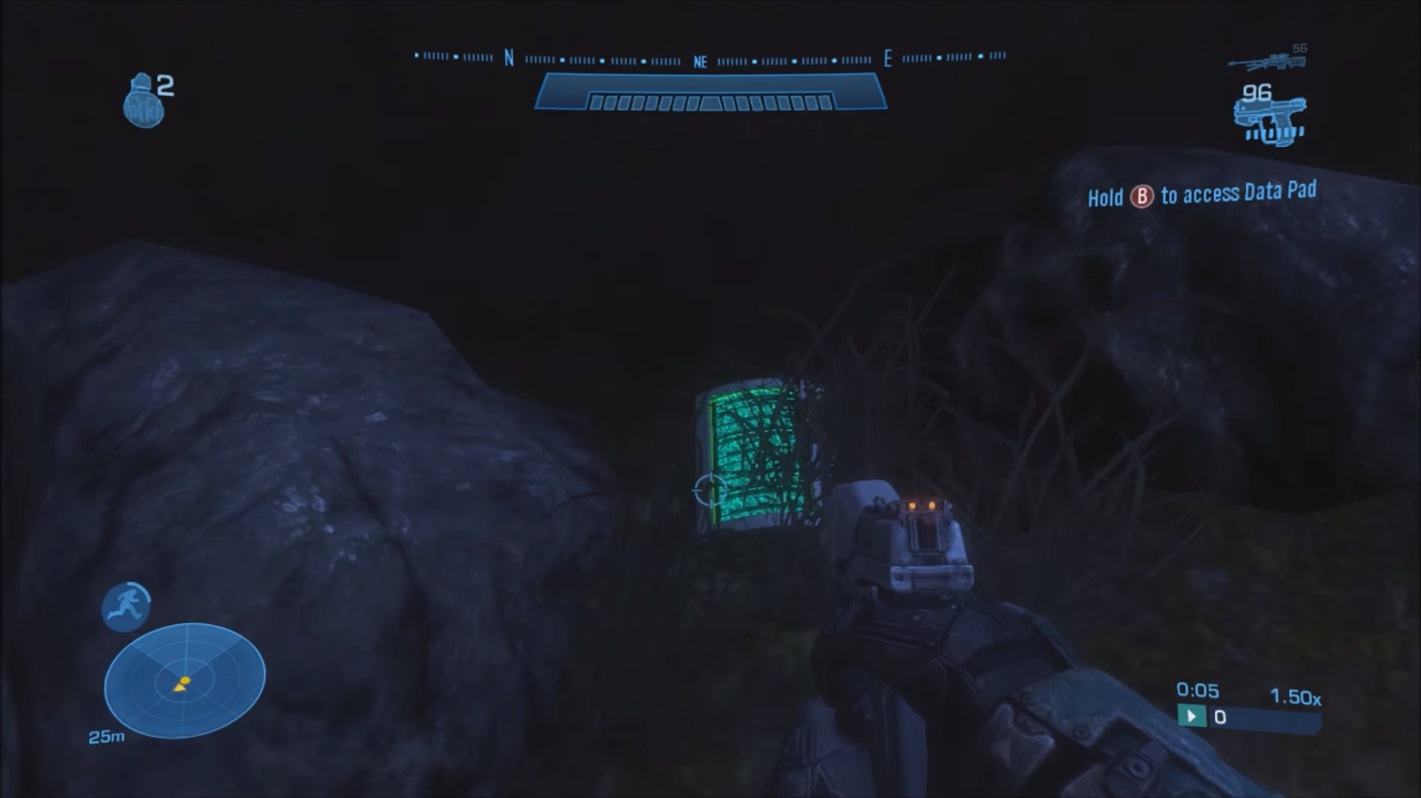
As soon as the mission starts, hug the right canyon wall and look for a path. On the ground, along the left wall, you'll find the data pad.
 Data Pad #12
This data pad is really close to Rally Point Bravo but it won't appear if you load that point.
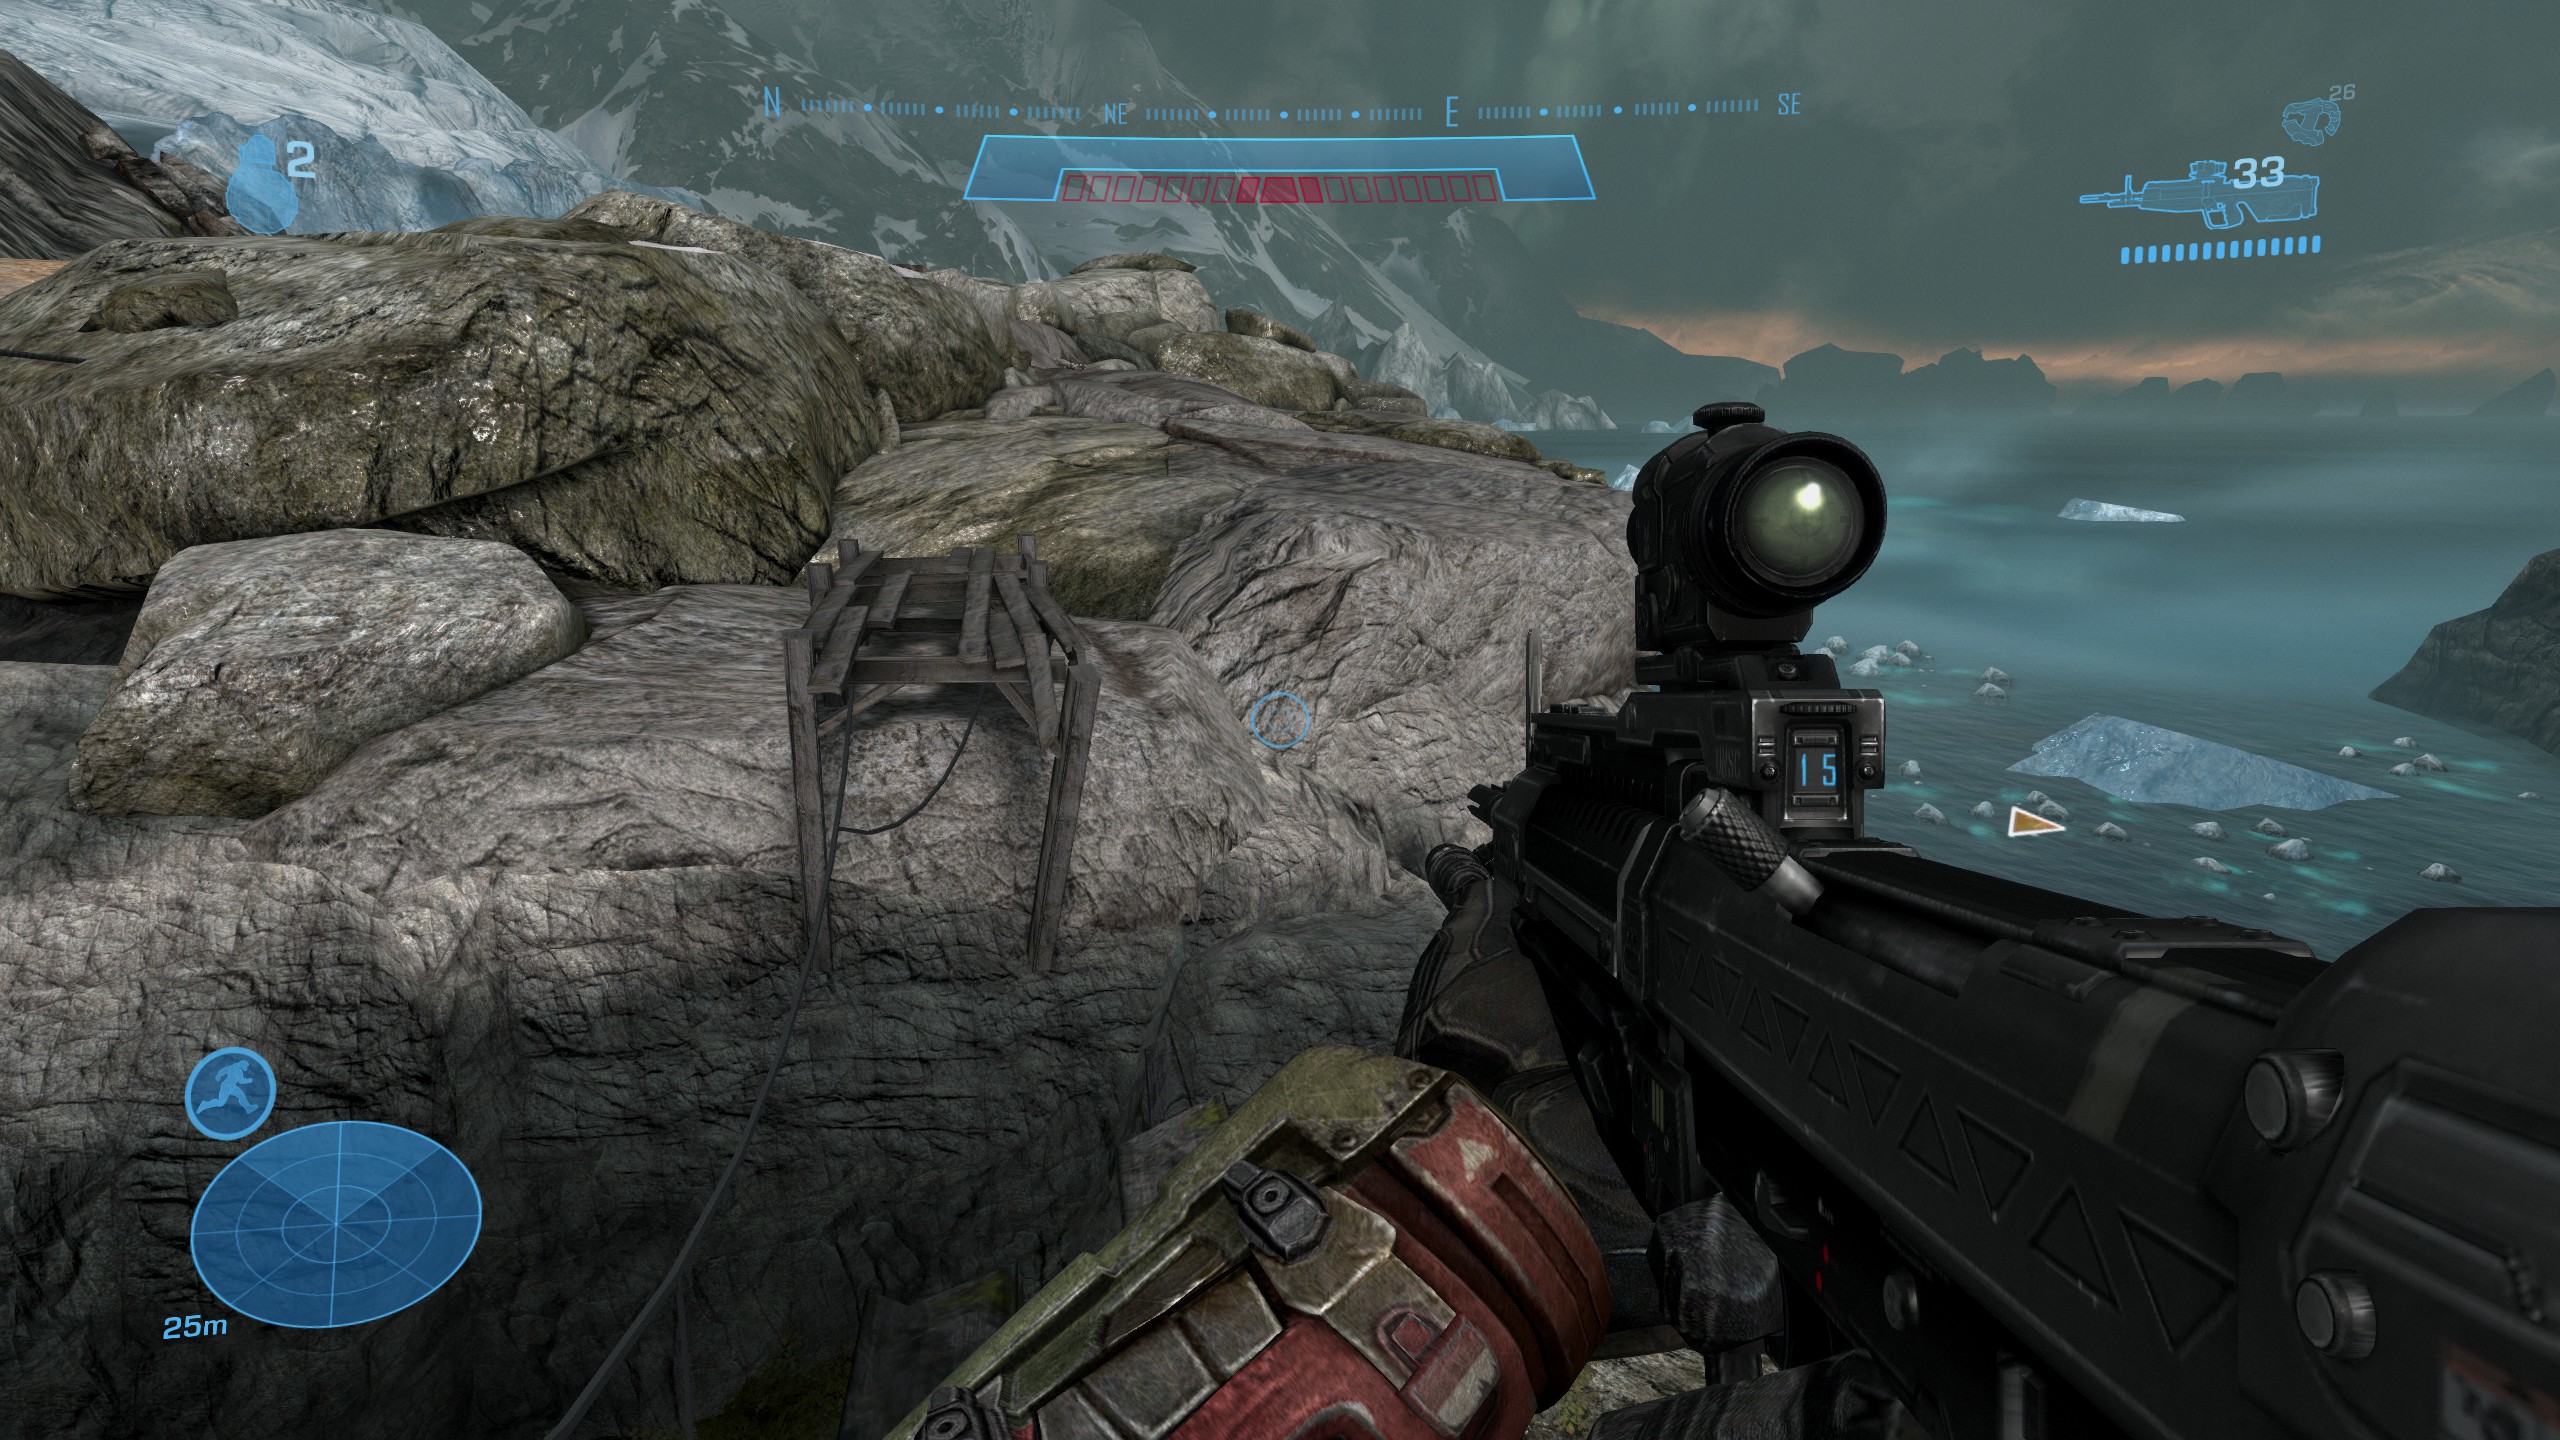
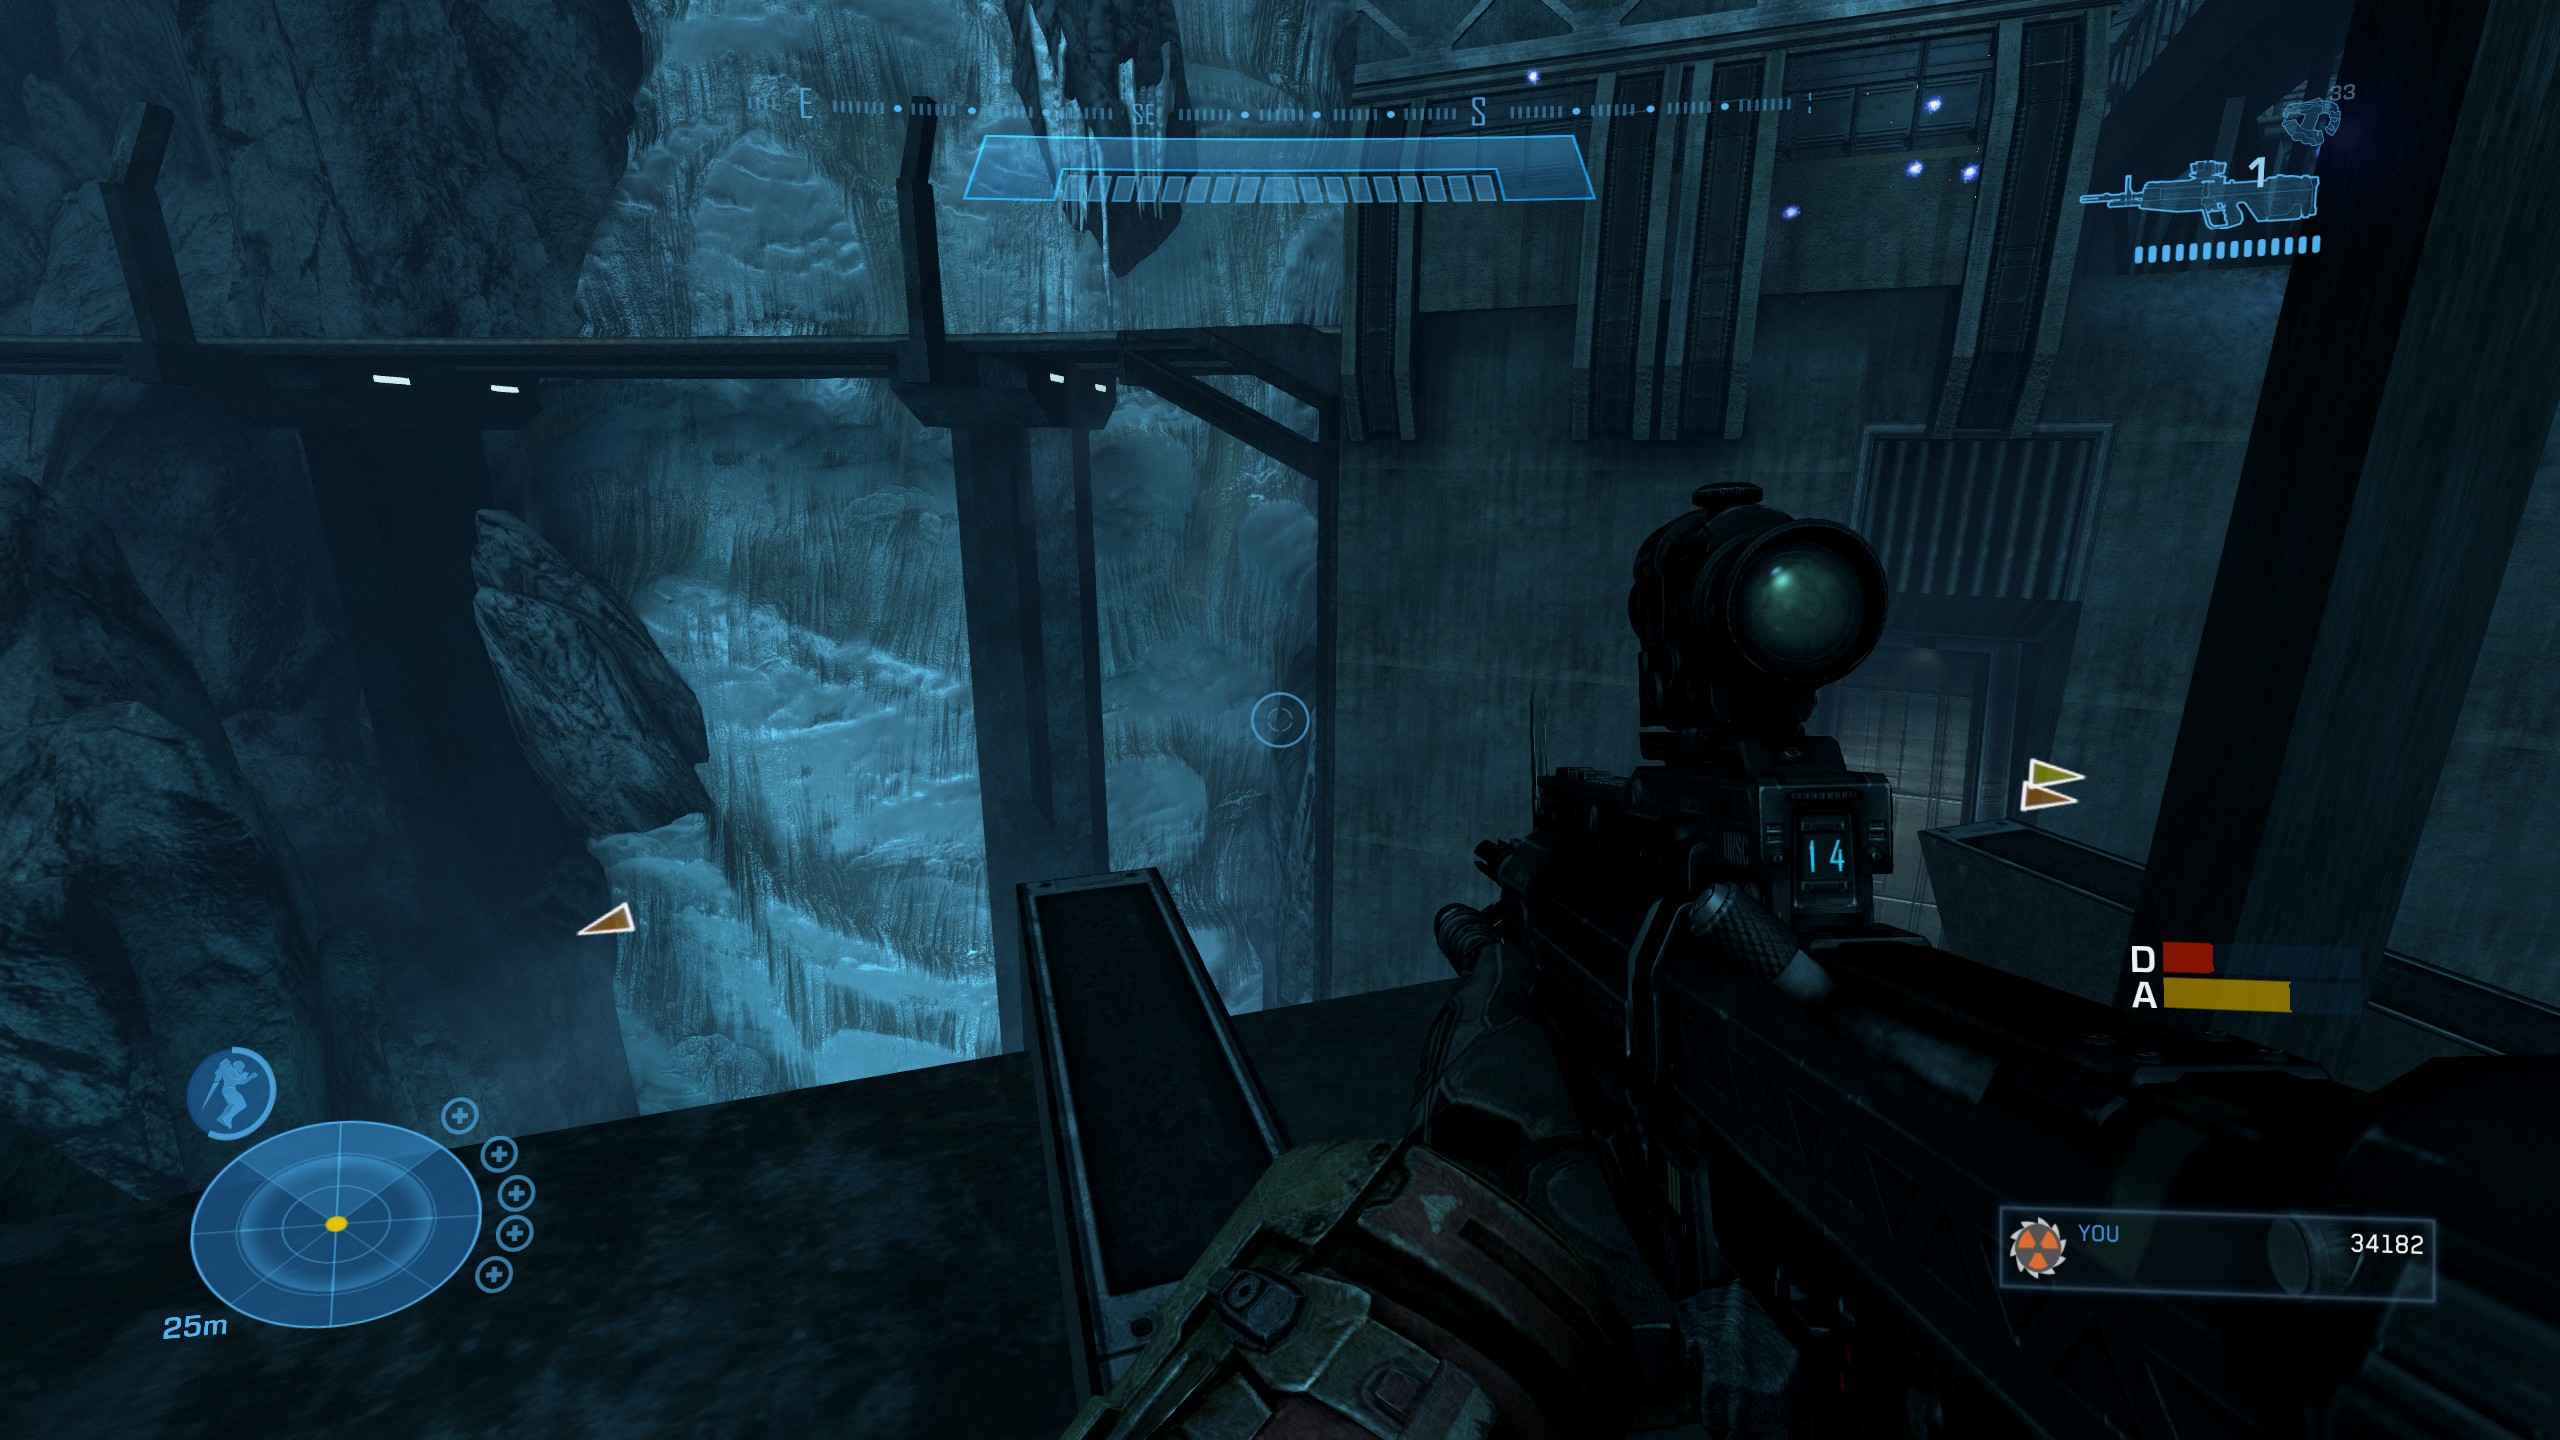
Instead, go to Alpha and run through the area with the indigenous creatures. Ahead is a large set of buildings with myriad enemies and some fellow human fighters. We suggest just running through the area and avoiding the fight. Hug the right wall and you'll find a path that goes through some water, circumventing the area. You'll have to crouch-jump over a dam to reach the river bed.
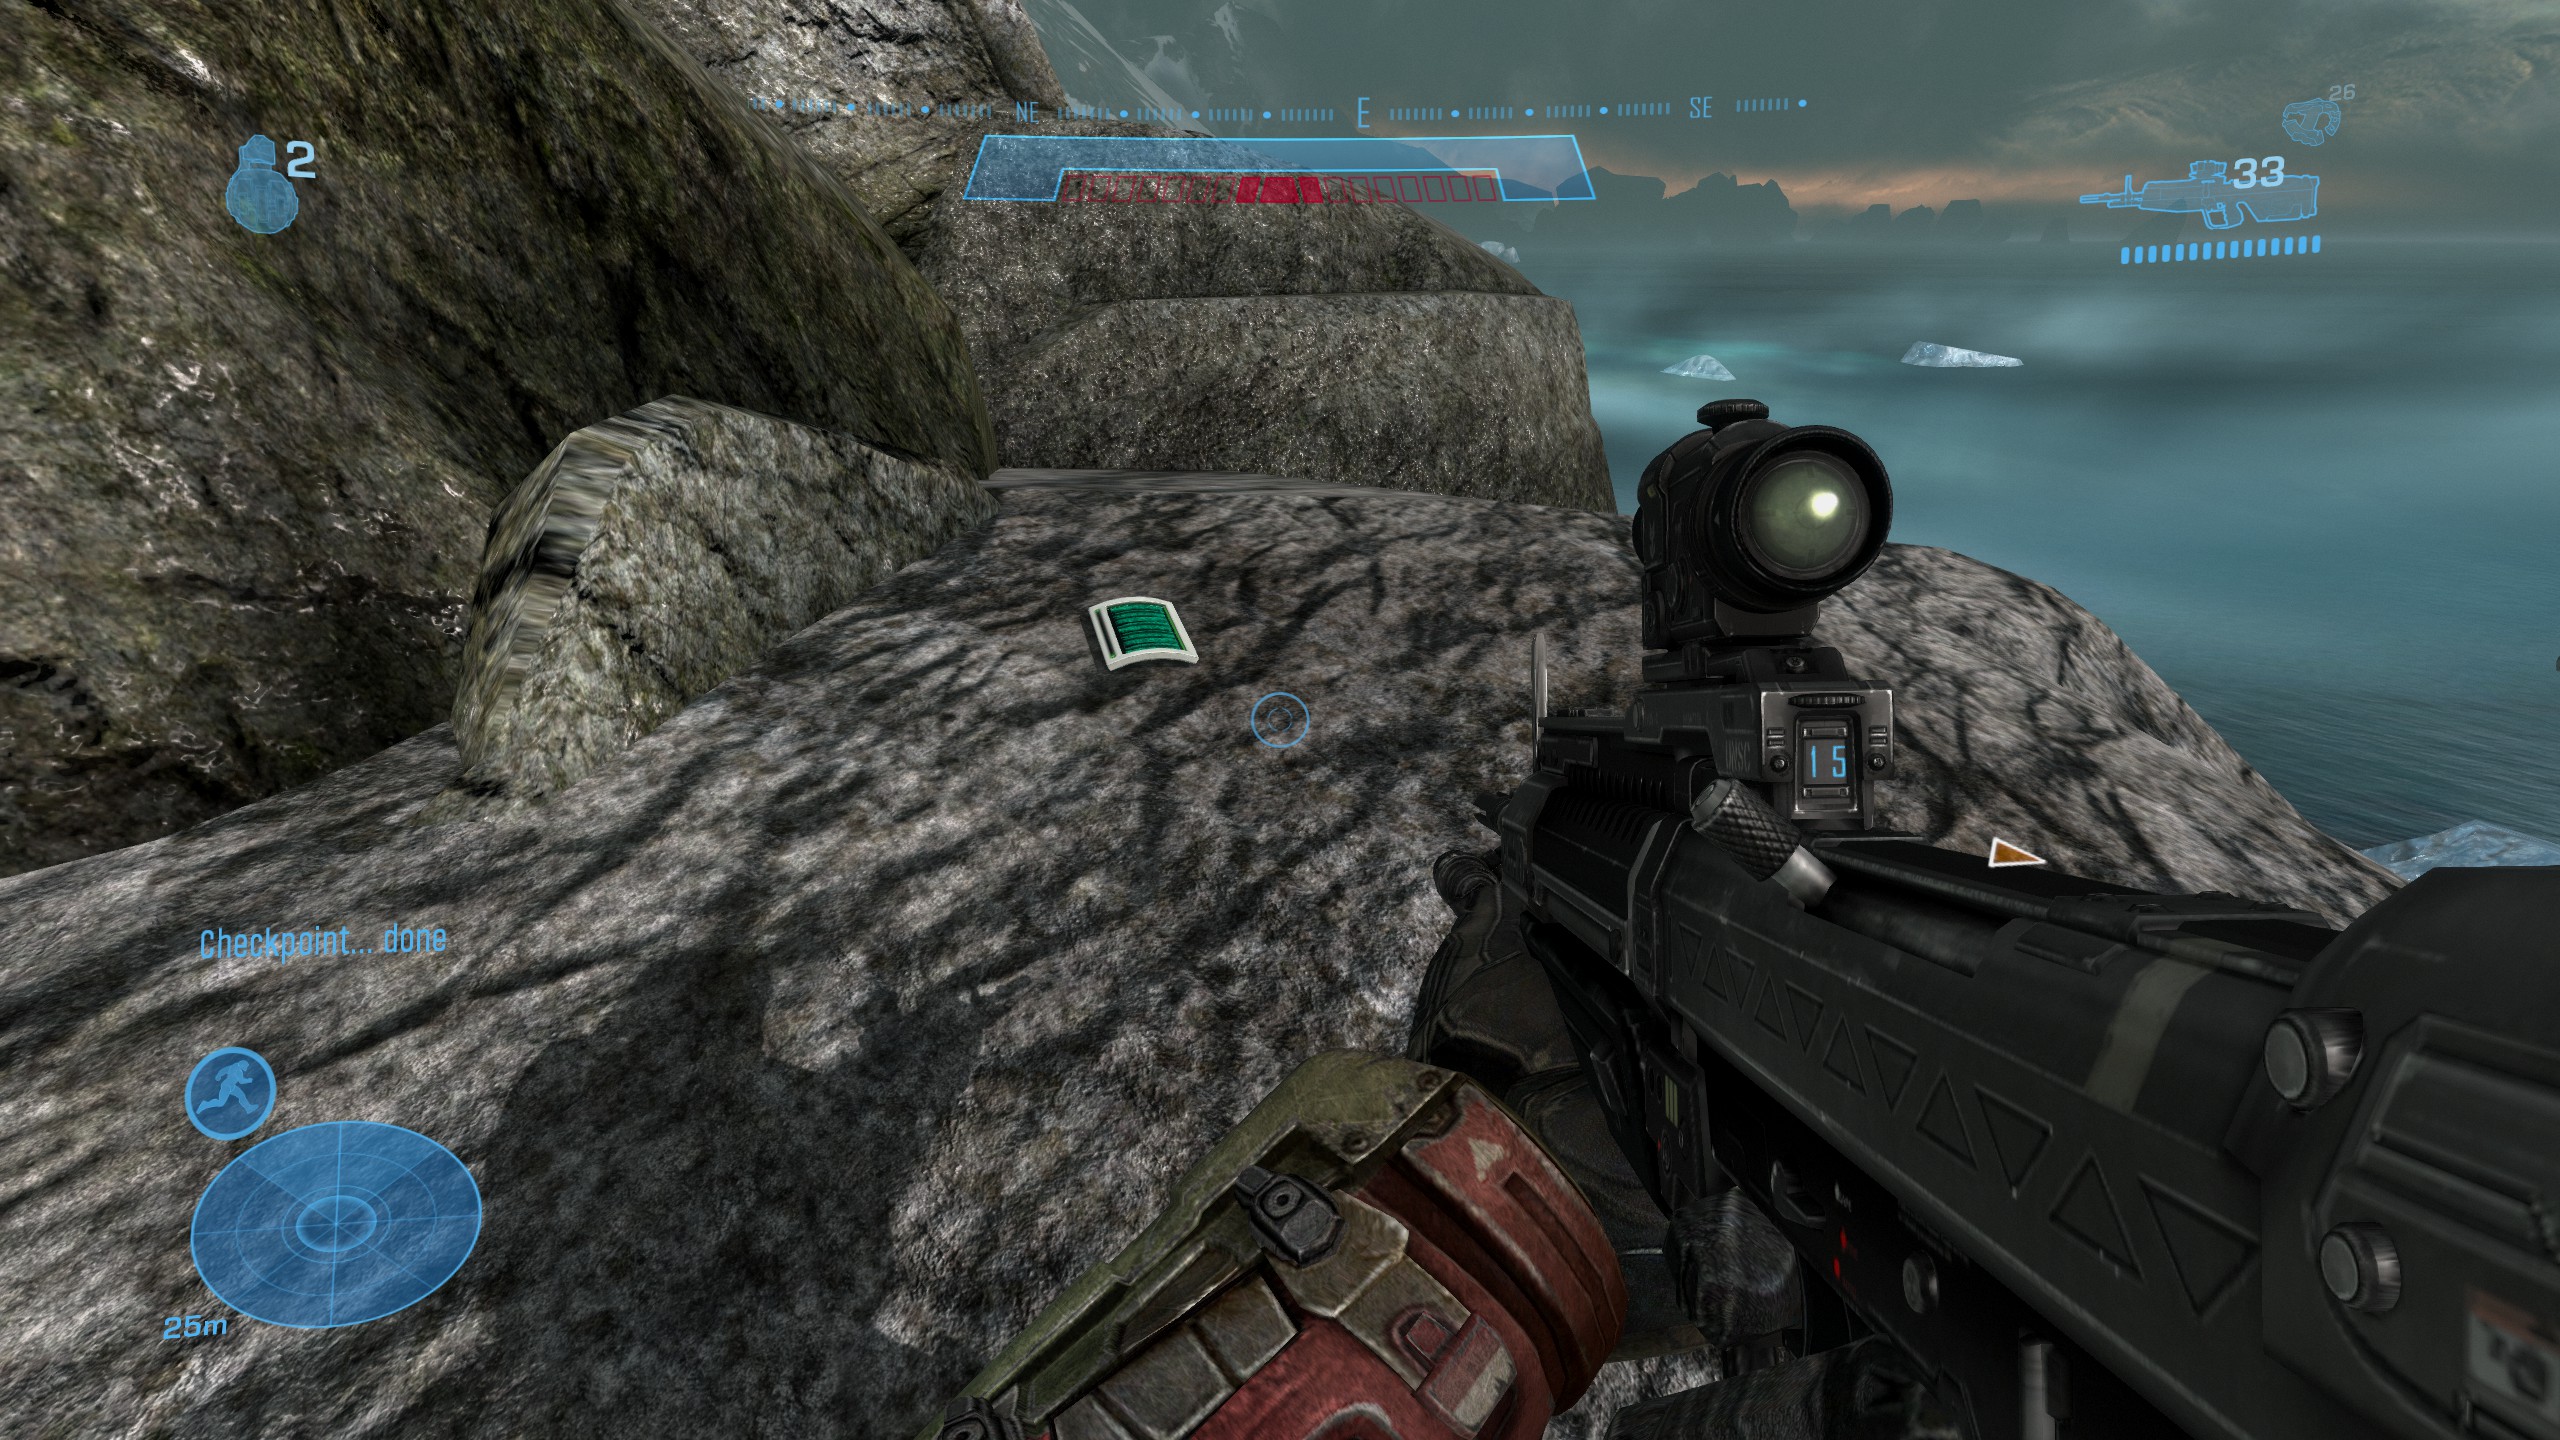
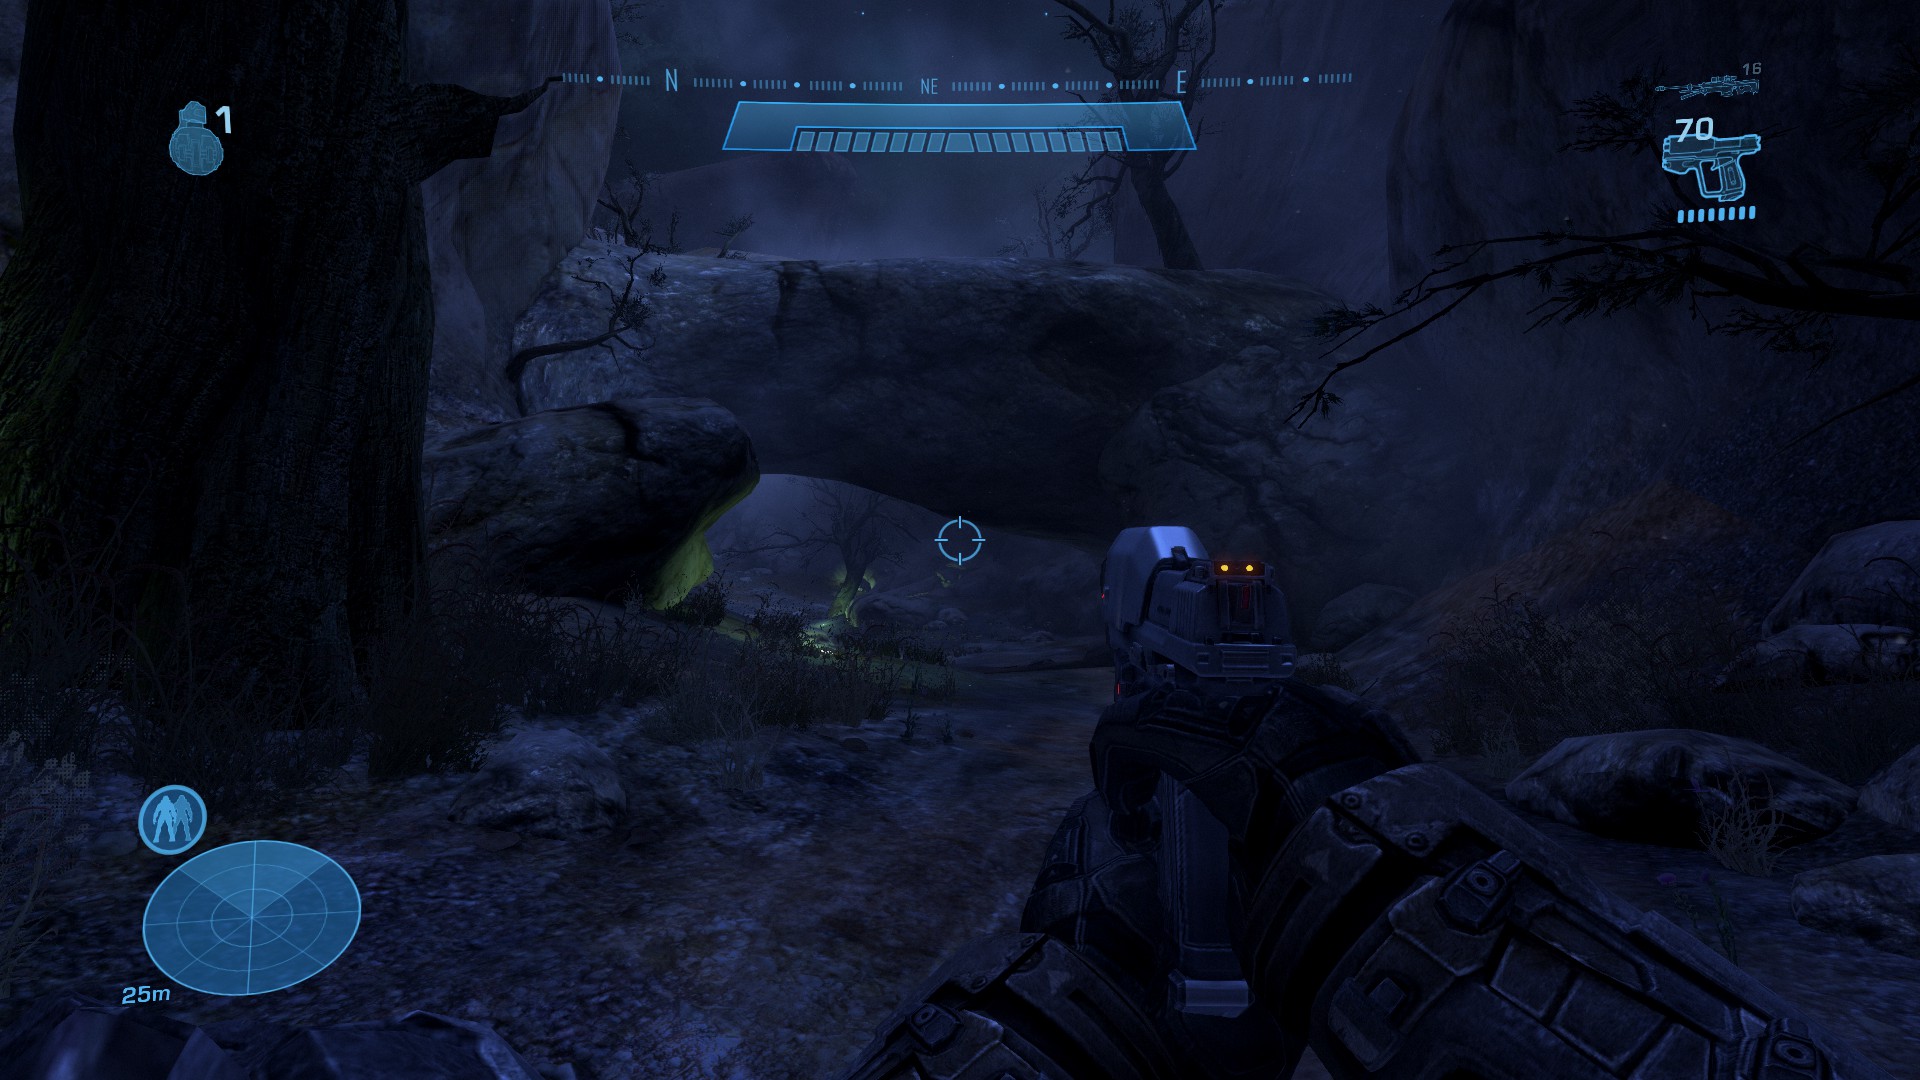
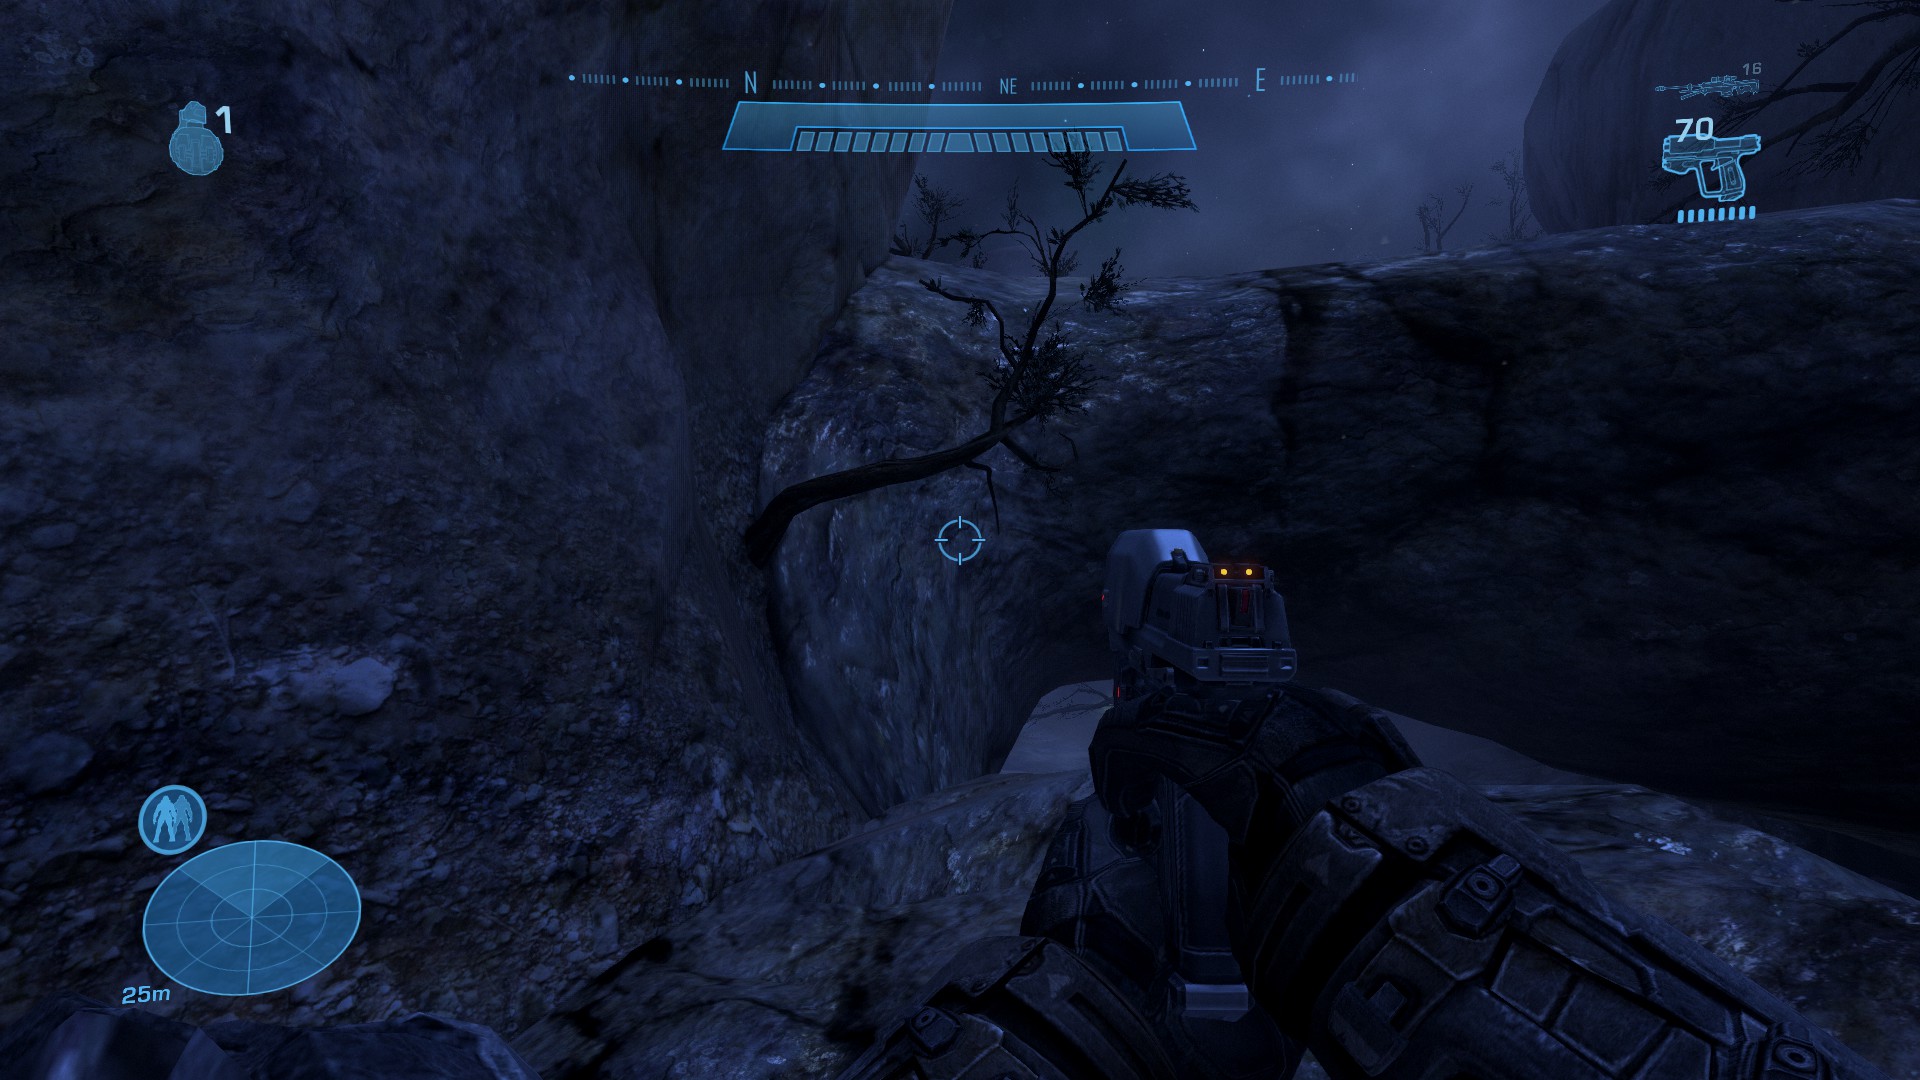
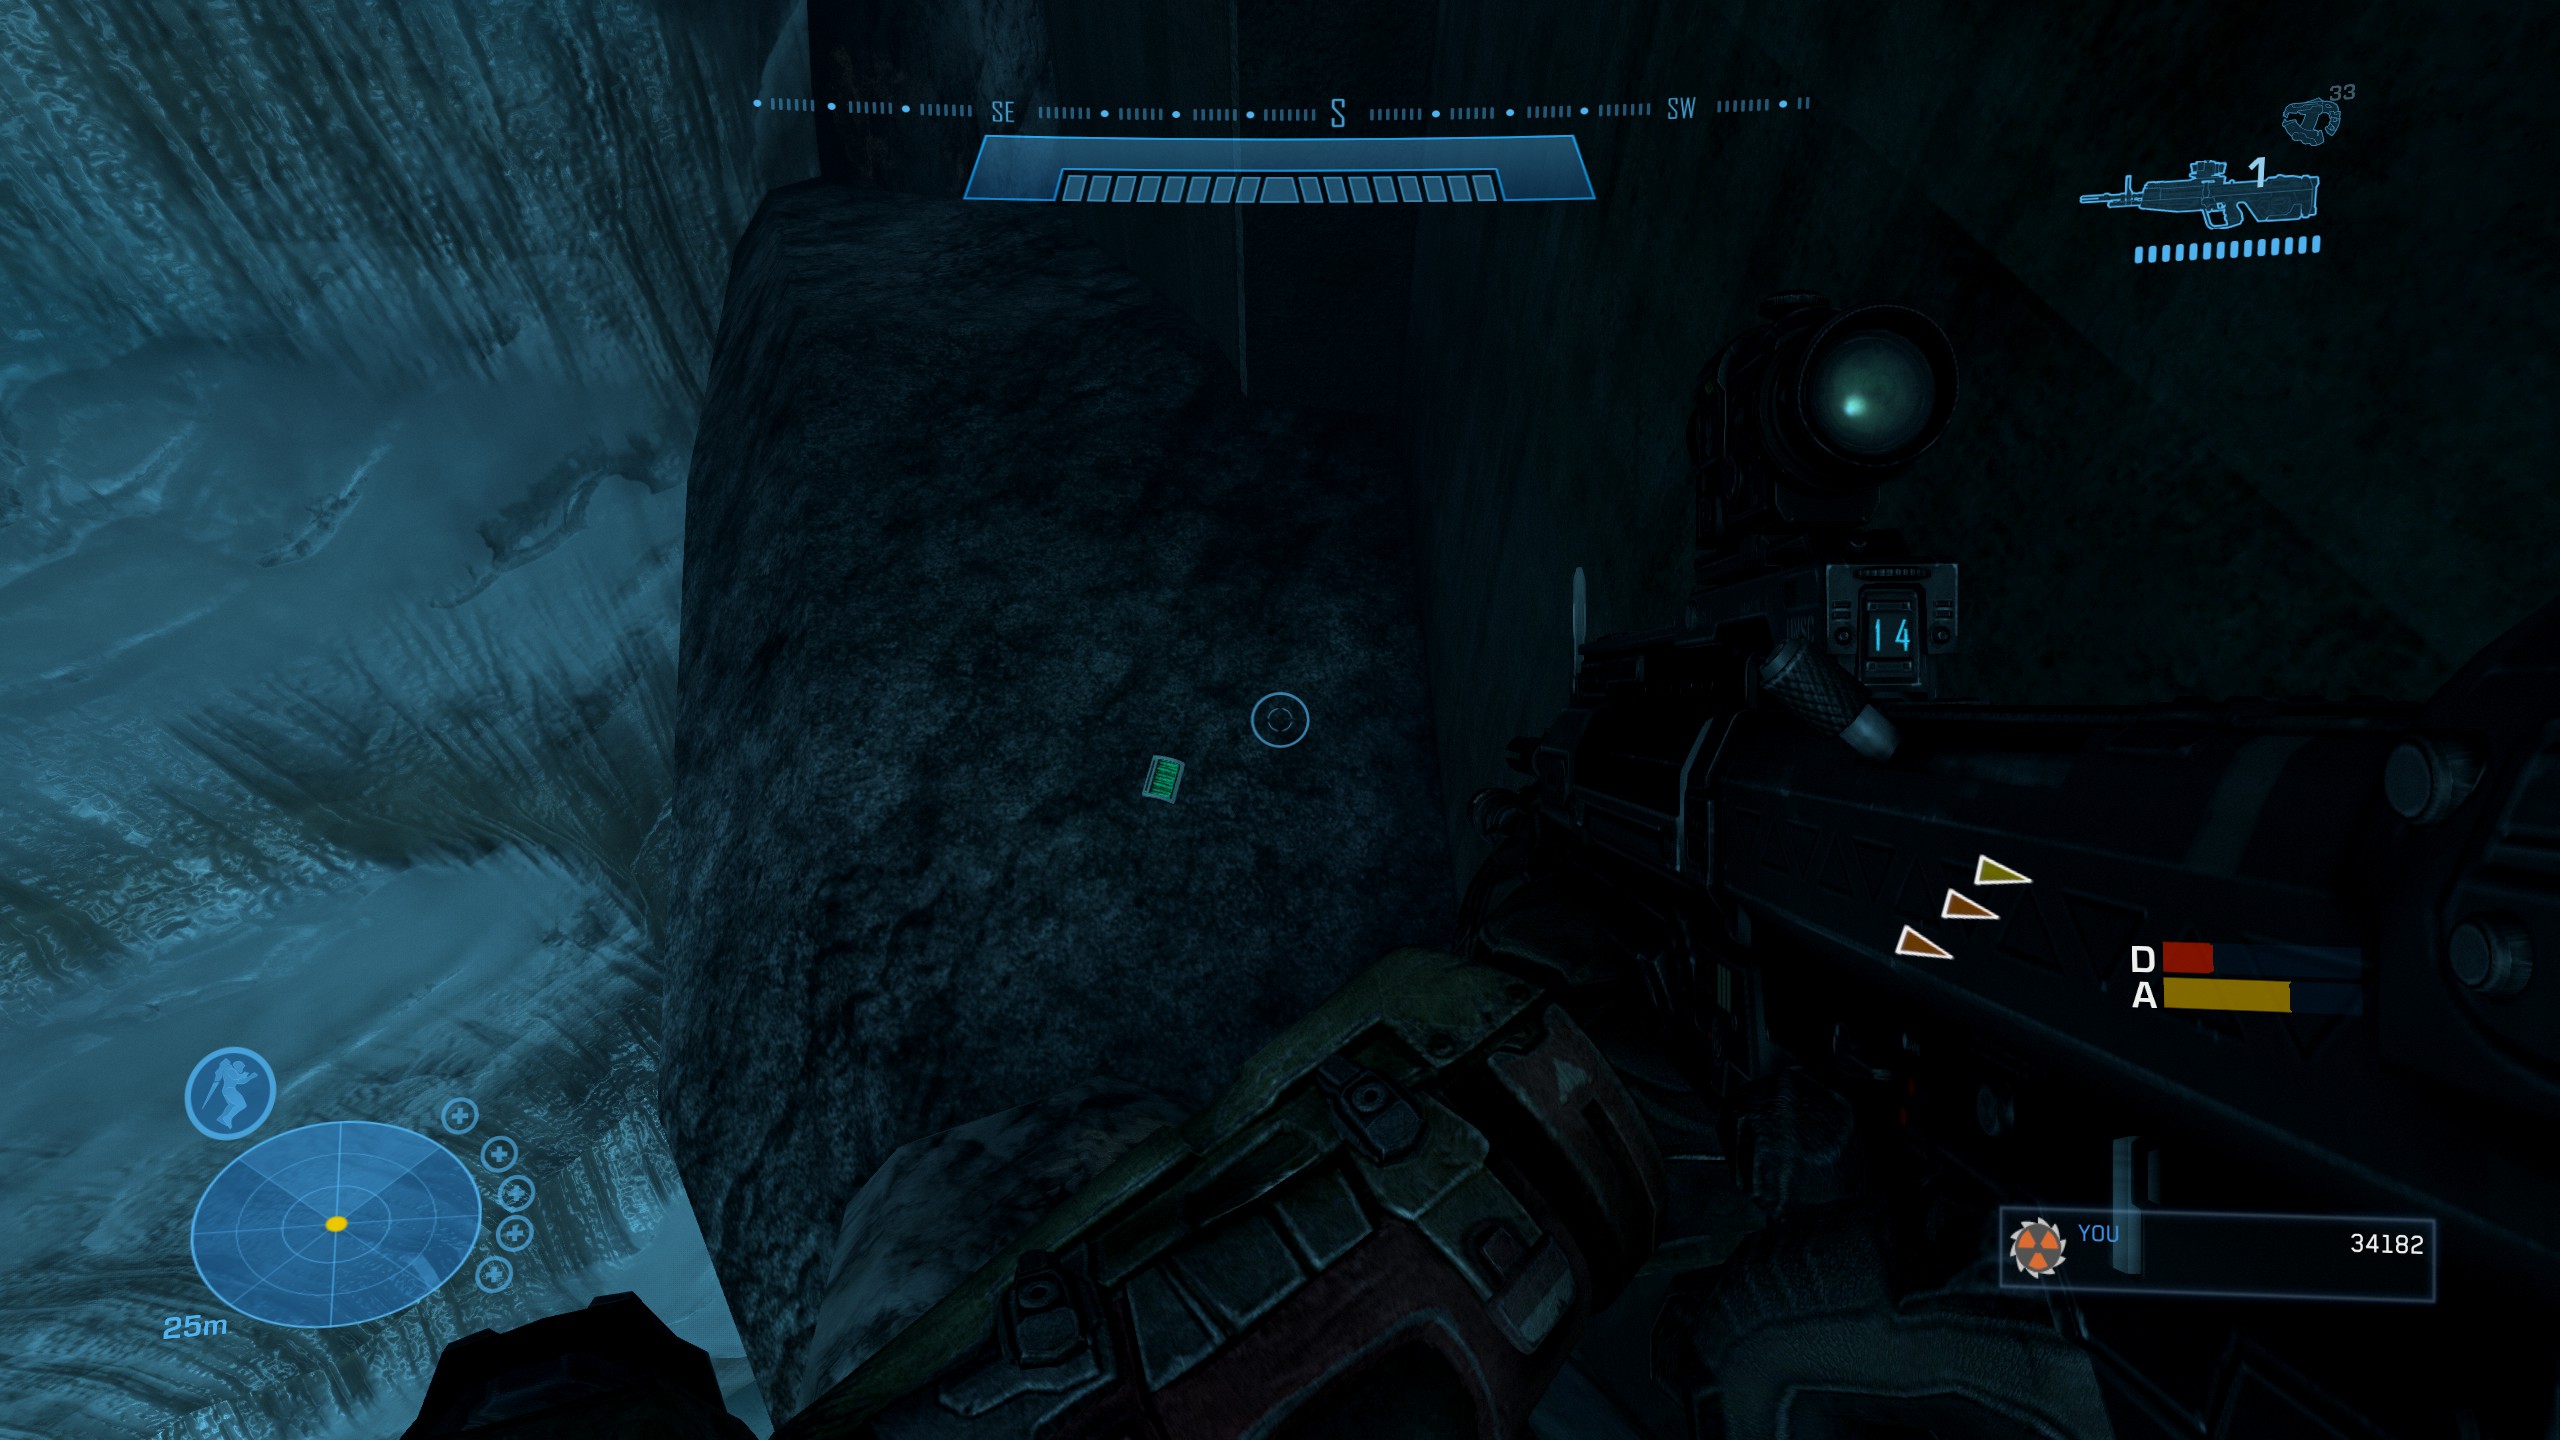
Follow the river bed until you reach the stone archway. On the left, there's a rock and a branch sticking out from the mountain. Hop on to the rock, from there on the branch, from the branch on to the arch. Traverse over the bridge/arch and turn right. You should see the Datapad on the ground next to a tree, just walk on the slanted mountainside and you should reach the Datapad.
Tip of the Spear
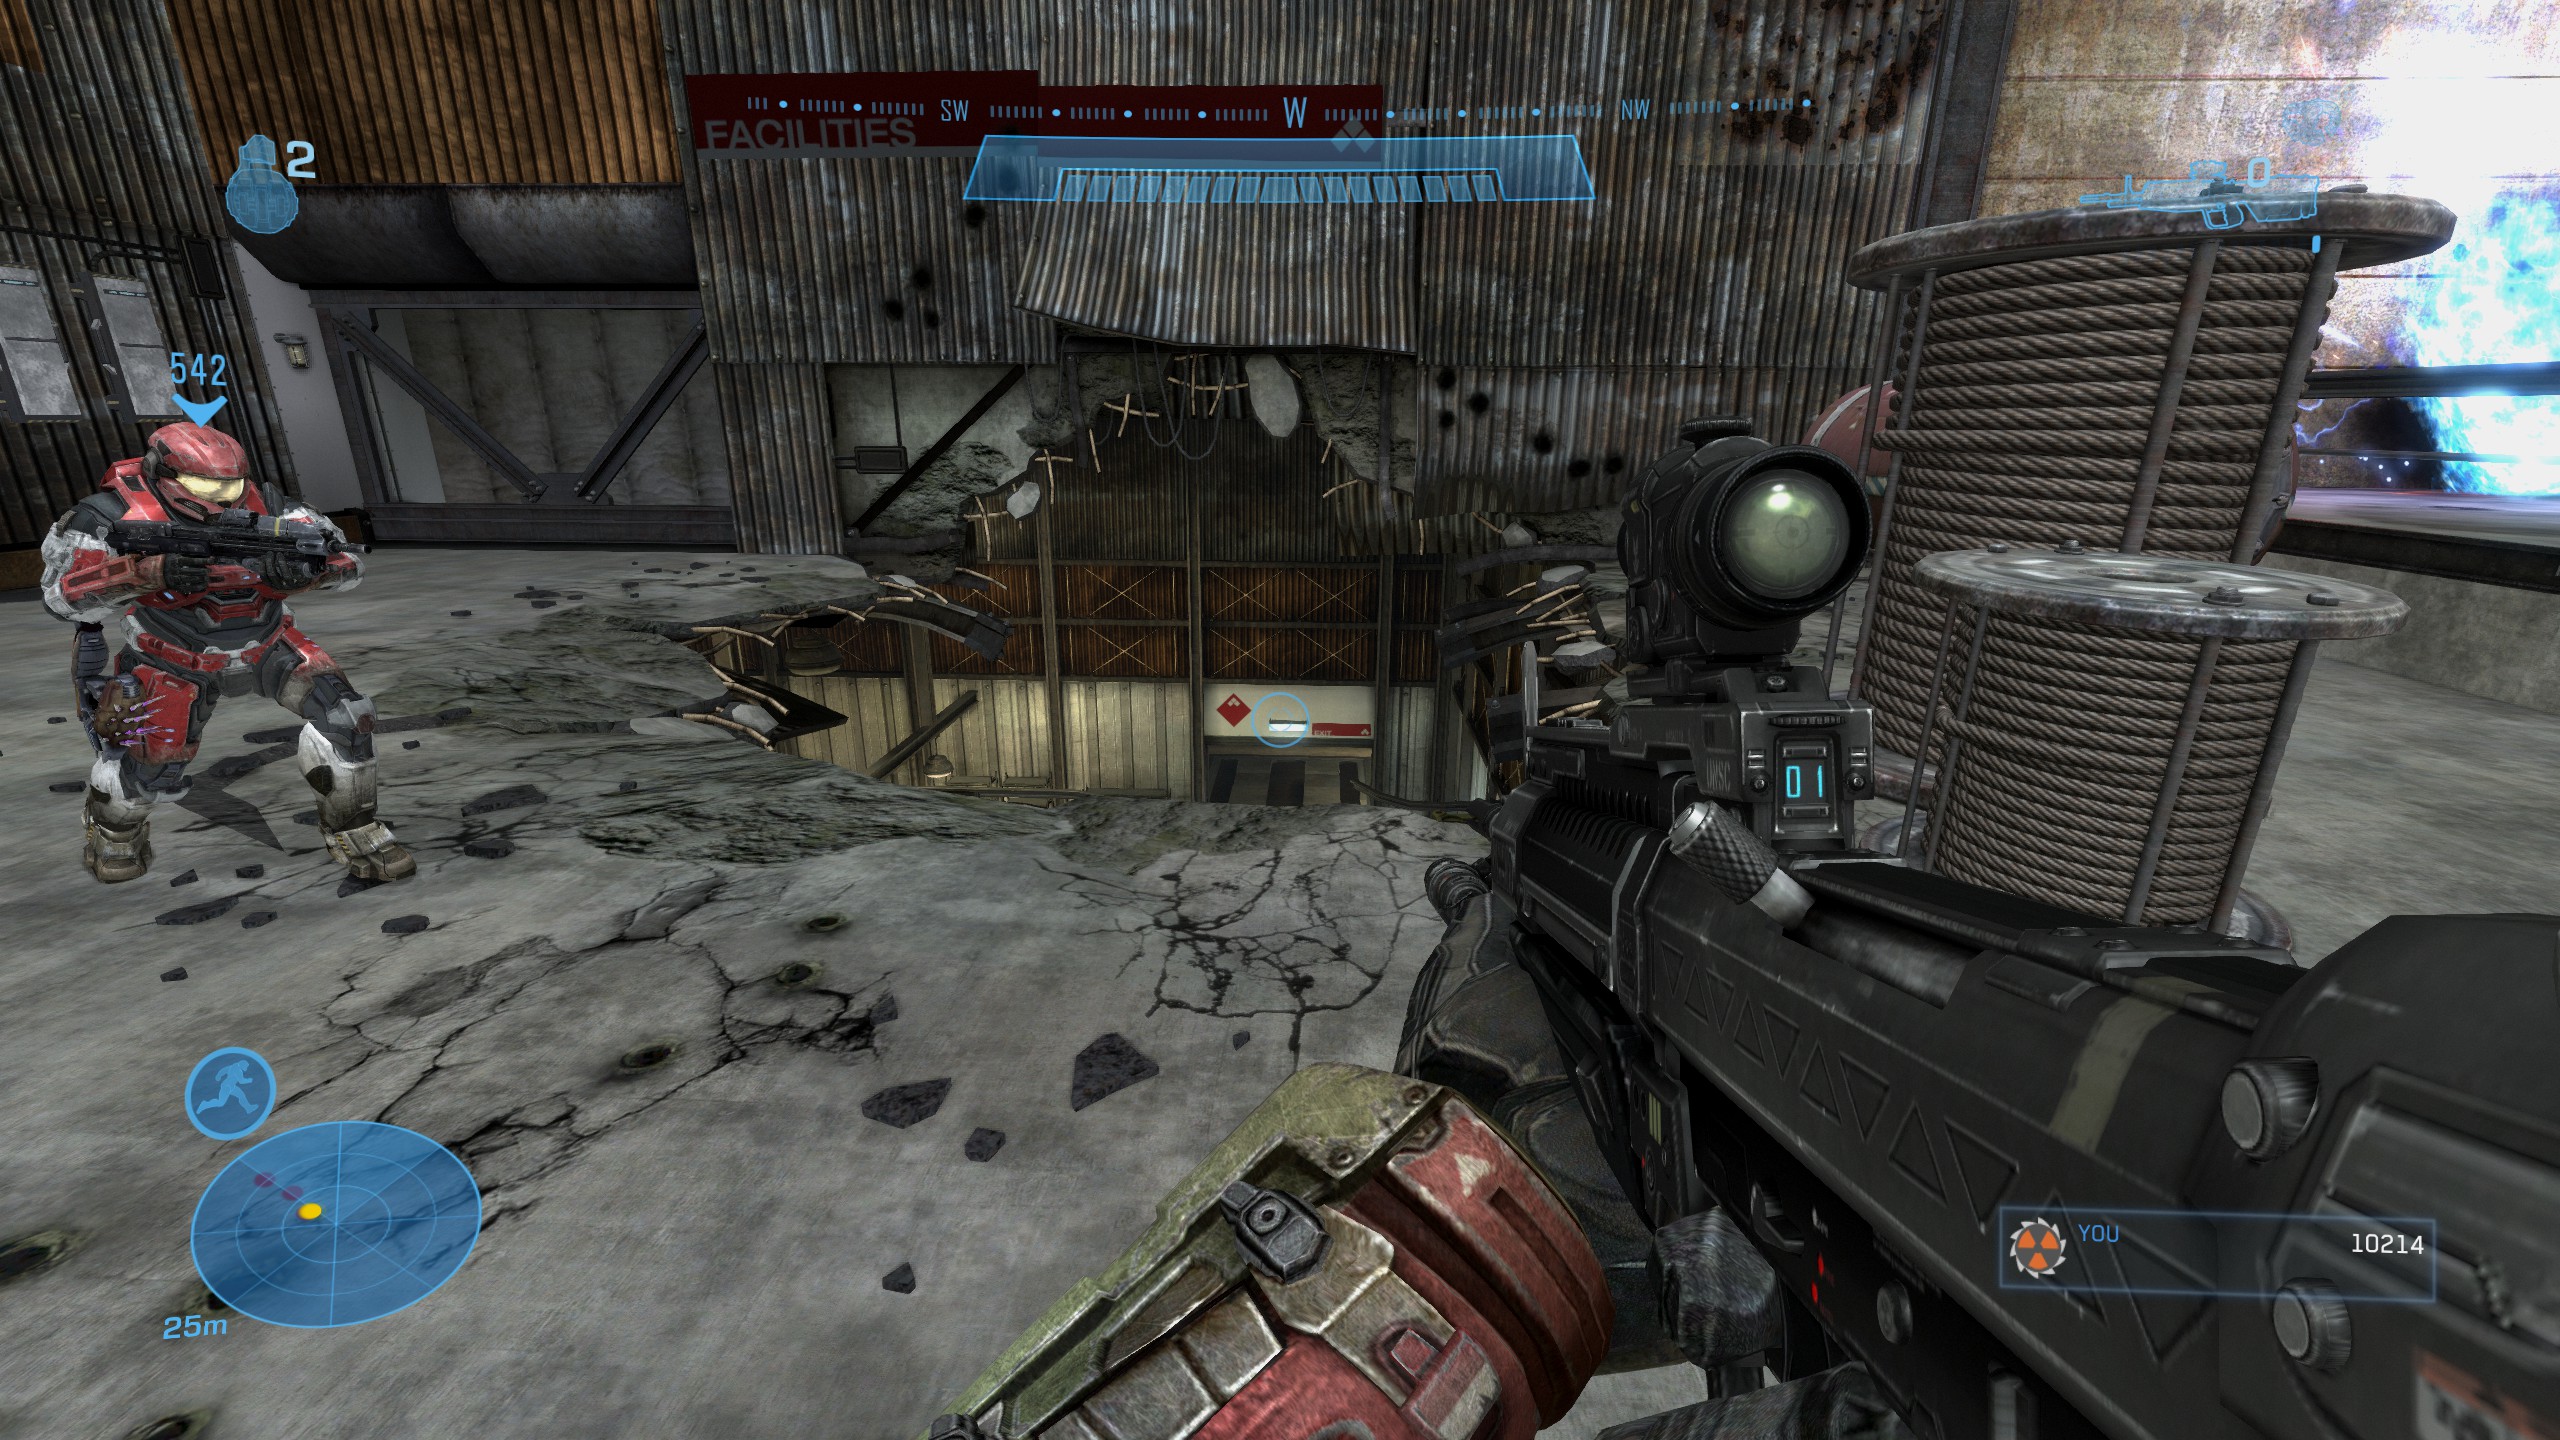
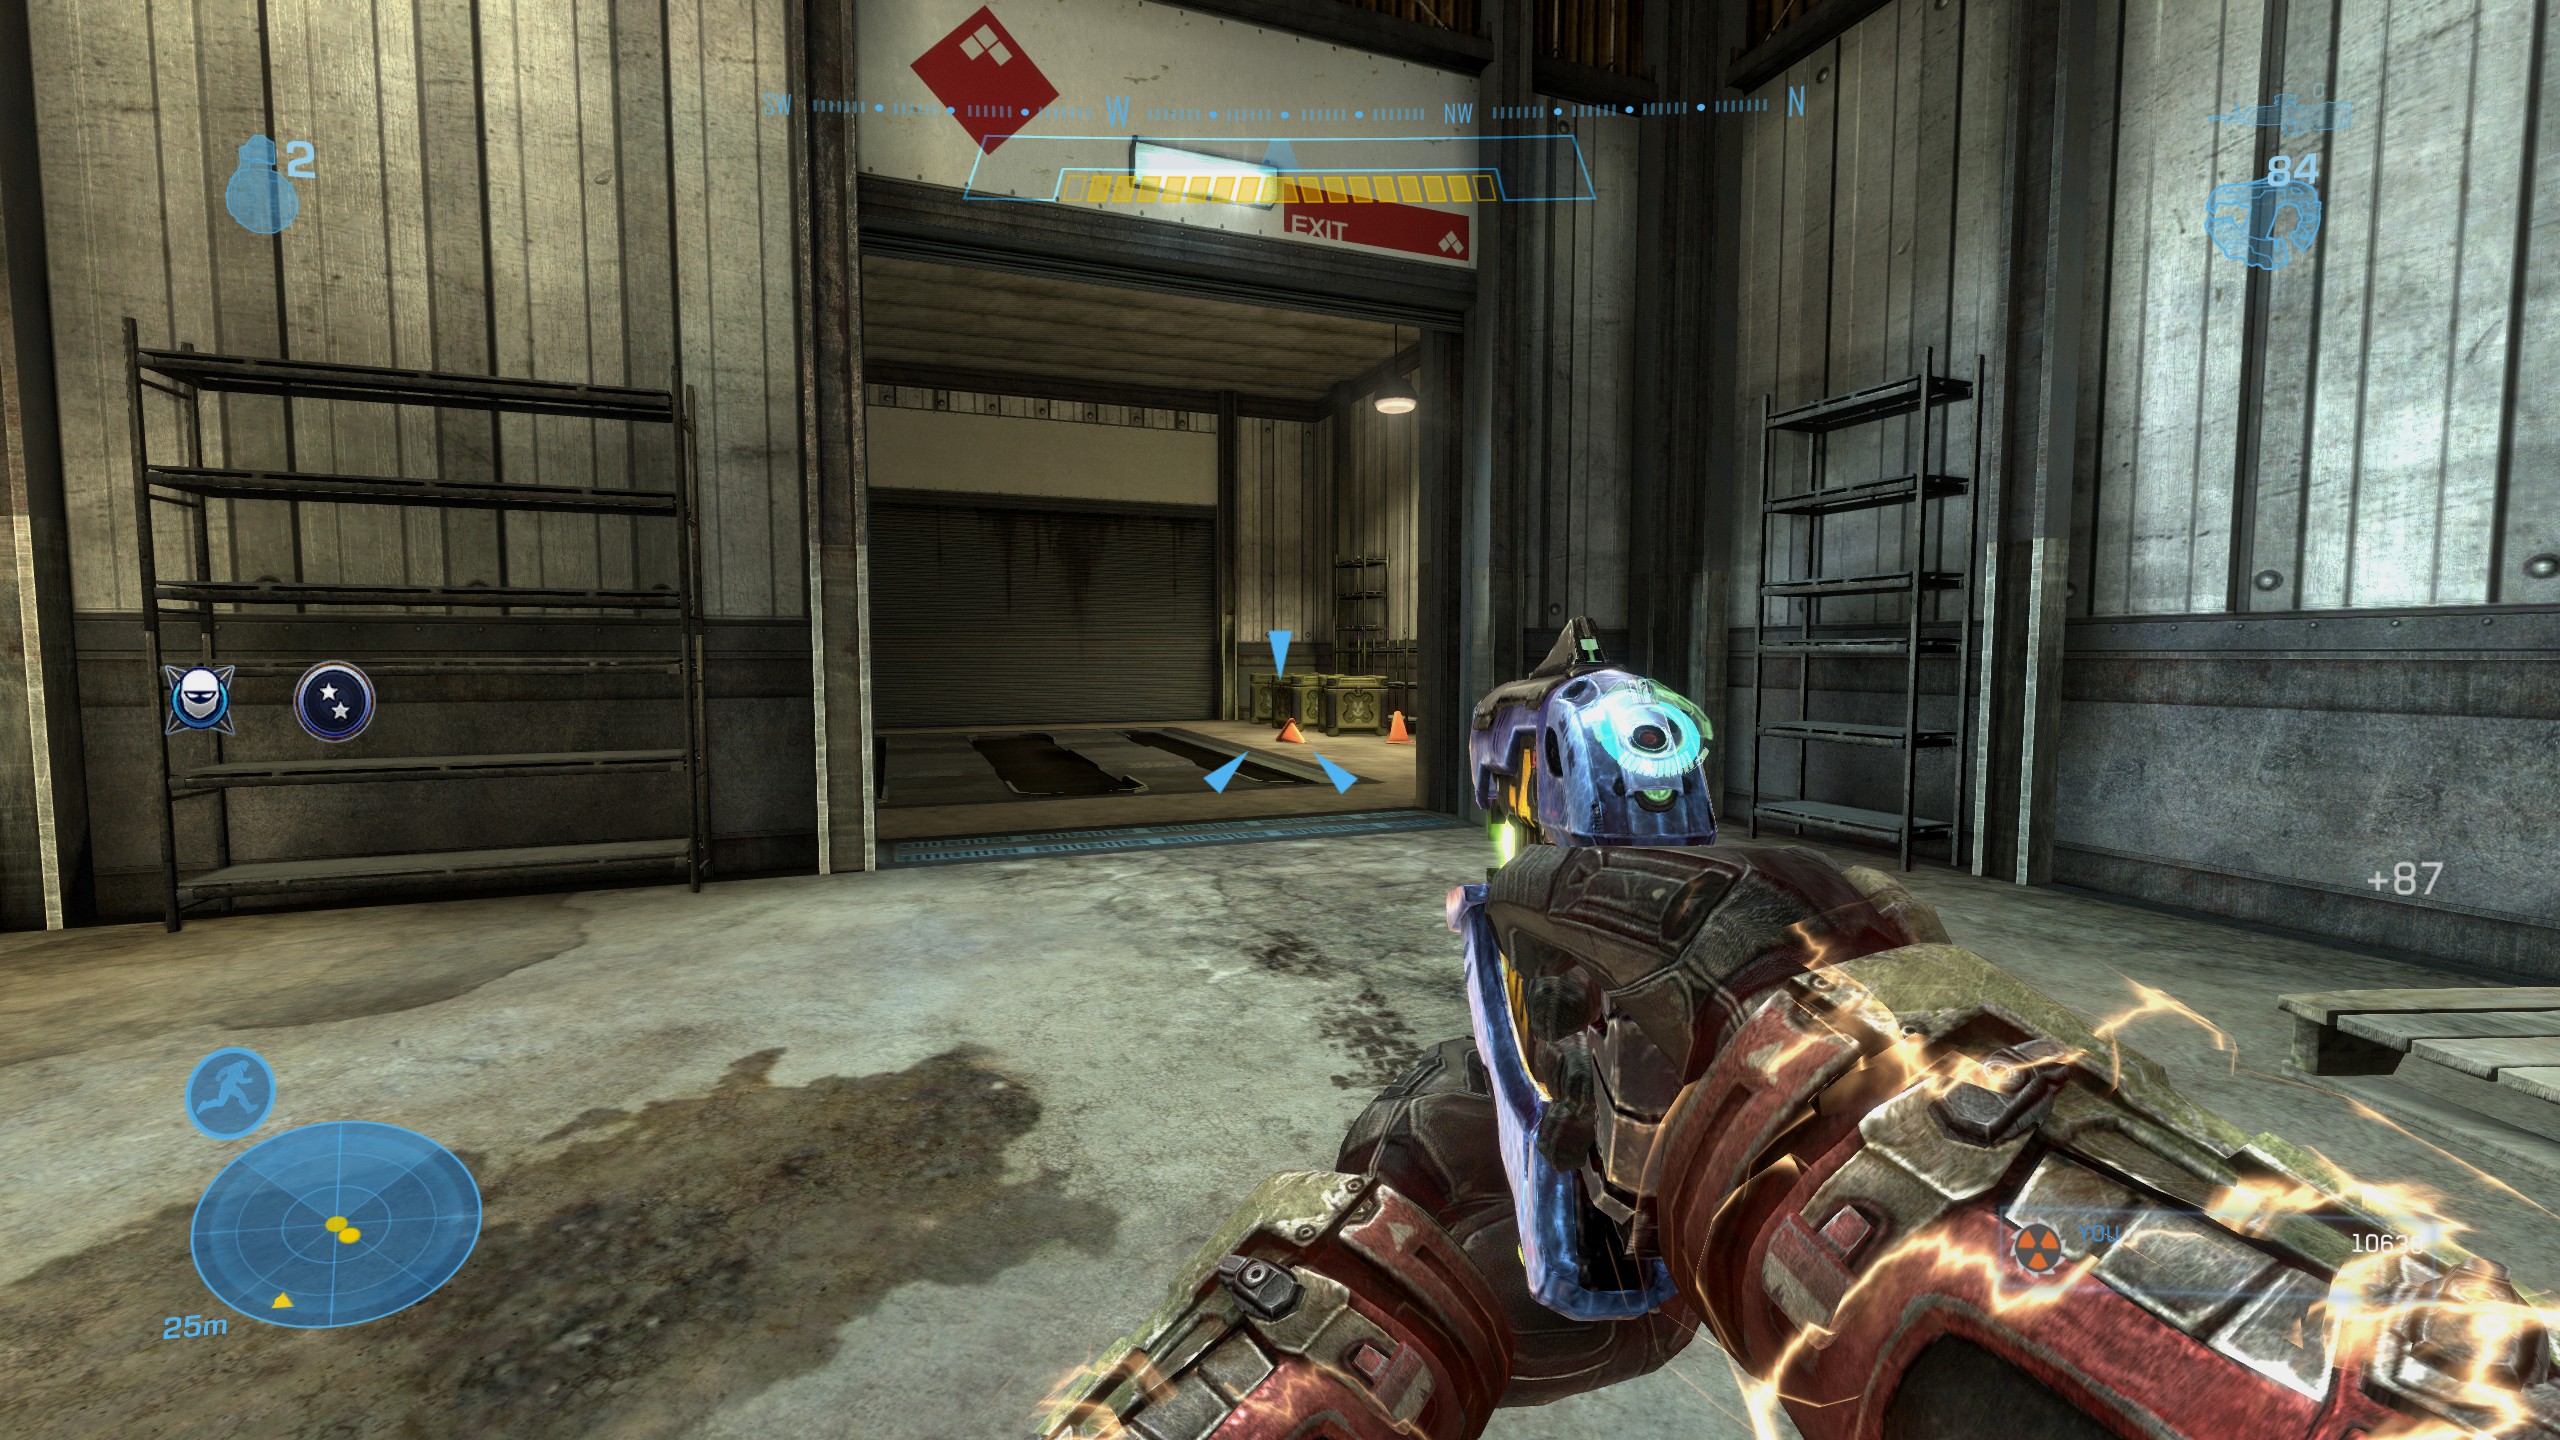
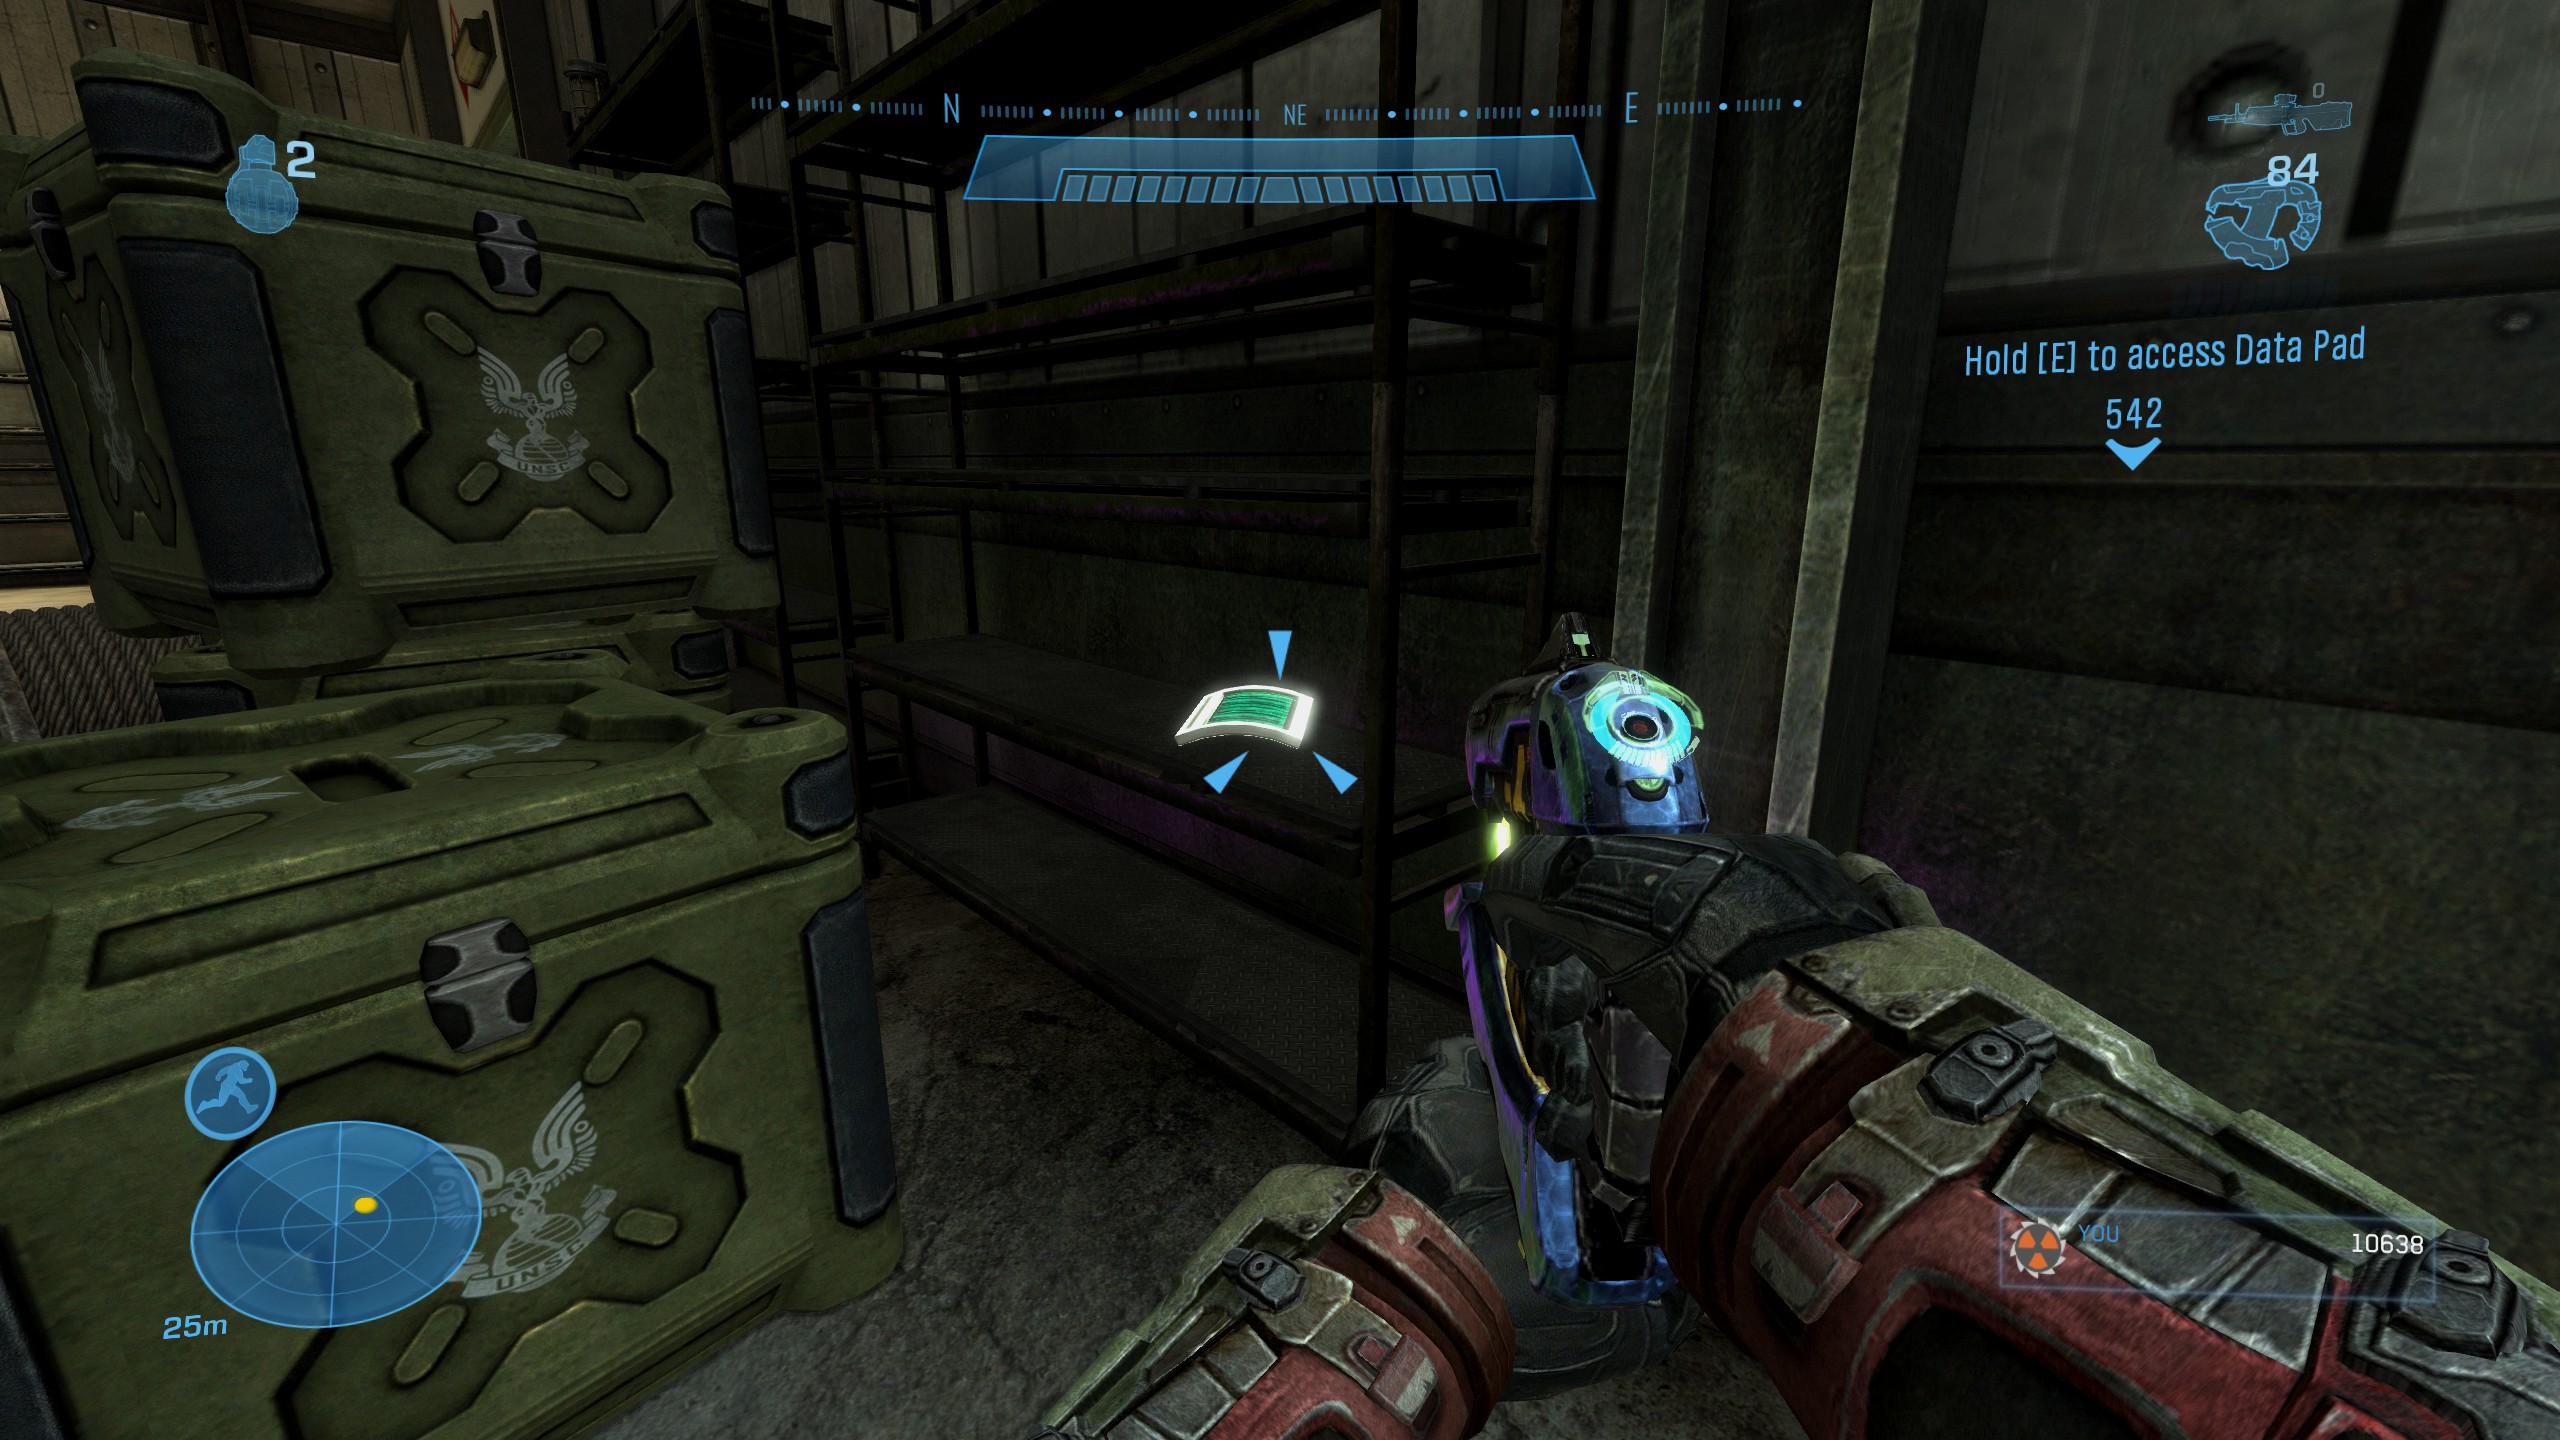
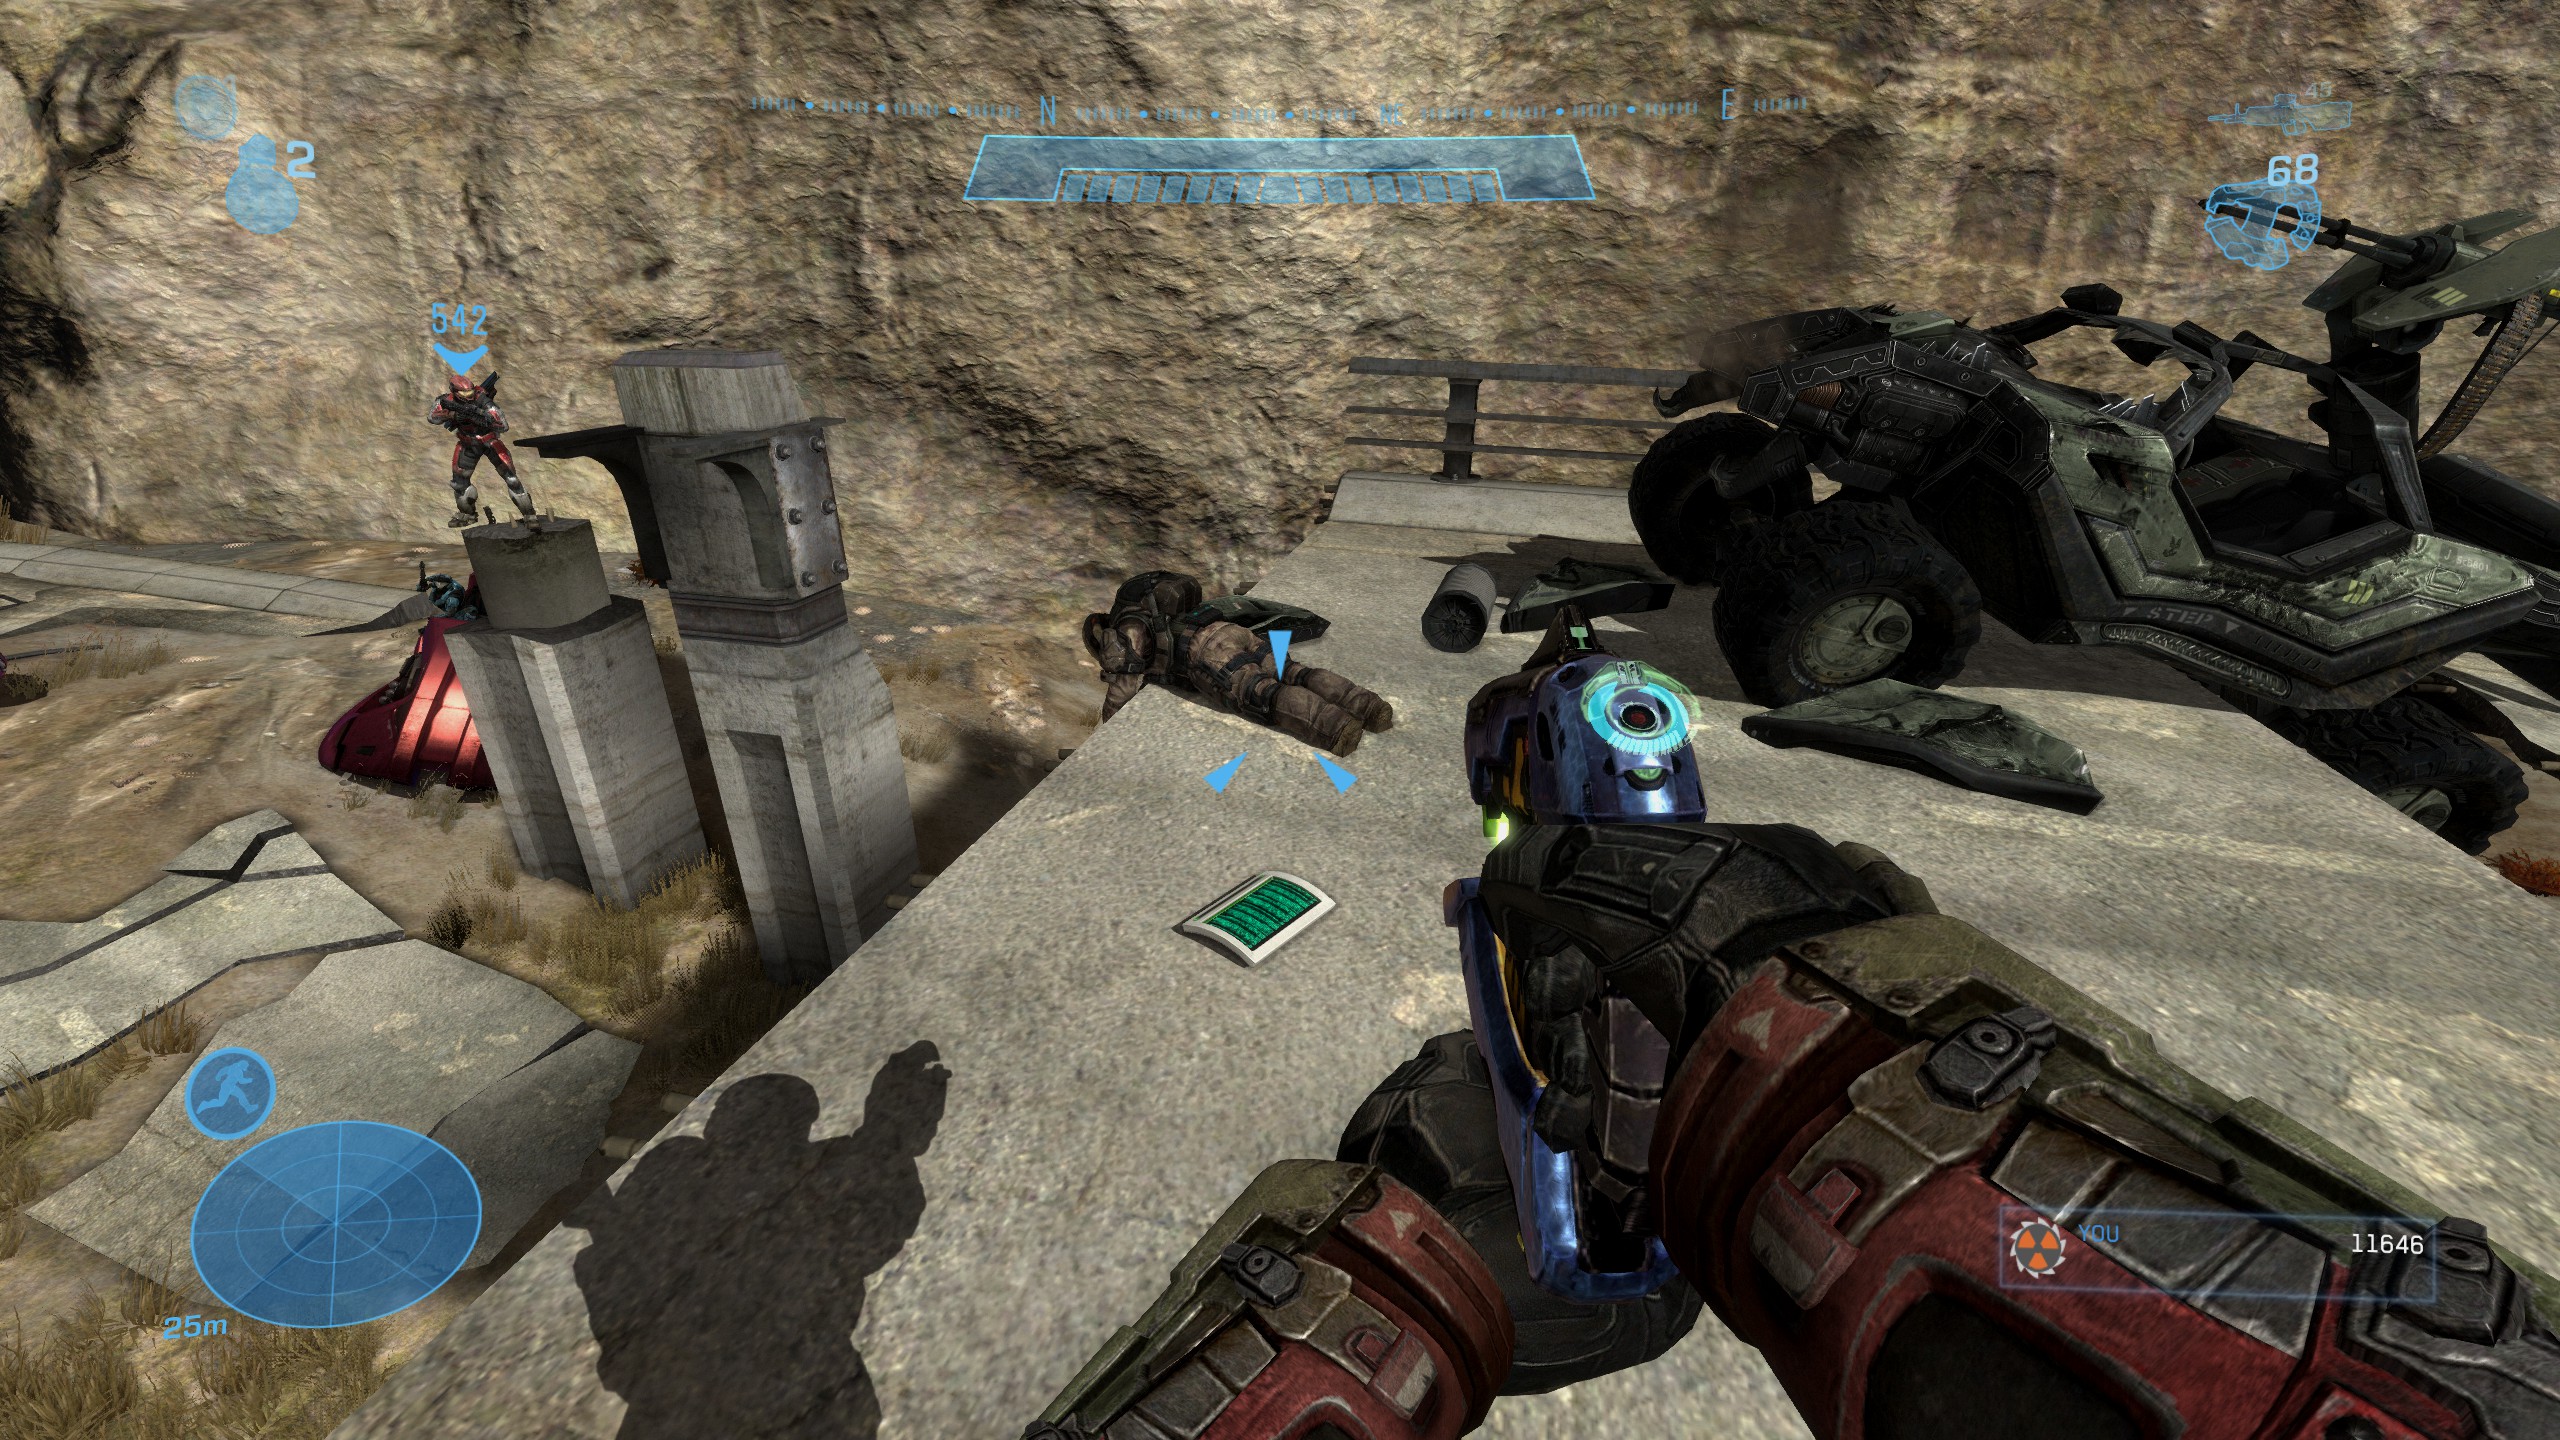
You'll reach a large complex filled with enemies. Go to the upper level of the western building and drop through the hole blasted in the roof. Drop down a couple of levels and look to the left for the data pad that's on a shelf behind some crates.
 Data Pad #13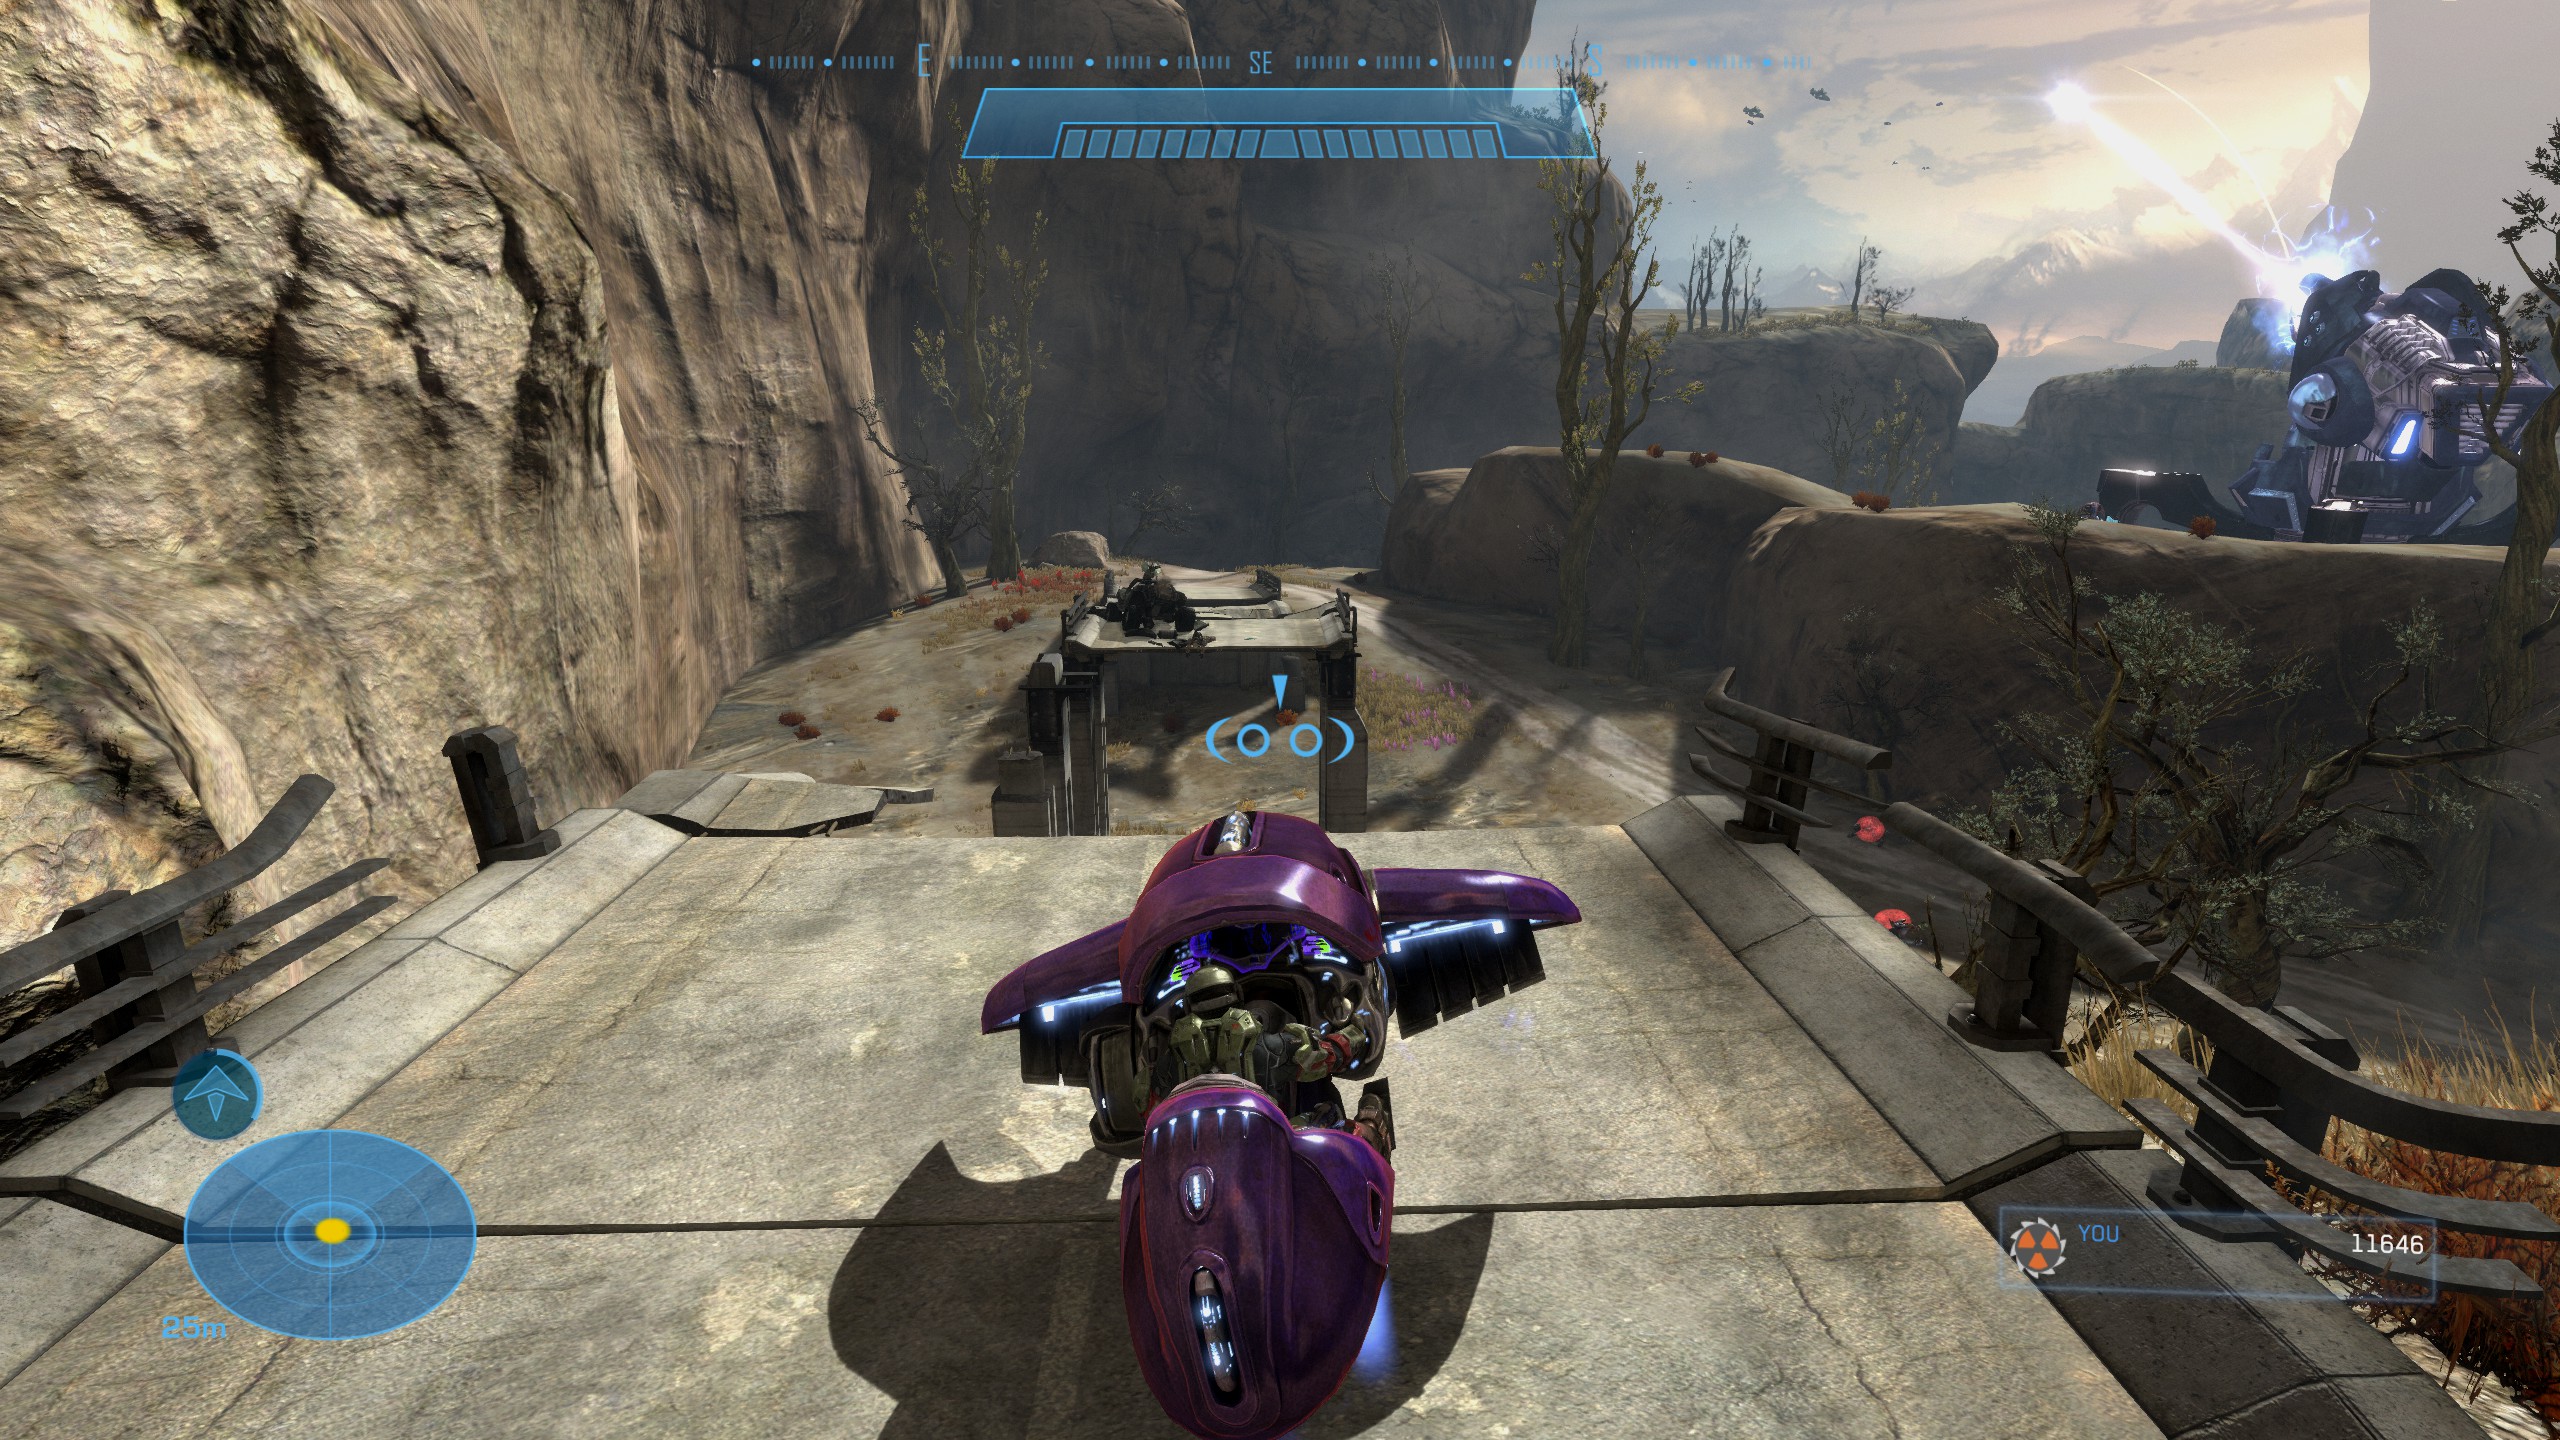
Long Night of Solace
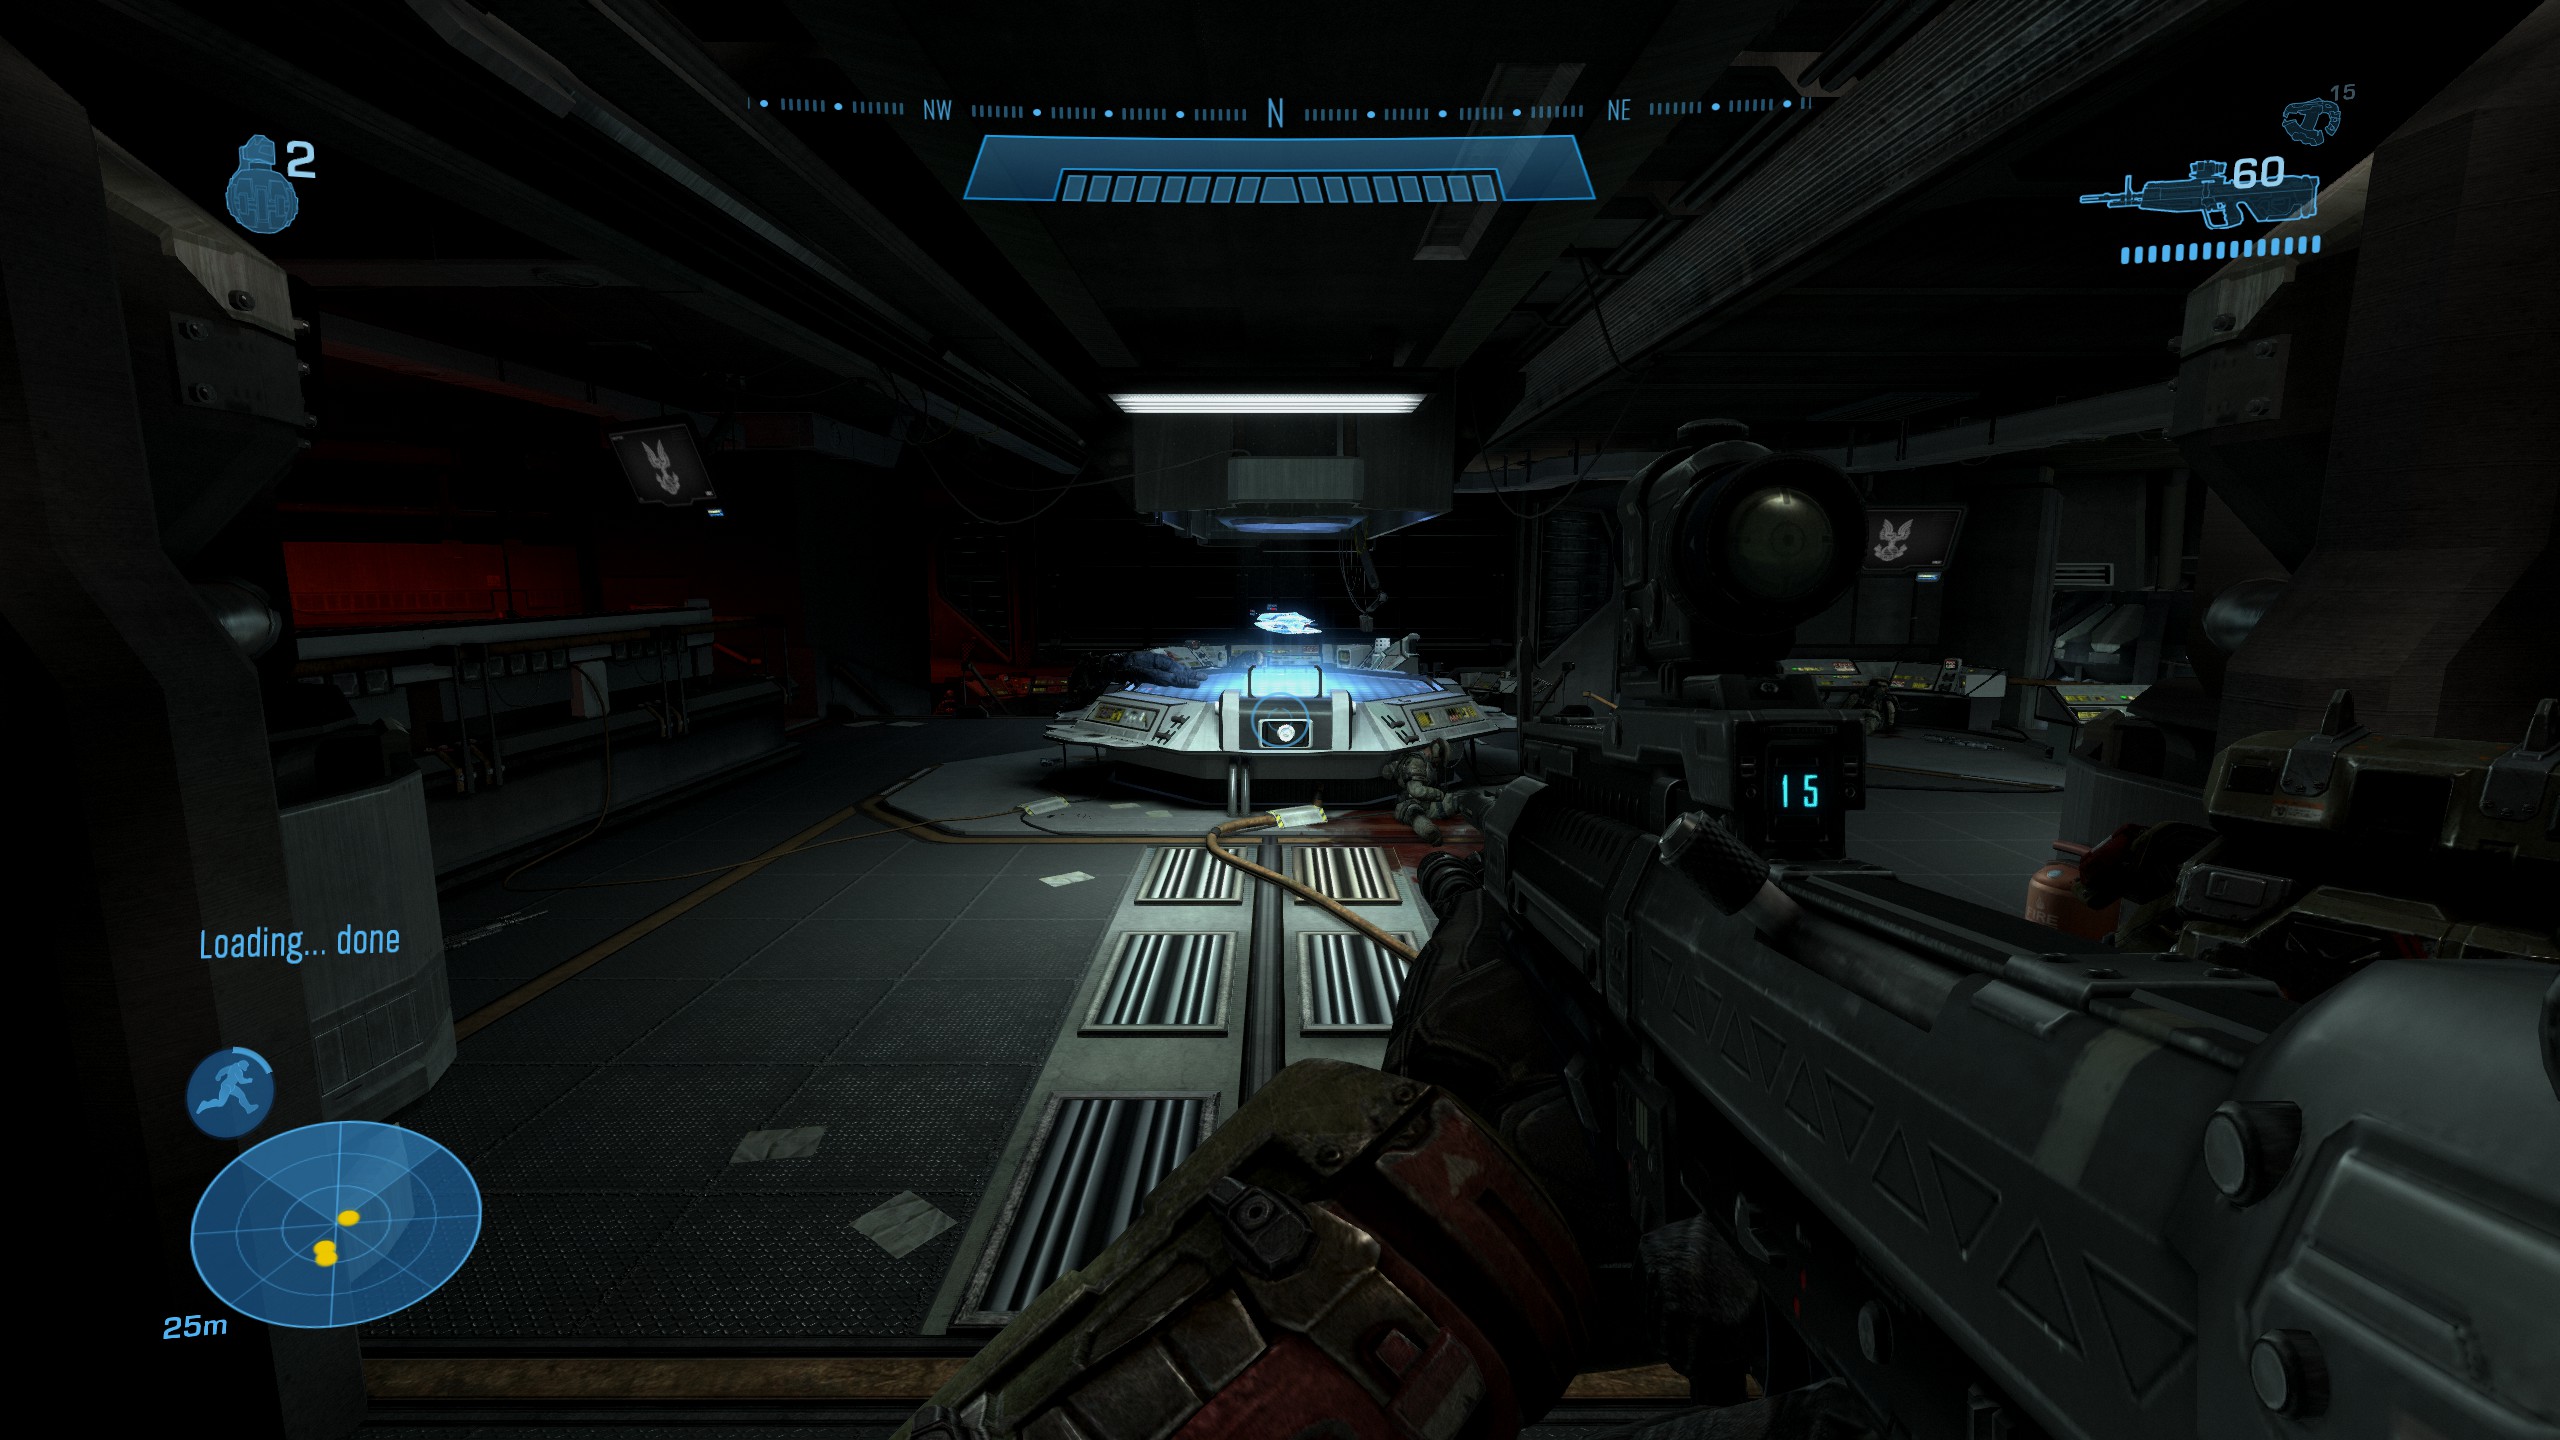
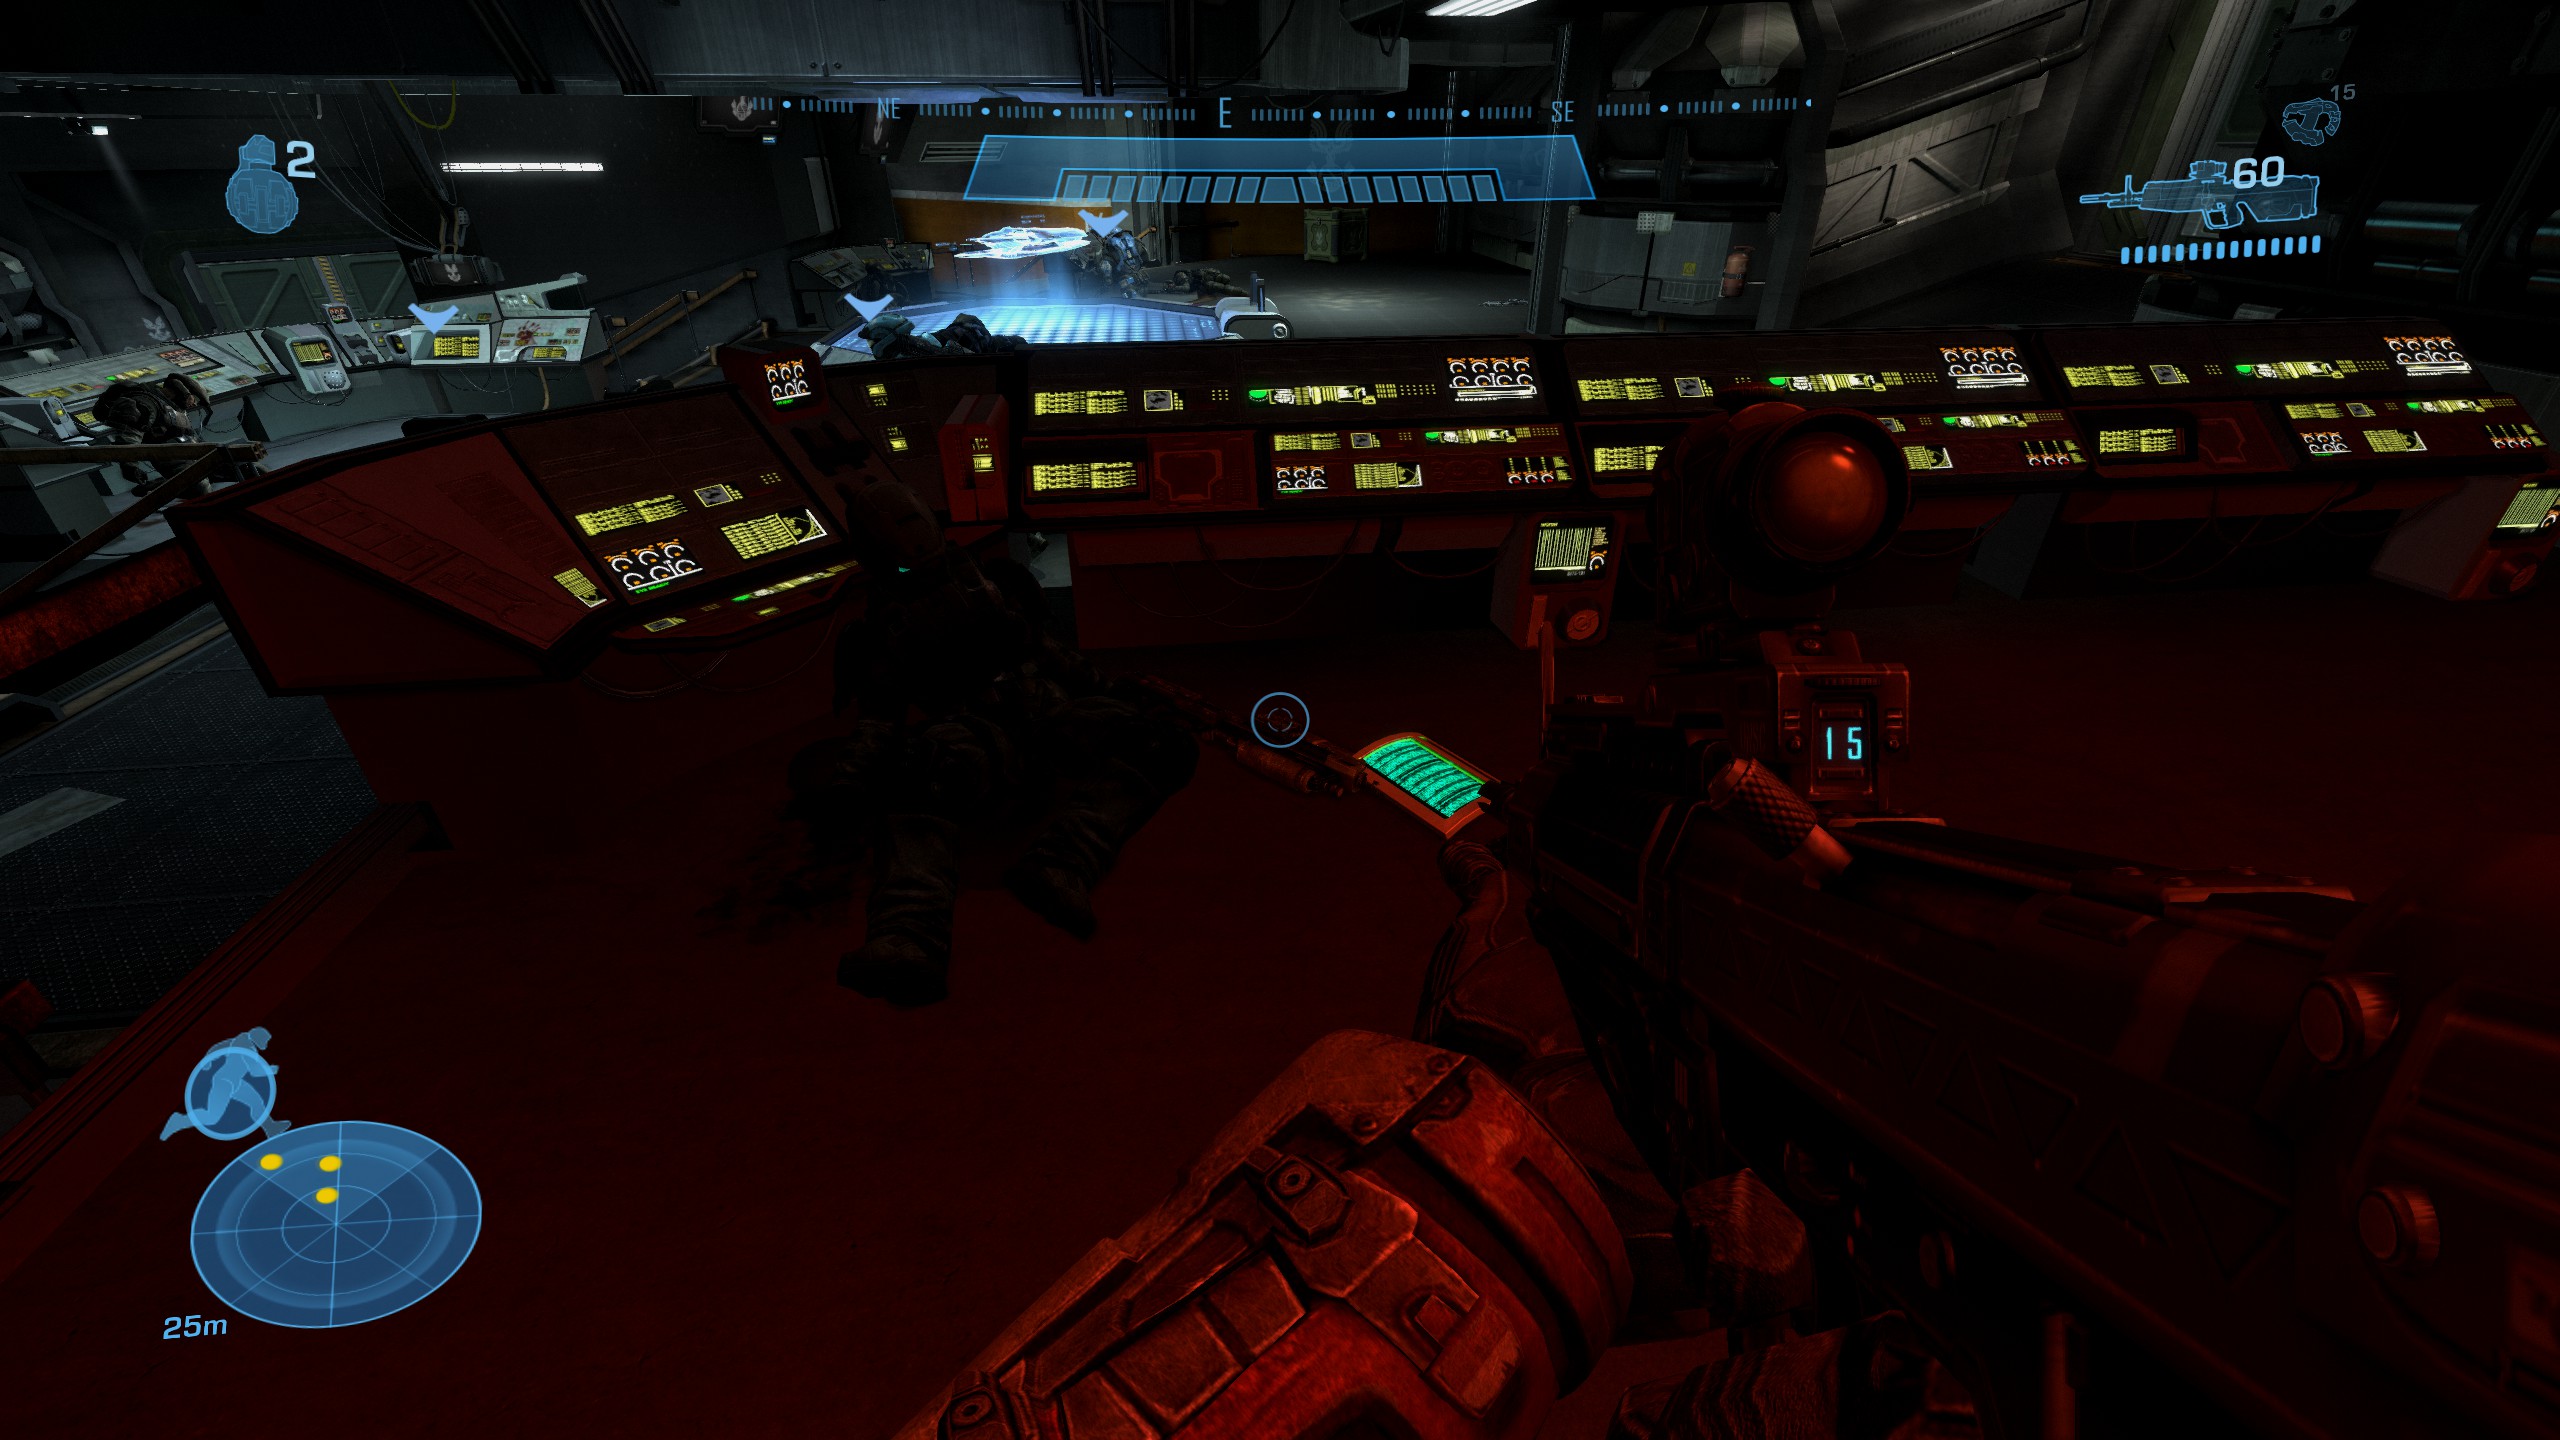
After raiding the beach and entering a dark building, you'll go through a couple of doors before reaching a room with a large, glowing table. Look for stairs on the left that lead into a small control room area with the data pad on the floor.
 Data Pad #14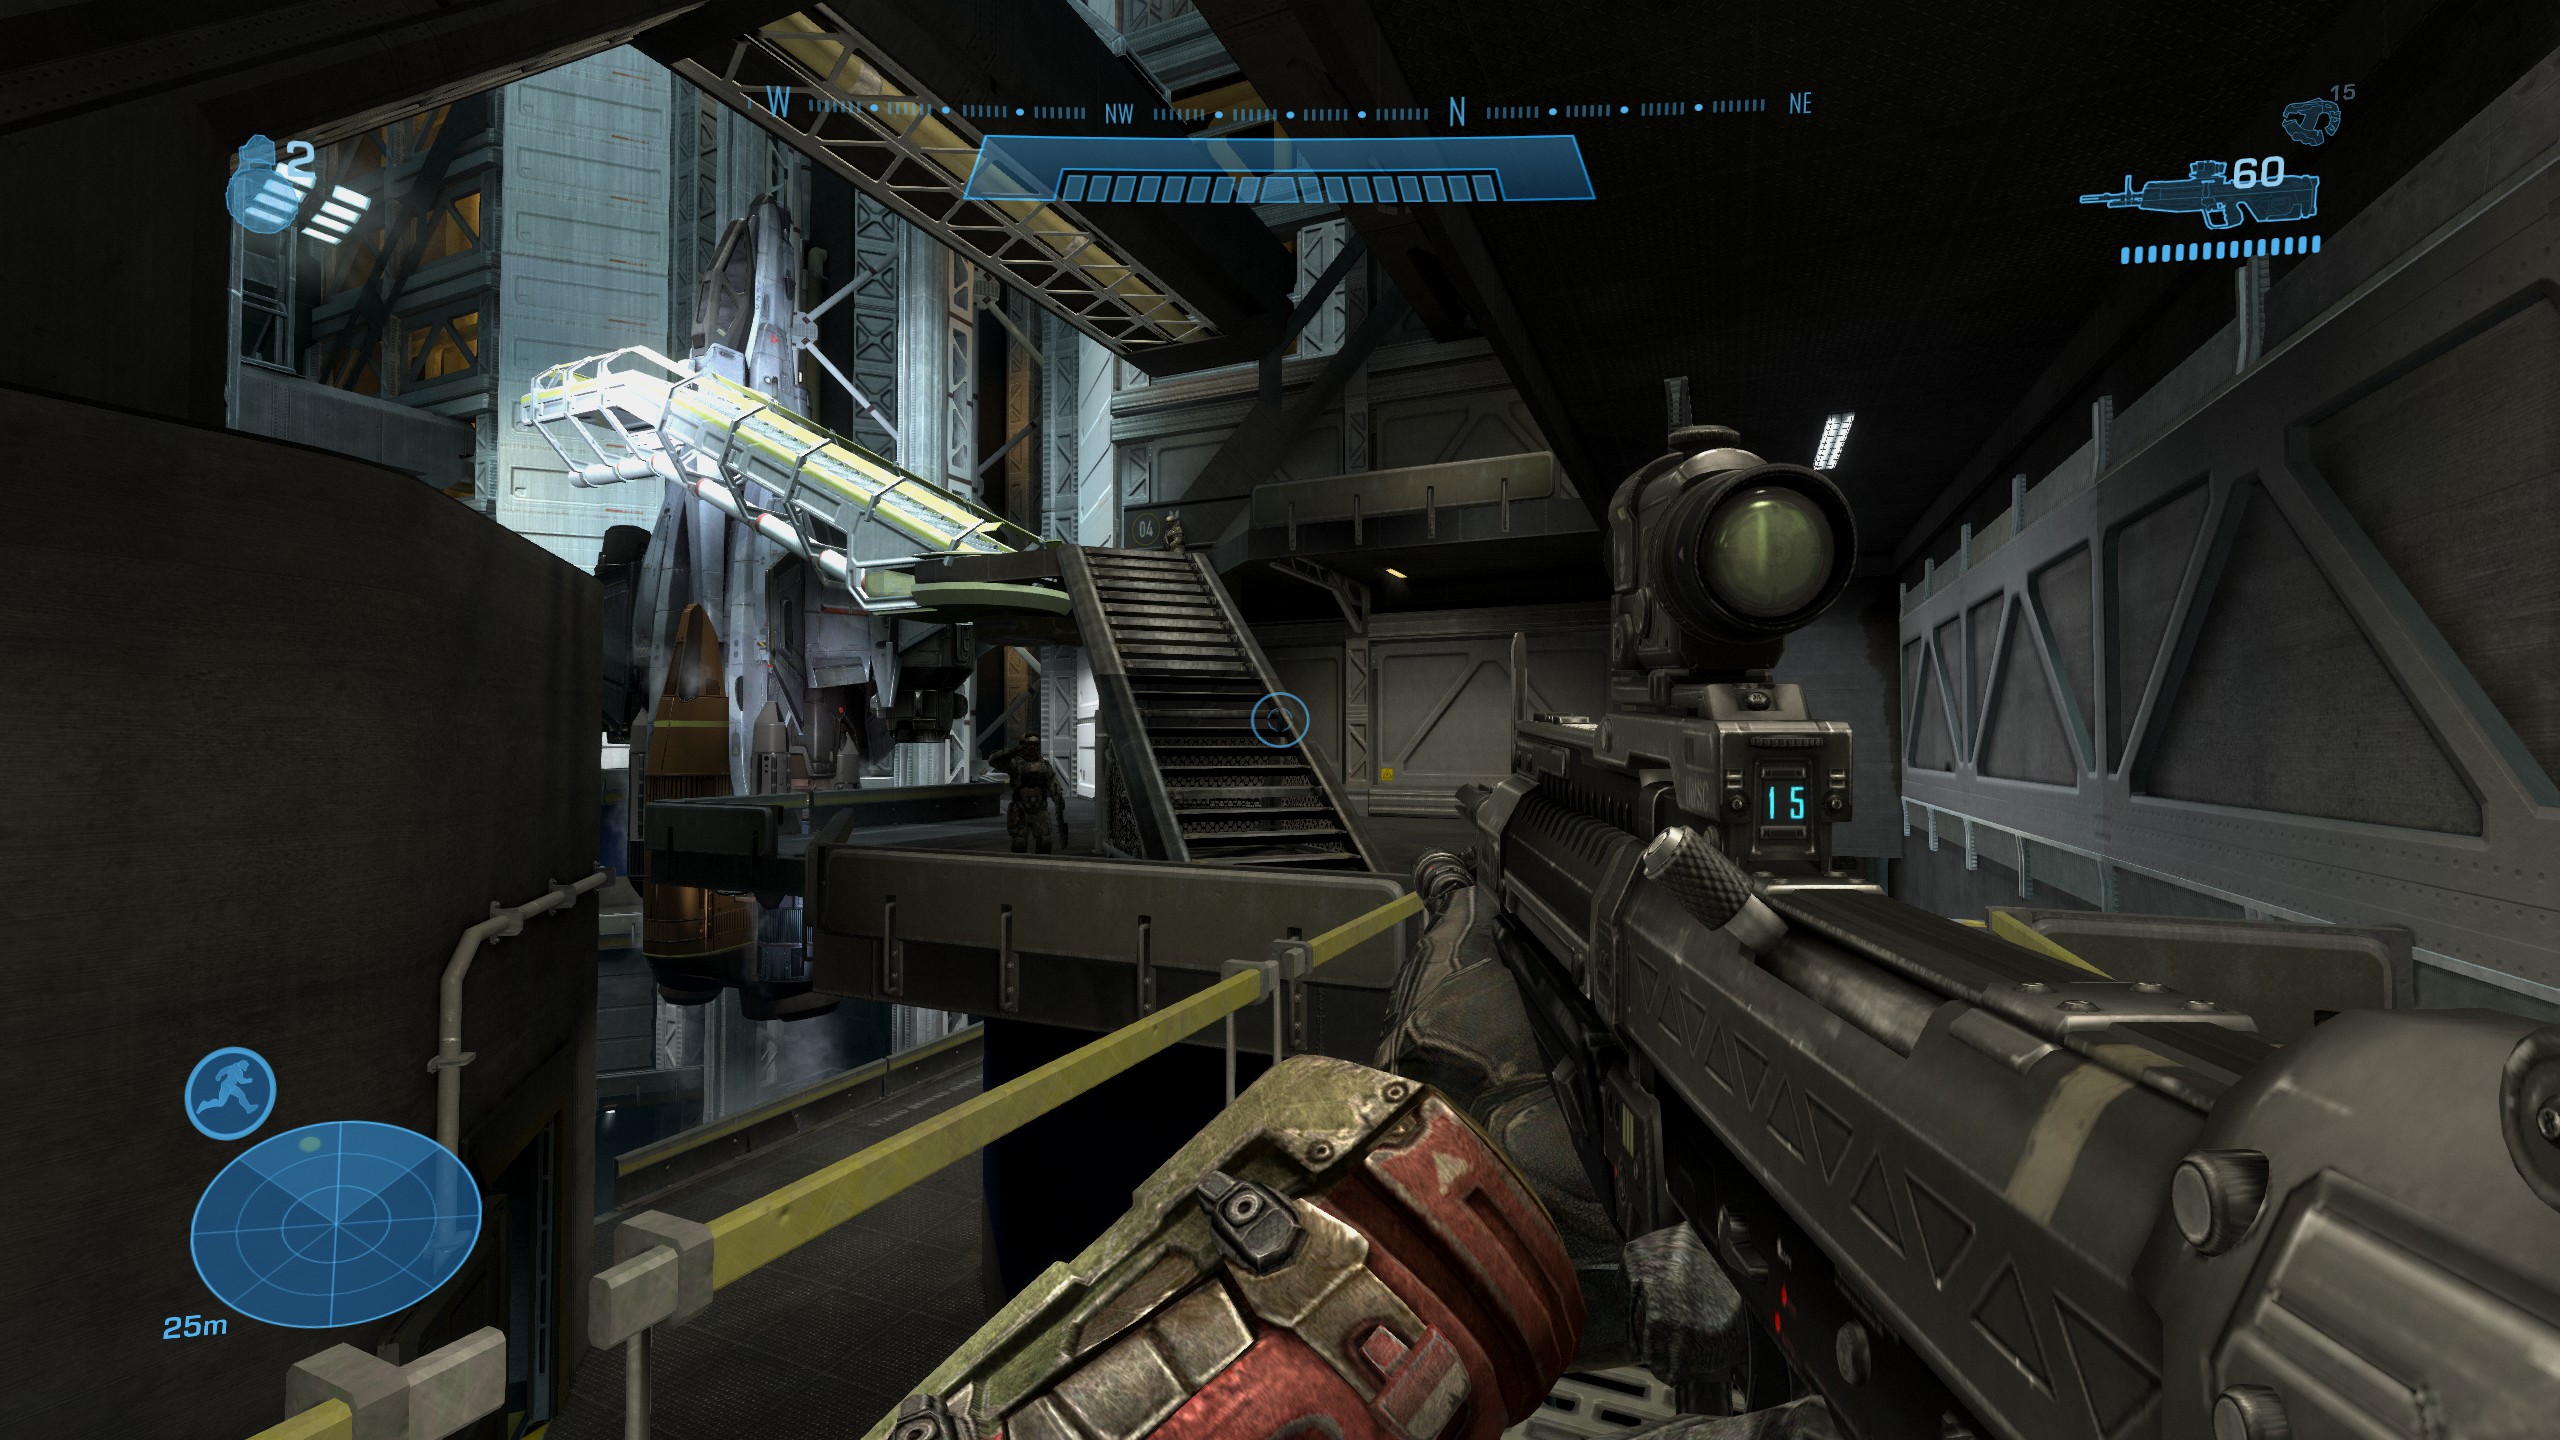
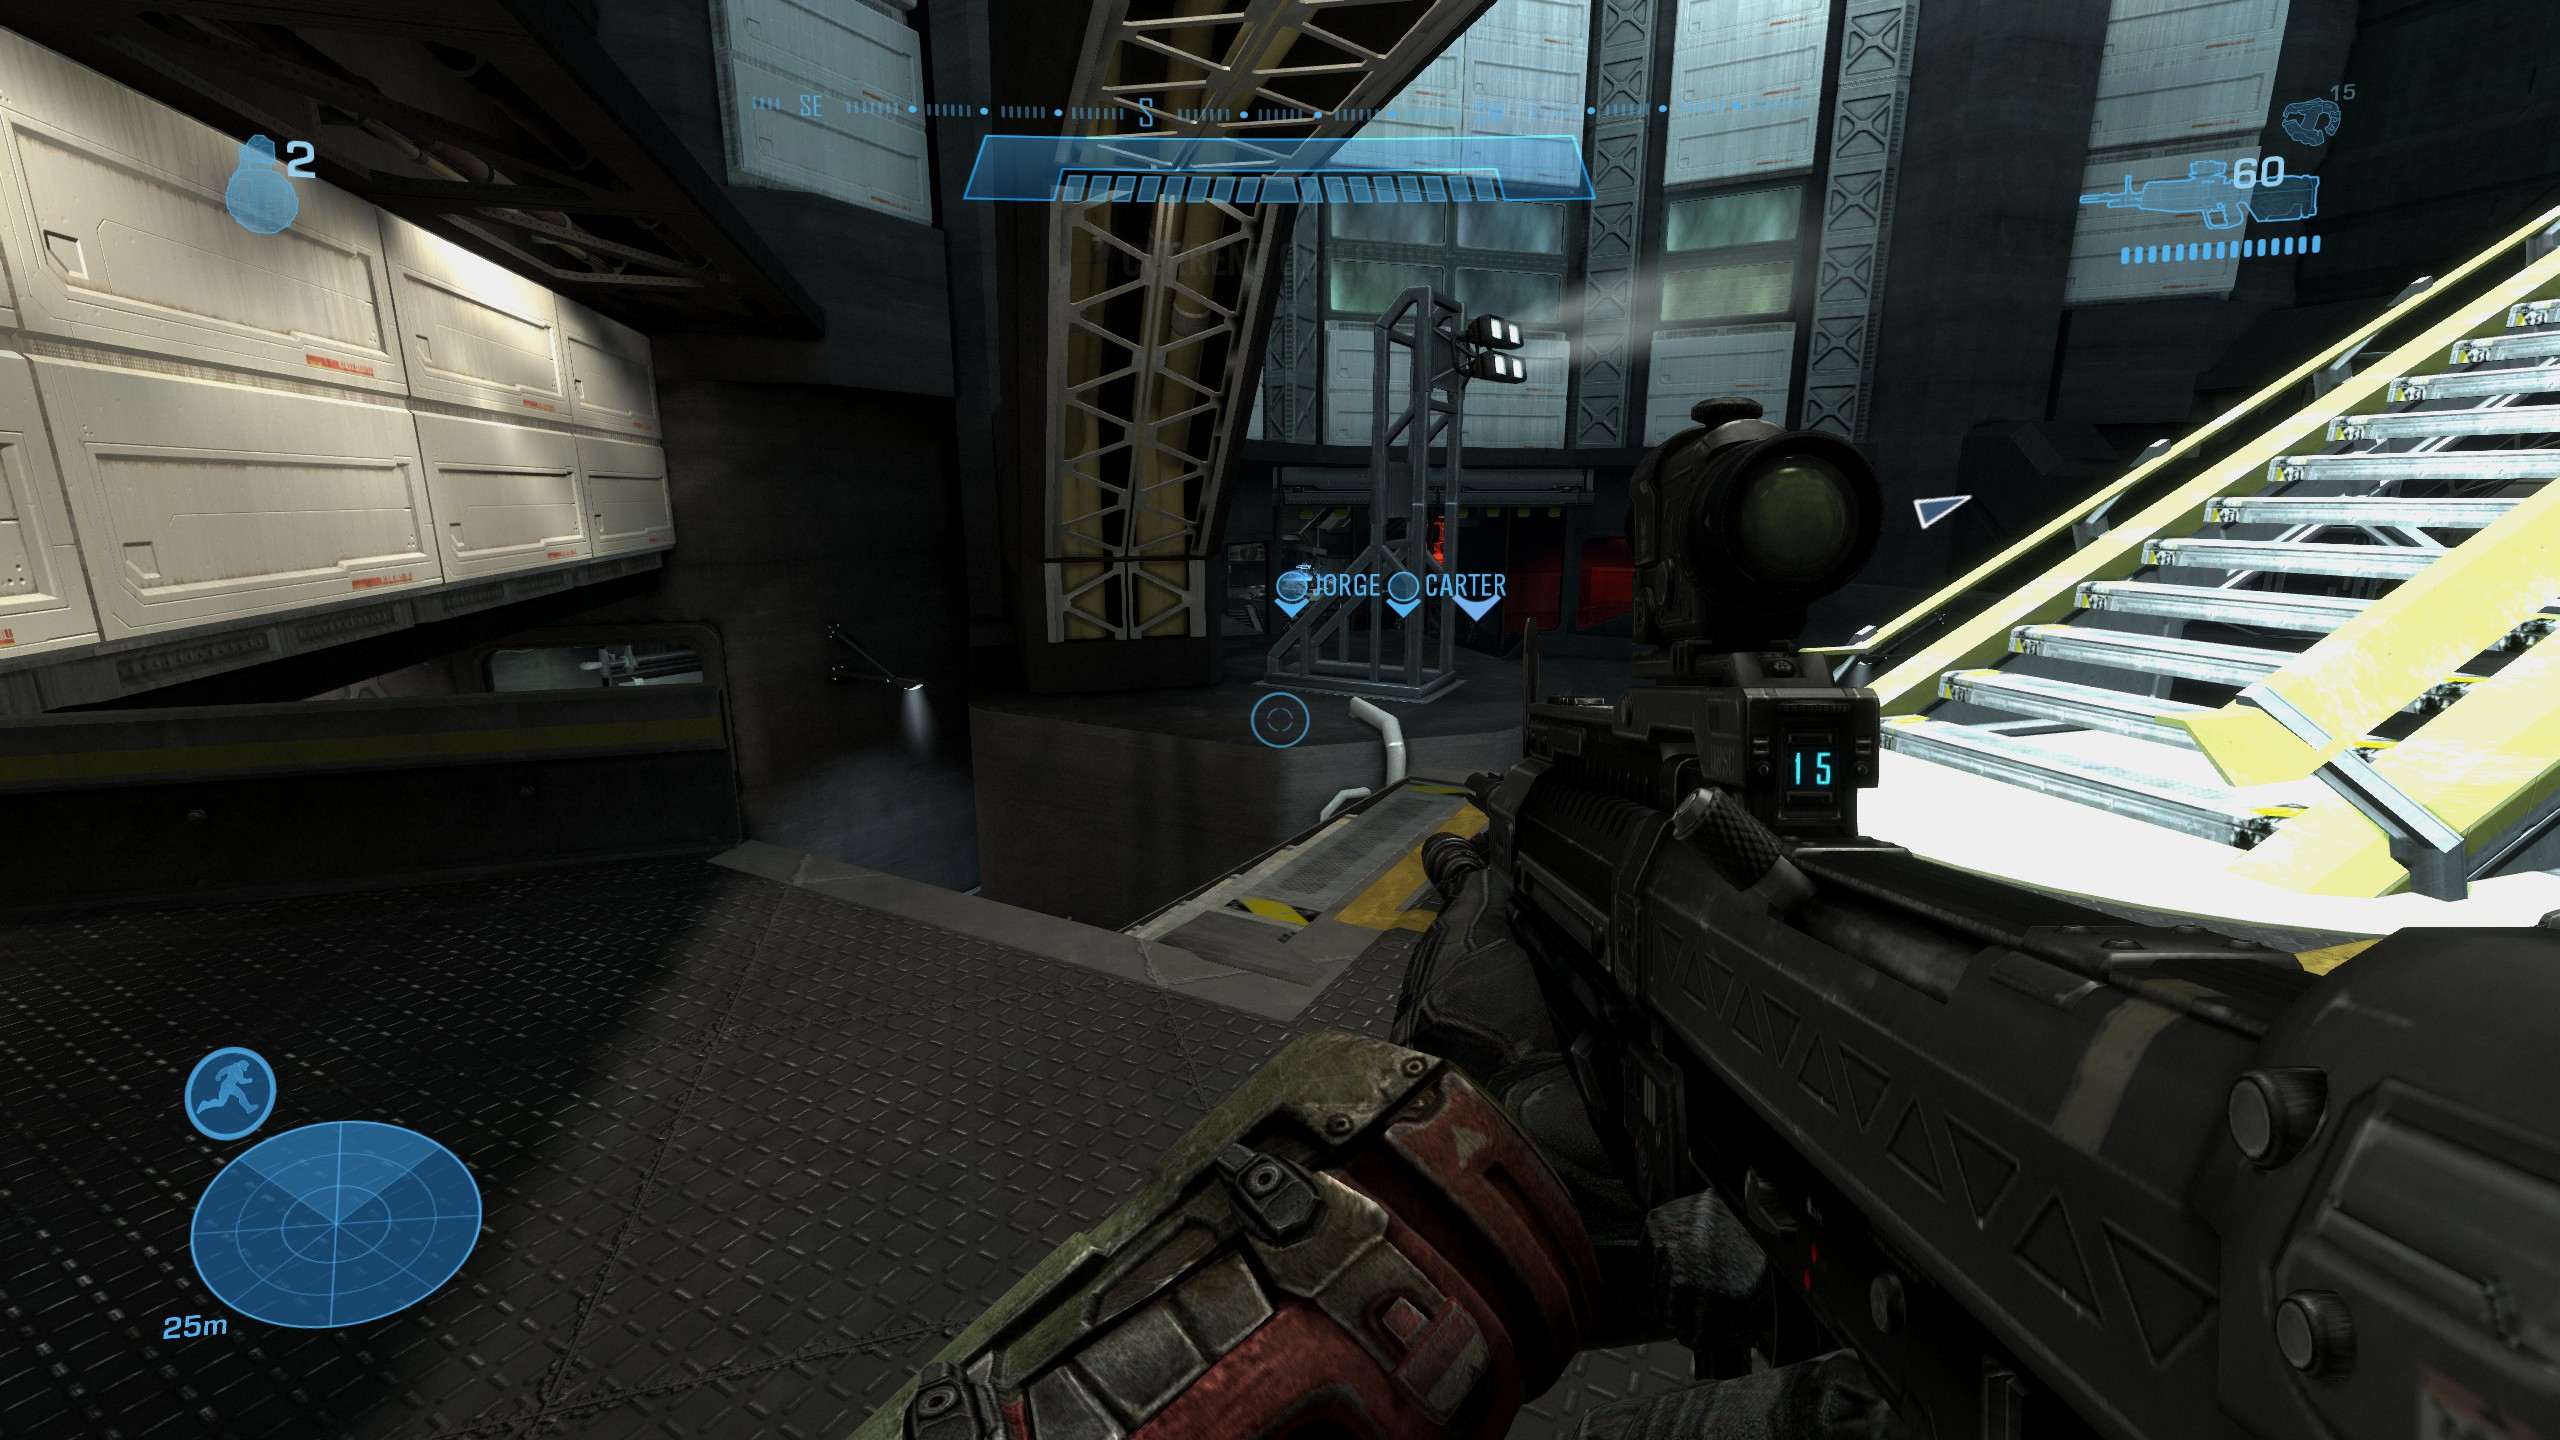
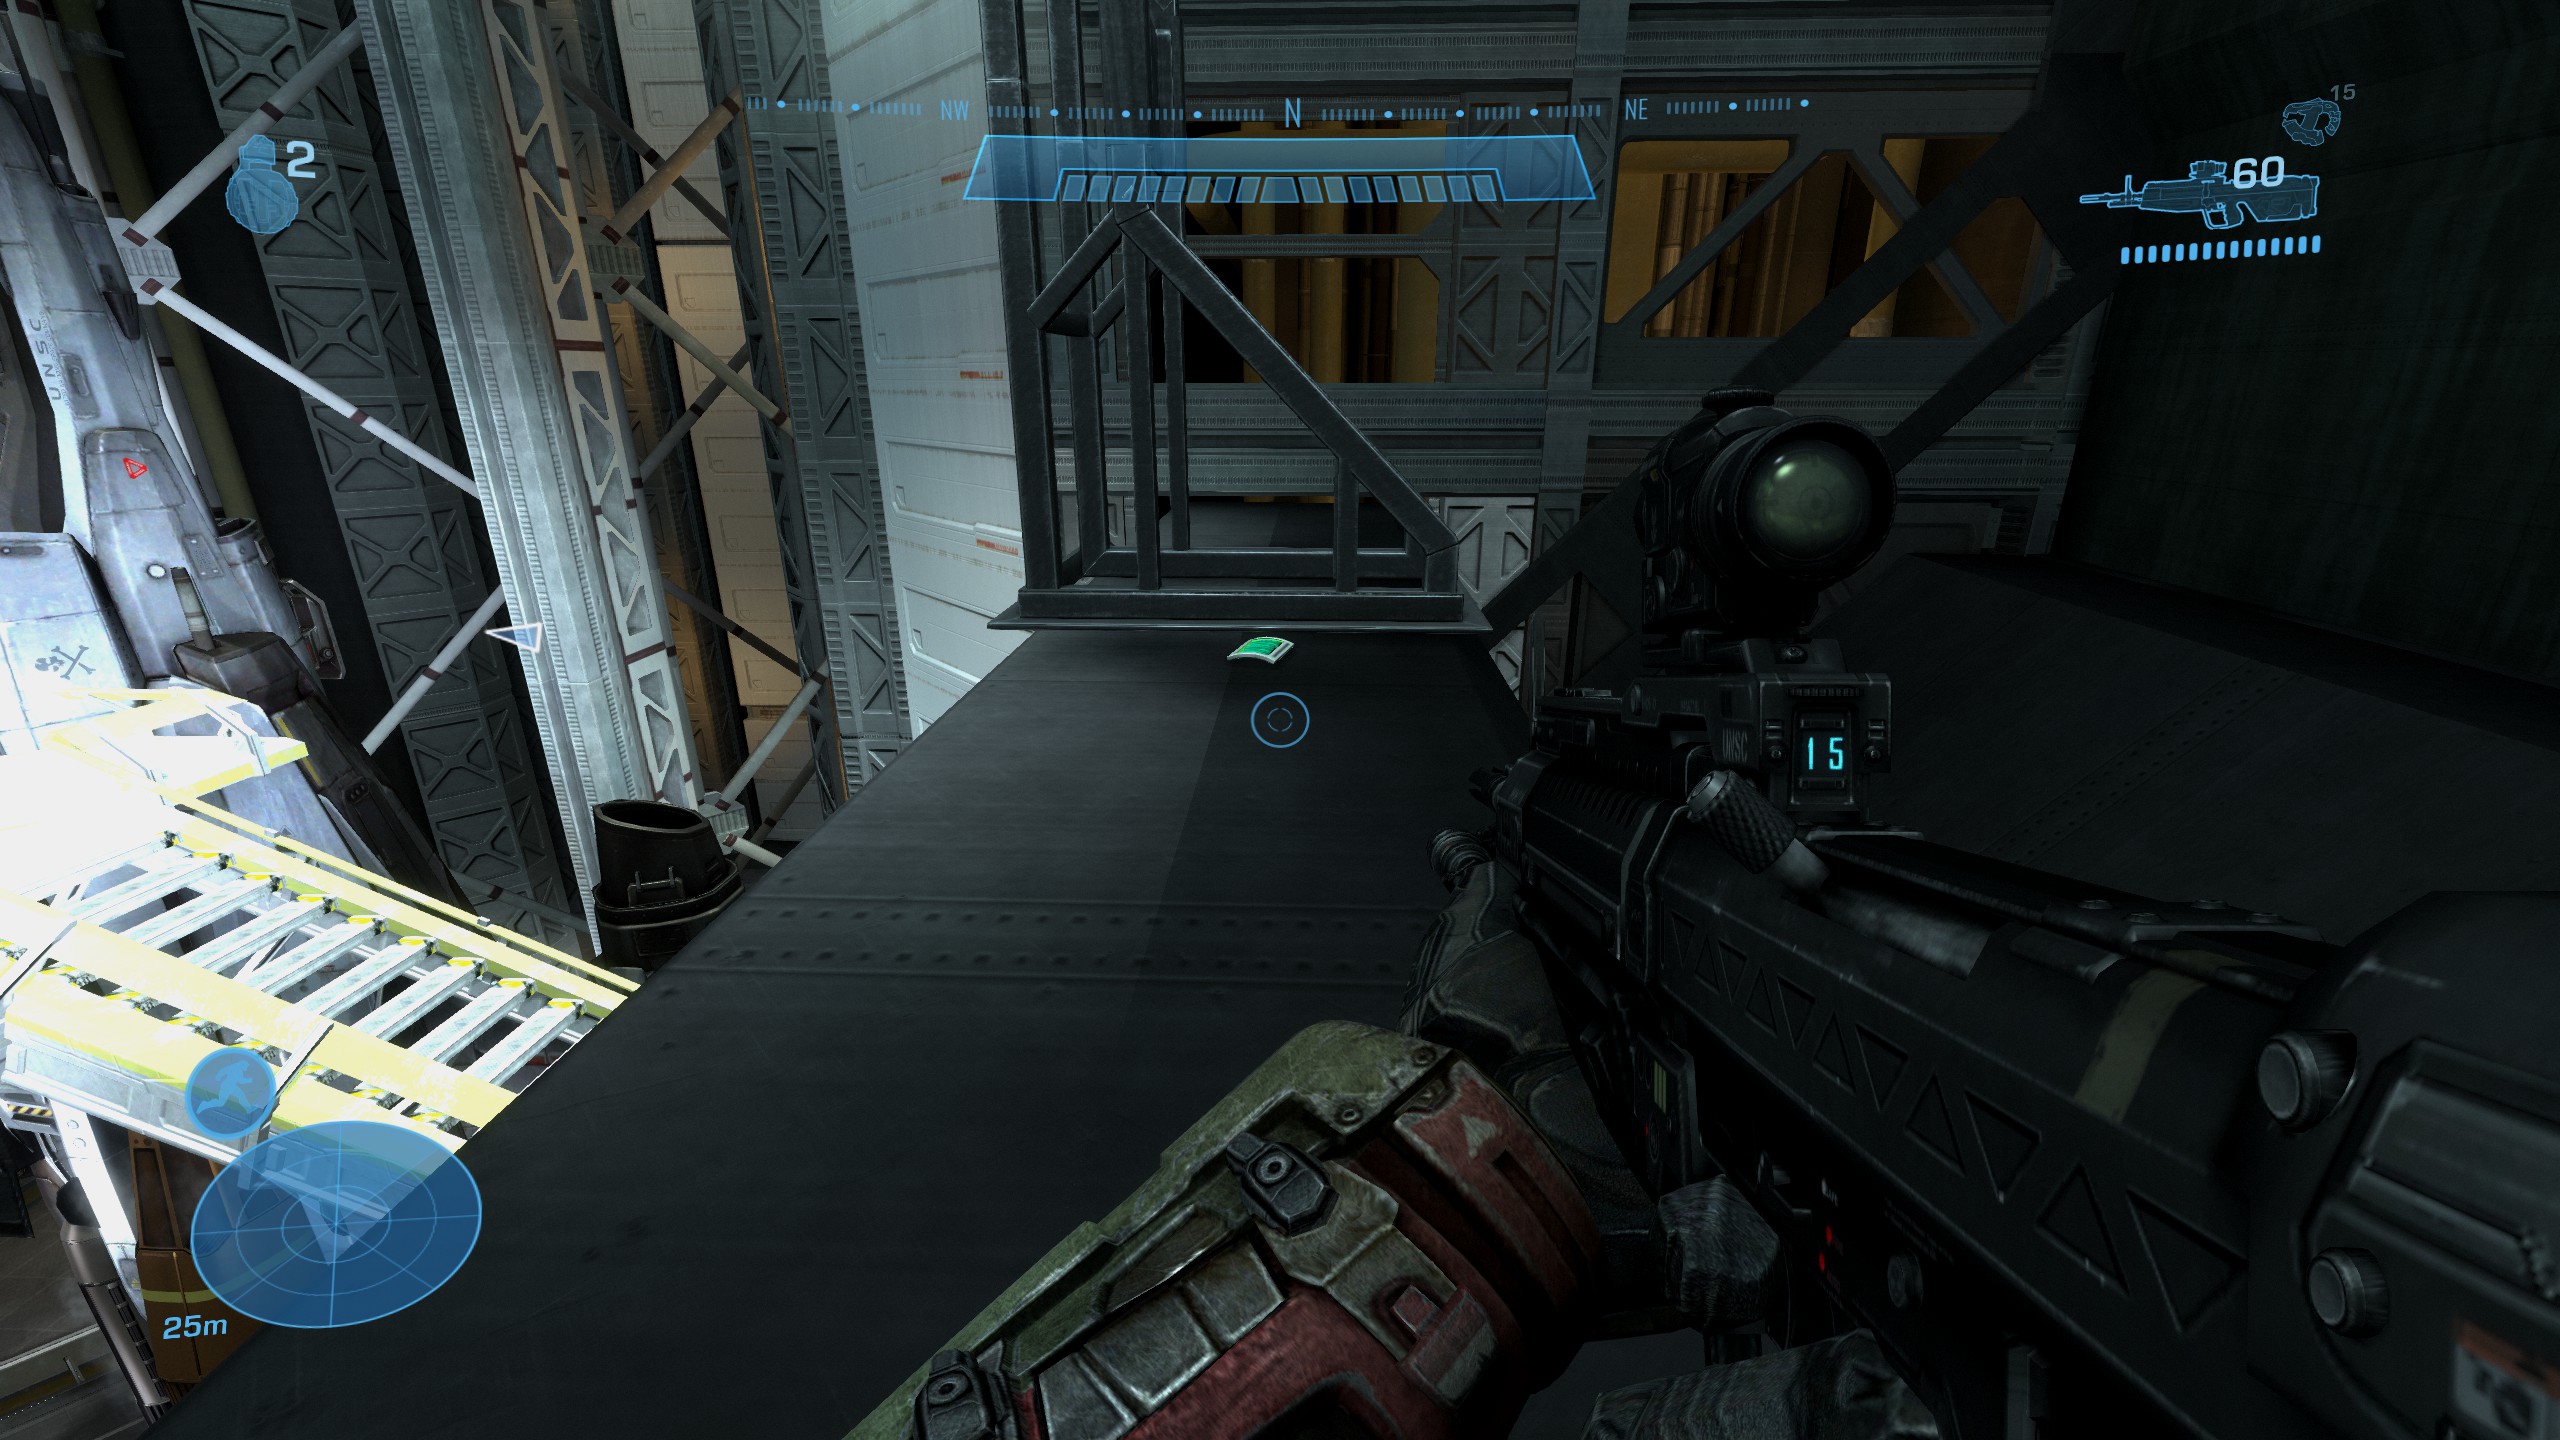
Exodus
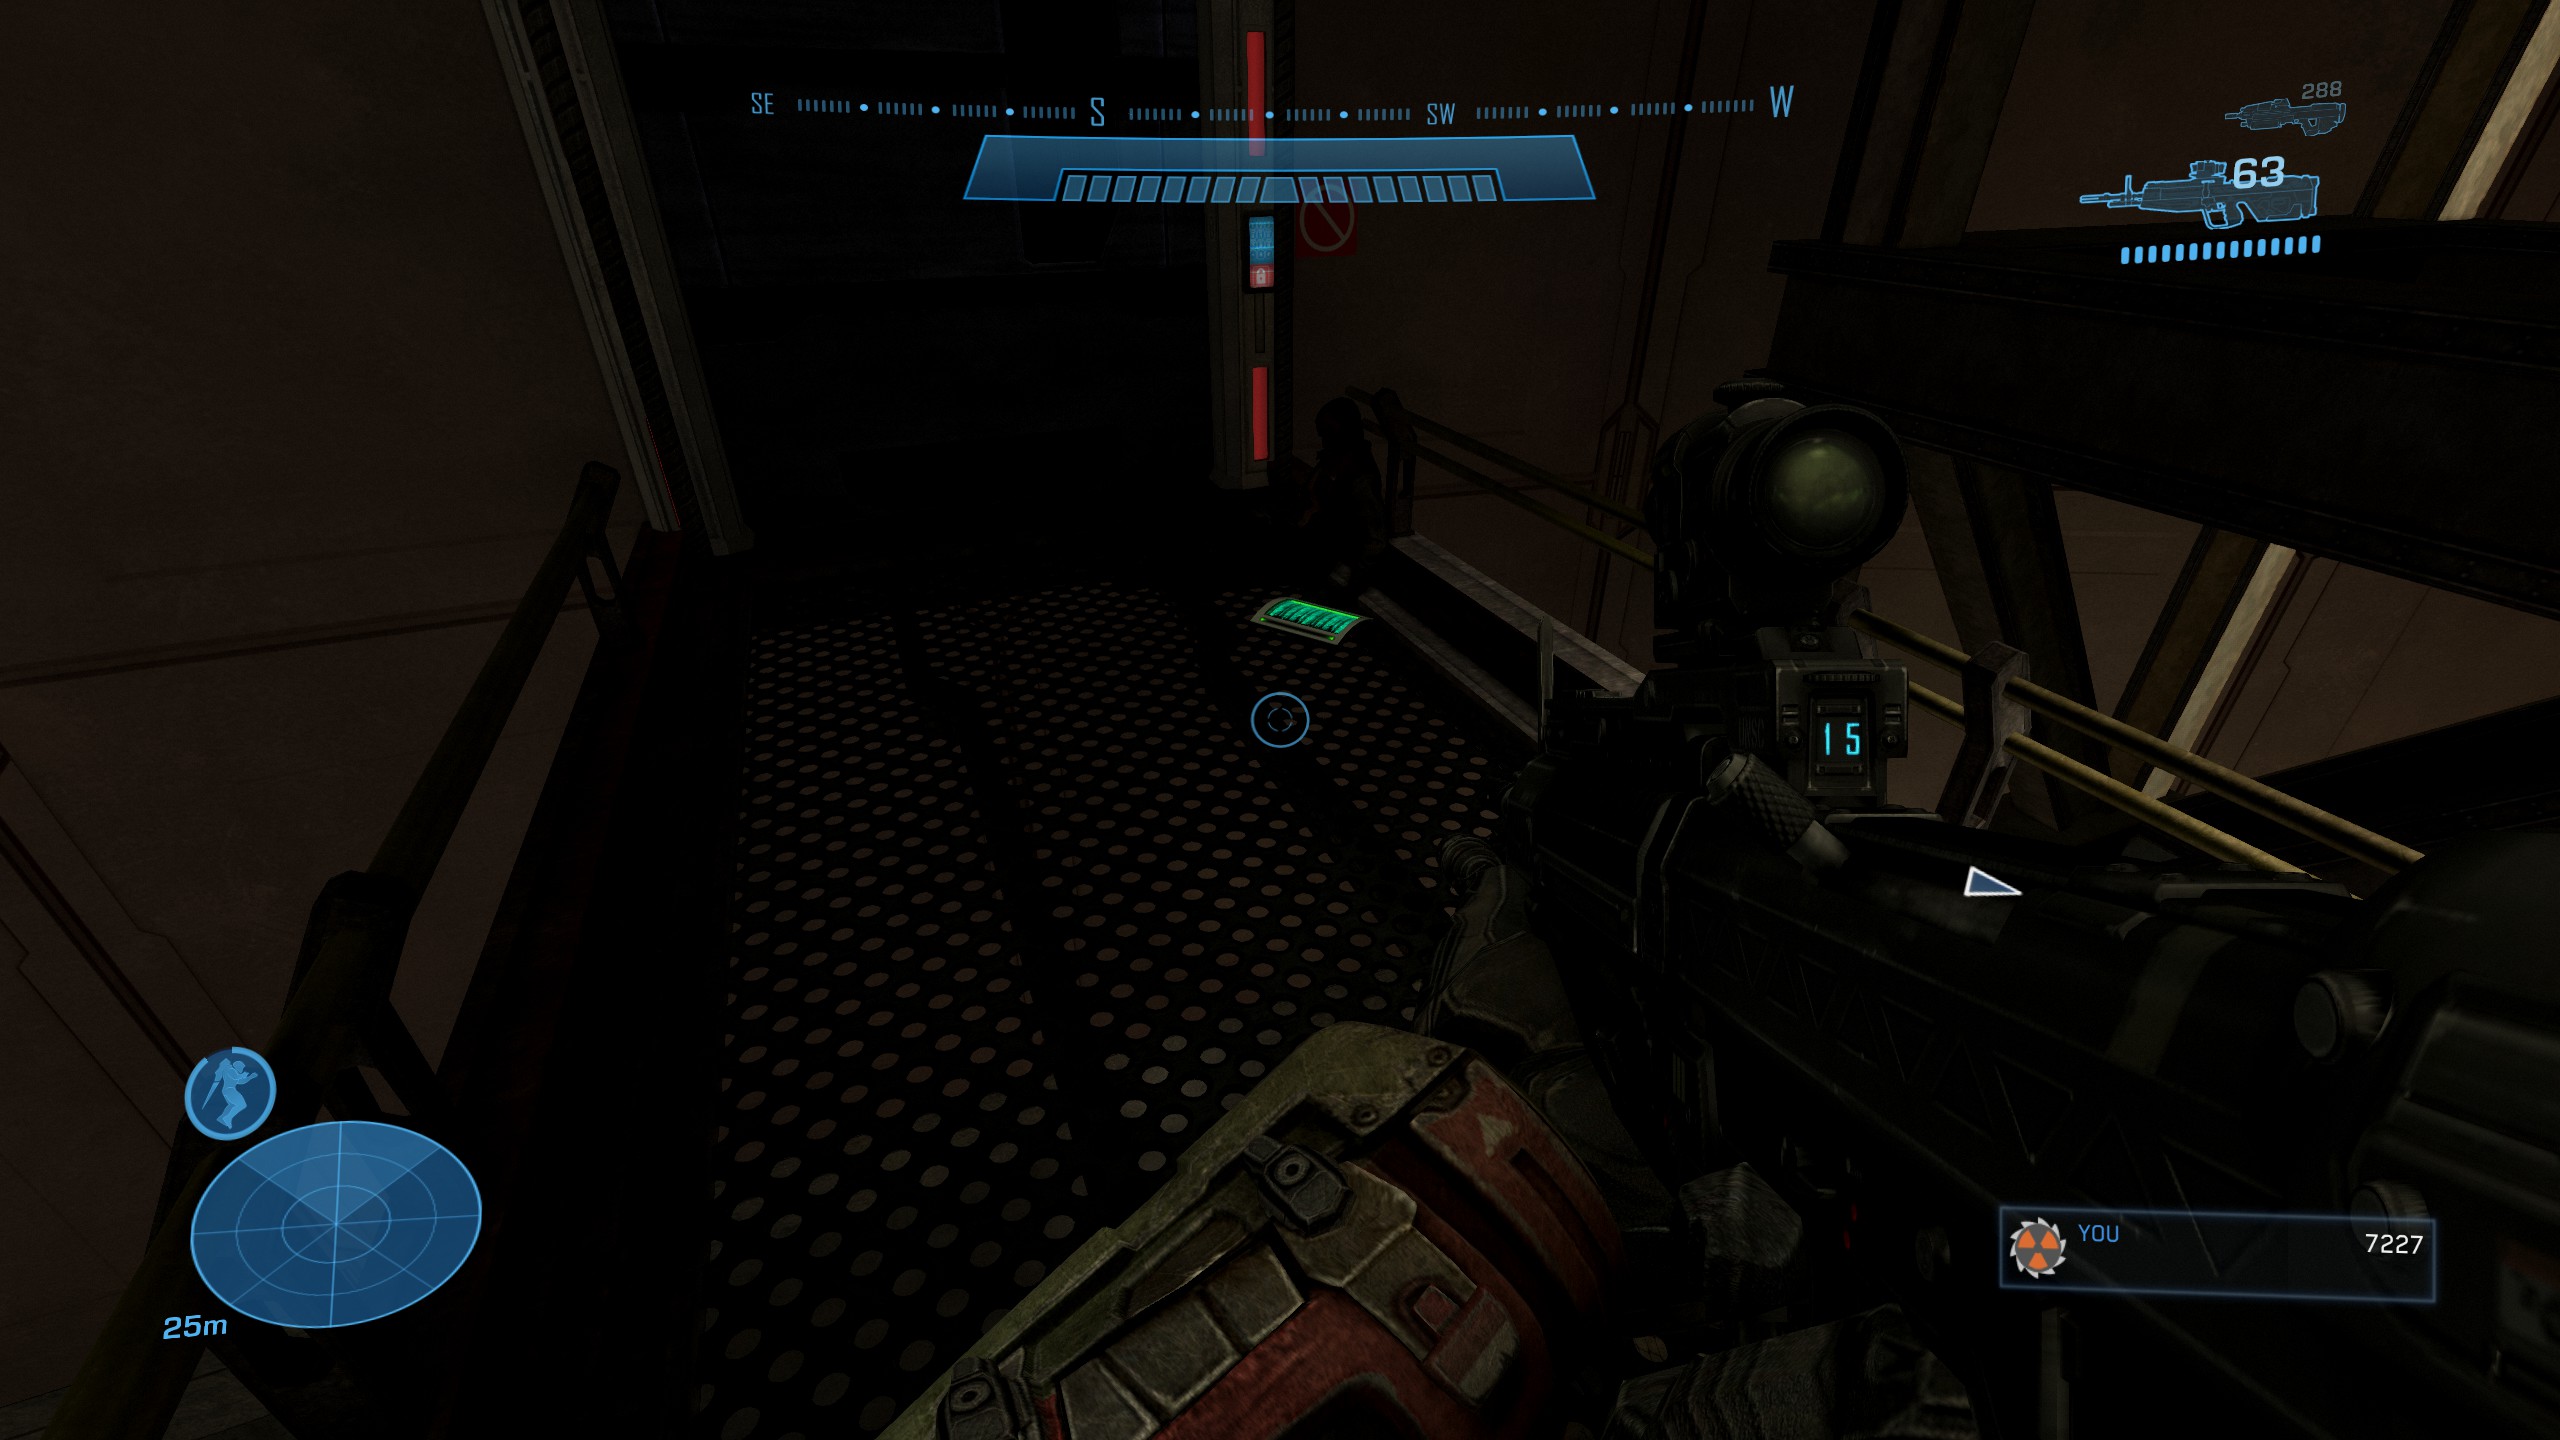
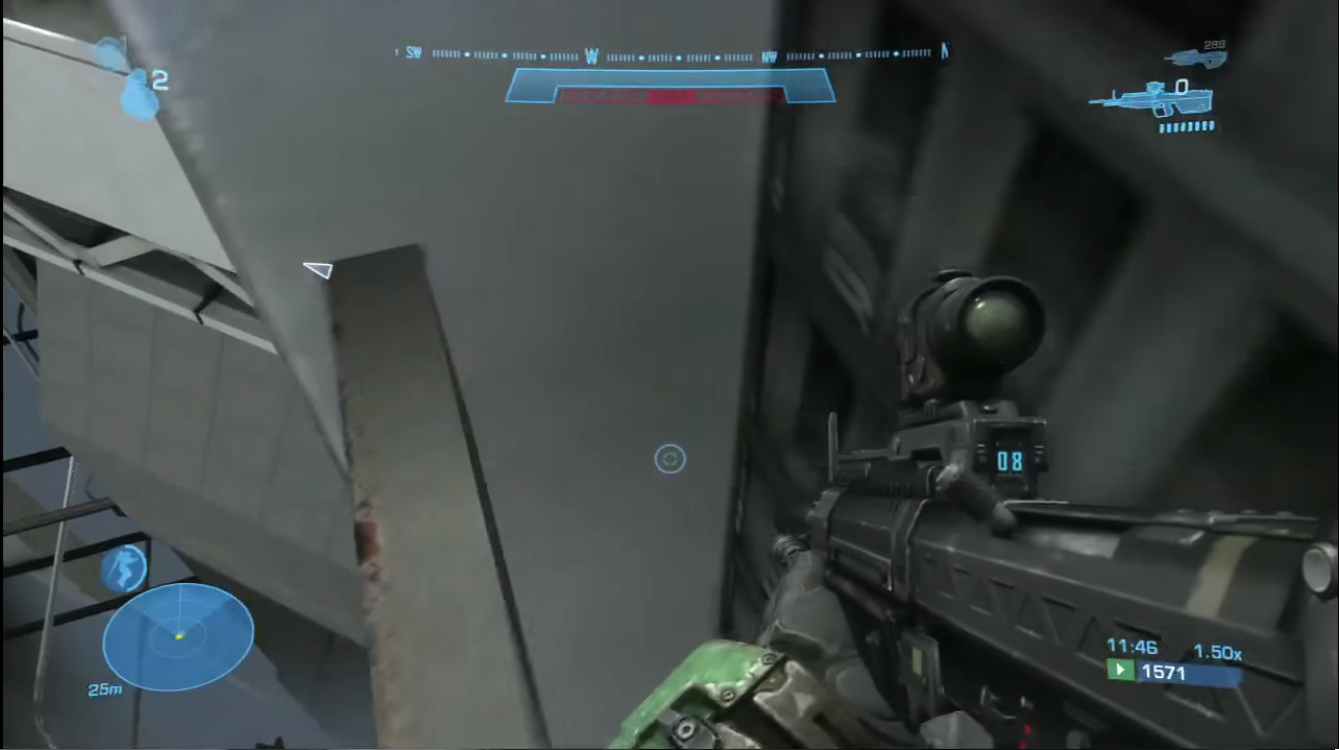
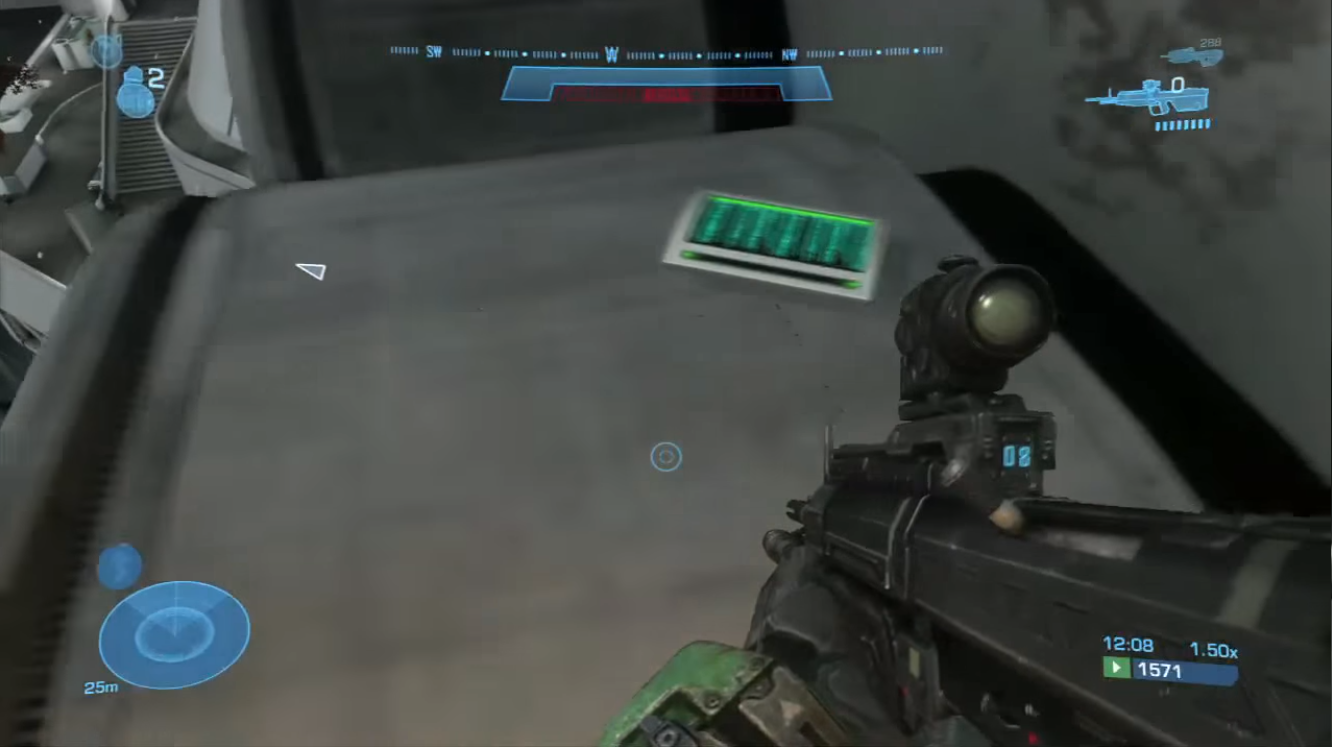
After crossing a large open area with the jet pack, you'll land in a warzone with tons of enemies. Shoot through 'em to get to the unlit catwalks overhead. The data pad is on top of the catwalk.
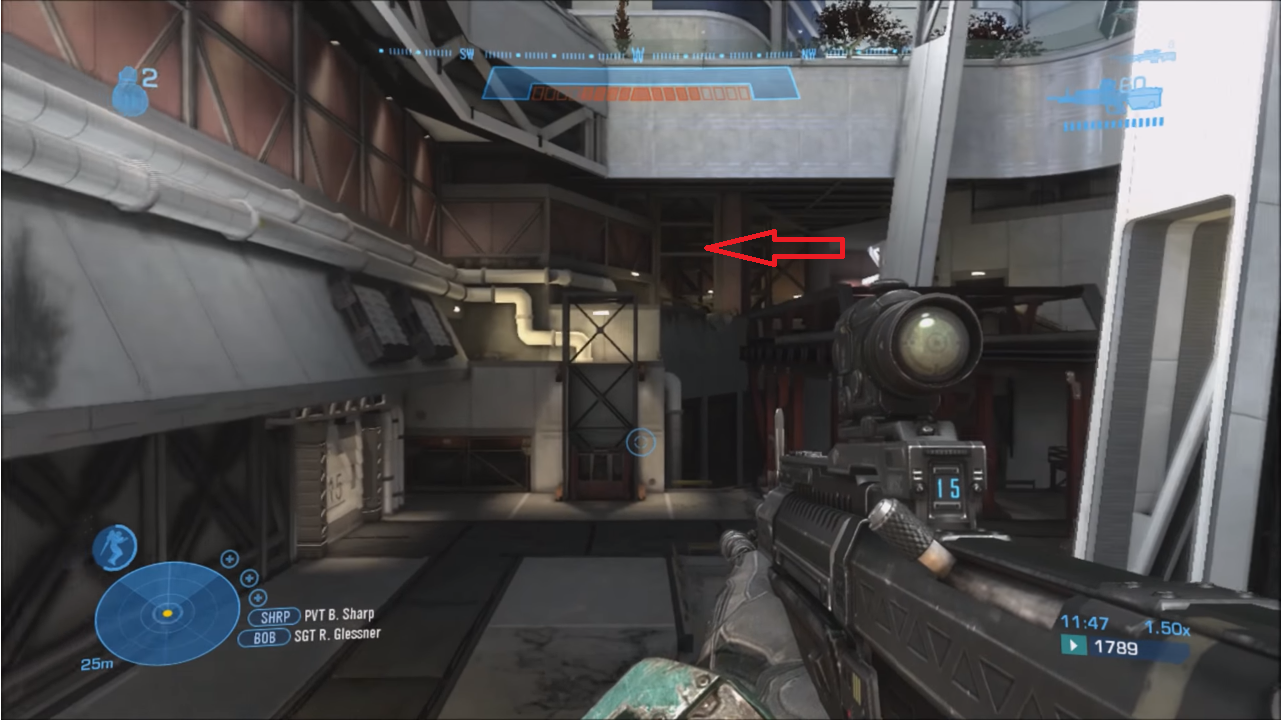
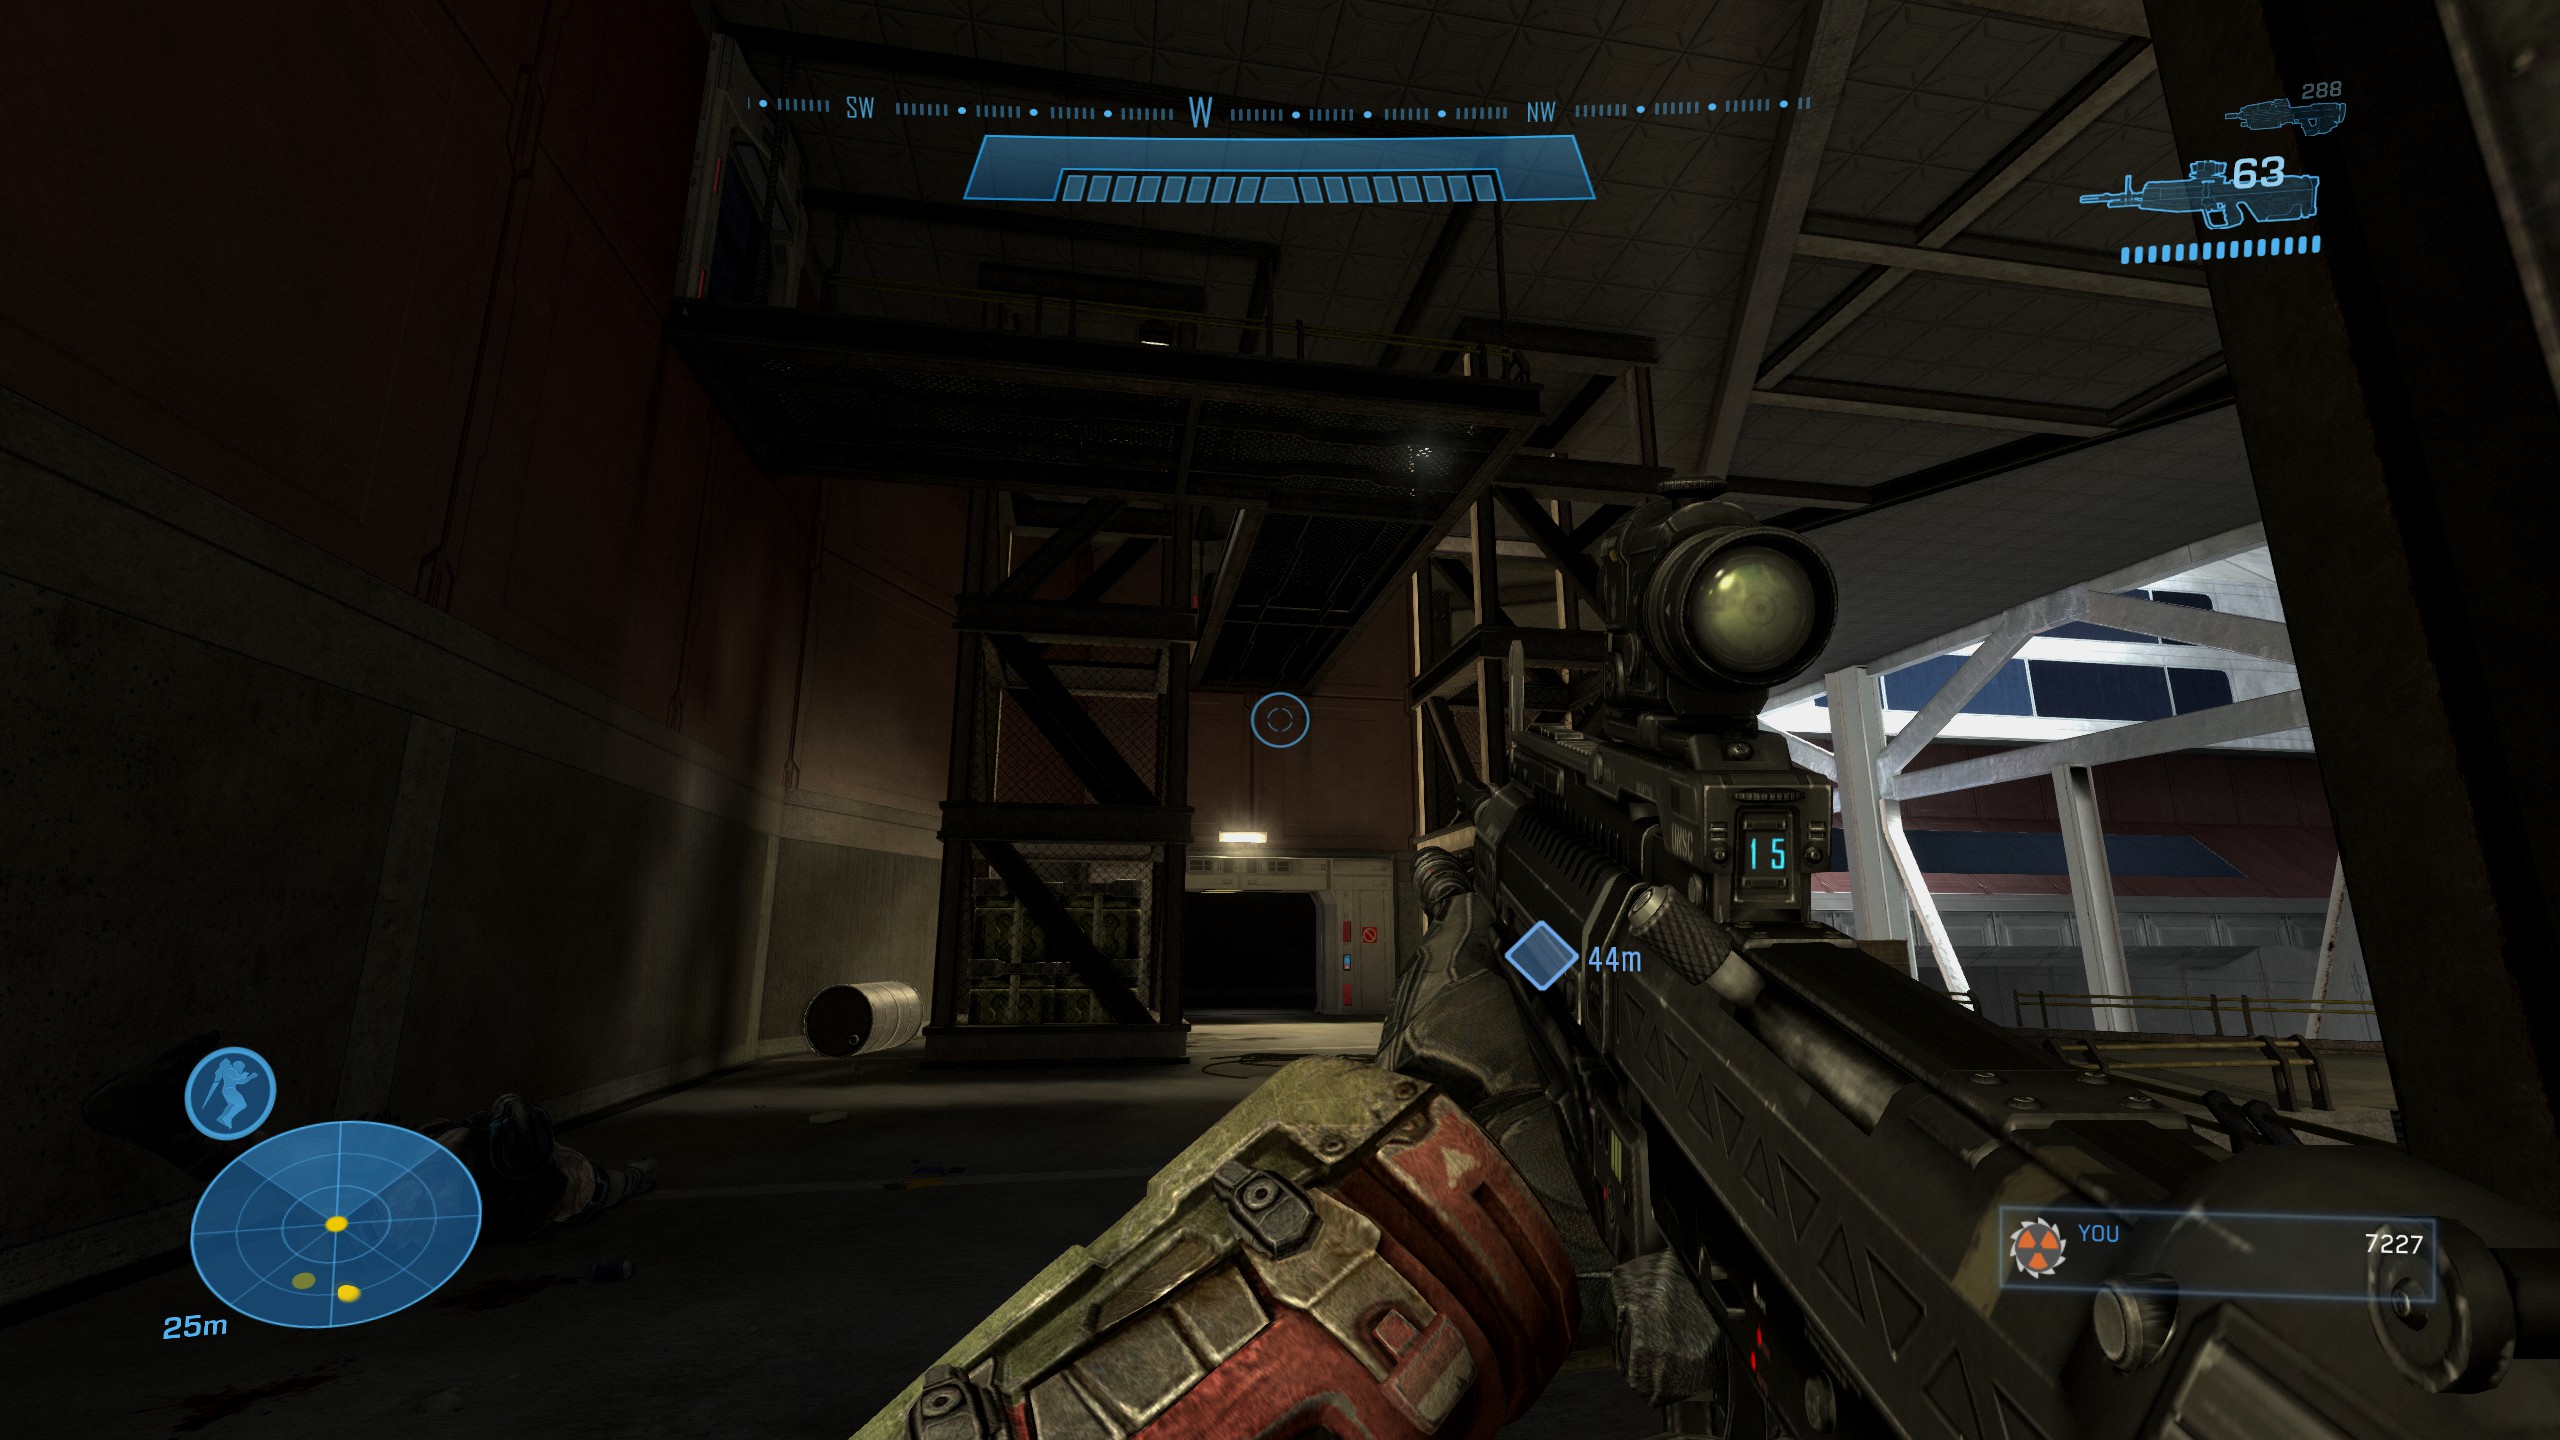
 Data Pad #15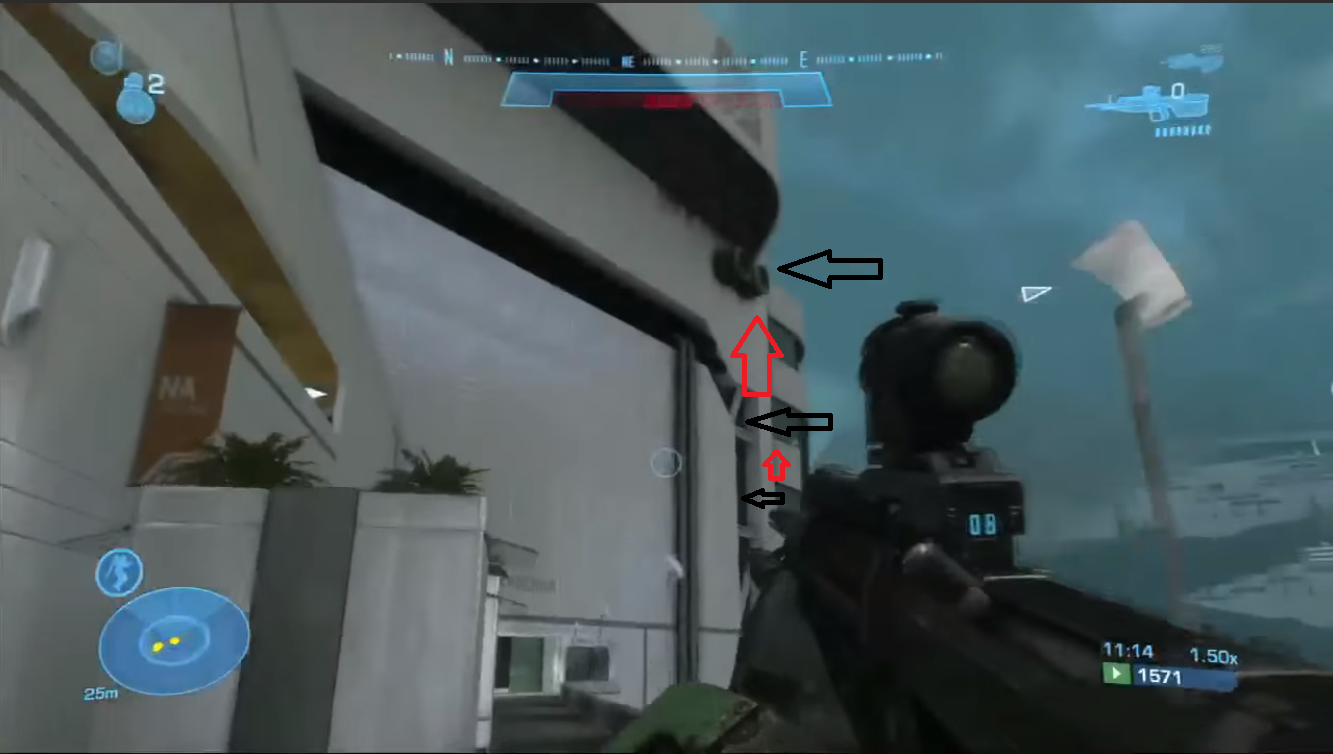
New Alexandria
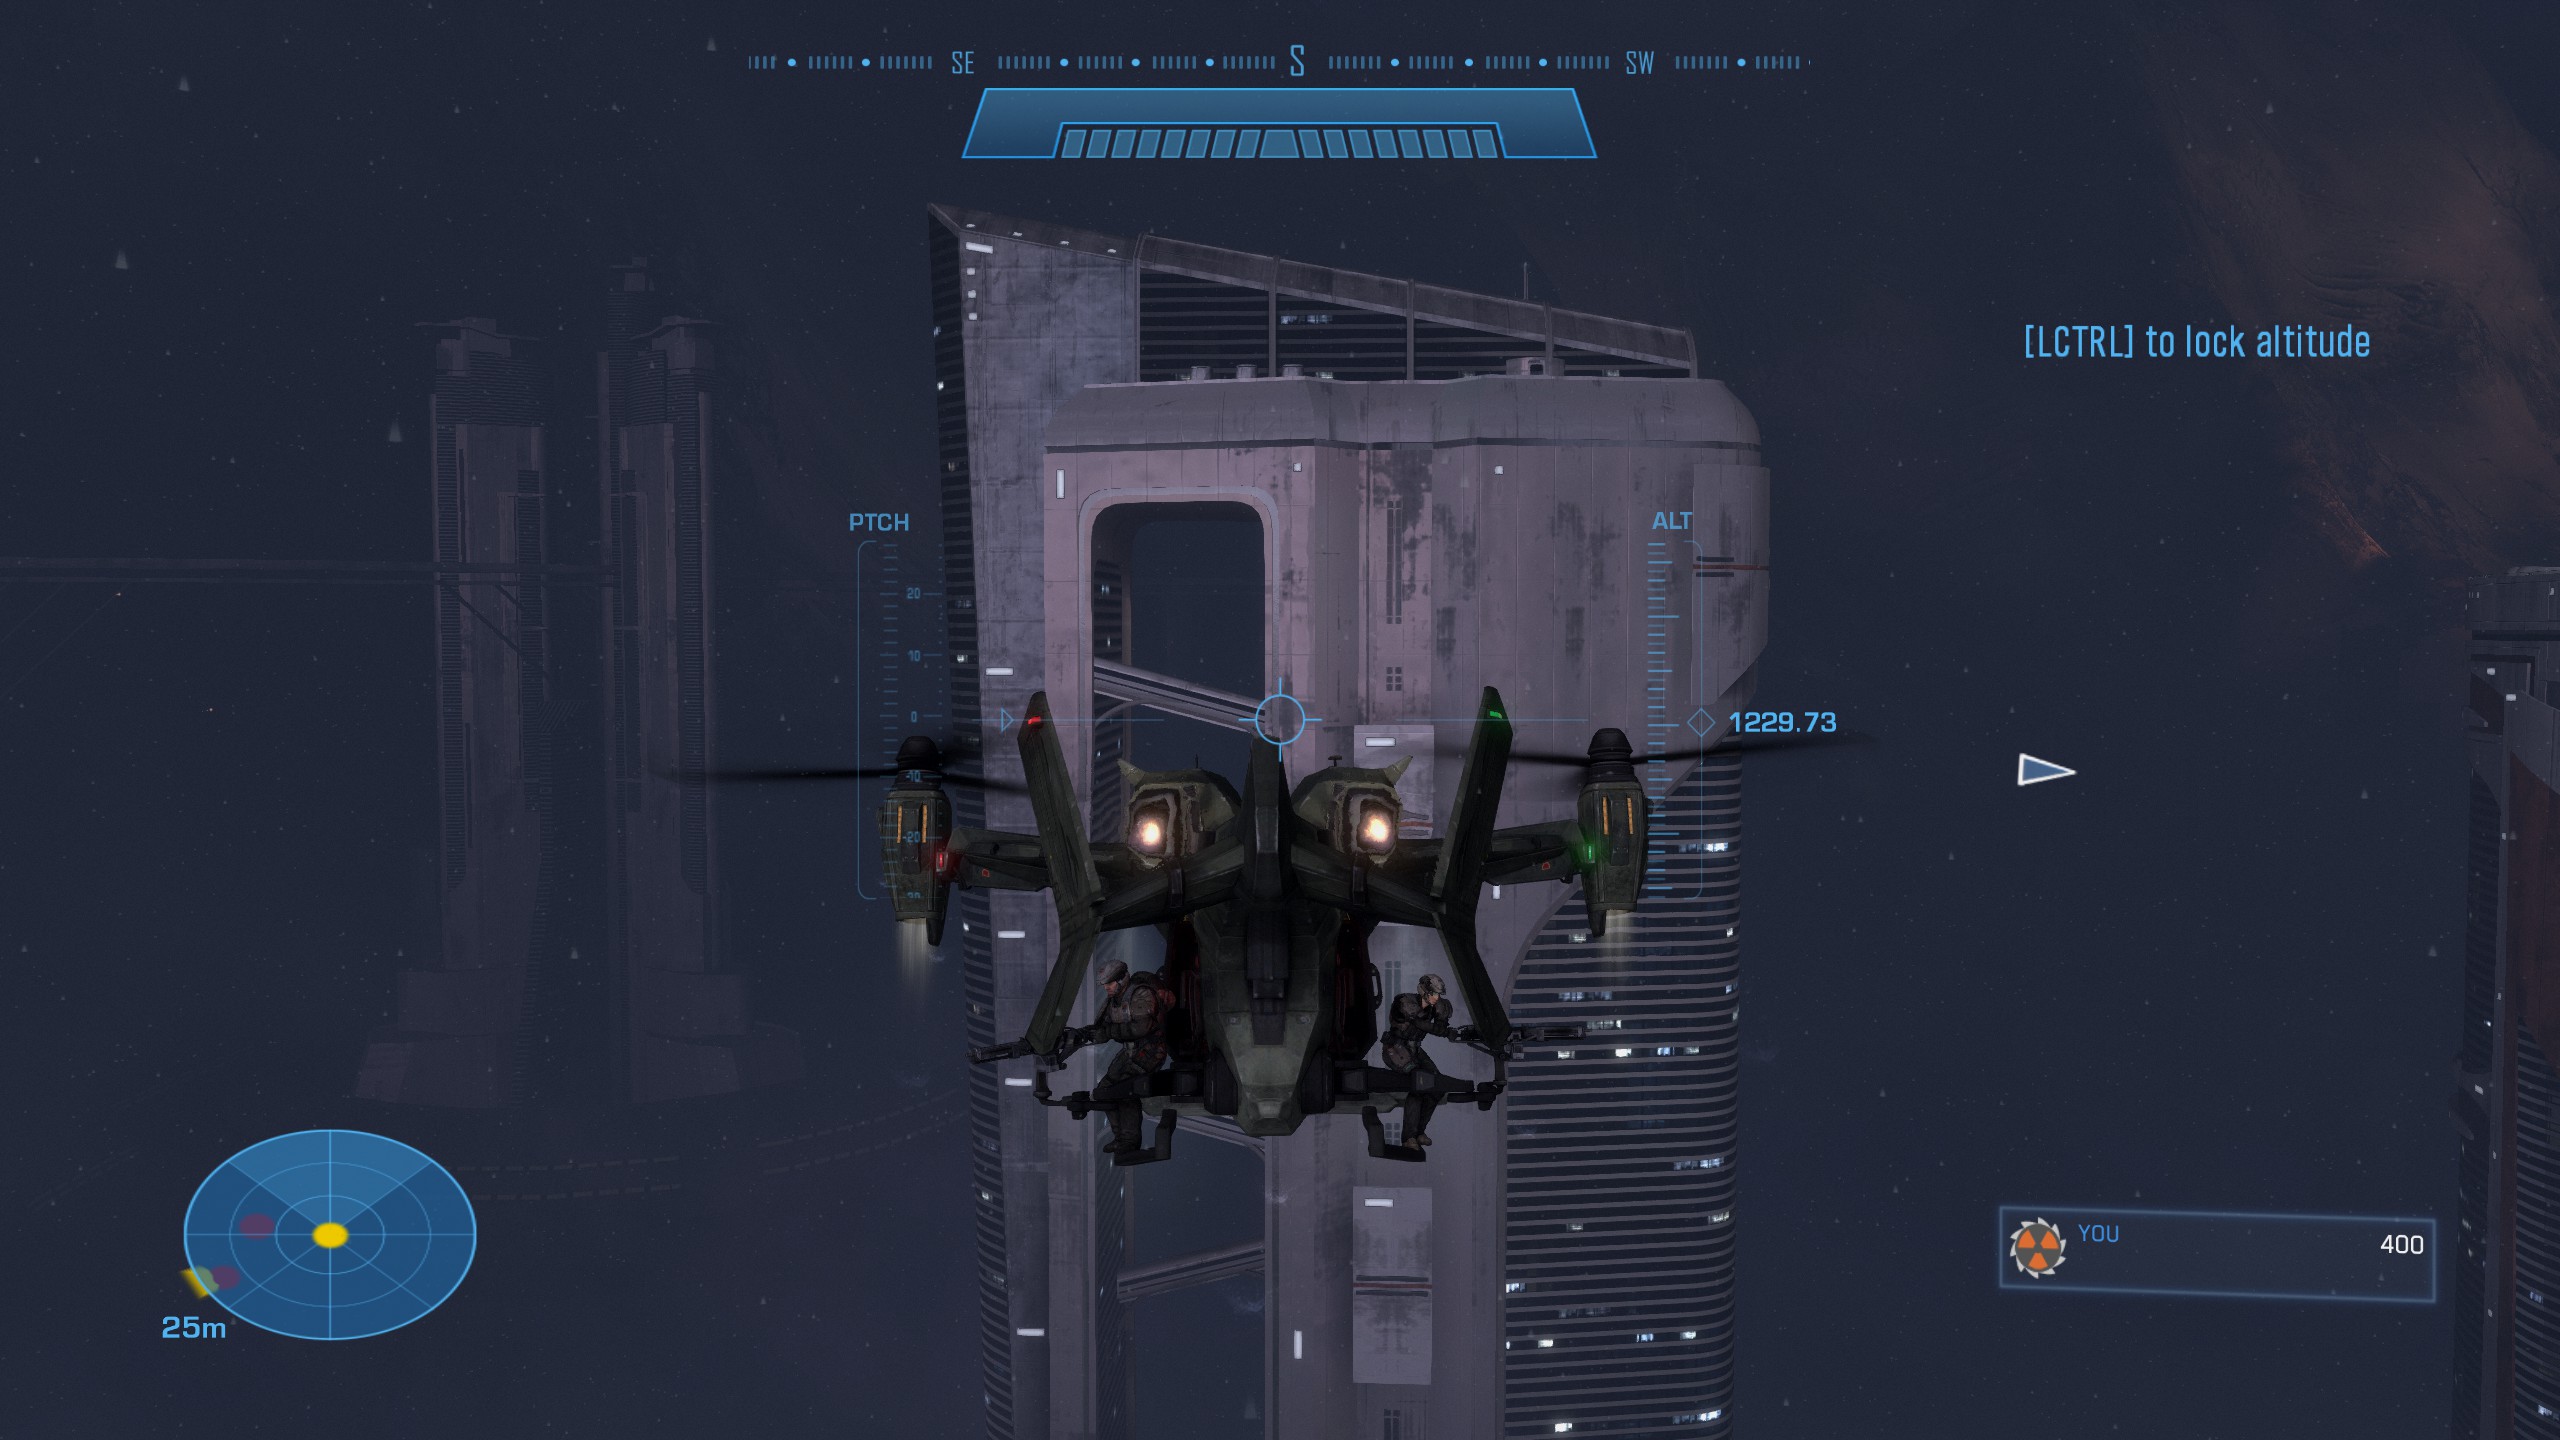
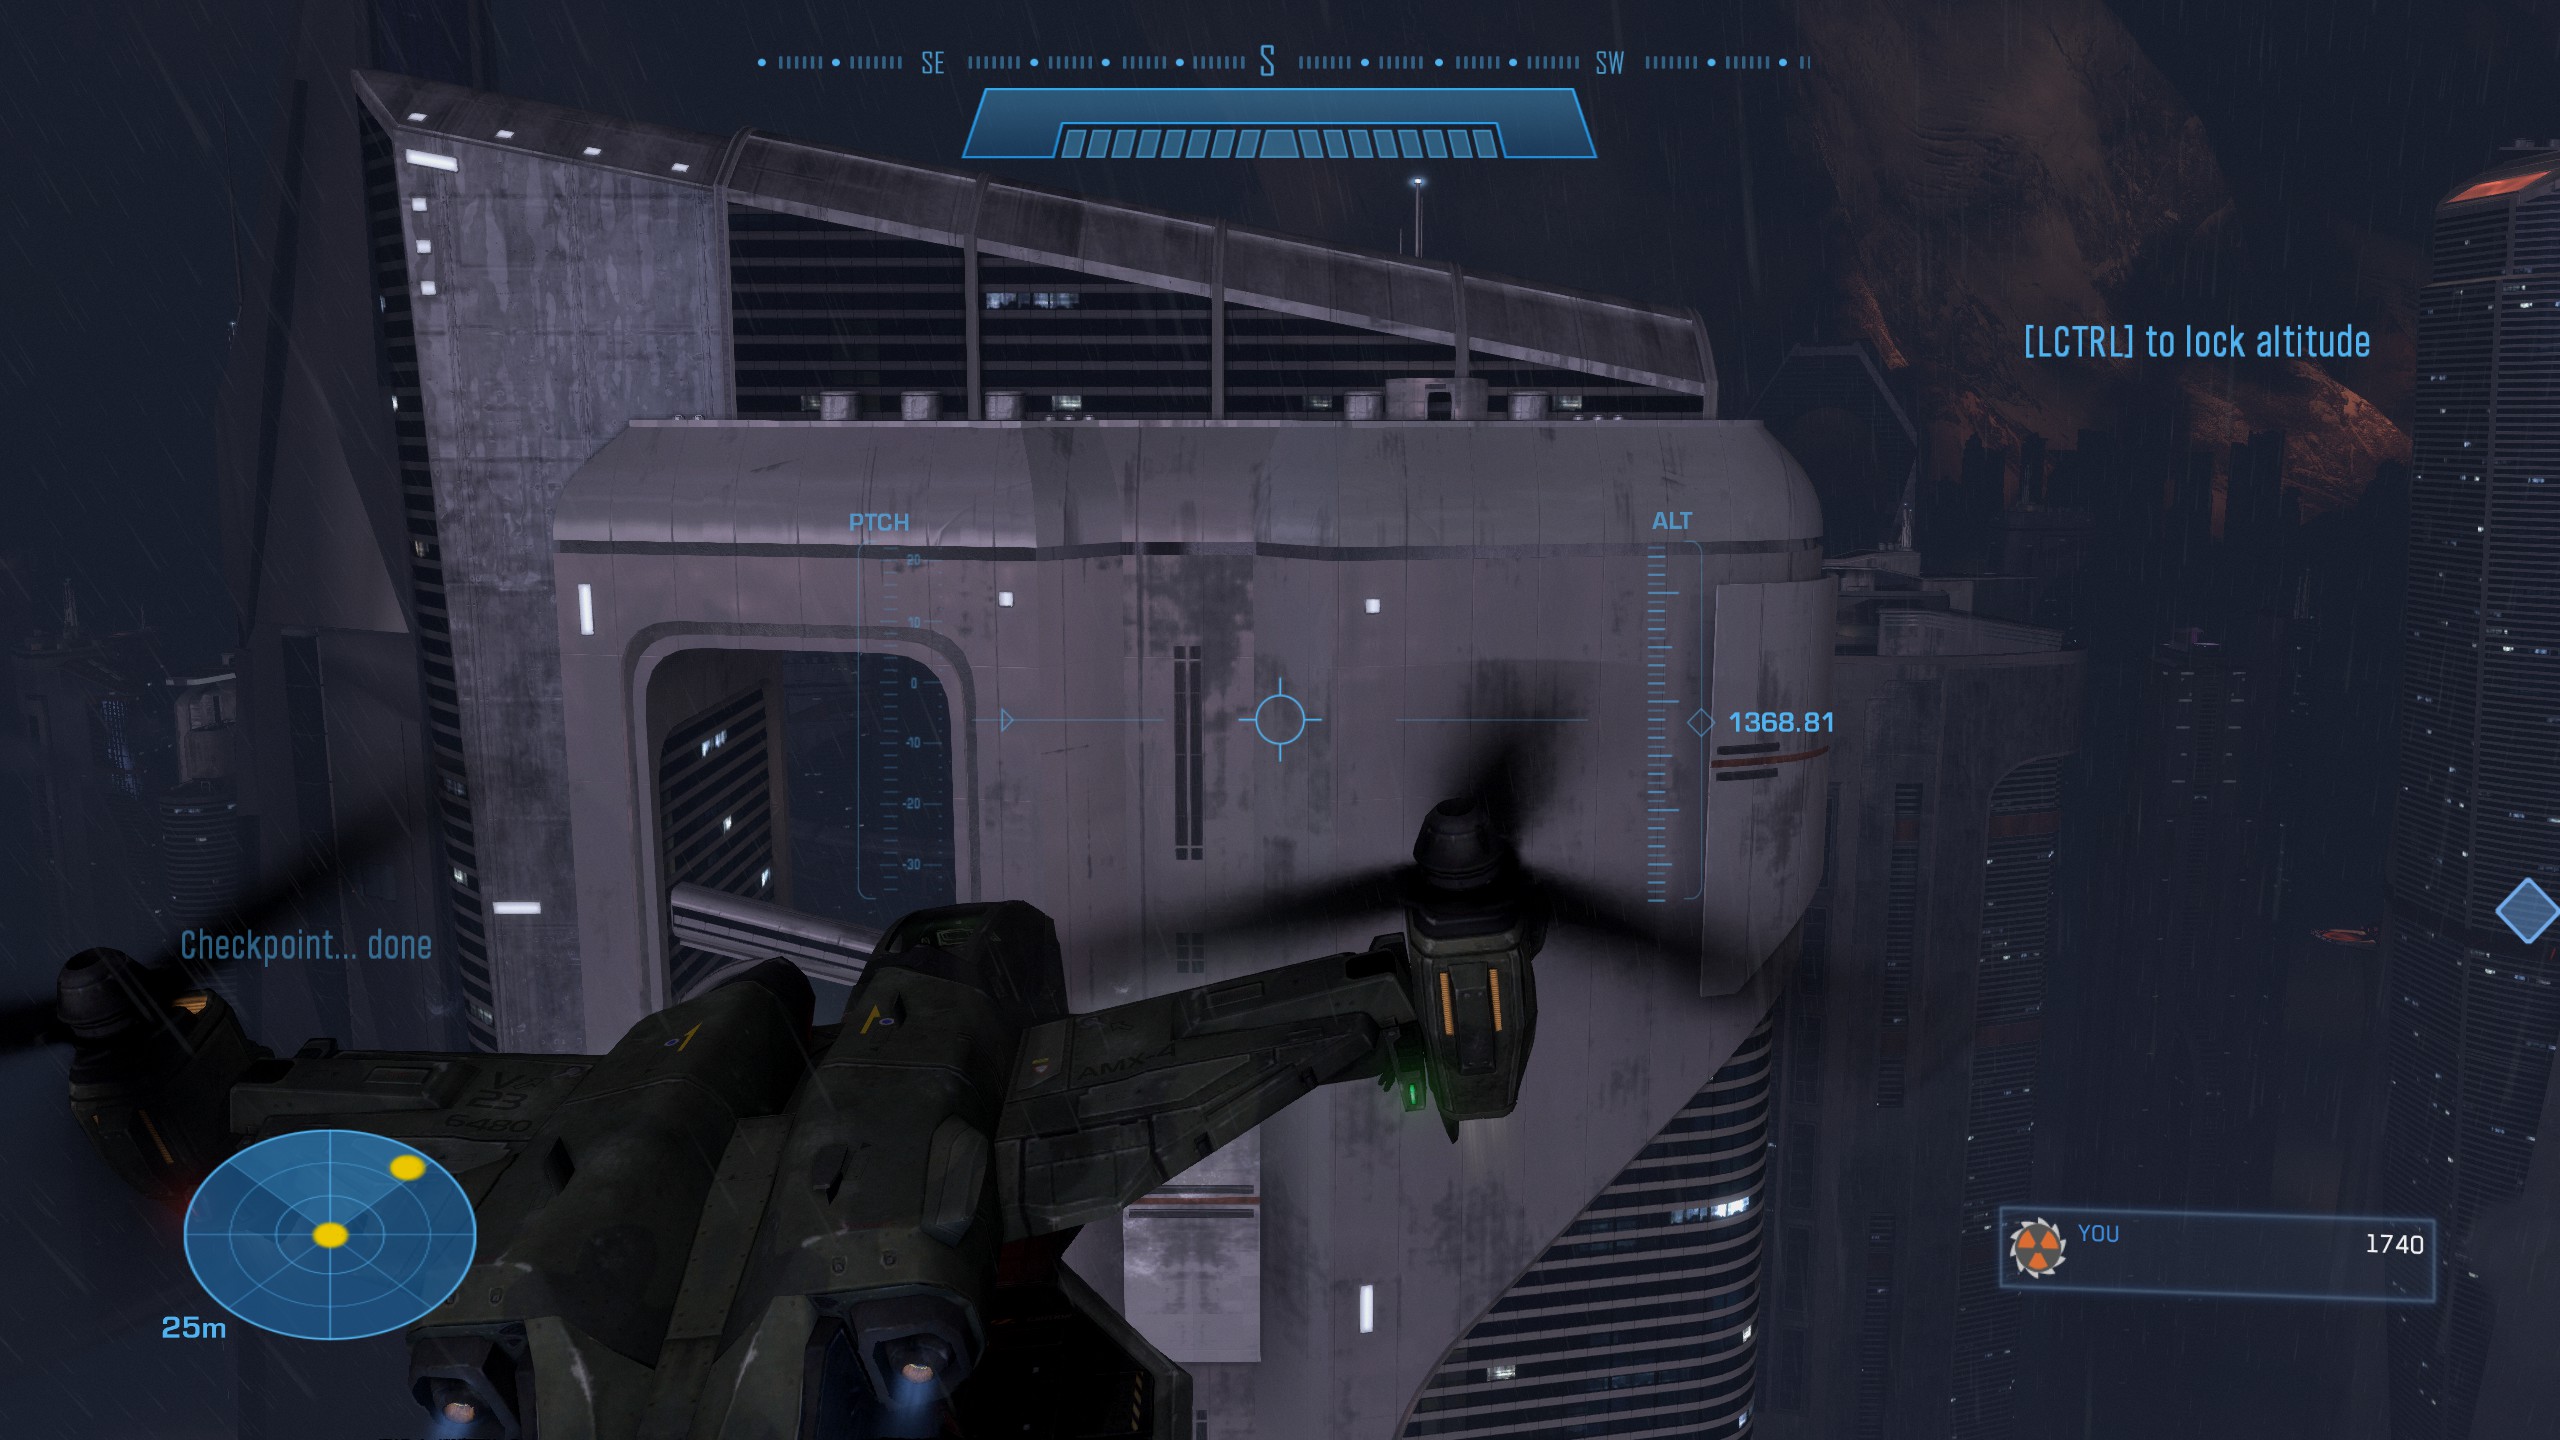
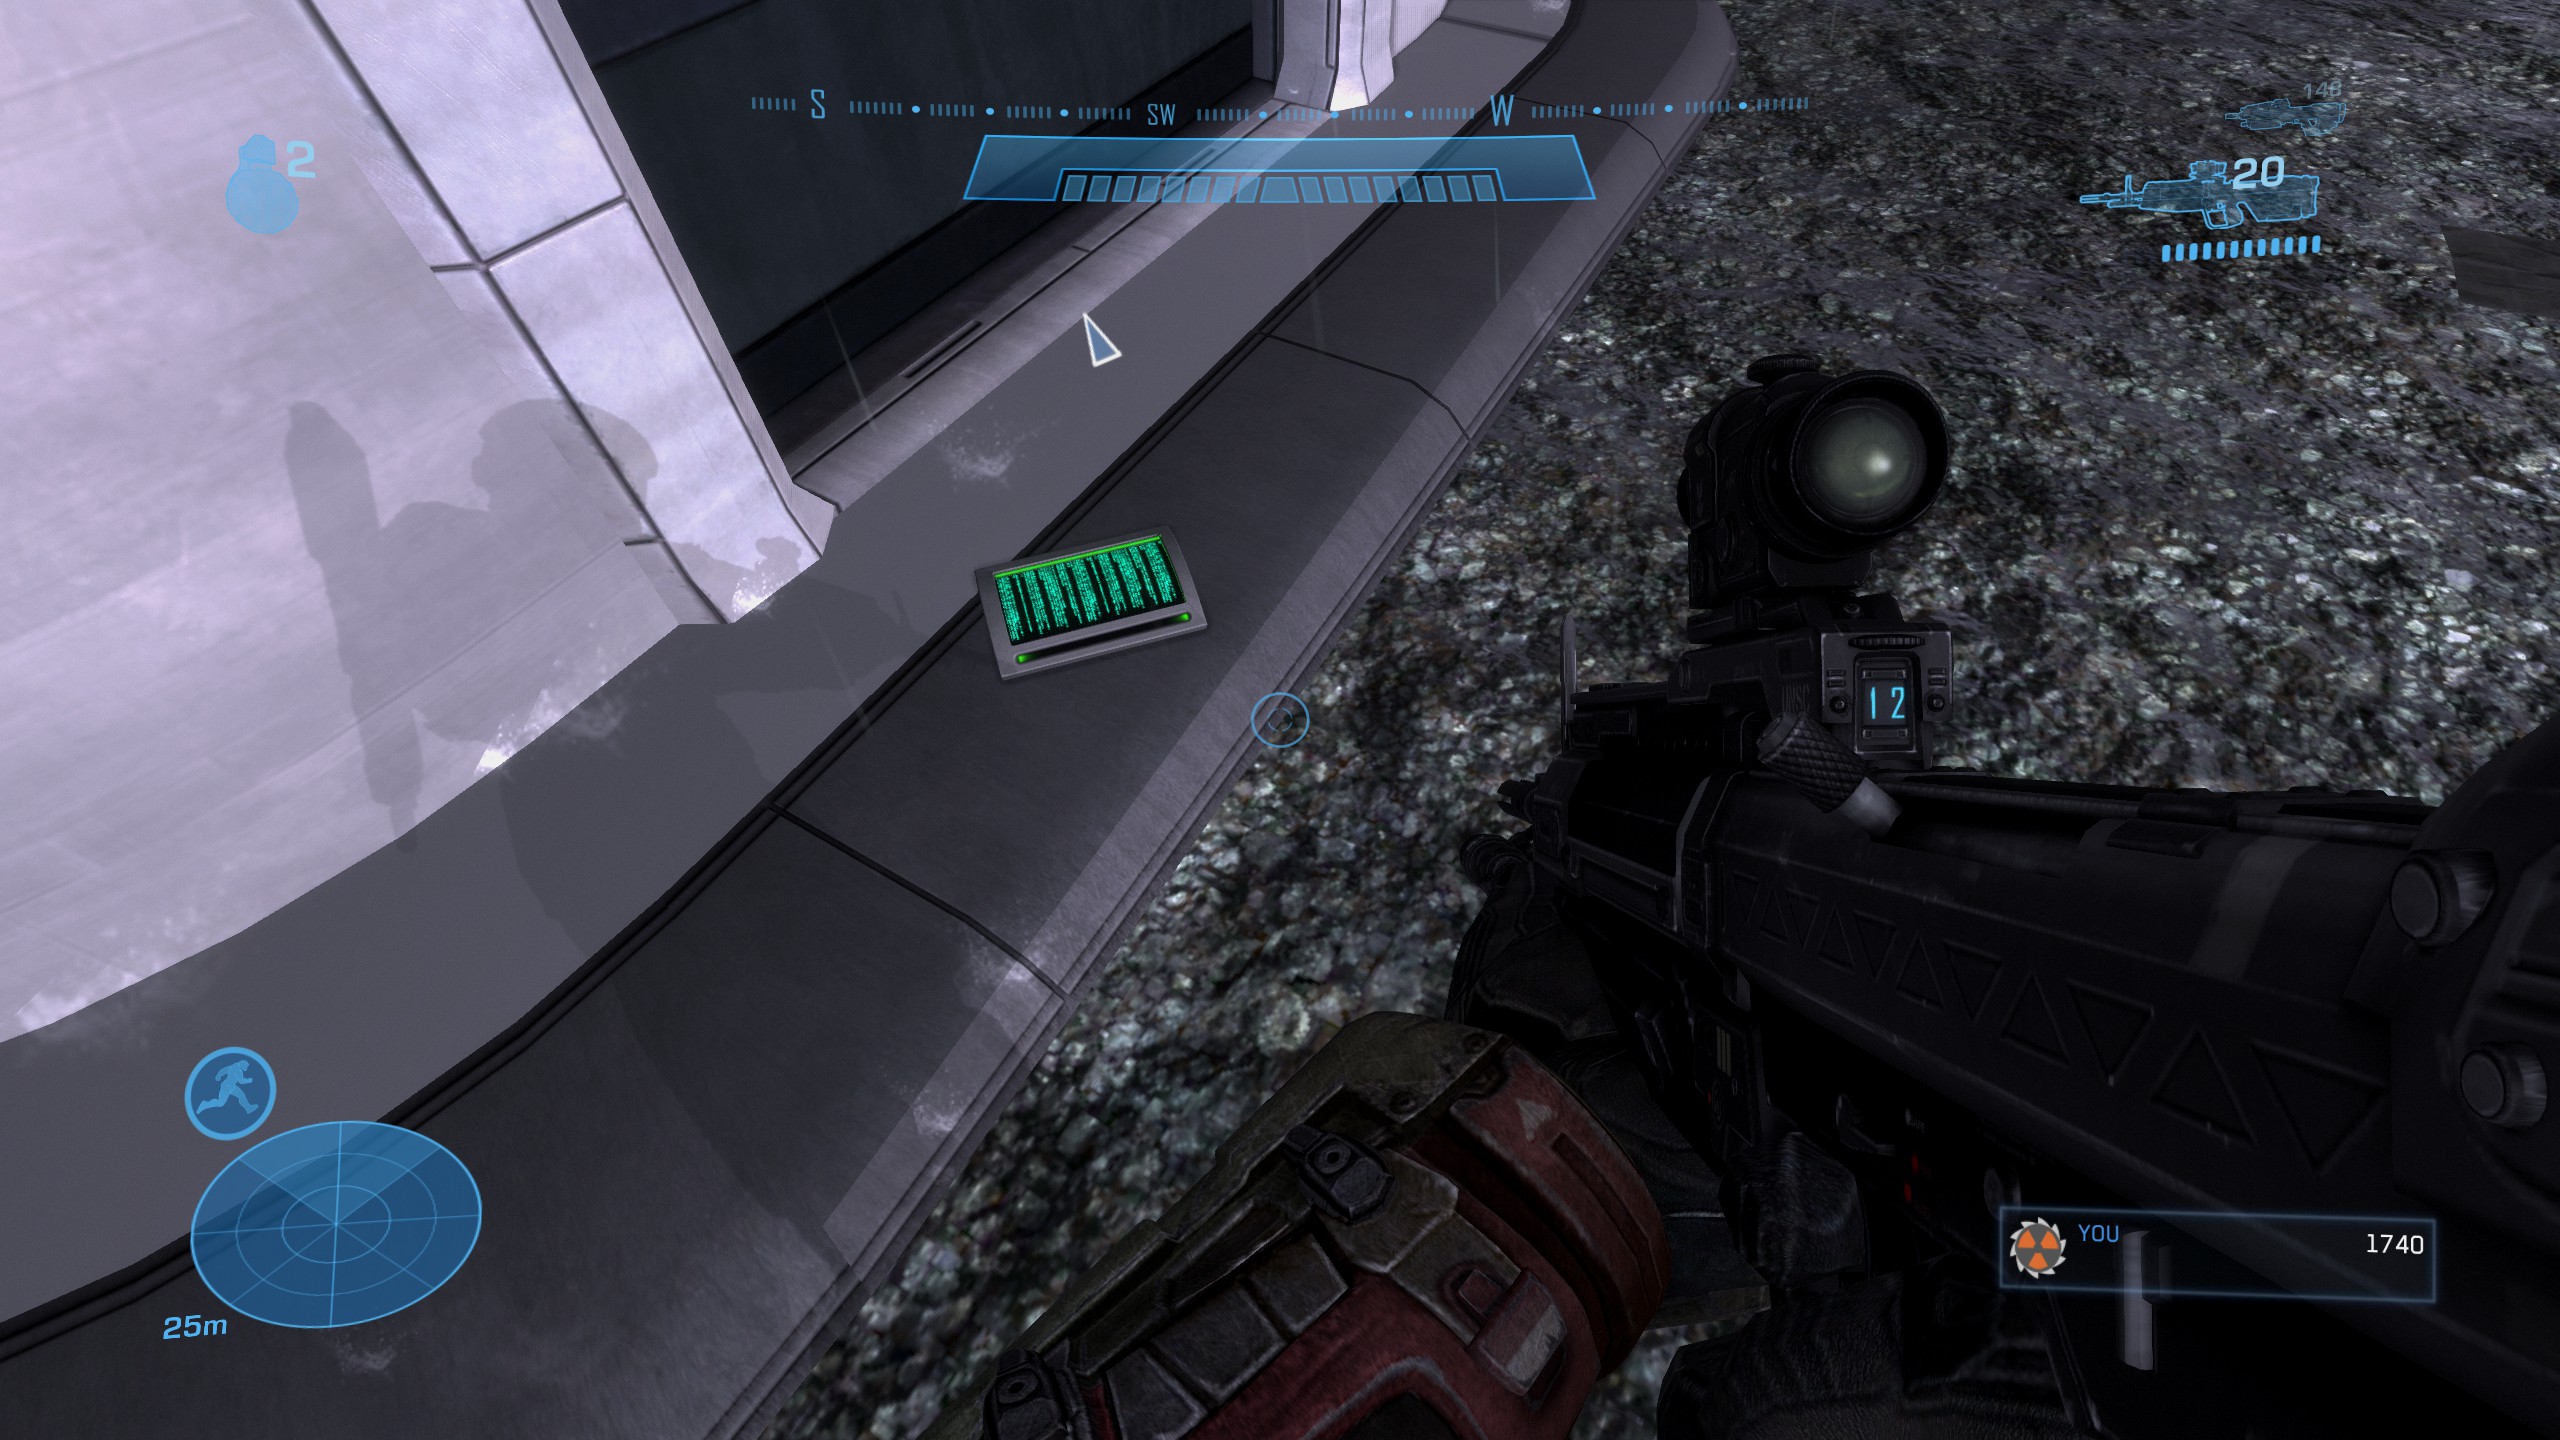
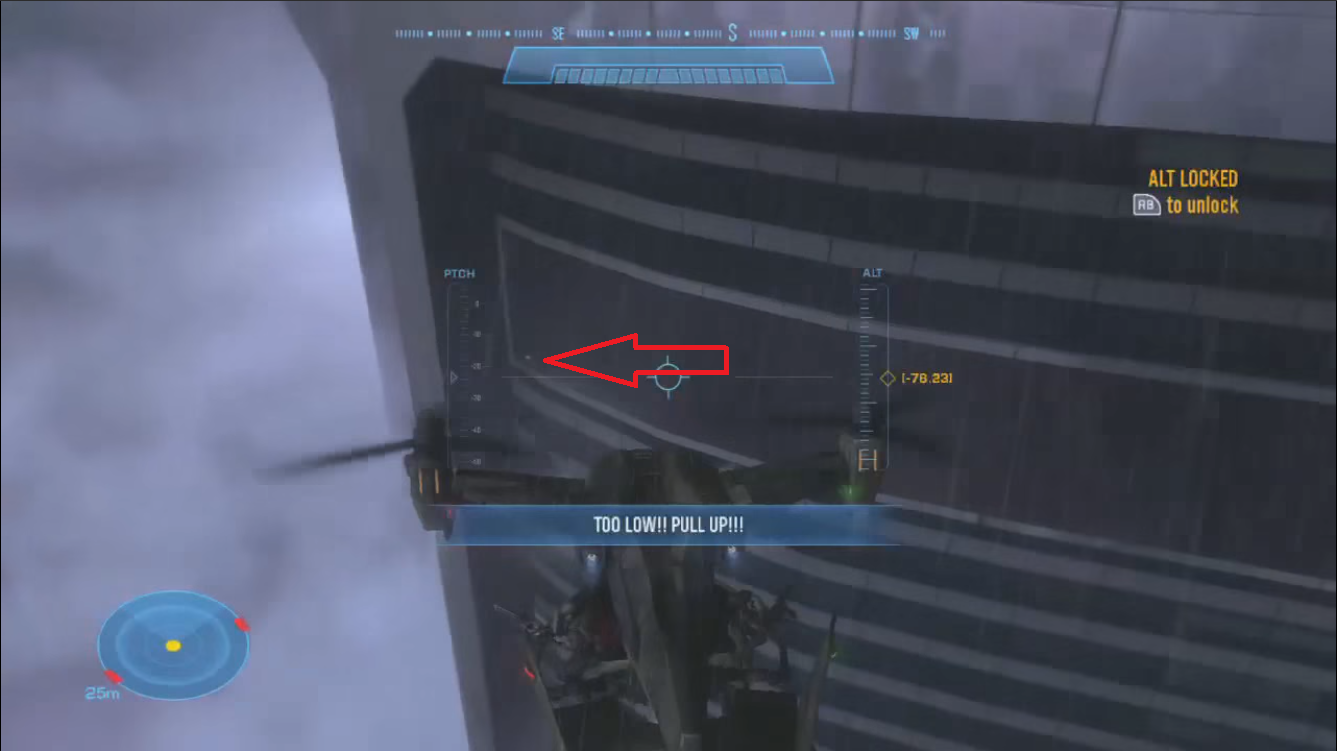
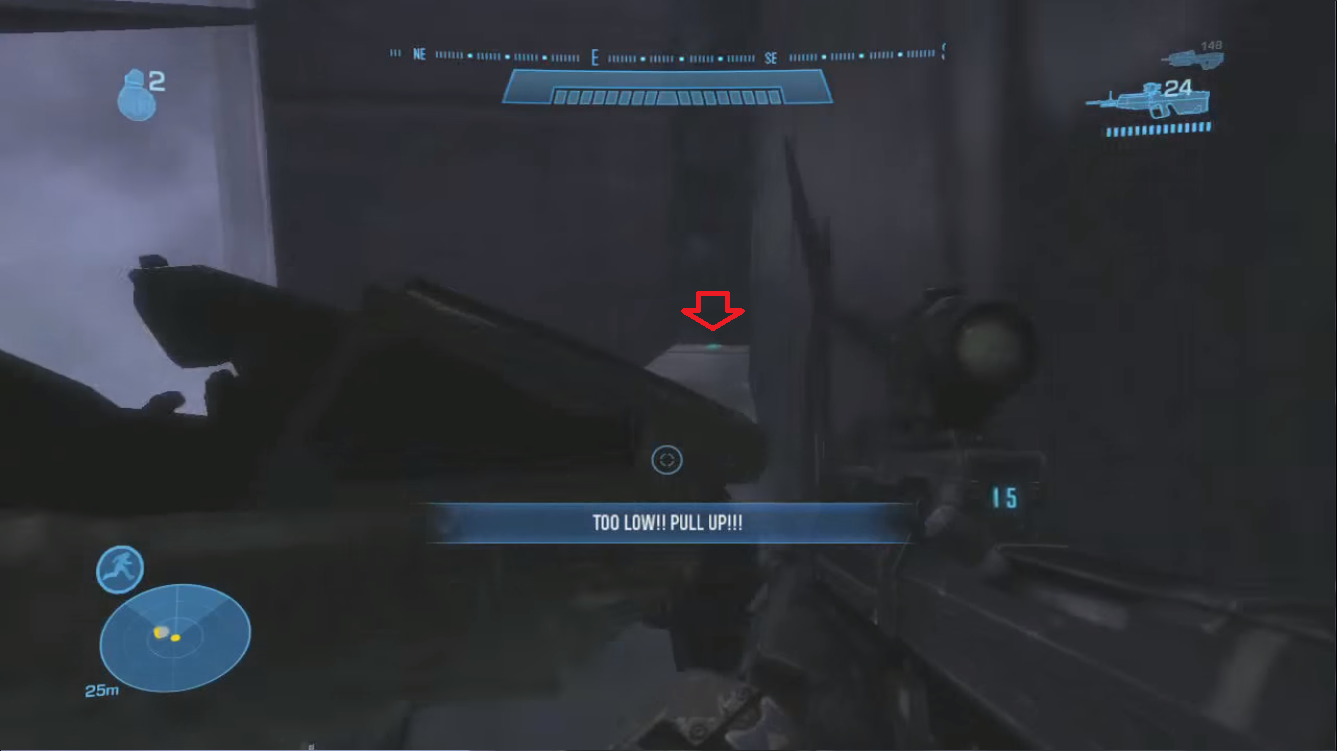
As soon as you get into the chopper, turn northwest toward the large, double-pointed building in the distance. Just past that building is a shorter triangular-roofed building. On the opposite side of the rooftop you'll find the data pad.
 Data Pad #16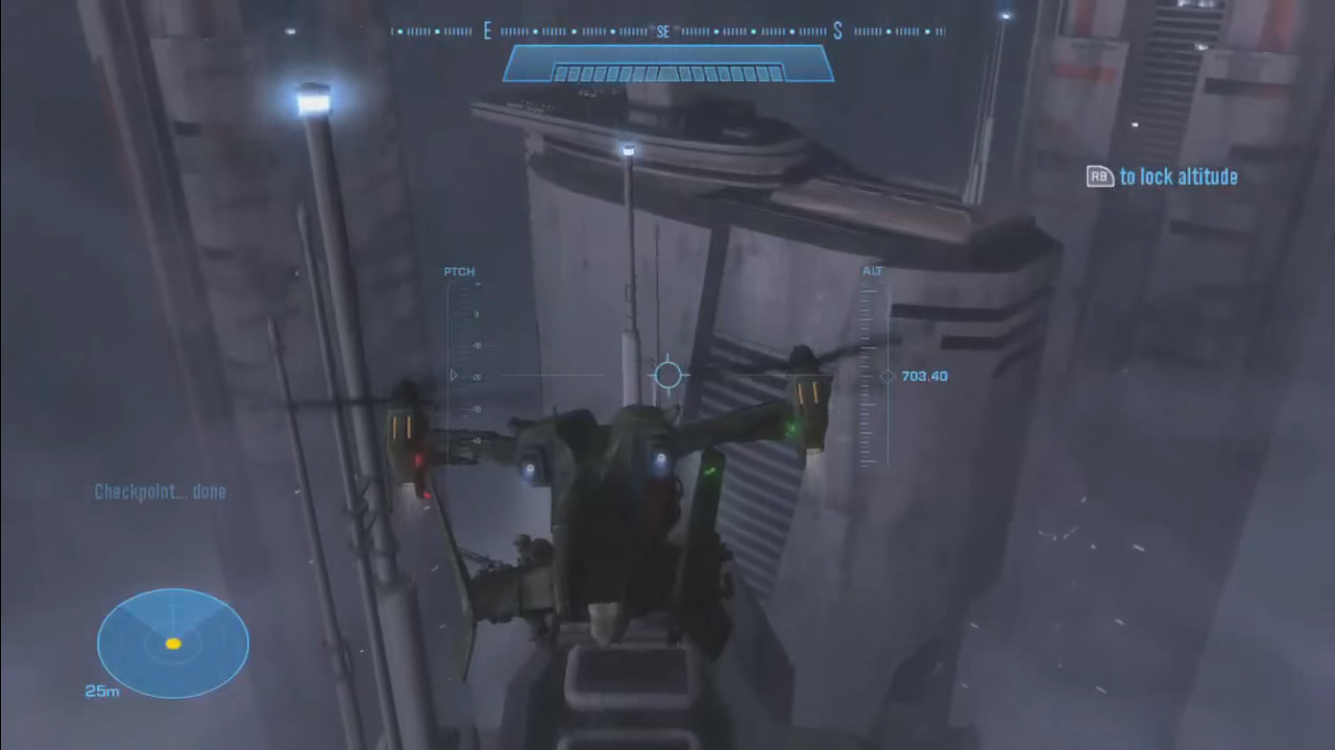
The Package
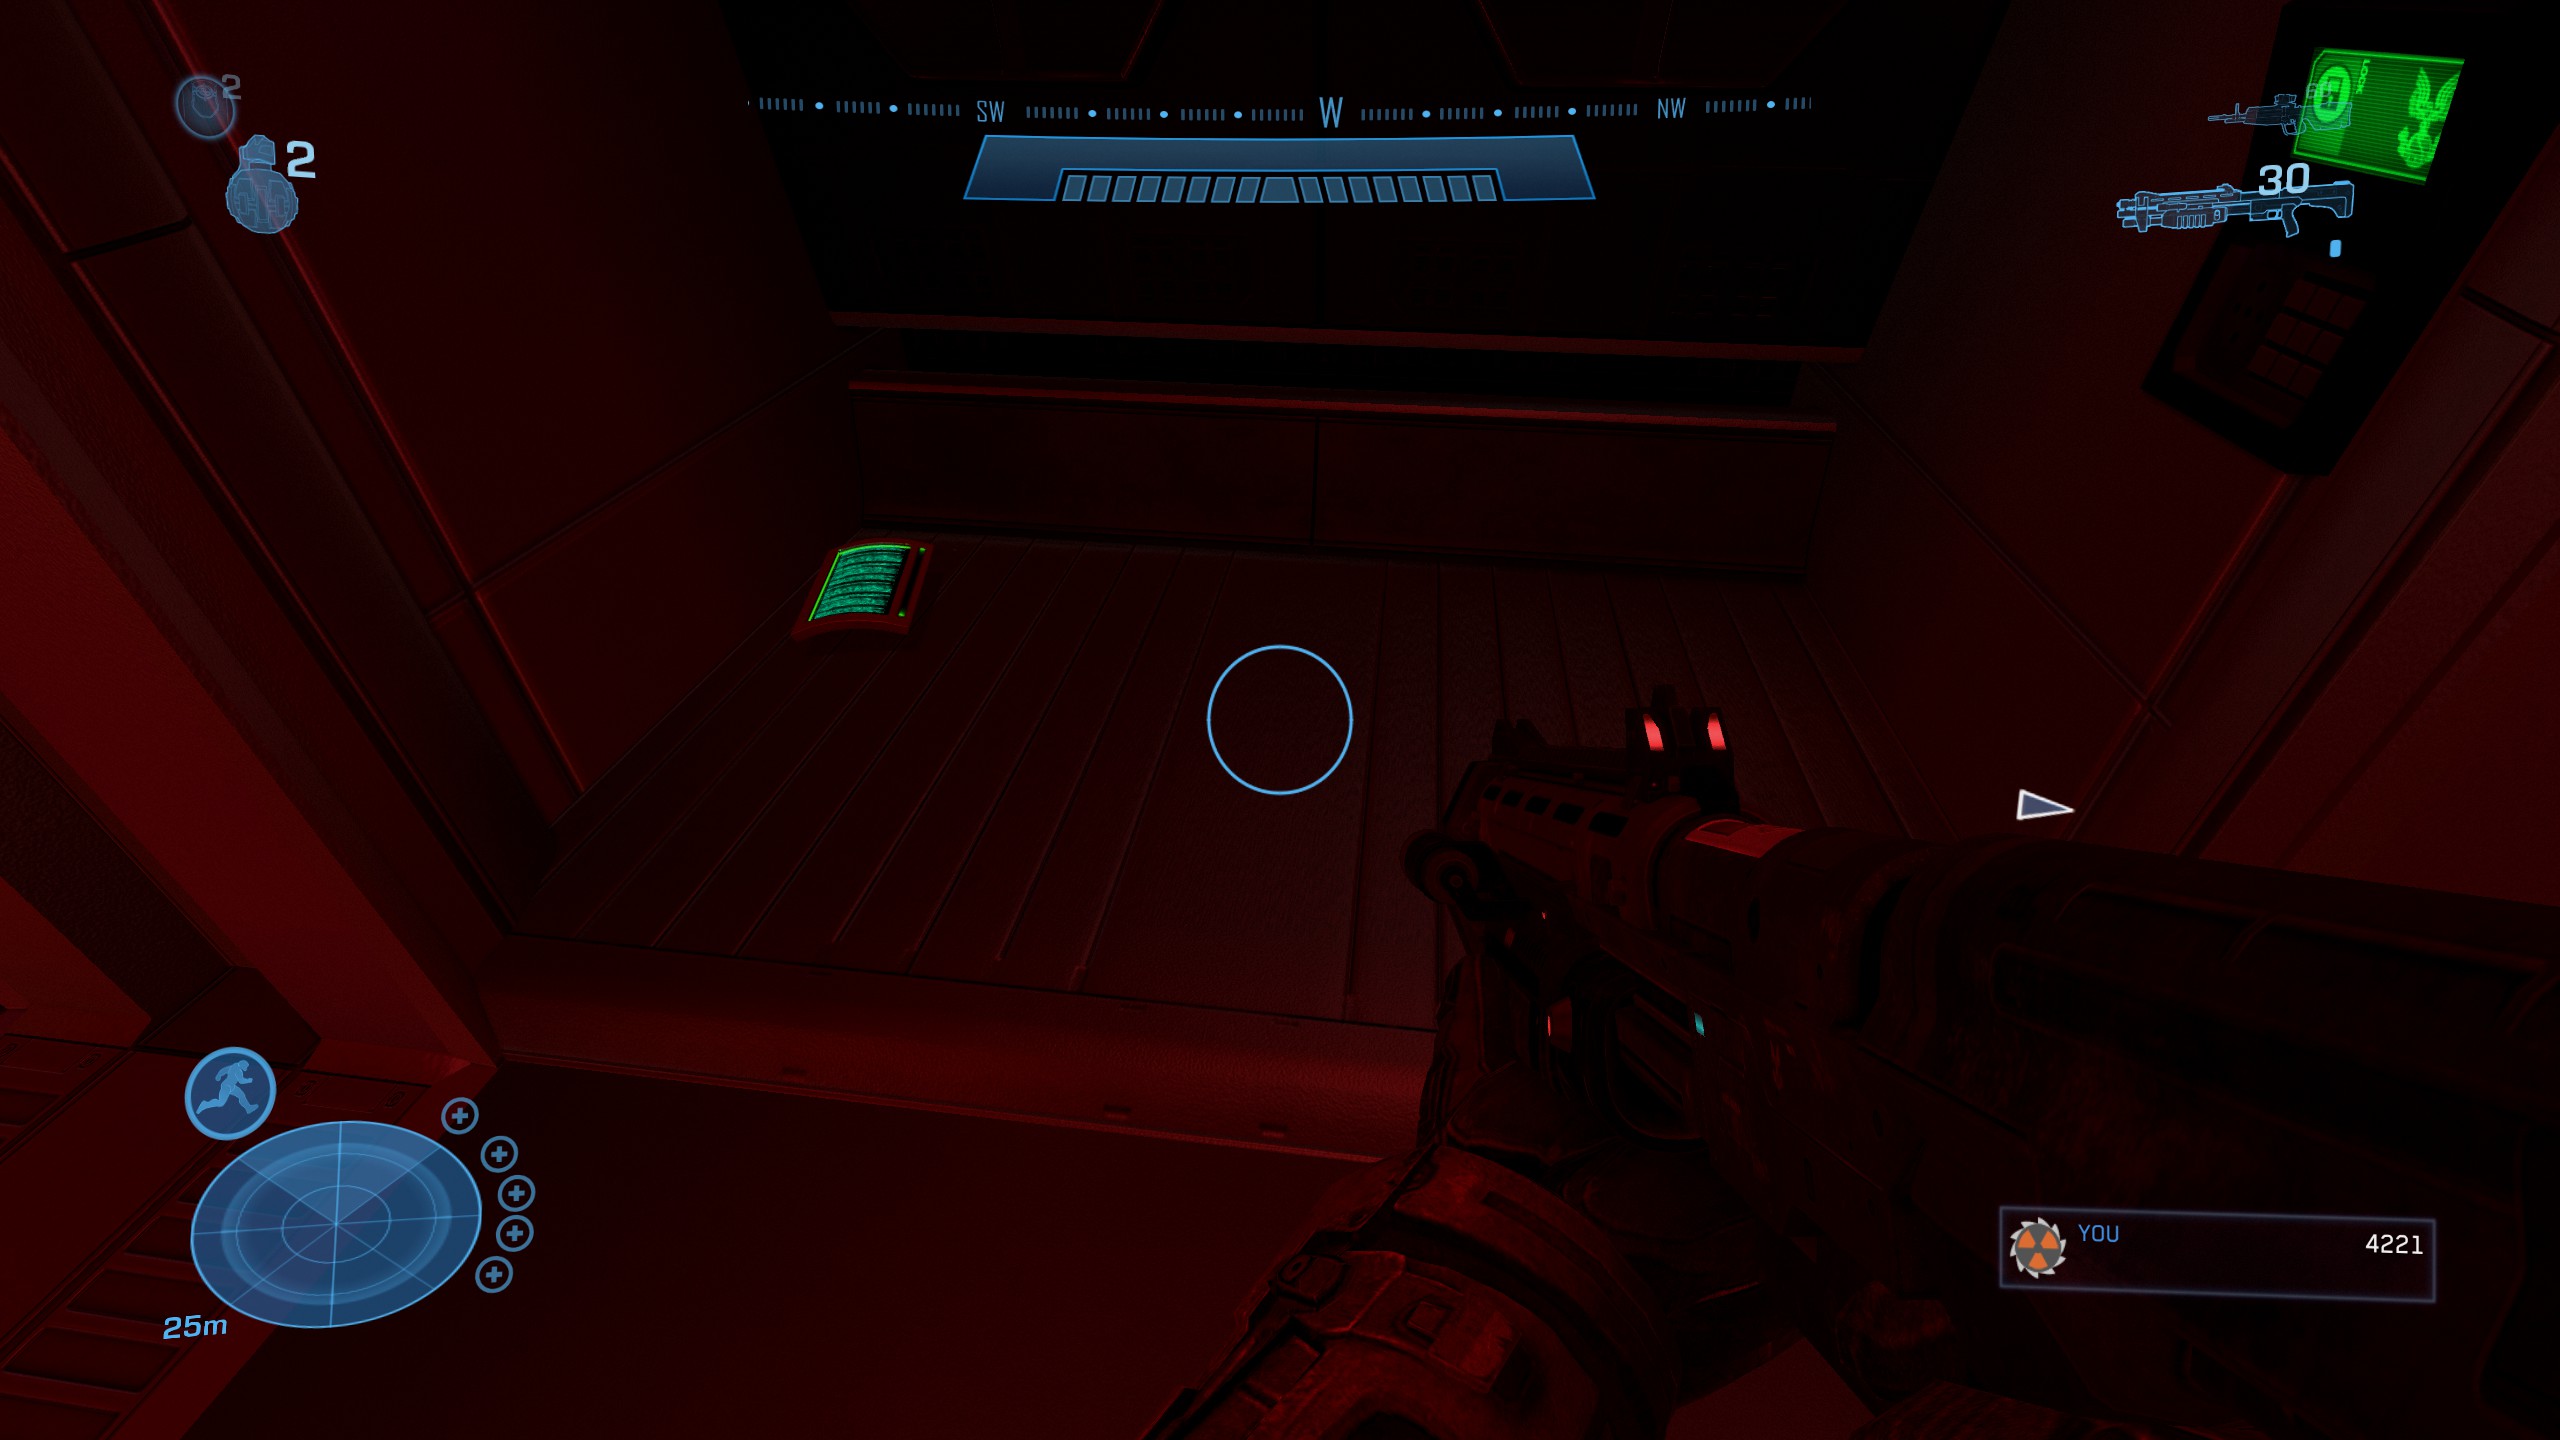
After going down into an interior area, pay attention to the condition of the walls. When the area starts to look beat up, you're getting close. Your crew will gather near a door and wait for you to activate it. Instead, look left on the floor for the data pad.
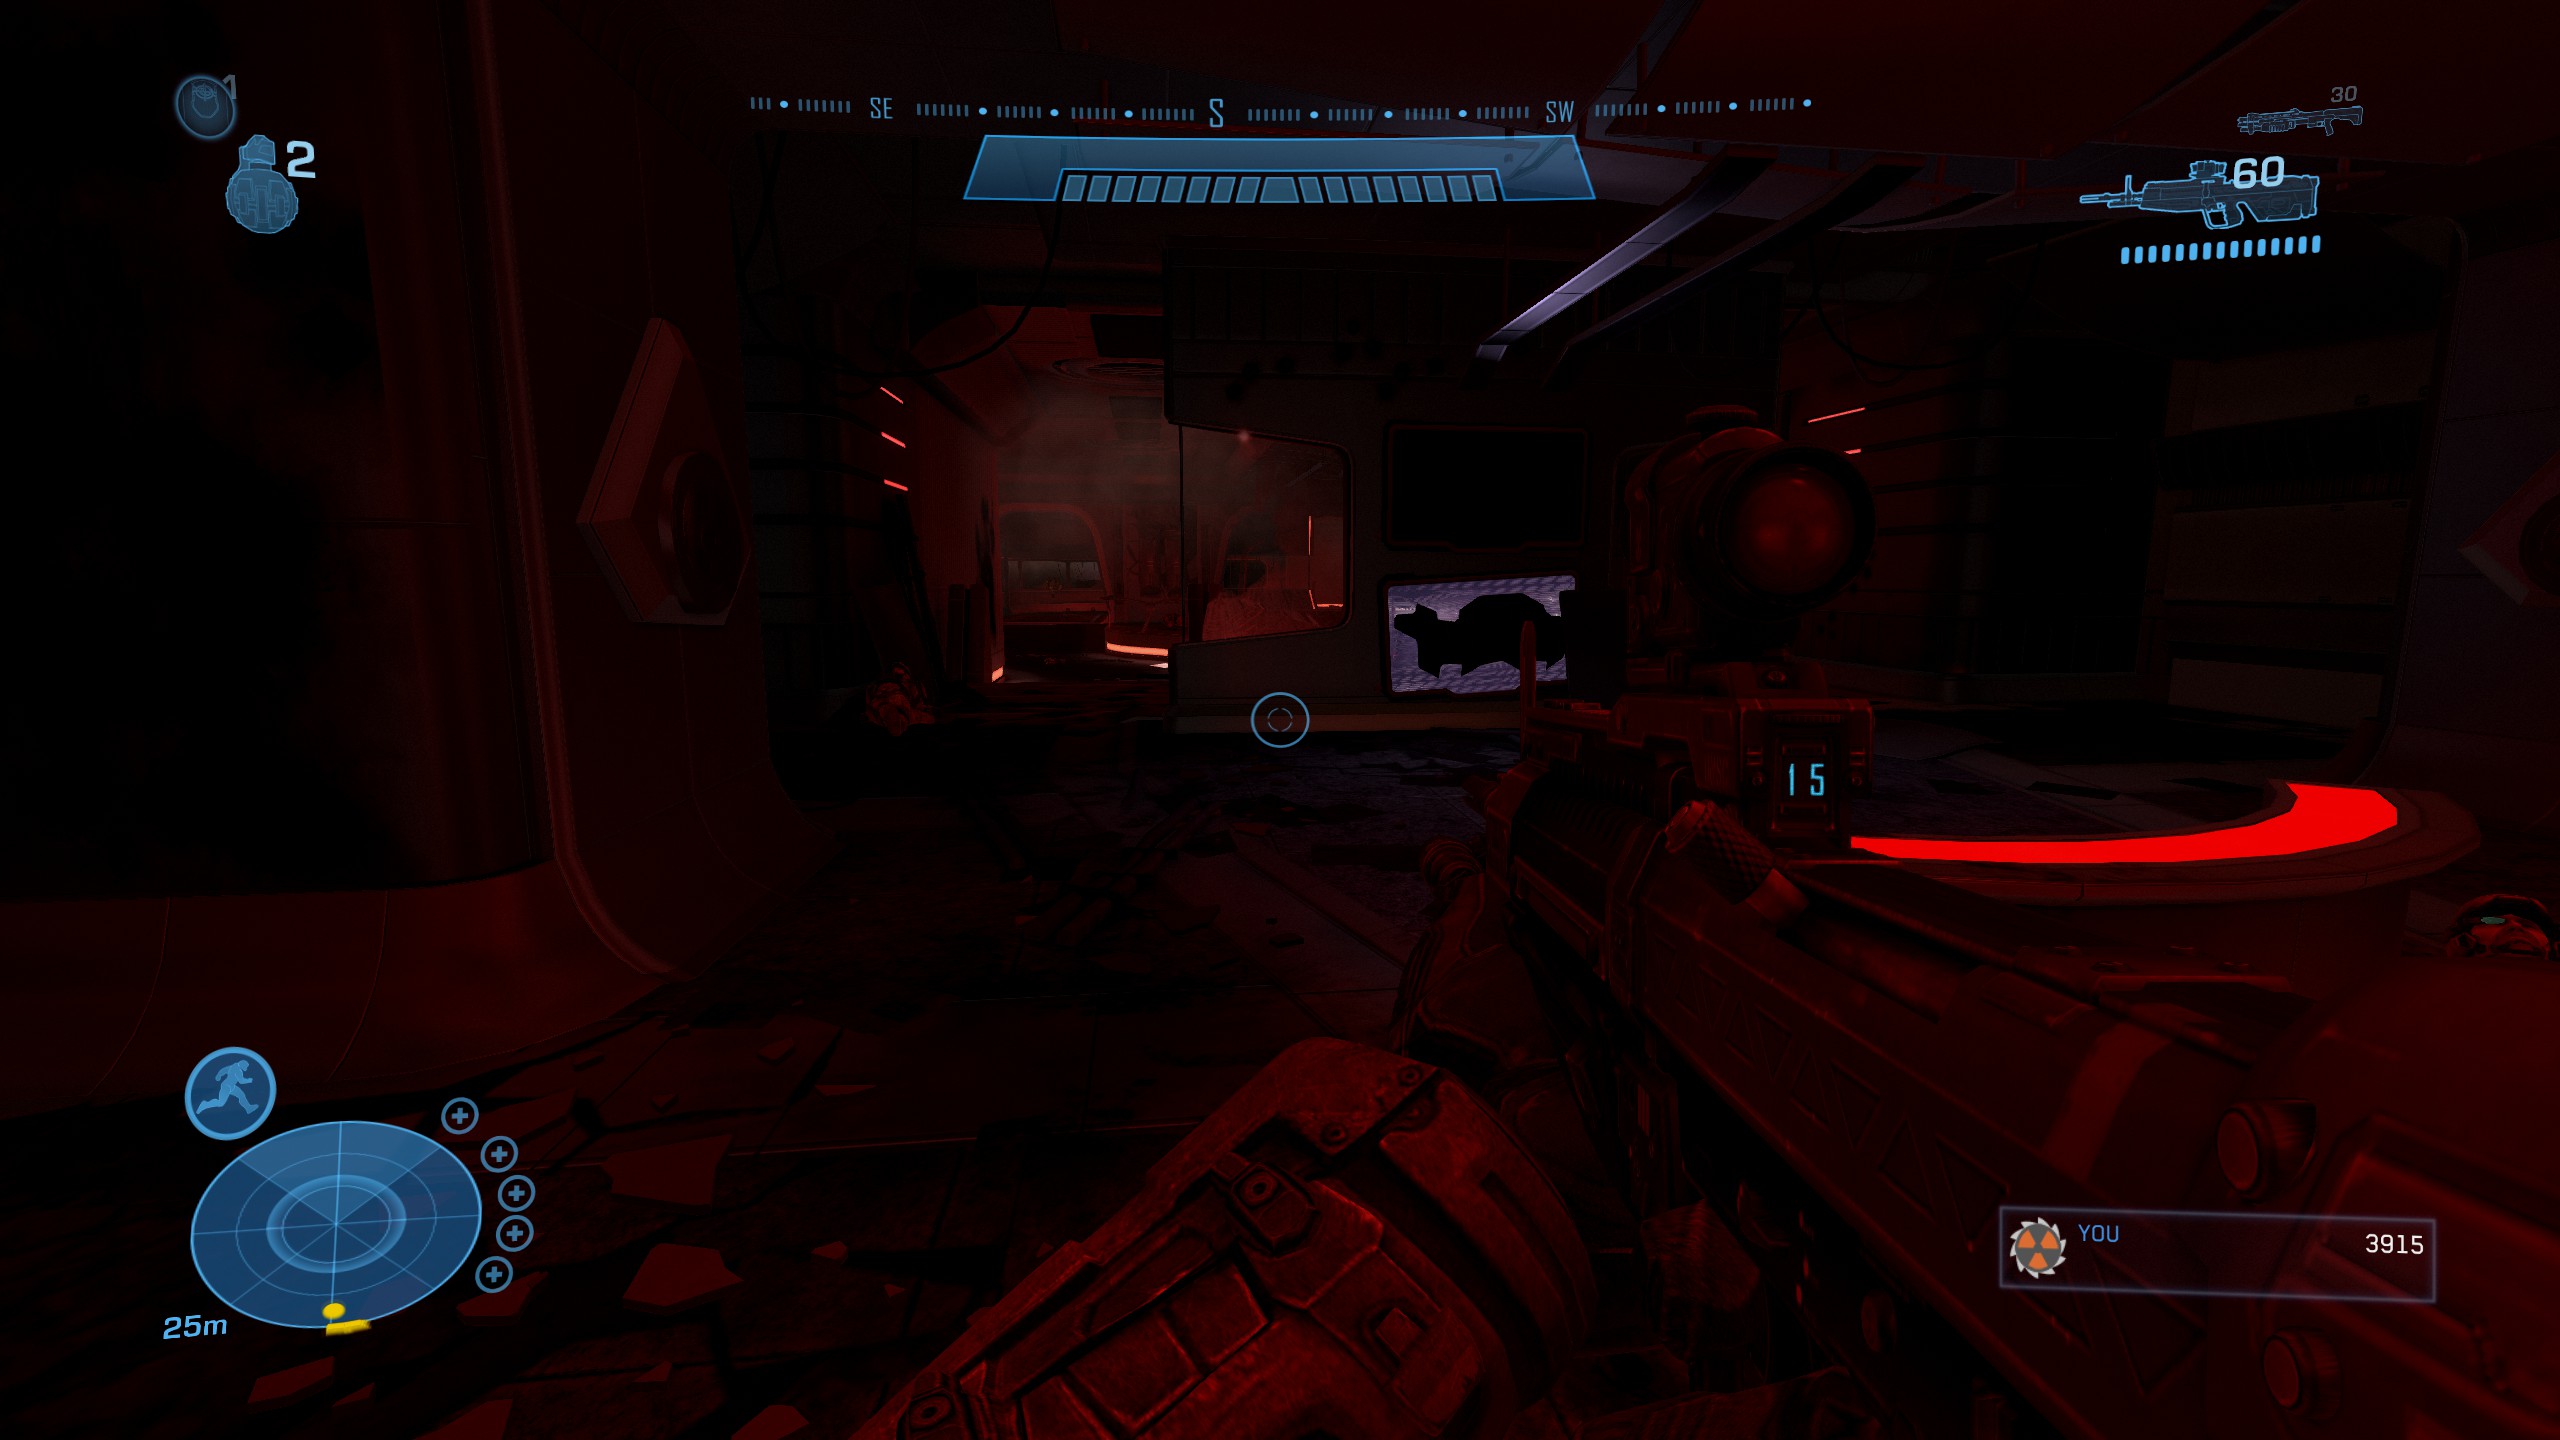
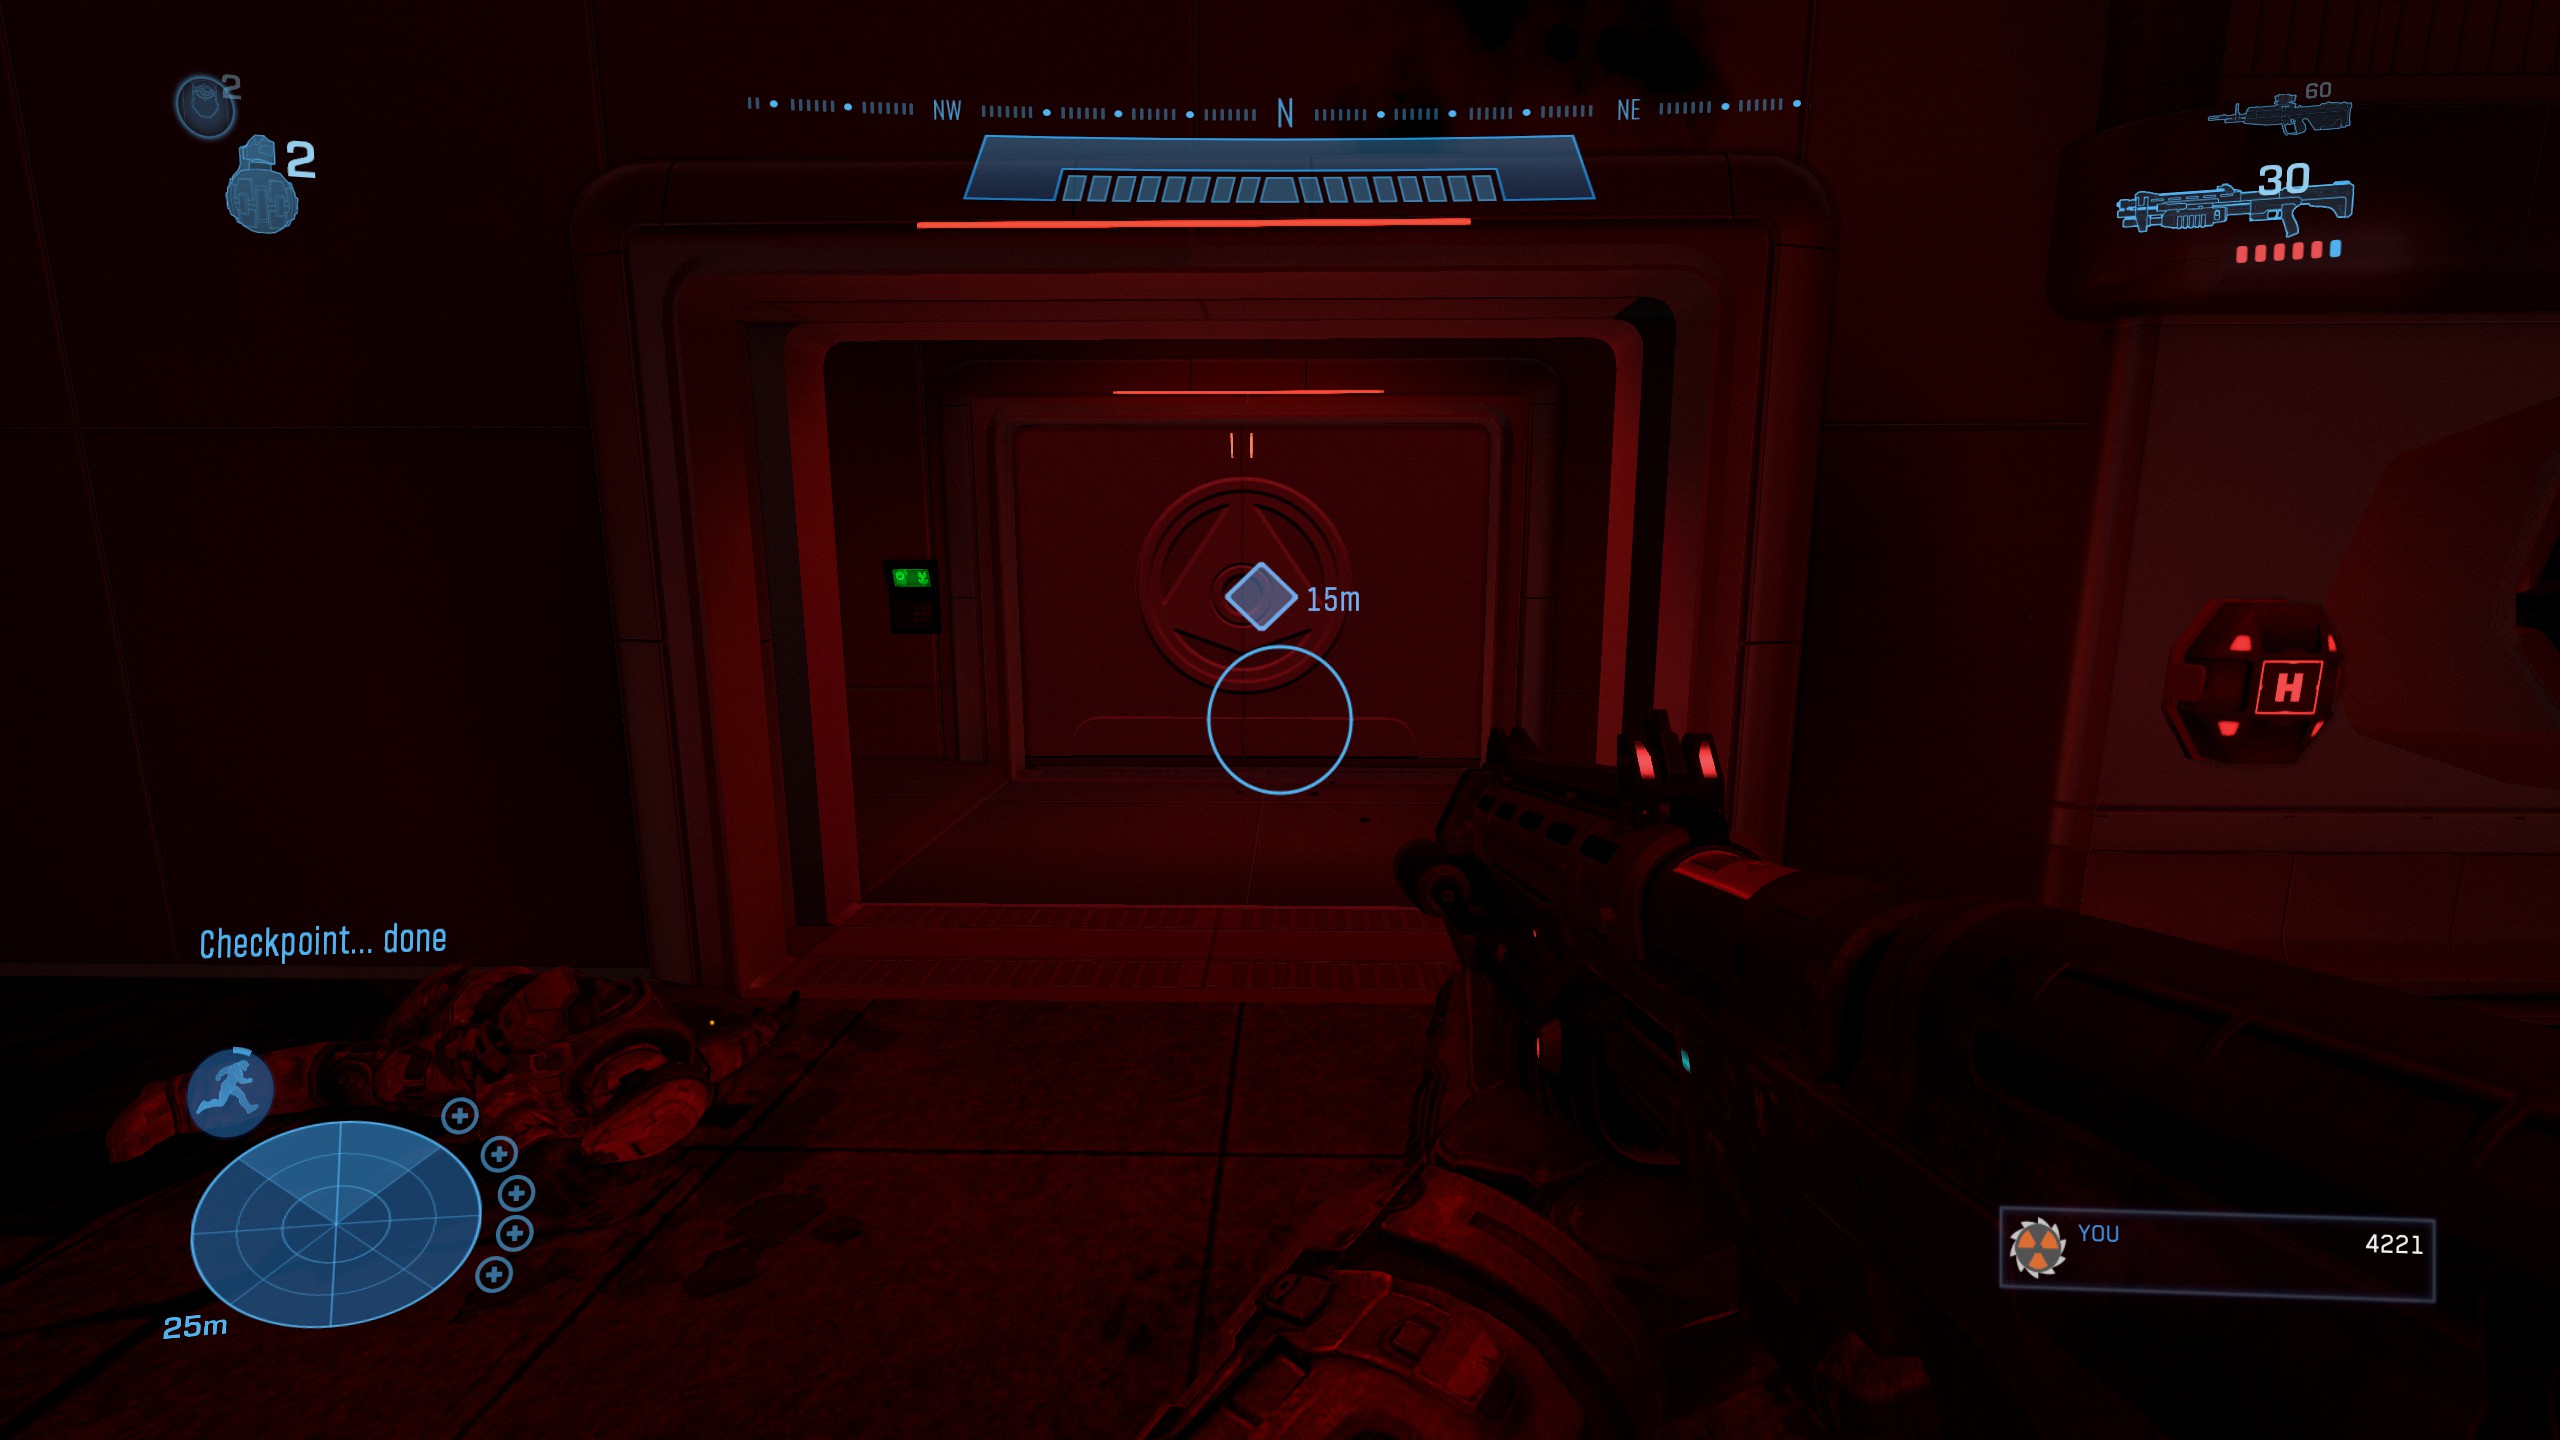
 Data Pad #17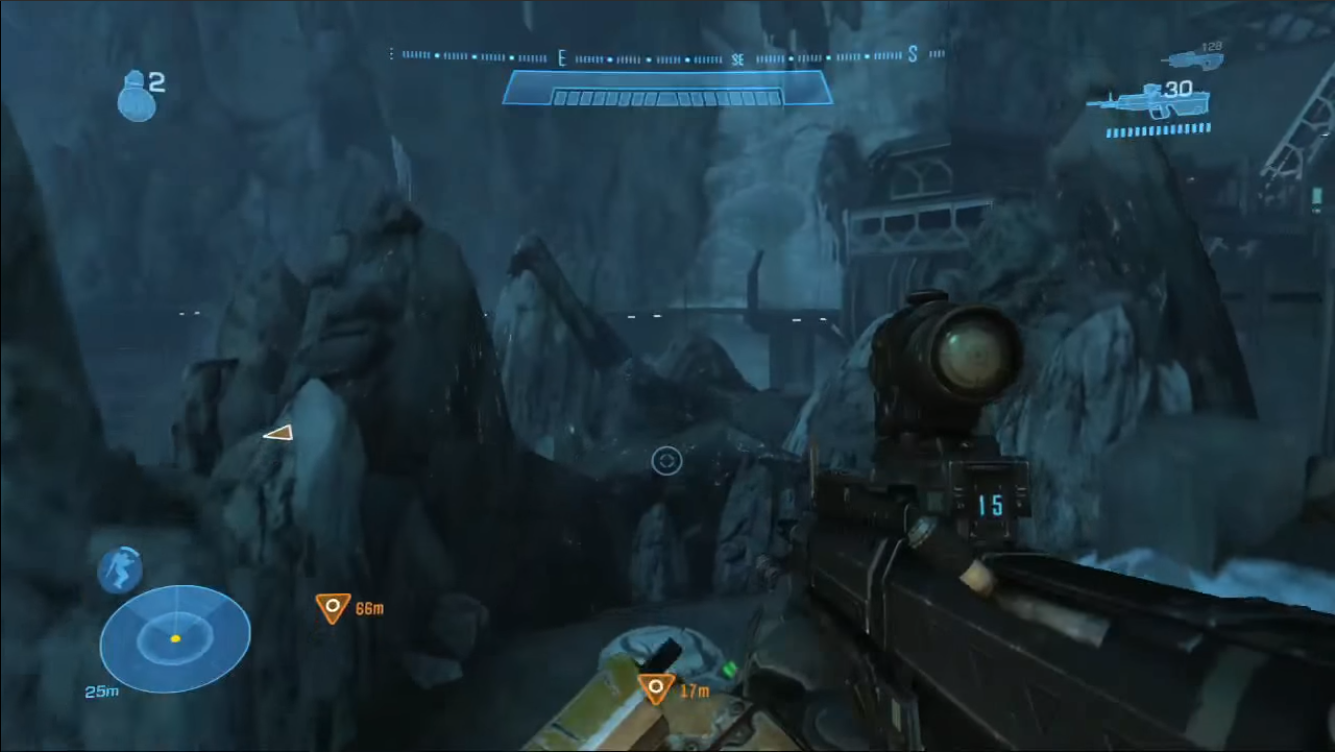
The Pillar of Autumn
Data Pad #9
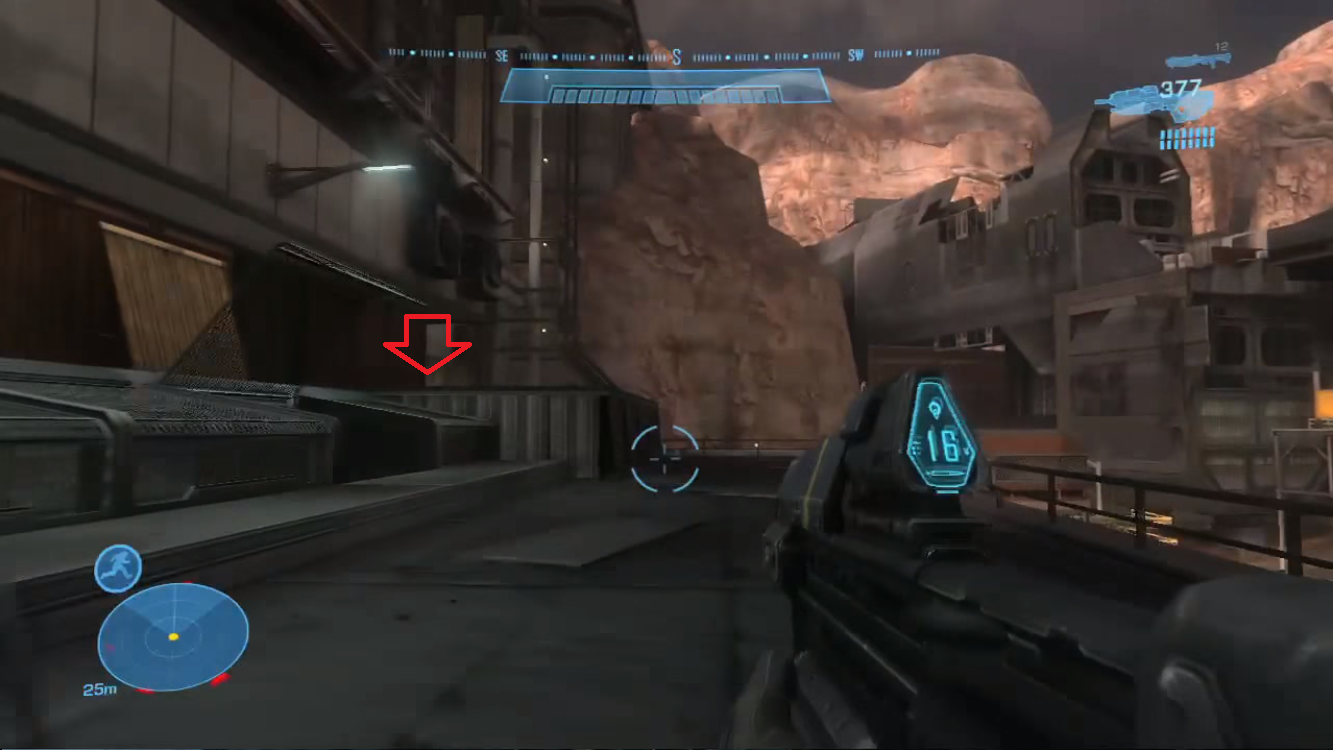
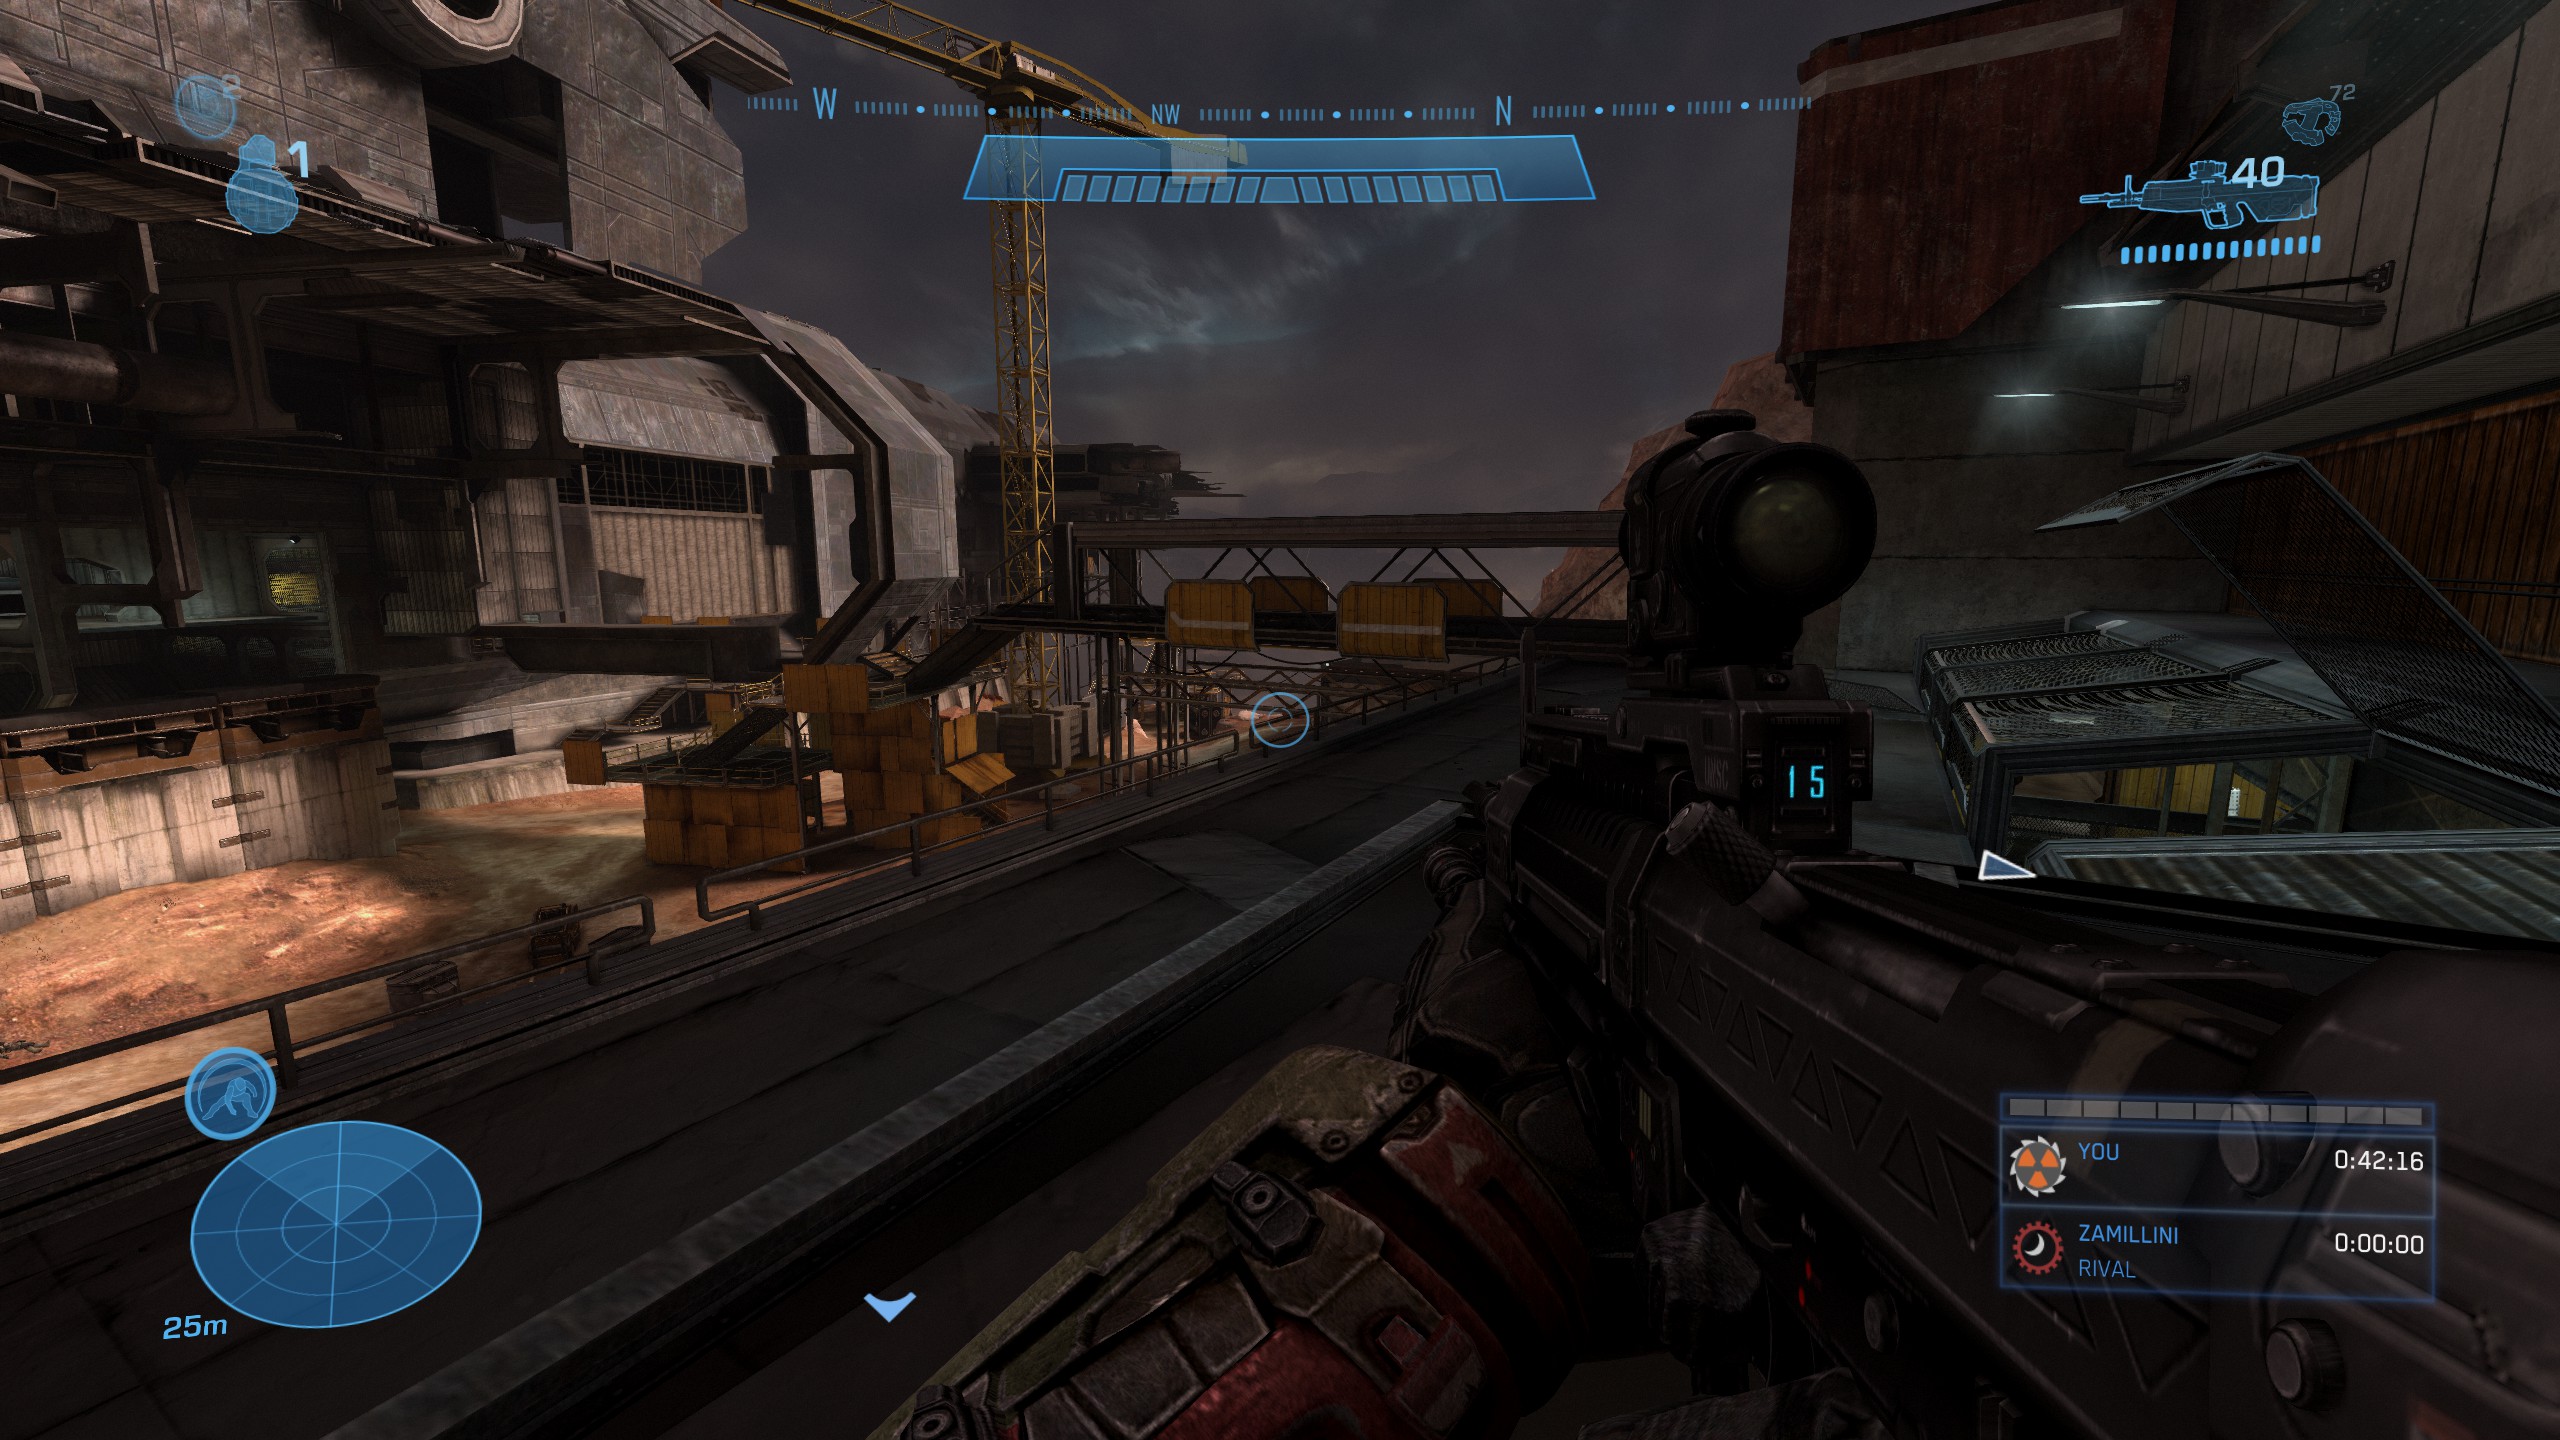
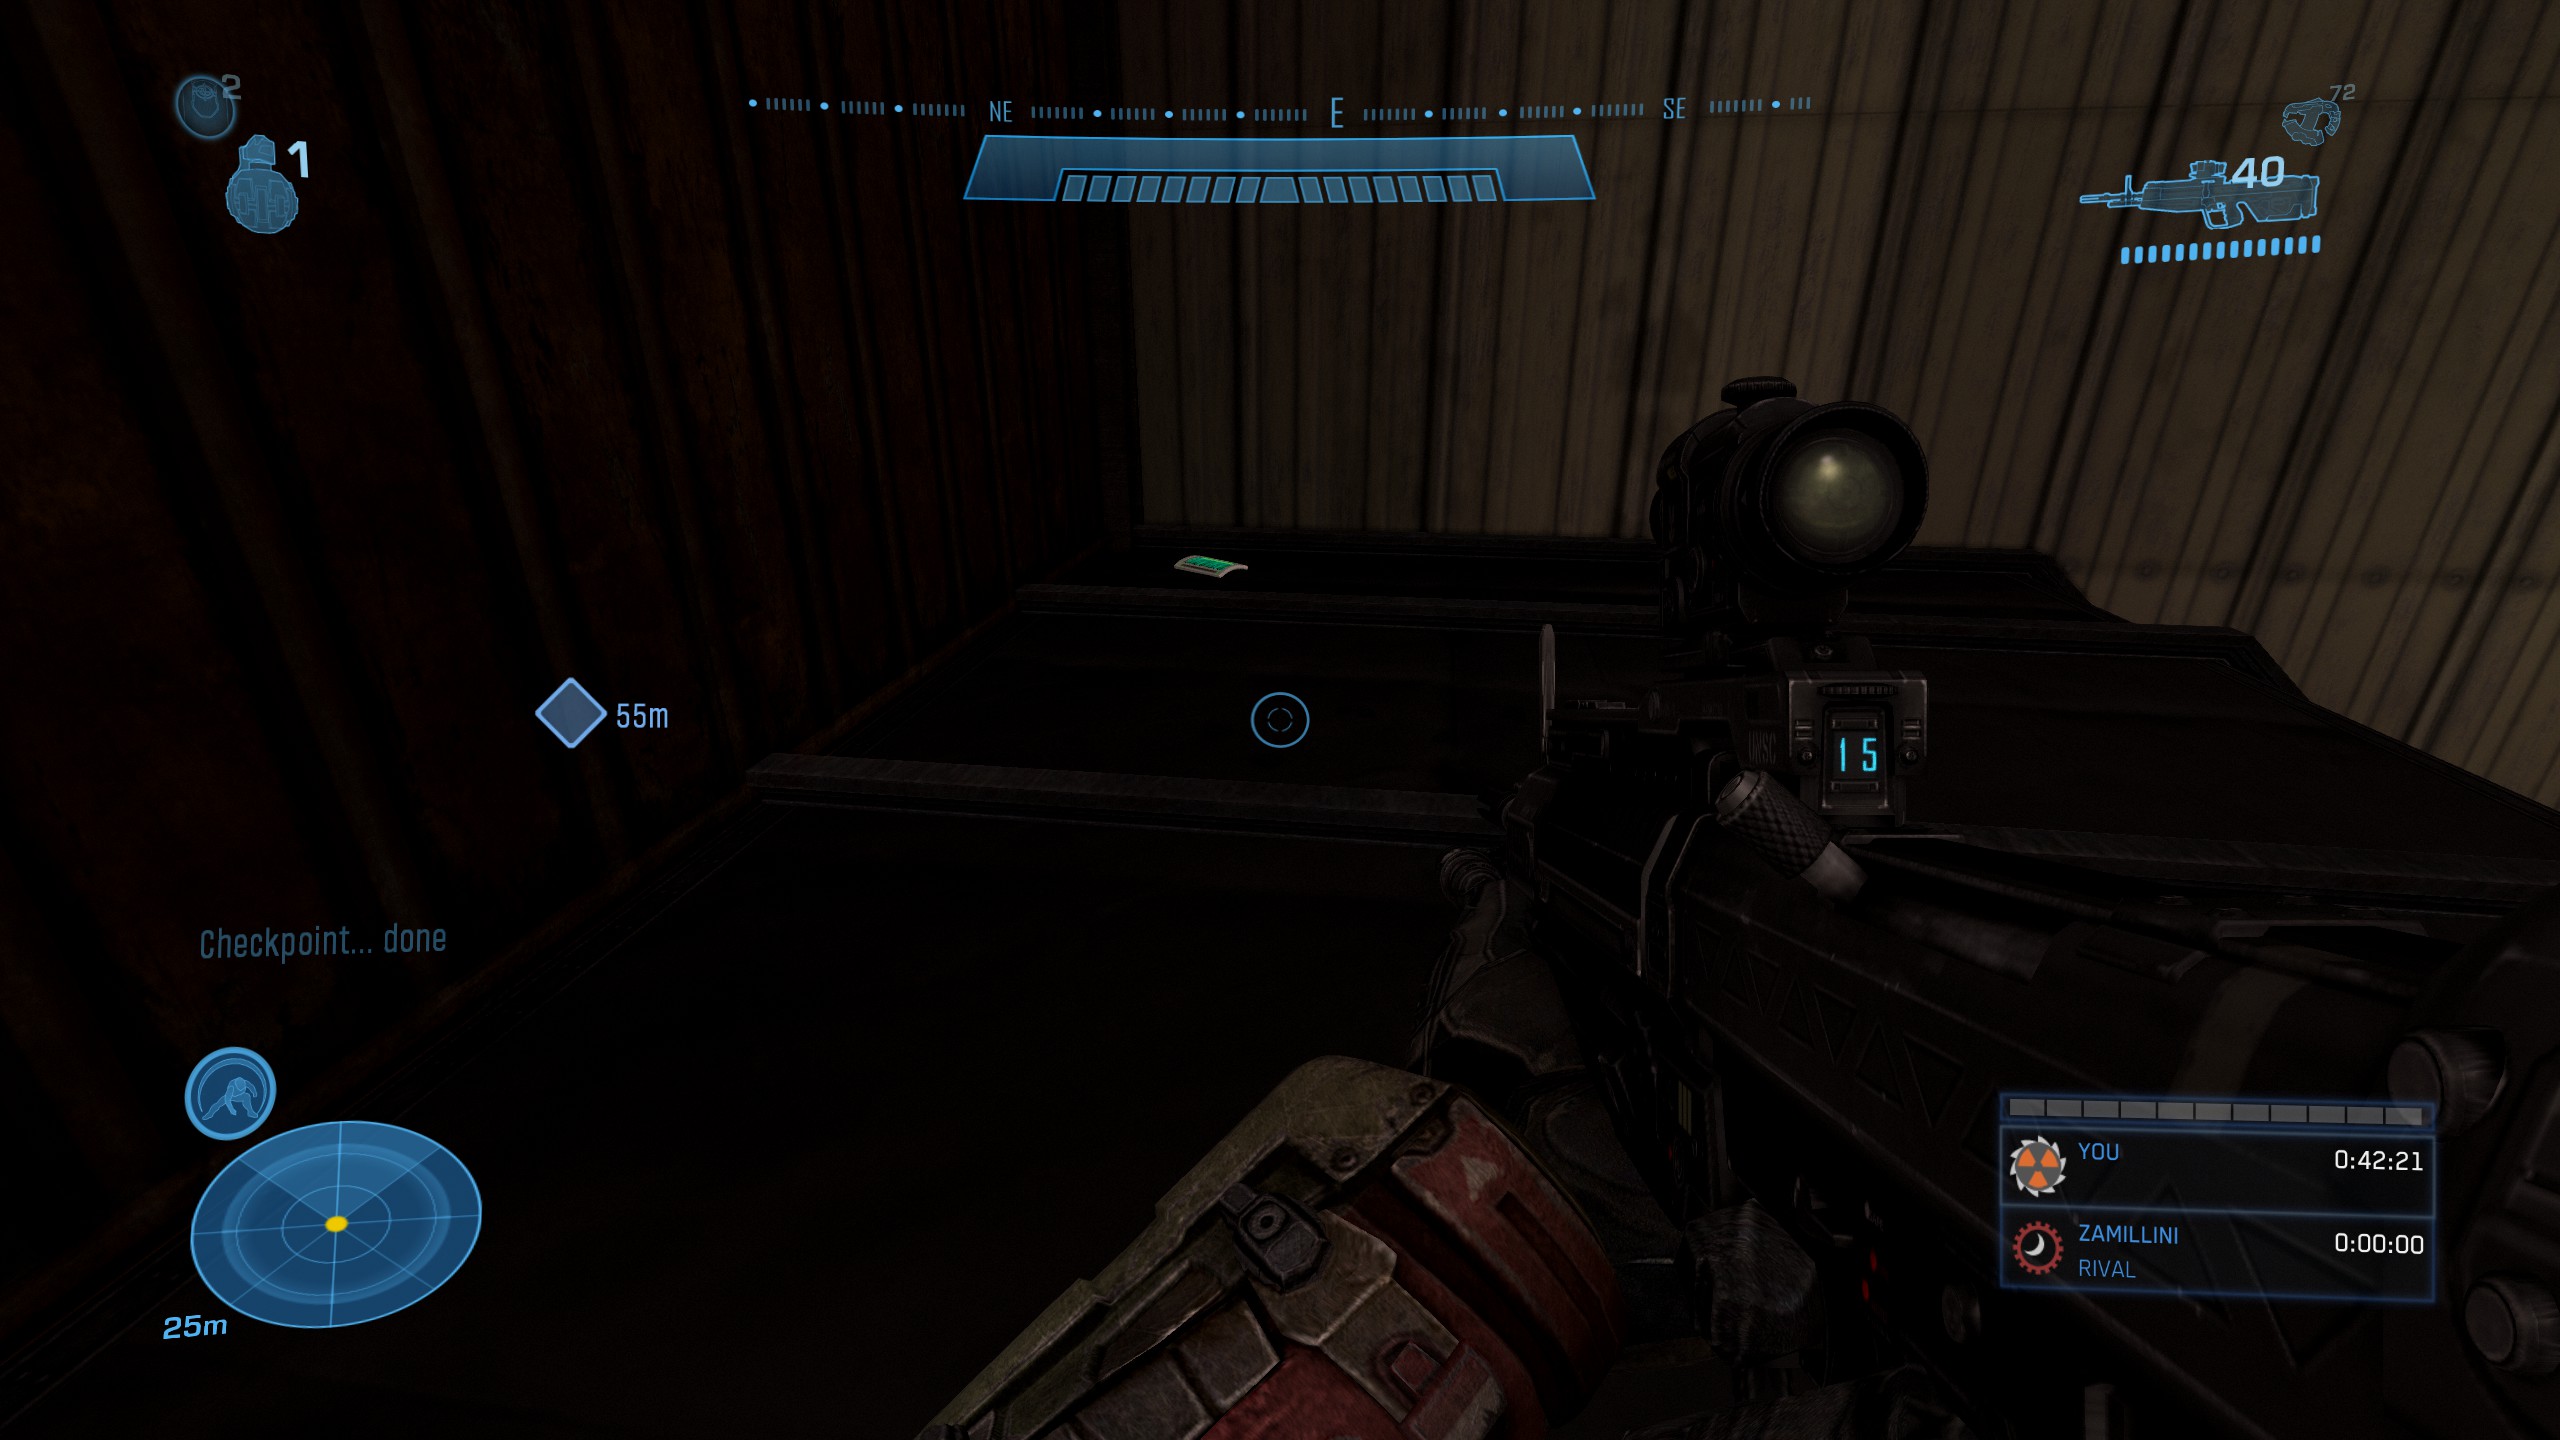
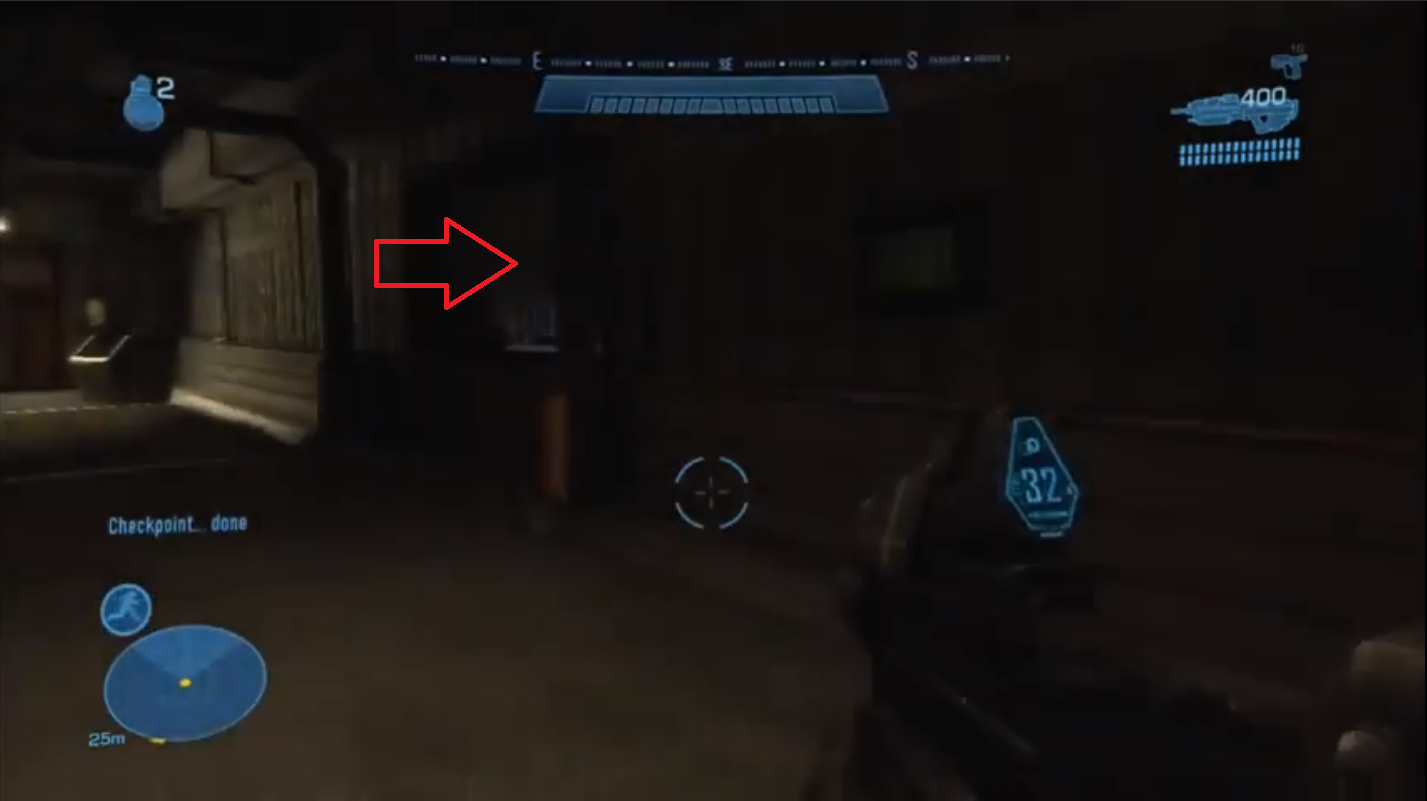
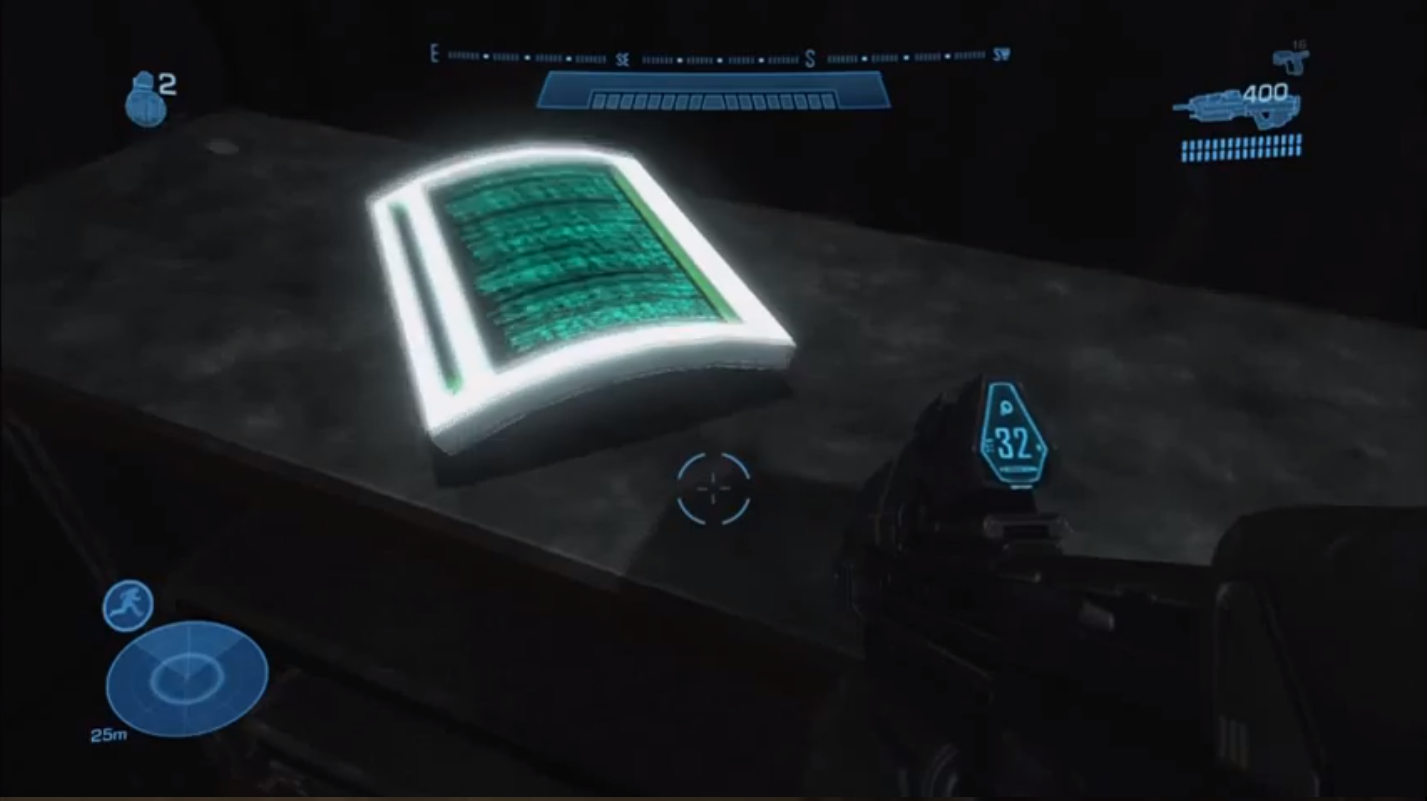
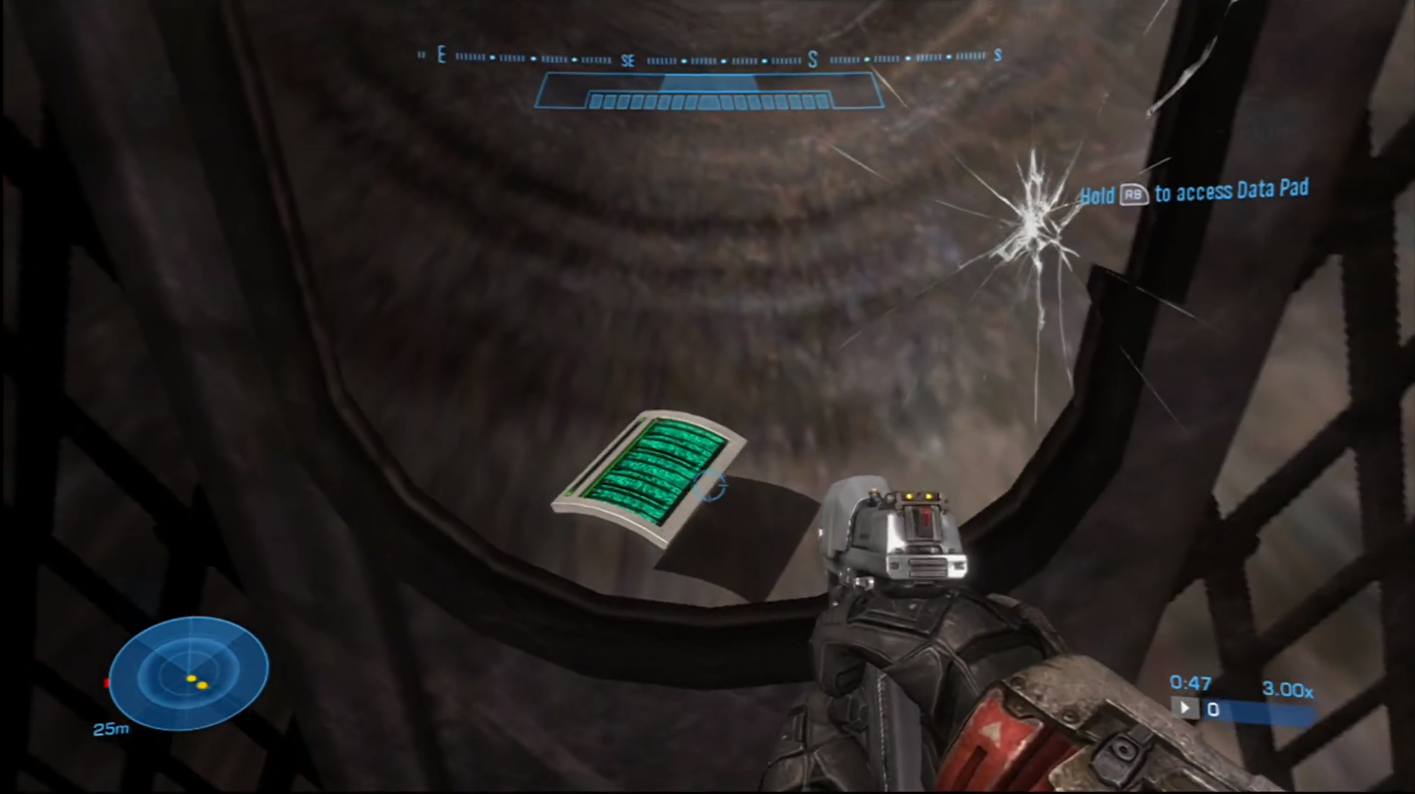
You'll pass through an outdoor shipyard before entering an interior hall. After you fight your way through the large area you will come across a room where you will encounter many fortified enemies. Just go around the back and go downstairs and look around the corner to reach windows with offices behind them. Break the window and go inside to find the data pad.
https://www.youtube.com/watch?v=aUYu9pjQyjk
Lone Wolf
https://www.youtube.com/watch?v=4kqO_ULT2FI
Conclusion
There we have it bois and gurls, that's your lot! You've successfully finished Reach's collectathon a second/third time!! Sit back and enjoy the achievement/lore. You've earn't it!
Now, if you want to keep playing the MCC and follow along with me, you'll want to bring up this Guide for Halo Combat Evolved: https://steamcommunity.com/sharedfiles/filedetails/?id=1959239326
You can follow me, and see my works here:
My complete selection of guides
Next up will probably be Halo: Combat Evolved Anniversary, in which case you can look forward to, at minimum, a guide on the location of all the Skulls and Terminals.

Art by Horia Dociu[horiadociu.weebly.com].
Change Log
Date/month/year notation are written in the UK standard.
--02/12/19 - Guide Published.
-Next update: Replace lower res shots with higher fedility ones.
--04/12/19 - Included videos under each segment.
--07/12/19 - Changed the numbering on the Datapads, changing it from mission chronology to in-game lore chronology.
--30/12/19 - Replaced old photos with uprezzed, uncompressed images for visual clarity
If you're a Russian speaker, a native Russian version of this guide has been created:
https://steamcommunity.com/sharedfiles/filedetails/?id=1929443751
[Optional] Donate!

https://steamcommunity.com/tradeoffer/new/?partner=38602821&token=A3SrzMse
Donations are not needed, and are certainly not expected. However, they are highly appreciated none the less, and give me extra motivation to carry on supporting my hobby. If you feel like throwing something my way, just use the trade link found above.
- Halo: Reach - Full Achievement Guide★ 5 (823)28k views1.7k ♥12 minUpdated May 9, 2025
- MCC - Master Achievement Guide (Complete)★ 5 (479)19k views1.2k ♥5 minUpdated Aug 8, 2020
- Halo Combat Evolved: Collectibles★ 5 (1k)17k views2k ♥8 minUpdated Nov 20, 2020
- Halo: Combat Evolved - Full Achievement Guide★ 5 (504)16k views1.1k ♥7 minUpdated Jun 2, 2022
- Рекомендованный порядок прохождения серии Halo★ 4 (209)13k views448 ♥8 minRussianUpdated Feb 3
- Halo 3: Collectibles★ 5 (676)12k views1.5k ♥17 minUpdated Oct 15, 2021






- Upgrading to PremiumTeam Fortress 2★ 5 (20k)1441k views11k ♥6 minUpdated May 11, 2022
- No More Room in Hell Official ManualNo More Room in Hell★ 5 (2.8k)569k views2.1k ♥29 minUpdated Apr 22, 2019
- NMRiH Community Hosting GuidesNo More Room in Hell★ 5 (526)351k views653 ♥1 minUpdated Aug 10, 2022
- Лучшие кооперативные игры SteamPAYDAY 2★ 5 (1.5k)315k views2.1k ♥56 minRussianUpdated Apr 27, 2025
- Desert Eagle Heat Treated | Blue GemCounter-Strike 2★ 5 (1.6k)292k views1.5k ♥2 minUpdated Jan 16
- Treasure Hunt Puzzle SolutionsTotal War: WARHAMMER II★ 5 (6.9k)281k views15k ♥3 minUpdated Aug 19, 2021






This guide was created by its original author on the Steam Community. Are you the author and want it removed? Request removal.