How to flawless any boss [An Assist Mode guide]
**DISCLAIMER**
Assist Mode
Dead Cells offers several accessibility options, including visual interface settings and features that adjust gameplay dynamics for those who might find the game too challenging and prefer a more forgiving experience.
Some options, such as increasing the starting gold amount (up to 50k) or limiting the number of items (weapons, skills, etc.) in Custom Mode, will prevent players from unlocking achievements.
However, *Assist Mode does not disable achievements* and can help you enjoy a less demanding gameplay experience.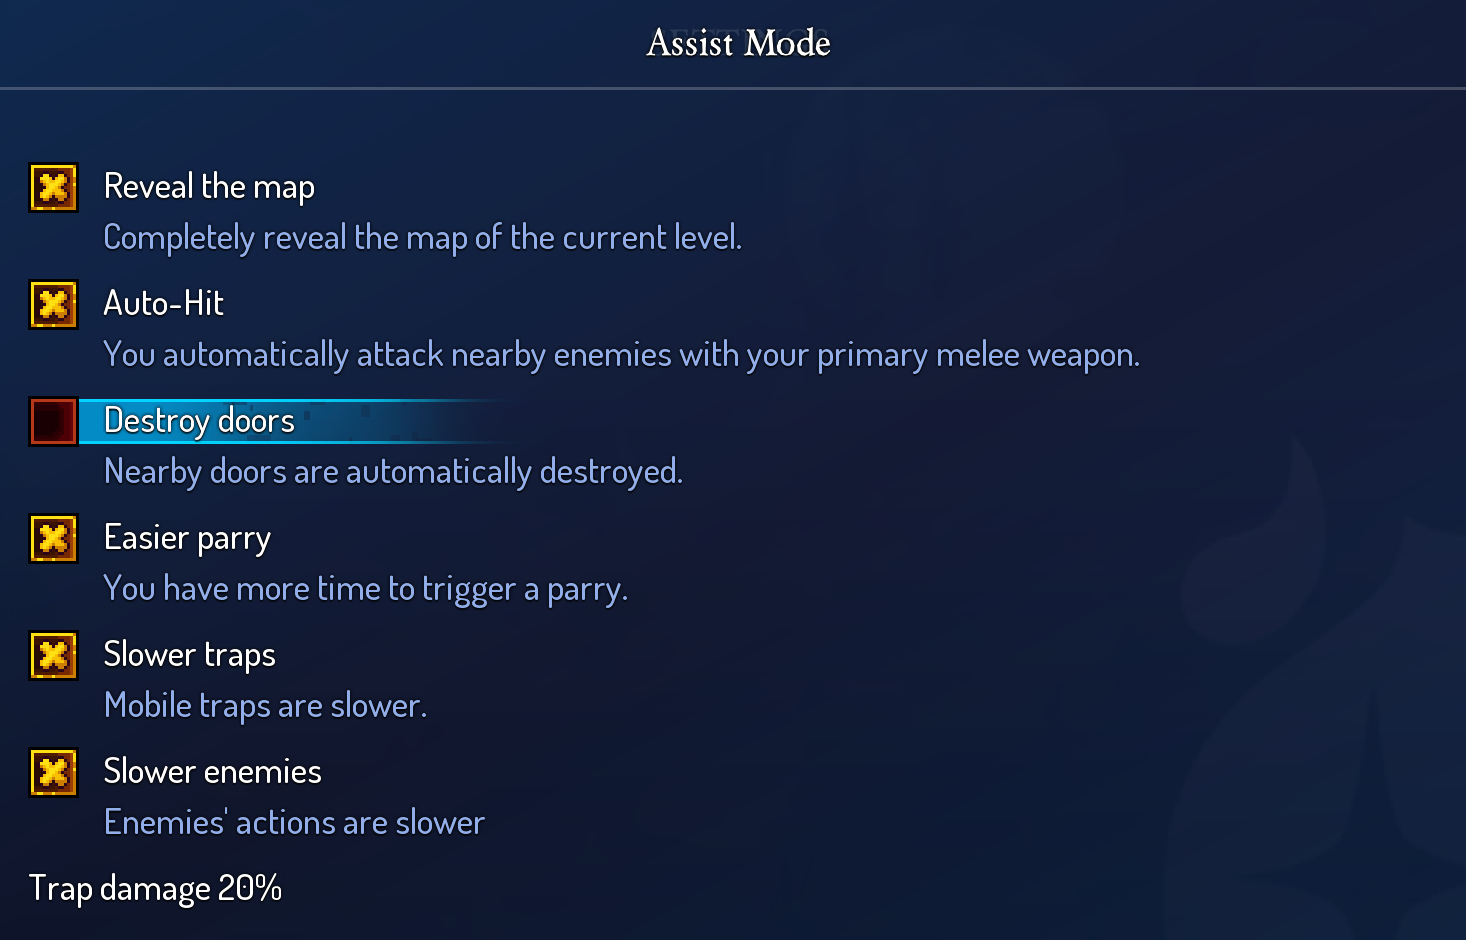 Assist Mode can also help you maintain your progress during a run and respawn at your last checkpoint if you die.
 The number of allowed deaths can be set to 0 (default), 1, 3, 7, or infinite times.
In-game chekpoint
- The beginning of the biome.
- Outside the last door you exited (e.g., BCD, shop, treasure, etc.).
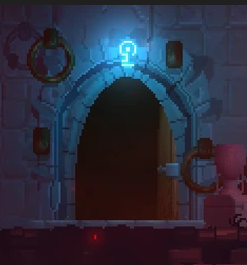
For instance, if you die during the second phase of the Time Keeper, instead of losing all your cells, you will respawn right after entering the boss room.
But what if you could make a checkpoint at any moment during the fight?
Luckily, the game also creates a save point every time you change an Assist Mode setting.

Did you just survive the first phase of Conjunctivius without taking damage but doubt your ability to dodge its tentacles?
Just pause the game, enable the "Destroy Doors" option (or any other setting) in Assist Mode, and you'll have a checkpoint at that exact moment in the battle!
If you die, you won’t have to fight the boss from the beginning but from the moment you paused the game.
Recommendend Build
Once you’ve created your checkpoint, you can play with the assurance that if you take damage, you can die and retry the battle.
However, it might get tedious to wait to die if you've already taken damage.
That's why I recommend using these mutations:
Emergency Triage could also be very helpful when facing the 5th boss.
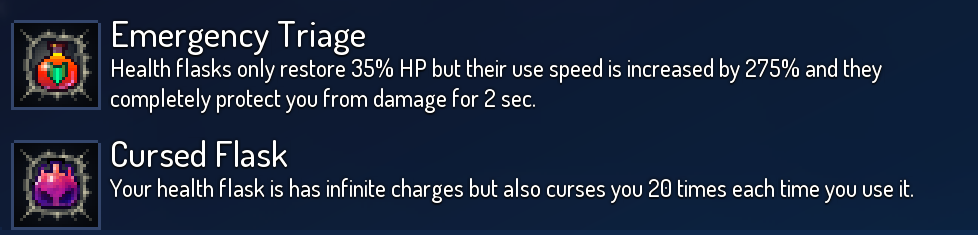
 Now you won't have to wait for your health bar to deplete to retry that perfect boss fight!


This method worked wonders fighting the Servants. I created a checkpoint between each battle room, so I didn’t have to replay the whole Lighthouse after each death.
*Note*
*NOTE*
default settings, and I truly admire their patience, skill, and determination.
With this guide, I do not intend to diminish their efforts; my goal is simply to share this dynamic so it can be used by anyone who wishes to.
The devs said this about Assist Mode:
"Our goal with this mode is to make the game accessible to the widest audience possible without forcing you to play with arbitrary difficulty levels. Feel free to use whatever options you prefer! The important thing is to have fun playing Dead Cells!"
So, have fun, experiment with the options that work best for you, and most importantly, GET THOSE OUTFITS!
- [How to] Dead Cells★ 5 (1.1k)50k views1.1k ♥19 minUpdated 3 Jan, 2019
- Секретные чертежи и их местонахождение★ 5 (1.1k)44k views2.2k ♥9 minRussianUpdated 23 Oct, 2023
- Complete Achievements Guide★ 5 (674)35k views1.3k ♥18 minUpdated 21 Jul, 2020
- [EN/FR]Dead Cells Biome Map - V3.5★ 5 (436)25k views961 ♥1 minUpdated 20 Aug, 2024
- [Beginner Guide] New Game Routing (a.k.a.: Going to the correct maps)★ 5 (394)22k views1k ♥3 minUpdated 24 Jul, 2024
- Ultimate Guide - Everything you need!★ 5 (389)17k views578 ♥1 minUpdated 27 May





- Upgrading to PremiumTeam Fortress 2★ 5 (20k)1441k views11k ♥6 minUpdated May 11, 2022
- No More Room in Hell Official ManualNo More Room in Hell★ 5 (2.8k)569k views2.1k ♥29 minUpdated Apr 22, 2019
- NMRiH Community Hosting GuidesNo More Room in Hell★ 5 (526)351k views653 ♥1 minUpdated Aug 10, 2022
- ULTIMATE GUIDE FOR GAME DEV TYCOONGame Dev Tycoon★ 5 (5.8k)326k views10k ♥4 minUpdated 23 Jan, 2014
- How to 'Git Gud' Soon™MORDHAU★ 5 (2k)318k views3k ♥68 minUpdated Nov 16, 2024
- Лучшие кооперативные игры SteamPAYDAY 2★ 5 (1.5k)315k views2.1k ♥56 minRussianUpdated Apr 27, 2025






This guide was created by its original author on the Steam Community. Are you the author and want it removed? Request removal.