Opt_0™: Starter Guide to RUNNING WITH RIFLES.
Spawns, Comms & Squads
(If you would like to skip to a specific subject simply refer to the Guide Index on the lower right side of the screen for quick Sections.)
You will die often and fast.
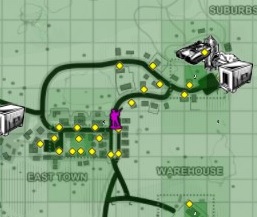
When you first spawn into battle you will be placed behind friendly lines.
[*Spawn points can be seen on the in-game map as Yellow Dots.]
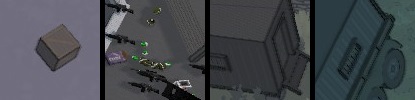
------Crates-------Dropped-------The Armory-----The Armory-Truck
https://www.youtube.com/watch?v=WTTmRat3dWU&index=3&list=PLWzVnh9-QBKS2iIZ1dYGhFAzWeqYz2P8t
As a new player do not be discouraged at all! You can choose to set you Early Default Weapon through the methods above to one of the 3 types: Rifle, Shotgun, Support MG. You are not given "weak weapons". Simply that RWR really will require players to learn the flow of battle and how to be effective, and this can be done with anything if you know what you are doing. Find what works for you. You're going to die frequently, you'll have time to try them all Rare and Regular alike!
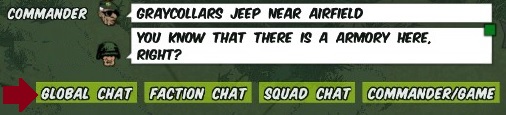
by clicking the respective channel button at the
bottom of the chat window. There are currently 3 Communication Channels available for Players in RWR.
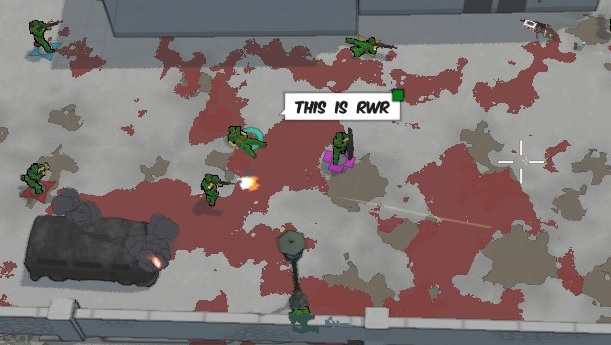
The channel used will be marked by a small Icon in the Upper Right Corner of your chat bubble.
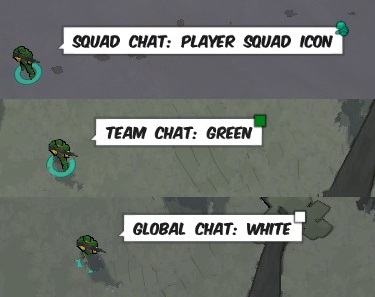
- Squad: Visible in the Chat-Log only to those in the same Squad and On Field to All as a Chat Bubble. Marked by a small Player Squad Icon, the color is the same as the player speaking.
- Team: Visible to Your Team only. Marked by a small Team Color Square.
- Global: Visible to both teams and the game at large. Marked by a small White Square.
[*NOTE: The Squad Chat key-binding is not set by default, you must use keys-menu and set it.]
- 1: During Online Gameplay open the Menu by pressing Esc.
- 2: Go to the top option:
- 3: Select a 3-letter Tag that will be used for the Squad as a whole. (If joining another simply add the designated 3-letter tag for that squad.)
- 4: Close the menu and you are now In a Squad! (This can be verified by opening the player list in-game. Squad Tag will be found in the far right column of the Player List.)



Once you have set a Squad Tag it will remain even after you log out. It is very easy to change at anytime repeating the steps above. Don't be afraid to change your Squad if you are switching rolls or changing your area of action on the map, such as: Switching from a Stealth Ops to running Frontline Support, Tank Support to Assault Team, etc. It will give you the opportunity to use squad chat to help players define or clarify the intended Squad's roll in combat. This is RWR, find what works for you.
[NOTE: You are not required to be in a Squad at all. It is simply for those that wish to group up.]
Very Basics to Understanding the Map
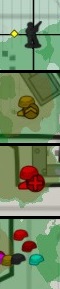
- Your Player Icon will be marked by a Soldier, tracked by two intrsecting lines on the map.
- Squadmates will be marked as a larger Soldier Head with a Chevron to the right.
- Steam Friends (that are logged in) will be marked as a larger Soldier Head with a Plus Sign to the right.
- All Other Teammates will be marked by small Helmets only.
[**] Player Names can be seen by Targeting on them in the map or on the field.
[***] All player icons, regardless of catagory will, change color every map.- Allied vehicles will be marked in White, you will see a player icon on it if currently occupied by a player.
- Spotted Enemy vehicles will be Red, yet also marked with player icons if "stolen" and occupied by your team-mates. Watch that Friendly Fire.
[NOTE: In Online Play the player marker can be seen trailing the Stolen Vehicle as it moves quickly. Just watch it if you are uncertain at first, it should be clear after a bit.]
Players and AI Troops MUST move into the Capture Zone to take or retain control of an area.
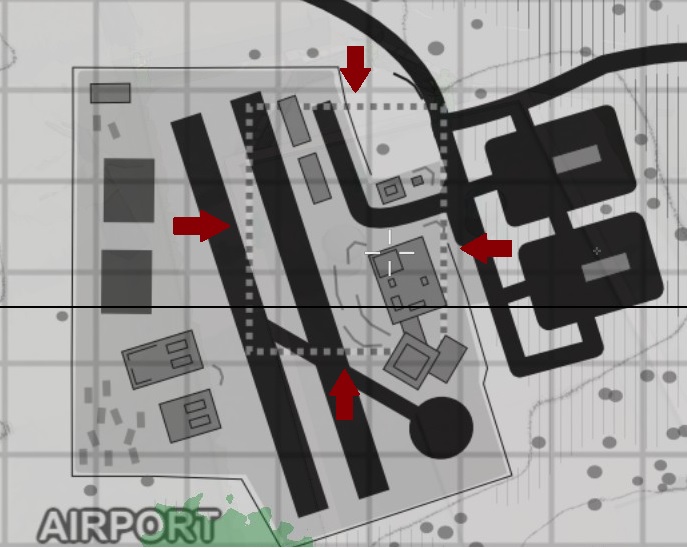
This "Capture Zone" is designated on the map as a square marked with a dotted line. Control is dictated by having more friendly troops in the Capture Zone than the enemy does. [*This screenshot of the Airport shows that the "Capture Zone" is relatively small compared to the overall size of the Airport. Most Capture Zones share this discrepancy in size between Capture Zones and the Area of Control.]
https://www.youtube.com/watch?v=mOY8ApORues&list=PLWzVnh9-QBKSTnMO1kjTA5bpvrWe6BYRd&index=20
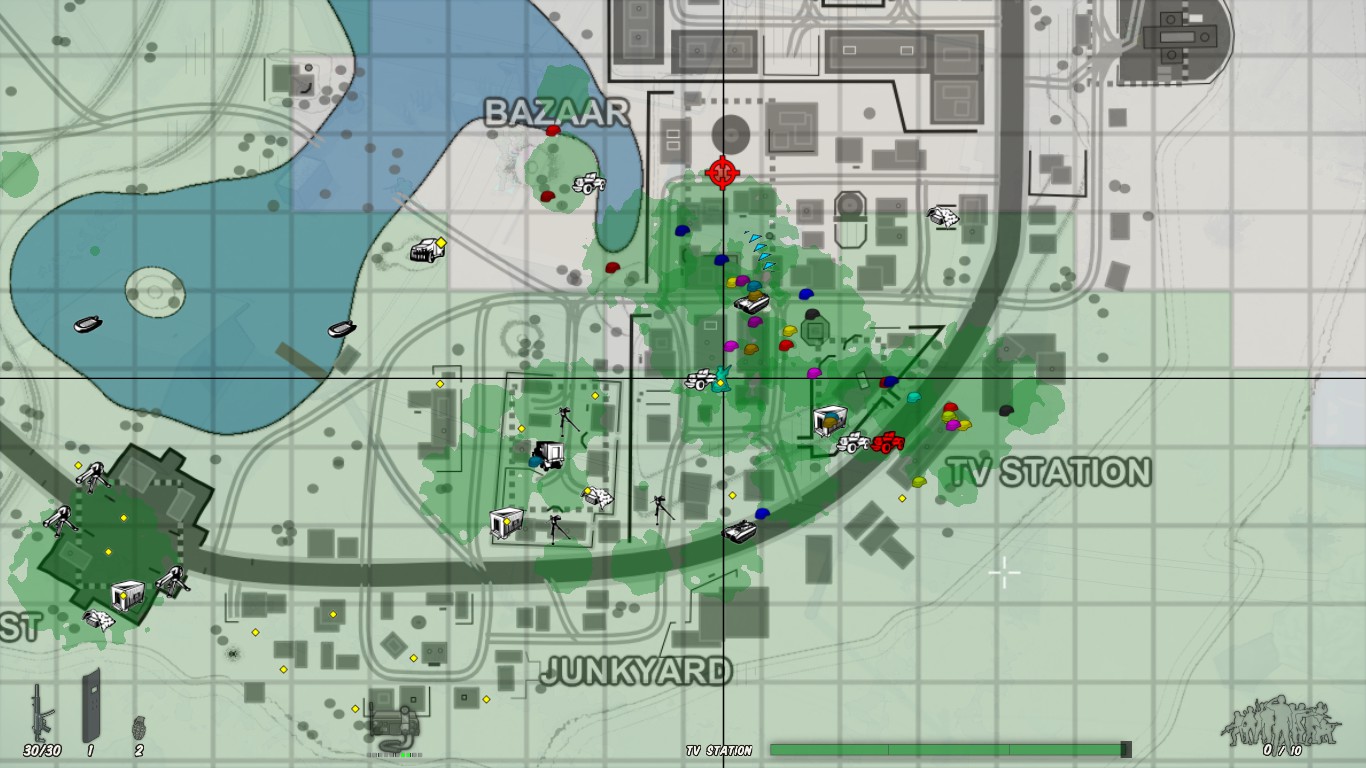
There is also an AI Commander-Controlled marked location for the Team to assult.Although, as part of this guide I will suggest that this is most often ignored by experienced players when a more worth while point of field control and beneficial map positioning is needed. Listen to the team chat, there is often an over-all team strategy in place and needed for success. Familiarise yourself with the ingame map as you play. Watch for: where the battle moves, nearby enemy locations with spawn-points close to team lines, large open distances, heavy cover location with buildings, and places of frequent conflict as these and many more influnces will dictate the flow of battle. Which will inturn require constant adjustment of team effort and tactics to control; almost entirely based on Communication and Understanding the Map.
Rank and File: Earning XP & RP
In RWR there are two things you will be earning to different degrees all the time while playing on a dedicated server:
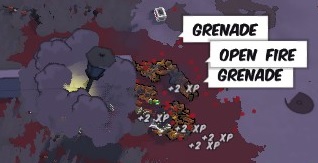 from almost everything to some degree; simply focus on playing and you will earn some. Rank Progress will be slow in the more "Official" Servers; this is on purpose. Even when you do unlock things it may take some time to put them to truly effective use. And I assure you, in RWR no matter the Rank it WILL come down to your situational awareness, individual abilities, and conduct regardless of weaponry and equipment.


The thing to remember while playing Invasion, which is Massive Co-op, most uses of RP are for the benefit of the team. RP can obviously help an individual in their own efforts, yet those efforts are in the context of an entire team winning. And you will have FNG's on the field that will always need good examples of proper use and etiquette.
"Lead by example, not aggression." [NOTE: For no particular reason I always think of RP as "Rifle Points"]
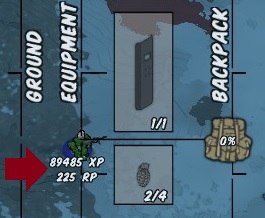
Your Current XP and RP levels can be seen by opening your Inventory(Hold F-key by Default).
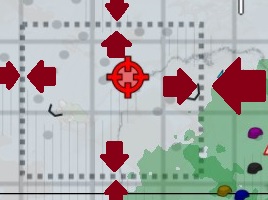
The Most Consistent way to earn both RP and XP while engaged in combat is very simply: Make sure you are IN the Capture Zone marked on the map when it is being taken over by Allied Troops
(AI and Players).
https://www.youtube.com/watch?v=ika6jz-e8bA&index=27&list=PLWzVnh9-QBKSTnMO1kjTA5bpvrWe6BYRd
At the lower portion of your HUD there is a small bar marking the Troop Ratio in your current location. Capture Zones being contested will have a small Timer counting down, at the same time you will hear a small beeping marking the remaining seconds to gain control and activate the area.

[*The Timer will be longer when Capturing the Final Enemy Base.]
- MedKit Rescue: Easily picked up off the ground, or purchased at an Armory for 1RP.
It functions as a Secondary Weapon/Item (like the Shield or Sandbags) with a one time use on wounded players
crawling on the ground. This can only happen if they were wearing an Armored Vest. If they are not moving at all... they're dead. Although the current reward is only +15RP, it can add up; yet the Reward of Strong Co-op is much more important. Honestly, Medkit Rescues can be some of the most action packed co-op moments in RWR, especially when you see the team come together to cover the attempt.
If YOU are
wounded make every attempt to crawl towards cover so that you can be rescued safely by teammates. Click LMB to call for a Medic, be aware Allied AI will run to save you.
**Carrying a Medkit IN your hand gives a slight speed boost while on foot.**
- Spotting & Destroying: This one is pretty straight forward. If you see a "target of opportunity"
that has not yet been spotted, simply put your cursor over it.- This can be a Tank, APC, Radio Tower, Fuel Tanks, etc.
- Once "Spotted" The AI Commander will make note in Chat.
- Radio Towers, Vehicles, and Gun Emplacements will show on the map.
- Some rewards for spotting can be +150RP, and XP and RP Bonus for destroying.
- This can be a Tank, APC, Radio Tower, Fuel Tanks, etc.
- "Side Objectives": These are not designated in Online Co-op Play. And this term is more accurately described simply as "player lingo". Most common in Threads, or referenced during in-game chat on occasion. It is used to refer to things such as Fuel Tanks, Water Towers, Radio Towers, Anti-Air Emplacements, Ammunition Creates or even Cargo-Trucks and Hidden-
Crates. All of which can be destroyed, EXCEPT FOR THE CARGO TRUCK: Return it to the Armory for Rewards!
- Loot & General Etiquette
Loot can be found in many forms literally all over the field![/previewimg]
Loot will be easily identified by a BLUE label when you target on it and will have differing values of RP when returned to the Armory. (You can use a Stash to save stuff too.)
One Expirenced Player Note of Etiquette Regarding Dropped Loot and Gear: If at any time Online you should come across a pile of Loot, Rare Weapon AND Multiple Armored Vests it is mostly likely recently dropped by another Player. It is common Etiquette to beware of this and either help the player to get it back, or leave it be, cover it, Stash it if need be to return later. SIMPLY ASK if you are unsure!People appreciate this little effort, it increases team bonds, and YOU will appreciate it when YOU are the one loaded down with gear and die in a single shot! [This is not "mandatory", but one of the few polite suggestions I would like to make because it does already happen on the field: Often.]
- RP Use and Team Benifit:
So you have finally accumulated some RP. Now Put it to USE! There are a number of DeployableWeapons available at the Armory. Support Calls will become available as you Rank-up including: ParaTroopers, Artillery Strikes, Air-Dropped Sandbags, Tanks and Humvees!
It'll all be used to help the team win, so put it to use and get out there and help! Some Helpful Support Call and Deployable Weapon Tips:- If using an Artillery Strike: Make sure the Area is Clear and try to Warn People.
- DO NOT Drop ParaTroopers directly on the Enemy... they'll die before they hit the ground!
- Air Dropped Vehicles are just as vulnerable as Regular ones. Work with Troops!
- Always Drop a Boat in Water and a Vehicle on Land!
- Watch Out for where the Target Marker is On the Drop!
- If no player gets on a deployed weapon and idle AI are near they will use it.
- Sandbags: The cheapest, longest lasting way to dynamically effect the field! We all use cover!
- It's RWR: We're all going to die a lot and often, the battles will be long and tough! HAVE FUN!
- If using an Artillery Strike: Make sure the Area is Clear and try to Warn People.


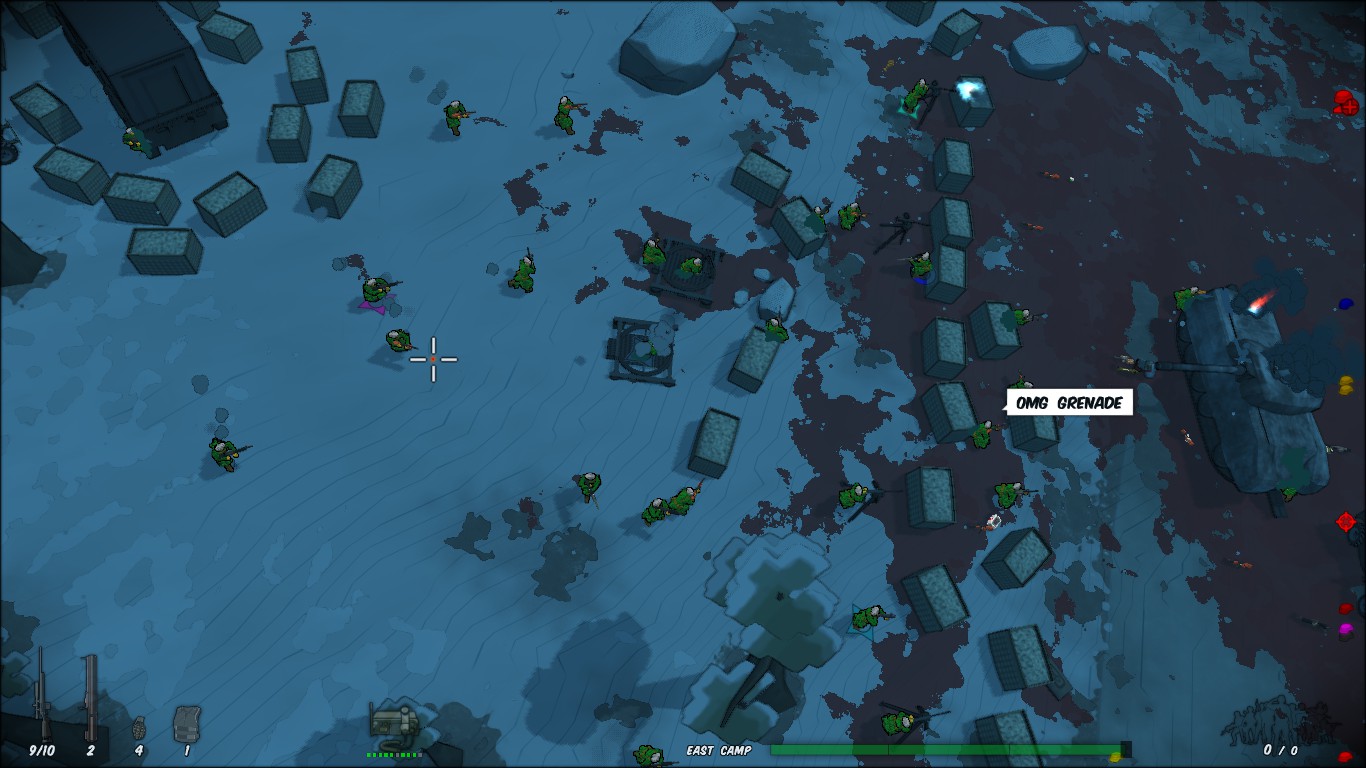
Moving in Battle: Cover & Offense
Although reflexes when entering the game for the first time may be to simply run into battle with the idea of just “run and gun”, in RWR it is not advised. This may be a common approach in regular top-down shooters, but here it will most often get you killed over and over... and over and over.
~"In RWR it is Tactics, Patients, and Team-Work which are your main tools for Map success."~
-Willie Nelson
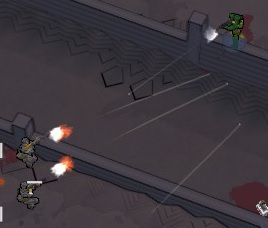 Many of the edges, rocks, walls, boxes, and other in-world objects are well designed to function as cover. Although it does not always ensure absolute safety. Move from cover to cover when there is a chance. Also try to keep cover/objects between you and the enemy when moving forward. This is a basic tactic in all warfare, but its importance in RWR is very often over looked by new players.
Make sure to watch your spacing when in cover with others, one grenade can easily kill a whole group.
https://www.youtube.com/watch?v=njdfPZ4ob-A&list=PLWzVnh9-QBKS2iIZ1dYGhFAzWeqYz2P8t
[*All a player needs to do is crouch down near effective cover and it is possible to pop-up and shoot simply by firing.**VIDEO NOTE: The hedges used as second point of cover do not protect against incoming fire however the Auto-Cover will work on anything of the right size. It does not work on the boulder used as the 3rd cover point because it is too high.]

-----Push-Button Control -------------------&-------------------Toggle Control-----
The Toggle Buttons are not set by default in the game.
[*Suggested setting: Q & E, as these actions are used as frequently as firing and movement.]
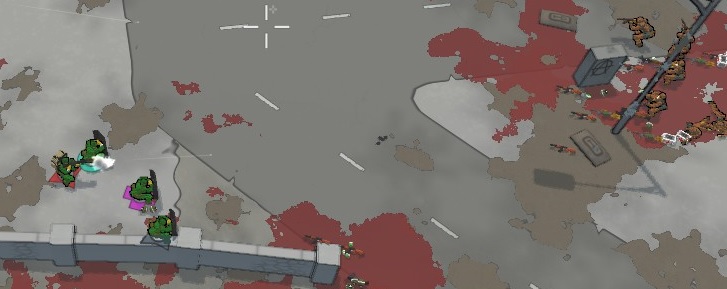 Dynamic Cover:Use the Riot-Shield at the right time to Draw Fire Away from teammates as they get revived by another player, while placing deployable resources, or as mobile cover such as Phalanx (pictured above) or by placing Sandbags (pictured below)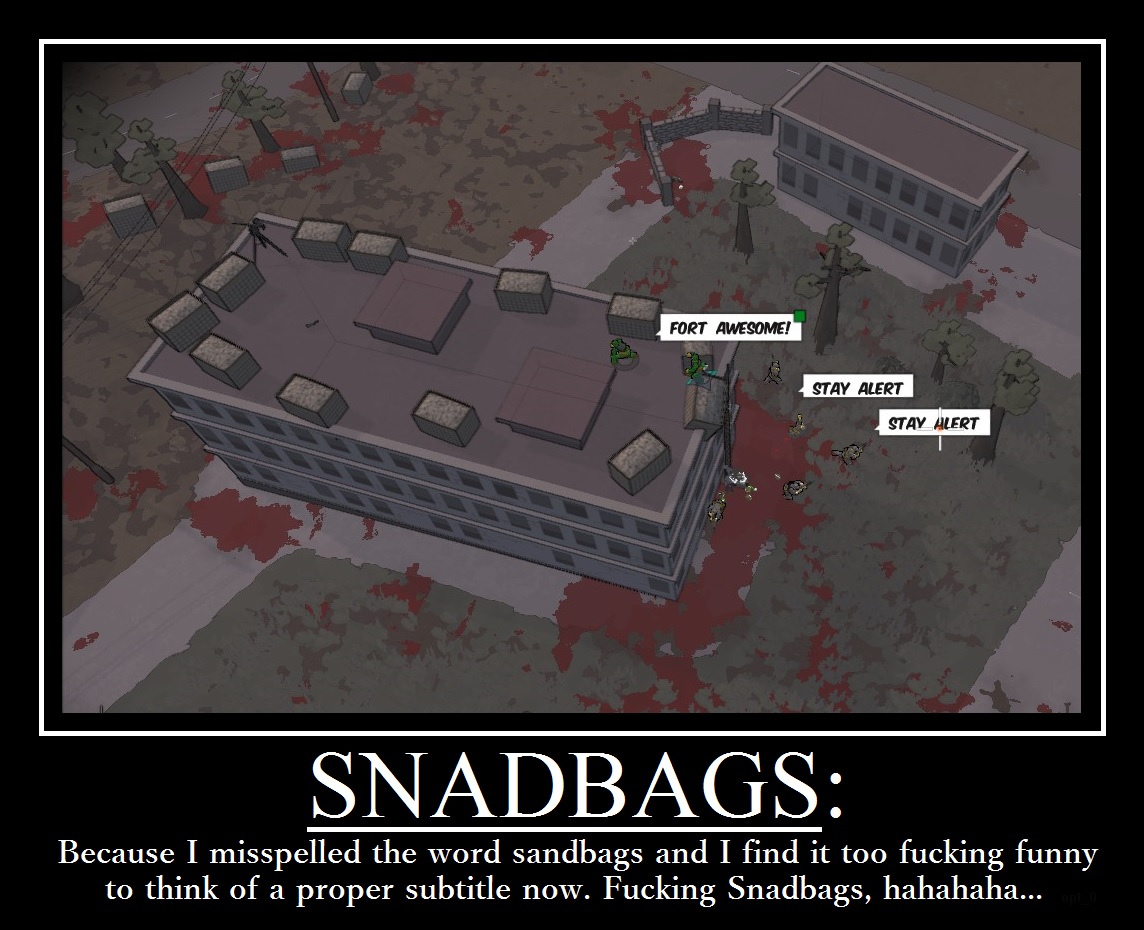
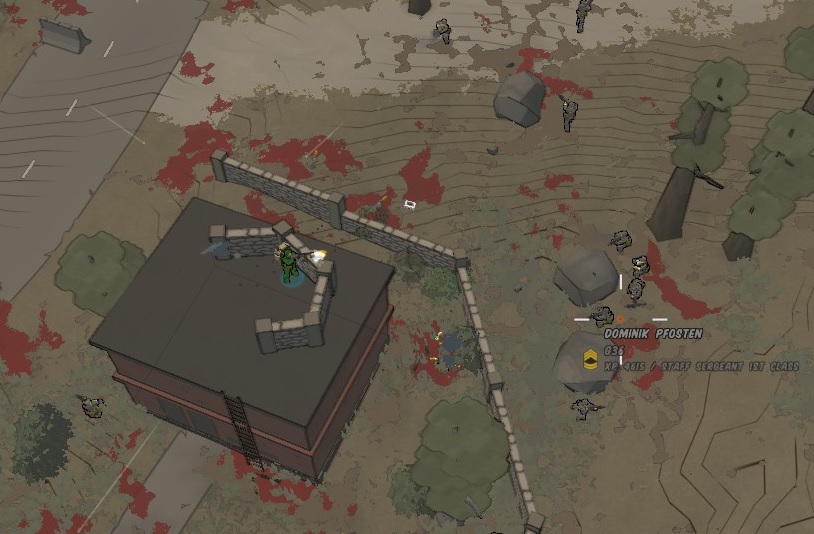 [*Cover can keep you very safe when used well.]
https://www.youtube.com/watch?v=Z2xwL7dLPG0
 The rate at which these movements are dictated in RWR again comes down to player and group choice. Some battles can take hours and require the effort of the entire team to finish. Listen to your team-mates if you don't know where to go, and watch what others are doing. As time goes on you will know more when to move, and where is safe.
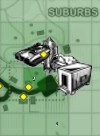 The location of attack by the groups is important. Some locations provide Vehicles, Armories, and Stash Boxes, as well as very strategic map benefits. Certain locations can also be very weak points if not connected to nearby areas or that open weak spots in your battle-line, leaving you prone to being frequently cut off. Make sure you choose wisely.
[*This location provides a Tank, Radar Tower, Stash, and Armory]
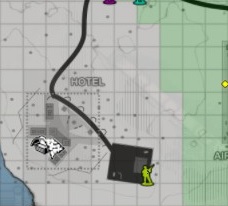 Some areas of the map will have different rates of troop movements and AI activity. These can sometimes be exploited due to the fact that the location may be far enough from the more active areas to ensure a safe and constant state of control, and more importantly these less active areas are not used by the enemy to attack you. Yet some of these location also serve as Main Bases for the enemy and can be hard to take.
[*This location is one far away from activity it is often easy to hold; also hard to take.]
The general line and area of Assault should be directed by gaining areas that allow for a solid forward line creating easily defended and held zones(ie: bottle-necks, and key over looks, or highly defensible locations, and strategic points of opportunity) while the line advances in other areas. Also select areas that reduce the chance of being attacked from two flanks at once, or by two factions at once.
Holding in Battle: Suppression & Defense
RWR provides many opportunities to implement common warfare tactics often under utilized or simply over looked in other games. Within RWR the need arises during battle for far more dedicated and specific roles than first assumed; one of which is Defense. And one of the biggest tools in RWR is:
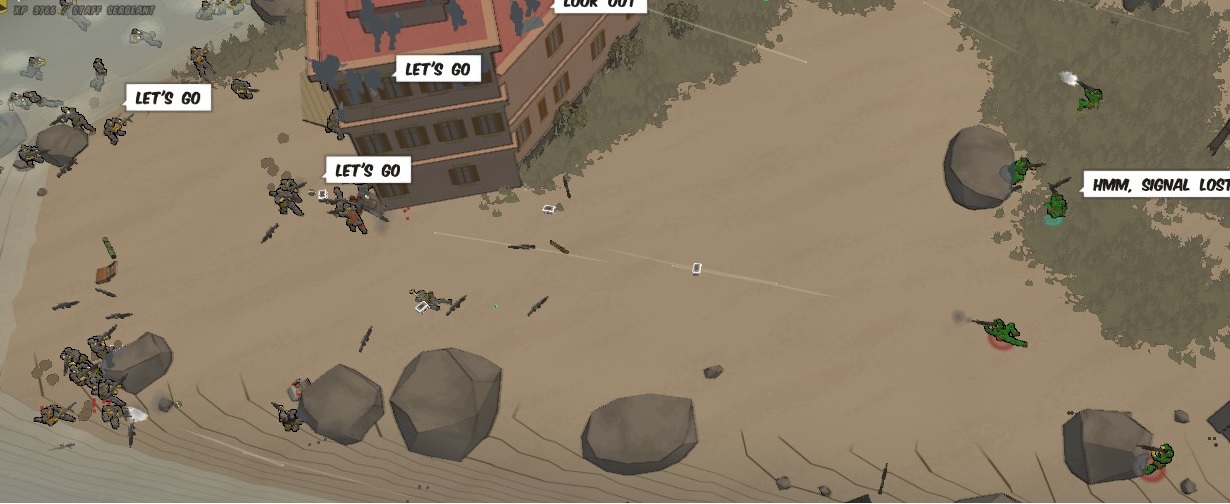
[*Here players use Suppression Fire to hold AI Troops at bay while Allies flank around North.]
While engaged in Suppression Fire your goal is to keep the enemy pinned down (not necessarily trying for kill count). This will keep the Enemy from moving too much from cover and/or keep them from firing on friendly positions or advances. It often involves keeping fire on open gaps in the line by active support players. At times, Suppression Fire in RWR will actually consist of spraying an area back and forth for a few seconds while troops move up. This will make any advancing enemy troops fall back and when done at the right time will greatly assist in quick advances.
https://www.youtube.com/watch?v=oBJLOfWE4Vg
Suppression Fire can be used in both Offensive and Defensive maneuvers. The importance of secondary supports efforts should never be overlooked in RWR.
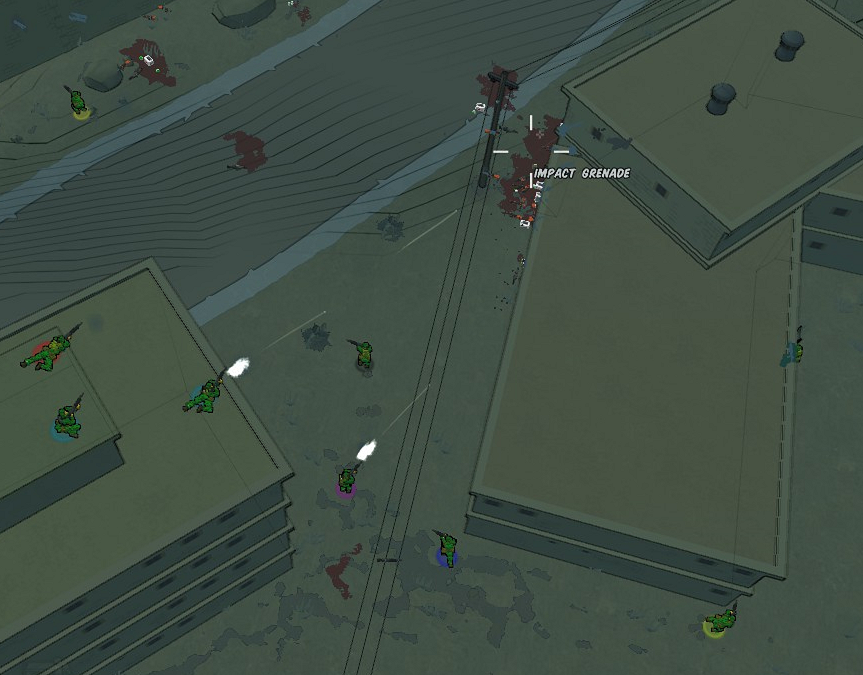
Some locations on the map may require players to remain behind the assult group to defend or work as a Diversion. These troops/players should work to ensure that Allied forces are not cut off from nearby spawn-points and reinforcements, or to cover forward advances. However these defenses can often be highly advantagous positions (roof tops, bottle-necks, high ground or fortifications) thereby only requiring a few players to defend well.
https://www.youtube.com/watch?v=Rnl8nVWl8po
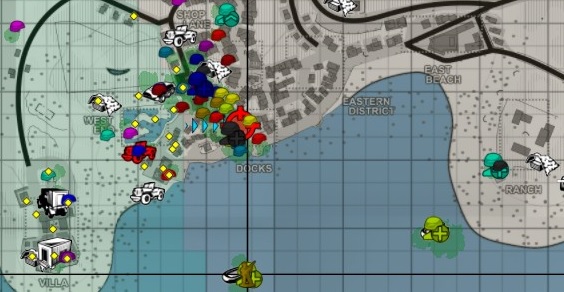
Unless playing a "King of the Hill” Mode needed defensive locations are not marked and arise simply from the flow of battle. Most often dictated by need and player choices.
Defensive Positions in RWR can often be just as important as a highly aggressive assault group. There are times and places on certain maps that may need a few players to hold or defend it. In RWR these needs are often more pronounced due purely to the shear scale of battles. If you are uncertain, listen to team chat. Not every place needs to be defended, but most often it will be needed right after a recent Zone take-over. There are sometimes Counter-Attacks and a few defenders can do wonders to retain a recent acquisition.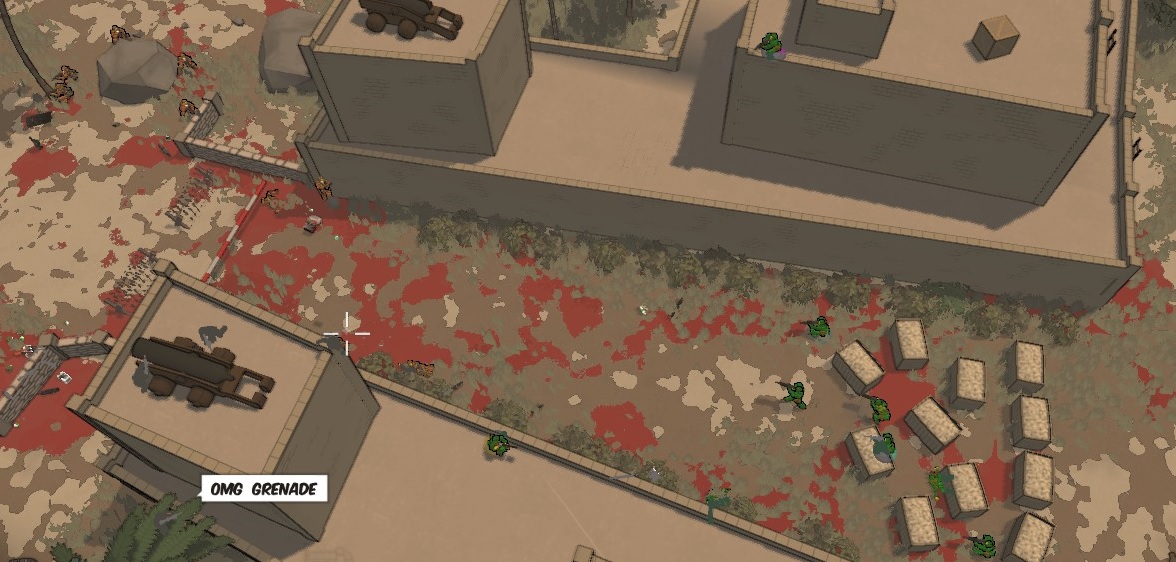 [*Defenders hold the Fort's west gate from constant enemy advances out of the Frontier]
Yet, as always, it all comes down to the flow of battle, you will need to adjust your efforts constantly.
[*Defenders hold the Fort's west gate from constant enemy advances out of the Frontier]
Yet, as always, it all comes down to the flow of battle, you will need to adjust your efforts constantly.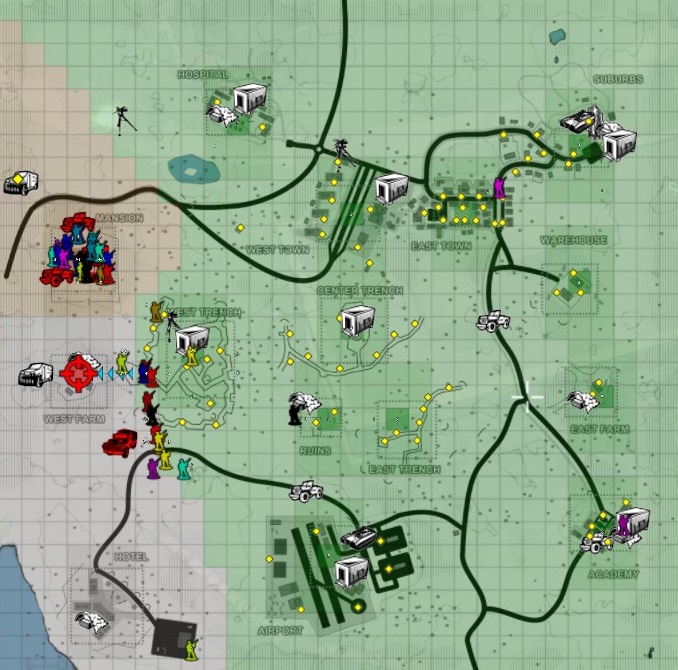 This is a perfect example of solid Offense AND Defense efforts during Co-op Invasion : One smaller group holds a Defensive Line at the front with Grey Faction, also working as a diversion for Grey. While a larger group assaults the final position of Tan forces [final assaults often requiring as many players as possible]. This is a great example of team work in RWR and it arose normally from basic communication and need.
Hiding In Battle: Stealth & Sneaking
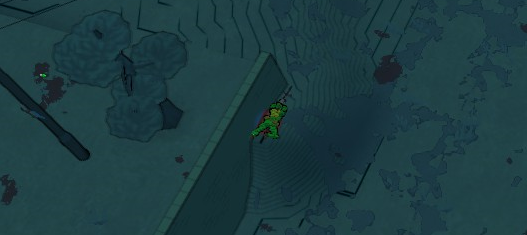 Stealth in RWR requires a few basic things to function:
- Crouching and/or Crawling
to move from cover to cover.
- Hiding from Enemy line of sight.
- MOST IMPORTANTLY: Hold your Fire!
[** Night-time does reduce the enemies' chance of spotting you.]
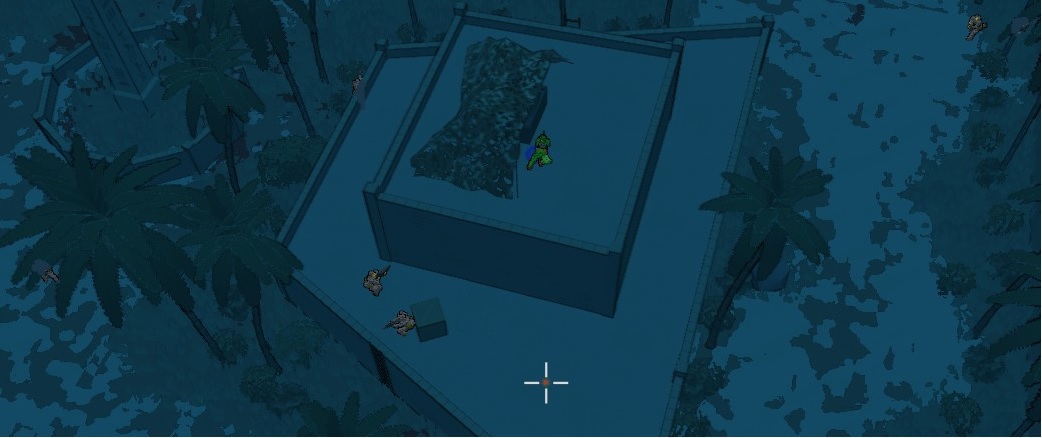
Stealth in RWR works as you would expect it to work in most games. It is simply often overlooked by new players due to the somewhat chaotic seeming nature of warfare in RWR. And the tendency to assume it is purely another top-down shooter.Sneaking can also work in the midst of heavy battle, much the same as when actually attempting a stealth mission (Stealth mission referring purely to a player selected side objective during a regular battle. There are no AI designated “Stealth Missions”, you engage in what you want to do during battle.). Although it is important to remember that despite your efforts, sneaking through heavy battle does not ensure you won't get killed.
The thing to remember for Stealth in RWR is to hold your fire! AI are drawn to gun fire, killed allies, and enemy movement. If you sneak around patiently it is possible to get deep behind enemy lines, but it can all be lost by one needless loud gunshot.
When engaged at the 'point of operation' for your “Stealth Mission” it is possible to engage the enemy slightly, break contact, and hide out. The AI will come and investigate yet eventually move off if you do it well. So it is possible to destroy targets of opportunities behind enemy lines with minimal enemy contact. These types of activities can benefit greatly from having other players run a diversionary attack against the enemy in an adjacent area on another flank. (If attacking a fortified position: run a diversion on one flank while other players sneak around quietly to the other side)
[*Stealth can go wrong quickly, especially alone.]It is important to remember that constantly running off by yourself to do stealth missions may not always be the most effective effort for your team. Take some time before attempting them. And as with everything in RWR, try to work with other players for better chances of success.
NOTE:For best results a dedicated Stealth mission should be done by players equipped with the MP5SD and/or any other SILENCED weapon available now or in the future. And the Knife.
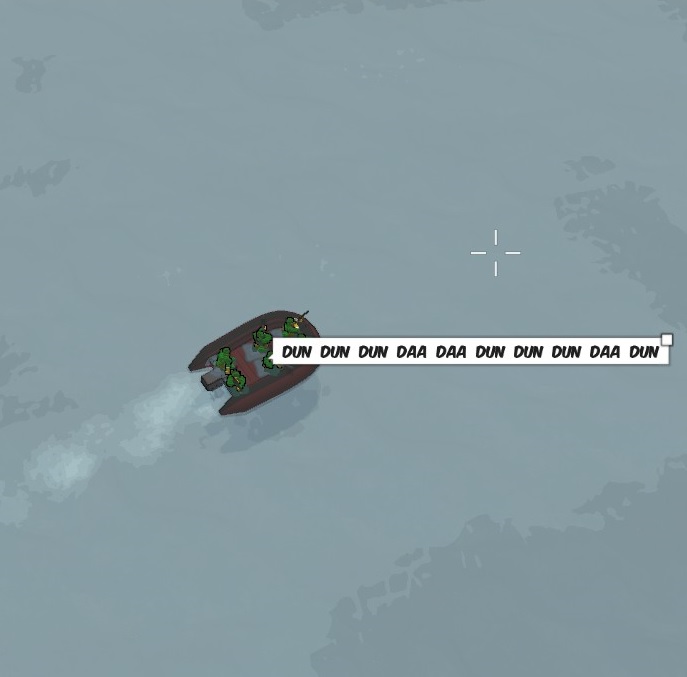
MP5SD is Green specific; each faction having an equivalent weapon available (and other variants). There appears to be only 1 default silenced weapon for each faction at this time, and you will need to rank-up a little to unlock it. A silenced pistol has been added post v.95/.95.1[*Here players utilize the rubber-boat, all silenced weapons, no AI followers, communication, and quick team-work with little effort to orginize into a "Stealth Team".]
** One of the players is providing a very appropriate "Soundtrack" for RWR: Flight of the Valkyries

Assault Vehicles & AV Support
As in many war games, RWR comes with a complete compliment of Vehicles. Although unlike many games, RWR often greatly requires the effective implementation of these vehicles during battle to ensure Map success. Some vehicles will be for troops movement, some as assault vehicles, and a few key equipment vehicles. For the purpose of this guide I will be covering some of the basics to effective use for Attack Vehicles(AV's) and the Spawn/Support-Trucks specifically.
You can do the same! I CANNOT stress this enough! If you find yourself closely surrounded by enemy troop in any vehicle -including the Patrol Boat- they can very easily drag ( +melee attack) you out of the vehicle.
https://www.youtube.com/watch?v=bmDHJO_2vBE&index=2&list=PLWzVnh9-QBKS2iIZ1dYGhFAzWeqYz2P8t
You are not.
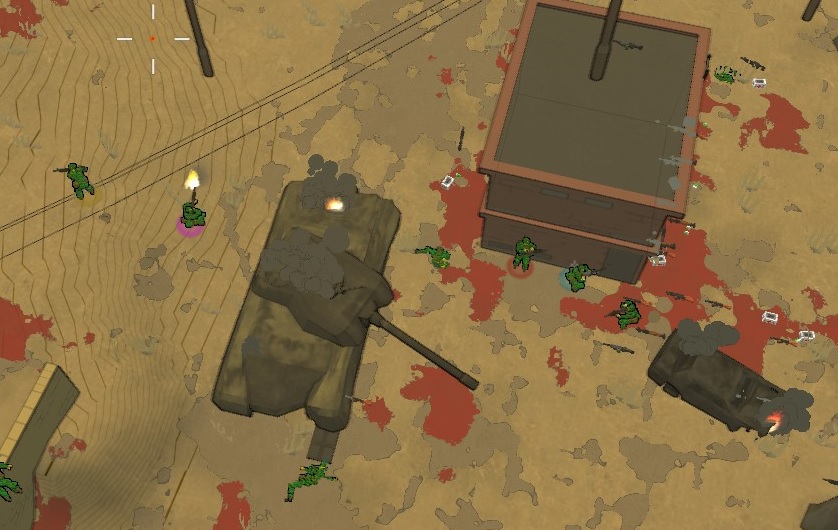 Although vehicles like the Tank and APC can be very powerful against enemy troops and other vehicles they are easily destroyed with a few well placed rockets. The most common mistake of new players is to assume that like many other games the enemy position can be overwhelmed by a single Assault vehicle; in RWR this is not true. You may get a few lucky shots in, but it will not be long before they easily flank and hit you with rockets or a barrage of grenades. It is also difficult to simply run-over enemy troops.
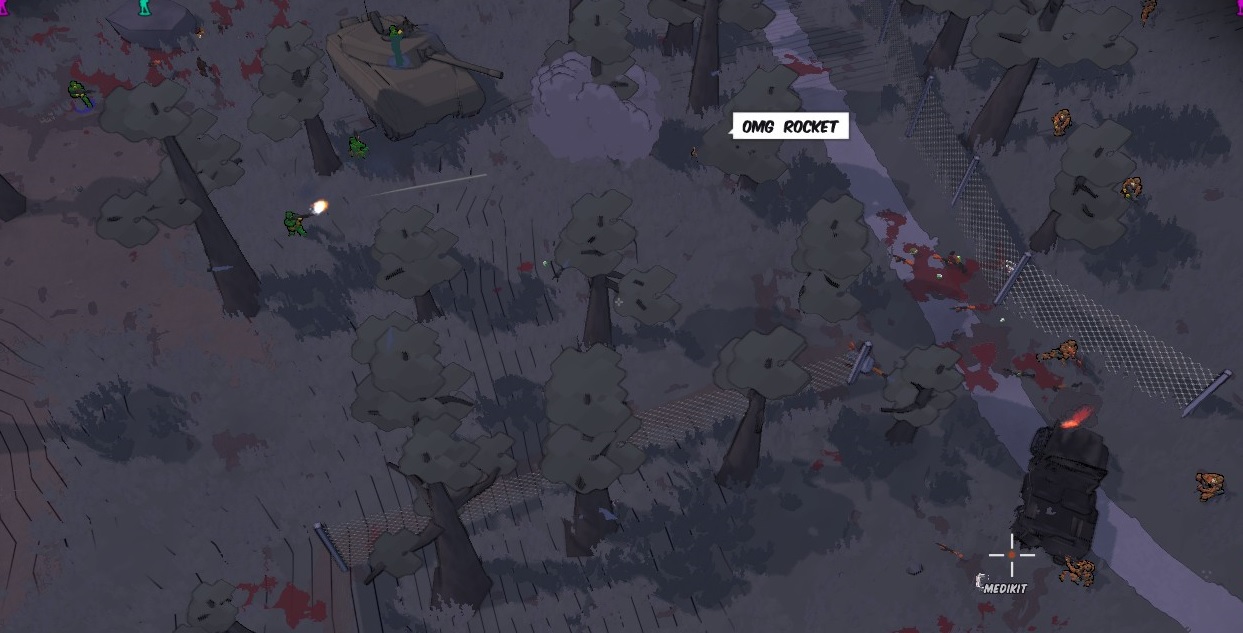
Most Assault Vehicles are large and provide natural cover for troops from small arms fire. When driven well AV's can be the perfect mobile-cover for large numbers of troops. It also has the added benefit of helping to ensure you have the flanking fire-support from allied troops nearby.(The APC is also capable of carrying extra troops, both AI and Player)
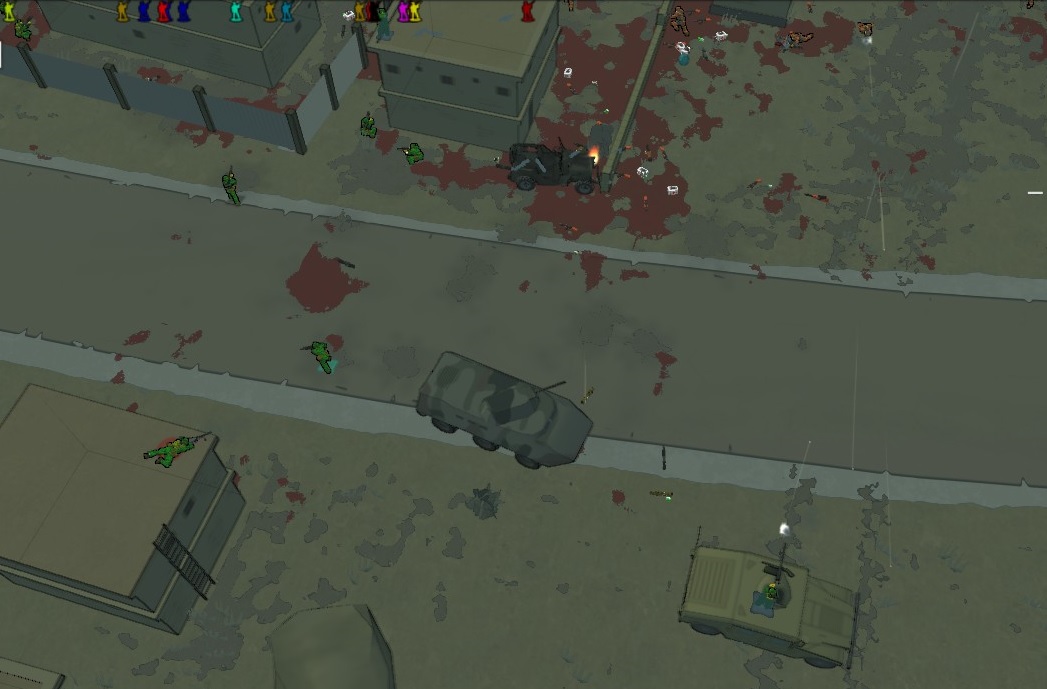 Despite the heavy fire power of an AV it has a much higher survival likelihood when surrounded by allied troops. A good driver will pay attention and scan around, making sure only to move up enough to be a spearhead for the assault group without getting cut off. Try to move in a somewhat obvious line of assault so that nearby players are able to better cover your advance and protect your flanks. RWR requires team awareness and conscious effort to effectively use the AV's to the best of their potential.
[*The APC and Humvee holding the line while nearby troops take zone on north side of street.] https://www.youtube.com/watch?v=H9QQo9v6WWg
You need the entire team to win.
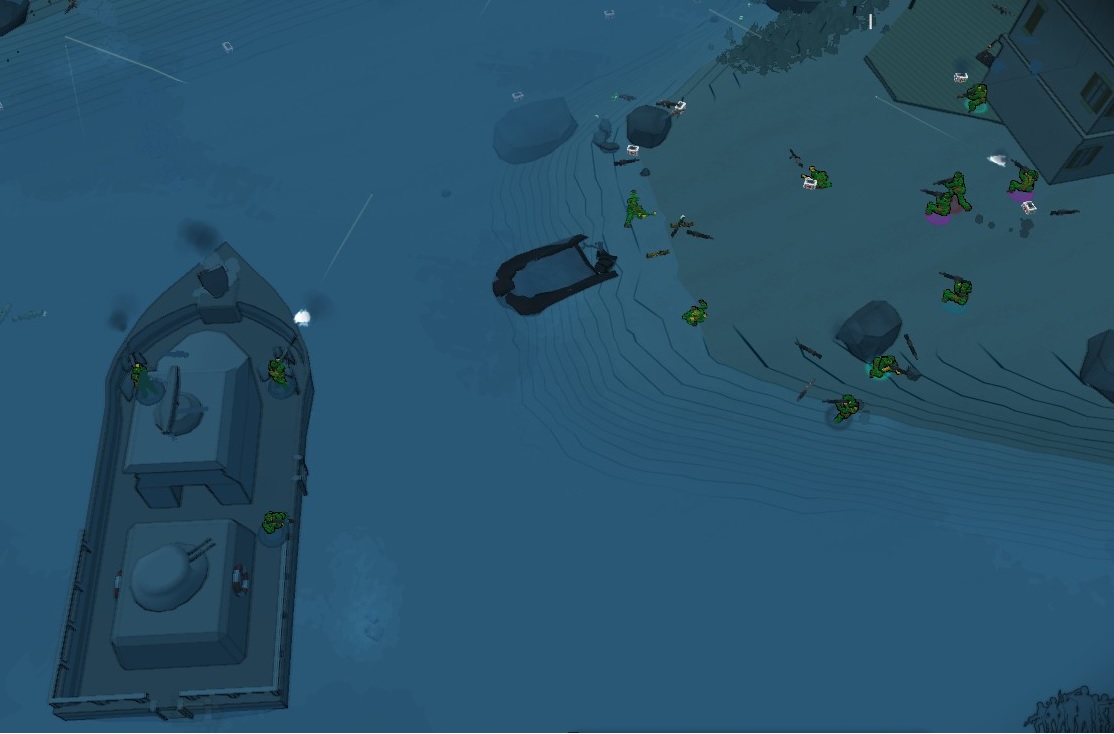
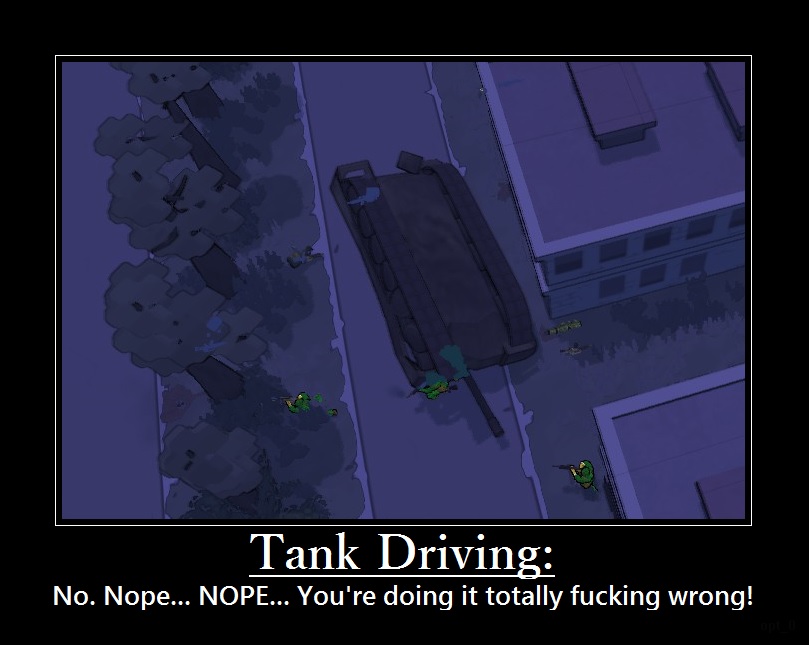 These points are suggested for all vehicles, land and sea alike, when and where ever applicable.
Vehicles will become available with the conquest of certain map locations, and vary from map to map.
The Spawn-Truck & Armory-Truck
[NOTE:This section was written originally before the Armory-Truck and Flare existed. The information provided below was primarily intended to promote more effective use of the Spawn-Truck during Online Play. However all points can be applied to these two additional support items, with the exception that the Armory-Truck cannot be deactivated.]
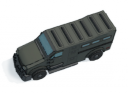 The Spawn-Truck (a.k.a. The Spawner) is one of the most critical pieces of equipment to a successful operation on any map where it is available. The ST provides the unique function of being a mobile spawn-point: it is the ONLY land-based mobile-spawnpoint. The only other mobile-spawnpoint is the Patrol-Boat and that is limited to maps with large bodies of water.
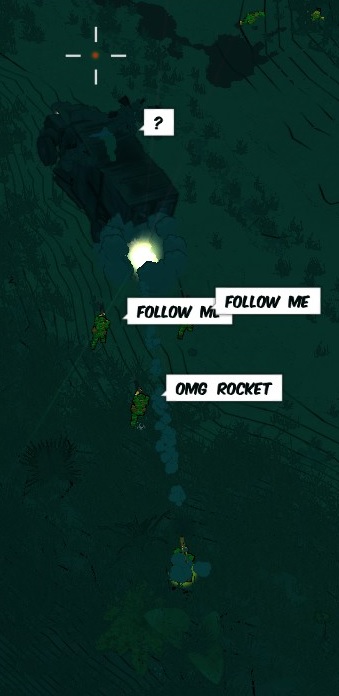
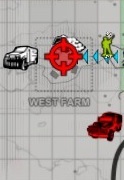
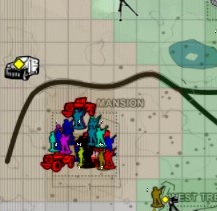
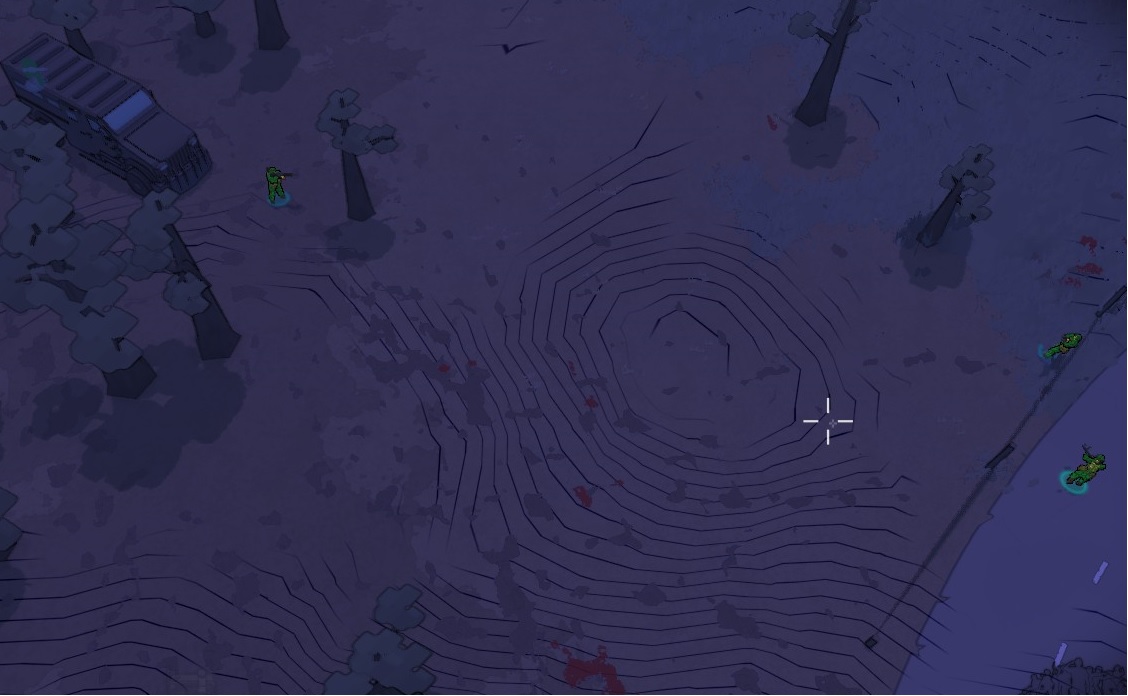
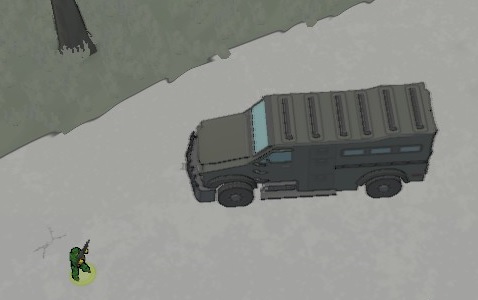
The importance of these Trucks can not be overstated enough. The importance of these Trucks can not be overstated enough.
- If you are near, or working directly with the Armored-Truck check the map frequently to make sure it is still active. This will allow for: player spawning nearby, reinforcements coming, and rapid conquest of control points and map much easier.
- The ST is not intended to be the primary spawnpoint for the entire team(depending on player numbers). But its ability to allow for a spawnpoint in an otherwise open area causes it to be used heavily for large flanking maneuvers. However players may still need to spawn on the static front-line for defensive purposes or to assist with a “pincer attack” in conjunction with the Spawn-Truck forces.
You can tell if an ST's spawn-ability is active by looking on the map, there wil be a yellow marker.
- The ST will be unlocked by controlling certain zones on the map, and will vary from map to map.
- Move the Spawn-Truck up as the front line shifts forward
The Flare: Provides a single spawn-point for Player Paradrop. It is intended to be expensive as it is a critical item and not willingly wasted. It should be placed and treated much like the Spawn-Truck. All the same proximity-deactivation rules apply to the Flare as they do to the Spawn Truck. The Flare can be deactivated.
The Armory Truck: Functions exactly like the Armory with the added benefit of being mobile!
The Arms-Truck is great as Front-Line support when parked safely back to allow players to make loot drops and bring resources back to the firefight (when a standard Armory isn't available). It can also be used when possible (if needed) in tandem with the Spawn Truck. And of course treated much like the Spawn Truck with the exception that it can not be deactivated.
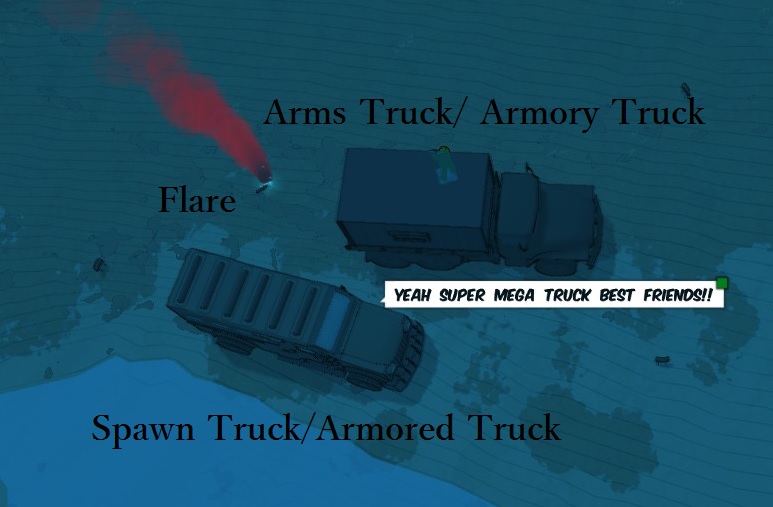
[*In this screen a thoughtful player placed a Flare and a few Claymores early, knowing that in all likelihood the Spawn Truck may be moved off after a successful Flanking and/or Stealth Mission.]
Other Game Notes and Advice:
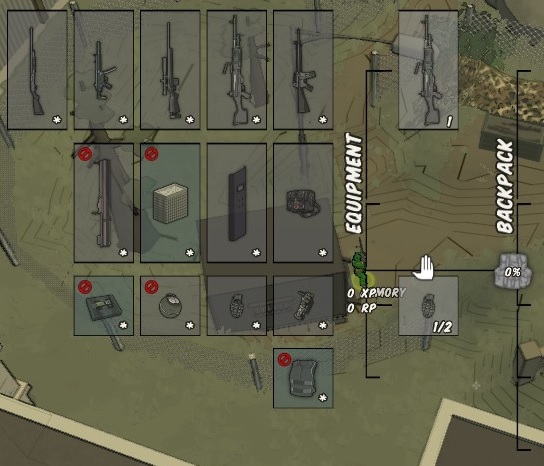 [*The Armory will look like this when you stand infront and open by holding inventory button.]
[** You will also see your XP and RP levels in your open inventory. You do not need to be at the armory to see your current amounts: Simply open your inventory.]
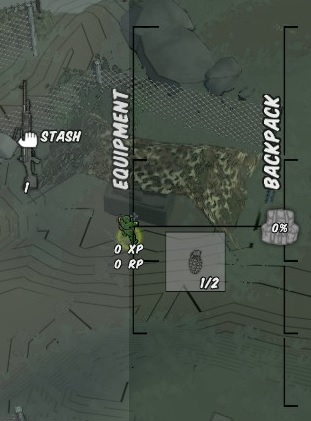 [*Stash will look like this when opened the same way and items are in range of proper drop.]
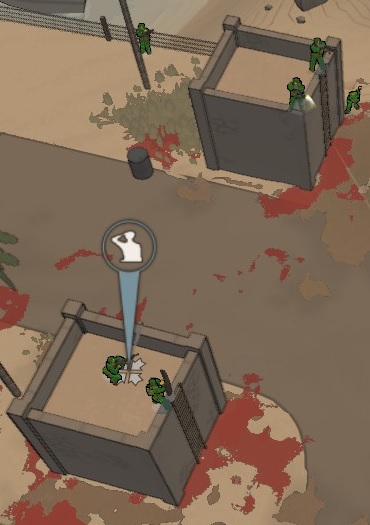 [*Never underestimate the effectiveness of your AI squad, use "Squad Command" to assist you.]
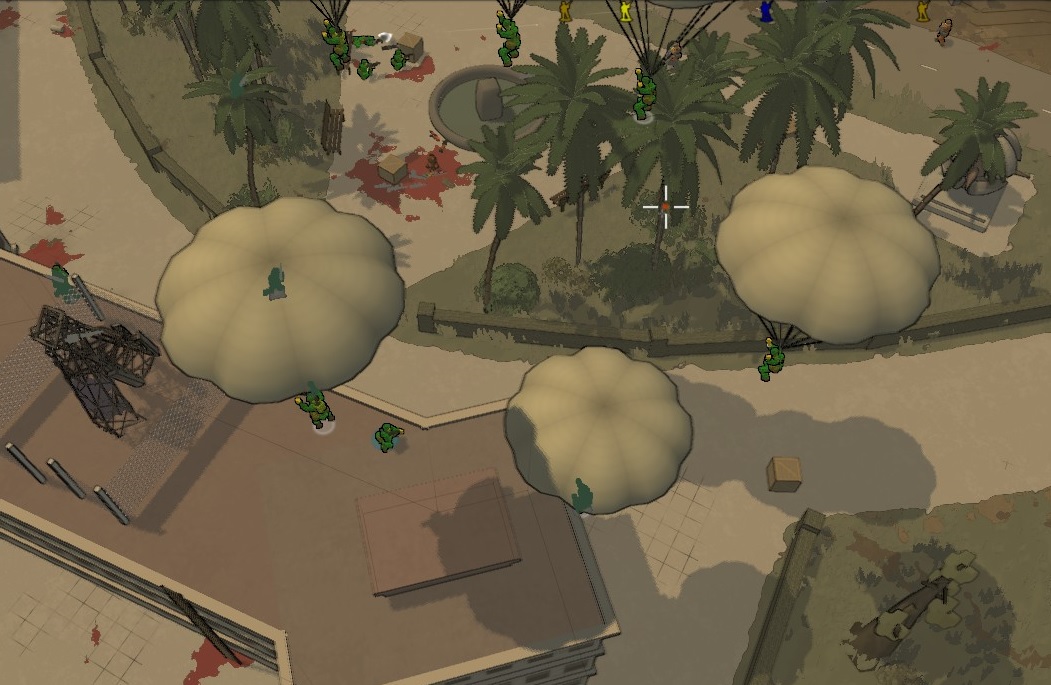 [*Use Paratroopers to quickly attack, take, and/or reinforce new Command Points. They can be one of the most effective ways to secure a new Zone when used at the right time, or with players.]
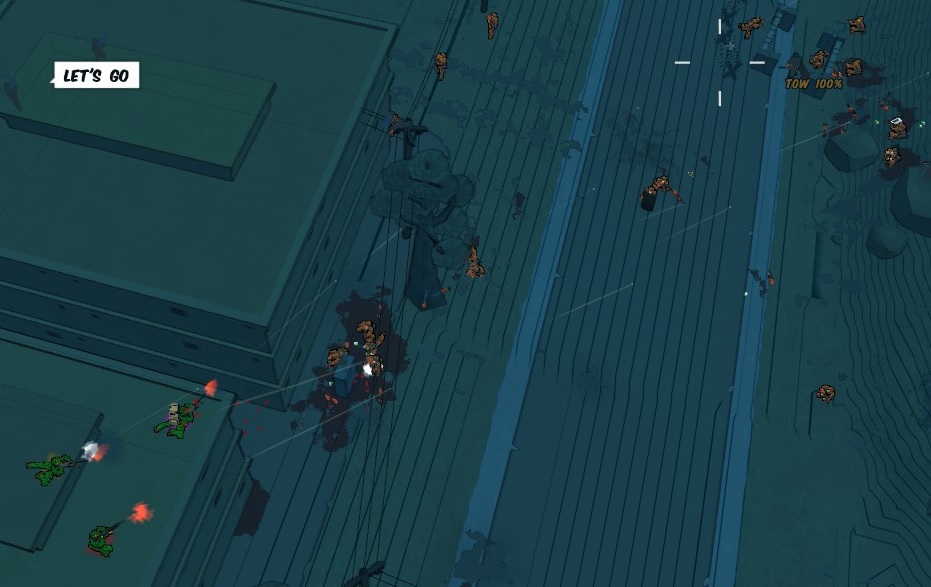 [*Suppression fire is very useful. If you can't kill, keeping them pinned-down is the next best thing.]
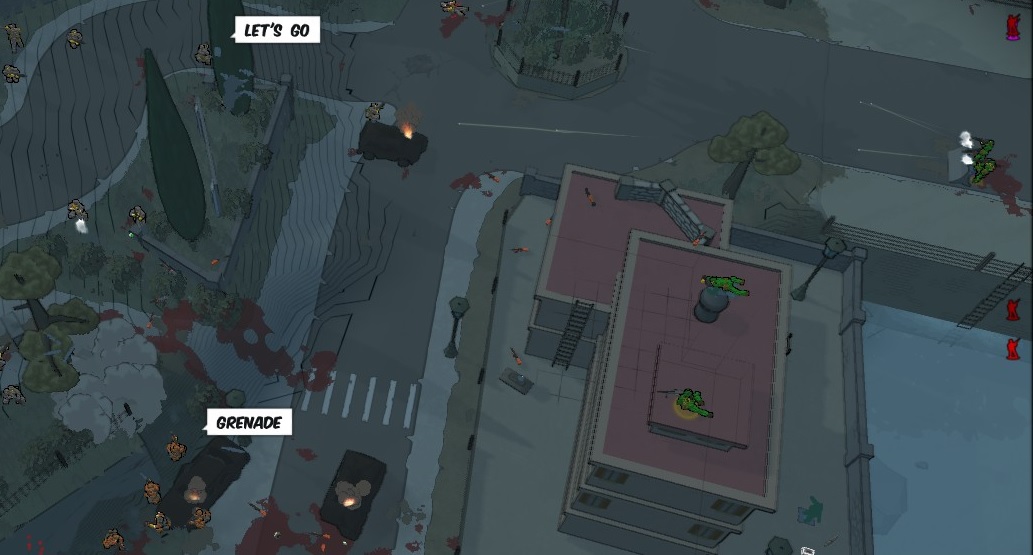
[**Here the battle bogs down as all 3 factions battle for control. Grey NW, Brown S/SW, Green E][*Work with your Player Team-Mates as much as possible; you will always be more effective.]
https://www.youtube.com/watch?v=SumsHTHqZbI&index=7&list=PLWzVnh9-QBKSTnMO1kjTA5bpvrWe6BYRd
[*RWR is more fun with more people, don't be afraid to hop into an Online Co-op Invasion Game]
[*With this guide, the links below, and a bit of common battle sense you won't be an FNG for long][*I feel for any guide to be credible it probably needs a graph. So I made one.]
Links, Resources, and Thank Yous
This Starter Guide created by Optional Zero (a.k.a. Opt_0)
*all videos and screenshots from my in-game play. RESOURCES: USE THEM
- To the offcial Running with Rifles Site Page[www.runningwithrifles.com].
- To the Official Running With Rifles Forums[www.runningwithrifles.com].
I strongly suggest you visit the forums for possible
information on a suggestion before making a post. - To the Running With Rifles Wiki[runningwithrifles.gamepedia.com].
- To the Official Running With Rifles Handbook[runningwithrifles.gamepedia.com].
- For those that wish to know the server numbers try the RWR Watcher[www.runningwithrifles.com].
- To ComJak's many and frequent RWR Videos.
- The store page on Steam.
- The store page on Desura[www.desura.com].
- To the episode of Indie Hour on Gamespot where I first saw RWR.
- To this Guide itself, to create an Infinite-Link-Paradox.
- To Optional Zero Footage from the Field.
- To Opt_0 RWR Review.
***Thank you to:***
All those who have worked to make this game and being so involved with your players/testers. To pasik, jack and other devs (sry if my order of recognition is wrong) who are surprisingly responsive people/devs; never mean to take up time guys, lol. To the long time RWR Community at Modulaatio.com for all the help, information available, and all great work by that foundation community! To the makers of the ever expanding RWR Wiki. To DocStone and the SAS Clan for keeping an Public Online SASInvasion server going for so long and giving us all a place to play and help test RWR! To ComJak for all the great RWR update videos and video coverage; I'll let you shoot me dead in the face to be on TV anytime. To all the new growing parts of the Steam Community, I hope to see it only expand! To Indie Hour on Gamespot for letting me see this game the first time, and dumb-luck for also being involved in that. For, any upvote given, sharing, linking, fav'ing, thanks for helping get the guide out there. To anyone and everyone who I have played well with on the field: Thanks for all the cover fire! I'll do my best to watch your back, See you on the field!
- Secret Crates and Cars in RWR / The Tracker challenge guide★ 5 (1k)26k views2k ♥4 minUpdated 27 Jun, 2020
- Private to Commander: Guide to Running With Rifles★ 5 (460)25k views454 ♥78 minUpdated 27 Jan, 2020
- Running With Rifles: Weapons and Equipment Guide★ 5 (186)13k views352 ♥78 minUpdated 18 Jul, 2021
- 【中文指南】如何在潜行中把作者充满恶意的设计按在地上摩擦★ 5 (570)13k views531 ♥1 minSimplified ChineseUpdated 1 Oct, 2018
- Single player chat codes★ 5 (226)11k views528 ♥4 minUpdated 18 Aug, 2020
- RUNNING WITH RIFLES 简体中文全成就指南★ 5 (351)8.4k views365 ♥1 minUpdated 31 Oct, 2022


- Upgrading to PremiumTeam Fortress 2★ 5 (20k)1441k views11k ♥6 minUpdated May 11, 2022
- No More Room in Hell Official ManualNo More Room in Hell★ 5 (2.8k)569k views2.1k ♥29 minUpdated Apr 22, 2019
- NMRiH Community Hosting GuidesNo More Room in Hell★ 5 (526)351k views653 ♥1 minUpdated Aug 10, 2022
- How to 'Git Gud' Soon™MORDHAU★ 5 (2k)318k views3k ♥68 minUpdated Nov 16, 2024
- Лучшие кооперативные игры SteamPAYDAY 2★ 5 (1.5k)315k views2.1k ♥56 minRussianUpdated Apr 27, 2025
- Desert Eagle Heat Treated | Blue GemCounter-Strike 2★ 5 (1.6k)293k views1.5k ♥2 minUpdated Jan 16





This guide was created by its original author on the Steam Community. Are you the author and want it removed? Request removal.