Overview of Document and Note locations (including Whistleblower) and Cheats
Main Game Document and Note (Recording) locations
To unlock the PULITZER Achievement you have to collect all documents and recordings.
-Chapter 1-
Automatically picked up in your car.
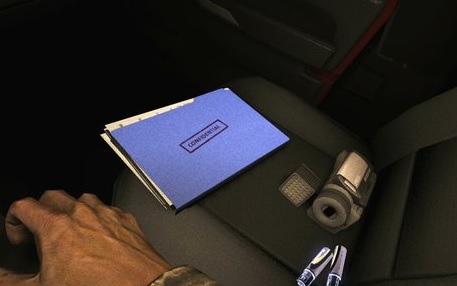 Note 1: Mount Massive Asylum
After entering through the front gate of the Asylum, point the camera at the building.
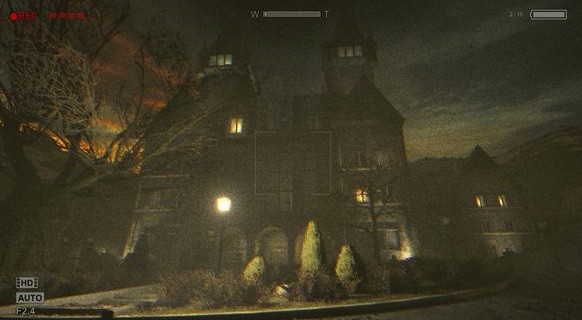 Document 2: Project Walrider Patient Status Report For William Hope
After climbing through the window and squeezing through the gap in the corridor, look on the desk in the second office on the left.
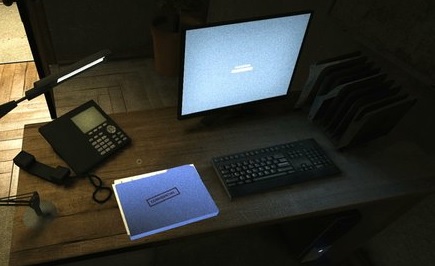 Note 2: I’m Inside
Film the cop stuck on a spike.
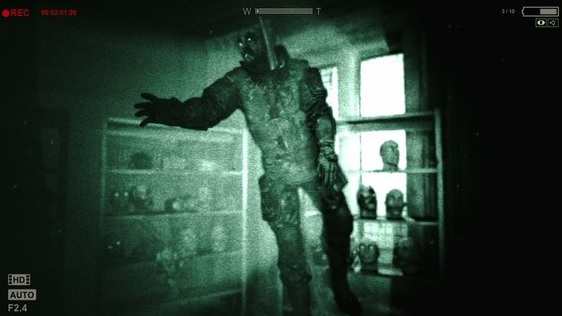 Document 3: Warrant for Seizure
Find document 3 on the security desk.
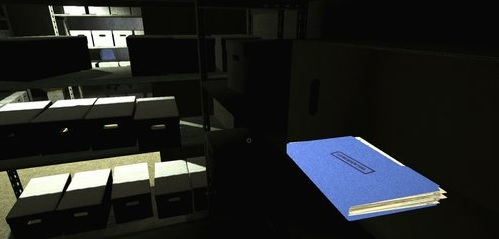
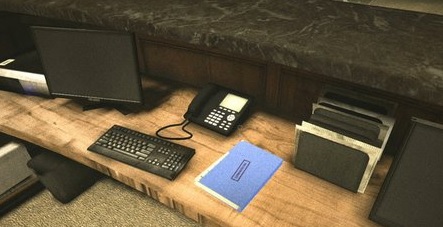 Document 4: Project Walrider Patient Status Report For Chris Walker
Go through the dark computer area to a document storage room, look on the desk in the corner to your right.
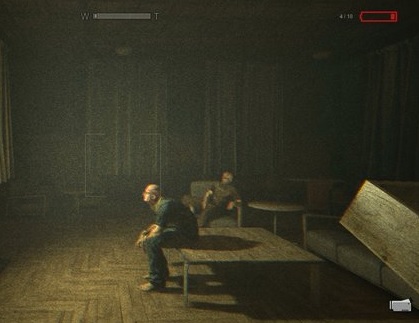
 Note 3: Broken Men And Dead Television
Film the men watching static on a screen.
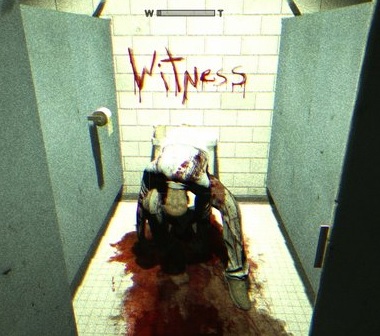
 Note 4: The Witness
Go to the bathroom next to the Security Room, open the middle stall and film the corpse.
 Document 5: Project Walrider Profitability Report
In the office down the corridor past the Security Room, on the desk at the far side of the room.
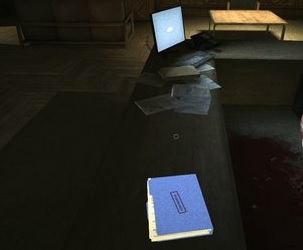 Note 5: Big ♥♥♥♥♥♥♥ Guy
After accessing the computer in the Security Room and being forced to hide in a locker, film the big guy.
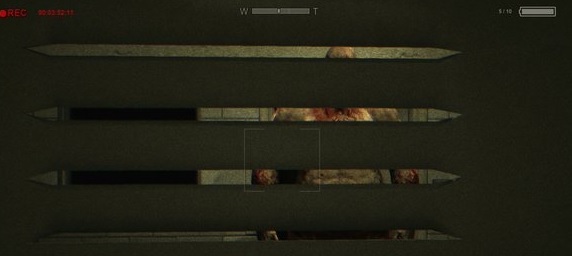 Document 6: MKULTRA CIA Hypnotic Suicide
As soon as you squeeze through the initial gap in the wall in the basement, turn right and check the desk.
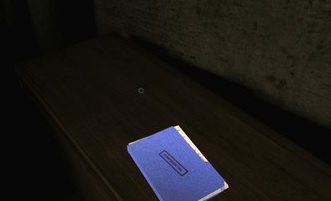
-Chapter 2-
In the padded cell, film writing scrawled on the walls.
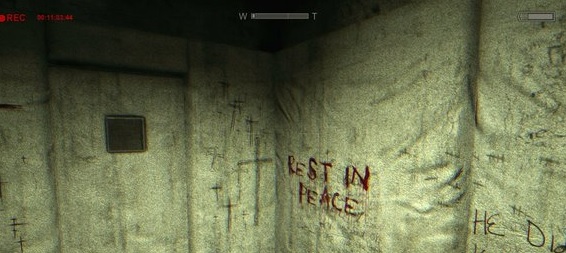 Note 7: Necromantic
After leaving the first prison section, film the inmate in a straitjacket.
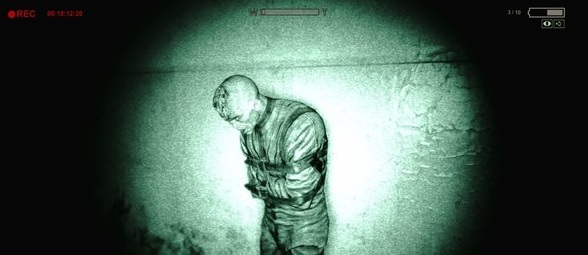 Document 7: Father Martin, Finger Painter
While following the trail of blood, you’ll go up some stairs and find an inmate looking at bloody writing. The document is to his left on a desk.
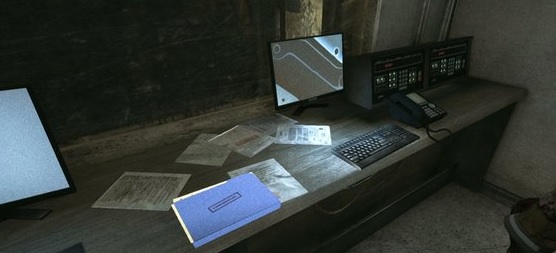
 Document 8: Purge Gate Maintenance Memo
After encountering the two guys behind a gate and climbing out of a window to get past them, climb through the broken window into the security room and look on the desk to your right.
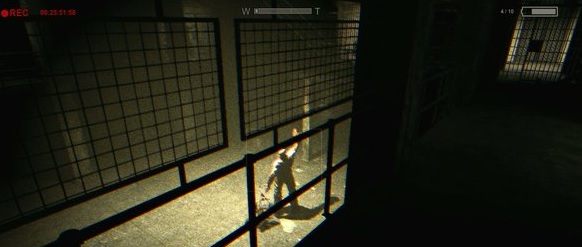
 Note 8: Total Security
When going down the corridor to collect the keycard for the showers, look down and left to film the big guy.
 Document 9: Dr. Wernicke Death Certificate
After exiting the showers, go right then left to enter a room with a torture chair in the middle, check the desk on your right.
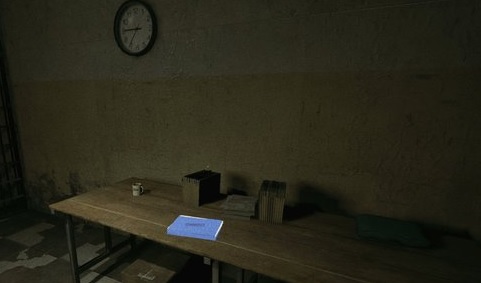 Document 10: Dr. Wernicke Obituary
When following the alternative path to the showers, after jumping to the second floor ledge look in the cell on your left.
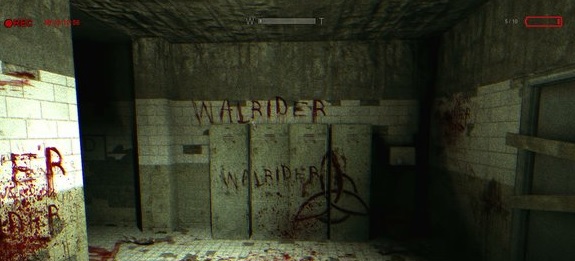
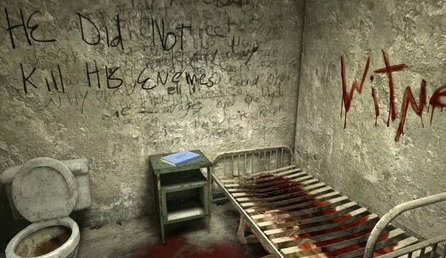 Note 09: Walrider
After dropping through the hole in the floor and heading down the stairs, point your camera at the bloody writing on the wall and lockers.
-Chapter 3-
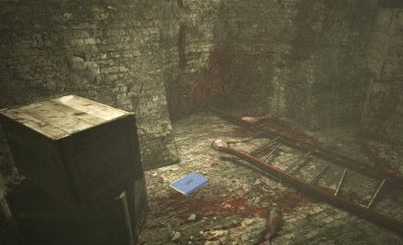
After entering the sewer and following it round to the left, look on the left hand side by a broken ladder.
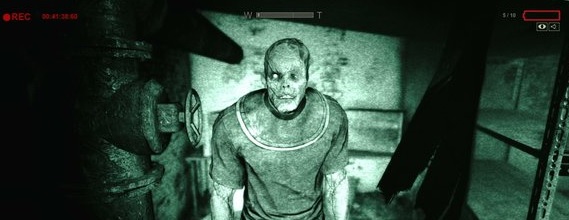
 Note 10: The Doctor Is Dead
After flushing the water, passing through the lower sewer and climbing up the ladder on the other side, head down the lit corridor then enter the room on the left and film the inmate in the corner.
 Document 12: Still Bleeding
When moving through the dark flooded area you’ll drop down from the catwalk just past a body hanging on the railing. Move forward and climb up onto the next section of catwalk, then follow it to a room at the end and look by the body in the corner.
-Chapter 4-
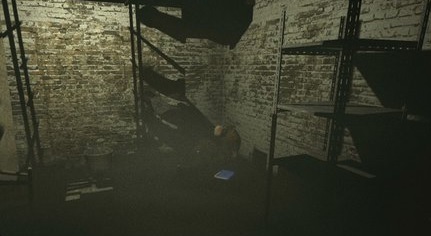
After making your way through the blood-filled sewers you’ll squeeze through a gap and see stairs to your right leading up to the Male Ward. Instead of going up, continue forwards and use your camera to look at the bodies in the room on the left.
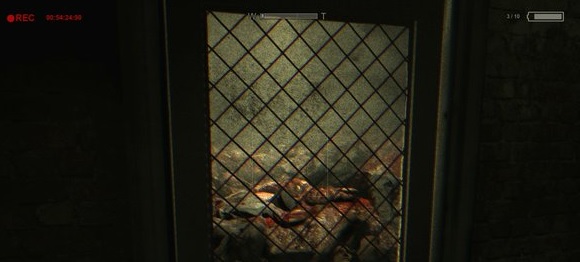 Note 12: Organized Torture
After pushing aside the unit and crawling through the vent into the room with an inmate restrained in a chair, exit and go left to enter another dark room and film the writing on the wall in night vision mode.
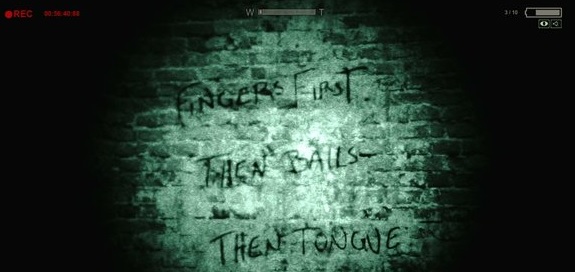 Document 13: Project Walrider Cost Report
When you discover the hospital ward, go to the far end and look in the last cubicle on the right.
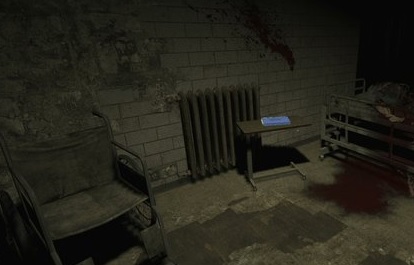 Note 13: Dr. Rick Trager
After you escape from the wheelchair Trager puts you in, exit the room and move on to find a torture victim strapped to a bed. Hide under a nearby bed, then use your camera to film Trager killing them.
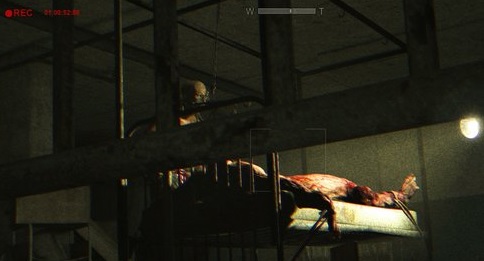 Document 14: Request for Reassignment
When looking for the key to the elevator, you’ll need to push aside a unit at the end of a corridor then climb through a vent at the end of the next corridor. After dropping out of the vent, go into the bathroom in front of you and check the cubicle on the right.
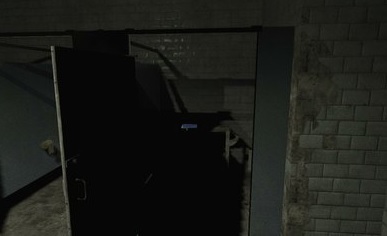 Note 14: Death Of Trager
Once you’ve crushed Trager in the lift, point your camera at his body.
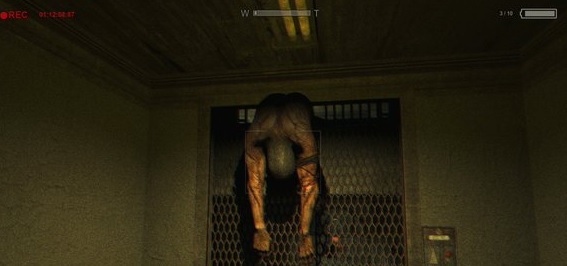 Document 15: Persecutorial Delusions
After speaking to Father Martin, go down the dark corridor on your left then take the first right. Through the door at the end you’ll find a locker room, and the document is at the far end near a bench.
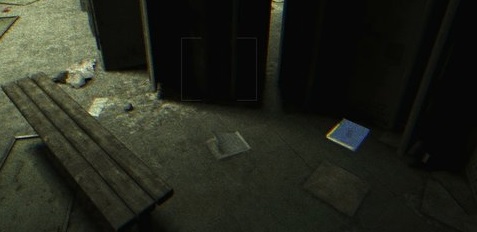 Note 15: Let It Burn
After climbing through the window into the burning cafeteria, use your camera to film the inmate sat on a table.
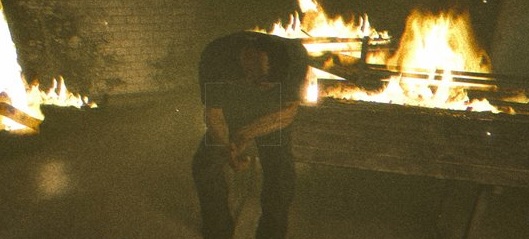
You will now unlock the EDUCATED Achievement as you have not missed a collectible.
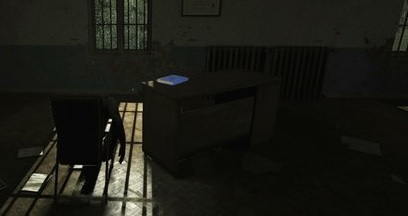
Document 16: Psychopathological Proximity Stress Disorder PamphletWhen you exit the cafeteria, before squeezing through the gap ahead go down the corridor to your right, then in the room at the far end look on the desk in the corner by the window.
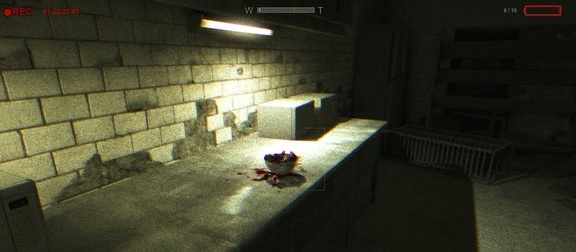
 Note 16: Fingers
After turning on the sprinklers and going back through the cafeteria, you’ll be knocked down by an inmate when entering the kitchen. Look around the counter to your left to find a side room, then film the bowl of fingers on the side.
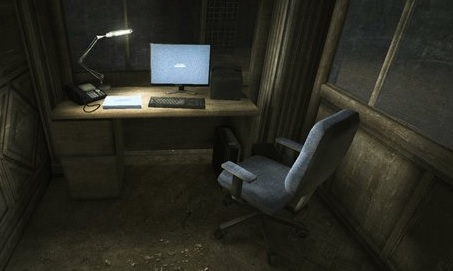
-Chapter 5-
Before going through the exit, head into the office to the right of the door and look on the desk at the far end.
 Document 18: Our Own Personal Cavalry
After leaving the building, walk around the fountain in front of you and keep going forwards until you find stairs leading up to some writing on the wall. The document is on the floor here.
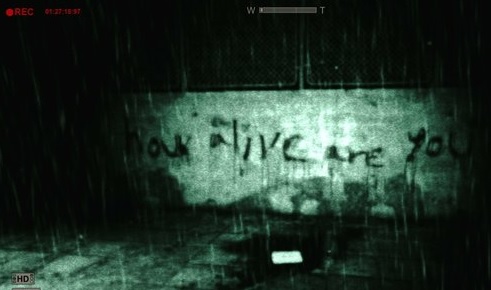 Note 17: The Thing In The Dark
After collecting the key and unlocking the door, head down the corridor with your camera up and set to night vision mode to film the ghost that appears.
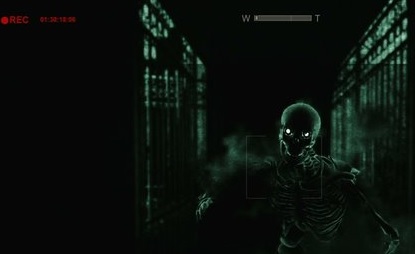 Note 18: Don’t Drink The Water
After some climbing and escaping from the big guy a couple of times you’ll crawl into a tunnel. On the other side, video the fountain full of blood and corpses.
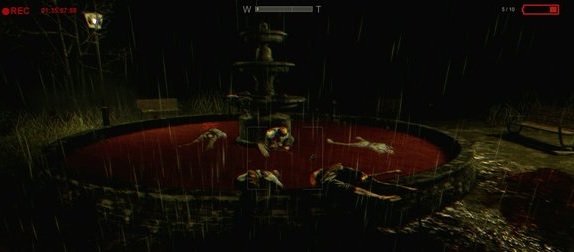
-Chapter 6-
After climbing into the Female Ward and heading down the corridors, you’ll need to squeeze through a gap then hop through a window. Use you camera to record the noisy machine here.
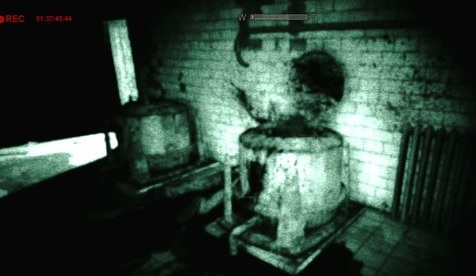 Document 19: Walrider And Nightmares
After leaving the same area through a lit room, turn right when you reach the corridor and go all the way to the end to find this document under the broken stairs.
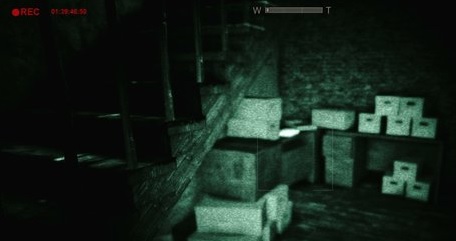 Note 20: No Safe Place
When you arrive in the area with the stairs and a wheelchair in the middle, point your camera at the body shut inside the lift.
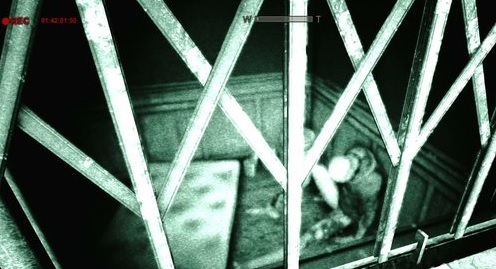 Document 20: Project Paperclip Excerpt
Head down the stairs to the right of the lift, then look on the desk at the far side of the dark room.
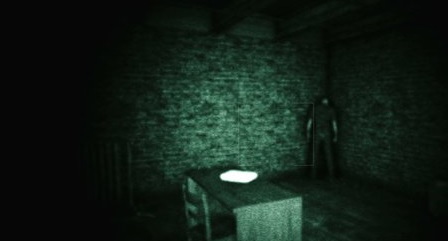 Document 21: You Promised Me A Rose Garden
After falling through the floor and climbing back up again, go through the door into the next room then look on the bed in the far corner by the window.
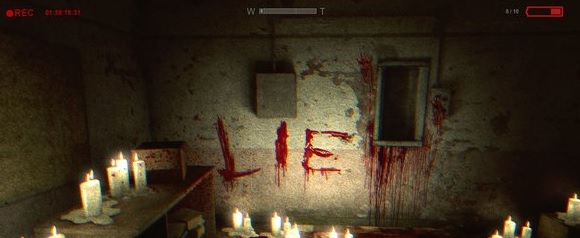
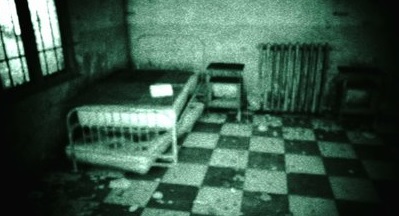 Note 21: Lies
When you leave that room and see the Walrider, follow it down the corridor then enter the candlelit room on your right and film the bloody writing on the wall.
-Chapter 7-
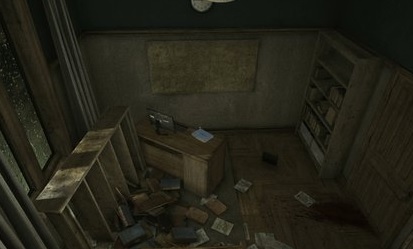
After escaping from the big guy through the air vent in a room on the left of the corridor, take the branch that goes off to the right then drop into the office to recover the document from the desk.
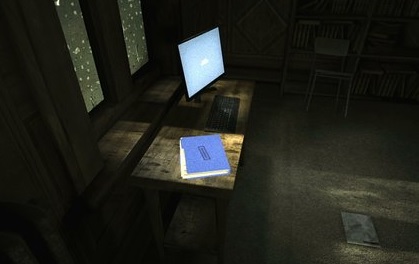
 Document 23: The Spirit Breach
After pushing the body out of the air vent and dropping into the main corridor, enter the library to your left and look on the computer desk in the opposite corner.
 Note 22: The Wernicke Exit Interview
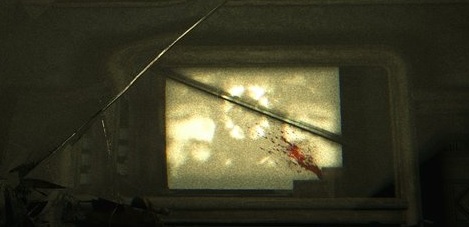
When you arrive in the theatre a film will play on the screen. Aim your camera at it and record for a while until the note appears--this does take some time so don’t move away until you see the notification.
 Document 24: Necrotizing Fasciitis
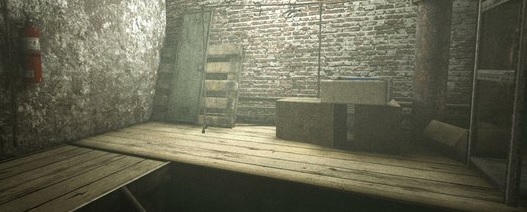
After leaving the theatre and heading down a dark corridor, the document is on top of some boxes in the lit room at the end.
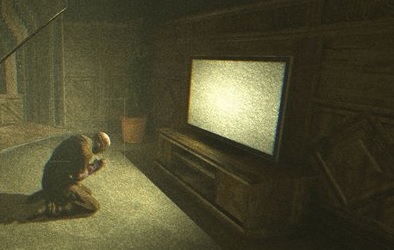
 Note 23: Static Prayer
Once you’ve unlocked the door and headed upstairs, you’ll pass through a kitchen and a large hall with an inmate staring out of the window. In the corridor beyond this is a recreation room on the right side, where you need to film the inmate praying in front of the television.
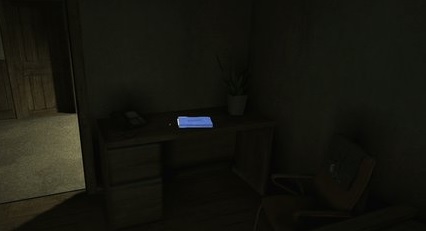
 Document 25: The Gospel Of Judas
After squeezing through the wall into the corridor full of rooms with inmates praying, find room B329 and look on the desk inside.
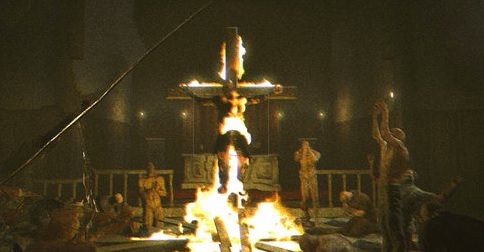
 Note 24: The Passion Of Father Martin
Use your camera to film Father Martin burning on the cross in the church.
-Chapter 8-
After yout entered the underground lab, use your camera to film the front desk.
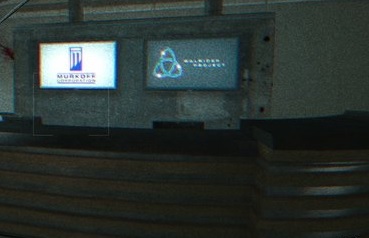 Document 26: The Pride Of Wisdom
A document is behind the front desk.
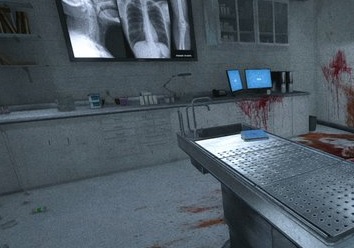
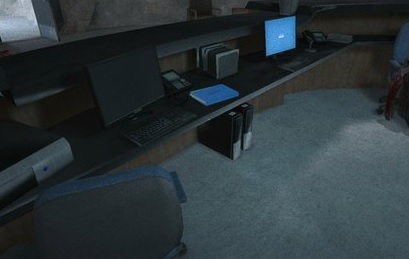 Document 27: Variant Postmortem
Go through the tunnel and after entering a new corridor, go into the second lab on your left and look on the table.
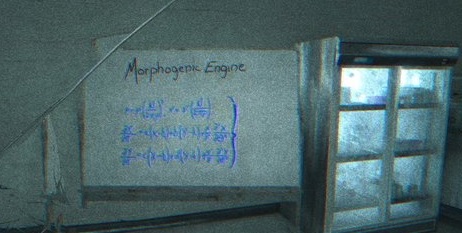
 Note 26: Morphogenic Formula
Further down the corridor opposite a window showing trucks outside, go through the green lit door into the lab and film the writing on the whiteboard.
 Note 27: Death Of The Soldier
Unlocks automatically after a cutscene.
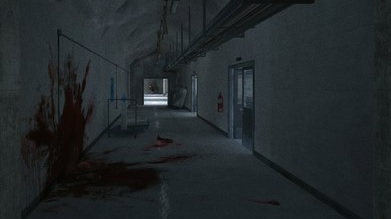 Document 28: Gods And Monsters
After talking to the scientist in a wheelchair and escaping from the ghost through the decontamination room upstairs, enter the next room and look on the desk to your right.
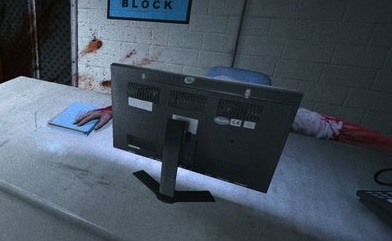 Note 28: Wernicke’s Machine
After going through the tunnel to enter another lab full of machinery, film the giant sphere in front of you.
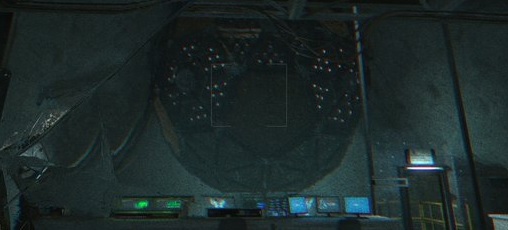 Document 29: Morphogenic Engine Chamber Precautions
In the same area, look on the computer bank underneath the giant sphere.
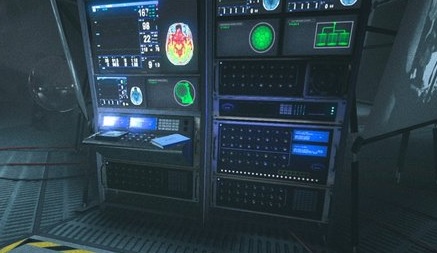 Note 29: Billy Hope
Right next to the document, point your camera at the guy inside the glass pod.
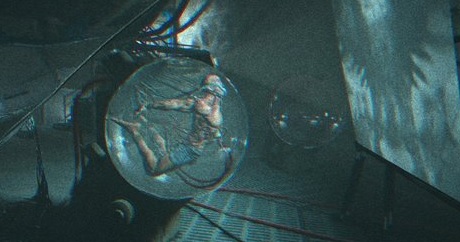 Note 30: Life Support
Follow the sign to the Life Support Fluid Reservoir, then film the large tanks you see when you enter.
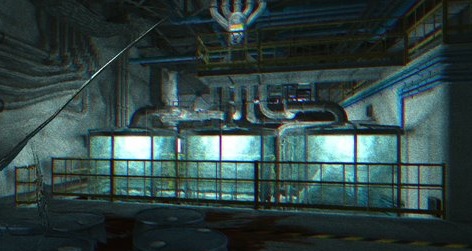 Document 30: The Modern Prometheus
Head up the stairs in the same area and look on the desk in the control room.
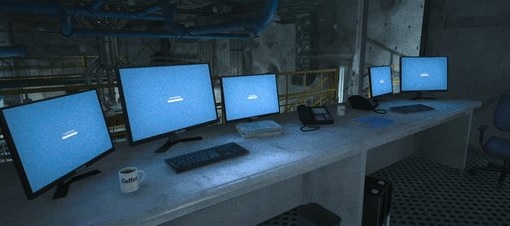 Document 31: Permission To Proceed
After heading to the Sublab Generator on the other side and escaping from the Walrider through the decontamination room, go up the stairs and look on the desk to your left as you enter.
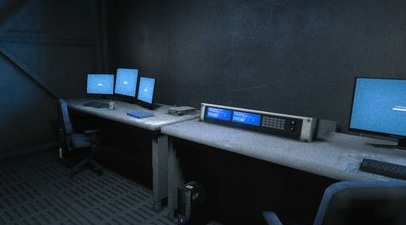 Note 31: Death Of Hope
After the cutscene with the Walrider, head back to the main room and disable the Life Pod failsafe then point your camera at the blood-filled pod.
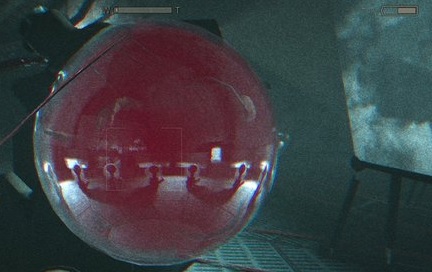
You will now unlock the PULITZER Achievement as you have not missed a collectible.
Whistleblower Document and Note (Recording) locations
To unlock the LEGACY Achievement you have to collect all 18 recordings.
-Chapter 1-
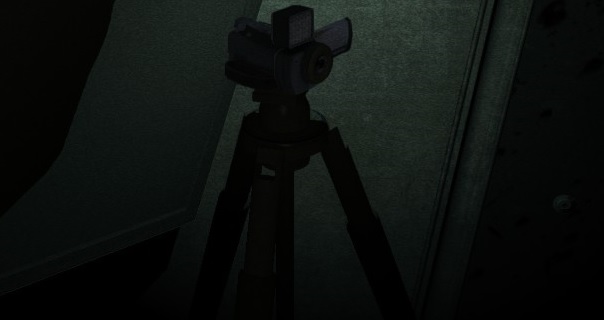
It is automatically added after taking the camcorder.
 Note 2:
While climbing through the first vent, record a conversation between two guards.
 Note 3:
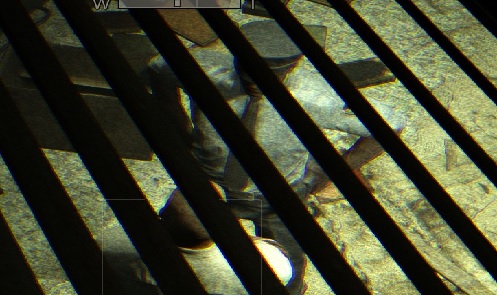
 When you find a doctor locked in a chamber behind glass make sure to keep the camera out after pressing the glowing button. Record the killer patient until it is over.
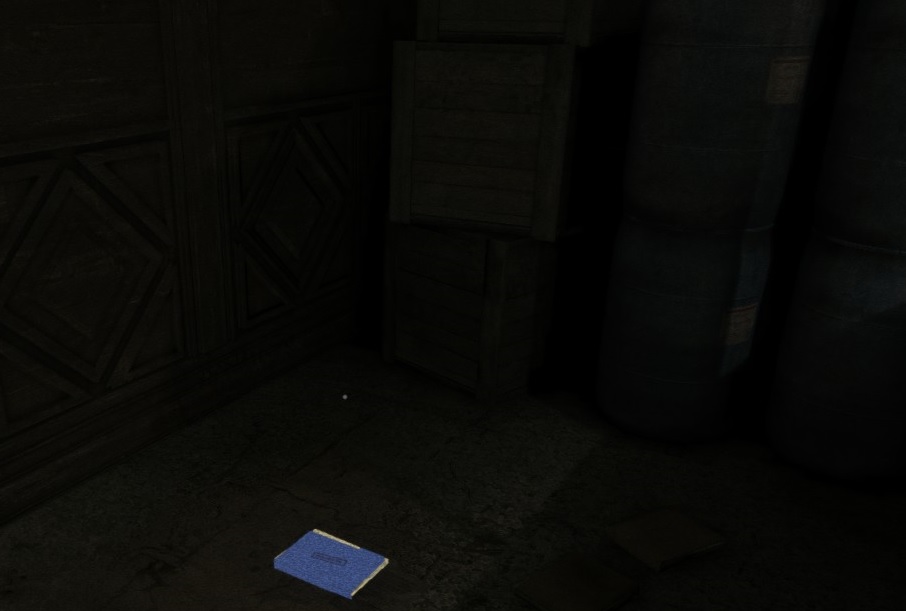
 Document 1:
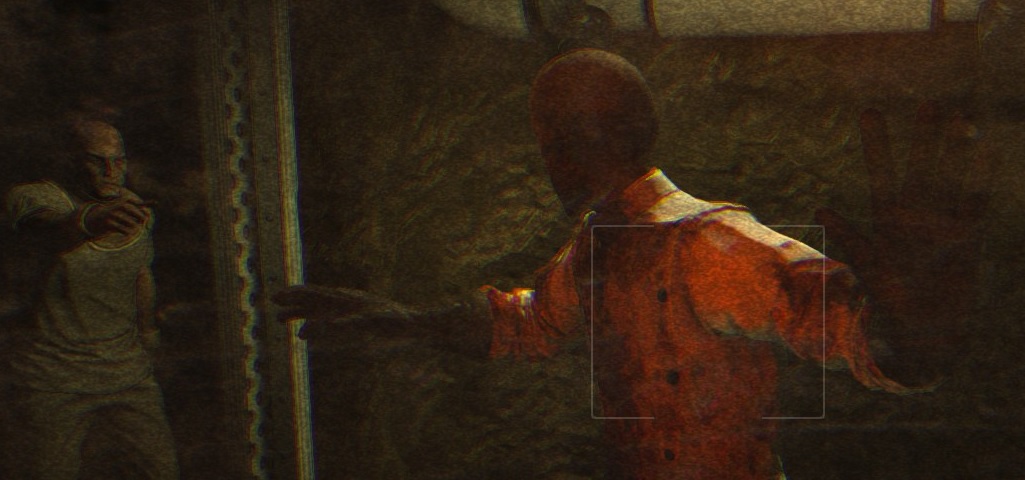
In the hall where doctors will run by, Instead of continuing forward, turn right and enter a side room covered with dead bodies. Turn right and enter the door to find the first document on the ground.
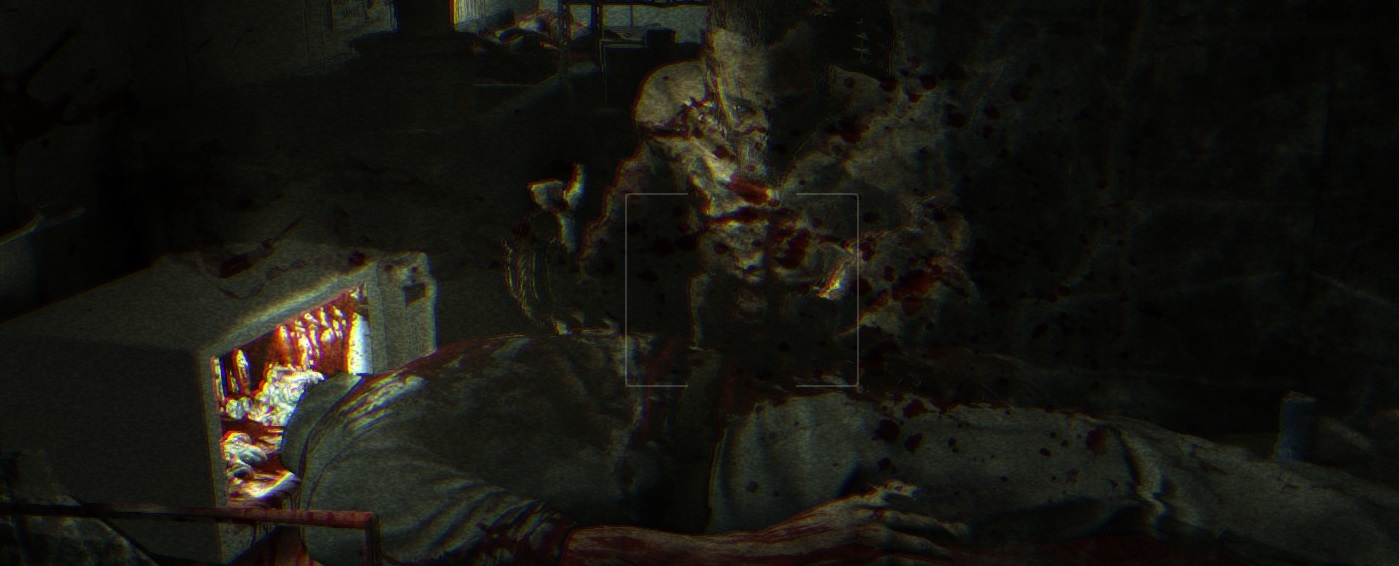
 Note 4:
 Film the psychopath butchering a body behind the glass in the cafeteria.
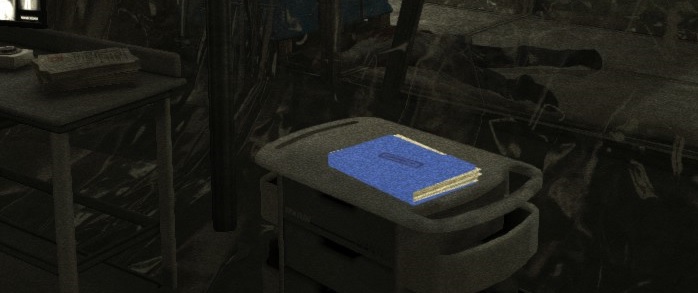
 Document 2:
Enter a surgery room with monitors hanging from the ceiling to the right just after collecting a key from a dead body. The document is sitting on a medical cart between two computers.
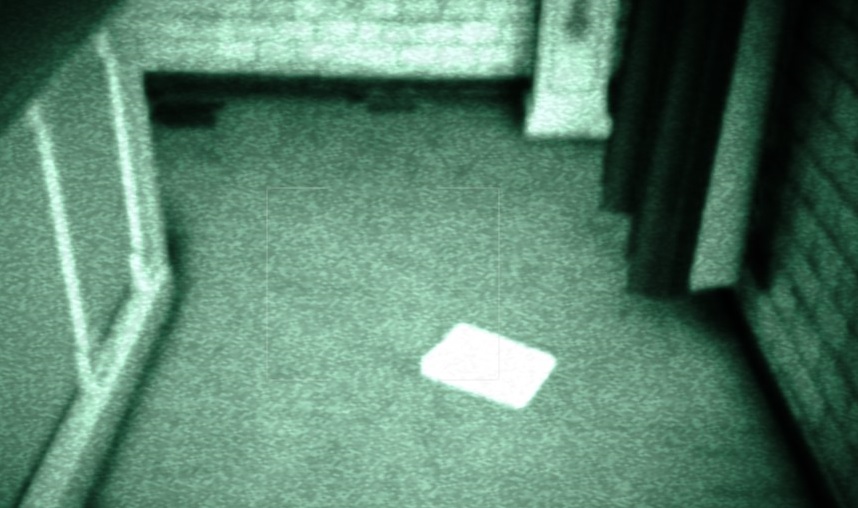
 Document 3:
Bursting through the brick wall to escape the fire, turn right and enter the open doorway. Look behind the altar at the back of the room.
 Note 5:
After you escaped the fire and return to the abandoned halls of the hospital, continue on until reaching a spinning red light in the hallway. Take a turn left through an open door, then another left to find bathroom stalls. Record what’s inside the middle closed stall.
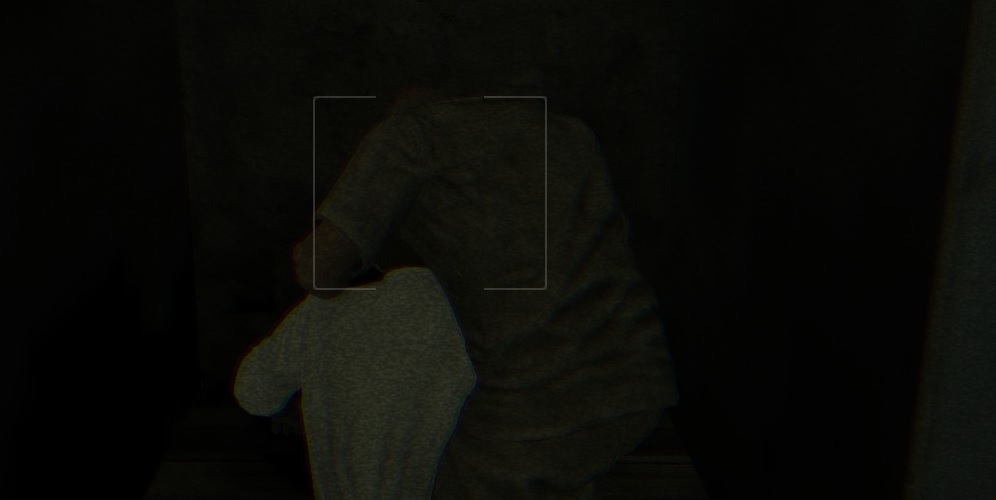 Document 4:
Instead to go in the bathroom, open the door the other door. Enter the ruined plastic hallway to find a locked airlock door with ripped plastic next to it. Enter the plastic, twist around and jump through the broken window, enter the dark hall across from the window. The next document is deep in the darkness.
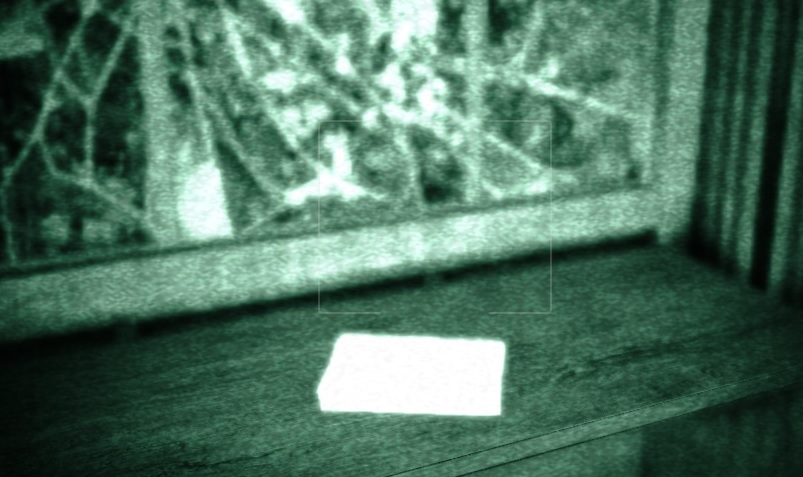 Document 5:
The next document is in a smaller lab through double metal doors. It’s a cleaner room with two machines straight ahead and desks to the right. The document is just in the corner on the desk, next to the chrome machines.
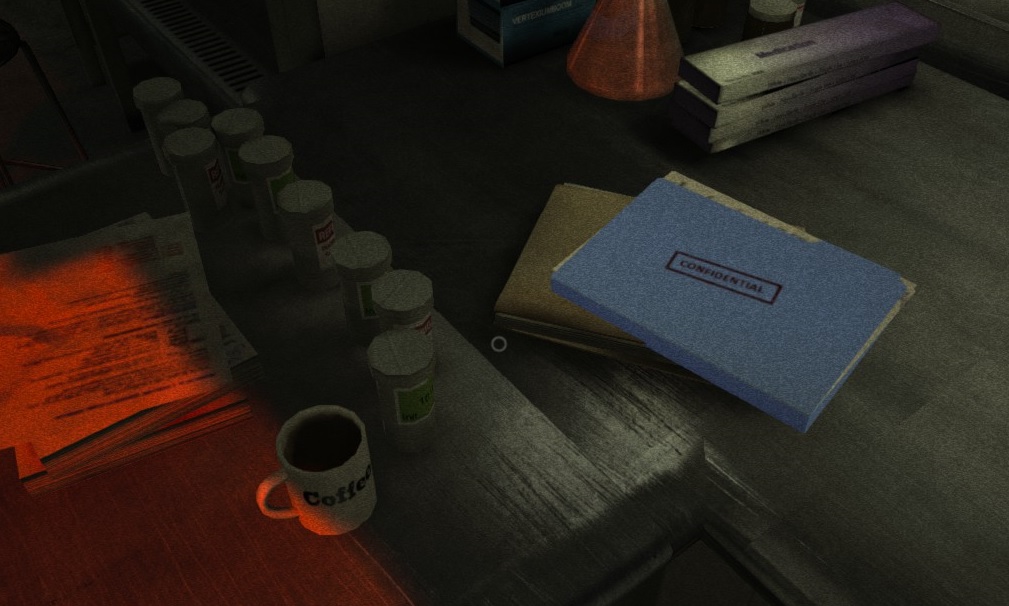
-Chapter 2-
Go down the stairs and turn right to find a fence gate. Go through and look directly up at the building to your right. Film the left window.
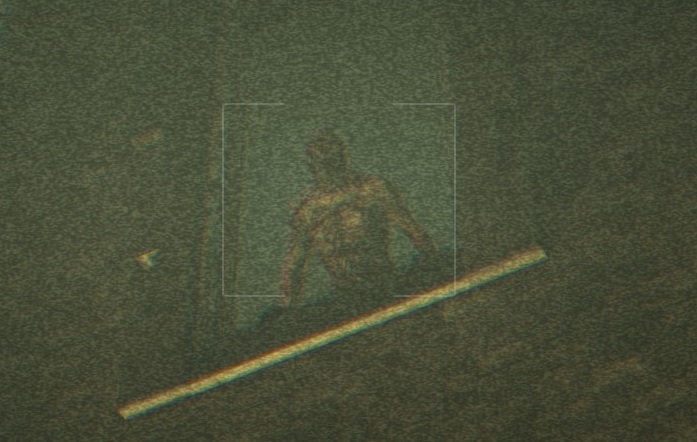 Note 7:
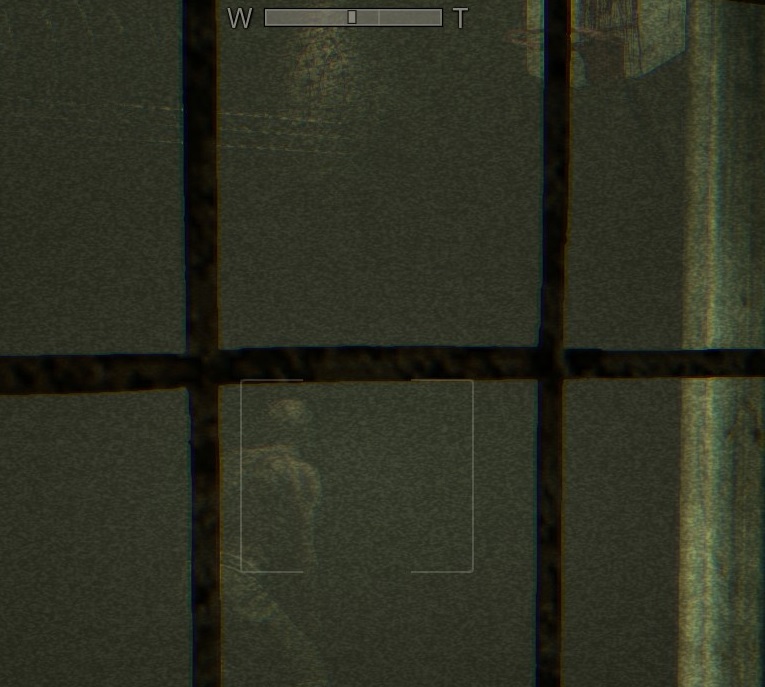
Whem you reach the stone stairs with a landing. Take the left path and go through the open fence. Down the alley, turn right to find a gated opening where you can view a guy playing basketball.
 Document 6:
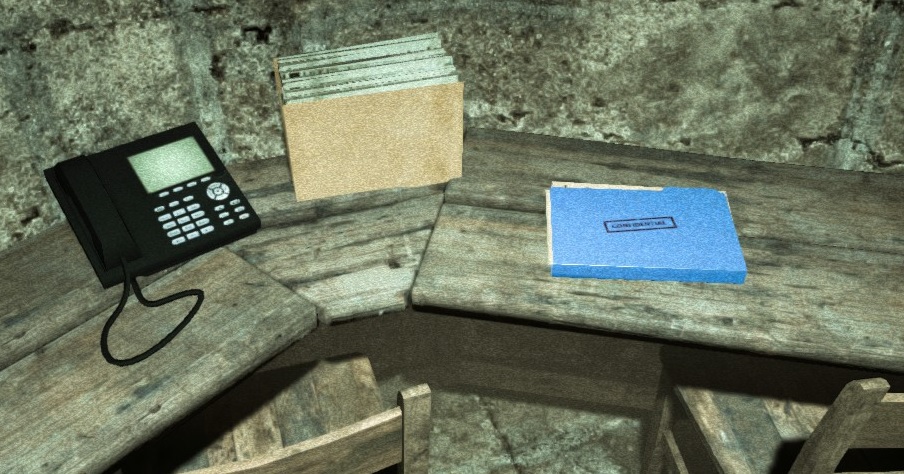
Later in the chapter when you pass the basketball court to reach a ladder on the far side. Circle the booth at the top and climb over the junk to find the document inside.
-Chapter 3-
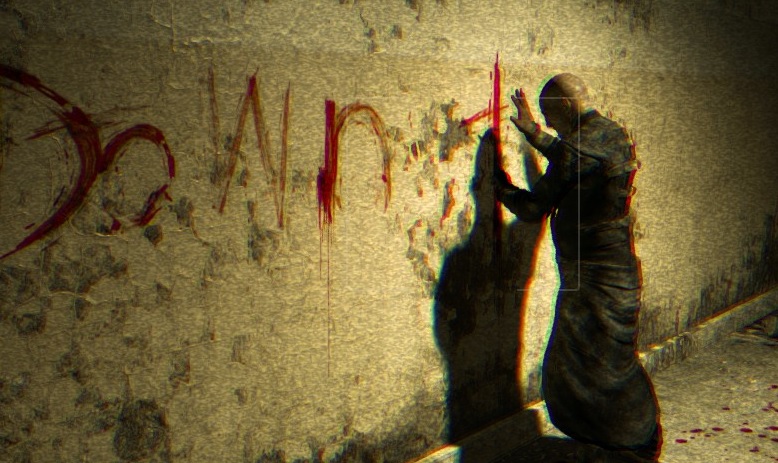
After escaping Walker, continue down the dark hall to find a grated door where a patient is writing messages in blood down the hallway. Record him.
Document 7:
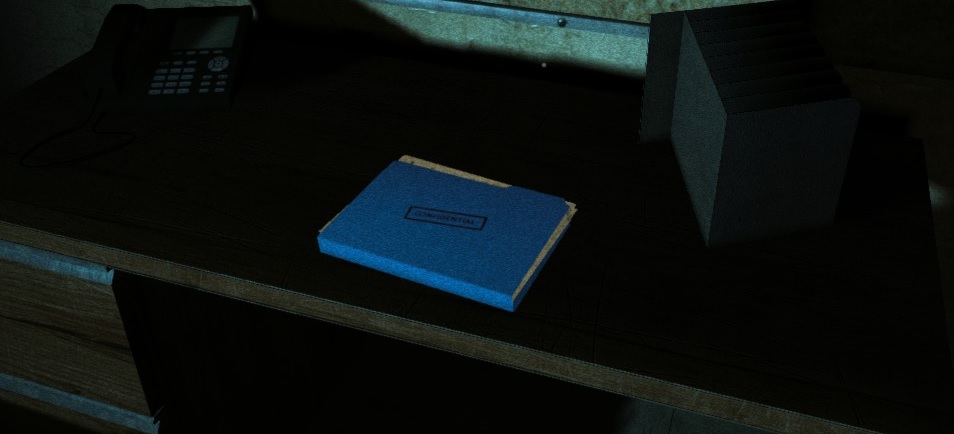
Drop into the hole in the floor past the patient and continue through the door into a room with a computer. The document is on the desk to the right.
-Chapter 4-
After you jumped out of the window, turn around to find a set of double doors. Go through the windows to the left of the doors to find the document in the corner to your left.
 Document 9:
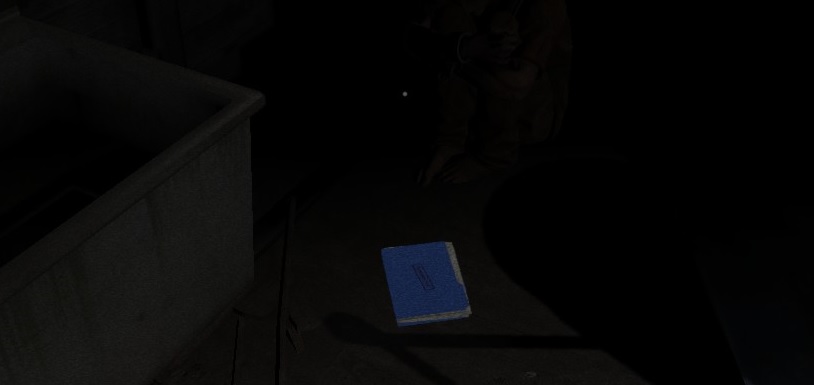
 You will reach a sparking electrical fence to your right after climbing up stairs through an extremely dark area. Instead of going toward the fence, continue into the dark structure ahead of the steps. There is a set of closed doors near the back a document is in front of it.
 Note 9:
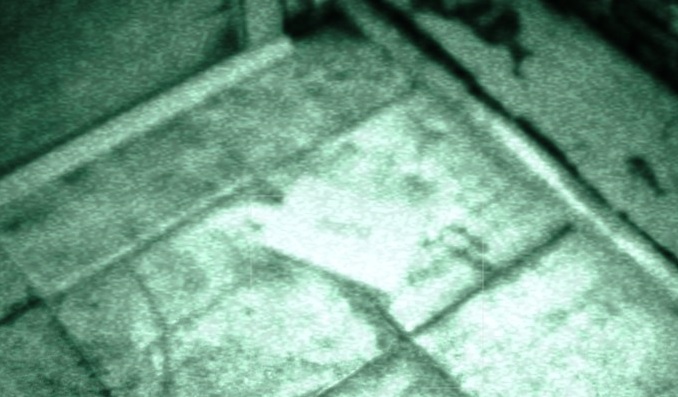
After shutting off the power near the electrical fence, a patient turning the power back on. Have your camera ready and watch the power grid above the fence to capture the scene.
 Note 10:
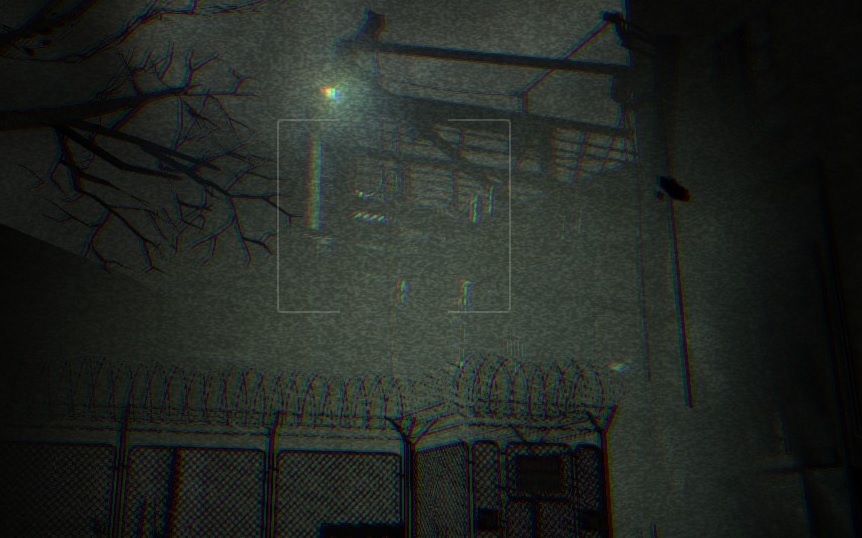
After climbing a ladder out of the pond, look right for a hole in the door. Equip the camera and watch the lit door as you crawl under the door.
-Chapter 5-
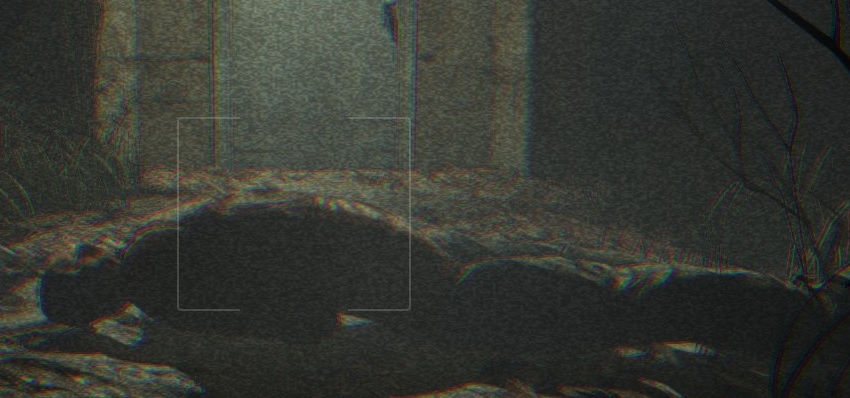
On your way through the vocational block’s attic, watch for a hanging corpse in the dark in your path.
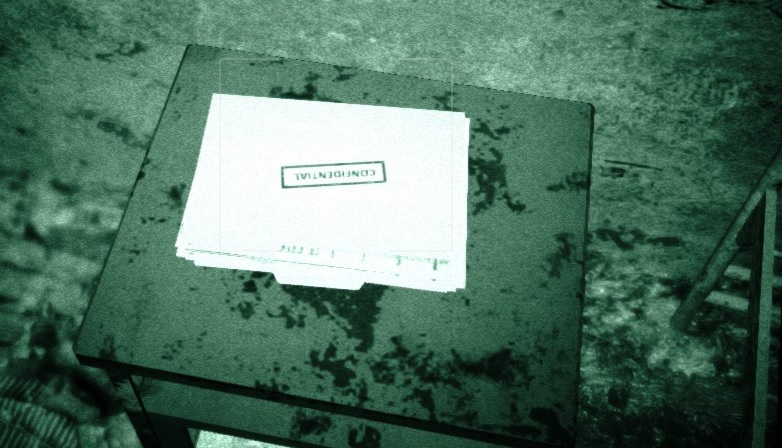
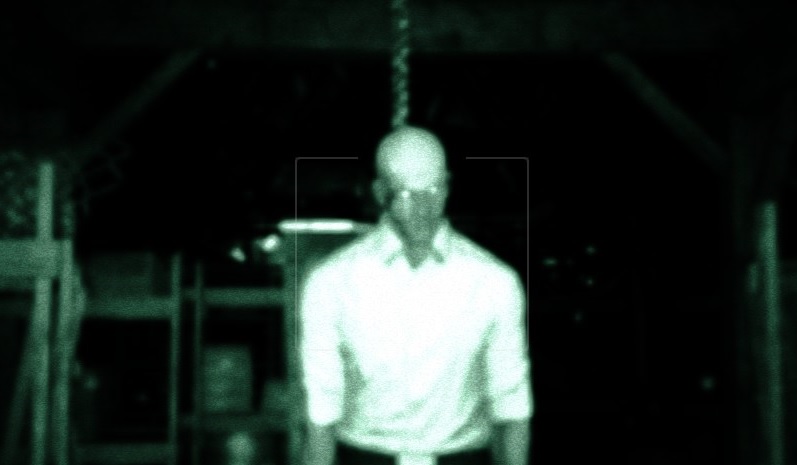 Document 10:
Past the hanging body in the attic, you will reach a doorway that is blocked by a red tool cart. Instead of interacting with it, go into the darkness to the left. There you will find the next document.
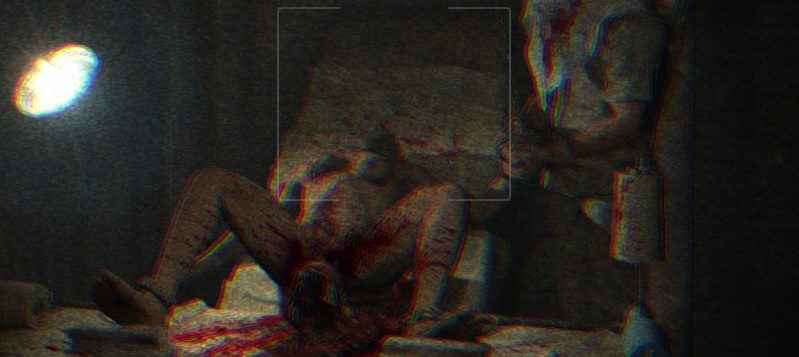
 Note 12:
This is hard to miss. Passing through an area with sewing machines, you’ll find a disgusting scene of a doctor giving birth.
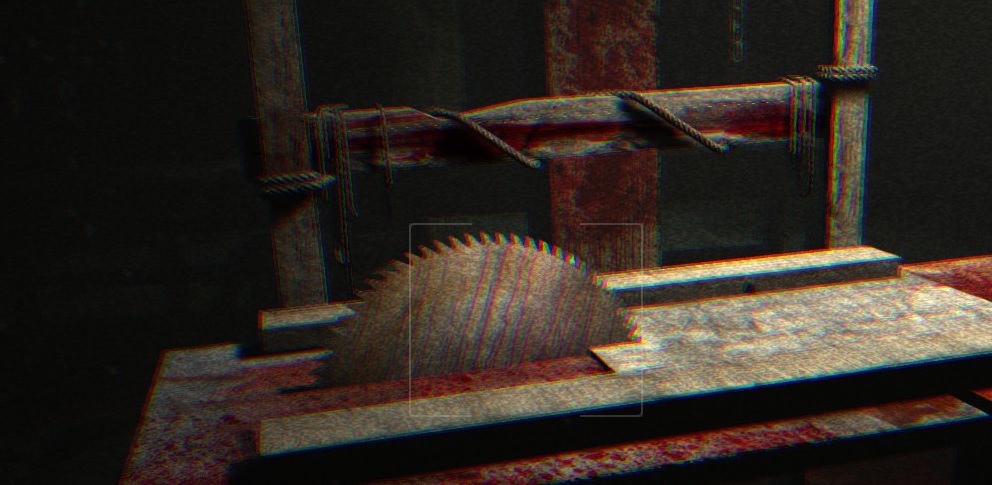
 Note 13:
After escaping the torture sequence on the saw-blade table, turn and it.
 Document 11:
Later, you have to run and jump out of an open window. In the courtyard with the stone fountain, look right of the pond to find the document.
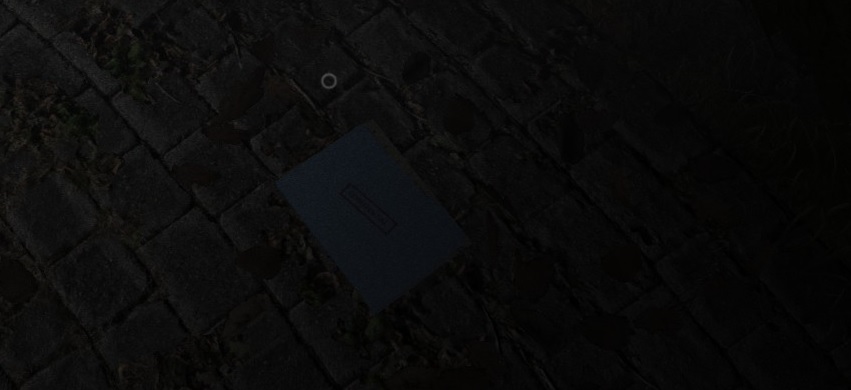 Note 14:
Climbing through the vent, you will drop down inside a terrifying gymnasium. Record it.
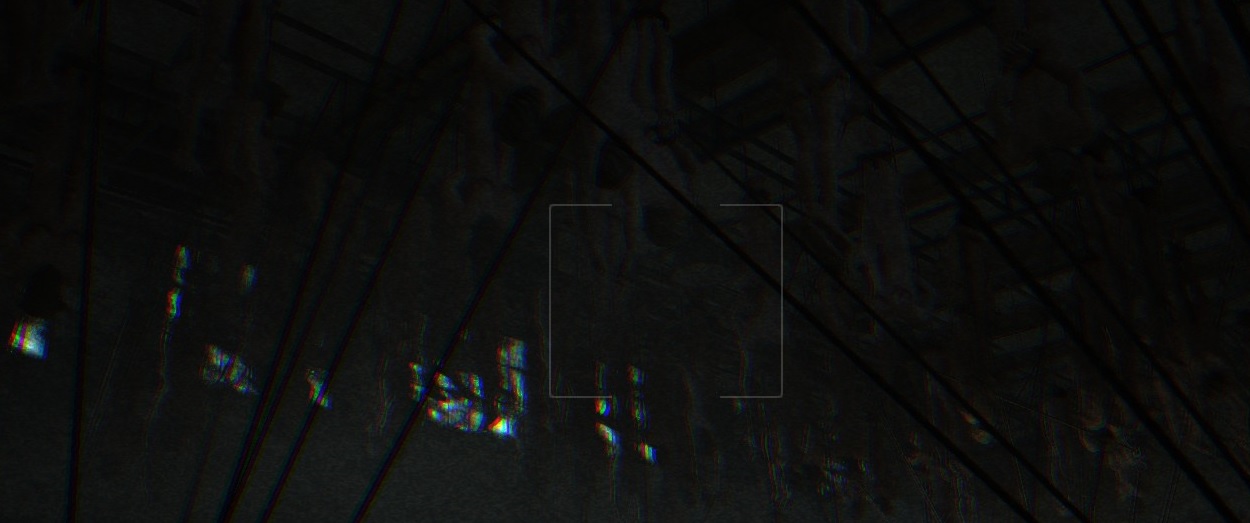 Note 15:
After the cutscene, record the body hanging from the ceiling.
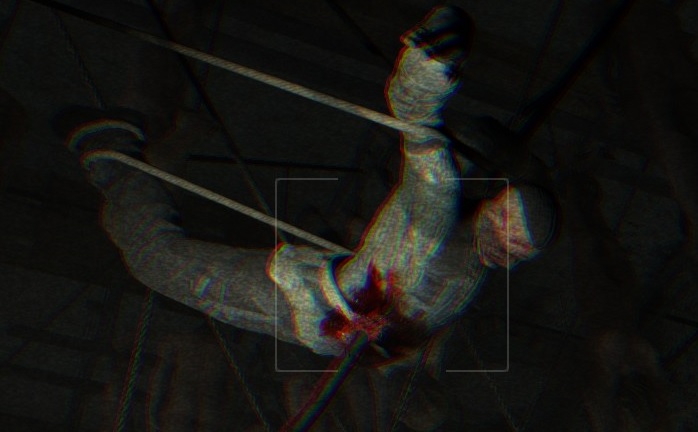
-Chapter 6-
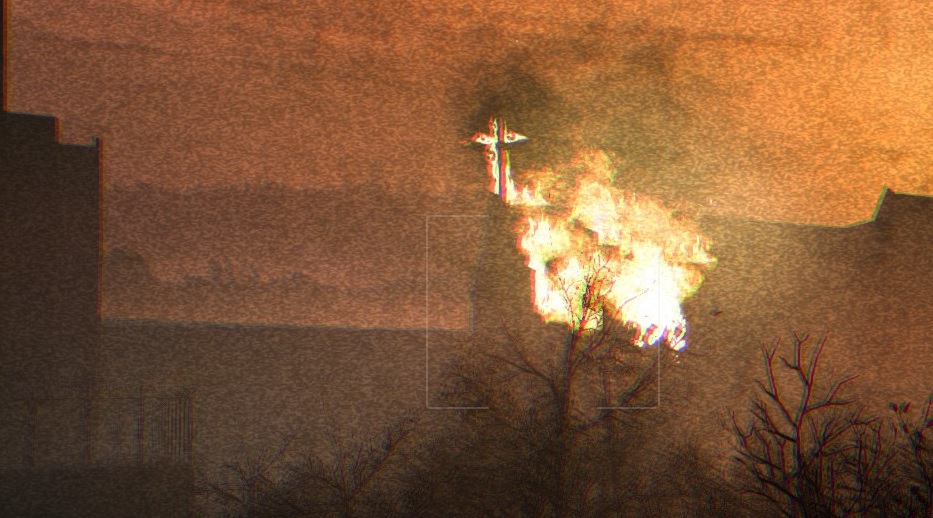
Just as the chapter starts, record the burning church in the distance.
 Note 17:
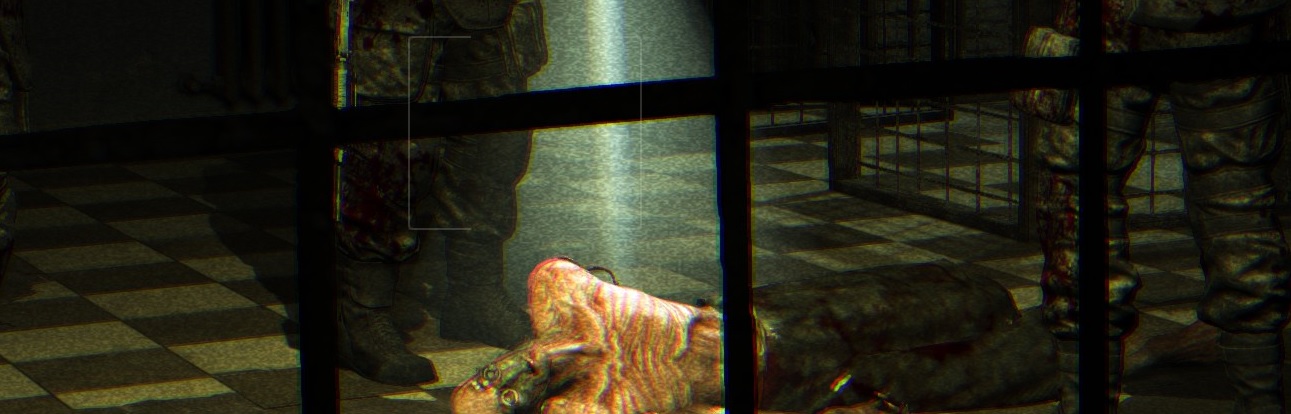
Continue down the hallway to find a grated locked door blocking a lit room. Look inside to spot soldiers surrounding a dead body in the center of the room.
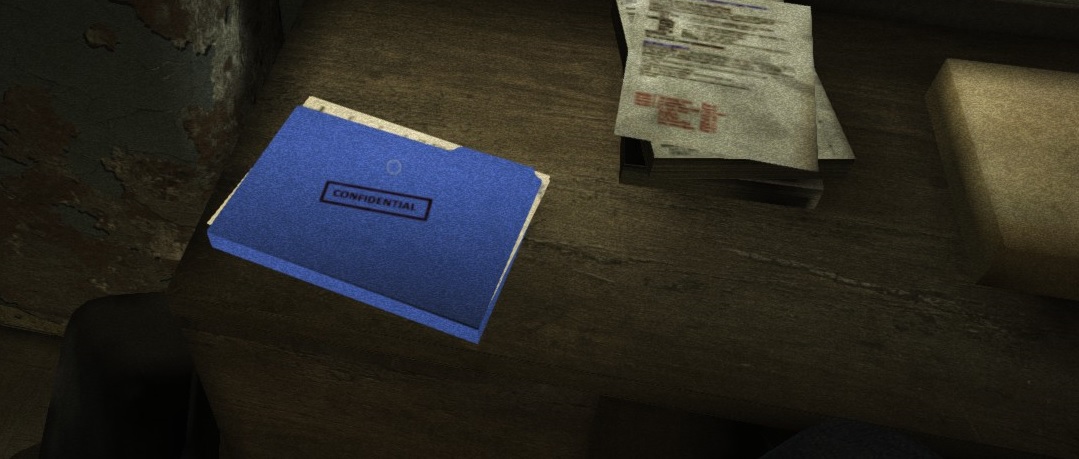
 Document 12:
Enter the hallway where you’ll hear gunfire in the distance. Ahead, there’s an office to the left. Go inside to grab the document on the inner desk.
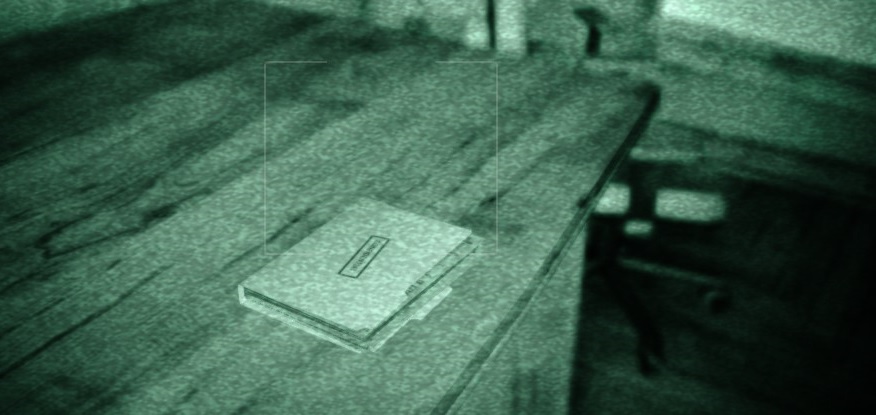
 Document 13:
Entering the room with a TV on the wall, leave through the door and enter the open doorway to the right ahead. In the dark room, there’s a table with a document.
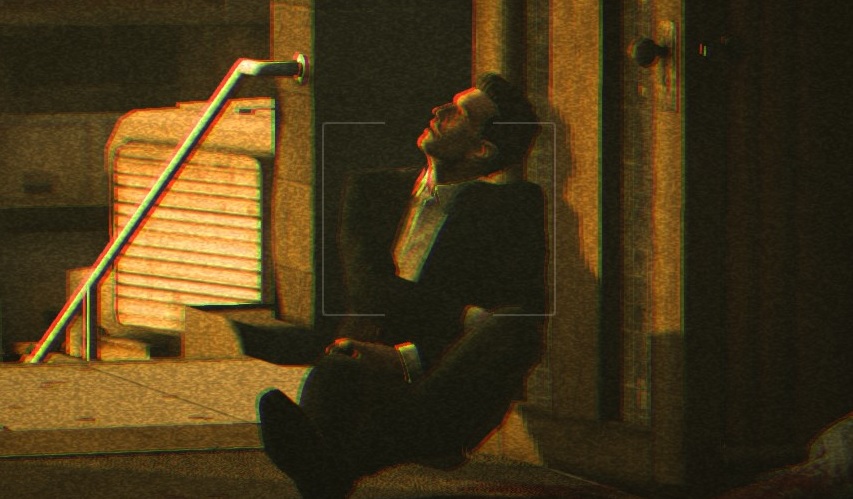
 Note 18:
Entering the exit doorway in the lobby, there’s a wounded man in the passageway. Record him.
Other Achievements
ILLUMINATED - Restore power to the Administrative Block
FLUSHED - Drain the Sewers
SOAKED - Activate the sprinklers in the Male Ward
PUNISHED - Finish the game
LUNATIC - Finish the game in Insane mode
Whistleblower DLC
GAS LEAKER - Turn off the gas
SHOCKER - Turn off the electricity
WHISTLEBLOWER - Finish the Whistleblower DLC
BOWELWHISTLER - Finish the DLC in Insane mode
Cheats
You should only use the following stuff if you have problems to progress, like in insane difficulty. Using cheats will destroy the atmosphere.
God Mode
Go to \Documents\My Games\Outlast\OLGame\Config and open "OLEnemy.ini" with an editor.
Then Decrease Patrol Speed, Investigation speed, Chase Speed value to a value less than 50 and change AttackNormalDamage , AttackThrowDamage to 0
Example:
NrmNormalSpeedValues=(PatrolSpeed=20,InvestigateSpeed=20,ChaseSpeed=25)
NrmDarknessSpeedValues=(PatrolSpeed=20,InvestigateSpeed=20,ChaseSpeed=25)
NrmElectricitySpeedValues=(PatrolSpeed=20,InvestigateSpeed=20,ChaseSpeed=25)
HardNormalSpeedValues=(PatrolSpeed=20,InvestigateSpeed=20,ChaseSpeed=25)
HardDarknessSpeedValues=(PatrolSpeed=20,InvestigateSpeed=20,ChaseSpeed=25)
HardElectricitySpeedValues=(PatrolSpeed=20,InvestigateSpeed=20,ChaseSpeed=25)
AttackNormalDamage=0
AttackThrowDamage=0
Note: 10 was very slow so you may want to set it at 15 or 20, It took for ever for the enemies to move enough for me to pass by them.
Unlimited Battery
Go to \Documents\My Games\Outlast\OLGame\Config and open "OLGame.ini" with an editor.
And Change the value of BatteryDuration, DefaultNumBatteries and MaxNumBatteries
Example:
BatteryDuration=999.0
DefaultNumBatteries=88
MaxNUmBatteries=99[/spoiler]
Video Guide about all Collectibles (Documents & Notes)
http://steamcommunity.com/sharedfiles/filedetails/?id=258547524
Reviews, more Guides and YouTube Channel
http://steamcommunity.com/id/Ov3RT4K3R/myworkshopfiles/?section=guides
http://steamcommunity.com/groups/orcollective#curation
Also feel free to check out my YouTube Channel:
https://www.youtube.com/channel/UC83DYCmrWfl9ttrhX54jmWA
Whistleblower DLC playthrough (not about collectibles)
http://steamcommunity.com/sharedfiles/filedetails/?id=849443589
Other Languages
- How to not piss yourself playing Outlast★ 5 (1.1k)47k views420 ♥1 minSimplified ChineseUpdated Oct 31, 2014
- Optimize Outlast Experience (Mod files)★ 5 (527)27k views709 ♥8 minUpdated Oct 24, 2021
- Outlast-100% Achievements Done★ 5 (662)19k views1.2k ♥21 minUpdated Oct 31, 2020
- how to not get a ♥♥♥♥♥♥♥ heart attack when playing outlast★ 5 (868)18k views264 ♥1 minUpdated Jun 8, 2021
- Как не схватить инфаркт играя в Outlast★ 5 (613)17k views273 ♥1 minRussianUpdated Apr 10, 2022
- How to move?★ 4 (826)12k views133 ♥1 minBulgarianUpdated Jul 1, 2023





- Upgrading to PremiumTeam Fortress 2★ 5 (20k)1441k views11k ♥6 minUpdated May 11, 2022
- No More Room in Hell Official ManualNo More Room in Hell★ 5 (2.8k)569k views2.1k ♥29 minUpdated Apr 22, 2019
- NMRiH Community Hosting GuidesNo More Room in Hell★ 5 (526)351k views653 ♥1 minUpdated Aug 10, 2022
- How to 'Git Gud' Soon™MORDHAU★ 5 (2k)318k views3k ♥68 minUpdated Nov 16, 2024
- Лучшие кооперативные игры SteamPAYDAY 2★ 5 (1.5k)315k views2.1k ♥56 minRussianUpdated Apr 27, 2025
- Desert Eagle Heat Treated | Blue GemCounter-Strike 2★ 5 (1.6k)293k views1.5k ♥2 minUpdated Jan 16





This guide was created by its original author on the Steam Community. Are you the author and want it removed? Request removal.