Raft - Complete Guide
Welcome !
This is still a work in progress, feel free to tell me to add things !
English isn't my first language, so don't hesitate to tell me if you read one of my sentences and think there is a better way of saying it.
I hope this guide helps you and don't forget to rate it ! ;)
⠀⠀There's a steam bug that makes images suddenly invisible
⠀⠀and I have to reupload them but I don't always notice =)
WIP : Information on the way for...
- Add to useful furniture: Juicer, Electrical Grill, Electrical Smelter, Advanced Stationary Anchor, Advanced Biofuel Extractor, Wind Turbine, Recycler, Advanced Crop Plots in 3 sizes, Advanced Scarecrow, Advanced Collection Net, Foundation Counter, Fridge, Wardrobe
- Trading Post Cassette, Cassettes from treasures, Cassette from Tangaroa
- 5 new enemy trophies
- 3 placeable honk horns with different sounds
- Tic-Tac-Toe, Compass, Major Tom, , Toy Robot, vending machine decorations
- Enemies : Each animal's damage for Normal and Hard Mode. Videos for all of them.
- Engine Controles: added anchor lever
-List of small islands update
-List of big islands update
and to the Raft Wiki[raft.fandom.com] for some exact numbers/percentages
=> add me as a contributor on your translated guide
=> add me after telling me in the comments so that I can keep you posted on new content
https://steamcommunity.com/sharedfiles/filedetails/?id=1648719262
Это руководство на русском языке :
https://steamcommunity.com/sharedfiles/filedetails/?id=1933227886
Este guia em português (PT-BR) :
https://steamcommunity.com/sharedfiles/filedetails/?id=2309962994
Table of Contents
[CTRL + F to search for key words in the guide]
I. Part 1
⠀1) Choosing your game mode
⠀2) Gathering Materials
⠀3) Thirst and Hunger
II. Part 2
⠀1) Essential Objects
⠀2) Research
⠀3) Expanding your raft
III. Part 3
⠀1) Navigating
IV. Hard Mode
⠀1) What is different ?
⠀2) How to survive in the beginning ?
I. Chapter 1: Radio Station
⠀1) Walkthrough, notes, blueprints and unlockable character
II. Chapter 1: Vasagatan
⠀1) Walkthrough
⠀2) Notes and blueprints
III. Chapter 1: Balboa
⠀1) Walkthrough
⠀2) Notes, blueprints and unlockable character
IV. Chapter 2: Caravan Town
⠀1) Walkthrough
⠀2) Notes and blueprints
V. Chapter 2: Tangaroa
⠀1) Walkthrough
⠀2) Notes and blueprints
⠀3) Tokens and unlockable character
VI. Chapter 3: Varuna Point
⠀1) Walkthrough
⠀2) Notes and blueprints
⠀2) Grabber Caches
VII. Chapter 3: Temperance
⠀1) Walkthrough - Part 1
⠀2) Walkthrough - Part 2
⠀3) Notes and blueprints
⠀4) Tokens and unlockable character
VIII. Chapter 3: Utopia
⠀1) Walkthrough - Part 1
⠀2) Walkthrough - Part 2
⠀3) Walkthrough - Part 3
⠀4) Notes and blueprints
⠀5) Tokens
I. A-H
II. I-P
III. Q-Z
I. Part 1
II. Part 2
I. Weapons
II. Gear
I. Food/Water
II. Navigation
III. Others
⠀1) Radio
⠀2) Decorations found while fishing
⠀3) Craftable Decorations
⠀4) Memento from dead domesticated animals
I. Fish / Meat
II. Plants / Others
I. Cooking Pot
II. Juicer
⠀1) How to tame an animal ?
⠀2) How to feed it ?
⠀3) Survival Odds ?
⠀4) Llama
⠀5) Goat
⠀6) Clucker
I. Part 1
⠀1) Shark
⠀2) Seagull
II. Part 2
⠀1) Puffer-Fish
⠀2) Warthog
⠀3) Screecher
III. Part 3
⠀1) Lurker
⠀2) Bear
⠀3) Mama Bear
IV. Part 4
⠀1) Mudhog
⠀2) White Screecher
V. Part 5
⠀1) Butler-Bot
⠀2) Purple Lurker
VI. Part 6
⠀1) Anglerfish
⠀2) Rhino Shark
VII. Part 7
⠀1) Polar Bear
⠀2) Scuttler
VIII. Part 8
⠀1) Hyena
⠀2) Olof
⠀3) Alpha
I. Part 1
⠀1) Story Achievements - Chapter 1
II. Part 2
⠀1) Story Achievements - Chapter 2
III. Part 3
⠀1) Story Achievements - Chapter 3
IV. Part 4
⠀1) Multiplayer Achievement
⠀2) Raft Achievements
V. Part 5
⠀1) Kill Achievements
VI. Part 6
⠀1) Tame Achievements
VII. Part 7
⠀1) Exploration Achievements
~~~
Gameplay Basics
Game Modes / Gathering / Needs
Creative Mode : This mode is just to create the raft of your dreams without having to gather any material. Everything can be crafted for free. You can grow plants and spawn domesticated animals, even the rare ones. The raft won't move and the shark will swim around but not attack you. You won't get thirsty nor hungry. Achievements don't work in Creative Mode.
Peaceful Mode : It's pretty much Easy Mode except here nothing will attack you. Shark and Puffer-Fish won't even defend themselves, Warthog and Screecher will attack you once in retaliation, Lurker will start attacking normally in retaliation. The Screecher is really really hard to hit because usually you wait for it to attack you to be able to hit it and here it will not attack... Same for the shark who keeps swimming really fast and you kinda have to continually swim after him to hope to hit him a few times.
Easy Mode : When you die, you respawn will all of your inventory. It takes 5 hits from a shark to die. Shark attacks every ~8mins. ~25mins to lose a whole thirst bar. ~31mins for hunger. Damage is divided by 1.5 compared to Normal Mode.
Normal Mode : When you die, you can respawn by yourself but you will lose all of your inventory. You can be saved by a friend to keep what you're holding ( he needs to put you in a bed ). It takes 3 hits from a shark to die. Shark attacks every ~6mins. ~15mins to lose a whole thirst bar. ~18mins for hunger.
Hard Mode : When you die, you can't respawn by yourself. You absolutely need a friend to put you in a bed when you die to save you. So basically, if you're playing alone : dying = game over. You can also be surrounded by up to 3 sharks ! You will start with one shark, then after a while another will come, etc... Attacking/Killing sharks has a link with how many attack you, apparently the more aggressive you are, the more sharks will appear. Sharks are also harder to kill and to stop from attacking your raft ( 5 hits from a wooden spear instead of 4 ). It takes 3 hits from a shark to die. Sharks attack your raft every 2mins. ~10 mins to lose a whole thirst bar. ~14 mins for hunger. Damage is multiplied by 1.2 compared to Normal Mode.

At the beginning : You start with a Hook, use it to grab everything that's floating in the water. [Left Click] to throw the hook, hold [Left Click] to bring back your Hook, [Right Click] to cancel your throw ( that way if you've missed, you don't need to wait for your Hook to come back to you... doesn't work if you've caught something ). You can grab several things with the same throw. You can still move when your hook is in the water, which makes it possible to control a little where your hook is going. If something gets close to your raft, you can pick it up without using your hook.
Everything is important but you should keep an eye out for barrels. They are extremely useful in the beginning because they can hold Scraps which are hard to get at first.
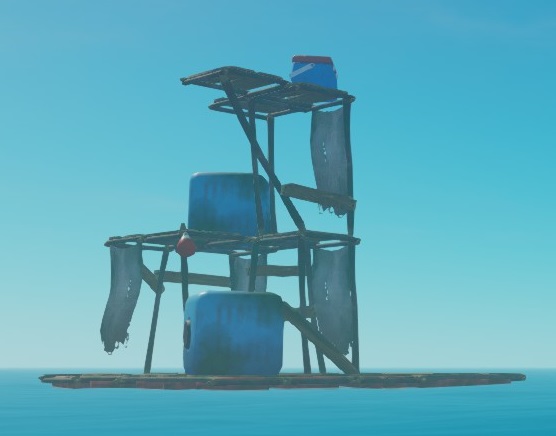
From times to times, you will see small rafts appearing in the distance.
Try to swim to the rafts and climb to the top to get the crate which can hold lots of really useful and hard to come by ( for now ) materials. You'll have to act fast, because the shark will be tempted to follow you... The moment you walk on the raft, it will start to slowly sink.
After : You will naturally come by small islands, there are many things to gather on them ( wood, food, flowers... ) but don't forget what's underwater, around the island. There are many materials like iron/copper ores, seaweeds, scraps, sand and clay... Some can be harvested with a Hook, others can just be picked up. [See Crafting Materials for more details]
Even more after : You can use a receiver to find large islands which hold exclusive materials and tamable animals. [See Navigation, more below, and Domesticated Animals for more details]
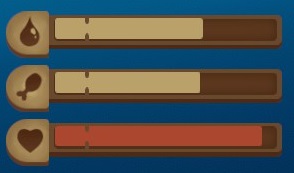 Soon after starting your game, you will see that you have something more than the shark to worry about : dehydration and starvation. On the bottom left corner you can see 3 bars. The Thirst goes down faster than the Hunger bar. How fast they deplete depends on your Game Mode. The first square is easier to fill but once you're in it, you will start moving really slowly, making it impossible to dodge attacks. Once completely empty, your life bar will slowly start to deplete itself.
You're going to need to find a way to drink and eat if you want to survive.
Press [Tab] to open the Craft Window.
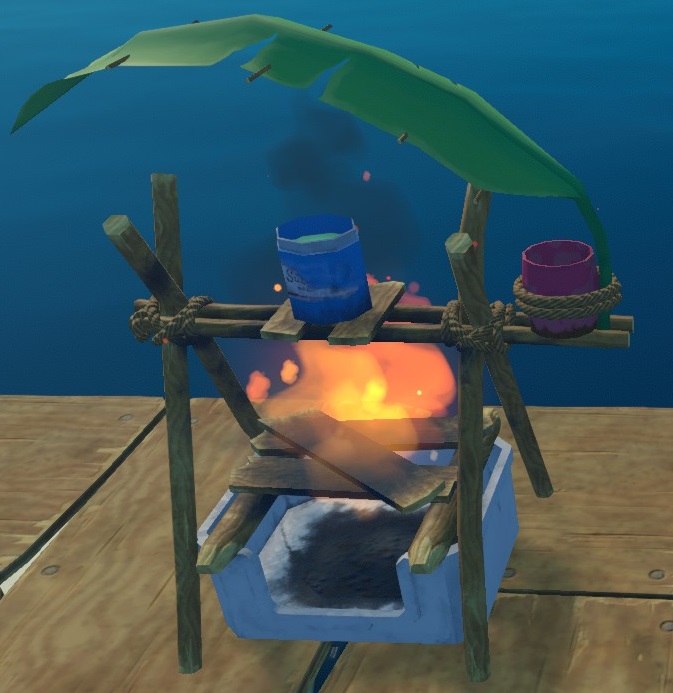 Thirst : Build a simple purifier. It needs planks to work, when you get next to it, it will give you the option to add planks ( if you have some in your inventory, and if the purifier is not already full ). Then craft a Cup [Plastic(4)]. Go to the sea and equip your cup, [E] to fill your cup then go to the purifier : there will be an option to fill the purifier. Do so and wait for a while... the water will go from the blue container to the purple one. Equip your cup again, go next to the purifier and use the option to fill it, then [Left Click] to drink what's in it.
/!\ If you use [Right Click] when your cup is full, it will empty it.
You can later craft an Advanced Purifier which can make a lot more drinkable water at the same time and without using any plank.
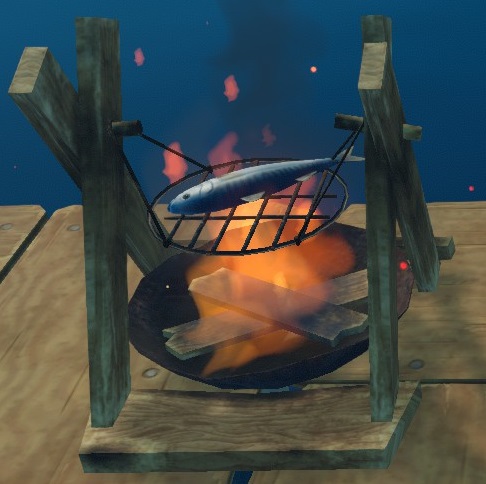 Hunger : Build a simple grill. It also needs planks to work. You will get potatoes and beets in barrels, you can start by cooking them, that way they will fill more efficiently your hunger bar. Then you can craft a Fishing Rod, with it you can catch fishes and put them on the grill.
You can only cook small fishes and plants on the simple grill.
The food will always change aspect when cooked and fill more efficiently your hunger bar. Fish will make you thirsty if you eat it without previously cooking it.
You can later craft an Advanced Grill which can cook bigger fishes ( 1 Big Fish or 3 Small Fishes at the same time ).
You can even later craft a CookingPot which can mix many different things to make a nice meal. [See Cooking Recipes for more details]
Essential Objects / Research / Expanding

Press [Tab] to open the Craft Window. There are some things you should always have close to hand. Try to craft them as soon as you can.
1) Building Hammer
You need this to add foundations to your raft and repair it (Hold [Right Click] to choose what to build or to repair). You can then use it for even more things, like add floors, wall...
2) Weapon
As soon as you can, craft a Wooden Spear because it doesn't cost much and will allow you to defend your raft against the shark. You can choose to let the shark eat some of your raft at first and just rebuild the foundations... but you will need a weapon for when it attacks foundations with things on it so that they don't disappear with it. It's also good to defend your raft everytime because you're slowly lowering the shark's life and when it's dead, it drops some food which is pretty important for a beginning game.
Once you start to have more materials, you can craft a Metal Spear which is more effective than the Wooden Spear. But you should aim for the bow as it is by far the best weapon for now.
3) Purifier
You need something to drink ! Thirst goes down faster than Hunger so you should focus on that first. Don't forget you also need a Cup to use it ! [See Gameplay Basics - Part 1 for more details]
4) Grill
You can ignore it at first because you should be able to find lots of potatoes and beets in barrels to help you stay well fed. Once you can afford it, craft it to make all your food more effective. [See Gameplay Basics - Part 1 for more details]
5) Fishing Rod
You're gonna need this ! Brings a lot of food to your raft.
6) Research Table
There are some things you can only craft after researching it through the Research Table. Every new thing you encounter should be put to research to unlock new things to craft. [See Research more below for more details]
7) Collection Nets
Even if you feel you're not ready for islands yet, you can find scraps in barrels which will allow you to craft Collection Nets. They will collect the floating materials for you and meanwhile you can do other things like defend your raft, build, fish, cook... It's not necessary to put them all next to each other, one in two is enough.
8) Storage
You never have too much of something ! You should alway avoid throwing away materials, you never know when you're gonna need lots of them ! Craft some storage to store all your "unneeded for the moment" things.
9) Sail and Flag
You can control where you're going with it. The flag shows you where to turn your sail to be the most effective. [See Navigating for more details]
10) Shark Bait (Hard Mode Solo)
If you haven't done it yet, it's time to explore islands ! It's usually best to kill the shark because it leaves you at peace for 3m30s to harvest anything underwater and gives you some food. Whereas the Shark Bait costs some food.
But in Hard Mode, especially if you're alone, you can't really afford the risk in the beginning which comes with fighting several sharks at once.
The Shark Bait keeps the sharks busy, leaving you some time to harvest what you need.
11) Anchor
You don't want your raft to go away while you're exploring... Either you act really fast and get back to your raft before it goes too far or you get eaten by a shark, or... you craft an anchor and have all the time in the world. (Throwable Anchors can only be used once whereas Stationary Anchors are unbreakable but the first one can be placed on one square, the second needs nine with a hole in the middle.)
12) Smelter
Prioritize harvesting sand and clay from the seafloors to be able to craft dry bricks, which can be used to make Smelters. Once you have this you can smelt ores, seaweeds, sand and explosive goo... which mean that from this point you should be able to build just about everything.
13) Receiver and Antennas
Time to explore further than ever ! These will allow you to find Radio Stations and Large Islands which hold many things... [See Navigating more below for more details]
14) Everything else
There are many things to build, you have everything that's essential but there are still useful things to craft. Go explore your craft menu and build the raft of your dream. [See Useful Objects and Decorations for a list of everything you can build]
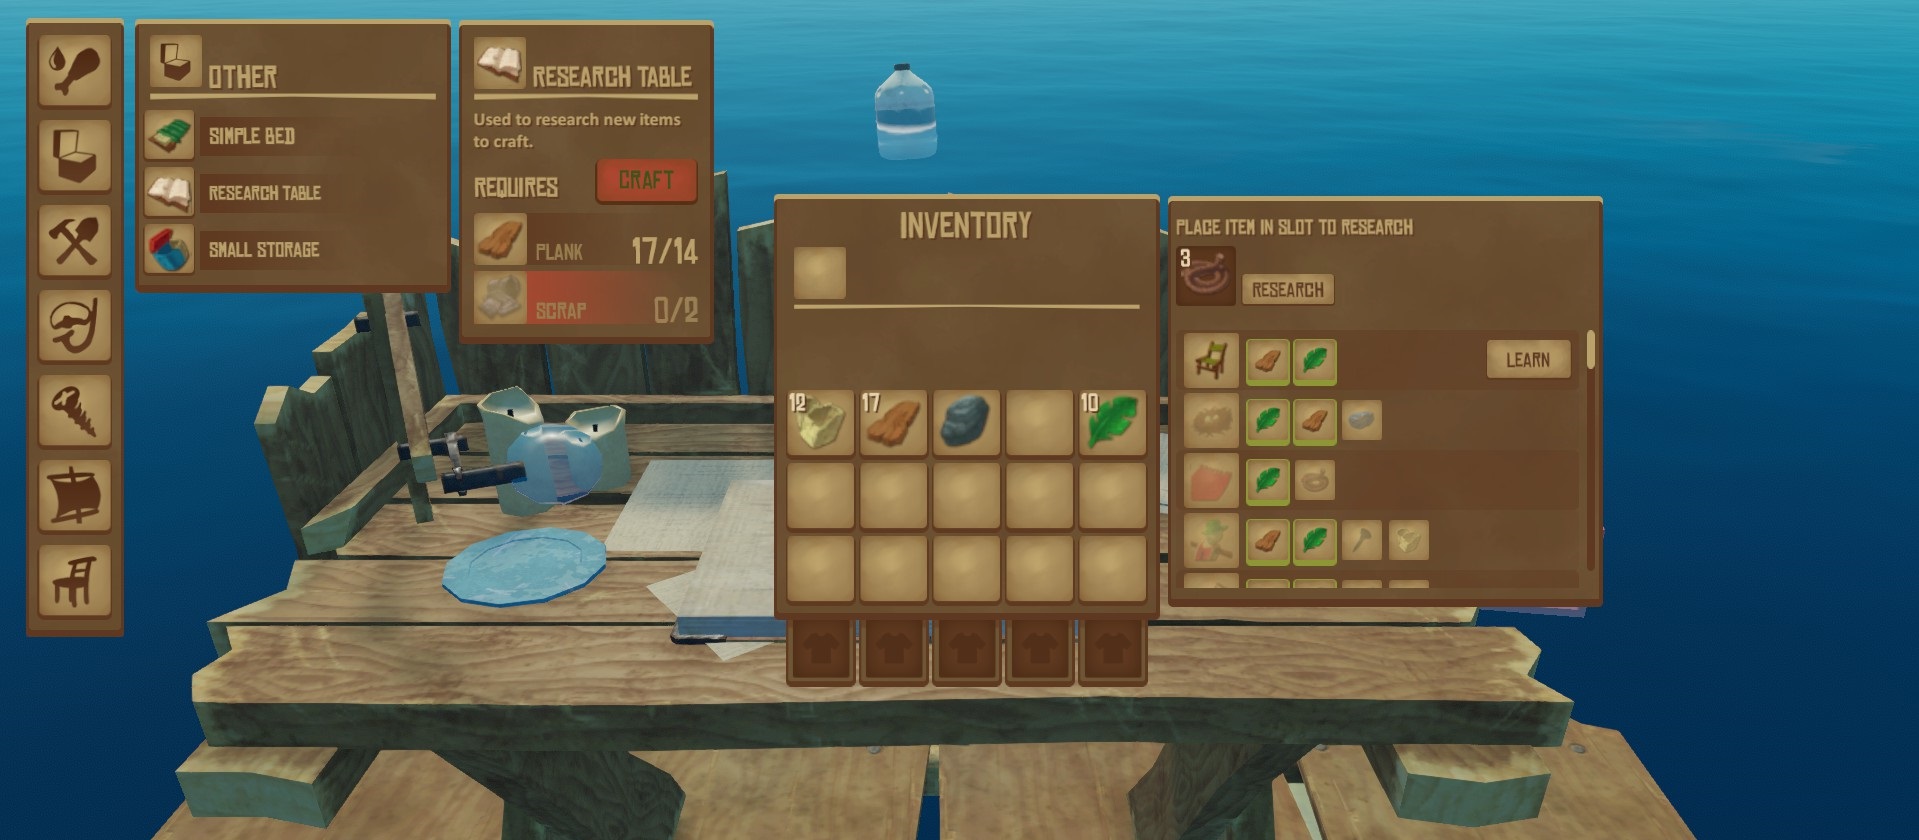
Research is really important because there are lots of things you can't build until you learn how to craft them.
First craft a Research Table and place it on your raft. Then open it and drag materials from your inventory to the blank slot on your Research Table. Click "Research" and it will unlock this material : the material's icon will become colorful everytime it appears in the list on your Research Table. Once all materials are researched for one item, you can click "Learn" to have it appear in your Craft Window. (if you have the bug where you connect and items researched aren't available anymore in your Craft Window, try placing the Research Table again on your raft)
Researching a material consumes it.
If you put a stack of items in the Research Table, it will consume one and what's left will stay there so remember to drag it back to your inventory.
You no longer need to research blueprints that you find, it's now automatic.

You can't live on only 4 squares, where are you going to place all your treasures ?
Craft a Building Hammer and get to work !
Hold [RightClick] to choose what you want to build then use [LeftClick] to place it. It will appear in green so that you can have an idea before placing it. You can rotate it before placing it.
Everything you build will cost you materials, usually planks but sometimes also ropes, palm leaves...
If you misplace something you can break it using an Axe, it will refund you half of the original cost.
If you want a second (or more) floor, you'll have to build pillars or walls first. You'll be able to place floors all around the pillar/wall so remember that when for example you place pillars, you only need to place one in two.
If you're playing anything but peaceful mode, you will need something really important : Foundation Armor. It will protect your raft from shark attacks. So place them in priority on squares holding something because for now, the shark can absolutely attack foundations in the middle of your raft and if it holds something, it will disappear with the square.
Creative Mode is a perfect way to try out structures before placing them on your current raft and risking wasting precious materials.
Navigating

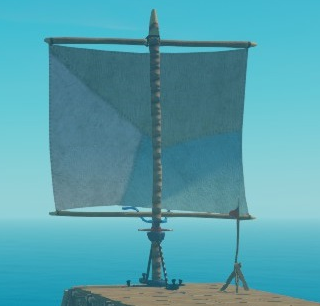
After a while you should craft a Sail [Plank(10), Palm Leaf(20), Scrap(3)] and a Streamer [Plank(6), Rope(3), Nail(3)]. The Sail will allow you to control where your raft is going and if you're following the current, it will make your raft go much faster. The Streamer is a little flag that shows you in what direction the said current is going, allowing you to point the Sail in the same way.
If you aim your Sail in the complete opposite of the current, your raft will be really slow or even stop moving altogether.
The Receiver and Antennas need to be on a higher floor: at least one full pillar up.
The Antennas can't be next to each other but not too far either: they need to have at least 2 blocks between them and the Receiver. 3 blocks between themselves in a line. 2 blocks between themselves in a diagonal.
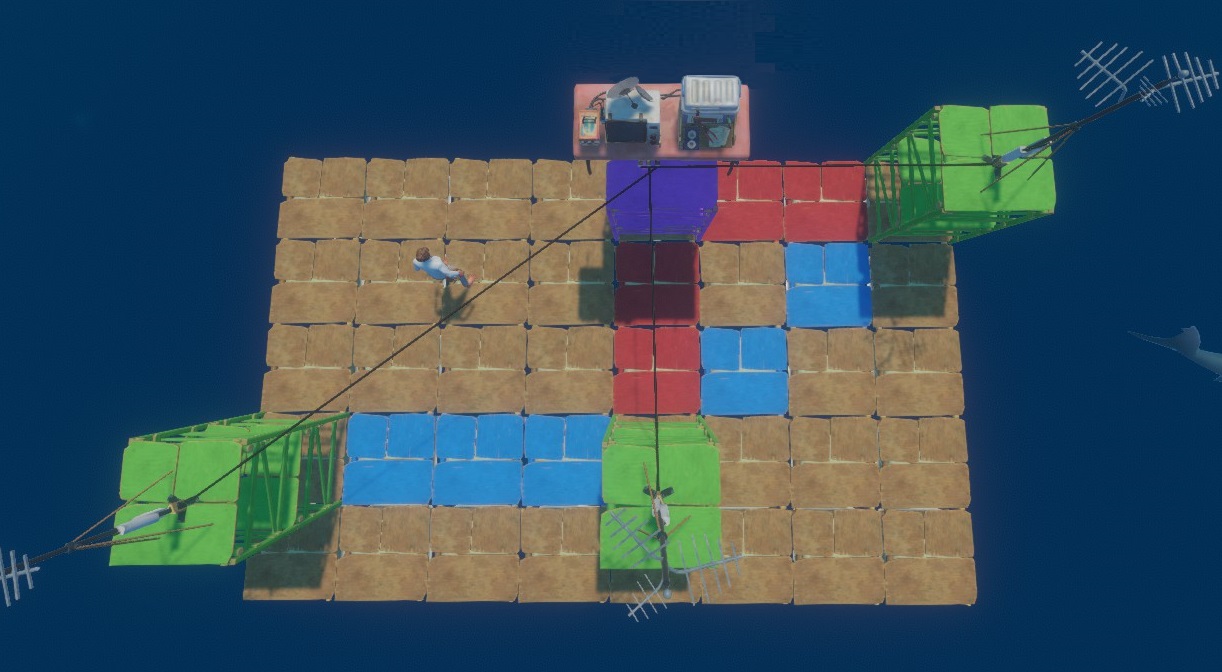 The Antennas will turn green when positioned correctly. If they are red, turn on the Receiver which will tell you what's wrong (not high enough, too far, too close...).
 You need a Battery [Copper Ingot(1), Plastic(6), Scrap(3)] to make the Receiver work. It will slowly deplete itself when the Receiver is on and when it's dead you'll need to replace it with another one or recharge it (though at the beginning you won't have the technology to recharge them yet).
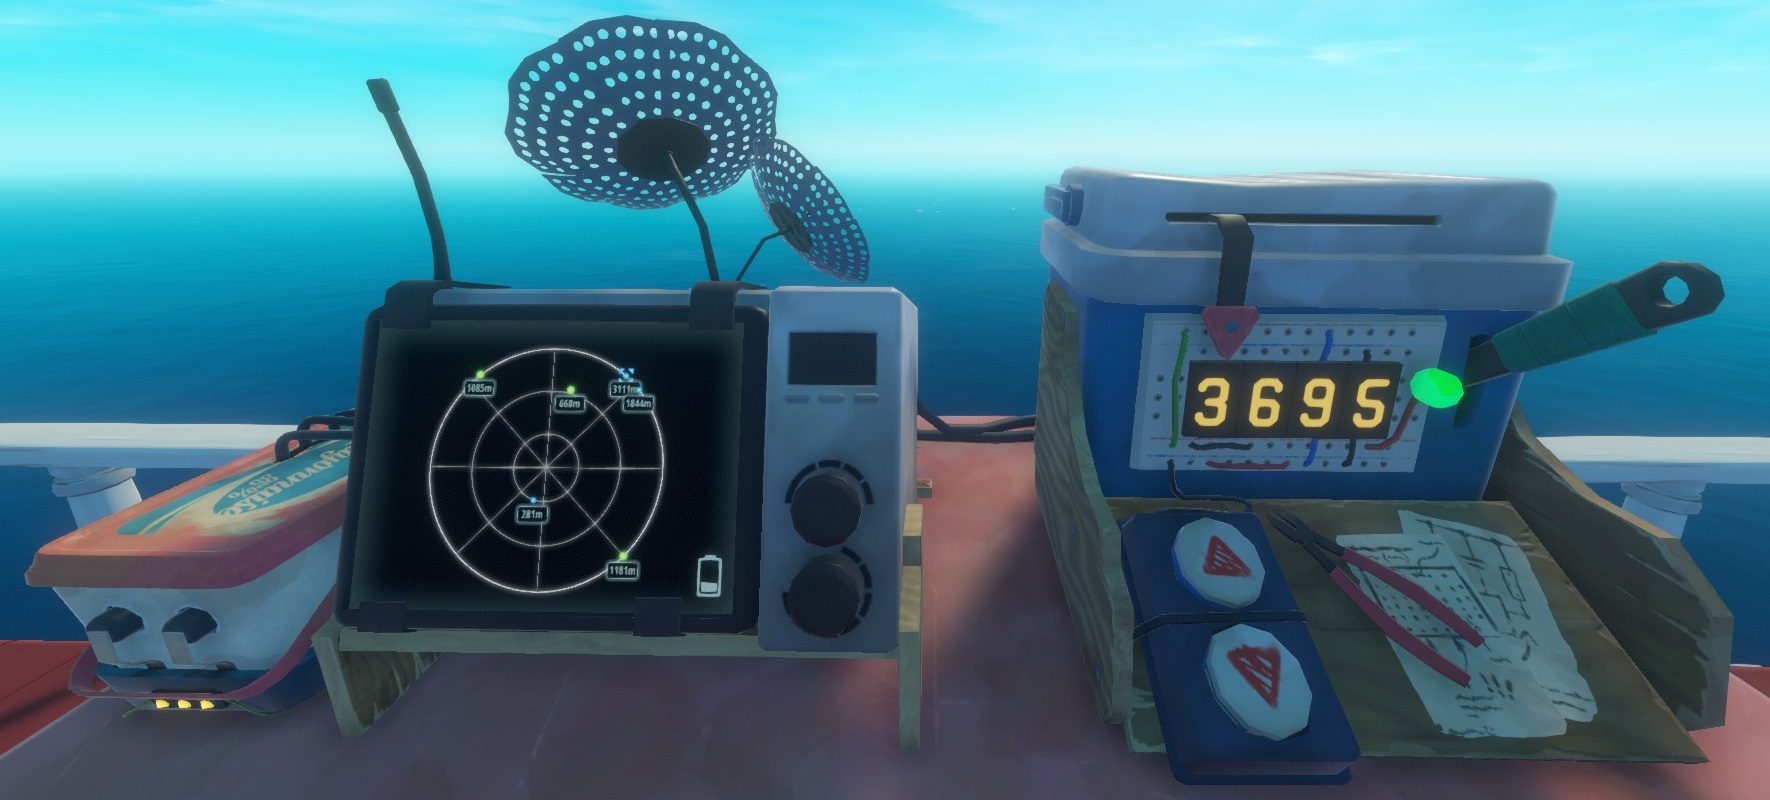 When you activate the Receiver, it will show you a radar and you will receive a note with coordinates in your journal (you can see the journal on the right of your toolbar and you can change what key to press to open it in the settings); those coordinates can be entered by using the buttons and lever on the receiver's right. A blue square should appear on your receiver with a number indicating how far it is (the bigger the number, the farther it is). Turn your Sail in the direction of the blue square and turn off the Receiver to not use too much of your Battery. Come back regularly to check that you're still going in the right direction.
 The blue square will lead you to the 1st story place [See Story category] and after visiting that place you'll have coordinates for another story place and so on. If there's a blue dot without the square around it, it means it's a story place but not the one you entered the code for.
The green dots will also start to appear on your radar. The green dots will show you the way to Large Islands !
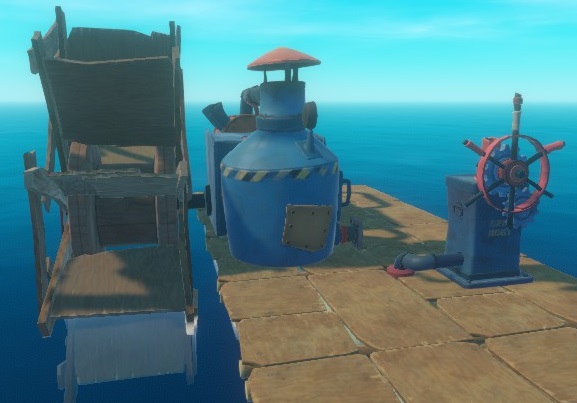
At Vasagatan (2nd story place), you'll get blueprints for the Steering Wheel and the Engines.
The Steering Wheel allows you to turn your raft.
The Engines allow you to move faster and without caring for the wind (they're necessary for reaching the 3rd story place: Balboa Island).
You need 1 Engine per 100 foundations for a maximum of 6 Engines (so even if you have 800 foundations, you still only need 6 engines).
Keep an eye on the horizon, there's much to explore !
You can find them just by following the current, they will spawn randomly on the horizon and you'll have to swim to it and climb it to grab a crate holding some materials or recipes. The moment you walk on it, it will start to sink so act fast.
It's a really good way to get rare materials at the beginning of a game.
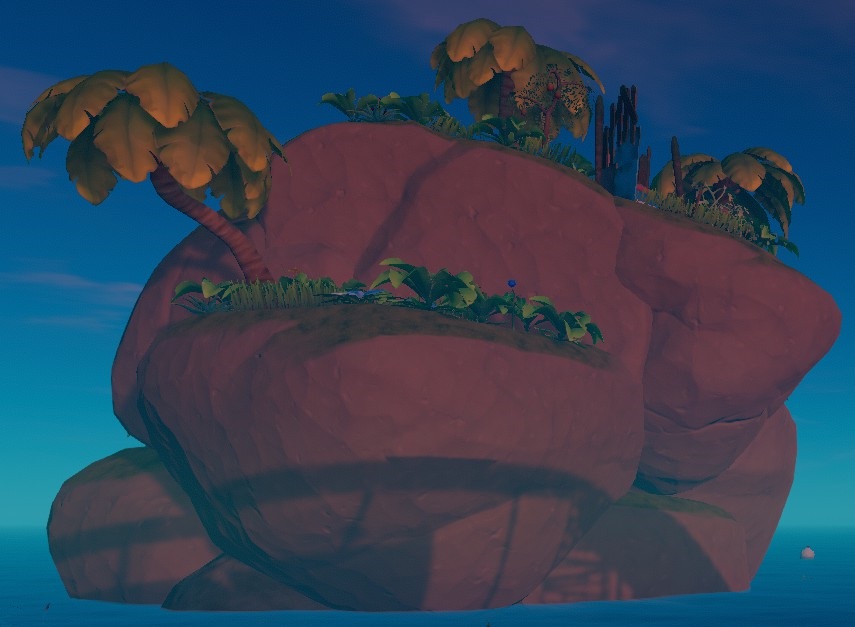
You can find them just by following the current, they will spawn randomly on the horizon. Sometimes you will find underwater islands, only the top will be visible at the surface. It means no island materials but much more underwater materials. Use your sail and/or a paddle to get next to it then an anchor to prevent your raft from leaving. Build ladders or higher floors to be able to reach the top of these islands and get everything on them. Don't forget the seafloors with all their important materials.
Keep an eye out for crates. There is usually one on top of the island and/or one at the bottom of the sea.
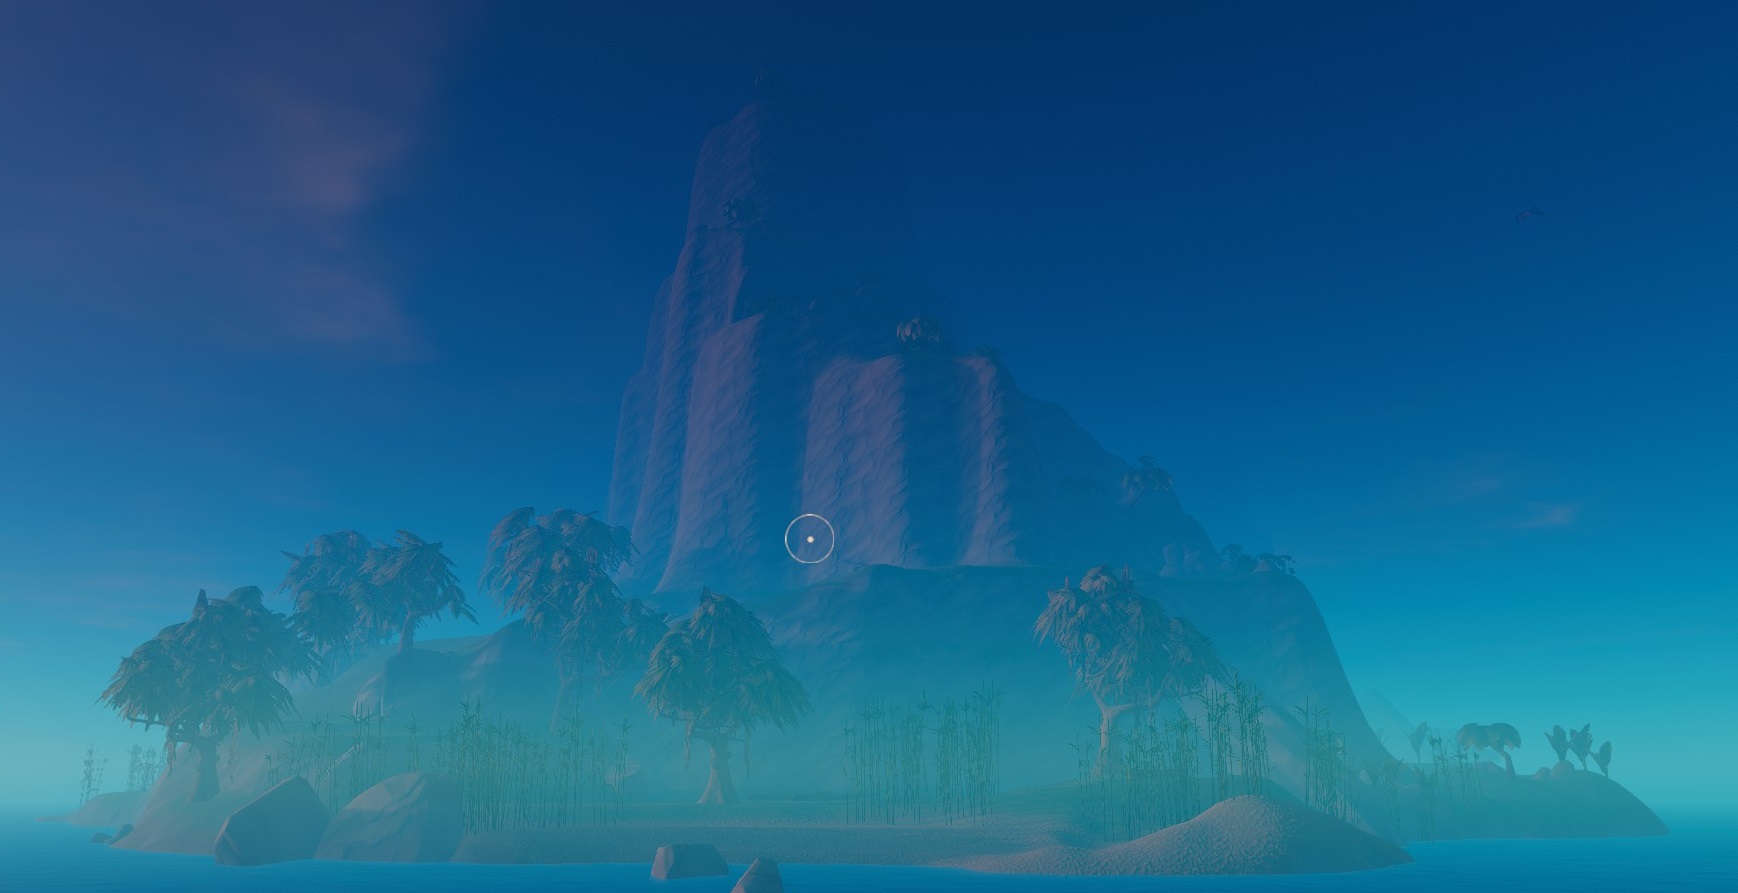
You can find them by following the green dots on your Receiver but it is also completely possible to randomly find them just by following the current.
They hold many materials you can only find there. Crates are hidden on top of the hills and underwater.
They will be protected by Puffer-Fish (usually 4-5), Screechers (usually 1) and Warthogs (usually 1-2). It's completely possible to find more or less of each. [See Enemies for more details].
You can also find tamable animals (usually 2). Which animal and how many of each is random. [See Domesticated Animals for more details]
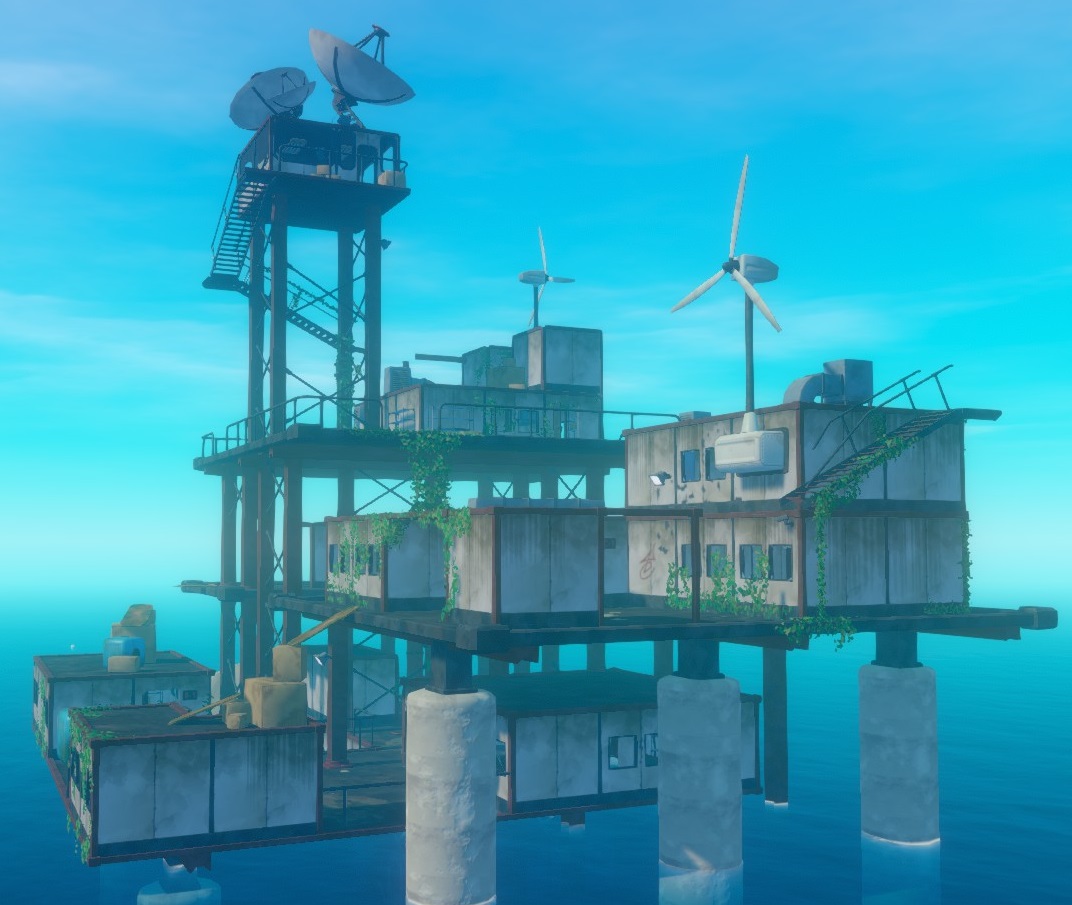
You can find them by using your Receiver. At each story place, you will have to explore and solve puzzles until you find a note with coordinates for the next story place. You can come back to each location by entering its coordinates again, everything will have reset (except for boss fights, only their dead body will reappear so you can get the trophy from it again).
Each location will also have plenty of notes to discover the story of the game, and blueprints to be able to craft more things.
The coordinates change from one game to another so you can't get them from someone else.
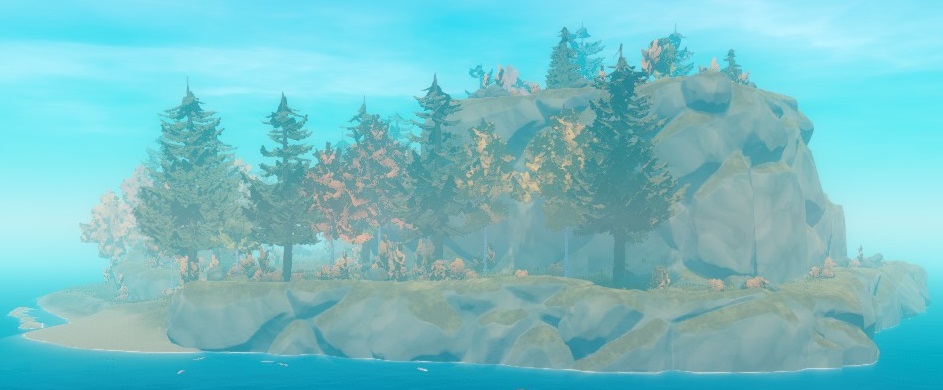
When you enter the coordinates for Balboa Island (3rd story place), you will start seeing Balboa like large islands instead of the normal tropical ones.
The island will have the Balboa specific enemies and materials.
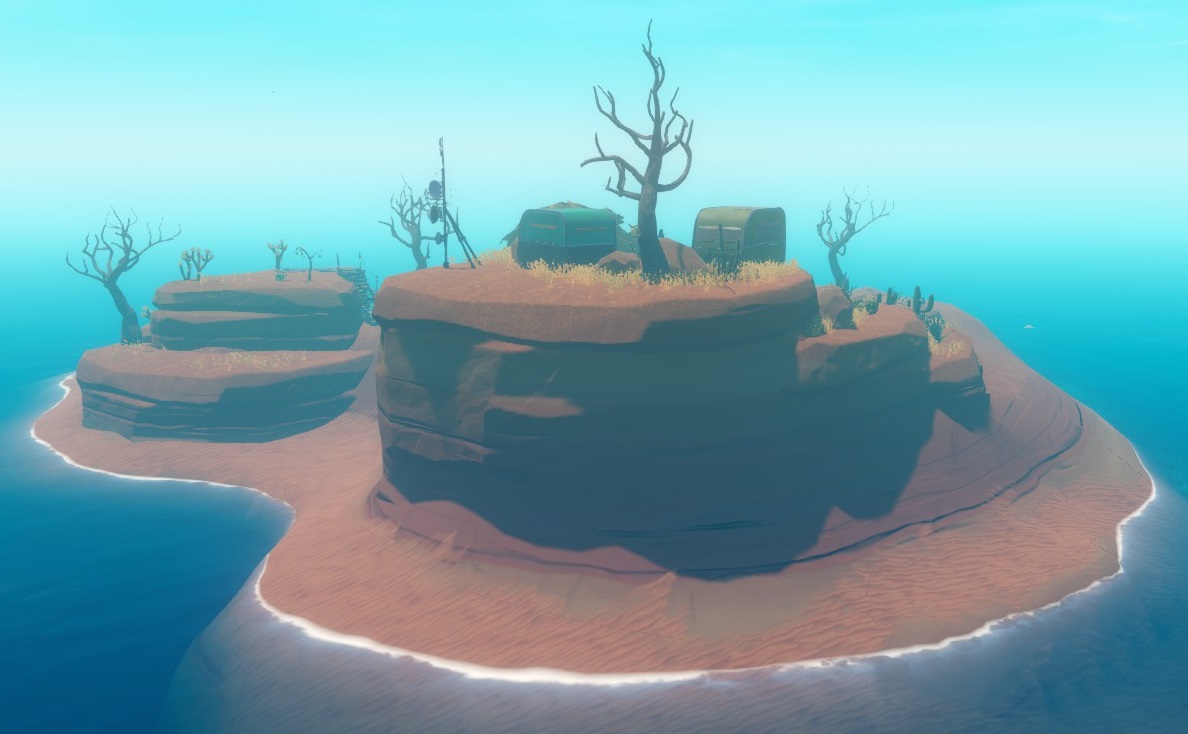
When you enter the coordinates for Caravan Town (4th story place), you will start seeing Caravan like large islands instead of the normal tropical ones.
The island will have the Caravan Town specific enemies and materials.
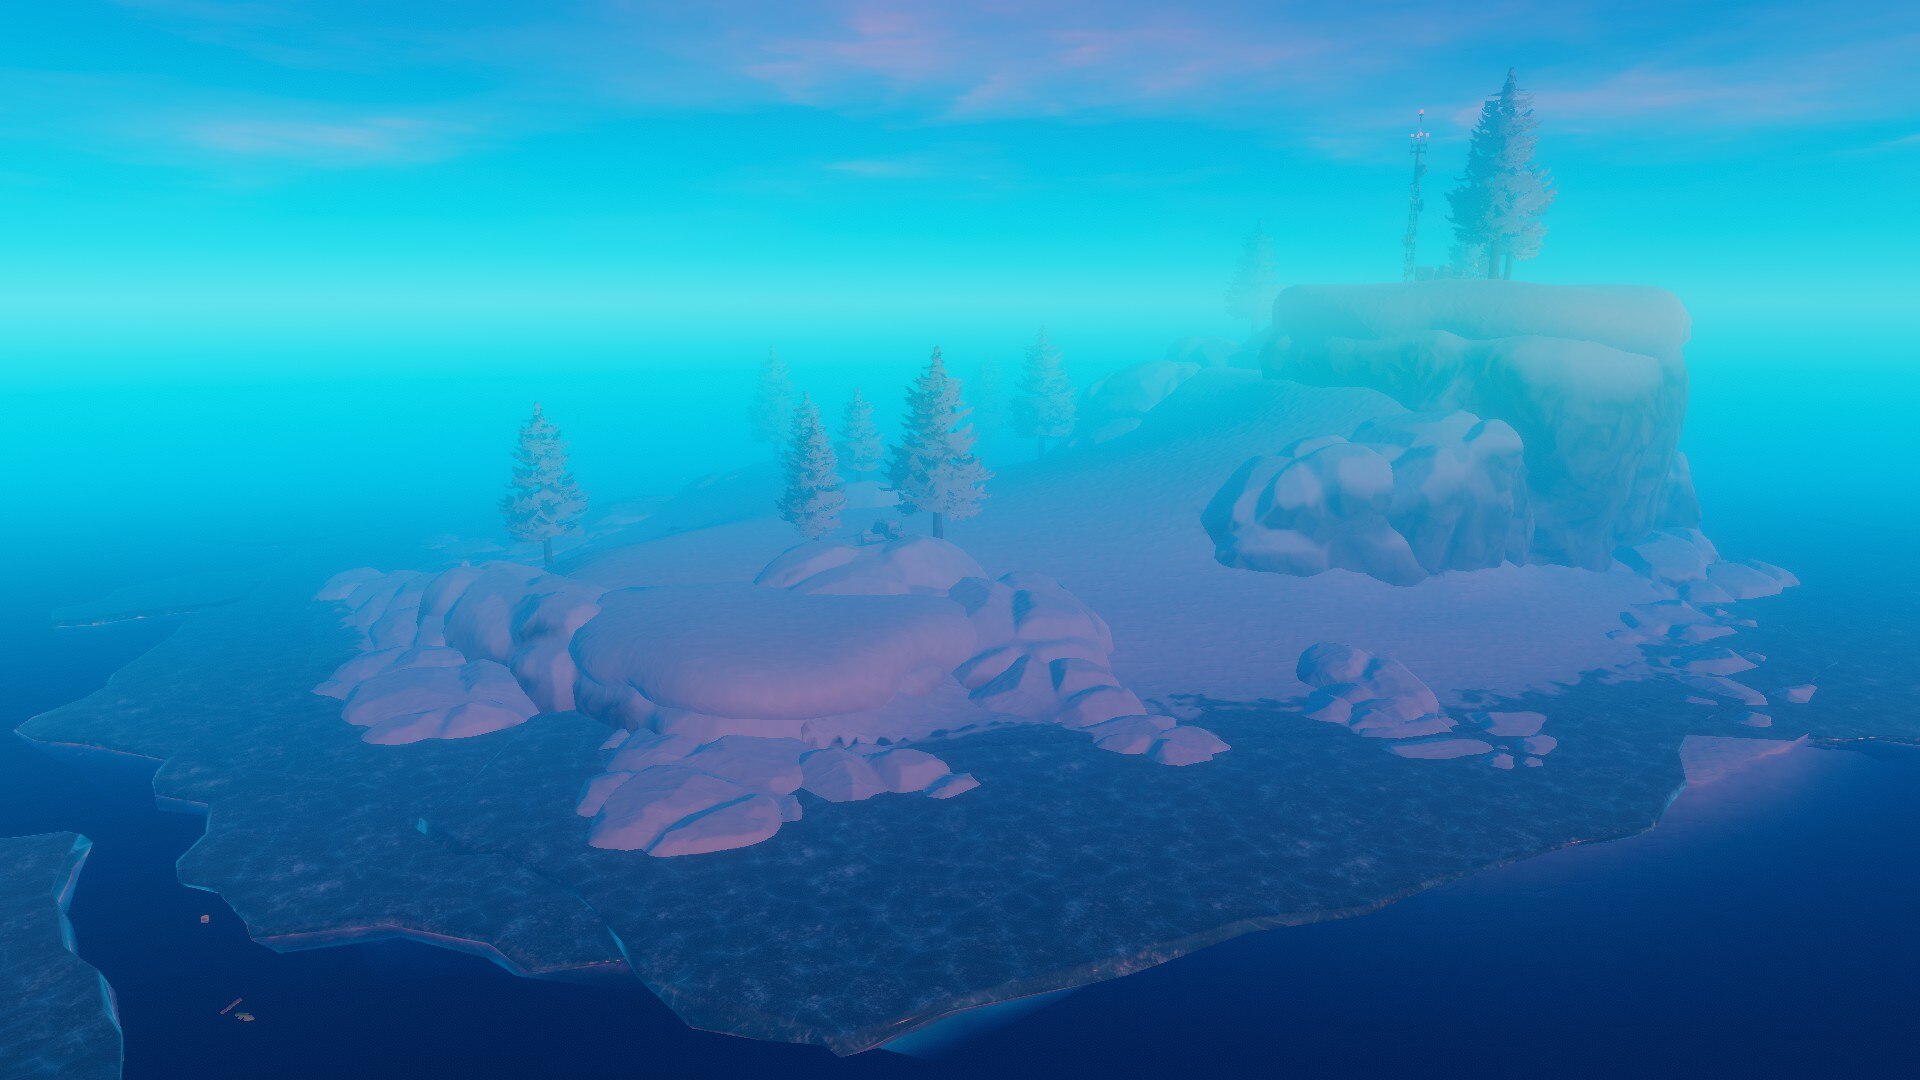
When you enter the coordinates for Temperance (7th story place), you will start seeing Temperance like large islands instead of the normal tropical ones.
The island will have the Temperance specific enemies and materials.
Hard Mode

Here is a small survival guide for hard mode as it is a bit different from others. If you're used to other modes, you'll quickly see that you'll have to change your priorities in this one, at least in the beginning.
- You can't respawn alone, you need a friend and a bed
- Your hunger and thirst bars deplete much faster ( 10mins for thirst and 14mins for hunger )
- When you go to sleep, you lose some of your hunger and thirst bar
- Your health bar depletes much faster than in other modes when you reach 0 in hunger or thirst
- The shark attacks really often (every 2mins)
- If you attack the shark, another will come (there can be up to 5 sharks at the same time, 4 and 5 are very rare though)
- Shark baits last 1m40s (instead of 1m20s in other modes)
- Each hostile animal requires less hits to kill you than in other modes (normal mode damage multiplied by 1.2)
- Each hostile animal requires more hits to be killed than in other modes
[In ( ) => number of hits required to stop a shark's attack on your raft]Wooden
SpearStoneMetal
SpearStone
ArrowMacheteMetal
ArrowTitanium
SwordTitanium
ArrowShark38 (5)38 (5)19 (2)19 (2)13 (2)13 (2)10 (1)10 (1)Seagull33221111Puffer-Fish1010554433Warthog232312128866Screecher252513139977Lurker88443322Bear252513139977Mama Bear188188949463634747Mudhog1212664433White Screecher1515885544Butler-Bot1515885544Purple Lurker1313775544Anglerfish1313775544Polar Bear252513139977Scuttler88443322Hyena1313775544Alpha125125636342423232
- Don't attack the shark! If you do so, another will come and you will quickly be overwhelmed.
Just let it break a foundation and replace it just after it's finished (it's useless to repair while it attacks, it won't stop until it breaks)
- Barrels are your friend! They are the only way to safely get scraps in the beginning, don't miss any!
- Always have a spare hook
Since you're going to be building a lot at the beginning, it's easy to end up with no hook and no materials to craft one and the sea is far too dangerous to go swimming.
- Put everything in the center of your raft!
The shark will bite the edges of your raft and if anything is on it, it will go down with the foundation... so keep all your stuff in the middle and build large edges to keep them safe.
- You're going to need a lot of shark baits.
You can't (at least for now) kill the shark because it will just make others come and therefore make everything much harder, so use shark baits !
Remember to wait for the shark to find your shark bait and attack it, it's not instantaneous.
You only have 1m40s before it breaks so hurry up and get all the sweet sweet loot !
- Park your raft away from islands and on the side where there's nothing interesting in the water.
Shark baits don't last that long, so keep your raft away from where you're looting. Since the shark swims under and around your raft, if the raft is away from you, you will be safe, the shark won't notice you!
Just remember to not leave your raft TOO far, you need to have time to get to it before the shark kills you.
- If you use collection nets, remember to not put them completely at the edges but instead have them surrounded with foundations so the shark won't go for them.
Remember that if you're quick enough when the shark attacks it, you can remove it before the shark can break it ;)
- Drop a shark bait just next to your raft, which allows you to attack the sharks when they come for the bait without having to go in the water. Since they won't have time to actually chew on the bait (when they get hit they leave and come back), you'll have more than enough time to kill them without having to use another shark bait.
- When your raft is all armoured up: add a normal foundation. Since they haven't been able to attack your raft in a while (because of the armour), they should attack it right away, which will give you the opportunity to give some stabs before they break it. After that put another foundation and repeat the process, they attack pretty often so you shouldn't have to wait too much.
~~~
Story
1. Radio Tower
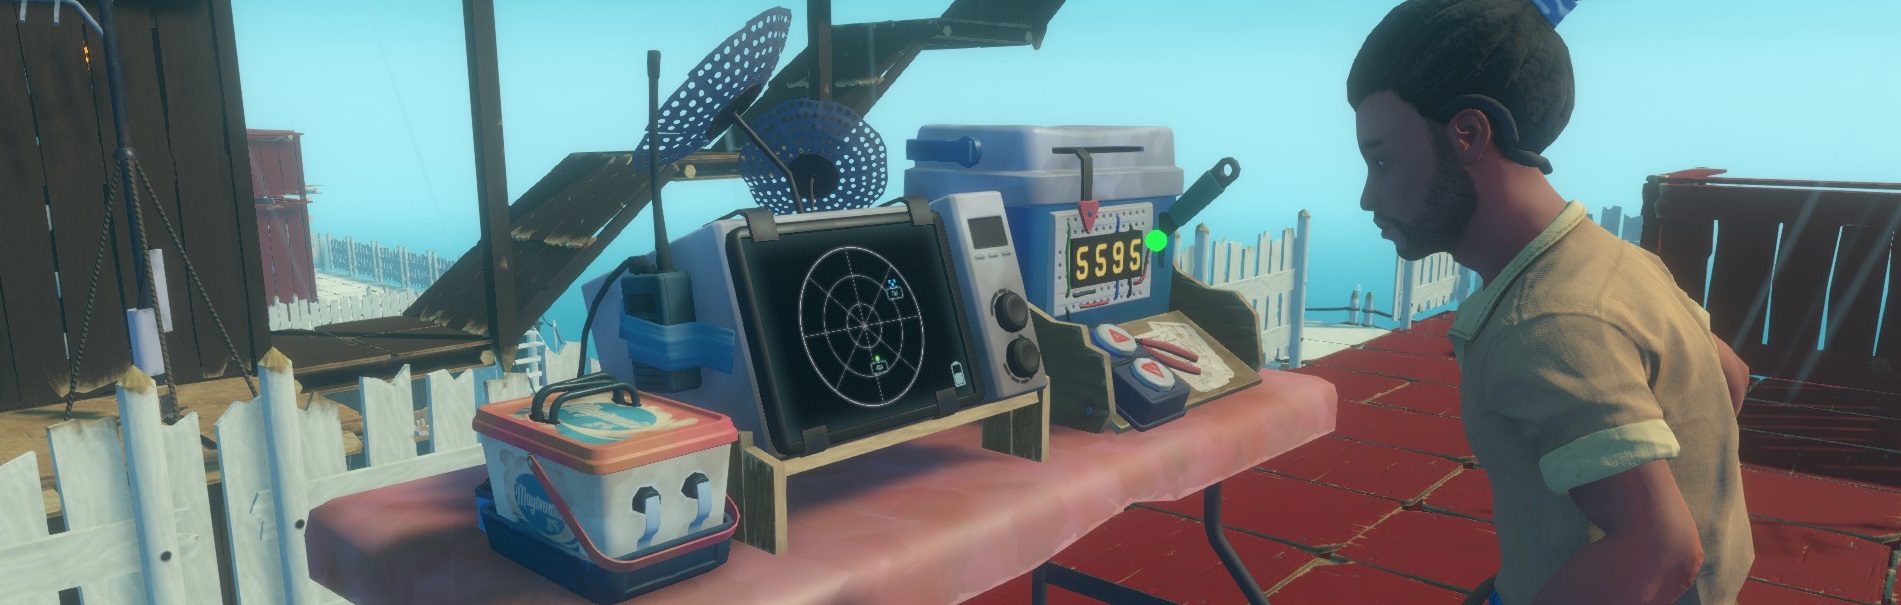
To begin the story, you need to craft a Receiver, 3 Antennas and a Battery [see Gameplay Basics - Part 3 on how to craft and use the Receiver]. The moment you turn your receiver on, you'll receive a note with coordinates (4 numbers), enter them and follow the blue square that appears on the receiver's radar.
Every note and quest item will go in your journal, that way you can't lose them even if you die.
Your journal can be found on the right of your toolbar, key to open it can be changed in the settings.
After following the blue square, you should find a Radio Tower.
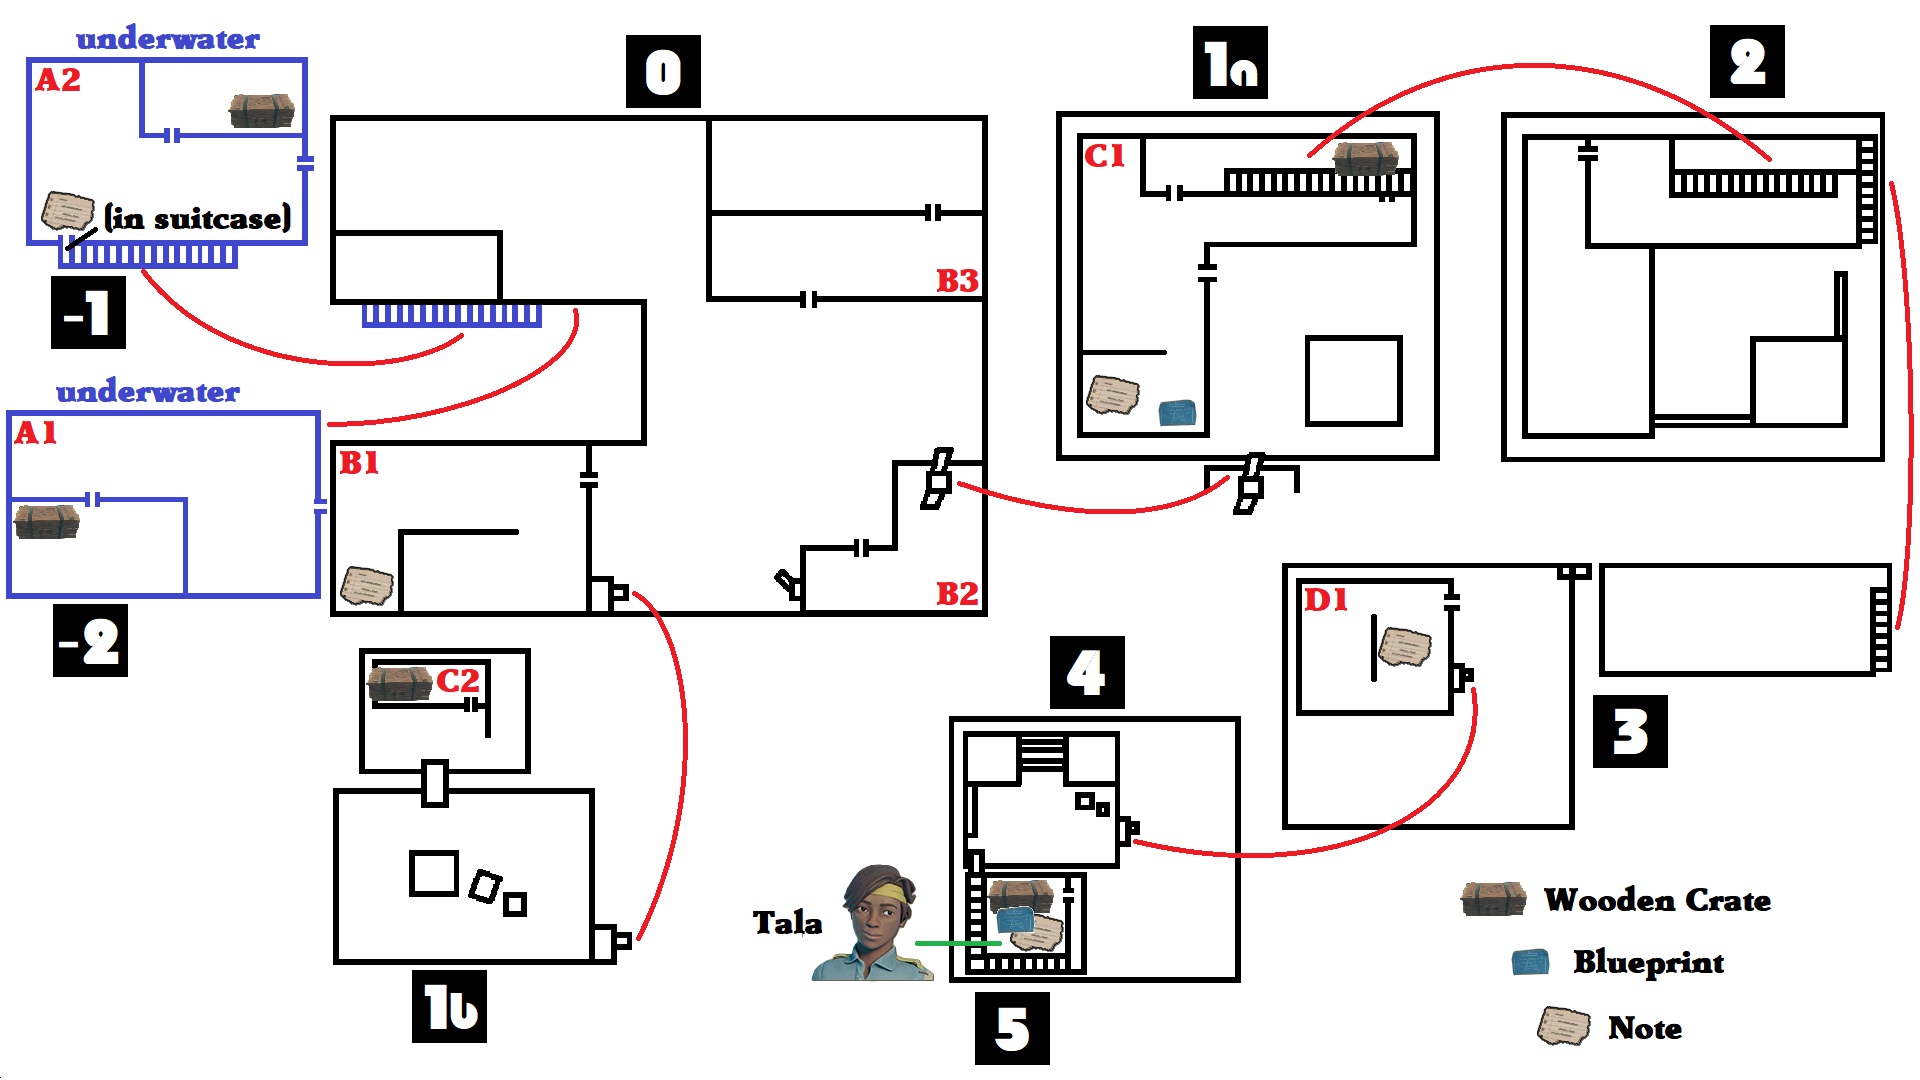
Anchor your raft next to it and start the climb ! There are 5 notes to find in this building, including 4 optionals; and 2 blueprints, one for the Head Light and one for the Recycler.
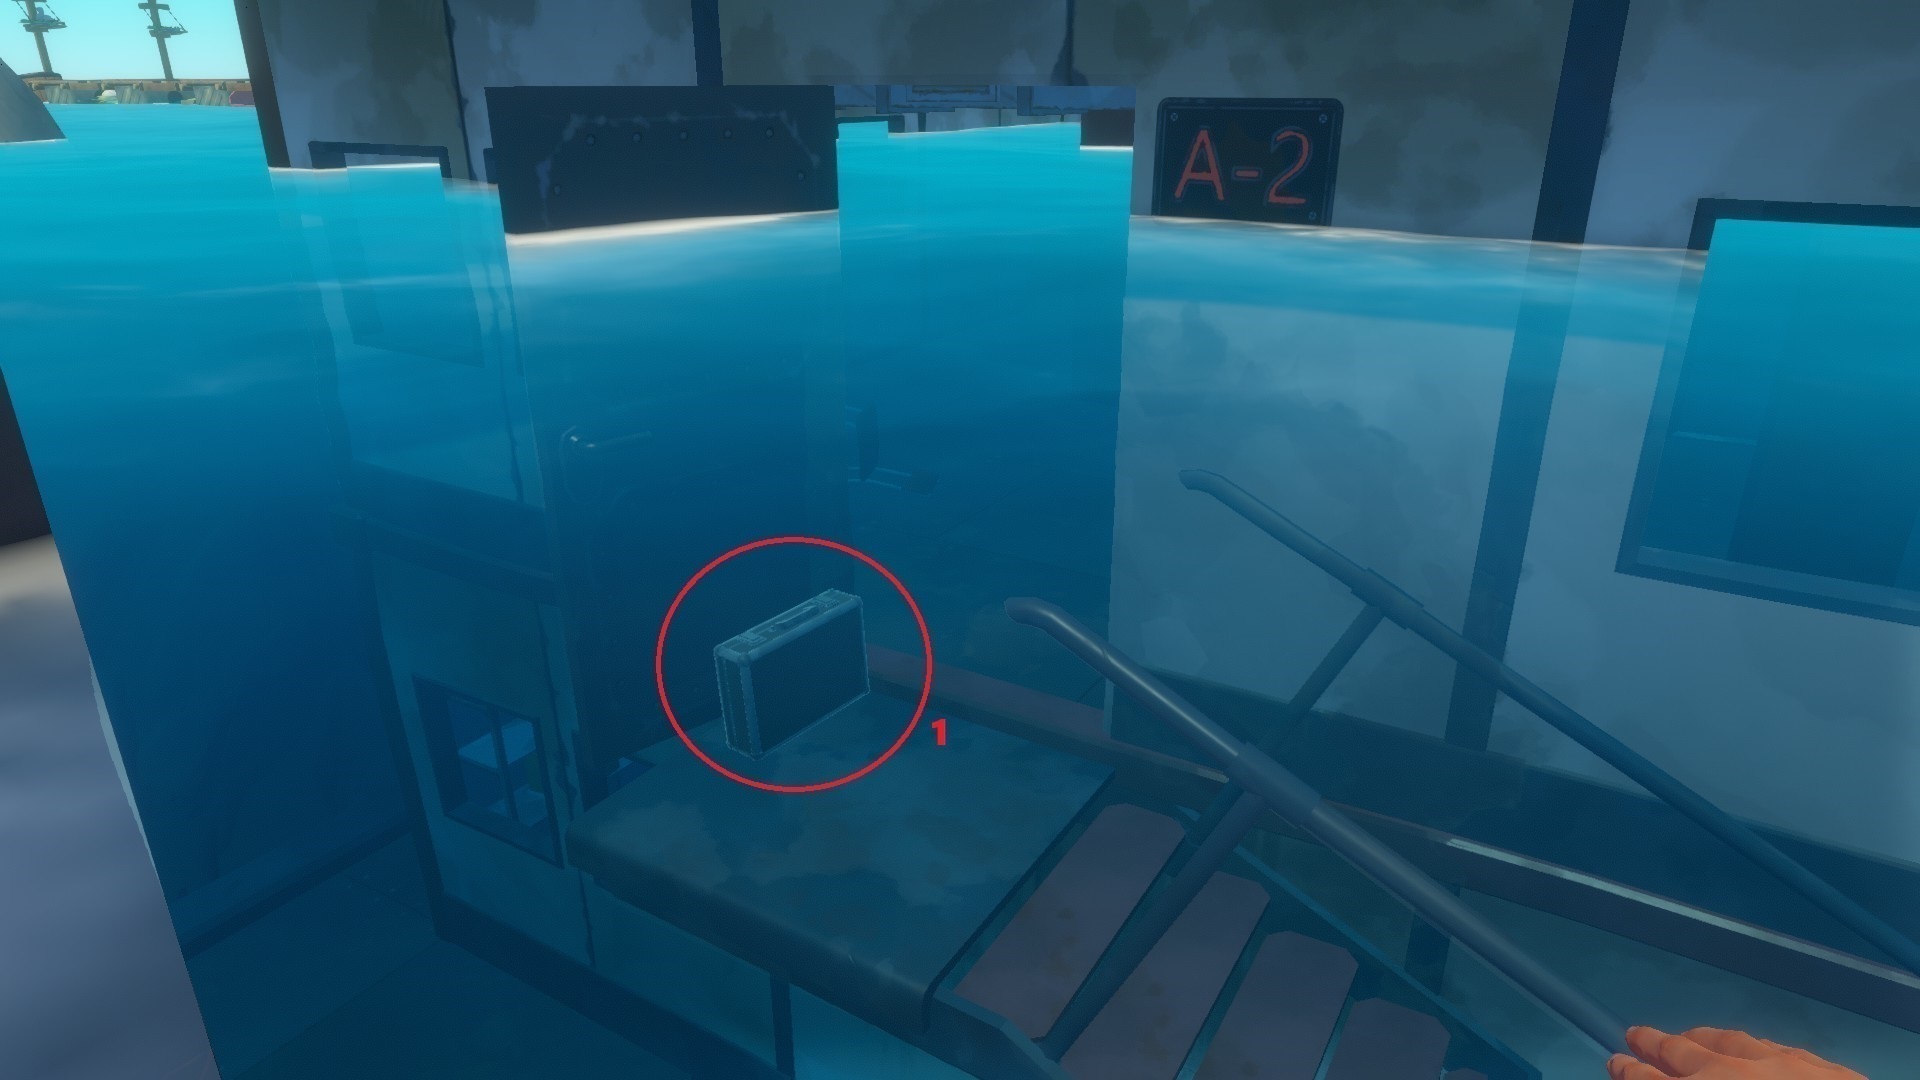
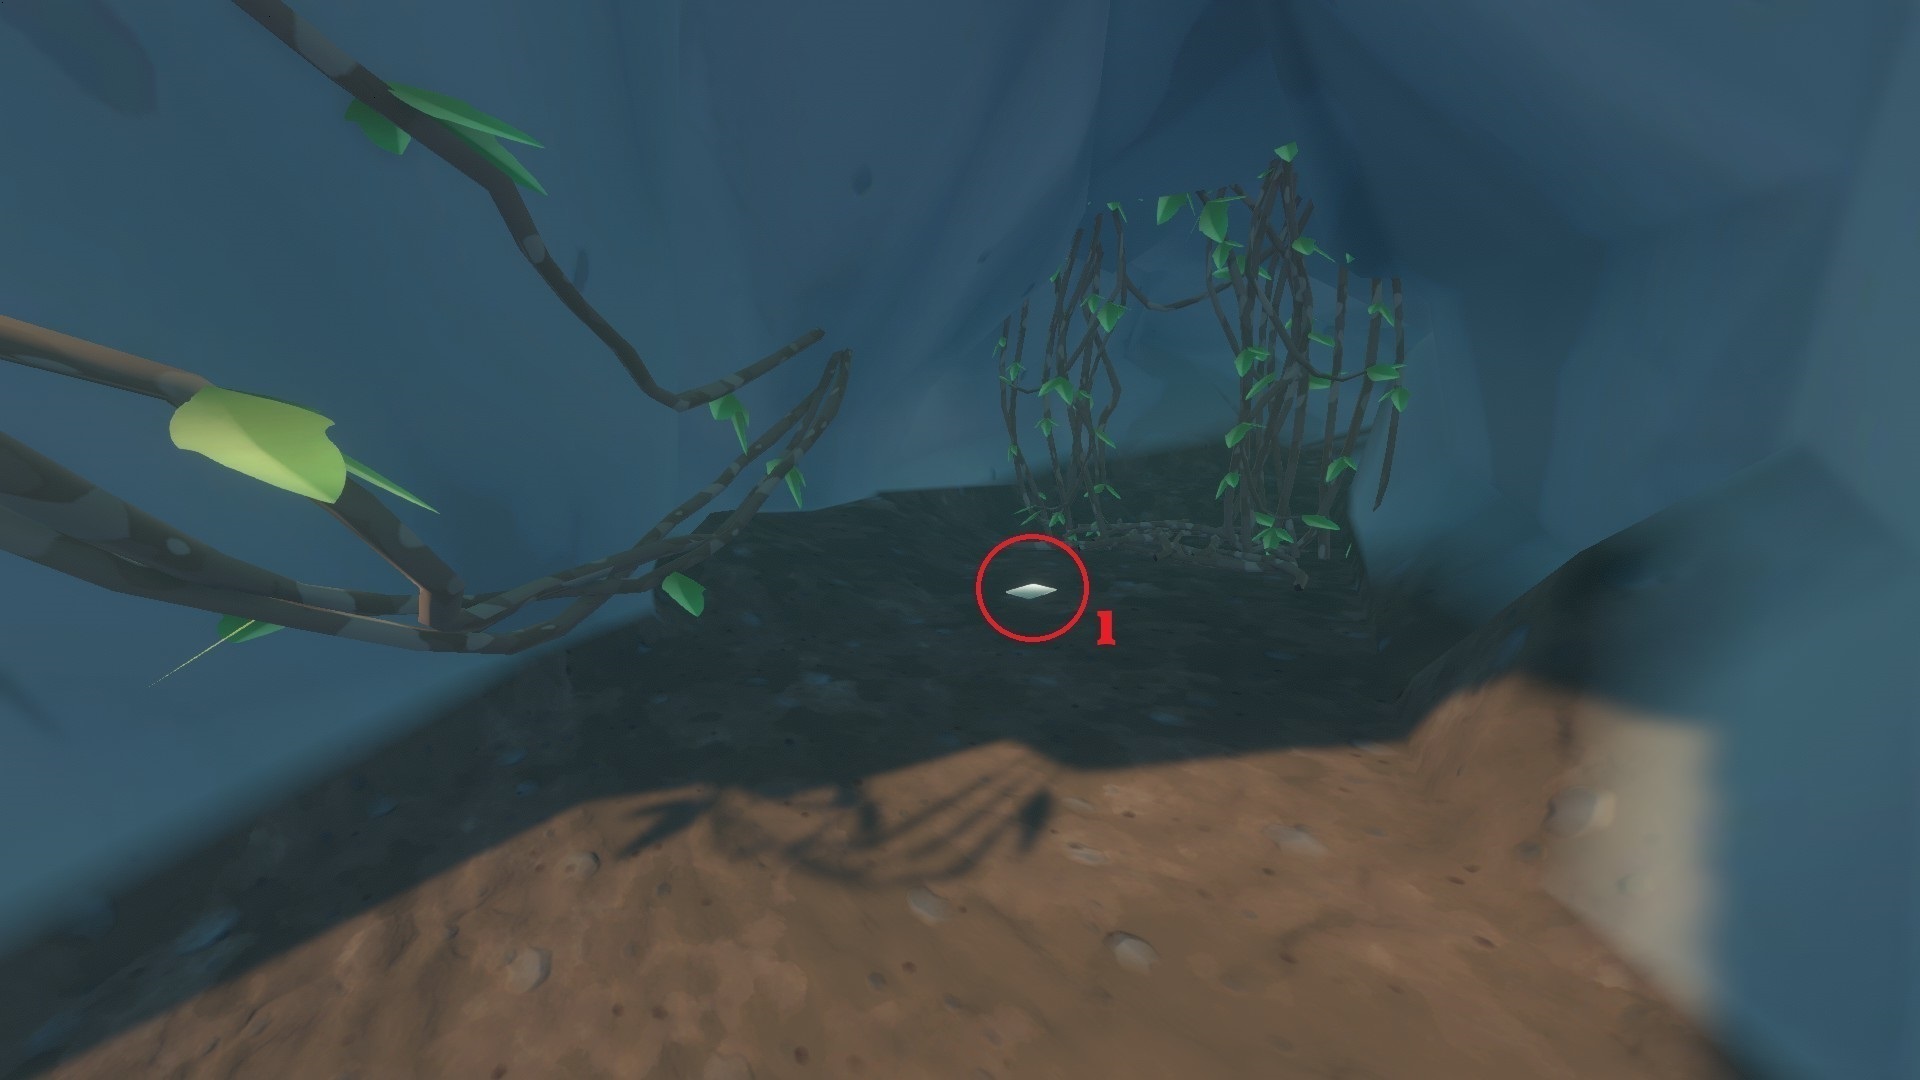
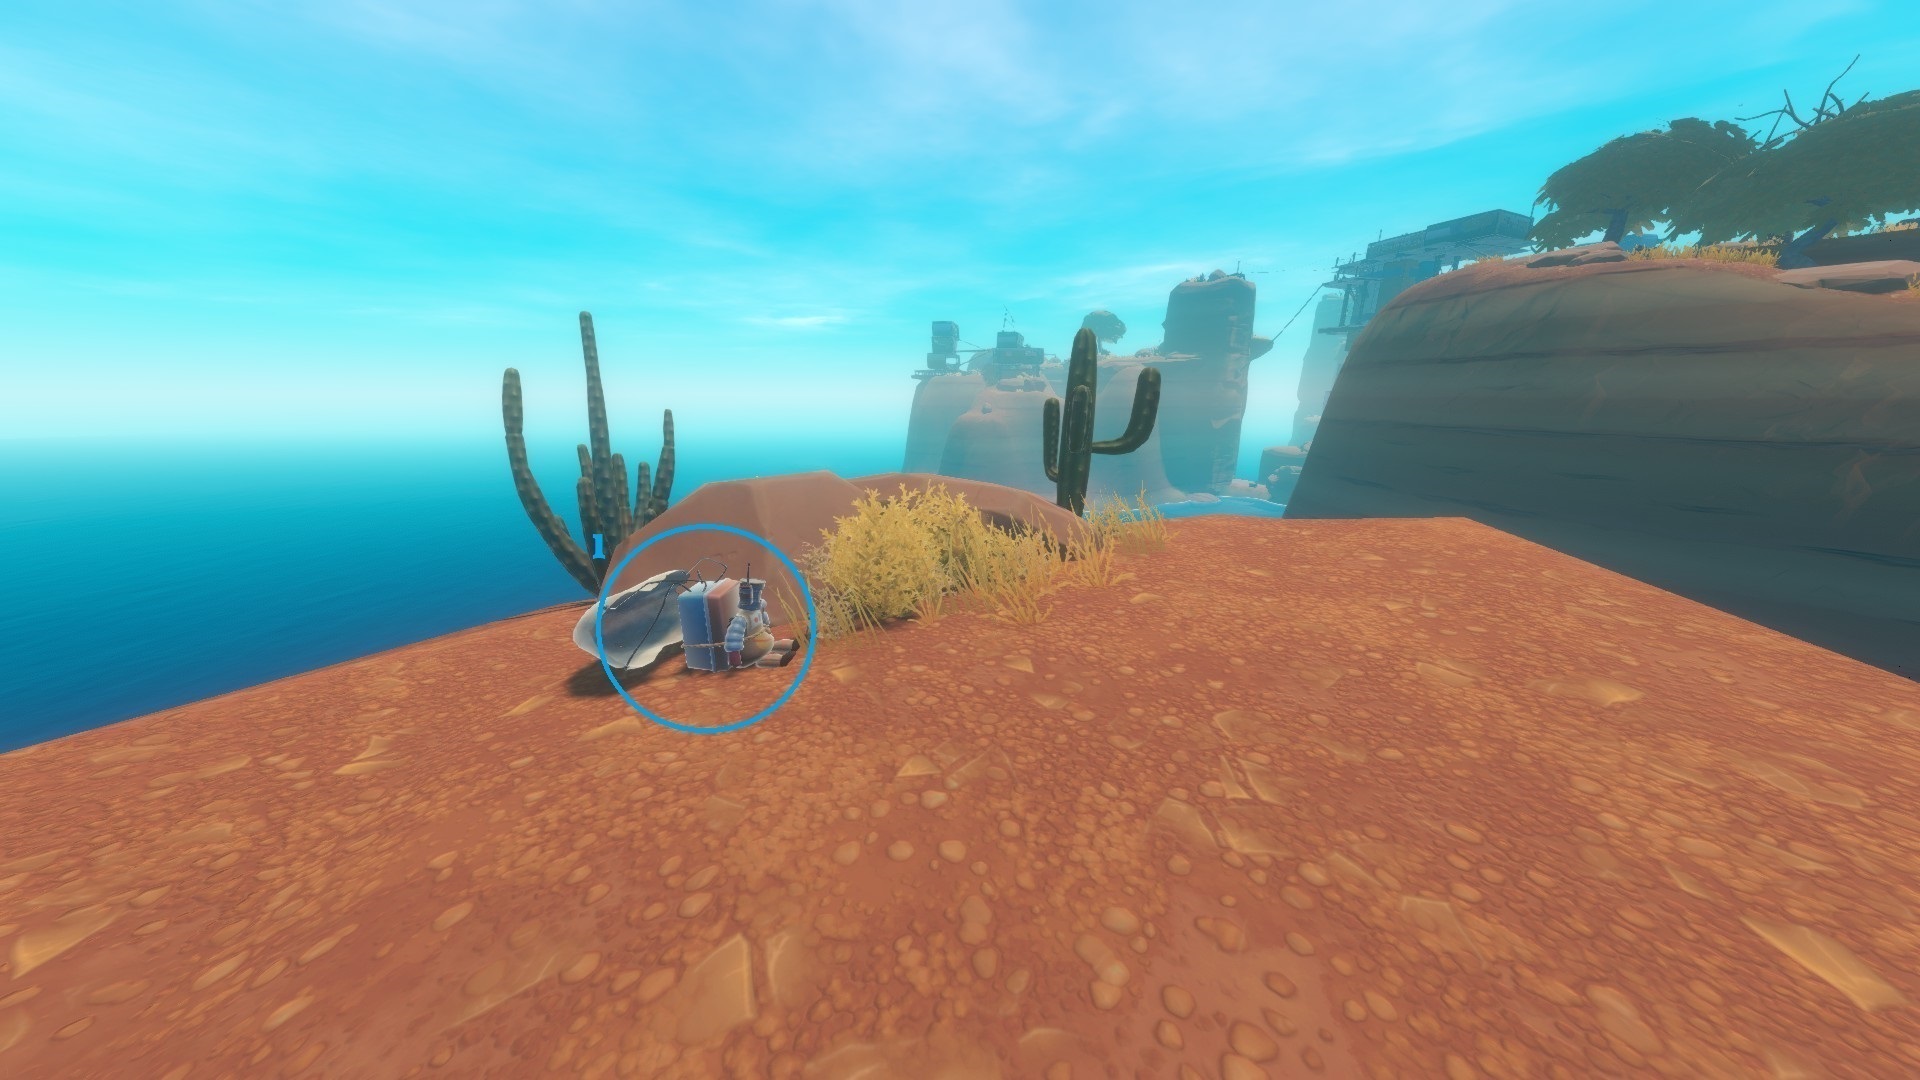
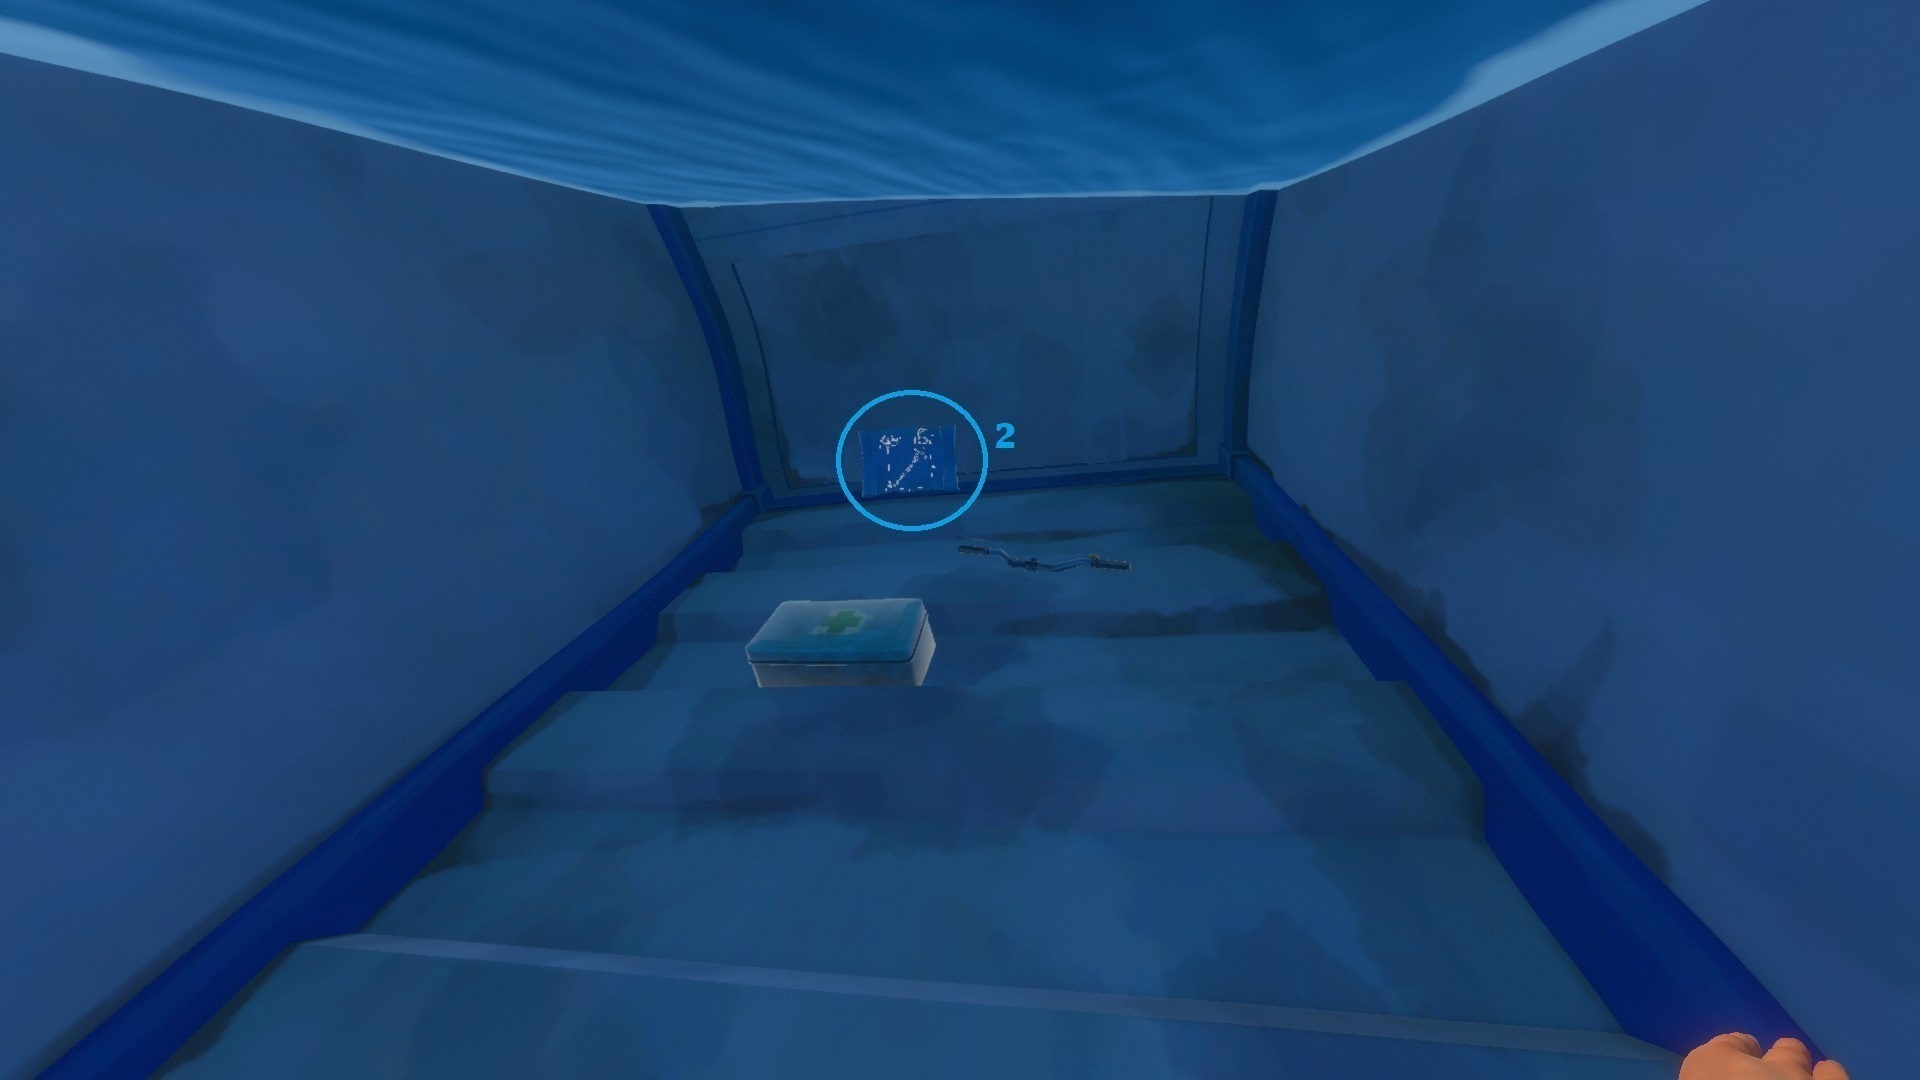
- The 1st note is underwater, in a suitcase, next to the door of the building A-2
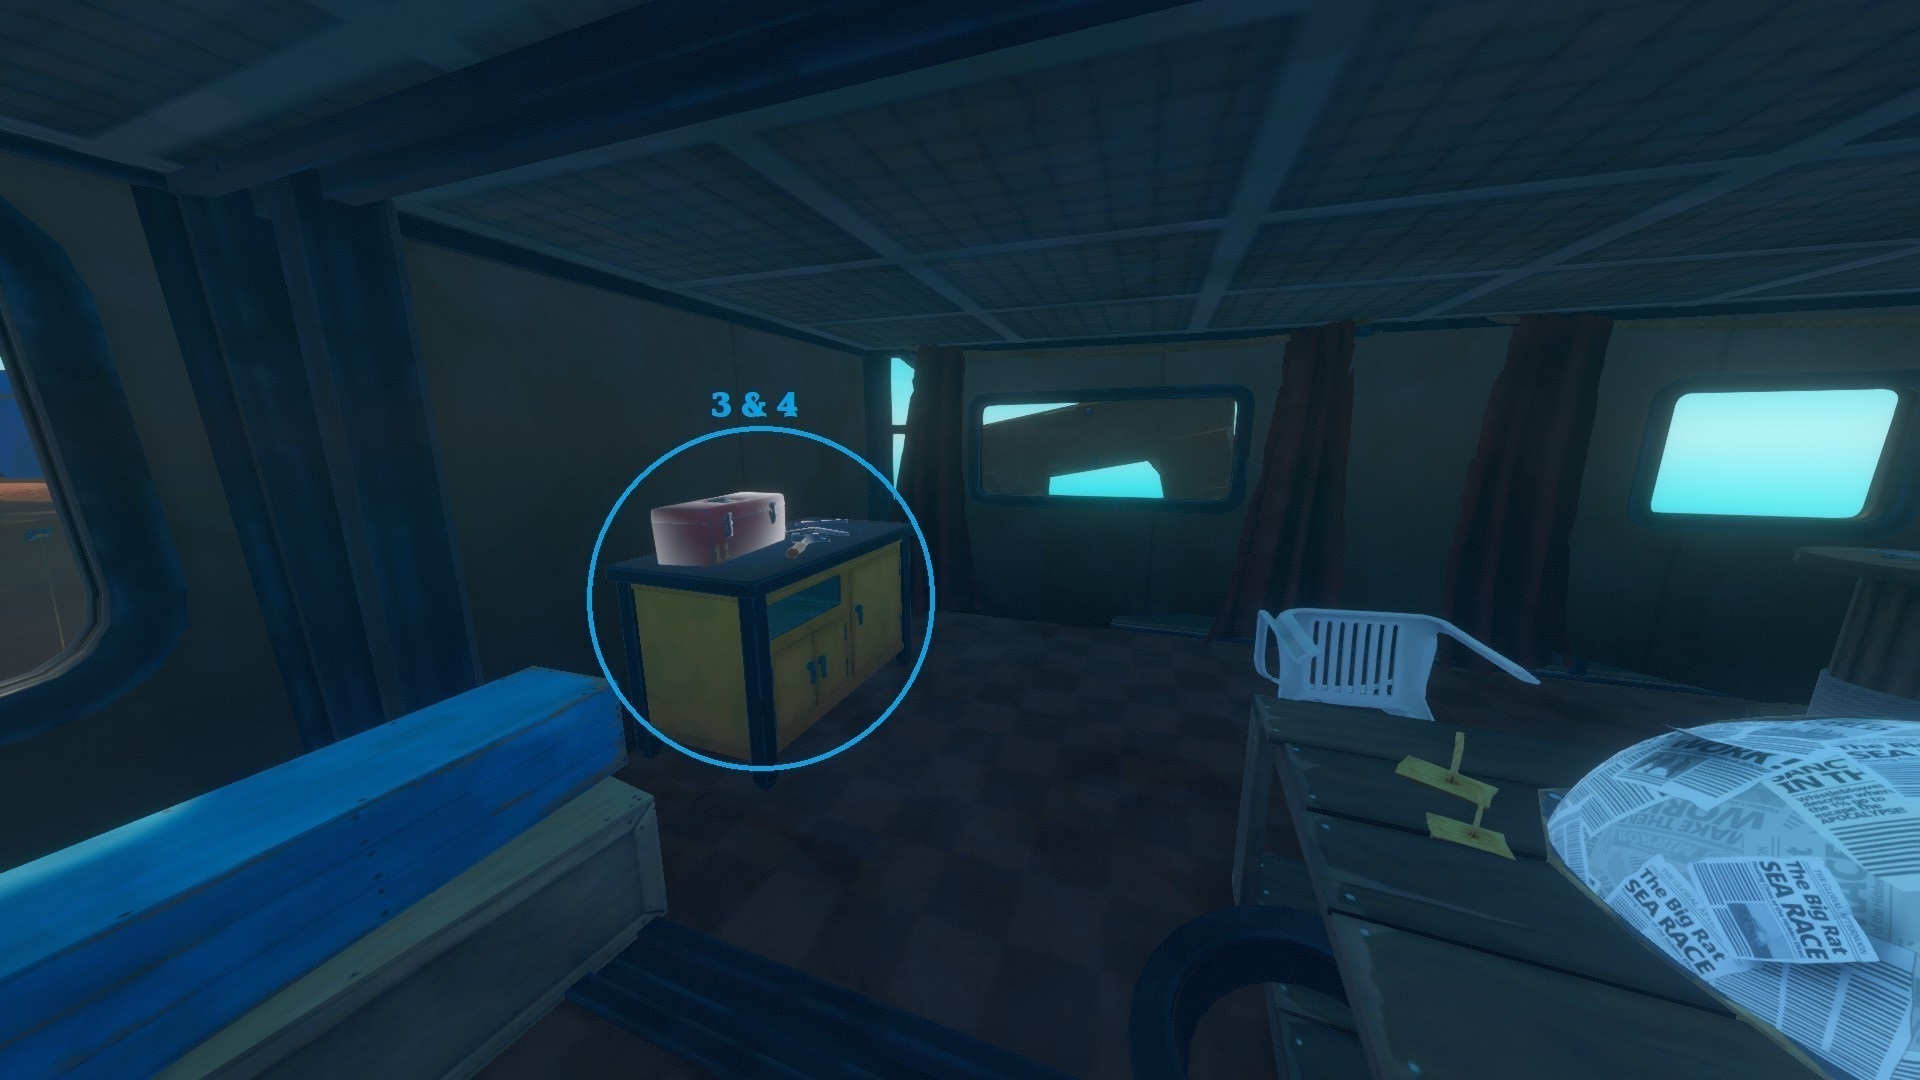
=>[DECEMBER 12th: We stopped for the night...] - Page 3 - The 2nd note is on the lowest floor, in the building marked B-1, on the left of the red telephone.
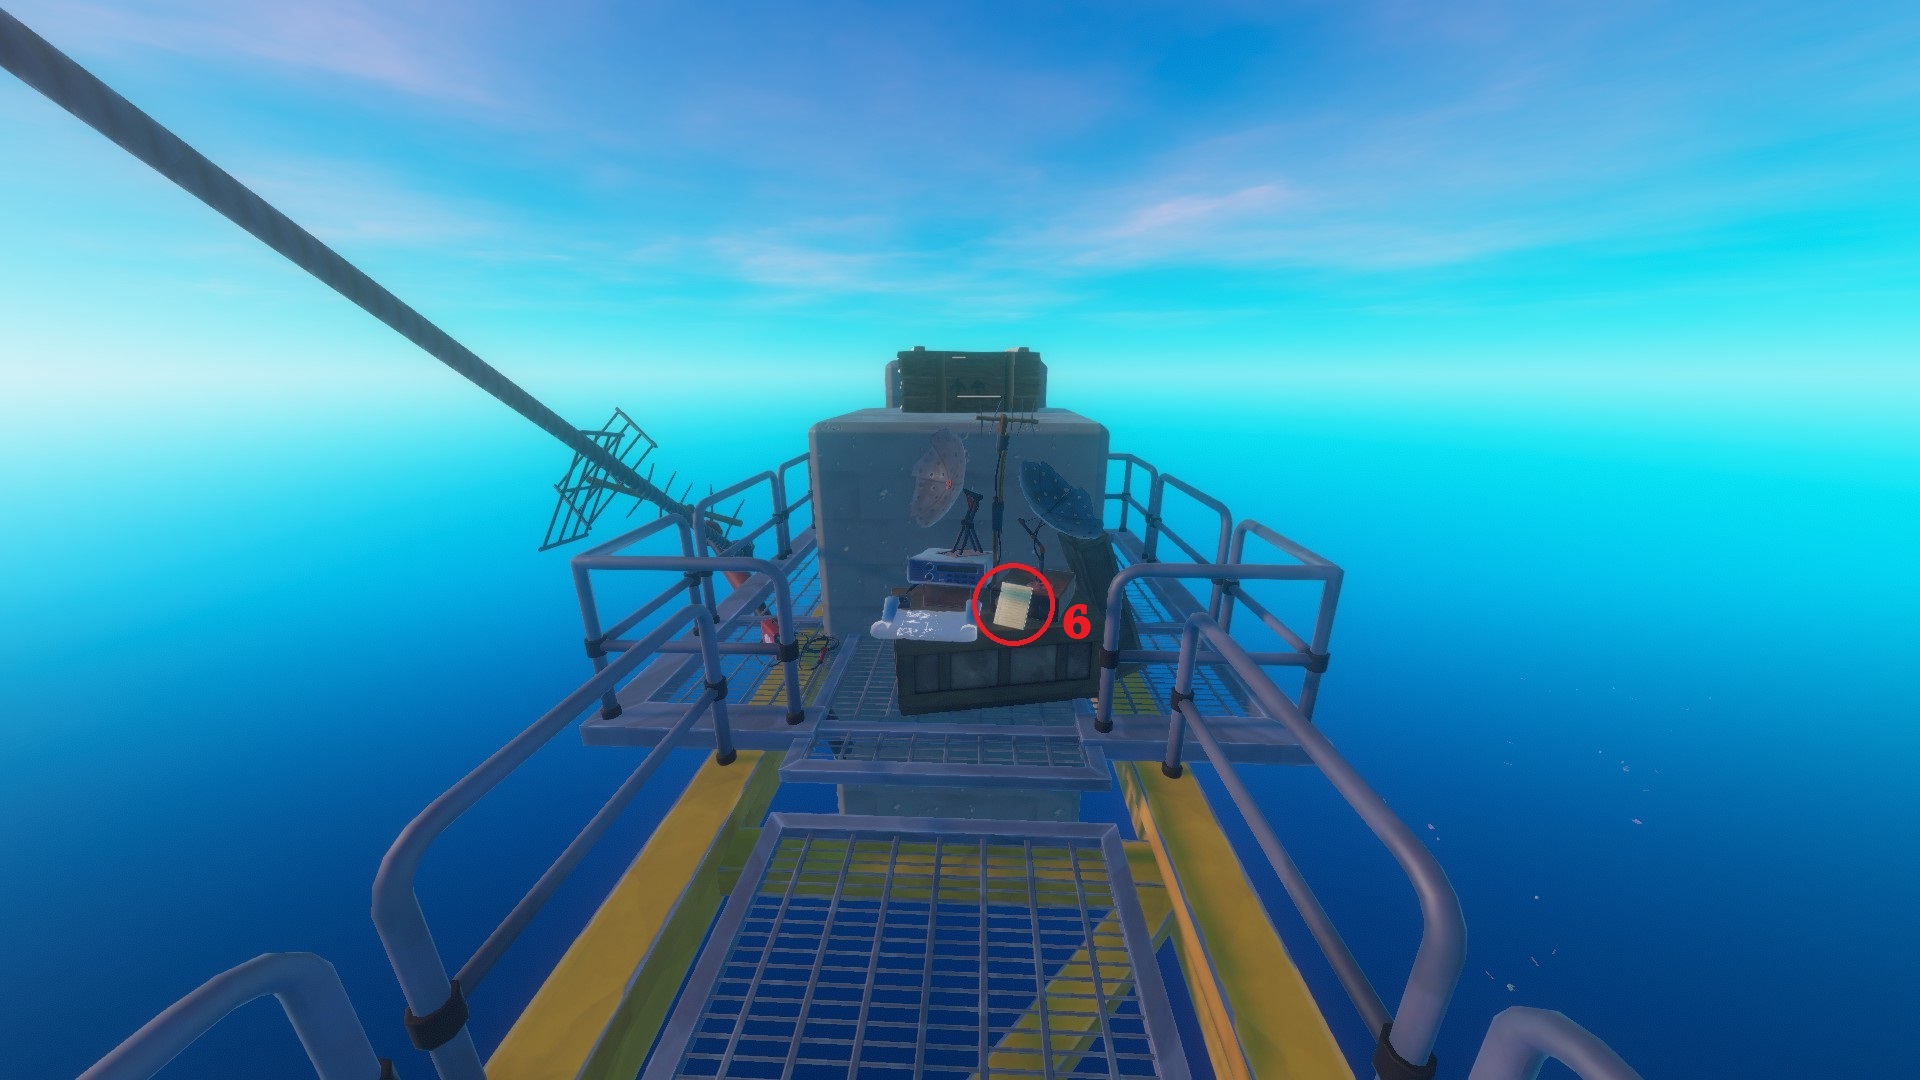
=>[JANUARY: It's been weeks.] - Page 3 - The 3rd note is on the next floor, in the building marked C-1, on the left when you enter, on a wall, the note has "TRACE" written on it.
=>[OWL'S RADIO NOTES: 22 Dec -Distress call...] - Page 4
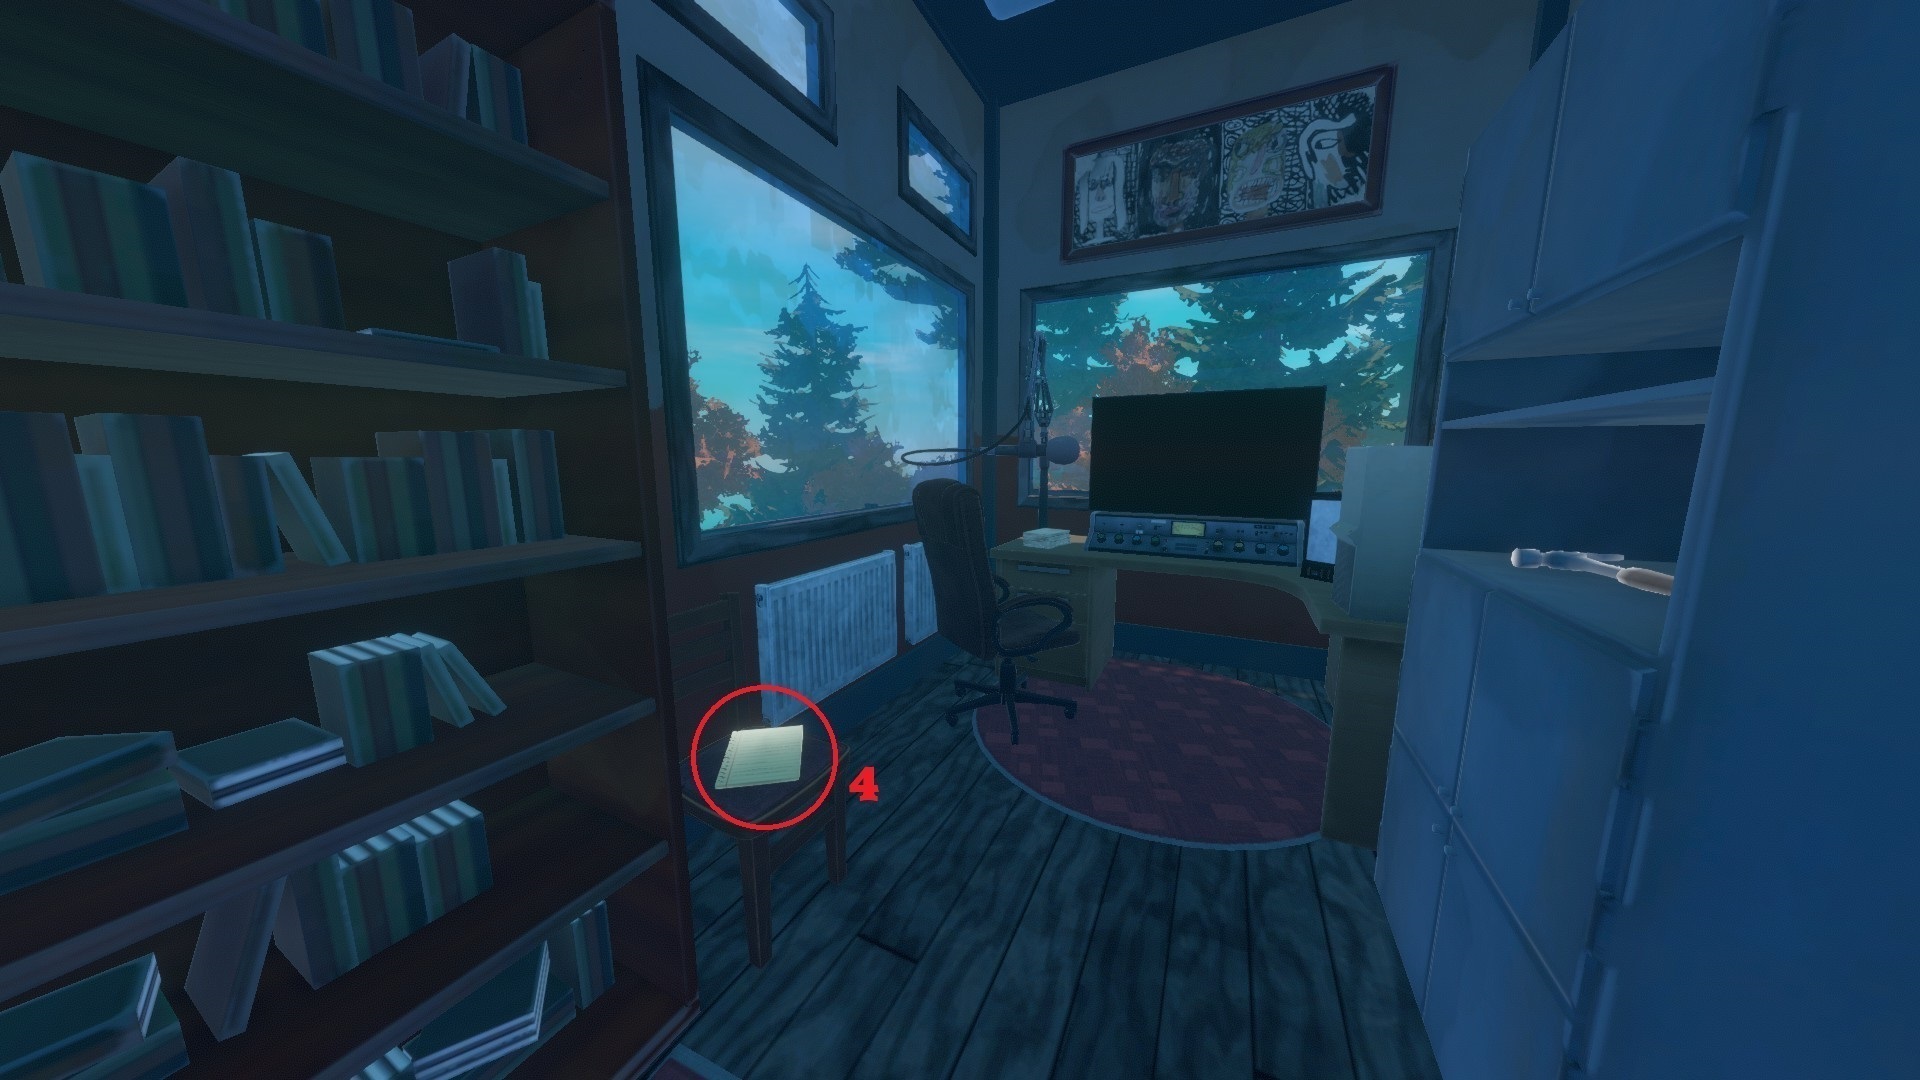
The 1st blueprint (Head Light) is just next to this note. - The 4th note is on the second to last floor, in the building marked D-1, just in front of you when you enter. it's a post-it with "people?" written on it.
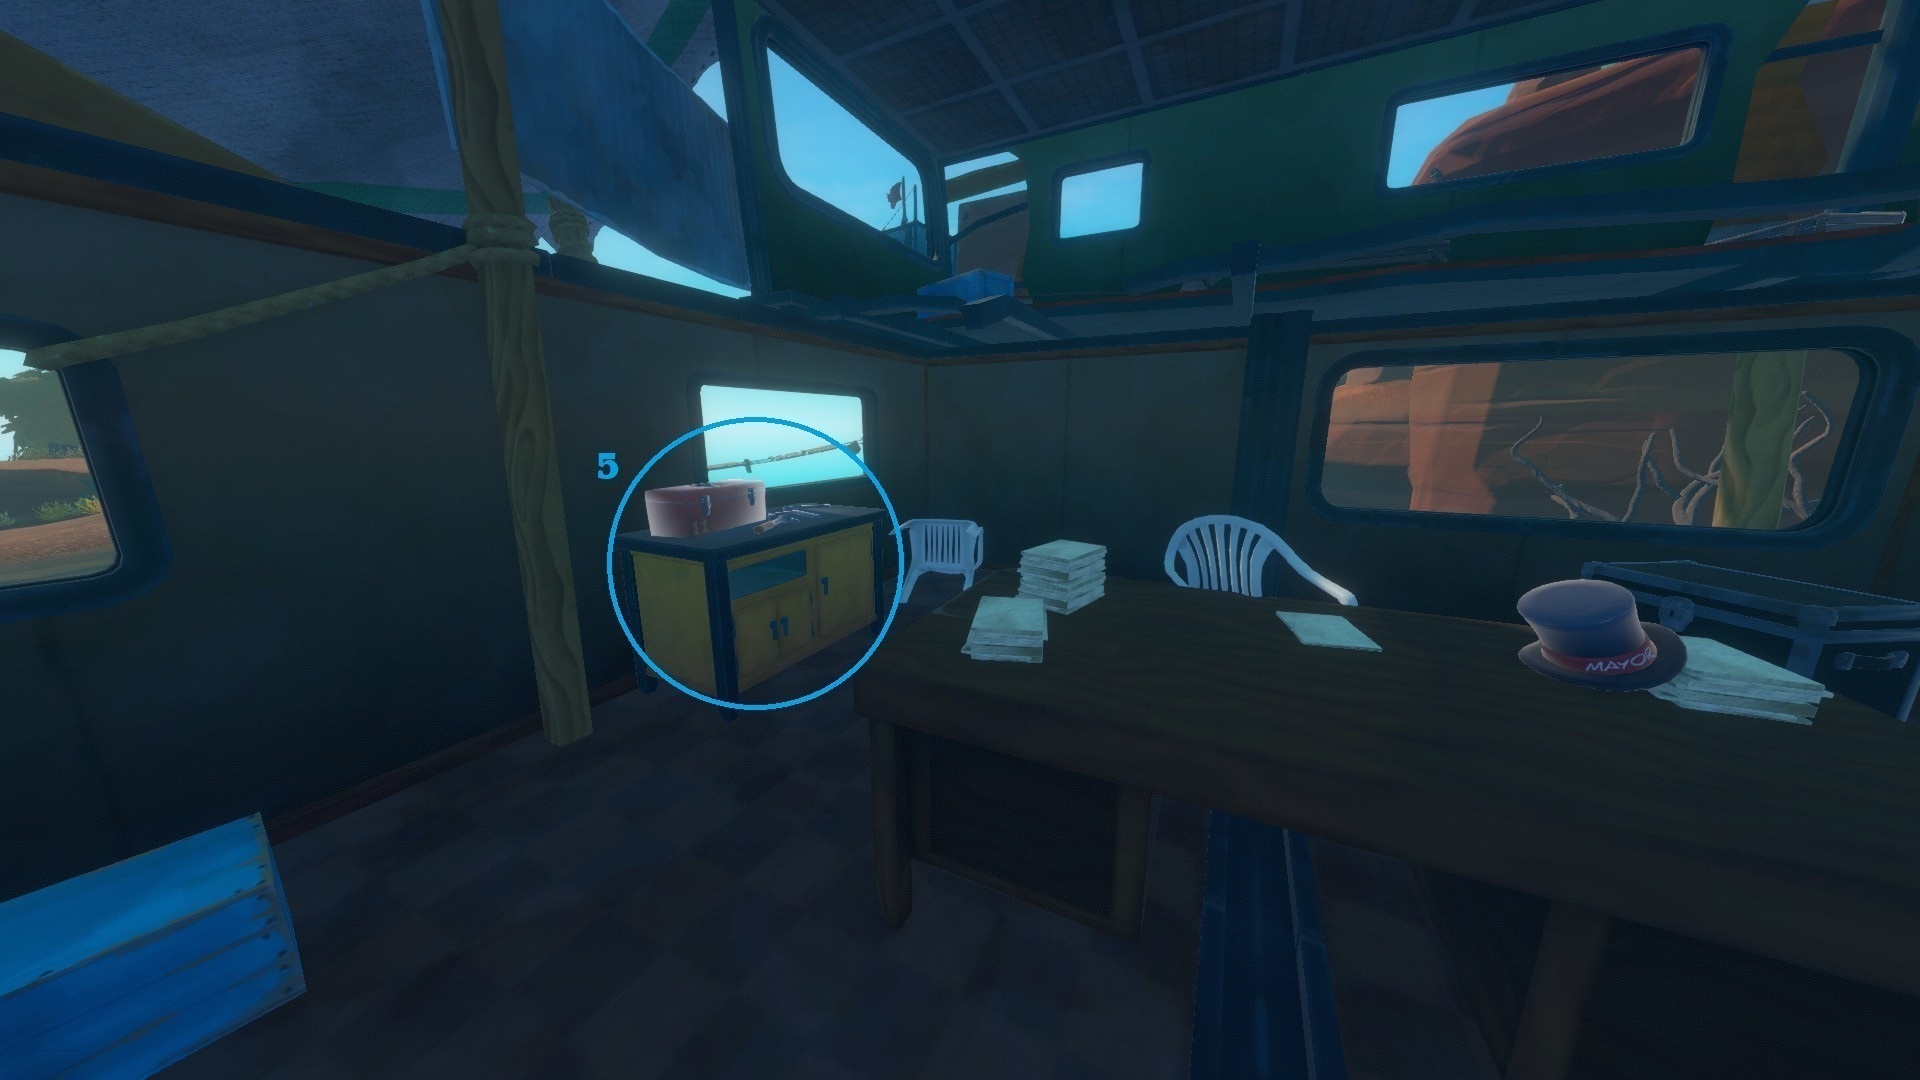
=>[Errm... FEBRUARY(?) We've picked up a lot of signals.] - Page 4 - The 5th note is on the top floor, in the building, on the white board. it's a post-it with "people?" written on it.
=>[People? #....] - Page 5
The 2nd blueprint (Recycler) is just next to this note.
You will also find a new unlockable character there: Talia
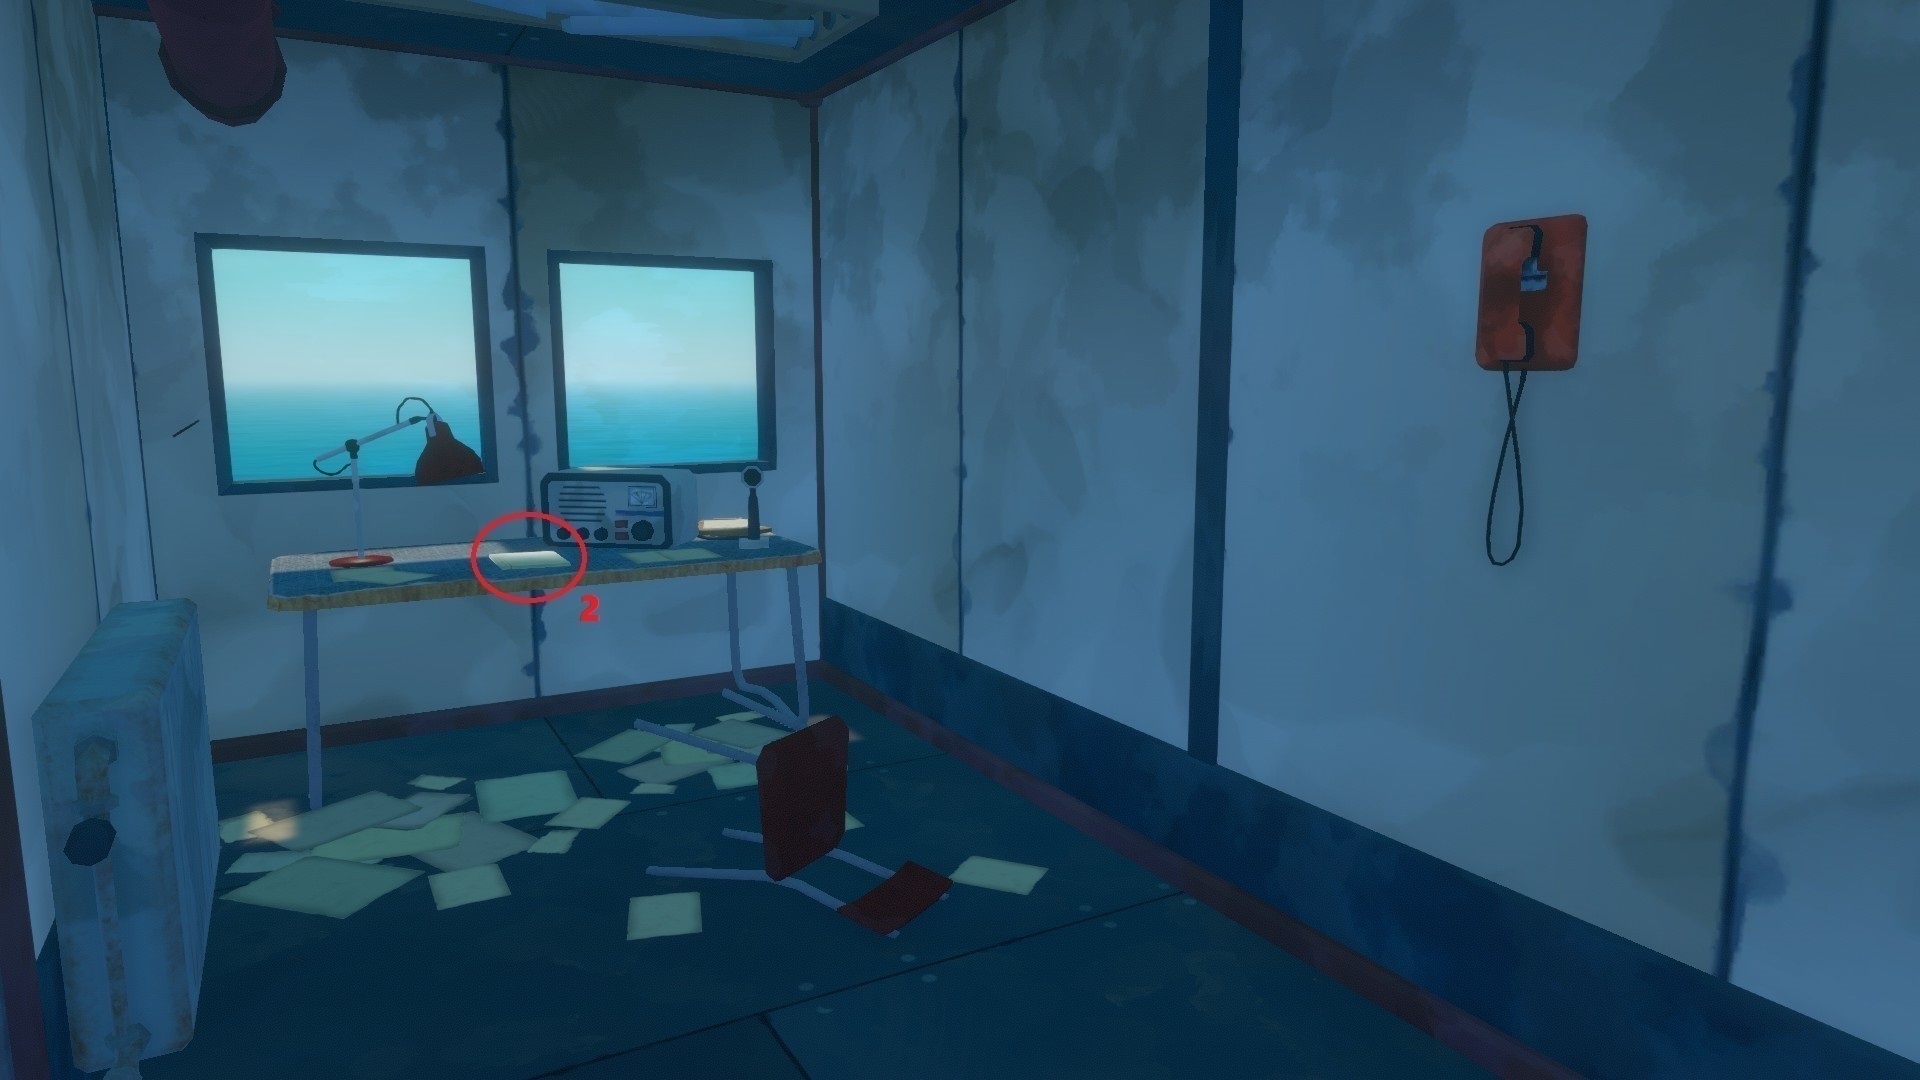
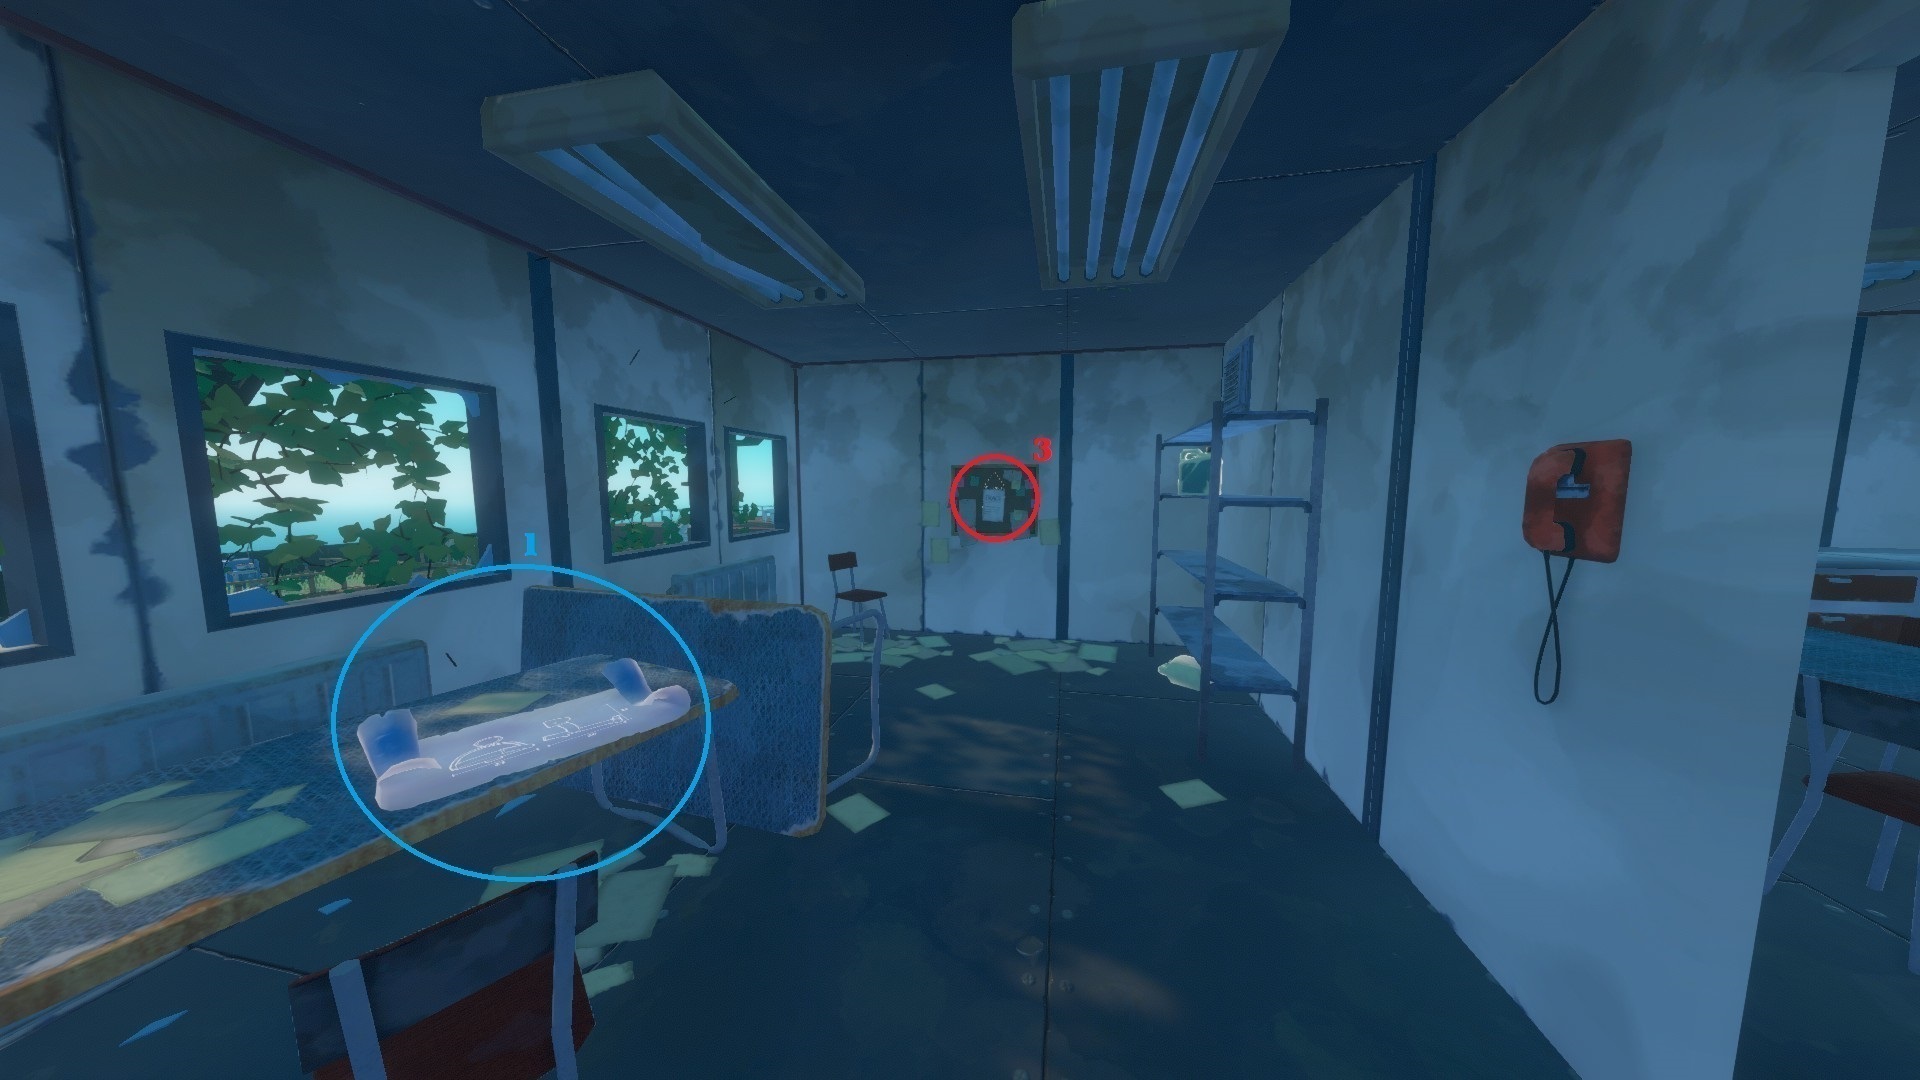
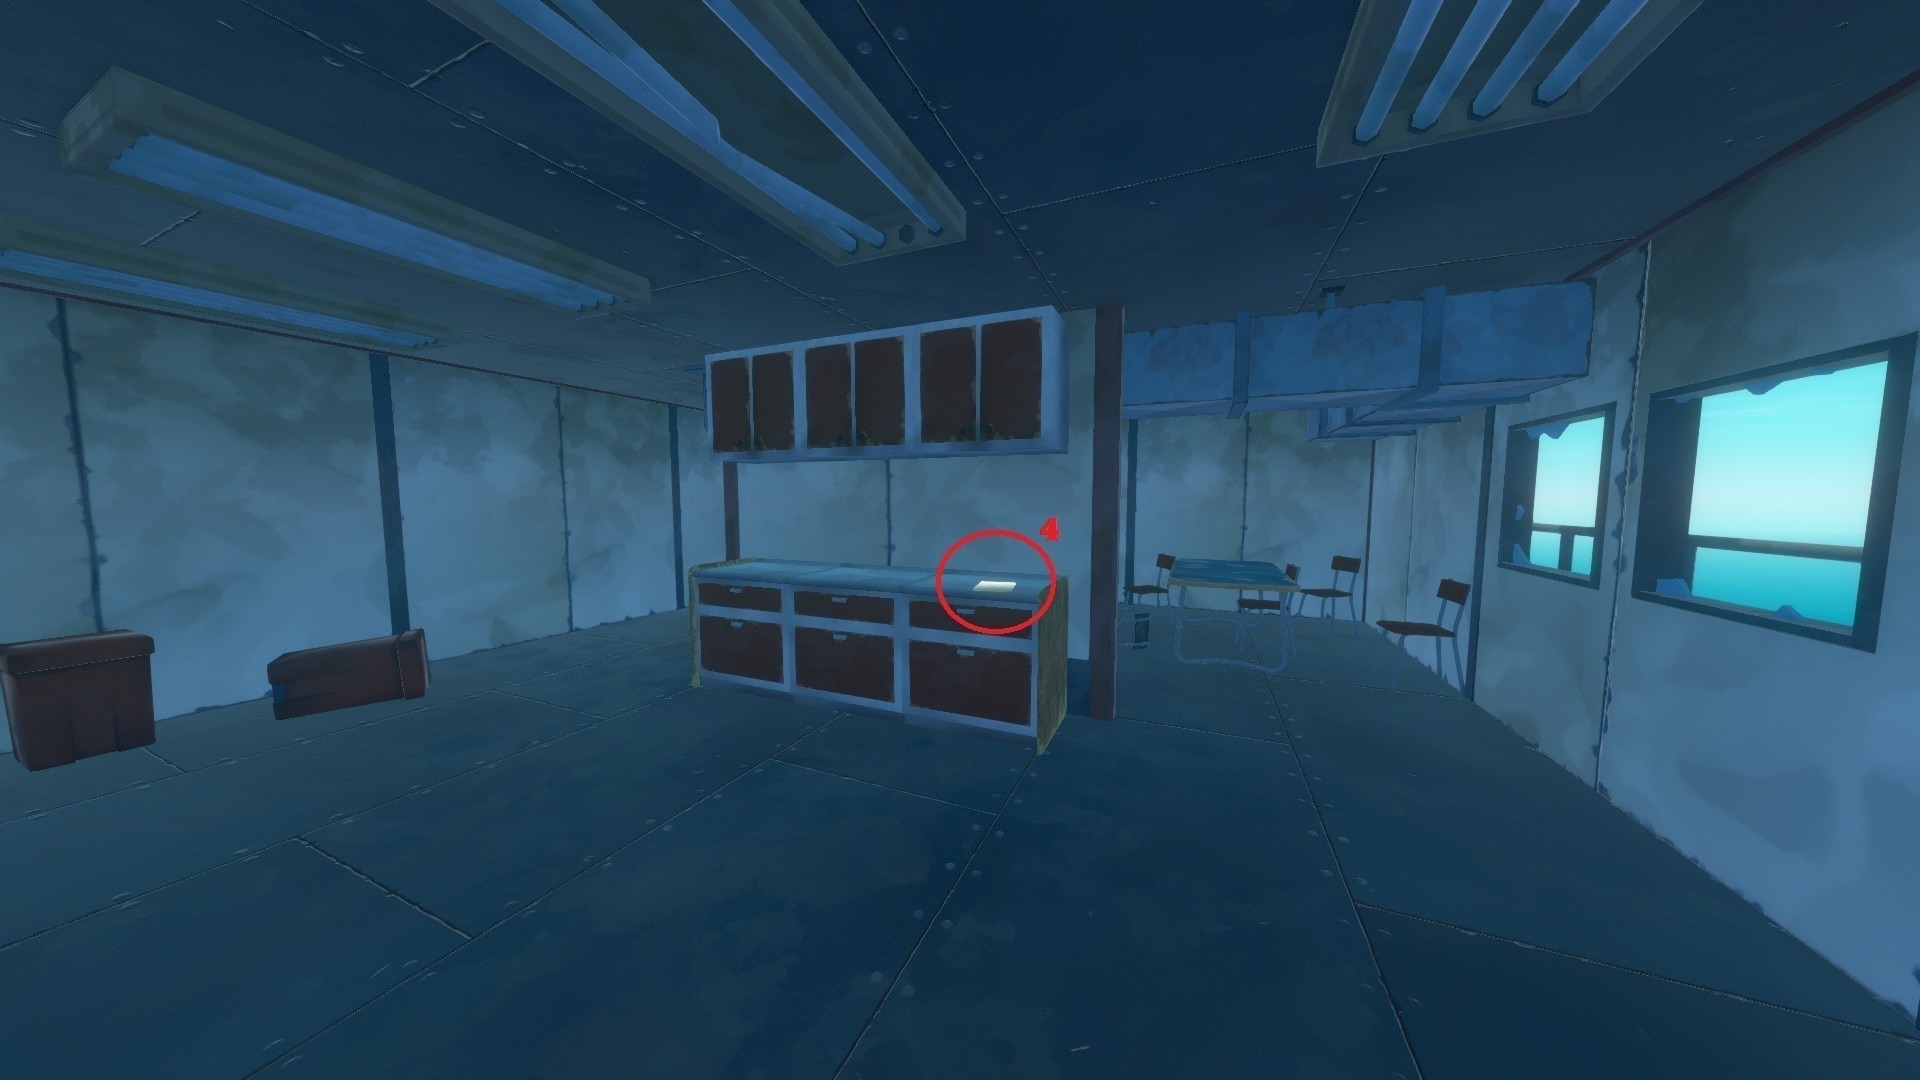
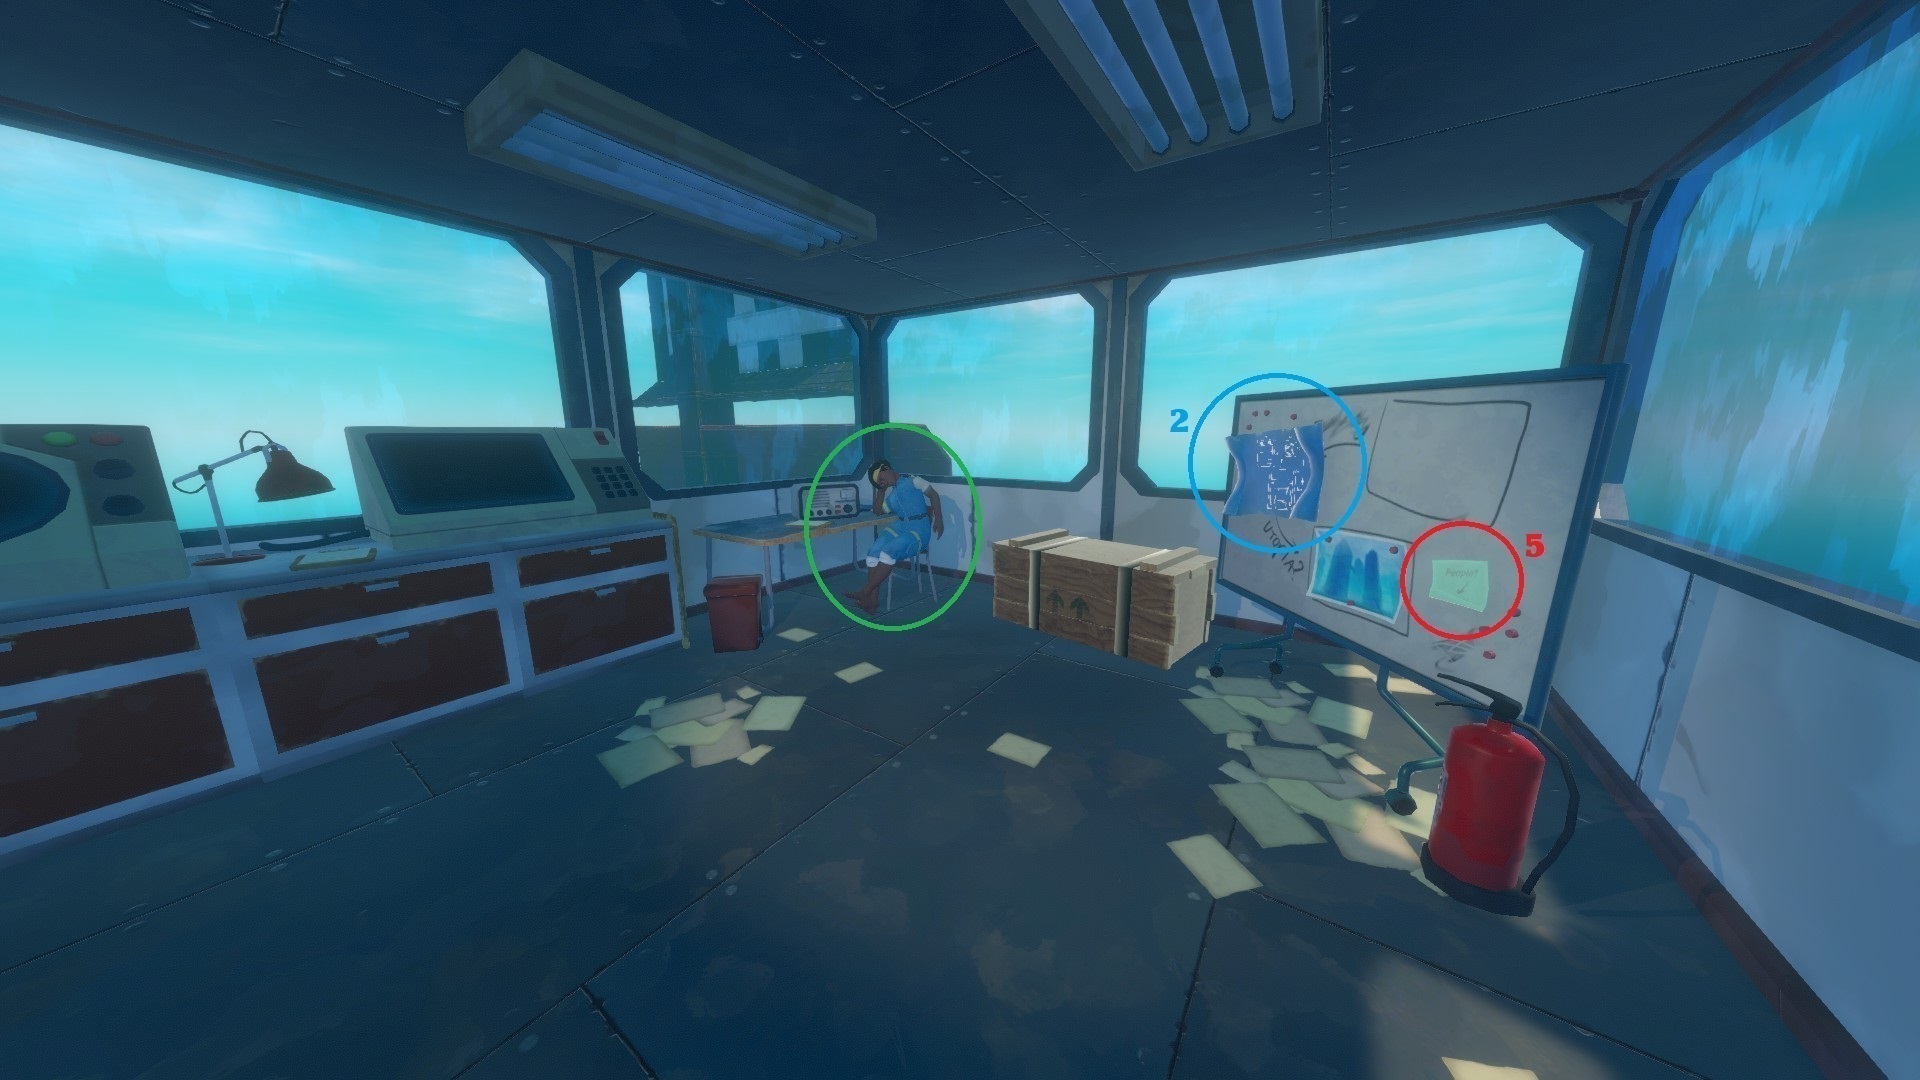 The only document you need is the post-it which will give you the next coordinates to follow.
Reaching the white board will give you the achievement [Is there a Utopia?].
If you get all the documents, you'll get the achievement [Radio Tower Historian].
2. Vasagatan (Walkthrough)
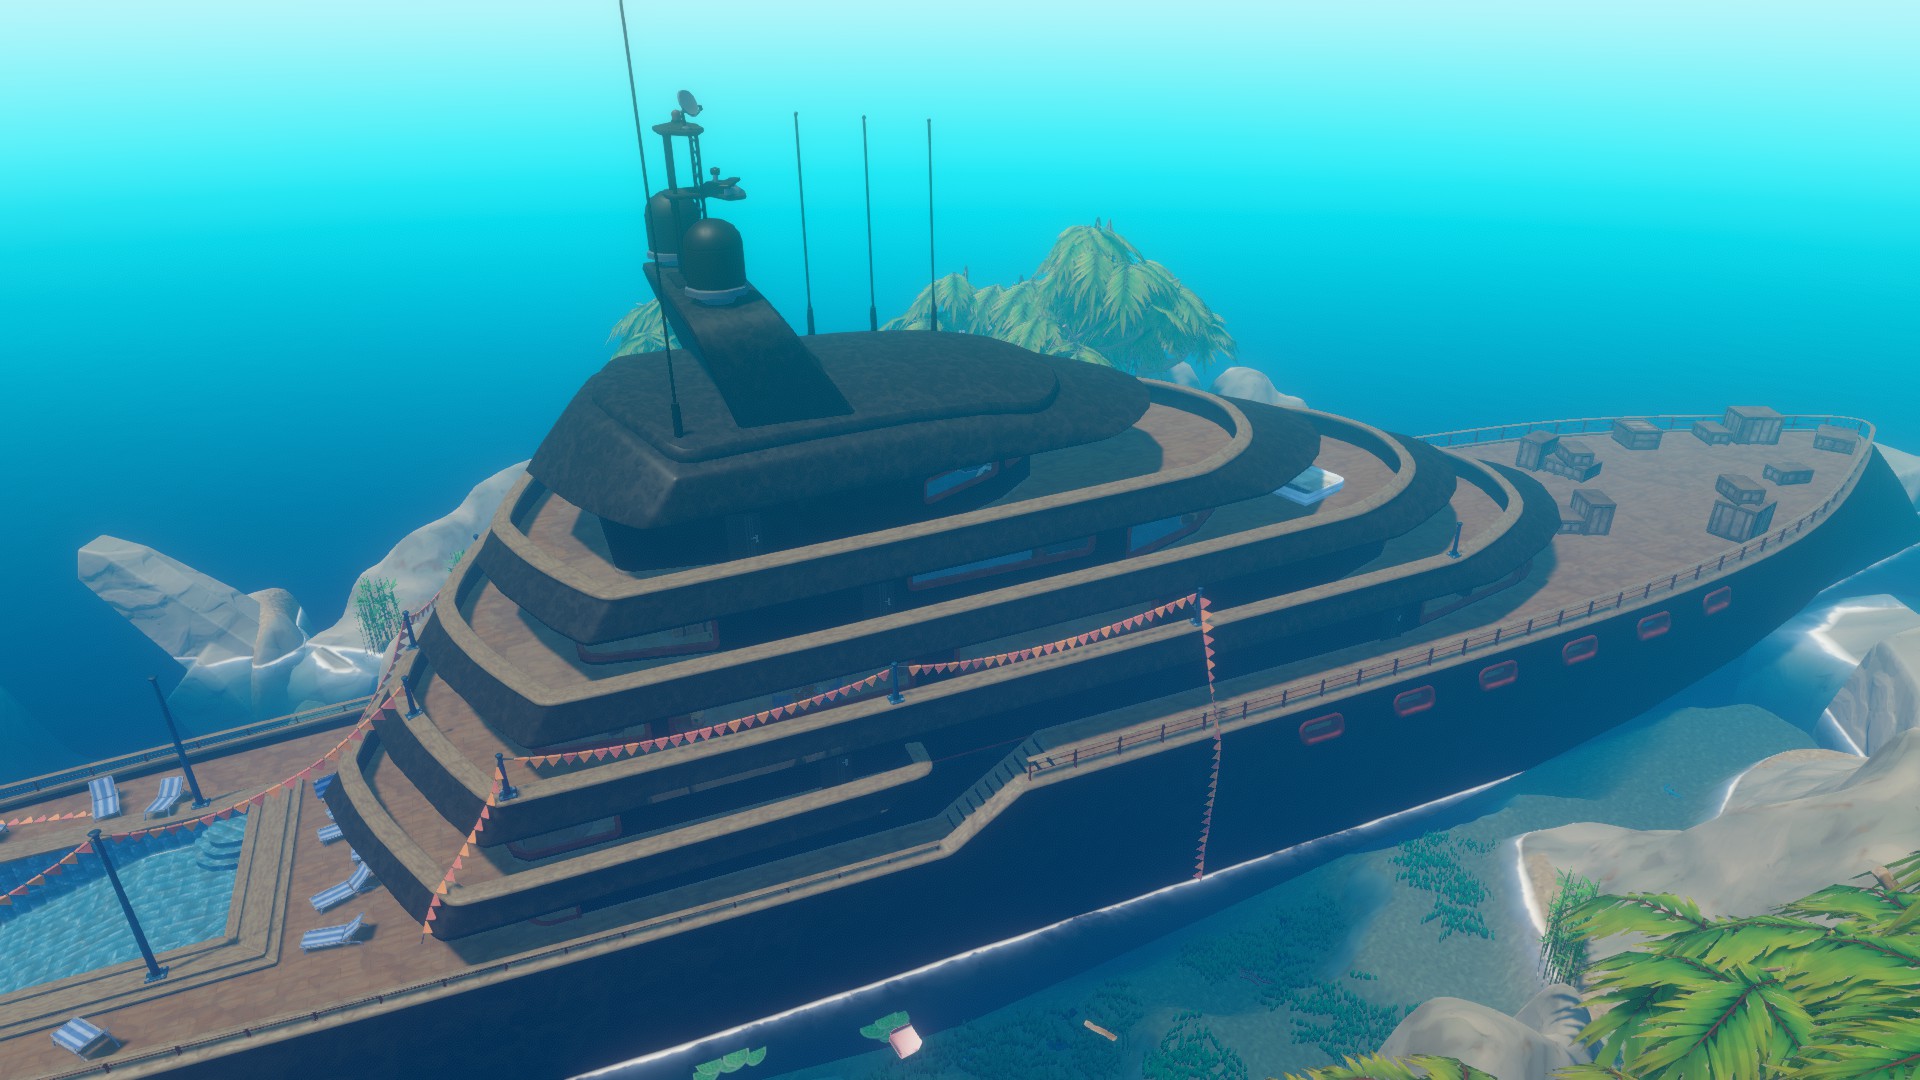 The inside of the boat is very dark, so use the blueprint you've found in the Radio Station to craft several headlights (it took me 2 headlights to explore everything). I've made a map to help you find your way and understand better my explanations.
There are 11 notes.
There are 2 blueprints: one for the Engine and one for the Steering Wheel, they are next to the post-it with the coordinates for the next story place in the last room you explore (the bridge).
The boat has many locked doors. To progress, you will have to find many items that unlock places to find other items that unlock other places... It's kind of a treasure hunt.
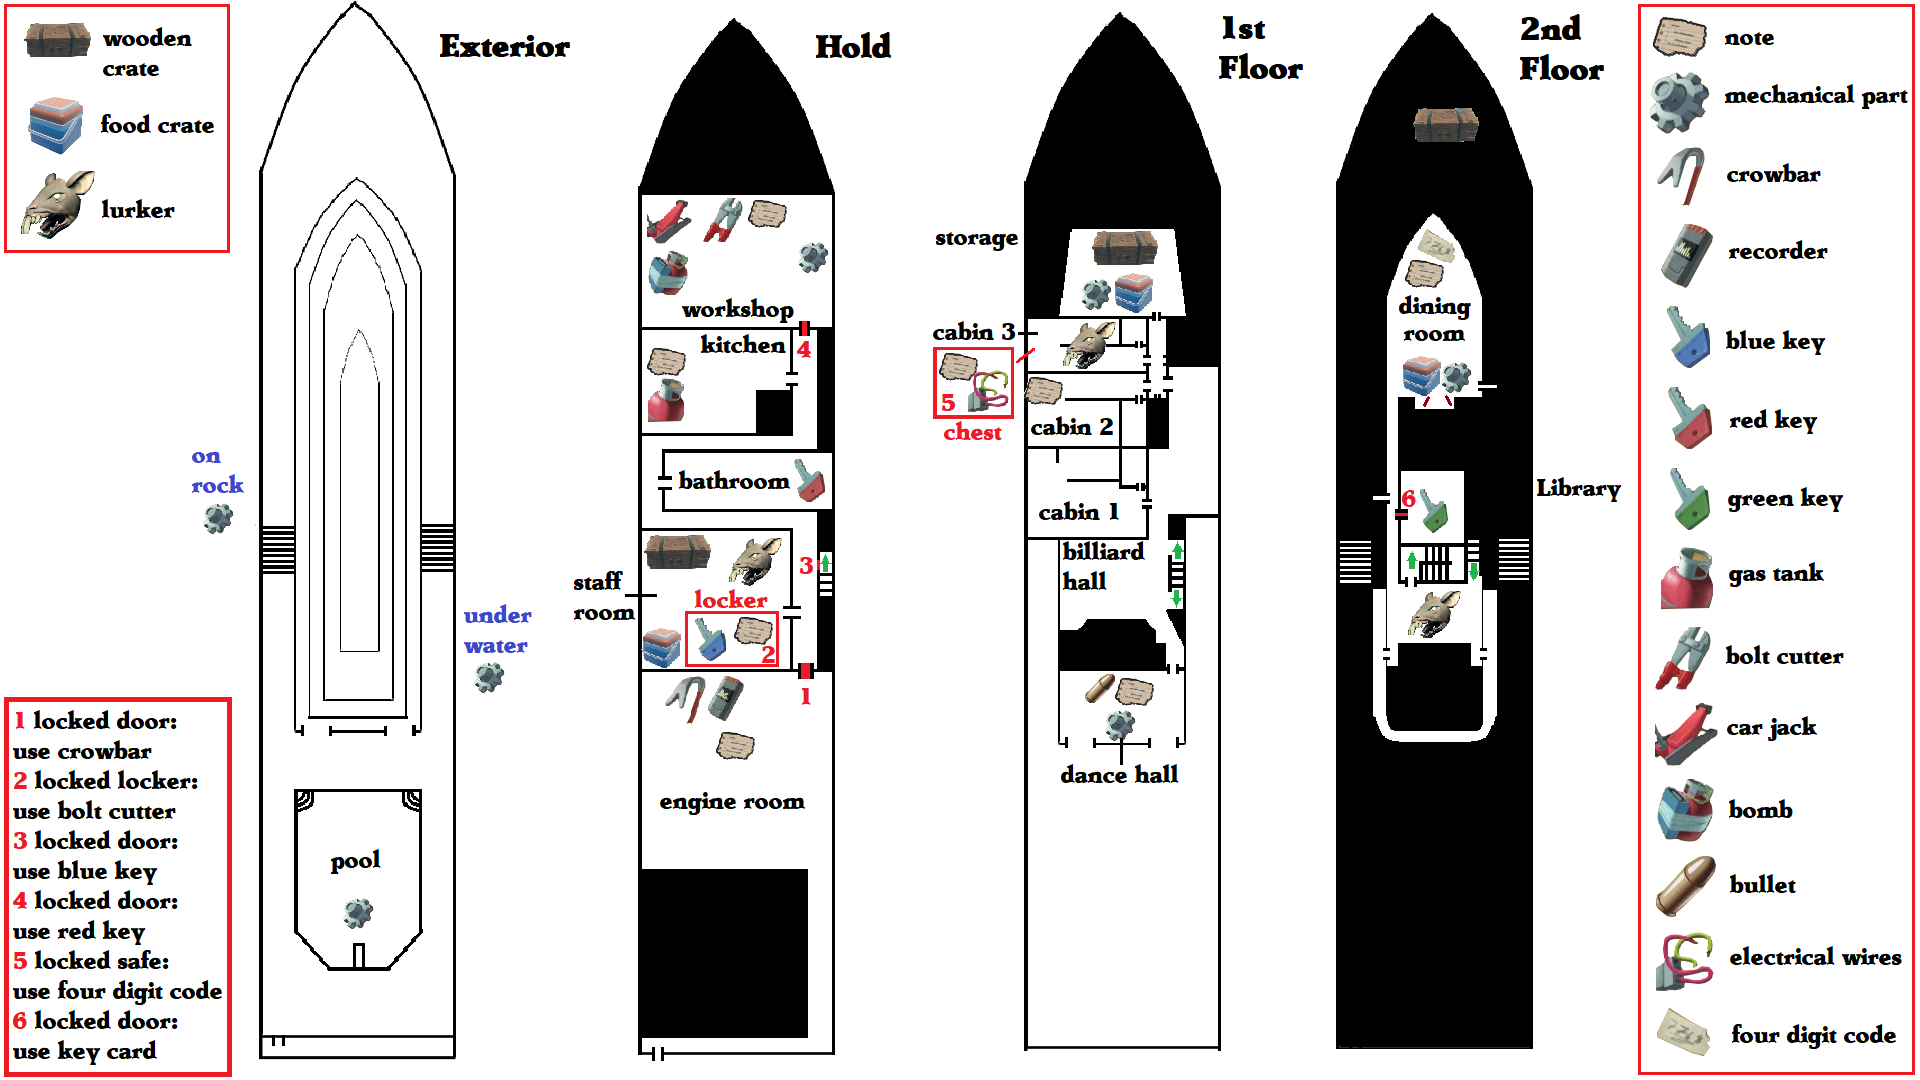
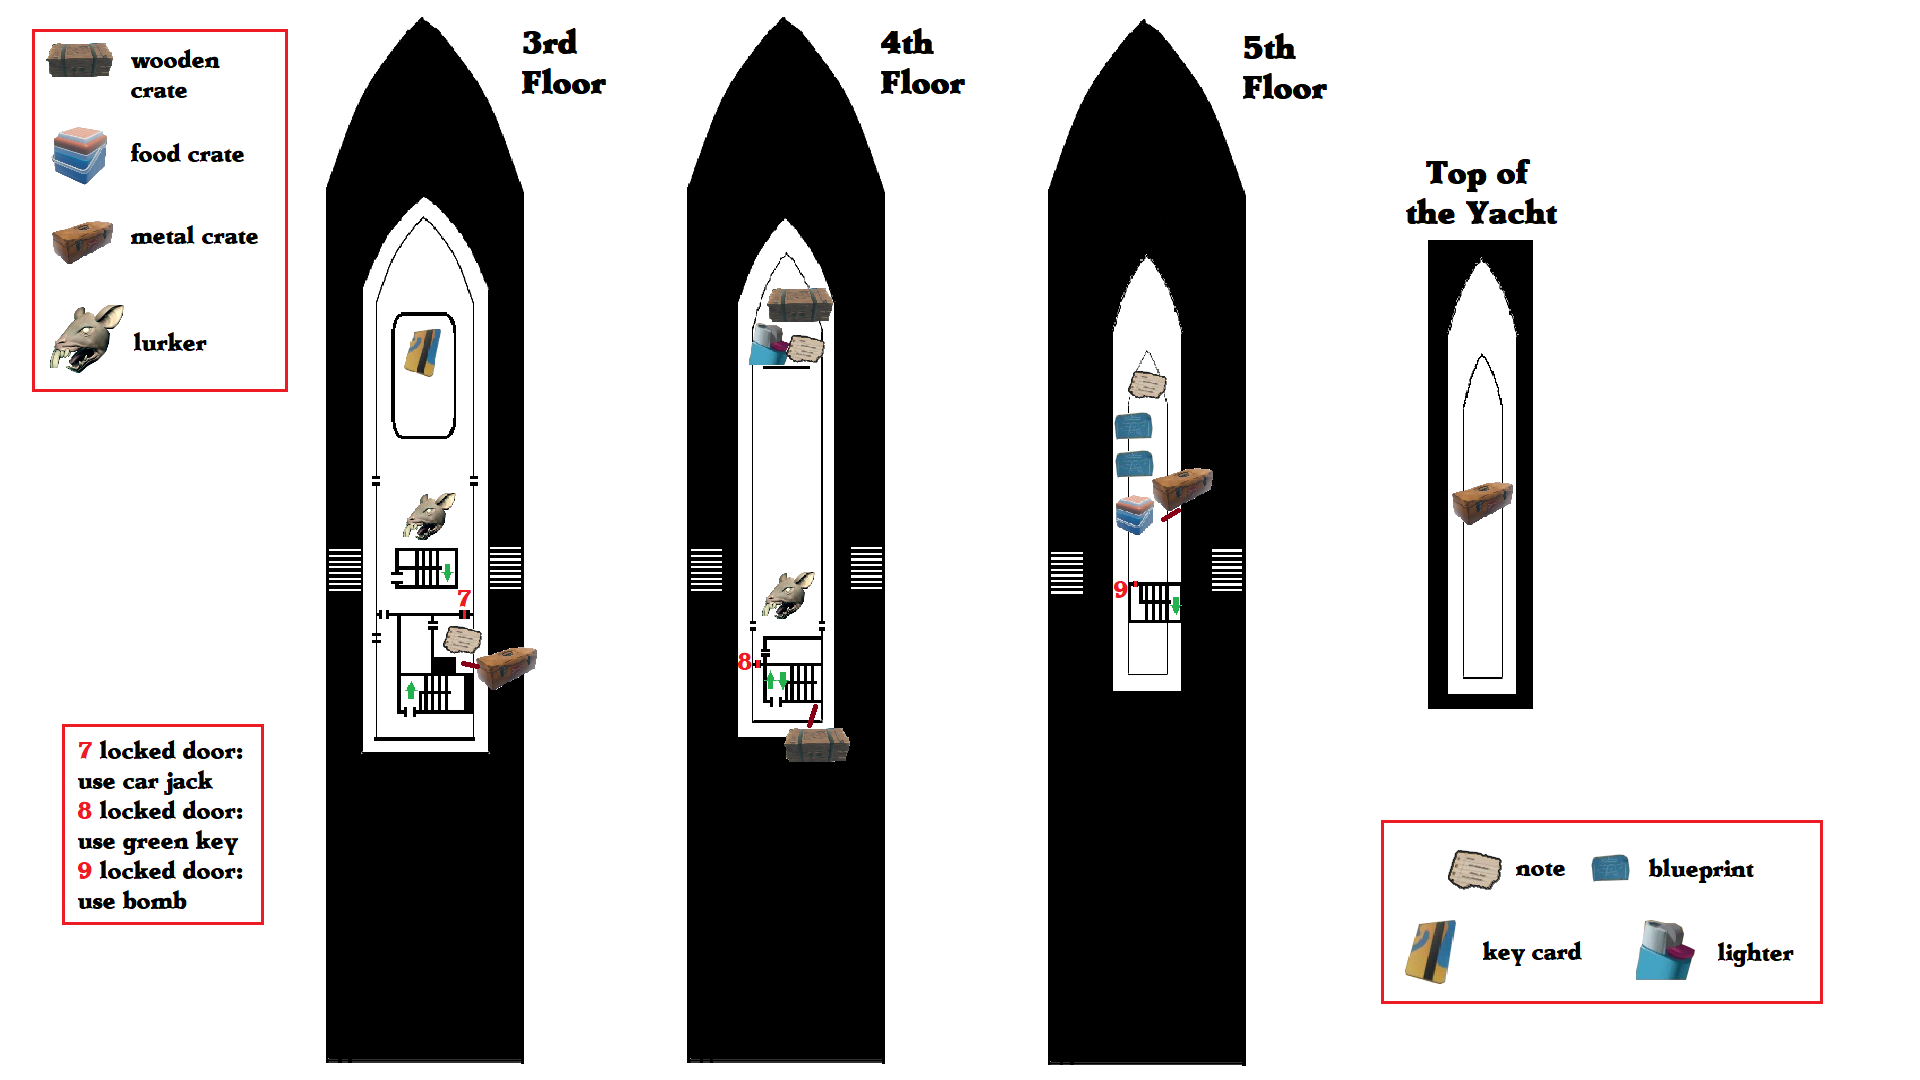 ⠀
⠀Walkthrough :
- Exterior :
=> Get 1 [Mechanical Part] in the swimming pool (on the yacht)
=> Go at the back of the yacht to enter the Hold. - Hold :
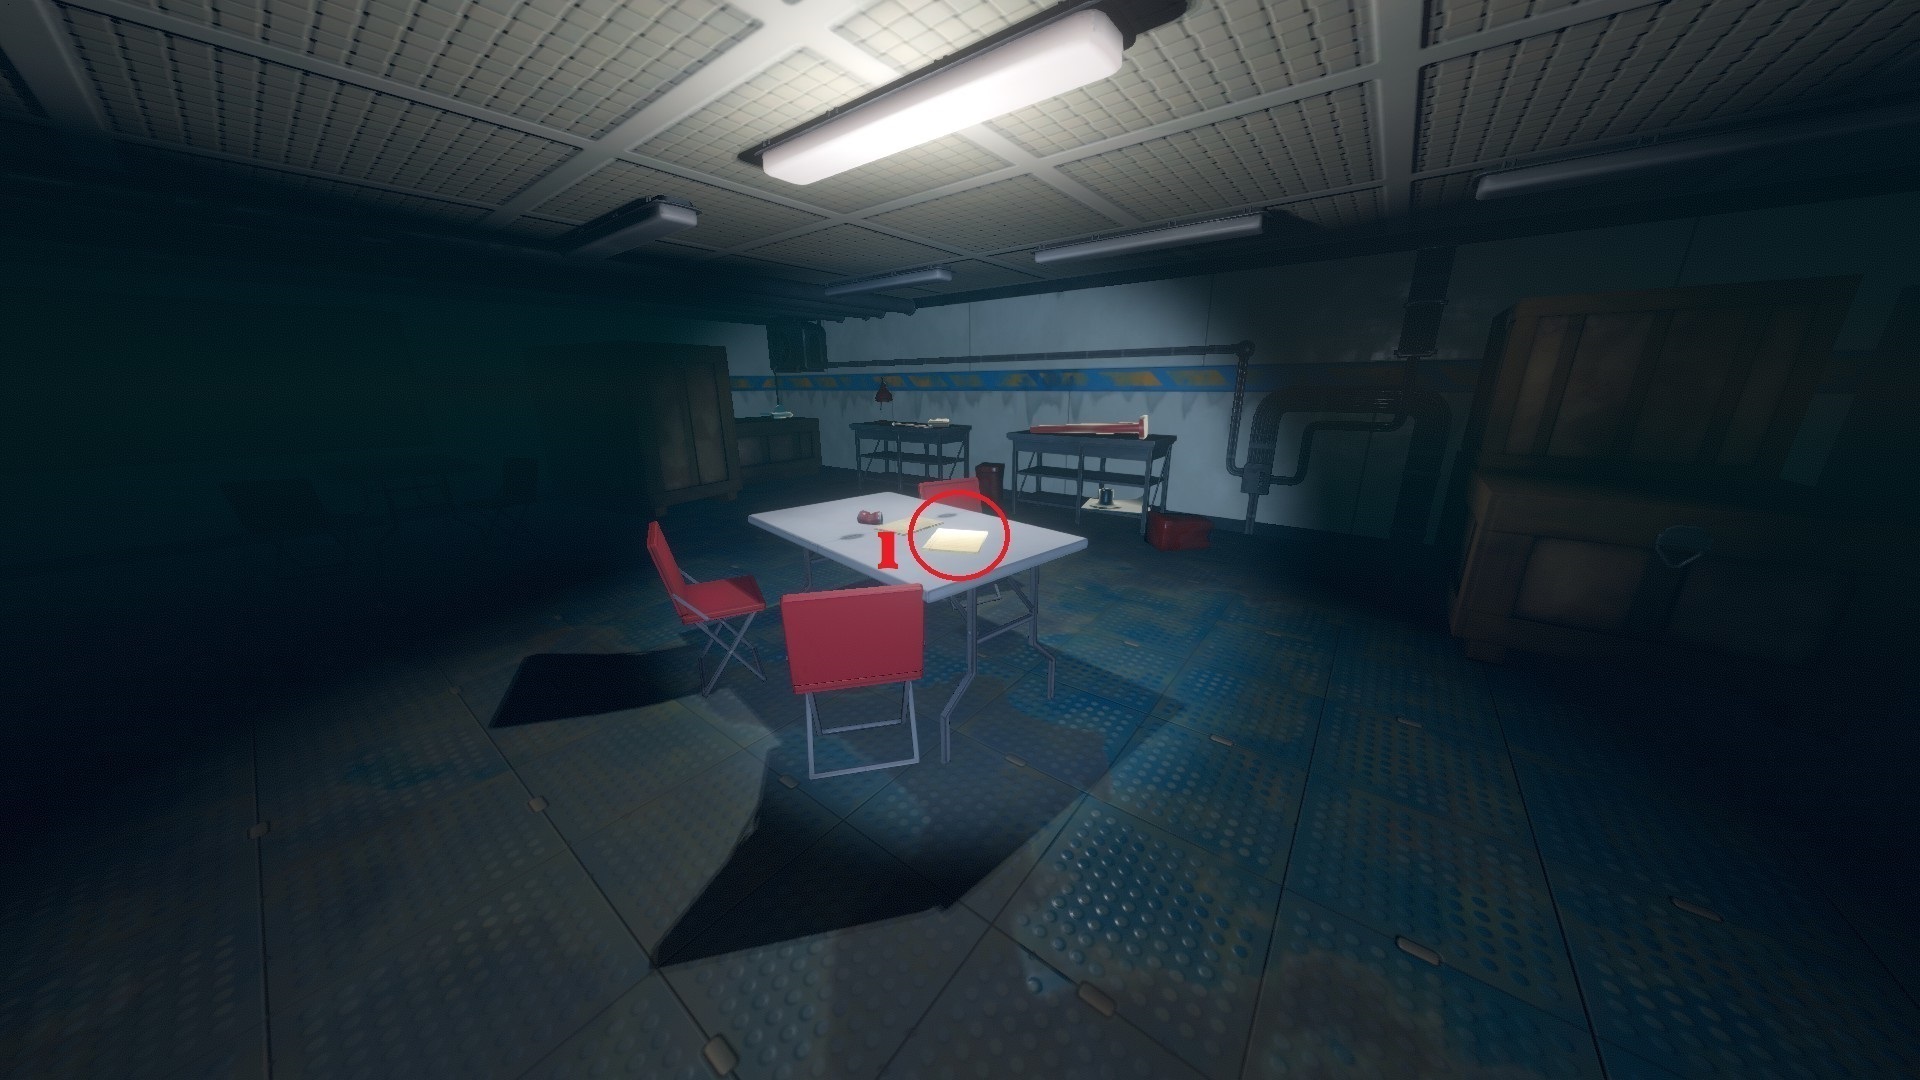
=> First room, the Engine Room. You can use the lever on the wall to turn some lights on in the yacht but it's not necessary. There's a [Note] on a table and a [Crowbar] + a [Recorder] on another table (you'll pick both up at the same time). Use the [Crowbar] to open the next door.
=> Ignore the 1st door (on your left) and the 2nd door (on your right). Enter the 3rd door (on your right), the Bathroom, to get a [Red Key].
=> Continue down the corridor until you find a 4th door (on your left), the Kitchen. Inside you'll find a [Gas Tank] and 1 [Note].
=> Reach the last door which you can open with the [Red Key] to enter the Workshop. Collect the [Mechanical Part] on a shelf, the [Bolt Cutter] and a [Note] on a table, then go back to the 1st door in the corridor.
=> Open the 1st door in the corridor to enter the Staff Room, careful there's a Lurker there. Open the locked locker with the [Bolt Cutter] to find a [Note] and a [Blue Key].
=> Open the 2nd door in the corridor with the [Blue Key] to show the stairs, Take them to reach the 1st Floor. - 1st Floor :
=> Go on your left to reach the Dance Hall where you will find a [Bullet], a [Note] and a [Mechanical Part].
=> Go back to the stairs, climb them to reach the 2nd Floor. Careful there's a Lurker there. Ignore this floor for now and go straight to the 3rd Floor (careful for another Lurker). - 3rd Floor :
=> Get the [Key Card] on the Stage, then go back down to the 2nd Floor. Careful for the Lurker, it will be back. - 2nd Floor :
=> Reach the 1st door in the corridor (on your right) which you can open with the [Key Card] to enter the Library. You'll find a [Green Key] there, take it.
=> Continue down the corridor to the Dining Room, you'll find a [Four Digit Code] and a [Note] on a table; and a [Mechanical Part] against a door. Then go back to the stairs and climb up to the 4th Floor. - 4th Floor :
=> Open the only door with the [Green Key], careful for the Lurker there. Take the [Note] and the [Lighter] on the bed, on the other side of the huge bookshelf. Then go back down all the way to the 1st Floor. (as usual, the Lurker will be back at the 2nd Floor, so careful) - 1st Floor :
=> After exiting the stairs, go on your right until you reach Cabin 2 (there will be a big 2 next to the door), take the [Note] there.
=> Continue down the corridor until you reach the Captain's Quarters (with a big 3 next to the door). Careful, there's a Lurker waiting on the other side of the door. Enter the cabin and open the locked chest with the [Four Digit Code], inside there's 1 [Note] and some [Electrical Wires].
=> After exiting the cabin, look on your left for a door at the end of the corridor, enter the Storage Room where you will find your last [Mechanical Part]. Then go back to the last room in the Hold: the Workshop. - Hold :
=> Craft the [Car Jack] and the [Bomb] on the two tables. Then go back up to the 3rd Floor (remember, a Lurker will be back on the 2nd Floor and 3rd Floor...) - 3rd Floor :
=> Find the open door blocked by some fridge, use your [Car Jack] to move it out of the way. Inside the room, you will find a [Note]. Go back to the stairs and climb them up until you reach a locked door. - 5th Floor :
=> Use a [Bomb] to open the locked door, go down the stairs a little to not get hit by the explosion.
=> You will find 2 [Blueprints] (Steering Wheel and Engine) on the left of the room and 1 [Note] on the Steering Wheel. The note on the Steering Wheel is necessary to go to the next story place.
Reaching the last room of the boat will give you the achievement [Bootleg Fireworks!].
Vasagatan (Notes/Blueprints)
Notes :
- The 1st note is in the boat's hold, in the engine room, on a table.
=>[ I heard from the captain we're heading...] - Page 7 - The 2nd note is in the boat's hold, in the kitchen, on a counter.
=>[Ruben, The yacht is ill prepared for this journey.] - Page 7 - The 3rd note is in the boat's hold, in the last room at the end of the corridor, the workshop, on a table.
=>[ I saw a large rat last night...] - Page 7 - The 4th note is in the boat's hold, in the first room in the corridor, the staff room. It's inside a locked locker, you need to get a bolt cutter in a room at the end of the hold to open this locker.
=>[TRAVEL LOG OLOF The captain keeps complaining about my route.] - Page 9 - The 5th note is on the 1st Floor, in the Dance Hall, next to where you find the bullet.
=>[TRAVEL LOG OLOF As I've suspected the crew is completely incompetent.] - Page 9 - The 6th note is on the 2nd Floor, in the dining room, on a table next to the Four Digit Code.
=>[TRAVEL LOG OLOF These 'lurkers' have potential.] - Page 10 - The 7th note is on the 4th Floor, on the bed with the lighter, behind the huge bookshelf.
=>[(Transcribed) [The ship's hull grinding against solid rock]] - Page 12 - The 8th note is on the 1st Floor, on a desk in Cabin 2 (it has a big 2 next to the door).
=>[(Transcribed) (Hanne) - "But what does that mean? You can't just fire them.] - Page 11 - The 9th note is on the 1st Floor, in the locked chest inside Cabin 3 (it has a big 3 next to the door). You can open the chest with the Four Digit Code you found on Floor 2.
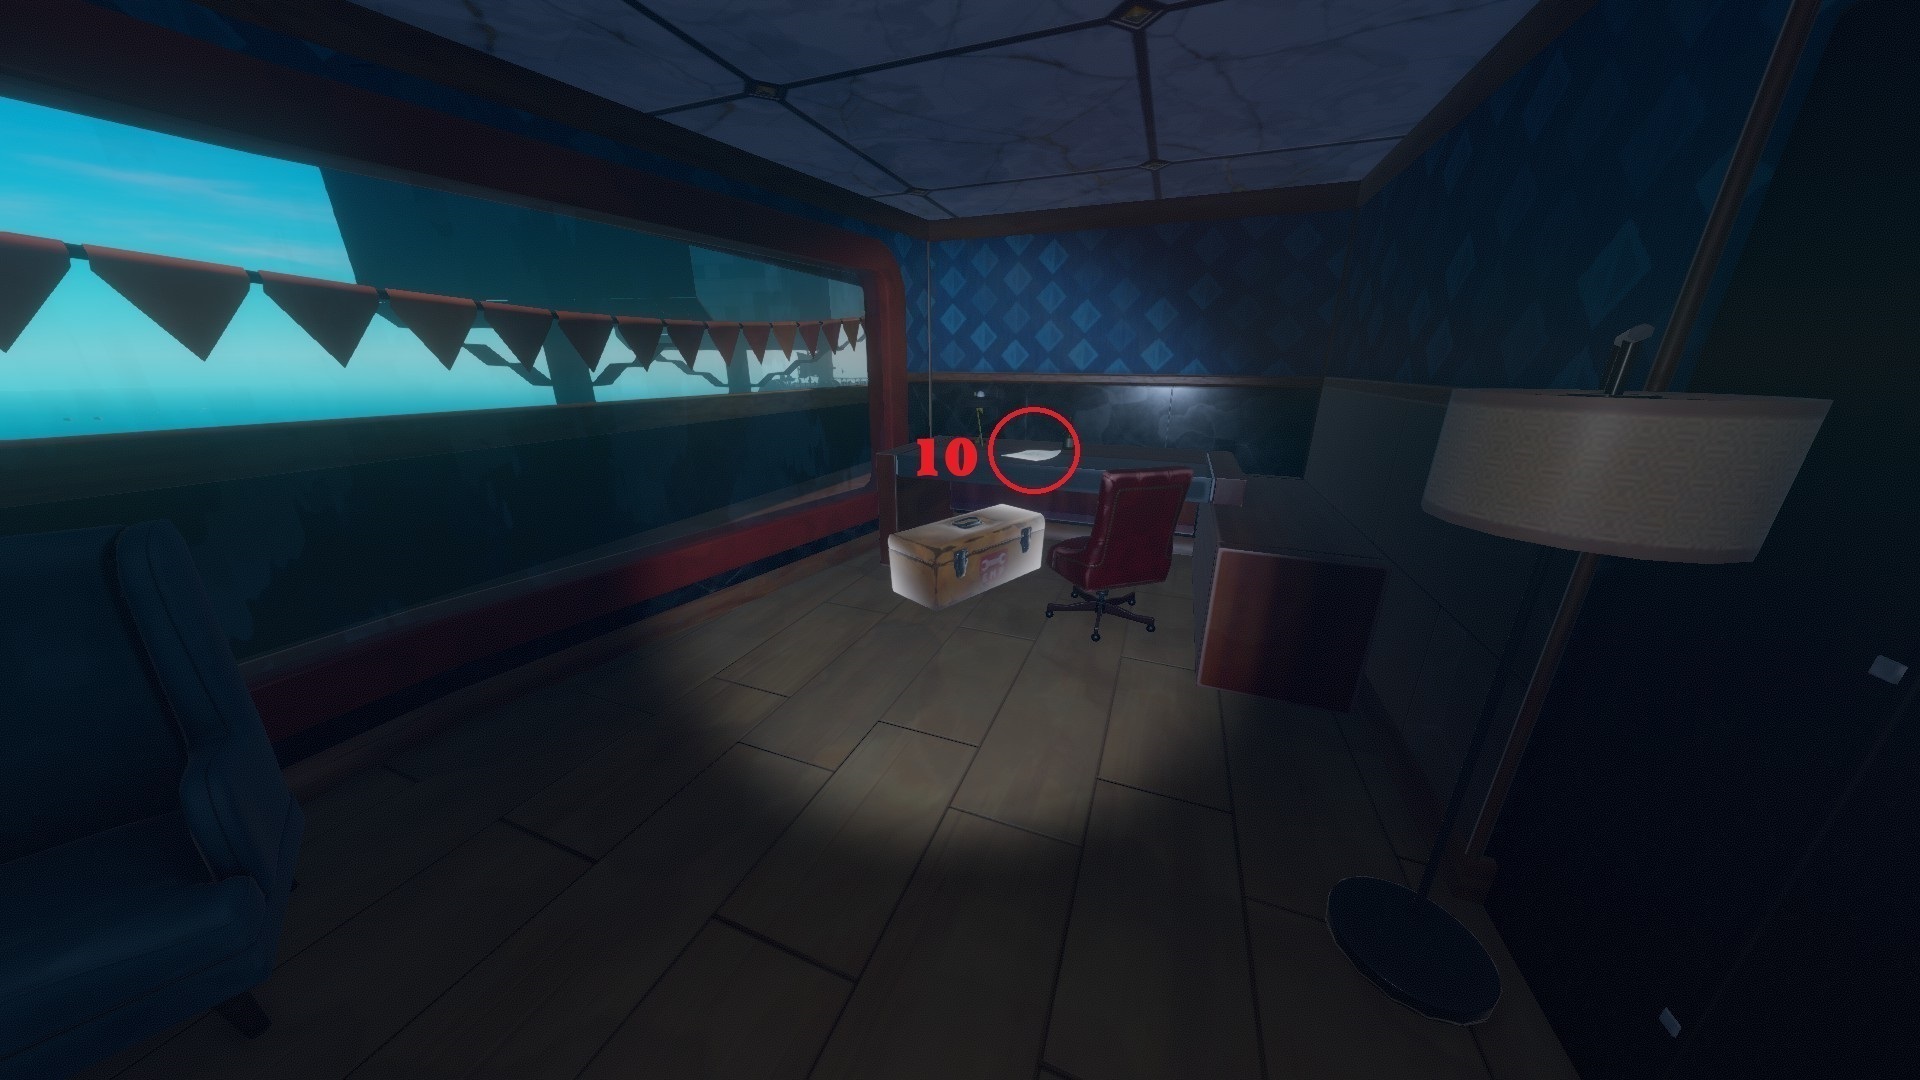
=>[(Transcribed) (Captain) - "Knocking" "Wilksirom, it's urgent. There's mist now.] - Page 11 - The 10th document is on the 3rd Floor, on a desk, in a room blocked by a fridge. To remove the fridge, you need to craft a car jack in the boat's hold by combining 5 mechanical parts scattered around the boat.
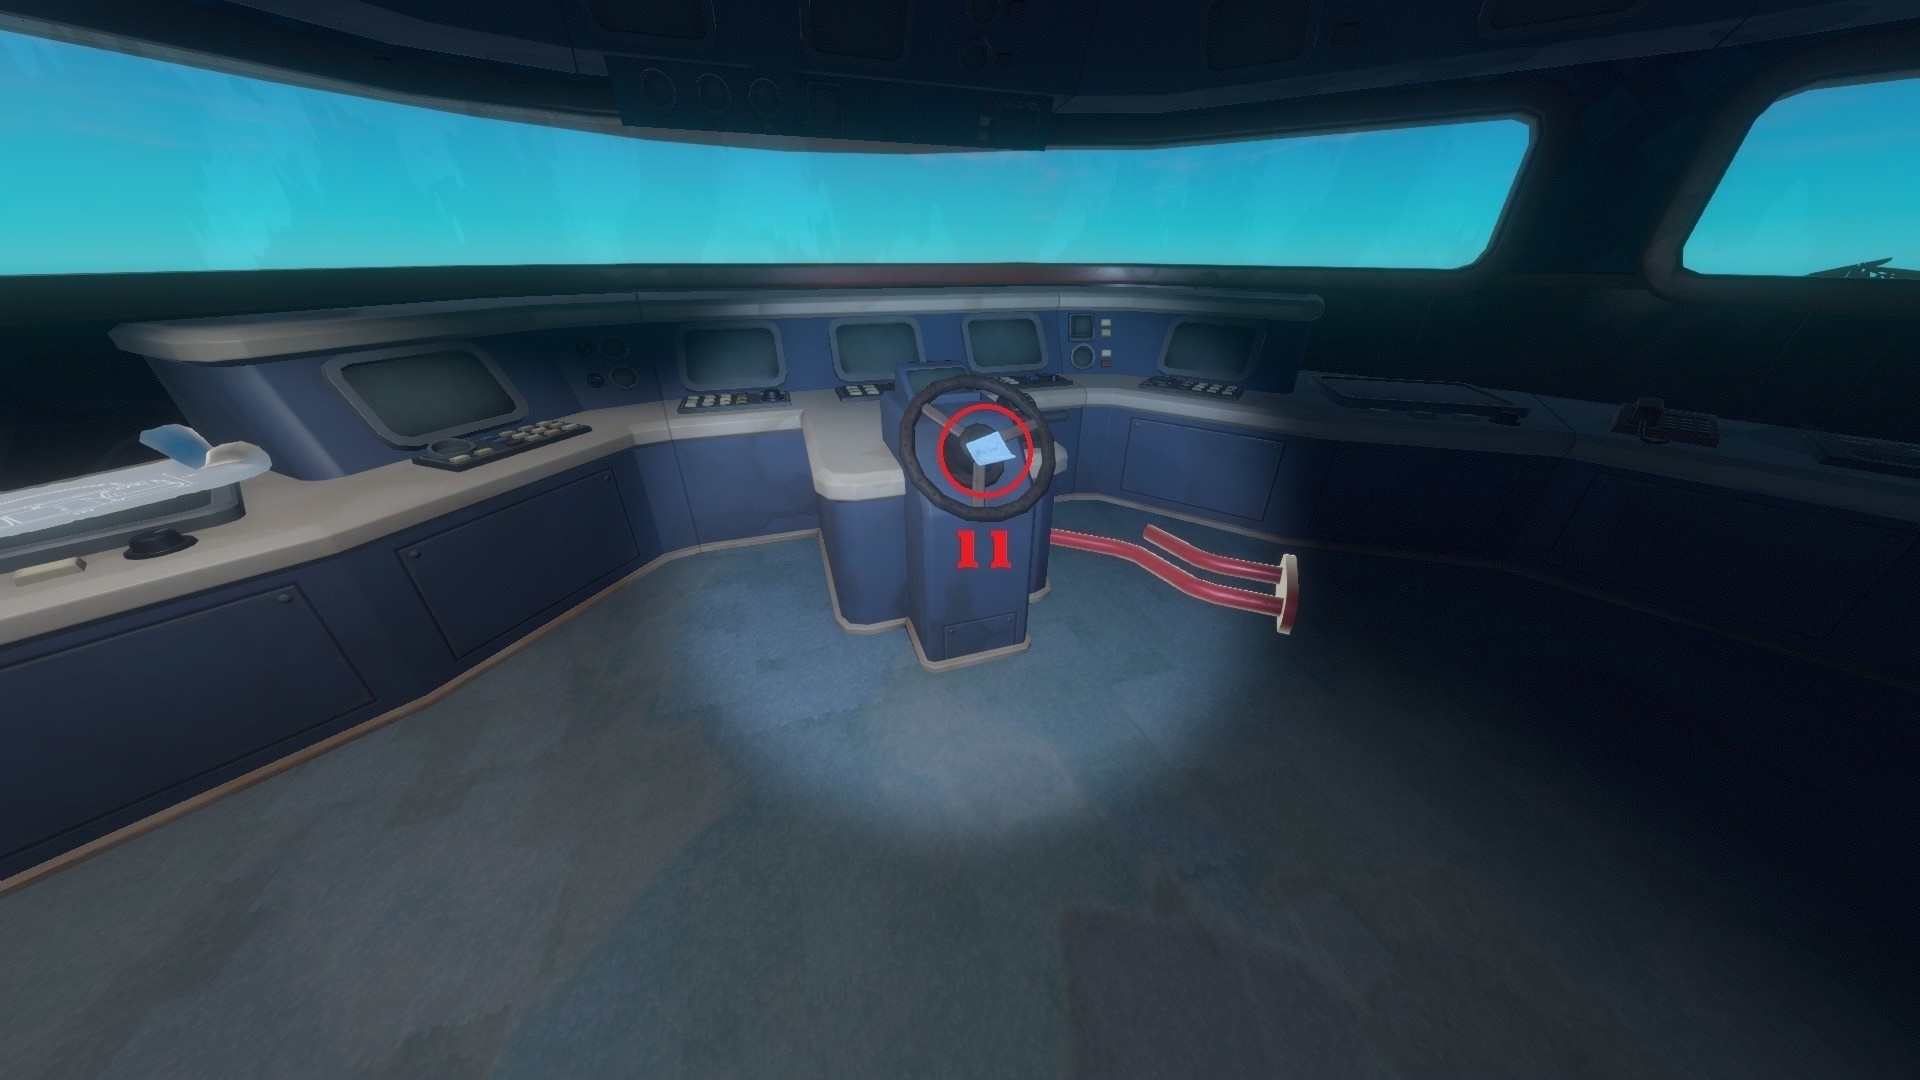
=>[CITIES IN THE BLUE calling the cost of the project's realization...] - Page 8 - The 11th note is on the last floor, on the steering wheel. The room is blocked by a locked door: to open it you need to craft a bomb in the boat's hold by combining 1 electrical wires (locked Chest, 3rd Cabin, 1st Floor), 1 lighter (on a bed, 4th Floor), 1 gas tank (on a kitchen counter, Kitchen, Boat Hold) and 1 bullet (on a bar counter, Dance Hall, 1st Floor).
=>[Balboa ?! #....] - Page 12
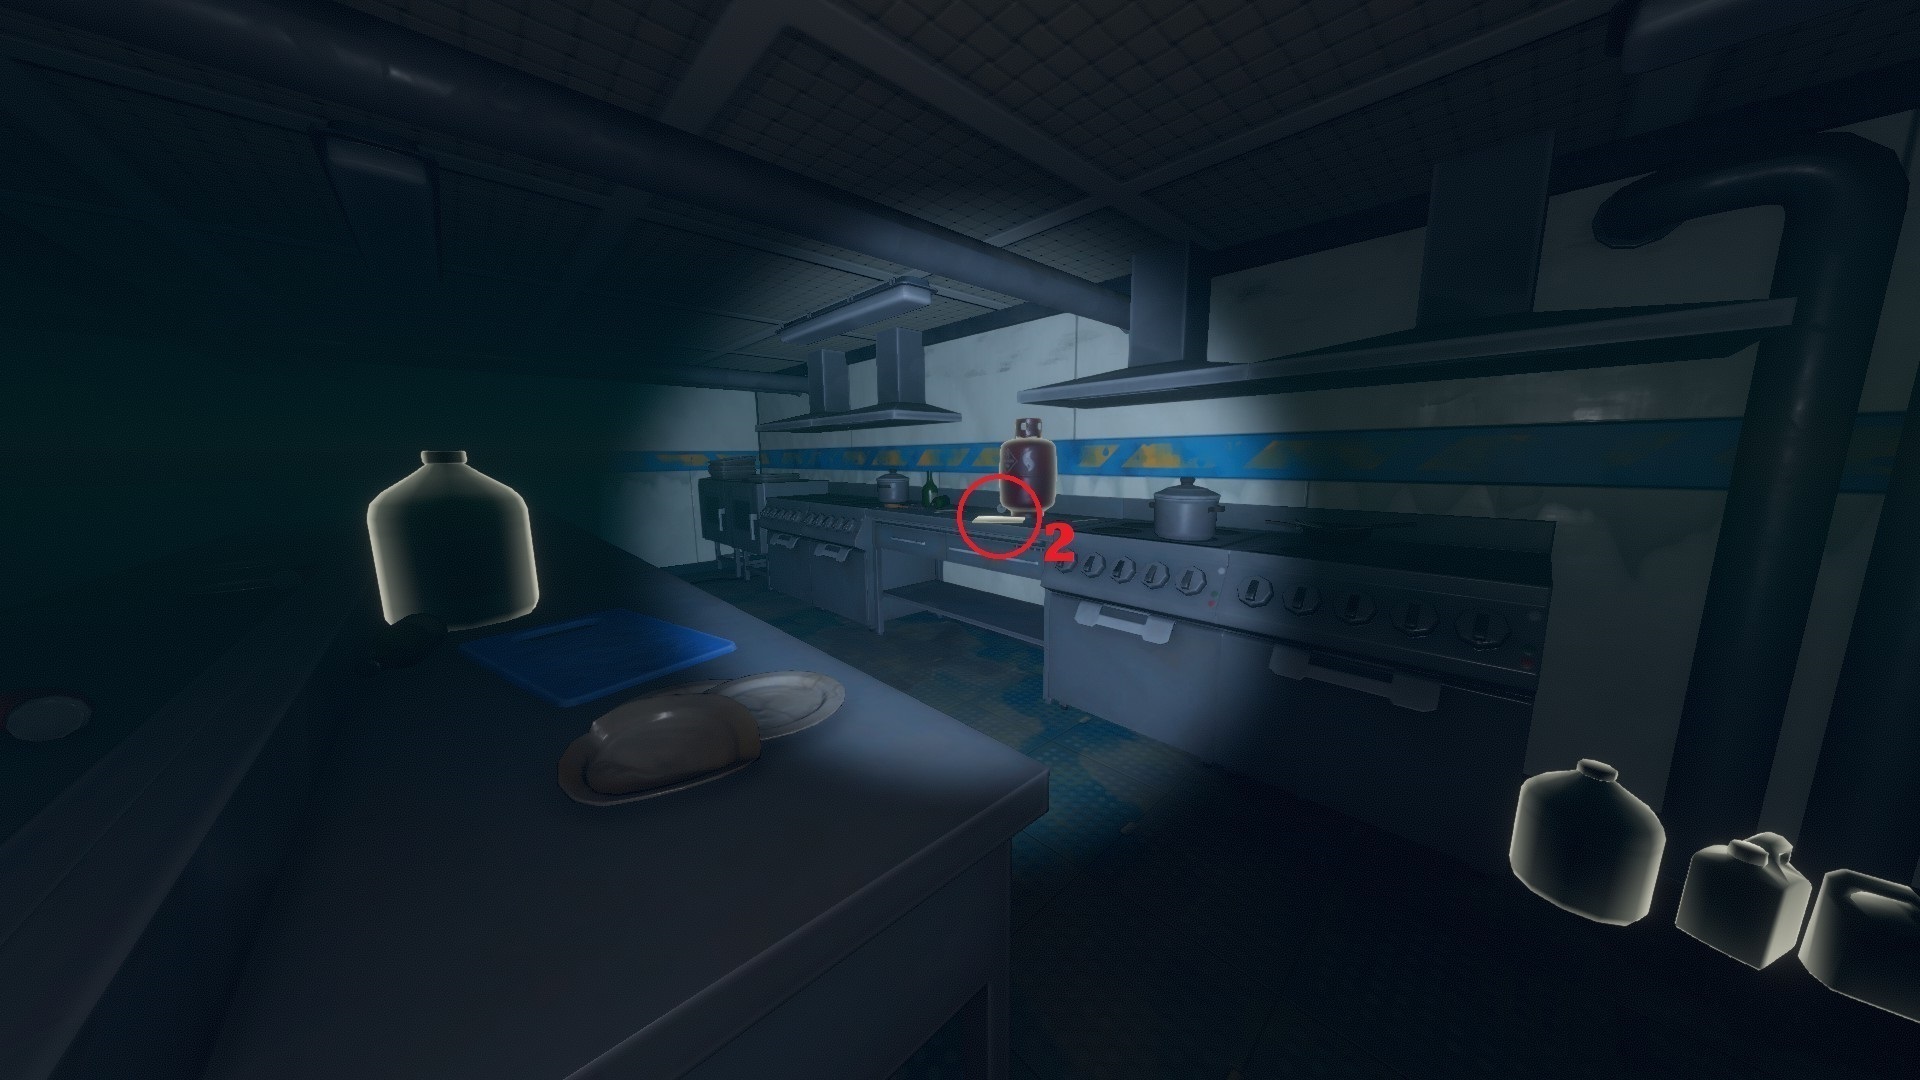
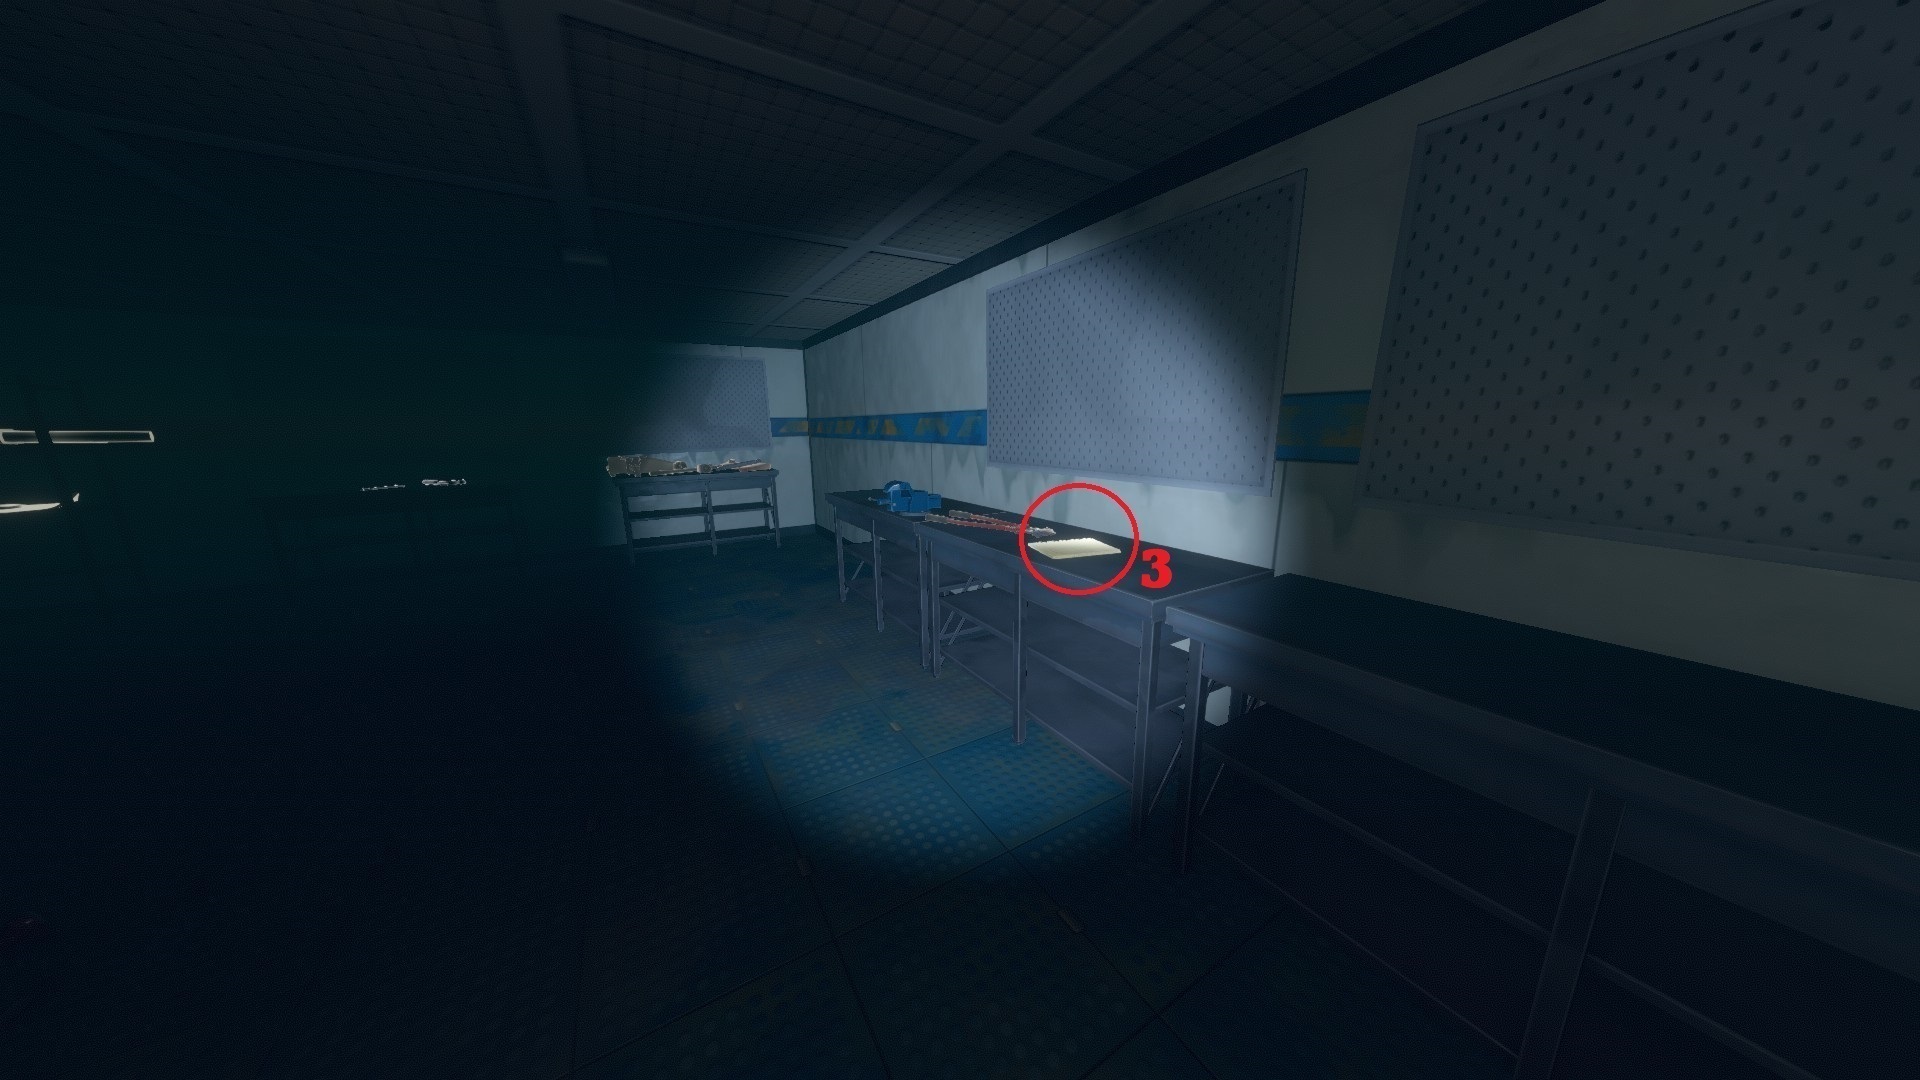
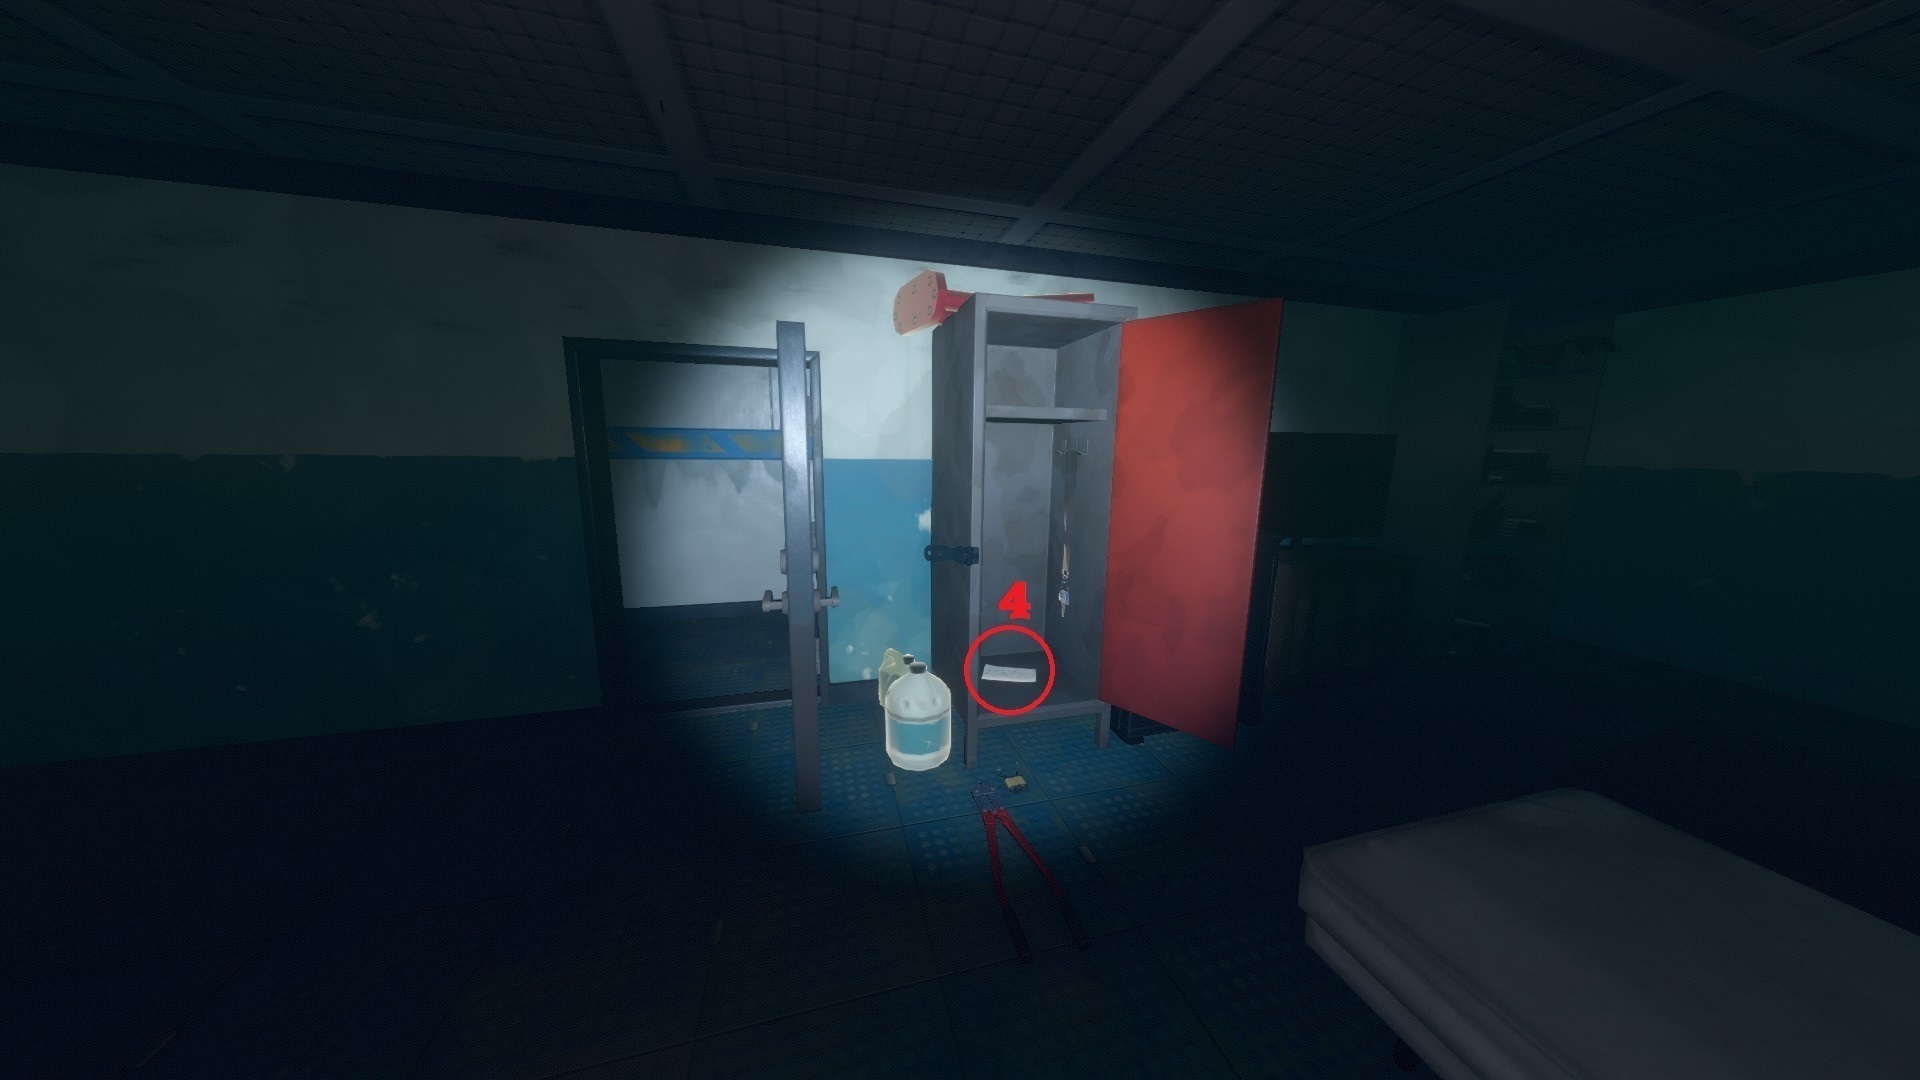
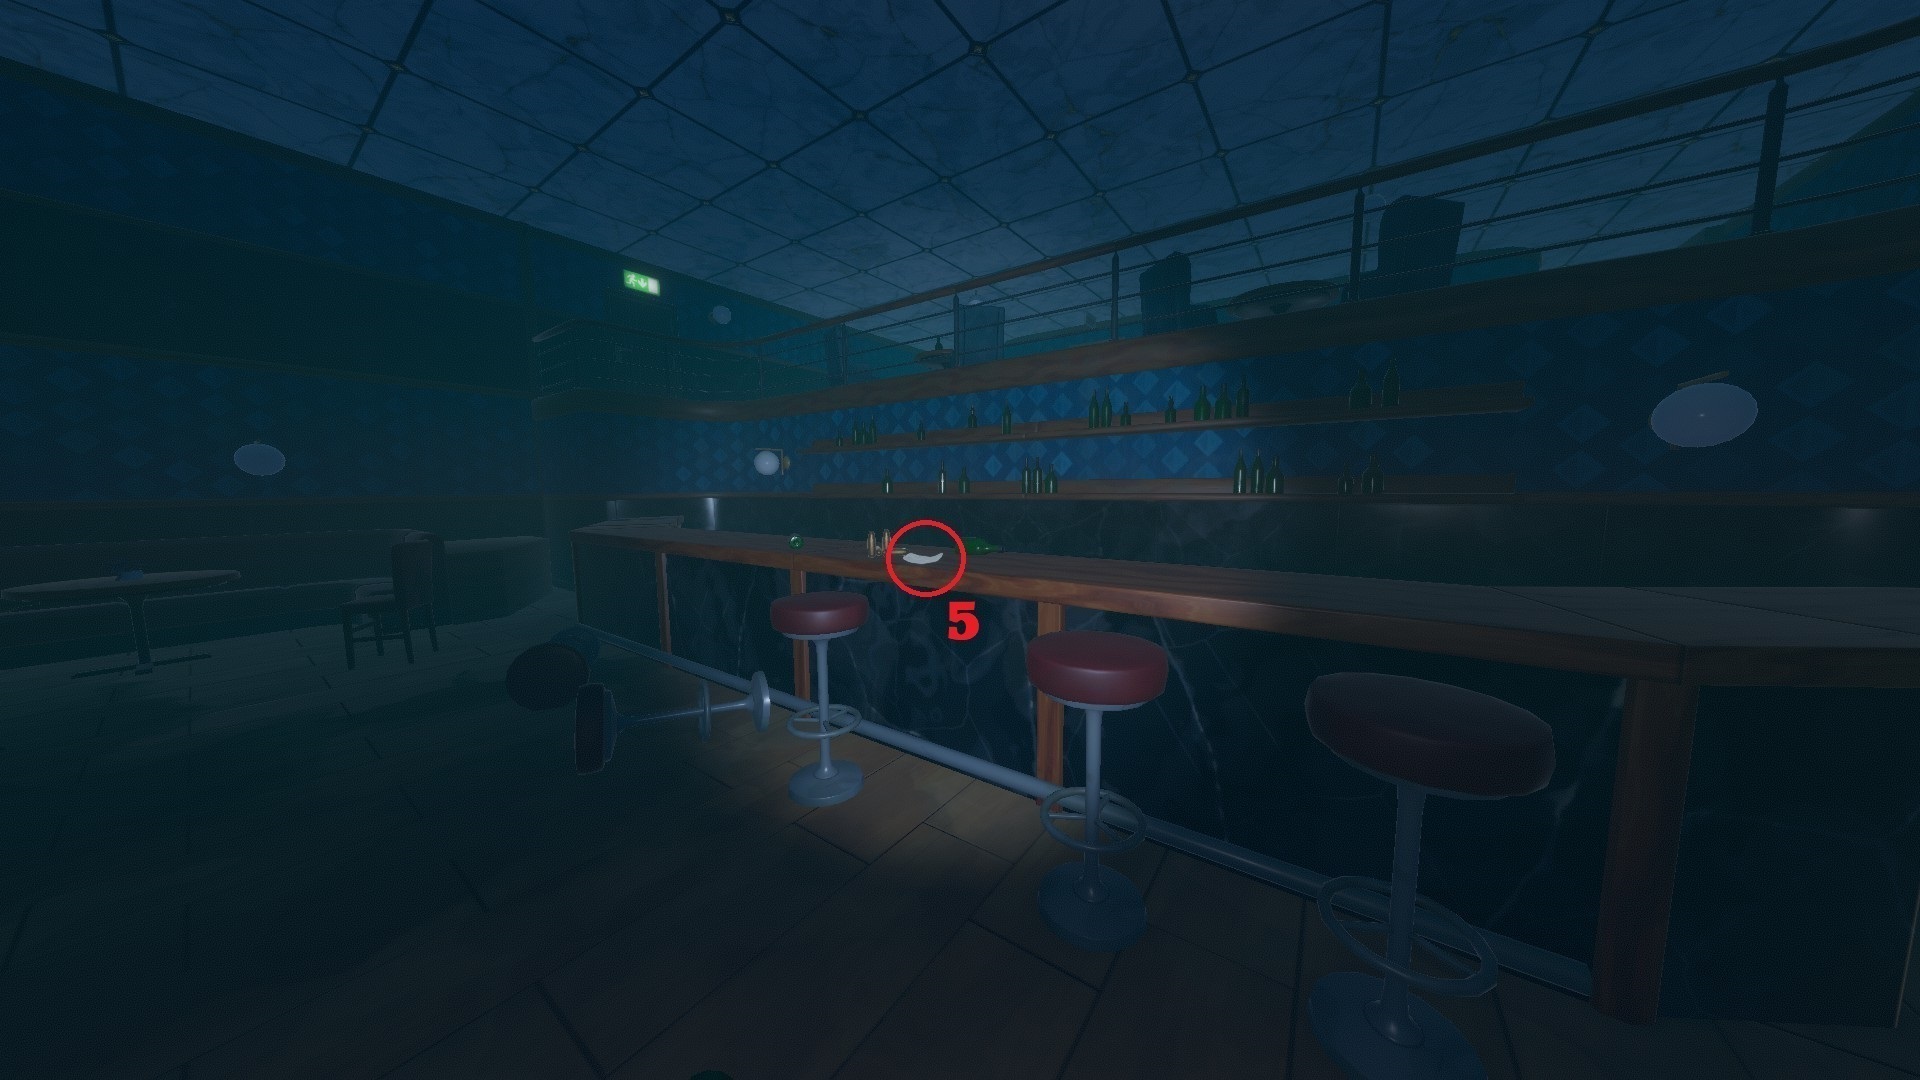
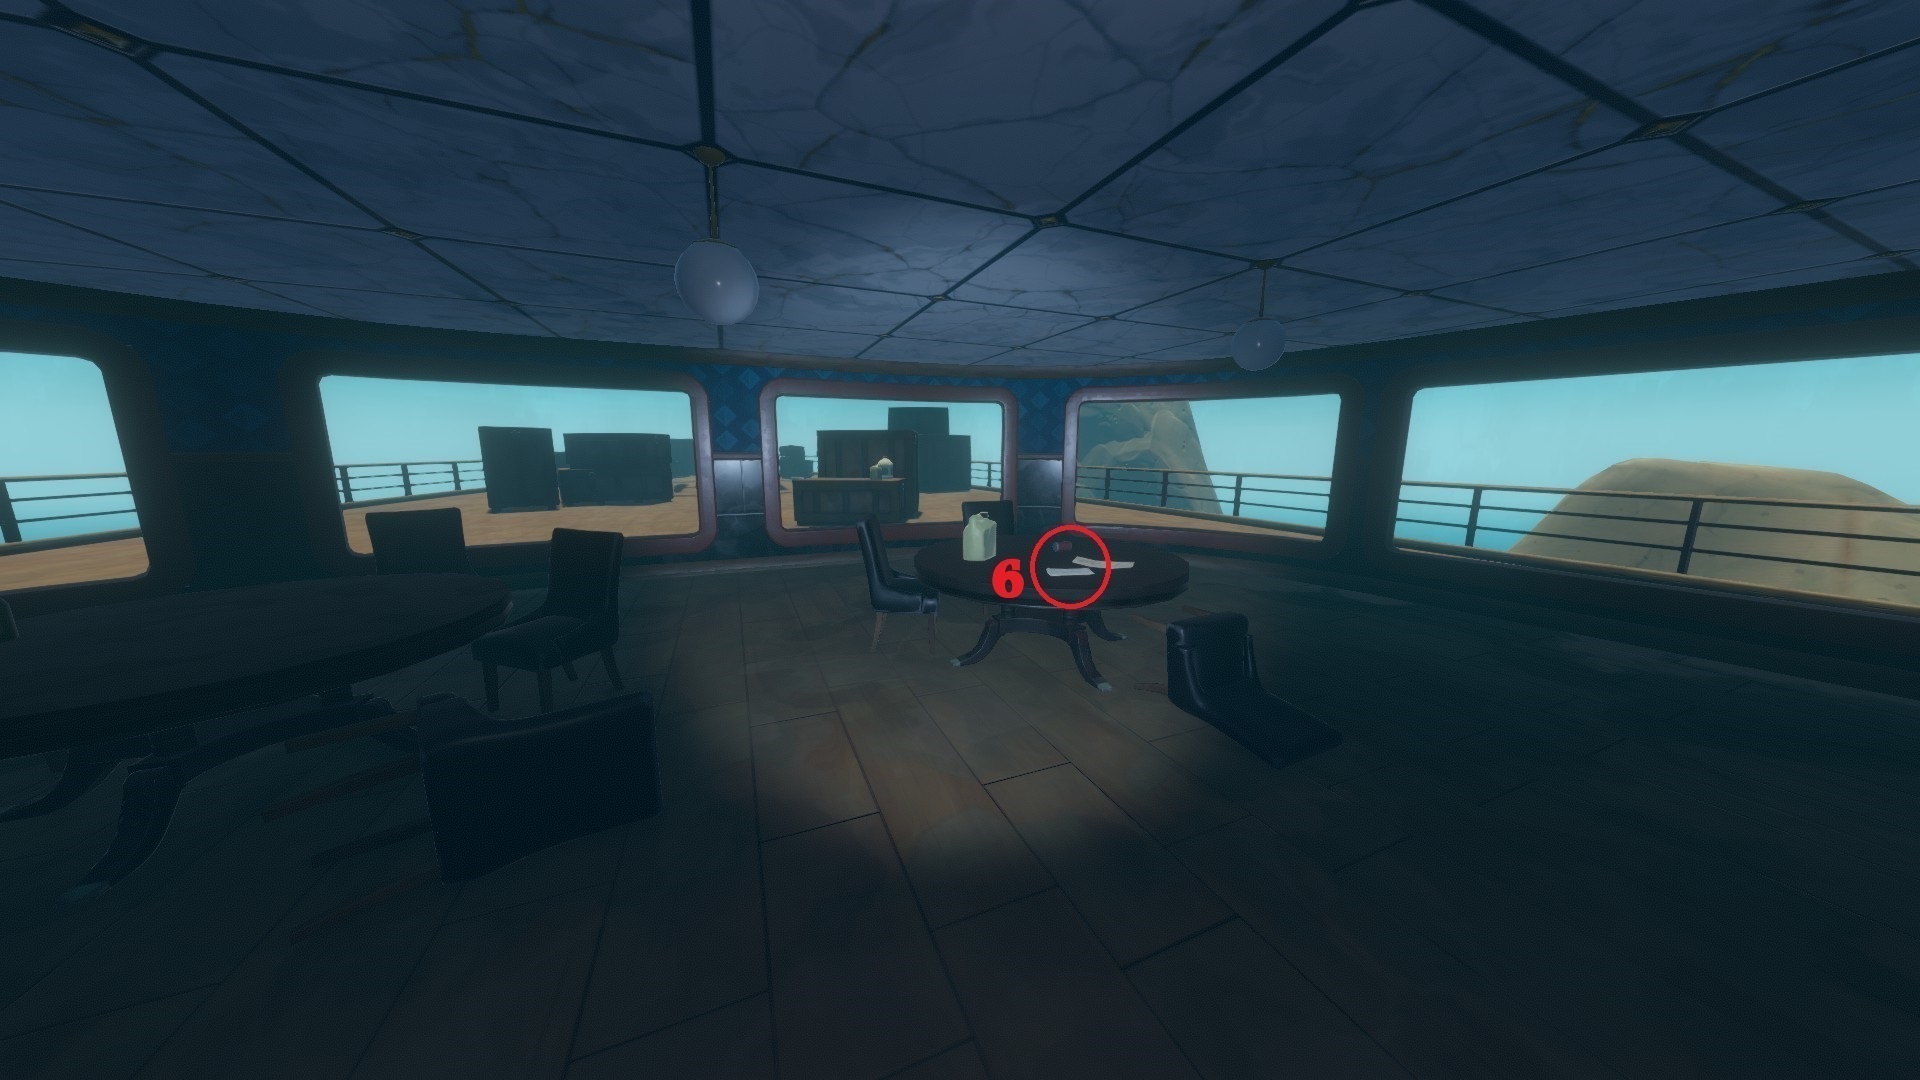
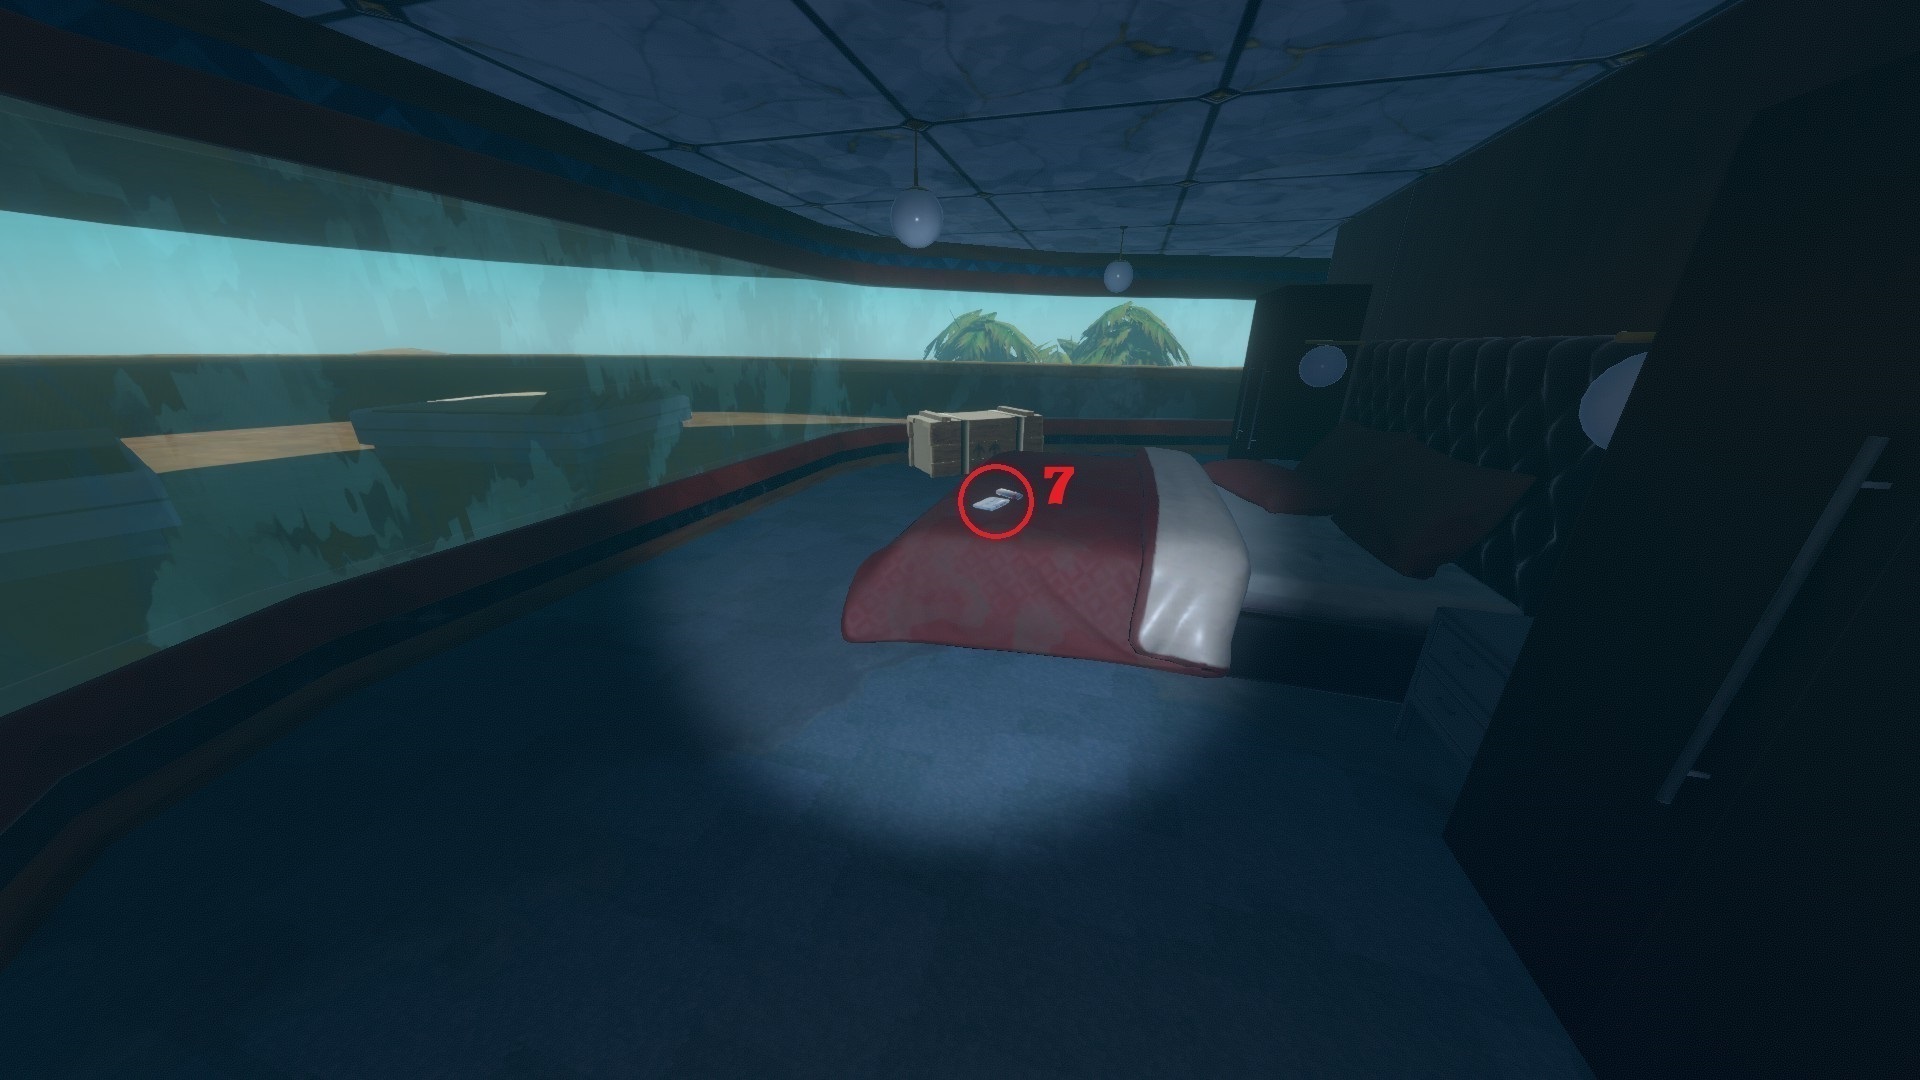
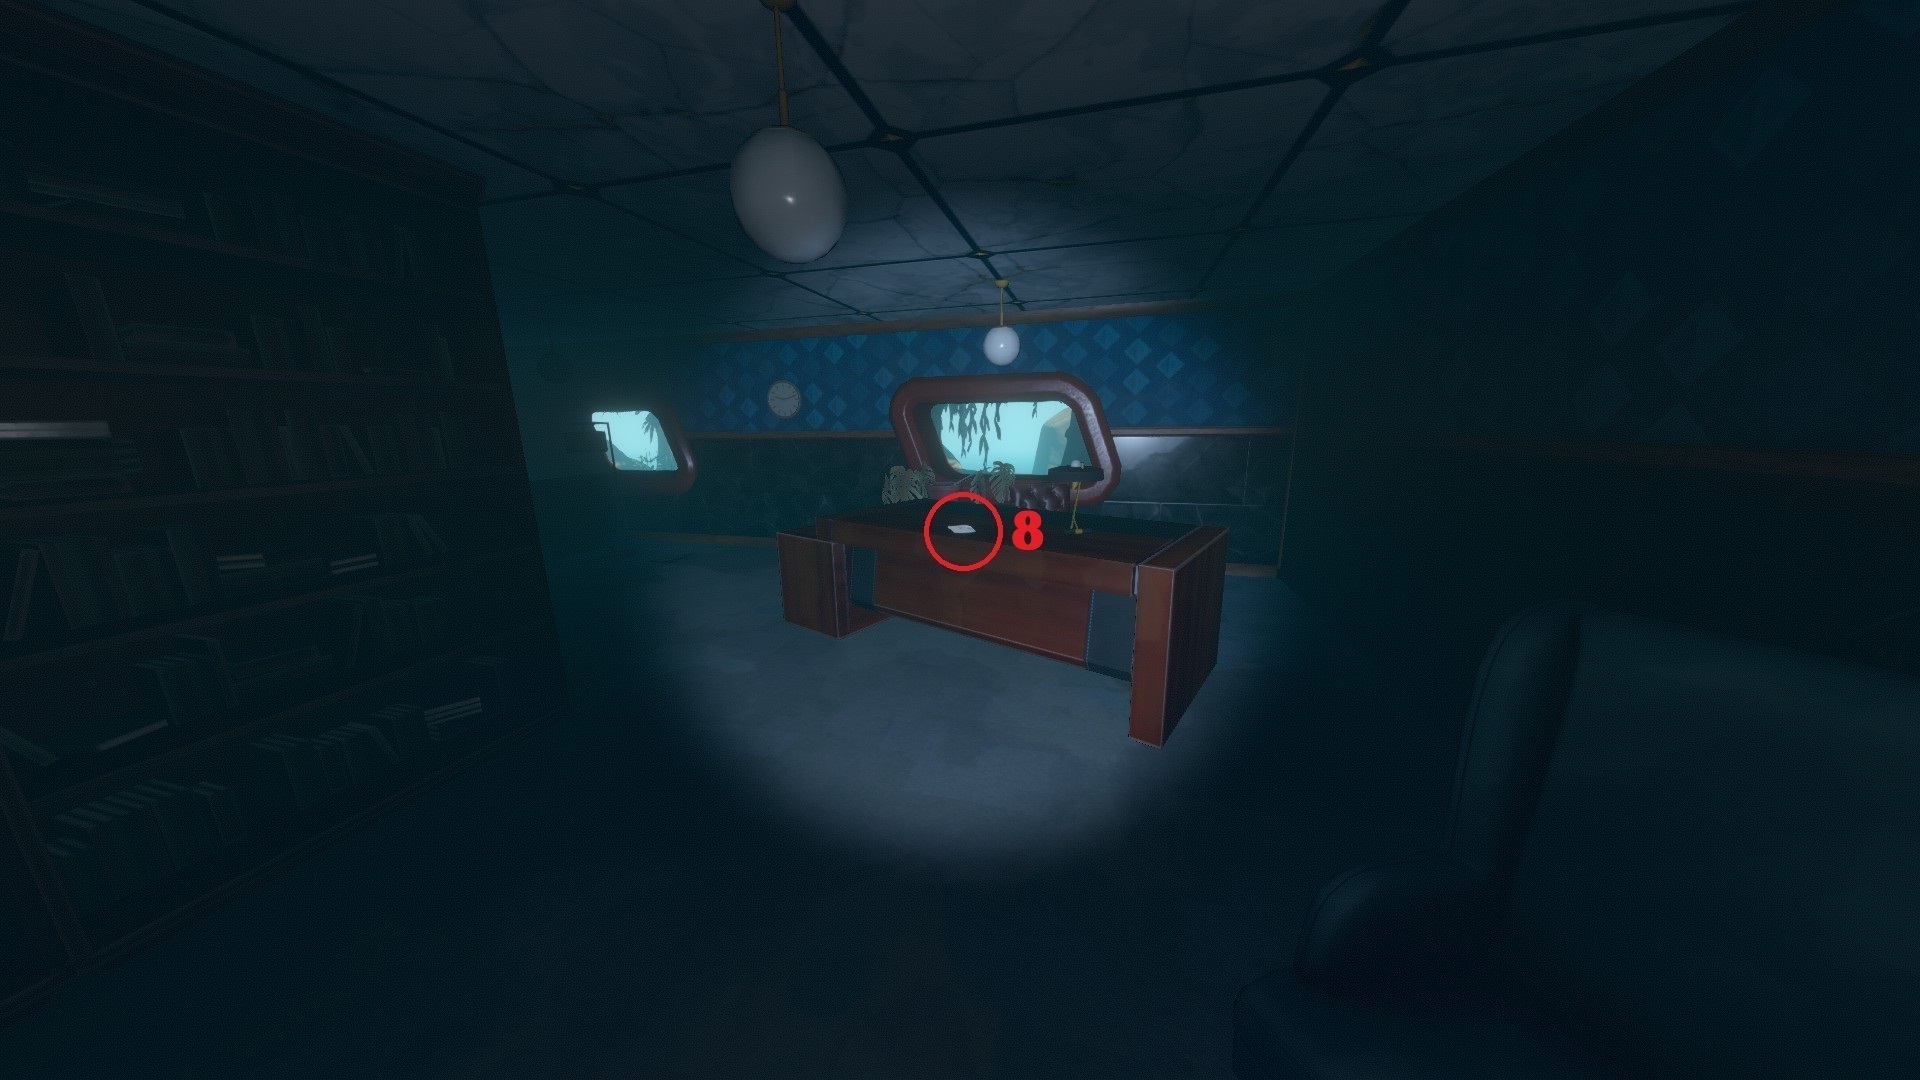
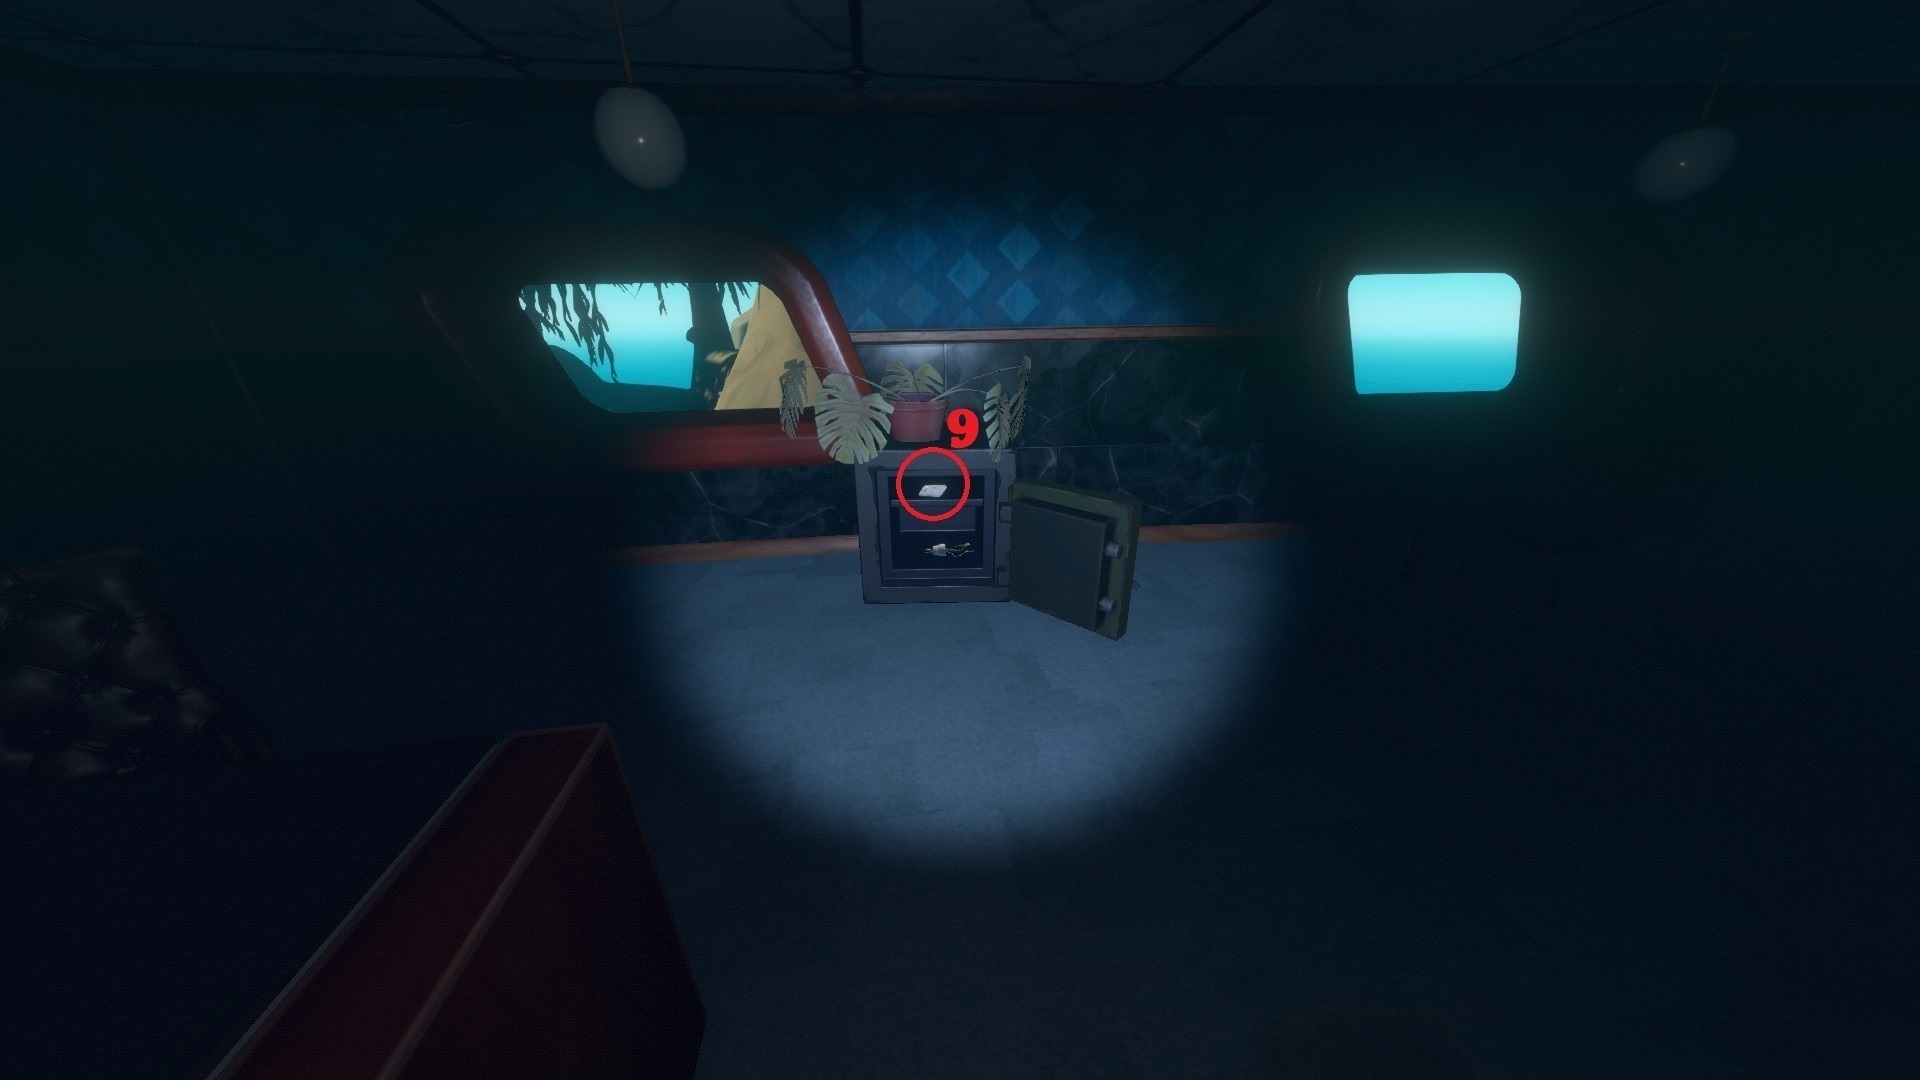
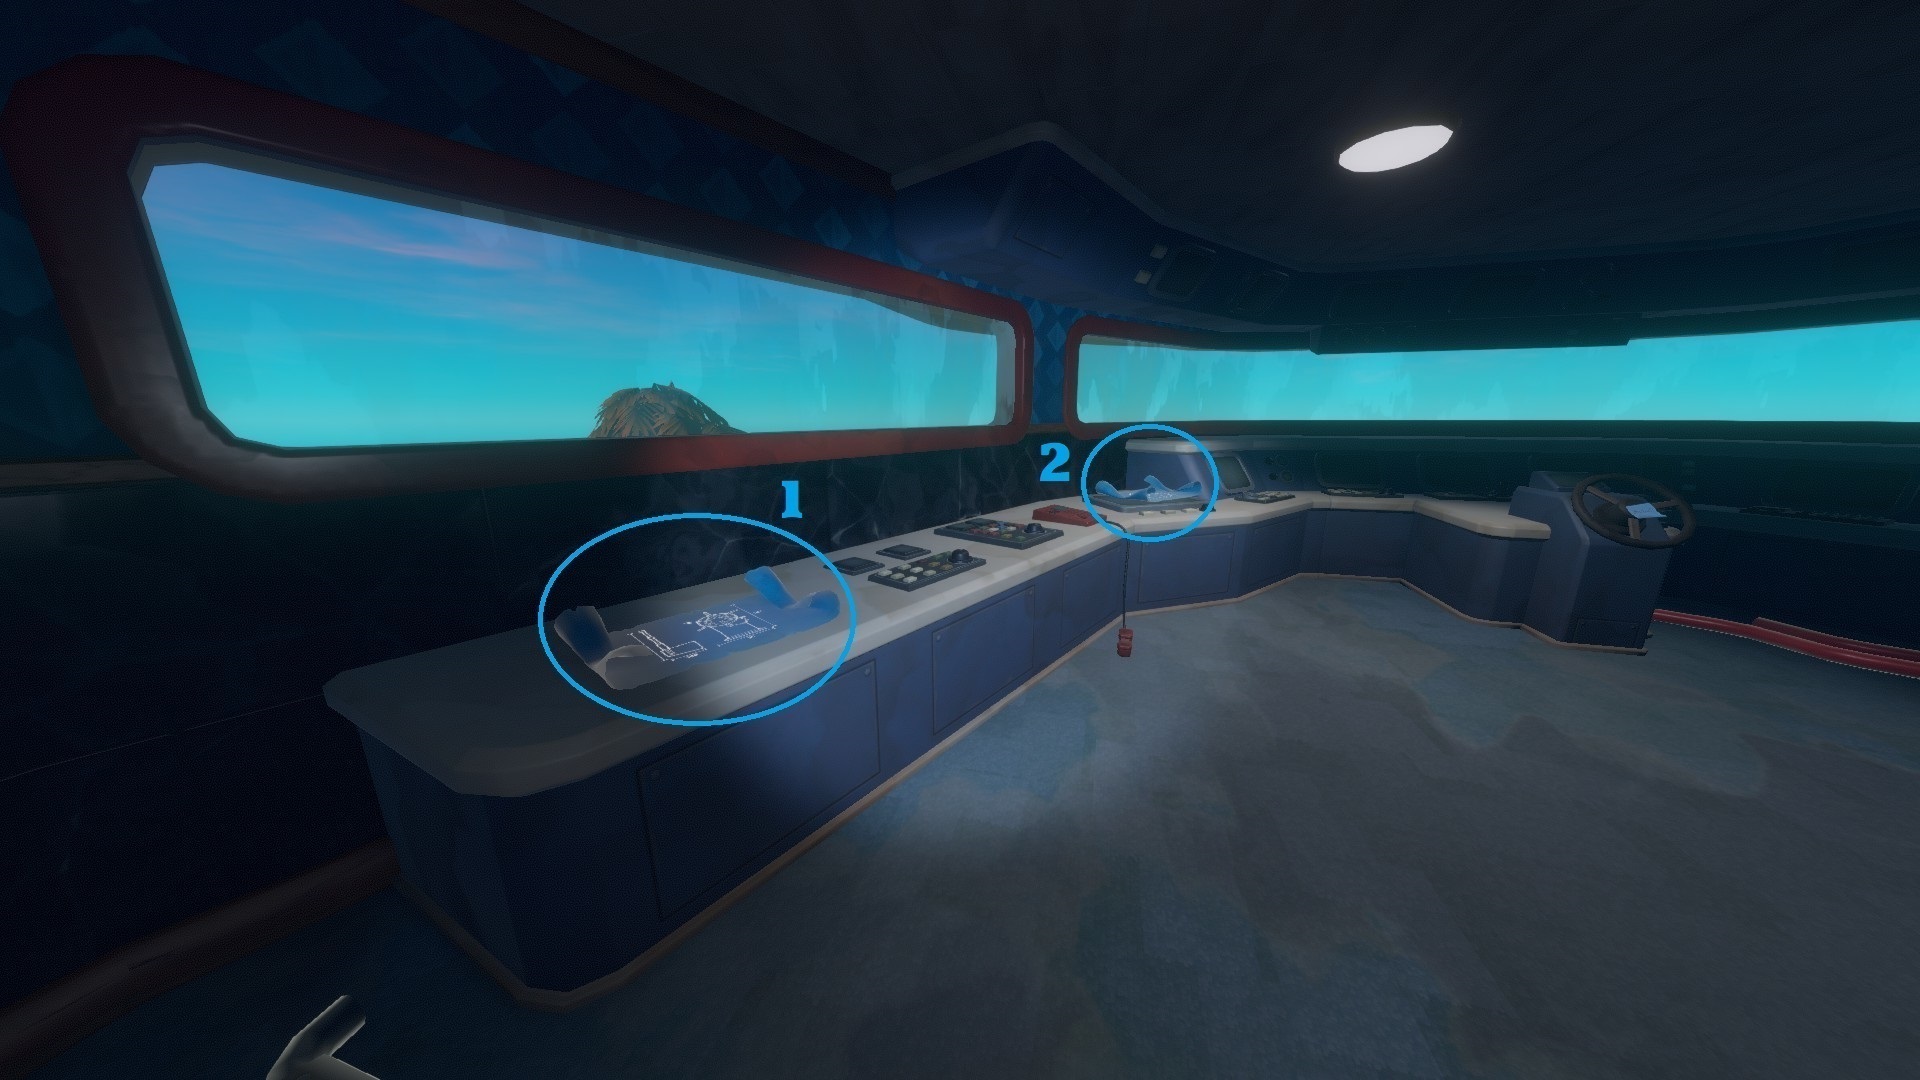
- The 2 blueprints (Steering Wheel and Engine) are on the last floor of Vasagatan. The room is blocked by a locked door: to open it you need to craft a bomb in the boat's hold by combining 1 electrical wires (locked Chest, 3rd Cabin, 1st Floor), 1 lighter (on a bed, 4th Floor), 1 gas tank (on a kitchen counter, Kitchen, Boat Hold) and 1 bullet (on a bar counter, Dance Hall, 1st Floor).
3. Balboa (Walkthrough)
 Balboa Island is supposed to be against the wind, so use the blueprints you've found in the boat to craft some Engines and a Steering Wheel, that will allow you to reach your destination faster. Don't worry about fuel for now, you can use wood instead to power the engines. Remember that you need 1 Engine for 100 Foundation blocks.
There are 13 notes (including the one for the next coordinates which does not appear in your journal as a post-it contrary to the previous ones).
Balboa Island is supposed to be against the wind, so use the blueprints you've found in the boat to craft some Engines and a Steering Wheel, that will allow you to reach your destination faster. Don't worry about fuel for now, you can use wood instead to power the engines. Remember that you need 1 Engine for 100 Foundation blocks.
There are 13 notes (including the one for the next coordinates which does not appear in your journal as a post-it contrary to the previous ones).There are 4 blueprints: one for the Machete, one for the Fuel Tank, one for the Fuel Pipe and one for the Biofuel Refiner.
This time, to get the next coordinates you need to activate each Relay Station (there are 3 marked 2, 4 and 6), there's a big lever in each to turn them on.
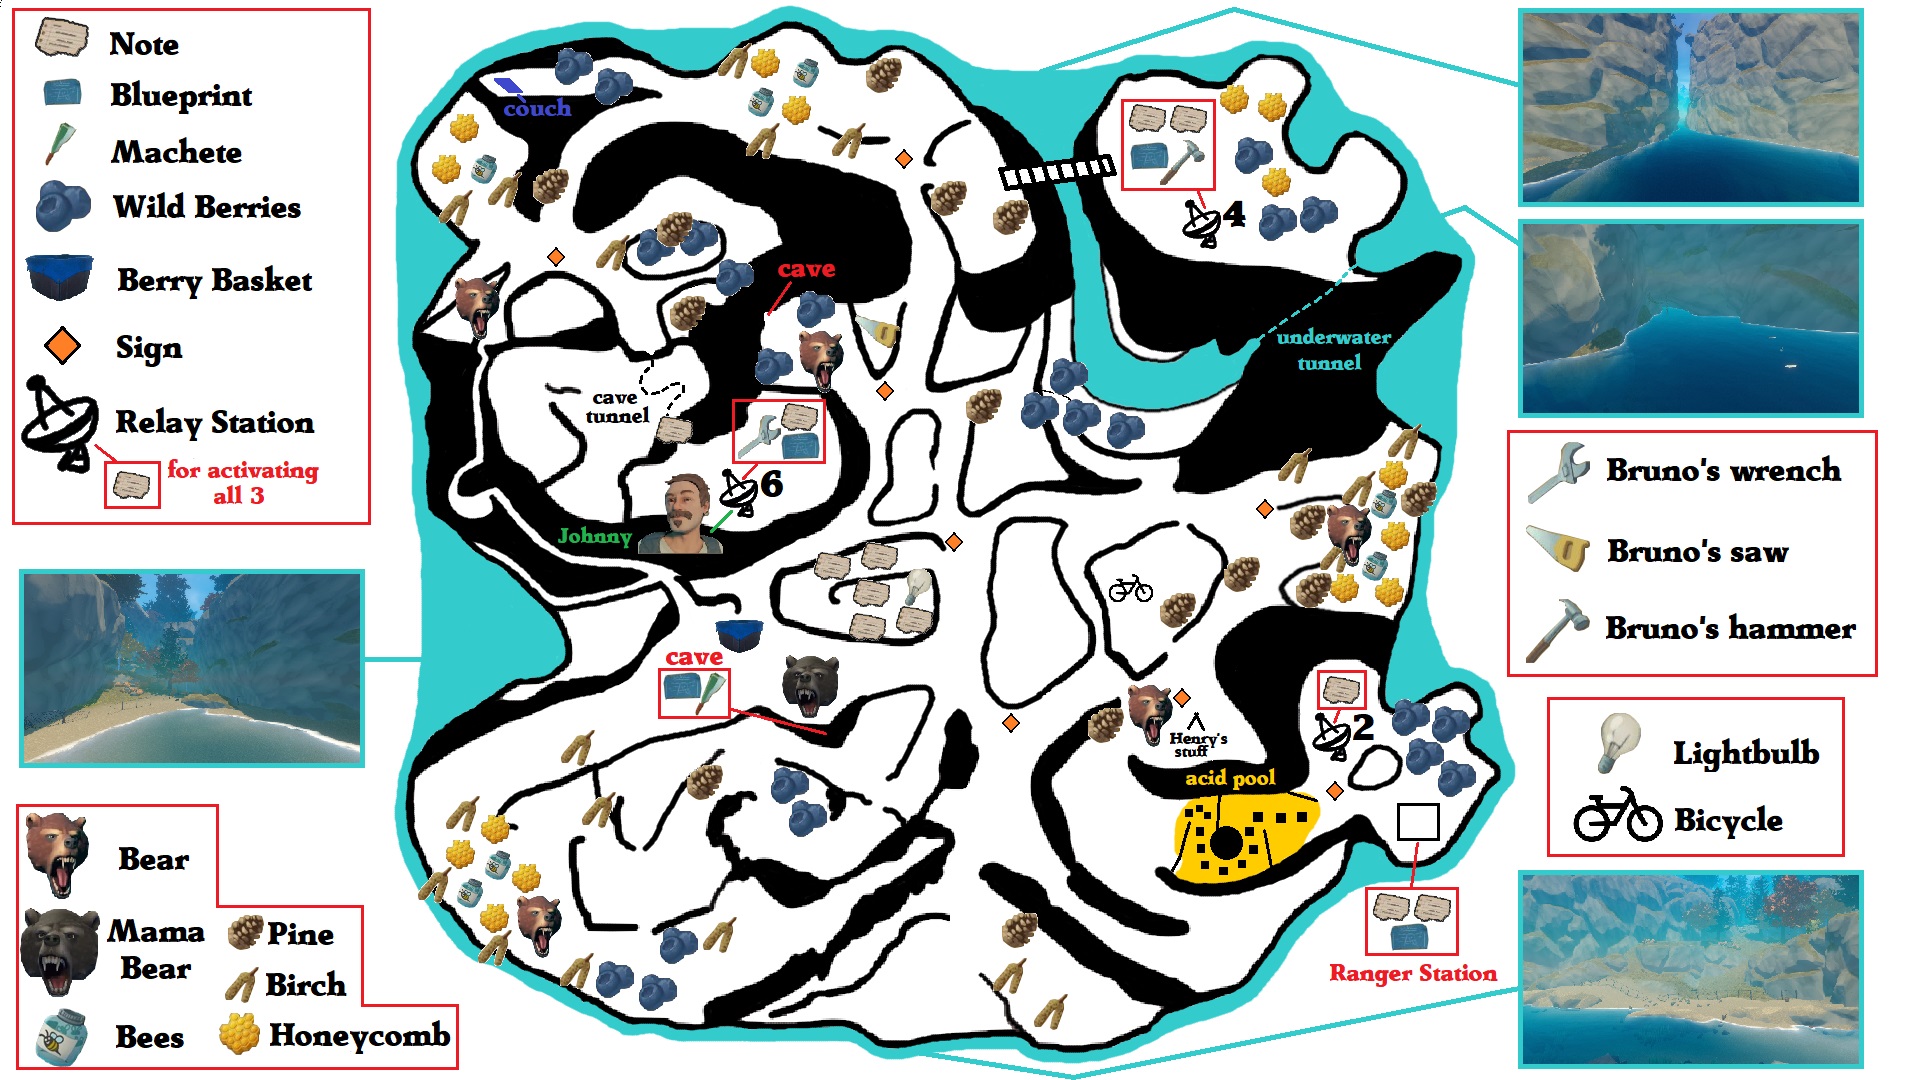 ⠀
⠀Walkthrough:
- Arriving at the Island : There are 4 ways to enter the island and 3 starting points. A beach west, a beach south and a water path north (that will also be your starting point if you enter through the water tunnel north-east).
- Center Island:
=> Pick up at least 5 [Wild Berries] around the island, there are many to be found.
=> Use the [Berries] on the [Basket] near Mama Bear's cave to distract her (the huge sleeping bear in the middle of the island).
=> Now that Mama Bear is distracted, go inside the cave and pick up the crate, there's a [Machete] in it and a [Blueprint] (Machete) next to it.
=> Don't forget to check out the big hill facing Mama Bear's cave, there are 5 [Notes] on it and the [Lightbulb] (taking the Lightbulb gives you an achievement and bringing it back to Ranger Station gives you another one).
=> There's a hill on the left when climbing towards Relay Station 6 and 4. There's a locker on it with [Bruno's Saw] inside.
=> While following the signs for Relay Station 2 you will find a tent with "Henry's Stuff". Go on the hill facing that tent to find a bicycle, ring the bell for an achievement. - Relay Station 6:
=> Follow the signs until you reach a tunnel blocked by vines. Use your [Machete] on them to free the way. Relay Station 6 is on the other side of the tunnel.
=> There's a [Note] at the end of the tunnel.
=> There's a [Note] on the stairs that lead to the Relay Station.
=> There's [Bruno's Wrench] in the entrance of the Radio Station, on the left, on a counter.
=> There's also a [Blueprint] (Fuel Tank) on a desk.
=> You can also unlock the character [Johnny] here.
=> Don't forget to switch the lever at the end of the room! (If it's the 3rd lever you activate, 1 being in each Relay Station, you will receive a [Note] with the coordinates for the next story place, though this note does not appear in your journal). - Relay Station 4:
=> Follow the signs until you reach a precipice. On the other side you can see a raised bridge with a lever next to it. Shoot the lever with an arrow or a stone to lower the bridge.
=> There's a [Blueprint] (Fuel Pipe) on your left, on the wall when you enter the Relay Station.
=> There are 2 [Notes], one next to the [Blueprint] on the wall, on the left when you enter. And one on a stool next to a bookcase.
=> There's [Bruno's Hammer] on a shelf next to the big screen.
=> Don't forget to switch the lever at the end of the room! (If it's the 3rd lever you activate, 1 being in each Relay Station, you will receive a [Note] with the coordinates for the next story place, though this note does not appear in your journal). - Relay Station 2:
=> Follow the signs until you reach a path filled with some kind of yellow liquid. Jump on the crates to reach the other end. Careful the crates sink when you touch them, so hurry.
=> There's 1 [Note] in an open locker.
=> Don't forget to switch the lever at the end of the room! (If it's the 3rd lever you activate, 1 being in each Relay Station, you will receive a [Note] with the coordinates for the next story place, though this note does not appear in your journal). - Ranger Station:
=> Follow the signs for Relay Station 2, it's just next to it. When you reach a path filled with some kind of yellow liquid. Jump on the crates to reach the other end. Careful the crates sink when you touch them, so hurry.
=> There's a dummy at the entrance, you can give it the [Lightbulb] you found on the big hill facing Mama Bear's cave (just for an achievement).
=> There's a [Blueprint] (Biofuel Refiner) on the table, on the left when you enter.
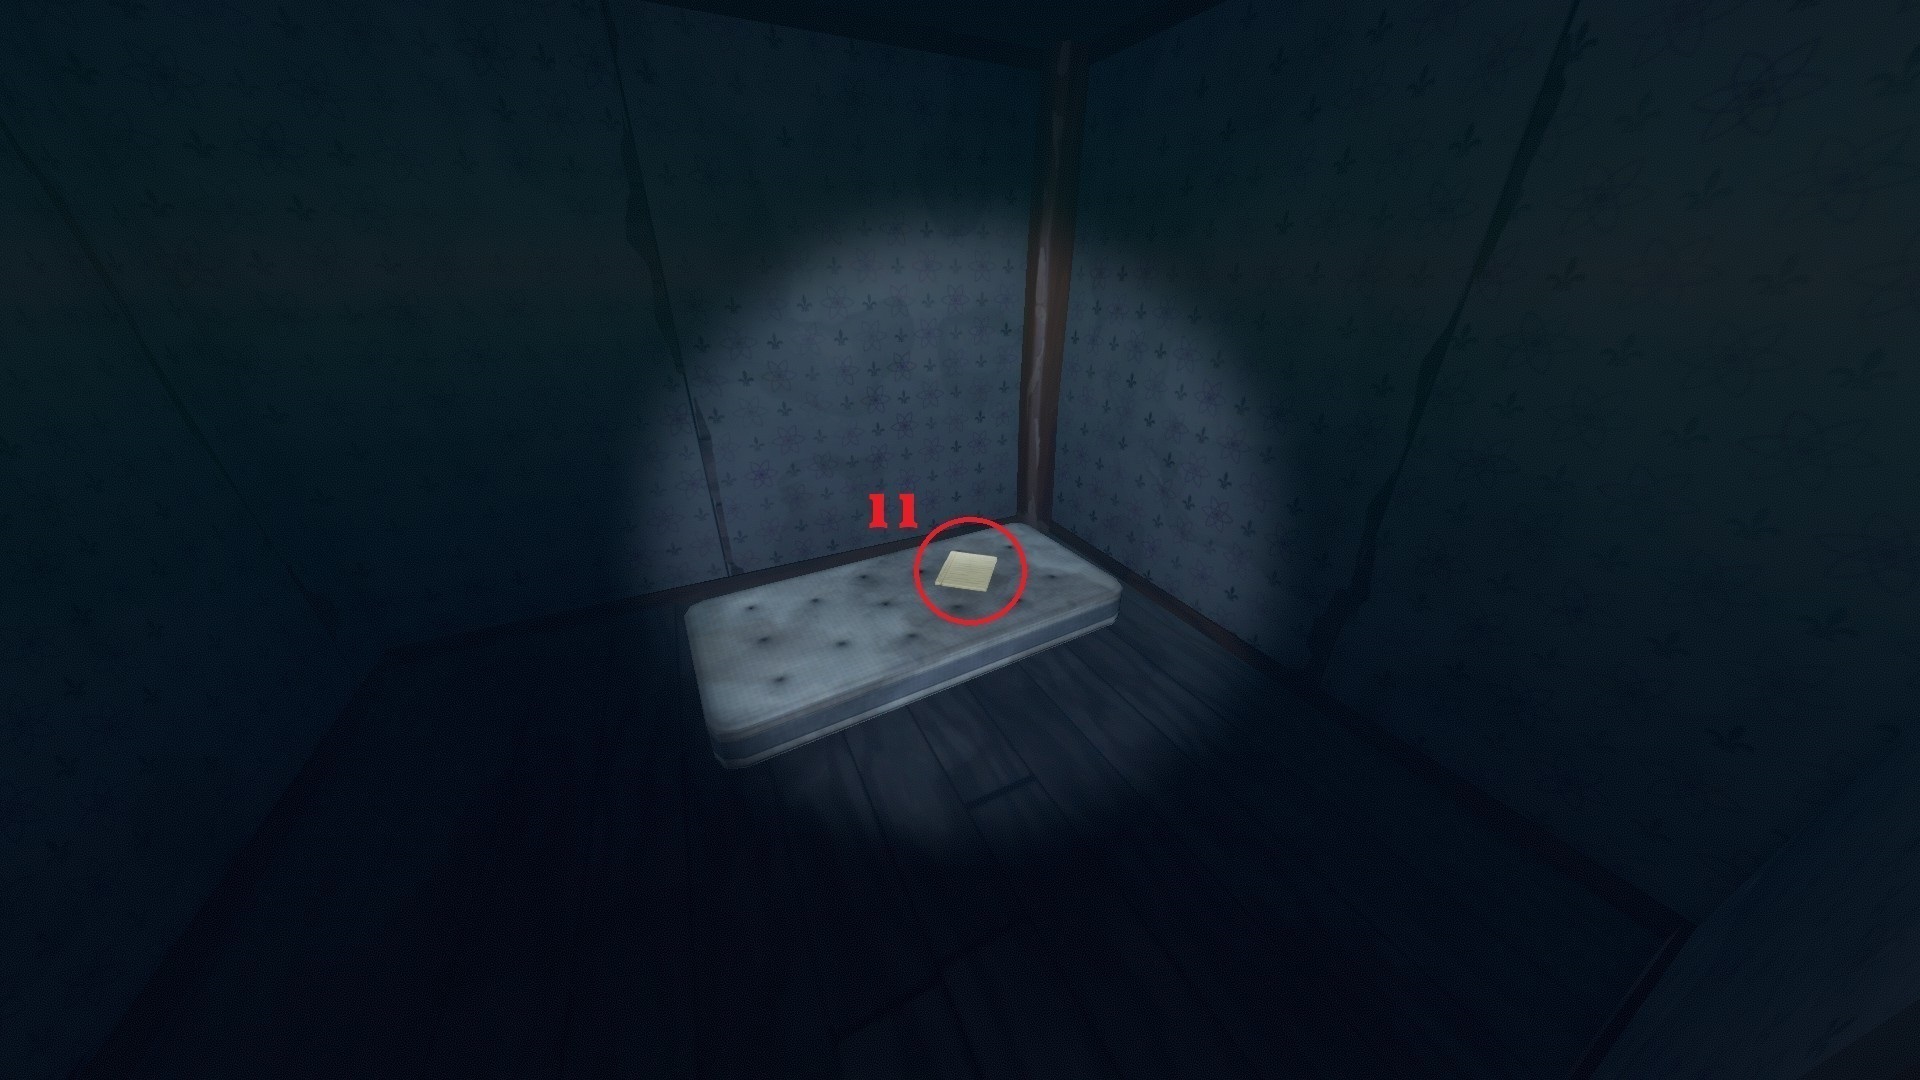
=> There's a [Note] in a small room at the back, on a mattress.
=> There's a board with tools on it, on the wall, on the right when you enter. Use the 3 tools on it to make it fall and reveal another [Note] ([Bruno's Saw] was on a hill, on the left when climbing towards Relay Stations 6 and 4; [Bruno's Wrench] was in Relay Station 6; and [Bruno's Hammer] was in Relay Station 4).
Balboa (Notes/Blueprints/Character)
Notes :
- The 1st note is at the end of the tunnel when going to Relay Station 6.
=>[Papa MADE HIS MIND UP A LONG TIME AGO.] - Page 16 - The 2nd note is under Relay Station 6, on the stairs leading there.
=>[ I haven't seen ERROL all night. I asked MIRANDA but she...] - Page 14 - The 3rd note is inside Relay Station 4, it's a map between a lever and a blueprint, on a wall.
=>[Balboa DO NOT LOSE!] - Page 15 - The 4th note is also inside Relay Station 4, on a stool between a bookcase and a desk.
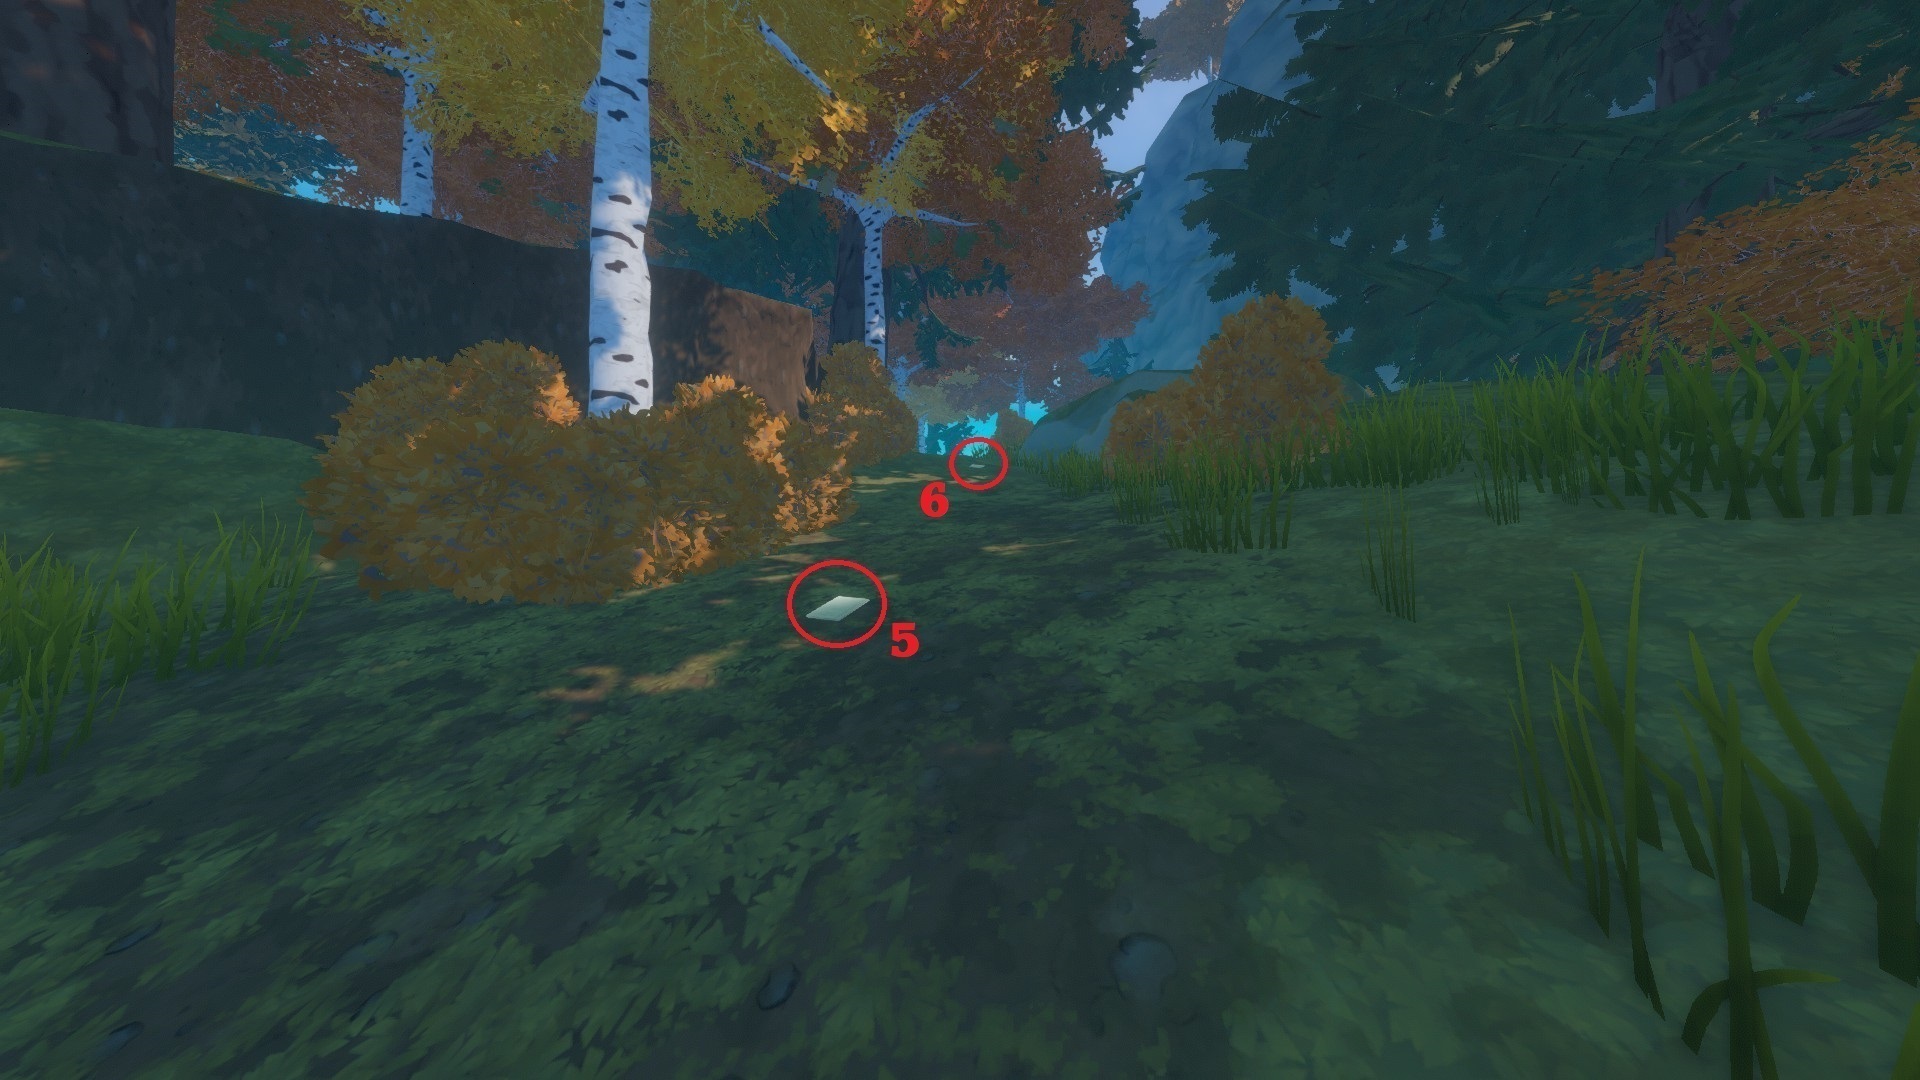
=>[The kids are fighting. Astrid would have known...] - Page 14 - The 5th and 6th notes are on the path that climbs a hill. The said hill is facing Mama Bear's cave.
=>[BETRAYAL. FATHER TRUSTS THE MURDERERS.] - Page 16
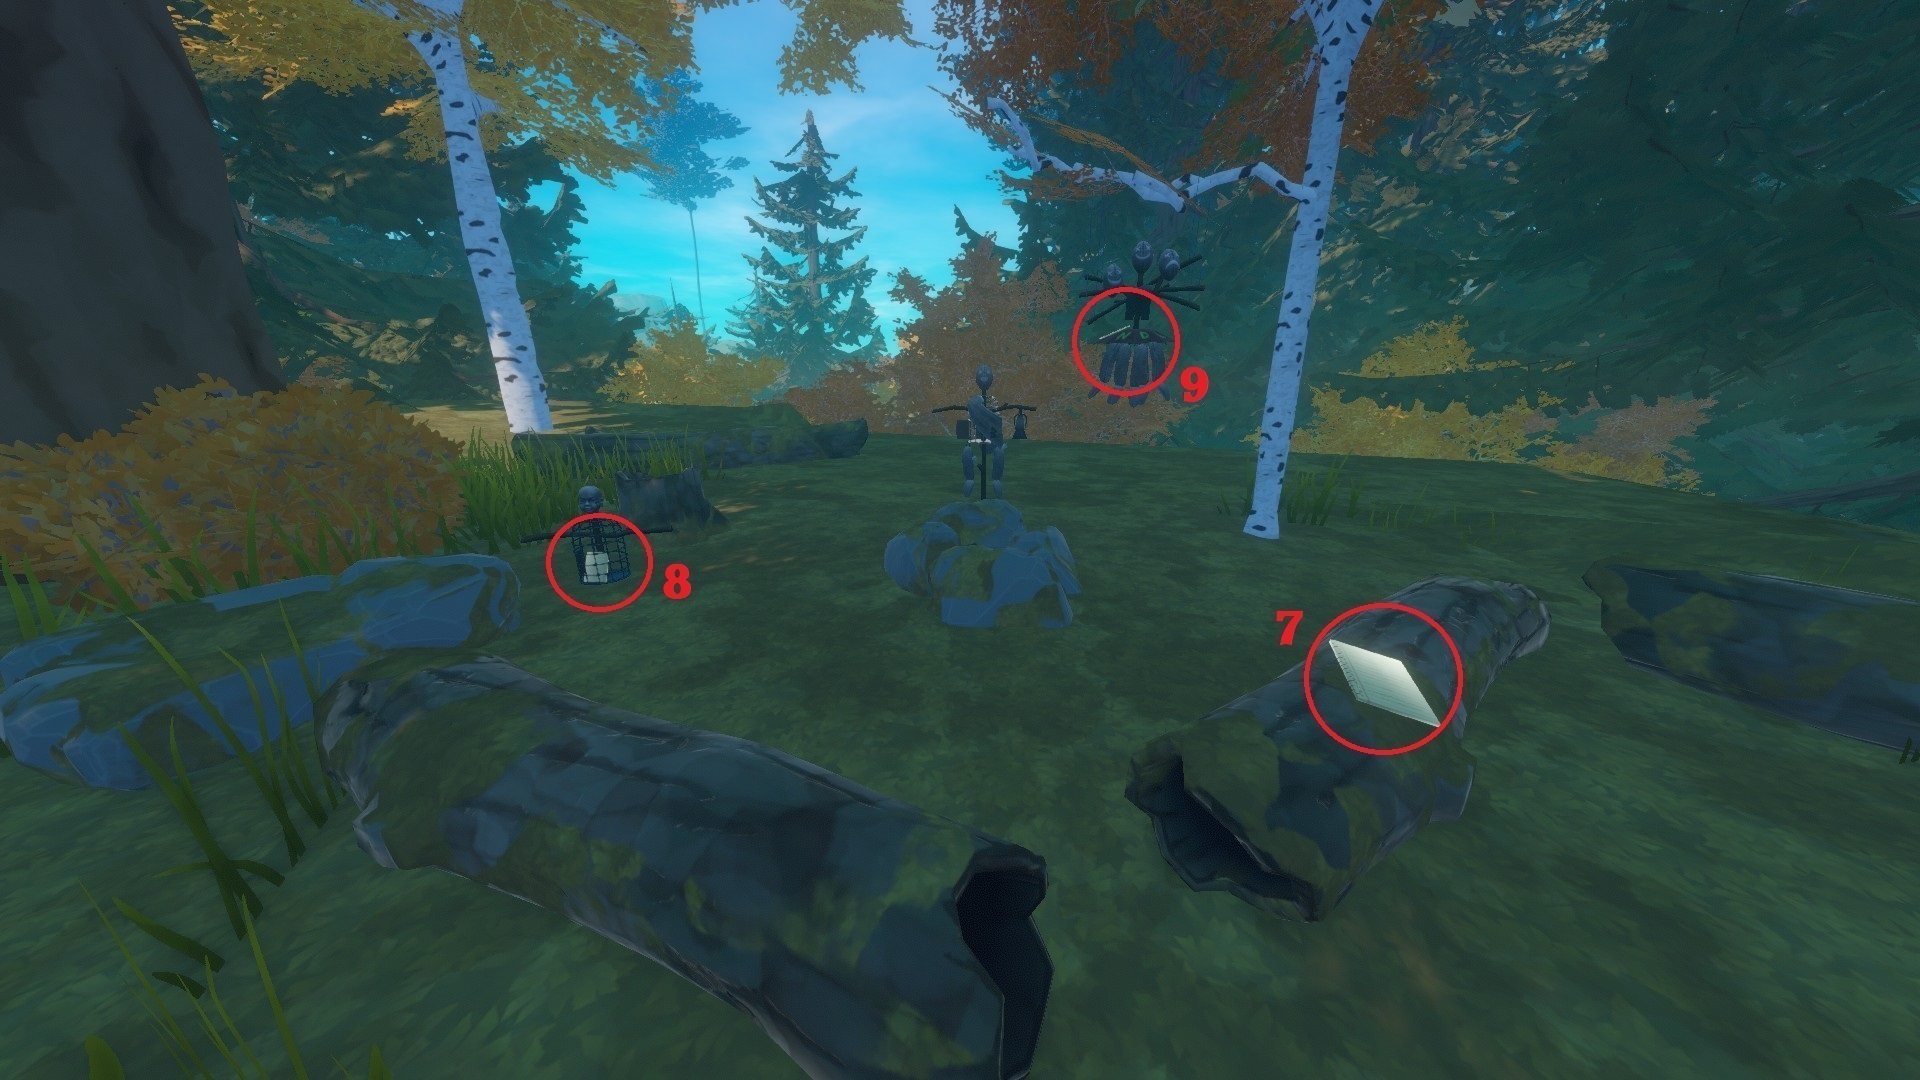
=>[HE WOULD LEAVE US BEHIND. WE CAN'T HAVE THAT.] - Page 16 - The 7th, 8th and 9th notes are at the top of the hill where you found the fifth and sixth documents. There's one on a tree stump laying on the ground, one inside a mannequin and one on a hanged mannequin.
=>[FATHER HAS TO MAKE A DECISION.] - Page 16
=>[NOT ENOUGH BOAT FOR ALL OF US.] - Page 16
=>[THE GUILTY LAY RESTLESS.] - Page 16 - The 10th note is inside the Ranger Station, hidden behind a toolboard. You need to bring 3 tools to this toolboard to reveal the note (the wrench is in Station 6, the hammer in Station 4 and the saw on a hill next to the path (on the left when climbing the path) leading to Stations 6 and 4).
=>[MERRY CHRISTMAS FROM NOWHERE] - Page 13 - The 11h note is inside the Ranger Station, in a dark room, on a mattress.
=>[SCHEDULE...] - Page 13 - The 12th note is inside Relay Station 2, inside an open locker next to a desk.
=>[Three months ago my sister Astrid and I were put in charge of...] - Page 14 - The 13th document will be revealed when you have activated all 3 Relay Stations, the coordinates will appear on the screens inside each Relay Station and be added in your journal but no note will appear to represent it (contrary to the earlier locations which showed a post-it with the coordinates in the journal).
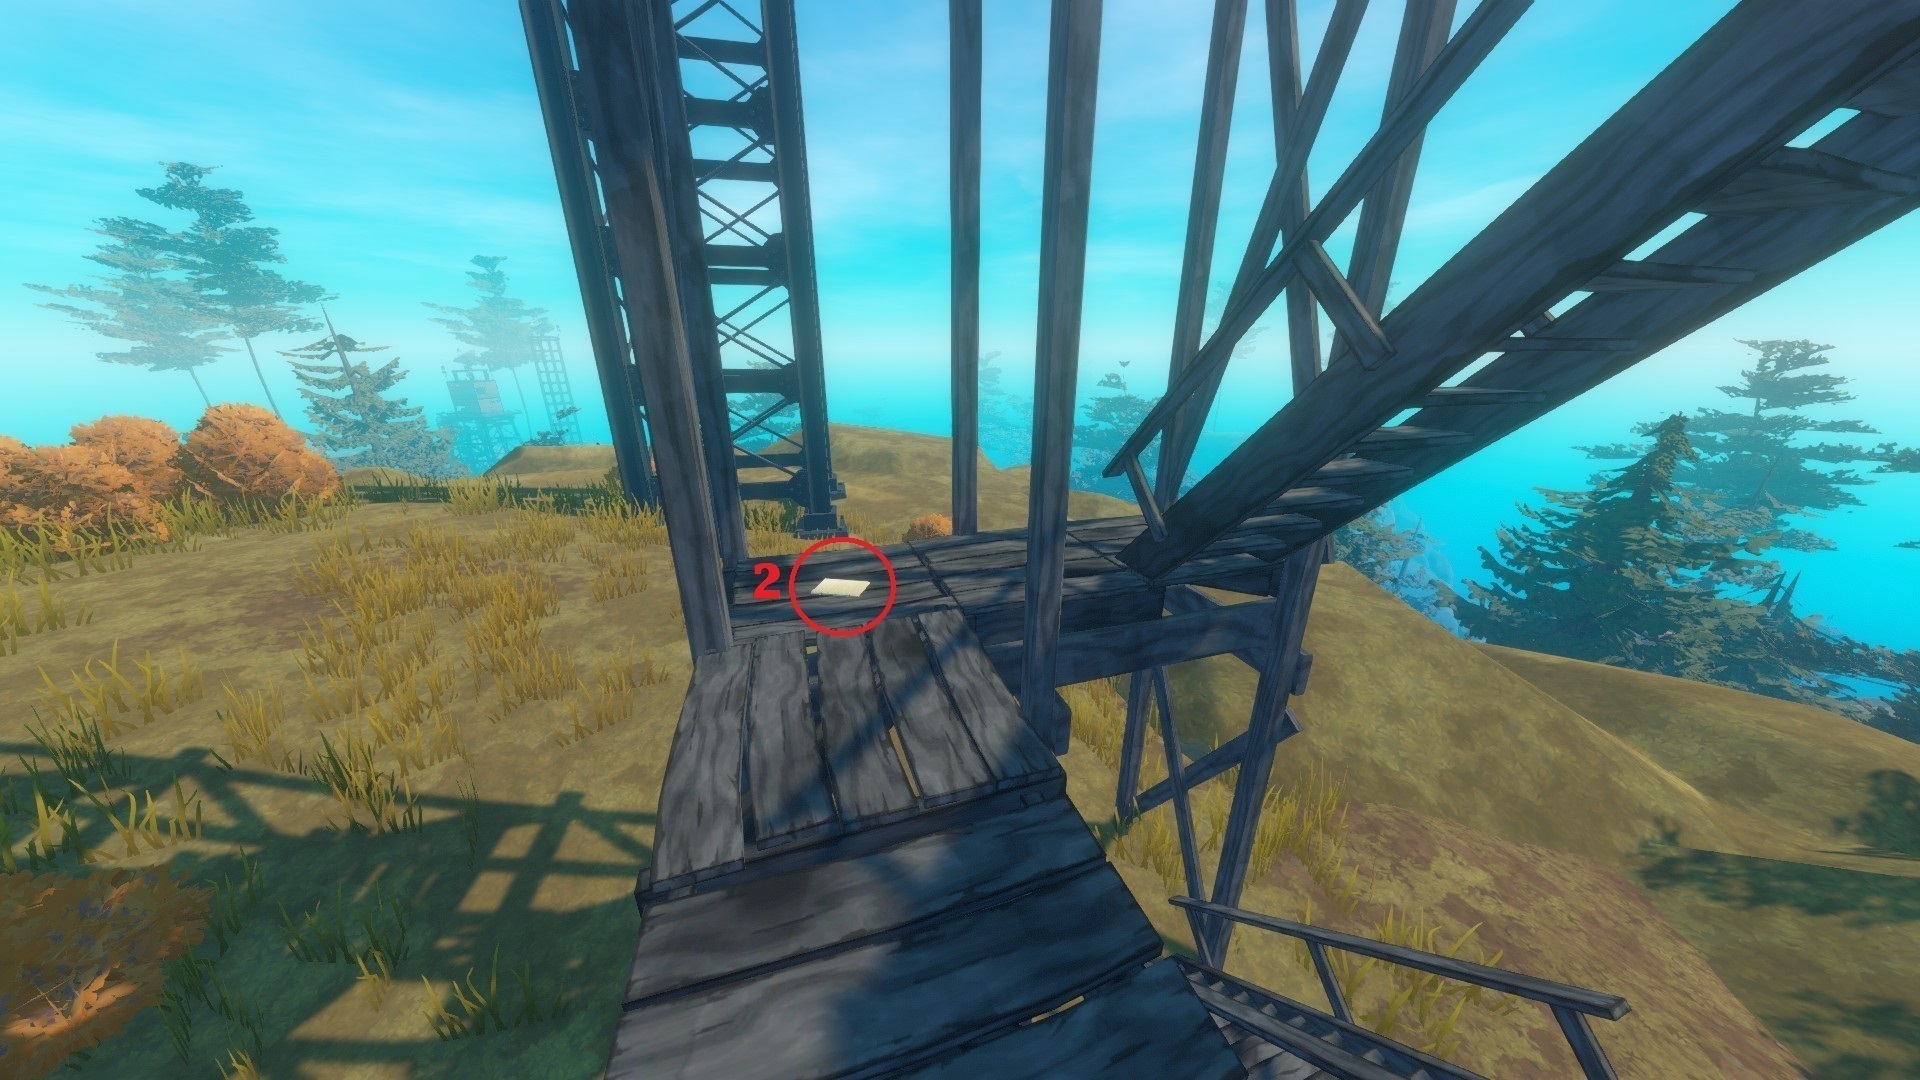
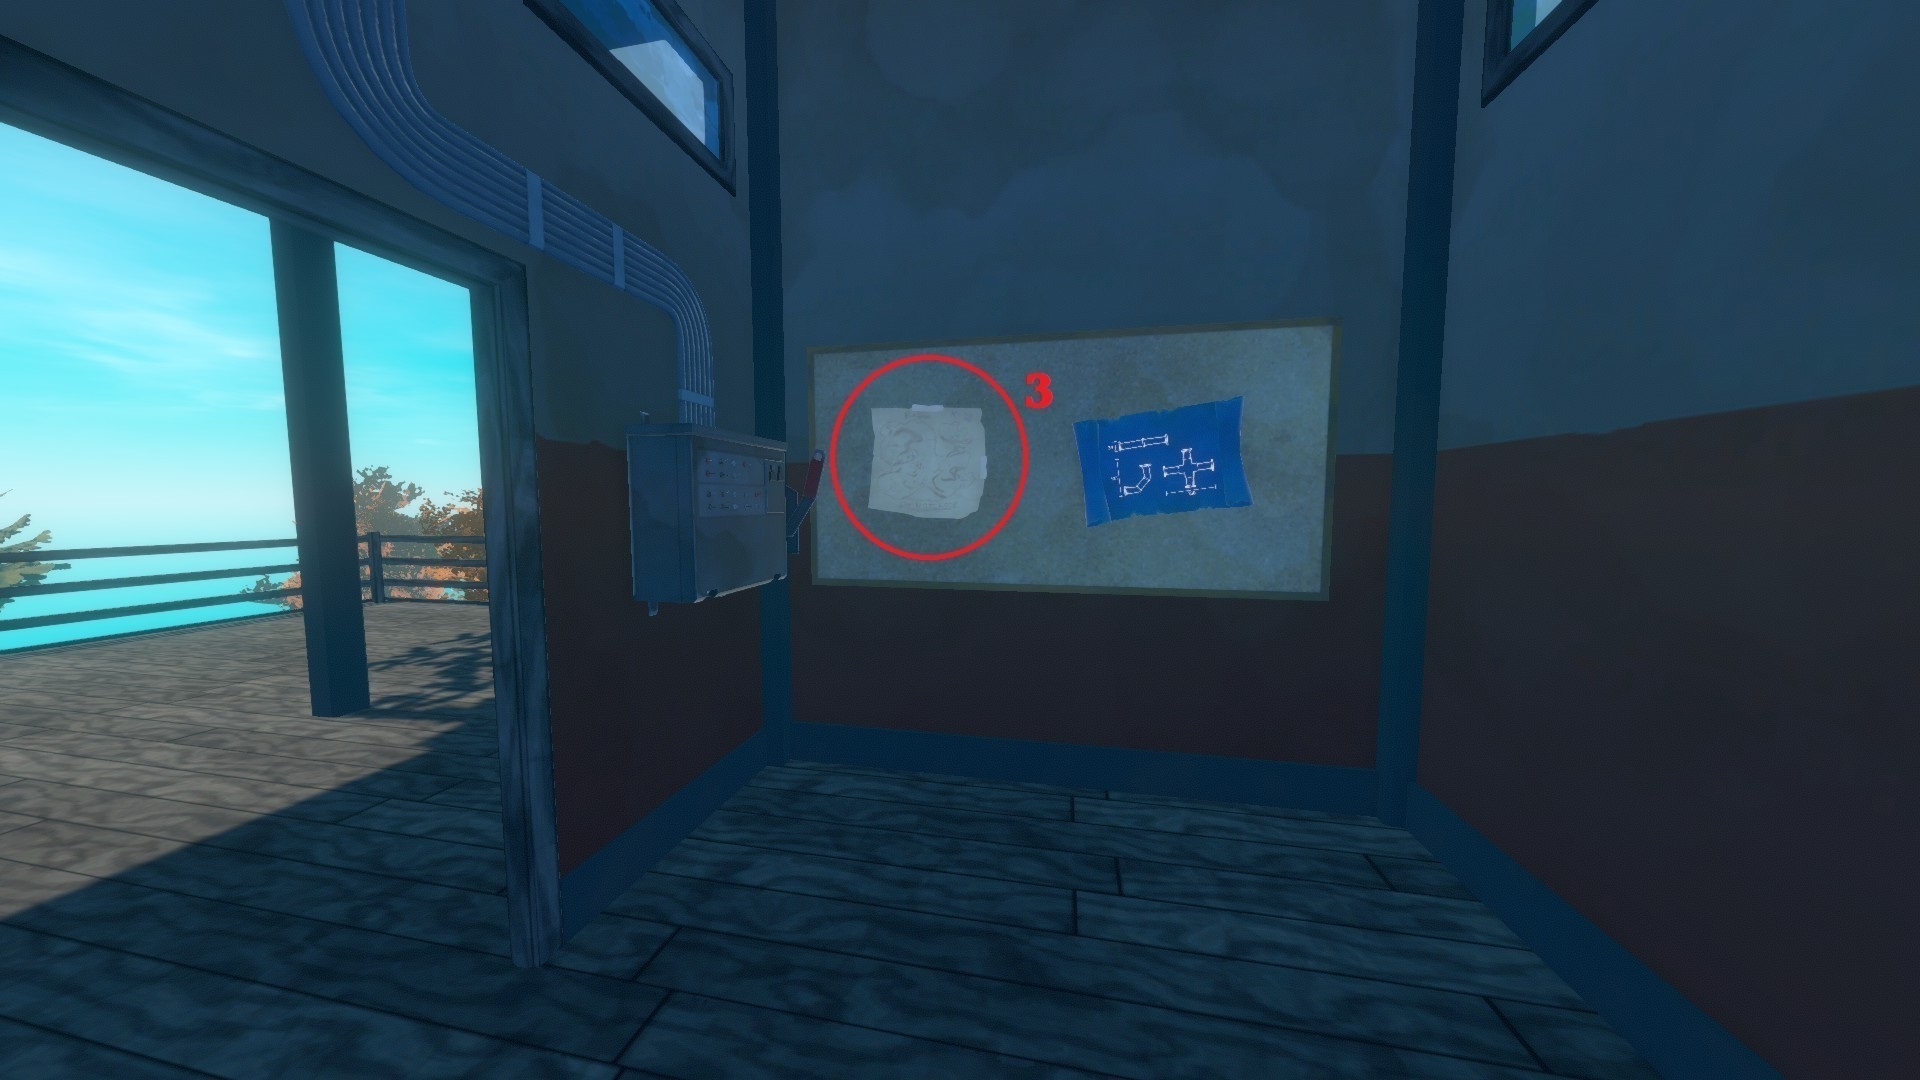
- The 1st one (Machete) is in Mama Bear's cave, in a crate with EMP written on it.
- The 2nd one (Fuel Tank) is in Relay Station 6, on a desk.
- The 3rd one (Fuel Pipe) is in Relay Station 4, on a wall.
- The 4th one (Biofuel Refiner) is in the Ranger Station (next to Relay Station 2), on a table.
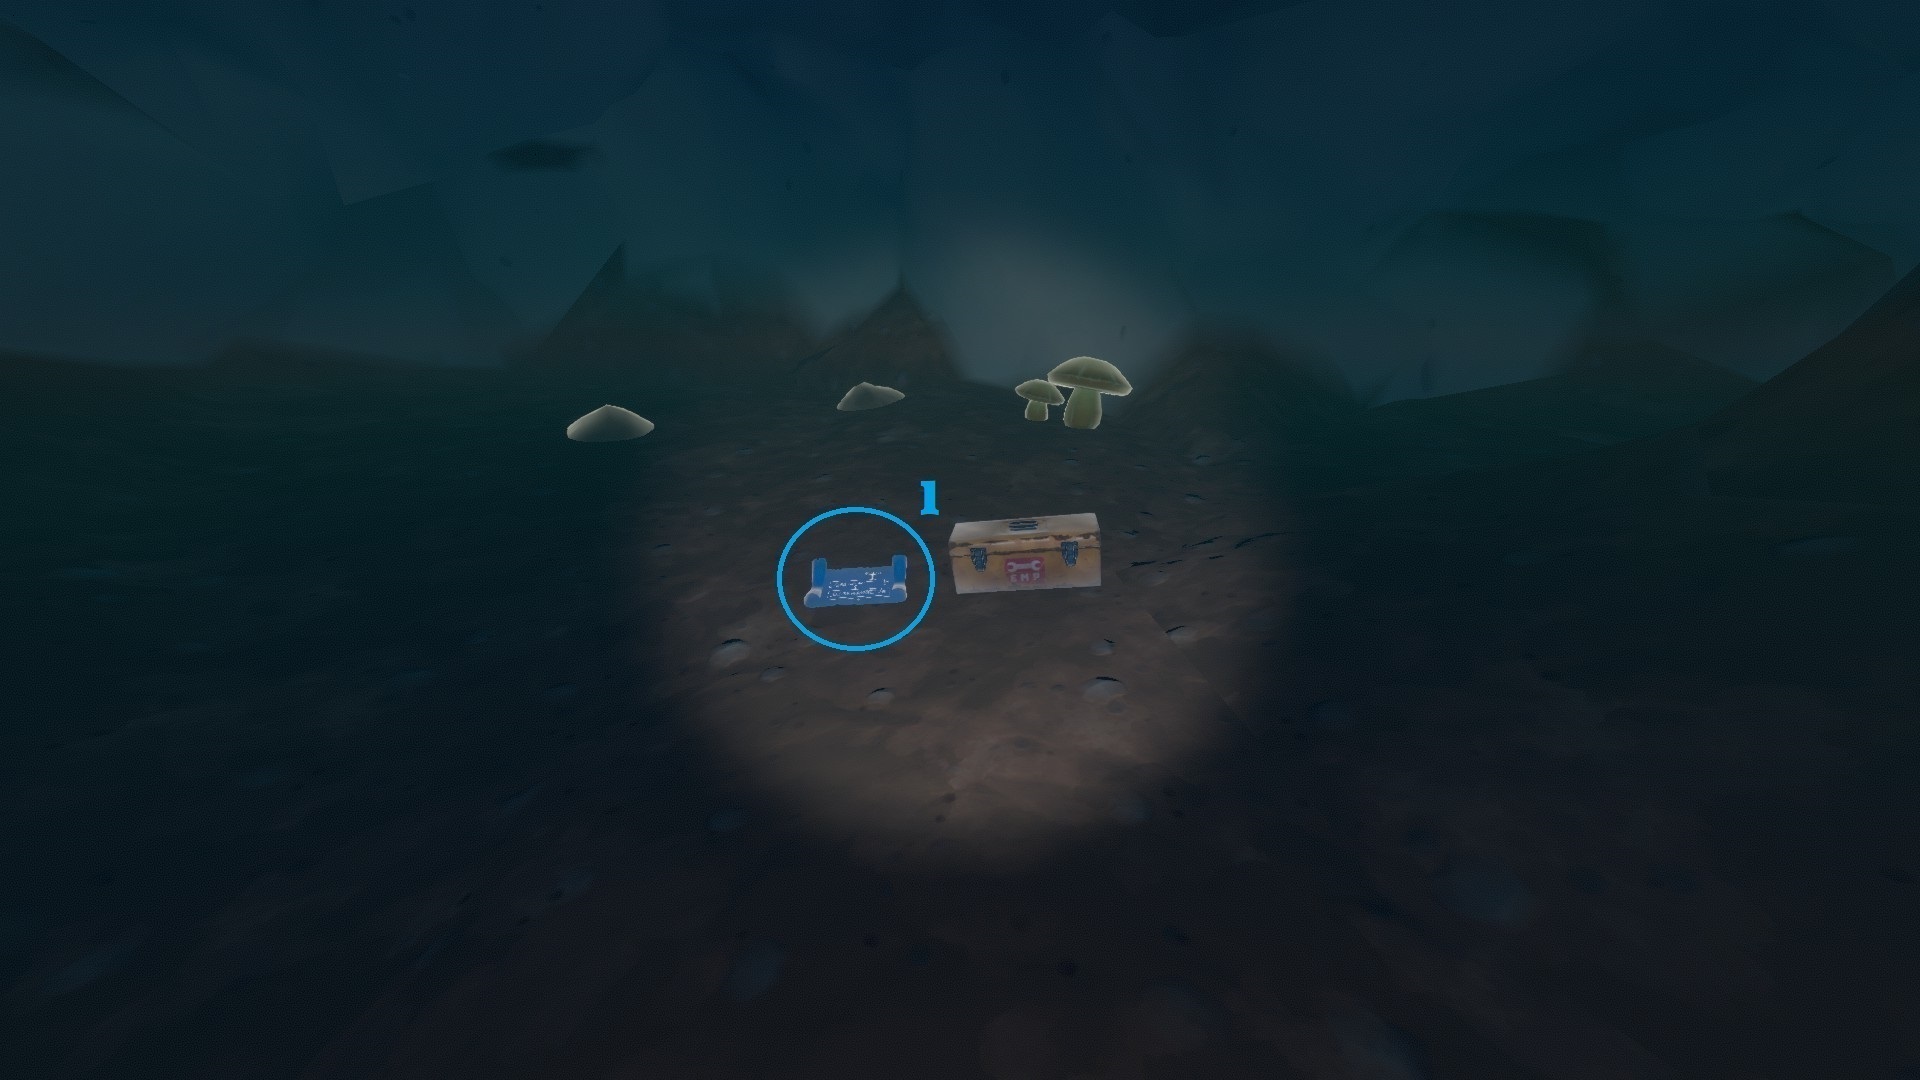
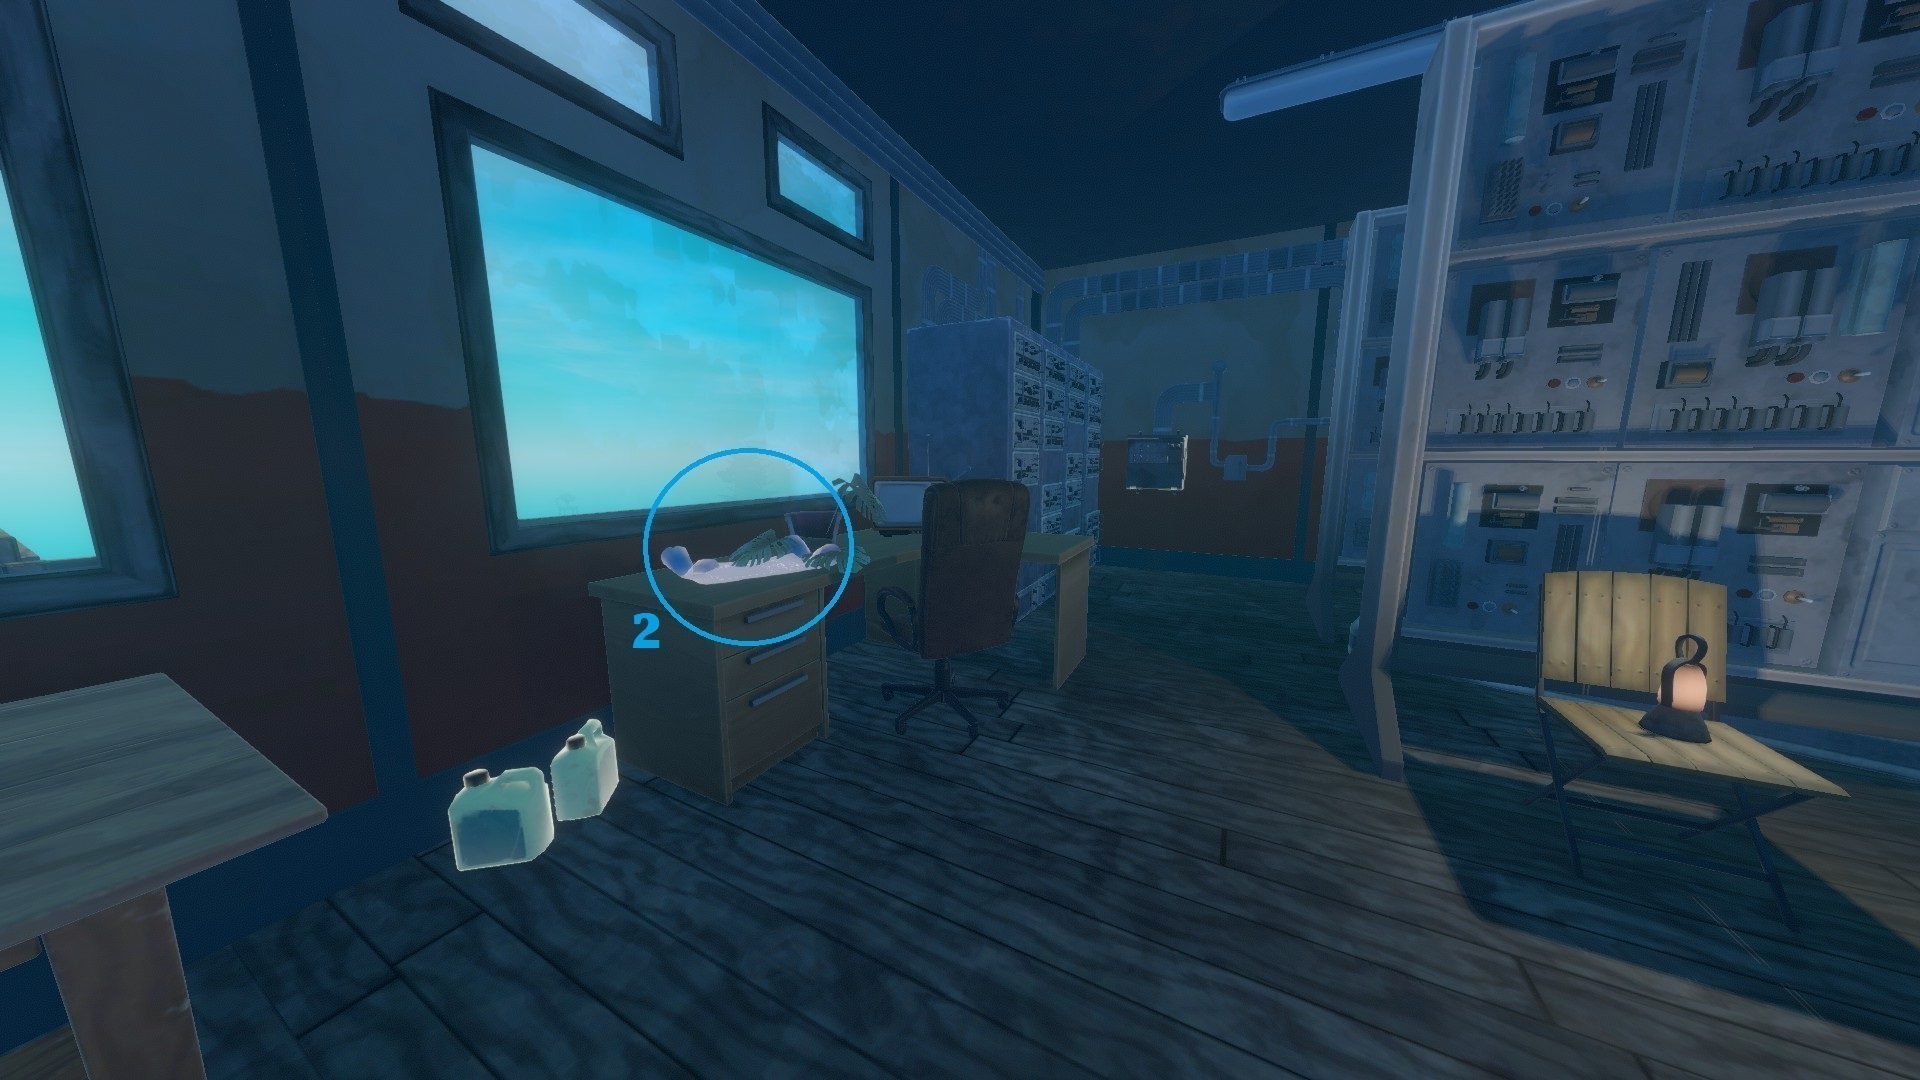
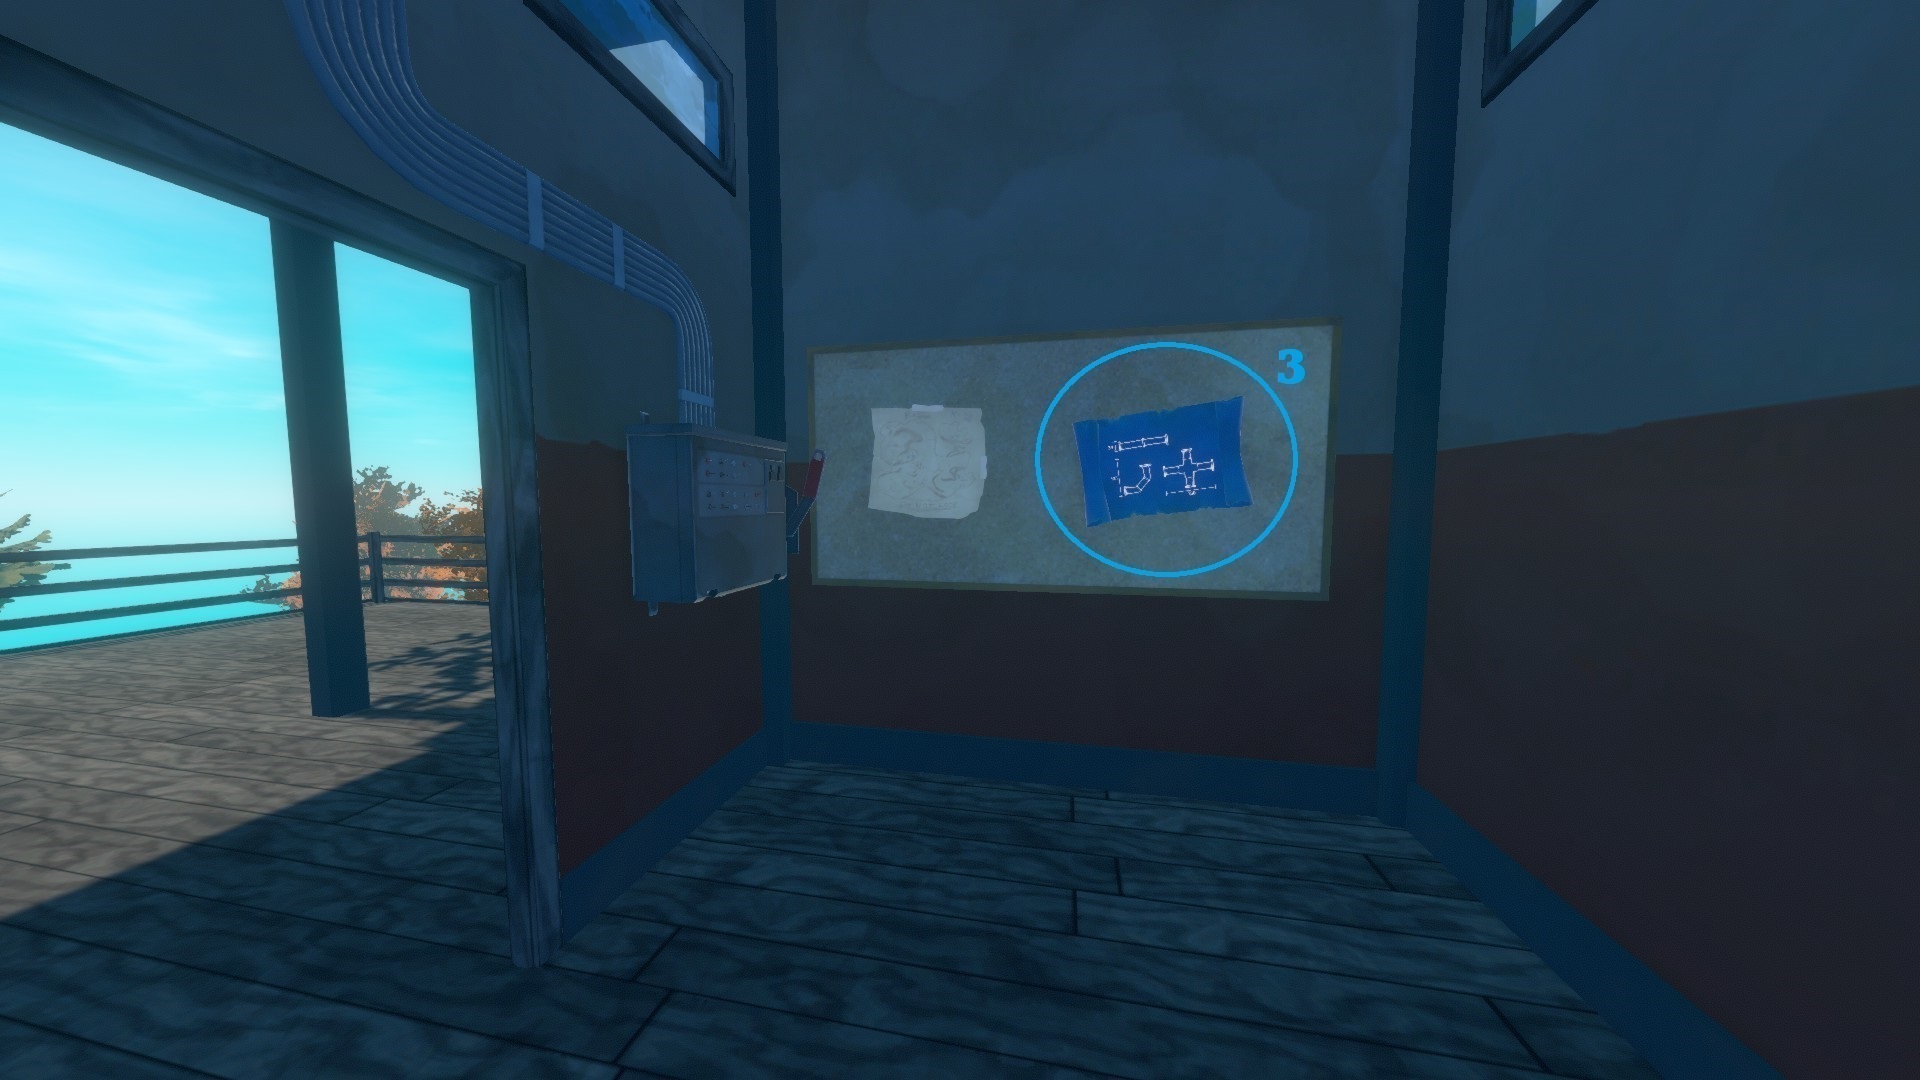
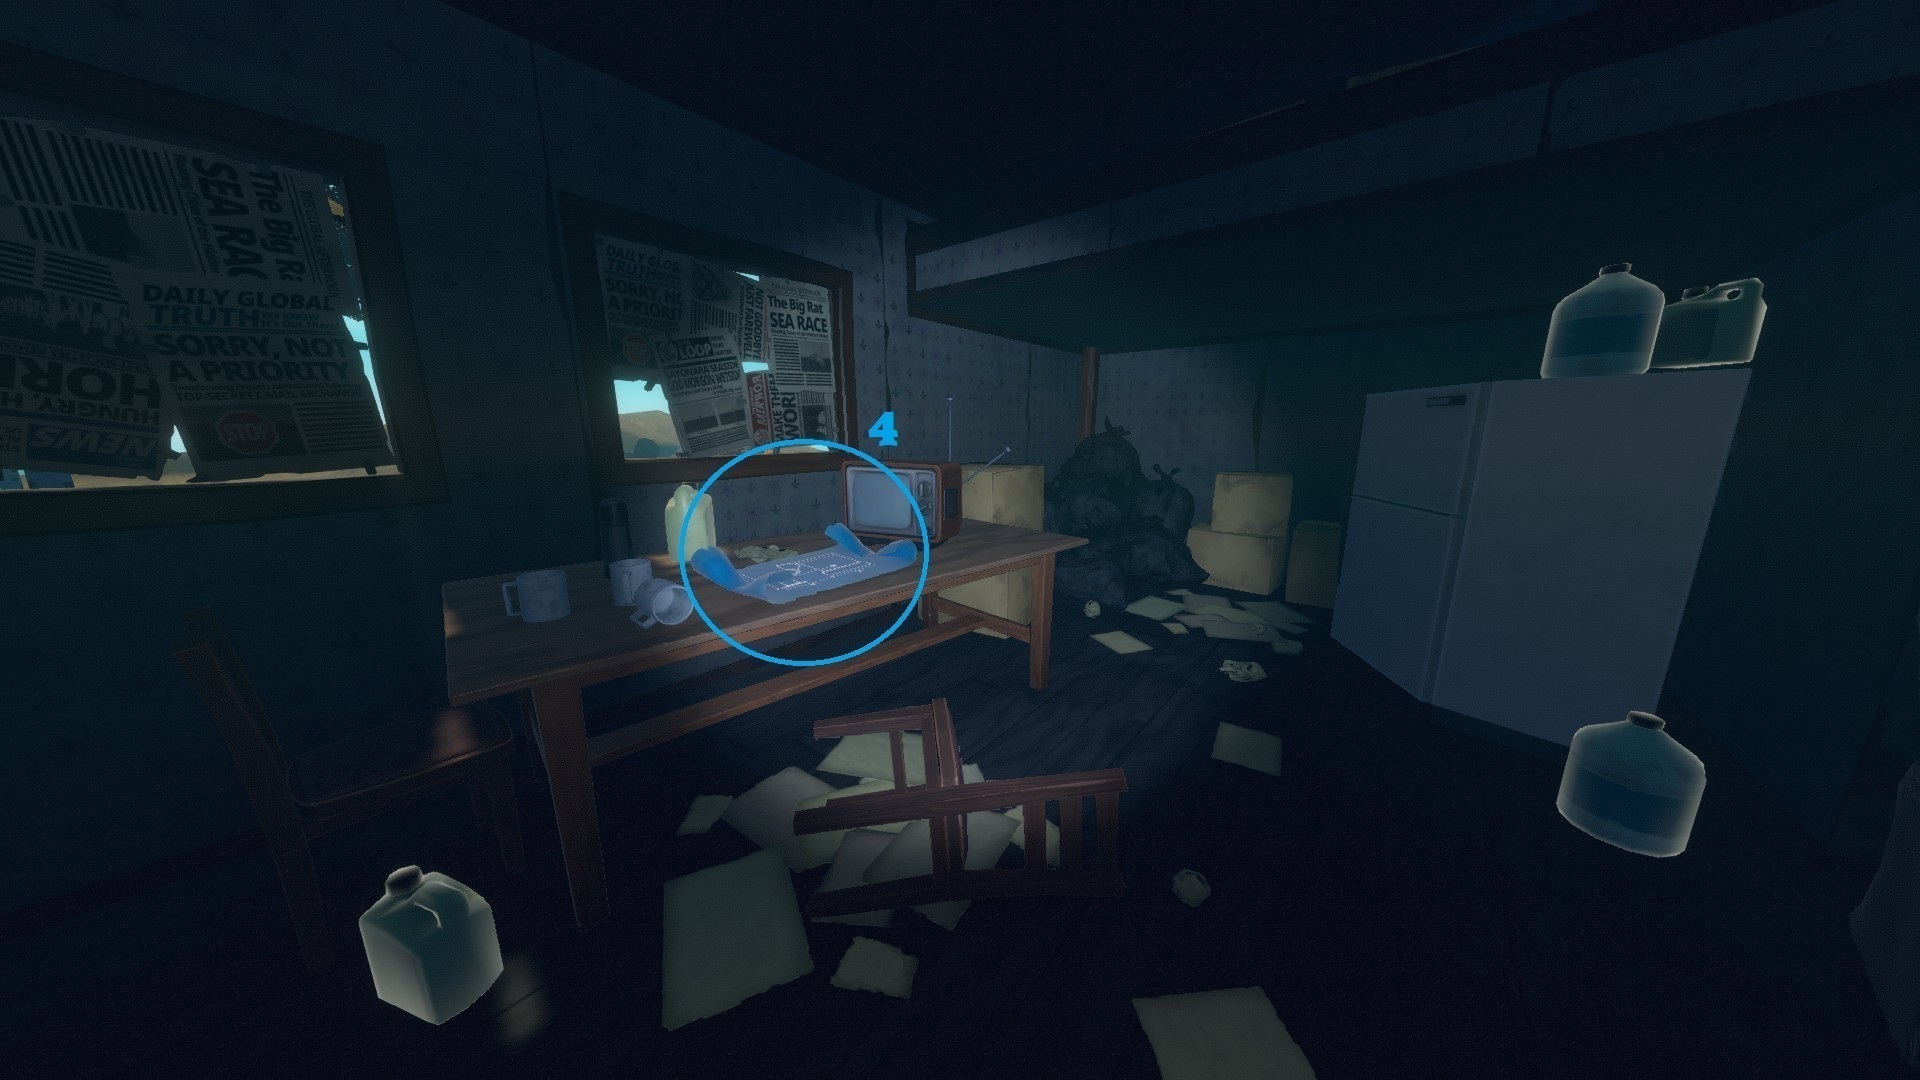
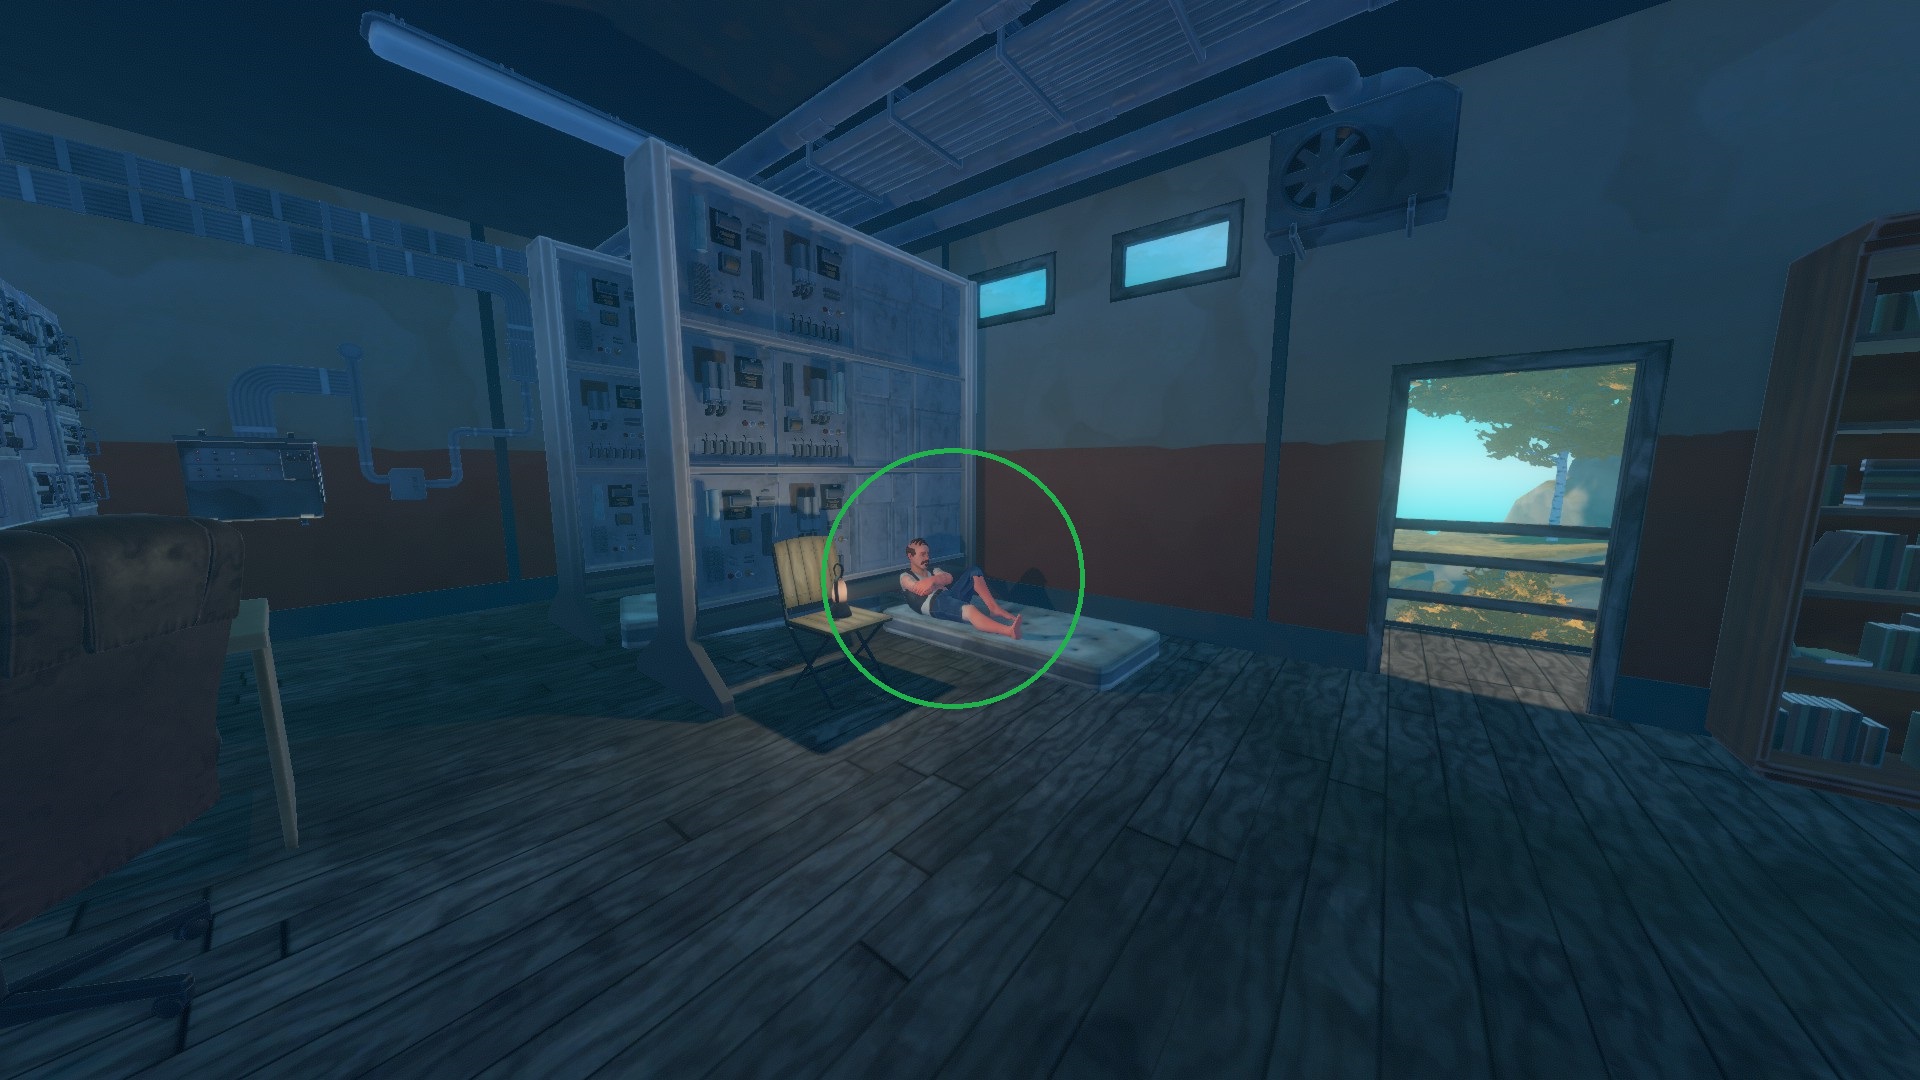
The unlockable character Johnny can be found in Relay Station 6, not far from the blueprint.
4. Caravan Town (Walkthrough)
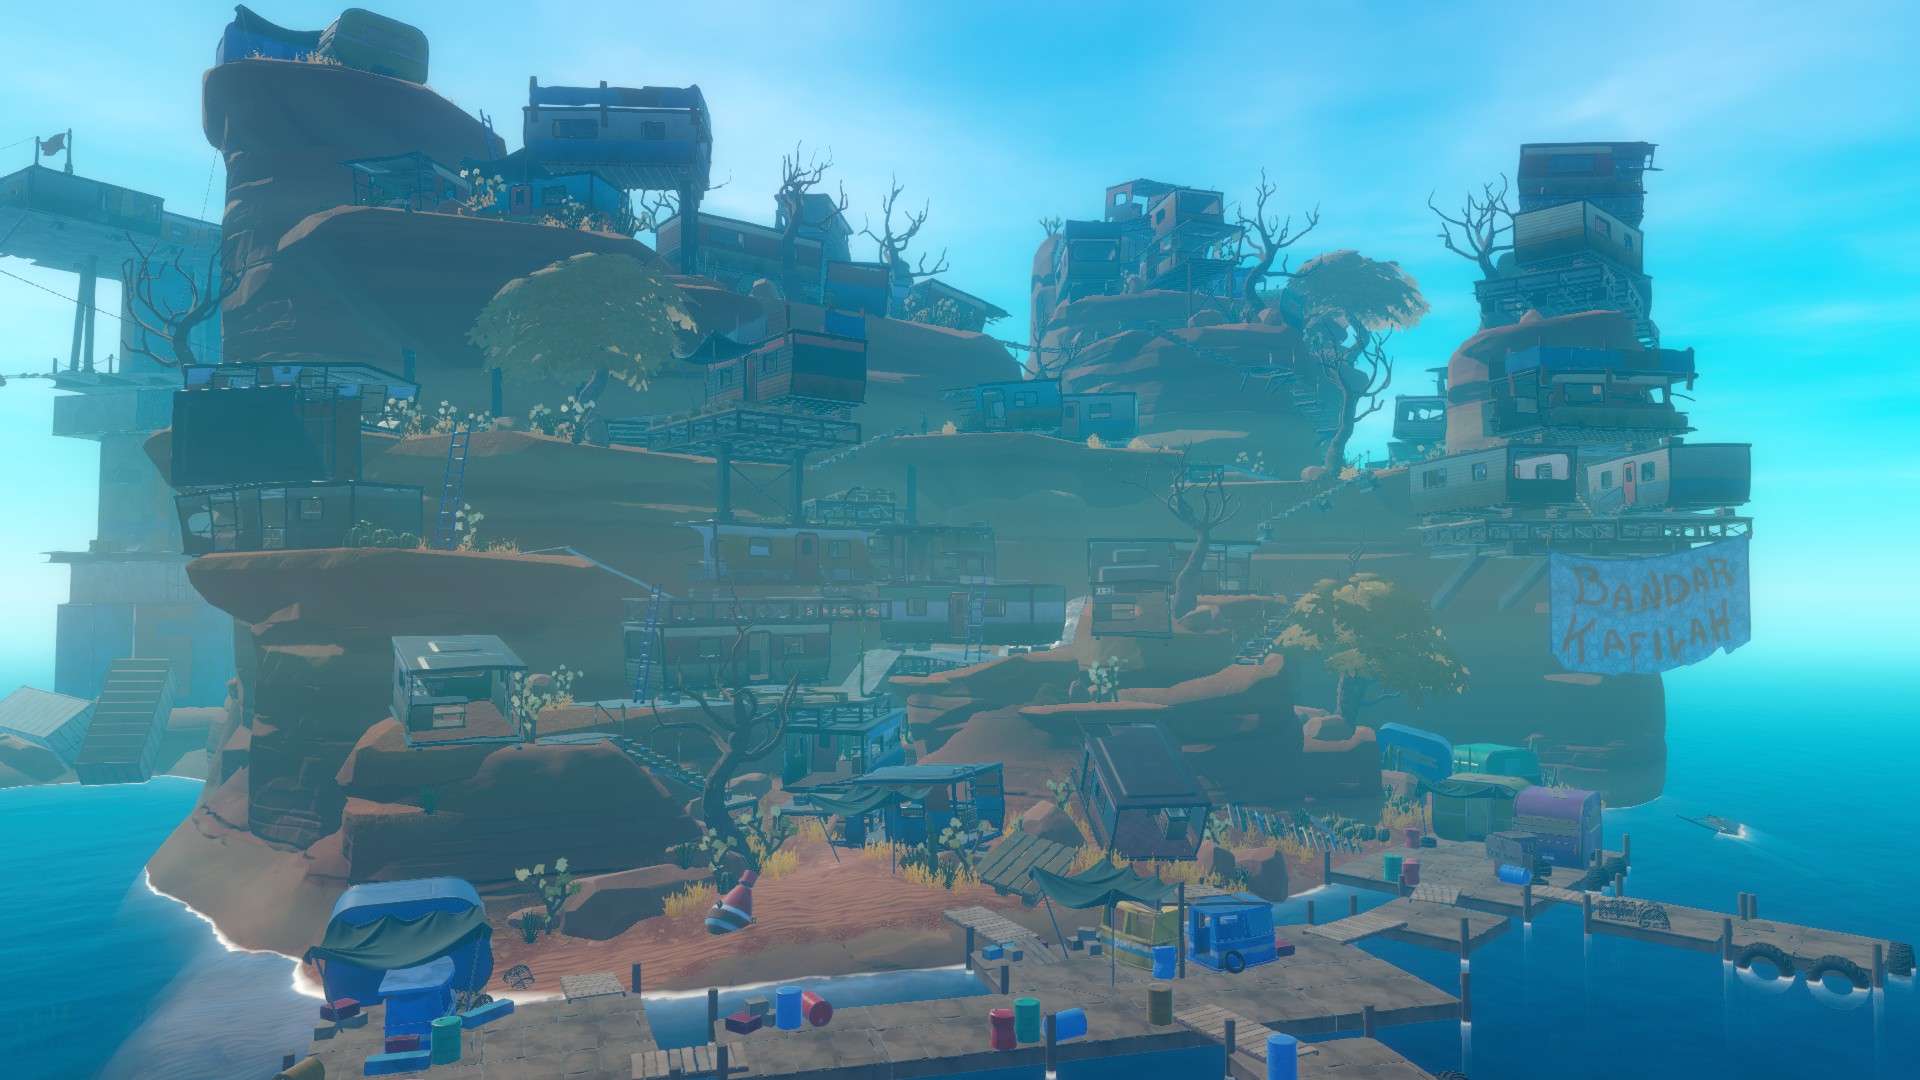 There are many caravans everywhere on the island with materials and food inside the drawers. There are lots of Puffer-Fish in the water and they will respawn after a while.
 There are 10 notes.
There are 6 blueprints: one for the Metal Detector, one for the Firework, one for the Zipline, one for the Zipline Tool, one for the Battery Charger and one for the Engine Controls.
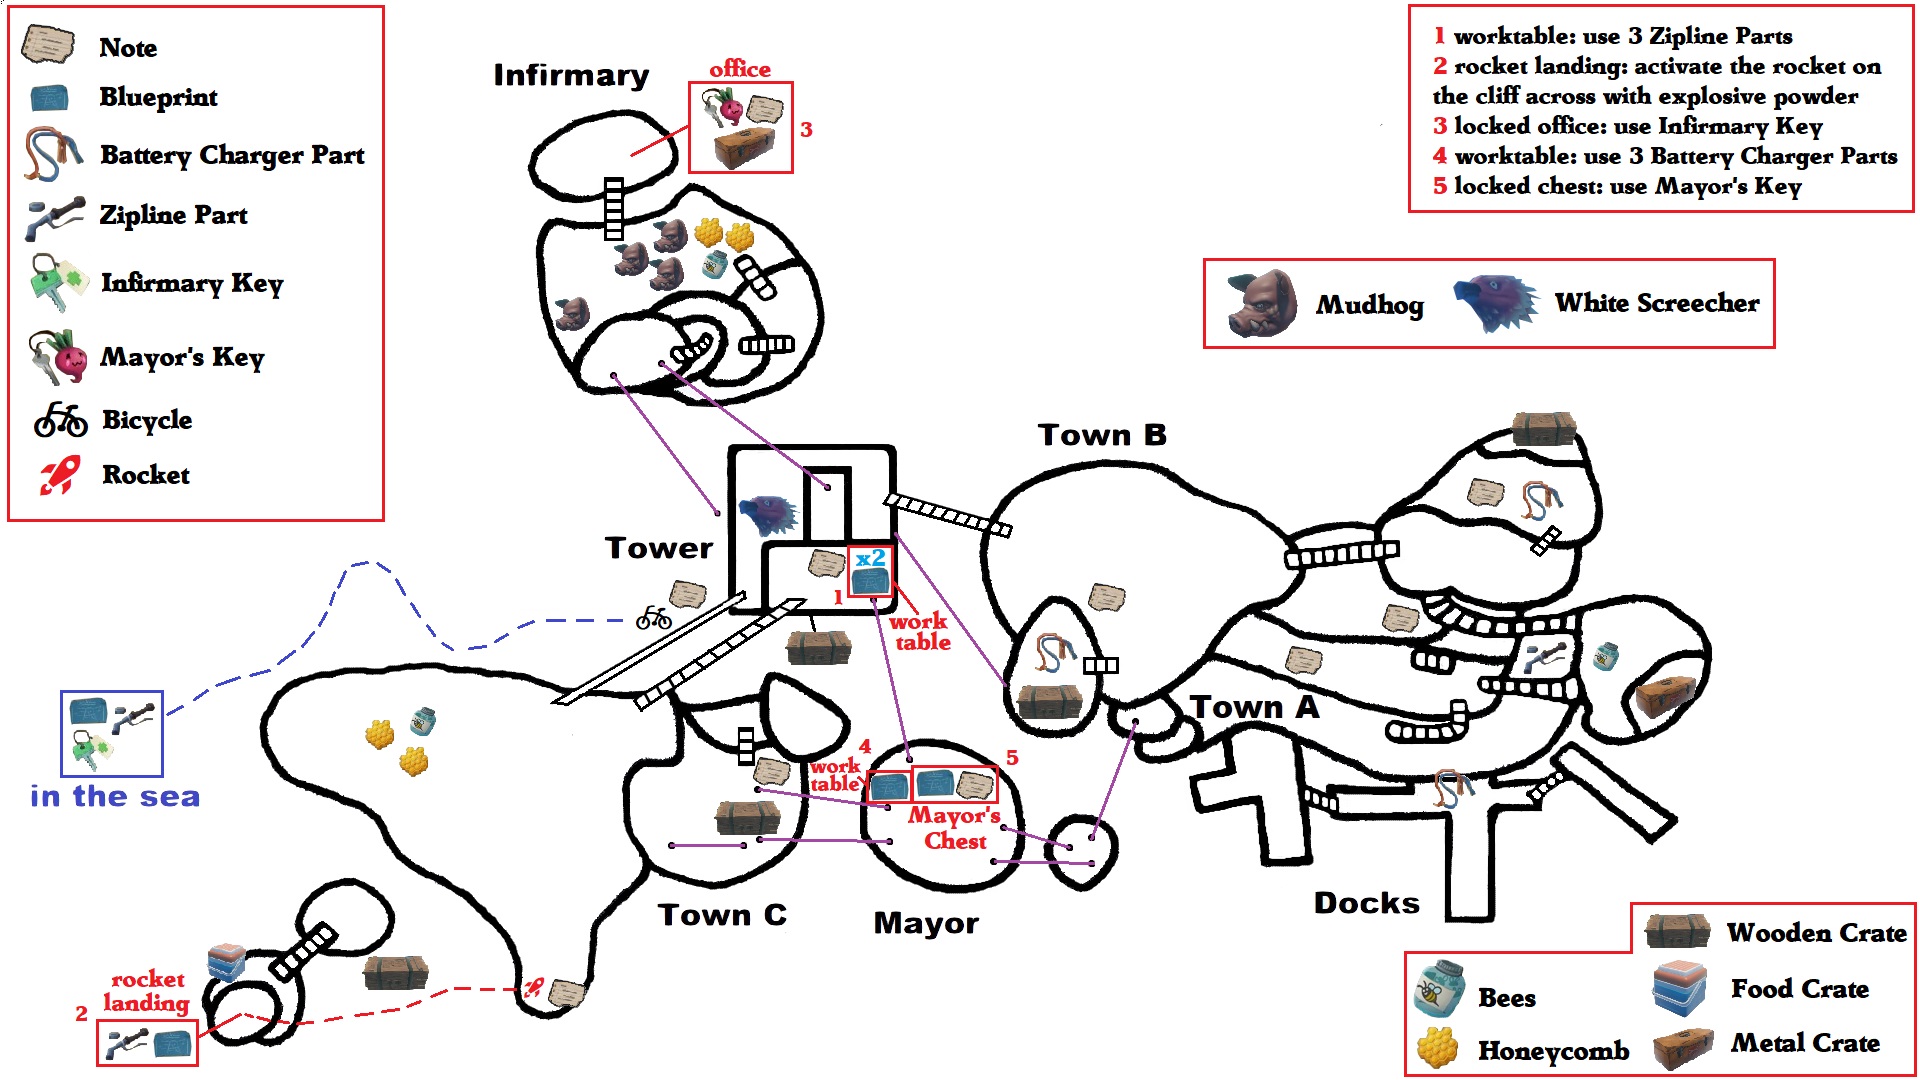
You need to find 3 zipline parts to be able to get to the Infirmary and the Mayor's house which are required to find the post-it with the coordinates.
You get the coordinates for the next place in a locked chest inside the Mayor's house.
 ⠀
⠀Walkthrough :
- Arriving at the Island : There are many ways to climb the island, this guide will start from the Docks which are the easiest to spot.
- The Docks :
=> The moment you set foot on the Docks, you should notice a yellow plastic square with "Port Office" written on it. Pick up a [Battery Charger Part] on the ground, just in front of it.
=> Then continue forwards towards Town A, the part of the town just next to the port. - Town A :
=> Climb the stairs on the left side of the beach (next to the docks). After the stairs, look on your right for a caravan with a blue ladder, climb it. There you will find an open caravan with a [Note].
=> Cross the 2 caravans until you see a wooden pallet on the left with a blue ladder on it, climb it. You should see a stair in front of you, on the right, go climb that too. You will then reach a [Water Pump] and a [Note].
=> Water Puzzle (see video) :
Press the [Water Pump] to see the water's trajectory. You'll have to move 3 pipes to let the water reach a [Well]. If you don't place them well, the water flow could be too weak. In any case, once the pipes are placed, you'll have to go up again to press the [Water Pump] at least 4 times (it can be more or less depending on how well you've placed the pipes). The [Well] should be filled now, you can go down again to pick up inside a [Zipline Part].
=> Go all the way up again and continue forward after the water pump then take a set of 3 staircases. At the top there will be a wooden bridge on the left and stairs on the right, take those. You'll see a blue caravan with a blue ladder, climb it and you'll find a [Battery Charger Part]. Walk inside the caravan just next to the battery charger part, where you will find a [Note].
=> Go back down, take the single staircase, ignore the set of 3 staircases you took earlier and instead take the small wooden bridge towards Town B, the part of the town with caravans in circle and shops. - Town B :
=> Inside the circle of caravans, you should see a sign with "Canned Goods" written on it. Behind it there's a caravan with a red door, open it to find a [Note].
=> Go back outside and take the blue ladder on the caravan behind the "Canned Goods" sign. Once on the caravan, look on your left for yet another blue ladder and climb it. There you will find a [Battery Charger Part].
=> Go back down and cross a big wooden bridge towards the huge [Tower]. - Tower :
=> Go inside the only room at the top of the Tower. There, you will find a [Note] and a worktable but you don't have enough zipline parts yet so ignore it.
=> Go out and take the grey ladder on the side of the room to reach its roof. Careful for the White Screecher which should be attacking you soon. It won't leave you alone until it's dead so just take care of it now while you're high up. It doesn't have much health and it barely hurts.
=> Next to the flag, you should see a huge metal rope and a wooden bridge with holes going to an island. Take either. - Big Island next to Tower and Town C :
=> On the right side of the island (with the Tower at your back) there is a big red canister next to a wooden pallet. On the pallet you will find a [Note]. Use [Explosive Powder] on the cannister which is actually a [Rocket] to make it launch (you can get explosive powder by putting explosive goo in a smelter, you can get the explosive goo by killing one of the many puffer-fish around Caravan Town).
=> Follow the rocket to a lonely small island next to you. Use the caravans in the water to reach the island. Then take the wooden bridge, climb another caravan to reach a grey ladder then a blue ladder on your right and you will reach the top of the island where the contents of the rocket are waiting. Pick the doll up to get a [Blueprint] (Firework) and [Major Tomb] (a decorative item). Then pick up the box to get a [Zipline Part].
=> Face the cliffs on the other side (where you launched the rocket) and jump in the water. Swim towards the left side of the cliffs until you reach the bottom of the [Tower]. - Tower Bottom :
=> You should find a [Bicycle] and a [Note] next to it.
=> There's a pipe connected to the bicycle, follow it underwater. Careful it's a long way to go and there are lots of puffer-fish blocking your way. - Underwater :
=> Follow the pipe underwater, you can do it without an oxygen bottle but you'll have to hurry. You have 2 checkpoints on the way where you can get some air and be safe from Puffer-Fish. The end has an air spot with a [Blueprint] (Metal Detector), a [Zipline Part] and the [Infirmary Key].
=> Follow the pipe back to the surface. After reaching the bicycle, you'll see stairs on your right. Climb the black caravan to reach it. Then a blue ladder. Then more stairs, then 2 more blue ladders with a [Note] on the caravan, between the two ladders.
=> Take the wooden bridge to reach the Tower and climb it. - Tower :
=> Inside the Tower you can exchange your 3 [Zipline Parts] at a worktable against 2 [Blueprints] (Zipline and Zipline Tool) and a [Zipline Tool].
=> Equip your [Zipline Tool] and go on the roof to take a Zipline towards an island with pigs and "Infirmary" written on a roof. - Infirmary Island :
=> Go to the set of caravans and climb them until you find a locked door that you can open with the [Infirmary Key] you've found underwater. There you will find a [Note] and the [Mayor's Chest Key]. Go back to the Tower and take another Zipline, this time to reach a small island with Mayor written on a roof. - Mayor Island :
=> There you can find a [Mayor Hat] (decorative hat), exchange your 3 [Battery Charger Parts] against a [Blueprint] (Battery Charger) and open a locked chest with your [Mayor's Chest Key] to find a [Blueprint] (Engine Controls) and a [Note] with the coordinates for the next story place.
Caravan Town (Notes/Blueprints)
Notes :
- The 1st note is on the left side of the town from the port (while the sea is behind your back).
=> [DETTO'S SCIENTIFIC JOURNAL-CLASSIFIED-...] - Page 17 - The 2nd note is at the top of the town from the port, next to the water pump.
=> [DETTO'S SCIENTIFIC JOURNAL-TOP TOP SECRET-...] - Page 17 - The 3rd note is just after reaching the top of the town from the port, on the right. You need to climb a caravan.
=> [DETTO'S ADVENTURE JOURNAL...] - Page 20 - The 4th note is in one of the caravans that form a circle. It's the one with the CANNED GOODS sign.
=> [SAILING AS ONE THE RAFT TOWNS OF INDONESIA] - Page 21 - The 5th note is at the top of the tower.
=> [SPEECH TO THE RAFTERS, 17th of may FITFH DRAFT] - Page 20 - The 6th note is on one of the islands you can reach through the tower without a zipline. It's next to the rocket.
=> [DETTO'S EXPERIMENT JOURNAL -ATTEMPT #733...] - Page 18 - The 7th note is at the foot of the tower, next to a bicycle.
=> [My name is Sanjay. I think I'm in trouble.] - Page 18 - The 8th note is on a caravan, just next to a ladder. It's not far from the wooden bridge coming from the Tower towards the island with the rocket.
=> [DETTO'S SCIENTIFIC JOURNAL -MONSTER INVESTIGATION-] - Page 19 - The 9th note is inside the Infirmary. From the tower you can see the Infirmary sign on top of a building which you can only reach through a zipline.
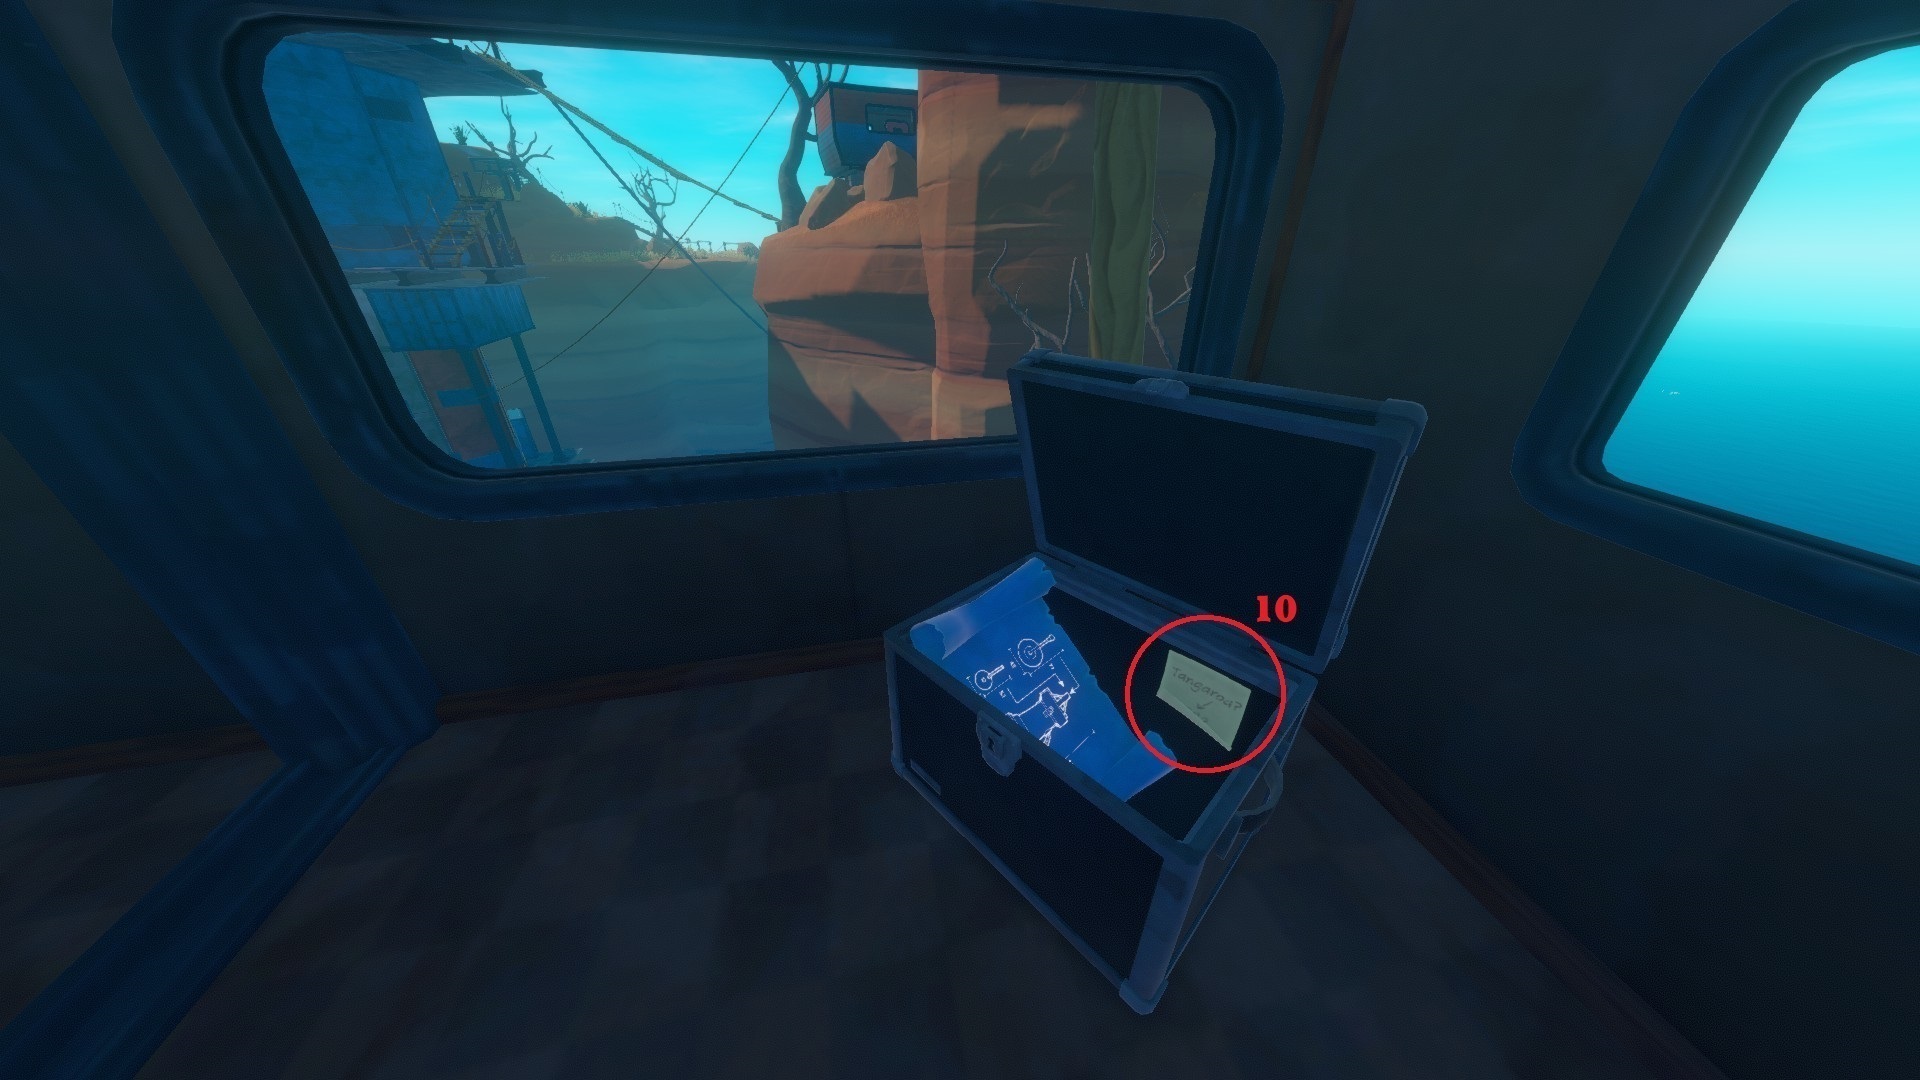
=> [It's been three days. Stuck in this shack...] - Page 22 - The 10th note is inside the Mayor's safe. You get the key for the safe inside the Infirmary.
=> [Tangaroa?] - Page 22
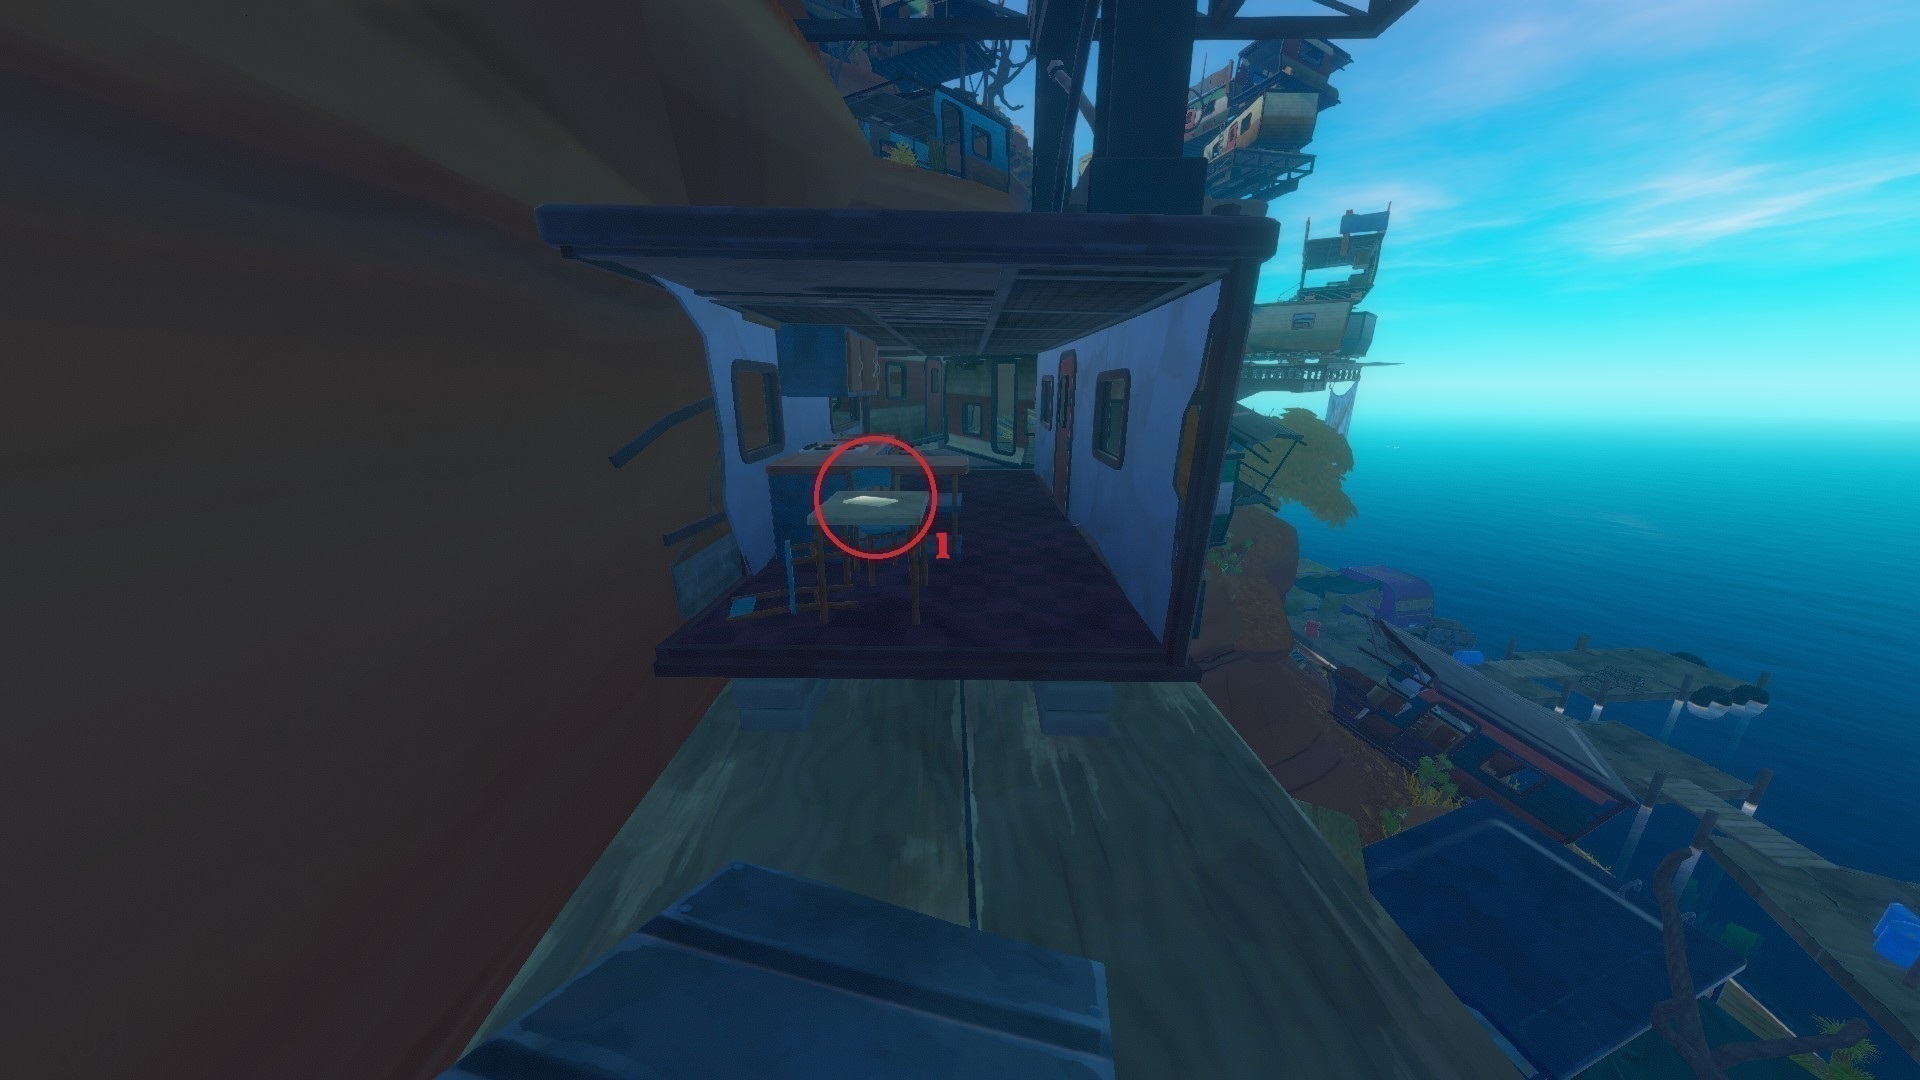
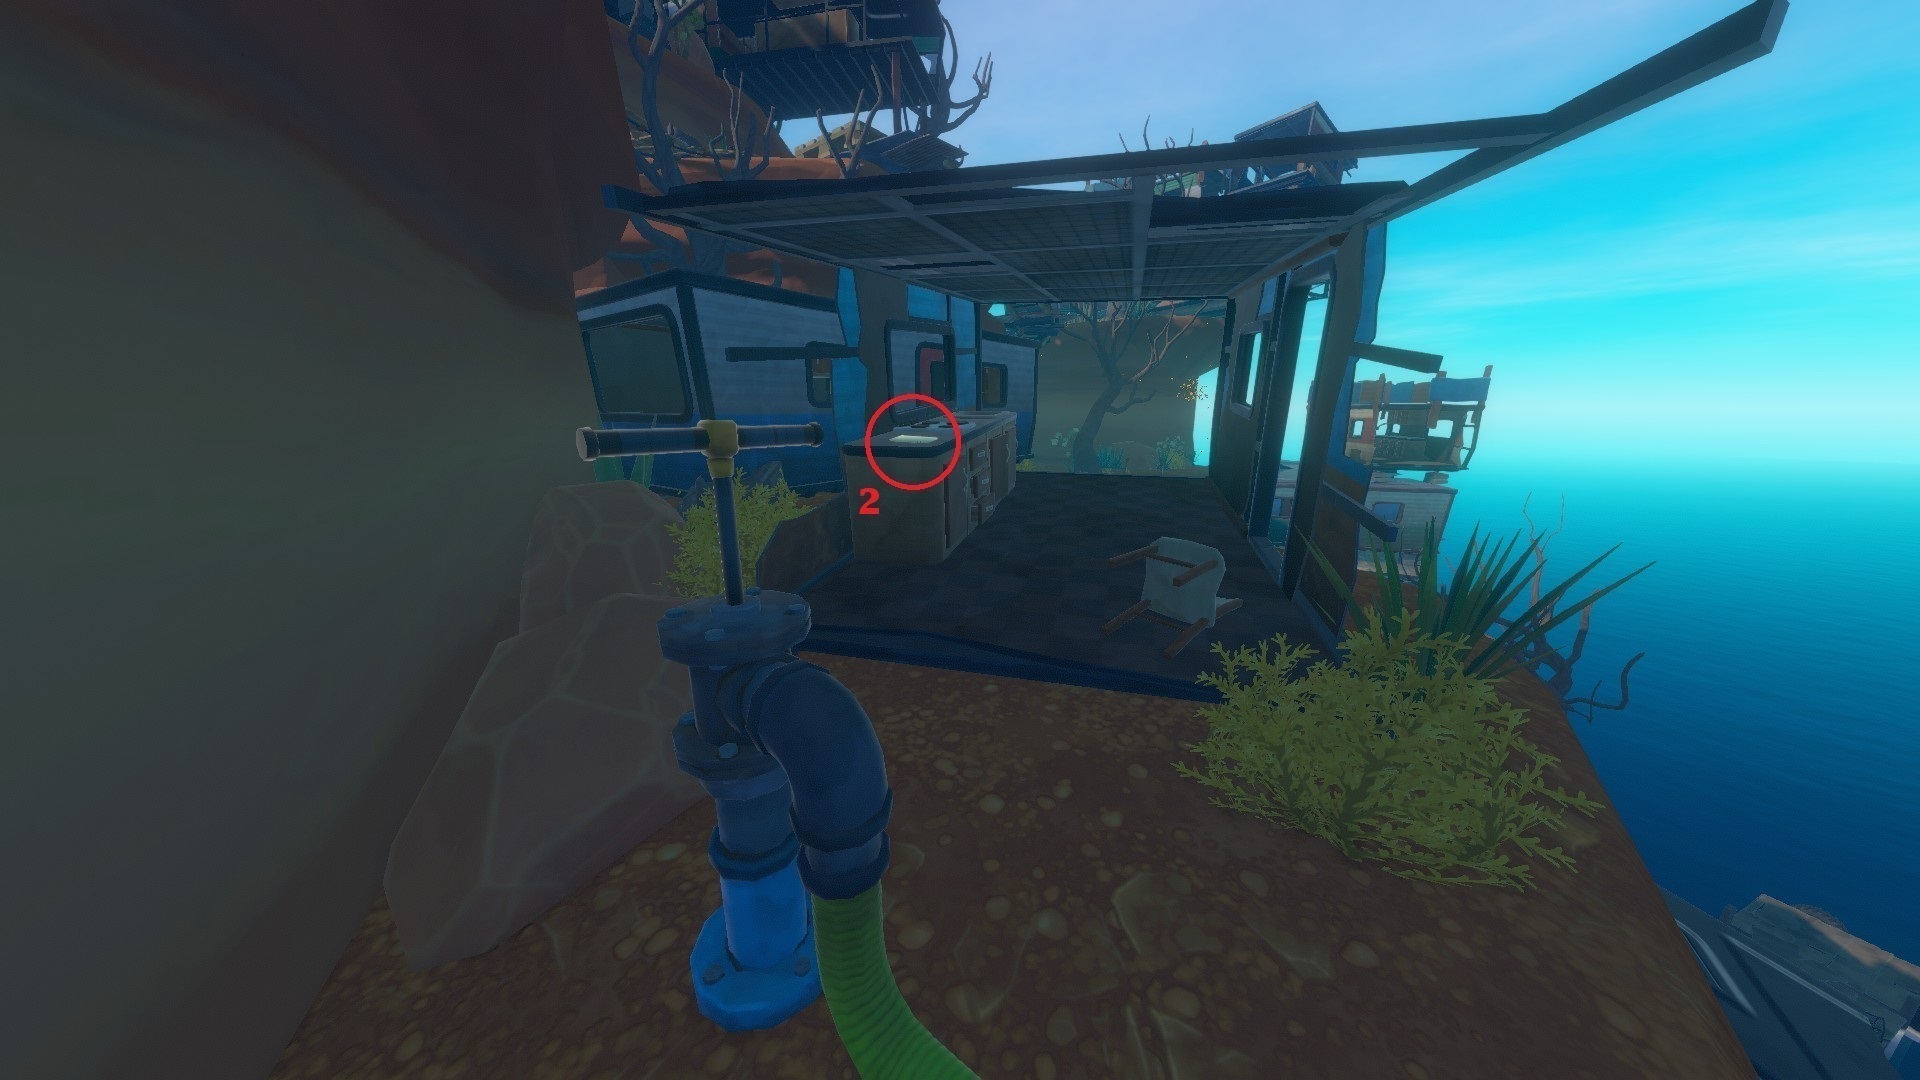
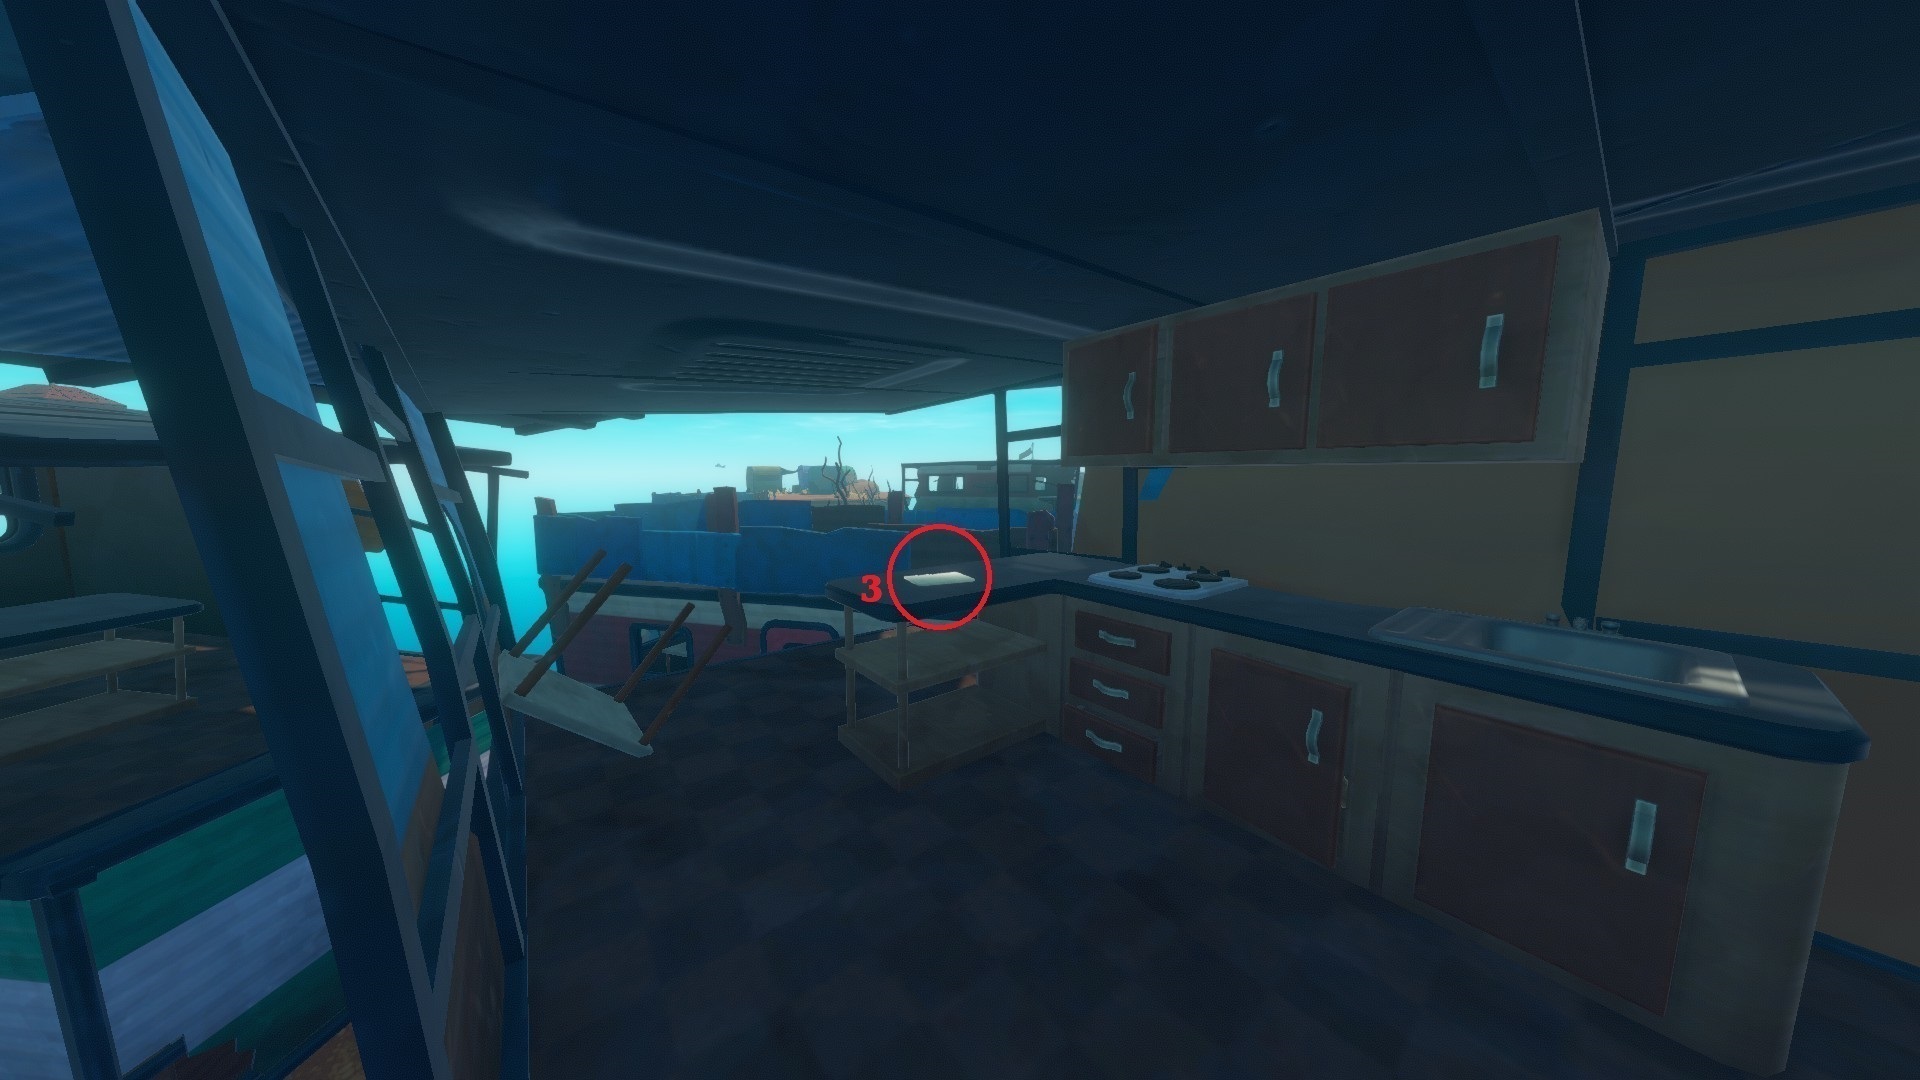
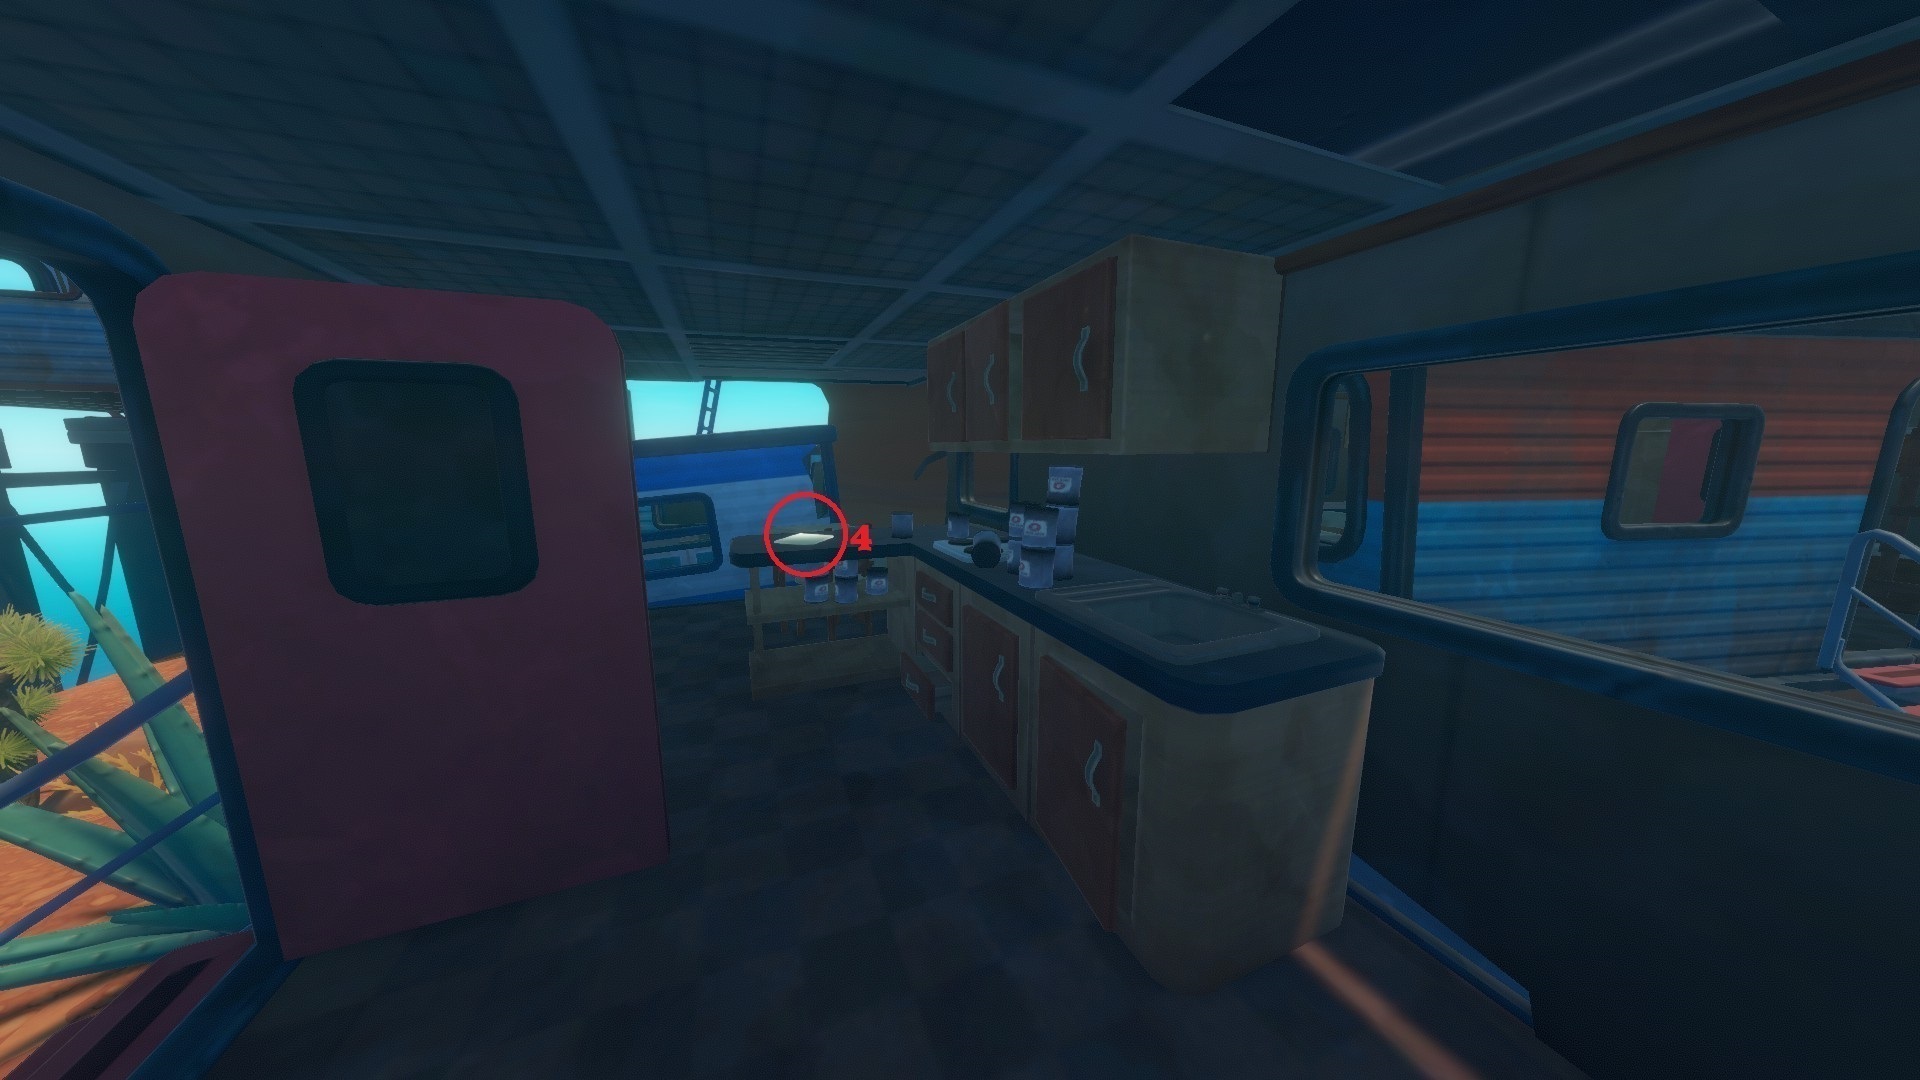
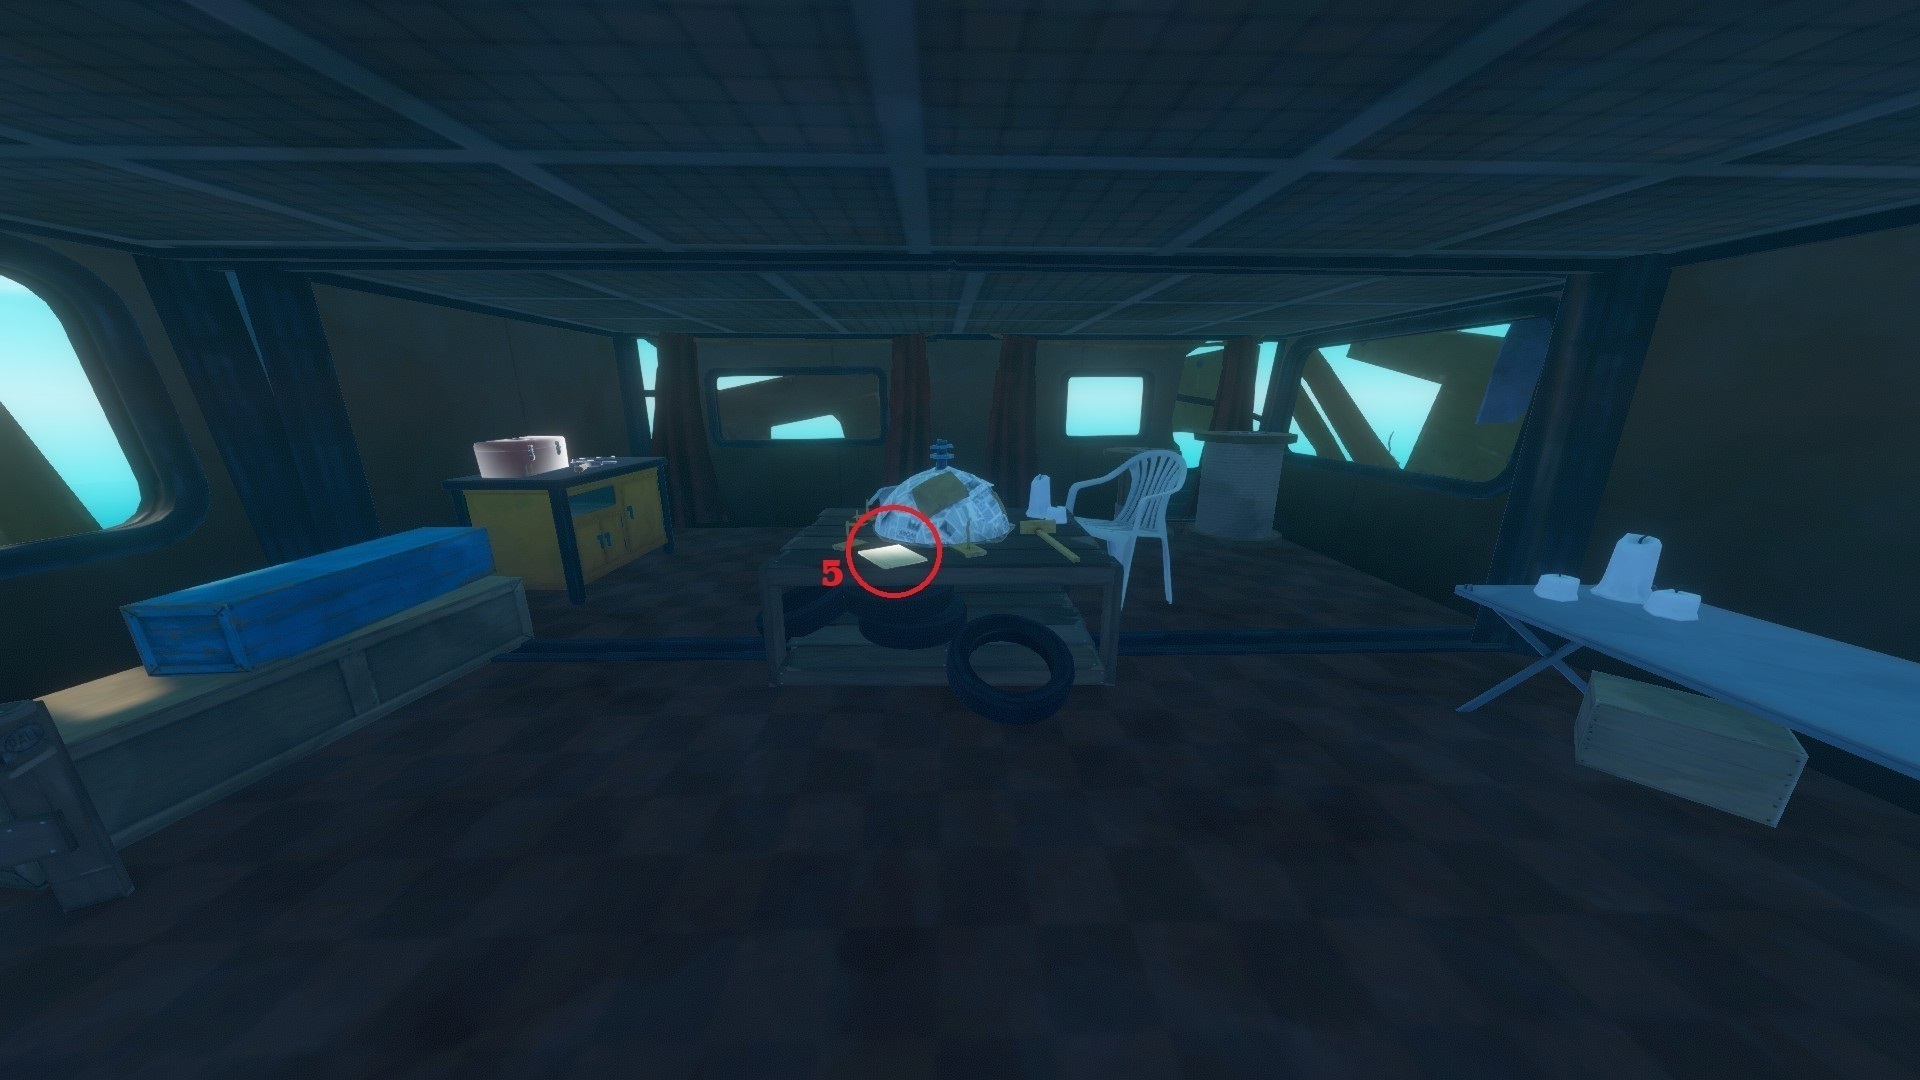
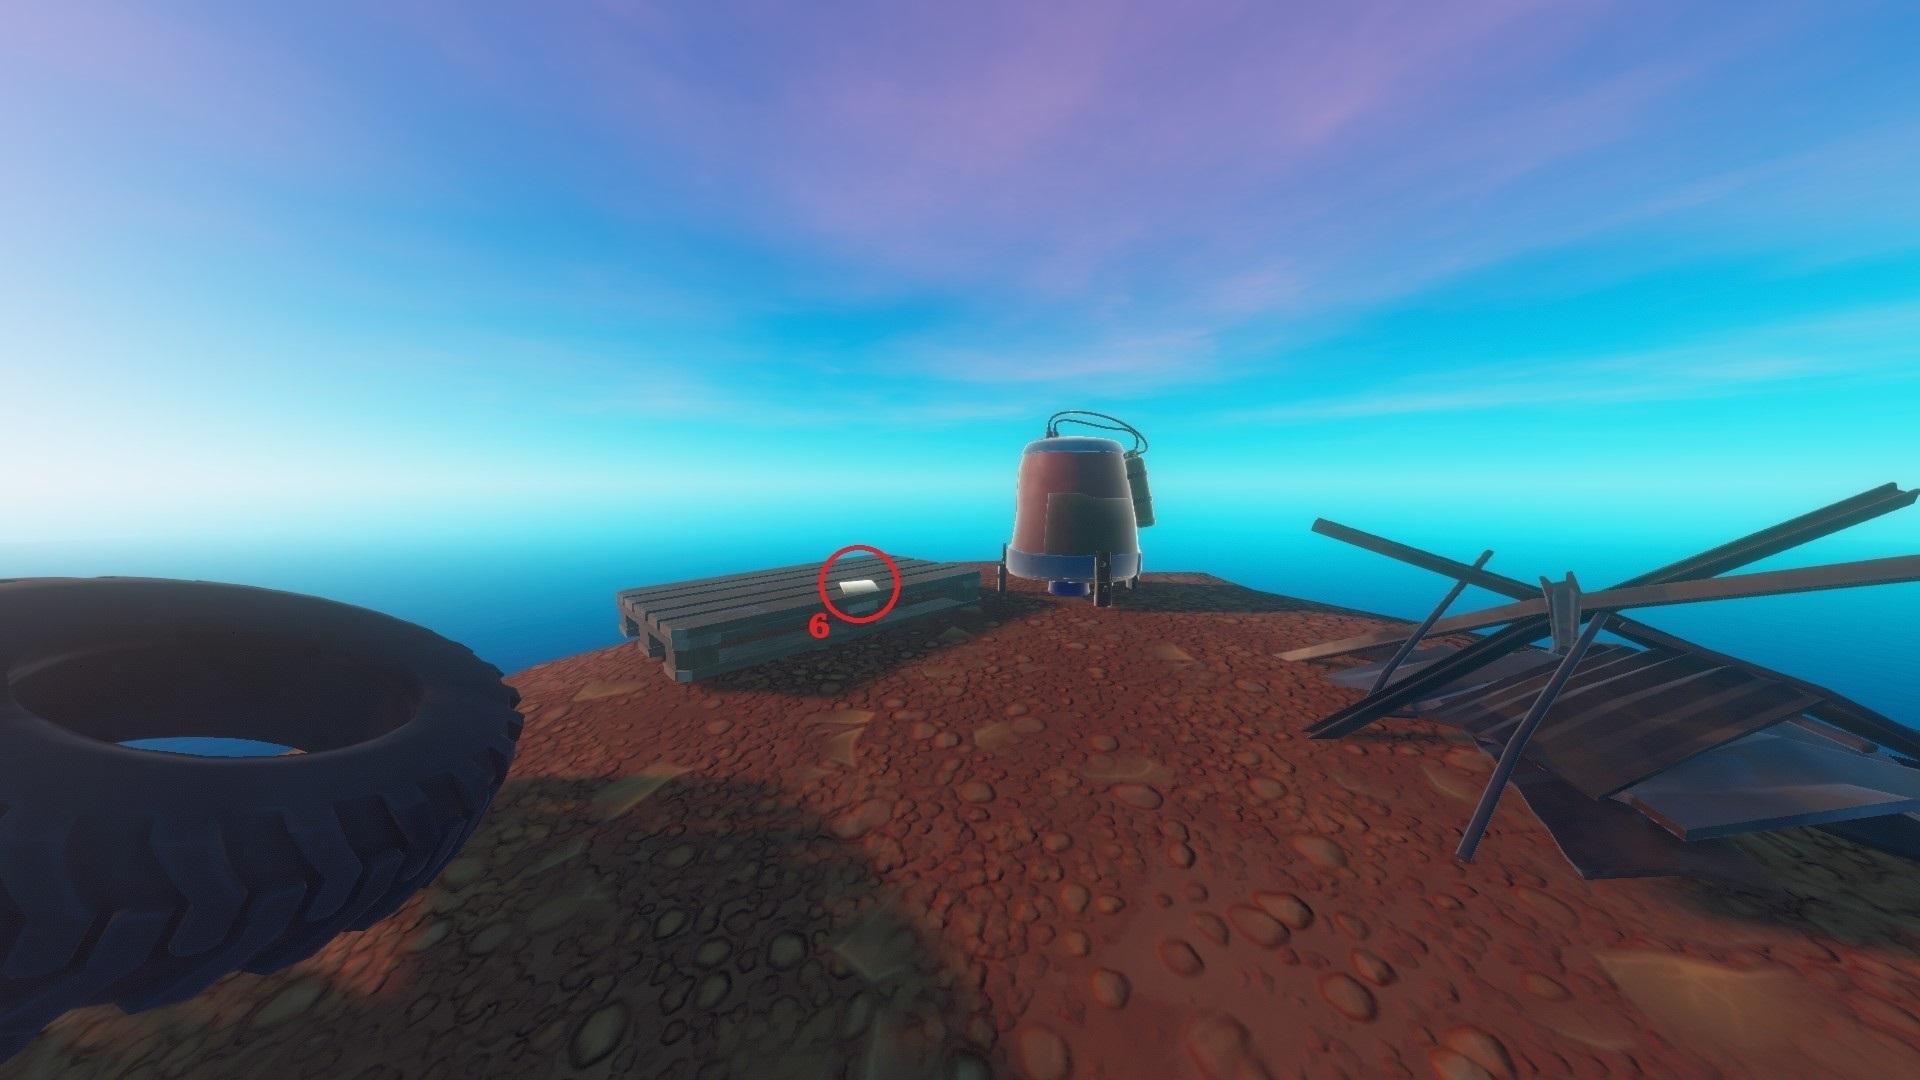
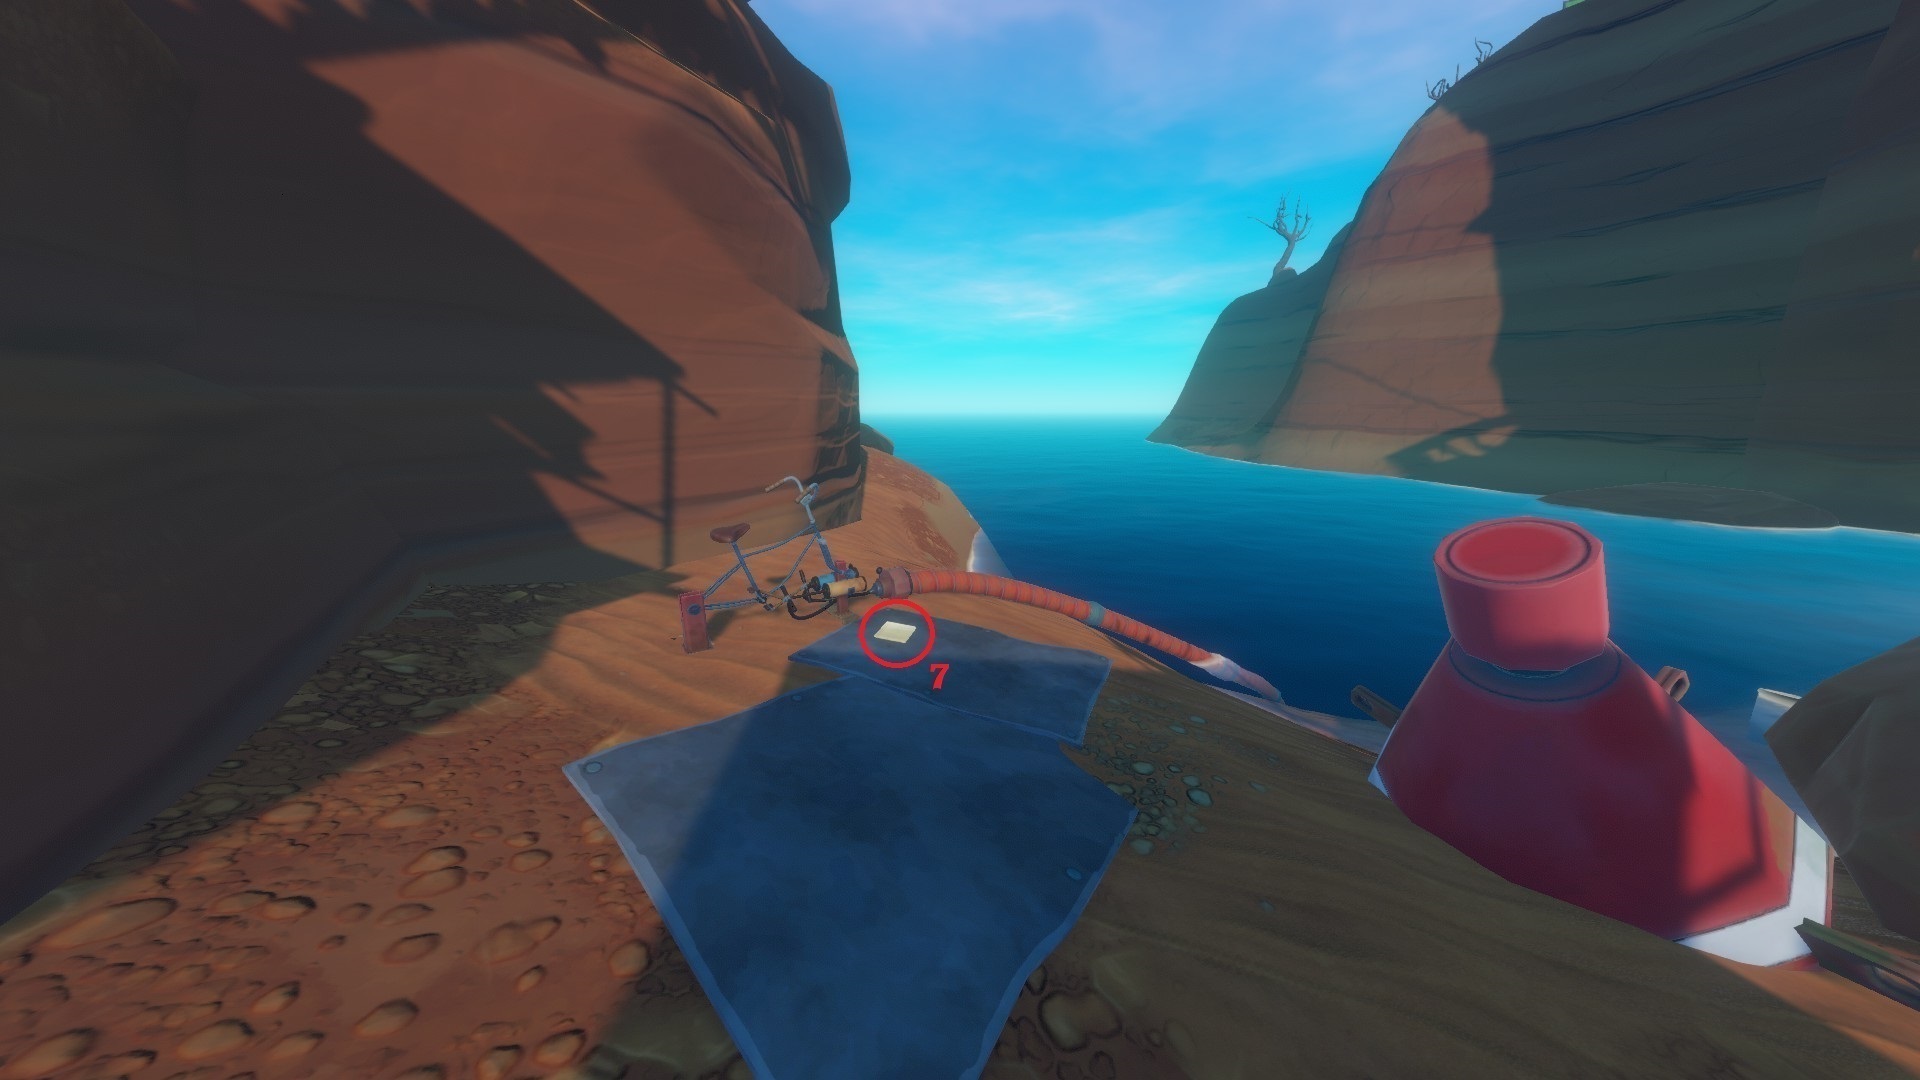
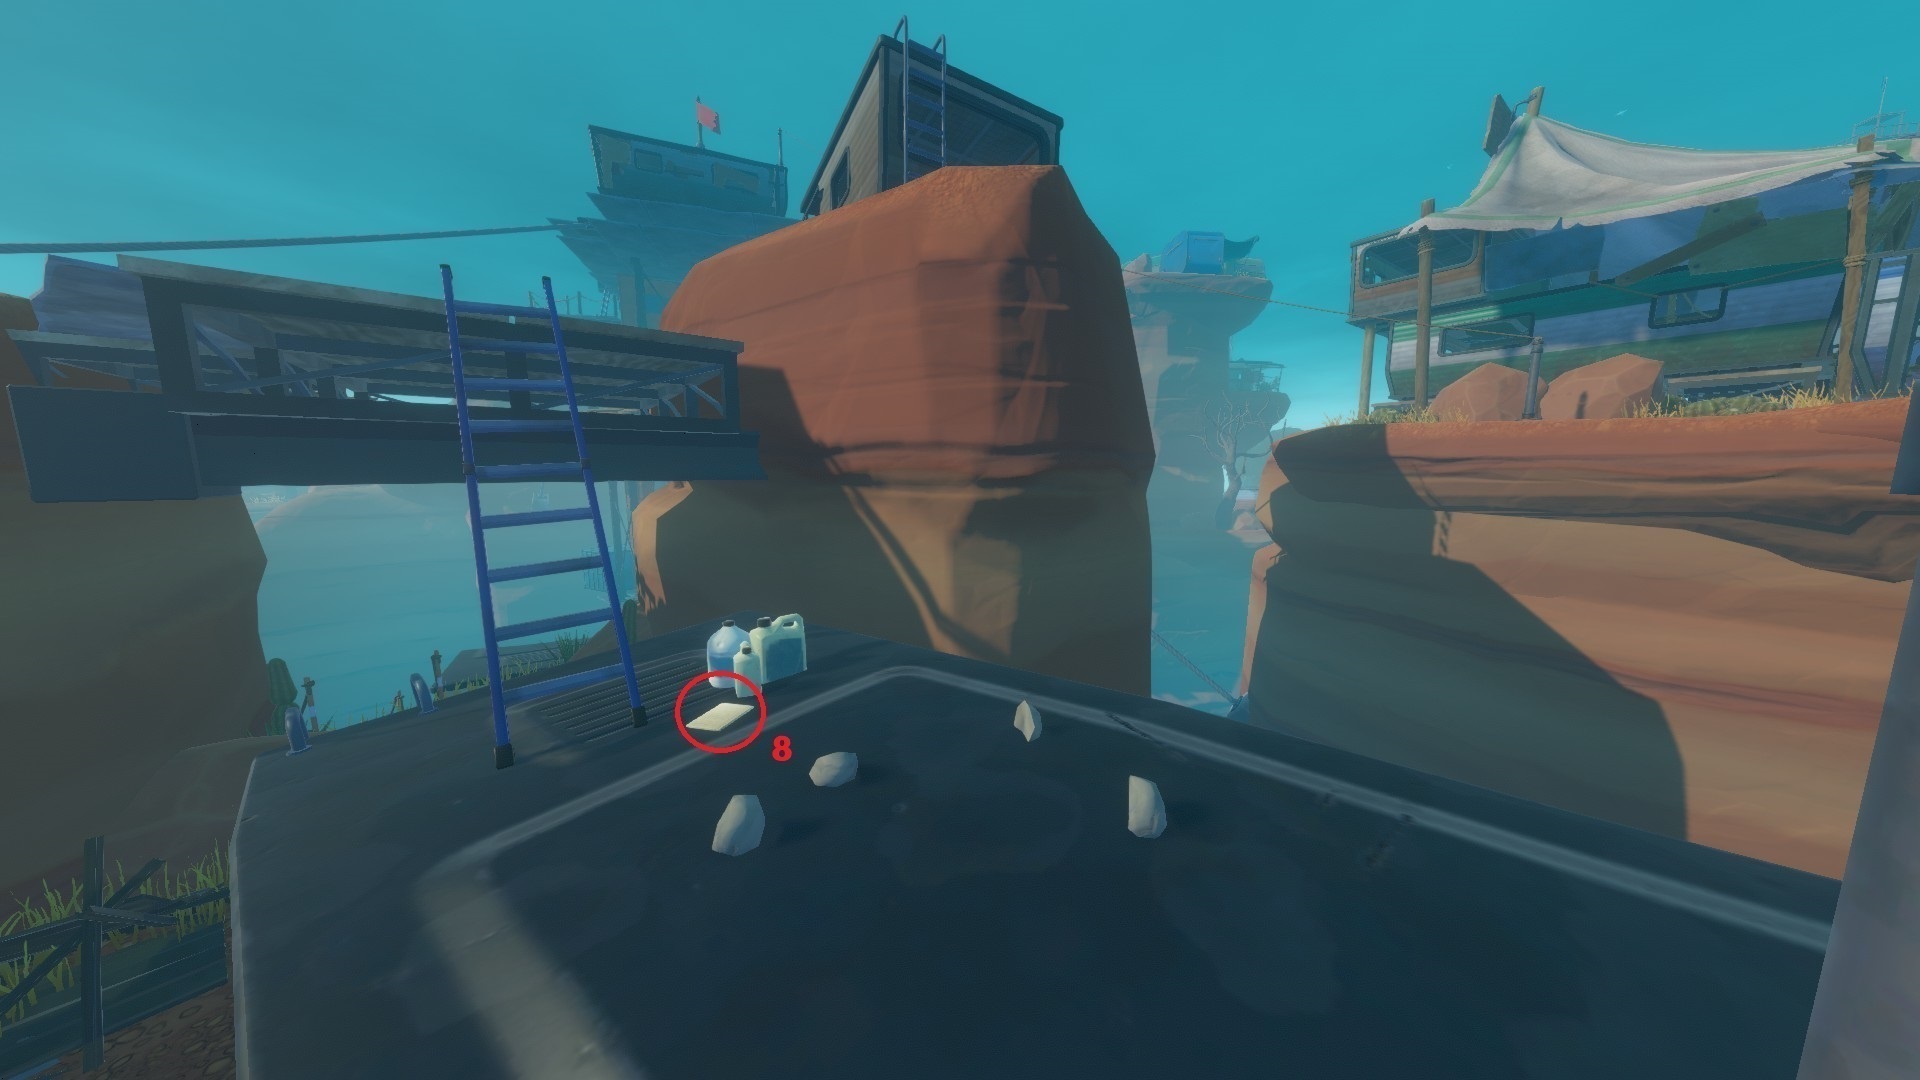
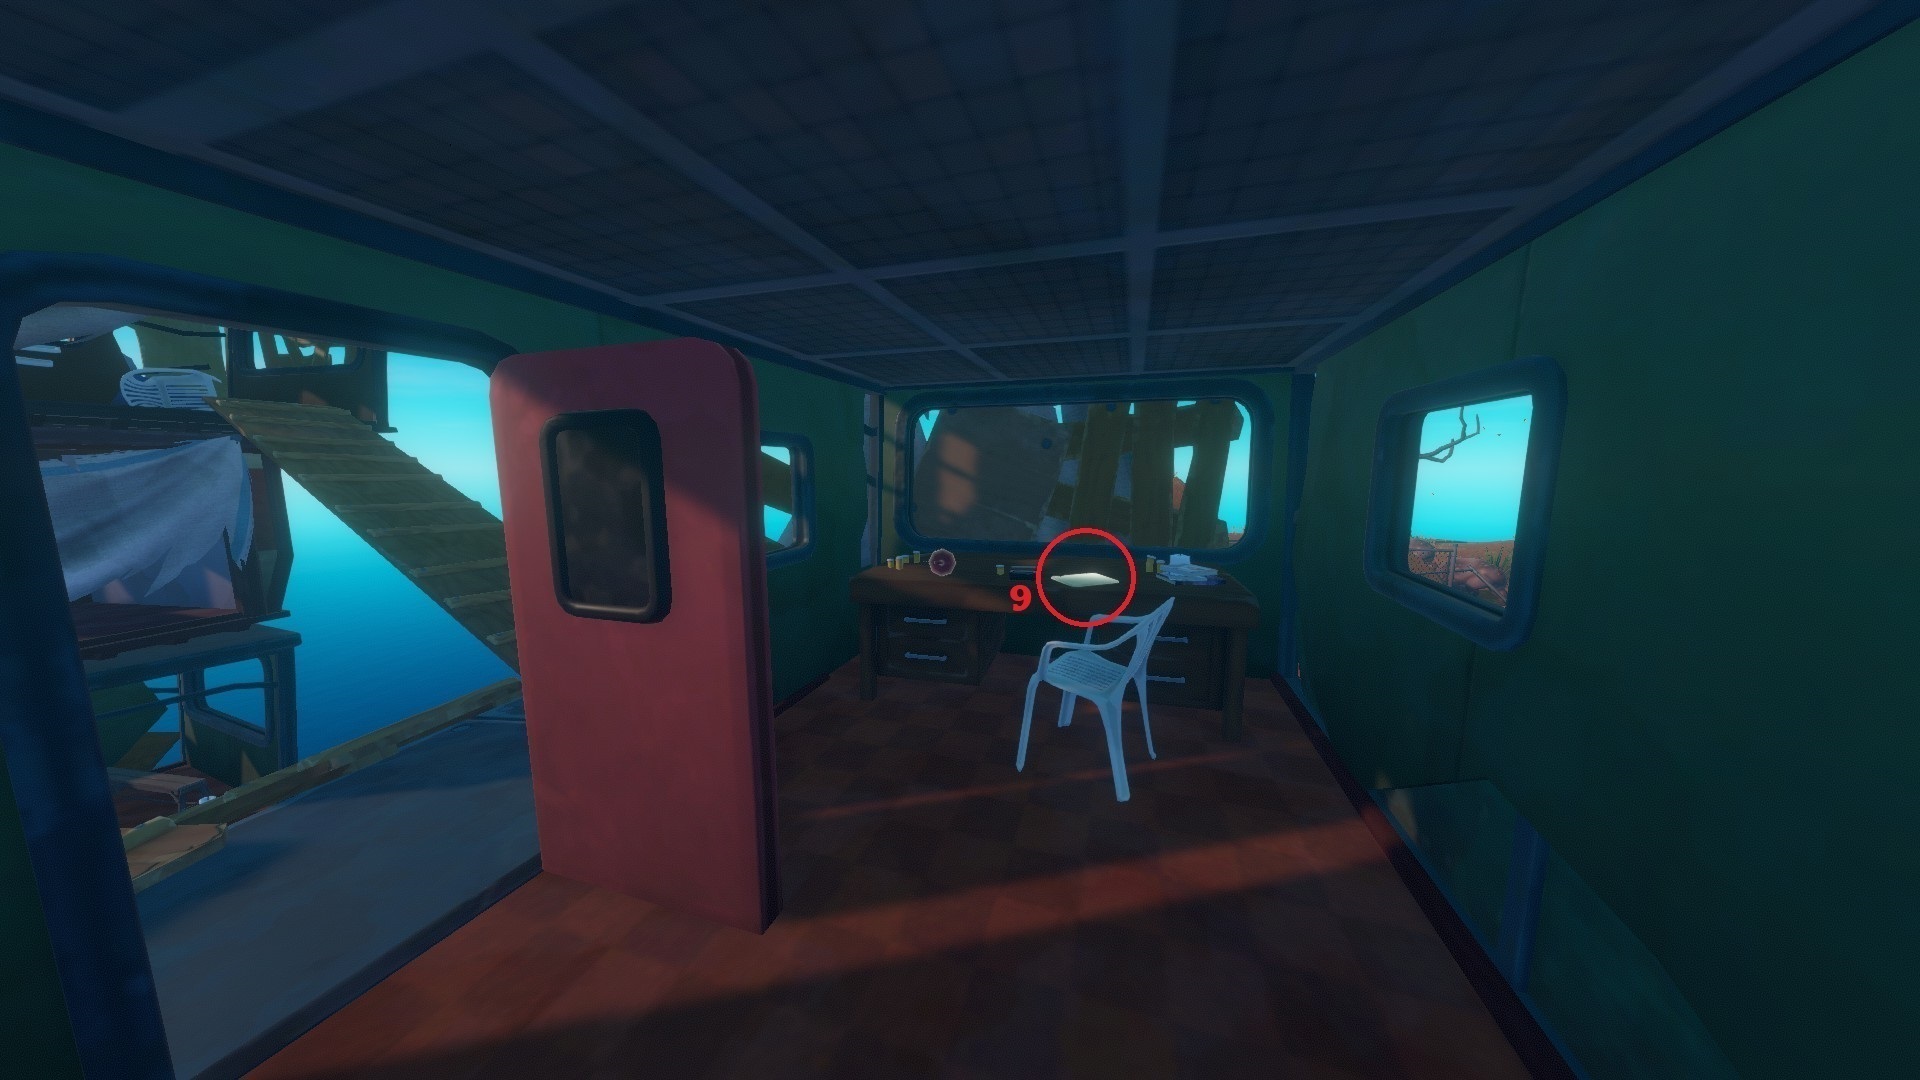
- The 1st (Firework) is on a small island. You have to launch a red rocket located on the big island facing the small one with explosive powder (kill a puffer-fish and put the explosive goo in a smelter).
- The 2nd (Metal Detector) is underwater. Follow a pipe connected to a bike located on ground level next to the Tower.
- The 3rd and 4th (Zipline and Zipline Tool) are at the top of the Tower. Find 3 Zipline Parts around Caravan Town then interact with the worktable.
- The 5th (Battery Charger) is inside the Mayor's house. You need to use a zipline from the Tower to reach it. Find 3 Battery Charger Parts around Caravan Town then interact with the worktable.
- The 6th (Engine Controls) is also inside the Mayor's house, inside the chest with the coordinates for the next place.
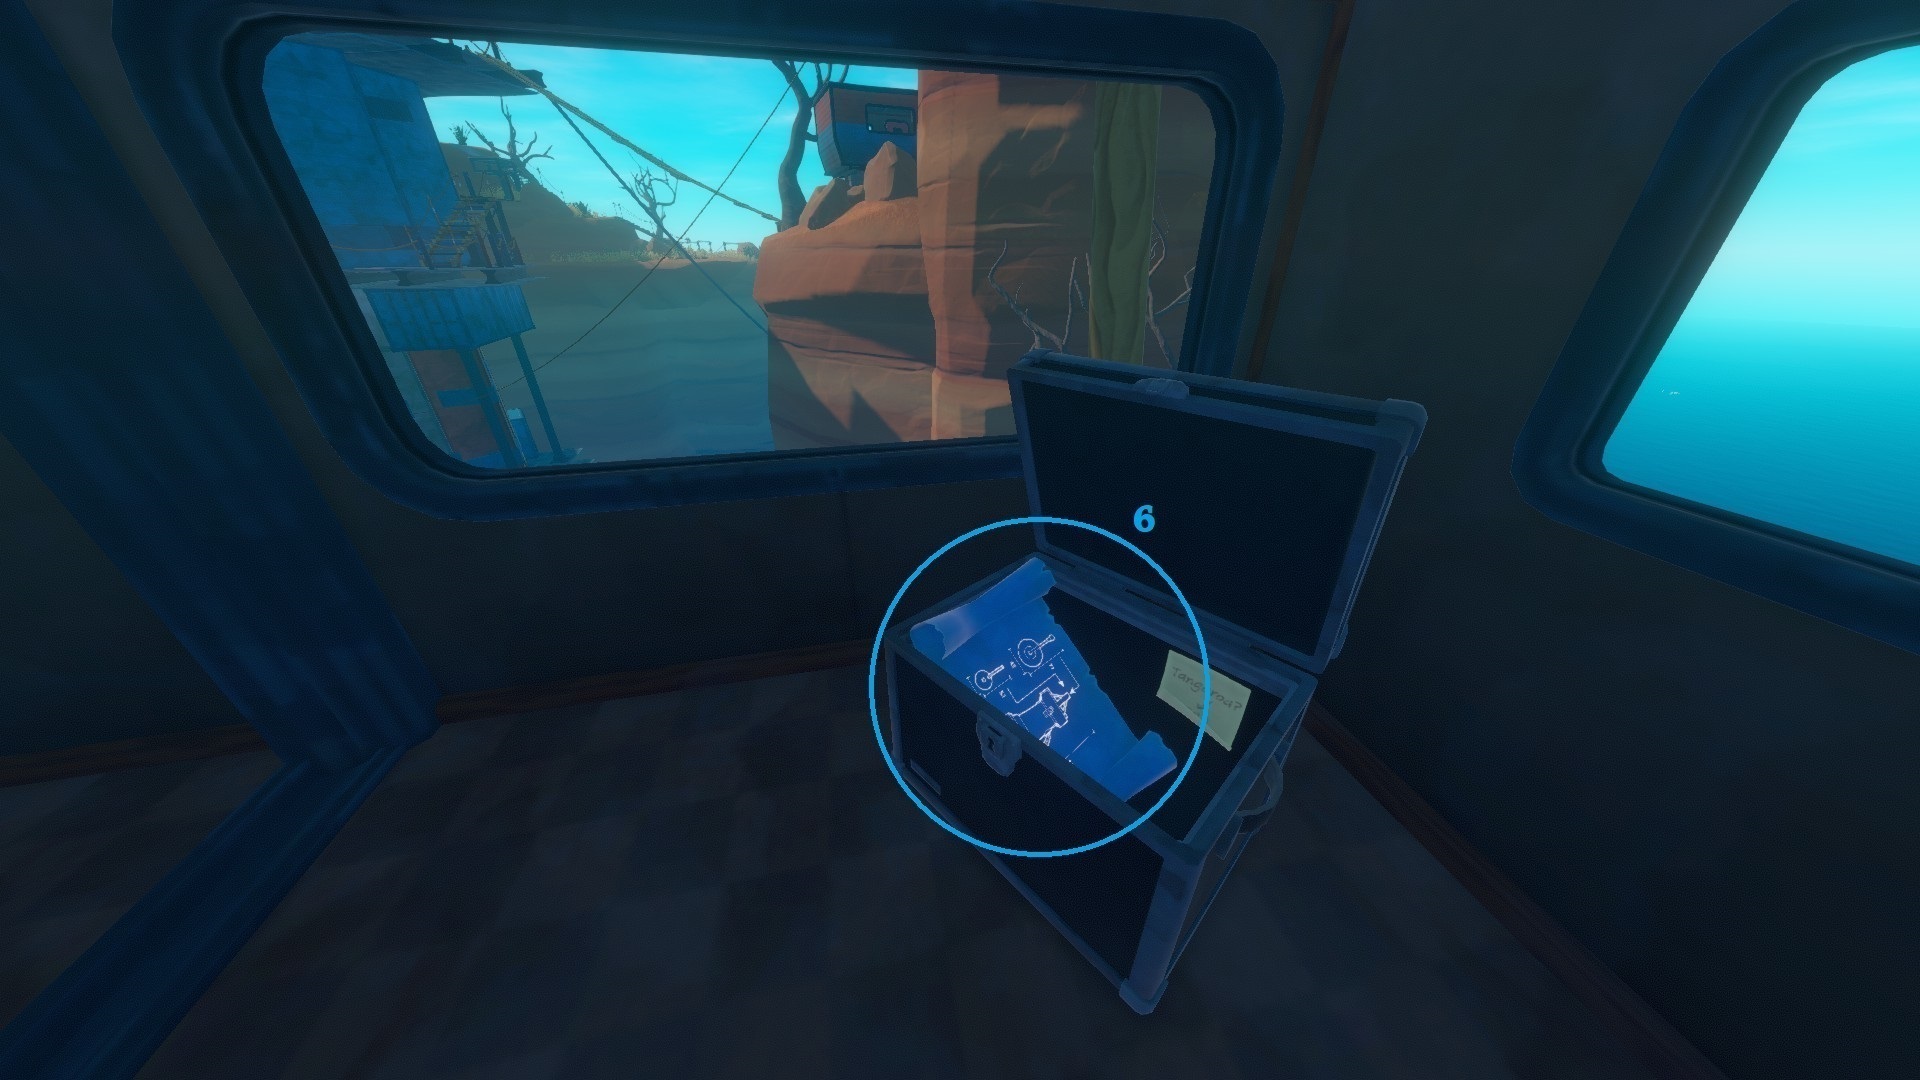
5. Tangaroa (Walkthrough)
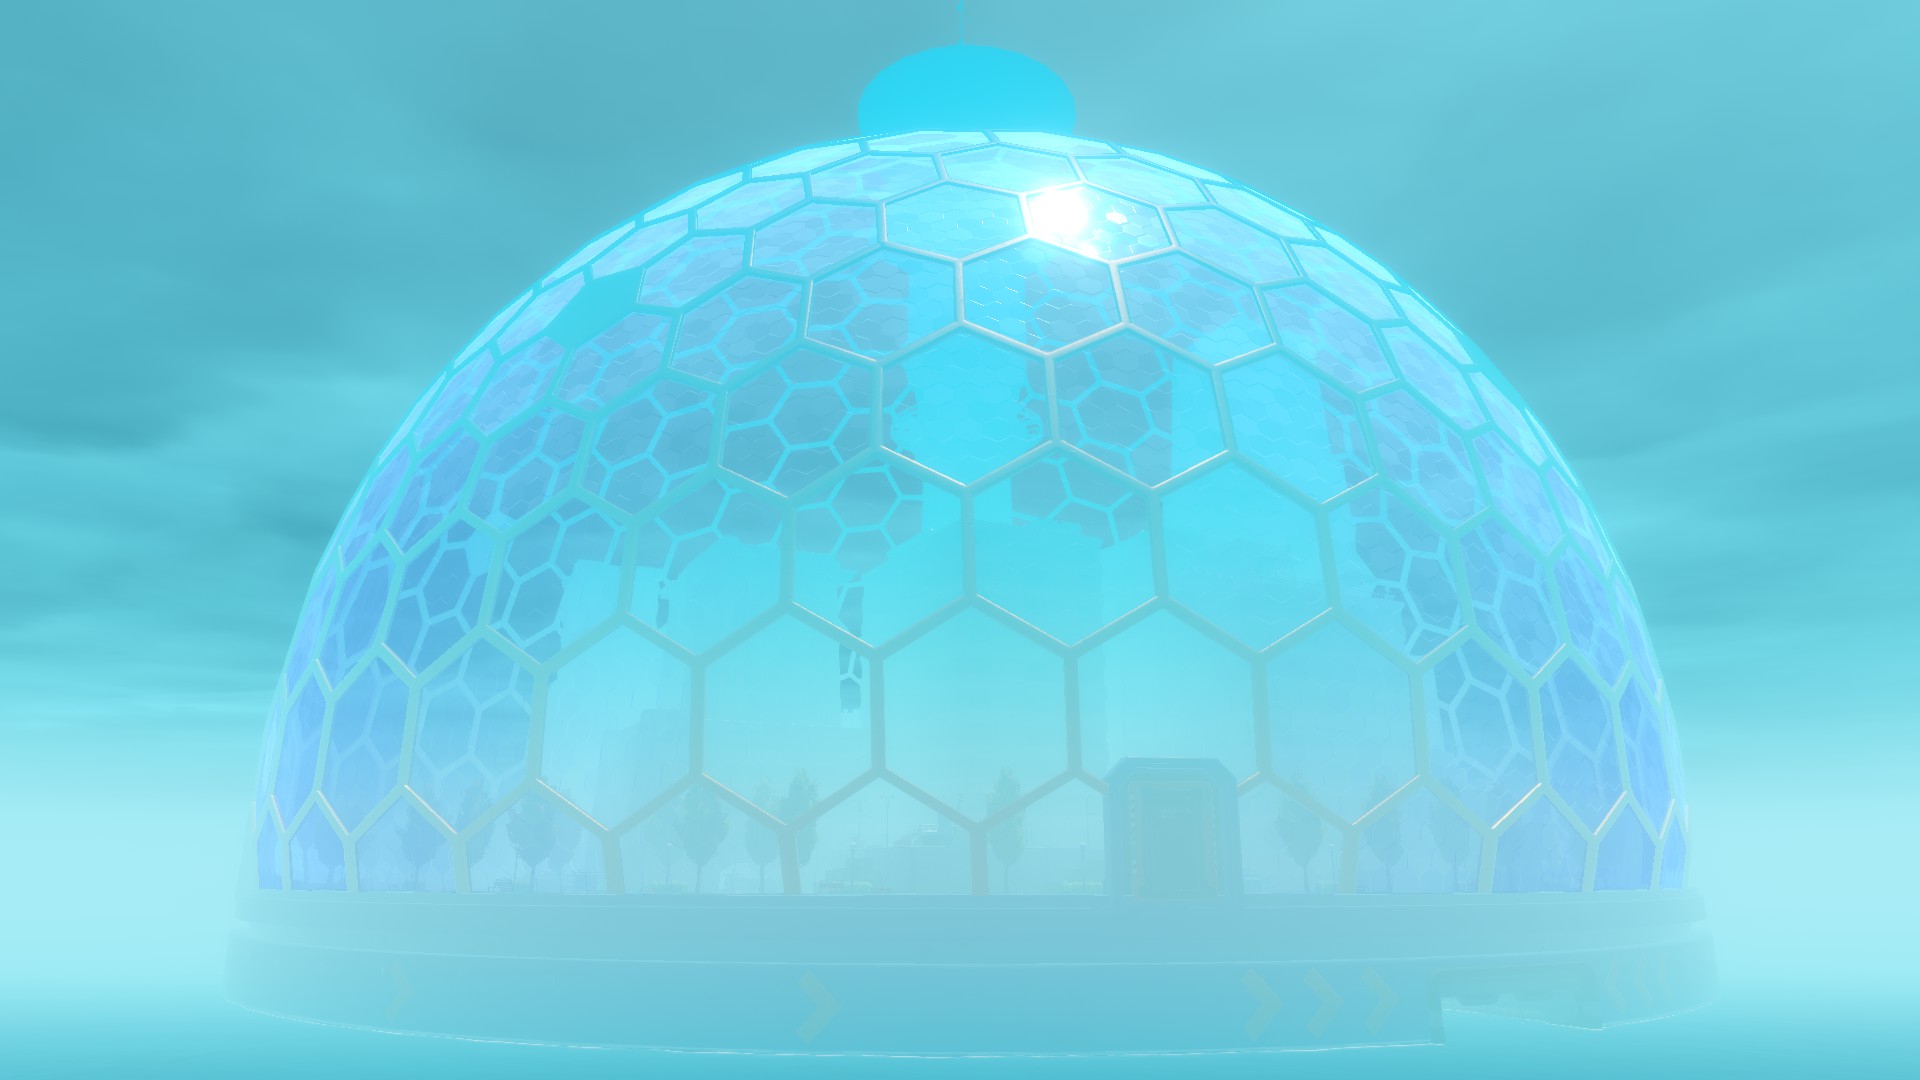 There's an entry to the dome at water level.
Park your raft between that entry and the huge
door which you will be able to open from the
inside later on.
There are 10 notes.
There are 4 blueprints: one for the Water Pipe, one for the Electric Purifier, one for the Large Storage and one for the Water Tank.
The coordinates for the next story place are inside the top of the tower which you need to detach by entering a code so that it will fall in the water where you can reach the inside.
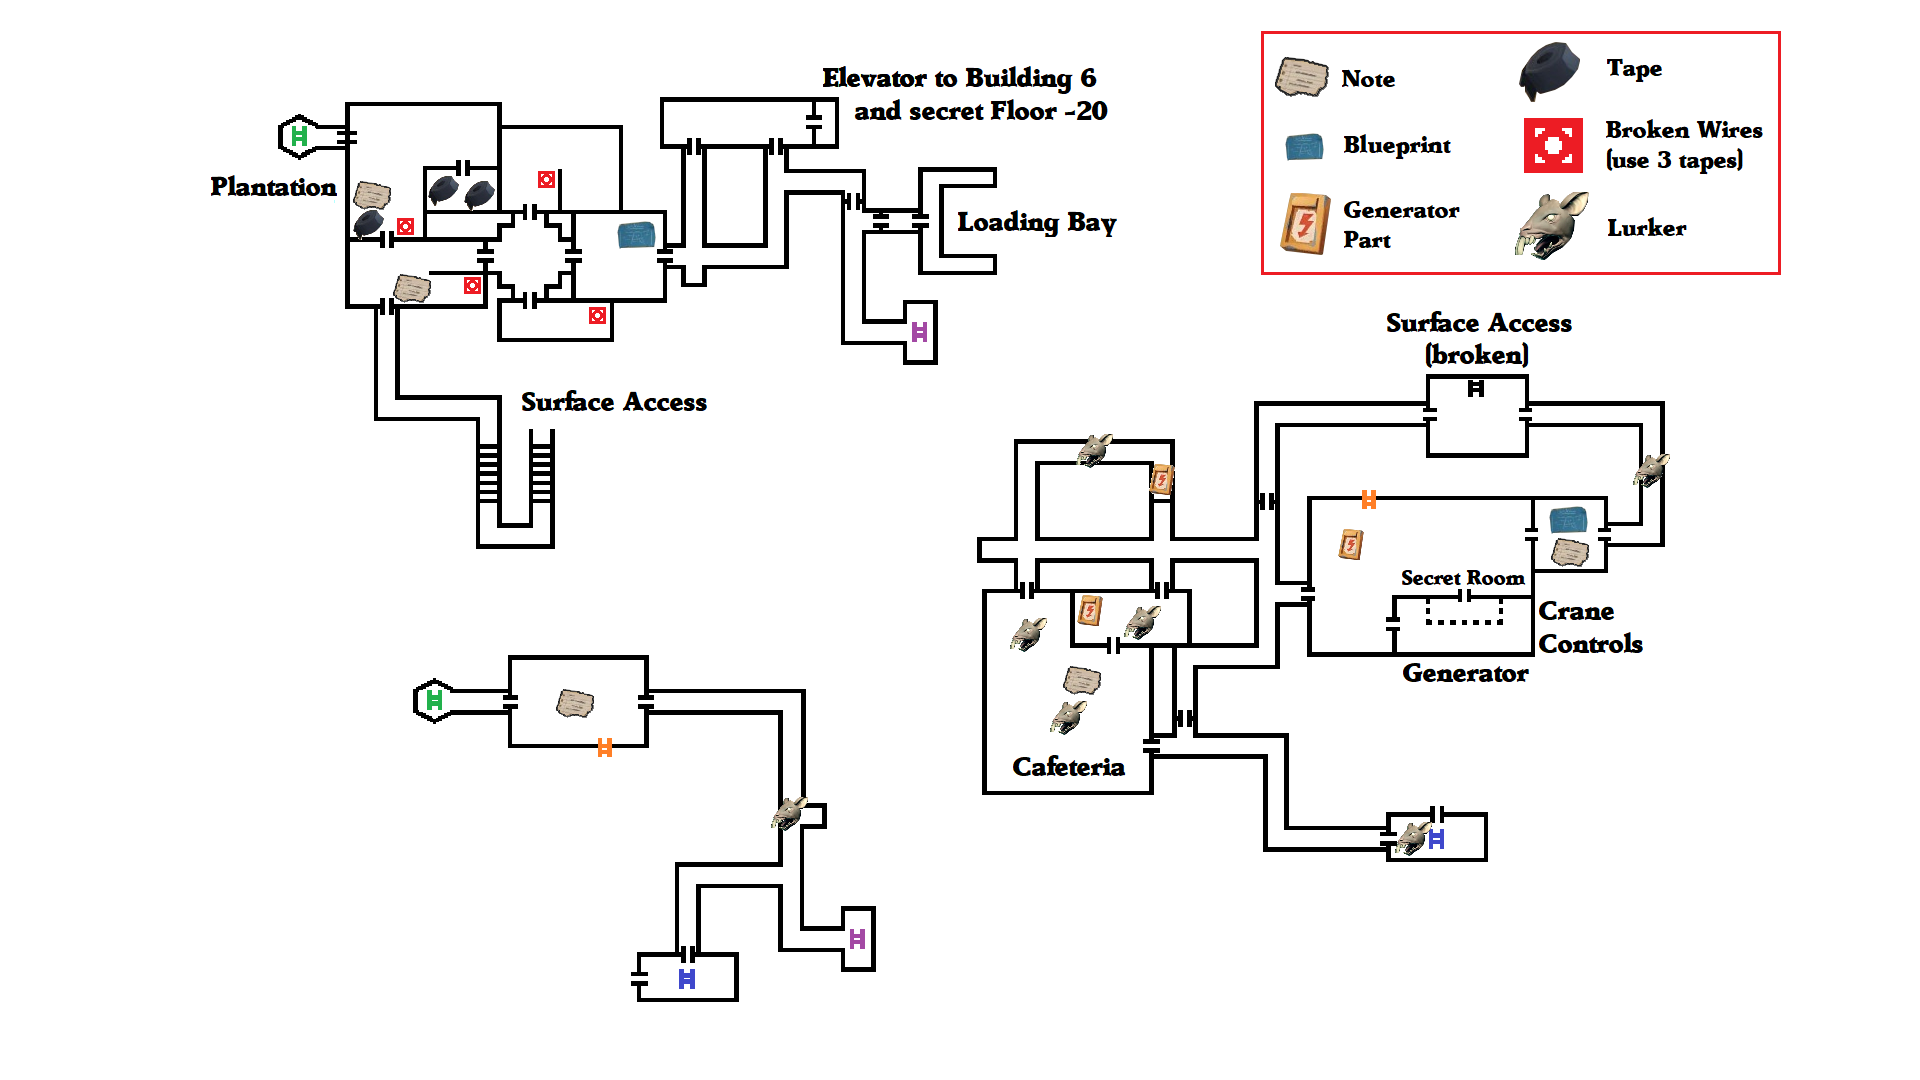
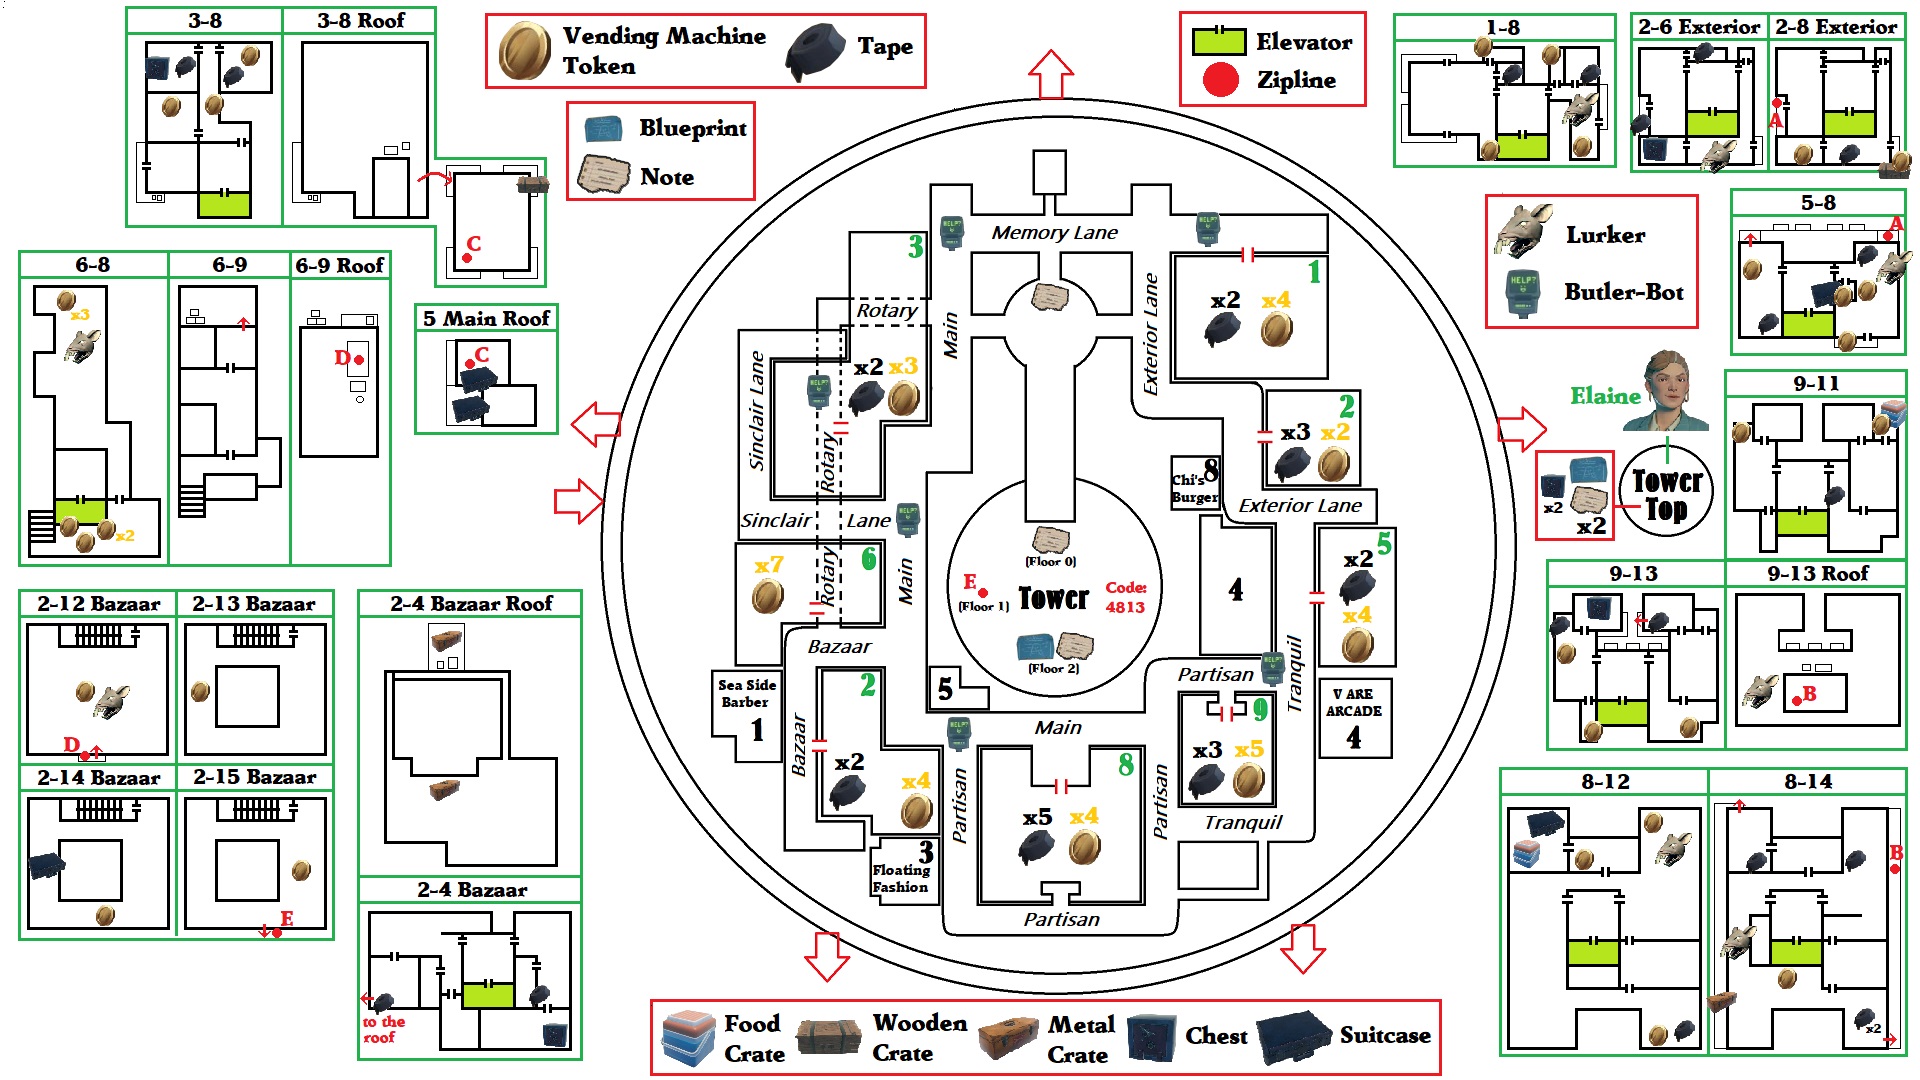 ⠀
⠀Walkthrough :
- Arriving at the Island: You'll see a huge dome when you arrive with 5 enormous locked doors on the sides that you will be able to open from the inside. Try to find an opening on the sea level, this is how you can enter the dome for the first time.
- Underground
=> There are several doors that can only be opened from the other side. They are a way of quickly coming back to where you were.
=> Walk through the corridors until you find a Cafeteria. There's a [Note] in the middle of the room and 2 Lurkers.
=> There's a kitchen connected to the Cafeteria with another [Note], a [Generator Part] and another Lurker.
=> When you exit the kitchen to a corridor, you will be facing a set of bars with another [Generator Part] behind it. Just go around through the left to reach it. Careful though there will be another Lurker on the way there.
=> Come back and follow the signs to the Storage Area where you will find the last [Generator Part].
=> Inside the Storage Area there is a broken ladder you can't reach and another ladder that leads to the Control Room. Take it and interact with the machine there to power it with the generator parts you've found. This will allow you to use the crane.
=> Move the boxes with the crane to free a passage to the exit on the right when facing the boxes. A secret room south of the boxes can be accessed that way too (and give you the achievement "Boxed In!").
=> After the puzzle you will find a room with a [Blueprint] (Water Pipe) and a [Note].
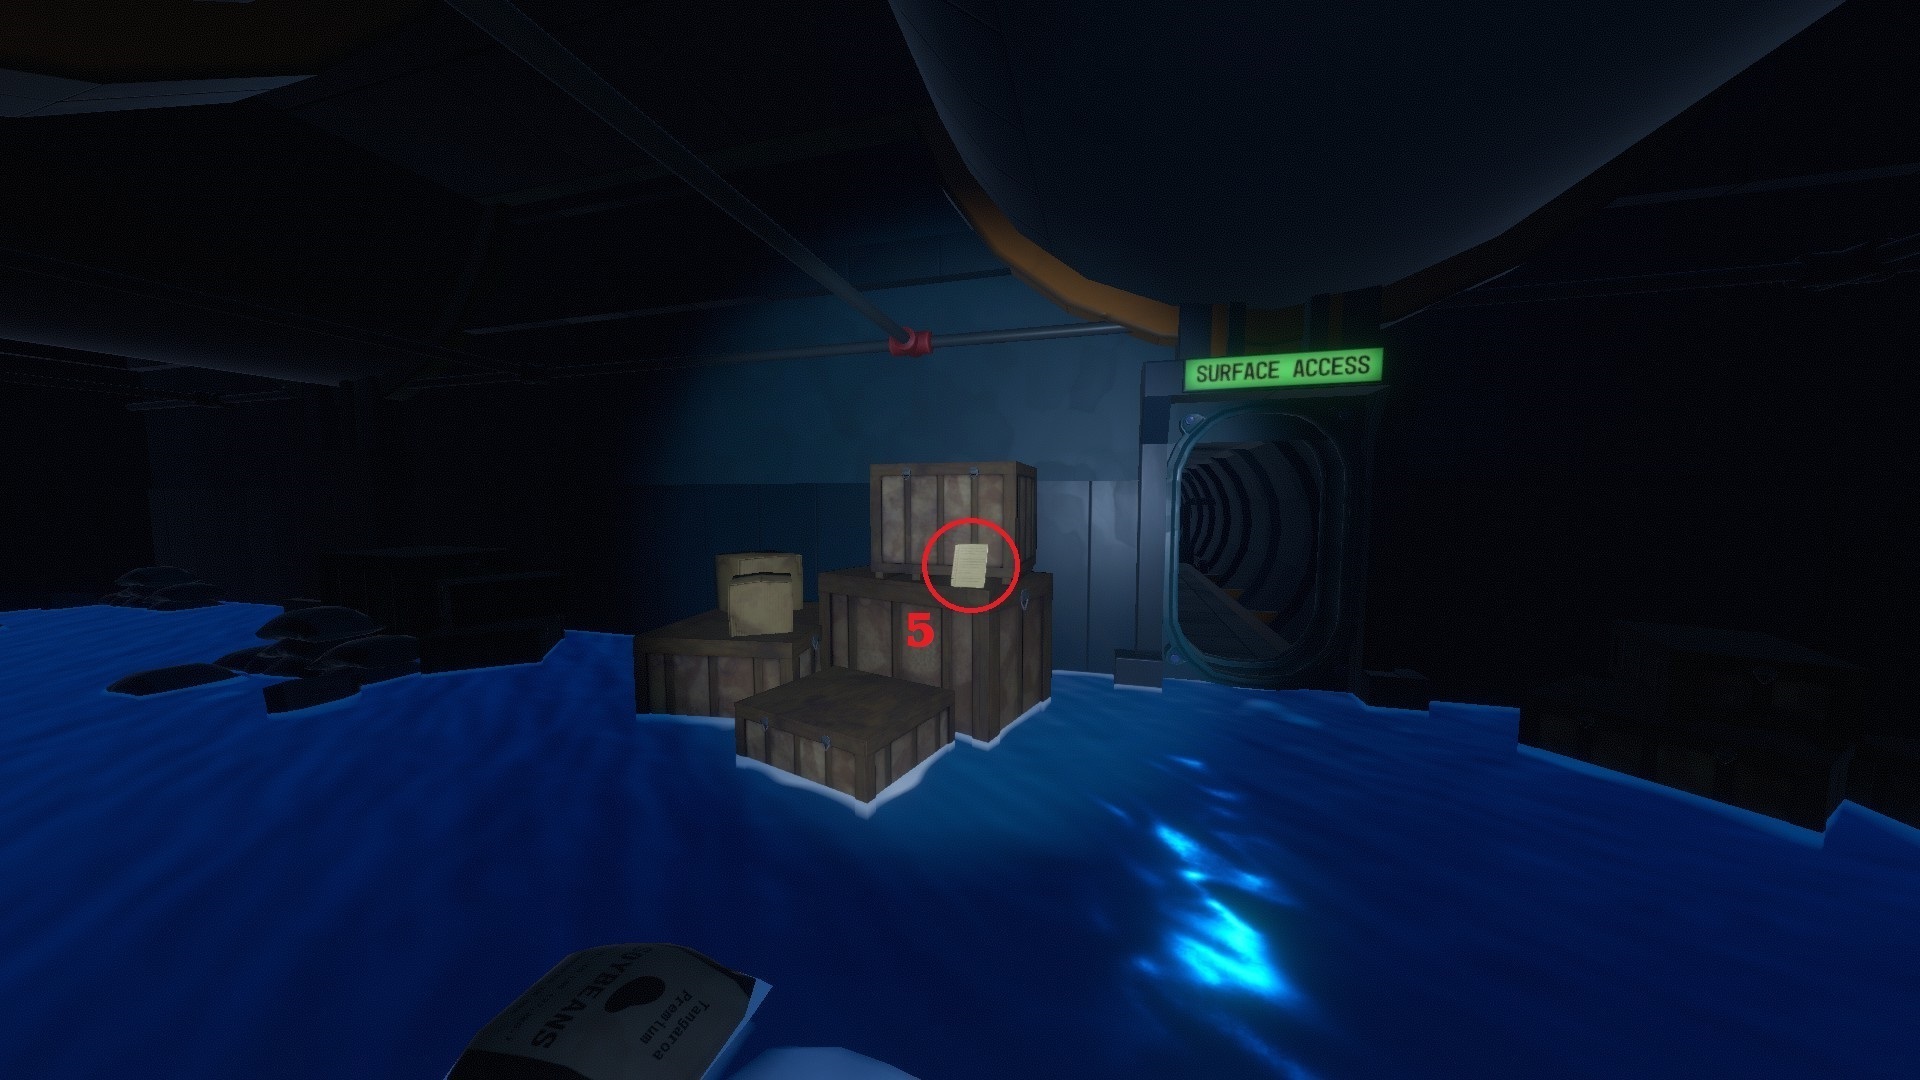
=> Continue forwards (careful for the Lurker there) until you find a ladder with the sign "Surface Access" next to it. Climb it and interact with the latch which will start filling the place with water and open a door nearby.
=> Go through that door and continue until you reach the Storage Area again. The water now allows you to reach the broken ladder to the upper part where there's a [Note].
=> Continue until you find the Plantation. You need to find 3 tapes (one next to the locked door, two in another room nearby) to unlock the next door by repairing the electrical box next to it. There's also a [Note] next to that door.
=> In the next room there's a locked door, another [Note] and the exit to the Surface.
=> You need another 9 tapes to unlock the doors in the Plantation area so go to the surface to explore the different buildings. - Surface
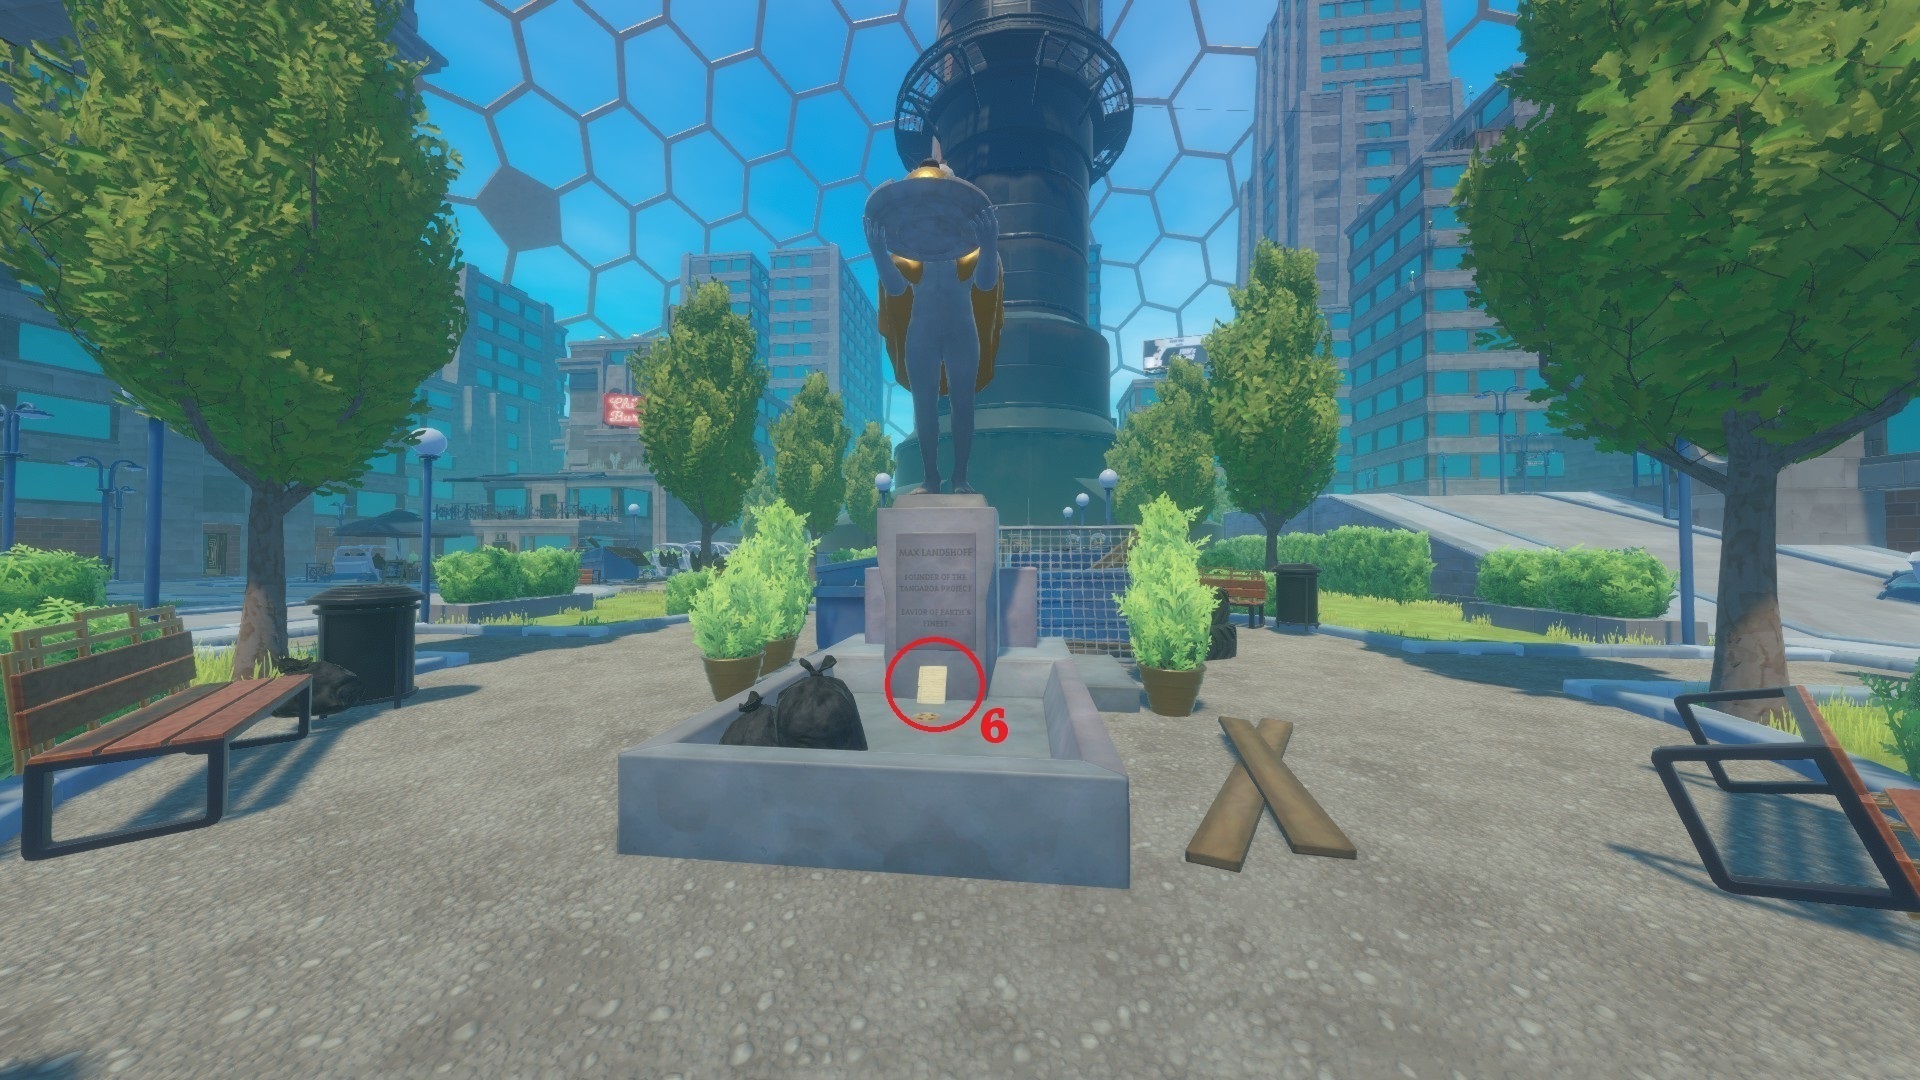
=> There's a [Note] in front of the statue facing you when you exit the Underground area.
=> Break Butler-Bots to get access cards to open the buildings' entrance door. You need one card per building and the Butler-Bots come back to life with a new card after a while.
=> You can also find tokens inside the buildings that can be used to buy stuff at the vending machines at the bottom of the Tower (the tokens reappear everytime you come back to Tangaroa).
=> Careful there are sometimes Lurkers inside the buildings.
=> There are often two buildings with the same number. Only one building with each number is accessible except for Buildings 2 where you can enter both of them (in that case I will specify the street the building is on). - Building 1
=> 4 tokens and 2 tapes - Building 2 (Exterior Lane)
=> Floor 6 - 2 tapes
=> Floor 8 - 2 tokens and 1 tape - Building 5
=> 4 tokens and 2 tapes - Building 9
=> Floor 11 - 2 tokens and 1 tape
=> Floor 13 - 3 tokens and 2 tapes - Building 8
=> Floor 12 - 3 tokens and 1 tape
=> Floor 14 - 1 token and 4 tapes - Building 2 (Bazaar)
=> 2 tapes - Building 3
=> 3 tokens and 2 tapes - Underground
=> Find the broken wires (small grey boxes on the wall) and repair them with 3 tapes each (there are 3 broken wires so you need 9 tapes, each fixed box opens up a new area with the next broken box).
=> The last door leads to a [Blueprint] (Electric Purifier).
=> Continue forwards and follow the signs to the Elevator (that allows you to reach Building 6). - Building 6
=> Floor -20 - There's a secret button inside the elevator, on the upper left corner of the door; press it to reach that floor. It will also give you the achievement "You Should Not Be Here!".
=> Floor 8 - 7 tokens
=> There's an outside area with stairs, take them to a building and cross it until you see a broken window. Go through this window then climb the boxes to the roof to find a zipline to reach Floor 12 of Building 2 (Bazaar). - Building 2 (Bazaar)
=> Floors 12 to 15 - 4 tokens (1 for each floor)
=> At the last floor there will be another broken window with a zipline, take it to reach the middle of the Tower. - Tower
=> Climb the ladder to reach Floor 1 where you will find an elevator.
=> Floor 2 - You will find a [Blueprint] (Large Storage) and a [Note]. The note is a hint to find the code needed for the panel just next to it. The drawings represent buildings in Tangaroa and the names are the streets the buildings are on. You're supposed to find these buildings and look at their number then follow the order on the note to get the code.
=> Enter the code (4813) to detach the Tower Top which will fall into the sea where you can reach it.
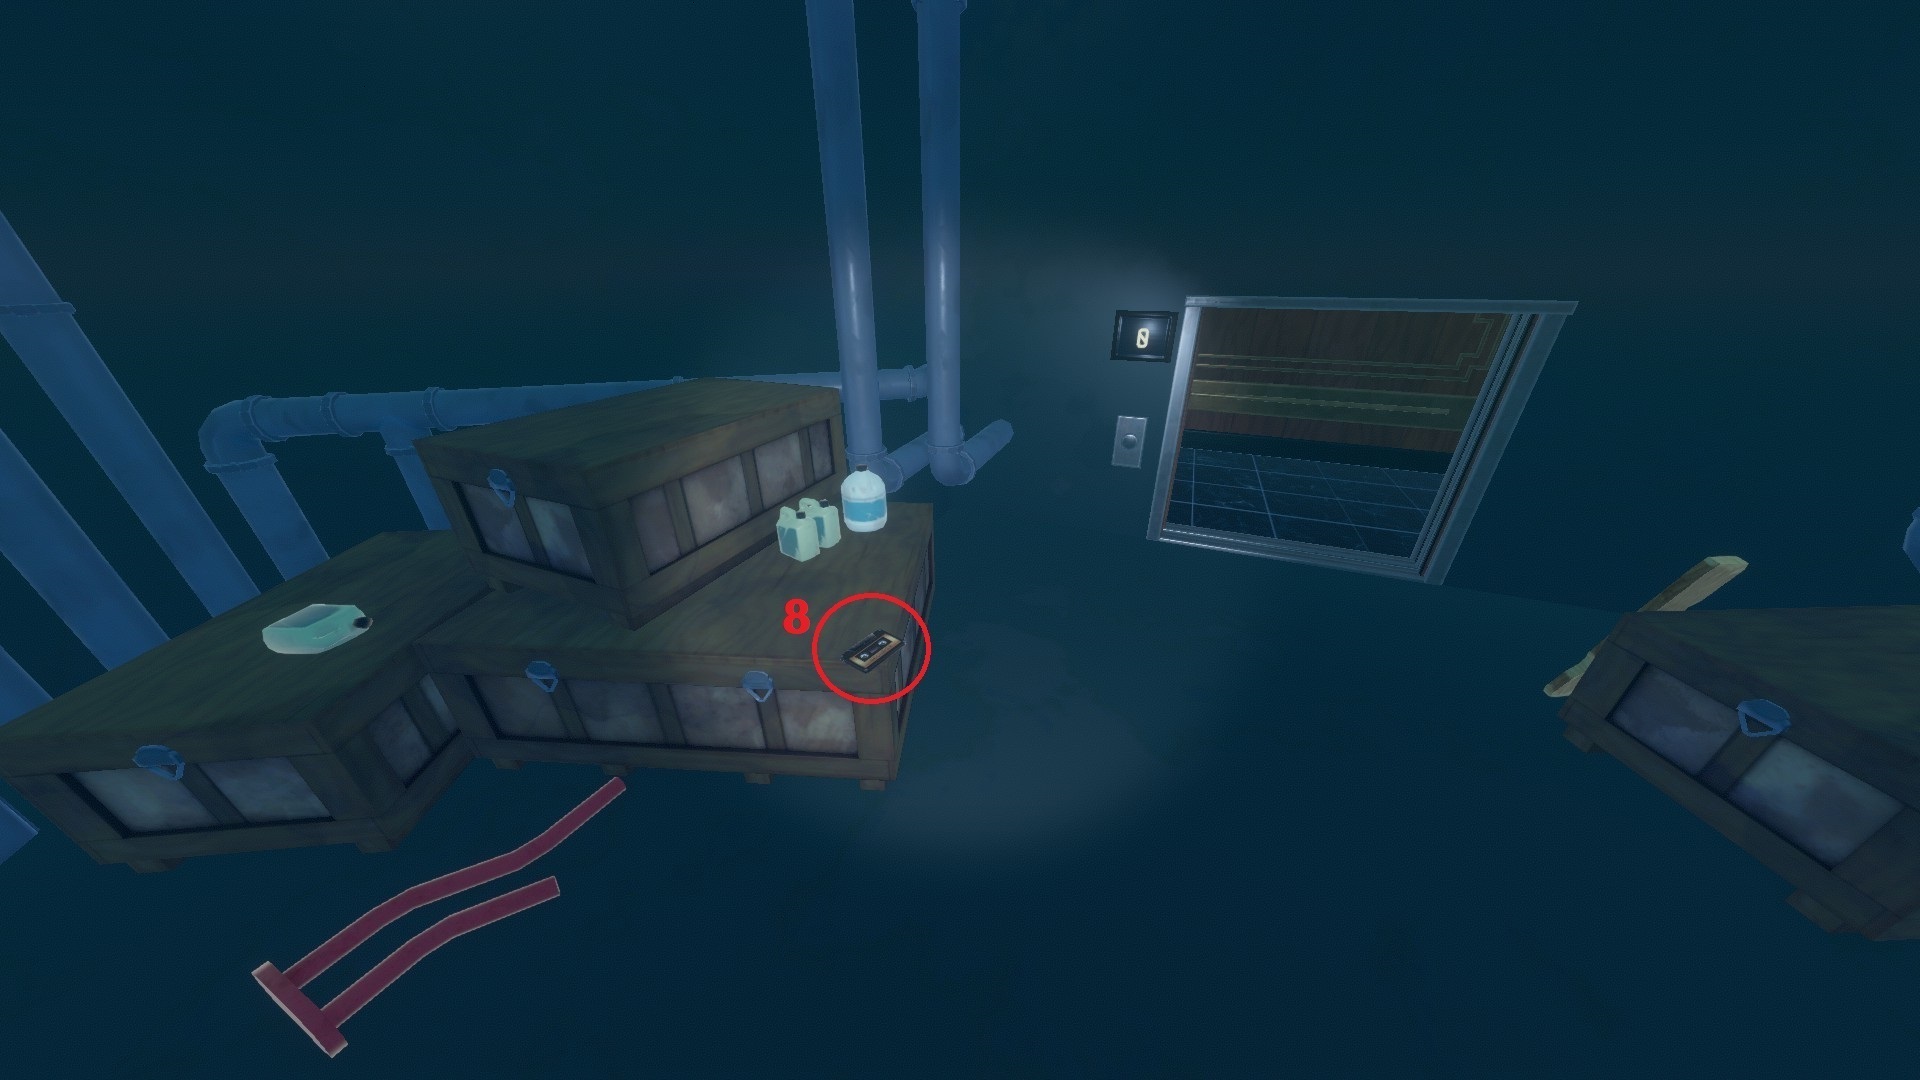
=> Floor 0 - There's a [Note] there.
=> Go straight east after leaving the Tower to reach the exit door that leads to the Tower Top. - Exterior (sea) and Tower Top
=> Climb the ladder on the Tower Top to get inside.
=> There will be a [Note] with the next coordinates and a [Blueprint] (Water Tank) just next to the ladder you took to get inside.
=> The unlockable character Elaine is also not far from this ladder.
=> There is another [Note] that can be found a bit farther, on a control panel.
Tangaroa (Notes/Blueprints)
Notes :
- The 1st note is on a counter inside the Cafeteria, in the underground area.
=> [Captain Tulley ordered us to push the engines...] - Page 23 - The 2nd note is next to a blueprint in the room just after the sliding puzzle.
=> [The engines are done. People upstairs are already upset...] - Page 23 - The 3rd note is in the room above the Storage Area. You can reach the broken ladder leading to it once the room is flooded.
=> [There's screaming upstairs. After the Captain opened fire...] - Page 24 - The 4th note is in the plantation, in the underground area. It's just next the first door you have to open by fixing the wires with tapes.
=> [Oh no, no, no. The entire ecosystem is ruined!...] - Page 26 - The 5th note is in the plantation, in the underground area. It's just next to the door with "Surface Access" written above it.
=> [Things have gone quiet. Security teams still go on patrols...] - Page 25 - The 6th note is at the surface, in front of the man's statue, just in front of the underground exit.
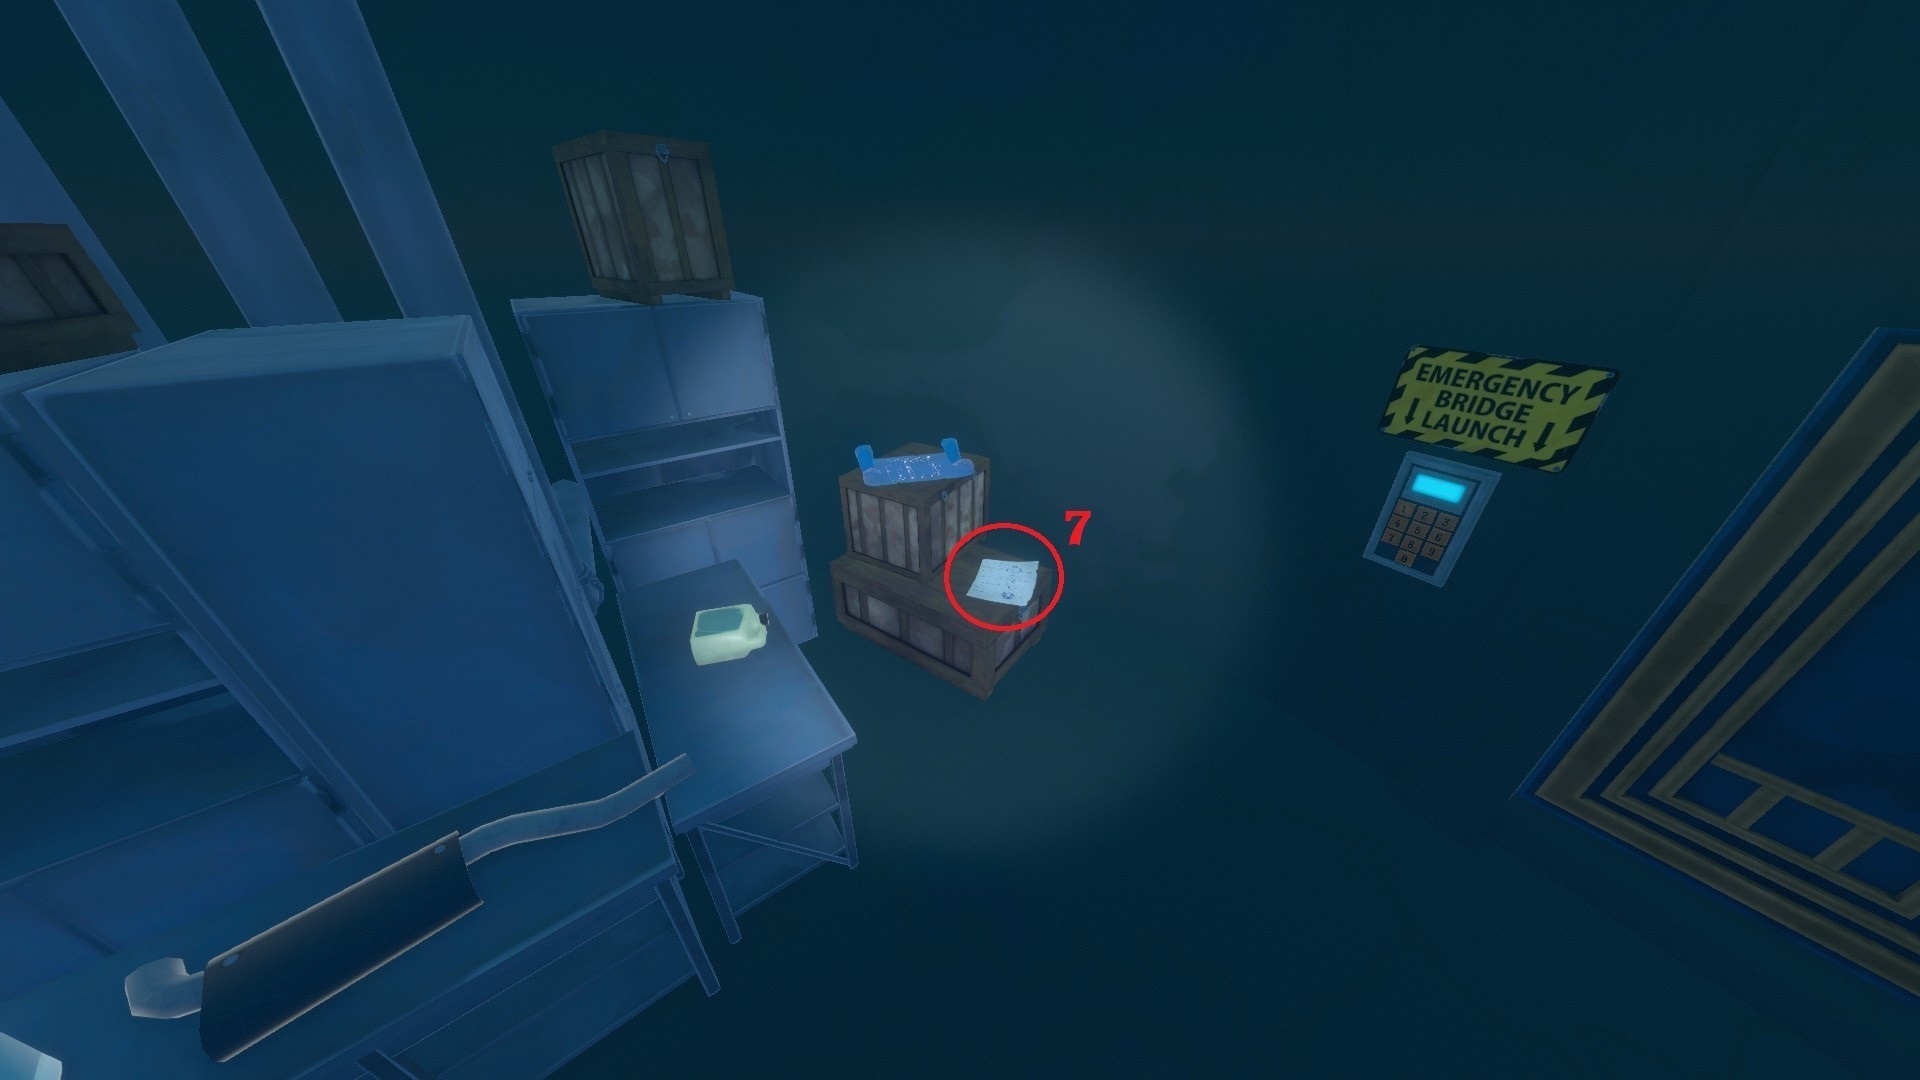
=> [The kid's name is Detto. How someone his age was able to...] - Page 25 - The 7th note is on the 2nd Floor of the Tower, just next to the panel where you have to enter a code.
=> [Tranquil st. ___] - Page 27 - The 8th note is on Floor 0 of the Tower, you should find it when you try leaving the tower.
=> [(Transcribed) (Security) - "No sir, they haven't done anything hostile...] - Page 26 - The 9th note is inside the tower top you've detached from the rest of the tower by entering the panel code. It's just next to the ladder you use to get in and a blueprint. You can find the tower top in the water not far from one of the huge door exits (straight east when leaving the tower).
=> [Varuna? #....] - Page 28 - The 10th note is also inside the tower top, on a control panel
=> [My name is James Tulley. This is my final message...] - Page 28
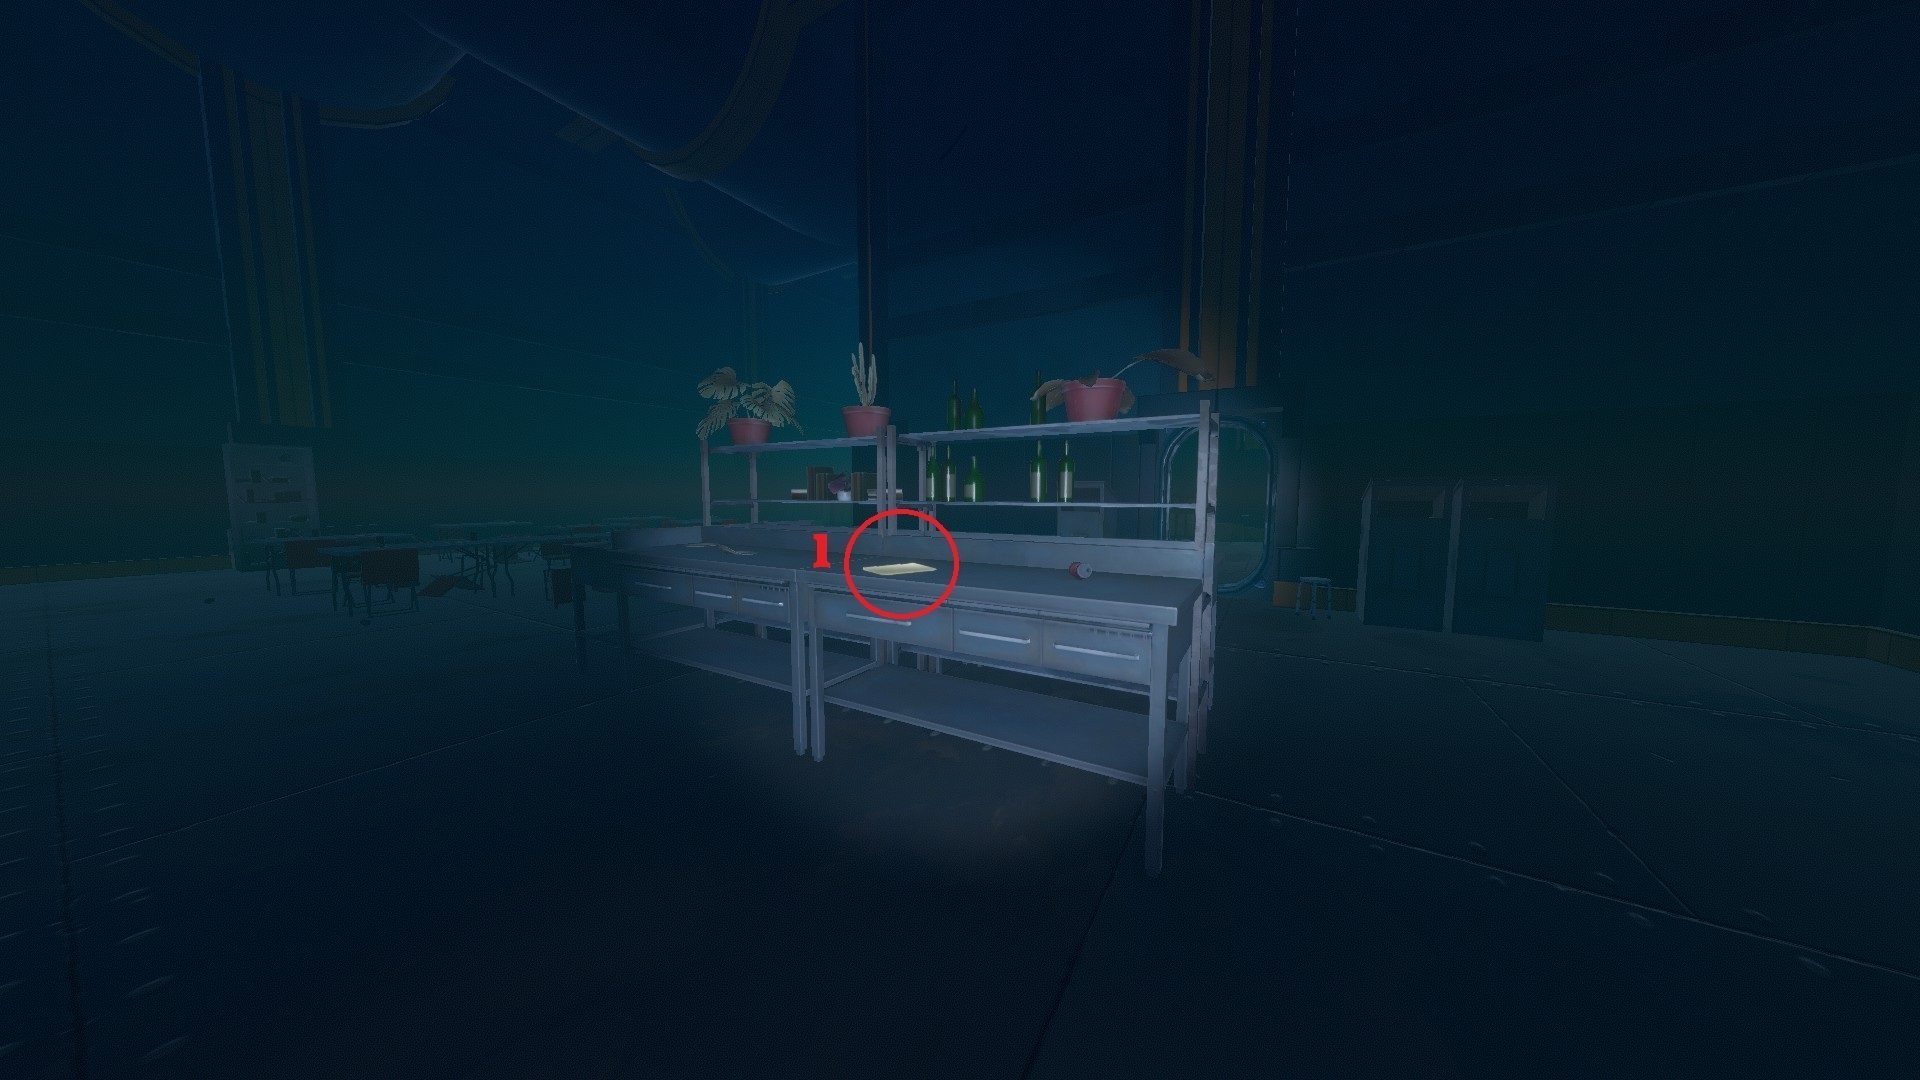
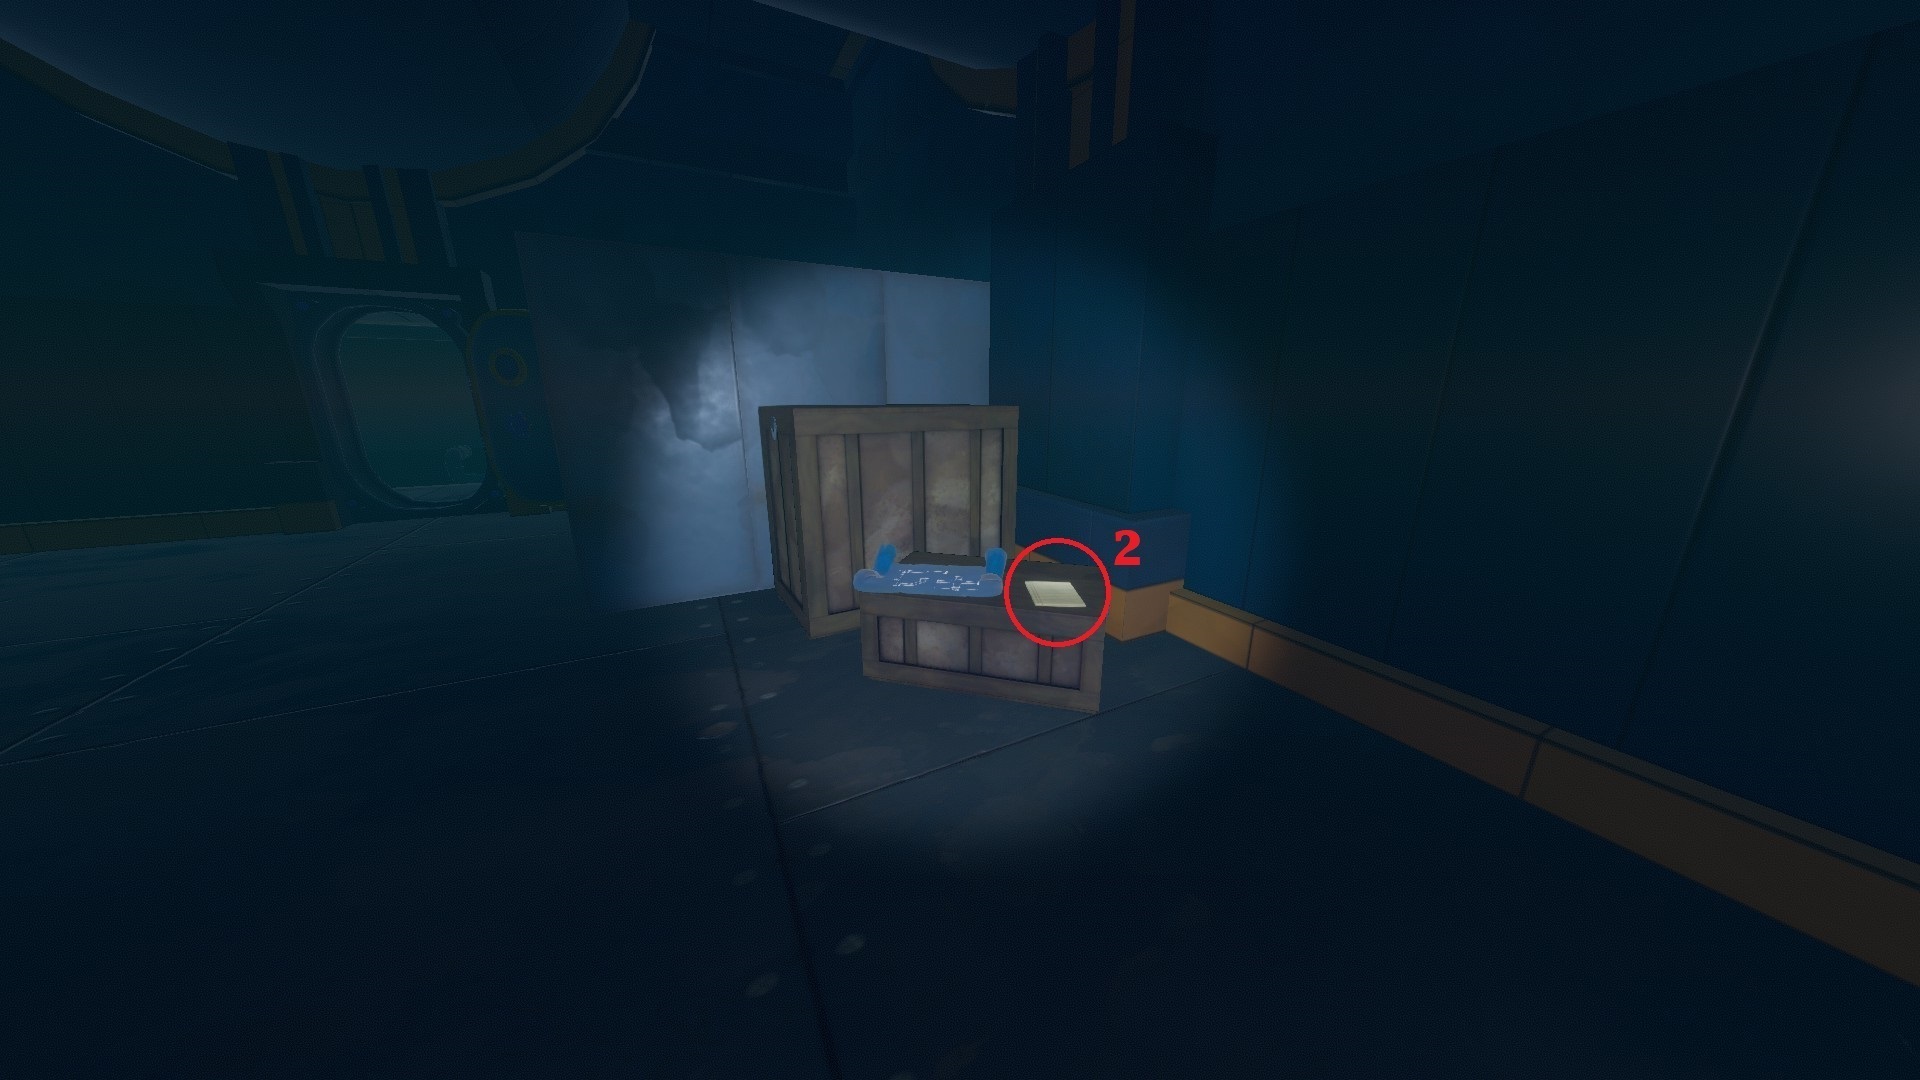
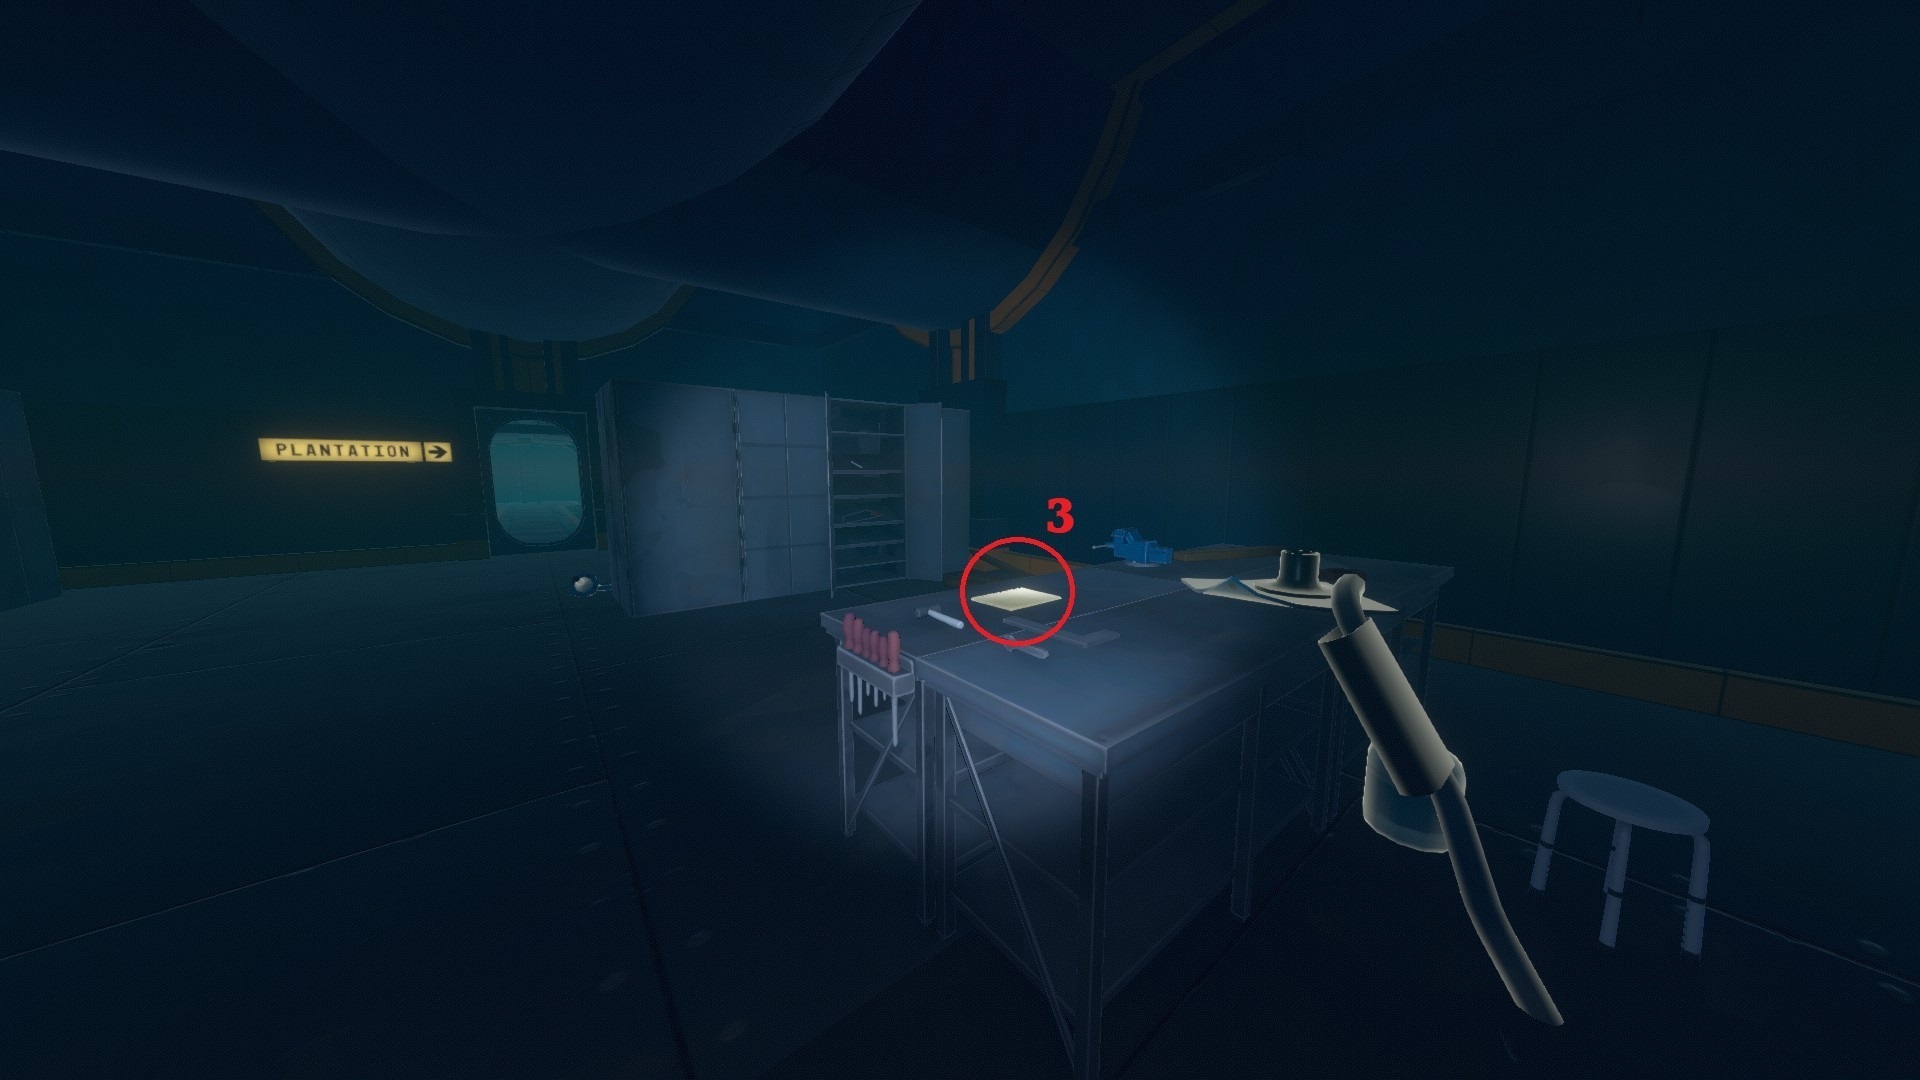
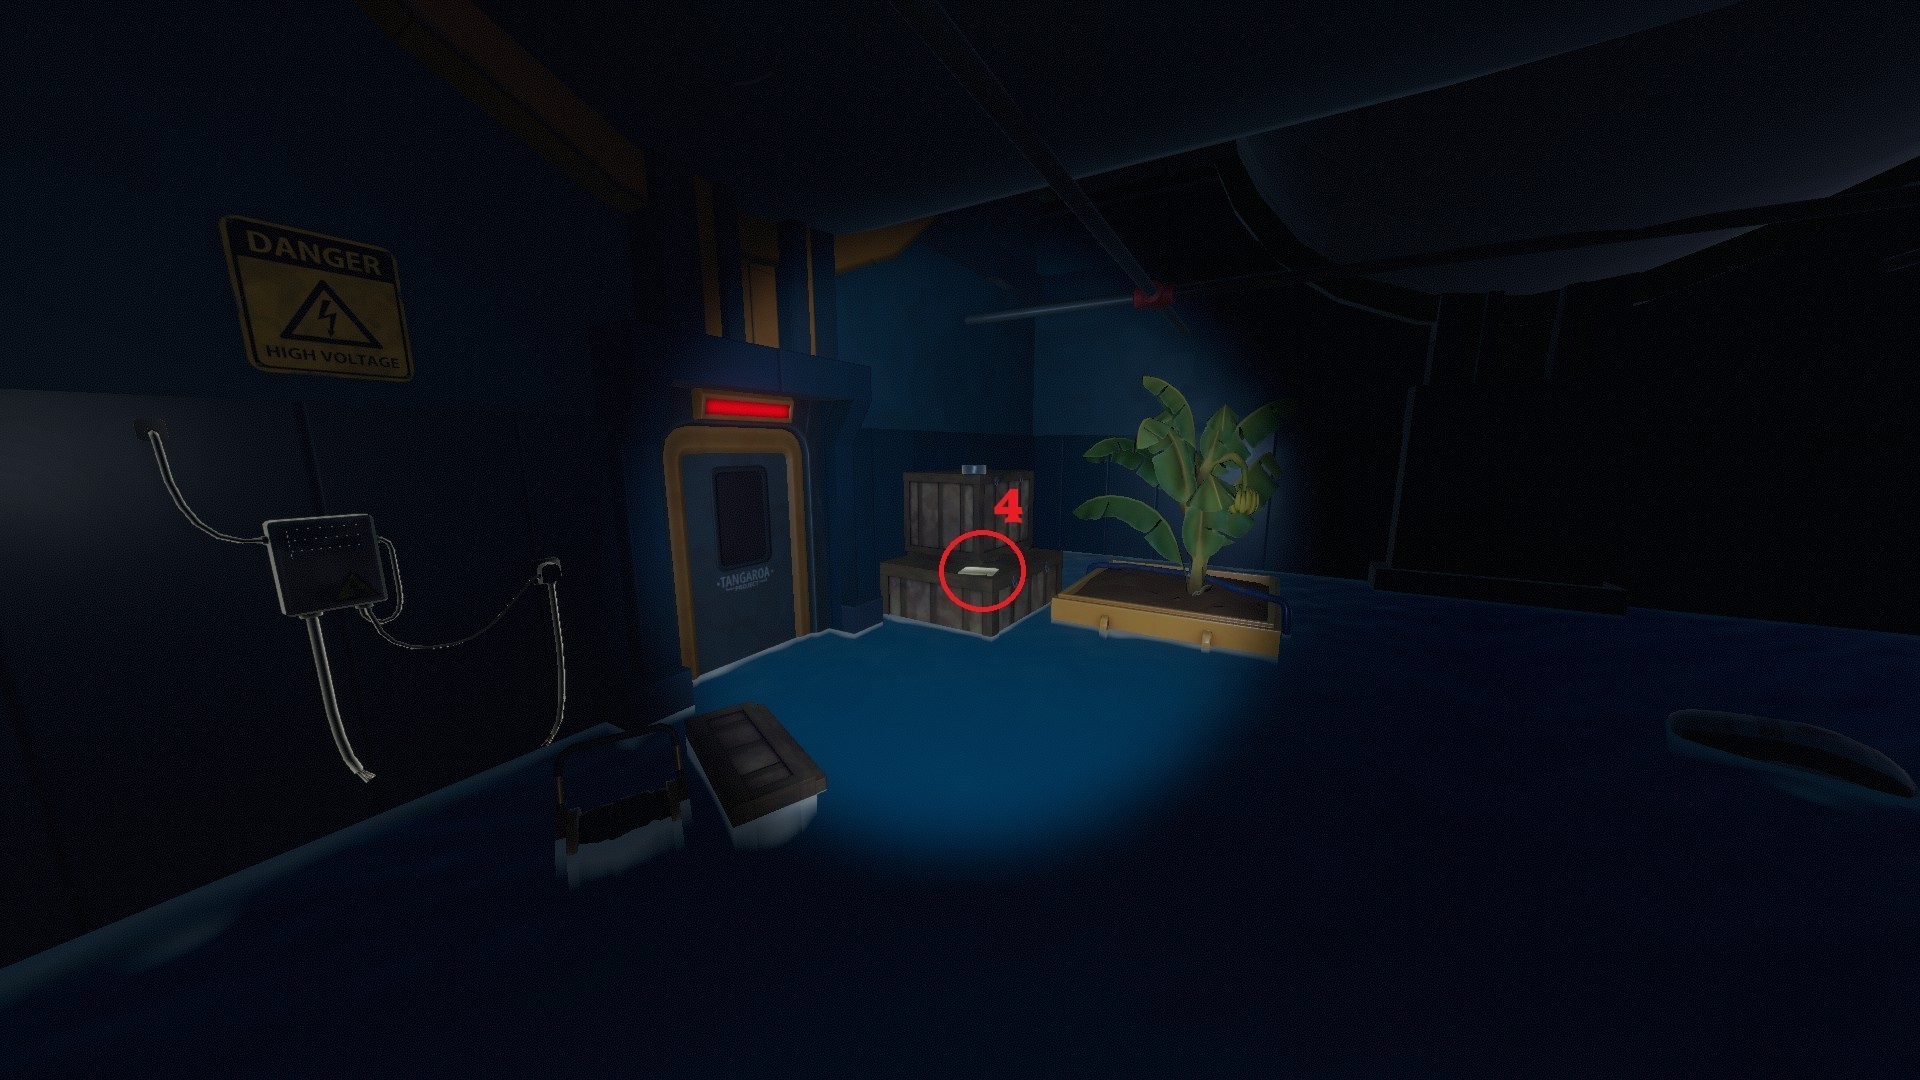
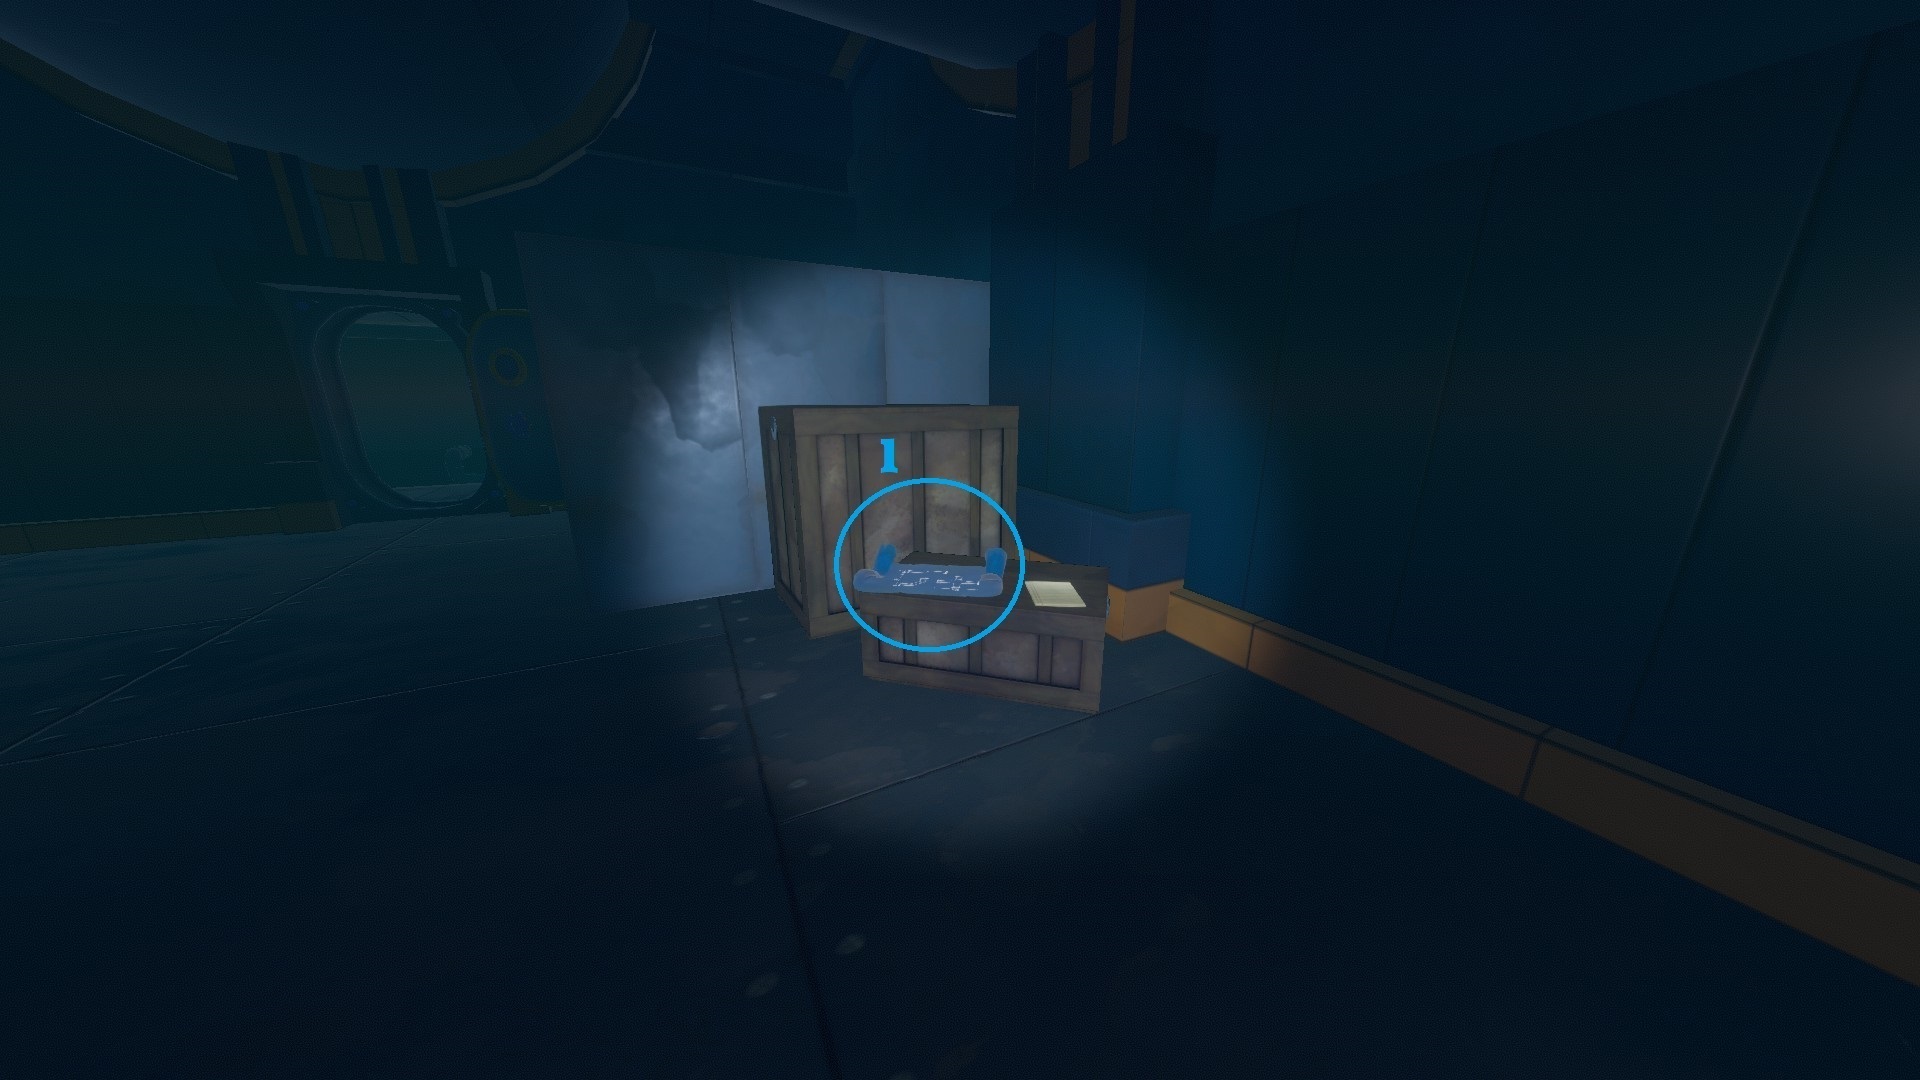
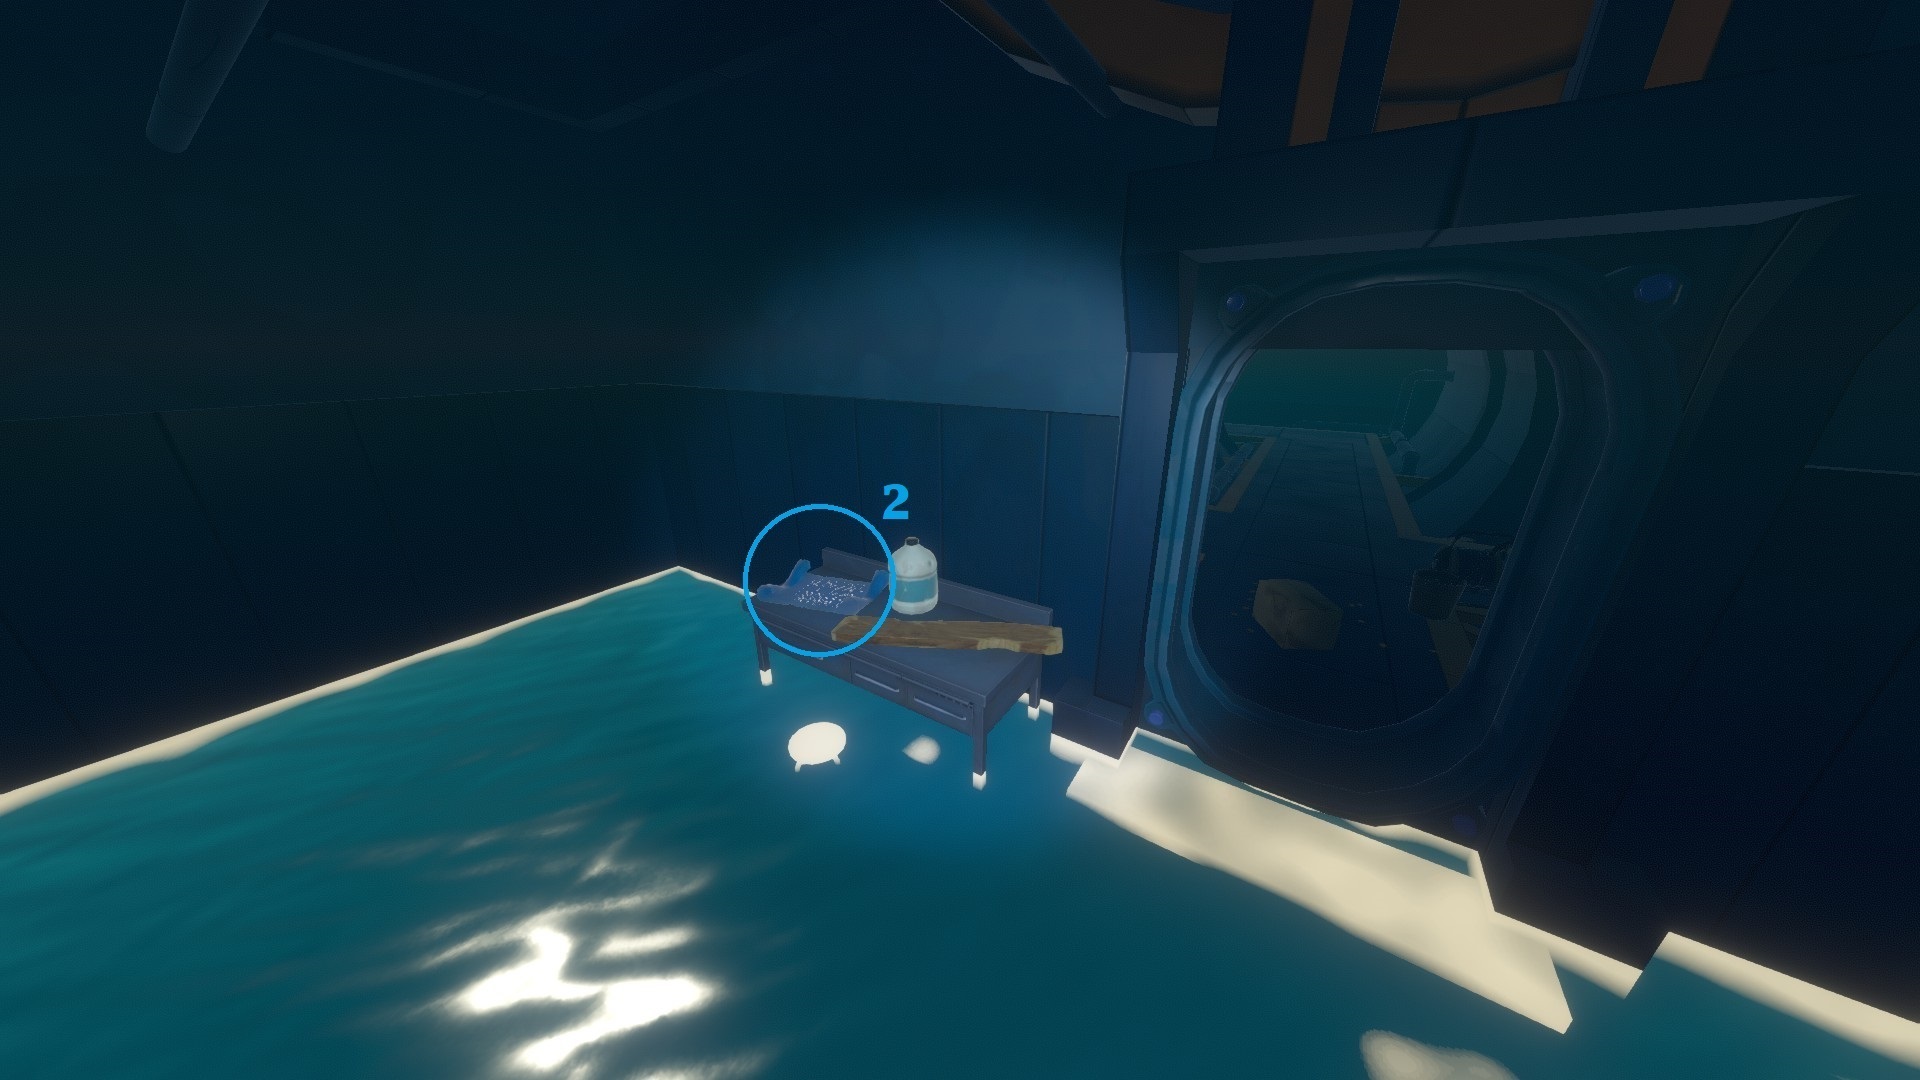
- The 1st blueprint (Water Pipe) is just next to a note in the room just after the sliding puzzle.
- The 2nd blueprint (Electric Purifier) is in the room just after fixing all the broken wires in the plantation.
- The 3rd blueprint (Large Storage) is on the 2nd Floor of the Tower, just next to the panel where you have to enter a code.
- The 4th blueprint (Water Tank) is inside the tower top you've detached from the rest of the tower by entering the panel code.
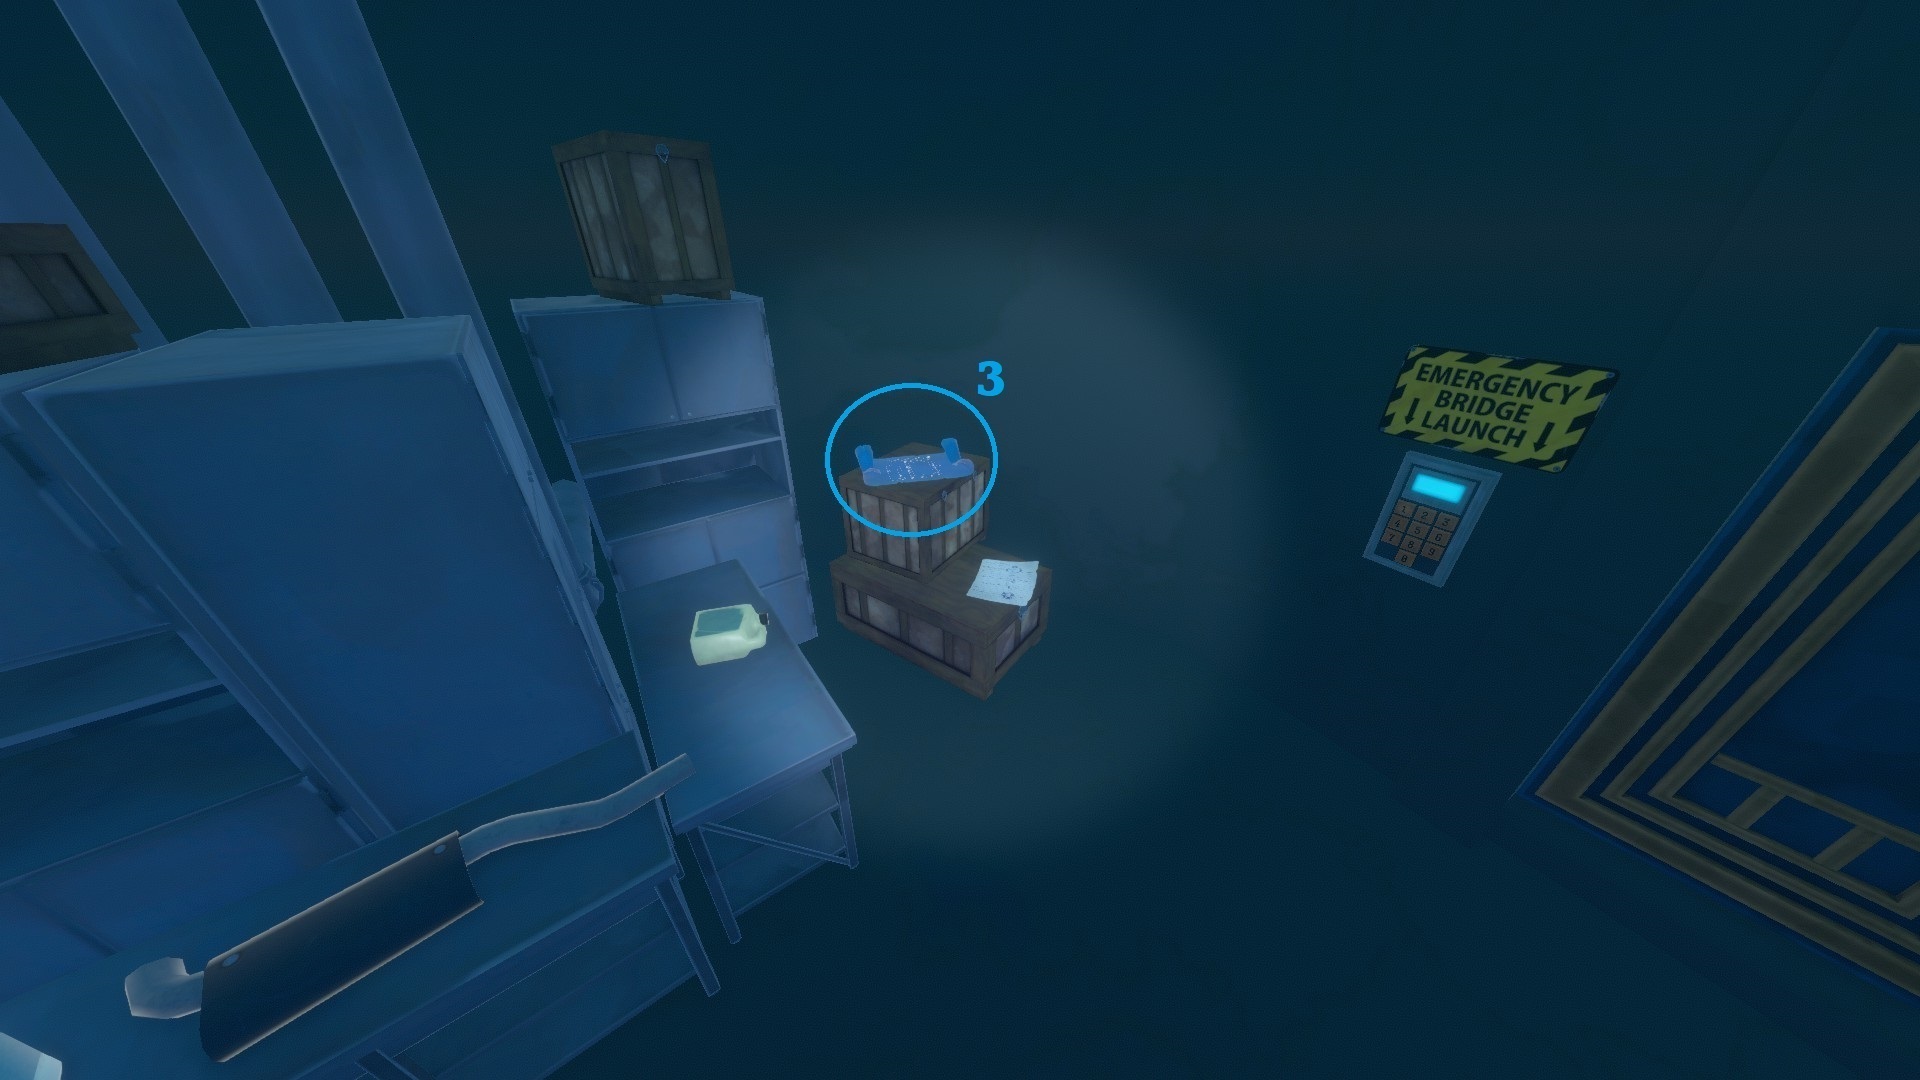
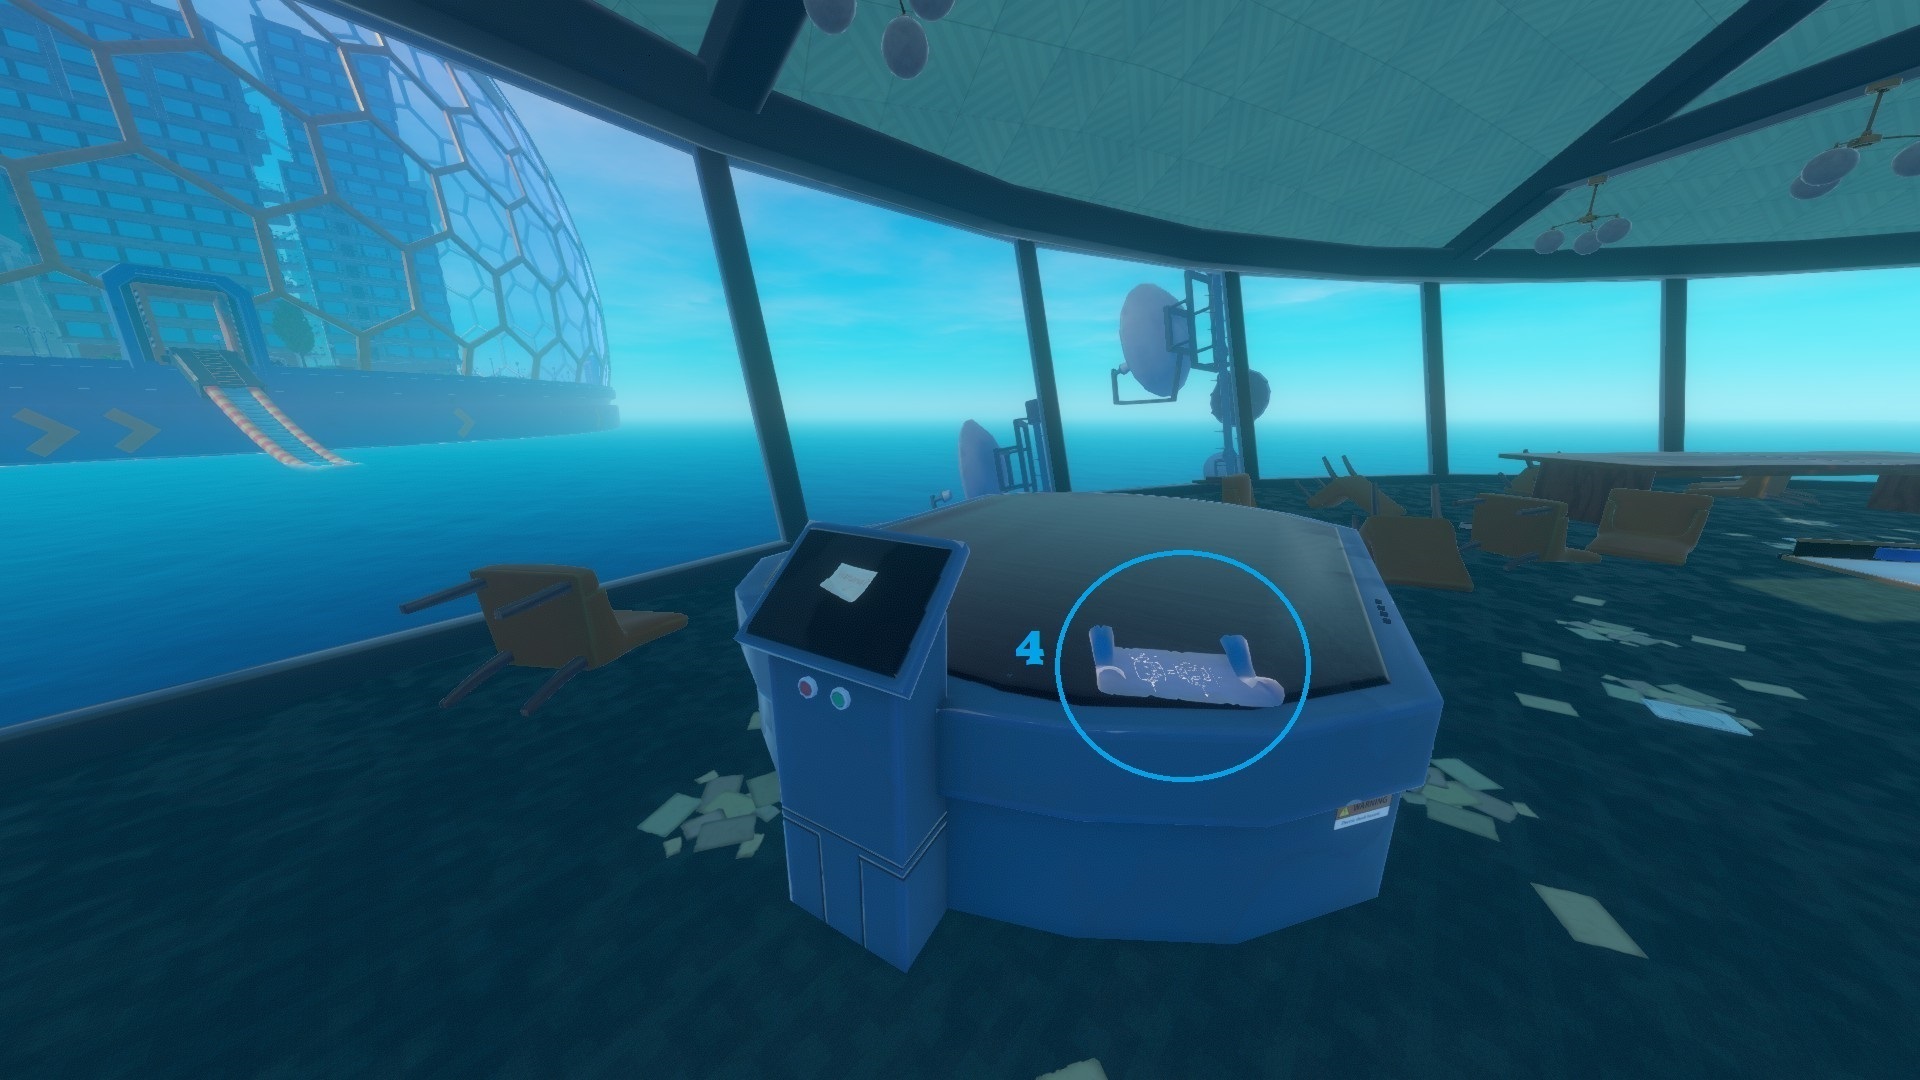
Tangaroa (Tokens/Character)
⠀
Tokens :
There are 33 tokens that you can find. They all respawn when you come back to Tangaroa and you can use them on the vending machines at the bottom of the tower.
- Building 1 - Floor 8 [4 Tokens]
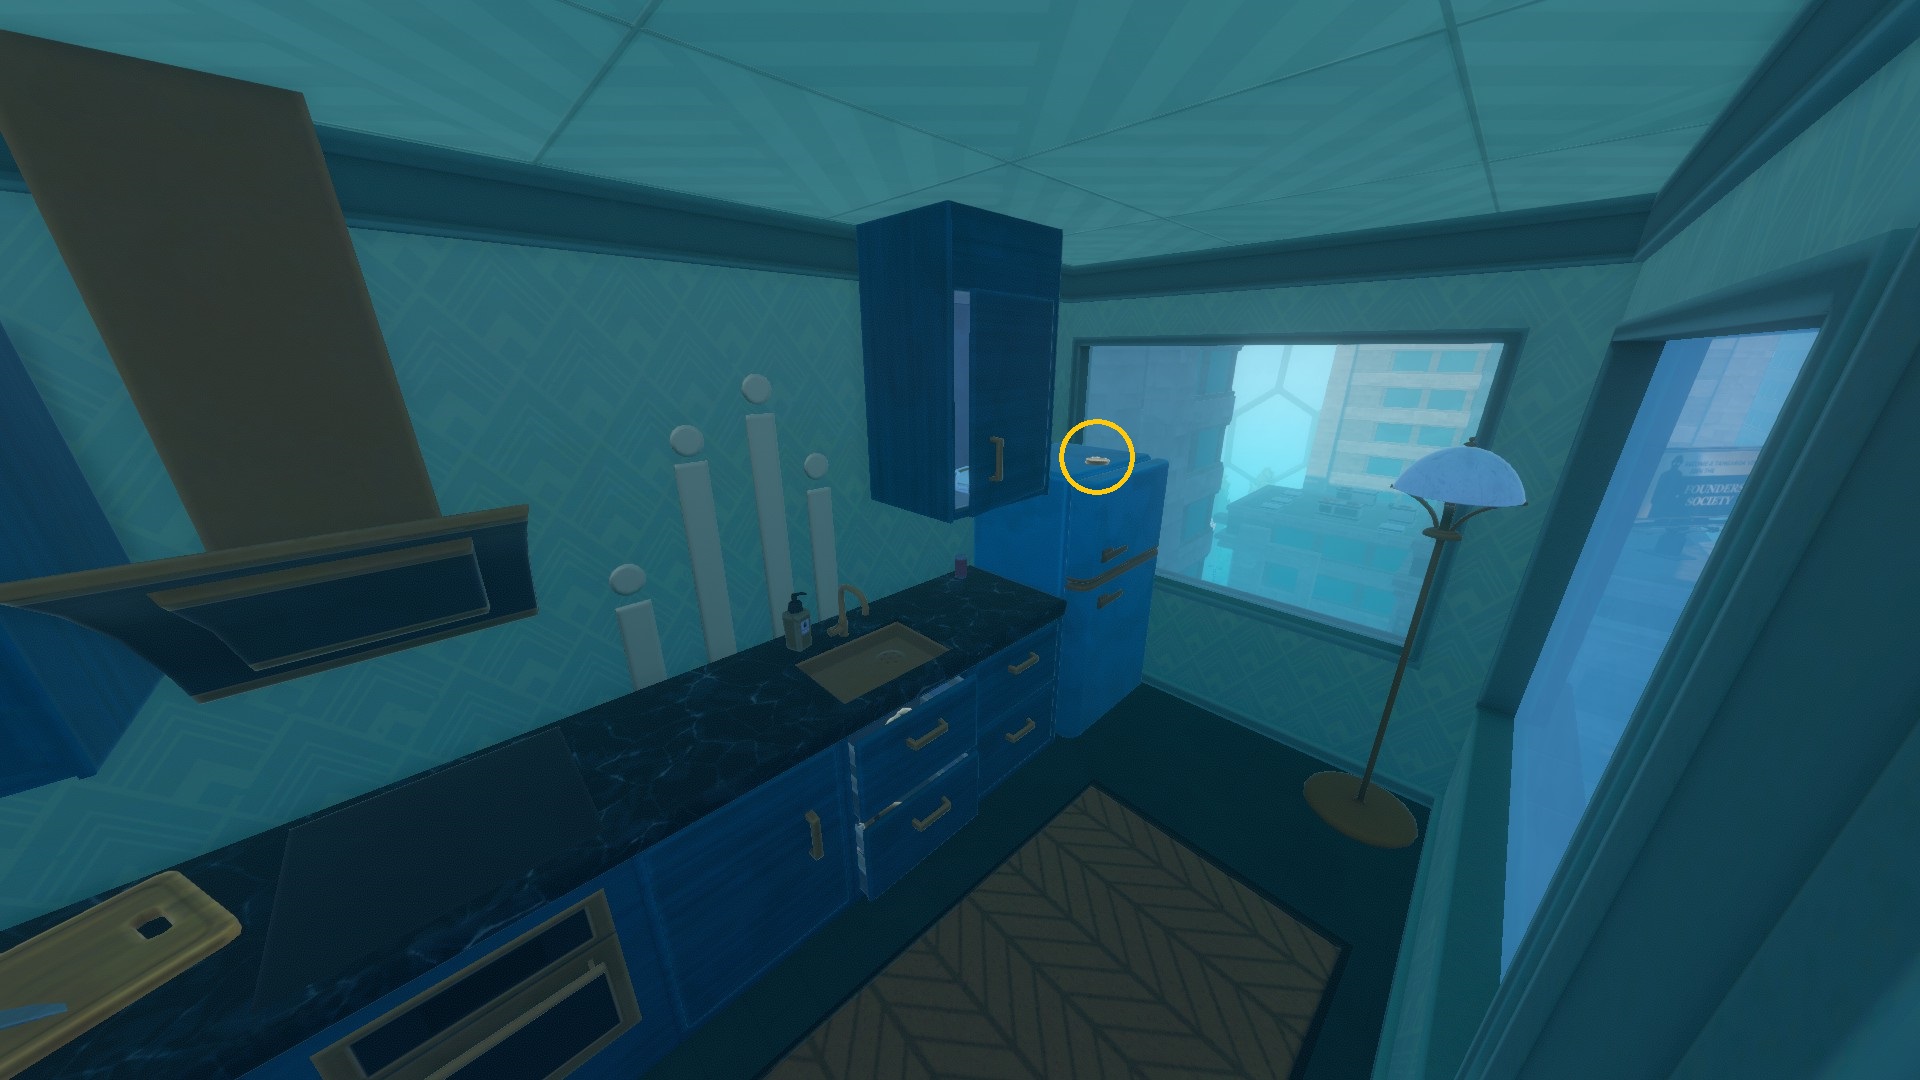
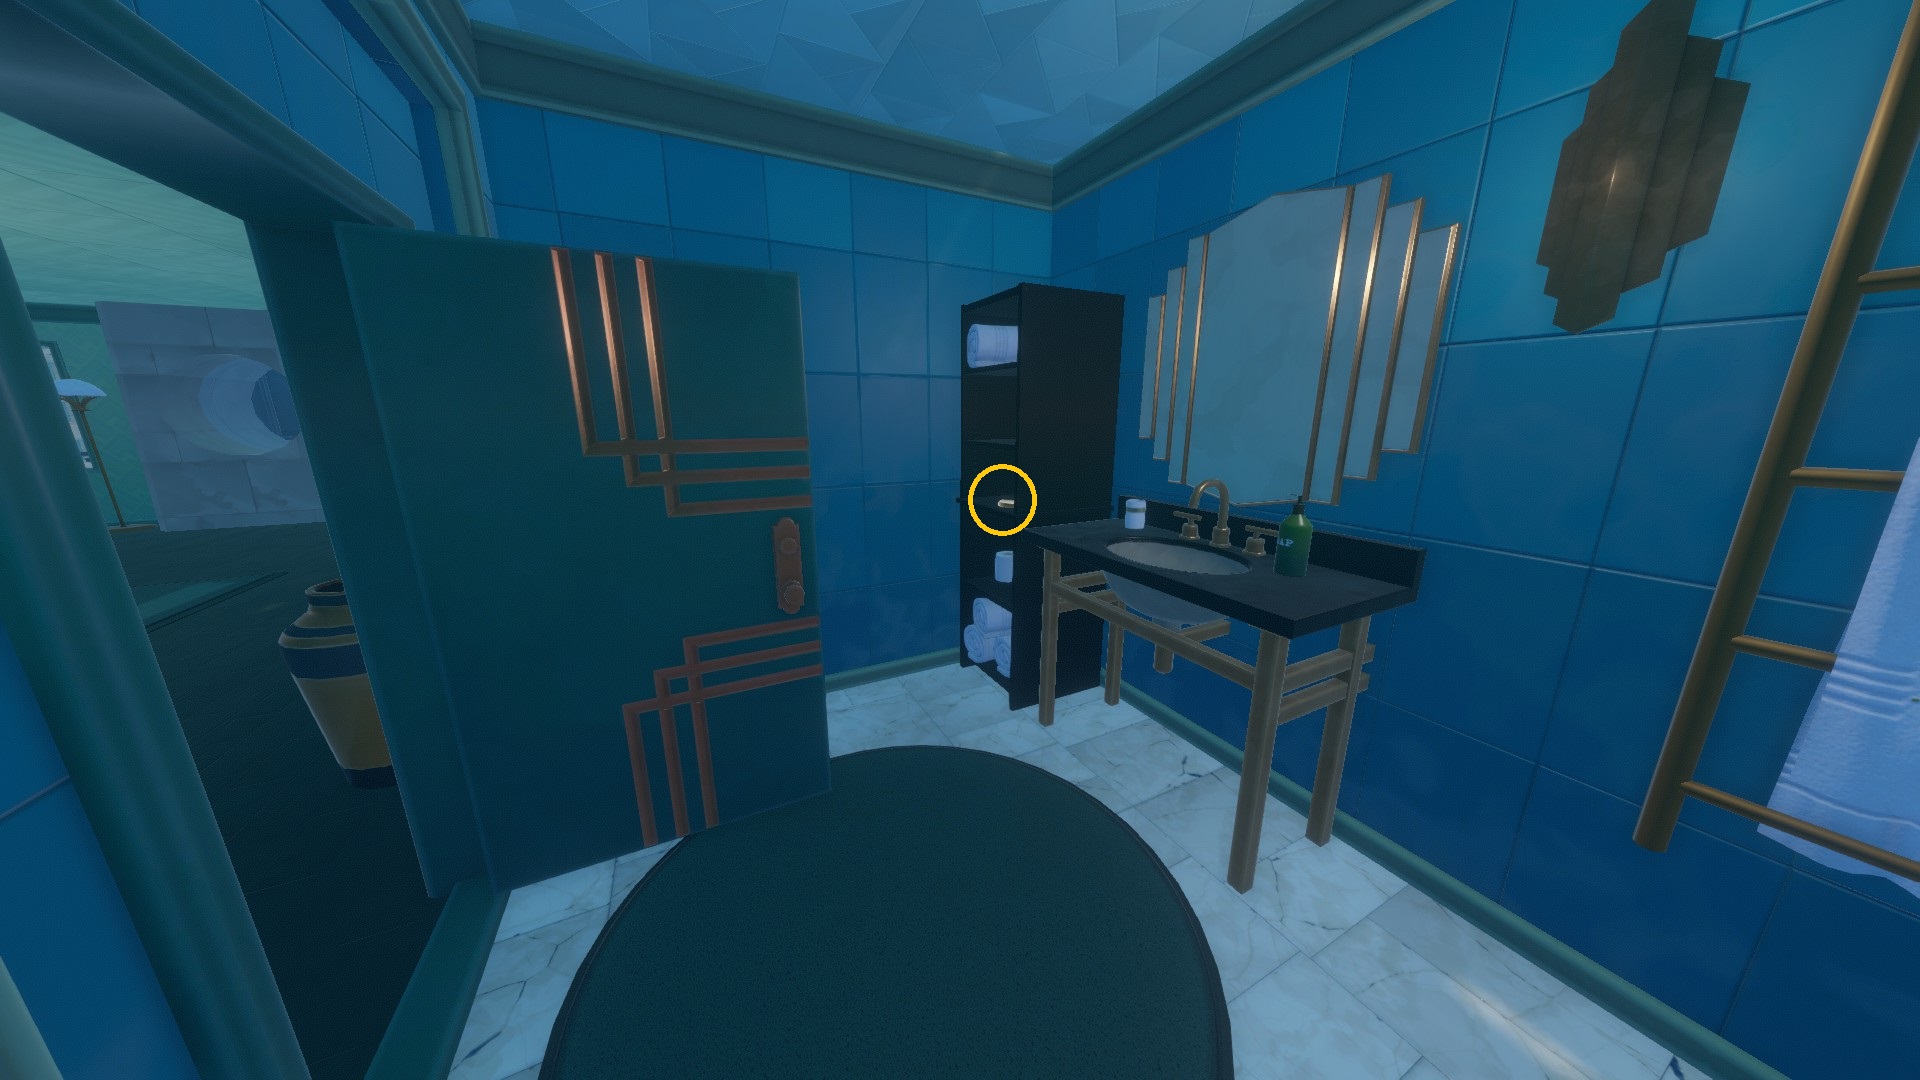
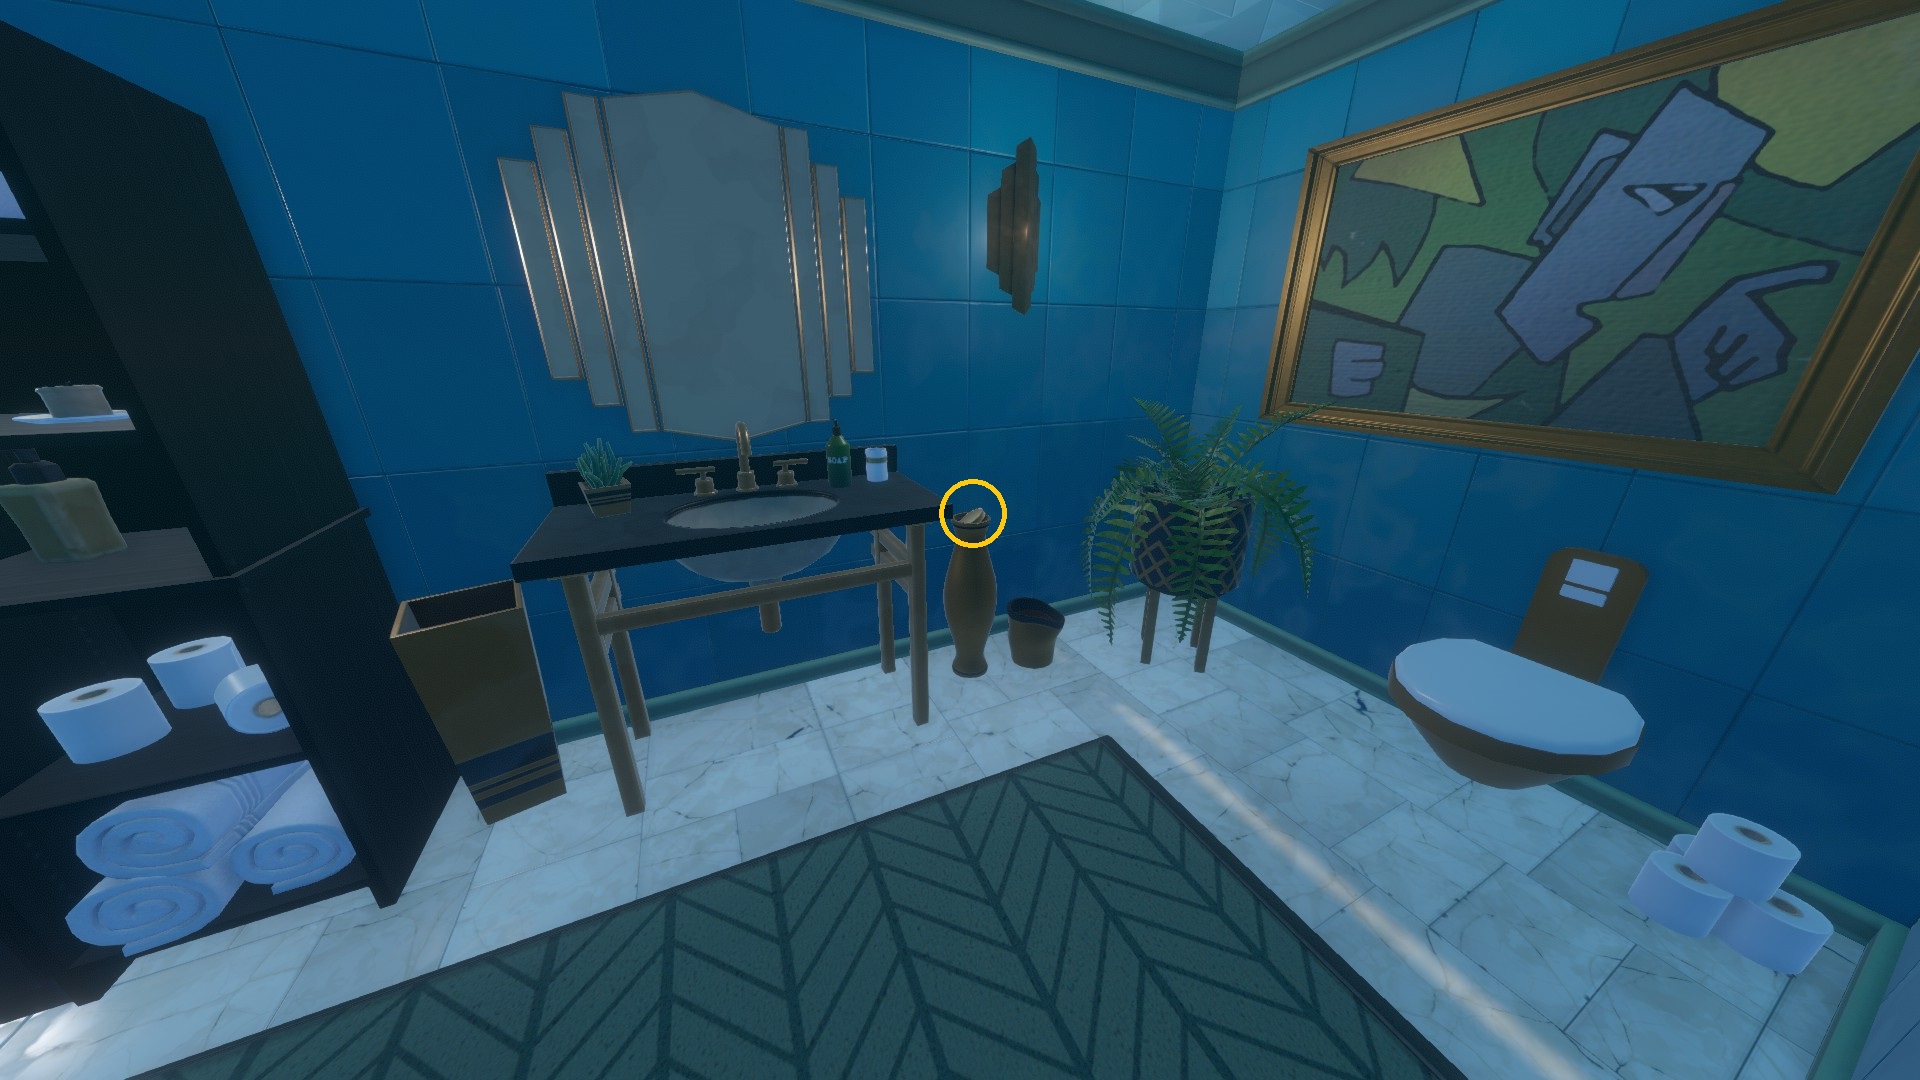
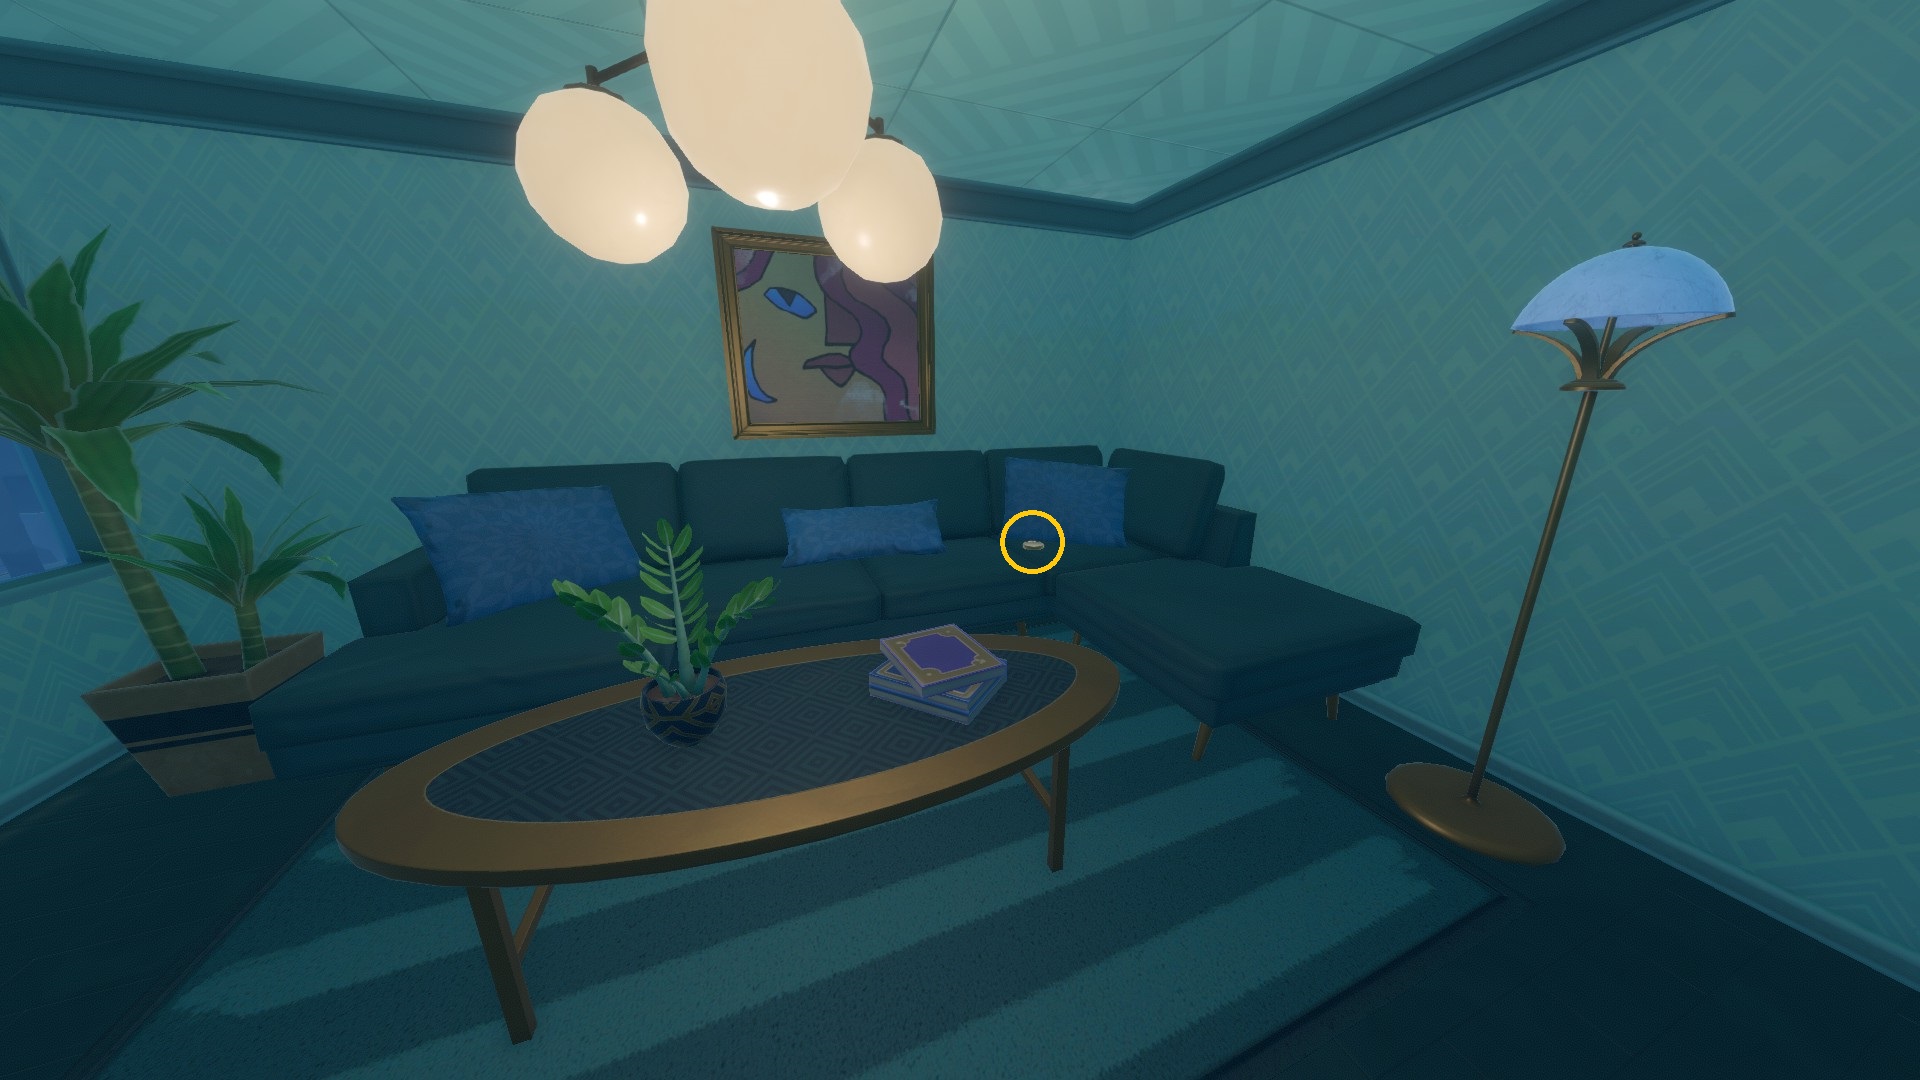
- Building 2 (Exterior Lane) - Floor 8 [2 Tokens]
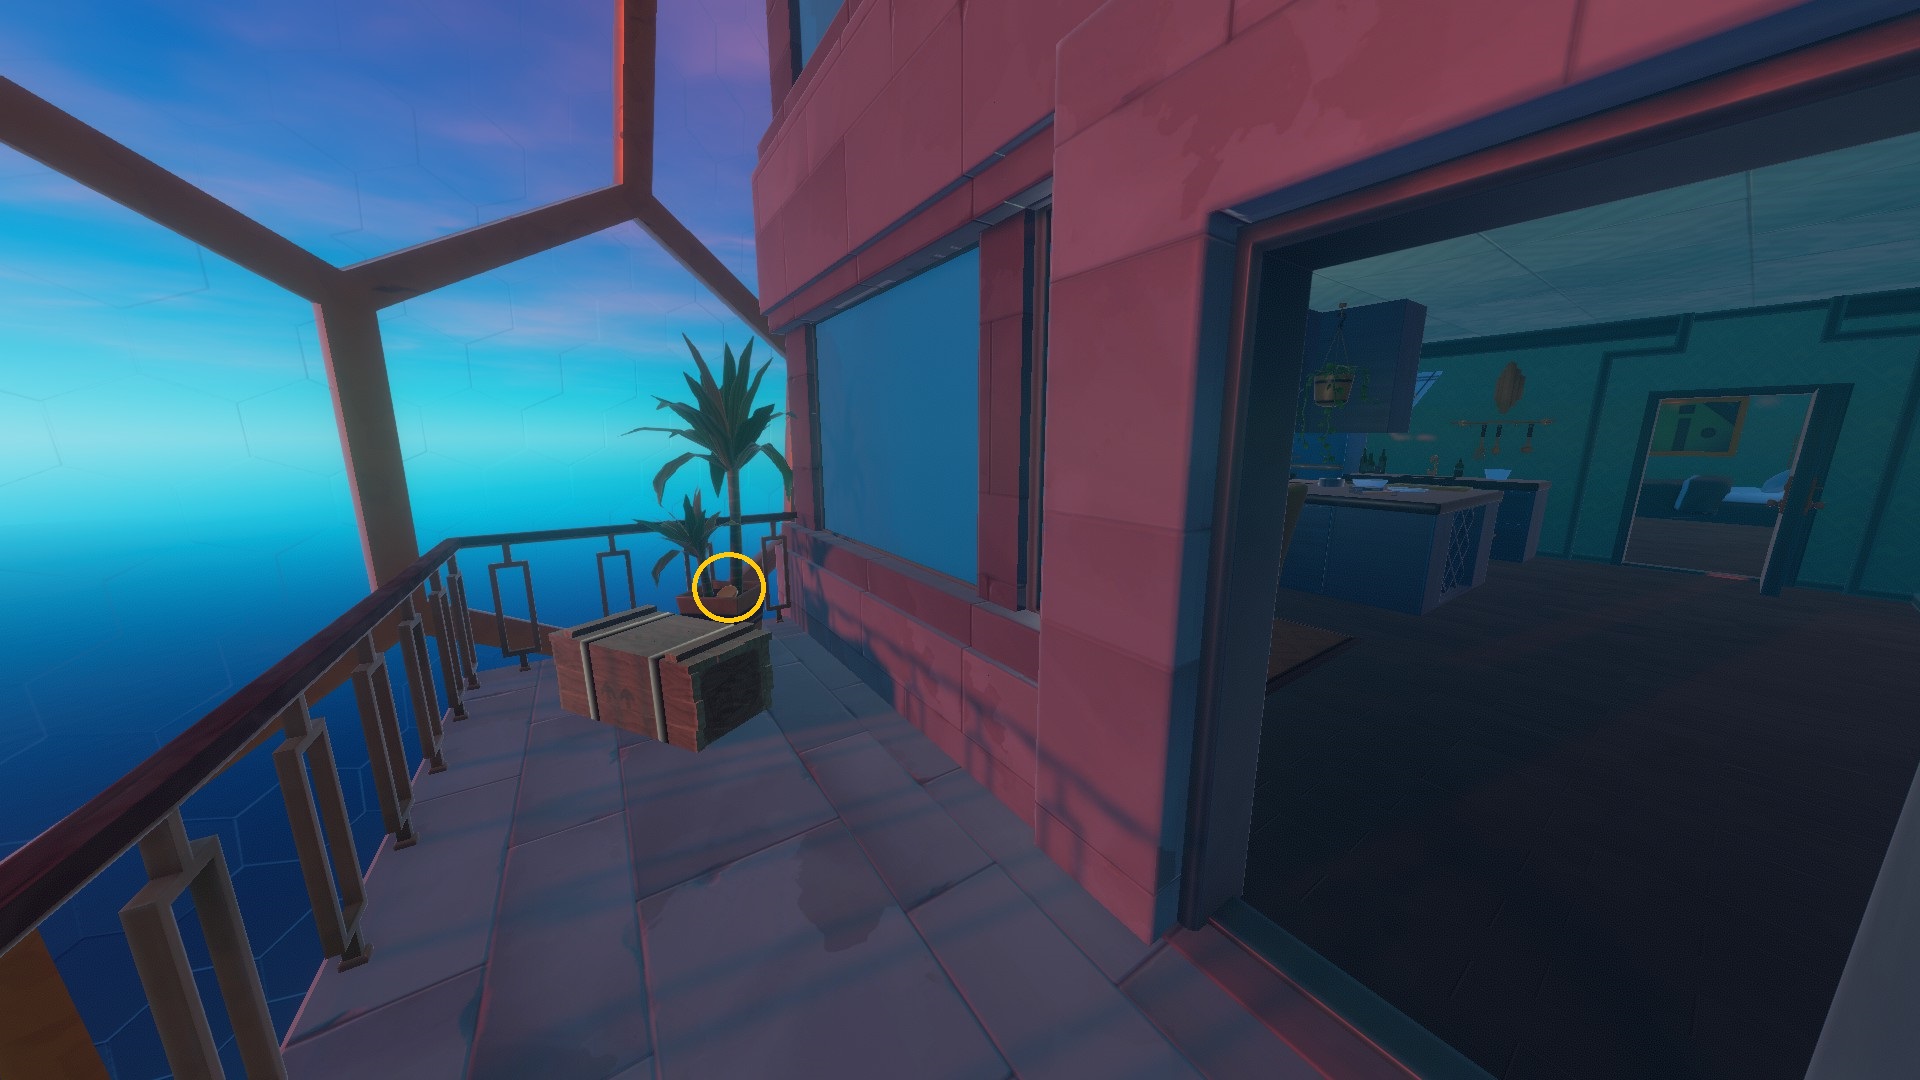
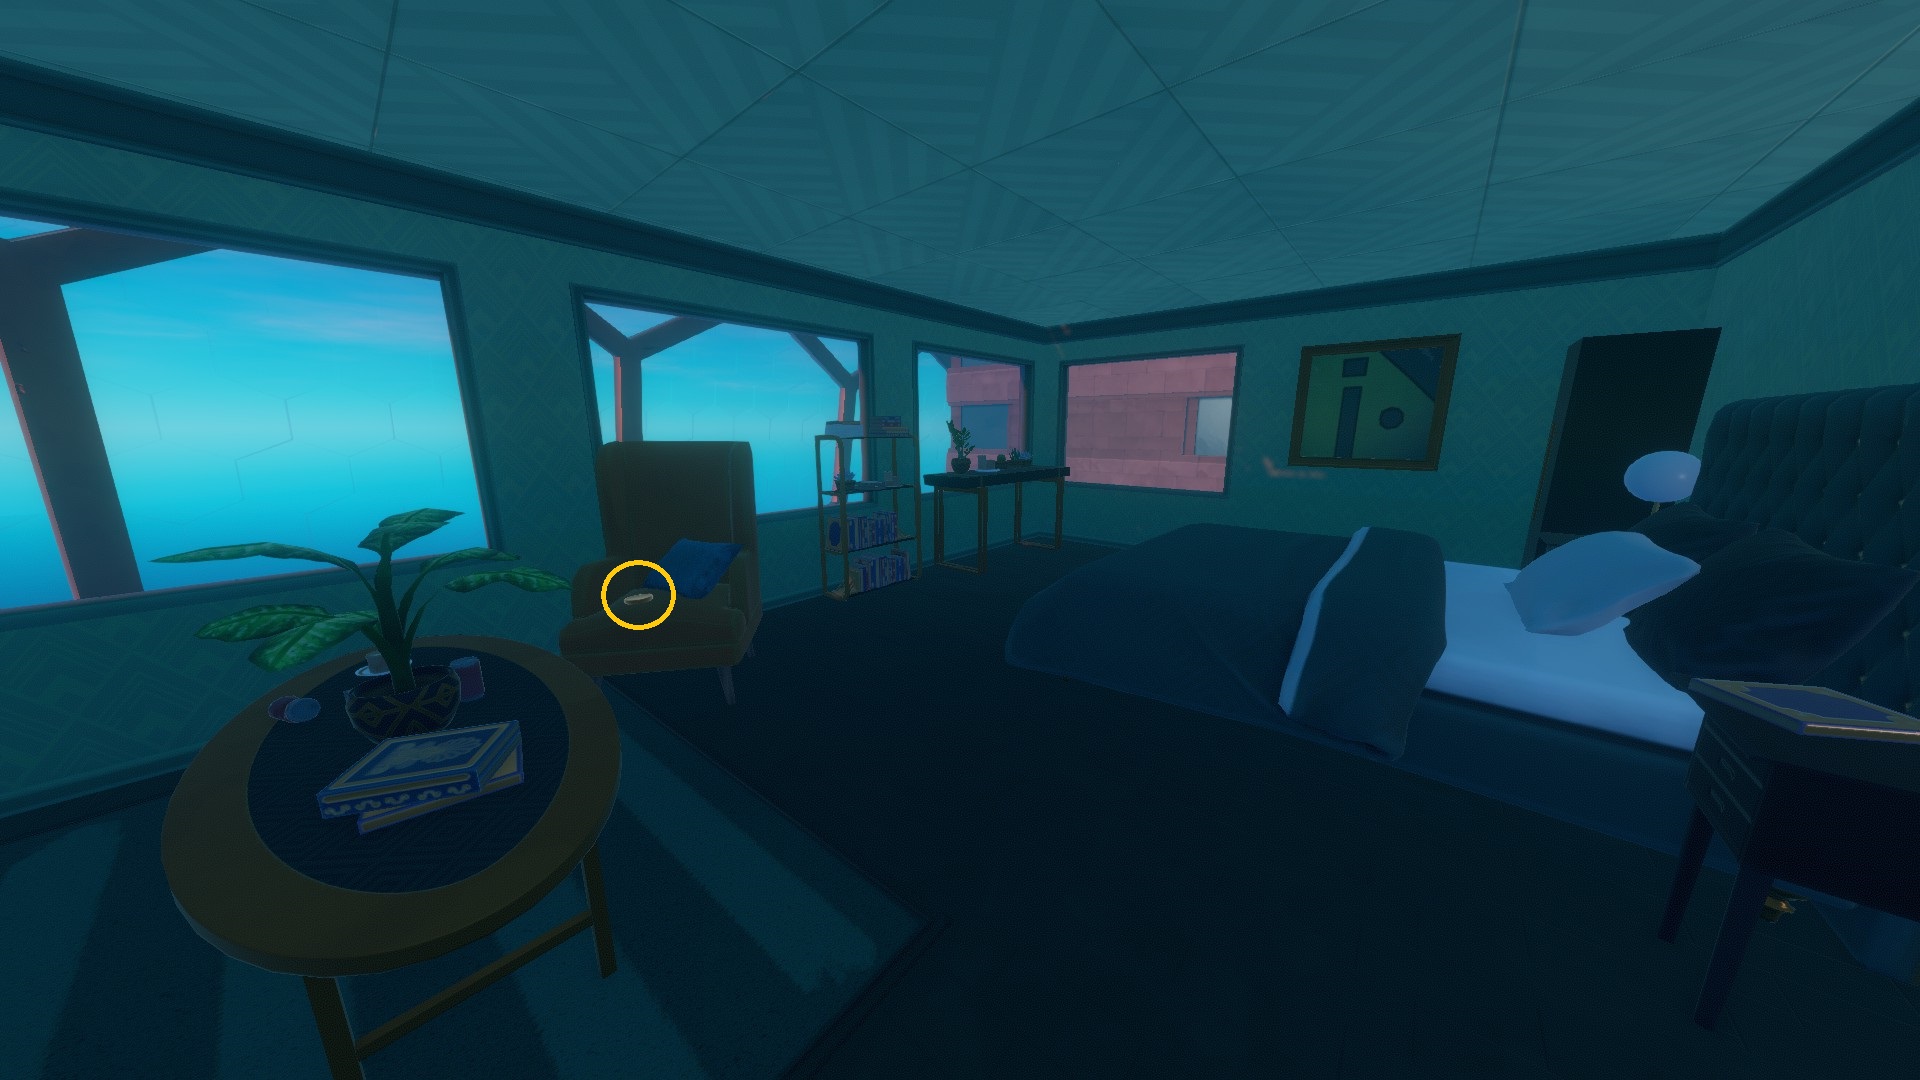
- Building 5 - Floor 8 [4 Tokens]
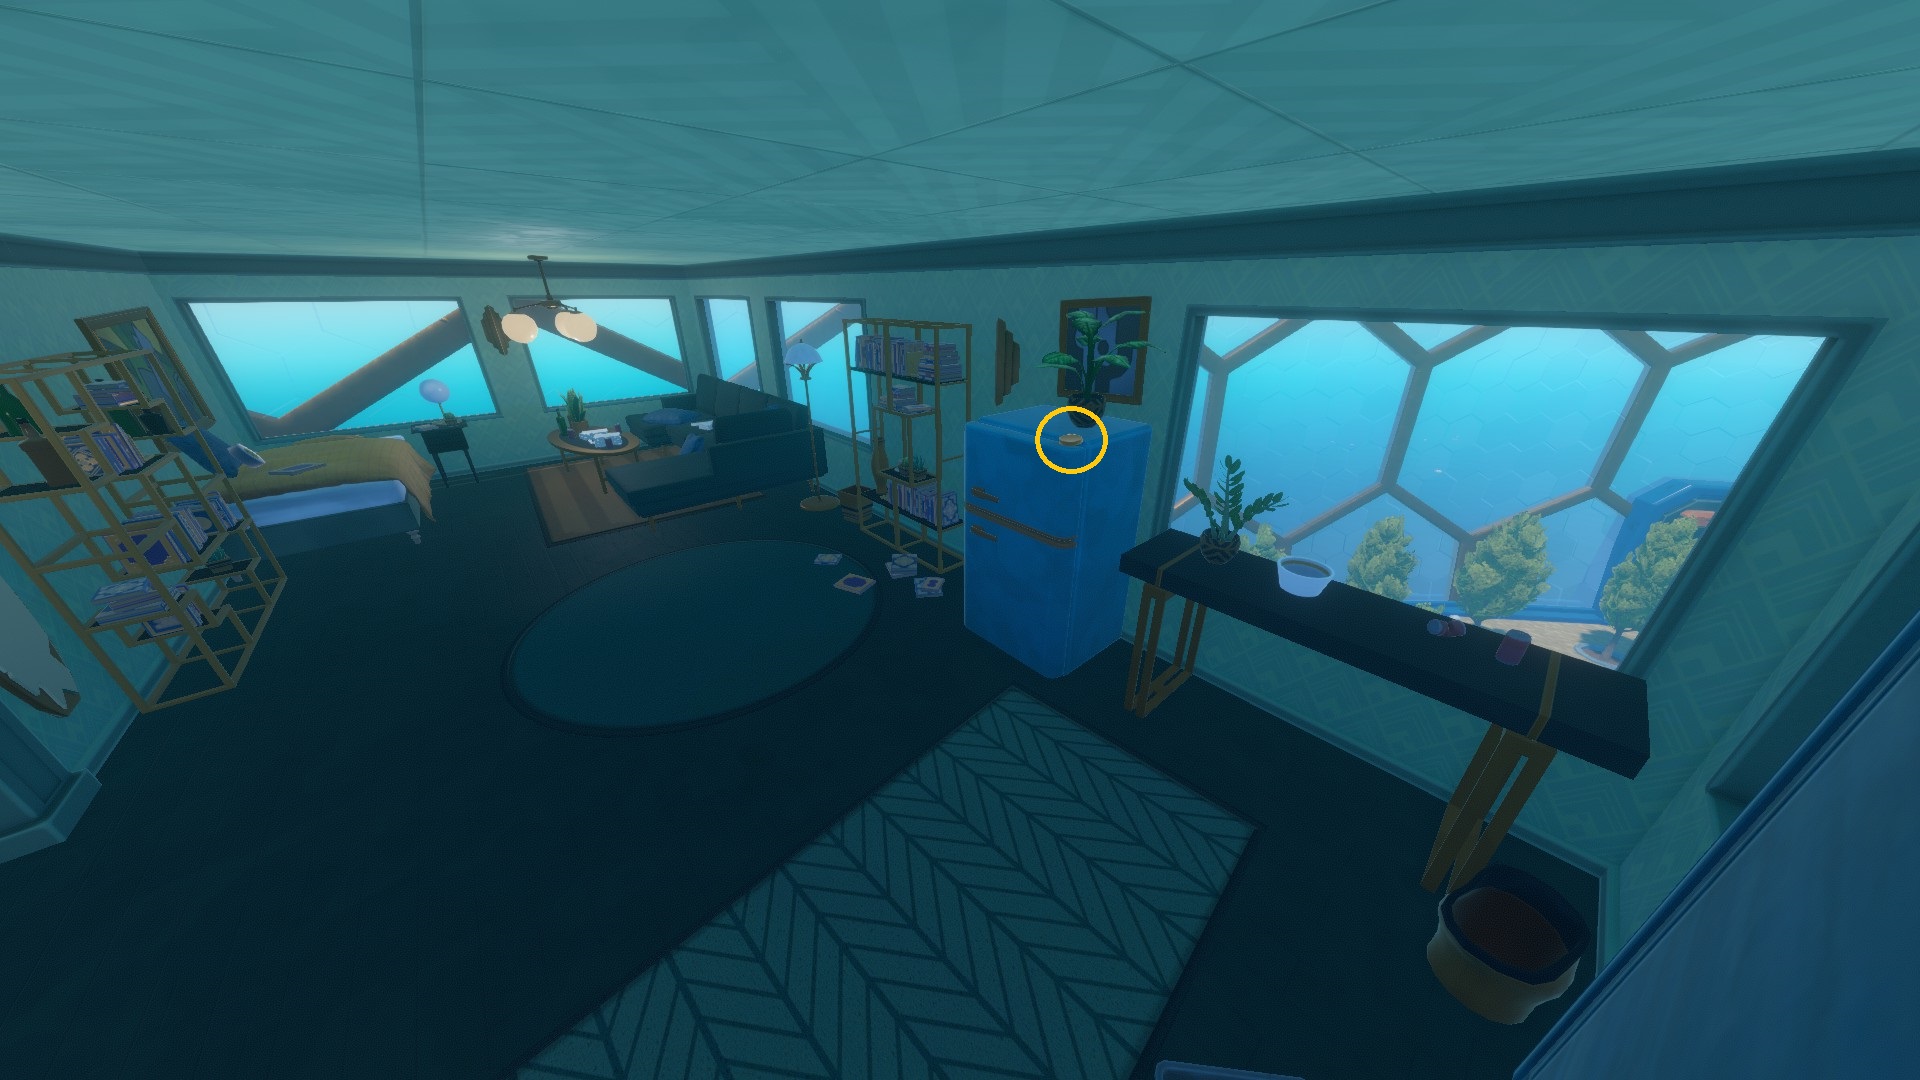
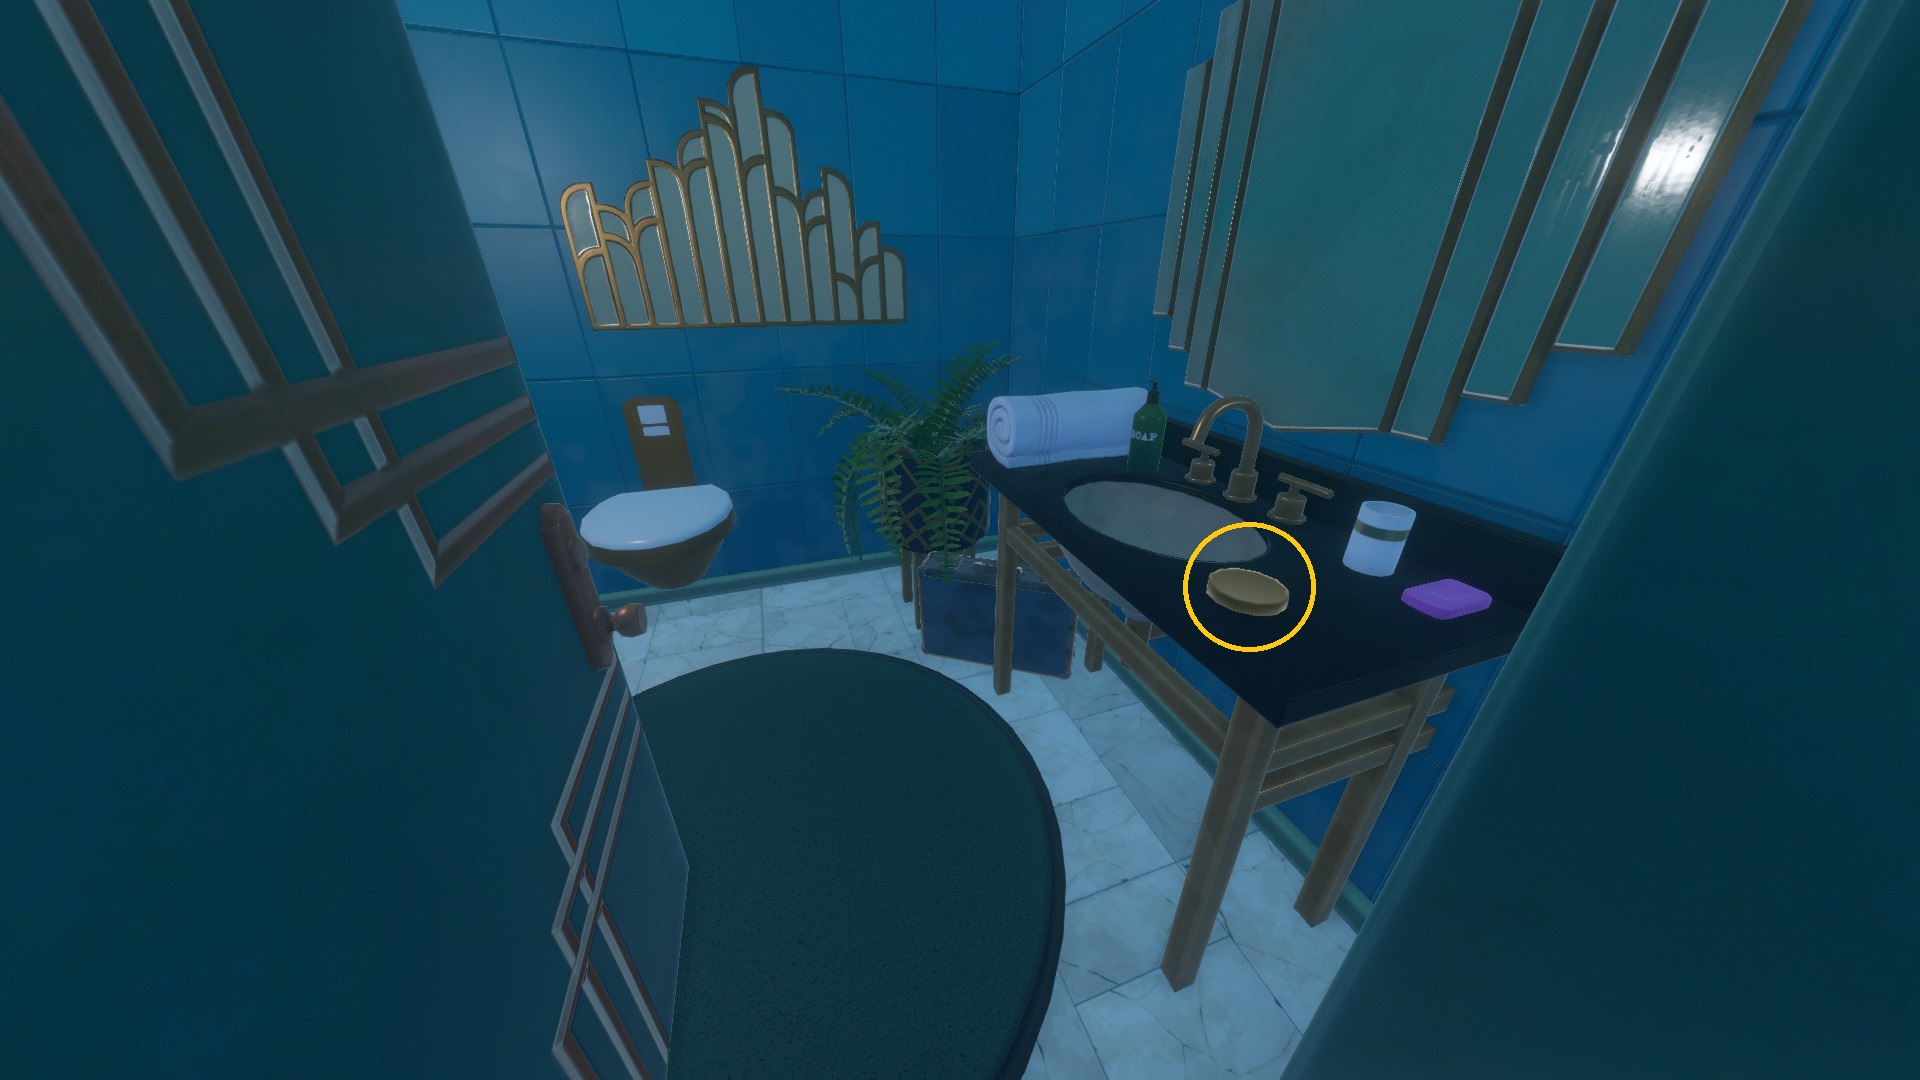
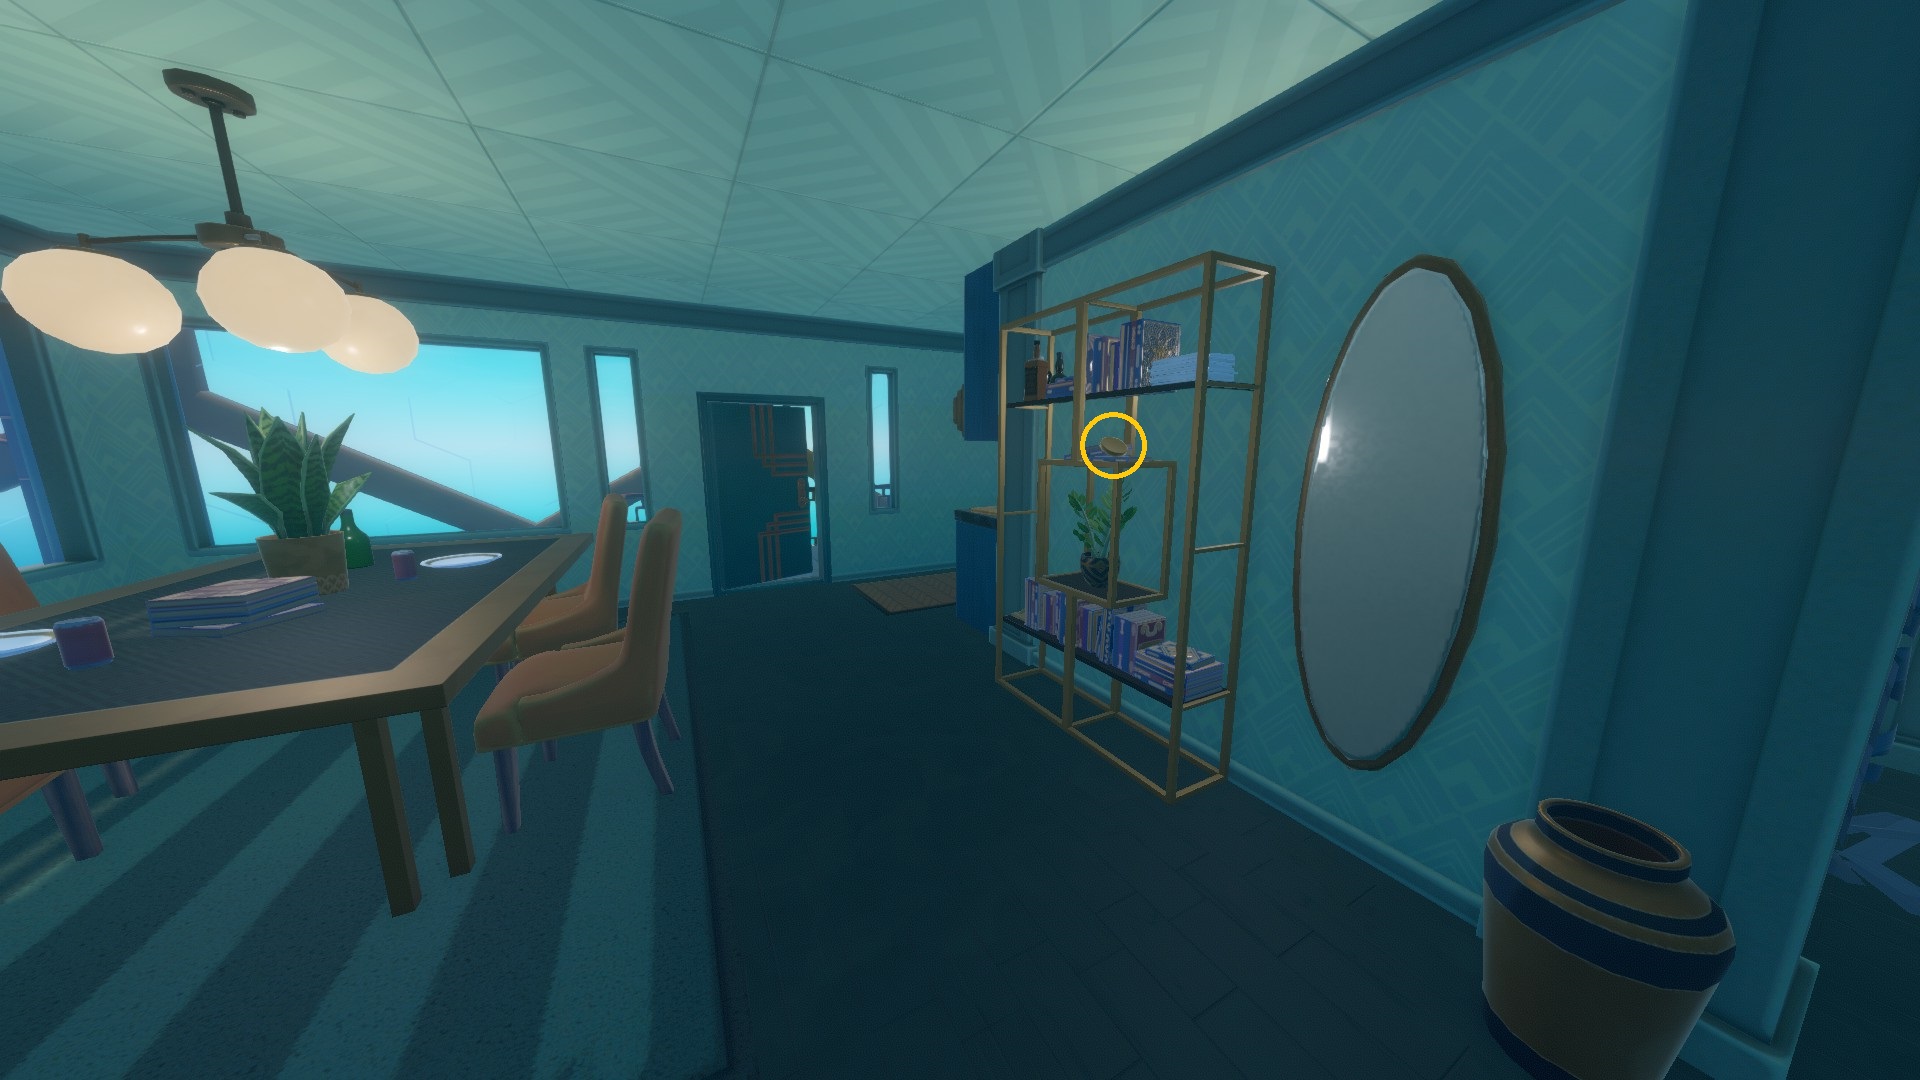
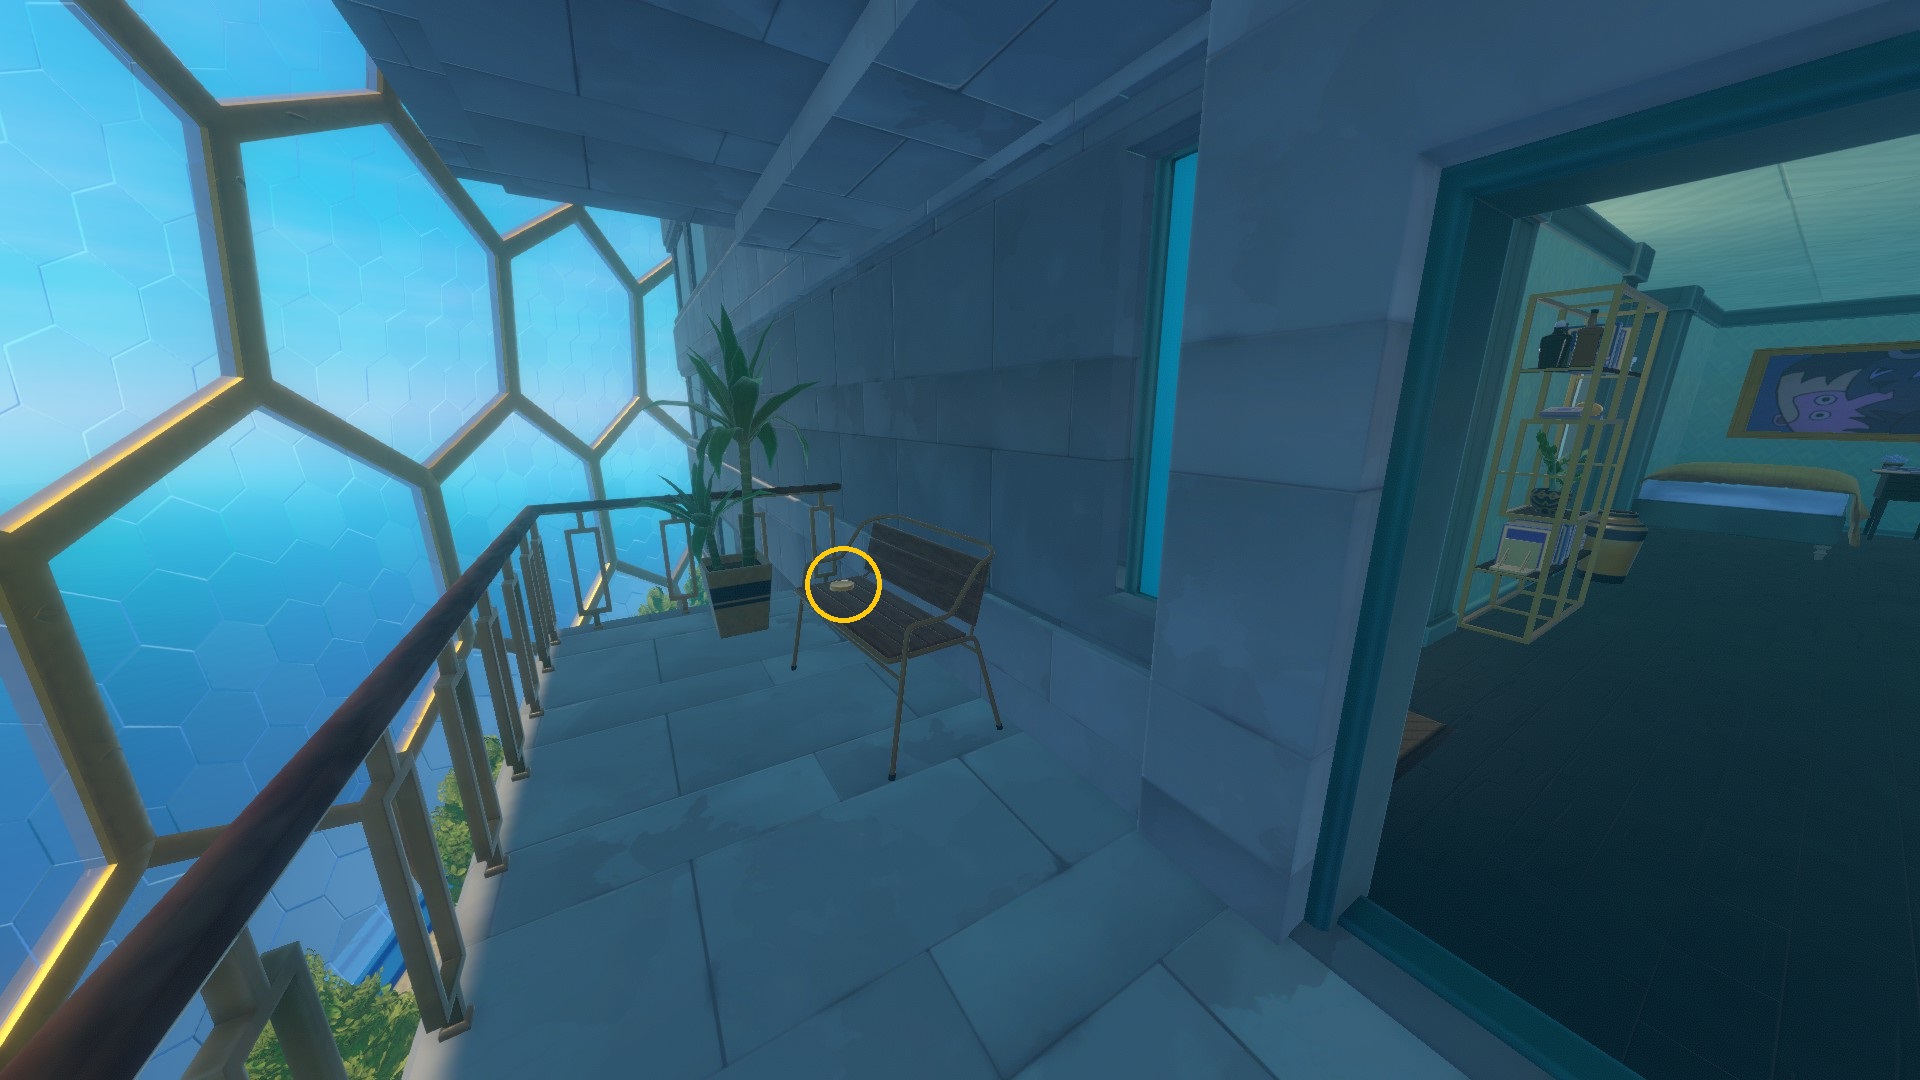
- Building 9 - Floor 11 [2 Tokens]
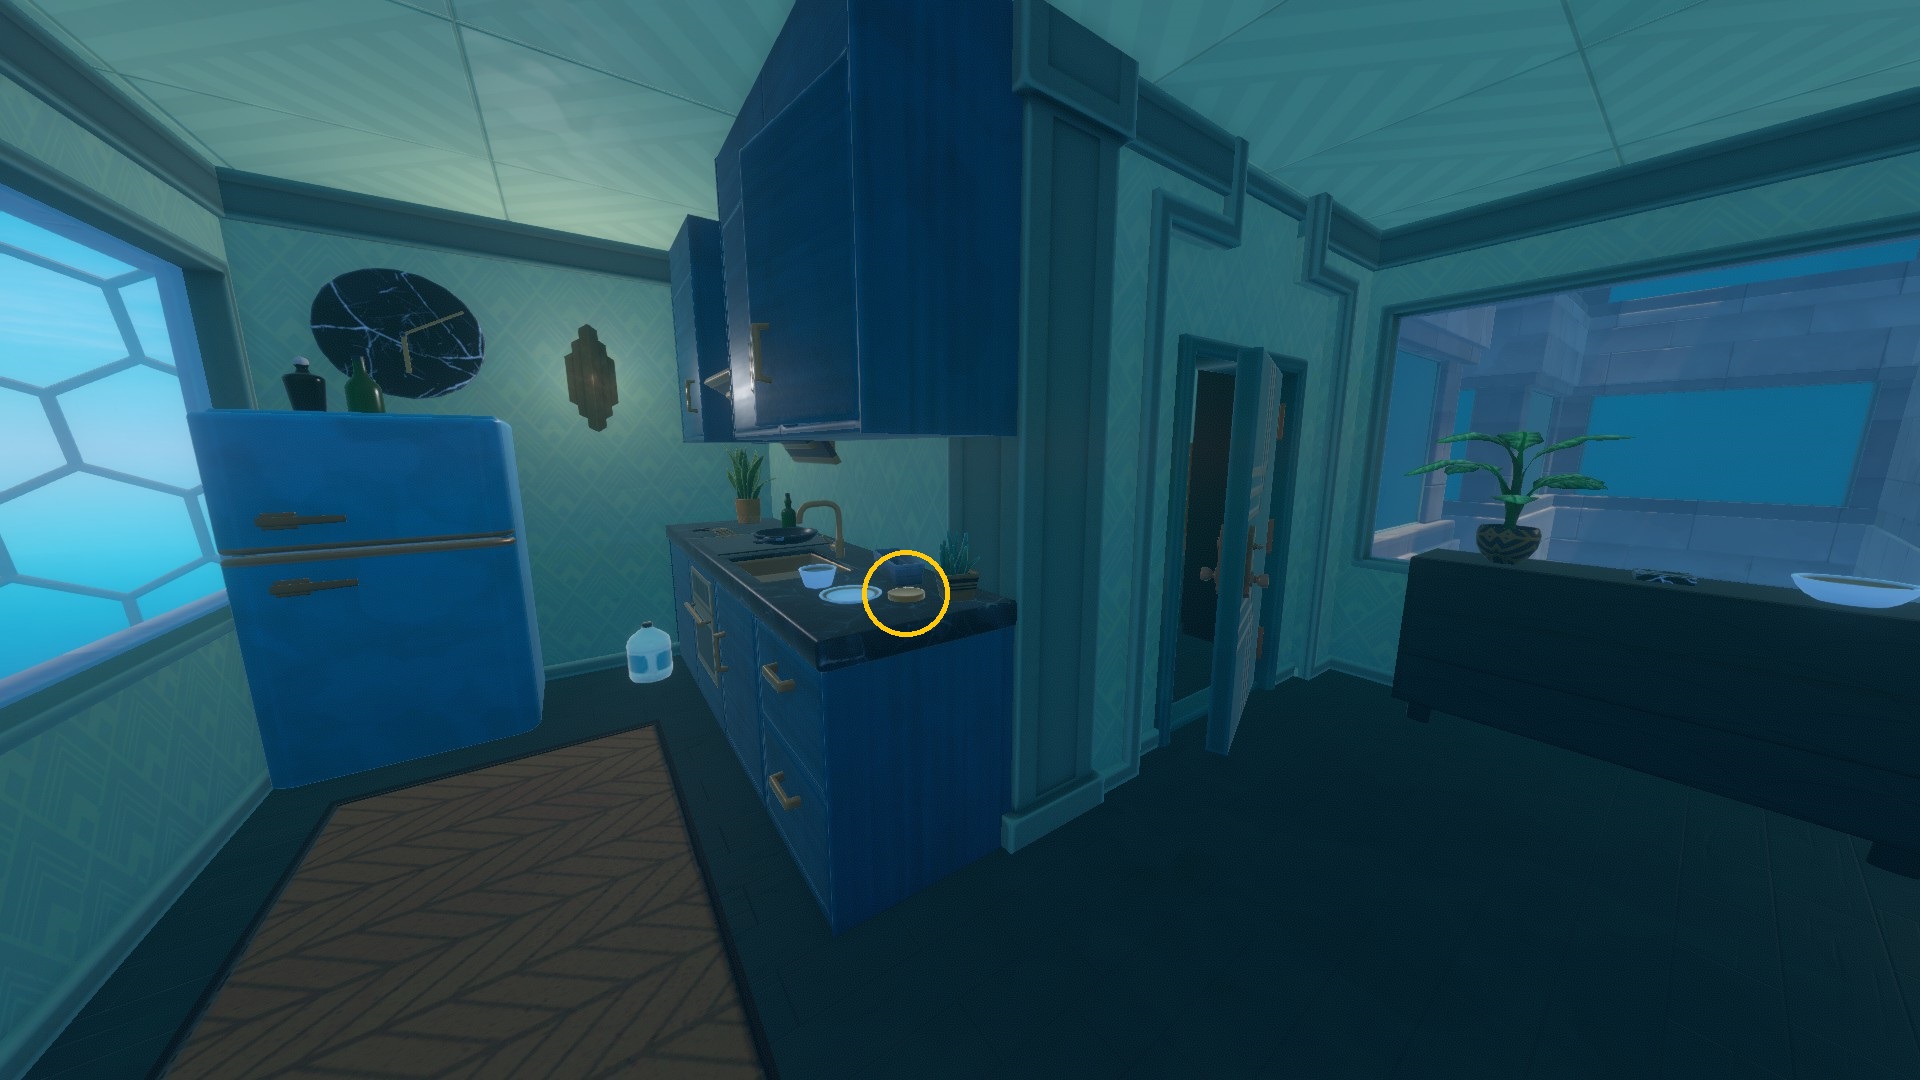
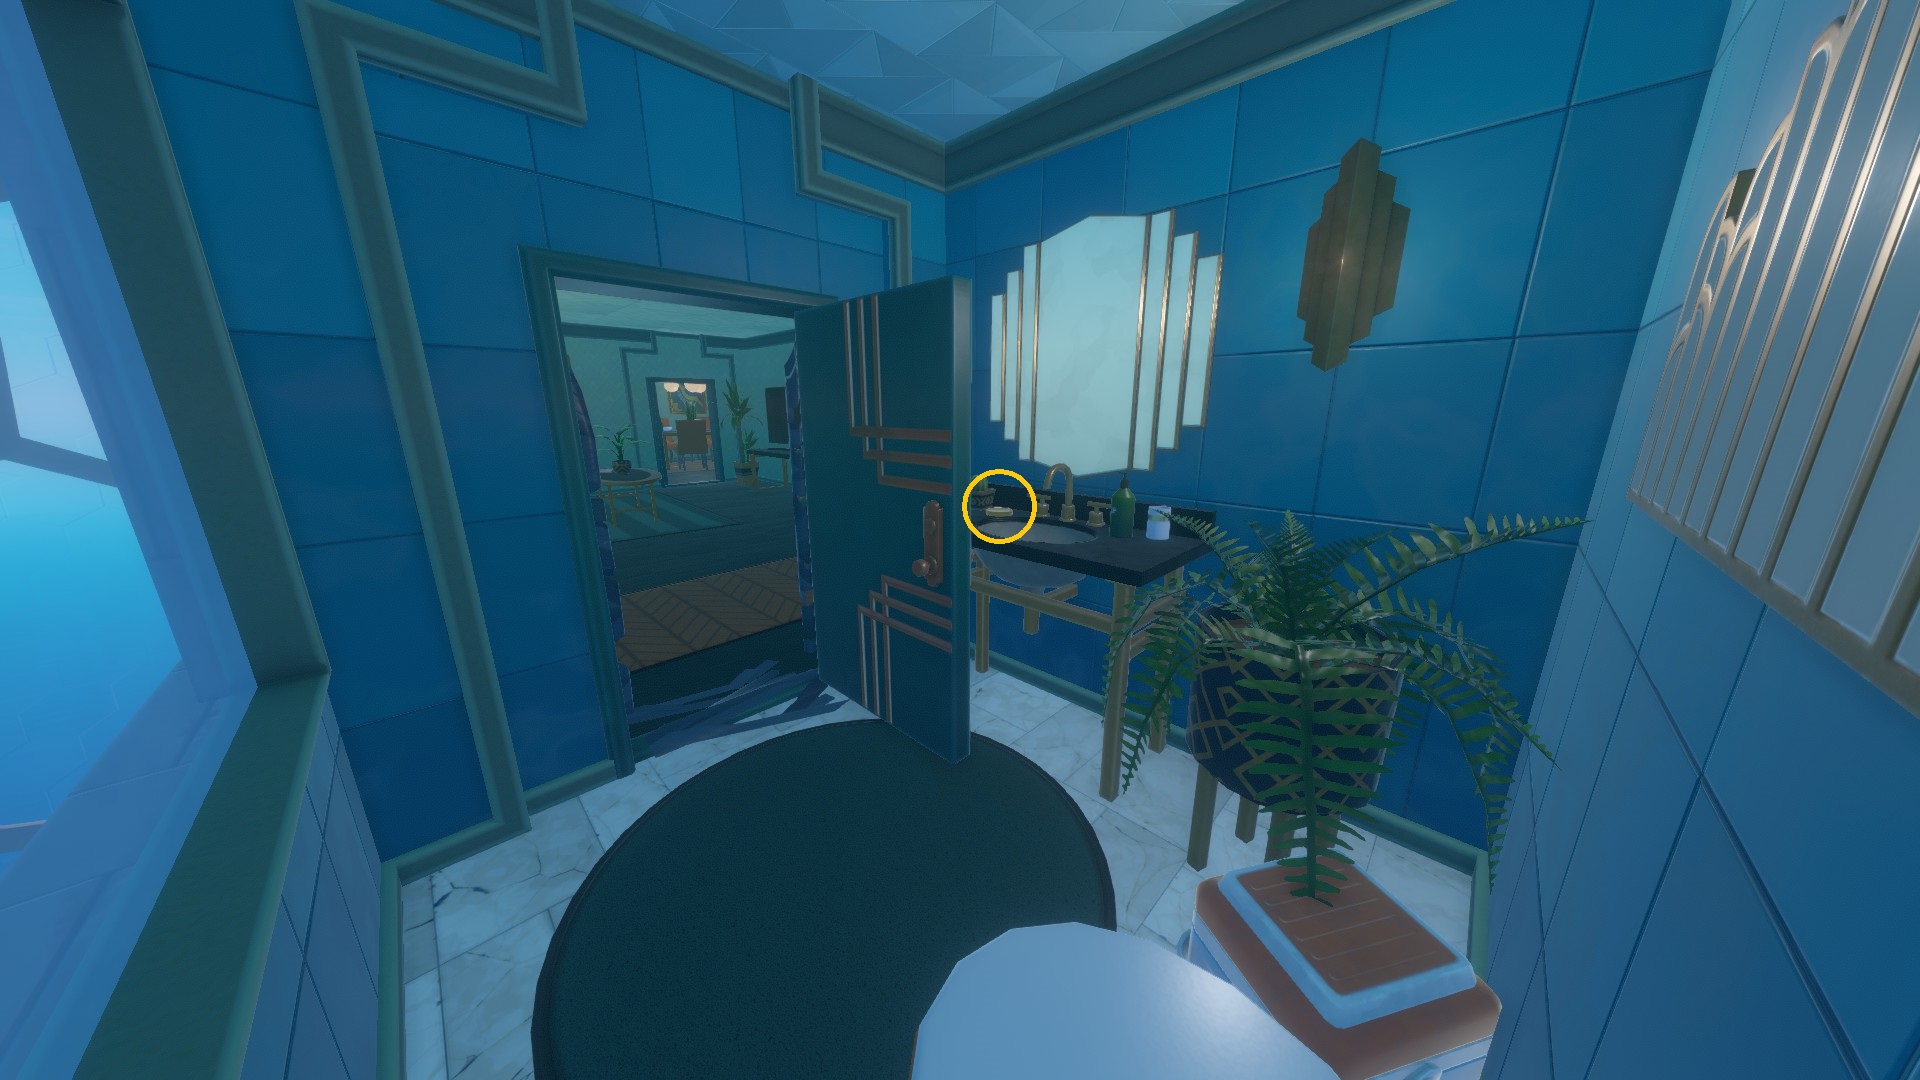
- Building 9 - Floor 13 [3 Tokens]
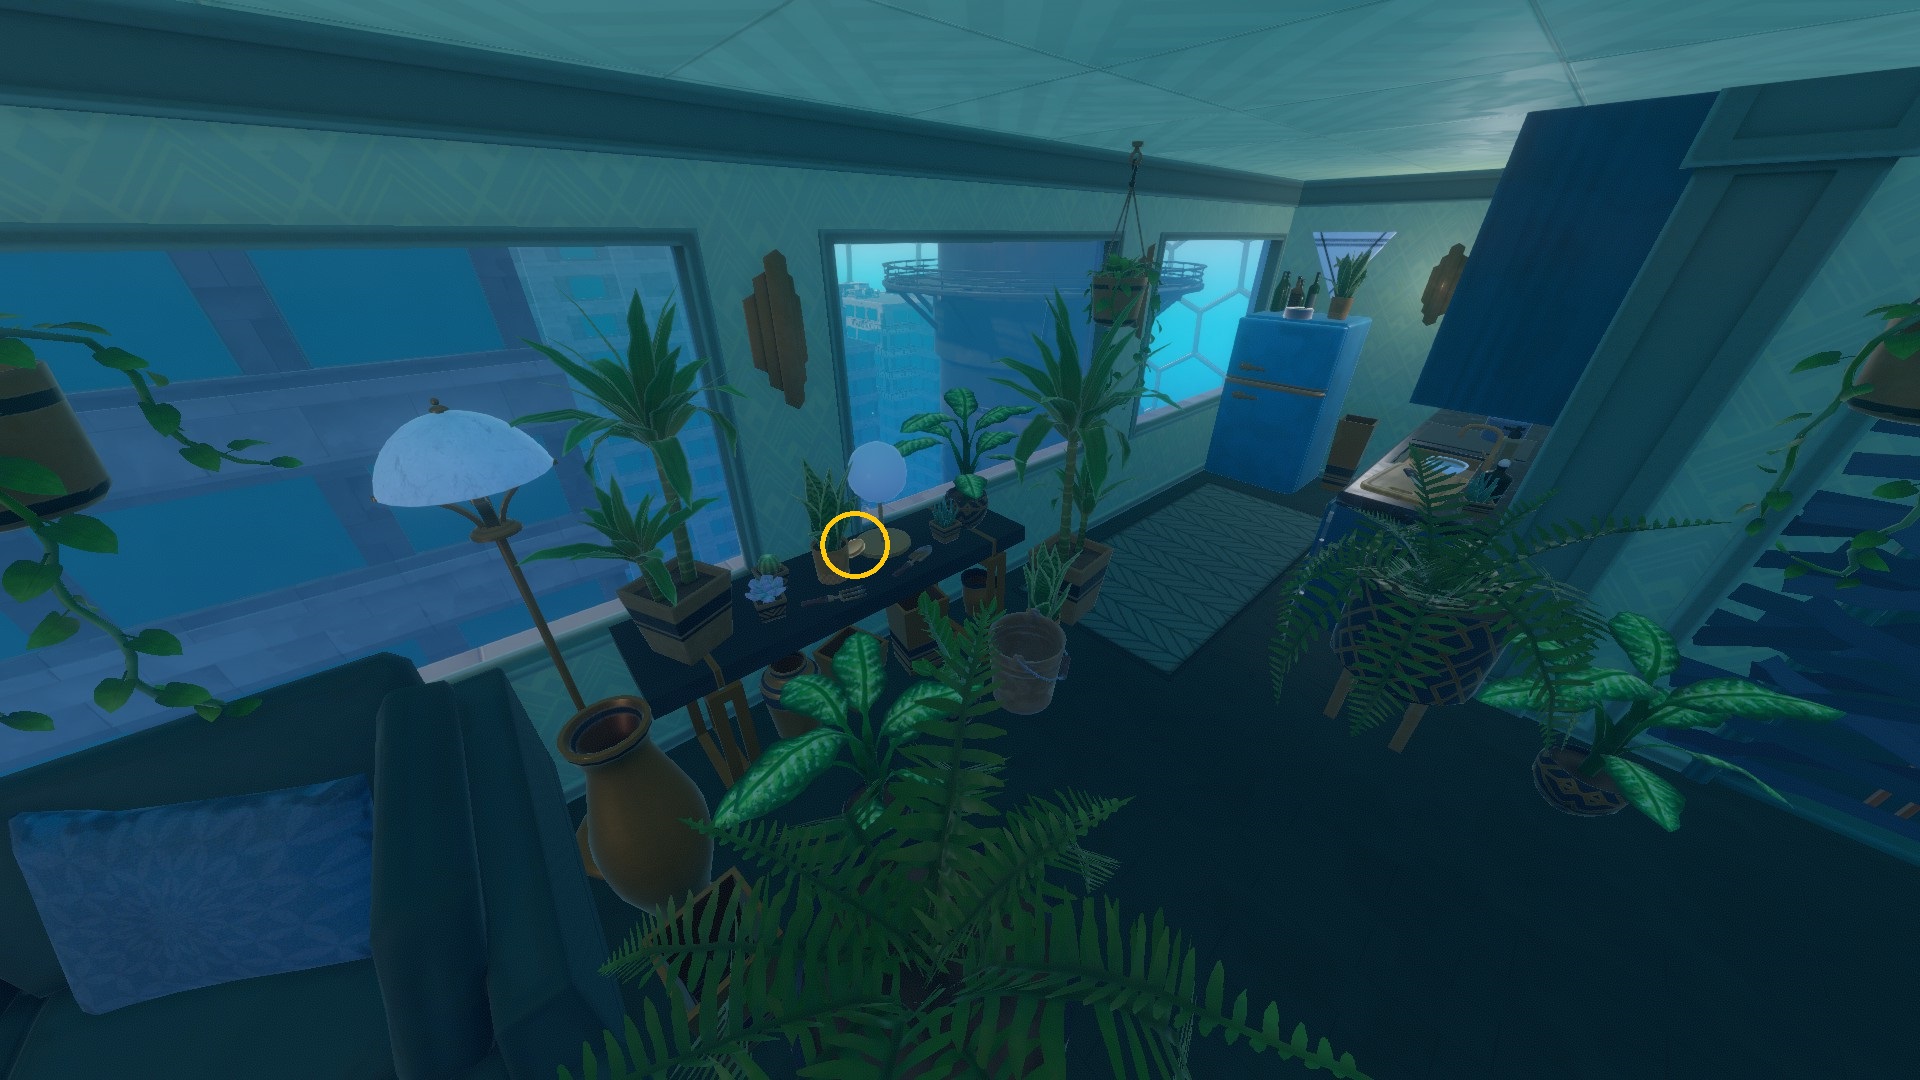
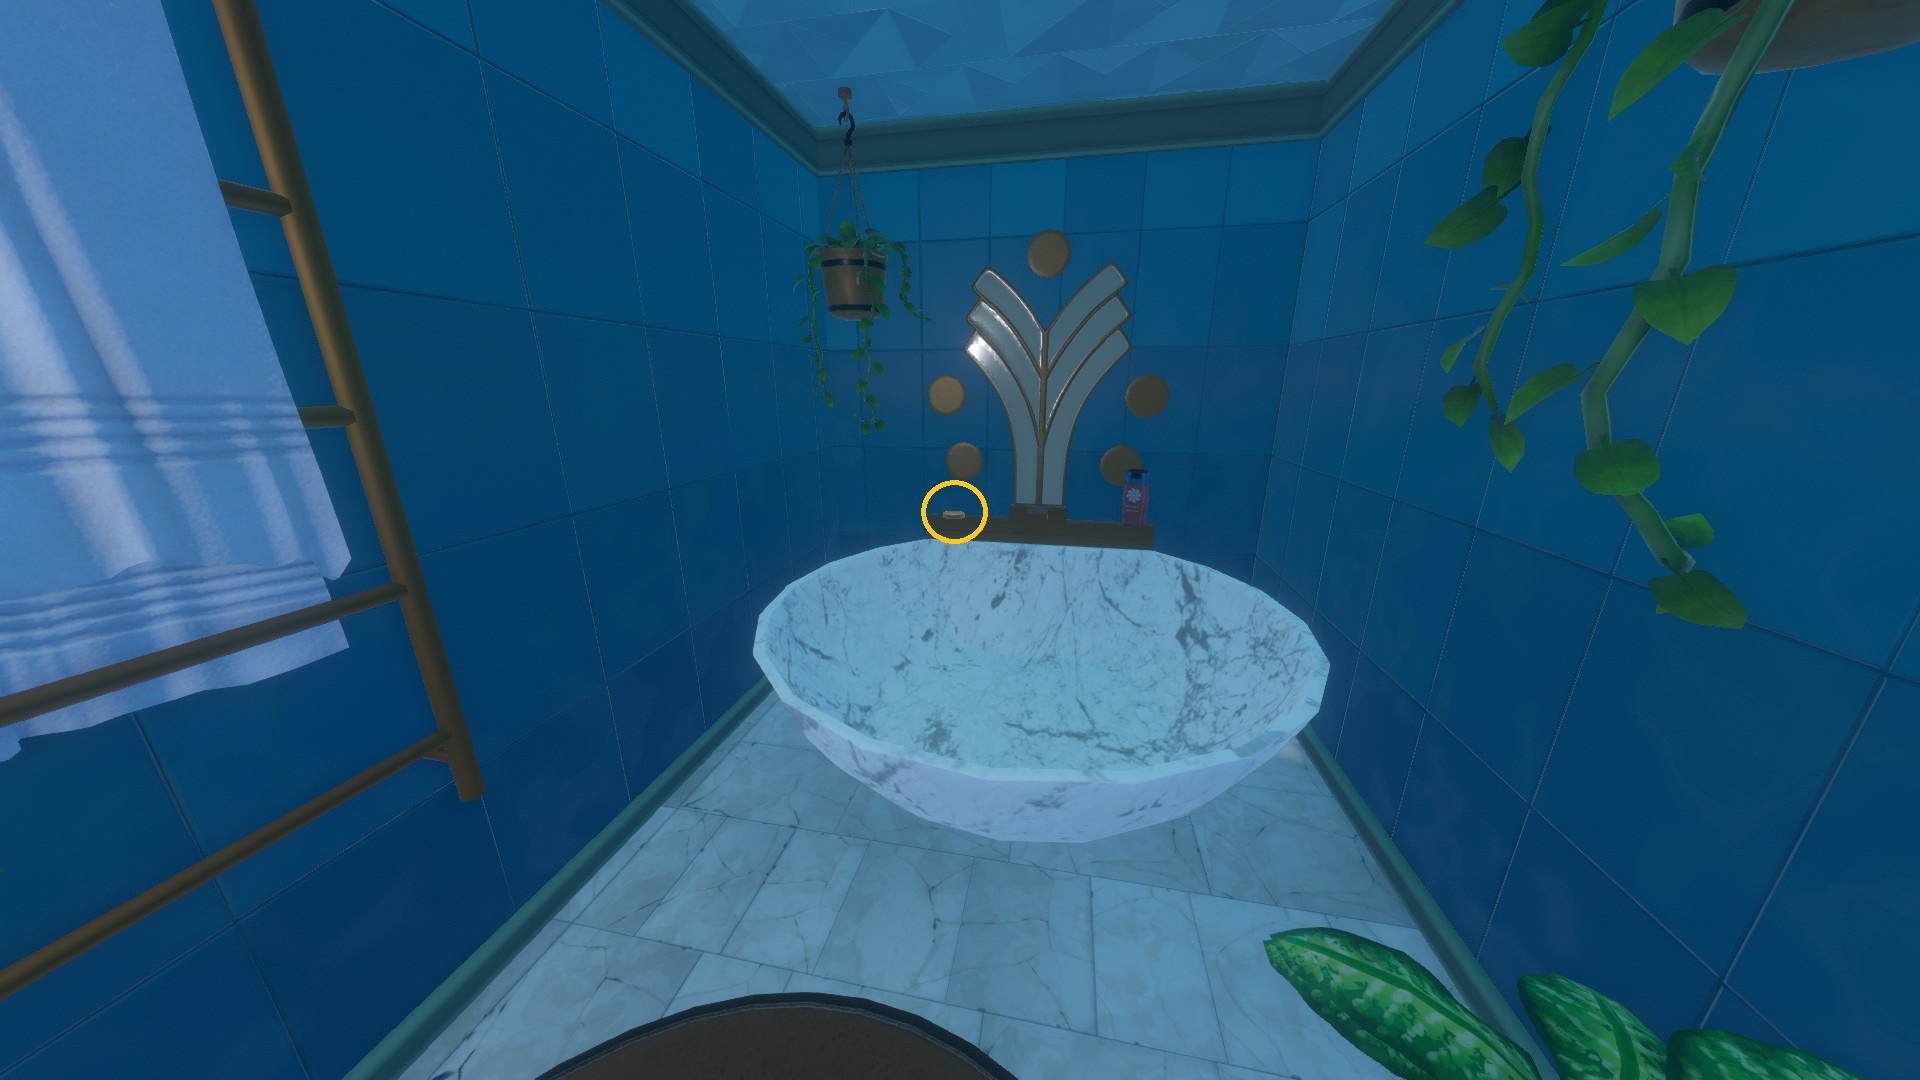
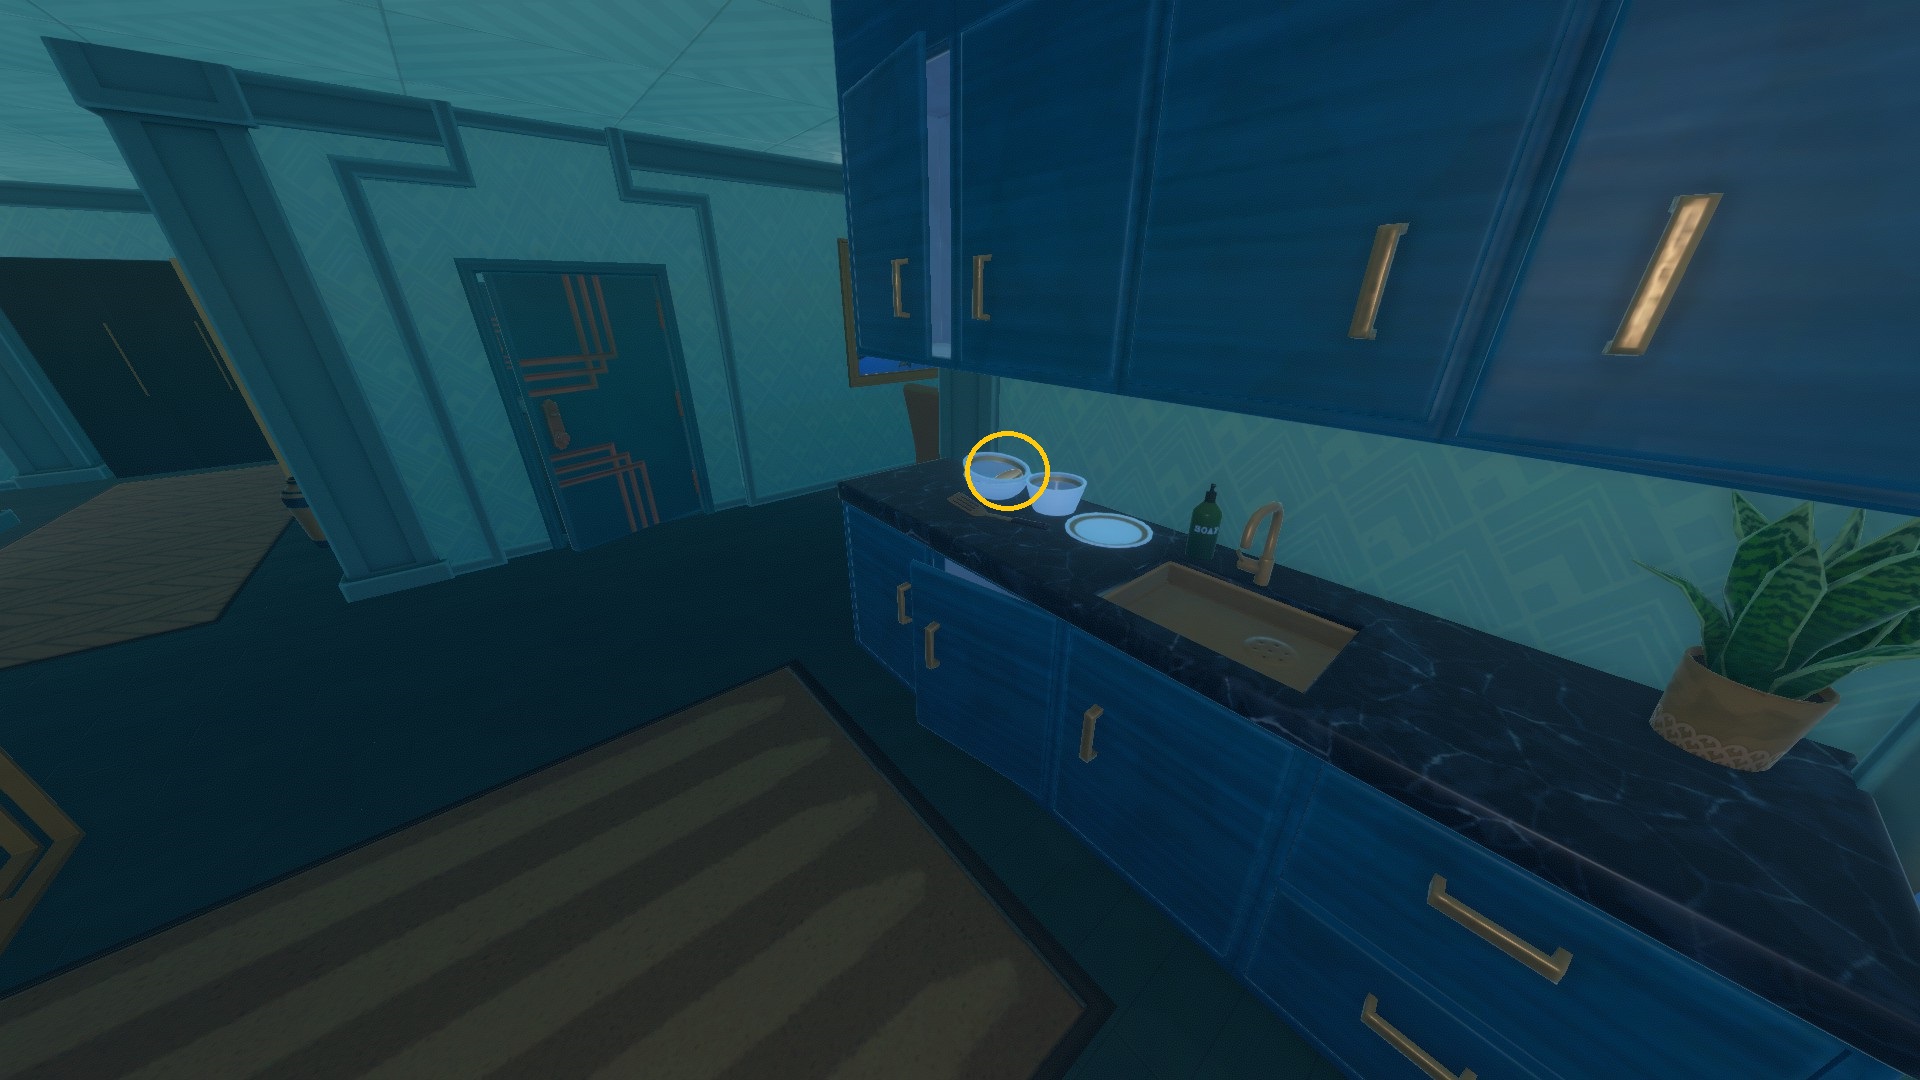
- Building 8 - Floor 12 [3 Tokens]
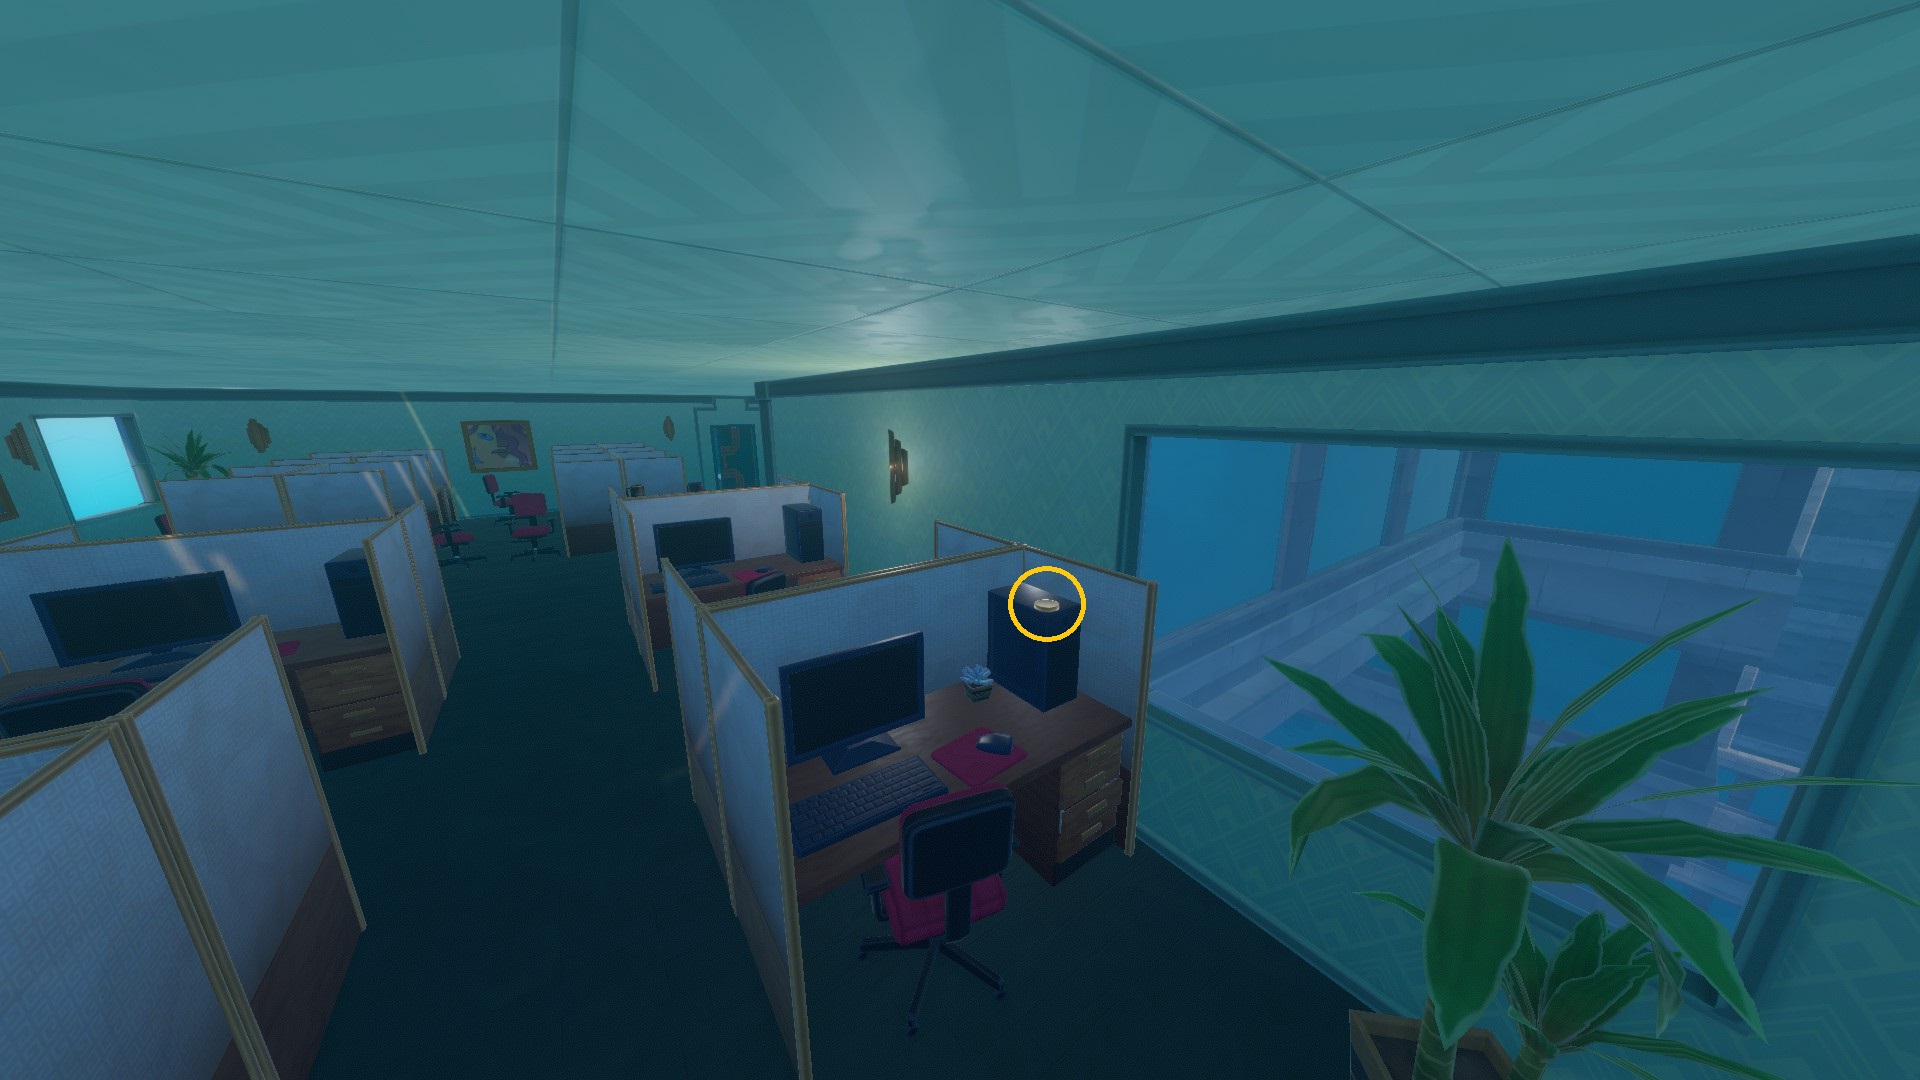
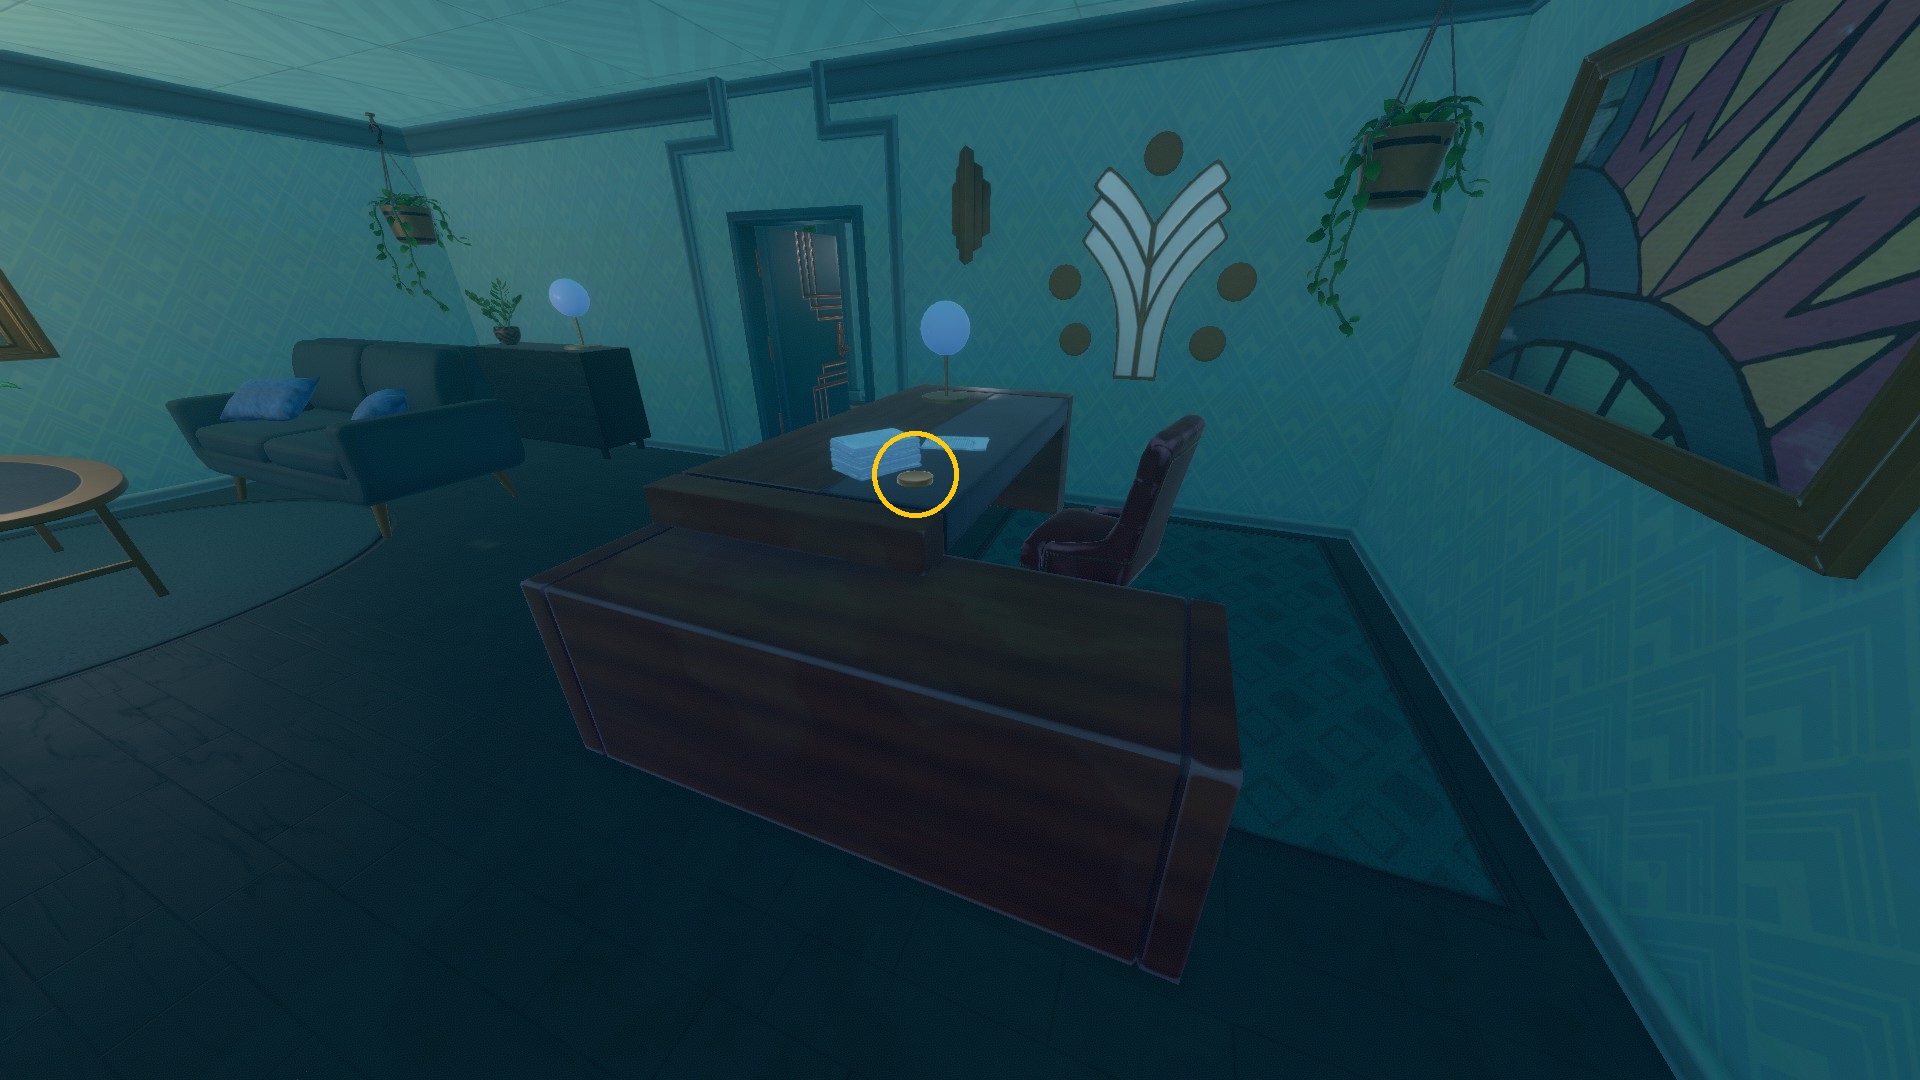
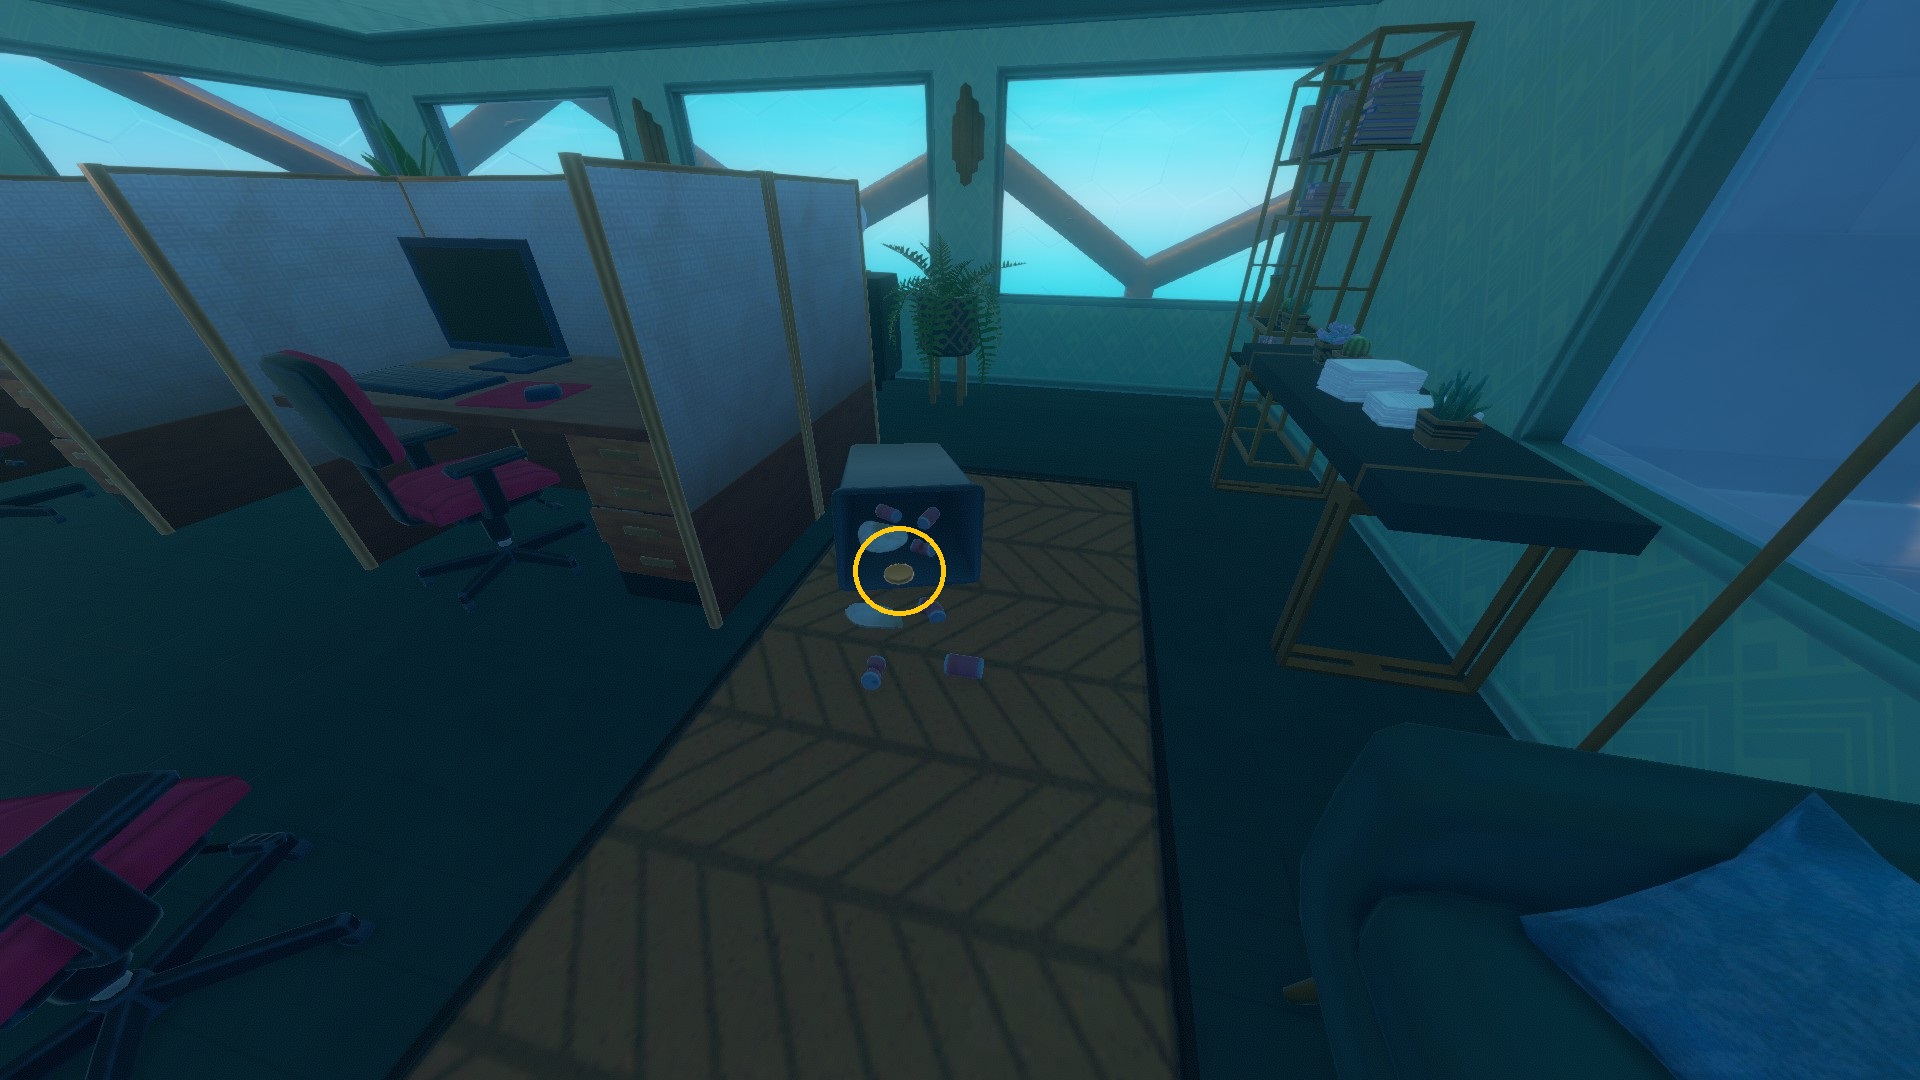
- Building 8 - Floor 14 [1 Token]
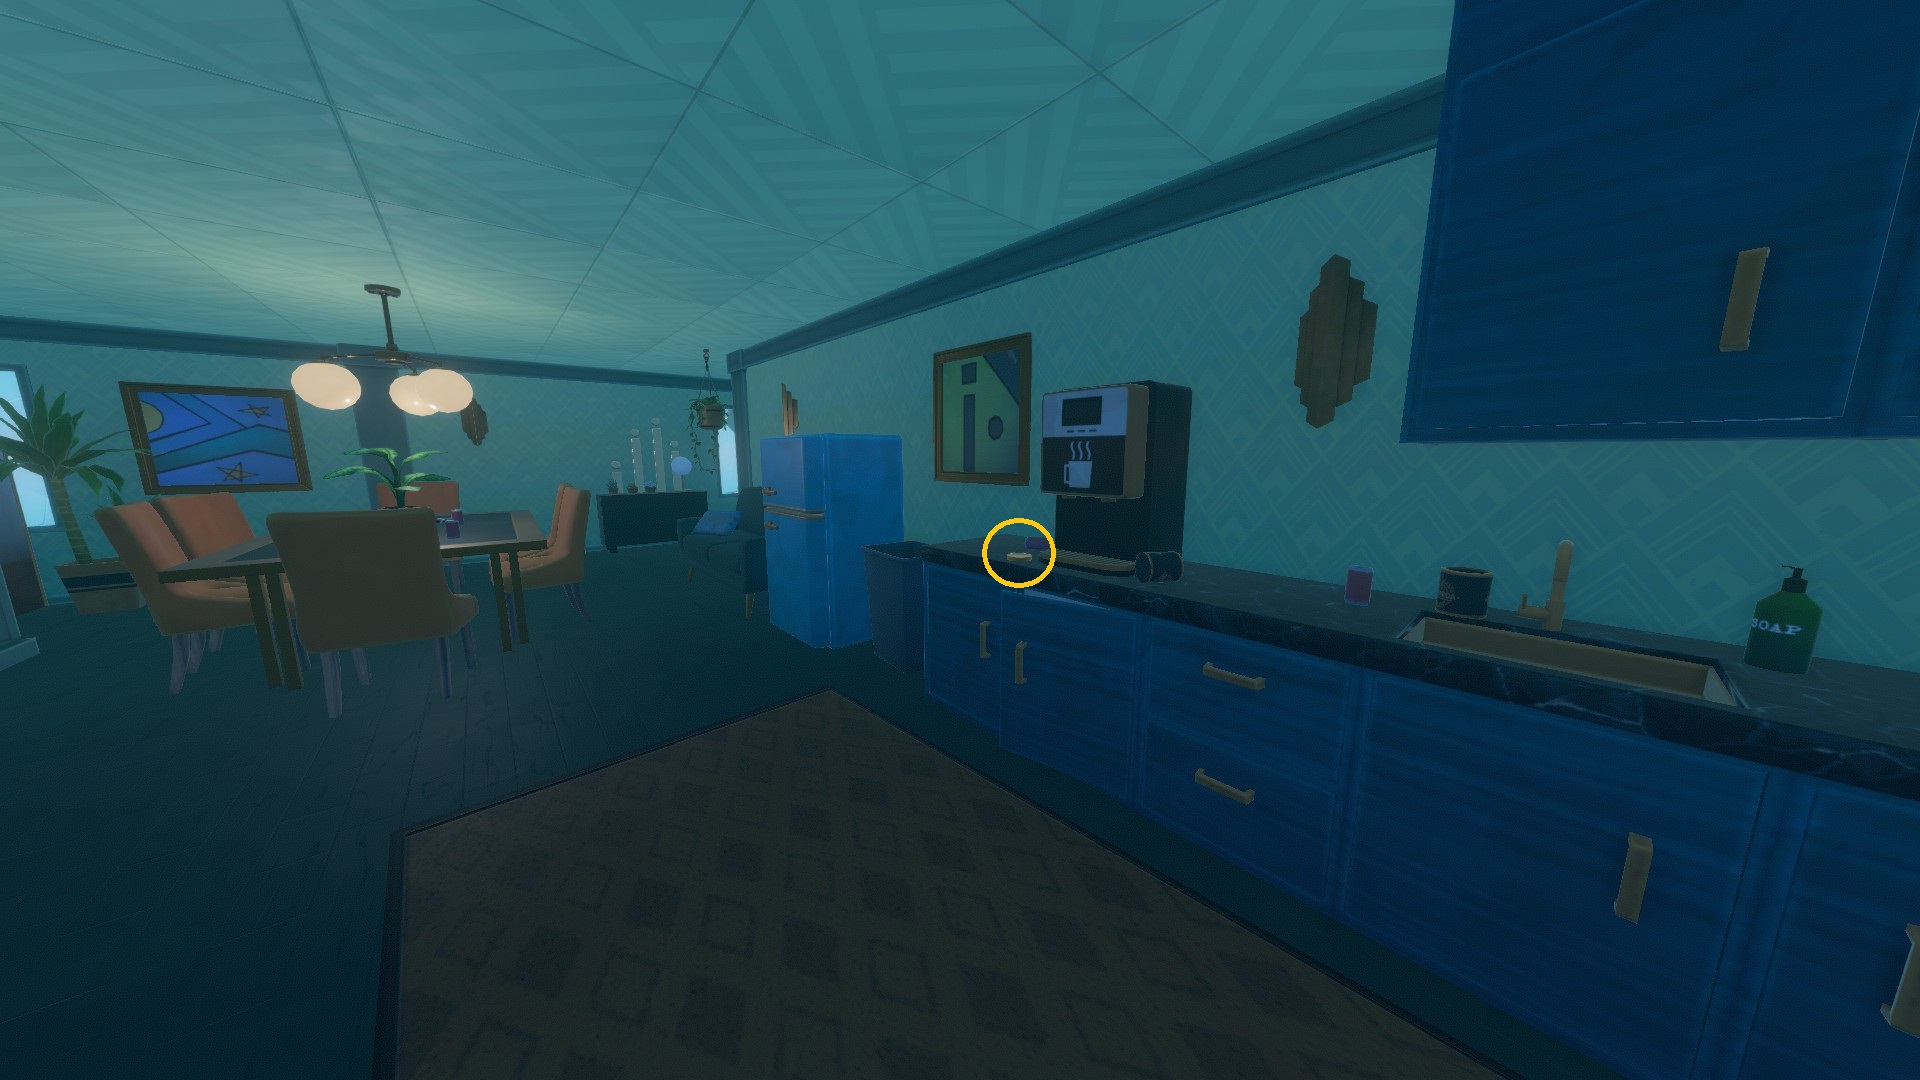
- Building 3 - Floor 8 [3 Tokens]
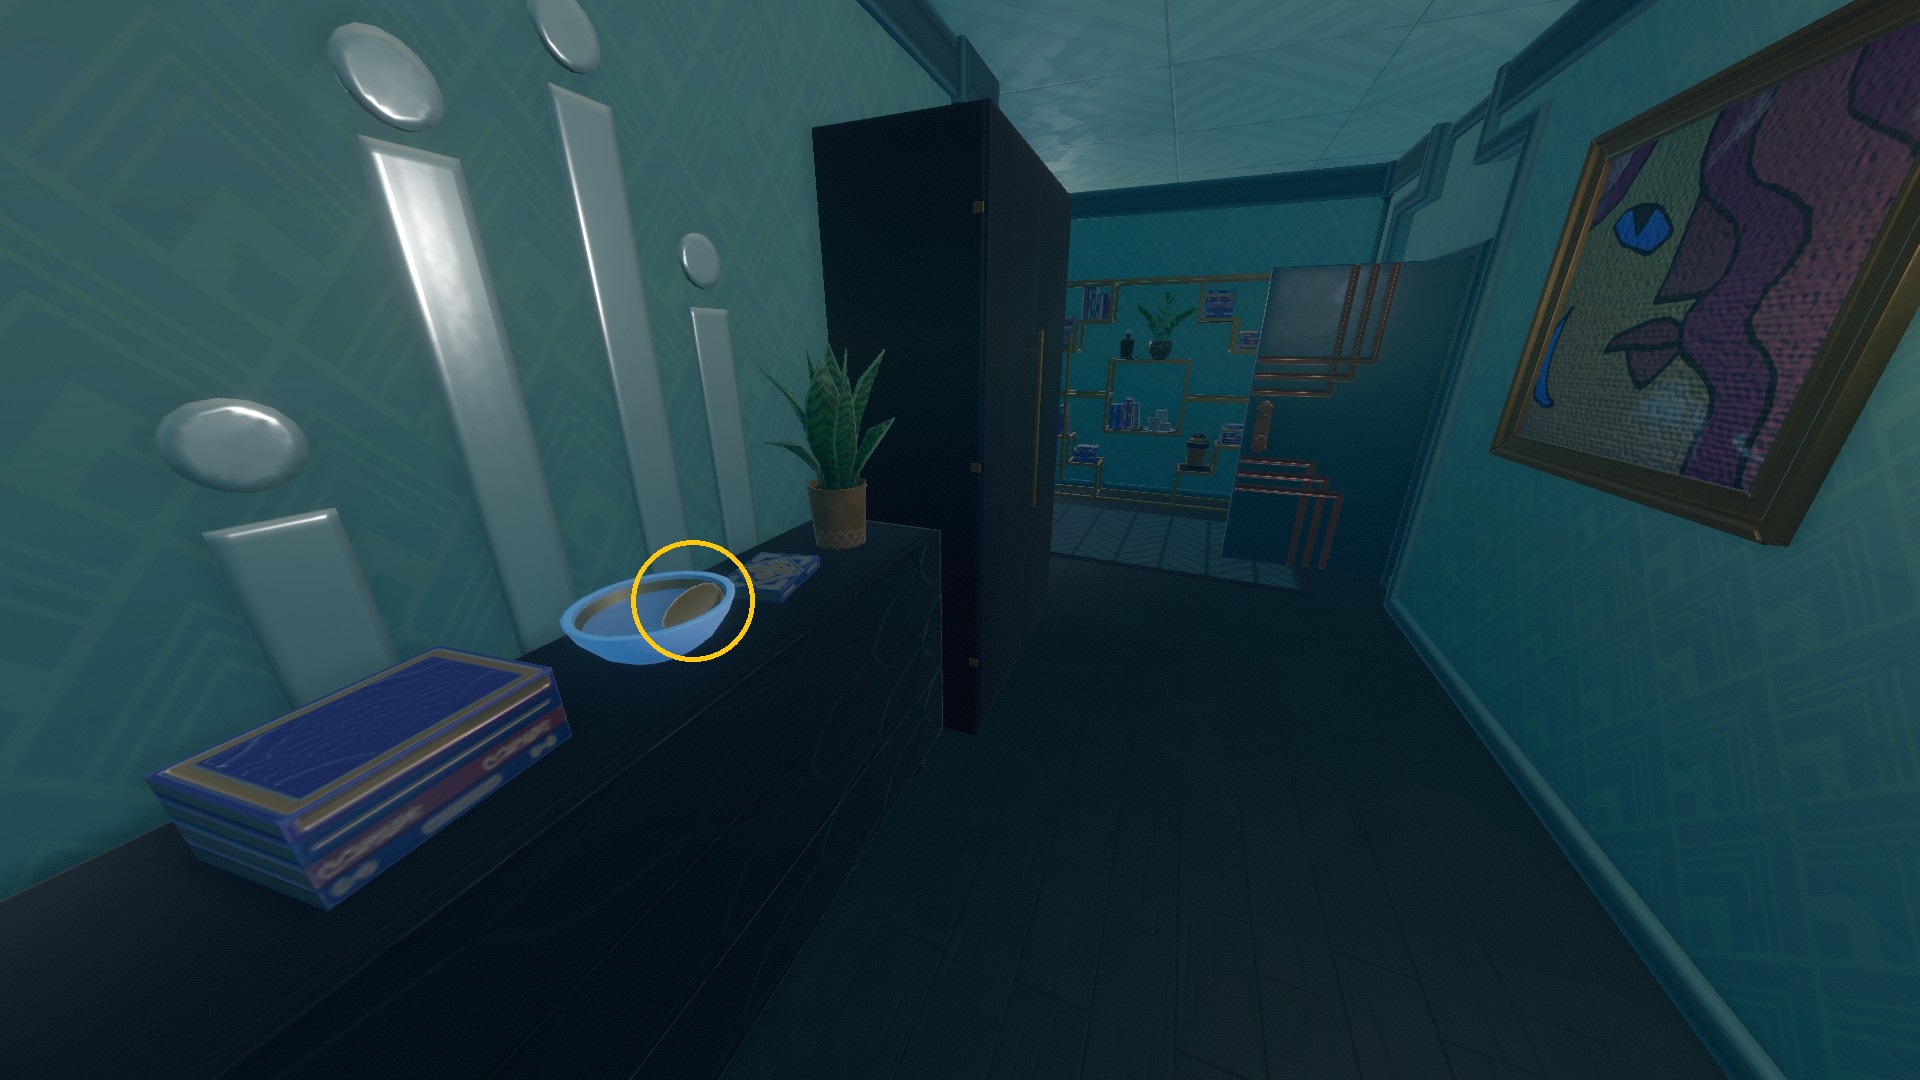
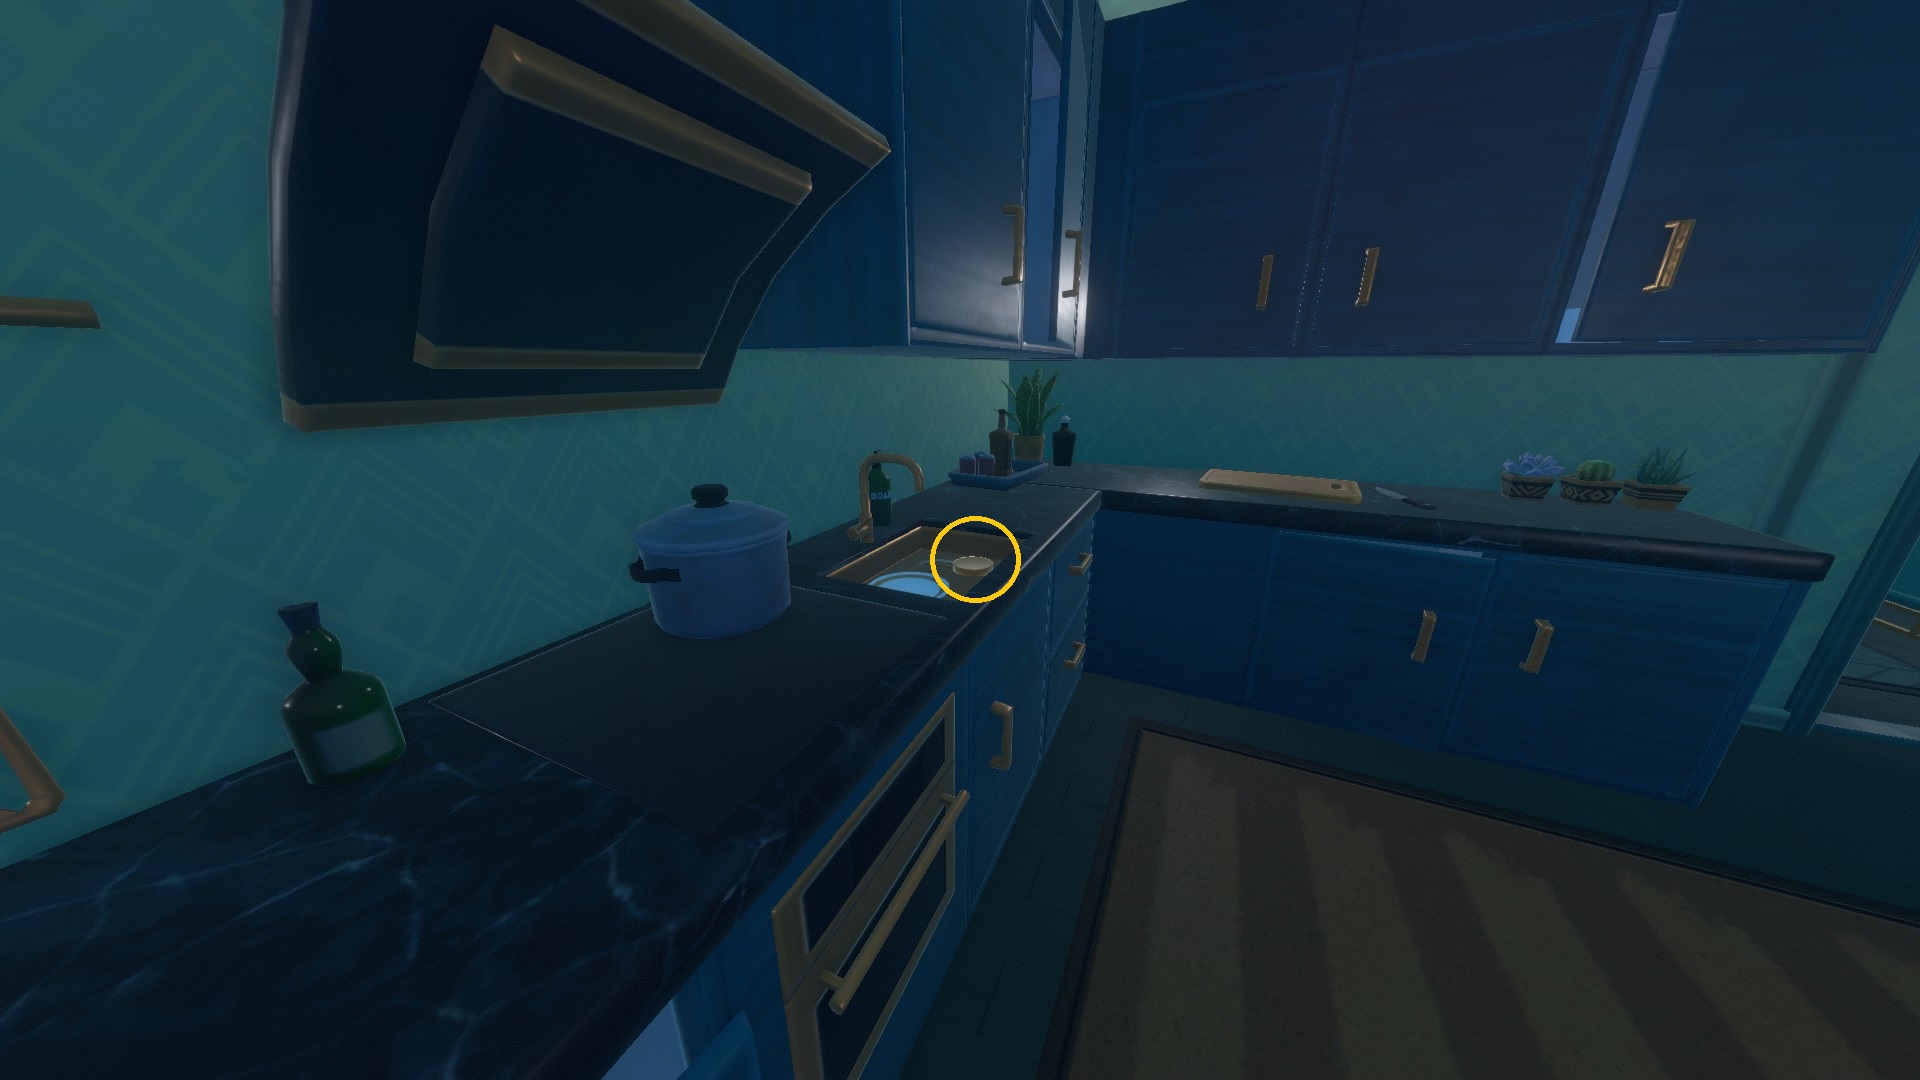
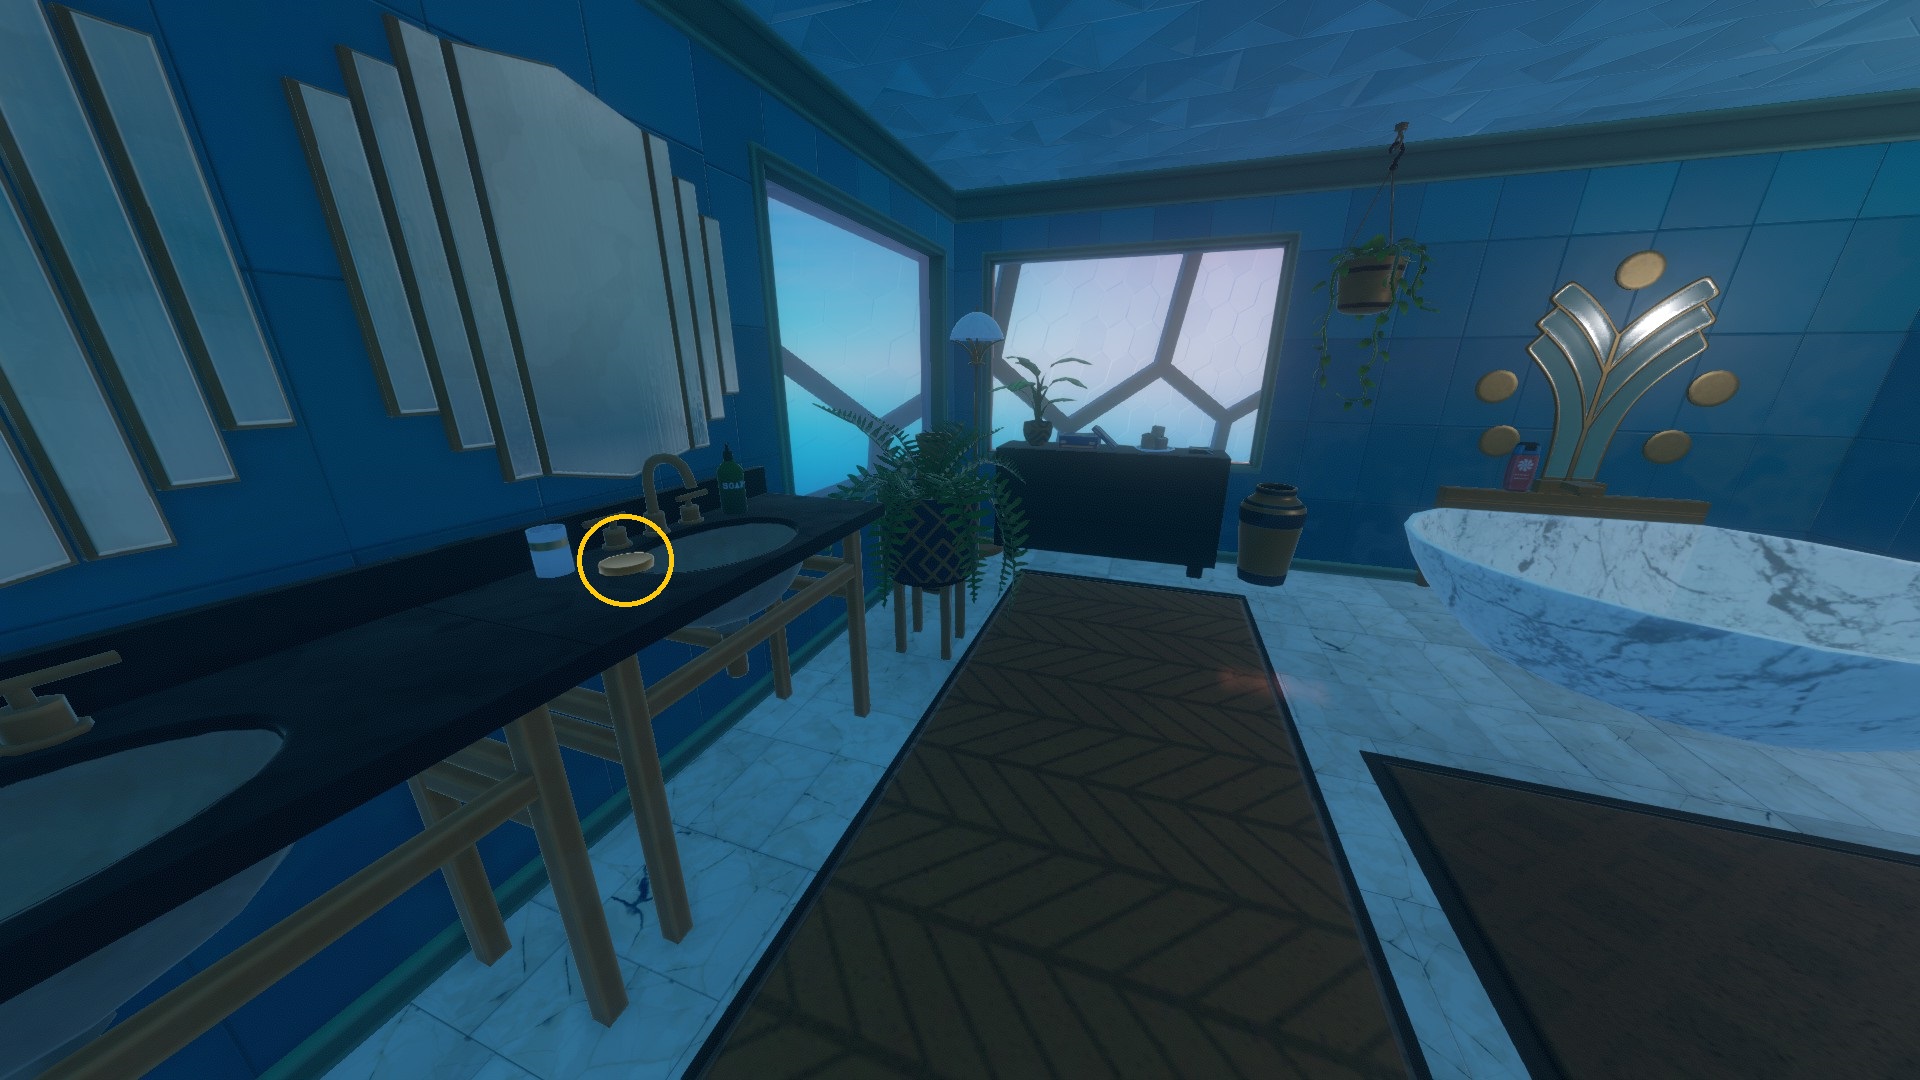
- Building 6 - Floor 8 [7 Tokens]
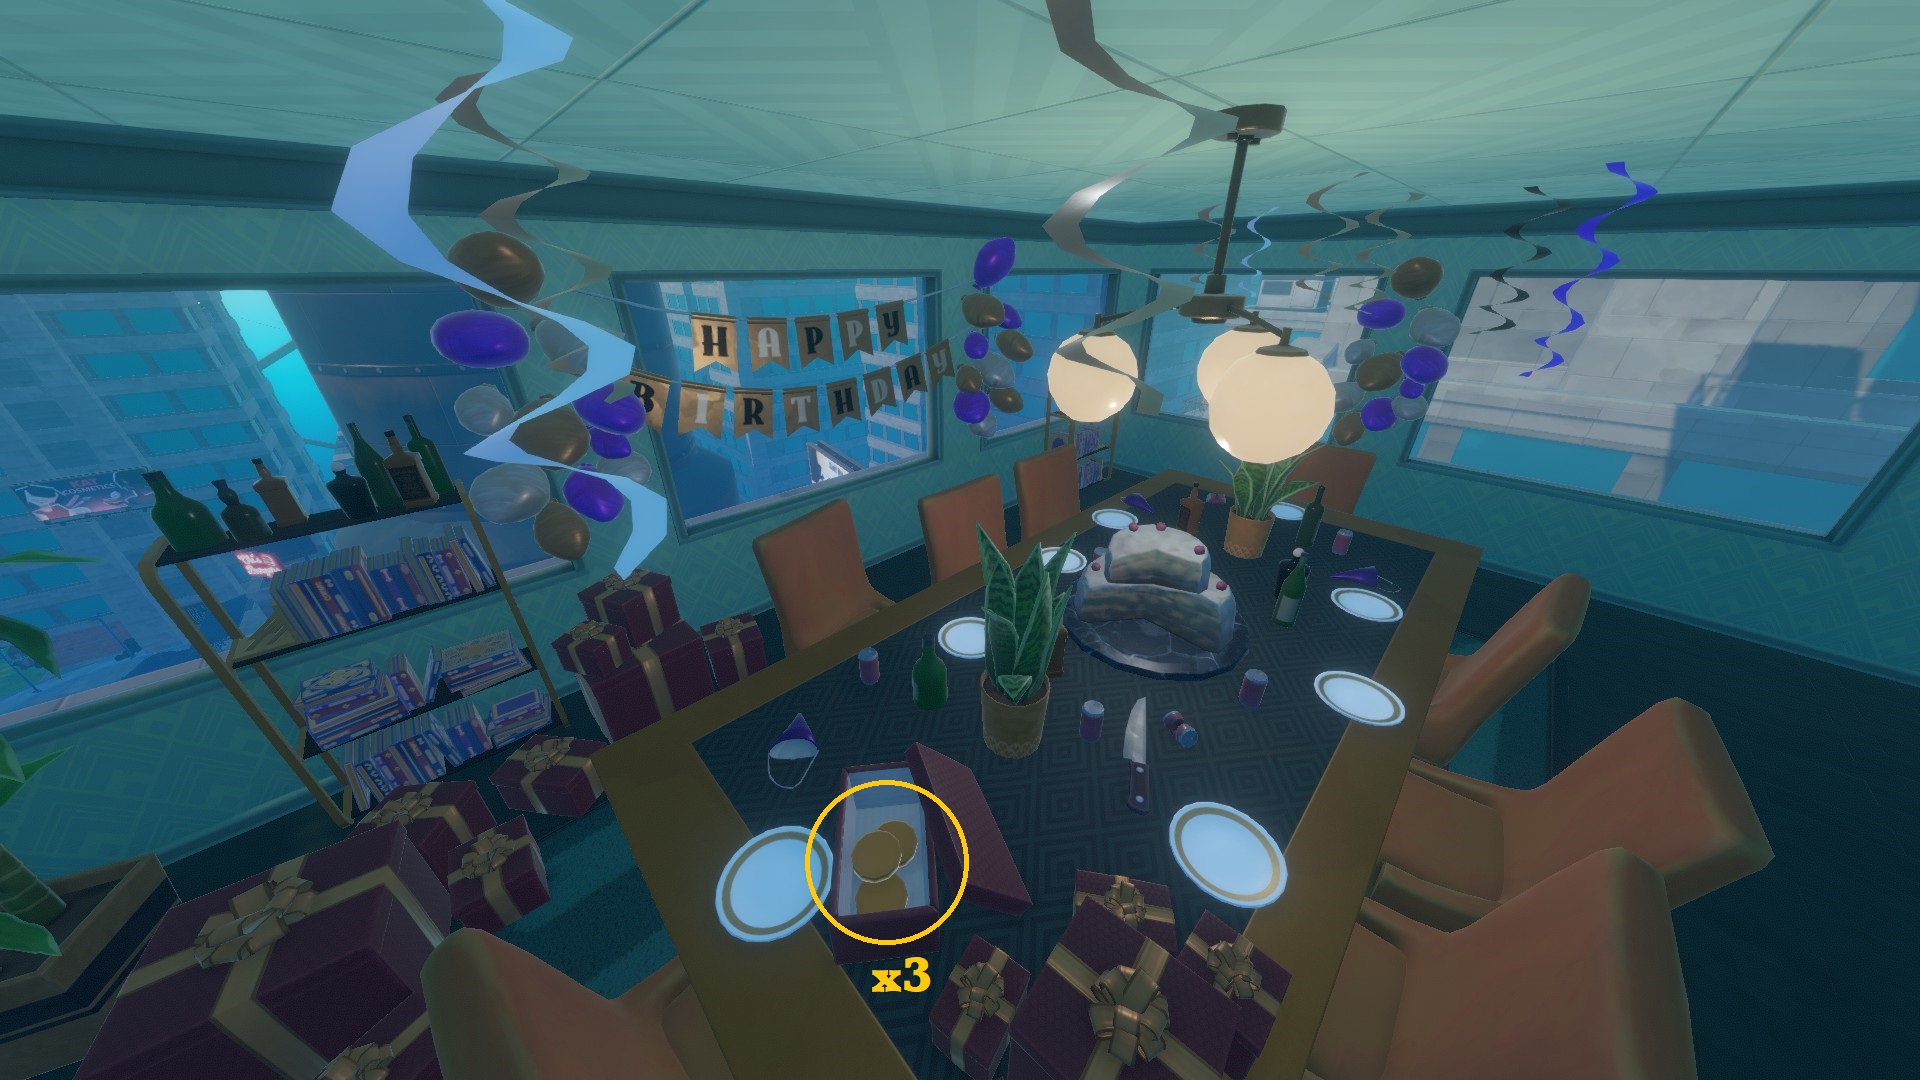
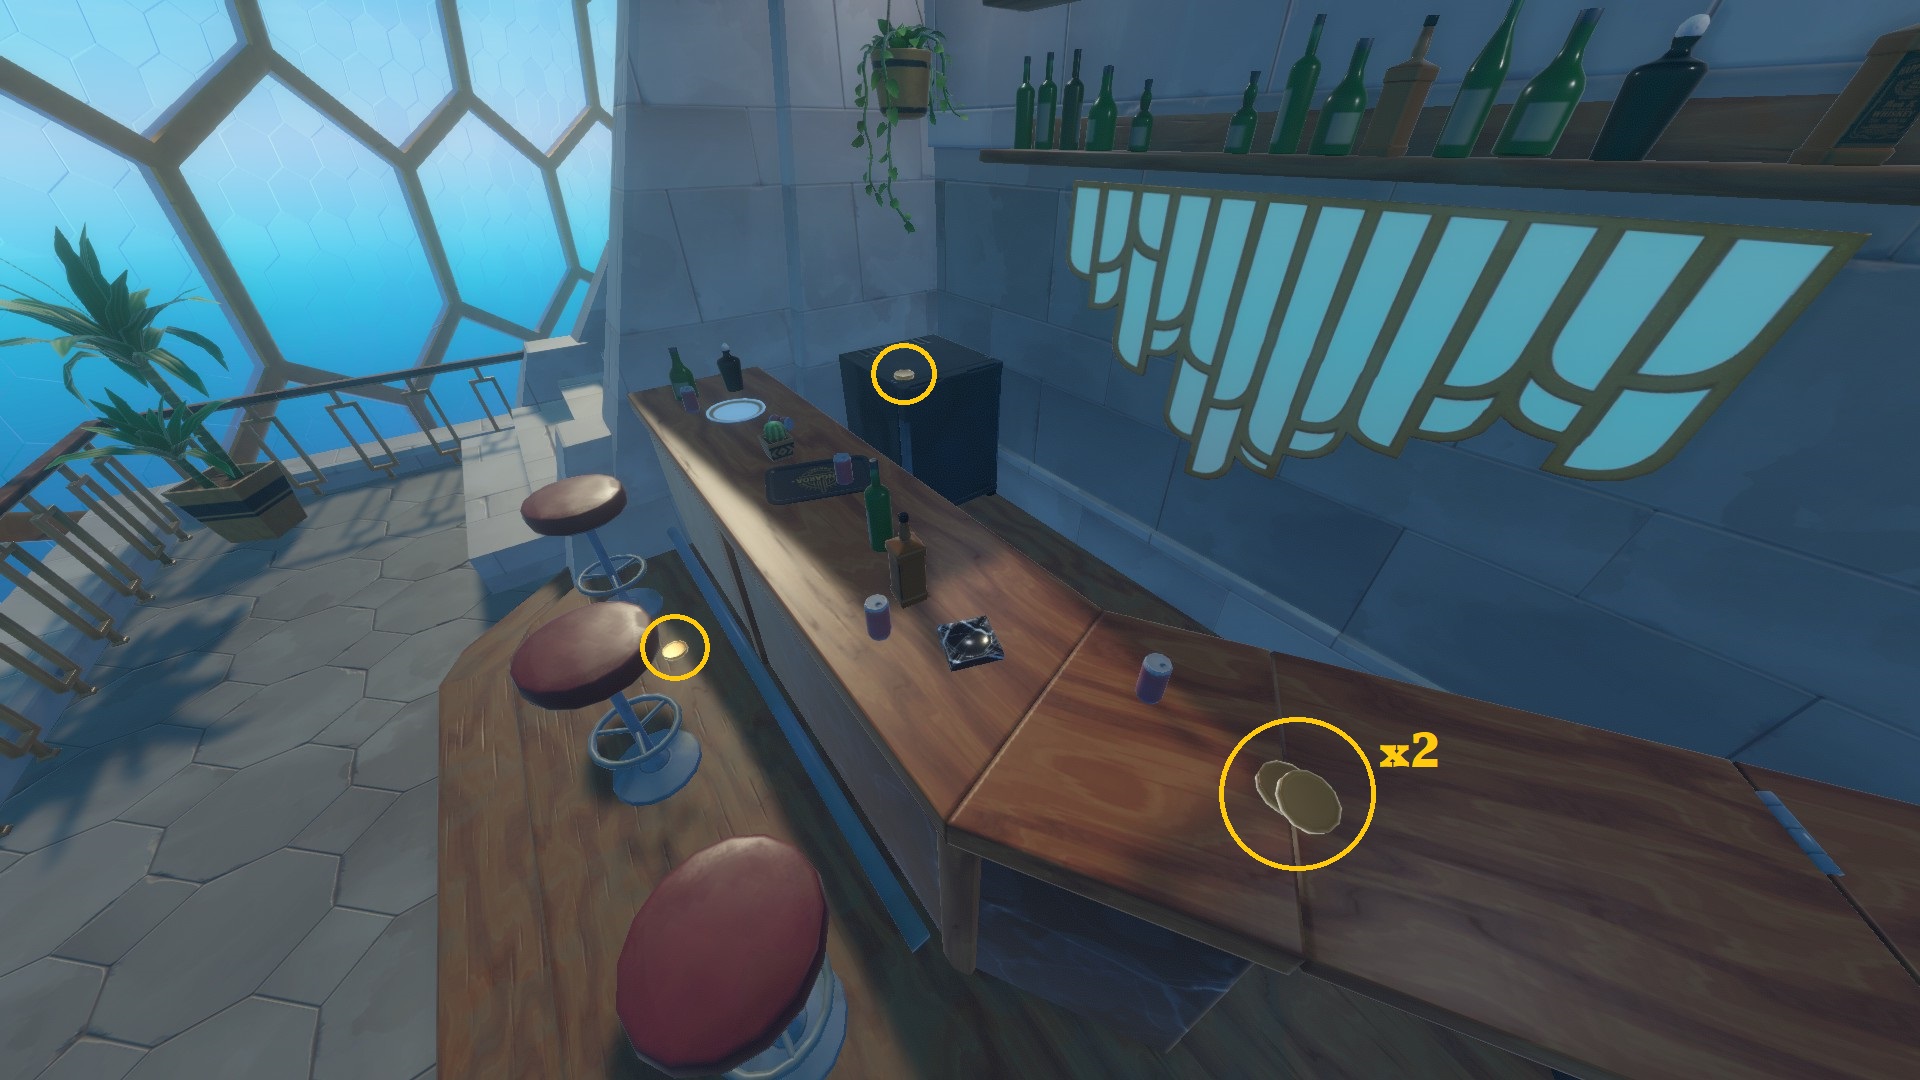
- Building 2 - Floors 12 to 15 [4 Tokens]
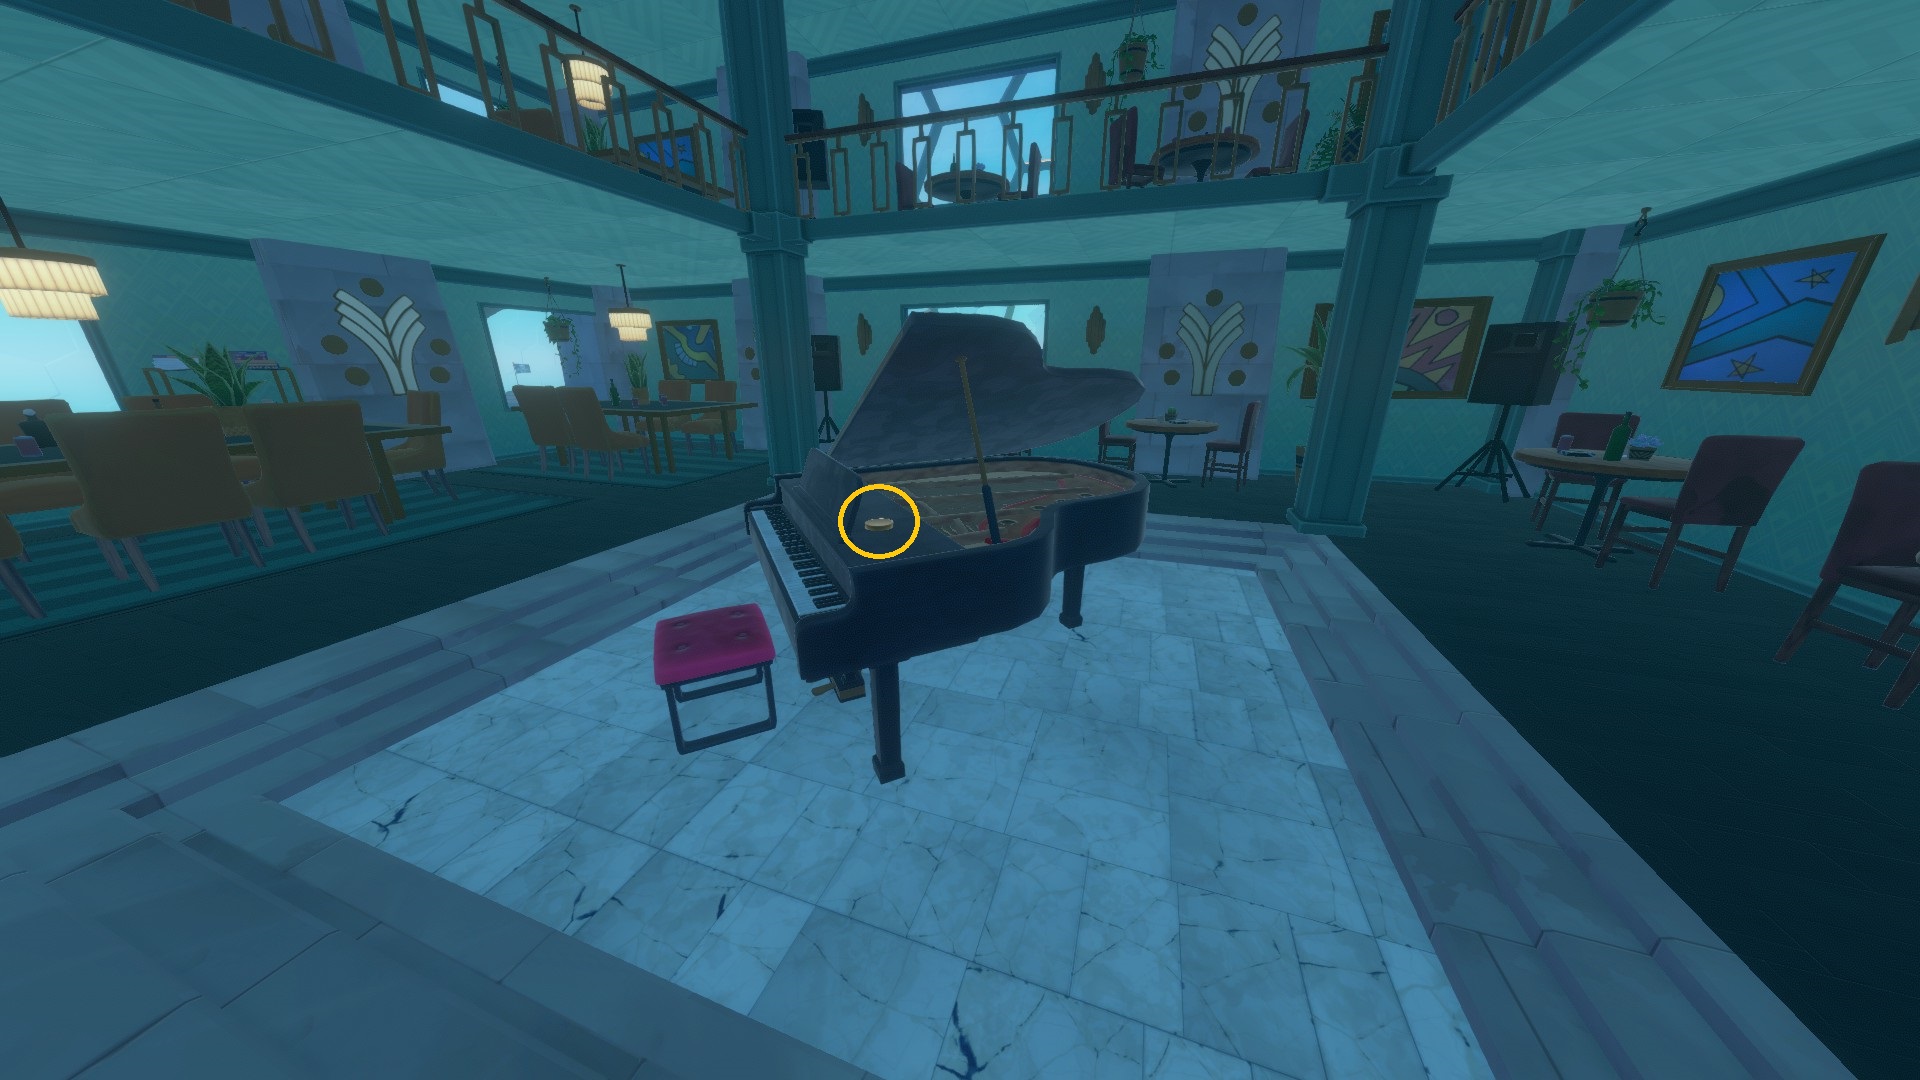
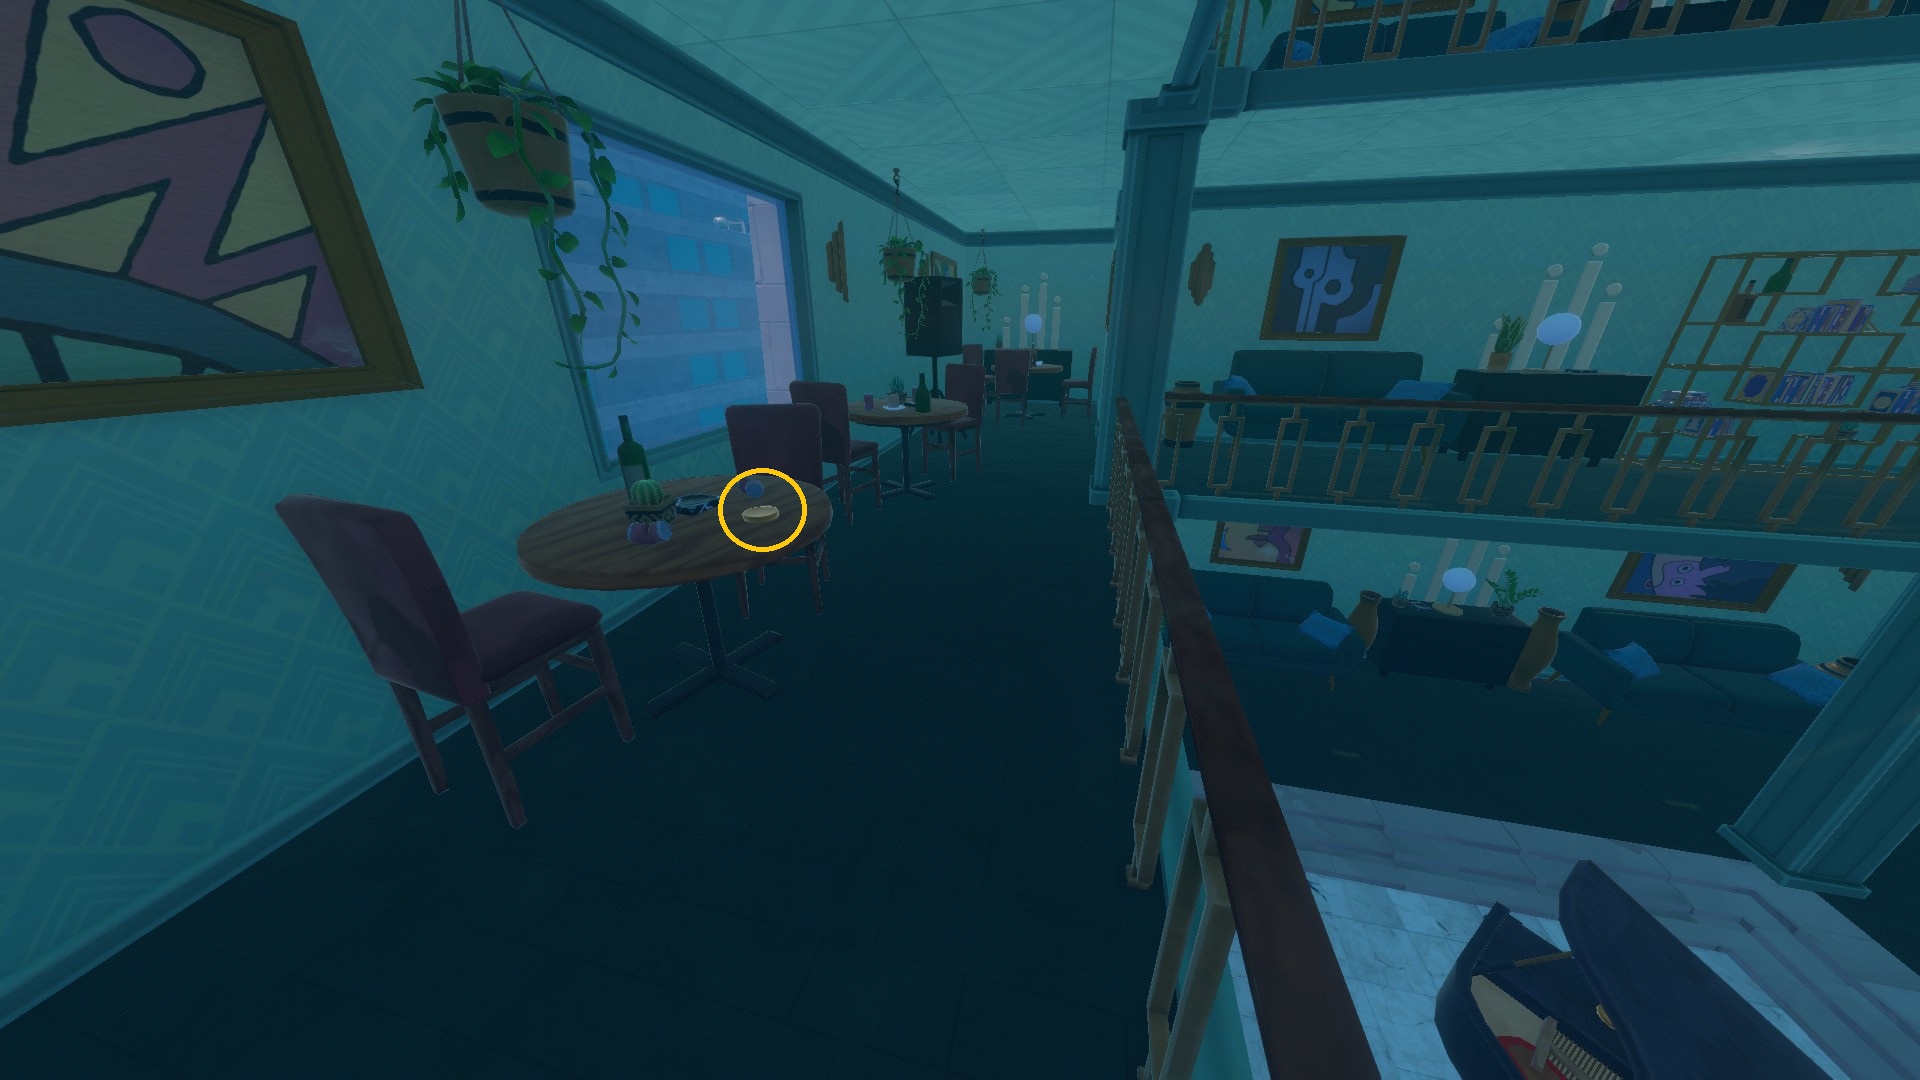
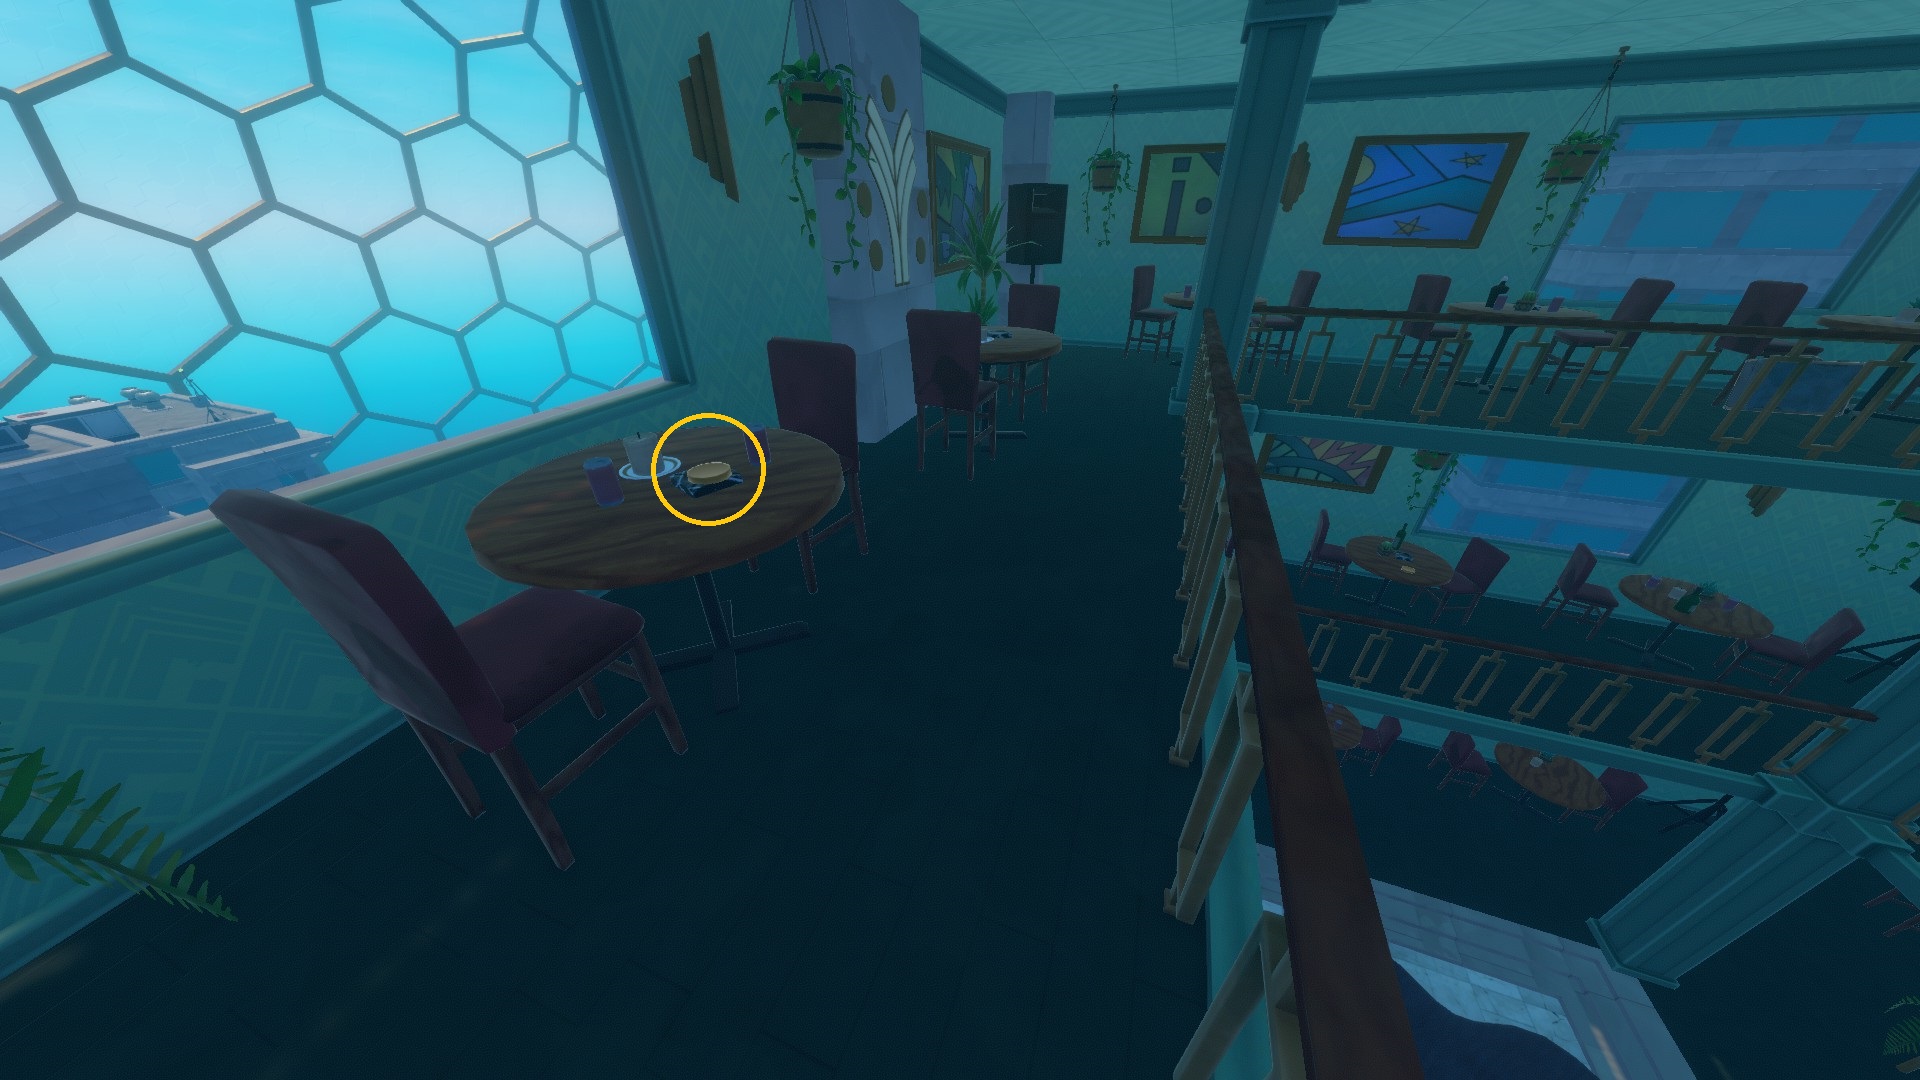
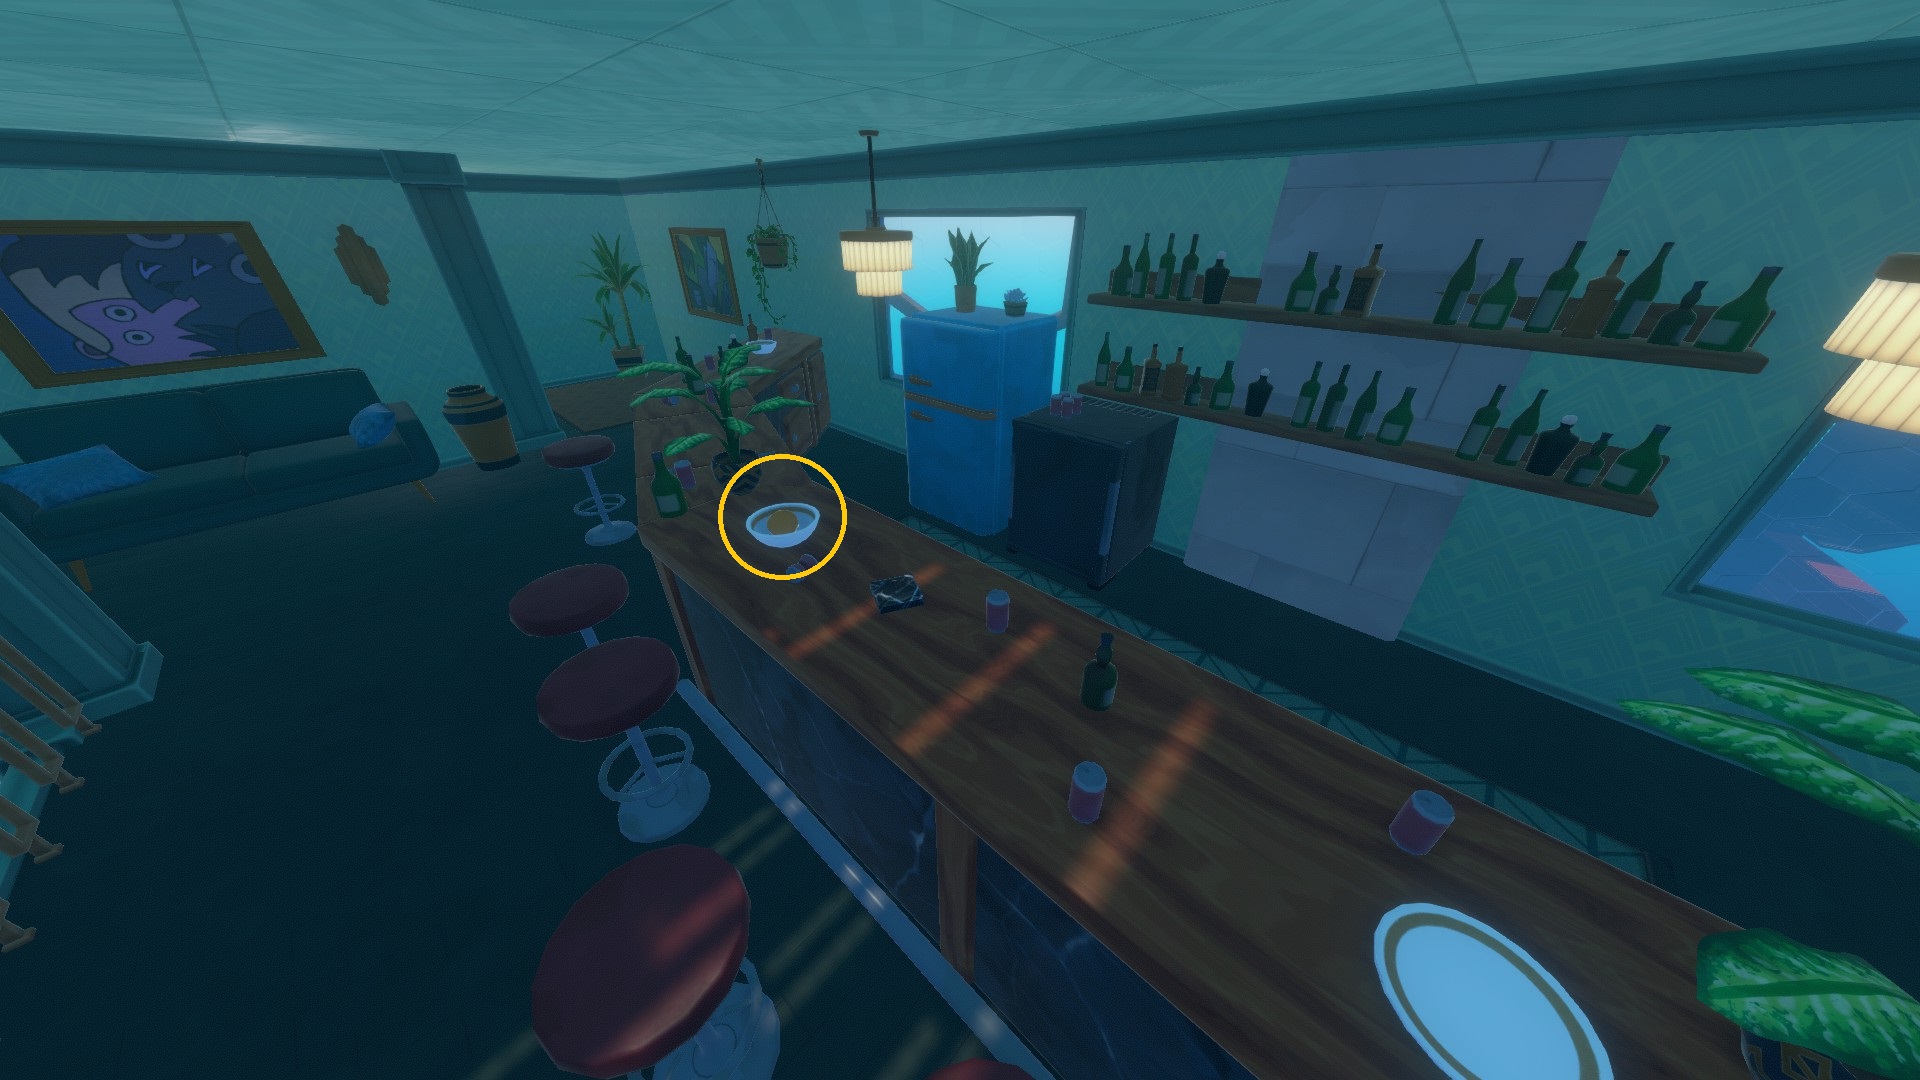
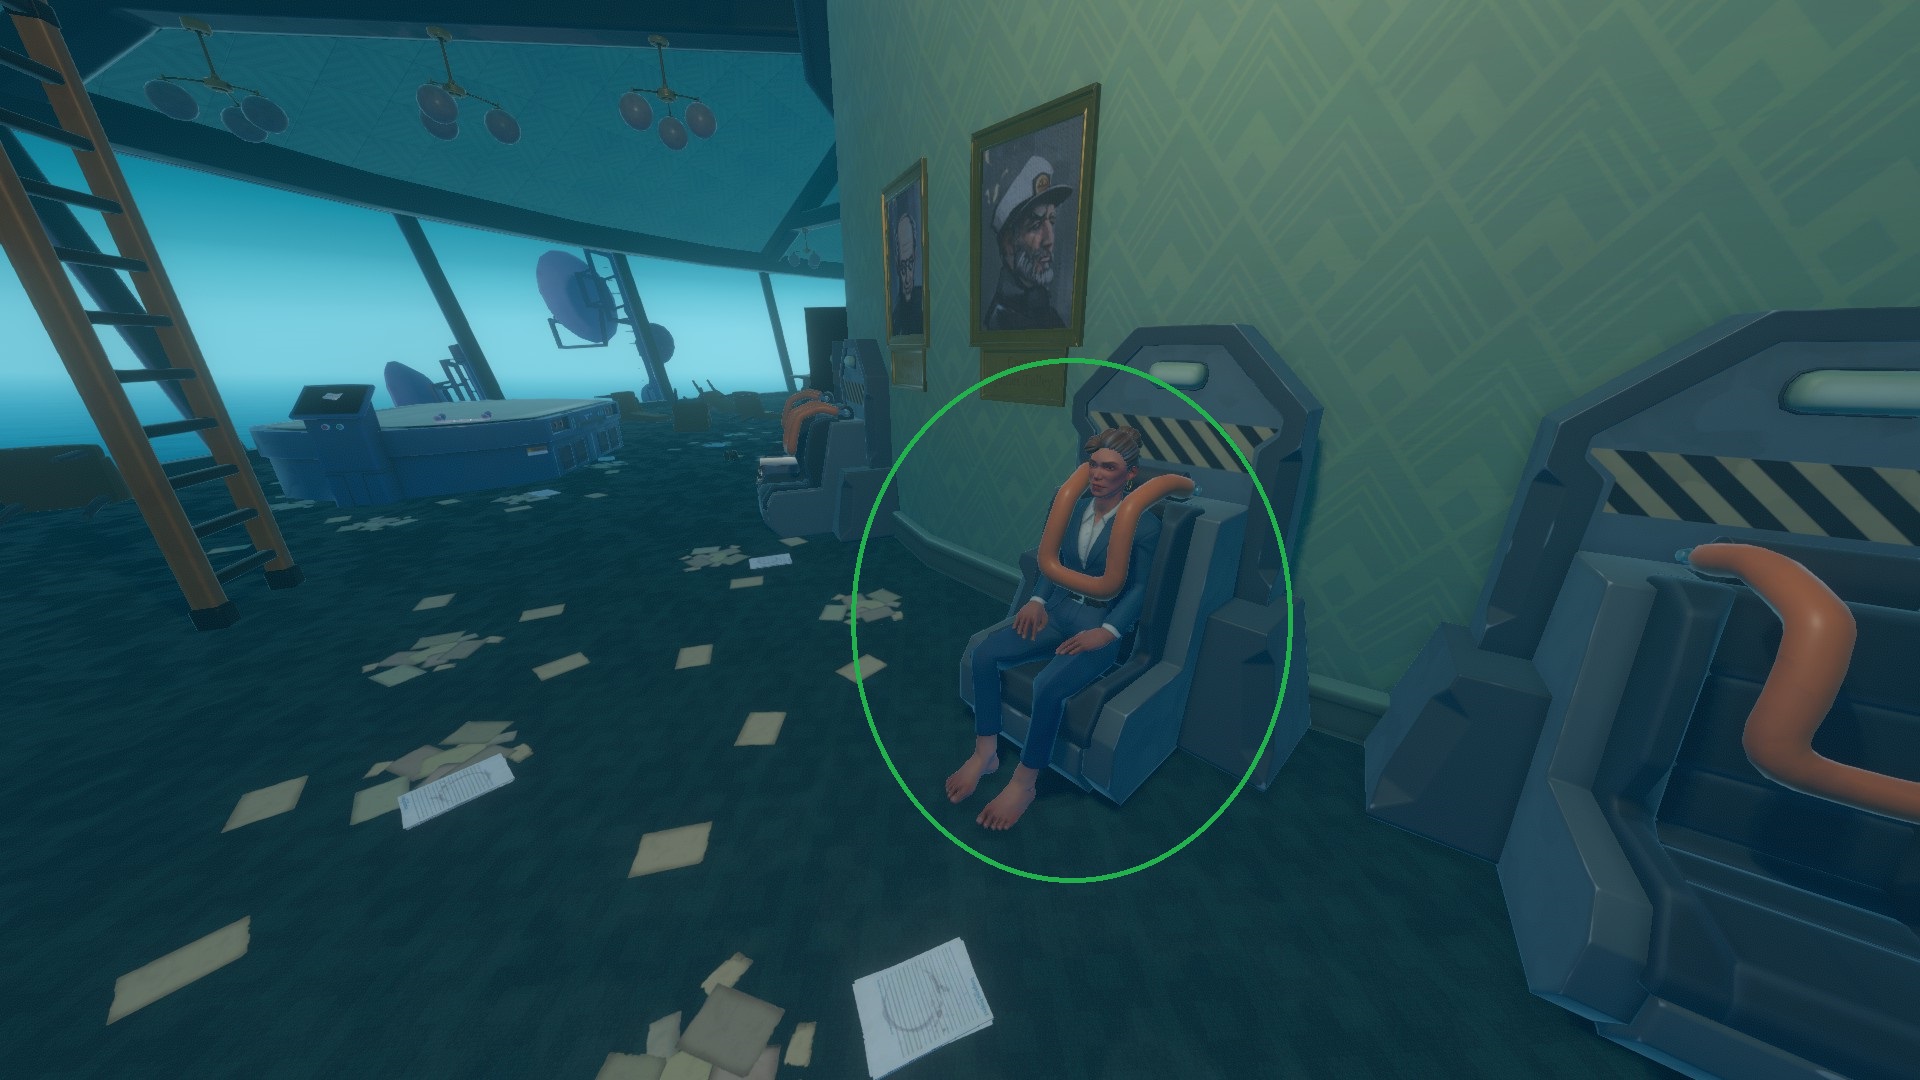
The unlockable character Elaine can be found at the very end, inside the Tower Top.
When you enter a code [4813] at the top of the tower, the tower top will detach itself and be launched in the water where you can reach it.
6. Varuna Point (Walkthrough)
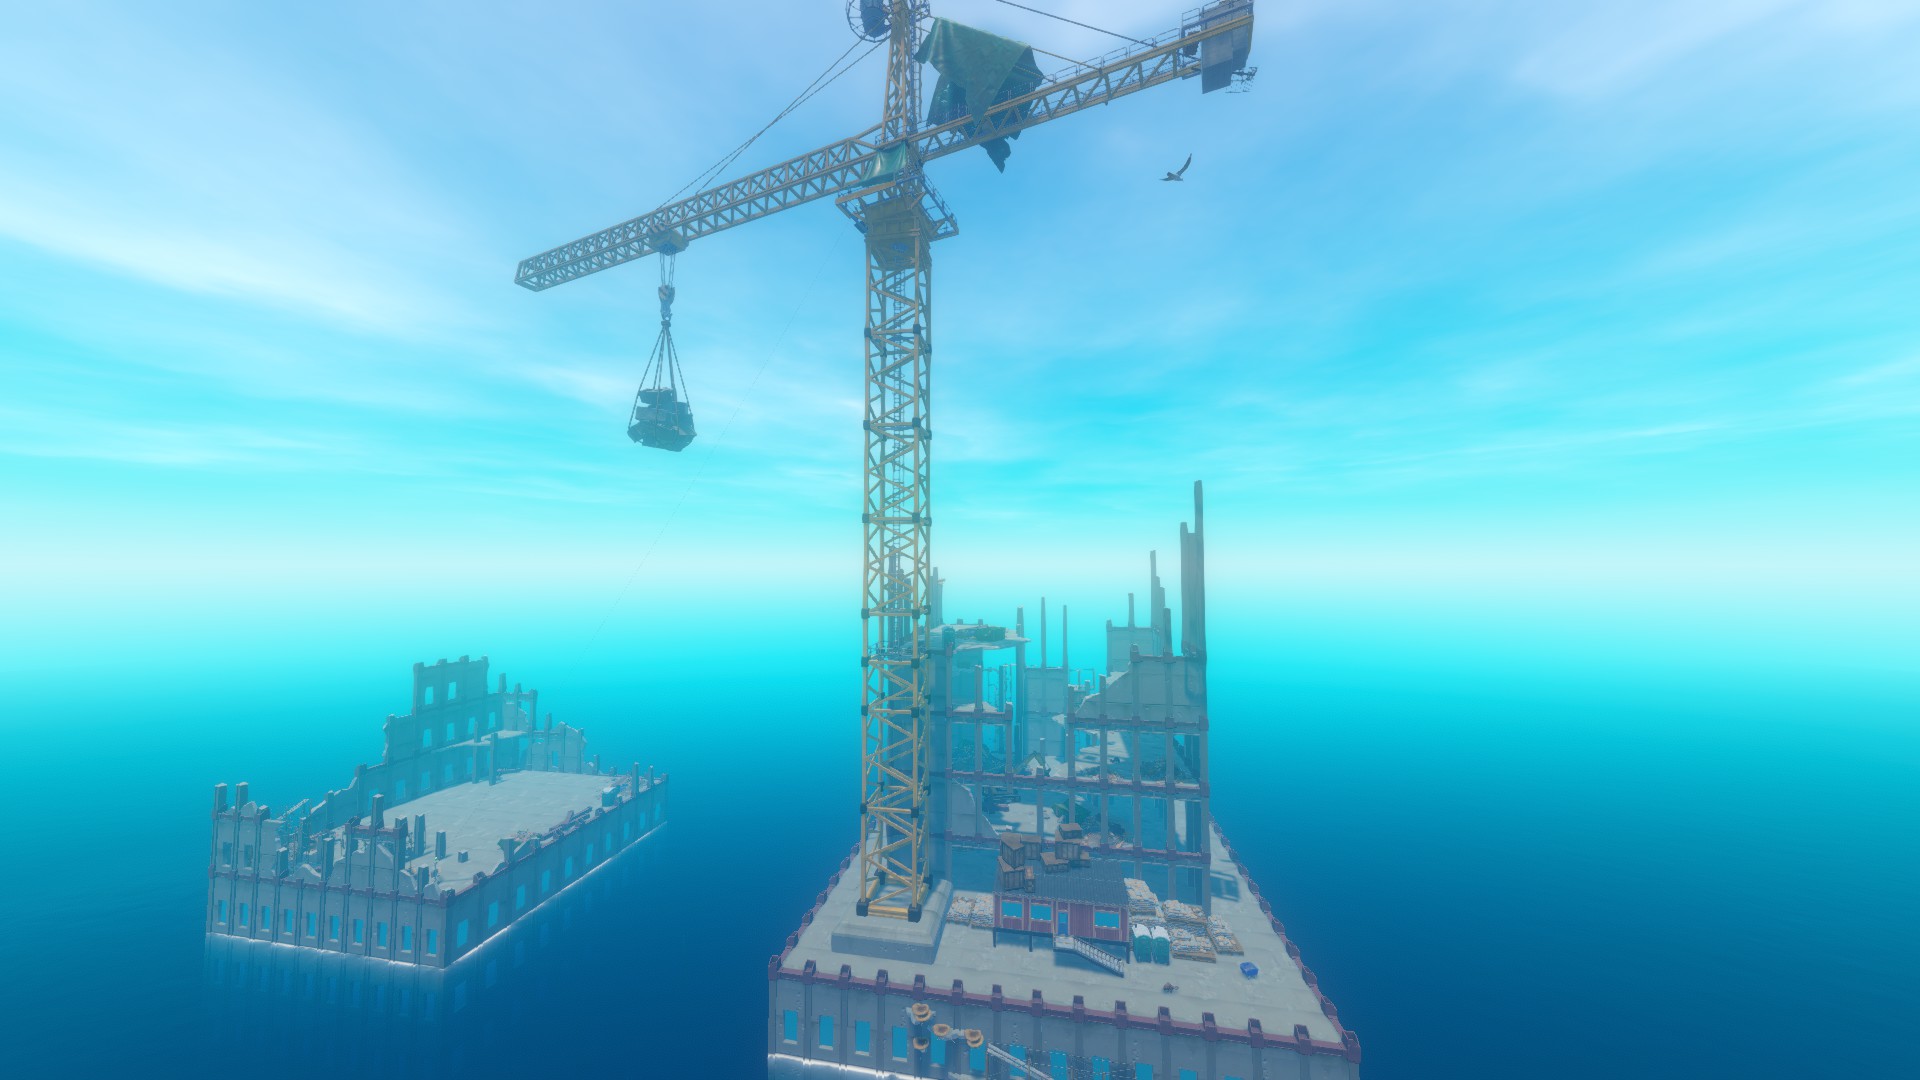 You will need many Oxygen Bottles and Flippers as most of your exploration will be underwater.
A Head Light can be nice too for some parts.
There are 7 notes.
There are 4 blueprints: one for the Advanced Head Light, one for the Wind Turbine, one for the Electric Grill and one for the Advanced Battery.
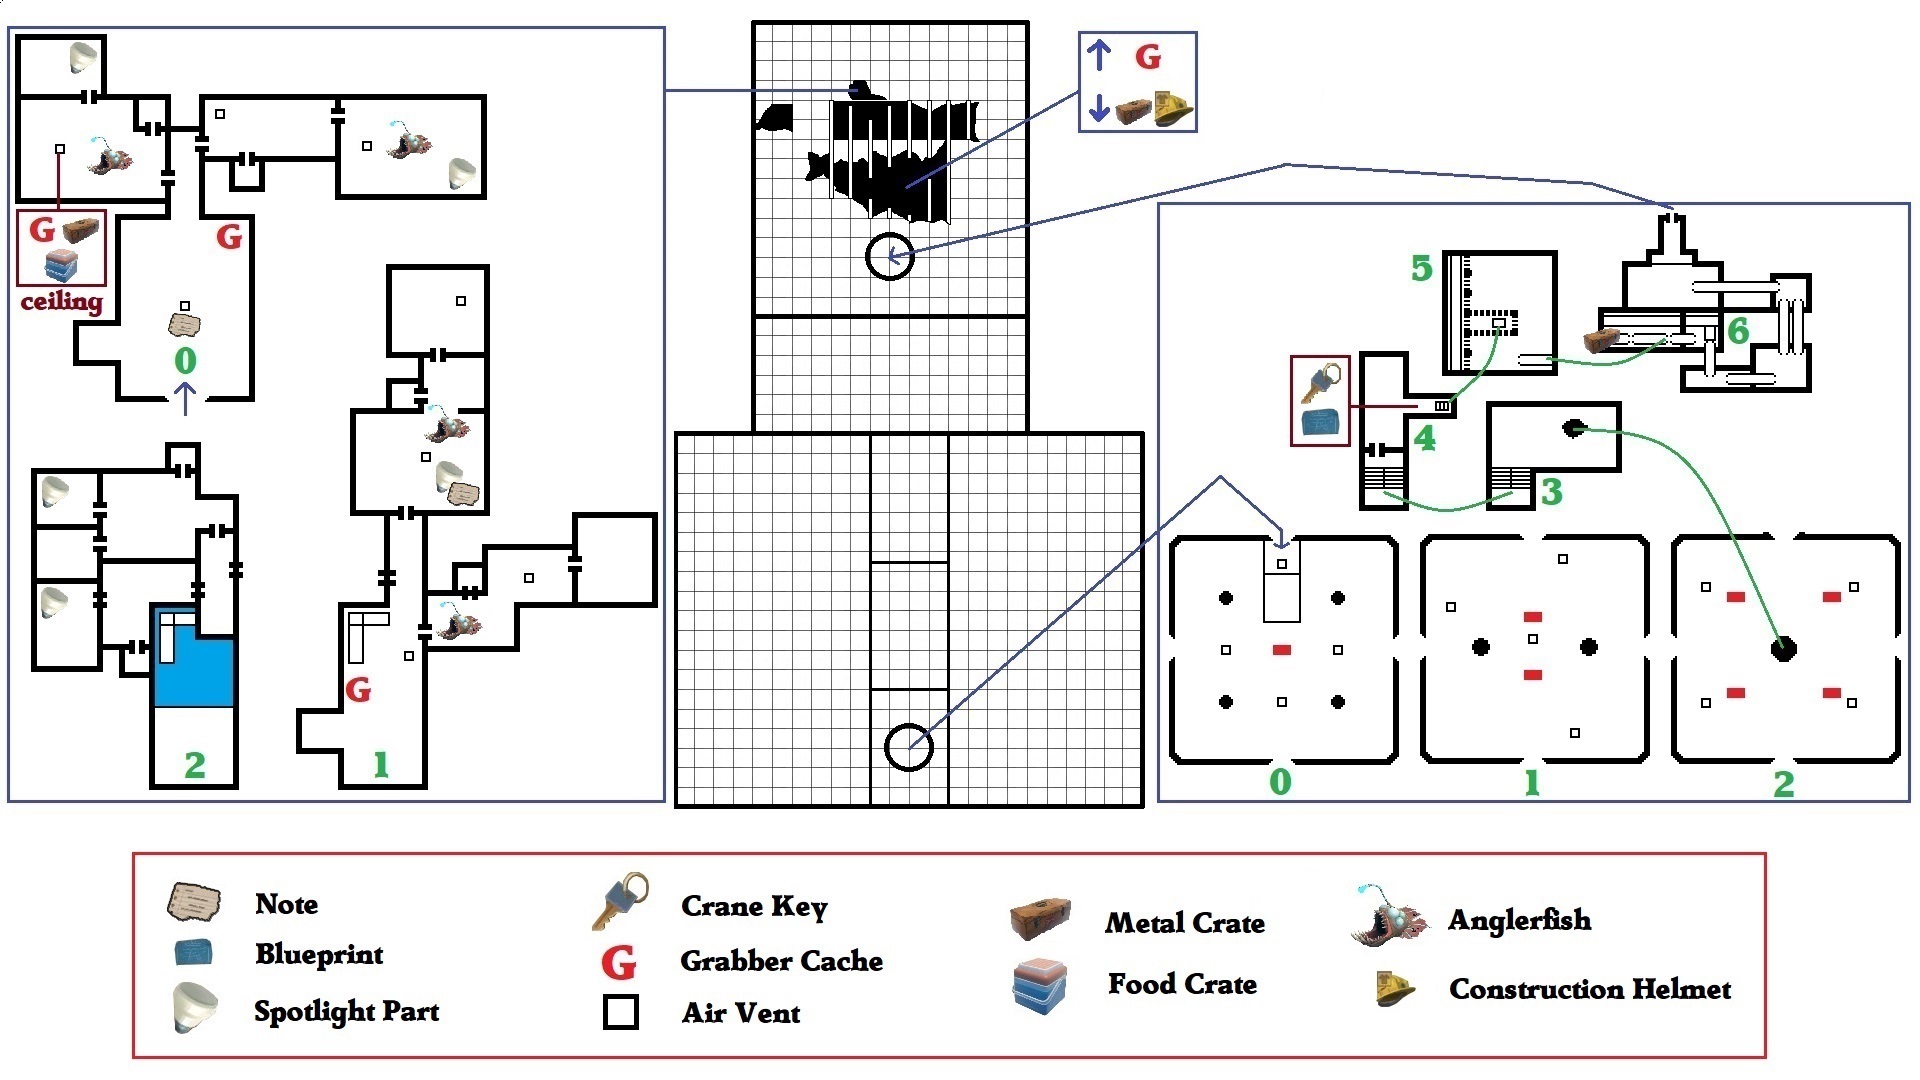
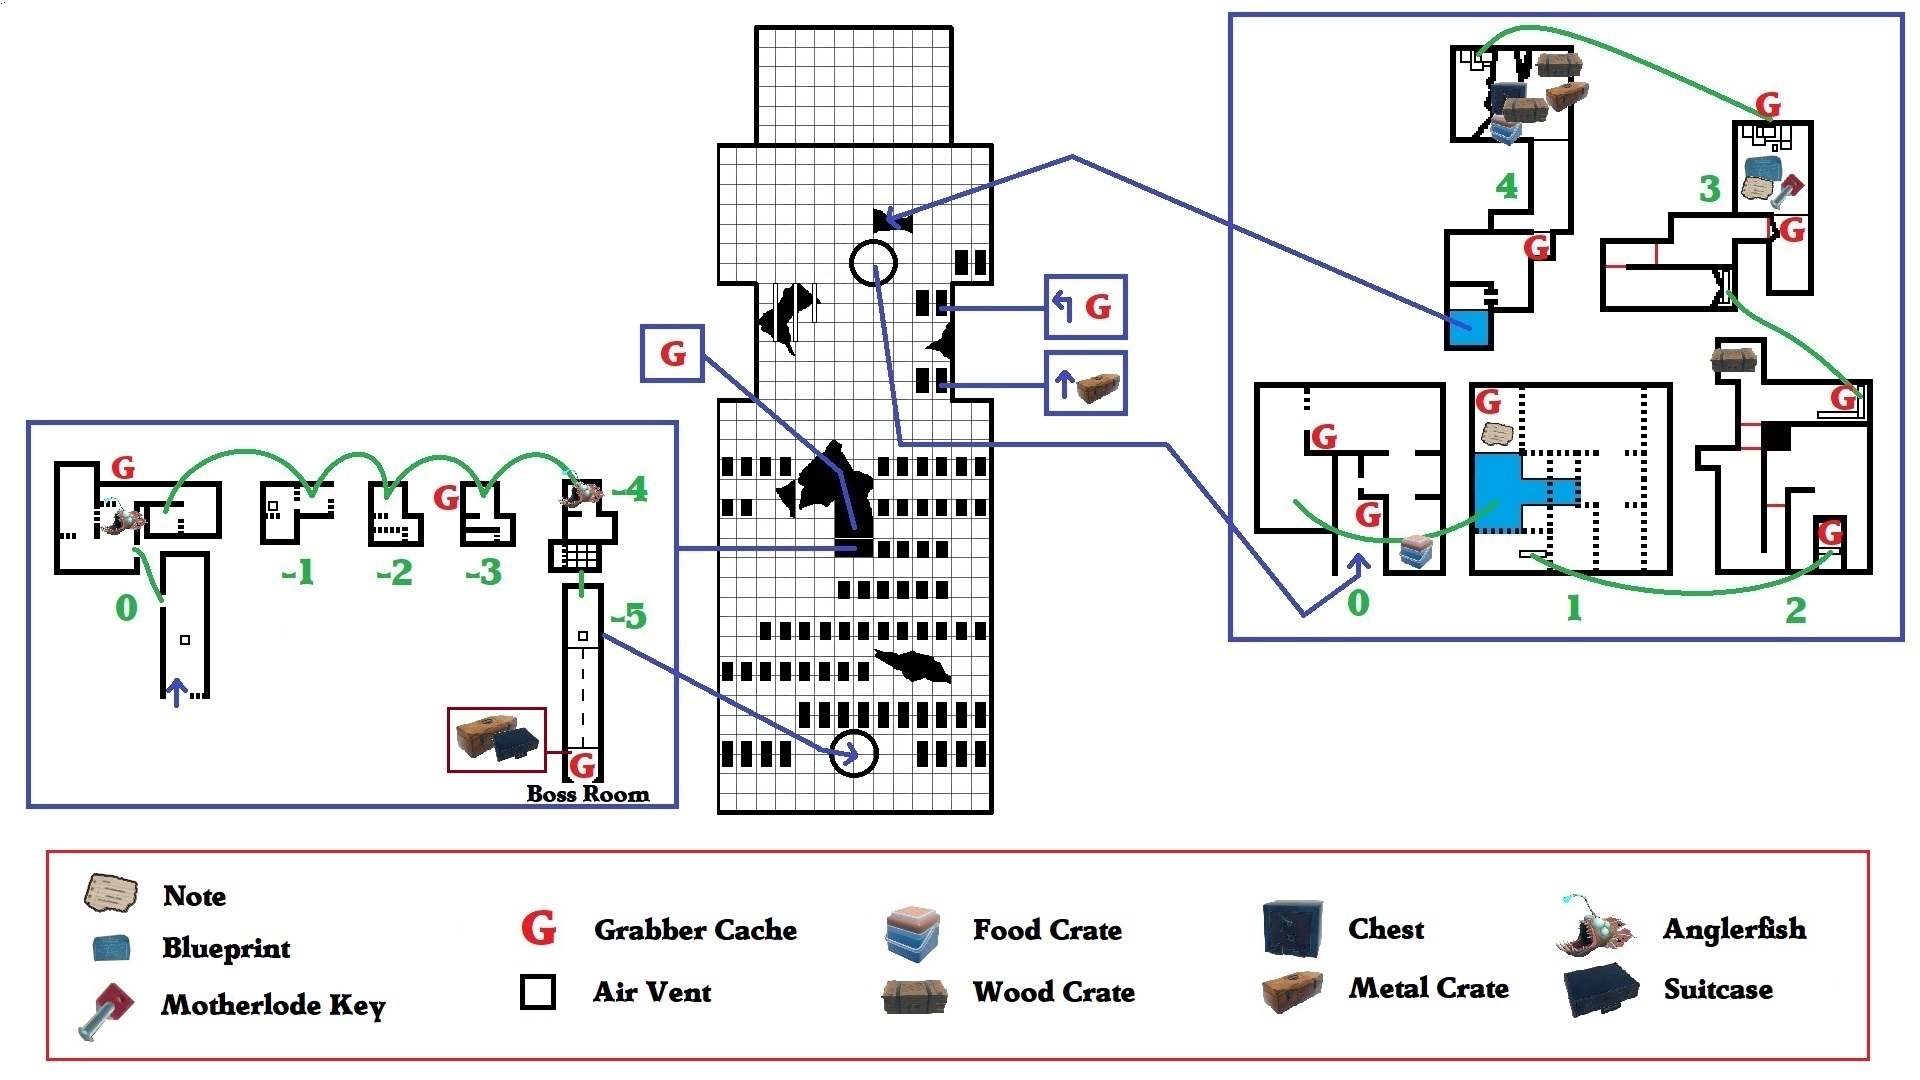
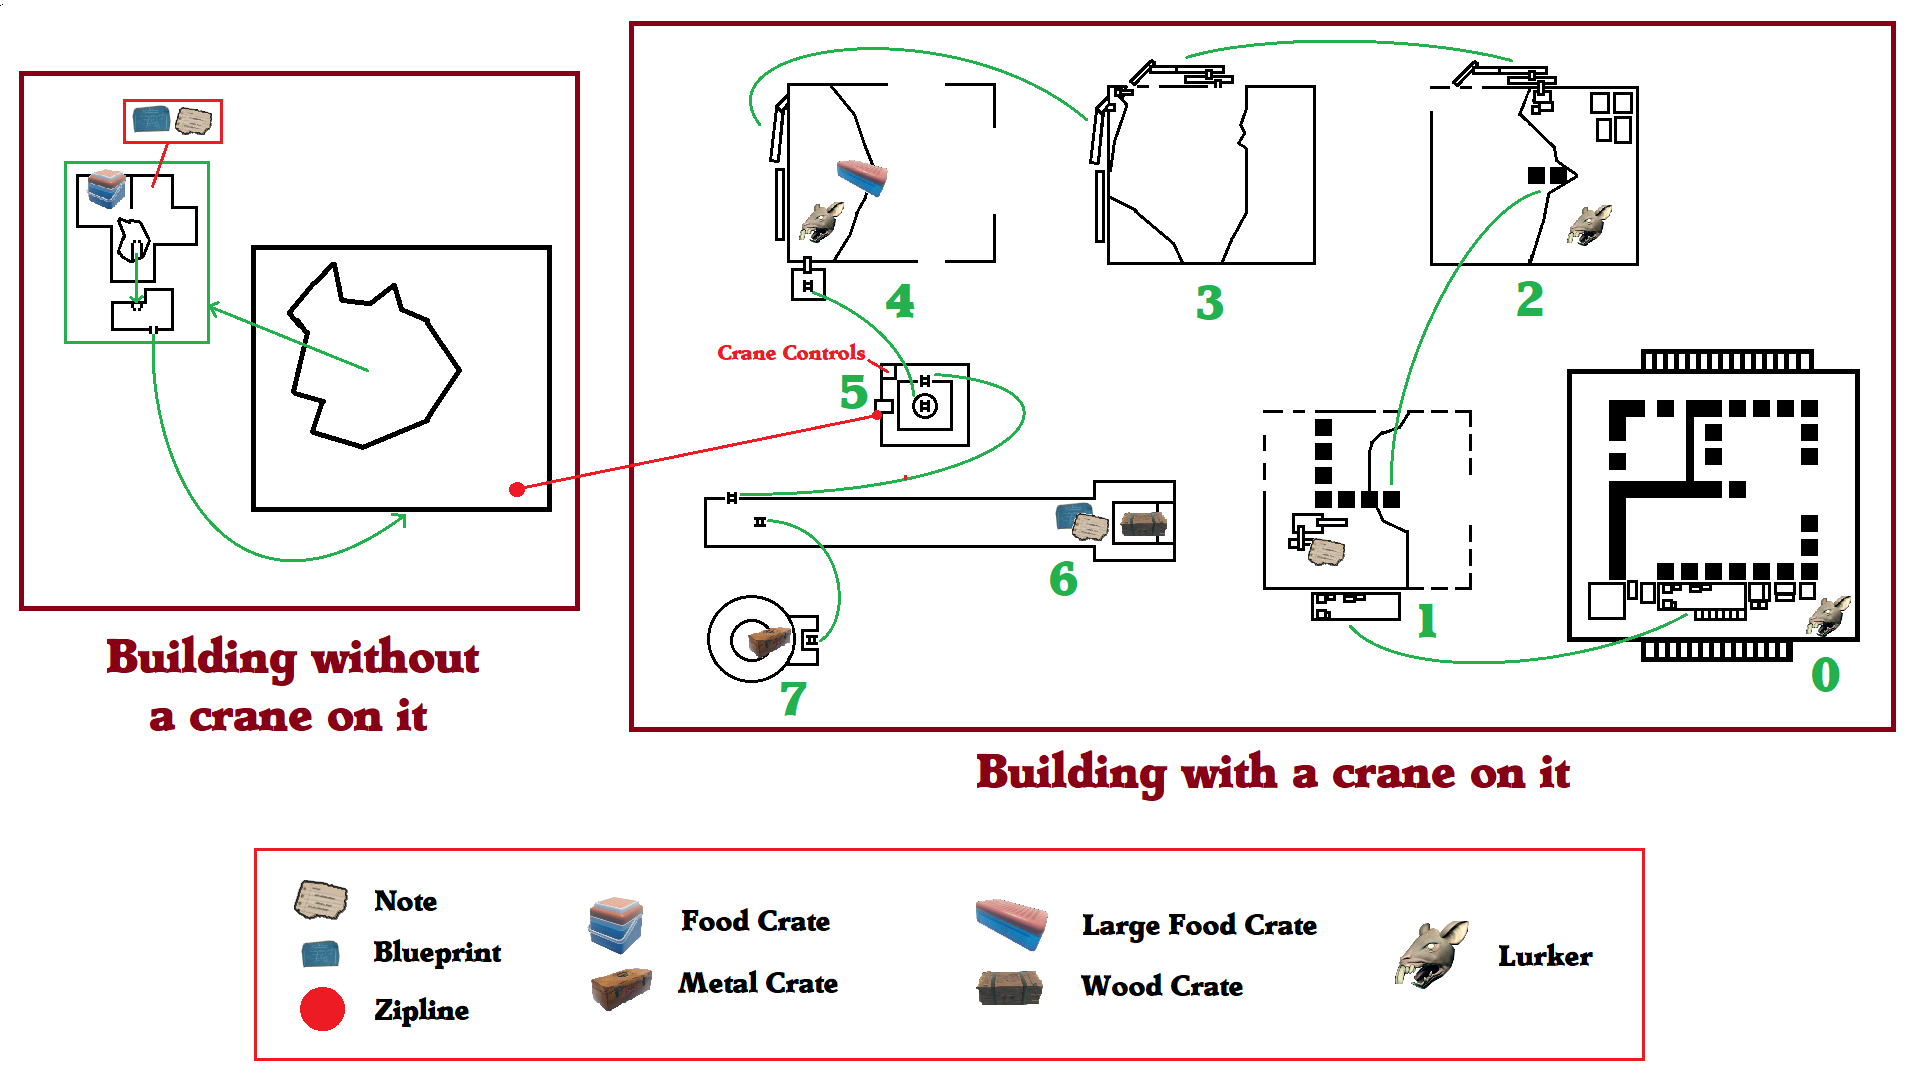
- Arriving at the place: Park your raft a bit away from the two buildings so the shark won't annoy you while you're underwater.
- Underwater, Building with a crane:
=> Find the wall with jellyfish guarding a small hole and wait for the nearby light to shine on them which will make them go away.
=> Enter the building, take the [Note] there and look at the [G] next to it.
=> Go forward in the corridor and enter the room on the left where there is an Anglefish. In the ceiling you will find air and a [G]; and if you go in the next room you will find a [Spotlight Part] (you need 4 but can find more).
=> Go back to the entrance and go in the elevator shaft next to it to reach the next floor where you will find another [G].
=> Go forward in the corridor and enter the room at the end of it. There will be an Anglerfish (sometimes it's hiding farther), a [Note] and a [Spotlight Part].
=> Go back to the entrance of this floor and swim to the ceiling where there's air and a scaffolding to reach the next floor.
=> Go in the corridor and take the door on the left then go in the next room at the back to find a [Spotlight Part].
=> Go back in the corridor and take the door at the back this time then go in the next room at the back on the right to find another [Spotlight Part].
=> You can then go back to the very beginning and leave through the jellyfish hole.
=> There's a huge hole under it with a [G] at the back.
=> Use your 4 [Spotlight Parts] on the lamp above the tube to scare away the jellyfish guarding it then go inside it. - Underwater, Through the upper tube:
=> After the tunnel there is a [G] then a bit farther another [G].
=> At the end of the path you get out of the water and can find a [Note] and a [G].
=> Continue and walk slowly/crouch to avoid the traps.
=> When you reach the bar to reach the next floor, there's a [G] there.
=> Continue, careful for ropes on the ground that activate traps if you touch them.
=> When you reach the scaffoldings there's a [G] on the left when climbing them to reach the next floor.
=> At the very end of the traps there's a [G] before a big room.
=> In the big room there's a [Note], a [Blueprint] (Advanced Head Light) and a [Motherlode Key]. When you climb the boxes behind to leave you'll see a [G].
=> A bit before the end of the path you'll find another [G]. You can then use the door to leave. - Underwater, Building without a crane:
=> Just after leaving the path with the traps, look at the building and you will see corals going through a window on the right. Go inside then in a room hidden on the left to find a [G].
=> Go back in front of the building and this time follow the coral going down until you find a big hole with a [G] and a door under it that you unlock with the [Motherlode Key].
=> Go inside and follow the path were you will find an Anglerfish and a [G].
=> Go down the shaft to find another [G], another Anglerfish and a way through the lower tube. - Underwater, Through the lower tube:
=> At the end of the tube there's a door with the last [G]. When you approach it the door will break and the Boss Fight will start.=> Boss Fight: Prepare an oxygen bottle and flippers to swim fast and for a long time.
- You need to break a pillar by making the shark charge into it.
- Make the shark see you so it will take aim; once it does that, hide behind the pillar so it charges the pillar instead of you (try to stay a bit on the side of the pillar so the shark doesn't miss).
- Once the pillar is broken, go get an explosive barrel to put inside the pillar then make the shark hit it again to destroy it completely and open a path to the upper floor.
- On the 2nd floor, the pillar requires 2 hits before it breaks and you can put an explosive barrel in it.
- On the 3rd floor, the pillar requires 3 hits before it breaks.
- Everytime the shark hits something (you or a pillar), it goes outside then quickly comes back. It gives you time to get a bit of air or pick up an explosive barrel but you can't stop for long because the shark comes back really quickly.
- Getting hit doesn't hurt much (and in peaceful mode, it doesn't hurt at all) but if you're getting too stressed or too hurt, you can always go back to the previous floor or entrance where the shark won't follow you.
- There are rectangle rooms all around the boss arena (filled with boxes or pipes) and if you look closely you'll see they all have an air ceiling where you can go and catch your breath. In those air pockets, there is also sometimes a good healing salve you can pick up.=> After the Boss, there will be a hole in the ceiling, go through it. Follow the path until you find a corridor with a [Blueprint] (Wind Turbine) and a [Crane Key].
=> Take the ladder to go in the ceiling and follow the different grey pipes until you find the exit door. - Surface:
=> Go to the side of the building with a crane to find a way to climb it.
=> There will be a Lurker there and next to it a way to climb above the little cabin and reach the next floor.
=> On this floor you will find a machine with a [Note] in front of it. Climb the machine to reach pillars, jump on them to reach the next floor with a Lurker.
=> Climb the boxes and scaffoldings to reach the highest floor with another Lurker.
=> Climb 2 ladders to go above the crane where you will find a [Note] and a [Blueprint] (Electric Grill).
=> Go back down 1 ladder and use the [Crane Key] and lever in the little booth to drop what the crane is holding which will create a huge hole in the other building.
=> Use the zipline next to the booth to reach the other building and go down the hole to find the last [Note] and [Blueprint] (Advanced Battery).
=> You can then follow the grey pipes to reach the exit door.
Varuna Point (Notes/Blueprints)
Notes :
- The 1st note is inside the building with the crane on it, underwater. Above a tunnel linking the two buildings there's a hole in the wall guarded by jellyfish. Wait for the buggy light to shine on them, making them free the entrance.
The note is right after you get in.
=> [Varuna Point has all too many holes in it...] - Page 29 - The 2nd note is also inside the building with the crane on it, underwater. Above a tunnel linking the two buildings there's a hole in the wall guarded by jellyfish. Wait for the buggy light to shine on them, making them free the entrance.
The note is on the next floor (you get there by swimming through an elevator shaft on the left when you arrive after the jellyfish). There's a door at the end of the corridor and the note is inside the room, on a table on the right when you get in.
=> [ I heard them talking about me this morning...] - Page 29 - The 3rd note is inside the building without the crane on it, underwater. You get there through the tunnel linking the two buildings. The hole to get inside the tunnel is guarded by jellyfish. To free the path, you need to repair a lamp on a wall nearby with 4 spotlight parts you find in the other building guarded by jellyfish.
The note is at the very end of the underwater path, just after getting out of the water.
=> [We don't work on new floors anymore...] - Page 30 - The 4th note is inside the building without the crane on it, underwater. You get there through the tunnel linking the two buildings. The hole to get inside the tunnel is guarded by jellyfish. To free the path, you need to repair a lamp on a wall nearby with 4 spotlight parts you find in the other building guarded by jellyfish.
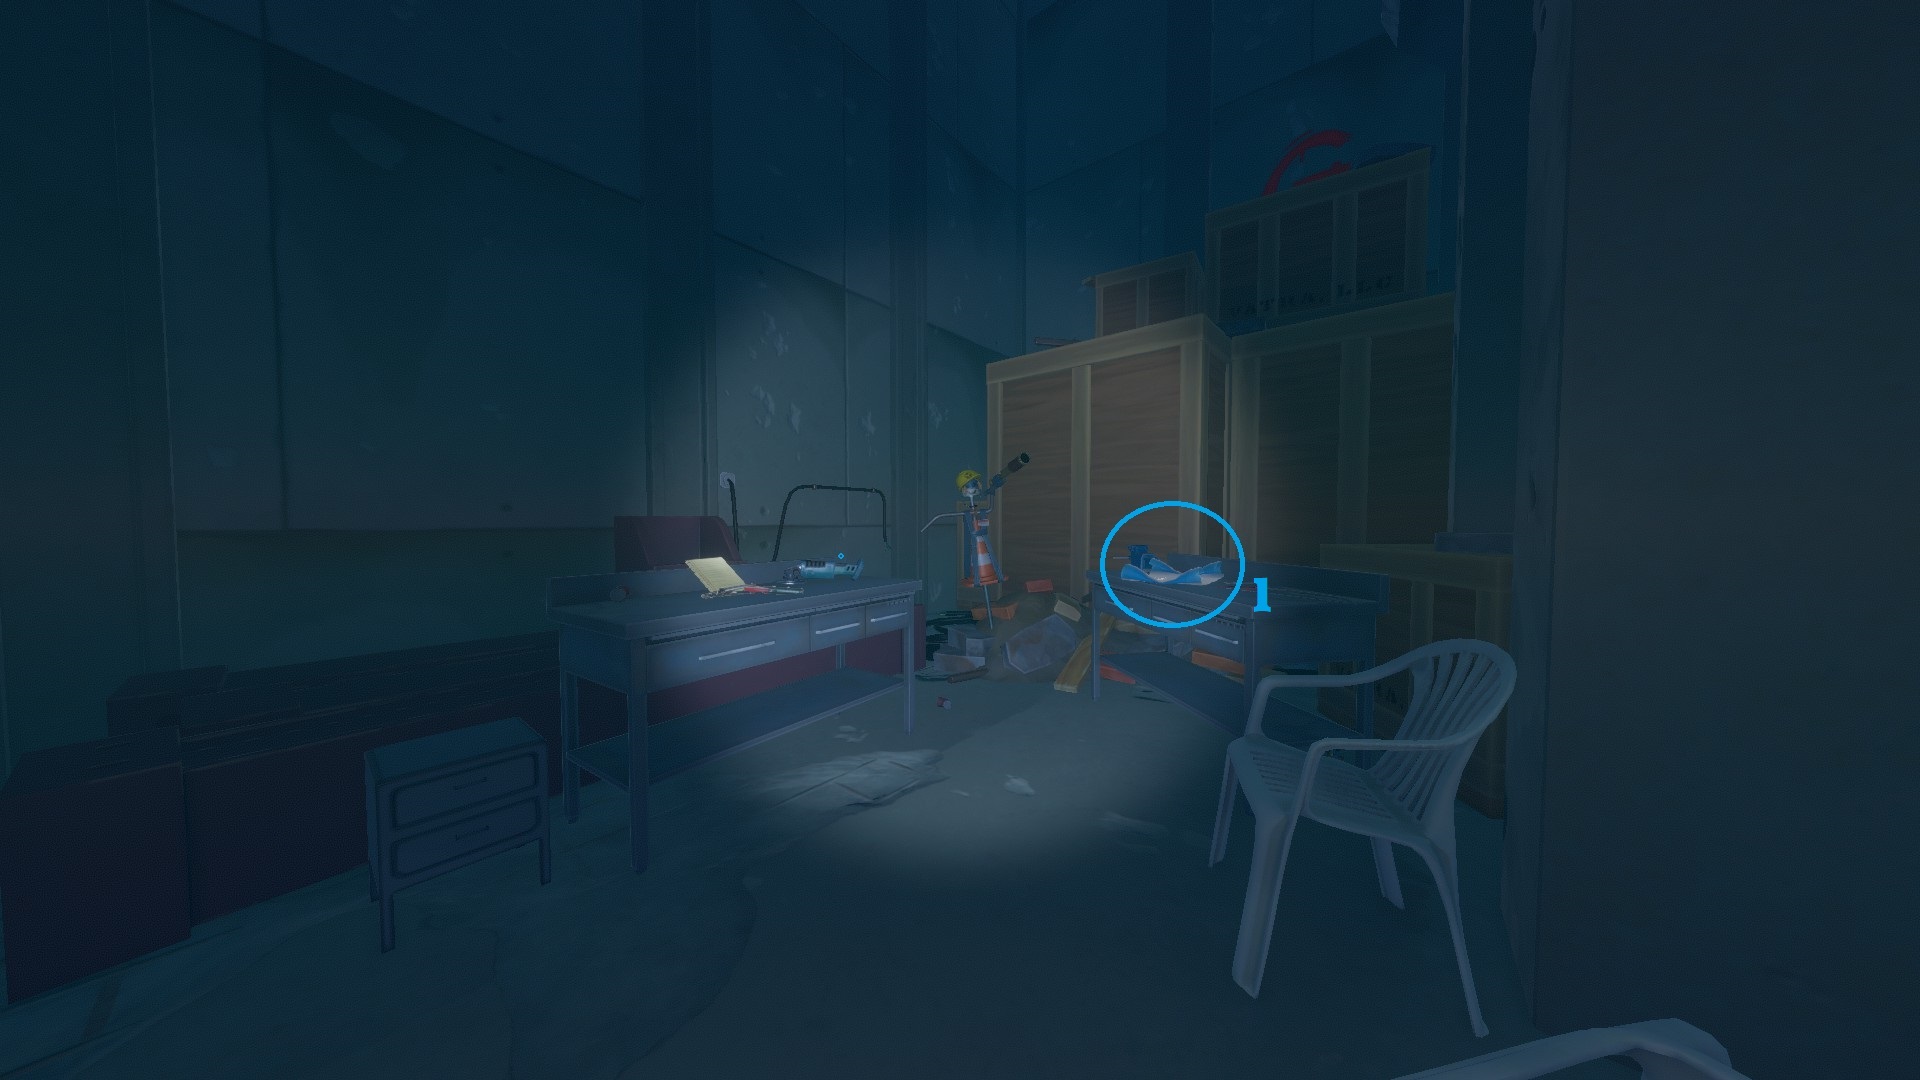
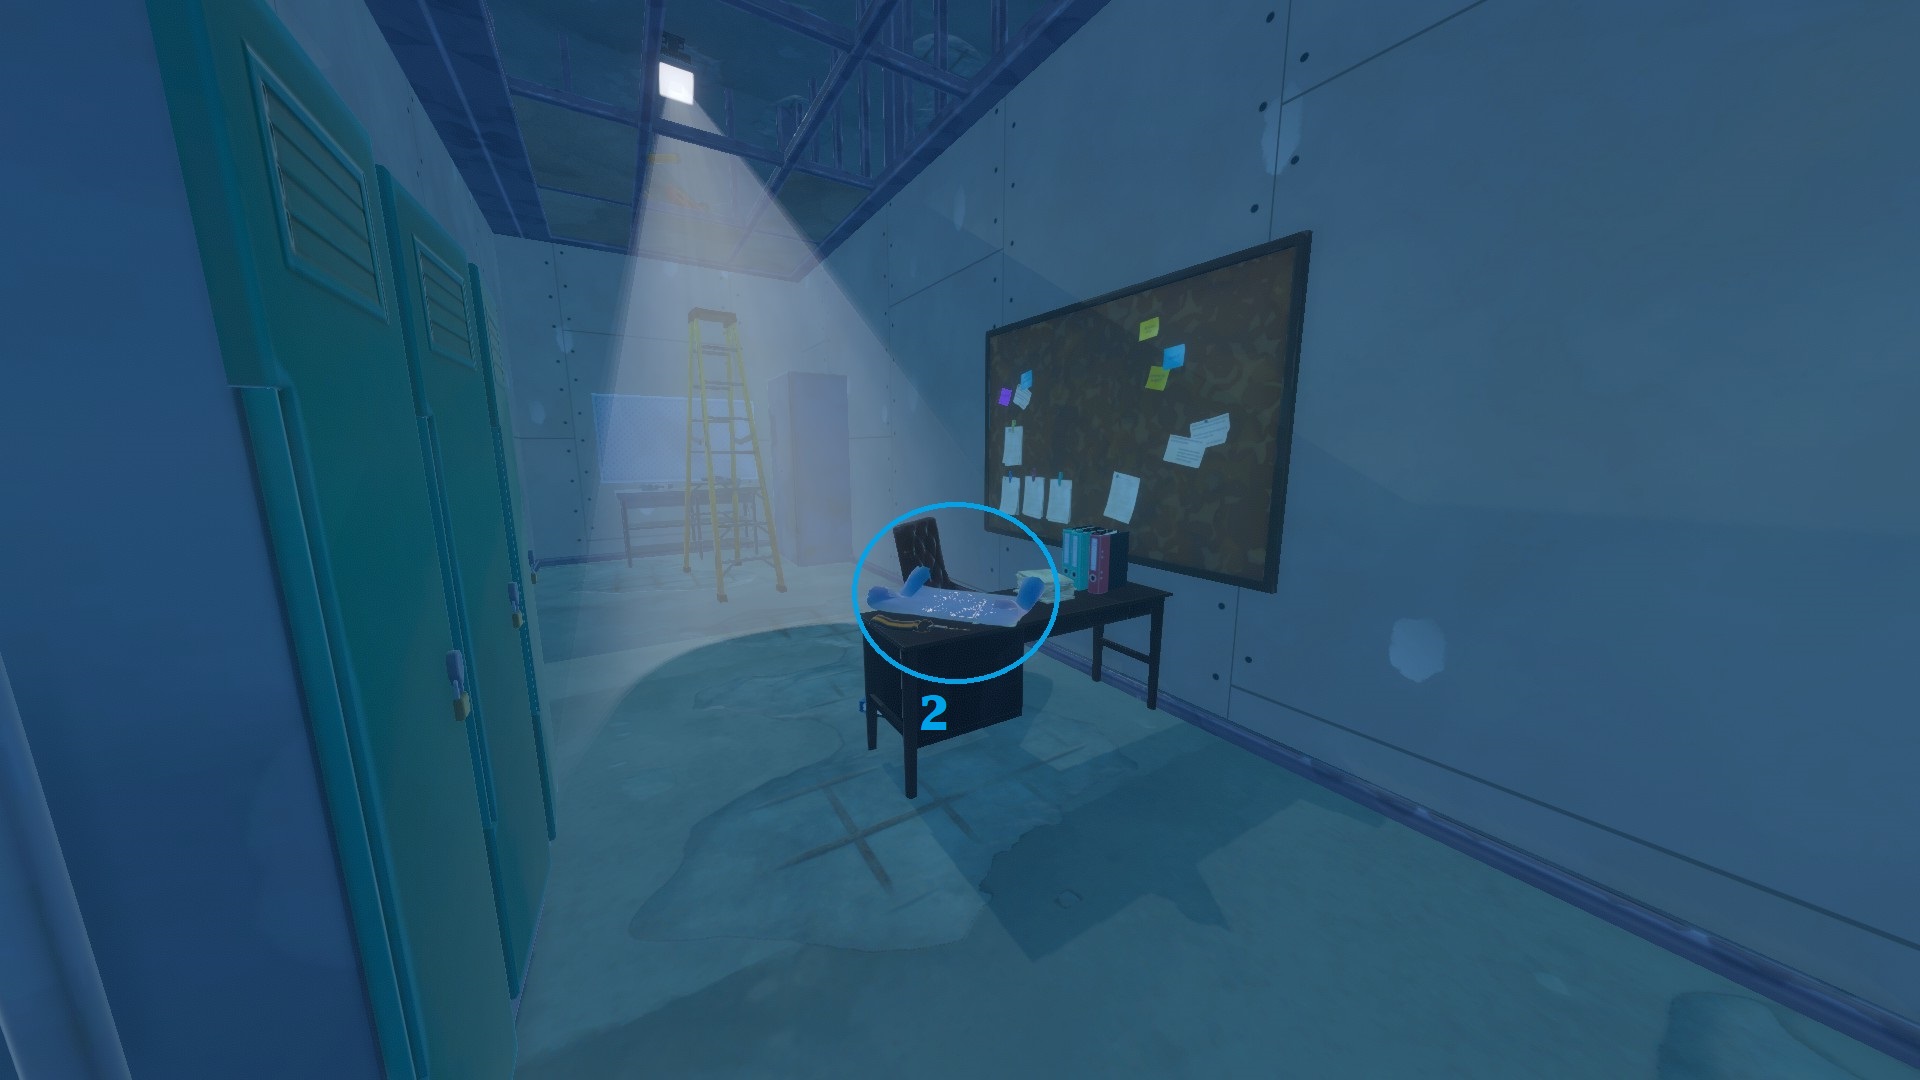
The note is at the very very end, just after going through all of The Grabber's traps. It's on a working station, next to the motherlode key, a doll and a blueprint.
=> [ I would be bored these days...] - Page 31 - The 5th note is on the building with a crane, on the 2nd floor, in front of an excavator machine.
=> [A man talking to dolls arrived yesterday...] - Page 31 - The 6th note is at the top of the crane machine, on its yellow arm.
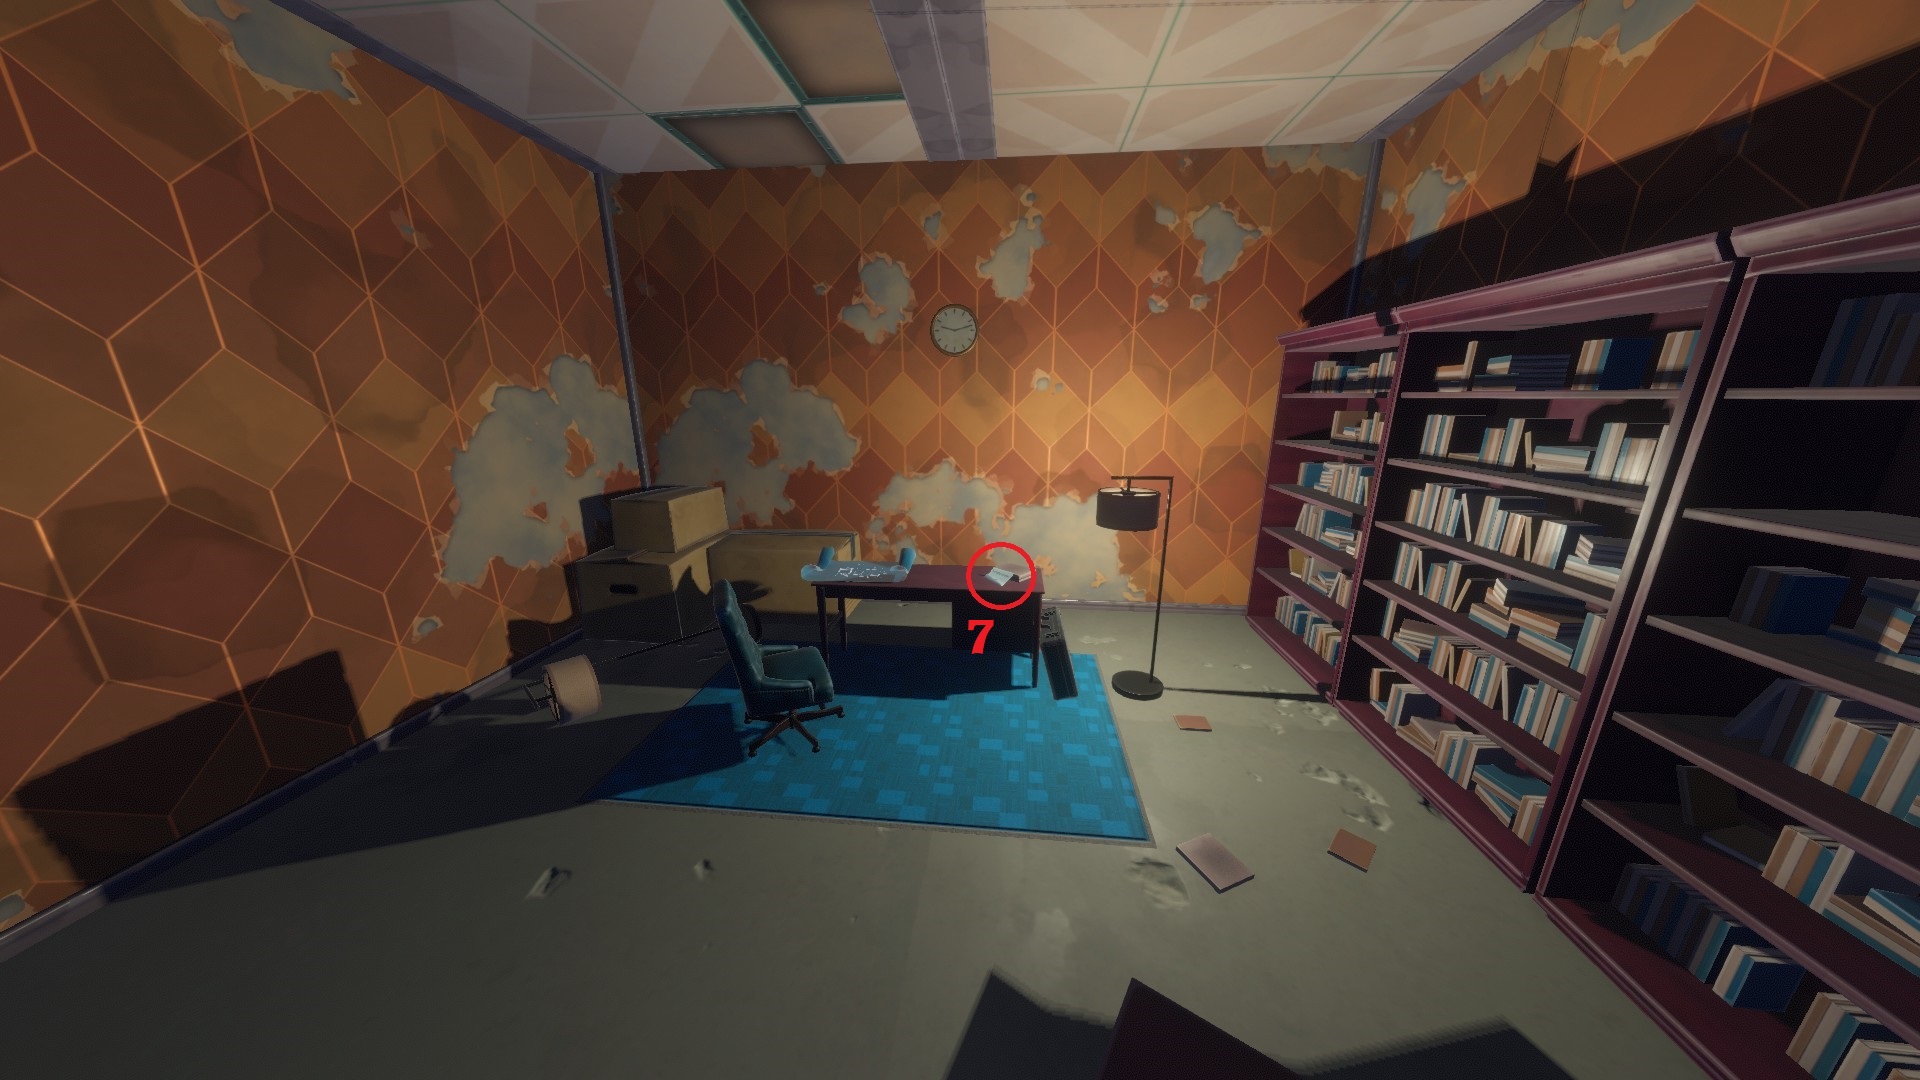
=> [When people come by they don't stay for long...] - Page 30 - The 7th note is at the very end of the story path for Varuna Point. After getting the crane key you can climb at the very top of the crane machine and use it to drop bricks on the other building, creating a hole. Go down this hole until you find a office with the note with the coordinates for the next place on a desk, next to a blueprint.
=> [Temperance #....] - Page 32
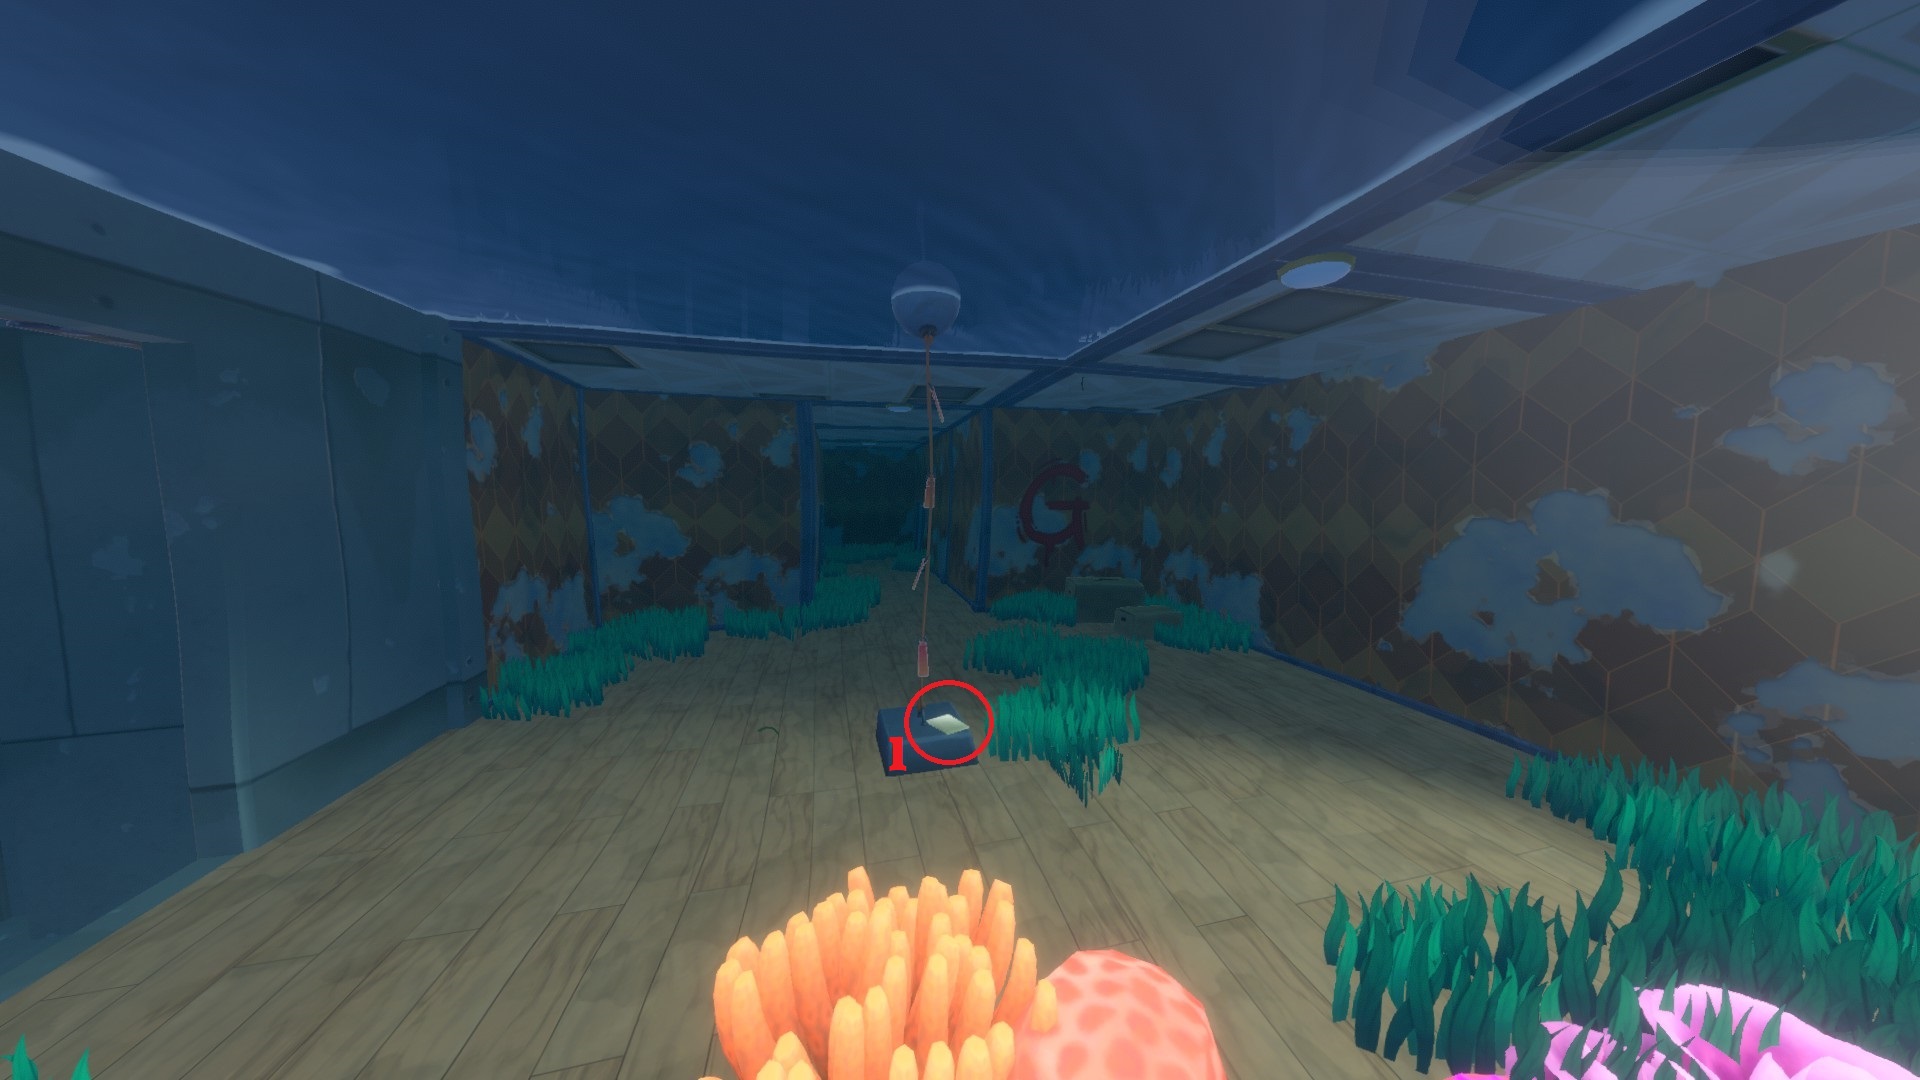
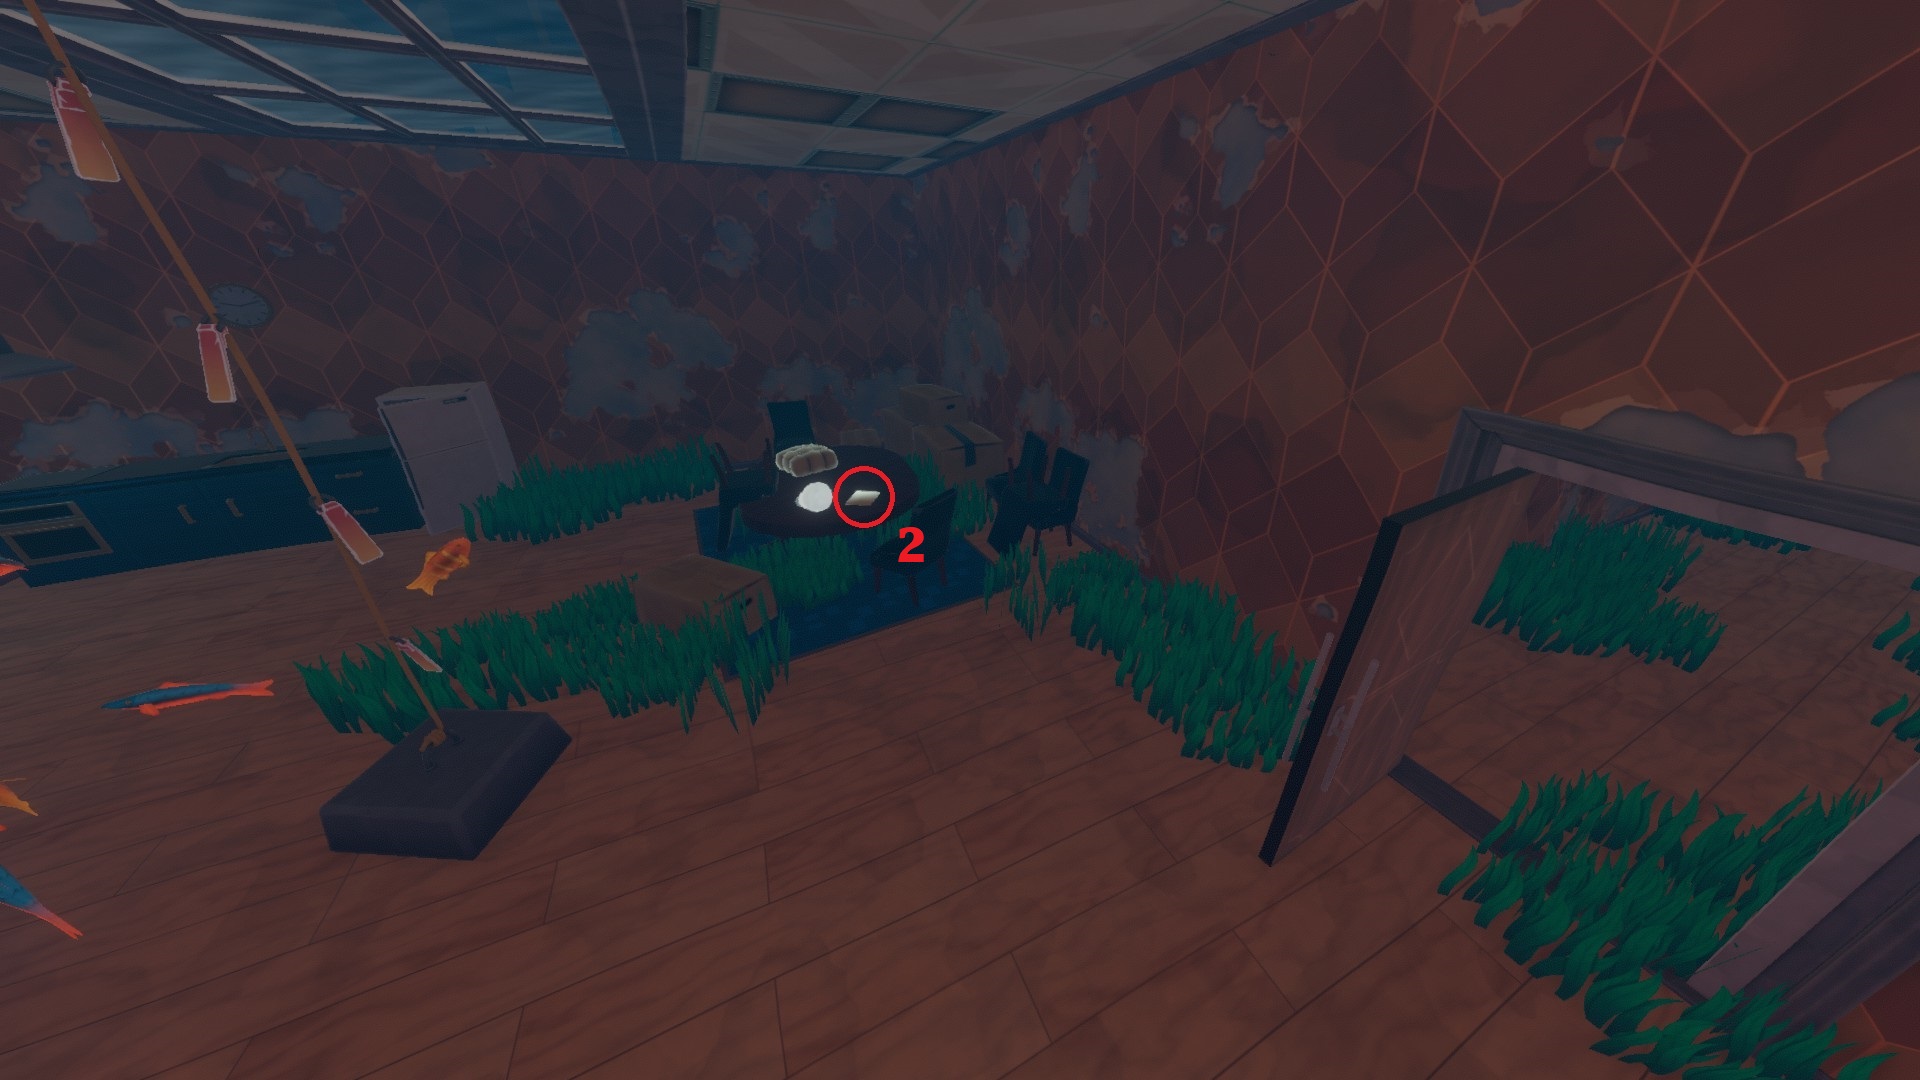
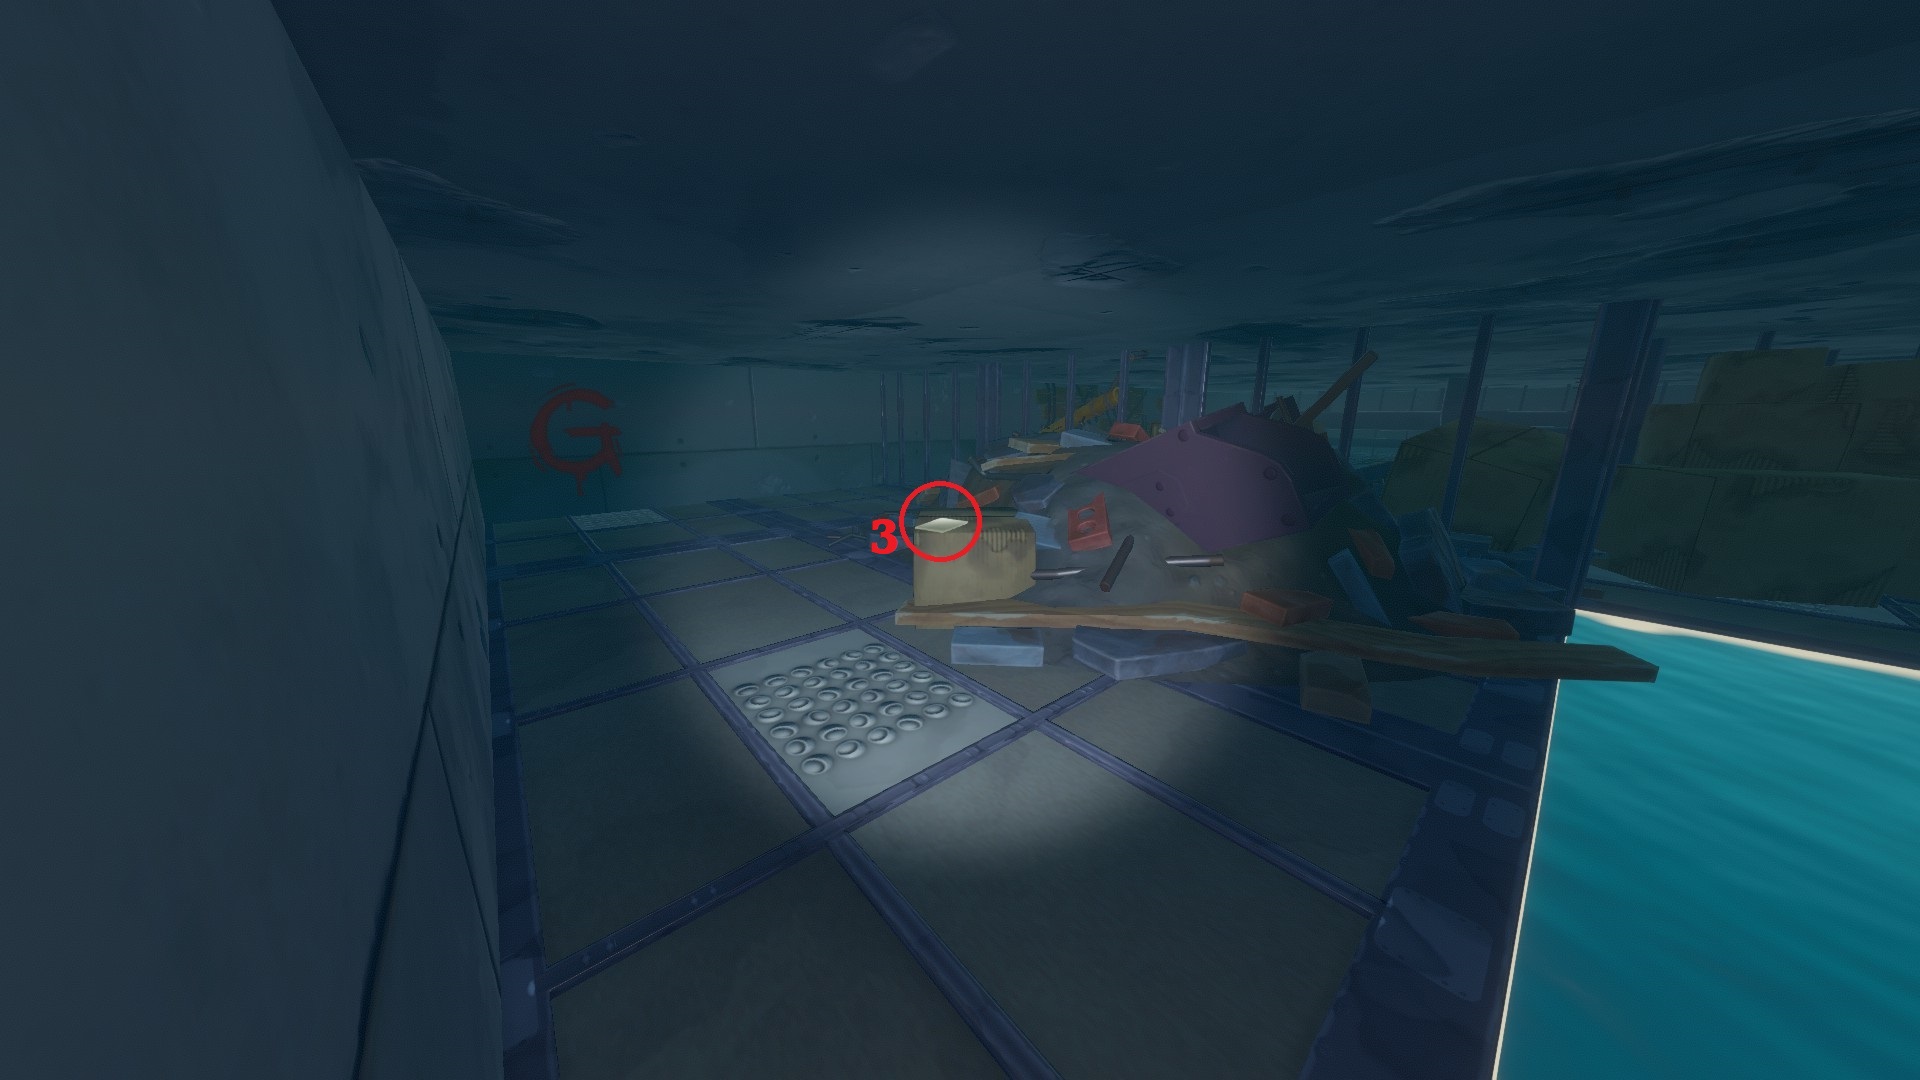
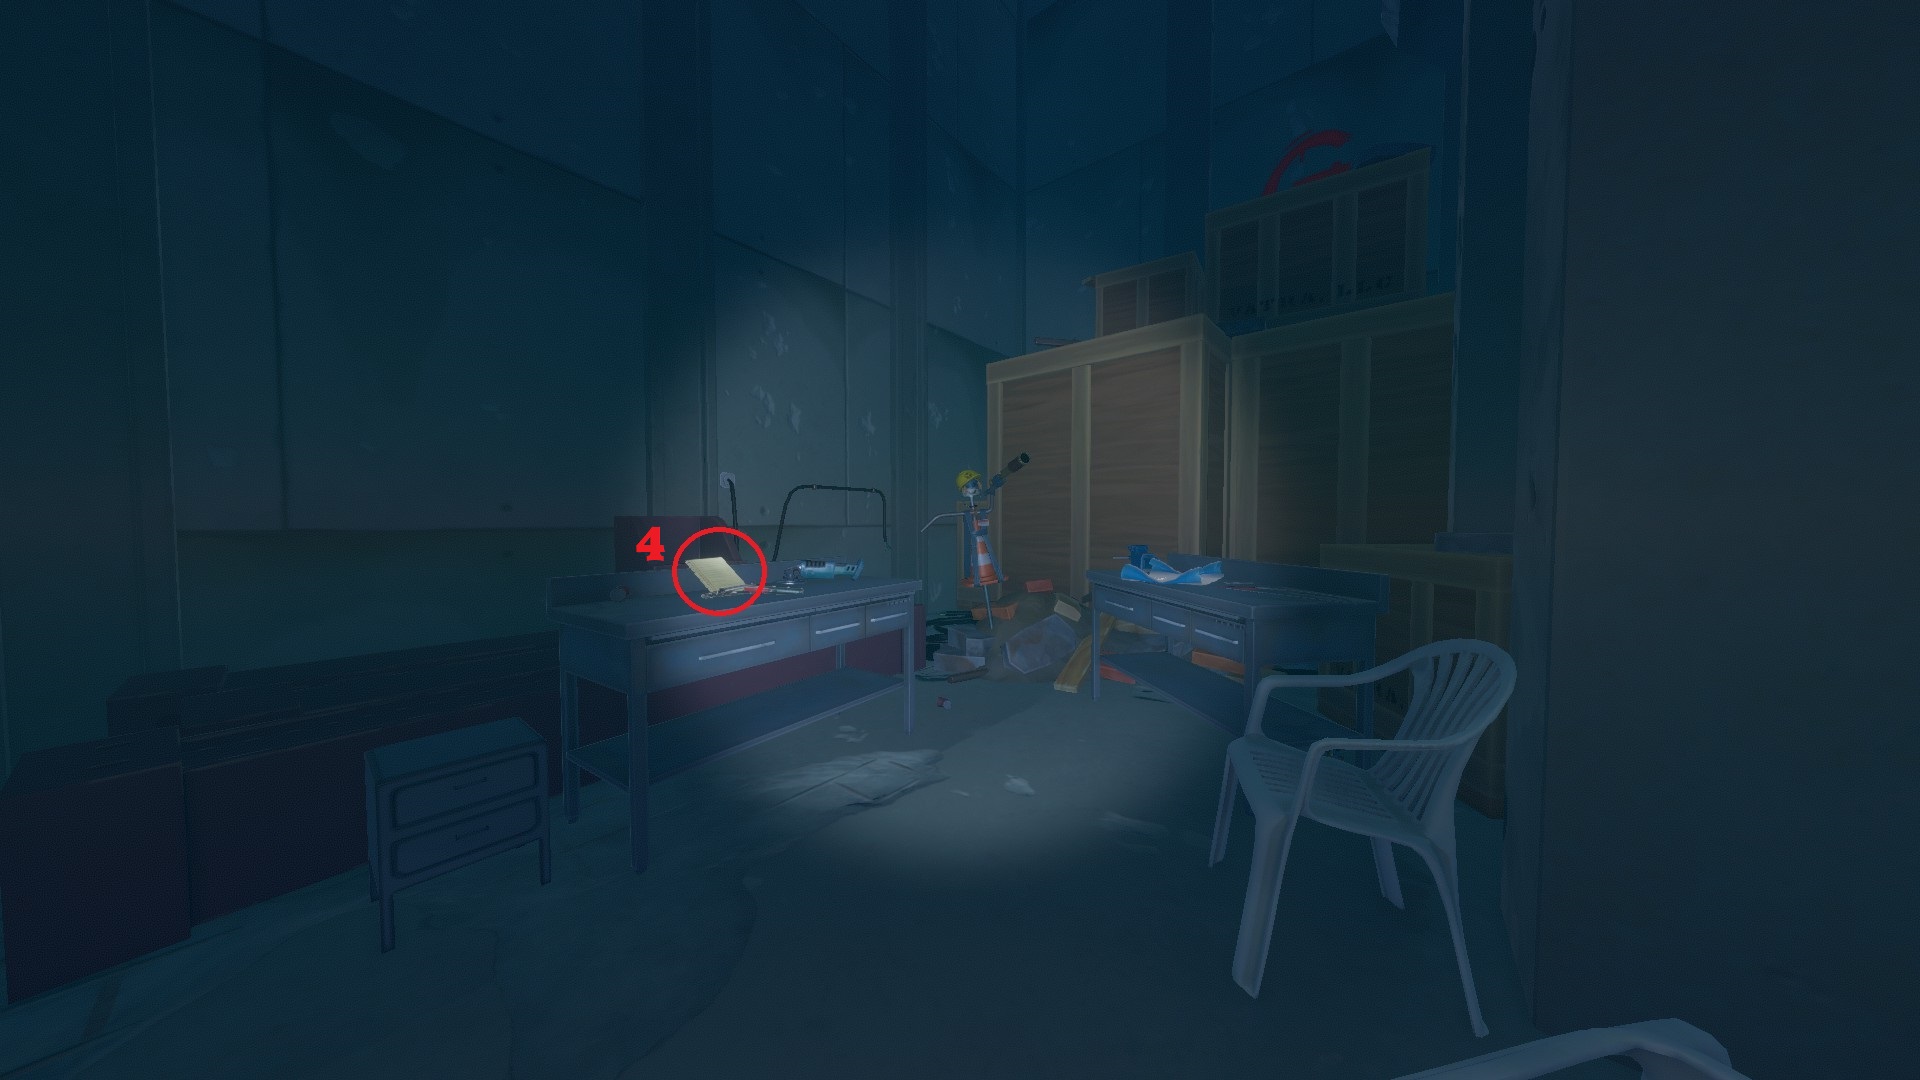
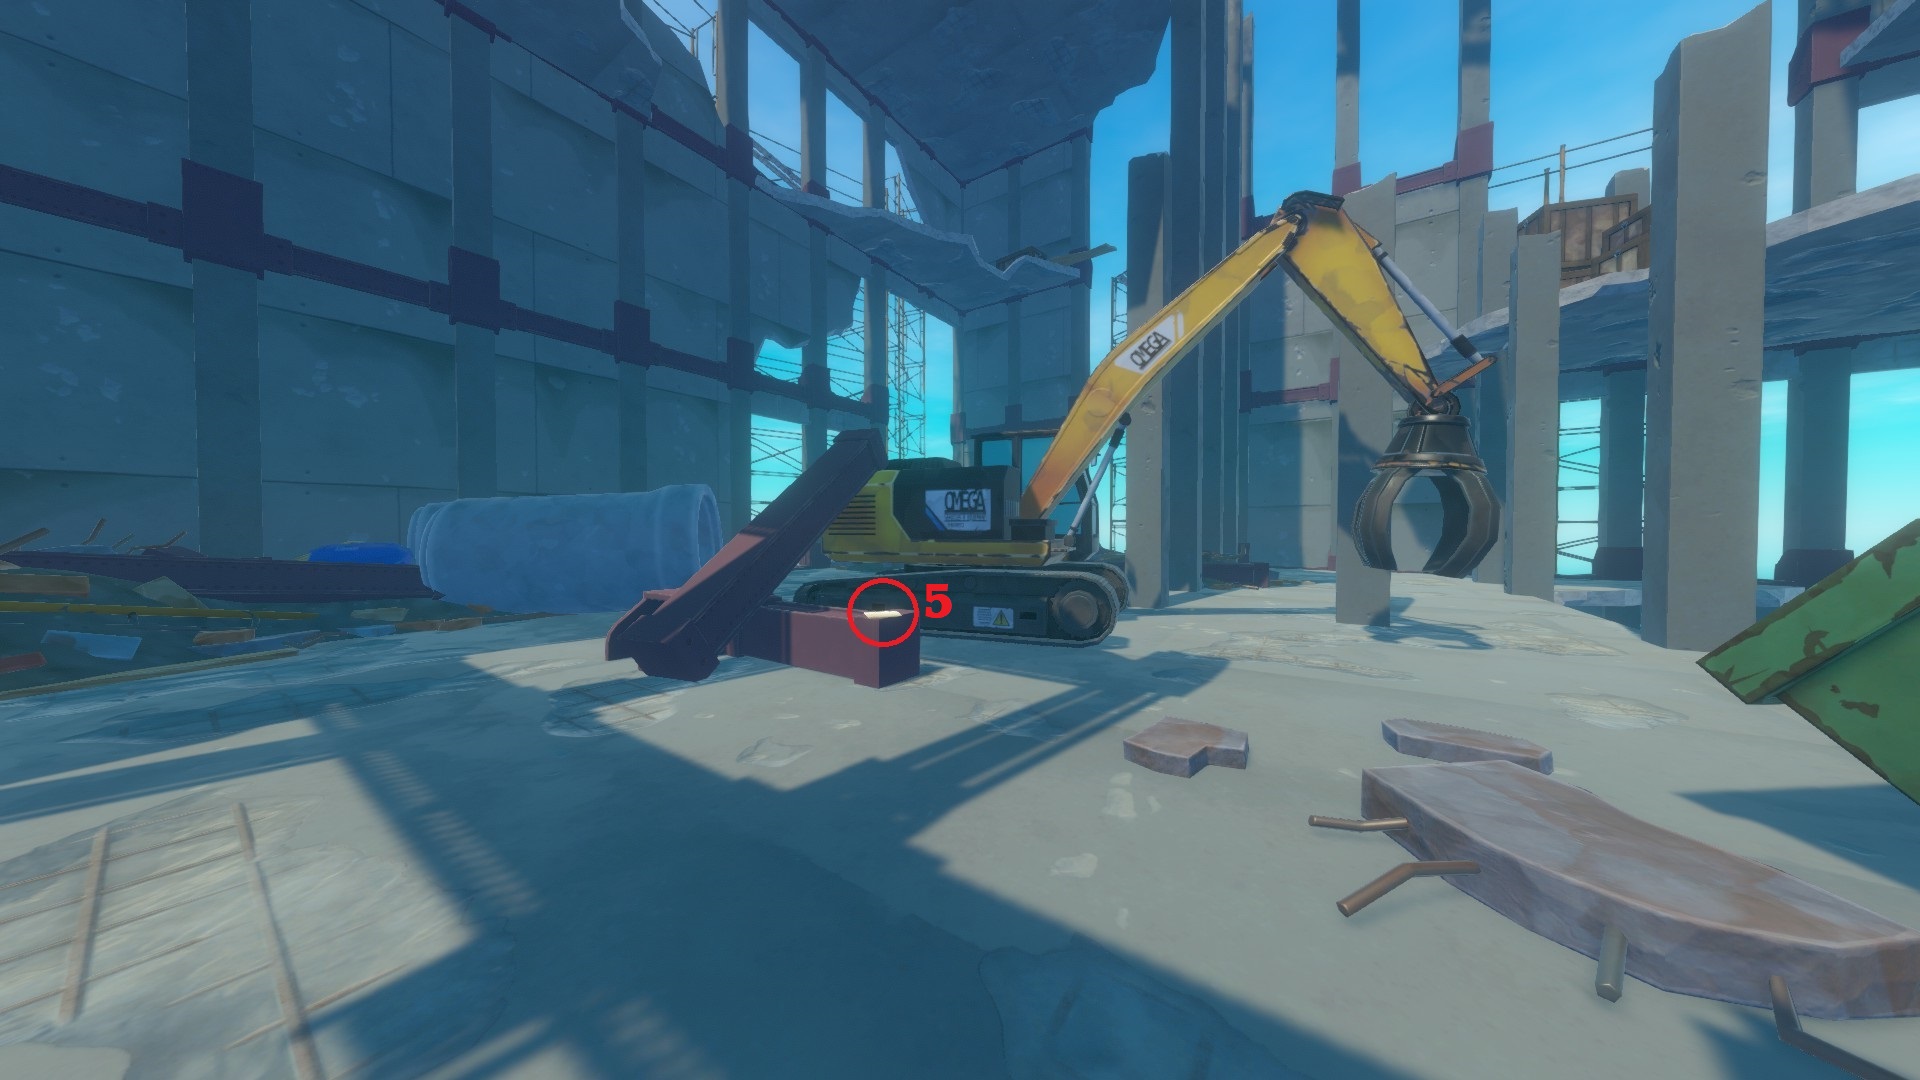
- The 1st blueprint (Advanced Head Light) is inside the building without the crane on it, underwater. You get there through the tunnel linking the two buildings. The hole to get inside the tunnel is guarded by jellyfish. To free the path, you need to repair a lamp on a wall nearby with 4 spotlight parts you find in the other building guarded by jellyfish.
The blueprint is at the very very end, just after going through all of The Grabber's traps. It's on a working station, next to a doll, the motherlode key and a note. - The 2nd blueprint (Wind Turbine) is after defeating the shark boss (the entrance to the boss room is a bit above the second tunnel linking the two buildings, which is far under the first tunnel and requires the motherlode key to get in), on a desk next to the crane key.
- The 3rd blueprint (Electric Grill) is at the top of the crane machine, on its yellow arm.
- The 4th blueprint (Advanced Battery) is at the very end of the story path for Varuna Point. After getting the crane key you can climb at the very top of the crane machine and use it to drop bricks on the other building, creating a hole. Go down this hole until you find a office with the blueprint next to a note.
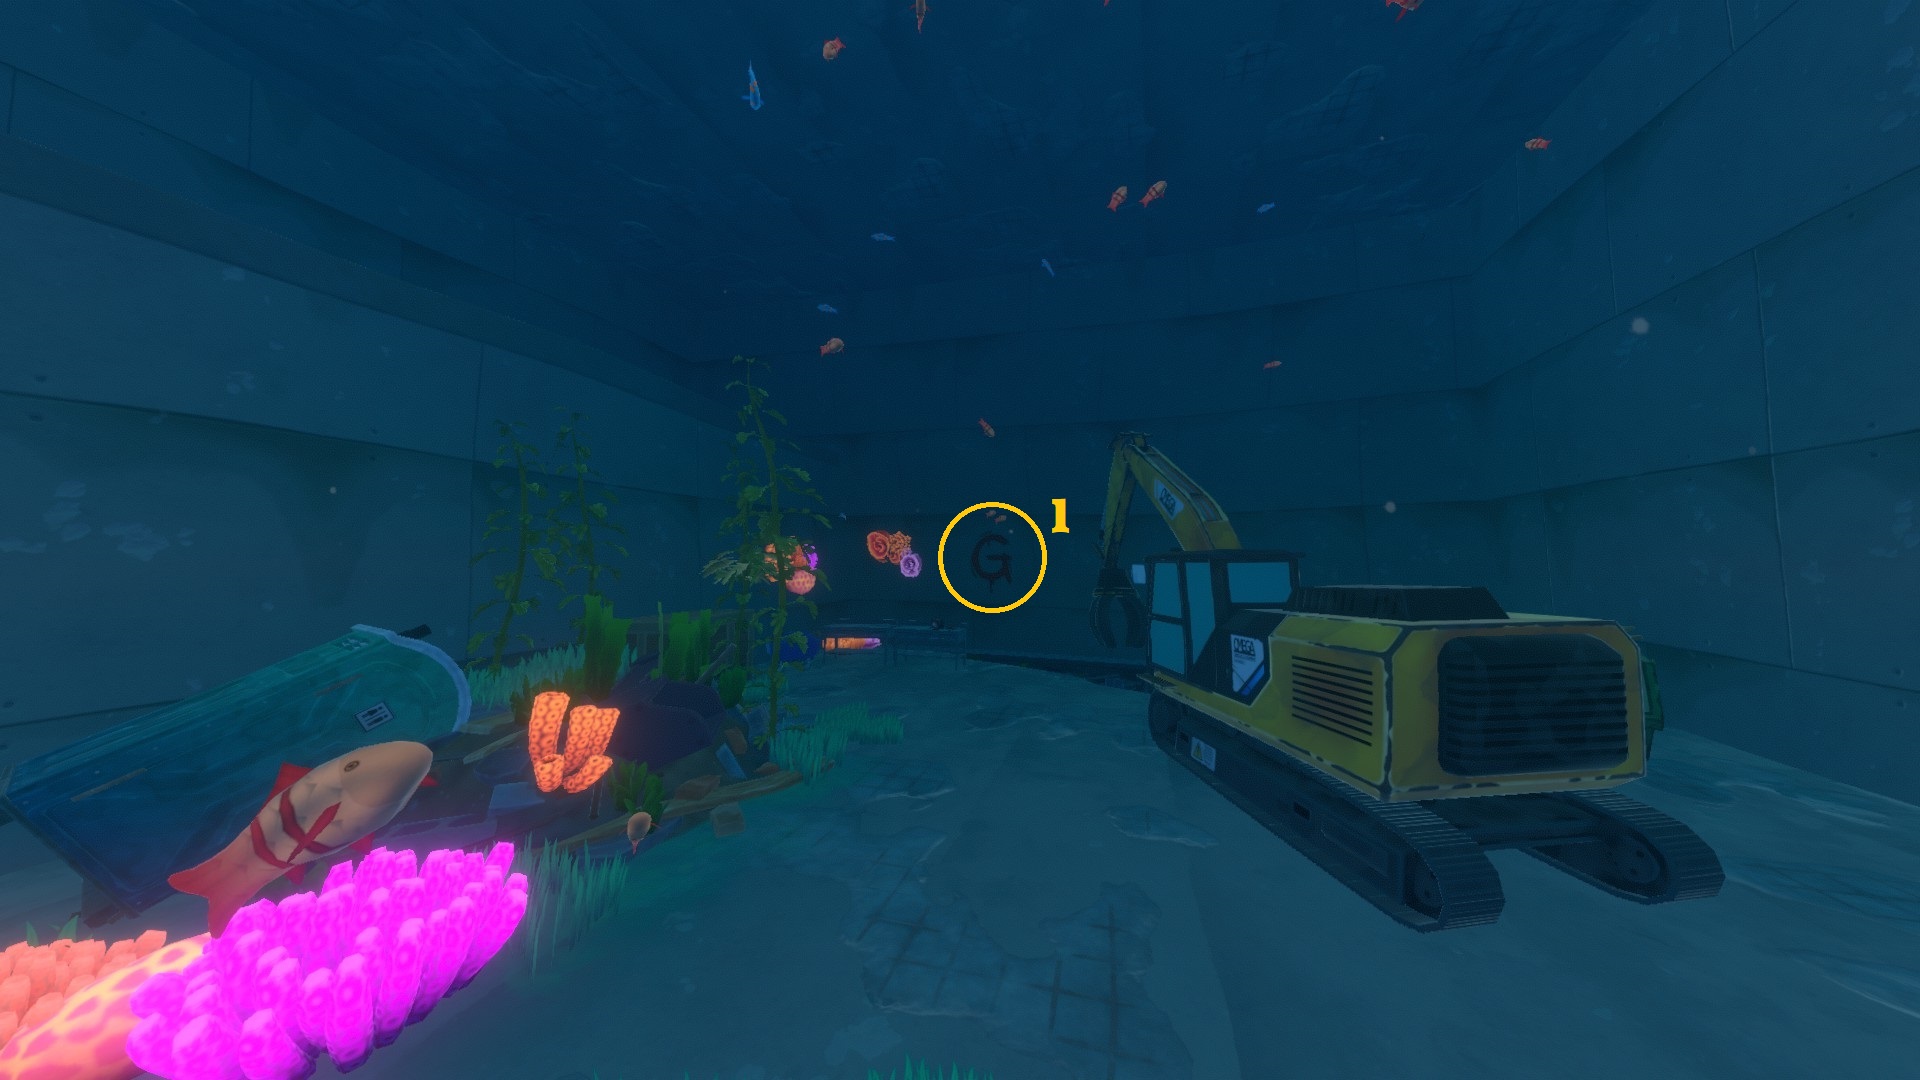
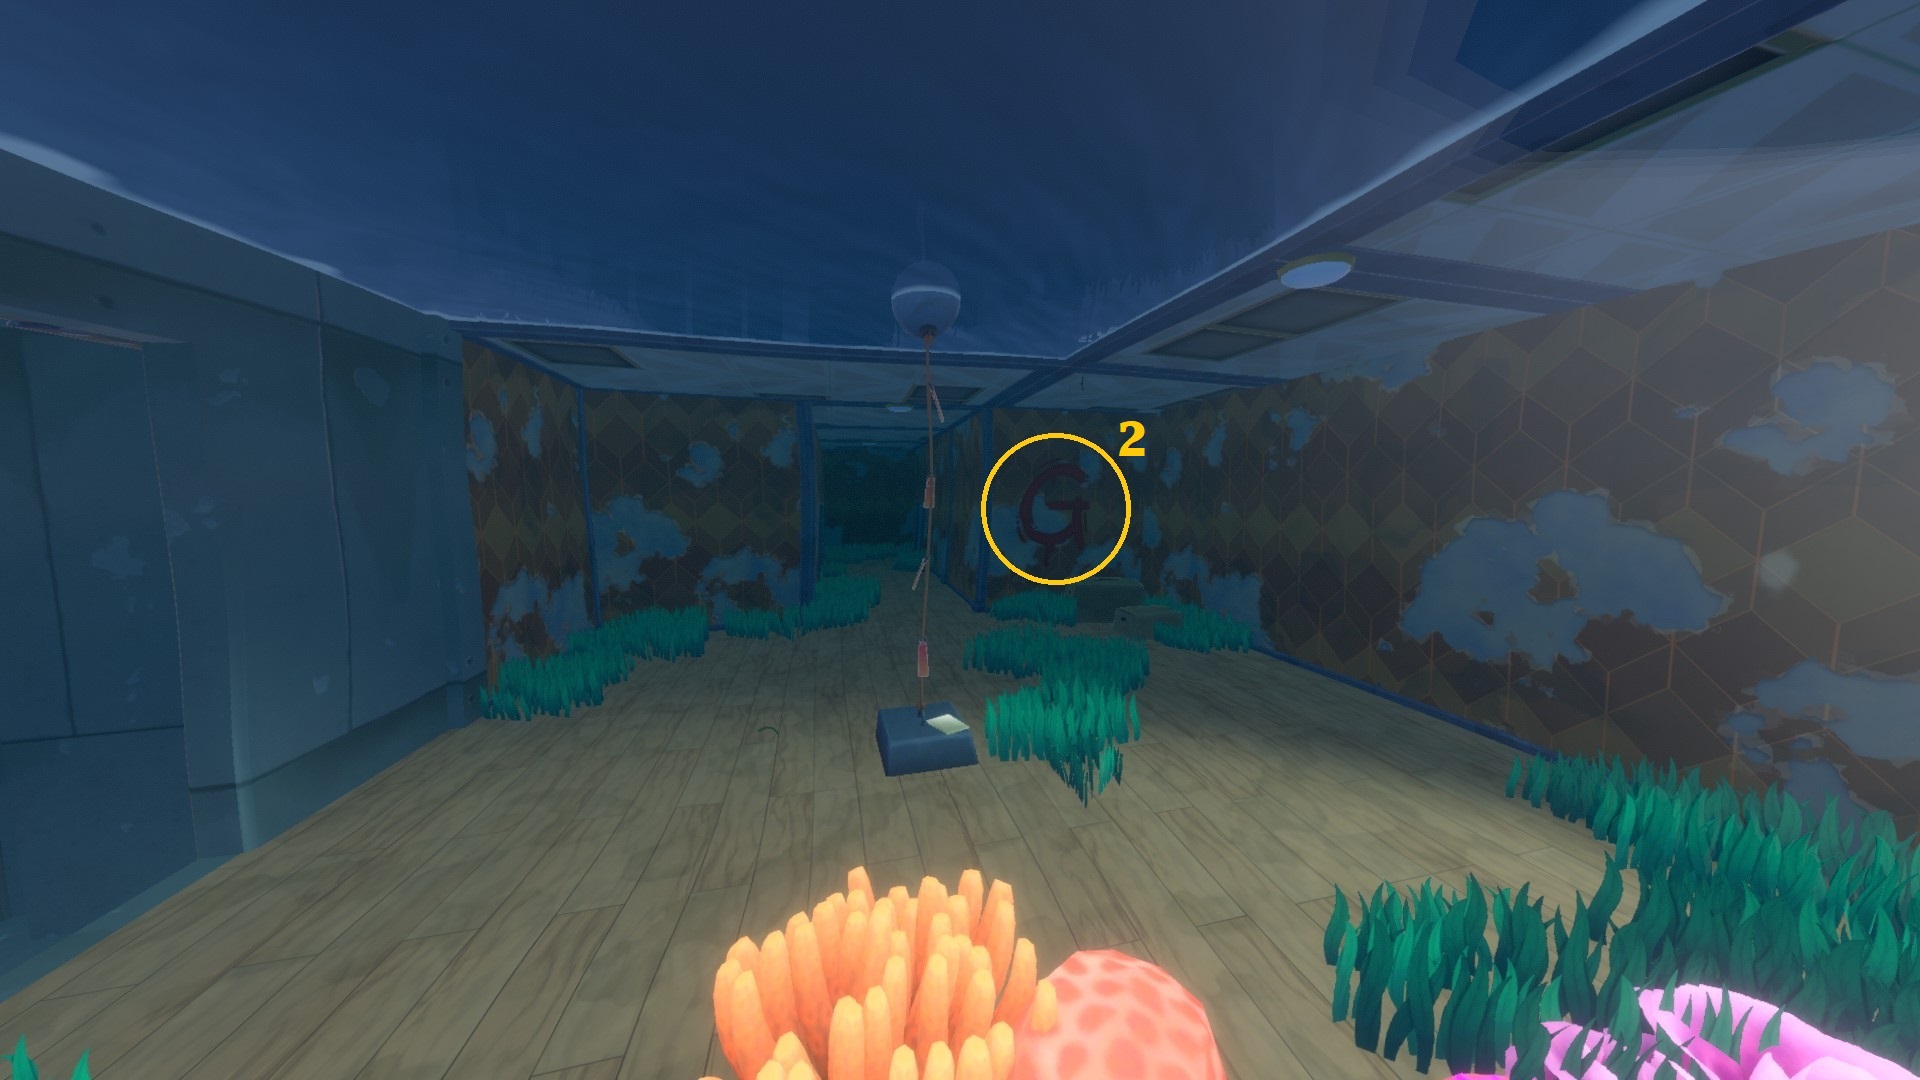
Varuna Point (Grabber Caches)
⠀
Grabber Caches :
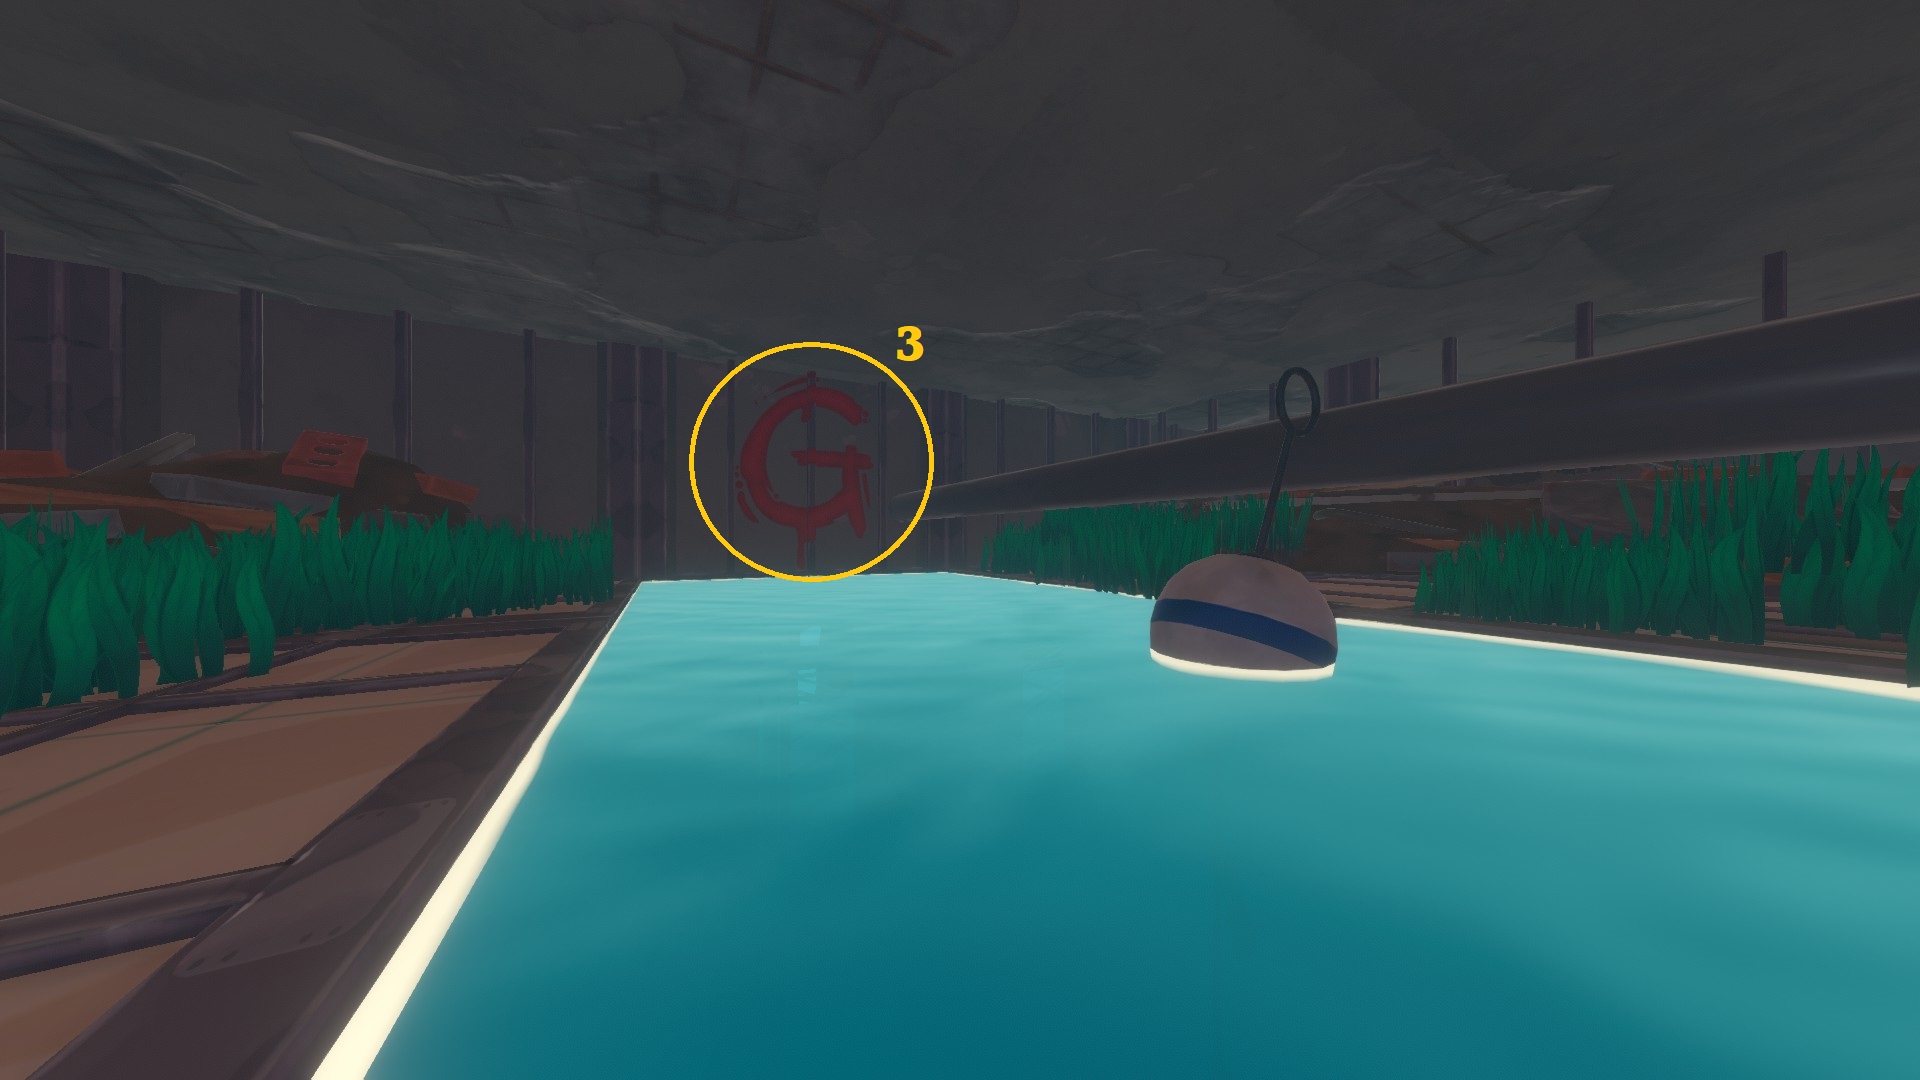
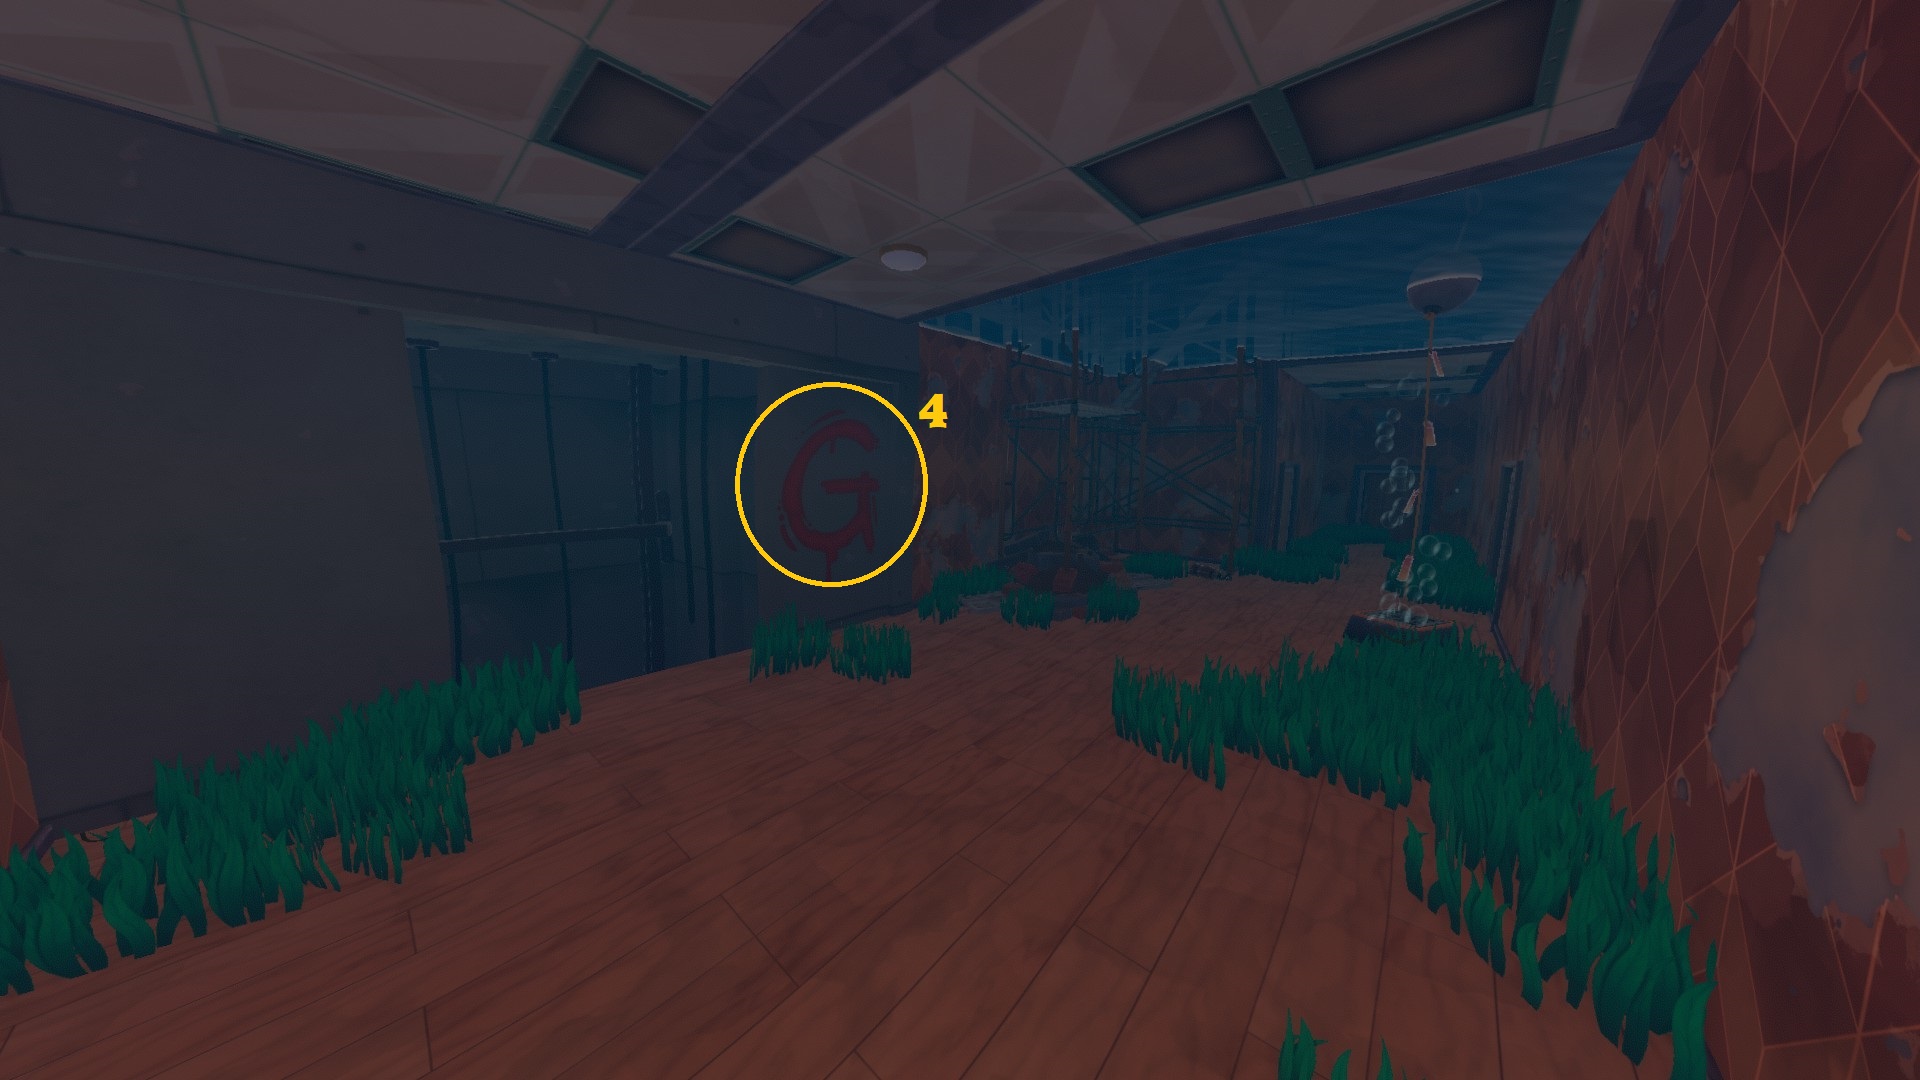
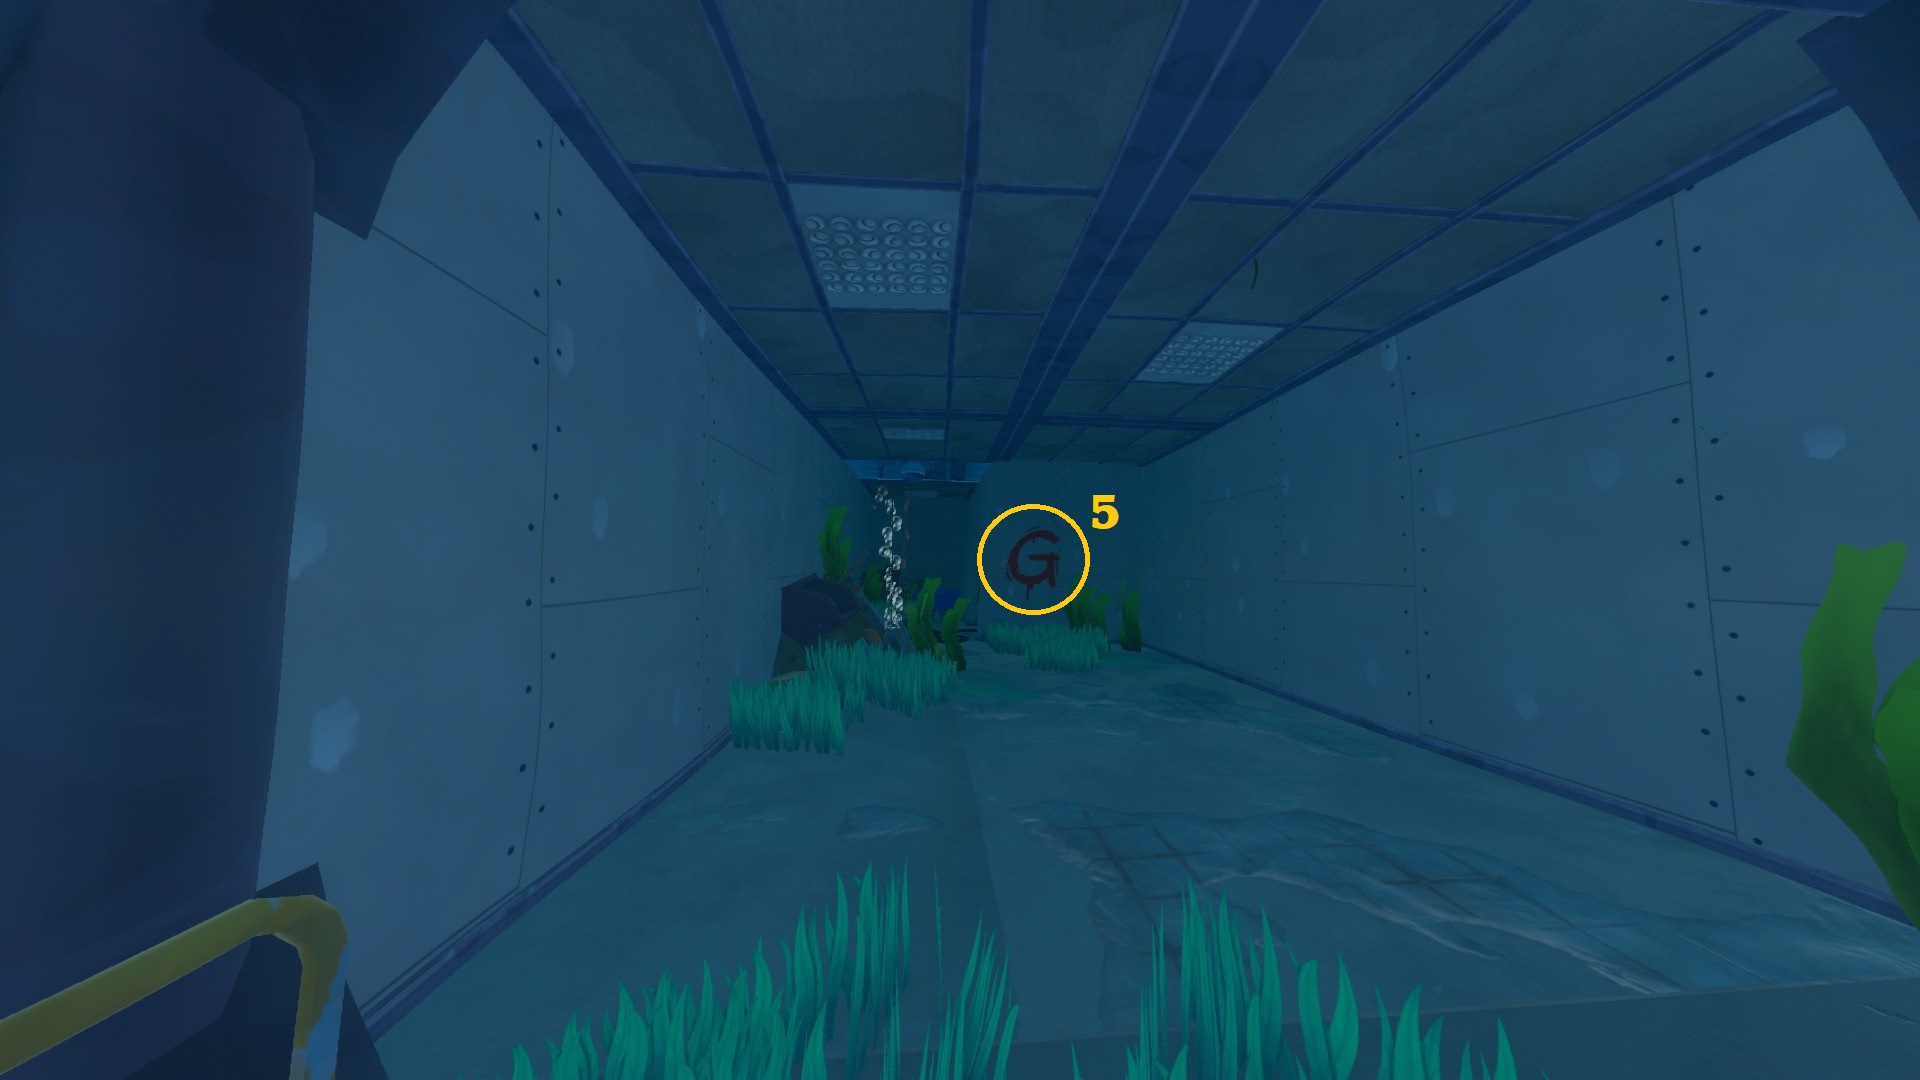
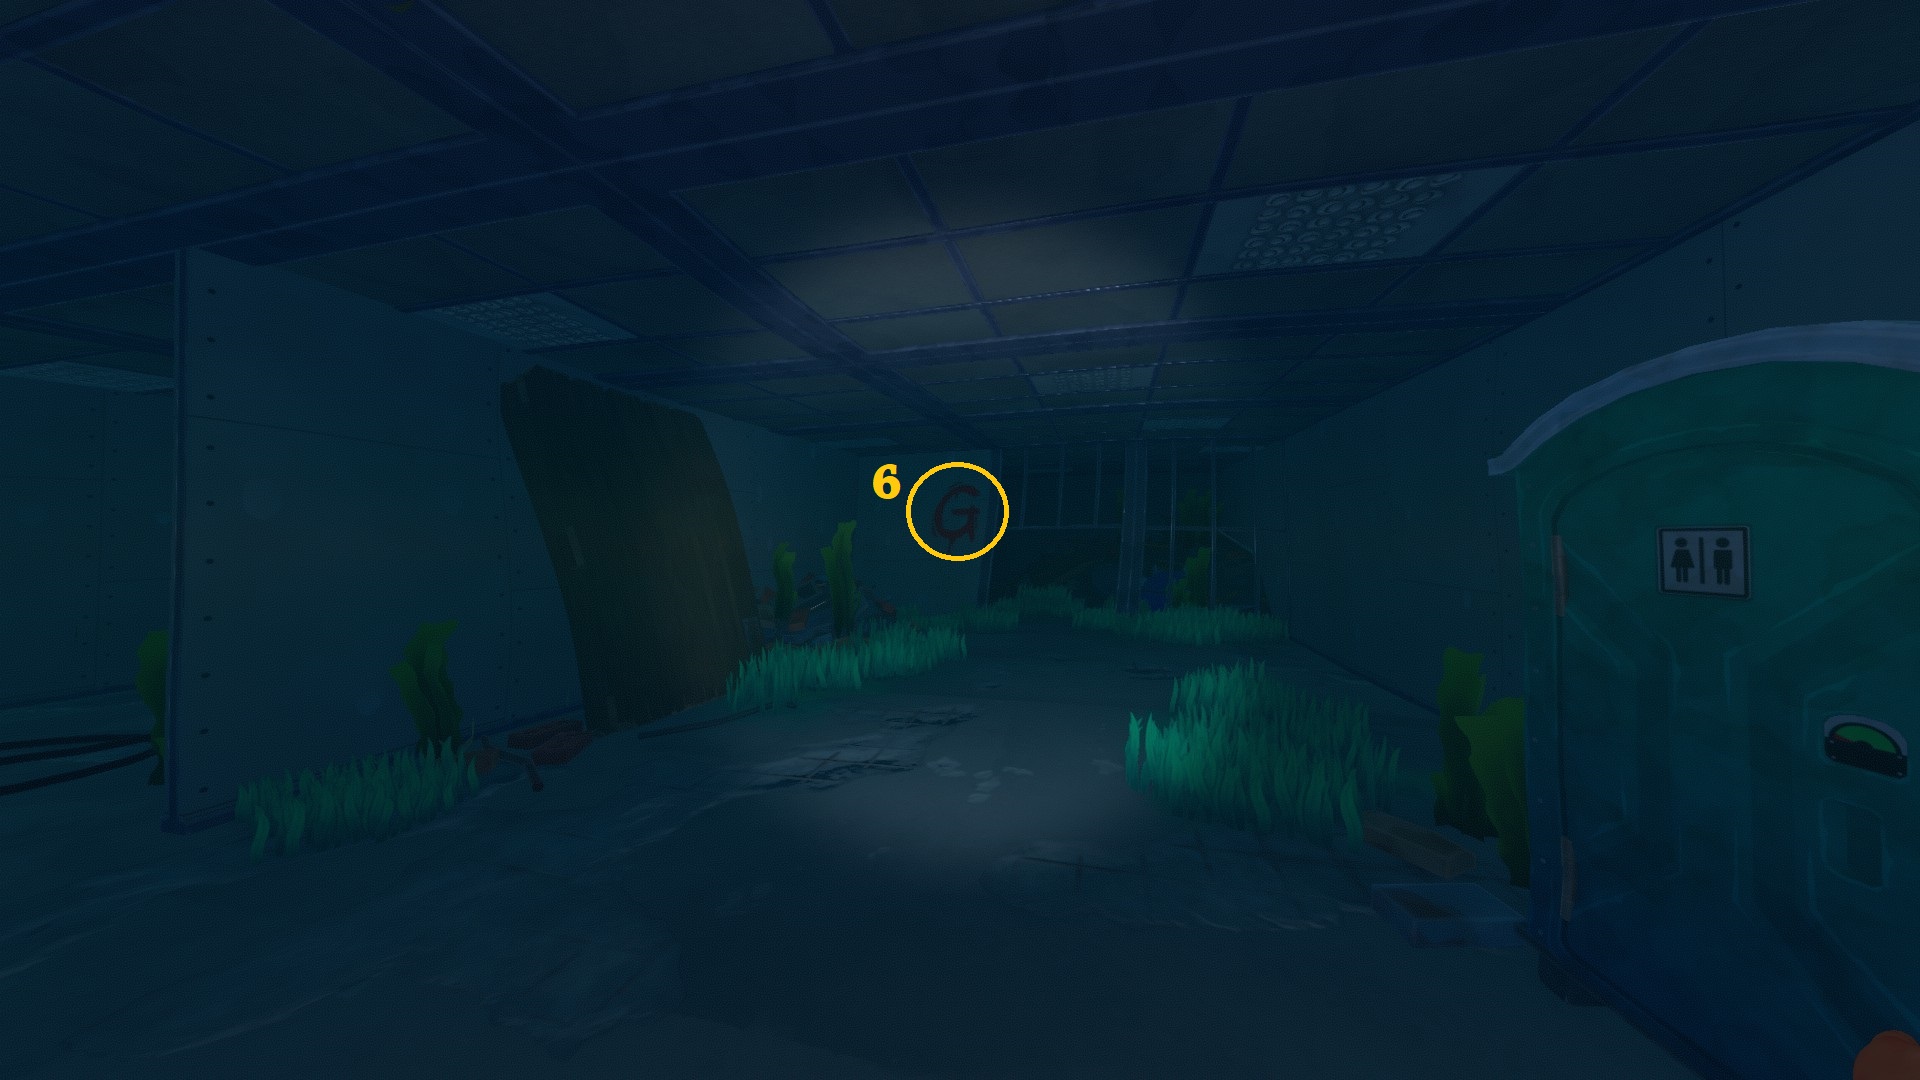
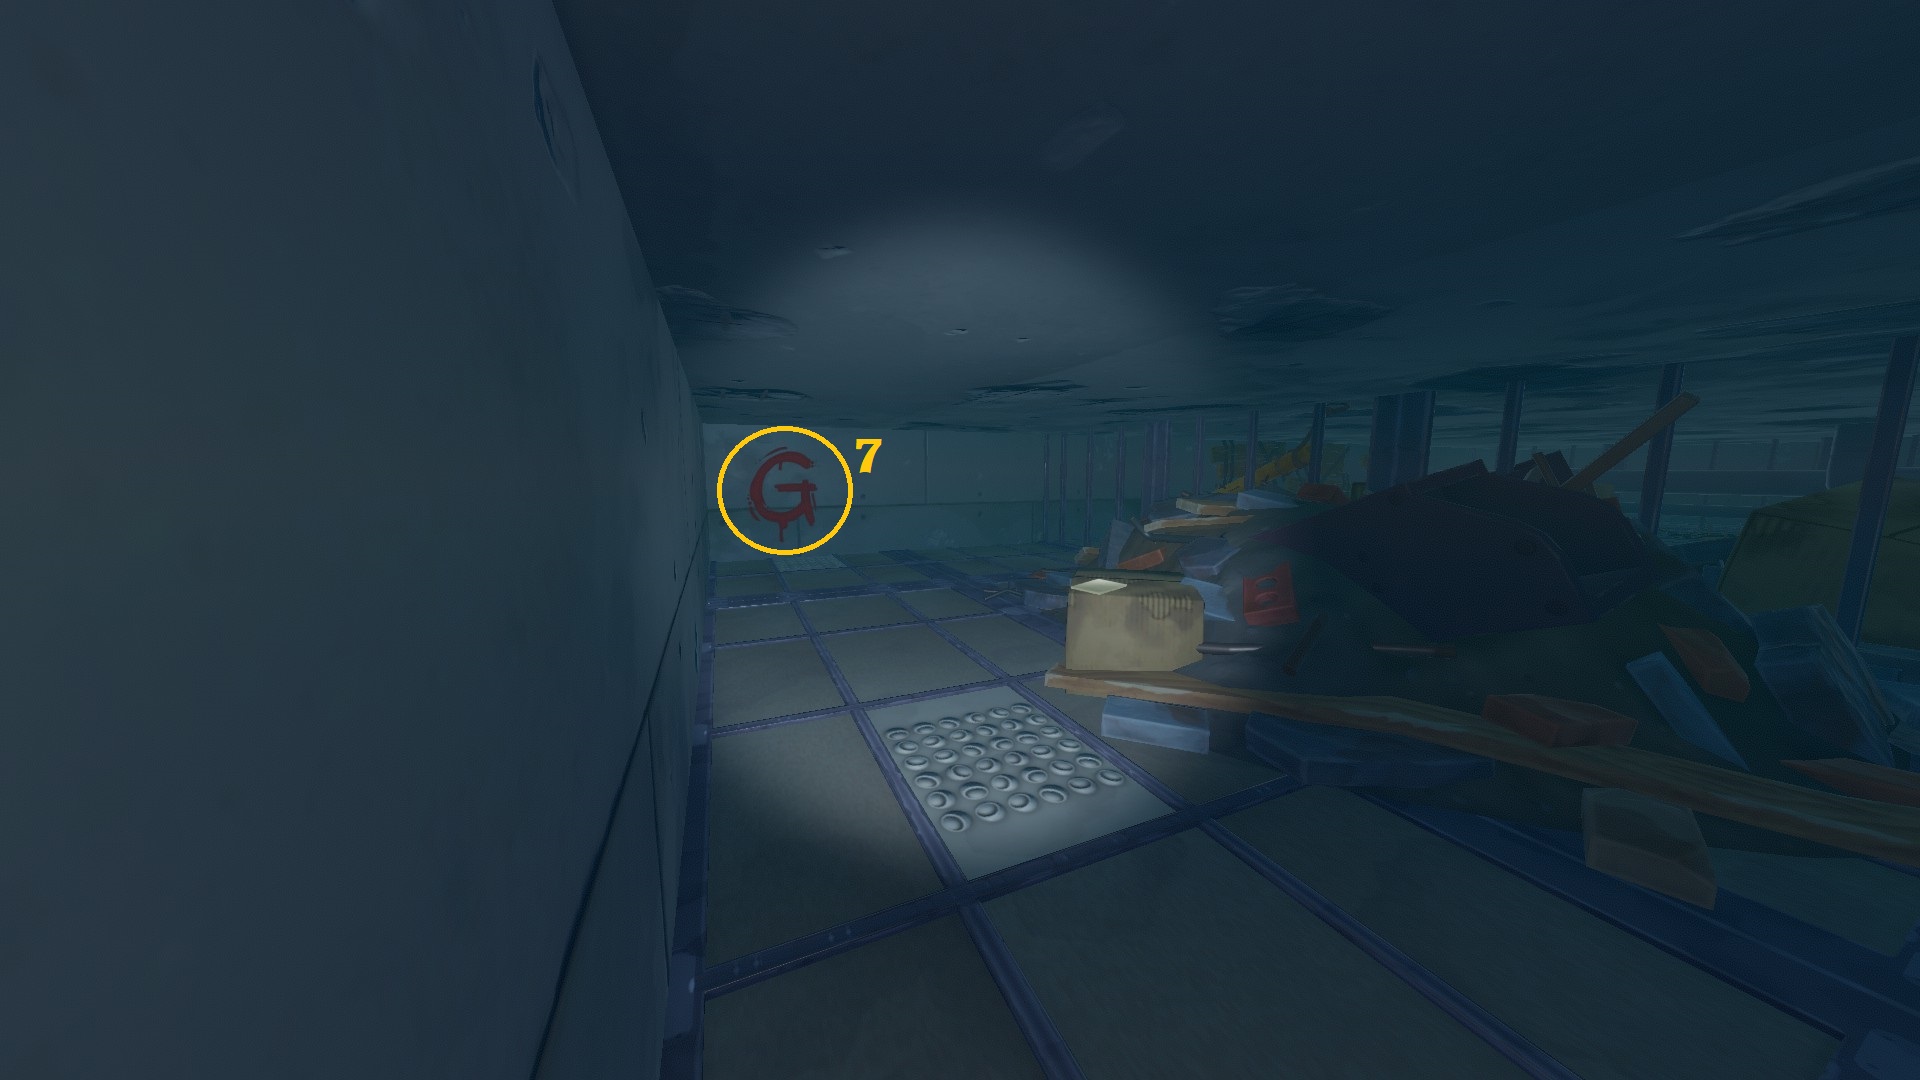
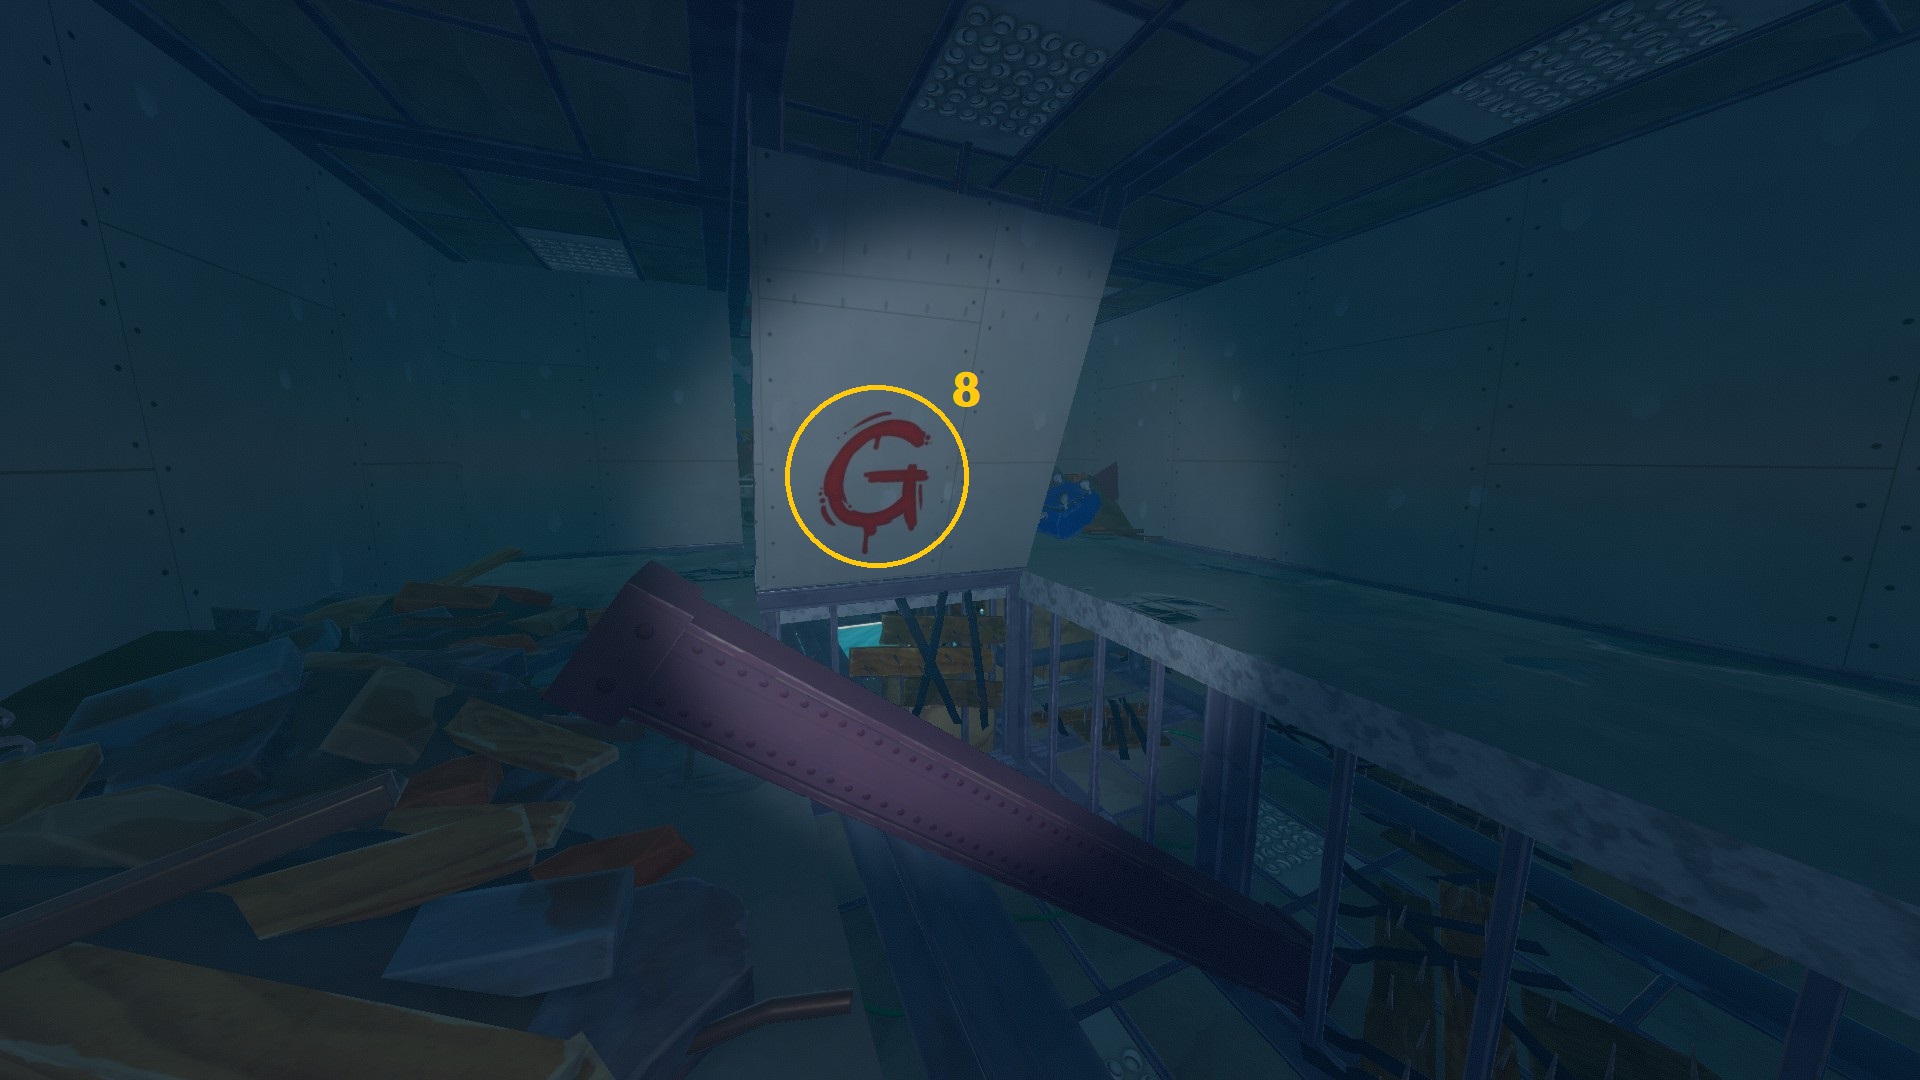
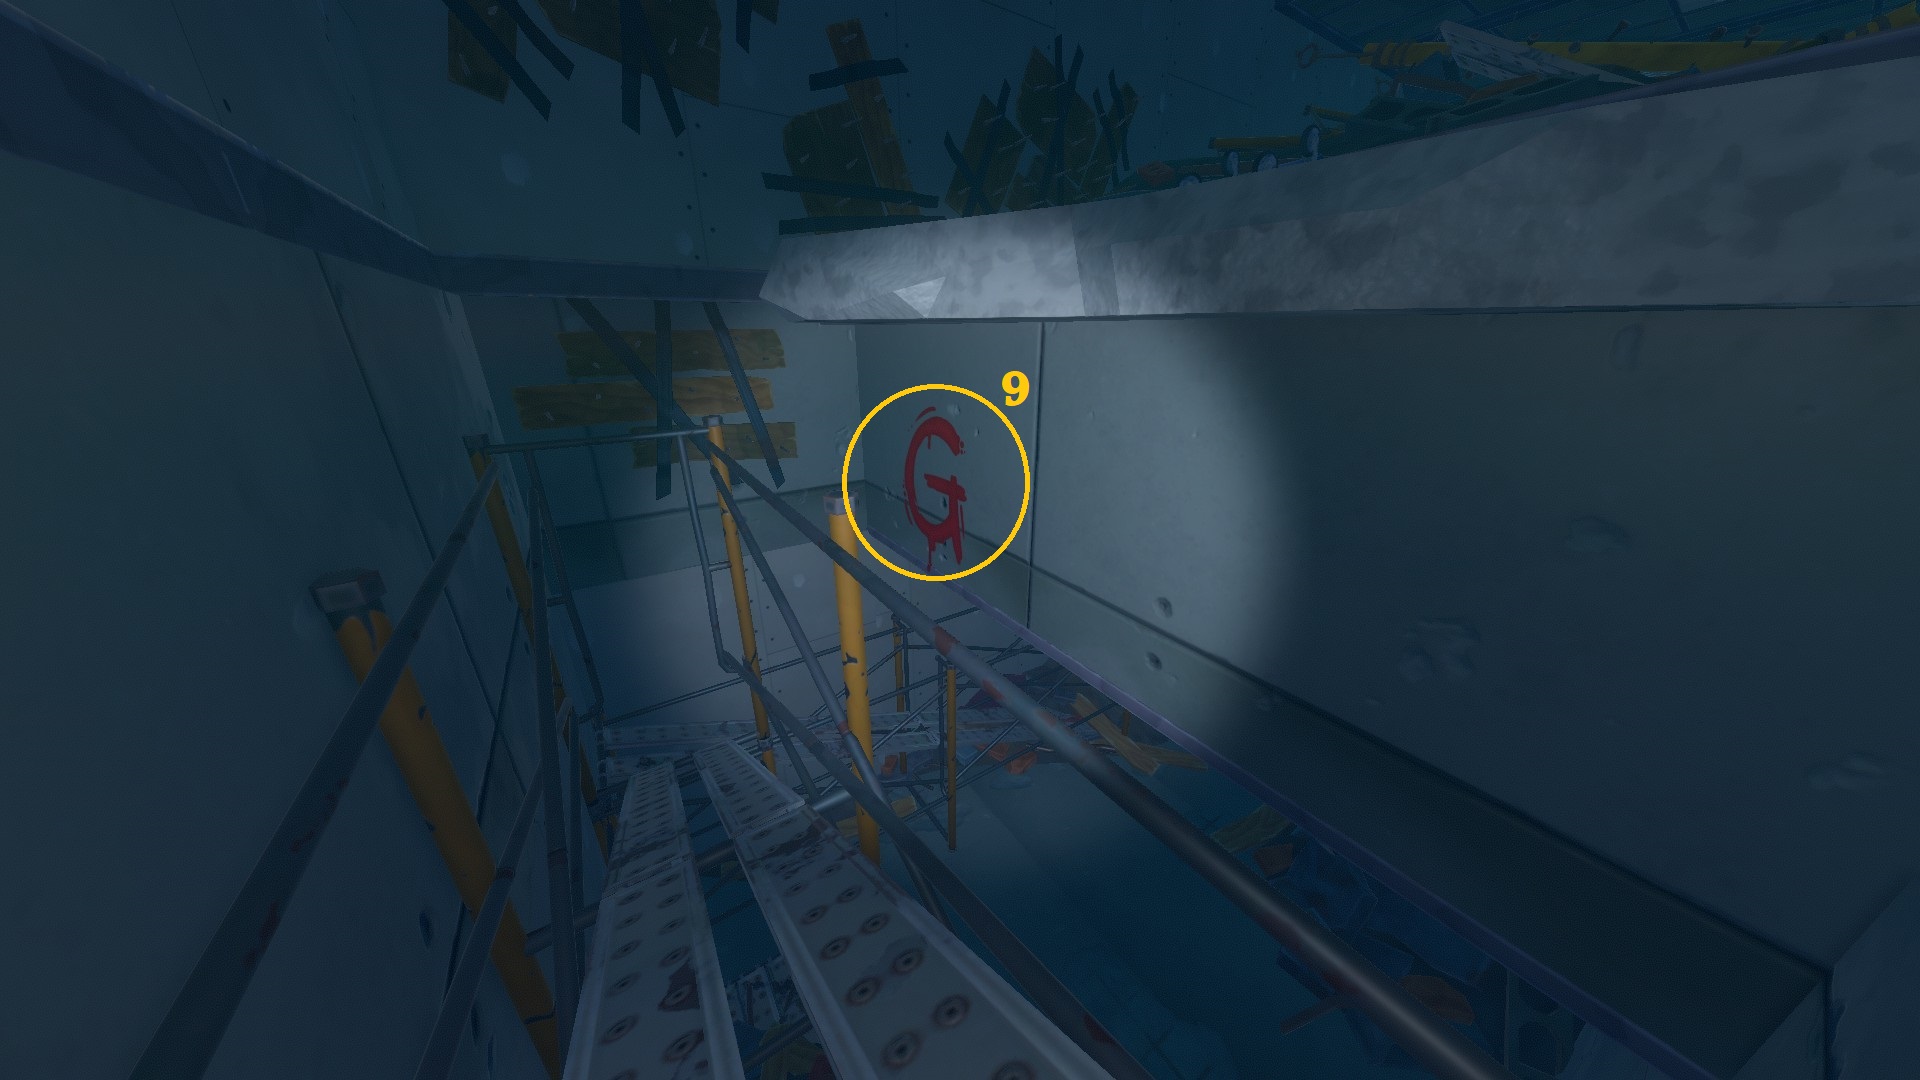
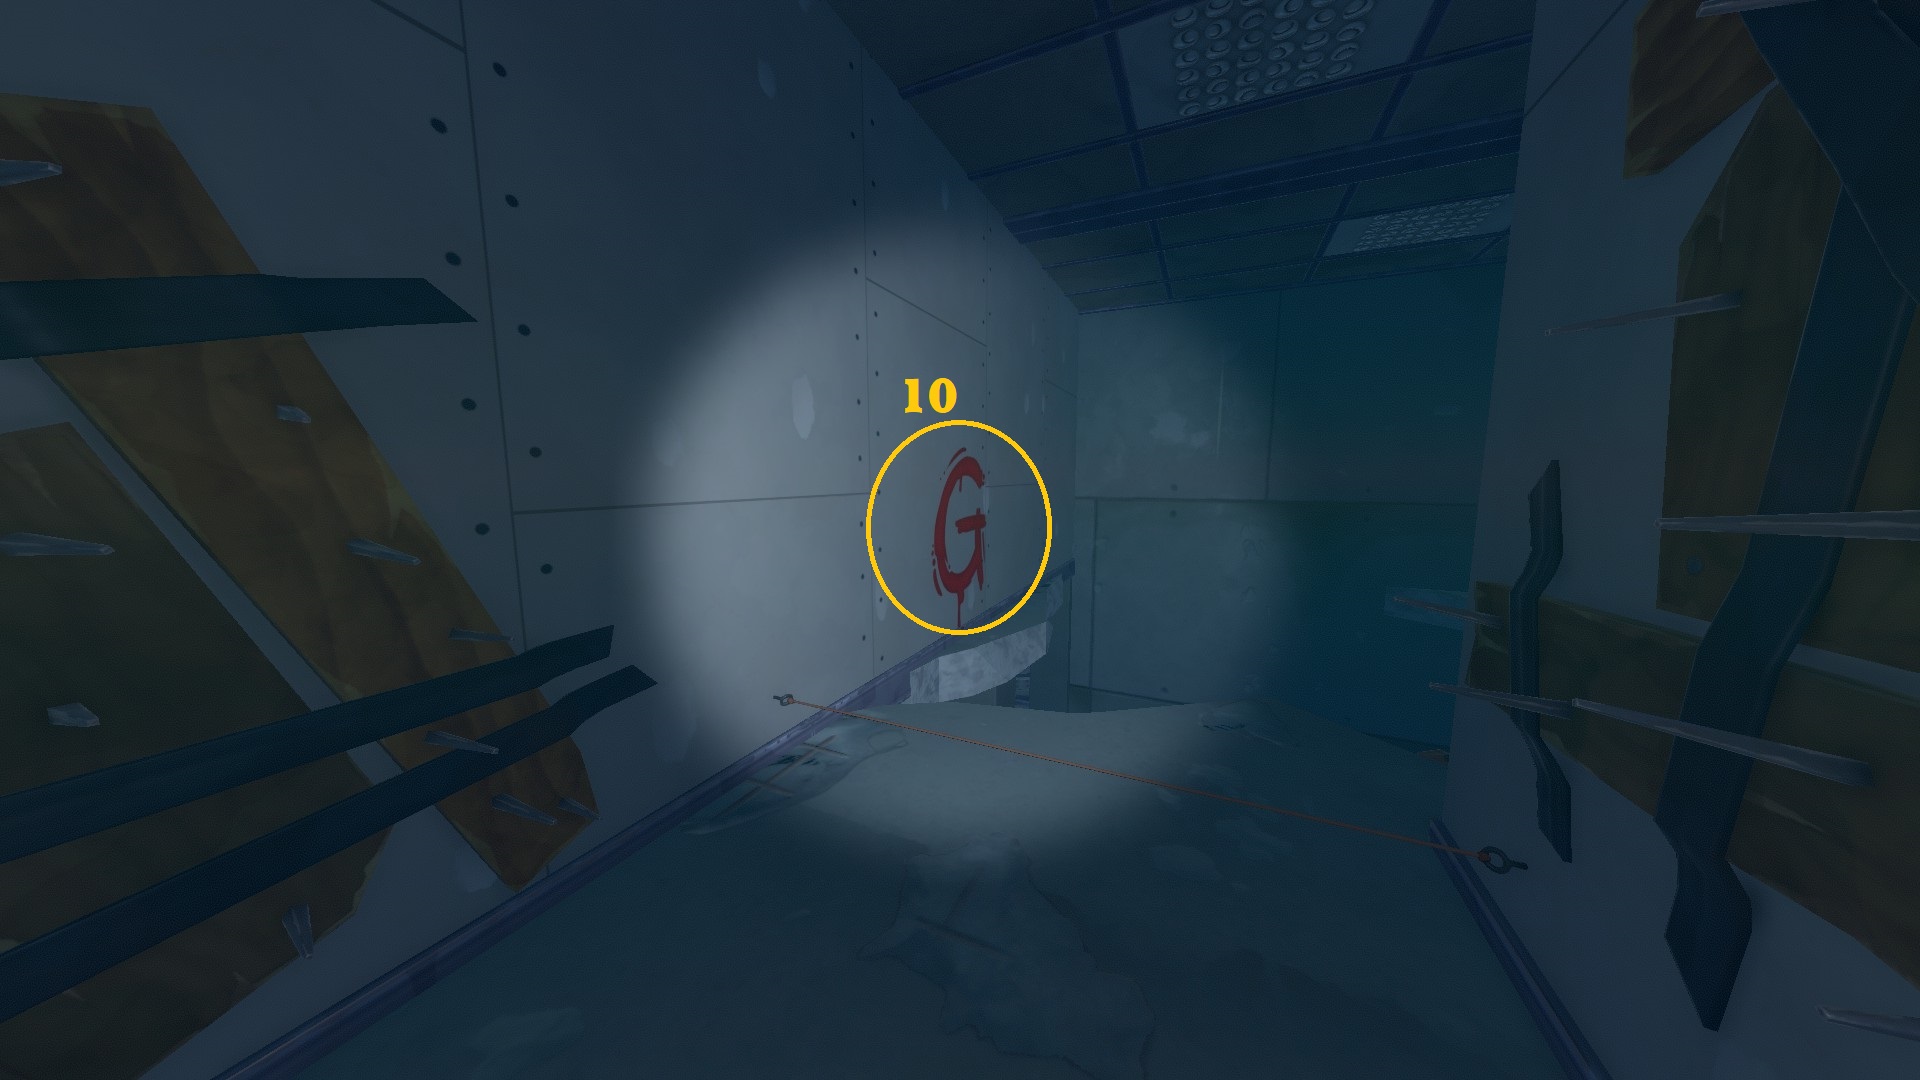
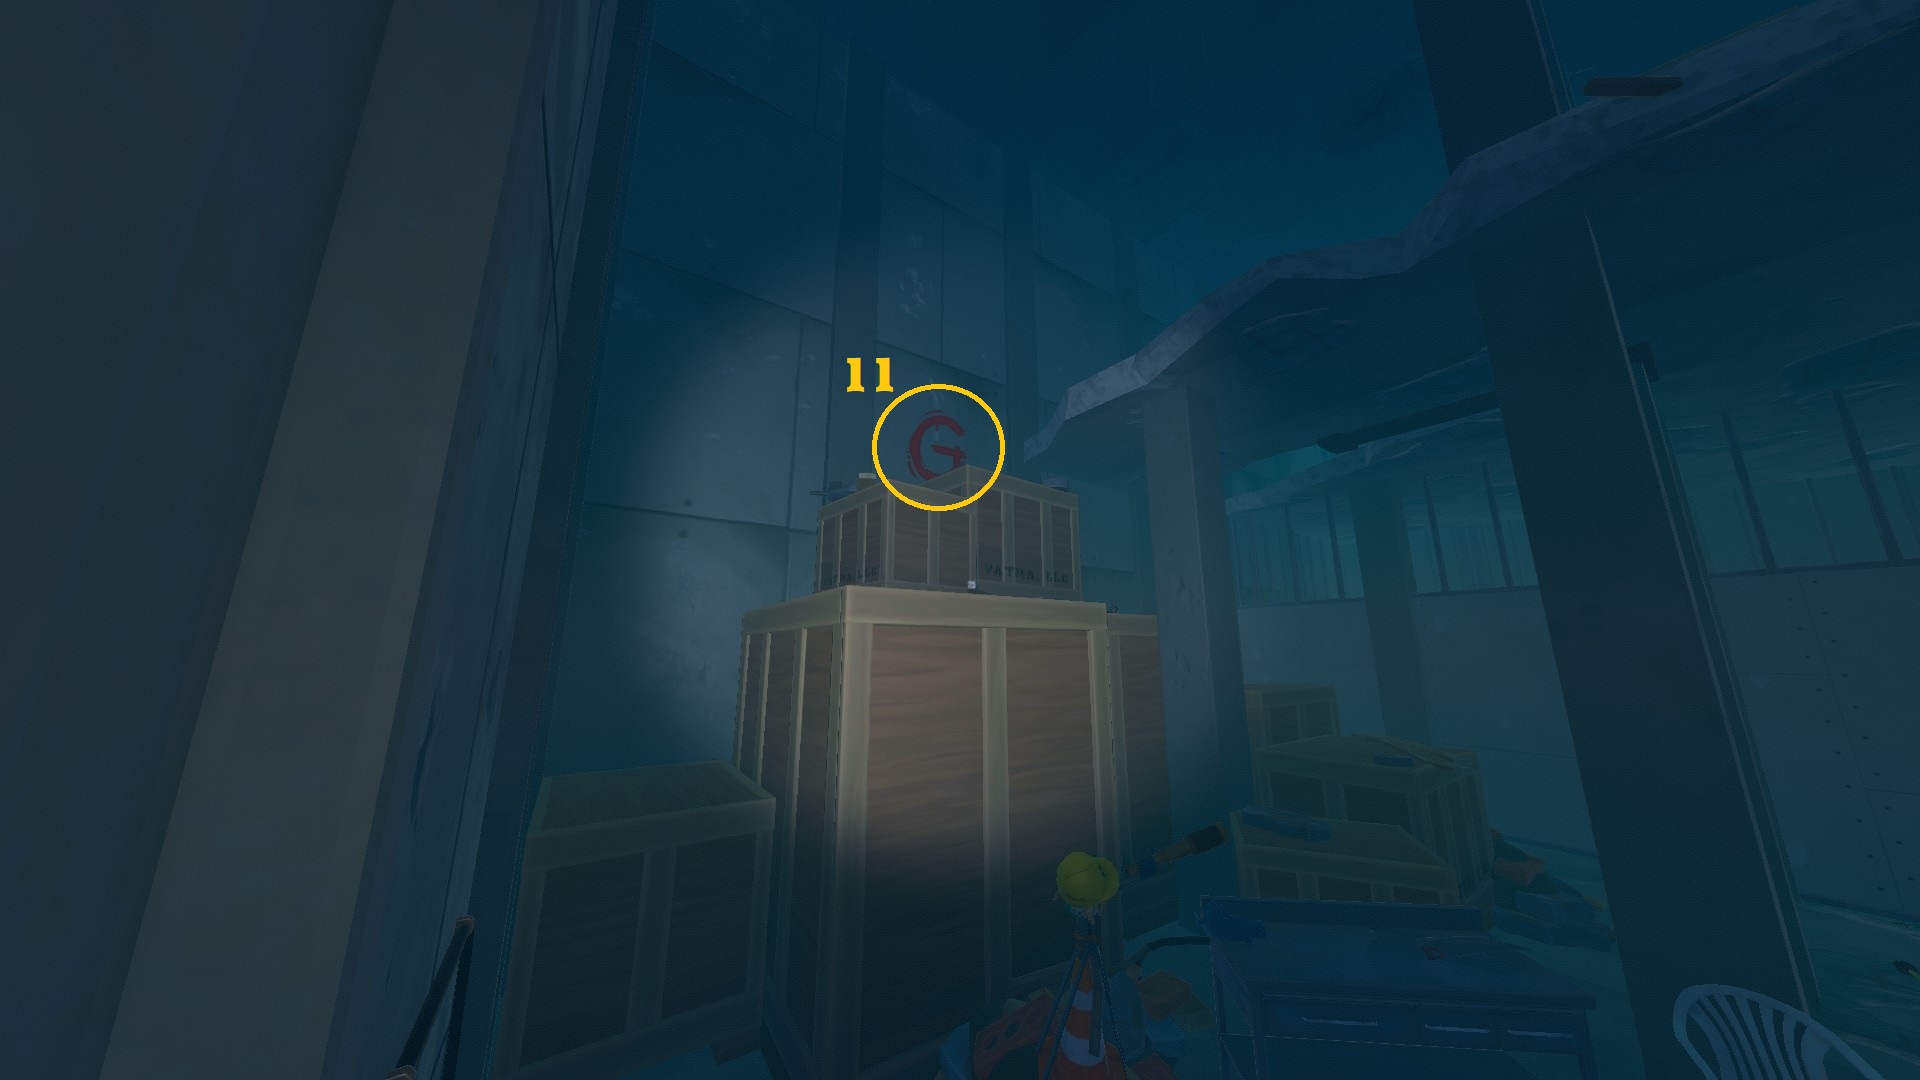
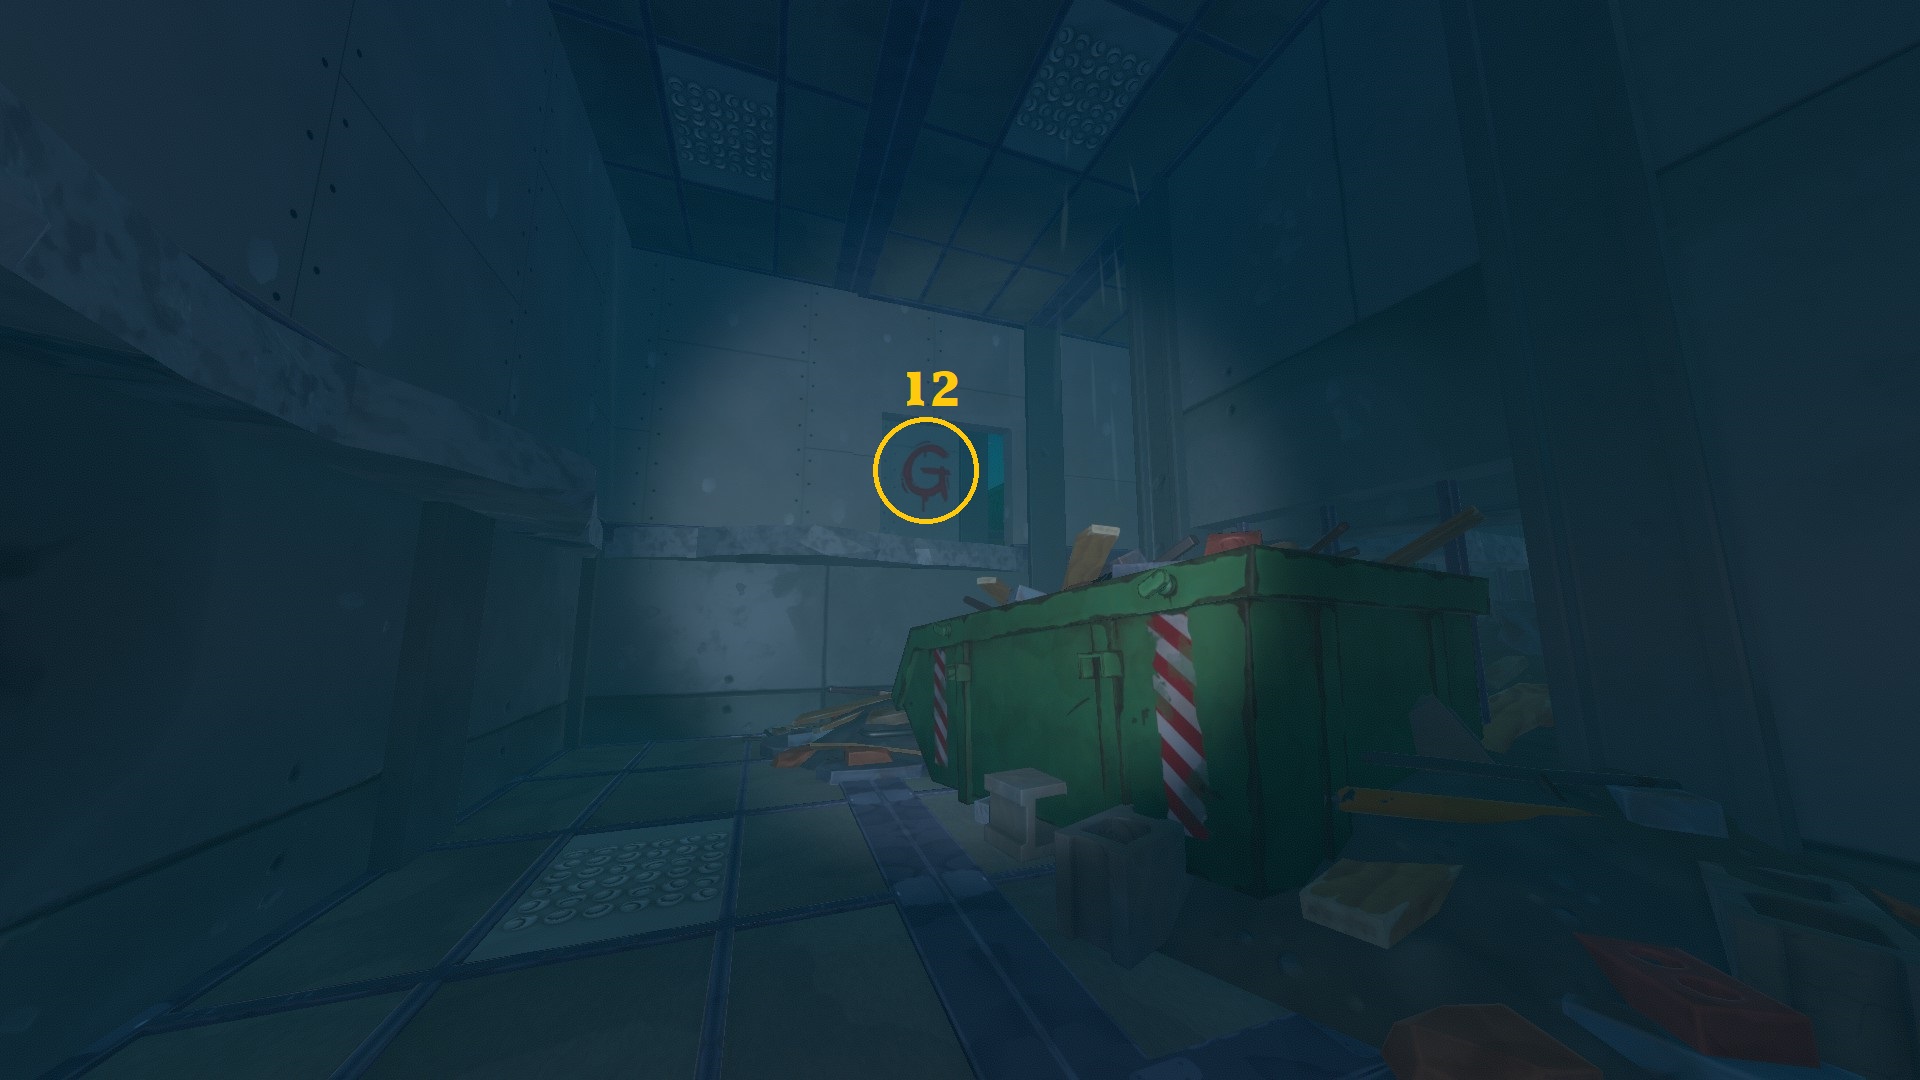
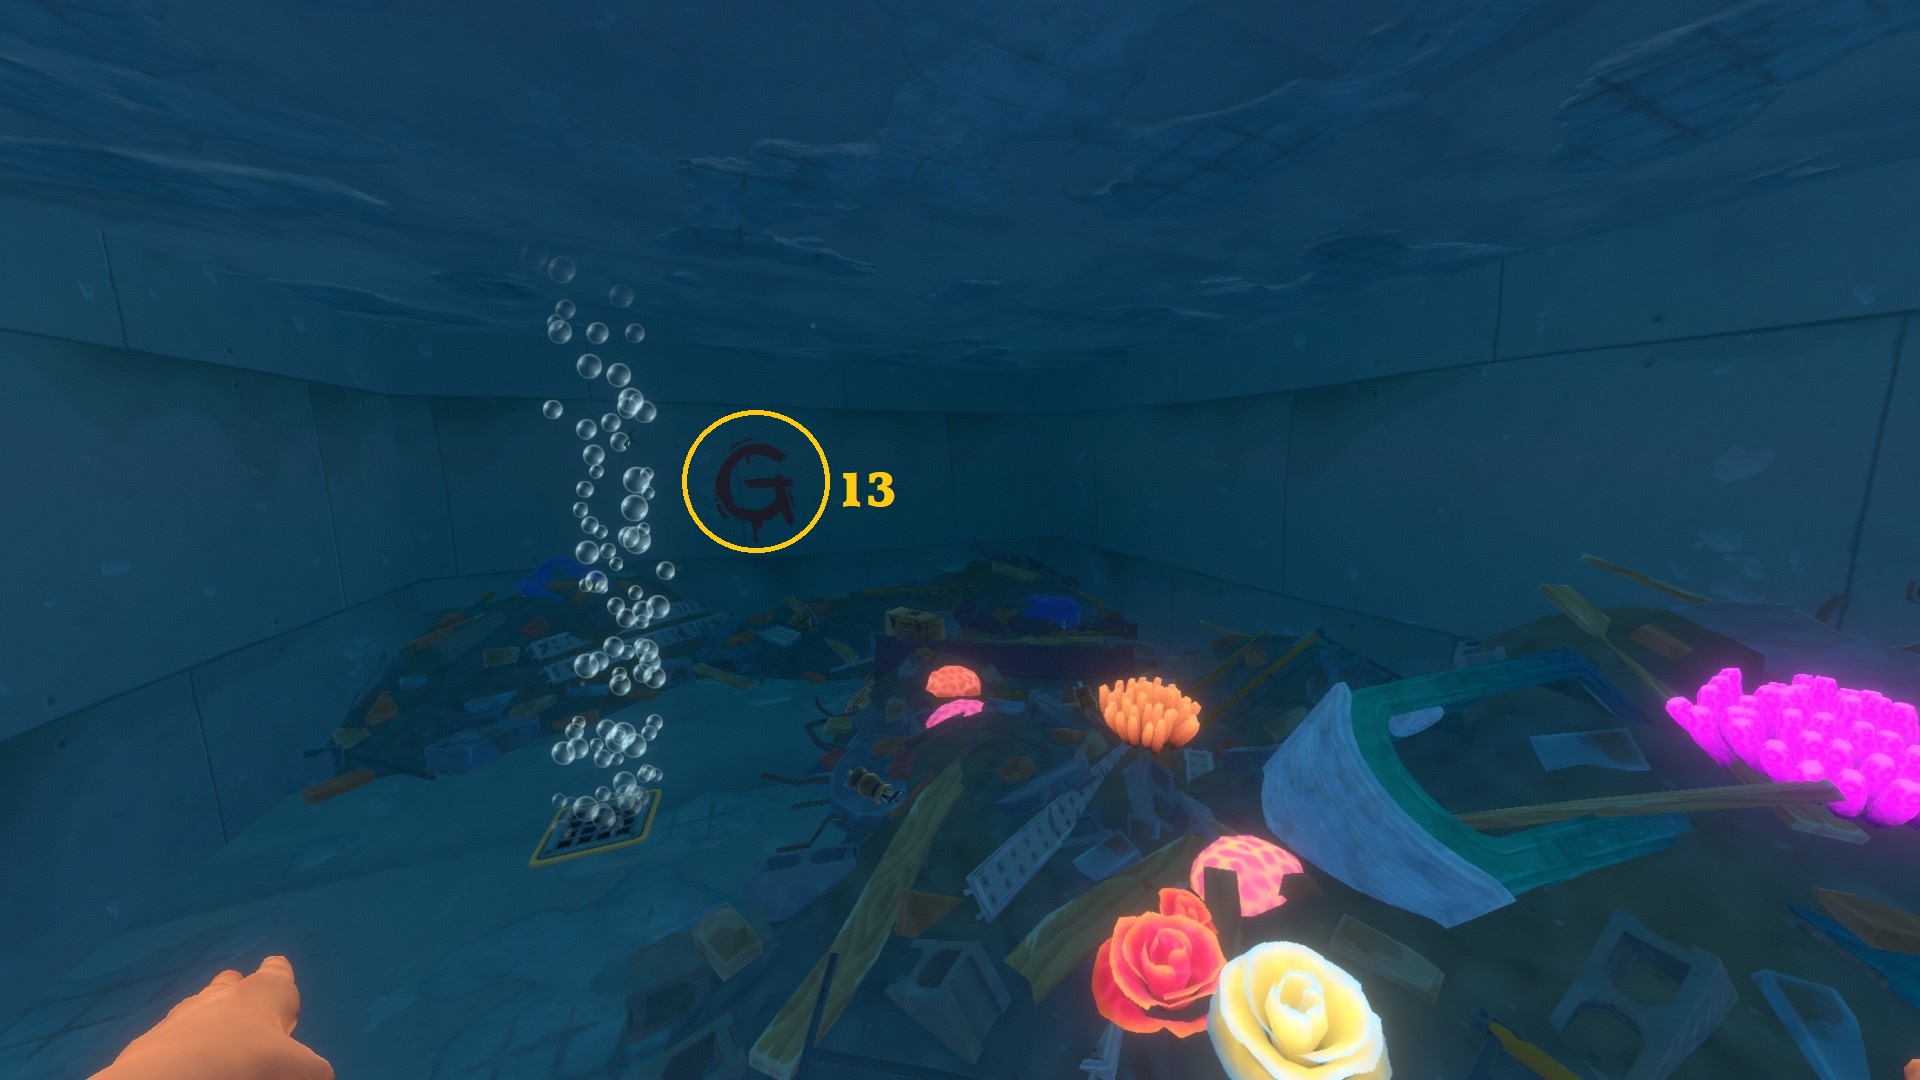
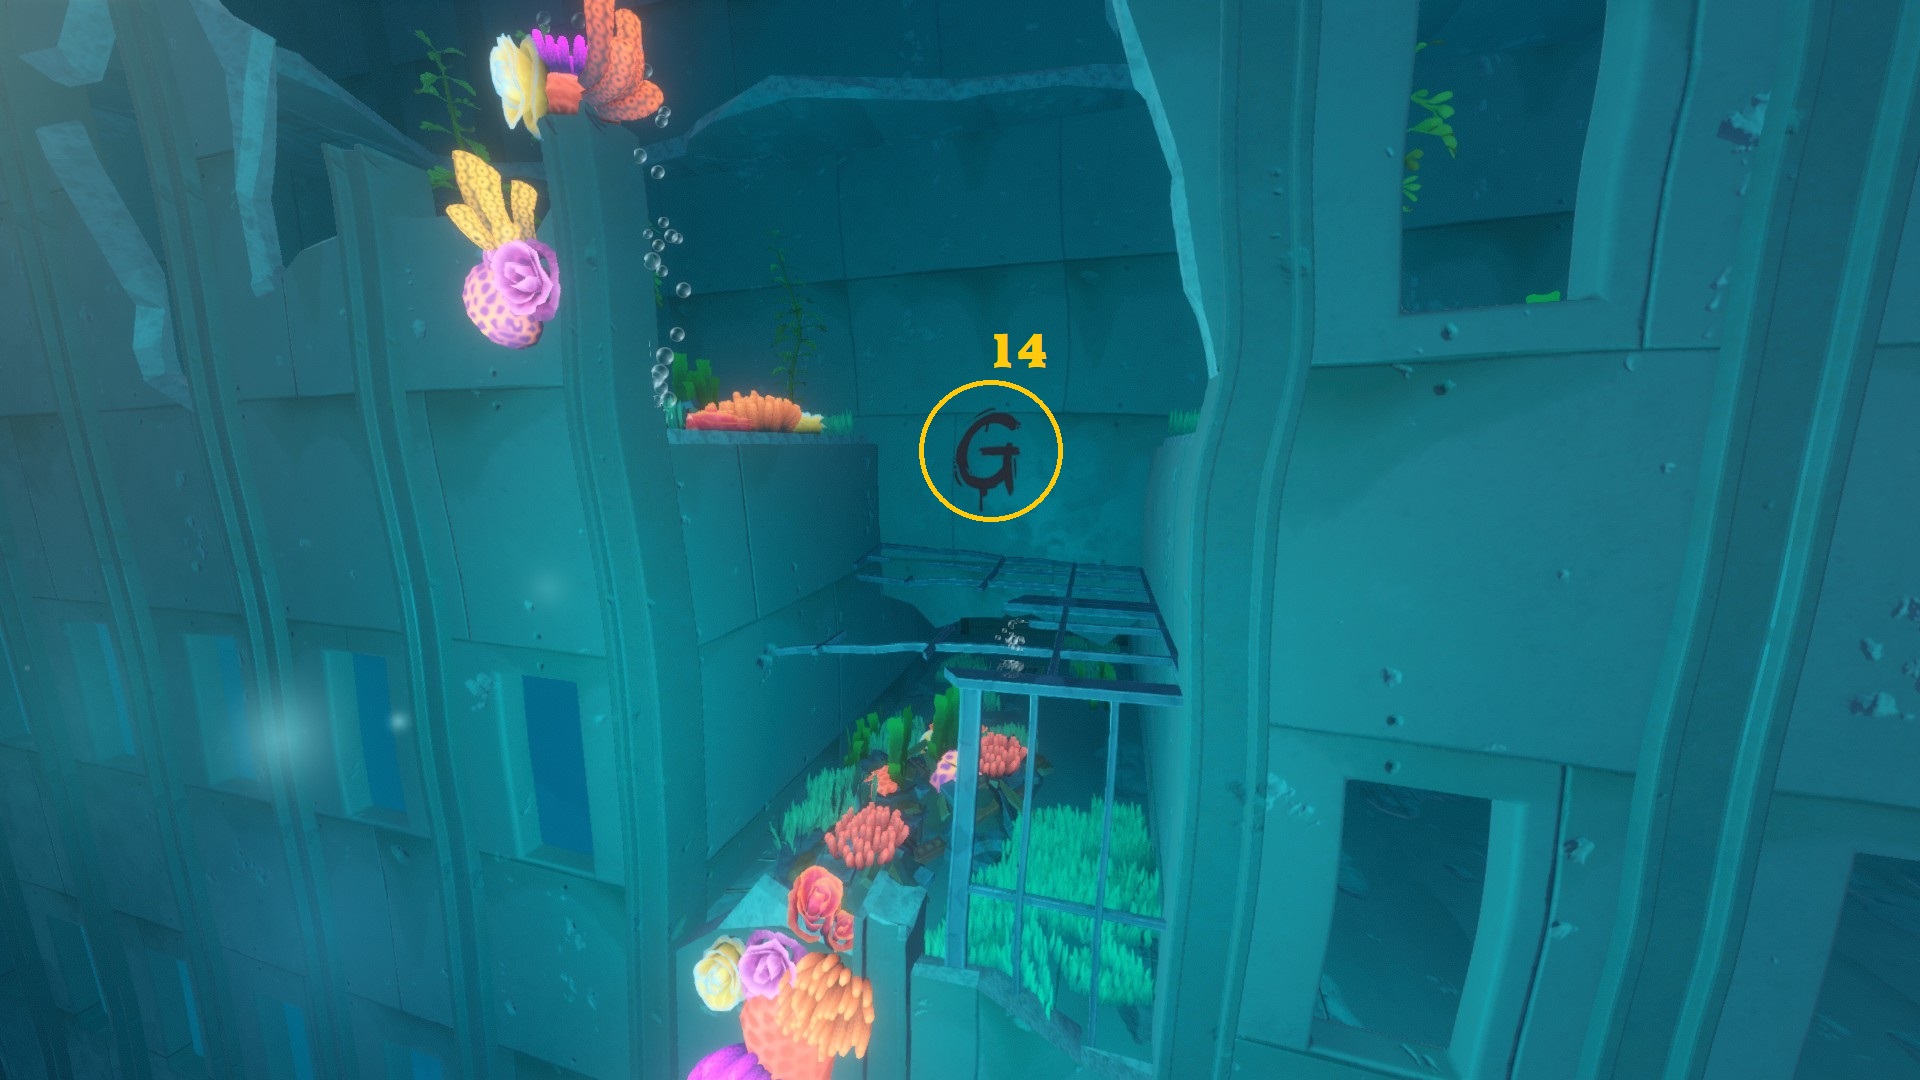
You need to find 17 red "G"s painted on walls.
They are all in the submerged part of the buildings.
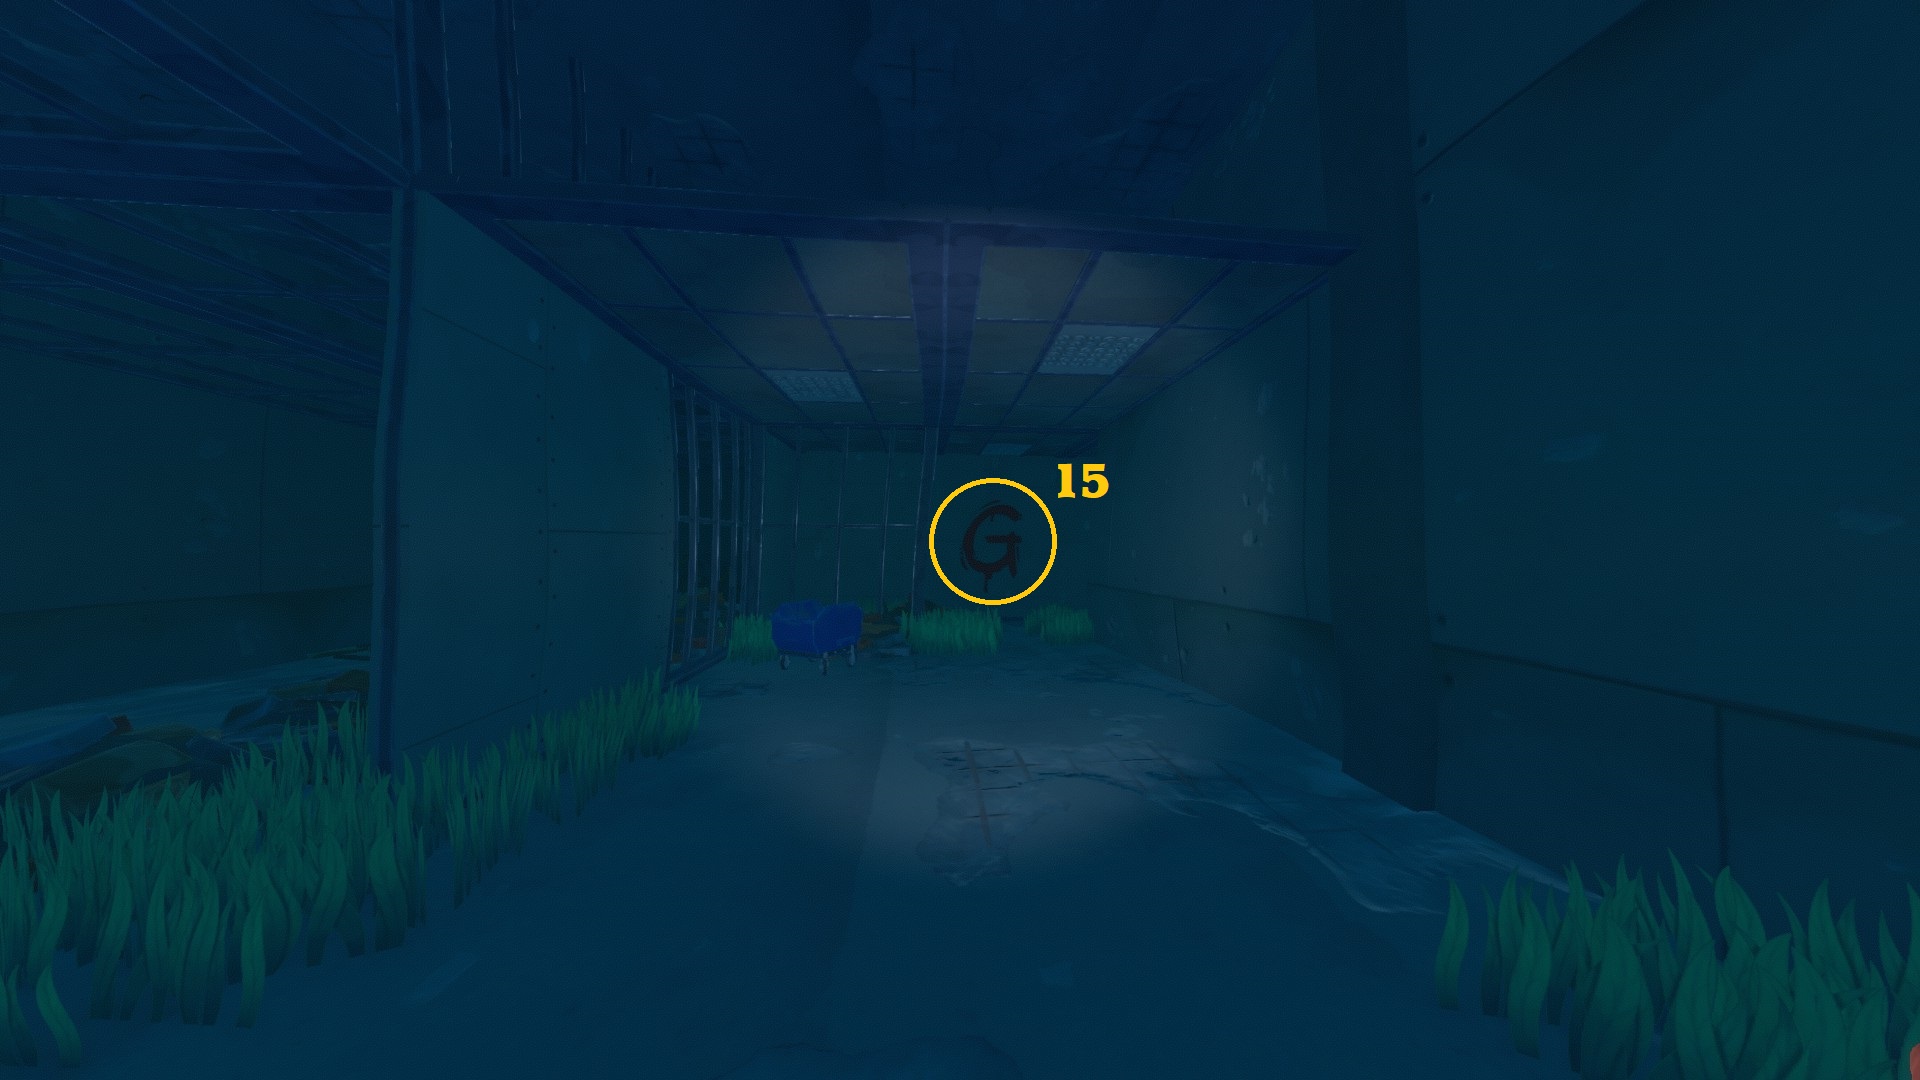
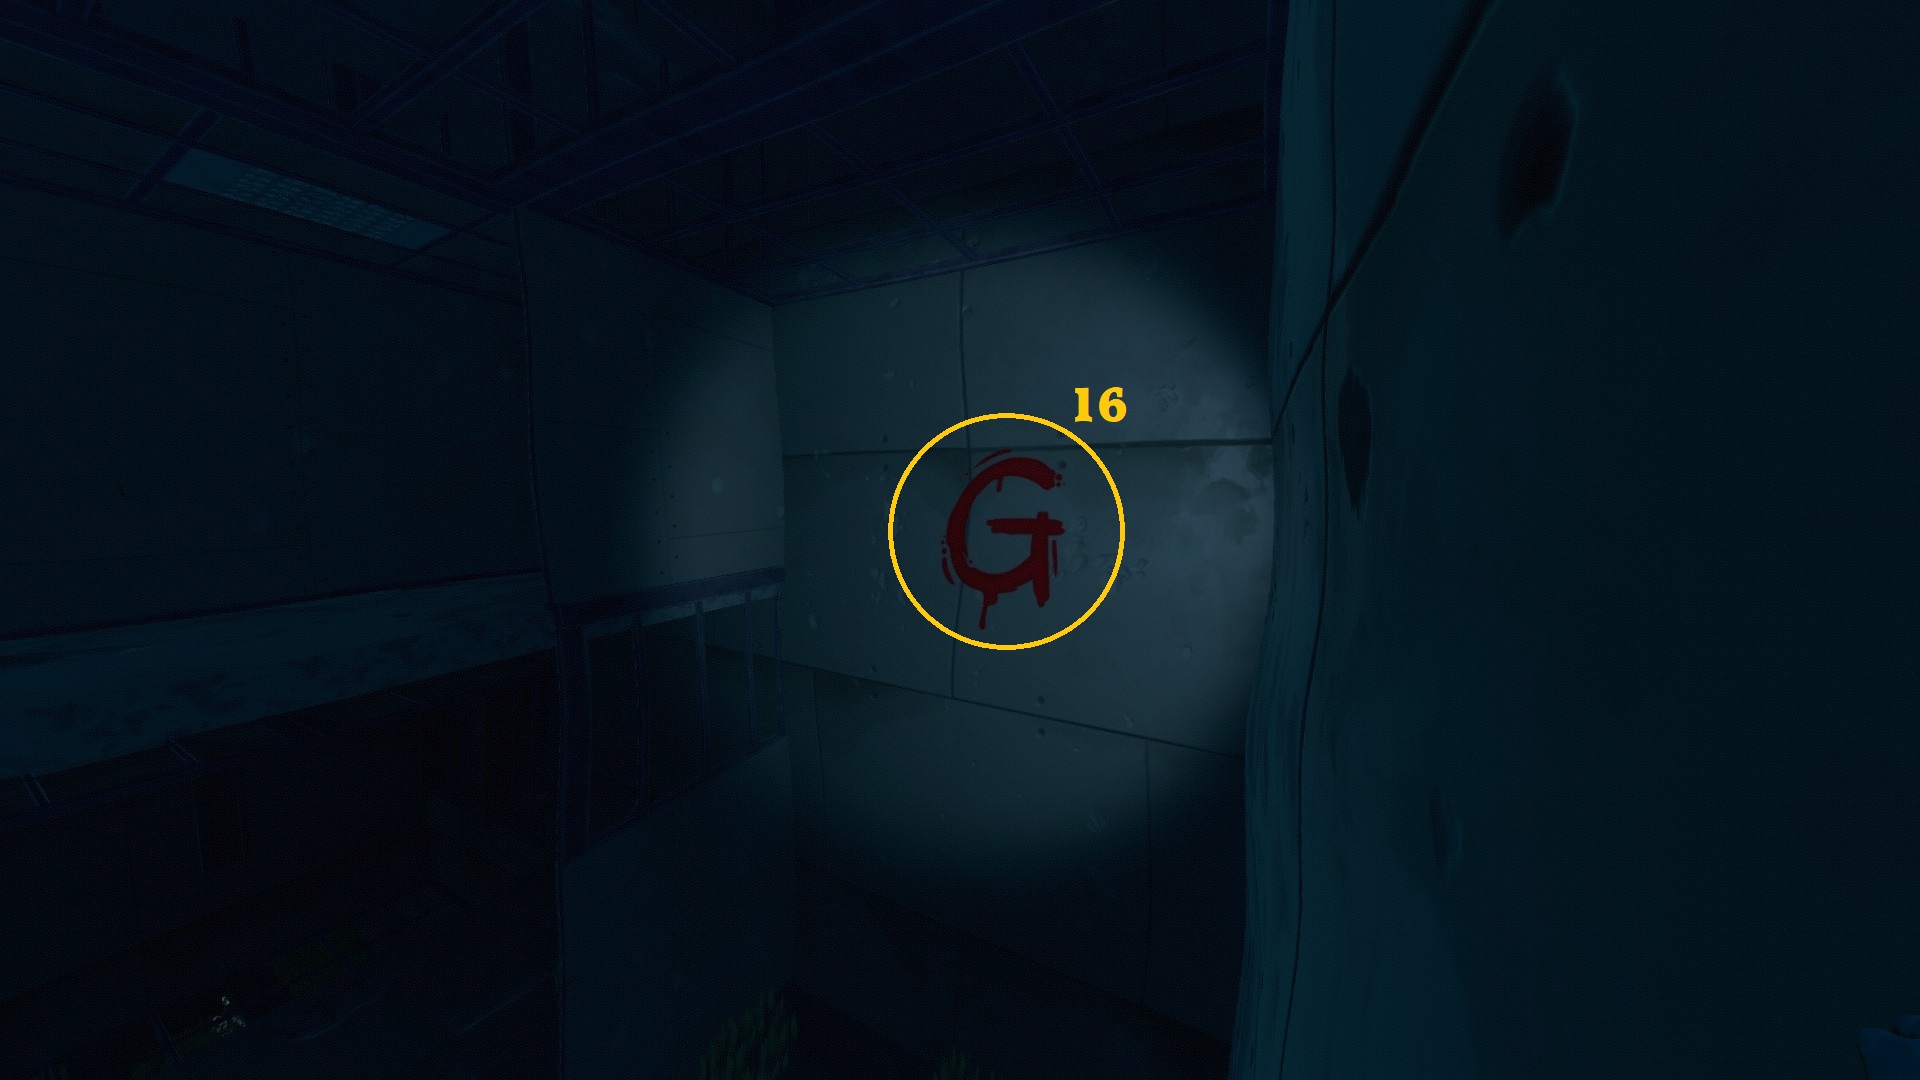
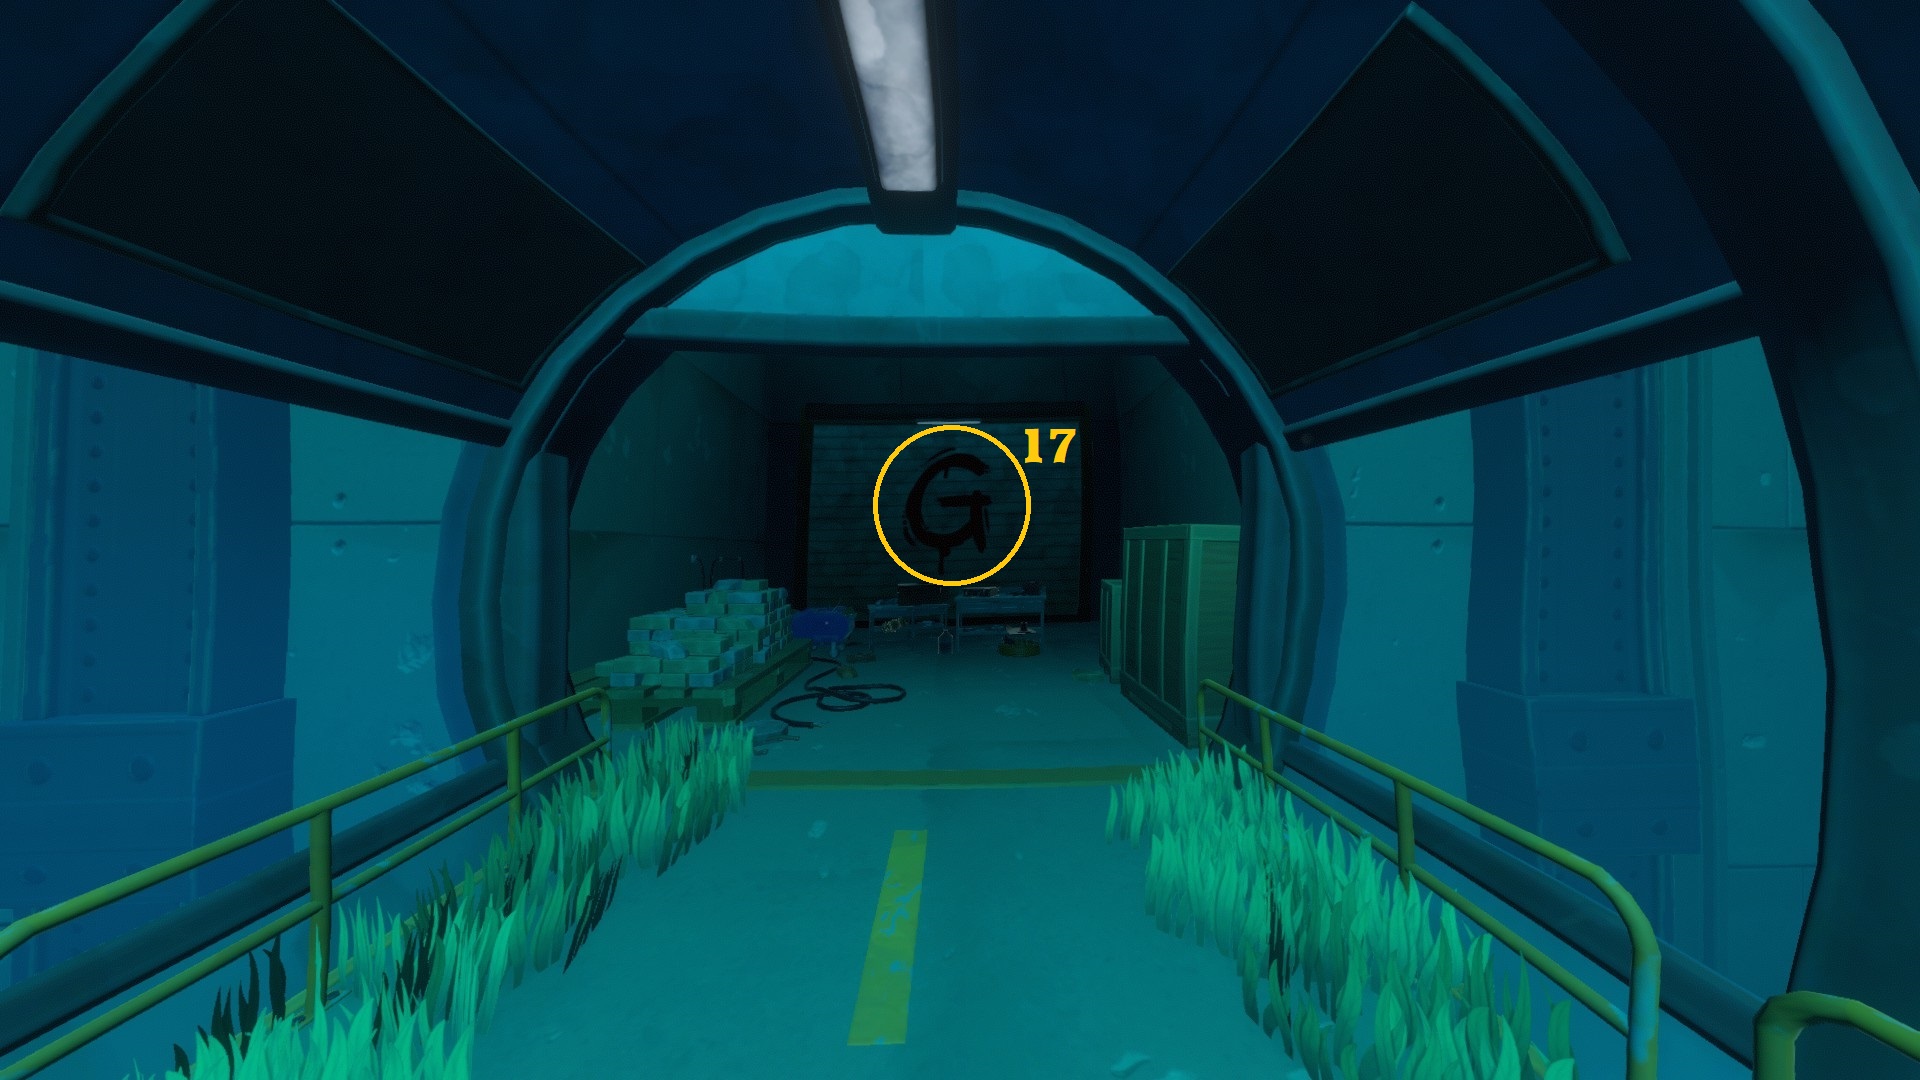
- The 1st cache is in a big hole just above the tunnel with the jellyfish, in the building with the crane on it.
- The 2nd cache is inside the building with the crane on it, after passing the small hole in the wall guarded by jellyfish (with the flashing light that lets you go through). It's in the first room in front of you when you enter.
- The 3rd cache is also inside the building with the entrance guarded by jellyfish. Just after entering, continue forward and take the door on the left. There's a line in the room that leads to the ceiling, air and the cache.
- The 4th cache is also inside the building with the entrance guarded by jellyfish. Just after entering, take the elevator shaft on the left to reach the next floor. The cache will be on the wall on the left.
- The 5th cache is at the end of the tunnel that's guarded by jellyfish; you need to add 4 spotlight parts to the lamp above it to scatter the jellyfish.
- The 6th cache is further in the building after the tunnel.
- The 7th cache is further in the building after the tunnel, just after getting out of the water and next to a note.
- The 8th cache is further in the building after the tunnel. After getting out of the water, walk through the traps until you climb up, the cache is on a lifted tile just next to the hole you climb through.
- The 9th cache is further in the building after the tunnel. After climbing up through the ceiling, you go through several corridors full of traps until you reach two sets of scaffolding you have to climb. The cache is on the small portion of the wall between the scaffolding and the next floor.
- The 10th cache is further in the building after the tunnel. After climbing the scaffolding, you continue through corridors still full of traps until you have to jump down through a big hole. There's a cache on the left wall just next to the hole.
- The 11th cache is further in the building after the tunnel. After jumping down the big hole, you reach a large room with a note, a key, a blueprint and a doll. Behind all this there are boxes to reach the next floor and a cache above those boxes.
- The 12th cache is further in the building after the tunnel. After climbing the boxes you have a room full of crates, on the far right of this room you can find another room you can jump down to. The cache is on the other side after climbing back up to reach the end.
- The 13th cache is in the building without a crane on it. When you look at it, you will see a crack in the wall on the bottom right of the top tunnel. There are two windows you can go through above and bellow this crack. Go through the windows above the crack then look for an entrance on the right at the end of the room where the cache is. There should be corals showing you the way.
- The 14th cache is in the building without a crane on it. When you look at it, you will see a huge hole in the middle of it, between the top tunnel and the bottom tunnel. There's a cache there and the entrance for the motherlode.
- The 15th is inside the building part unlocked with the motherlode key. Follow the path and you will see the cache next to a guarding anglerfish.
- The 16th is also inside the building part unlocked with the motherlode key. Continue to follow the path down and there will be another cache on the wall.
- The 17th cache is on the door just before the boss battle and it will get destroyed when you get close.
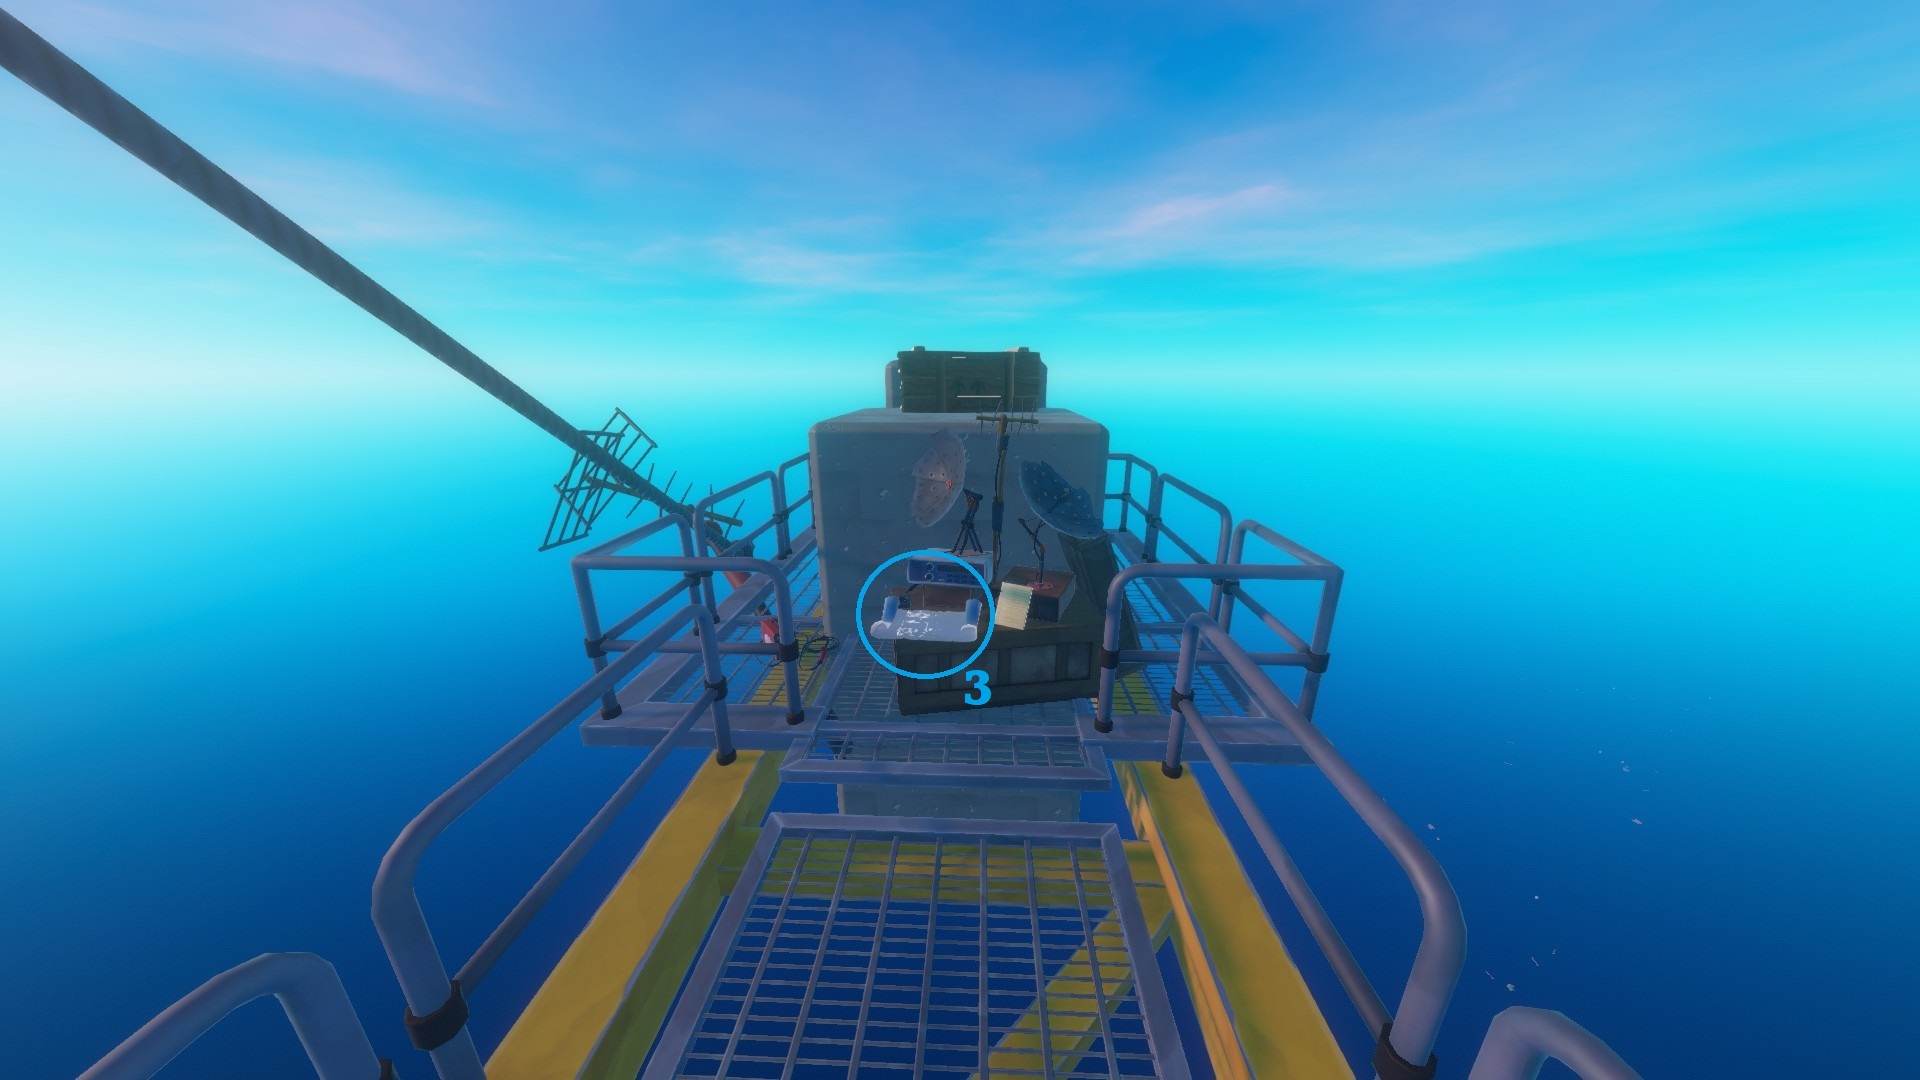
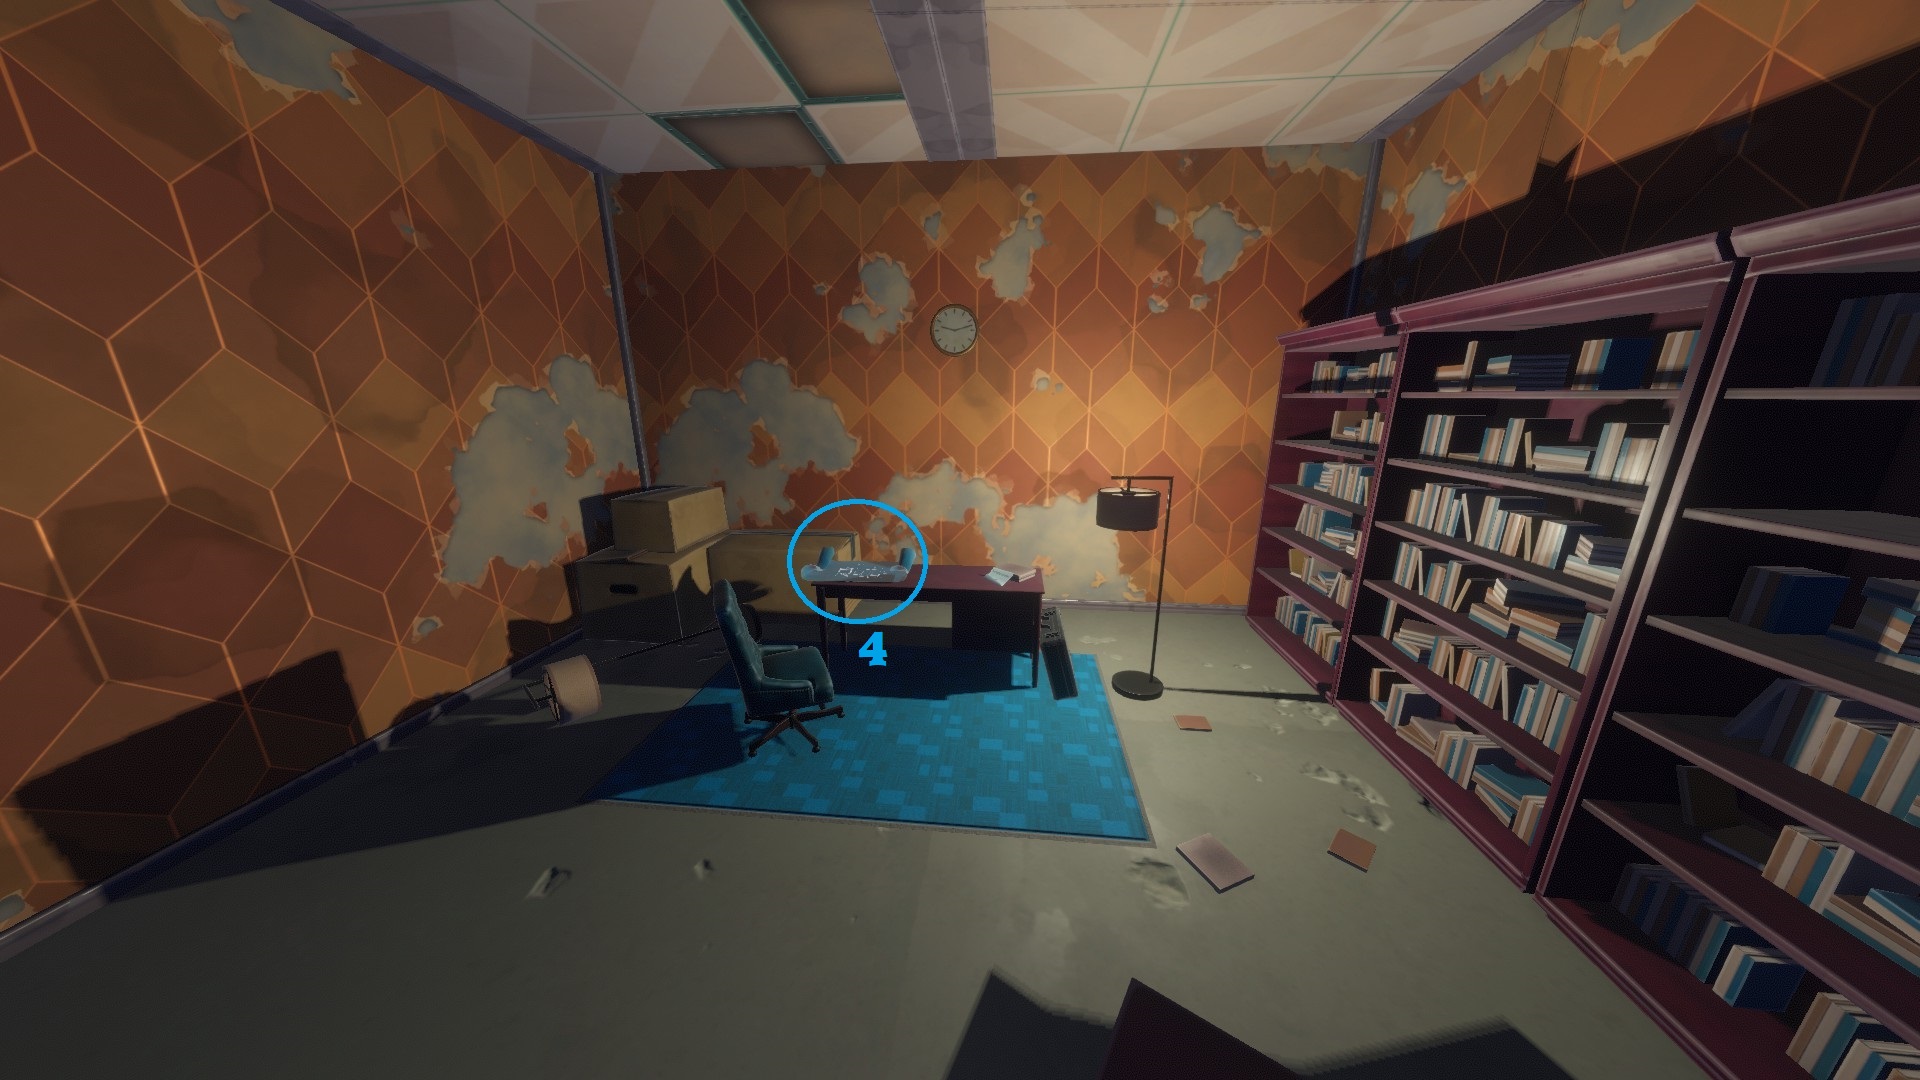
7. Temperance (Walkthrough 1)
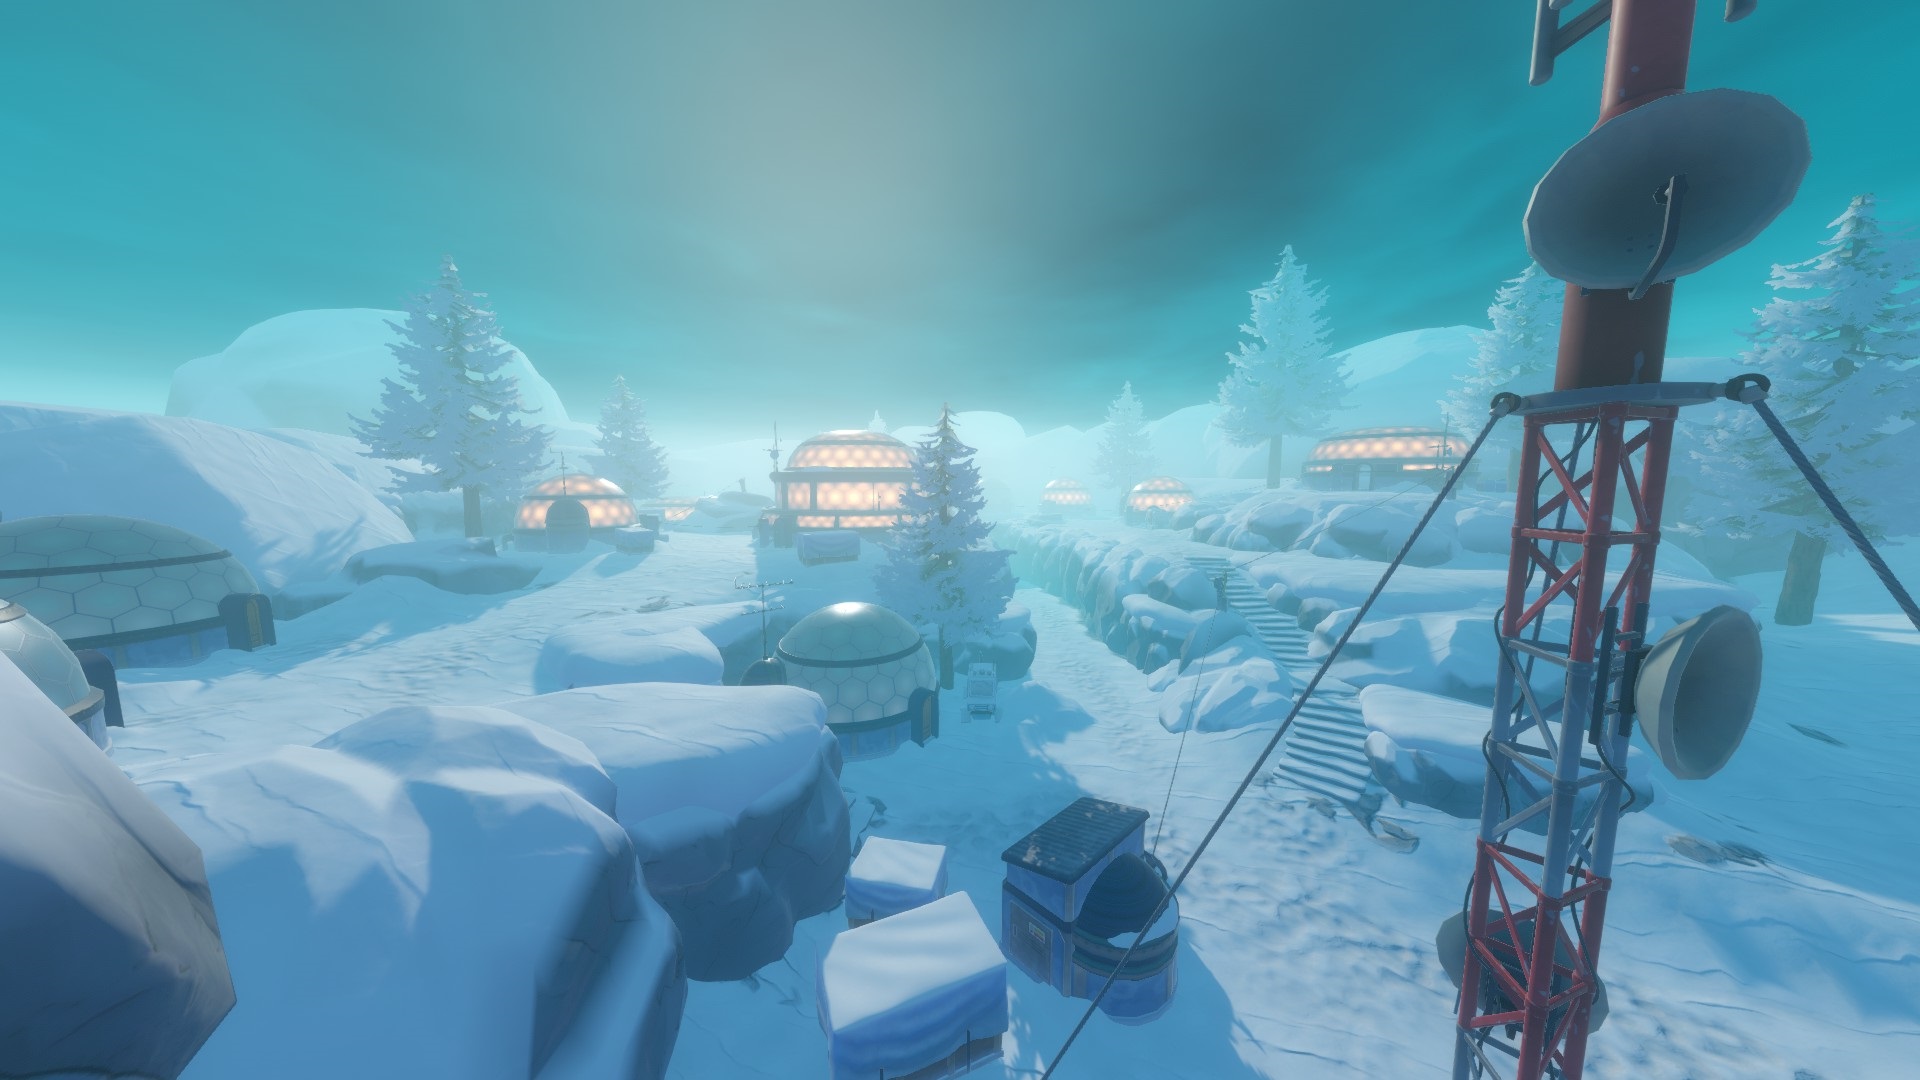 Temperance can seem overwhelming by its size but it's actually just a big flat land with 3 main places you can easily find from afar (a small town, an observatory and a research facility).
There are 12 notes.
There are 3 blueprints: one for the Advanced Stationary Anchor, one for the Advanced Biofuel Refiner and one for the Electric Smelter.
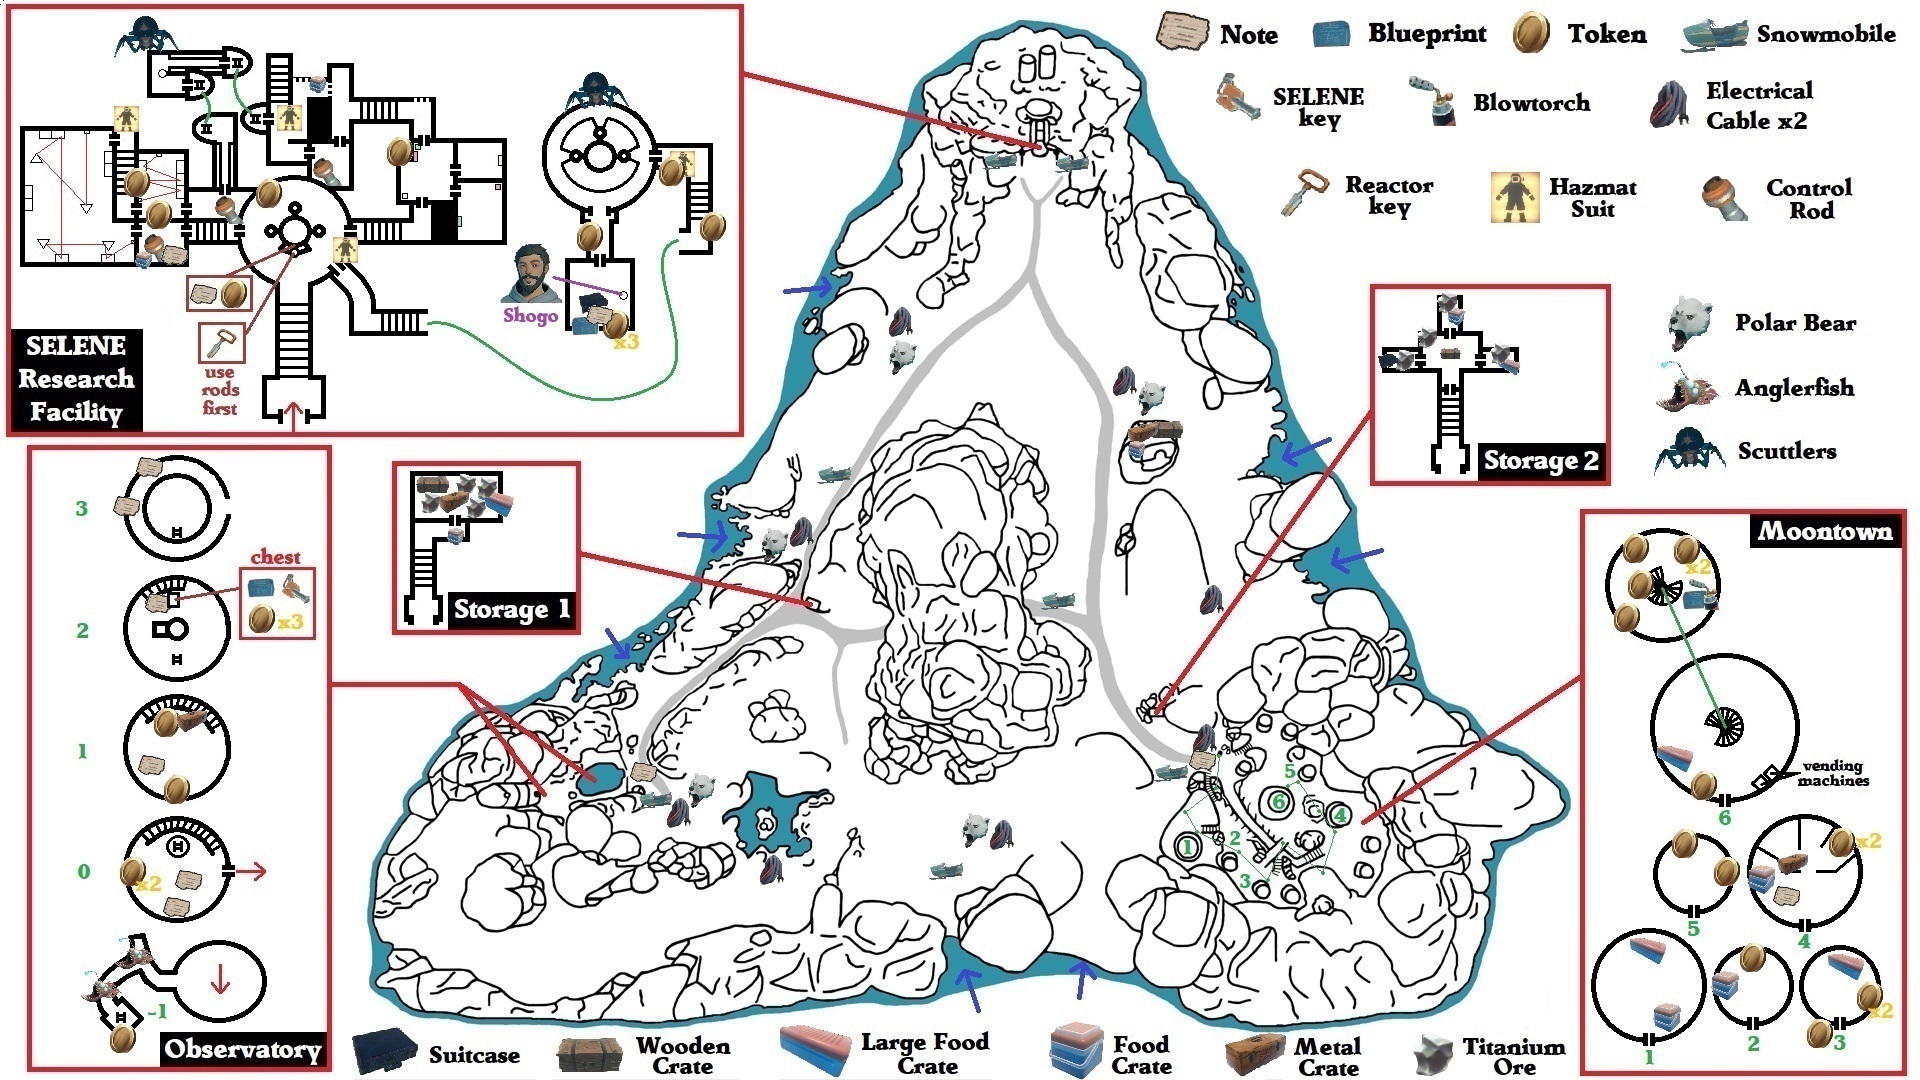
- Arriving at the Island : The island is a big block of ice in the shape of a triangle with each corner having an important location (Observatory, Moontown and SELENE Research Facility). There are ways to get on the island through each side of the triangle and if you continue a little you will find a road that will lead you to each location.
- Exterior :
=> There are many radio towers on the island and they are easy to find thanks to their height and their red lights. When you interact with one of them you get 2 [Electrical Cables] (you need 11 for Moontown but you can find more). Careful, most of them are guarded by a polar bear. - Observatory :
=> In front of the Observatory, there's a fence with [Note] on it. When you approach the building itself, the ground will fall and you will end up in a tunnel with 2 Anglerfish until you reach a small ice room with a ladder and 1 [Token].
=> Climb the ladder to reach the ground floor of the Observatory (remember to open the door if you want to come back without taking the underwater tunnel). On this floor there are 2 [Notes], one on a table and one on a counter, and 2 [Tokens] between two cabinets.
=> Climb the stairs to the 1st Floor where you will find another [Note] on a table and 2 [Tokens], one between two big brown and black crates and one on a table with small white boxes (near the stairs).
=> Climb the stairs to the 2nd Floor where you will find a large telescope and a [Note] next to a locked chest.
=> Climb the ladder to the 3rd Floor where you will find 2 [Notes]. You can now find the code for the locked chest.=> Telescope Puzzle to open the locked chest: You should have found 4 blue notes with a drawing on it and a number.
- a clucker (1/4)
- a puffer-fish (2/4)
- a hook (3/4)
- a raft (4/4)
=> Use the arrows on the telescope to move the screen and find those drawings as a constellation.
=> Once you do, count the number of big stars in the image and use that for the code.
The number of stars is the code number, the number on the note is the code number's placement.
5964
=> Inside the locked chest you will find the [SELENE Key], 3 [Tokens] and a [Blueprint] (Advanced Stationary Anchor). - Moontown :
=> In front of Moontown, there's a big electrical box with a [Note] in front of it.=> Moontown Puzzle (igloo houses), connect with electrical cables :
Interact with the electrical box to use one of your [Electrical Cables] and then link it to a small electrical pillar nearby.
You have to connect the electrical pillars to each other until you slowly activate several igloo houses and reach the big one in the middle (for a total of 11 [Electrical Cables]).
Big electrical box => small electrical pillar next to stairs => small electrical pillar on hill => pillar next to house => next house's pillar => next house's pillar => pillar on the bridge => pillar on hill => pillar next to larger house => pillar on rock => next house's pillar => pillar next to big igloo.=> The 2nd house you open has 1 [Token] inside, on the bedside table.
=> The 3rd house has 1 [Token] outside, next to the house's entrance; and 2 [Tokens] inside, on a table on the right.
=> The 4th house (the infirmary) has a [Note] on a table and 2 [Tokens] on a tray next to a bed.
=> The 5th house has 2 [Tokens], one on a table with plants and one under the pillow on the bed.
=> The 6th house (the community centre) has 1 [Token] on the 1st floor, near the door. It's also where you can find the vending machines to spend your tokens. On the 2nd Floor you'll find a [Blueprint] (Advanced Bioful Refiner) on a table next to a [Blowtorch]. You will also find 5 [Tokens], two on the billiard table, one under a pillow on a couch, one near a TV and one on a armchair between the TV and the billiard table.
Temperance (Walkthrough 2)
- SELENE Research Facility :
=>To open the facility, you need a [Blowtorch] to melt the key access next to the door and the [SELENE Key] you find inside the Observatory's locked chest.
=> Advance until you reach a circular room with a control pannel in the middle: there's a [Note] and 1 [Token] on it. Behind it you will see more control panels against the wall, one of them has 1 [Token] on it.
=> Interact with the cupboard between the Reactor door and the Laboratory 2 door to wear a Hazmat Suit, which will protect you from the radiations inside Laboratory 2. You have to hurry though because it doesn't last forever and the radiation will regularly cause you some damage. Go back to the cupboard to get a new one whenever you need.=> Laboratory 2 Puzzle, periodic table codes : There are 3 rooms and each room has a control panel with a periodic table symbol on the screen and a code panel. On the walls you can also find several posters with a periodic table symbol and its atomic number. You need to match the right poster with the symbol on the screen to know which code to use (the atomic number is the code).
=> You have to enter the 3 codes (one for each control panel) quickly because everytime you enter a code there's a timer before it gets cancelled and you have to enter it again.
Rb (red one) => 37
Cl (yellow one) => 17
Pm (green one) => 61
=> Remember to take the [Token] on the Rb control panel!=> After entering the codes, a door will open next to the Rb control panel. Take it and follow the corridors until you find a room with a [Control Rod] (take it, you need 3), then continue again until you find a door with a Hazmat Suit cupboard next to it.
=> Take the door and the ladder behind it, then walk through the corridor until you find a red valve. The moment you touch it, scuttlers will appear.
=> Take the time to kill the scuttlers then interact with the valve again until a door nearby opens (you have to hold the interact button for a long time before the door fully opens).
=> Take the ladder behind the now opened door to reach Laboratory 1.
=> After the ladder, follow the corridor until you reach a room with another [Control Rod].
=> The next room has 2 [Tokens], one is on one of the big machines against the wall on the left and the other is on a small white machine next to the mirrors.=> Laser Puzzle, small room : Activate the laser at the back of the room then use the lever
to move the laser until it hits the small box next to the locked door (which will break it and open the door).=> Laser Puzzle, big room: For this one you need the Hazmat Suit next to the room's entrance.
=> Activate the laser on the wall on the right when you enter the room.
=> Move the triangle it hits until the following laser reaches the very edge (on the right) of the next triangle.
=> Move that next triangle until it touches on the left side the mirror right next to it (it's easy to not notice it! It's the right mirror, on the same wall as the button you used to activate the laser). Make sure the laser touches that mirror but also the mirror facing it on the other side of the room. It should result with that second mirror reflecting the laser on the triangle right next to it.
=> Move that triangle until the laser touches the last triangle (on the right) on the other side (next to the locked door).
=> Move that last triangle so the laser hits the mirror right next to it then the small box next to the locked door.=> The room after the big laser puzzle has a [Note] and a [Control Rod].
=> Take the stairs behind that room to go back to the circular room. Place the [Control Rods] in the 3 pillars in the middle.
=> Activate the lever on the control panel in the middle, which will fail. The panel will then give you the [Reactor Key] that you can use on the door nearby.
=> There's 1 [Token] on the stairs to the Reactor and another [Token] on the side of the Hazmat Suit cupboard next to the door at the end of the corridor.
=> Take the Hazmat Suit then enter another circular room. You need to interact with 3 valves in the middle to activate the Control Rods. There will be scuttlers appearing around the room and they keep coming back so quickly kill the ones near a valve and interact with it (it takes a long time here too) then move on to the next and repeat.
=> After fully turning the 3 valves, the air will be cleaned, the scuttlers will die and a big door in the room will open.
=> Go through the door and take the [Token] in the frozen corridor.
=> Go in the next room where you will find a [Note] (with the coordinates for the next story place), a [Blueprint] (Electric Smelter) and 3 [Tokens].
=> On the side of this room, there is a lit screen. Interact with it to make Shogo appear (an unlockable character).
=> Remember to loot the 2 storage locations that are now free of radiations (one near the mountain tunnel and one near Moontown's entrance).
Temperance (Notes/Blueprints)
Notes :
- The 1st note is on a fence, in front of the Observatory.
=> [ I've already lost MIRANDA. I will not lose you too, HENRY.] - Page 33 - The 2nd and 3rd notes are on the ground floor of the Observatory, on a table and on a kitchen counter.
=> [There's bears all over this frozen island!] - Page 33
=> [Blue hook drawing 3/4] - Page 36 - The 4th note is on the 1st floor of the Observatory, on a table.
=> [Blue puffer-fish drawing 2/4] - Page 36 - The 5th note is on the 2nd floor of the Observatory, on a pillar next to a locked chest.
=> [Blue raft drawing 4/4] - Page 36 - The 6th and 7th notes are on the "4th floor" of the Observatory, you get there by climbing a ladder on the 3rd floor.
=> [Blue clucker drawing 1/4] - Page 36
=> [The boat is ready to go. Detto is ready with the airhorn...] - Page 34 - The 8th note is in front of a big electrical box near the entrance of Moontown (the igloo houses).
=> [Detto showed me and HENRY some abandoned igloos.] - Page 33 - The 9th note is inside the 4th house you open (the infirmary), on a table.
=> [That kid Detto is really smart. Using material we salvaged...] - Page 34 - The 10th note is inside the SELENE Research Facility, in the control room, on the console in the middle.
=> [ I am called Sparrow. Whoever finds this, know that I held humanity's interest first.] - Page 35 - The 11th note is in the room after the big laser puzzle, on a box.
=> [The Selene facility was built for one purpose: master and perfect...] - Page 35 - The 12th note is at the very end, in the cryo-chamber, on a laptop.
=> [UTOPIA #....] - Page 36
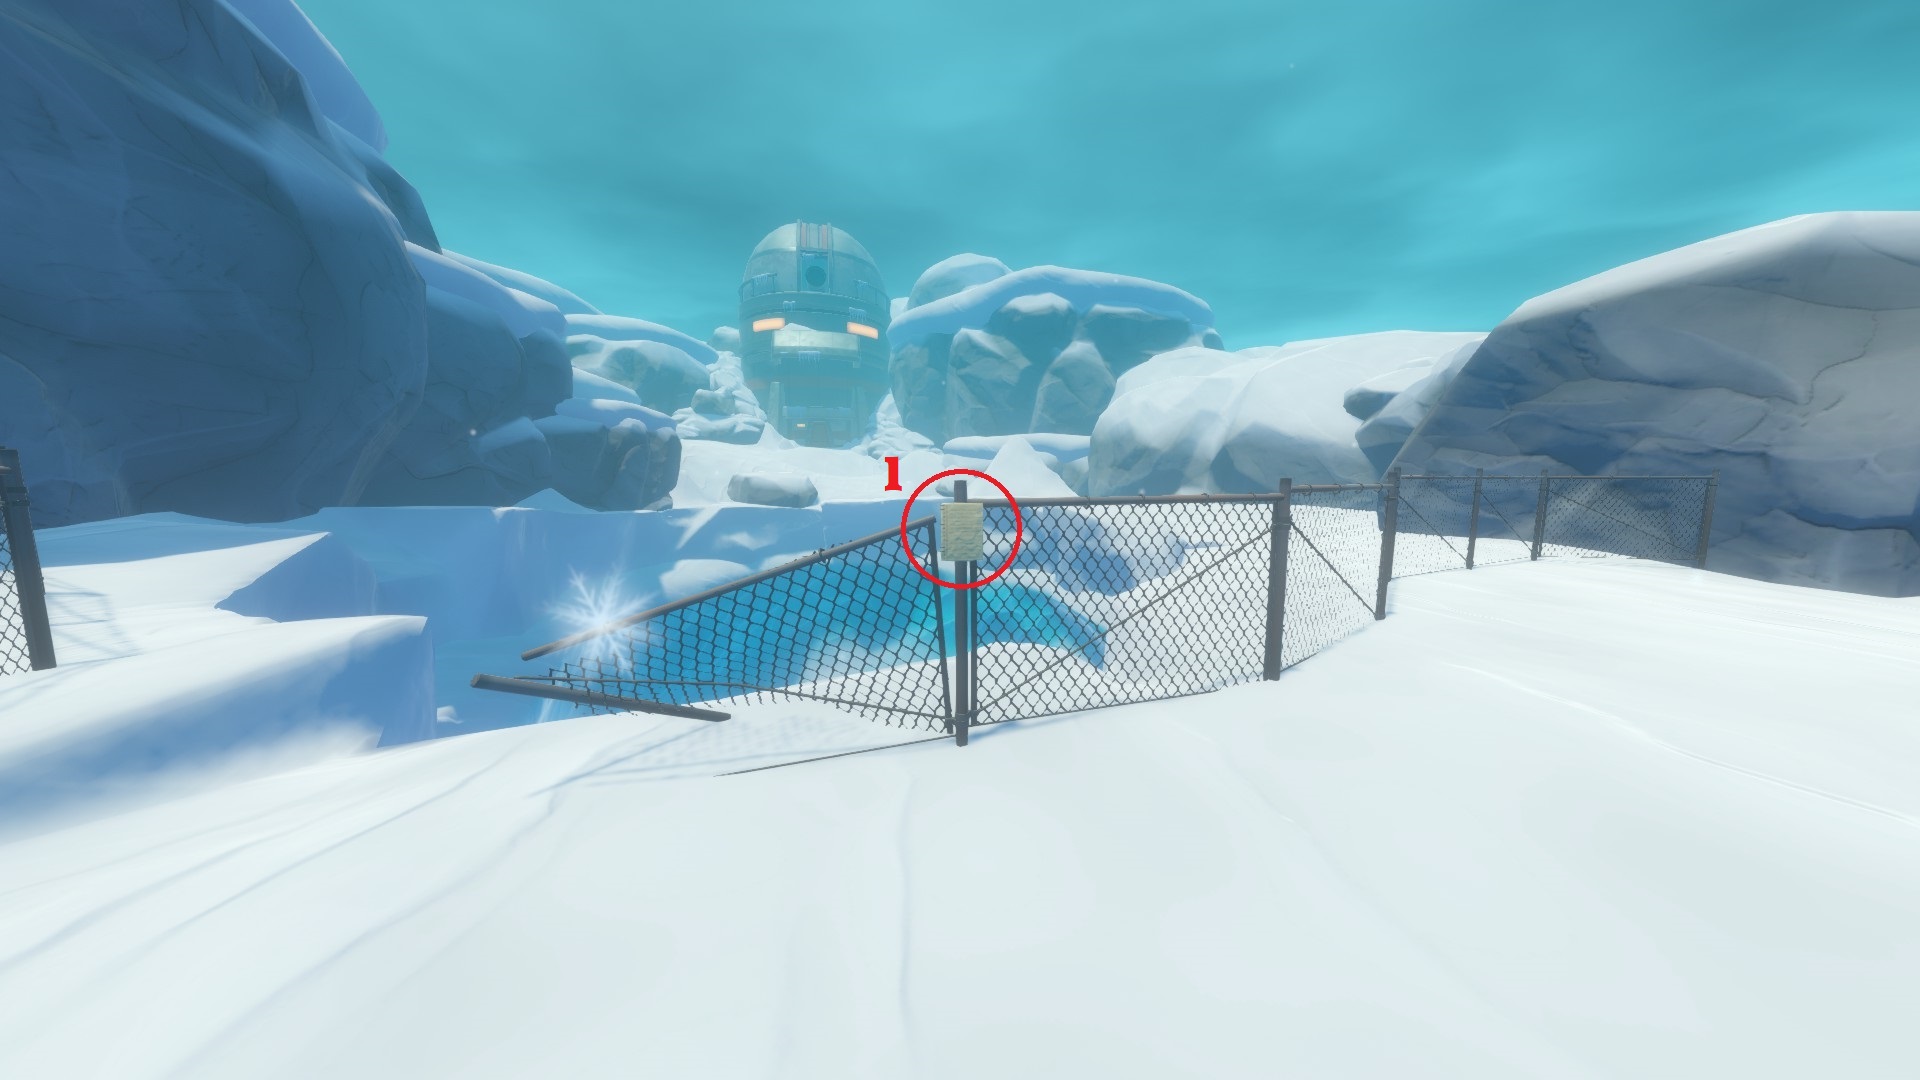
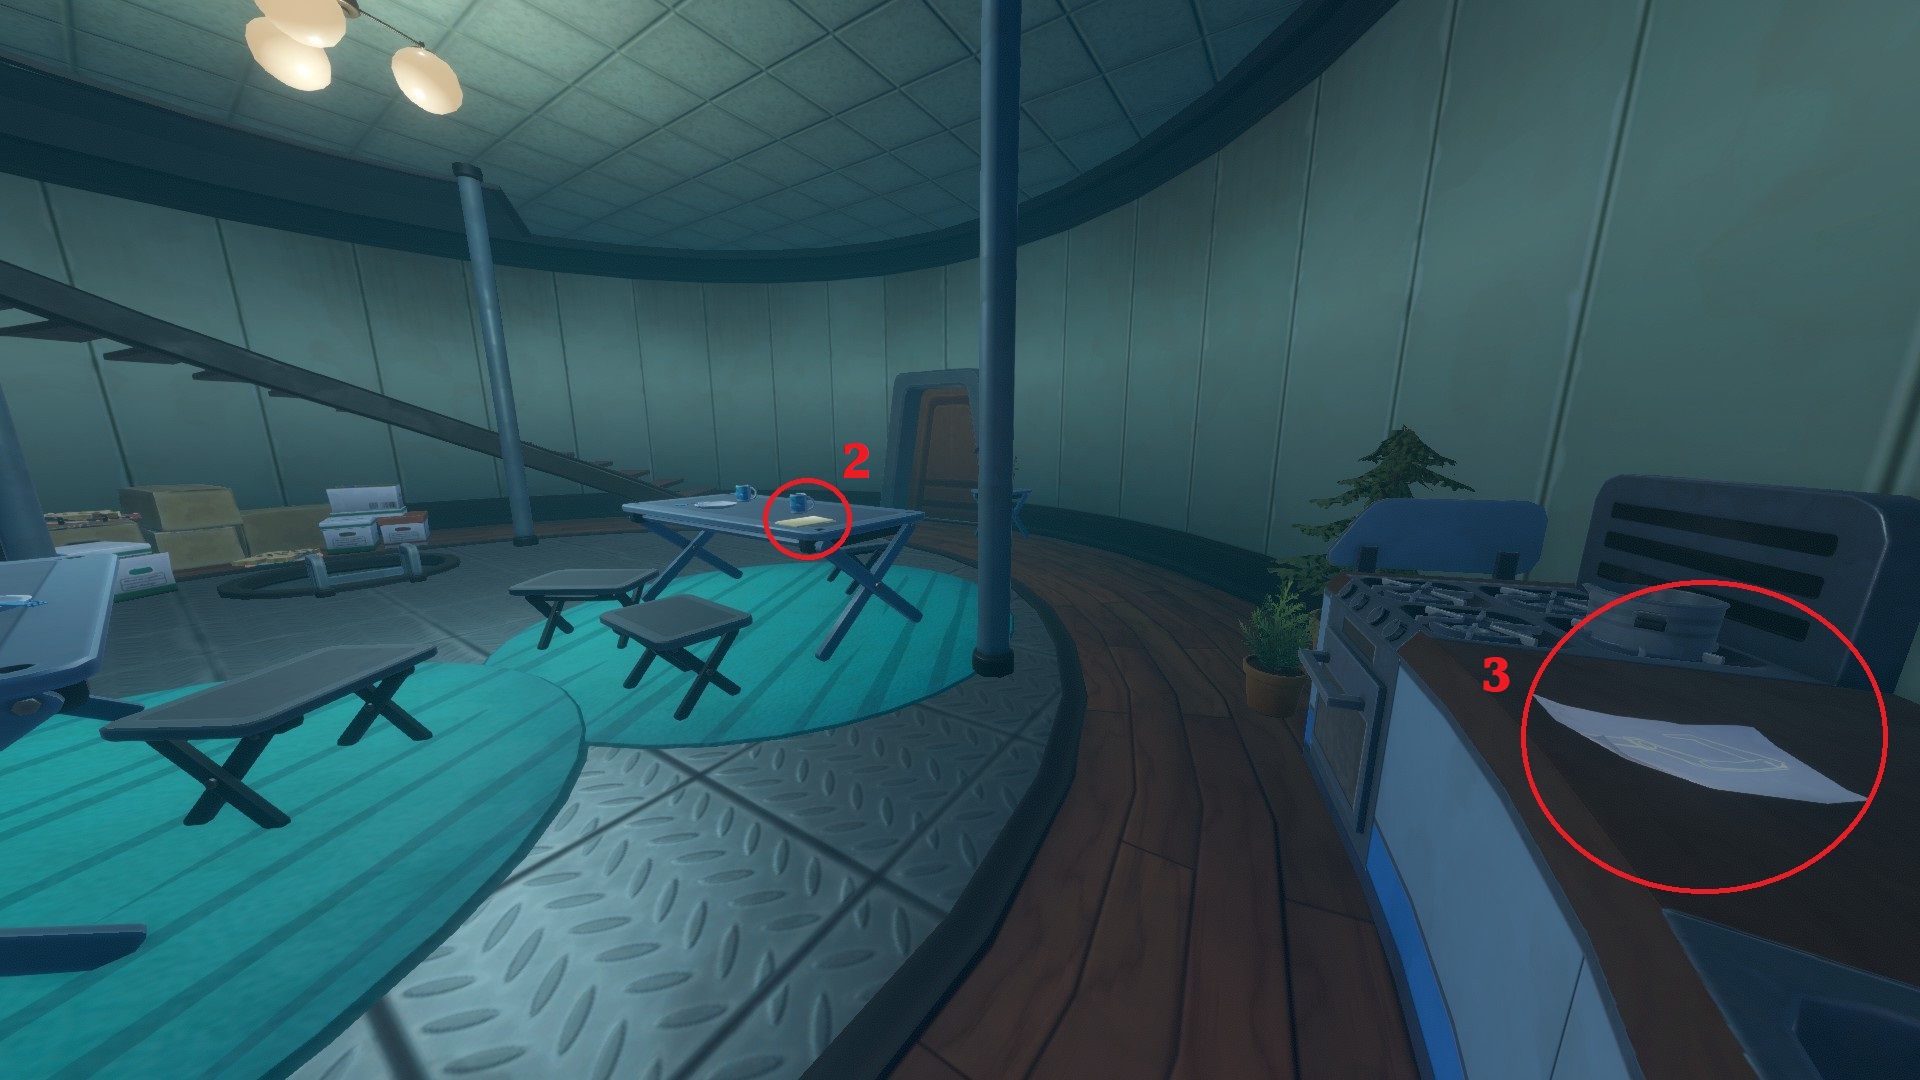
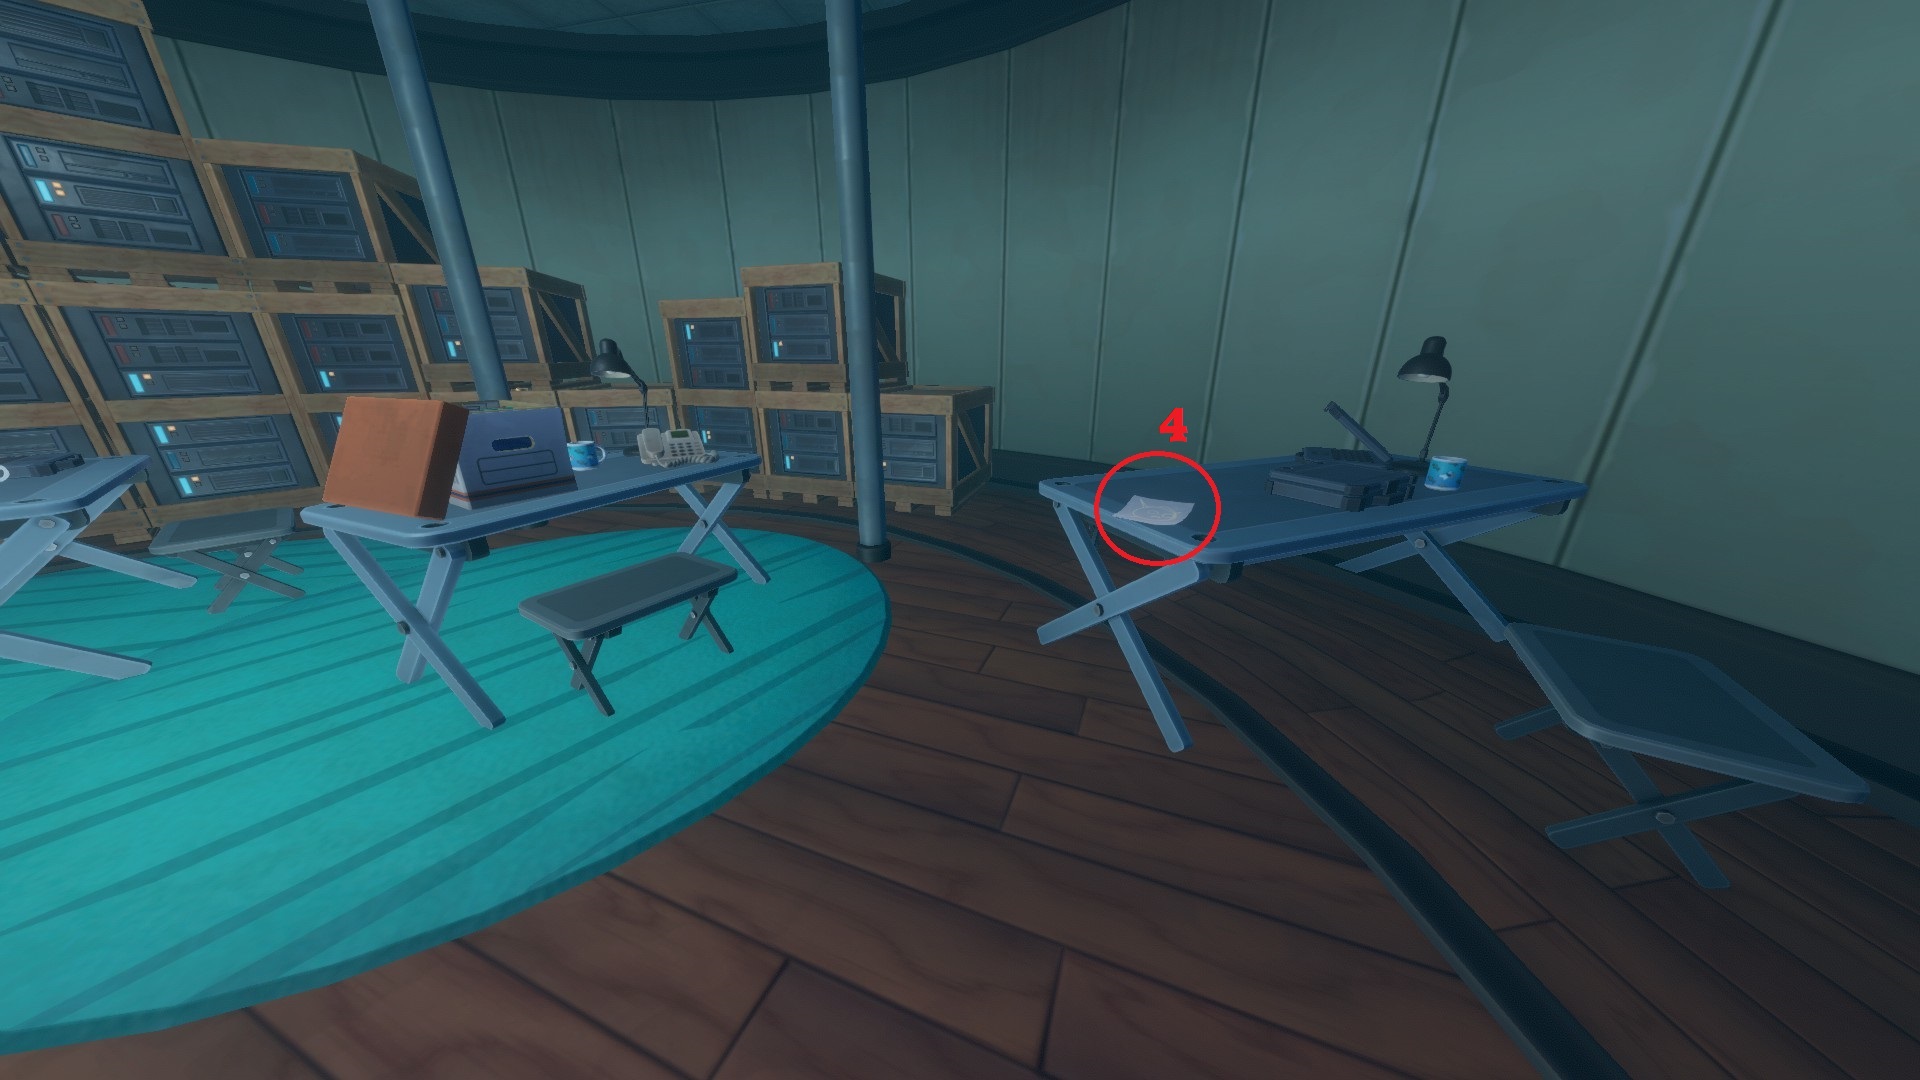
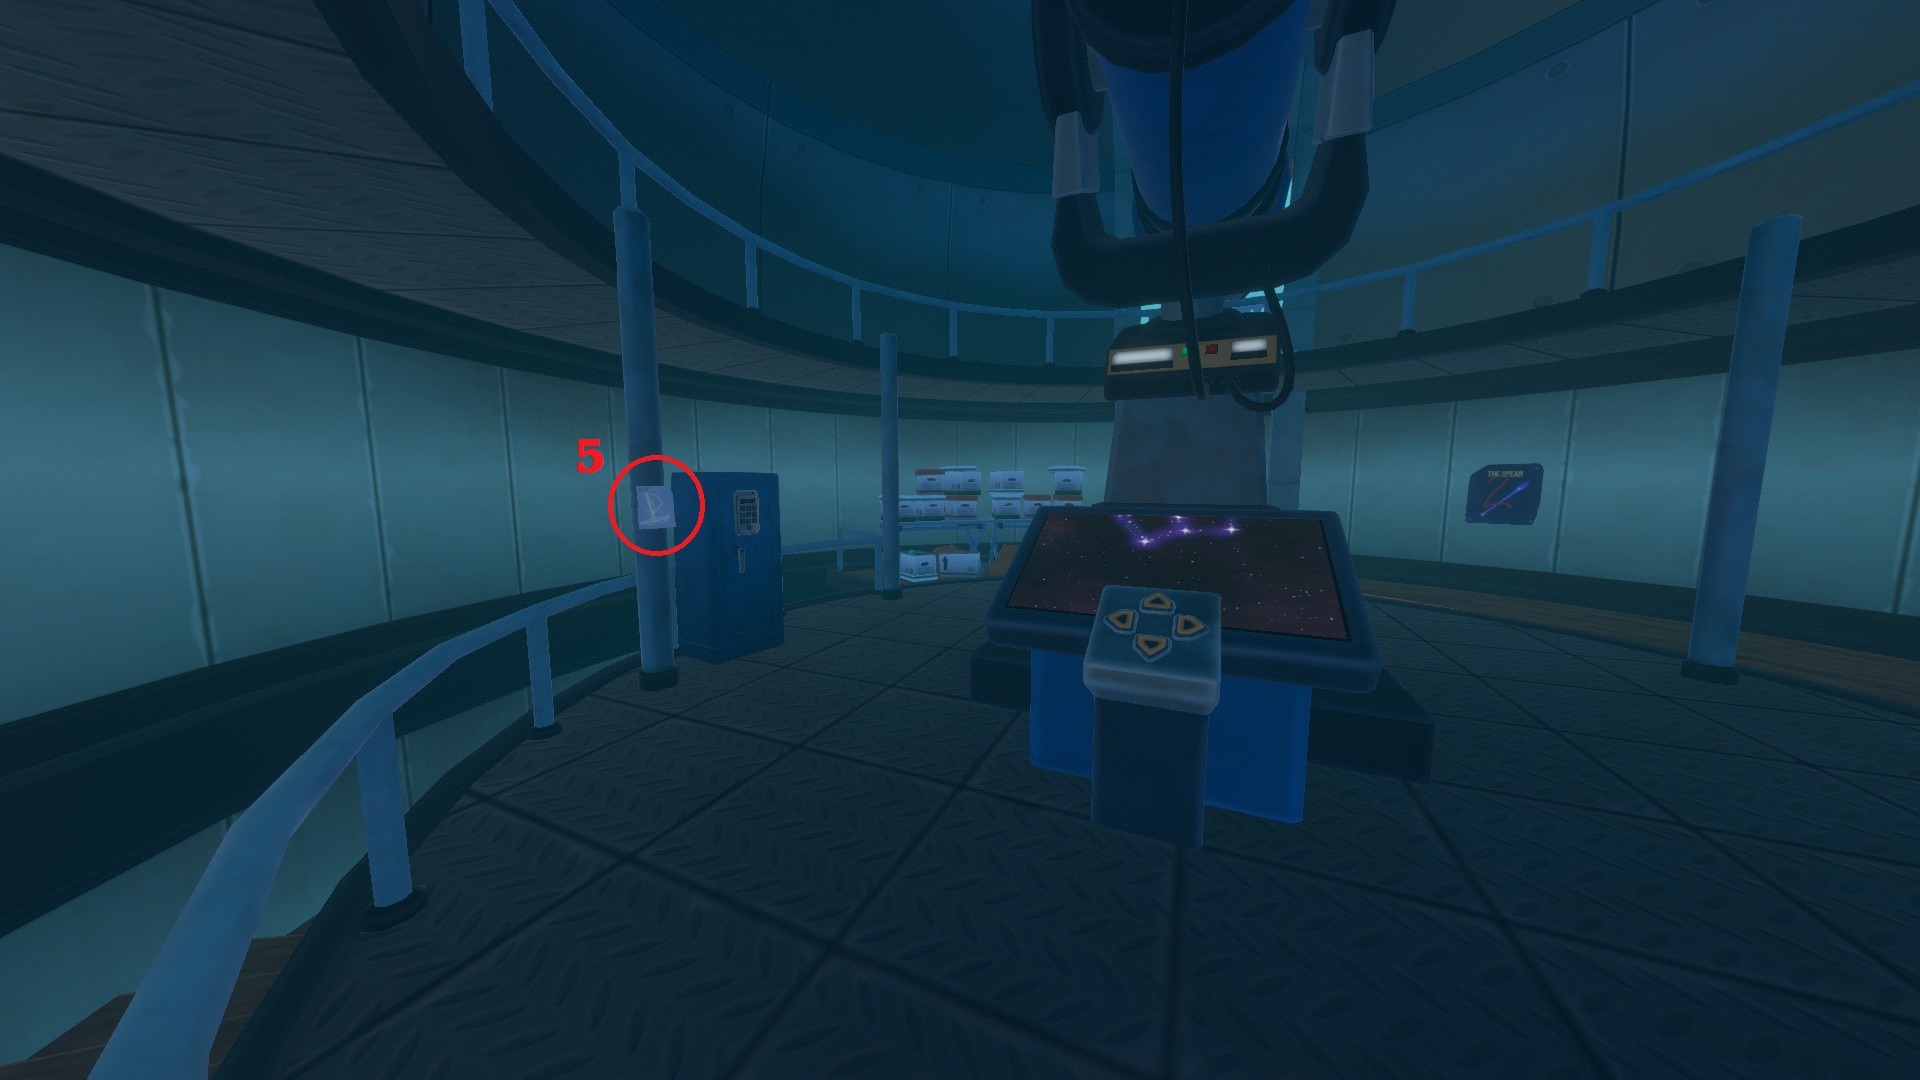
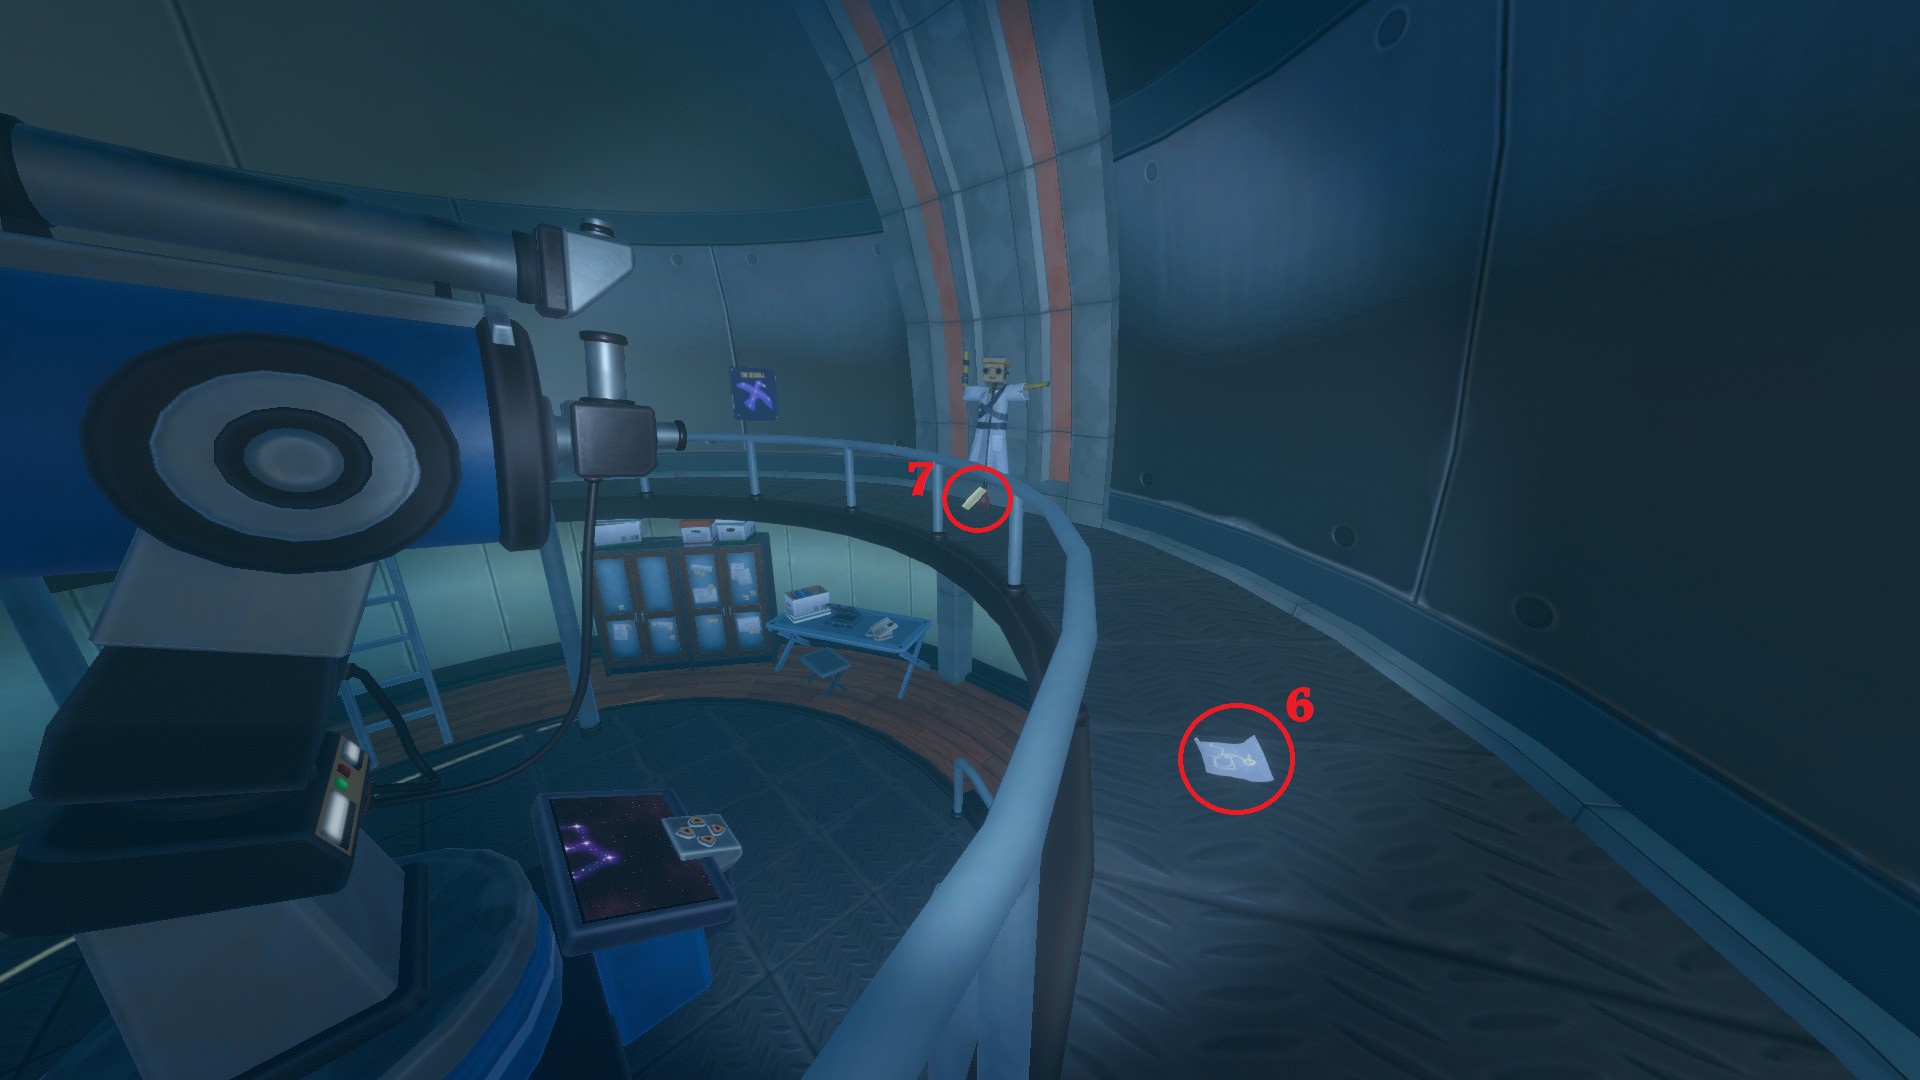
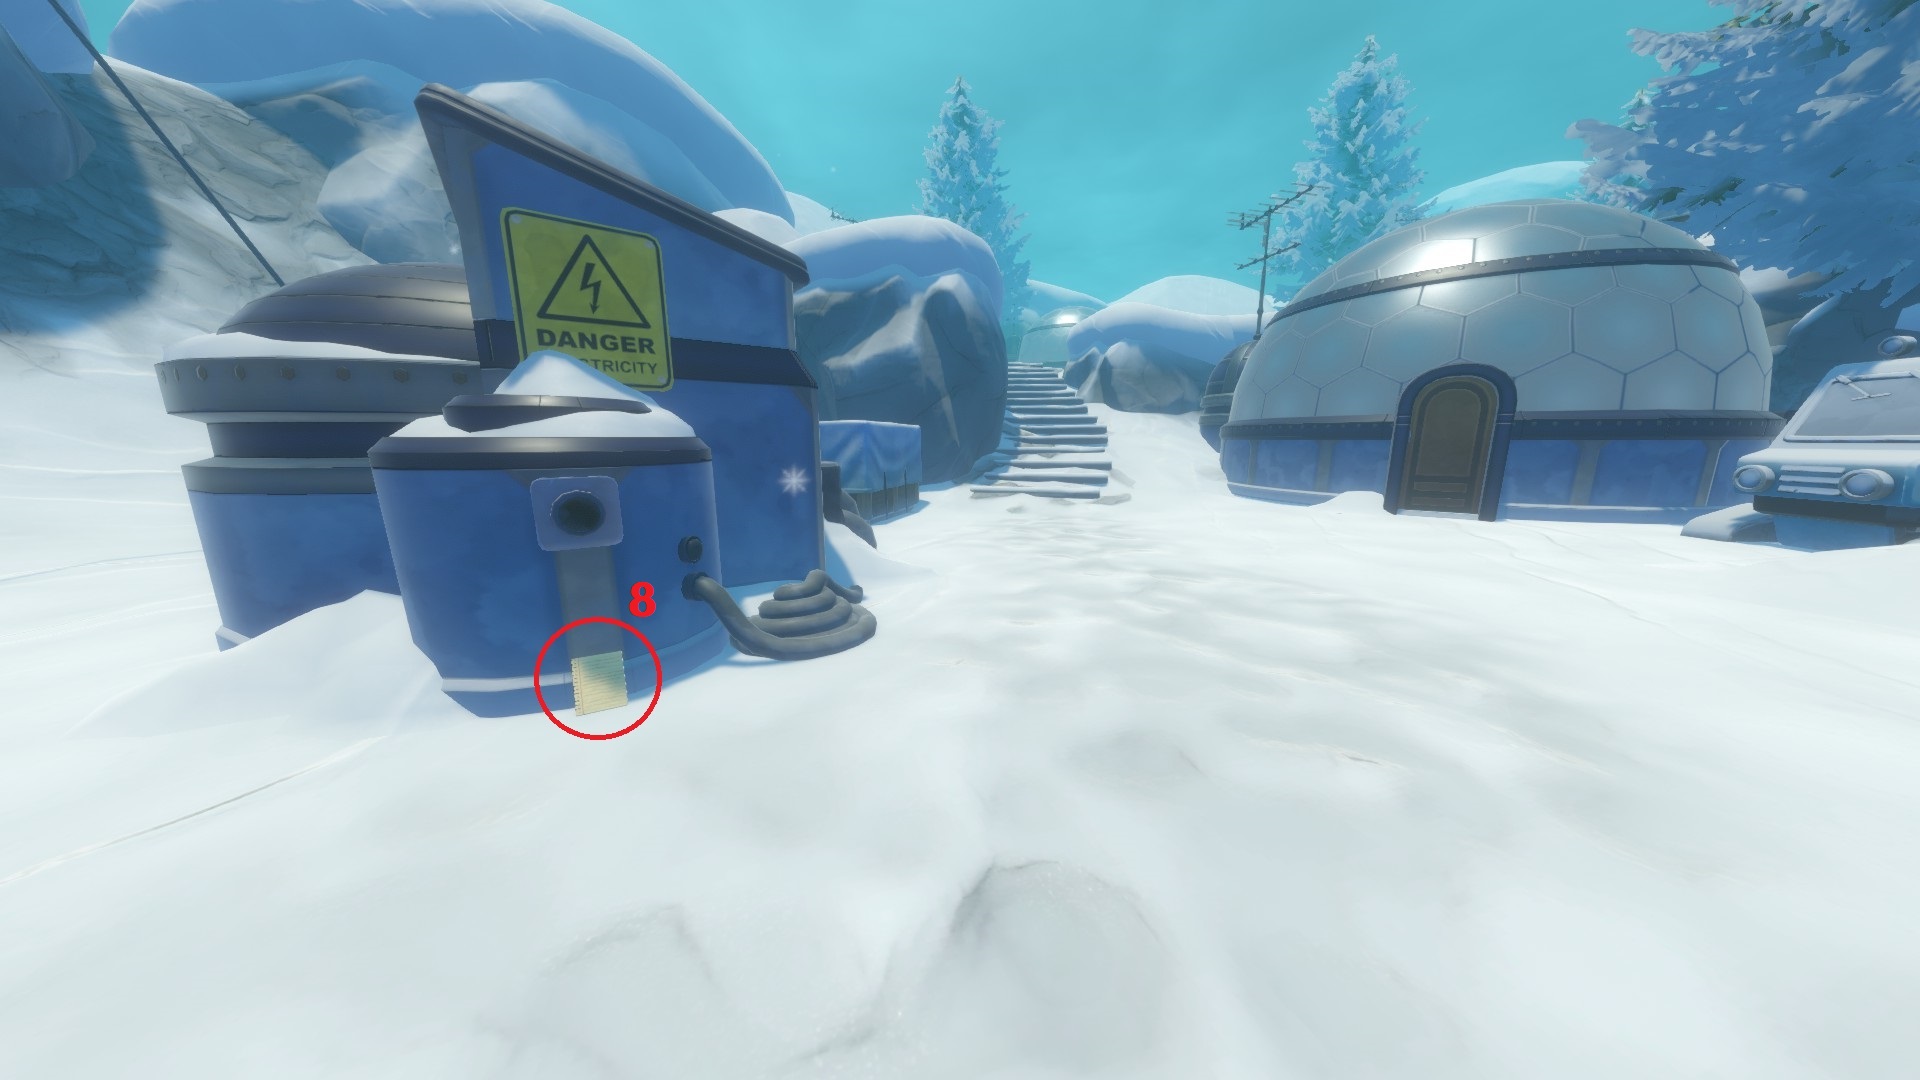
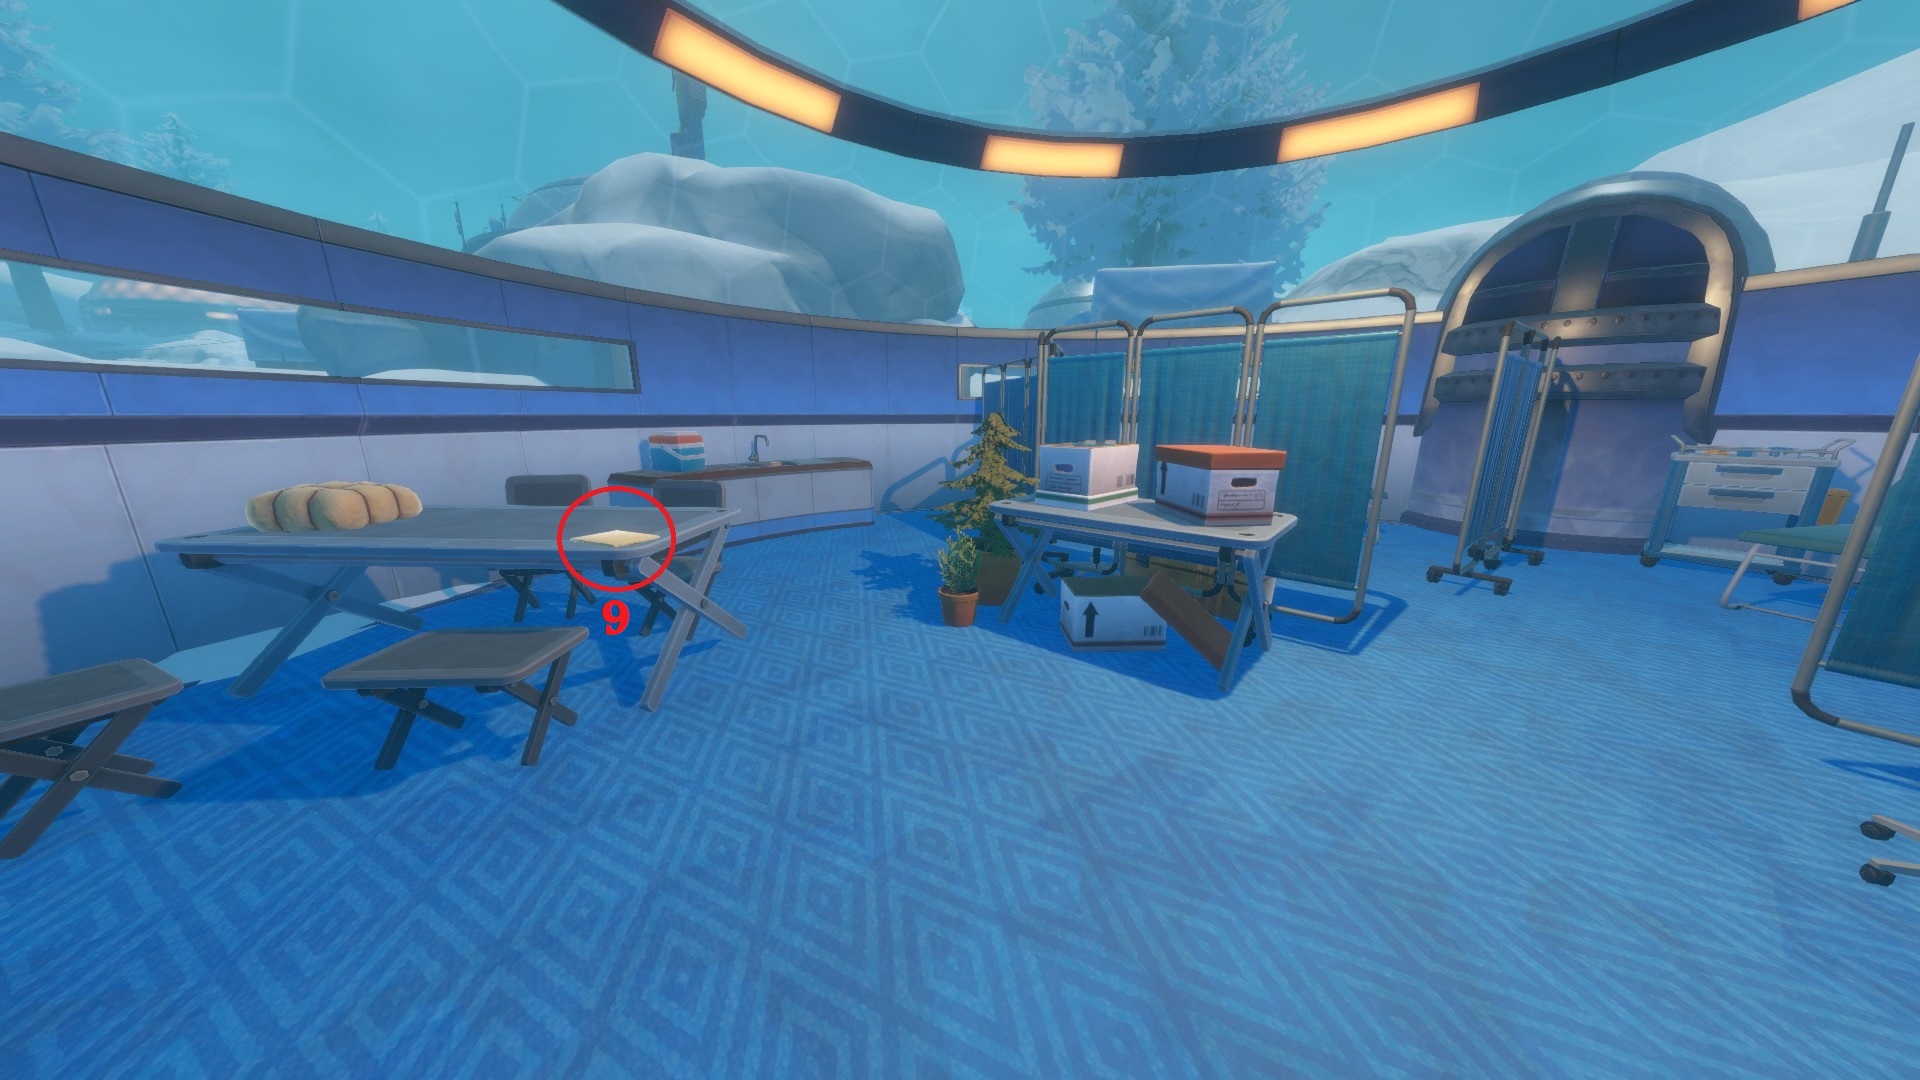
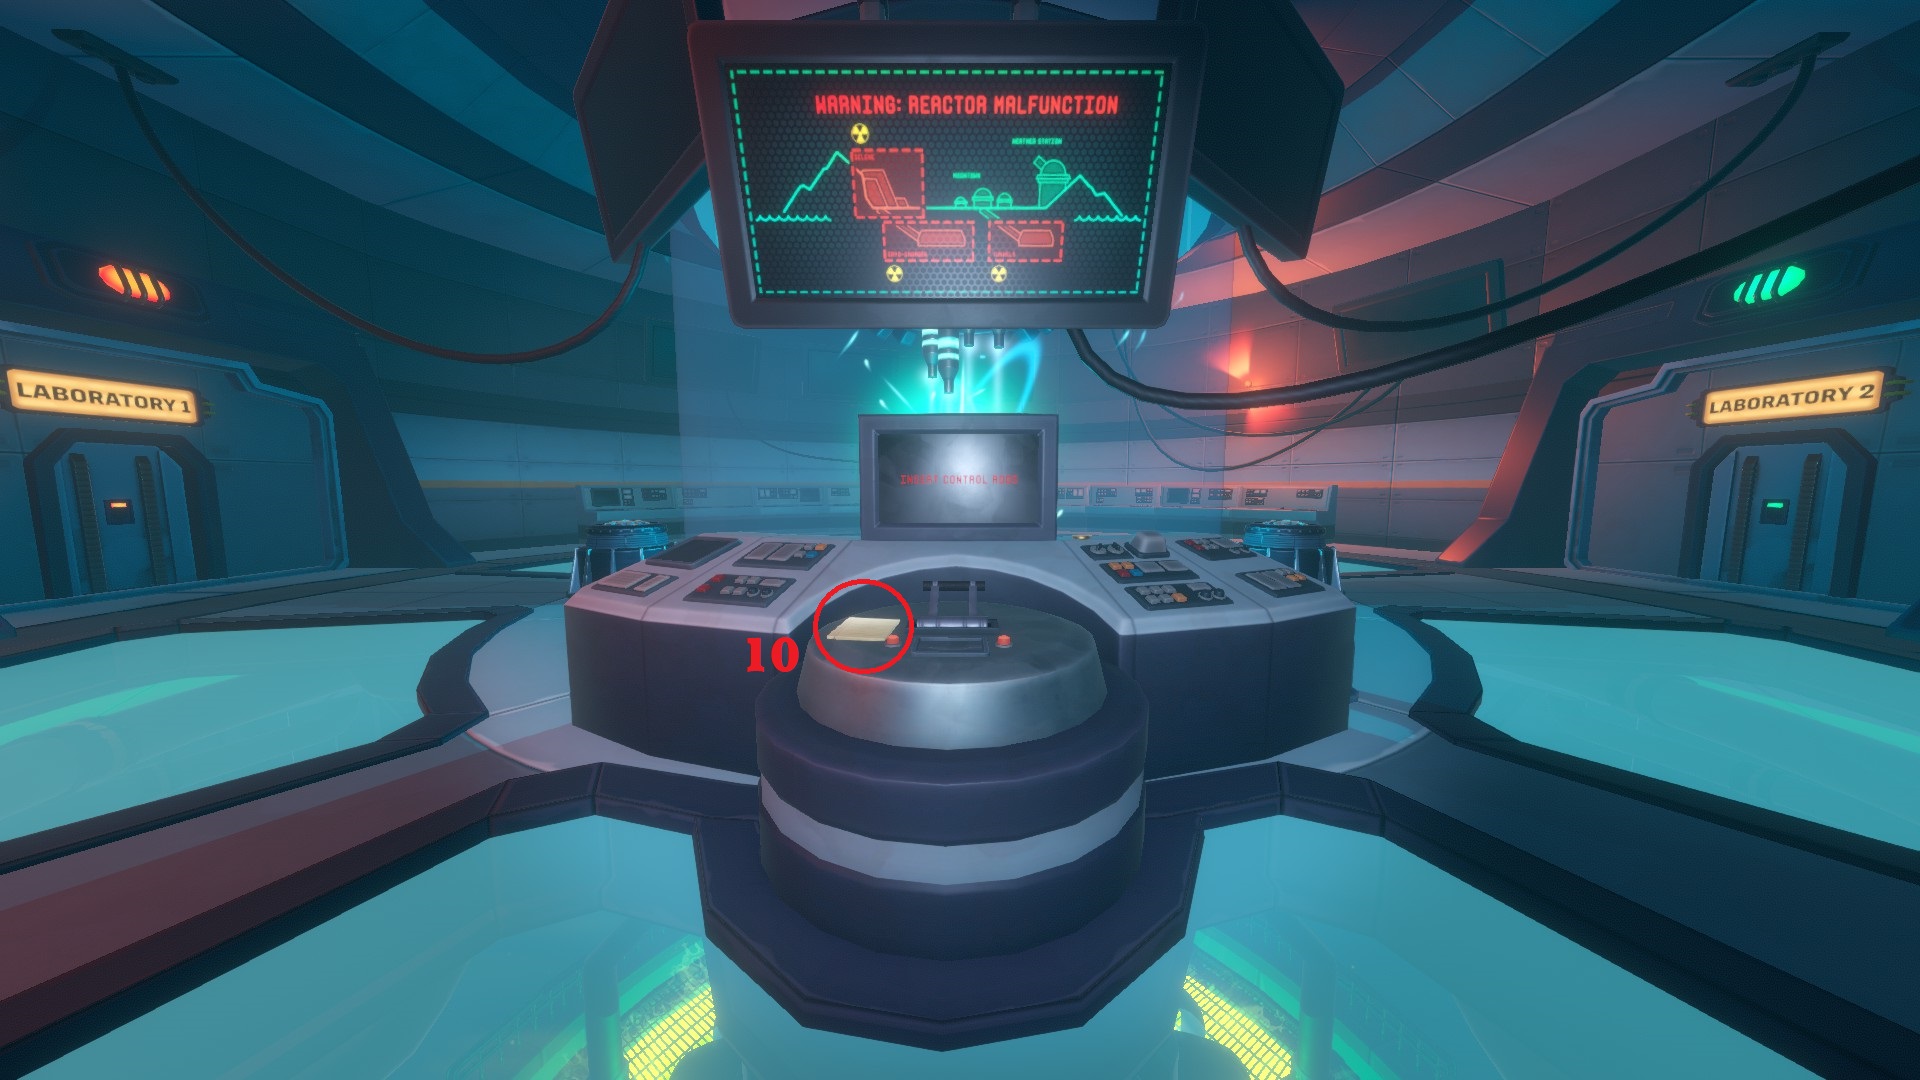
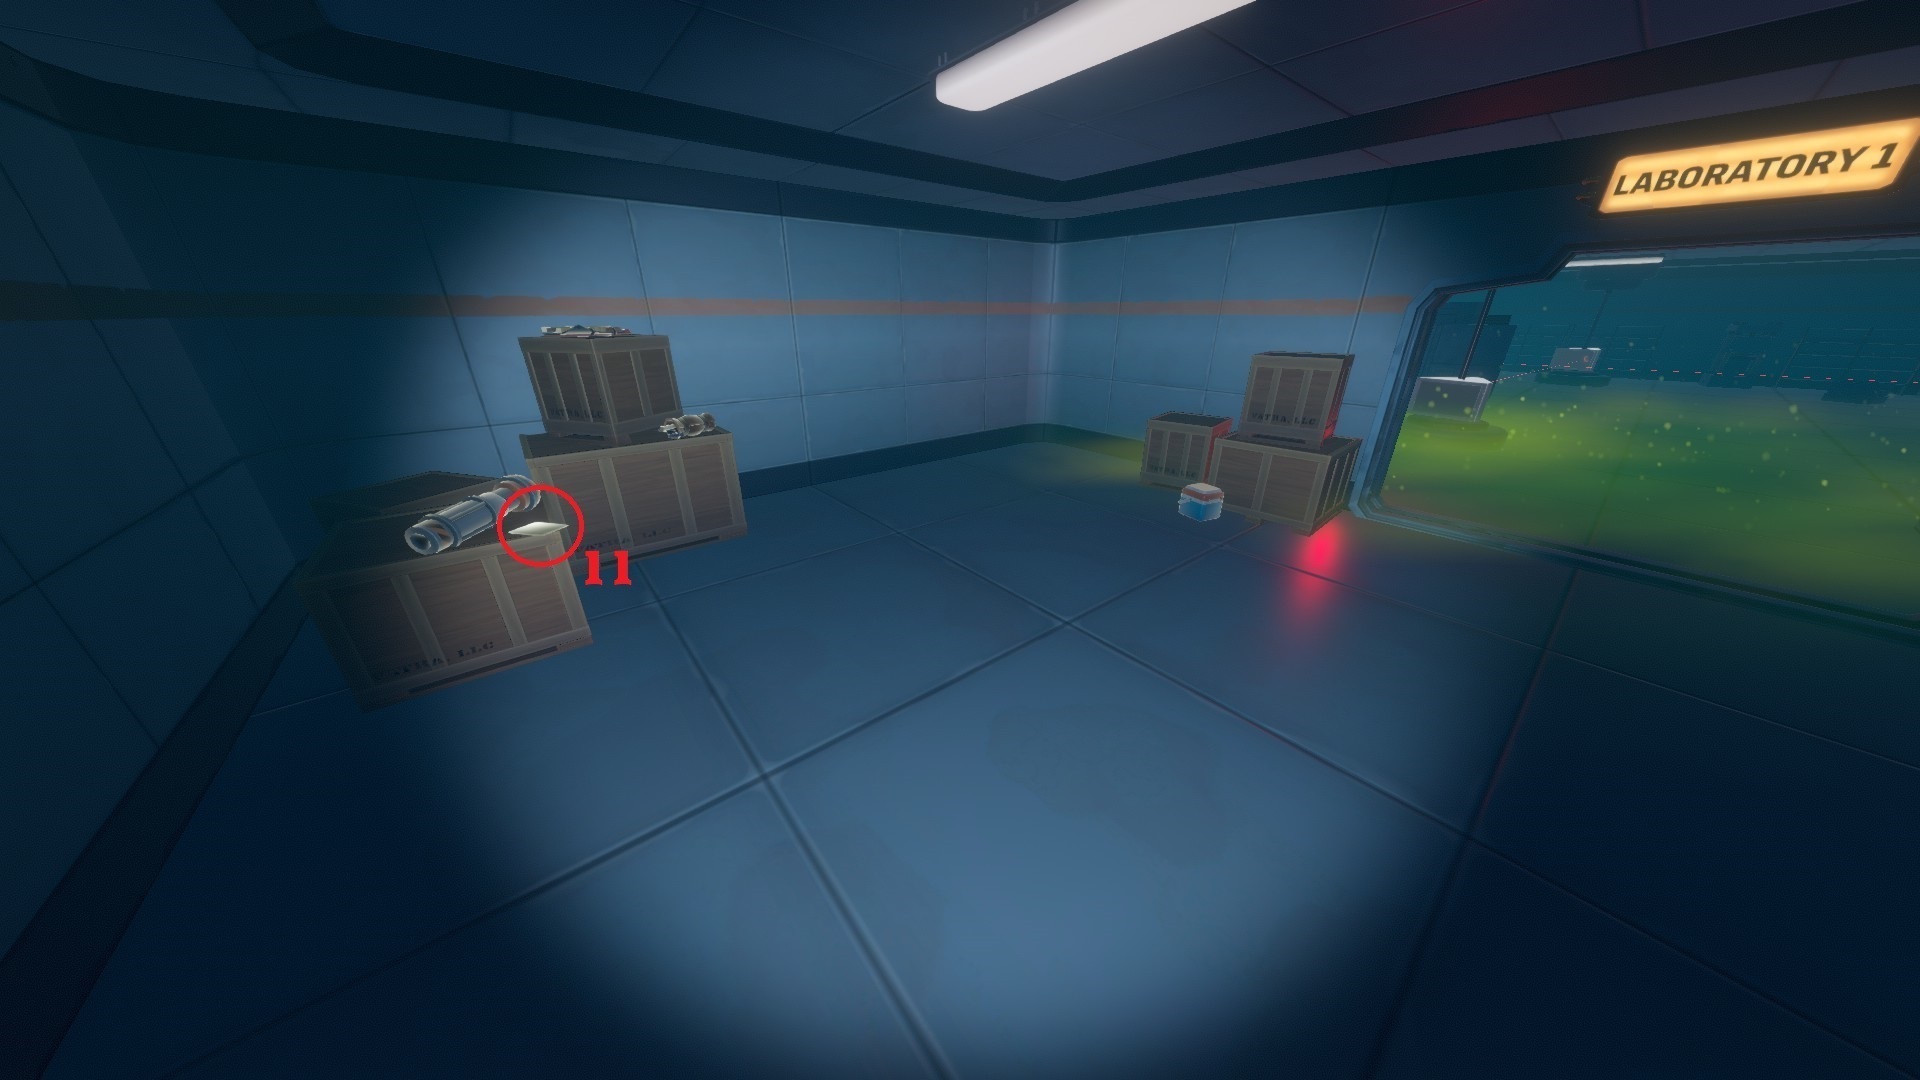
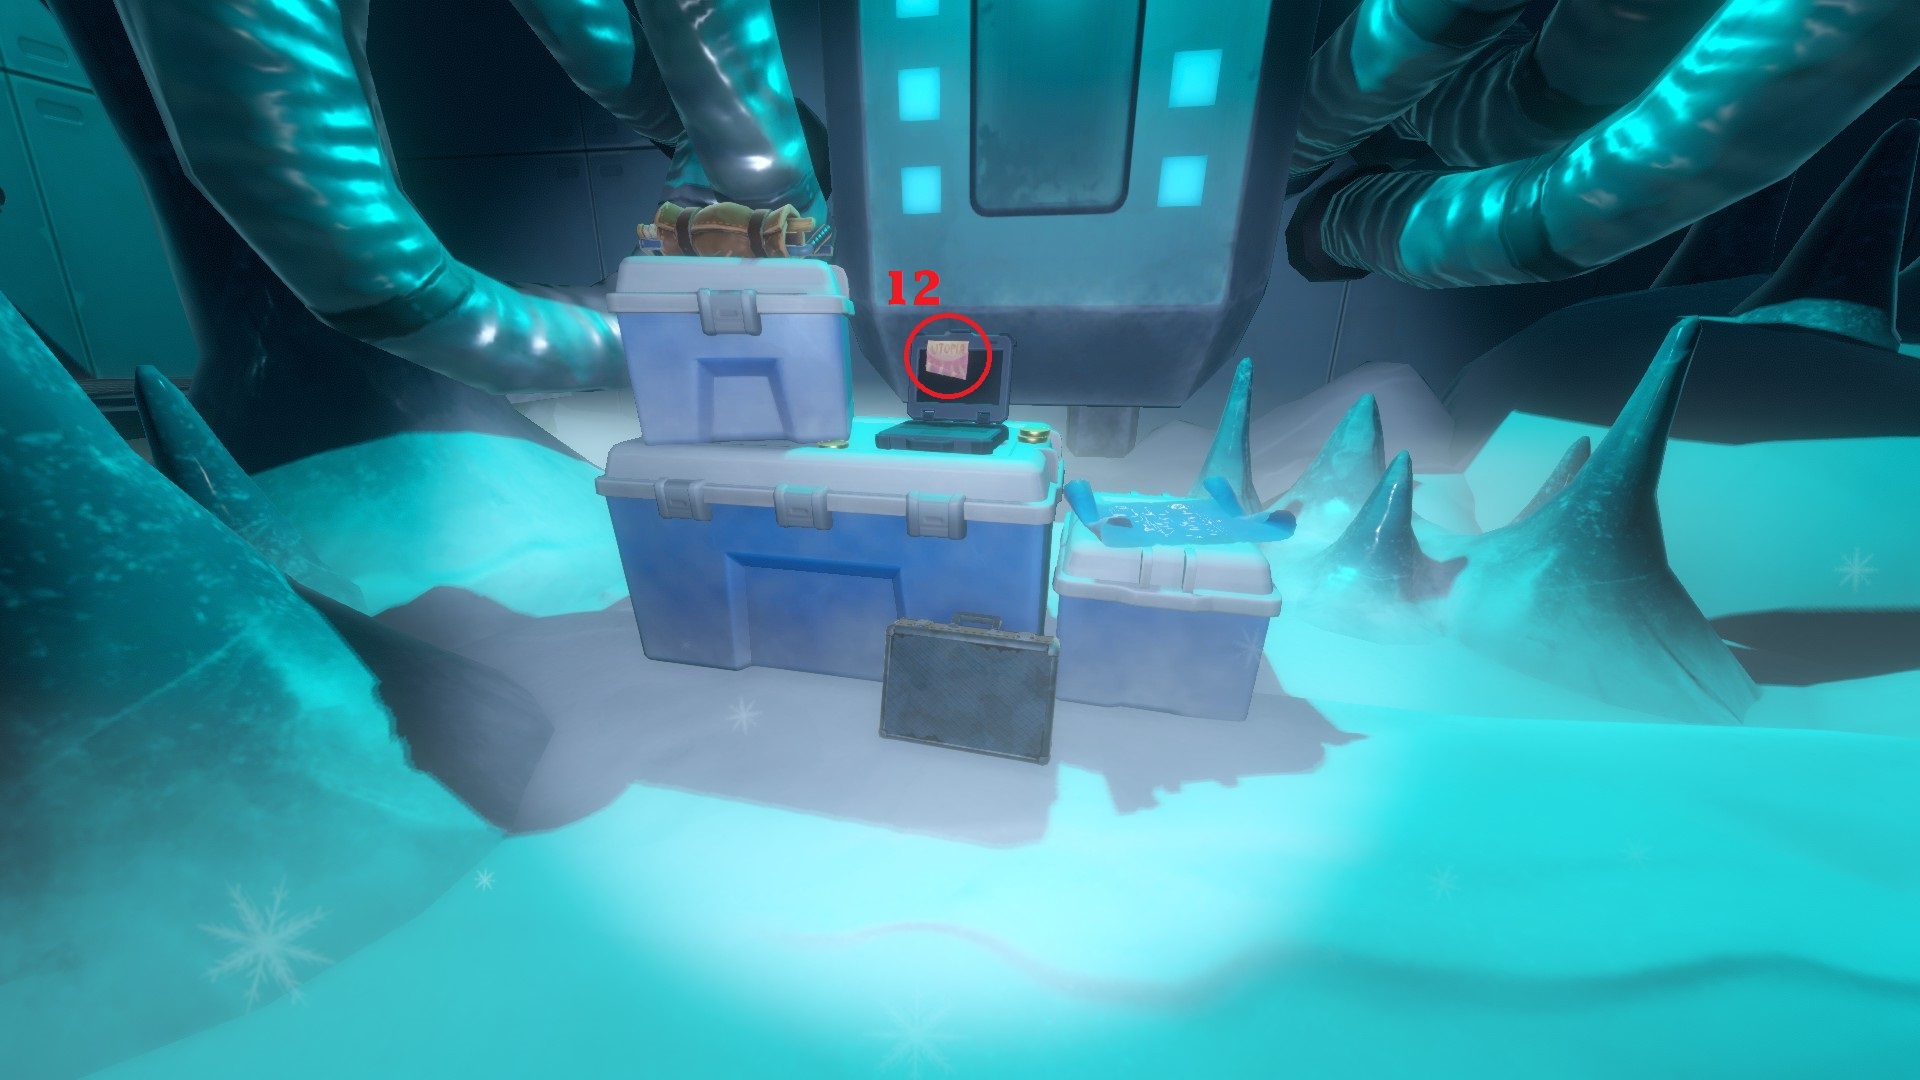
- The 1st blueprint (Advanced Stationary Anchor) is inside the locked chest in the Observatory. You get the code by looking at the 4 blue notes in your journal. Each drawing can be found on the telescope and the number of big stars on the constellation is the code number: 5964
- The 2nd blueprint (Advanced Biofuel Refiner) is on the 2nd floor of the big igloo in the middle of Moontown. You open the building by linking the big electrical box at the town's entrance with electrical pillars and houses until you reach that big igloo.
- The 3rd blueprint (Electric Smelter) is at the very end, in the cryo-chamber, next to the Utopia note.
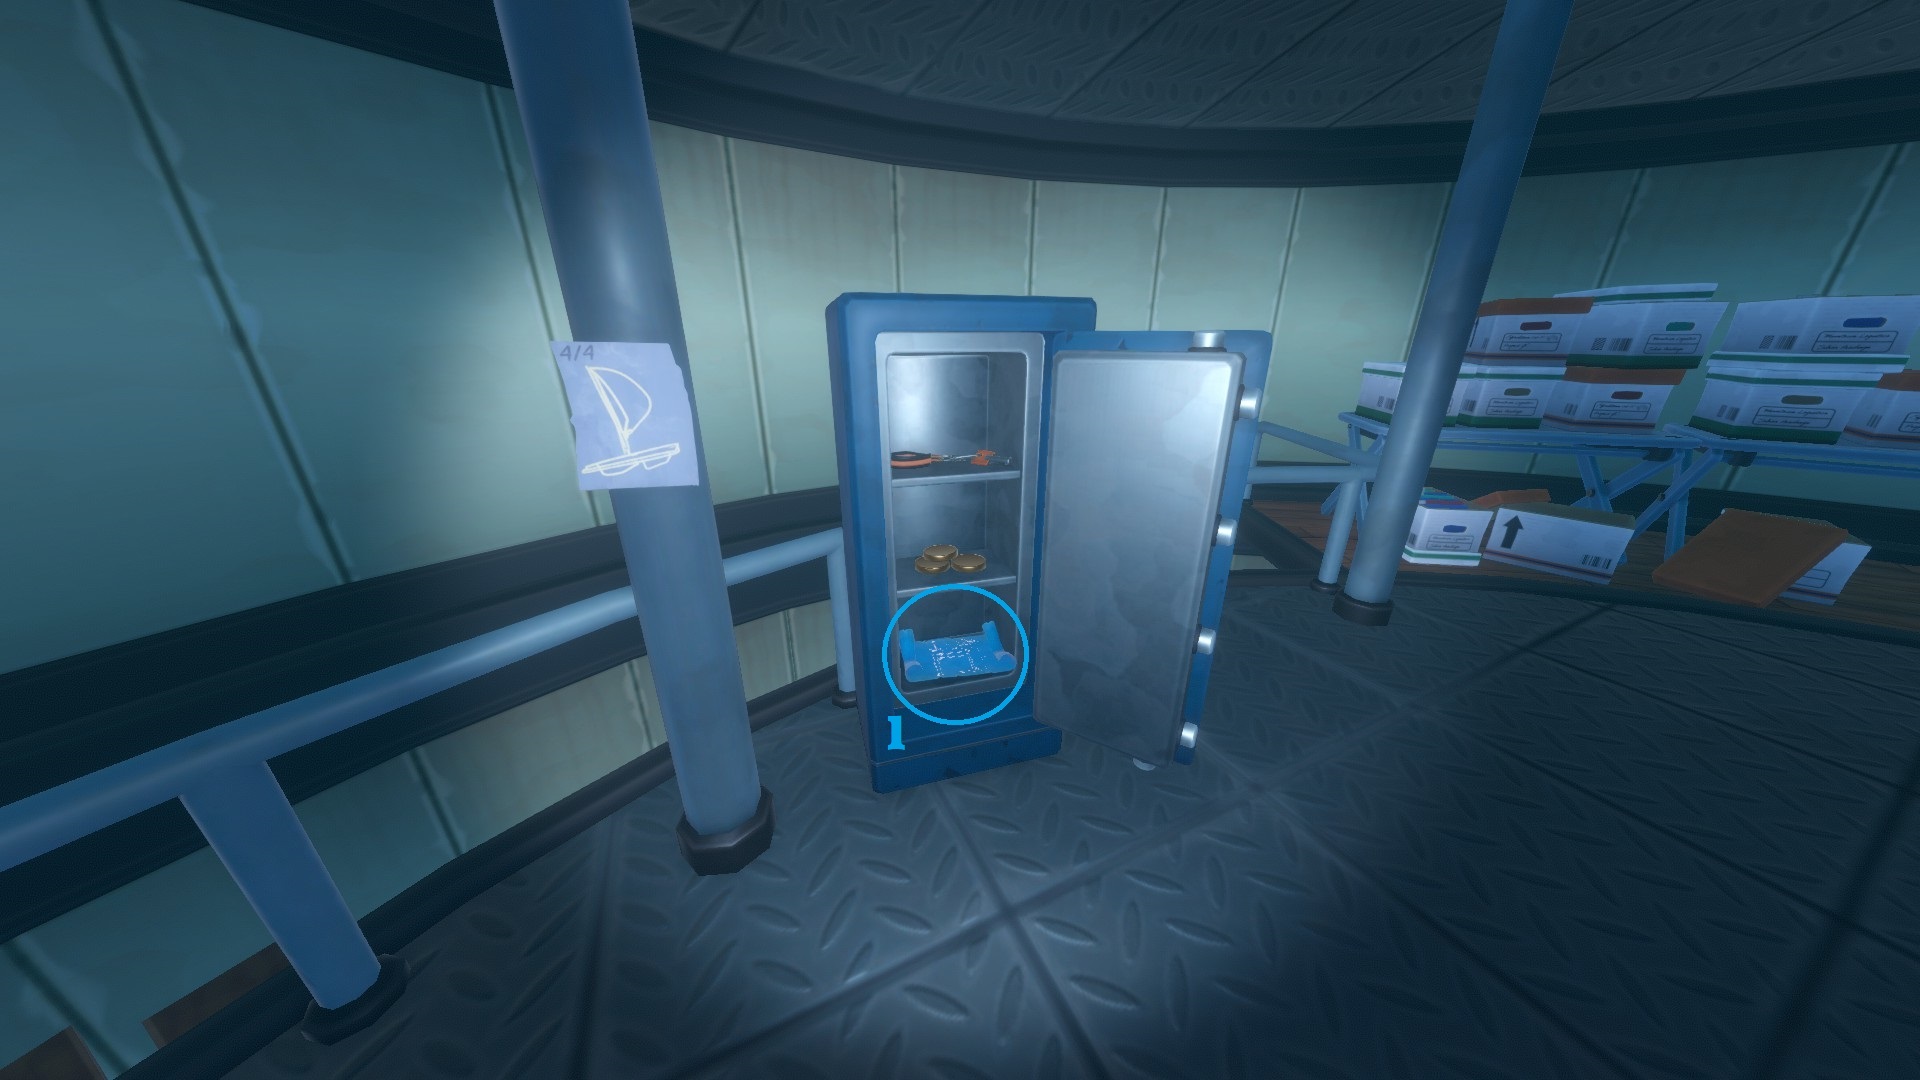
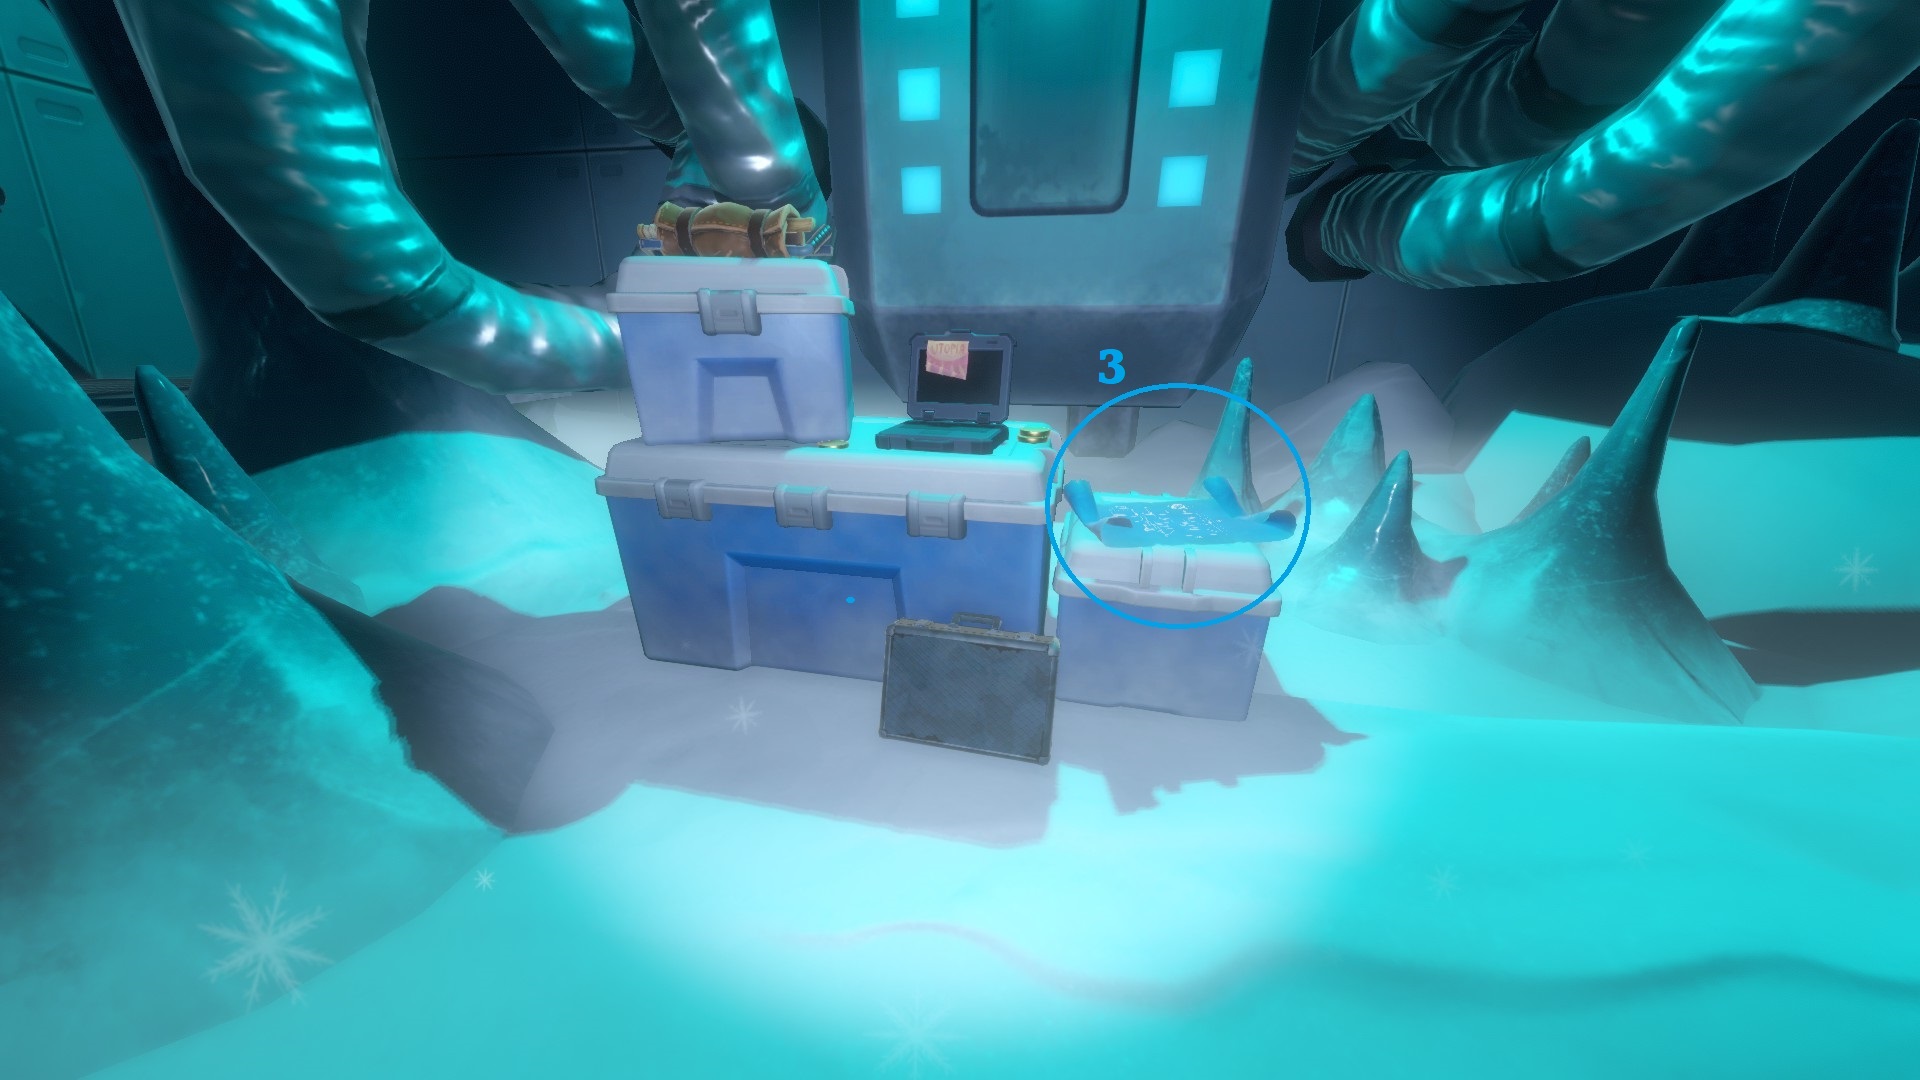
Temperance (Tokens/Character)
⠀
Tokens :
You can use them on the vending machines inside the big igloo in Moontown.
- The 1st token is on the ground, inside the ice cave under the Observatory.
- The 2nd and 3rd tokens are on the ground floor of the Observatory, between two cupboards.
- The 4th token is on the 1st floor of the Observatory, between two crates.
- The 5th token is on the 1st floor of the Observatory, on a table with white boxes.
- The 6th, 7th and 8th tokens are inside the locked chest on the 2nd floor of the Observatory.
- The 9th token is on the bedside table inside the 2nd house you open in Moontown.
- The 10th token is on the ground outside the 3rd house you open in Moontown, just next to the entrance.
- The 11th and 12th tokens are inside the 3rd house you open in Moontown, on a table on the right.
- The 13th and 14th tokens are inside the 4th house you open in Moontown (the infirmary), on a tray next to a bed.
- The 15th and 16th tokens are inside the 5th house you open in Moontown, one is on a table next to plants and one is under the pillow on the bed.
- The 17th token is inside the 6th and last house you open in Moontown (the large igloo in the middle of the town), it's with a plant just next to the entrance.
- The 18th and 19th tokens are on the 2nd floor of the large igloo in the middle of the town, on the billiard table.
- The 20th token is also on the 2nd floor of the large igloo, under a pillow on a couch.
- The 21st and 22nd tokens are also on the 2nd floor of the large igloo, one in front of a TV and one on an armchair nearby.
- The 23rd token is inside the SELENE Research Facility, on the console in the middle of the control room.
- The 24th token is also in the control room, on a console next to the wall.
- The 25th token is in Laboratory 2, on the red Rb console.
- The 26th and 27th tokens are in Laboratory 1, in the small laser room. One is on a big machine against a wall and one is on a small white machine against a mirror.
- The 28th token is in the stairs, on the way to the Reactor.
- The 29th token is also on the way to the Reactor, next to the Hazmat Suit wardrobe.
- The 30th token is on the ground in the frozen corridor on the way to the cryo-chamber.
- The 31st, 32nd and 33rd tokens are at the very end in the cryo-chamber, next to a laptop.
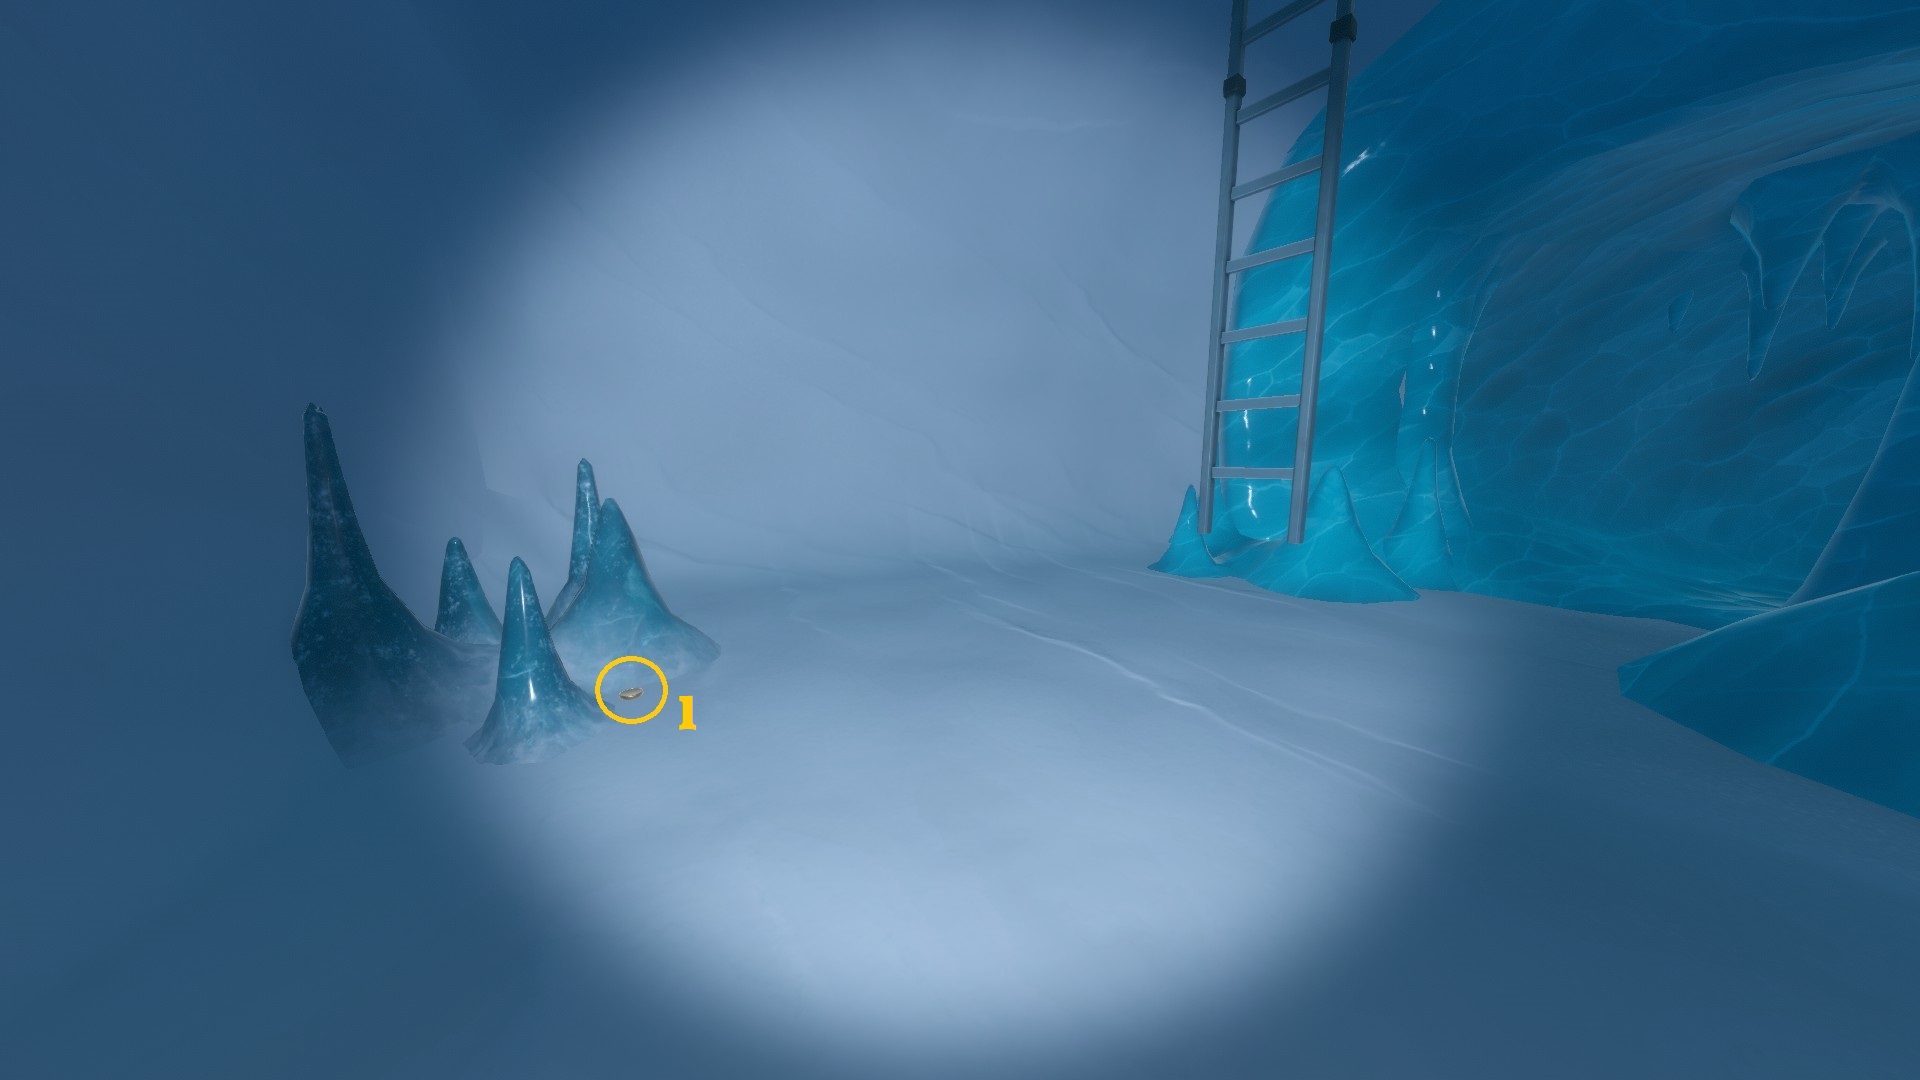
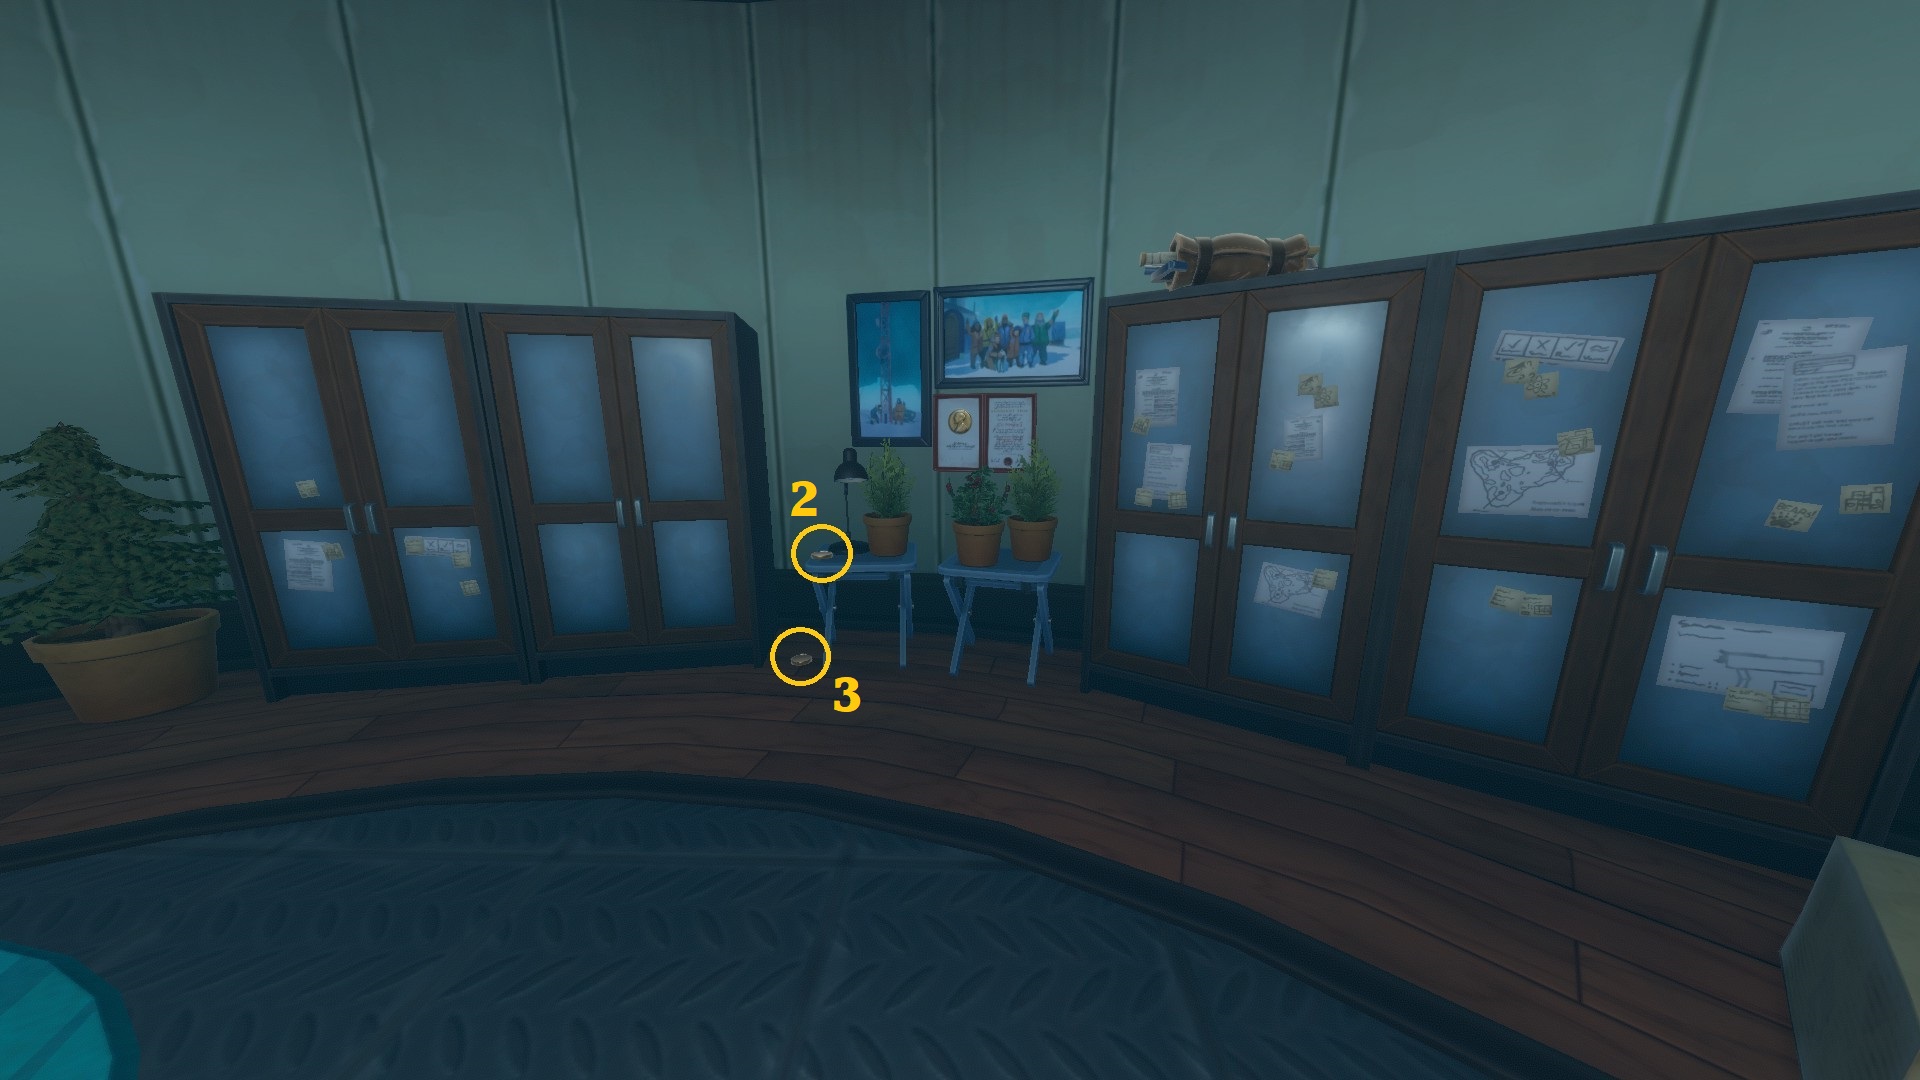
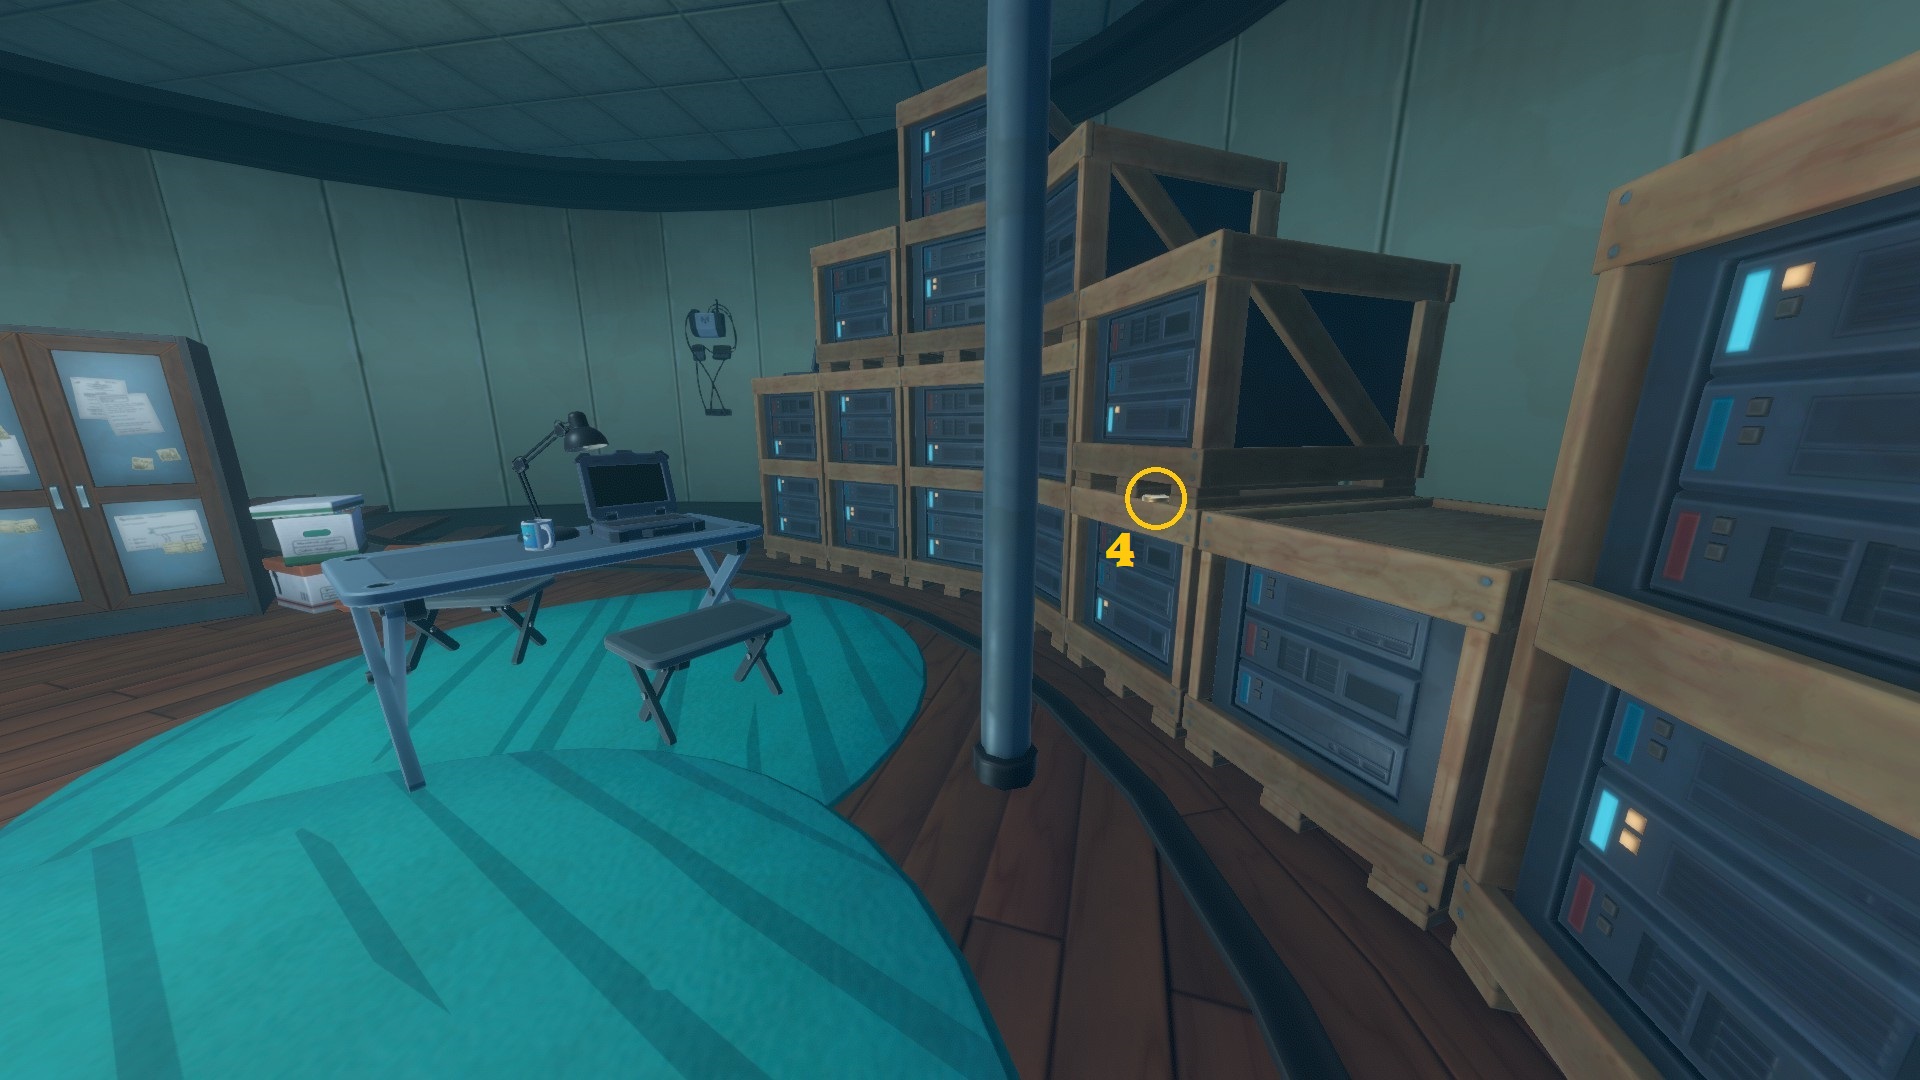
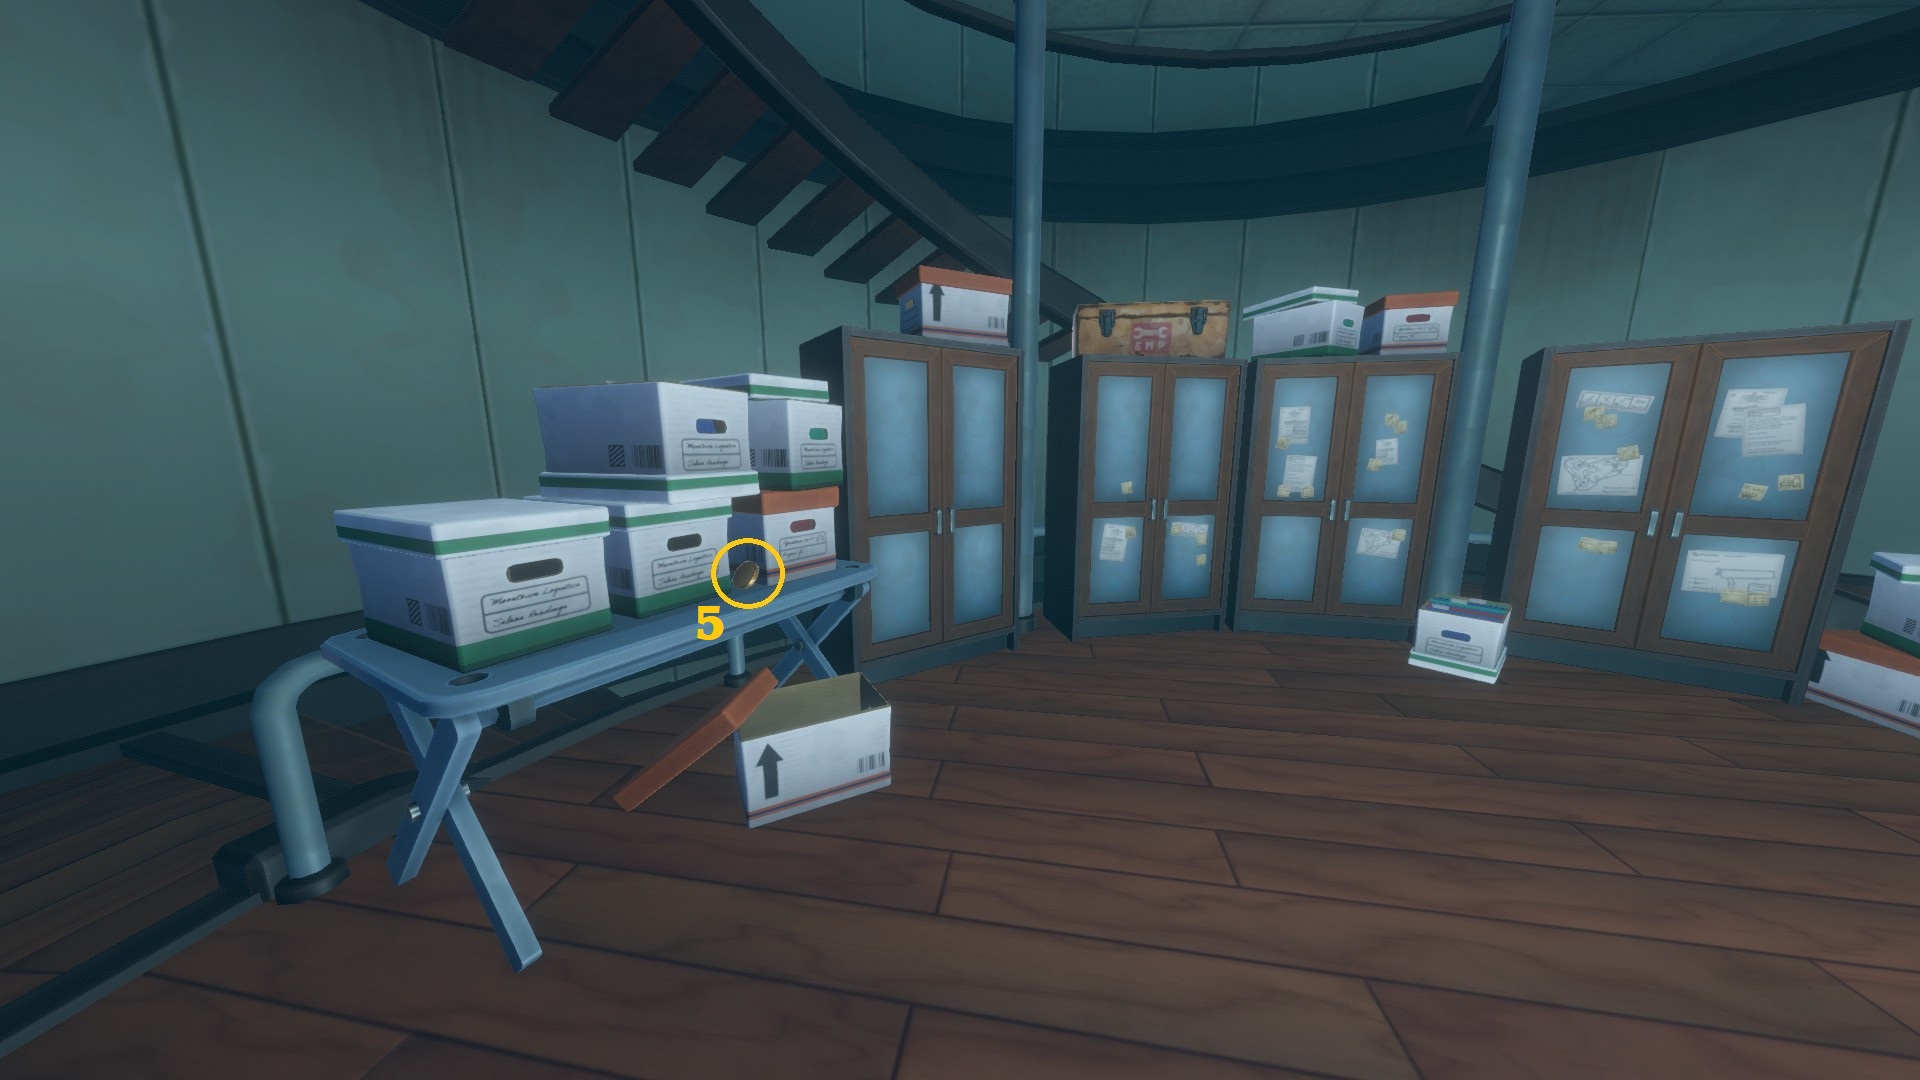
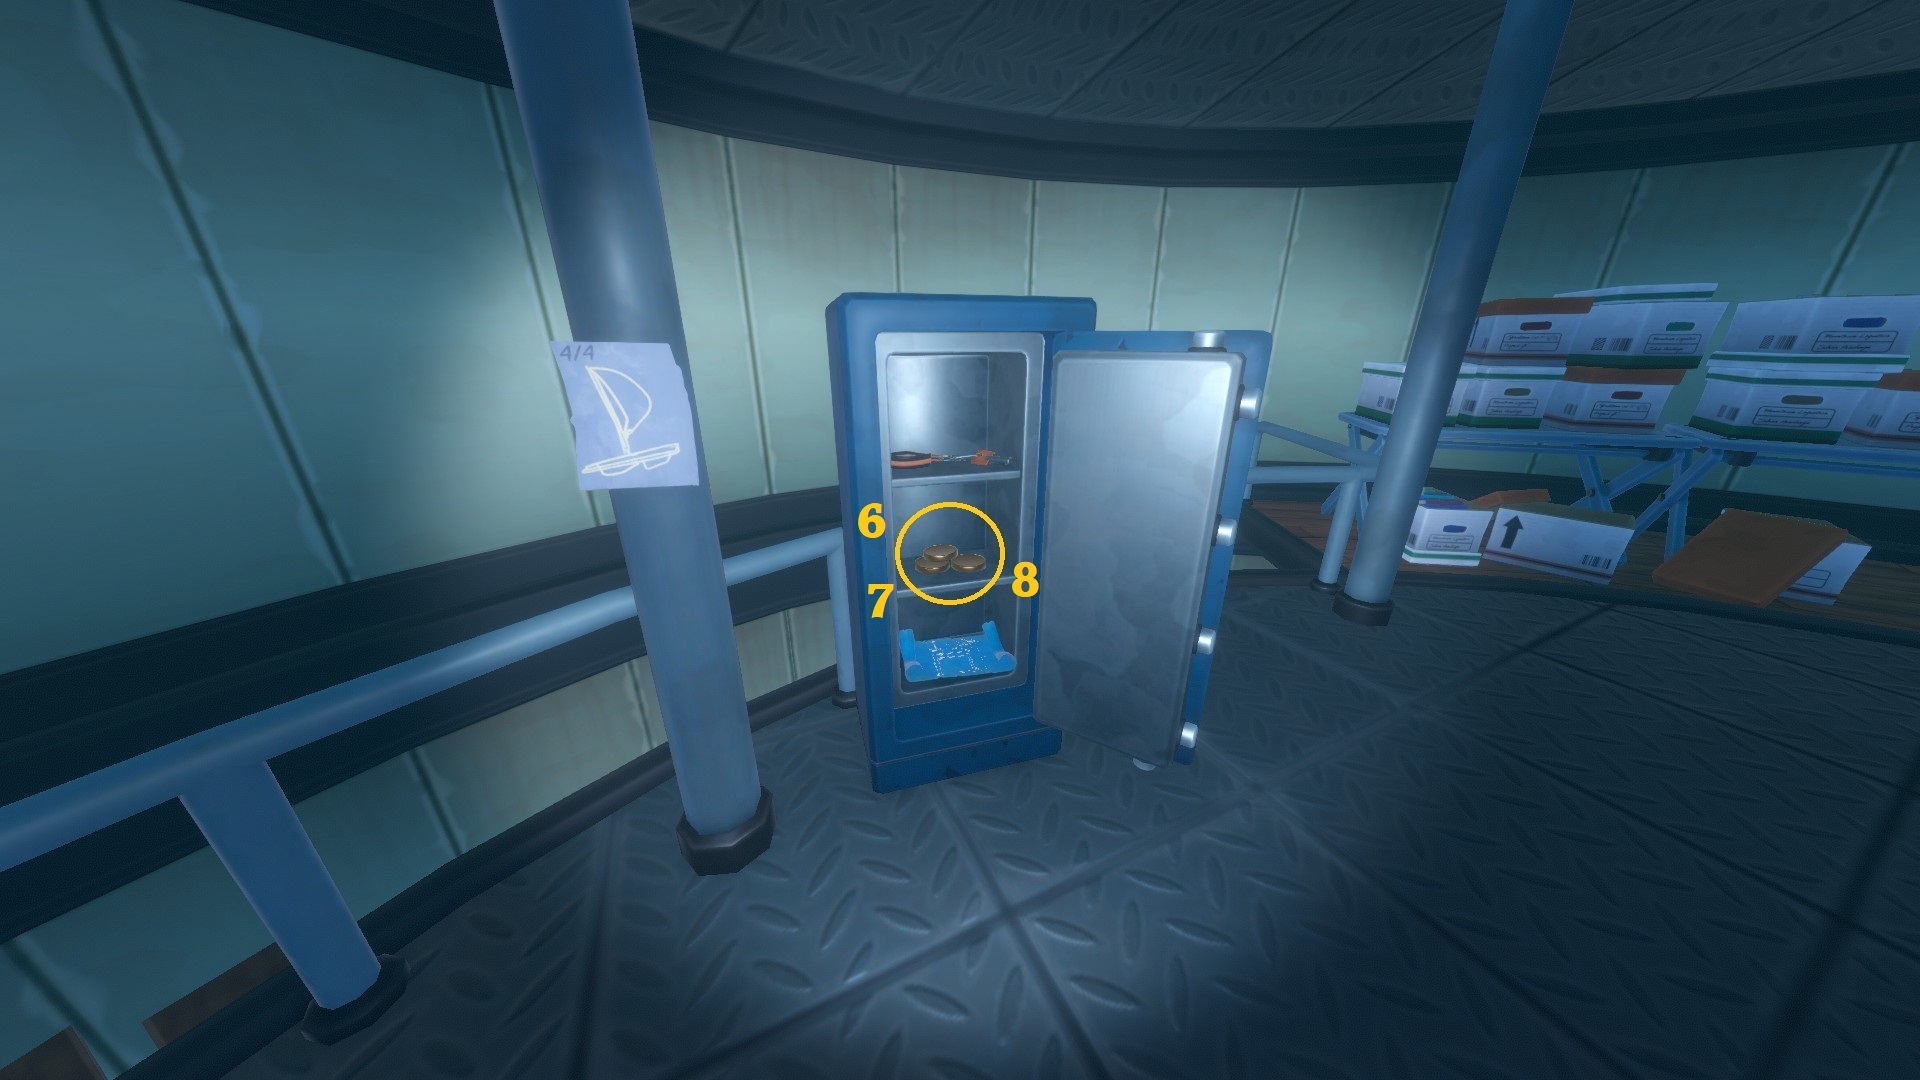
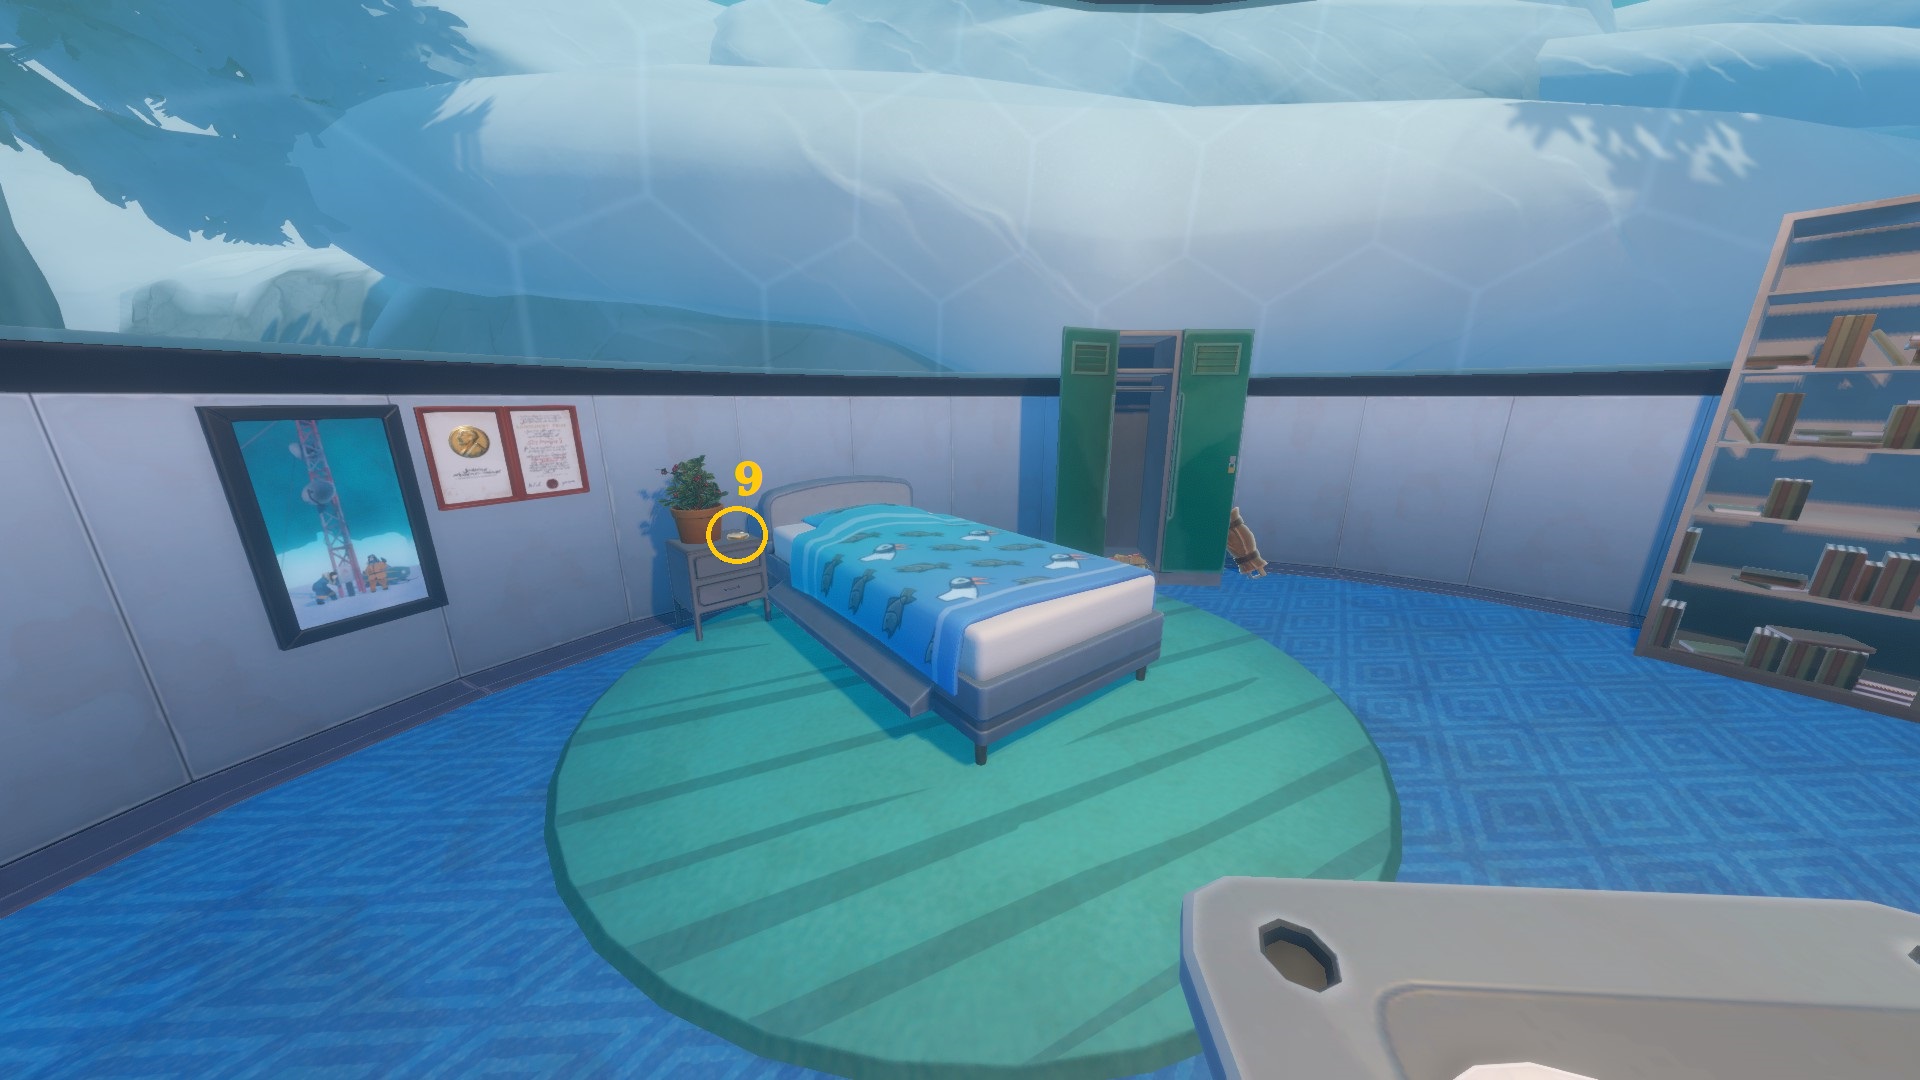
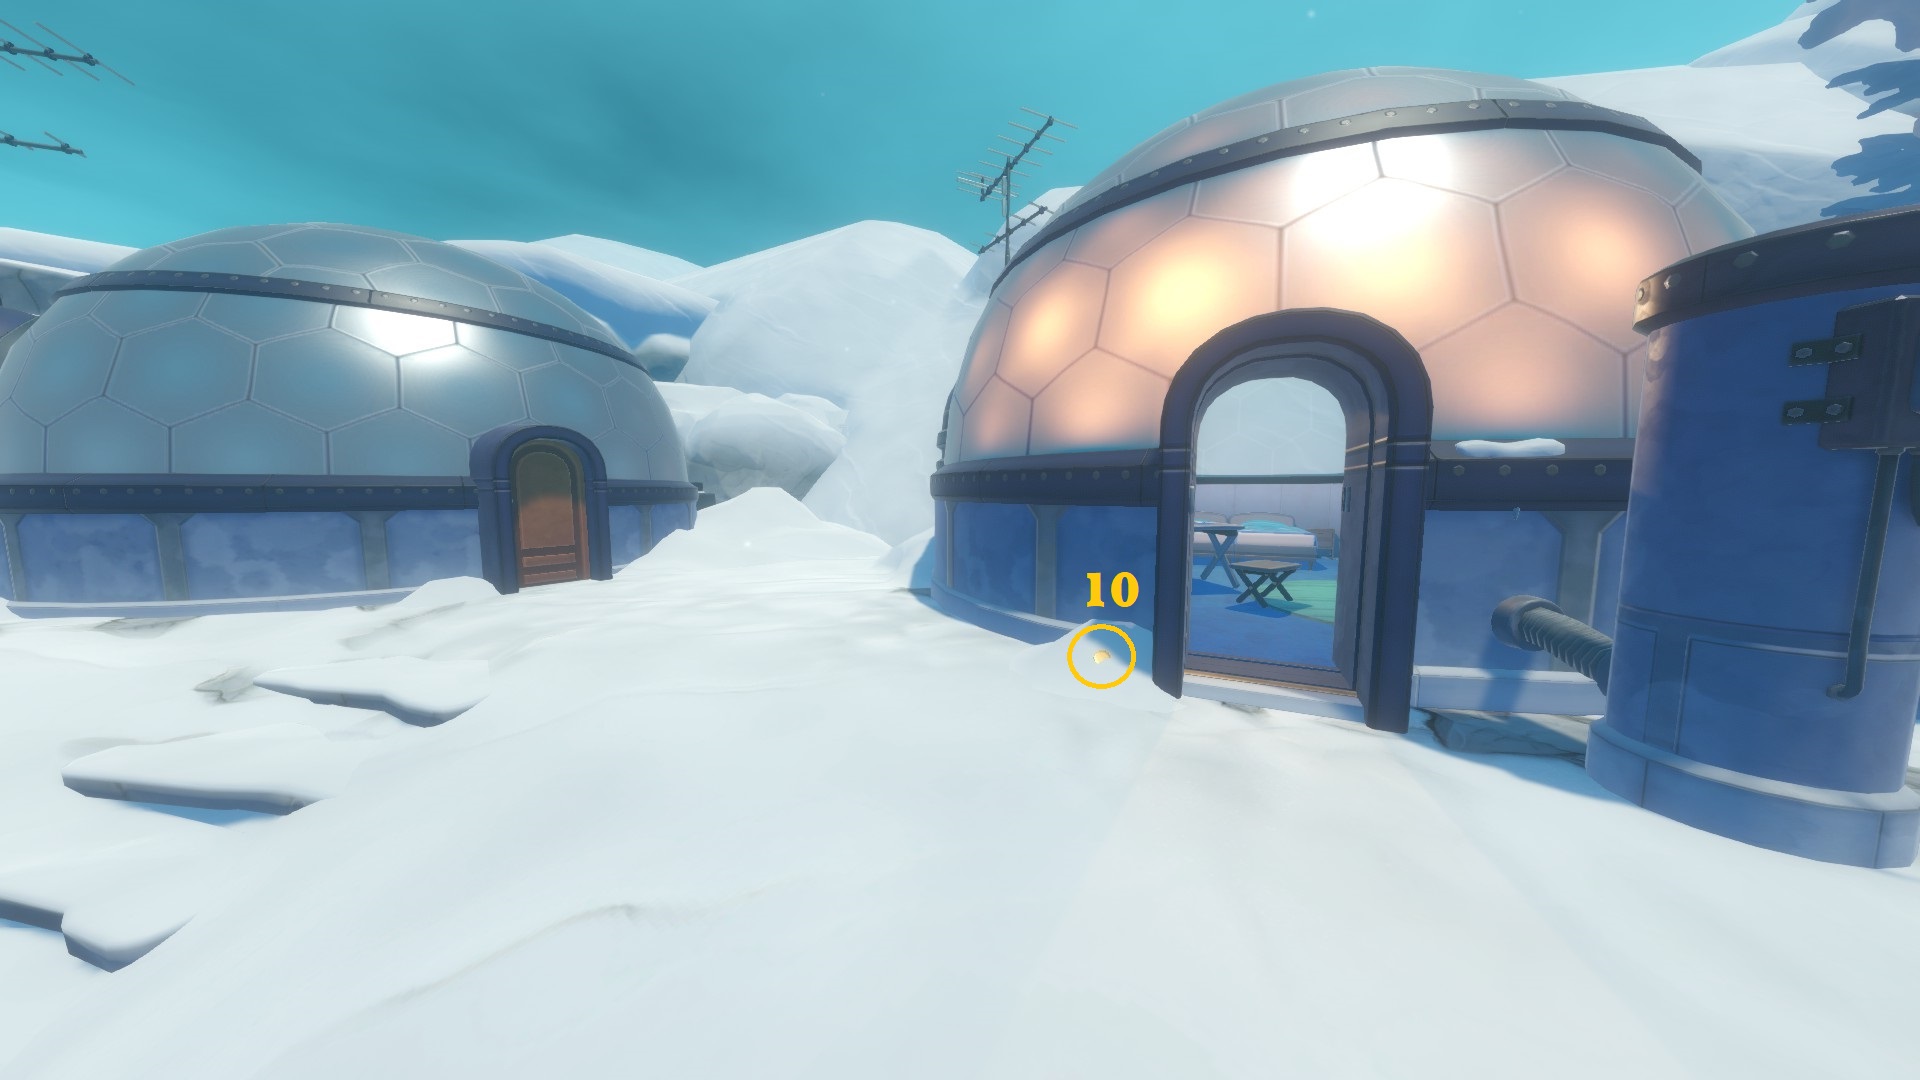
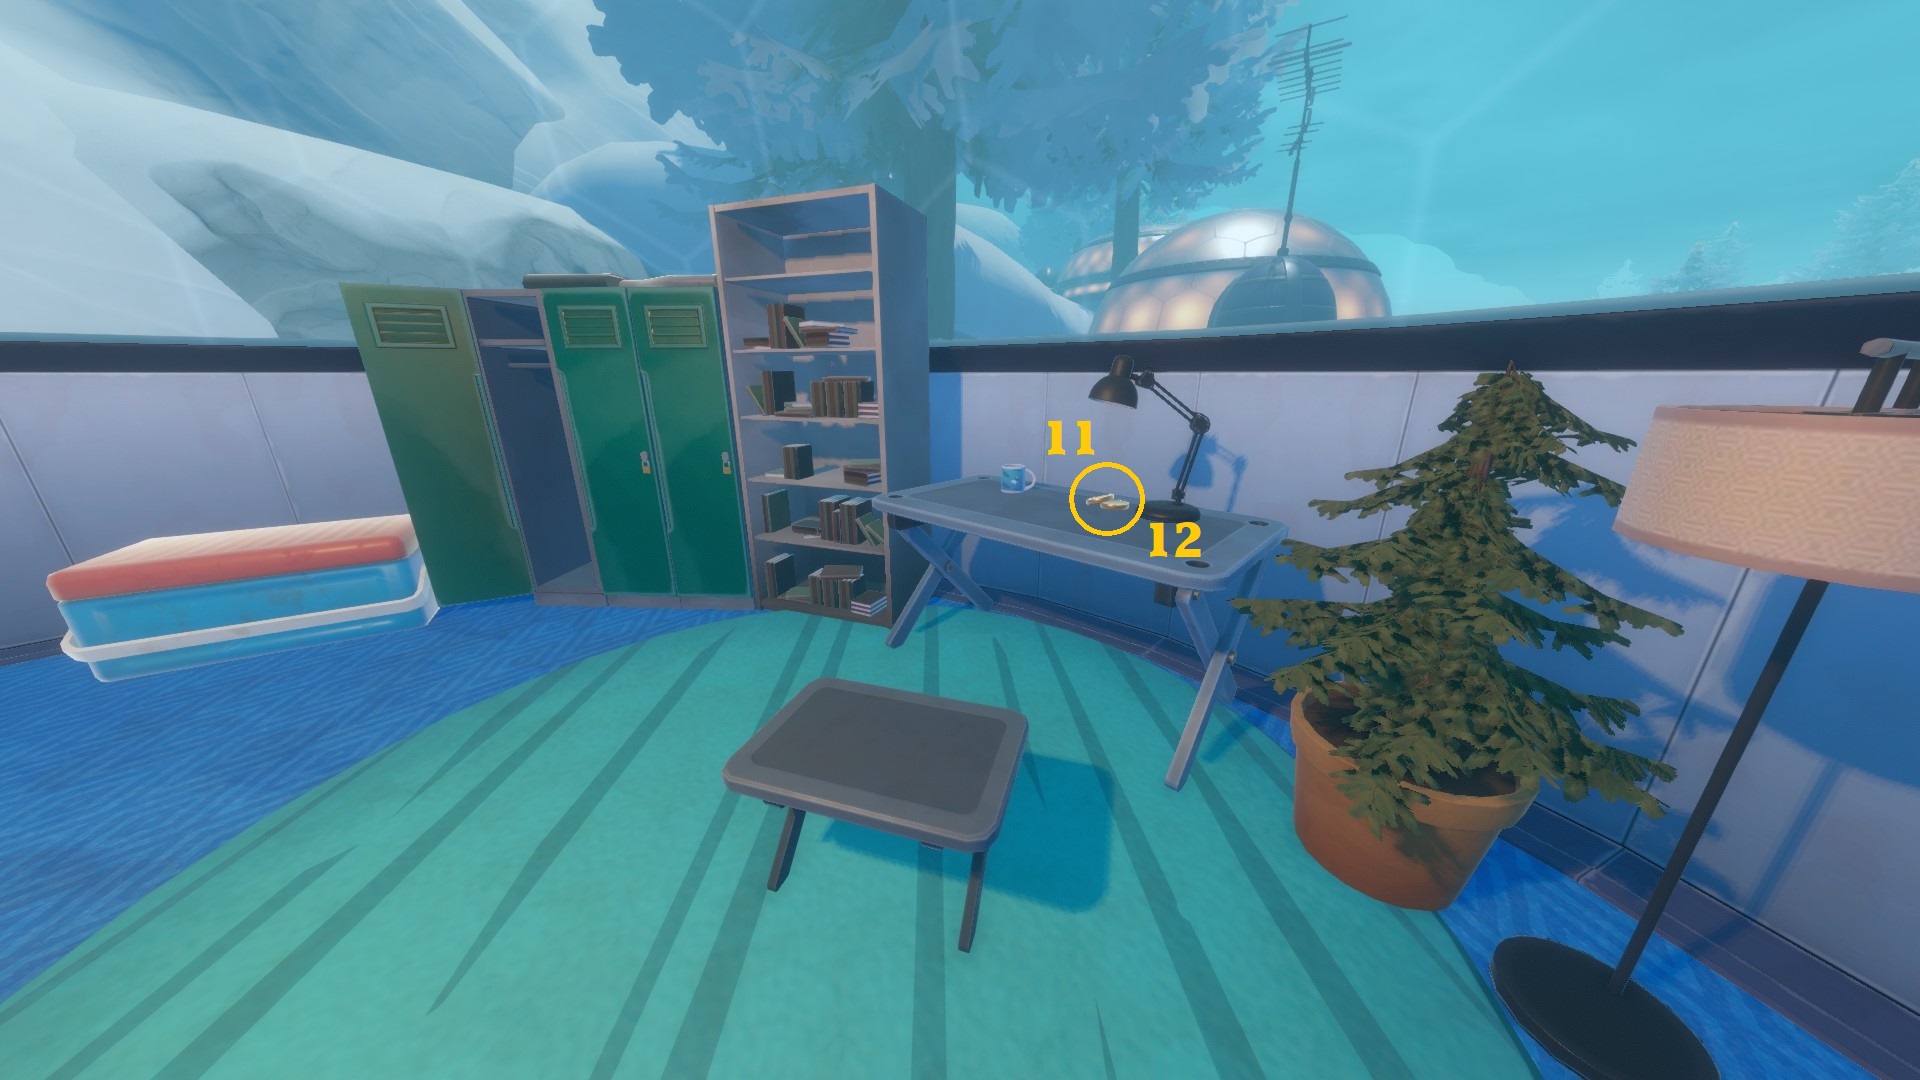
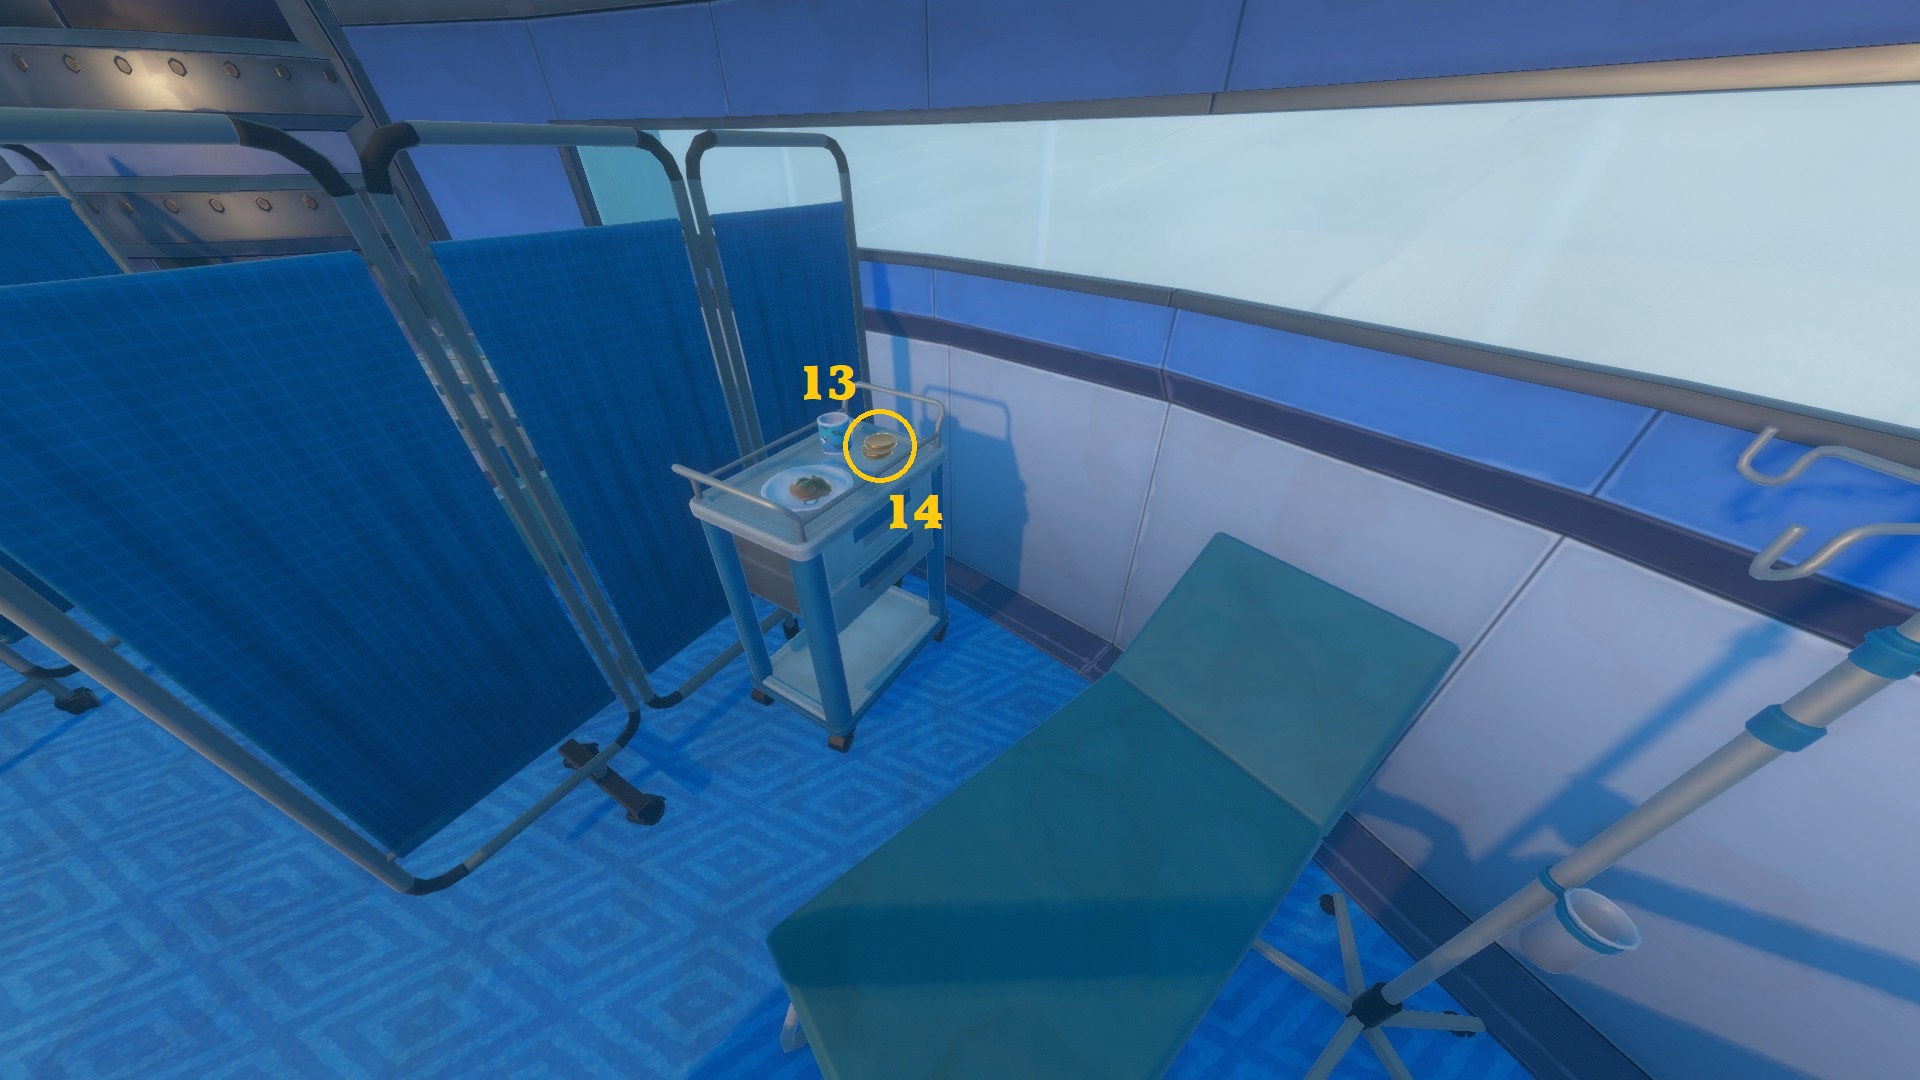
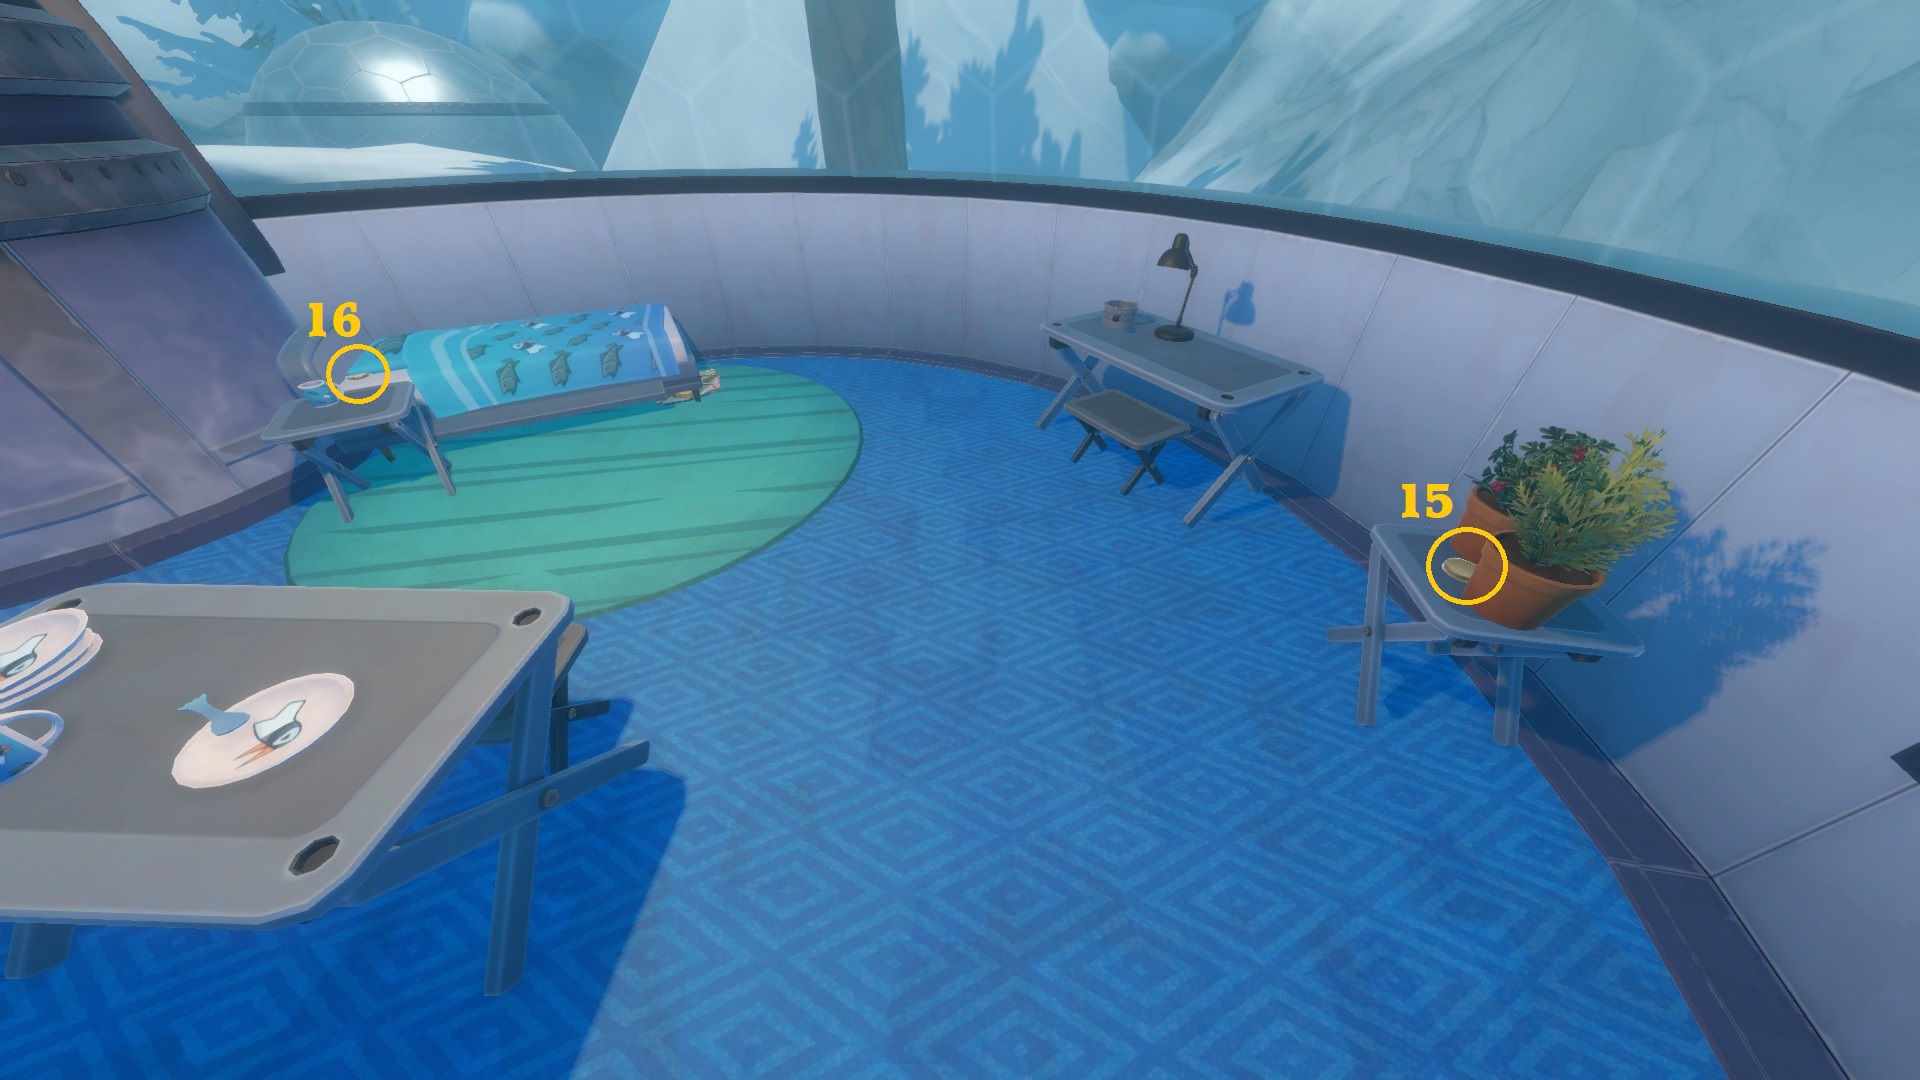
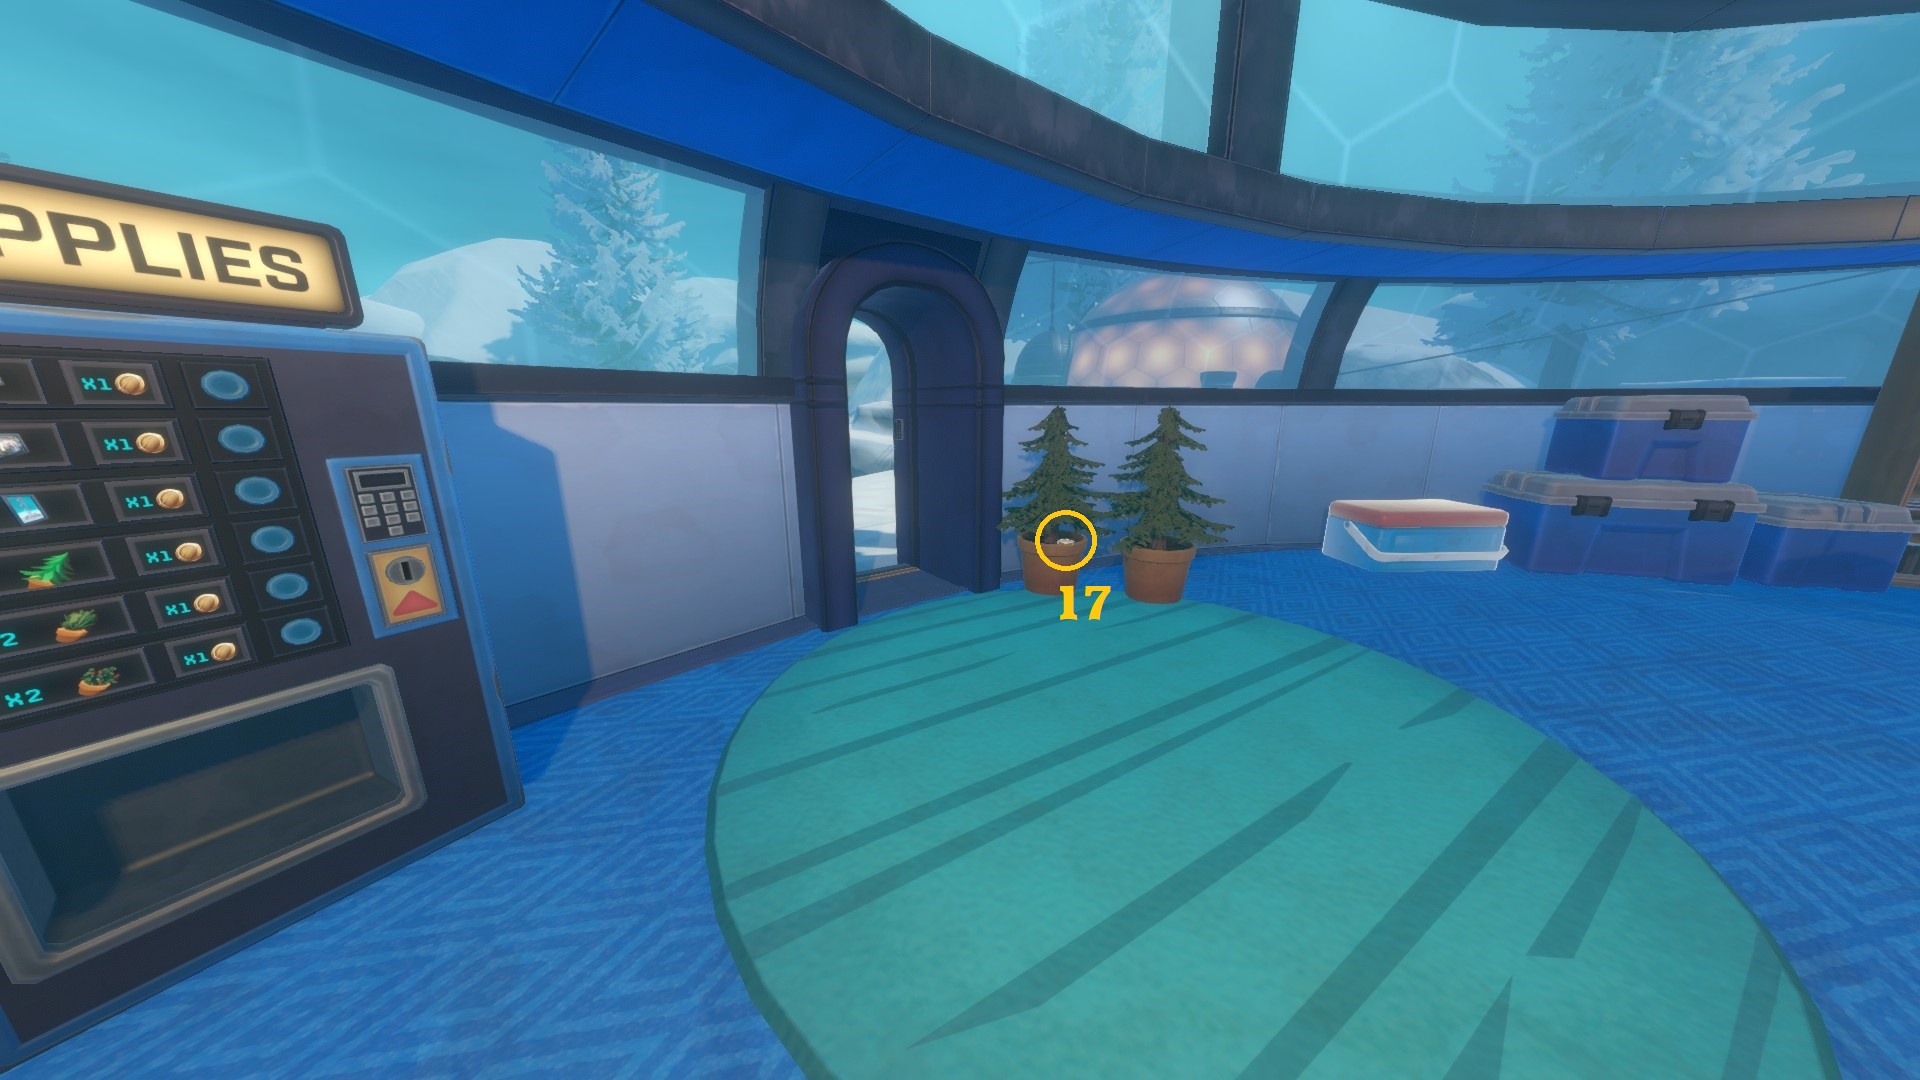
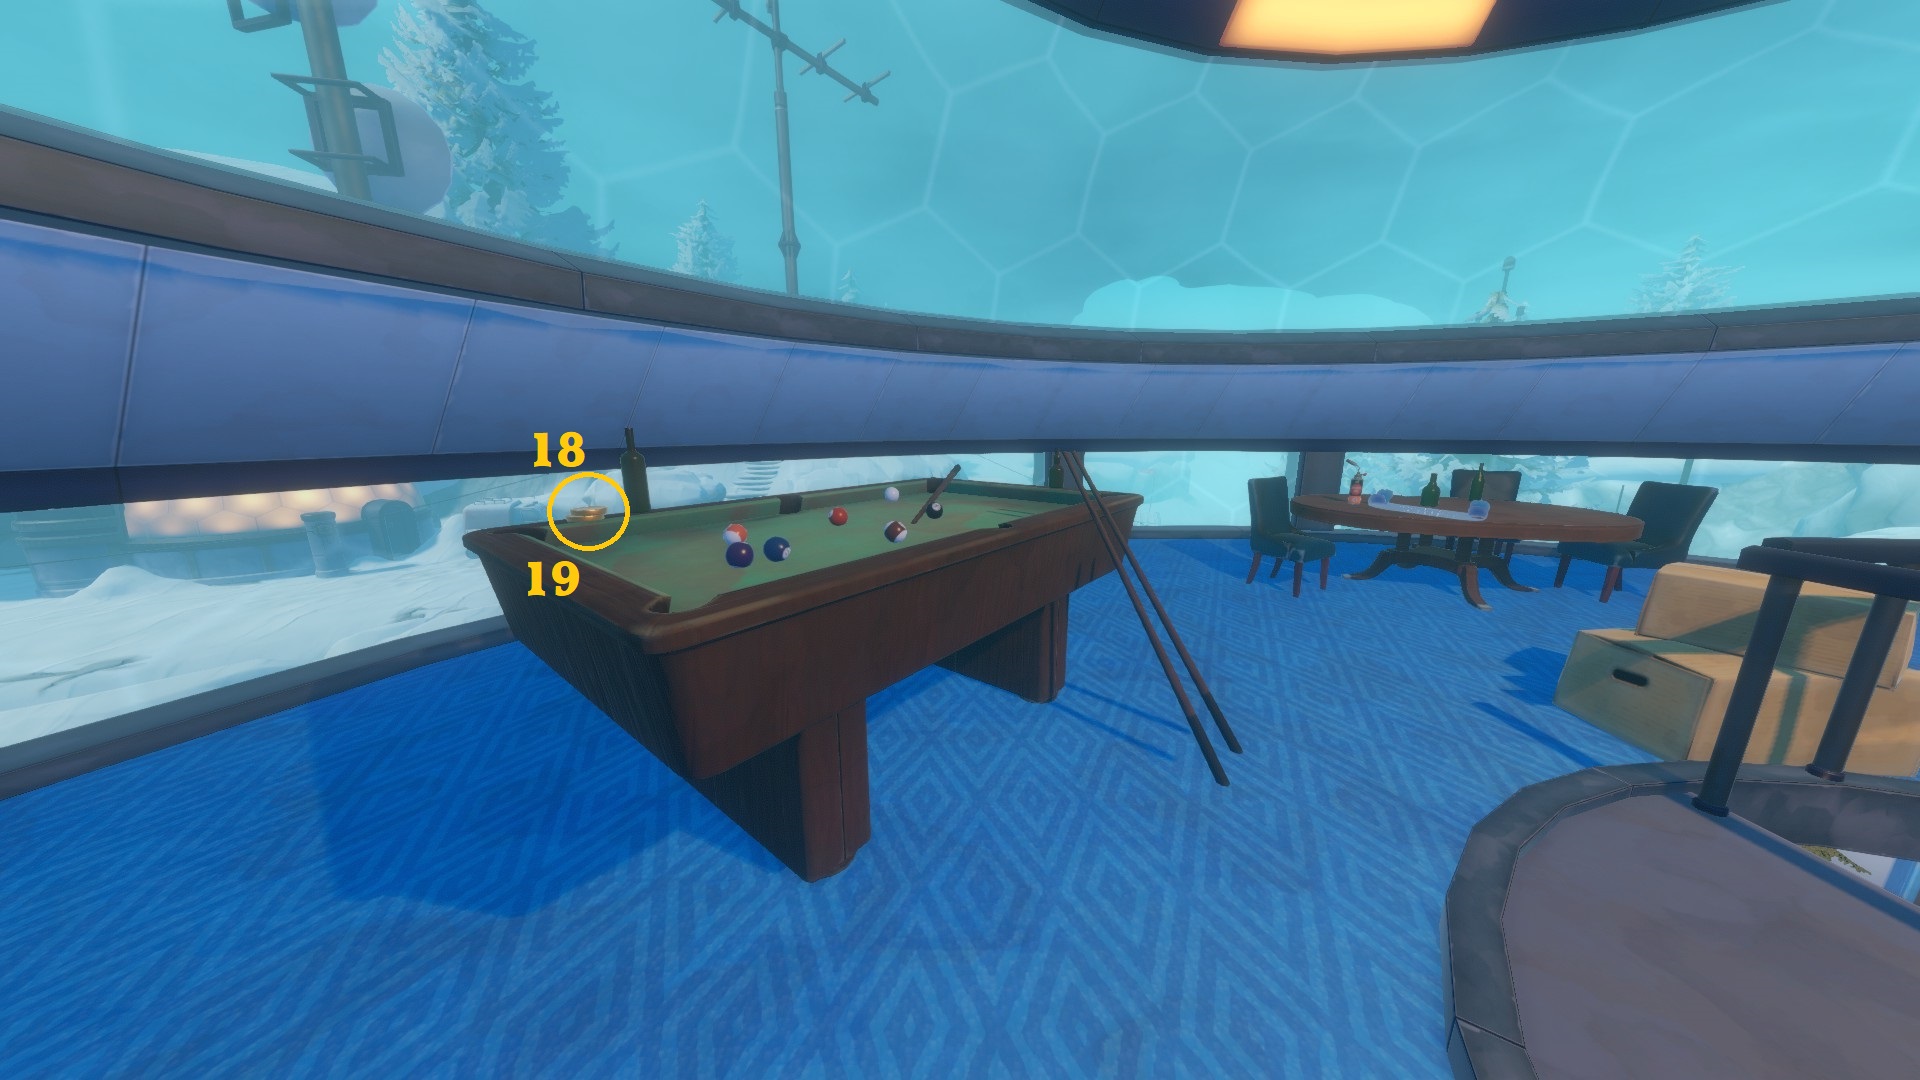
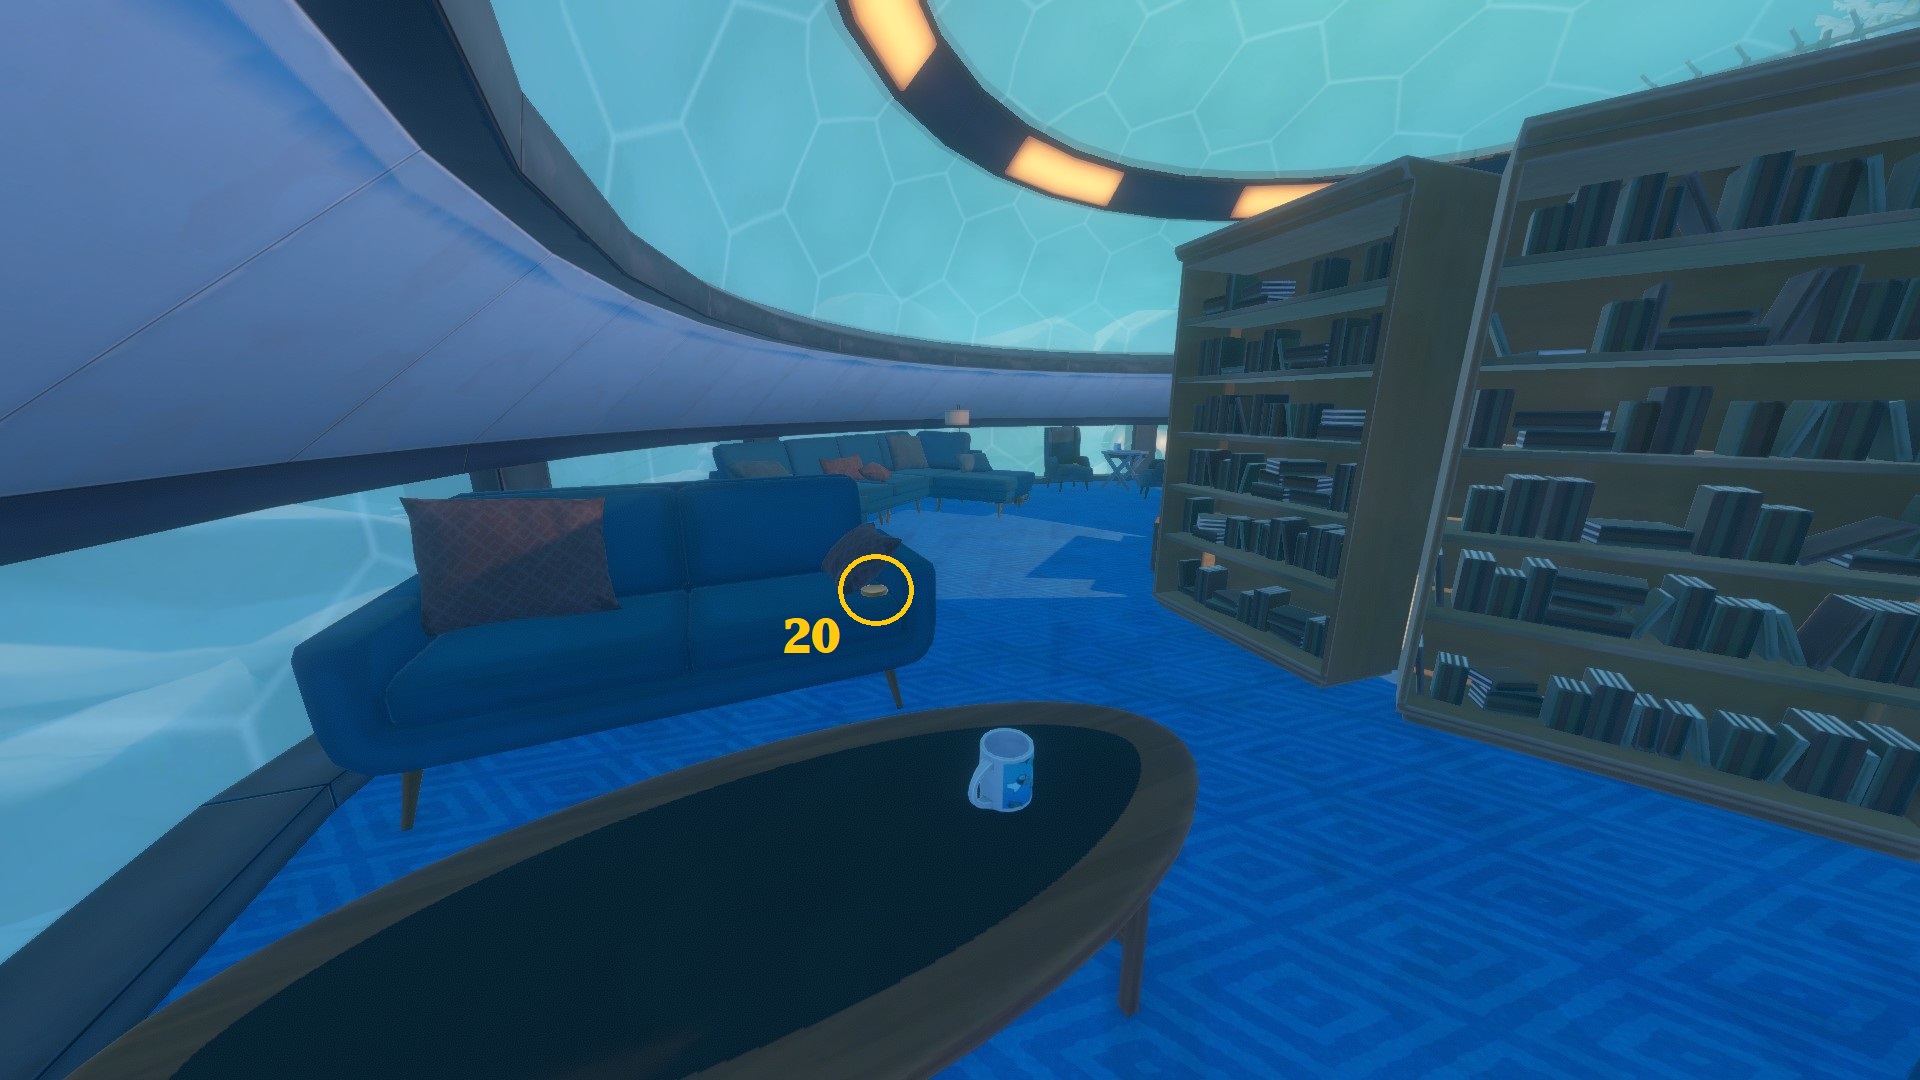
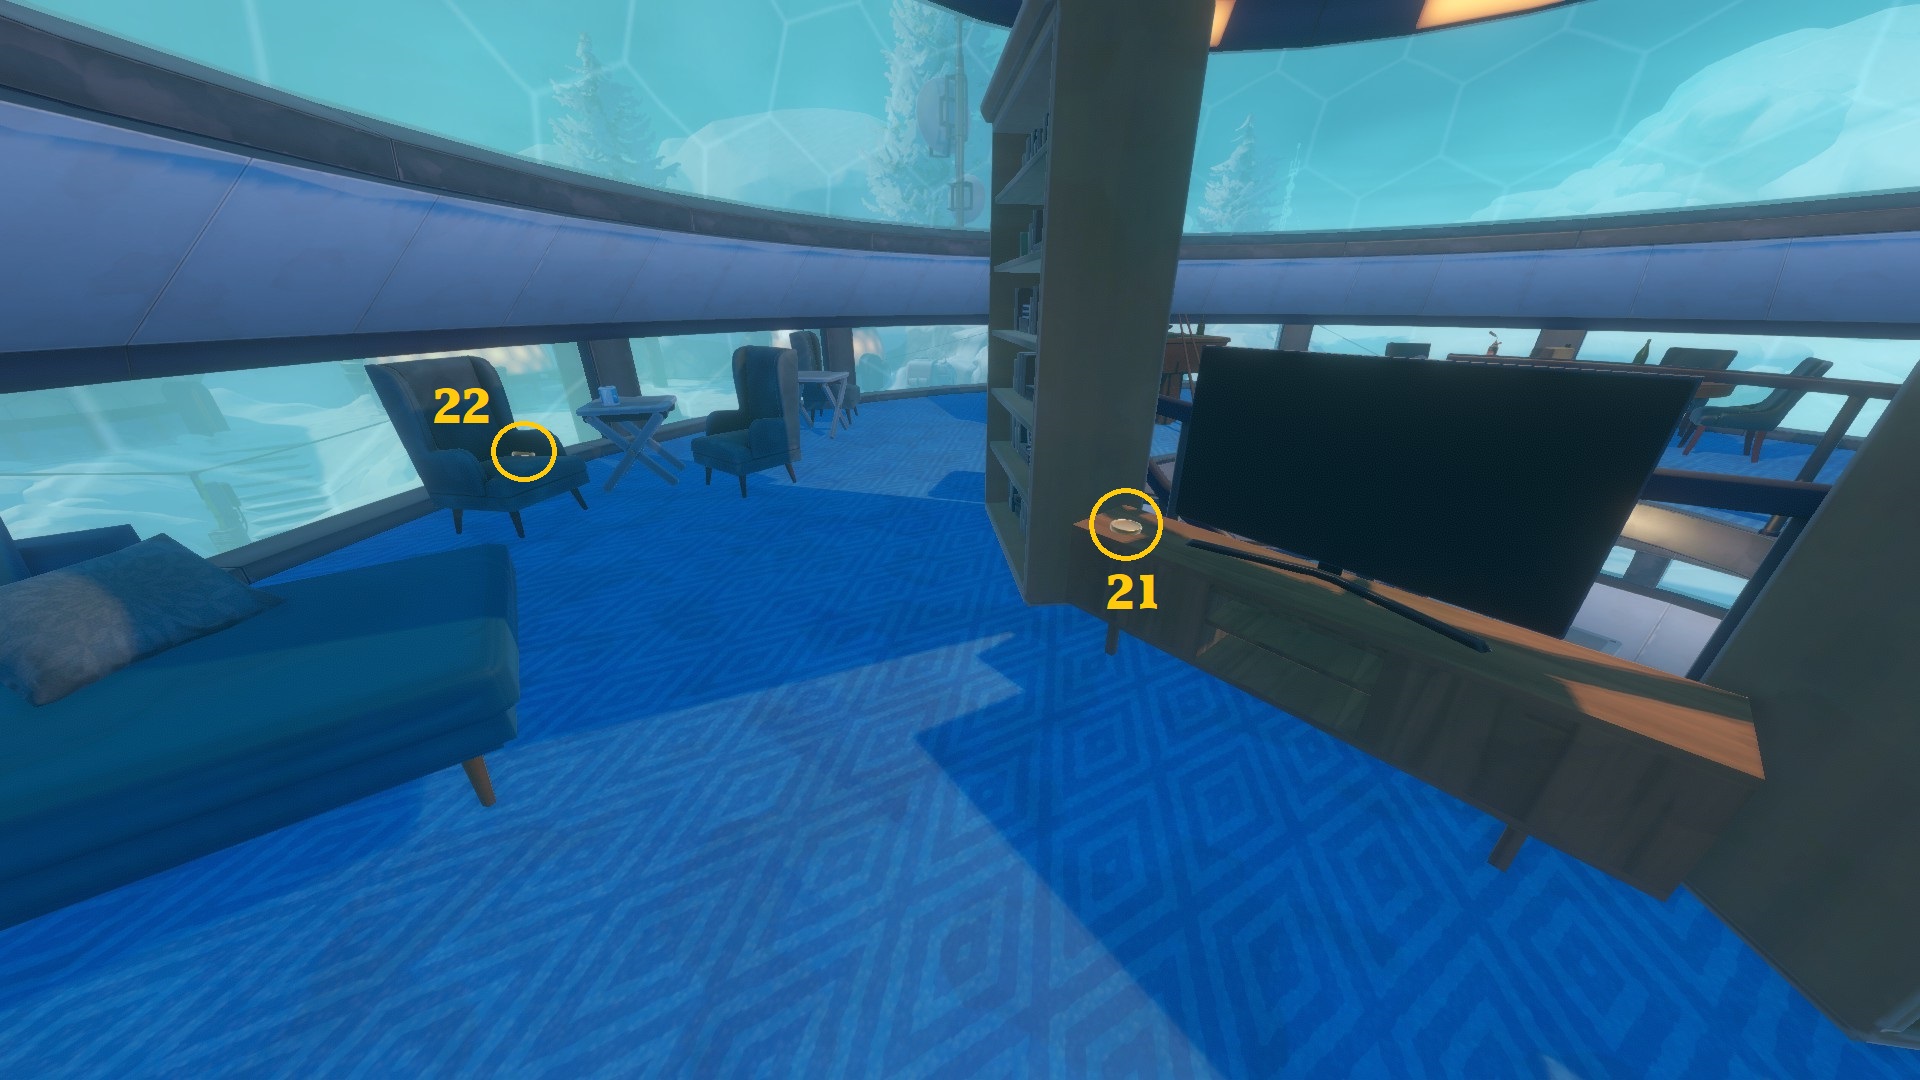
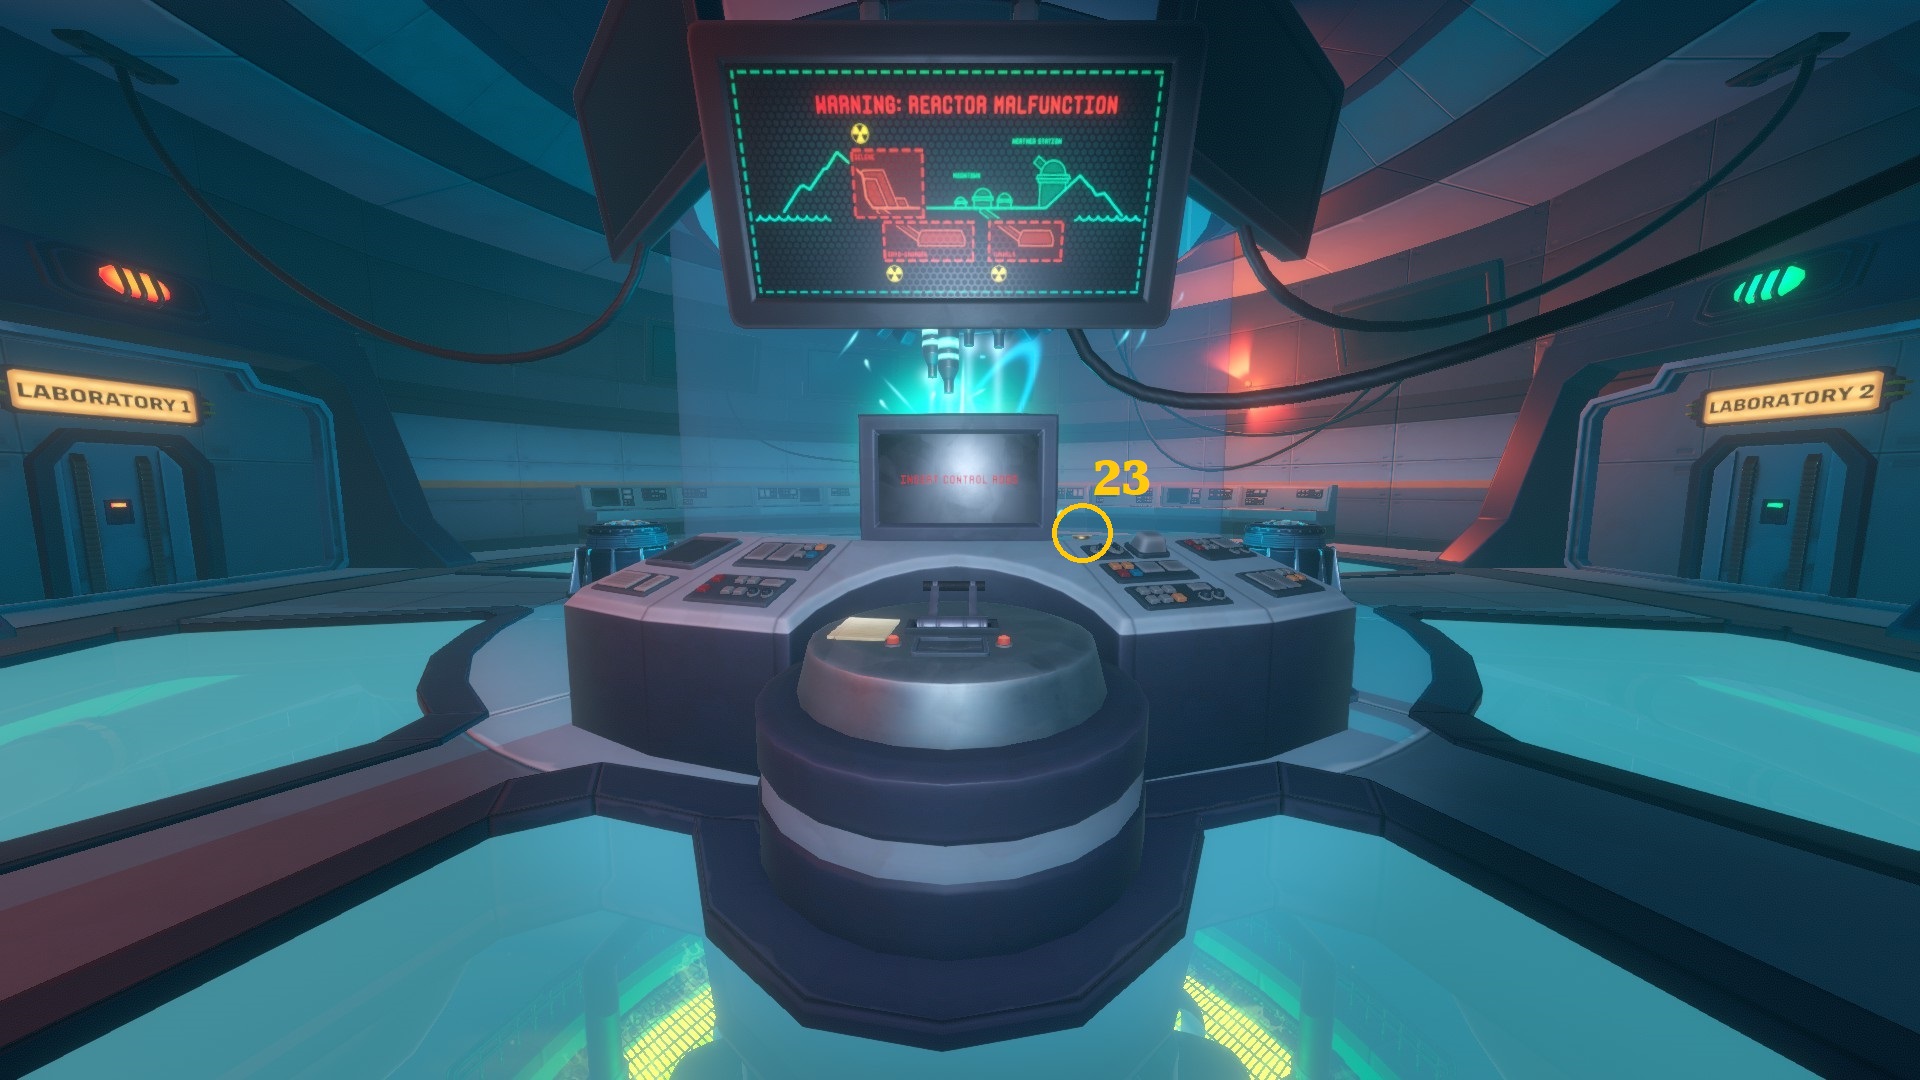
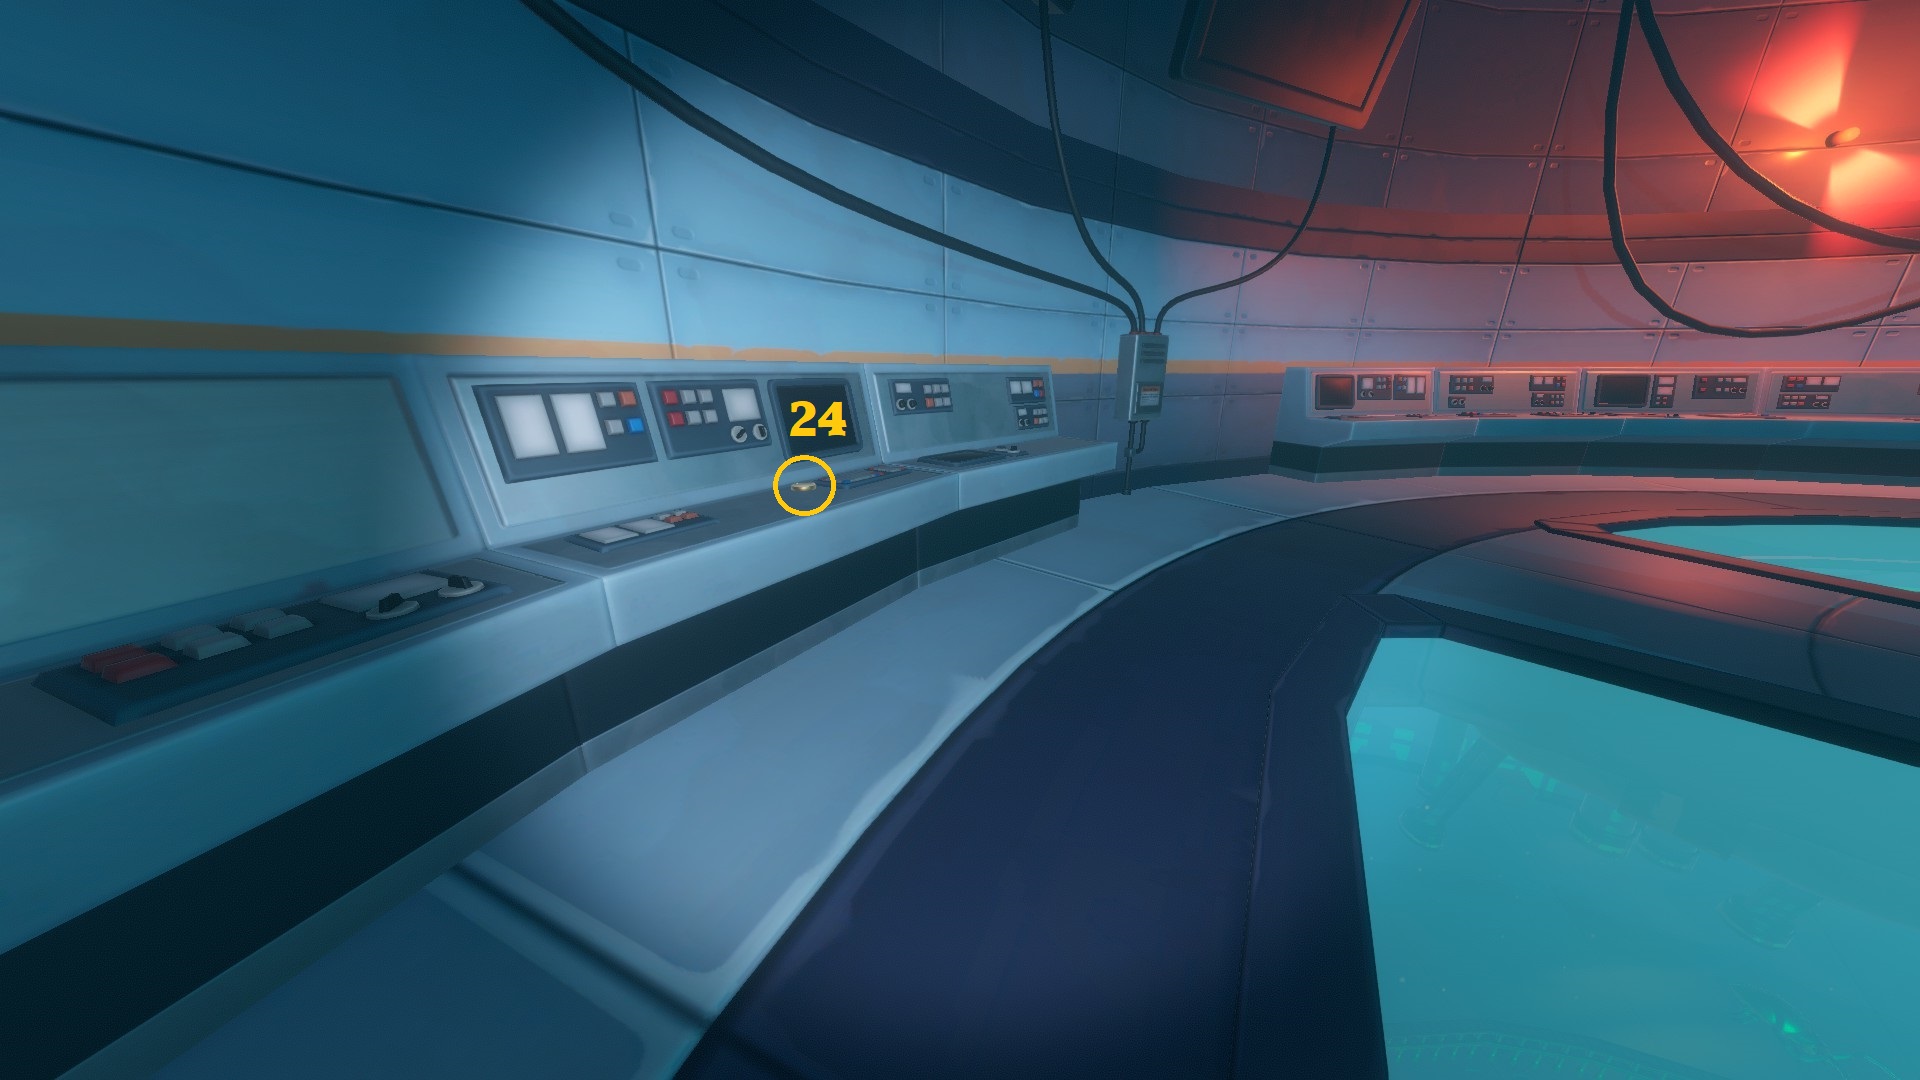
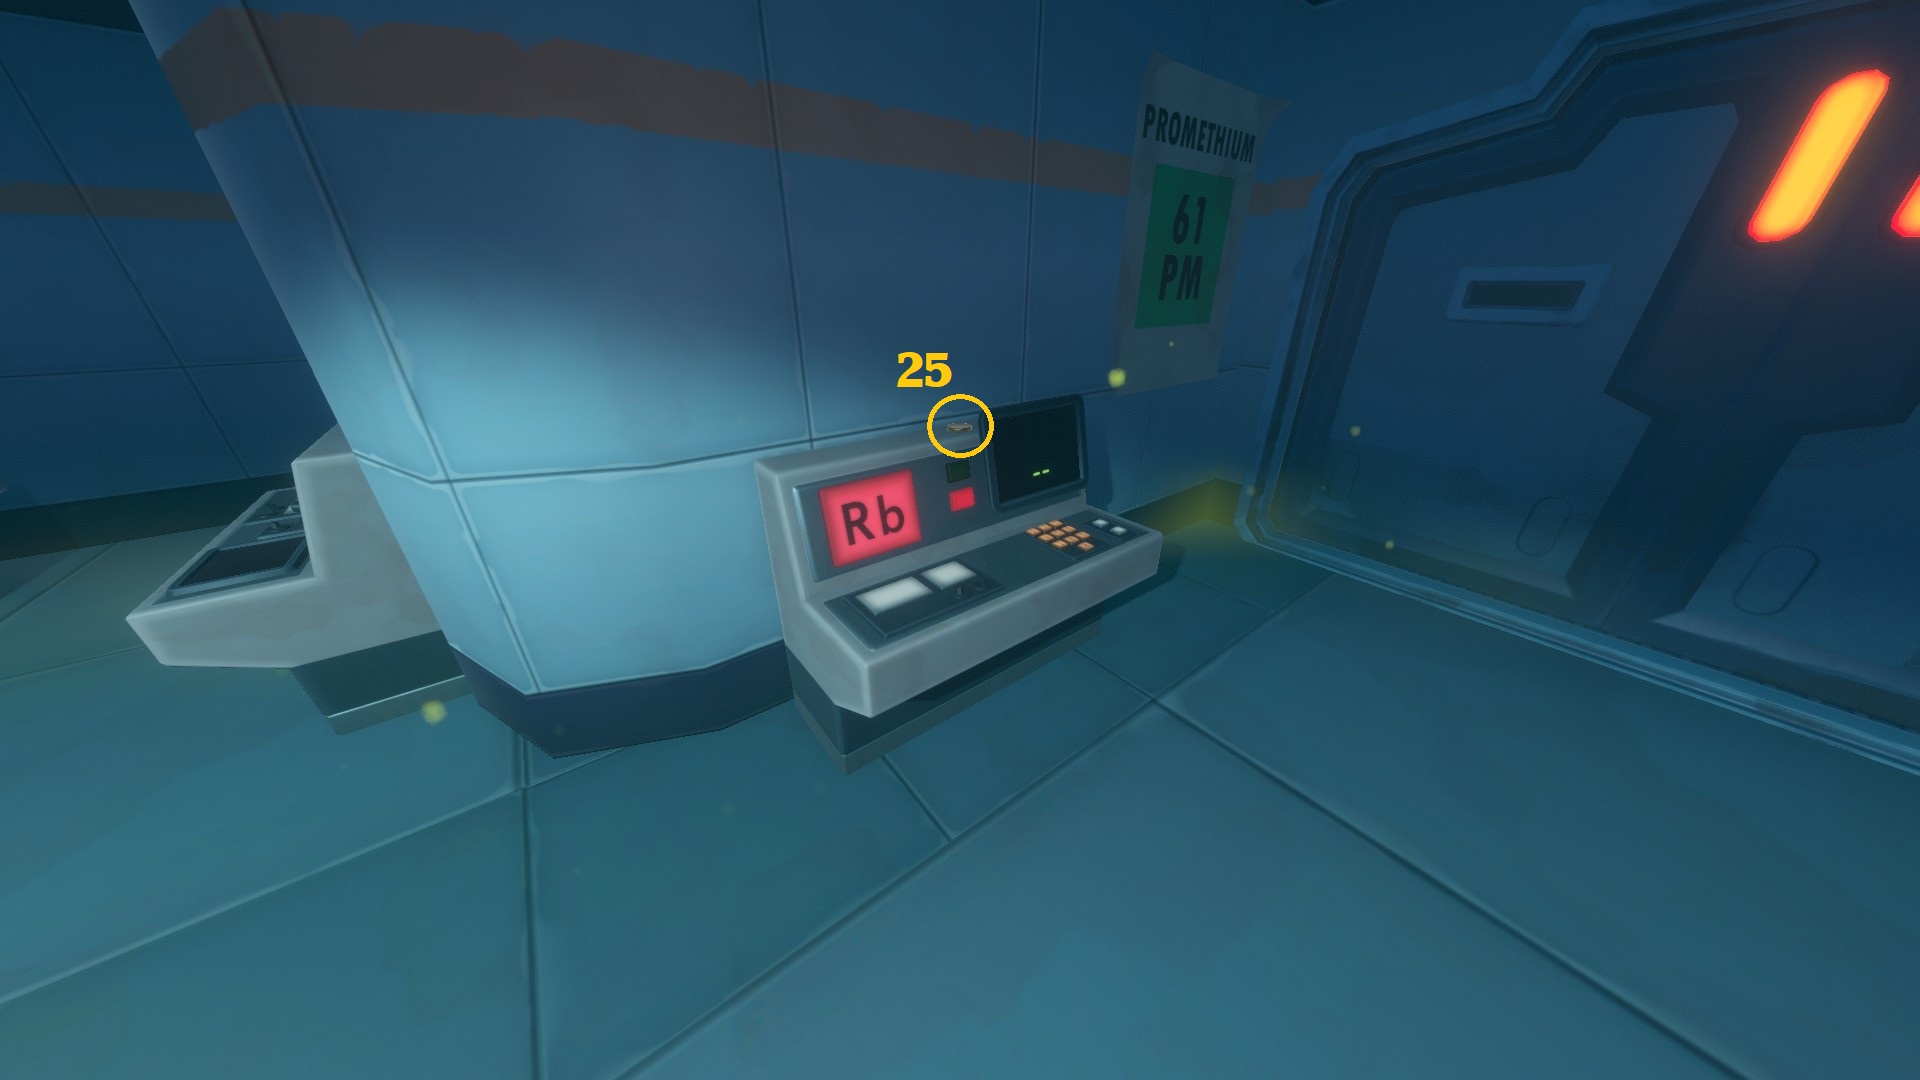
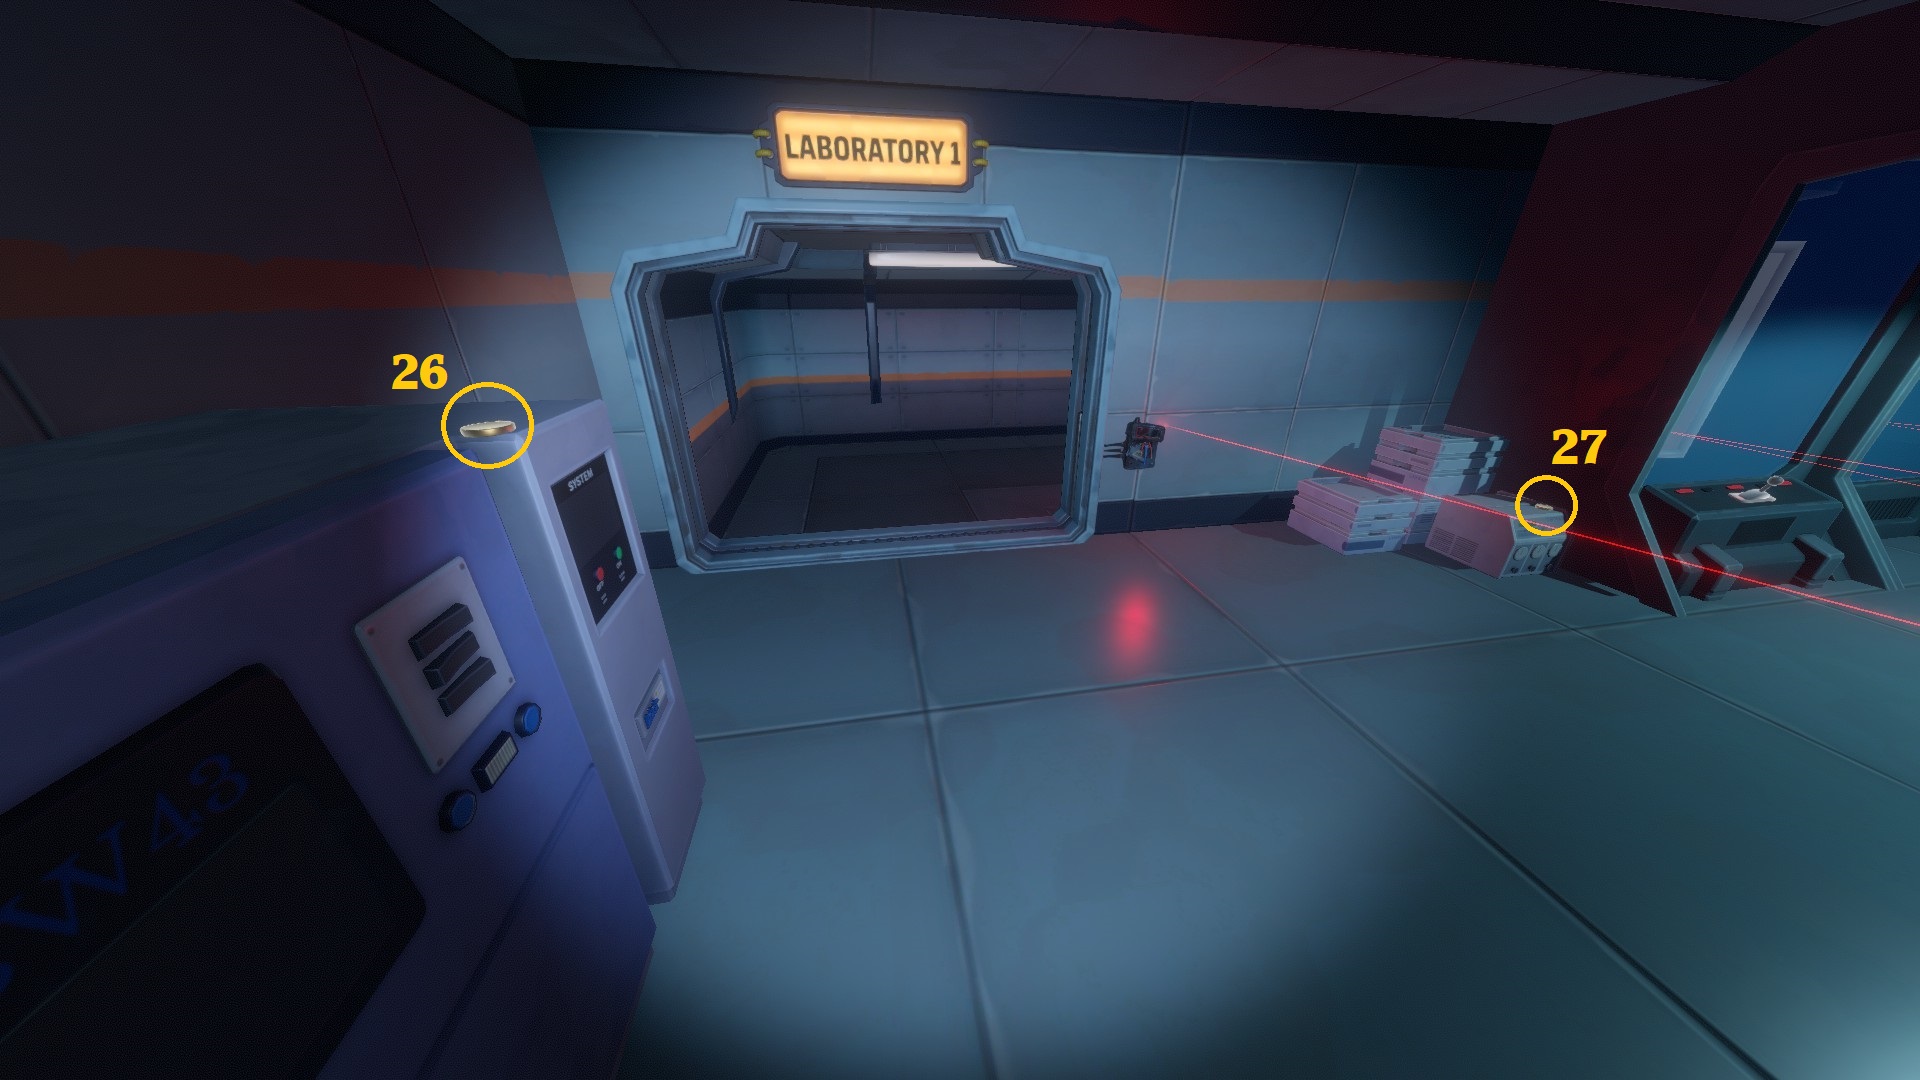
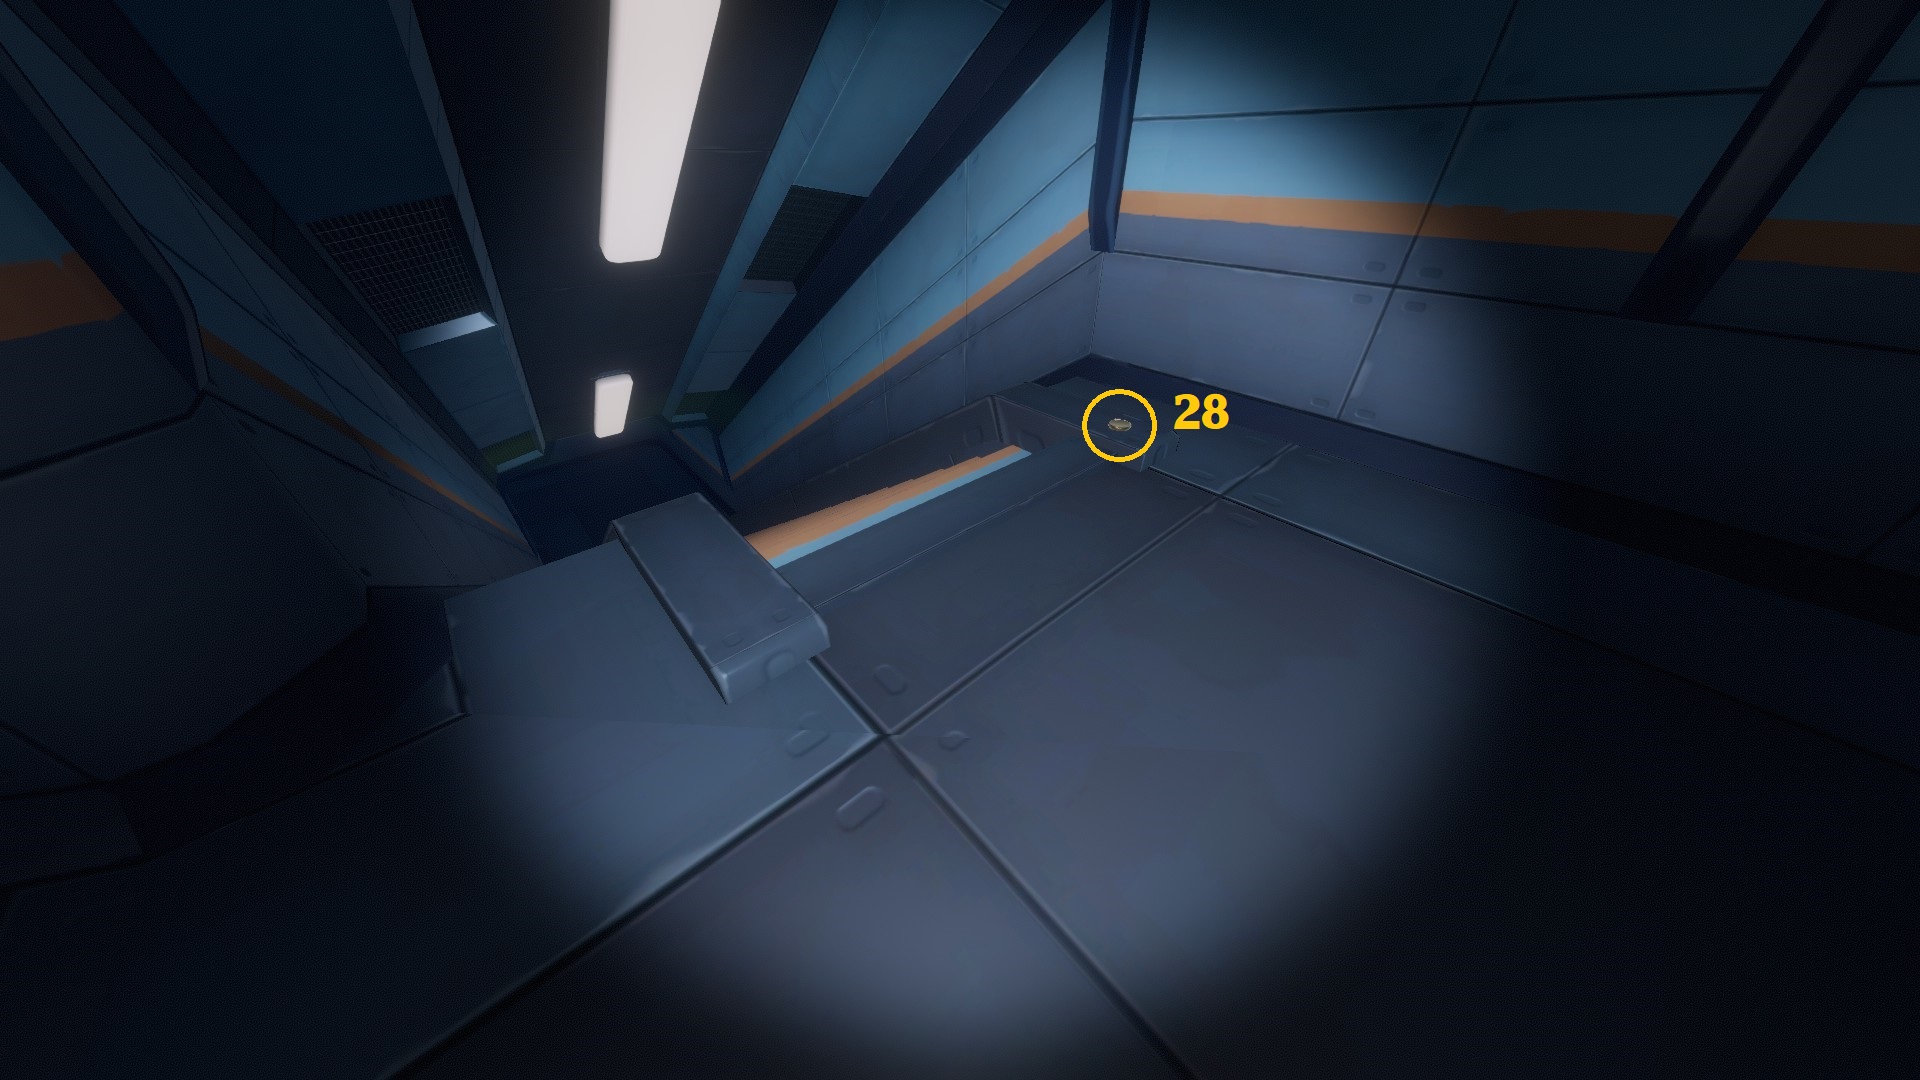
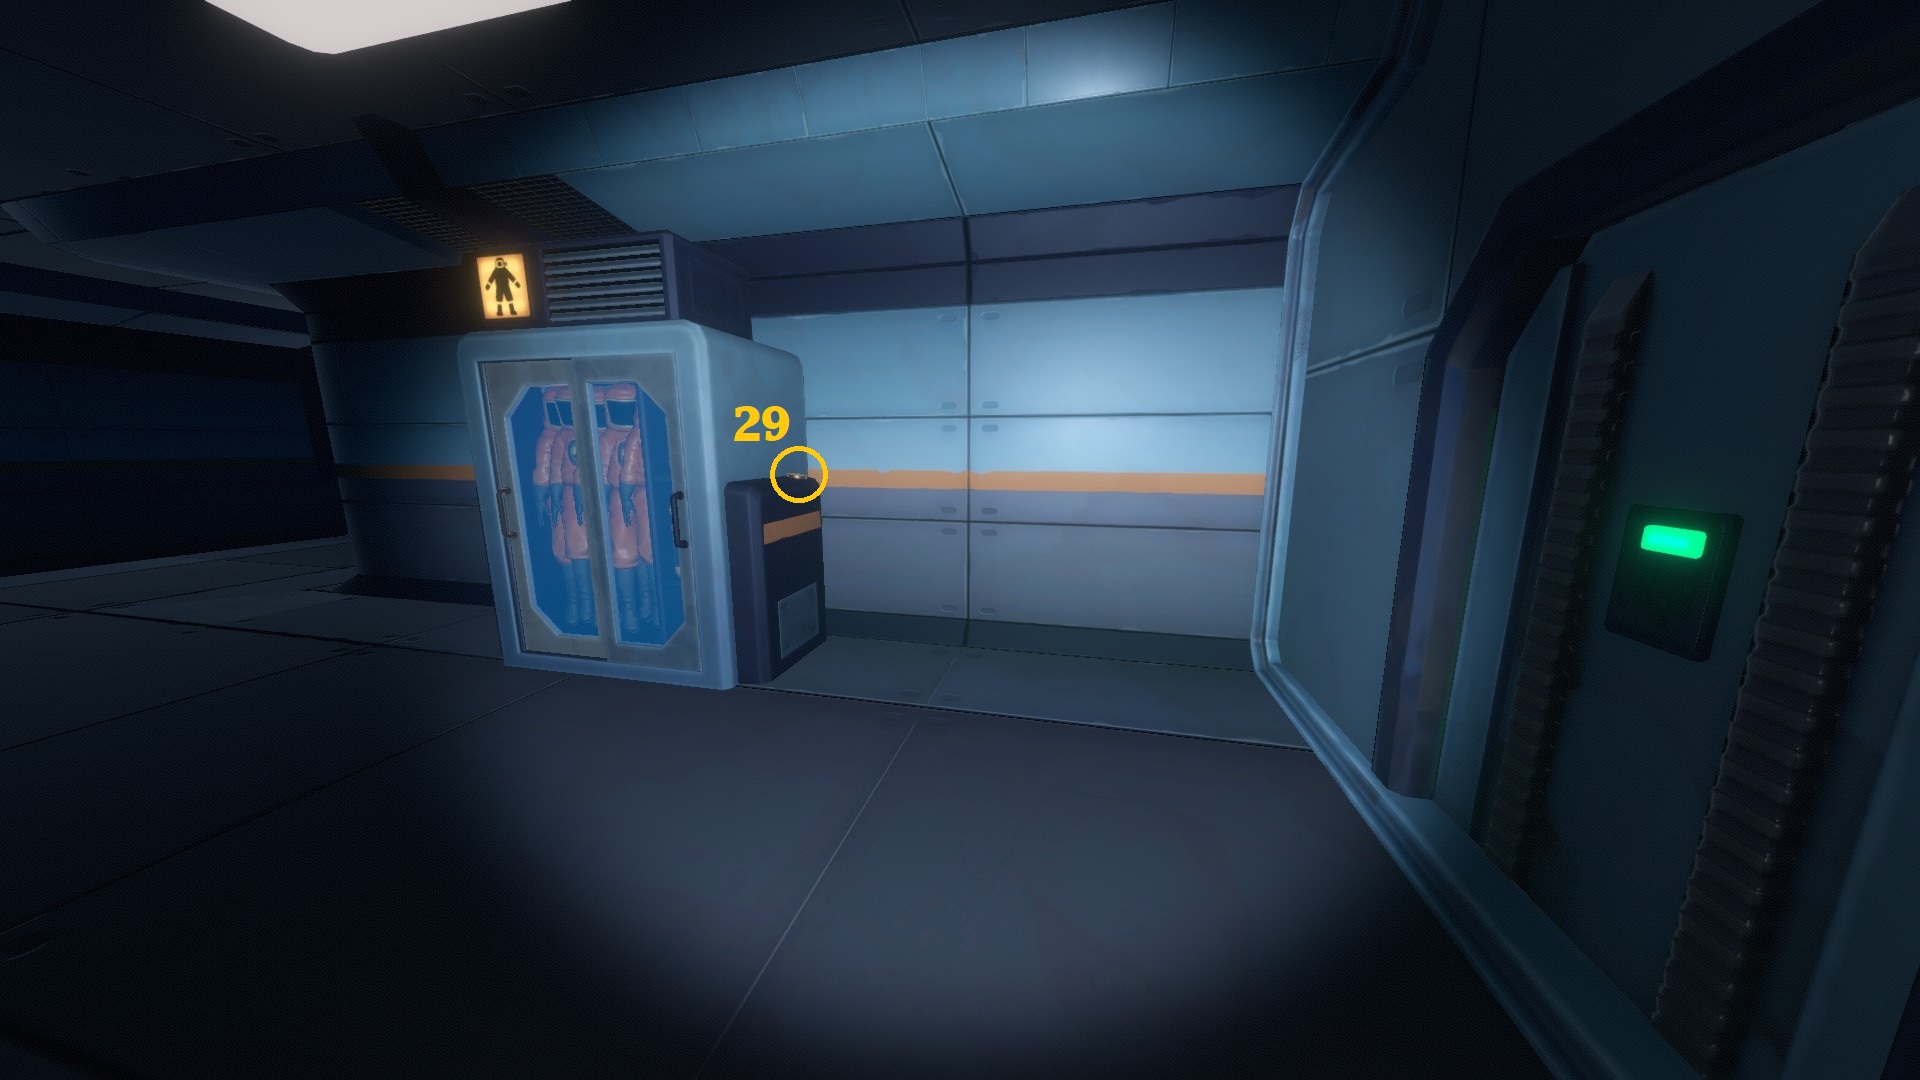
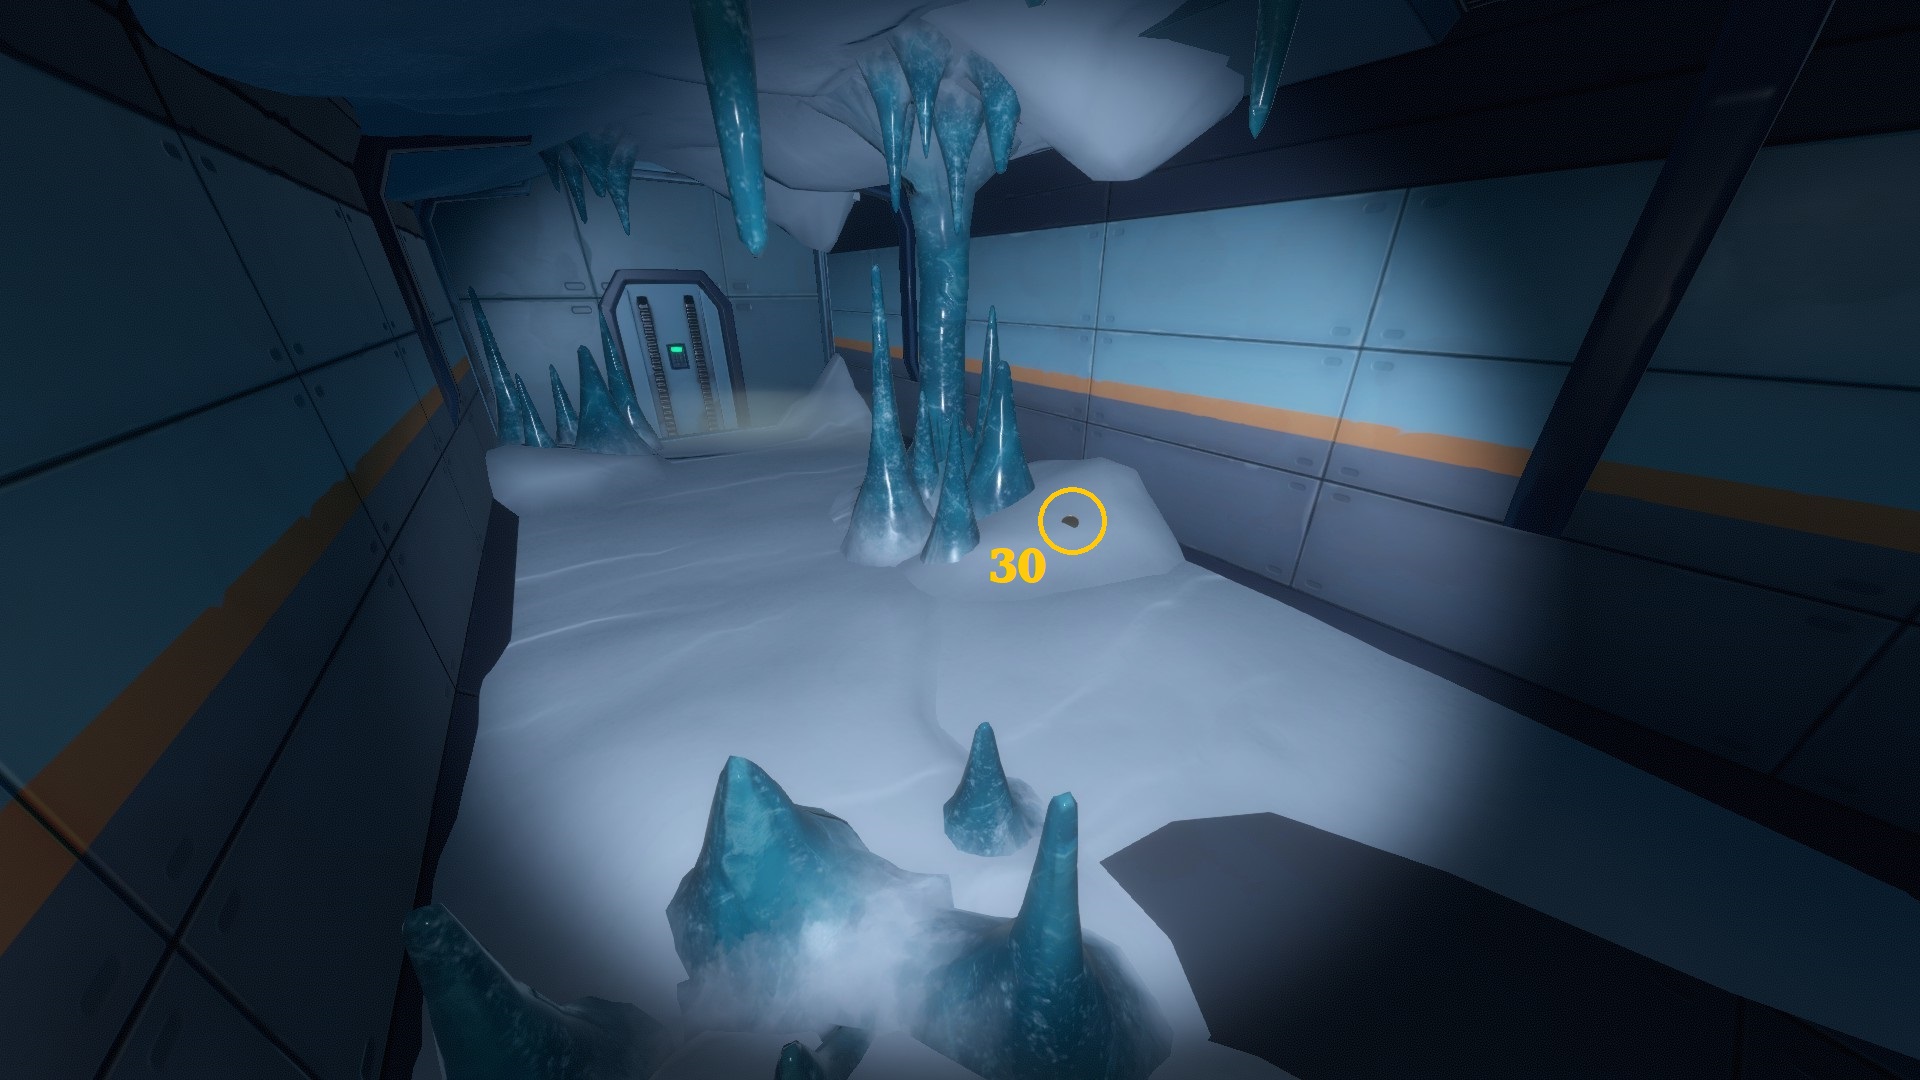
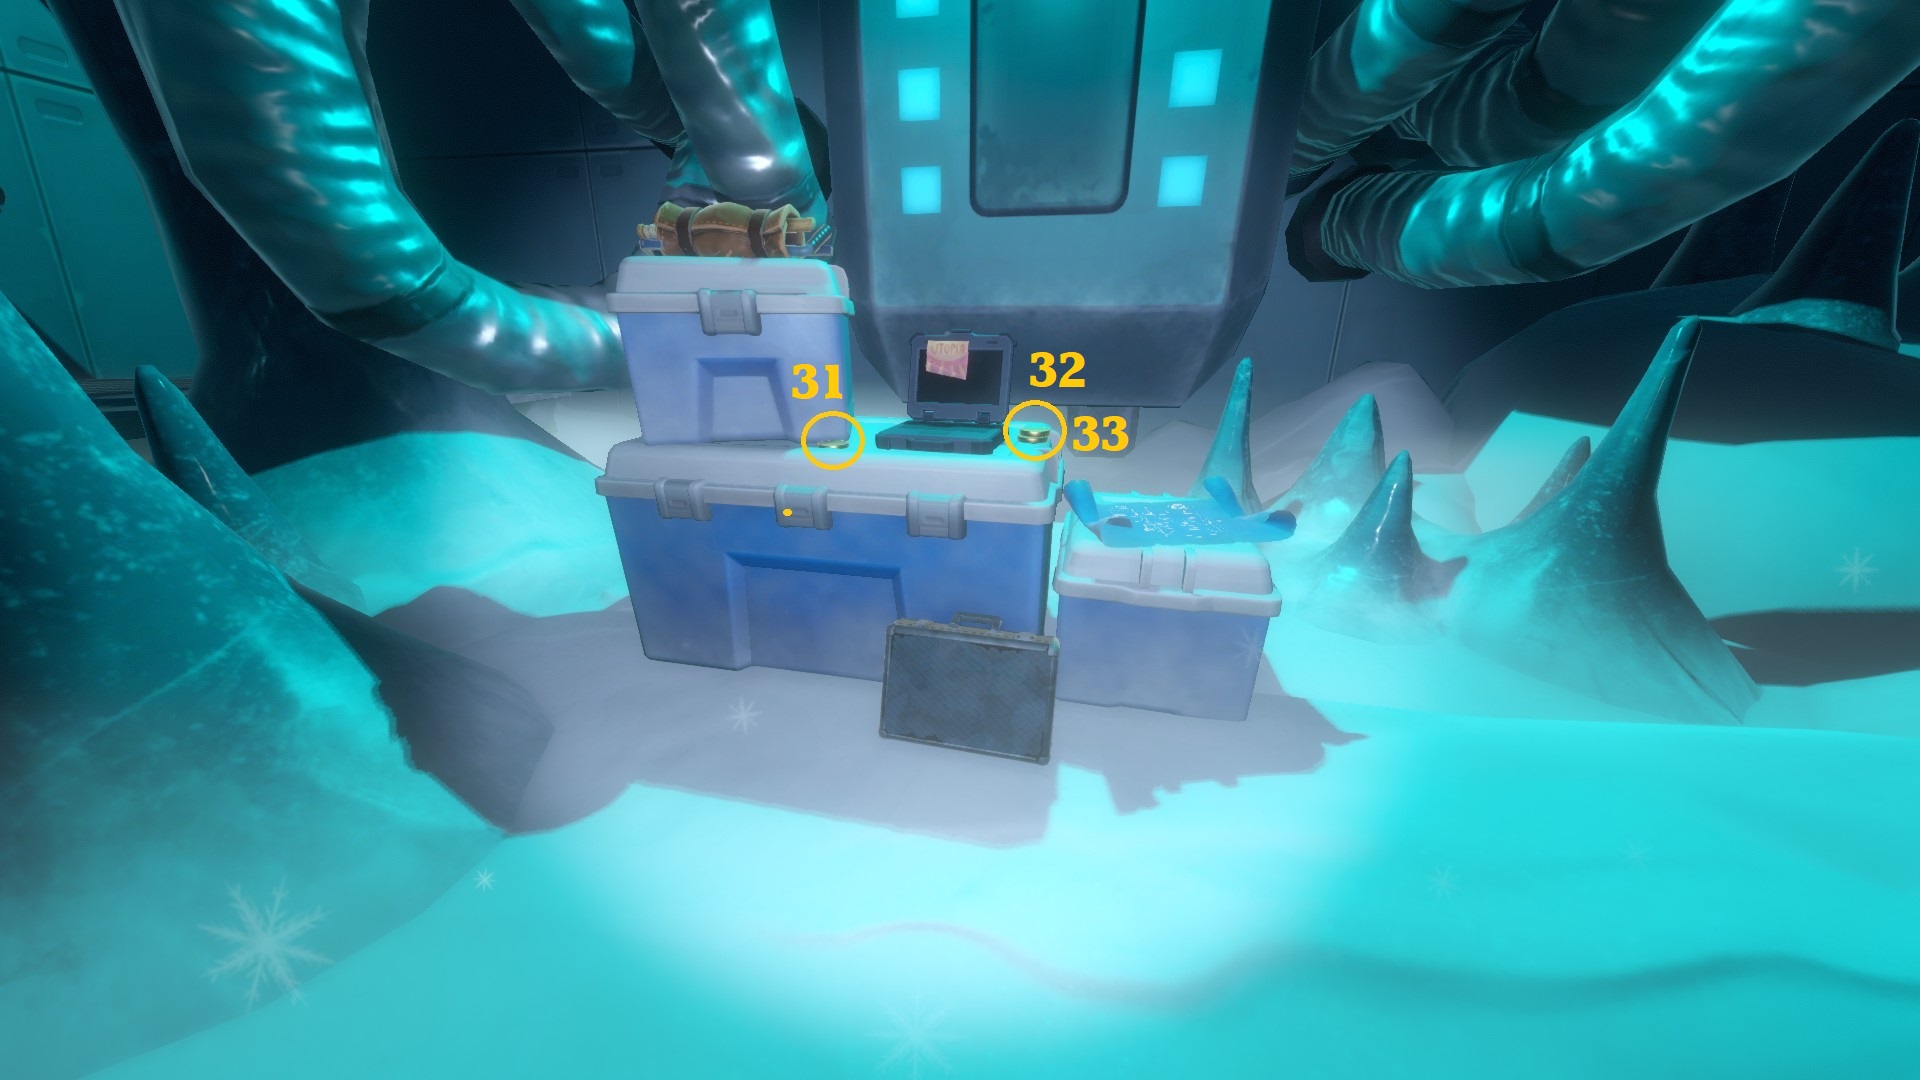
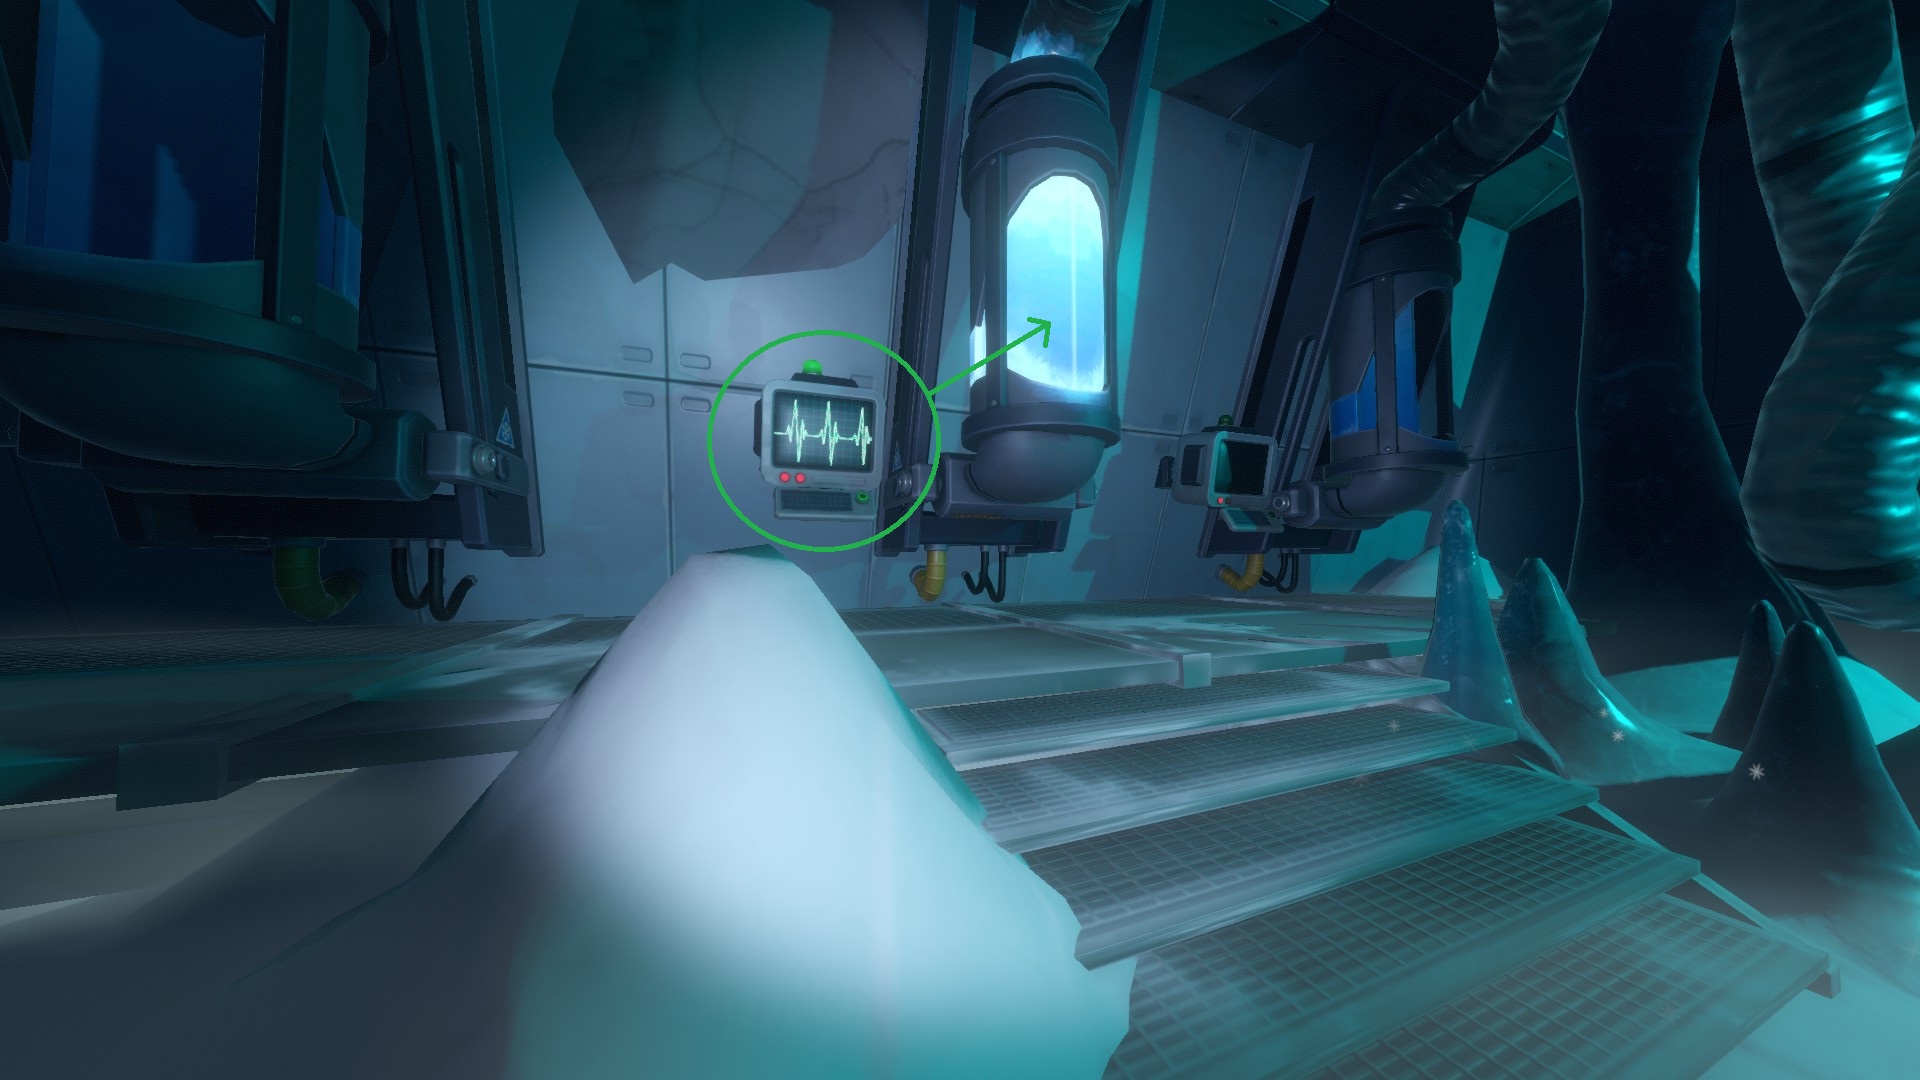
The unlockable character Shogo can be found at the very end of the Reactor Facility, in the frozen room after cleaning the air.
There's a lit screen on the side, interact with it to free Shogo from his cryogenic pod.
8. Utopia (Walkthrough 1)
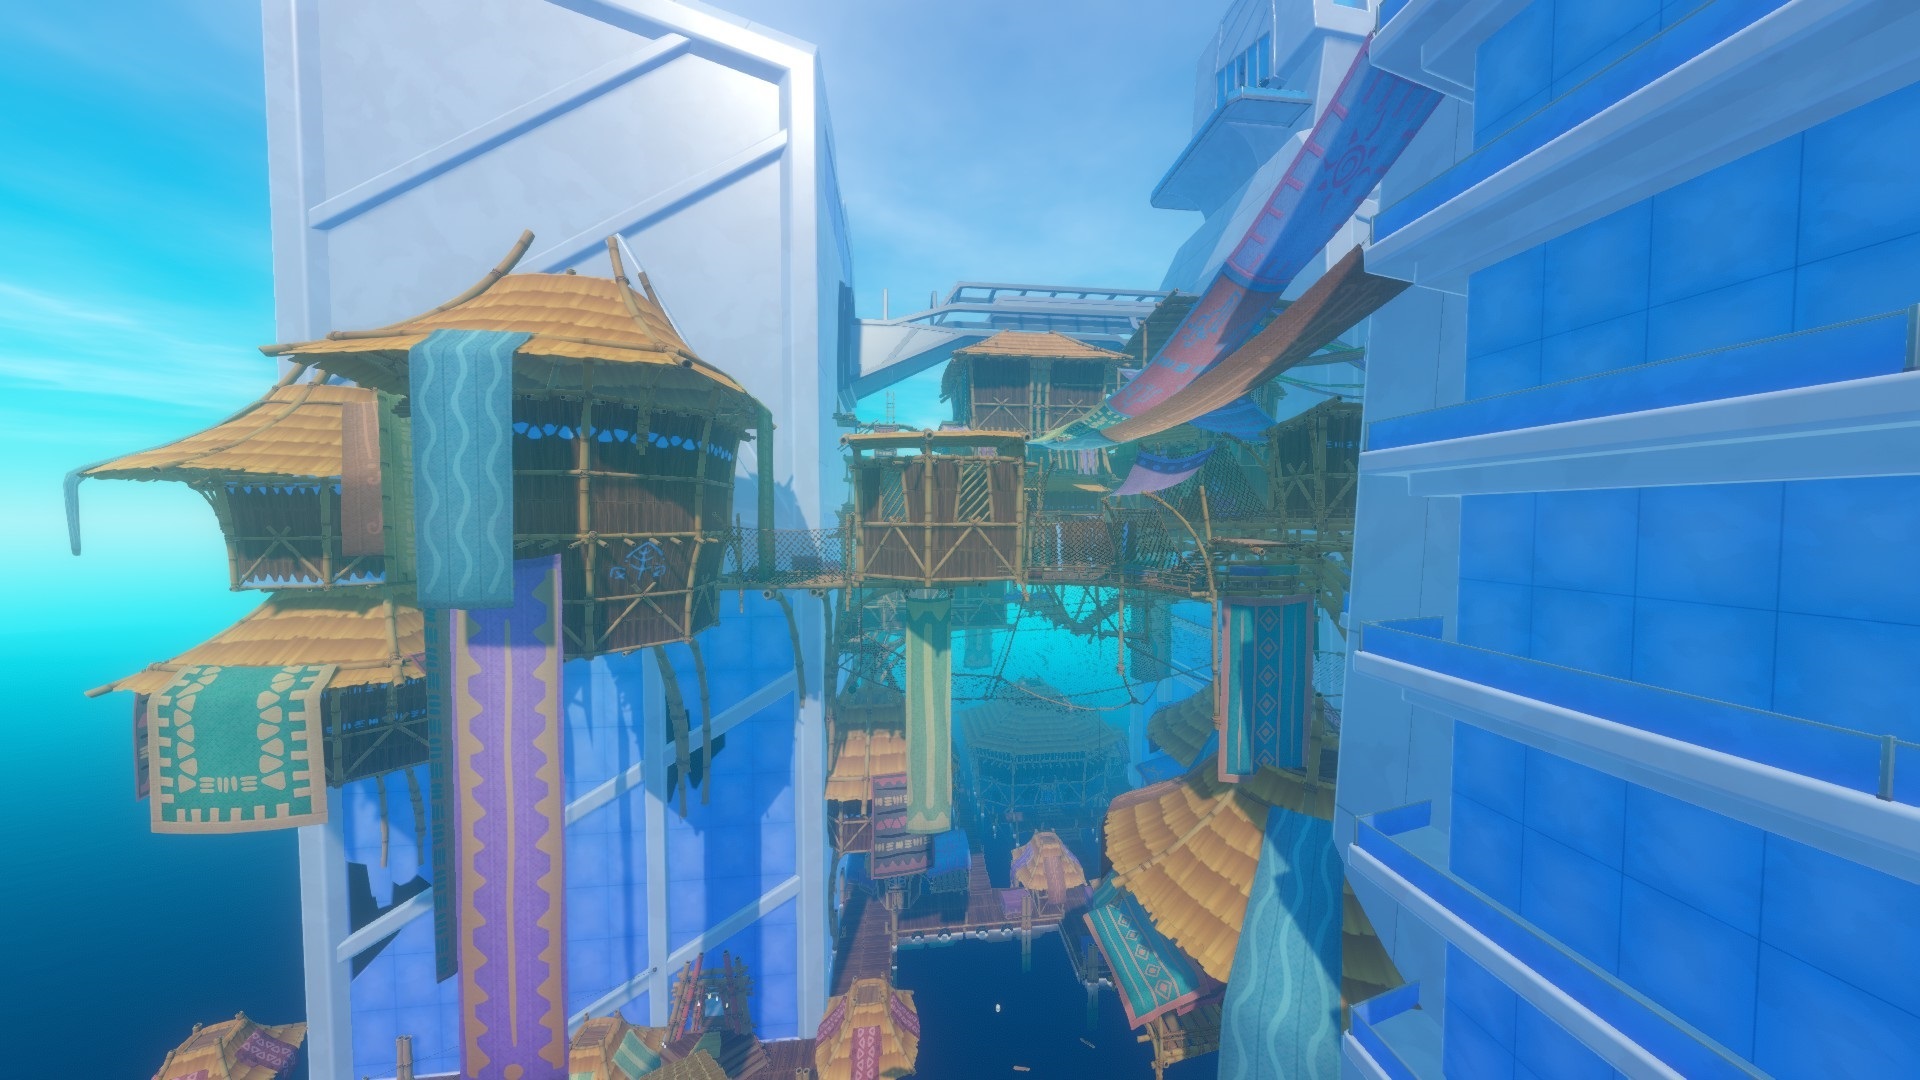 Utopia has an outside area (fields and docks) and an inside area (skyscrapers and hanging wooden structures).
 The boss fights can be pretty challenging so don't hesitate to save and put the game on "noone allowed" so that you can pause the game and reload when you're about to die. It is also worth going back to your raft between fights to replenish on food, water and healing salves.
There are 3 notes (2 of them you pick up at the same time).
There are 3 blueprints: one for the Big Backpack, one for the Electric Zipline Tool and one for Titanium Tools.
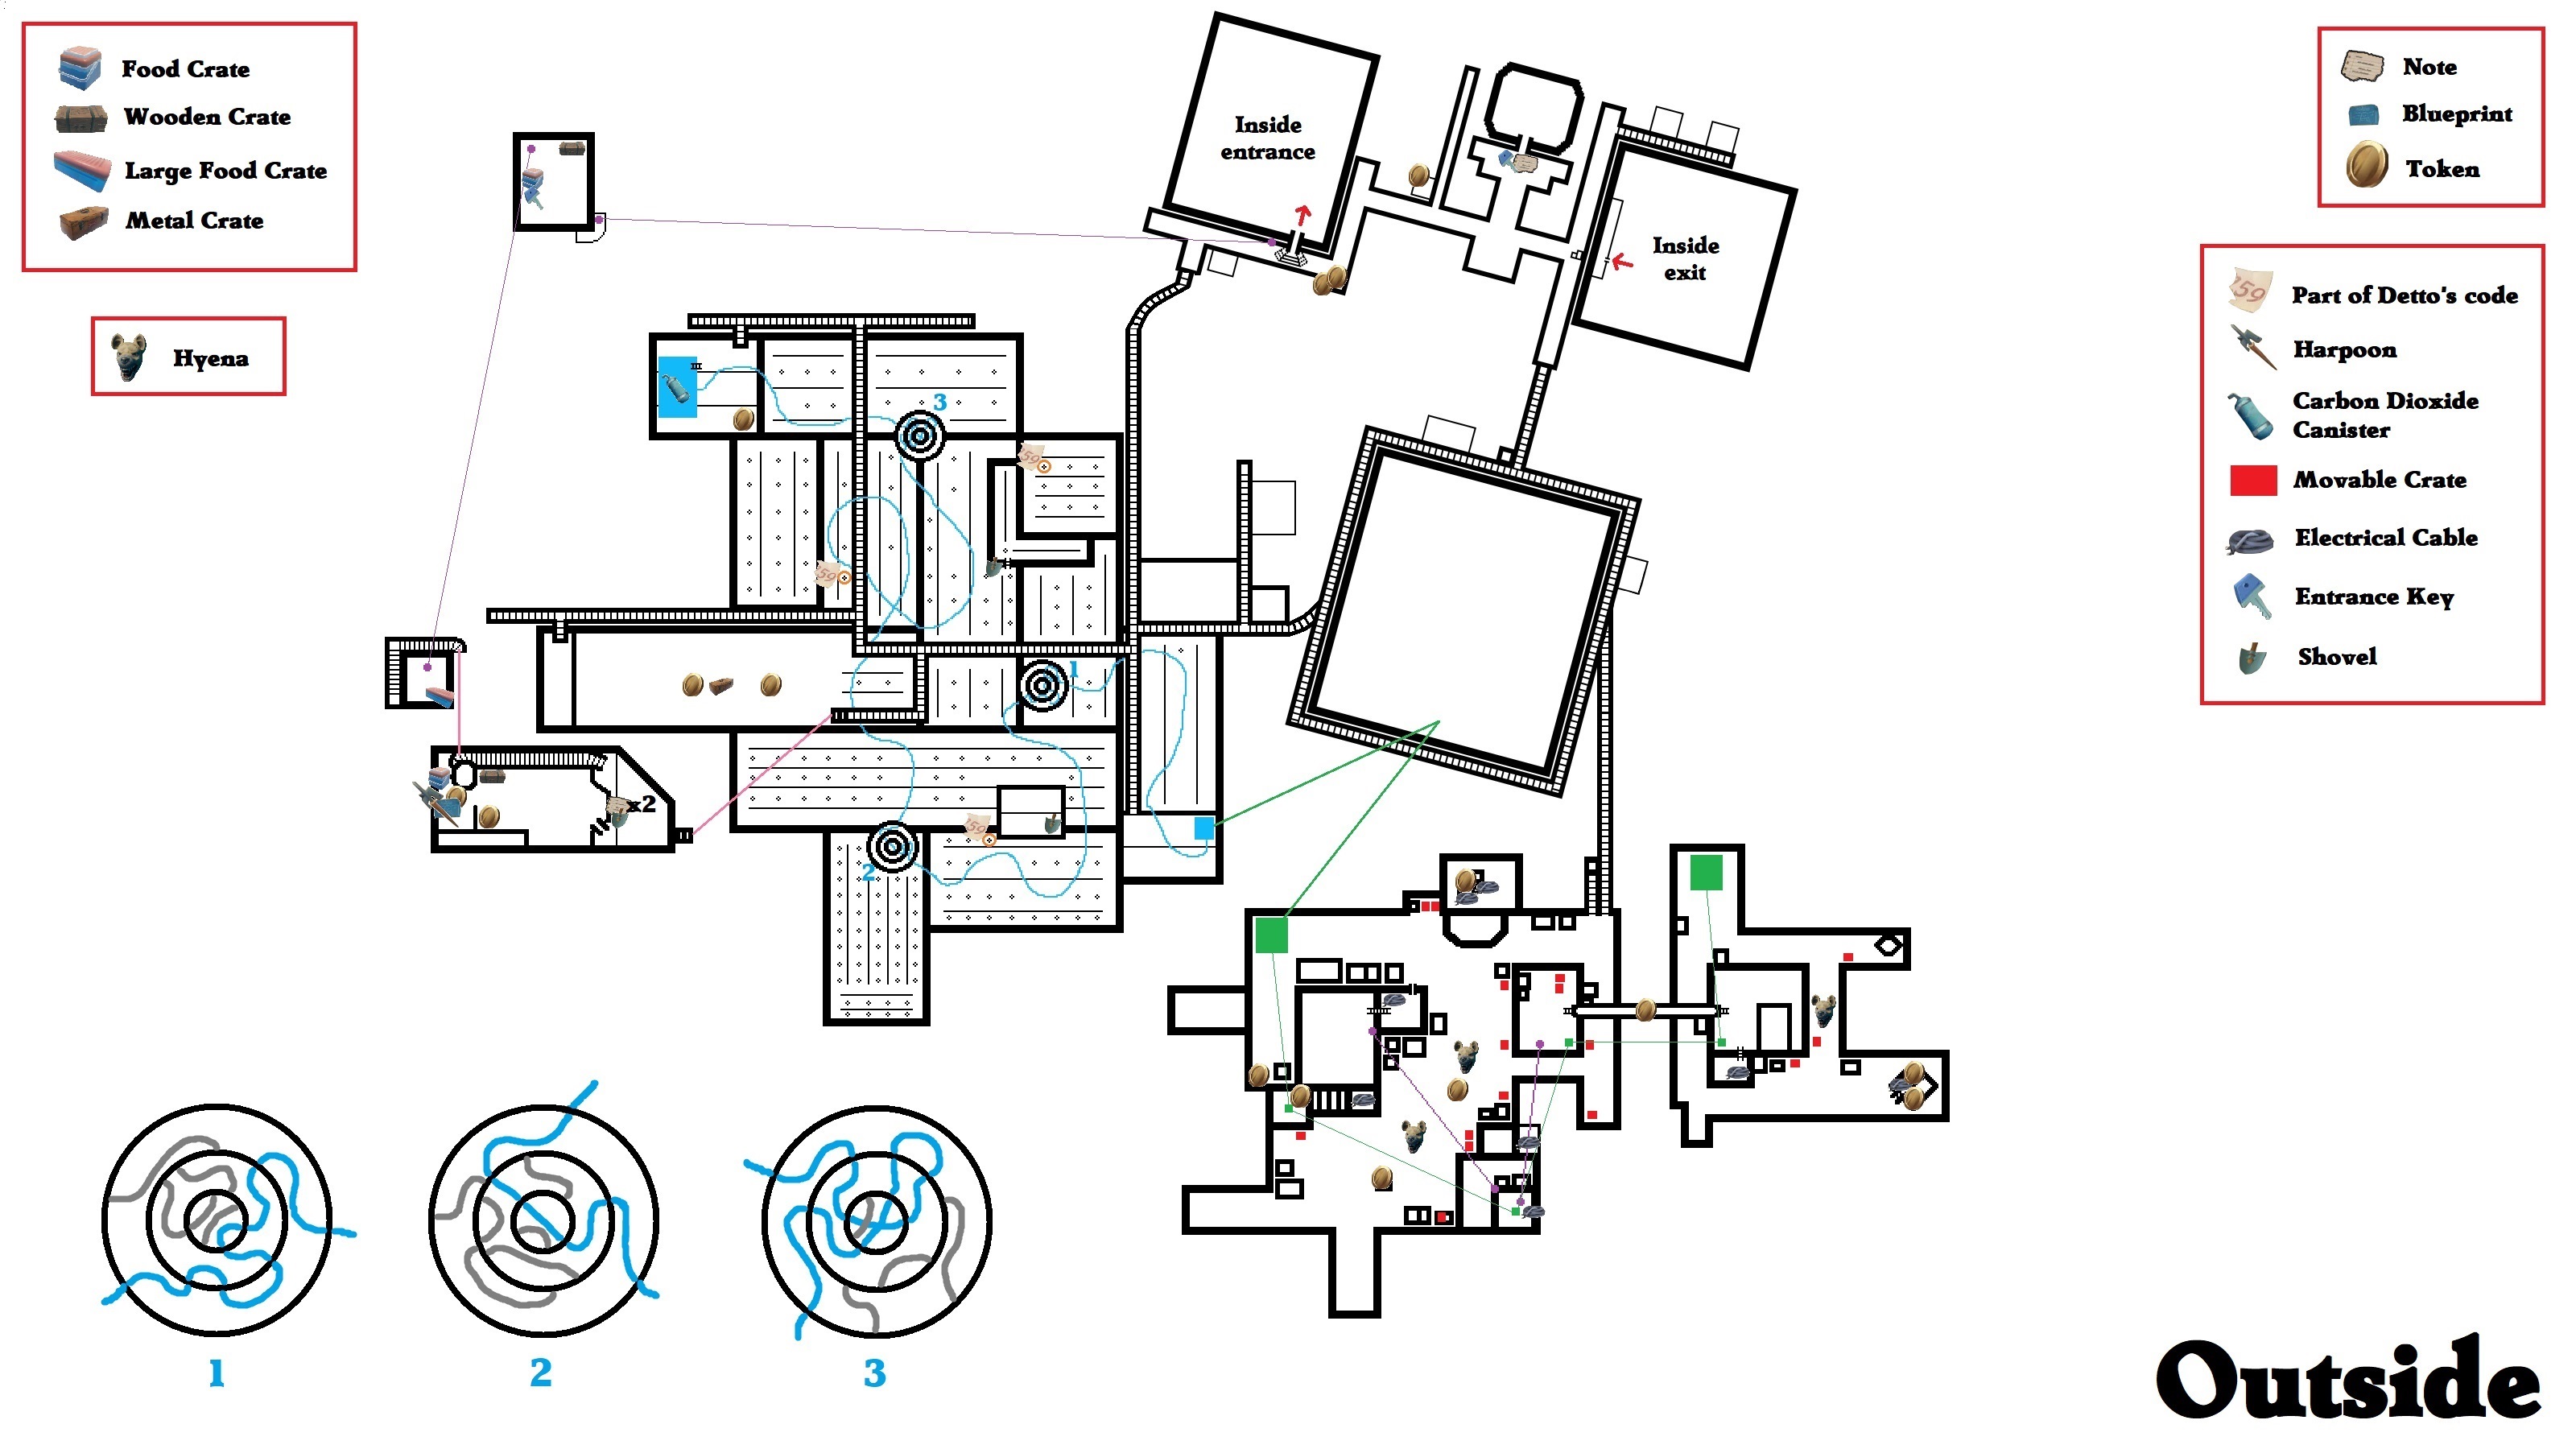
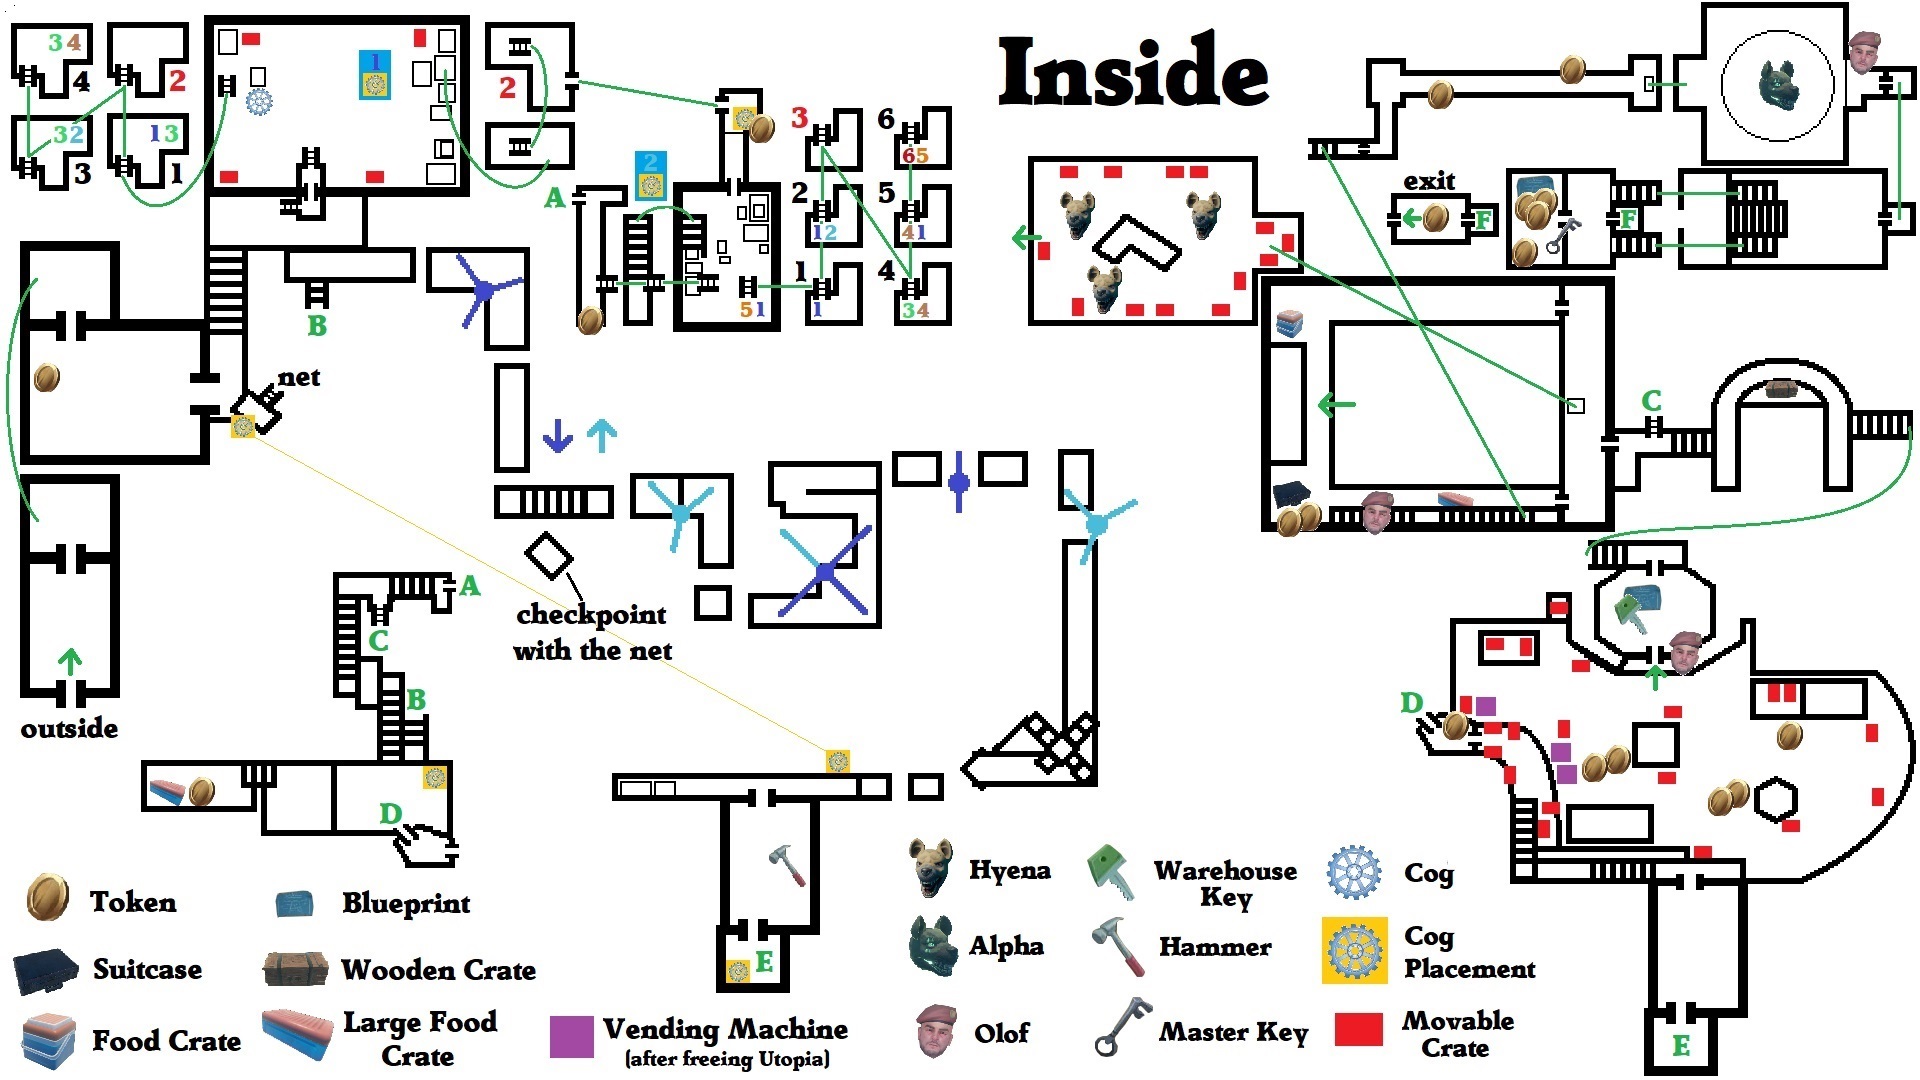
- Arriving at the place: When you arrive you'll see huge skycrapers and wooden docks with gardens and buildings. Those "docks" can be seperated in 3 main areas: the prison area (where the people are locked up), the garden area and the power area (2 platforms with hyenas). My guide starts from the power area.
- Outside:
=> Starting from the platform with the 2 hyenas. First kill the hyenas because they're dangerous and annoying; if they bite you they will start dragging you around... but you can make them drop you faster if you hit them.
=> You can find 1 [Token] on a green box, 1 [Token] nearby on a small pillar and finally 1 [Token] not far from the power generator, on a small pillar.=> Electrical Cables Puzzle:
You need to connect 2 generators and 4 towers with electrical cables that you can find all around the 2 platforms. Use movable boxes (brown with a red line) to reach some places.
=> Go in the middle of the platform and start bringing boxes to the blue structure that leads to stairs (3 boxes next to 1 box to be able to climb).
=> Then get another box, climb the structure and the stairs and put the box on the last step of the stairs. Don't forget to get the [Electrical Cables] at the bottom of the stairs.
=> Climb the box you put on the last step of the stairs and jump on the roof next to it. There, you can get 1 [Token] next to the power tower.
=> Near the roof, you should see a small fenced area that you can get down to thanks to a ladder. Go there, get the [Electrical Cables] on the floor and unlock the door. You can now go back to the roof of this building without using the movable boxes.
=> Go back to where you put the boxes and look on the opposite side for a purple box next to a green box (with a basket on it), both next to a building. Start taking the boxes nearby (including the ones you used for the blue structure since you don't need them anymore) and putting them on the purple box (4 boxes next to 2 boxes).
=> Now go to the power generator near the water on the garden's side. Interact with the generator to use an electrical cable then go through the side door you unlocked previously to get on the roof and connect the cable to the power tower there.
=> Interact with the power tower to use another cable then go climb the set boxes you put in place on the other side to reach the other roof where there's another power tower you can connect the cable to. Remember to pick up the [Electrical Cables] next to that tower.
=> Take the zipline connected to the roof to get to another roof nearby which also has a power tower. You can't use a zipline while holding a cable so you'll have to do it the other way around.
=> Once on the 3rd roof, take the 2 movable boxes there, climb on the purple box and jump to the roof near it. There, place the 2 movable boxes to be able to reach the next level of the roof. You'll find 1 [Token] and 2 [Electrical Cables].
=> Go back to the 3rd roof and interact with the power tower then jump down and take the same set of boxes you placed earlier to go back to the 2nd roof and connect the cable to the power tower there.
=> Take the zipline again to go back to the 3rd roof then interact with the power tower again. There's a ladder on the roof, take it to reach a bridge that crosses to the 2nd plaftorm where you can connect the cable to a 3rd power tower; don't forget 1 [Token] in the middle of the bridge.
=> Interact with the power tower after crossing the bridge then jump down to connect the cable to the power generator there. You'll see electricity go through the cables to signify that the power path is complete.=> Don't leave yet, there's a hyena you can kill here and also a small house in a corner you can climb thanks to a ladder. Just after the ladder there's some [Electrical Cables] (though you shouldn't need them anymore) and 1 [Token]. If you look on the 2nd level of the roof you'll see another 1 [Token].
=> Water Puzzle:
=> You can either use movables boxes to climb back on the roof and cross the bridge to the other side, or you can just swim to the other side.
=> Continue until you get to the first generator and you'll see the garden on the other side of the water with a water pump being powered by a thick cable thanks to the generator you turned back on. Go there to start the water puzzle.
You need to make sure the water reaches the water tank at the end by moving the wheels around the garden. The tubes will pulsate to signify that the water is going through.=> When you reach the big house in the garden, remember to look under it for 1 [Token] on a green box and 1 [Token] on another green box.
=> Once you made sure the water can go all the way through the end of the tube, follow it to the water tank where you can now pick up the [Carbon Dioxide Canister]. => Detto's Puzzle:
You need to find the 3 pieces of Detto's code around the garden to open his house's door.
There's a map in front of his house and the red circles show where you need to dig.
You can find several shovels around the garden if you don't have one.=> Once you have all 3 pieces of Detto's code, you can now open the house's door. Don't forget the [Note] (which actually gives 2) in front of the house, you pick up both the note and the garden map at the same time.
=> Inside the house you'll find 1 [Token] on a small brown box standing on a bigger green box. You'll also find a [Harpoon] further inside and next to it 1 [Blueprint] (Big Backpack) and 1 [Token].
=> Leave the house and take some stairs on the side to climb all the way up to the top of the roof. Here you'll find some kind of launcher. Use the Harpoon you found in the house and the Carbon Dioxide Canister you found in the water tank to activate it, which will create a zipline to a nearby skyscraper.=> Take the newly created zipline to the skyscraper where you'll find 1 [Entrance Key].
=> On a small wooden balcony, you'll find another zipline that brings you back to the docks' 3rd main area (the prison area).
=> Just after taking the zipline, you should see a big door on the left that you can't open yet and in front of you a small building with a purple box in front of it. There's 1 [Token] on that box and another 1 [Token] on the floor nearby.
=> Continue forward and you'll see the big building that has chains on the door. On the left there's a little platform that streches out on the water with 1 [Token] on the fence. In front of the chained door there's 1 [Note] and 1 [Entrance Key].
=> You can now go back to the big door next to the zipline you took earlier to get there. Use the 2 entrance keys to open it and get to the inside part of Utopia.
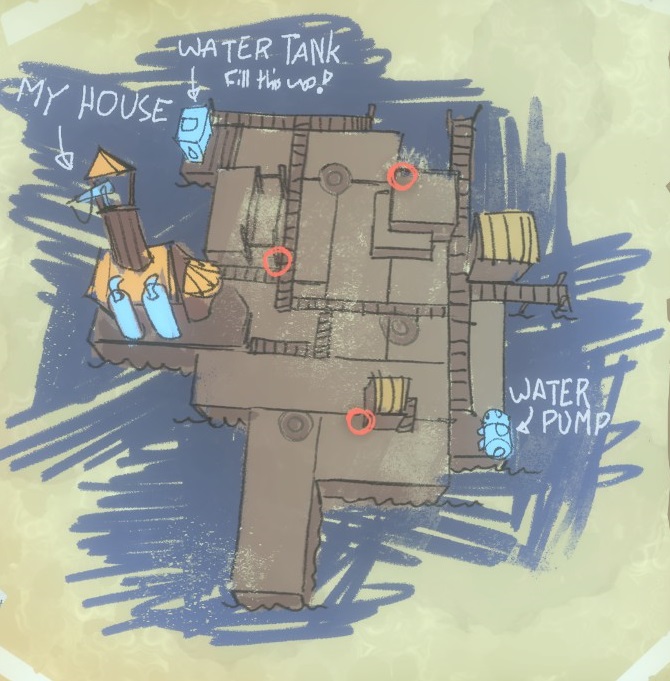
Utopia (Walkthrough 2)
- Inside:
=> Take the elevator up and get 1 [Token] right after you get out, on the right, in a plant pot.
=> Go towards the wooden structure where a jumping puzzle is waiting for you.=> Jumping Puzzle:
There are 3 ways of finishing this puzzle: the normal way, the cable way and the box way.
- The normal way:
=> If you fall, the net will catch you and you can climb back up to try again. There are 2 nets with a small platform in between to serve as a checkpoint between the two parts.
=> 1st obstacle: Jump then move forward while in the air to avoid the fans.
Checkpoint
=> 2nd obstacle: For this one you need to crouch. When you arrive at the fence, wait for the fan to pass you then quickly jump then crouch again. Remember to let the fan pass again before you jump onto the next platform
=> 3rd obstacle: Here it's a combination of the others. Jump and move forward for 3 of them, crouch for the last one. Continue to do that until you reach the hole where you have to crouch to get through it.
=> 4th obstacle: Jump over it when it's about to face you.
=> 5th obstacle: Wait for the fan to pass you then follow it as you jump to the other side.
=> 6th obstacle: Here you just need to always hold the crouch button, even when you jump. Again, remember to let the fan pass before jumping onto the next platform.
- The cable way:
=> Go directly on the net and walk towards the end. At some time you'll have to switch net, for that jump on the yellow house on the right then back on the net.
=> There's a big electrical cable at the end that goes towards the 6th obstacle. Jump on it then spam jump until you reach the boxes. Remember to crouch the moment you arrive to avoid the fans.
- The box way:
=> Go directly on the net and walk towards the end. At some time you'll have to switch net, for that jump on the yellow house on the right then back on the net.
=> Go where the "balcony" is (after the 6th obstacle), there's a lever there. If you jump you can get close enough to activate it. If the green barrel is the one down, go ahead and activate the lever to drop the box down. Then jump on the box, then jump again to activate the lever. The box will slowly rise with you on it, when you reach the balcony jump again to go on it.=> At the end of the puzzle, you'll find a room with a broken elevator and a [Hammer], pick that up.
=> Go back to the beginning using the net to go faster and climb some ladder to a locked door that you can break open with your hammer.
=> Get inside and you will see Olof for the first time though for now he will only talk to you. You will also see a weight puzzle you need to solve.=> Weight Puzzle 1:
You need to bring cogwheels to the 2nd level. You can't jump while holding a cogwheel so you'll have to use the boxes and scales.
=> Cogwheels weight 1. Bags/Boxes weight the number they show.
=> You need to bring the cogwheel on the first level on the right to put it on the scale. Since you can't jump, put movable boxes next and on the big boxes on the right to reach the 1st platform. You'll just have to drop the cog on a box, jump up, pick up the cog and continue.
=> Once the cog is on its scale, go on the other side and put bags on the other scale in a certain order so as to make in the end both scales equal in weight which will make them both reach the 2nd level.
=> Bag order: add 3, add 1, remove 3, add 2, remove 3=> You can then use that cogwheel to lower the bridge to the next puzzle.
=> Don't forget 1 [Token] on the mechanism that lowered the bridge to the next puzzle.=> Weight Puzzle 2:
Bring a cogwheel from the 1st puzzle. This time you need to make both scales reach the 3rd level.
=> Use the stairs on the right to put your cog on the scale then go on the other side to add bags to the other scale.
=> Bag order: add 5, add 1, remove 5, add 4, remove 1, add 2, remove 4, add 3, remove 2=> After finishing the puzzle, take 1 [Token] not far from the scale after reaching the 3rd level, on a green box.
=> You can then take that cogwheel all the way down the stairs to lower a bridge to create a shortcut to the jumping puzzle area.
=> Before you continue, get 1 [Token] from the area (on the side).
=> You can then get that same cogwheel and bring it down that shortcut to put it on a tray (near the broken window and ladder to the net) which will allow you to sent it to the end of the jumping puzzle to use in the broken elevator there.
=> Go through the jumping puzzle again (use the method you prefer) and repair the broken elevator with the cogwheel you sent through with the tray.
=> Take the elevator and follow the path until you reach a house, get 1 [Token] inside on a purple box and unlock the door there to create another shortcut.
=> Go back to where you were and pick up the movable boxes to be able to climb the wall with blue markings (3 boxes next to 1 box).
=> The moment you climb the wall the 1st boss fight (out of 3 boss fights) will start so be ready for that.
Utopia (Walkthrough 3)
=> Boss Fight 1 (Olof):
You need to make a stair of boxes to reach Olof (5 boxes, 3 boxes, 1 box). You have some time before Olof starts attacking and he will stop once you reach him.
=> Olof will regularly throw fire bombs towards you. They will explode after a few seconds, causing damage. After exploding they will leave a circle of fire that hurts as long as you stay in it. After some time the fire will fade out.
=> You can always climb on roofs to get a good view of the area and Olof will stop attacking while you're there so you can take your time or a break.
=> After the fight, go back down to get the tokens there. There are 2 [Tokens] on a stand near the wall you climbed to get here. 2 [Tokens] on another stand a bit further. 1 [Token] on another stand next to a house not far from where Olof was.
=> Go back to where Olof was and go through a room with 1 [Blueprint] (Electric Zipline Tool) and 1 [Warehouse Key].
=> Continue until you reach a door you can unlock with the warehouse key. Remember to activate the ladder on the right to create a shortcut back to the jumping puzzle area.
=> Boss Fight 2 (Hyena Pit):
You need to make a stair of boxes to get out of the pit (6 boxes, 4 boxes, 2 boxes). The wall you need to climb is on the other side of where you enter, where there aren't any cages.
=> While you do that Olof will throw firebombs at you just like in the first fight. And just like in the first fight, you will have some time at the beginning before he starts attacking.
=> While in the pit you'll get attacked by 3 hyenas. Don't try to kill all 3 of them or they will just be replaced by others after a short time. Instead just kill 2 and keep the last one alive.
=> If a hyena catches you, it will drag you around, potentially in fires! It will drop you faster if you hit it. Careful though, if you were holding a box when caught, you will most likely not be able to attack.
=> Hyenas sometimes suddenly go running away; be aware of this as they may show up in your back later to surprise you!
=> Once only 1 hyena is left, start making the stair with boxes while always keeping an eye on your hyena so it doesn't catch you.
=> The fight stops when you get out of the pit.
=> After Olof runs away you can go back in the pit to finish off the last hyena and search their bodies (they won't respawn).
=> Then go back up the wall and look next to the stairs were Olof was, there are 2 [Tokens] on a cage.
=> Remember to unlock the door to the warehouse so you can come back without going through the pit.
=> Climb the stairs after Olof until you reach a long bridge that links 2 skyscrapers together. There's 1 [Token] at the beginning on the right, in a plant pot. Then 1 [Token] at the end on the left, also in a plant pot.
=> Boss Fight 3 (Alpha):
You need to kill Alpha to finish the fight.
=> Everytime you hit Alpha, it drops a poison puddle, so try to save as much space as possible! After some time the puddles will fade away but it's a slow process.
=> After some time or damaged received, Olof will throw food at Alpha, giving him a boost. Alpha's mane becomes green to inform you that the boost is active and Alpha can't take any damage.
After eating, Alpha will perform 1 of 3 special attacks. He always does his special attacks in a cycle of 3 different attacks, and never twice the same. Which means that if you got the rock attack, then the charge attack... the next one can only be the jump attack. And then the next one after that can not be the jump attack again.
=> The special attacks:
- Throw Rocks - Alpha takes a rock from the ground and throws it at you, leaving a line of poison. You have time to dodge so make the line go where it won't bother you and also the line will stop at you so you can make it as short as possible by staying close.
Alpha will throw 3 rocks then go back to normal.
- Jump - Alpha looks at you then jumps, leaving a huge poison puddle where it lands. Always sprint backward in a straight line when Alpha starts bending down to avoid the impact in time.
Alpha will jump 3 times then go back to normal.
- Charge - Alpha growls at you with a green glowy mouth... run as far as possible! You'll know you're safe once the mane stops glowing green. If Alpha catches up to you before losing his buff, you'll get pinned down and damaged 5 times.
=> When Alpha is eating, you can take the opportunity to get back your arrows.
=> You can spam attacks if you want but it will make the special attacks start faster.
=> If you feel the arena is covered with too much poison just stop attacking and wait for it to fade out.
=> Special attacks will still appear after some time though, even if you're not attacking.
=> Careful of your surroundings! Don't get stuck on a wall or in a poison puddle while dodging.
=> Number of hits to kill Alpha:
Easy/Normal : 100 wooden spear/stones, 50 metal spear/stone arrows, 34 machete/metal arrows
Hard : 125 wooden spear/stones, 63 metal spear/stone arrows, 42 machete/metal arrows
=> After you finish the fight, a door to an elevator will open. Take it.
=> You will reach a big room with Olof near a window, get close enough and he will fall and get stuck.
=> Jump down or take the stairs down to get the [Master Key] from Olof's neck. Get 1 [Blueprint] (Titanium Tools) on a table and 3 [Tokens] right next to it. Then on the other side of the balcony you'll find another 1 [Token] in a plant pot.
=> Take the elevator next to Olof down and in the next room you'll find 1 [Token] on a bench.
=> Unlock the door of the room to the outside and go free the people by using the master key. This will start a cutscene and bring you back to the market area (where you first fought Olof) where you'll be able to talk to the people and get plenty of free food.
Utopia (Notes/Blueprints)
Notes :
- The 1st and 2nd notes are in front of Detto's house (where the gardens are). You pick both at the same time.
- The 3rd note is outside, in front of the big house where everyone is locked up (between the entrance and exit of the inside part of Utopia).
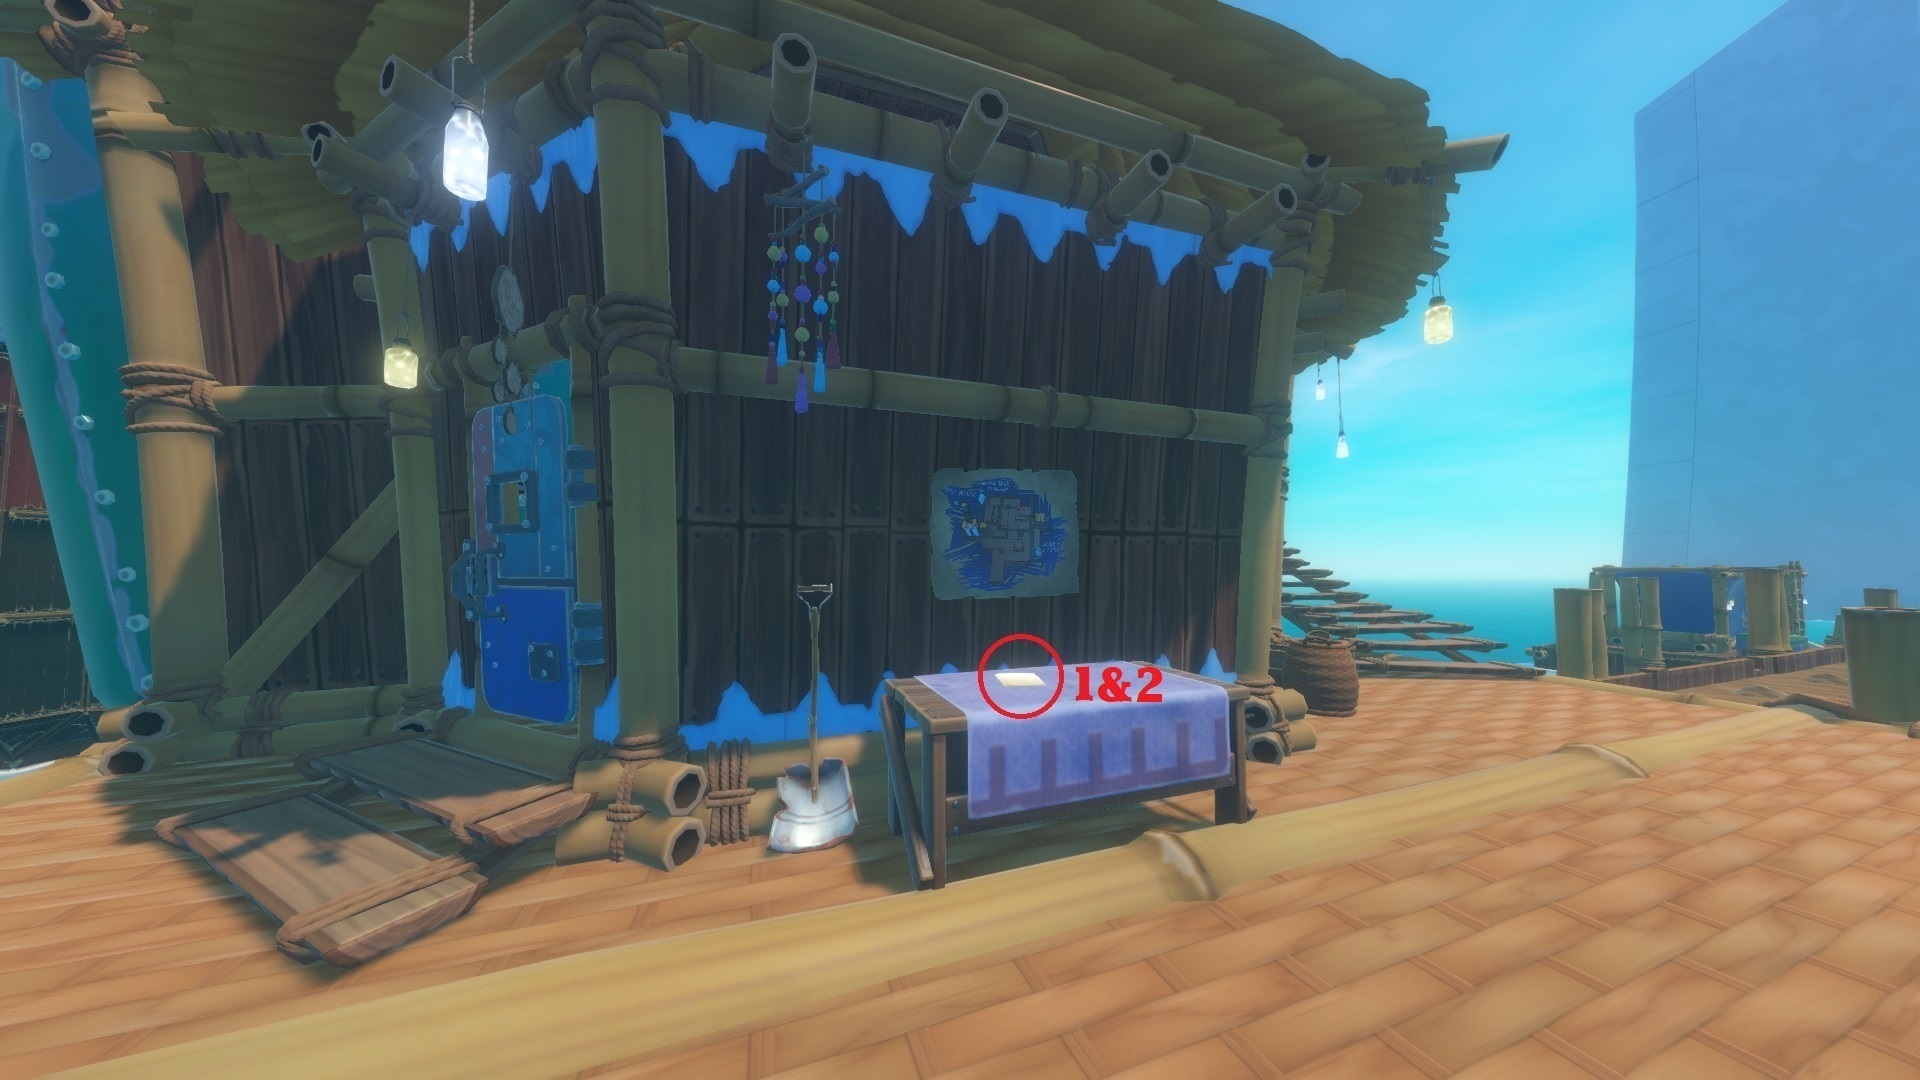
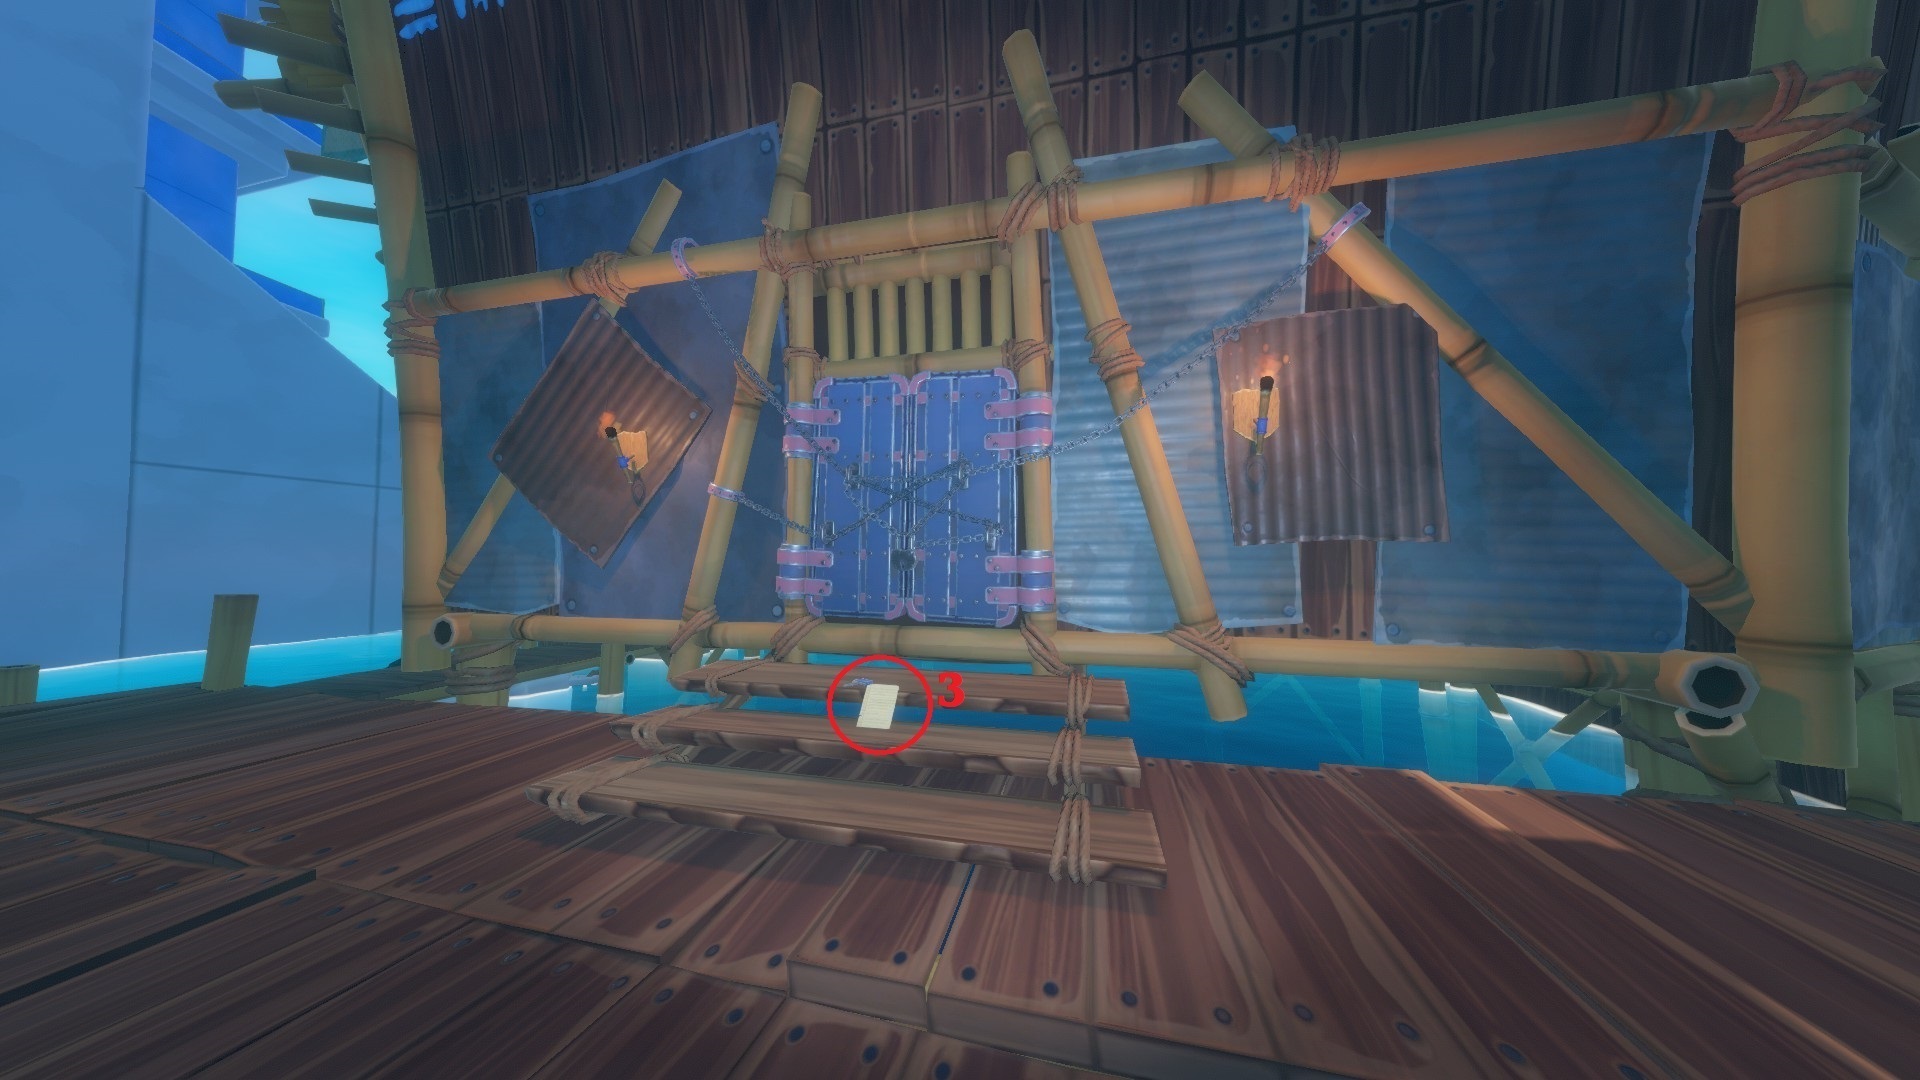
- The 1st blueprint (Big Backpack) is inside Detto's house (where the gardens are) which you unlock by finding the 3 pieces of Detto's code around the garden.
- The 2nd blueprint (Electric Zipline Tool) is in the room just after your first fight with Olof.
- The 3rd blueprint (Titanium Tools) is at the very end, where Olof falls and gets stuck.
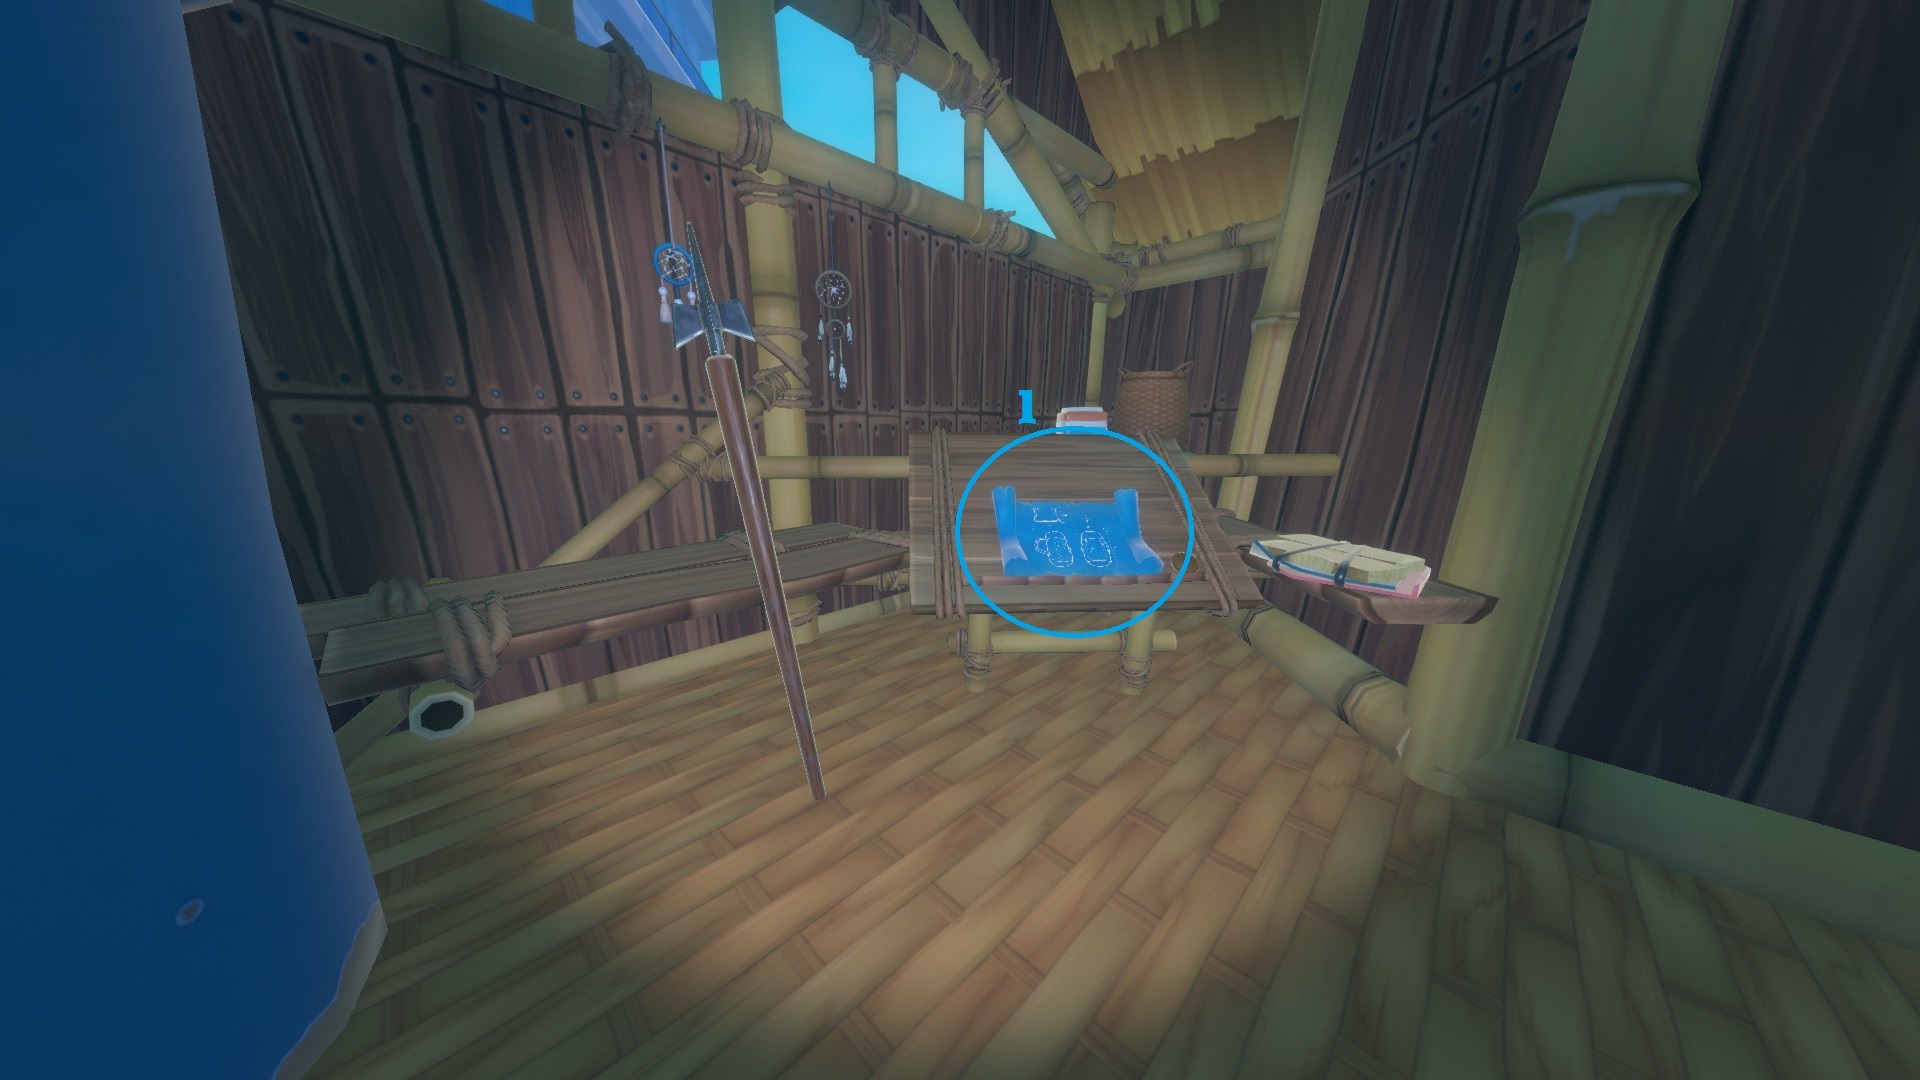
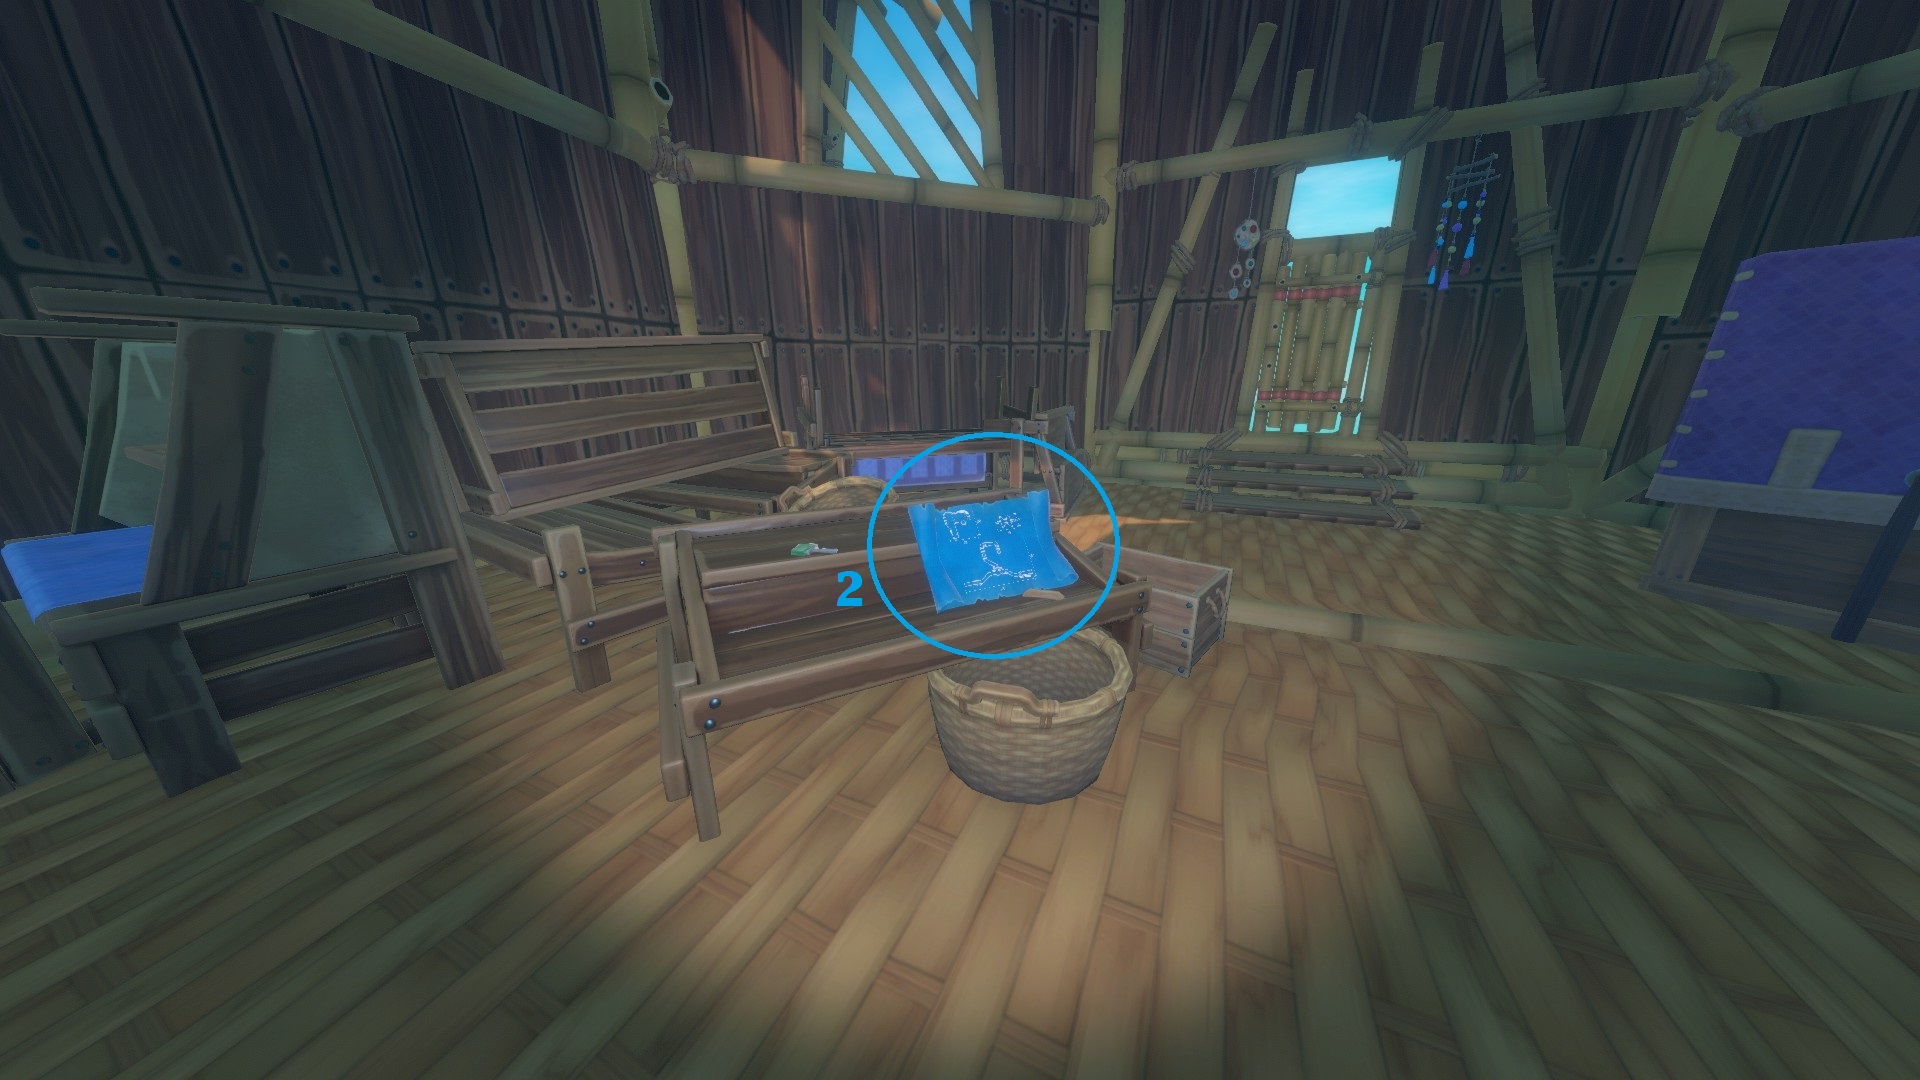
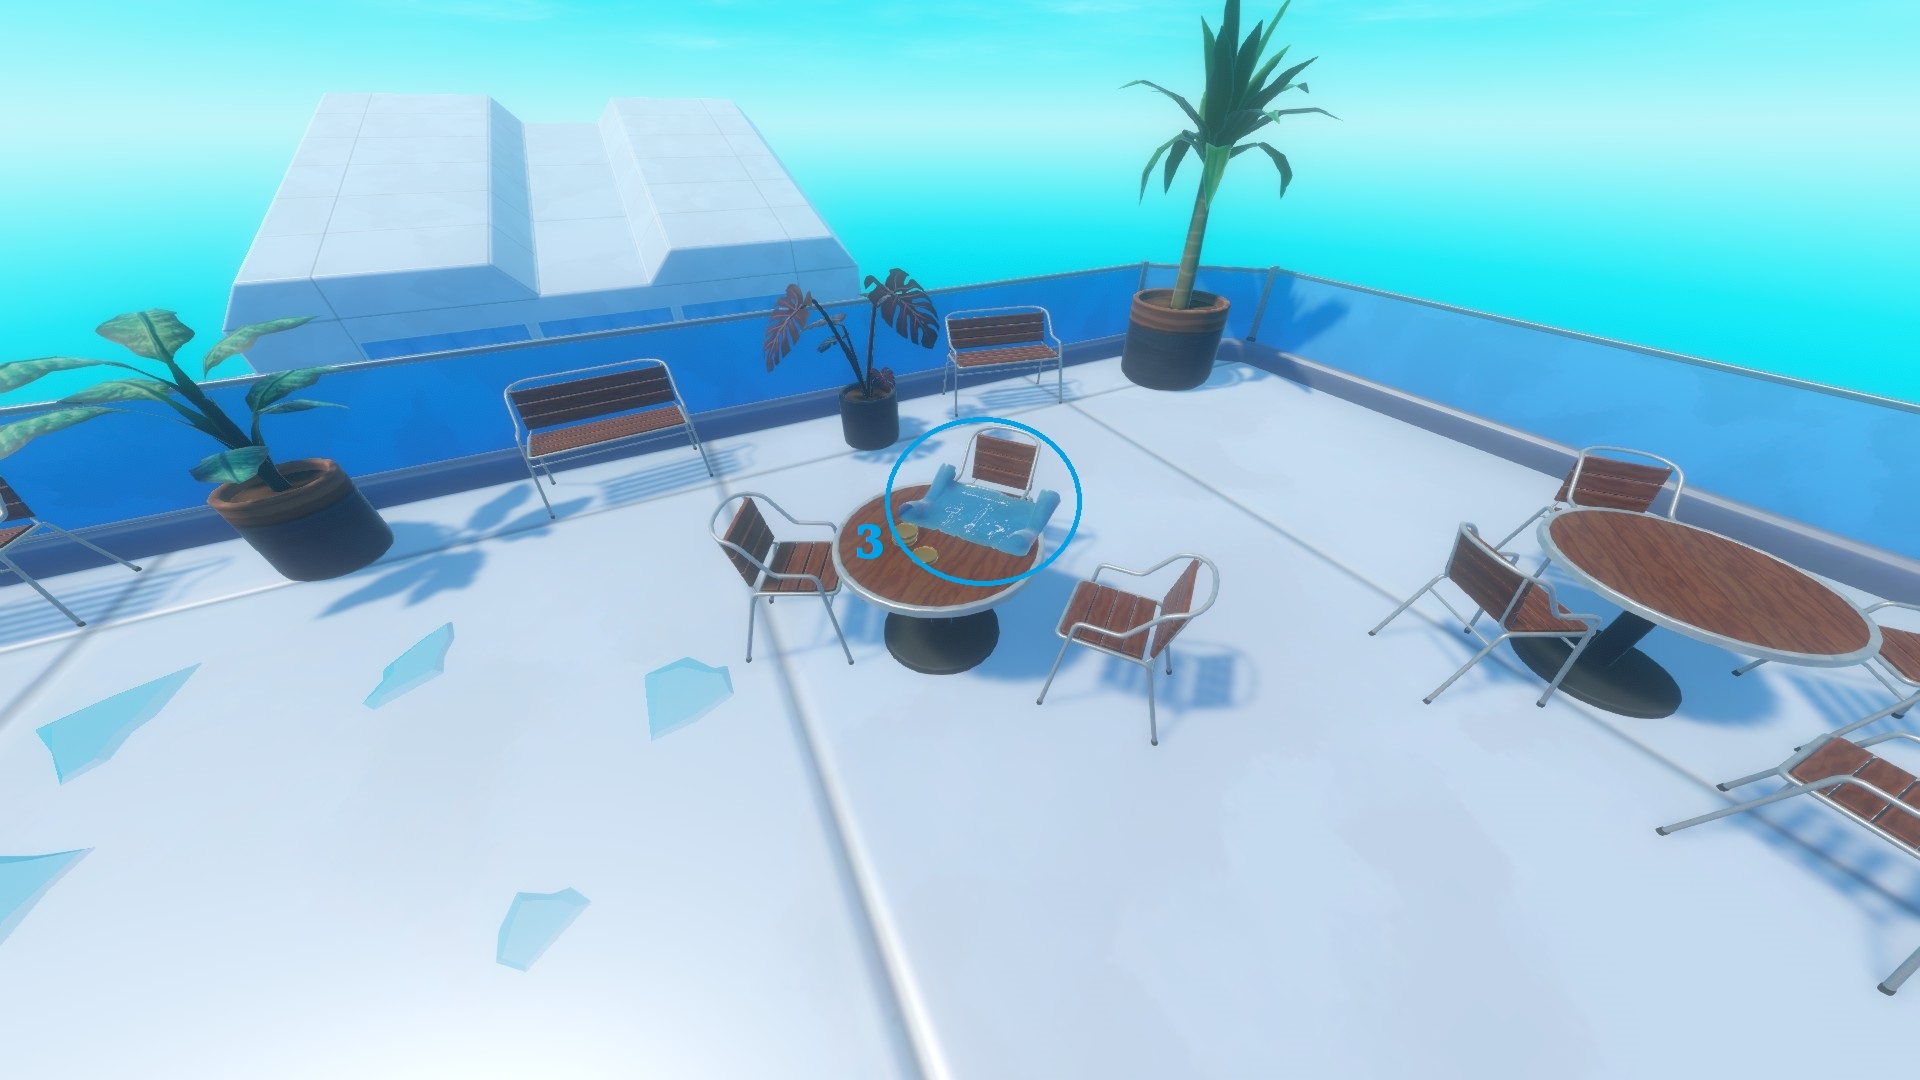
Utopia (Tokens)
Tokens :
There are 35 tokens that you can find.
You can use them on the vending machines located where you first fought Olof (though they will only appear once you free Utopia's people).
- The 1st token is outside, on the platform with the 2 hyenas, on a green box.
- The 2nd token is not far from the 1st token, on a small pillar.
- The 3rd token is in the same area of the 1st and 2nd tokens, on a roof next to a power tower, the one next to the generator on the garden's side.
- The 4th token is also near the generator on the garden's side, on a small pillar next to the water and a big green box nearby.
- The 5th token is on a huge purple box, on the roof of the house next to the generator on the garden's side. You need to climb on the roof of the building on the same platform that has a power tower on it and is connected to a bridge to the other platform. There are 2 movable boxes on this building that you can bring to the house (by first jumping on a purple box then on the roof of the house) to reach the 2nd level of the roof where this token is.
- The 6th token is on the bridge that connects the 2 platforms from the power area.
- The 7th token is on a small square house on the other platform (with only 1 hyena). You take a ladder to climb it. The token is on the right of the ladder after climbing it.
- The 8th token is on the same building as the 7th one, on the 2nd level of the roof (the grey building).
- The 9th token is outside, in the garden area. Look for the big house in the garden and look under it. The token is on a green box.
- The 10th token is also under the big house in the garden area. On another green box.
- The 11th token is next to the water tank in the garden area, on a small brown box which is on a bigger green box.
- The 12th token is inside Detto's house (the big house) in the garden area, on a brown box which is on a bigger green box.
- The 13th token is also inside Detto's house, on a stand next to the blueprint and harpoon.
- The 14th and 15th tokens are near the big door to the inside entrance of Utopia (where you need 2 entrance keys to unlock it). One is on a purple box, the other one is on the floor nearby.
- The 16th token is not far from the chained big house where the people are locked up. On a small platform that streches out on the water, on a fence.
- The 17th token is inside, just after taking the elevator, in a plant pot.
- The 18th token is right after the first weight puzzle, on the mechanism that lowered the bridge to the second weight puzzle.
- The 19th token is right after the second weight puzzle, on a green box not far from the scale after reaching the 3rd level.
- The 20th token is on a purple box in the area after going down the stairs after the second weight puzzle. It's a bit on the side.
- The 21st token is on a purple box, inside the house that connects the area just after going down the stairs after the second weight puzzle and the area after taking the elevator that you fixed at the end of the jumping puzzle.
- The 22nd and 23rd tokens are in the area of the 1st Boss Fight, on a stand near the wall you climbed to get here.
- The 24th and 25th tokens are also in the 1st Boss area, on another stand a bit further.
- The 26th token is also in the 1st Boss area, on another stand next to a house not far from where Olof was.
- The 27th and 28th tokens are right after getting out of the hyena pit (the 2nd boss fight), on a cage near the stairs where Olof was.
- The 29th token is between the 2nd boss fight and the 3rd, at the beginning of the bridge between the two skyscraper, in a plant pot.
- The 30th token is also in the bridge between the two skyscrapers, at the end this time but also in a plant pot.
- The 31st, 32nd and 33rd tokens are at the very end, after Olof fell through a window, on a table with a blueprint.
- The 34th token is also on the same balcony as the three previous tokens, in a plant pot.
- The 35th token is after taking the elevator down to the exit, on a bench just next to the outside exit door.
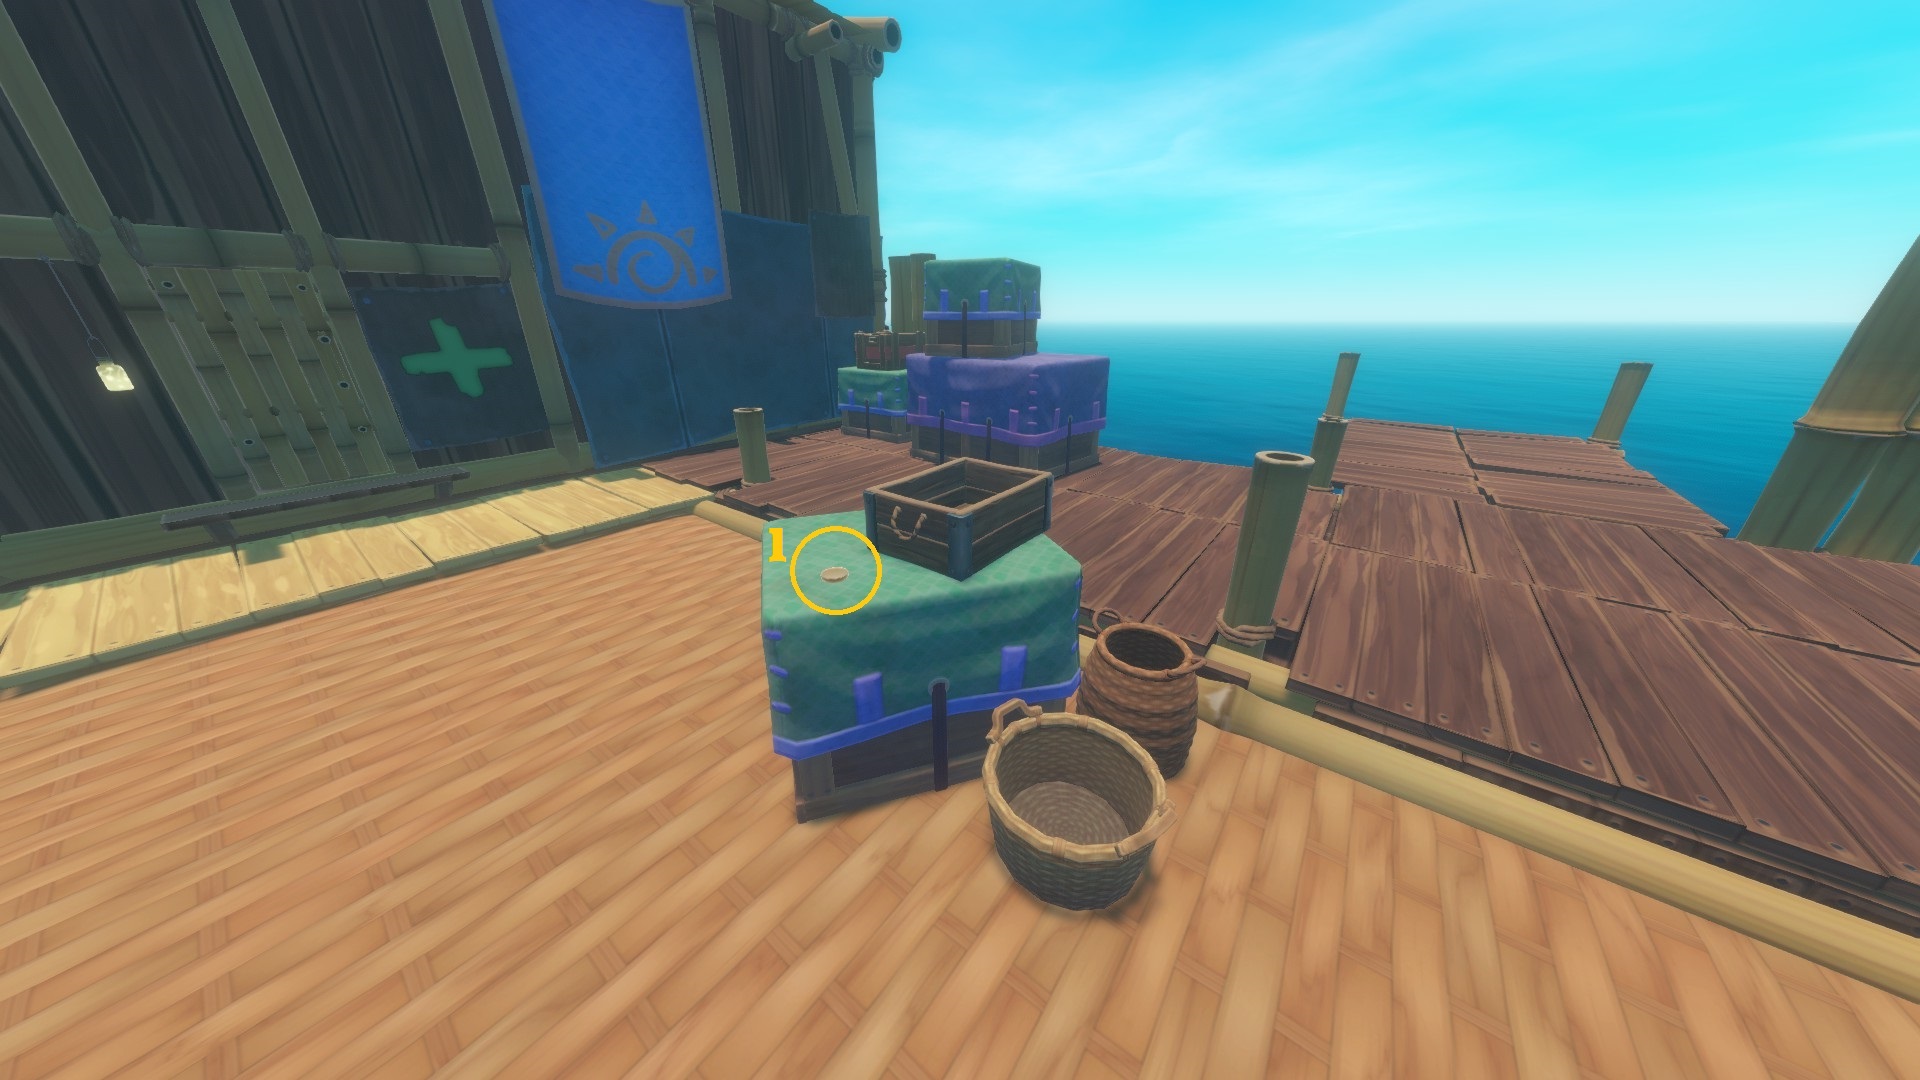
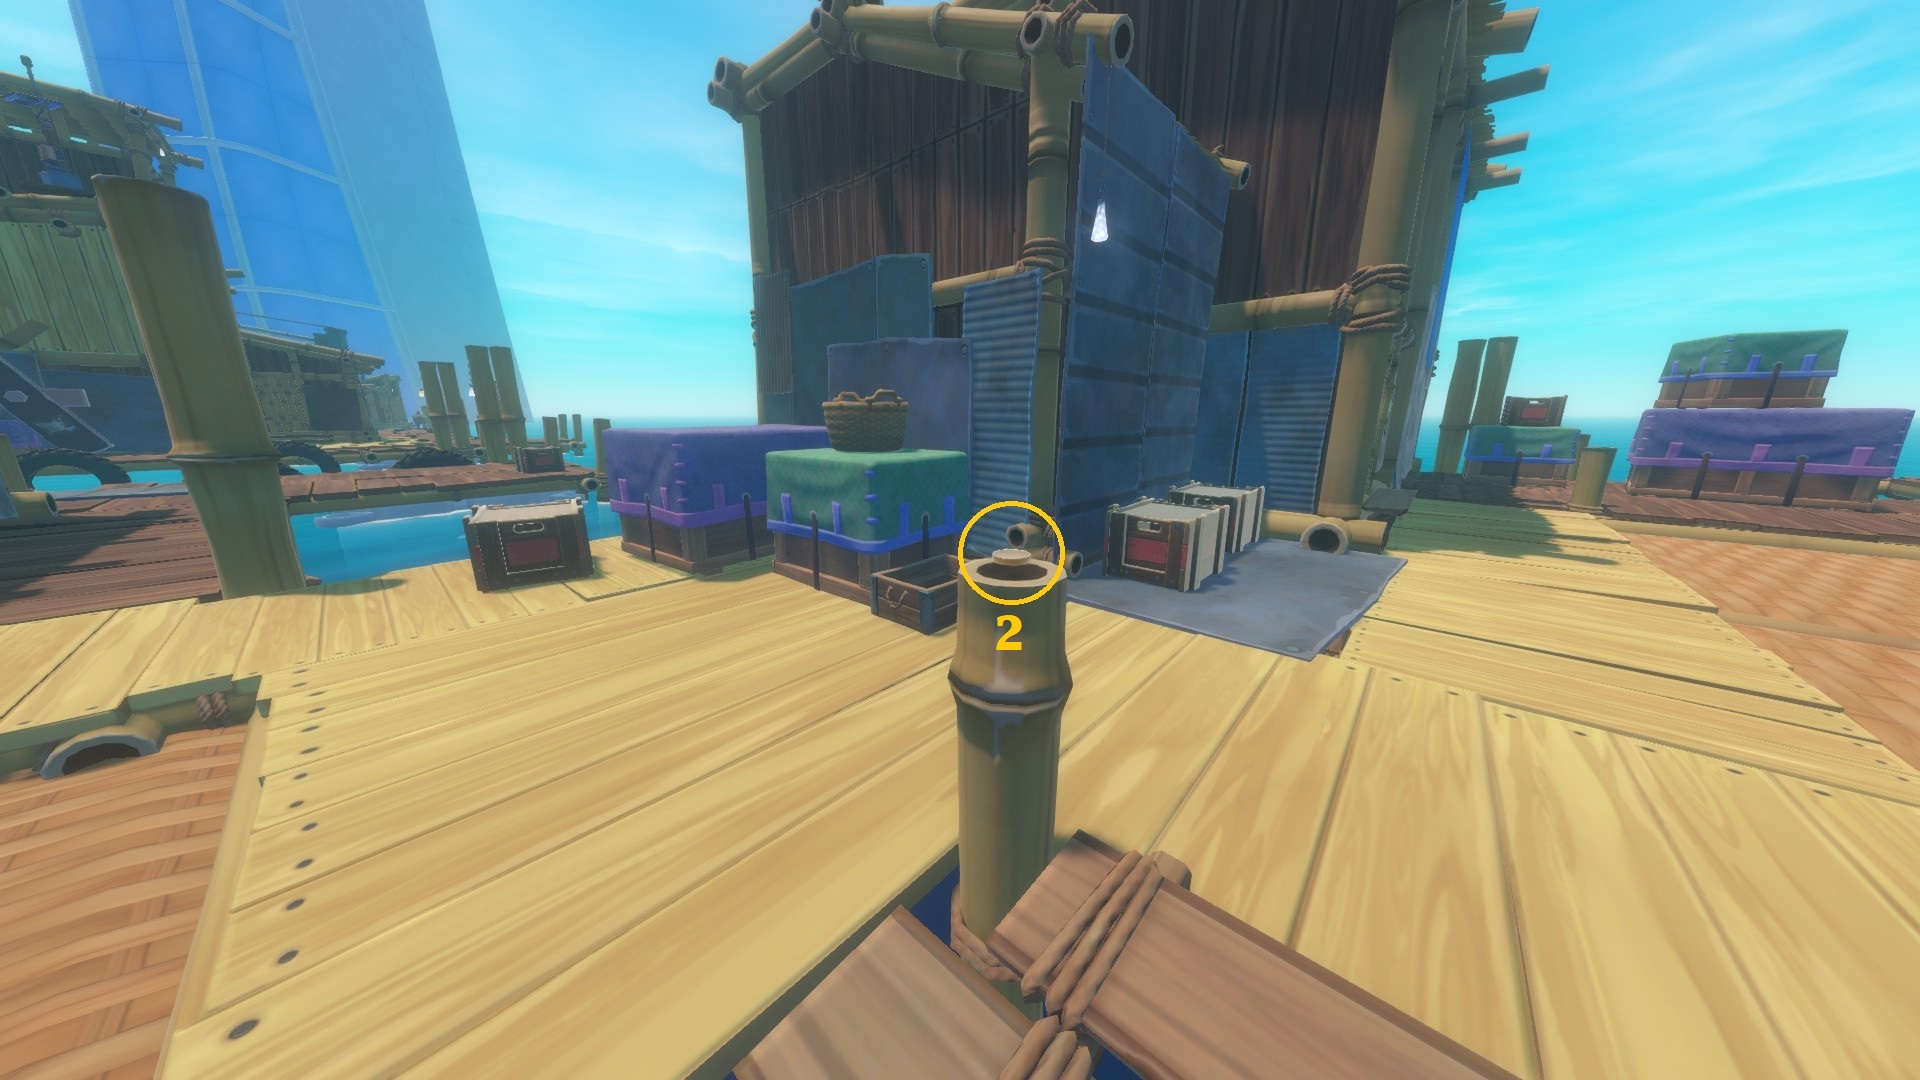
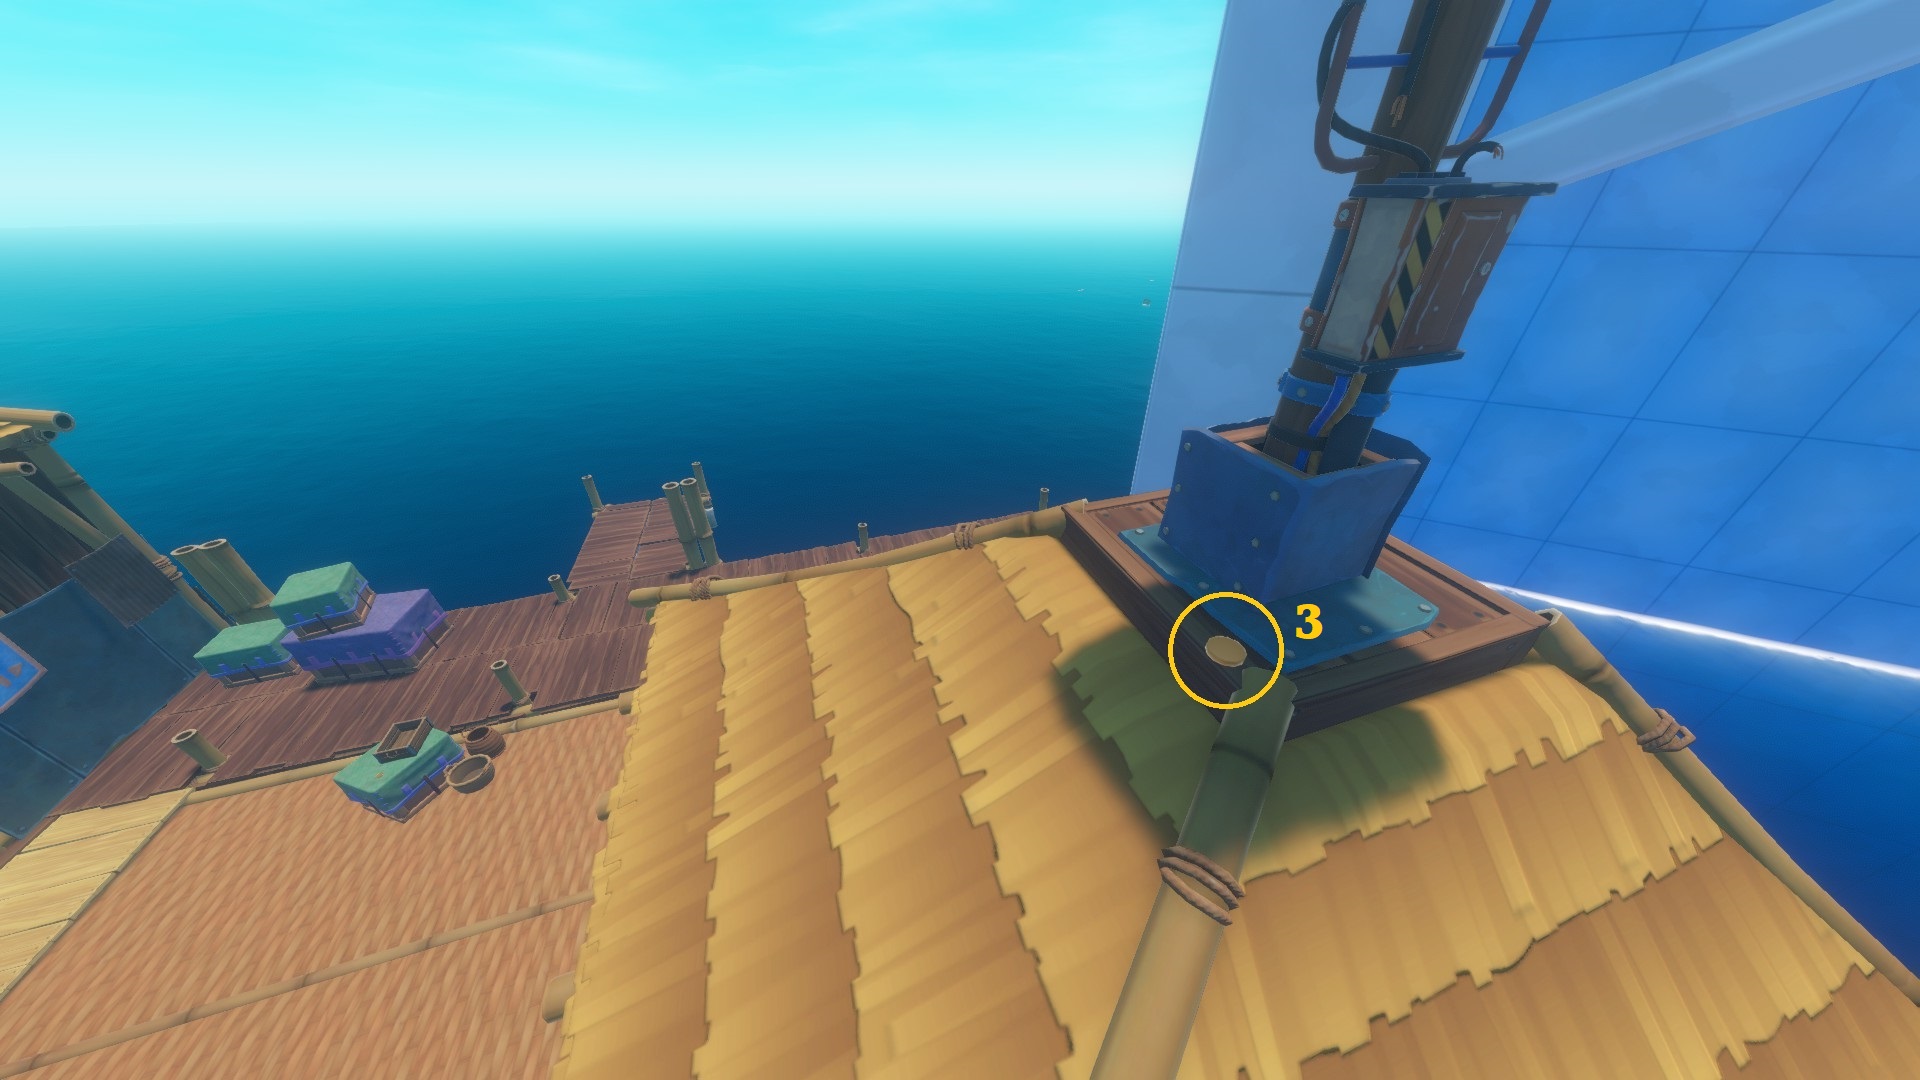
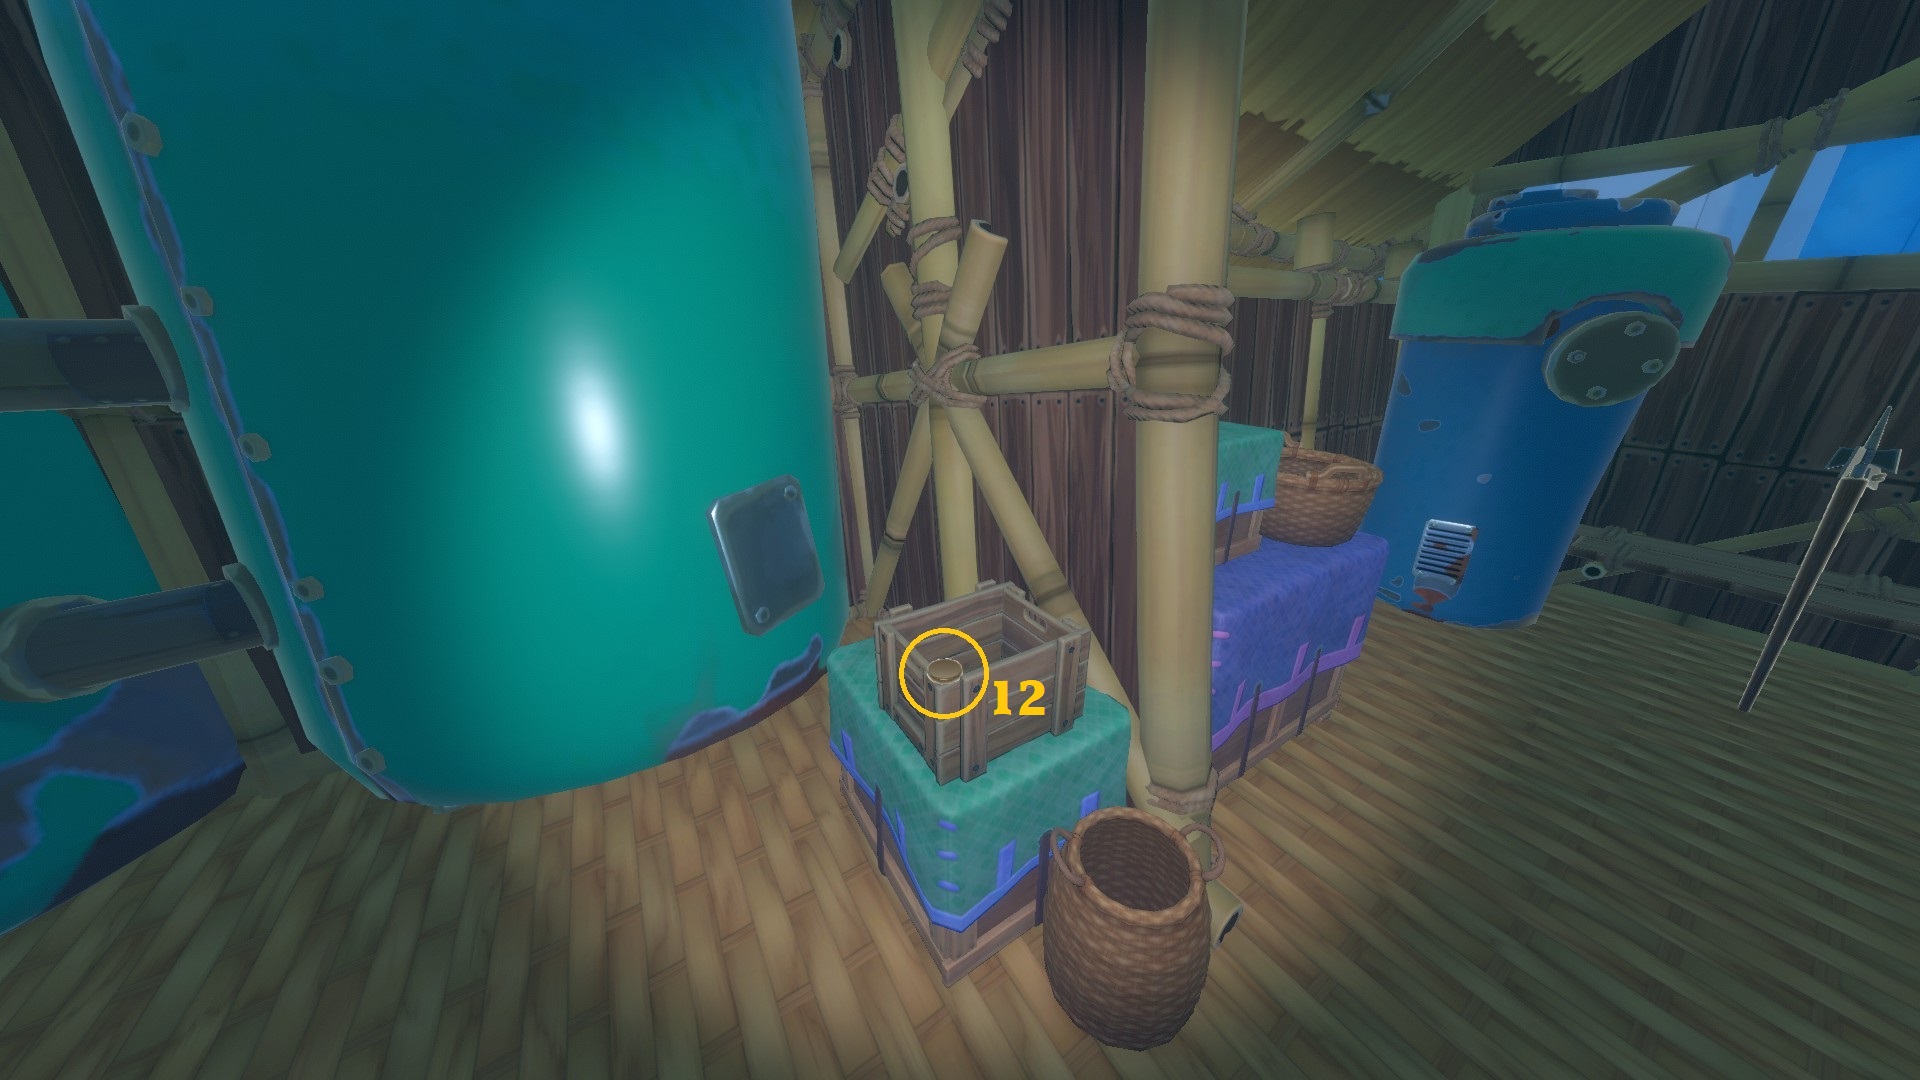
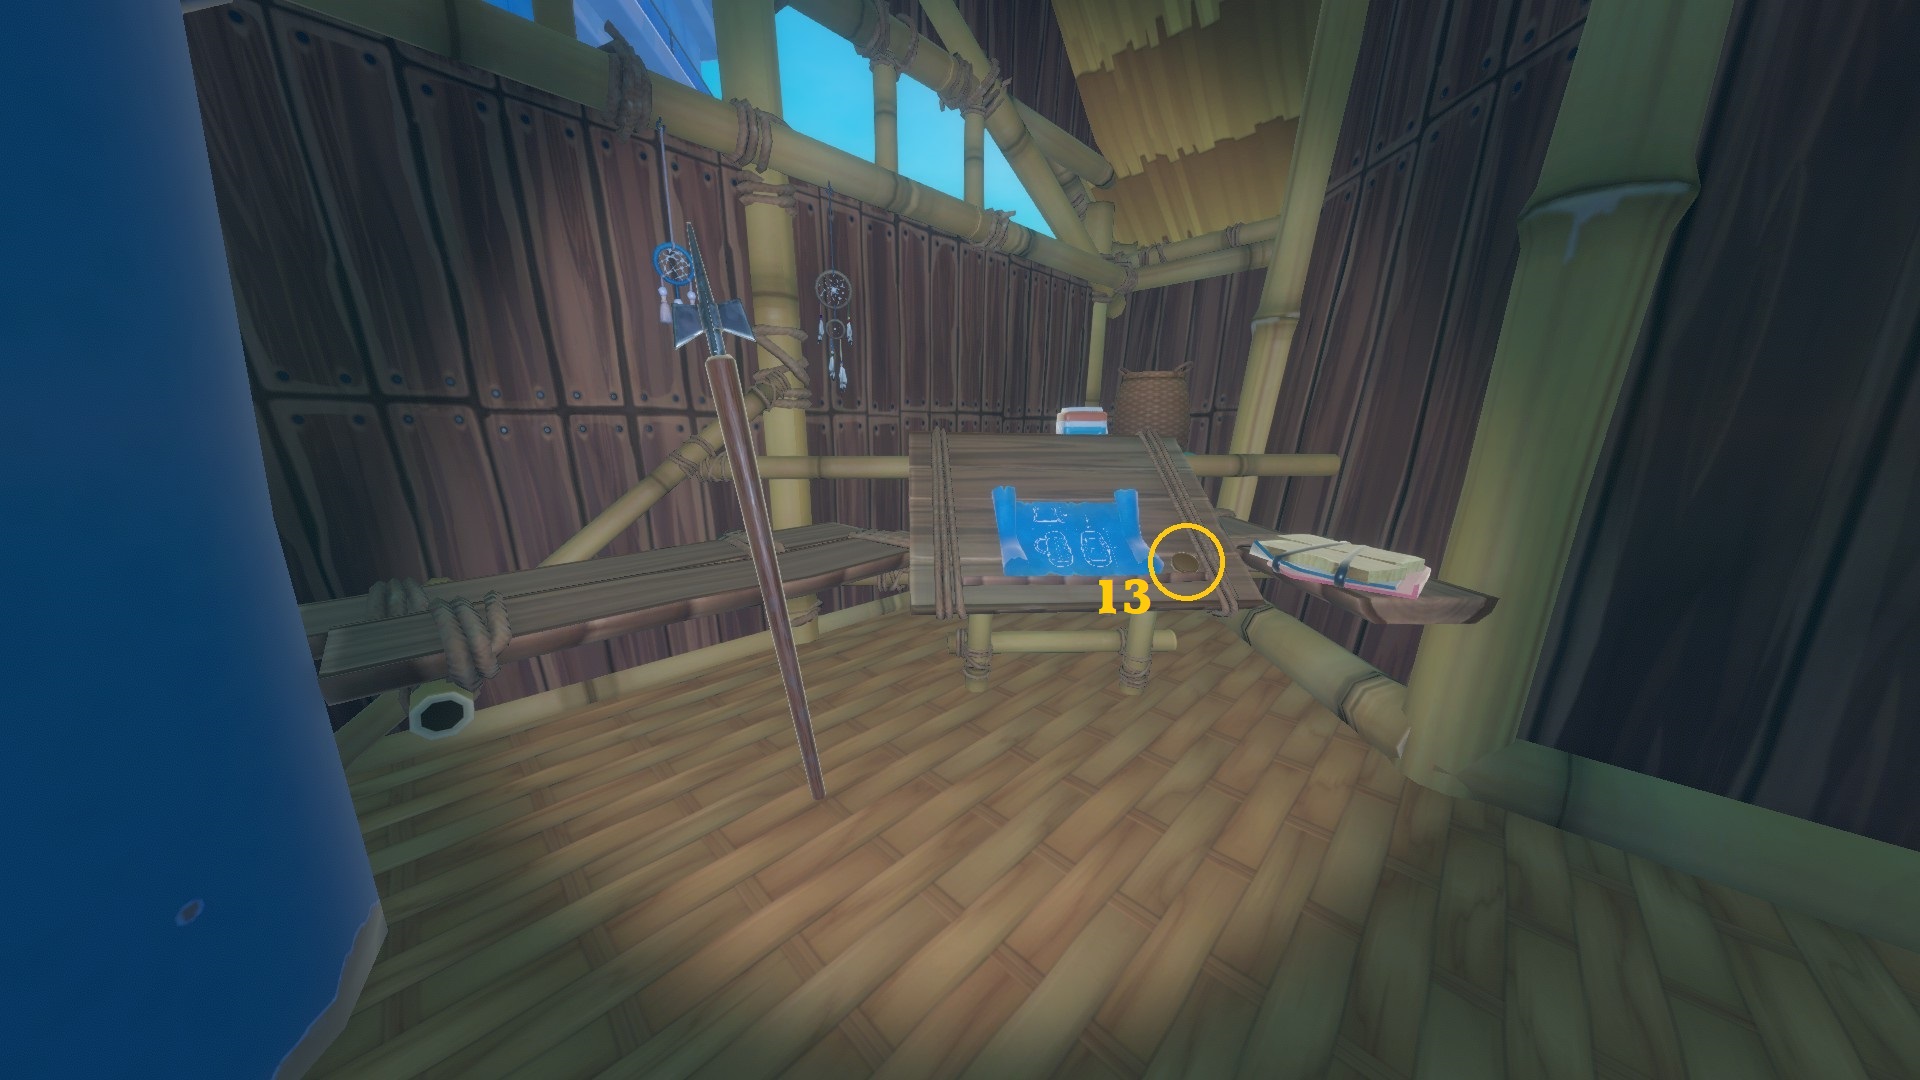
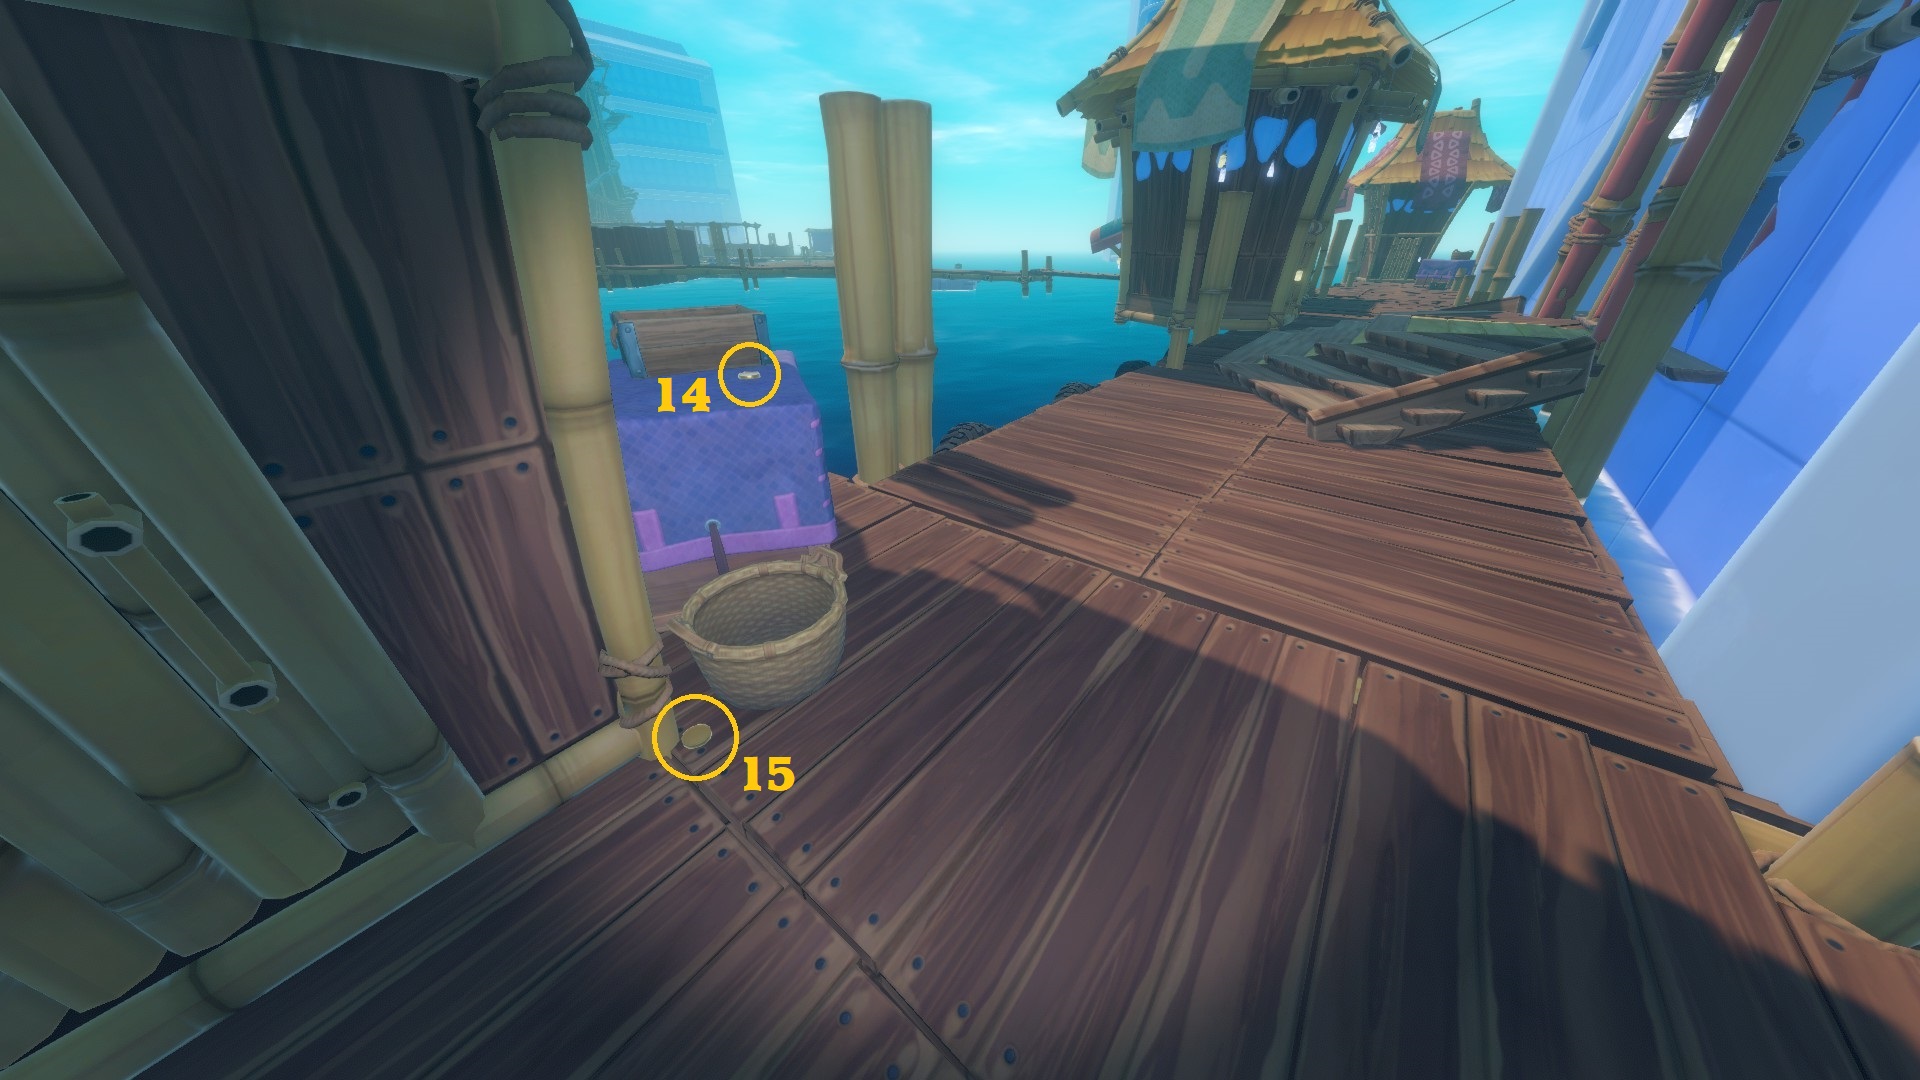
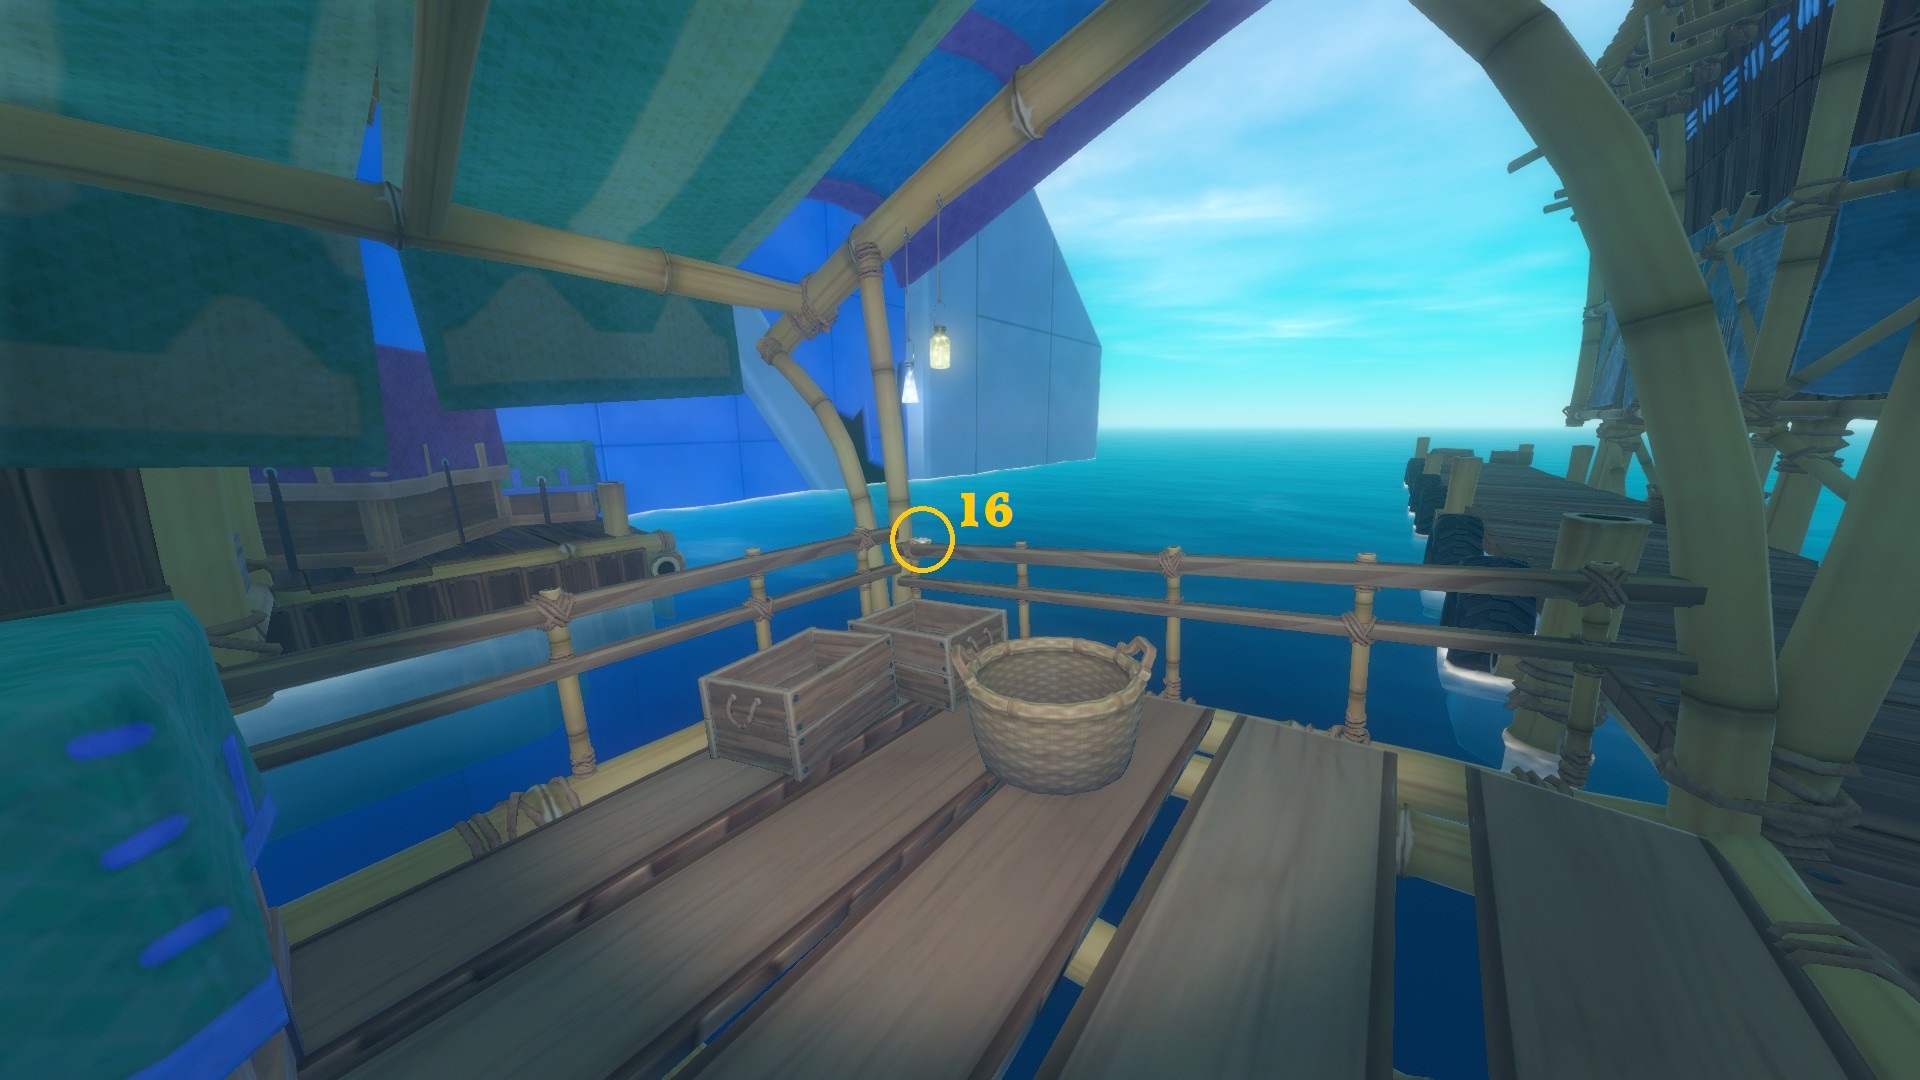
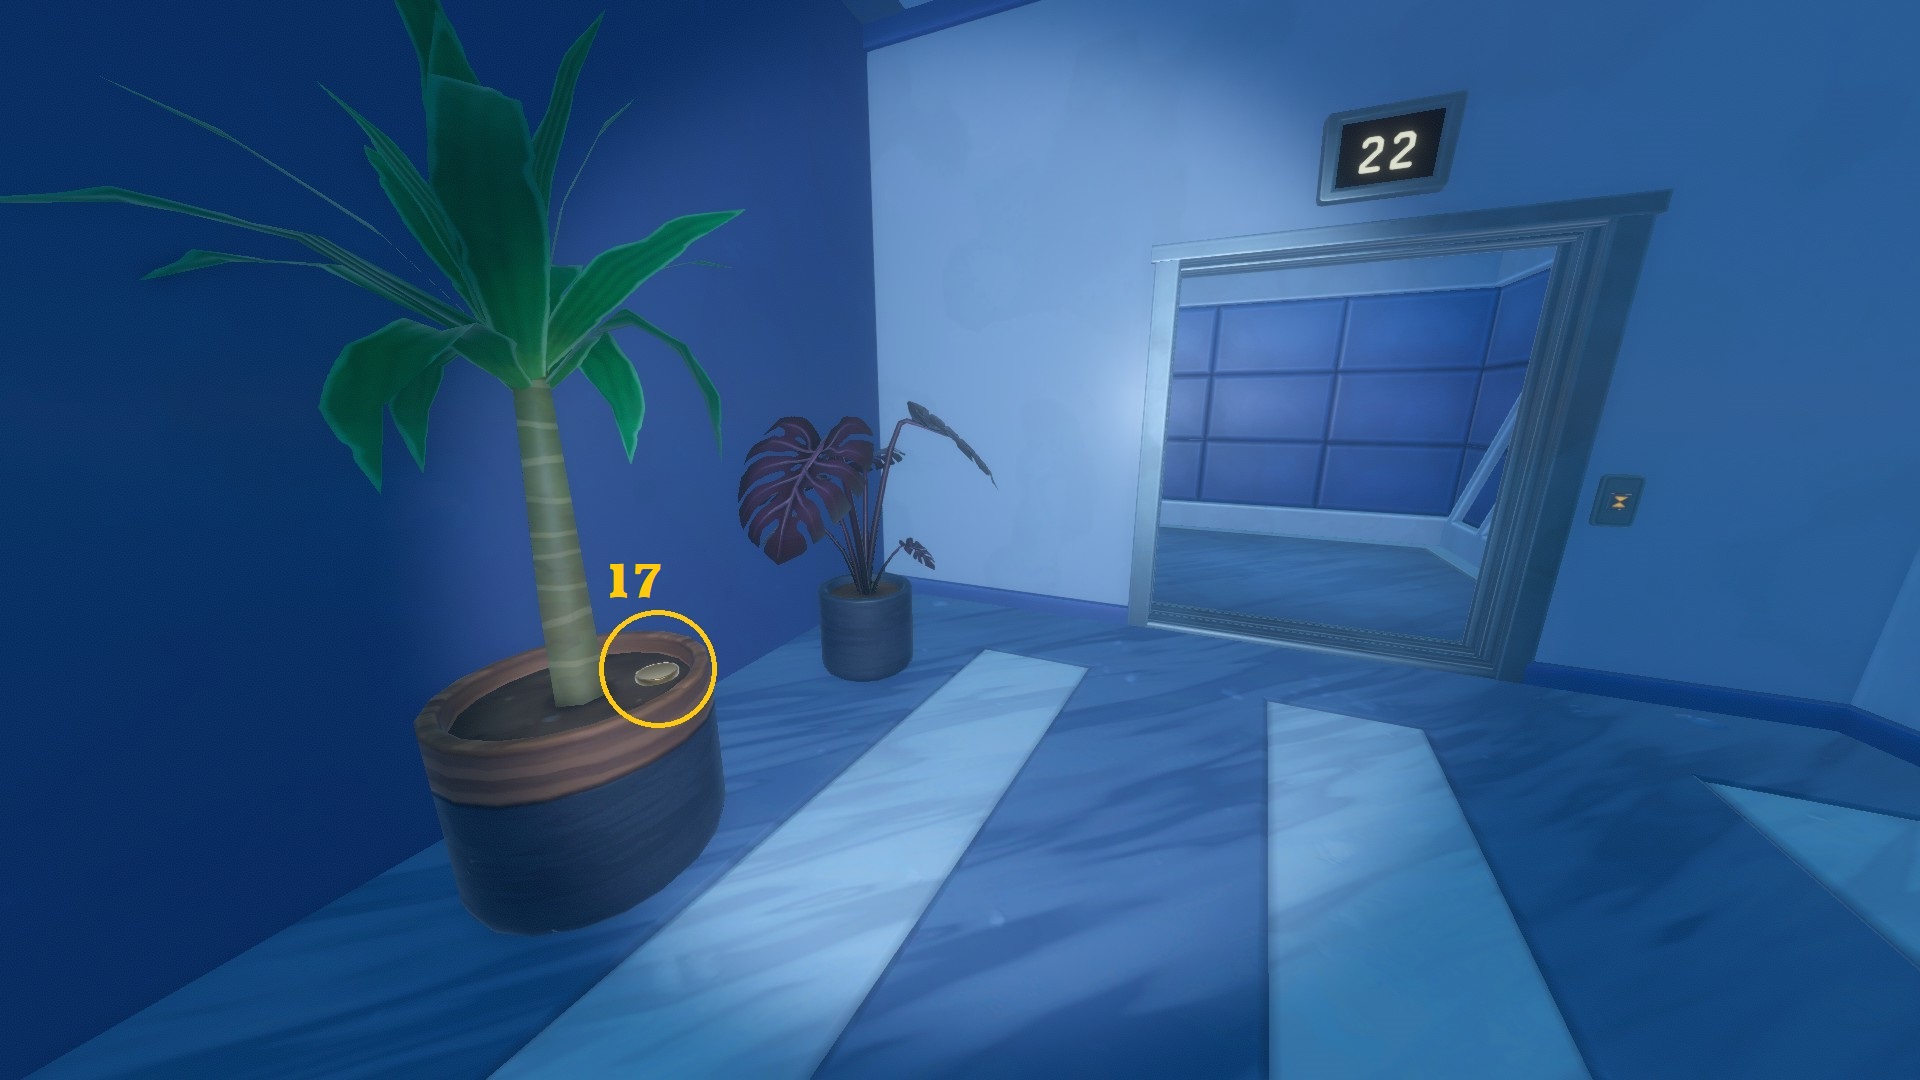
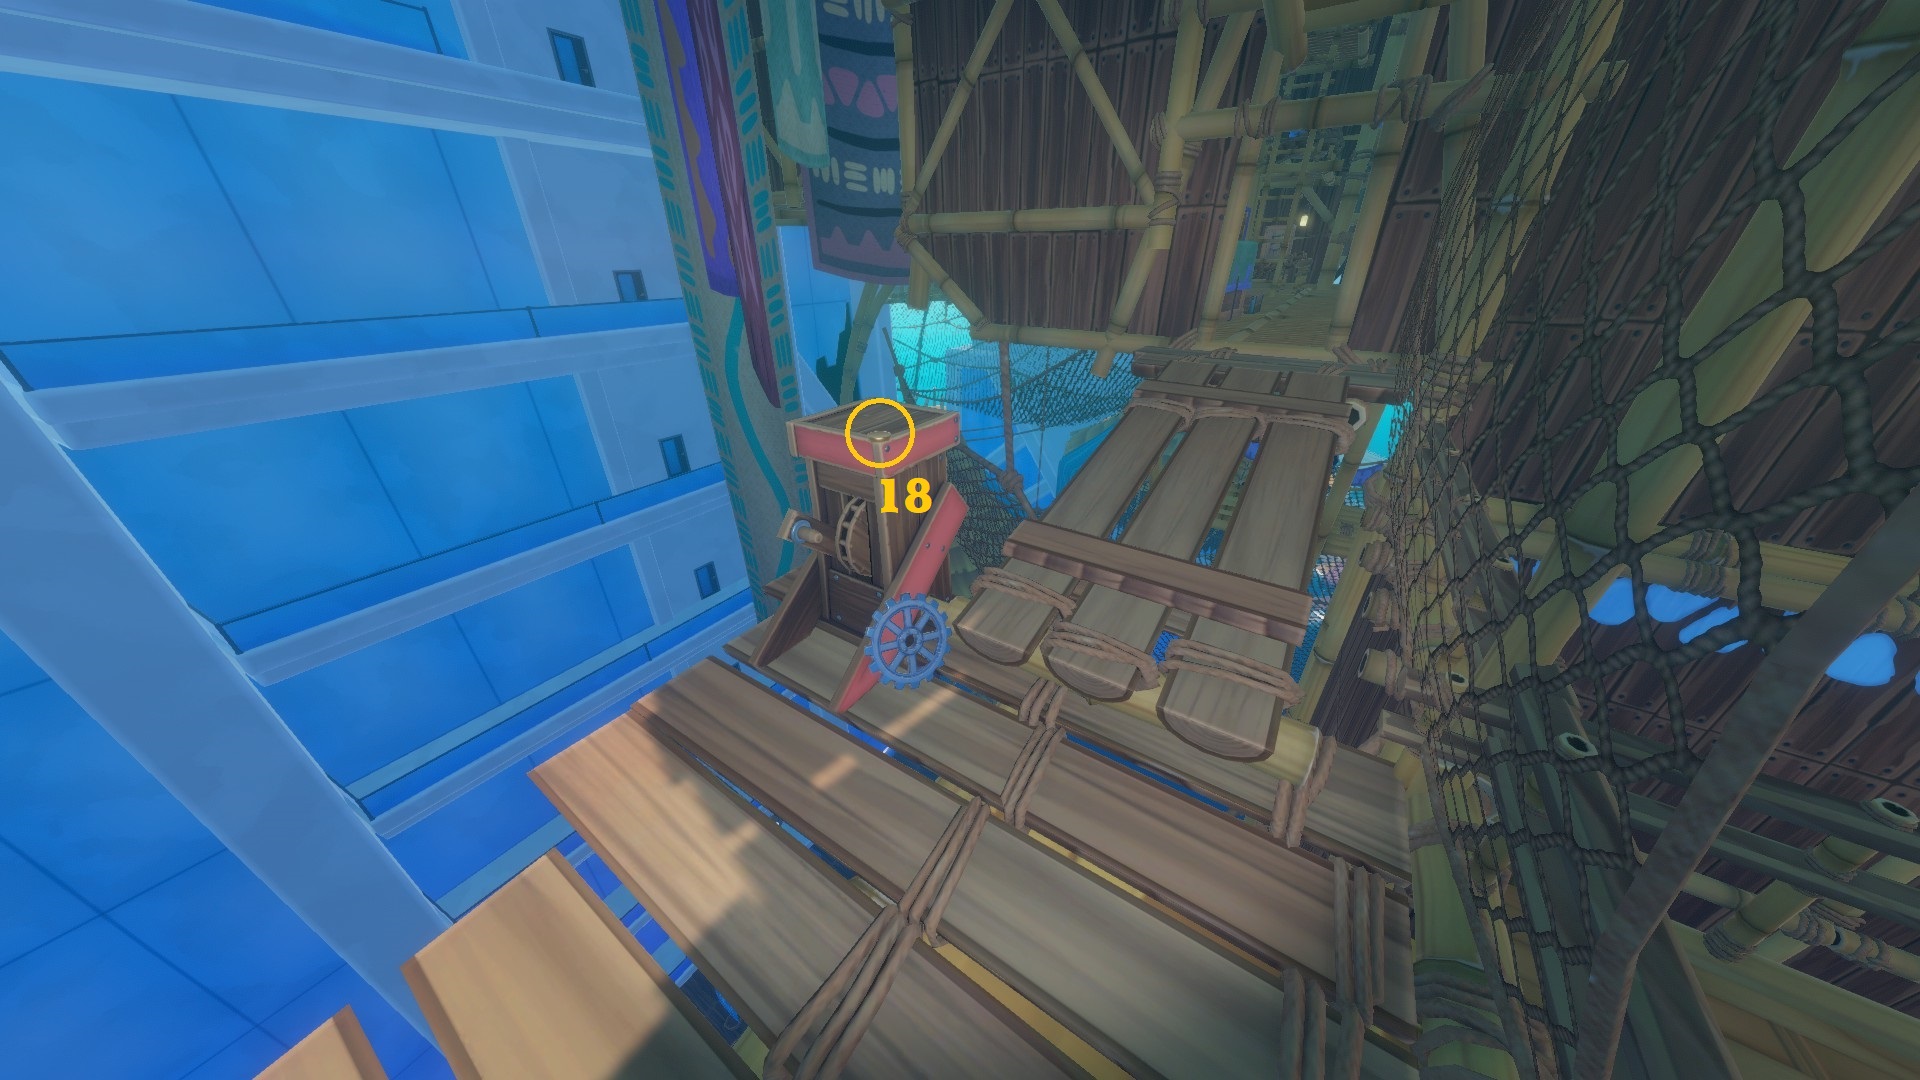
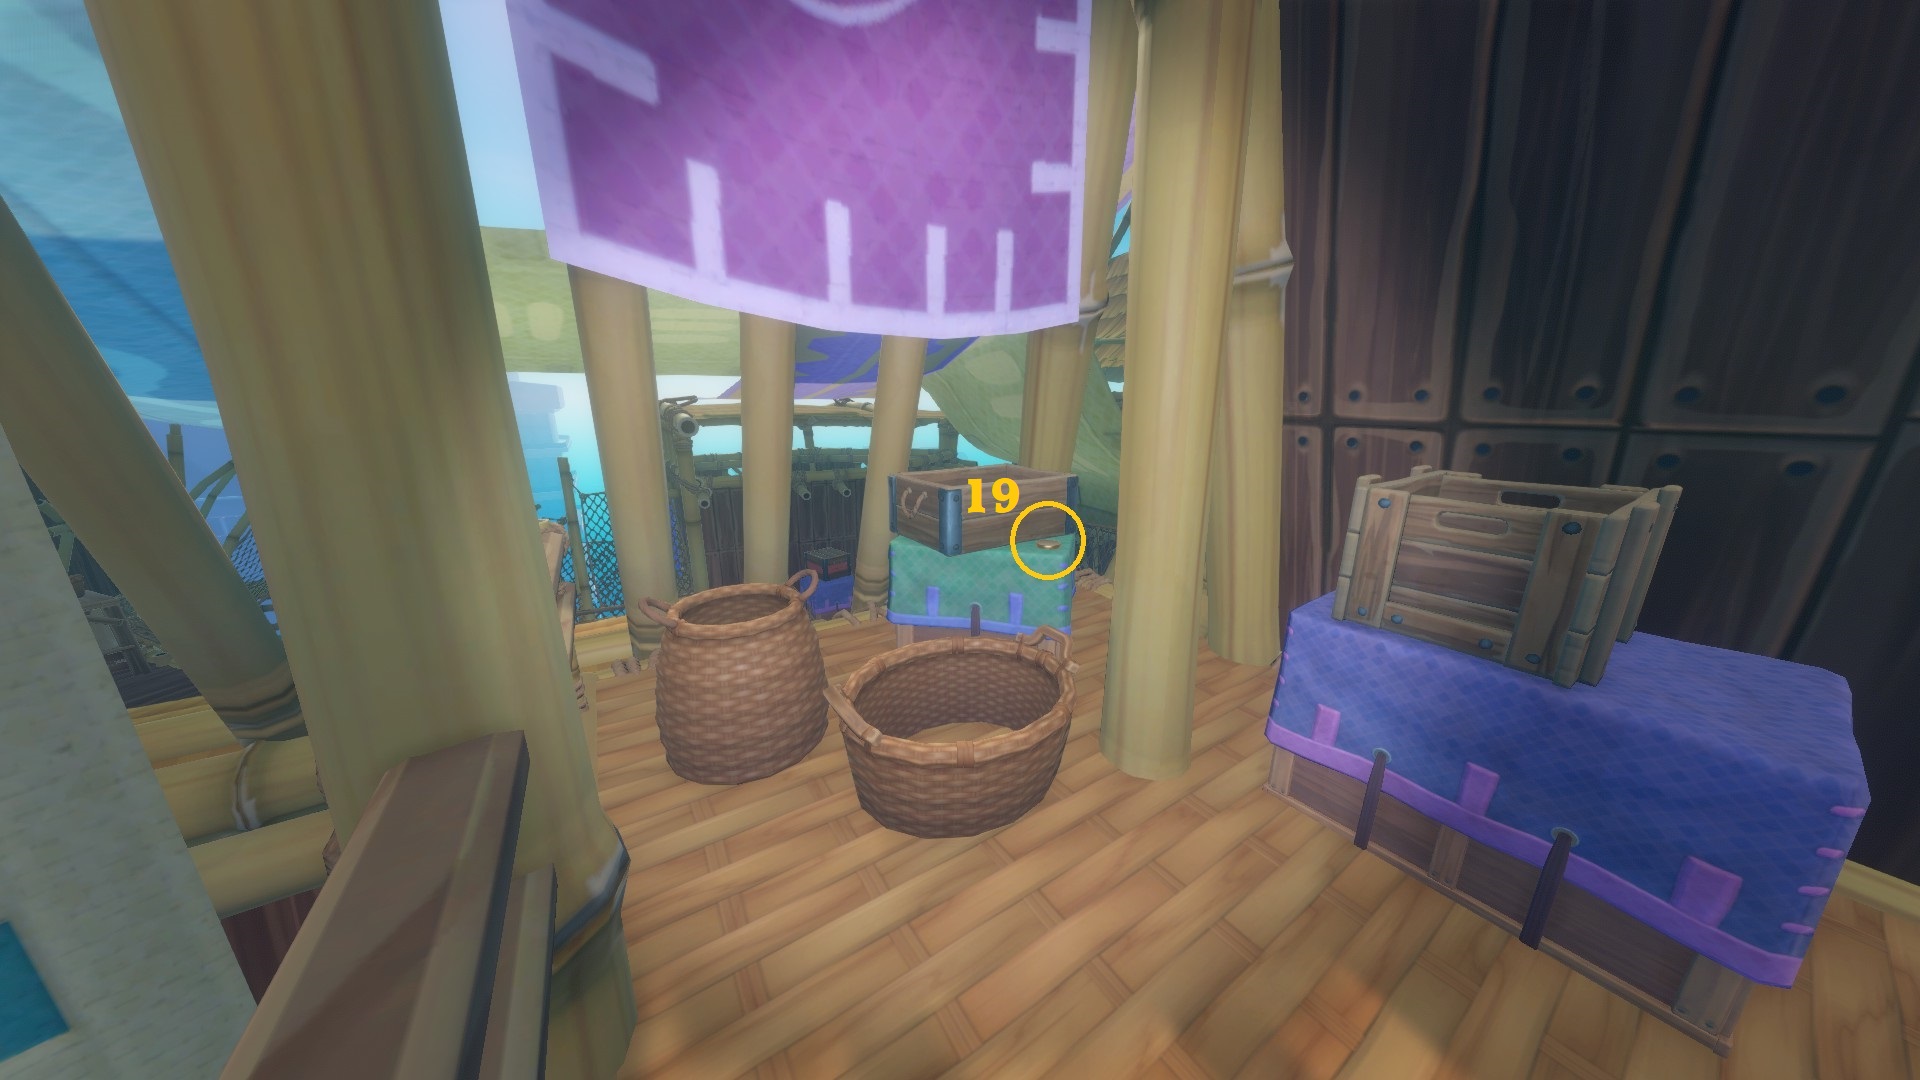
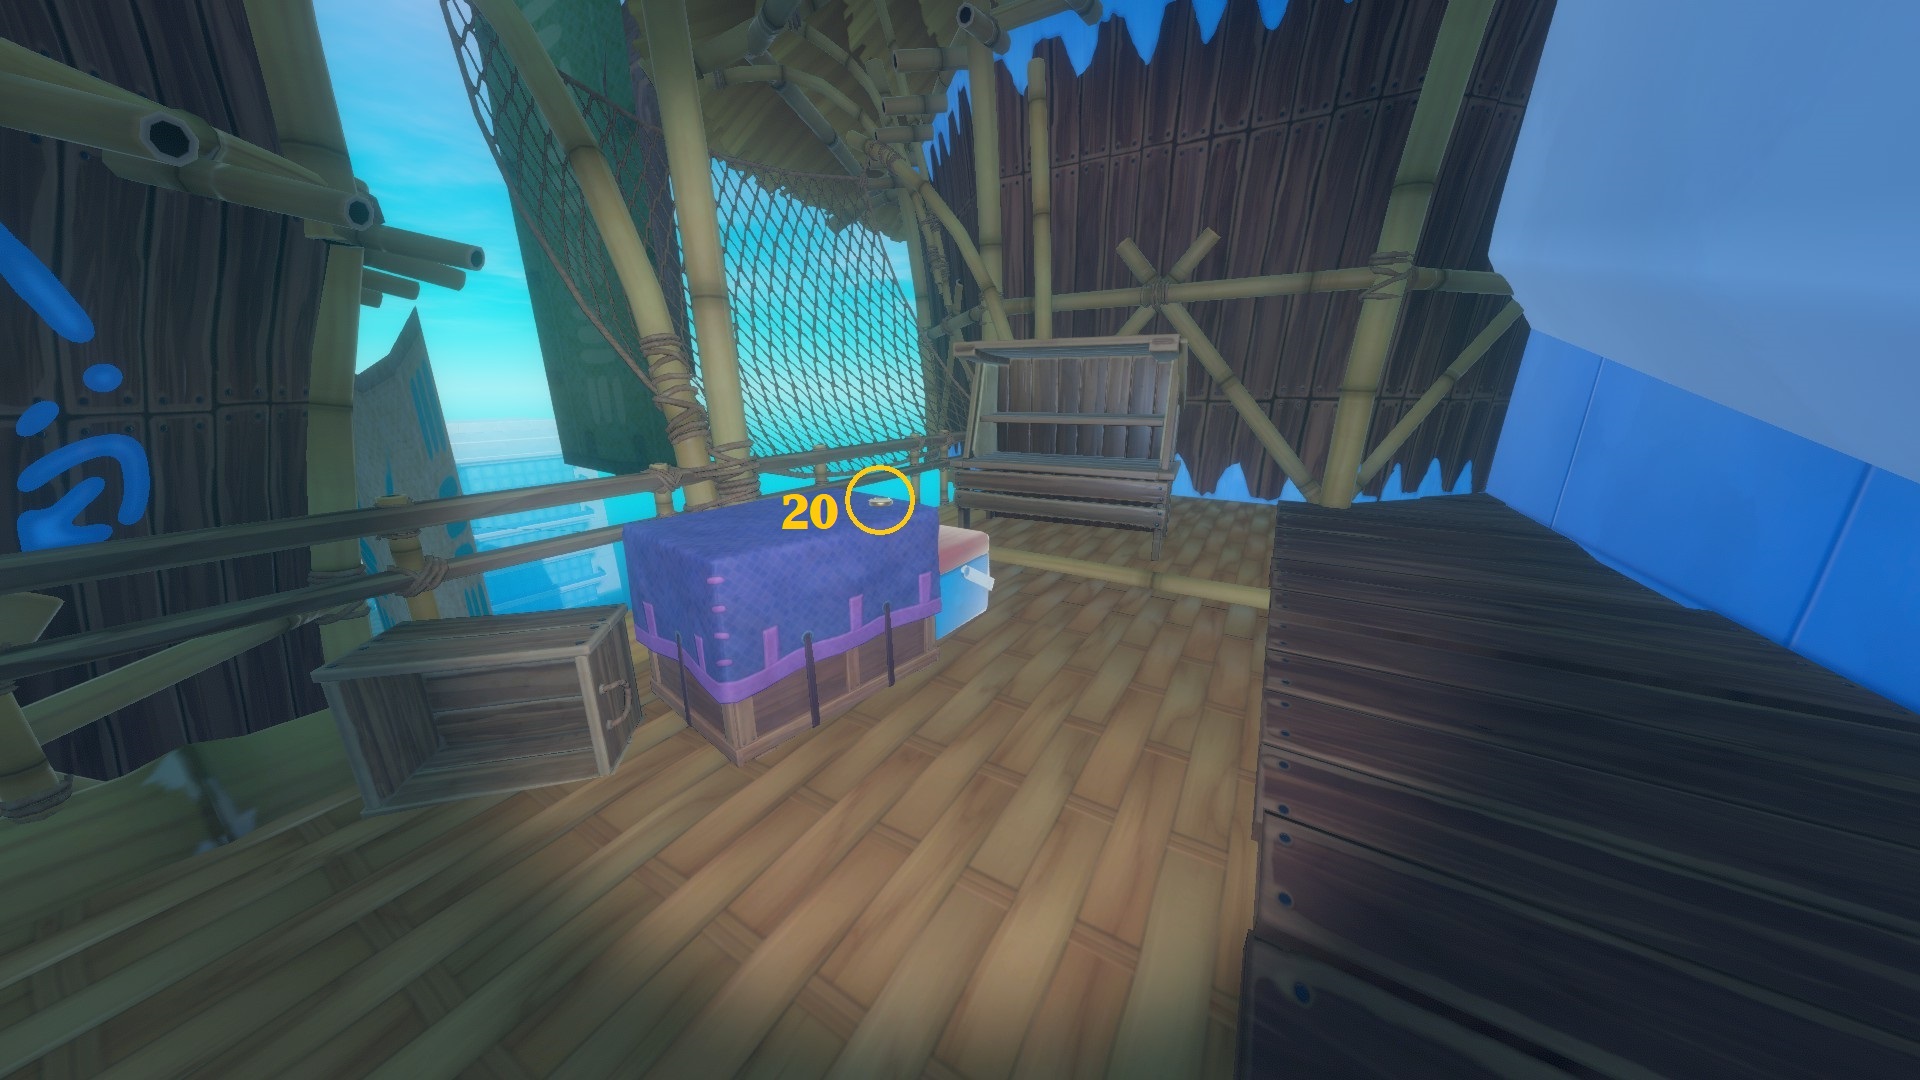
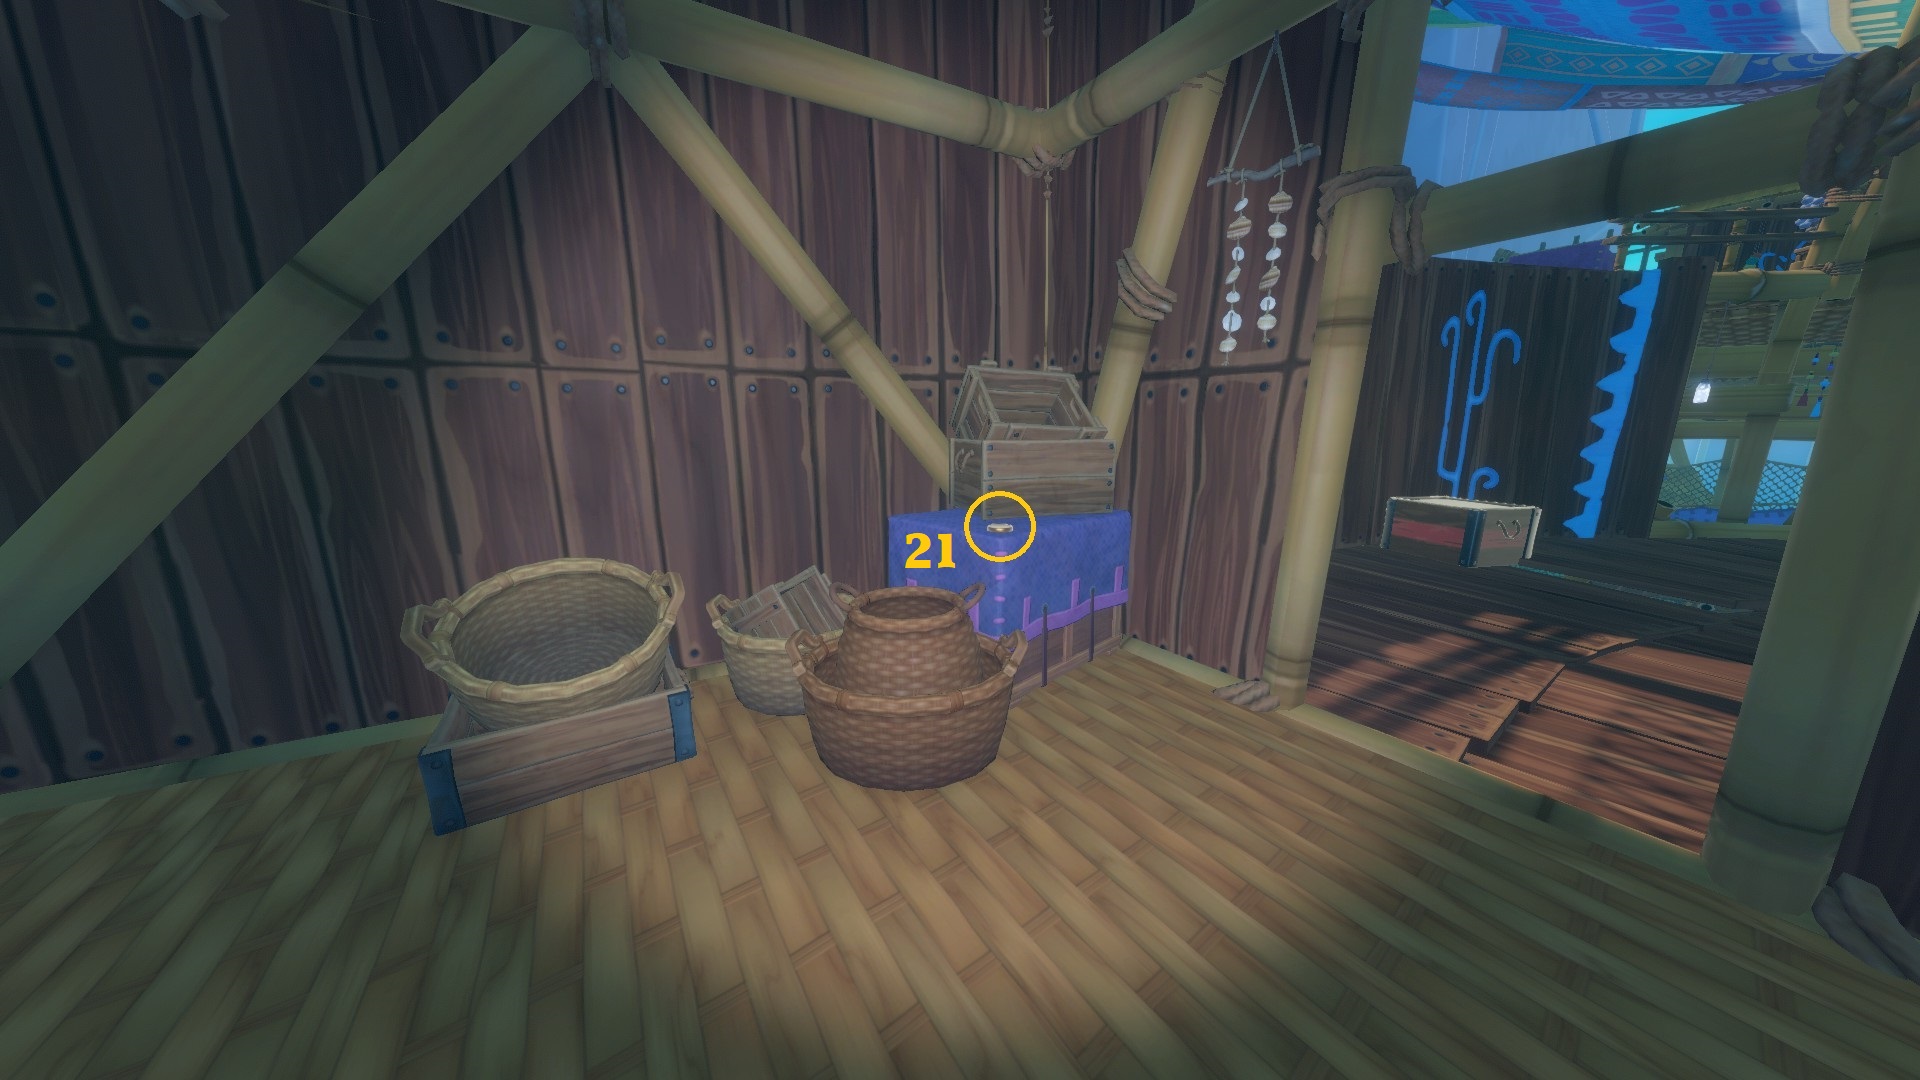
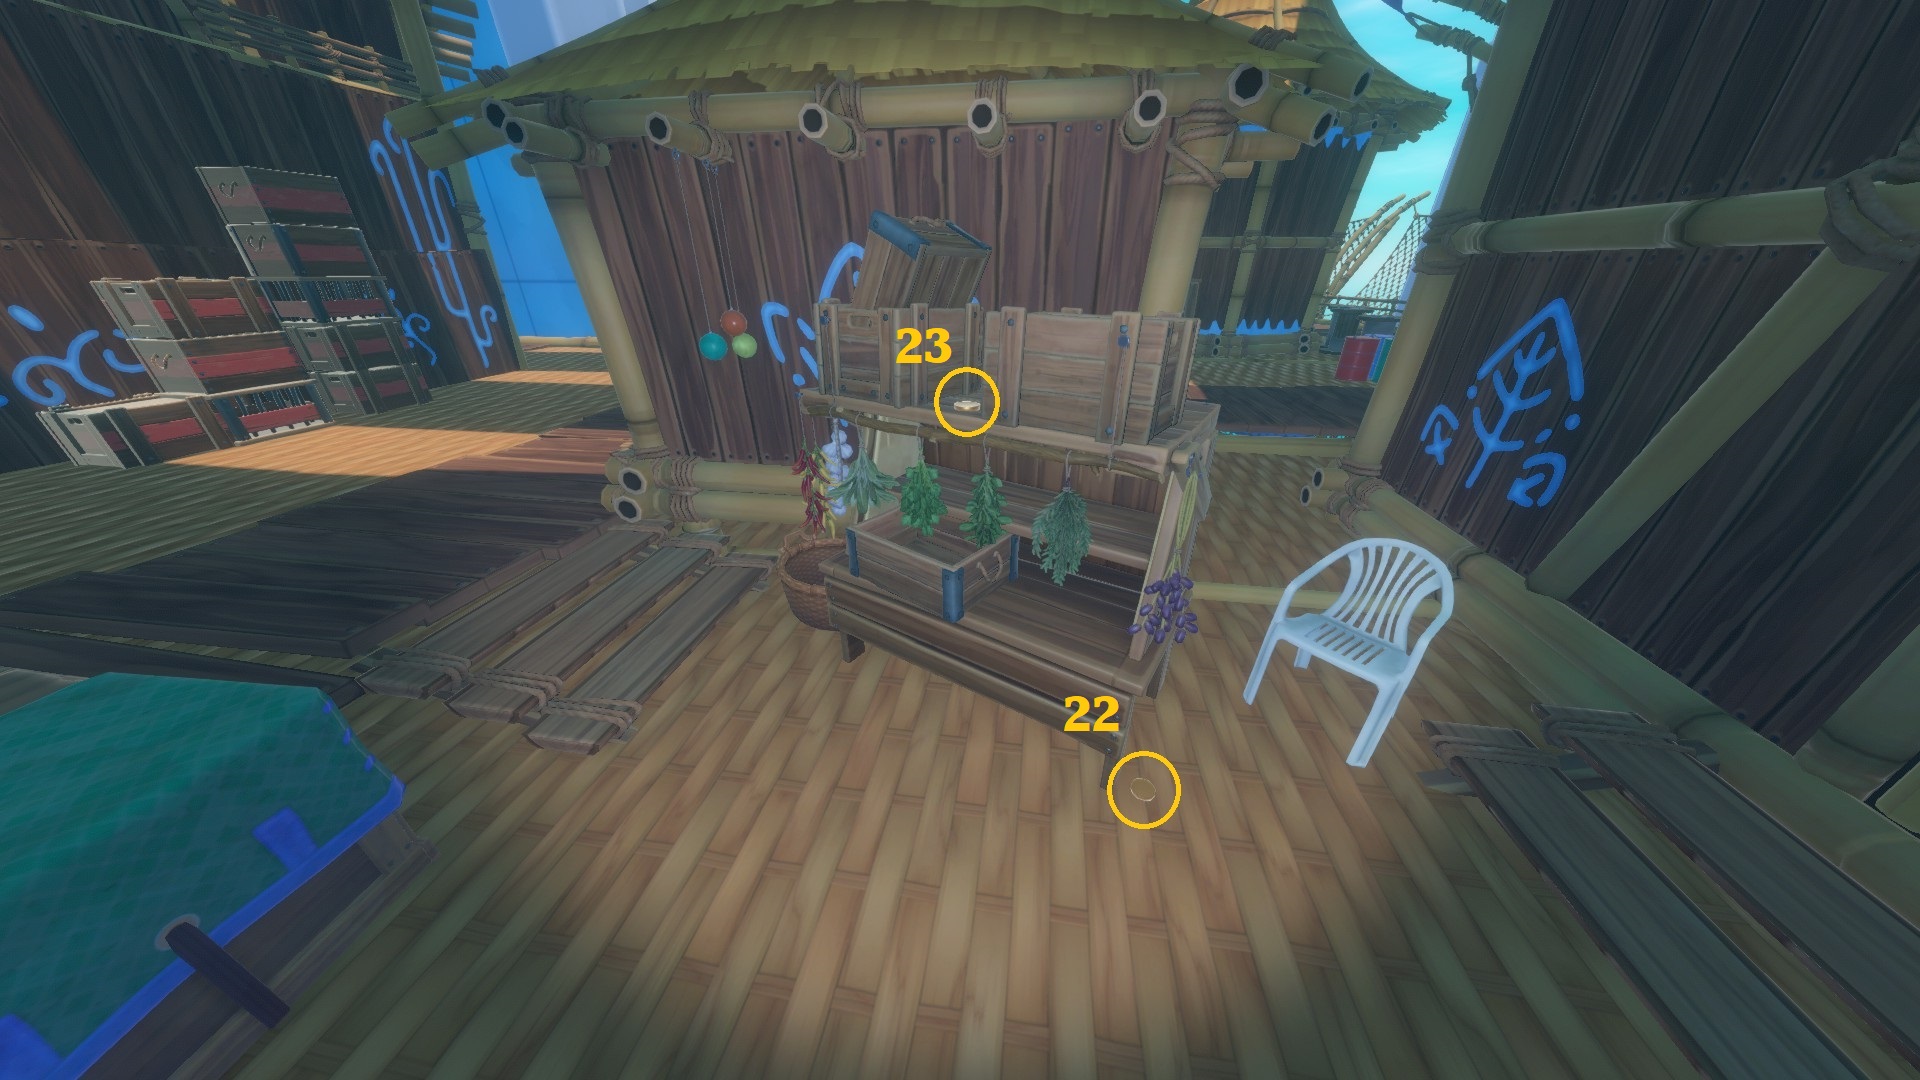
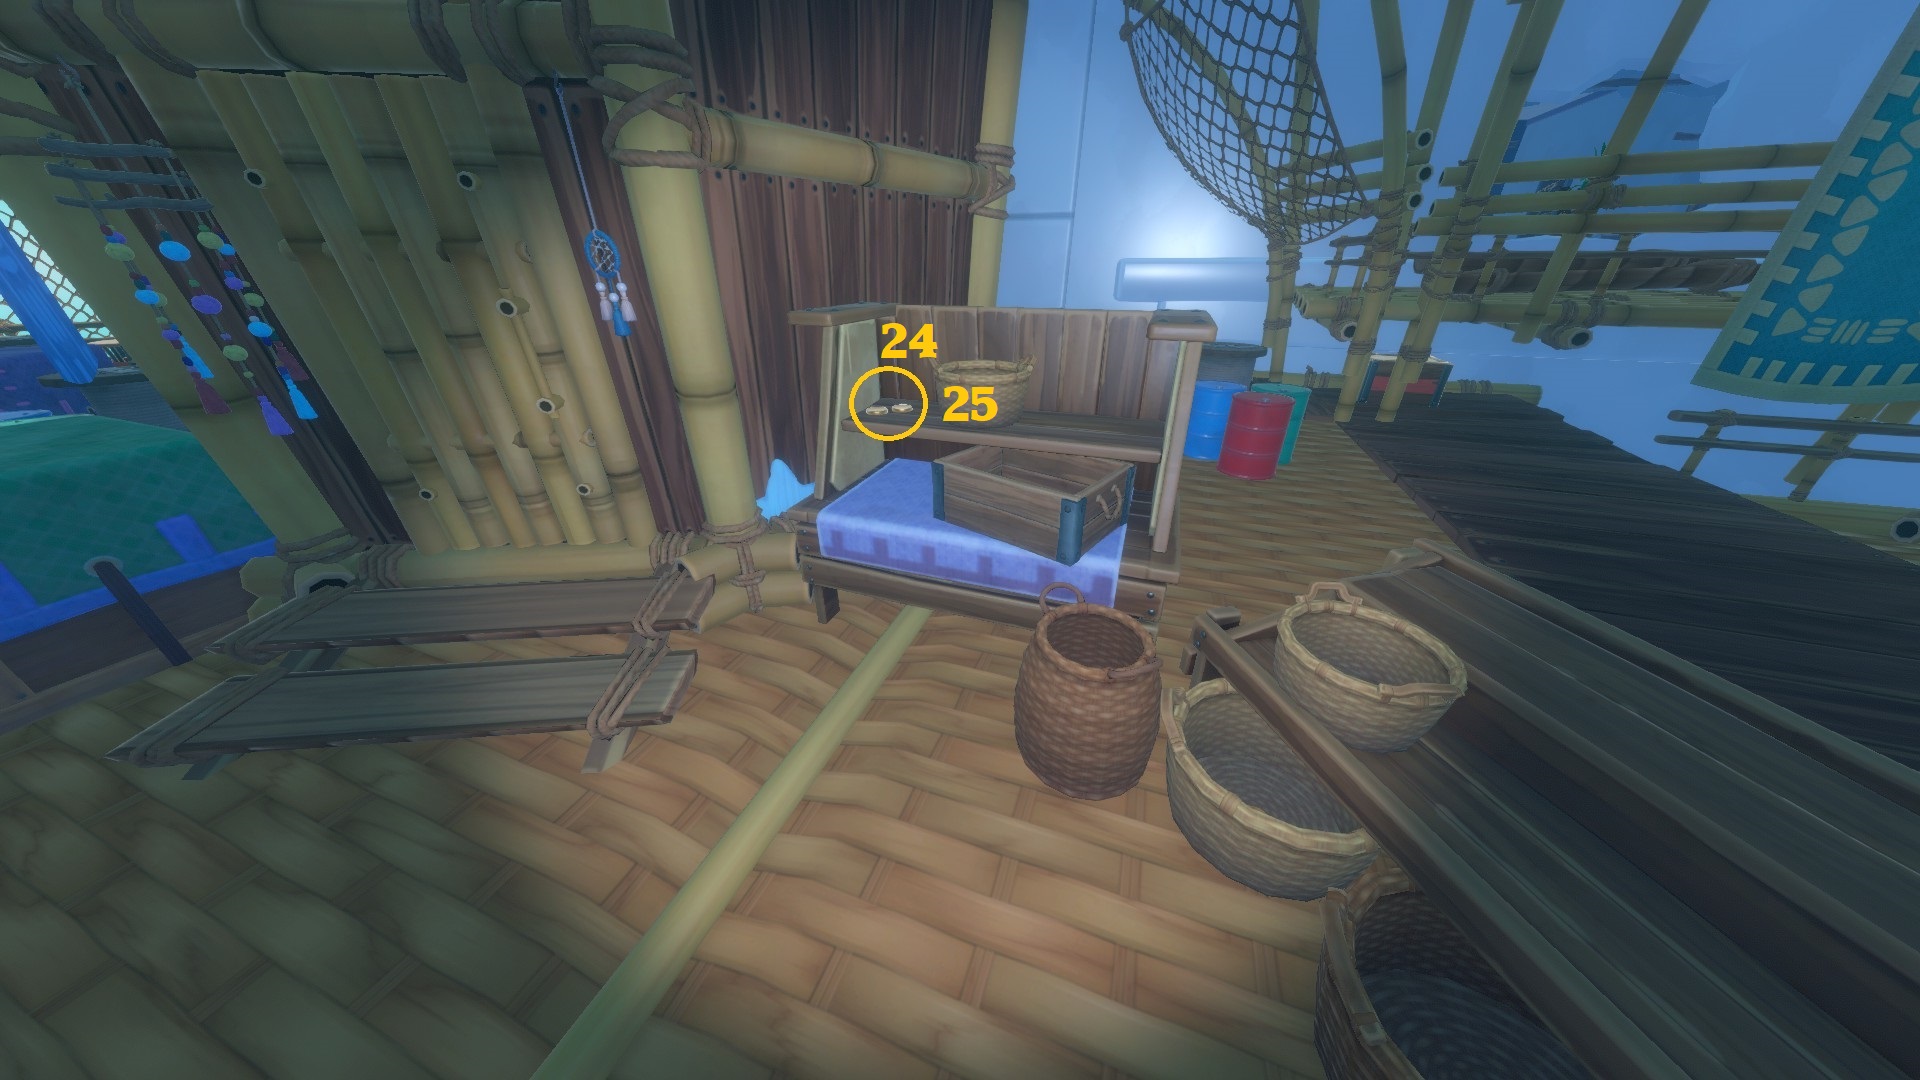
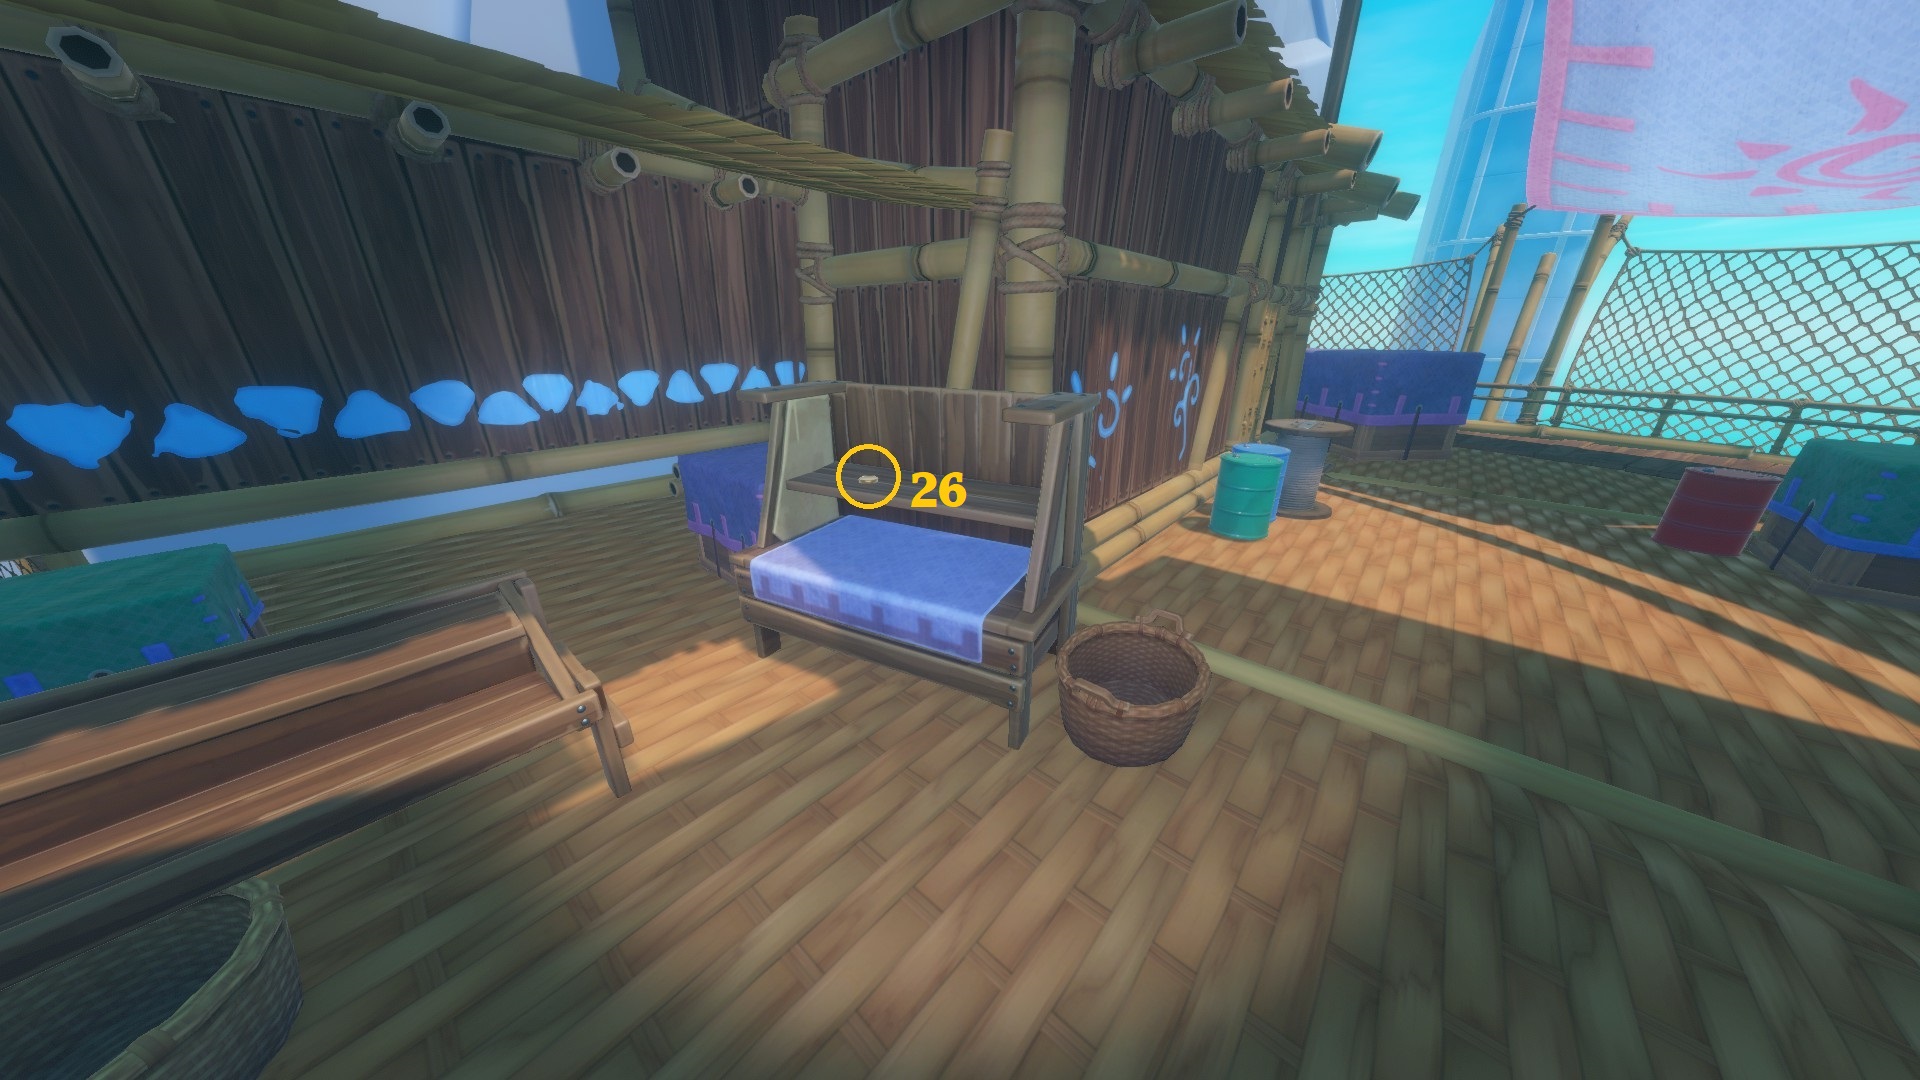
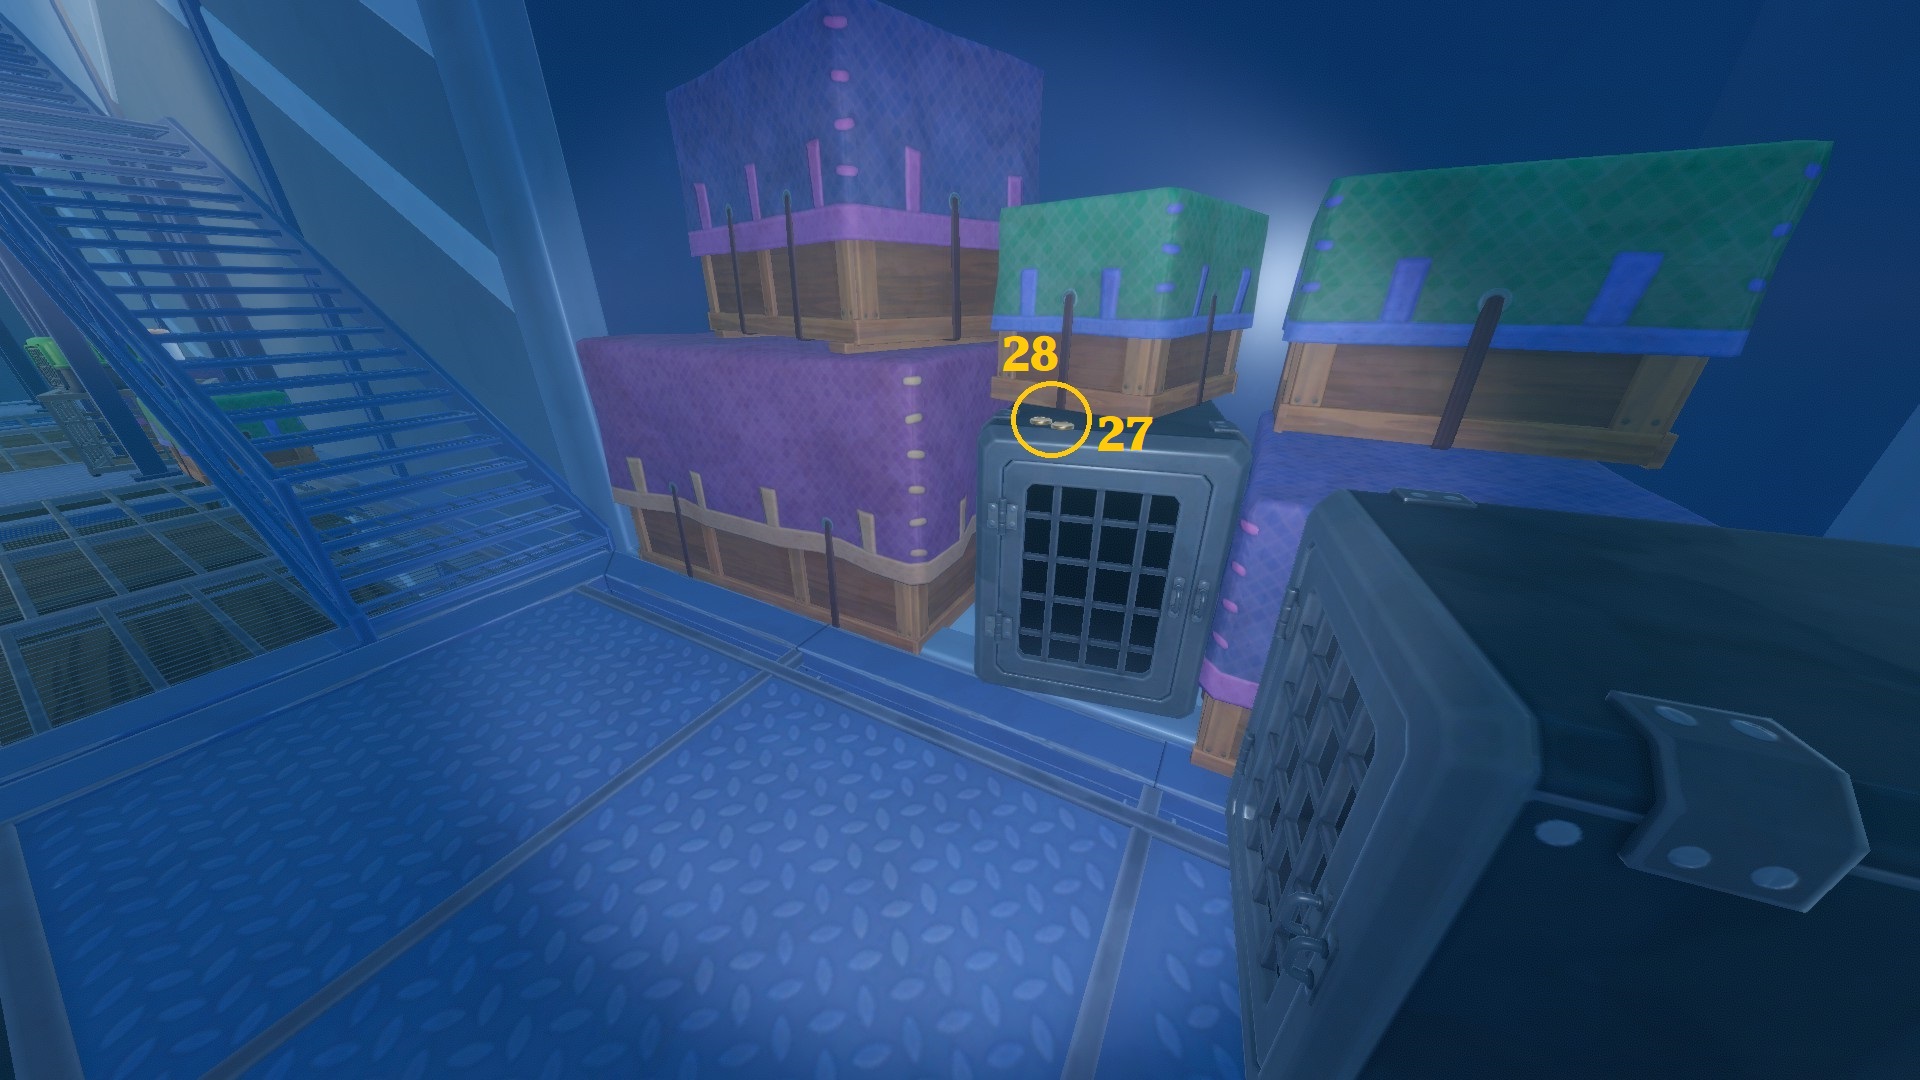
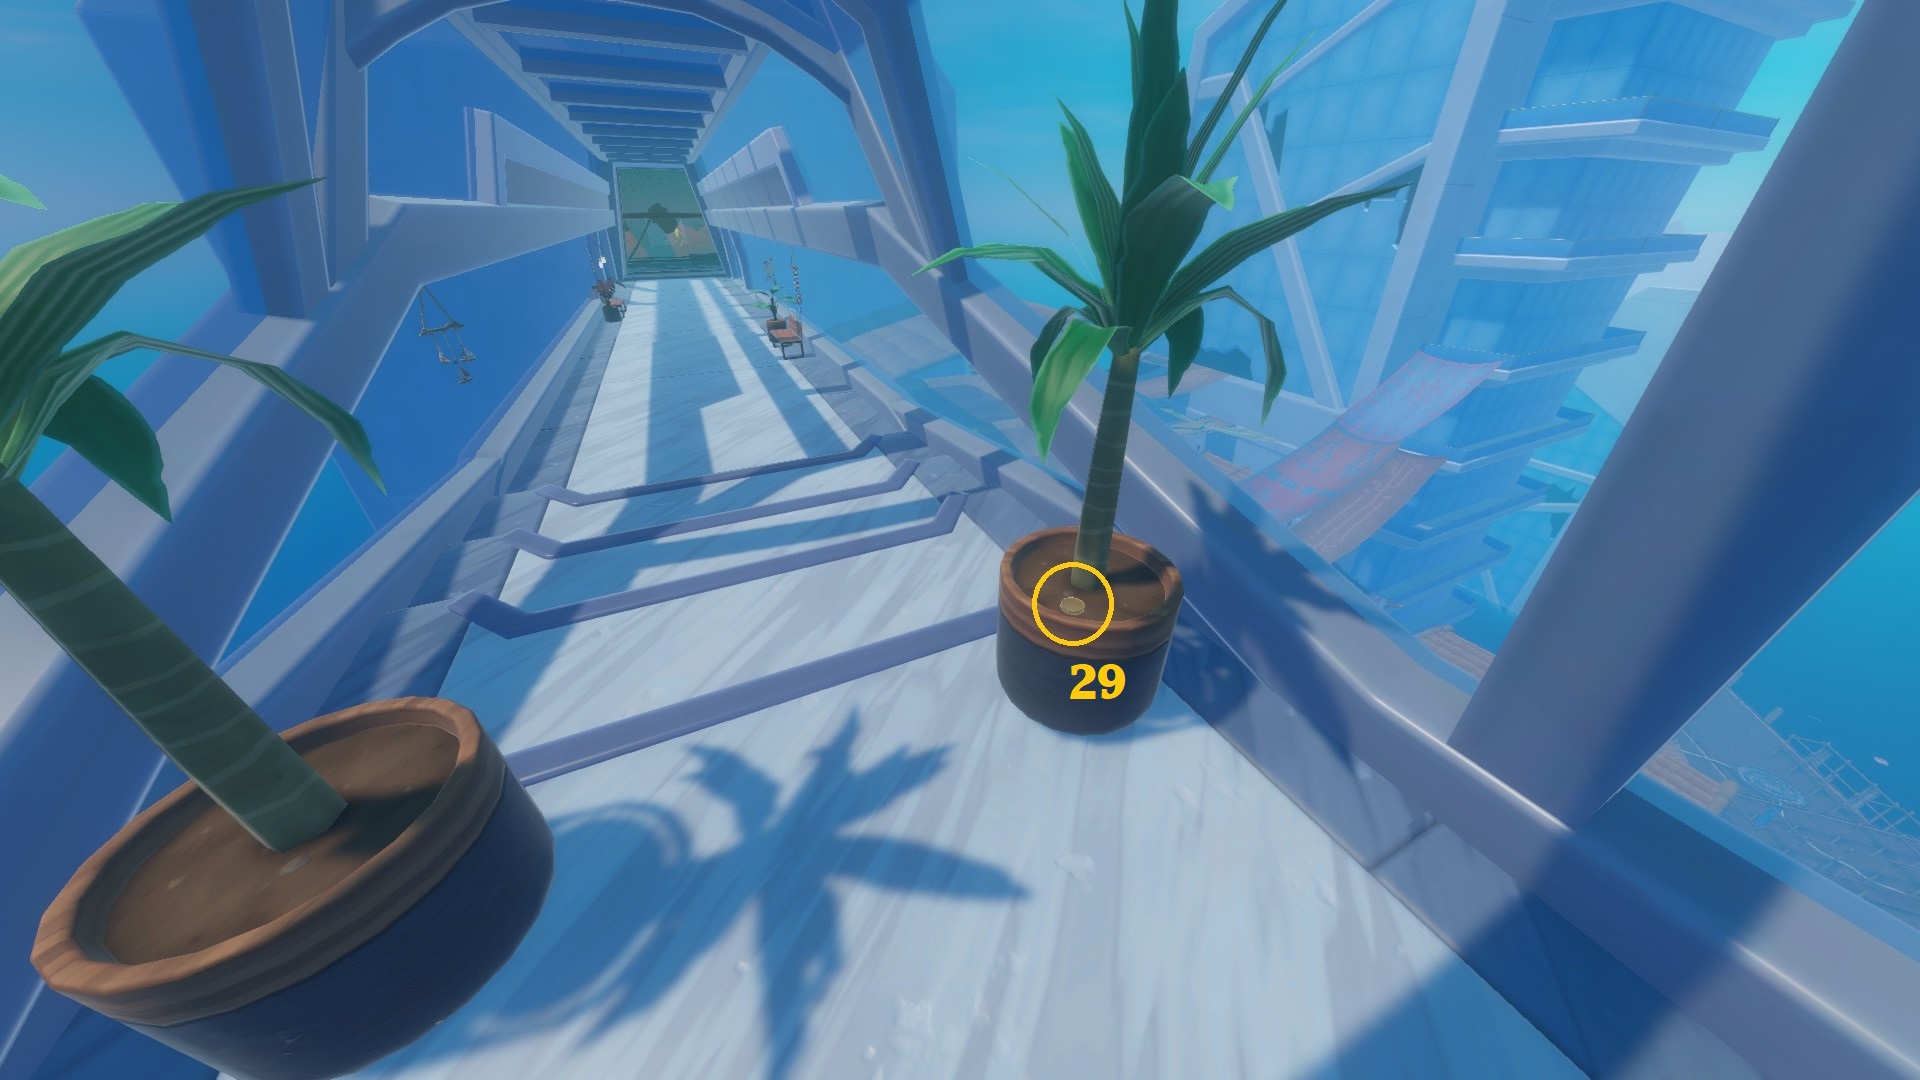
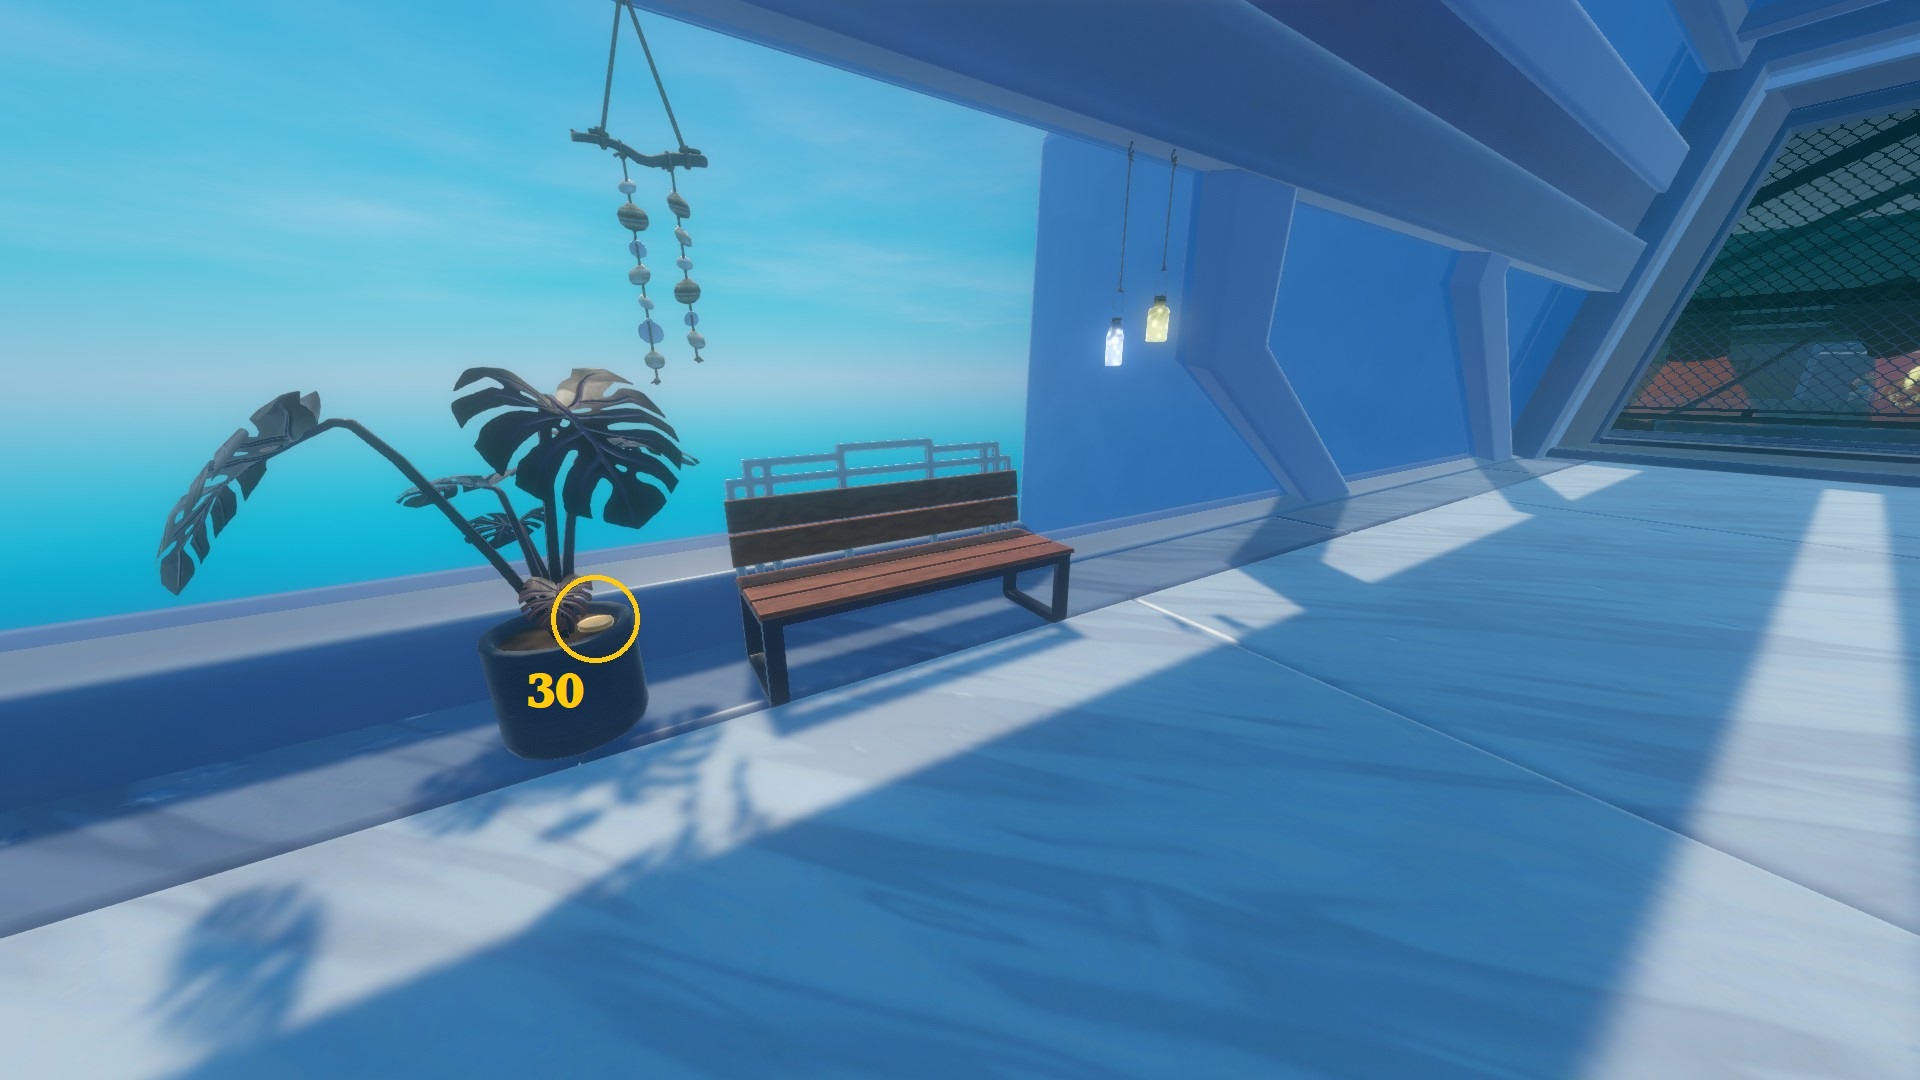
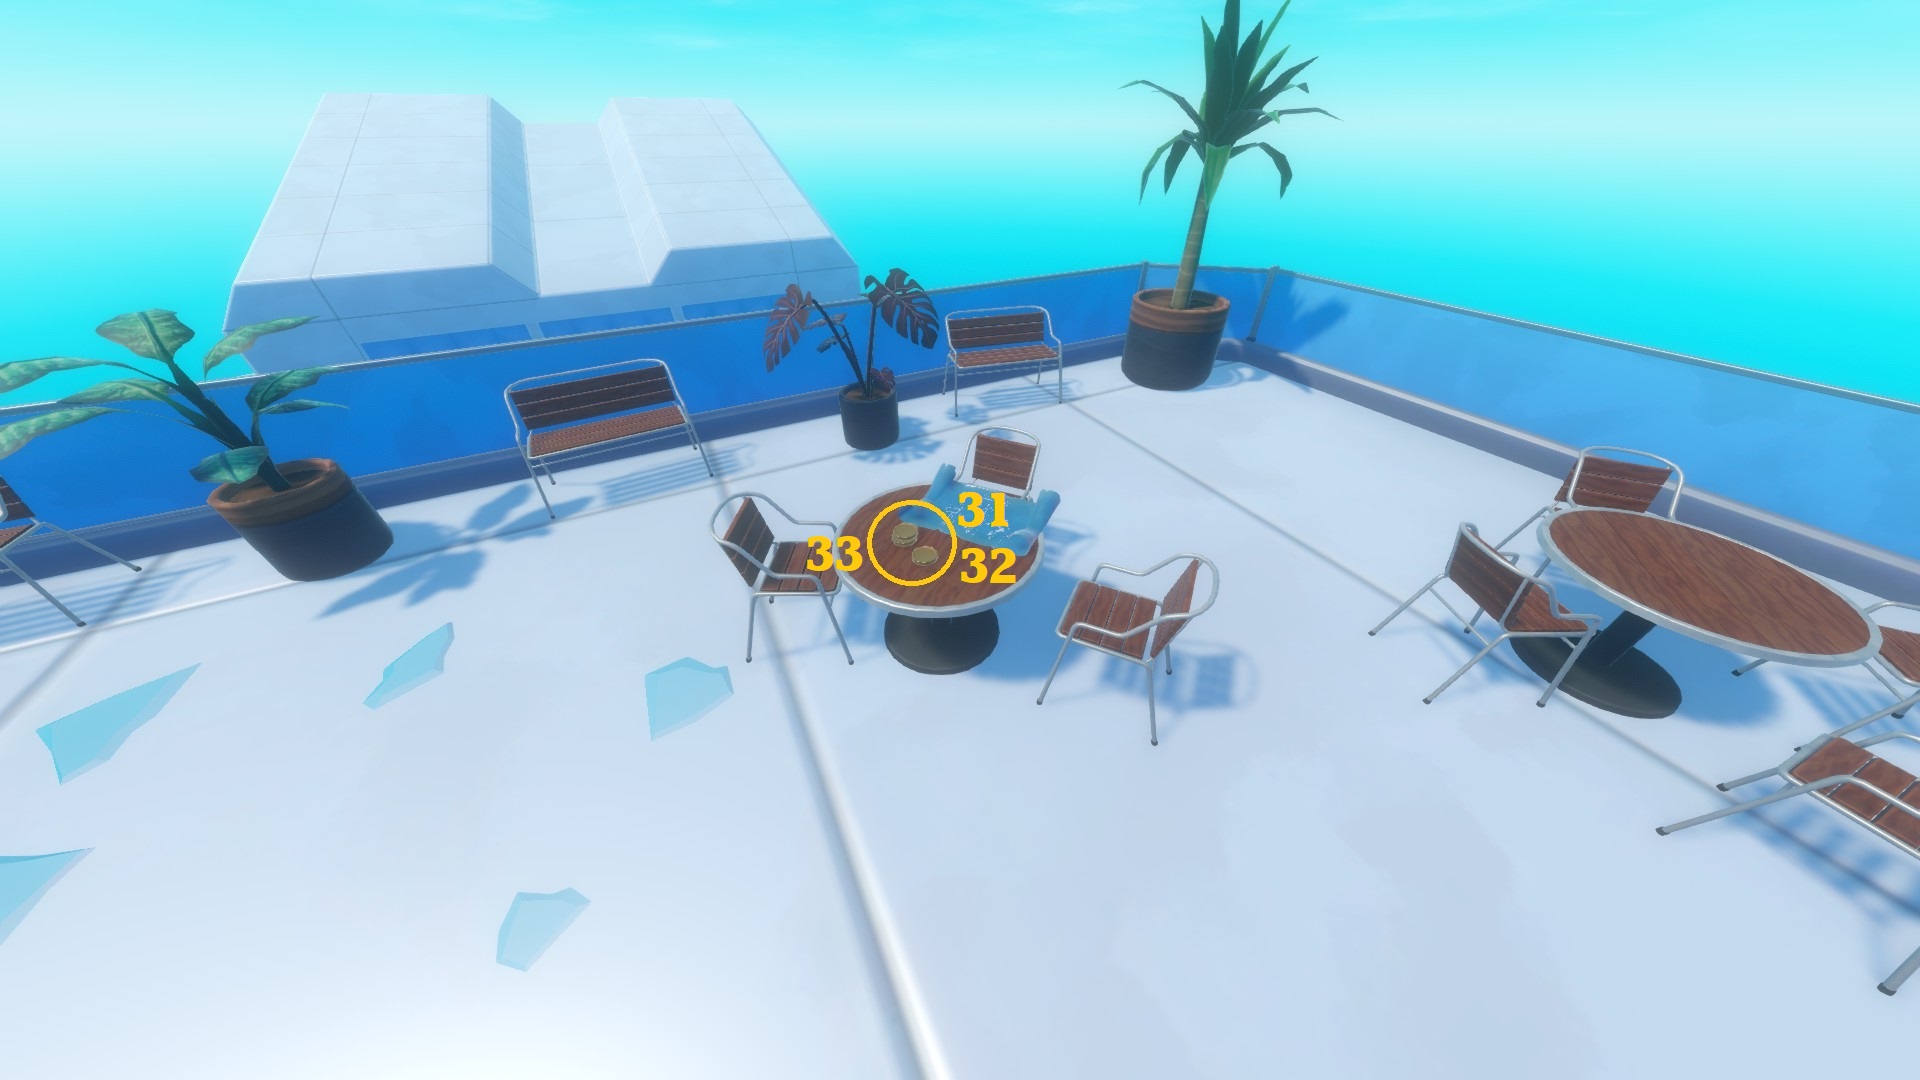
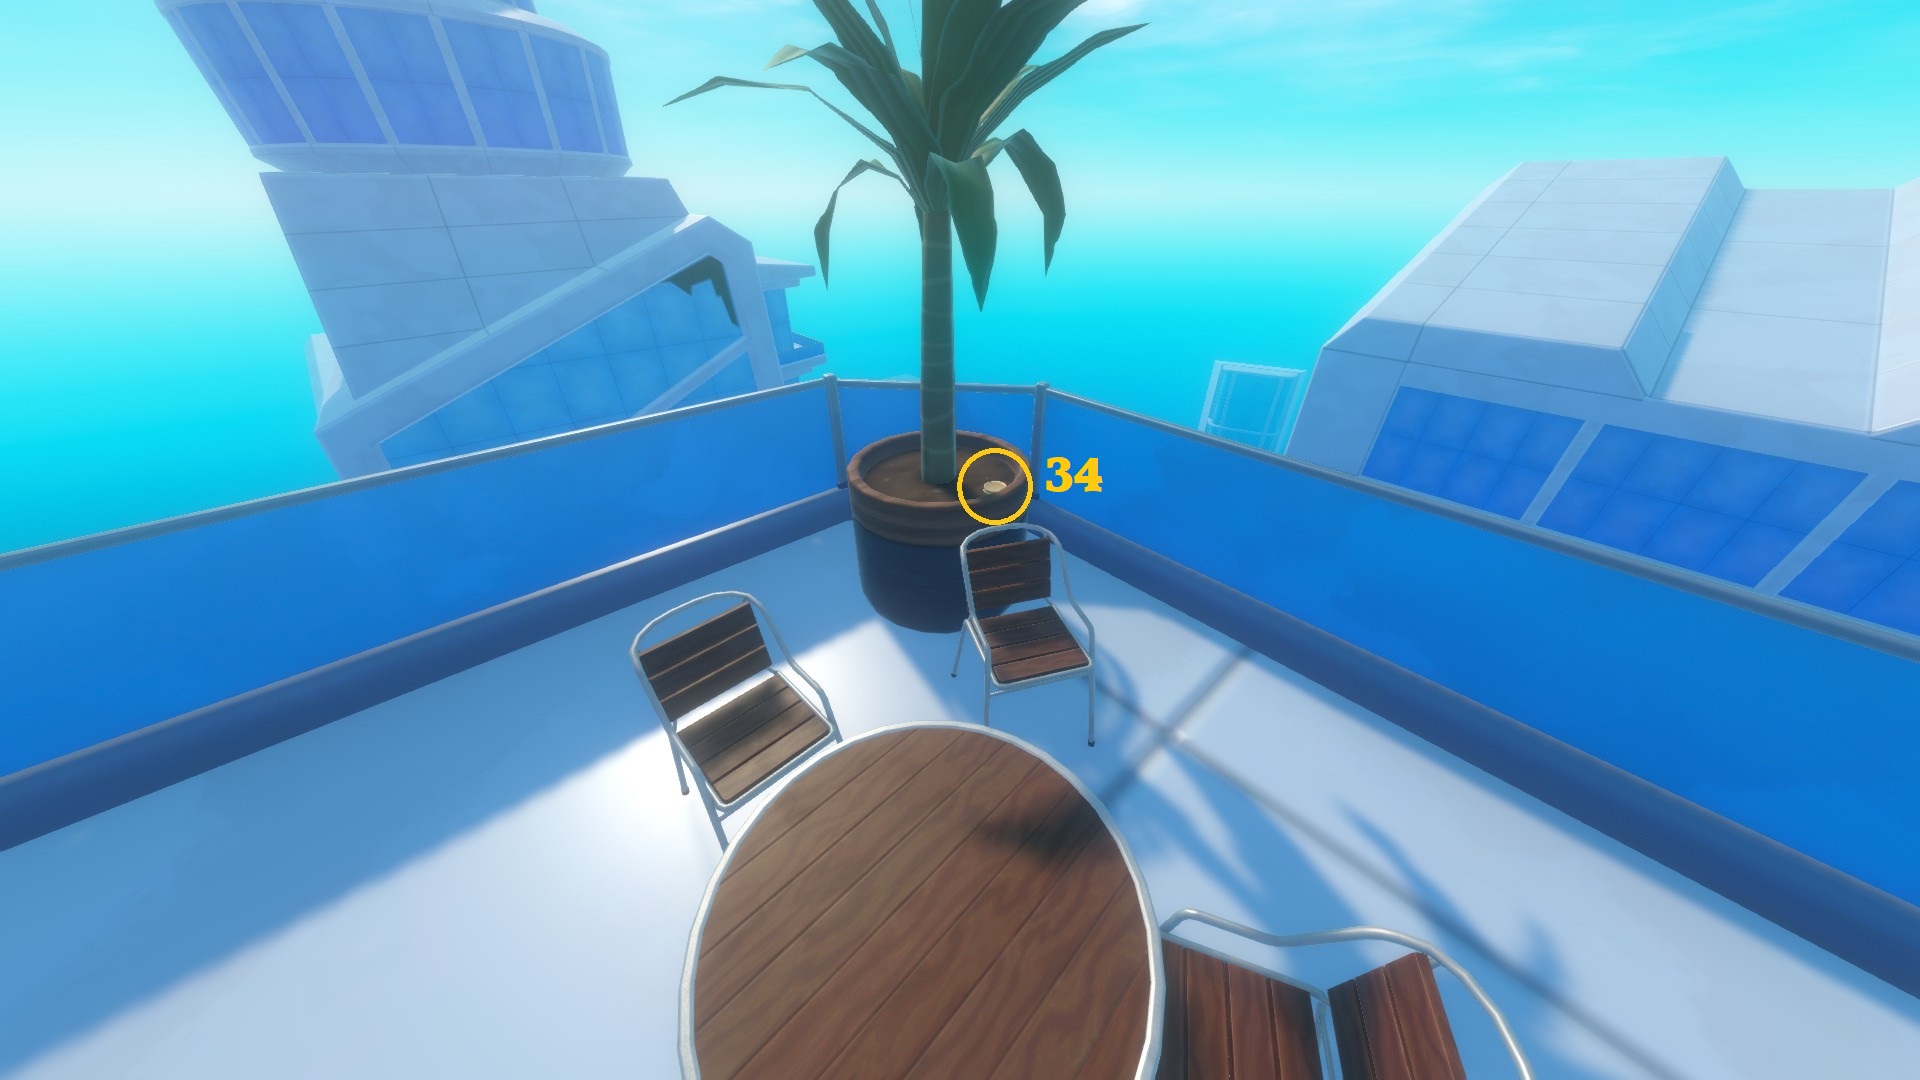
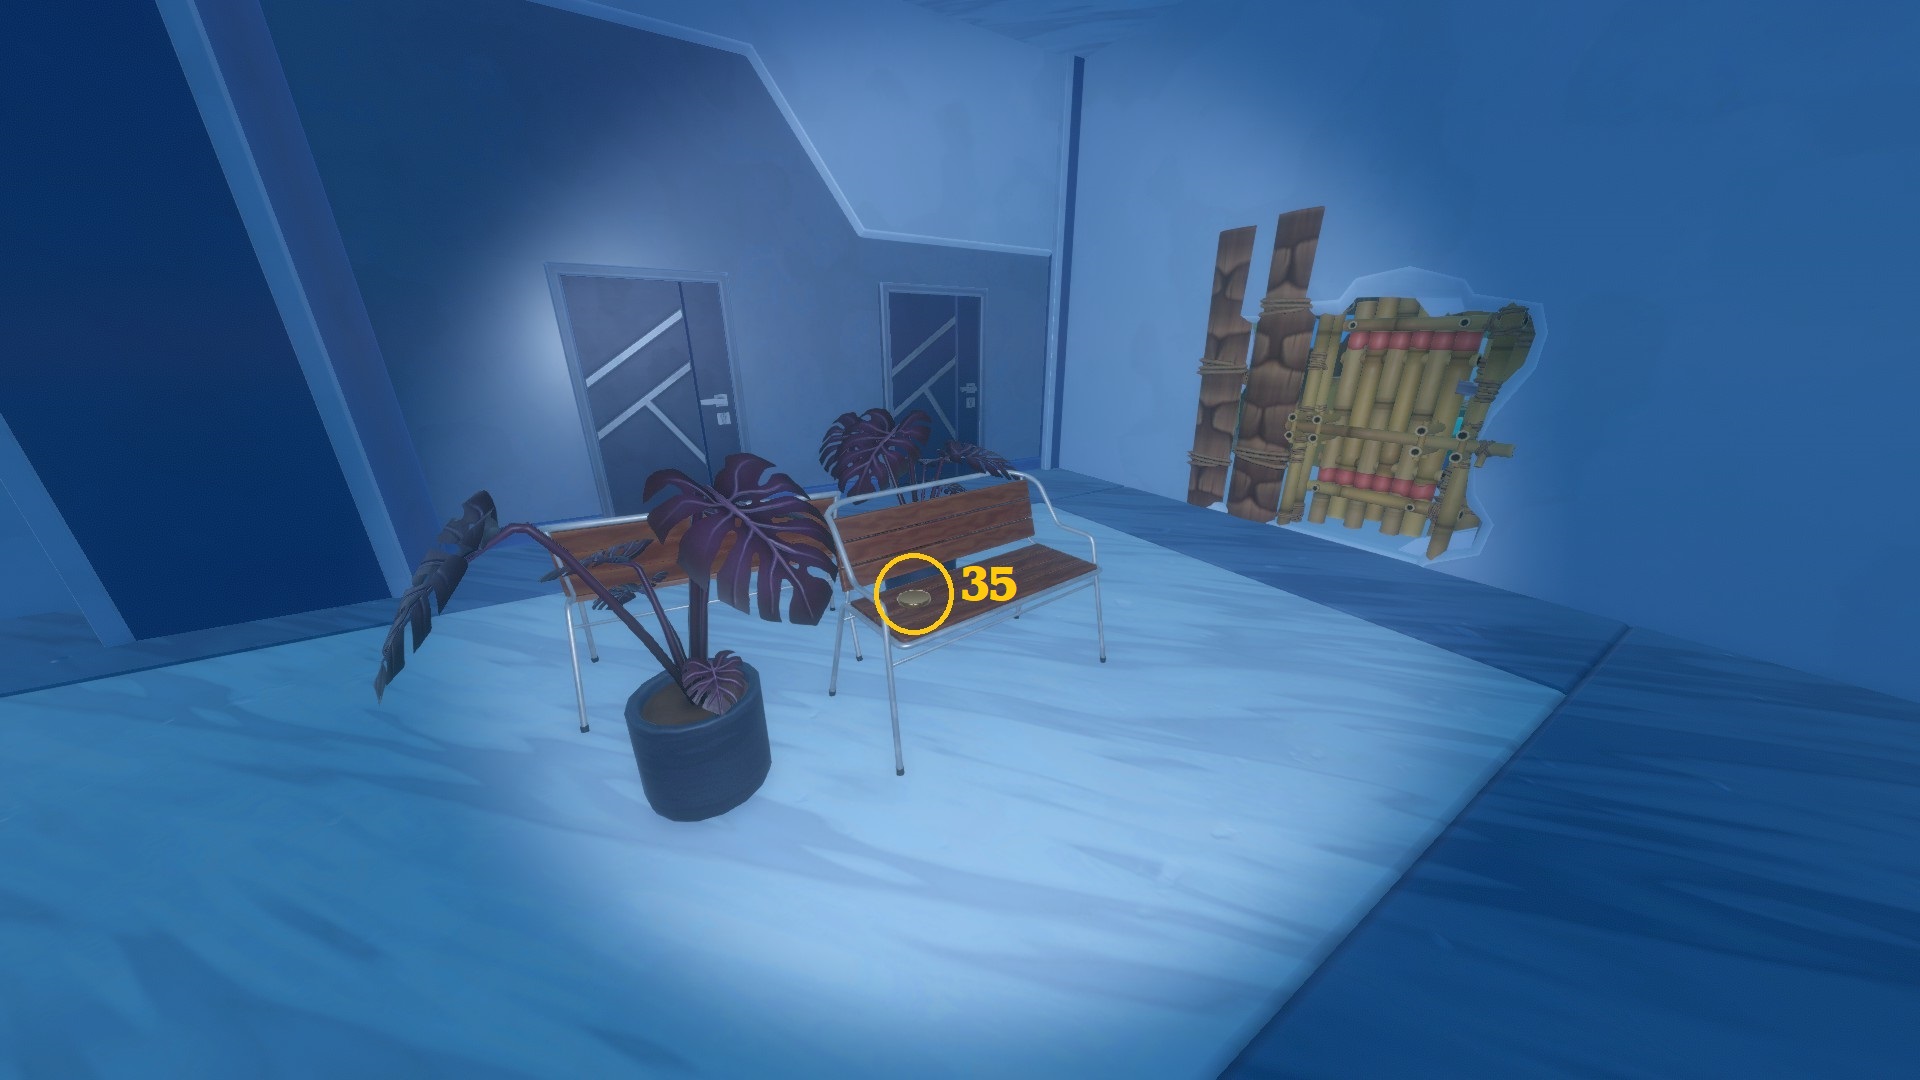
~~~
Crafting Materials A-F
How?
 On Balboa Island or balboa like islands. Catch them with a Sweep Net. Look around honey, they should be flying in big swarms up your head. If they're too high to catch, don't worry, just wait for them to fly lower.
You get 4 or 5 for each catch.
How?
How?
How?
 On the sea floor around any island, large or small. You need a Hook to harvest it.
How?
 On the sides or under the hills shaping the sea floor, around any island, large or small. You need a Hook to harvest it.
How?
How?
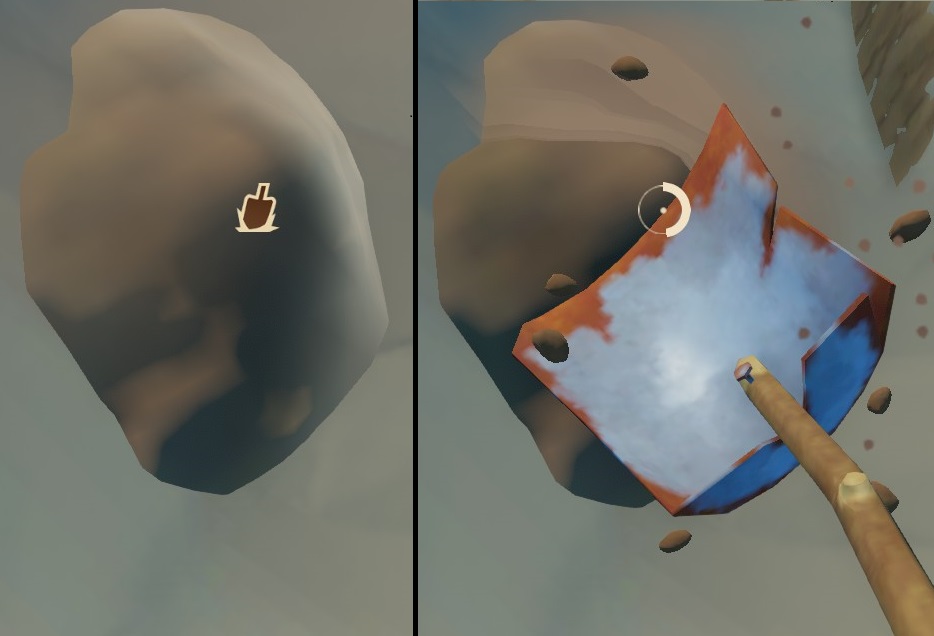 On large islands, usually inside caves but sometimes on hills next to vegetable gardens. You need a Shovel to harvest it.
How?
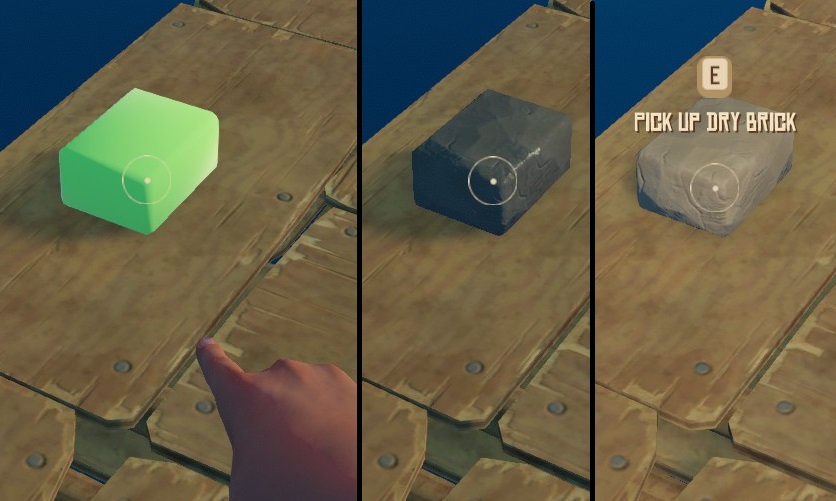 You need to craft a Wet Brick with Sand(2) and Clay(2) then put it on the floor of your raft and wait for it to dry, you can pick it up again when it's ready. It takes ~5mins for a Wet Brick to dry.
How?
[See Domesticated Animals]
Needed to craft: Healing Salve(2), Good Healing Salve(2).
How?
Needed to craft: Oxygen Bottle(1), Binoculars(2).
How?
[See Enemies]
How?
How?
Crafting Materials G-P
How?
 On the sea floor around any island, large or small. You can just pick it up.
How?
How?
How?
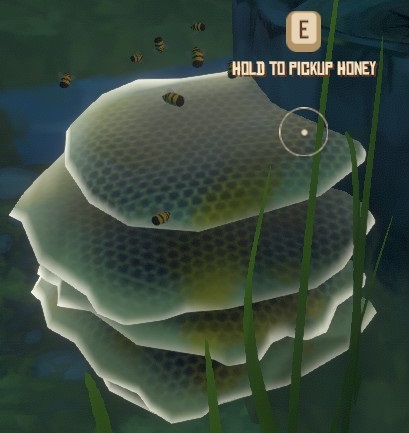 On Balboa Island and balboa like islands, on fallen trees. You can also get some from beehives.
How?
How?
 On the sides or under the hills shaping the sea floor, around any island, large or small. You need a Hook to harvest it.
How?
Needed to craft: Advanced Grill(2), Electric Grill(6), Cooking Pot(2), Electric Smelter(6), Advanced Biofuel Refiner(8), Recycler(4), Shears(1), Shovel(1), Metal Spear(2), Machete(2), Metal Arrow x6(1), Net Launcher(1), Bolt(1), Hinge(1), Stationary Anchor(3), Advanced Stationary Anchor(4), Engine(5), Steering Wheel(4).
How?
Needed to craft: Advanced Grill(6), Large Crop Plot(6), Advanced Small/Medium Crop Plot(3), Advanced Large Crop Plot(12), Scarecrow(3), Simple Bed(3), Hammock(6), Bed(9), Smelter(6), Simple Collection Net(2), Streamer(3), Small Trophy Board(2), Medium/Large Trophy Board(3), Chair 2/3(3), Chair 4(1), Table 2/3(3), Table 4-6(1), Shelf 2(3), Shelf 4(6), Painting 1-4(3), Motivational Quote 1-4(3), Sign x2(2), Calendar(2), Clock 2(3), Outhouse(3).
How?
Needed to craft: Simple Purifier(6), Scarecrow(3), Simple Bed(10), Hammock(12), Bed(20), Birds Nest(6), Rope(2), Sail(20), Chair 1(3), Sofa 1(4), Sofa 2(6), Sofa 3(8), Monstera/Cactus/Aloe Vera(4), Hibiscus(6), BookPile 1/2(6), Open Book(6), Paper Bundle(6), Rug 1/3(4), Rug 2/4(2), Flag 1-7(6), Curtain 1/2(8).
How?
Needed to build with the hammer and craft almost everything.
How?
Needed to craft: Empty Cup(4), Empty Bottle(6), Empty Canteen(8), Simple Purifier(4), Advanced Purifier(6), Electric Purifier(20), CookingPot(6), Juicer(6), Grass Plot(4), Scarecrow(3), Sprinkler(12), Simple Bed(4), Small Storage(8), Large Storage(10), Fuel Tank(25), Water Tank(30), Biofuel Refiner(12), Advanced Biofuel Refiner(20), Battery Charger(15), Beehive(8), Recycler(6), Trashcan(8), Plastic Hook(2), Metal Detector(12), Firework x10(10), Stone Arrow x6(6), Net Launcher(4), Oxygen Bottle(8), Flippers(6), Zipline Tool(15), Circuit Board(5), Simple Battery(6), Paddle(6), Receiver(6), Shelf 1(2), Shelf 3(4), Table 1(4), String Light 1/2(8), Cutlery(2), World Globe(6), Clock 1(3), Outhouse(6).
Crafting Materials Q-Z
How?
Needed to craft: Bucket(1), Simple Grill(3), Advanced Grill(2), Small Crop Plot(4), Large Crop Plot(4), Collection Net(8), Small Storage(2), Storage(4), Building Hammer(2), Scrap Hook(2), Wooden Spear(3), Metal Spear(2), Stone Axe(2), Metal Axe(4), Basic Bow(4), Fishing Rod(8), Metal Fishing Rod(8), Net Canister(4), Paddle(2), Paint Brush(2), Binoculars(4), Shark Bait(2), Oxygen Bottle(4), Flippers(4), Backpack(4), Throwable Anchor(4), Stationary Anchor(6), Streamer(3), Paint Mill(3), Rug(4).
How?
 On the sea floor around any island, large or small. You need a Hook to harvest it.
Needed to craft Dry Bricks.
How?
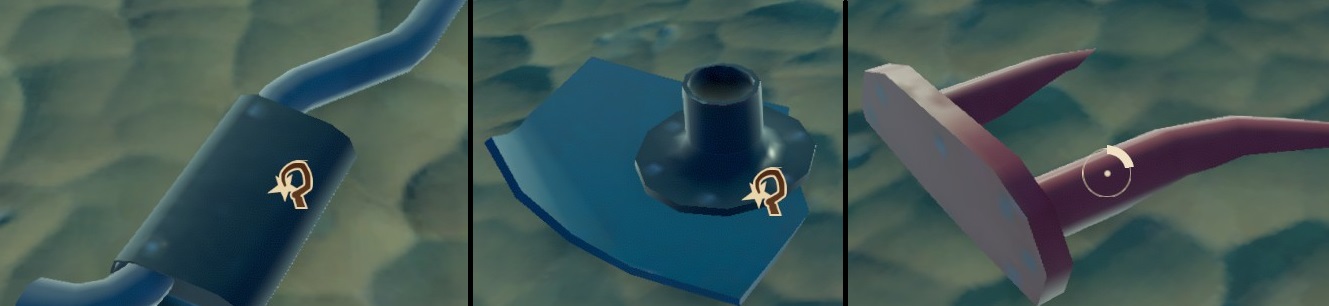
How?
Needed to craft Flippers(6).

How?
Needed to craft: Metal Detector(1), Head Light(1), Advanced Head Light(1).
How?
 On the sea floor around any island, large or small. You need a Hook to harvest it. You can also sometimes find some in Barrels floating in the sea.
Needed to craft: Stone Axe(3), Stone Arrow x6(3), Net Canister(4), Throwable Anchor(4), Paint Mill(2).
How?
How?
How?

How?
How?
~~~
Tools - Part 1


Blueprint : You can buy the blueprint for the Canteen in a Trading Post on large islands.
Cost :
Lifespan : Unbreakable
Purpose : Used to pick up water and drink it.
Efficiency : With it, you can drink:


Cost :
Lifespan :
Cost :
Lifespan : Usable once.
Purpose : Used to heal yourself.
Efficiency :
Cost :
Lifespan : Unbreakable
Purpose : Used to expand your raft, everything from floors, walls, pillars to roofs. Hold [RightClick] to choose what you want to build. You can also use it to repair foundations damaged by the shark.

Cost :
Lifespan : You can harvest items:
Purpose : Catching the materials floating in the water. Harvesting things on the seafloor.
Efficiency : For materials floating in the water: each Hook tier throws farther than the previous one
For materials underwater: each Hook tier harvests faster than the previous one.
(2 hits required for the plastic hook, 1 hit for the scrap and titanium hooks)

Cost :
Lifespan : You can hit:
Efficiency : It takes the same amount of hits to break down a tree regardless of the axe but each Axe tier hits faster than the previous one.
Cost :
Lifespan : You can successfully fish:
Purpose : Catching fishes in the water.
You also have a chance of fishing decorations such as the Candle Bottle, the Lucky Cat, the Scrap Mechanic Duck; and the Old Shoe that you can also use to cultivate a small seed.
You can also fish special fish with special bait bought at a Trading Post on large islands. You can then sell that fish at a Trading Post to get experience and/or Trade Coins.
Efficiency : You are more likely to catch big fishes with the Metal Fishing Rod.
Cost : Metal Ingot(1), Hinge(1), Scrap(2)
Stacks of : 1
Lifespan : You can use it 15 times before it breaks.
Purpose : Used to harvest the wool on llamas.
Cost : Plank(6), Bolt(1), Metal Ingot(1)
Stacks of : 1
Lifespan : You can use it 20 times before it breaks.
Purpose : Used to harvest the dirt on large islands. You can also use it to dig up treasures found with the Metal Detector.
Tools - Part 2
Cost : Empty Bottle(2), Bolt(1), Glass(4), Rope(4)
Stacks of : 1
Lifespan : Unbreakable
Purpose : Used to see farther. You can zoom with it by using the mouse wheel [Thanks J-See].
Efficiency :
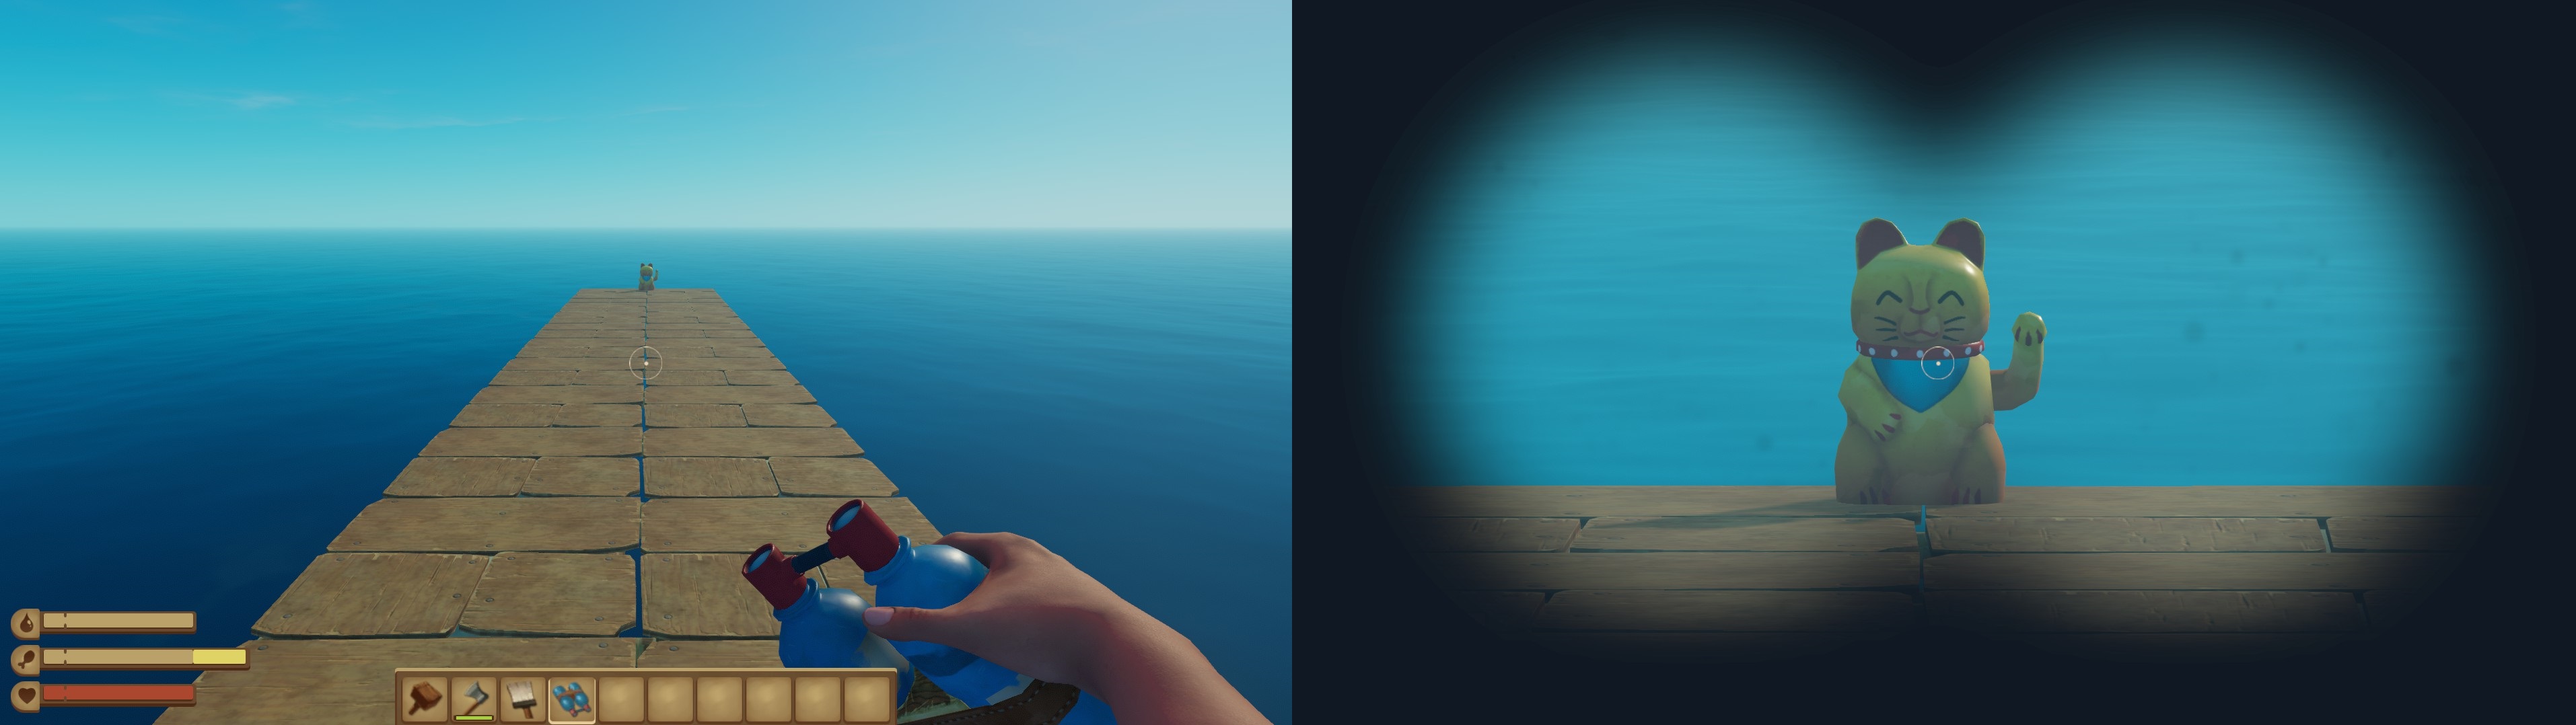
Cost : Rope(2), Raw Herring/Raw Pomfret(2)
(So Herring+Pomfret OR Herringx2 OR Pomfretx2)
Stacks of : 1
Lifespan : Usable once.
Purpose : Used to keep the shark busy while you're exploring an island's seafloor. You can also use it to safely attack the shark by placing it next to your raft.
Efficiency : It will last 1m20s (1m40s for one shark in hard mode). If you attack the shark it will stop attacking the bait, dive and come back a few seconds later.
Cost : Plank(15), Rope(6), Vine Goo(2), Bolt(1)
Stacks of : 1
Lifespan : You can use it 35 times before it breaks.
Purpose : Used to catch bees on balboa/cavaran like islands and Balboa Island/Caravan Town.
Blueprint : Caravan Town (4th story place), underwater where you follow the pipe connected to a bike next to the high tower.
Cost : Plastic(12), Scrap(6), Simple Battery(1)
Stacks of : 1
Lifespan : ~7m35s (battery used only if there's a signal)
Purpose : Use it to find treasures on islands. Activate it then follow the lights until all of them are on. Use a shovel several times on the spot you've found to dig up a chest, garbage, a tiki piece or a suitcase.
You cannot change what treasure you get from reloading a save. But you can reload a save to change what's inside the treasure. So if you get a suitcase, you will always get a suitcase but not always the same loot inside. Sadly it means you can't change what tiki piece you get when you find one.
You can find from 1 to 3 treasures on islands.
- Plank
- Plastic
- Rope
- Metal Ore
- Copper Ore
- Titanium Ore
- Hinge
- Bolt
- Glass
- Copper Ore
- Scrap
- Vine Goo
- Metal Ore
- Painting
- Robot Toy
- Titanium Ore
- Biofuel
- Bolt
- Hinge
- Explosive Powder
- Glass
- Leather
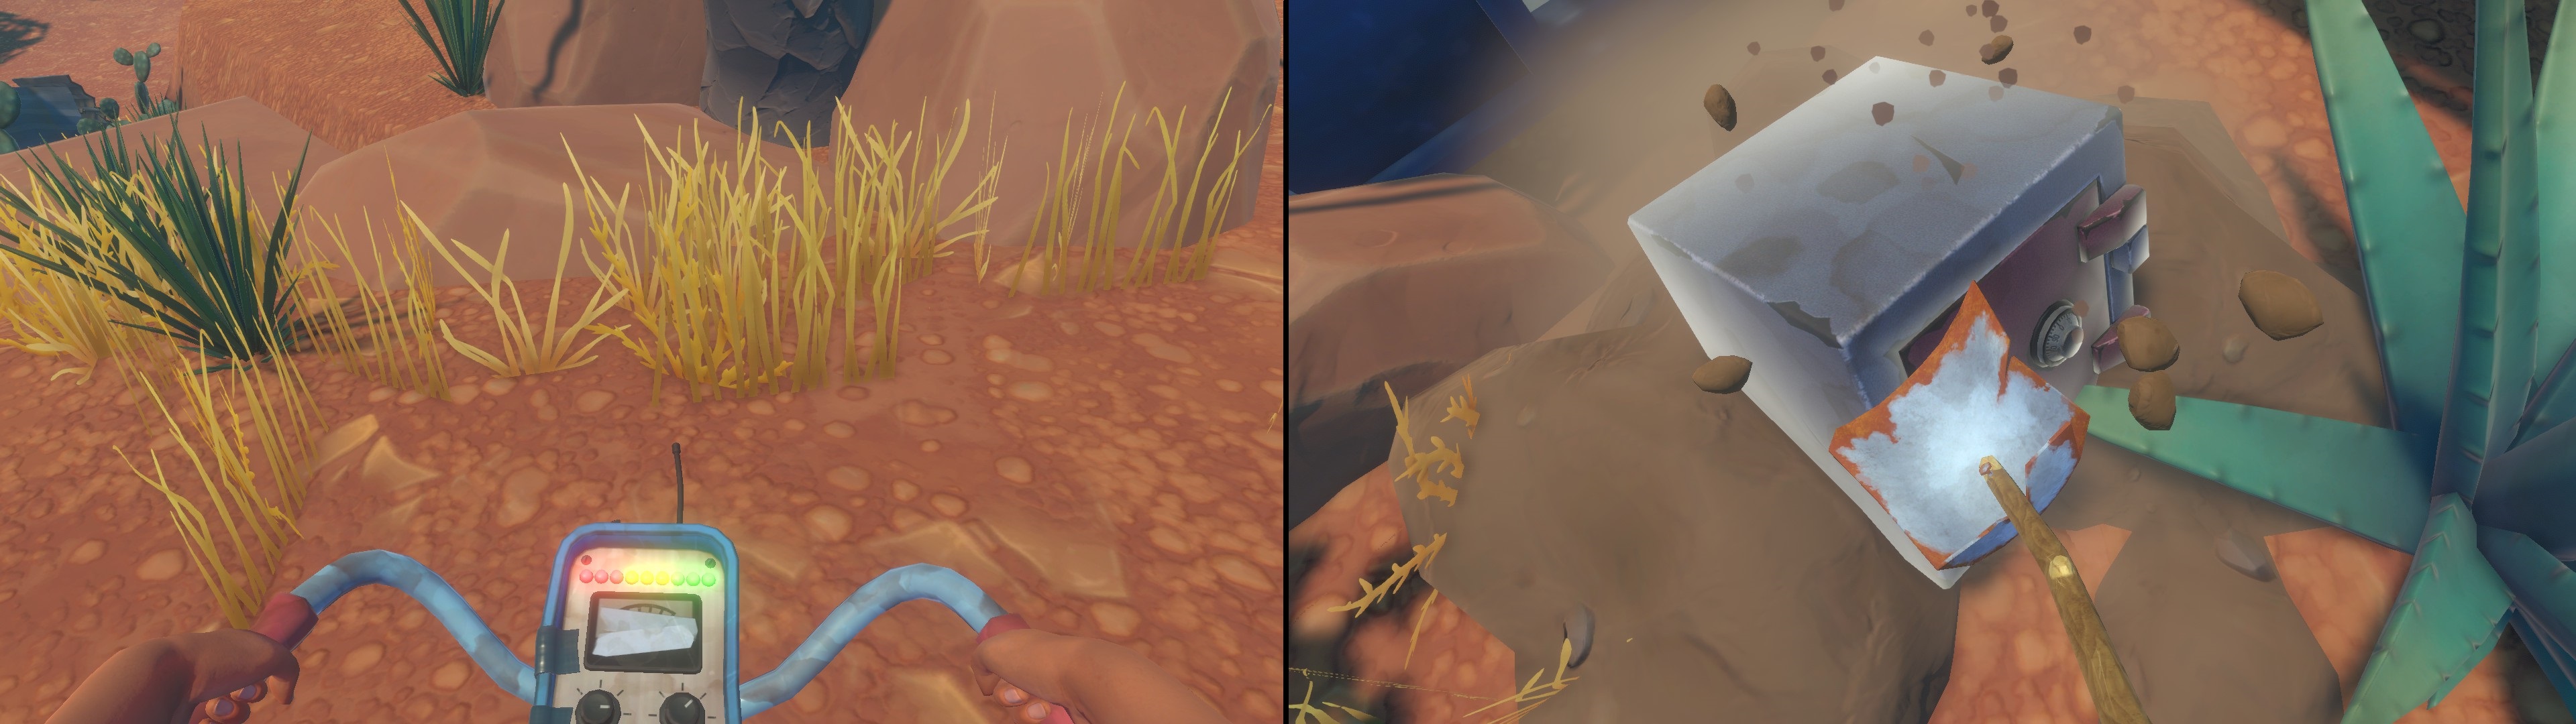

Blueprint : Caravan Town (4th story place), on the small island after launching a red rocket from the big island facing it.
Cost : Explosive Powder(1), Plank(5), Plastic(10) for 10 fireworks.
Stacks of : 50
Lifespan : Usable once.
Purpose : You can fire them wherever you want for a nice sight (you can paint them before firing them to change their colour).
You can also damage seagulls and players with it (20 damage).
Cost :
Lifespan : Net Launcher can be used 20 times. You use 1 Net Canister per attempt.
Purpose : Catching tamable animals. Net Launcher is the "gun" and Net Canister is the "ammo".
Efficiency : You can miss your target and waste your net as you won't be able to pick it back up.

Blueprint : You can find the blueprint for the Advanced Battery at Varuna Point (6th story place), at the very end of the story path.
Cost :
Lifespan : They don't break but you need to recharge them once they're empty.
Purpose : Necessary to make some machines function.
Efficiency : A battery has:
Cost :
Lifespan : You can use it for 2m10s, or about ~125 times.
Purpose : Making your raft move faster, controlling the direction it takes.
⠀
Cost : Feather(3), Plank(4), Rope(2)
Stacks of : 1
Lifespan : Unbreakable
Purpose : You need this to use your paint. Maintain [Right Click] to show what colours you can choose depending on what paint you have in your inventory. Hover the desired colour with your mouse then lift your finger. Then [Left Click] to paint with the chosen colour.
Weapons - Melee

Blueprint : You find the blueprint for the Machete in a cave on Balboa Island (3rd story place).
You find the one for the Titanium Sword at the end of Utopia (8th story place).
Cost :
Metal Ingot(2), Bolt(1)
Metal Ingot(2), Bolt(2)
Titanium Ingot(3), Bolt(2)
Lifespan : You can hit:
Each new weapon tier is stronger than the previous one.
The Machete and Titanium Sword attack slower than the spears.
Damage :
4 (hard)
8 (hard)
12 (hard)
16 (hard)
Efficiency : How many hits to kill
Weapons - Range
Cost : None, you need to harvest it from the seafloors or find some in barrels.
Stacks of : 20
Lifespan : It's lost the moment you throw it.
Details : Stones are really for when you're desperate, you can't throw them really far, it's hard to aim with it, and it doesn't do much damage. You should note that it's possible to do criticals with the stone (depending on where you hit?) and therefore the number of hits to kill something can vary.
Damage : 5 (easy/normal) / 4 (hard)
Efficiency : How many hits to kill

Blueprint : You find the blueprint for the Titanium Arrows at the end of Utopia (8th story place).
Cost :
Lifespan :
Basic Bow => You can shoot 60 times before it breaks.
Arrows => You absolutely can pick back your arrows but you can't wait forever, they will disappear after a while when out of your inventory. When you hit something with an arrow, it will get stuck on the wall/ground/animal. If you don't hit anything, it will just lie on the ground or slowly fall if it's in the water. When you search a dead enemy you automatically get back the arrows that hit it.
Details : For now, the bow is the best weapon in the game, even Stone Arrows hit pretty hard.
It allows you to attack from a safe distance and you can recover most of your ammo if not all, which makes it really worth it.
Damage : The damage comes from the arrow and not the bow.
8 (hard)
12 (hard)
16 (hard)
Efficiency : How many hits to kill
Arrows]
Arrows]
Arrows]
Gear
 Gear will help you to be more efficient in your exploration or protect you from attacks. You can only wear one of each on the same person at the same time.
  In your inventory, you have 5 spots reserved for gear. There isn't enough room to wear everything and anyway you can't wear 2 head piece or 2 feet piece at the same time, so you'll have to switch from ground protection to water protection depending on the situation.
Cost :
Purpose : The Oxygen Bottle helps you stay longer underwater without having to resurface for air. The Flippers make you swim faster.
Lifespan : You can use them for 10m05s.
It only damages them if you're actively underwater or swimming.
Efficiency : You can hold your breath for ~33seconds without the Oxygen Bottle, ~56secondes with it.
Cost :
Purpose : Blocks parts of the received damage, for a total of 28% when all 3 are worn.
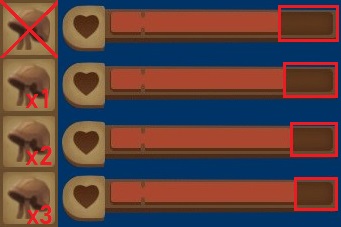

Blueprint :
Purpose : Allows you to see better in dark places (for example caves and deep sea)
Lifespan : You can use it for:
Efficiency :
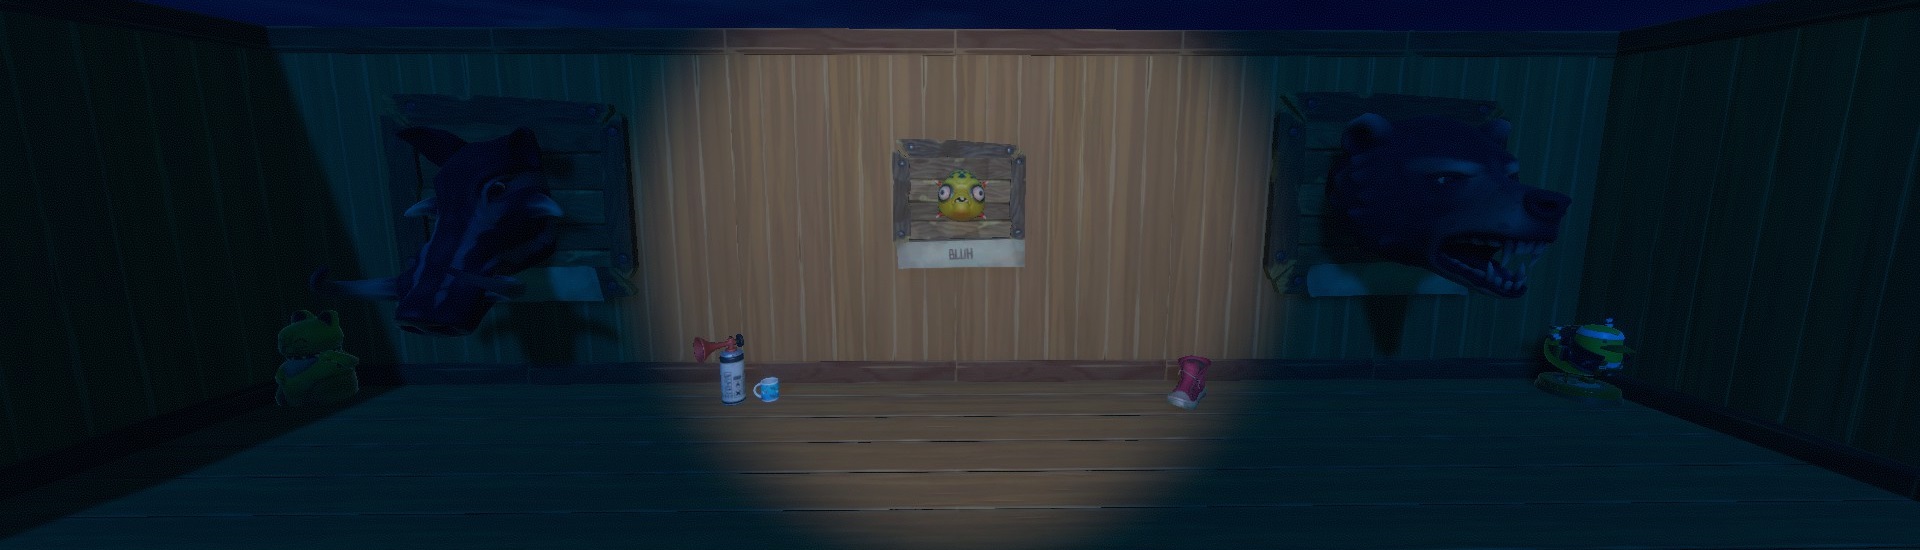
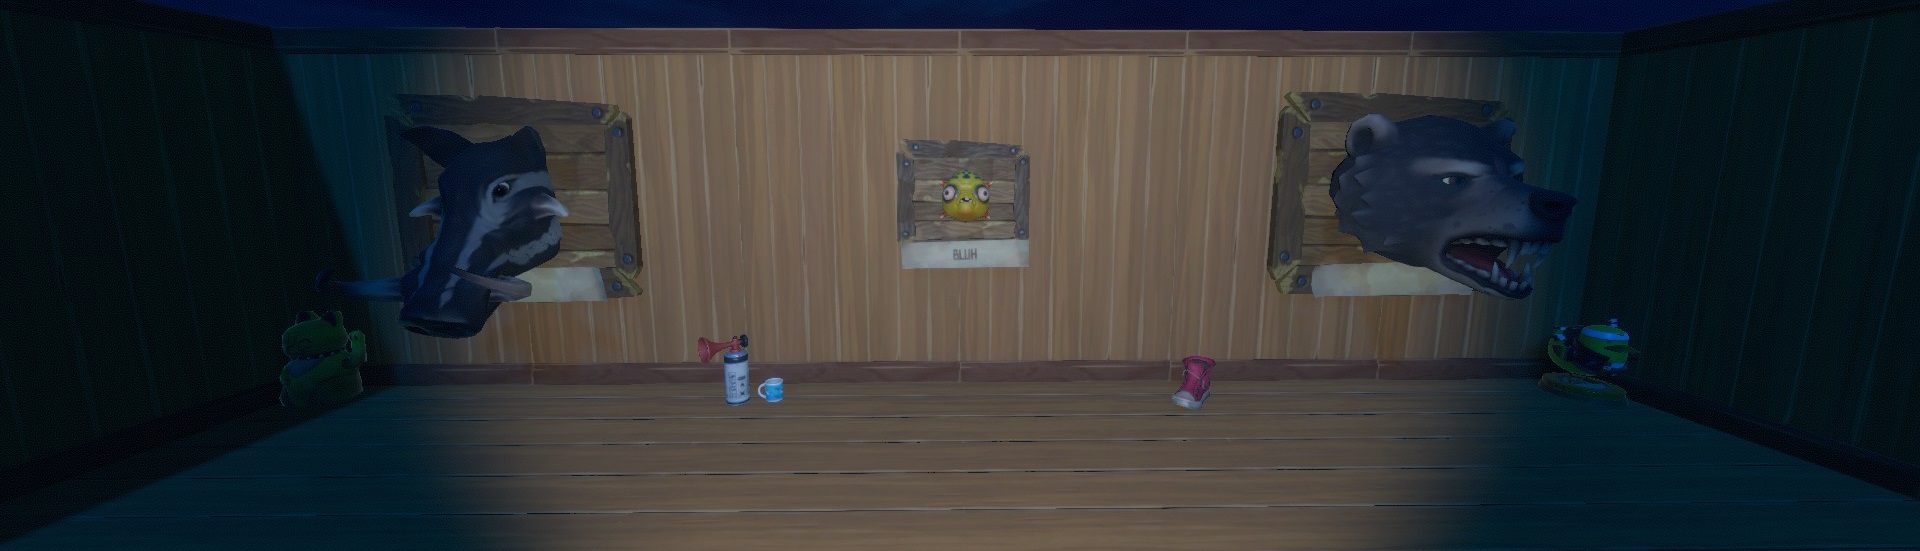

Cost :
Lifespan : Unbreakable
Efficiency : Adds to your inventory:

Blueprint :
Purpose : Used to take ziplines that you can craft on your raft or find on islands/story places.
Lifespan : It gets damaged everytime you use it but I don't know how to calculate that.
Decorative Hats


When you kill a hostile animal (except for Seagulls, Lurkers, Mudhogs and Scuttlers), it drops a head that you can wear! (The Rhino-Shark drops a furniture type decoration instead).
[See Enemies]


You can find a Pilot Helmet in a plane on a rare small island and the Captain's Hat in a small boat on another rare small island. [See Achievements - Exploration]


You can find a Mayor Hat in Caravan Town (4th story place) and a Construction Helmet at Varuna Point (6th story place).


You can buy several hats at a Trading Post on large islands.

You can also find a Tiki Mask by reuniting the 4 tiki pieces and placing them atop of each other in their correct order. [See Achievements - Exploration]
~~~
Useful Furniture - Food / Water
Blueprint : The blueprint for the Electric Purifier is in Tangaroa (5th story place).
Cost :
Plastic(20), Scrap(5)
Lifespan : Unbreakable
Purpose : Transforms sea water into drinkable water.
The Simple Purifier needs planks to work.
The Electric Purifier purifies sea water automatically thanks to a battery, then stores it and can be connected with waterpipes to others objects (for example a Water Tank or a Sprinkler).
Efficiency :
Cost :
Efficiency :
Cost :
Vine Goo(4), Bolt(1)
Cost : Plank(6), Rope(4) / Plank(8), Scrap(4) / Plank(10), Rope(4), Nail(6), Hinge(1)
You can plant potatoes, beets and flower seeds in the small crop plots.
Pineapple seeds and Watermelon seeds in medium crop plots.
Mango seeds and Palm seeds in large crop plots ( They give Mangoes / Coconuts, wood and palm leaves ).
Plots need to be watered for the crops to start growing, you only need one cup of water for the whole plot so remember to wait for the plot to be full before watering it, except if you can afford wasting water.
They will also need protection from Seagulls or they will get eaten ( Either by running towards/attacking the Seagull or by placing Scarecrows ).
Cost :
Waters your grassplots for you ! You can see on its side how it works, it waters the 6 tiles in front of it + 1 tile on right and 1 on left + 1 tile where it's standing, making a 9 tiles square. For it to work you need to fill it with water ( salty or fresh, doesn't matter ) and put a battery on it. It only waters when something close enough needs to be.
They also work for you crops and trees !
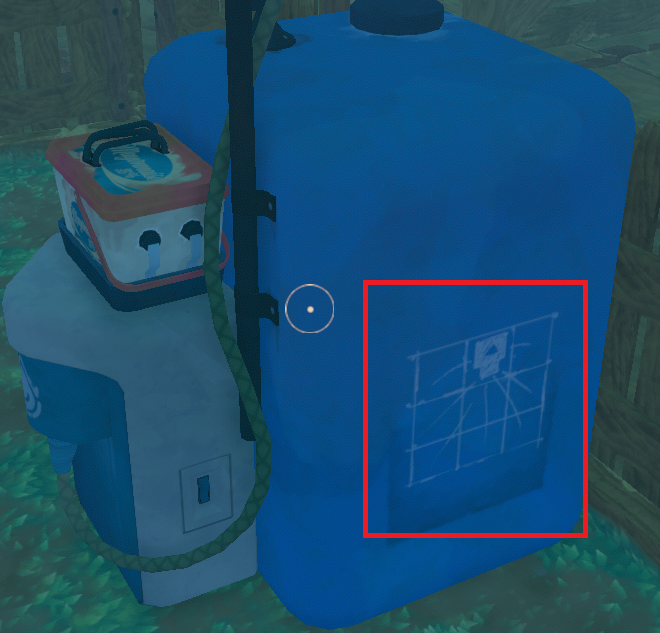
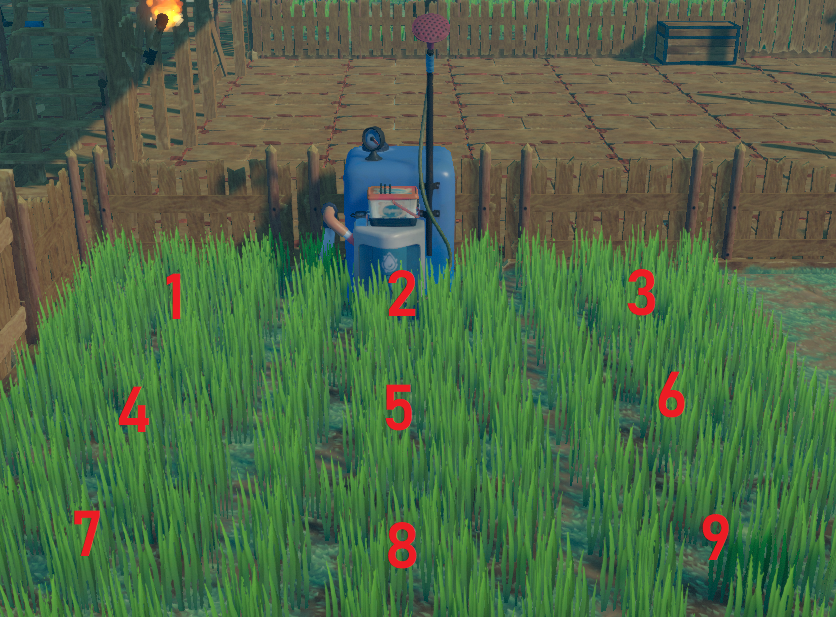
Cost : Plank(5), Palm Leaf(3), Nail(3), Plastic(3)
Cost : Plank(20), Plastic(8), Clay(4), Hinge(2), Bee Jar(15)
Purpose : Plant flowers next to it to produce Honeycomb. The more flower planters, the more Honeycomb at each harvest ( from 1 to 3 ).
You need at least 1 flower for a planter to be counted, but having more flowers doesn't matter ( which means it's okay if one or two get eaten by a seagull ).
1 planter = 1 honeycomb. 2 planters = 2 honeycomb. 4 planters = 3 honeycomb.
You can harvest the hive every 8mins.
(for now, sometimes hanged planters don't count, you may need to move them, be sure to check)
Blueprint : Tangaroa (5th story place) for both
Cost :
Transports water between different structures.
Useful Furniture - Navigation
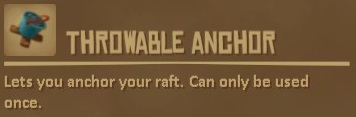
Cost : Plank(2), Rope(4), Stone(4) / Plank(10), Rope(6), Metal Ingot(3), Hinge(1)
Purpose : Stops your raft from moving. Throwable Anchors can only be used once whereas Stationary Anchors can be used an infinite number of times.
Cost : Plank(10), Palm Leaf(20), Scrap(3)
Purpose : Allows you to control where your raft is going and makes you go faster if you follow the current. If you aim the Sail in the current's opposite direction, it can make your raft stop as an anchor.
Cost : Plank(6), Rope(3), Nail(3)
Purpose : Shows you the current's direction.
Cost : Plank(8), Plastic(6), Circuit Board(2), Hinge(1)
Purpose : Allows you to find Radio Stations and Large Islands.
Cost : Scrap(4), Circuit Board(1), Bolt(1)
Purpose : Works with the Receiver.
Blueprint : On Balboa Island (3rd story place).
Cost : Plastic(12), Plank(10), Rope(4), Bolt/Hinge(1)
Purpose : Allows to make biofuel by using potatoes/beets and honey.
Max Capacity : 1 honey. /!\ Careful not to put another honey while there's still some left stocked in the refiner : since there's a max capacity of 1, you'll waste half of it.
Then add raw food, it can be anything :
+ 40 potatoes/beets
+ 3 shark meat
+ 5 drumsticks
+ 10 mango/coconut/pineapple
+ 4 big fish
+ 7 eggs
+ 6 raw meat
+ 2 hostile animal heads
Efficiency : It takes 1 honey + half of food max capacity and ~3mins43s to make 1 can of biofuel.
Blueprint : On Balboa Island (3rd story place).
Cost : Plastic(25), Plank(10), Scrap(6), Bolt(2)
Purpose : Allows to store biofuel and bring it to Engines through pipes.
Max Capacity : You can store up to 4 Biofuel cans.
Blueprint : In Vasagatan (2nd story place).
Cost : Scrap(10), Metal Ingot(4), Rope(4), Bolt/Hinge(2)
Purpose : Allows you to move your raft with an Engine ( several if you have a big raft ). Hold the letter shown then move your mouse to the left or the right, don't make circles. And remember to put the wheel back in its center so that the boat stops turning.
Blueprint : In Vasagatan (2nd story place).
Cost : Metal Ingot(5), Rope(5), Circuit Board(1), Plank(20)
Purpose : Allows you to move your raft with a Steering Wheel and make it go faster. You need one Engine per 100 foundation blocks ( collection nets don't count ) for full speed, it goes slower from 100 to 110 and stops after 110.
Max Capacity : 1 biofuel can or 17 planks.
Efficiency : The Engine lasts for 10mins after reaching max capacity.
Blueprint : In Caravan Town (4th story place).
Cost : Scrap(6), Titanium Ingot(6), Bolt(2), Circuit Board(1)
Purpose : Change the direction of all your engines at once + turn them all off or on.
Blueprint : On Balboa Island (3rd story place).
Cost : Scrap(4) for 2
Purpose : Connects your Engines to a Biofuel Tank. You just need to place your pipes where you want them to be and they will connect to each other automatically. A pipe can seperate into several paths.
Useful Furniture - Others
Cost : Palm Leaf(10), Plank(6), Plastic(4), Nail(3) / Plank(10), Palm Leaf(12), Feather(8), Nail(6)
Purpose : Allows you to control where you will respawn on your raft. You come back with more health if you have a bed, even more if you have a Hammock. Beds also allow you to skip nights ( everything jumps in time with you so don't worry about the shark attacking while you're asleep or you/your pets dying of hunger ).
Cost : Plank(6), Rope(8), Nail(2)
Purpose : Collects floating materials that come near it. You only need to place one in two to be efficient.
Cost : Plank(14), Scrap(2)
Purpose : Allows you to unlock blueprints and new crafting recipes.
 Cost : Plastic(8), Scrap(1), Rope(2) / Plank(8), Scrap(3), Rope(4), Hinge(1)
Purpose : Allows you to stock everything you find. 8 spots / 20 spots
Blueprint : Tangaroa ( 5th story place )
Cost : Plank(10), Plastic(10), Hinge(2), Titanium Ingot(4)
Purpose : Allows you to stock everything you find. 40 spots.
Cost : Plank(6), Rope(3), Nail(3), Dry Bricks(6)
Purpose : Allows you to transform some materials, needs planks to work.
Sand into Glass. Seaweed into Vine Goo. Metal Ore into Metal Ingot. Copper Ore into Copper Ingot. Explosive Powder into Explosive Goo.
Blueprint : Caravan Town ( 4th story place )
Cost : Plastic(15), Scrap(5), Circuit Board(1), Titanium Ingot(4)
Purpose : Recharges your batteries with fuel.
Blueprint : Caravan Town ( 4th story place )
Cost : Plank(5), Rope(5), Bolt(1)
Purpose : Can be used to reach quickly a place on your raft.
Cost : Palm Leaf(6), Plank(6), Giant Clam(1)
Purpose : Attracts seagulls which will leave feathers on it. 3 maximum at the same time per nest.
Cost : Plank(6), Scrap(6), Rope(3), Stone(2)
Purpose : Allows you to create paint by putting flowers into it. The raft needs to be moving for it to work.
Cost : Plank(6), Scrap(4)
Purpose : Allows you to see better on your raft at night.
Cost : Nail(2), Plank(2)
Purpose : Tells you how many days you've been surviving.
Cost : Plank(8), Plastic(3), Scrap(4), Bolt(1)
Purpose : Gives you the time, useful to know when night is coming ( 8pm ).
Decorations List
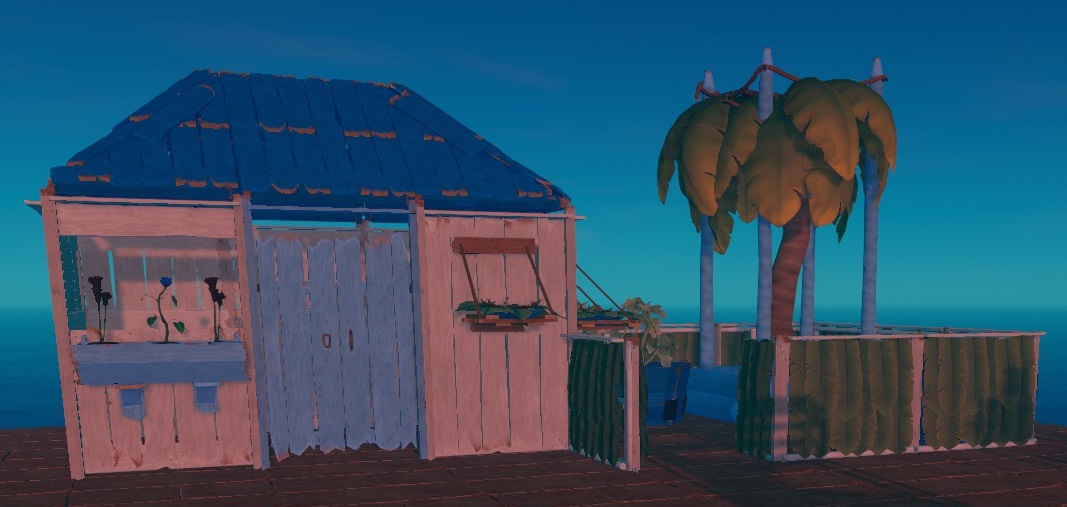
These things are only here to make your raft all pretty. Of course there are all the structures you can build with your Building Hammer but there are also objects you can craft or fish.
I strongly advise you to do some tests in Creative Mode before decorating your own raft as it is really frustrating to waste materials because it didn't end up as you hoped it would.
Many objects can be hanged from ceilings and/or on walls, test it for yourself ! ;)
 You can find it on a rare small island with a flag and a shipwreck. The radio plays music but sometimes just makes weird sounds. You can turn it on and off.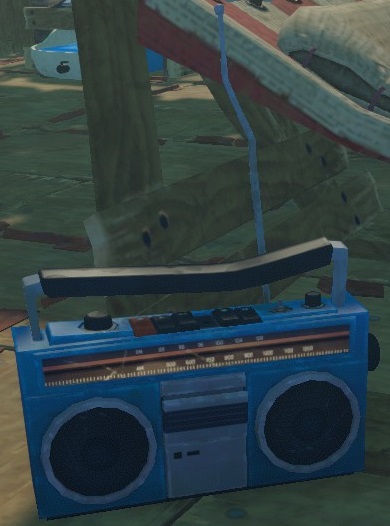
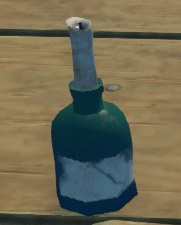
 You can plant a potato, a beet or a flower in it.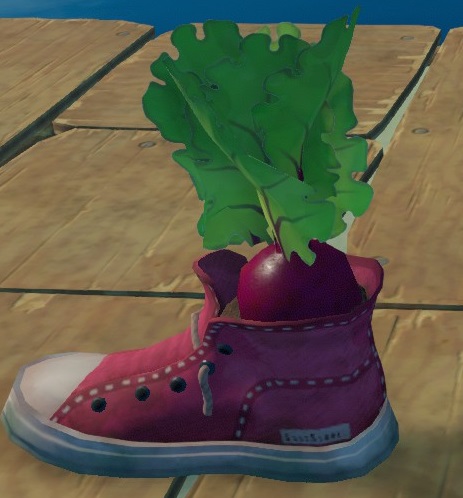
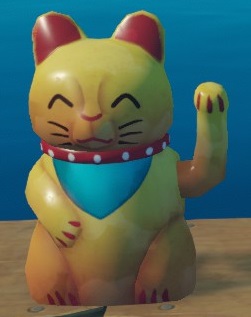
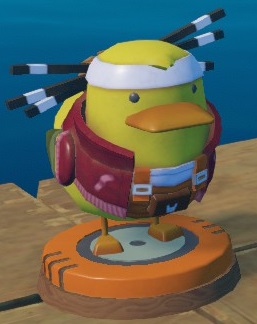
 Can also be hanged on a wall or from a ceiling
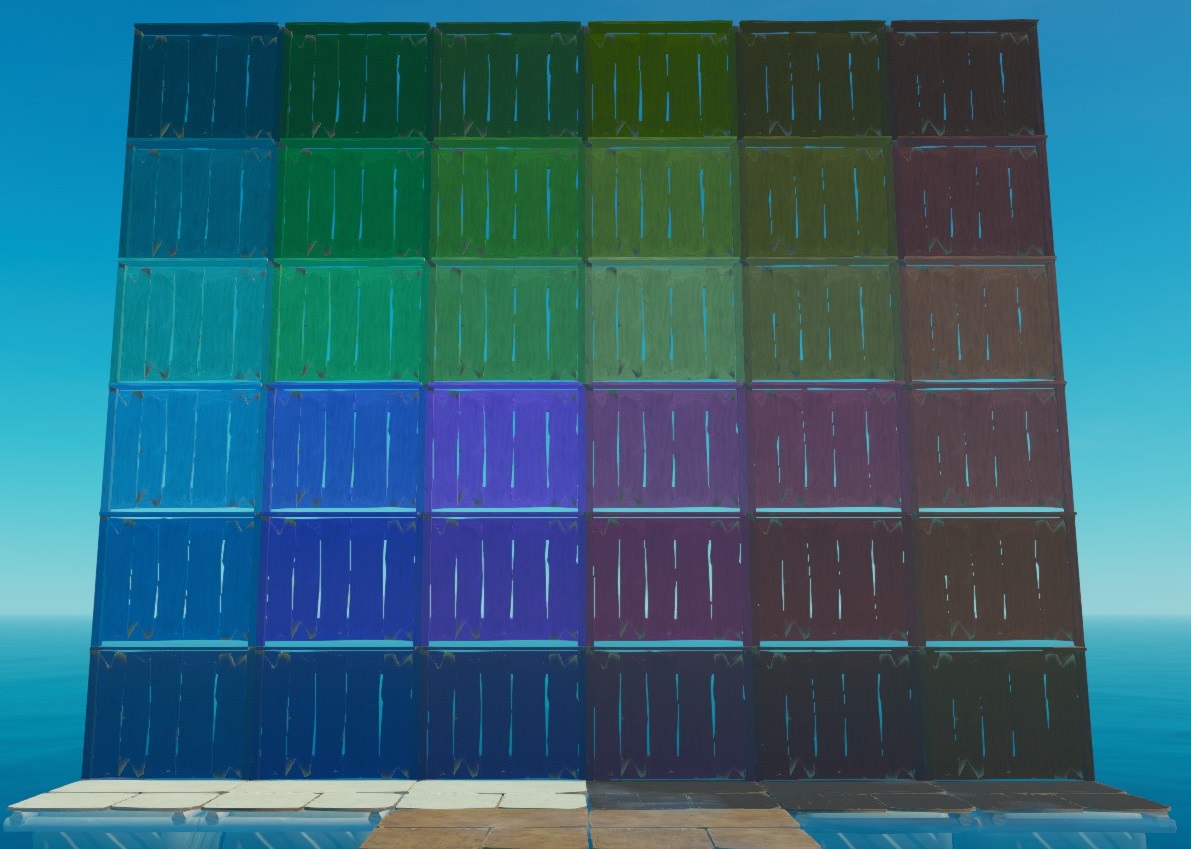
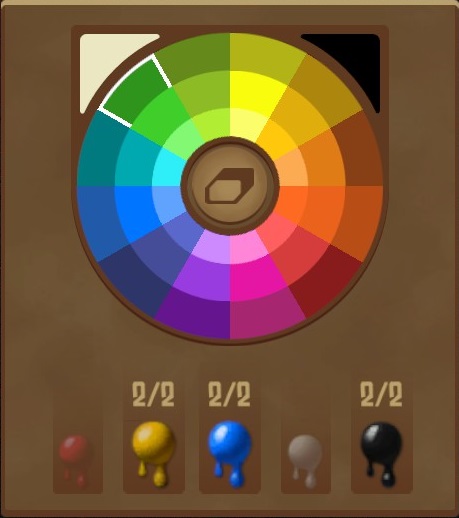
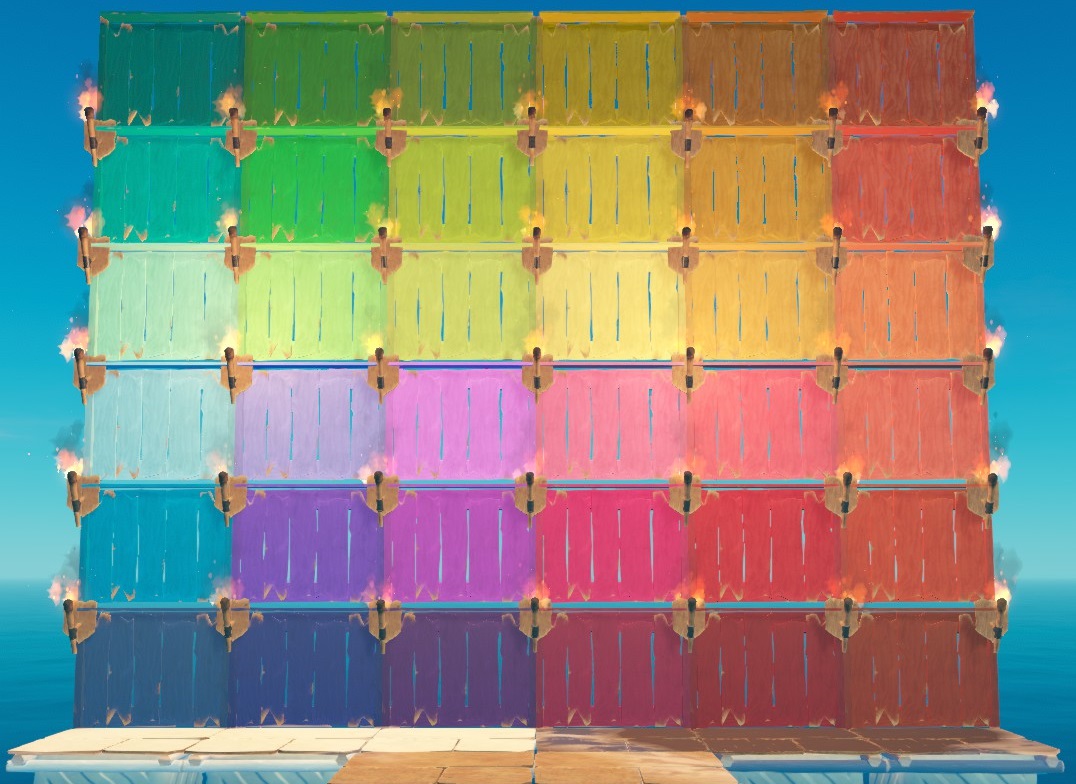
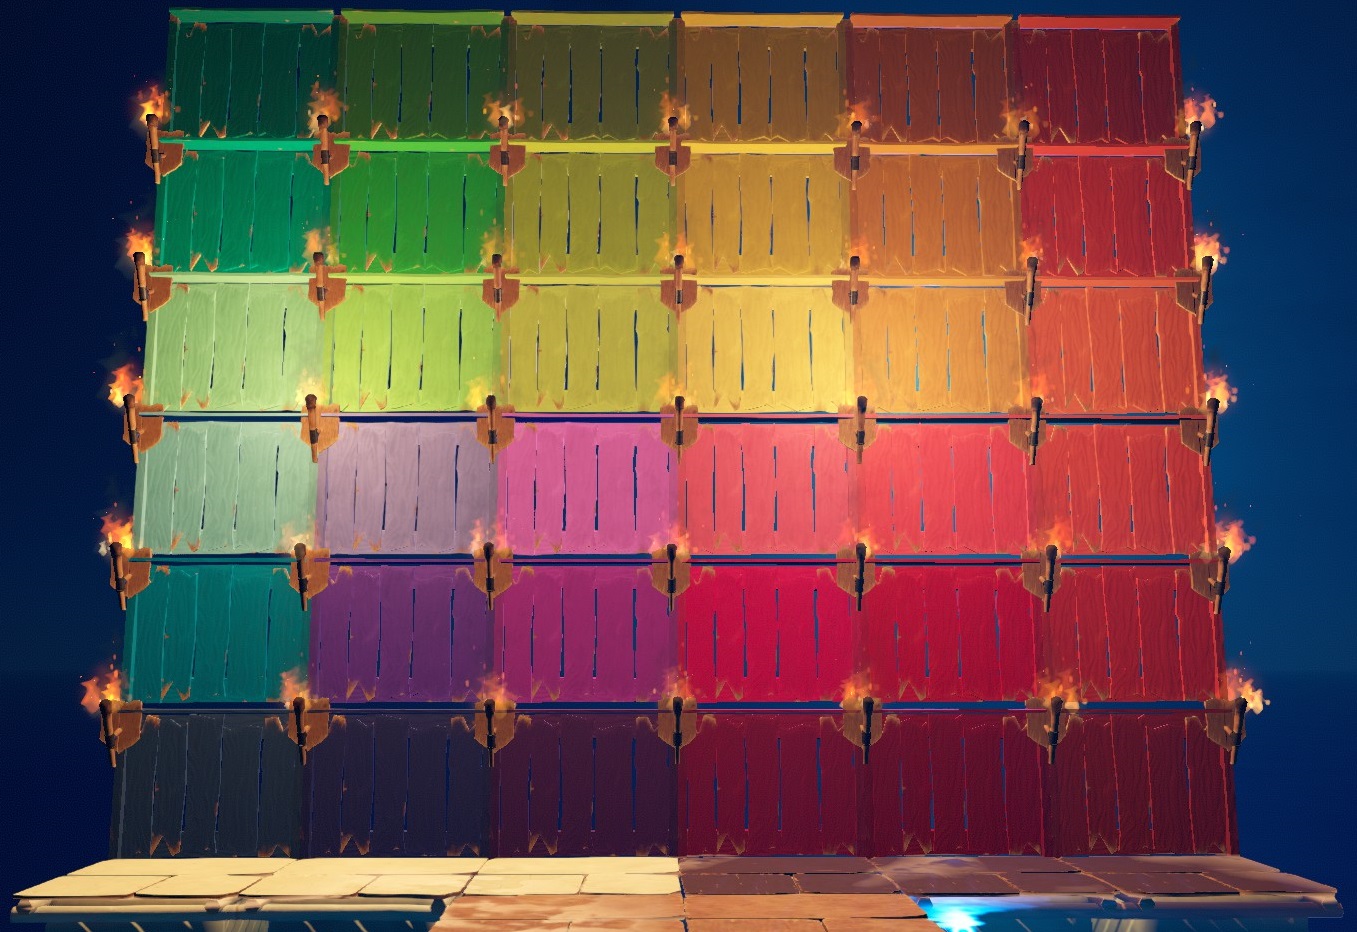
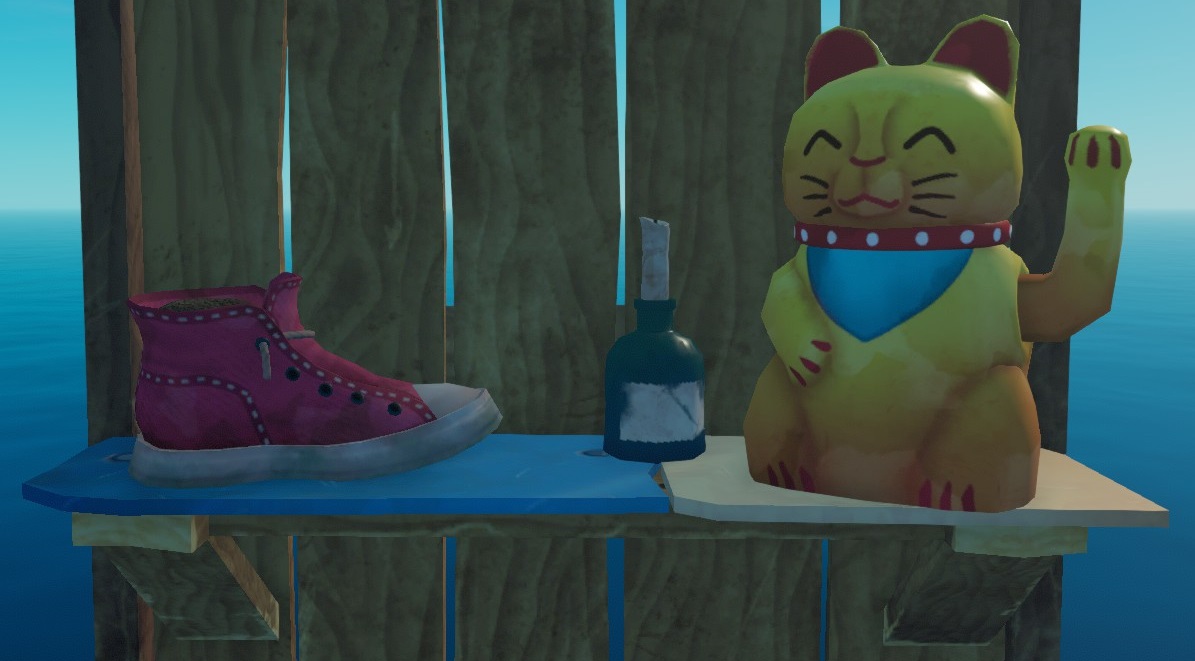
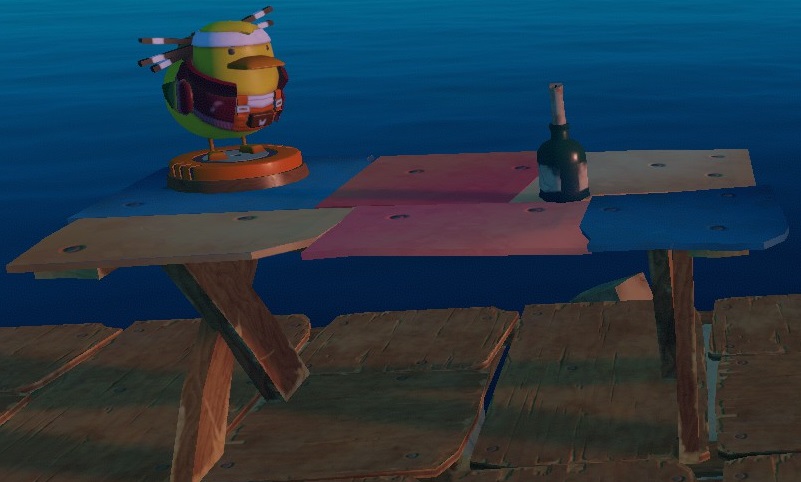
 You can take back the fish anytime ( for example, in case you're starving ).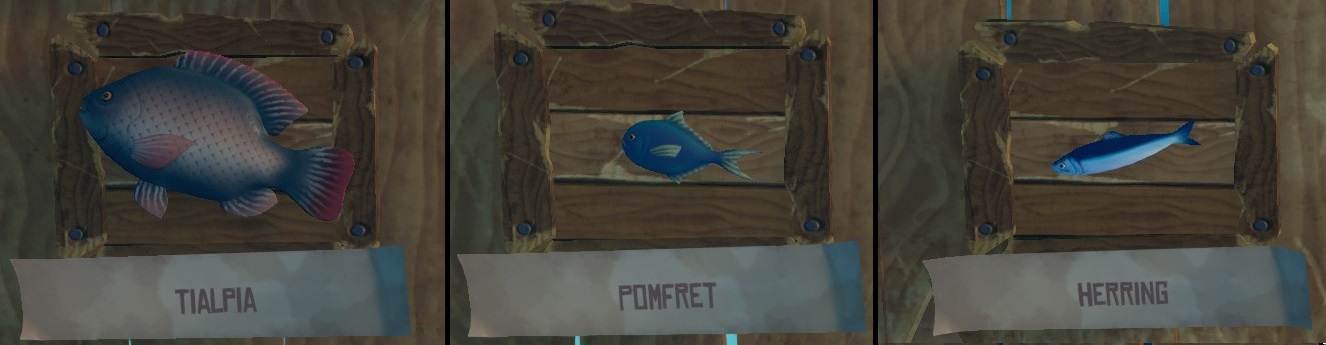
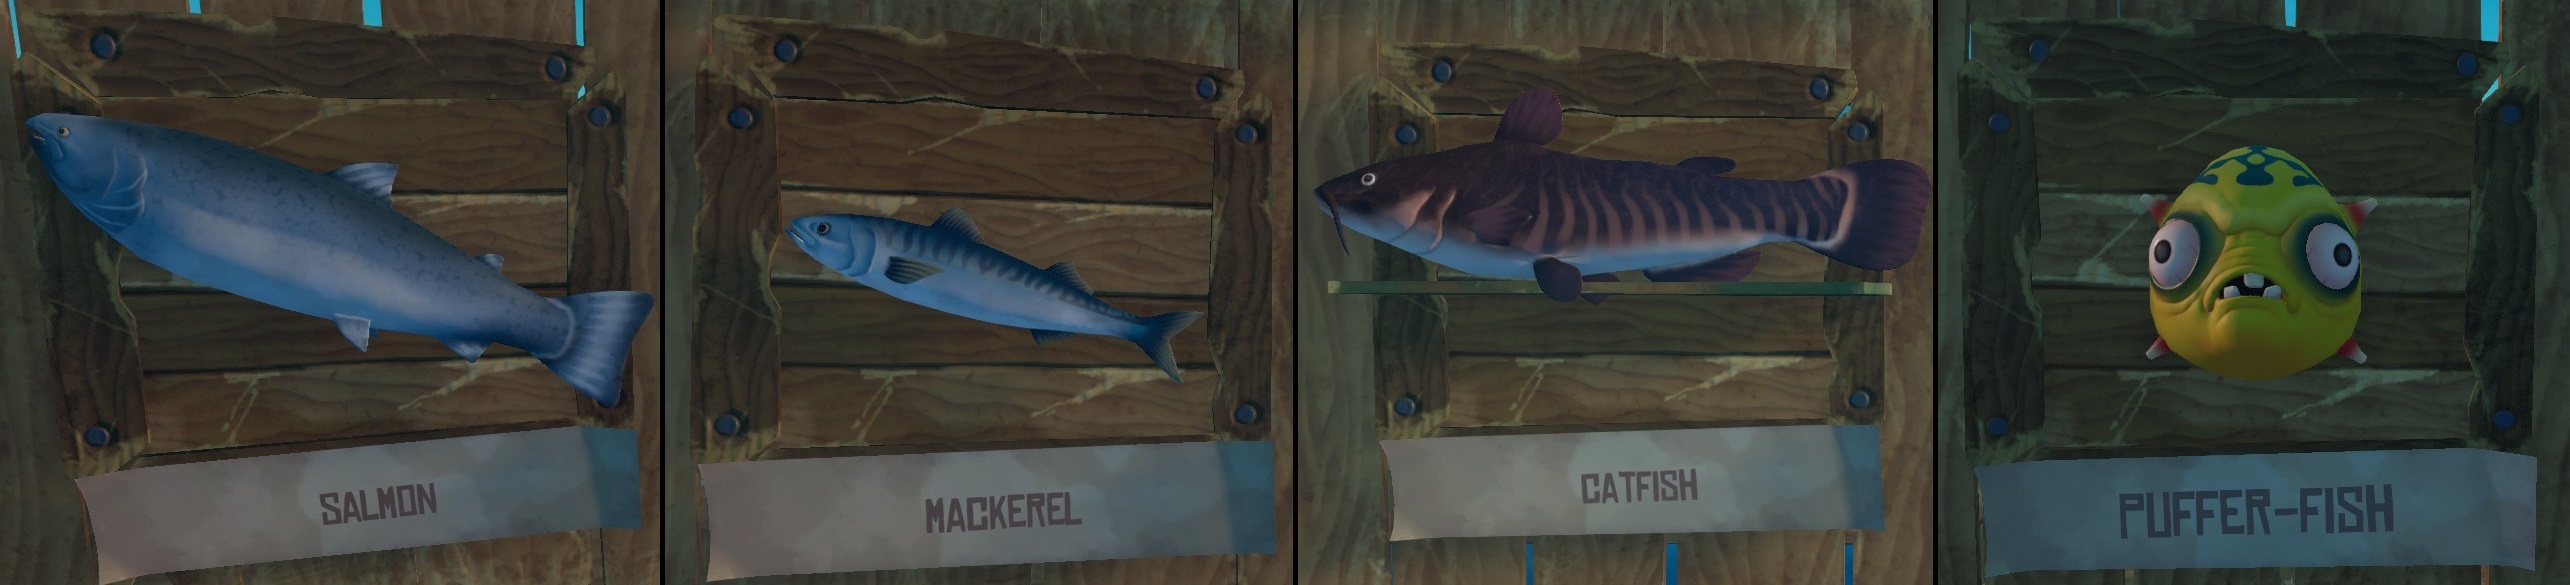
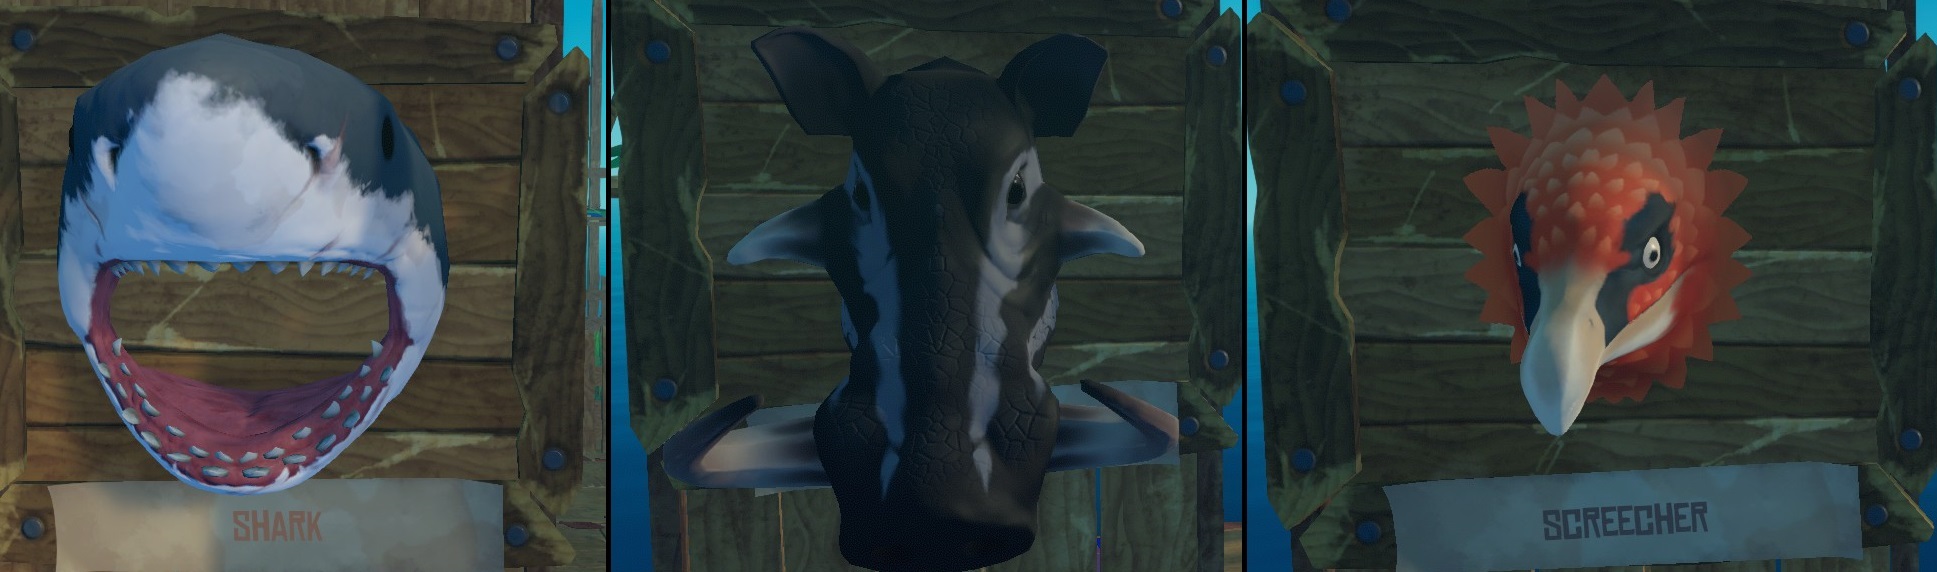
The small crop plots can be hanged on walls or from ceilings.
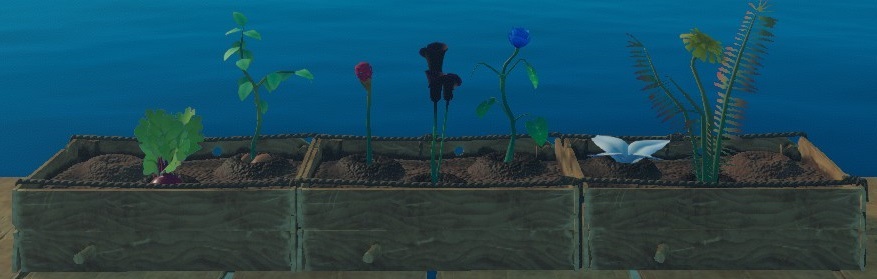
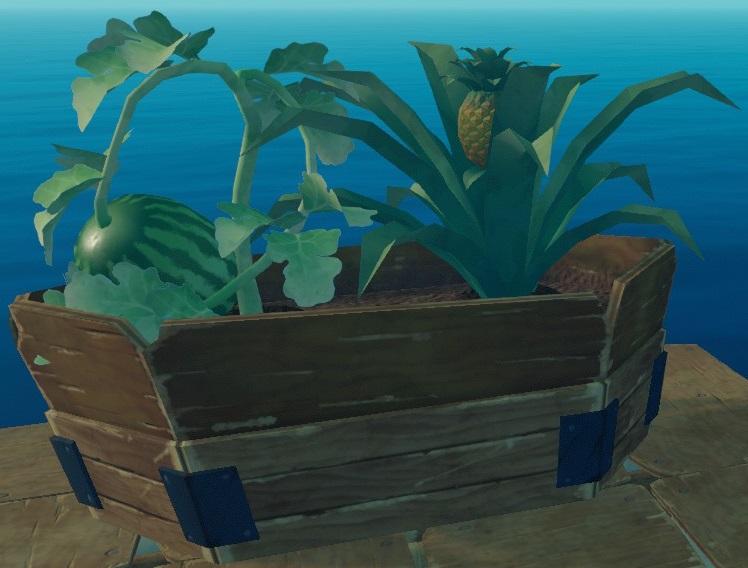
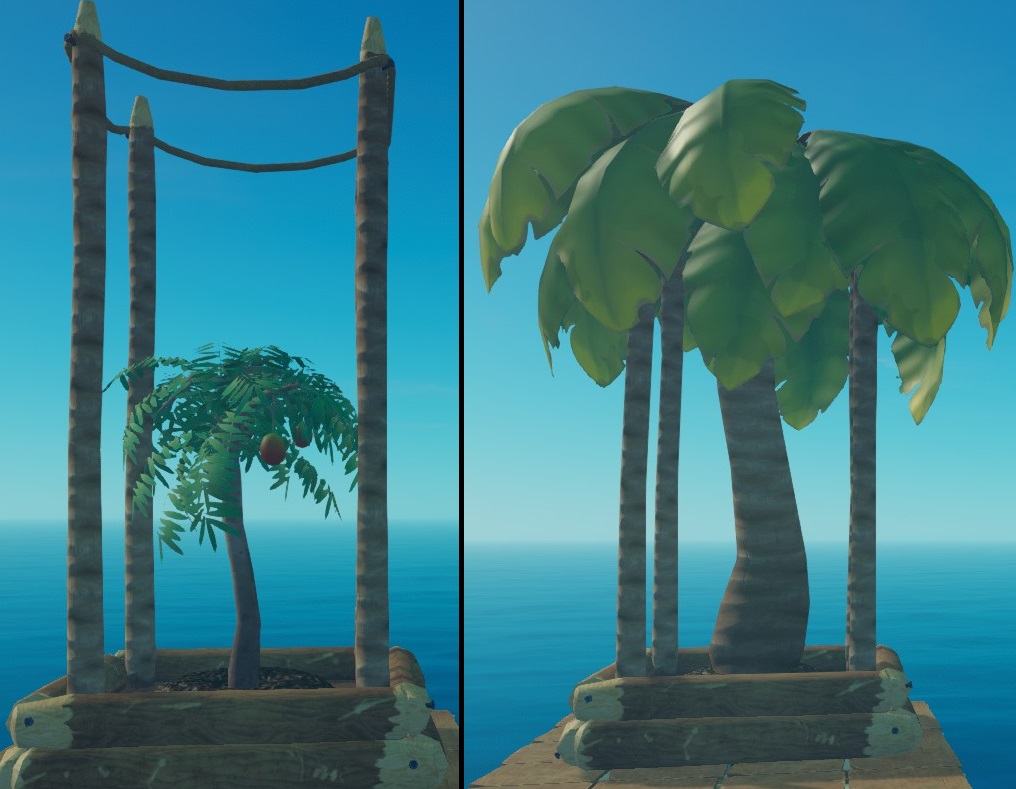
~~~
Trading Posts - Part 1
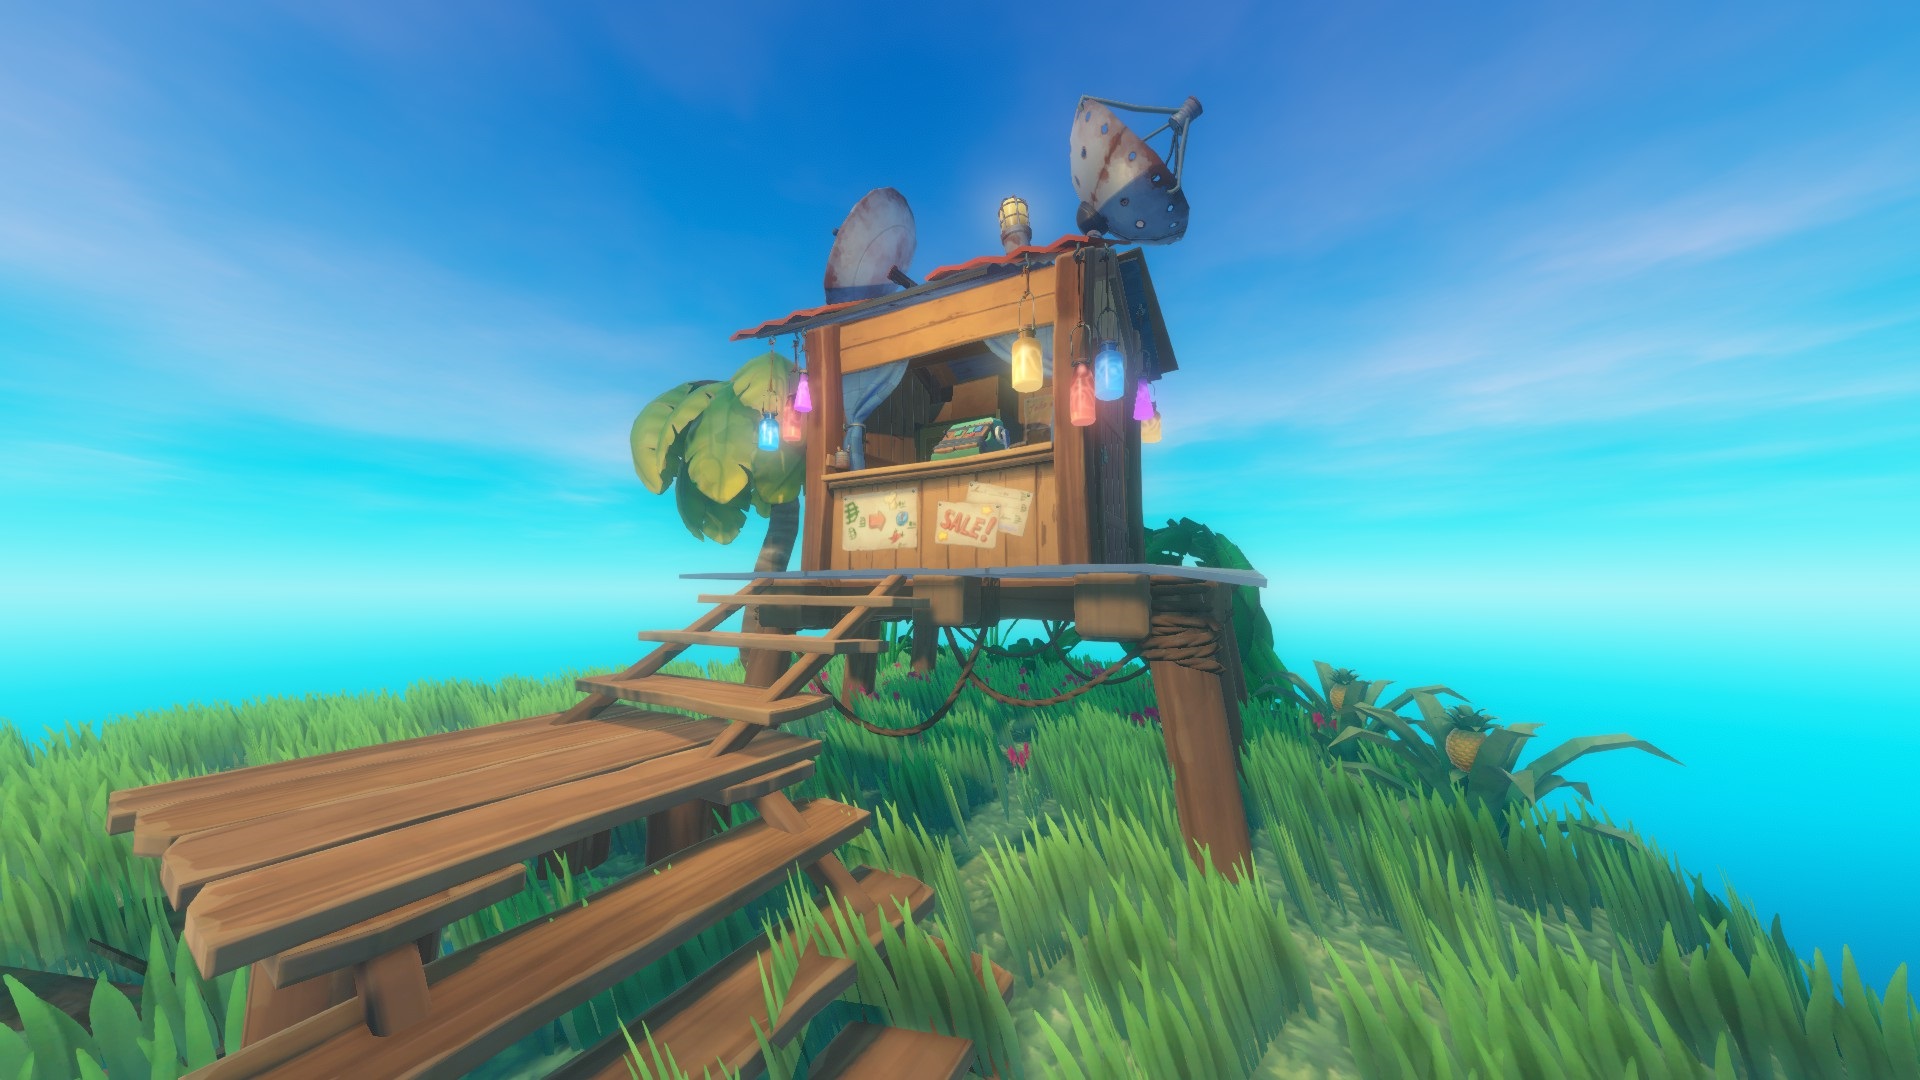
You can exchange 2 currencies with it: Trash Cubes and Trade Coins.

You get the trash cubes by putting raw materials in a Recycler (you get the blueprint at the first story place: the Radio Tower).

You get trade coins by buying fishing bait from the Trading Post (with trash cubes) then using it to catch special fish that you can then sell to the Trading Post for the coins.
Selling the special fish also gives you reputation with the Trading Post, after a certain number you will get to Tier 2 Reputation, then Tier 3 Reputation.
Each new tier allows you to buy more stuff, including a better fishing bait that will let you catch better fish that gives more reputation points or more trade coins when you sell it.
Tier 2 Fish => Trade Coin x1 / Reputation x100
Tier 3 Fish => Trade Coin x2
Each Trading Post has a limited number of each item.
If you want more you'll have to find another Large Island.


Coin x1

Coin x2

Coin x2

Coin x1

Coin x1

Coin x1

Coin x1

Coin x4

Coin x6

Coin x4
Trading Posts - Part 2


Coin x1

Coin x1

Coin x1

Coin x1

Coin x1

Coin x1

Coin x3

Coin x1

Coin x4

Coin x4

Coin x4

Small Crop Plot
Coin x8
Medium Crop Plot
Coin x8
Large Crop Plot
Coin x8

Coin x6

Coin x6

Coin x6


Coin x1

Coin x10

Coin x6

Coin x3

Coin x2

Coin x4

Coin x4

Coin x8
Coin x12
Coin x12

Coin x6

Coin x6

Coin x6

Coin x6
Large Islands List
⠀
When you have no frequency or Radio Station/Vasagatan/Tangaroa on your radar, you'll encounter normal large islands.
When you have Balboa Island frequency on your radar AND are going more or less towards Balboa Island, you'll encounter Balboa like large islands.
When you have Caravan Island frequency on your radar AND are going more or less towards Caravan Island, you'll encounter Caravan like large islands.
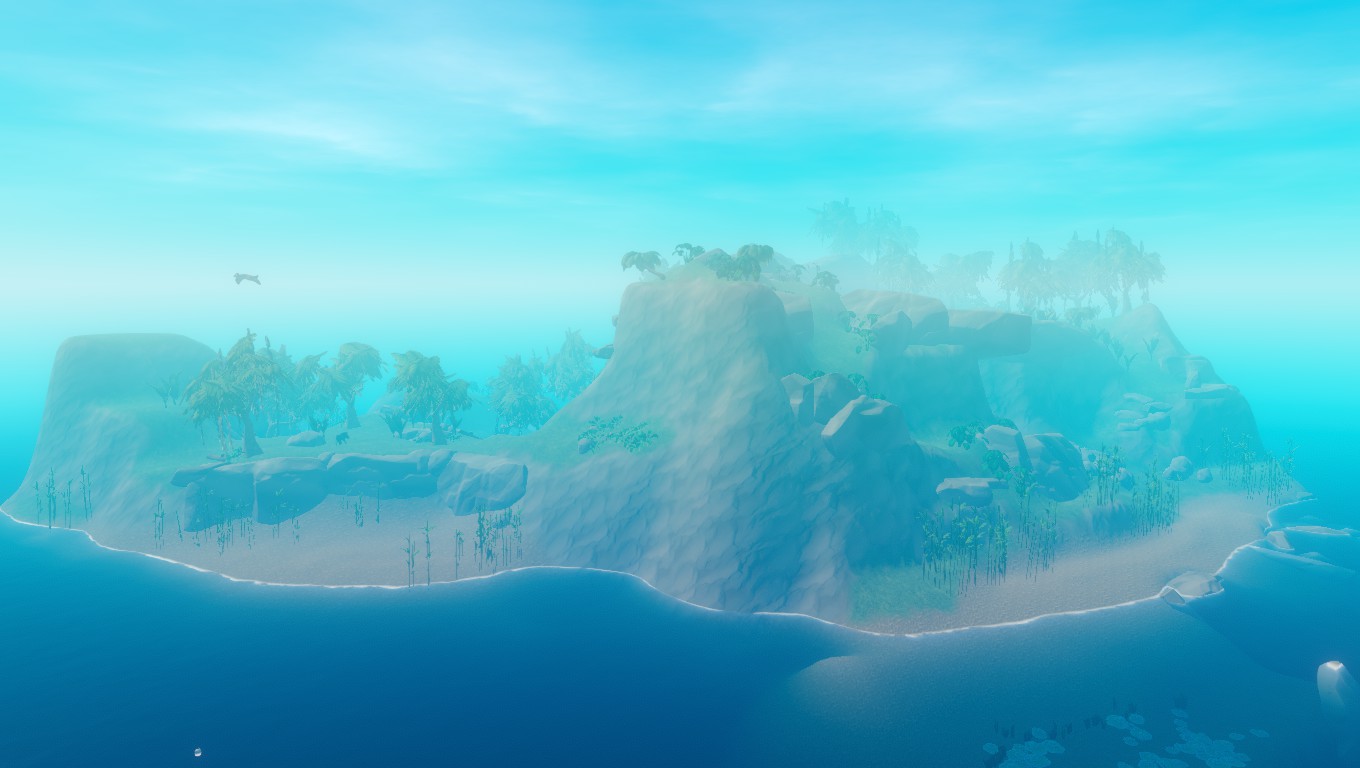
- Cave area ( 5 dirt and 3 mushrooms )
- 5 loot containers ( 2 on land + 3 underwater )
- Extremely rich underwater area
- 60+ flowers
- 3 treasures
- Cave area ( 8 dirt and 4 mushrooms )
- 6 loot containers ( 4 on land + 2 inside a hollow rock formation in the water, to the side of the island with underwater and above entrances )
- 3 treasures
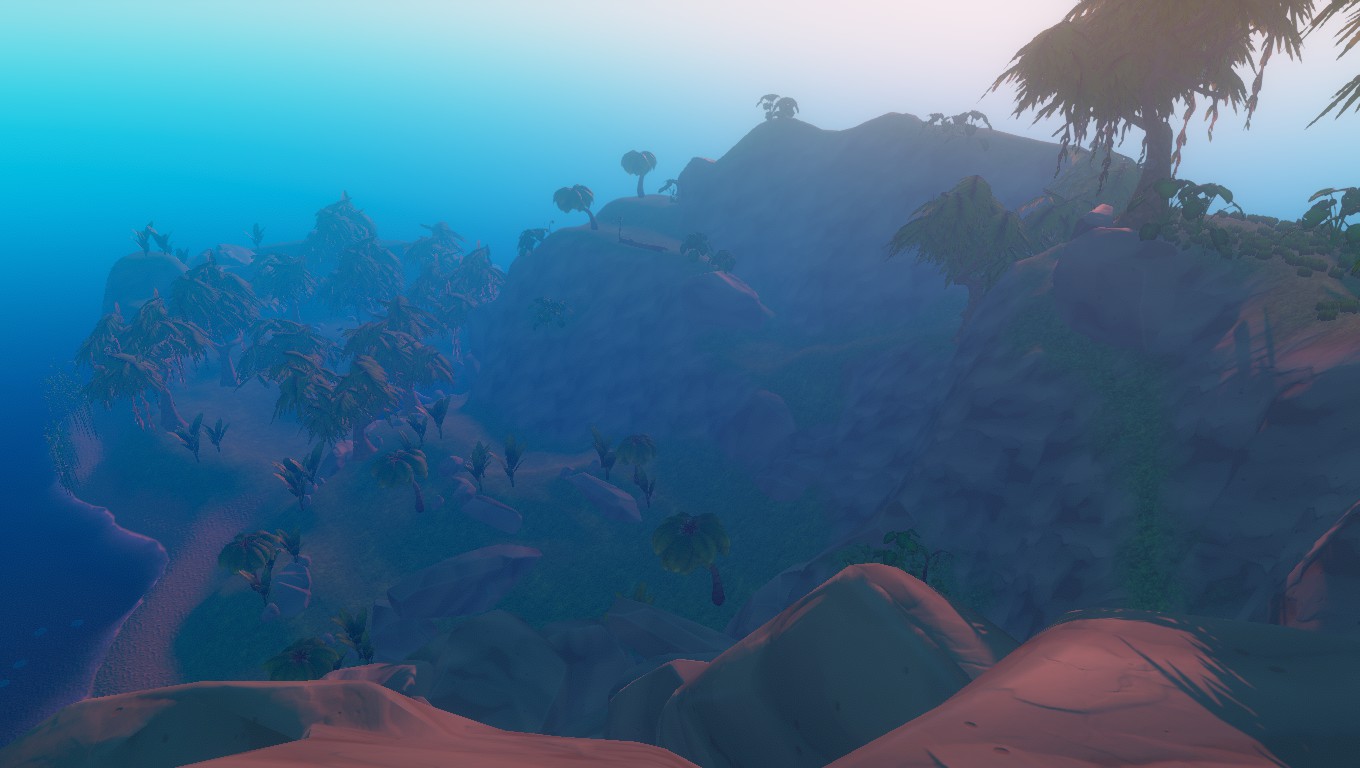
- Cave area ( 5 dirt and 3 mushrooms )
- 4 loot containers ( 2 on land + 2 underwater )
- no flowers
- 3 treasures
- Cave area ( 6 dirt and 4 mushrooms )
- 4 loot containers ( 1 on land + 3 underwater )
- Extensive underwater areas because of the 2 mini islands next to the main island
- 3 treasures
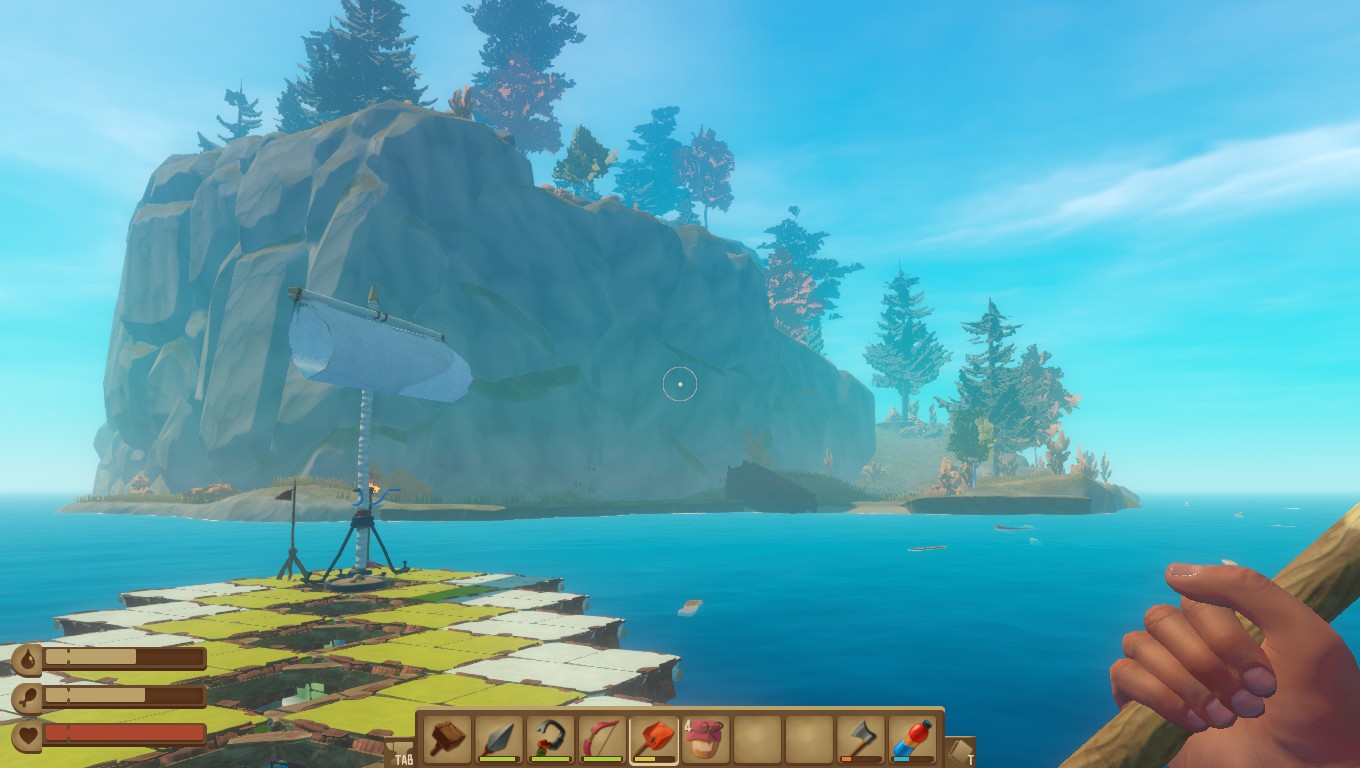
- Bears and Pine/Birch trees instead of usual large island wildlife.
- 2 honey areas ( 9 honeycomb total )
- 1 loot container ( on land )
- 2 treasures
- Bears and Pine/Birch trees instead of usual large island wildlife.
- 2 honey areas ( 9 honeycomb total )
- 1 loot container ( on land )
- 2 treasures
- Bears and Pine/Birch trees instead of usual large island wildlife.
- 2 honey areas ( 9 honeycomb total )
- 1 loot container ( on land )
- 40 + scrap in the waters surrounding the island
- 2 treasures
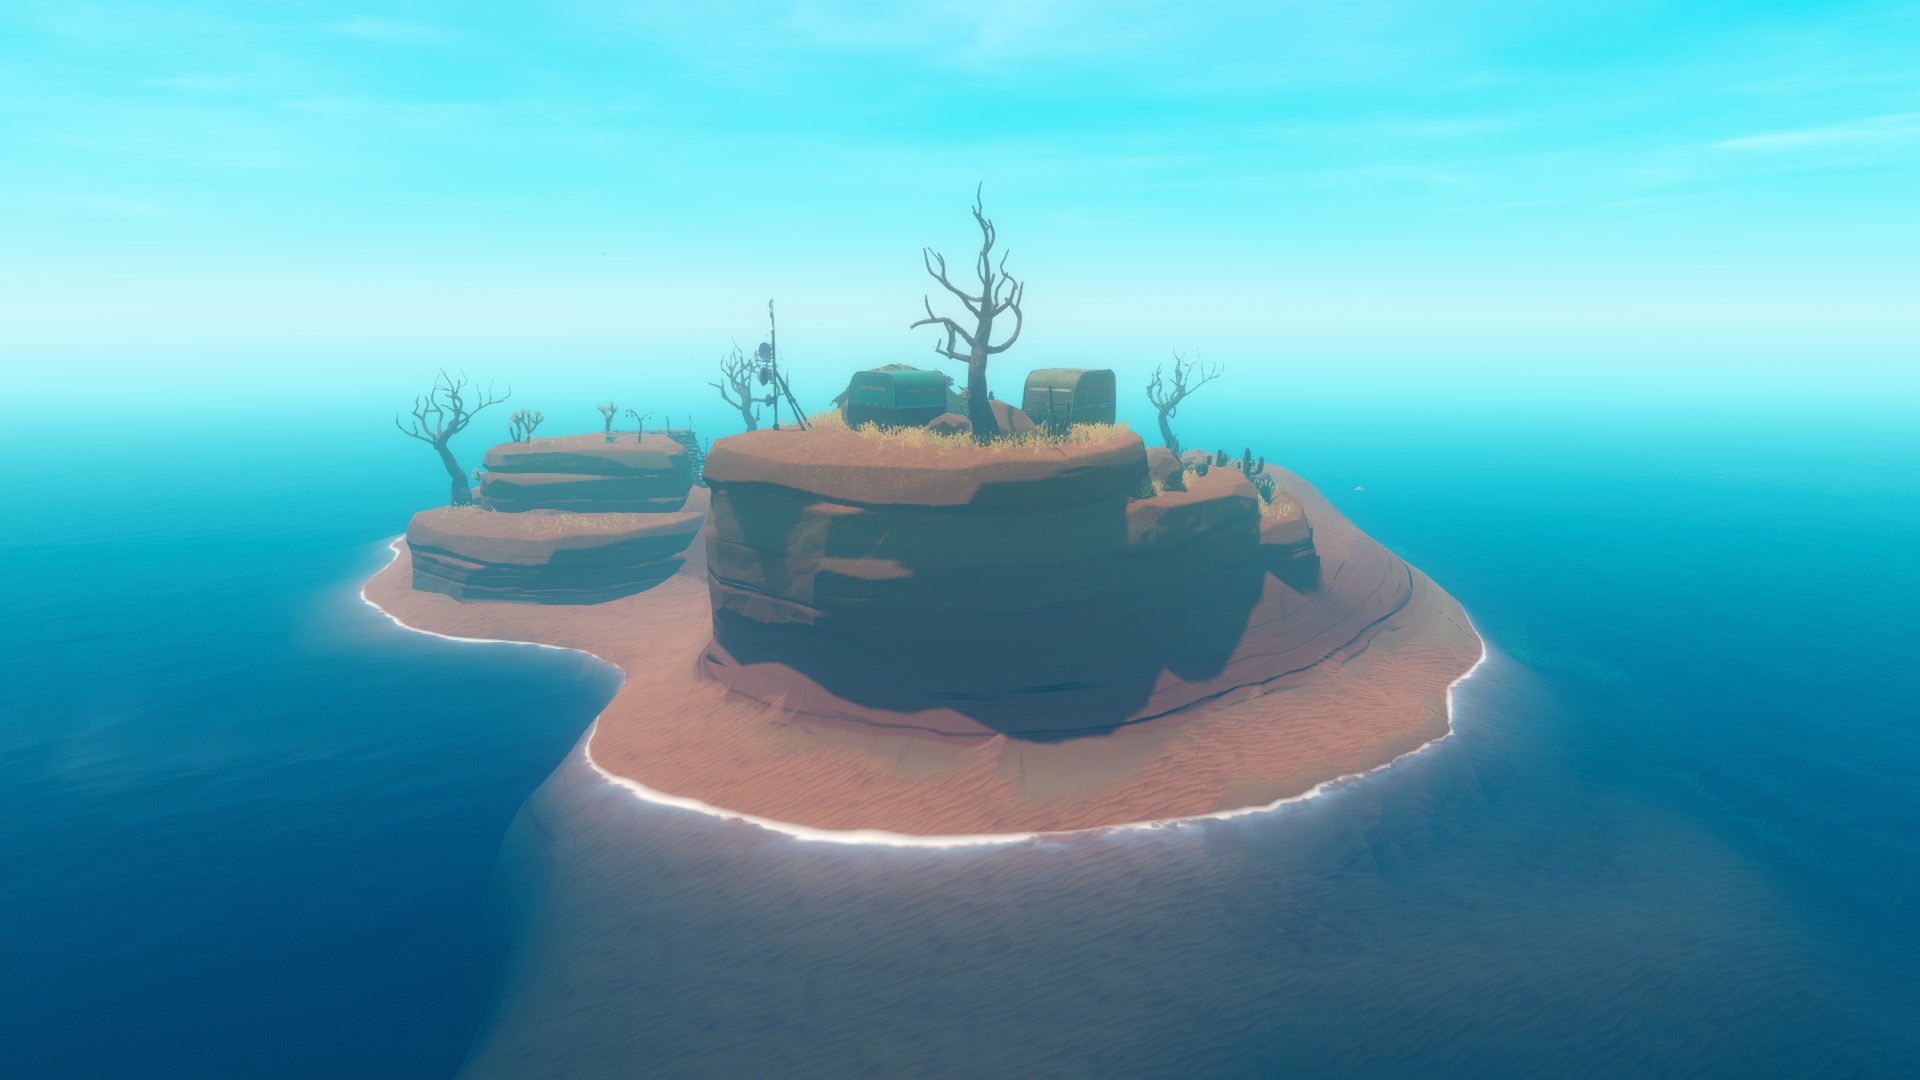
- Mudhogs
- 2 honey areas ( 9 honeycomb total )
- 1 loot container ( on land )
- 1 treasure
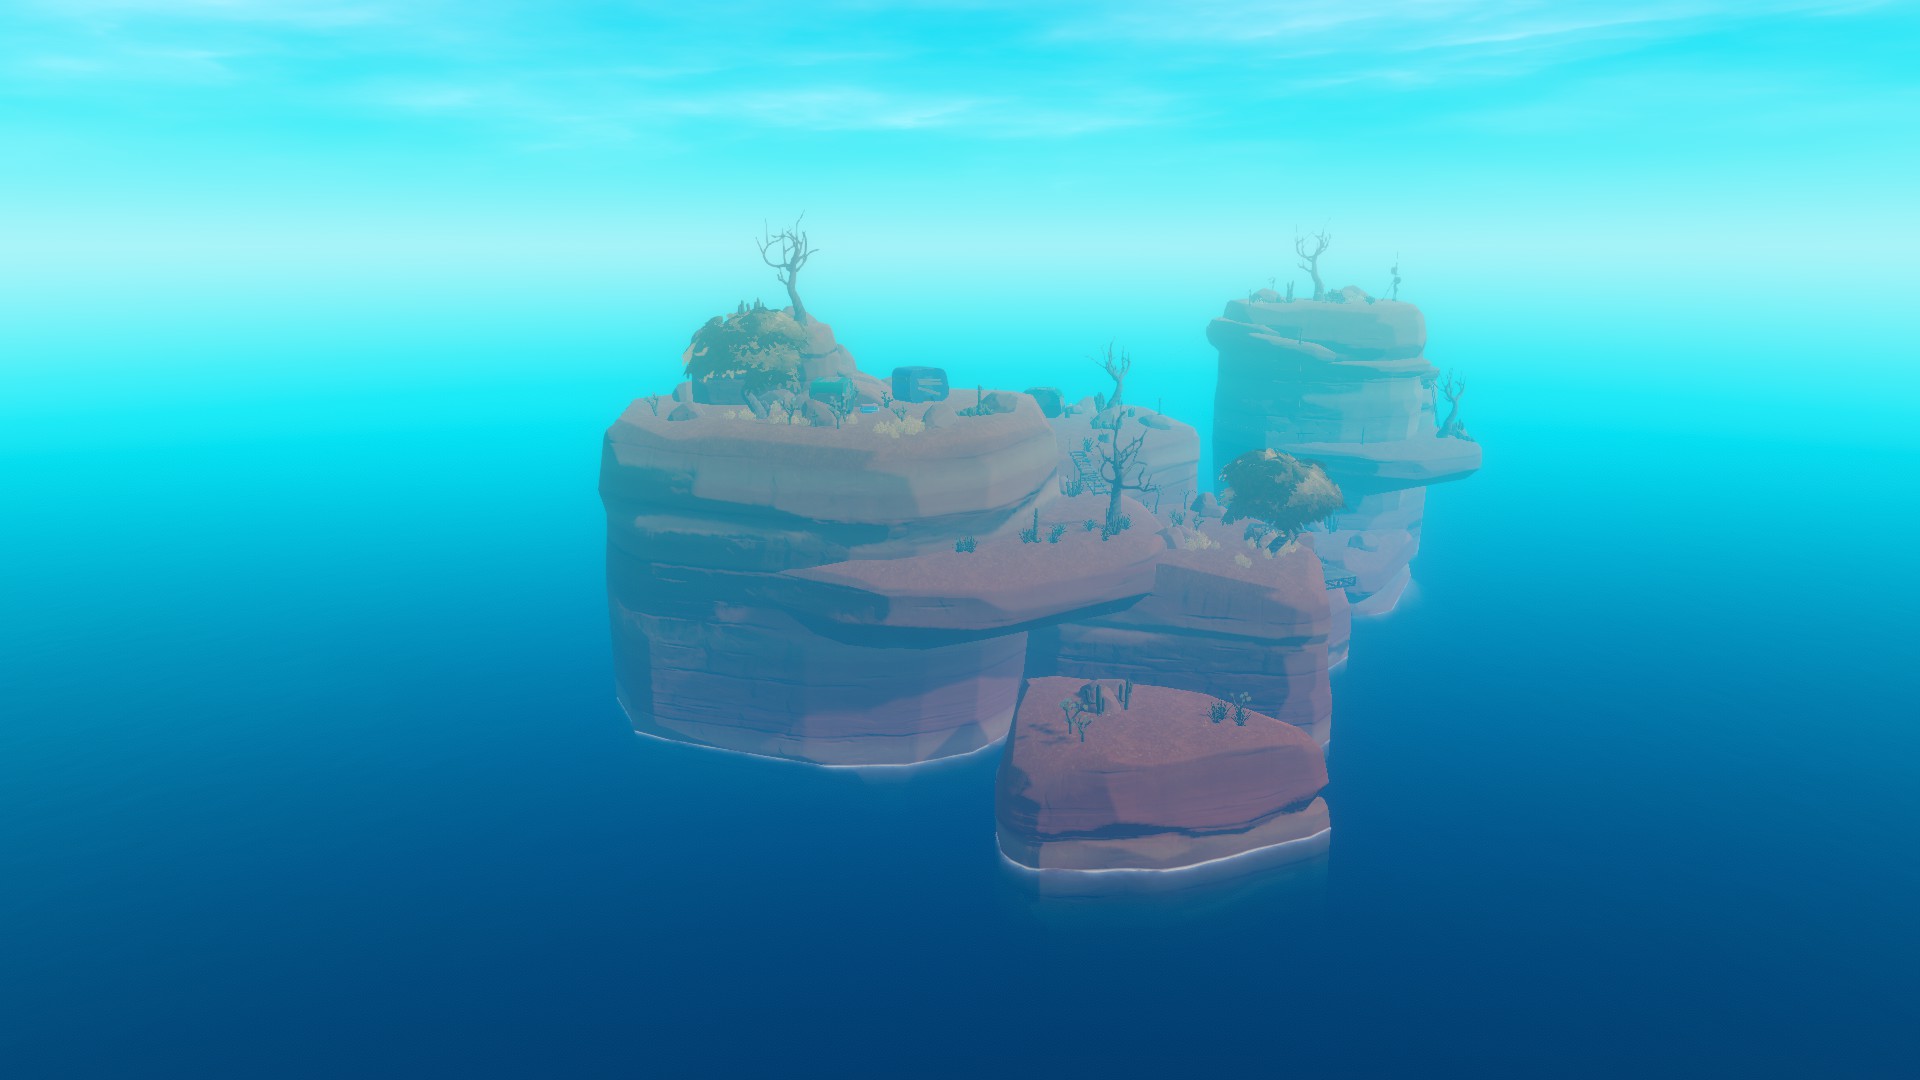
- Mudhogs and ziplines to move between the two sections of the island
- 2 honey areas ( 9 honeycomb total )
- 2 loot containers ( 2 on land )
- 1 treasure
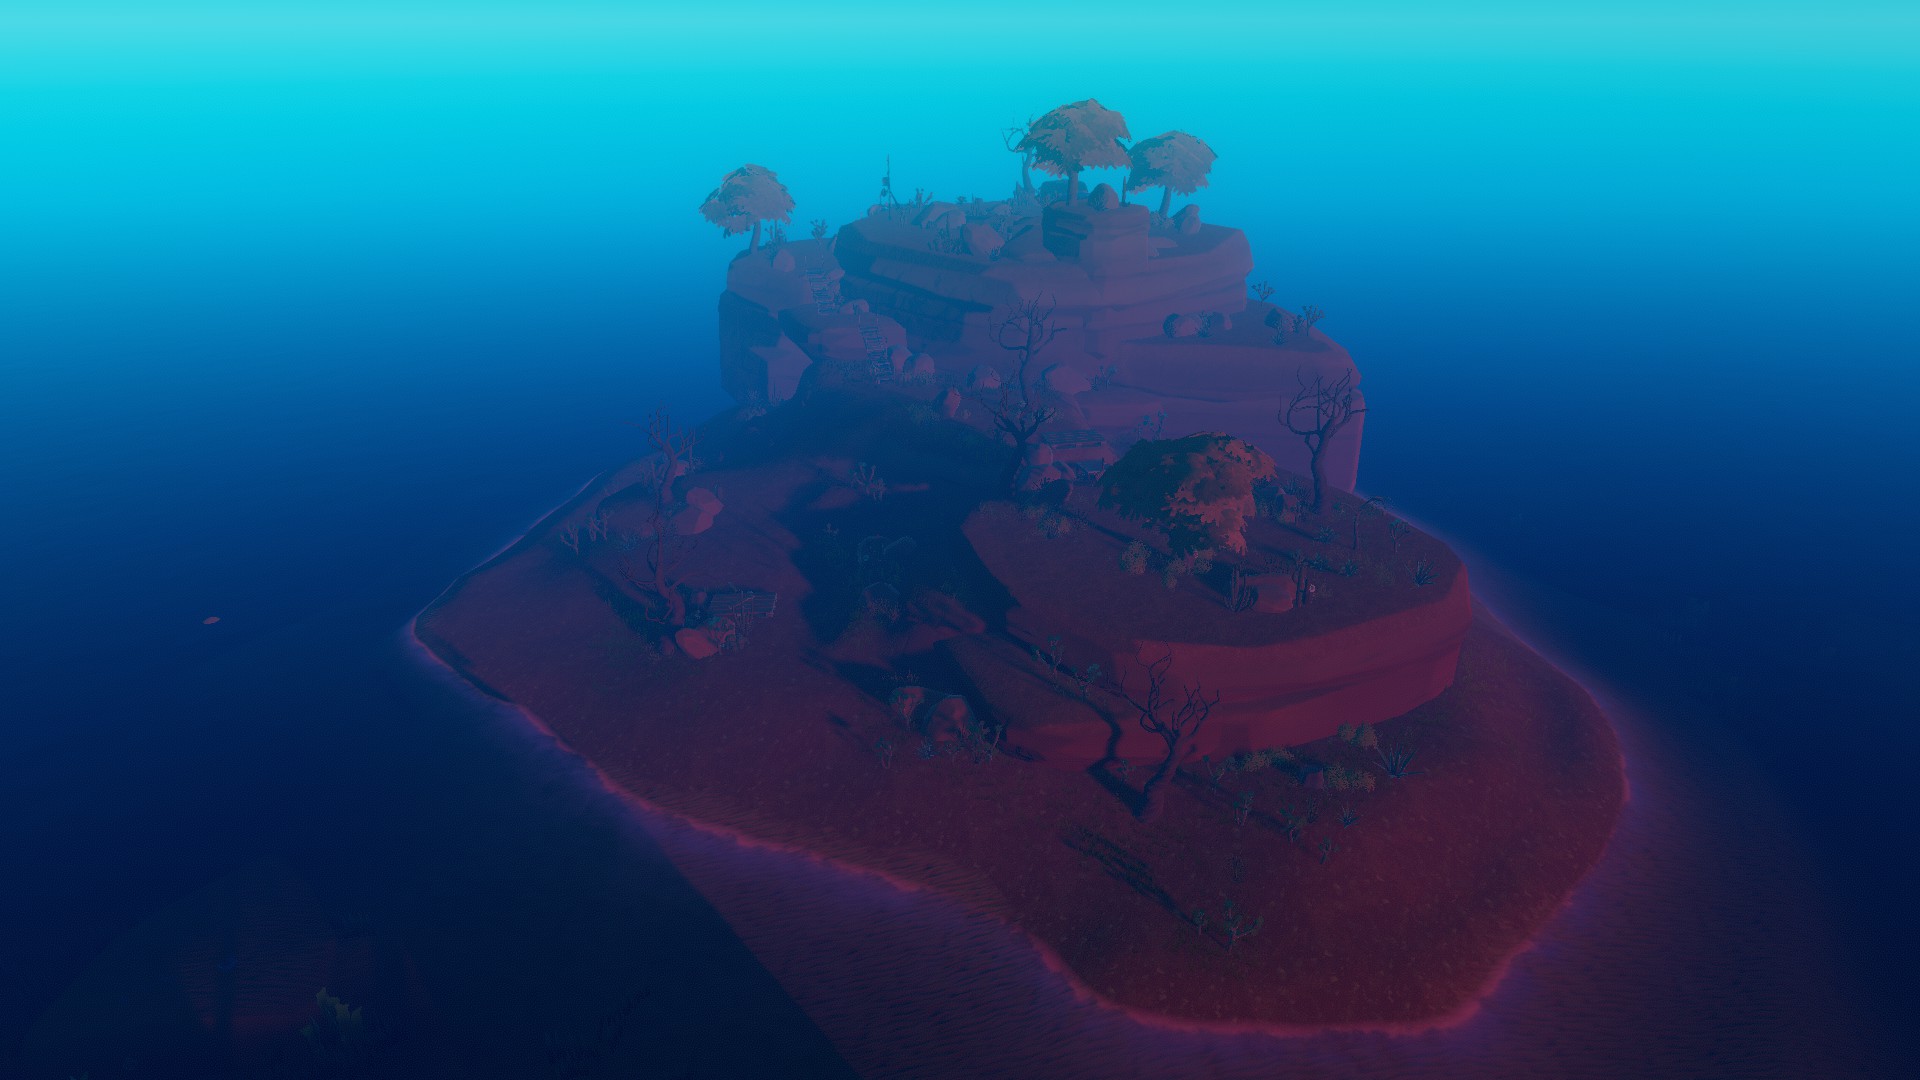
- Mudhogs
- 2 honey areas ( 9 honeycomb total )
- 2 loot containers ( 2 on land )
- 1 treasure
Small Islands List
Vending Machines - Part 1
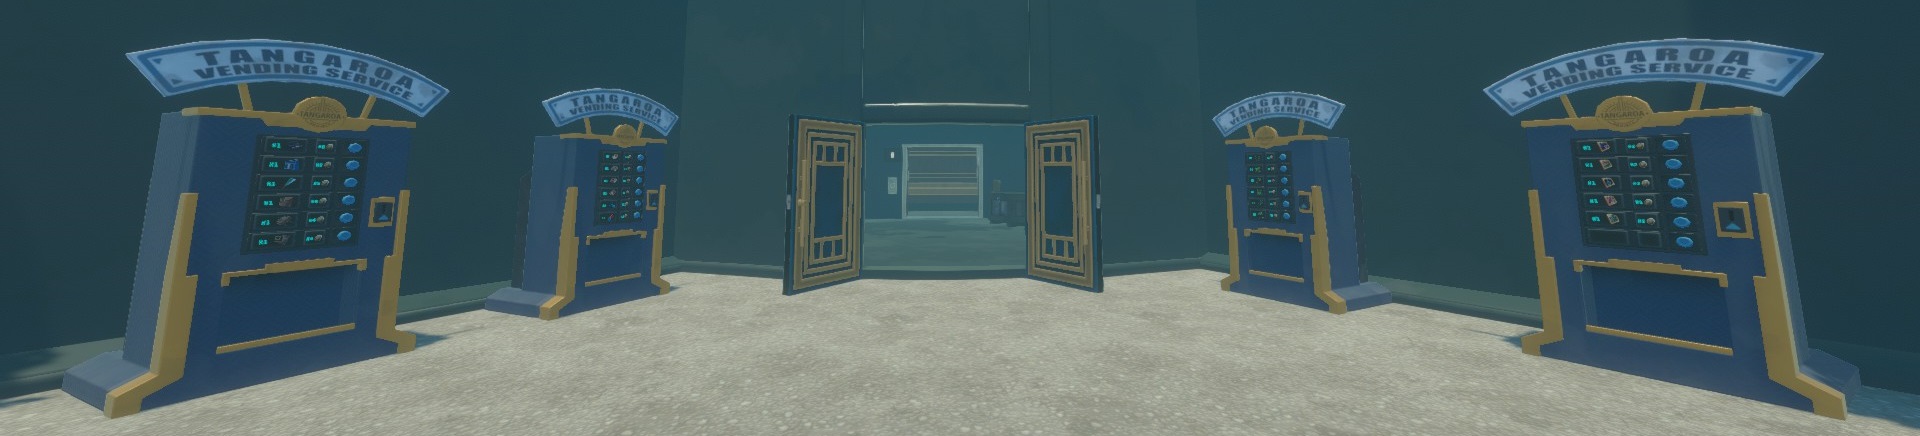

The tokens reappear once you create a new version of the story place (by sailing away until the blue square on the radar teleports somewhere else).
You can find a list of all tokens in the story walkthrough.
There are 4 vending machines at the foot of the huge tower in the middle of Tangaroa.


There are 2 vending machines inside the big igloo in Moontown.

Cutlery x2


Vending Machines - Part 2
There are 3 vending machines in the market area where you fought Olof for the first time (they will only appear after you free Utopia).


Catcher x2


~~~
Gardening
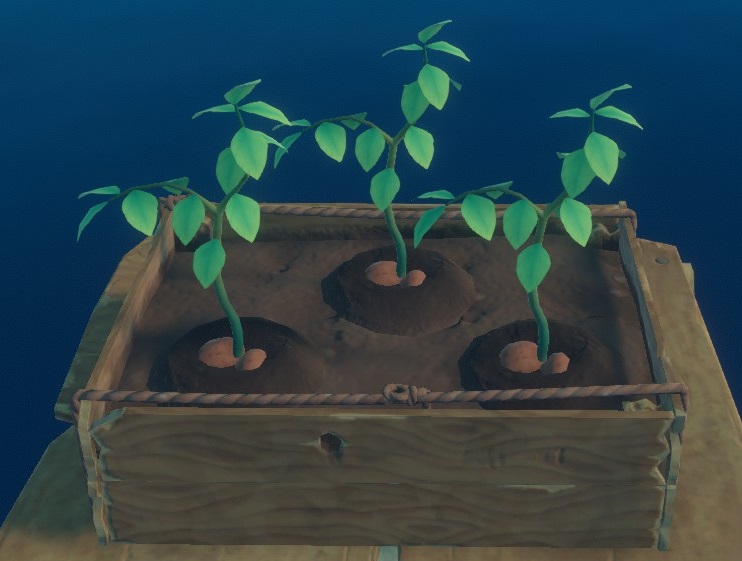
- Where to find seeds : The potatoes can be used as seeds. You find them in barrels.
- Growing time : 5mins
- Harvest :
=> 2 Potatoes (100%)
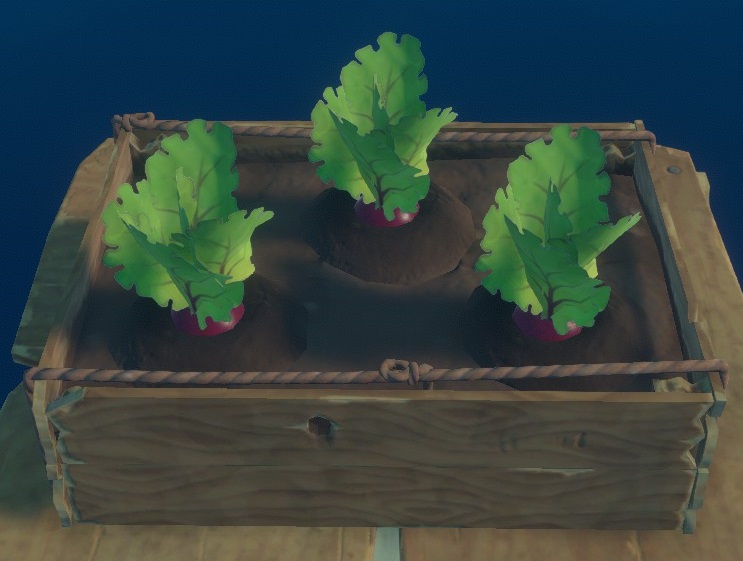
- Where to find seeds : The beets can be used
as seeds. You find them in barrels. - Growing time : 5mins
- Harvest :
=> 2 Beets (100%)
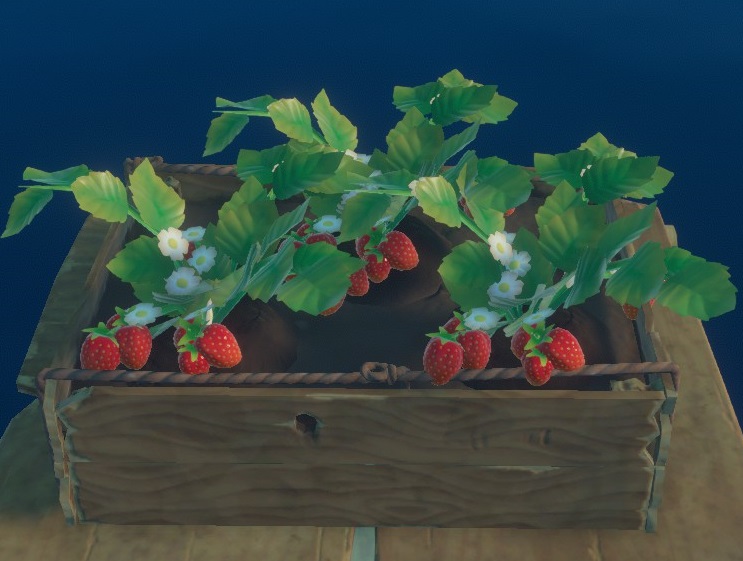
- Where to find seeds : By picking them up in Tangaroa's underground area
(5th story place). - Growing time : 5mins
- Harvest :
=> 1 Strawberry (16%)
=> 1 Strawberry + 1 Seed (84%)
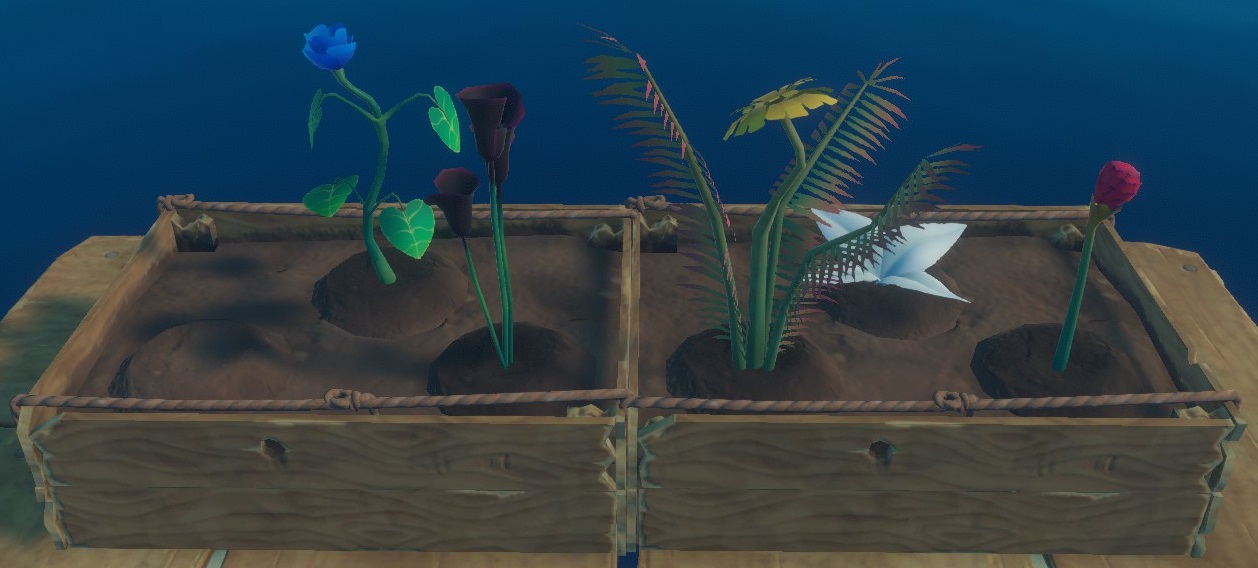
- Where to find seeds : By picking up flowers, which you can find on most islands.
- Growing time : 5mins
- Harvest :
=> 1 Flower + 1 Seed (100%)
⠀
~~~~~~~~~~~~~~~~~~~Medium Crops~~~~~~~~~~~~~~~~~~~~
- Where to find seeds : By picking up pineapples, which you can find on most islands.
- Growing time : 8mins
- Harvest :
=> 1 Pineapple (40%)
=> 1 Pineapple + 1 Seed (60%)
- Where to find seeds : By picking up watermelons, which you can find on most islands.
- Growing time : 8mins
- Harvest :
=> 1 Watermelon (35%)
=> 1 Watermelon + 1 Seed (65%)
⠀
~~~~~~~~~~~~~~~~~~~~Large Crops~~~~~~~~~~~~~~~~~~~~~
You can see that your tree is fully grown when a small axe icon appears when you look closely.
- Where to find seeds : By cutting Mango
Trees, which you can find on most islands. - Growing time : 10mins
- Number of harvests per tree : 5
- Harvest :
Always => 1 Palm Leaf, 1 Plank, 1 Mango, 1 Palm Leaf, 2 Planks
= 3 Planks, 2 Palm Leaves and 1 Mango
+ 15% to get 1 Seed or 15% to get 1 Mango per harvest.
- Where to find seeds : By cutting Palm Trees, which you can find on most islands.
- Growing time : 12mins
- Number of harvests per tree : 5
- Harvest :
Always => 1 Plank, 2 Palm Leaves, 2 Planks, 1 Plank
= 4 Planks and 2 Palm Leaves
+ 10% to get 1 Seed or 10% to get 1 Coconut
per harvest.
- Where to find seeds : By cutting Pine Trees, which you can find on Balboa Island ( 3rd story place ) and then large islands with Balboa vegetation. /!\ The trees you can cut are much thinner than most trees you see.
- Growing time : 15mins
- Number of harvests per tree : 5
- Harvest :
Plank is always : 1, 2, 1, 1, 2
= 7 Planks
+ 10% to get 1 Seed per harvest.
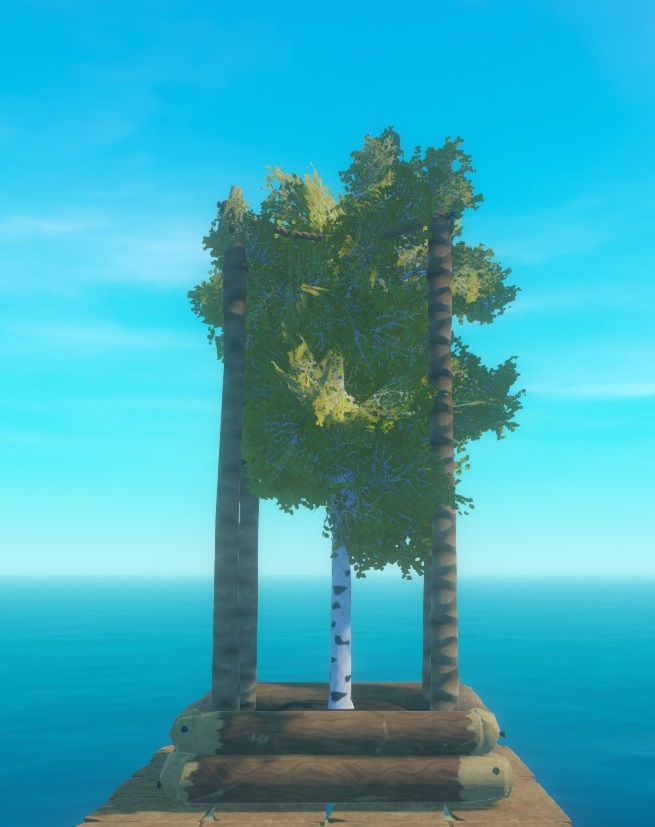
- Where to find seeds : By cutting Birch Trees, which you can find on Balboa Island ( 3rd story place ) and then large islands with Balboa vegetation. /!\ The trees you can cut are much thiner than most trees you see.
- Growing time : 15mins
- Number of harvests per tree : 5
- Harvest :
Plank is always : 2, 1, 1, 1, 2
= 7 Planks
+ 10% to get 1 Seed per harvest.
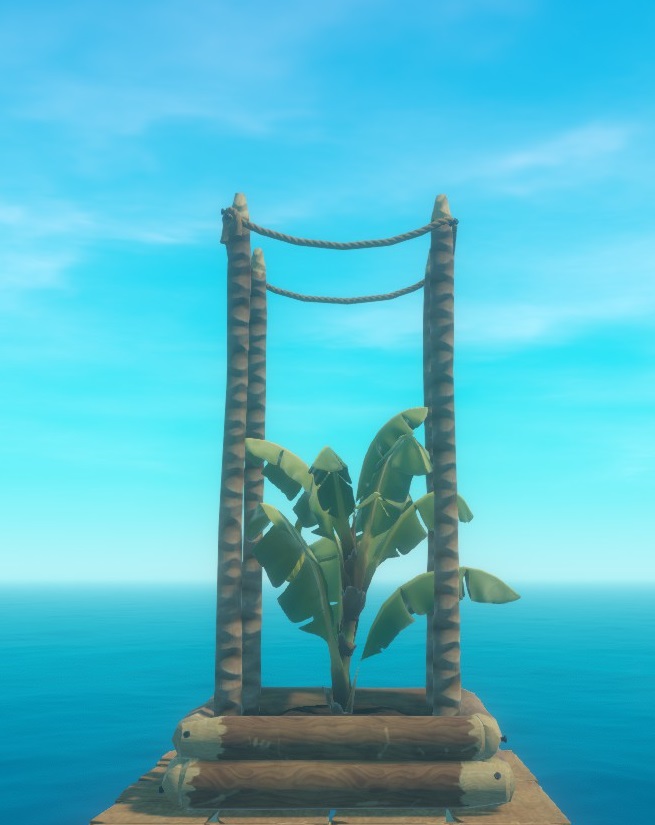
- Where to find seeds : By cutting Banana
Trees in Tangaroa's underground area
(5th story place). - Growing time : 12mins
- Number of harvests per tree : 5
- Harvest :
Always => 1 Banana, 1 Plank, 1 Plank, 1 Banana, 2 Planks
= 4 Planks and 2 Bananas
+ 27% to get 1 Seed or 27% to get 1 Banana
per harvest.
Cooking Ingredients - Fish / Meat


Cooking Ingredients - Plants / Others

underground area (5th story place).



underground area (5th story place).
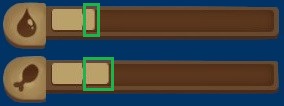

also craft 2 for Honeycomb(6) and Glass(1).
Cooking Recipes - Cooking Pot
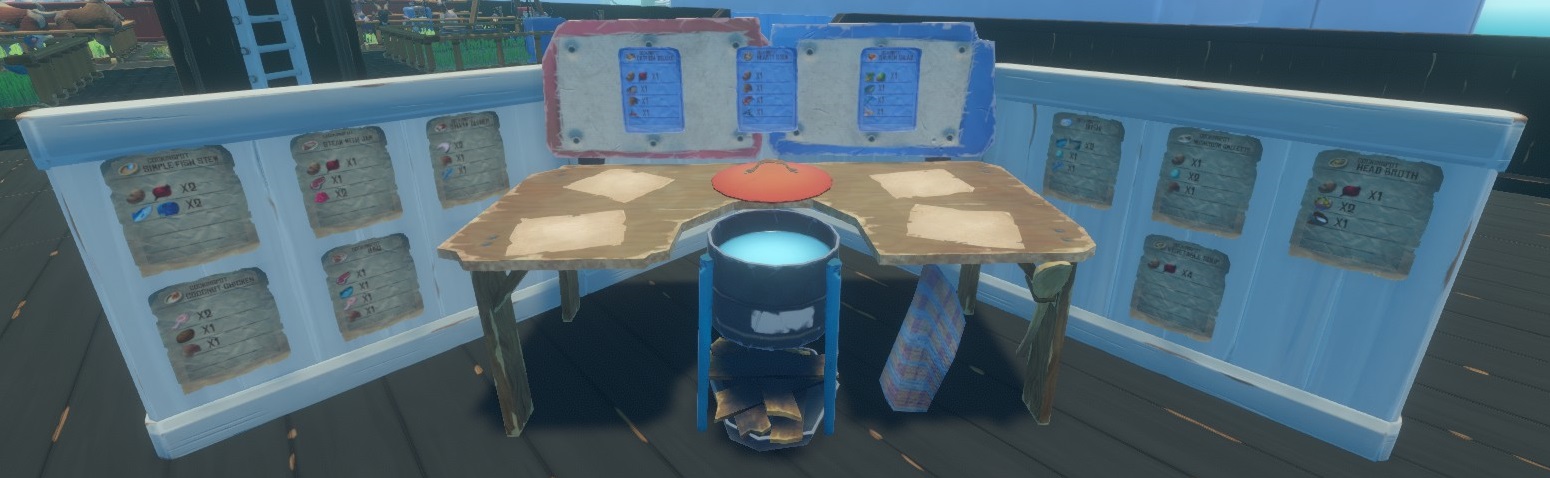 Cooking Recipes can be found in barrels or in crates. Some recipes can only be found on Large Islands/Story Places. You don't need to find a recipe to actually use it (except for the star recipes!).
There are currently 10 Recipes and 3 Star Recipes for the Cooking Pot.
Star Recipes can be bought at a Trading Post (on large islands).
Put each ingredient on the table, then start the cooking process, remember to add planks for it to work. When it's ready, use a Claybowl to take it. The Claybowl is consumed with the food.
Food made that way (and Milk) will fill part of your hunger bar with green. This "green effect" is a bonus hunger bar that looks smaller than the normal hunger bar, but holds just as much hunger (100), which is why it looks like it's depleting slower than the normal one.
 Hunger +40 / Hunger Bonus +55
 Hunger +20 / Hunger Bonus +30
Thirst +10 / Hunger +40 / Hunger Bonus +55





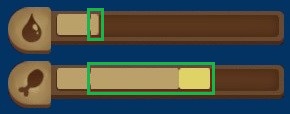

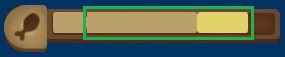
Cooking Recipes - Juicer
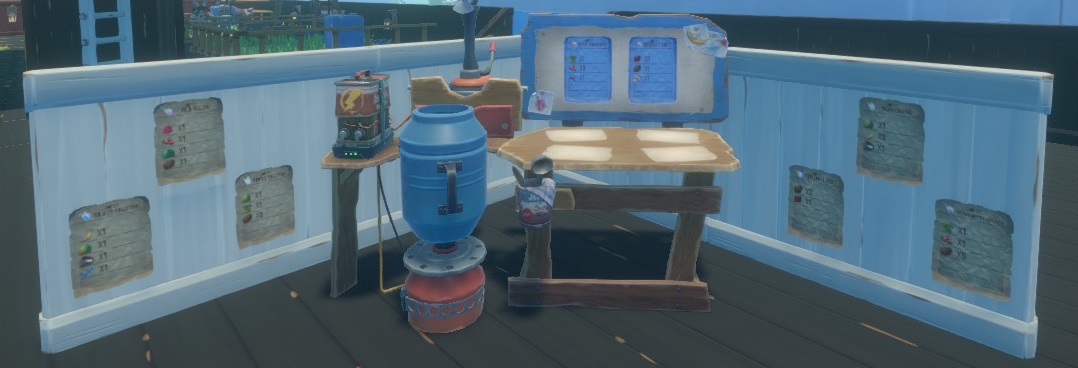 Cooking Recipes can be found in barrels or in crates. Some recipes can only be found on Large Islands/Story Places. You don't need to find a recipe to actually use it (except for the star recipes!).
There are currently 6 Recipes and 2 Star Recipes for the Juicer.
Star Recipes can be bought at a Trading Post (on large islands).
Put each ingredient on the table, then start the mixing process, remember to add a battery for it to work. When it's ready, use a Drinking Glass to take it. The Glass is consumed with the drink.
Drinks made that way will fill part of your thirst bar with light blue. This "light blue effect" is a bonus thirst bar that looks smaller than the normal thirst bar, but holds just as much thirst (100), which is why it looks like it's depleting slower than the normal one.

Thirst +10 / Hunger +5 / Thirst Bonus +30
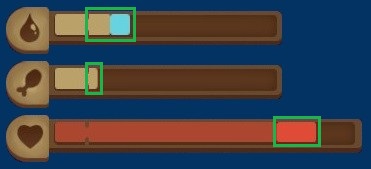

Thirst +10 / Hunger +5 / Thirst Bonus +30
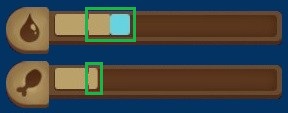


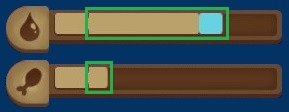



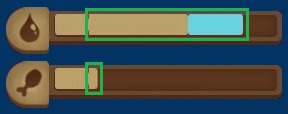

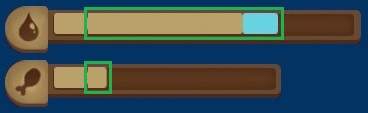

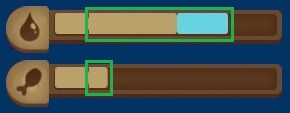


~~~
Domesticated Animals
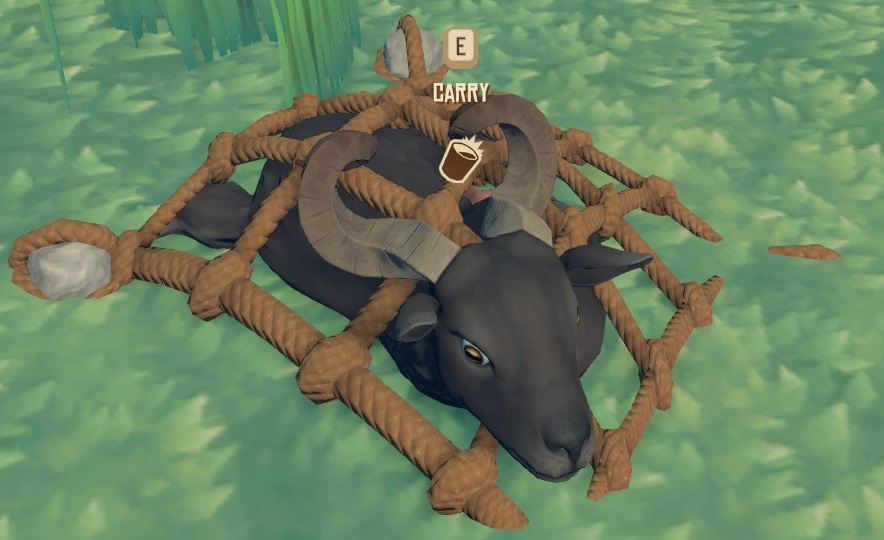
Use a Net Launcher on a tamable animal to catch it (you also need at least 1 Net Canister in your inventory for it to work, as it is the gun's ammo. Whether you miss or not, you won't be able to get your net back so use them carefully).
Once caught in a net, you can carry the animal. Don't worry, you can stop carrying it on the island or in the water, it will stay tamed and you will just have to go next to it to carry it again.
If the animal is dropped on the island, it will run around happily and it's not hard to catch up to it. If it's dropped in the water, it will swim at the surface and wait there, the shark won't attack it.
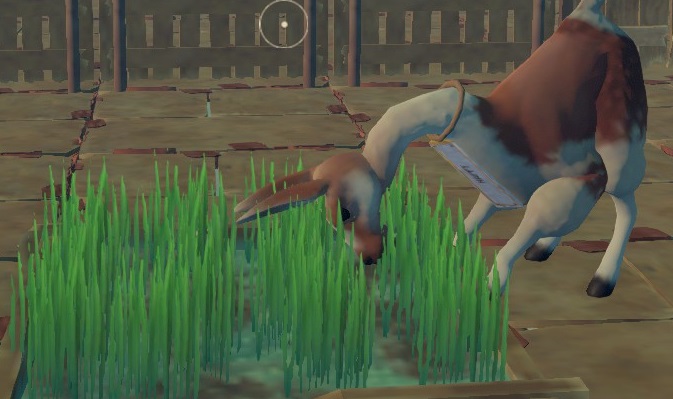
Grass takes about ~5mins to grow and become edible.
Each square of grass can only be eaten once before it has to be watered again.
The animals now seek out food ! You should still avoid very large pen until you have enough grass to fill it a bit everywhere.
You should count 3 Plot Grass per animal per 24 (ingame) hours.
For now, your animal doesn't need to drink.
SPRINKLERS : They water your grassplots for you ! You need to fill it with water ( doesn't matter if it's salty or fresh ) for it to work and add a battery. It will water the 6 tiles in front of it + the tile it's standing on + the tile on the left + the tile on the right, making a 9 tiles square.
It will get hungry after ~6mins, if it can't find any grass to eat : it will look unhappy.
If it doesn't eat for ~16mins ( 10mins after being unhappy ) : it will die.
When dead, you can take its nametag and hang it on a wall, if you don't, the body will still disappear after ~5mins.
You can kill your pet and it won't defend itself, takes about 10 stone arrows or 20 hits with the wooden spear, but why would you do that, you monster ?!
For now, you should avoid rope fences to enclose your pets, there are several tales about escaping animals involving them.
You can use Shears to get wool from the llama [Hold Left Click], it grows back every ~10m30s.
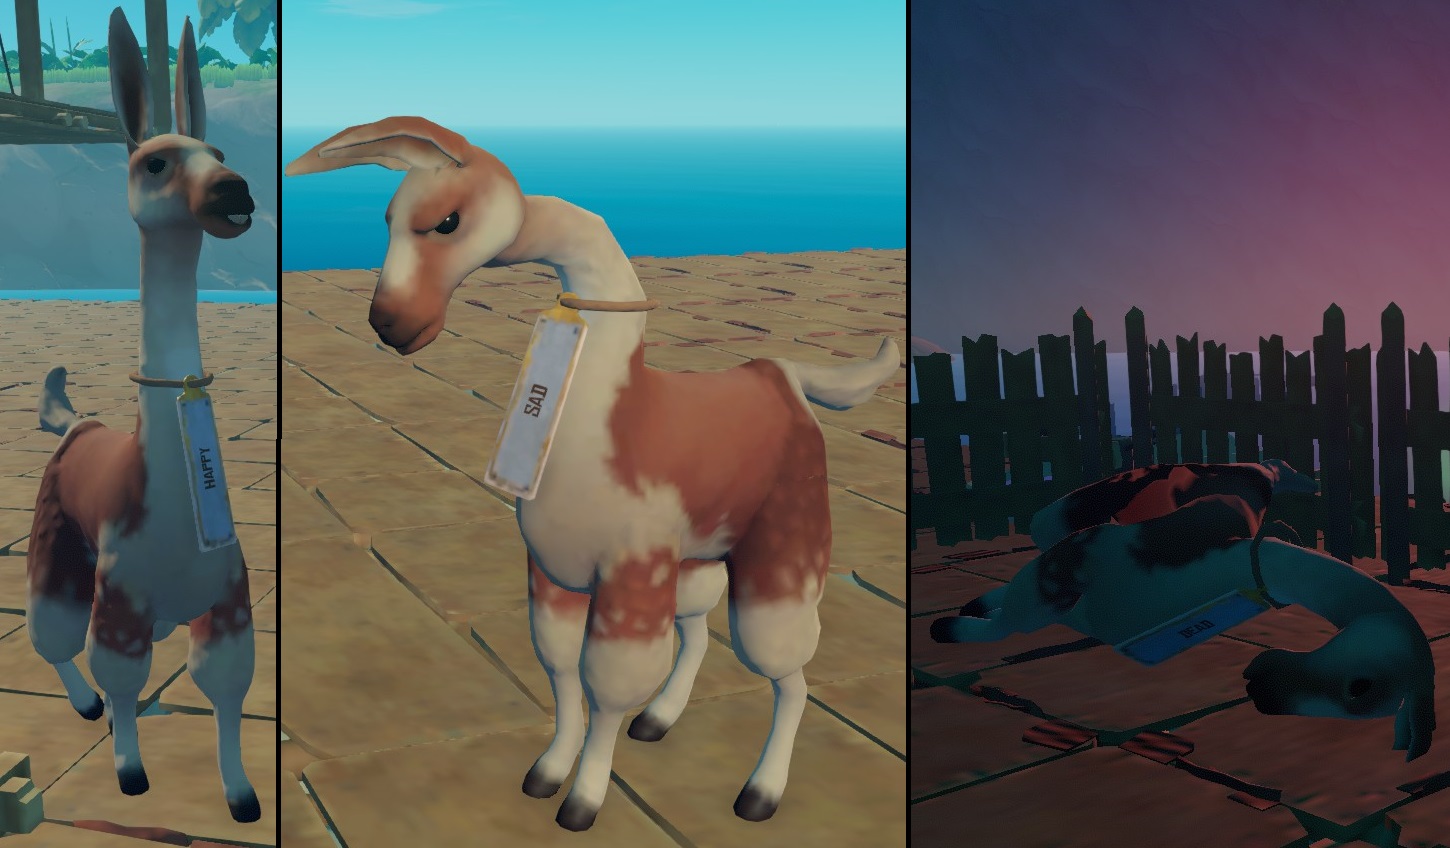
Llama States
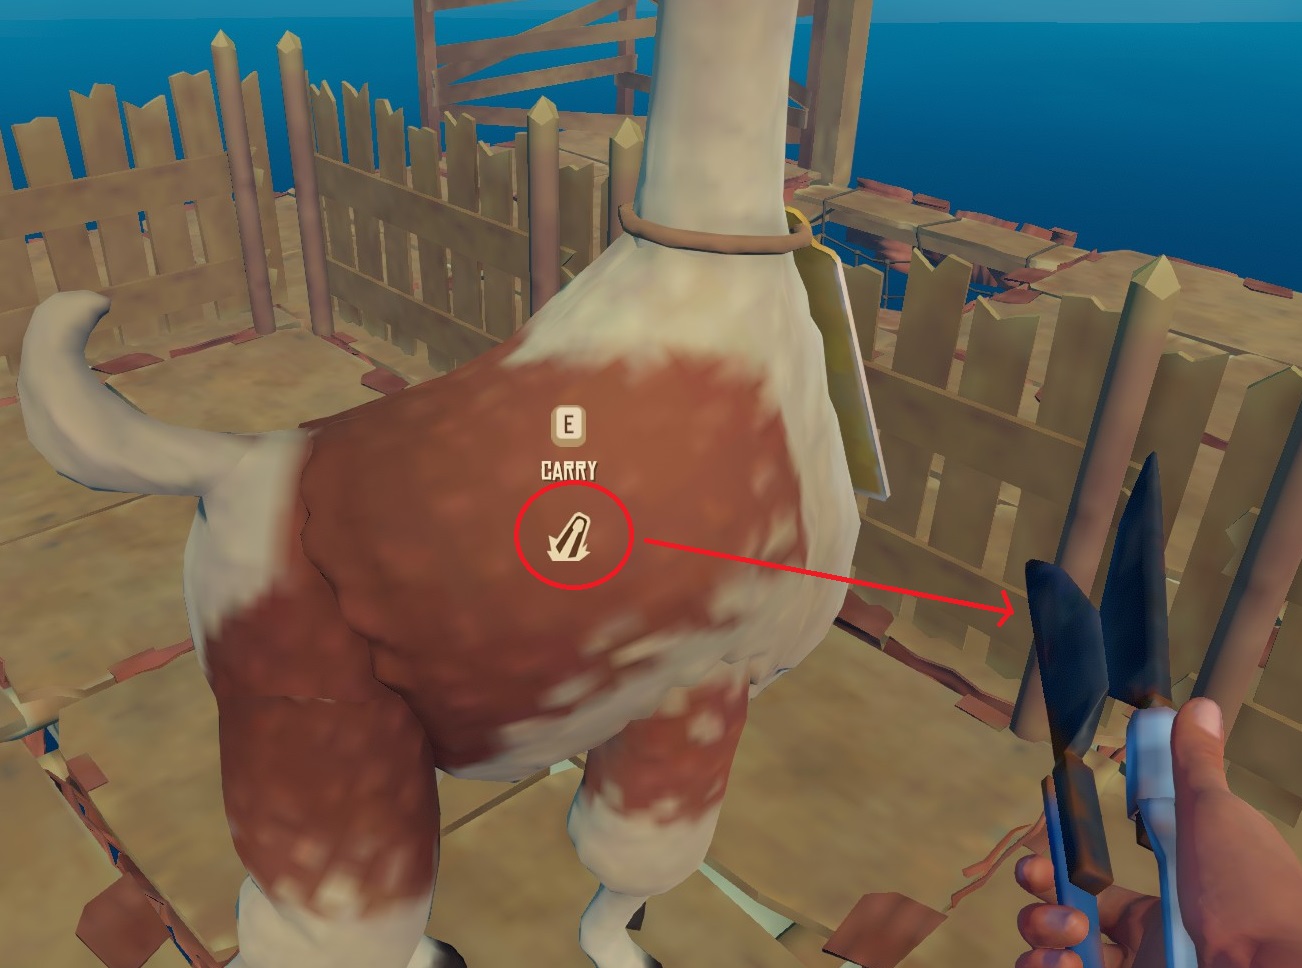
Icon showing you can harvest some wool
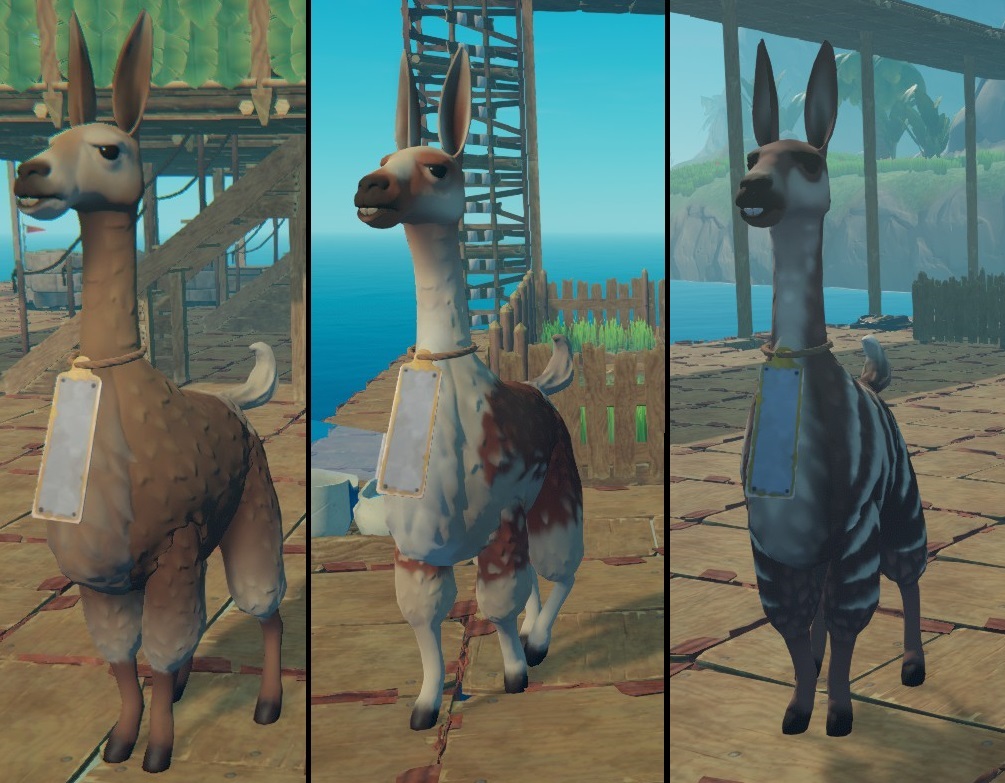
All Skins
Every ~9mins, you can use a bucket to milk the goat [Hold Left Click].
When you use the milk, the bucket disappears.
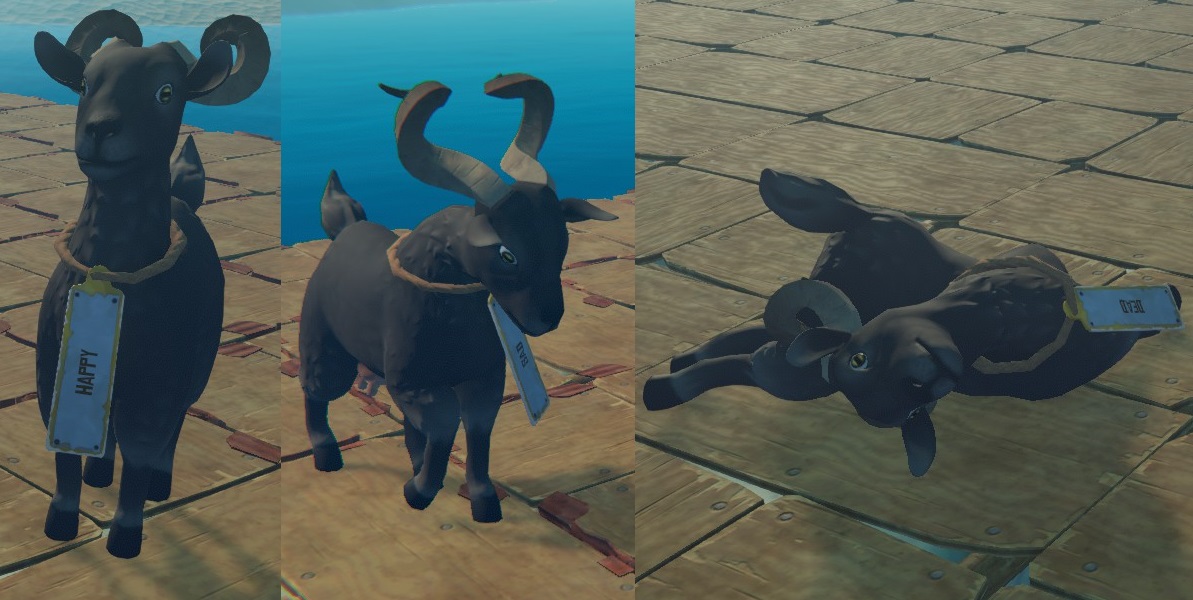
Goat States
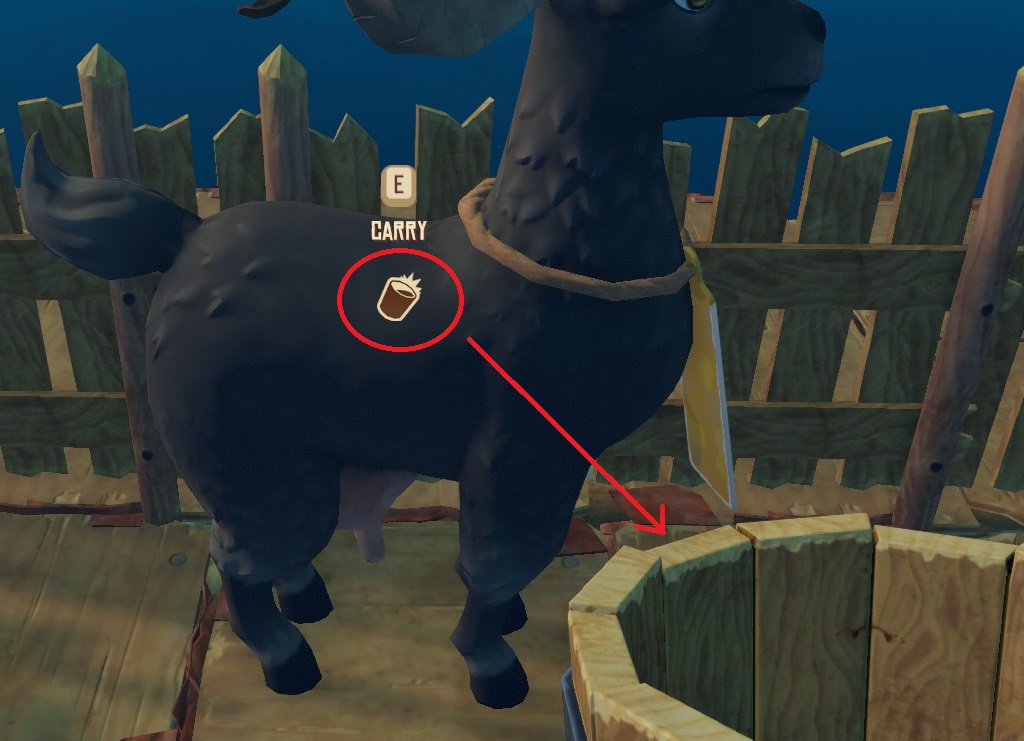
Icon when you can milk the goat
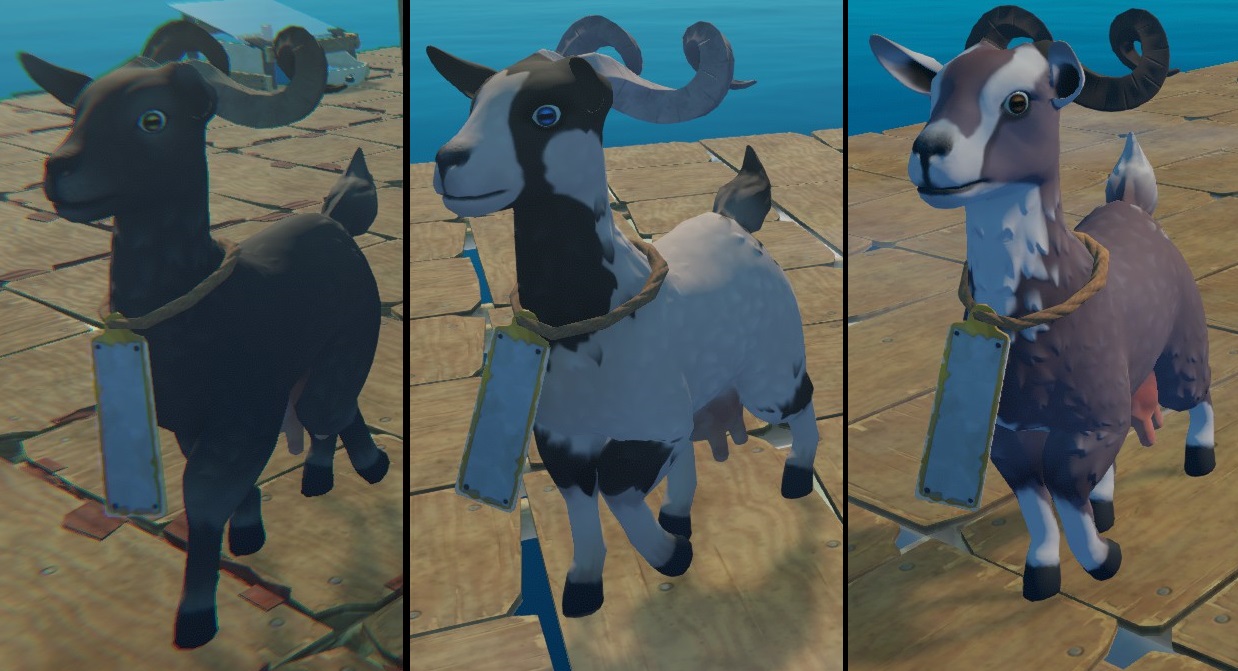
All Skins
Every ~5m30s, the Clucker will leave an egg on the ground. Eggs will disappear after ~10mins, so remember to pick them up ! There can only be two eggs from the same bird on the floor at the same time.
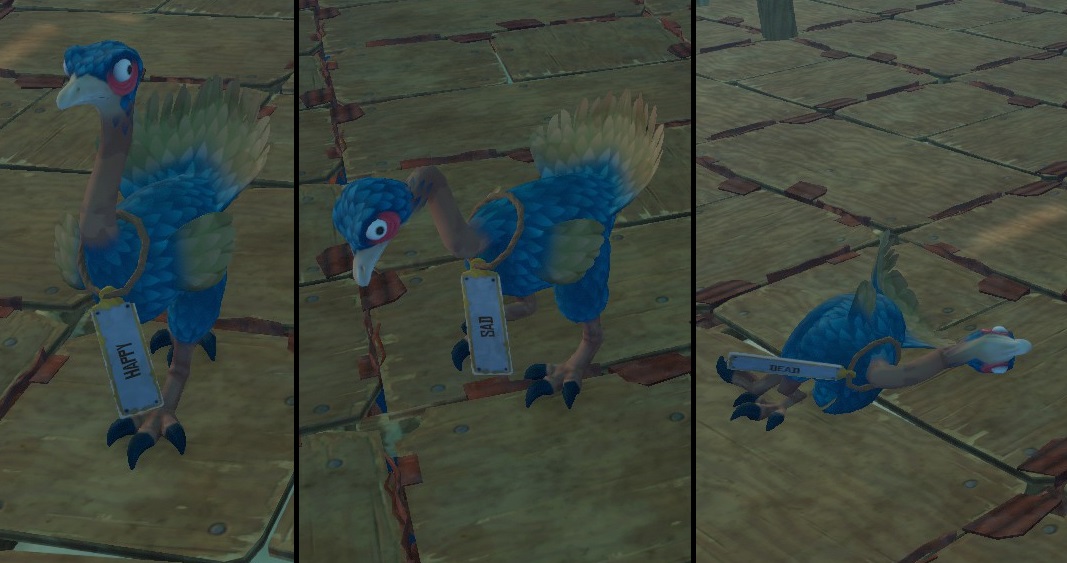
Clucker States
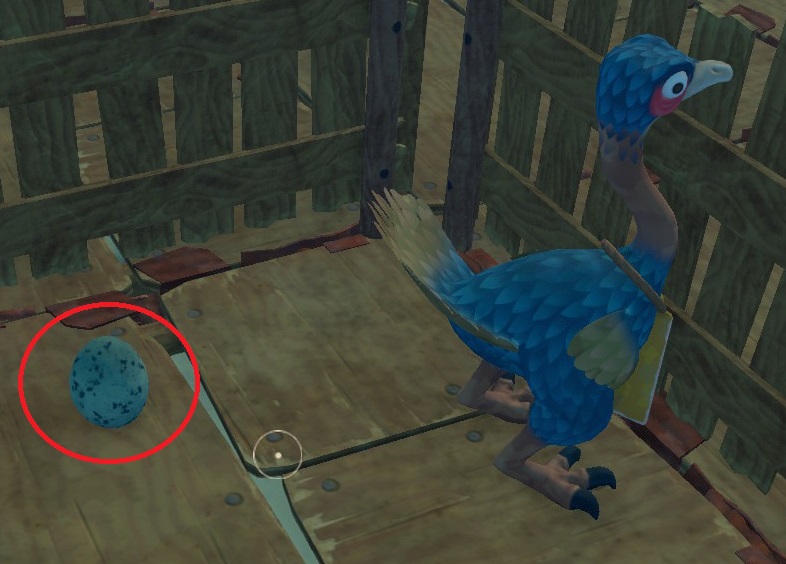
Egg on the floor
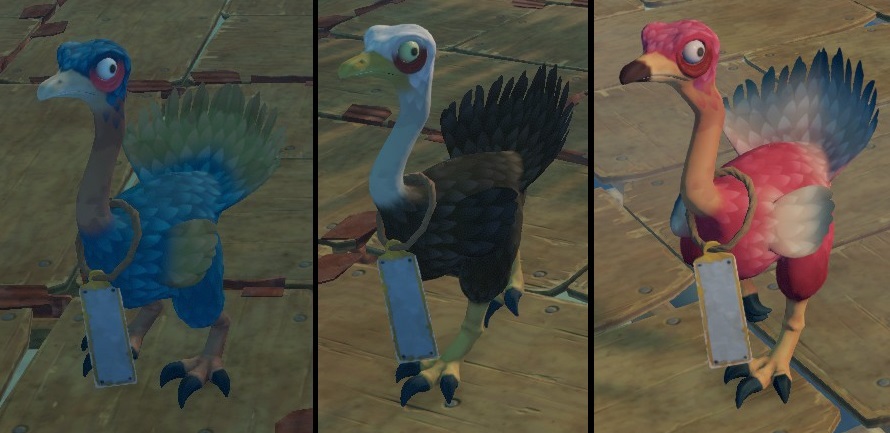
All Skins
~~~
Enemies
Shark / Seagull
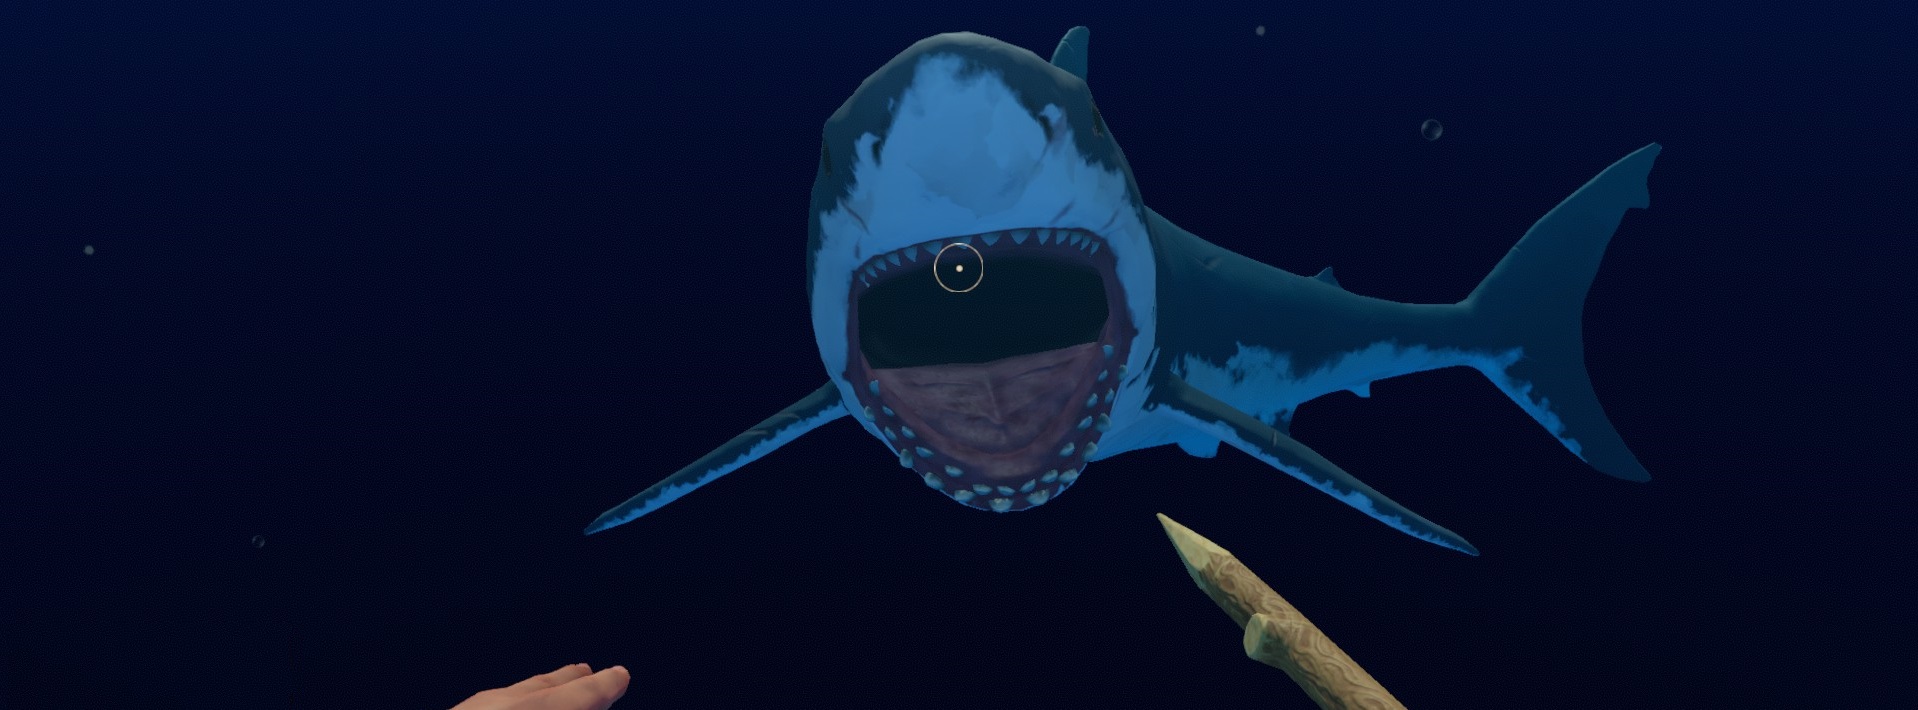 The shark is an enemy that always swilms around your raft.
From times to times, the shark will attack your raft, if you don't stop it, it will break a square and if there is anything on it, it will disappear with it.
To stop it, you need to make a total of 15 damage.
Use the hammer to repair the raft and add foundation armor (Metal Ingot + 2 Nails per squar ) to make it unbreakable.
Hit just after the shark opens its mouth with a spear to deal damage without getting bitten (it will turn around and swim in the other direction for a few seconds then charge back at you). Takes some "getting use to" but once you get it, it should be easy. You can try to hit it a second or third time when it turns around by aiming its tail.
Hit from the raft with the bow to hurt the shark while being safe, you can also do it under water but then remember to also shoot when it opens its mouth so that the shark will turn around instead of biting you.
When the shark dies, you have ~3m30s before it respawns.
When killed, it drops: 1 Raw SharkMeat, 1 Raw SharkMeat, 1 Raw SharkMeat, 1 Raw SharkMeat,
1 Shark Head
=> for a total of 4 Raw SharkMeat and 1 Shark Head.
In ( ) => hits required to stop the shark from attacking the raft.
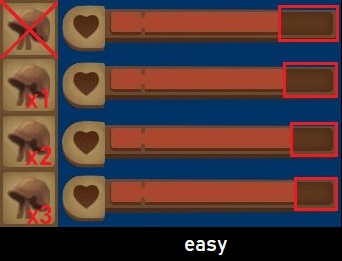
 I put Seagulls in enemies because they attack your crops, but they can also be somewhat "domesticated".
 Seagulls will circle in the sky when it's not attacking or resting.
If you plant crops, Seagulls will come from time to time to eat them (they act pretty much the same way the shark acts with foundations), you will need Scarecrows to prevent the Seagulls from eating your plants. The Scarecrows will break after being assaulted 3 times (if you never stop the seagull from doing so).
If you're not too far away, you will hear it attacking, time to defend your plants before it finishes eating them! Just run next to it to make it stop or throw your hook towards it or attack it. If you're attacking with a spear, sprint [shift] towards the Seagull to have time to hit it before it flees.
You can also craft Birds Nests [Palm(6), Plank(6), Giant Clam(1)] to attract them. They will rest on your nests and leave feathers. It's a nice way to collect feathers without really trying (3 feathers max at the same time per nest) but it's also a way to know exactly where the Seagulls will land and be prepared to attack them... If you attack it, it will fly back in the sky and come back after ~2mins which will allow you to give another hit.
When killed, it drops: 2 Feather, 4 Feather, 1 Raw Drumstick, 1 Raw Drumstick
=> for a total of 6 Feather and 2 Raw Drumstick.
Puffer / Warthog / Screecher
 The Puffer-Fish can be found underwater next to normal large islands, usually near treasure spots. There are usually 3-4 Puffer-Fish per island, sometimes more.
You can also find many of them around Caravan Town (4th story place) and they regularly respawn there!
If you get too close, it will explode and disappear leaving a yellow smokescreen that does multiple small damage until it disappears. If you stay too long in it, it will kill you even if you came with full life. If you leave the smoke you will keep getting hit several times before it stops.
Get just close enough for it to start charging you then swim backward while shooting it with the bow. Do the same if you're using the spear or the stone, it's just harder because you need to allow it to get even closer to be able to hit but not close enough for it to touch you and explode.
When killed, it drops: 1 Explosive Goo, 1 Puffer-Fish Head, 33% chance to get another Explosive Goo.
=> for a total of 1-2 Explosive Goo and 1 Puffer-Fish Head
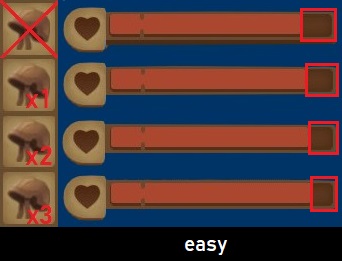
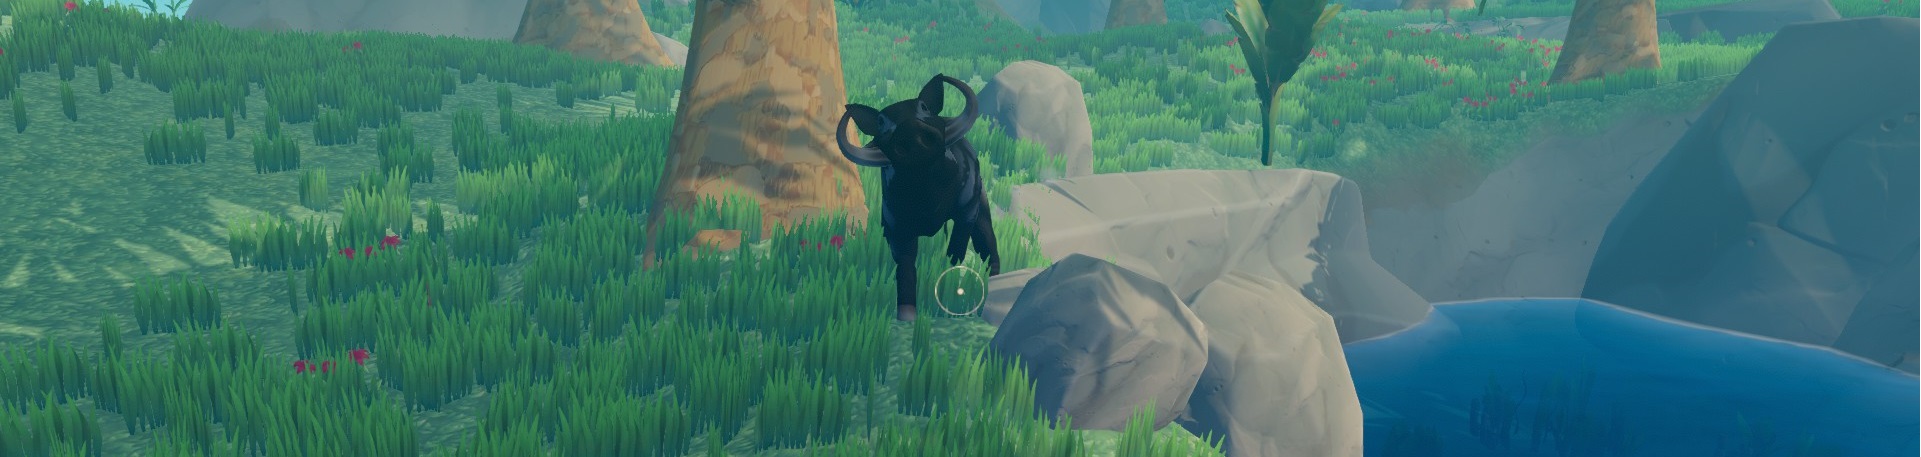 The Warthog can be found on normal large islands. There are usually 1 or 2 per large island.
When it looks at you and stops moving, it means it's going to charge so be ready to dodge by sprinting [shift] out of the way. It scratches the ground 3 times with its hoof before charging. It will be stun for a few seconds after the charge, this is your chance to attack it with the bow or with the spear if it didn't get too far. Use the rocks around you to control where it will stop after charging you. If you're hunting with a friend you can have one drawing its attention while the other attacks it.
When killed, it drops:
=> for a total of 3 Leather, 2 Raw Meat and 1 Warthog Head.
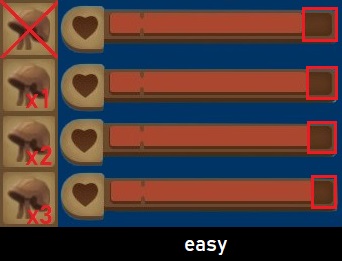
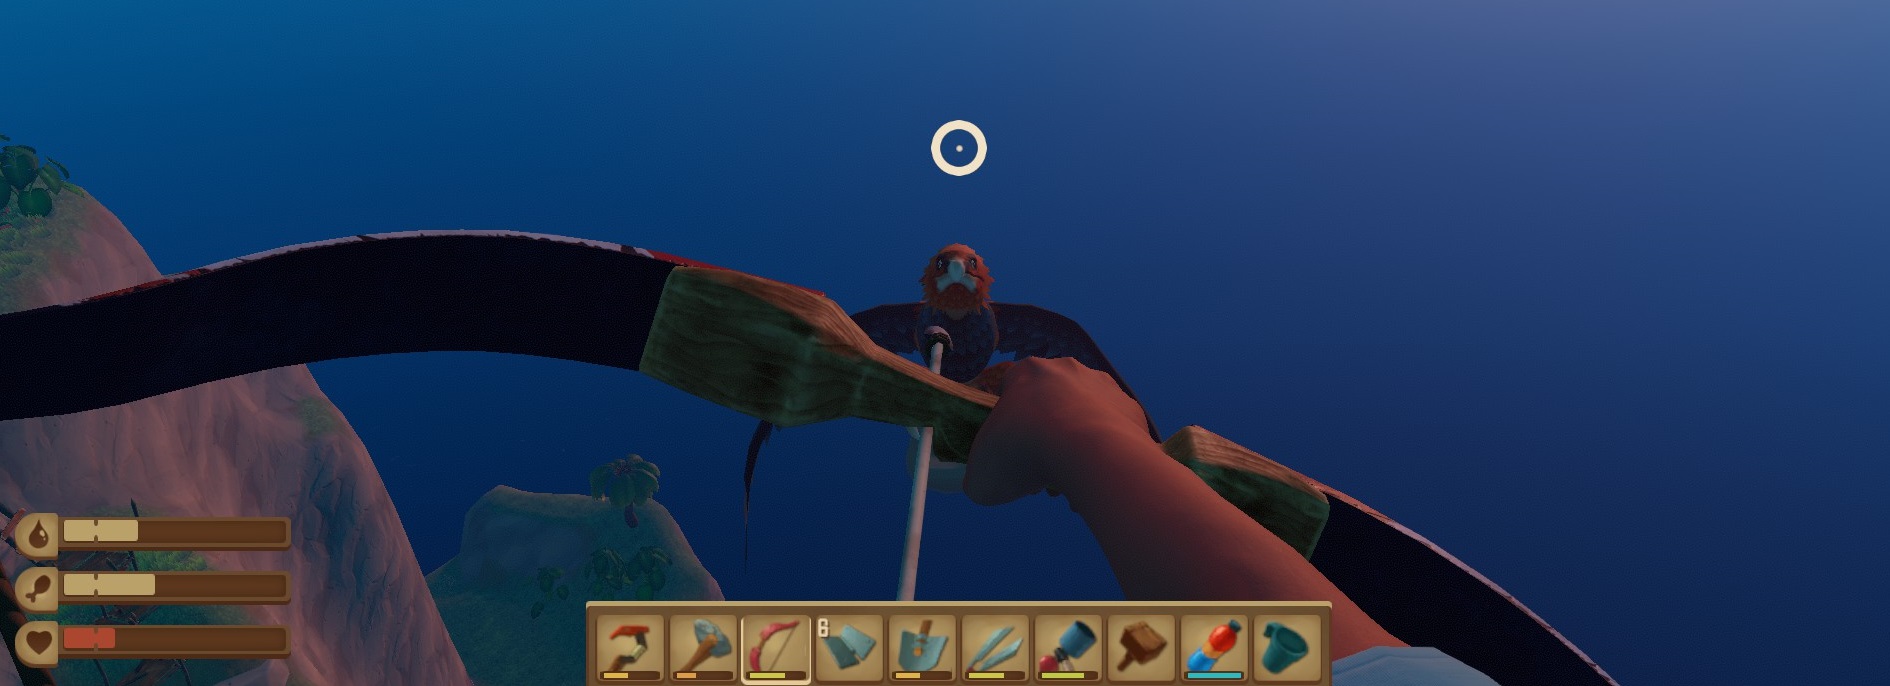 The Screecher can be found on normal large islands.
It will fly around the island and when it sees you it will go towards the ground to pick up a rock then come back and throw the rock at you.
Wait for the Screecher to come to you and when it's close aim with your bow a little above its head and shoot. Just after this, sprint [shift] forward or sideways to dodge the rock.
If you're with friends, you can spread to cover a lot of ground so that the Screecher will land next to one of you to get a rock which will allow this person to attack it easily with the bow or spear before it goes up in the air again.
When killed, it drops:
=> for a total of 12 Feathers, 4 Raw Drumstick and 1 Screecher Head
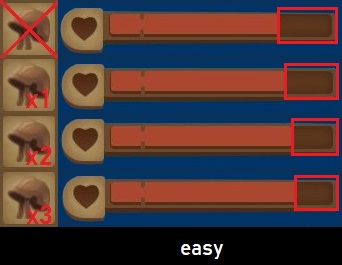
Lurker / Bear / Mama Bear
 They can be found in Vasagatan (2nd story place).
You can return there as often as you want, just enter the coordinates again. The lurkers respawn regularly so you can farm them as much as you want without having to leave the place and come back later.
You can also find them in Tangaroa (5th story place) and on one of the buildings at Varuna Point (6th story place). They won't respawn in Tangaroa even you come back to a new version of it and will disappear underground once the place gets flooded. They will respawn though if you come back to a new version of Varuna Point.
(the lurker spawns in Tangaroa and Varuna Point are set, but whether each of them is a normal lurker or a purple lurker is completely random)
Sprint sideways when it's about to bounce then hit it.
When killed, it drops: 1 Raw Meat
 They can be found in Balboa Island (3rd story place) and after that on some large islands that look like Balboa Island.
You can return there as often as you want, just enter the coordinates again. The bears respawn regularly so you can farm them as much as you want without having to leave the place and come back later.
Move backward before it hits, then attack, then quickly move backward again.
Don't run away too far from a bear or it will probably lunge at you.
When killed, it drops: 2 Leather, 2 Raw Meat, 1 Leather, 1 Leather, 0-1 Bear Head
=> for a total of 4 Leather, 2 Raw Meat and a chance at a Bear Head
 Mama Bear can be found on Balboa Island (3rd story place). She's the big bear sleeping in front of a cave that you distract by filling a basket with berries.
Use range attacks, she's just too fast. Try to attack her from as far as possible, that way she should come at you then go back to her leash spot because you're out of her zone. Careful though, if she hits you at the frontier of her leash zone, she will be able to follow much farther...
When killed, it drops: 4 Leather, 3 Raw Meat, 2 Leather, 1 Leather, 2 Raw Meat, 5 Raw Meat, 3 Leather, 2 Leather, 1 Leather, 2 Leather, 1 Mama Bear Head
=> for a total of 15 Leather, 10 Raw Meat and 1 Mama Bear Head
If you come back to a new version of Balboa Island after killing Mama Bear, its dead body will have respawned and you can get a new Mama Bear Head from it but that's it.
Mudhog / White Screecher
 They can be found in Caravan Town (4th story place) and on Caravan like islands.
Everytime you return to a new version of Caravan Town, they will have respawned.
Wait for it to charge, careful it can turn around after its charge and charge again. You have to wait for it to look confused before you can attack.
You can also use arrows which makes it much easier because it will sometimes get frightened by the attack and run away.
When killed, it drops: 1 Leather, 1 Leather, 1 Leather
=> for a total of 3 Leather
 You can find one in Caravan Town (4th story place).
Everytime you return to a new version of Caravan Town, they will have respawned.
Works pretty much like the normal Screecher except it seems to be harder to dodge the attacks. Really run towards it if you can, don't stop, don't turn, sprint.
When killed, it drops: 3 Feather, 4 Feather, , 2 Raw Drumstick, 1 White Screecher Head
=> for a total of 7 Feather, 2 Raw Drumstick and 1 White Screecher Head
Butler-Bot / Purple Lurker
 They can be found in Tangaroa (5th story place).
They can't die, after you knock them out they will stay deactivated for 1min before moving again.
Let it reach you so that it will stop and start electrocuting you. Sprint backwards so that you won't take the hit then sprint back to it to attack.
When knocked out, it drops: Tangaroa Keycard
They don't respawn even if you come back to a new version of Tangaroa and disappear underground once the place gets flooded.
They can also be found on one of the buildings of Varuna Point (6th story place). They will respawn there if you go to a new version of Varuna Point.
(the lurker spawns in Tangaroa and Varuna Point are set, but whether each of them is a normal lurker or a purple lurker is completely random)
Contrary to their smaller form, these ones don't jump. Instead they run to you and scratch.
Let it reach you so that it will stop and start attacking you. Sprint backwards so that you won't take the hit then sprint back to it to attack.
When killed, it drops: 1 Raw Meat
Anglerfish / Rhino Shark
 You can find them in the buildings underwater in Varuna Point (6th story place) and under the Observatory in Temperance (7th story place).
Everytime you return to a new version of Varuna Point or Temperance, they will have respawned.
It will charge at you and try to bite you. Swim away until it misses then attack.
When killed, it drops: 1 Anglerfish Head, 0-2 Vine Goo, 1 Raw Meat
 The Rhino Shark is a Boss you encounter in Varuna Point (6th story place).
You can't use weapons against it, instead you need to use your surroundings.
Prepare an oxygen bottle and flippers for this boss, you need to swim fast and for a long time!
You need to break a pillar by making the shark charge into it.
Make the shark see you so it will take aim; once it does that, hide behind the pillar so it charges the pillar instead of you (try to stay a bit on the side of the pillar so the shark doesn't miss).
Once the pillar is broken, go get an explosive barrel to put inside the pillar then make the shark hit it again to destroy it completely and open a path to the upper floor.
On the 2nd floor, the pillar requires 2 hits before it breaks and you can put an explosive barrel in it.
On the 3rd floor, the pillar requires 3 hits before it breaks.
Everytime the shark hits something (you or a pillar), it goes outside then quickly comes back.
It gives you time to get a bit of air or pick up an explosive barrel but you can't stop for long because the shark comes back really quickly.
Getting hit doesn't hurt much (and in peaceful mode, it doesn't hurt at all) but if you're getting too stressed or too hurt, you can always go back to the previous floor or entrance where the shark won't follow you.
When killed, it drops: 3 Raw Sharmeat, 4 Raw Sharmeat, 2 Raw Sharmeat, 6 Raw Sharkmeat, 3 Raw Sharmeat, 1 Raw Sharmeat, 2 Raw Sharmeat, 3 Raw Sharmeat, 1 Raw Sharkmeat, 1 Rhino Shark Trophy
=> for a total of 25 Raw Sharmeat and 1 Rhino Shark Trophy
If you come back to a new version of Utopia after killing the Rhino Shark, its dead body will have respawned and you can get a new Rhino Shark Trophy from it but that's it.
Polar Bear / Scuttler
 You can find them in Temperance (7th story place).
Everytime you return to a new version of Temperance, they will have respawned.
It attacks like a normal bear.
Move backward before it hits, then attack, then quickly move backward again.
Don't run away too far from a bear or it will probably lunge at you.
When killed, it drops: 2 Leather, 2 Raw Meat, 1 Leather, 1 Leather, 0-1 Polar Bear Head
=> for a total of 4 Leather, 2 Raw Meat and a chance at a Polar Bear Head
After you clean the reactor they can't be found anymore, even if you go to a new version of Temperance.
Like most enemies in Raft, move backward/sideways when it attacks then move back in to attack.
If you go too far from it, it will either shield itself which will make you miss your attacks until it stops; or lunge at you.
When killed, it drops: 1 Raw Meat
Hyena / Olof / Alpha
 They can be found in Utopia (8th story place).
Everytime you return to a new version of Utopia, they will have respawned outside and in the hyena pit.
They can bite you and they can grab you. If they grab you they will start dragging you around for some time and the only way to force them to drop you is by hitting them with a weapon. After they drop you though, they will most likely get another bite at you before leaving.
Sometimes they suddenly run away before coming back. Be careful when that happens because you could get distracted by another hyena and not see that the one that ran away is now in your back ready to grab you by surprise.
When killed, it drops: 2 Leather, 2 Raw Meat, 1 Leather, 1 Leather, 0-1 Hyena Head
=> for a total of 4 Leather, 2 Raw Meat and a chance at a Hyena Head
The first time you fight him, he's alone. The second time, he has 3 hyenas with him. The third time, he makes you fight a stronger hyena named Alpha.
1st Boss Fight: (Olof alone)
You need to make a stair of boxes to reach Olof (5 boxes, 3 boxes, 1 box).
You have some time before Olof starts attacking and he will stop once you reach him.
Olof will regularly throw fire bombs towards you. They will explode after a few seconds, causing damage. After exploding they will leave a circle of fire that hurts as long as you stay in it. After some time the fire will fade out.
You can always climb on roofs to get a good view of the area and Olof will stop attacking while you're there so you can take your time or a break.
2nd Boss Fight: (Olof and the Hyena Pit)
You need to make a stair of boxes to get out of the pit (6 boxes, 4 boxes, 2 boxes). The wall you need to climb is on the other side of where you enter, where there aren't any cages.
While you do that Olof will throw firebombs at you just like in the first fight. And just like in the first fight, you will have some time at the beginning before he starts attacking.
While in the pit you'll get attacked by 3 hyenas. Don't try to kill all 3 of them or they will just be replaced by others after a short time. Instead just kill 2 and keep the last one alive.
If a hyena catches you, it will drag you around, potentially in fires! It will drop you faster if you hit it. Careful though, if you were holding a box when caught, you will most likely not be able to attack.
Hyenas sometimes suddenly go running away; be aware of this as they may show up in your back later to surprise you!
Once only 1 hyena is left, start making the stair with boxes while always keeping an eye on your hyena so it doesn't catch you.
The fight stops when you get out of the pit.
 Alpha is the last Boss Fight in Utopia (8th story place).
Everytime you hit Alpha, it drops a poison puddle, so try to save as much space as possible! After some time the puddles will fade away but it's a slow process.
After some time or damaged received, Olof will throw food at Alpha, giving him a boost. Alpha's mane becomes green to inform you that the boost is active and Alpha can't take any damage.
After eating, Alpha will perform 1 of 3 special attacks. He always does his special attacks in a cycle of 3 different attacks, and never twice the same. Which means that if you got the rock attack, then the charge attack... the next one can only be the jump attack. And then the next one after that can not be the jump attack again.
=> The special attacks:
- Throw Rocks - Alpha takes a rock from the ground and throws it at you, leaving a line of poison. You have time to dodge so make the line go where it won't bother you and also the line will stop at you so you can make it as short as possible by staying close.
Alpha will throw 3 rocks then go back to normal.
- Jump - Alpha looks at you then jumps, leaving a huge poison puddle where it lands. Always sprint backward in a straight line when Alpha starts bending down to avoid the impact in time.
Alpha will jump 3 times then go back to normal.
- Charge - Alpha growls at you with a green glowy mouth... run as far as possible! You'll know you're safe once the mane stops glowing green. If Alpha catches up to you before losing his buff, you'll get pinned down and damaged 5 times.
When Alpha is eating, you can take the opportunity to get back your arrows.
You can spam attacks if you want but it will make the special attacks start faster.
If you feel the arena is covered with too much poison just stop attacking and wait for it to fade out.
Special attacks will still appear after some time though, even if you're not attacking.
Careful of your surroundings! Don't get stuck on a wall or in a poison puddle while dodging.
When killed, it drops: 3 Leather, 4 Raw Meat, 2 Leather, 6 Raw Meat, 5 Leather, Alpha's Head Trophy
=> for a total of 10 Leather, 10 Raw Meat and 1 Alpha's Head Trophy
If you come back to a new version of Utopia after killing Alpha, its dead body will have respawned and you can get a new Alpha's Head from it but that's it.
~~~
Achievements
Story - Chapter 1
 Is there a Utopia? (Hidden)
Find the white board in the radio station. Build a Receiver and 3 Antennas, they all need to be on high floor and the 3 Antennas need some distance between each other to work. Craft a Battery and put it in the Receiver then turn it on. It will either tell you what's wrong ( Antennas too close to each other, not high enough... ) or show you a radar. The moment you turn the receiver on, you will receive a note with coordinates ( 4 numbers ) : enter them in the receiver to make a blue square appear on the radar. Follow said blue square until you find the Radio Station then climb all the way up the Radio Station to find a white board, the achievement will unlock the moment you enter the room.
 All Aboard!
Unlock all playable characters. The 1st character you can unlock is Tala. You can find her at the top of the Radio Tower.
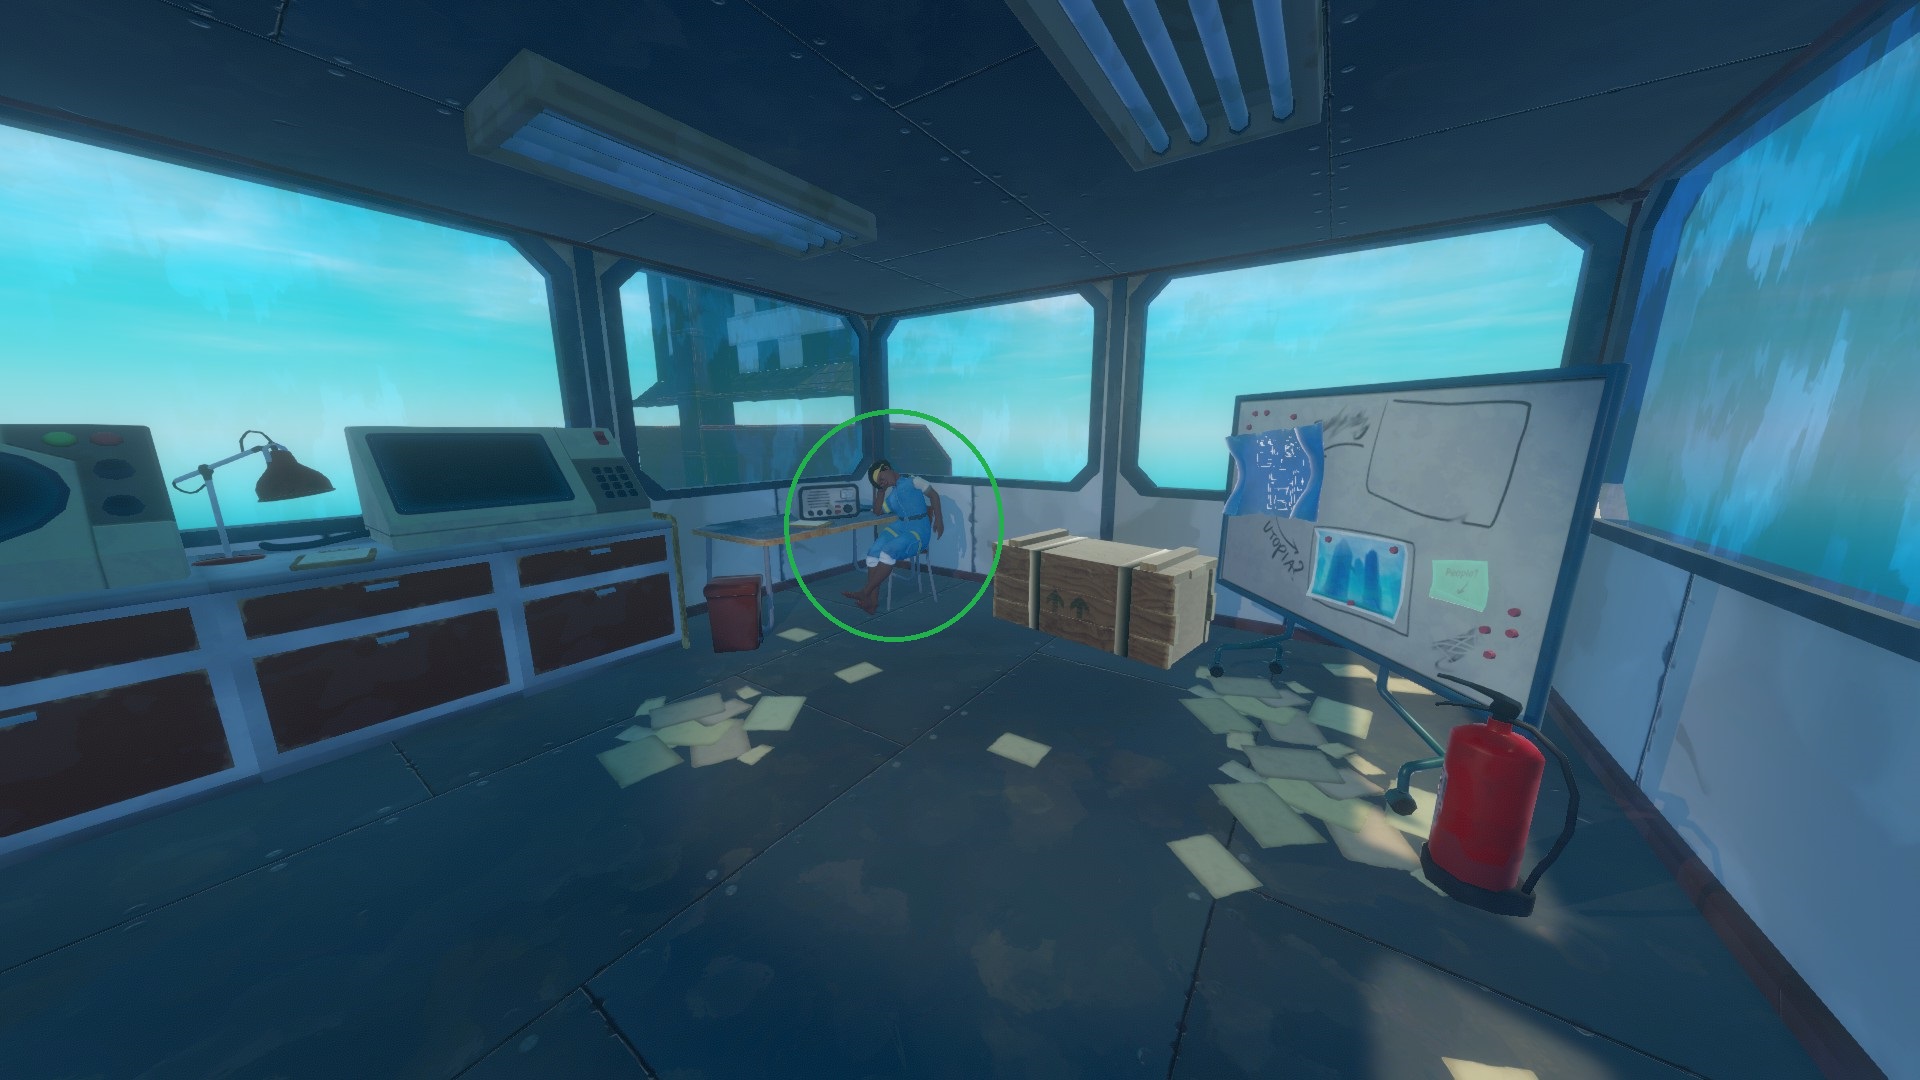
 Radio Tower Historian!
Find all notes on the Radio Tower!
You can find a list of all notes in the story walkthrough.
 Bootleg Fireworks! (Hidden)
Breach the cockpit of Vasagatan! After climbing all the way up the Radio Station, you'll find a post-it on the white board with coordinates for Vasagatan, enter them in the Receiver and follow the blue square until you find a huge ship. In the ship's hold you'll have the opportunity to craft a bomb with 1 Electrical Wires, 1 Lighter, 1 Gas Tank and 1 Bullet which are all scattered around the ship [See Story for detailed walkthrough]. The bomb is necessary to open the last door at the top of the ship that leads to the next radar coordinates. You'll get the achievement after using the bomb.
Vasagatan Historian!Find all notes on Vasagatan!
You can find a list of all notes in the story walkthrough.
After exploring Vasagatan, you'll get coordinates in the top cabin for the next destination which is Balboa Island. There are many achievements here.
 Pling! (Hidden)
Can bears use bicycle bells? You need to find a bicycle on a hill. Start following signs for Radio 2 and you should see a small tent with "Henry's Stuff", the hill with the bike is facing this tent. You'll know if you get close because you'll hear lots of "ding!", just use the bell on the bicycle to get the achievement.
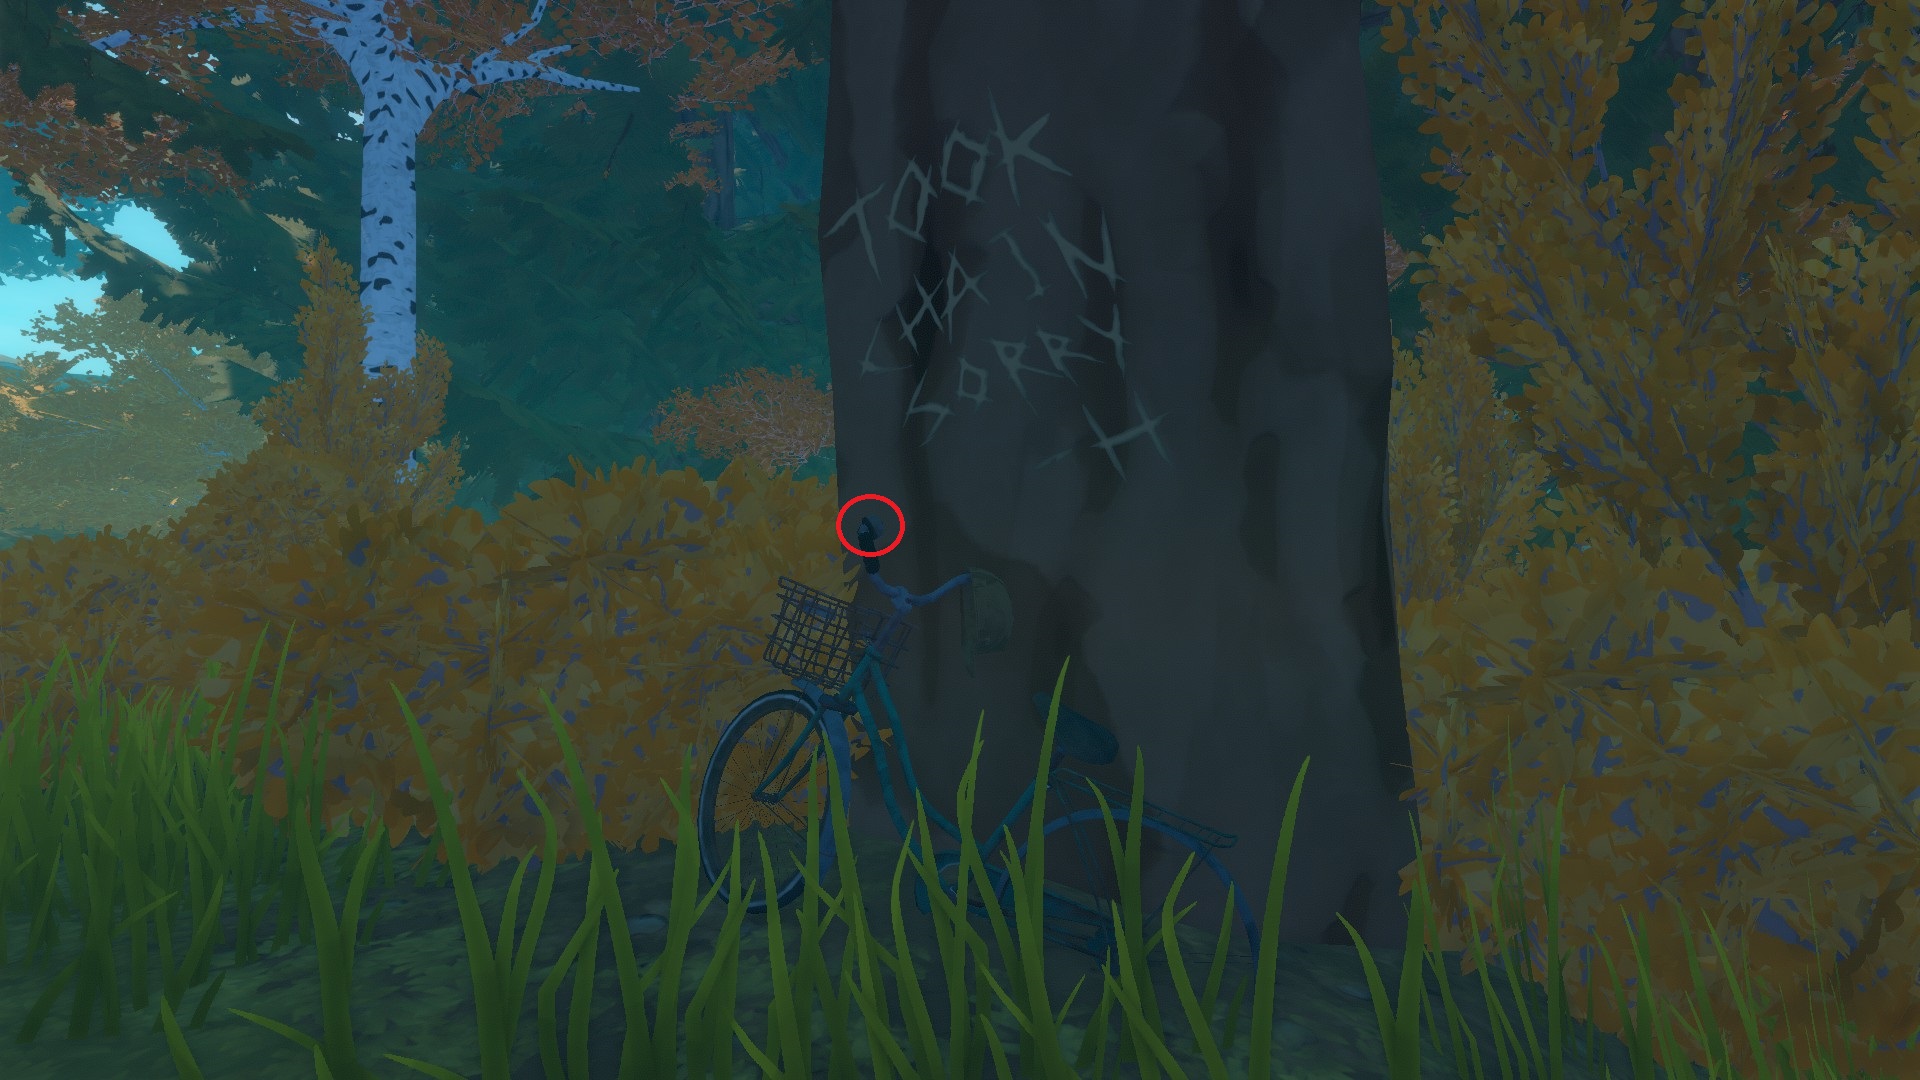
 Tiny Little Murderer (Hidden)
It's all so obvious now... There's a camp on top of a hill with "scarecrows". Find Mama Bear's cave, face the cave, go on your left and keep an eye for a way up the hill on your new left. The path to climb has 2 notes on it, which makes it easy to recognize. Interact with one of the scarecrows to get a lightbulb, which will break it and give you the achievement.
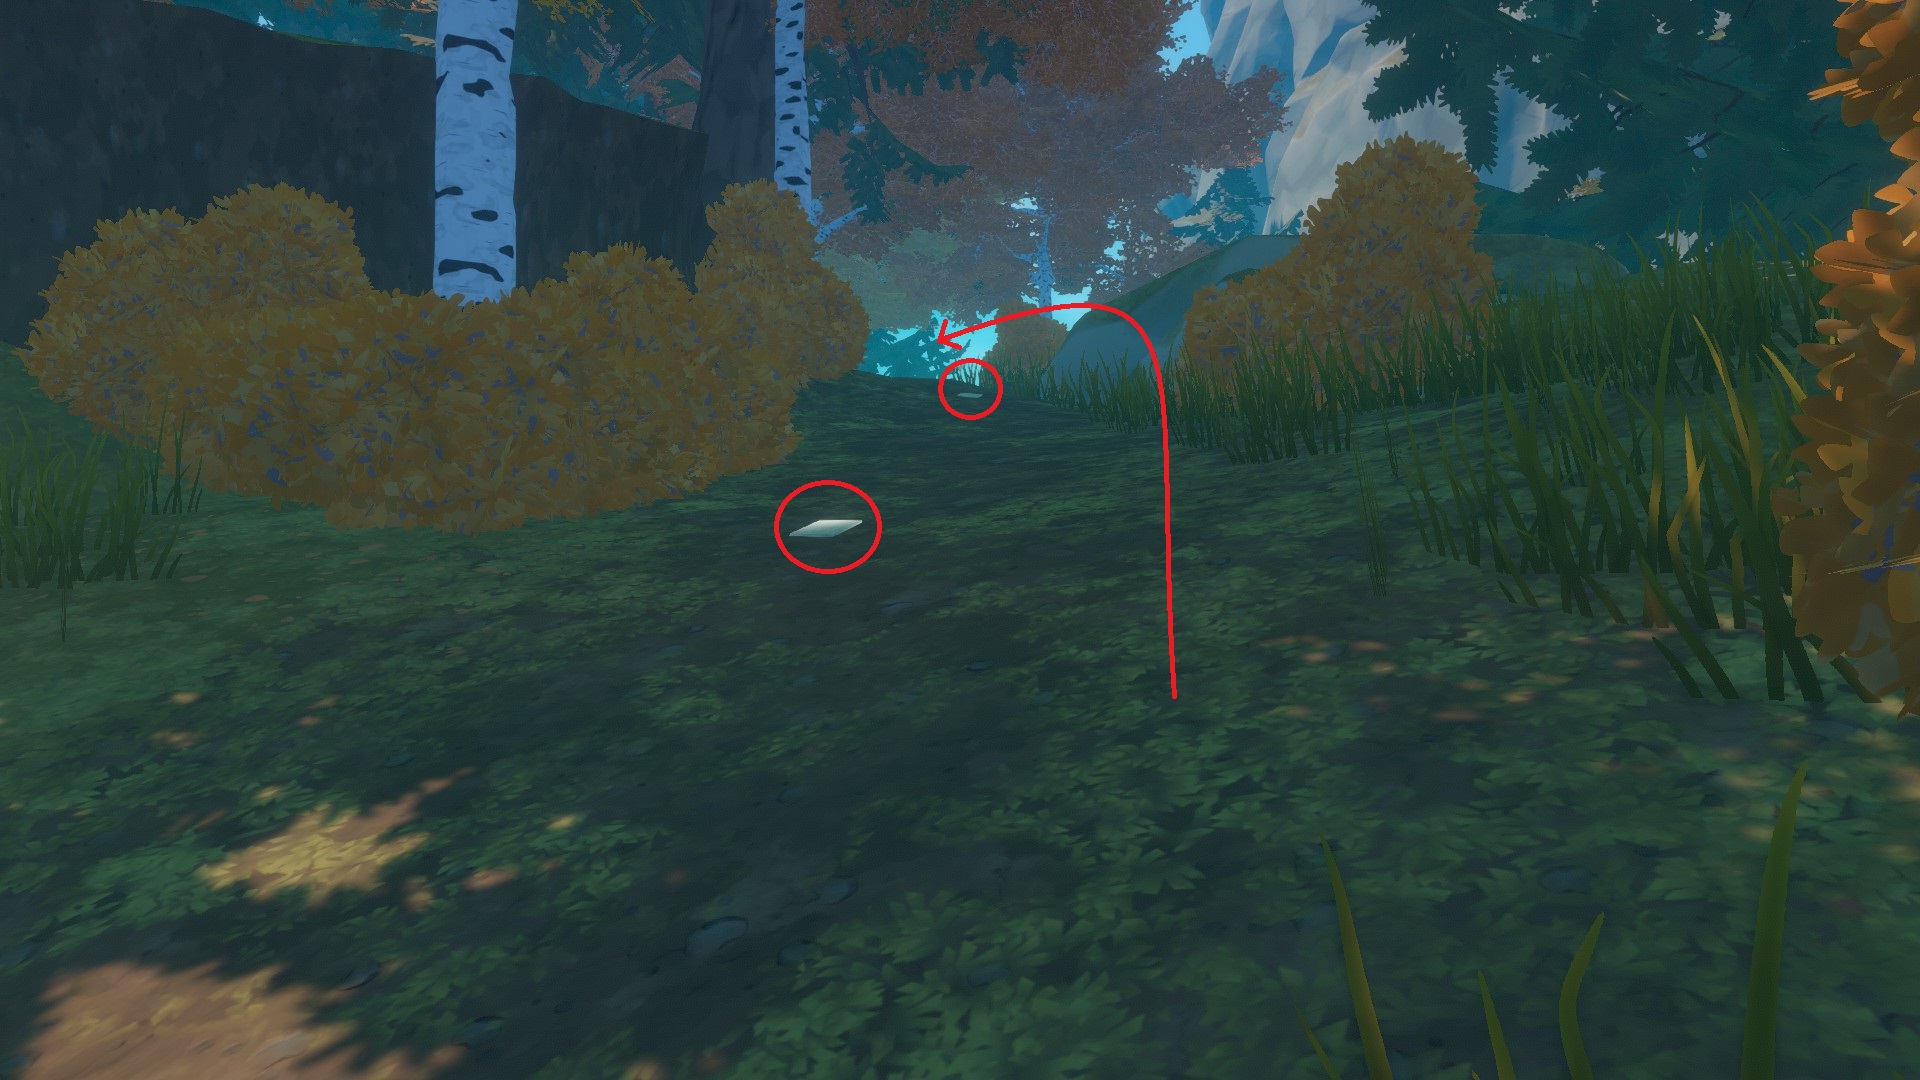
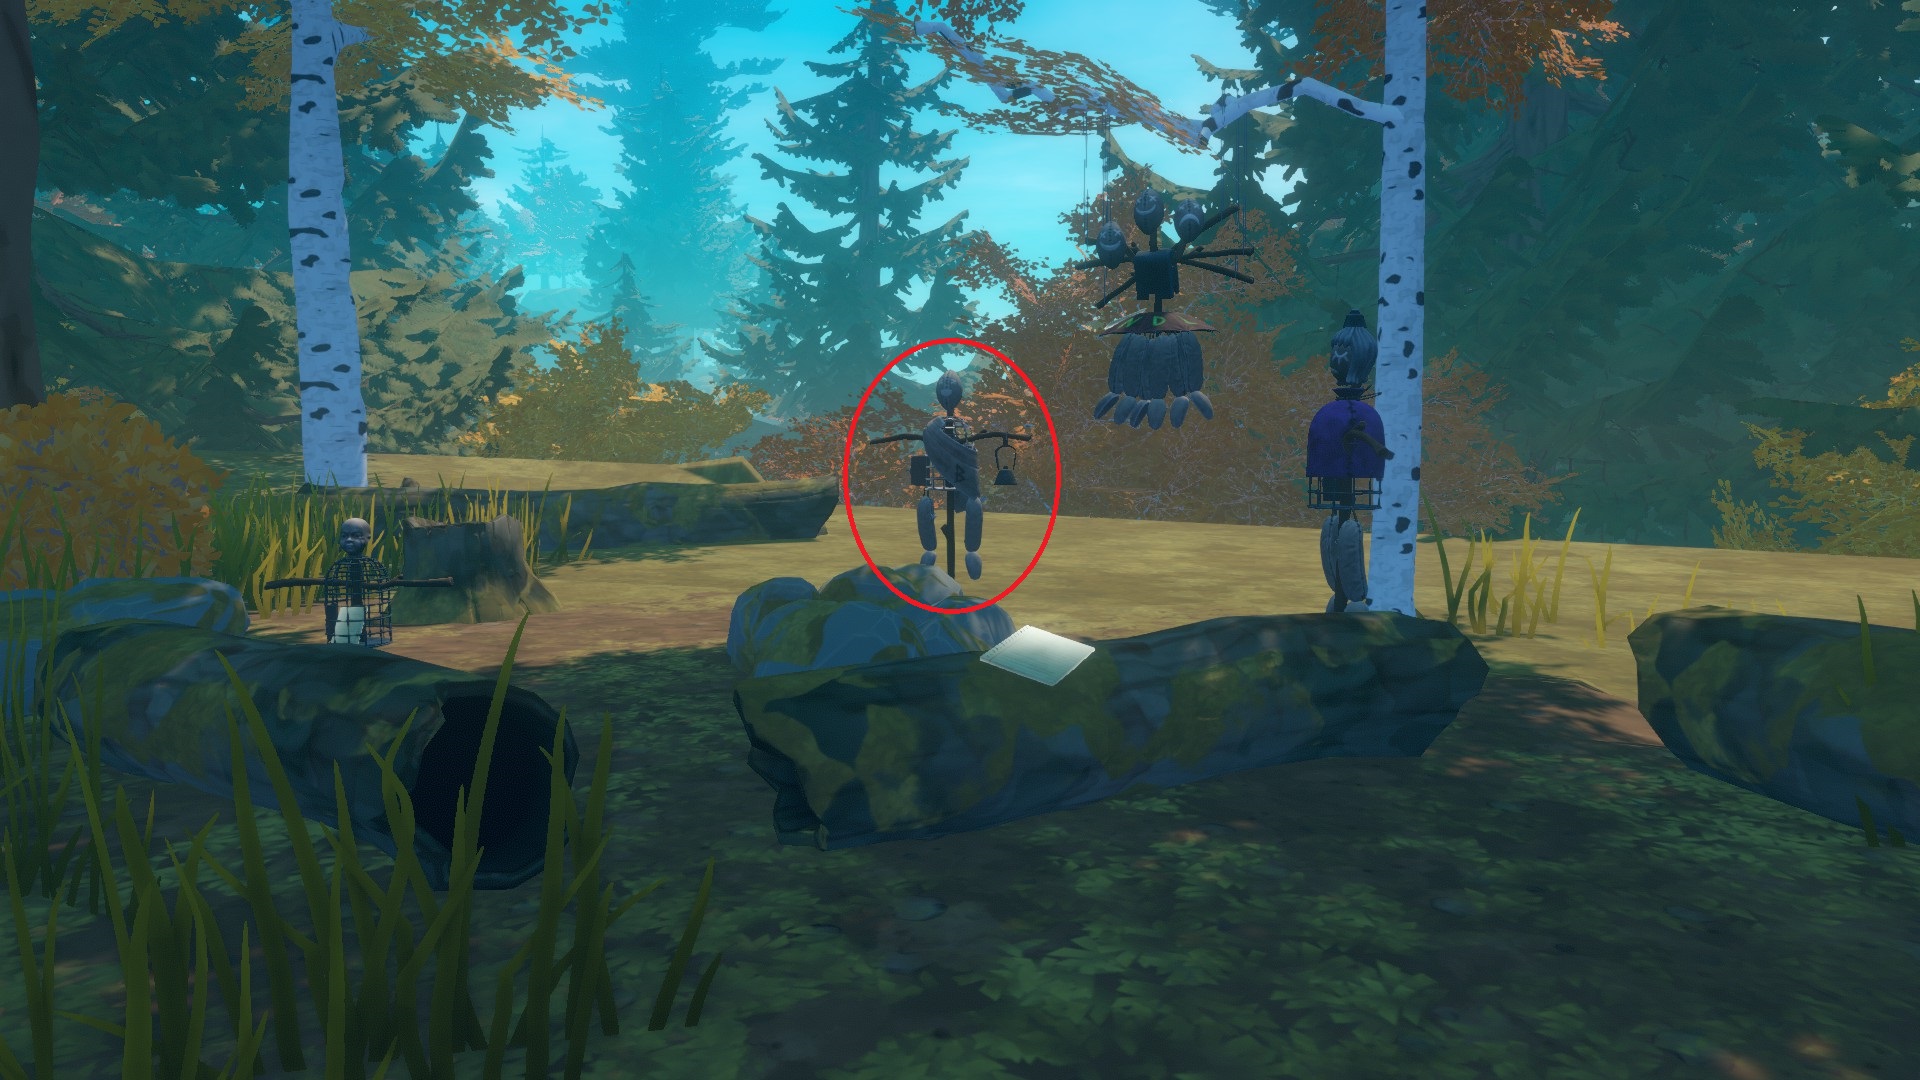
 Fix Errol!
 There you go Errol. You get the lightbulb by interacting with a scarecrow in a camp, on a hill [See the achievement Tiny Little Murderer]. Then you need to bring it to the cabin next to Radio 2. There's another kindascarecrow there, give it the lightbulb to get the achievement.
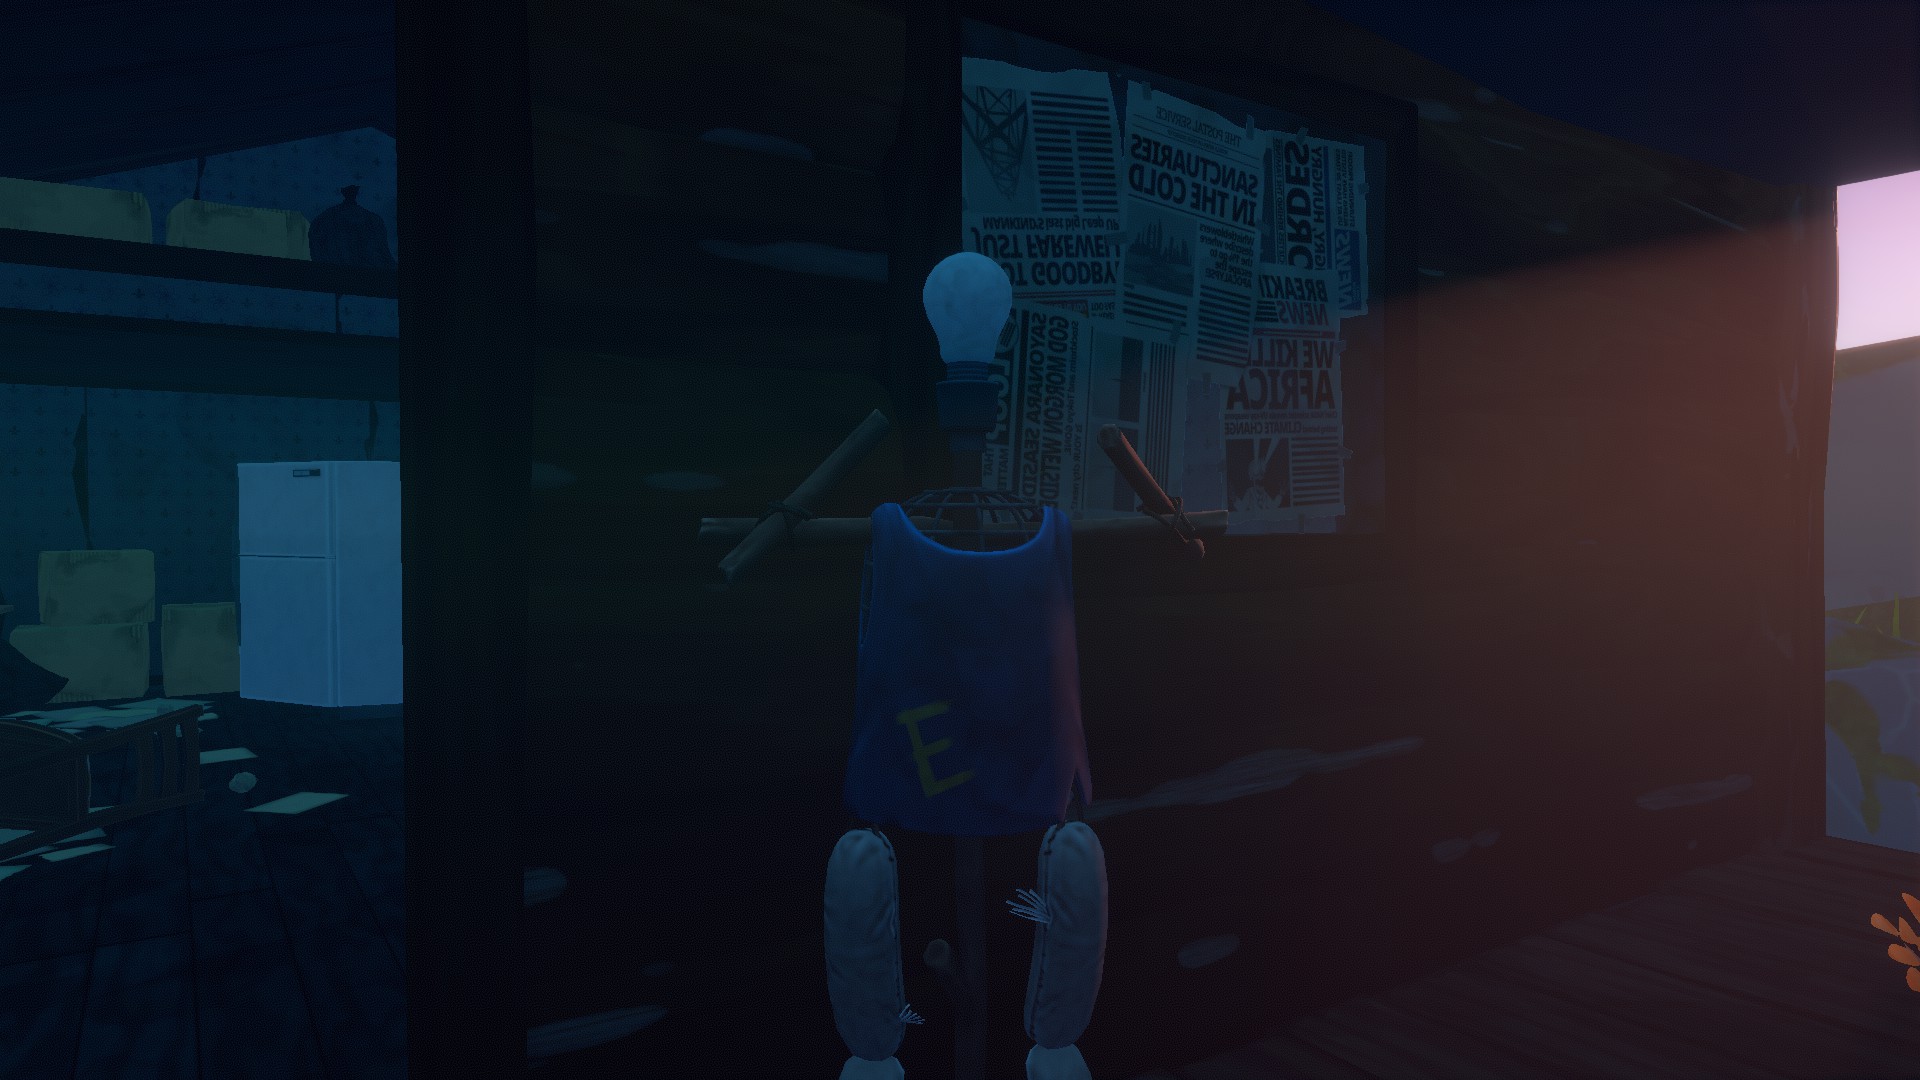
 A Revelation! (Hidden)
Why is there a photo behind the toolboard??
You need to find 3 tools, each one can be found around the island ( the saw can be found on your way to Radio 6 and 4, on a hill on your left, inside a locker marked "shh, bear stash !"; the wrench is inside Radio 6; the hammer is inside Radio 4 ). Bring them all to the board in the cabin next to Radio 2, which will make it fall... which will show a painting that you can take as a note. Putting the last tool on the board will give you the achievement.
 Mother Lode!
 Slay the Mama Bear. Mama Bear is the huge bear sleeping in front of a cave. You can put some berries ( found around the island ) in a basket not far from here to make Mama Bear busy while you search the cave... But to get the achievement, you need to kill her. She's super tough, this is going to take a loooot of hits, so don't give up if you think something is wrong because it takes too long : that's normal.
50 metal arrows or 75 stone arrows or 147 stones...
All Aboard!Unlock all playable characters. The 2nd character you can unlock is Johnny. You can find him inside Relay Station 6.
Balboa Historian!Find all notes on Balboa!
You can find a list of all notes in the story walkthrough.
Story - Chapter 2
Caravan Town Historian!Find all notes on Caravan Town!
You can find a list of all notes in the story walkthrough.
 Launch Initiated! (Hidden)
A backup emergency system? Finish exploring Tangaroa. You get the achievement when you enter the code at the top of the tower. [See Story Walkthrough for more details]
 Boxed In! (Hidden)
Find the secret behind the boxes.
Inside Tangaroa, you'll quickly come across the storage room full of containers and you have to move these containers to free a path to the exit. There is also a hidden room you can reach through the containers, it's under the room with the buttons to control the crane.
You can either make a path to reach it or leave a hole next to the secret room so that you can come back when the room is flooded and just go through the hole.
You can still move the boxes when the room is flooded but it's much harder to see what you're doing.
 You Should Not Be Here! (Hidden)
Twenty floors down. There is an elevator that you can reach through the plantation, in the underground part of Tangaroa. Inside this elevator there is a hidden button on the top left corner of the doorway. Press it to reach floor -20 where you can find a cassette to listen to with your radio.
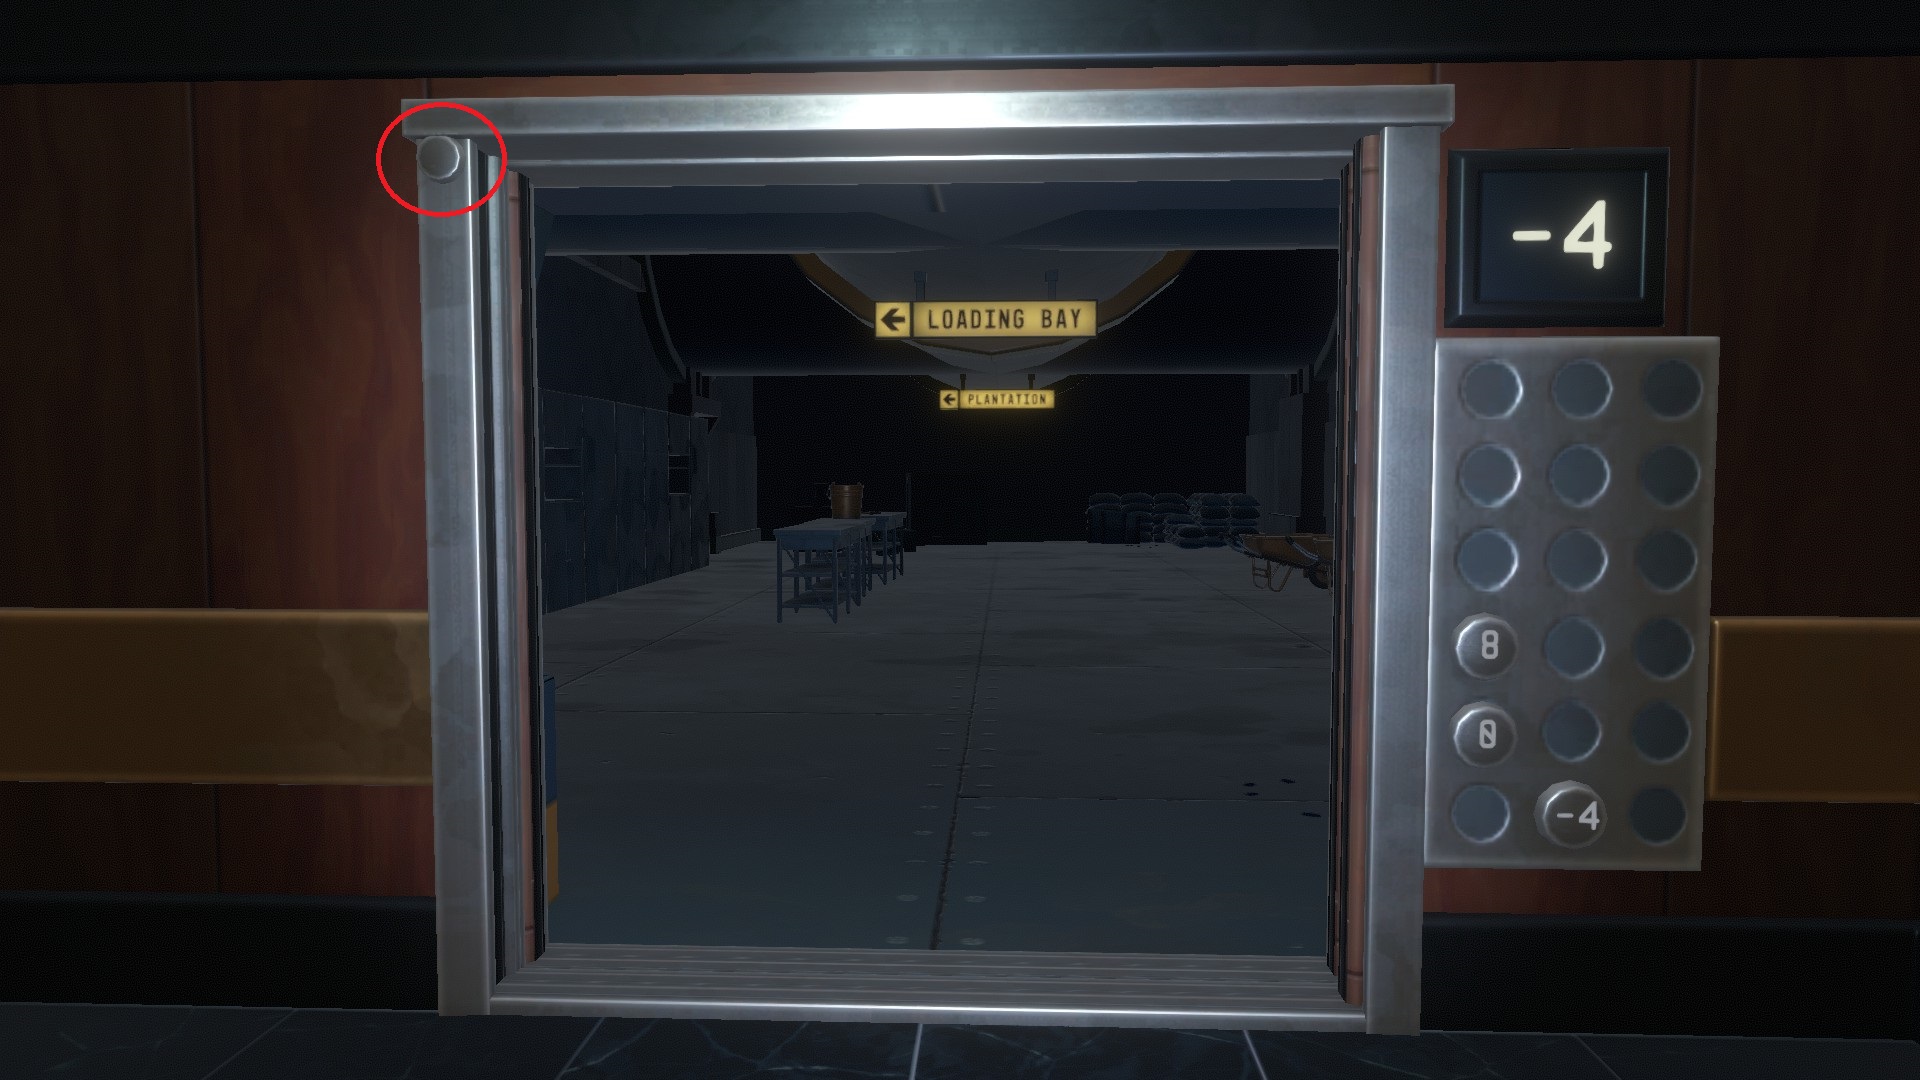
 Small Spender!
Spend 10 tokens.
 Medium Spender!
Spend 20 tokens.
 Big Spender!
Spend 30 tokens.
You can find 33 tokens inside Tangaroa, only inside the buildings (or on balconies but still through buildings). After you have them, you can spend them on machines at the foot of the tower.
The tokens respawn everytime you come back to Tangaroa, so you can get as many as you want.
Building 1, Floor 8 : 4
Building 2, Exterior Lane, Floor 8 : 2
Building 2, Bazaar, Floors 12 to 15 (through building 6) : 4
Building 3, Floor 8 : 3
Building 5, Floor 8 : 4
Building 6, Floor 8 : 7
Building 8, Floor 12 : 3
Buidling 8, Floor 14 : 1
Buidling 9, Floor 11 : 2
Buidling 9, Floor 13 : 3
You can also find and spend tokens on Temperance (7th story place) and Utopia (8th story place).
You can find a list of all tokens in the story walkthrough.
All Aboard!Unlock all playable characters. The 3rd character you can unlock is Elaine. You can find her inside the detached Tower Top after entering the code at the top of the Tower.
Tangaroa Historian!Find all notes on Tangaroa!
You can find a list of all notes in the story walkthrough.
Story - Chapter 3
 Explosive Force!
Slay the boss at Varuna Point. The Rhino Shark is a boss you encounter during your exploration of Varuna Point.
You can't use weapons against it, instead you need to use your surroundings.
Prepare an oxygen bottle and flippers for this boss, you need to swim fast and for a long time!
There are 3 floors and at each floor you need to make the shark charge at a pillar until it breaks, then put an explosive barrel in said pillar and make the shark hit it one last time to completely destroy it and open a hole to the upper floor. You get the achievement after destroying the pillar on the last floor.
[See the Enemies category or the story walkthrough for more details]
 Cache Collector!
Locate all Grabber caches on Varuna Point.
There are 17 red "G"s painted on walls in Varuna Point. You need to look at them carefully for it to count towards your achievement. If you've found them all and still don't have the achievement, go look at them again, you might have one that didn't count the first time (happened to me).
You can find a list of all caches in the story walkthrough.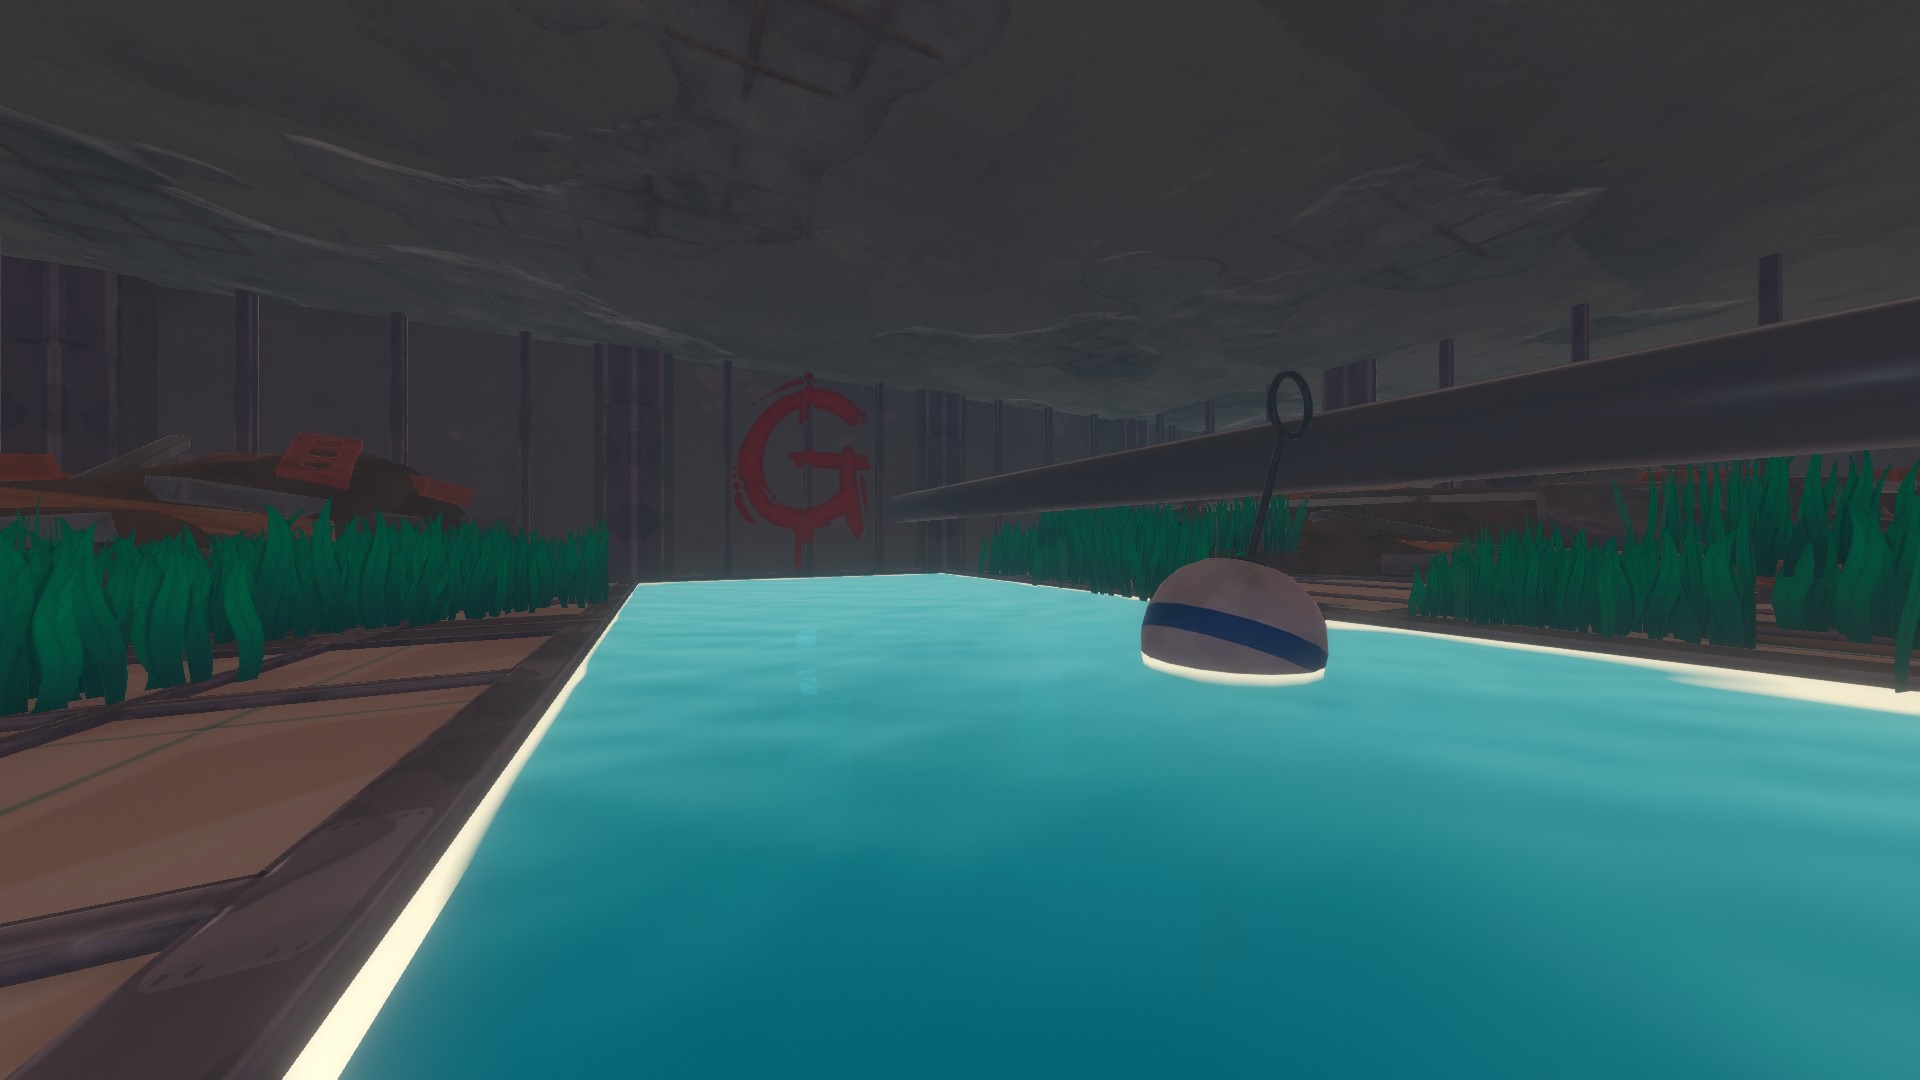
 Varuna Point Historian!
Find all notes at Varuna Point.
You can find a list of all notes in the story walkthrough.
 That's Not A Boat...
Drive a snowmobile into the sea.
There are many storages around the island with a snowmobile in it. Just drive one into the sea (it will reappear in its storage).
Big Spender!Spend 30 tokens.
You can find 33 tokens on Temperance. If you haven't completed your achievement for spending tokens yet, you can also do it here. The vending machines are inside the largest igloo house in Moontown.
You can find a list of all tokens in the story walkthrough.
All Aboard!Unlock all playable characters. The 4th and last character you can unlock is Shogo. You can find him at the end of your exploration, next to the note with the coordinates for the next story place.
There's a lit screen on the side, interact with it to free Shogo from his pod.
Temperance Historian!Find all notes in Temperance.
You can find a list of all notes in the story walkthrough.
Big Spender!Spend 30 tokens.
You can find 35 tokens in Utopia. If you haven't completed your achievement for spending tokens yet, you can also do it here. The vending machines are where you fought Olof for the first time; they will only appear with the citizens after you free Utopia.
You can find a list of all tokens in the story walkthrough.
 There Is A Utopia! (Hidden)
Finish the story.
You get the achievement when you free the people locked up by Olof in Utopia.
Multiplayer / Raft
 Teamplay!
Team up with a friend in multiplayer.
 It's better without the salt.
Craft and place a simple purifier.
If you're playing with people, it's possible that your friend placed the purifier and therefore you didn't get the achievement. That's okay, just remove it and place it again.
 Dinnertime!
Craft and place a simple grill.
If you're playing with people, it's possible that your friend placed the grill and therefore you didn't get the achievement. That's okay, just remove it and place it again.
 A More Complex Concoction!
Cook a meal by following a recipe.
Craft a Cooking Pot then use it to cook something from a recipe.
The easiest to do : 4x Potatoes/Beets.
 Powered Up!
Have all buffs from meals and drinks active on you at once.
There are 6 special meals that each give you a different boost. You need to eat and drink all 6 at the same time to get the achievement.
Craft a Cooking Pot and a Juicer. You can buy the special recipes at a Trading Post on a Large Island. You don't actually need the recipes to make them but you will need the special ingredients you can only buy at a Trading Post (Turmeric, Chili, Juniper).
The recipes:
- Catfish Deluxe (Cooking Pot) : Potato/Beet x1, Raw Catfish x1, Cave Mushroom x1, Chili x1
- Hearty Stew (Cooking Pot) : Potato x1, Cave Mushroom x1, Raw Meat x1, Juniper x1
- Salmon Salad (Cooking Pot) : Pineapple/Mango x1, Raw Salmon x1, Silver Algae x1, Turmeric x1
- Redbeet Shot (Juicer) : Beet x2, Coconut x1, Turmeric x1
- Spicy Pineberry (Juicer) : Pineapple x1, Strawberry x2, Chili x1
 Aye Aye Captain!
Place a sail and a stationary anchor on the same raft.
If you're playing with people, it's possible that your friend placed the sail and/or the stationary anchor and therefore you didn't get the achievement. That's okay, just remove both of them and place them again.
 This goes here! (Hidden)
Break or pick up 100 blocks.
When you get close to an object, you have the option of removing it which will put it in your inventory. Just place it again, then remove it... repeat until you get the achievement. Breaking structures with an axe also counts towards this achievement.
 Hoarder!
Have 20 storages on the same raft.
 Farmer!
Have 20 cropplots on the same raft.
Grassplots also count towards this achievement.
Bookworm!Research everything in the research table.
 Plumber Power!
Have 30 pipes placed at once
You get blueprints for fuel pipes on Balboa Island (3rd story place) and for water pipes on Tangaroa ( 5th story place ). Just place 30 of them on your raft.
If you don't get the achievement, try removing then replacing all your pipes.
 Real Fireworks!
Witness 50 firework explosions.
You get blueprints for fireworks on Caravan Town (4th story place). You can also send them in creative mode then switch to a normal game to get the achievement.
 Instrumentalist! (Hidden)
Play a note on an instrument.
You can buy a piano in Tangaroa (5th story place) for tokens that you can find on site. Place the piano on your raft and use it to play any note. You can also play it in creative mode then switch to a normal game to get the achievement.
 An Ocean Cemetary! (Hidden)
Die 25 times.
A simple way to farm this. Start a new game, anything but Creative Mode or Hard Mode, but preferably Normal Mode because the shark will help you in your task. Then jump in the water and wait for you to drown... when that's done, respawn, then repeat until you get the achievement.
Raft - Part 2
 Beginner Gatherer!
Hook 100 items.
 Intermediate Gatherer!
Hook 500 items.
 Expert Gatherer!
Hook 5000 items.
Craft a Paint Mill and a Paint Brush. Then collect lots of flowers on islands, put these flowers in the Paint Mill to create paint. Then use the Paint Brush to paint ([RightClick] to choose the colour), repeat until you get the achievement.
 Beginner Painter!
Paint 50 blocks.
 Intermediate Painter!
Paint 200 blocks.
 Expert Painter!
Paint 1000 blocks.
This is going to take a loooonng time, believe me. Craft a calendar to know how many days you've survived. Skip nights by going to bed.
Also, it says "survive", but you can absolutely leave the game open with your character dead and come back at the end of the day (in real life) to check what day (in game) it is.
 Beginner survivor!
Survive 1 day.
 Intermediate survivor!
Survive 7 days.
 Expert survivor!
Survive 30 days.
 Master survivor!
Survive 365 days.
Wait for your raft to be the desired size as it will fill some of the achievement, then you can start farming it. Just build foundations then break them with an axe, that way it won't take any space and refund you half of it.
 Beginner Builder!
Build 10 foundations.
 Intermediate Builder!
Build 100 foundations.
 Expert Builder!
Build 1000 foundations.
You can find the blueprints for the zipline and the zipline tool on Caravan Town (4th story place).
When it says "travel 100/500/1500 meters", it means in total, so you can just retake the same zipline over and over again until you get the achievement. Except for "Zip Zap!" where you have to do the 50 meters in one go.
For "Zip Zap!", you can do it in creative mode then switch to a normal game to get the achievement. You can also just wait for Varuna point (6th story place) where you will take a zipline that's long enough for this achievement.
 Zip Zap!
Travel 50 meters on a zipline without disjointing.
Your zipline must be at least 34 foundations long.
 Beginner Ziponaut!
Travel 100 meters with the zipline tool.
 Intermediate Ziponaut!
Travel 500 meters with the zipline tool.
 Expert Ziponaut!
Travel 1500 meters with the zipline tool.
Kill
If you want to farm a kill achievement, you just need to save just before the last hit. Kill, load, repeat until you have the achievement.
Sharks are easy to farm since they spawn on your raft and come back after only ~3m30s. Go in the water and wait for it to see you. Attack just after it opens its mouth to make it turn around instead of biting you. [See Enemies for more details]
 Beginner Shark Hunter!
Kill a shark.
 Intermediate Shark Hunter!
Kill 10 sharks.
 Expert Shark Hunter!
Kill 50 sharks.
You can build a tall tower to attack seagulls flying above your raft but you will need good aim. Or you can attract them by crafting birds nests and planting crops. [See Enemies for more details]
 Beginner Bird Hunter!
Kill a bird.
 Intermediate Bird Hunter!
Kill 10 birds.
 Expert Bird Hunter!
Kill 50 birds.
It can be found on large islands. There are usually 3-4 Puffer-Fish per island, sometimes more. You can also find lots of them around Caravan Town (4th story place) where they respawn quickly. If you touch it, it will explode and not count as killed. Get just close enough for it to charge you then swim backwards while attacking it. [See Enemies for more details]
 Beginner Poison-Puffer Hunter!
Kill a Poison-puffer.
 Intermediate Poison-Puffer Hunter!
Kill 10 Poison-puffers.
 Expert Poison-Puffer Hunter!
Kill 50 Poison-puffers.
It can be found on large islands. There is usually only one Warthog per island, but it's completely possible to find two of them. If you can, position yourself between two large rocks. When the Warthog starts charging you, sprint sideways to dodge it then attack while it's stunned. The rocks will prevent it to run too far. [See Enemies for more details]
 Beginner Warthog Hunter!
Kill a Warthog.
 Intermediate Warthog Hunter!
Kill 10 Warthogs.
 Expert Warthog Hunter!
Kill 50 Warthogs.
It can be found on large islands. There is usually only one Screecher per island, but it's completely possible to find two of them. The White Screecher from Caravan Town (4th story place) also counts towards this achievement. Aim with your bow just above the Screecher when it's coming at you with a stone. [See Enemies for more details]
 Beginner Screecher Hunter!
Kill a Screecher.
 Intermediate Screecher Hunter!
Kill 10 Screechers.
 Expert Screecher Hunter!
Kill 50 Screechers.
Can be found on Vasagatan (2nd story place). They keep respawning inside the yacht so you can farm them without having to leave and come back.
You can also find some in Tangaroa (5th story place) and at Varuna Point (6th story place) but those don't respawn while you're there. [See Enemies for more details]
 Beginner Lurker Hunter!
Kill a Lurker.
 Intermediate Lurker Hunter!
Kill 10 Lurkers.
 Expert Lurker Hunter!
Kill 50 Lurkers.
Can be found on Balboa Island (3rd story place) and on Balboa like large islands. They keep respawning on Balboa Island so you can farm them without having to leave and come back.
You can also find some polar bears on Temperance (7th story place) but those don't respawn while you're there. [See Enemies for more details]
 Beginner Bear Hunter!
Kill a Bear.
 Intermediate Bear Hunter!
Kill 10 Bears.
 Expert Bear Hunter!
Kill 50 Bears.
Can be found on Tangaroa (5th story place). They keep reactivating again so you can farm them without having to leave and come back. [See Enemies for more details]
 Beginner Disruptor!
Disrupt 1 Butler-Bot.
 Intermediate Disruptor!
Disrupt 10 Butler-Bots.
 Expert Disruptor!
Disrupt 20 Butler-Bots.
Can be found at Varuna Point (6th story place) and on Temperance (7th story place).
[See Enemies for more details]
 Beginner Anglerfish Hunter!
Kill 1 Anglerfish.
 Intermediate Anglerfish Hunter!
Kill 10 Anglerfish.
 Expert Anglerfish Hunter!
Kill 50 Anglerfish.
Tame
Tamable animals can be found on large islands. There are usually two or three of them on each island. Which animals and what skin they have is completely random, you may need to visit 3 different large islands before finally finding a llama. [See Domesticated Animals for more details]
You just need to touch a tamable animal with the net for it to count towards the achievement, what happens after this doesn't matter...
You can also pick it up, put it back down (which will free it) then catch it again with another net, repeat until you get the achievement...
 Some Look Different!
Capture a rare animal.
Each animal has 3 skins, one basic that you will usually see and two rares. Just catch one of the rares. [See Domesticated Animals for a list of all skins]
 Beginner Wrangler!
Capture an animal.
 Intermediate Wrangler!
Capture 10 animals.
 Expert Wrangler!
Capture 50 animals.
Bees can be found around honeycombs on Balboa Island, Balboa like islands and on Caravan Town. Use a net to catch them.
You can then craft a Beehive with them and get honeycombs on your raft by placing flowers next to it.
If you have a nice spot to catch bees, you can : save, catch the bees, load, catch them again, load, etc... to get the achievement faster.
 Beginner Bee-nevolent!
Capture 1 bee.
 Intermediate Bee-nevolent!
Capture 10 bees.
 Expert Bee-nevolent!
Capture 25 bees.
 Bee Keeper!
Have 10 beehives placed at once.
If you don't get the achievement, try removing then replacing all your beehives.
Exploration
 Exploring the depths! (Hidden)
Reach a depth of 100 meters below the surface.
Just swim deeper and deeper until you get the achievement. You can create a game just for this, that way you don't need to bother with finding your way back to the surface alive, if so take peaceful mode so that the shark won't annoy you. If you want to do it in your actual game, do it next to an island to be able to find your way back easily. Take Flippers and a Bottle of Oxygen to be able to go 100 meters below the surface and back without drowning.
[Doing Caravan Town will grant you this achievement since at some point you have to go really deep in the water]
 Large landmass ahoy!
Discover a large island.
Use the Receiver to find one [See Gameplay Basics - Part 3 on how to craft and use the Receiver]. Follow the green dot on the receiver's radar until you find a large island. Sometimes you'll stumble upon a large island without even trying...
Just walk on the island to unlock the achievement.
 Not a great landing! (Hidden)
Discover a crashed plane.
What you're looking for is an island with a plane on it. It's a small island but with the same plants as a large island. It's all luck based, follow the current and you will find it eventually. Climb to the plane to get the achievement. This is also where you can find the Pilot Helmet (inside the plane).
 O Captain! My Captain!? (Hidden)
Reach Captains Island
What you're looking for is a small island with a flag on it and a shipwreck next to it. Just like plane island, it's all luck based, you'll find it eventually by just following the current. Reach the boat to get the achievement. This is also where you can find the Captain's Hat and the Radio (inside the boat).
You can find a Trading Post on any large island.
You can exchange 2 currencies with it: Trash Cubes and Trade Coins.
You get the trash cubes by putting raw materials in a Recycler (you get the blueprint at the first story place: the Radio Tower).
You get trade coins by buying fishing bait from the Trading Post (with trash cubes) then using it to catch special fish that you can then sell to the Trading Post for the coins.
Selling the special fish also gives you reputation with the Trading Post, after a certain number you will get to Tier 2 Reputation, then Tier 3 Reputation.
Each new tier allows you to buy more stuff, including a better fishing bait that will let you catch better fish that gives more reputation points when you sell it.
 Beginner Merchant!
Purchase an item at a trading post.
 Intermediate Merchant!
Reach tier 2 in the trading post.
 Expert Merchant!
Reach tier 3 in the trading post.
You need to find the blueprints for the Metal Detector in Caravan Town (4th story place).
Then craft one and use it on any island, follow the lights until all of them are on. Use a shovel several times on the spot you've found to dig up a chest, garbage, a tiki piece or a suitcase.
You can find from 1 to 3 treasures on islands.
 Beginner Excavator!
Dig up a treasure.
 Intermediate Excavator!
Dig up 20 treasures.
 Expert Excavator!
Dig up 50 treasures.
 Former Glory! (Hidden)
Four pieces of wood restored.
Use the Metal Detector to find tiki pieces. There are 4 different ones. It's completely random and sadly you can't reload a save to try and get a new one because it has already been decided when you arrive.
Once you have your 4 pieces, you need to put them atop of each other in a specific order : first the one with all his teeth, then the one with the tongue, then the one with only the bottom teeth and finally the one with only the top teeth.
They will then fuse and give you the achievement and a tiki mask.
 Artistic Collection! (Hidden)
Find & place all developer paintings. Use the Metal Detector to find paintings. They are inside the suitcase treasures and there are 8 of them. You can save before digging up a treasure and if it's a suitcase you can reload your save if you don't get a painting you're missing. You can't change what your treasure is by reloading a save but you can change what's inside the treasure.
If you don't get the achievement, try removing then replacing all your paintings.
 The Renovator! (Hidden)
Learn all crafting recipes from packages. There are 66 decoration recipes to find.
You get them in small packages with a green stamp on it, that you have a chance to find either while sailing (in barrels and crates) or on islands (by using the metal detector or opening crates).
You can save when you find a barrel/crate and reload until you find a package inside.
You get 1 random unknown decoration recipe per package.
Recipes: Chair(3), Sofa(3), Table(7), Shelf(3), Cupboard(3), Metal Lantern, Fire Basket, Fireplace, Painting(4), Motivational Quote(4), Rose, Sunflower, Monstera, Cactus, Aloe Vera, Hibiscus, Bookpile(2), Open Book, Paper Bundle, Candlestick(2), String Light(2), Cutlery, Mug, Rug(3), Flag(7), Quill, World Globe, Clock, Curtain(2), Outhouse, Wooden Bathtub, Firewood Rack, Trashcan, Bed.
~~~
Advice
-You can split stacks : Drag and drop with [Right Click] to take one from the stack; with [MouseScroll Click] to split the stack in half.
-You can pause your game by opening the menu... but for this to work you need to NOT allow friends to join when you launch your world.
-If you hover your mouse above an object then press [1] ( or 2, 3... ), it will directly move it to your action bar depending on what key you pressed.
-Build a lot of storage ! You'll never have too much of something, you can be sure that if you throw away something, 1 hour after you're gonna need tons of it and won't be able to find any.
-Add in priority Foundation Armor to all the squares holding something, so that the shark can't bite them all to oblivion.
-Don't be greedy, if you're fighting and are almost out of health, go back to your raft and heal. The animals won't regain their health, you have all the time in the world.
-Craft a bed to come back to life with more health, be able to skip nights and control where you will respawn if you die ( otherwise you will appear at the "center" of your raft, even if it's above water ).
-Don't forget that you can sprint by using [shift] to move faster ( doesn't work in water though ).
-If you're playing with people, remember what path you're taking while exploring so that you can easily tell them how to find you if you get in troubles.
-It's useless to put several sails.
-Careful when you drop something ( appears in a box ), it will disappear into thin air after ~1m30s.
-Careful when you remove a floor, if there is anything on it, it will be lost.
-Your raft is the center of this world, everything appears around it, so if you're off exploring an island while your raft is following the current, there will be a time where the island you're on will disappear and you will be lost in the middle of nowhere.
-When you wake up, use any key but not your mouse or you risk using the item you're holding.
-Most bugs can be fixed by restarting the game.
-If you know you're going to die and you're in normal mode and alone ( which means you're going to lose all of your inventory ), quickly drop everything you can so that you can go and get it back when you wake up, just remember you have ~1m30s before the boxes disappear, if you were underwater the boxes will float to the surface.



Don't forget to rate the guide if you've liked it and leave a comment ! ;)
- Советы по развитию и полному прохождению Raft [RU]★ 5 (627)43k views762 ♥29 minRussianUpdated 15 Oct, 2020
- Raft - All in one GUIDE★ 5 (370)32k views588 ♥33 minUpdated 25 Jul, 2022
- Master Achiever - 100% Achievement Guide (Update 11)★ 5 (459)29k views1k ♥32 minUpdated 29 Aug, 2020
- Raft 100% achievement★ 5 (399)27k views760 ♥8 minUpdated 28 Jun, 2022
- 【RAFT木筏】标准100%全成就攻略、食谱大全、常见联机问题★ 5 (598)24k views1.2k ♥6 minSimplified ChineseUpdated 11 Apr
- 100% | Raft★ 5 (797)21k views1k ♥17 minRussianUpdated 20 Feb, 2024


- Upgrading to PremiumTeam Fortress 2★ 5 (20k)1441k views11k ♥6 minUpdated May 11, 2022
- No More Room in Hell Official ManualNo More Room in Hell★ 5 (2.8k)569k views2.1k ♥29 minUpdated Apr 22, 2019
- NMRiH Community Hosting GuidesNo More Room in Hell★ 5 (526)351k views653 ♥1 minUpdated Aug 10, 2022
- How to 'Git Gud' Soon™MORDHAU★ 5 (2k)318k views3k ♥68 minUpdated Nov 16, 2024
- Лучшие кооперативные игры SteamPAYDAY 2★ 5 (1.5k)315k views2.1k ♥56 minRussianUpdated Apr 27, 2025
- Desert Eagle Heat Treated | Blue GemCounter-Strike 2★ 5 (1.6k)293k views1.5k ♥2 minUpdated Jan 16





This guide was created by its original author on the Steam Community. Are you the author and want it removed? Request removal.