Slugcat Objectives
Slugcat Objectives
Be warned that this guide does assume a general knowledge of the map. There are many community made maps that you can use to plot your journey.
Survivor/Monk
The Survivor and Monk are quite plain when compared to the new fancy Downpour slugcats but they're the OGs and are great for exploring the map.
The easiest way to get max karma is visit Five Pebbles, who will also grant you a mark of communication in case you want to say hi to Looks to the Moon at any point.
You can also visit Echoes who will increase your karma by 1 for each 1 you visit, except for the first which will give you 2 karma. The Echoes are spread all over the map and using a map is probably the easiest way of finding them as they are usually off the beaten track. They can require a high karma to trigger, and in some cases require 2 cycles to fully access.
Once you have max karma you can now access the Void Sea, which is located in the far south west of the map within the Subterranean region.


Hunter
The Hunter is a beast of a slugcat, with a strong arm, meat eating tendencies and a cancerous rot that limits the number of cycles.
Max Karma
When playing the Survivor or Monk, you can easily get max karma by visiting Five Pebbles. The Hunter's karma will only be increased the same amount as visiting an Echo for the first time.
All slugcats can also visit an Echo to increase their karma by 1. The Echoes are spread all over the map and using a map is probably the easiest way of finding them as they are usually off the beaten track. They can require a high karma to trigger, and in some cases require 2 cycles to fully access.
Gourmand
The Gourmand is a new slugcat added as part of Downpour. They're an absolute unit who quickly gets tired after doing any exercise like throwing or running and jumping too much.

These are all the flavours I've discovered:
- Slime Mold
- Blue fruit
- Batfly
- Mushroom
- Black lizard
- Bubble fruit
- Jellyfish
- Jetfish
- Lantern fruit (Can be found underwater in Shoreline, or in Subterranean where they can also be found on Scavengers)
- Salamander
- Snail
- Hazer
- Eggbug
- Lily (Flower found on top of water in Filtration System)
- Yellow lizard
- Neuron fly
- Centiwing
- Sky flower (Flower found in Sky Islands)
- Cyan lizard
- Spike fruit (Fruit found in the top of some rooms in Subterranean)
- Red centipede
- Grappling worm
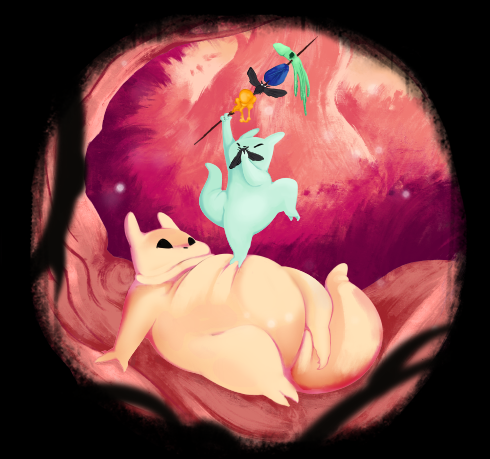
Artificer
The Artificer is a new slugcat added as part of Downpour with a very aggressive playstyle. They're essentially the John Wick of the slugcat world.
Once inside Metropolis you need to keep heading east to the House of Braids. At the top of this region you can find the Scavenger Chieftain. Killing them will complete your journey of revenge.
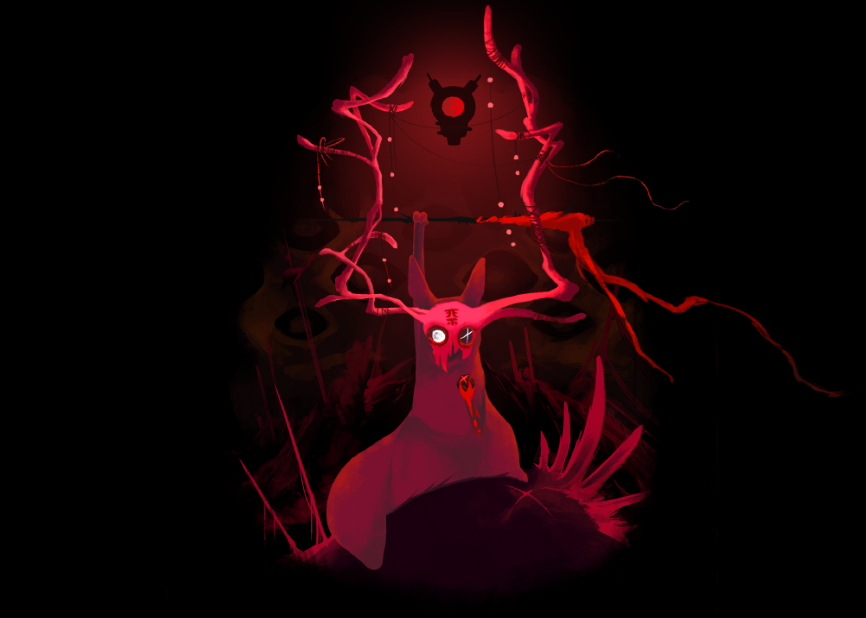
Rivulet
The Rivulet is a super fast, super quick slugcat added as part of Downpour. For being OP, they've been punished with shorter cycles but this will be solved as part of your journey to being the fastest slugcat around.
If you have a chat with Five Pebbles they will instruct you to remove their core and take it to Looks to the Moon. From his chamber you need to travel southwest to find the Linear Rail sub region. There is a small room inside that periodically prevents access with anti gravity. Time your jump right to enter and then take the core. Go back to Five Pebbles and take the access route to start the long journey back to Looks to the Moon.
Have a chat with her and she'll direct you to install the core in the depths beneath her. Leave the Moon region and head west until you find an entrance south. Then head south east to enter the new Submerged Superstructure region. Head south and east until you start hitting mechanical regions rather than caves. Start heading north and follow it all the way round until you find the core housing. Activate the core for the last time and you'll be sent away to the Aerie.
Head west and you'll reach a gate back to Shoreline and a shortcut to Looks to the Moon. Give her a hug and call your journey complete. Good job Ruffles!
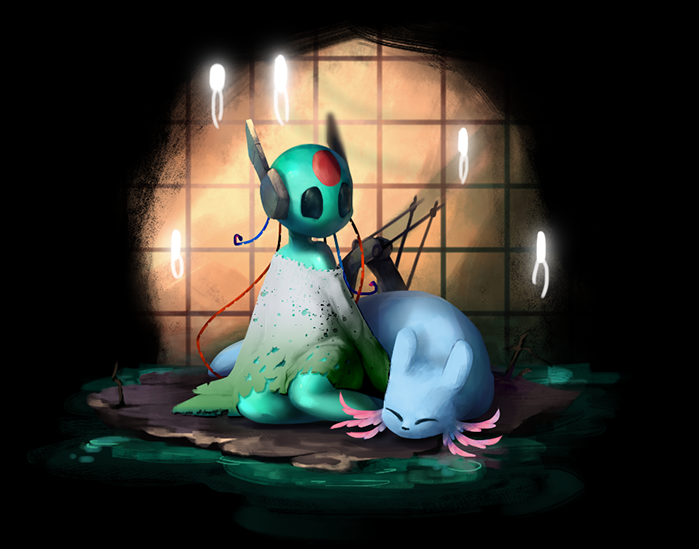
Spearmaster
The Spearmaster is a new slugcat added as part of Downpour that can create spears out of his body. I don't really want to know how as it sounds disgusting.
Take the pearl all the way to Looks to the Moon. Don't drop it, as you'll be carrying it a LONG way. You'll enter a new region, Waterfront Facility, when you attempt to enter Shoreline. It's roughly the same route towards Looks to the Moon but you will need to backtrack a little to the West.
When you reach Looks to the Moon you'll realise it has a completely new entrance. The journey to Moon is quite similar to the Leg route to Five Pebbles so strap yourself in for a long trip. Keep going north/northeast until you reach a massive room that looks to contain the outside of her chamber. Head west to the Luna subregion and then keep climbing north. You'll finally get to drop in on her and deliver the pearl.
The pearl will be rewritten and she'll give you a new goal, the communications array in Sky Islands. Make your way over to it, climb all the way to the top of the array and the pearl will whiz off to broadcast her message.

Saint
The Saint is a new slugcat added as part of Downpour with a long tongue and the inability to use spears. Because of the spear issue, and an overabundance of enemies, you'll spend most of your run trying to escape an inevitable death. Everytime you enter a region, you'll be notified of any Echoes there by a sound and a light. These will play at the start of a new cycle as well until you find the Echo. All the Echoes only need to be reached once, and I don't believe there are any karma requirements to trigger them.
The Echoes can be found in the following locations:
- Sky Islands (Windswept Spires)
- Chimney Canopy (Solitary Towers)
- Drainage System (Undergrowth)
- Shoreline (Frigid Coast)
- Subterranean (Primordial Underground)
- Farm Arrays (Desolate Fields)
- Shaded Citadel/Five Pebbles (Silent Construct)
Once you've reached max karma, head over to Subterranean and descend to the Void Sea as per usual. In the following region, you just need to keep heading up north.
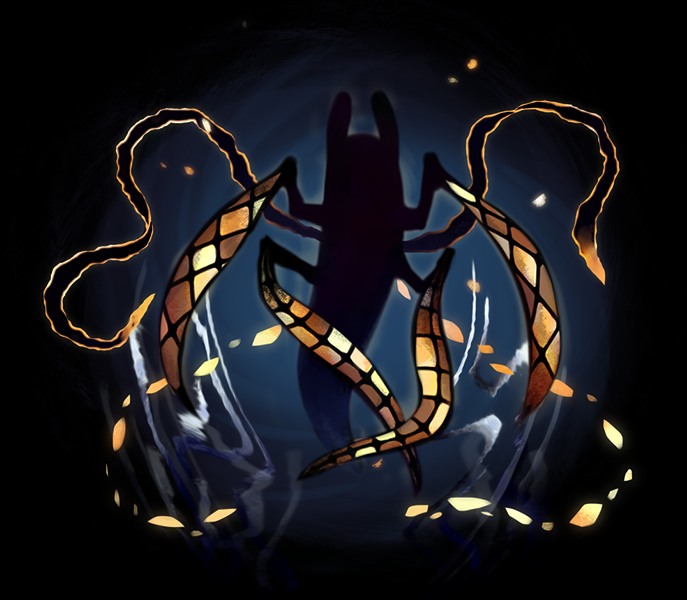
The route to the Wall is blocked, so head south into Industrial Complex (Icy Monument). You won't have enough karma to go to Shaded Citadel so head south into Garbage Wastes (Desolate Fields). Head east into Shoreline (Frigid Coast) and continue east all the way to Looks to the Moon. Talk to her, then climb on top of her housing and head west to find another Echo.
Now make your way north to the Shaded Citadel entrance. You'll find a completely different route taking you to a new region called Silent Construct. Go all the way to the east and start climbing north to reach another Echo. Now make your way back west but making sure to keep above the route back to Frigid Coast. If you go north you can find Five Pebbles but it's a horrible route filled with spiders. Regardless if you keep heading west you'll find the usual Shaded Citadel karma gate into Icy Monument.
From Icy Monument, make your way west to Outskirts (Suburban Drifts). From there head west again to Farm Arrays (Desolate Fields). The Echo is very close to the entrance just head south/southwest. From there you need to go west/northwest to get to Subterranean (Primordial Underground). Immediately past the karma gate you need to hug the righthand wall down into the penultimate echo.
Now head south until you enter the Filtration System subregion and then immediately go northeast, trying to keep as north as possible within Filtration. You should hit the entrance to Drainage System (Undergrowth). The Echo is close to the entrance, just head north and west.
You've now finally got all the Echoes and just need to go back to Primordial Underground and head southwest. Eventually you'll reach what should be the entrance to the Void Sea or in this case a massive blind drop into Rubicon.
From there keep going north and using your new abilities to get past all the creatures and watchers. Congrats on going full circle and completing the Saint!
Watcher
The Watcher is the latest slugcat to join the pack with an entire DLC dedicated to them. They start of plain but quickly develop abilities to go invisible, ripple through space time and float like a storm cloud with big ol eyes.
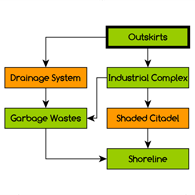
- Farm Arrays: Accessible through Industrial Complex -> Outskirts -> Farm Arrays (South and West)
- Shaded Citadel: Accessible through Industrial Complex -> Shaded Citadel (Far to the East and a little South)
- Chimney Canopy: Accessible through Industrial Complex -> Chimney Canopy (All the way North)
After your 3rd Echo you'll take your first portal jump and appear in a new land. Be aware that the portals can take different Watcher's to different places. But congrats on becoming interdimensional! You should now have access to an invisibility ability. This will start out fairly weak but becomes stronger and stronger throughout your journey.
Your goal from this point is to find the Echo. There is no clear indicator if they're hiding in each world apart from hearing their laughter when getting very close to their location. To this end you'll need to explore the entire map of each place you arrive in. You will encounter new portals on your way and these will also need to be explored.
When you sleep in a shelter you will get access to a map that plots the links between worlds but there is no clear indicator where the portals are on the local map. You may want to keep track of them as you'll be doing a lot of dimension hopping. Be aware that the purple outline on world will show if the rot has spread there which will add extra difficulty when navigating a route.
Now, explore the worlds, find the Echo and explore the worlds, find the Echo and explore the ...
Once you've found the Echo a lot, you'll be able to float when turning invisible. This is used to reach difficult places and needs to be used in some scenarios.
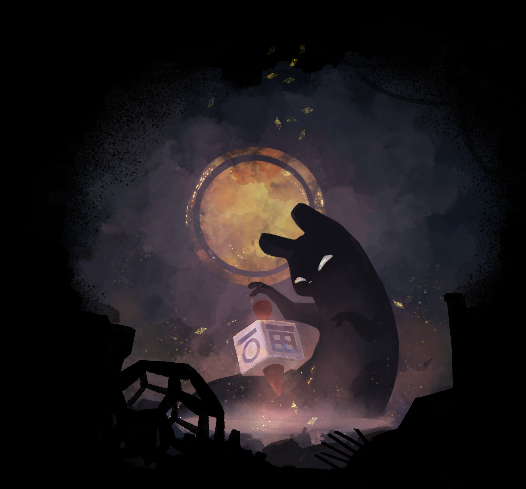

Keep trailing The Weaver through multiple worlds and don't be scared about your new bodily changes. On the 4th meeting you'll be granted a new ability to seal portals. Be warned that acquiring this ability prevents spreading rot to new worlds and therefore it will no longer be possible to get the Prince ending.
Once armed with this new ability you need to fix all your previous mistakes by closing all portals between worlds. This can include portals you've manually made. You are still able to create portals but they will no longer create usable portals upon your next cycle. So feel free to teleport between worlds. Acquiring the targeted portal can help a lot with this to travel directly to the worlds you still need to fix. And the ripple spider can also be of use in leading you to unclosed portals within that world.
Once all the portals have been closed, create a manual portal and you'll be taken to The Weaver to have a friendly chat about the sanctity of space/time continuum.
After achieving the previous 3 endings you can now access the true(?) ending. Head over to Daemon, the world which is usually only accessible by ripplespace portals. Head east and you'll come to a room which contains stone statues. Standing under any of them will give sound cues for that ending and can be used to track your progress. But if you have all 3 endings, there will be a portal entrance in the middle of the statues. Entering this will begin your final journey.
You'll be forcibly teleported to a number of locations around the universe and your goal will generally be to survive until the next teleport. You'll eventually be taken to the Throne which will require you to climb up north to meet with your old pal The Prince. They're just as friendly as before and grant you a mark of communication that can be used to read pearls at the machine in Ancient Urban.
Carry on with the teleportations and you'll be taken to the Depths. Follow in the pawsteps of your slugcat brethren and enter the water to achieve your final form.
- Storyline Region Routes★ 5 (592)31k views1.4k ♥2 minUpdated 20 Jun, 2017
- Dress My Slugcat: Custom Slugcat Tutorial - Basics, Setup, Workarounds (WIP!)★ 5 (335)21k views932 ♥29 minUpdated 8 Jun
- 100% Steam Achievement Guide★ 5 (887)20k views1.9k ♥37 minUpdated 17 Dec, 2025
- Detailed Region Maps★ 5 (803)19k views1.7k ♥1 minUpdated 10 Mar, 2023
- General and Advanced Movement Guide★ 5 (572)17k views1.3k ♥15 minUpdated 5 Mar, 2021
- All Slugcats Guide★ 5 (682)15k views916 ♥9 minUpdated 30 Oct, 2025





- Upgrading to PremiumTeam Fortress 2★ 5 (20k)1441k views11k ♥6 minUpdated May 11, 2022
- No More Room in Hell Official ManualNo More Room in Hell★ 5 (2.8k)569k views2.1k ♥29 minUpdated Apr 22, 2019
- NMRiH Community Hosting GuidesNo More Room in Hell★ 5 (526)351k views653 ♥1 minUpdated Aug 10, 2022
- ULTIMATE GUIDE FOR GAME DEV TYCOONGame Dev Tycoon★ 5 (5.8k)326k views10k ♥4 minUpdated 23 Jan, 2014
- How to 'Git Gud' Soon™MORDHAU★ 5 (2k)318k views3k ♥68 minUpdated Nov 16, 2024
- Лучшие кооперативные игры SteamPAYDAY 2★ 5 (1.5k)315k views2.1k ♥56 minRussianUpdated Apr 27, 2025






This guide was created by its original author on the Steam Community. Are you the author and want it removed? Request removal.