The Long Dark: Wintermute 100% Achievement Guide (Updated to Episode 5!)
Introduction
This guide was created for game version 2.52 and includes achievements for all episodes from 1 to 5.
Wintermute achievements are not tied to difficulty settings. I played on medium difficulty and the game was relatively easy - it provides nearly all the resources you need to survive, the only thing is to manage them well. The game does however get more difficult with every episode, introducing more threats gradually. You can complete 100% of all DLC achievements on a single playthrough.
More than a half of the Wintermute DLC achievements are story related, unmissable. The remaining ones are tied mostly to side quests and collectibles. Some achievements unlock simply by collecting a certain number of items, while others require completing the associated quests additionally to collecting items, before the achievement triggers. These quests are always marked on your map after picking up the related collectible, so I won’t guide you through them. However, I will explain what the quest involves or suggest the best time to complete it.
This guide is focused purely on achievements. It is not a full walkthrough for every quest or collectible in Wintermute. There’s much more to explore in this DLC, and I strongly encourage you to roam freely, gather supplies, and experience the world at your own pace. I’ll recommend the most efficient route for earning achievements, but you may find things at a different time than I did. It's an open-world survival game, after all.
Spoiler Warning: This guide contains story spoilers. Major spoilers are hidden where possible, but some are unavoidable.
Episode 1: Do Not Go Gentle
Achievements: 6/41 - 4 unmissable, 2 missable
Books: 3/6
Hidden Caches: 3/9
Deposit Keys: 4/4
In this episode, you’ll earn 4 story-related achievements that are unmissable and 2 that can be missed. You’ll also begin collecting survival books and hidden cache notes, though their achievements won’t unlock until Episode 2, since they are spread across both episodes. Both books and cache notes require you to complete a side quest related to them in order to earn their achievements.
 Achievement #1 - Your Journey Begins: Story-related. Unlocks after approaching the crashed plane.
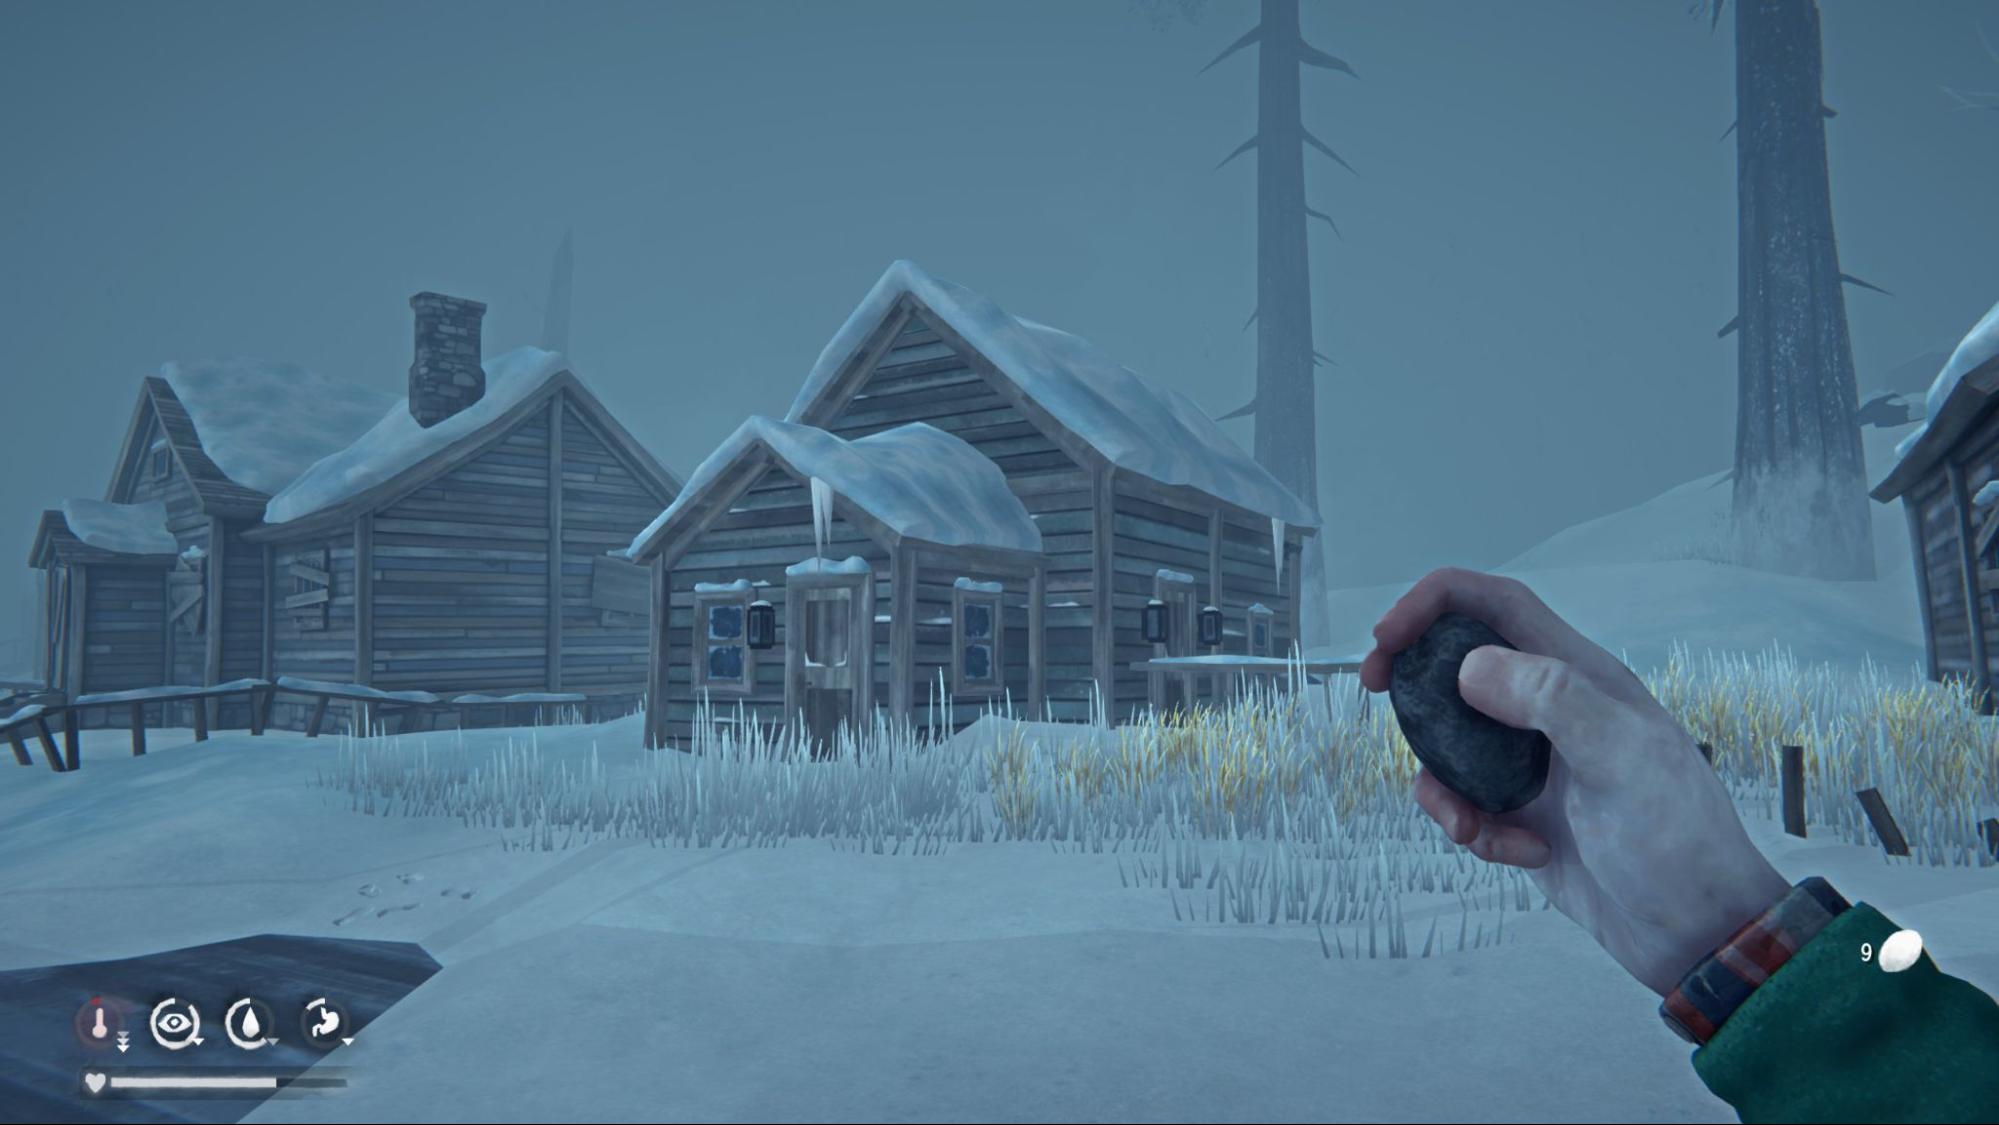
 Achievement #2 - Paradise Lost: Story-related. Unlocks upon entering Milton.
Book #1 - Sewing Primer: Inside Grey Mother’s house. Go to the second floor, the book is on the counter in the hallway. This quest simply requires repairing your clothing.
Achievement #2 - Paradise Lost: Story-related. Unlocks upon entering Milton.
Book #1 - Sewing Primer: Inside Grey Mother’s house. Go to the second floor, the book is on the counter in the hallway. This quest simply requires repairing your clothing.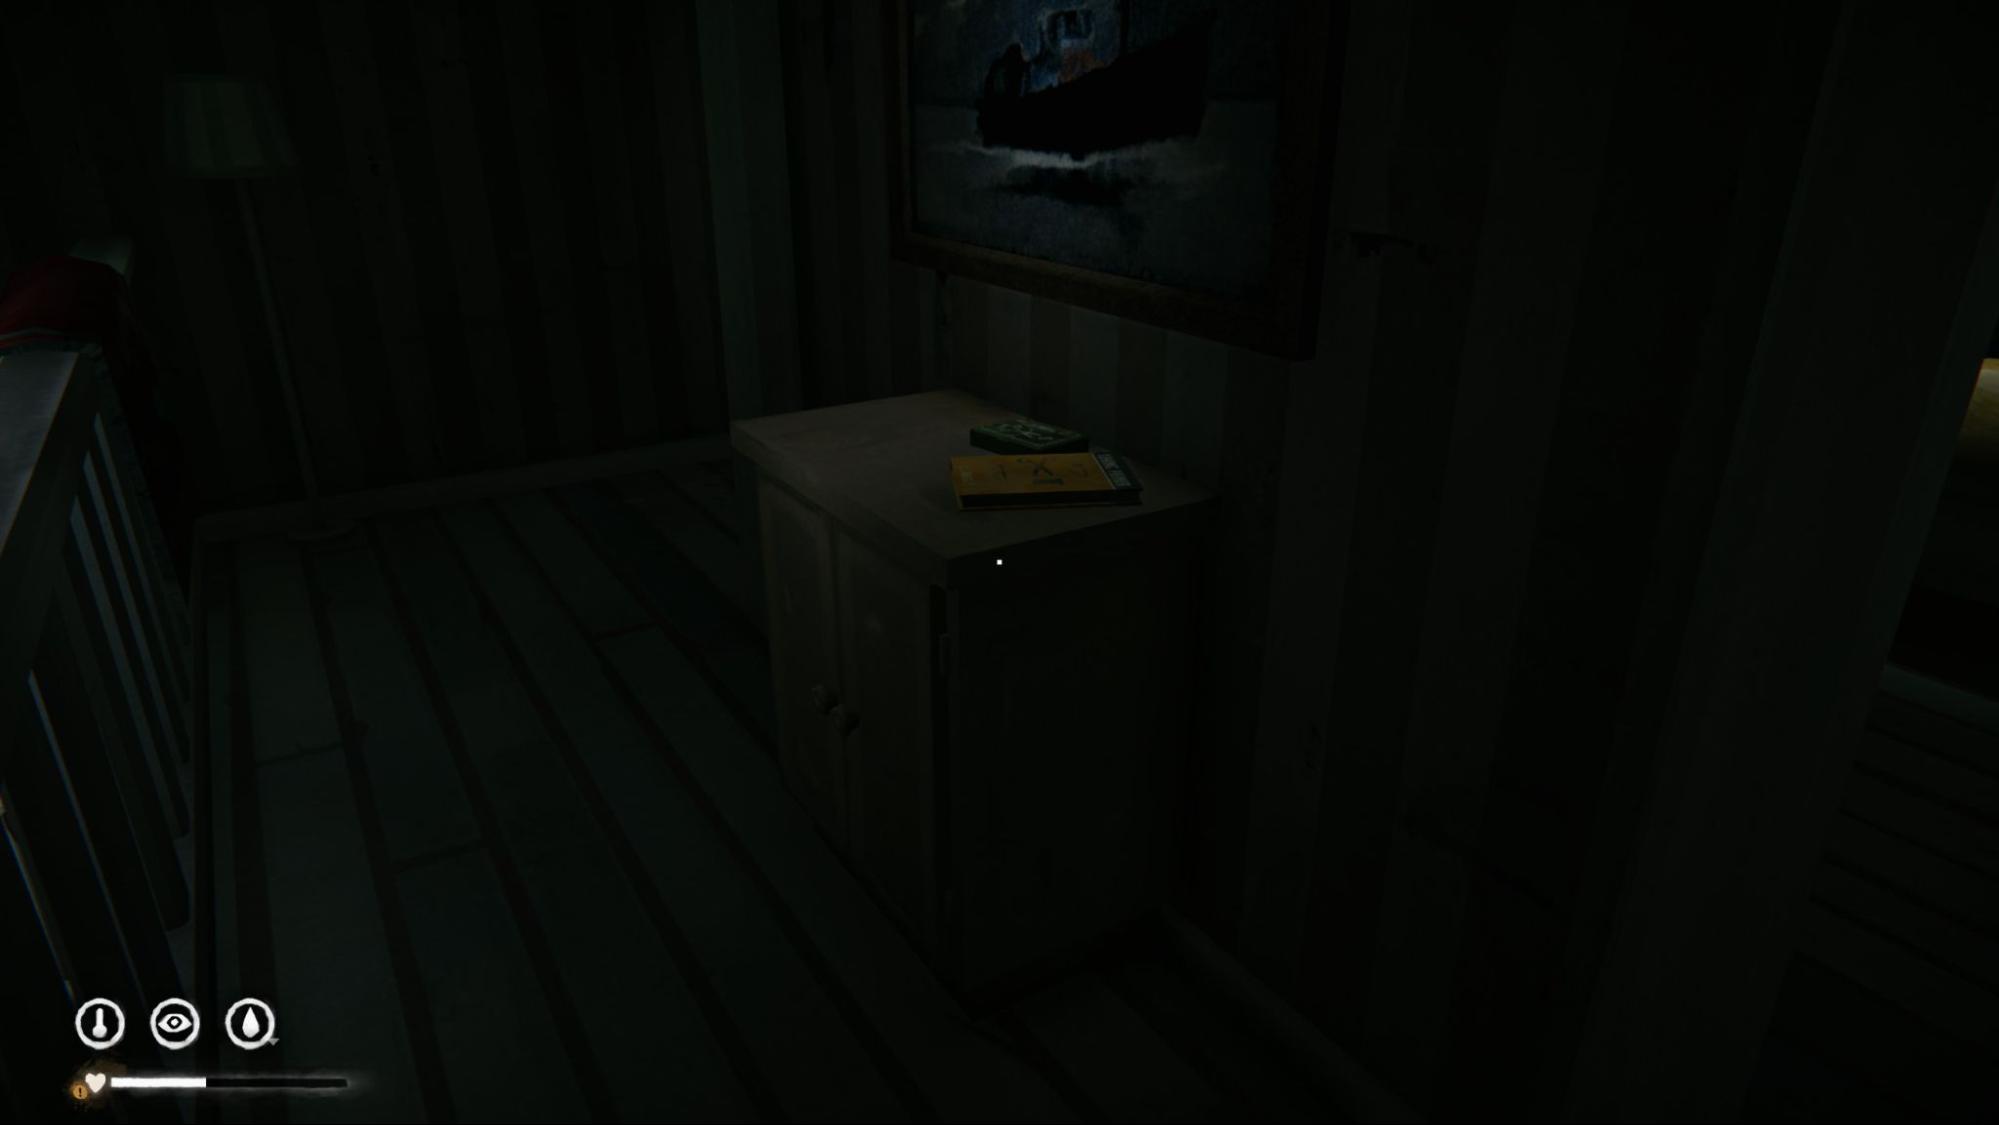
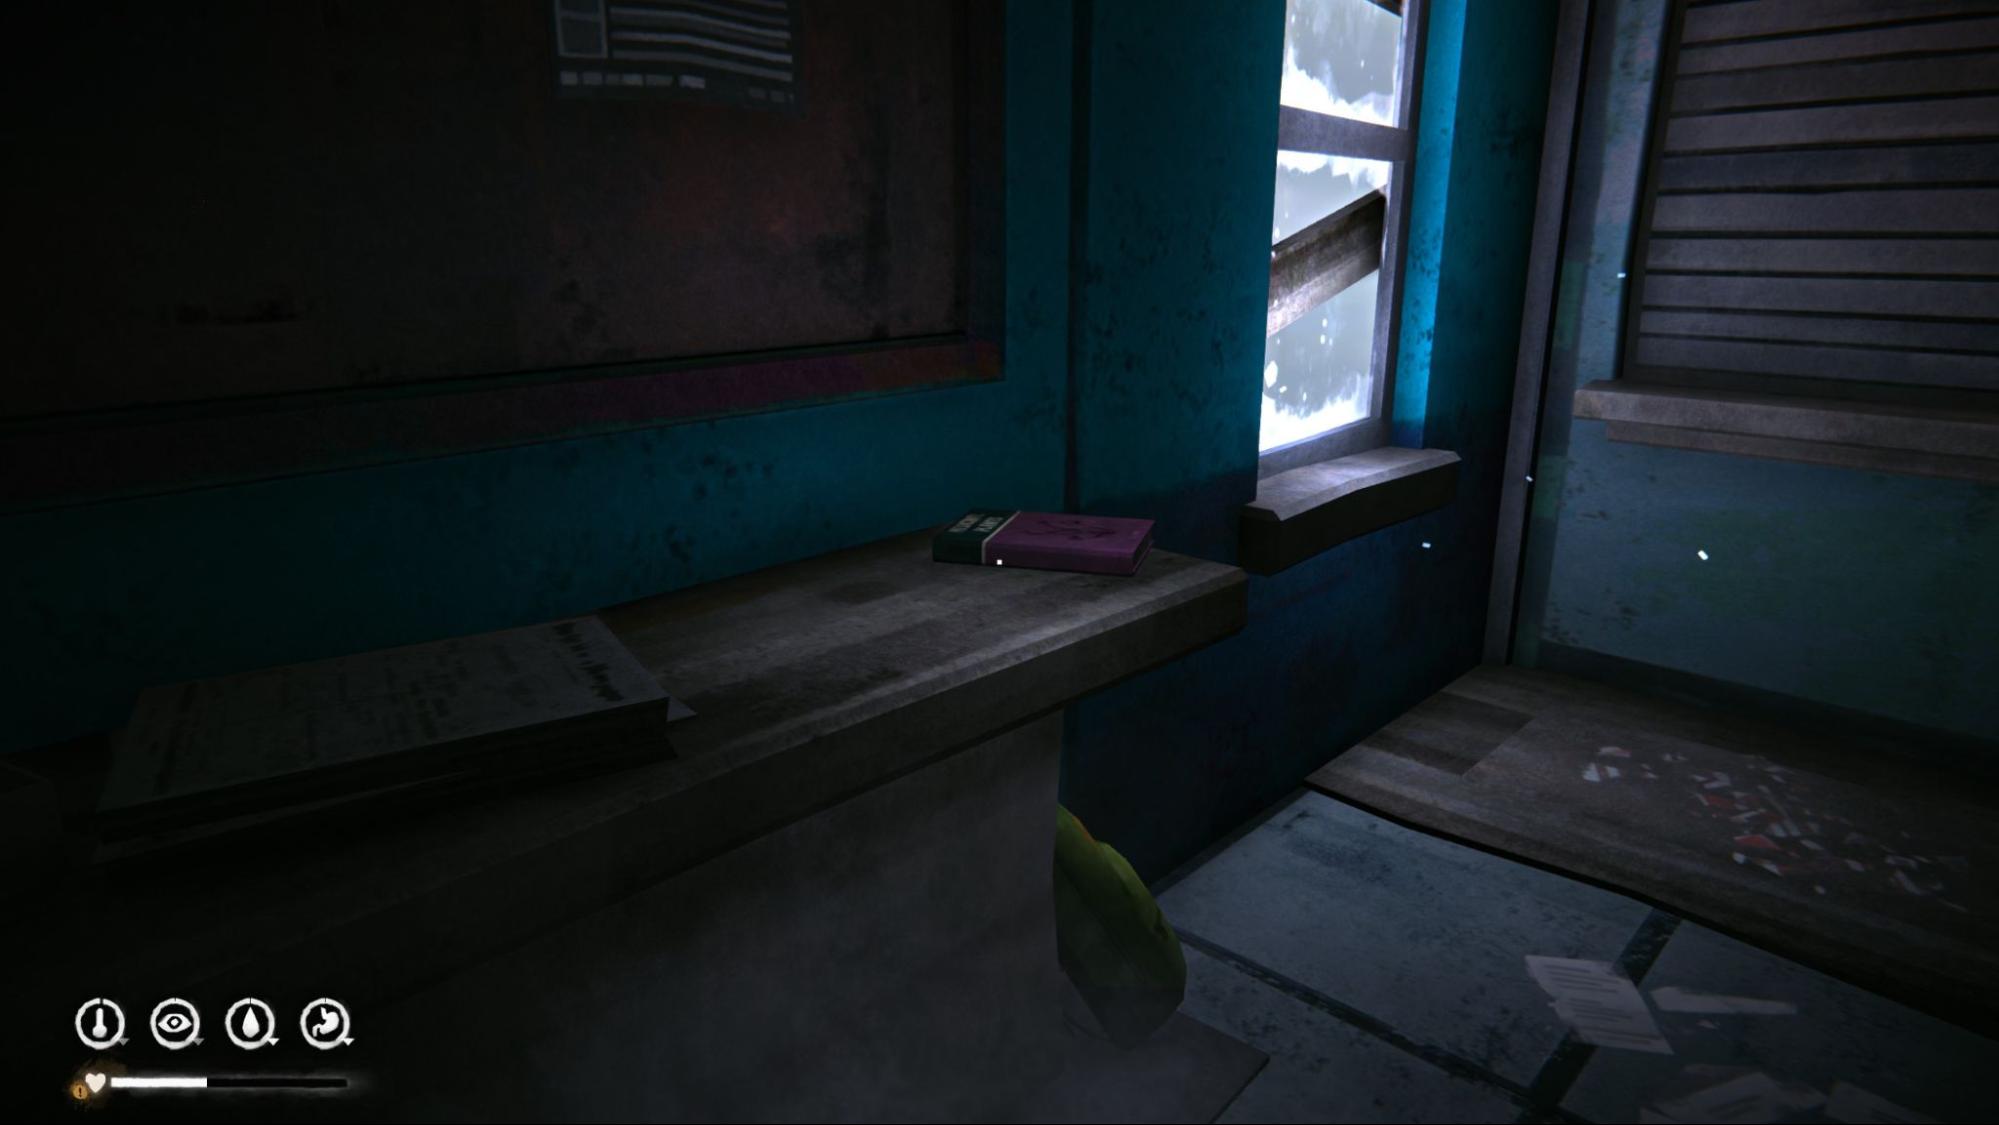
Book #2 - Medicinal Plants: Found at the Milton Post Office. This quest is simple, but with a catch: you must have all crafted medicines in your inventory at the same time for it to count. Crafting and using them immediately will not progress the quest.
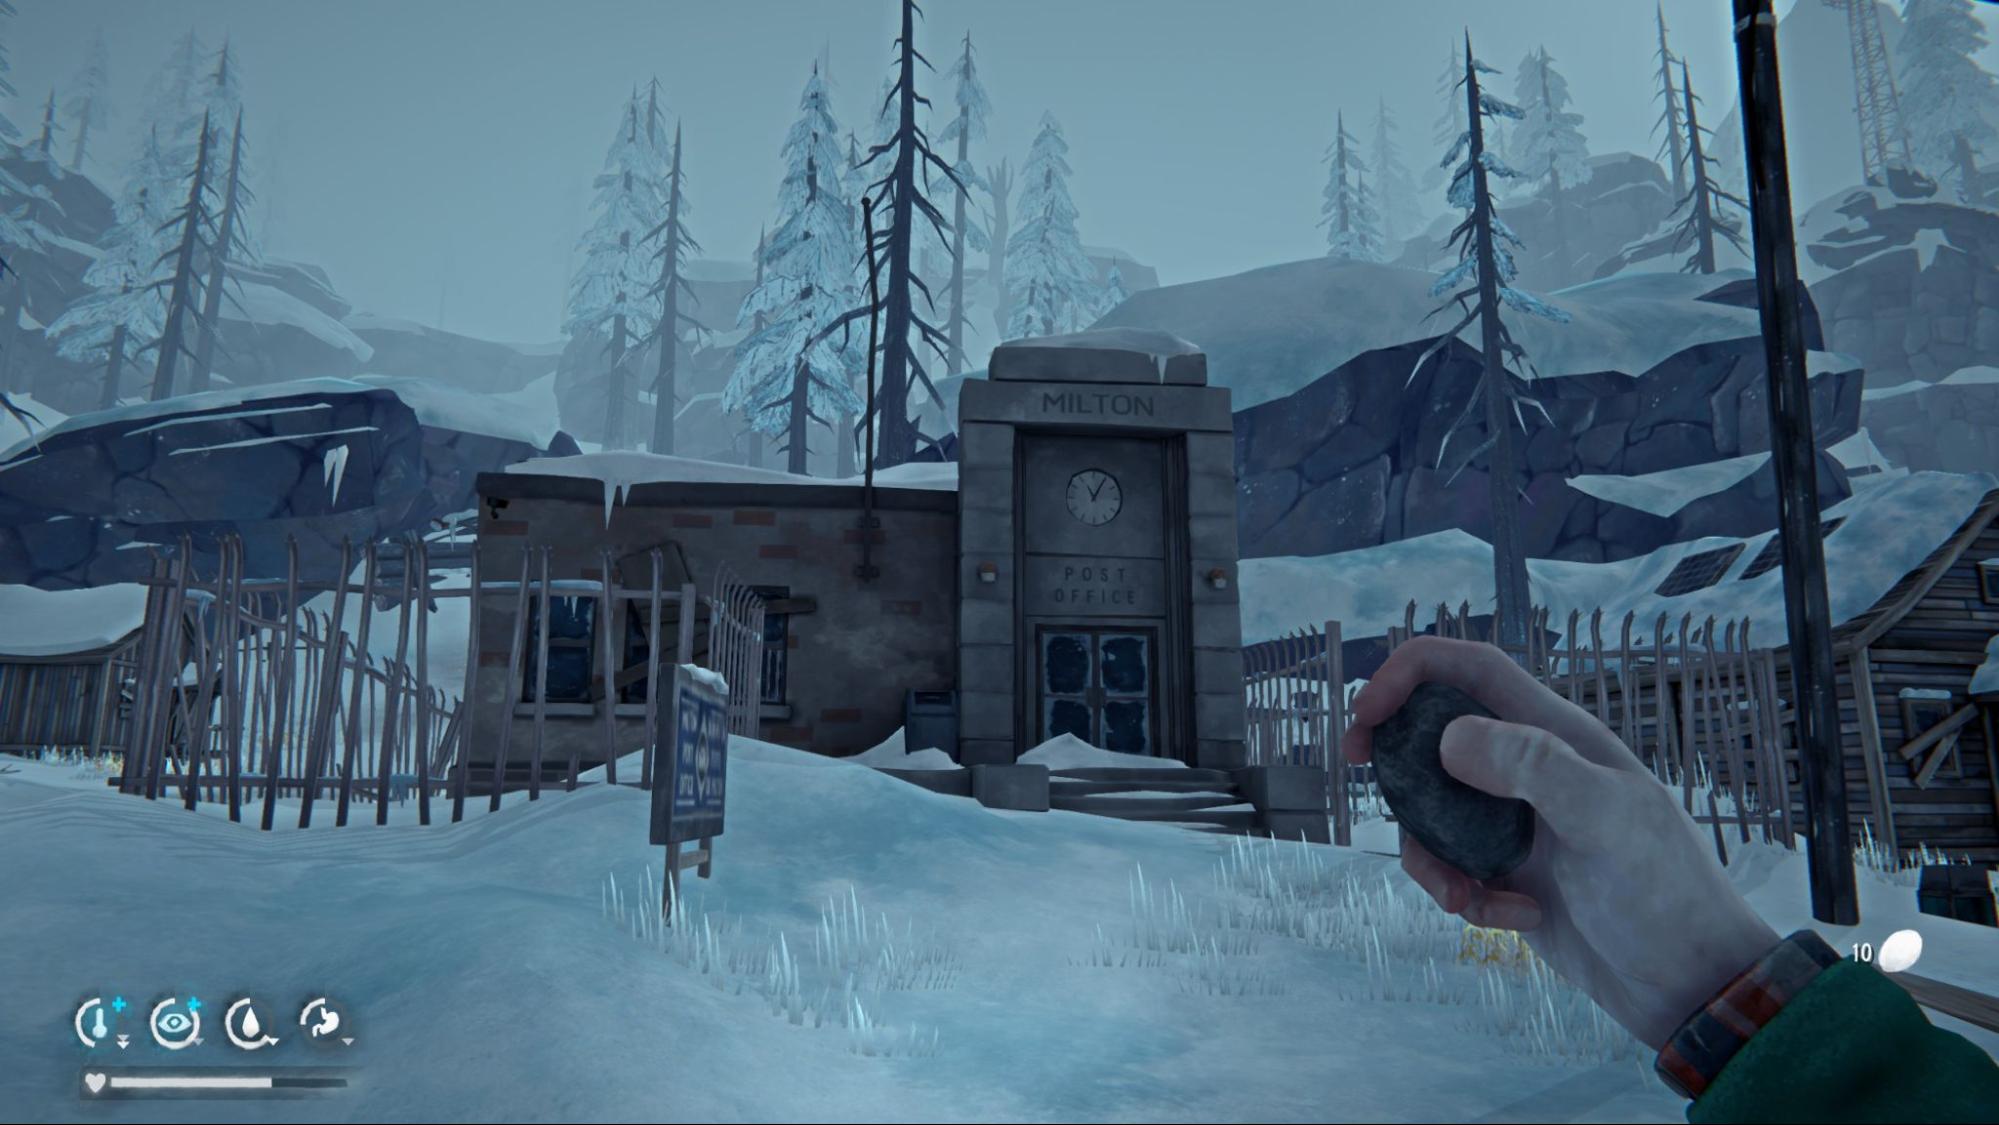
Deposit Key #1: From the Milton Post Office, go towards Orca Gas Station. On the right side of the main road, still in town you will see this house. The key is inside a plastic container under the bed.
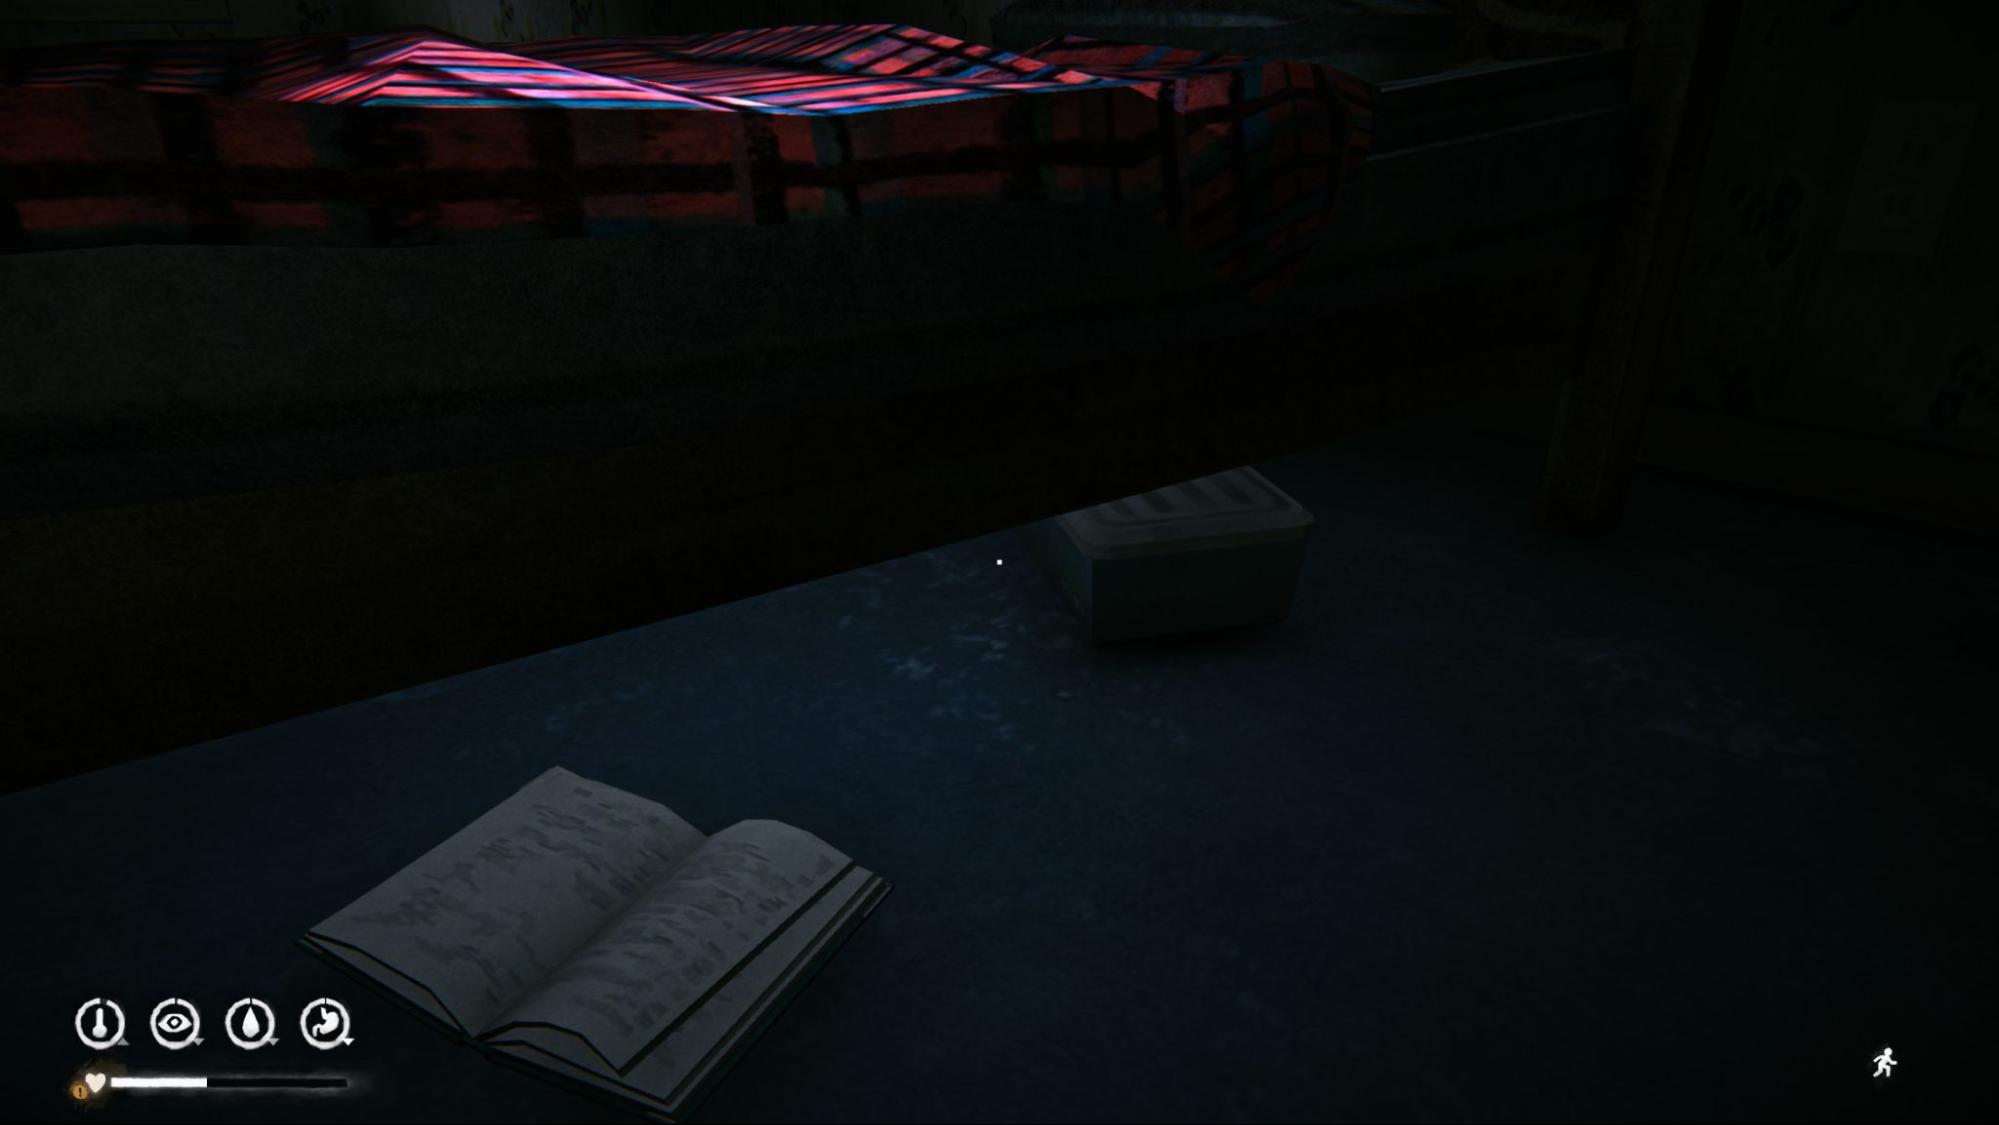
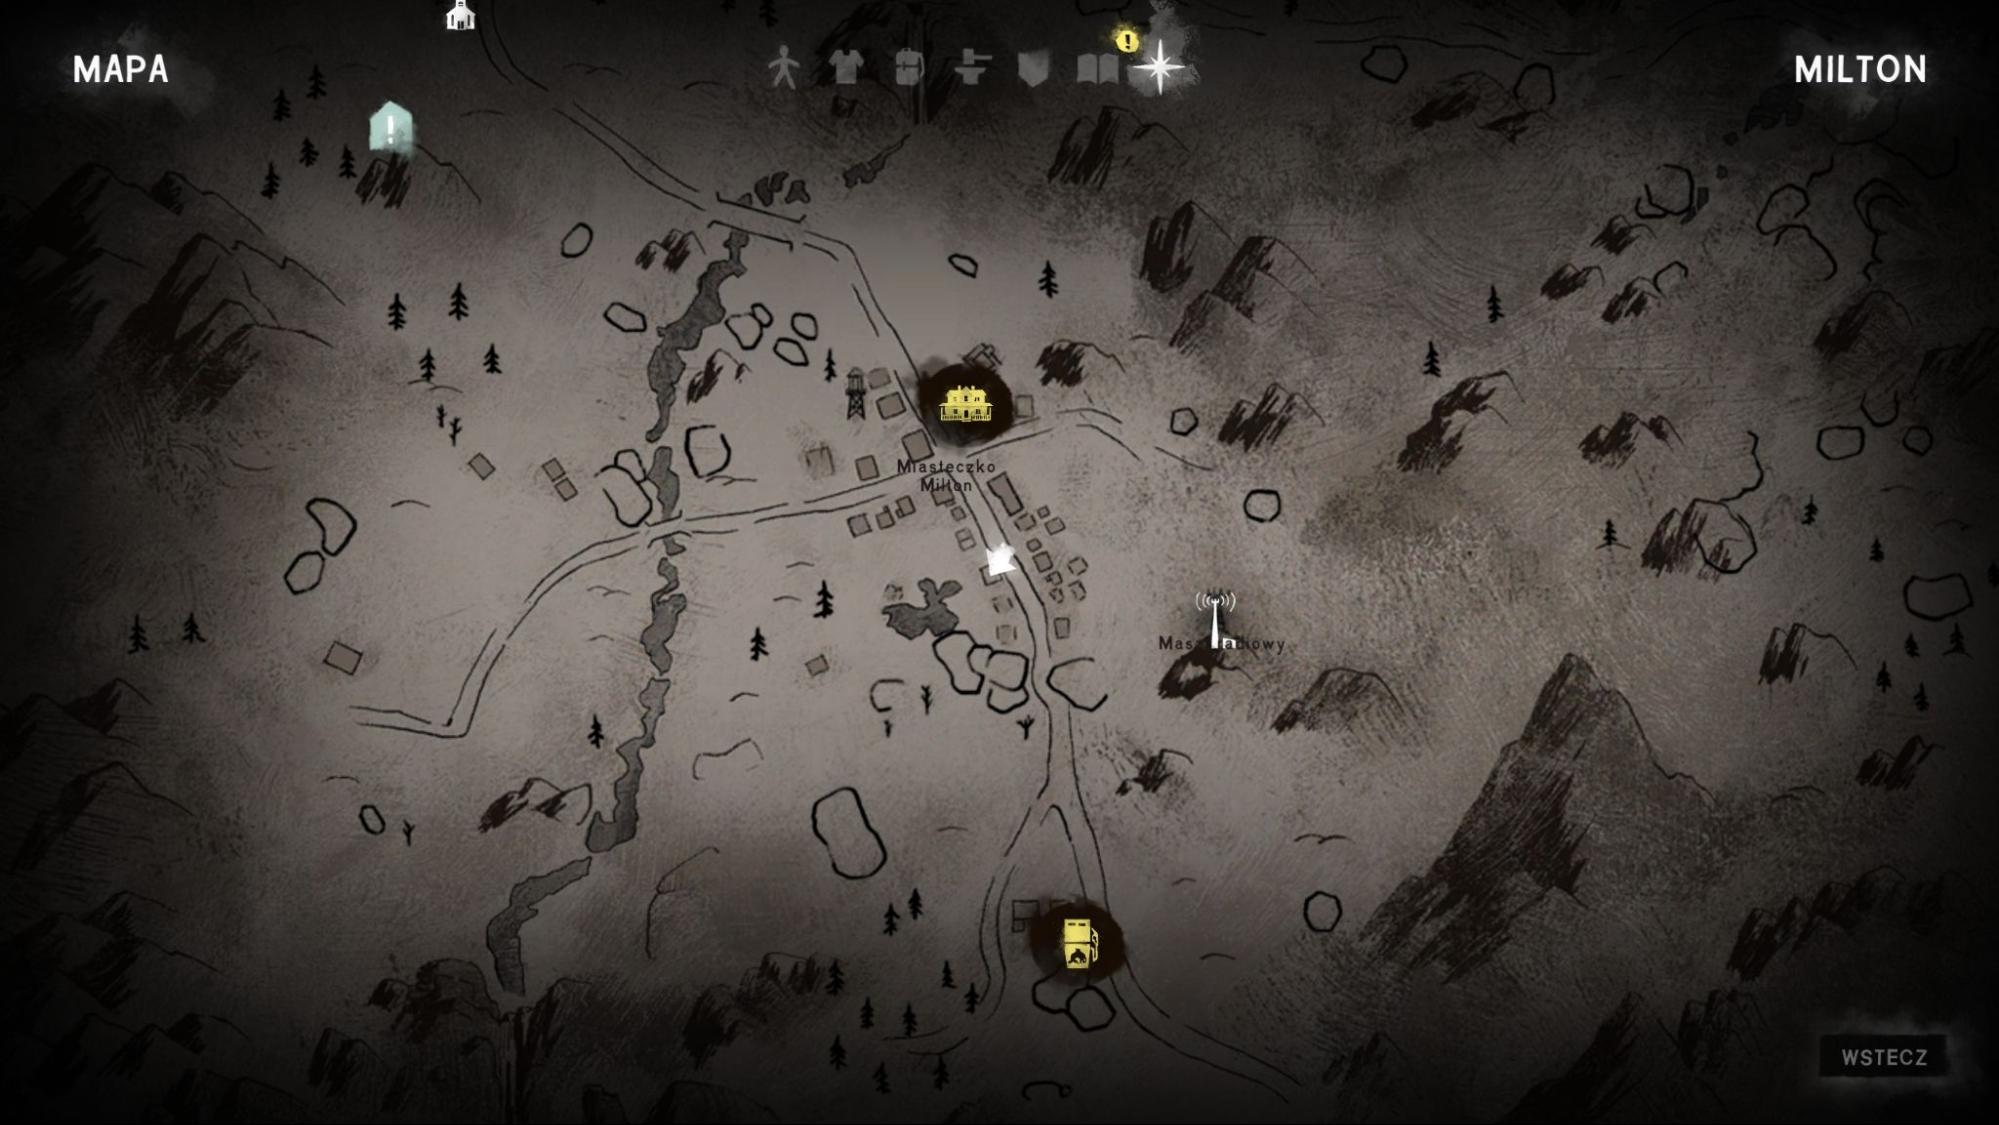
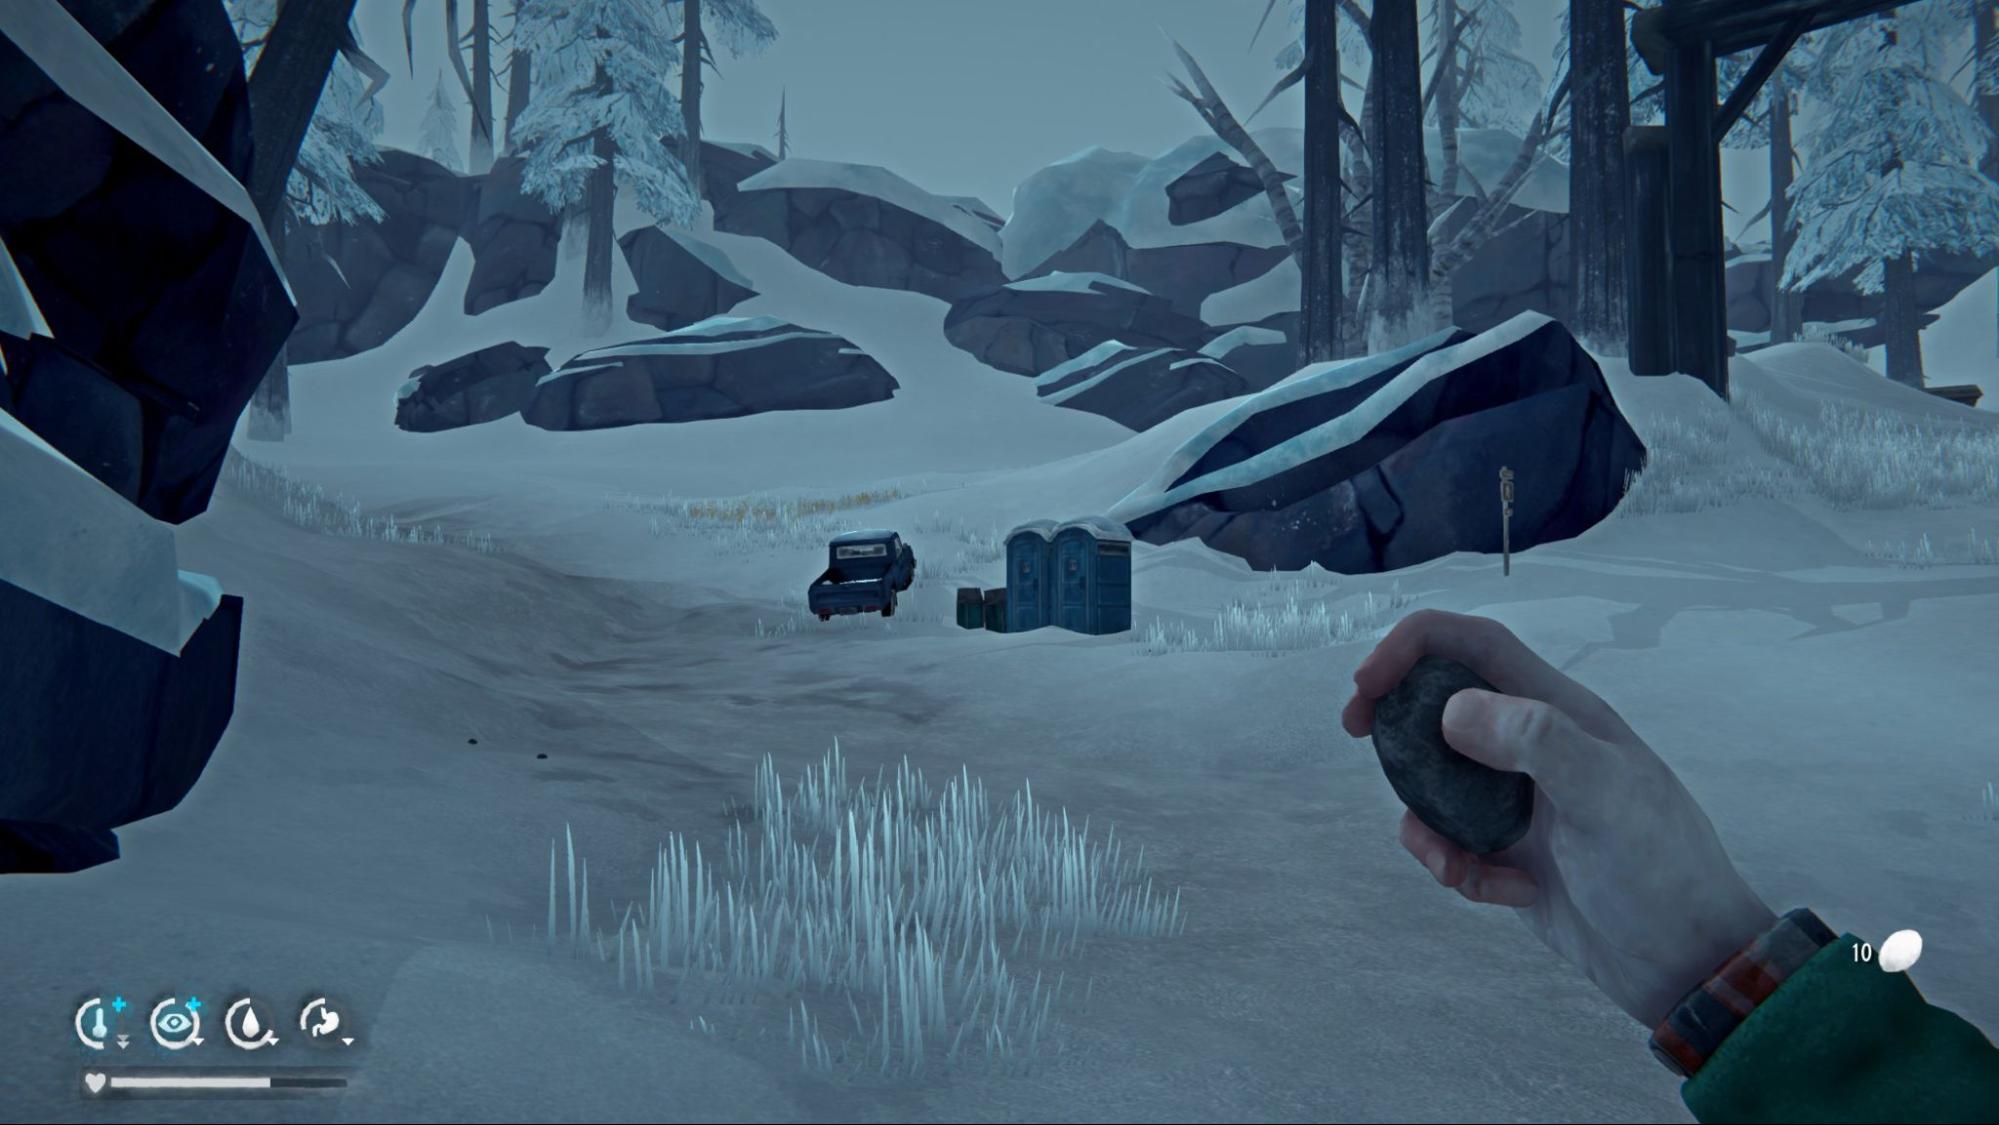
Hidden Cache Note #1 - Milton Hidden Cache Note: At the edge of Milton, inside a car, under the front seat. You’ll see a new map marker pointing to the cache location. Don’t go there yet, it’s better to wait until the side quest “One Last Thing” becomes available, since the cache is right next to it.
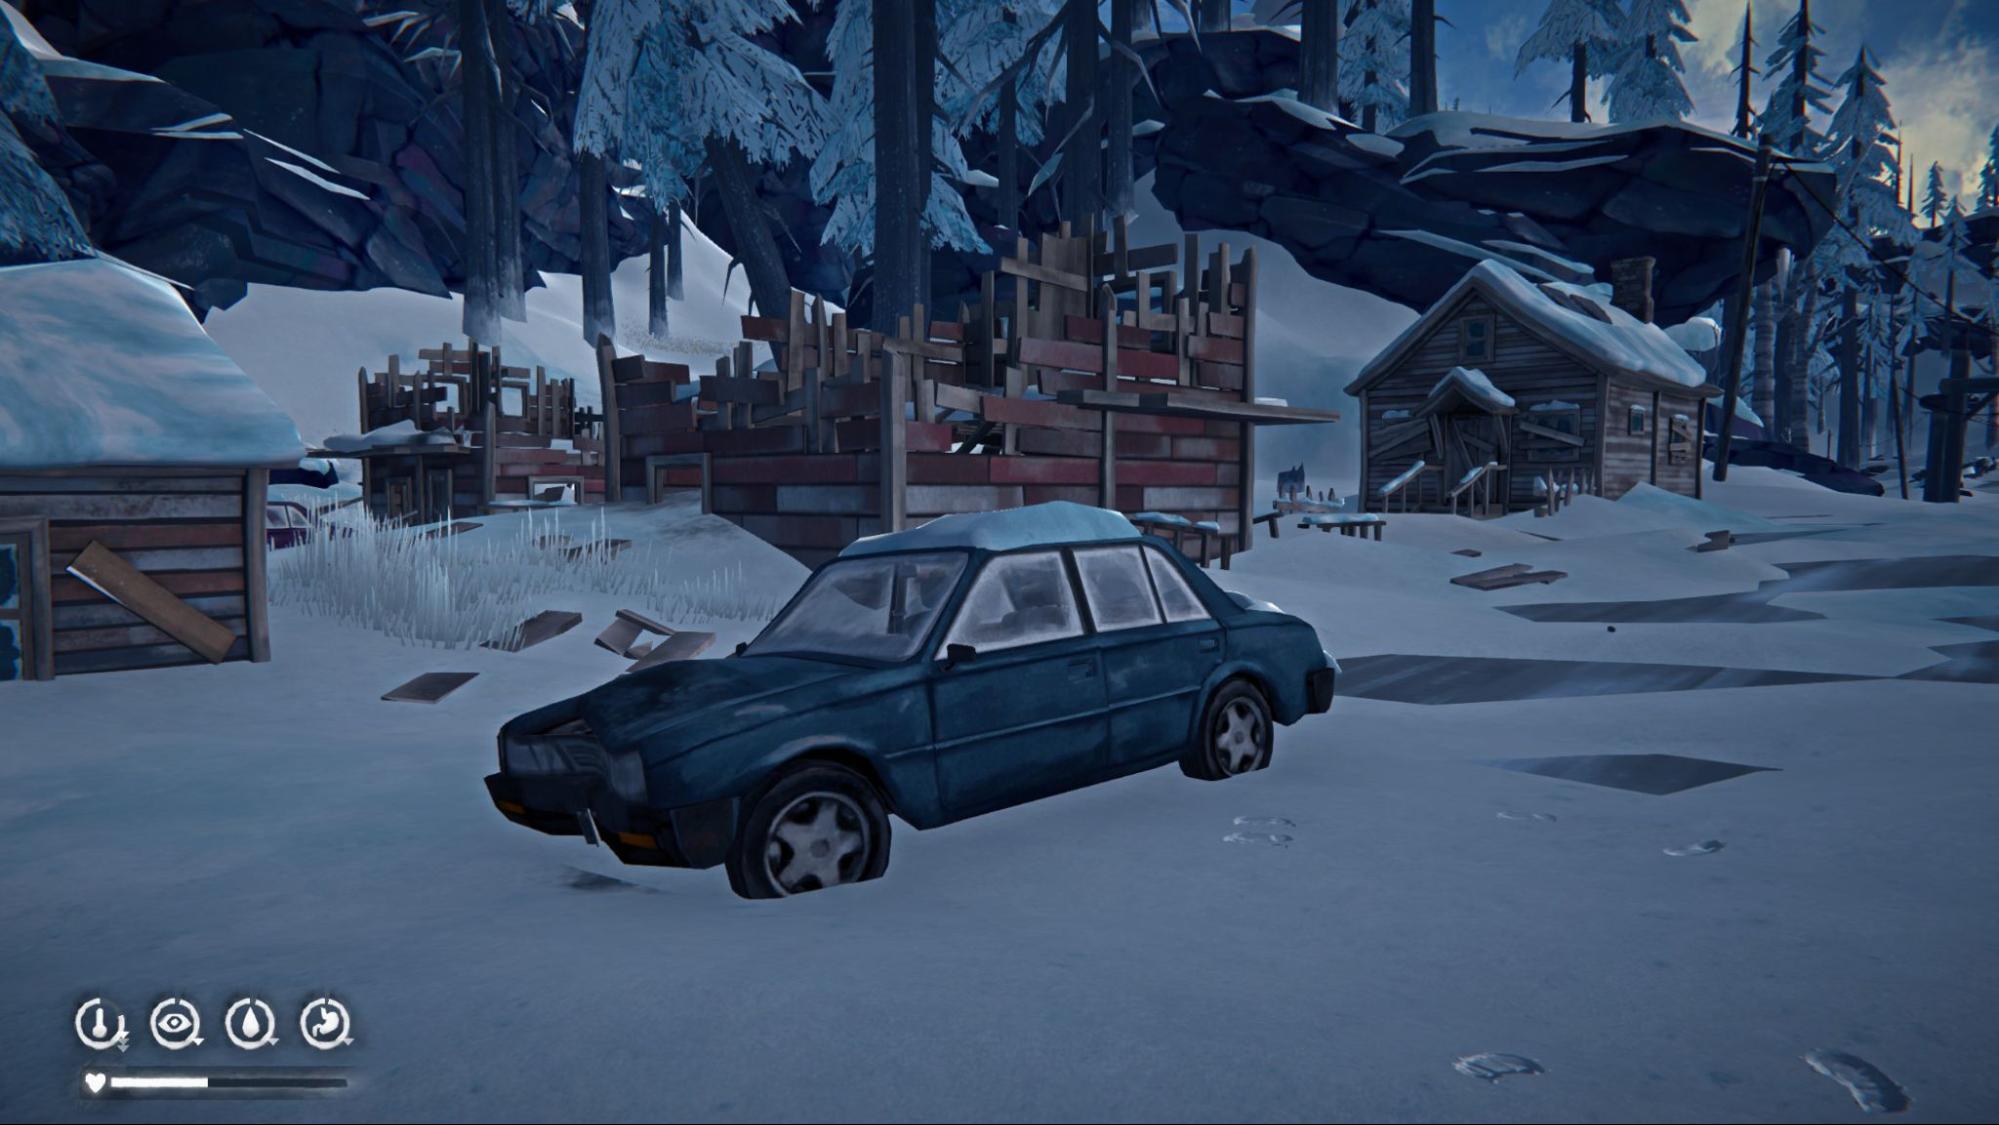
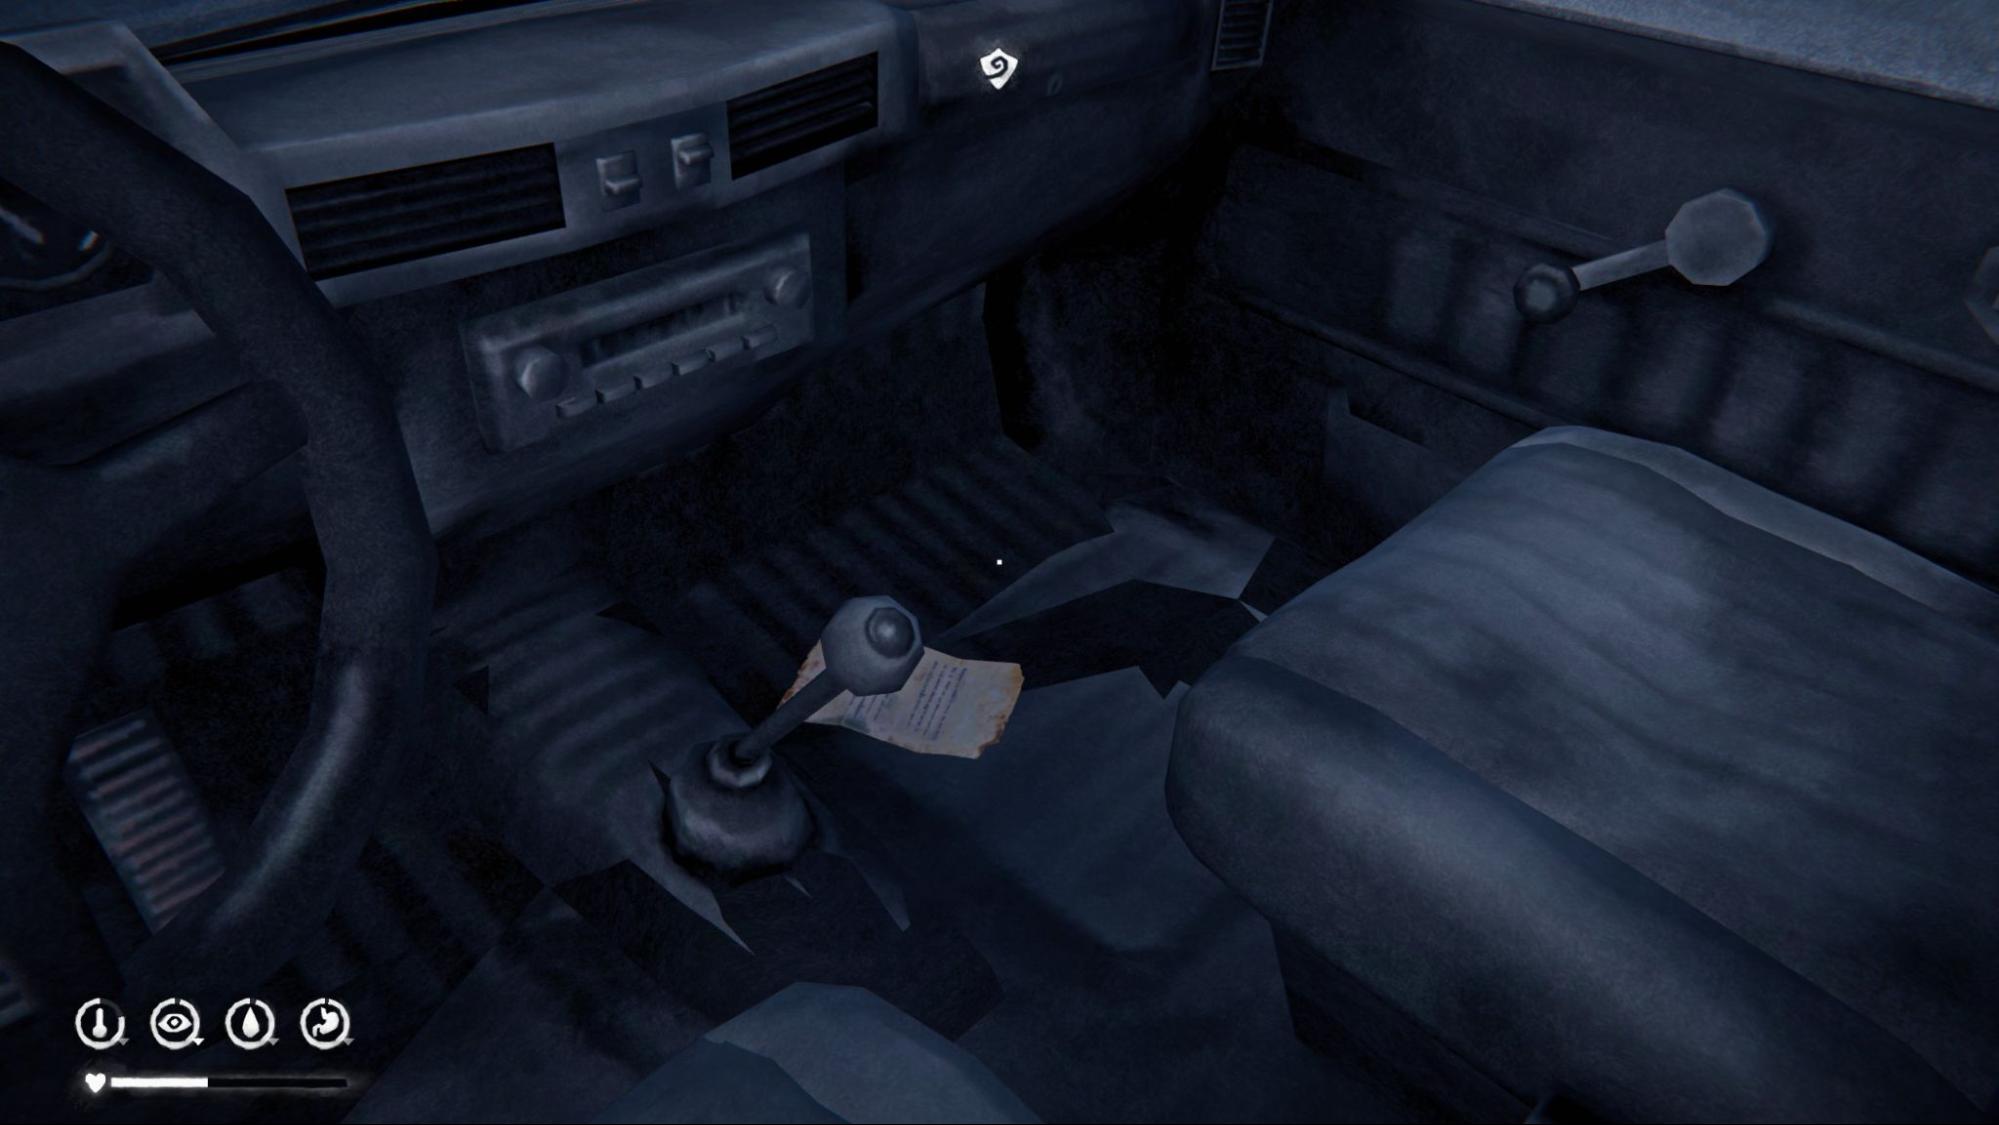
Deposit Key #2: Behind Orca Gas Station there is a blue pickup truck. The key is in the car.
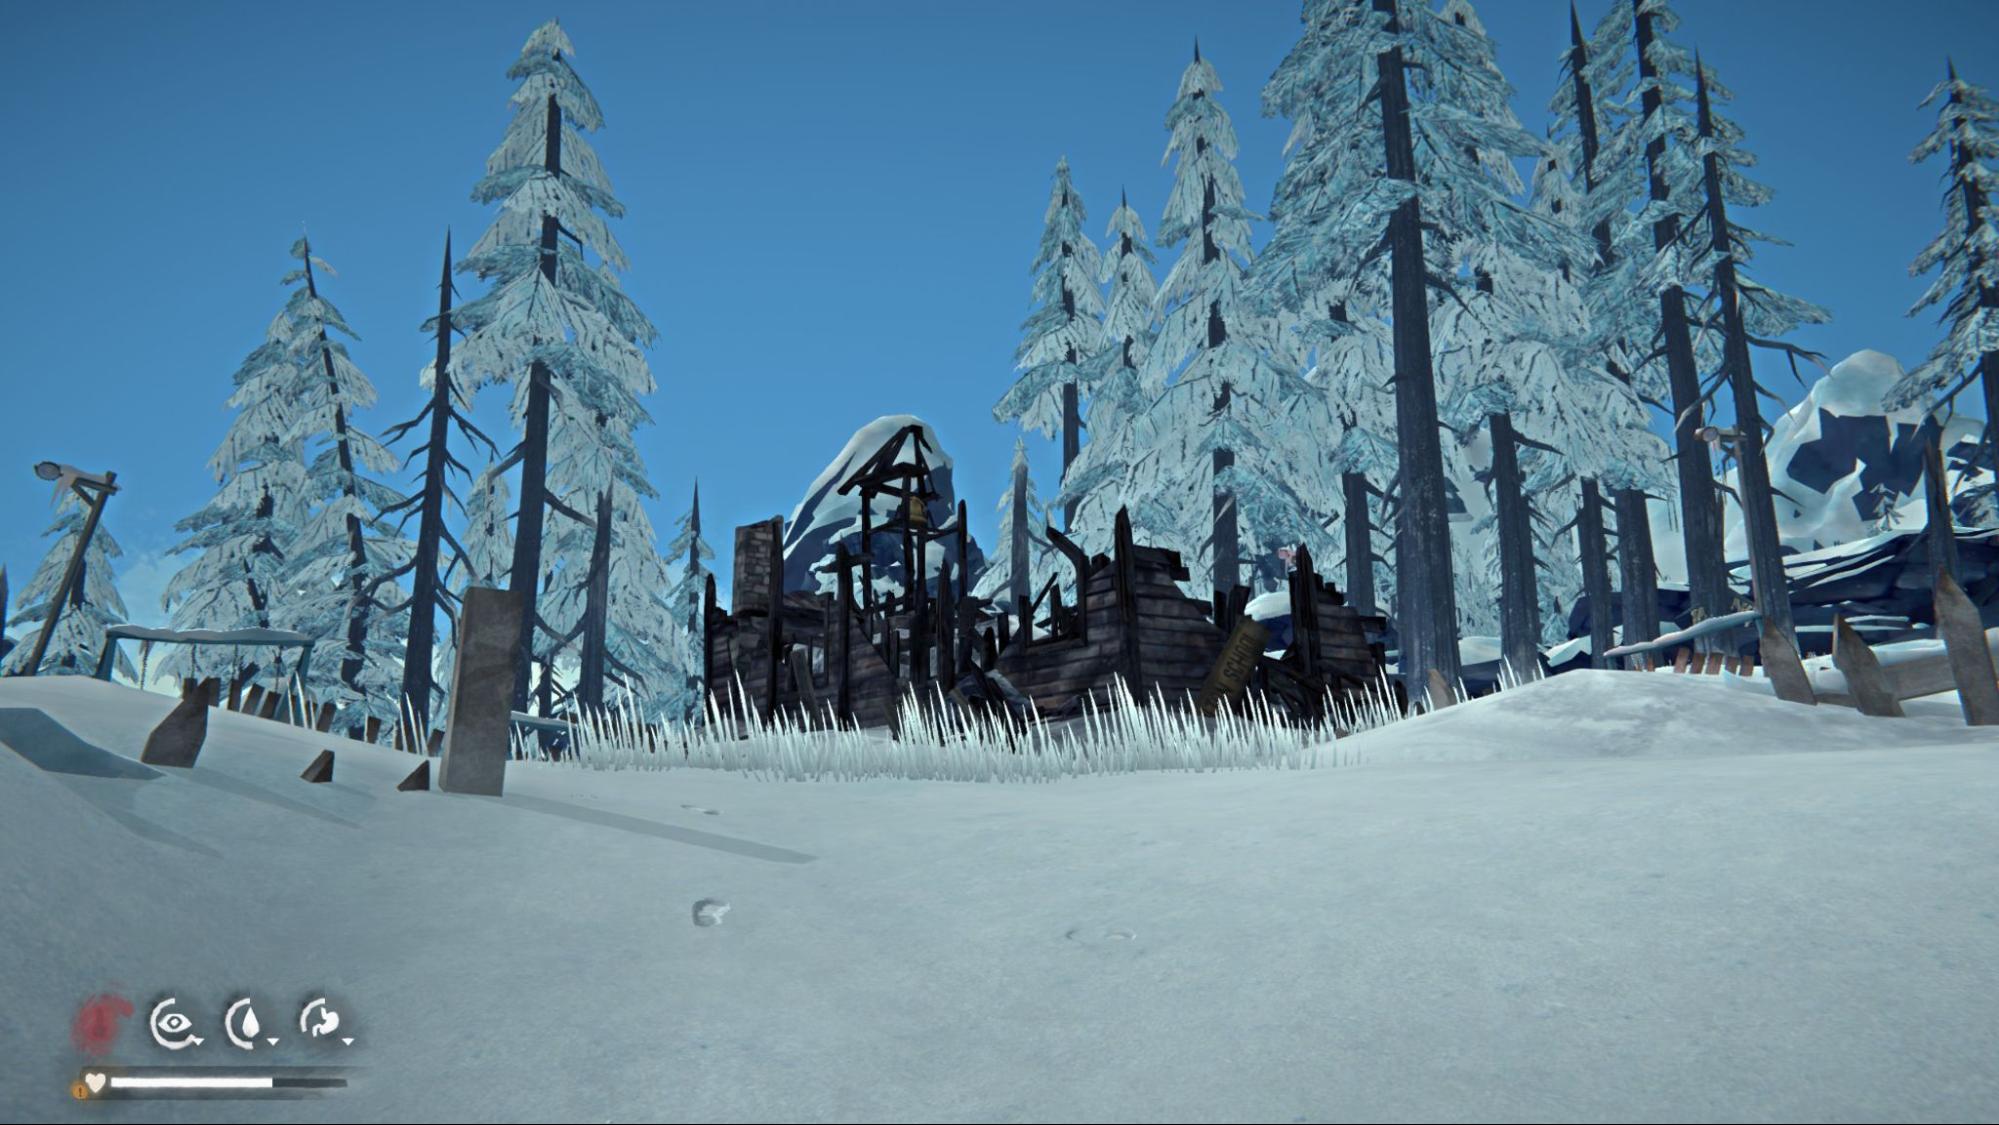
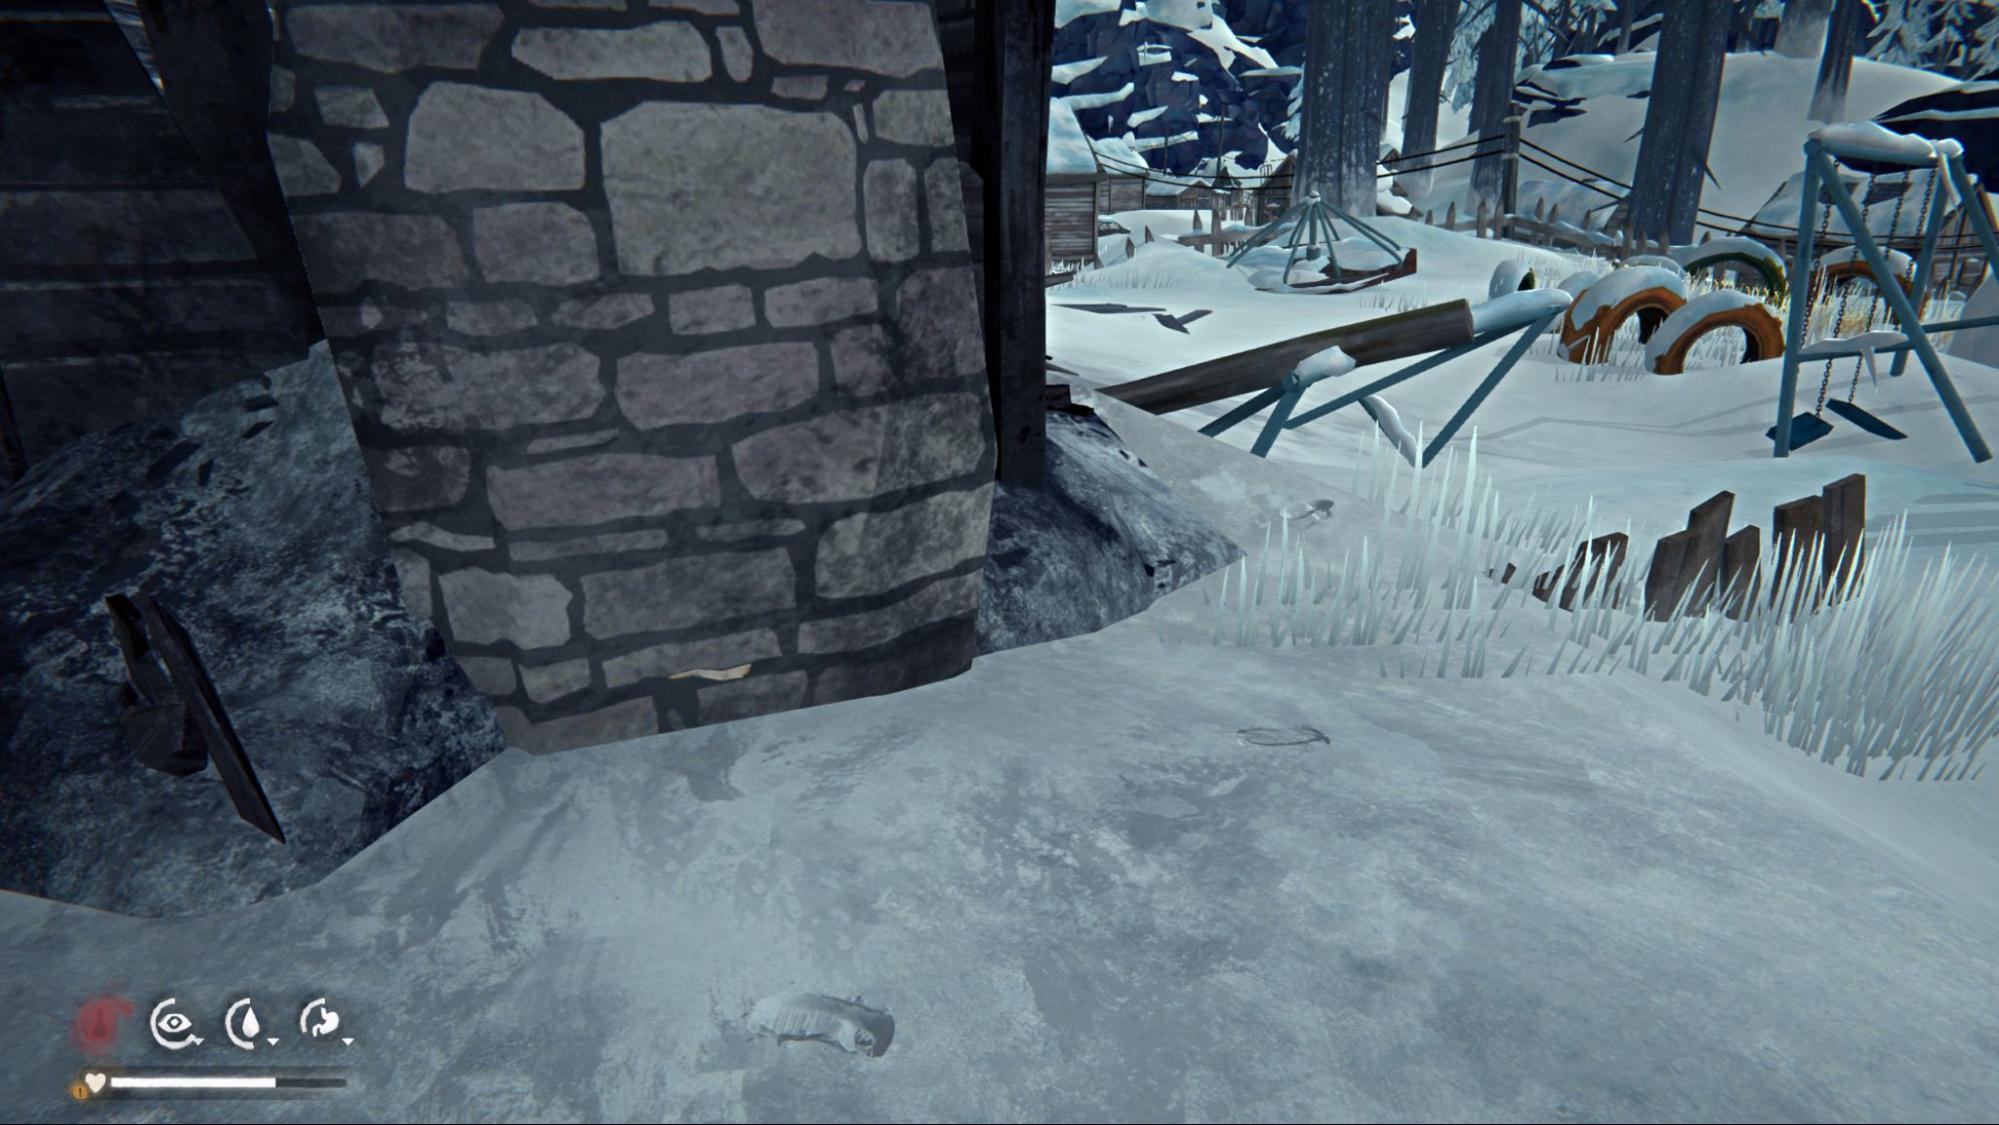
Hidden Cache Note #2 - Medicine in my Backyard: When leaving Grey Mother’s house, look straight ahead for a burned building - the Old Schoolhouse. At the back of it, you’ll find the note stuck between chimney bricks. This cache is easy to grab whenever you pass through Milton.
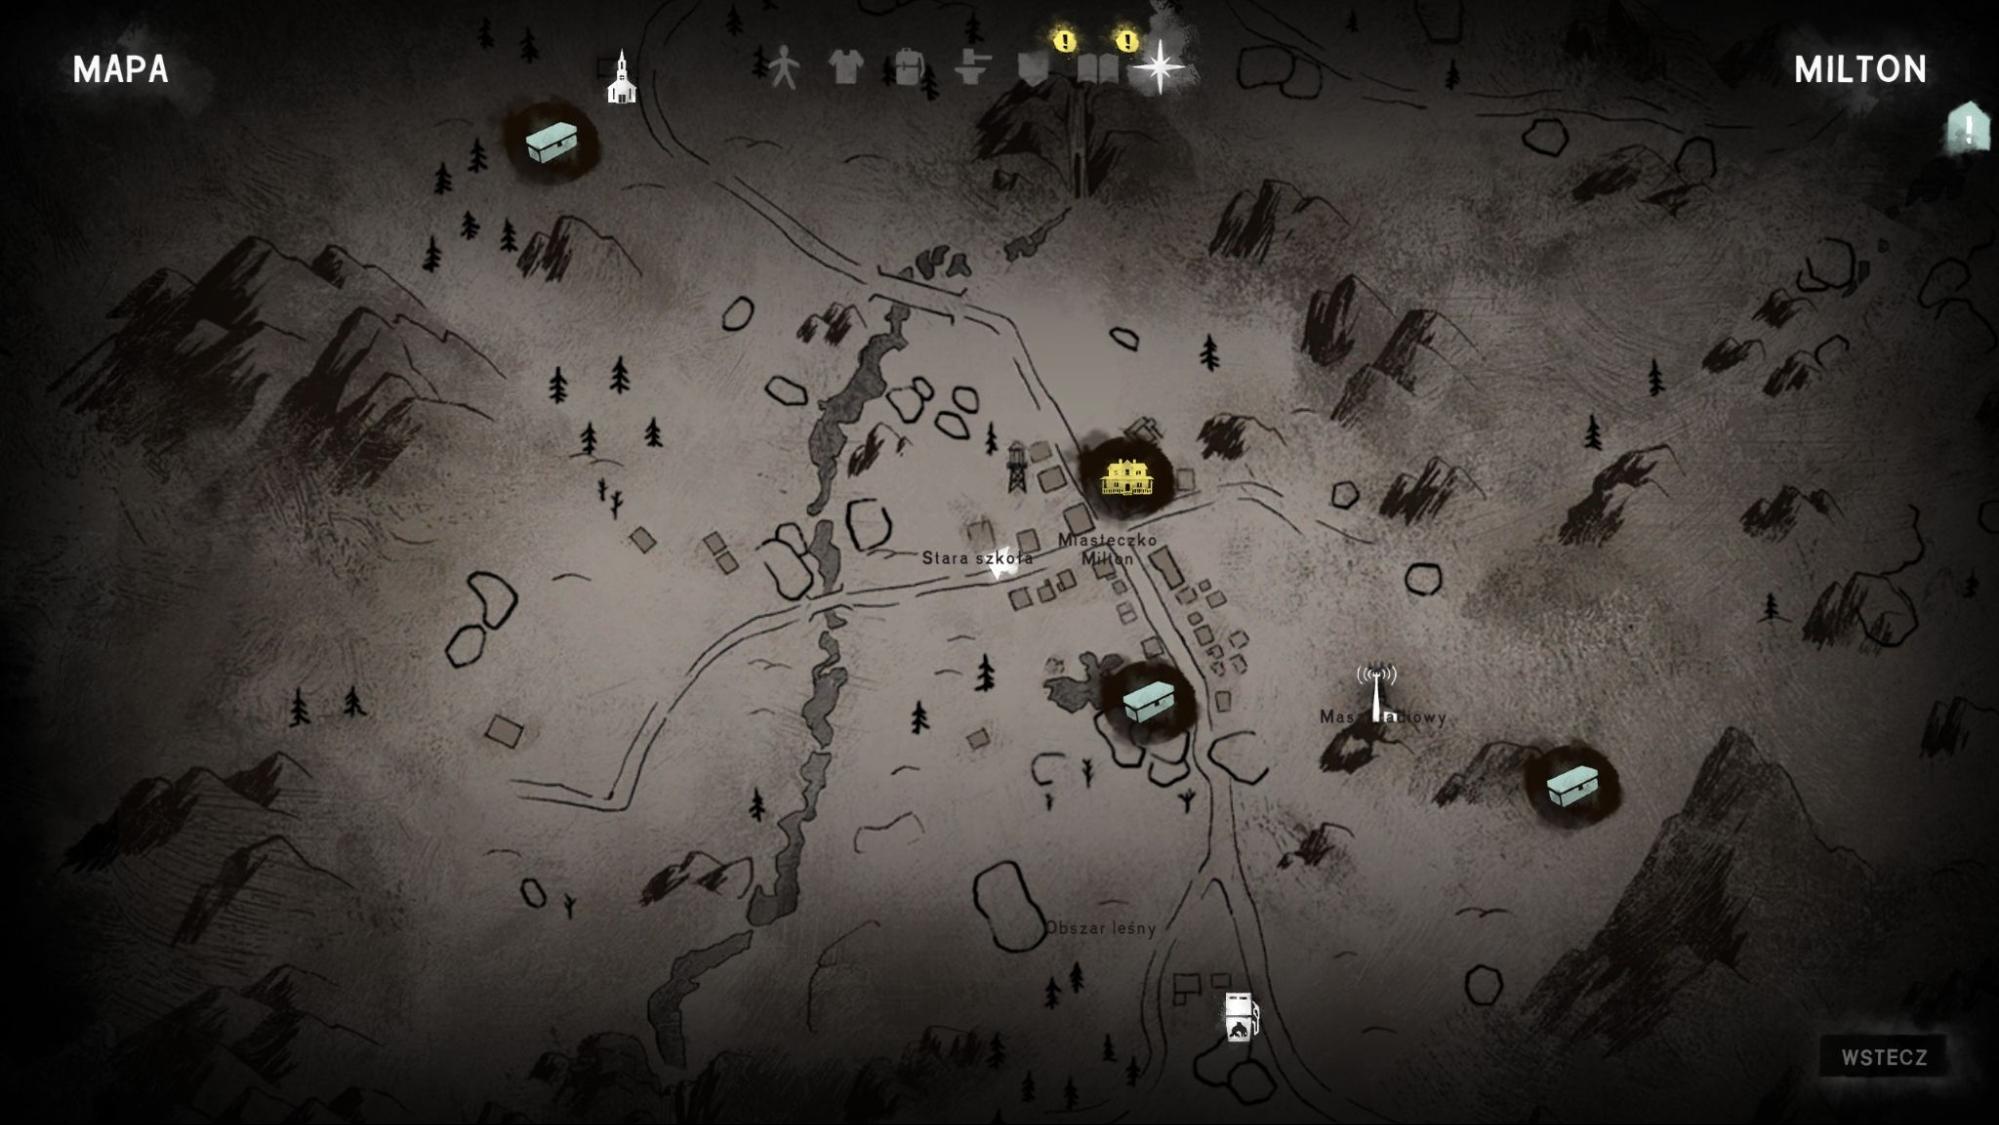
Hidden Cache Note #3 - Cave Hidden Cache Note: From the Old Schoolhouse, head southwest until you reach a house on top of a hill with wooden stairs leading up to it. The note is on the mattress inside. This cache is unfortunately out of the way. Remember the place overlooking Milton with the first frozen body you saw? It’s even further away, meaning you’ll need to return the way you originally entered Milton. Just make sure to grab it before the episode ends.
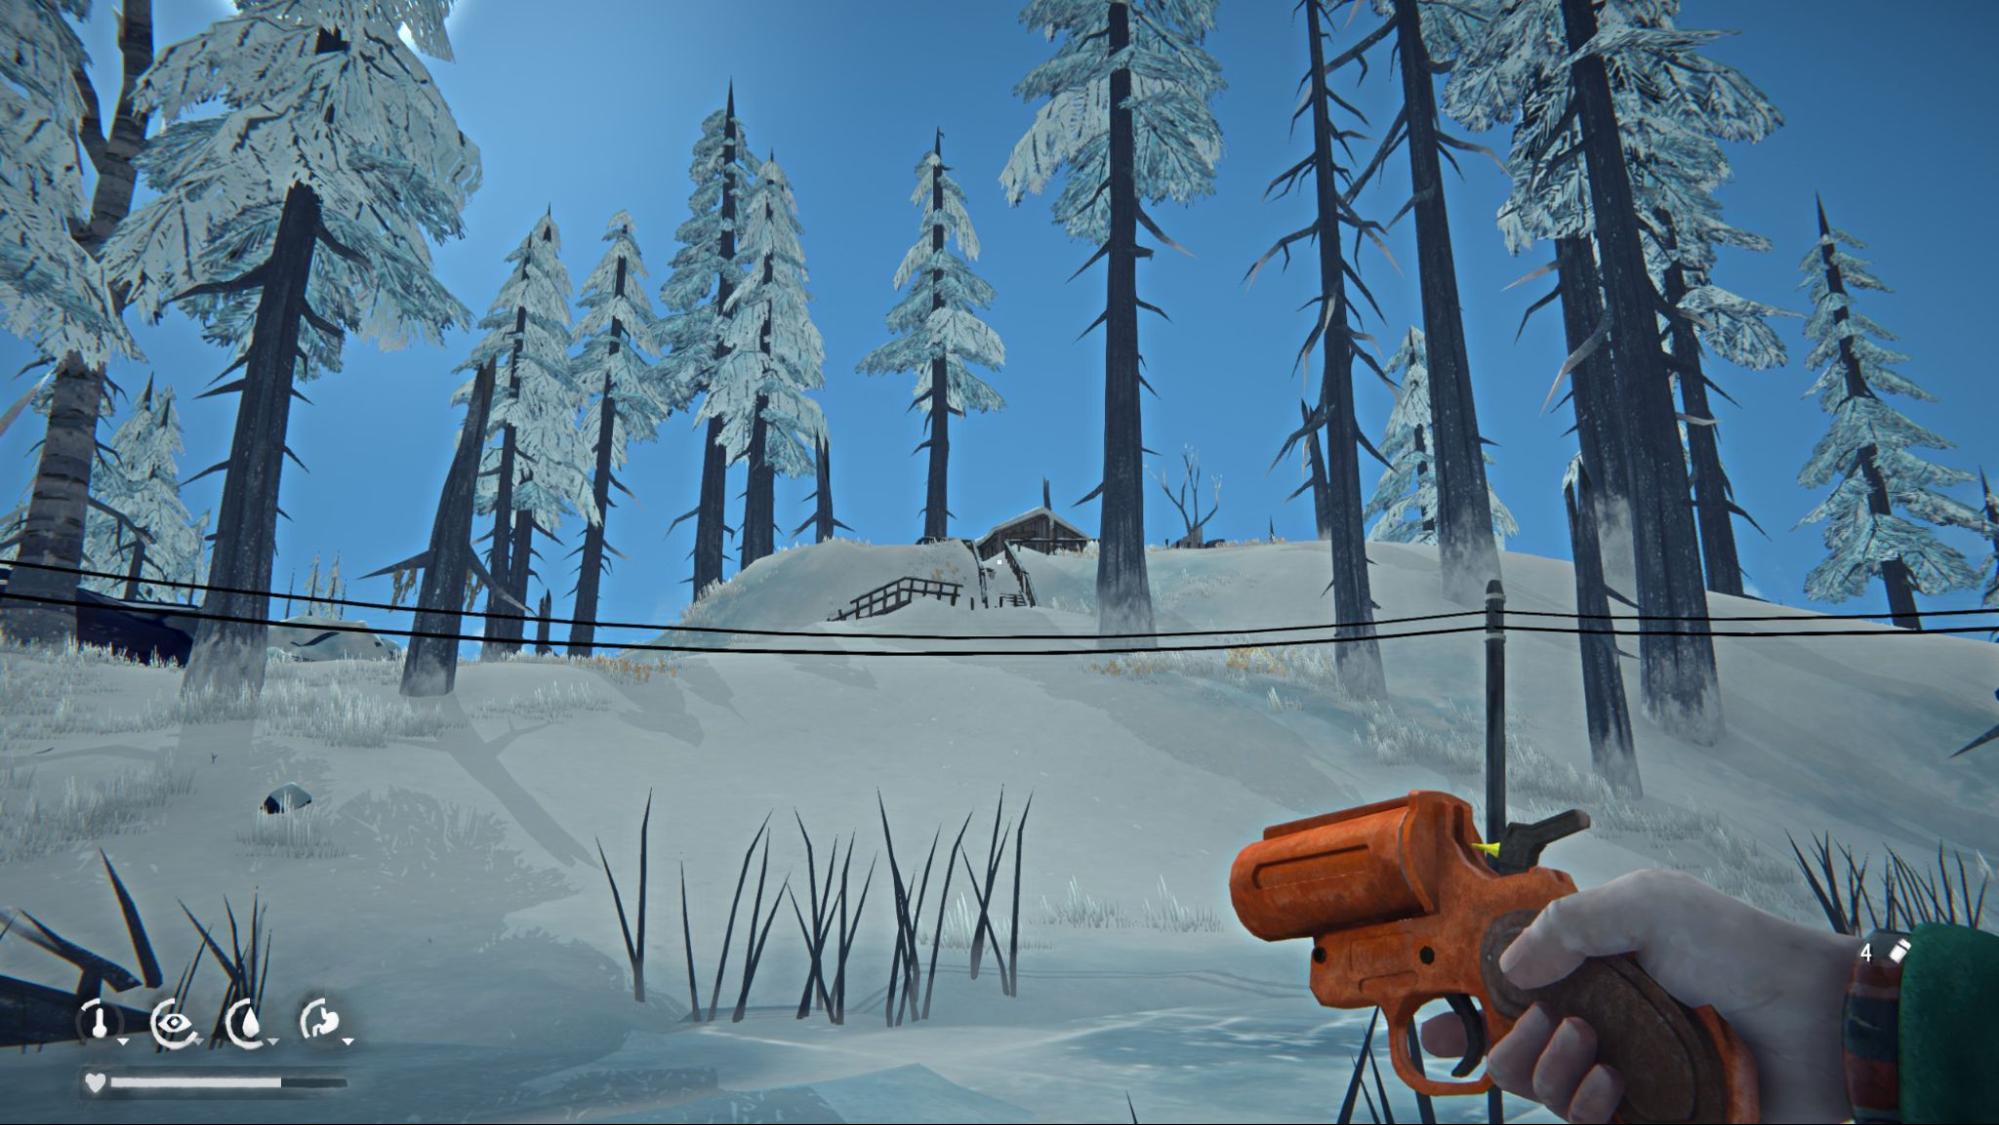
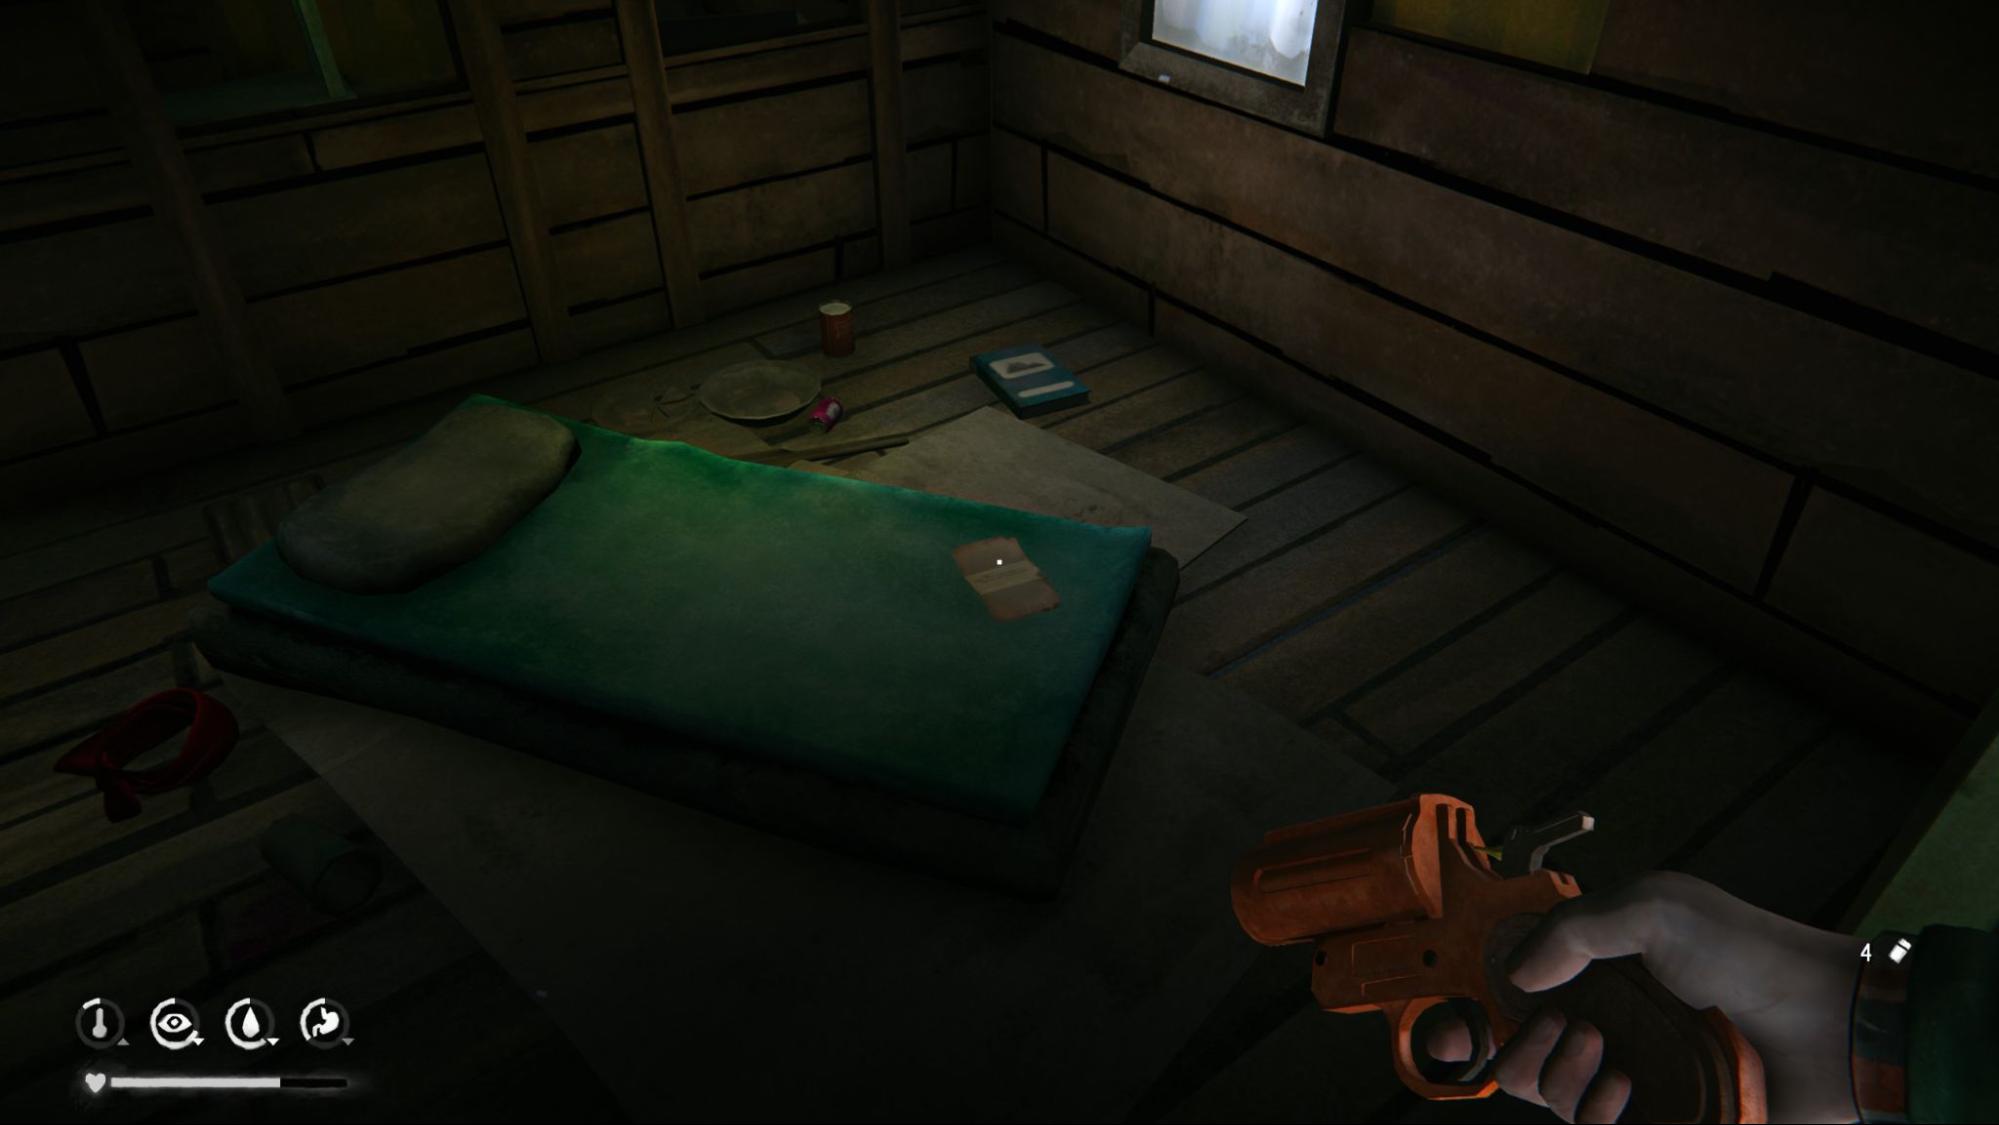
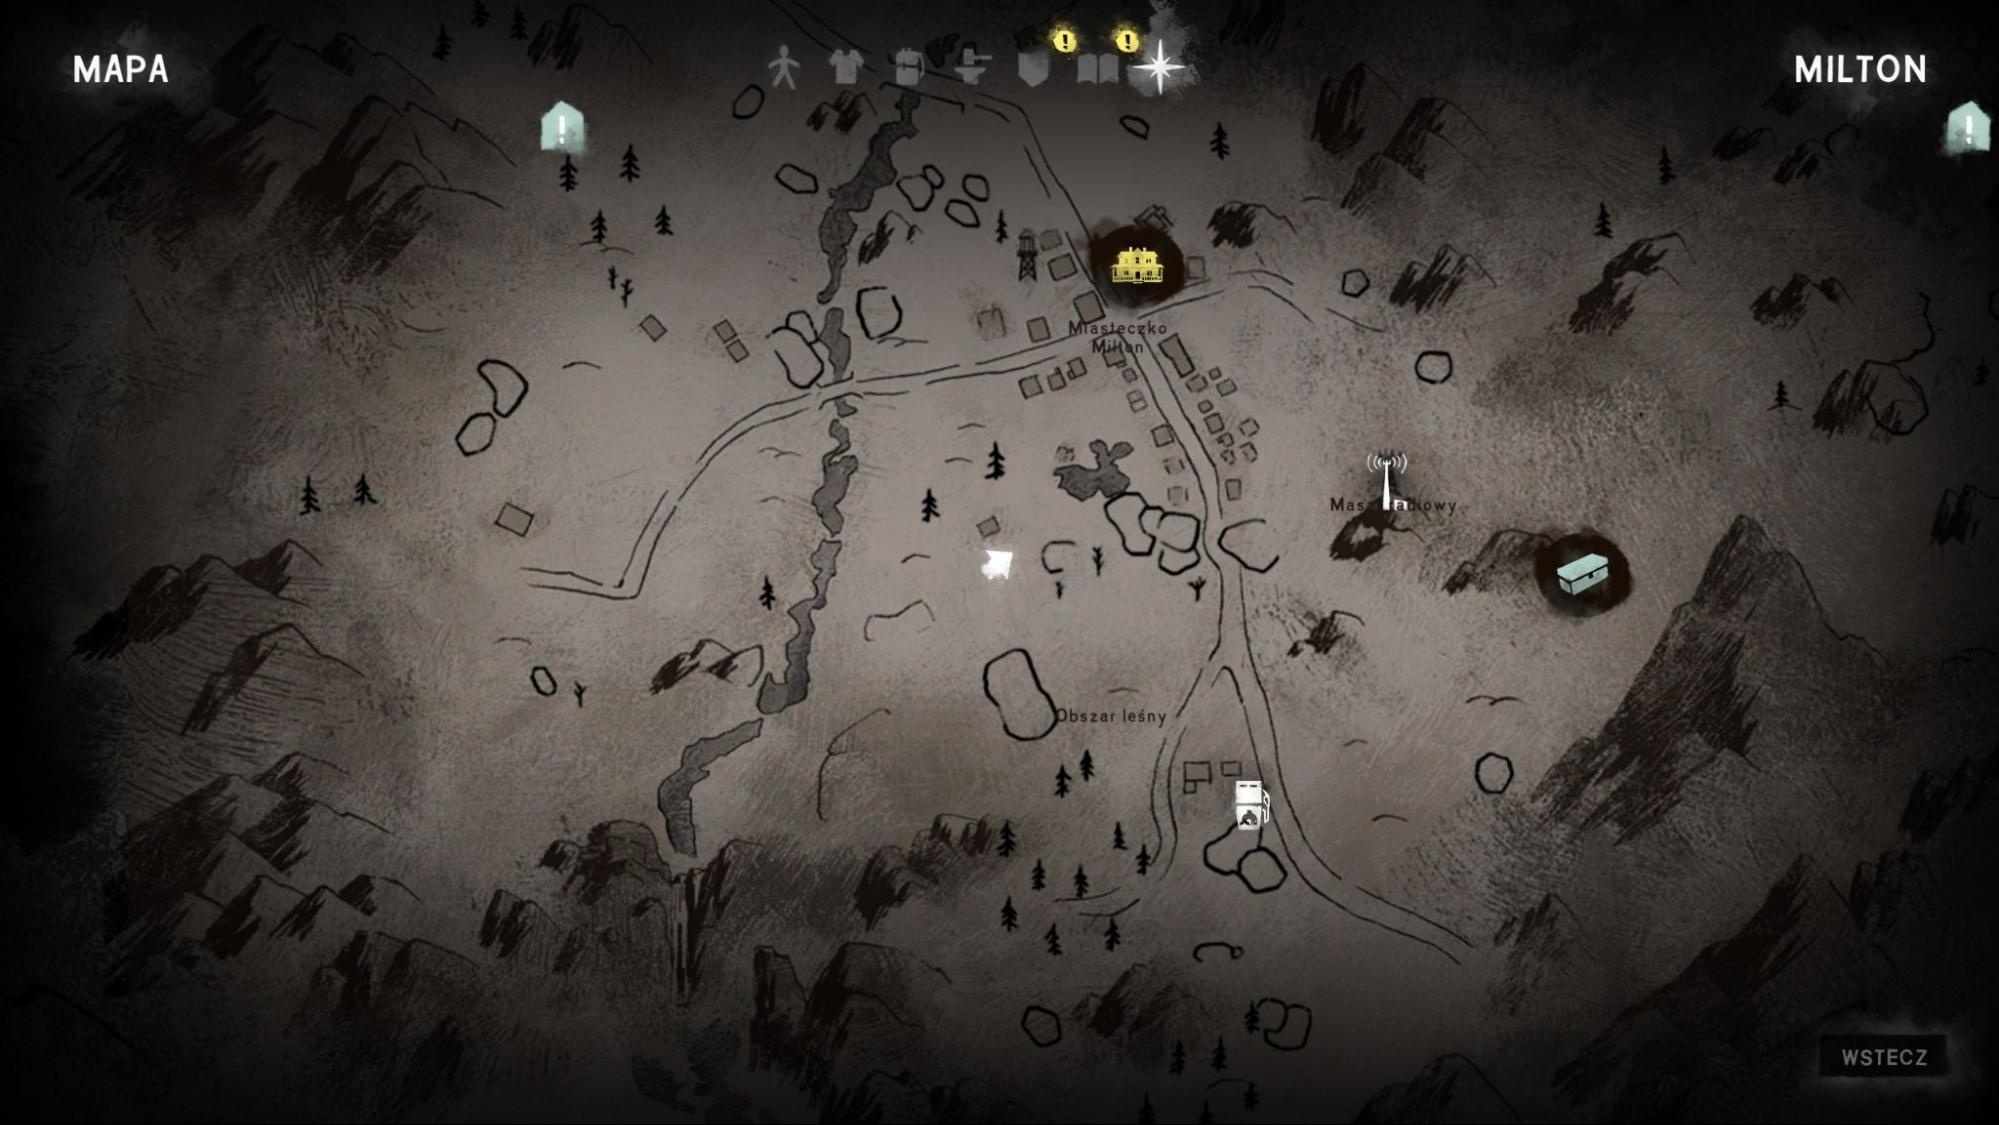
 Achievement #3 - The Long Winter: Story-related. Gather supplies for Grey Mother to unlock this achievement.
Deposit Key #3: Story-related. Grey Mother sends you to Paradise Meadows Farm. The key is inside the farmhouse next to Hobbs.
Book #3 - Field Dressing: Found on the workbench at Paradise Meadows Farm, right next to the farmhouse. I’ll encourage you to start this quest as soon as possible, cause catching a rabbit takes around 12 in-game hours to complete. Just place it near the rabbit-rich place and wait.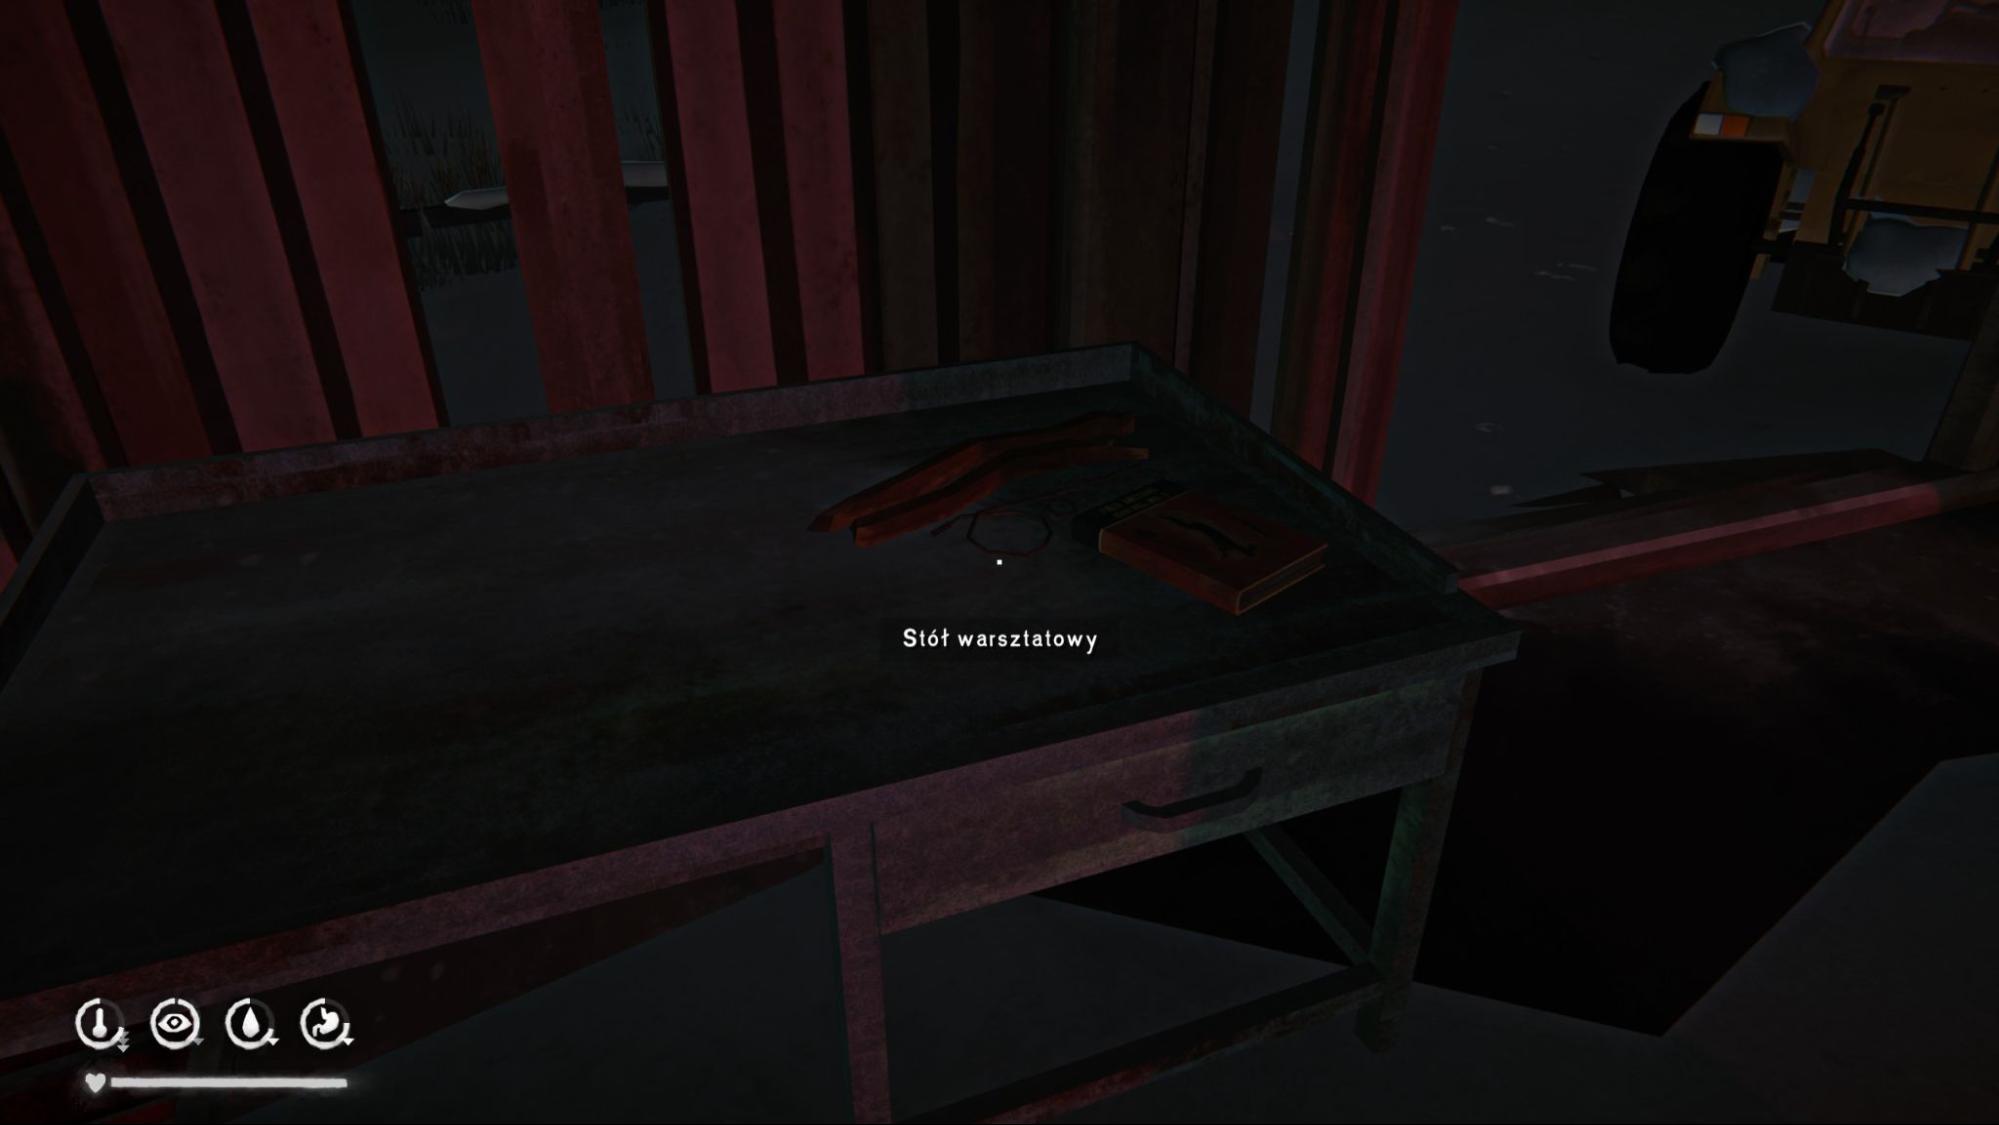
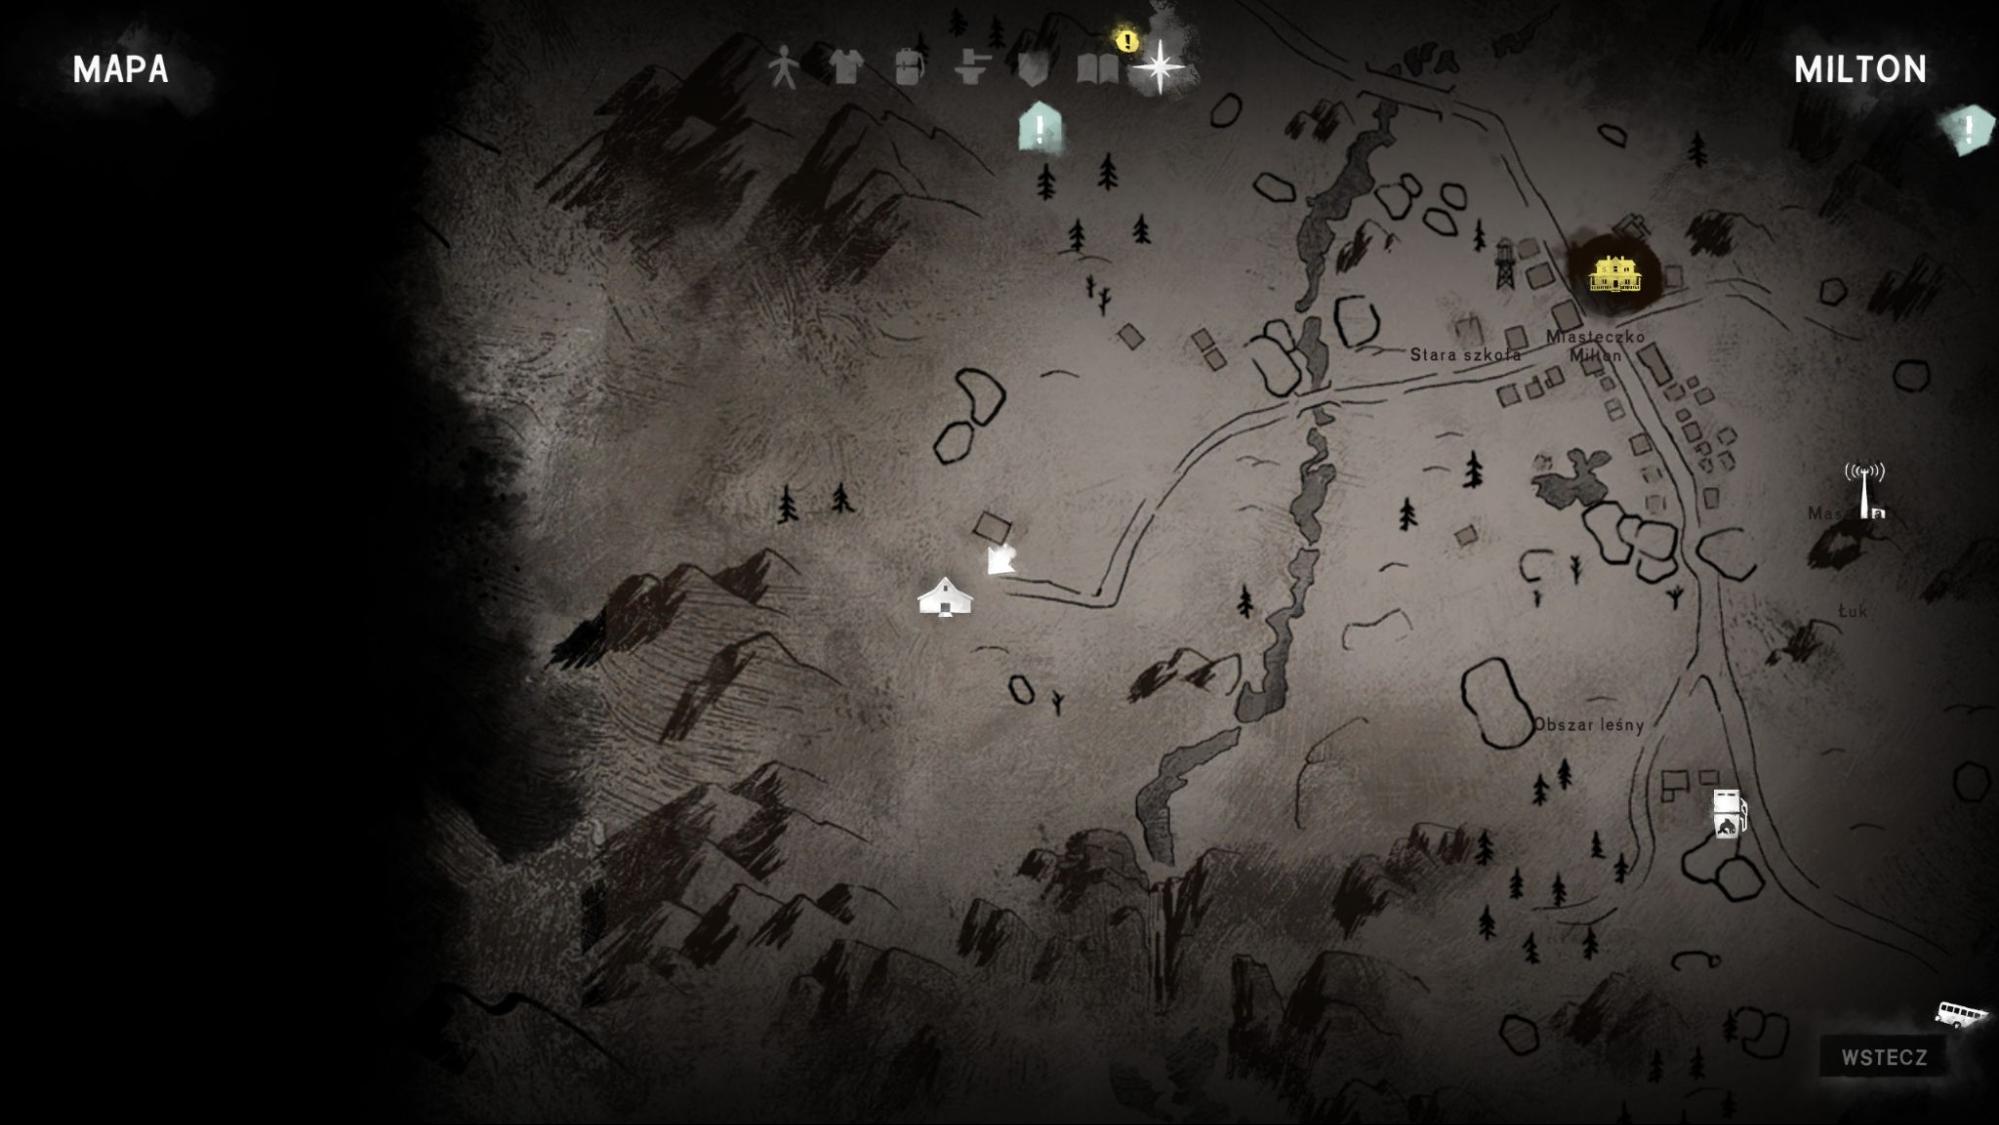
Deposit Key #4: From Paradise Meadow Farm go straight between the rocks, then follow an ice trail. Look for the crows nearby, they will point you to the frozen body that has this last key.
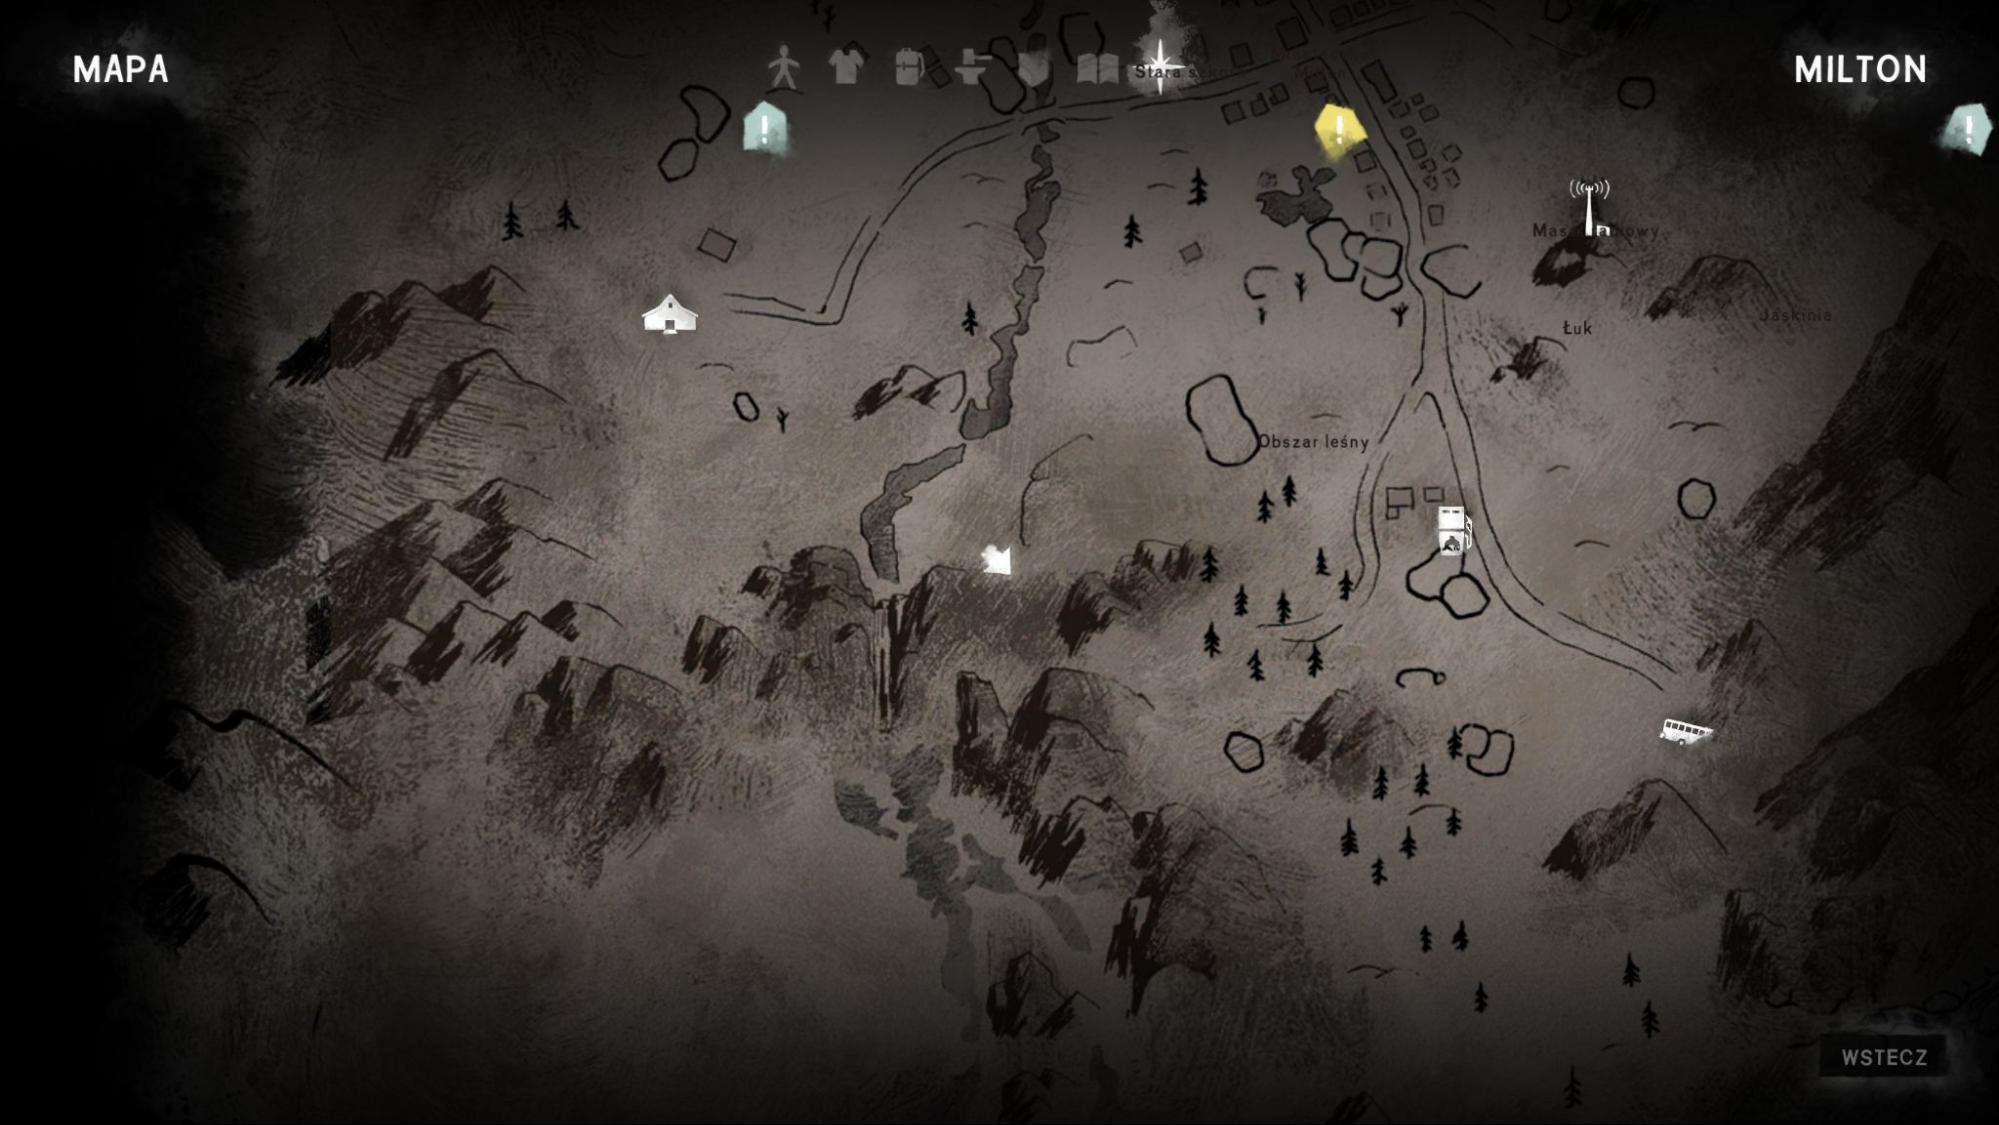
 Achievement #4 - Too Big to Fail: Missable. After collecting all four vault keys, return to the Milton Credit Union, open the vault door, and unlock all deposit boxes. If you don’t know how to open the vault door: Search the office desk inside the bank to find the Bank Manager’s House key. Go to that house (with the Canadian flag outside). The vault code note is in a drawer next to the bed.
 Achievement #5 - Losing a Child is Like: Missable. After Grey Mother gives you the key to Lily’s trunk, speak with her again to receive the side quest “One Last Thing.” The cemetery is across the street from the church. Complete the quest to unlock the achievement. If you haven’t collected the hidden cache yet, it’s behind the church near the fallen tree.
 Achievement #6 - Leaving the Old World Behind: Story-related. Leave Milton through the cave to unlock this achievement.
Episode 2: Luminance Fugue
Achievements: 13/41 - 4 unmissable, 3 missable
Books: 6/6
Hidden Caches: 9/9
Forest Talker Caches: 3/3
In this episode in addition to books and hidden caches, you will also have to be on the lookout for the Forest Talker caches. Don’t worry about those until you reach Broken Railroad though. Unlike Episode 1, this one spans three different regions.
Hidden Cache Note #4 - Alan’s Cave Supply Cache: As soon as you exit Trapper’s Homestead, go to the Carter Hydro Dam. Follow the railroad tracks and watch out for wolves. Inside the dam, crouch under the debris, go right, and take the stairs to the second floor. The note is on a desk.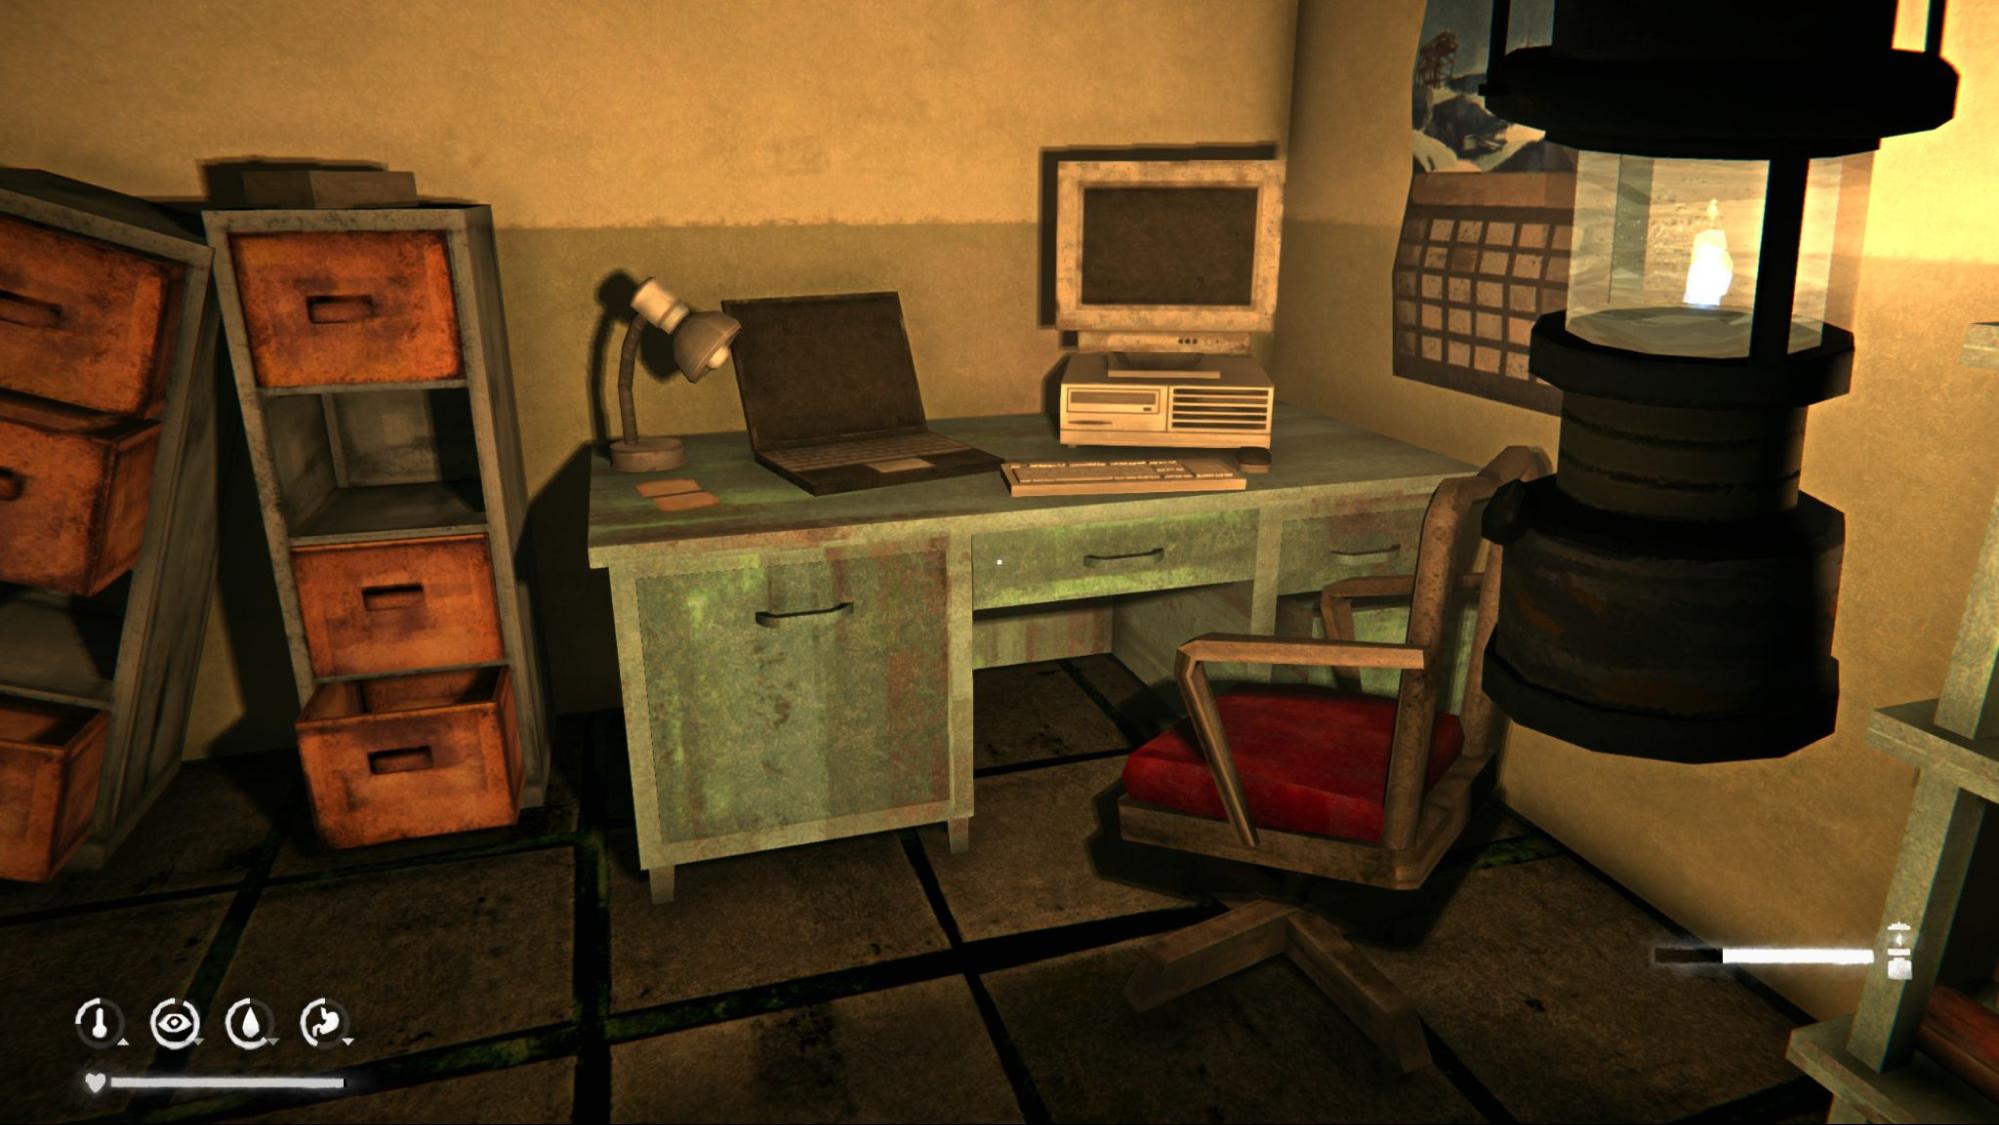
Hidden Cache Note #5 - Clear Cut Supply Cache: Exit Carter Hydro Dam and head to the cache marked on your map from the previous note. Do not follow the frozen river, as that’s a different route. After collecting the cache, continue toward the frozen lake and find the cabins. Make sure you’re at the correct location, there are several cabin clusters around the lake. The note is on a desk inside the middle cabin.
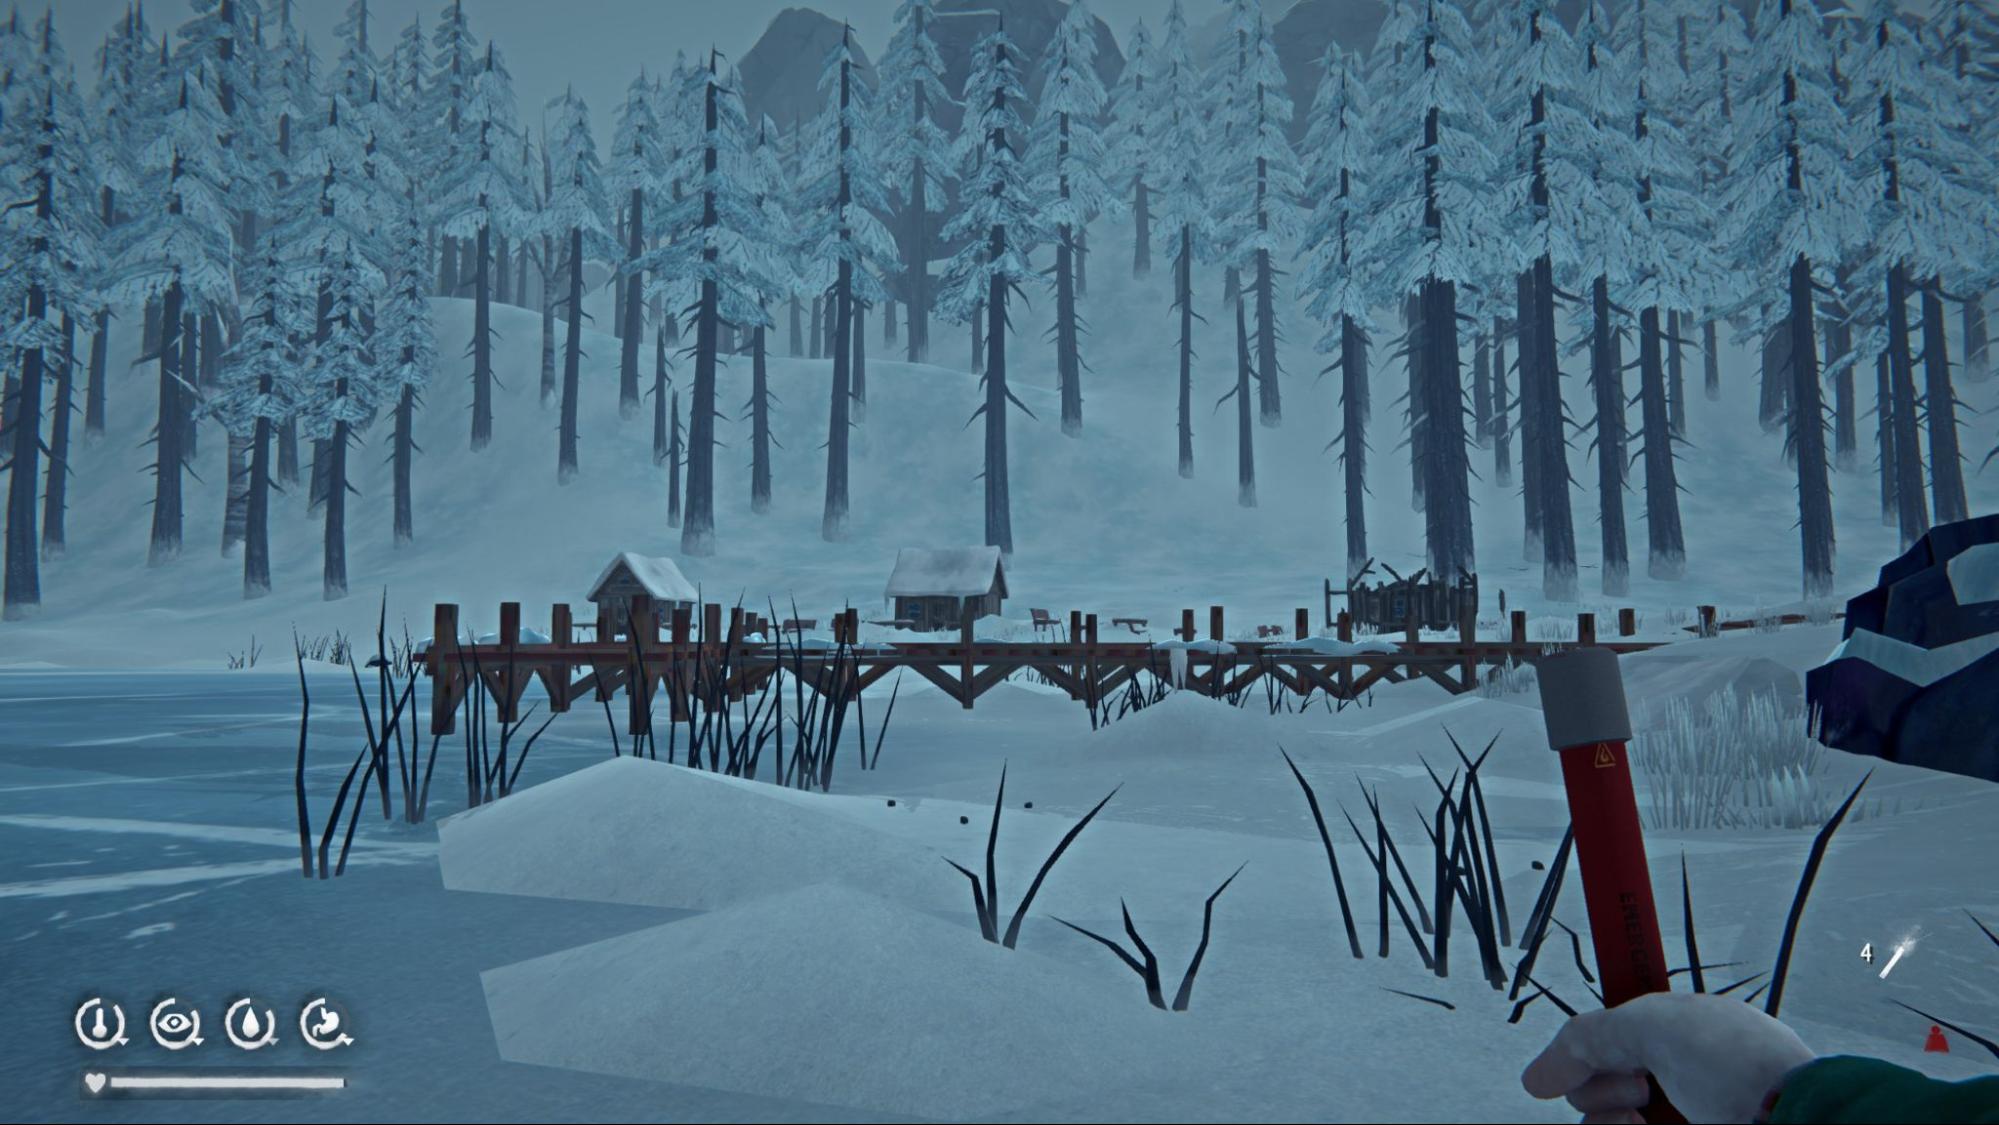
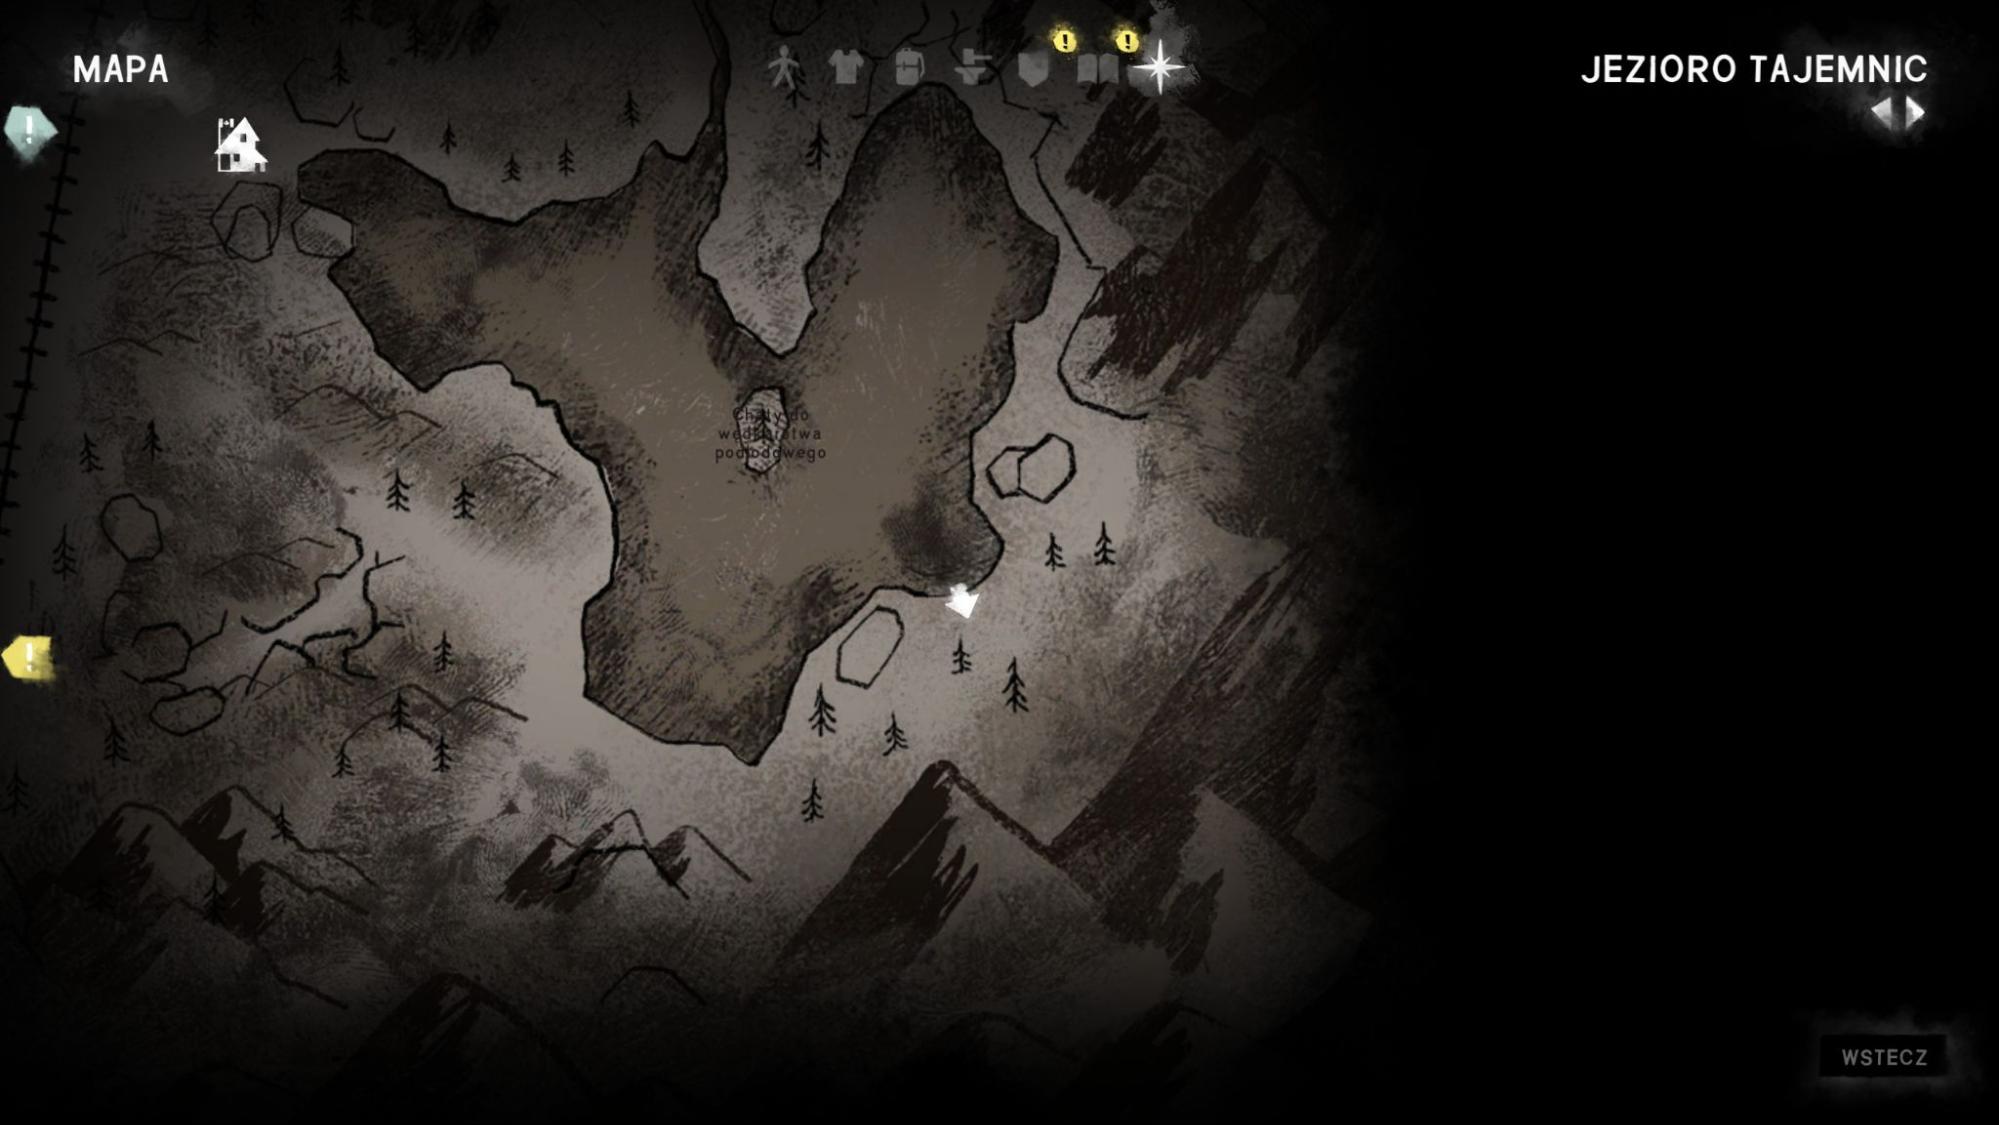
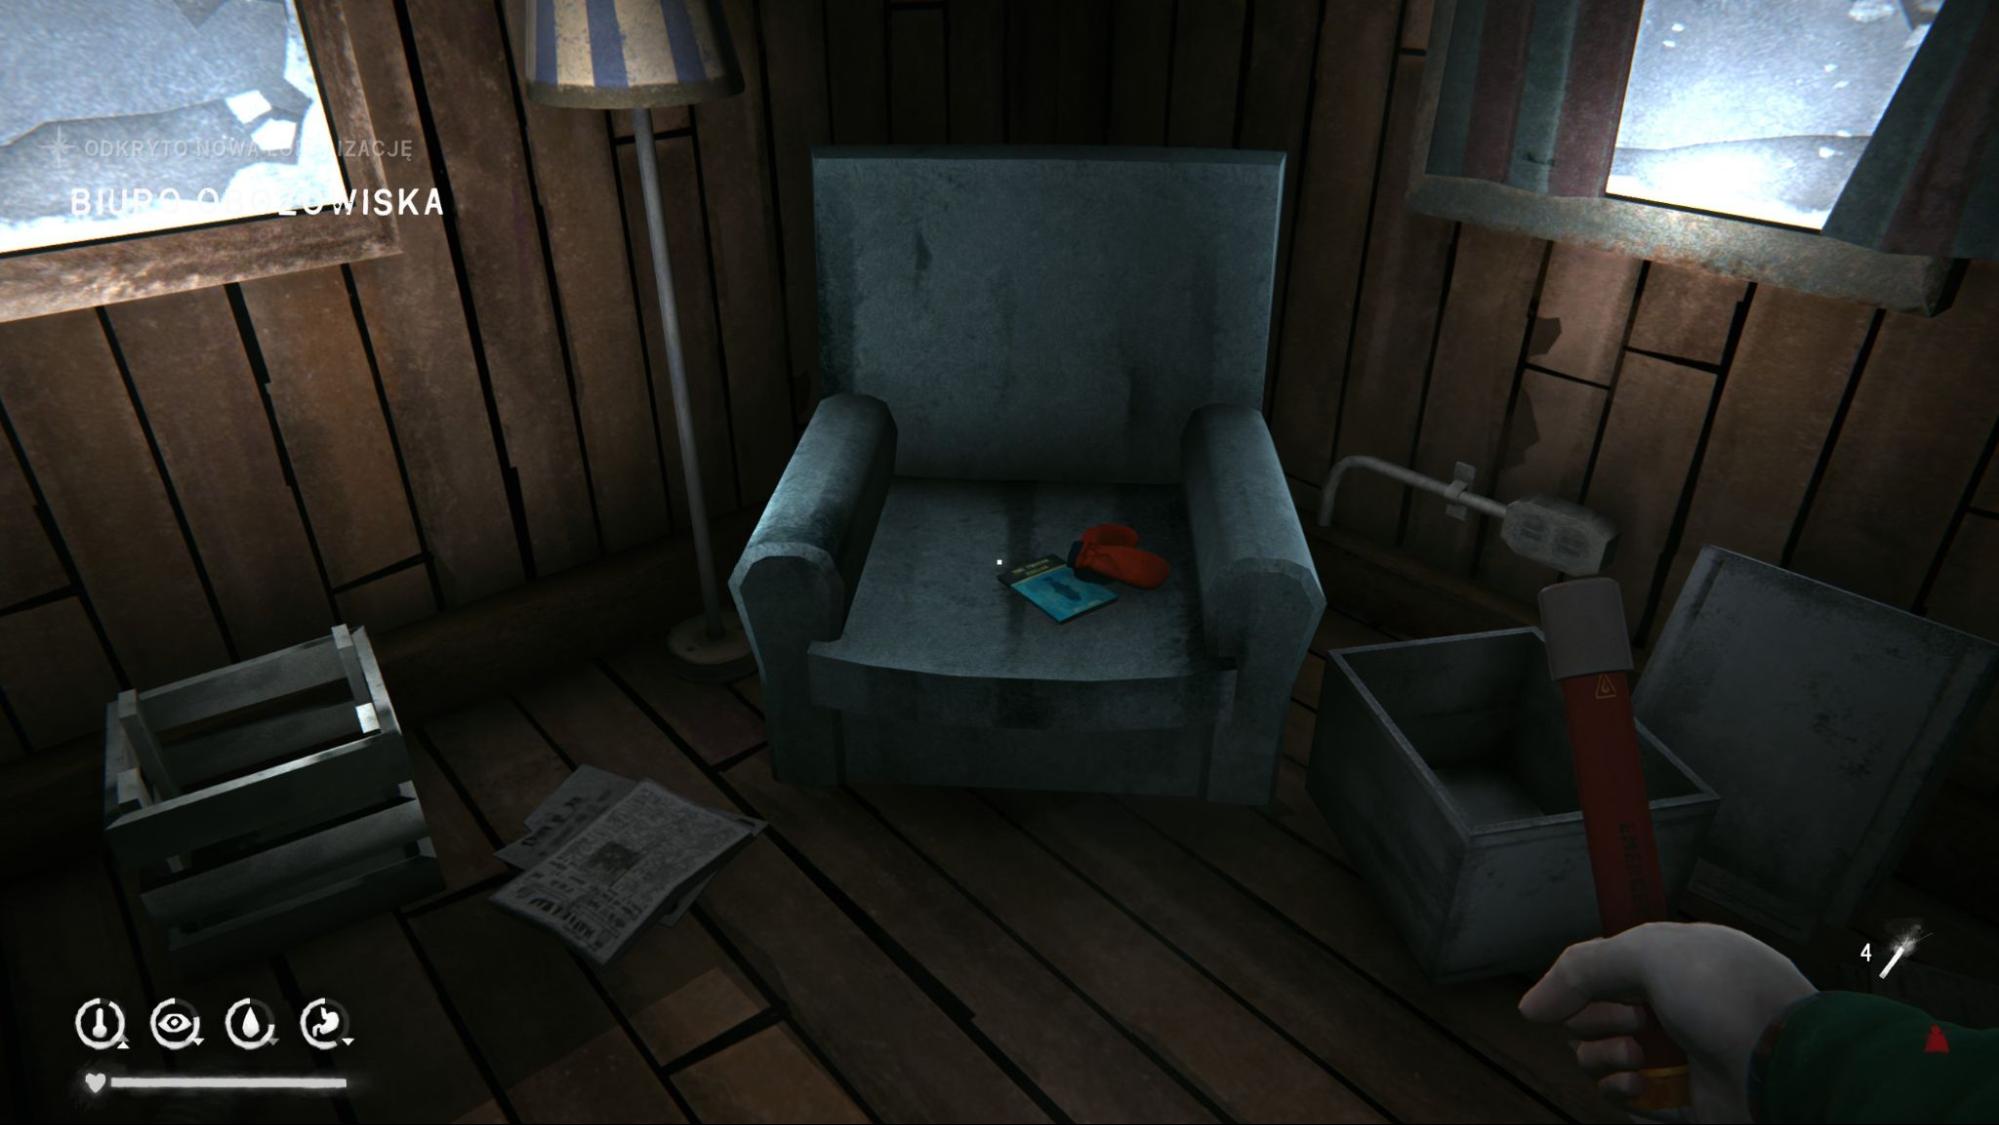
Book #4 - Frozen Angler: From the cabins, cross the lake to reach the Camp Office. Mystery Lake is also an ideal place to complete this book’s objective.
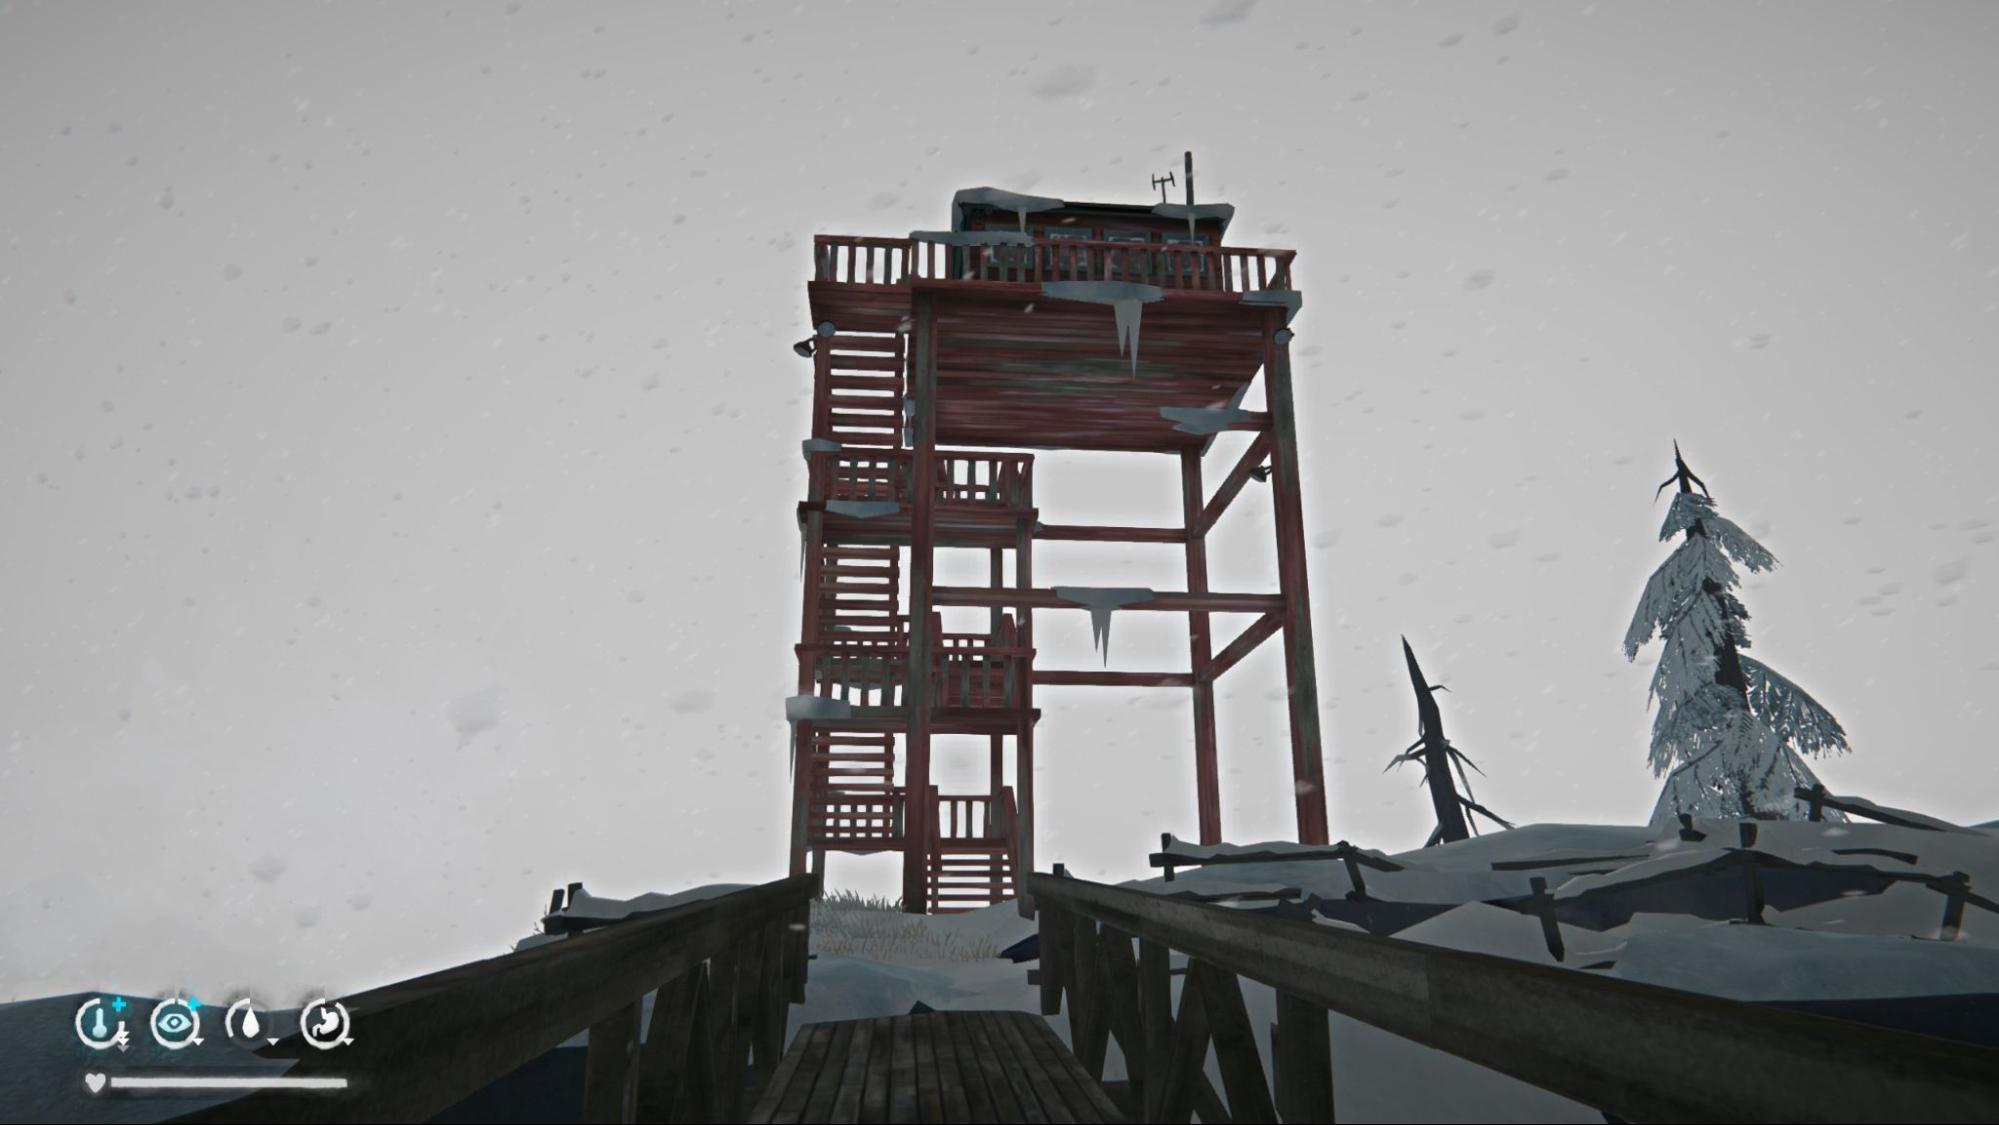
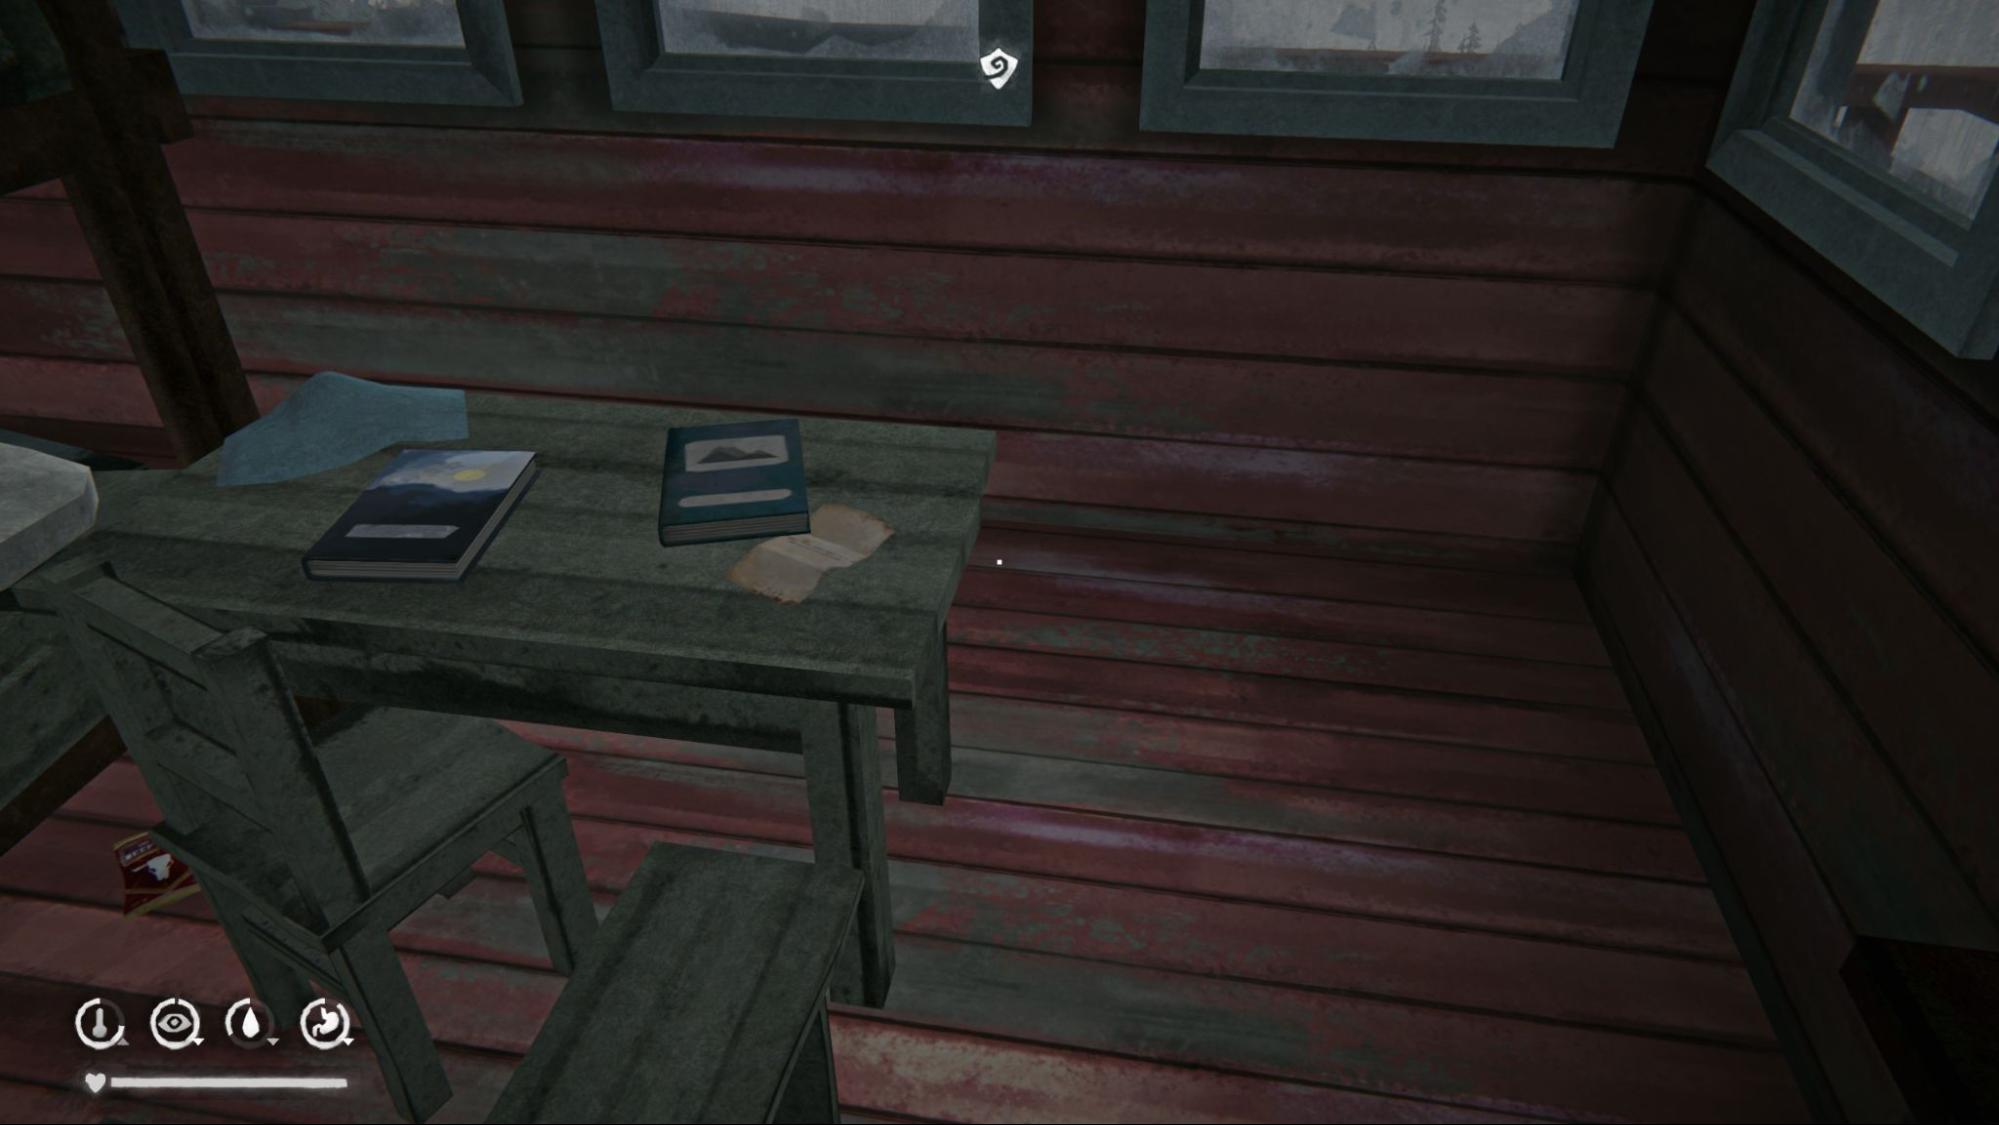
Hidden Cache Note #6 - Near the entrance of Forlorn Muskeg Supply Cache: Leave Camp Office and head to Forestry Lookout. The note is on the desk.
Book #5 - Frontier Shooting Guide: From Forestry Lookout, I recommend going for the hidden cache you previously discovered at the Mystery Lake cabins (not the one you just picked up). Head to the map marker, pick up the cache, then travel south until you reach Unnamed Pond. The book is inside the hunting blind. You can also kill a nearby deer as part of this book’s quest, just aim for the head.
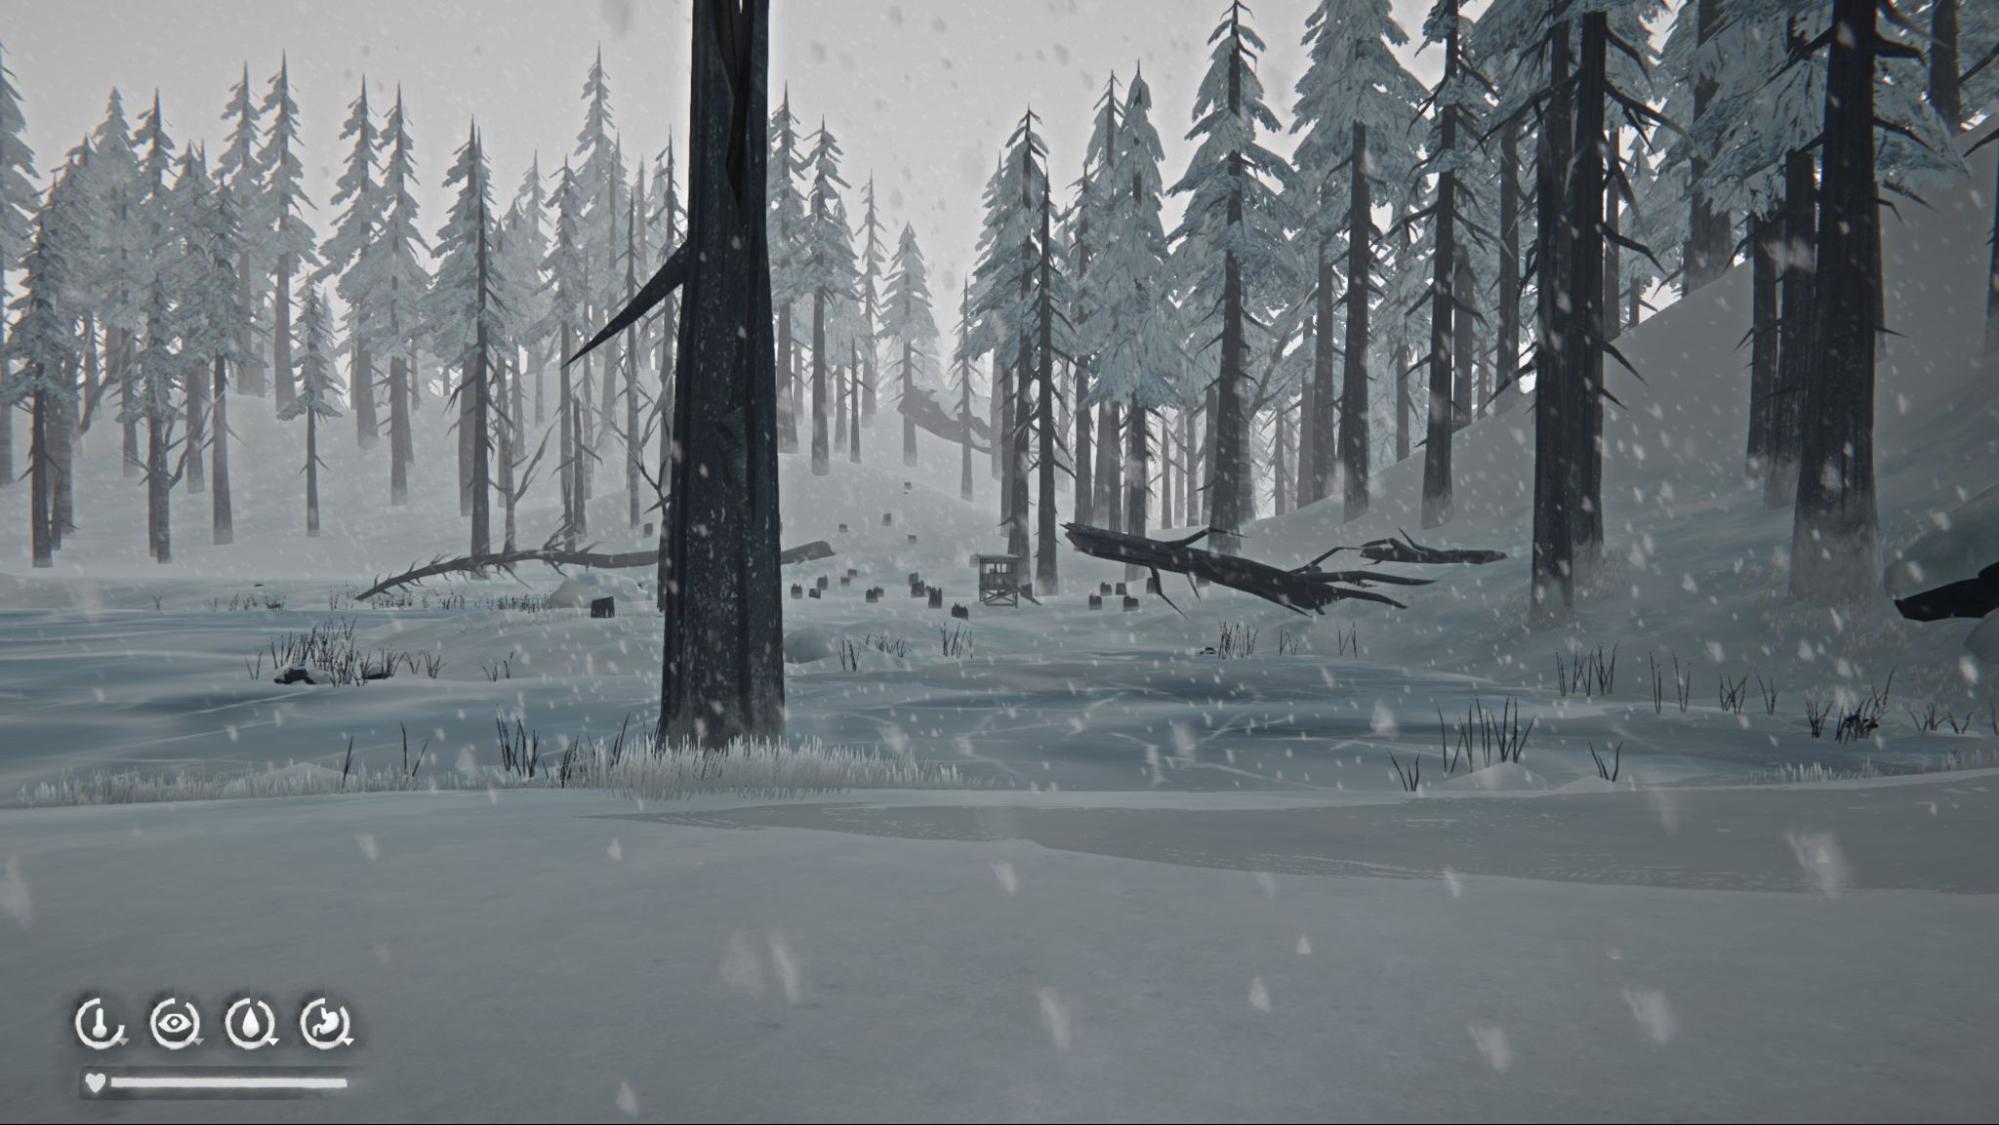
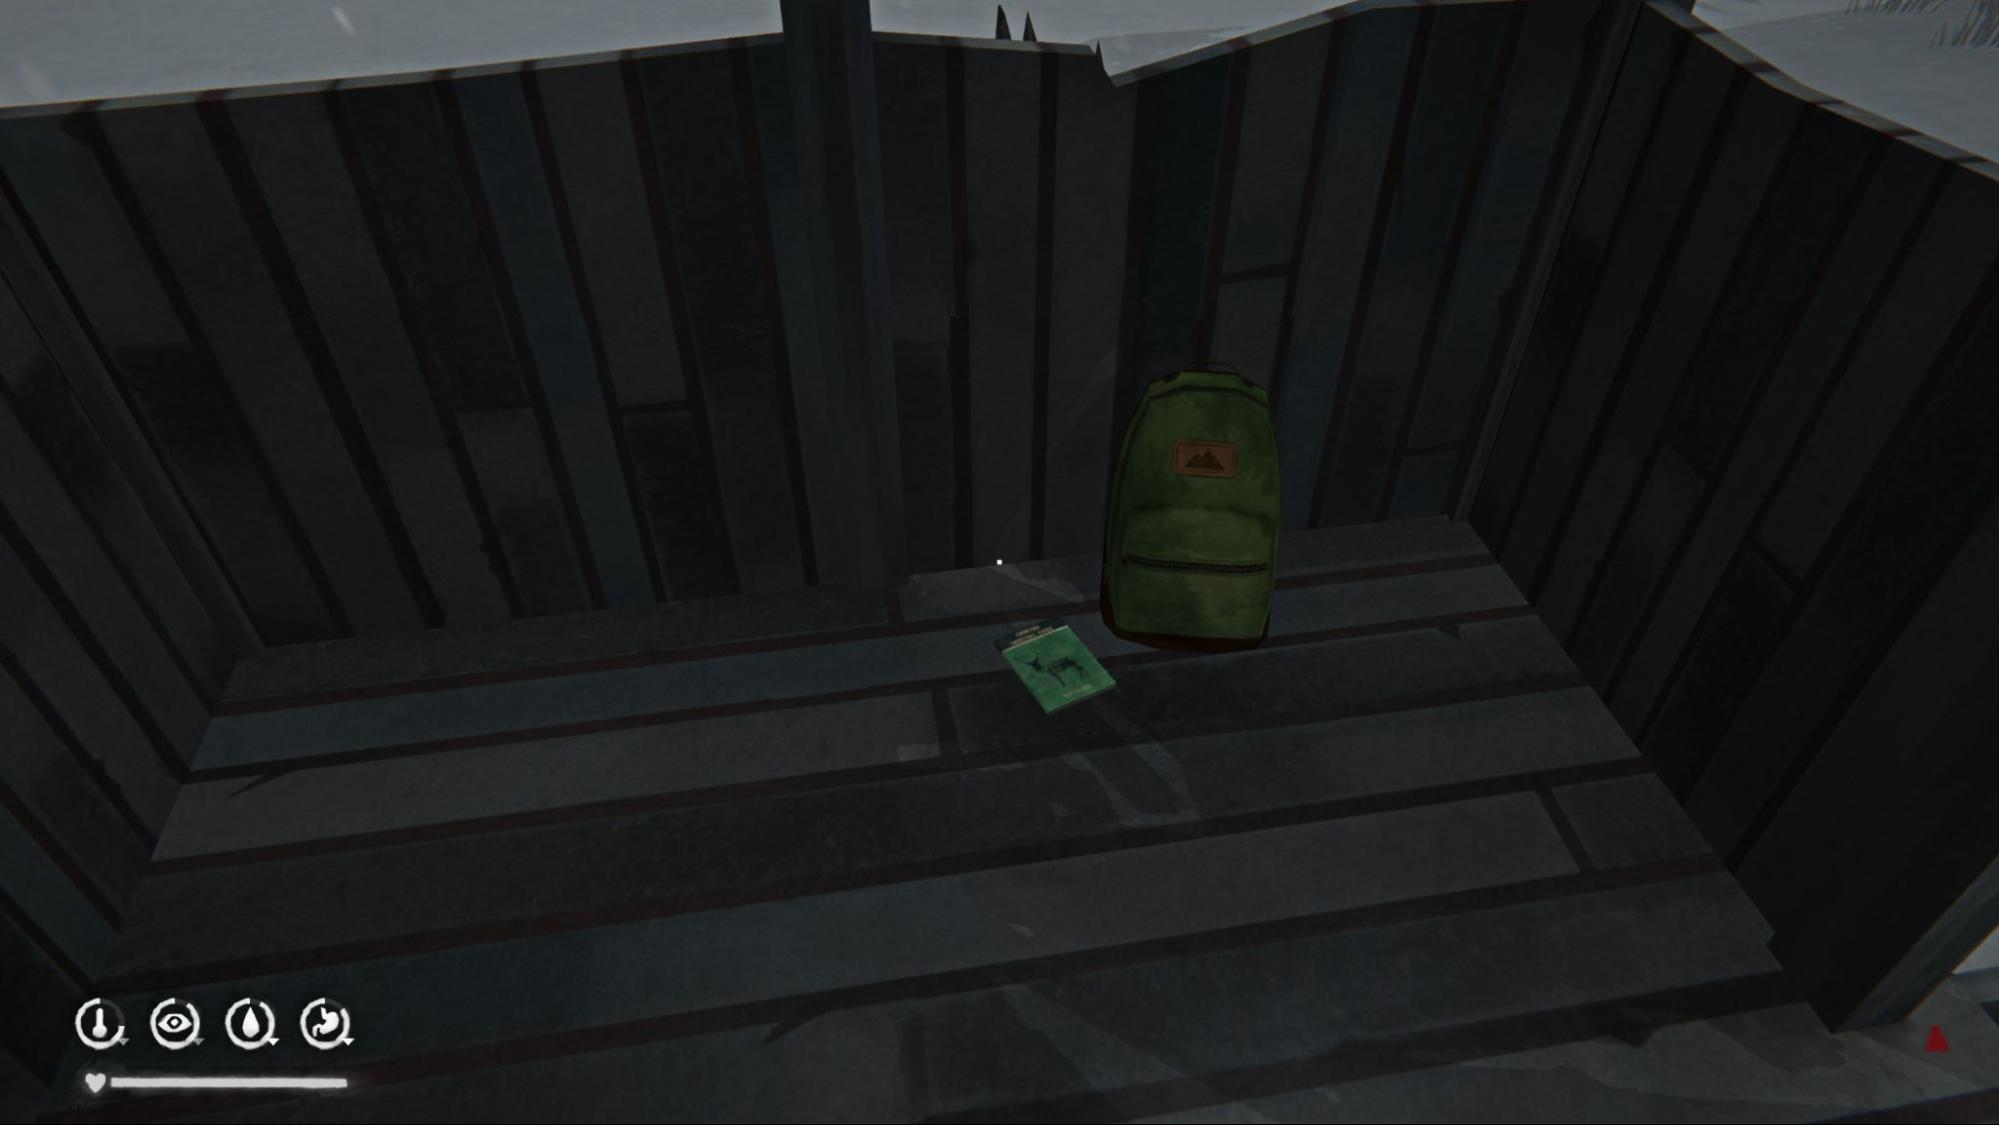
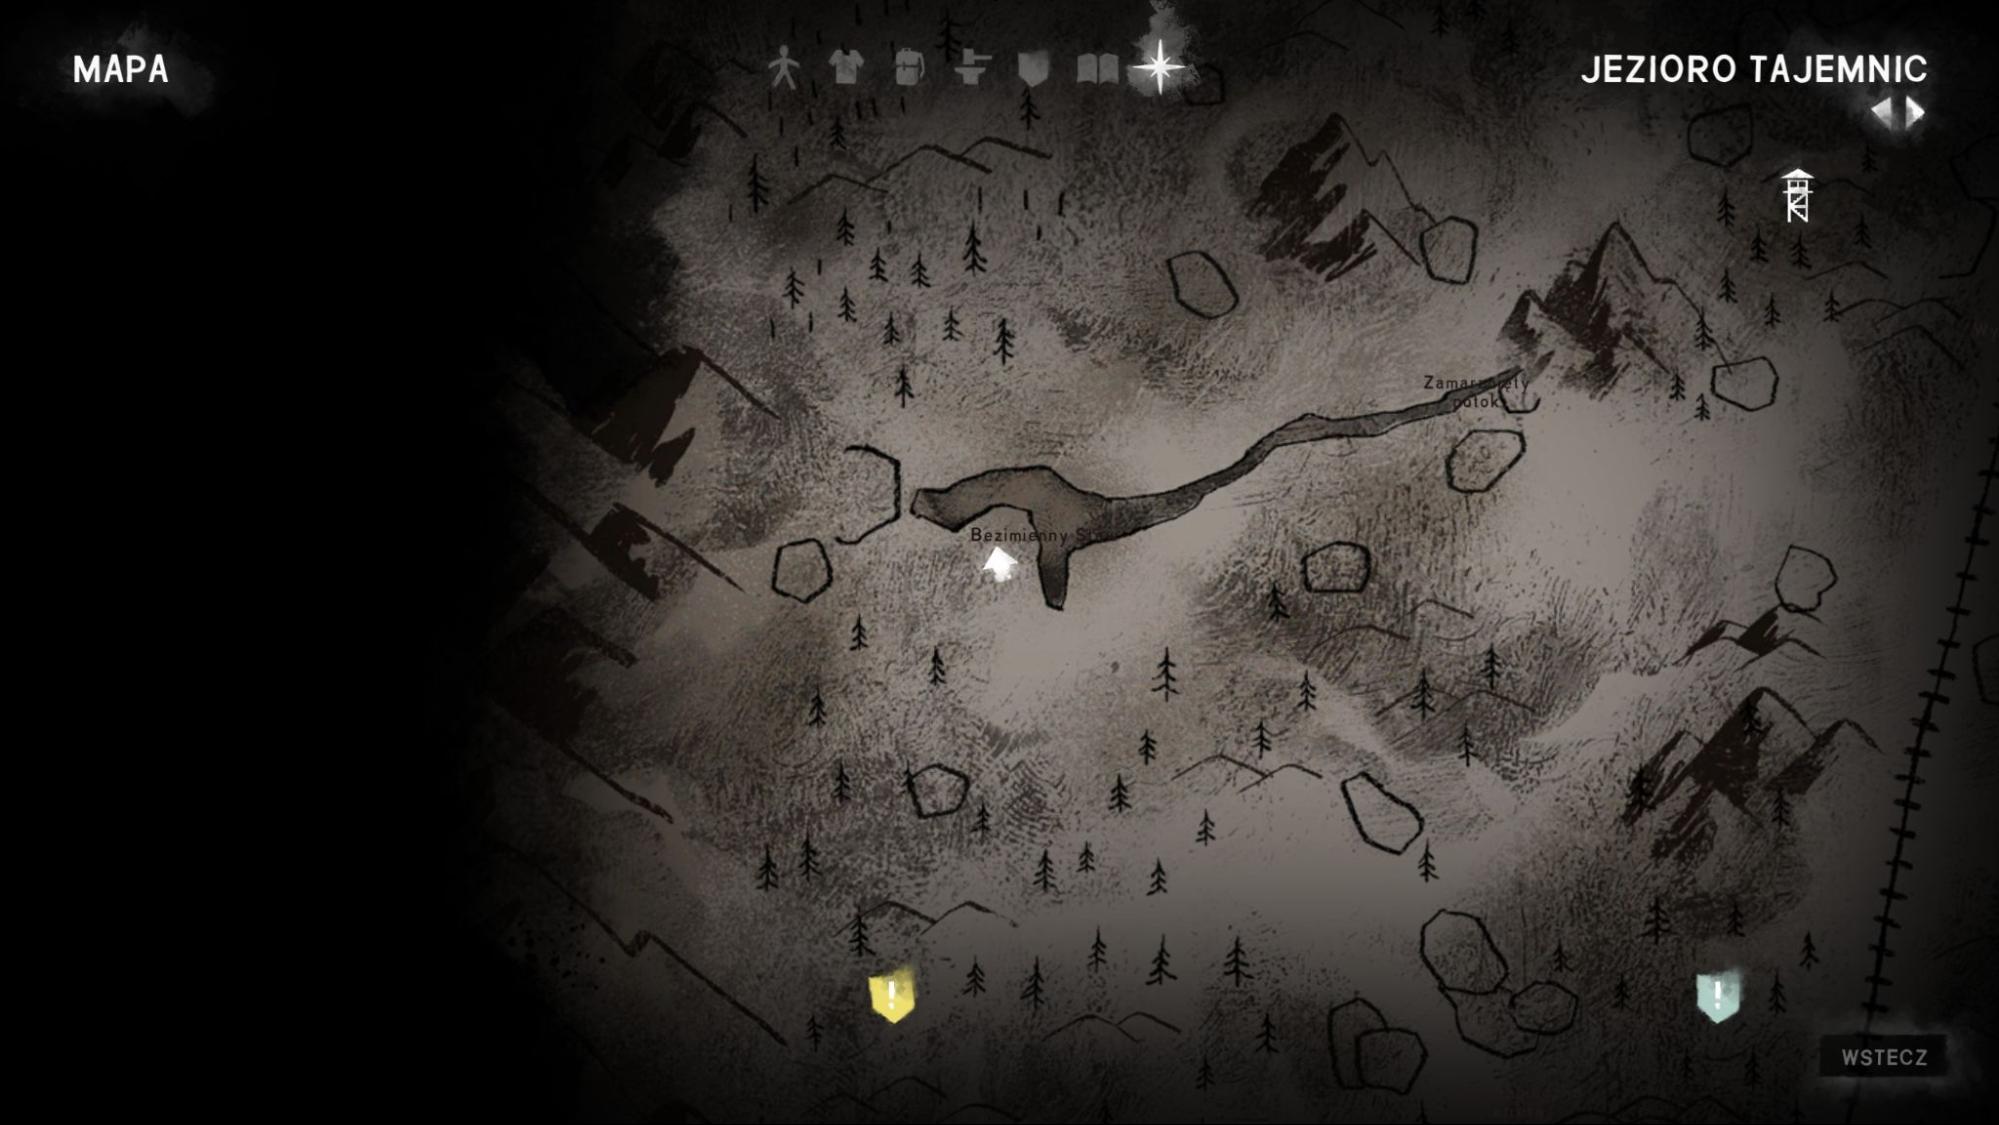
 Achievement #7 - The Old Trapper: Leave Unnamed Pond and return to Trapper’s Homestead. The achievement unlocks during your conversation with Jeremiah.
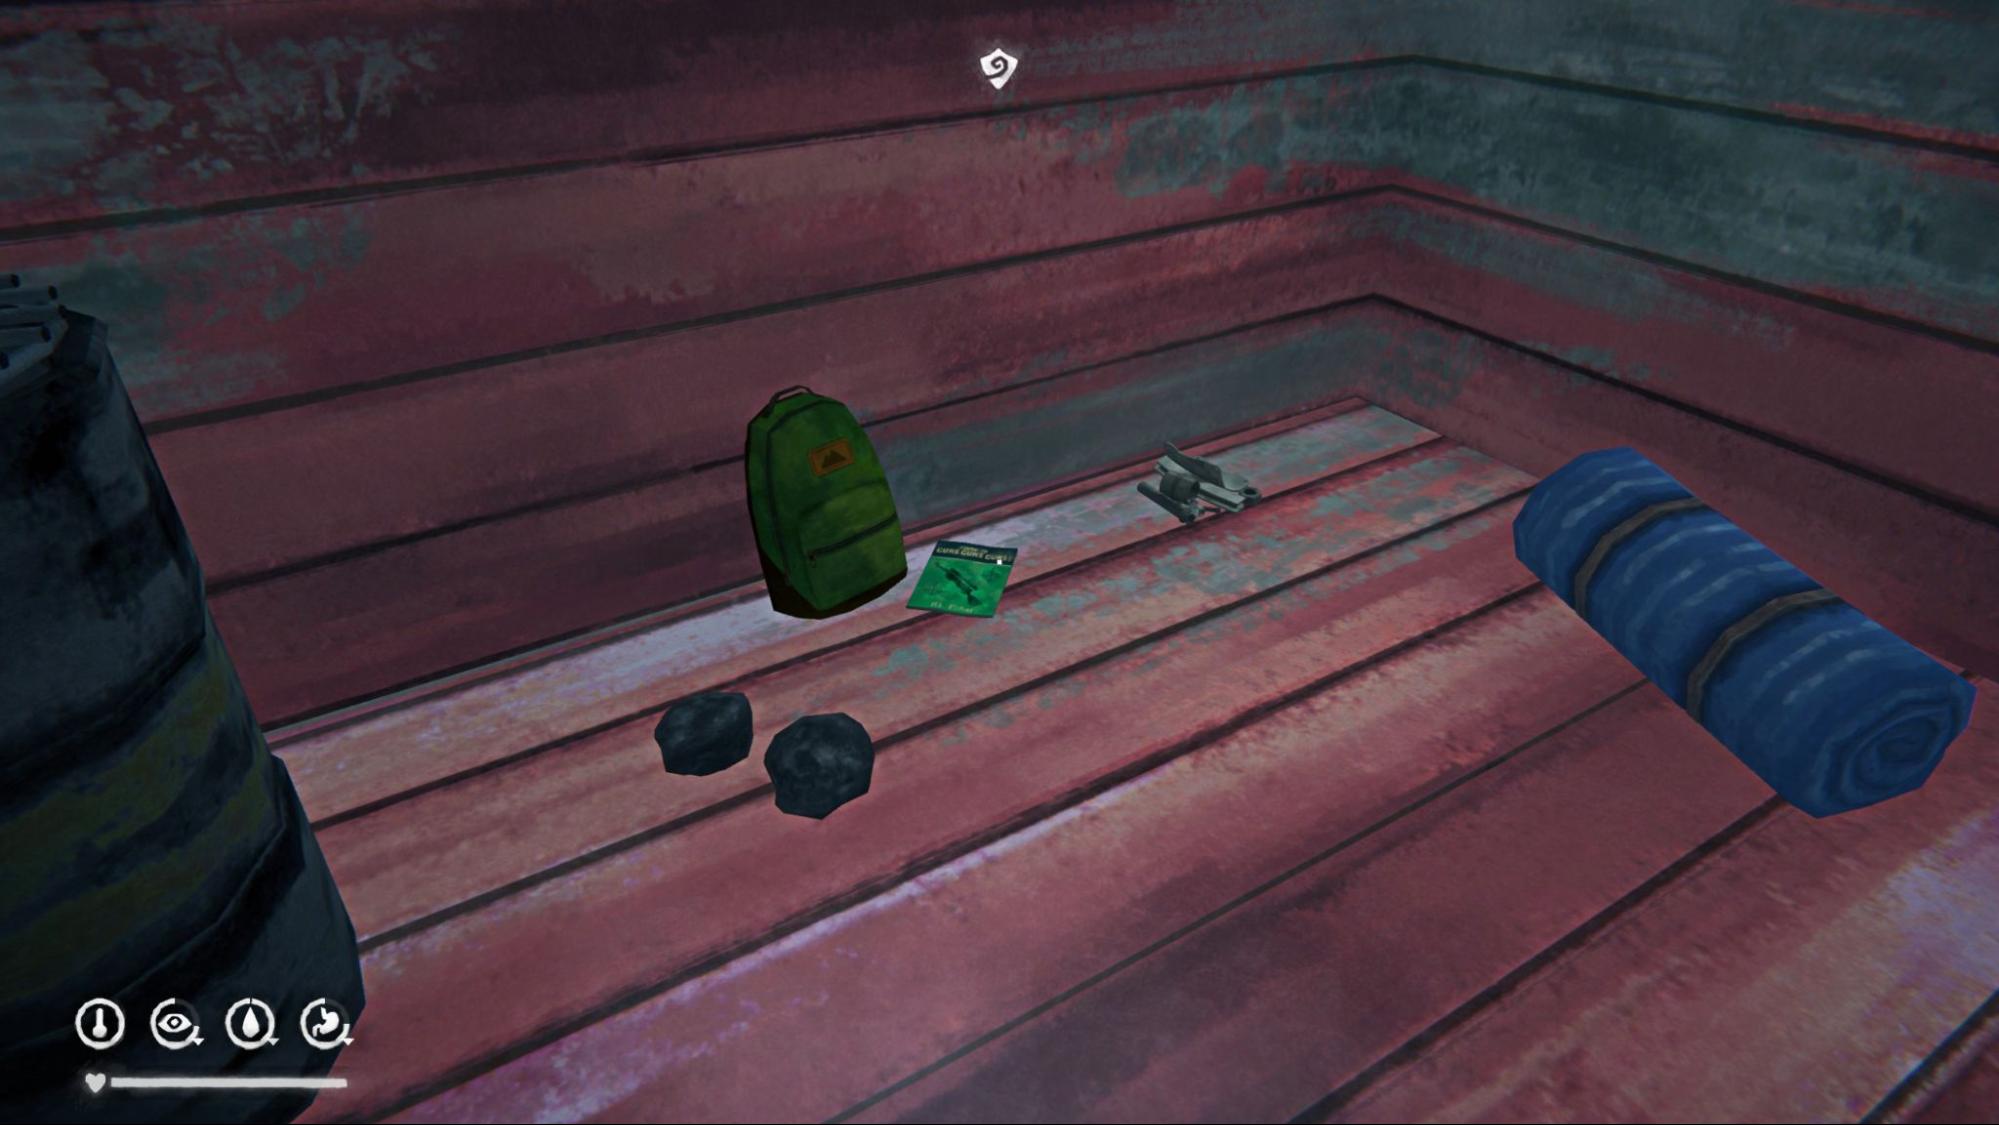
Book #6 - Advanced Guns Guns Guns!: After speaking with Jeremiah, you’ll be heading to Forlorn Muskeg. Before entering the transition point, grab the hidden cache near the region entrance. Follow the train tracks until you reach the red derailed train cars. The book is inside the open one. I recommend culling the wolf feeding on a deer carcass just ahead on the tracks for this book’s quest.
Achievement #7 - The Old Trapper: Leave Unnamed Pond and return to Trapper’s Homestead. The achievement unlocks during your conversation with Jeremiah.
Book #6 - Advanced Guns Guns Guns!: After speaking with Jeremiah, you’ll be heading to Forlorn Muskeg. Before entering the transition point, grab the hidden cache near the region entrance. Follow the train tracks until you reach the red derailed train cars. The book is inside the open one. I recommend culling the wolf feeding on a deer carcass just ahead on the tracks for this book’s quest.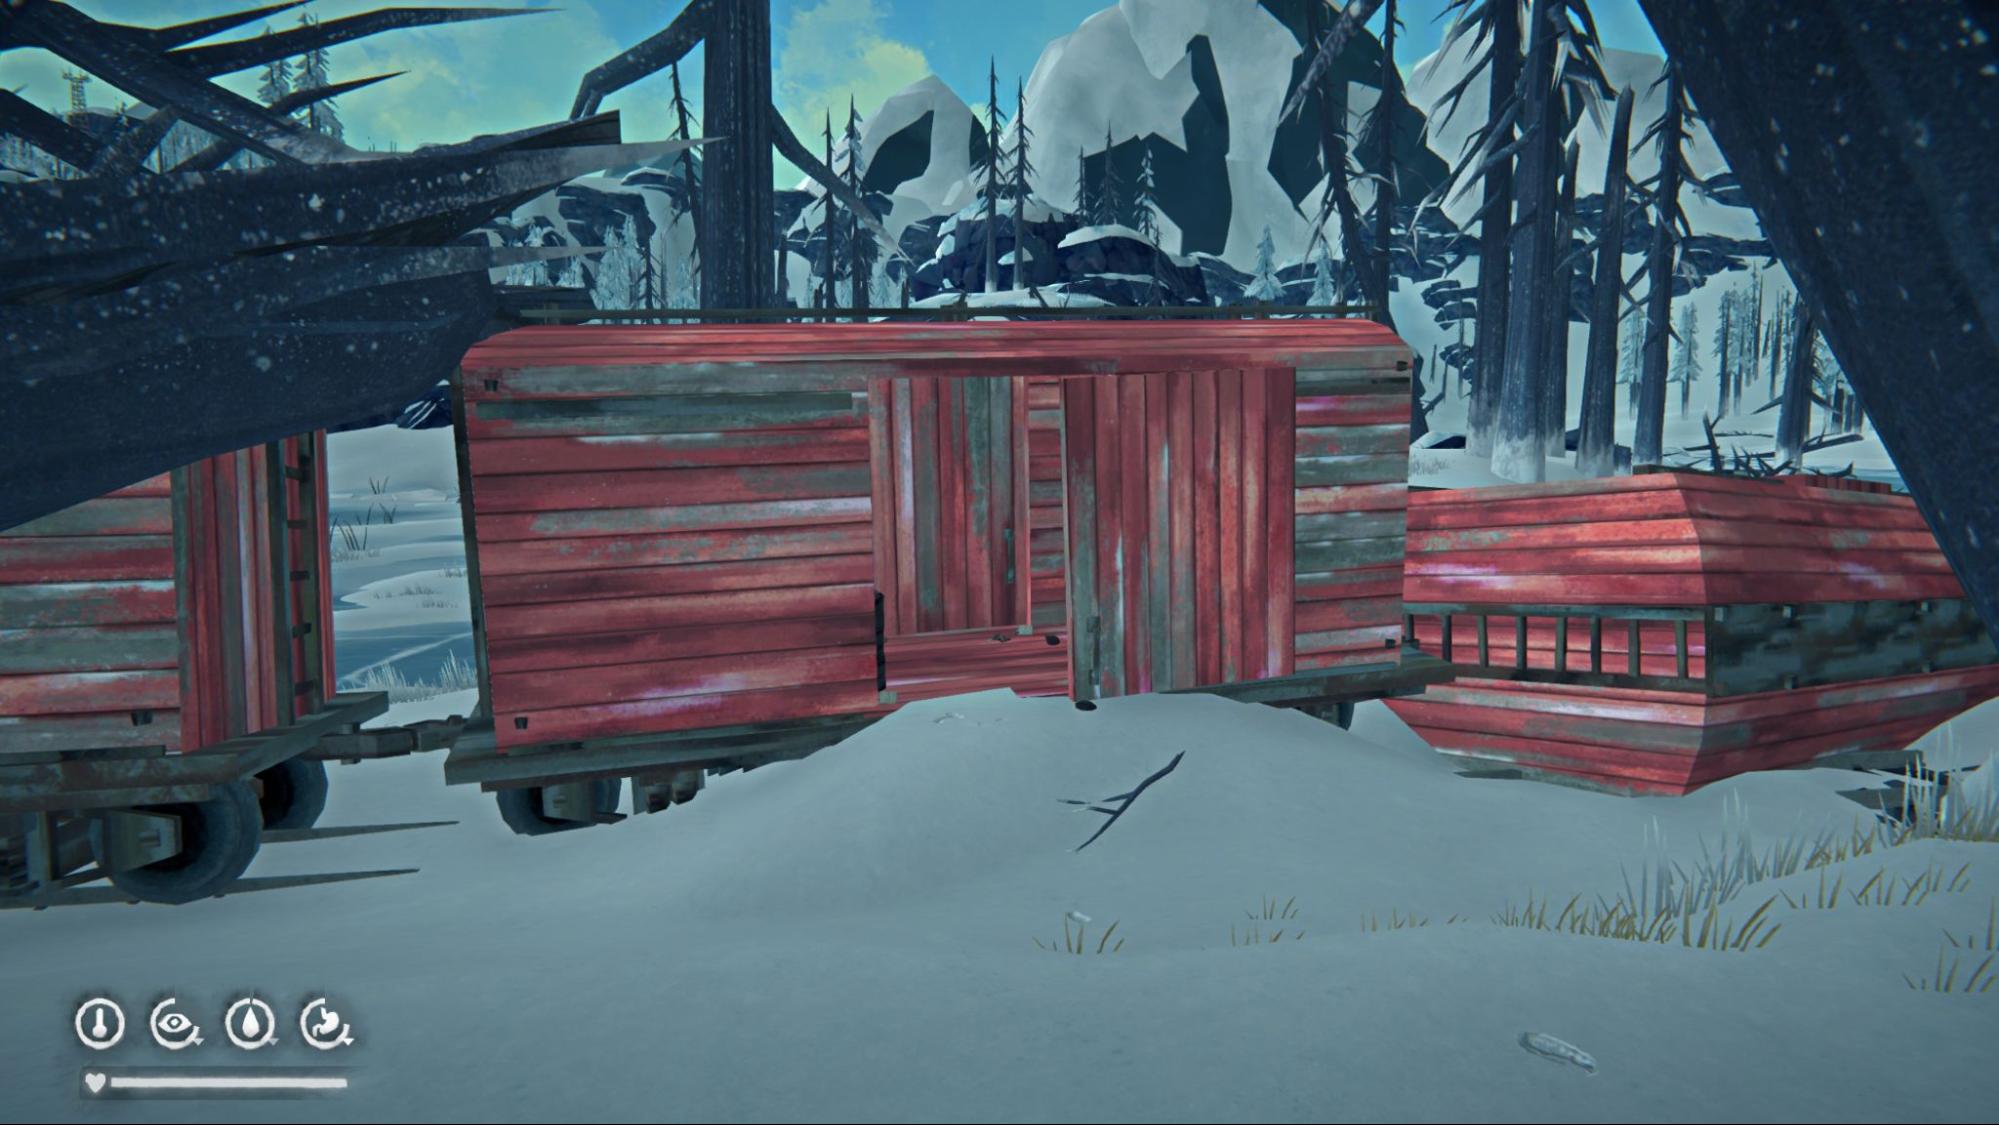
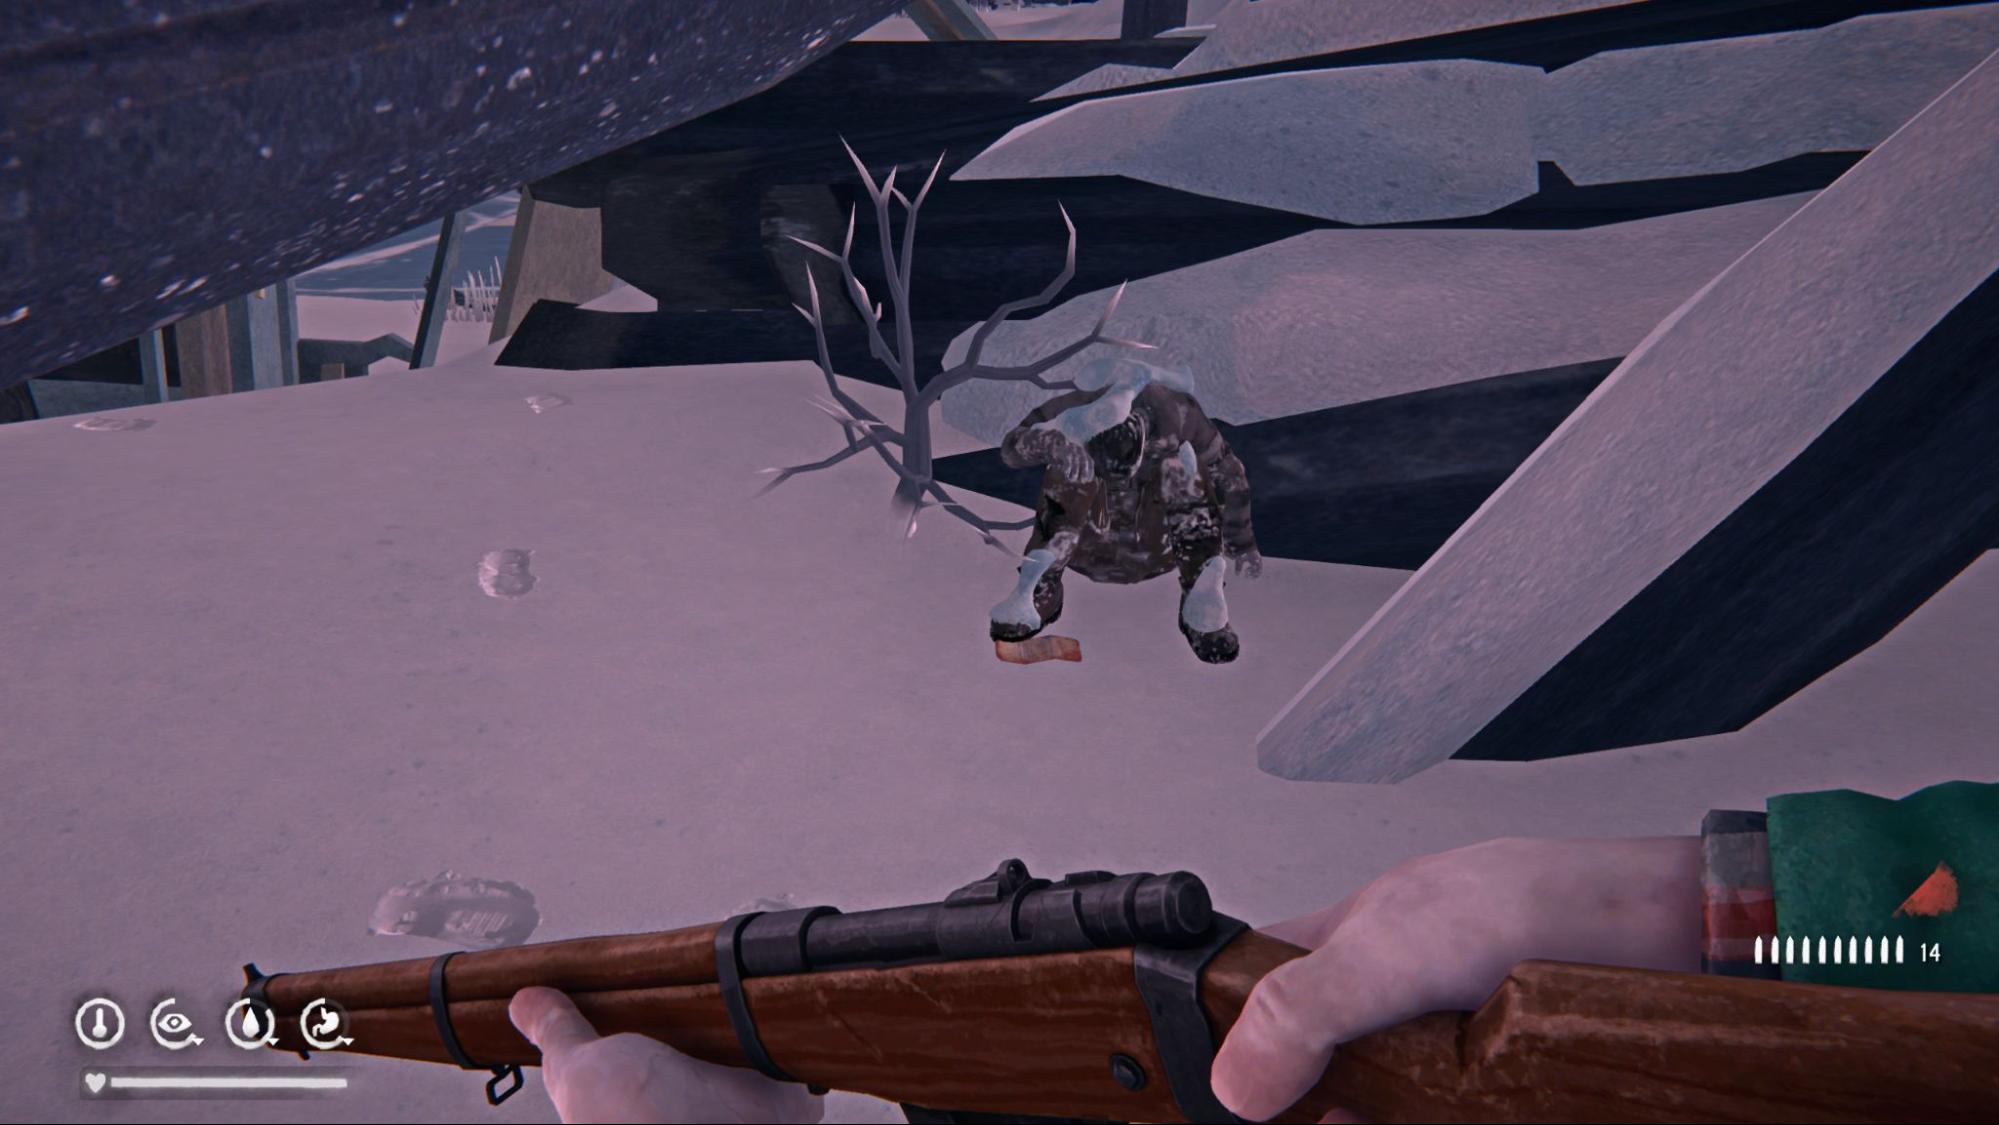
Hidden Cache Note #7 - End of the Ravine Supply Cache: Continue along the tracks until you reach derailed logs. A frozen body nearby holds the note. Look for the crows circling above if you have trouble finding this corpse.
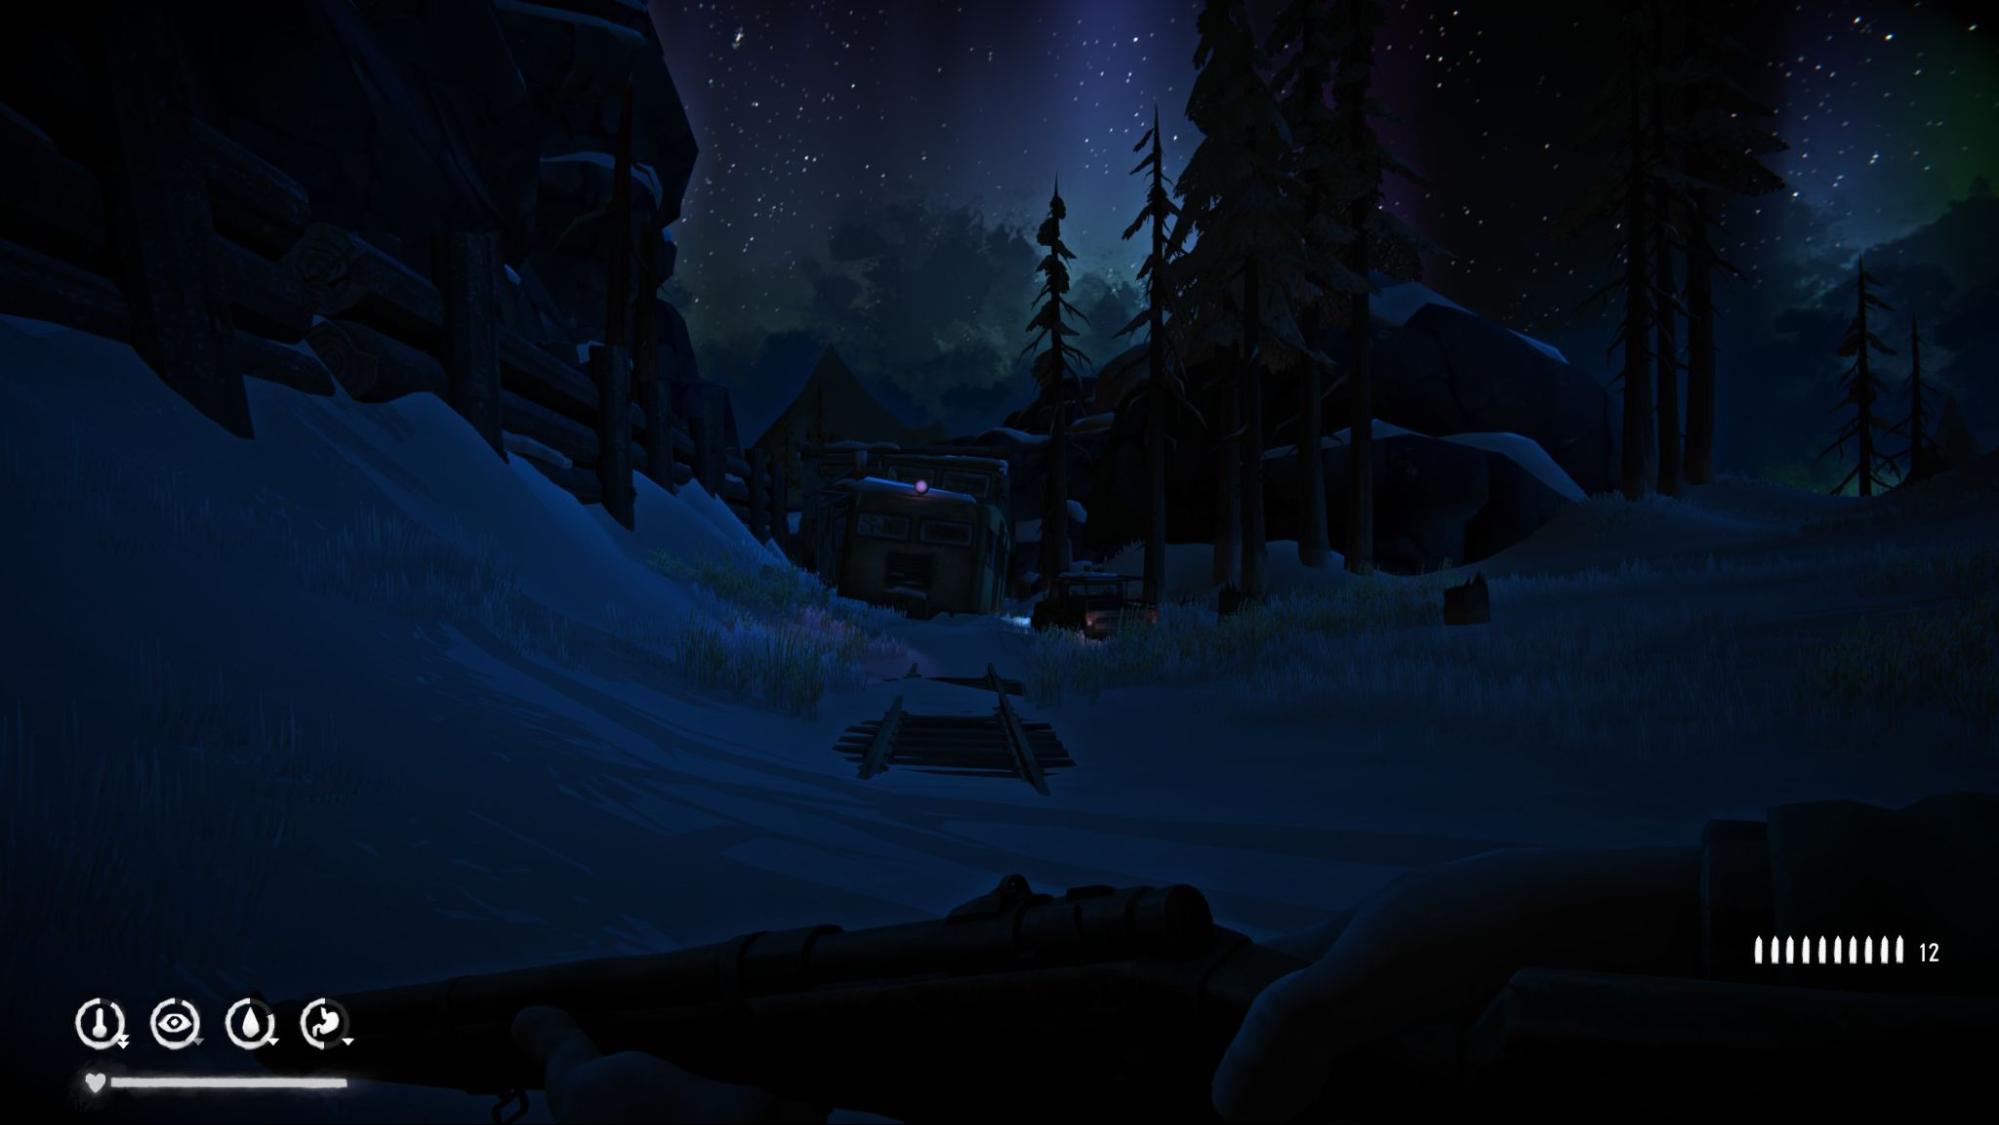
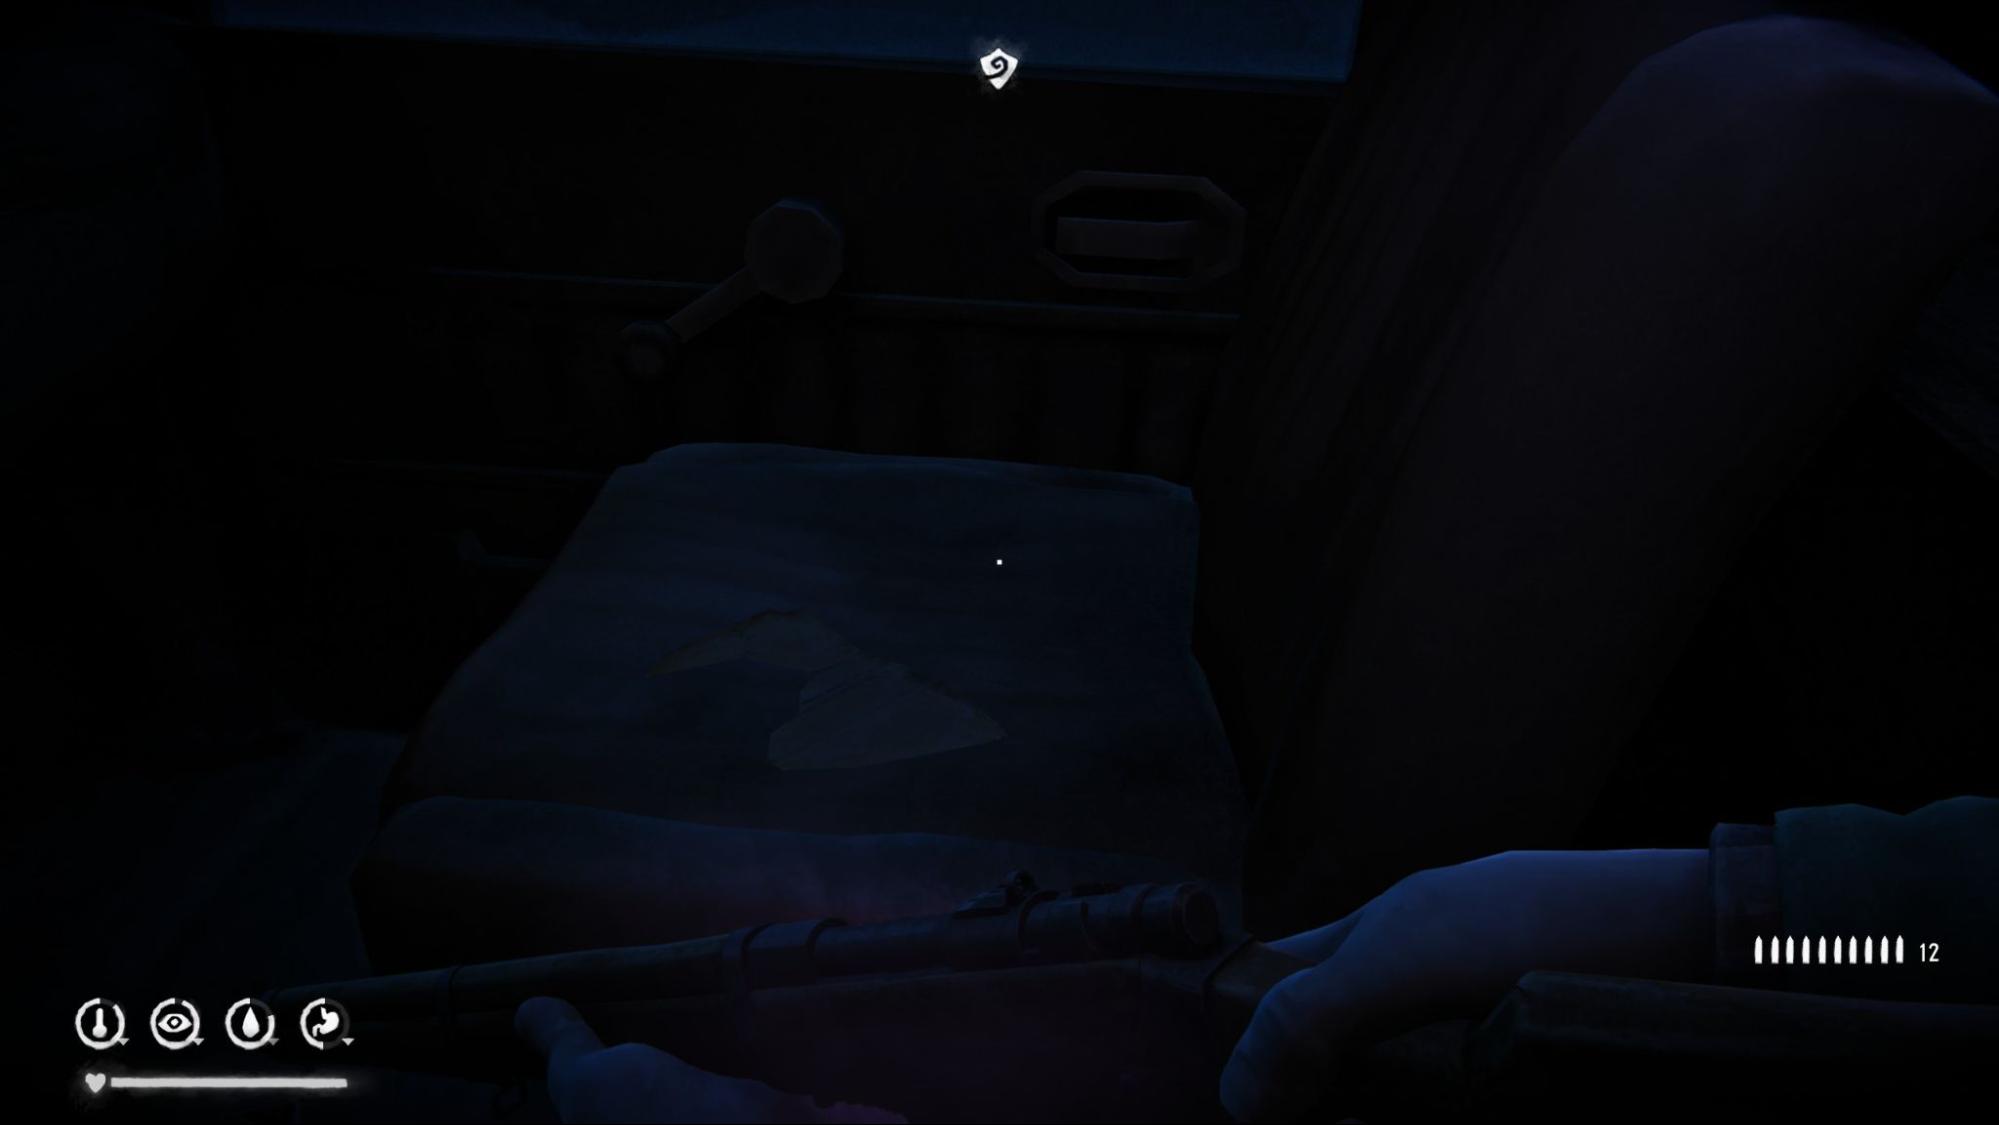
Hidden Cache Note #8 - Tree Roots Supply Cache: After entering Broken Railroad, you can collect the marked cache immediately if you want. Remember to cull a wolf in this region as well. There is one right before the cache. After some story events, you’ll end up near a campfire. Continue along the tracks until you reach a yellow rail cart. The note is inside the nearby car.
 Achievement #8 - Lights in the Sky: Story-related. Unlocks after the aurora ends. For me, it triggered the following morning.
Hidden Cache Note #9 - Near the Hunting Lodge Supply Cache: The note is on the front stairs of the Hunting Lodge. This is the final note for this cache set, and the cache itself is located nearby.
Achievement #8 - Lights in the Sky: Story-related. Unlocks after the aurora ends. For me, it triggered the following morning.
Hidden Cache Note #9 - Near the Hunting Lodge Supply Cache: The note is on the front stairs of the Hunting Lodge. This is the final note for this cache set, and the cache itself is located nearby.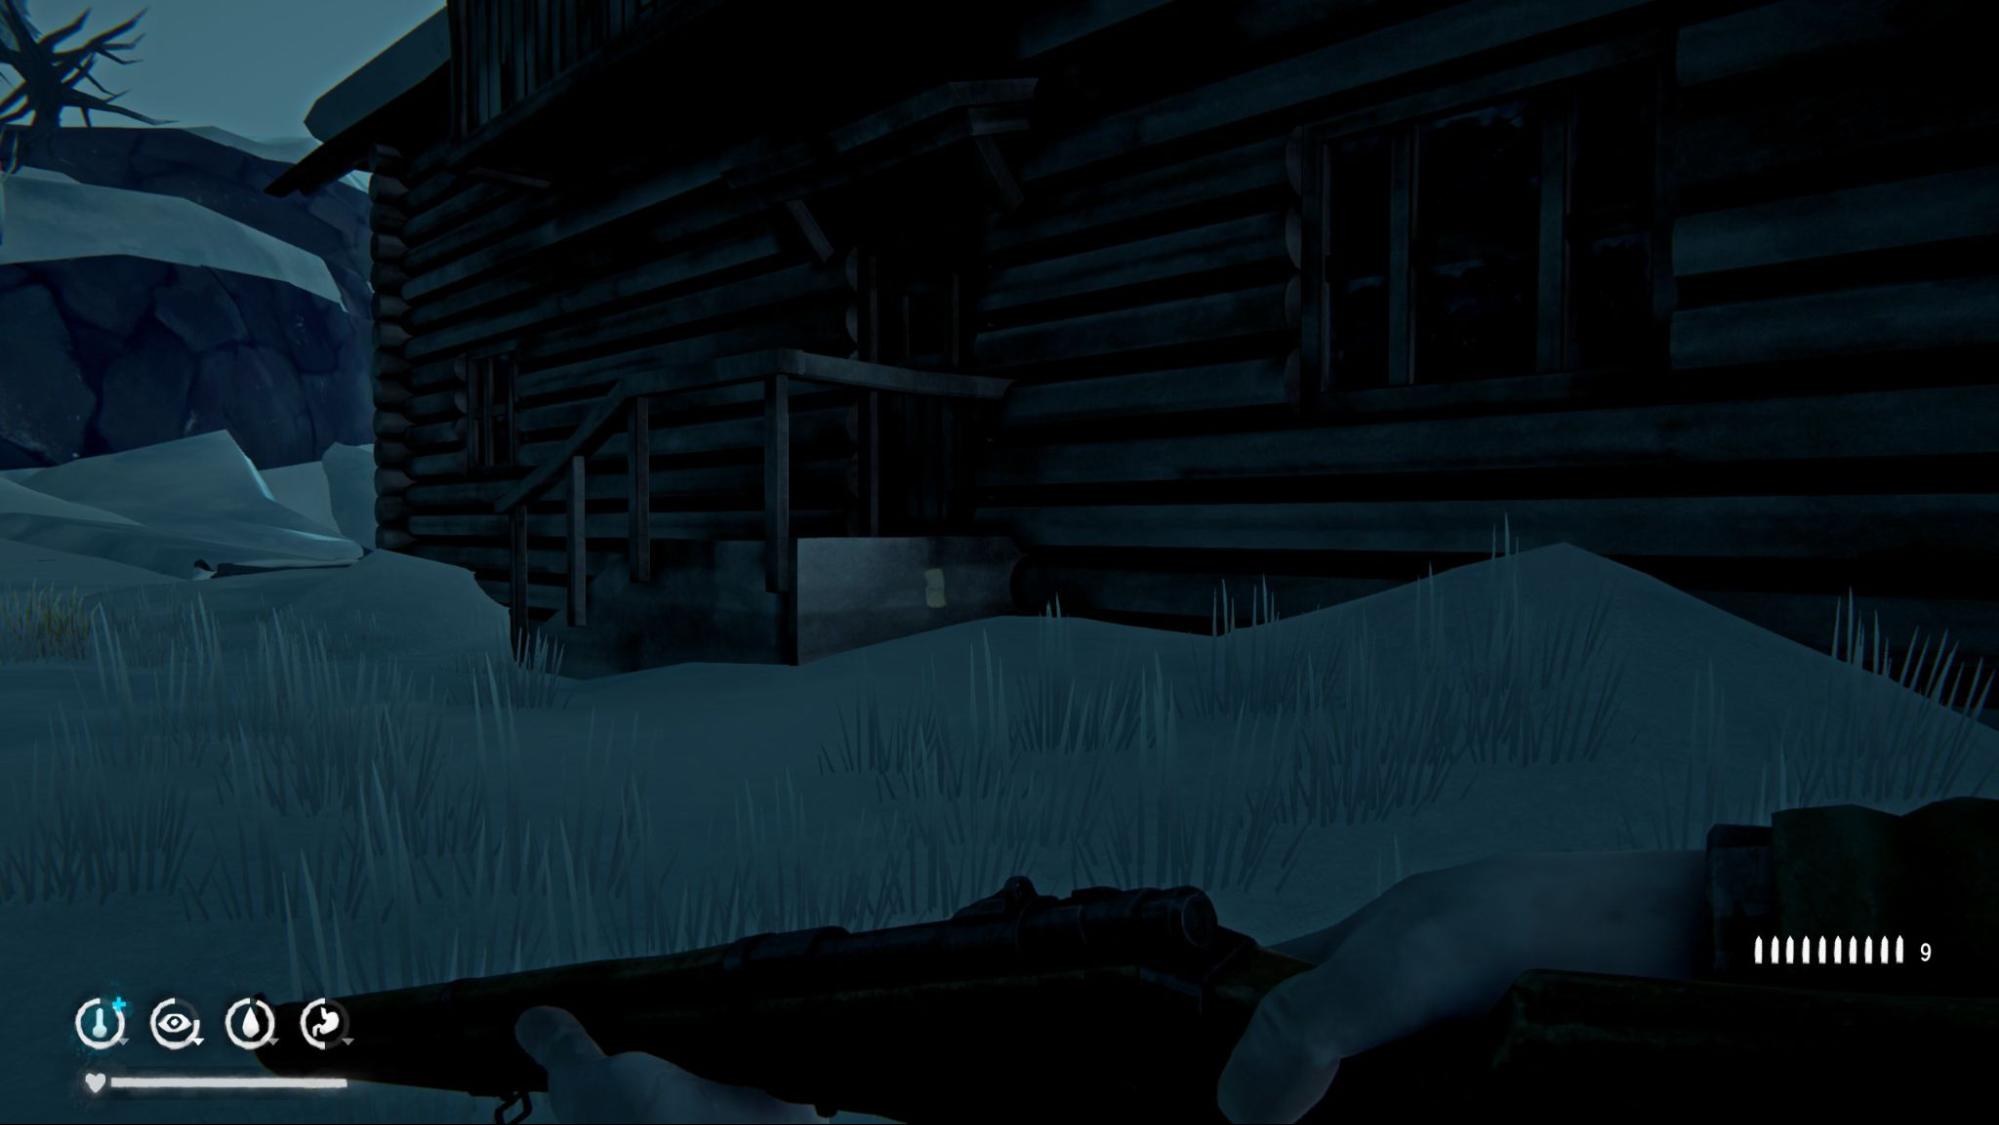
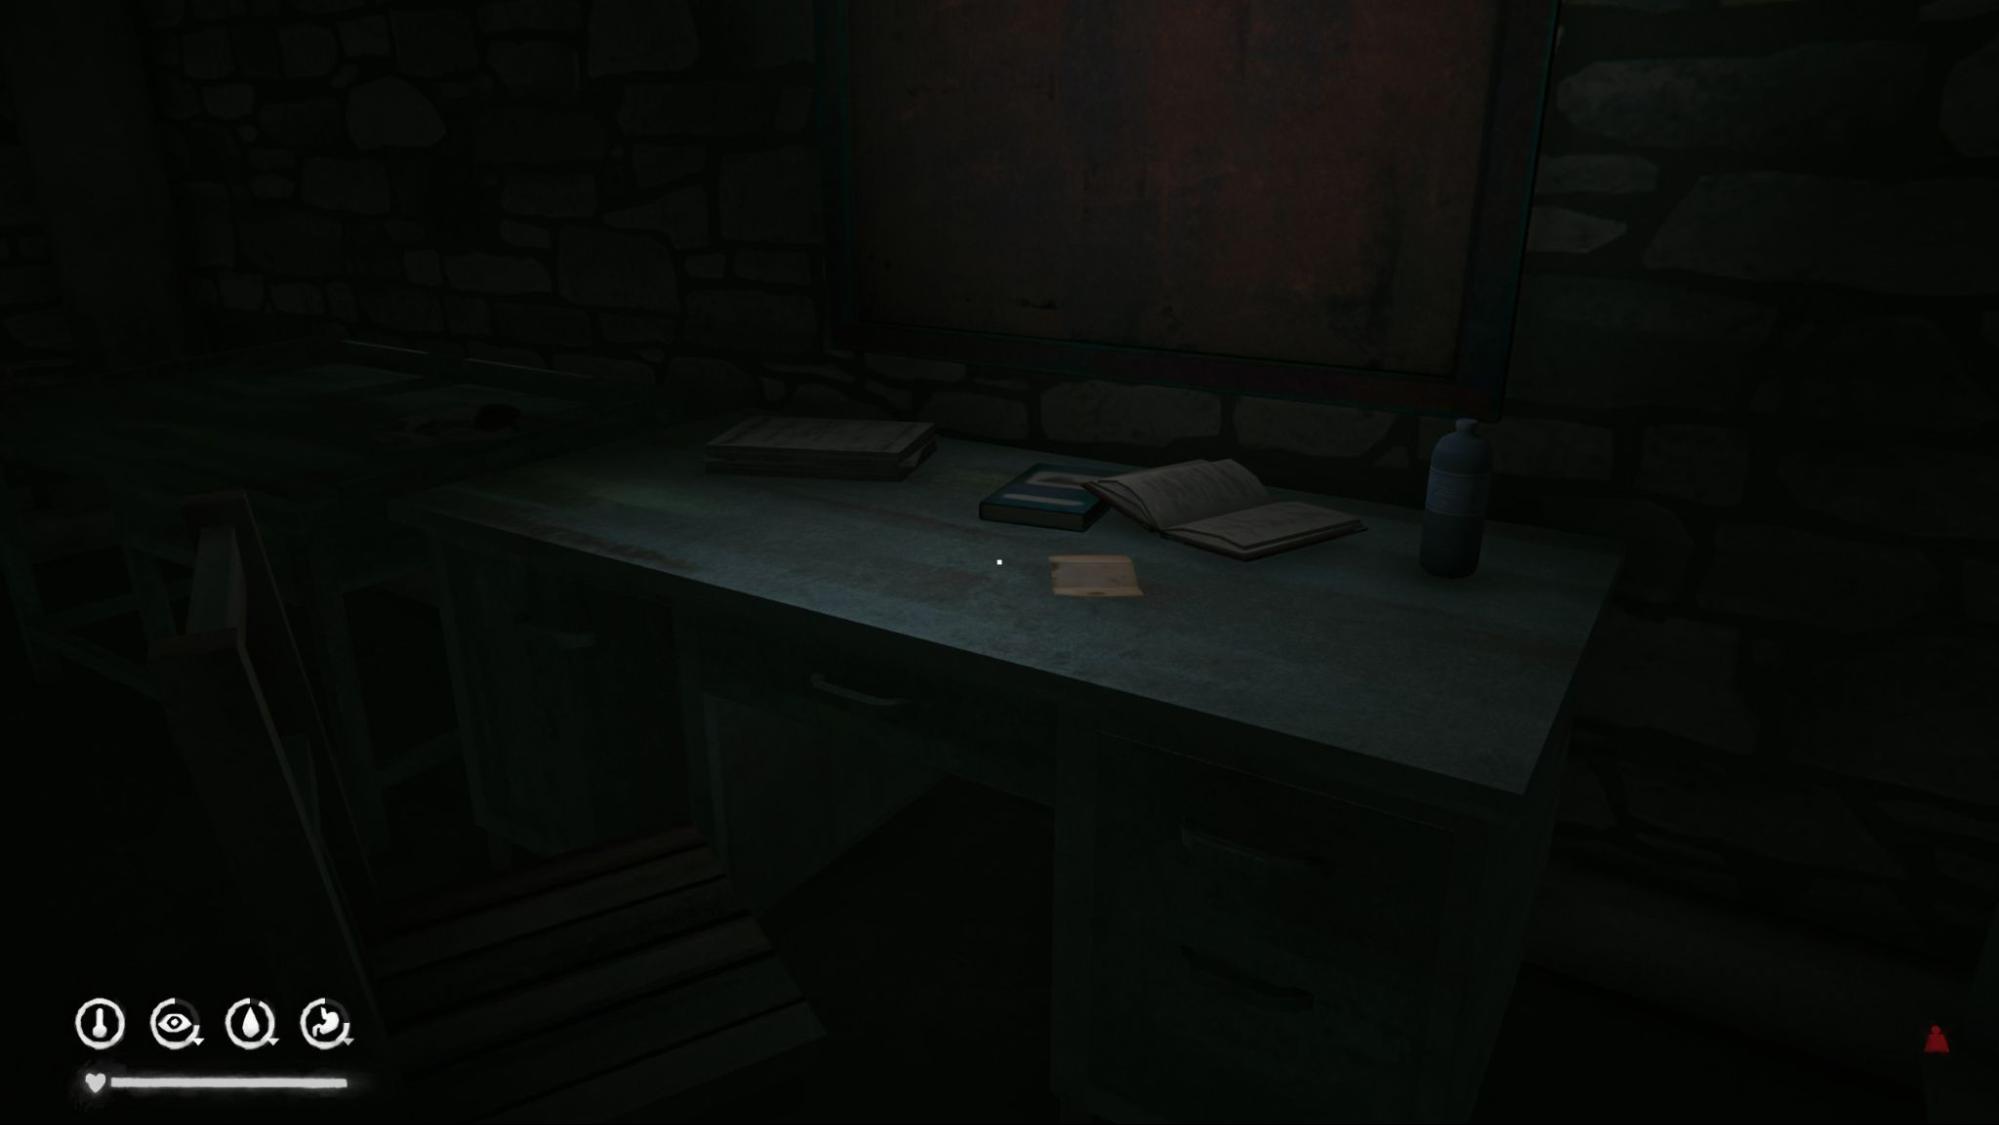
Forest Talker Supply Caches note: Go to the Hunting Lodge basement. At the far end, you’ll find a note on a desk. After picking it up, open your map and notice three new cache markers will appear, one in each region of this episode. Keep these in mind for later.
 Achievement #9 - Cache Mastery: Missable. If you’ve collected every hidden cache so far (remember about the one near Hunting Lodge), only one remains in Forlorn Muskeg. Collect your first Forest Talker cache on your way from the Hunting Lodge, repair your spear, and you’ll be tasked with returning to Jeremiah. On your way back through Forlorn Muskeg, collect the final hidden cache marked on your map and the achievement will unlock.
Don’t worry about the remaining two Forest Talker caches yet, we’ll grab them later in a more natural route. Continue straight to Jeremiah into Mystery Lake. When you return to Forlorn Muskeg afterward, you can collect the second Forest Talker cache if you haven’t already, it’s along your path.
 Achievement #10 - Freit-Train of Hate & Hunger: While collecting components from all three radio towers, watch out for the bear. He attacked me at two of the three towers: the one closest to the Broken Railroad transition and the northernmost one on the map. I’m not sure if this is random, but always equip your spear when approaching a tower. To defeat the bear, win three struggles (keep an eye on your condition while bracing the spear). When leaving Forlorn Muskeg, a cutscene will play and you’ll be dragged into the bear’s cave. Retrieve your spear and win three more struggles. The achievement unlocks after the final cutscene.
Here’s a great video that might help you out.
 Achievement #11 - Sounds Like Some Kind of Indie Band: Missable. If you collected the previous two Forest Talker caches in Broken Railroad and Forlorn Muskeg, only the Mystery Lake one remains. When leaving Hunter’s Homestead, it’s directly on your way to the dam. Collect it to unlock the achievement.
 Achievement #12 - Graduation Day: Missable. If you’ve completed every book quest by now, this achievement will unlock. You may already have it. For me, it triggered on the way to the dam after killing a wolf in Mystery Lake
 Achievement #13 - You’ll Be With Her Soon: Story-related. Wait for the aurora and get to the dam. There is no guarantee the aurora will be on the first night. I had to wait two nights for Aurora to appear. Hunt a deer or a wolf to have something to eat and wait at the Methuselah infinite campfire. Achievement pops up after cutscene at the dam ends.
Episode 3: Crossroads Elegy
Achievements: 21/41 - 5 unmissable, 3 missable
Forest Talker Notes: 6/6
Local Legends Books: 4/4
In Episode 3, you must find six Forest Talker notes that reveal lore about the group. Unlike previous episodes, no extra steps are required beyond collecting them. The achievement tied to them is exclusive to this episode. Additionally, similar to Survival School books in Episodes 1 and 2, we’ll be collecting Local Legends books.
Forest Talker Note #1: Located in the barn at Pleasant Valley Outbuildings, on the second floor, between two Forest Talker caches.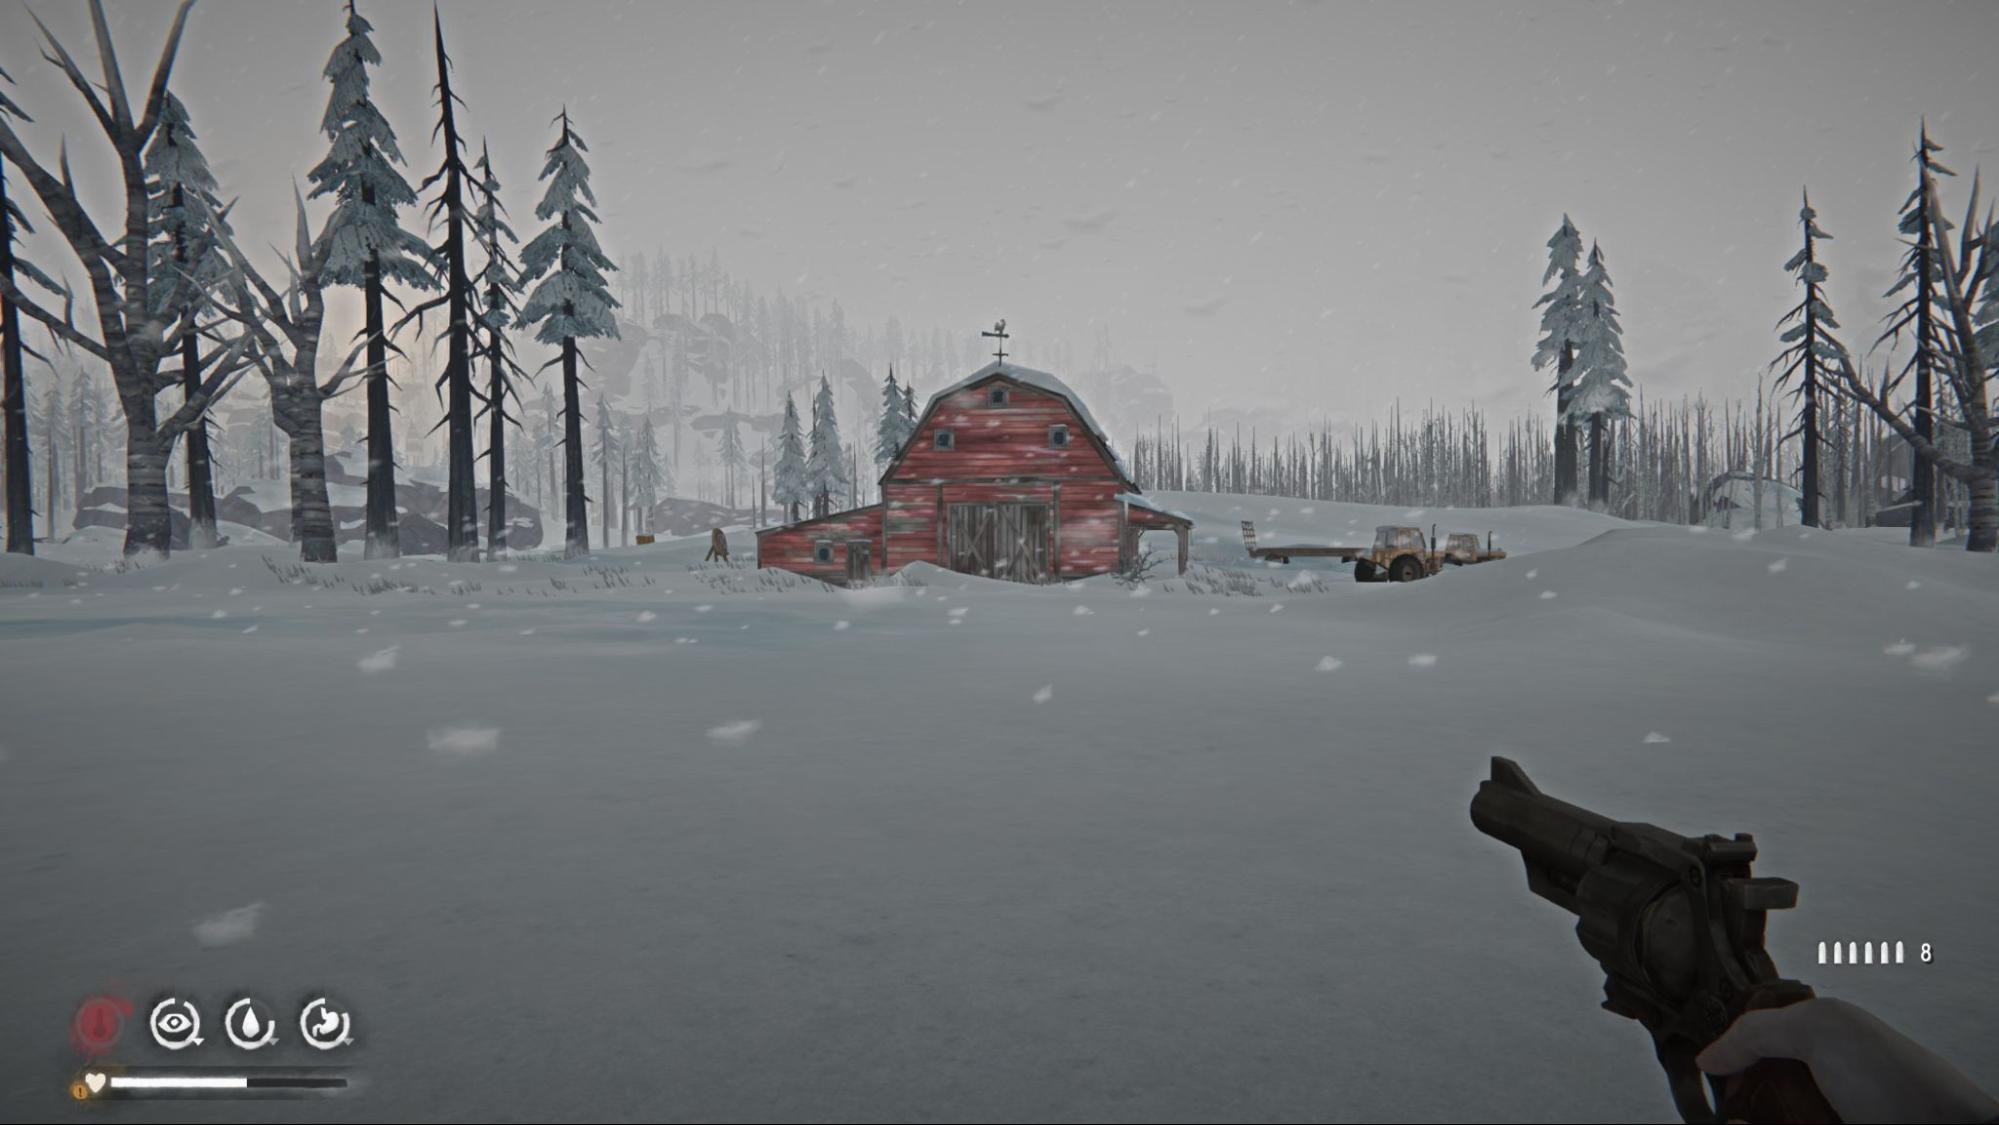
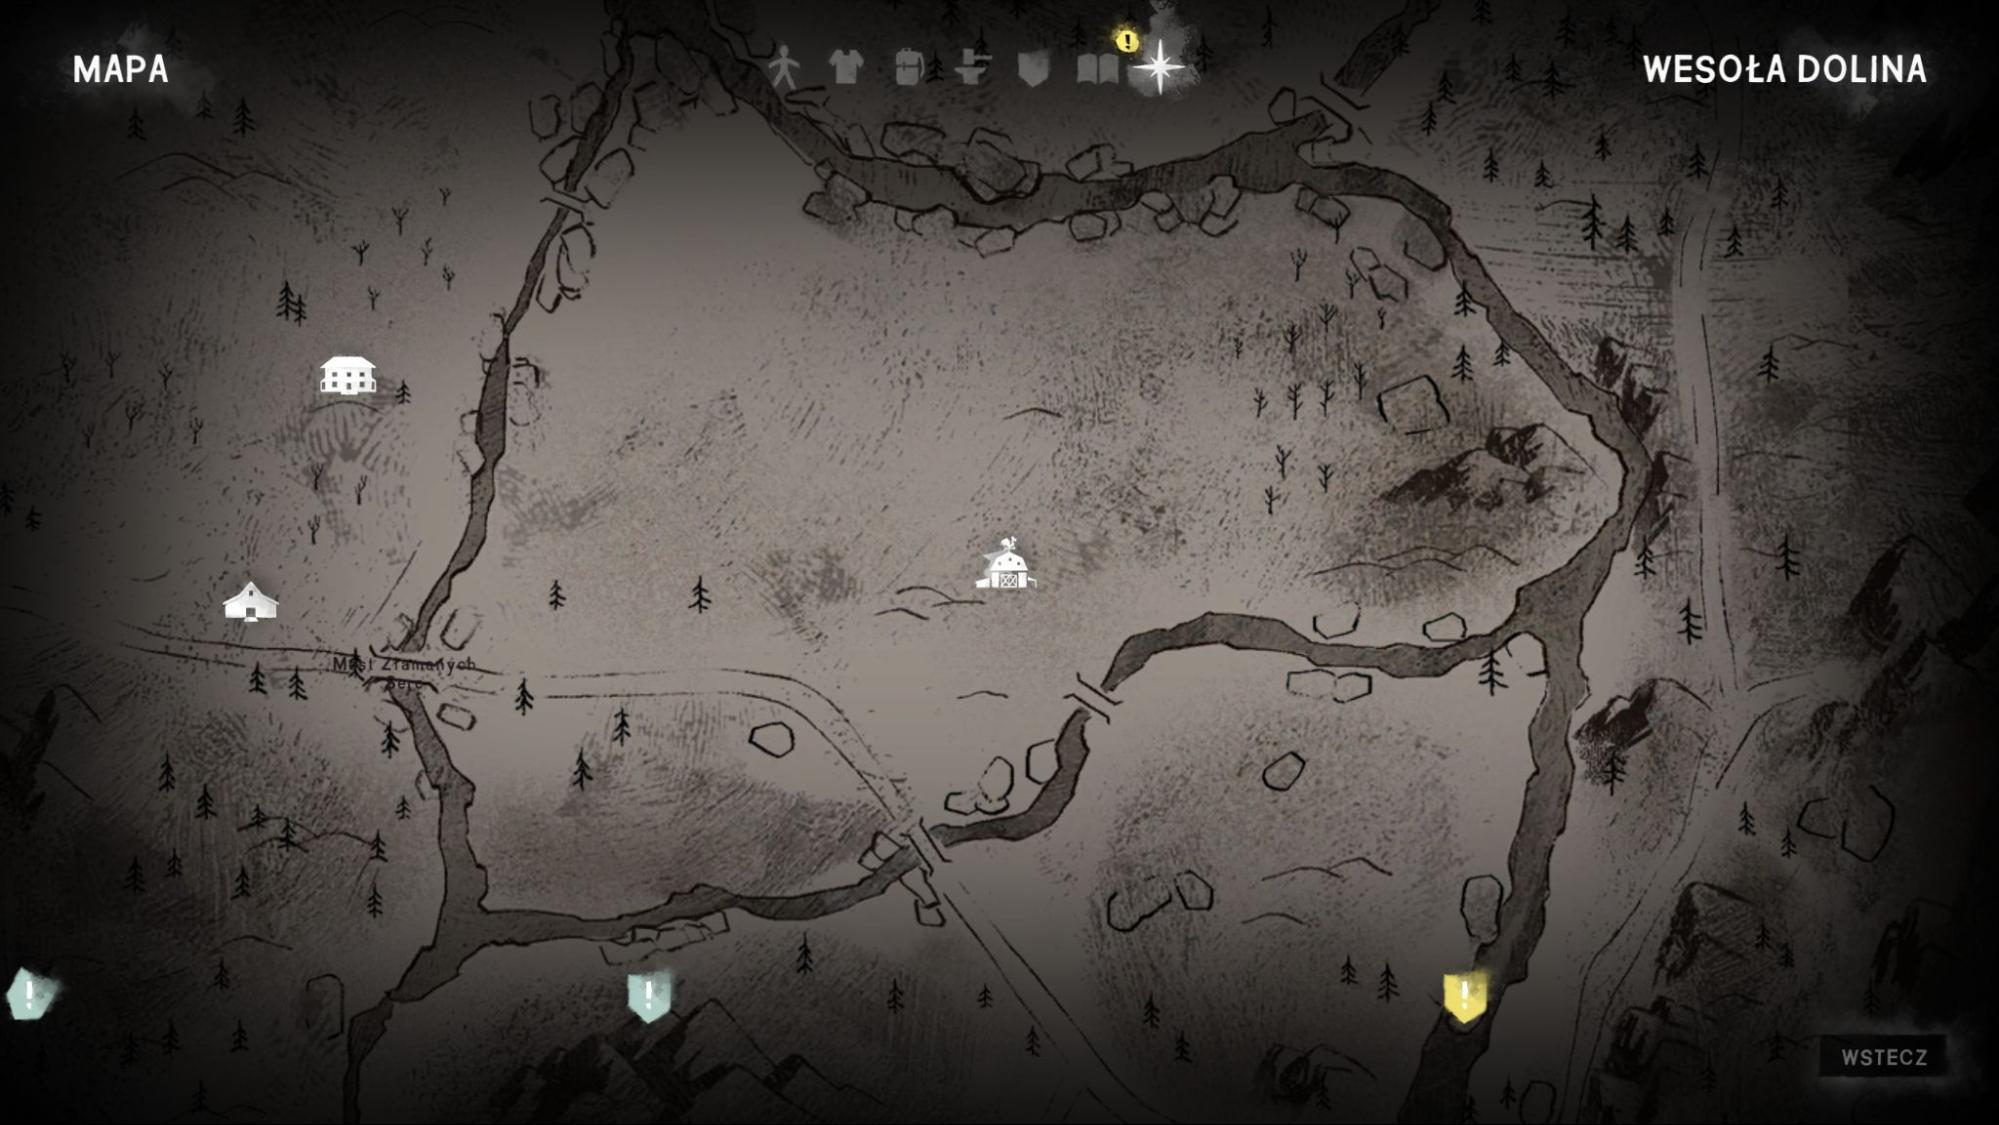
 Achievement #14 - Community Service: Story-related. Reach Thomson’s Crossing.
Note for future yourself, minor spoilers: Stockpile as much firewood and books as possible in the Community Hall - they’ll come in handy later. Just make sure to leave enough for yourself so you don’t freeze.
Forest Talker Note #2: Inside the Community Hall. Enter and immediately turn right, the note is on the desk in the office.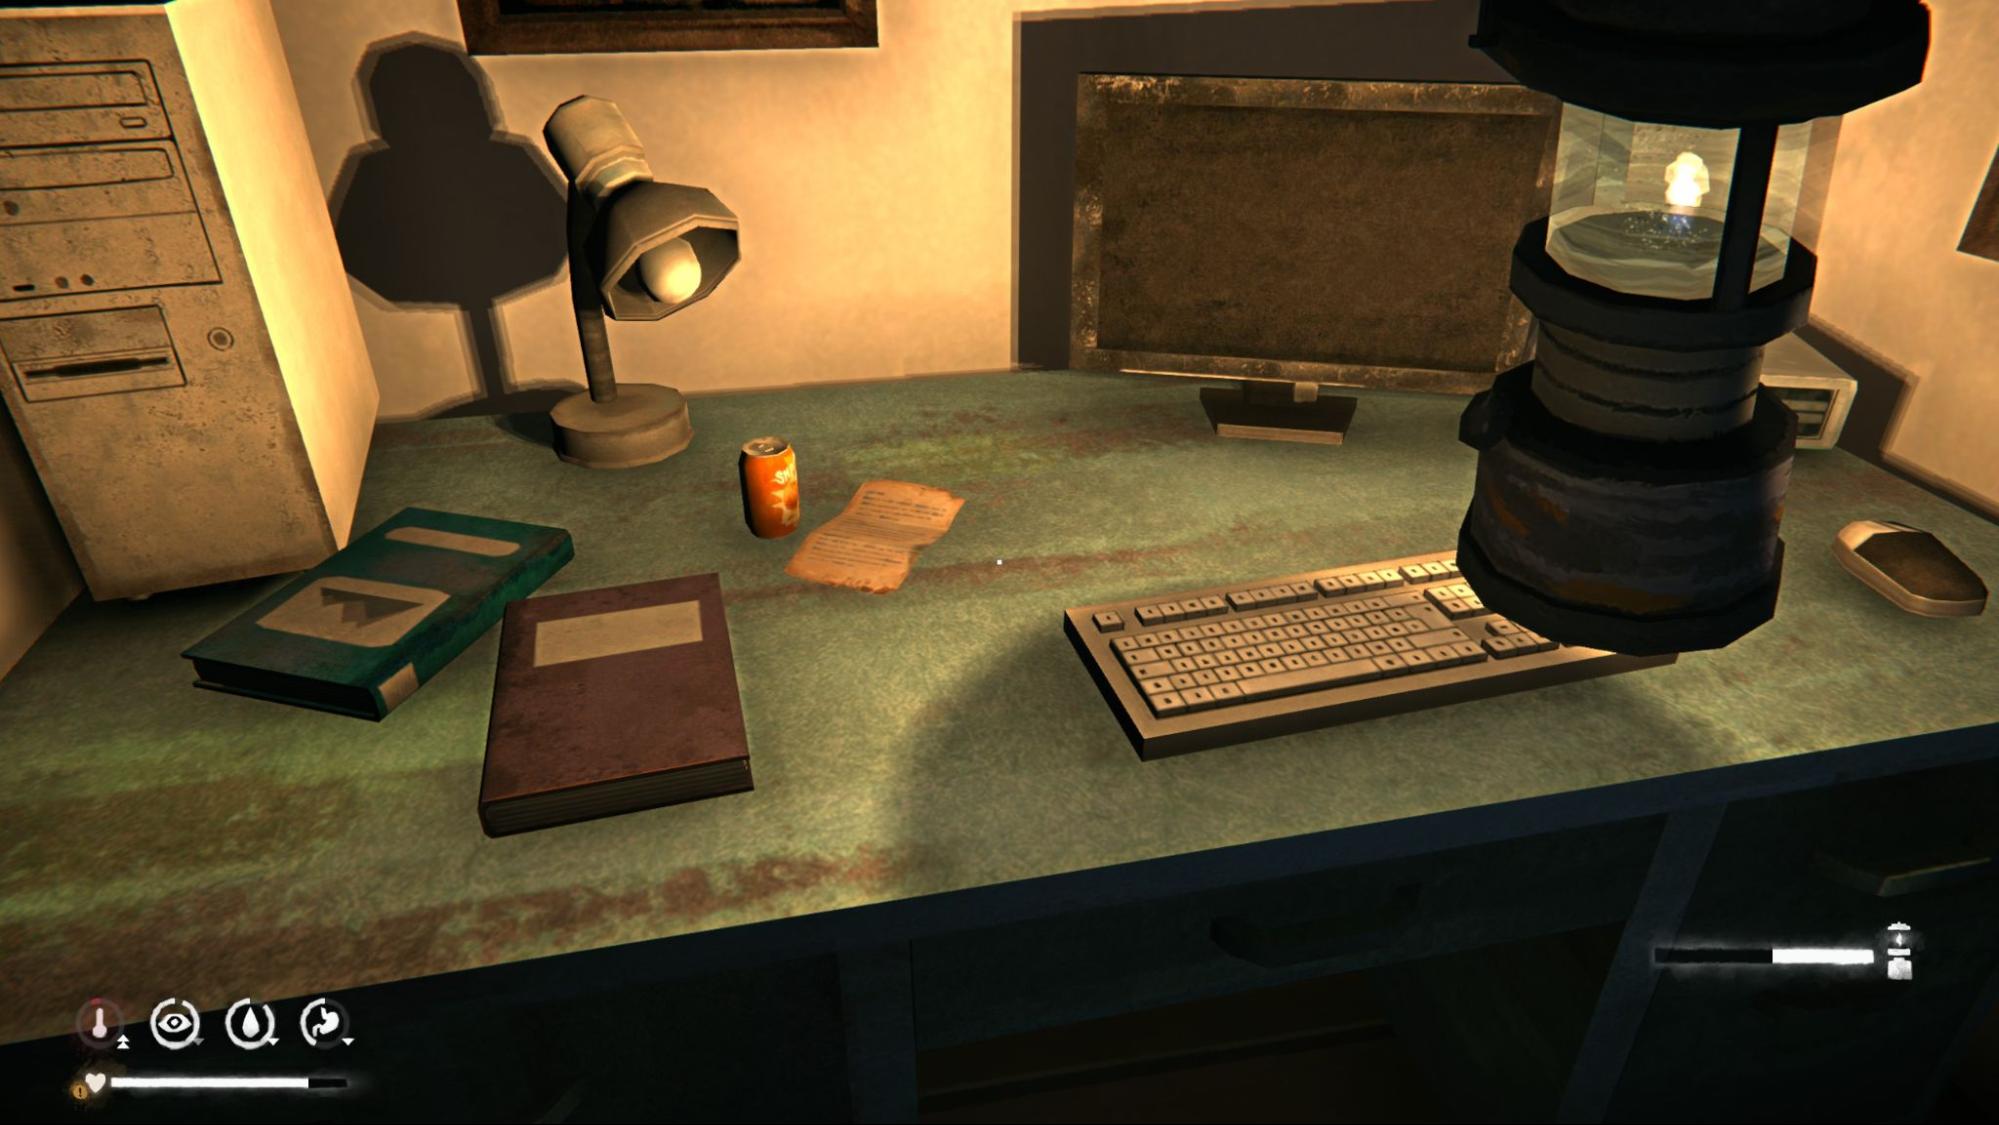
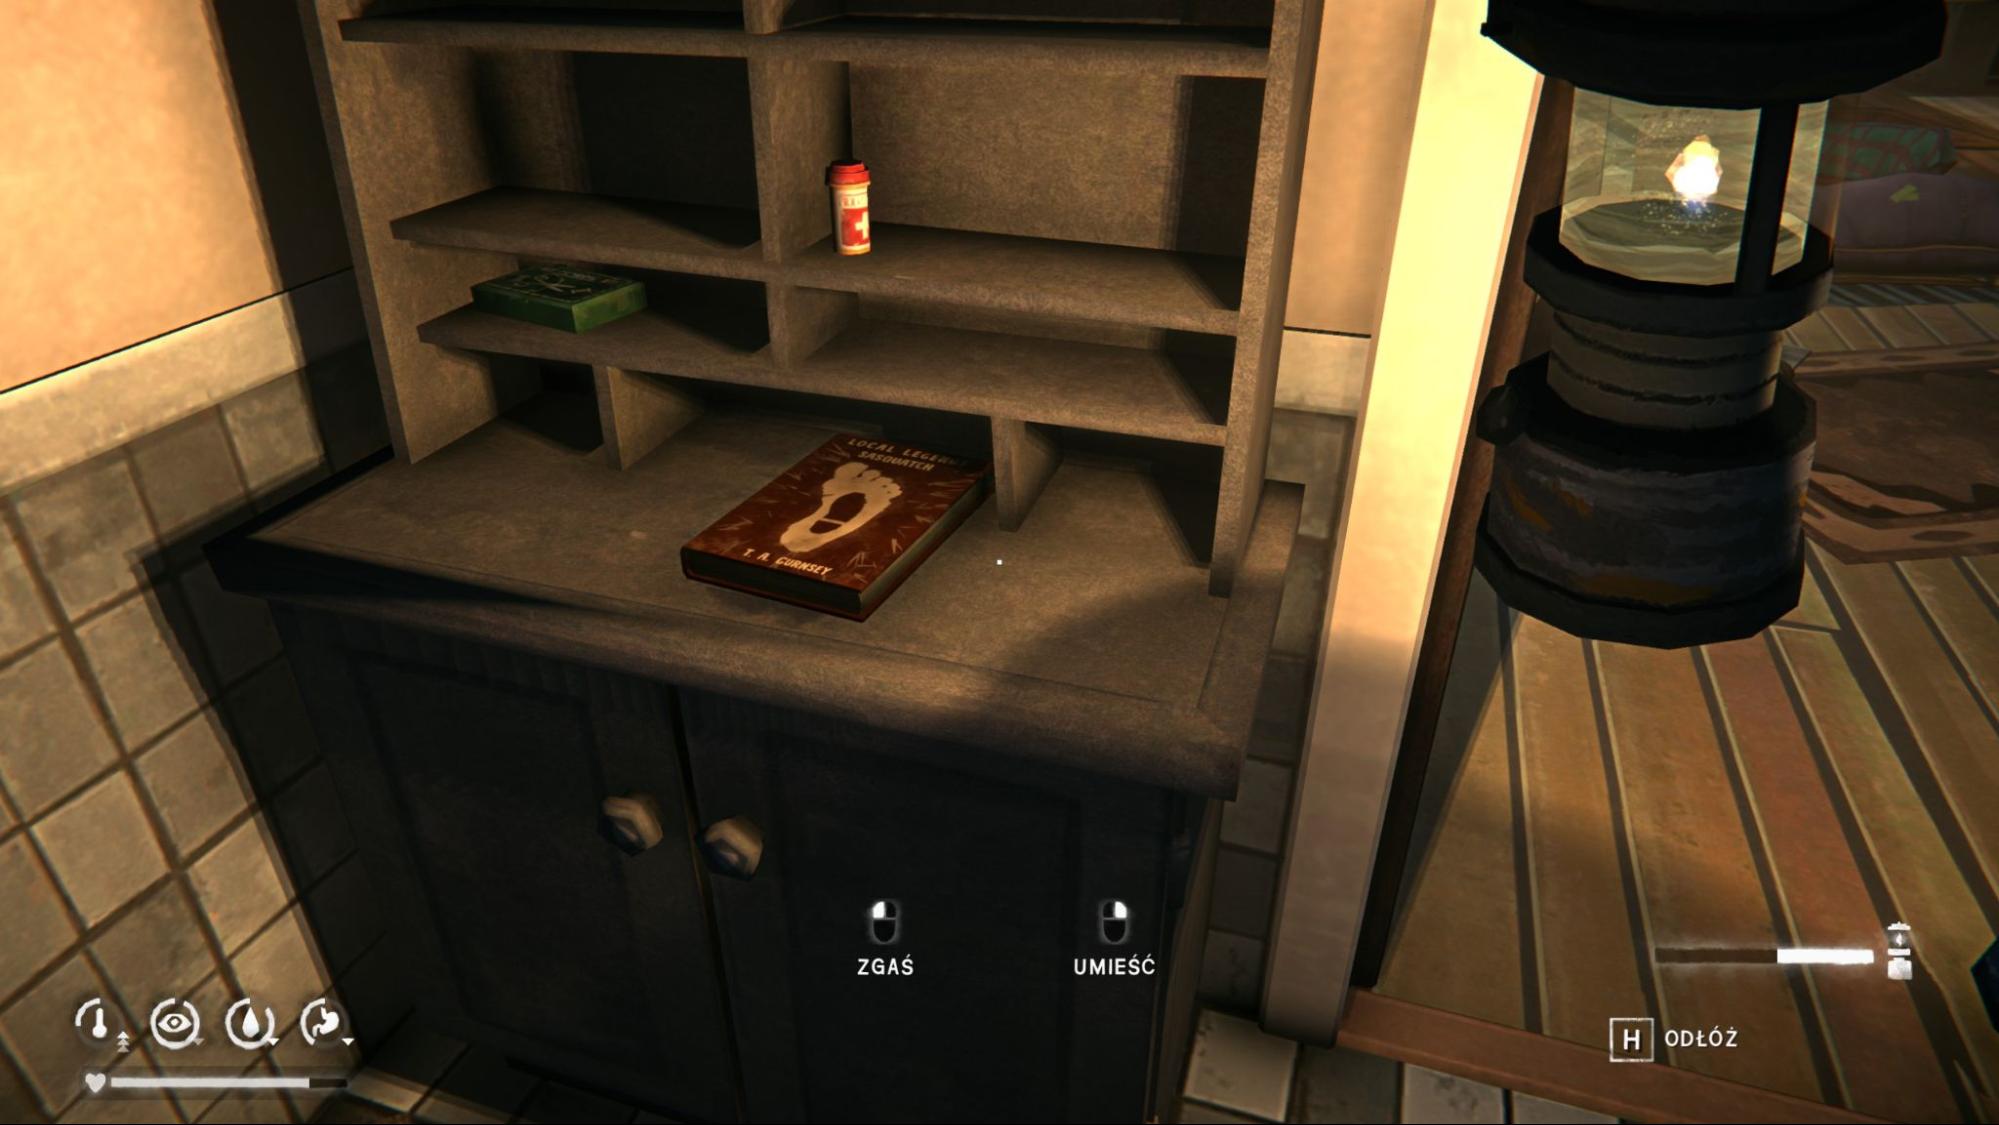
Local Legends Book #1: In the same building, go to the large room and immediately turn left, there’s a bathroom. The book is inside. The cave required for this quest is relatively close.
 Achievement #15 - There Will Be Blood: Technically missable, but it's so hard to miss it might as well be story-related. The first Timberwolf pack appeared when exiting the Community Hall. Deplete their morale by either scaring them off or killing wolves. Sometimes reducing the bar to around 50% is enough, but usually it must be fully depleted. If Timberwolves don’t spawn here, you’ll have several more opportunities later in the episode. You may already have this achievement from Survival Mode, so double-check whether it’s unlocked.
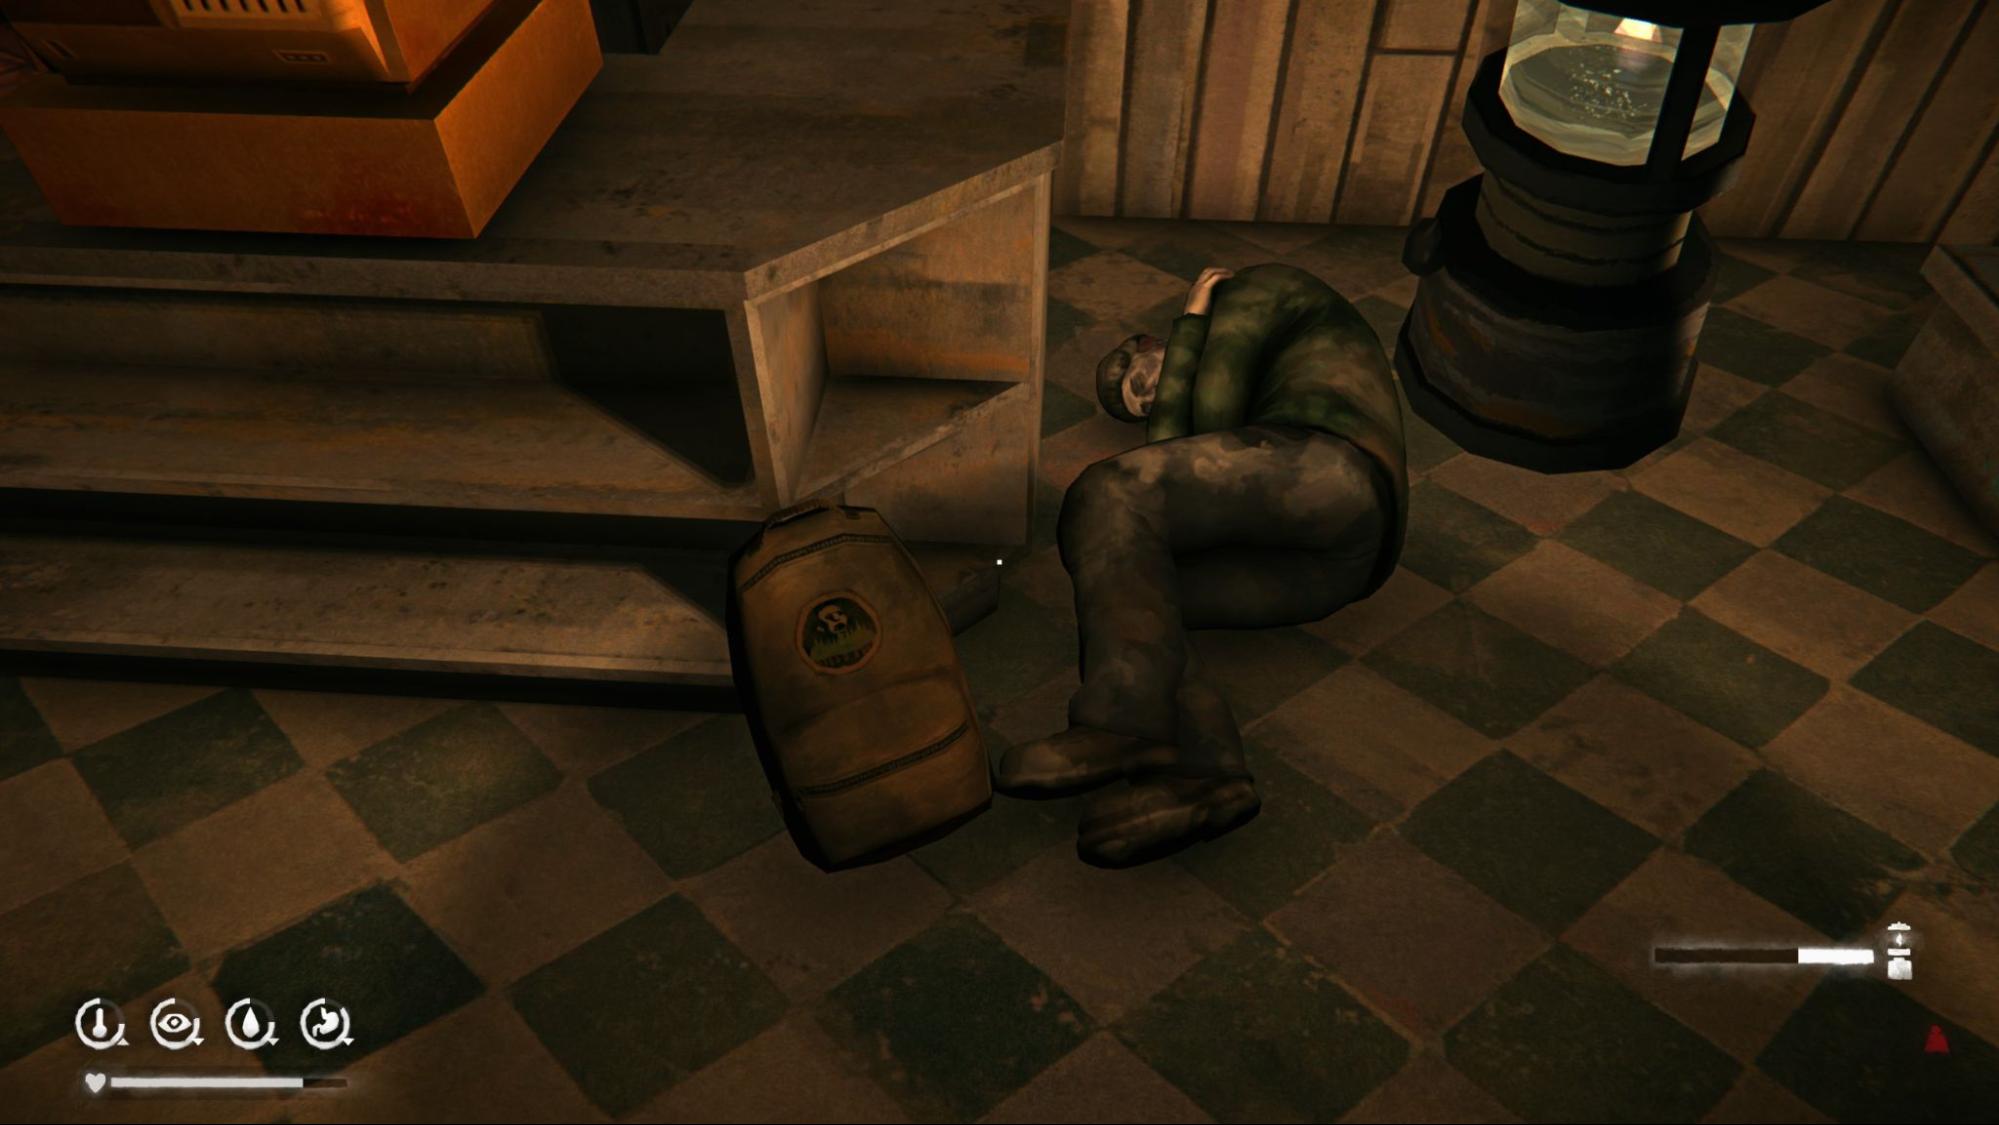
Forest Talker Note #3 and Local Legends Book #2: Both are located across from the Community Hall in the General Store. Be sure to search the backpack as well, and take the note from it. It’s important to at least start the bunker side quest it gives, as one of the Local Legends books won’t spawn unless this quest is active.
Achievement #15 - There Will Be Blood: Technically missable, but it's so hard to miss it might as well be story-related. The first Timberwolf pack appeared when exiting the Community Hall. Deplete their morale by either scaring them off or killing wolves. Sometimes reducing the bar to around 50% is enough, but usually it must be fully depleted. If Timberwolves don’t spawn here, you’ll have several more opportunities later in the episode. You may already have this achievement from Survival Mode, so double-check whether it’s unlocked.
Forest Talker Note #3 and Local Legends Book #2: Both are located across from the Community Hall in the General Store. Be sure to search the backpack as well, and take the note from it. It’s important to at least start the bunker side quest it gives, as one of the Local Legends books won’t spawn unless this quest is active.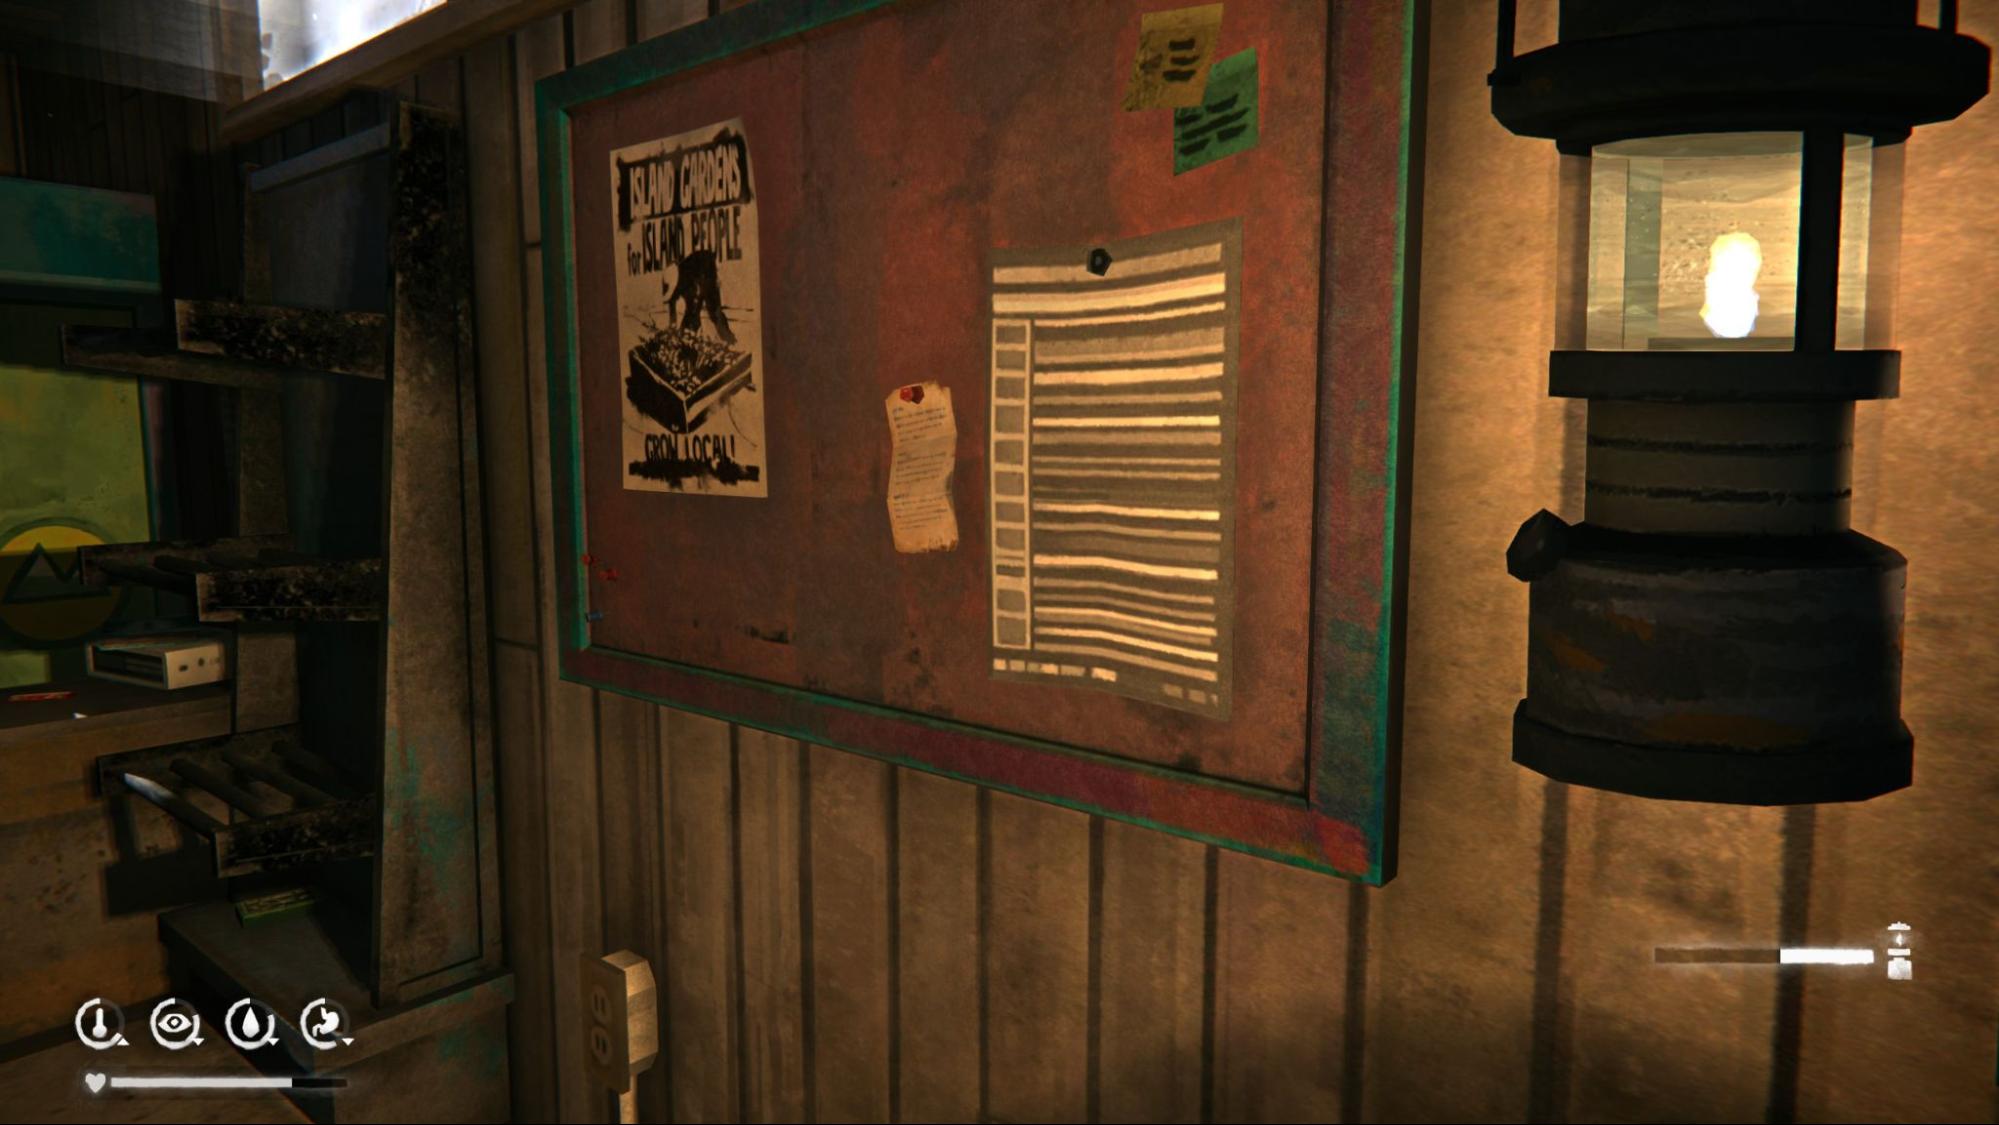
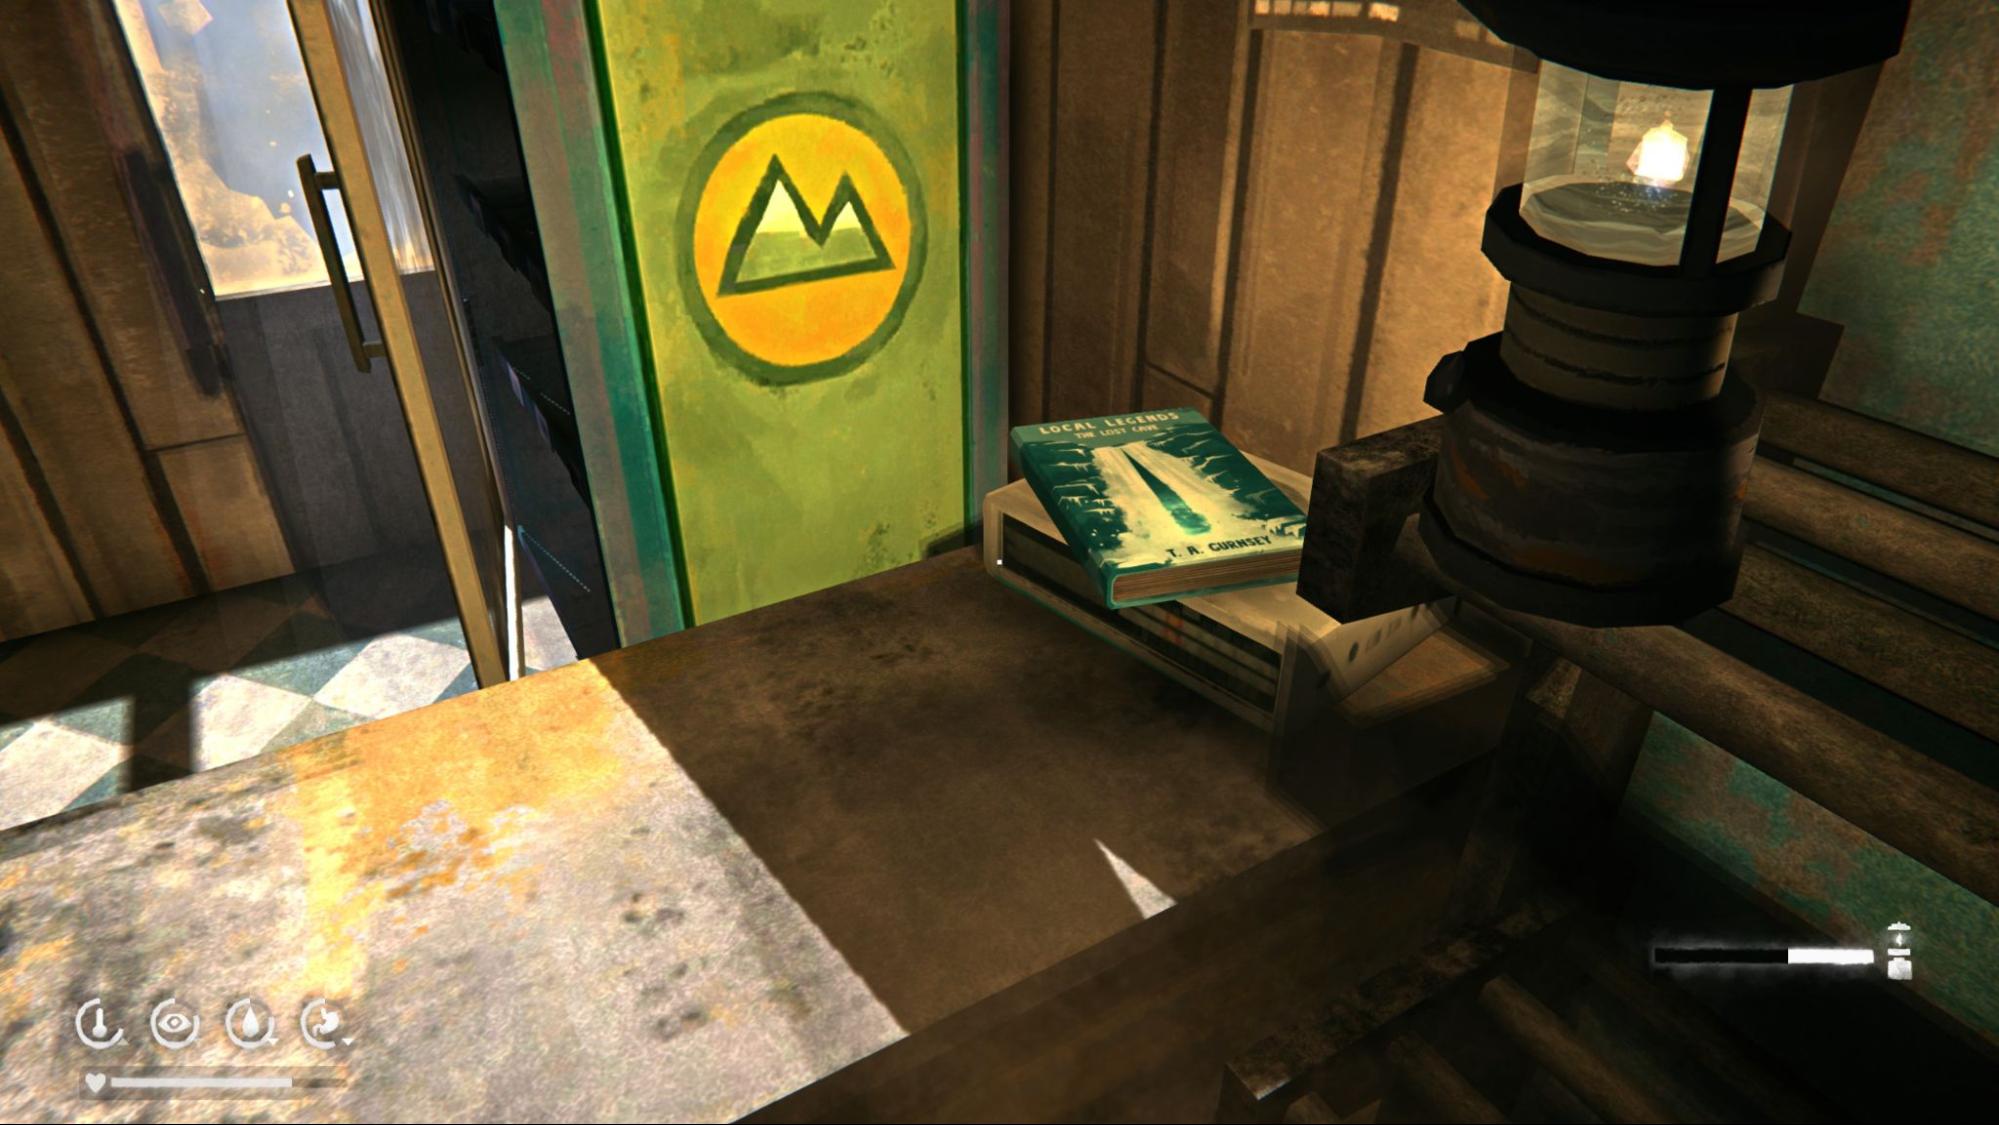
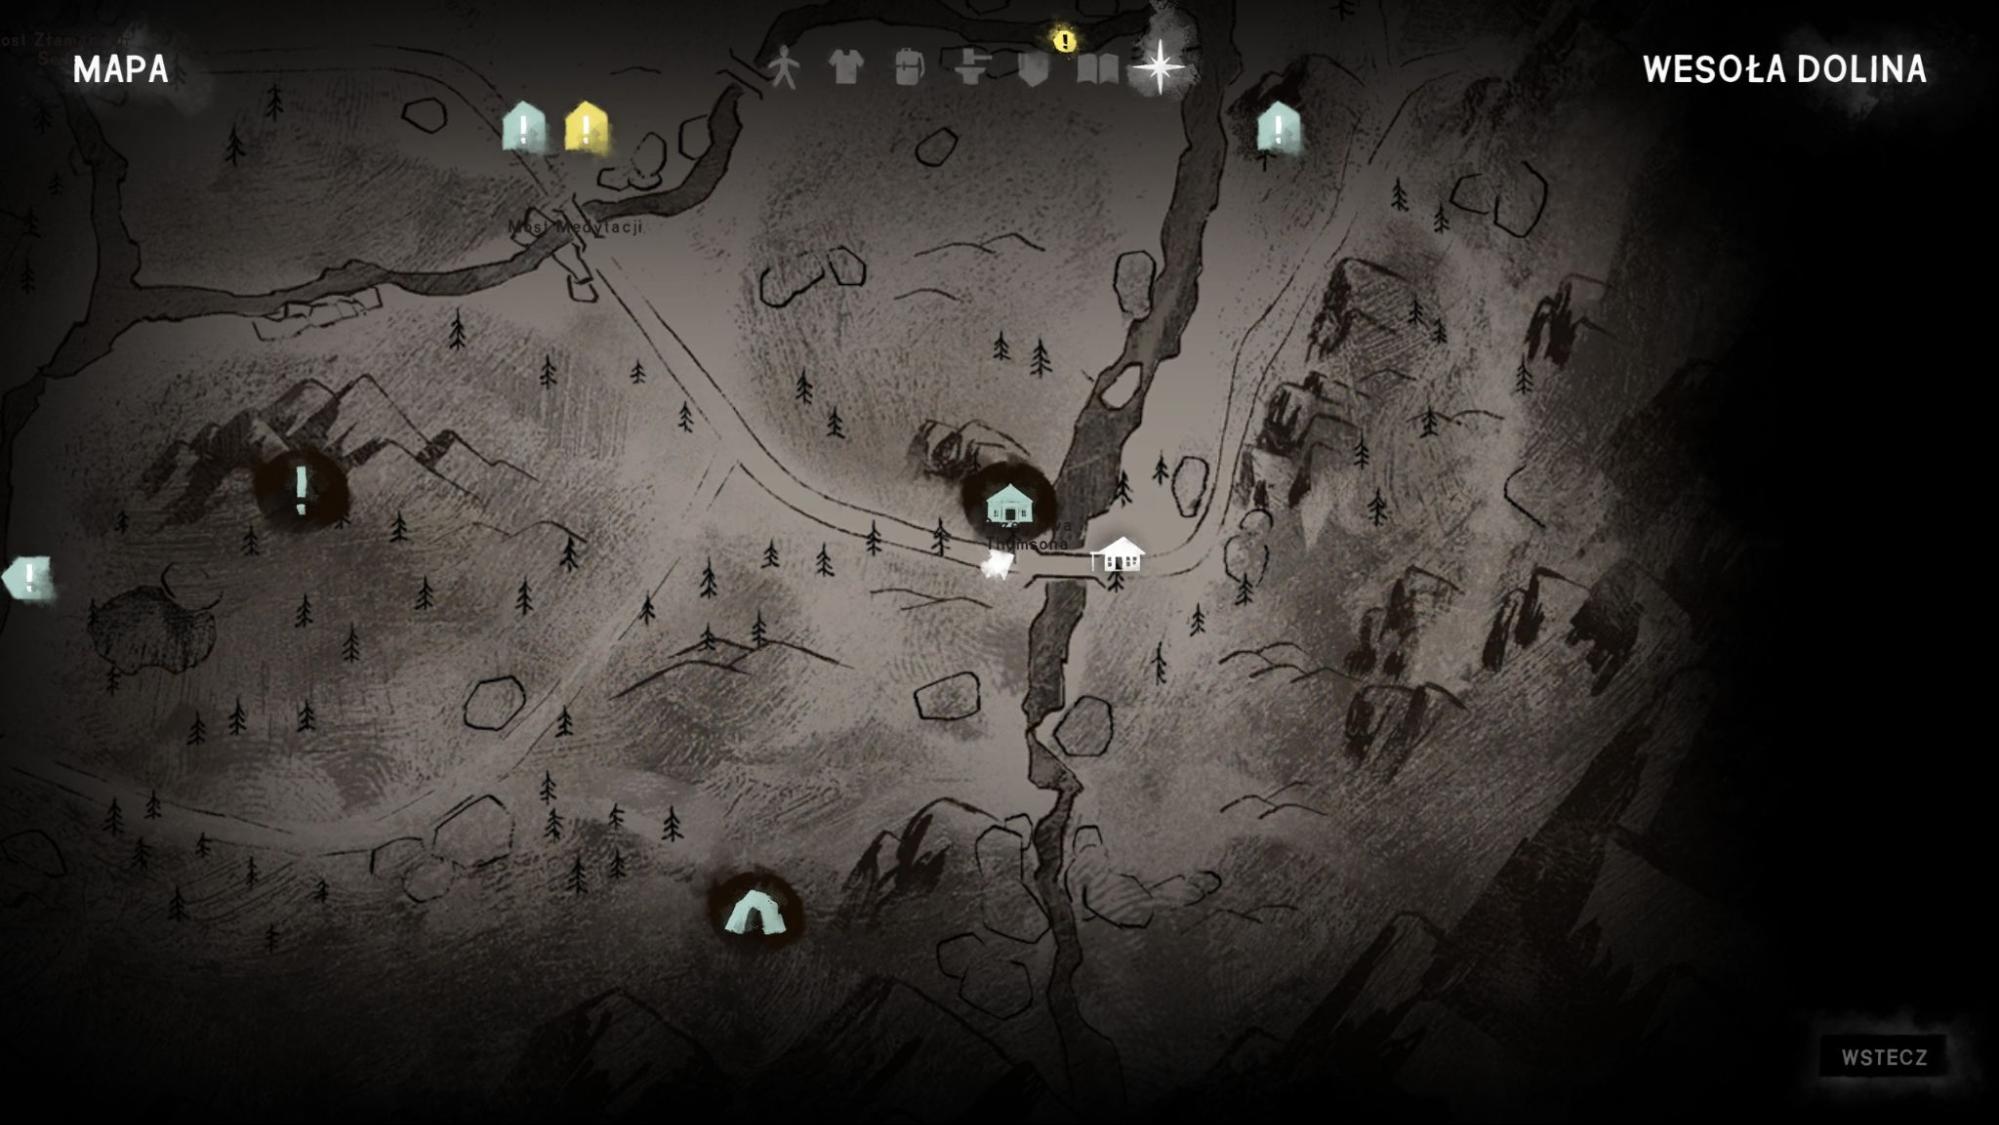
Local Legends Book #3: Inside Draft Dodger’s Cabin, on the way to the crashed airliner. You can leave this for later since you’ll pass nearby again, but there’s one catch: You’ll eventually be carrying a survivor back to Community Hall and this cabin may not be the safest place to visit then. I went for this book on my way to the crash site, but went back with Gwen anyway to sleep through the night, and both times the timberwolf pack attacked me, so it’s your call.
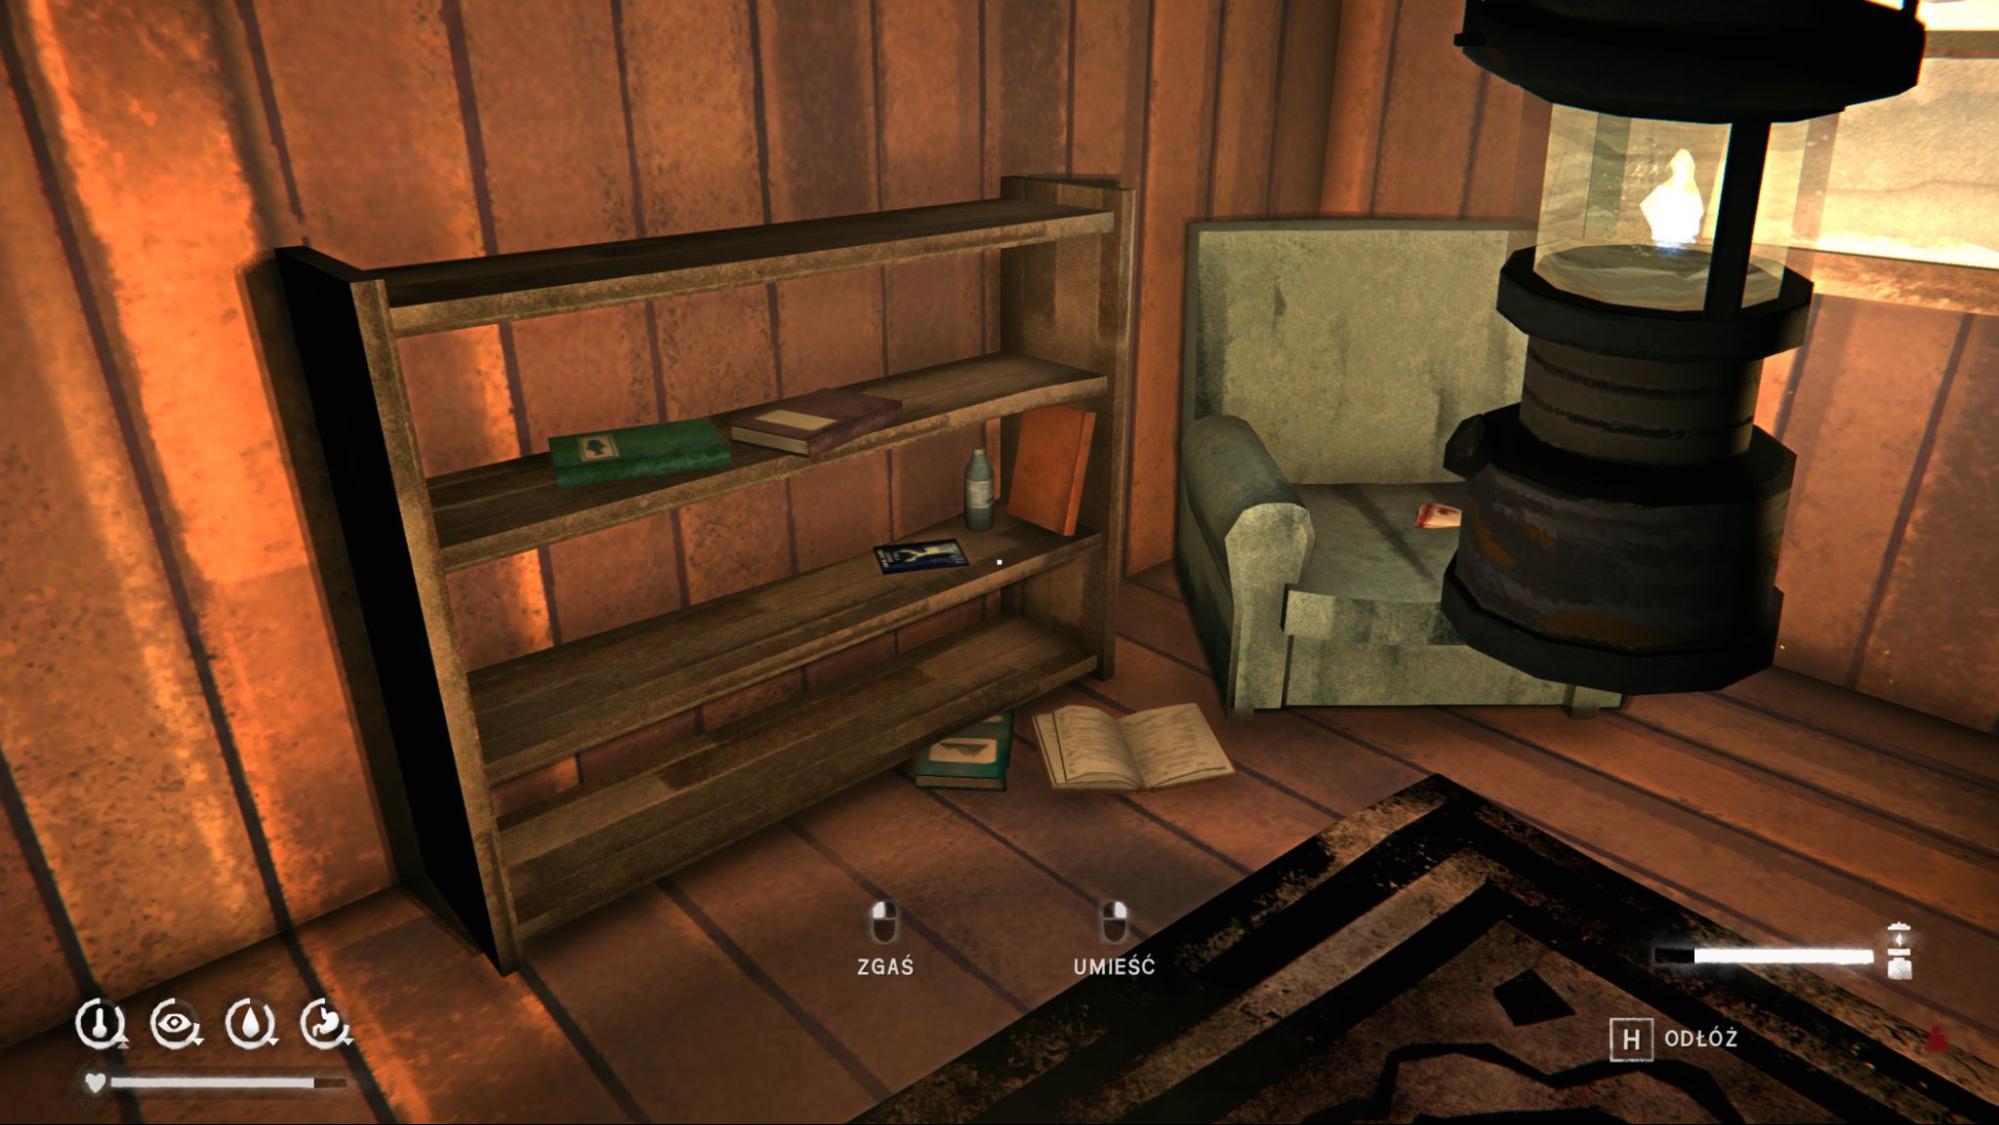
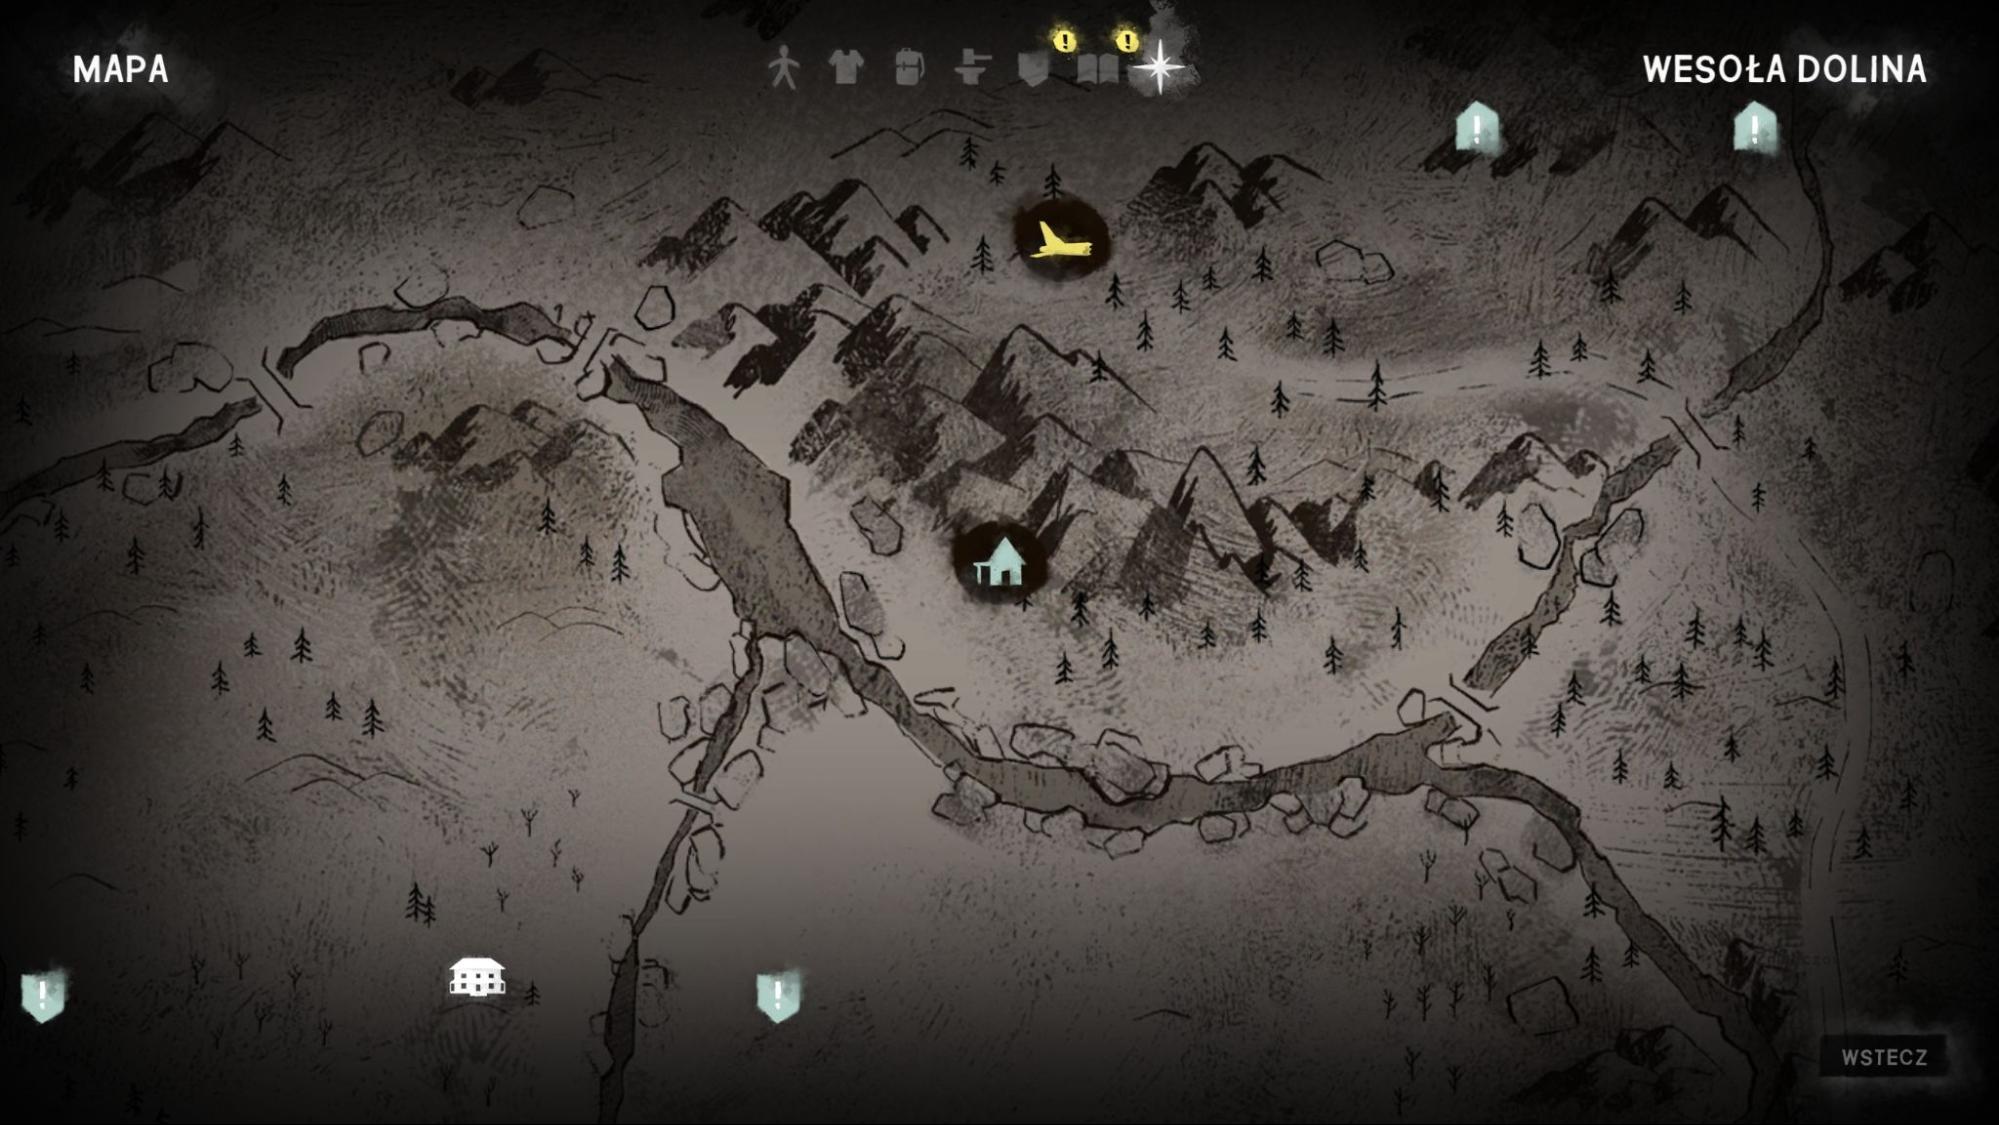
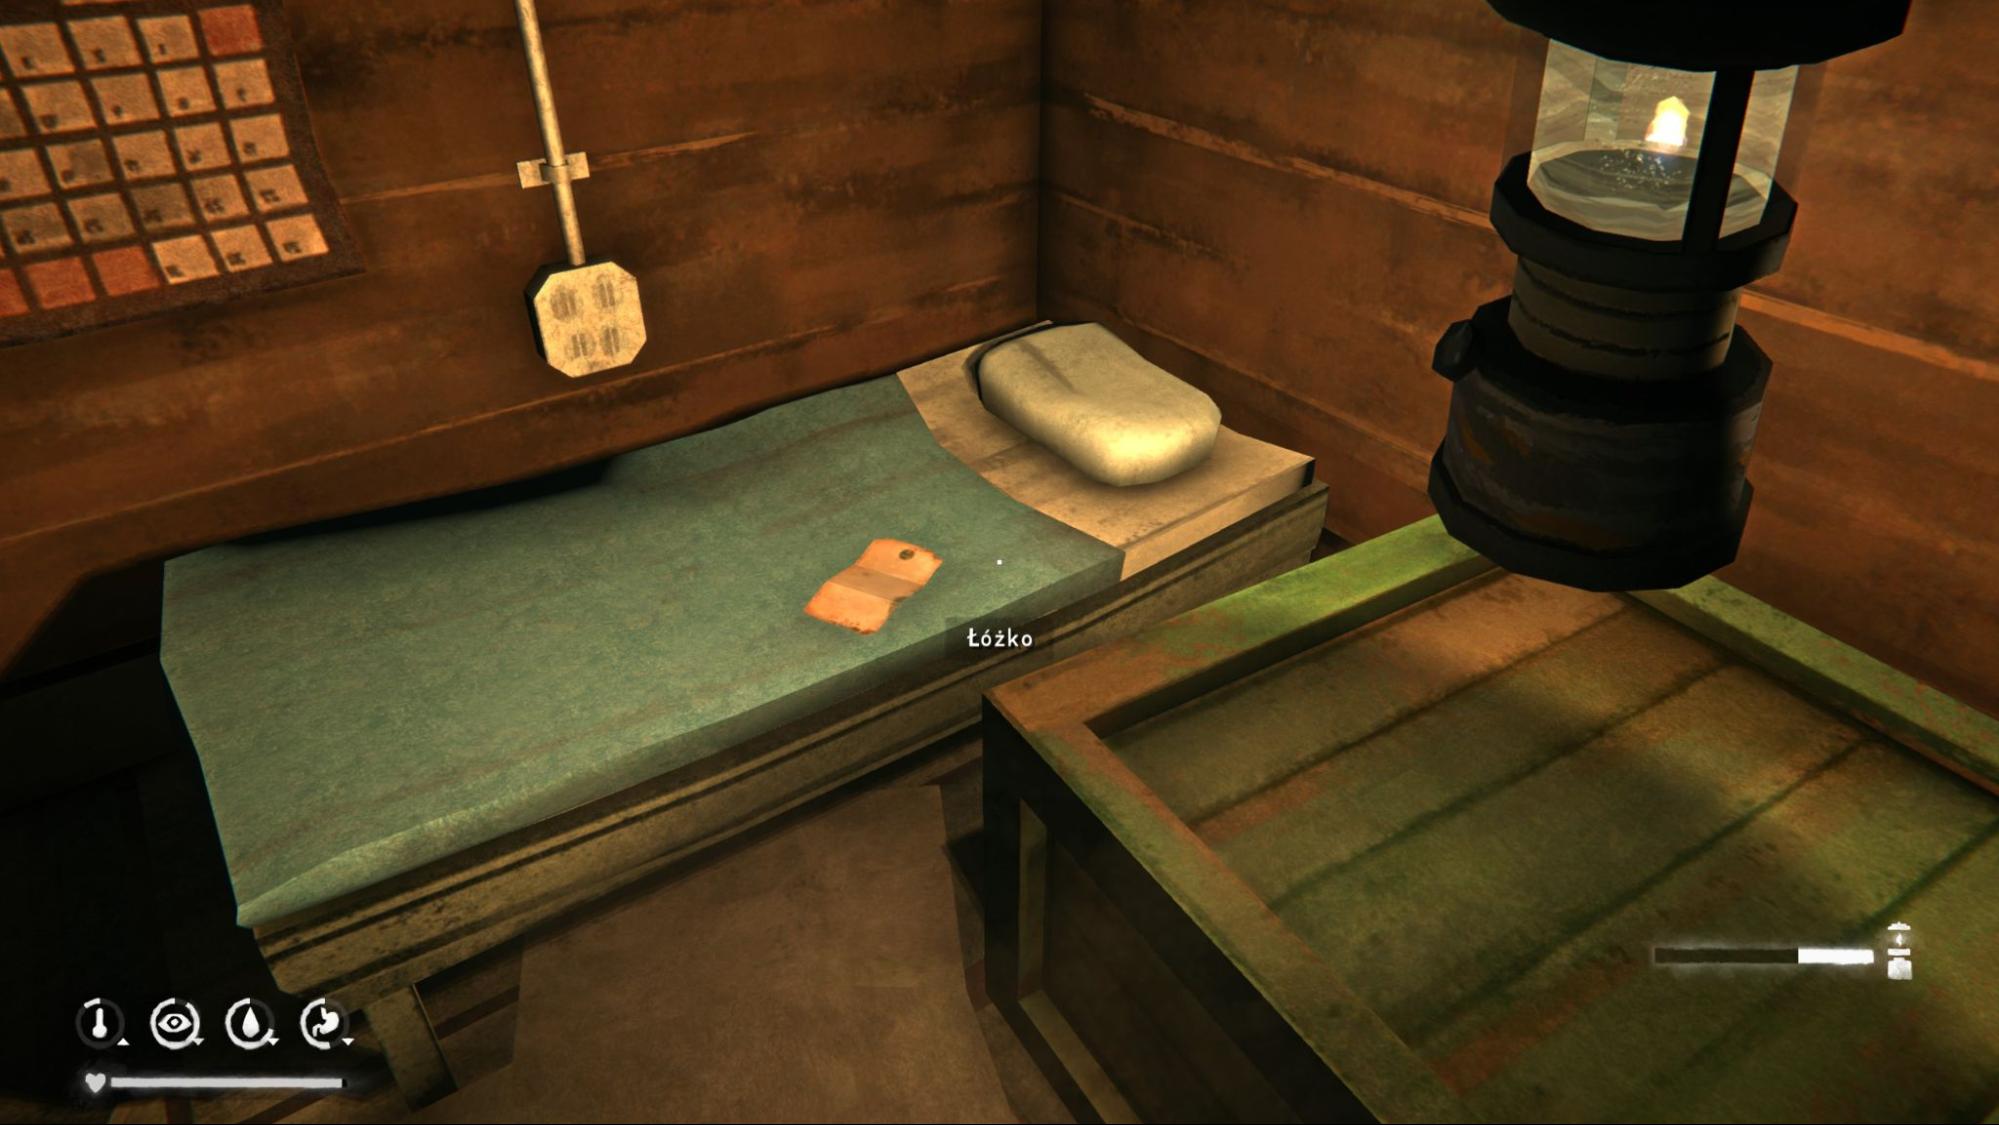
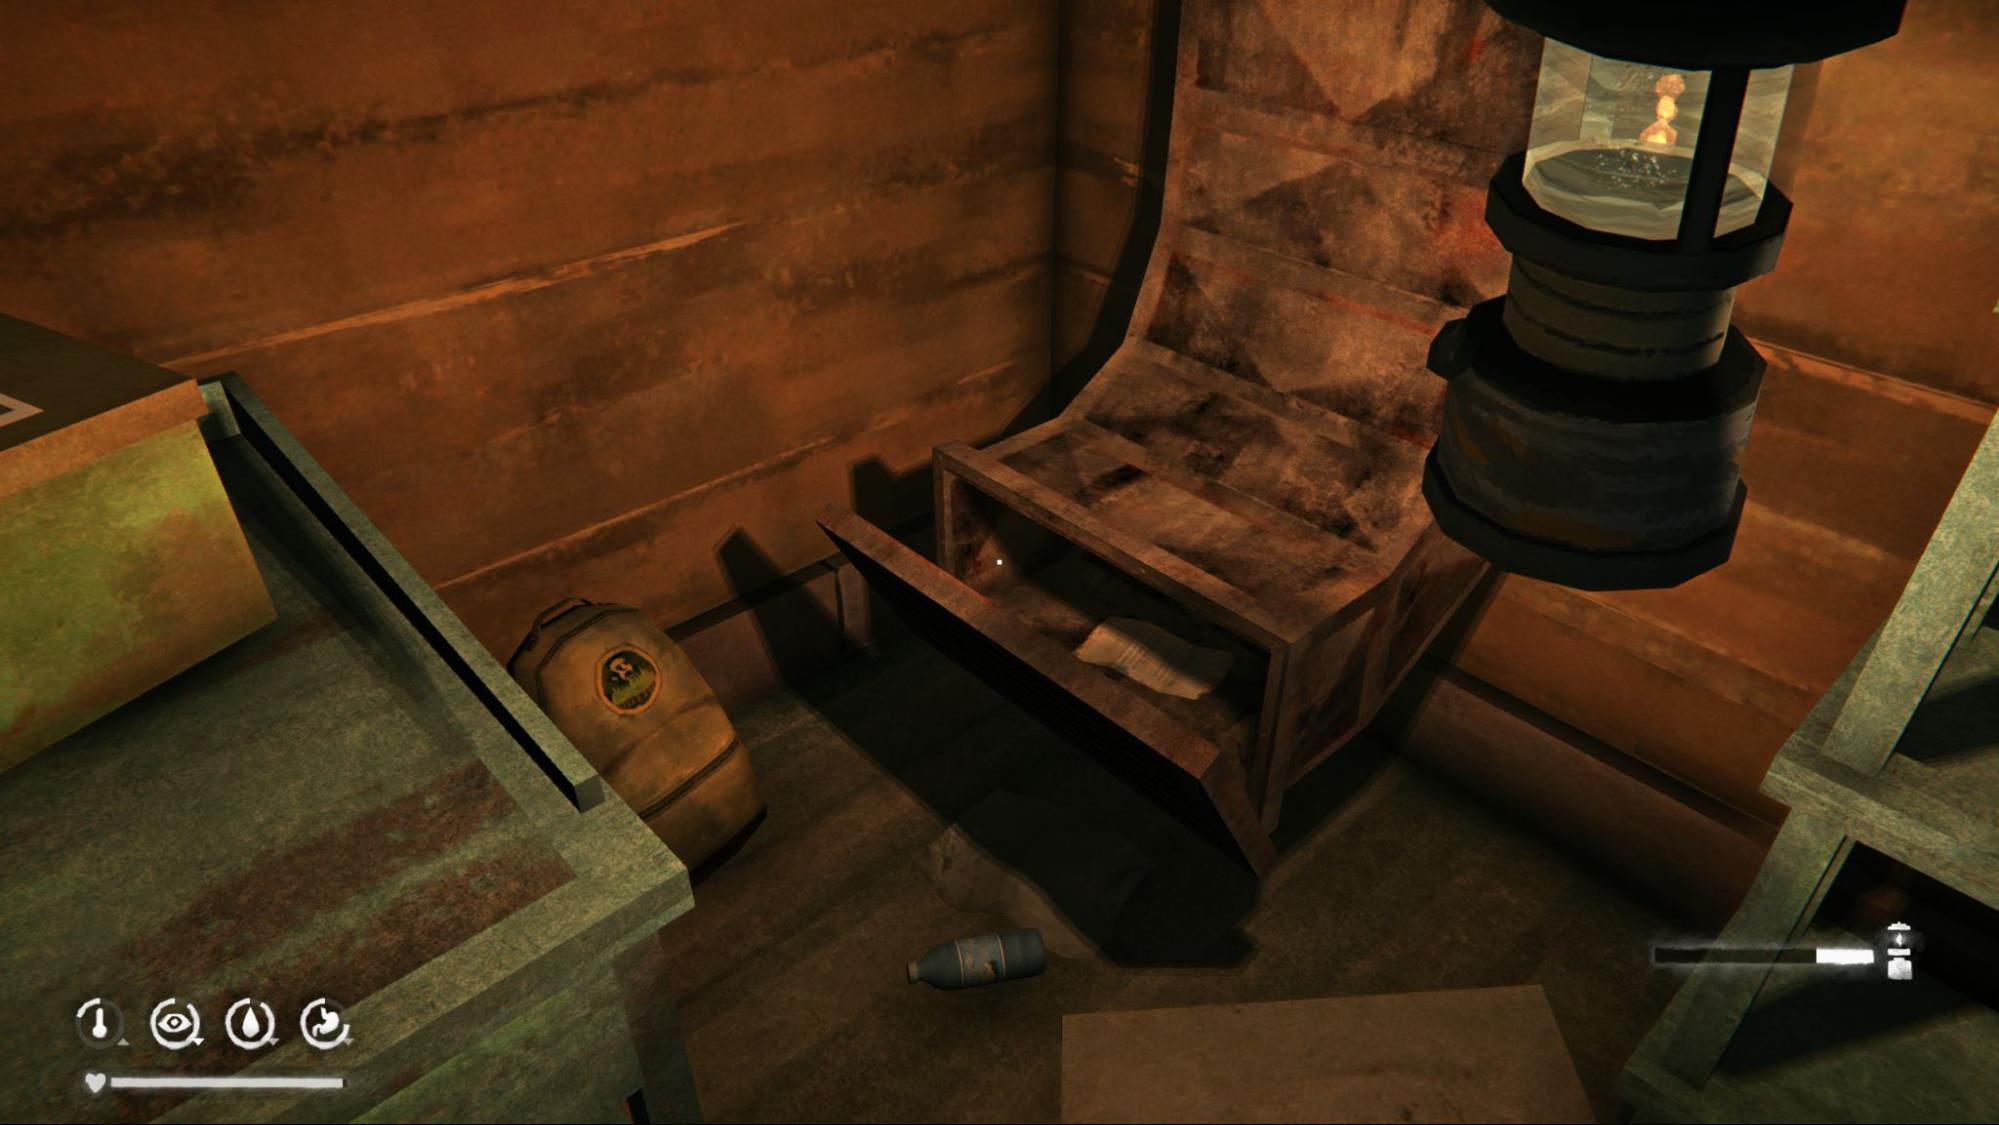
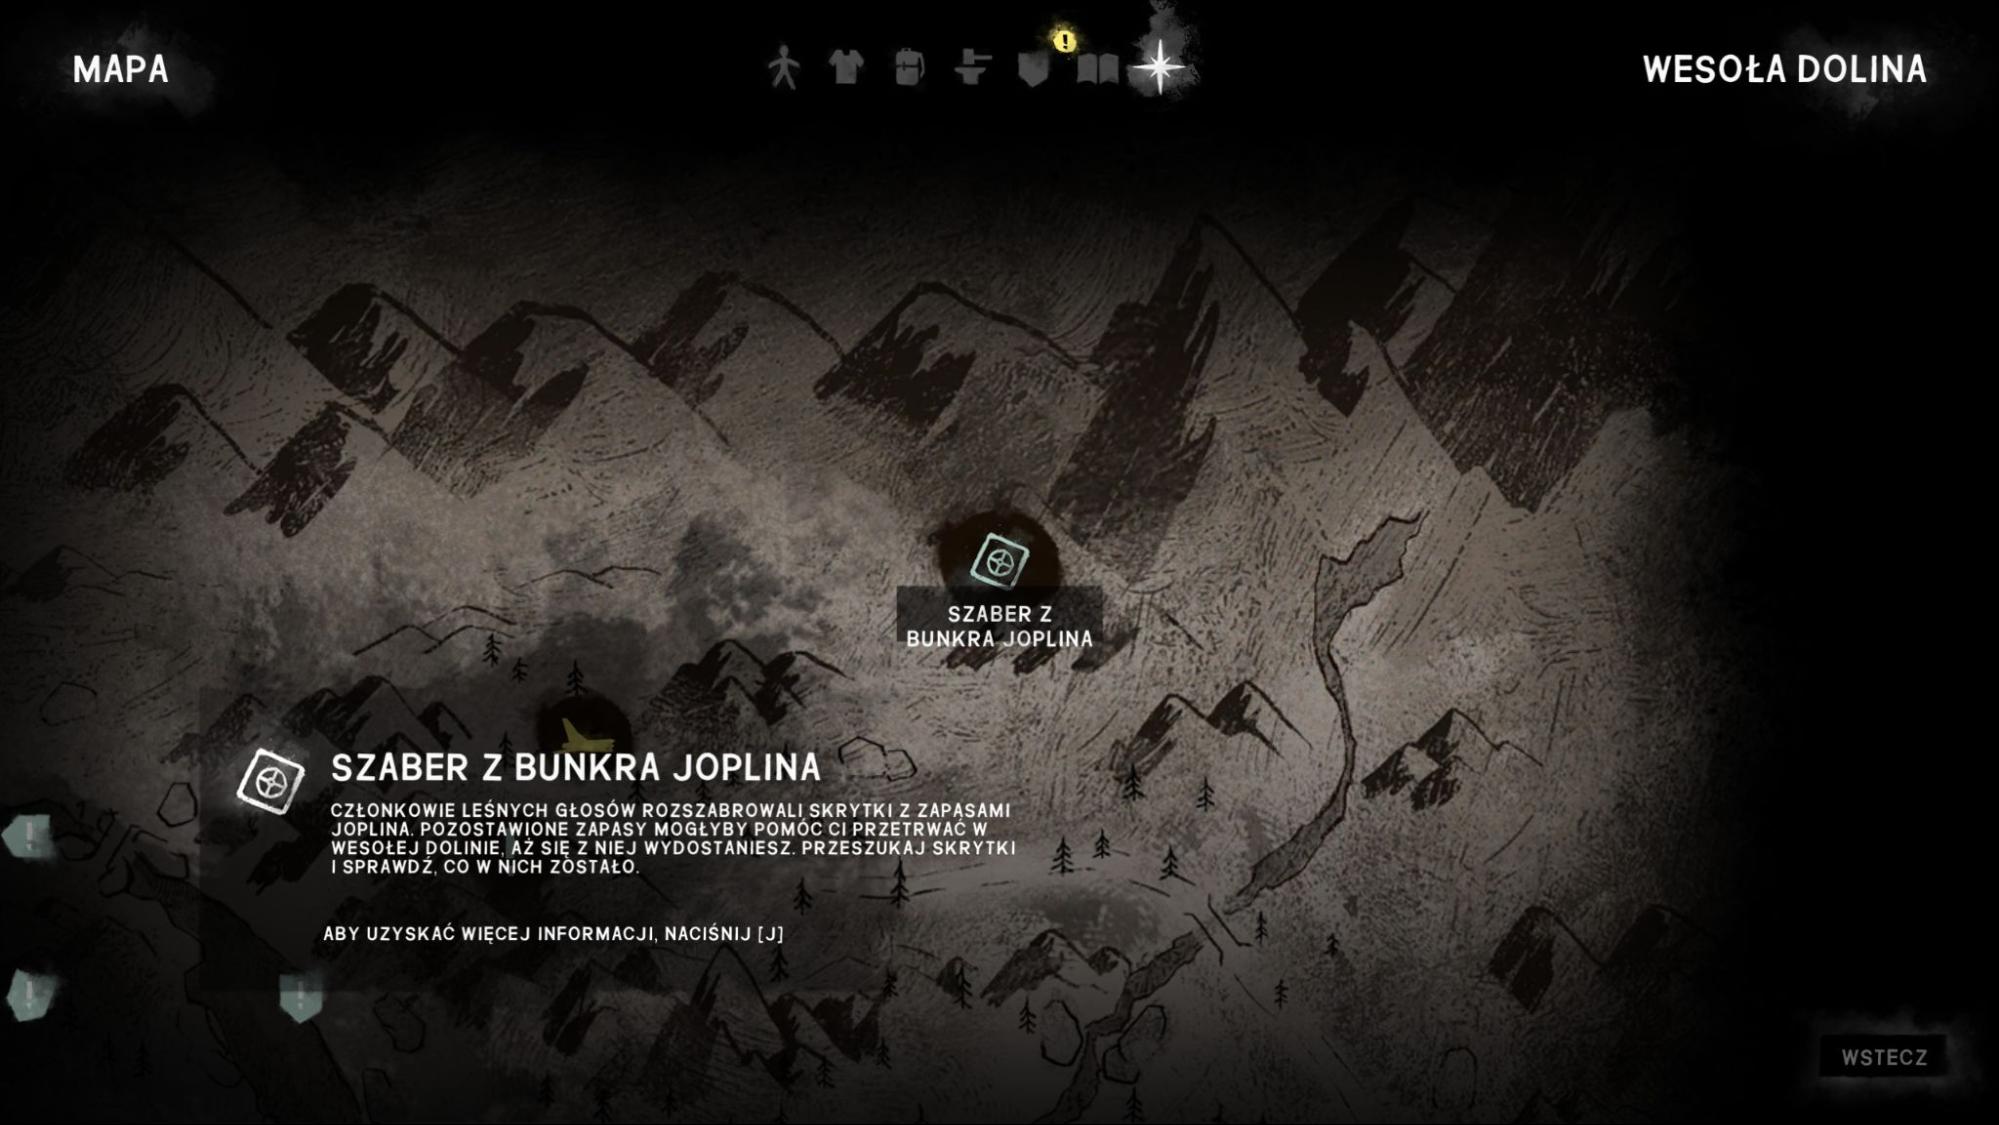
Forest Talker Note #4: Inside the first bunker during Joplin’s Bunker Raid side quest. Grab the note hidden in the vent as well, as it leads to the next bunker with a Local Legends book. Also visit the nearby cave, as it’s part of the Local Legends quest.
 Achievement #16 - Save Our Souls: Story-related. Unlocks upon arriving at the crash site.
During the mission “Coming Storm”, where you must help three survivors, I went for the southernmost one first to collect the second bunker and finish the Blackrock side quest. Next, I helped the survivor north of Community Hall, leaving the final one near our last book objective. You can approach this however you want, there’s no clearly faster route.
Local Legends Book #4: I visited the second bunker before helping the nearby survivor. The book is under the vent. This is the final book required for the achievement, though you’ll still need to complete its associated quest. Grab the note from the vent as well. It uncovers the third bunker, which is useful for main quest progression. You can also complete this book’s quest right away since it’s nearby. You may unlock the Survival achievement “It Was THIS Big!” after catching the bass if you haven’t already.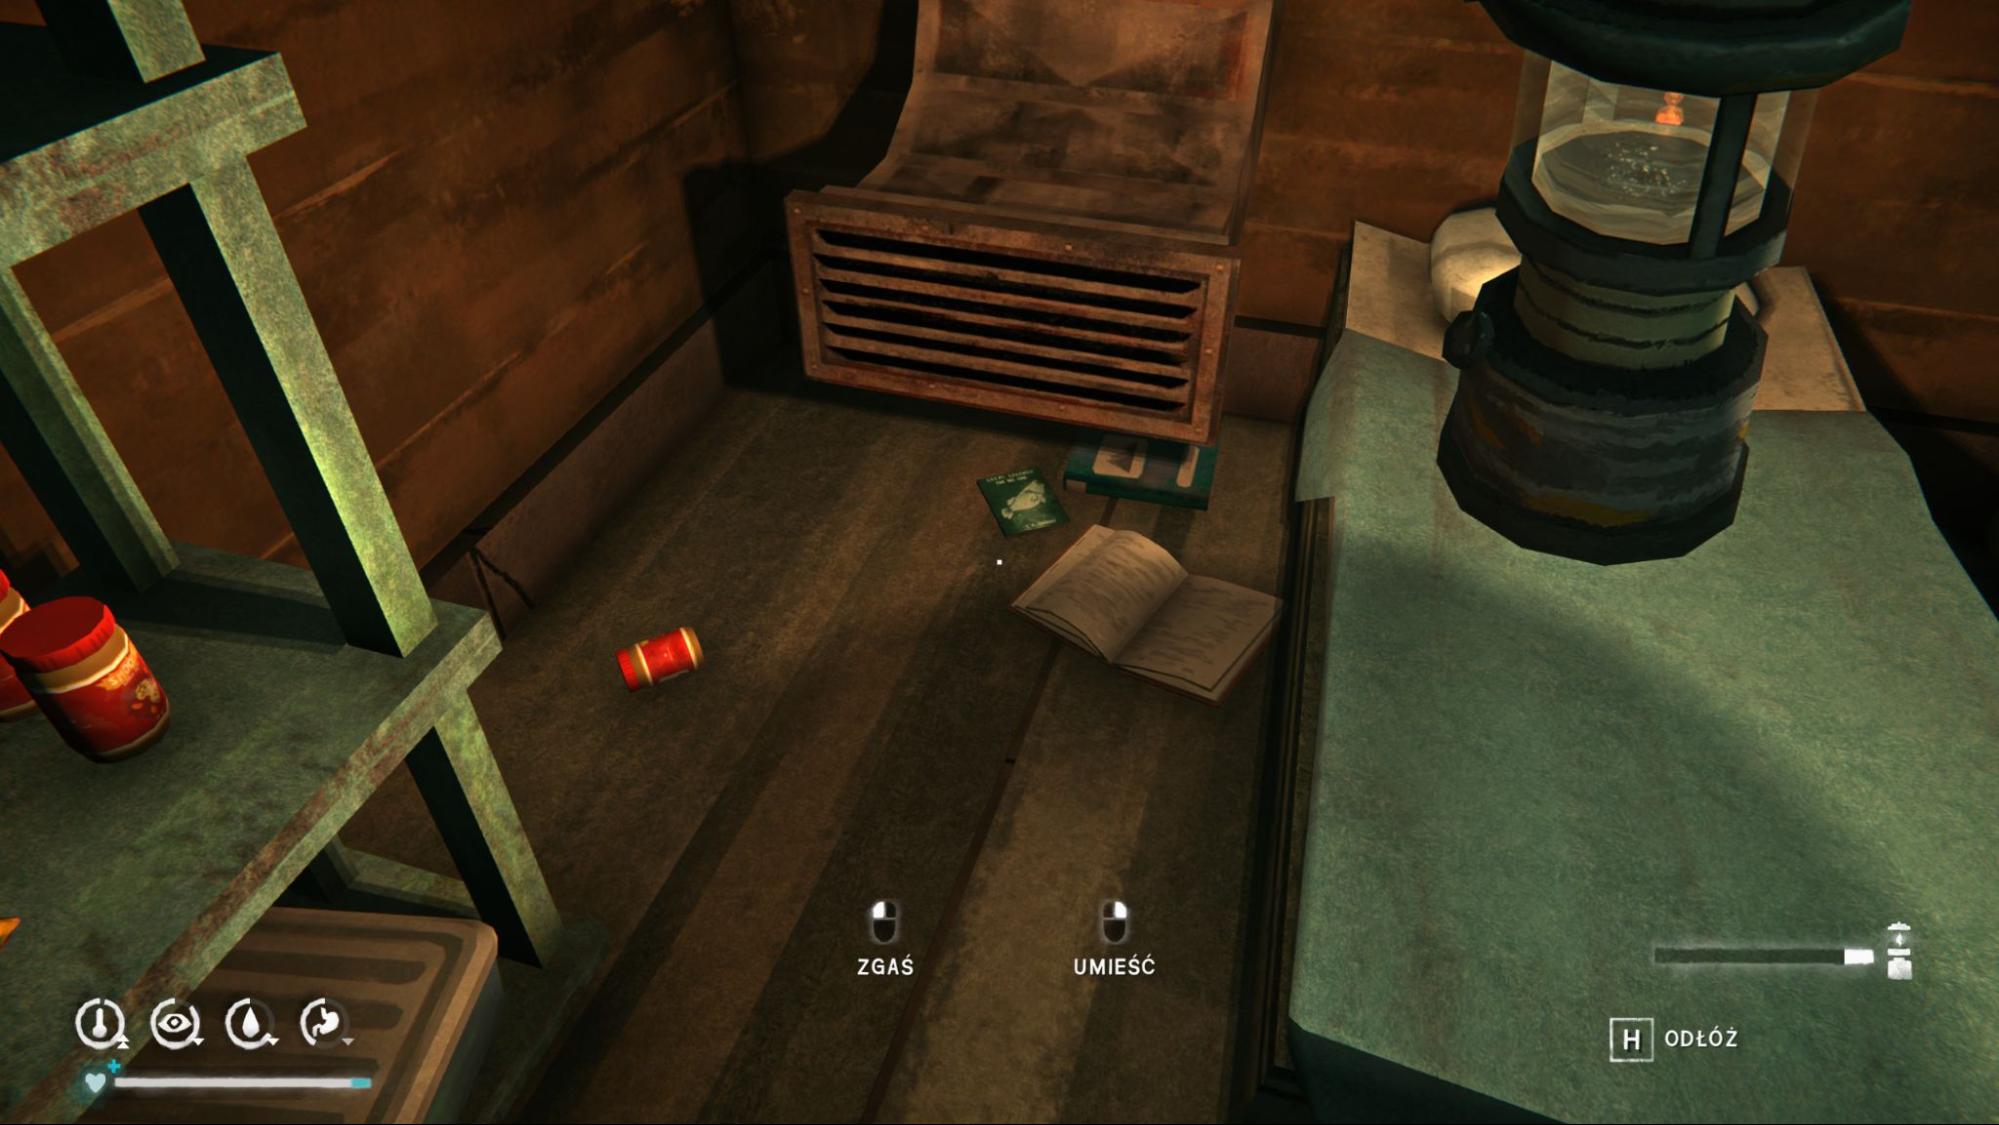
Forest Talker Note #5: If you’re heading to the survivor farthest from Community Hall, don’t rescue him immediately. Instead, continue northwest across the bridge until you reach the broken house and shed at Three Strikes Farmstead. The note is inside the shed.
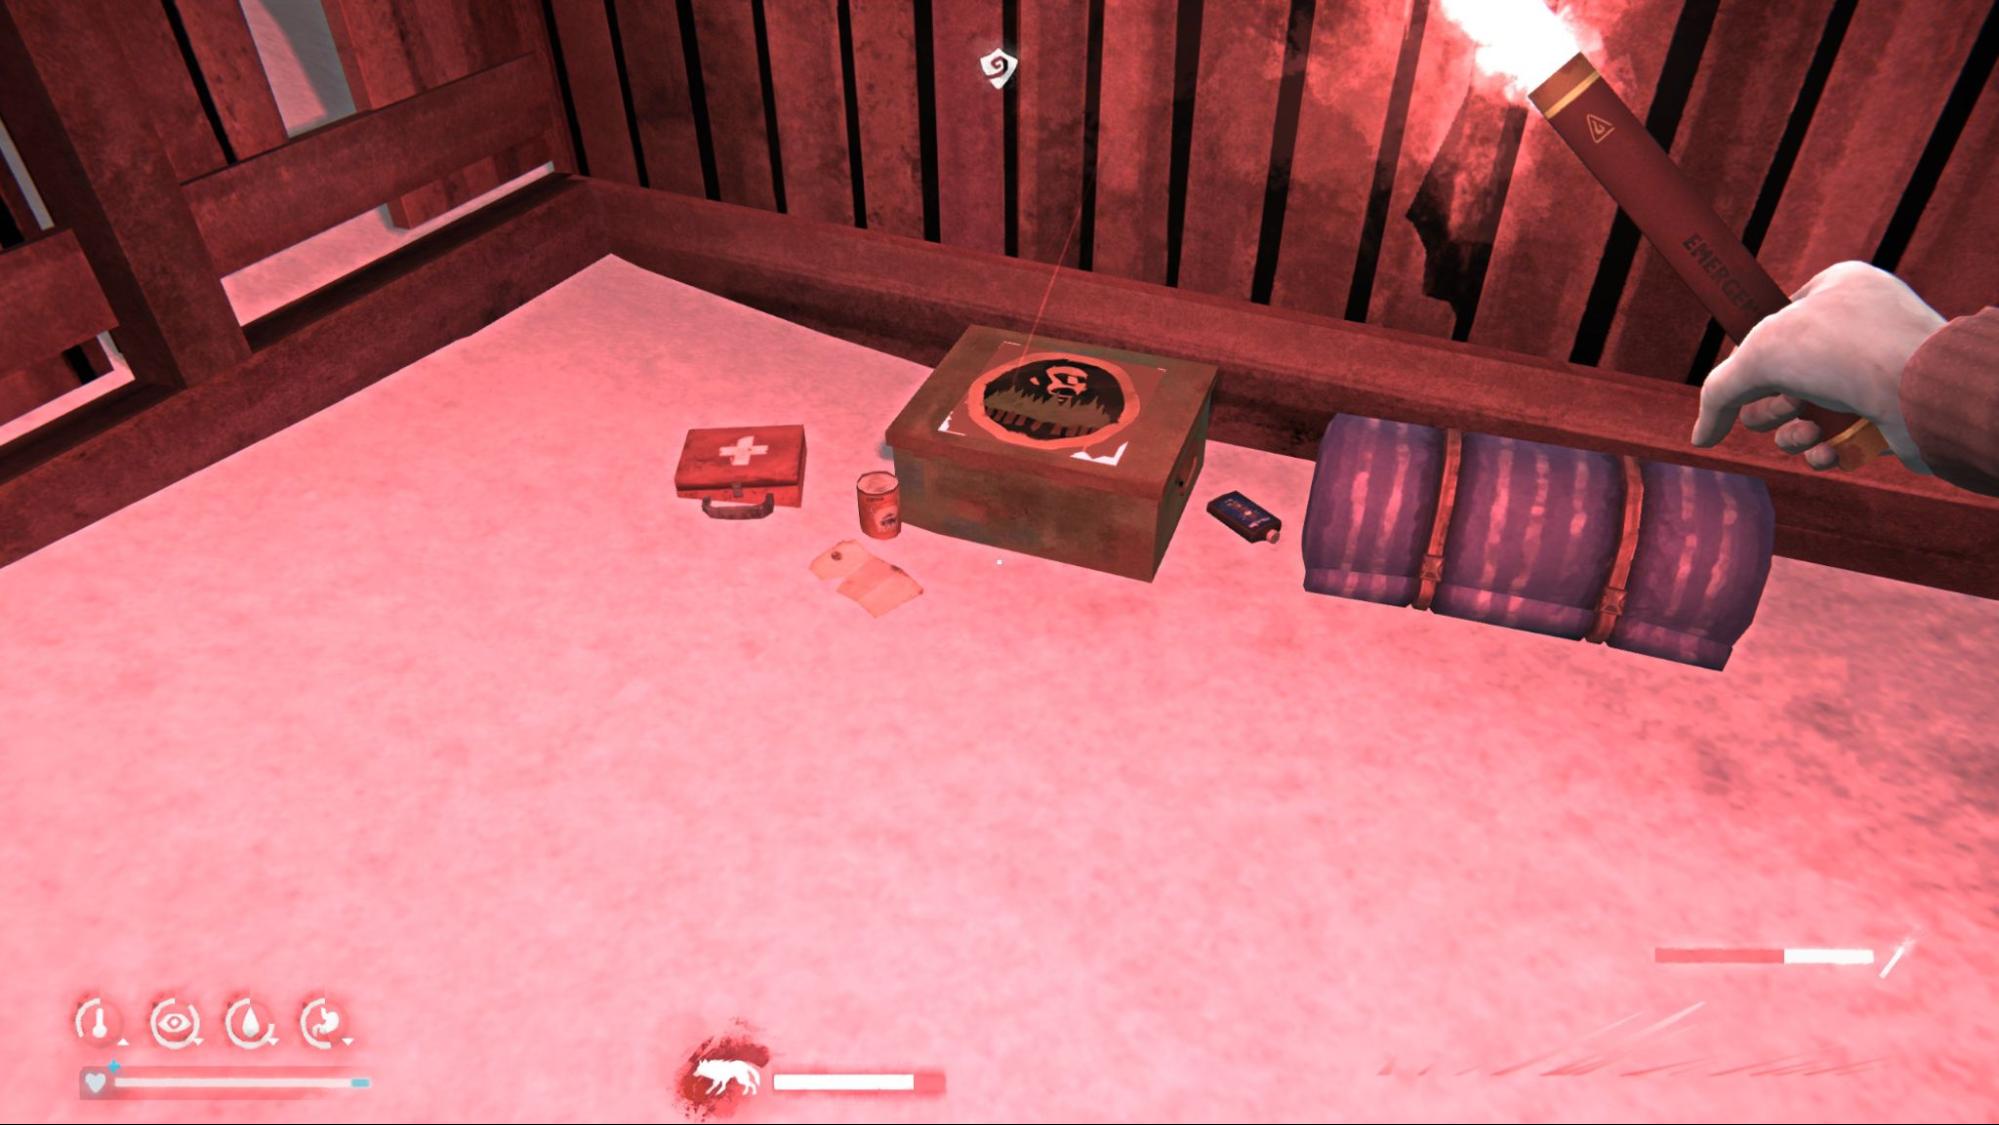
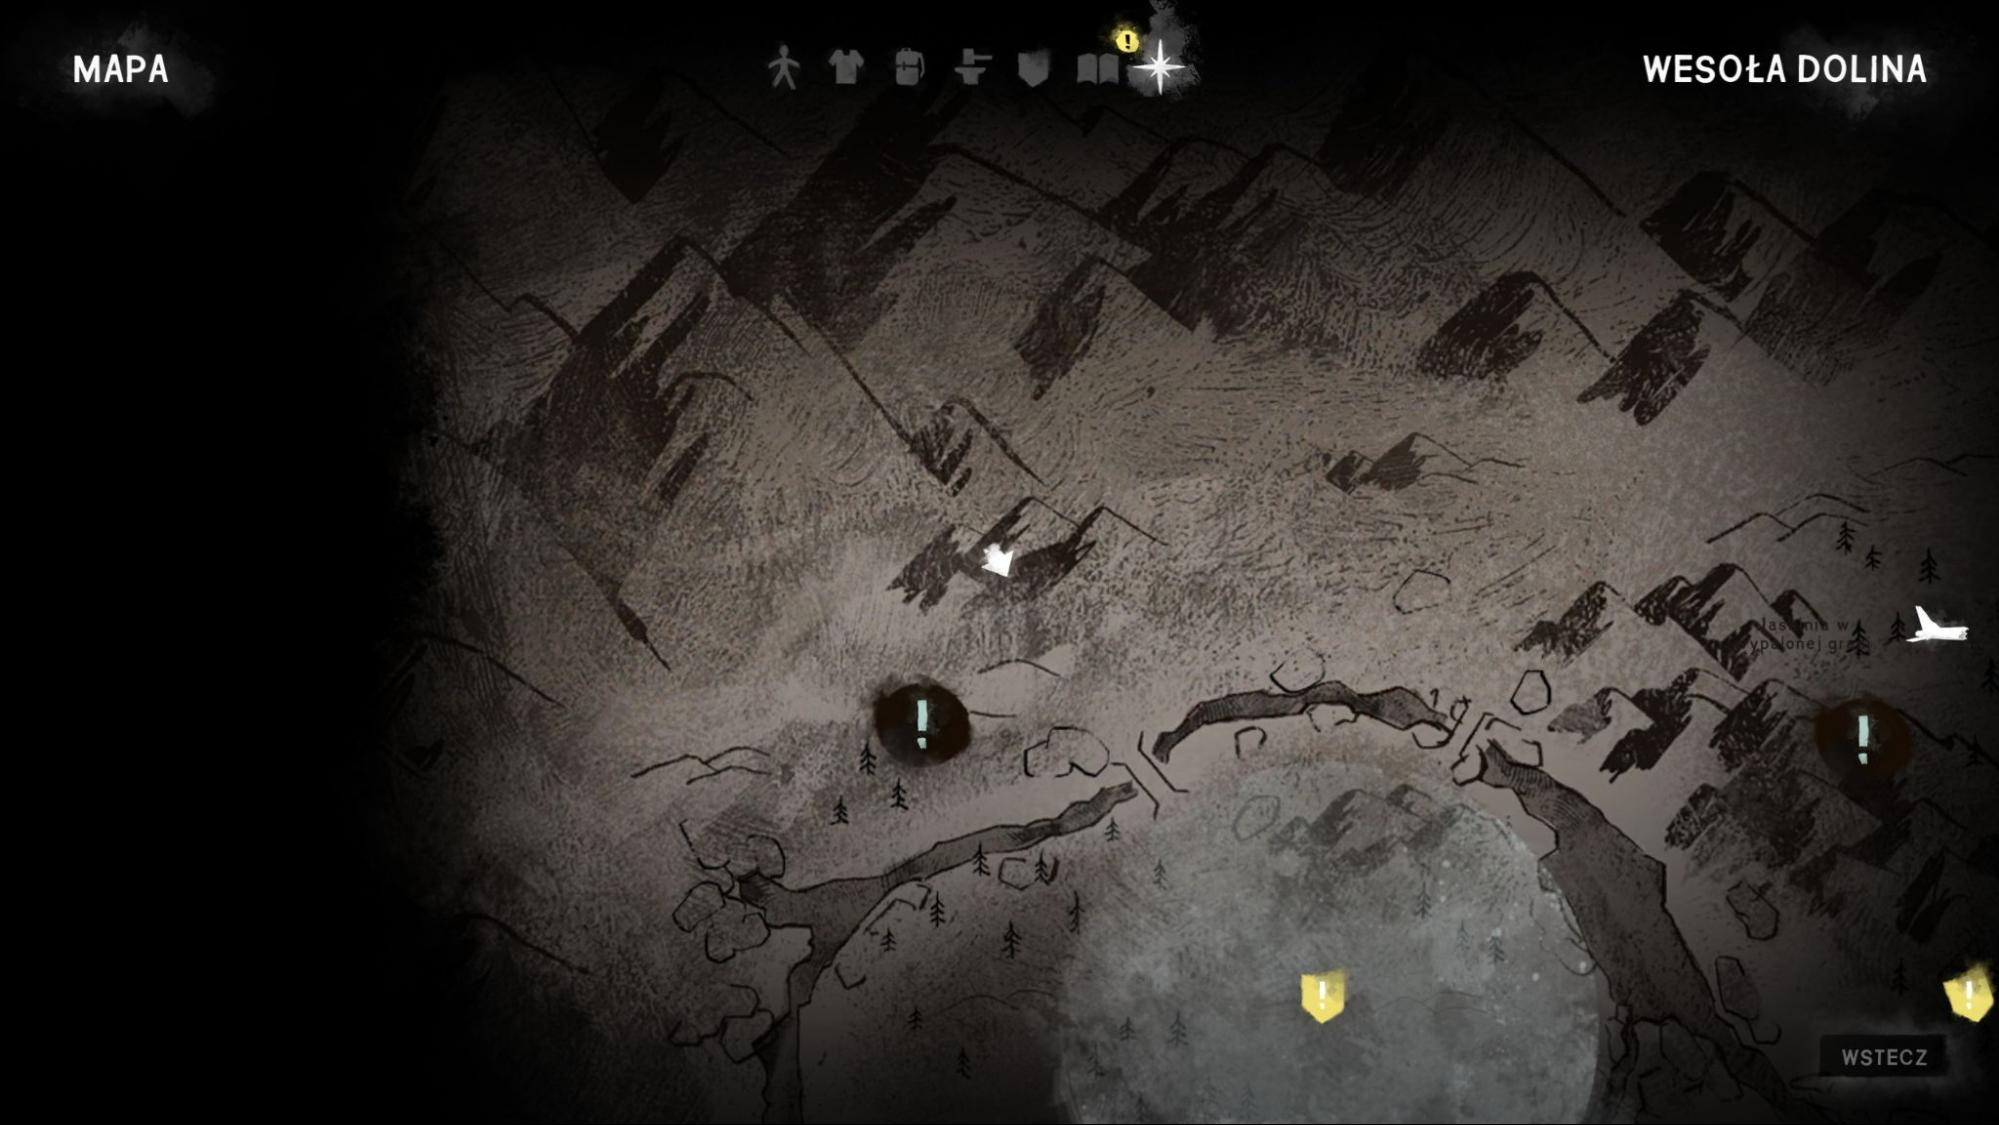
 Achievement #17 - Tall Tales: Missable. From the last note location, go to the ghostly stag’s clearing, hide in the snow shelter, and wait for the stag.
 Achievement #18 - Hippocratic Oath: Story-related. Rescue all three lost survivors and stock the Community Hall with supplies. Remember that you can craft bandages and stockpile books - they’re easy to find in the nearby church and also count as fuel. If you’re short on kerosene and haven’t visited the final bunker yet, go there.
Forest Talker Note #6: Found on the desk at Signal Hill.
Achievement #18 - Hippocratic Oath: Story-related. Rescue all three lost survivors and stock the Community Hall with supplies. Remember that you can craft bandages and stockpile books - they’re easy to find in the nearby church and also count as fuel. If you’re short on kerosene and haven’t visited the final bunker yet, go there.
Forest Talker Note #6: Found on the desk at Signal Hill.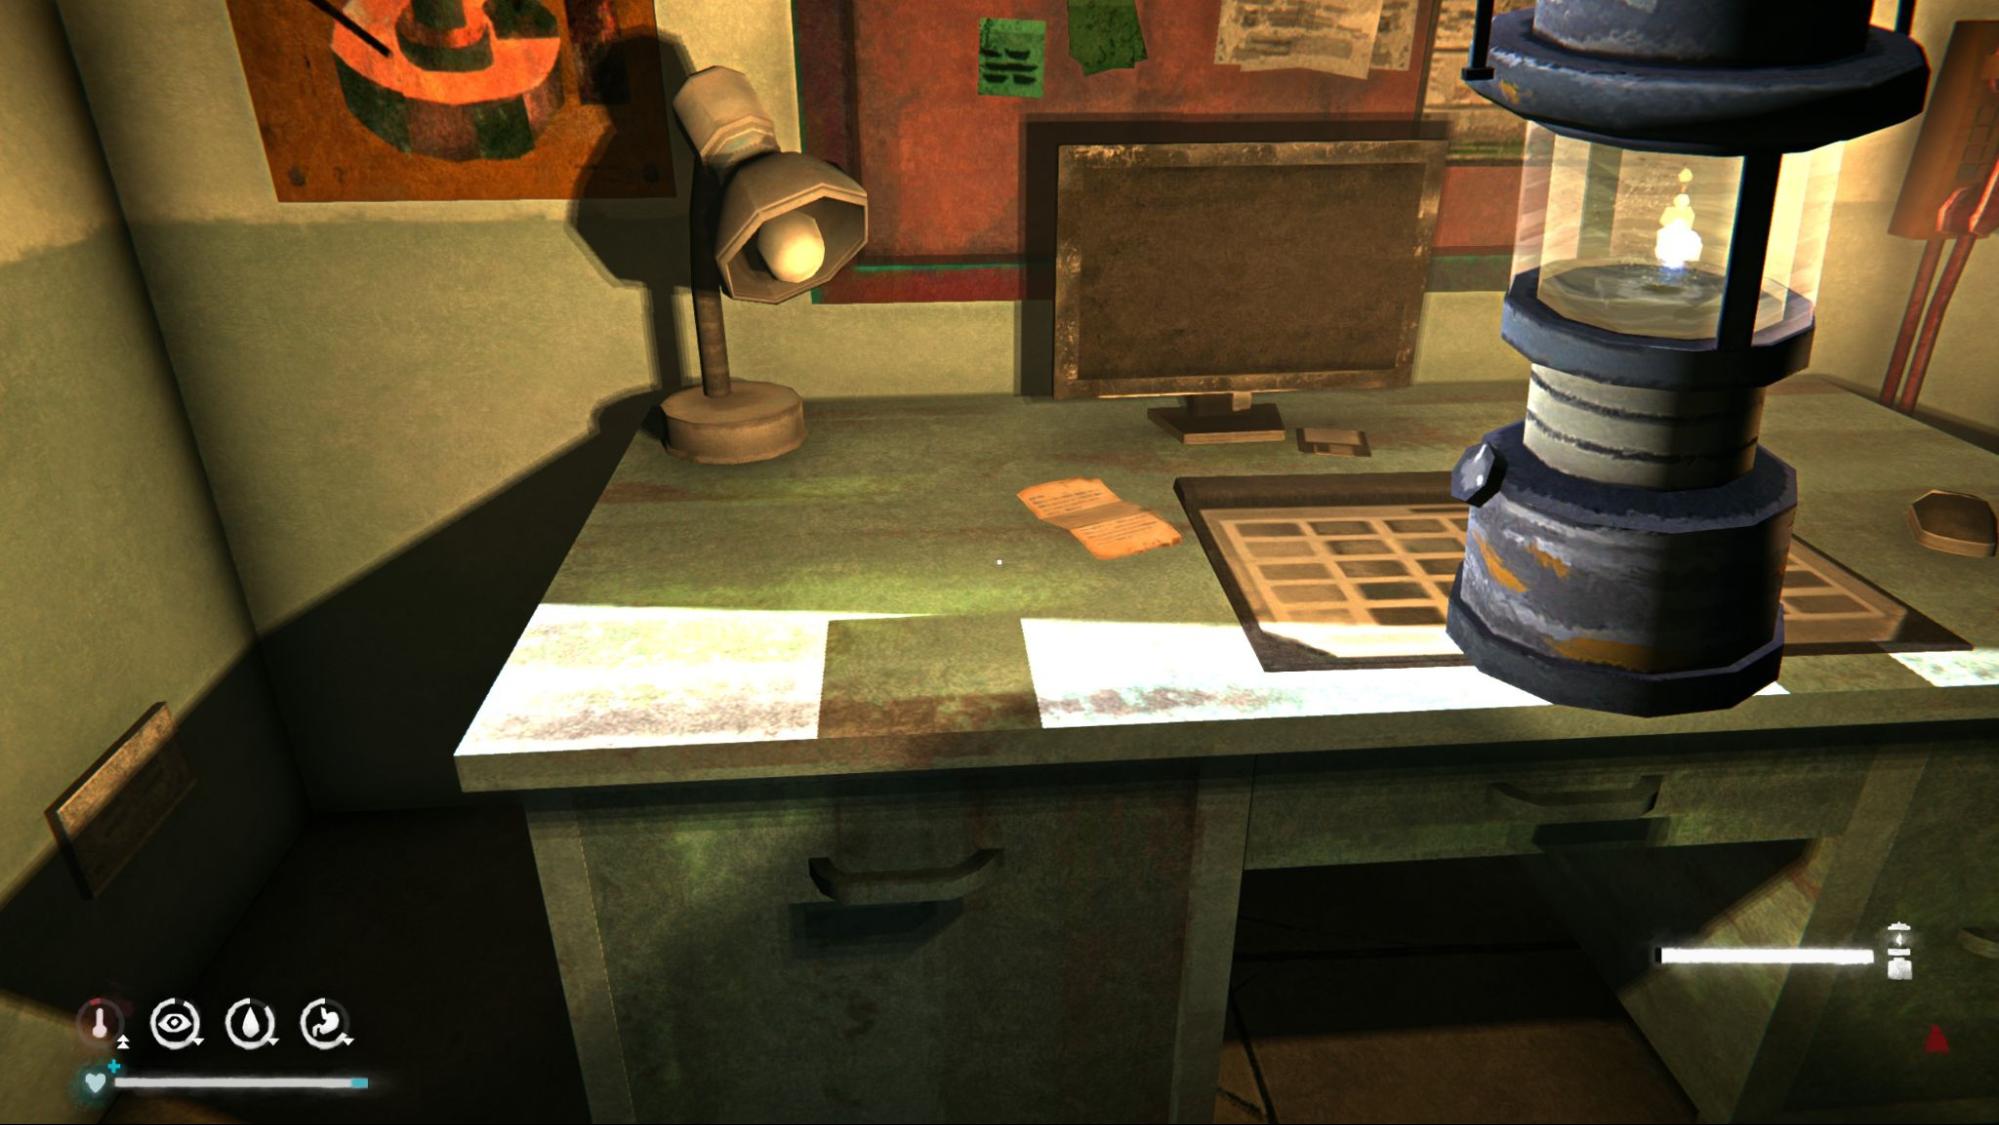
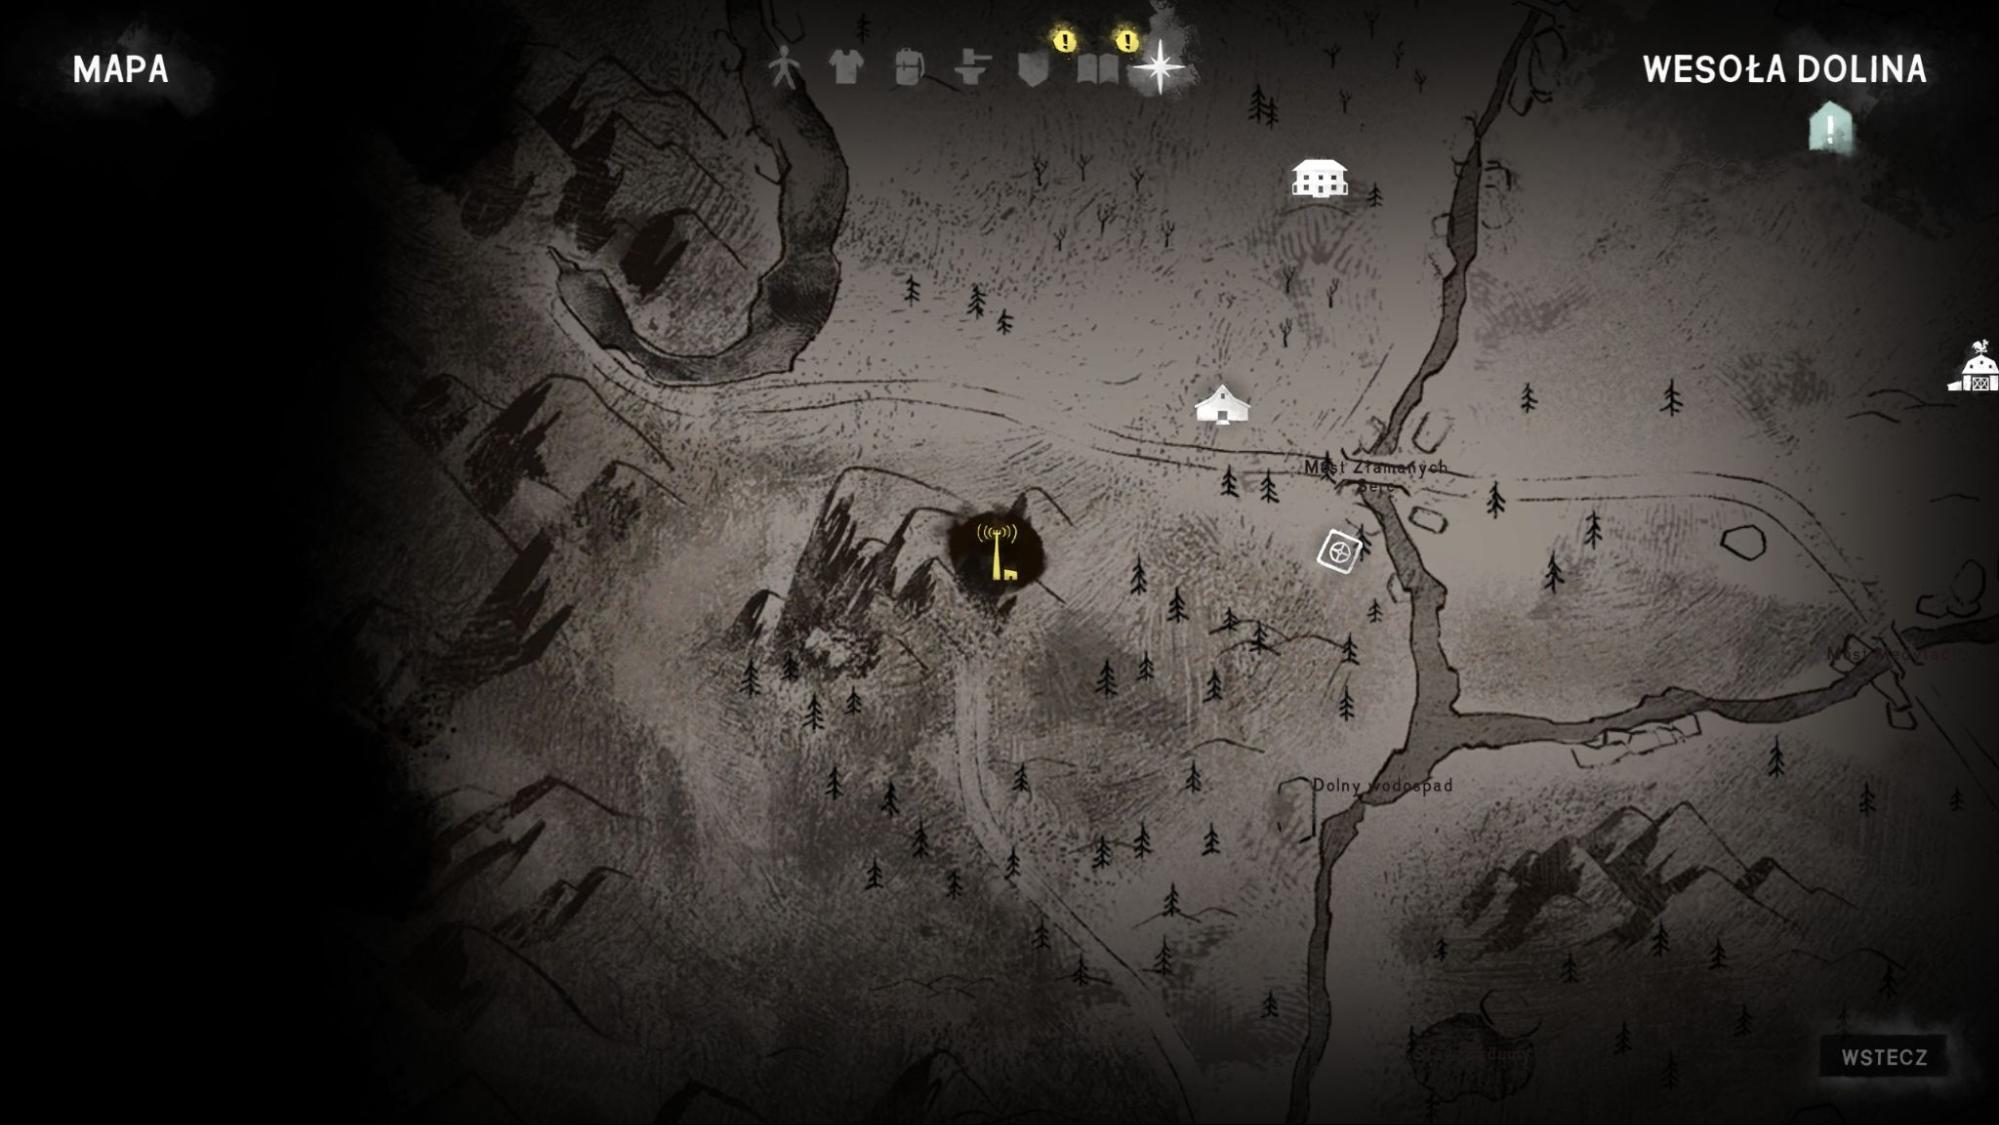
 Achievement #19 - Every Last One: Missable. Unlocks after collecting the final Forest Talker note.
 Achievement #20 - He Lives: Story-related. Unlocks shortly after the radio cutscene.
 Achievement #21 - The Crossroads Elegy: Story-related. Complete the mine quest, take the elevator down, and exit the cave. The episode ends and the achievement unlocks.
Episode 4: Fury, Then Silence pt.1
Achievements: 29/41 - 5 unmissable, 3 missable
Bloody Notes: 4/4
Security Memos: 3/3
Forest Talker Notes: 3/3
This episode features Bloody Notes, which only need to be collected, and Security Memos, which start side quests (rumors) that must be completed. Forest Talker notes don’t become relevant until later in the episode.
Bloody Note #1: On your way to the infirmary, you’ll come across a bus. The note is on a seat at the back.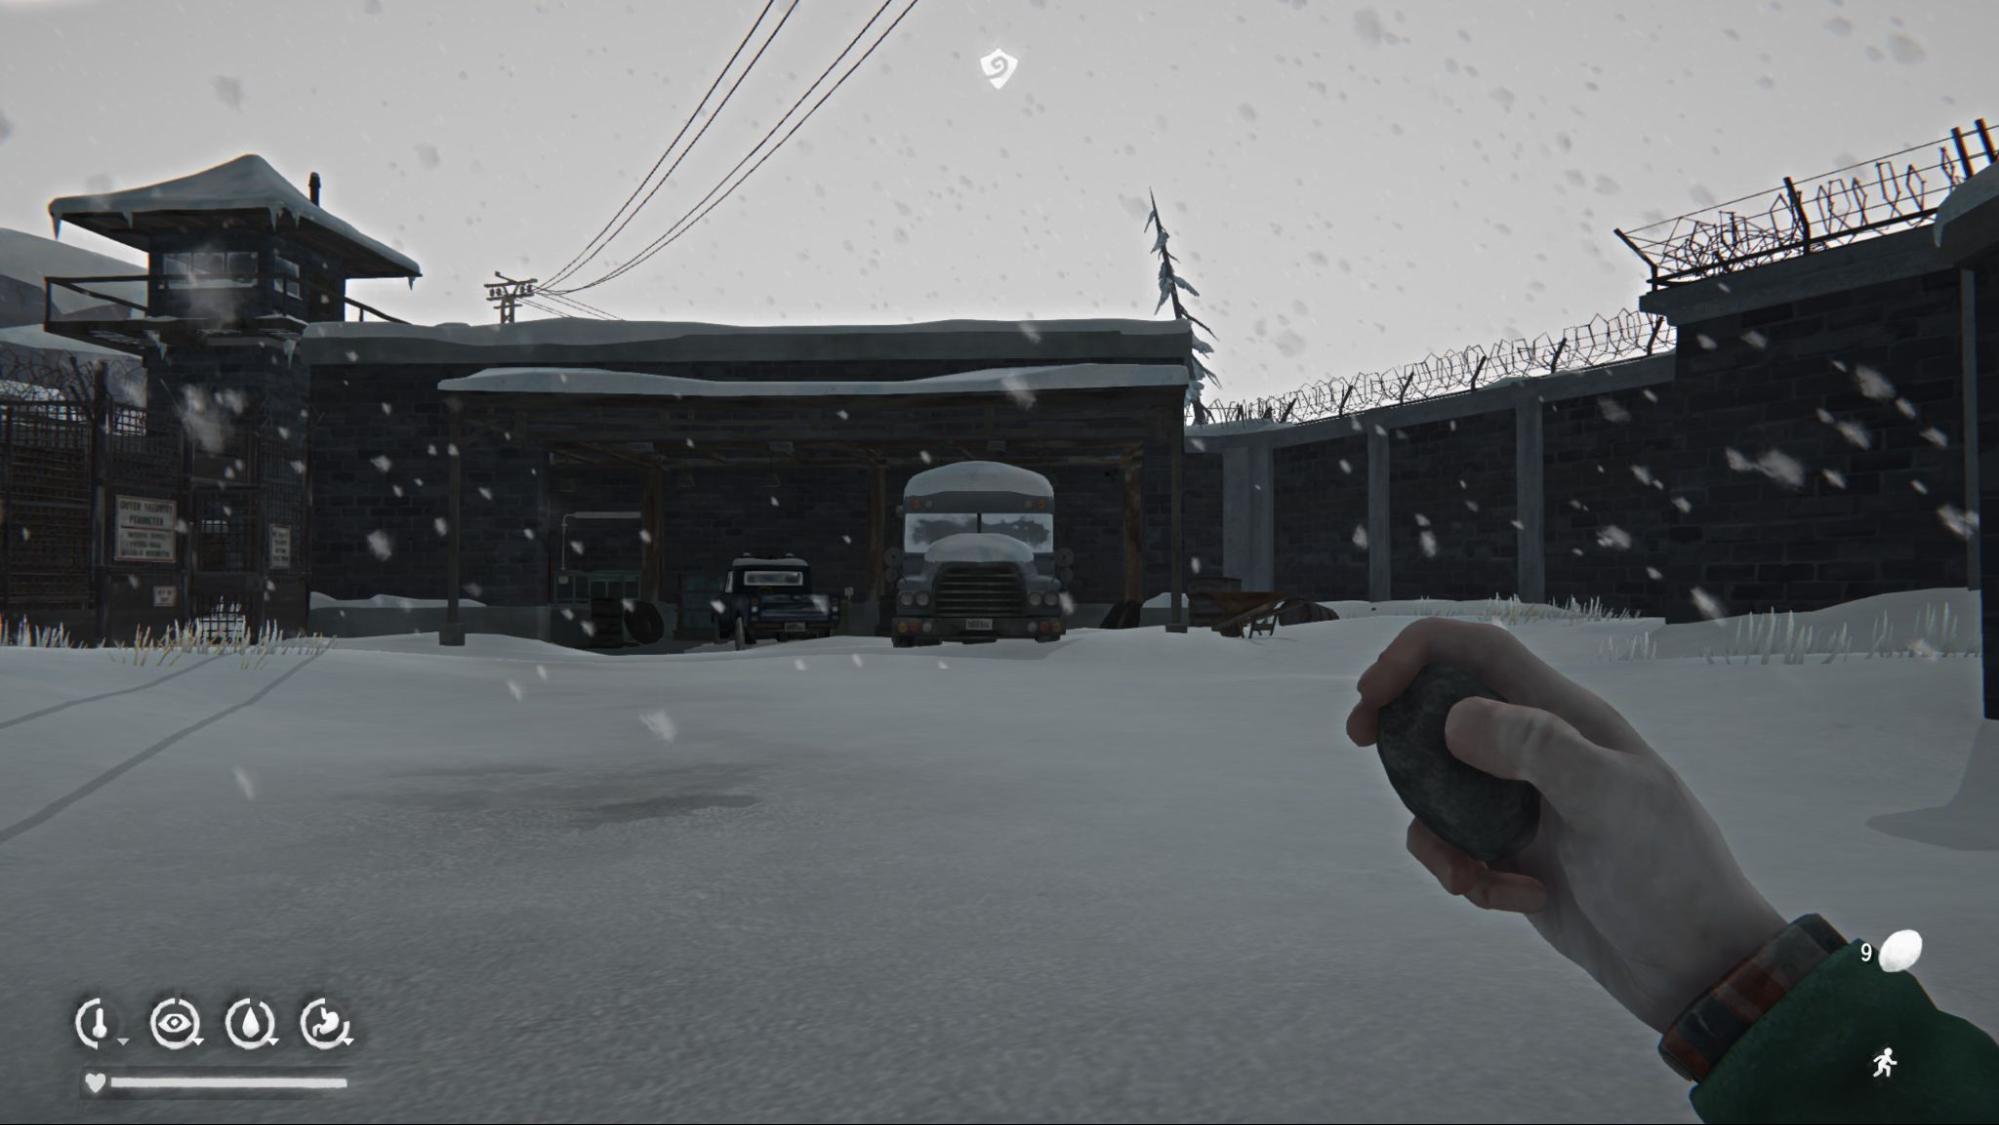
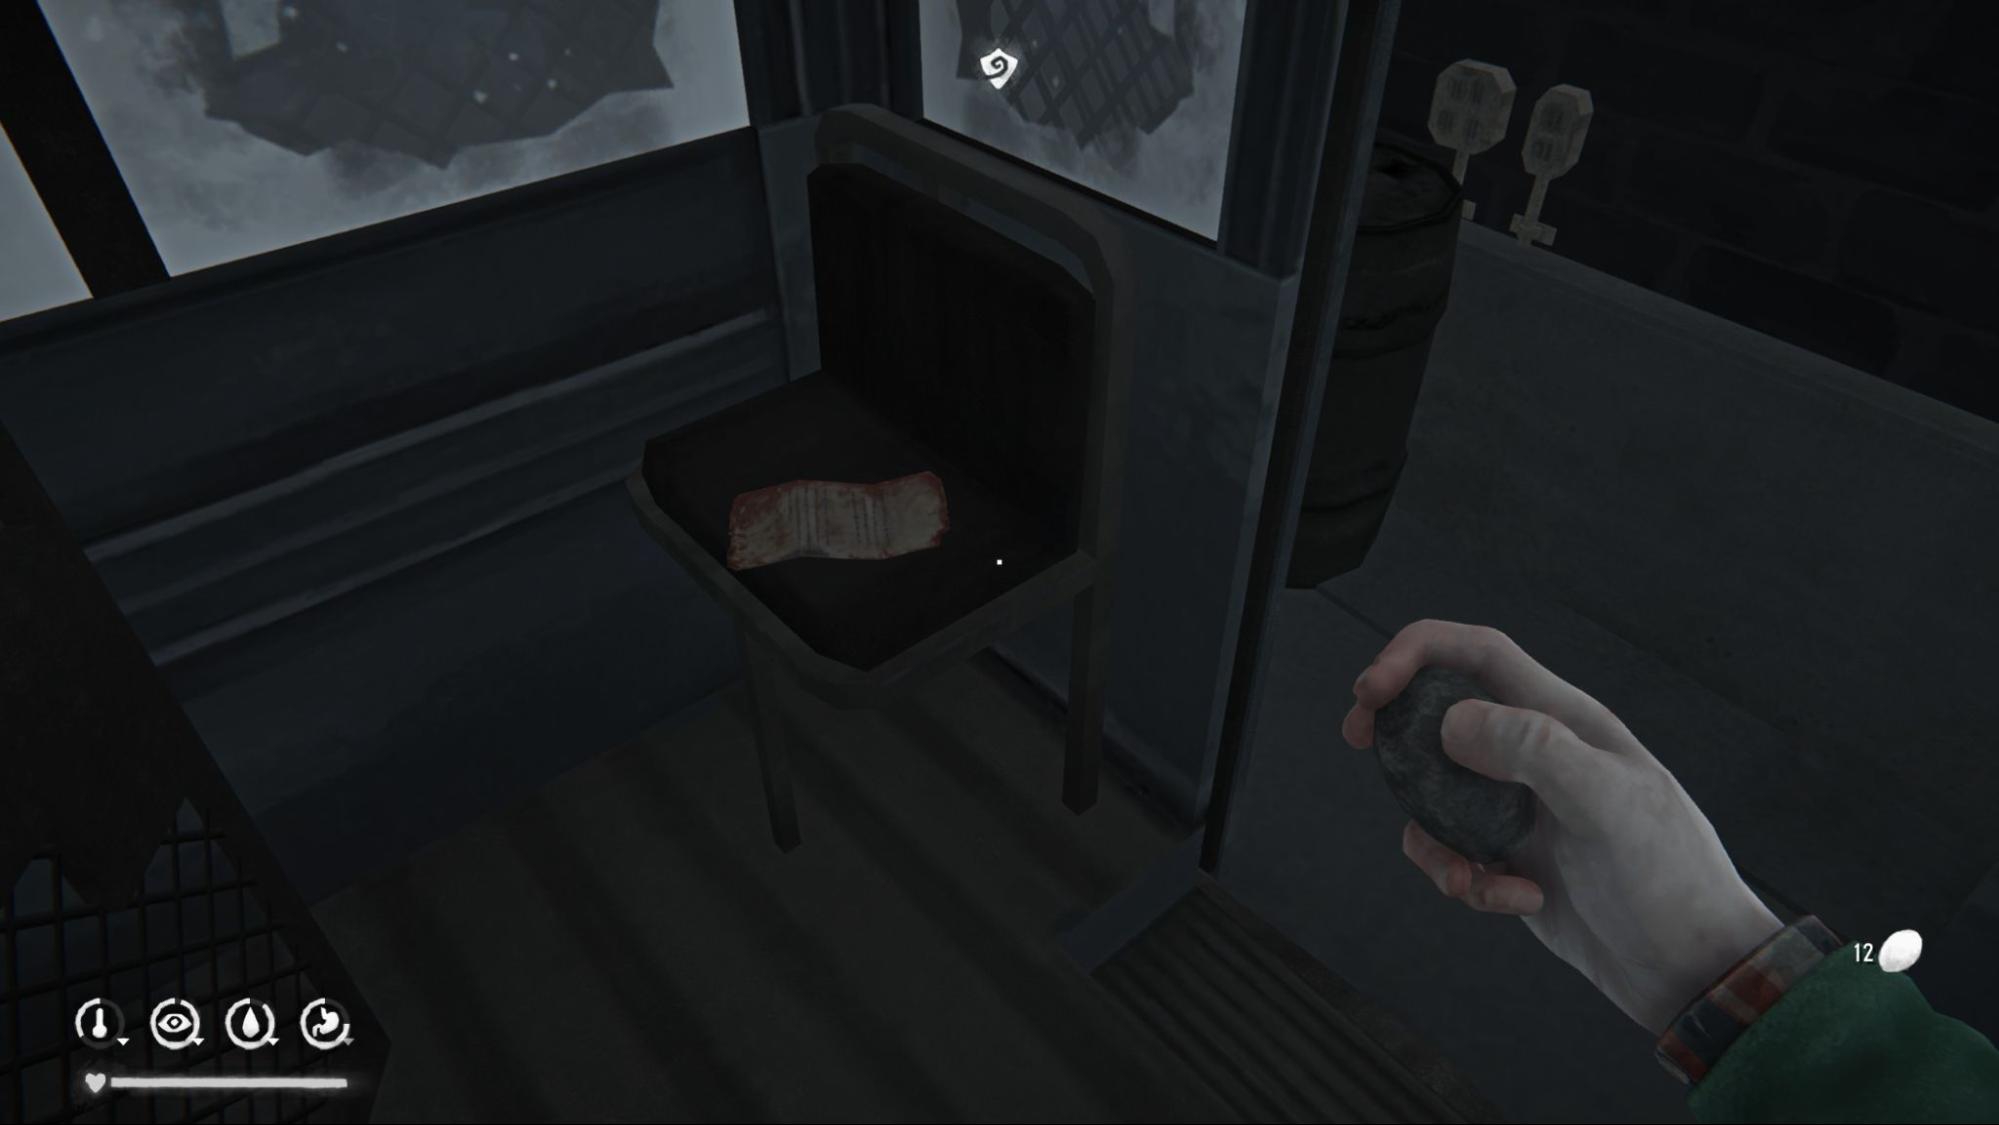
Security Memo #1: After entering the infirmary, go into the next room. The memo is on the floor near the notice board. Picking it up starts a side quest. You’ll look for the late worker shortly.
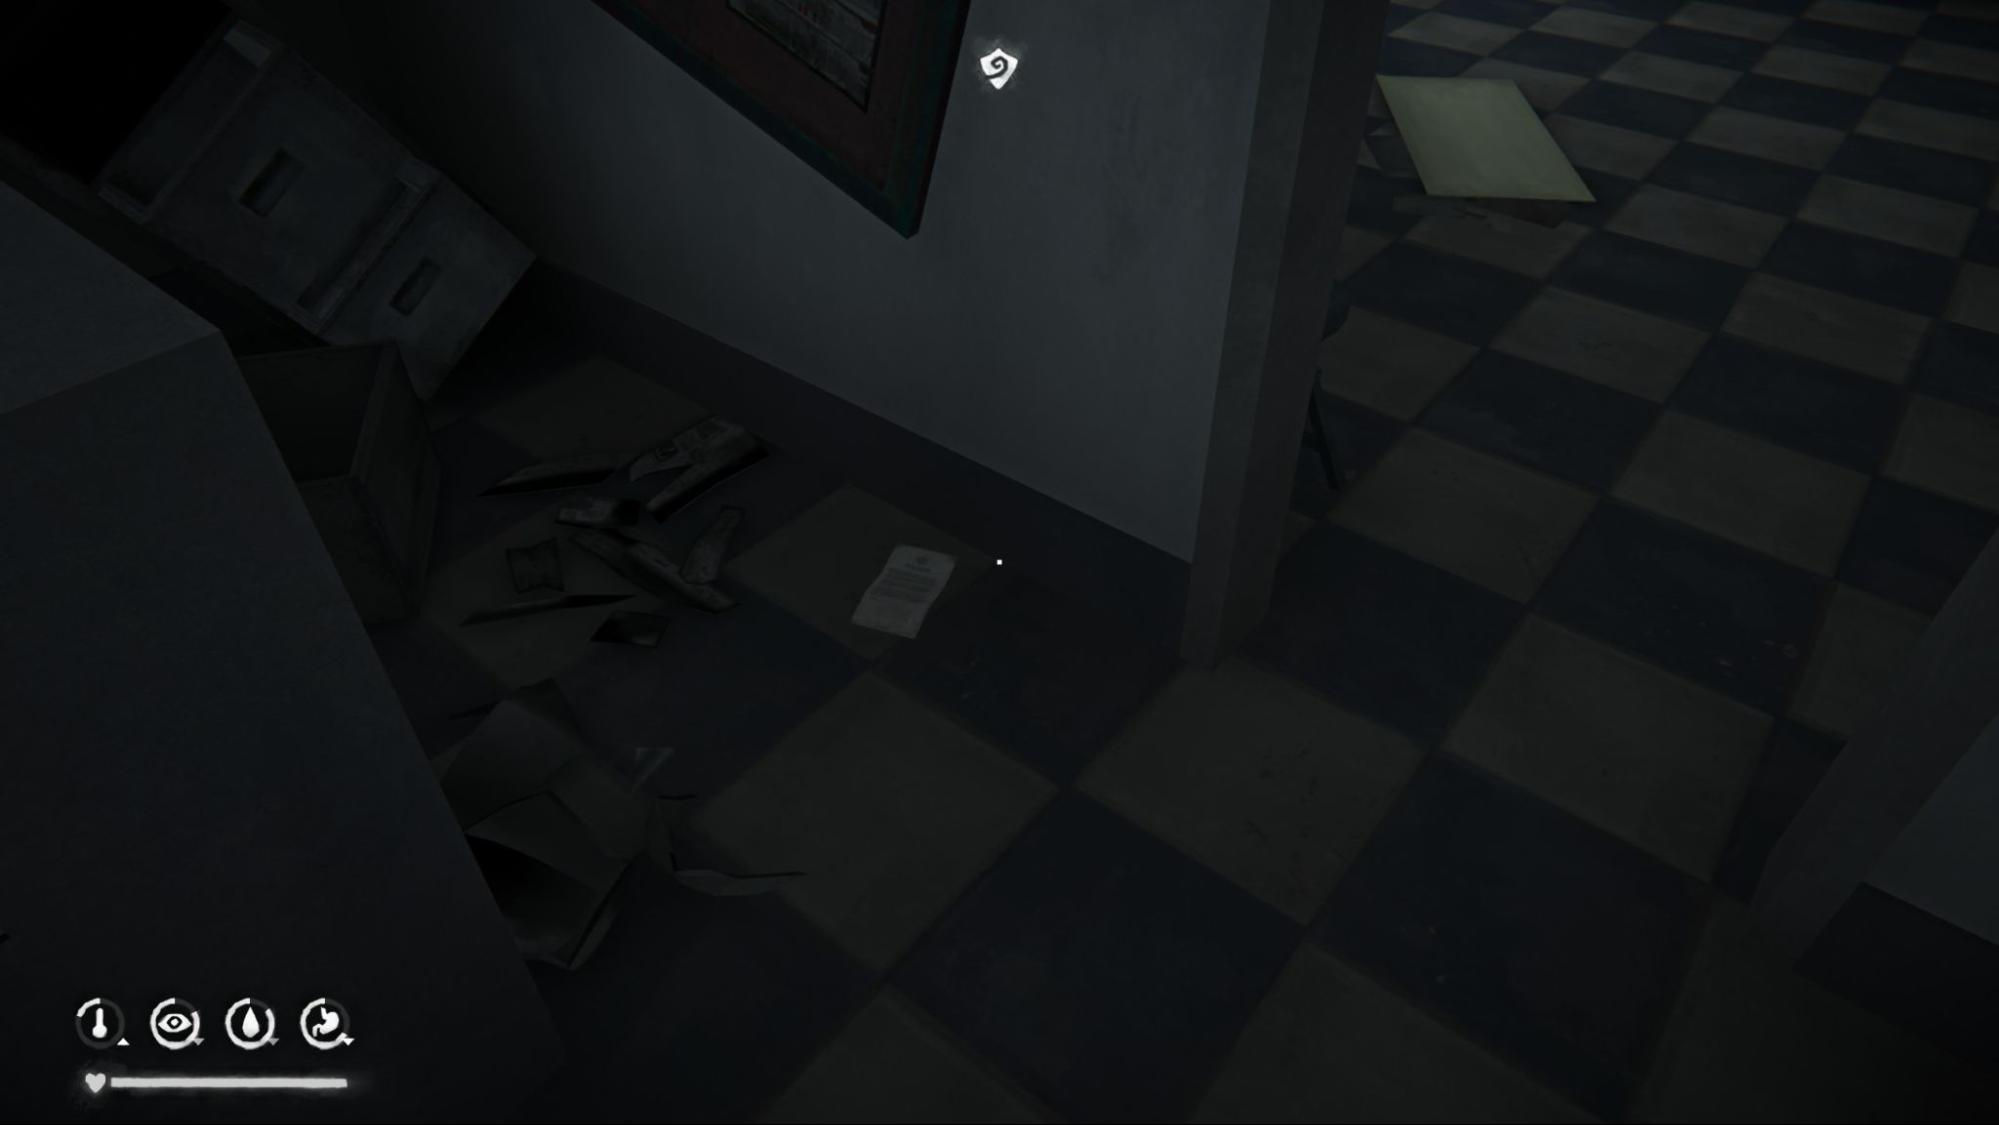
Security Memo #2: Near the previous memo, you’ll find a key to the prison gate. Go there, open the door, and then open the locker inside. The memo is in that locker.
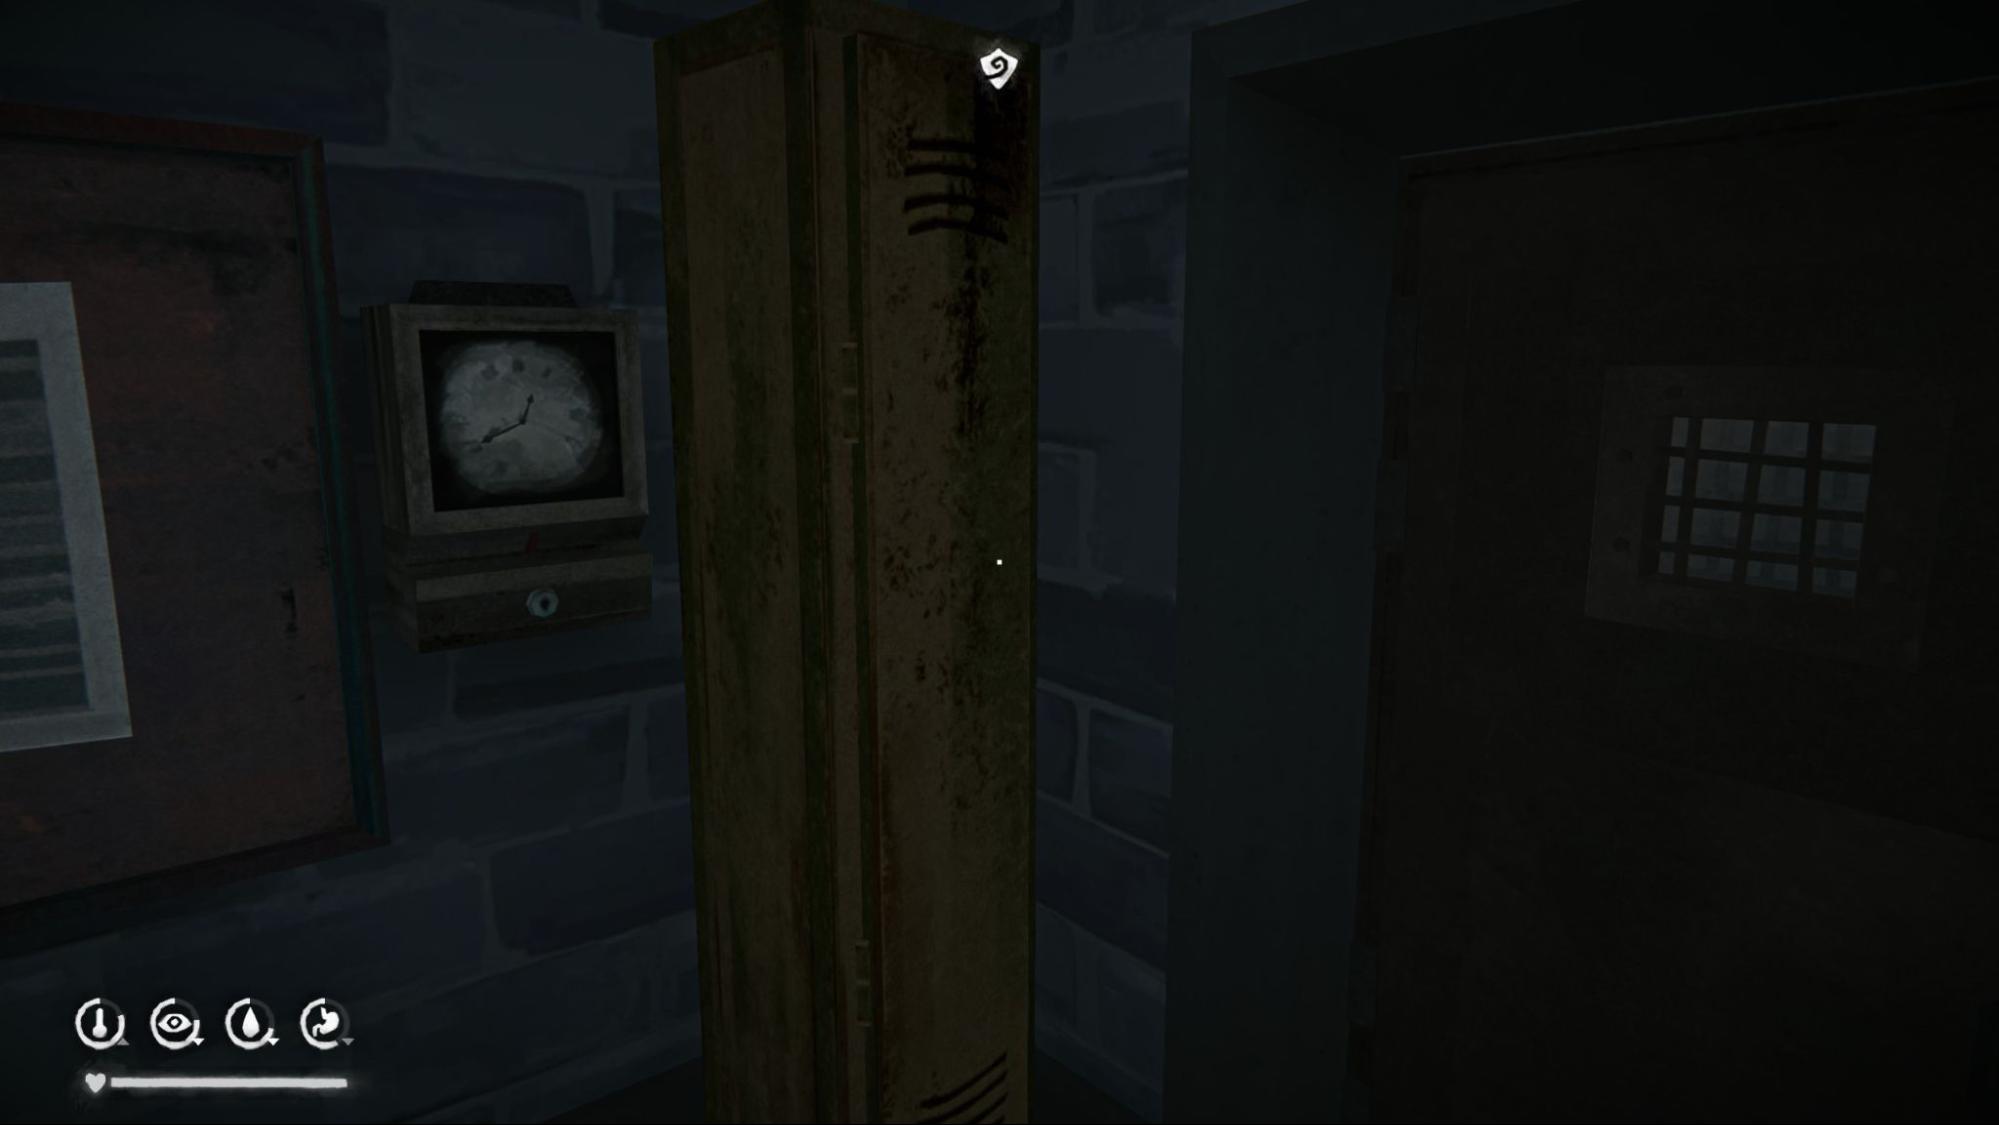
To collect all notes for the achievement, we need a locker key, since one Bloody Note is locked inside a locker. Fortunately it is basically on our path to the rumor from the first memo. Go to the shed near the Jailer’s Residence and check the car. The locker key is in the glovebox.
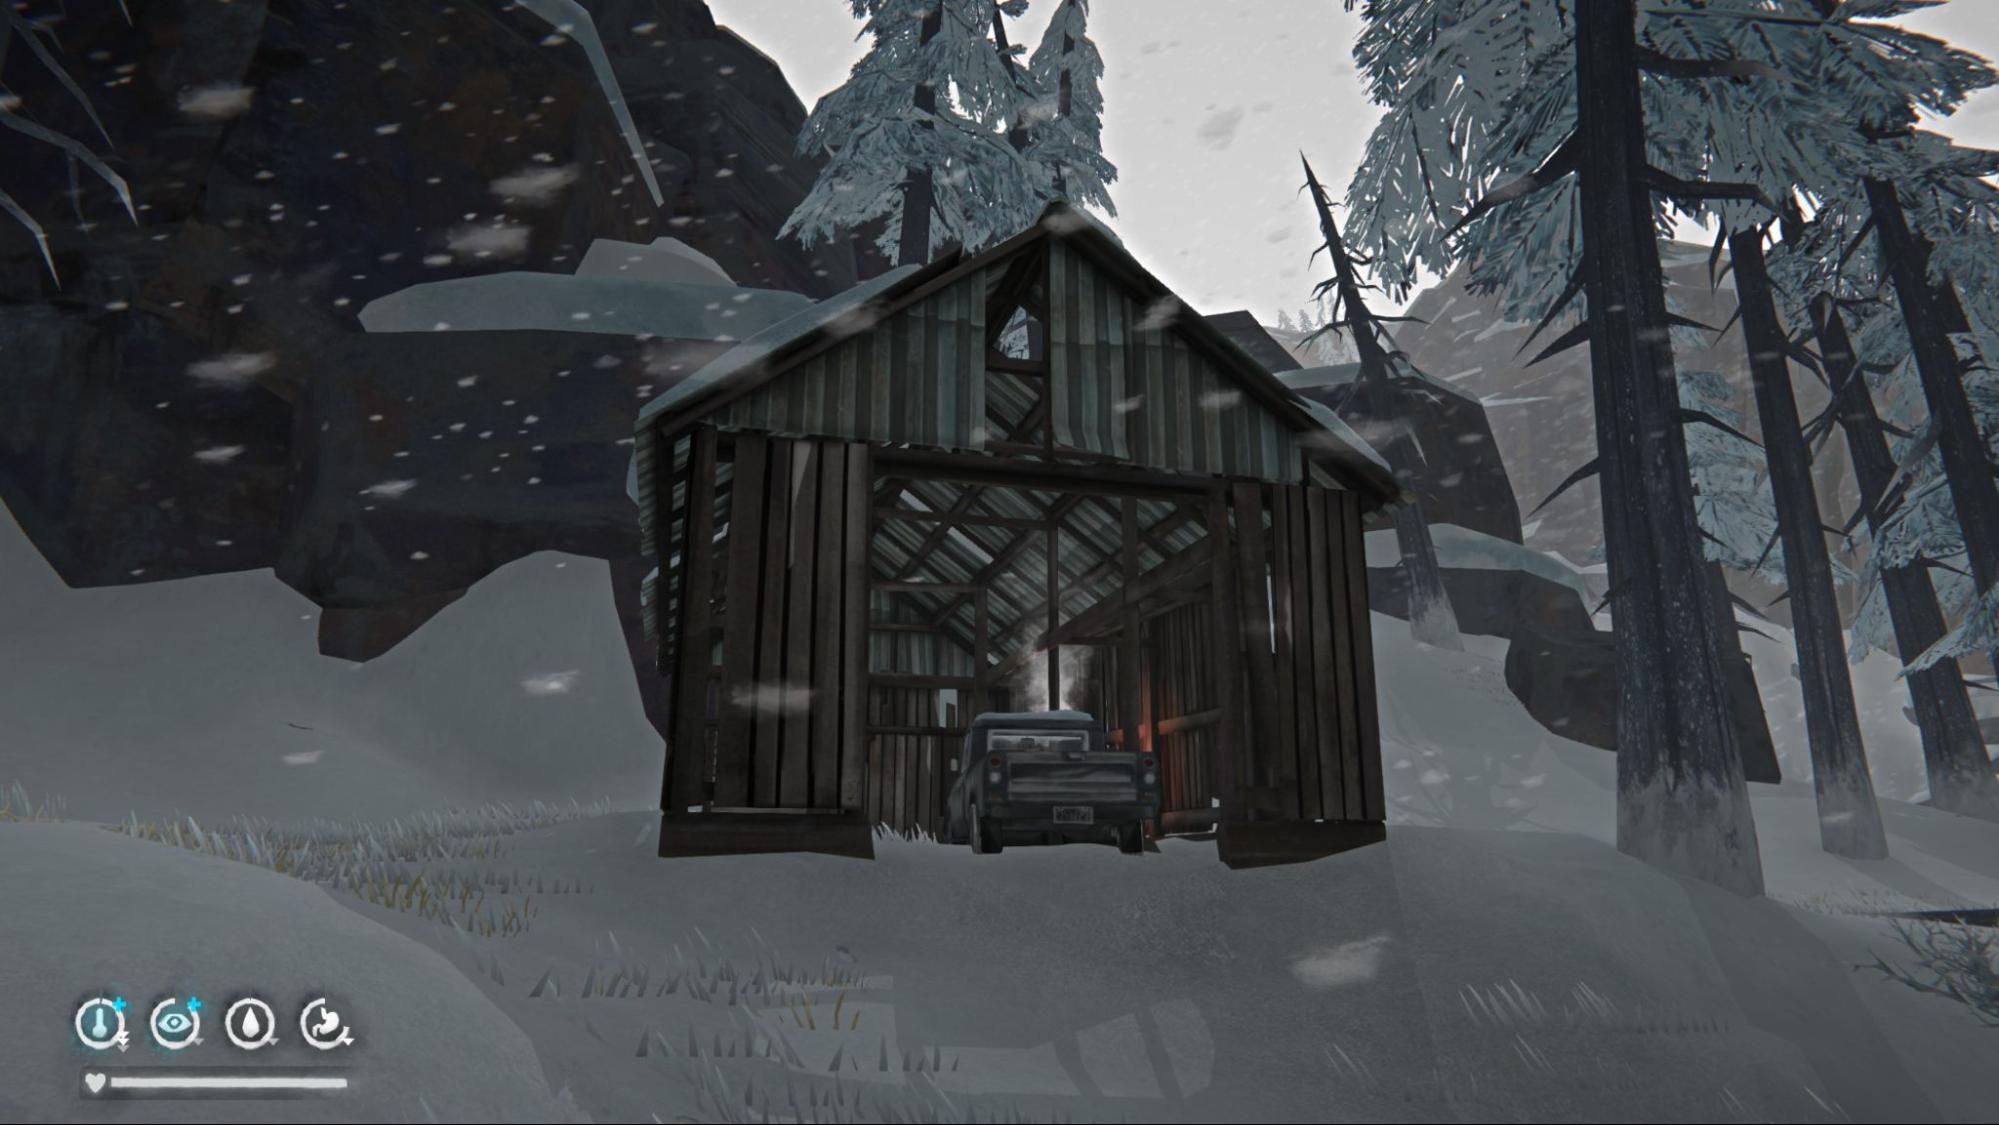
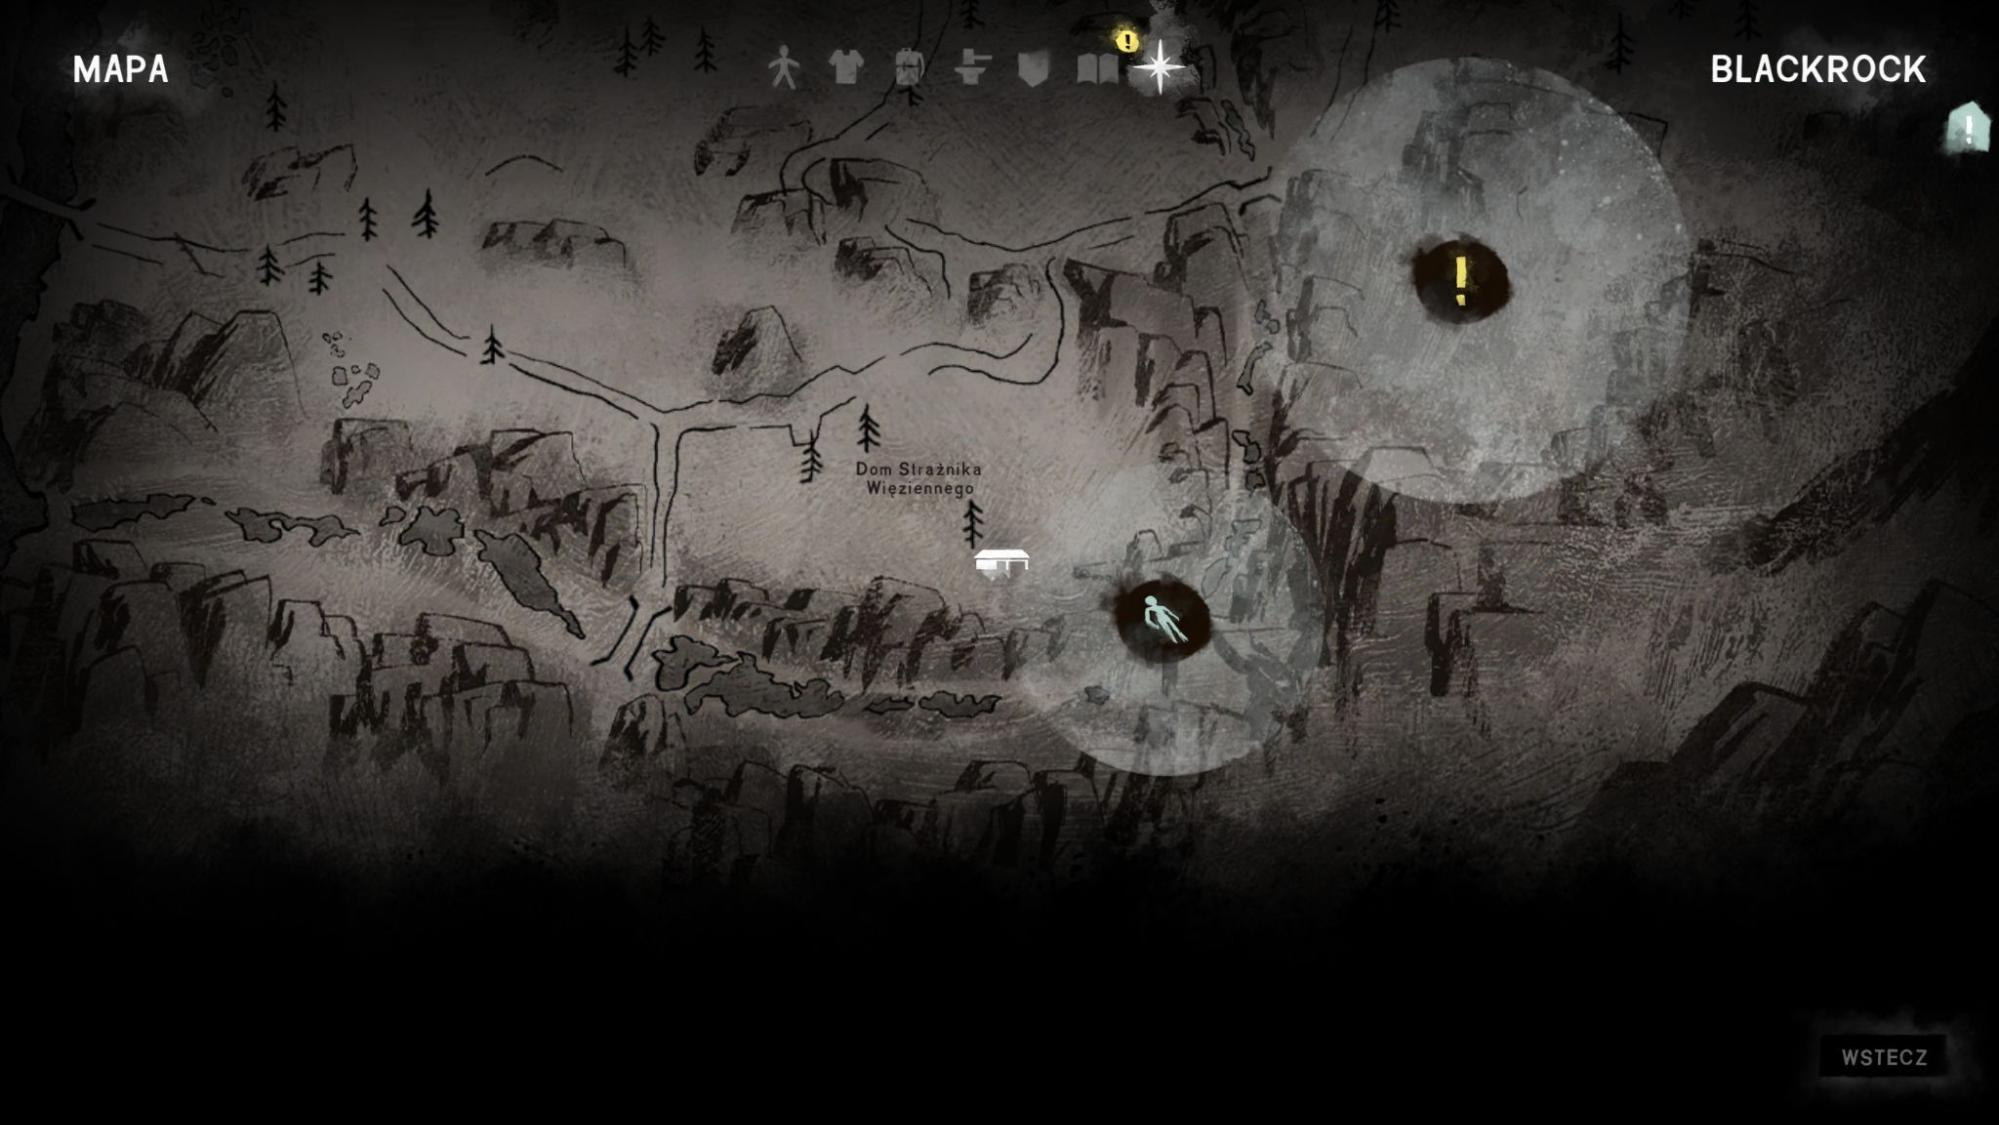
From the shed, head southeast and follow the uphill path. Watch to your right for another path descending into a ravine. Go down and search the body to complete the first security memo rumor.
 Achievement #22 - Welcome to the S**t Show: Story-related. After finding the body in the ravine, head straight to the main quest map marker. Watch out for wolves, cause there will be quite a bunch of them. Once you complete the objective, return to Blackrock. The achievement unlocks after speaking with the Warden.
Bloody Note #2: Go to the lockbox map marker. It’s in the guardhouse with numbered lockers where you passed earlier on your way to infirmary. The lockbox is under the bed. Open it, grab the contents, then open locker #3 using the key you found earlier to retrieve the Bloody Note. If you want to avoid retracing your steps (and possibly using a flare on wolves), you can return the same way you reached the infirmary, across the rooftops. The window will be closed, but you can safely drop down near the infirmary entrance.
Achievement #22 - Welcome to the S**t Show: Story-related. After finding the body in the ravine, head straight to the main quest map marker. Watch out for wolves, cause there will be quite a bunch of them. Once you complete the objective, return to Blackrock. The achievement unlocks after speaking with the Warden.
Bloody Note #2: Go to the lockbox map marker. It’s in the guardhouse with numbered lockers where you passed earlier on your way to infirmary. The lockbox is under the bed. Open it, grab the contents, then open locker #3 using the key you found earlier to retrieve the Bloody Note. If you want to avoid retracing your steps (and possibly using a flare on wolves), you can return the same way you reached the infirmary, across the rooftops. The window will be closed, but you can safely drop down near the infirmary entrance.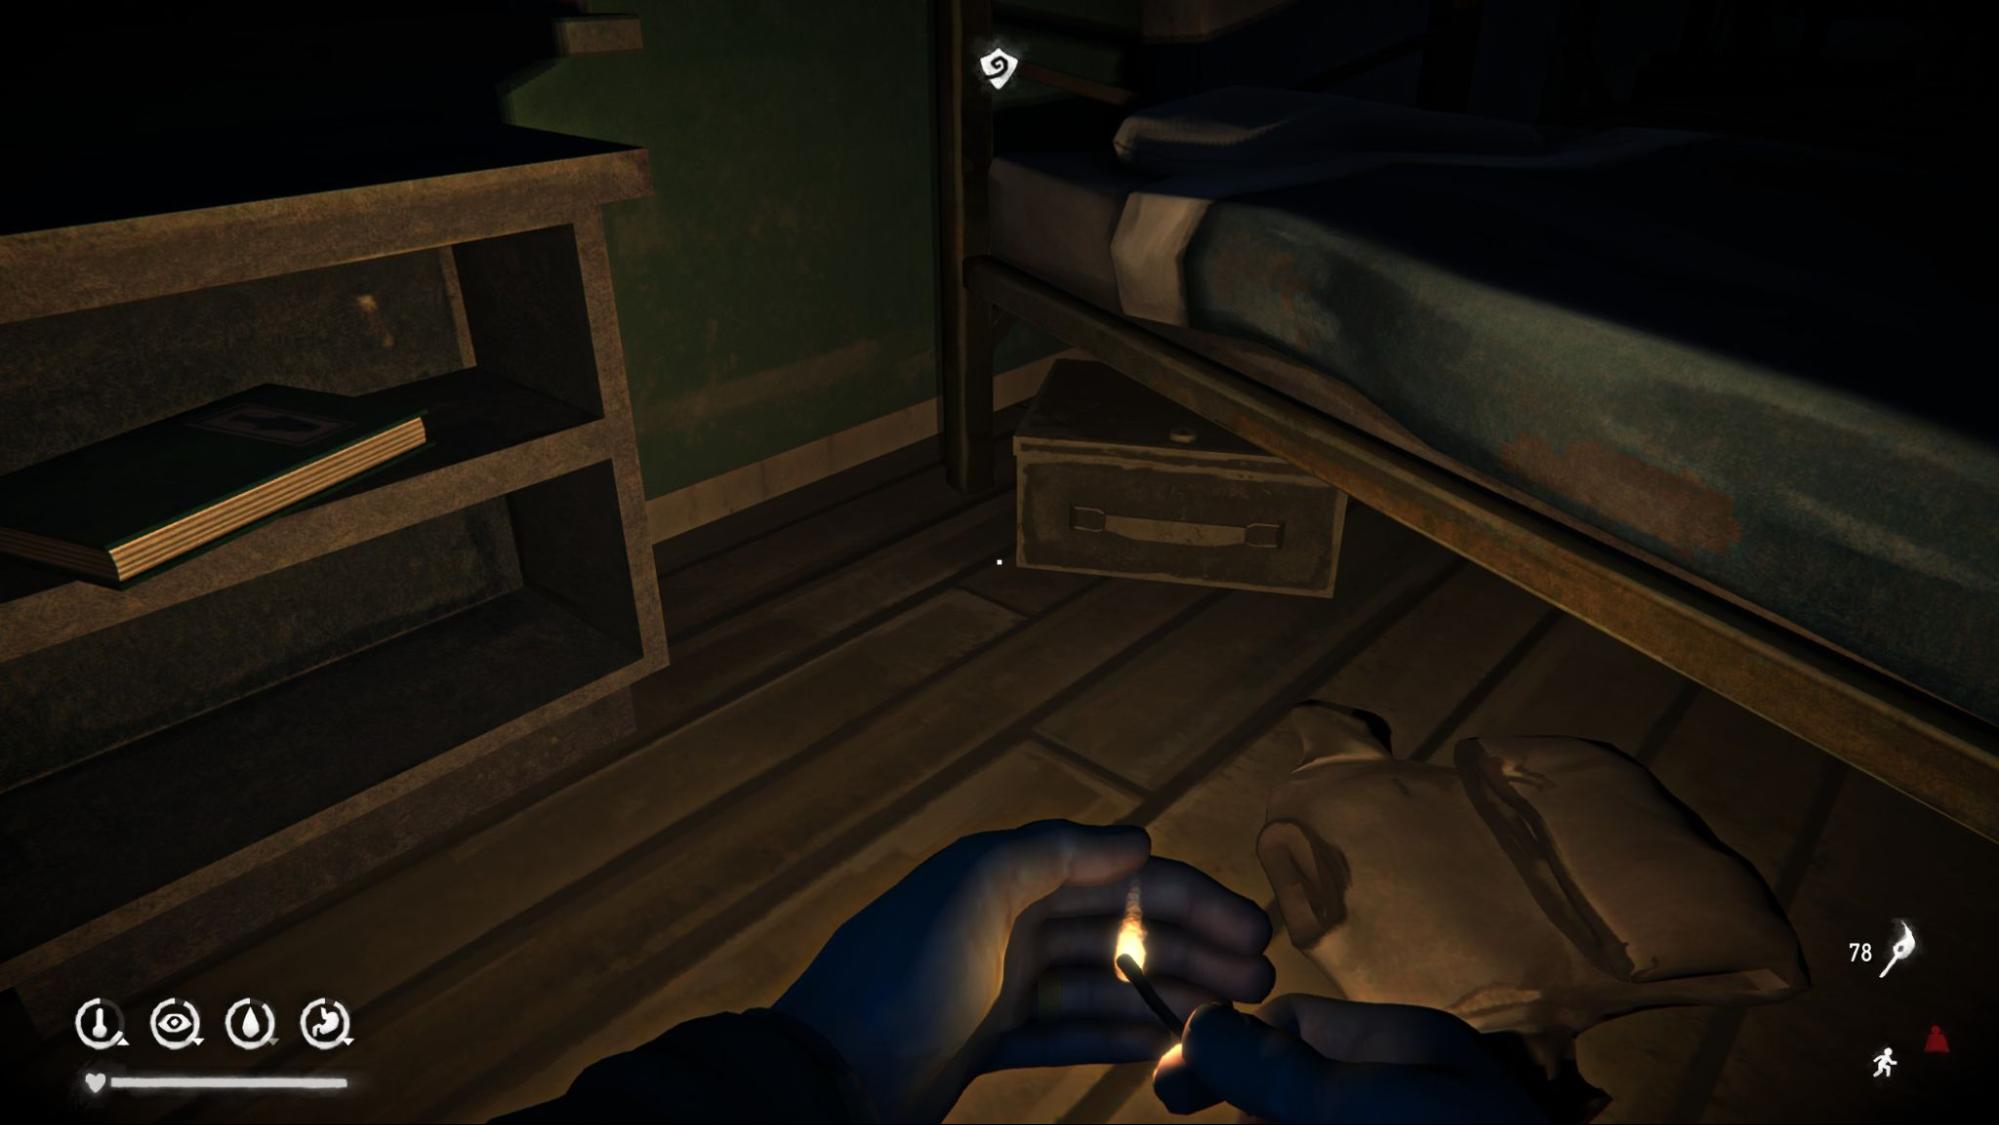
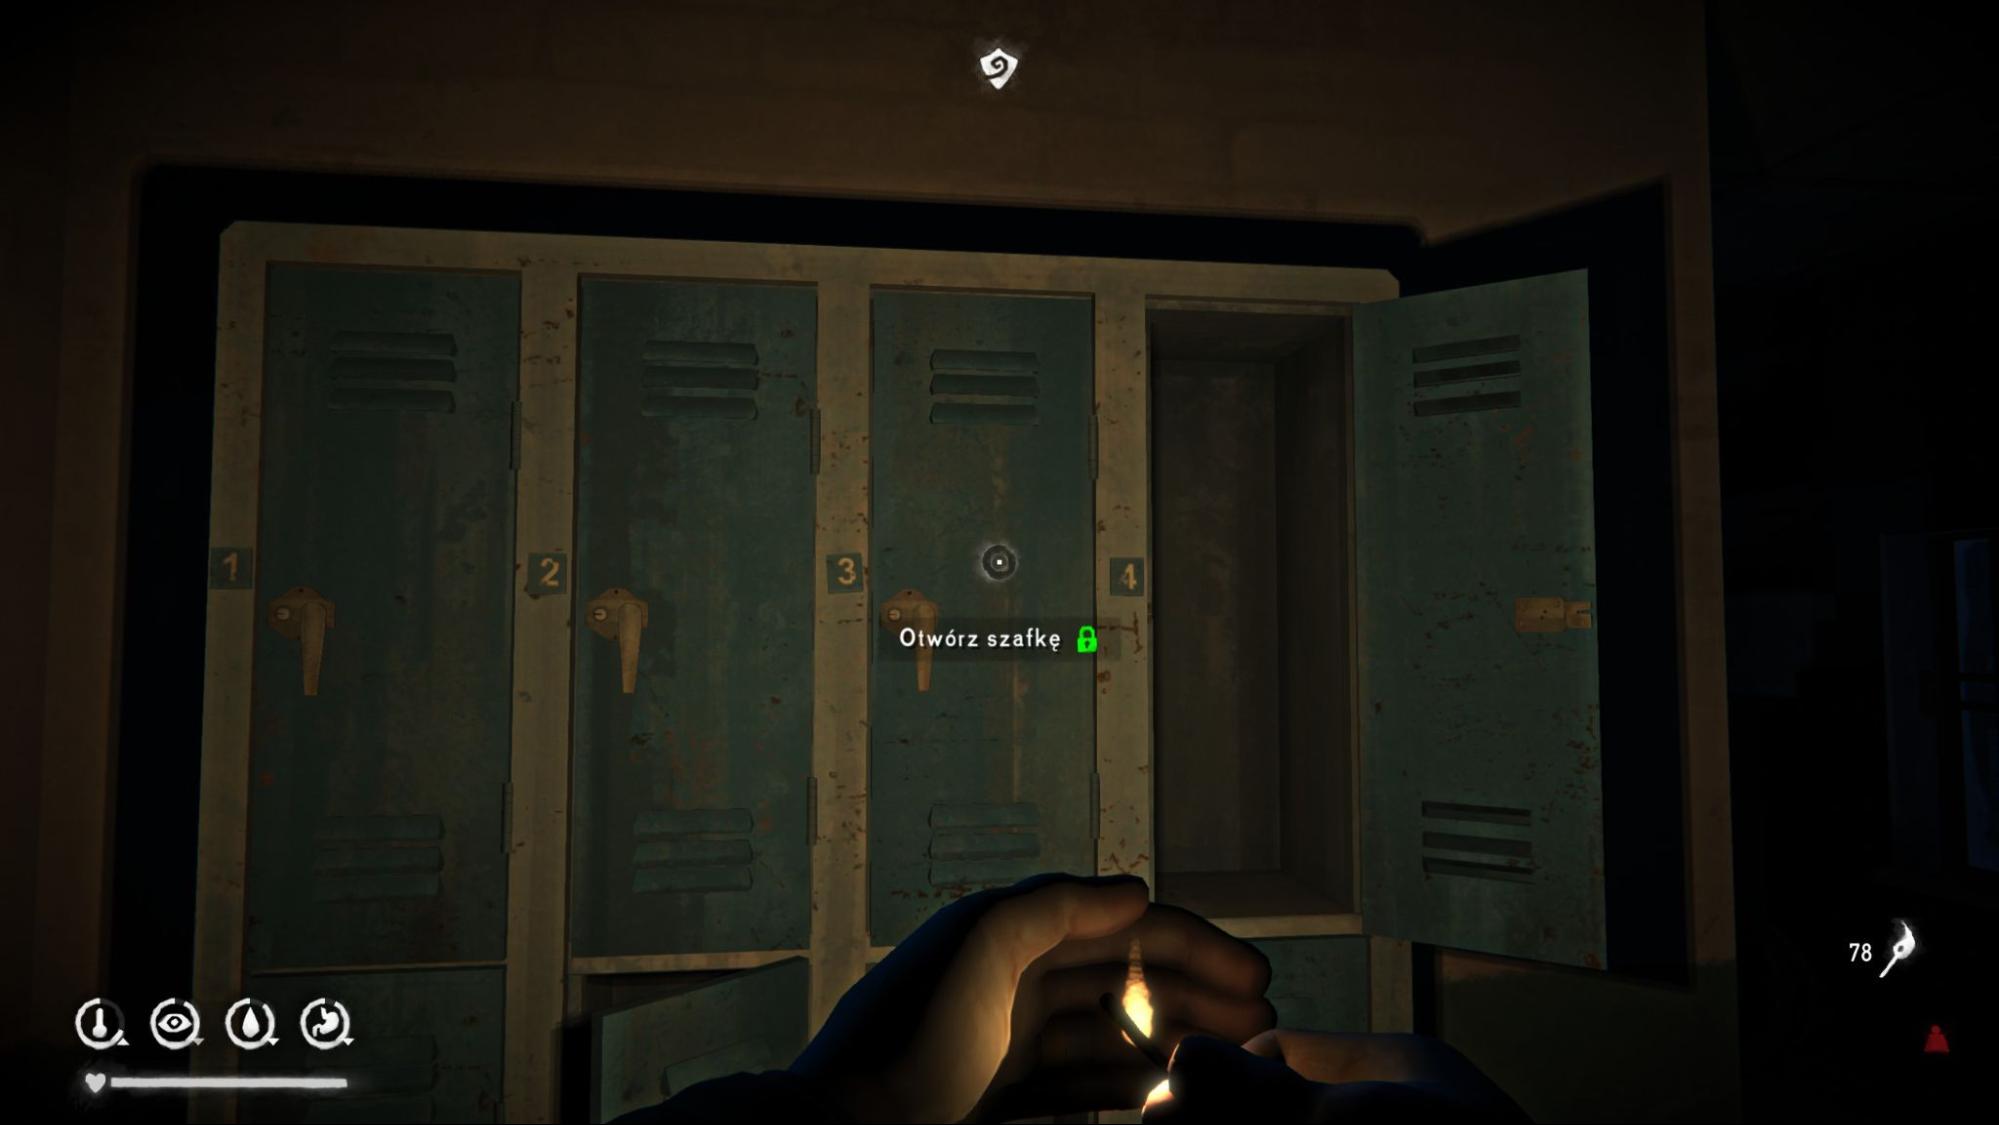
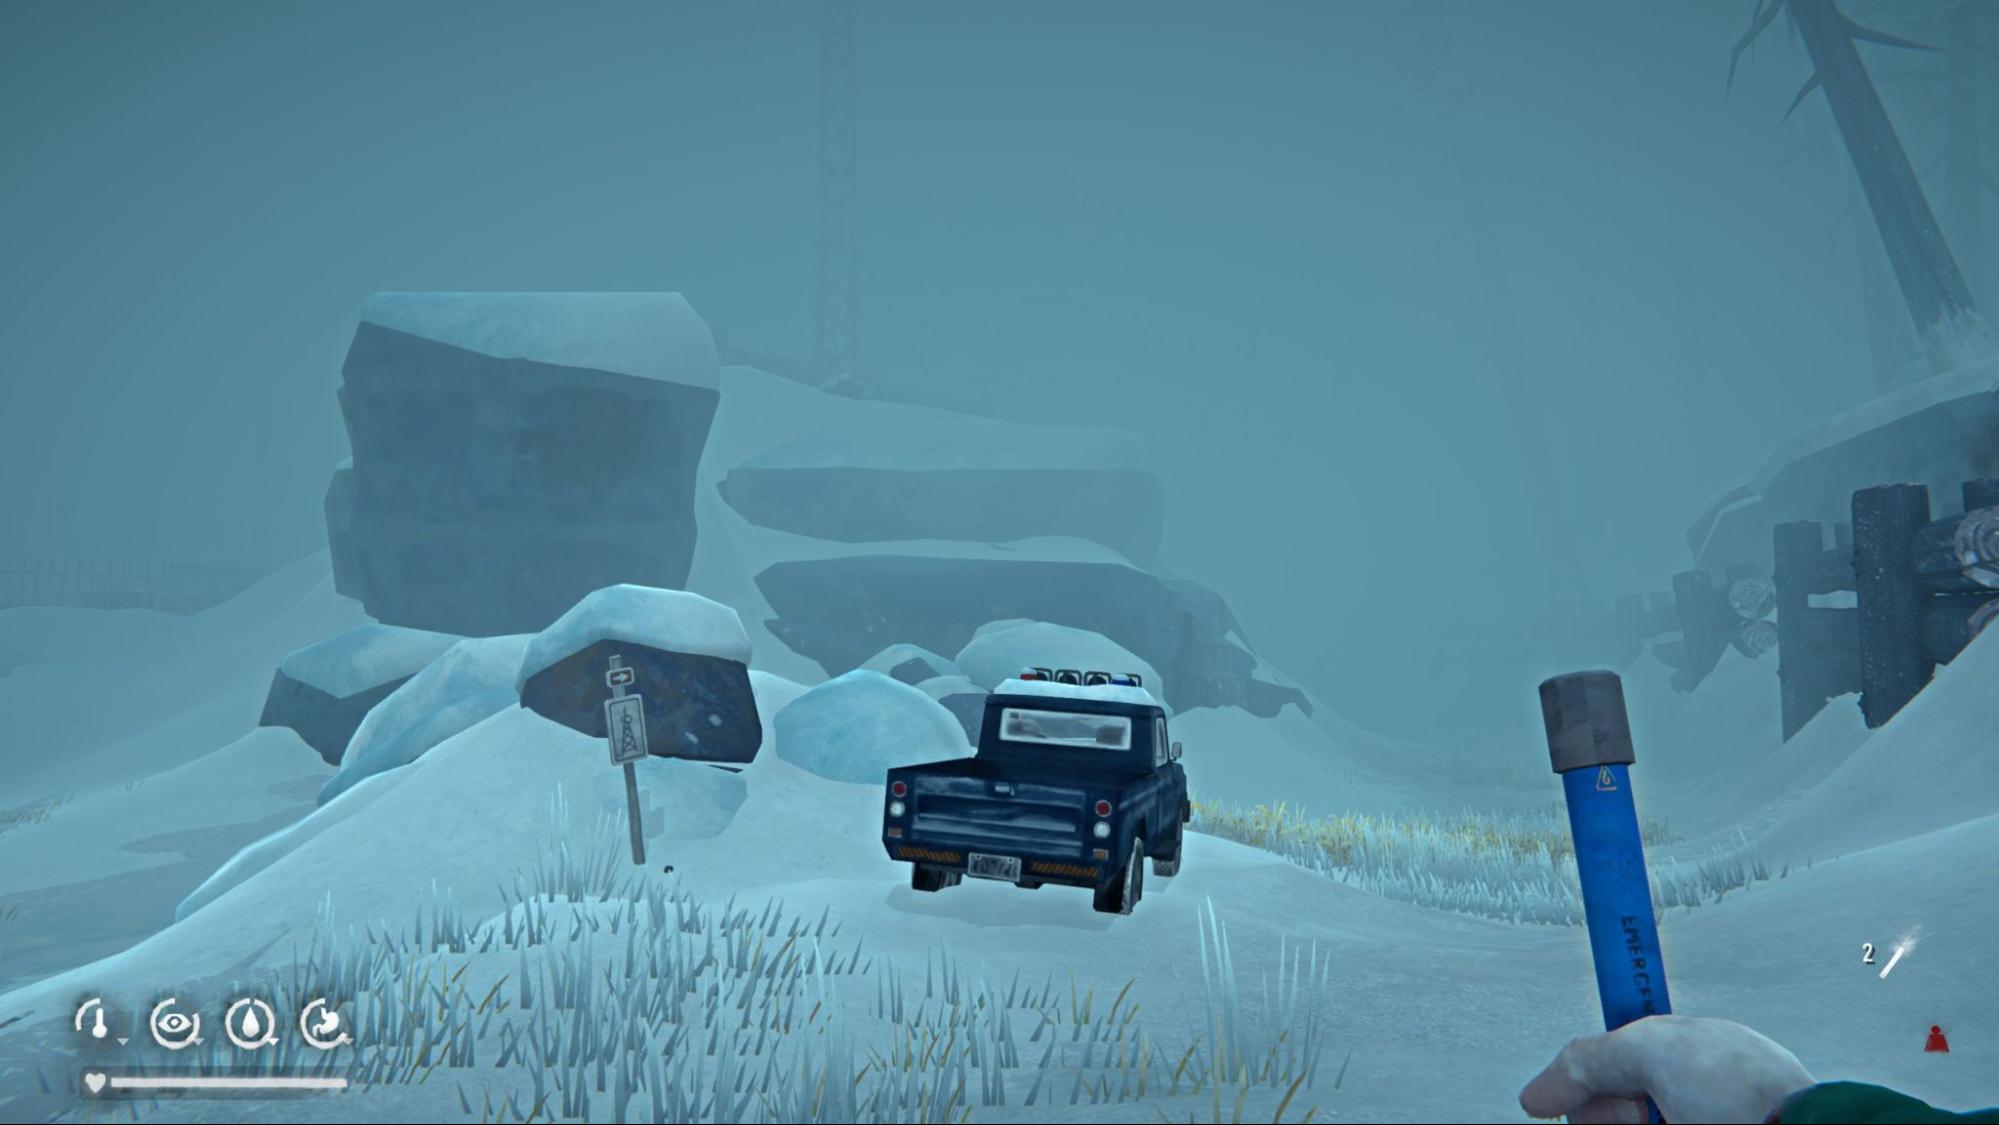
Security Memo #3: The final memo is inside a car near the Old Substation, on the dashboard. With all memos collected, you now need to complete their associated side quests. One is already done, two remain.
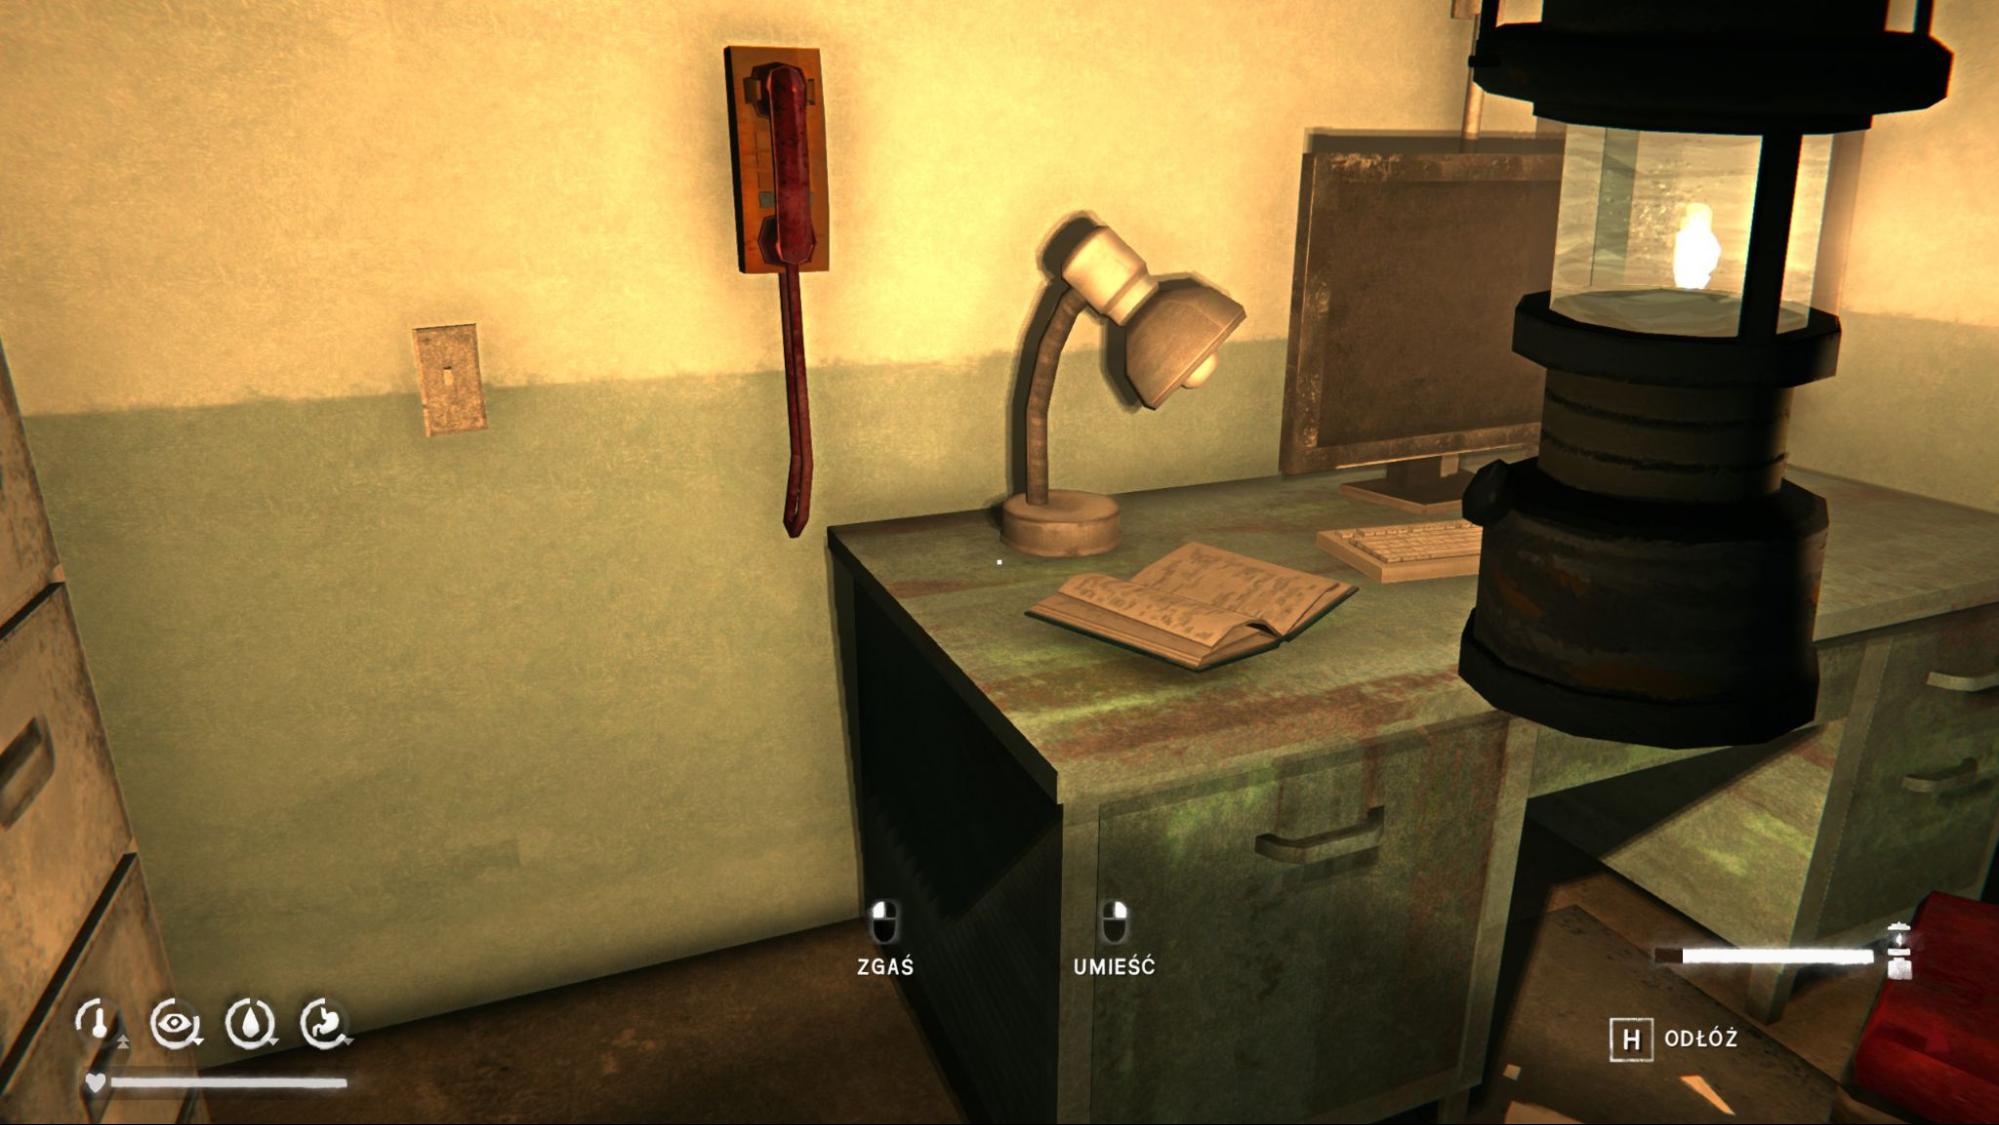
Bloody Note #3: Near the previously mentioned car, at the Old Substation, on the desk beside an open book. (I picked this up before taking the screenshot, which is why it isn’t visible.) You can also grab the note on the bench near the entrance to start a missing workers side quest, which rewards useful supplies. This is optional though, no achievement is tied to it.
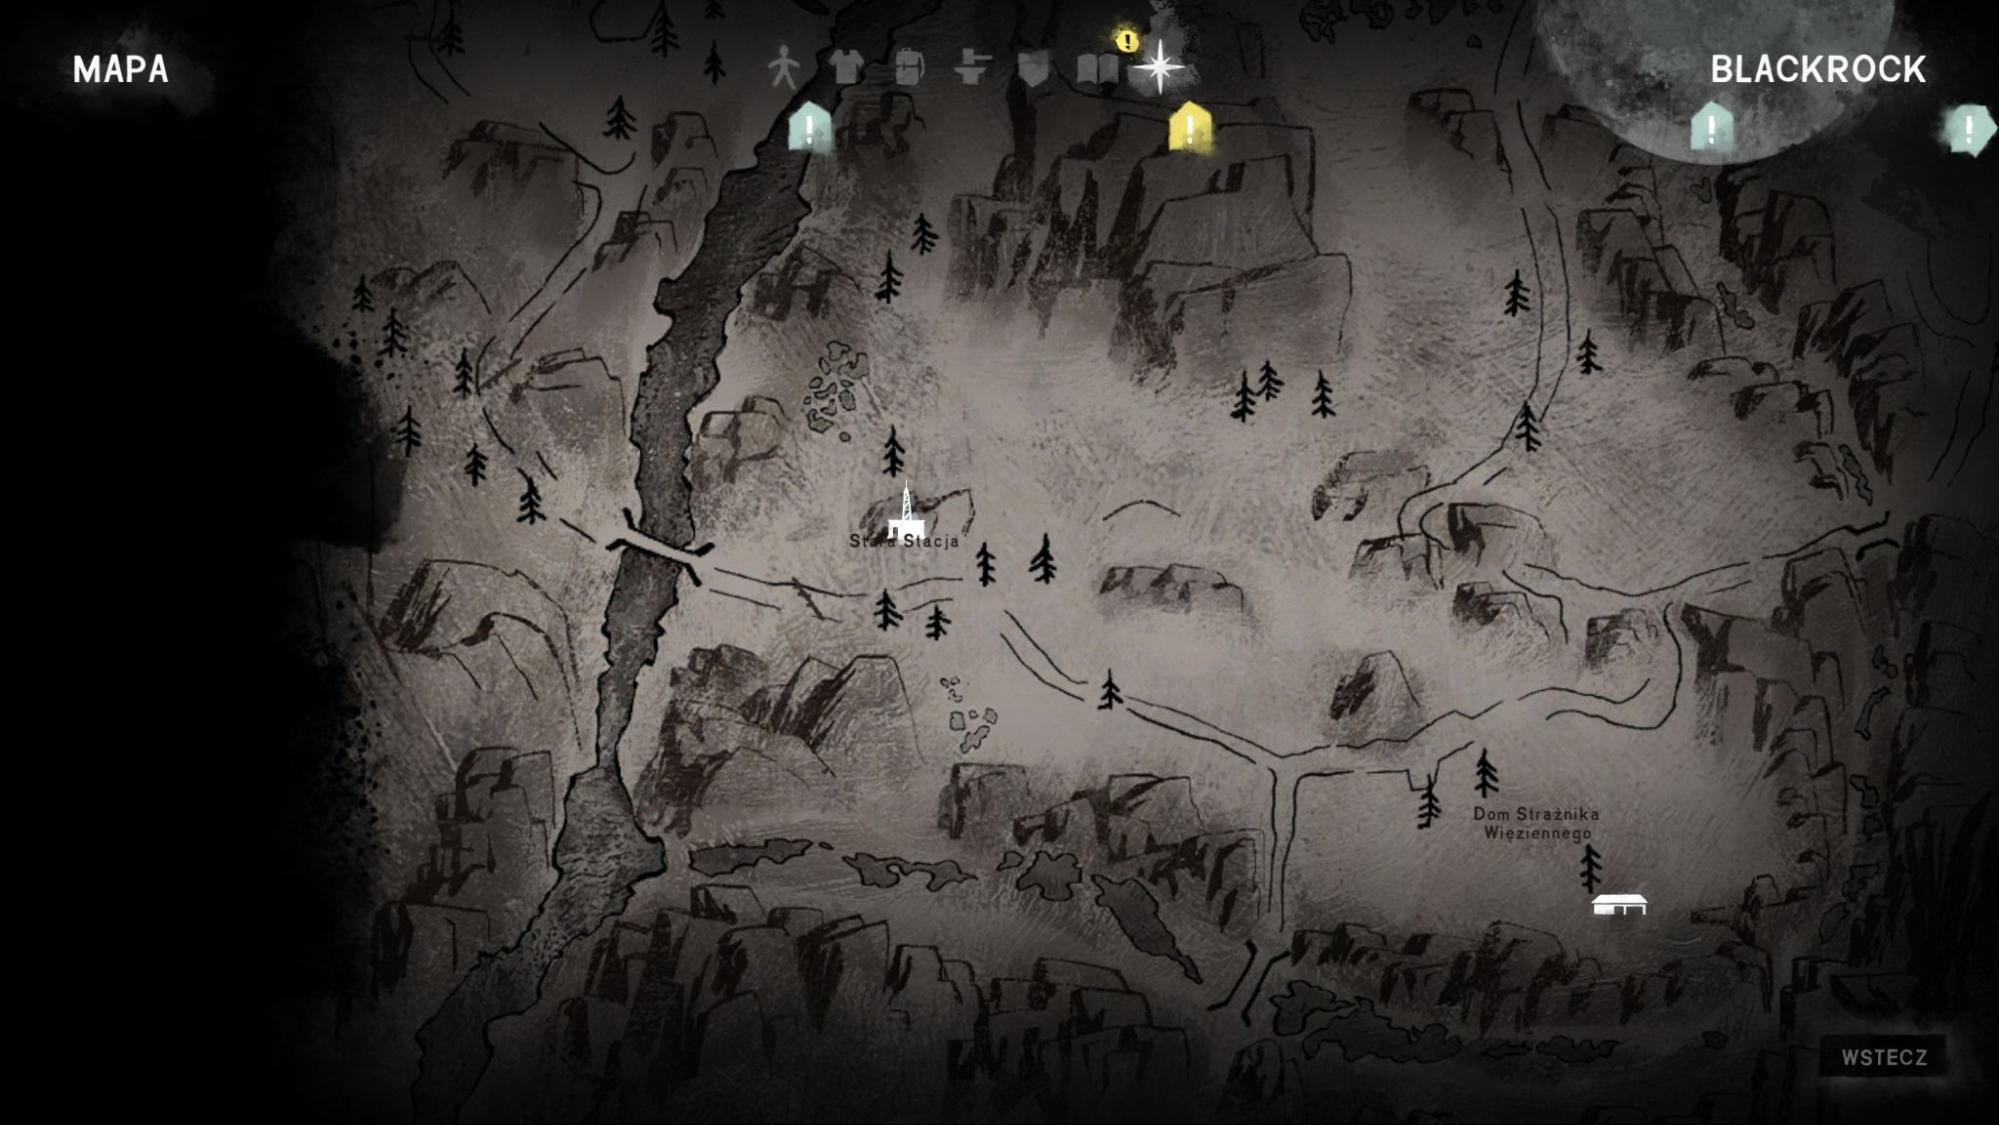
 Achievement #23 - Just Like New: Story-related. Continue towards the Power Plant, solve the steam puzzle and “fix” the locking mechanism. If you’re struggling with the puzzle, here’s an amazing guide:
https://steamcommunity.com/sharedfiles/filedetails/?id=2629399032
On your way out, you can grab the key to locker #8 beneath the staircase. Then go back to the prison.
Note: It’s best to finish everything you want to do before entering the mine. You’ll get one more chance later, and the game will remind you about the no return point, but now is a much better time to do it.
Bloody Note #4: Continue with the story until you are directed to the mine. Along the way, your first stop will be Foreman’s Clearcut. The note is on the crafting table inside.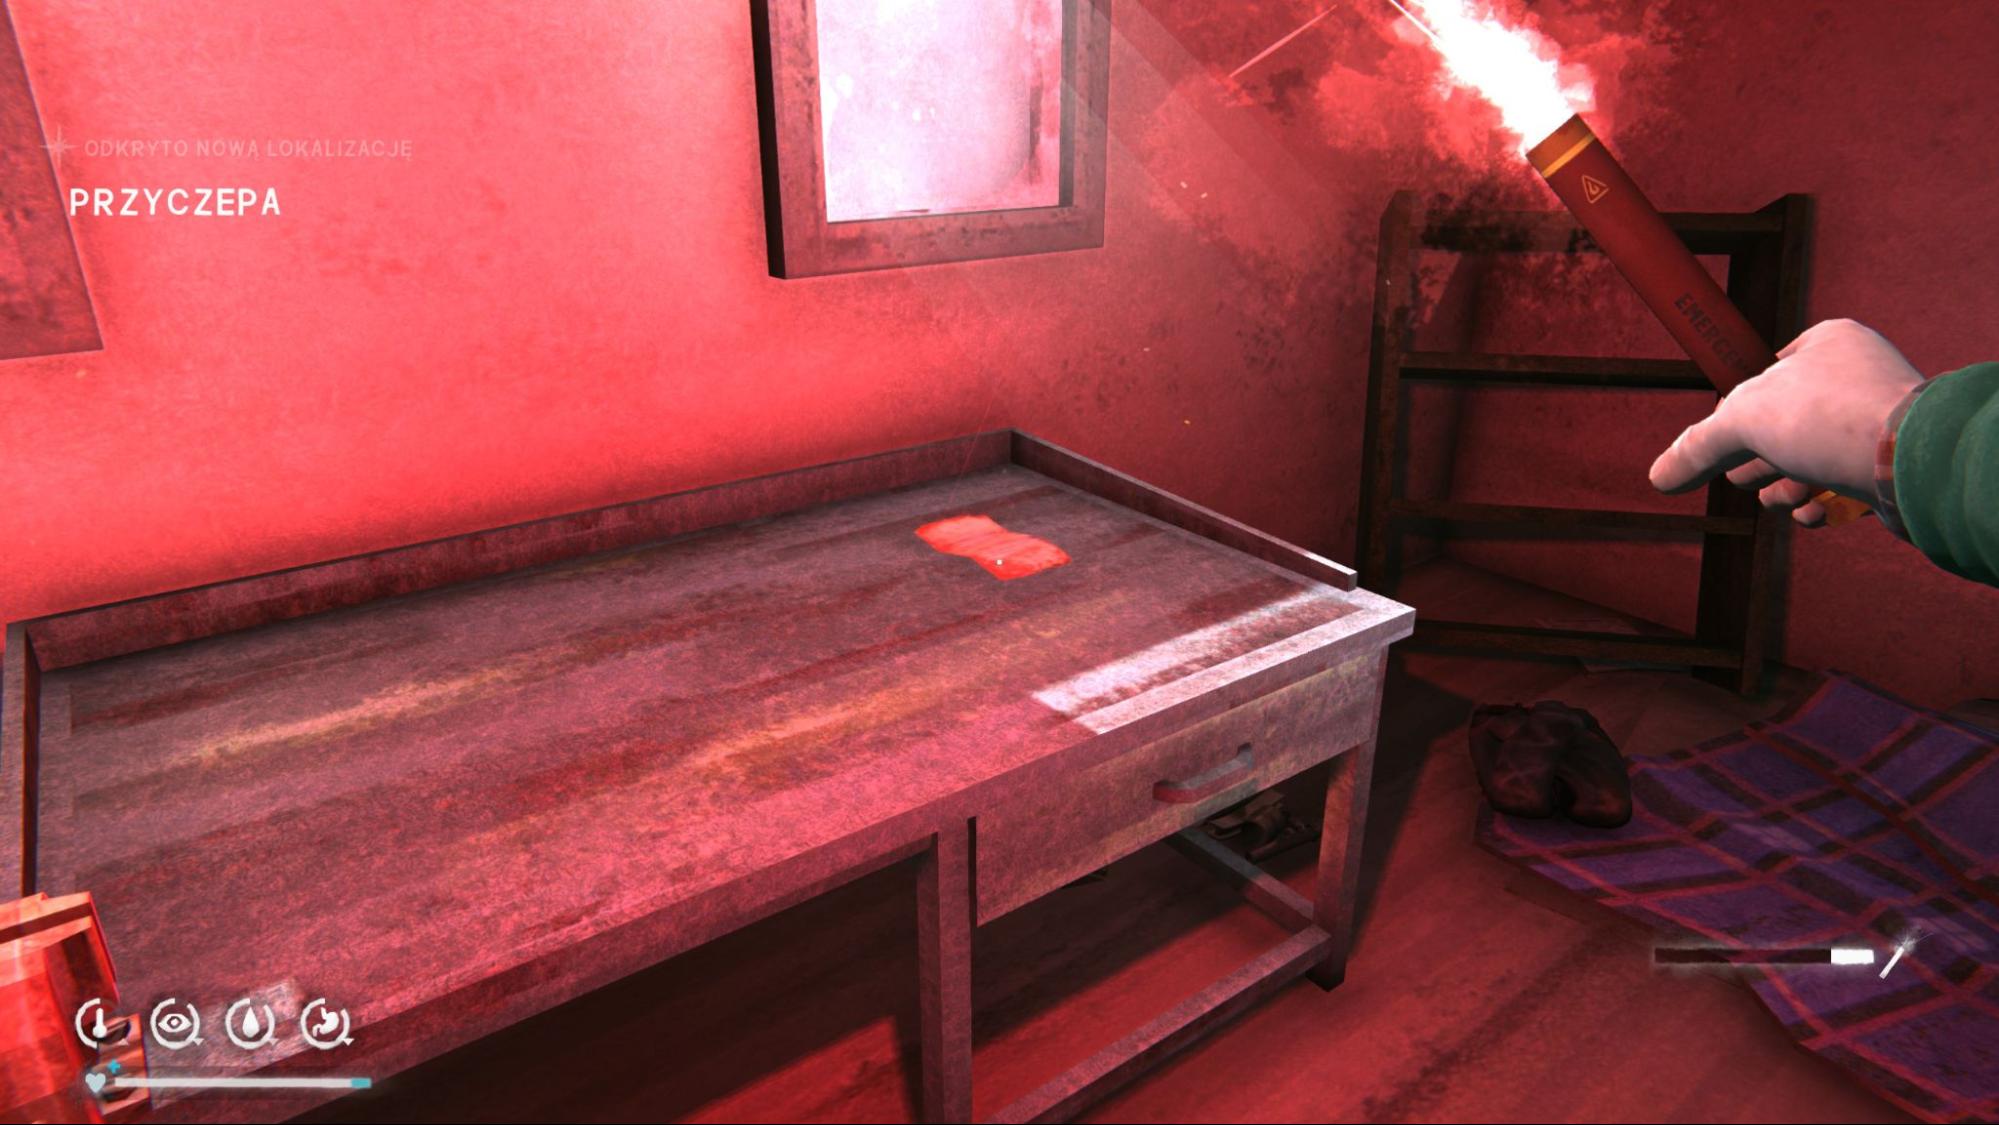
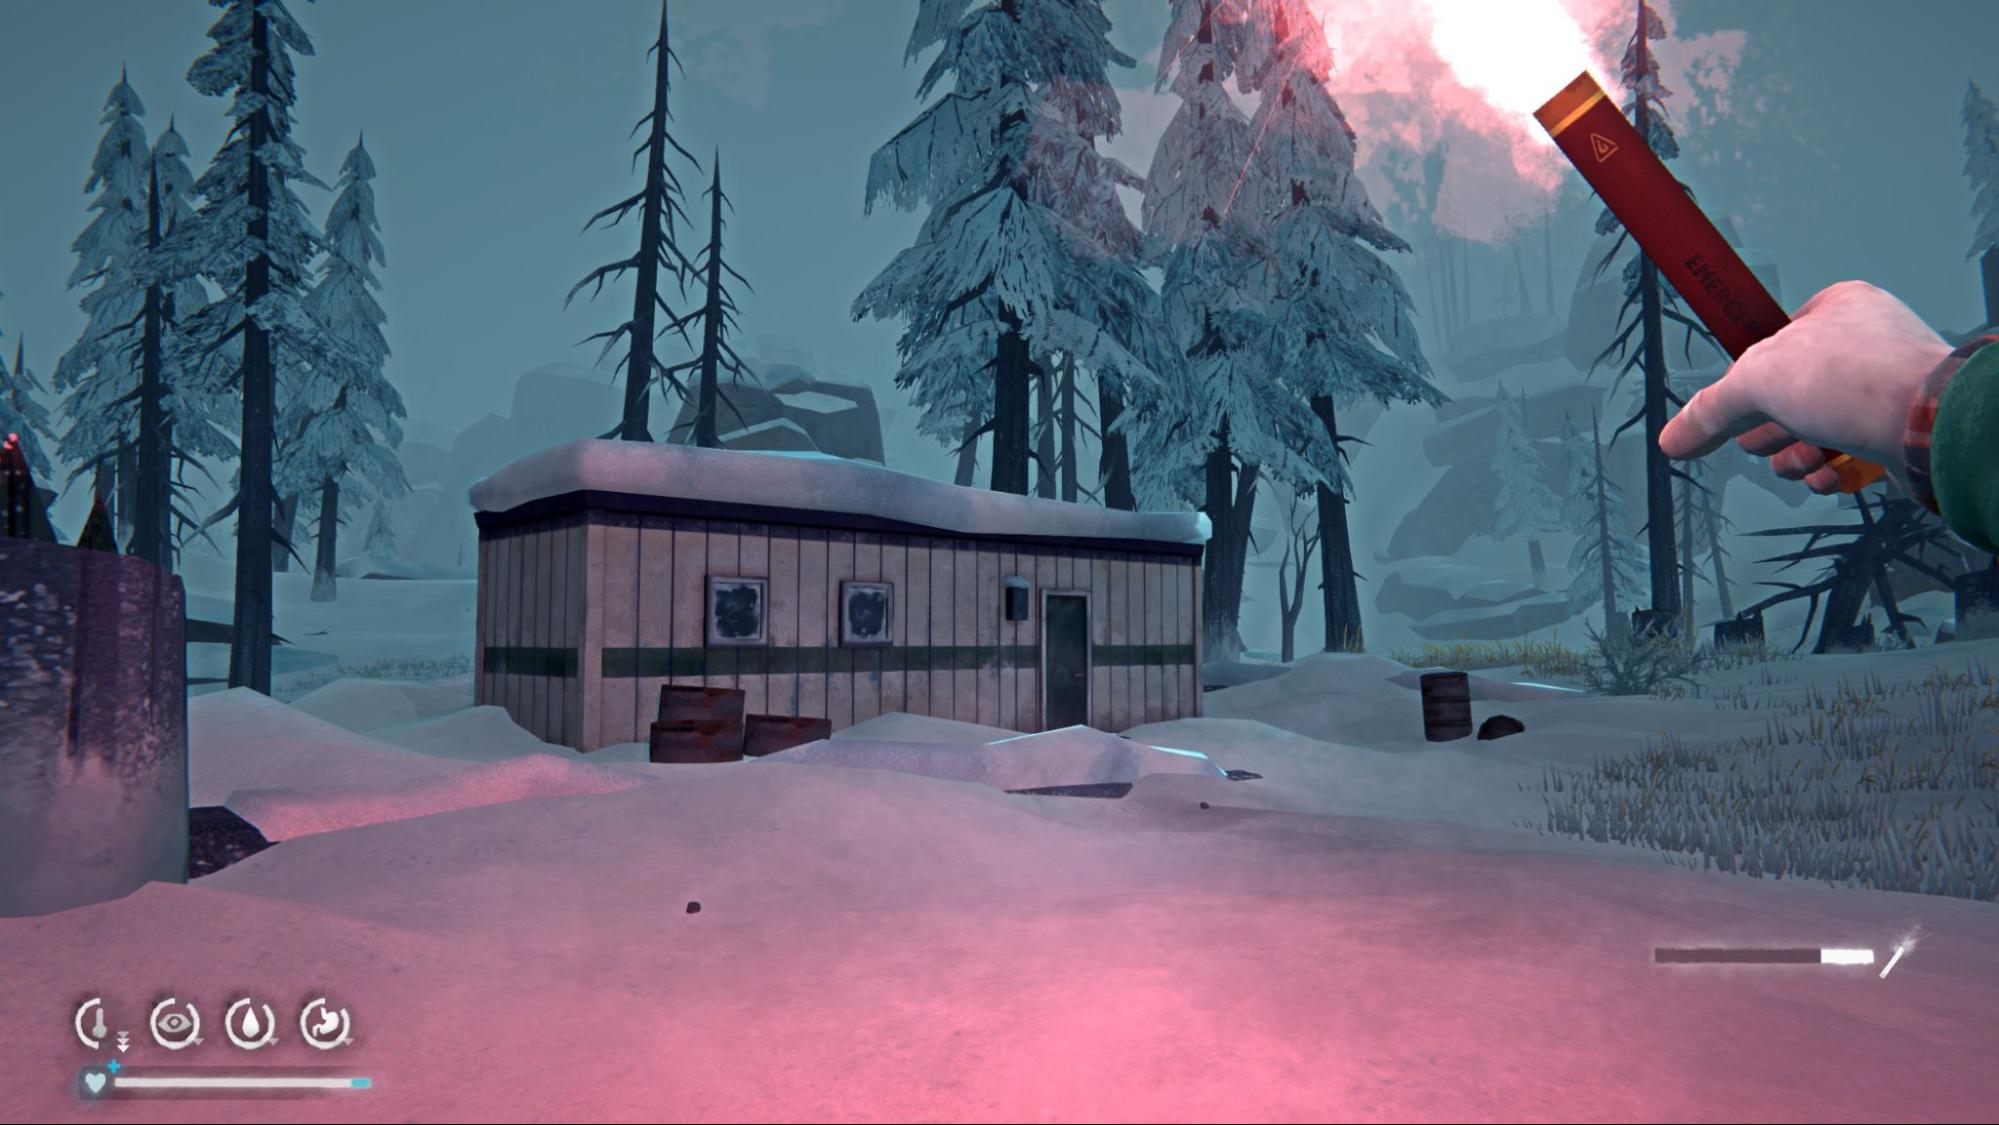
 Achievement #24 - Black Black Heart: Missable. Unlocks after collecting the fourth and final Bloody Note.
 Achievement #25 - Hard Times: Missable. Before entering the mine, complete the rumor quests. Both are marked on your map. The suspicious person rumor requires you to find a hidden cache, which can be tricky to locate. If you’re stuck: the cache is behind the house, not inside it, look among the rocks. This quest has an extra step after finding this cache and requires some backtracking, do it BEFORE entering the mine. Watch out for the bear though. The wolf-related rumor is quick and easy.
Episode 4: Fury, Then Silence pt.2
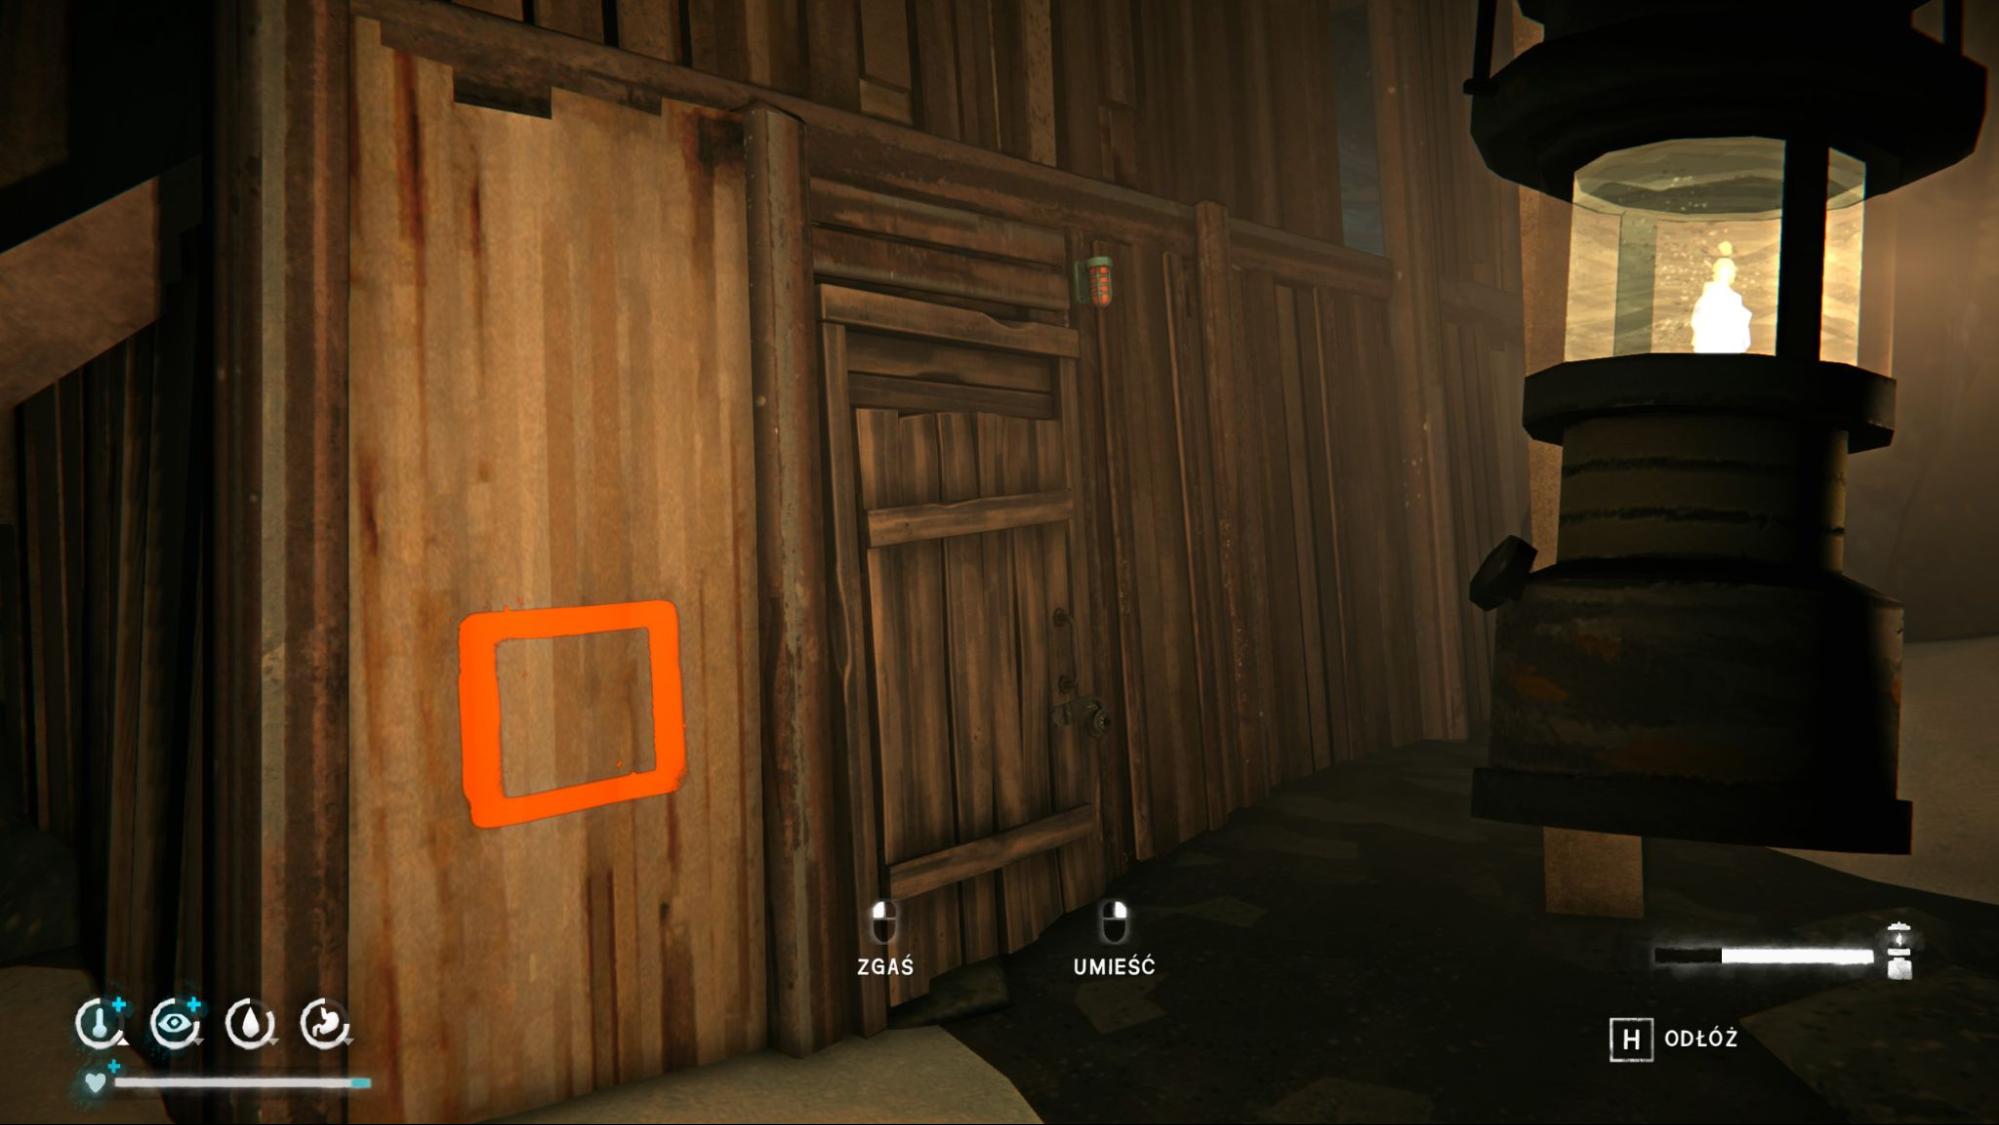
Forest Talker Note #1: From the locked cache, turn around and proceed deeper into the cave. After crawling through a narrow shaft, turn right. The mine may feel confusing, but there’s only one valid path. Eventually, you’ll reach the Floor 1 elevators. Turn right before the elevators, the first note is at the end.
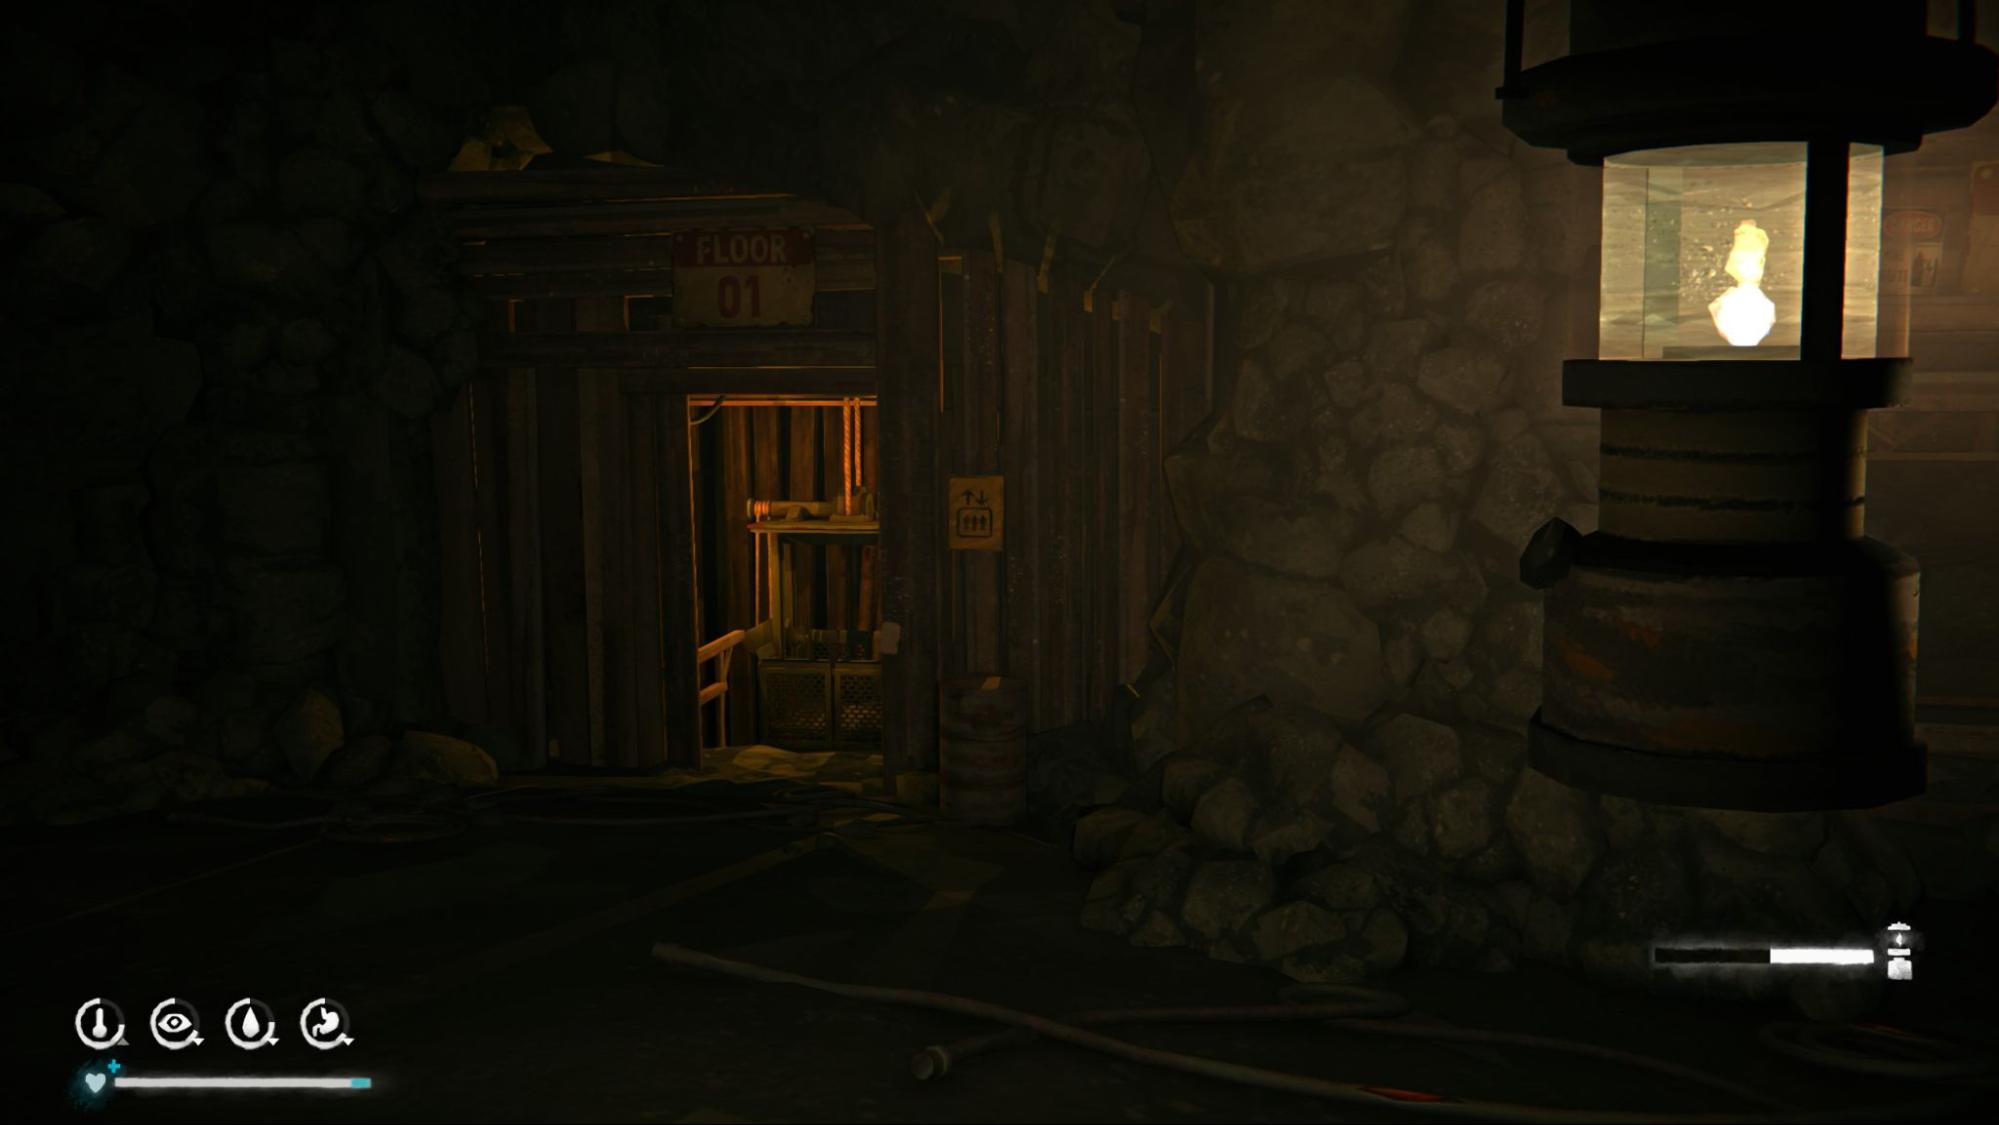
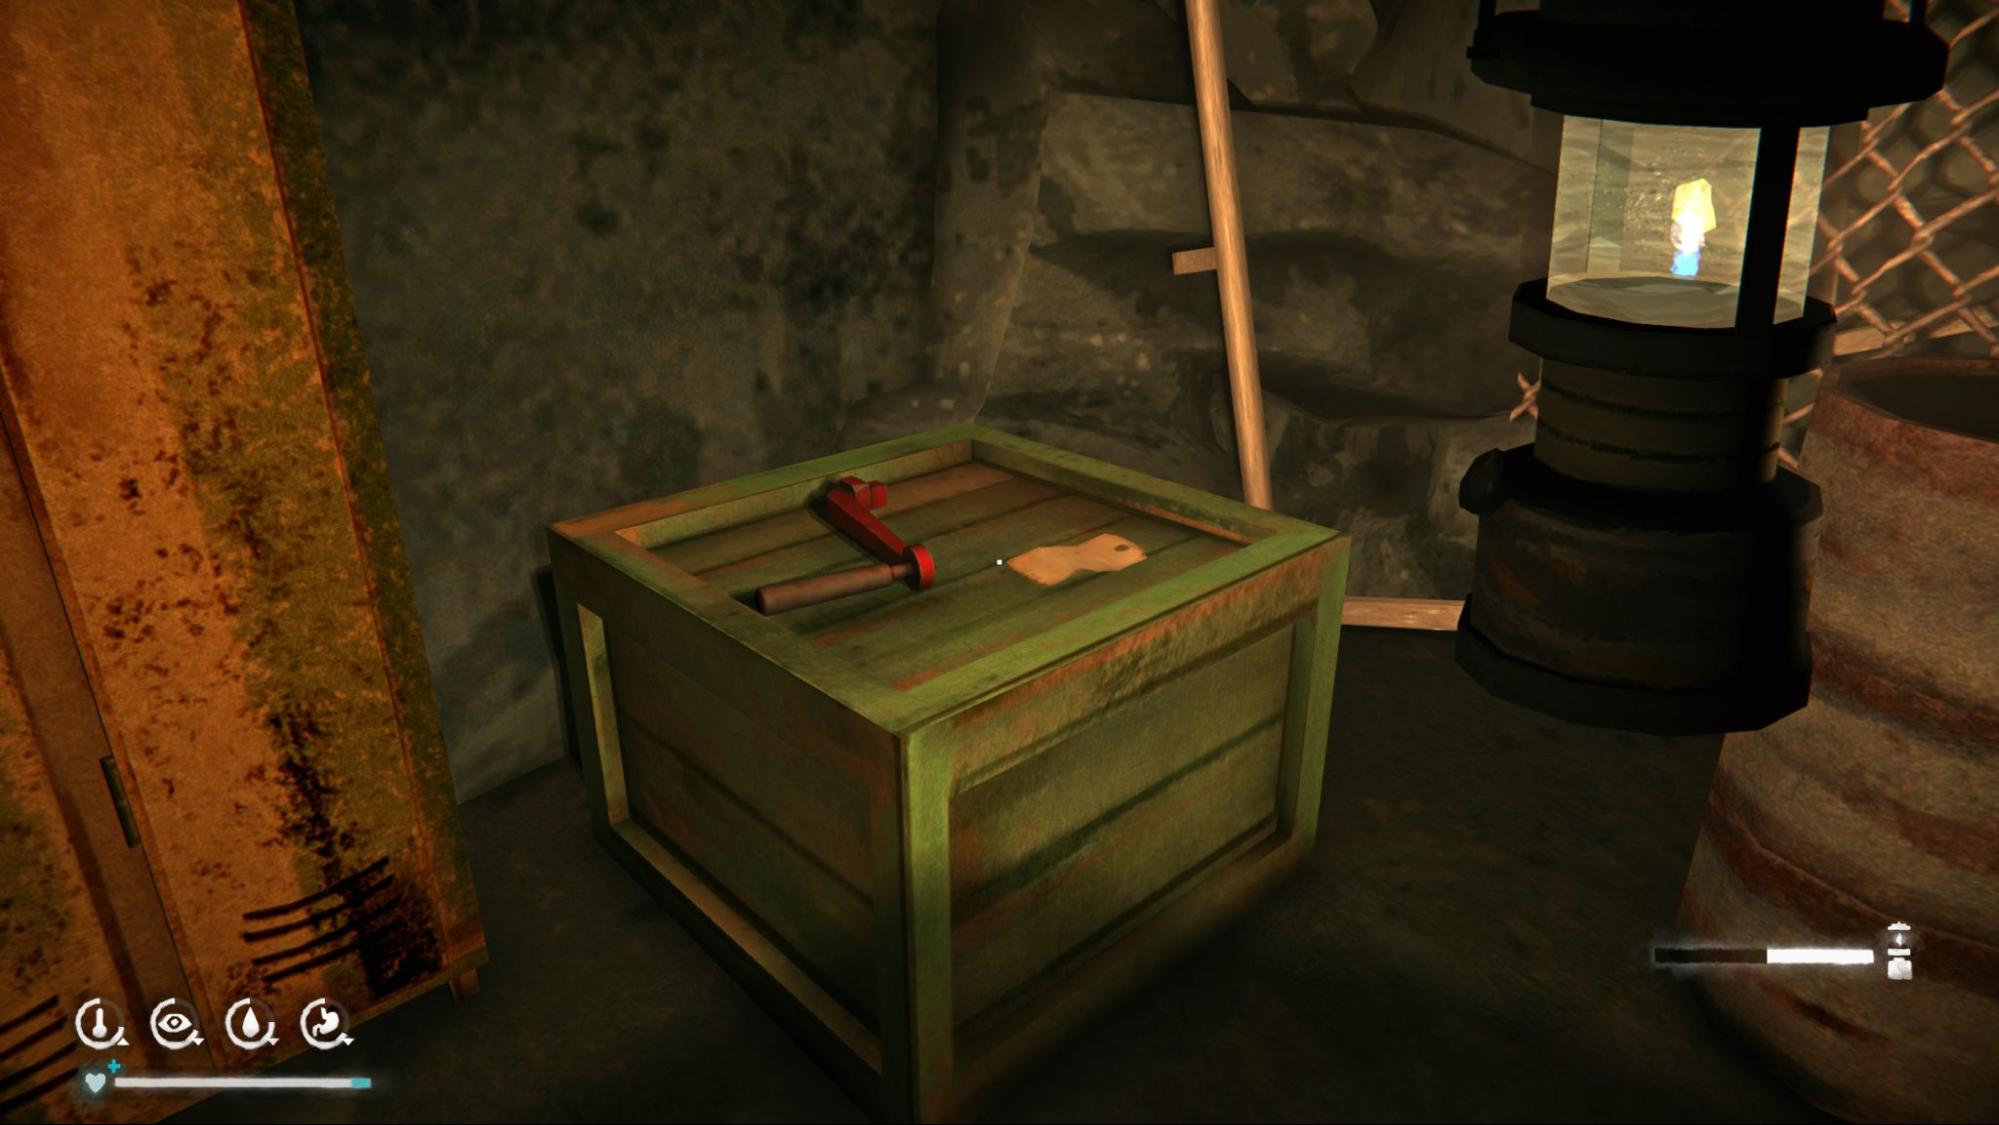
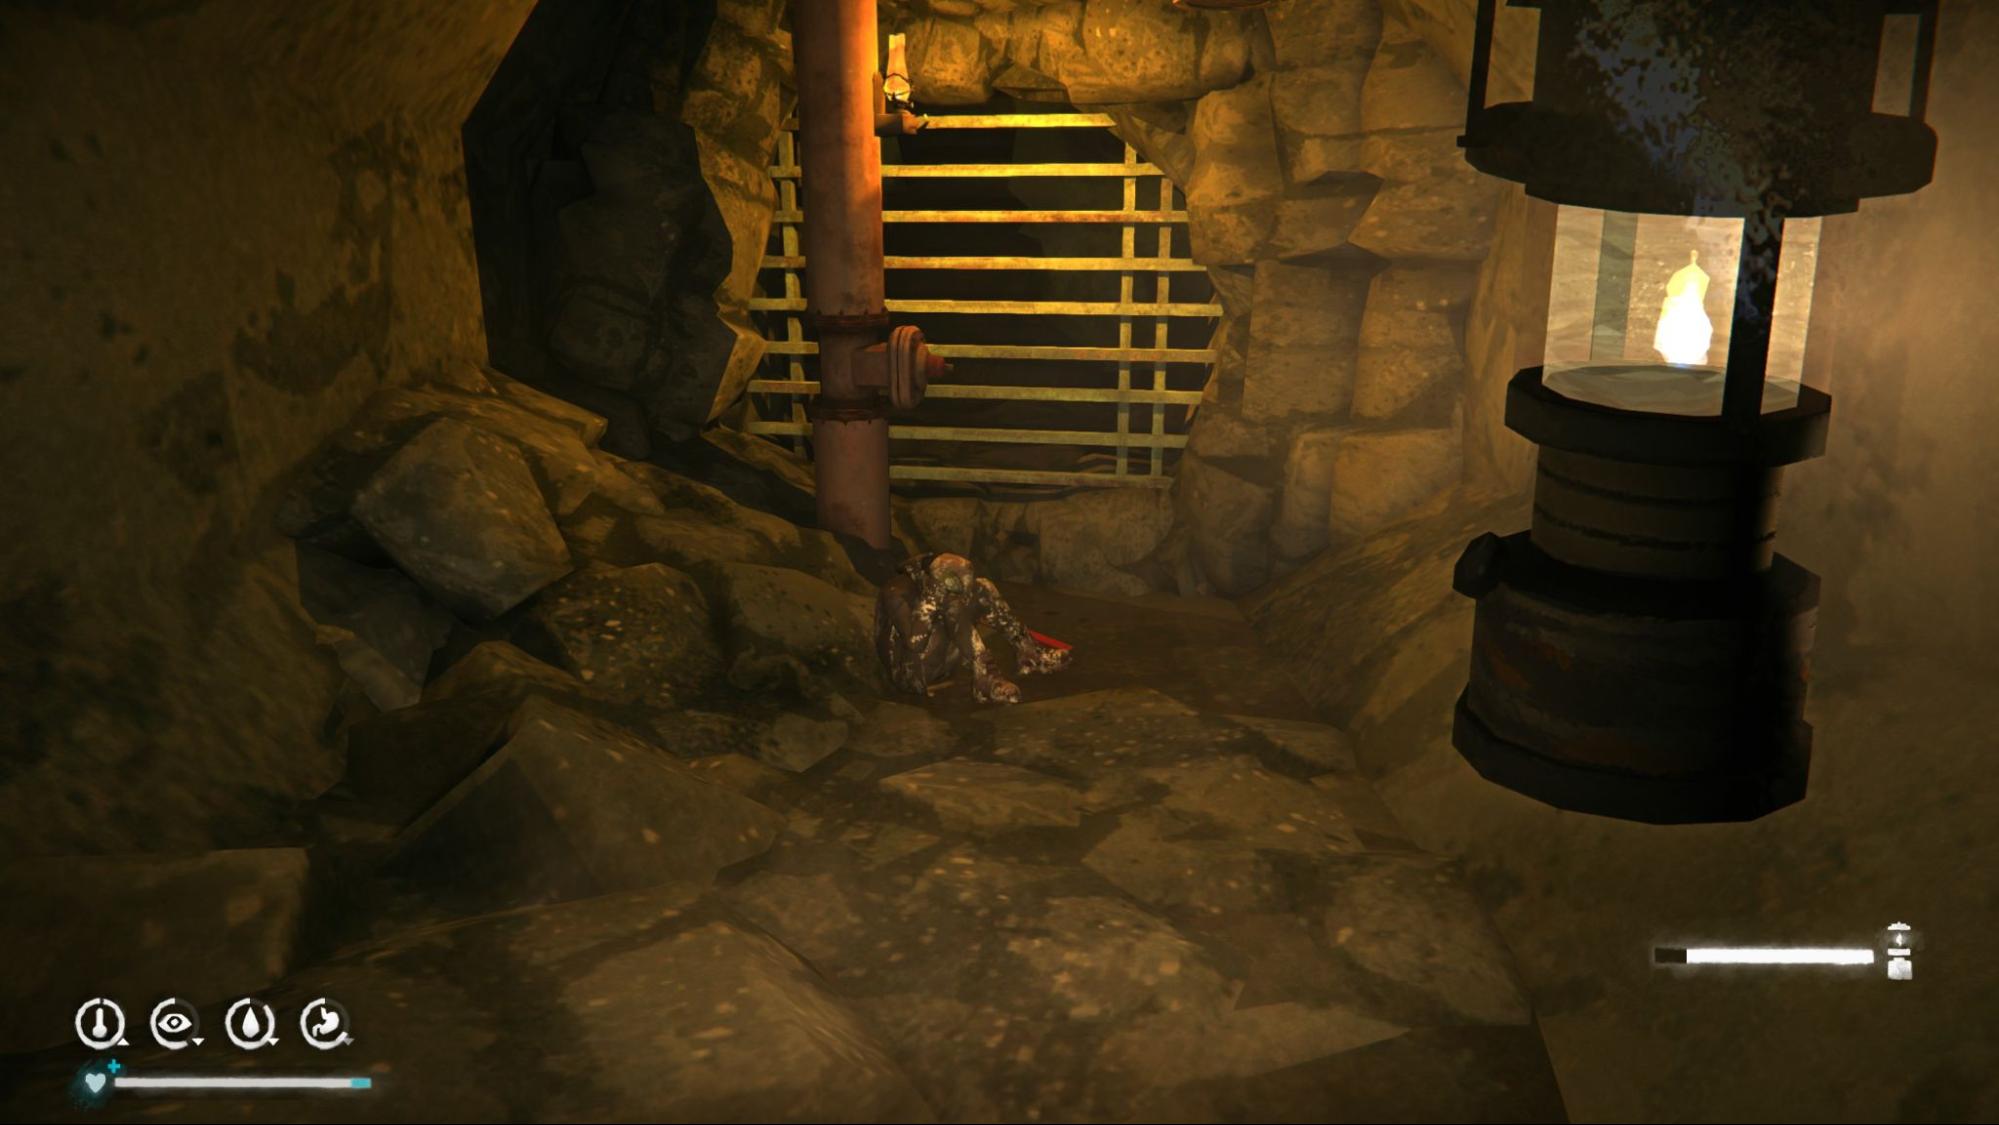
Forest Talker Note #2: Take the elevator down to the toxic gas area. Use the handle to clear the gas twice, it will jam the second time. Sprint through the gas to the air pocket near the crates. On the other side of the crate there is a corpse. You need to get there by running through the long and narrow shaft. Search it to find the second note, along with a key. Take the handle with you as well.
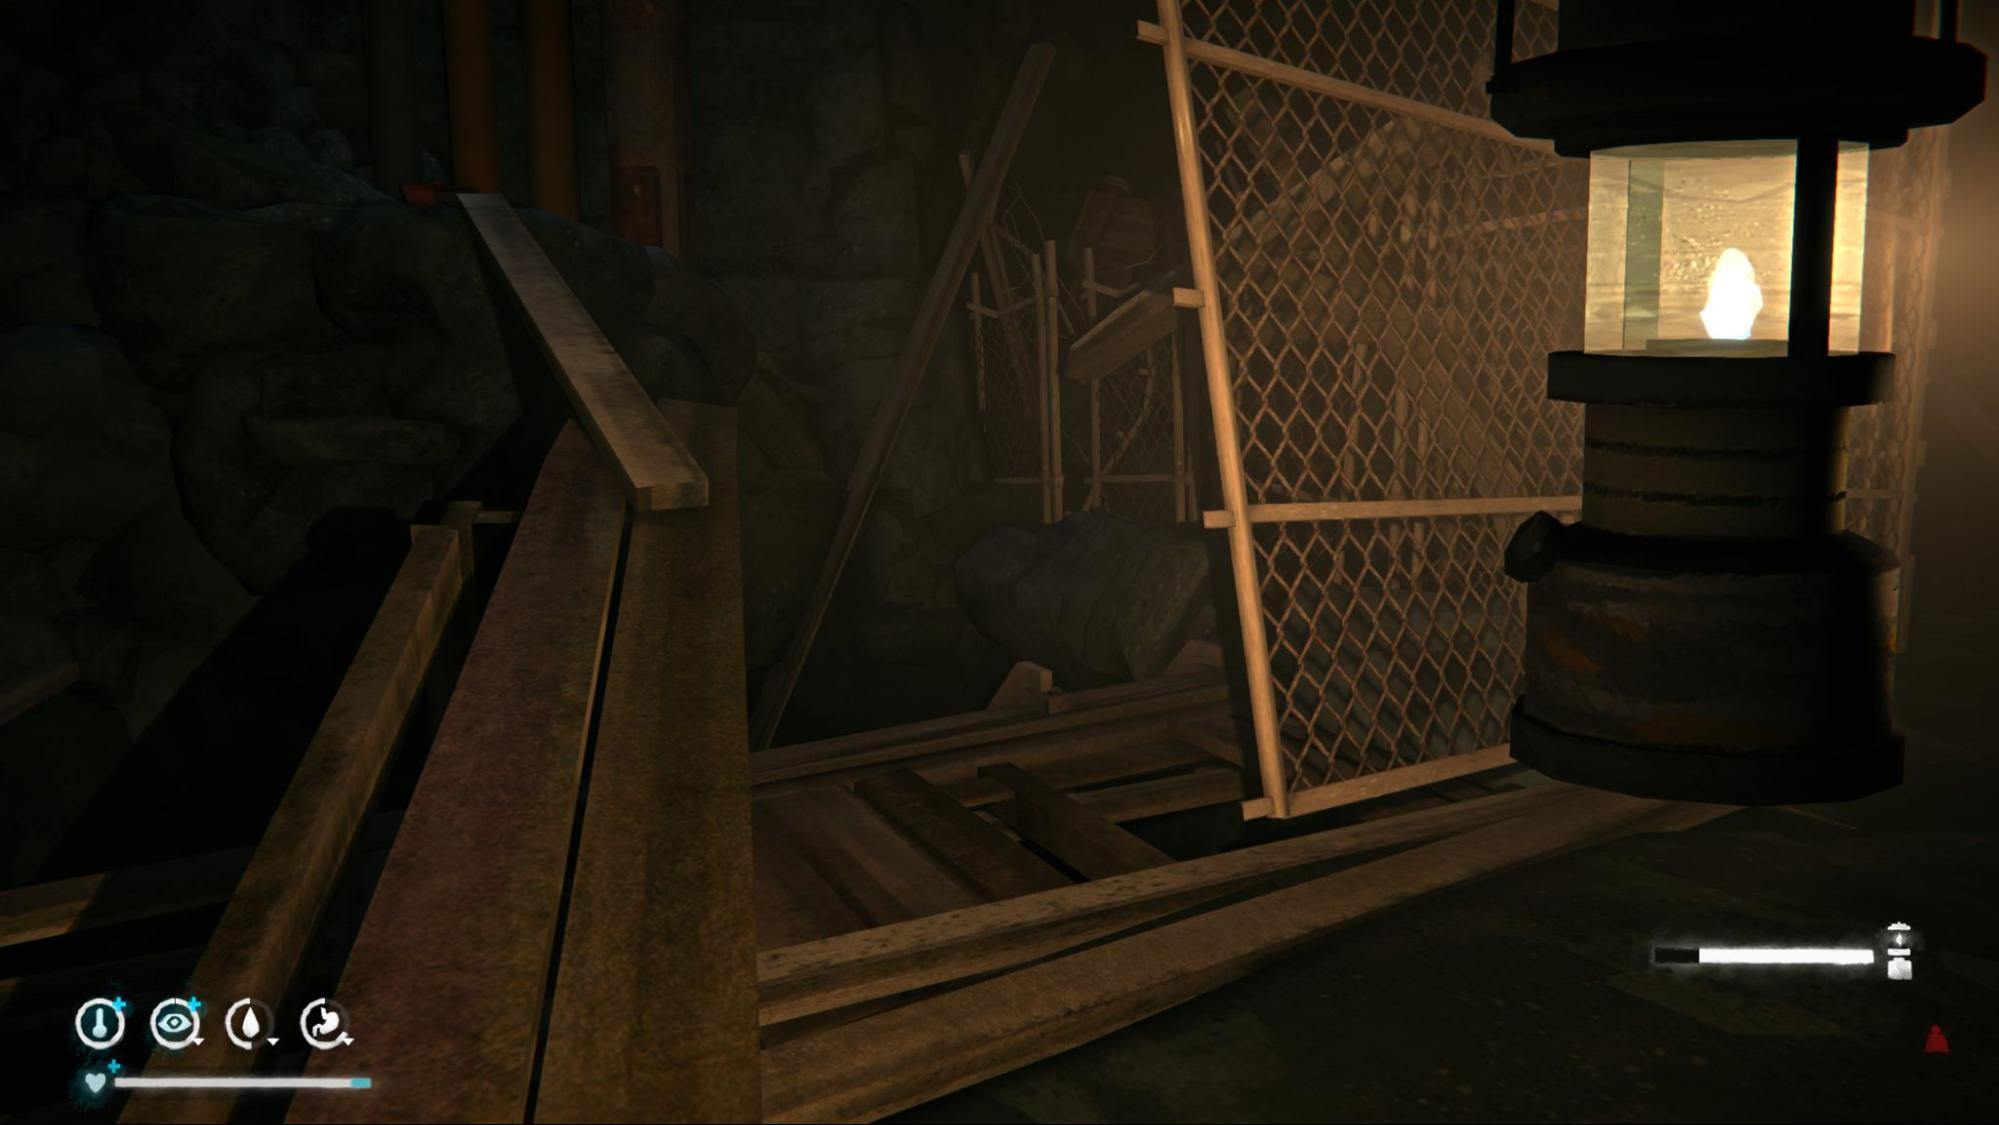
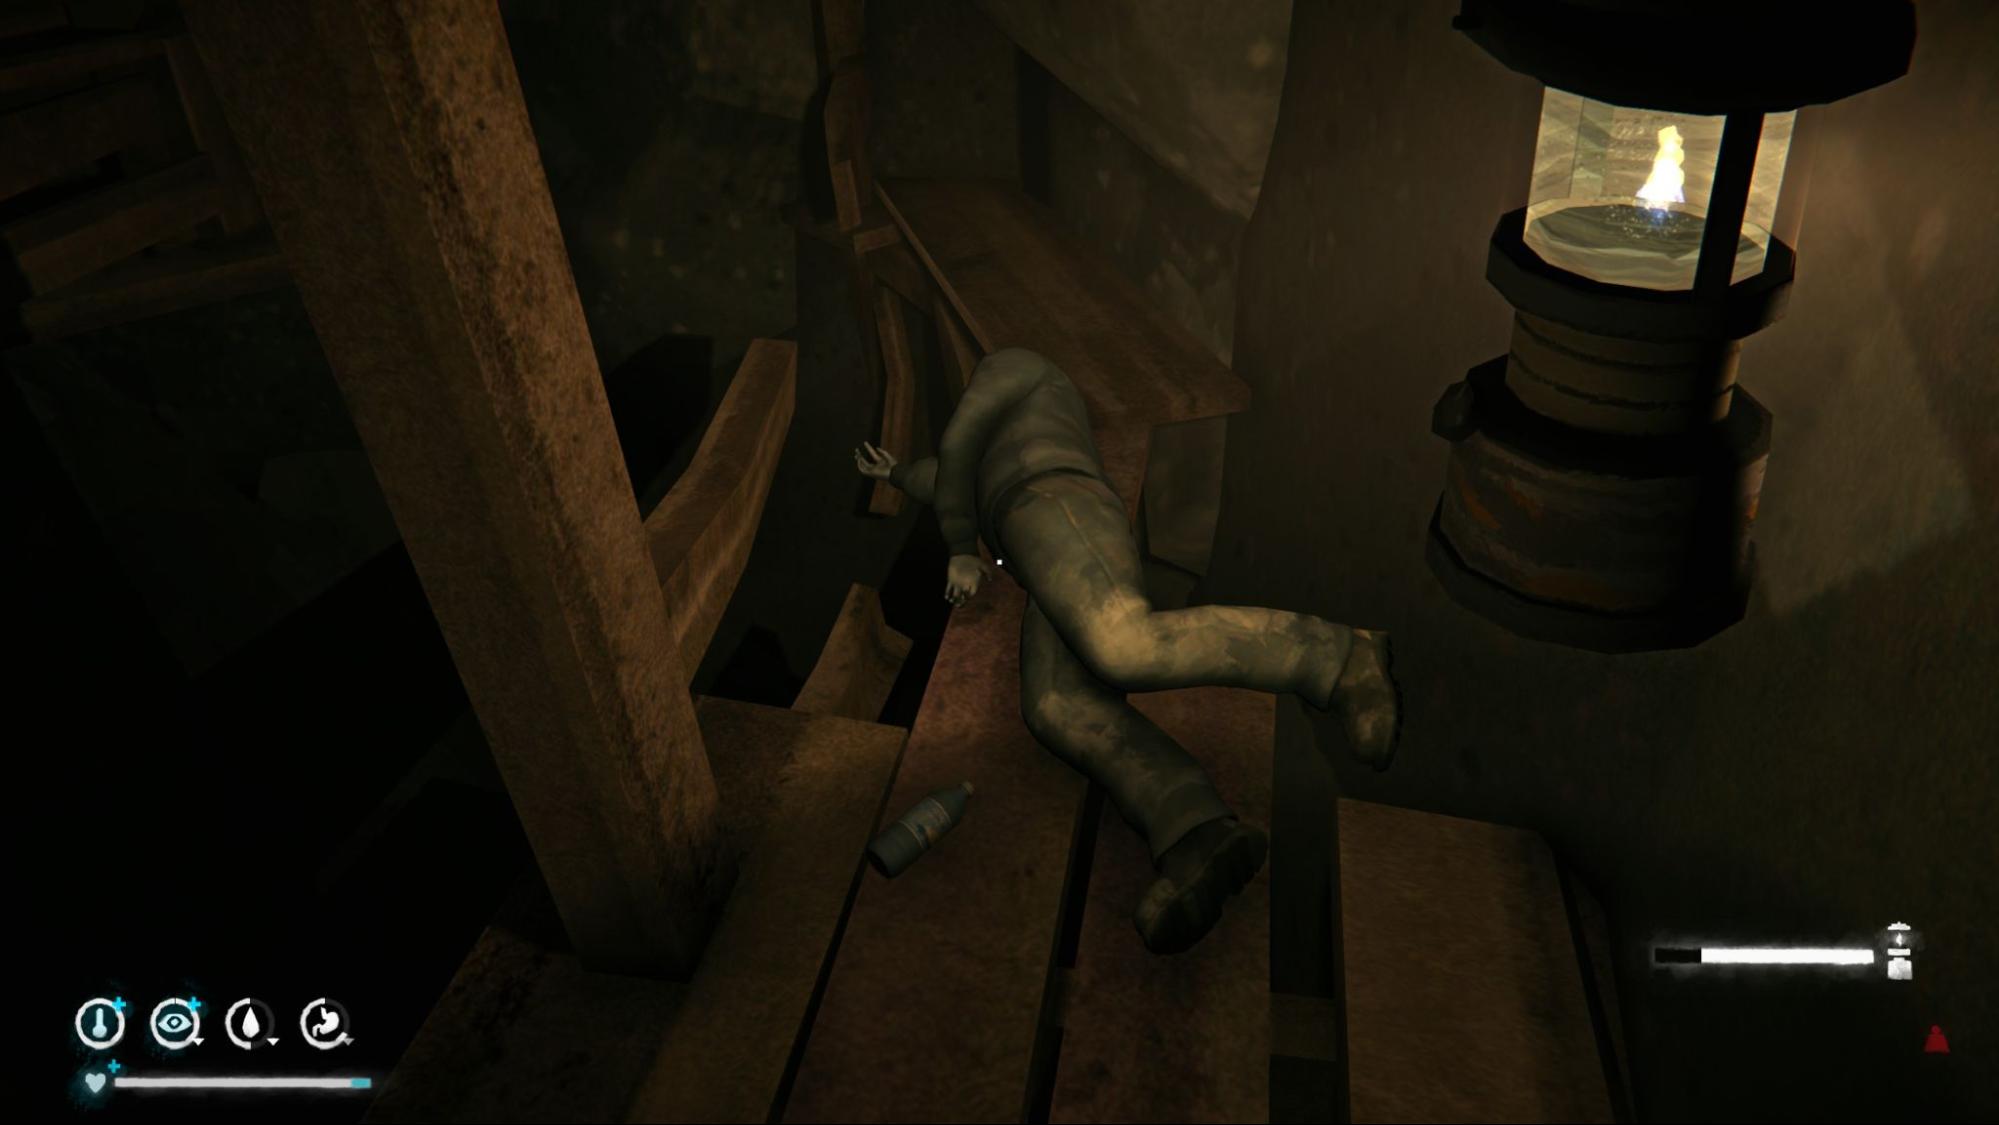
Forest Talker Note #3: With the key, backtrack slightly and open the locked door. Continue until you reach another elevator. Be quick using it due to the gas. Exit the elevator on level 2. Go until you see a bed. You can take a nap if you want. Next to the bed are planks leading upward. Ignore them for now and go down the stairs to the right. At the bottom, you’ll find a corpse holding the final note. This unlocks the objective to open the cache.
 Achievement #26 - Something Stinks: Story-related. Go back up the planks and pick up the detonators. The achievement unlocks immediately.
 Achievement #27 - No Half-Measures: Missable. Solve the riddles from the Forest Talker notes and open the cache. If you don’t want to solve them yourself, here’s the code: 12 - 7 - 18
 Achievement #28 - Enemy For Life: Story-related. After the long journey back to Blackrock, a cutscene will play. The achievement unlocks shortly after you regain control of Mackenzie.
 Achievement #29 - Leap of Faith: Story-related. Escape from the prison to unlock the final achievement of the episode.
Episode 5: The Light At The End Of All Things
Achievements: 41/41 - 8 unmissable, 4 missable
The last episode of The Long Dark is very different then the previous four. It's linear and we barely have to look for any collectibles. Yet there are still 4 missable achievements that this guide will help you achieve.
 Achievement #30 - Quarantine: Search every main building in Perseverance Mills and then reach the mill itself. Talk with the mill workers and the achievement will unlock.
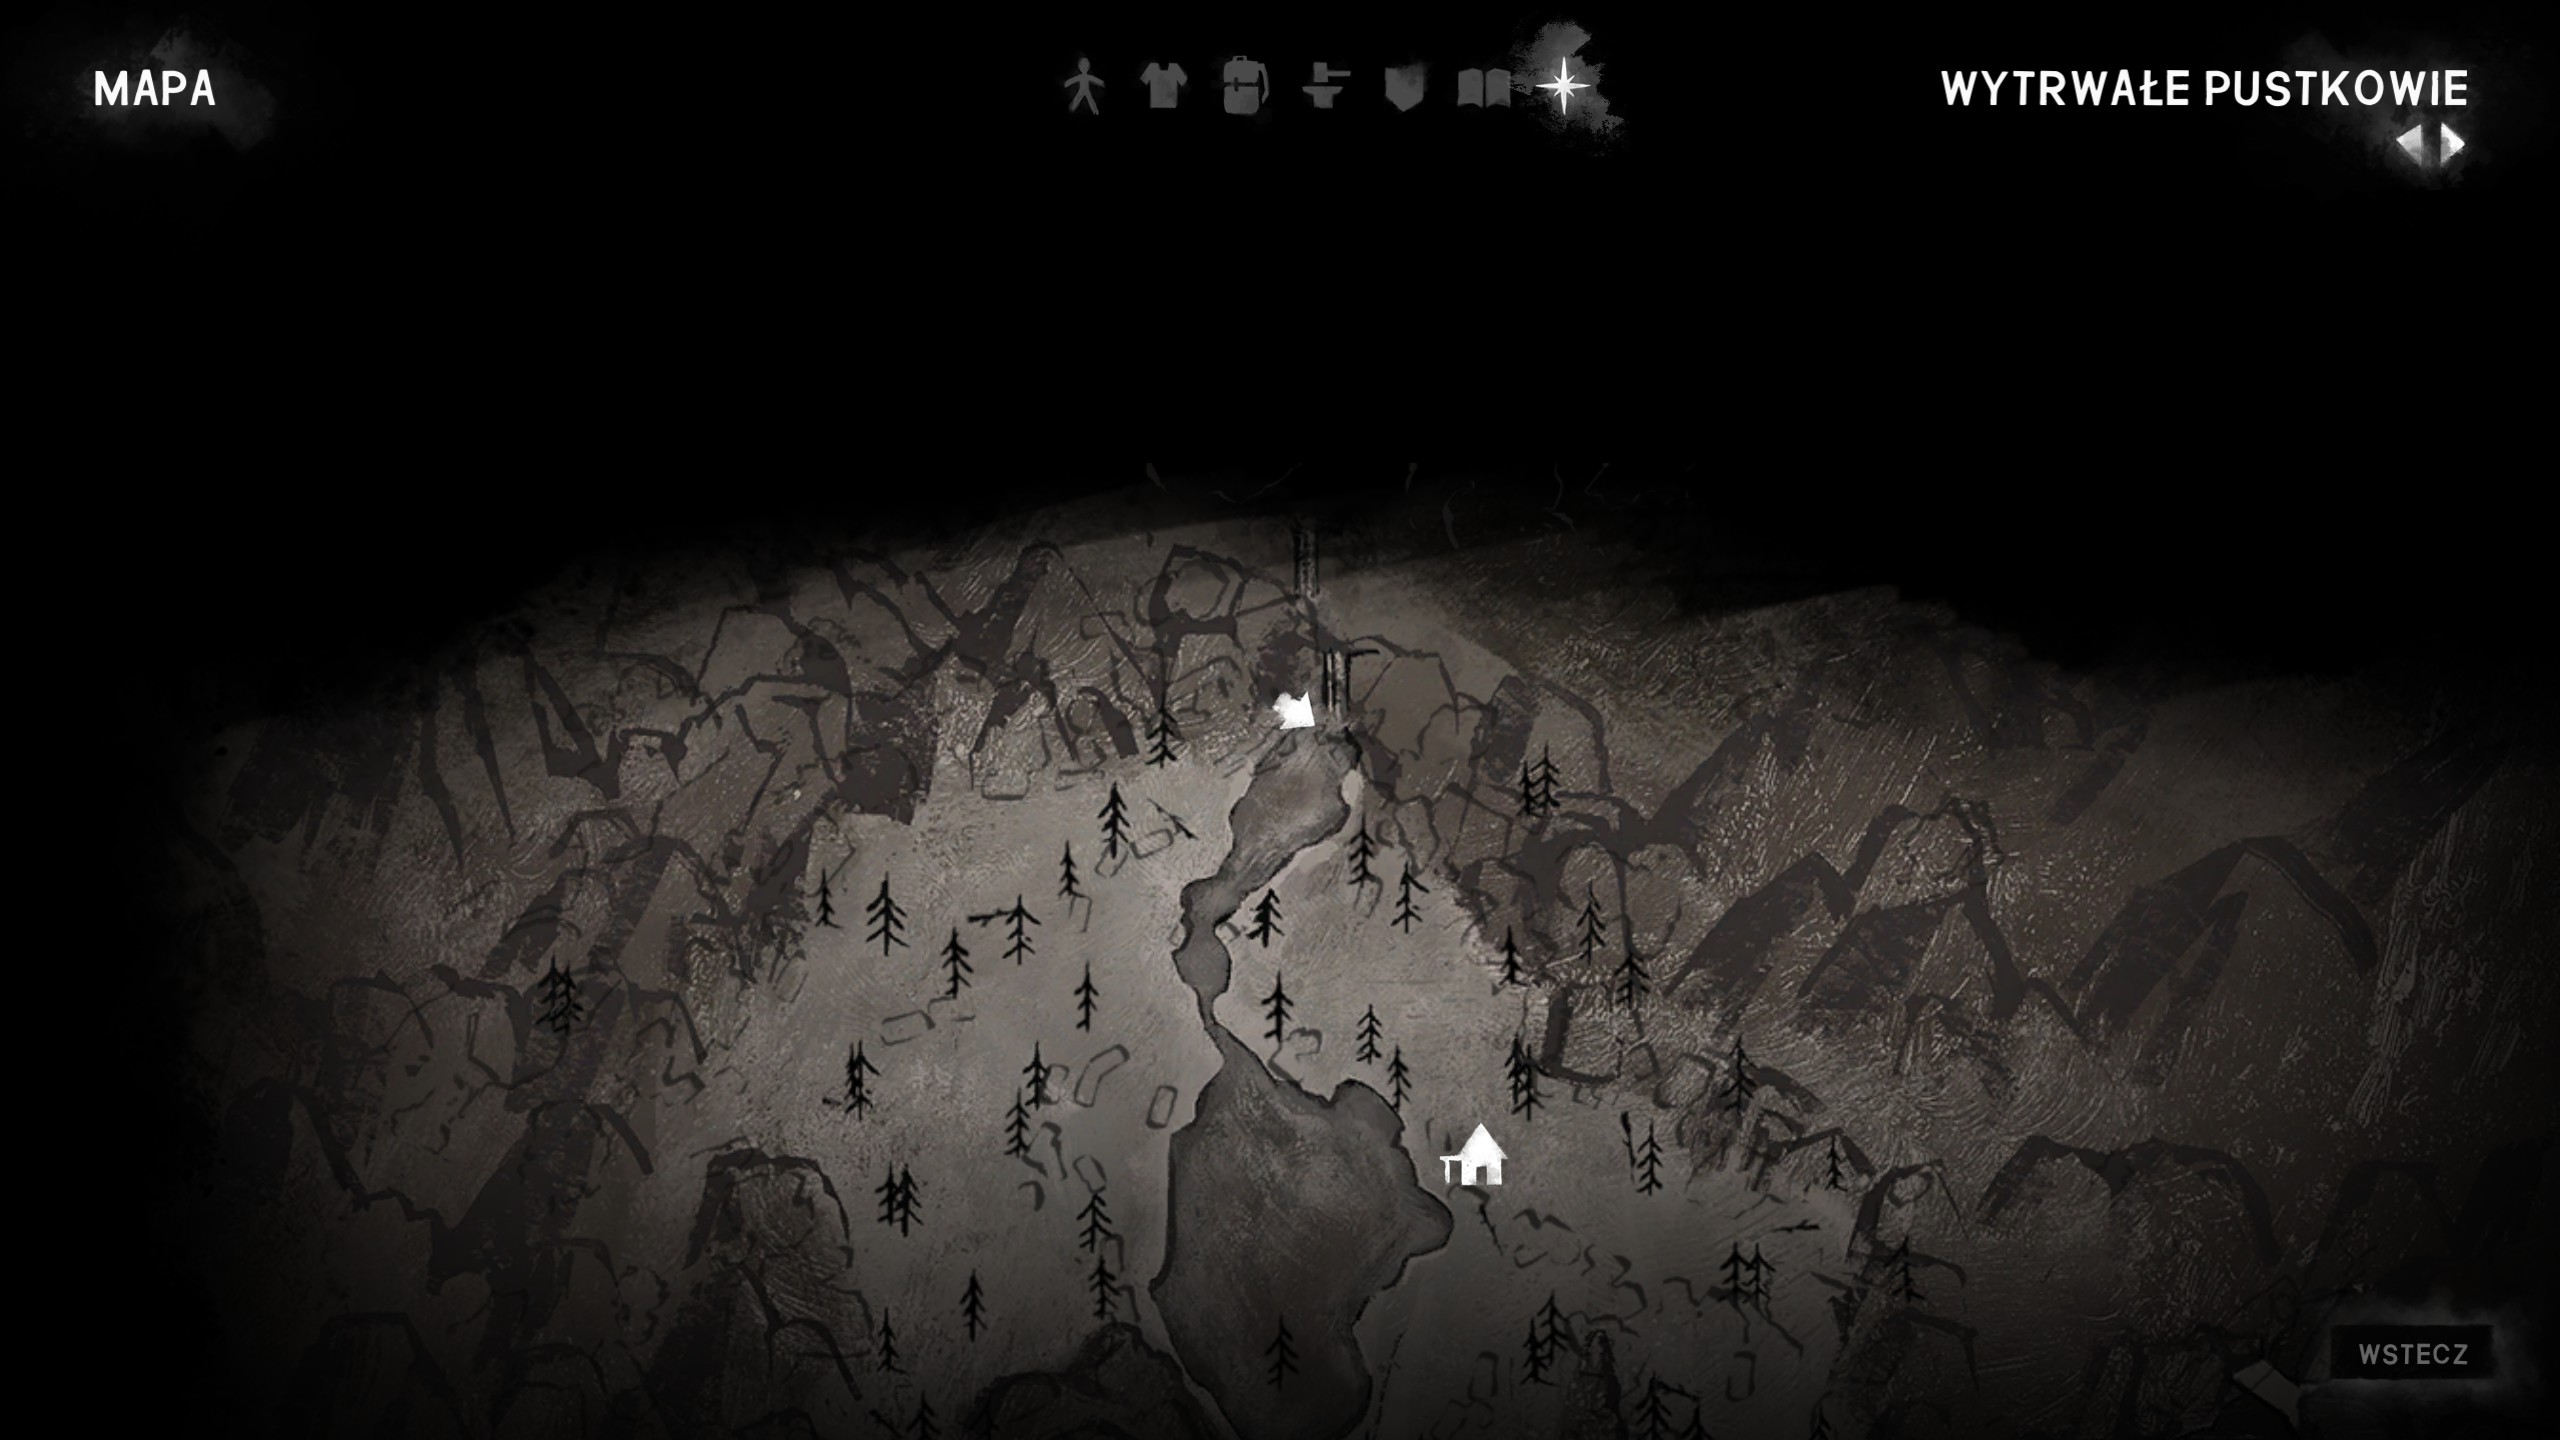
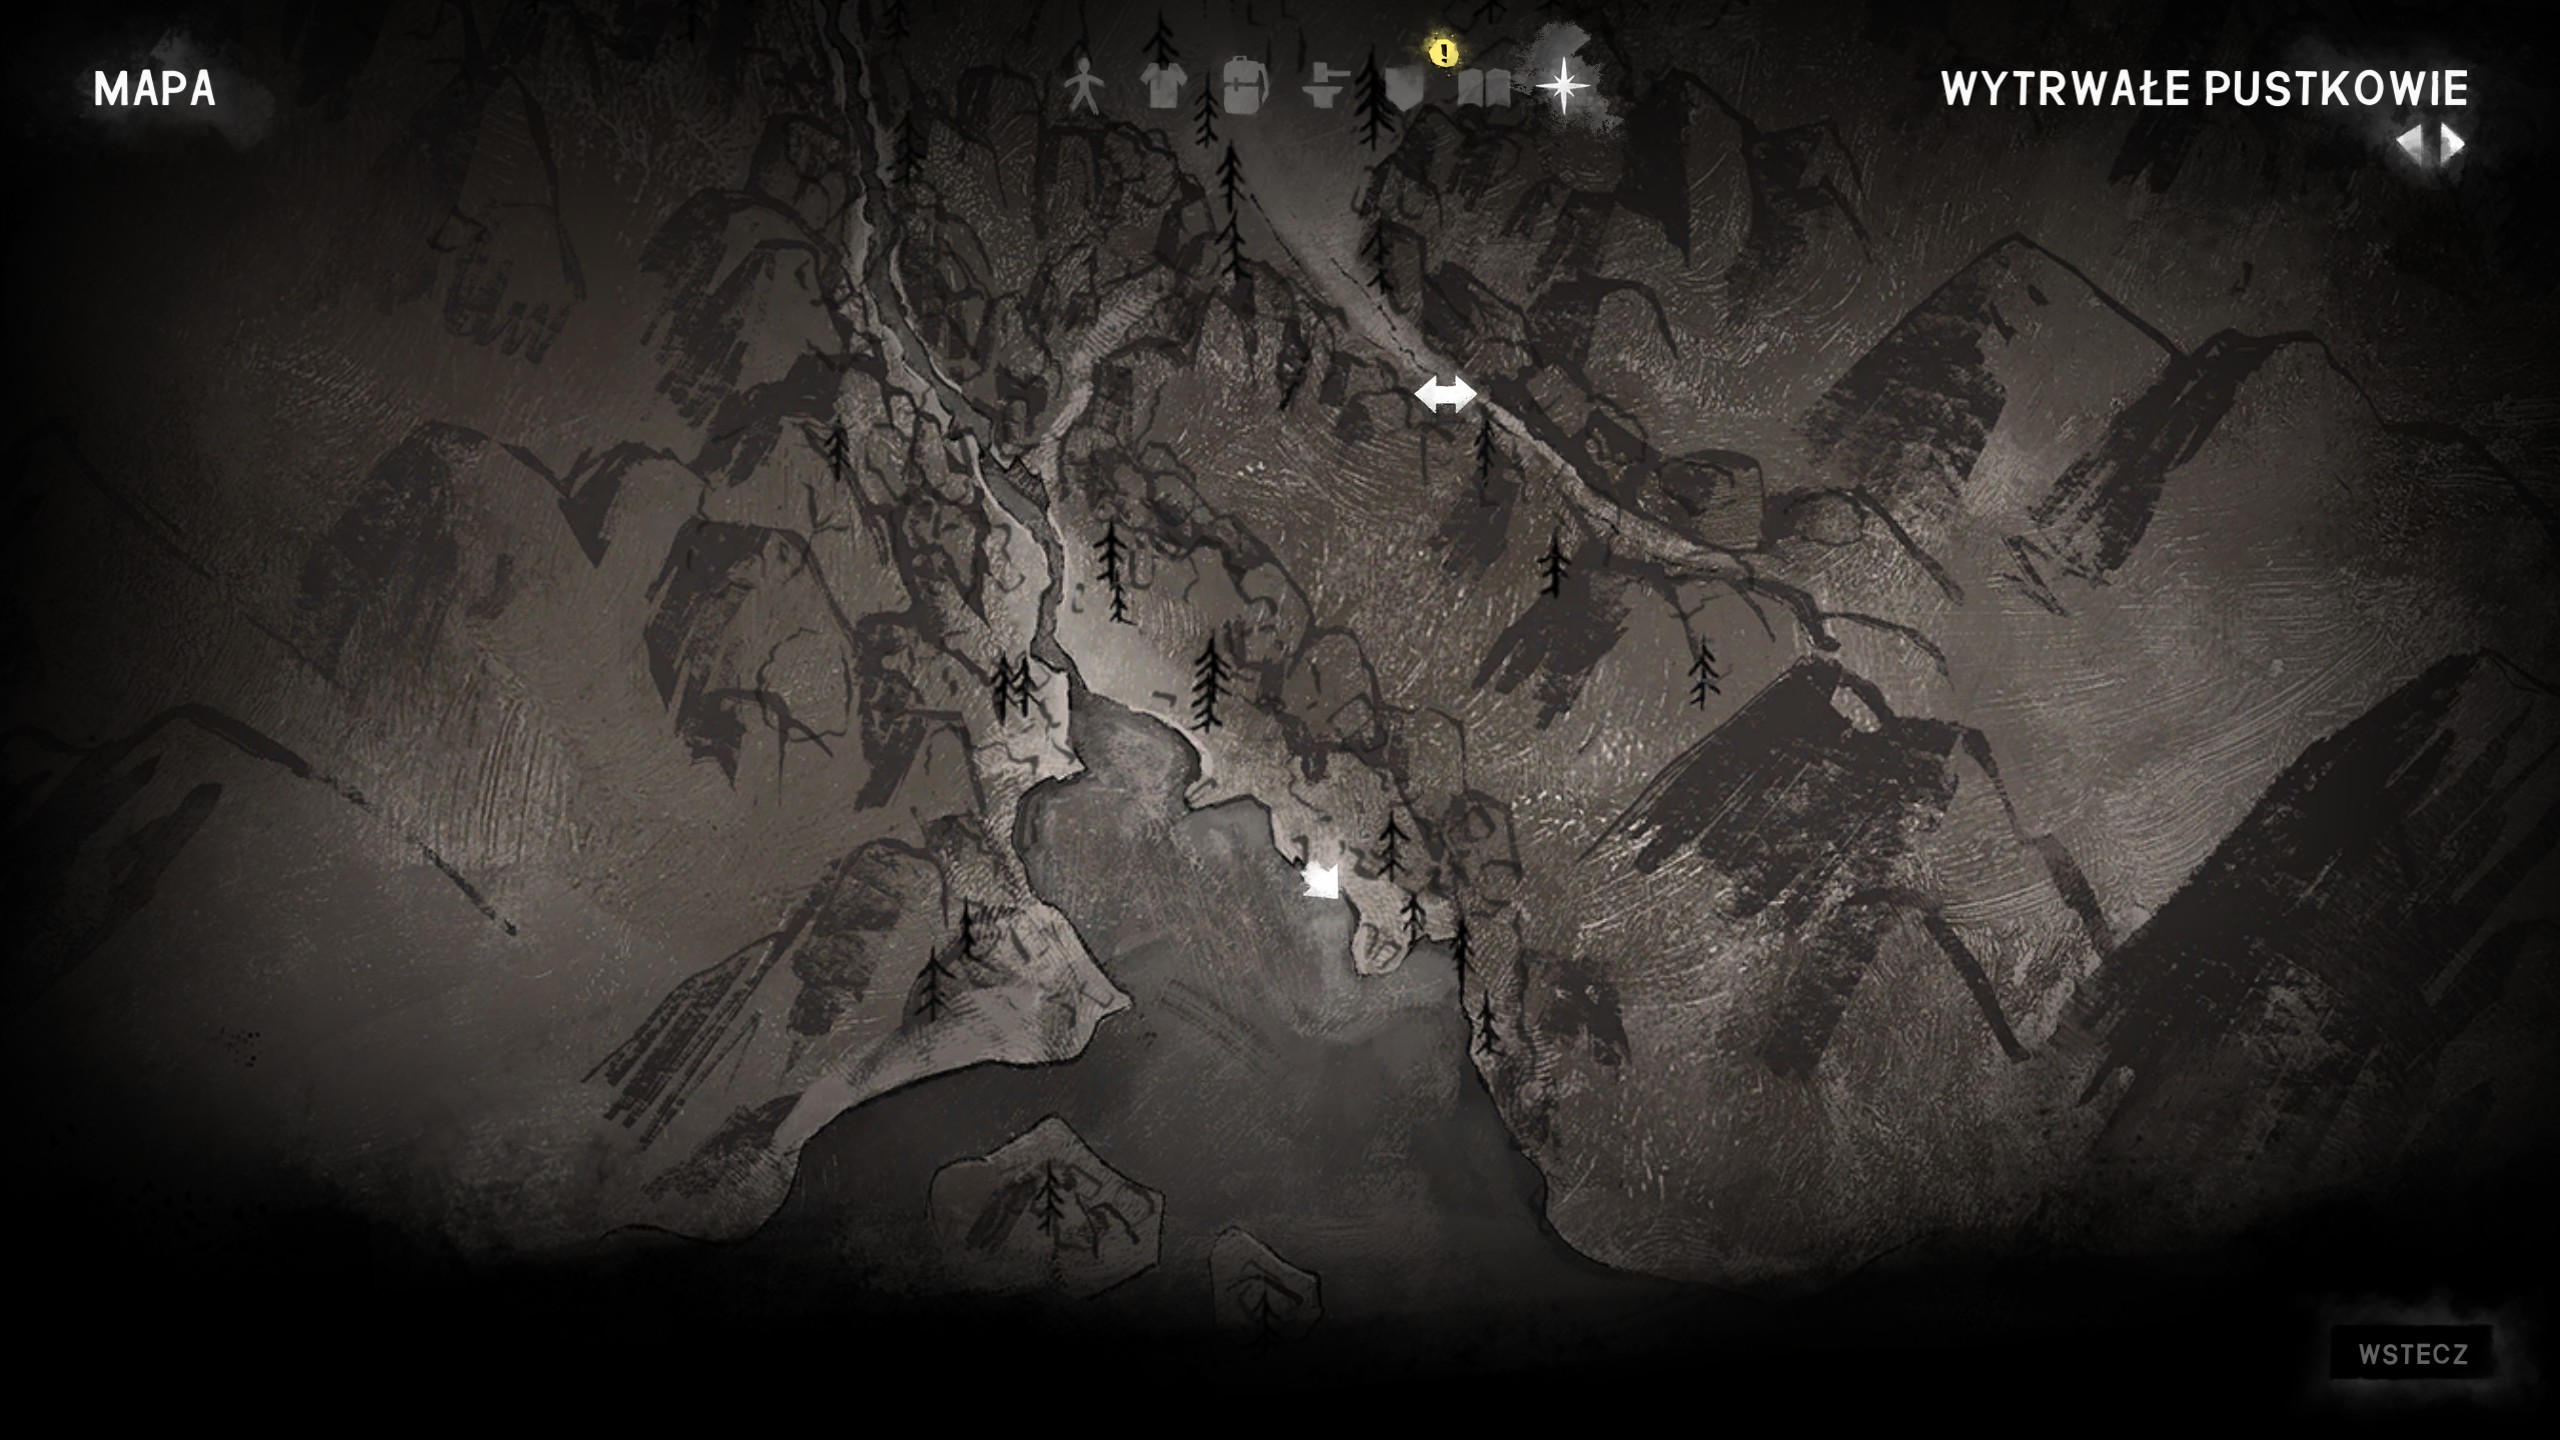
 Achievement #31 - Search Party: Missable. You have to find all three missing people within 40 minutes in real time. It seems that this is translated to 12 in-game hours, so make sure to do it without sleeping (thanks @Paddy for pointing that out). I'm not sure if the timer starts at the beginning of this mission, or after entering Perseverance Wilds (most likely). You can find all three locations in the screenshots below.
I did it by first going to the body by the river, then to the one behind the waterfall (the northernmost part of the map), and finally to the south of the map. Near the last body, there is a timberwolf pack. You can run to the nearby house by the water. The body is in the basement. Interact with it and achievement is yours.
Achievement #31 - Search Party: Missable. You have to find all three missing people within 40 minutes in real time. It seems that this is translated to 12 in-game hours, so make sure to do it without sleeping (thanks @Paddy for pointing that out). I'm not sure if the timer starts at the beginning of this mission, or after entering Perseverance Wilds (most likely). You can find all three locations in the screenshots below.
I did it by first going to the body by the river, then to the one behind the waterfall (the northernmost part of the map), and finally to the south of the map. Near the last body, there is a timberwolf pack. You can run to the nearby house by the water. The body is in the basement. Interact with it and achievement is yours.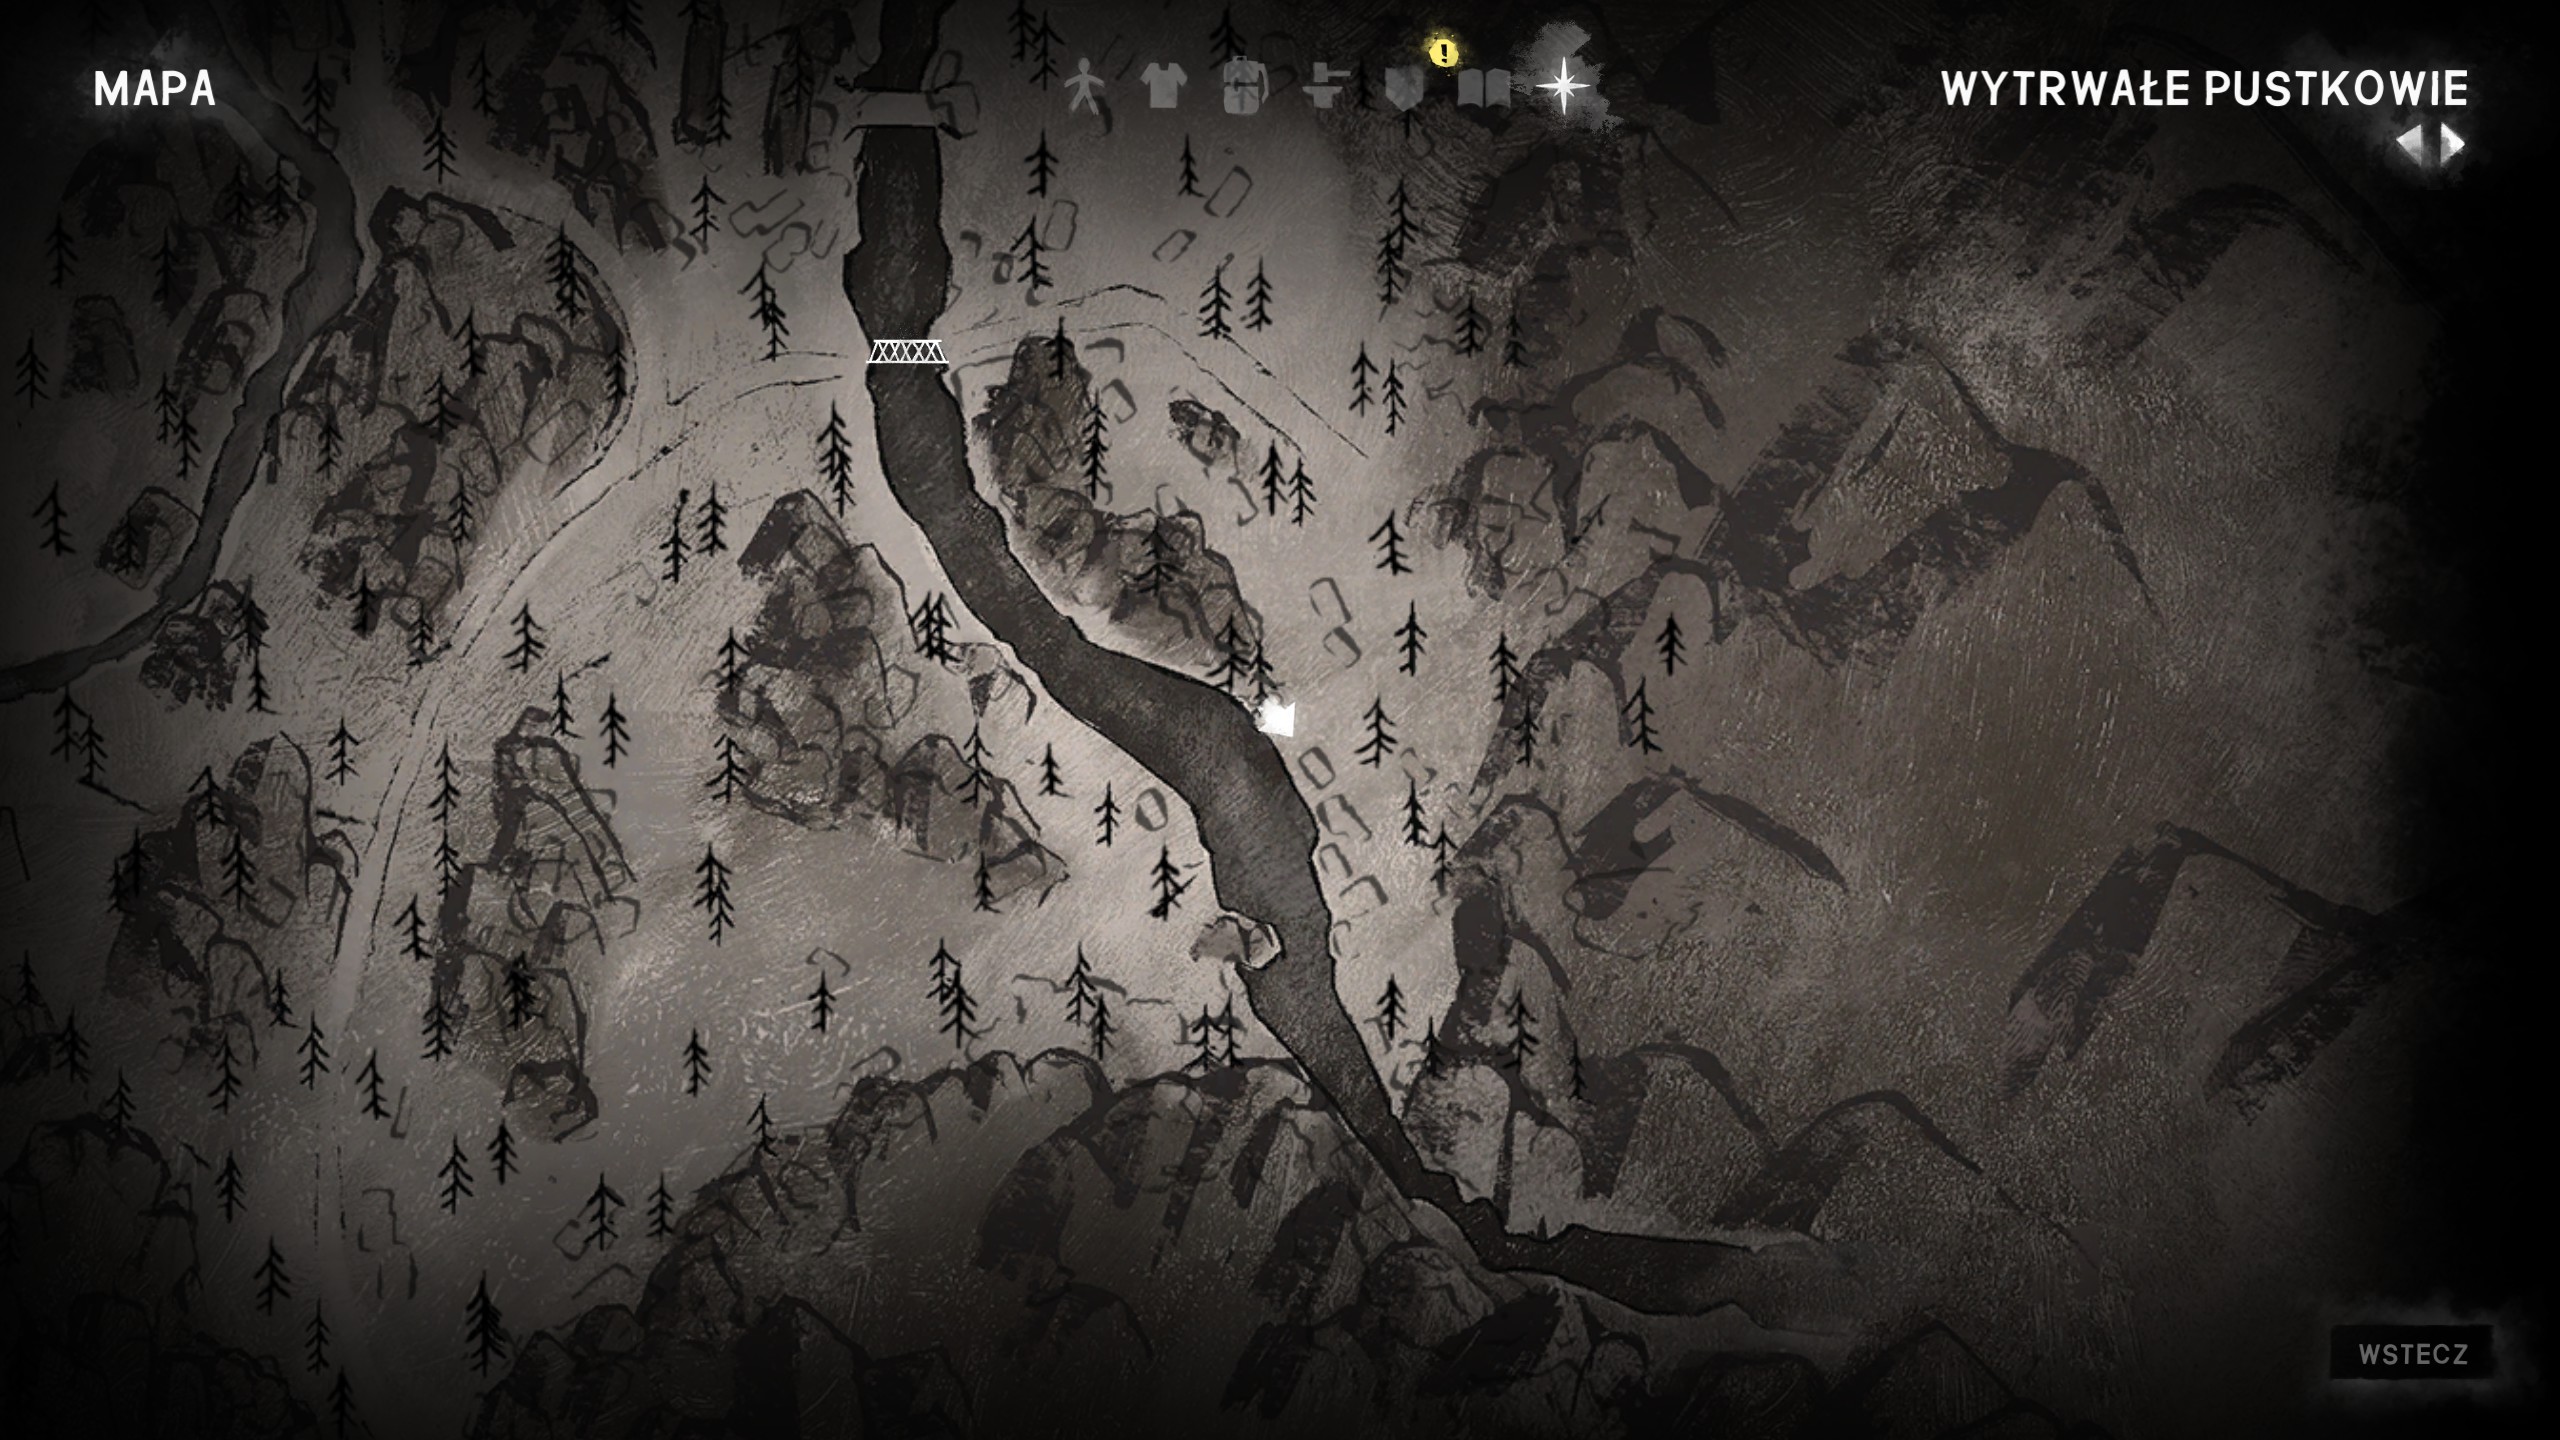
 Achievement #32 - To The Bone: When you find the last person, the game will start a cutscene, and you’ll be back in Perseverance Mills. You will earn it after this cutscene ends.
After some story events, you will be guided to a ship. The road there is basically linear, so take your time and watch out for wildlife. When you reach the docks, you will have to cross the frozen water. This can be tricky, watch out for the darkest blue parts of the ice, as they collapse almost immediately after the breaking ice warning. I recommend going slightly around instead of heading straight to the ship. You need to reach the front part of the ship and climb onto the anchor.
Inside the ship, you need to be on the lookout for crew members’ personal items.
Traverse the ship until you see a crew member tied to the water pipe. Pick up the note at his feet.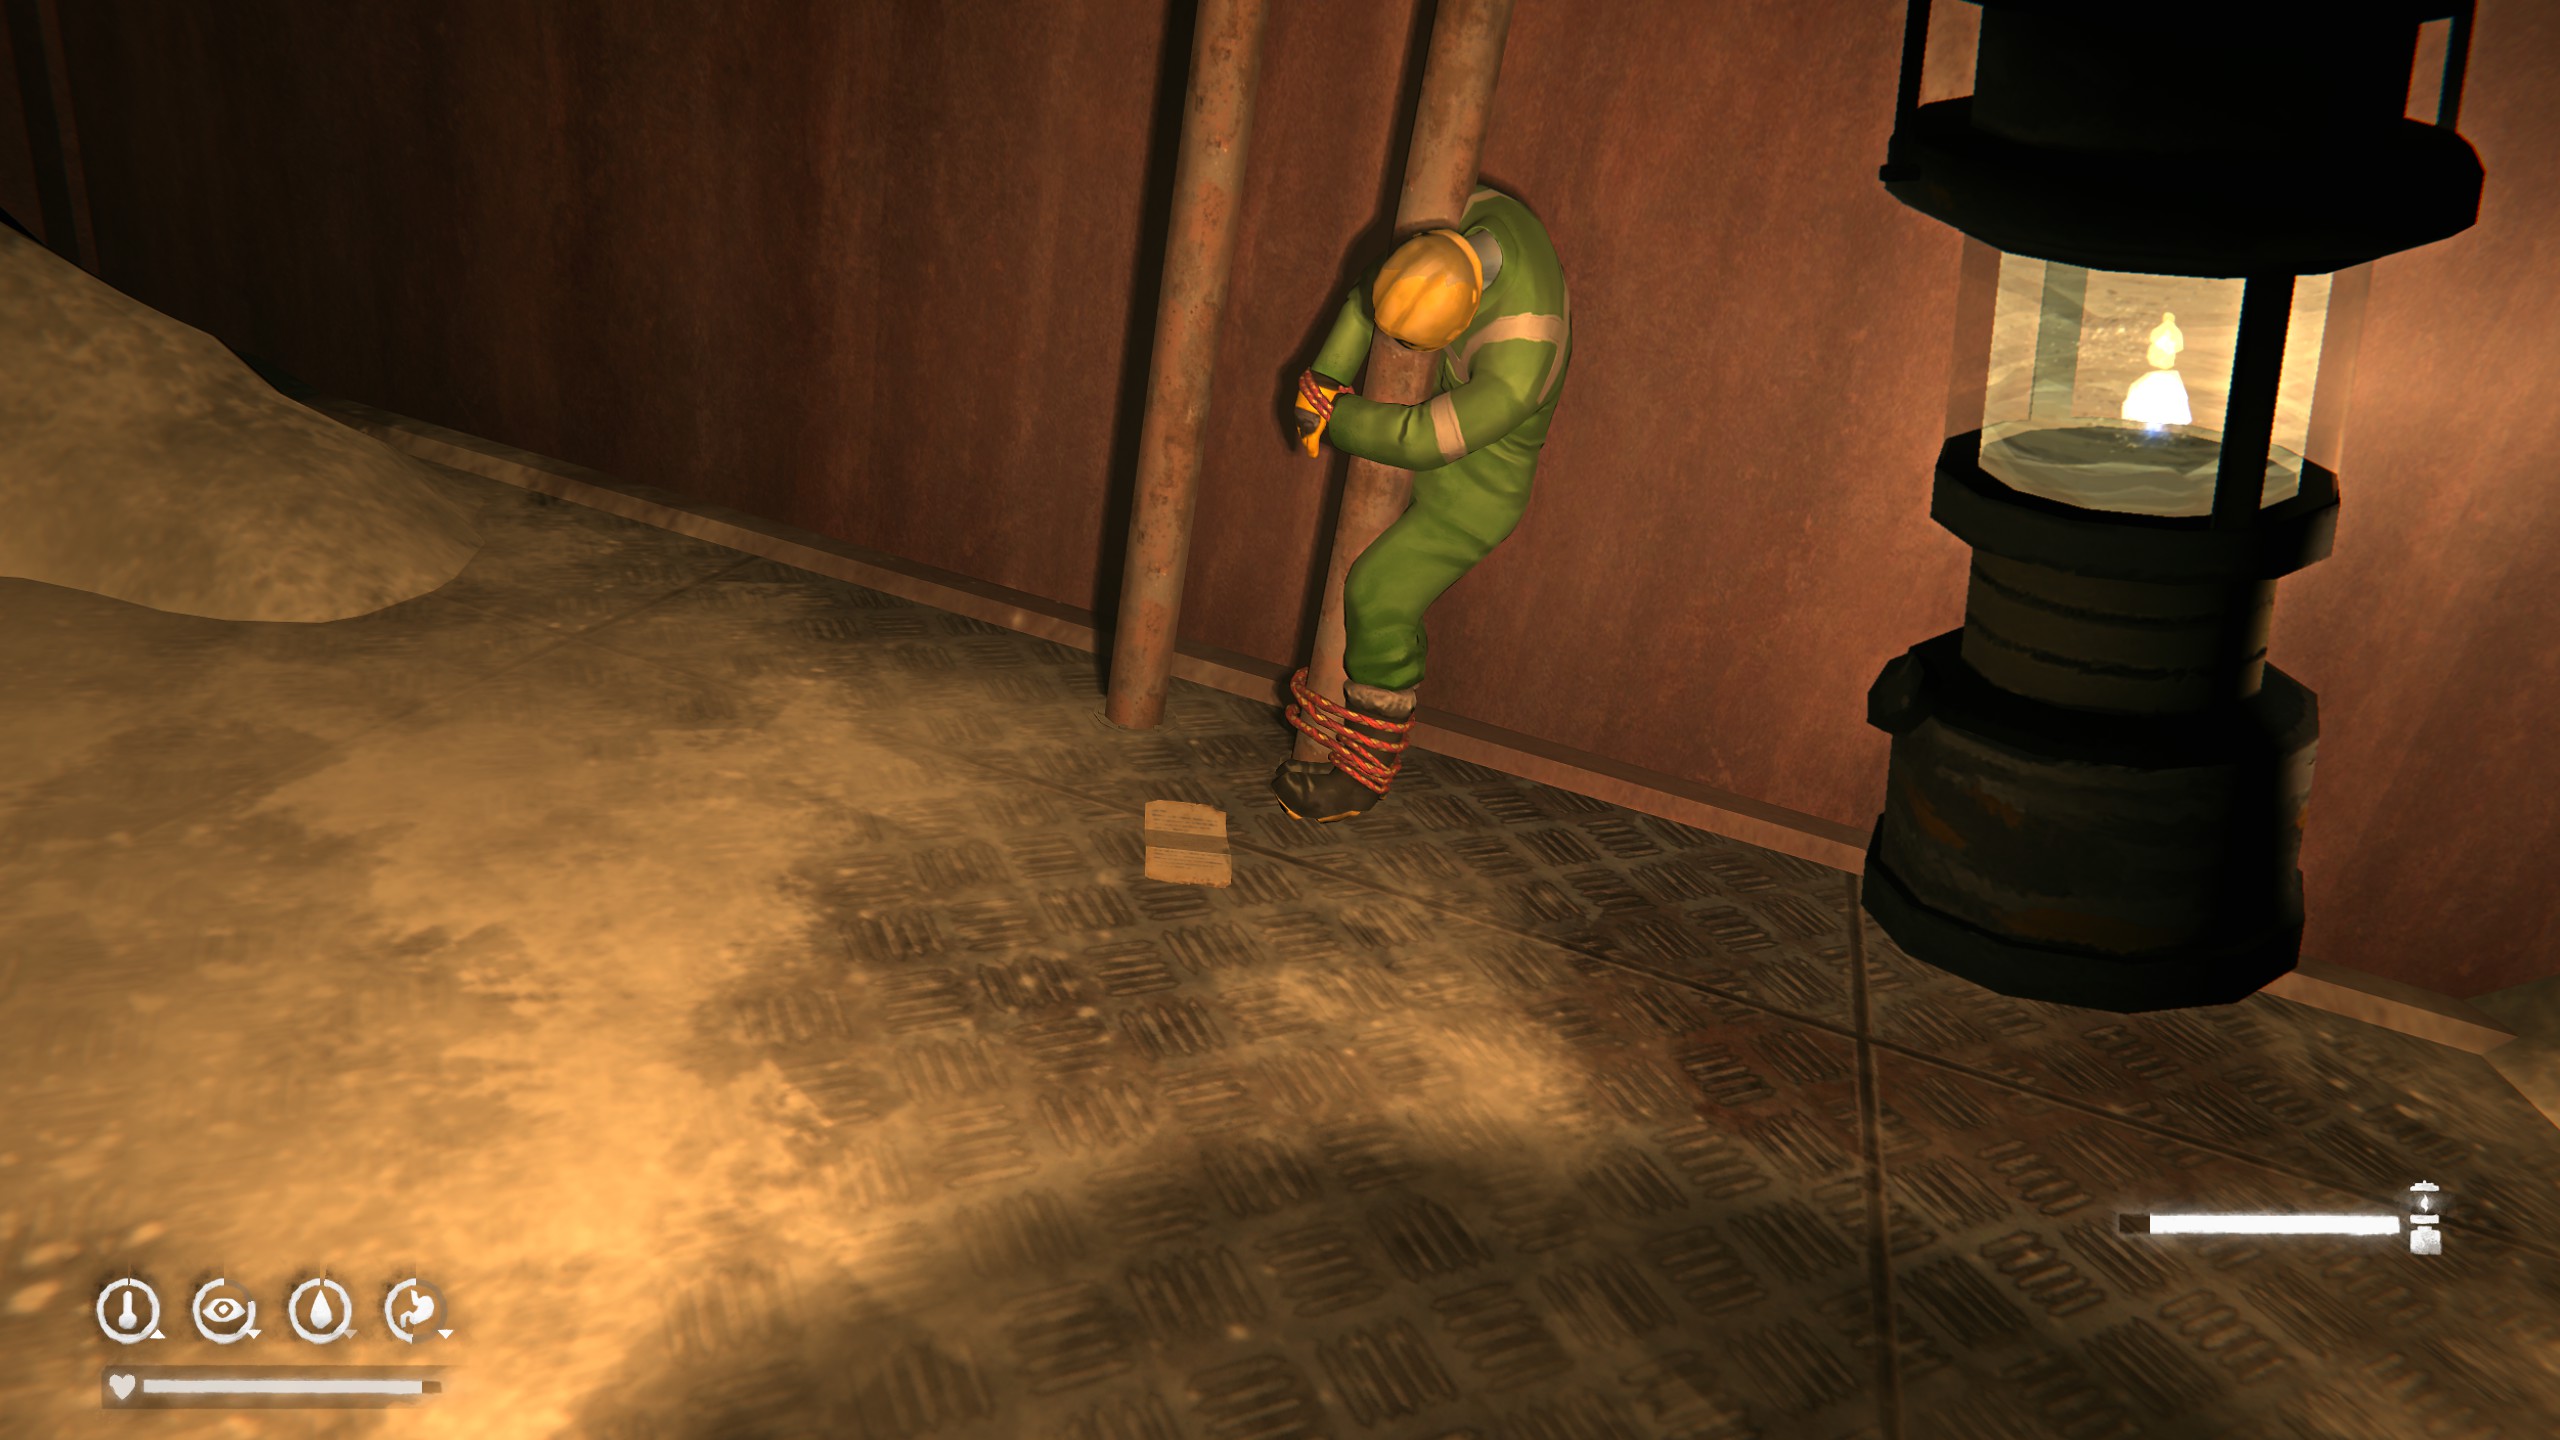
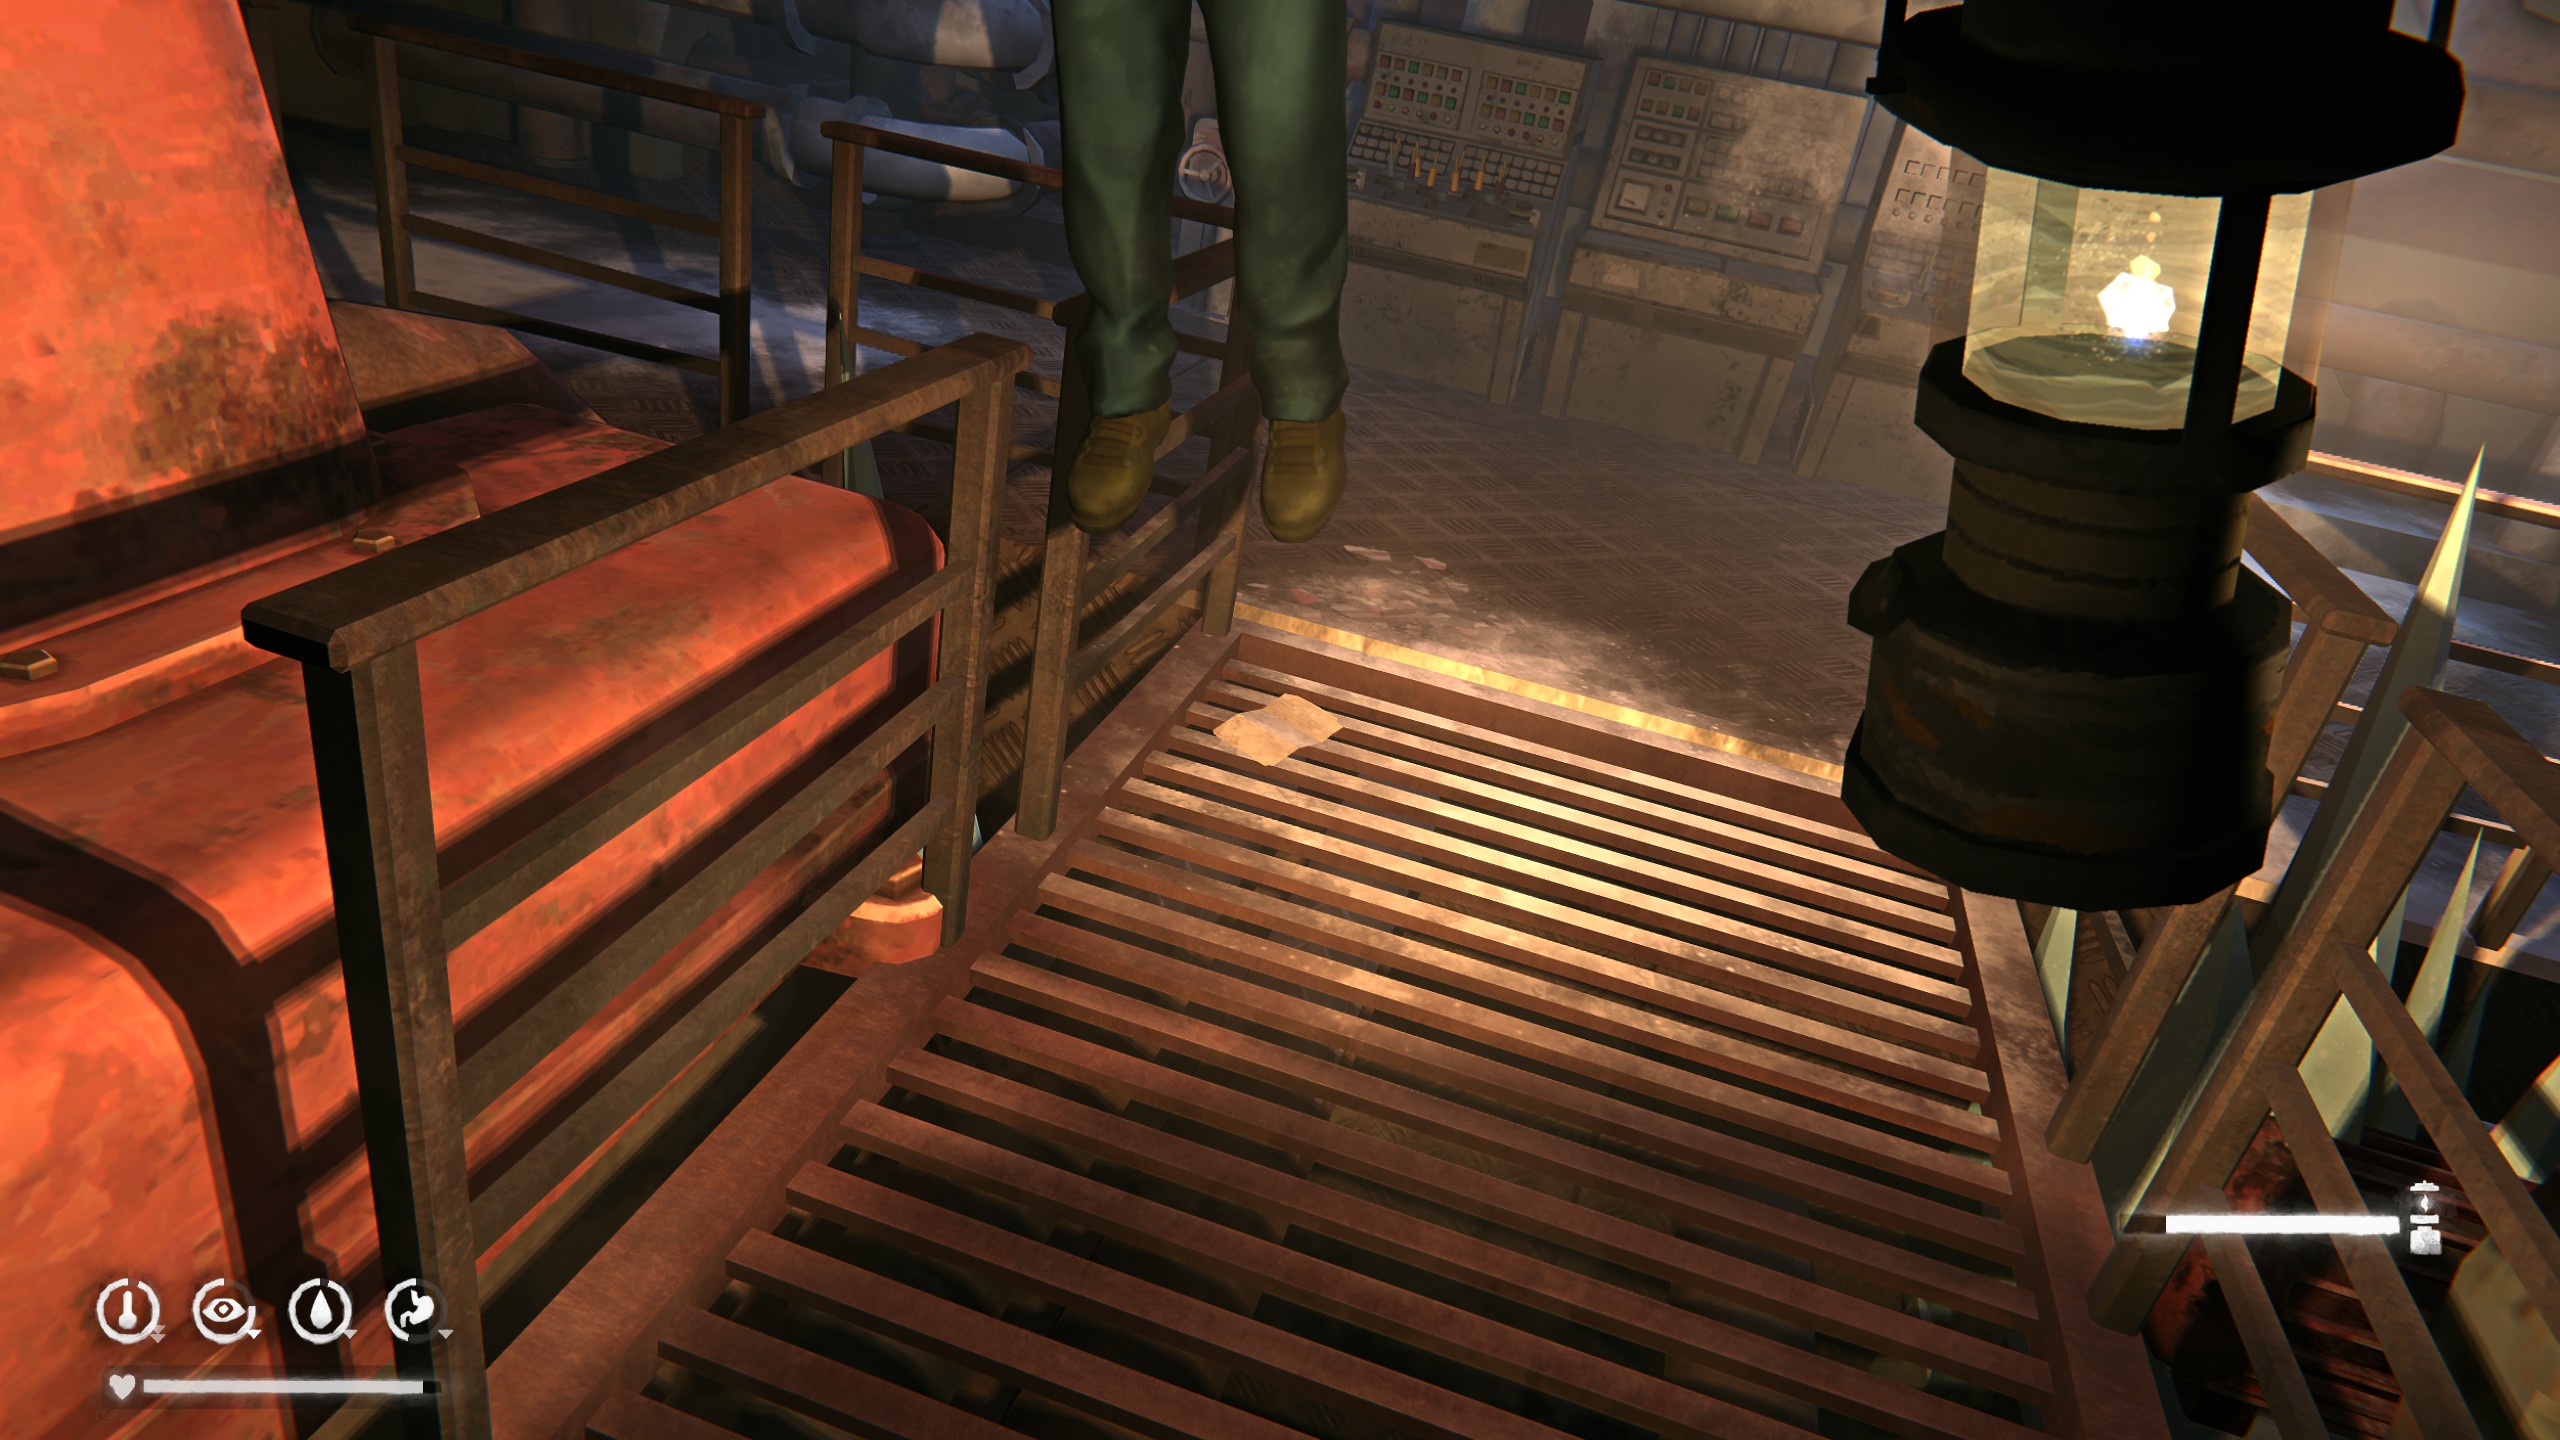
As you continue, you will eventually reach the ship’s engine room. The second note can be found at the feet of a hanged crew member.
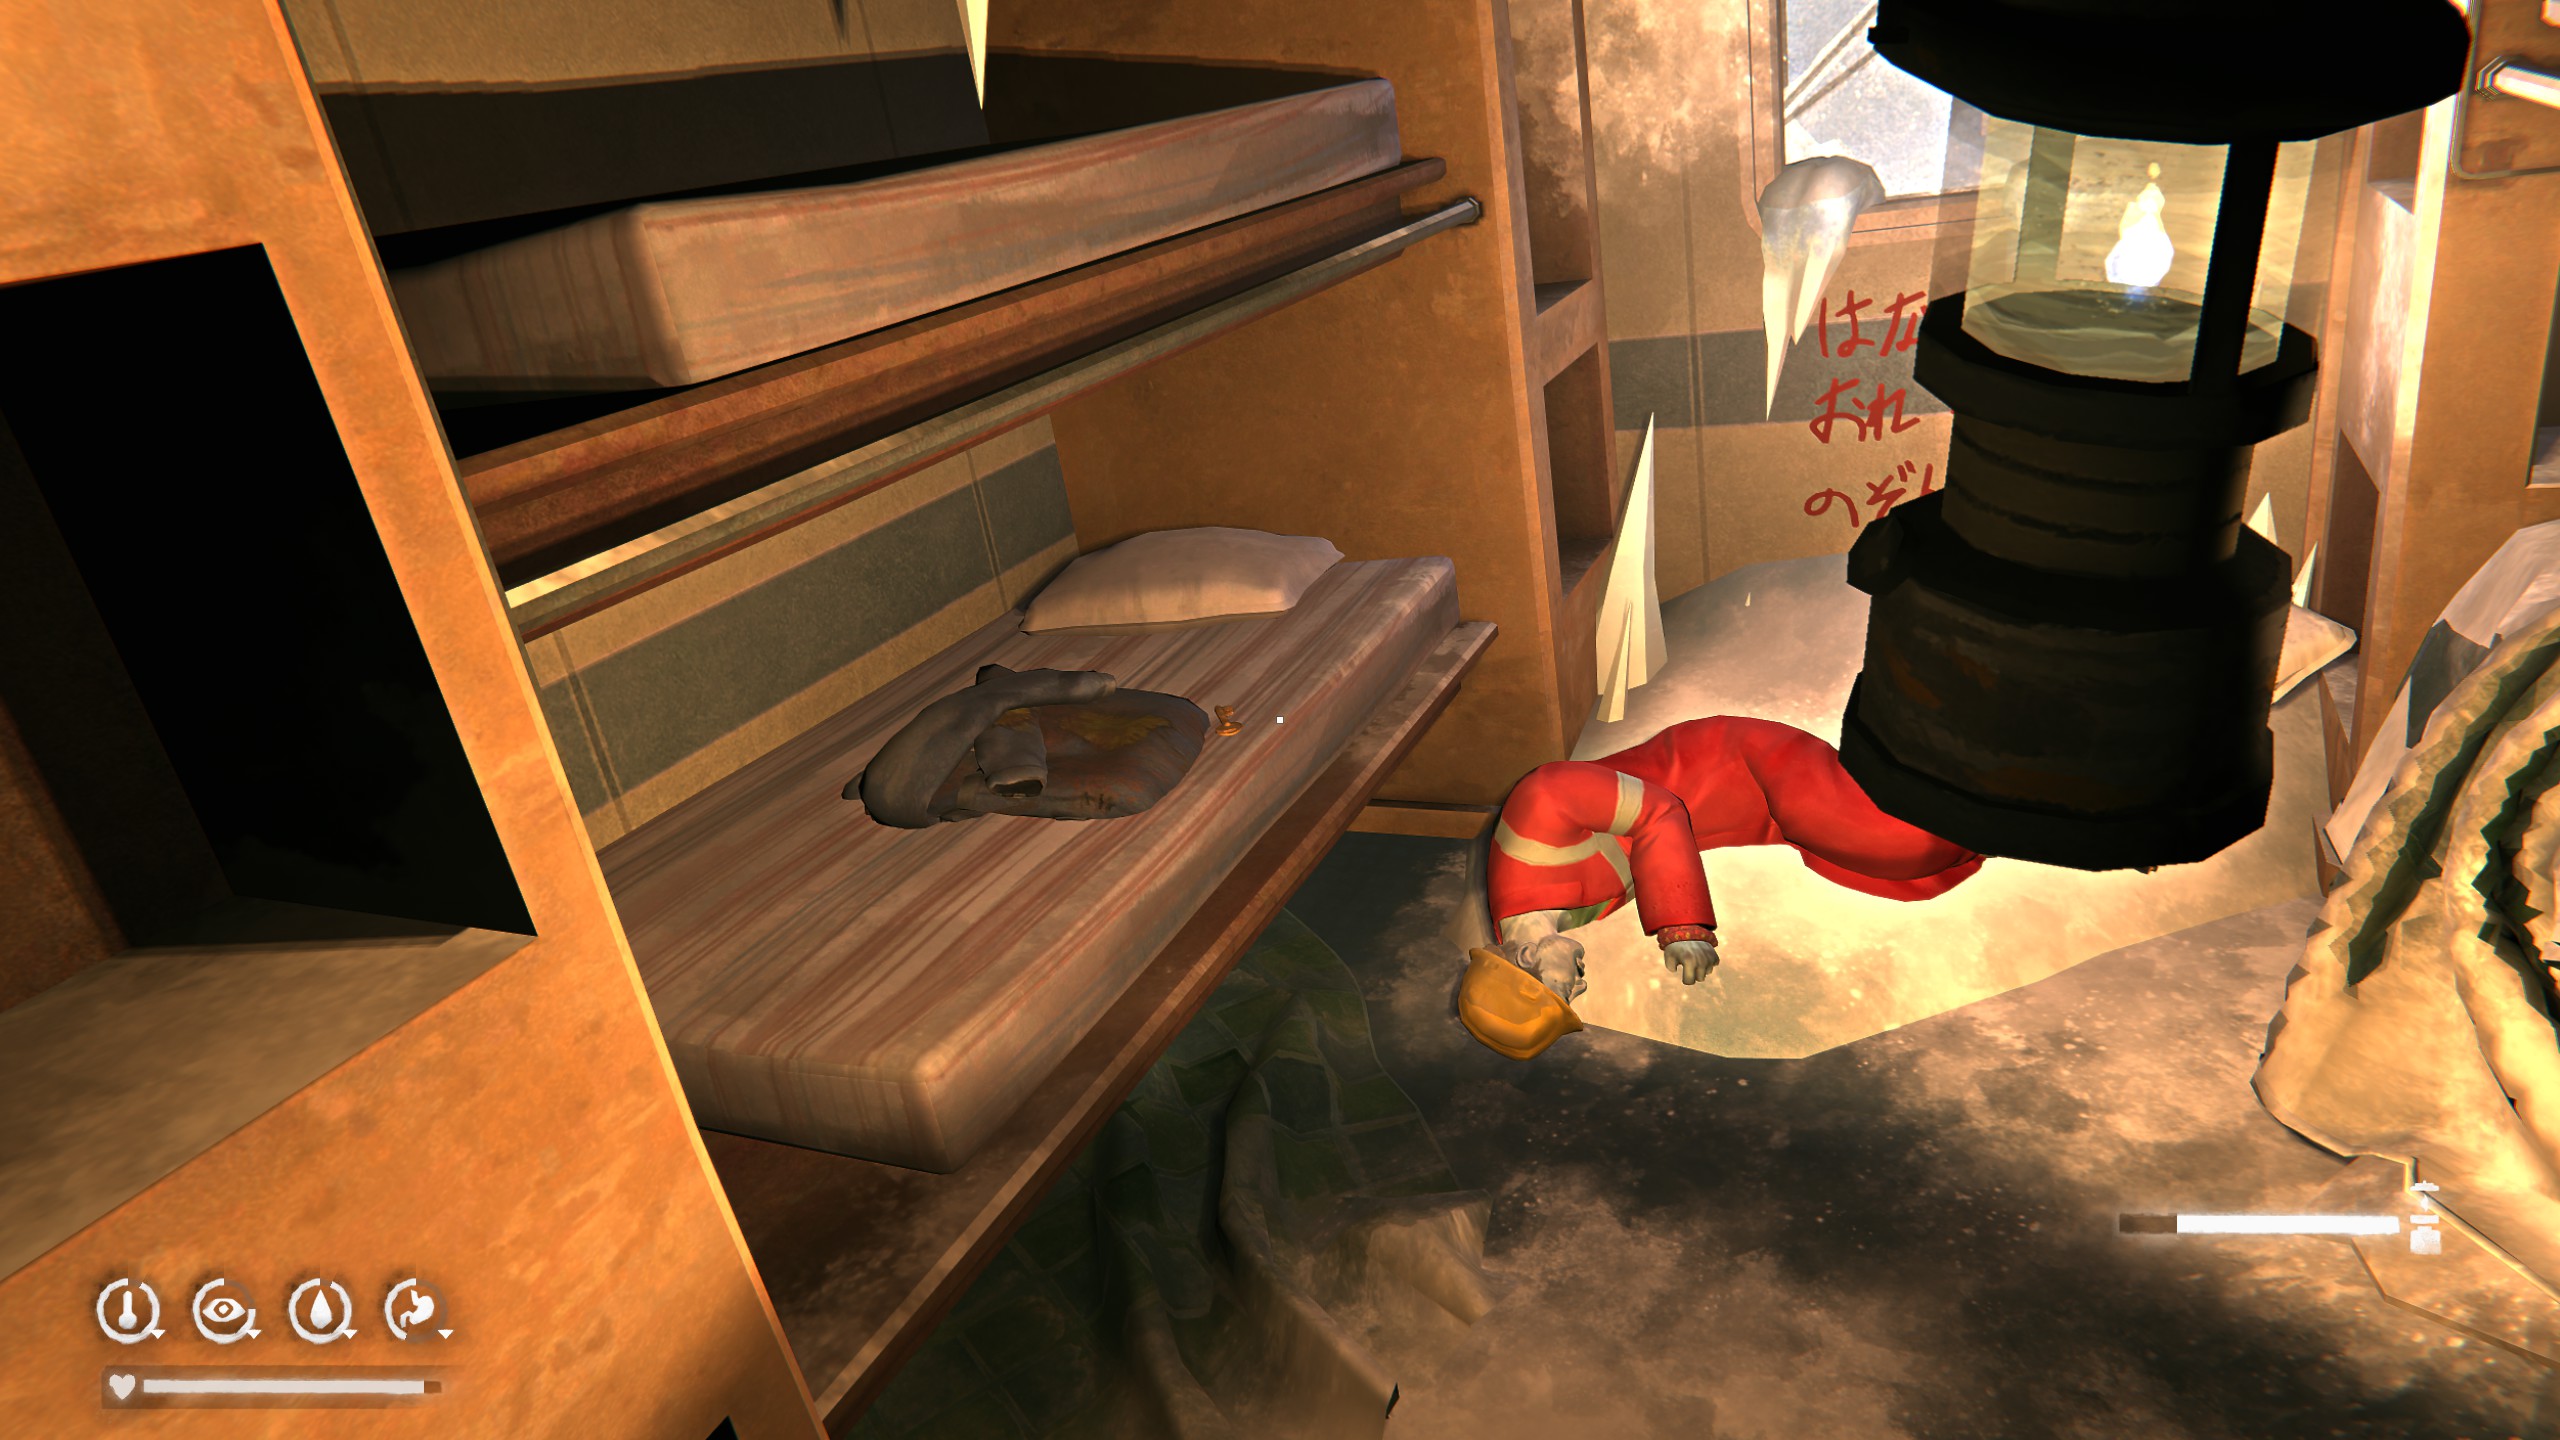
Next, you will find yourself near the toilets/showers. In front of the showers, there are crew cabins. In the one with writing on the wall, there is a locker key. Pick it up.
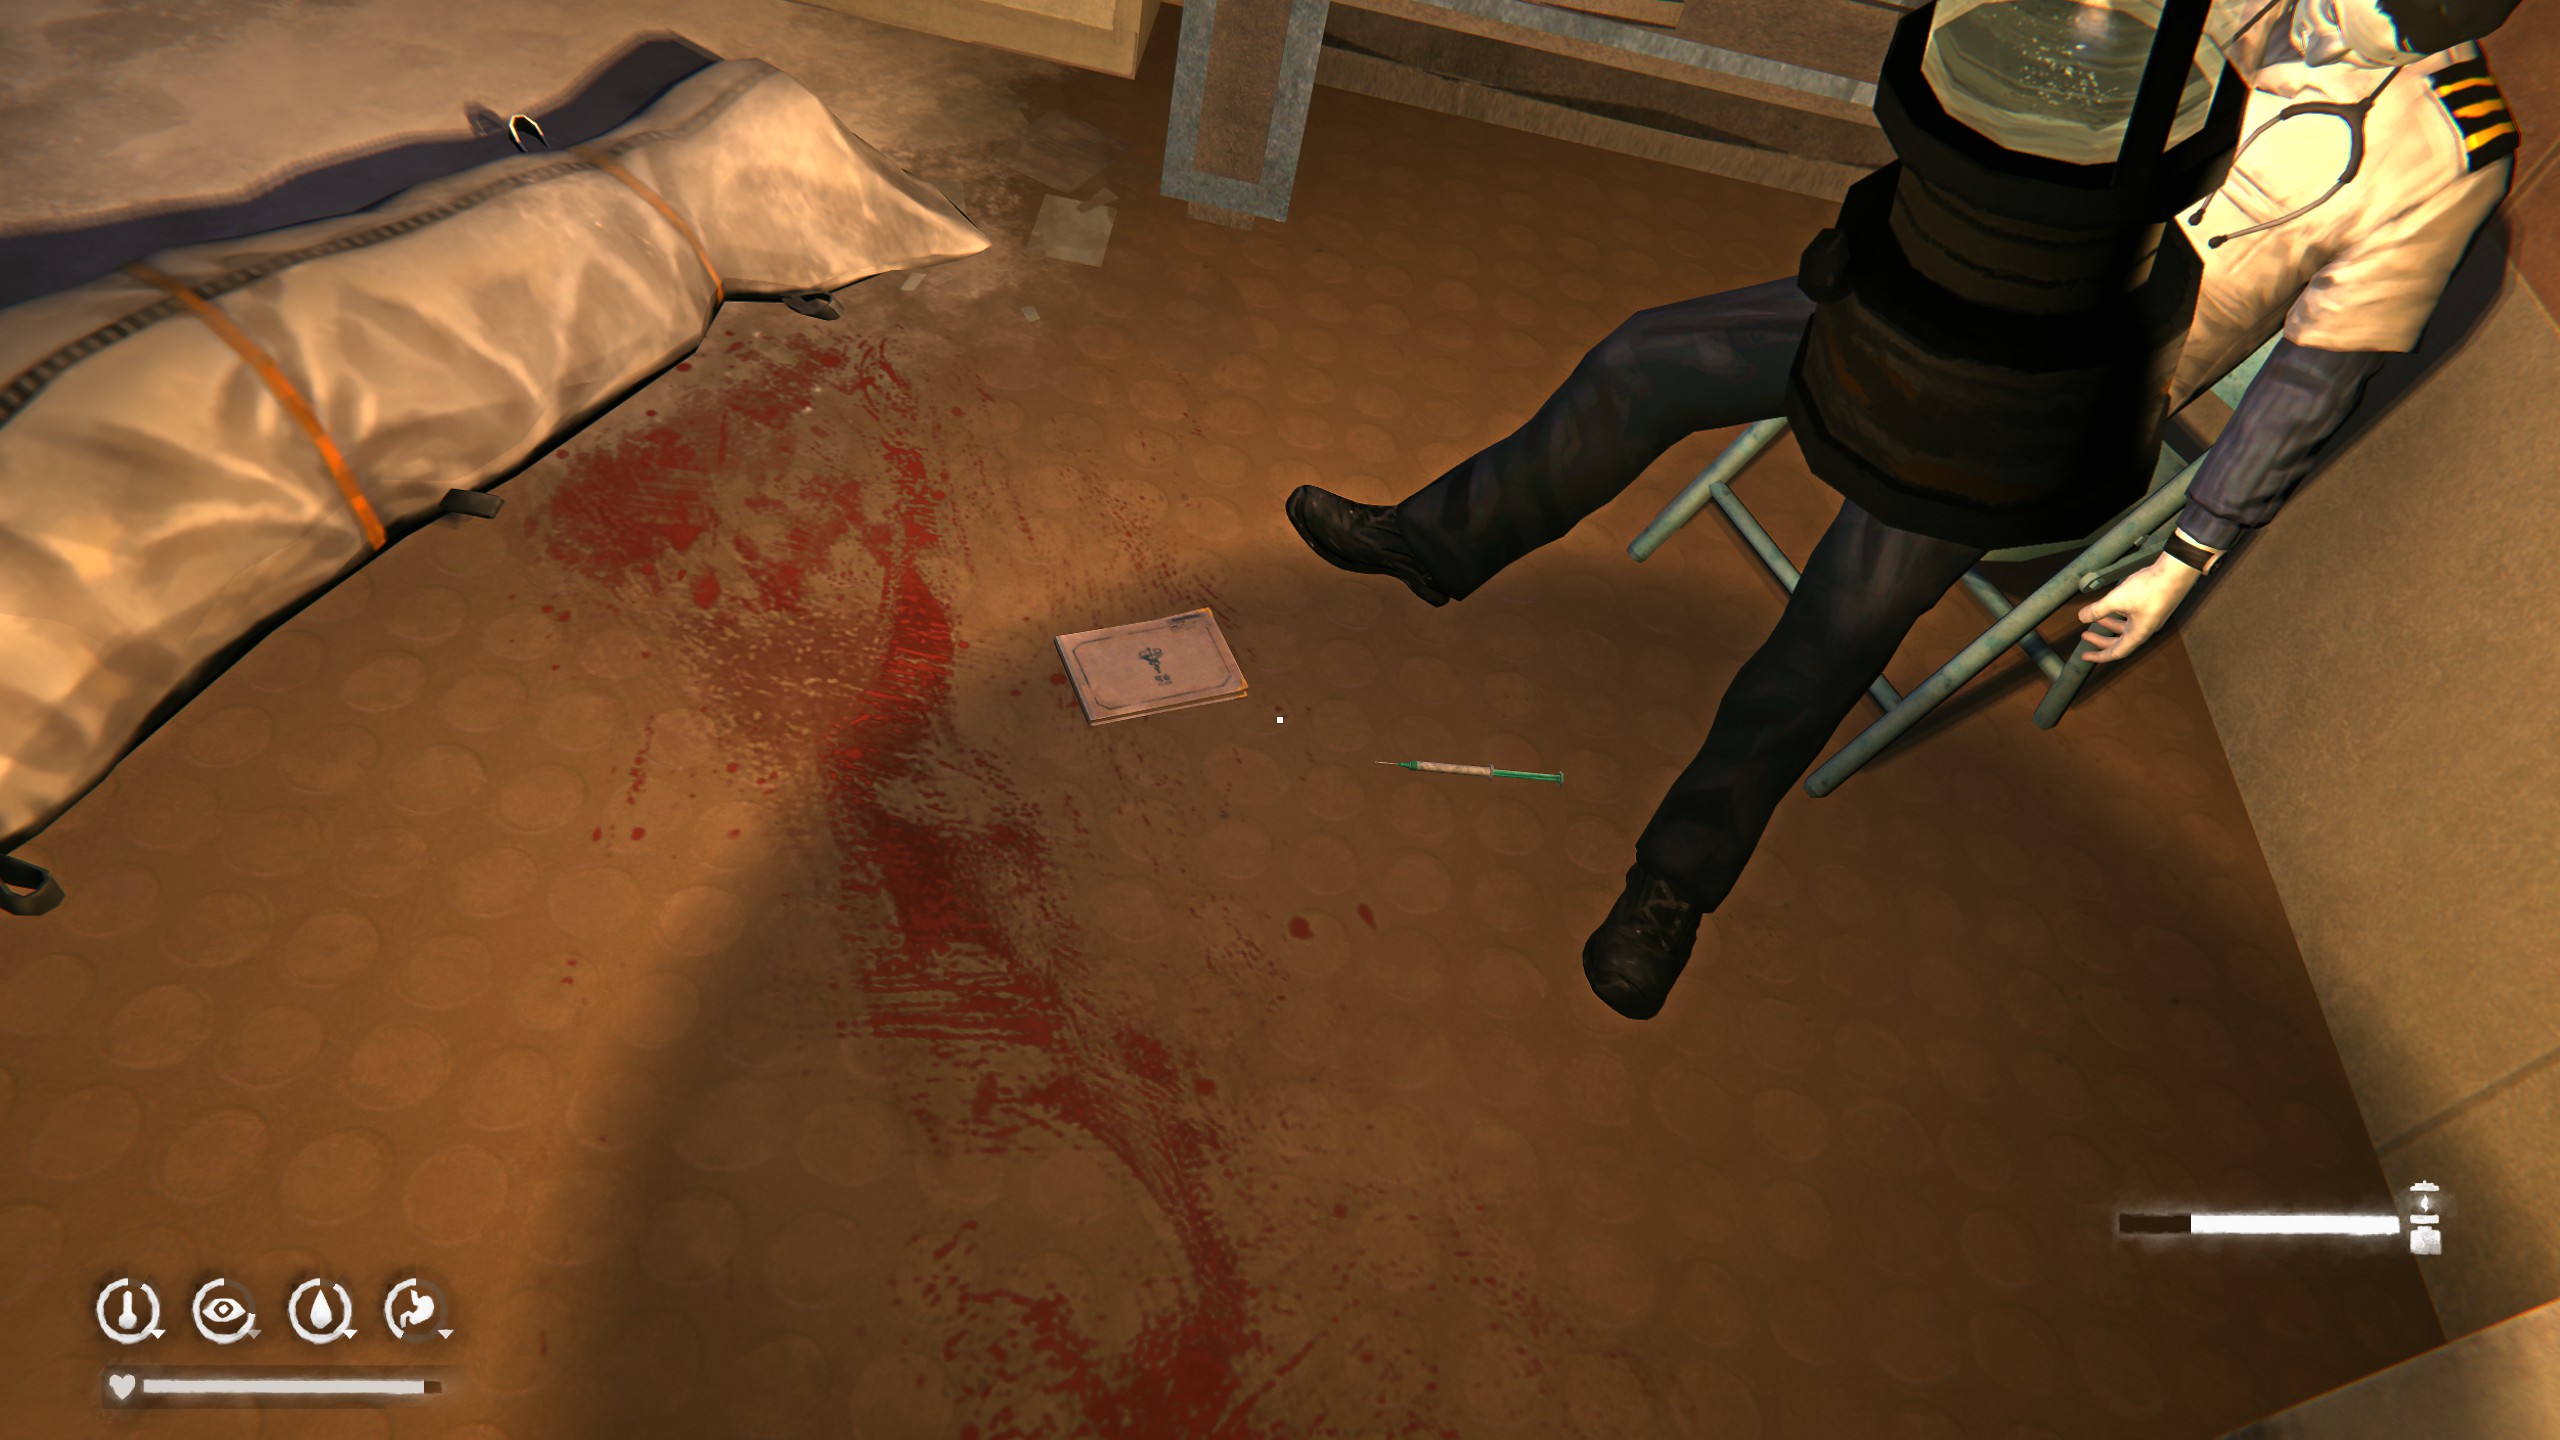
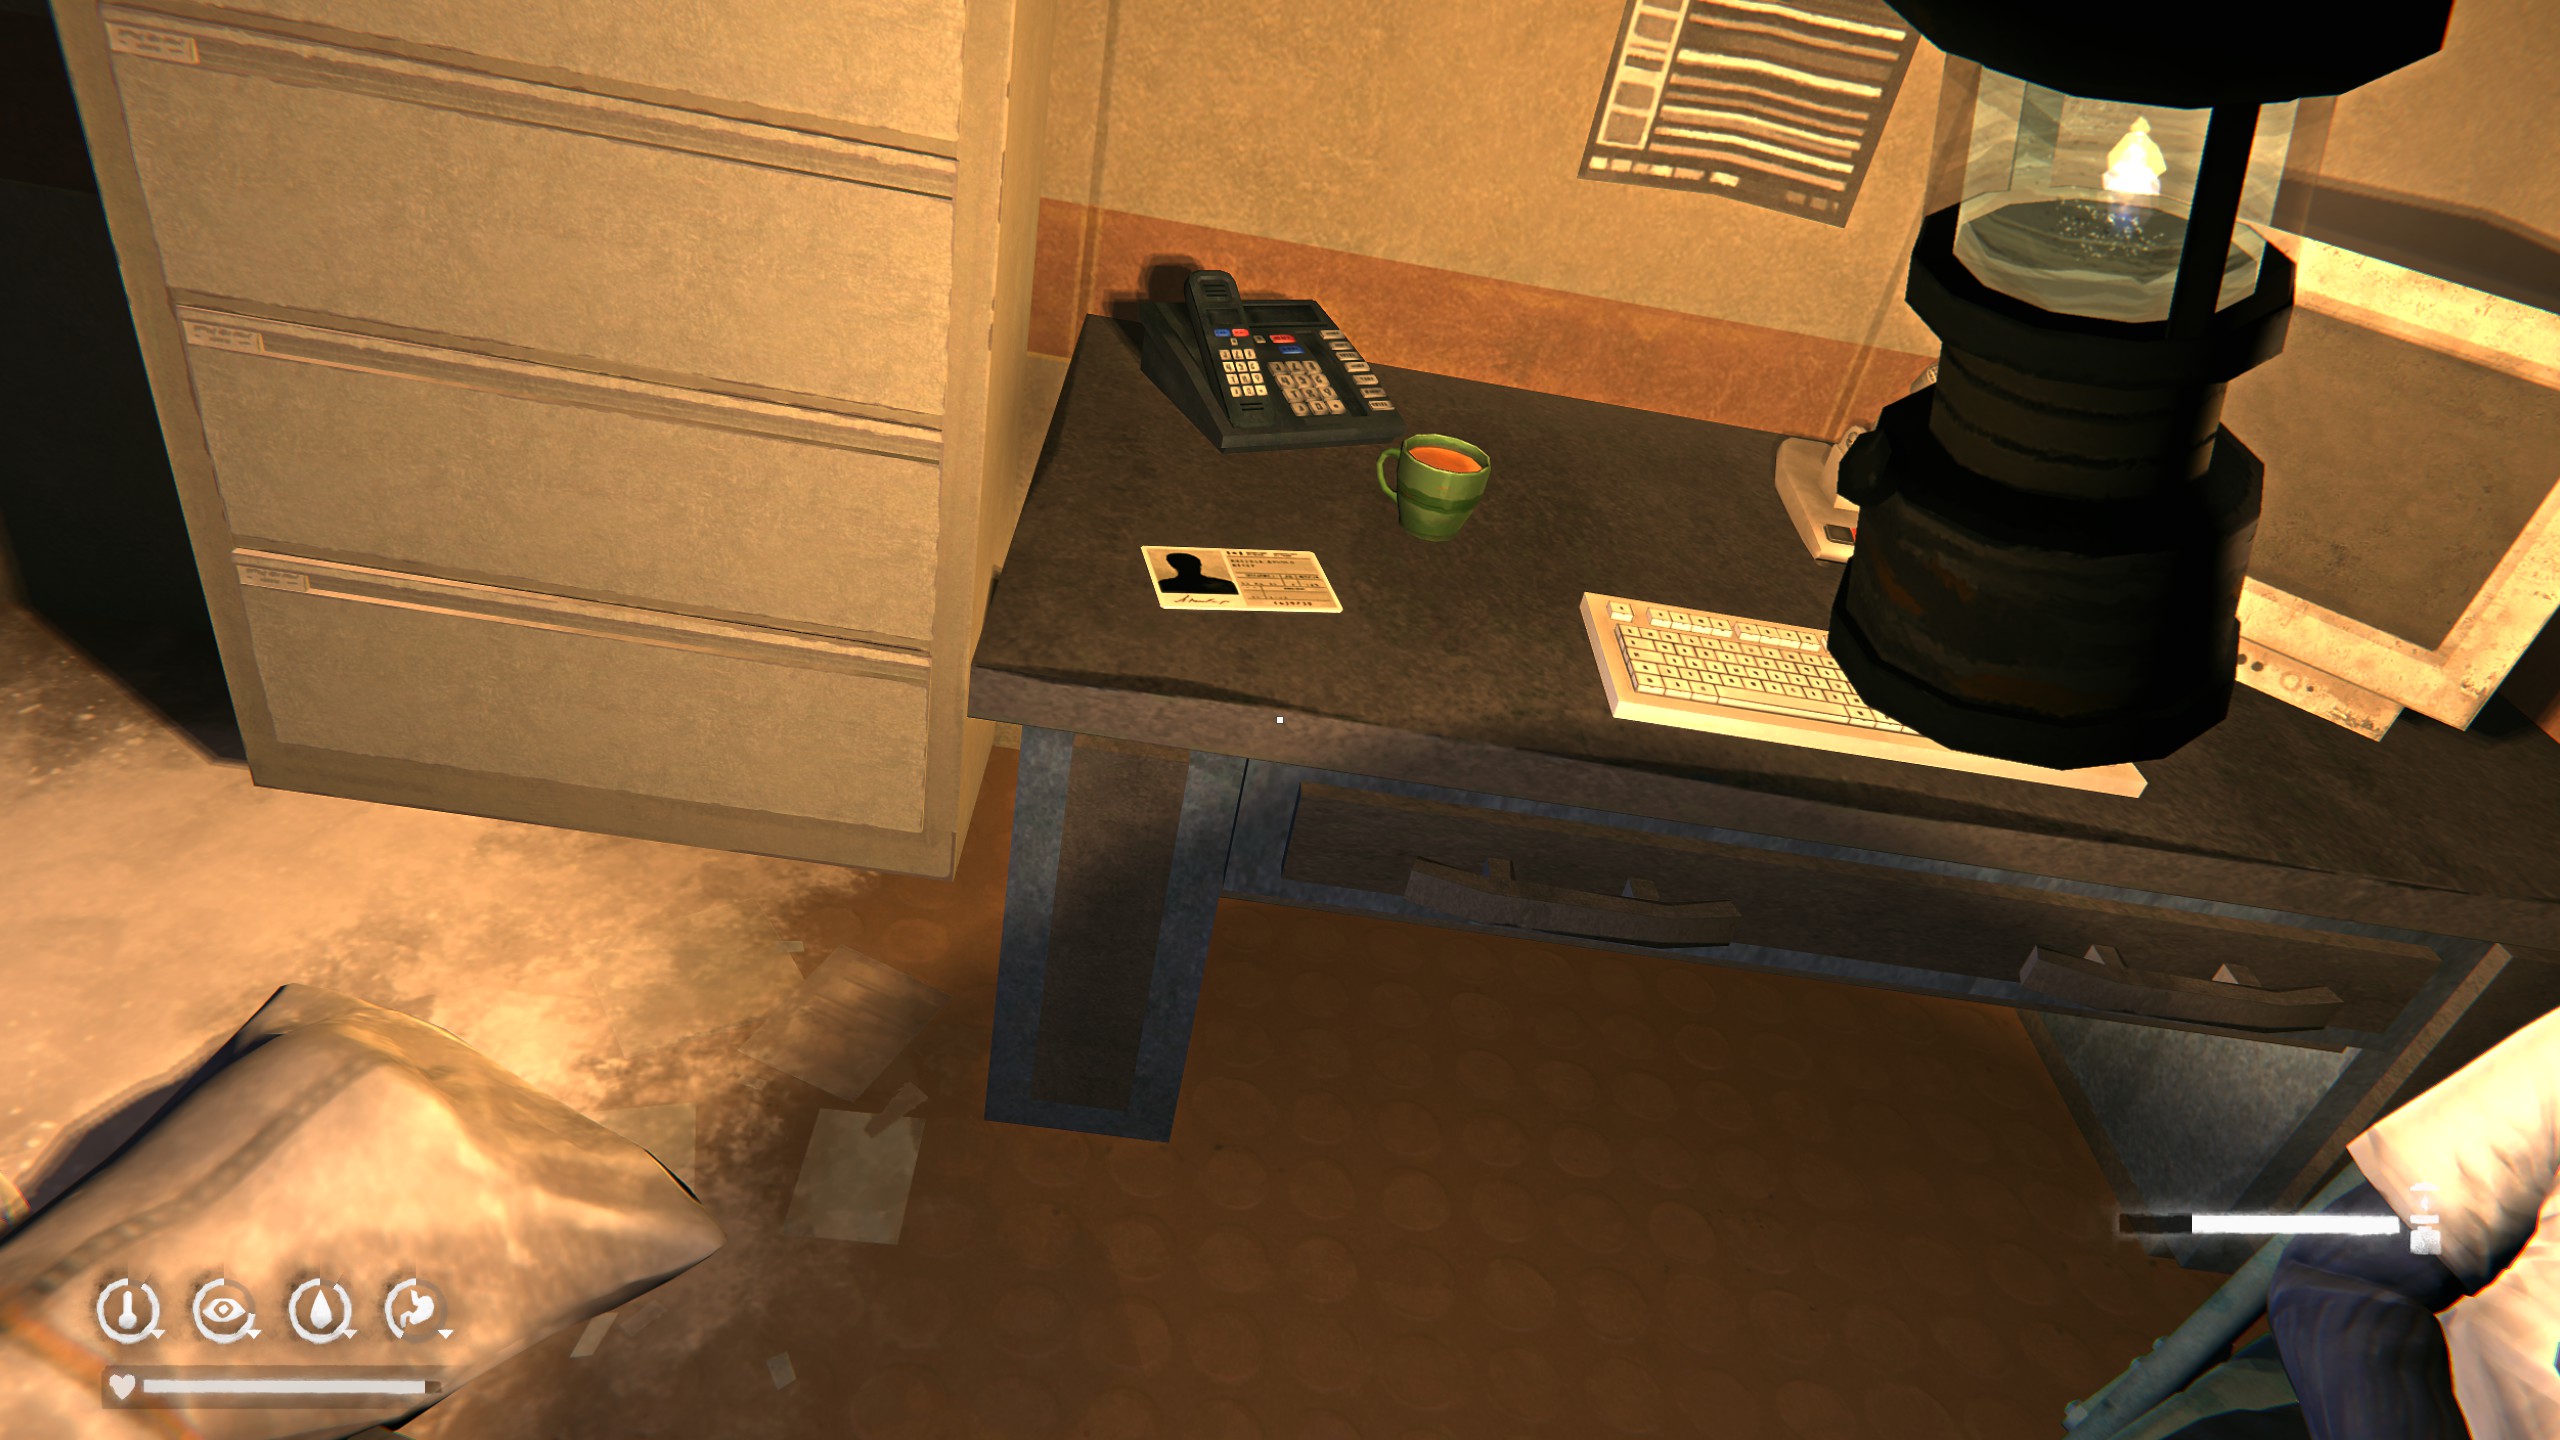
After some more exploration, you will reach the medical room. Pick up the note lying at the doctor’s feet. Make sure to also pick up the ID badge on the desk in the same room.
While on the ship's bridge, pick up the map (Thanks @taktaka for pointing that out)
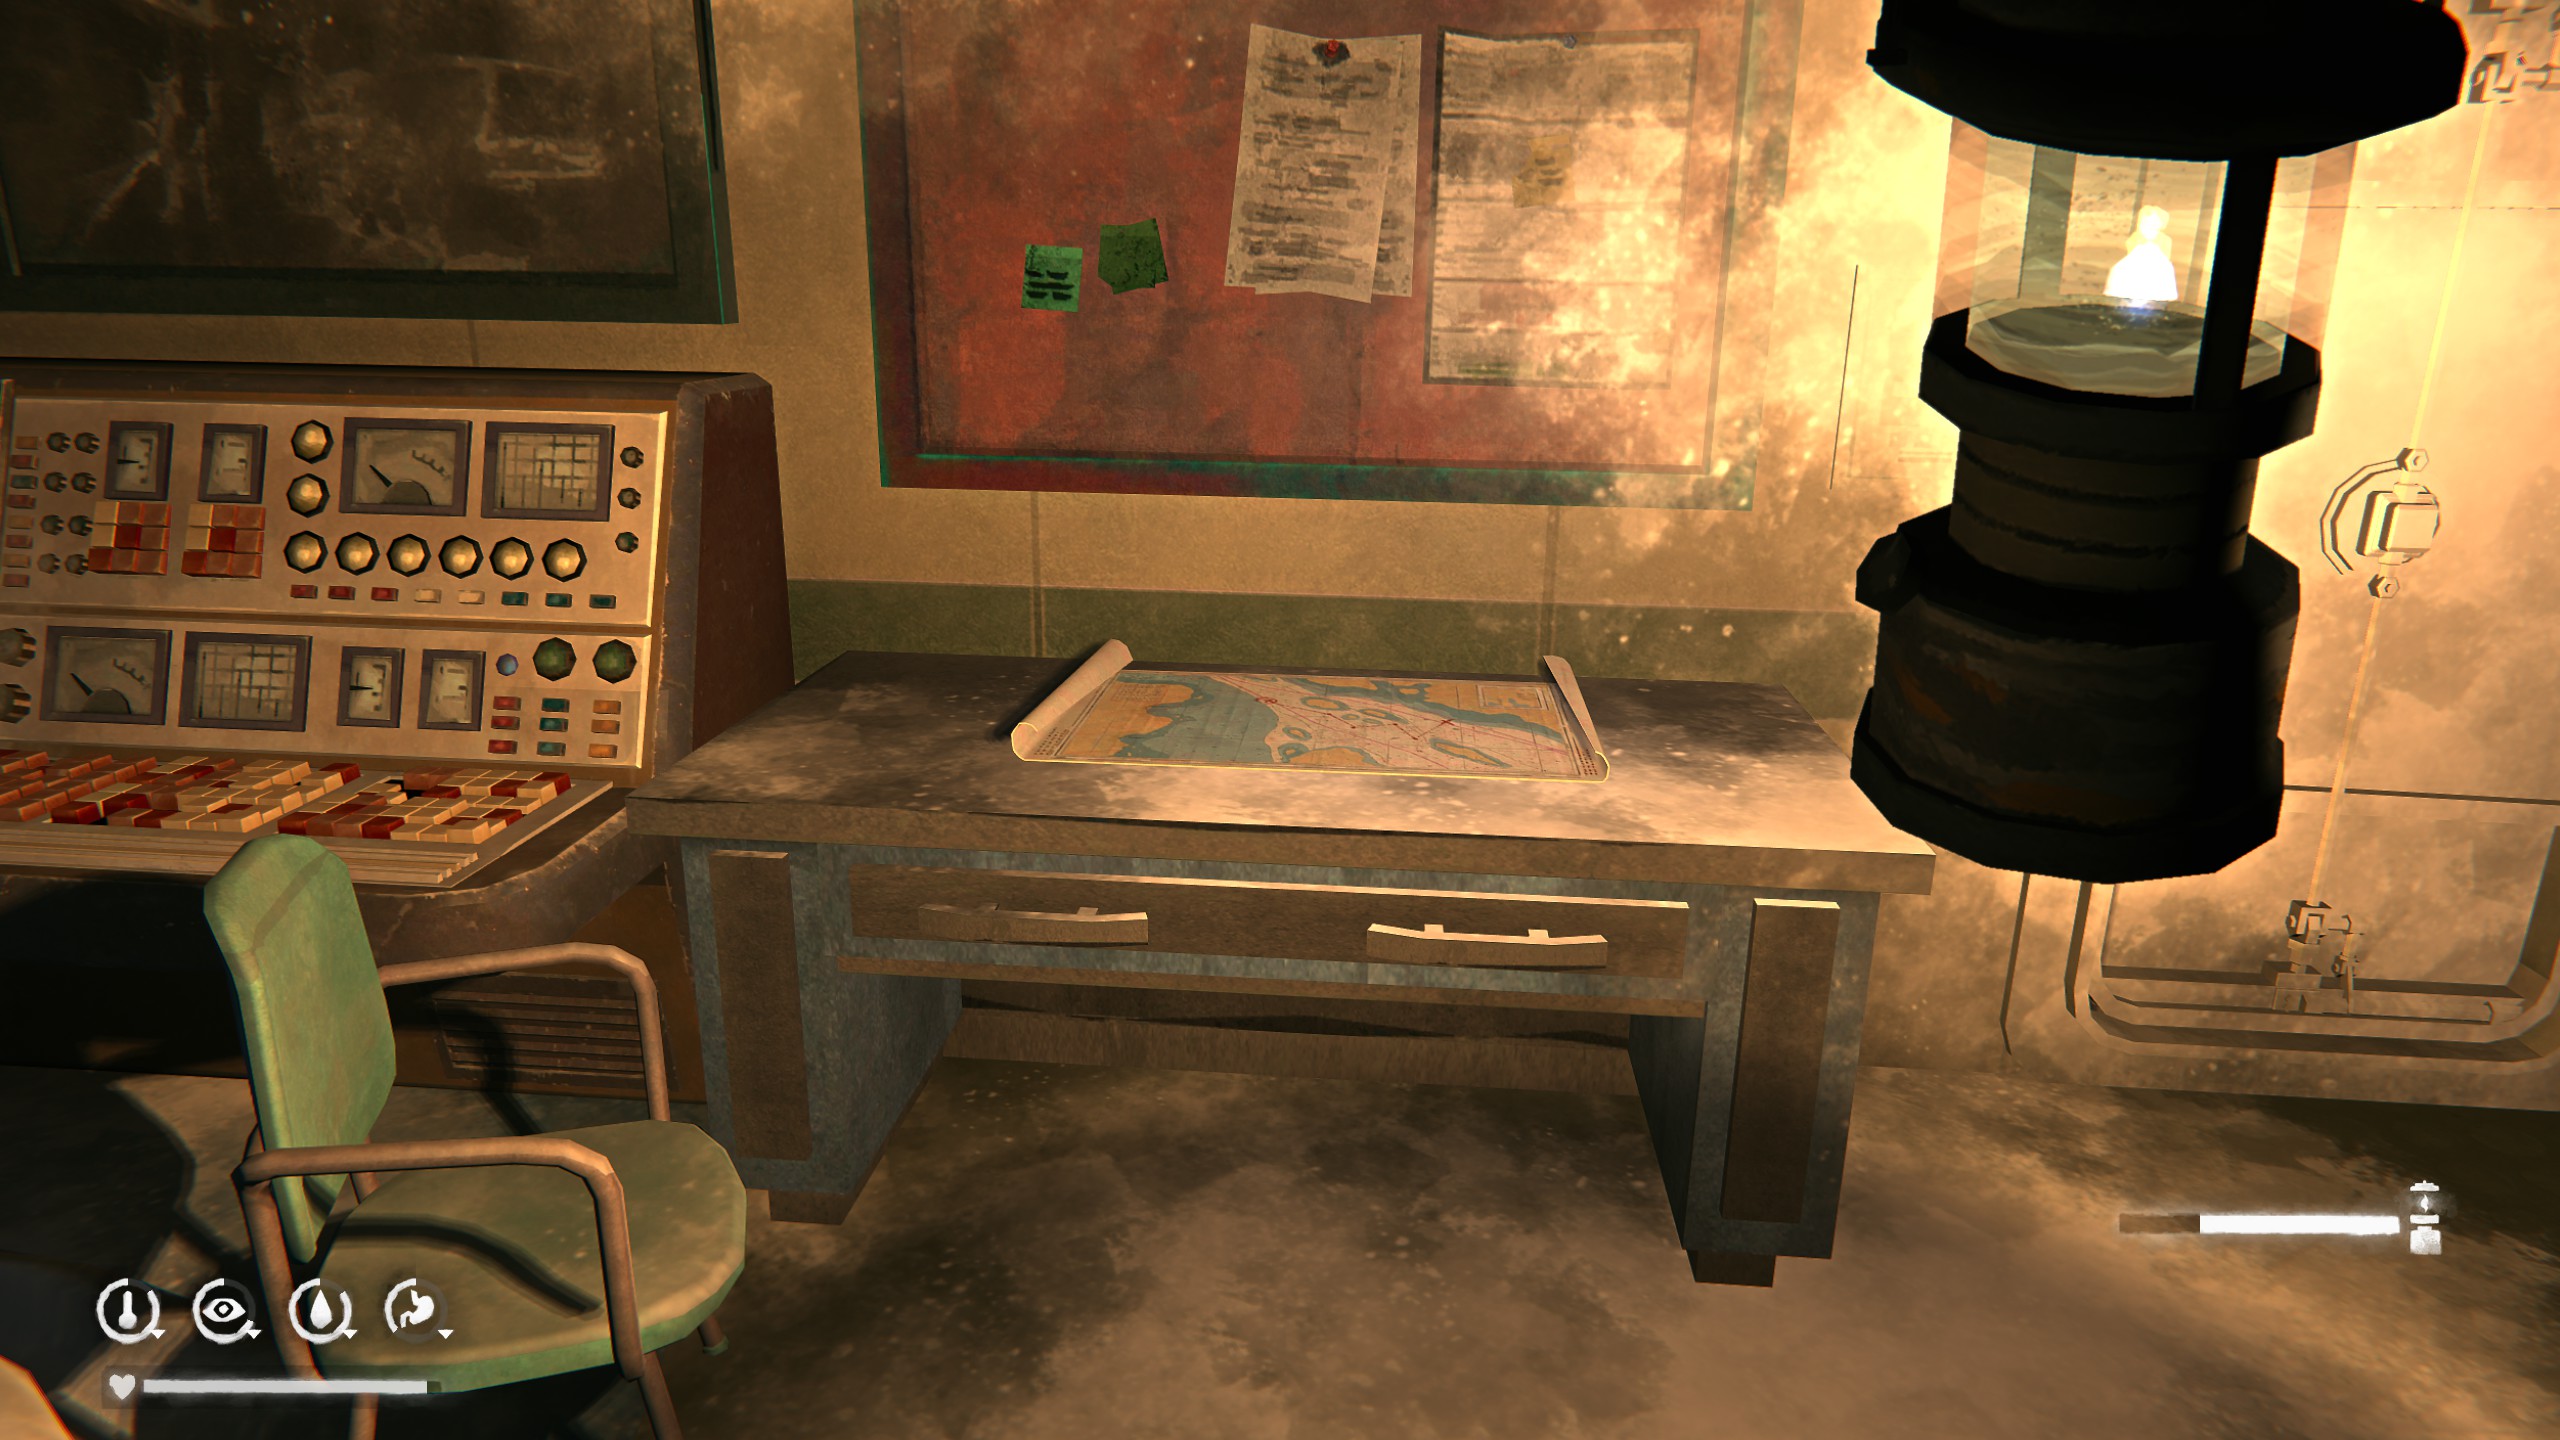
The final item for our precious collection is in the captain's cabin. Pick up his journal.
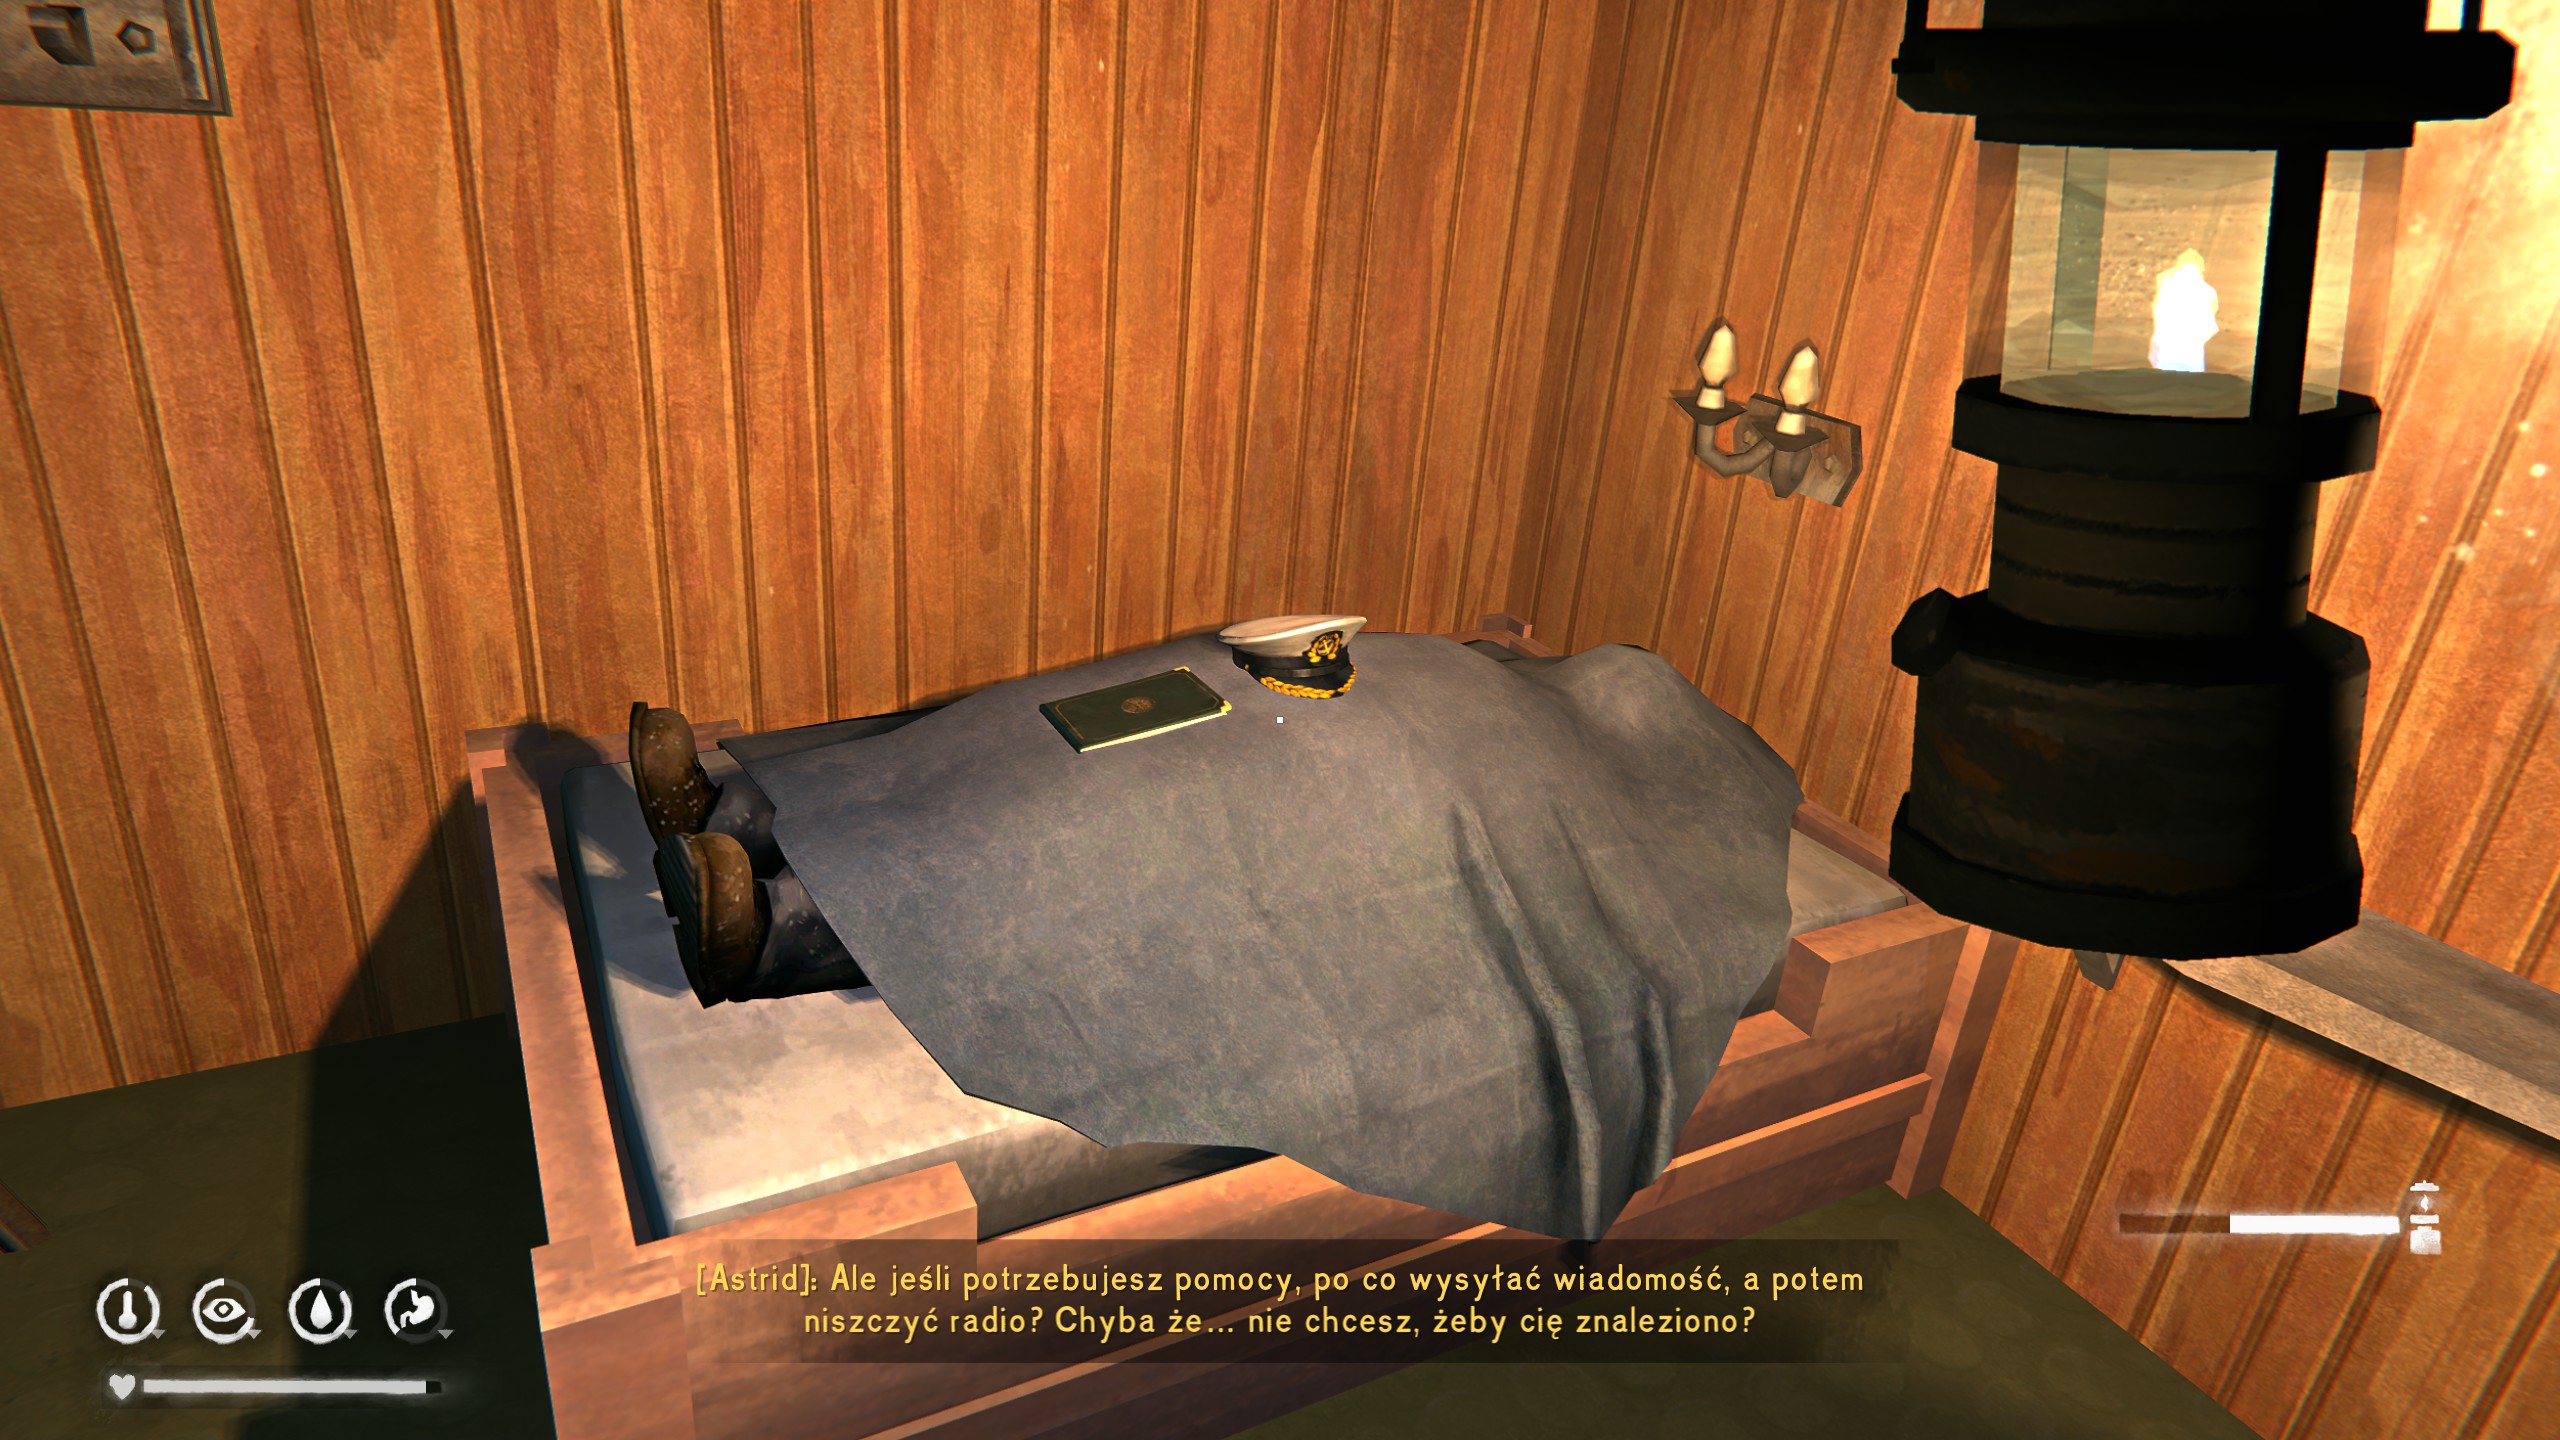
 Achievement #33 - Dead Wake: Missable. After picking up the captain's journal, achievement unlocks.
 Achievement #34 - Adrift: Complete the ship sequence to unlock this achievement.
 Achievement #35 - The Hard Sciences: Here, you will switch to Mackenzie. This part is going to be long. There’s nothing else to do but follow the story, deal with the wolves and traverse the mine. It will take some time. The achievement will unlock after the cutscene at the Suzuki Radio Telescope.
Next, you’ll be tasked with powering up three substations. Gear up and stock everything you can from the storage room, then follow the only route through all three substations. After powering up the last one, you’ll head back to the telescope.
 Achievement #36 - Wild At Heart: Missable. At the end of this trip, you’ll face a cougar. To earn this achievement, you must kill it. It’s not that difficult, but make sure to save some bullets. The cougar can knock your gun out of your hands, so be ready to pick it up quickly. I managed to kill it with three shotgun shots.
 Achievement #37 - Song of the Earth: Return to the telescope, help Jace, and then listen to the story. This will be a long sequence, but it answers some important questions. The achievement unlocks after the cutscene ends.
Now there’s another transition back to Astrid. You’ll be sent to retrieve a medical kit and will travel using a locomotive. Gather as much coal as you can before entering it.
To operate the locomotive, you need to use two gears and a brake. You can save before departure and use the section between the start and the first stop to get familiar with the controls. Then you can either reload and start over or continue if you feel confident.
For the entire journey (both ways), I stayed in first gear and only used second gear to break through obstacles. When you encounter a track switch, I recommend getting out and walking through the area, as you’ll usually need to switch multiple tracks. This will save both time and fuel.
 Achievement #38 - Finely Tuned: Missable. This achievement requires using no more than 50 coal for the entire round trip. I used 27 to reach the medical kit and 20 on the way back(it's much easier). You will unlock it after talking to the convict, not when exiting the locomotive.
 Achievement #39 - Bending The Rail: This unlocks at the same time as the Finely Tuned achievement.
After some story events, you’ll reach a section where you must sneak past convicts and get to Jane’s house (the one you left as Astrid at the beginning of the episode).
To be honest, you can often just walk or even run past them, as long as you don’t get too close. There is only one correct path. If you’re stuck at the beginning, you can run past the first convict, just stay close to the wooden boards and you’ll be fine.
 Achievement #40 - The Last Light: After reaching Jane’s house, a cutscene will play. The achievement is awarded once it ends.
 Achievement #41 - The New World: Earned at the end of the episode.
Conclusion
If you noticed any mistakes, missing details, or have suggestions for improvement, feel free to leave a comment - feedback is always welcome. Good luck out there, stay warm, and happy hunting!
Changelog
04-04-2026: Updated „Search Party” achievement with new valuable information.
02-04-2026: Added the remaining Episode 5 achievements and fixed some typos. The guide is now complete.
01-04-2026: Added first batch of Episode 5 achievements, guide still in progress.
31-03-2026: Episode 5 released. Achievement count updated. Full Episode 5 content is currently in progress and will be added soon.
02-02-2026: Guide published
Beat The Long Dark's 100% run?
Flex it — let your friends know you pulled it off.
- Detailed Region Maps★ 5 (1.8k)73k views3.4k ♥11 minUpdated Dec 24, 2022
- Мультиплеерный мод на The Long Dark | Sky Co-op mod | The Long Dark Multiplayer★ 5 (293)56k views903 ♥10 minRussianUpdated Dec 30, 2023
- Карты локаций (на русском)★ 5 (1.5k)50k views2.6k ♥2 minRussianUpdated Feb 25, 2022
- 🗺 КОНТУРНЫЕ КАРТЫ ЛОКАЦИЙ - 2023★ 5 (1.3k)42k views2.4k ♥2 minRussianUpdated Dec 7, 2023
- Story Mode/Wintermute Walkthrough★ 5 (719)33k views1.6k ♥148 minUpdated Jul 11
- 🗺 УГОЛЬНЫЕ КАРТЫ ЛОКАЦИЙ - 2023★ 5 (934)33k views1.6k ♥1 minRussianUpdated Dec 7, 2023


- Upgrading to PremiumTeam Fortress 2★ 5 (20k)1441k views11k ♥6 minUpdated May 11, 2022
- No More Room in Hell Official ManualNo More Room in Hell★ 5 (2.8k)569k views2.1k ♥29 minUpdated Apr 22, 2019
- NMRiH Community Hosting GuidesNo More Room in Hell★ 5 (526)351k views653 ♥1 minUpdated Aug 10, 2022
- Лучшие кооперативные игры SteamPAYDAY 2★ 5 (1.5k)315k views2.1k ♥56 minRussianUpdated Apr 27, 2025
- Desert Eagle Heat Treated | Blue GemCounter-Strike 2★ 5 (1.6k)292k views1.5k ♥2 minUpdated Jan 16
- Treasure Hunt Puzzle SolutionsTotal War: WARHAMMER II★ 5 (6.9k)281k views15k ♥3 minUpdated Aug 19, 2021






This guide was created by its original author on the Steam Community. Are you the author and want it removed? Request removal.