The Mapmaker Survival Kit
Introduction
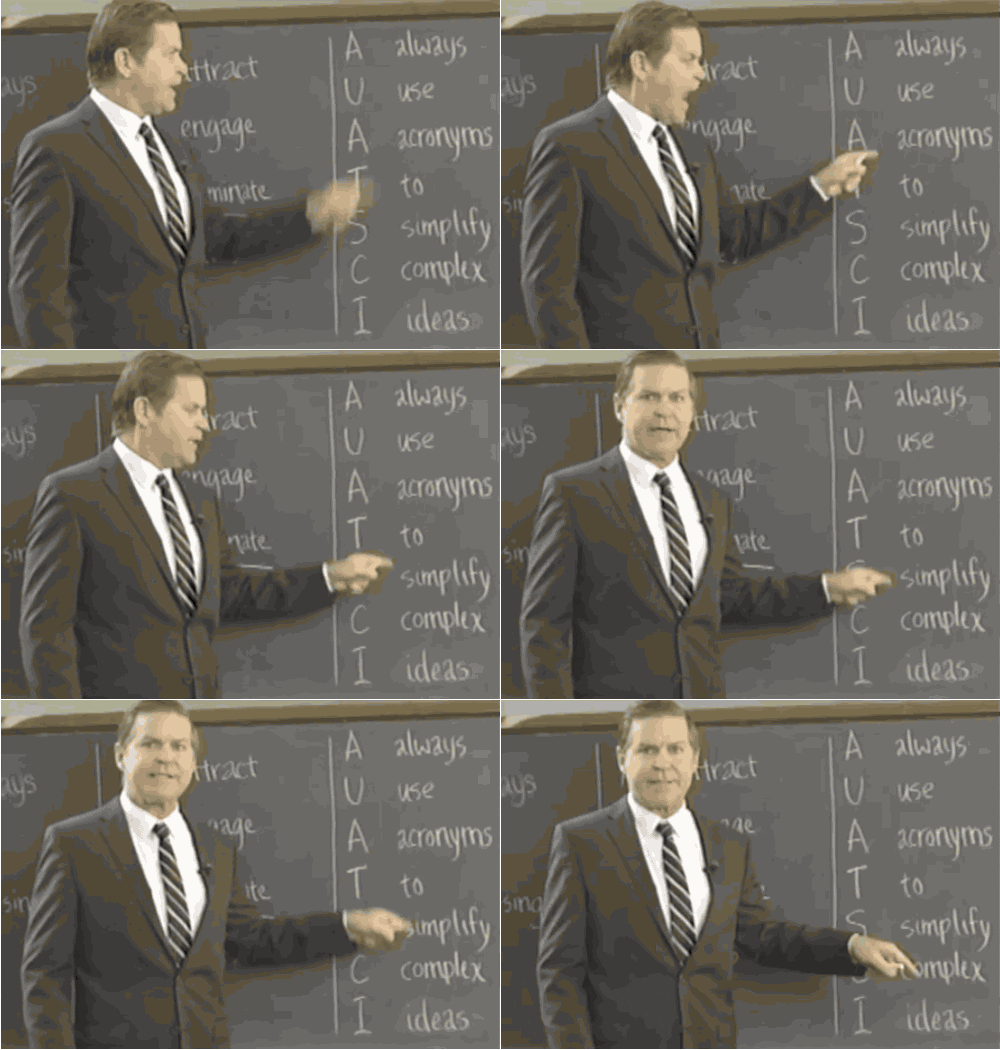 Okay I think that all of us start making levels because we have a bunch of ideas we’d like to share, or because making stuff is simply a lot of fun to us, and of course we like the feedback, we like seeing the subs rising, and so on.
 However, mapmaking always requires time, effort, and creativity.
What is mapmaking? It’s a long work without clear result. What can go wrong? The answer is - everything. I break all the information into seven blocks:
- Basic editor tools to work faster
- The ways to improve your performance
- Building ideas and techniques, such as creative ways of asset usage and logic
- Level design. How to make attractive, realistic, fun and remarkable levels.
- A bit of AI, Characters, Texturepacks and Music Packs
- How to promote project on steam
- Effective creator habits and motivation
Some things are obvious, but the life shows that quite often obvious things are not that obvious.
And of course, obviousness doesnt make them less effective.
If you want to go straight to a specific section, there's a guide index on the right. Enjoy!
Also, still strongly recommend you to take a look on the Official Level Editor Guide if you havent done it, because it's the basics.
https://steamcommunity.com/sharedfiles/filedetails/?id=822351096
GENERAL TIPS
Okay this block is very simple because mostly it’s all just about the default controls.
The first thing is hotkeys. All of them are described in the Official Level Editor guide on Steam.
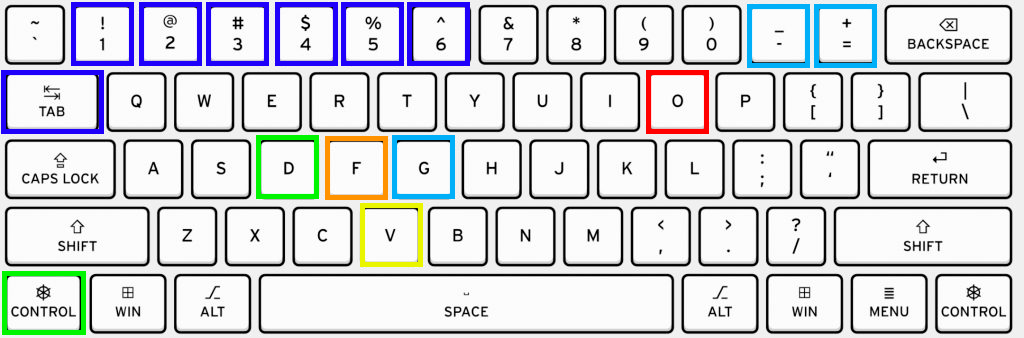
of course you dont need to rememeber each key. Yet there are 6 musthave keys/combinations which allow to save a lot of time.
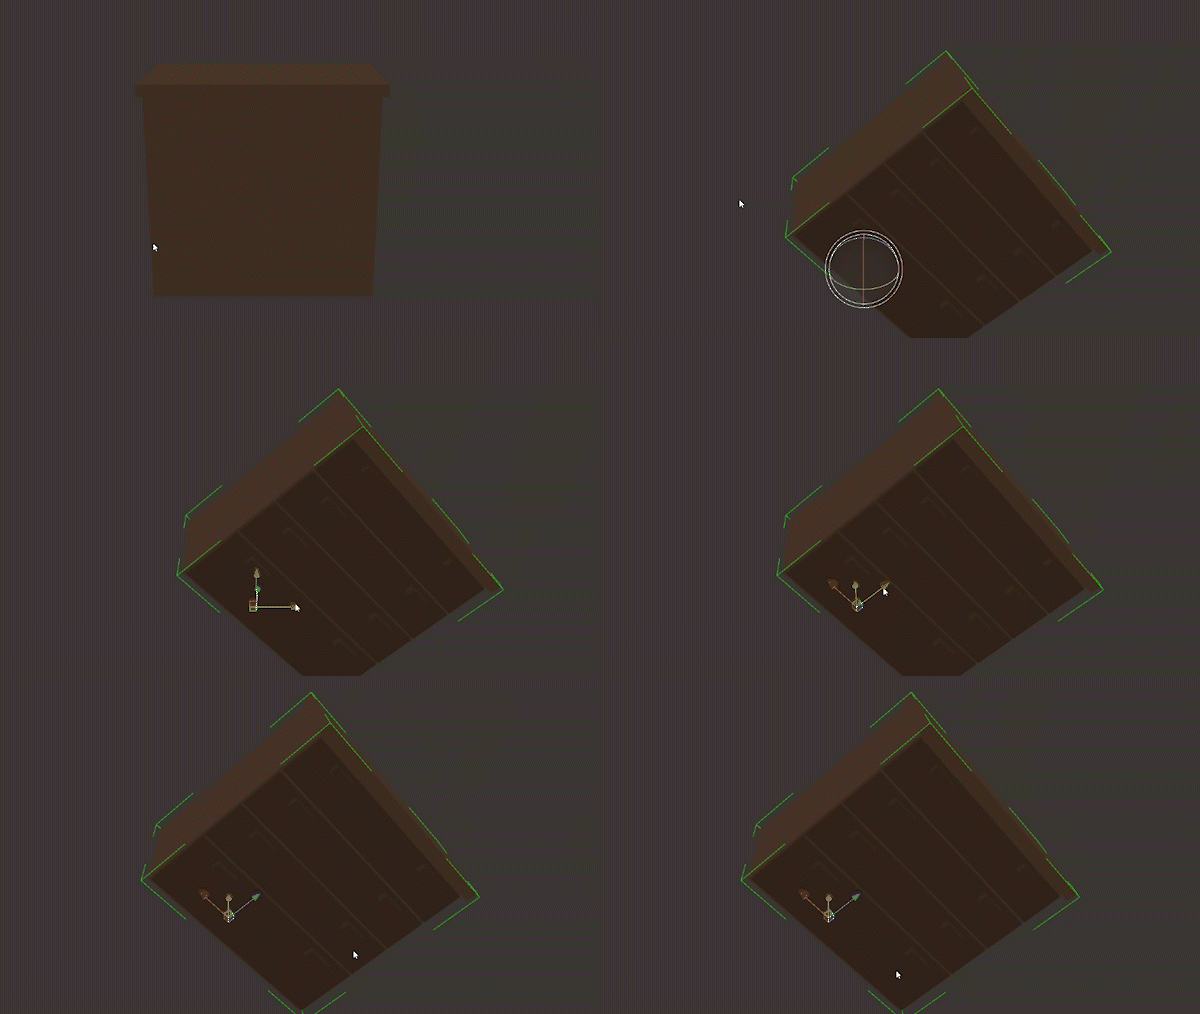


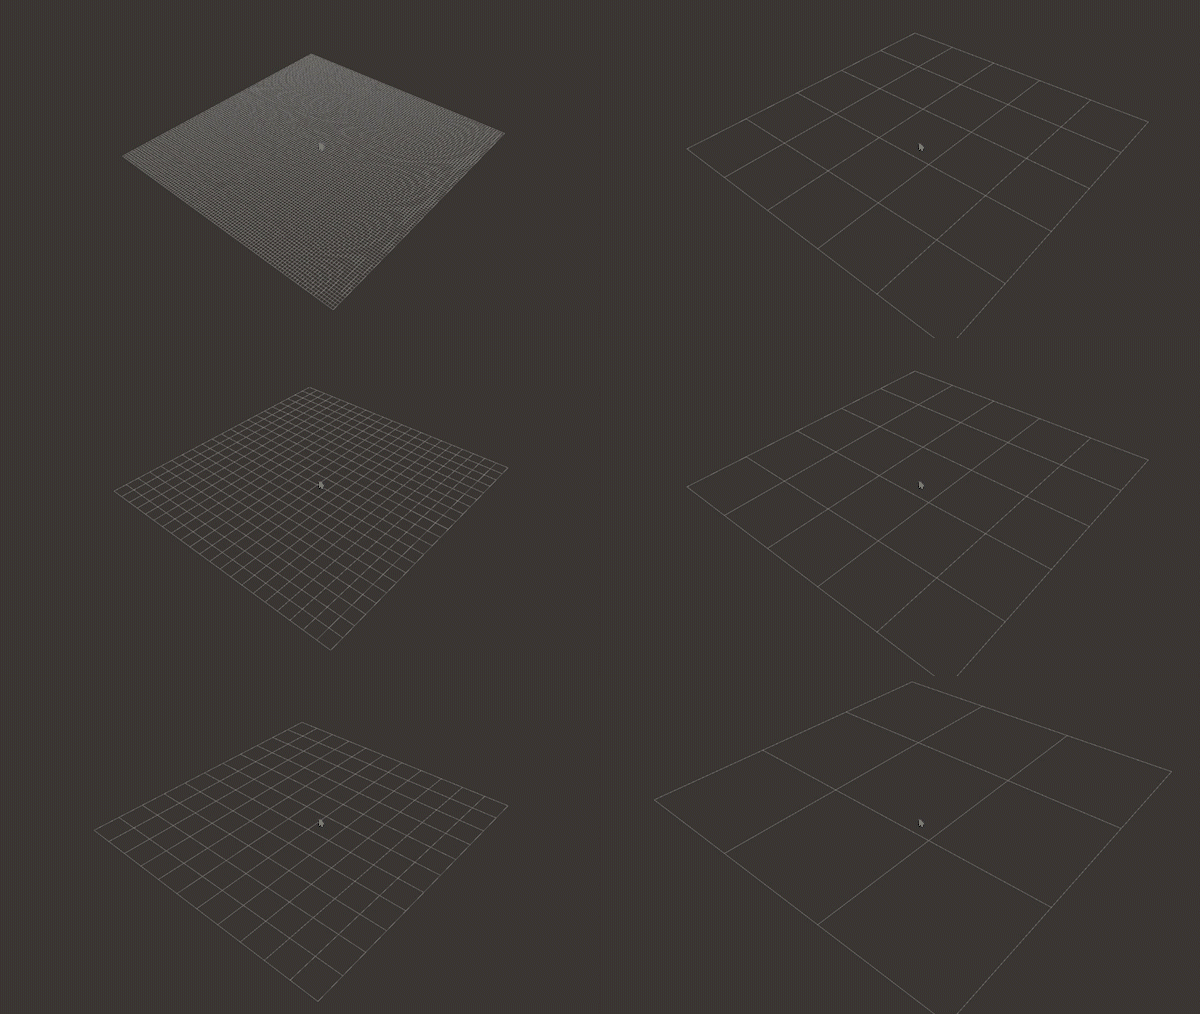
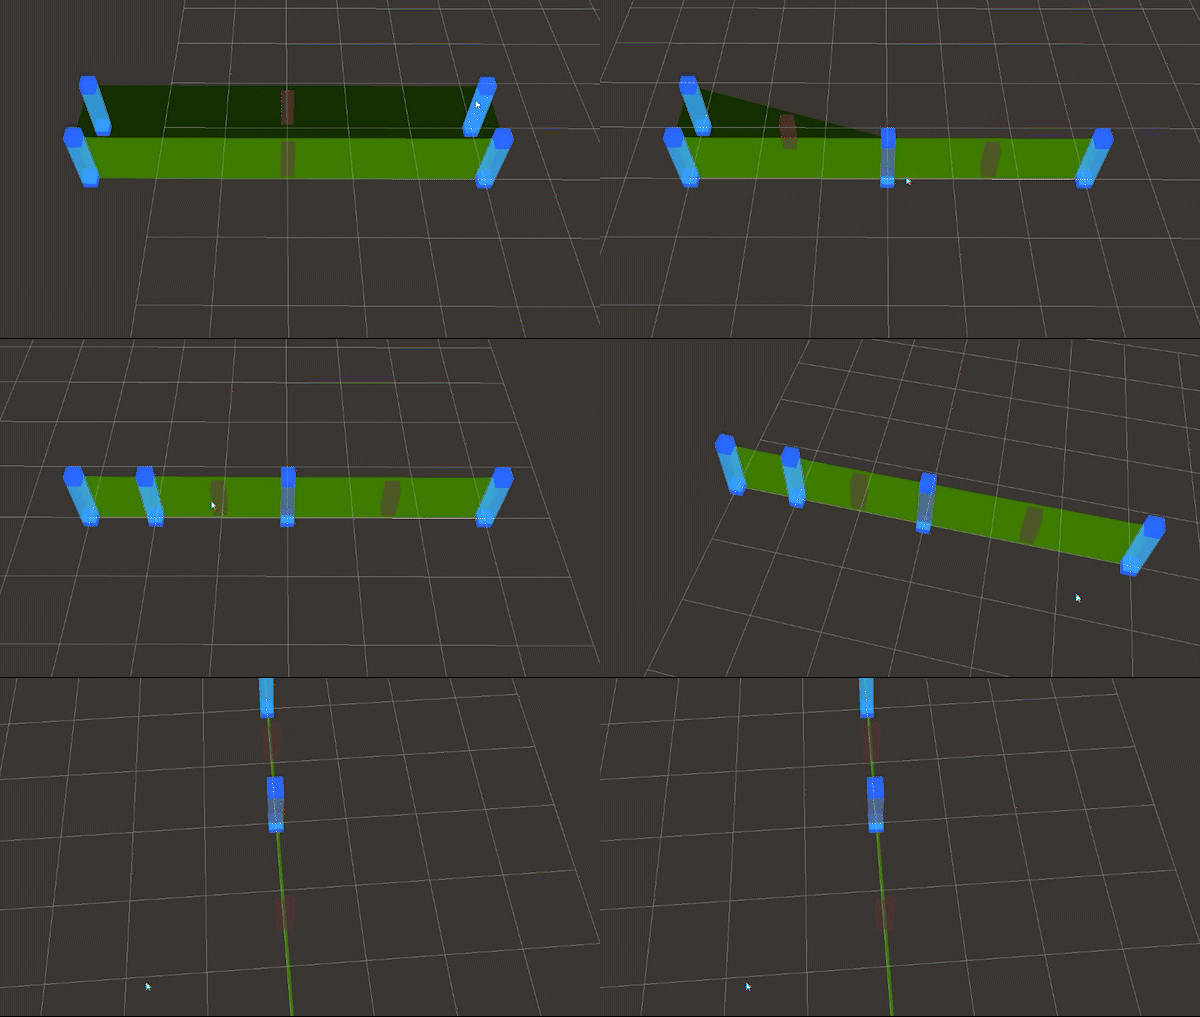
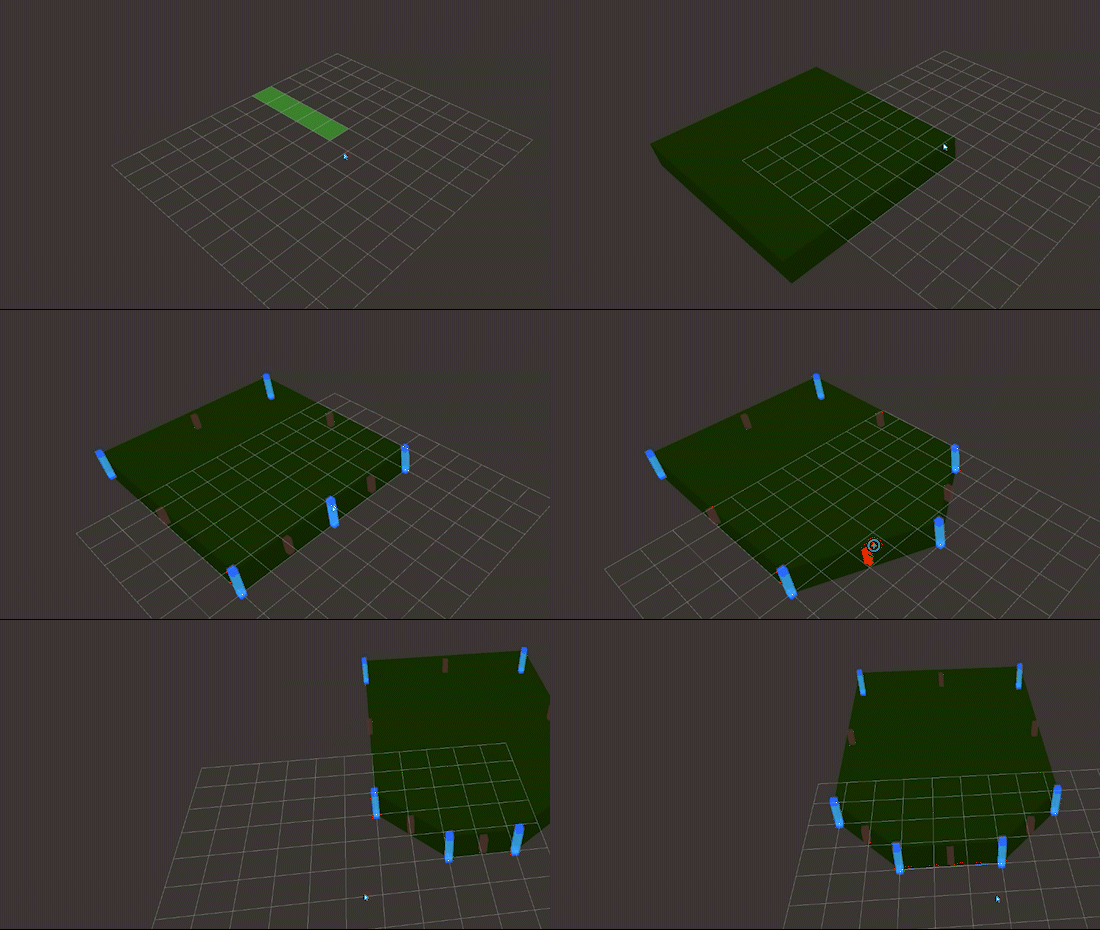 Also grid works with all props. If you hold Ctrl key while moving your object, you’ll see how it
 snaps to its personal grid, which size is gonna be equal to a current grid size. The size can be changed with these +- btw, but to be able to change it, still make sure the grid is visible. . All in all, grid tool gives you a lot of control {ha].
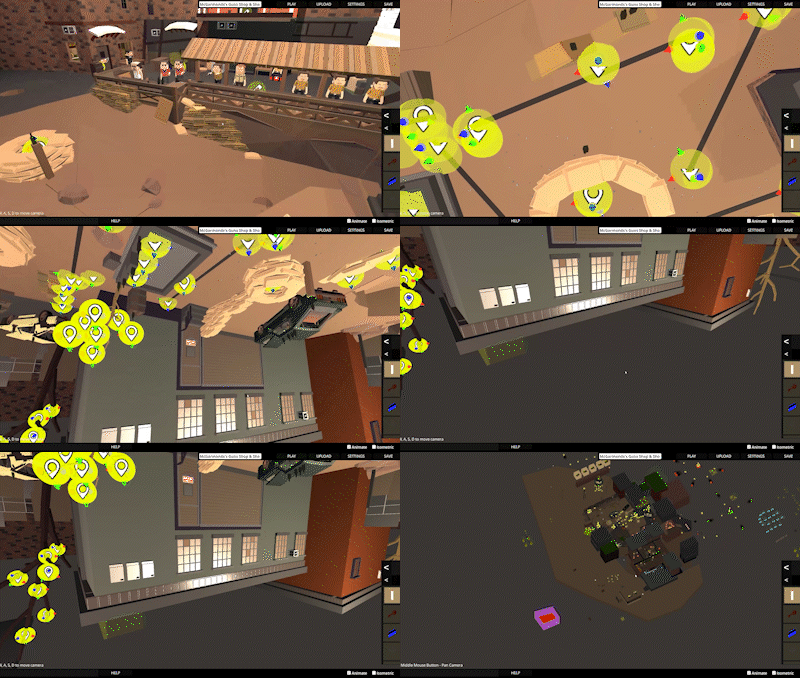
Also, you probably know these situations when you’re making some stuff with your props, want to select a single one of them, and find that other objects kinda keep getting on your way? You can siply hold ctrl, and move everything aside. Then you just do whatever you like and get everything back the same way.
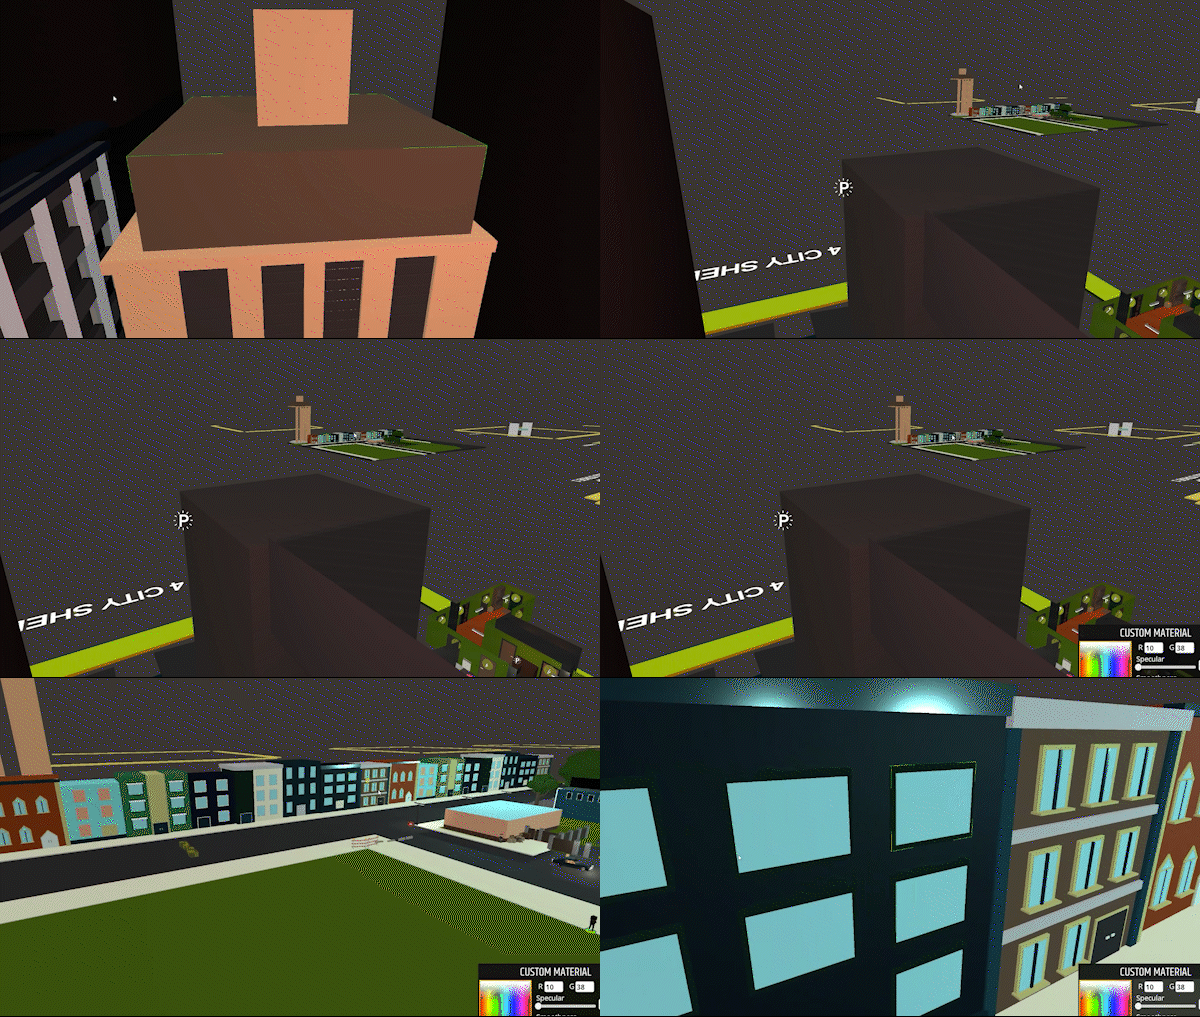
And the last thing about the grid tool is that it allows you to make platforms flat as a single wall, which comes very useful when making stuff like windows (will cover that in further sections of the guide).
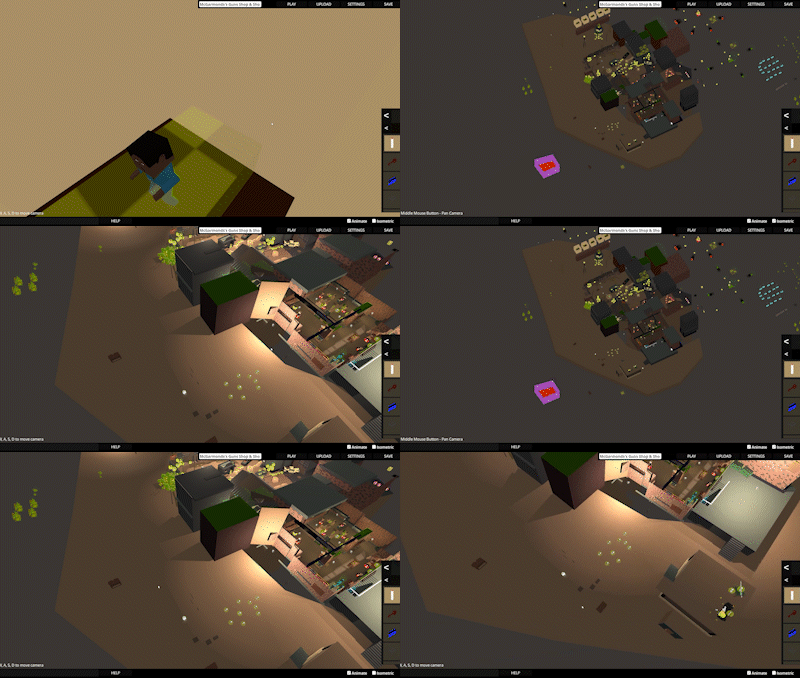
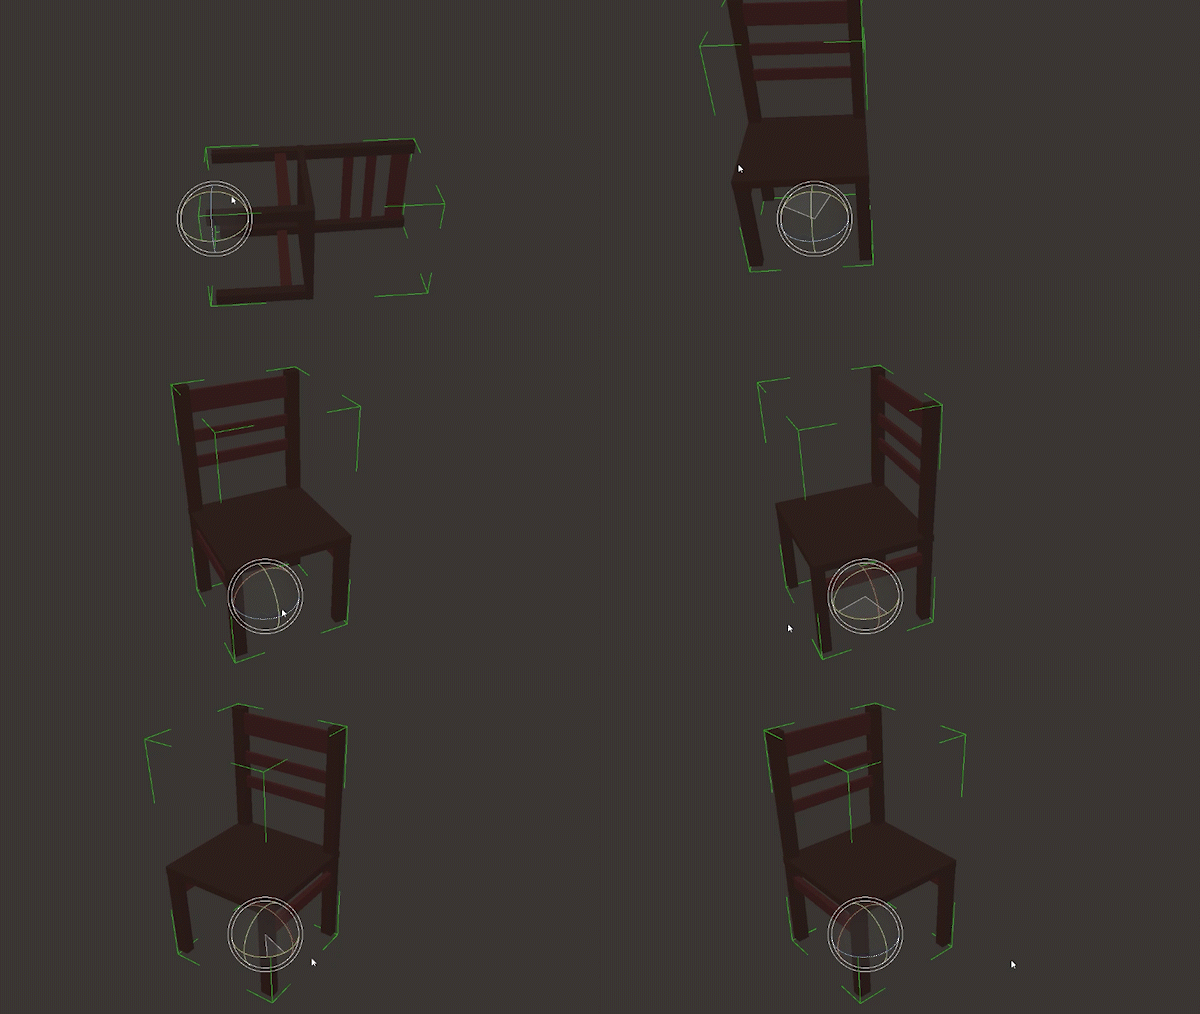
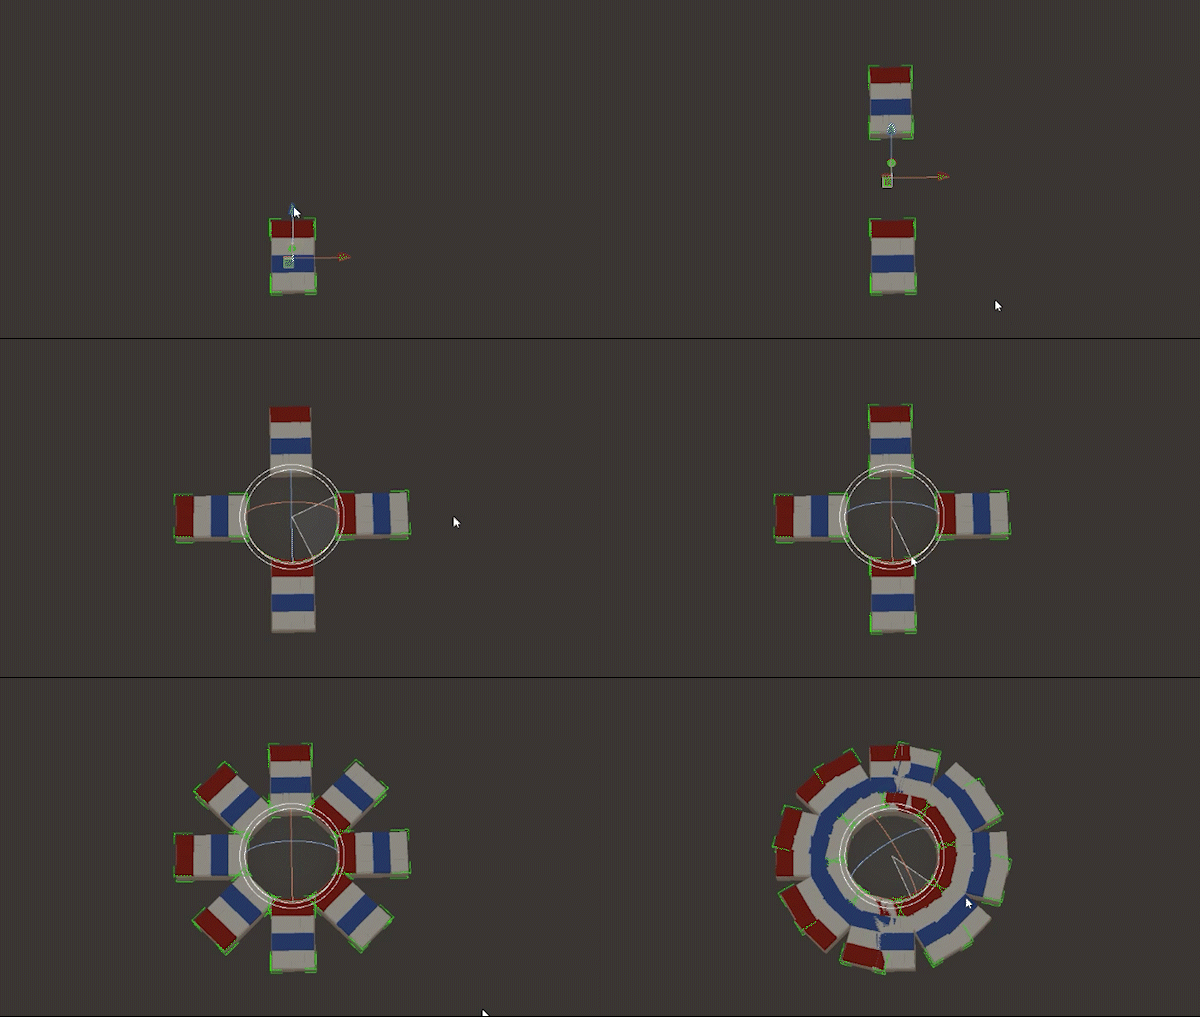
And since we already talked about Ctrl hotkey, not only it allowes to move things by grid, it can also be used to rotate them on integer degrees. You can think about possible ways to use that by yourself . I just want to add that this feature is also handy for making whatever arcs, circles and parabolas with anything. and that’s it, now you can make your personal poolcube spheres and destroy them with shockwave.
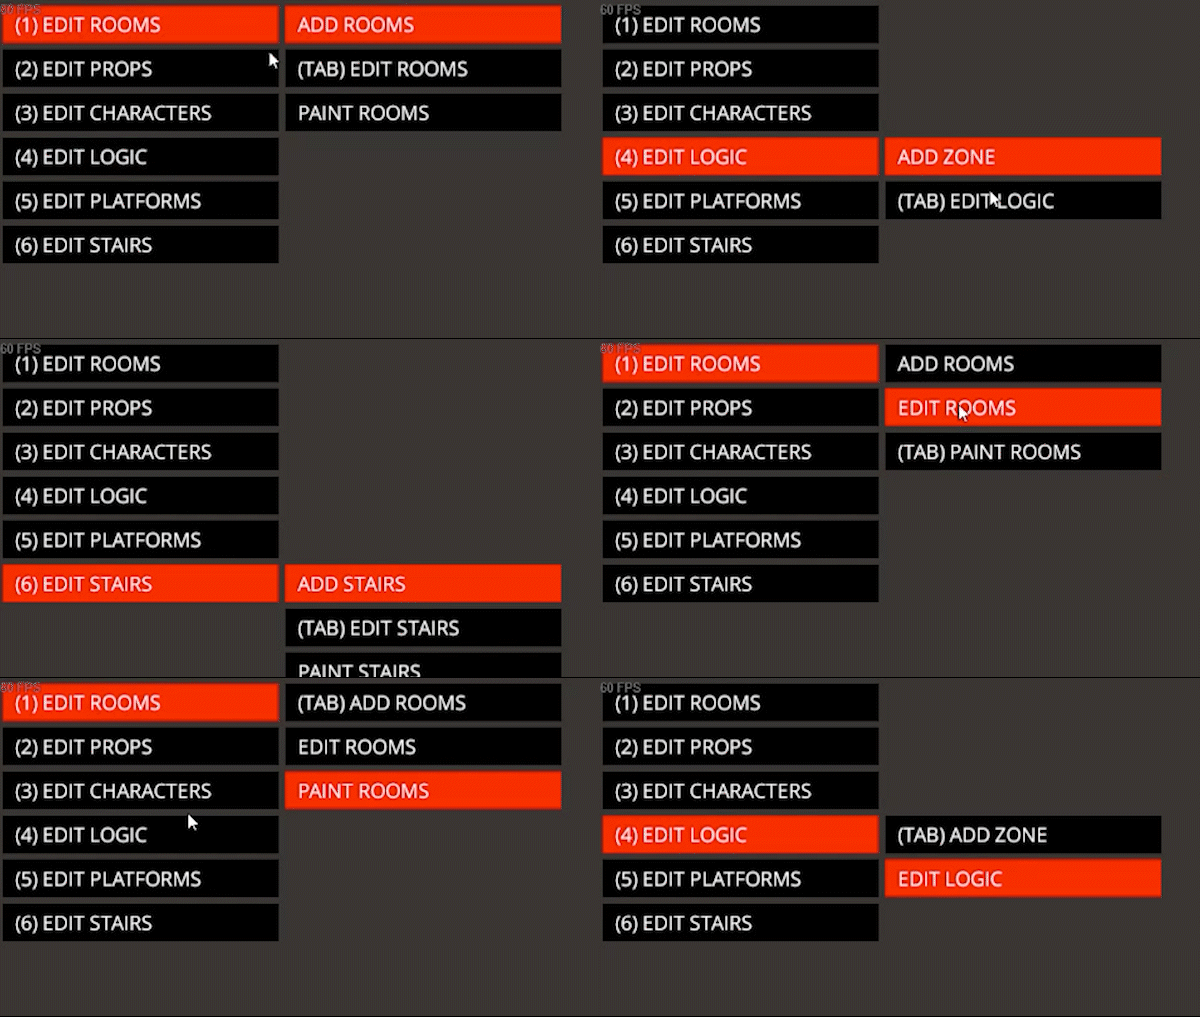
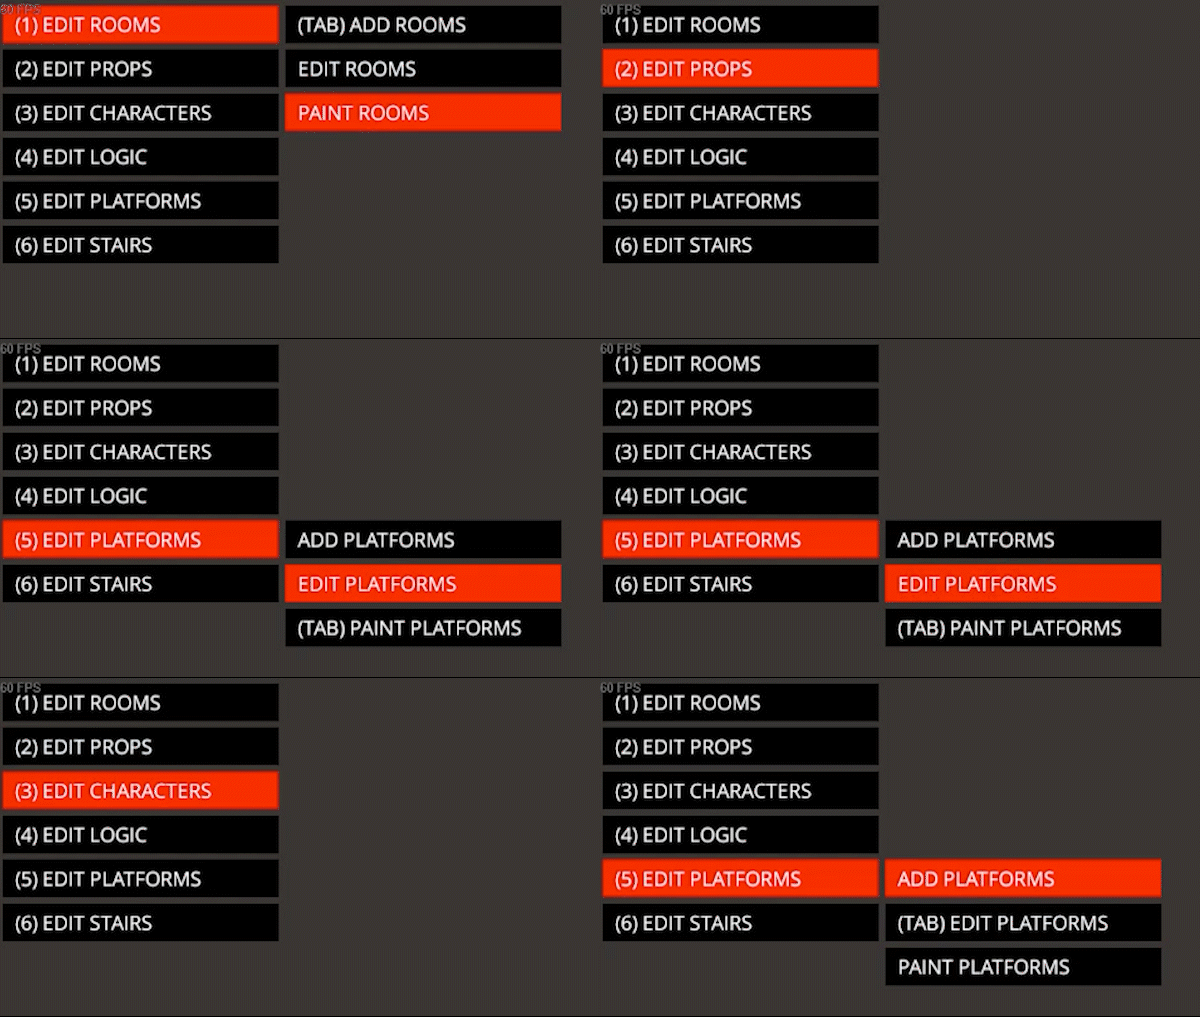
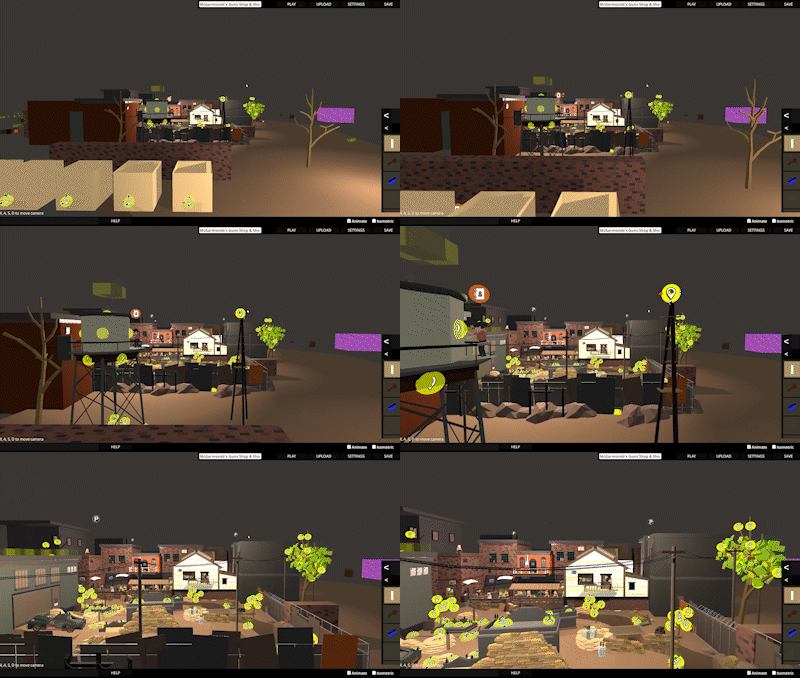
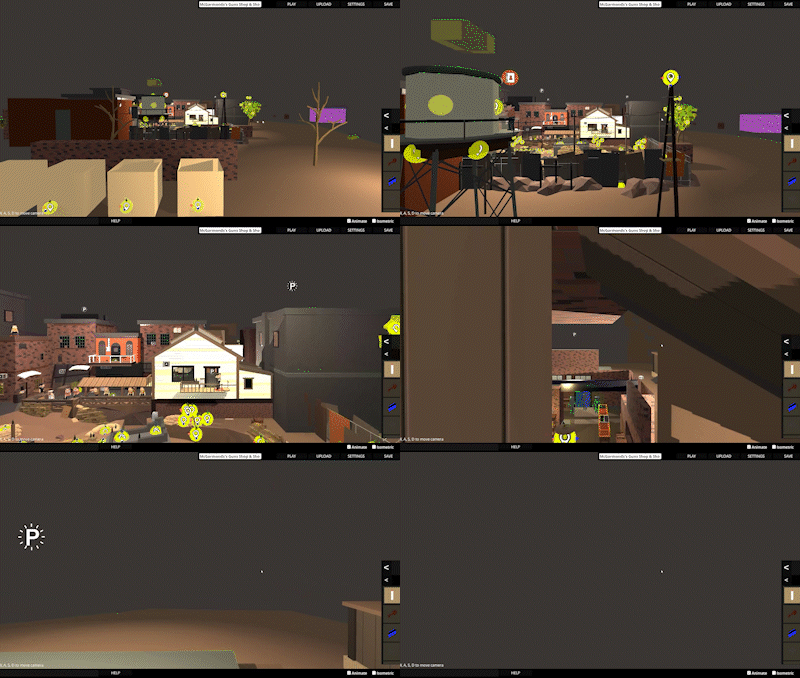
DONT YOU EVER USE CTRL Z IN THE EDITOR! NEVER USE CTRL Z IN THE EDITOR! EVER!
Okay dont get me wrong, ctrl+z works okay nowardays, yet it’s very messed up. I don’t use it at all, and so shouldnt you, trust me.
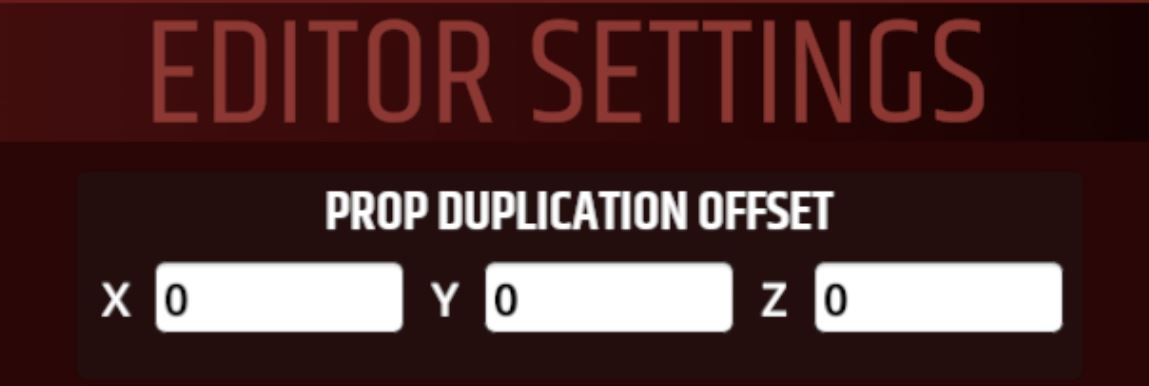
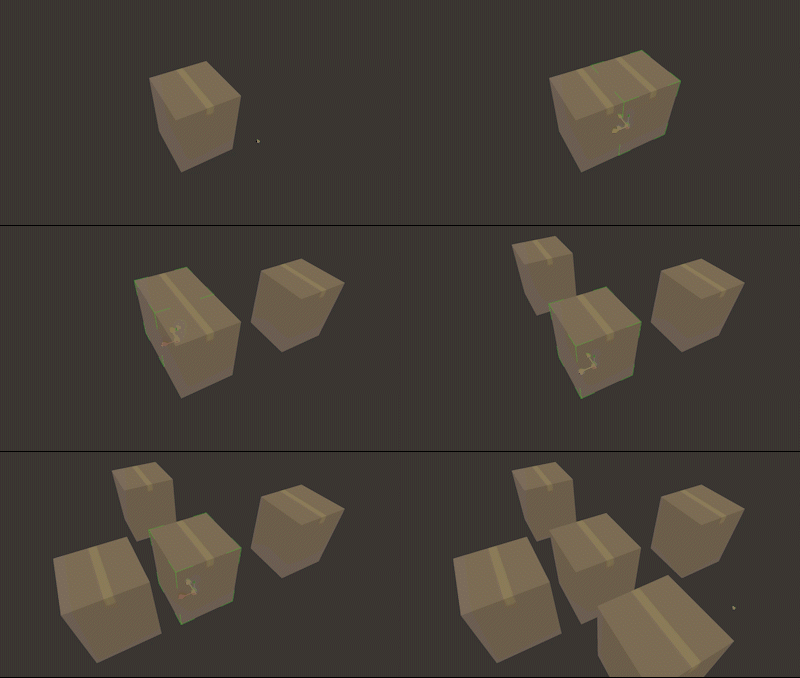
===========================
 MAKE. REGULAR. BACKUPS.
in case you didn't get it, once again,
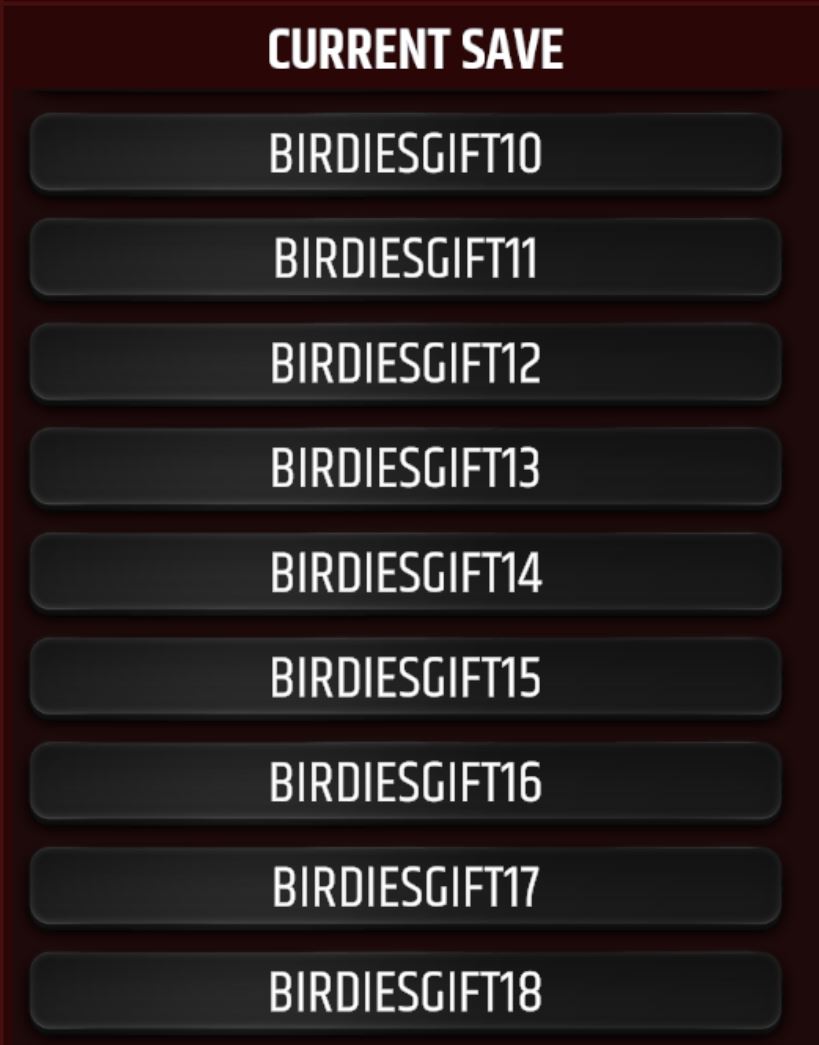 If you still do not follow this rule, you better start, because loosing your project one day for some stupid reason is not what you’d like to experience.
The editor loves to crash, so make regular saves while working on your level.
And also, save your map as a new file each time you’re adding something massive into your build.
Not only you’ll be able to get to the earlier versions later if something goes off, but also this helps to avoid such nasty things like tornado glitch or primitives reset. Also its a good idea to have a copy of your projecs at some additional storage, like a cloud drive or a usb stick.
All these precautions may look strange, but believe me, It’s a normal practive far beyond pttr mapmaking, and far beyond videogames in general, and you really should do that as well.

PERFORMANCE
You may end up spending WEEKS building your maps, and its gonna be a HUGE letdown, if in the end nobody would really manage to enjoy it because of lagging or sudden frame drops. Often this can become a main reason why you get less positive rates.
- Lights and traps. Lights bring the heaviest damage to your performance. You have many lights or traps activating at the same time? God bless you.
it’s okay to use a lot of lights. But when there are hundreds of assets in your scene, this may become a serious problem, because it seems that the game has to count the affection of each light source for each object.
Also, don't connect light source with a timer. I know you can get a nice flickering lights effect with that, but for now there is a nasty glitch that will cause freezes each time the timer triggers the lights, so.. just don't. - Platforms. The larger the platforms you use, the longer it takes to load your map. Can't call it a pure performance issue, yet its still a very bad thing. When you launch the level, the game starts counting is navmesh (all the surface where enemies can walk), and the longer it takes to count, the longer the loading. That's why too many lange platforms can be bad.
- Enemies. Actually, enemies themself are not that "heavy", but when they start fighting each other painting everything around with their insides.. the blood gets its own reflections from the light sources, etc etc.
- Grouping stuff together. Don't group objects if that's not something necessary for your logic schemes. The game will have to count each group. Also this can cause issues like a tornado glitch or primitives reset.
- A thousand of pianos. Piano is just an example here. Thing is, some assets have lots of polygons, faces, materials applied to them. So, when you add them, this adds extra weight on Unity engine. I'm not telling you not to use detailed assets, but building a house with "pianos" is definitely a bad idea.
it’s all just about the balance, pretty much. The editor isnt friendly with massive builds, so the best you can do is remember that your resources are always limited.
Well, still here are the ten things you can do:
- Manage your resourses. For example, don't add more than 60-80 enemies. Thats an abstract number right here, of course, but you get what i mean.
- The emission effect the lights bring, it can be replaced with the text props, and you’ll only need a single light source after that. Texts weight less than nothing.
- Or you can simply turn the lights off if the player leaves area and never comes back.
- Whenever you can, make lights that don’t cast shadows
- Whenever you can, replace platforms to primitives, and remove primitives collision when its unnecessary
- Whenever you can, get the texture you need by scaling the existing ones, or by using text props, don't make wall textures with primitives.
- Dont you only limit your resources, but also the workspace. It’s much harder to overwhelm your map if it’s rather small.
- Whenever you can, don't give weapons to characters if they're supposed to attack each other and not the player. Less blood splitting particles = less lagging. Also don't turn on "explode enemies on kill" option for your enemies.
- If your map takes place inside the rooms only, you can go to level settings and check Outdor selection probe box. This will remove reflections from the weapons and props that are not inside the rooms.
- A tricky one. For a corridor-style maps, where the main goal is to get from point A to point B, design your level so that the player keeps looking in different directions, so the objects he saw before do not load his interface. Stay in shadow series is a perfect example of that. [Yeah, its been 2017, we survived as we could]
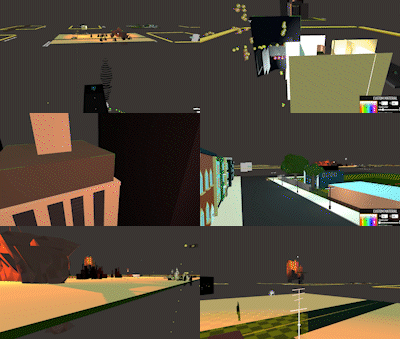
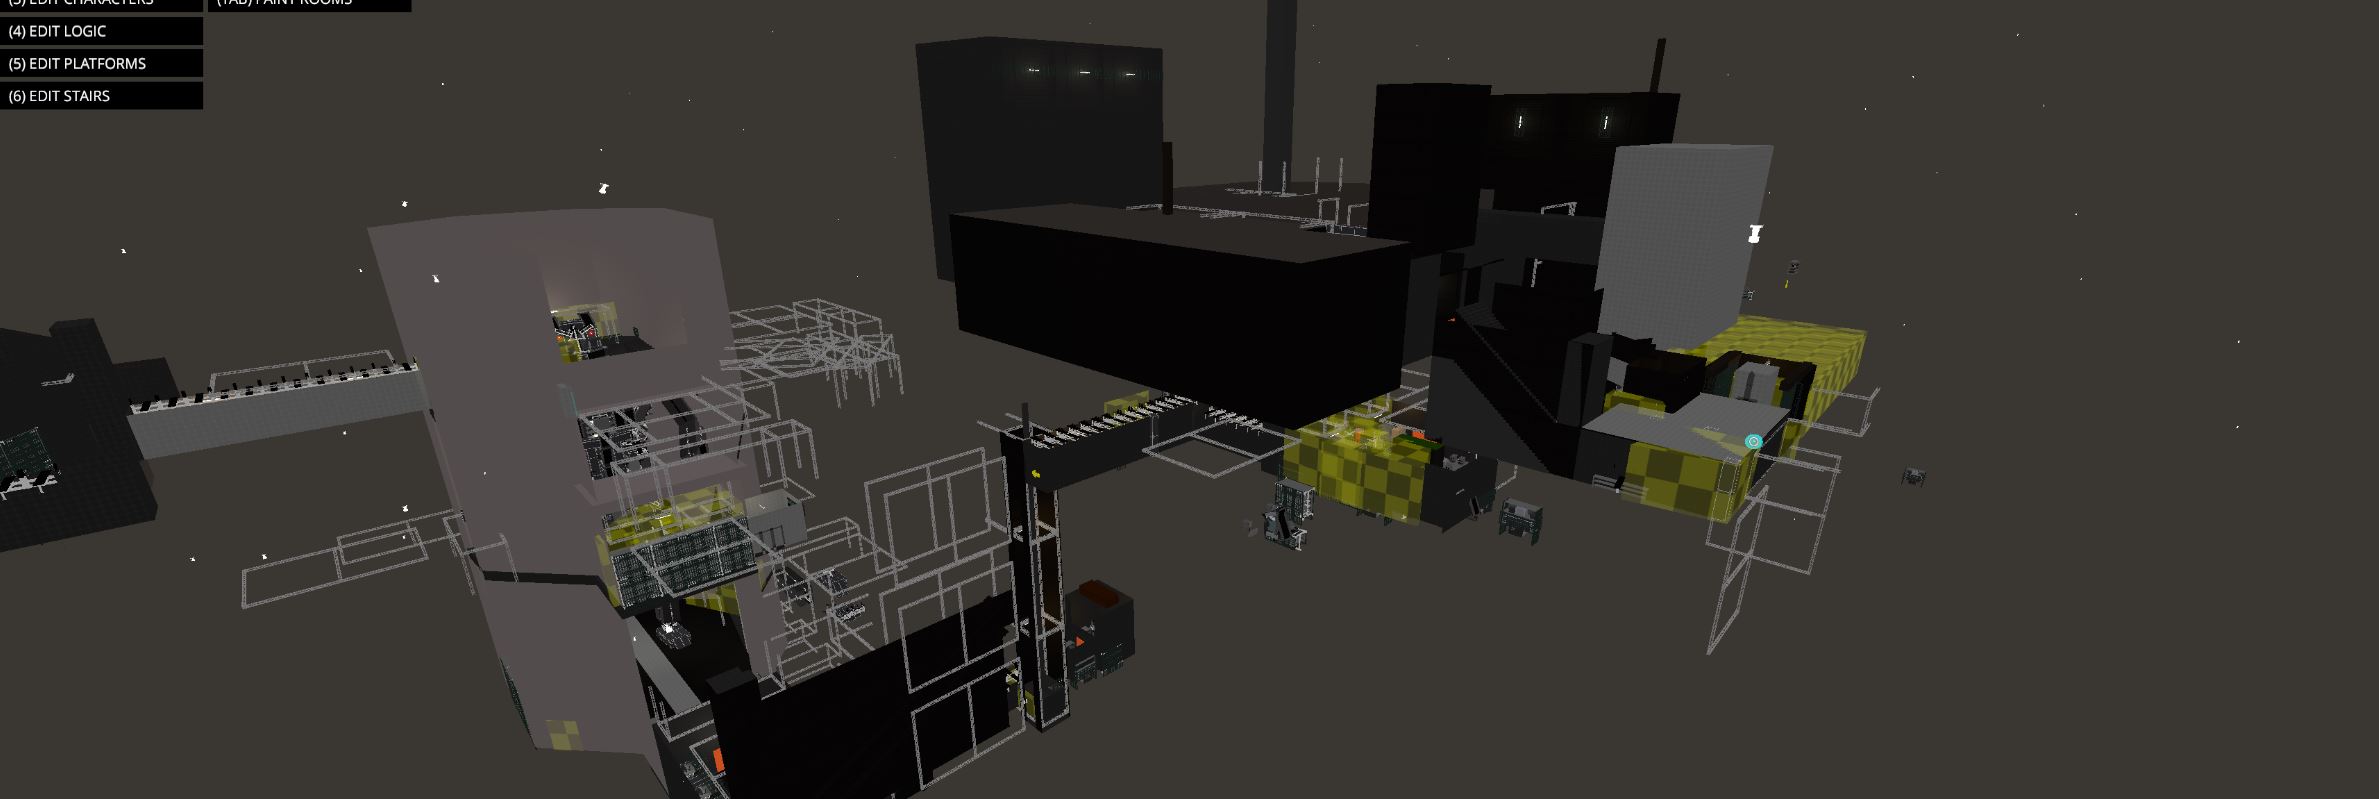
- If your map consists of a few large areas, you can situate them in a way that when player is in one area, all of the other ones simply dont render because they're too far from each other, meaning they have no affection on your performance.
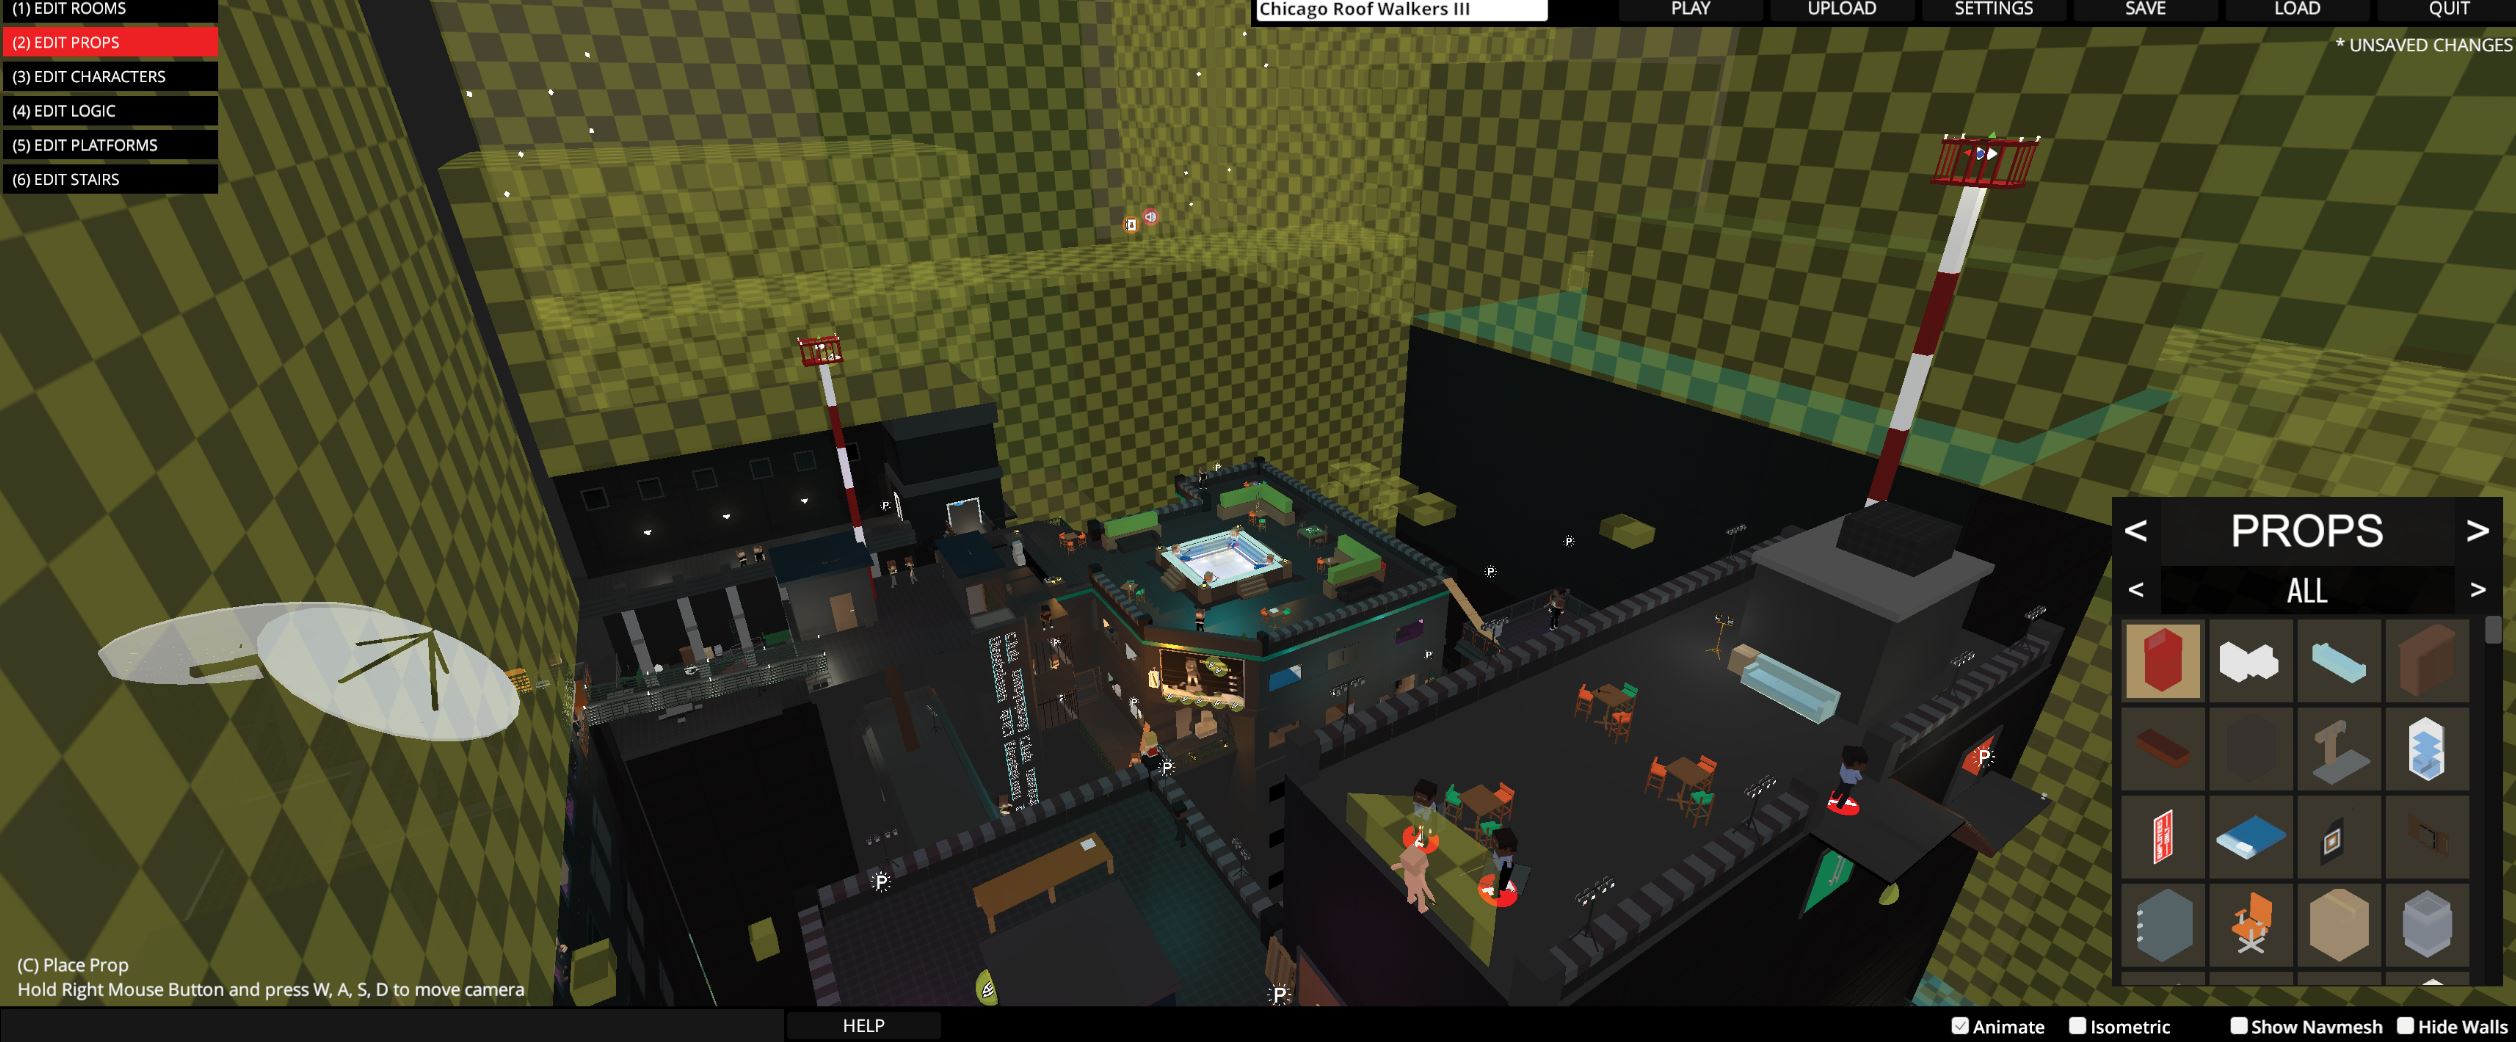
So, how do you do that? First, you turn on your grid, set it to its largest size, create a platform, and scale it so that it’s length is 21 units
Now, anything you place behind this Aquila Rift, wont affect your performance while you’re on the other side. And if you need to move between these zones, simply use teleports.
I also made a prefab[drive.google.com] which includes a two by two grid for that. Just download it, and place it to your LevelEditorPrefabs folder on C:\Users\%Username%\AppData\LocalLow\South East Games\Paint The Town Red.If the folder isn't there, create it yourself.
The fly in the ointment is that this move increases the loading time for your level, so don't add more than 4 zones.
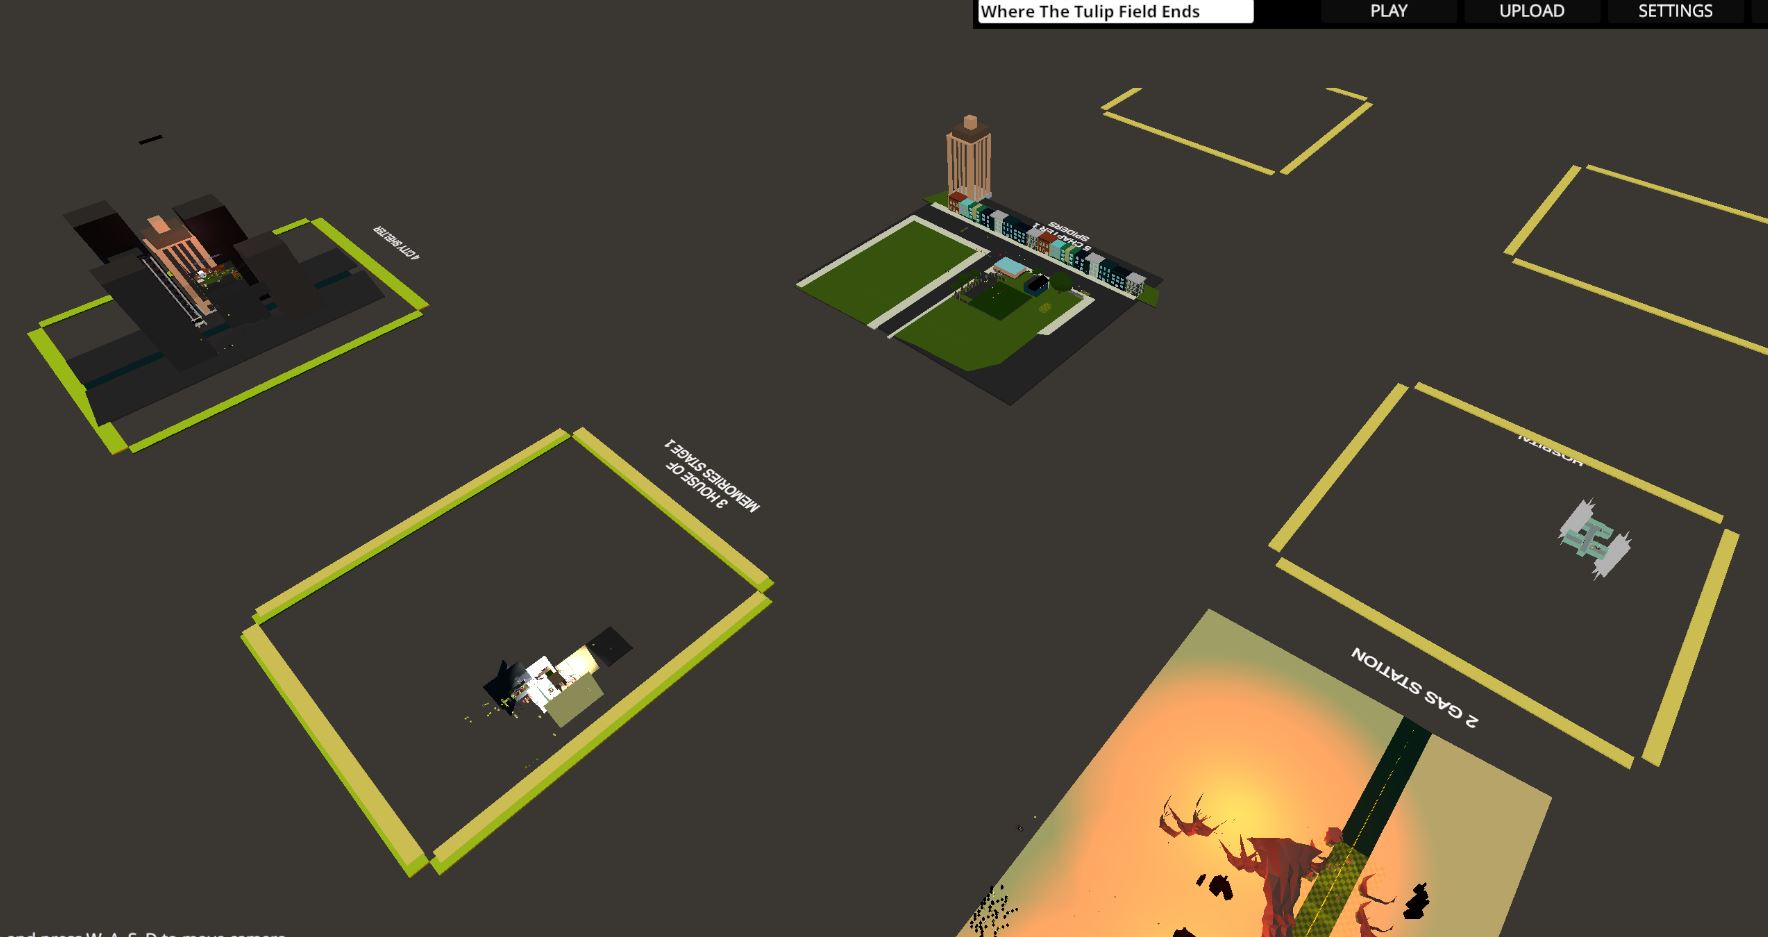
A fun fact. If you ever played my maps, you know I never manage to keep it right with performance, don’t be like me.
So, be careful and don’t underestimate the importance of these recomendations.
P.S: These are the recomendations, not the strict rules. If you step over the line, it isn't bad, you just watch how it goes.

BUILDING TIPS: Rooms, and Lights
Now, when we discussed the basics, let’s finally get to the most well knows tricks and building ideas.
Starting with a box is not a bad thing, but leaving it’s walls completely flat is a bad idea. Just have a few of extentions on a free flow, and this will already make the inner space more eye-cathing. Also, rooms of different shape and interior always help with navigation as they’re easy to remember.
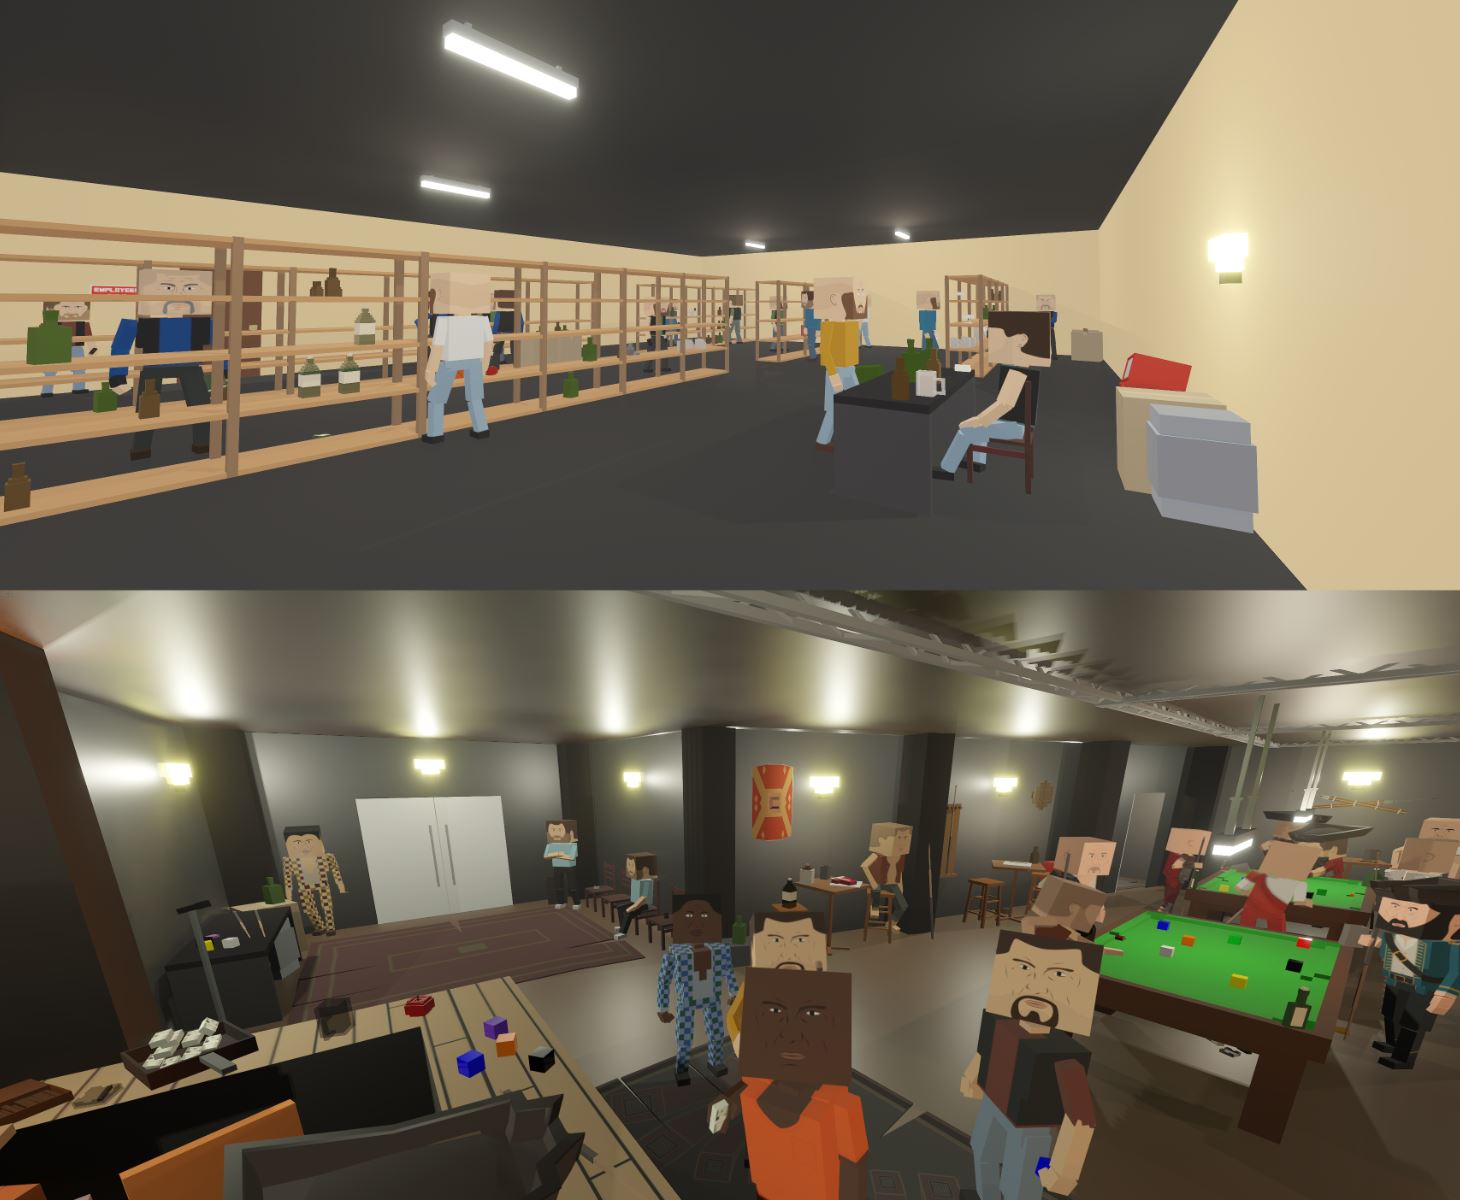
Another casual reason why the room may look empty is because of its scale. So remember to use the default character figure and furniture assets to find better proportions. Also, smaller rooms are much easier to decorate, if we’re talking about details, but we’ll get to that later.
If your room is still empty and you dont like that, you can try a couple other things to make it look better.
First, you may want to replace any room paint to a texture. Textures add a lot of visual noise, and we immediately catch more details.
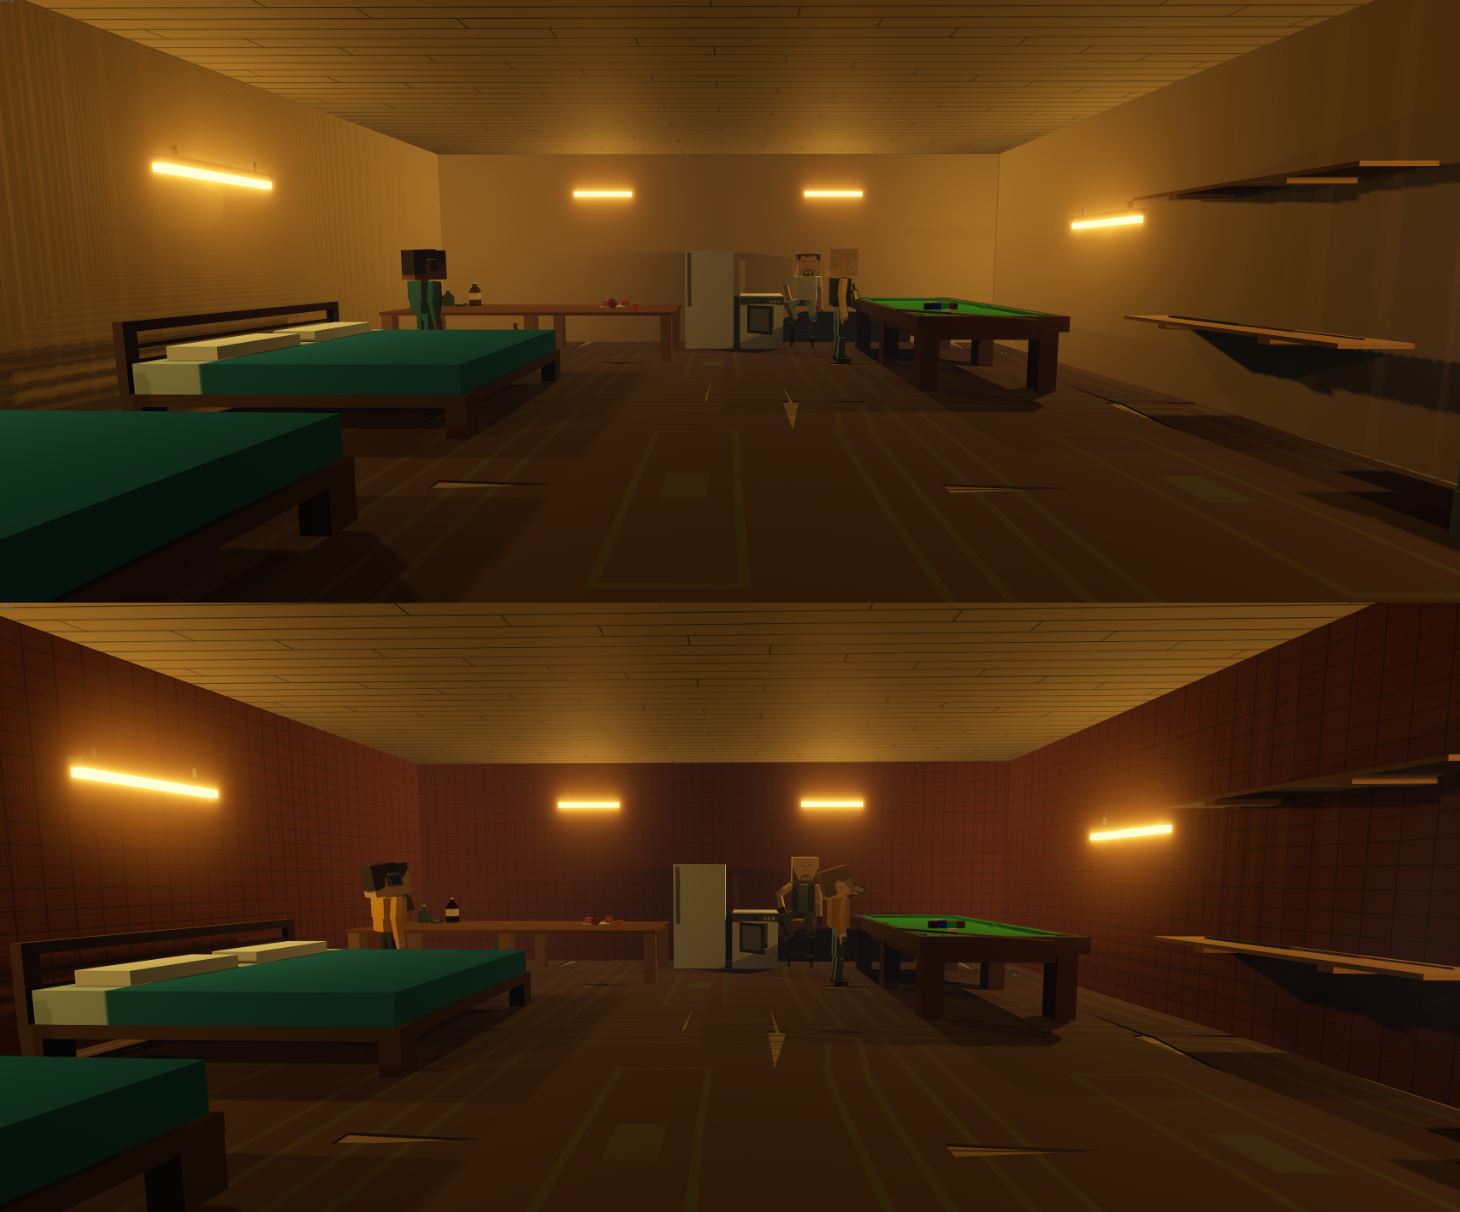
And secondly, you can change ambient light to get more shadows. It’s funny how playing with light can change the whole aesthetic, adding the details as well.
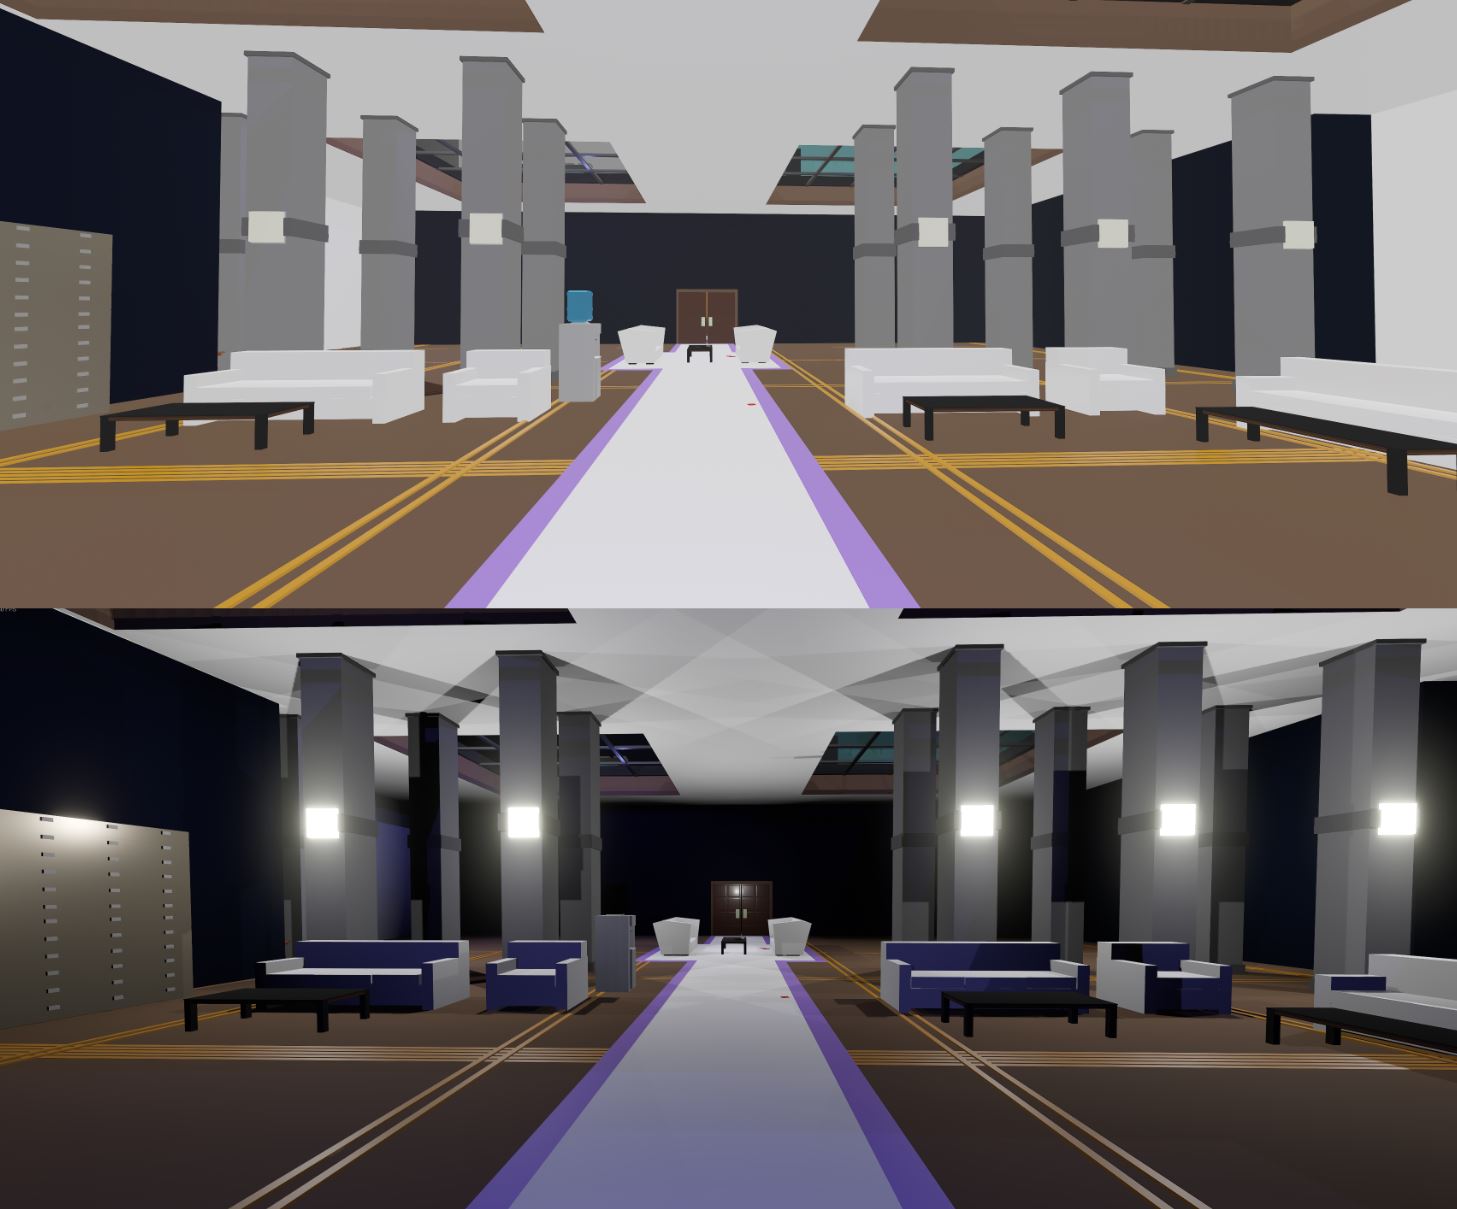
if you don't know how to fill up a room, think about it's functionality: is that a kitchen, is that a bedroom, is that a basement for prisoners? Fill up the room using props related to it's functionality, that's how you can avoid the block.
From the other hand, don't add a new room if you don't know what function it has. It's better not to add something, than being stuck without any idea how to fill up the emptiness.
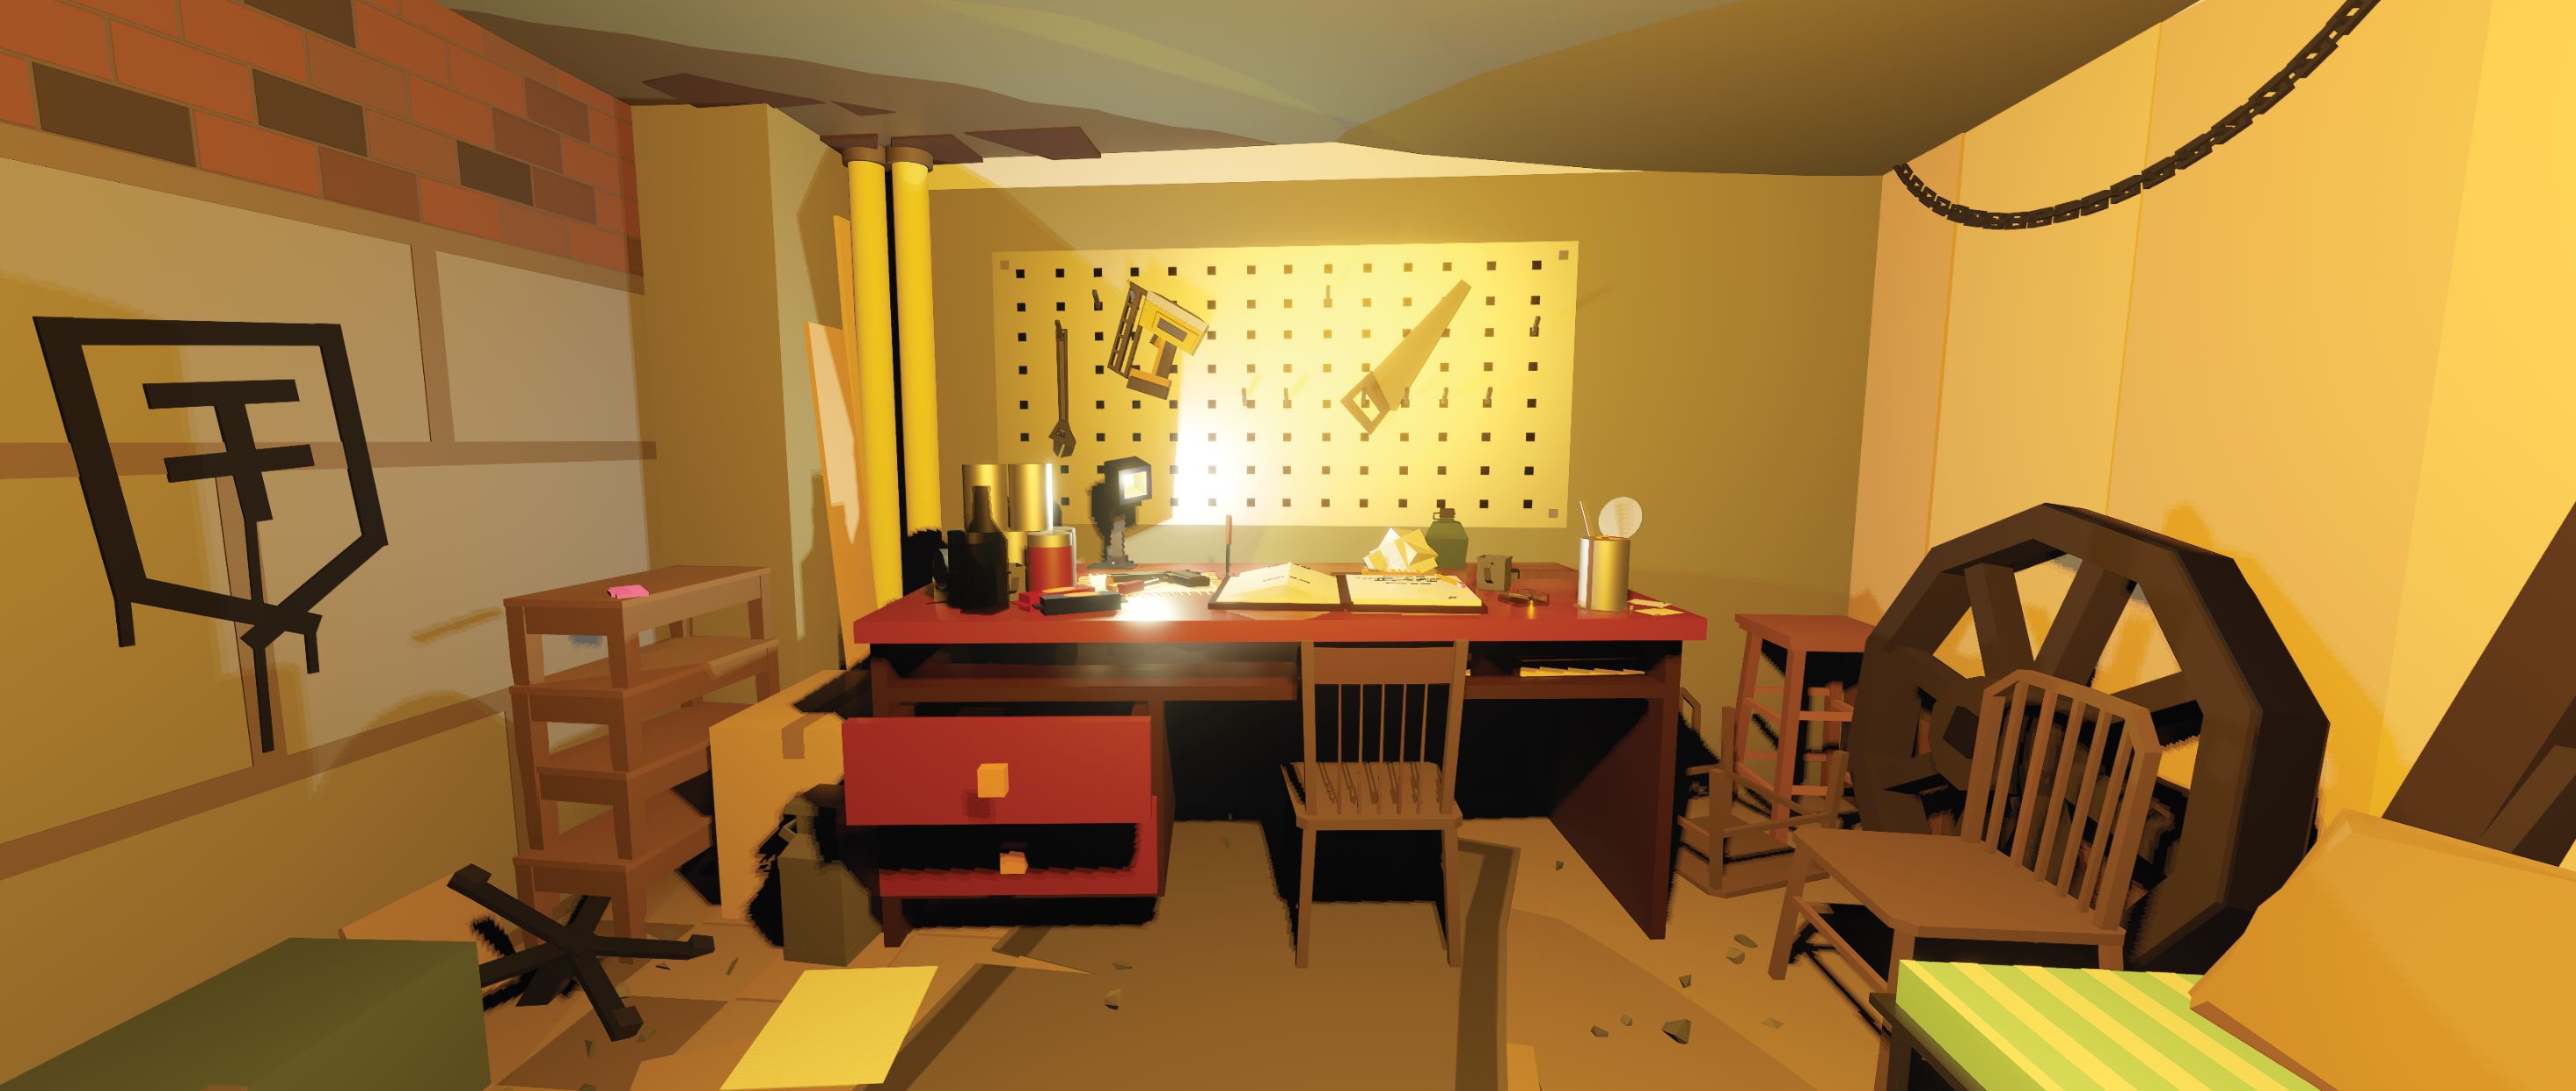
the last thing about rooms: when the scoreboard appears, you’ll see camera looking through your rooms. The feature is, it will always go through the rooms in their creation order. With this, you can manipulate with what player sees in the end. Can use it to show him a hidden message, or simply for an interesting angle as level ends.
Example: https://steamcommunity.com/sharedfiles/filedetails/?id=2984099386&searchtext=wheat
Back to the lights now.
Dont only use the light sourse itself, but also use the absence of it. Active light sources can be used to attract the player to various important points of interest, or to hide the lack of details where it’s not important.
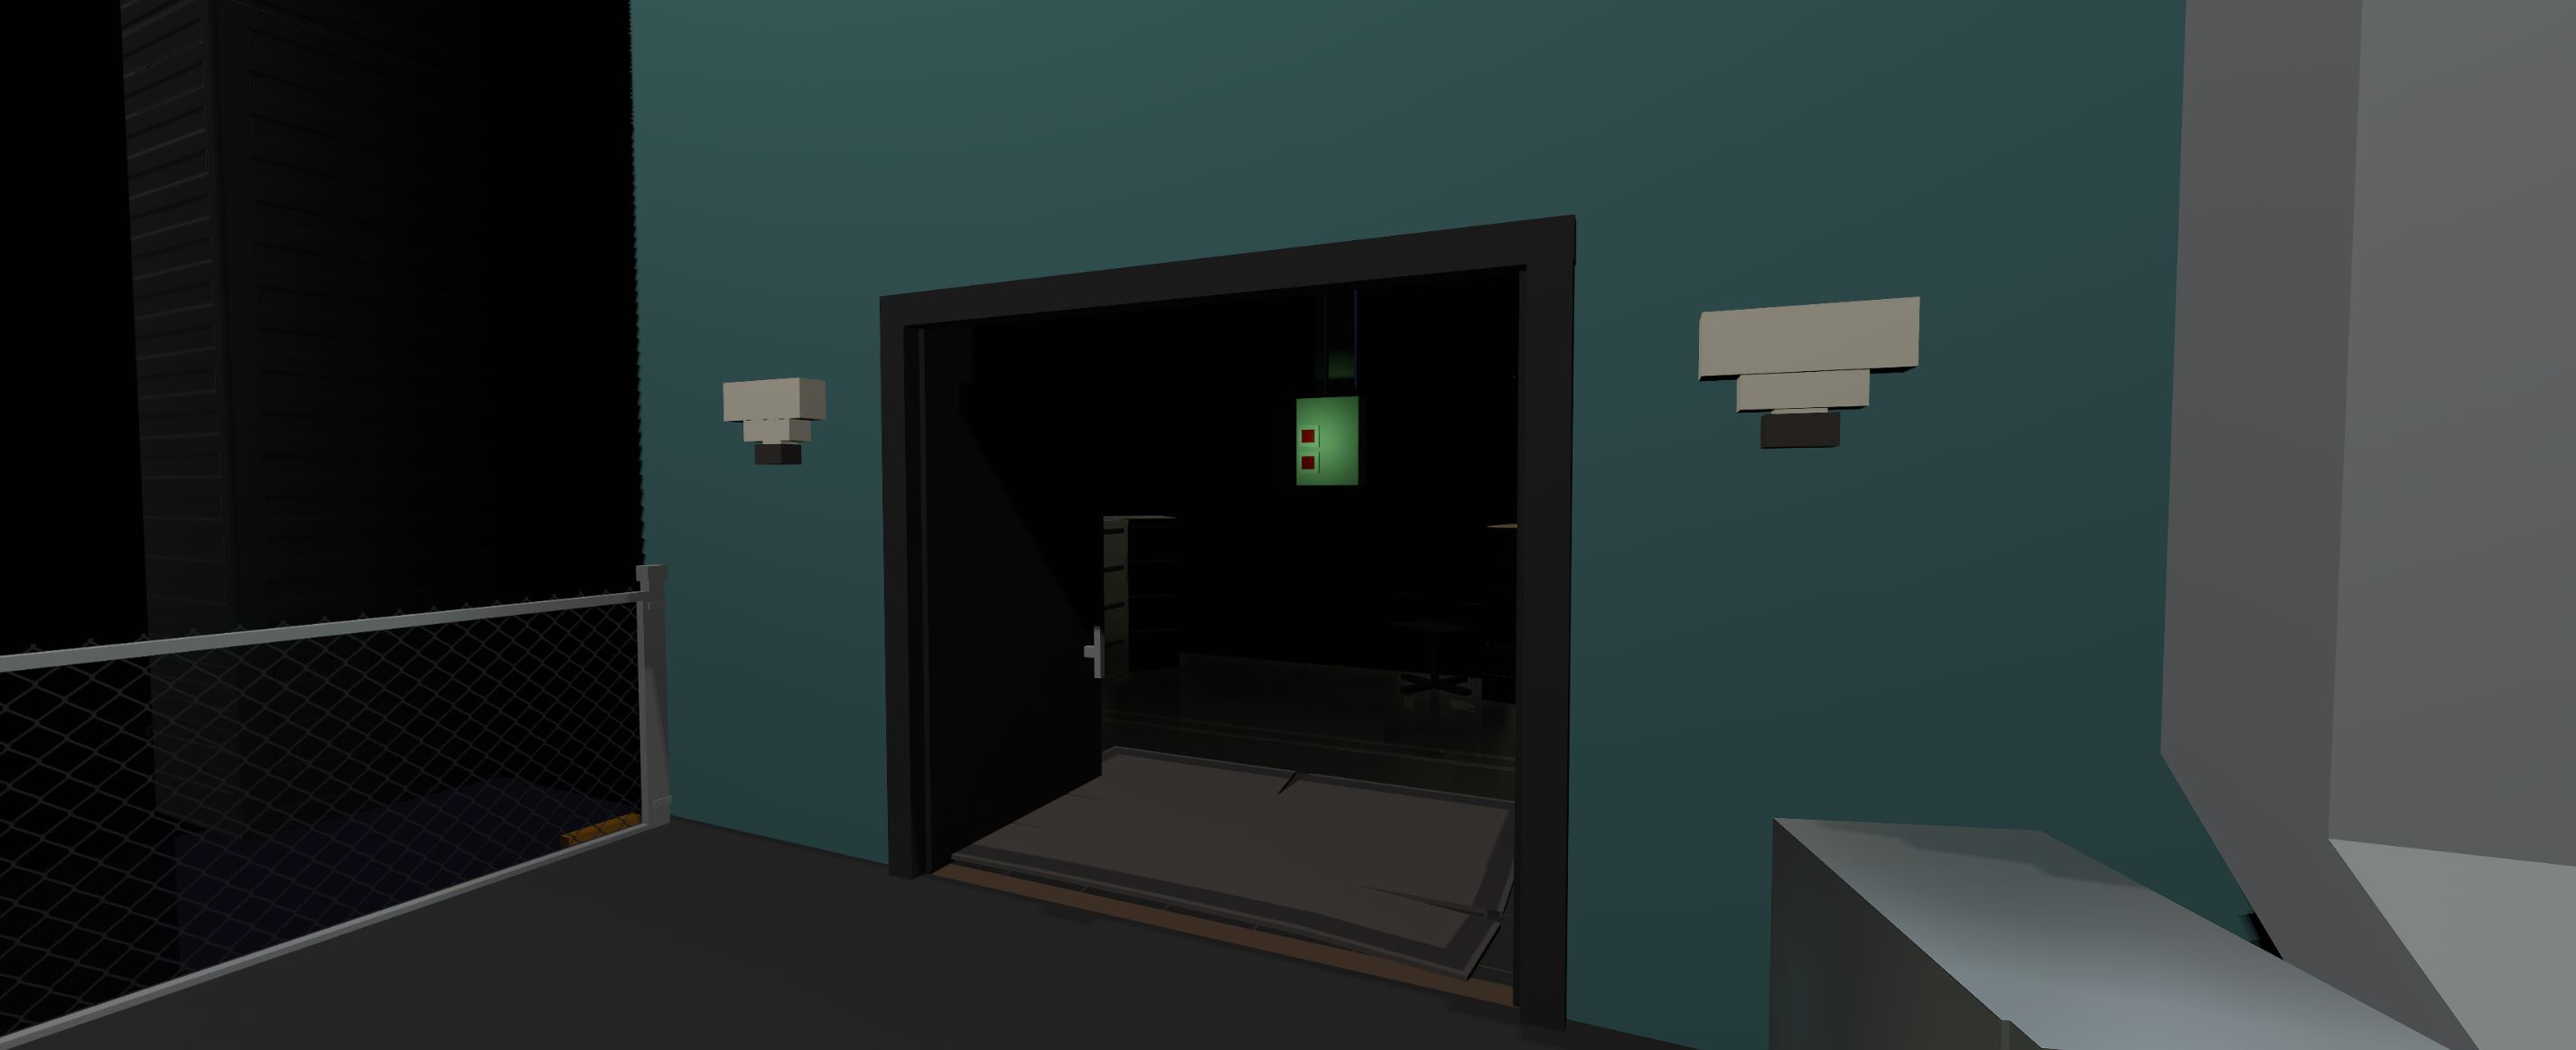
Pay attention that the further the light source is, the more pixelated the shadows it casts. Thats why its better to place your light sources as close to the objects as possible.
and If you want to get the most constrast shadows, for some horror map, for example, you can set your for and ambient light to 0 0 0.
Since weve just touched fog and ambient light, here are a few tips on these options:
First, even if you’re fine with the default lighting and fog, I still recommend you to experiment with them for a bit, as you can really change the map vibe.
Also, in some cases, you can improve lights on your map, with one simplified rule from pictorial art: warm light sourse - cold shadows, and vise versa.
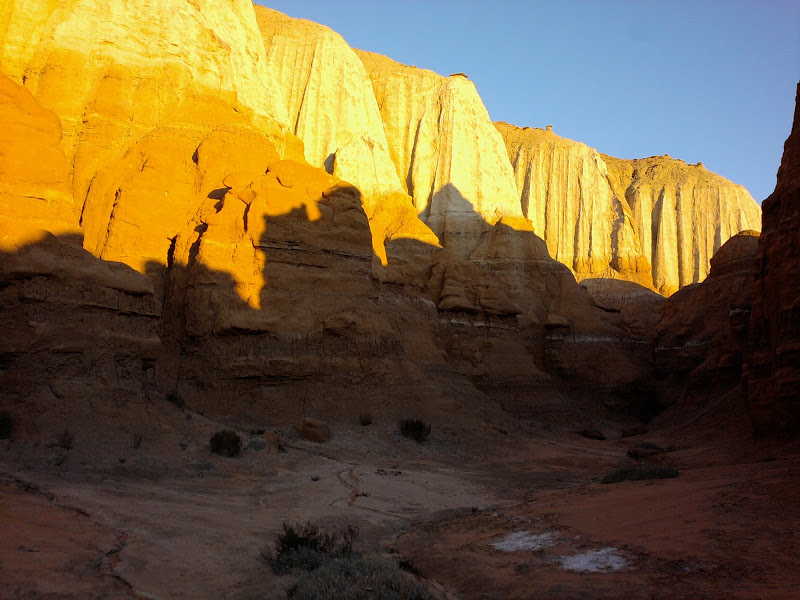 In real life, shadows are often colored with reflections from the objects around. For example, on a sunny day, the shadows are blue, because they are colored with the sky.
If you have lots of yellowish light sources, or if your level is a sunny day, try pointing out the blue channel for your shadows, and see how it comes.
Actually, it’s not just about blue and yellow, there are many other contrast colors to combine.
And of course, you should try and combine multiple light colors in different areas. A variation like this also makes things a bit more interesting.

You can use them to find a code for any color you like, and also to get lots of interesting combinations.
As for the fog, usually it’s a common tool to set up the world color, or the sky color, call it whatever you like. However, the higher the numbers, the thicker the fog. So, the fog doesnt appear if you set it to zero, which is very helpful if you’re making some large inner spaces.
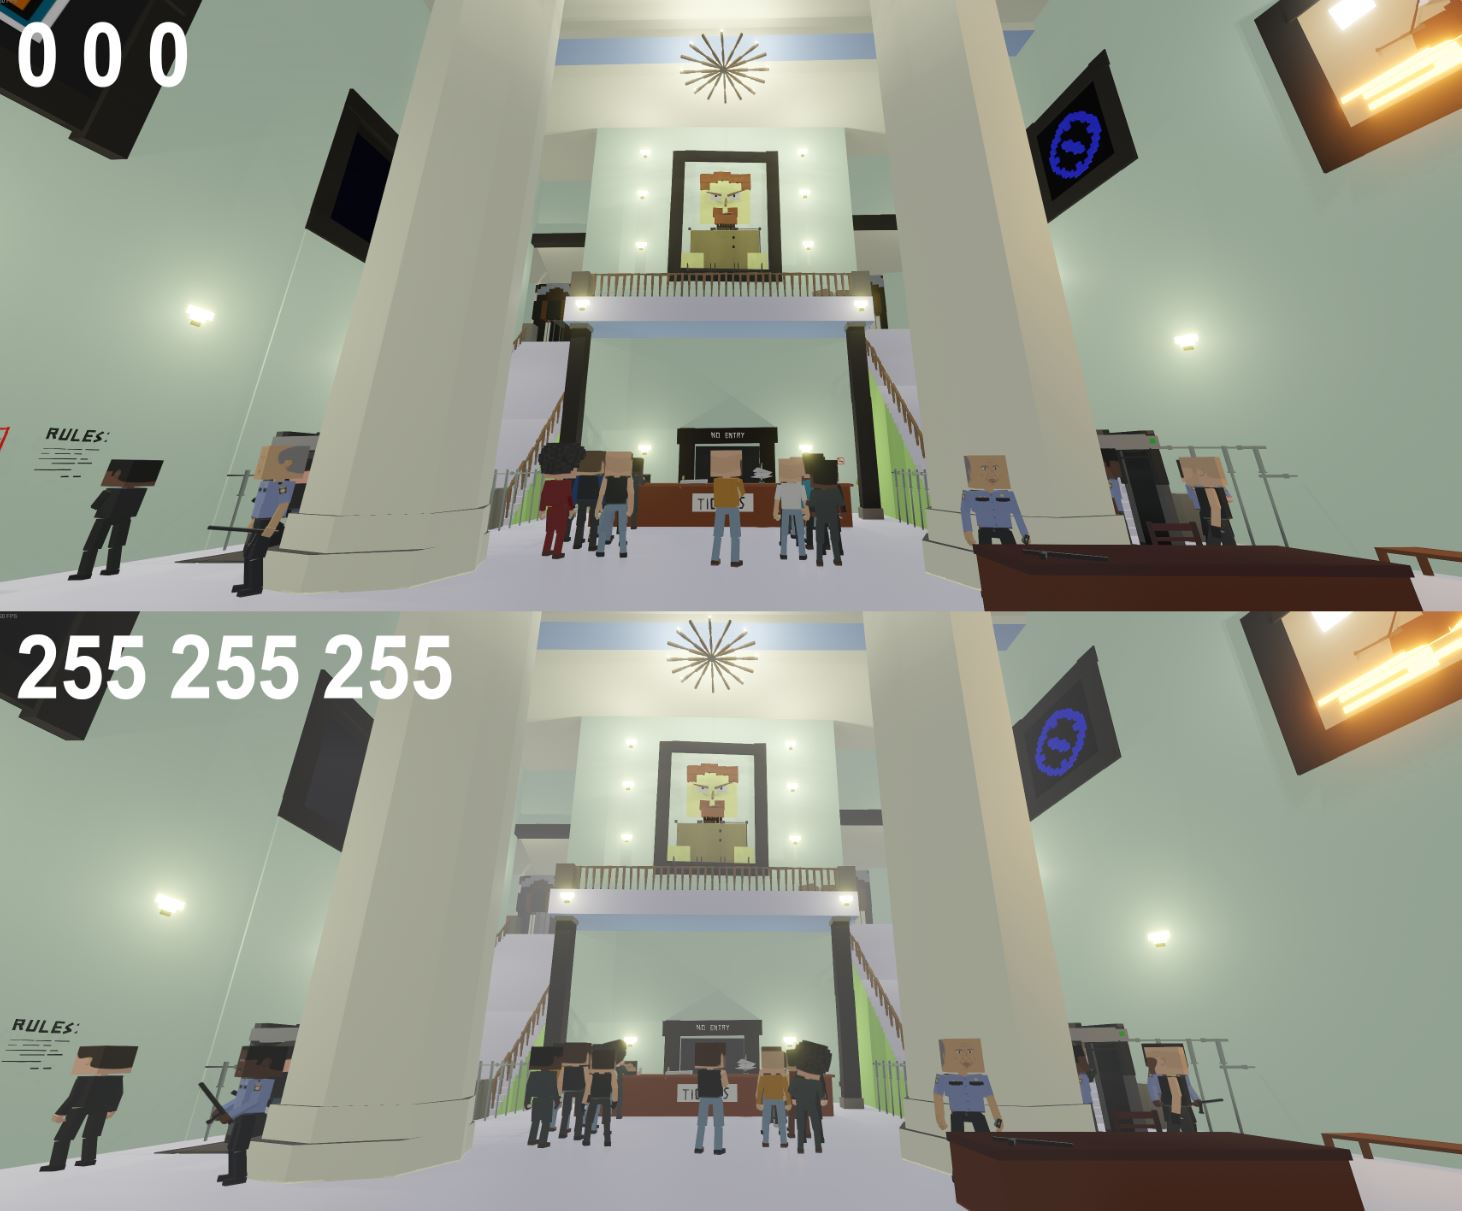
Also, for some reason, the actual fog color will always be brighter than the color you set up for it. So if you’re using a color code, I recommend you to set its number twice lower than they are.
BUILDING TIPS: Props and Materials
Okay, let’s finally get into props and assets.
First, i recommend you to experiment with default assets when its possible. That’s something people used a lot back in time. Just because we didn’t have that many props, we had to combine what we had in order to build things we wanted to build. And it still looks super cool! For example, everyone uses the pirate cove bricks to imitate the boxes everywhere, or washing machines like owens, and this looks nice. Those are very dumb examples, but you can discover a lot of other ones around the classic workshop maps.
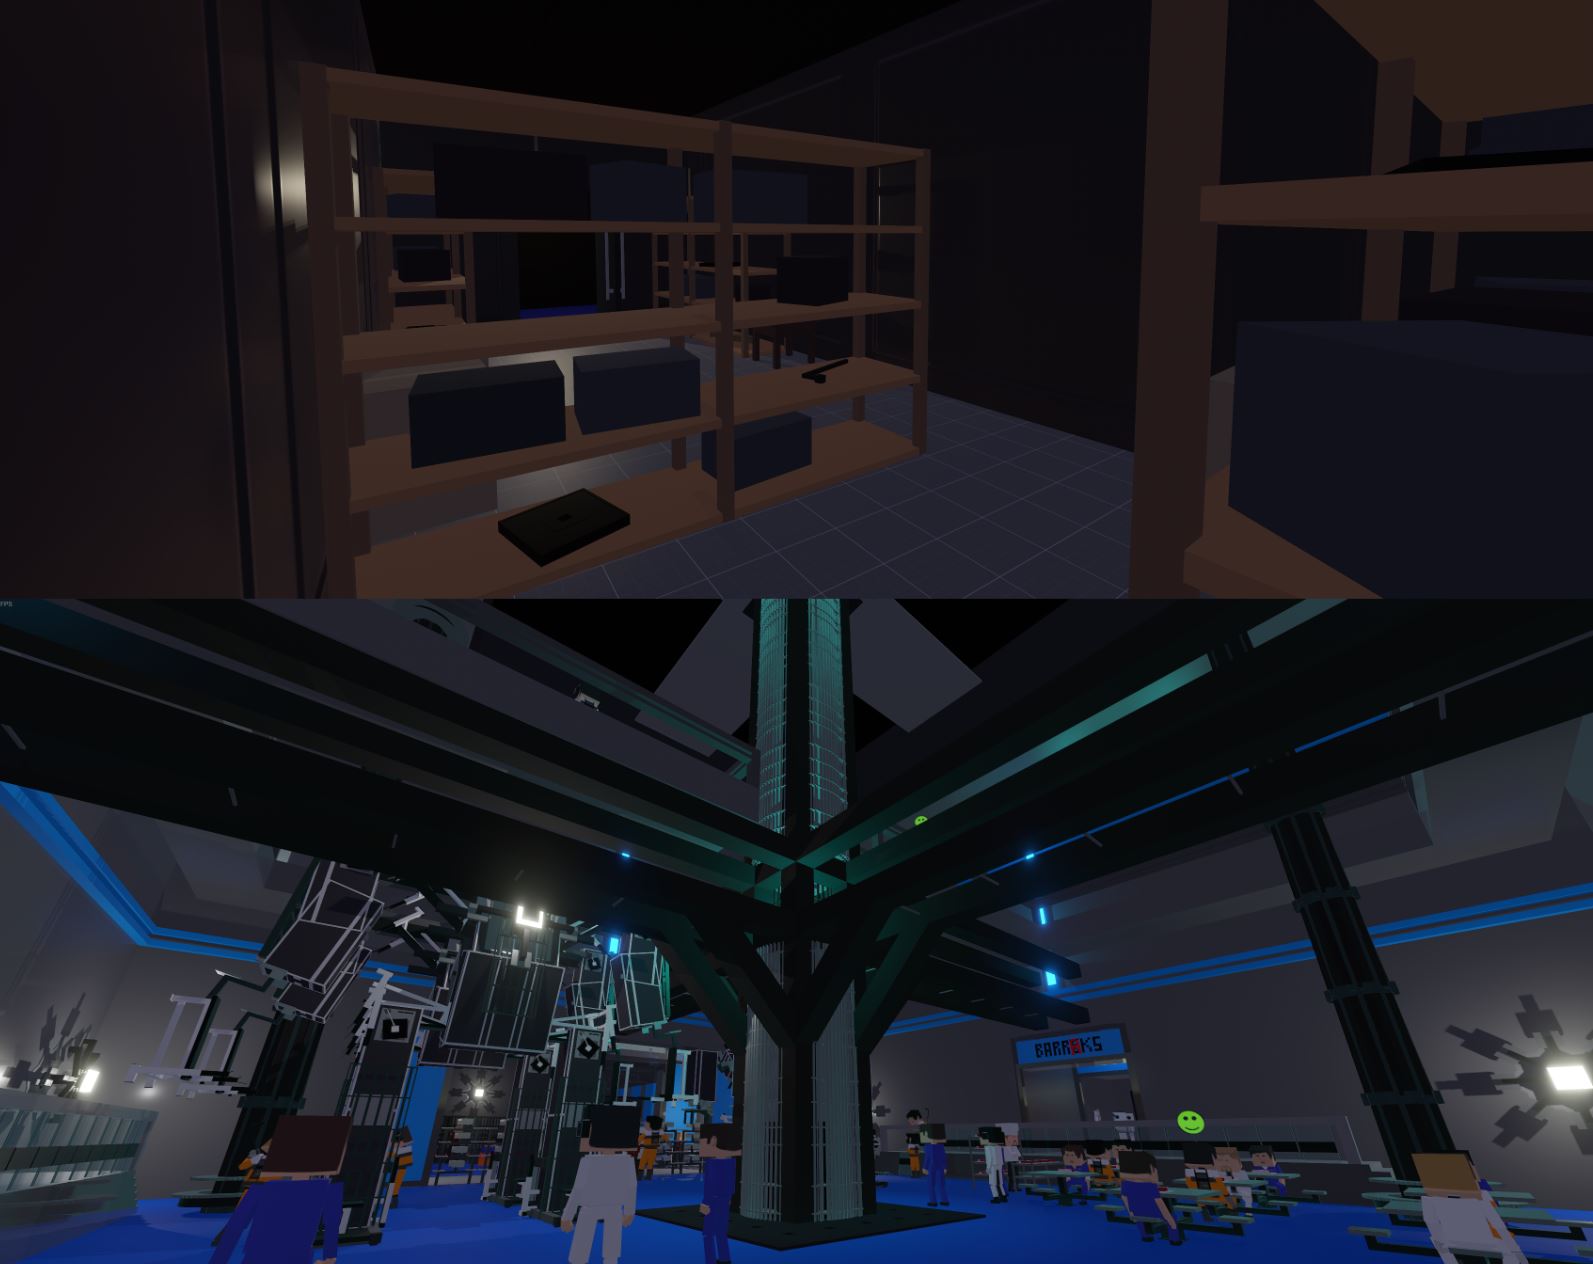
Also, you can combine various light sources to create interesting and contrast lights. Different temperature contrasts can tight everything up together in a nice way.
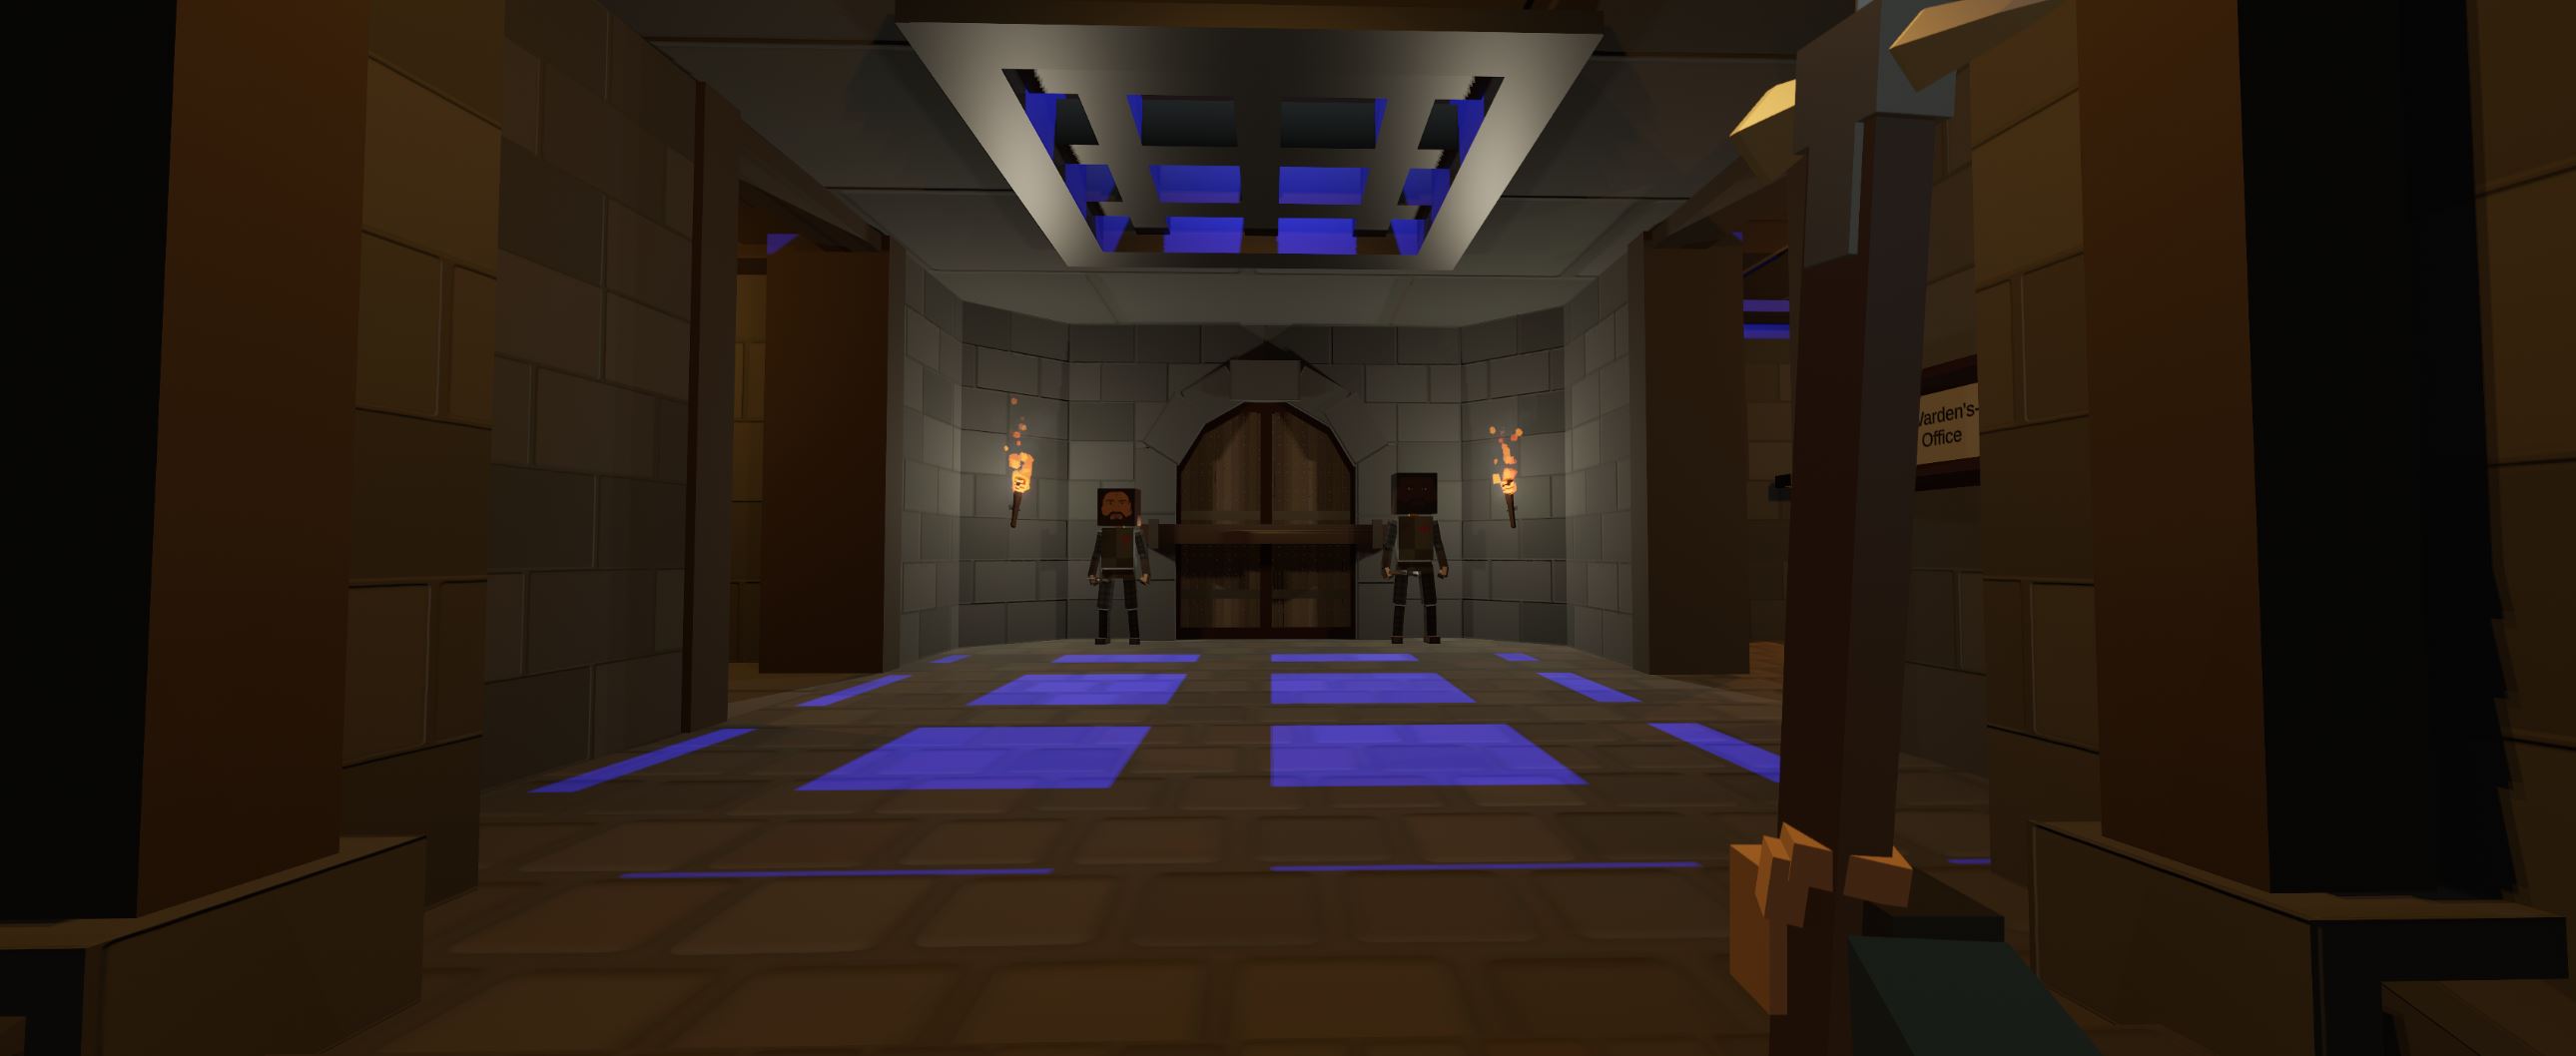
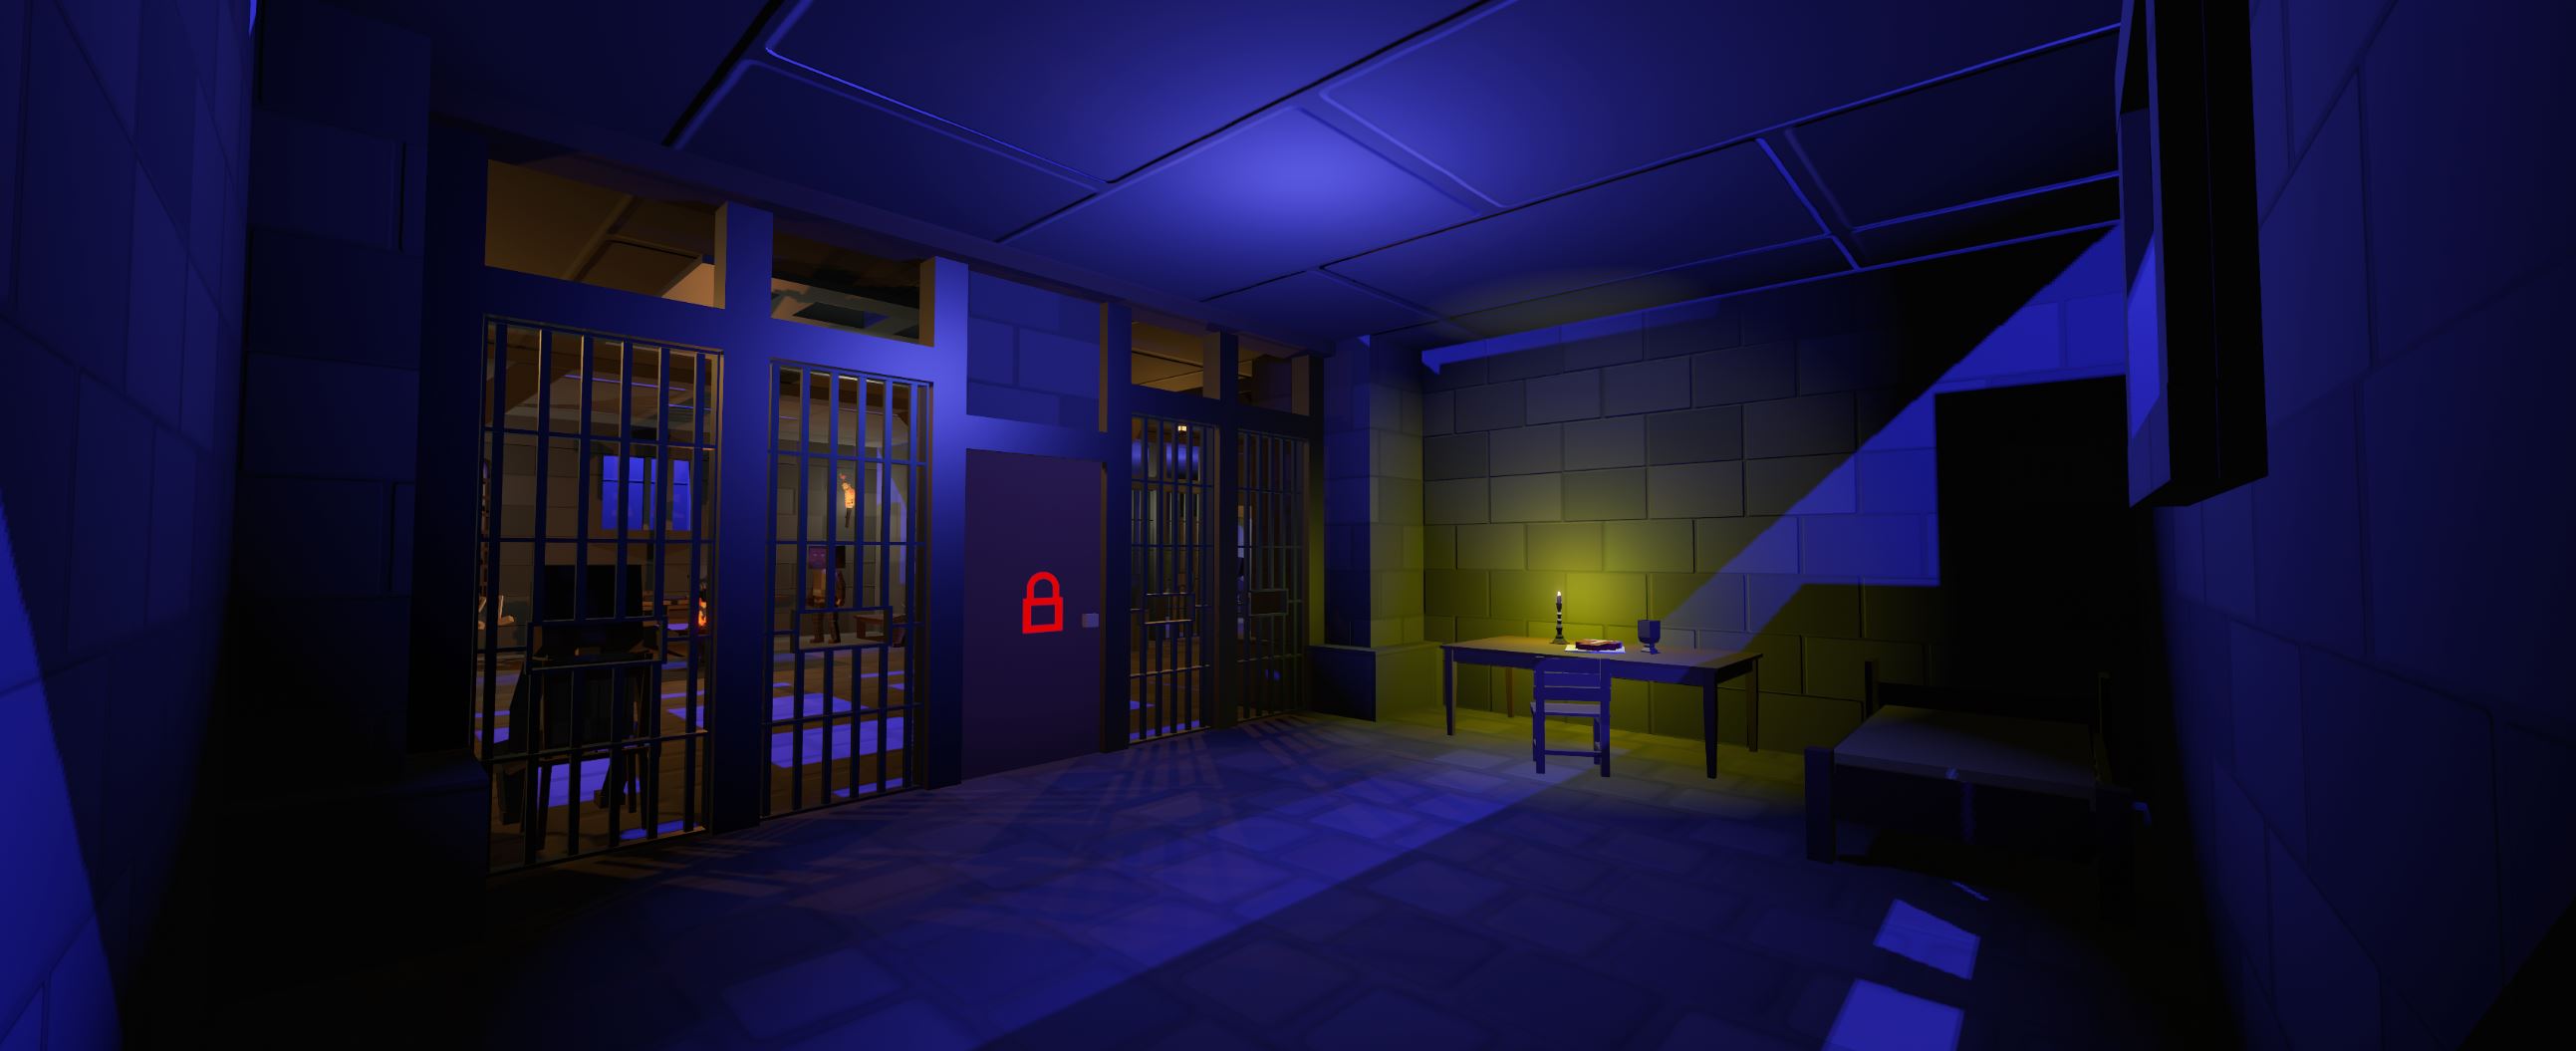
Another awesome thing you can do is combining the primitives and the default assets together: here are some great examples you can meet on other levels. making a new wrap for a familiar object, you make it look fresh, unusual and entertaining, so don’t forget about that.
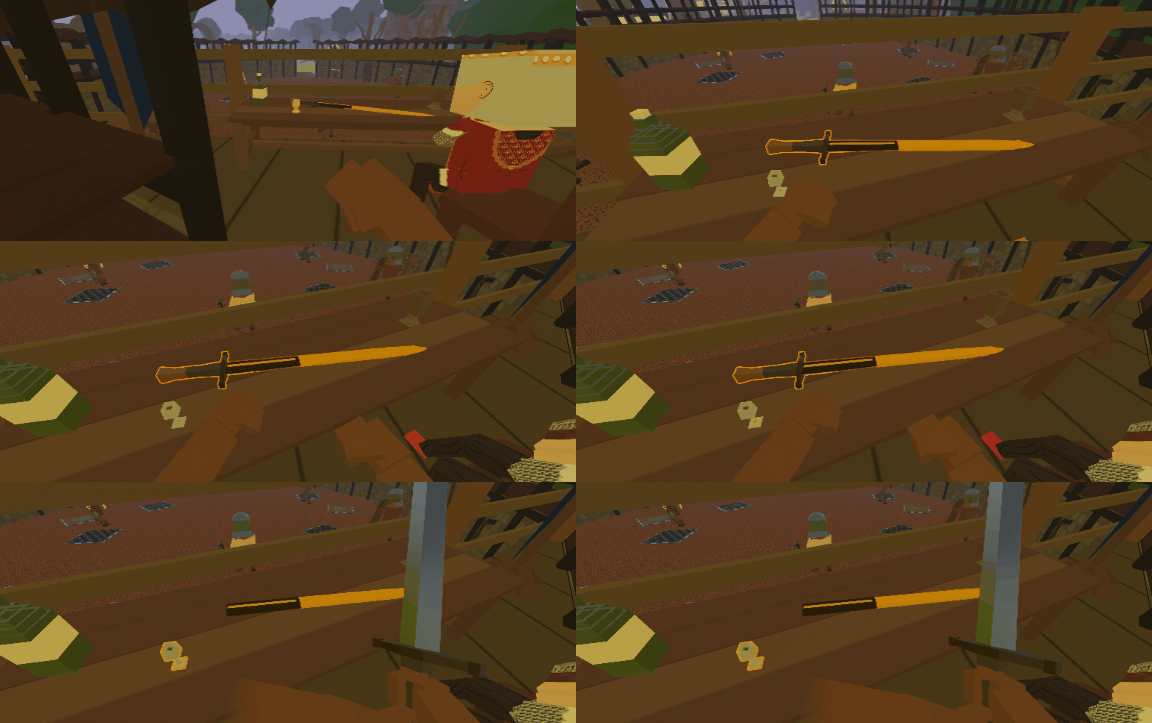
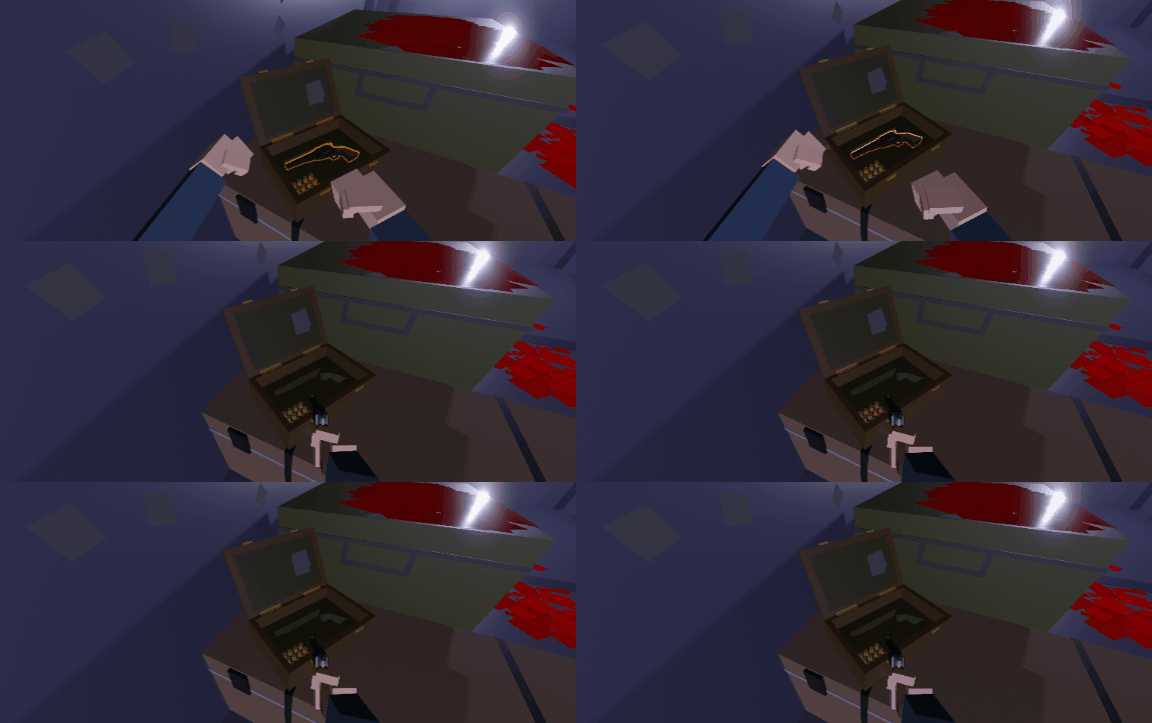
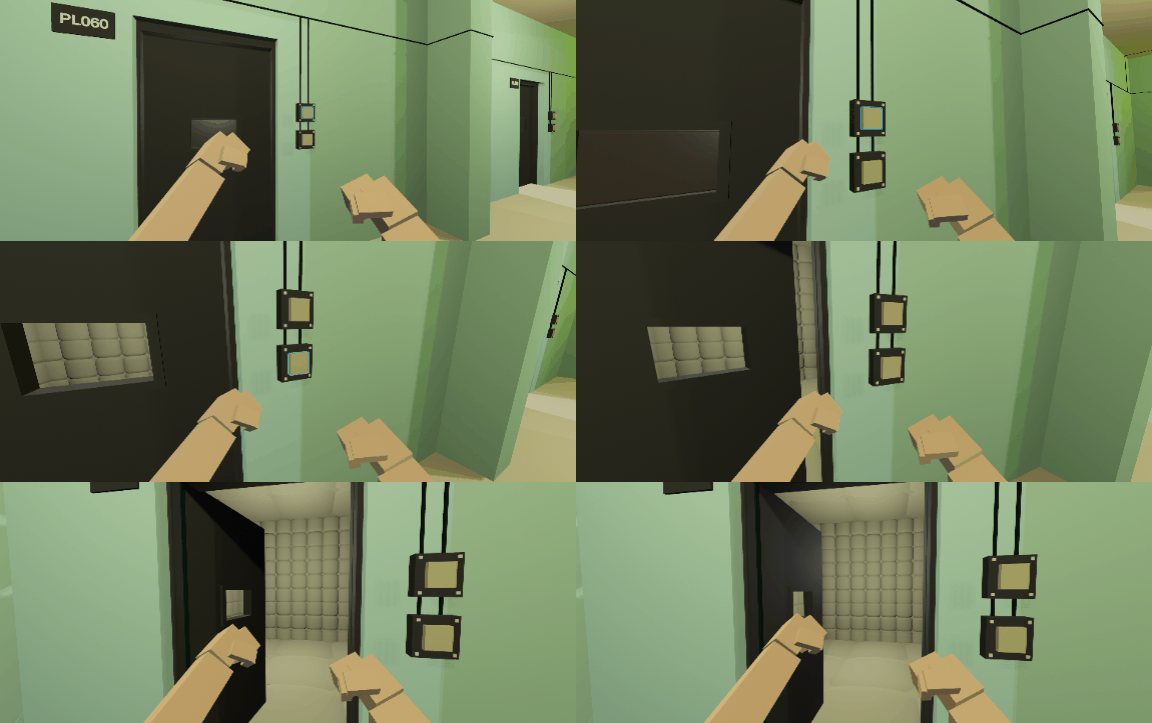
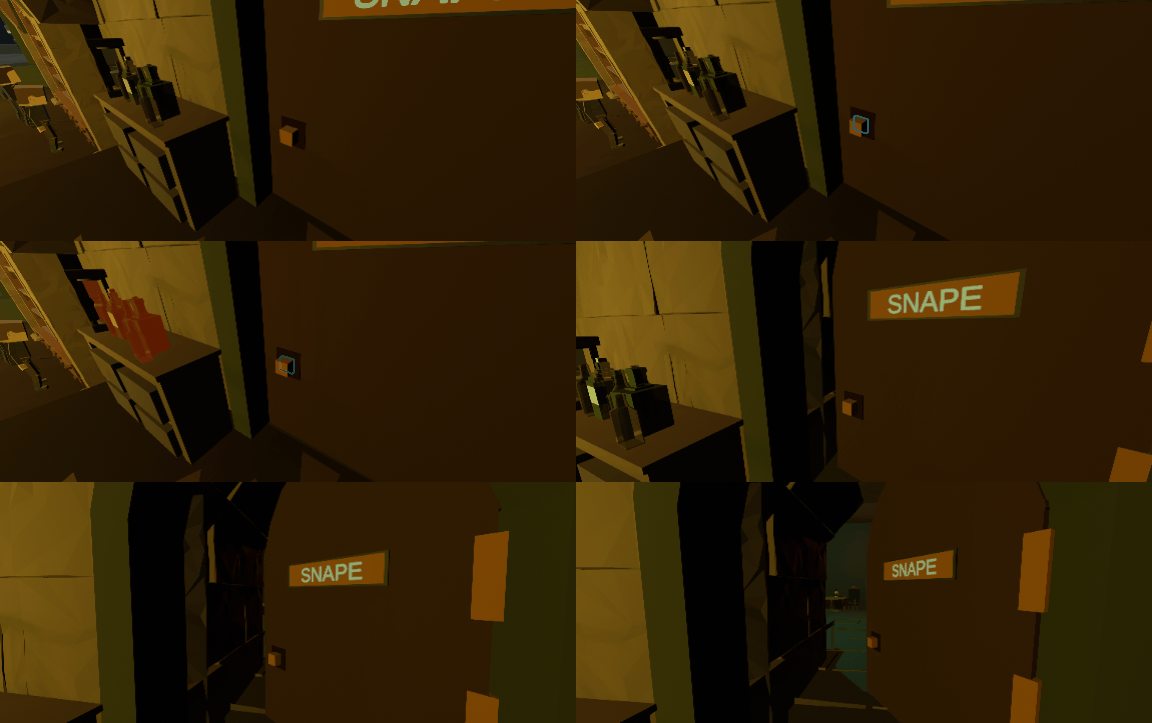
Here is one more example of a cool experiment: If you rotate gravel pile props upside down, you’ll see lots of small rocks. You can use that to decorate yards, rodes or basements. And things like that work with lots of other default assets.
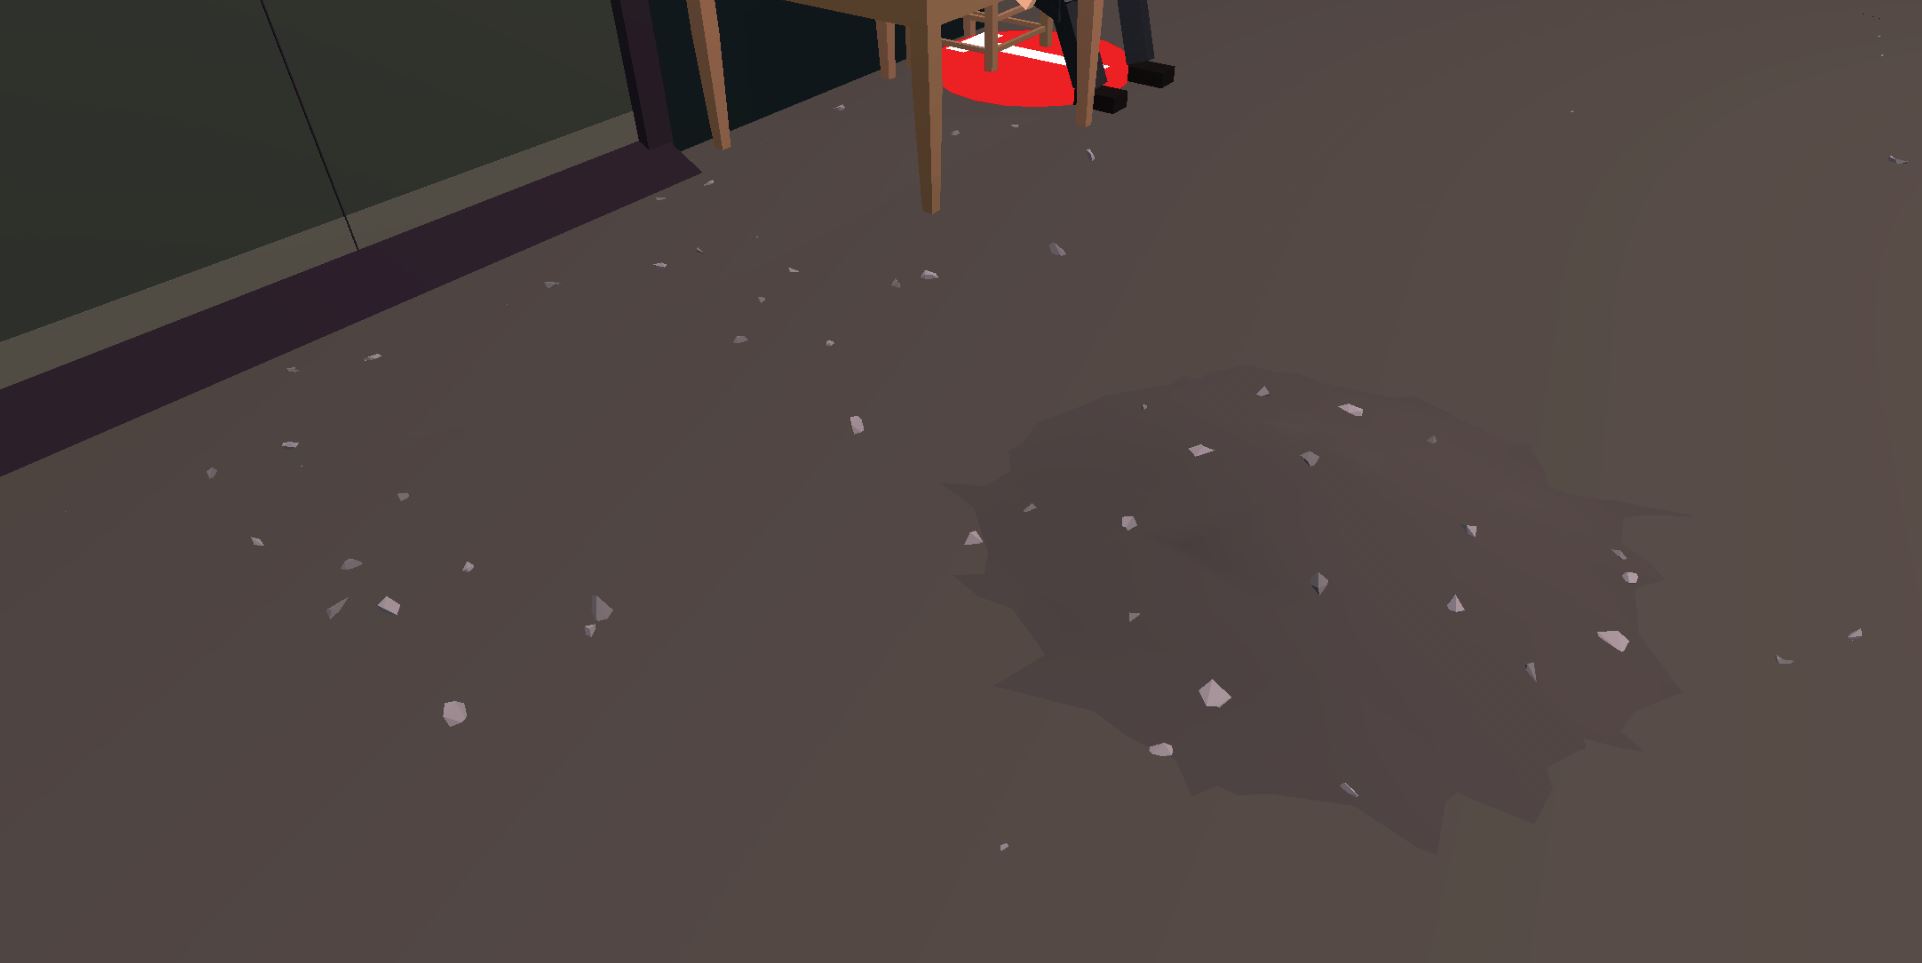
With these examples I wanted to tell you the following: pay attention to the cool stuff other people tend to discover, and fill up your visual library with the examples, but don't forget to experment yourself.
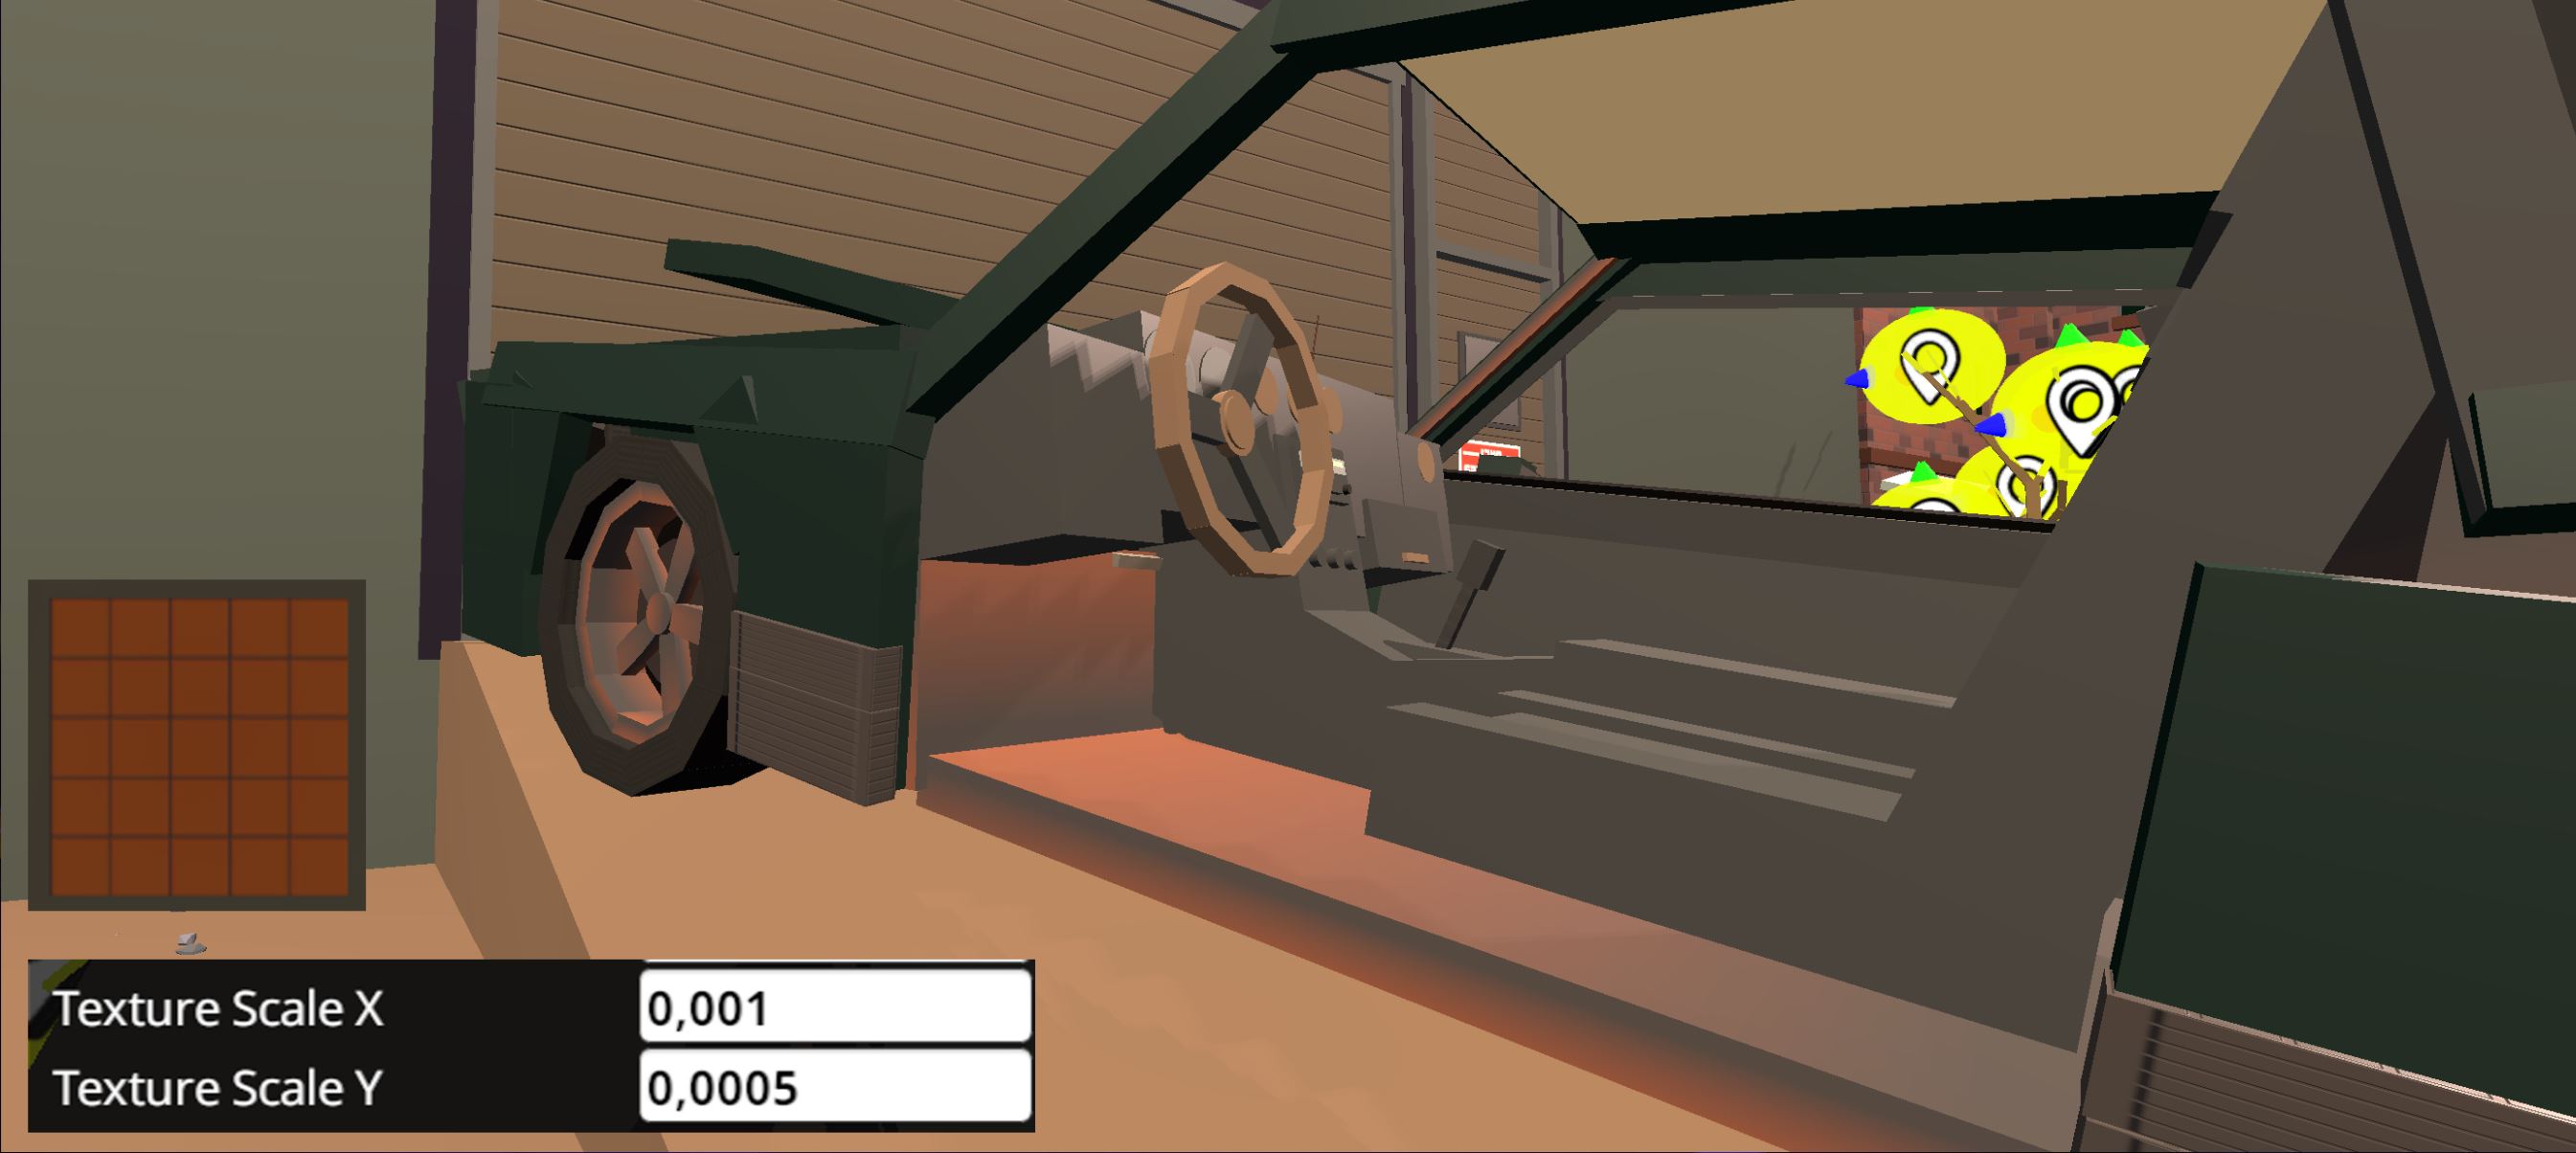
If you paint a primitive with a texture, you’ll get an ability to scale it. And if you set texture scale to some very small numbers, the texture will turn into a gradient. The coolest one is the orange grid, of course, because you can use it to build rusty metal things, but i’m sure you can find places to use the rest of the gradients.
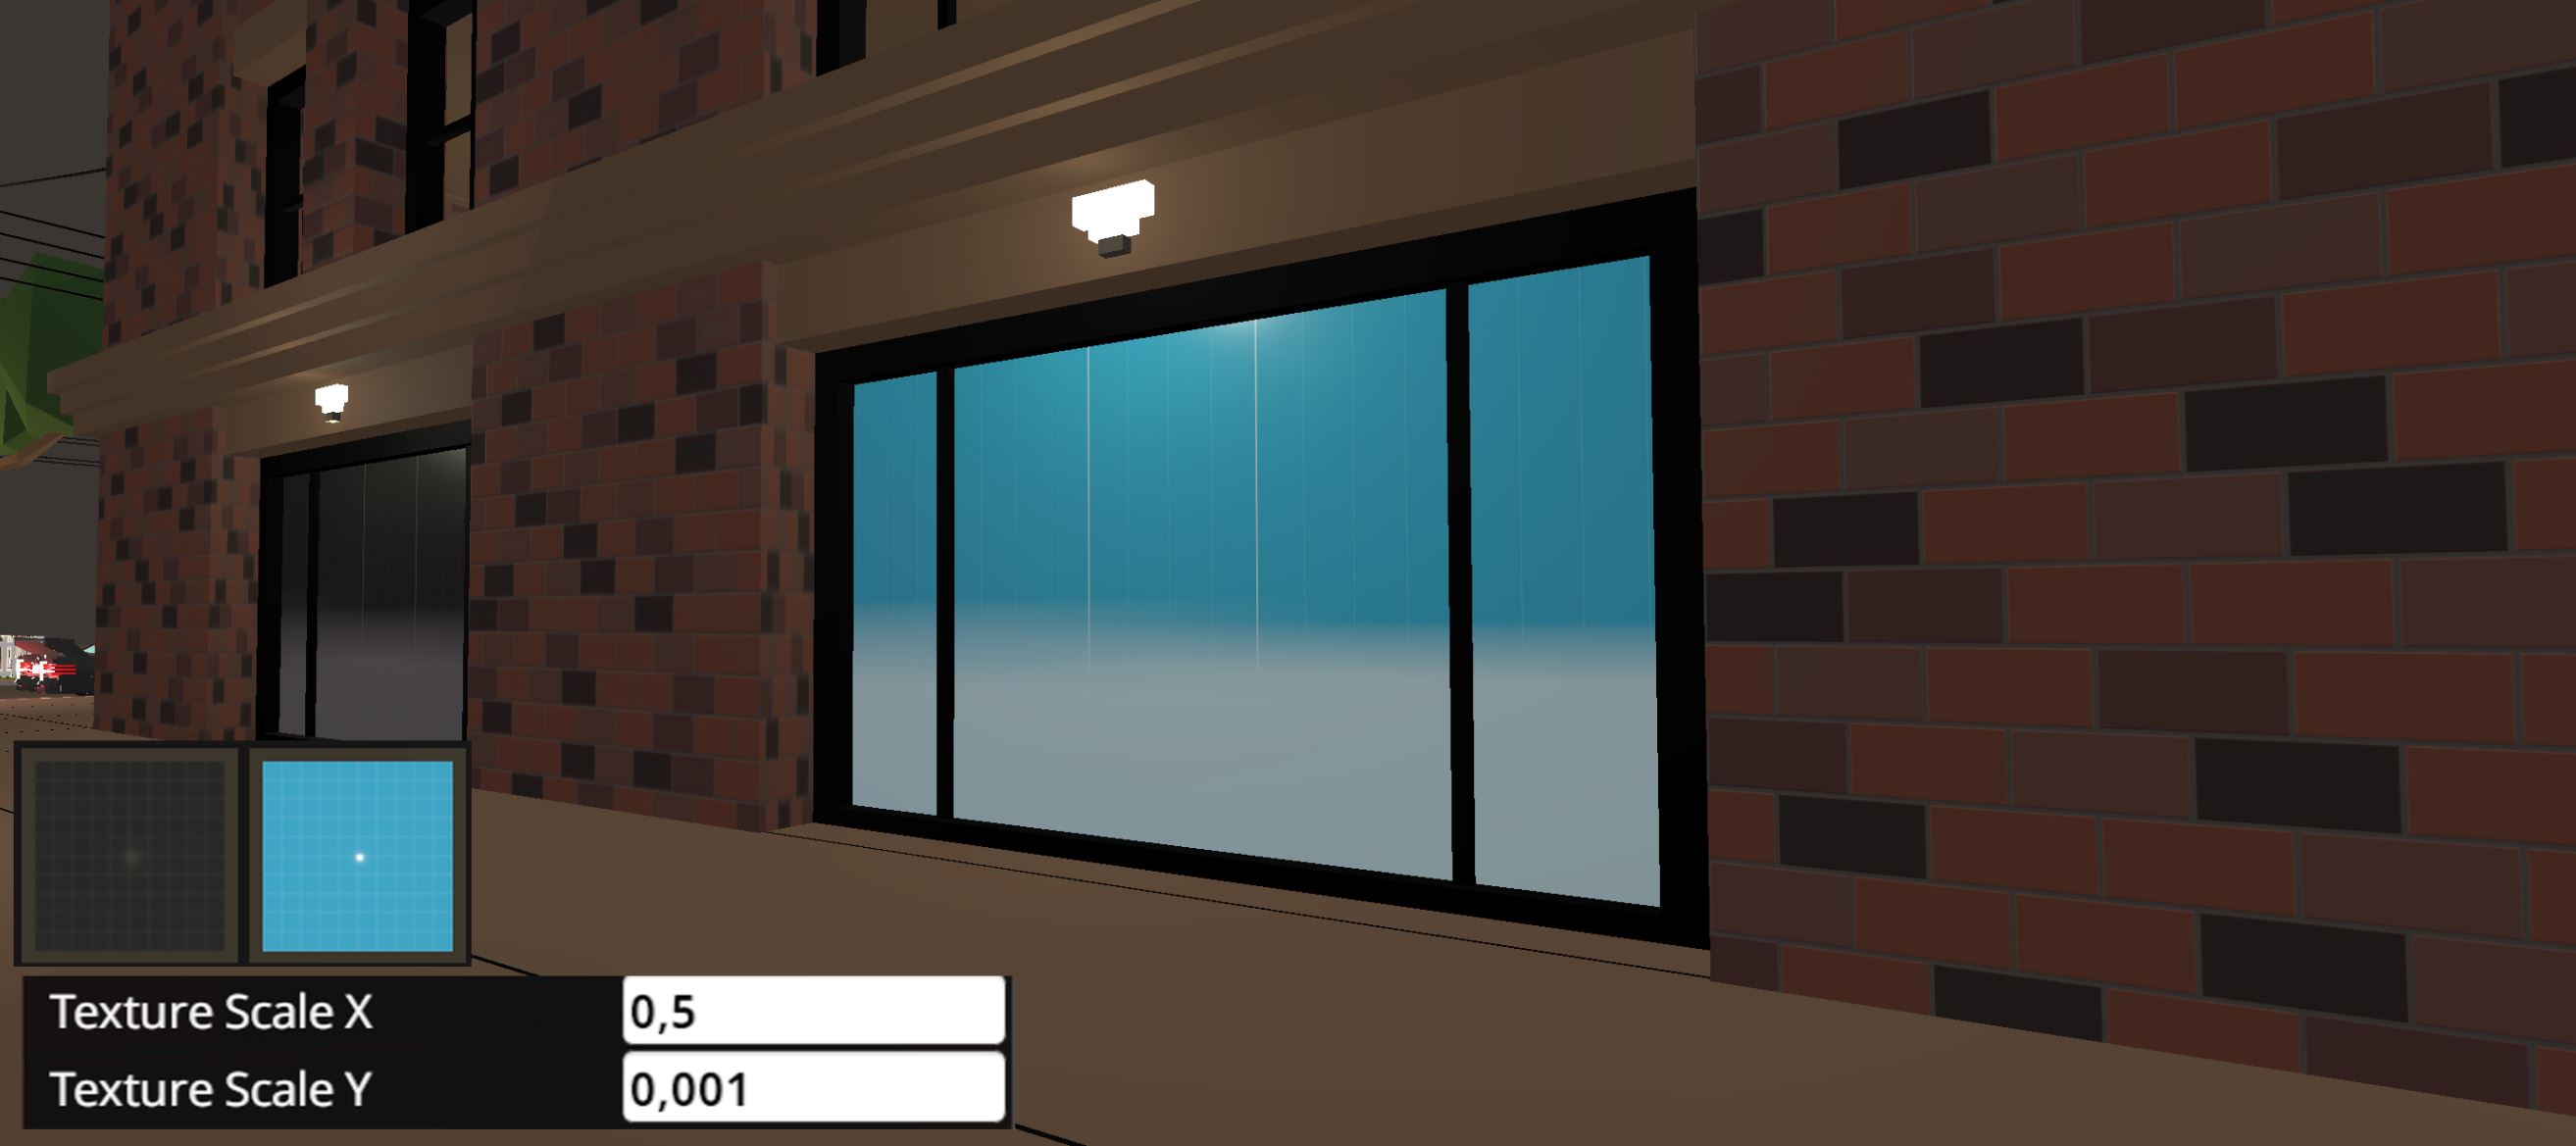
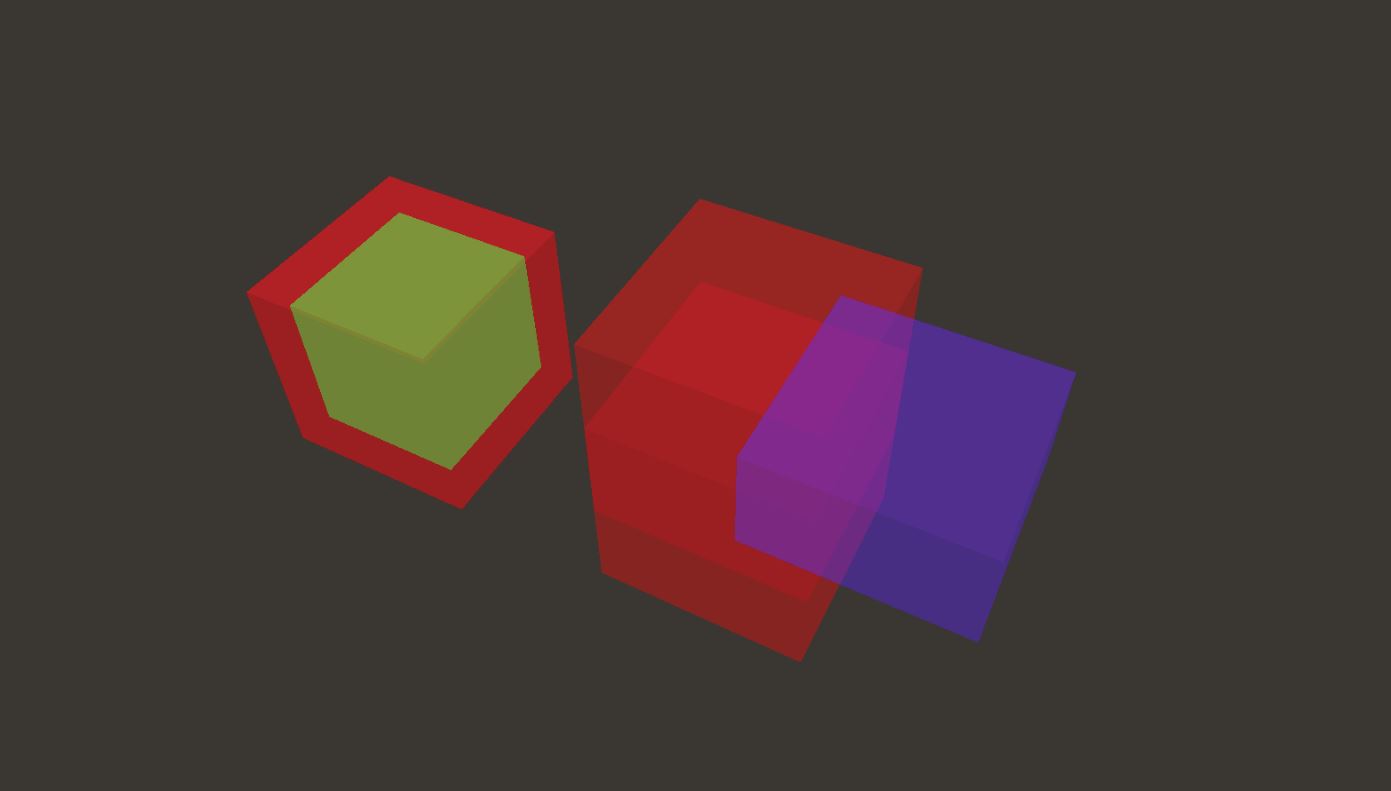
Also we have a few transparent materials, and if you make two transparent primitives overlap, you’ll get a less transparent intersection. You can use it for a sort of a custom transparency or to make cool glass objects. Also transparent materials can be used to add some dirt.
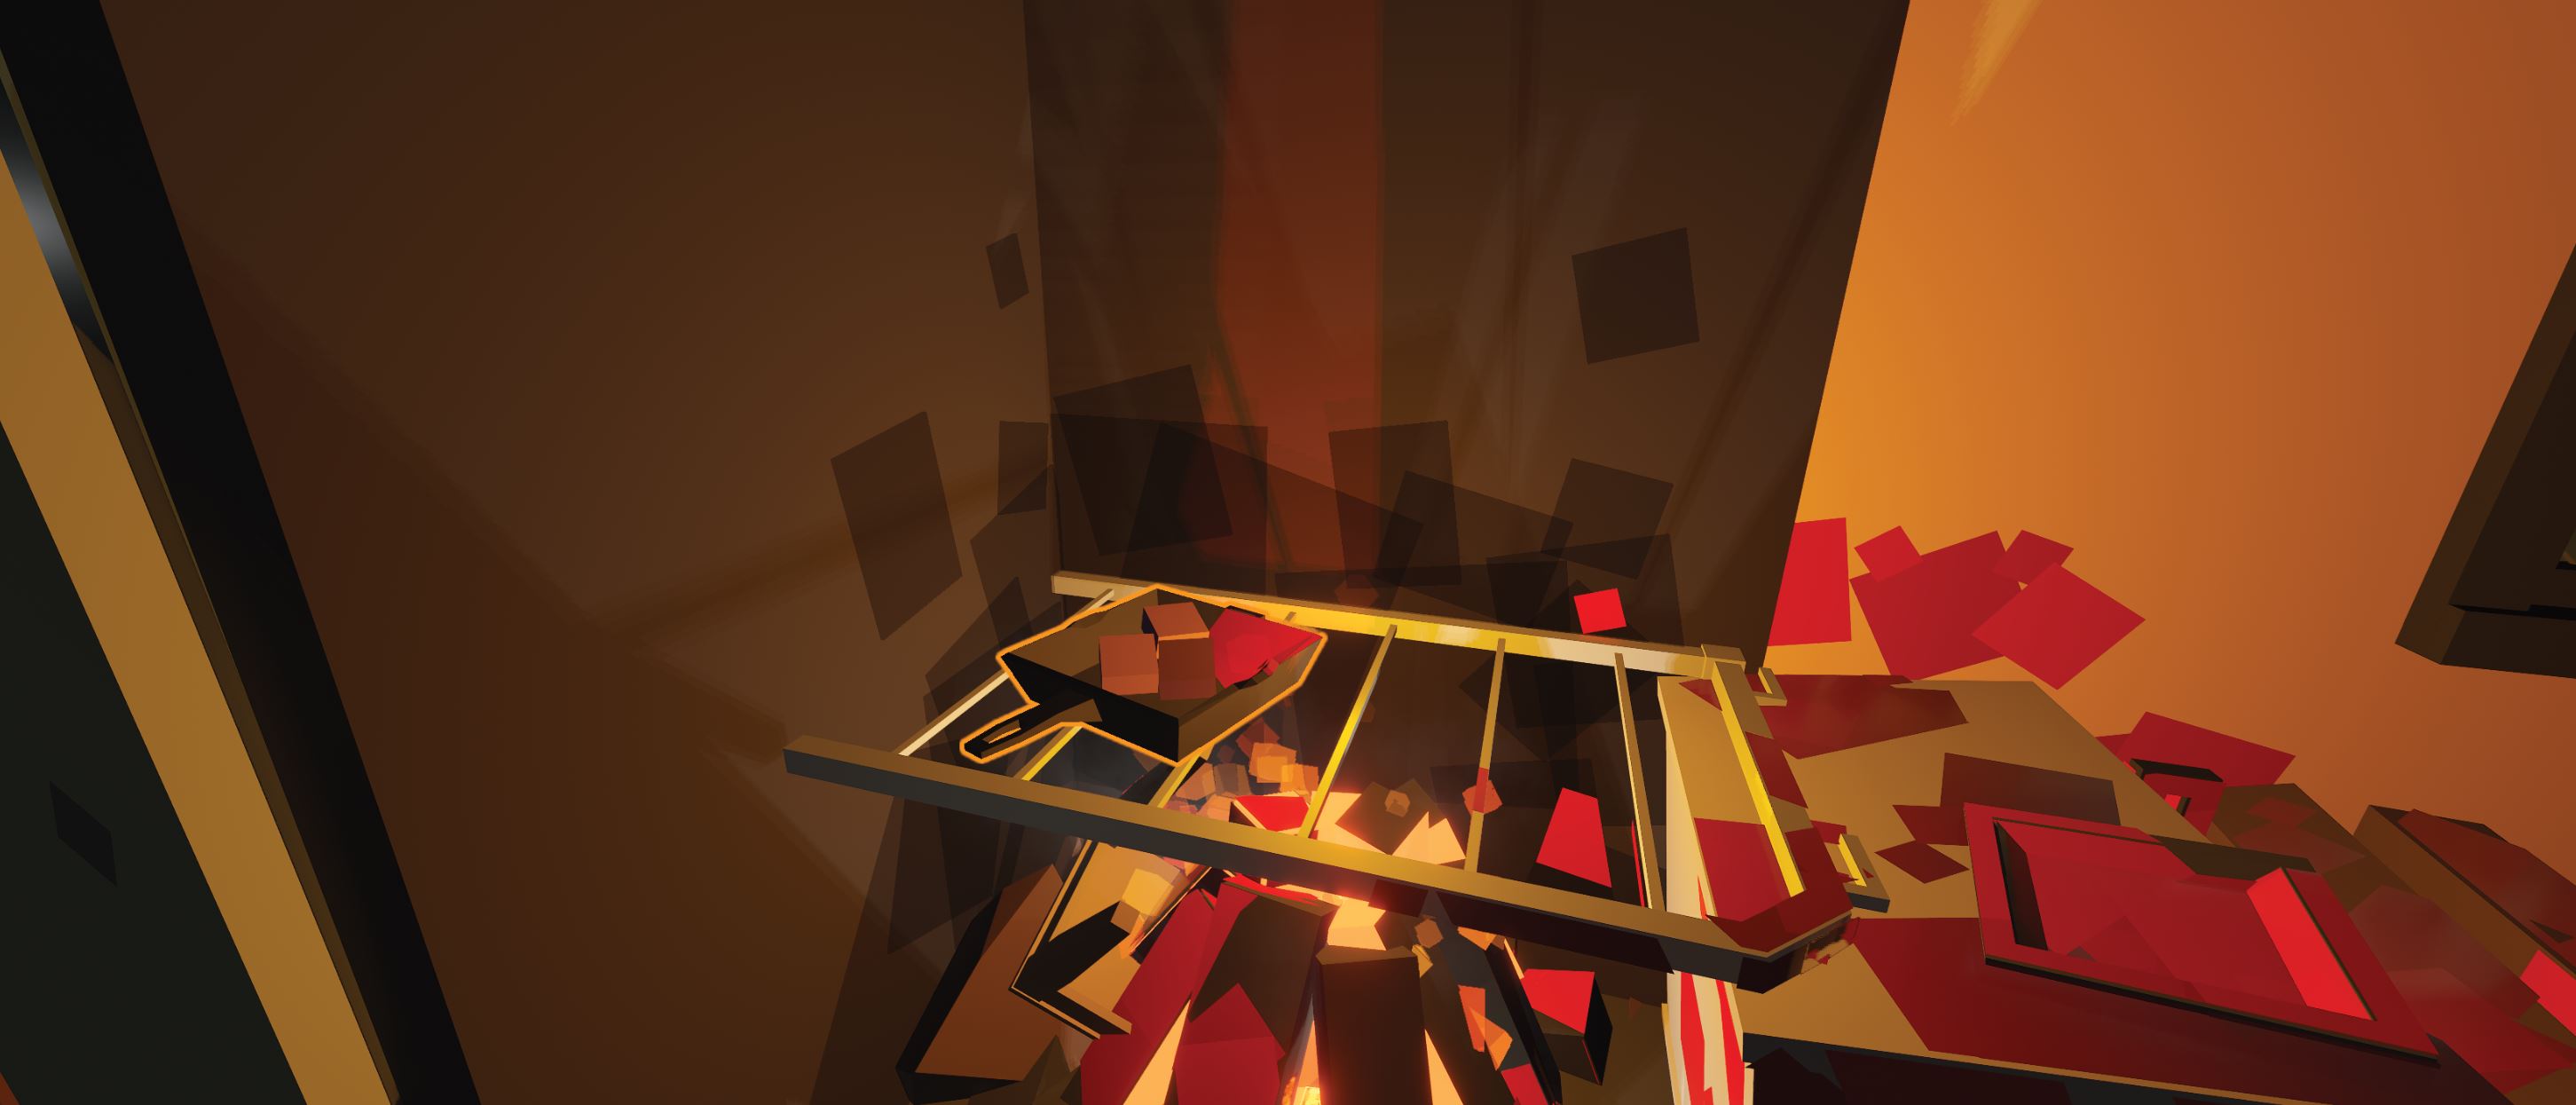
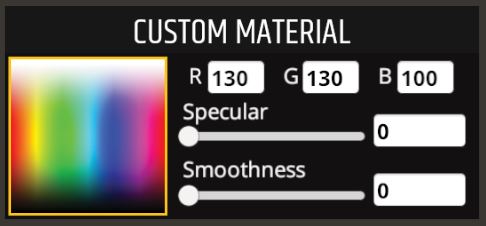 And lastly, we have custom materials here. You can pick any color you want, but as you can see, we only control hue and brightness, and there’s no saturation bar. Yeah, unfortunatelly it simply isnt there. So, If you want to see more colors, use RGB codes from the color schemes. Just a remind.
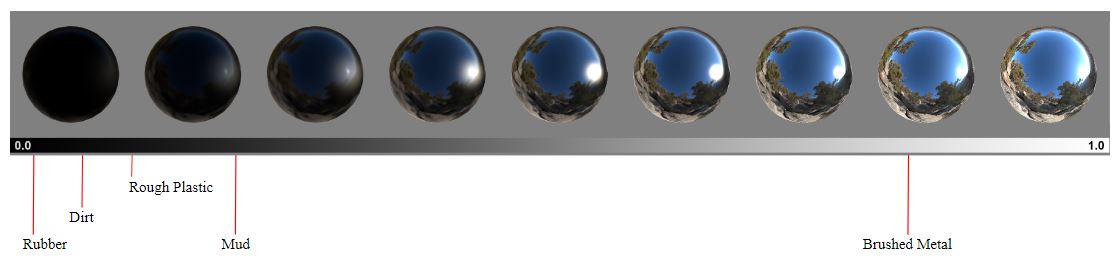
Also here we have Specular and Smoothness. Both of these are unity material shaders. And we can use them to make our materials a bit more realistic.
The higher the smoothness. the crisper and clearer reflections material has. The max value will turn material into a mirror. The smoothness property controls the clarity of specular effect, and with a low smoothness value, even strong specular reflections appear blurred.
Smoothness map: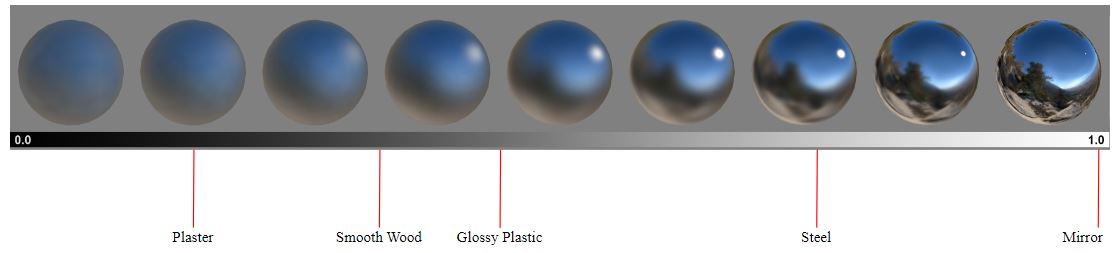
Specular is used to control how bright the highlights are.
Now when we know how it works, we can make more believable materials. This is often straightforward and intuitive, but you can just use the guide images for different material types. Its a rather small improvement, yet it’s still a nice one.
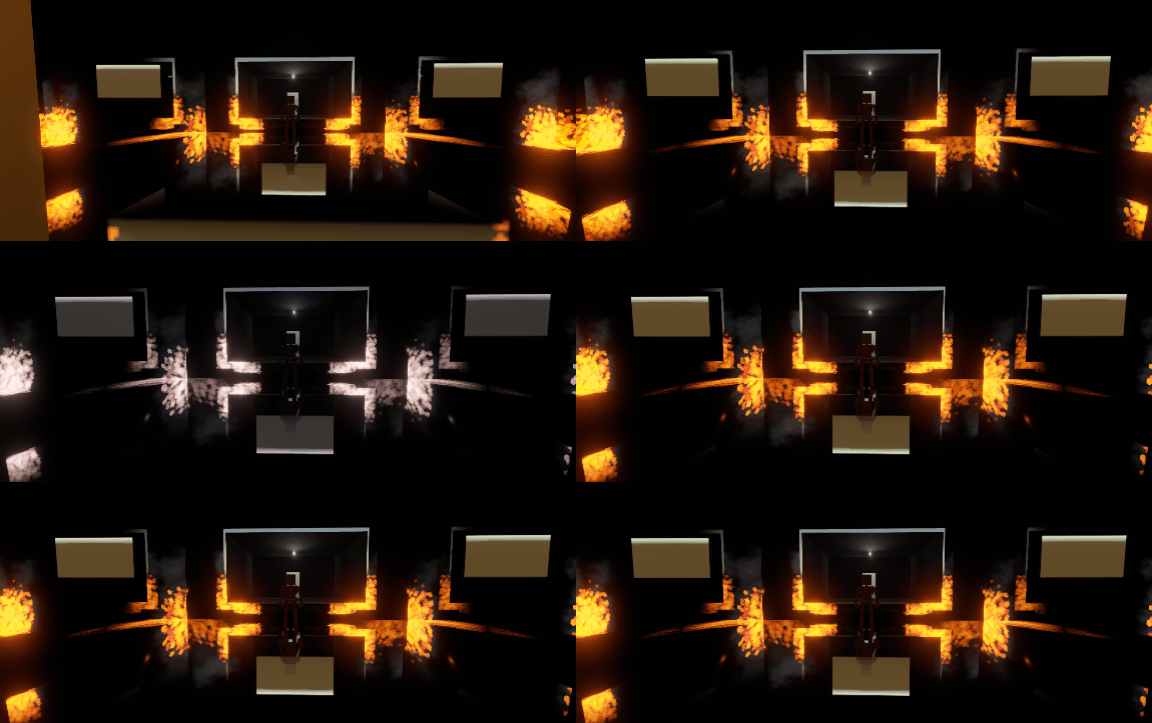
Also, a mirror material will reflect things around. Well, it rather bakes the surrounding, so you can use this feature to create some strange images and stuff, that can only be seen in a mirror.
Remember, if something is uncomfortable for you - then it's not effective.
Here are a few simple tips to make a better life for yourself:

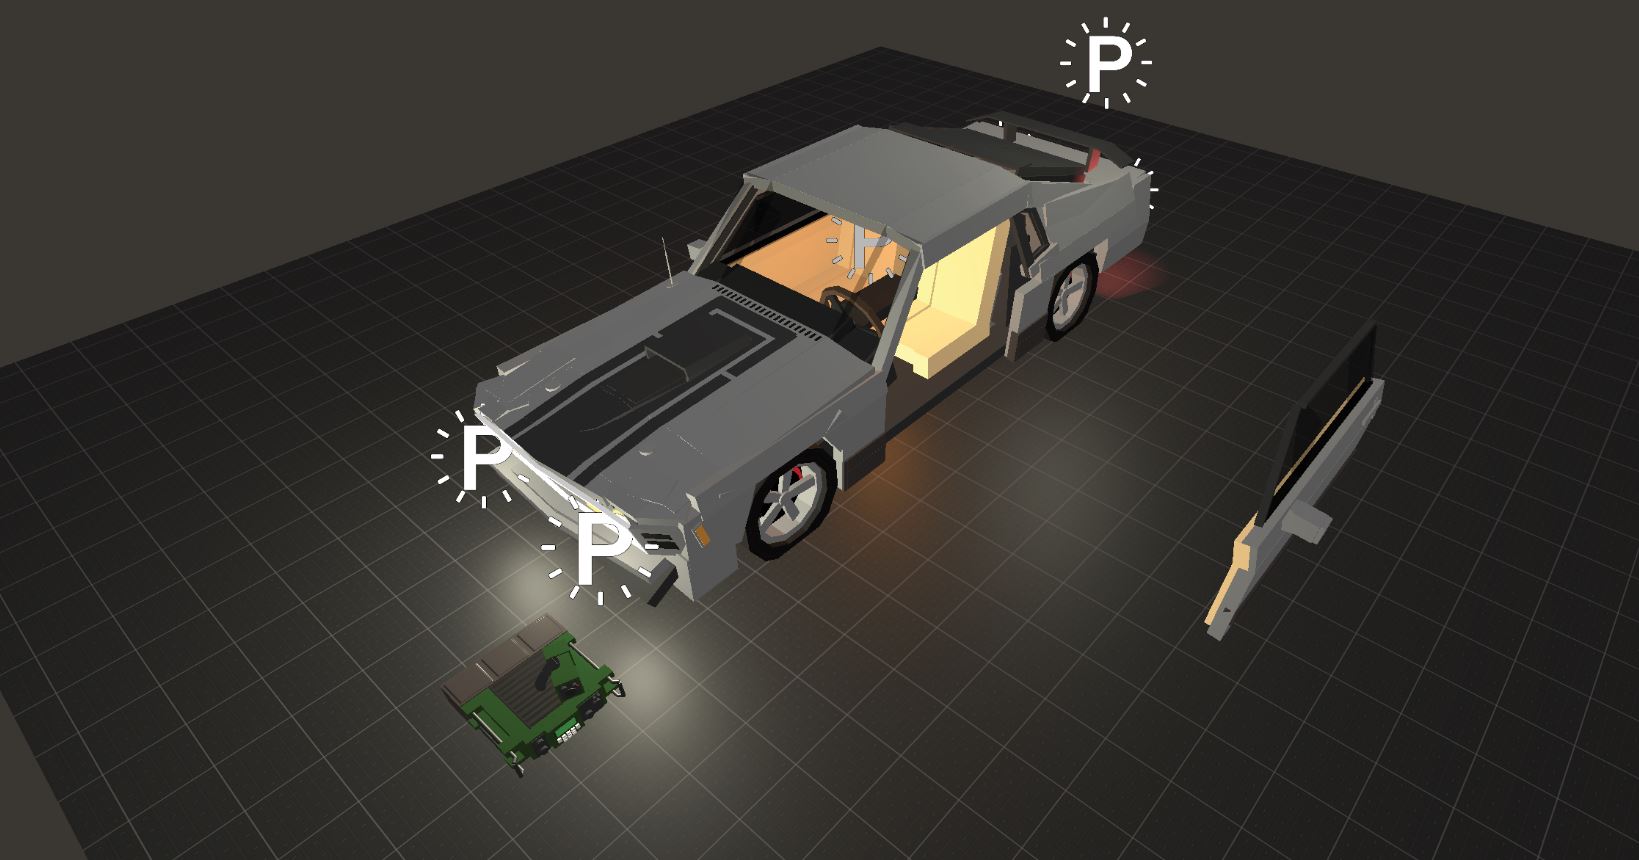
- Reuse your assets. When you have a large library of props you made, you should combine them as prefabs. Prefabs can be found in edit props -> prefabs, and can be placed between multiple different levels. If you may possibly need some asset in future projects, save it as a prefab.
- If your asset consists of multiple complicated parts, it's better to save them as separate objects. This way you won't have to clear up your model if you just need a single part of it.
- Build a comfortable scene to model your objects: work on a flat surface, us grid texture and light sources.
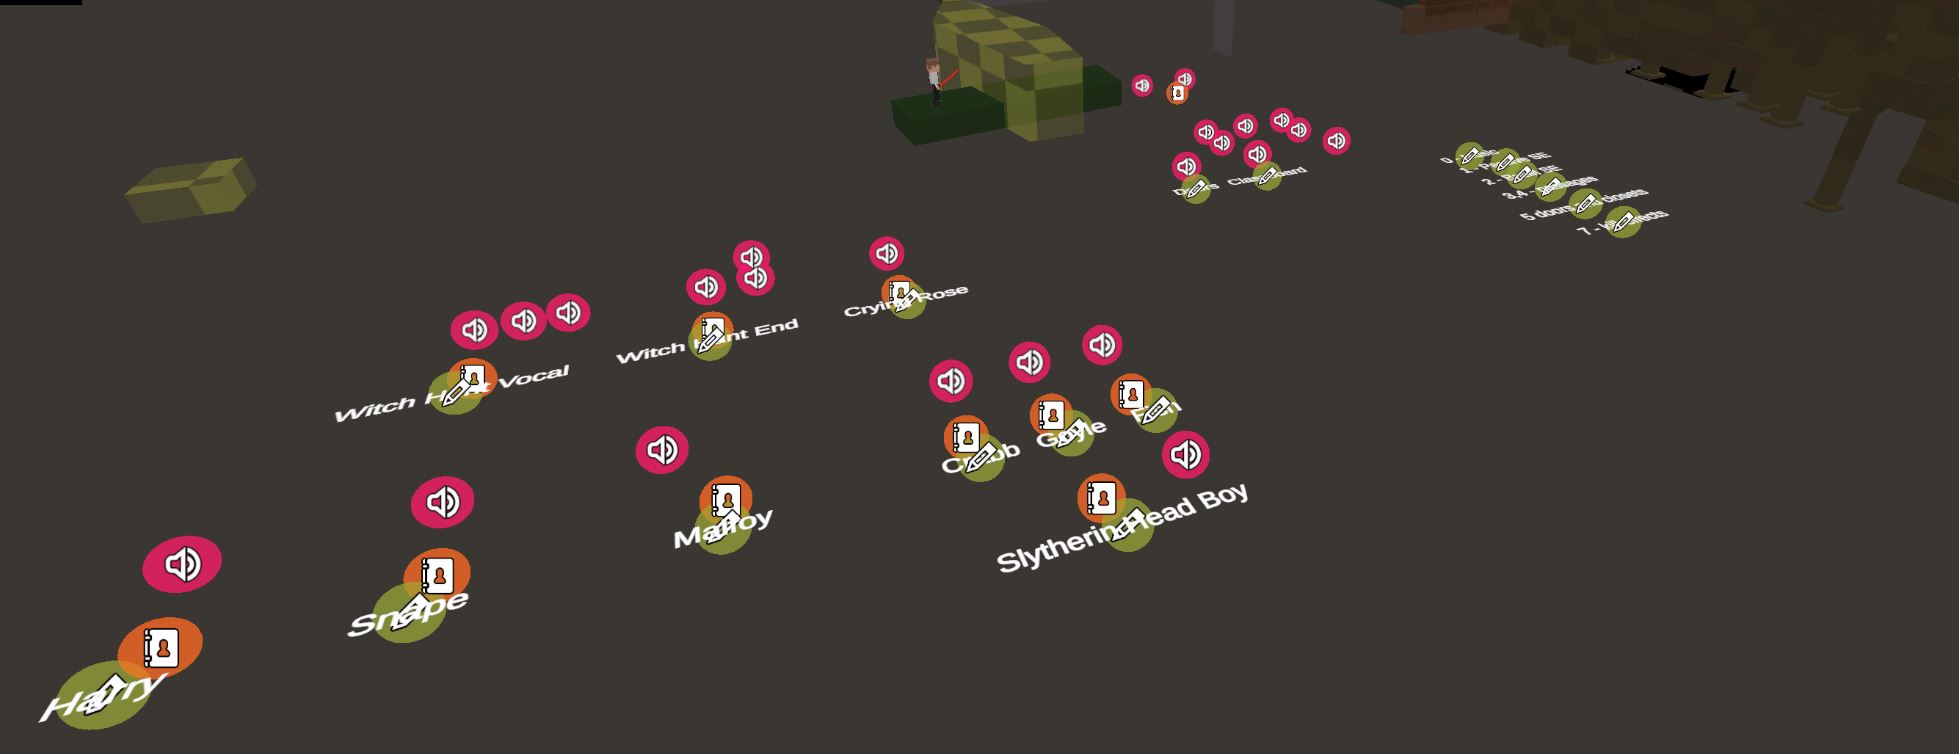
- Make notes about your logic assets, so that you won't forget what they do

BUILDING TIPS: Misc
First i wanted to sort these tips with some sections, but they're relatively small and unrelated, so this section of the guide is gonna be a strange mix of random advice on random features. You live with that.
- Show social, status, age and gender difference between characters on your map. People are not equal.
- Searh for creative usage of default animations
- If you have a large level with lots of height difference, build logic zones that will kill all the enemies who gets knocked out of the map bounds (with shockwave, for example)
- Make sure the ai can travel in your map. No really tight corridors or places where ai can get stuck, or can't go through. Use Show Navmesh option to see where characters can travel
- Enemies can't walk through active traps. Even if you hide them under the floor. You can use this feature to block the passage for other characters but player.
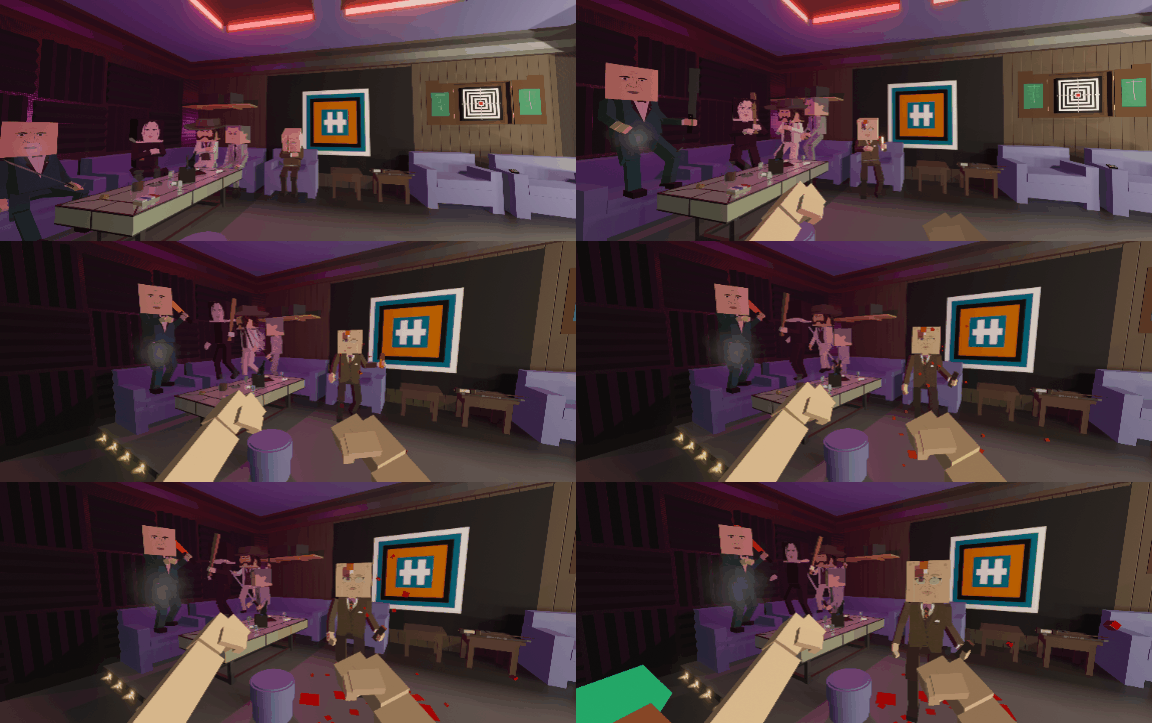
- Enemies can walk through primitives and other props if they are animated with waypoints. You can use it to make enemies ignore the obstacles in case this is not supposed to happen.
Also you can hide enemies from the player with this feature
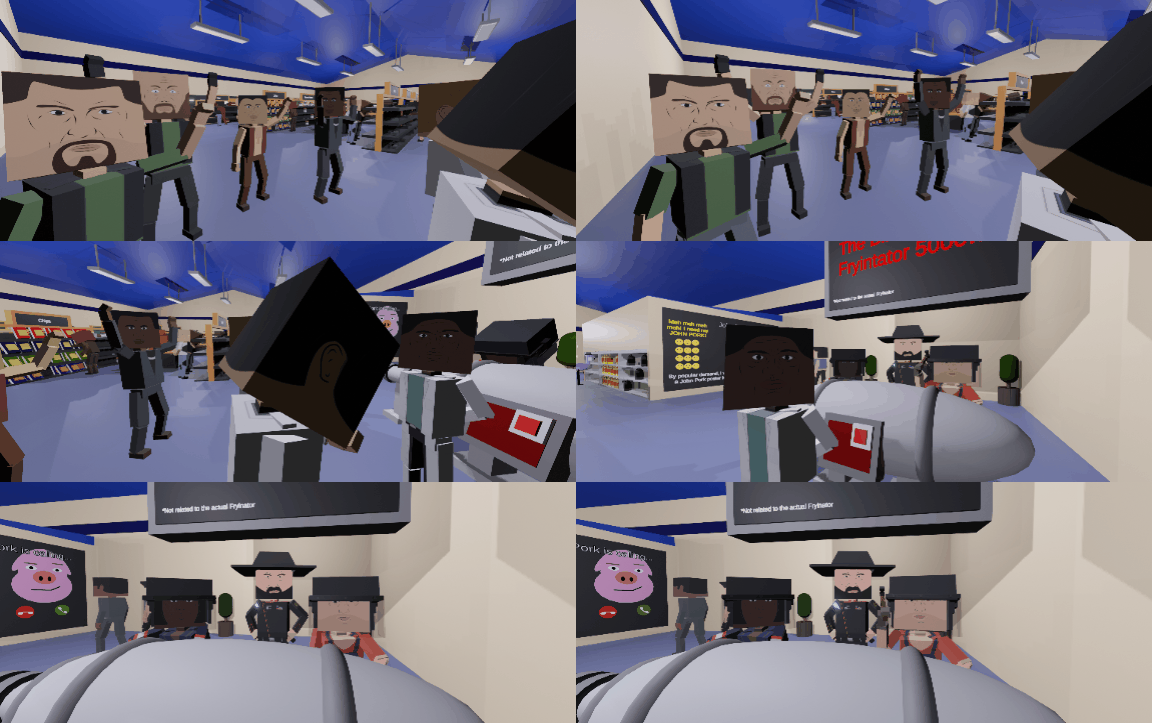
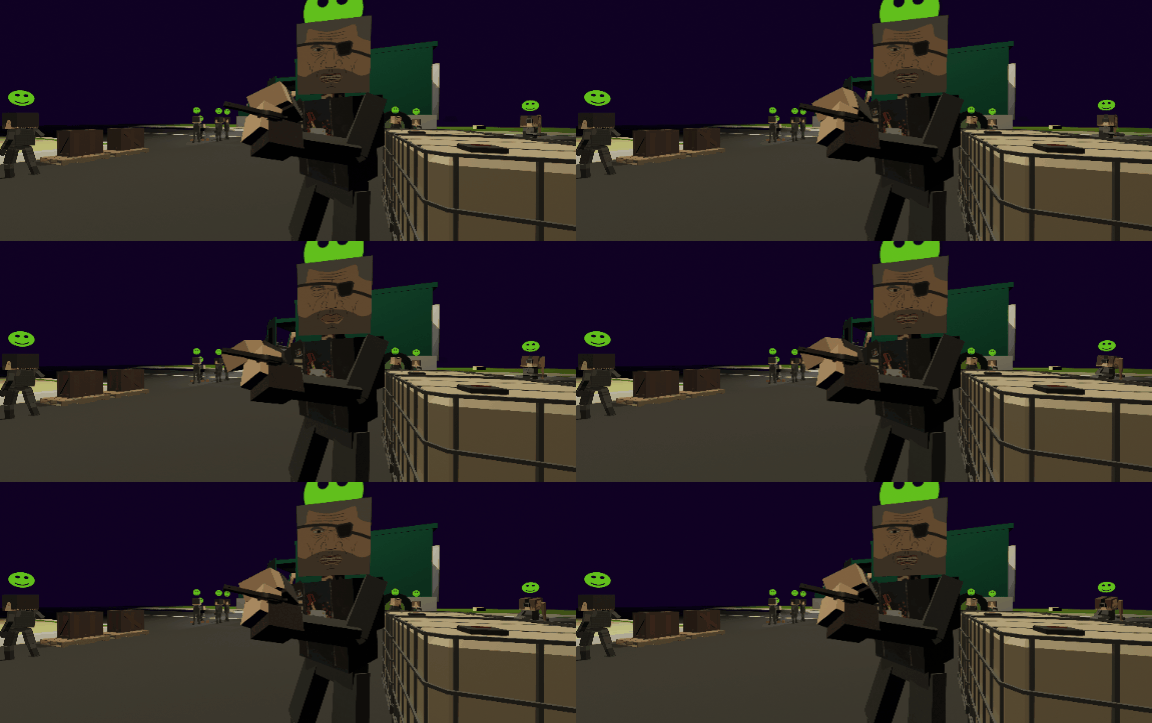
sofas on a gif on the left are static, and are teleported when level starts on a gif on the right.
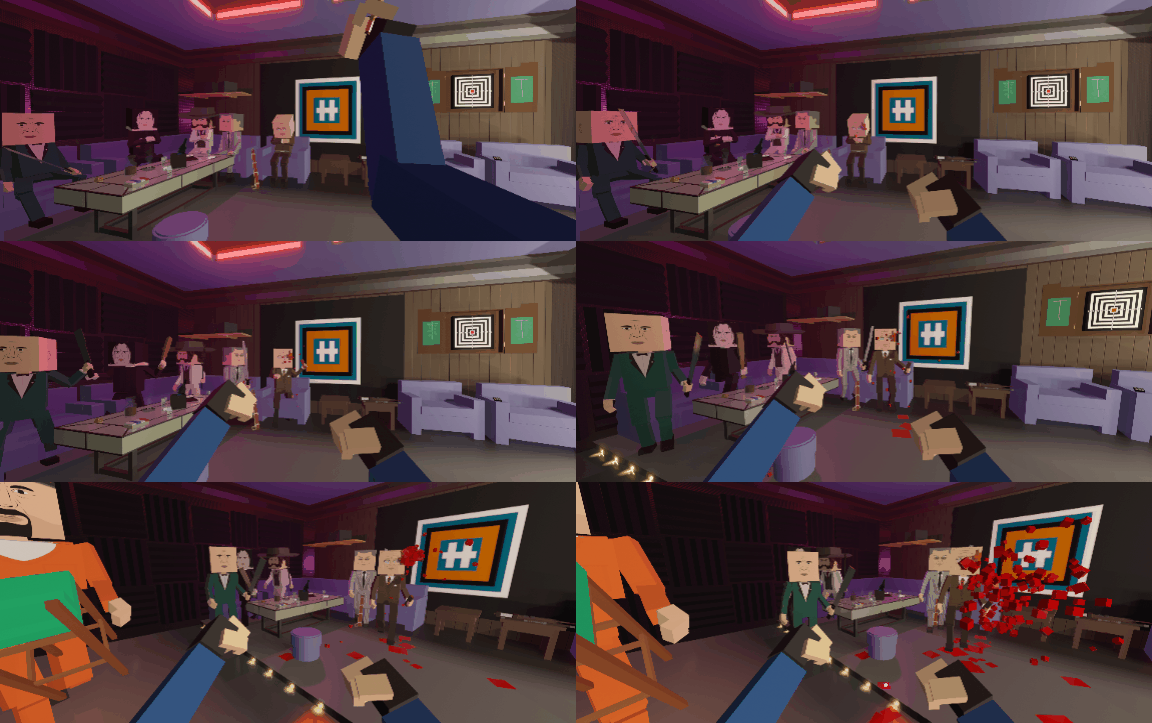
- Enemies that are too tanky for no reason tend to make it more annoying than fun, don't get too excited with that.
- Plan the level so that the ai could be effective against players: tight corridors, limited weapons, etc. You can hide enemies in multiple ways. Place a bait and watch player get into your trap forgeting about the danger.
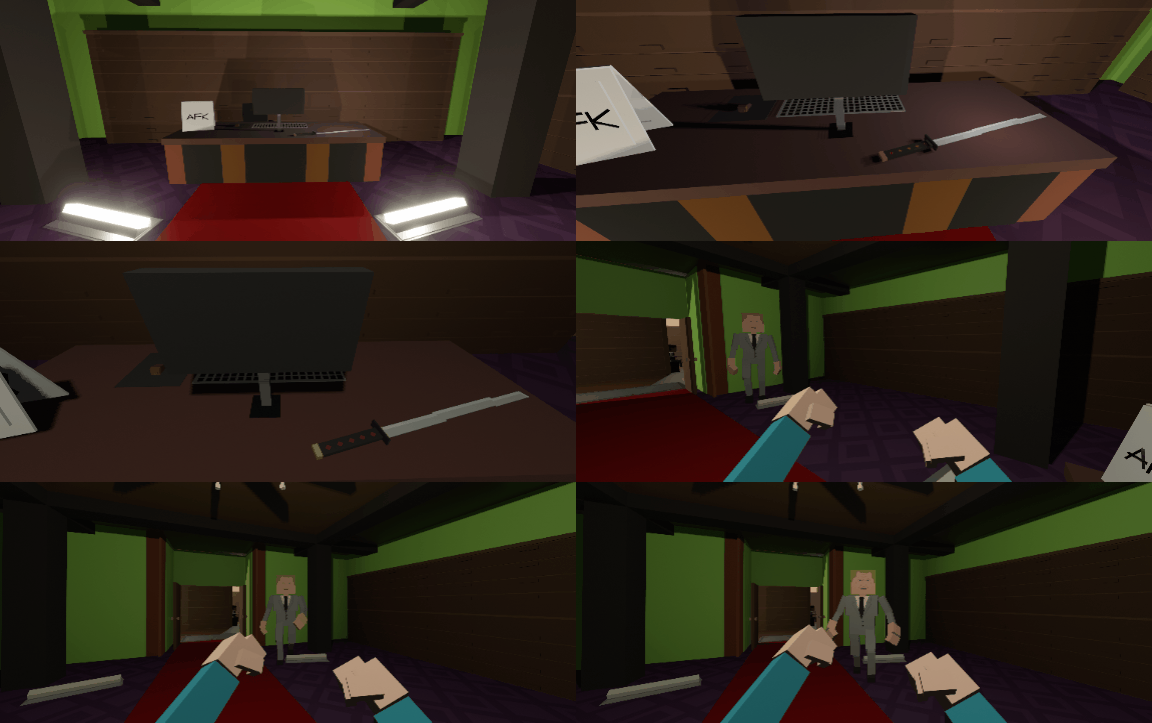
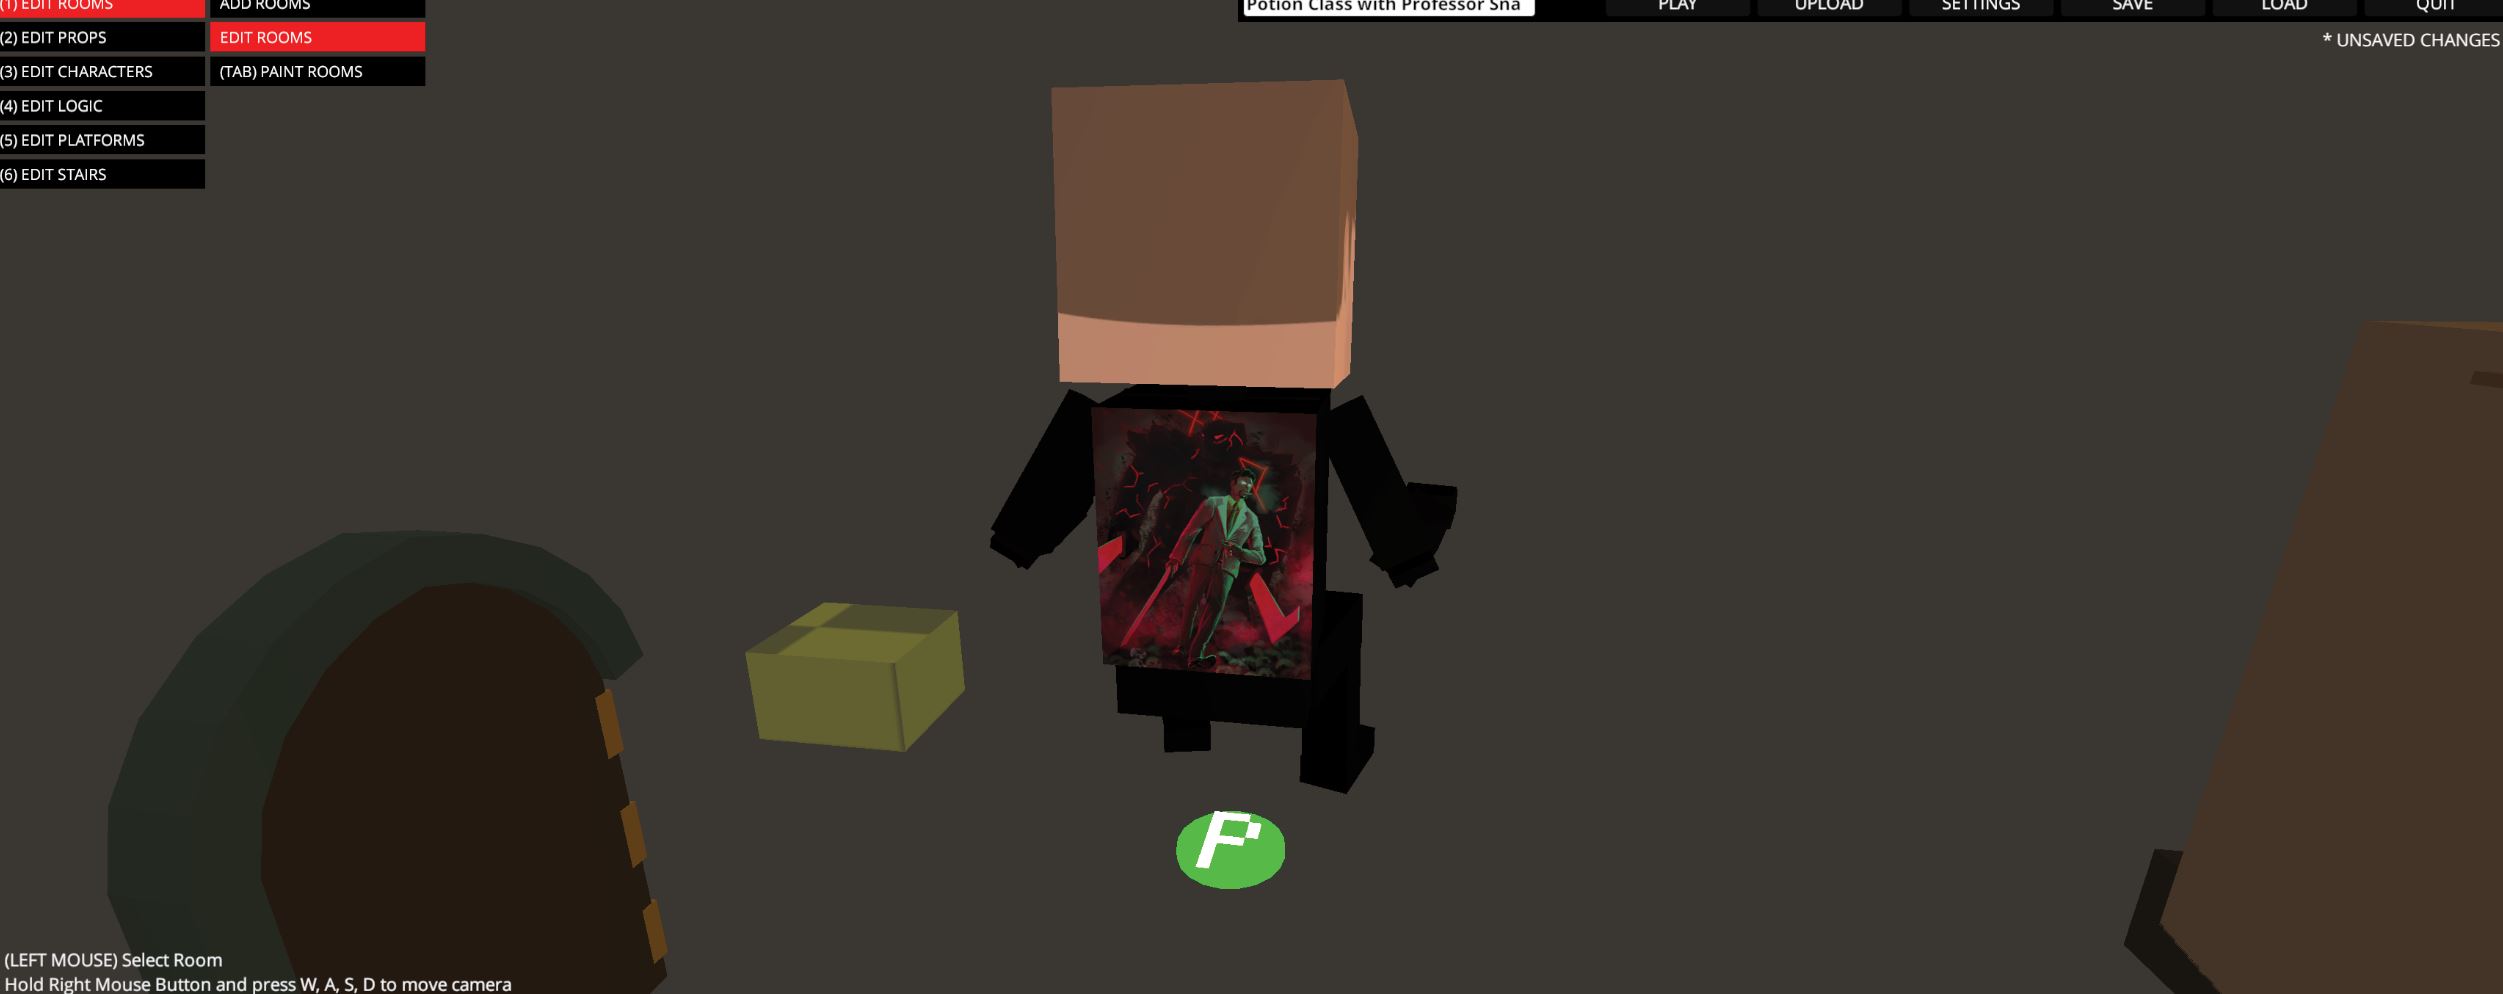
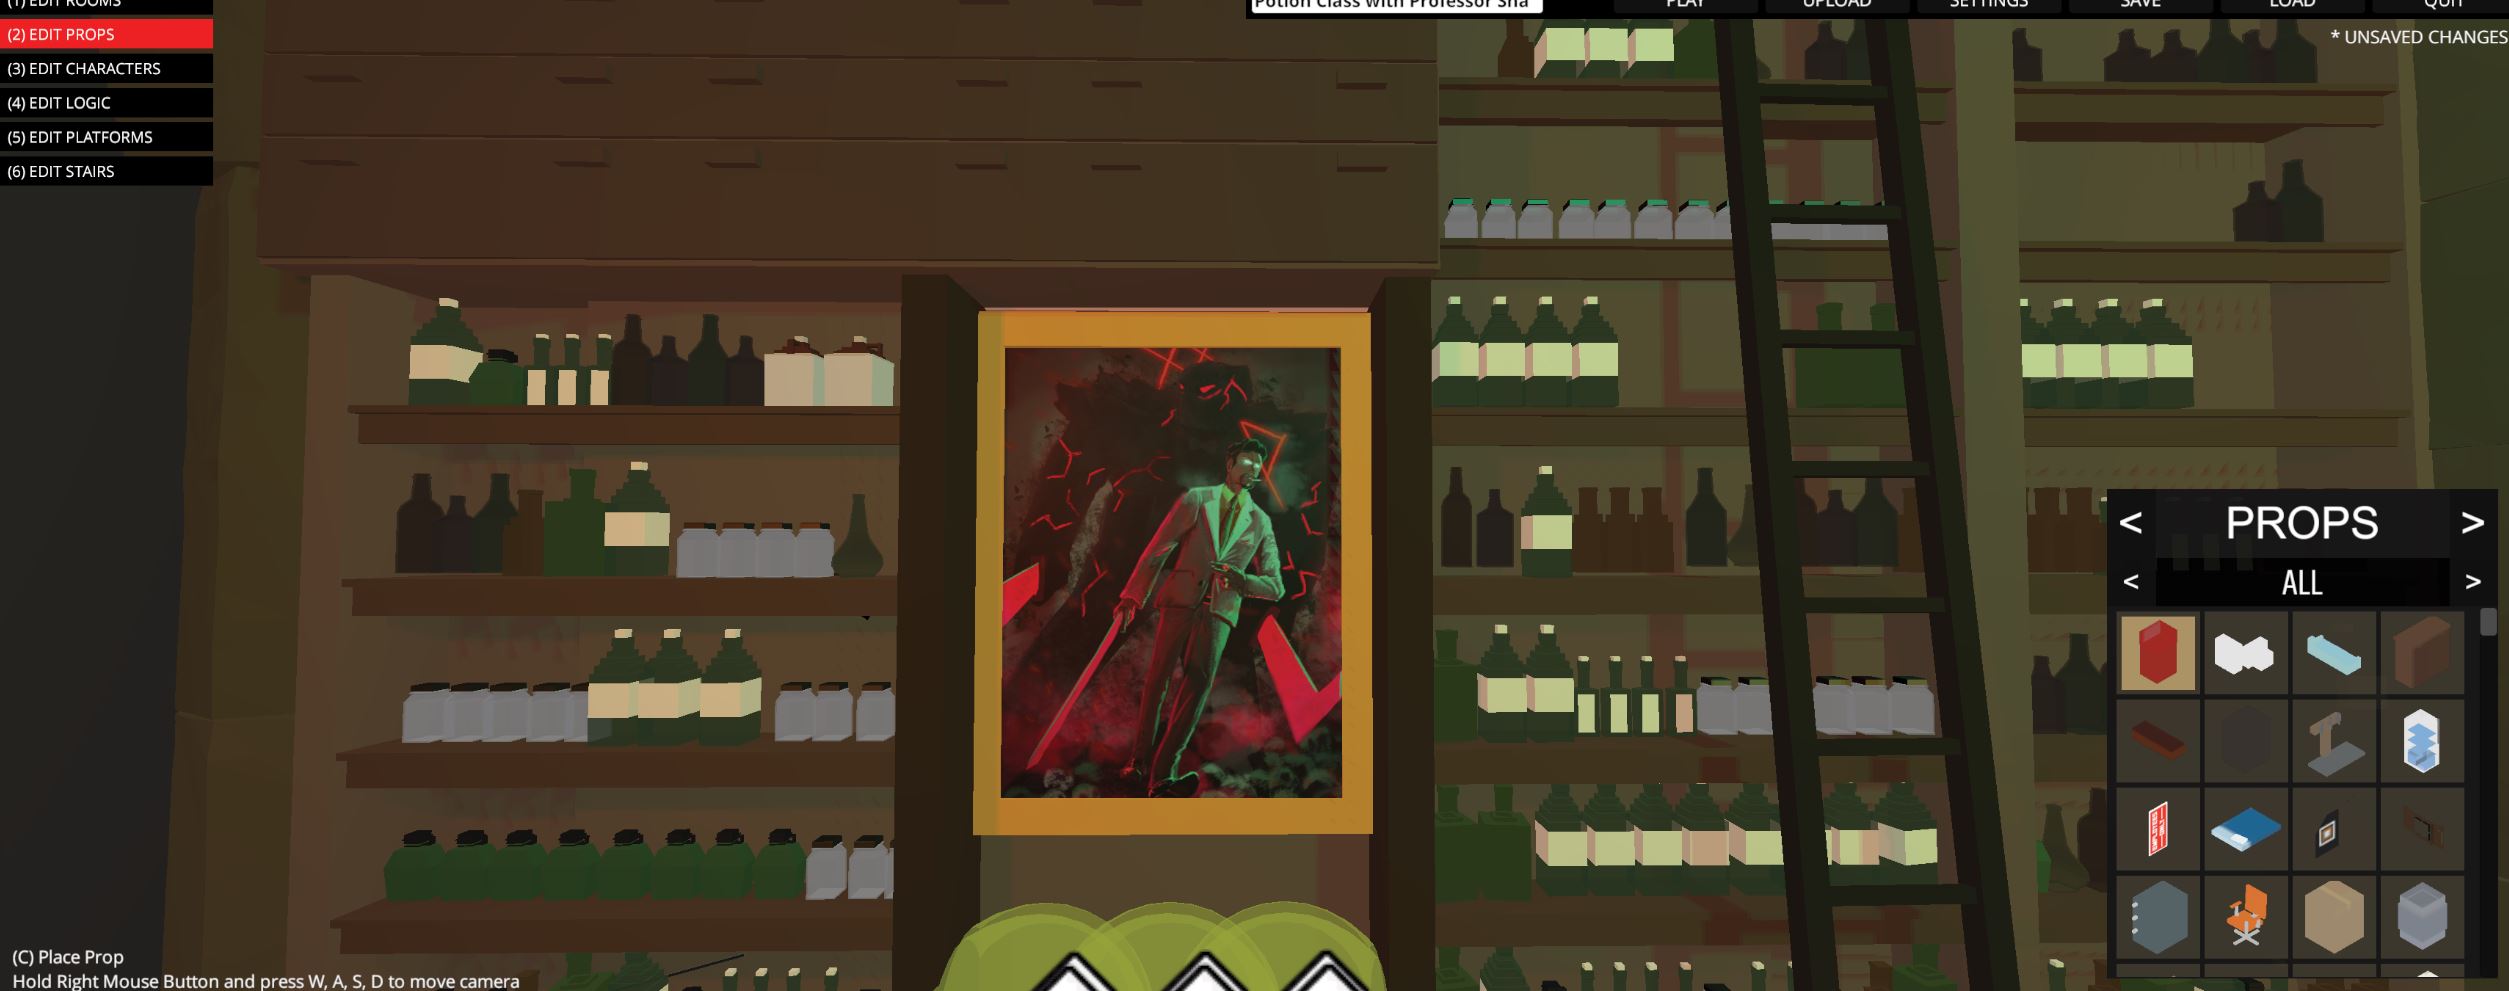
- You can use enemy textures to build cool paintings like this:
- Bevels, frame work and joints. To fit objects into the level and to make them look complicated and smooth, add joints between different objets to merge them together:
- Imperfection. Chaoticly placed objects look more realistic than objects oriented by the same axes. Also avoid making objects float and overlap, stay accurate.
- Avoid using invisible walls blocking an obviously clear passage, use natural obstacles.
- Remove collision from the objects that don't need it: papers, dirt, etc. objects on a floor that have collision can make it difficult to walk on a surface.
- Don't add too many strong weapons to your map, otherwise this will devalue them, and player can get bored.
- Don't forget to follow the setting you chose, and don't add weapons that don't fit into it.
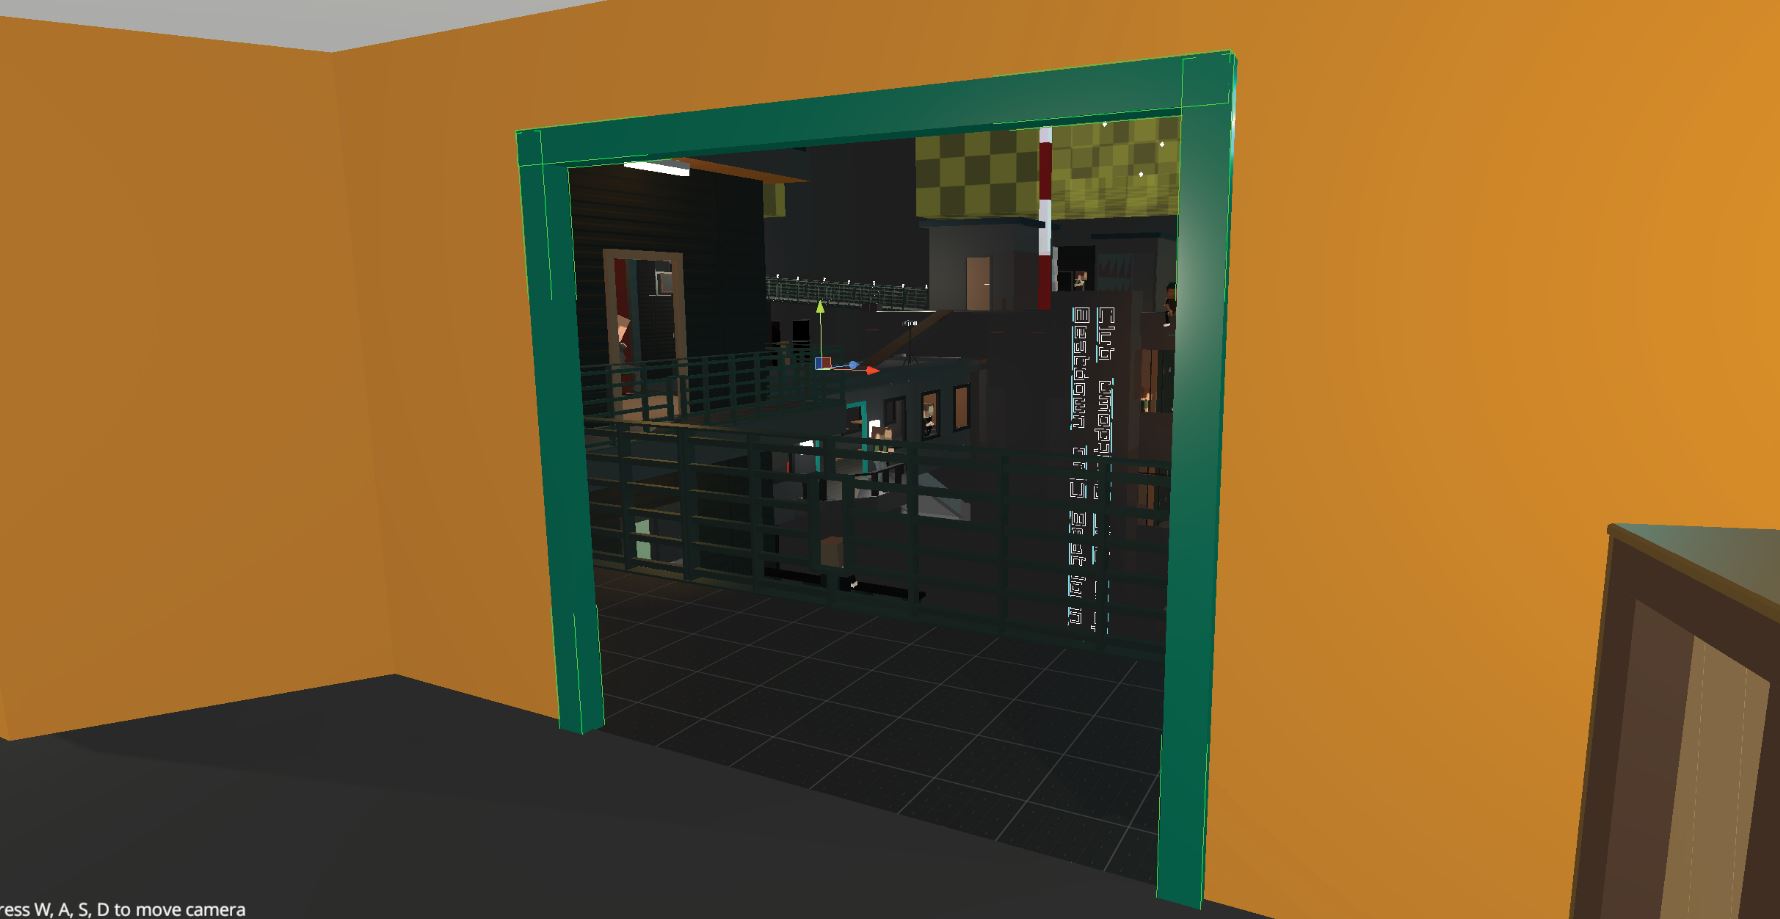
Here are some nice things you can use text prop for. Asides light source imitations and emission materials..
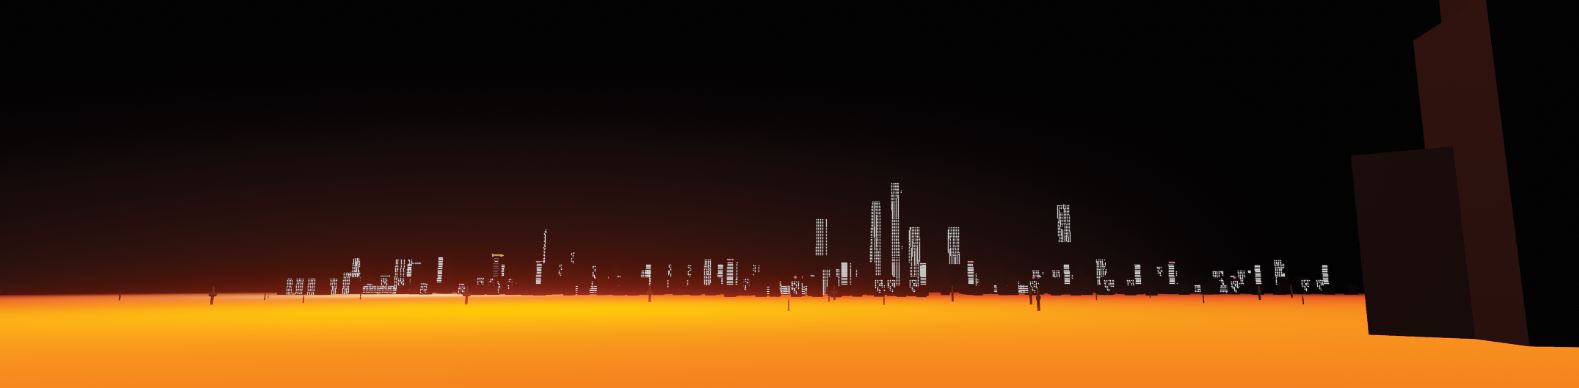
you can use text props to create custom textures, flat objects on distance, and even some emojies.
The full list of game compatible symbols is in this guide.
https://steamcommunity.com/sharedfiles/filedetails/?id=2927892836
But that’s not all, you can also change your text using unity tags and attributes. Not all of them work inside the game, yet some are pretty much functional. You can learn more if you follow the link:
https://docs.unity3d.com/Manual/UIE-work-with-text.html
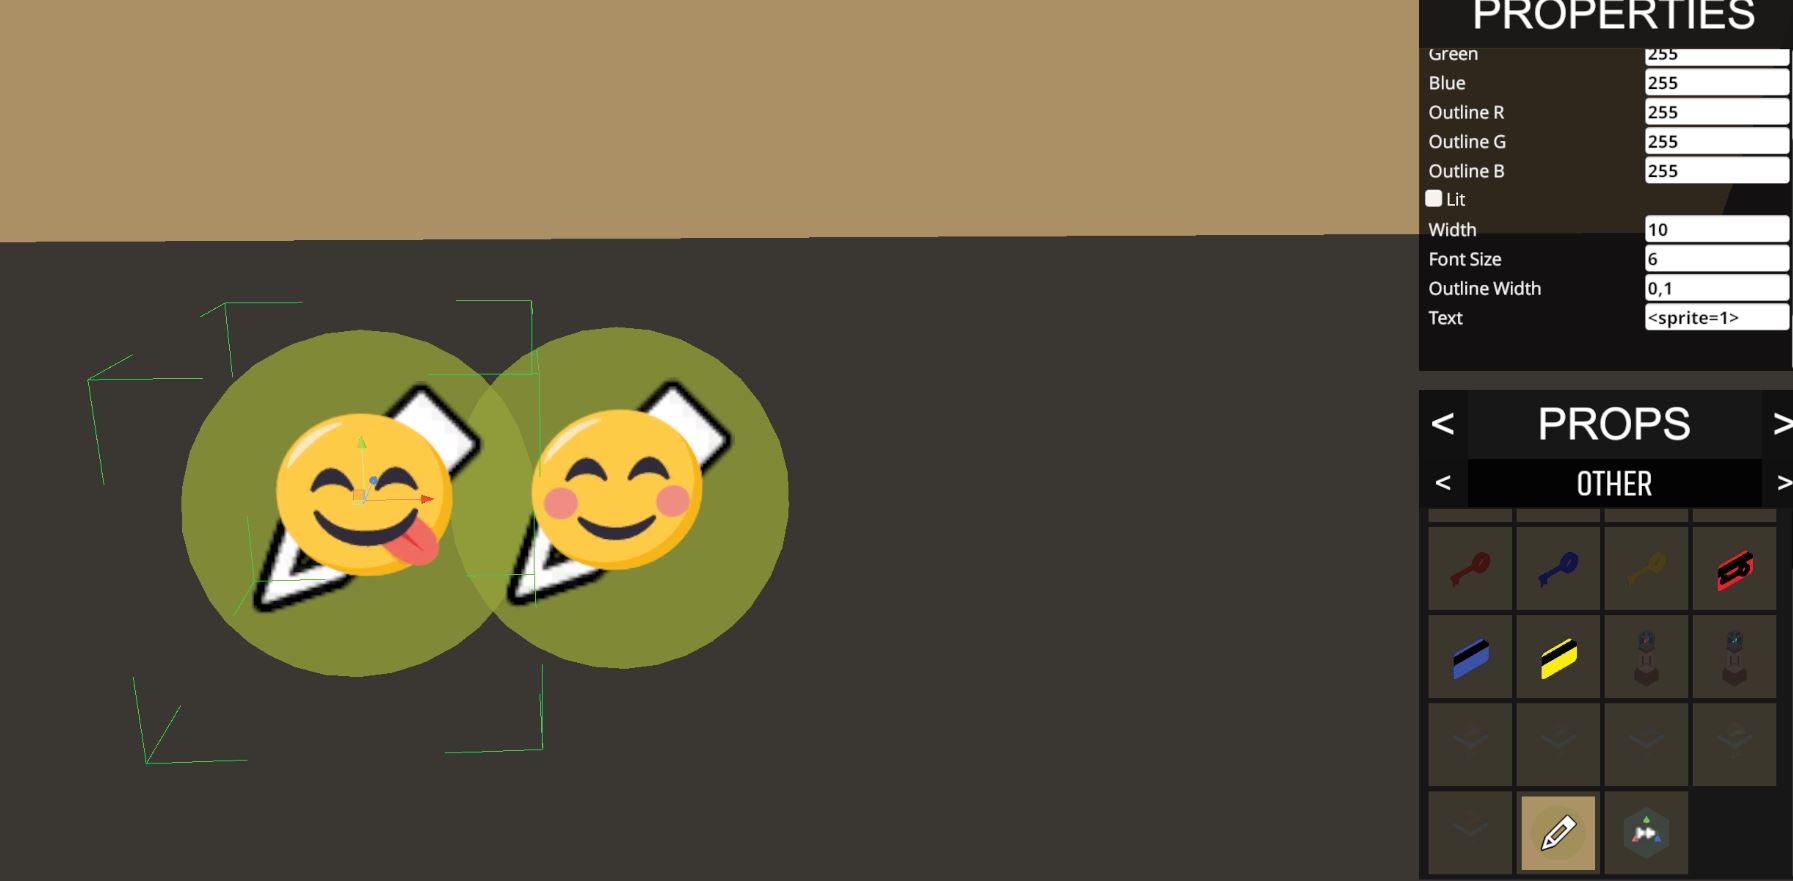
How to make emojies with text in pttr:
type <sprite=*> into your text bar, and replace * with any number from 0 to 15. For example, <sprite=0> will give you this emojie:
TEXTUREPACKS
I wasn’t actually planning to include this section into my speech, but since it still has something with mapmaking.. uagh.
Okay you probably searched up for a texturepack that would fit to your map and didn’t manage to find any good ones, or you want to make some characters yourself. Here are some extremely obvious tips I’d like to give:

- you obviously gonna need a drawing app to make your textures, and I strongly advice using apps which support layers. I prefer photoshop, but if you can’t afford it, there are lot of other
free apps out there, such as paint.net or gimp.
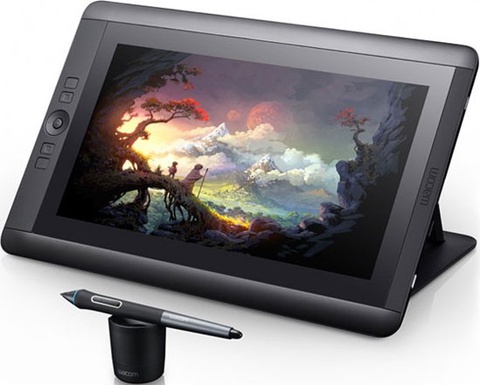
- You can also use graphic tablet if you have one, but totally unnecessary if you learn some basic tools. Not teaching you how to use them, theres plenty of videos you may find if you need.
layers are great because You use layers to perform tasks such as compositing multiple images, adding text to an image, or adding vector graphic shapes. You can apply a layer style to add a special effect such as a drop shadow or a glow.
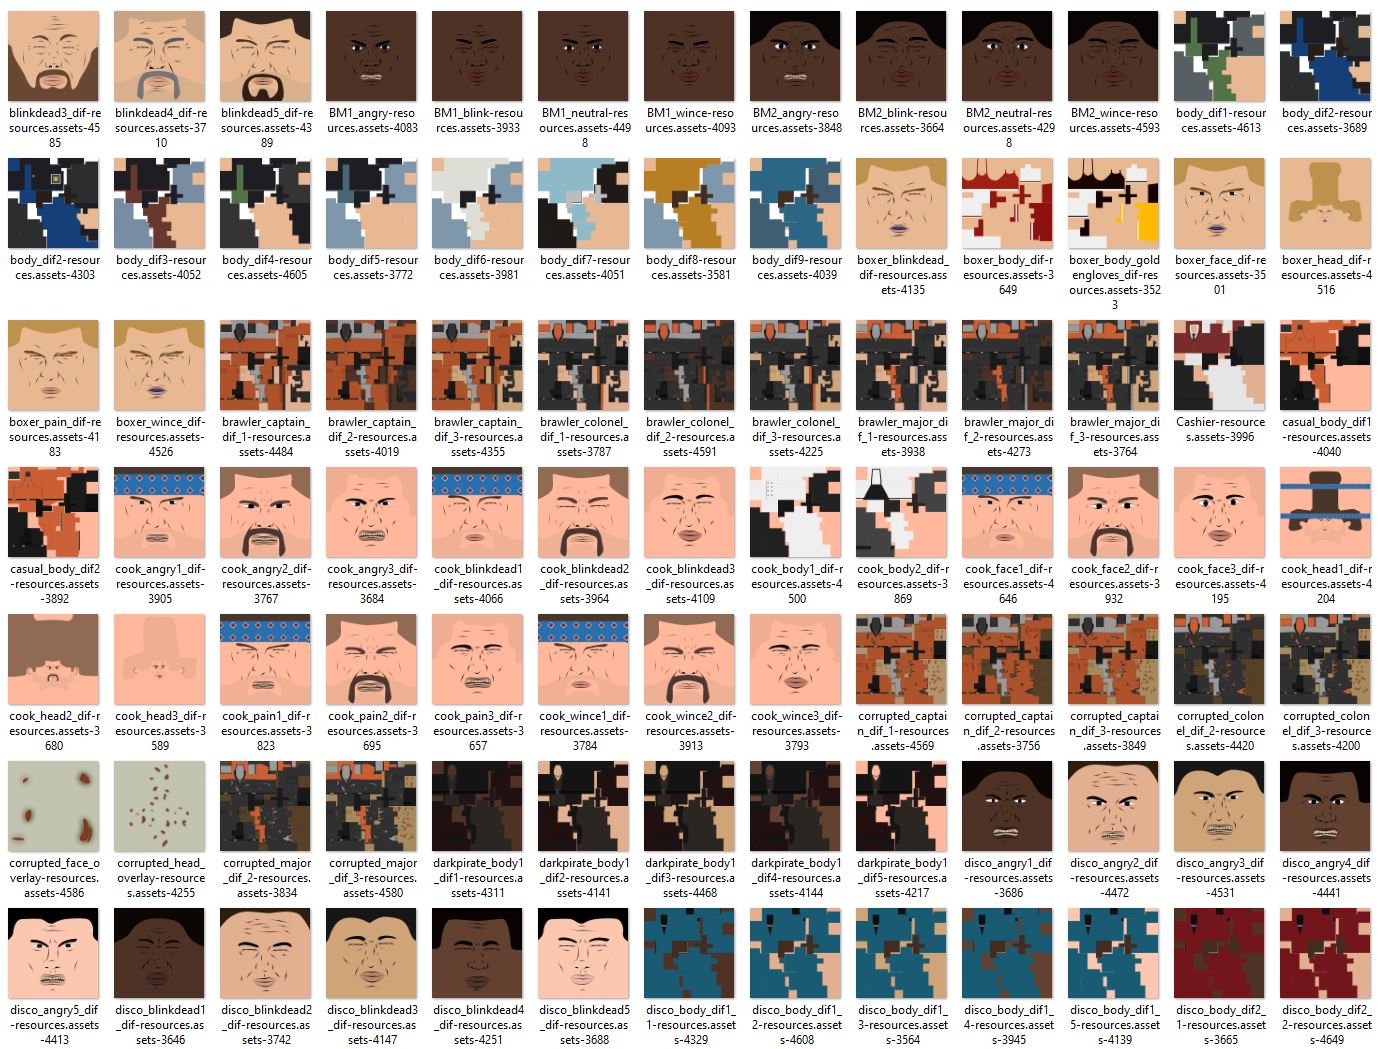
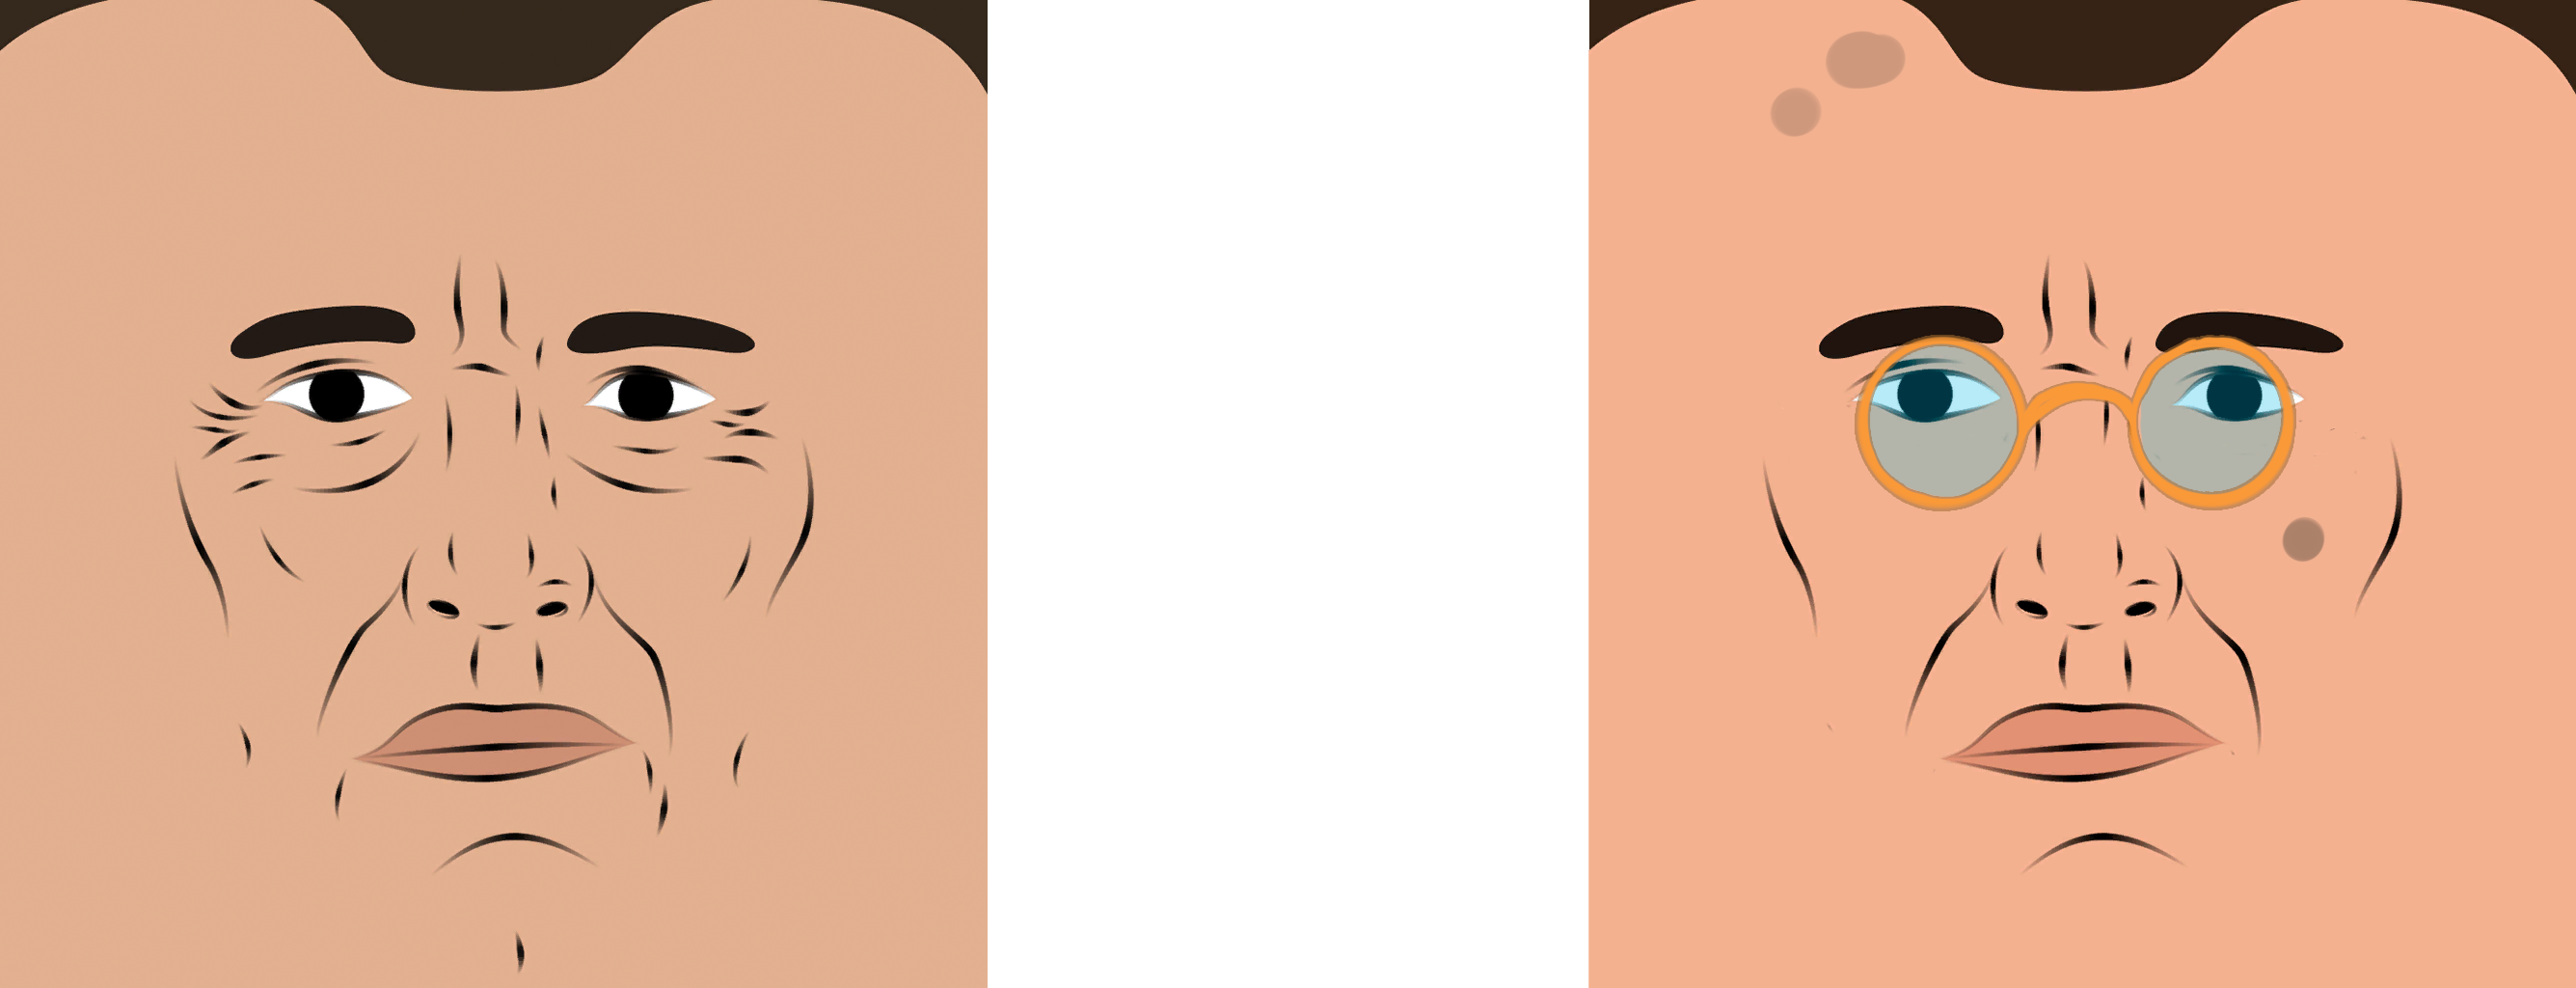
The best way to create your textures is to use the existing library of ingame textures. When I need to make a texture, I look through that library, find the image closest to my idea, and then I transform it to make something new. I often use multiple face textures to create a single one, for example.
The library can be found here[drive.google.com]Well, that's all I wanted to say, you can find the rest over here:
https://steamcommunity.com/sharedfiles/filedetails/?id=1619662892&searchtext=texture
LEVEL DESIGN, Overview
Okay, this is all for the editing foundamentals, really. Now to the level design part, and that’s where the fun begins.
Usually It feels like mapmaking is incontrollable and very random. Some day you’re in the right mood, some day you’re not. And.. this is great! But there are many ways to upgrade your mapmaking strategy.
Right, what is the main proof that you made a good level? A good level is remarkable. It may not reach the 5 stars tier, yet those who played it, will surely remember this level.
This leads us to an obvious question:
In commercial industry there are notions such as high-concept and low-concept.
High concept is an artistic work with a unique idea in it's core. Something incredible and unexpected. Intriguing, event-driven. Basically anything that has a different gameplay
https://steamcommunity.com/sharedfiles/filedetails/?id=904996411&searchtext=
Low concept is more concerned about standart situations. Most levels at the workshop are low concept. But this is not something bad, because a well-made low concept about something familiar is always attracting, you know what to expect, but don't know how it goes.
https://steamcommunity.com/sharedfiles/filedetails/?id=2649643170&searchtext=
There are six main things that define the type of your level and your work:
THE IDEA
EXPRESSIVE VISUALS
THE GAMEPLAY
THE STORY
THE GRAPHICS
THE TECHNIQUE
- RISK. Everything related with danger, fighting, extreme situations, jumps, stunts and action. This is what this game is about, so this feature works always in it's basic type, but can be developed.
https://steamcommunity.com/sharedfiles/filedetails/?id=2315290225 - GAGS. Jokes, funny moments, etc. Humour. A good gag is always in context of your map, otherwise it won't work. A good gag is born by itself, it comes eventually. If you make some part of your map and idea for a joke comes to your head itself, it's a good sign, you can use it. But don't force yourself to come up with something fun, usually it doesnt end well.
https://steamcommunity.com/sharedfiles/filedetails/?id=2987133540 - MIRACLE. Everything that's unreal. Apocalypse, epic fights, Giant robots, dinosurs, space and time travels, dragons, unicorns and stars of death. Magic worlds that work differently.
https://steamcommunity.com/sharedfiles/filedetails/?id=2036132138 - DRAMA. The hardest thing. I'm not talking about sad stories, i'm talking about creating the empathy to the characters, to the level scenario.
https://steamcommunity.com/sharedfiles/filedetails/?id=2414619239&searchtext=
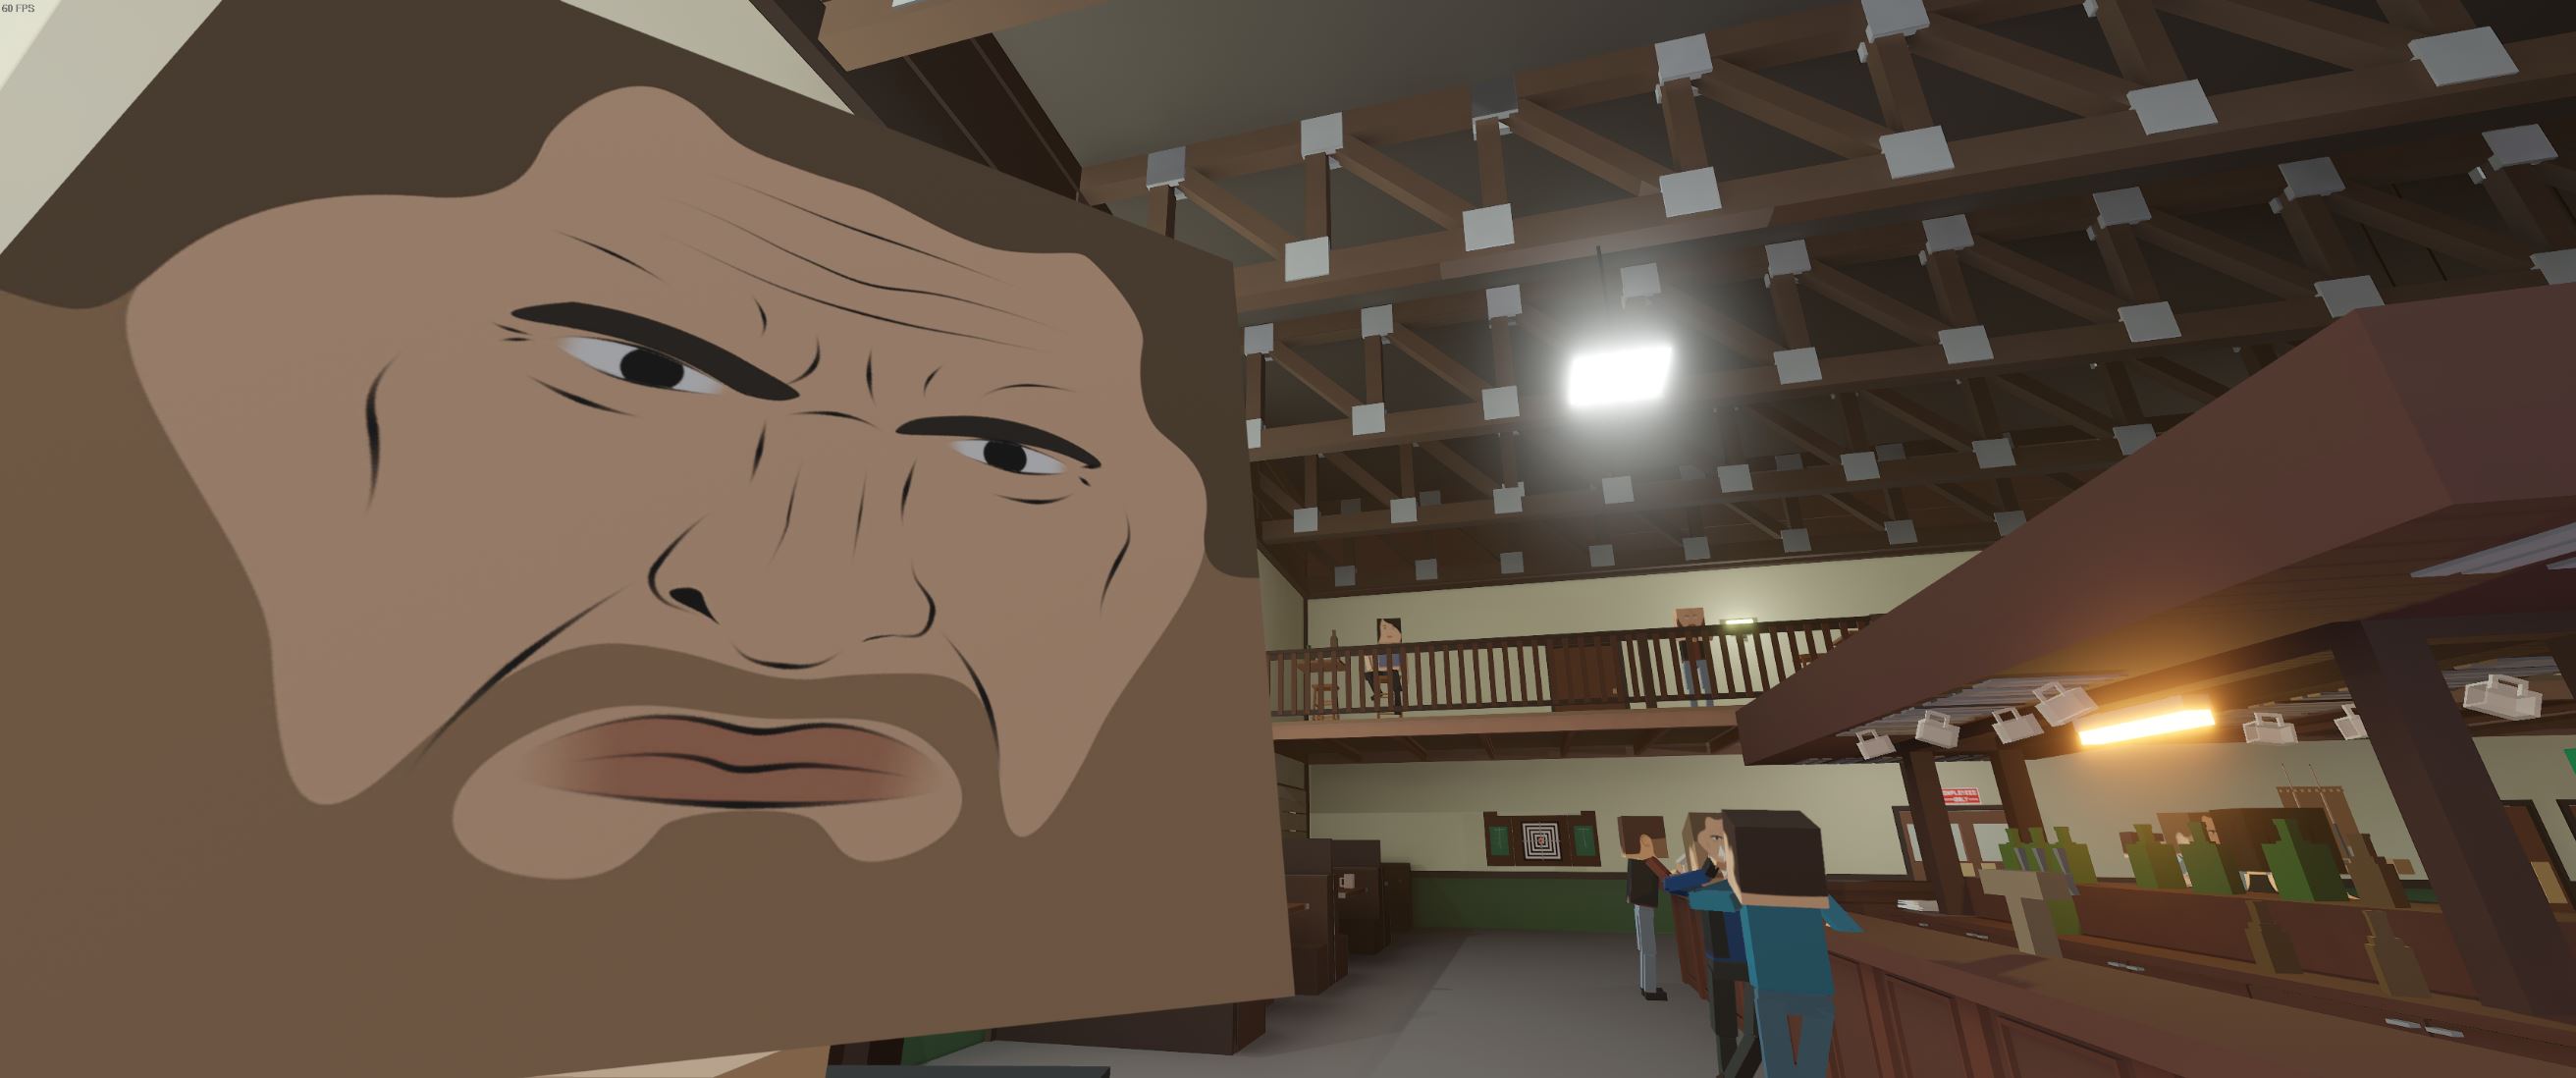
and female attraction is hard to implement..
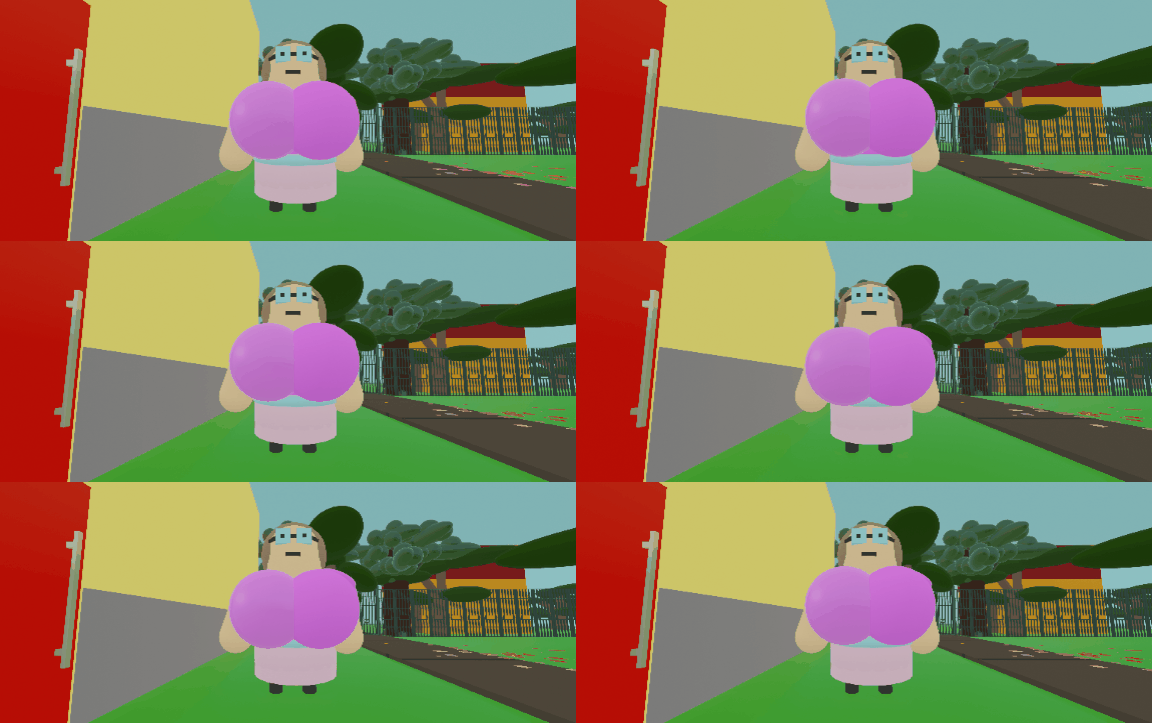
so we won't cover this feature.
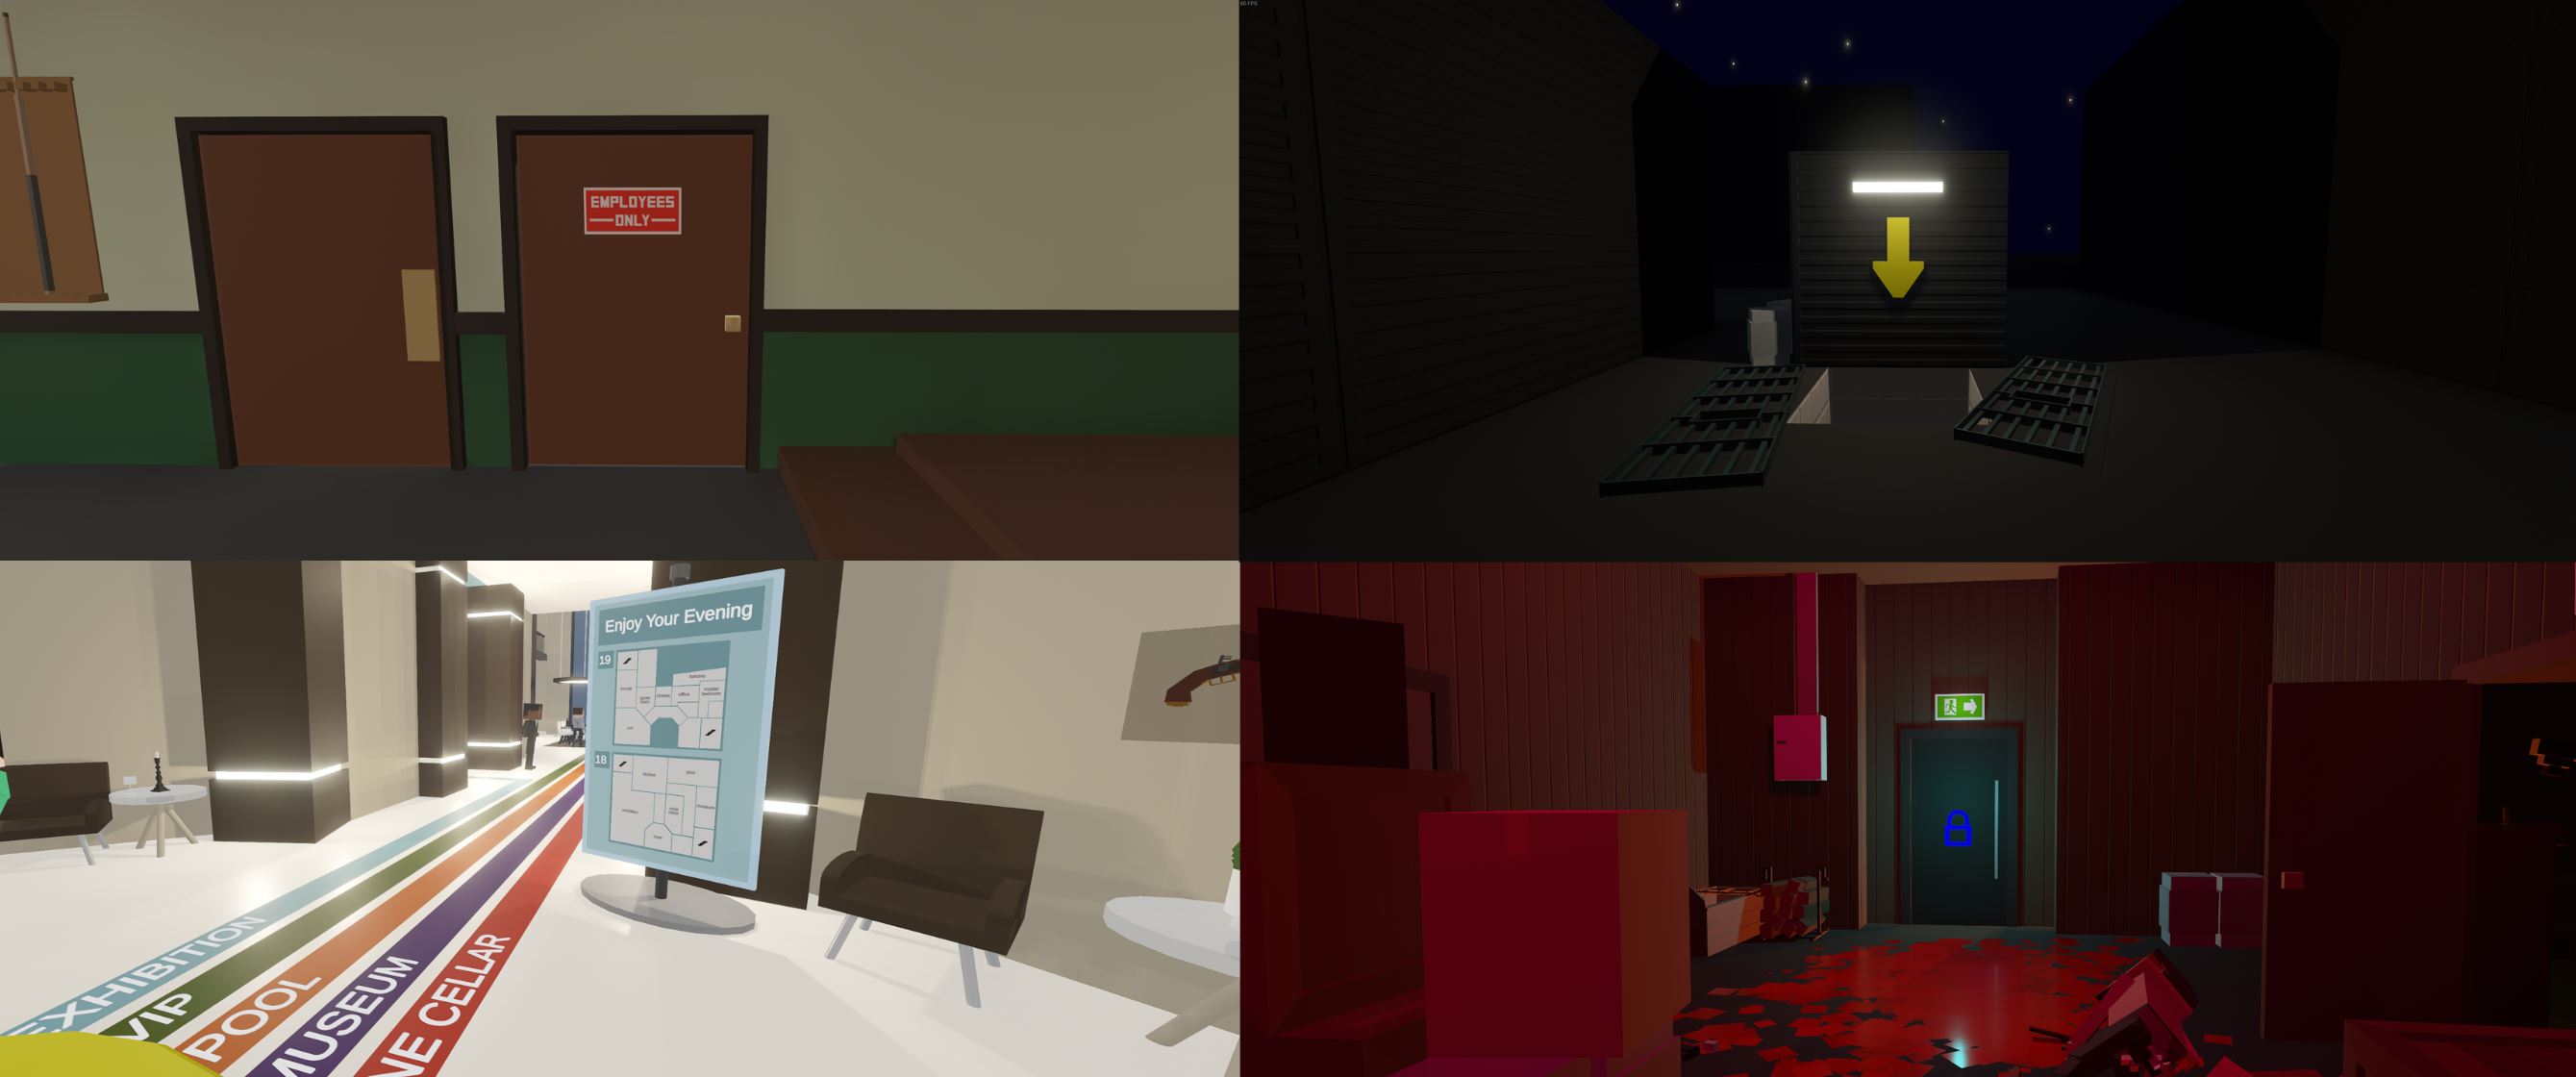
Also, it can be an improvement of the default gameplay. Like, adding more heights to knock people off the roof. Or a wave-based fight.
But it's not just the different gameplay. Such things as mini-games or exploration also mean a lot.
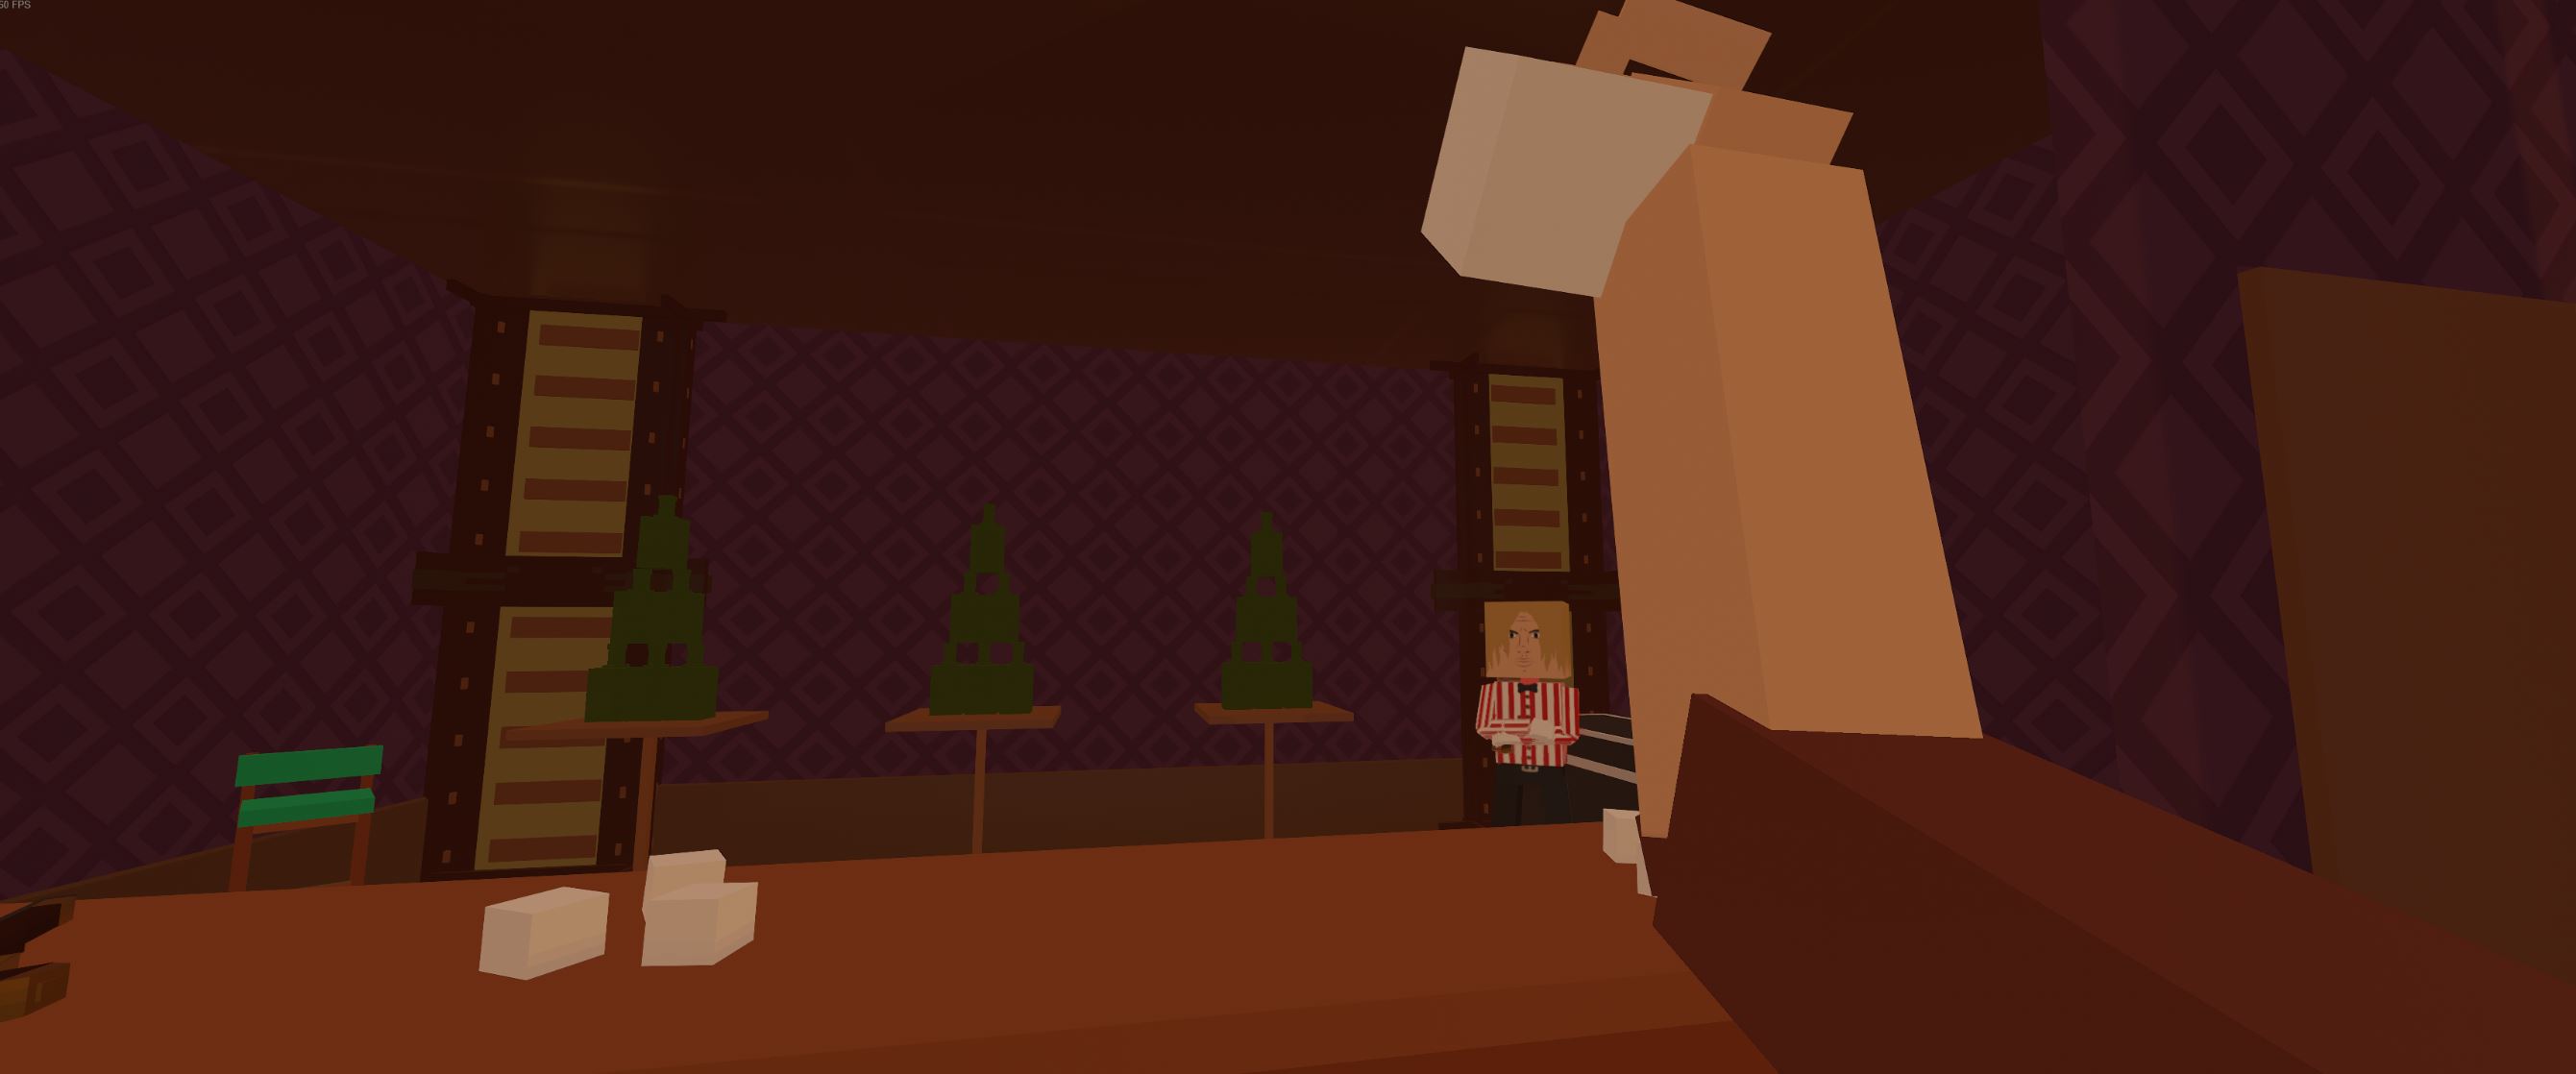
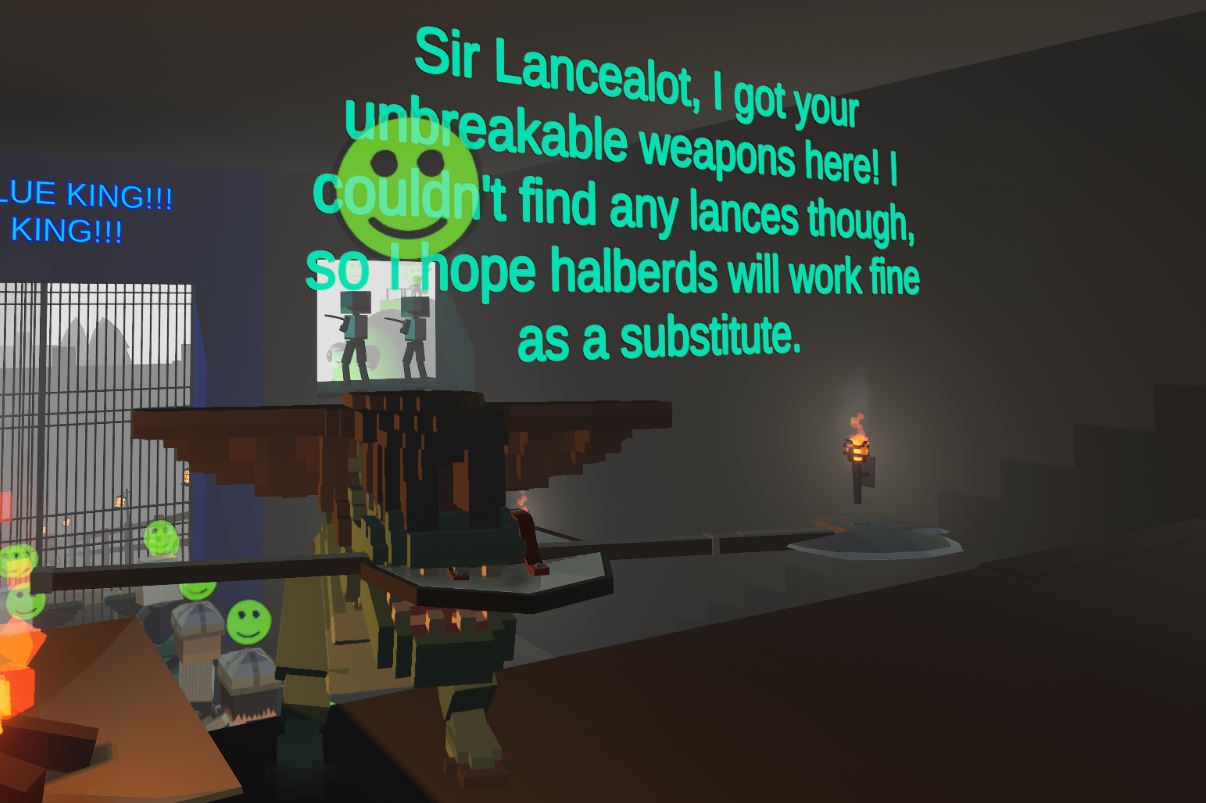
Same with the movies and other games, you level can have it's own scenario. The level editor options are limited, so no need to write an RDR2 story. But it's important to develop the setting and place the ingame events so that they won't let player to get bored while still telling the story.
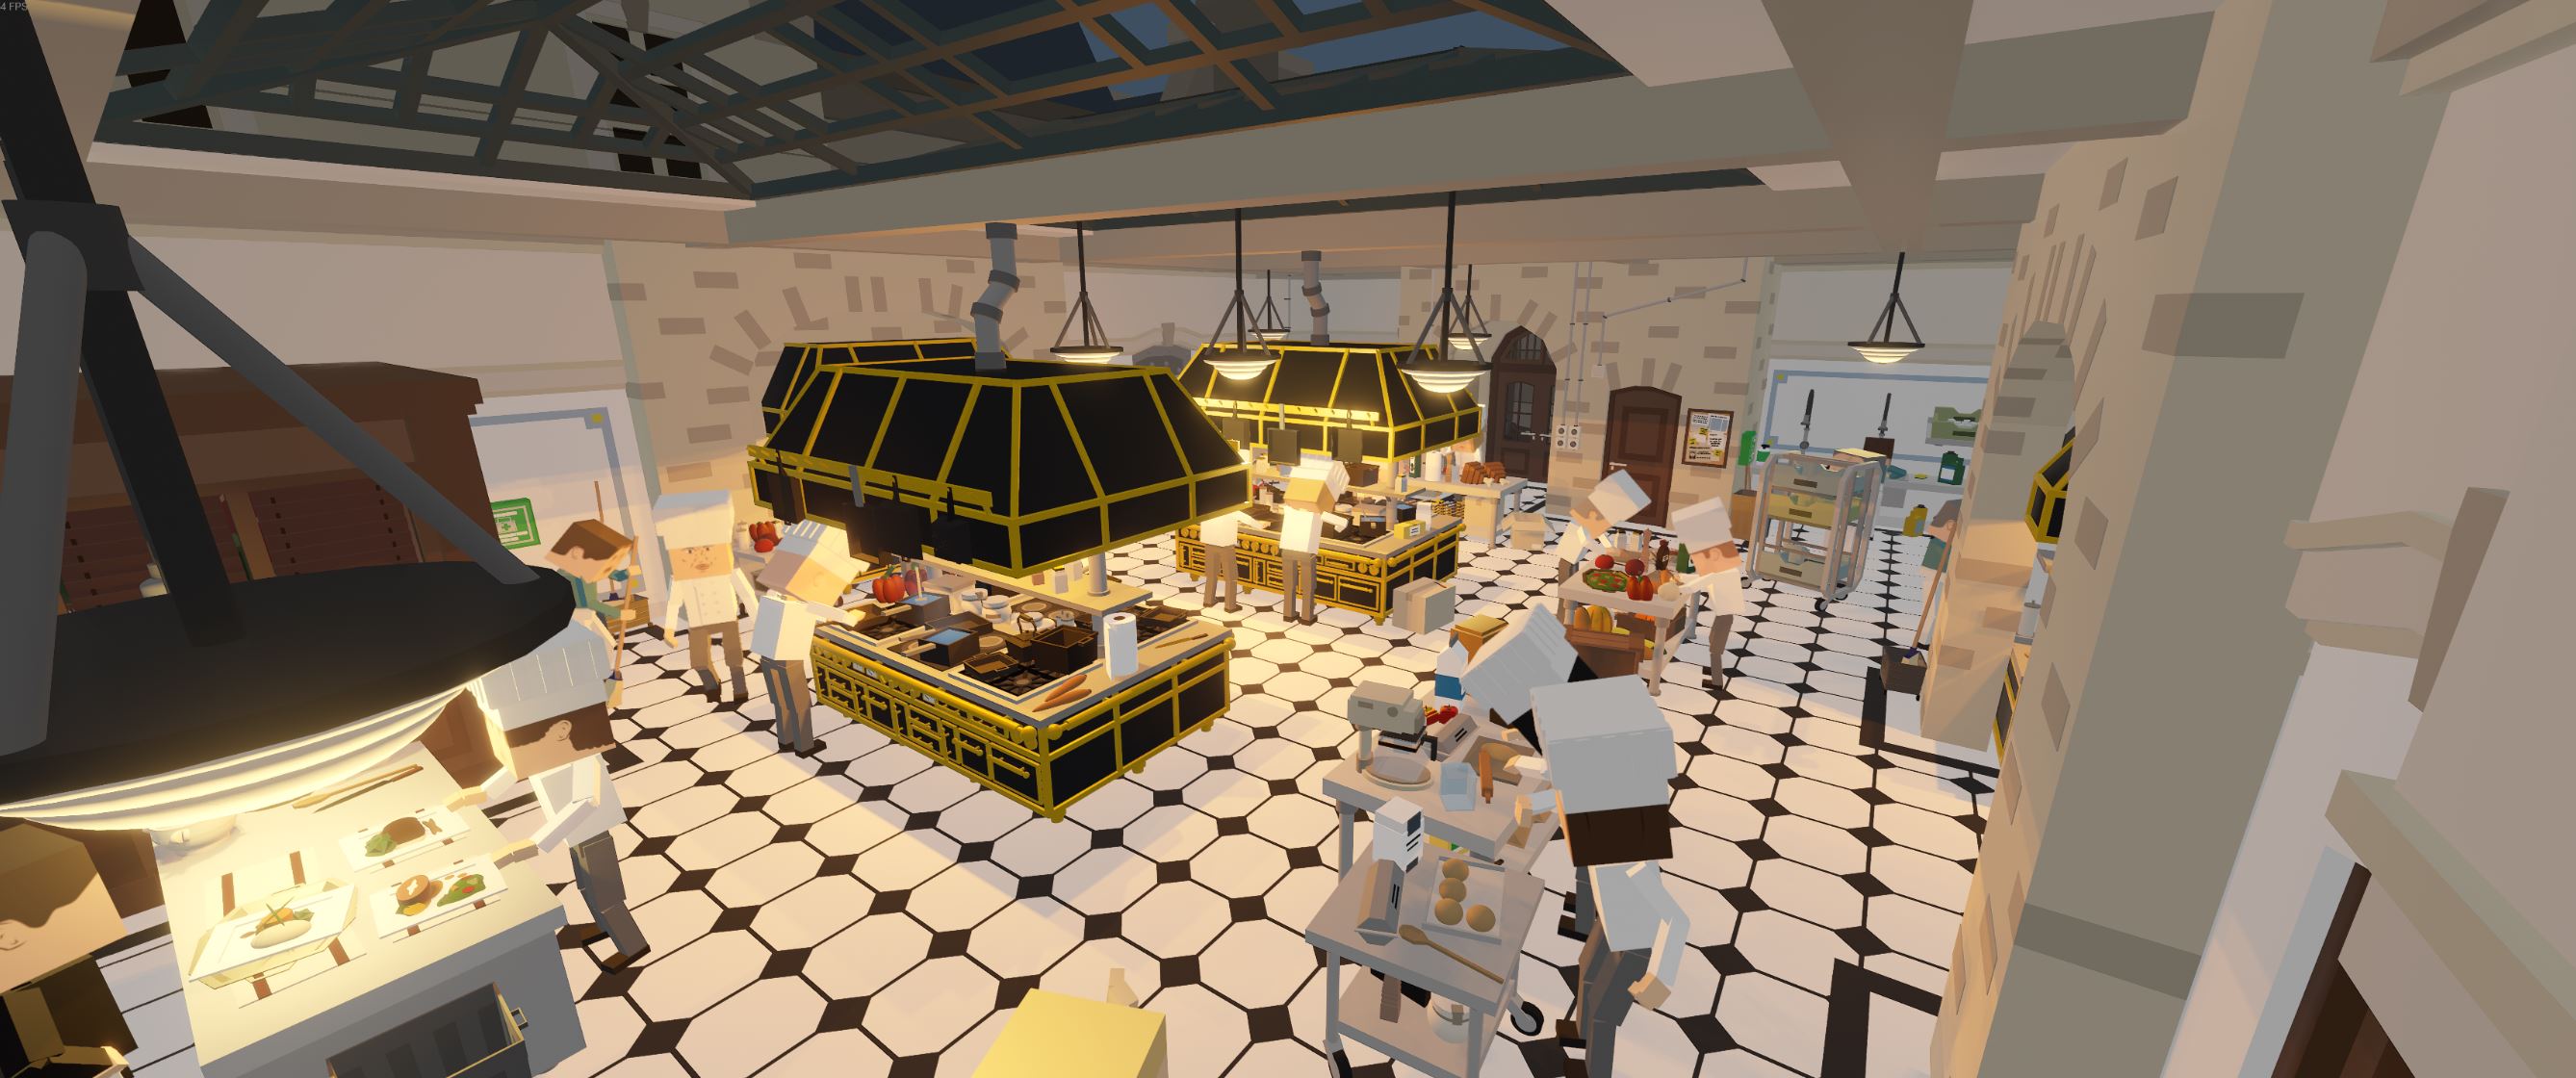
- All the details you add should work on your idea
- Work locally with small groups of objects (don't try to fill up all the rooms at once, develop a single corner on one room, and then get to another)
- Make asset presets to speed up your work
- Work with sketches. A sketch is a short creative research on details or idea. An interesting level comes from an interesting sketch
- Things that are important - are the most noticable
- Manage your polishing. Don't polish things that are not important, focus on base
- Make things comfortable for yourself. Uncomfortable = uneffective
- When working on an idea, don't dig in details, work on the concept, it's never enough
- Remember that you need time to develop the concept
- First way is to start with an idea, and build everything else as it comes. It's random, It's creative, but you may become addicted to "iNsPiRatIOn", or get stuck if you don't know how to continue your level. Well, you already know how to use this strategy.
- Second way is to create your project using a pipeline (pipeline is an organized, visual way of tracking potential goals as you progress through different stages in mapmaking journey)
I think you know that game industry includes lots of people with different occupations. Concept-artists, level designers, beta-testers, writers. and so on. And when you’re making a map, you’re taking all these roles by yourself. Even if you don’t actually realise it, you’re not just a mapmaker (level designer), but also an artist, a writer, a tester and a producer.
Your success depends on how good are you on each stage.
For example, a pipeline for your level can look like this:
Idea/Concept→ Rough Sketch → Scaling → Drafting → Materials → Basic Assets and Points of interest → Details and Polishing → Textures and Audio → Testing
When you're done with first four stages, you can switch between all the rest as you wish. At this point you may think that this makes no difference with the first strategie, but now you have a basic shape and a clear idea.
If the previous pipeline looks too abstract for you, here's another one:
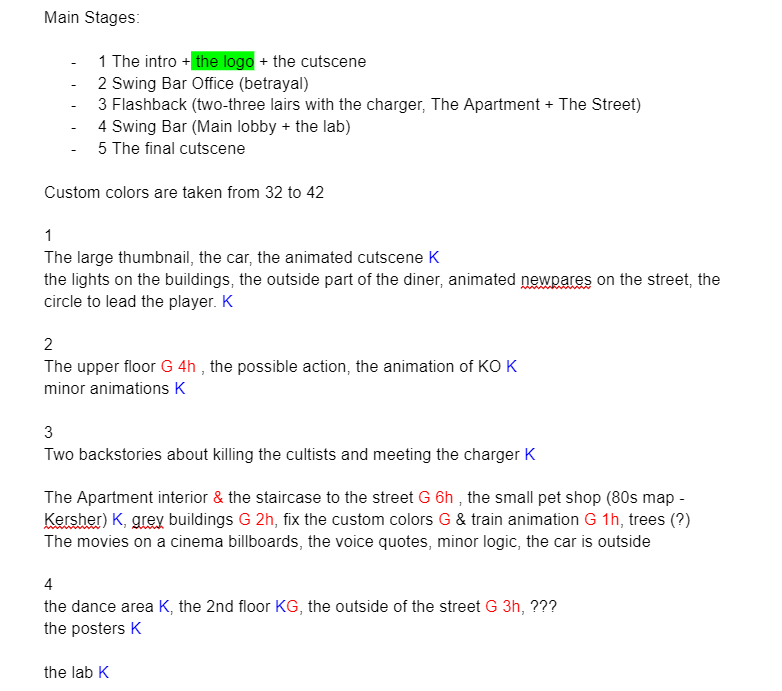
The pipeline gives you the clarity. You see the amount of work, you always know what else you need to do, and in which order.

LEVEL DESIGN, Basics
Okay, now we know about the creative matter and the abstract tricks that work on a mental level. Now let's talk about grounded ways to use them.
Usually people try to bring their ideas with a template showing of a location they want to build. It works, but tend to get boring, and actually its almost impossible to avoid this. Of course, you can pick an uncommon location, but most likely its not enough.Deal is, you should combine multiple styles, settings and cliches together to get something new out of the default tools. The higher the contrast between combined styles, the more insane, interesting and remarkable level you get.
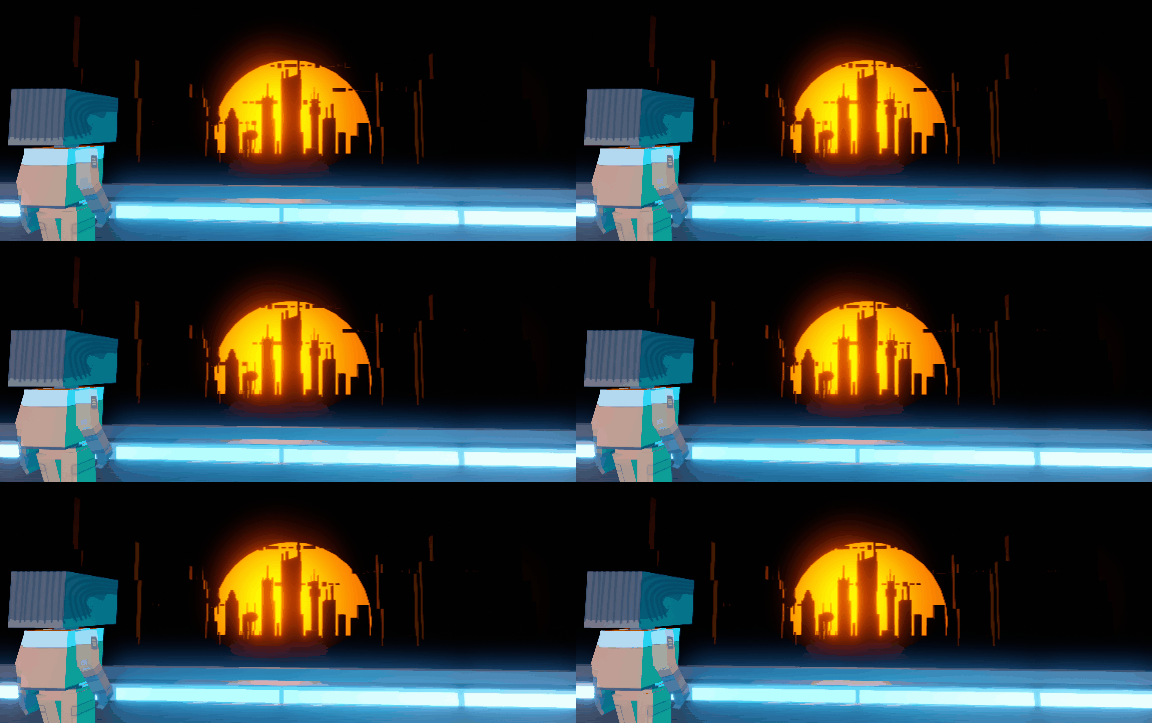
You combine tiki islands style with amusement park and exagerrate some features to make it look like a dream? You get the Ocean World.
https://steamcommunity.com/sharedfiles/filedetails/?id=1405428652&searchtext=ocean
You combine horror setting with hard combat and space? You get the Red Space.
https://steamcommunity.com/sharedfiles/filedetails/?id=857362703&searchtext=red+space
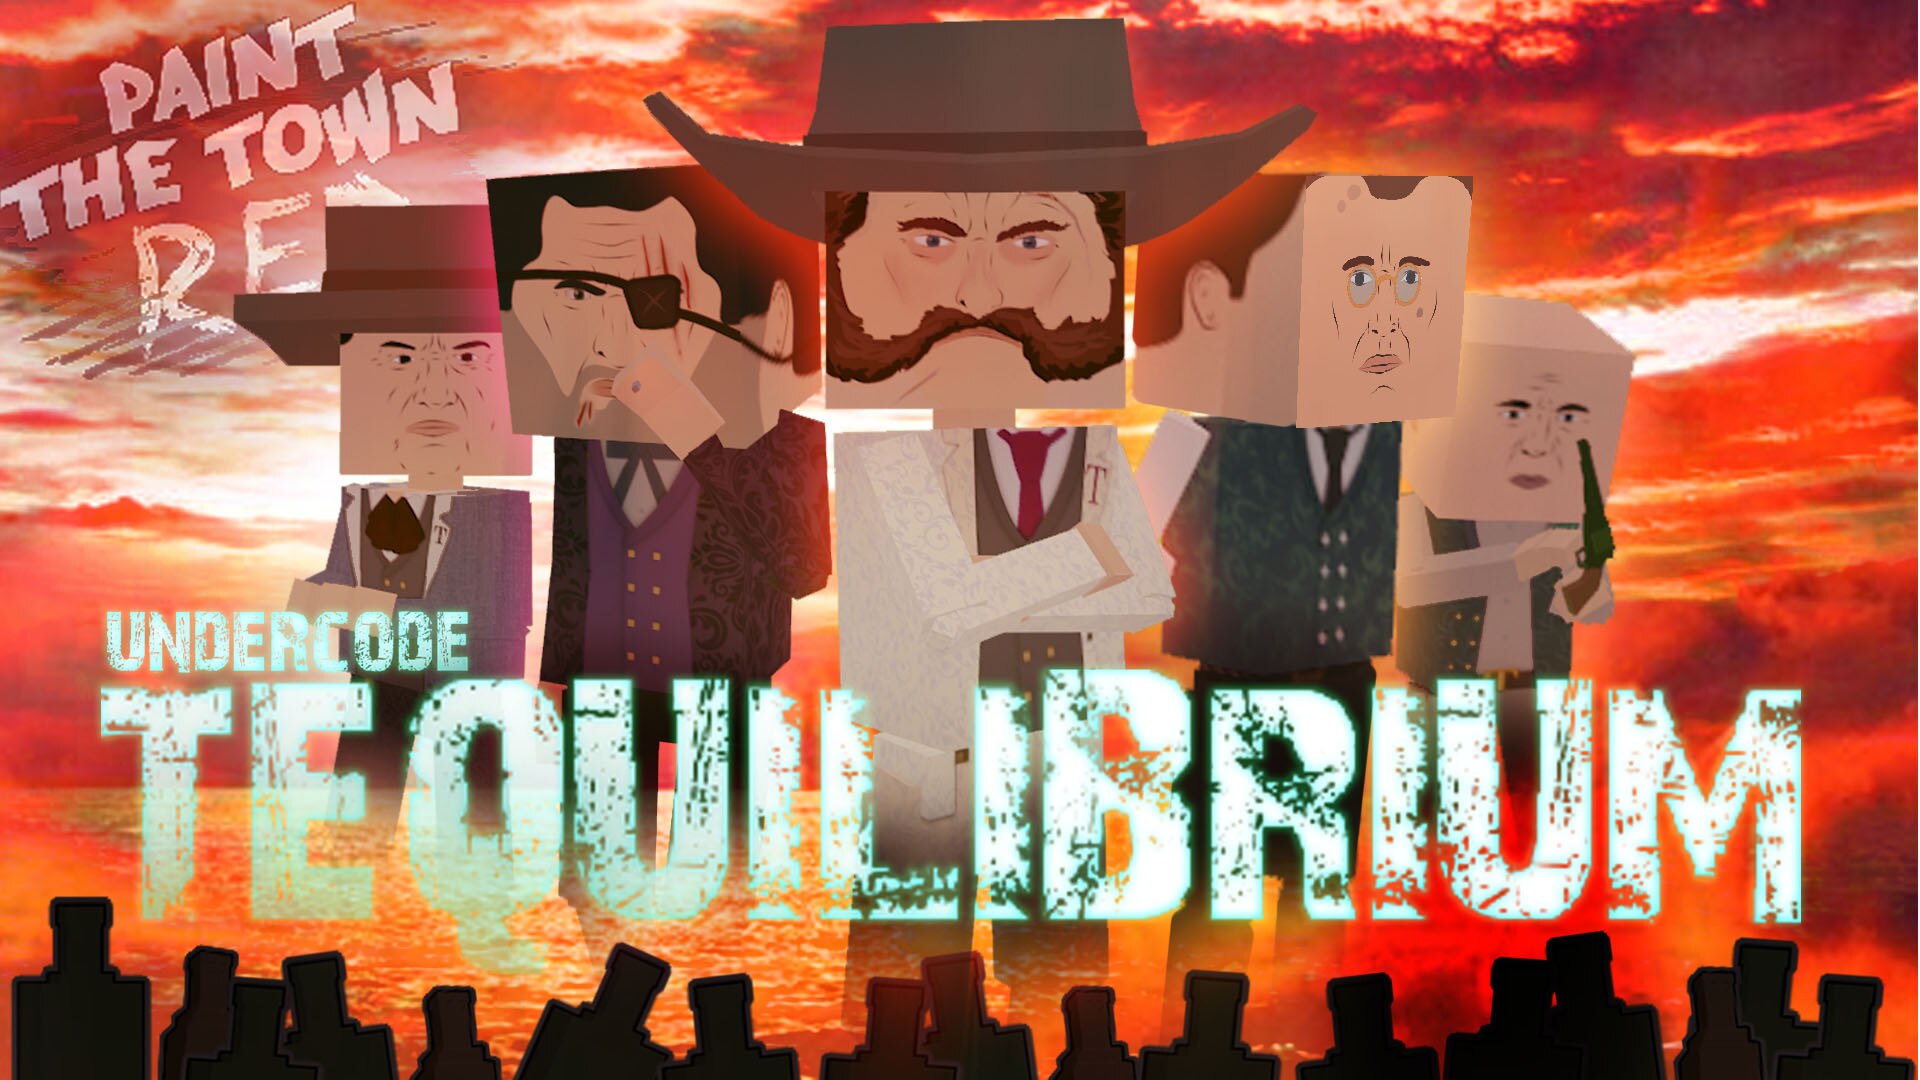
You combine Cowboys contry style and put it around "a man on a secret mission?" you get the Undercode Tequilibrium. Etc.
https://steamcommunity.com/sharedfiles/filedetails/?id=2414619239&searchtext=tequilibrium
Another example is combining the PTTR Gameplay formula with locations where you probably expect or do not expect a fight to happen.
https://steamcommunity.com/sharedfiles/filedetails/?id=2651208418&searchtext=movie
If you can't come up with idea, search for setting and story prompts, there are plenty of them around the internet.
Anyway, no matter what you decide to build, the first rule is..
 Recreating things from the imagination is hard. No matter if you're making a prefab, or drawing a texture, or building a room. Okay, i assume you can make a biker bar, because you saw a lot of them, but what about spacecrafts? ships? the hard surface stuff that everybody loves?
If you do things from the imagination, they have no clarity. If you want to create something realistic, you need to study it first.
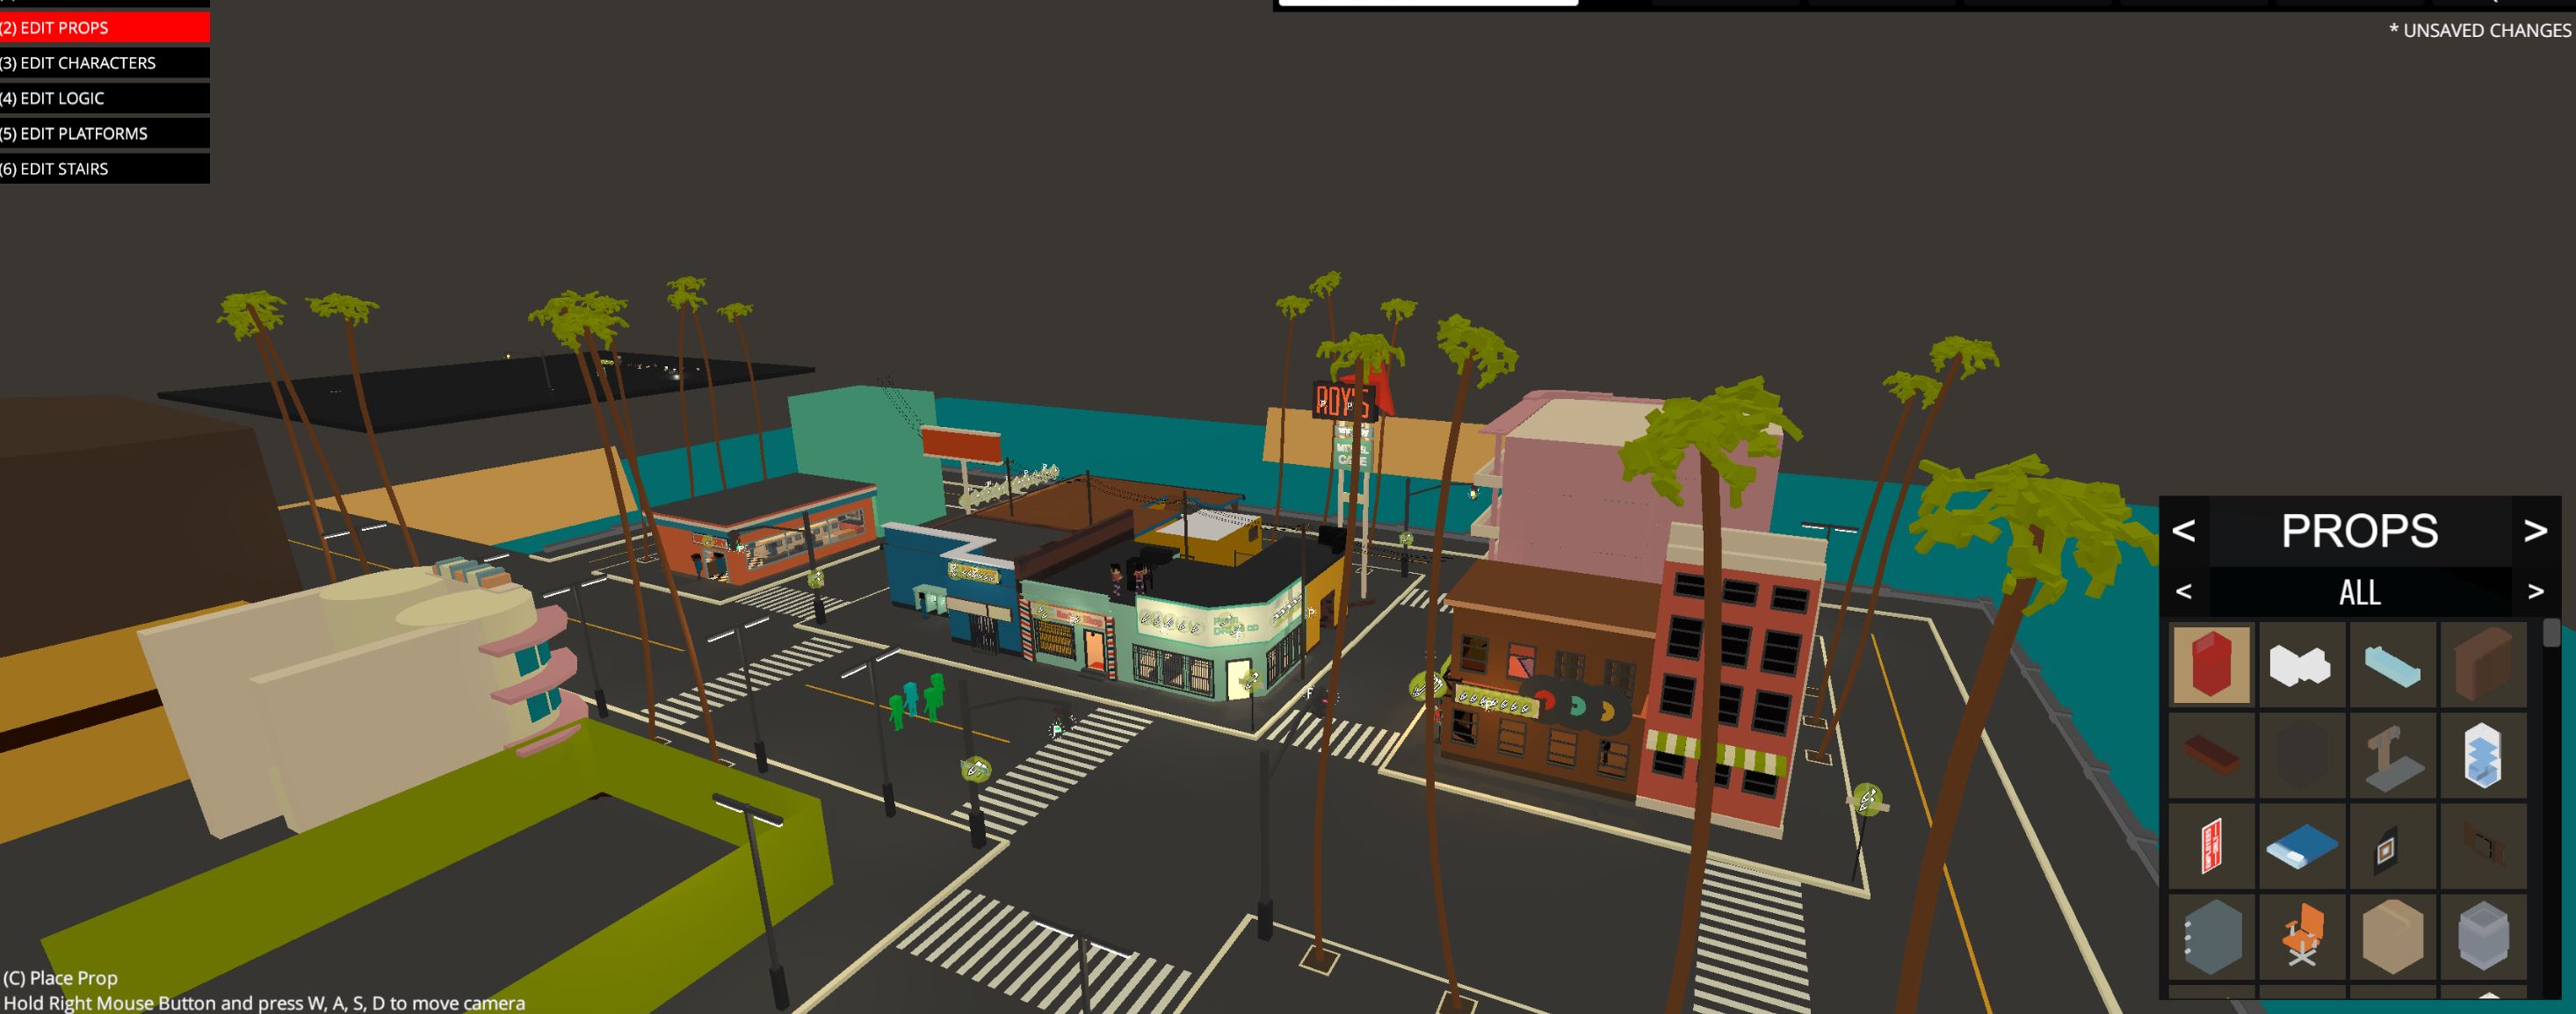
For example, I want to make a map which is going to be happening in American 80s. Miami, Palms, Sunsets, huge Motorola cell phones, that sort of stuff. But heck, what makes Motorola look like Motorola? How did the restaurants look back then? What's the colour pattern? I dont even know how american road signs look like. It's all blurry, you see, and I need the clarity.
 The main places to look up for any references are:
- Google[www.google.com]
- Pinterest[pinterest.com]
- Sketchfab[sketchfab.com]
- Photos you make in real life
- Games, Books, Movies
- Other workshop levels
So, continuing the 80s theme, I go to the internet, visit pinterest and sketchfab, and search for the iconic items of the 80s culture - to be able to recreate them and simply not to forget that they tend to exist back then. And watching the movies of that time helps me a lot. As the result, ive not only got the massive library of different scenes, clothes and objects, I also managed to get deeper into the aesthetic, to feel the vibe. And this is definitely helpful.
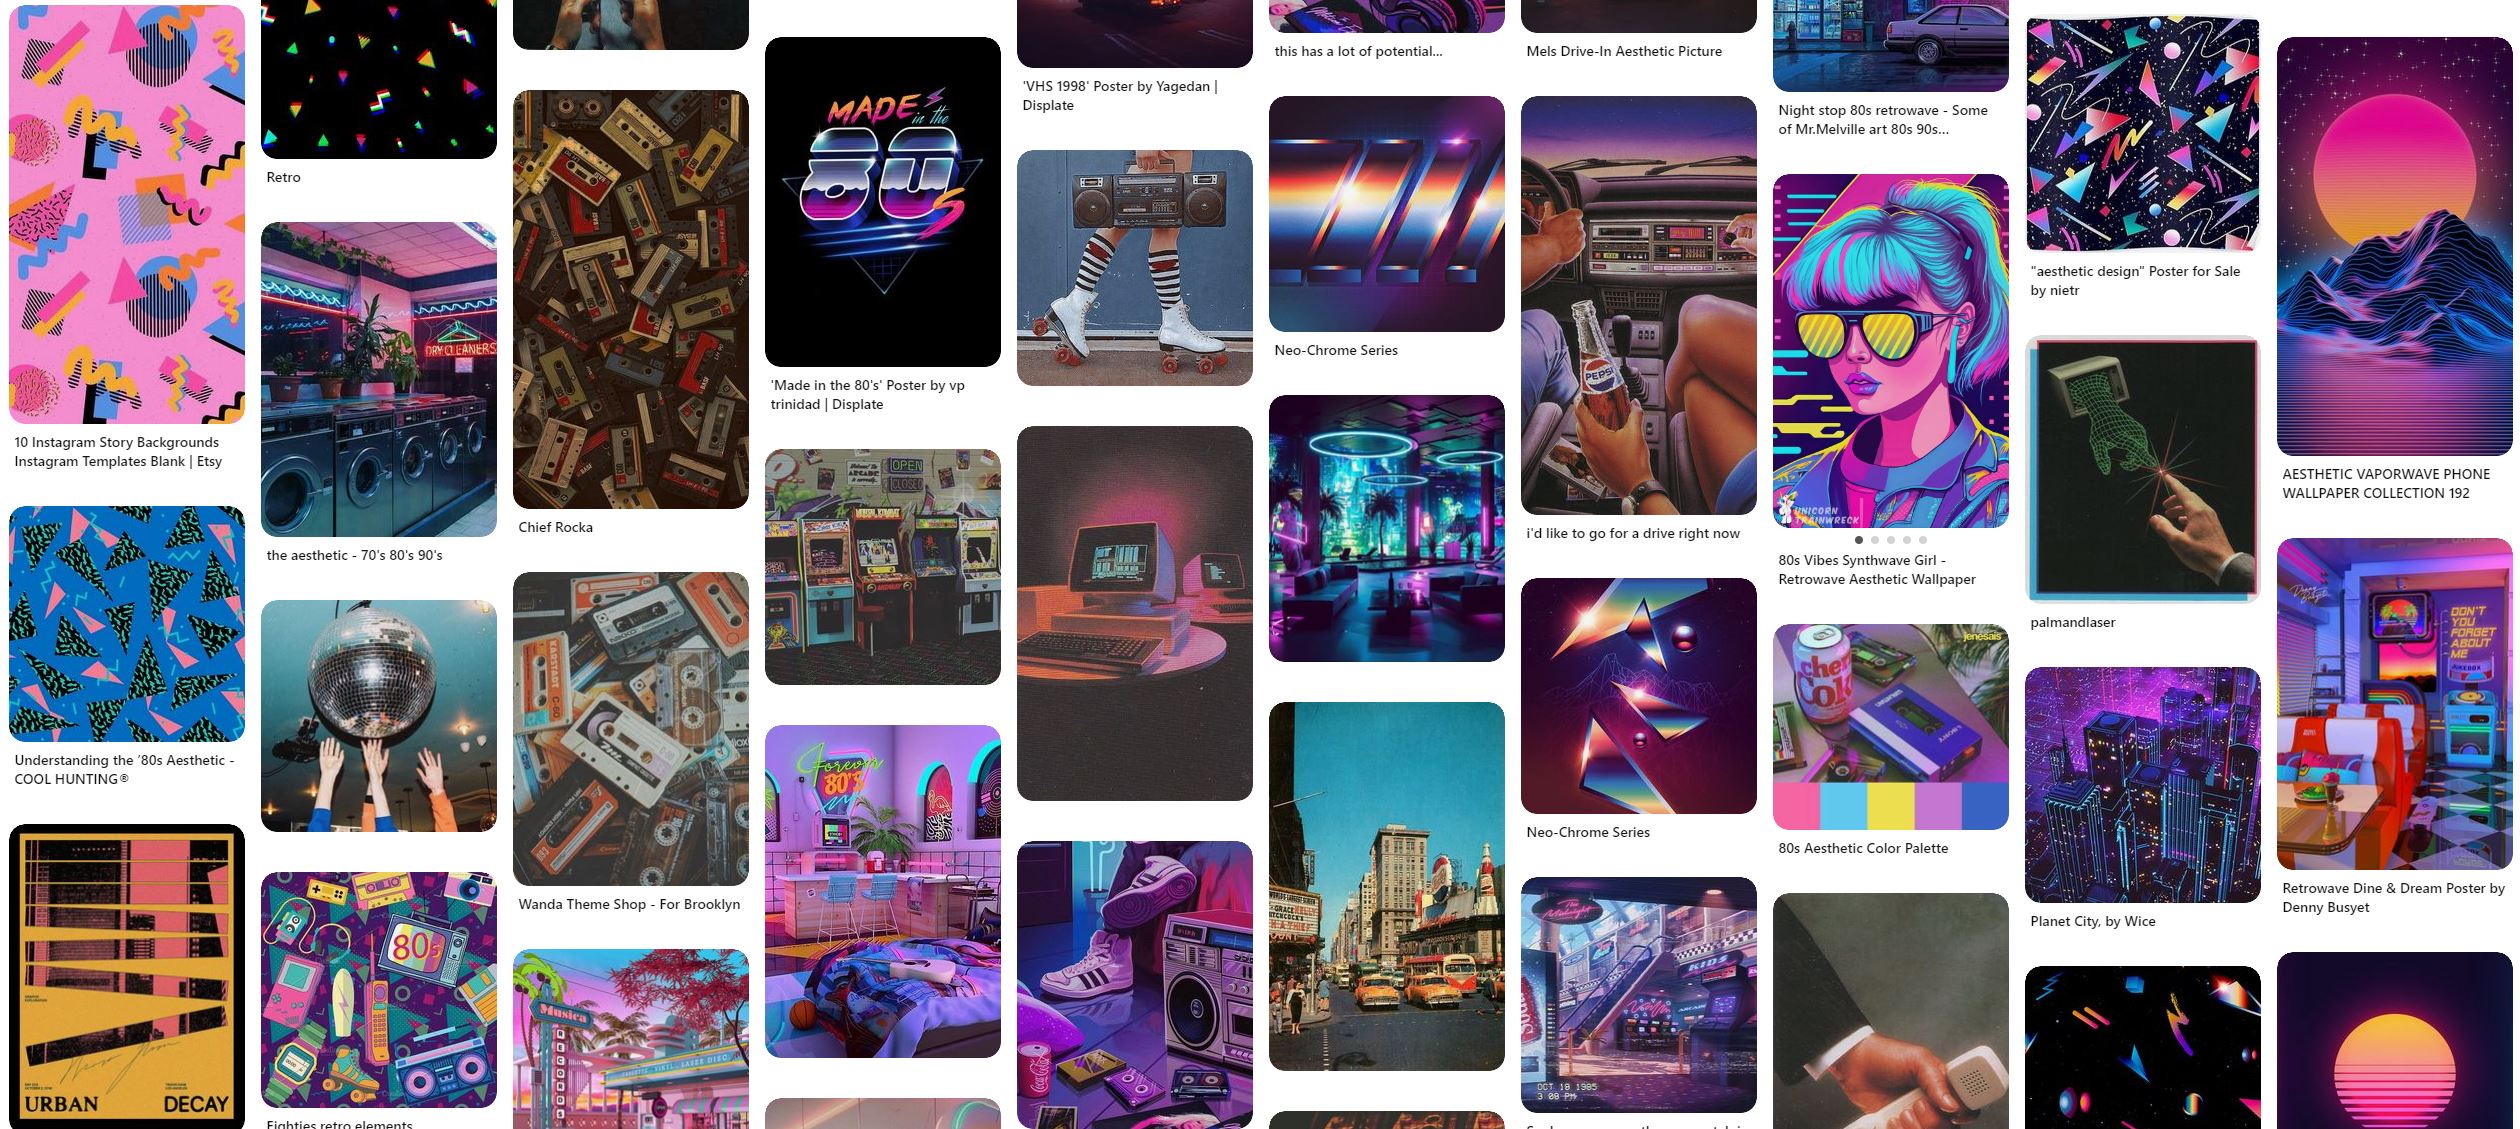
- Create a specific folder for your reference photos and collect them.
I use PureRef[www.pureref.com] app to stash all my references, however Pinterest or a simple folder on your desktop are very good for that as well.
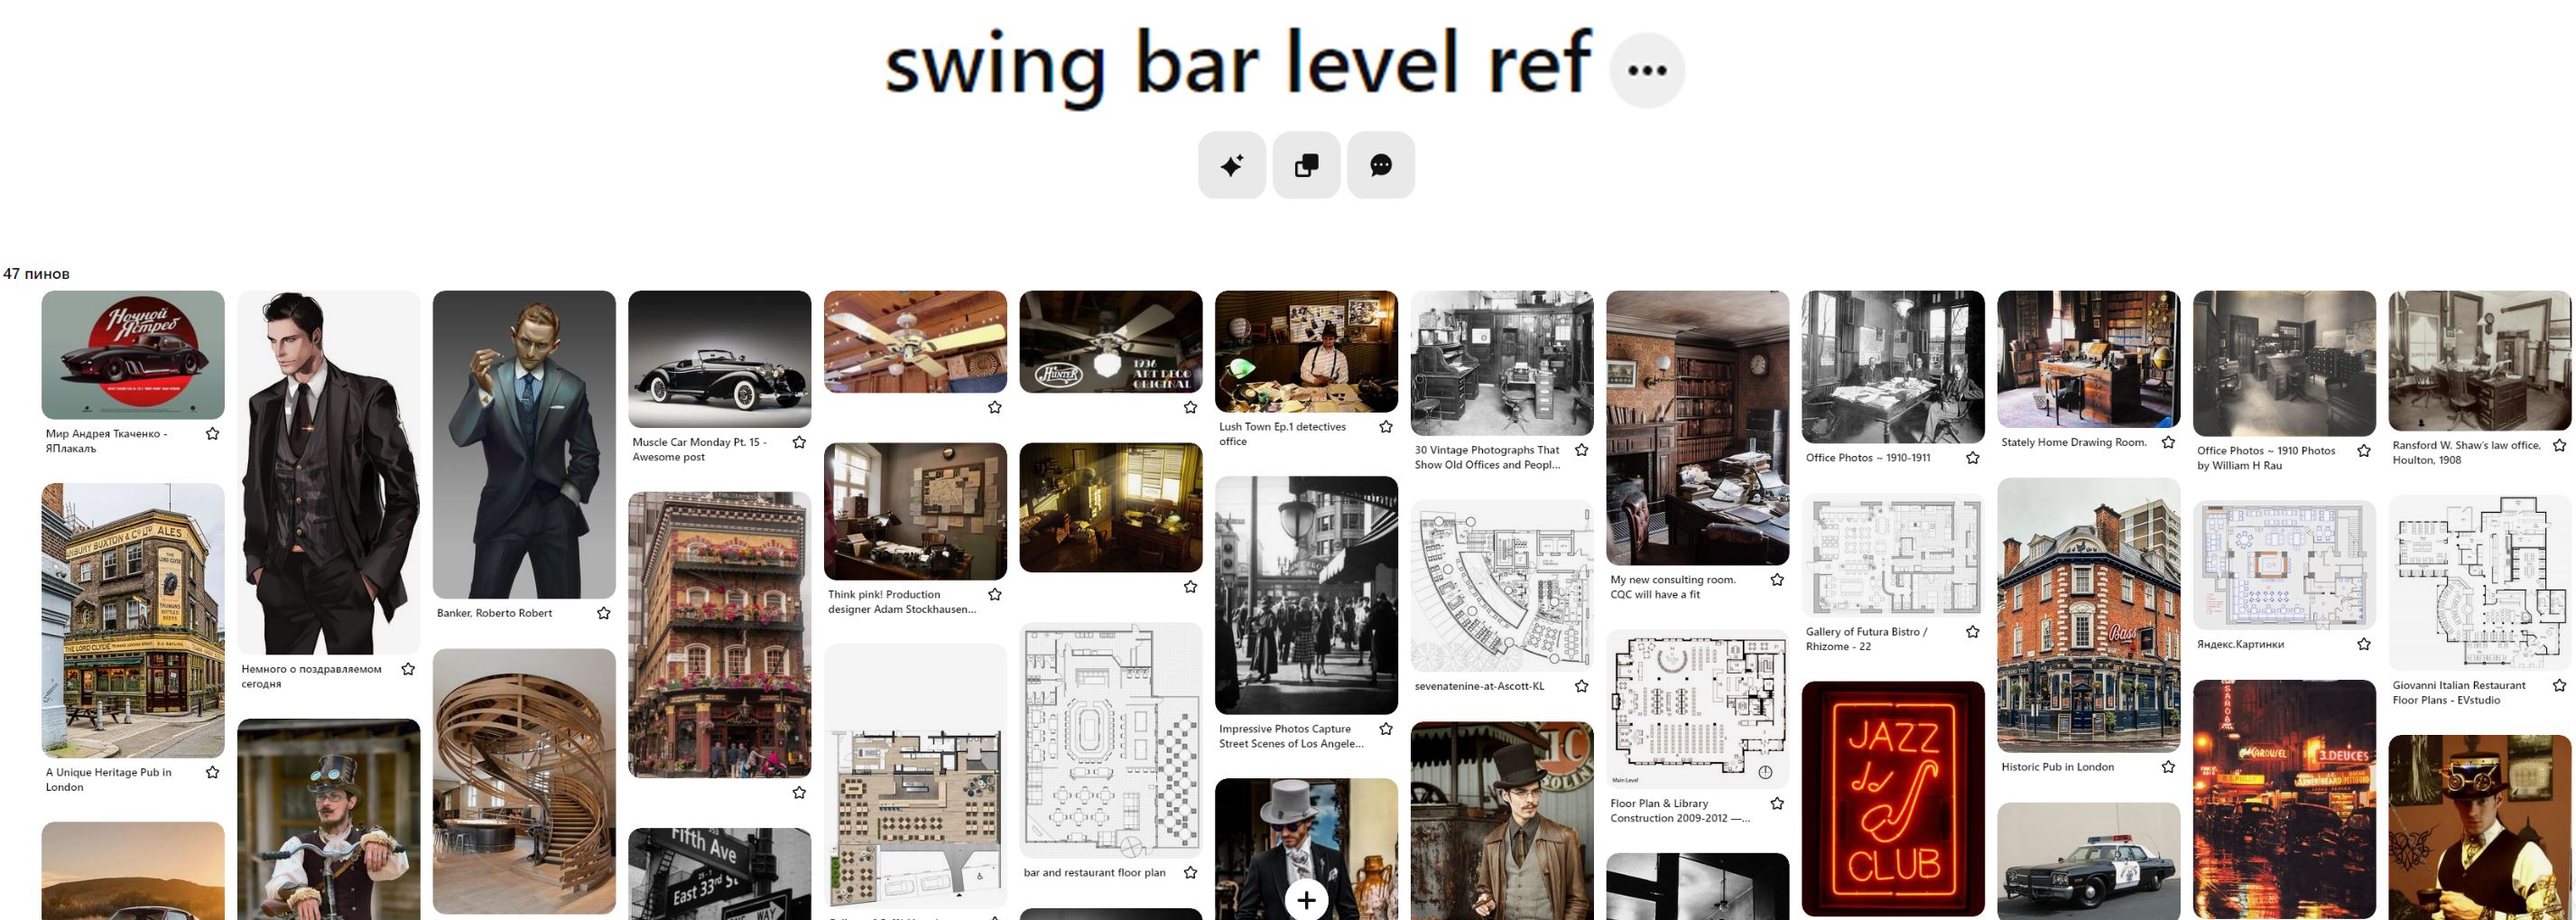
The second step is to analyse the reference objects.The more material you mange to study, the more cool features you can pull out from it.
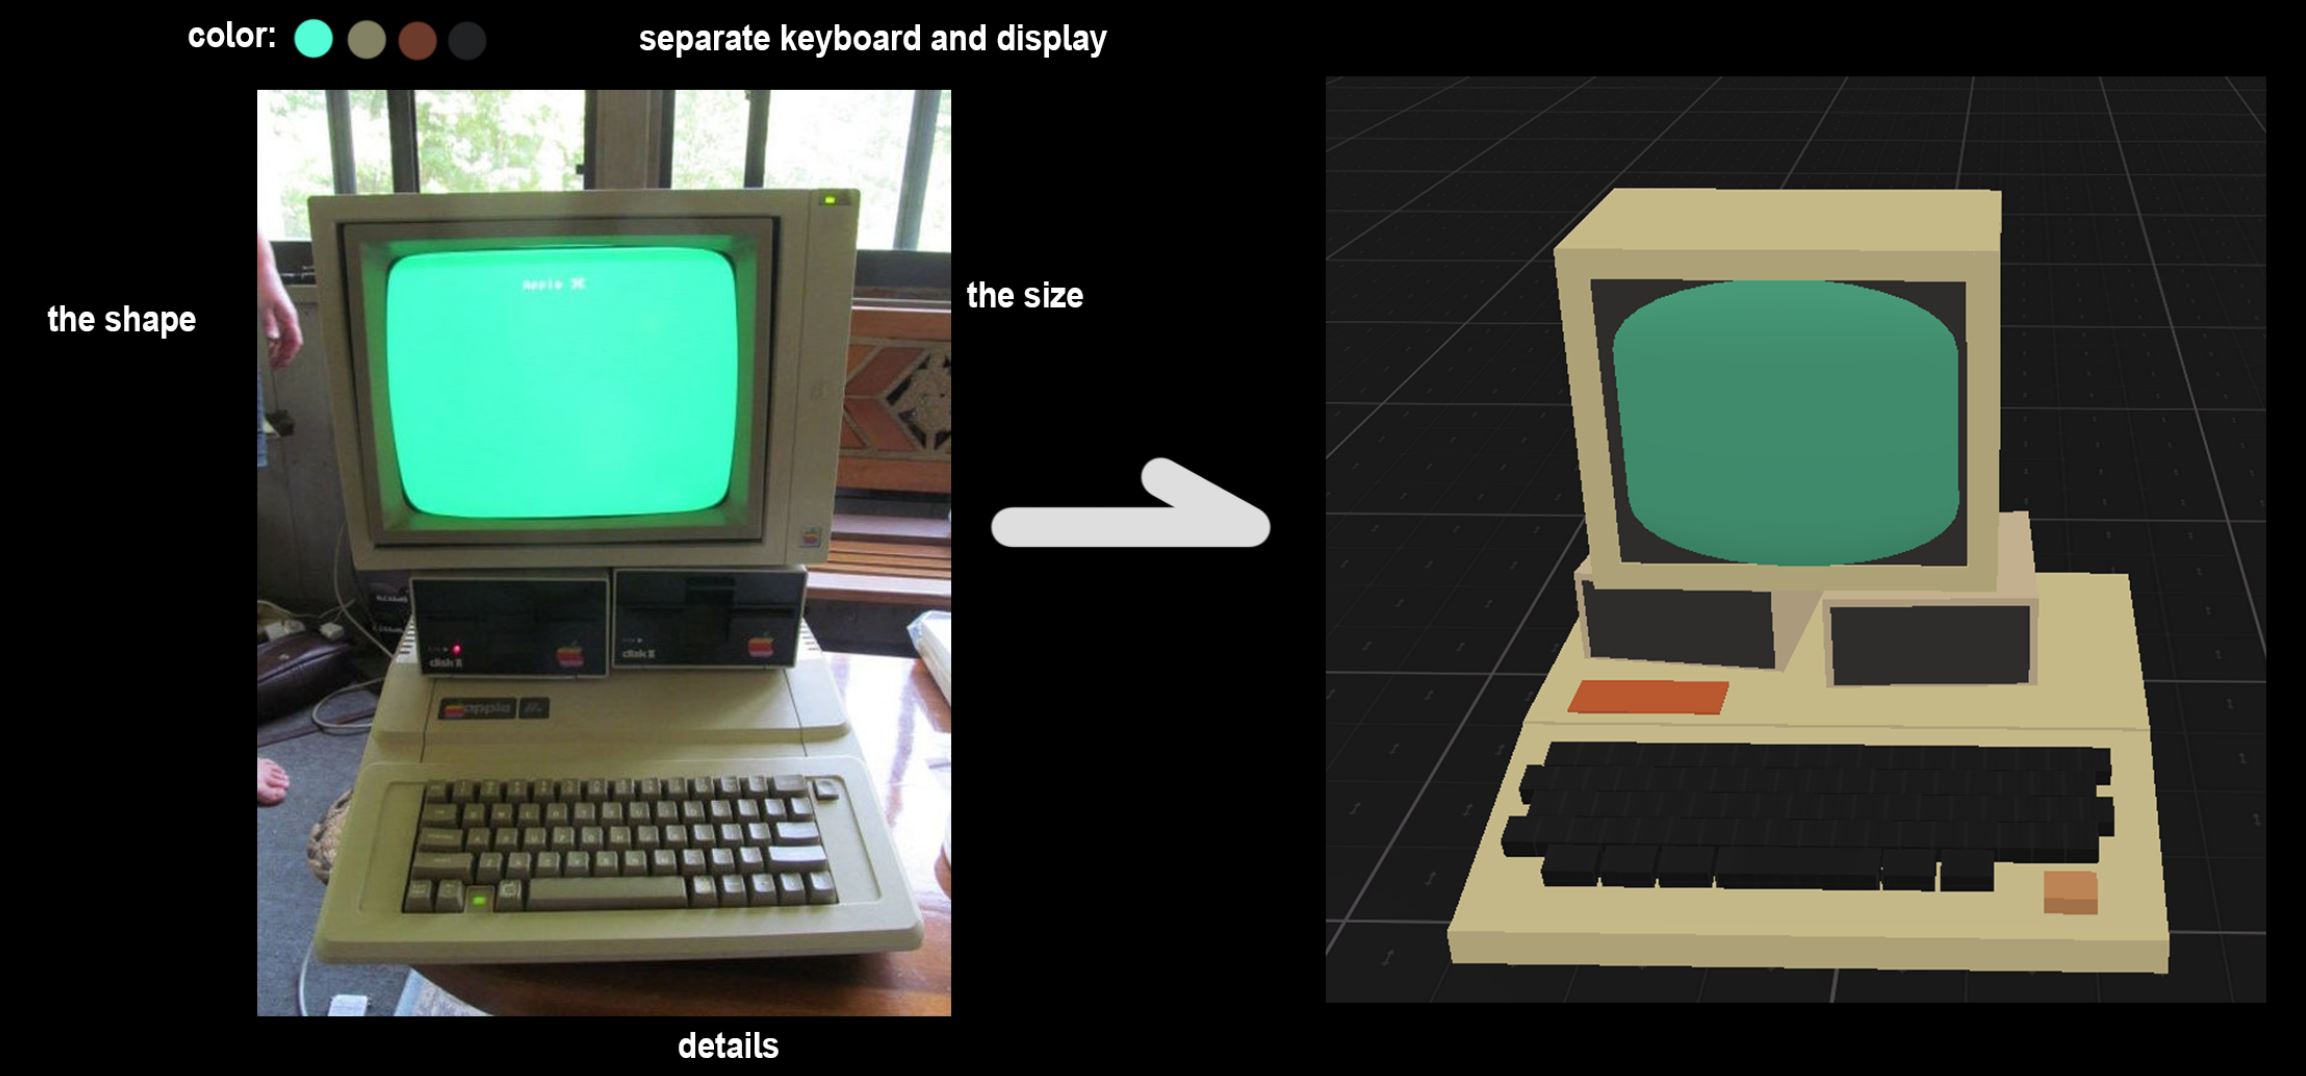
Also when studying, you can already tell which assets you'll need to make, and add them to your pipeline.
The more details you add, the more elaborated your level turns. Elaborated = Realistic = Impressing. So, at first it seems that we need to force ourself to make more details.
However, as you remember, we are always limited in our resources. Besides, the more detailes you add, the more players tend to "ignore" them. It's like there's too much on their screen.
To make a realistic level you don't have to make a full copy of the real life or the reference. Focus on well-known features and functionality
Of course you can add all your insane details, but make sure you can hold the amount of details all along the level. Otherwise its gonna look strange and unfinished.
I'd say go for the details if your map is small, but if your map is large, remember what I said in the last Section of the guide:- Things that are important - are the most noticable.
- Manage your polishing. Don't polish things that are not important, focus on base
Details are just the tool, the idea is what's really important.
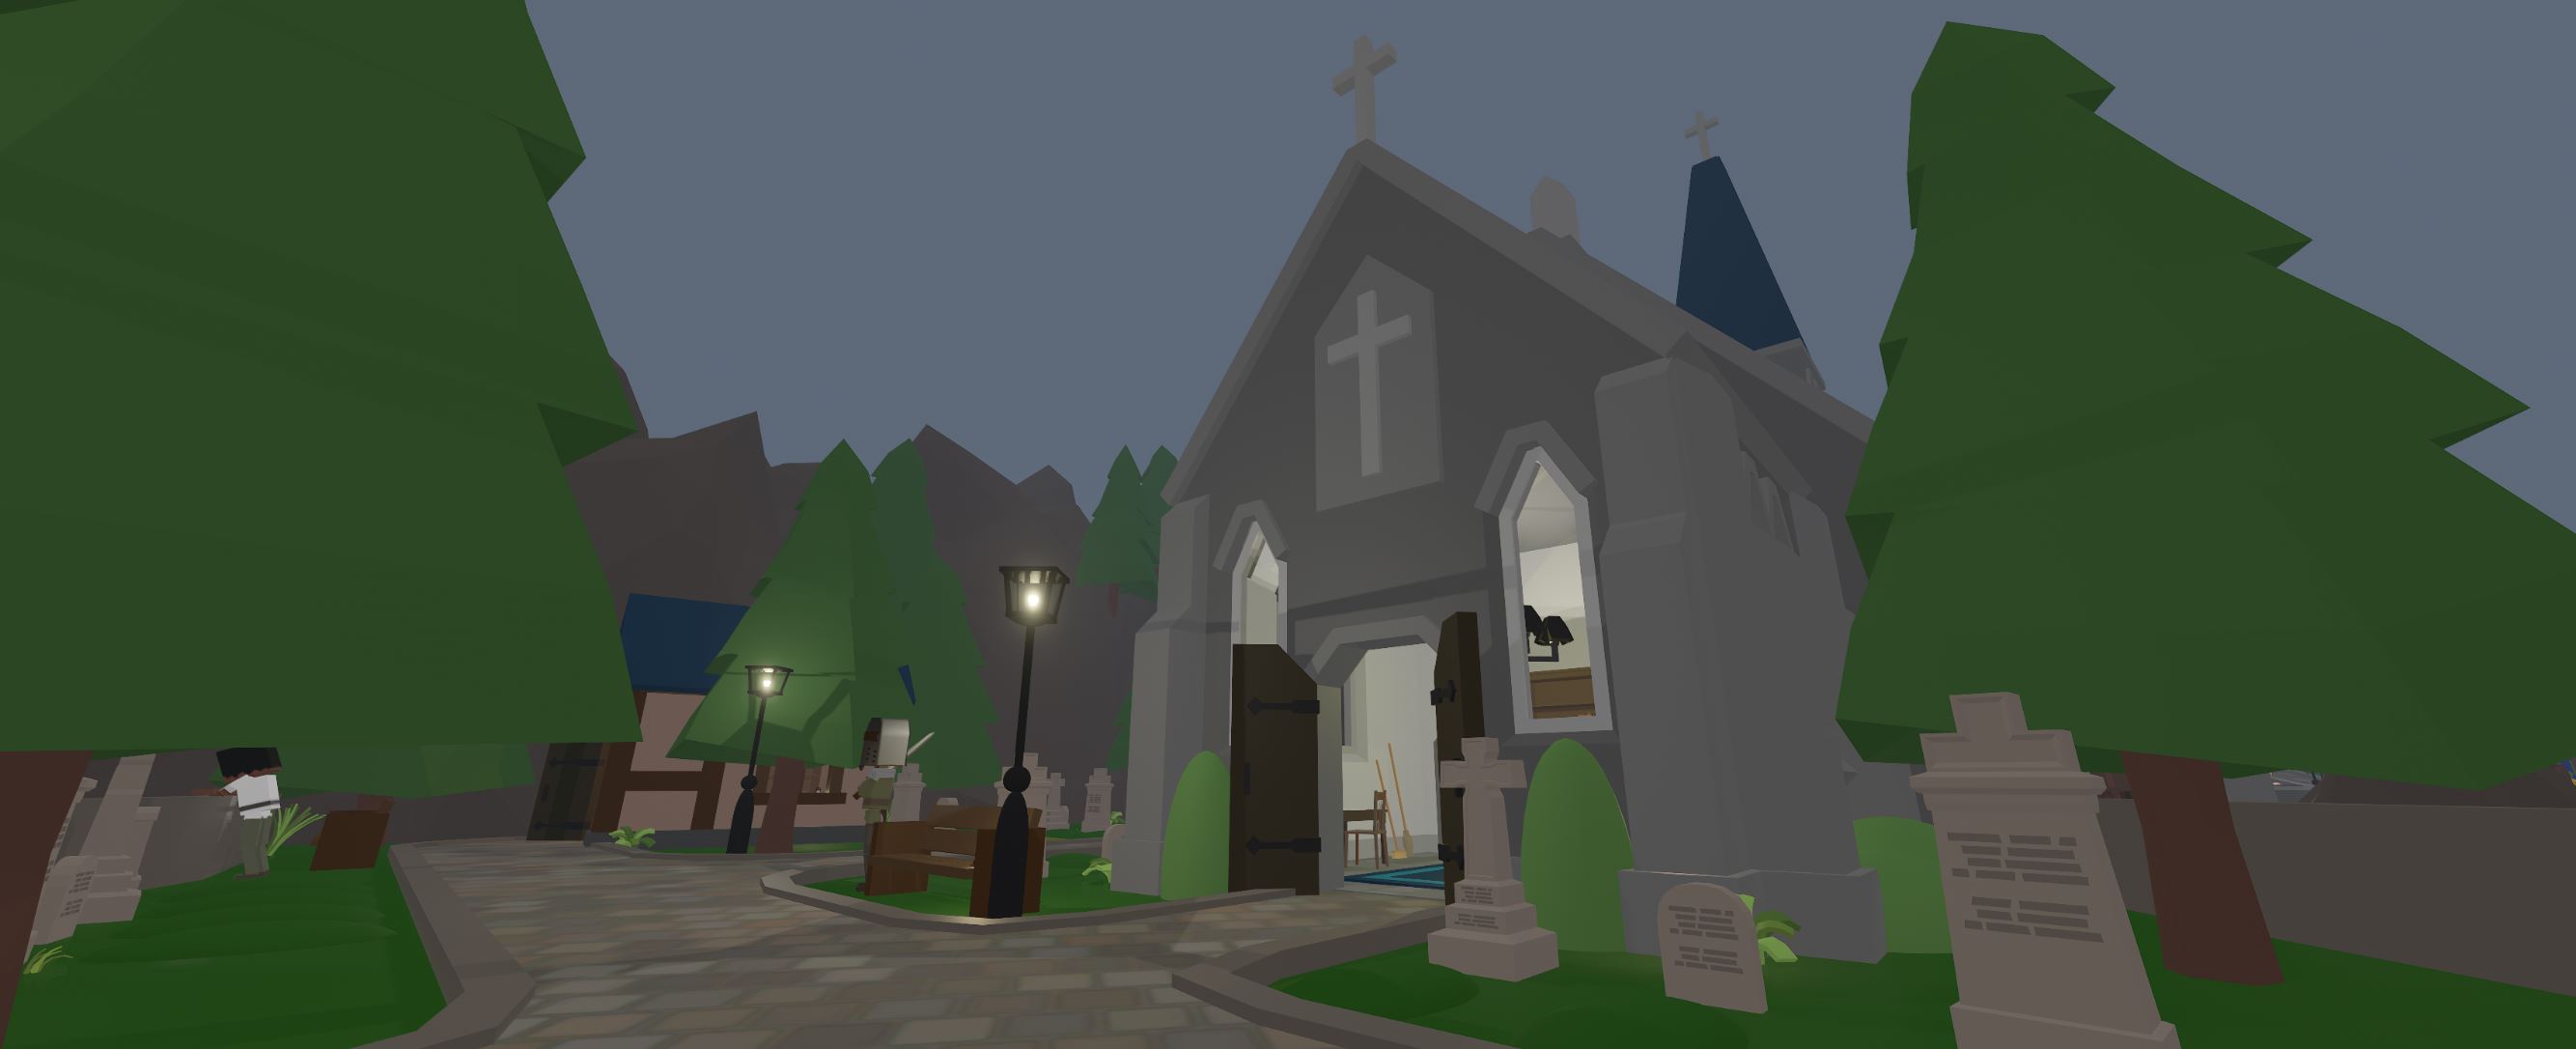
Types of rewards:
- weapons
- health and Power
- a piece of a Story
- a funny scene
- a horrifying secret
- a walkthrough information
- an easter egg
- keys and codes
- a shortcut
- etc
One of the most effective tricks is to give player an opportunity to take a peek into a closed area to notice a reward he can get if he finds a way inside.
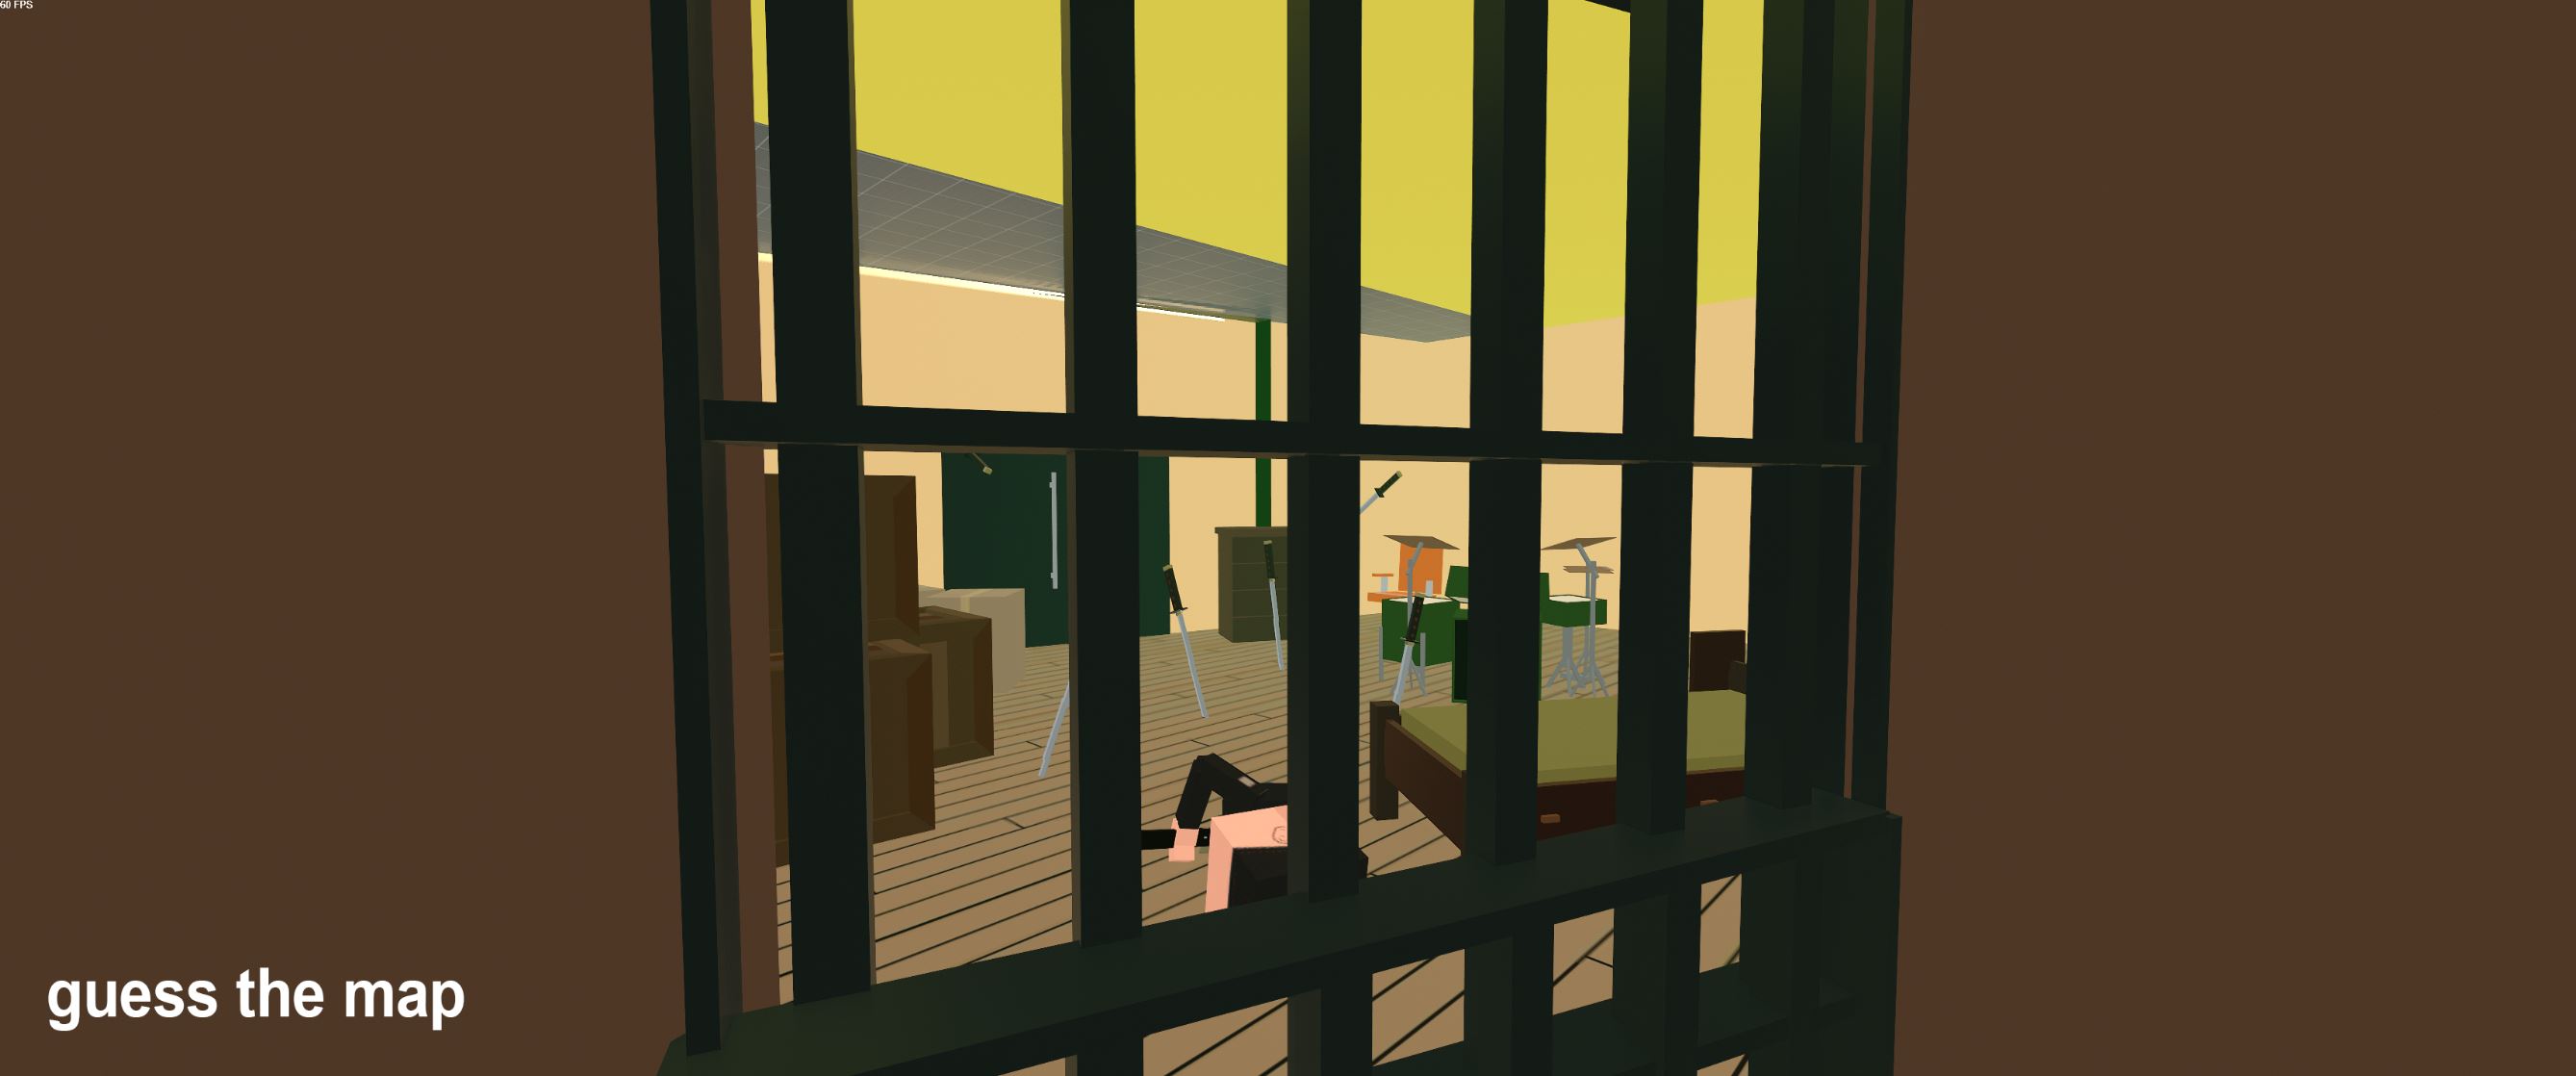
Another strategie is to hide rewards behind interactive objects or in dead ends, so that the player can see his reward only from a specific angle.
Mind the exploration. The player's curiosity is always out there. And if it's not rewarded, the player gets bored very soon.
Since there are no scrips or cutscenes in our game, and since people rarely read a description to levels, visual storytelling is the main tool to explain what's going on.
Photos on a table, threats on the walls, newspapers and sport cups on a shelf. All of that adds to the setting.
You can use narrative objects to meet player with other characters and their roles.
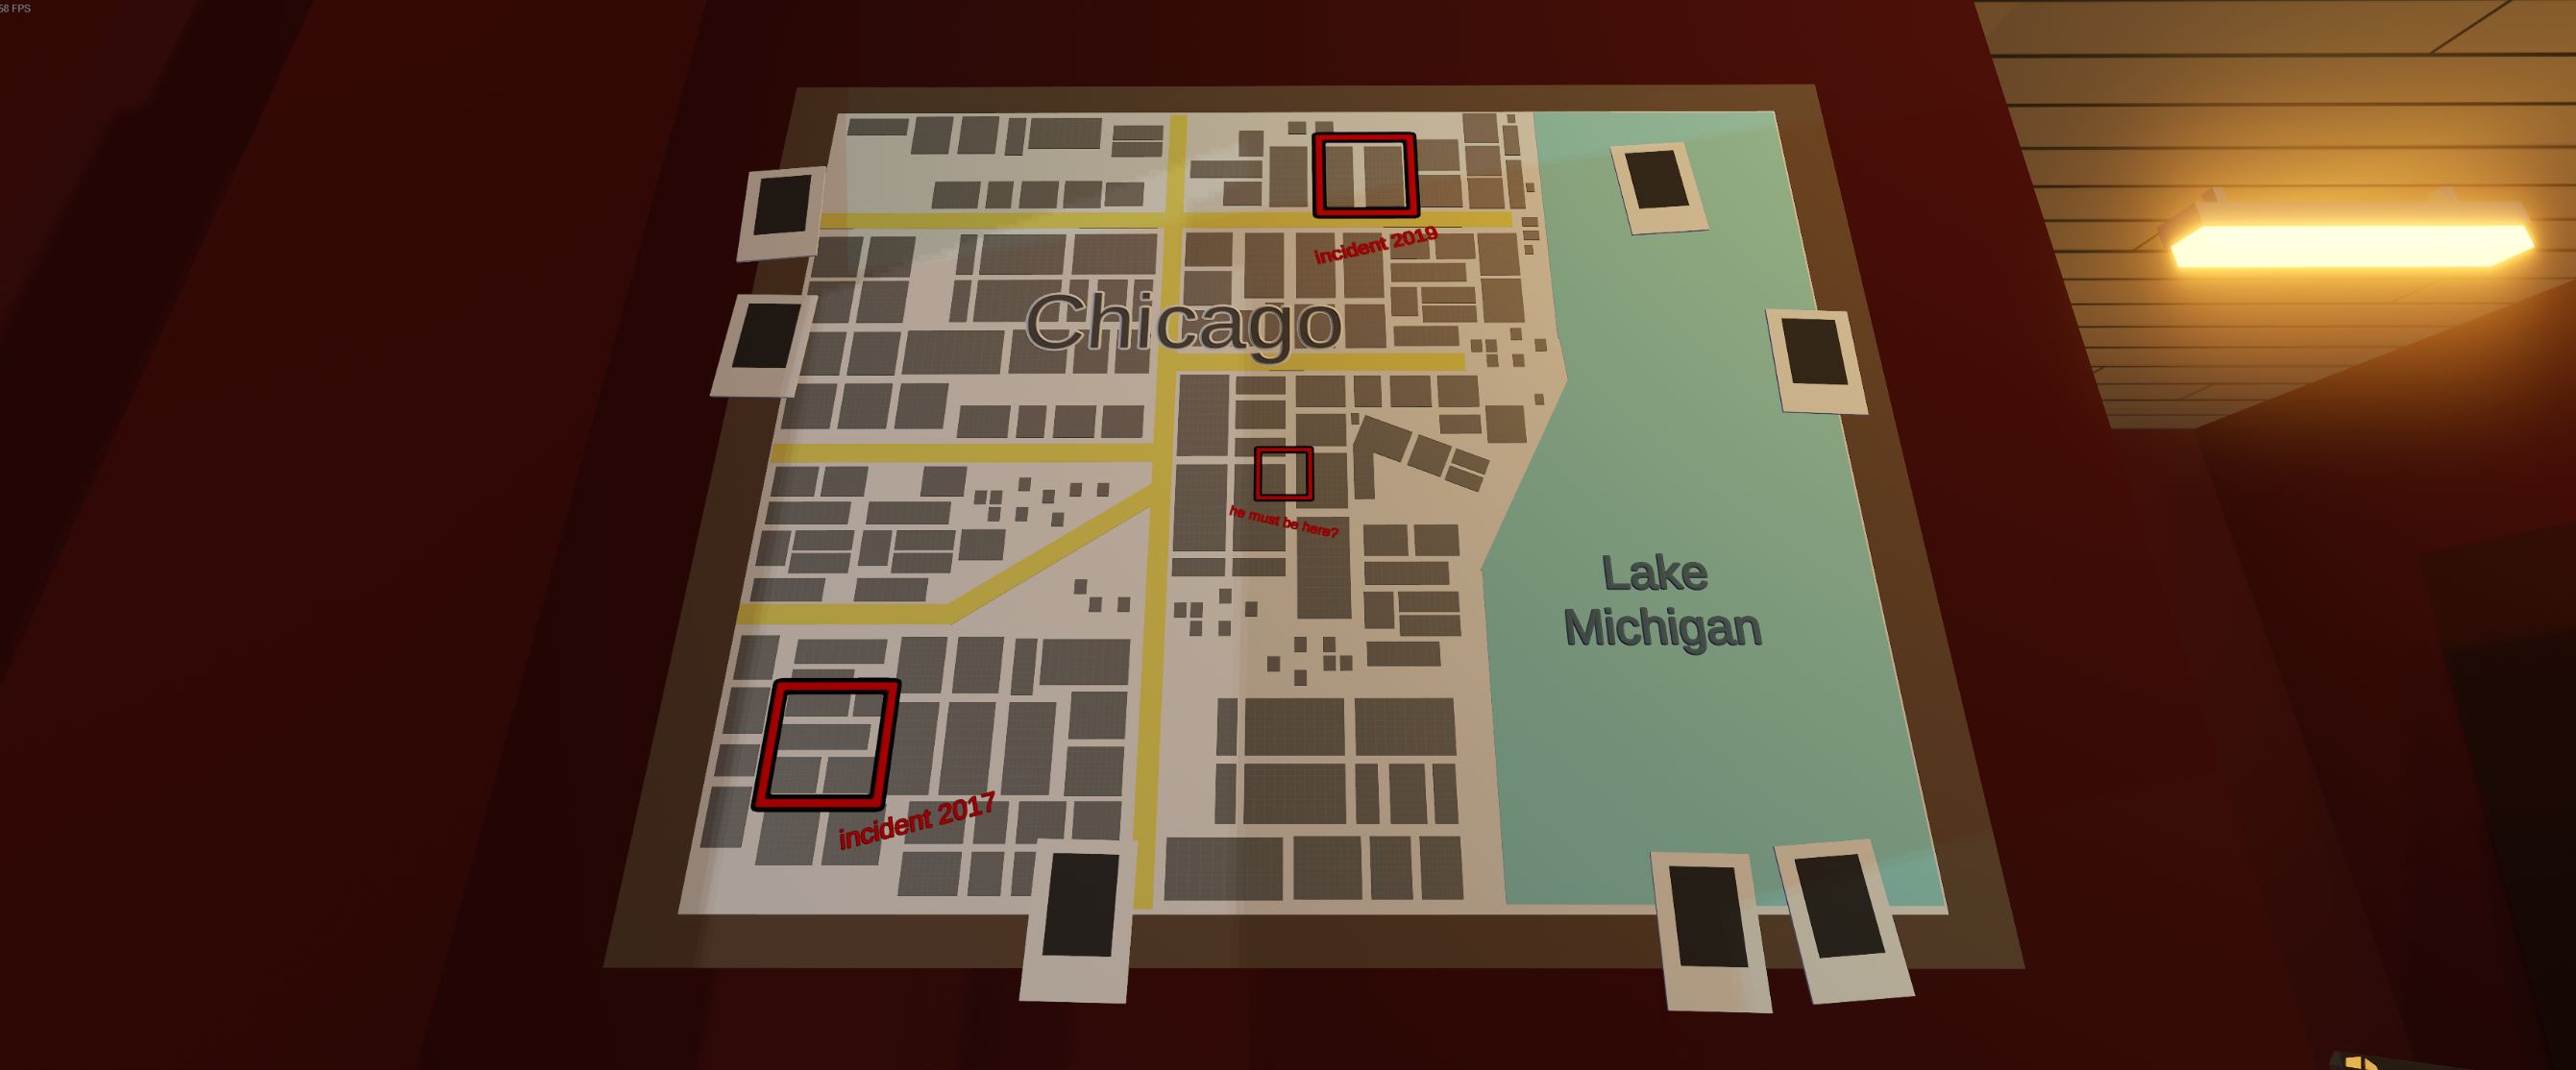 Even if your map has no story, information is still very important:
exit signs, staircase sign, location names, floor numbers, a year when the house was built, navigation hints - all of these count.
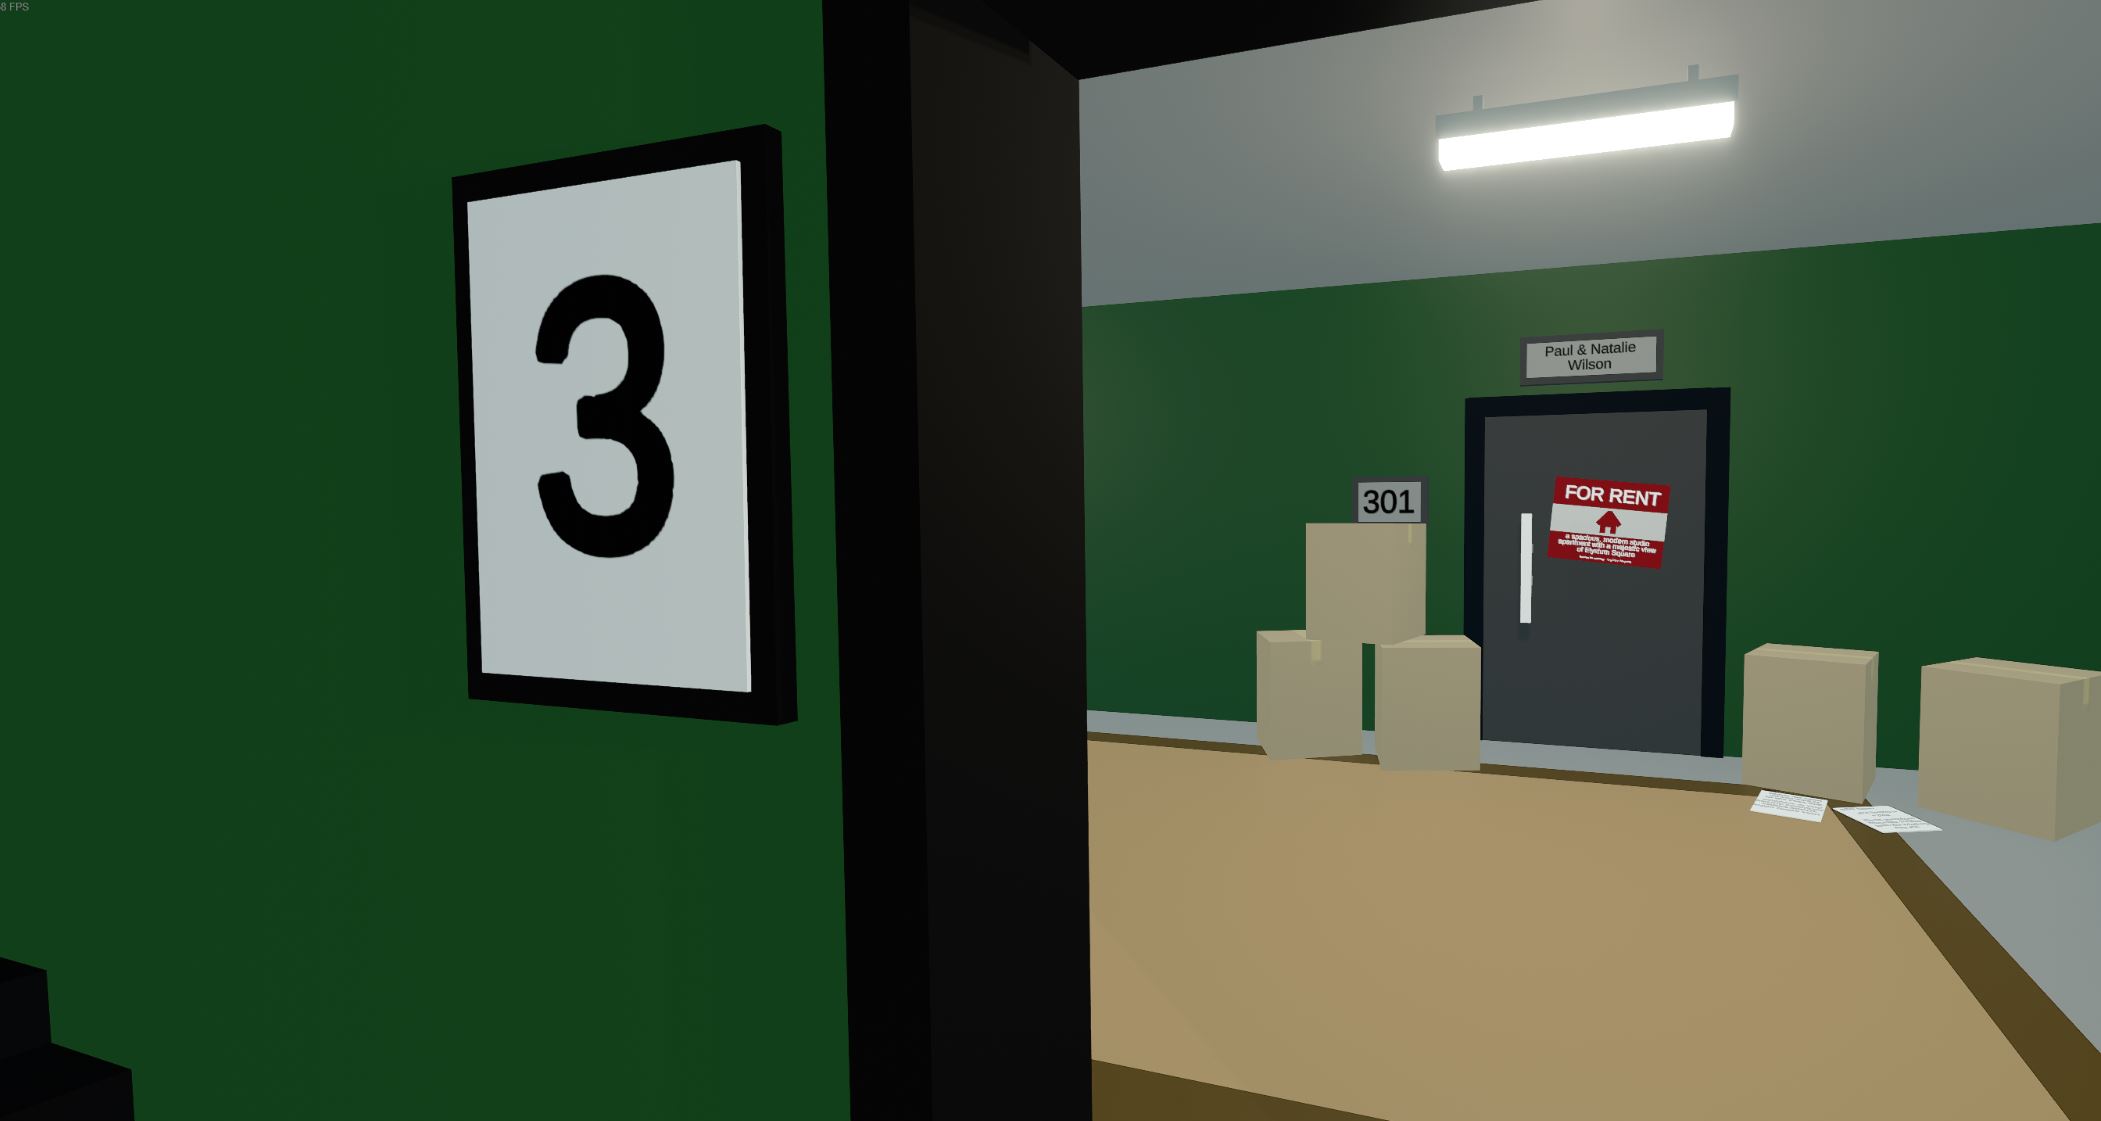
Don't forget about mechanics of safety, make dagerous zones crear and easy to recognise so that the player won't die of being unwarned.
The map edges shold be recognisable, too. The best language is the shape: fences, wire, high cliffs, water barriers, obvious natural obstacles.
The language of shape is also useful to guide the player: for example, this construction makes player wish to jump.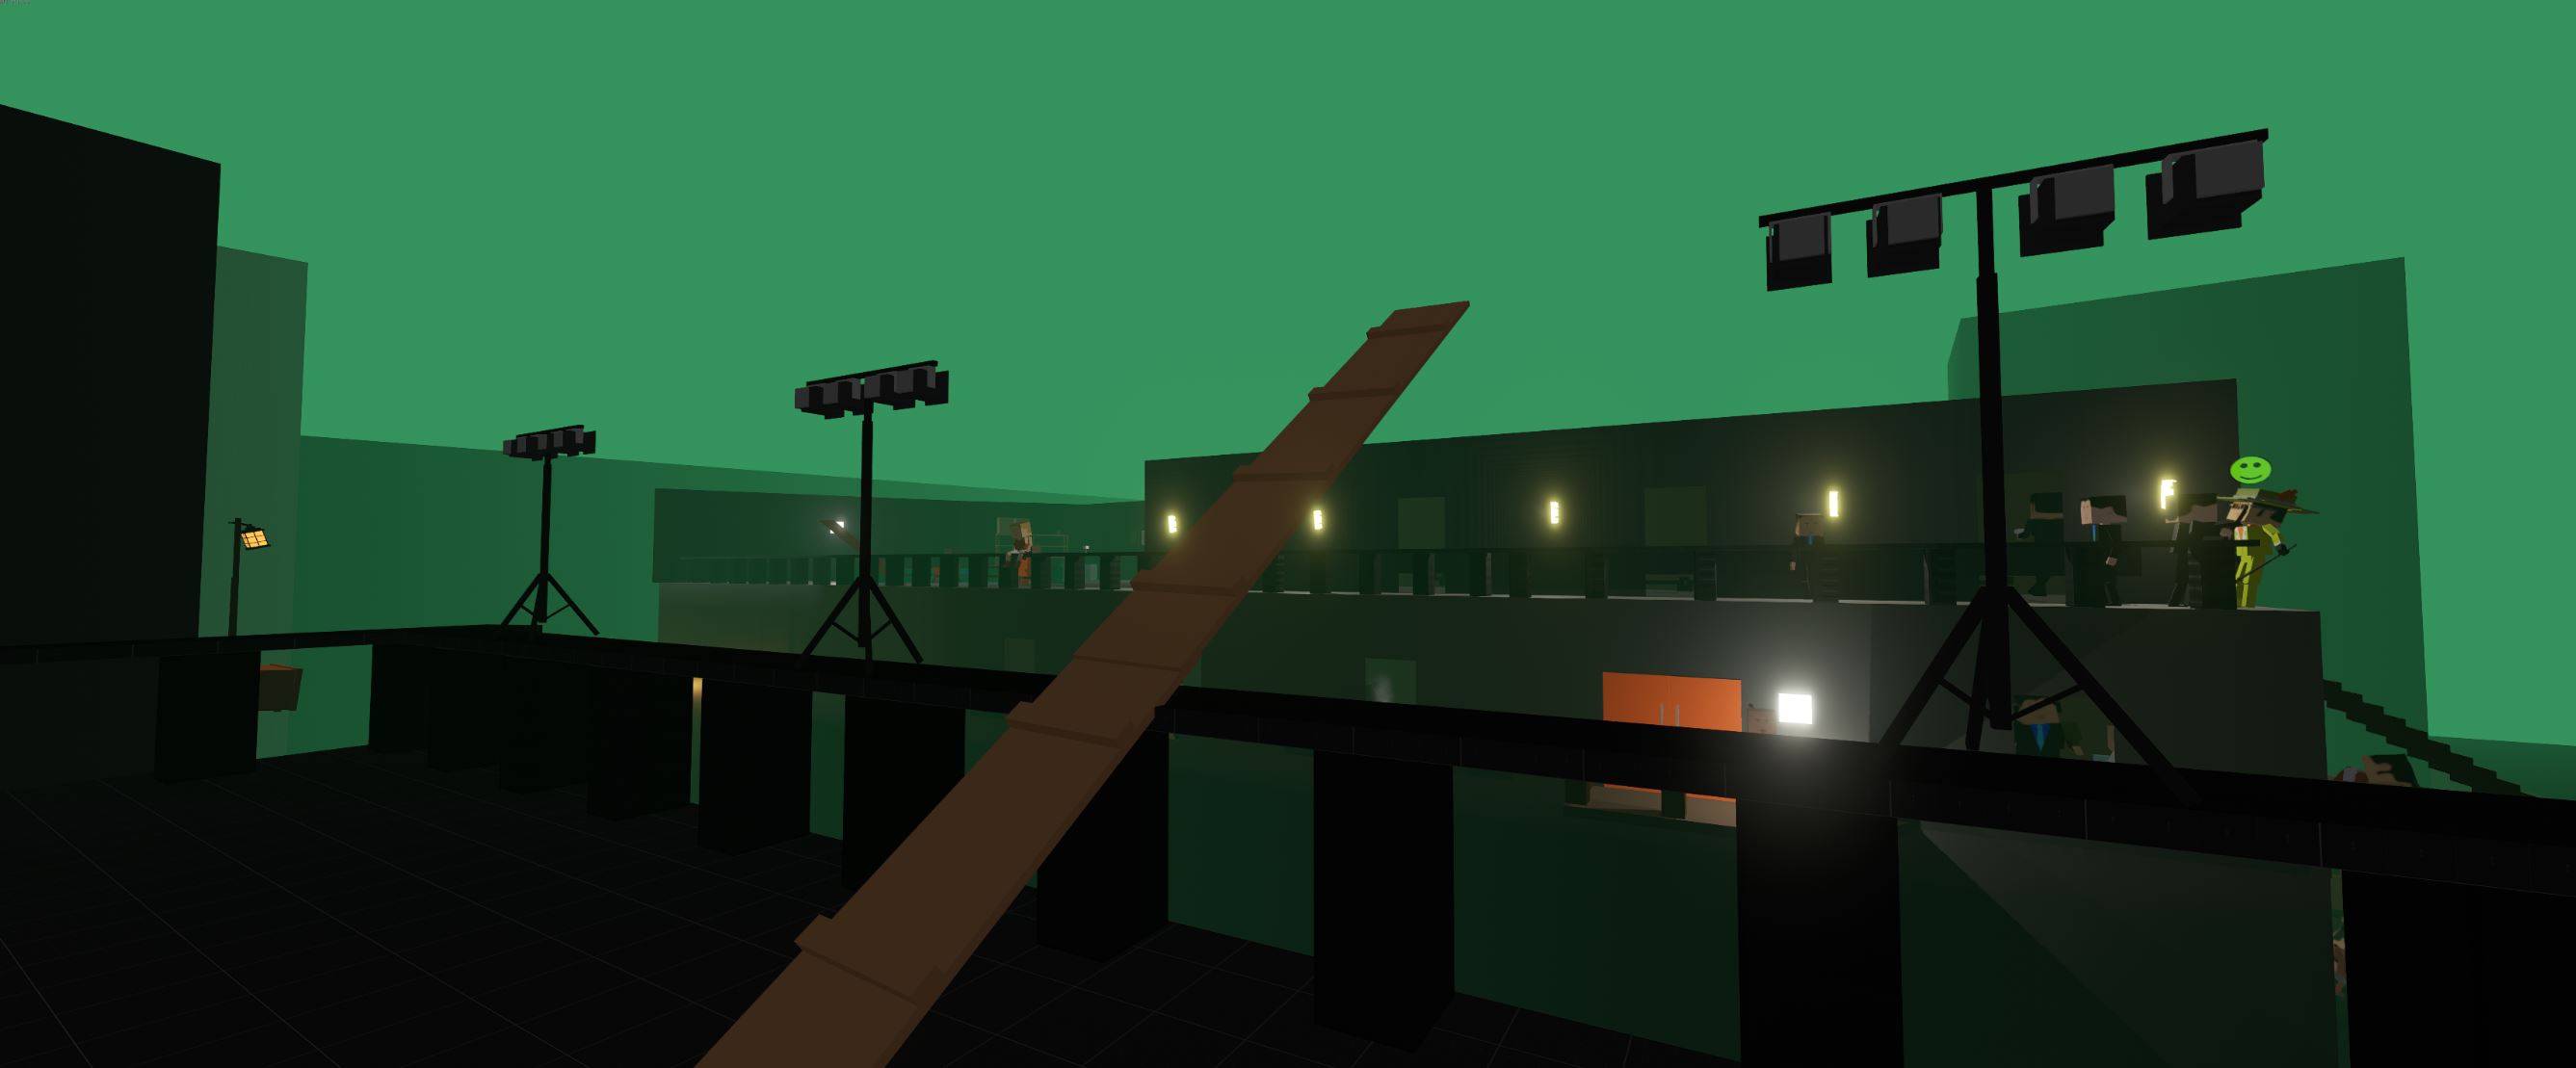
The long rectangle corridor makes player run to pass it. That's why this is both good for marking the exit or making a trap.
Make sure you don't break the main rules of logic:- architecture: windows on the outside means windows on the inside, etc
- constant collision for objects, constant properties for weapons and enemies

LEVEL DESIGN, Advanced
So, let's get back to the start, and remember the main attributes of a remarkable level:
THE IDEA
EXPRESSIVE VISUALS
THE GAMEPLAY
THE STORY
THE GRAPHICS
THE TECHNIQUE
As a result, all of them lead to the following:
Wow-moment is literally a moment in your game that makes you think "wow".
The moment you thought "wow" the most remarkable part of the level: it warms up the interest, and makes players come back to your level at some time.
It's the most captivating thing, but it' does not necessarily affects the gameplay.
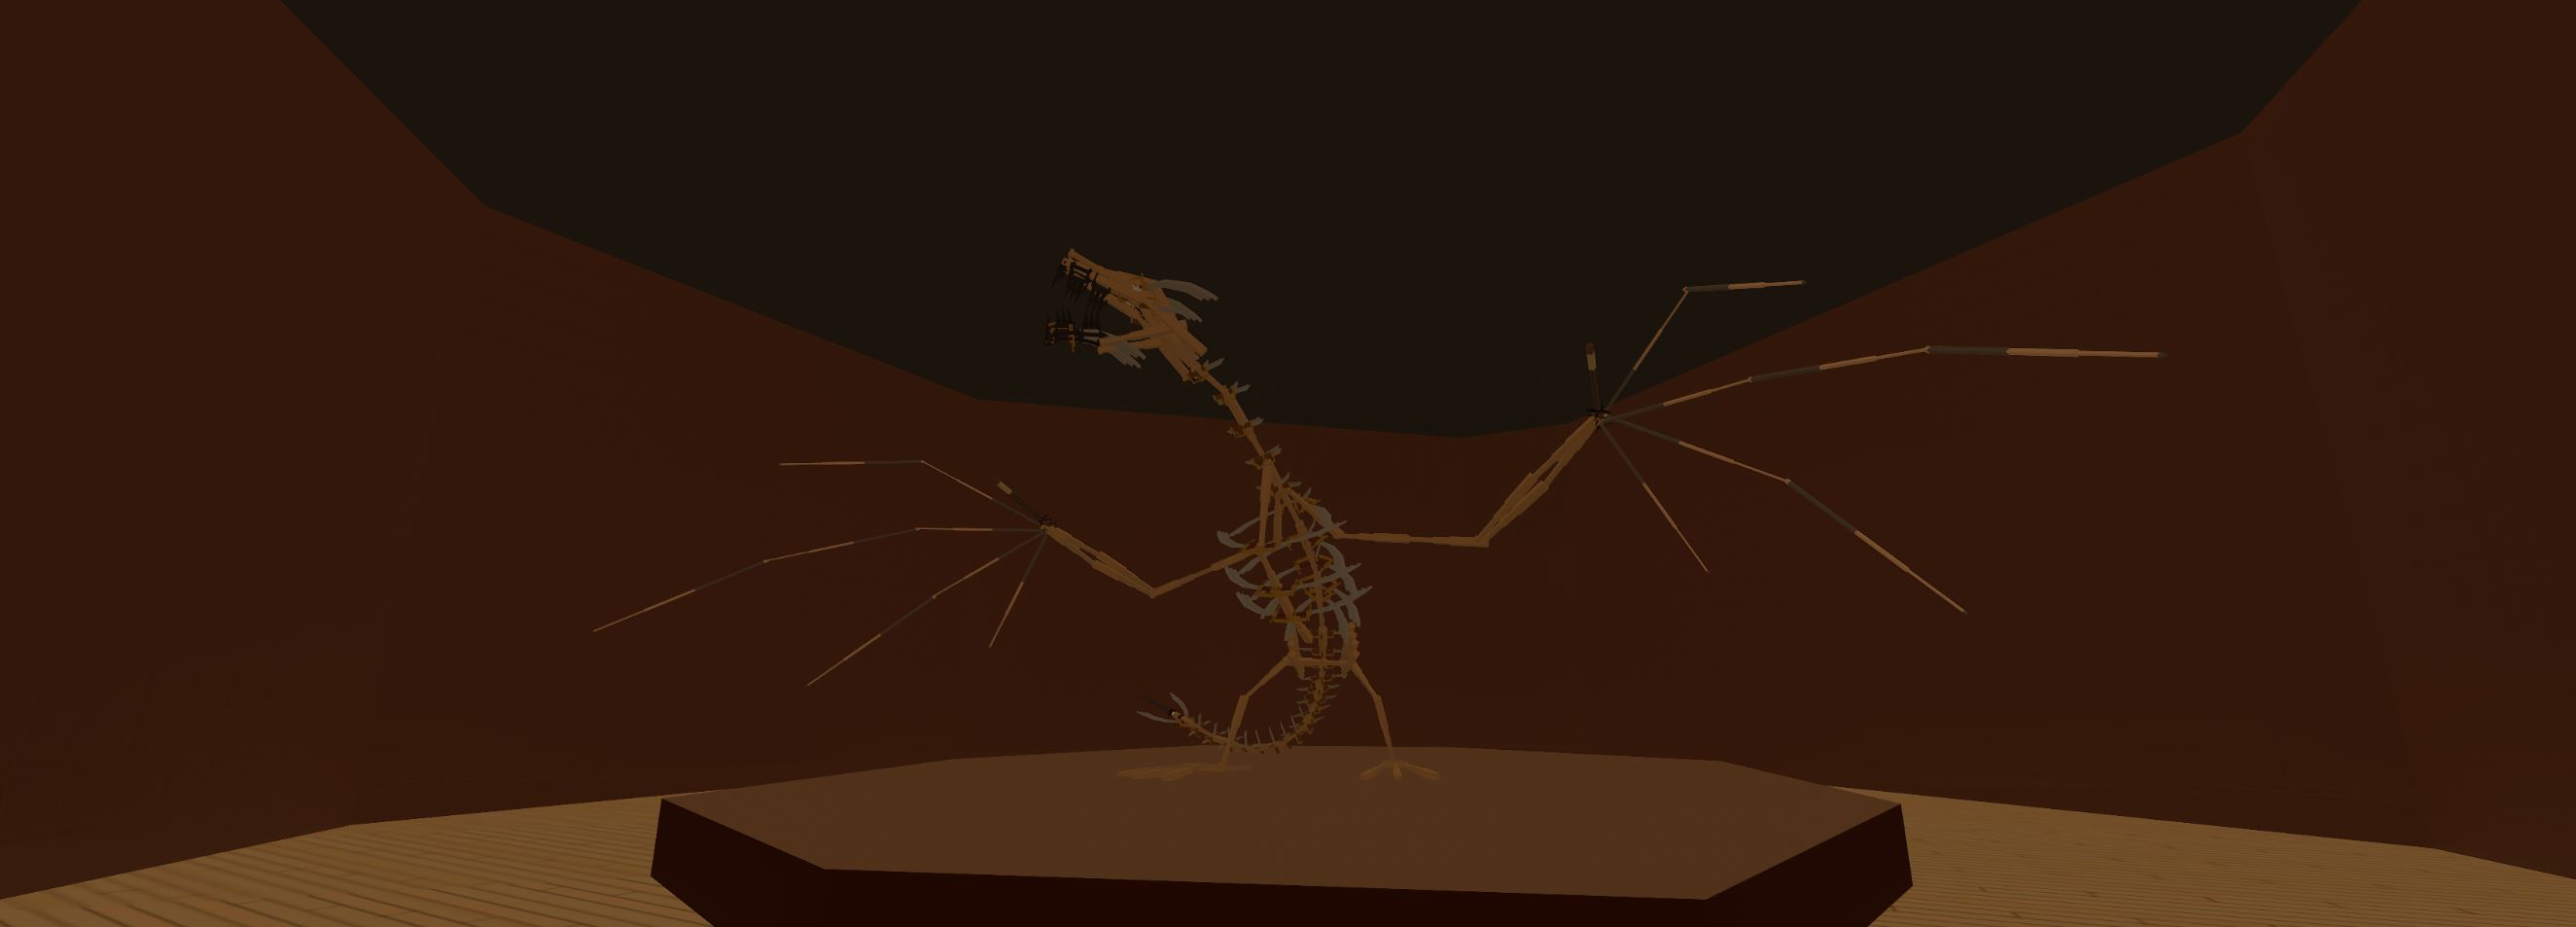 The wow-moment functions:
- To hook and warm up player's interest in the begining
- To not let player get bored in the middle
- To reward him with an impressive scene in the end
Things that have a wow-effect:
- A catastrophe. A crash, a cataclism, an explosion. It doesn't have to affect the gameplay, but if it does, the impact is huge. If player can feel the upcoming danger (the uprising lava, for example), it makes him involved a lot. Seing how a place you've just stood at is collapsing in front of you brings fun experience
- Hypertrophied scale. The trick is to exagerrate any event that's happeinig on your screen. If it's a battle, there should be lots of people, machines, effects and stuff going on in one single frame.
It can also be an enormous scale of the entire scene, making player feel like a tiny object in a huge event. Giant robots, monsters, spacecrafts, etc. - An impressive view. This feature works best in contrast with a previous location that's rather small. It also helps to increase the space for the happening events. Also, a vantage point gives player an advantage and allows to inspect the location.
- A scene of a horryfying brutality. This doesn't work that good with the game that's built around brutality, yet some bloody scenes can still be impressive.
- A moment of peace and quiet. A rare situation when player can take a break and enjoy the calmness of nature or the scene.
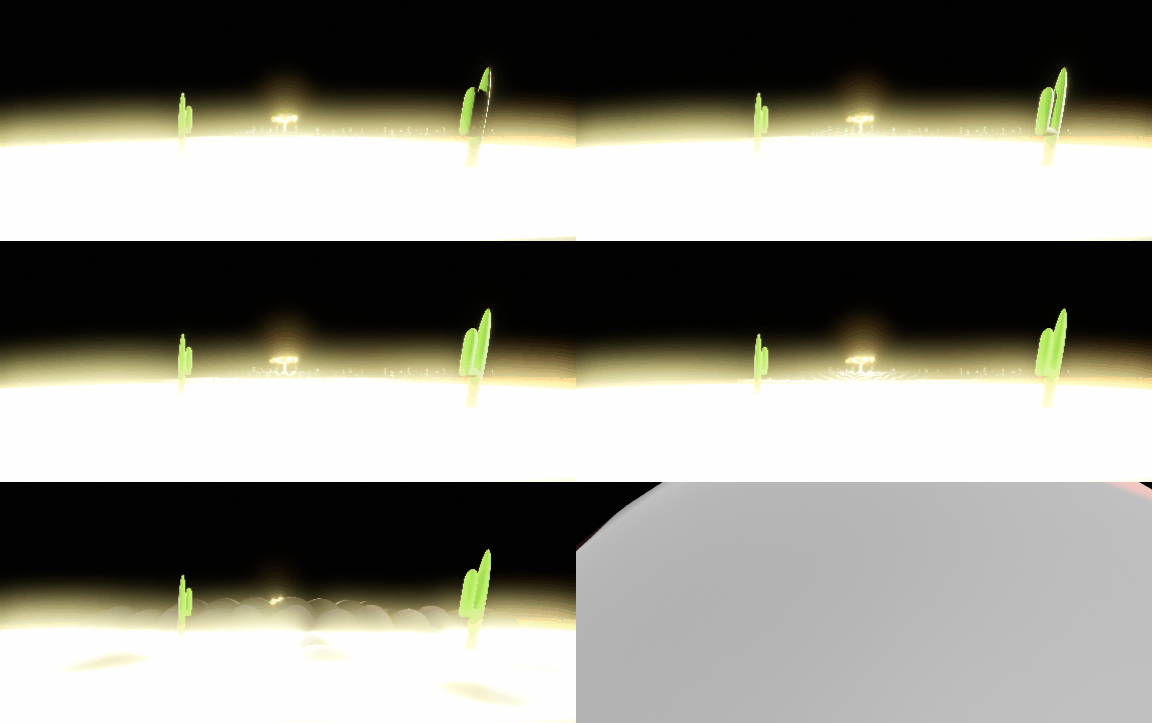
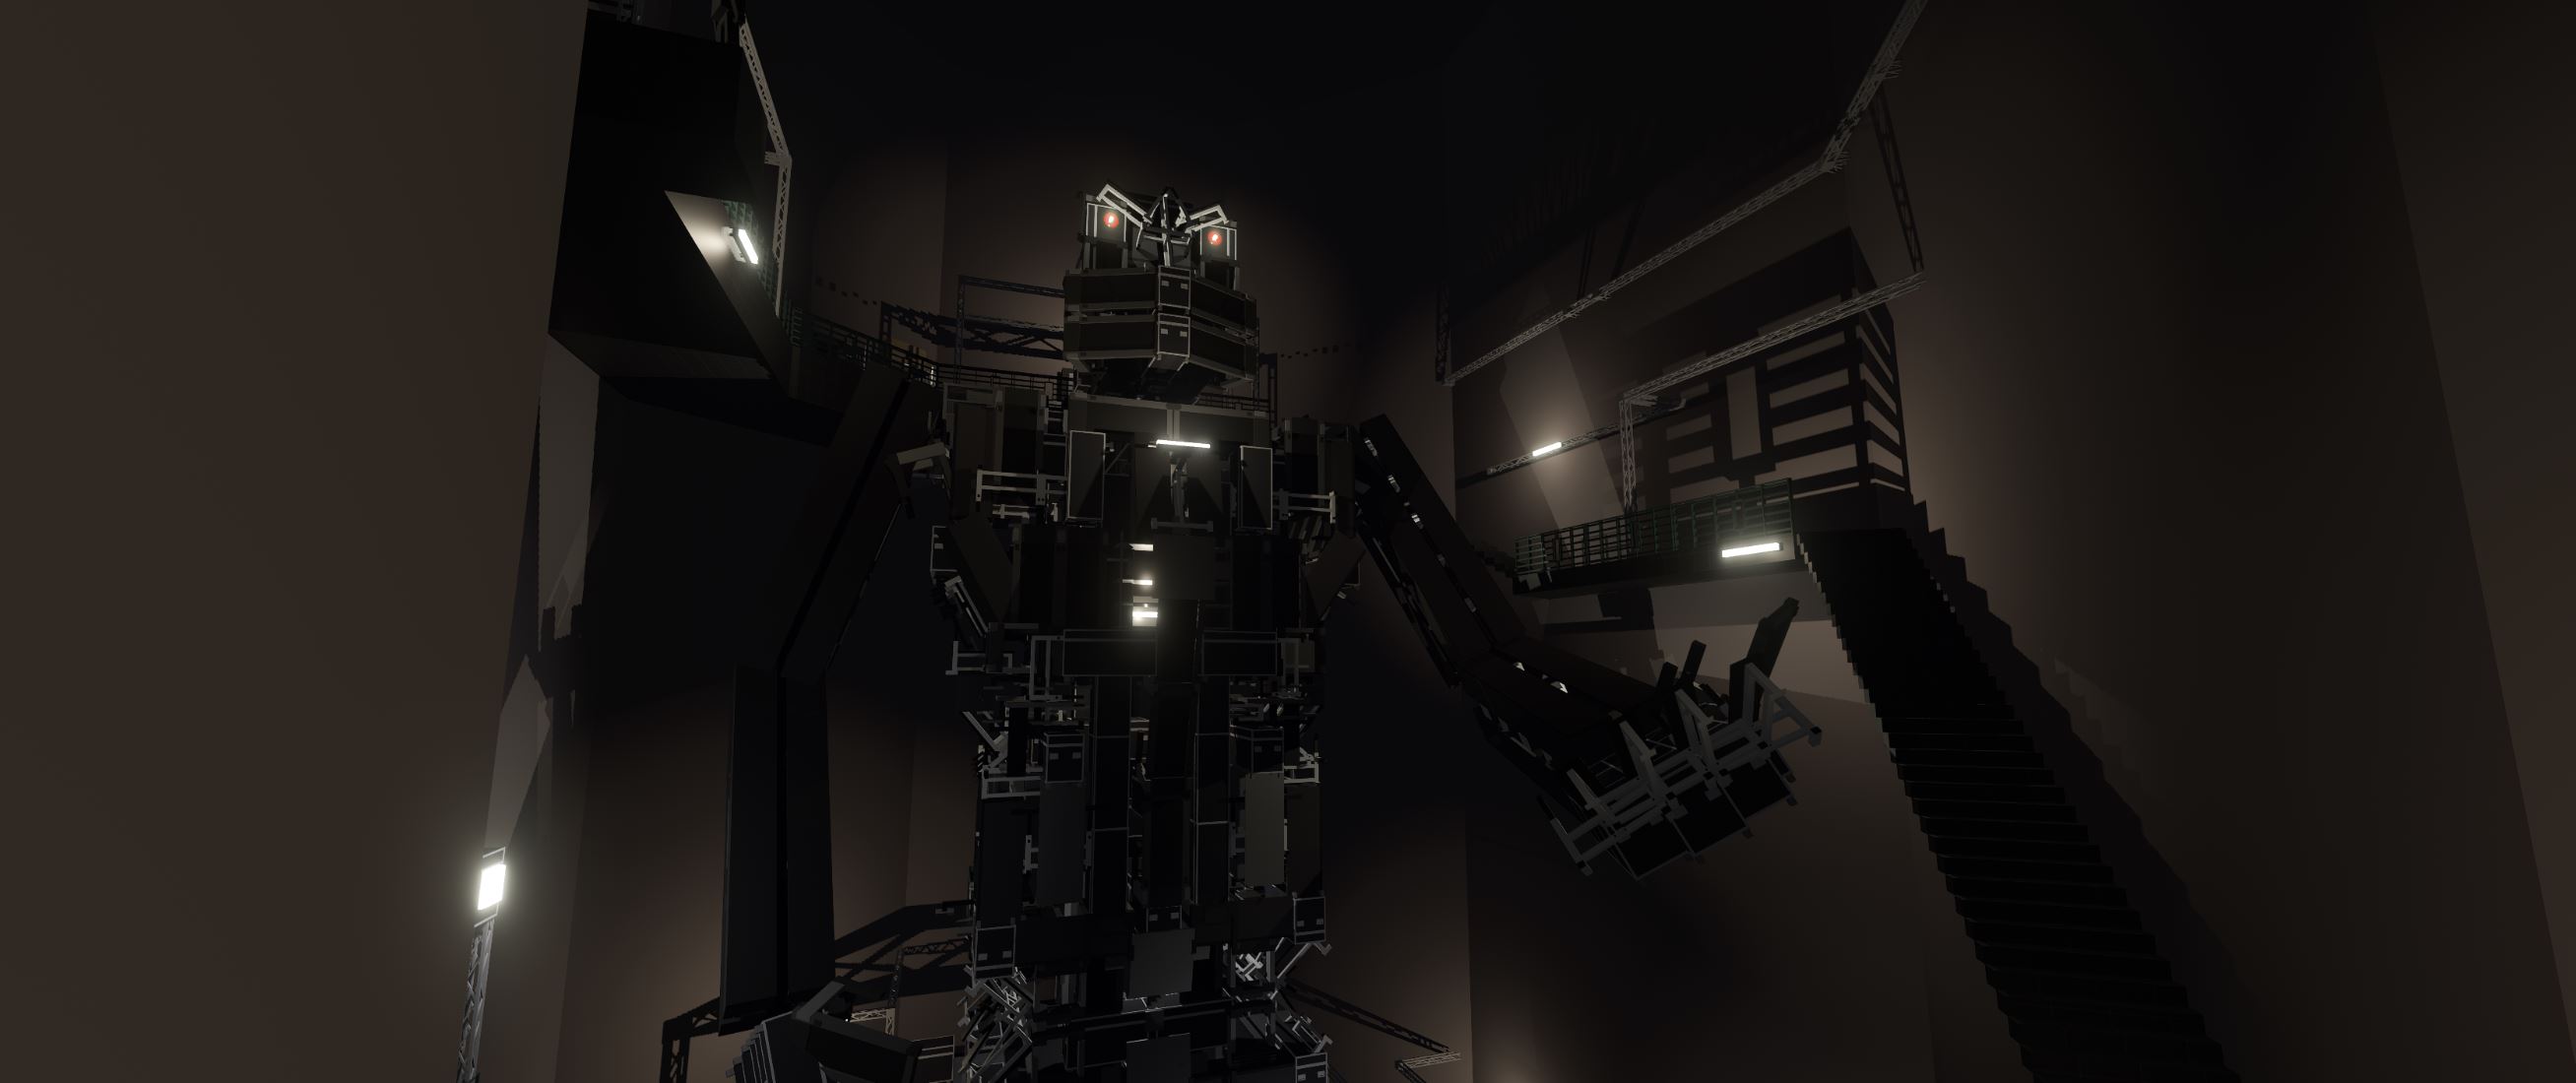
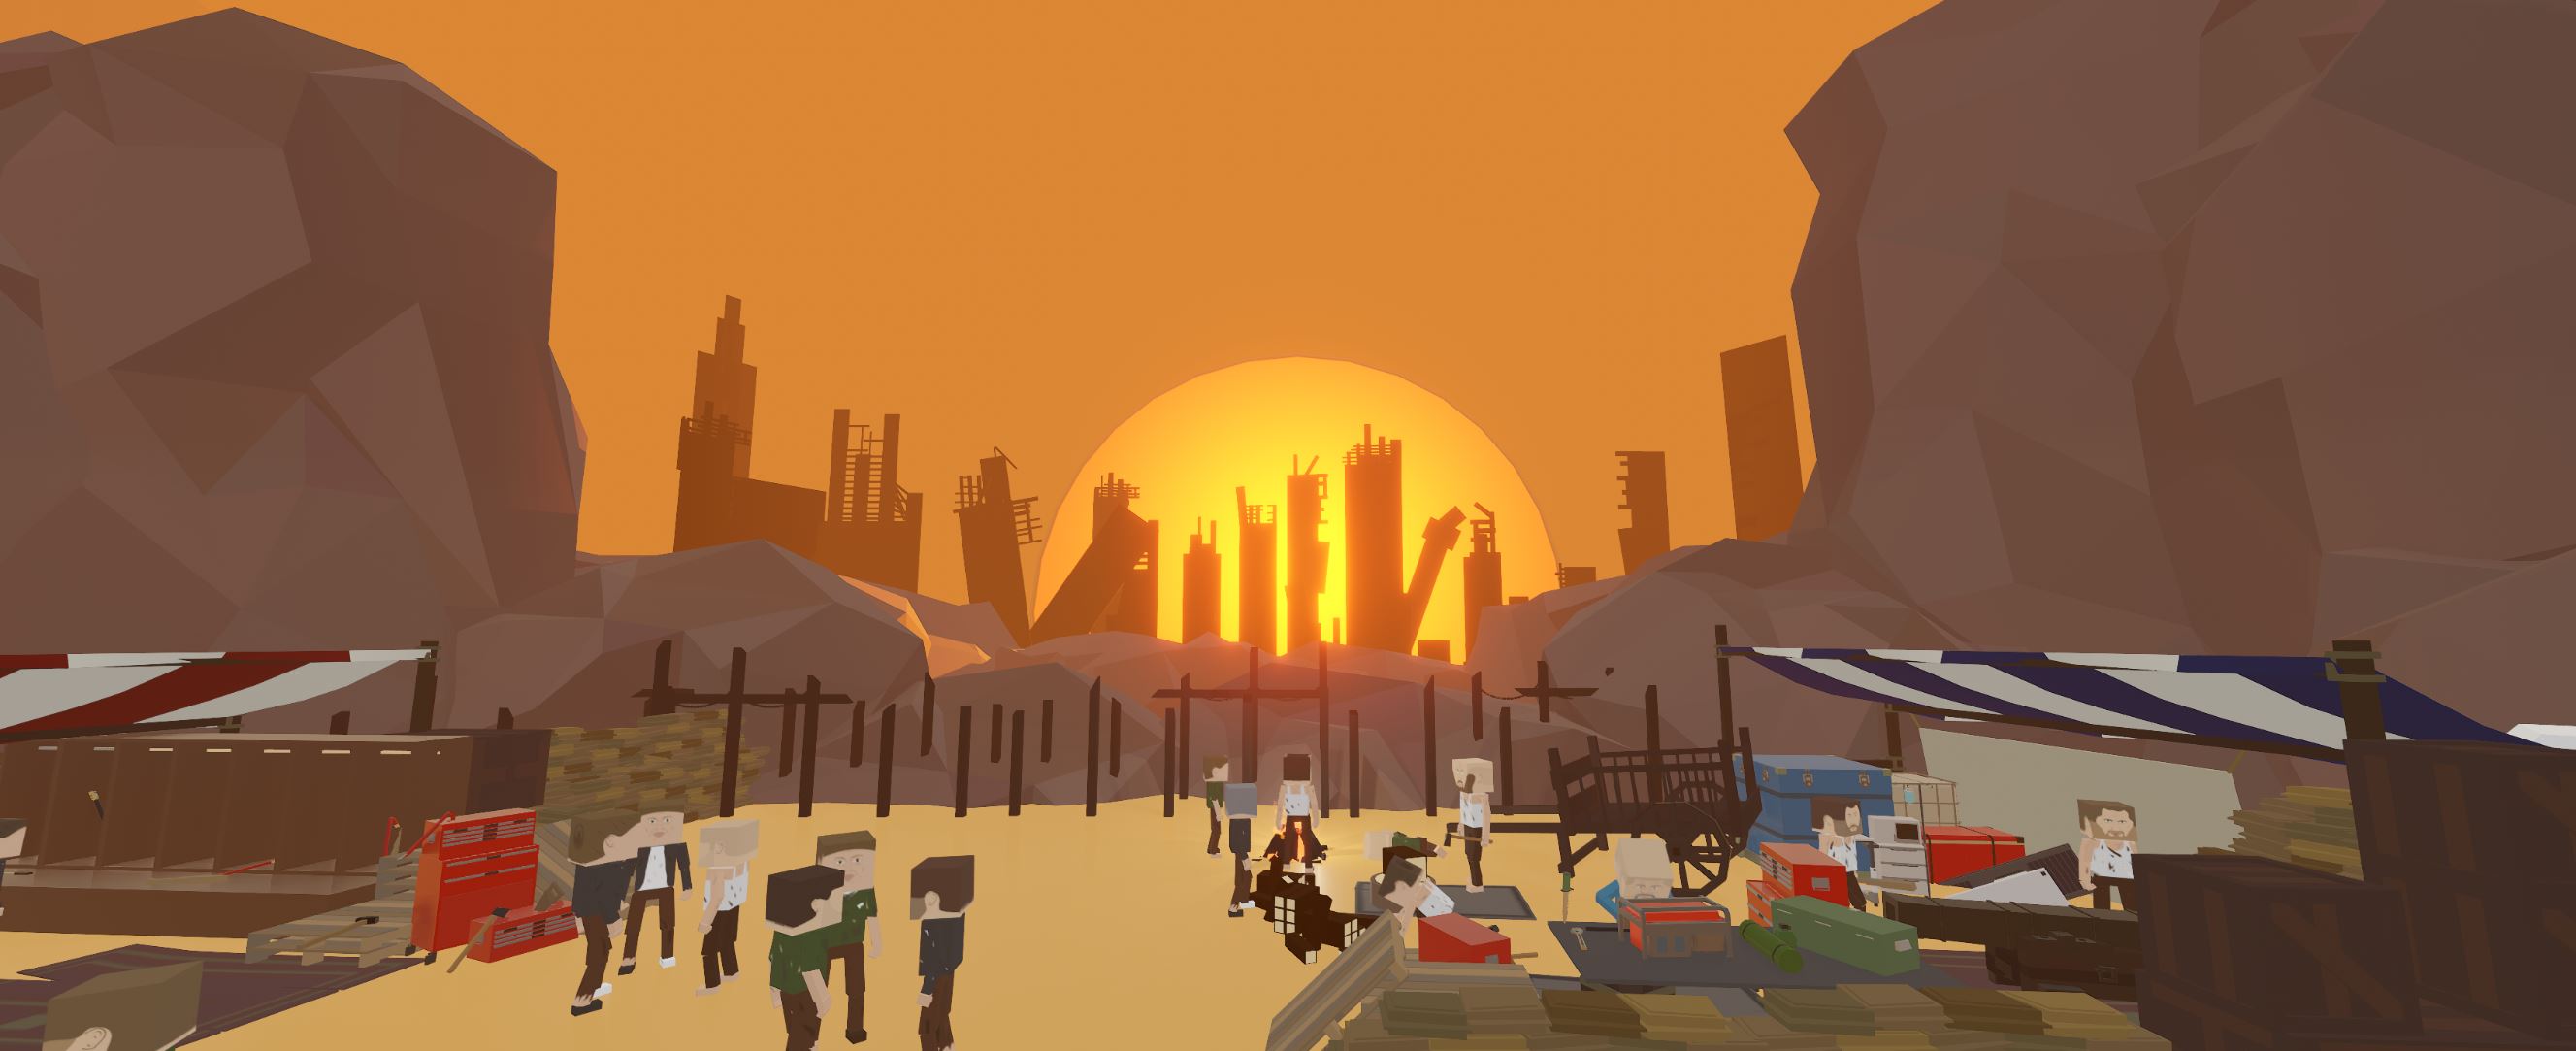
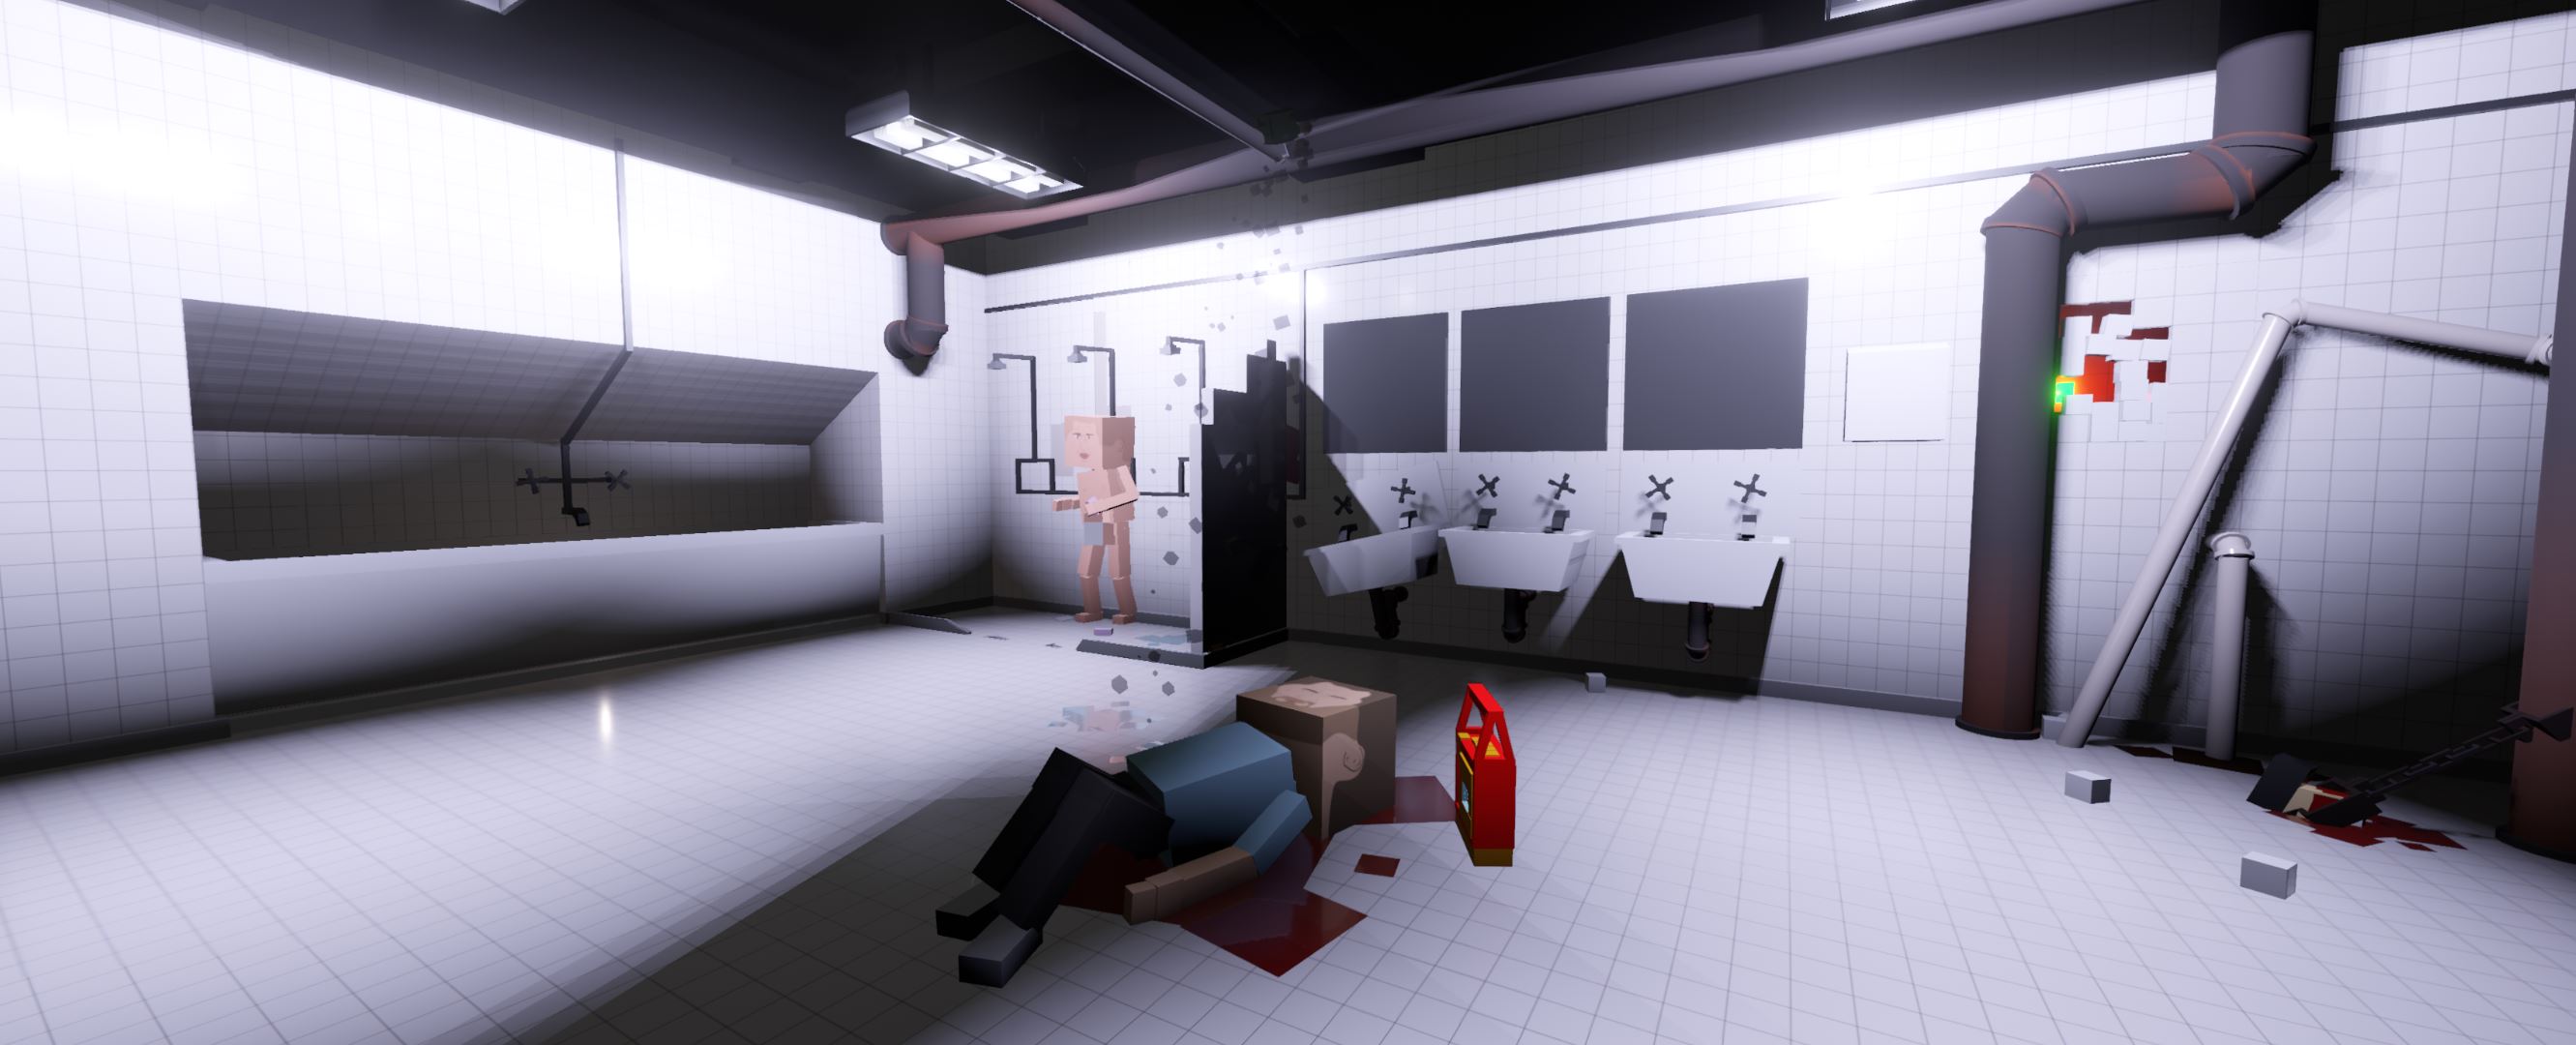
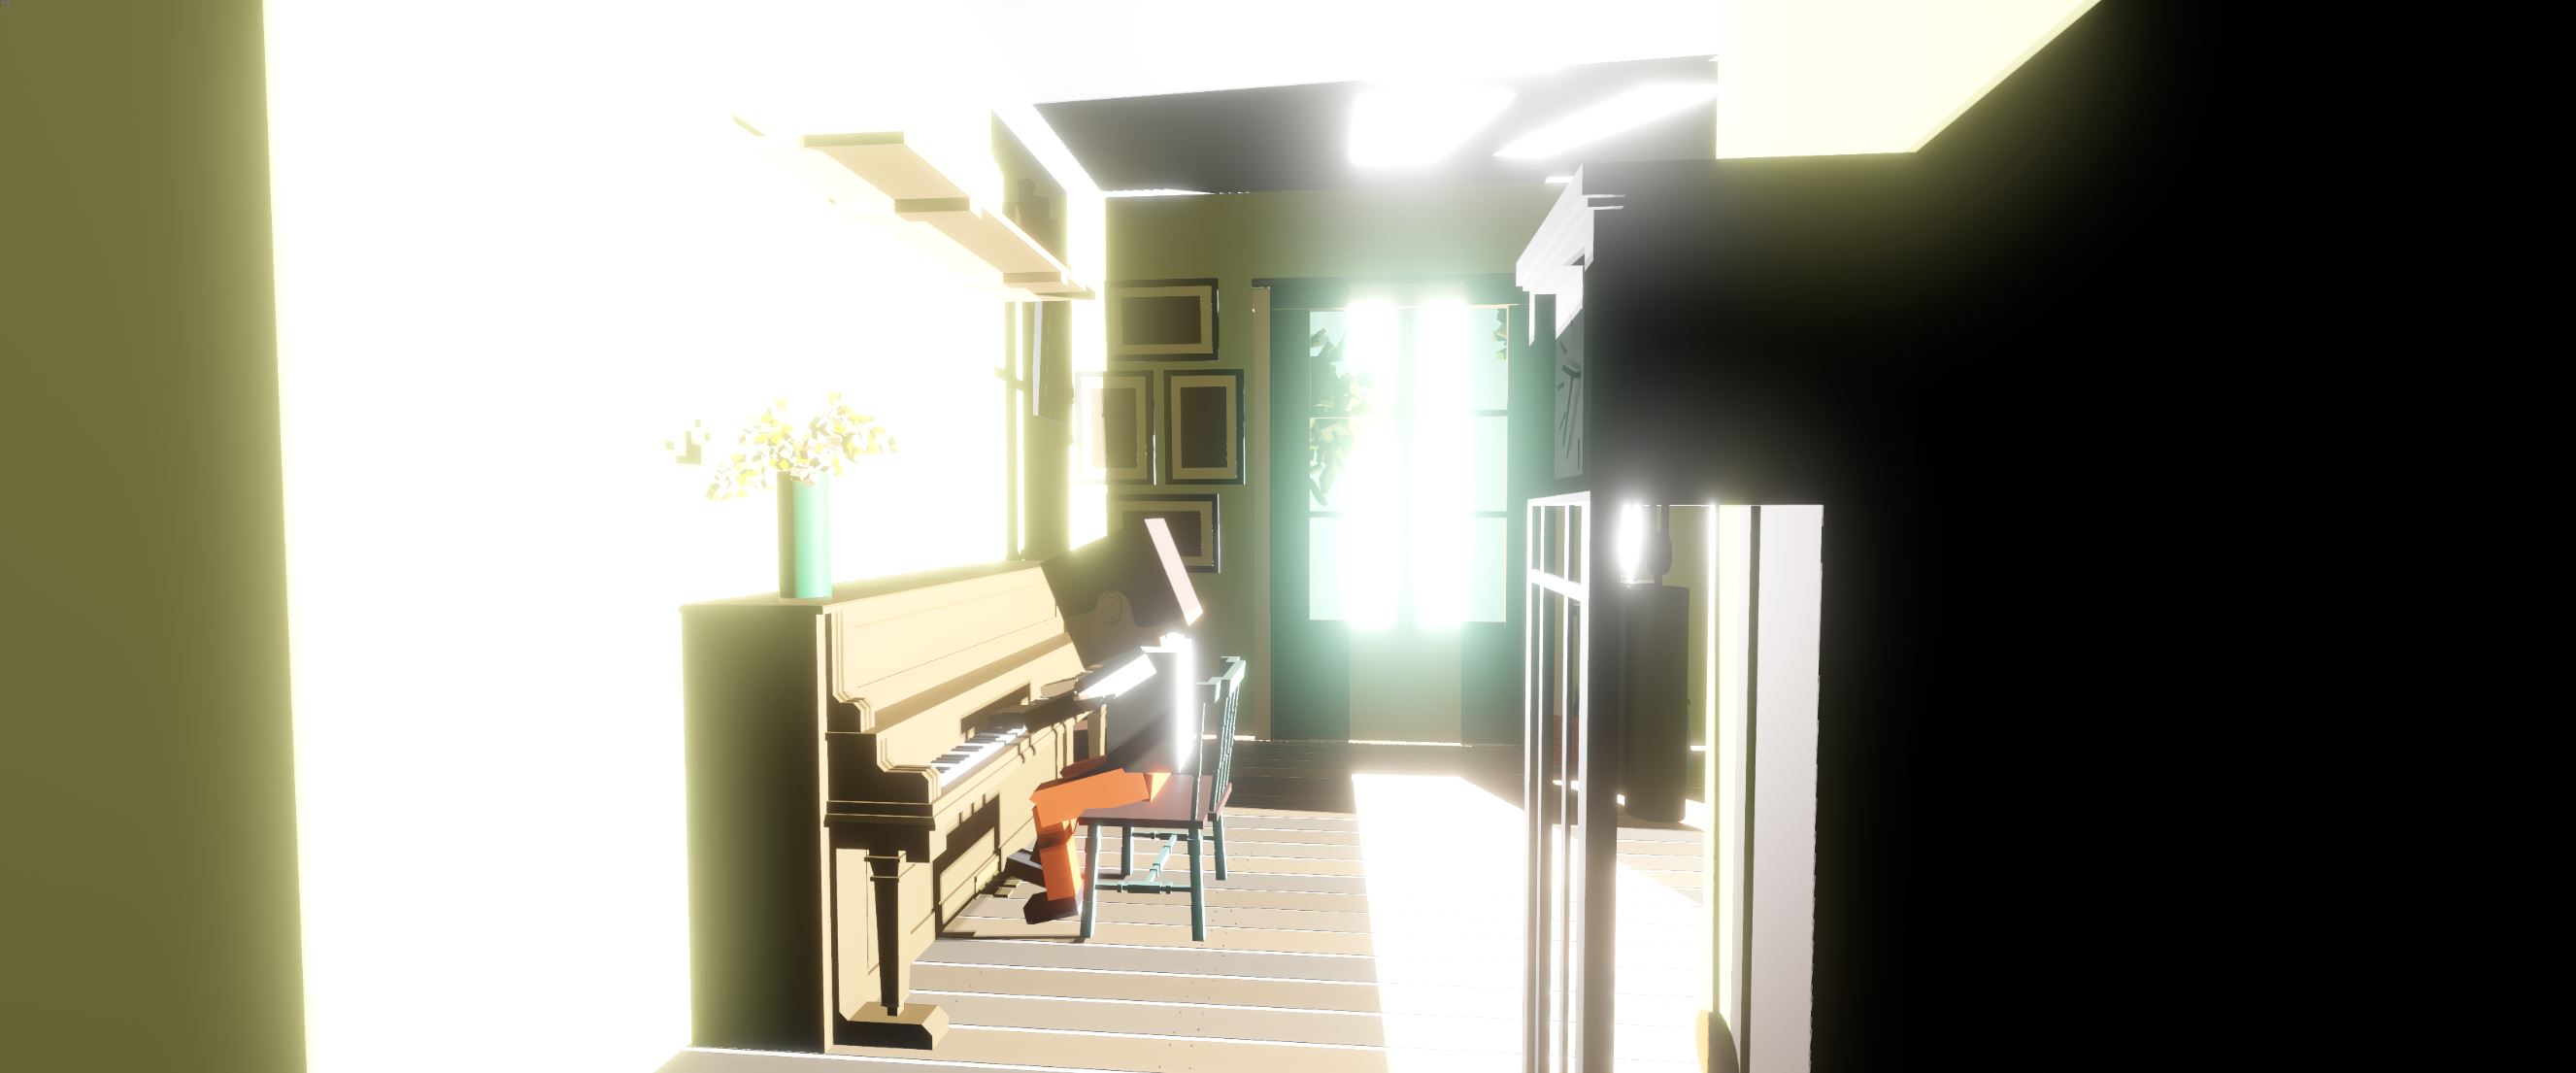
If location has it's own color scheme, it's more remarkable. Also, different colors help to form different emotions, mood and feelings.
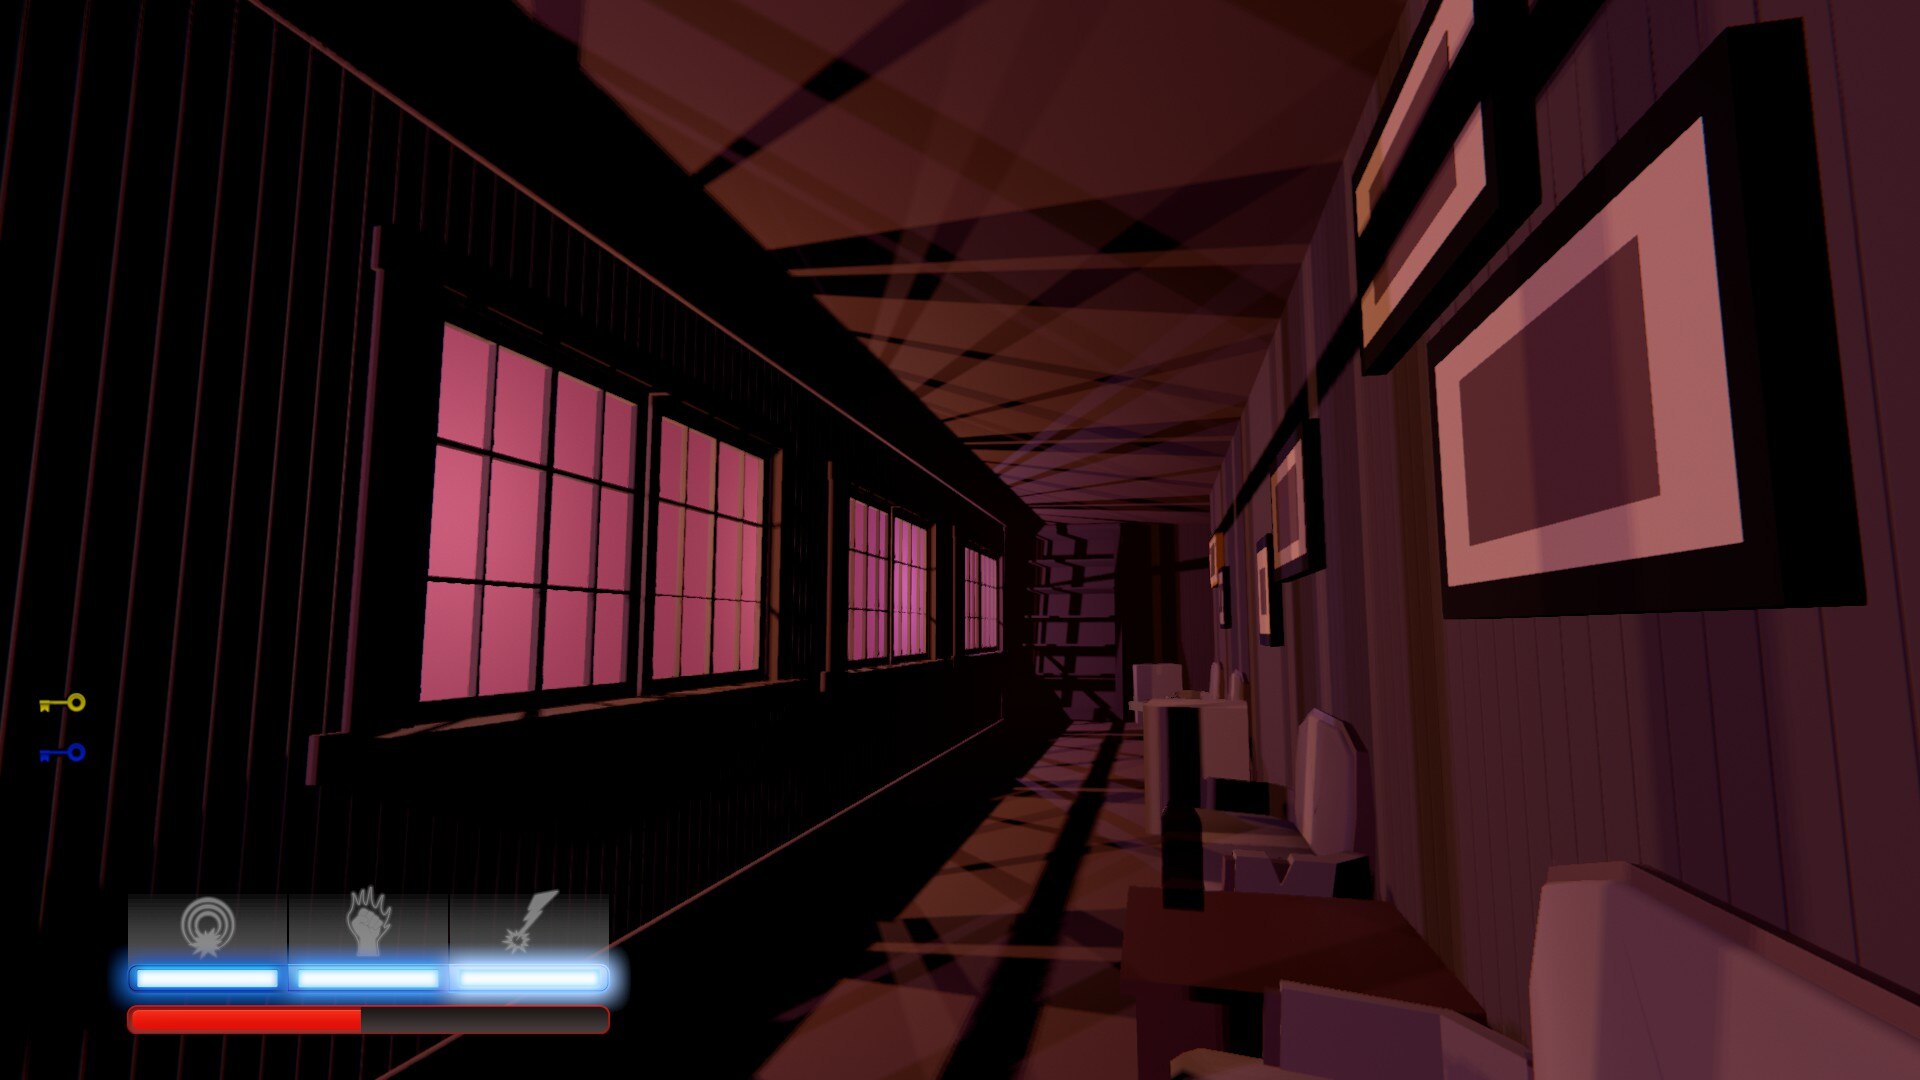
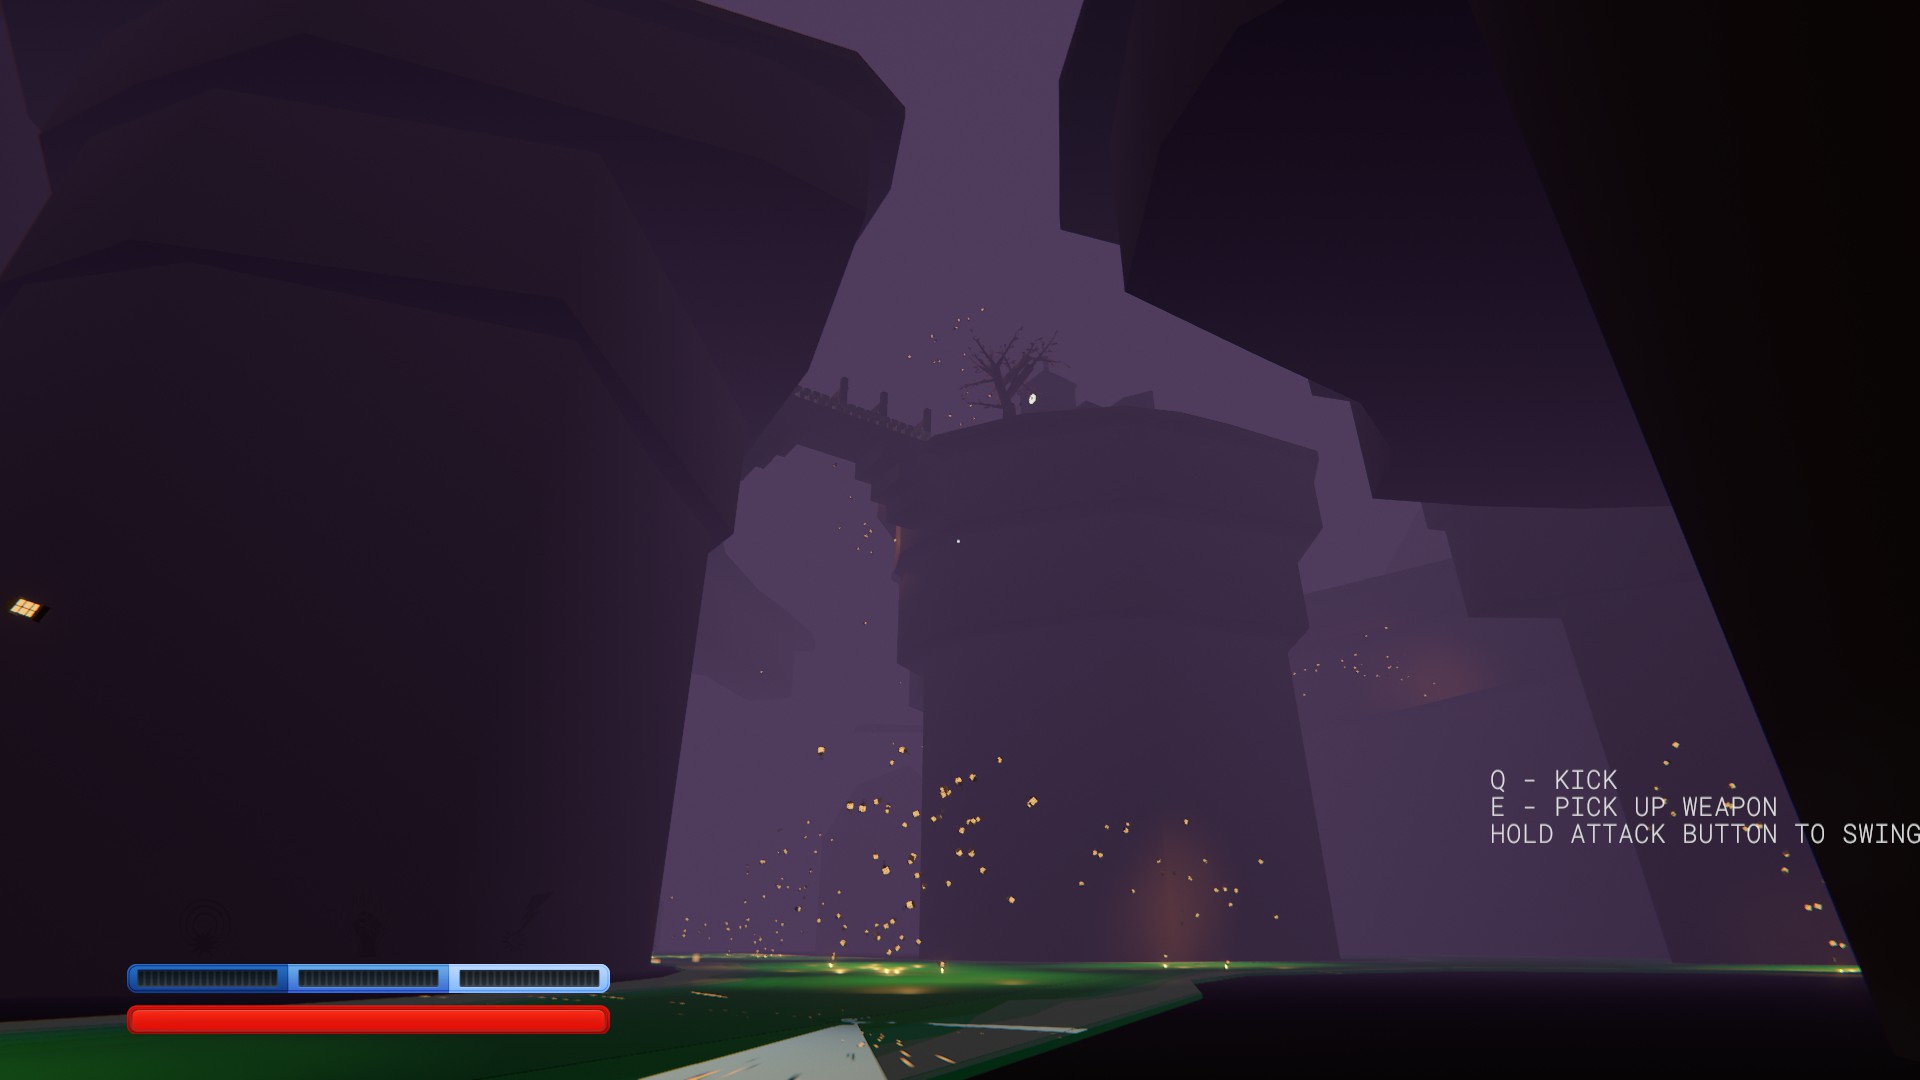
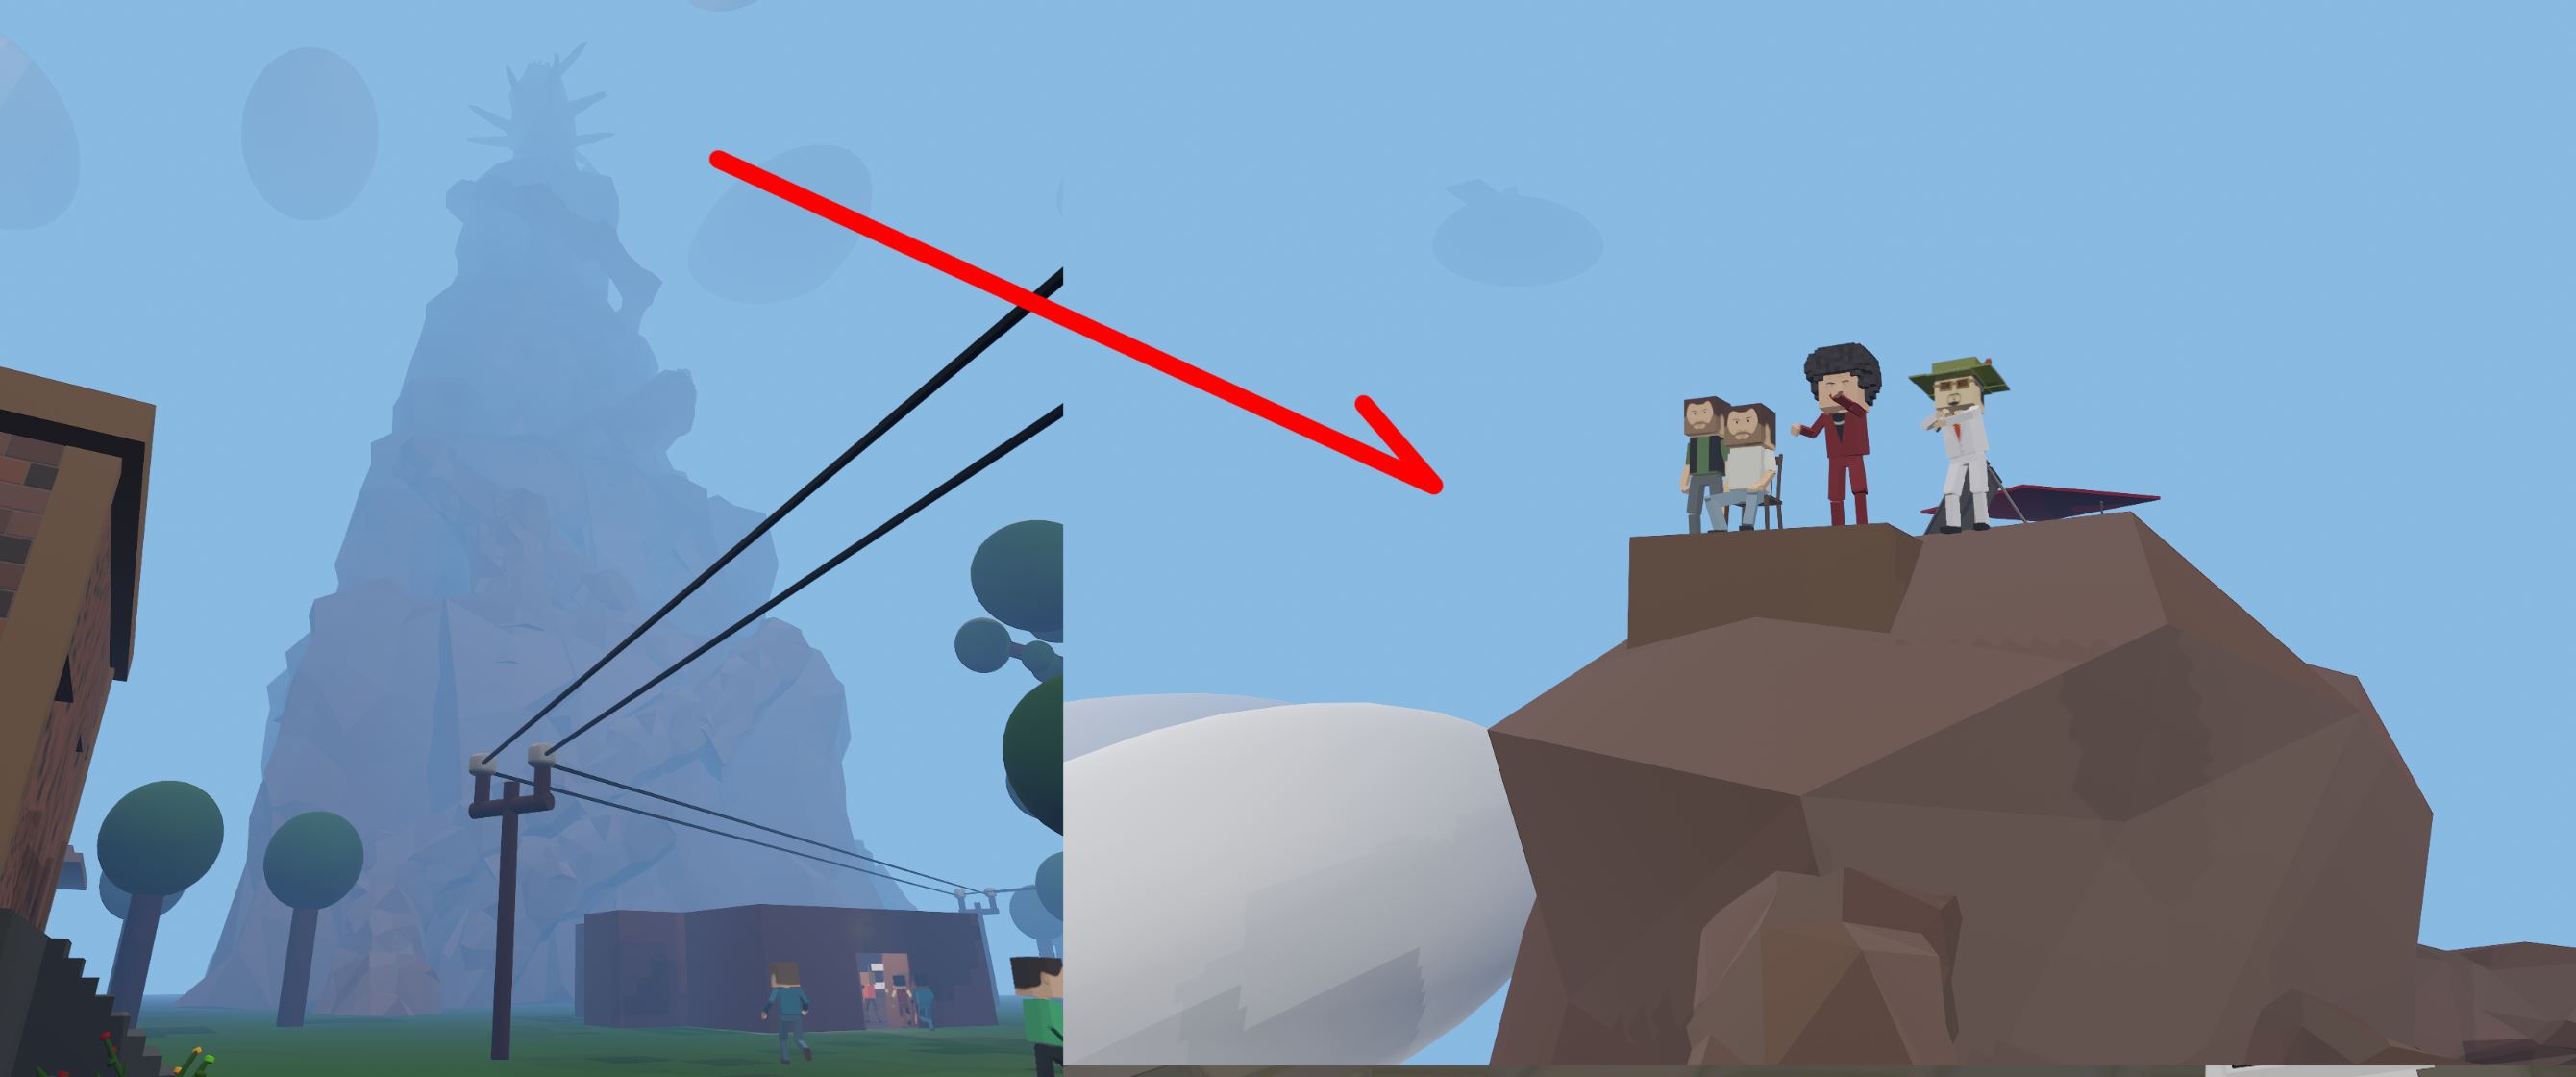
If you can make player believe he's moving through one large location, it can make him feel like the world of the level is huge, even if it's not. Here are the things that work the best:
- The obvious end of a journey: for example, the player begins beneath the mountain, and ends up the level on the mountain's top. The player starts in catacombs, and ends up being free.
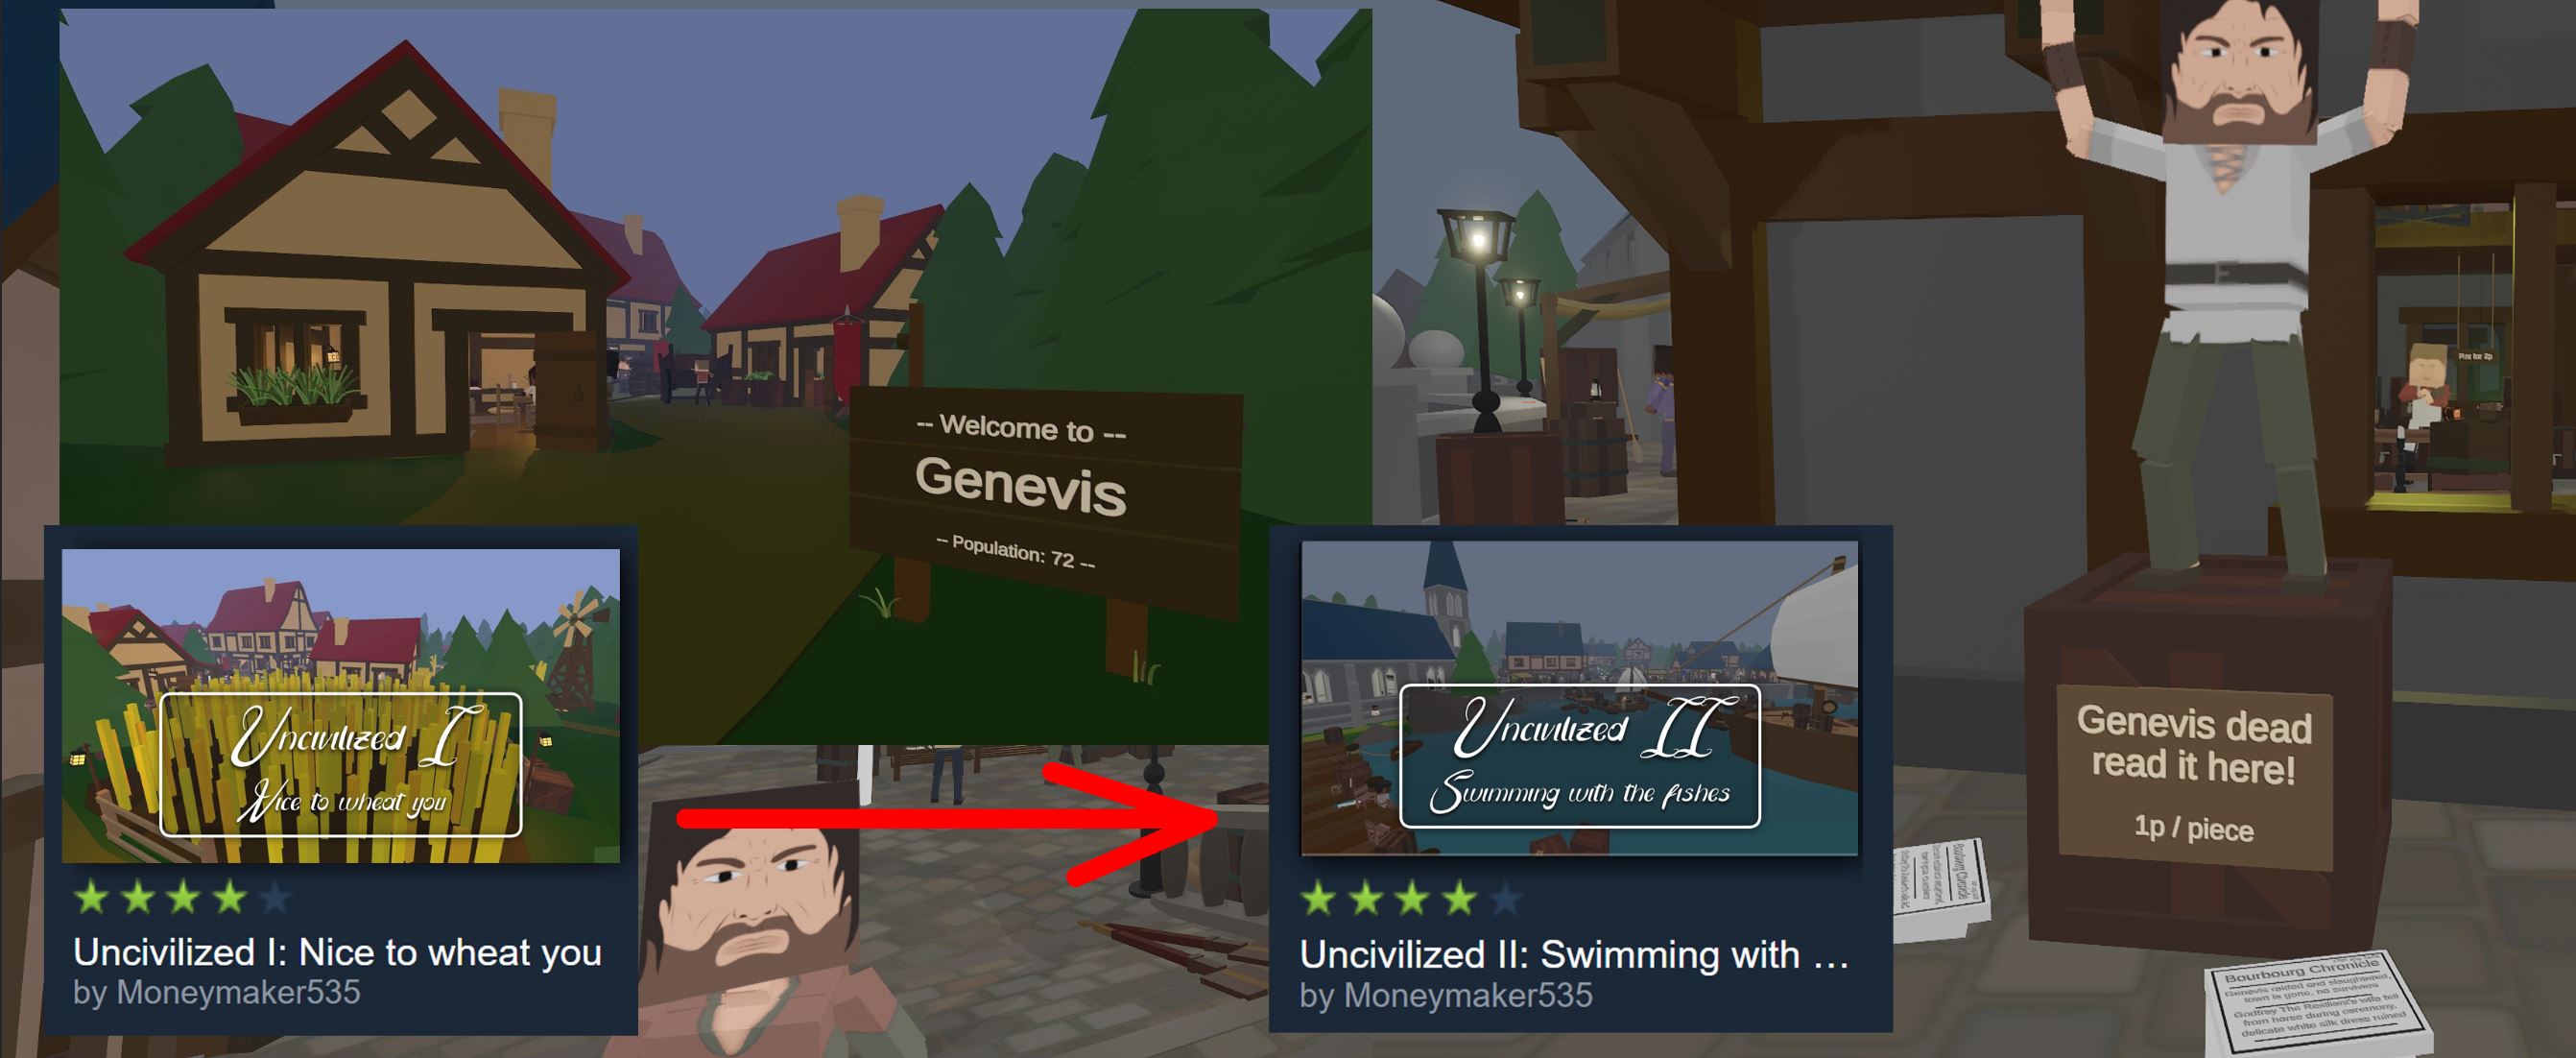
- References between different locations. Objects that give you an association with other parts of a level or with other levels of the same universe give an illusion of an elaborated world.
- Activity on a background. Moving objects bring life into the level, while lack of them make things look boring and dead: cars on a background, leaves on the trees, flying papers, moving parts in mechanisms. All of these make things interesting, even though they just imitate their activity.
You don't have to animate primitives if you don't wan't to, animated scenario props will do as well.
- If you use teleports to guide player through multiple locations, you can increase the feeling of the same space and time, if your level has an intersting sight (a statue, a building, a spacecraft), you should situate it so that in can be seen from any location even if you use teleports. Each location can have it's own sight, just make sure it can be seen from the other locations nearby.
- If performance allows you to do so, elaborate the background of your level. It makes you level to be more realistic and is tend to impress players
Entertaining the player
The map should have points of interest. While exploring, a player should encounter an interesting situation each 3-5seconds (that's the perfect situation)
There are several ways to manipulate the player and entertain him with gameplay: - All the things described in previous sections about level design
- Use pickable items to manipulate player's attention (Weapons, health, buttons, etc)
- Switch the activity: combine multiple gameplay features: exploration > combat > parkour > puzzles > mini-games. No need to include each of them, just use more than one.
- Decoration change. Try to avoid the repetative design in different locations and make them as different as possible. The same desing for each location is boring. Also, different design in decoration helps to remember the layout and makes gameplay more comfortable.
- Shortcuts that allow you to quickly get from one part of a big area to another also make gameplay more comfortable and give more opportunities to a player.
- Combine closed and opened spaces in your locations
- If your level is corridor-typed, try balancing it by adding mulltiple parallel areas that are good for exploration, but avoid making a fork in a road with each way leading to the same area.
- Connect your locations together using multiple variative passages. This variety bring maximum interest to exploration.
https://steamcommunity.com/sharedfiles/filedetails/?id=942103373&searchtext=bloodhounds - A trick with a half-seen object or location behind an obstacle forces player to search for a way to get there.
- Multiple floors oriented vertically. Parkour and acrobatic passages betweeen different floors. If your level is a shooter, locations should also be a multiple highlevels system.
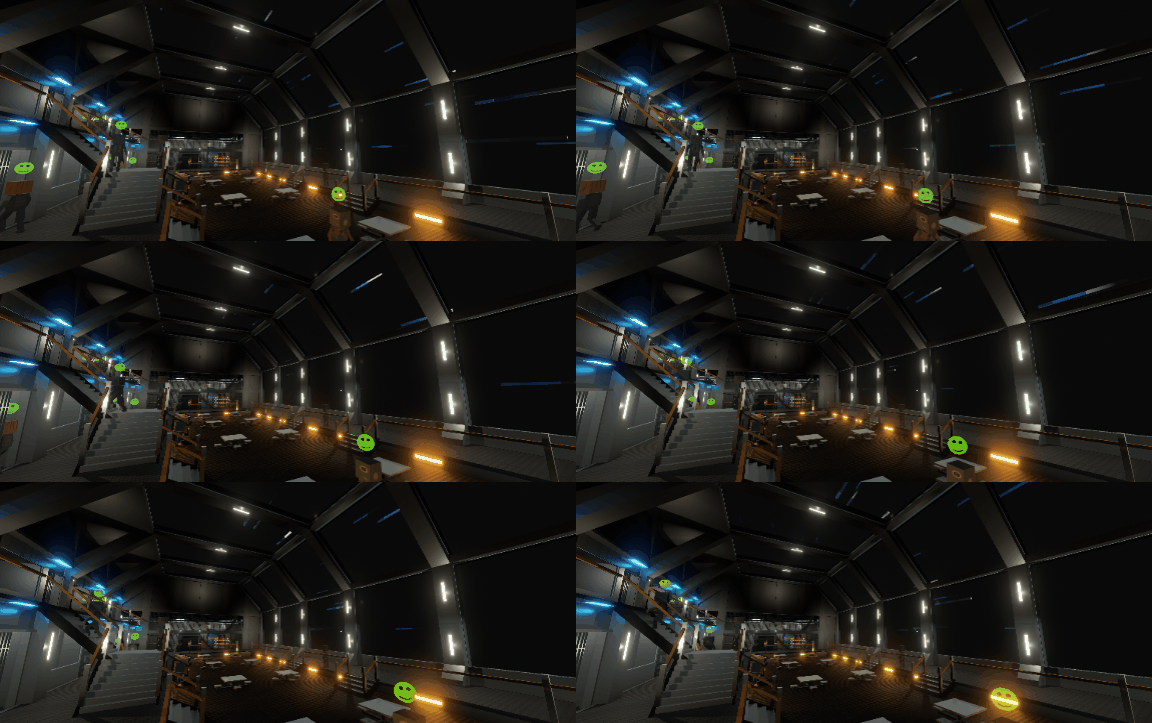
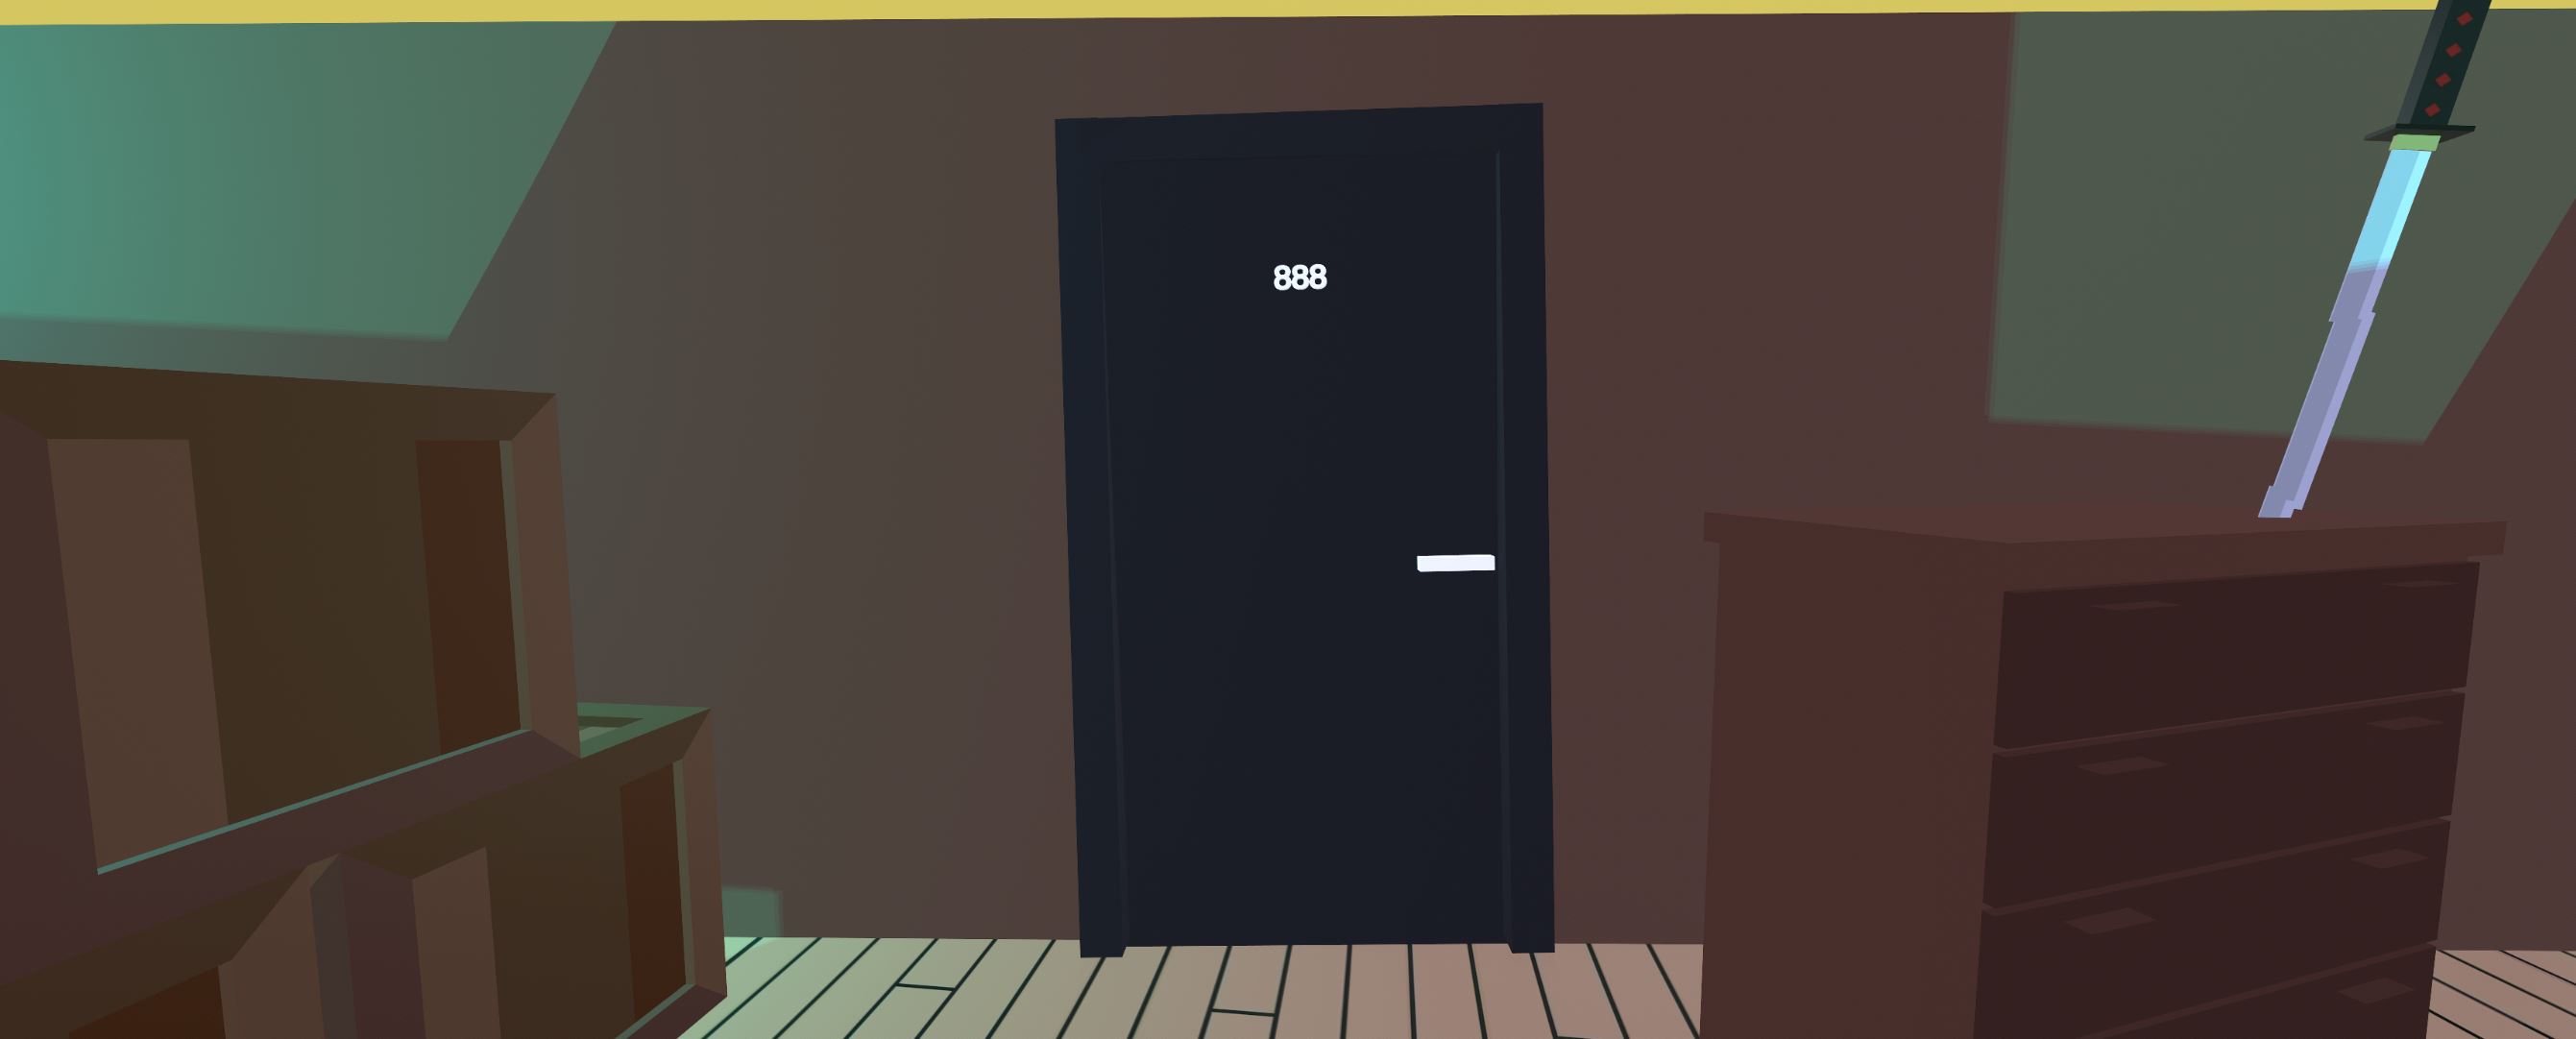
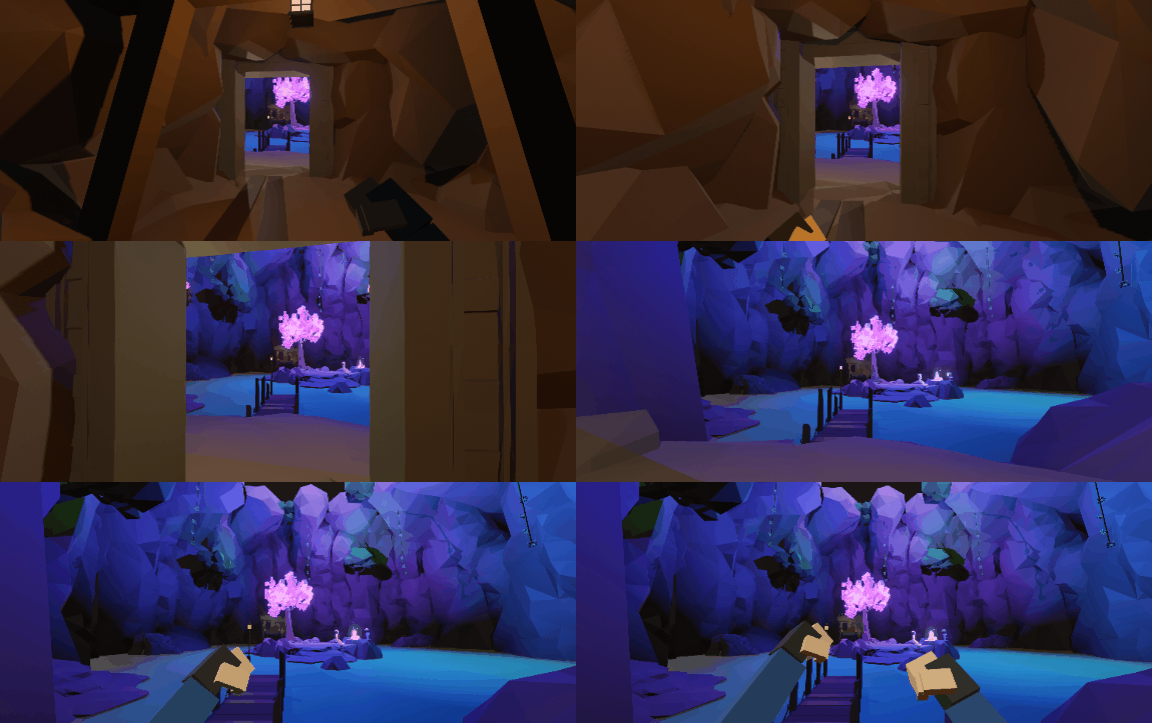
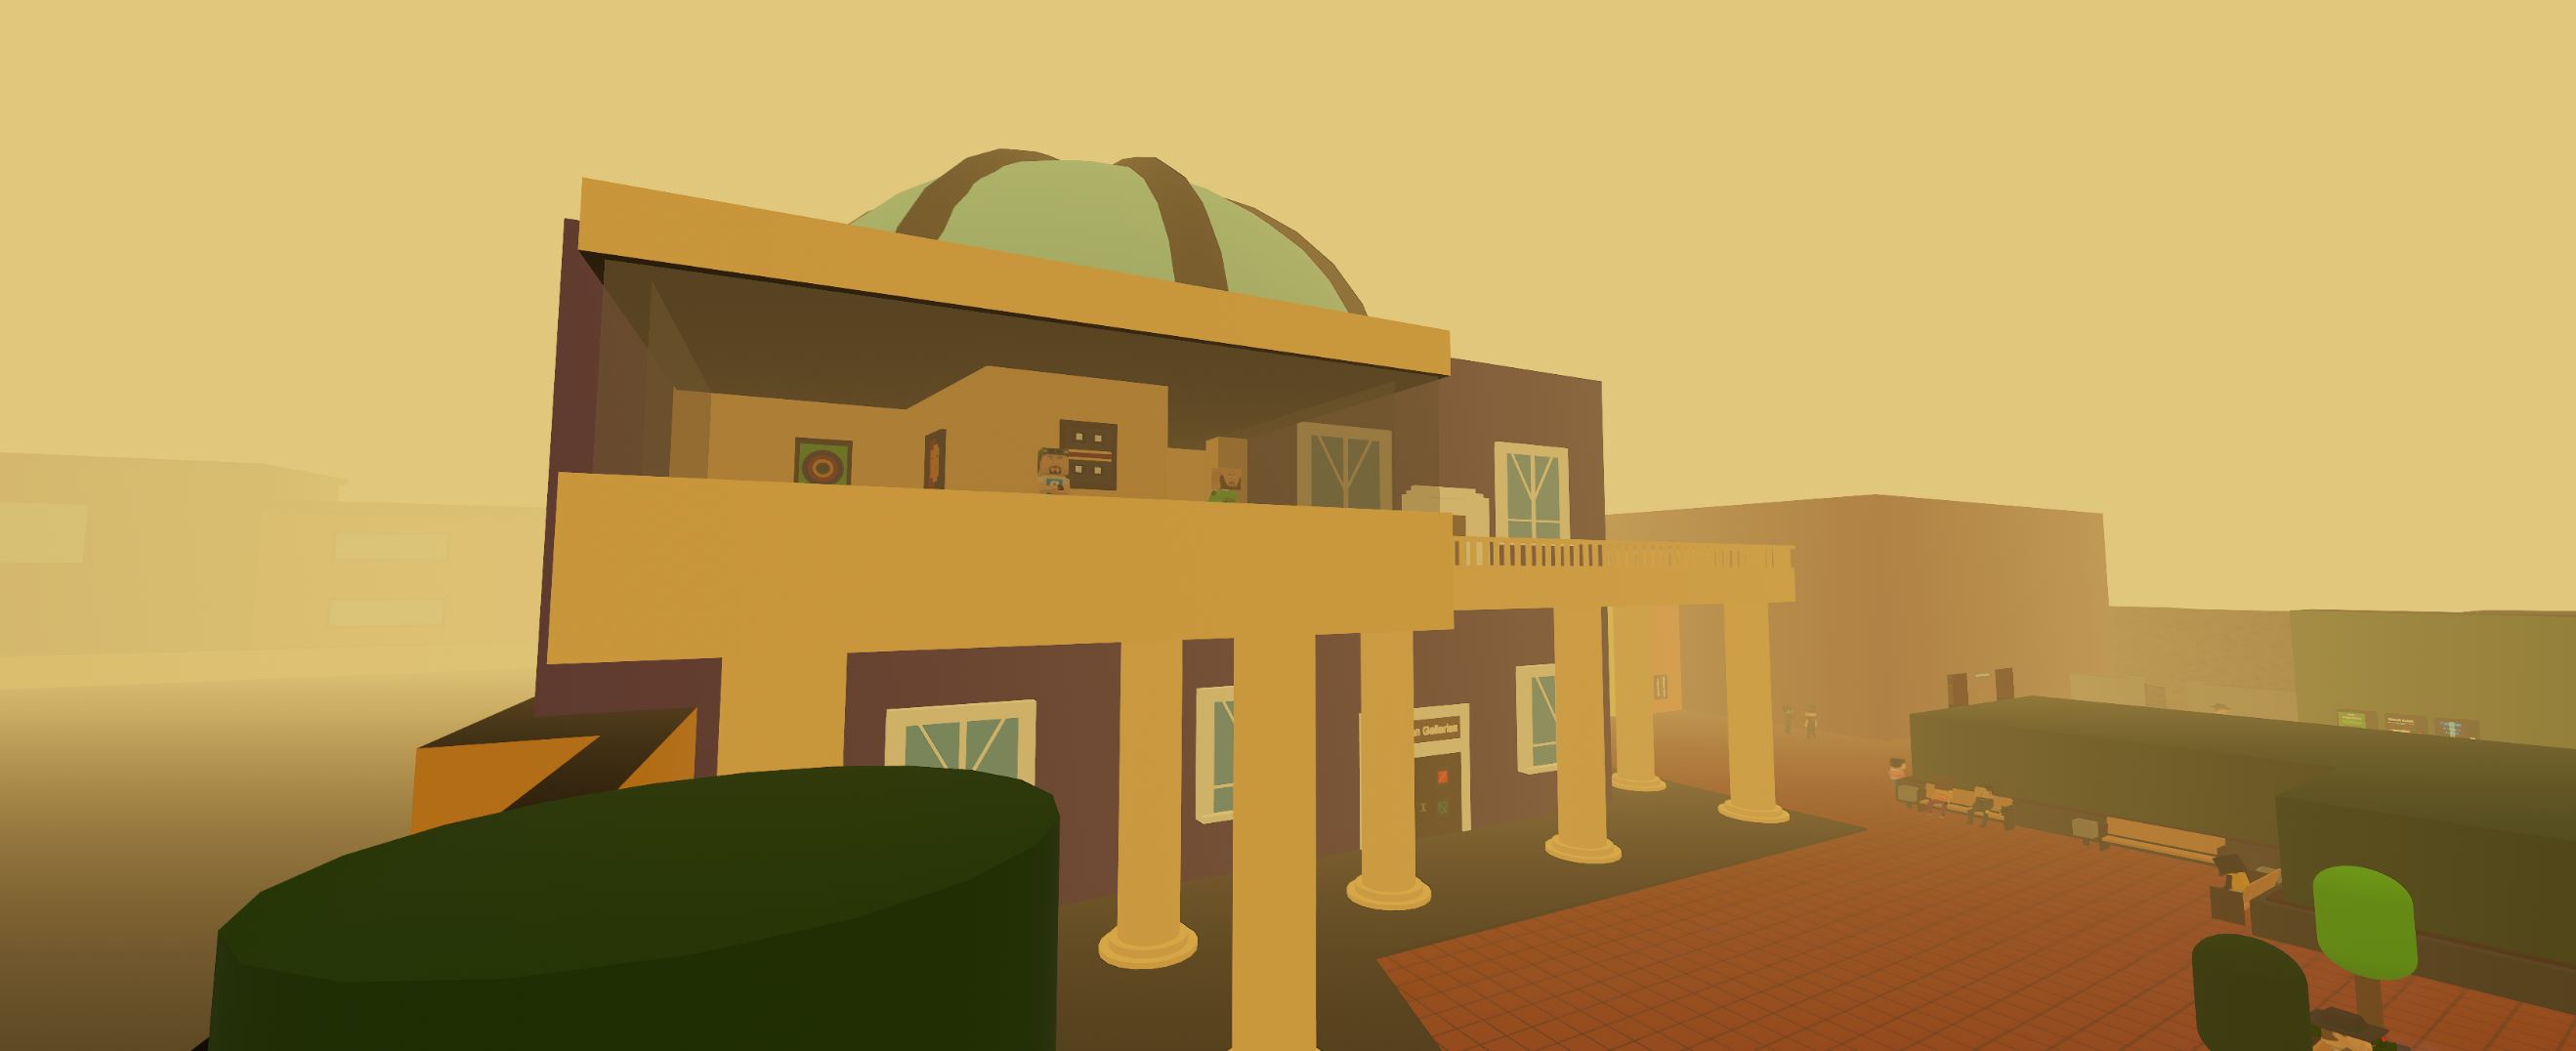
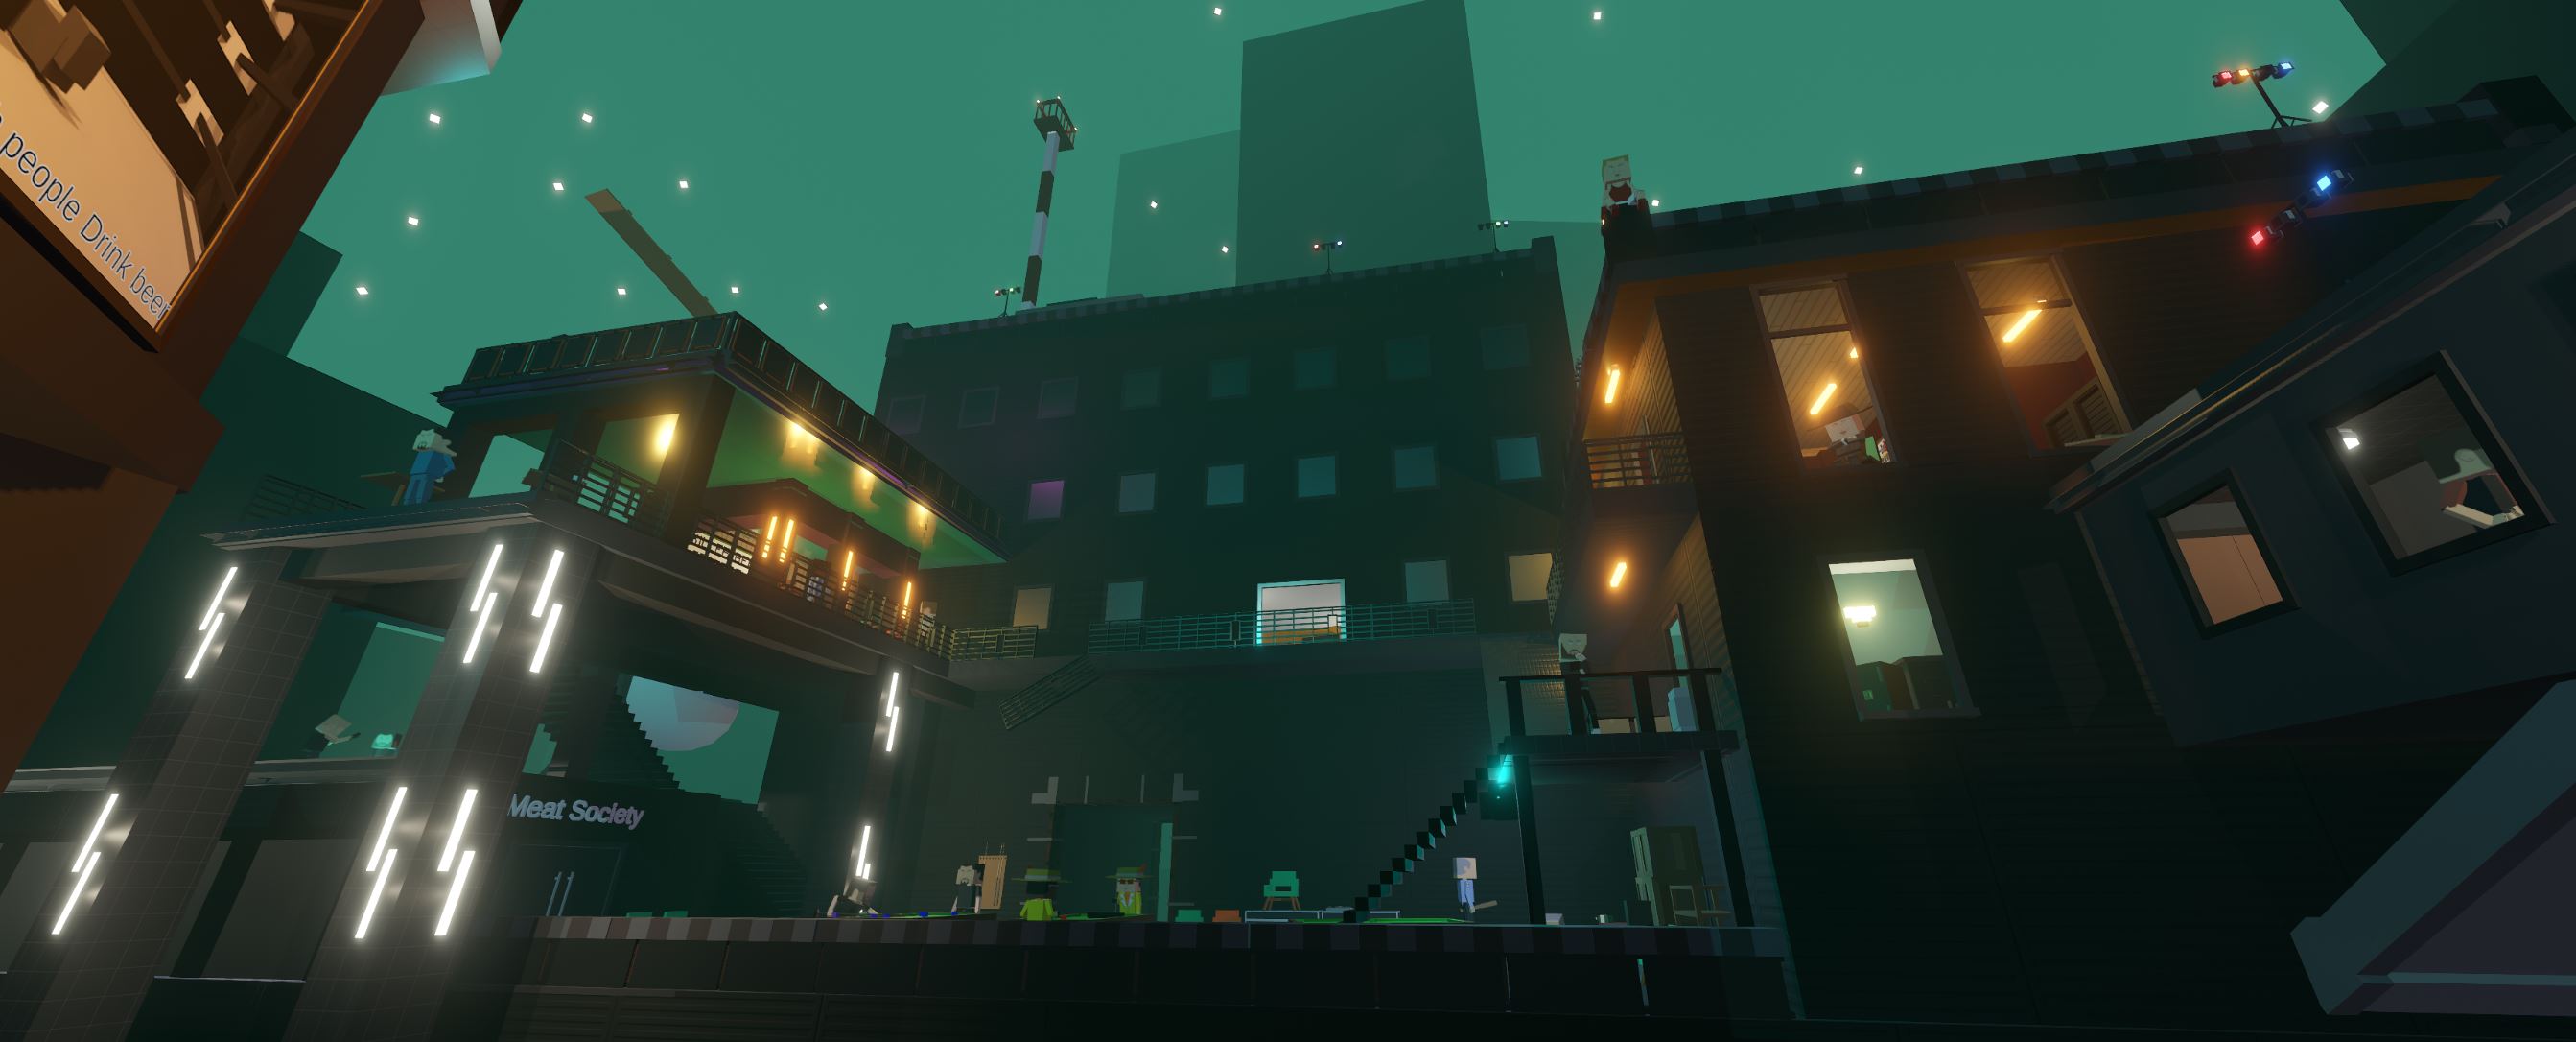
Mark interactive and not-interactive doors using different color. The decorative doors can be shown with other properties. For example you can remove a handle from them.
Interactive objects should be noticable and readable. You can mark them with custom color. Yellow is a good color choice. After you pick the color for interactive objects, avoid using it in other parts of your level.
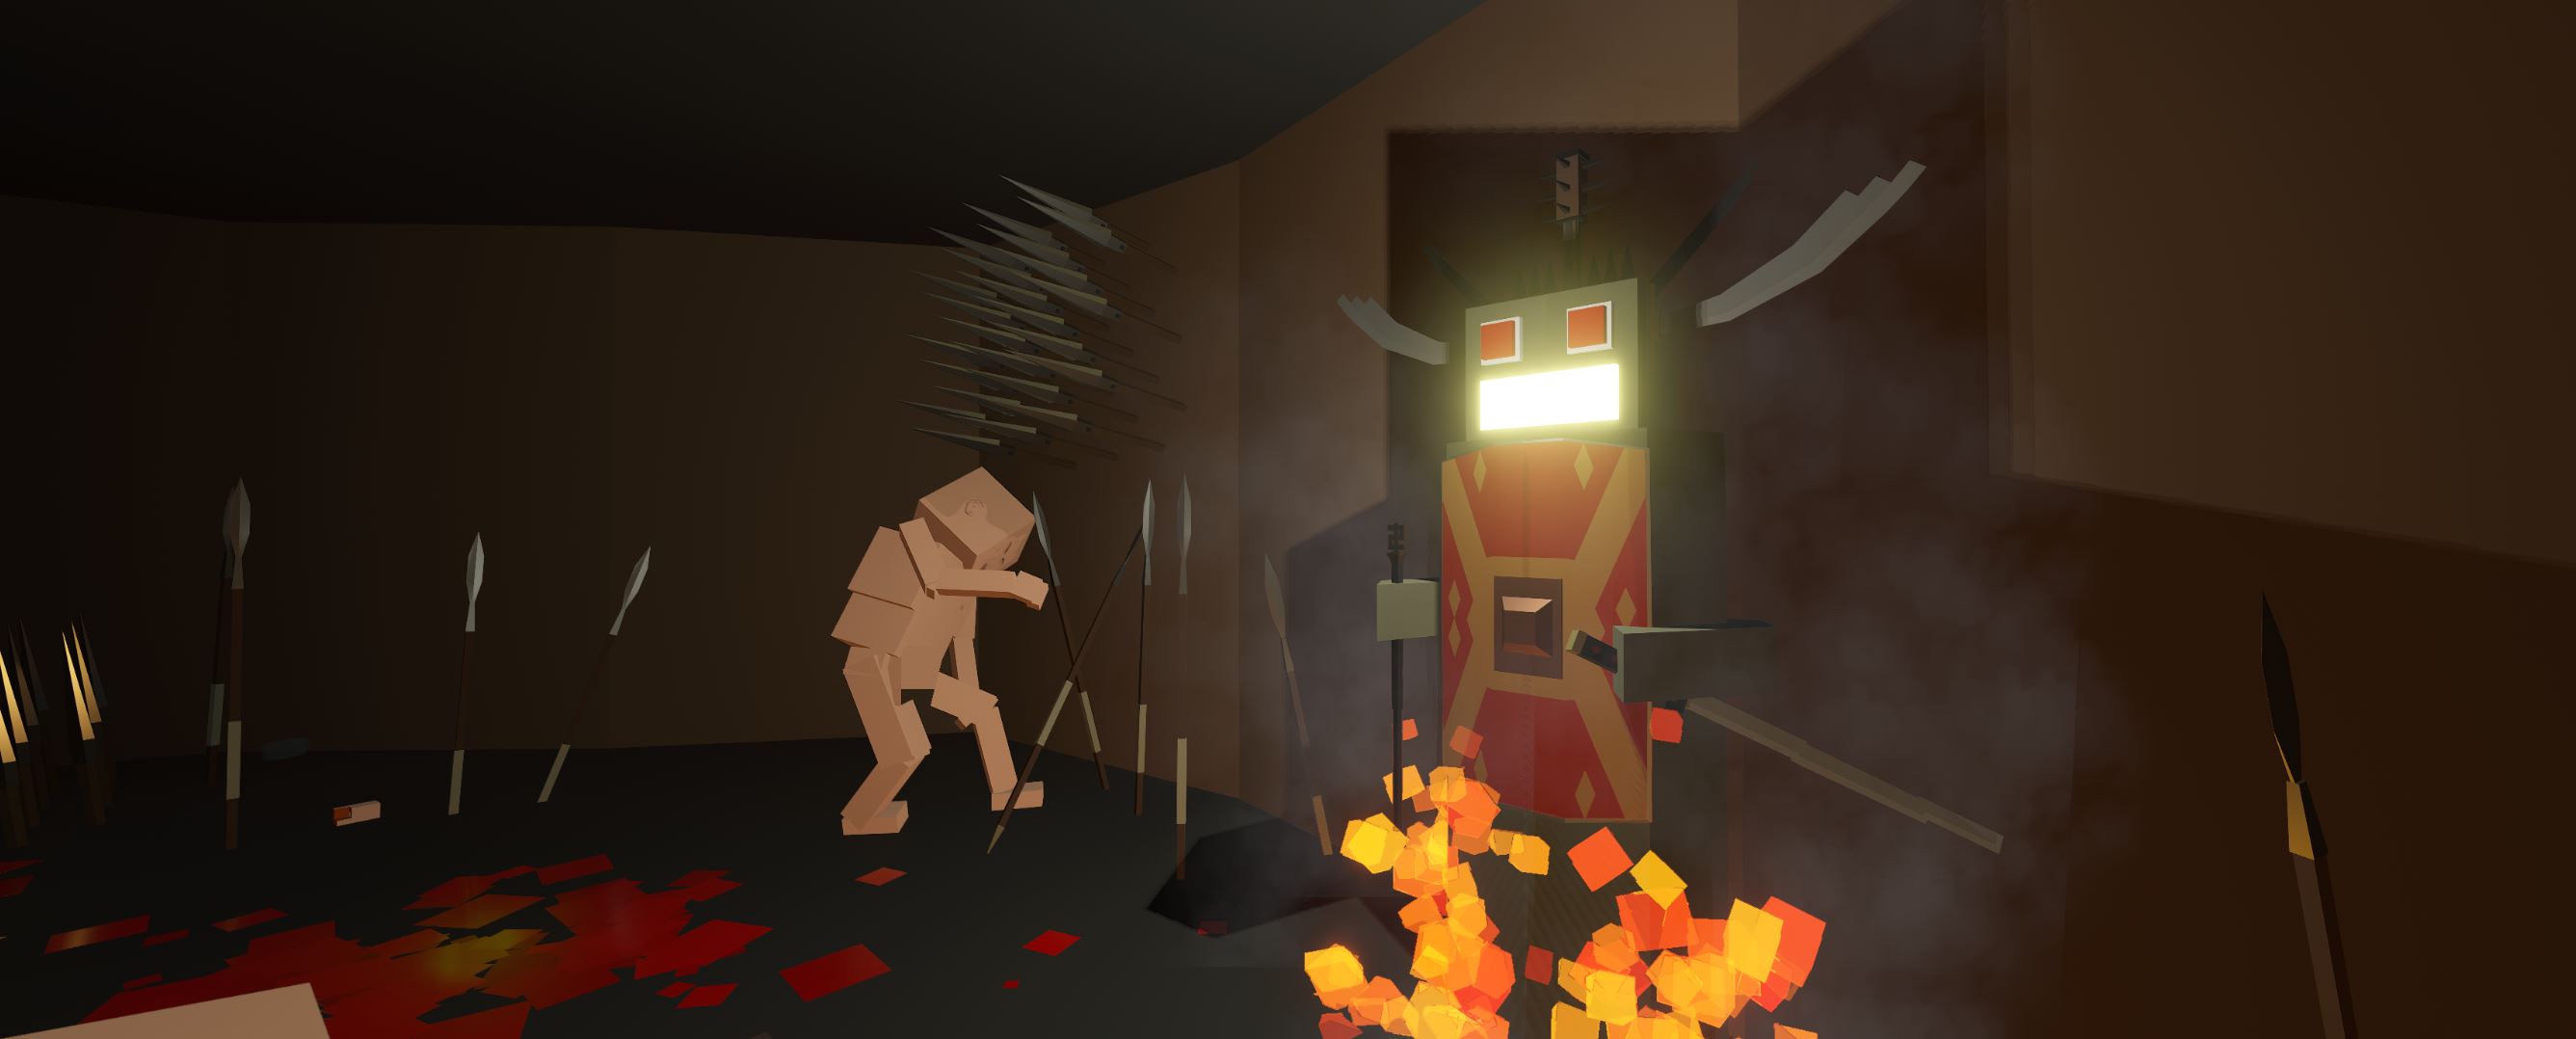
If you're changing the design of a well-known object, make sure that it' function is still readable.
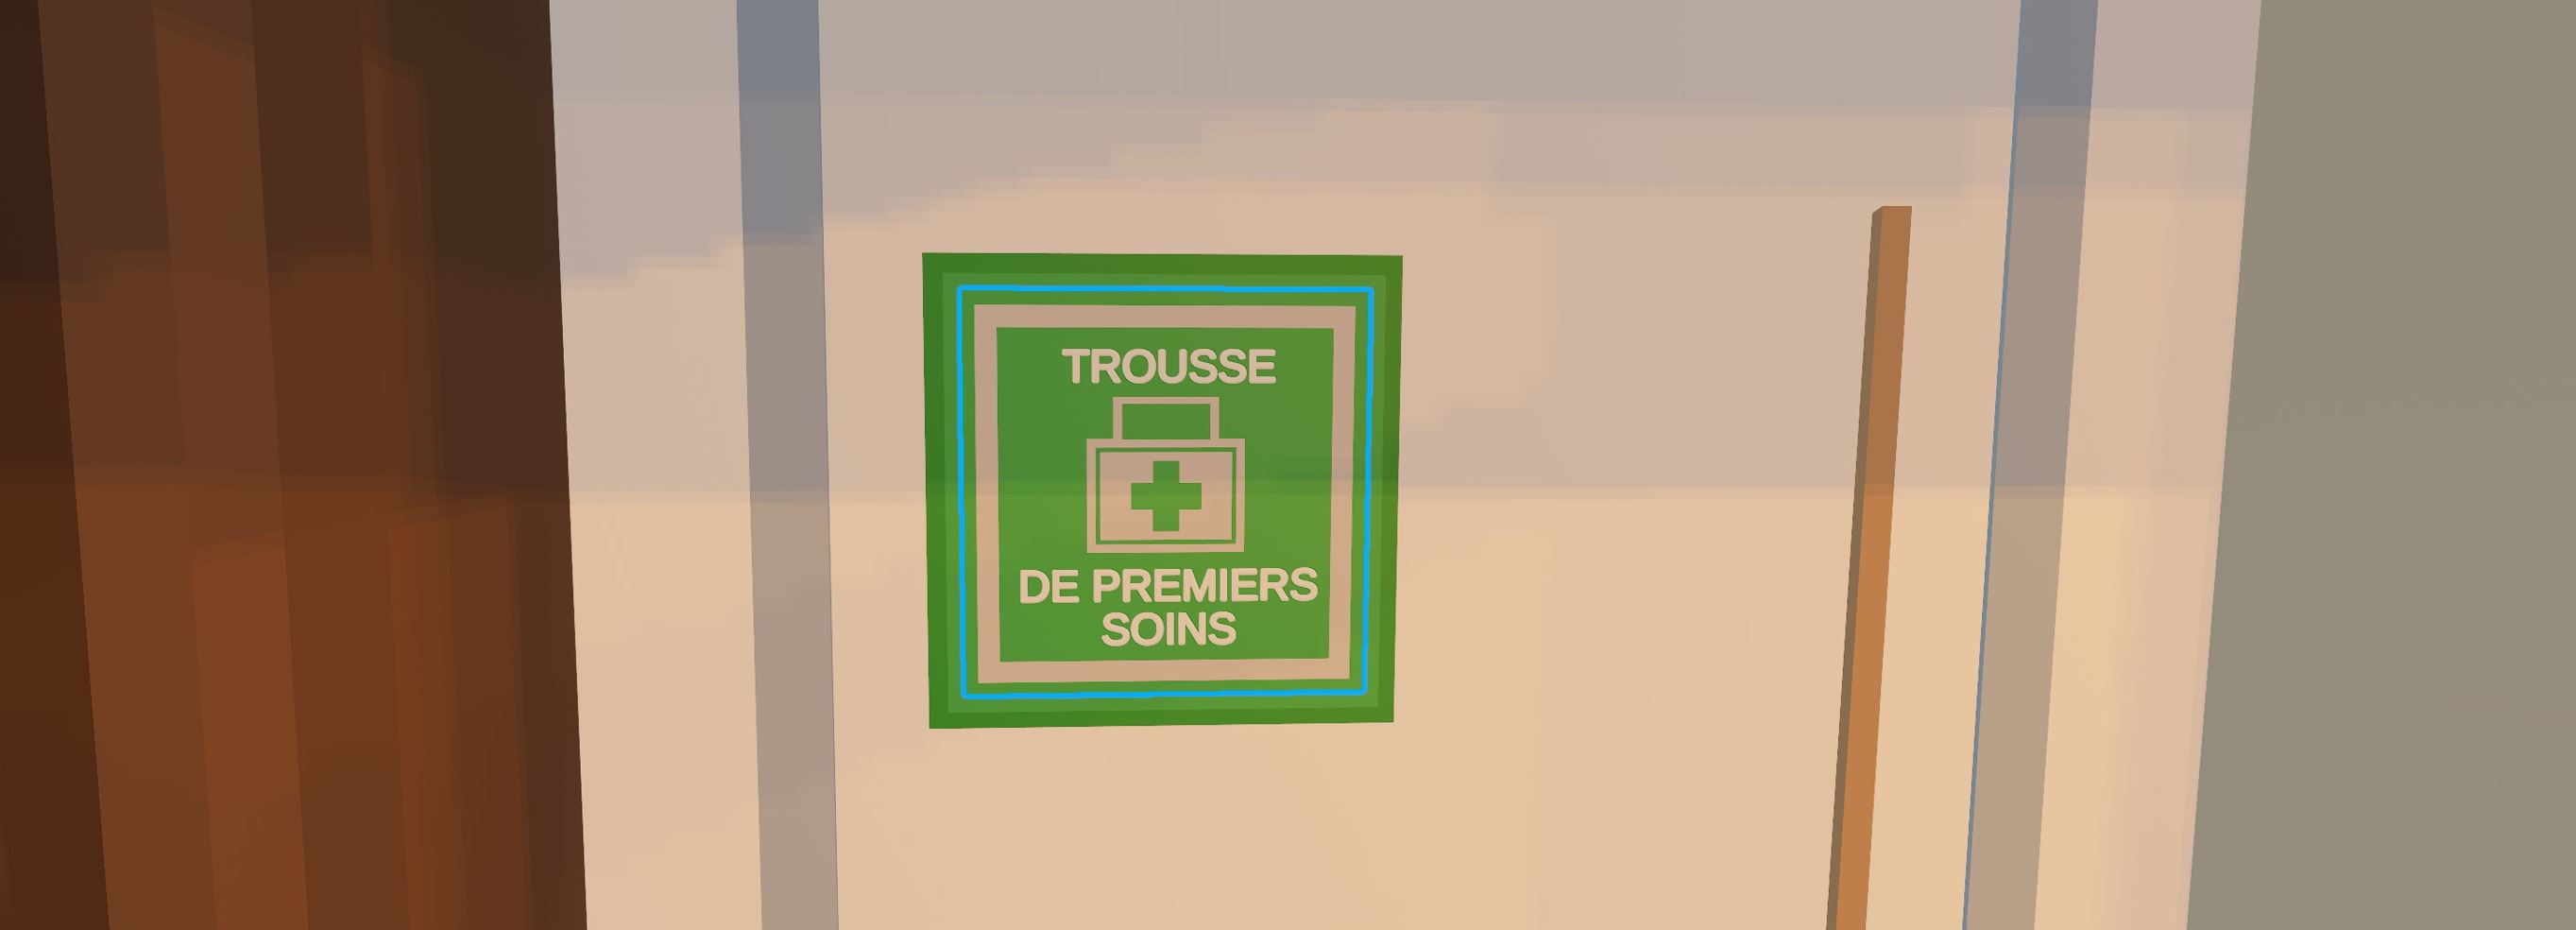
I’d like to remind you that all these tips are not the strict rules, and they won’t necessarily fit into your project. So it’s your choice if you follow them or not.

MUSIC
The music sets up the mood for your level, you can use it to turn your map into horror, or to bring extra drive to a combat, and so on.
Sound design is very important, if you want to make the surroundings more realistic:
Background noise imitation, global and local noises (wind, city traffic, buttons, opening doors), characters interacting with objects, distortion and other sounds - all of them add realism and increase the vibe.
Noises can overlap with the background music to enrich the sound even more.
Also the noises can be used to activate player's imagination: for example, hearing the sounds from a locked door or an other room, a player always can imagine what's happening there, even if he doesn't see the sound source. You can use it to imitate an event without actually building or animating it, and let the player's imagination do the rest!
- anywhere you want (lmao)
- I usually search for all the music on youtube. There are many youtube channels for content makers, that provide you royalty free music and songs. I like these two:
https://www.youtube.com/@WhiteBatAudio
https://www.youtube.com/@audiolibrary_but you can just search for the music you need anywhere else around the platform.
To get music from youtube, you need to download a video and convert it into audio format (mp3, or flac). One of the quickest ways is to add letters pp between "youtube" and ".com" in your url bar. Like this:
https://www.youtube.com/watch?v=dQw4w9WgXcQ >>>
Now select mp3 file type and download ╮(′~‵〞)╭
https://www.youtubepp.com/watch?v=dQw4w9WgXcQ
- Youtube (bleh)
- The sound packs. Each year large studios as SONY or
DOLBY release enormous sound libraries used in their movies and other projects completely free . These sound libraries are incredible, you can find almost everything in there. They are awesome and royalty free.
find it here: bang [sonniss.com]
Voice acting is rare, but its always fun. Although I'm not sure you'd like to do the voice acting yourself.
With raising AI popularity, there came a lot of services where you can generate decent voices for your projects. It may not be perfect, but it's still free. Most likely.
Here are some notable sites where you can try your luck:
As for the youtubers, they either don't care about monetisation, either turn off the music completely, without checking if your music is free.
As for the regular players, they play with the music mostly turned on. Mostly. In case music and effects are vital (because of the voice lines, for example), you can always notify players about that before level starts, and remind them to turn on the music.
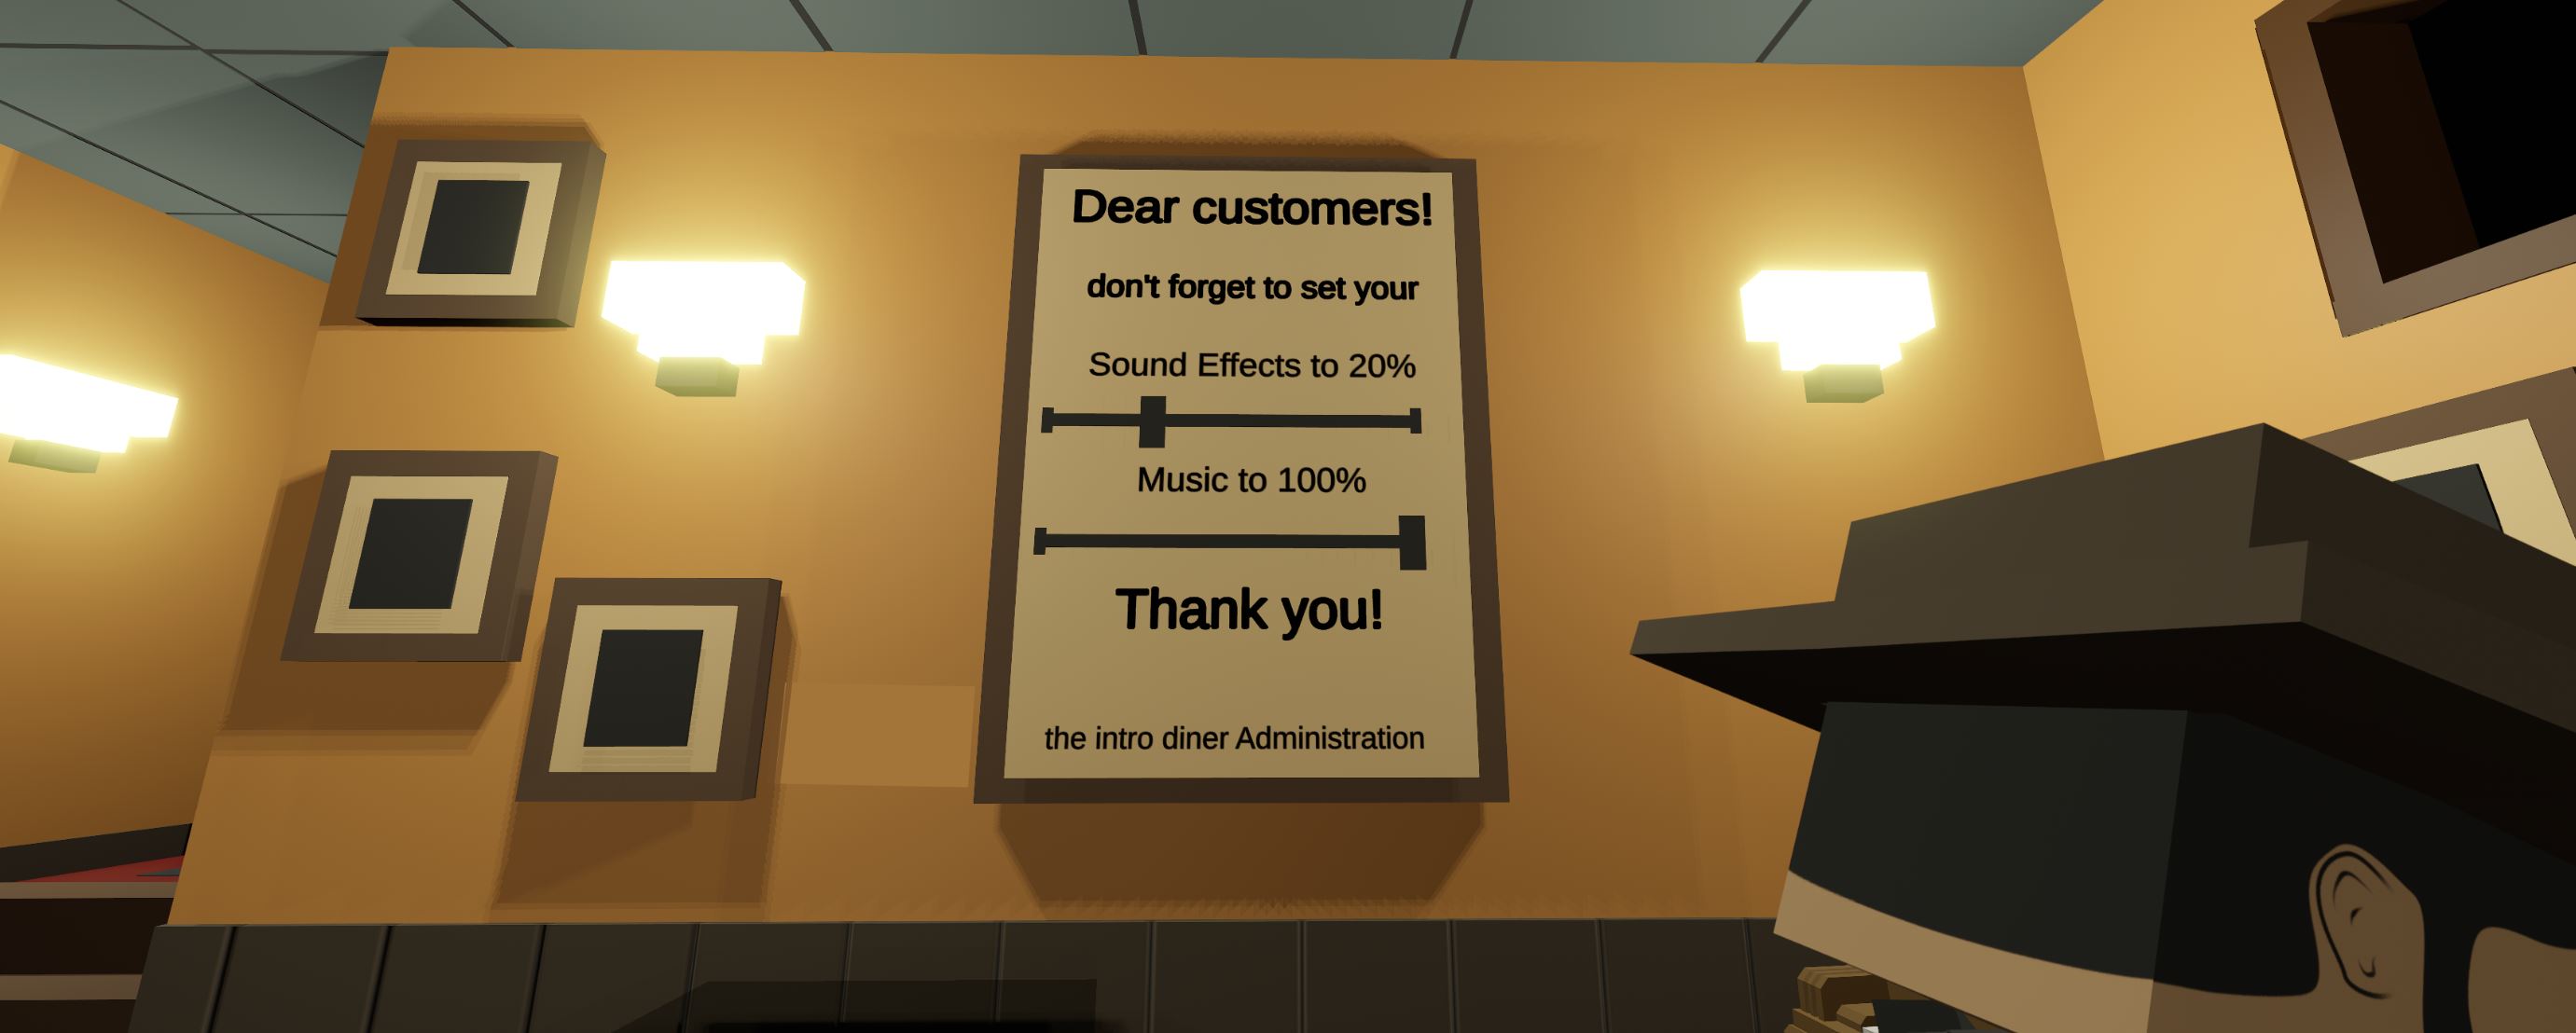
Another strategy is to use texts as subtitles.
https://steamcommunity.com/sharedfiles/filedetails/?id=2872146857&searchtext=halloween

WORKSHOP PROMOTION
After you're done with your level, there are a few things you can do to promote it at the workshop:
- A good looking thumbnail is essential. The reasons "why" are described in Steam algorythms section below. Before the uploading, make a custom thumbnail for your level to make it more noticable. The procedure is described here:
https://steamcommunity.com/sharedfiles/filedetails/?id=2422014262&searchtext=thumbnails
It takes some time, but it's worth it. Although, you don't have to make a custom one, still try making a decent screenshot.
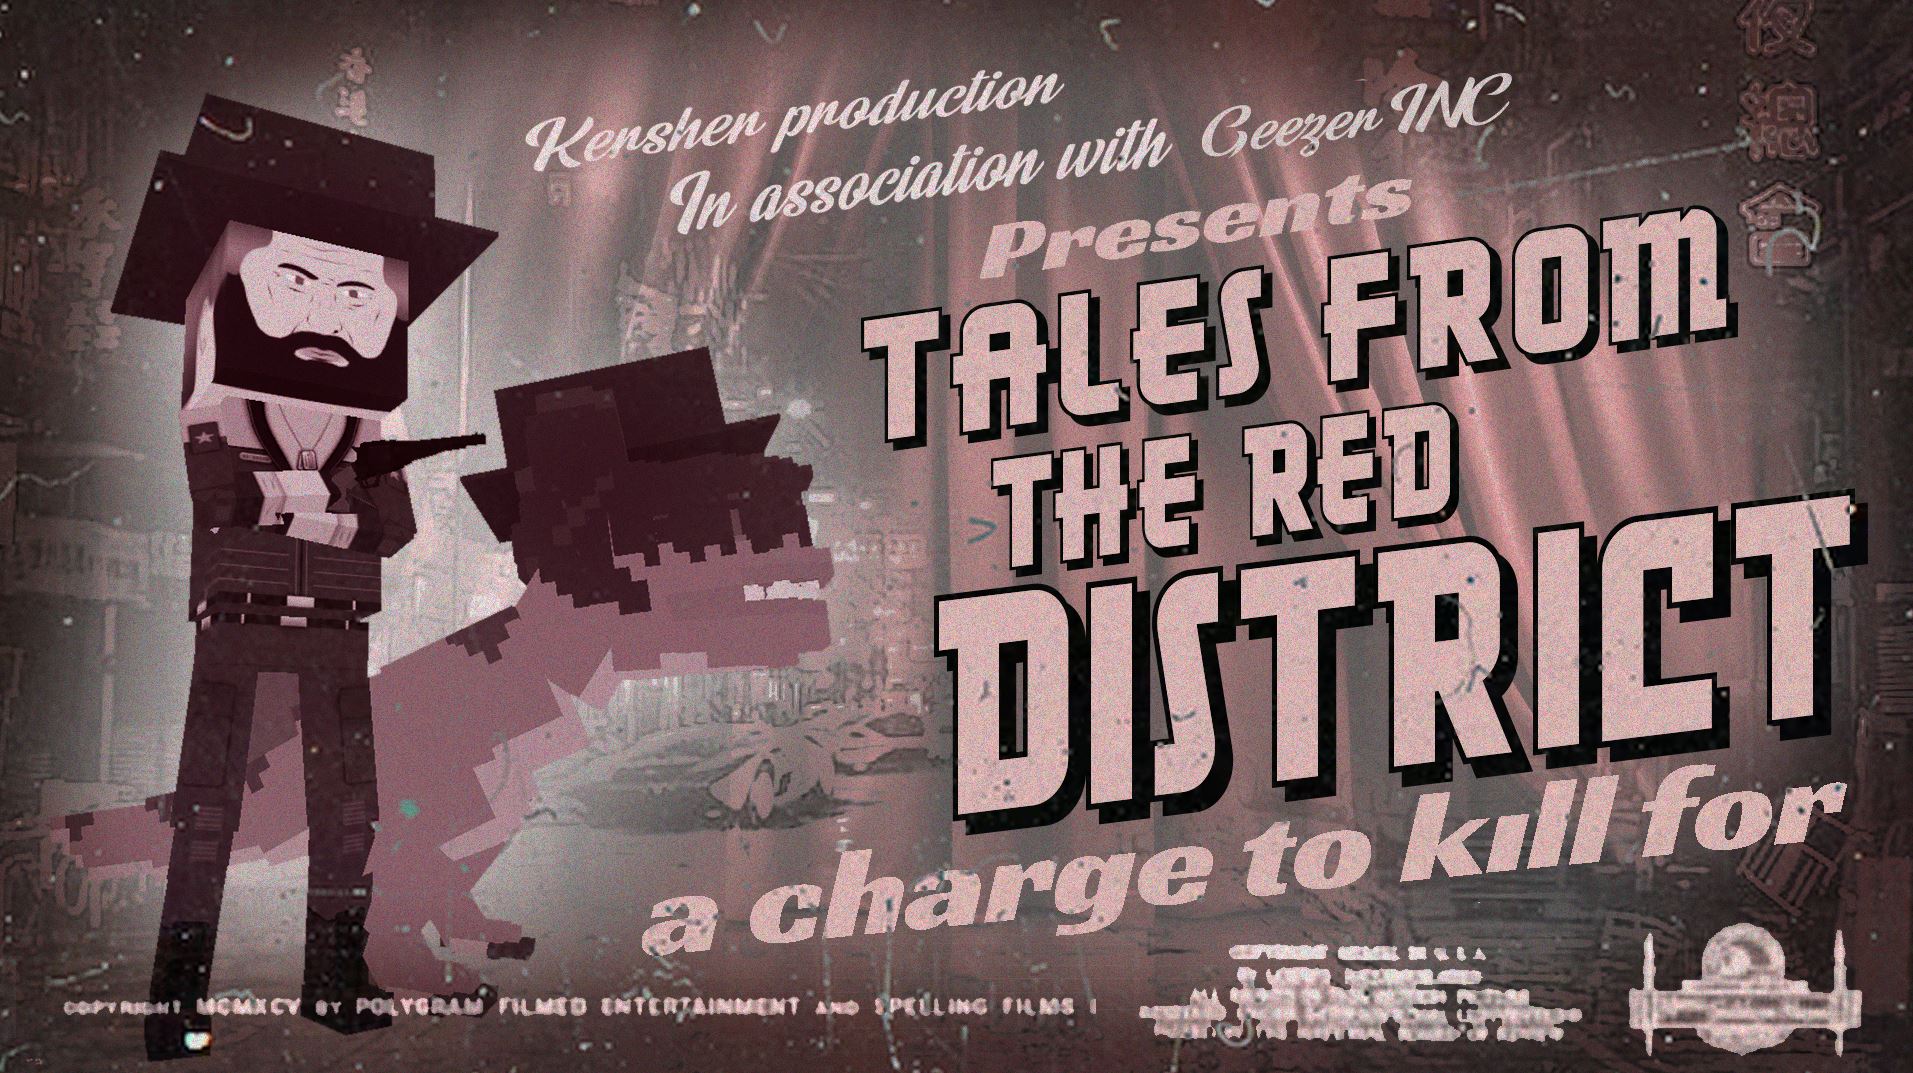
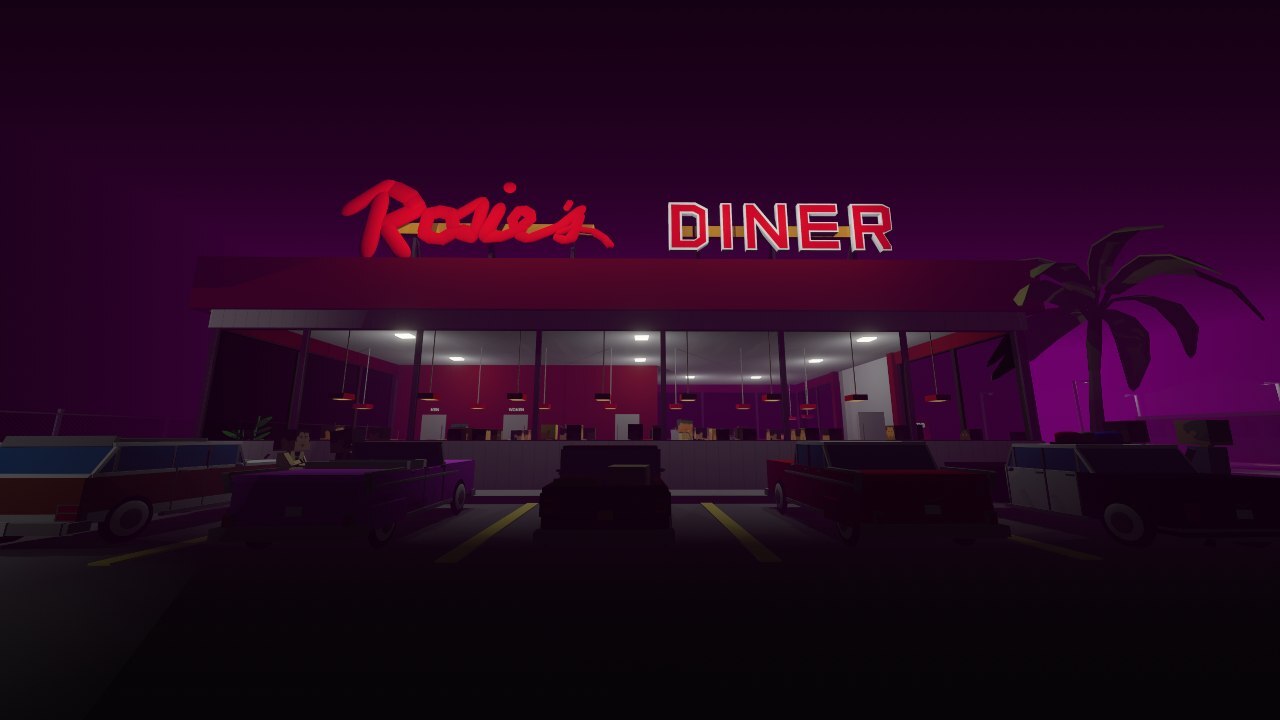
- Add screenshots! 3 to 6 decent screenshots showing the best parts of your map can definitely affect the potential subscribers.
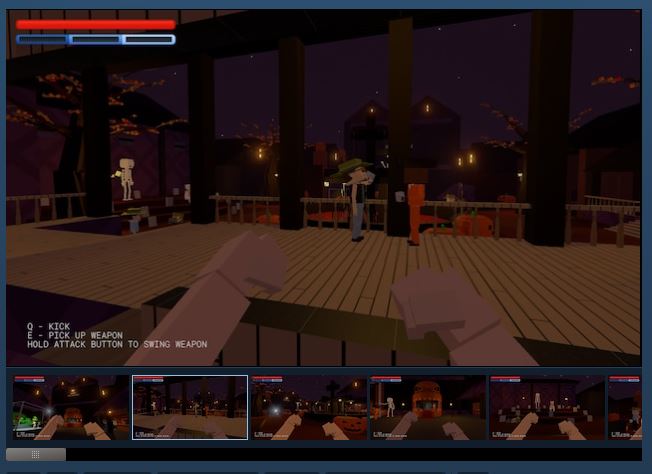
- write a good description. I know that nobody reads the descriptions, but some people still do. And an interesting description may become the reason why somebody decides to subscribe to your project.
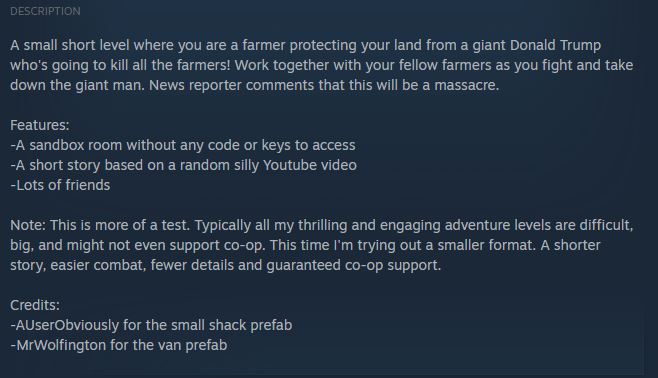
Things you may add into your description:
- A brief annotation what your level is about
- main features and points of interest
- hints on how to beat a difficult stage
- Information about copyright music and sounds
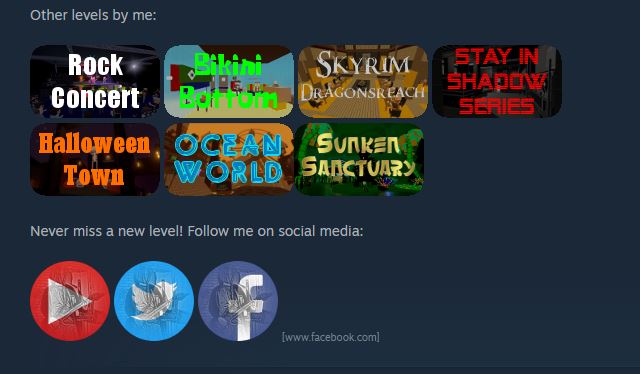
- Information about other projects you made
- Special thanks and credits
Also you can improve your description adding some images to it using the [img] [/img] command.
upload a picture to this site[imgur.com], then copy the link and paste it between [img] [/img]. Example: [img]https://i.imgur.com/JqakELP.png[/img]
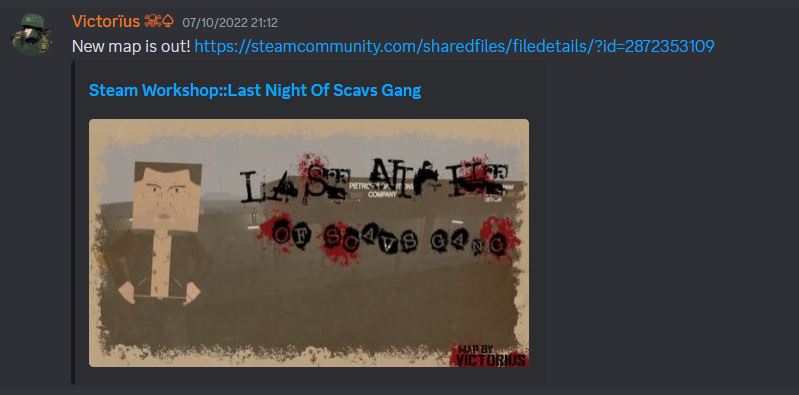
- Tell about your work! Make a post about it on the game discord, so that more people will see it.
Well, obviously the best time to upload the map is on the update releases, but.. it's such a rare thing that you shouldn't count on it.
Another great period is during the mapmaking contests, in case you map fits the contest theme. This way you can interest the contest voters. But.. the contests are also not really often.
So, if we take a look on a regular week. Weekends see a *lot* more traffic than the week. The best period of loading will be Late on Wednesday or early on Thursday. Most people play on weekend, so a thursday launch should give you enough time to be noticed before the weekend.

The workshop is one of best features of Paint the Town Red! It hosts an entire ecosystem of content creation to inspire and entertain others. I don't think I would have stuck around with the game as long as I have without the workshop, however there are many sad things:
- Star ratings are meaningless - an item needs 25 ratings (of either kind), at which point it invariably gets 3 out of 5 stars.
- Visibility of items is based overwhelmingly on view count. That's why you should try to attract people with a thumnail and a level name to snowball some views. Yes, clickbaits. However, avoid making viewers feel like they've been tricked by your thumbnail.
- people are attracted by three things:
- Something popular (If many others have looked, it's likely to be worth a look)
- Something familiar (maps that look like a popular game/movie/cultural reference can shine)
- Something that looks complicated and detailed
- Something popular (If many others have looked, it's likely to be worth a look)
- Ratings/favourites have a *huge* amount more impact than plain views/subs
- You can rate and favourite your own items! - And so you *have* to do so, if you actually want them to be seen by anyone.
- 8 items in the workshop main page banner, which are listed in the order shown on the page "Most Popular" over period "One week". The top 3 of these seem to get significantly more view traffic than the other 5.
Items will quite suddenly drop out of the top 8 listing (and the top 30 of this page) about 10-20 days after they were posted. Even if they weren't visible for all of this time - there's no separate "published" date in the workshop algorithm. - 8 Items in a static list towards the bottom of the workshop main page. Shown as "Most Popular" over period of 3 months. The biggest hits from the "one week" section tend to go here for a longer burn.
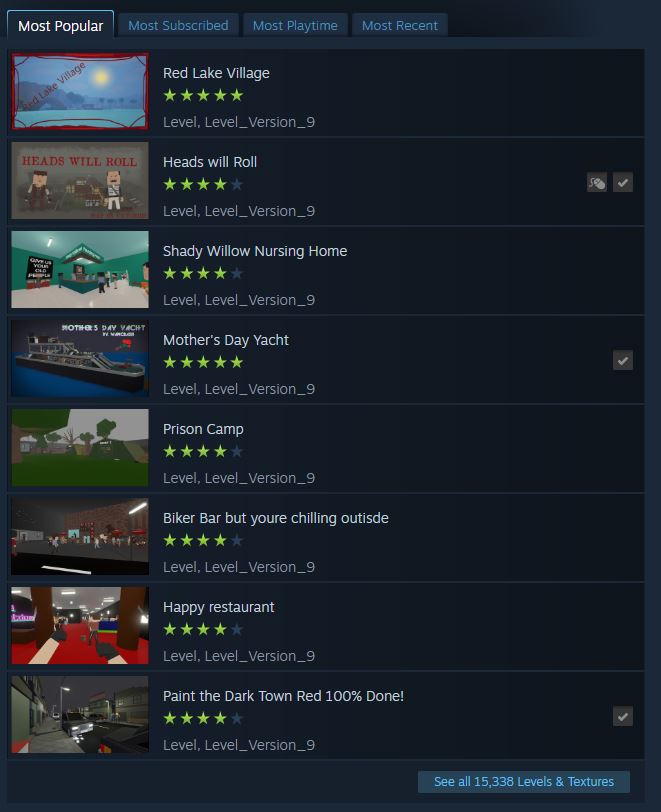
Here are some stats on one of my not-so-old projects:
https://steamcommunity.com/sharedfiles/filedetails/?id=2905807575&searchtext=potion
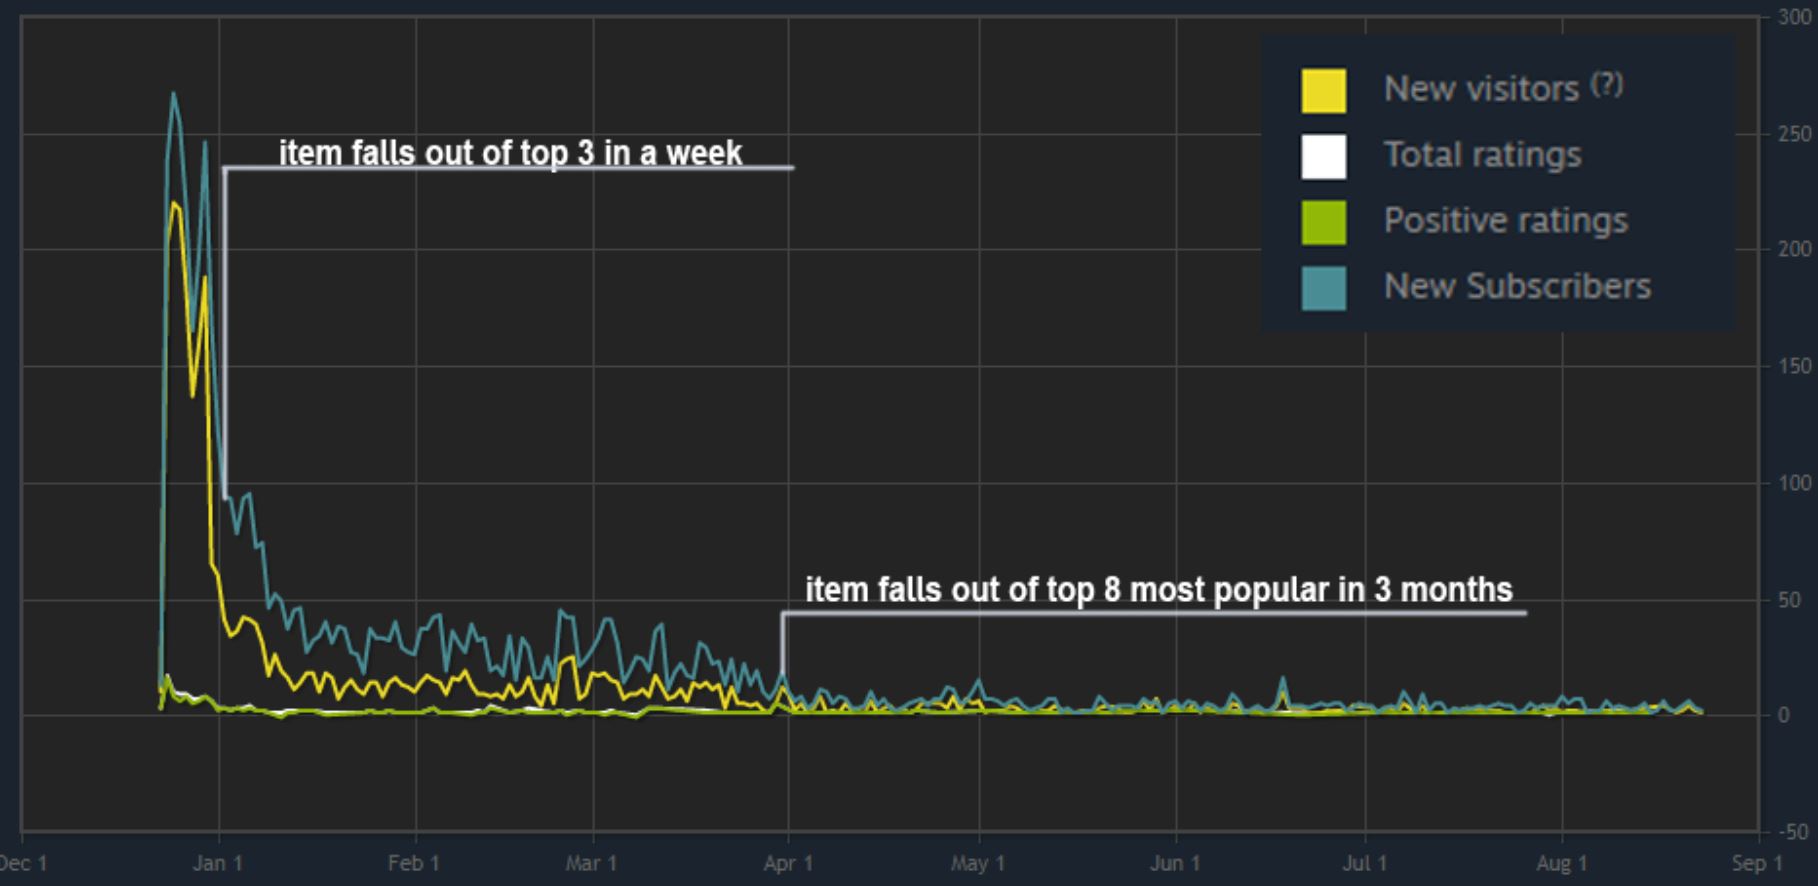
The visibility of previous items is immediately decreased
As mentioned before, Ratings/favourites have a *huge* amount more impact than plain views/subs, so a negative rating in the first 24 hours can pretty near kill an item by pushing it out of the top 30 first page altogether
And this is normal, you can't please everybody at once. So, don't let the negative rates let you down, remember that you're here to enjoy the process of mapmaking, and to have fun.
Keep creating, and one moment your project will become a banger.

HABITS FOR EFFECTIVE MAPMAKING
 What’s next.. OOOOW, the Motivational Speech! Inspiration, soft skills and other stuff!
 You know what, all these advices I gave you before, they still mean nothing, if you never finish your projects. This is why I’d like to talk about this very improtant chunk.
Anyway, even if you dont end up being a mapmaker in this indie game forever, perhaps it’s still worth carrying these lessons with your real life.
T O M O R R O W.
So start today.
Write everything: Details, Jokes, Music, Sound effects, Enemies, Easter eggs, Assets and Prefabs.
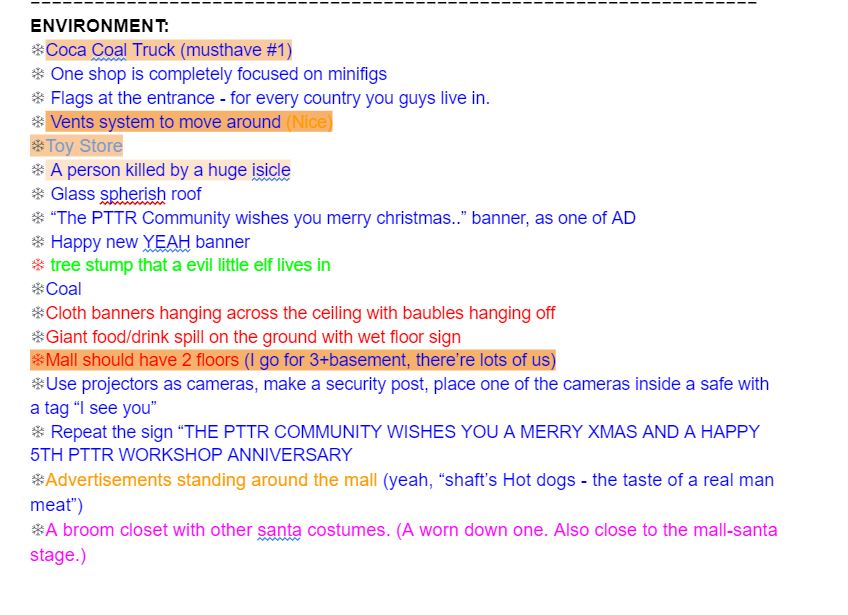 For my personal projects I use dropbox paper, but you can use google doc or even a notebook. Google doc and paper are great, because you can come up with something while being away from you pc, so you just write things down into your phone.
 Also while you’re writing ideas, its often that one thing is pulling another, and you may end up discovering something cool you havent event thought about.
Once again, you don’t compare your maps to others but instead learn to appreciate your own creativity and improve. Also analyze your own successful maps.
Another incredibly important thing you should analyze is not what people DO ADD to their maps, but also what they DONT add. How people manage to avoid all the performance headache with the limited resources we have, while still having enough polishing, detailes and ideas.
And that’s why remember to only bite what you can chew, and don’t overestimate your personal skills.
One of the ways is to break large idea into a few smaller projects than just leaving something so massive it never comes out.
Oh, and also don’t forget that the editor has it’s own limits, so even if YOU can take the weight, there’s still the editor which probably can’t. So yeah, remember that you’re always limited - mentally and physically, and if you’re tired of the unfinished projects that are too big, you can break it into smaller ones, or put the project aside, and get back to it later to use it's base for something else.
Btw, You’re the one who decides when the project is done. Sometimes it’s more reasonable to get 70% of success than trying to get 100% of it.
Nobody will notice the things that aren’t there of they don’t know they had to be added. If you can't carry on with your project, you can stop at some plato, close this gestalt, and move on.
If you see people around you and think oh man, im so far behind them, don't let this thought overcome you, make things in your own tempo.You don’t have to be the mr awesome “Logic guy”, or “The Prop Builds guy” to be good, you know what I mean. And if you think that your maps suck, and you’re bad with the editor, just remember that being bad in something is the first step to become good in it.

Epilogue
 Well, this is it. Figure out the rest as you go along.
And as a conclusion I just want to say a big thank you to all the mapmakers in our discord community for their help, maps and advice, so please check out their stuff, they’re awesome.









Join PTTR on our Discord at https://discord.gg/pttr
Thanks for reading, keep making cool stuff.
If you'd like to add something to the information in this guide, feel free to leave a comment!
- Level Editor Guide★ 5 (544)59k views569 ♥37 minUpdated 9 Jan
- how to befriend the man in solitary★ 5 (284)20k views167 ♥1 minUpdated 26 Dec, 2016
- How to Unlock Every Achievement★ 5 (265)11k views487 ♥15 minUpdated 3 Jan, 2023
- Beneath: A Beginner's Guide★ 4 (128)8.6k views177 ♥8 minUpdated 6 Dec, 2019
- Значение всех модификаторов★ 5 (157)6.5k views199 ♥8 minRussianUpdated 12 Jul, 2025
- Как разблокировать все достижения★ 4 (146)6.2k views415 ♥13 minRussianUpdated 21 Apr, 2024




- Upgrading to PremiumTeam Fortress 2★ 5 (20k)1441k views11k ♥6 minUpdated May 11, 2022
- No More Room in Hell Official ManualNo More Room in Hell★ 5 (2.8k)569k views2.1k ♥29 minUpdated Apr 22, 2019
- NMRiH Community Hosting GuidesNo More Room in Hell★ 5 (526)351k views653 ♥1 minUpdated Aug 10, 2022
- ULTIMATE GUIDE FOR GAME DEV TYCOONGame Dev Tycoon★ 5 (5.8k)326k views10k ♥4 minUpdated 23 Jan, 2014
- How to 'Git Gud' Soon™MORDHAU★ 5 (2k)318k views3k ♥68 minUpdated Nov 16, 2024
- Лучшие кооперативные игры SteamPAYDAY 2★ 5 (1.5k)315k views2.1k ♥56 minRussianUpdated Apr 27, 2025






This guide was created by its original author on the Steam Community. Are you the author and want it removed? Request removal.