Viscera Cleanup Detail: 100% Achievements
Foreword (How to effectively use this guide)
- Read the "Additional Info: The Office and Disappearing Objects" section near the bottom of the guide
This is the thing I get asked about the most. This is important as it's possible to lose large amounts of progress towards achievements. Also, achievements concerning trophies will not unlock if you are fired when returning that trophy. - Understand completion percentages
This info is in the previously mentioned section, but it's pretty important.
This percentage can determine a few things.
Less than 80%: You are fired. You lose any items you brought back from any level and your office is reset to its original state. You lose everything.
80% and higher: You completed the level just enough to keep your trophies, returned objects and your job.
95% and higher: "Adequately" cleaned. This percentage range is required for the cleaning achievements.
100% and higher: Employee of the Month! Congratulations! (You can get over 100%) - Read the "Additional Info: Save Files and Backing Up" section near the bottom of the guide
This is more an addition to the previous one, but it is important to know how to back up your save files in the event of a disaster. (Multiple backups may also help) - Clean Unearthly Excavation last
This is more of a convenience than anything, because Unearthly Excavation is a large, time-consuming level. This is where Bob is located and requires set-up on a number of other levels first. Also pick up the Supernova - Start following the Bob Achievements first
As well as the previous note, complete the Bob Achievements in order, and check for artifacts and eggs for the same maps as you go. Then mop up any other remaining artifacts or eggs. - Follow individual level guides if you need to
I don't go into much detail per-level in this guide. However, if guides are available, there will be a link below their respective completion achievement.
Same deal with the DLC levels.
Bob Achievements
 Bob's Legacy
Find Bob
Bob can be found in the Unearthly Excavation site along with the red keycard and bolter collectibles. However, there is a bit of work that must be done before you can reach Bob legitimately.
You have to find 9 notes written by Bob around various levels and bring them all to the altar in the Unearthly Excavation level.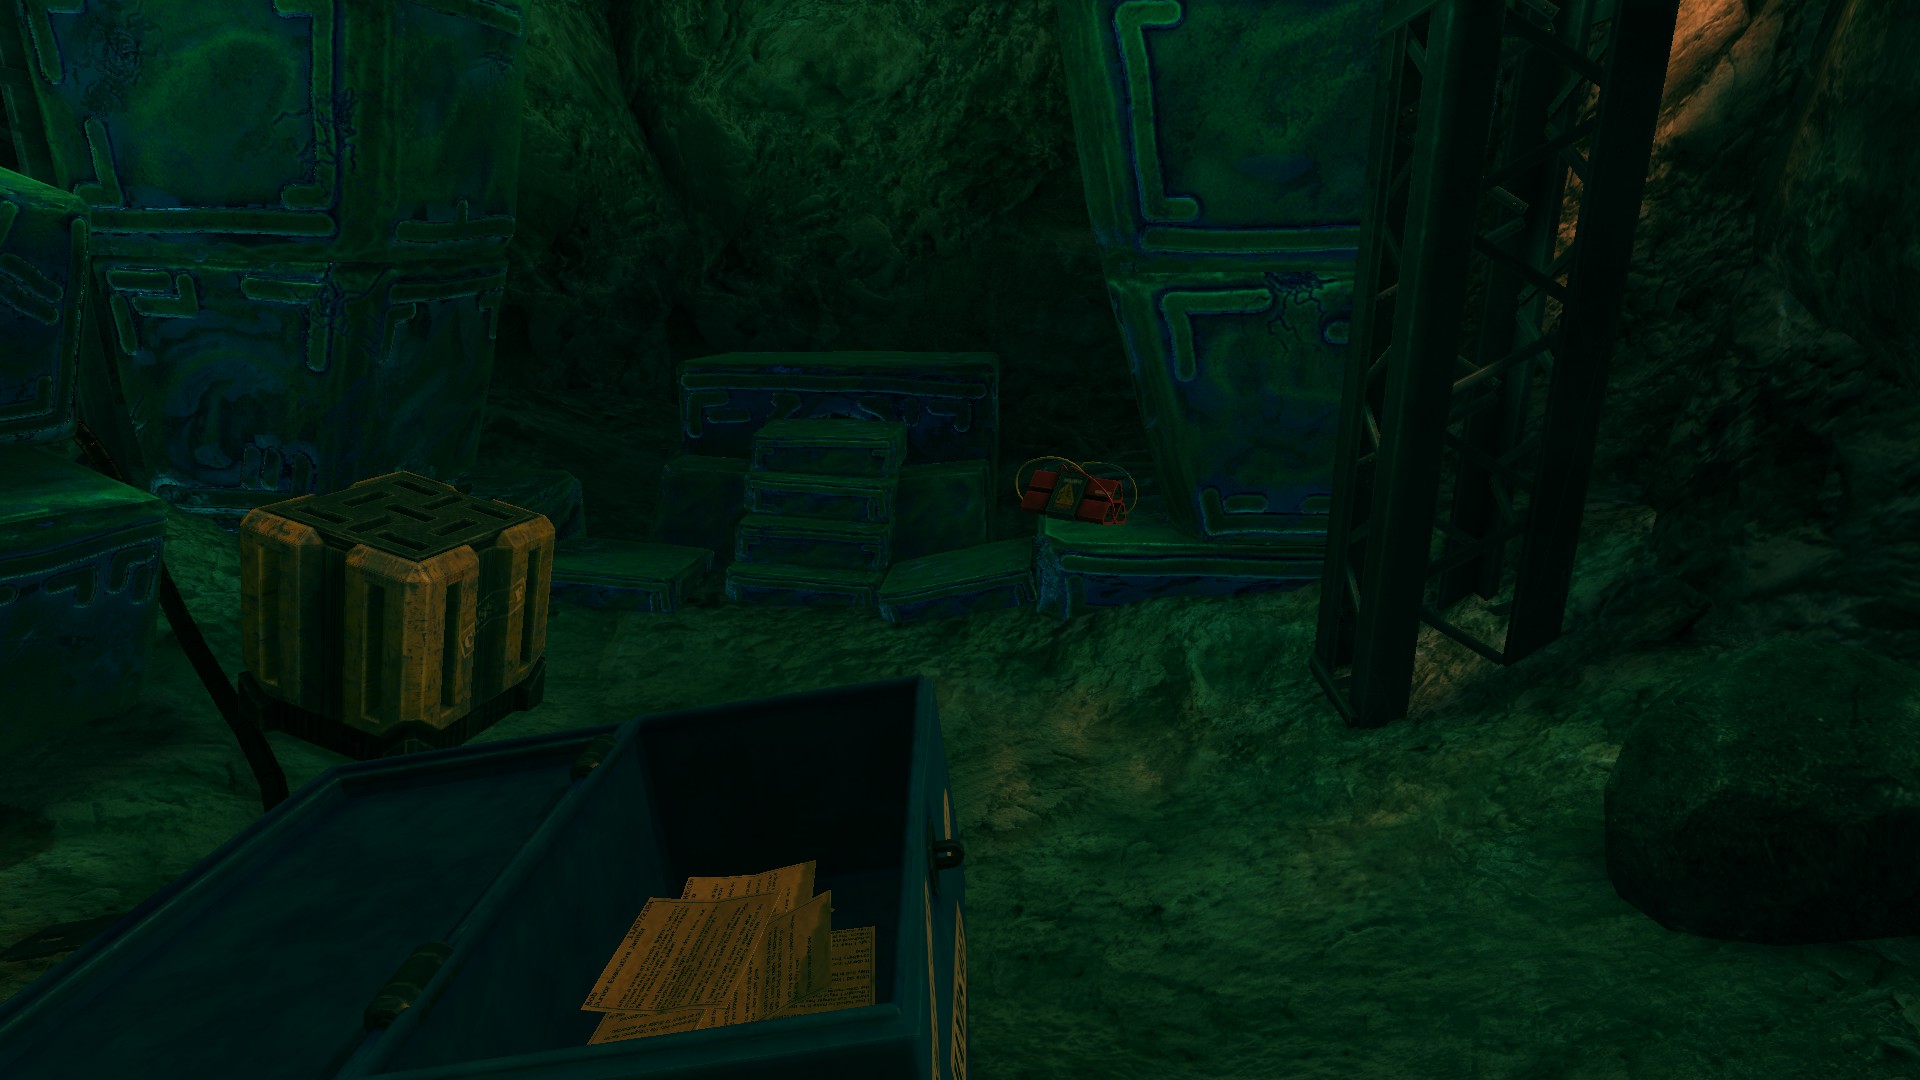 The easiest way to put them all on the altar is to leave them all in the jantior's trunk and place that on the altar.
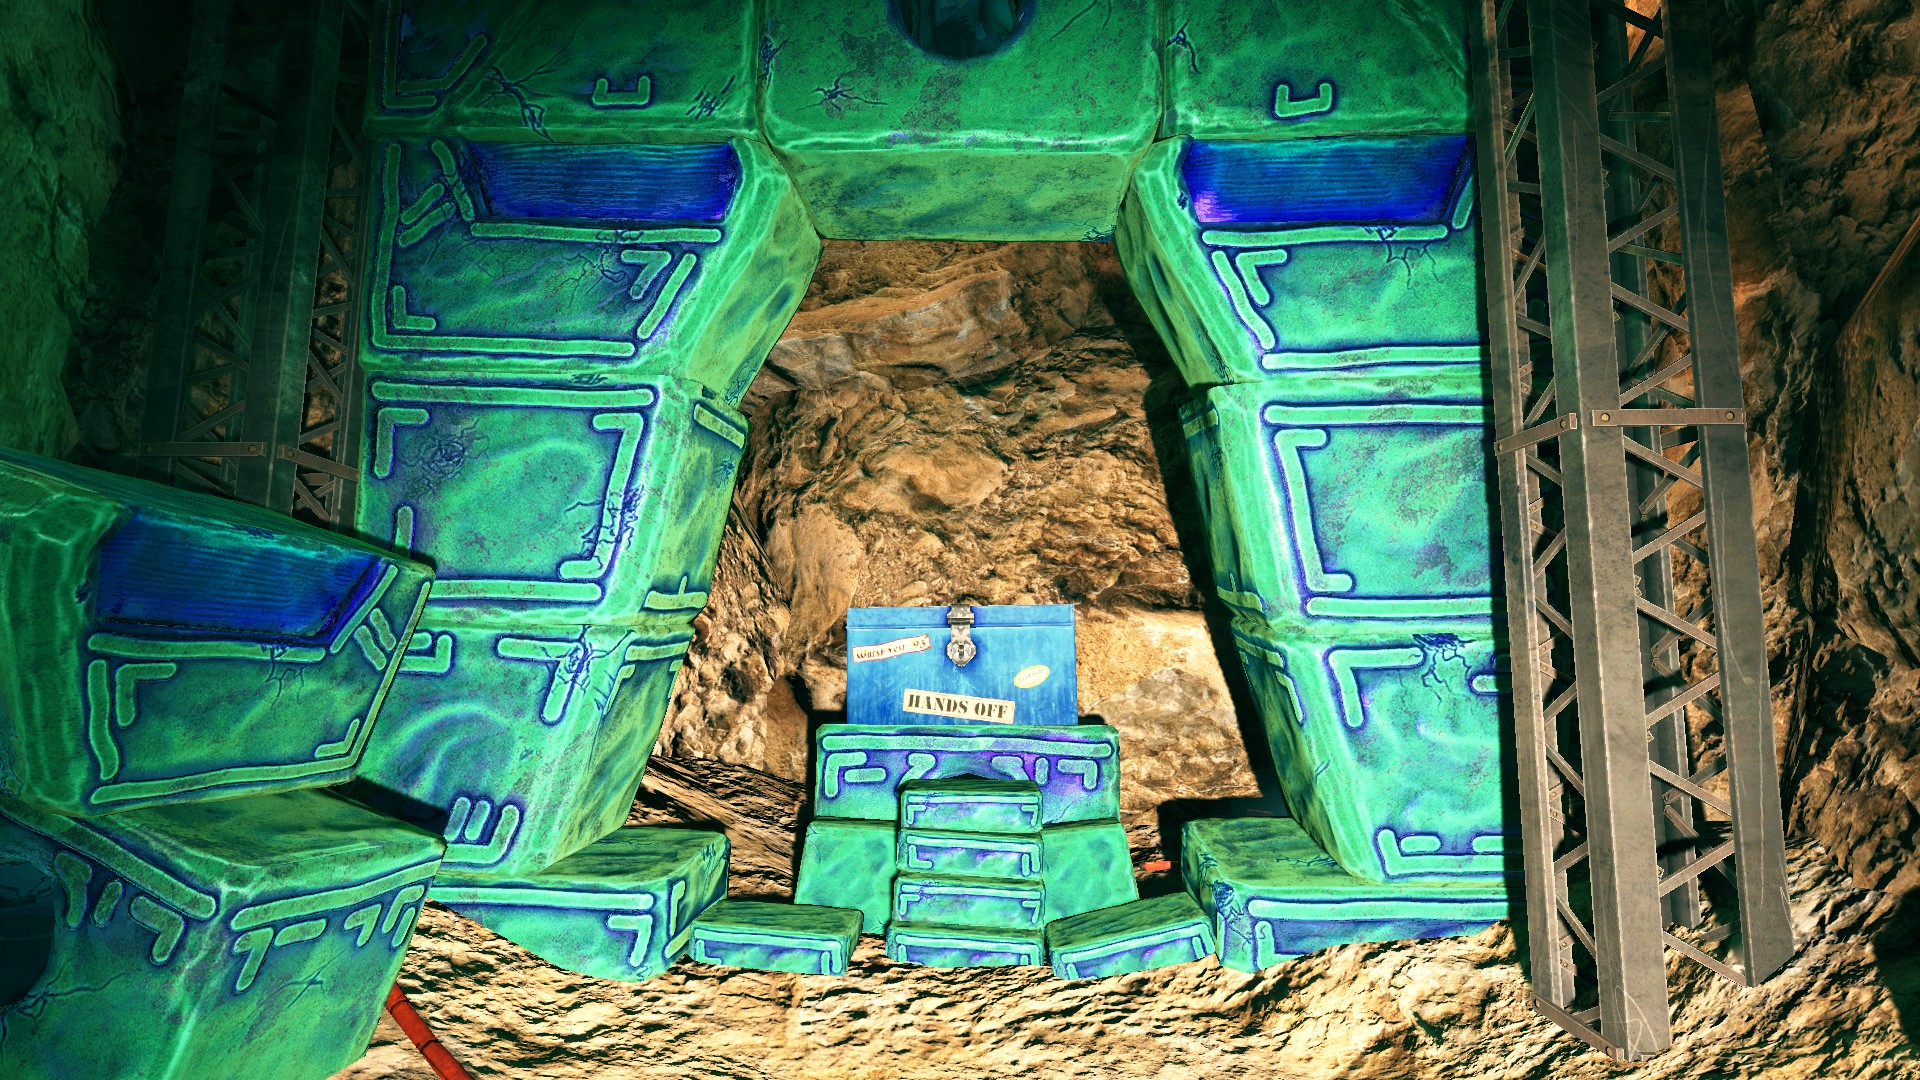 This will open two gates just past the incinerator and punch-out machine.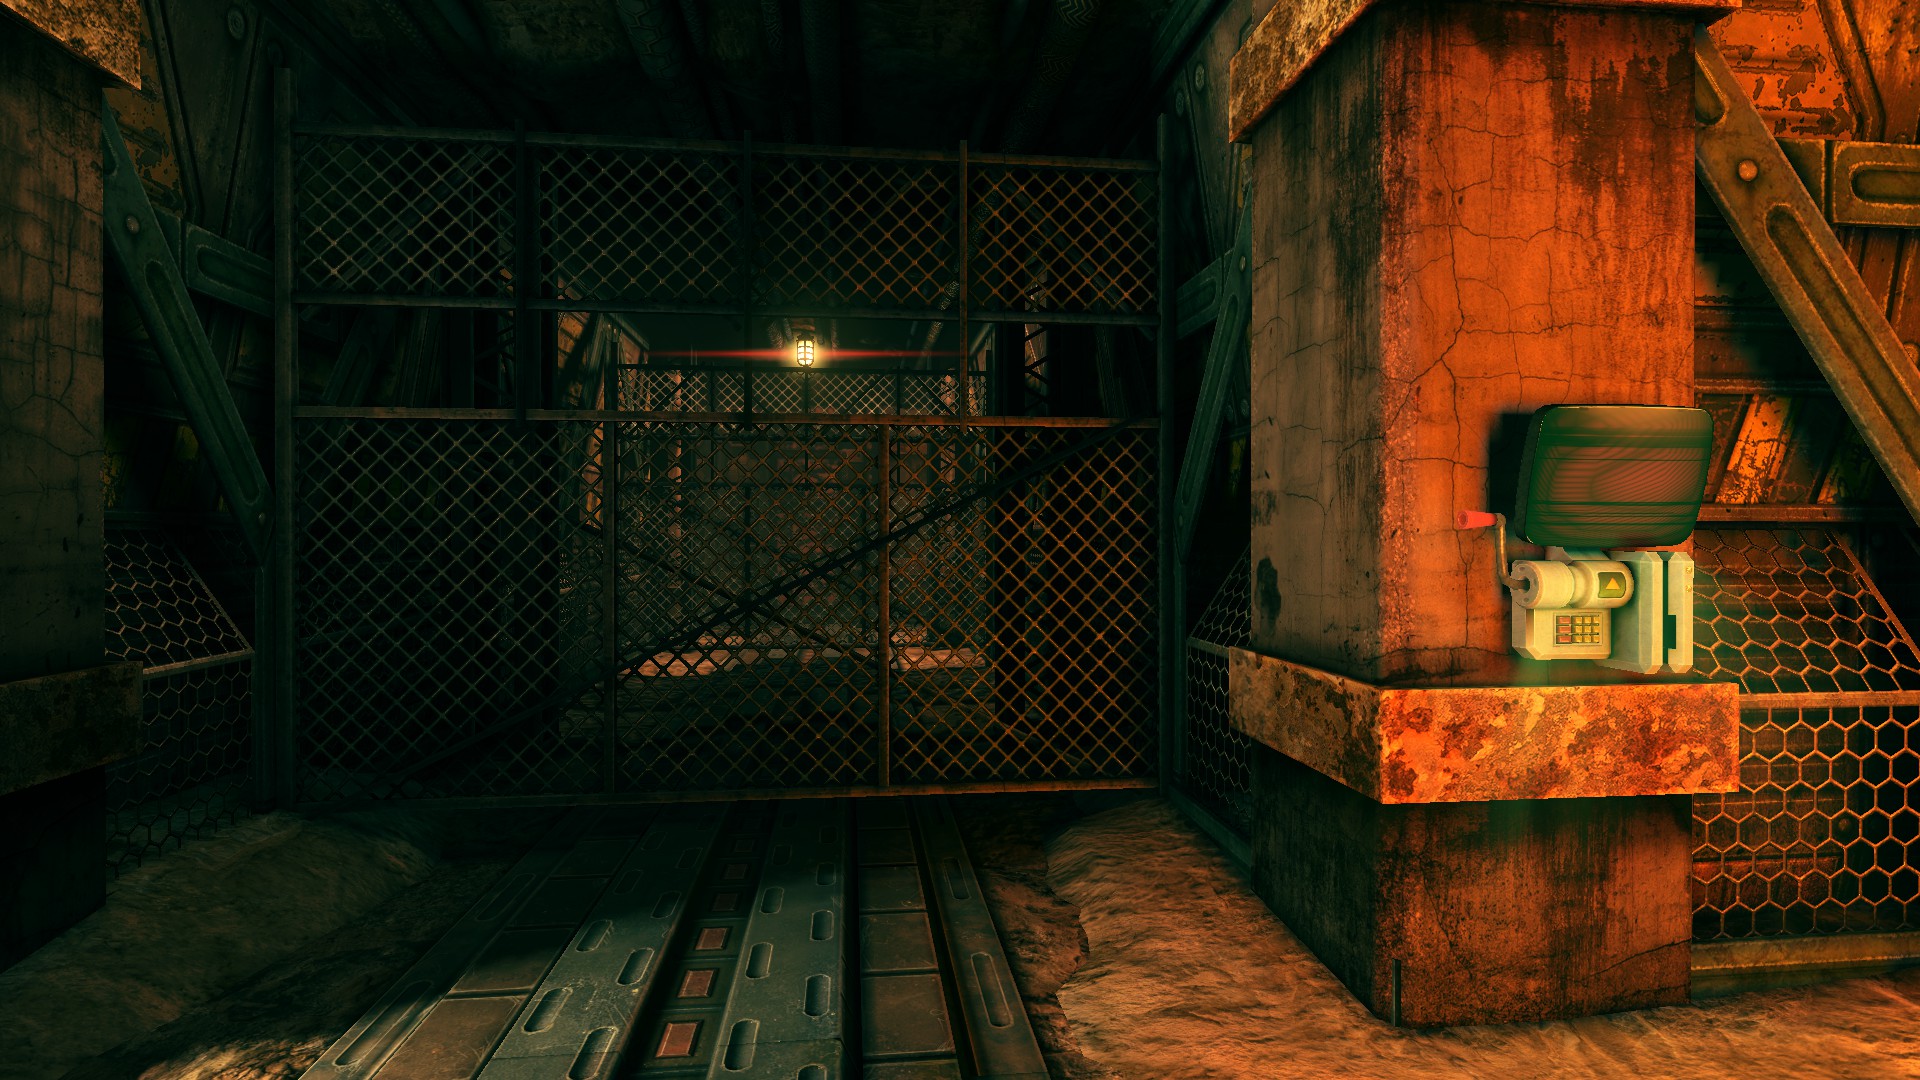
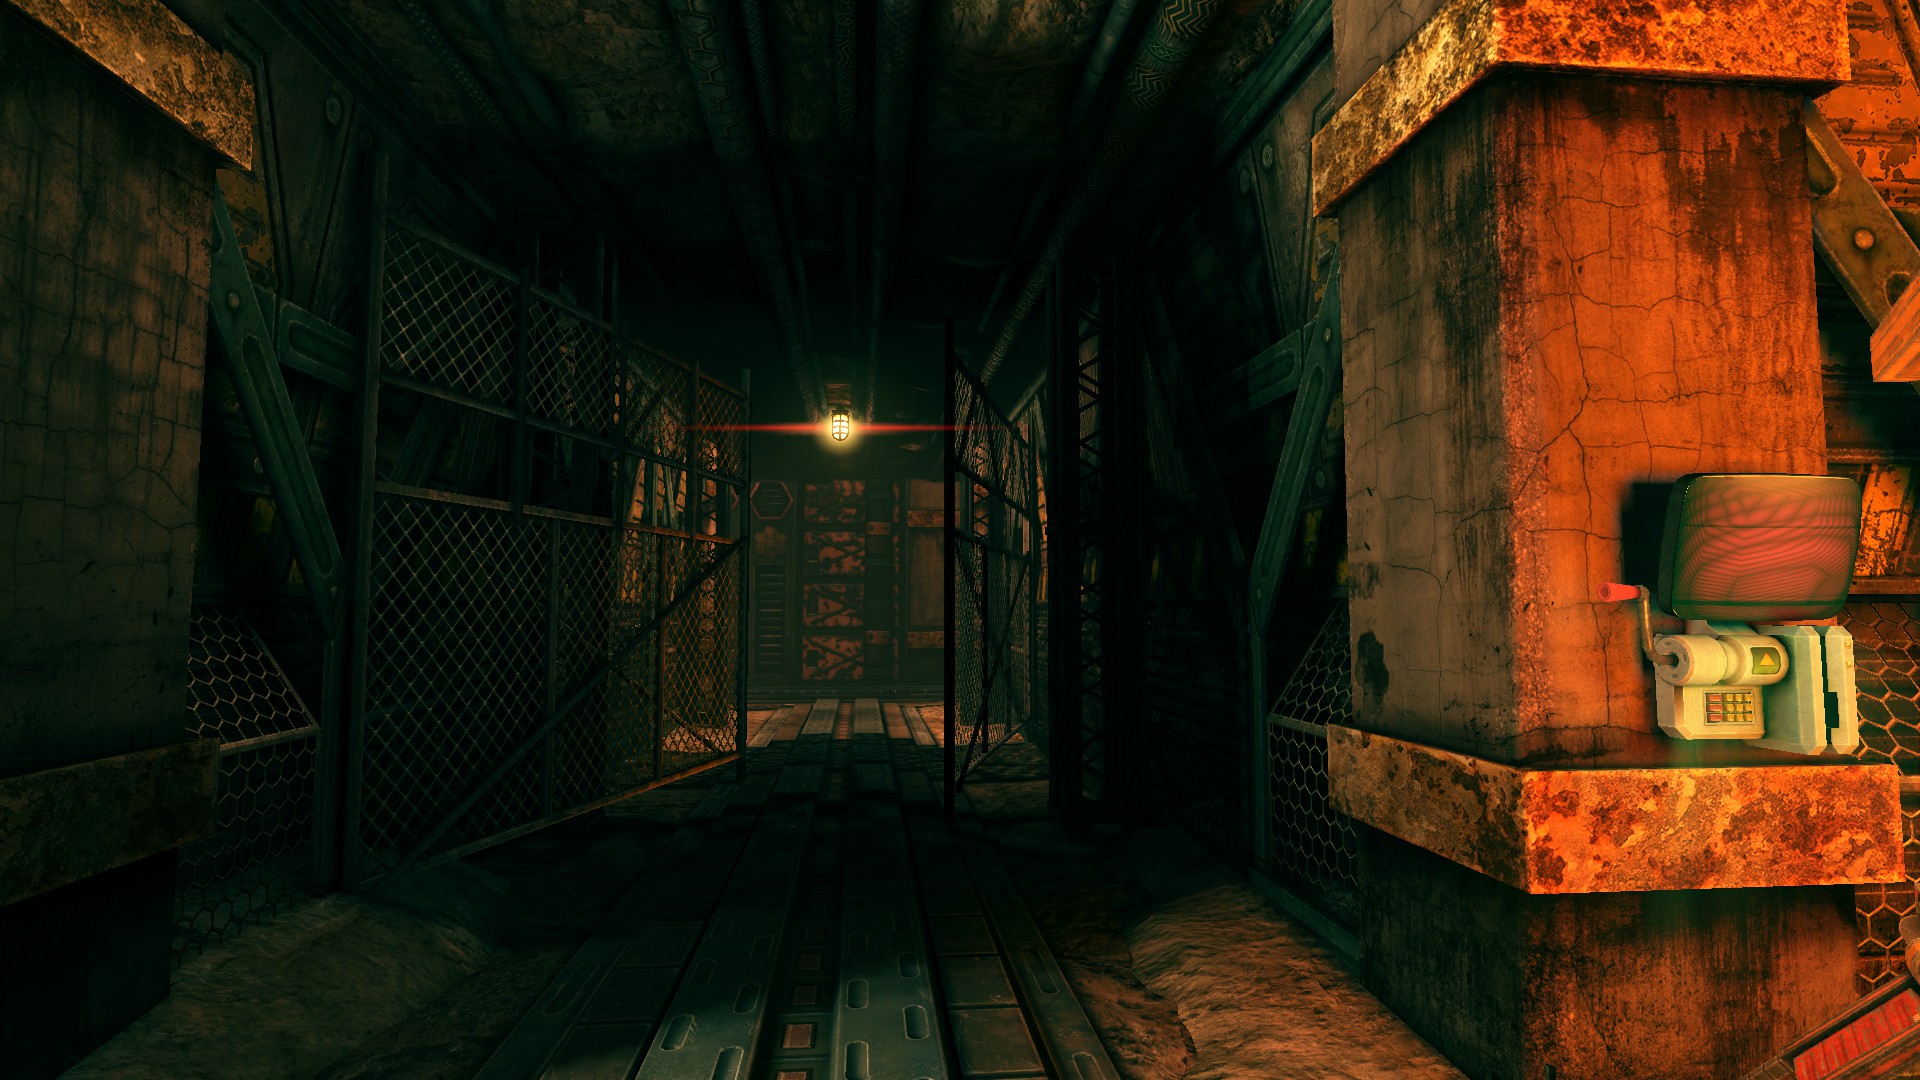 Past those is a door which can be opened with the gloves, and contains Bob along with two collectibles.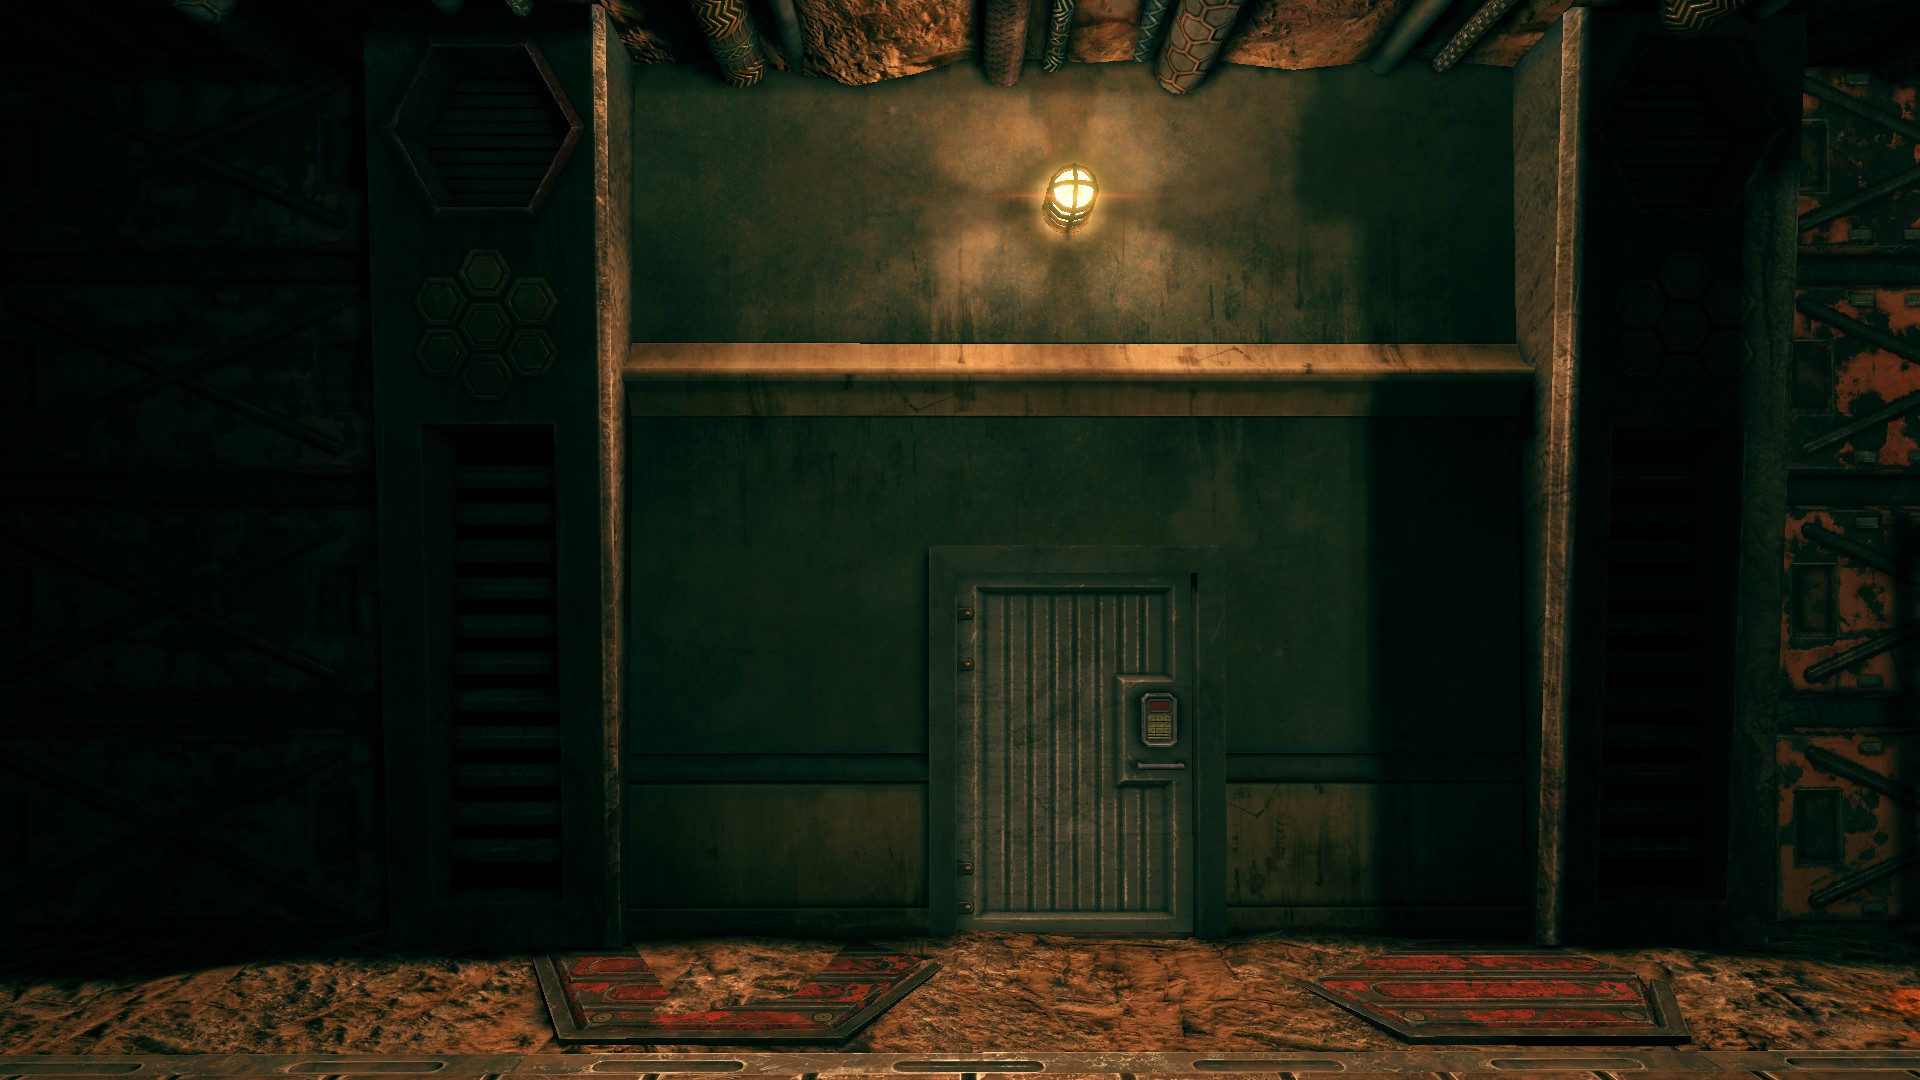
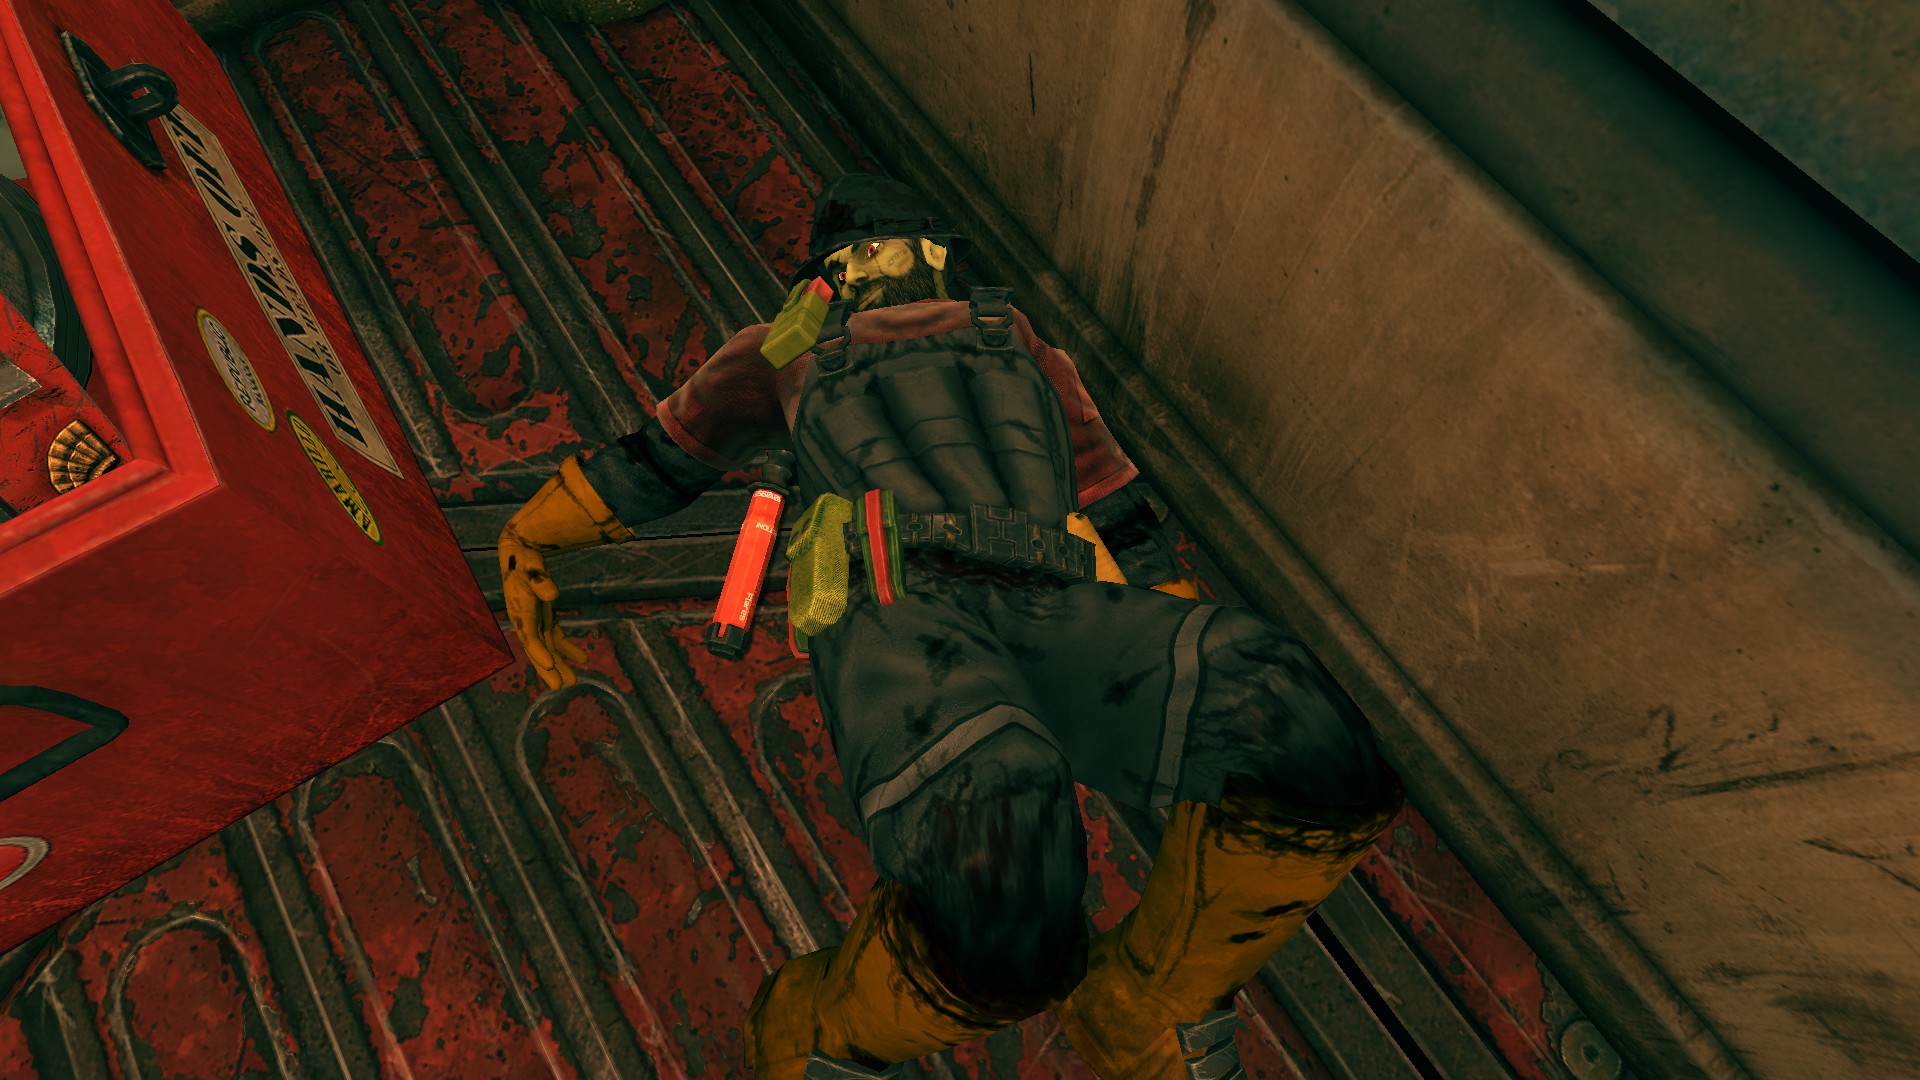
Unfortunately, you may have to reset your office to get the first two notes back if you've thrown them away already (anything you brought back from other levels will remain).
Note #1 - The Office
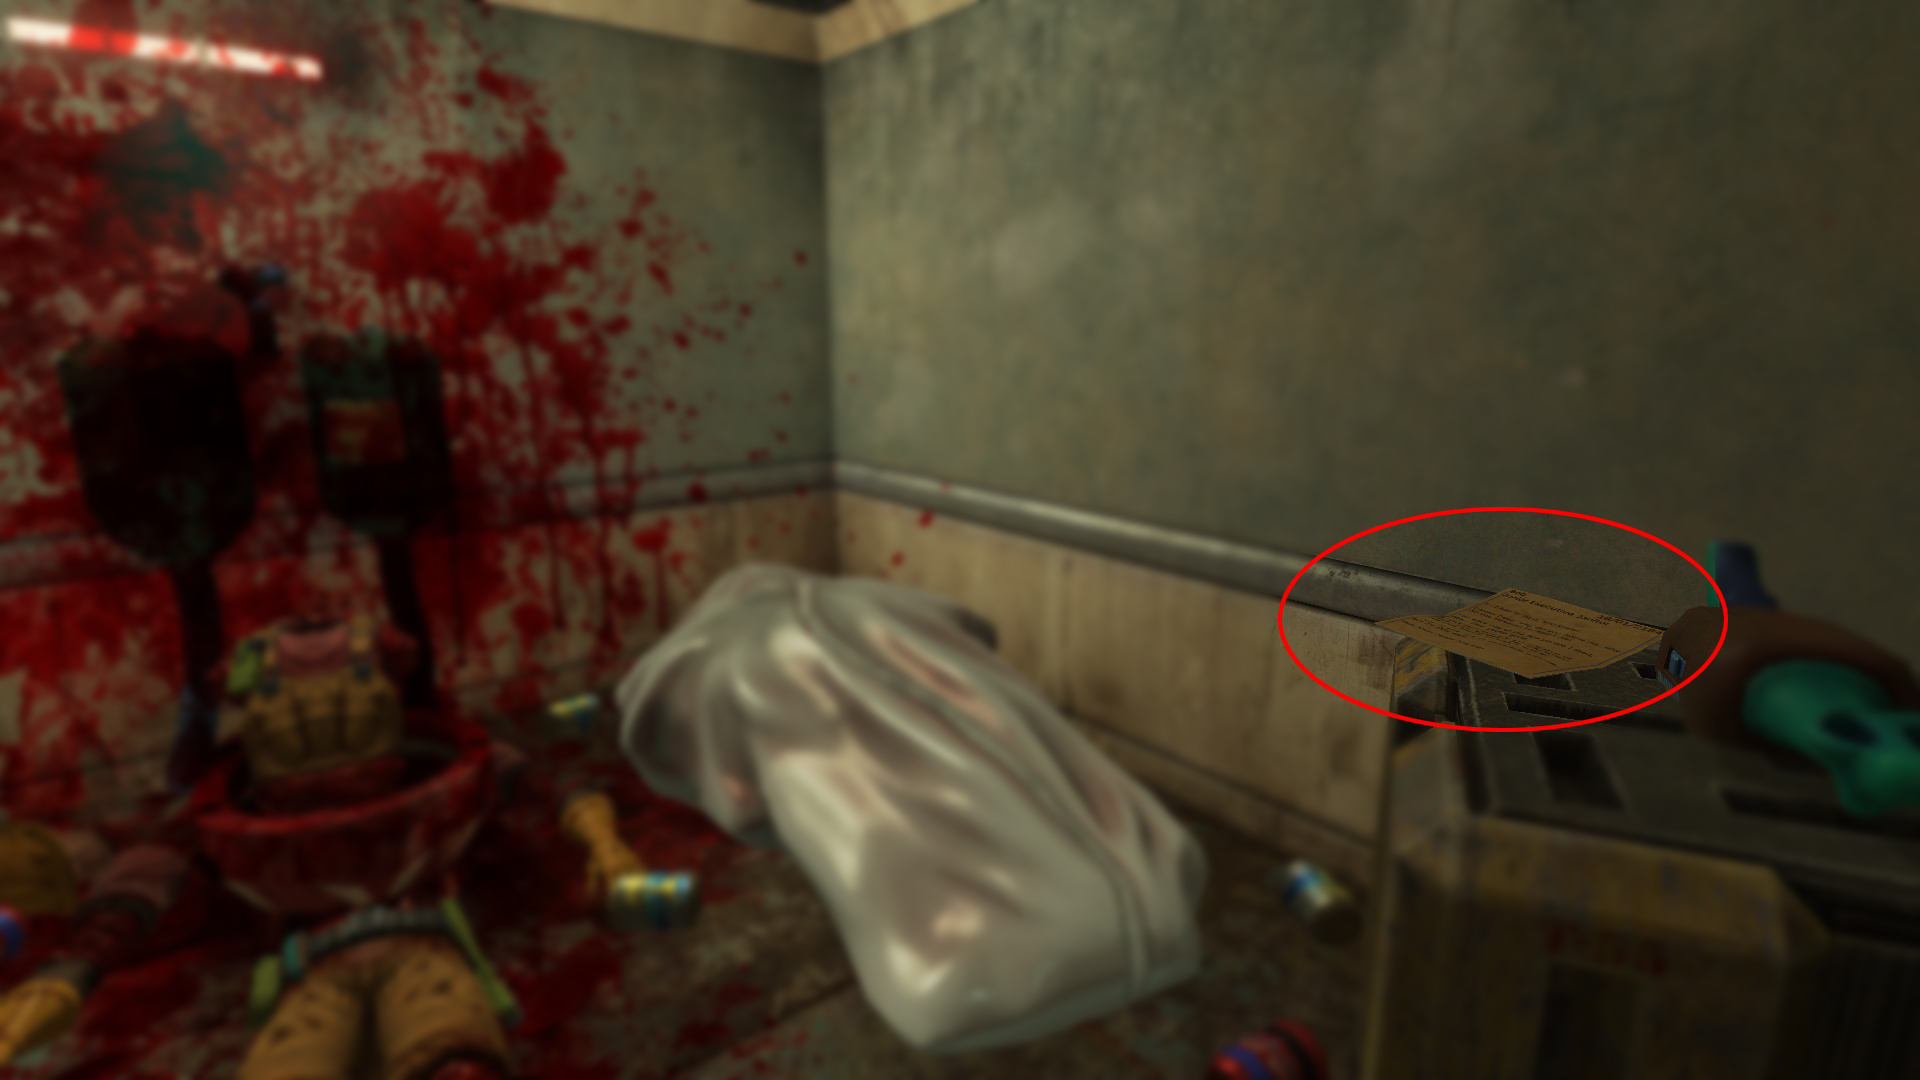 This note is inside the small room in your office, through two locked doors. You will get access to this room when you go for cleaning the office.
Note #2 - The Office
This note is inside the small room in your office, through two locked doors. You will get access to this room when you go for cleaning the office.
Note #2 - The Office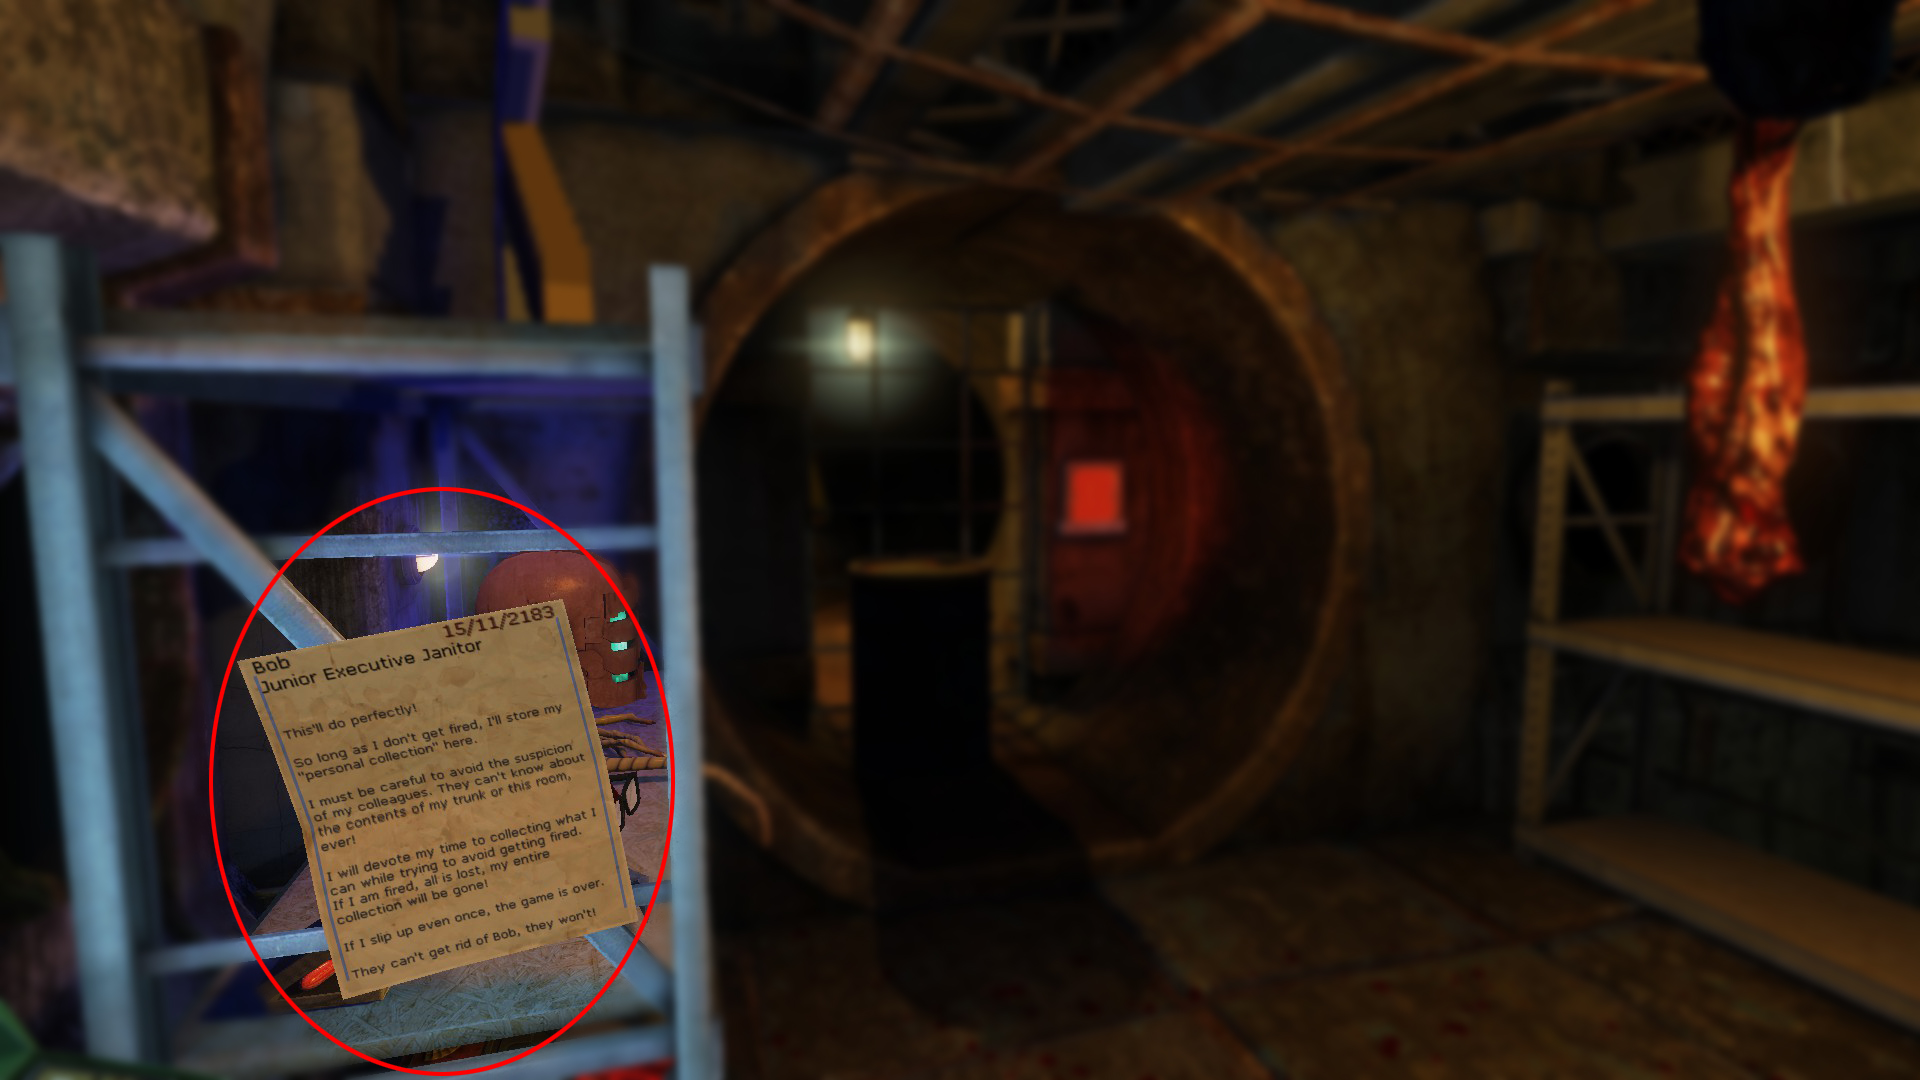 This note is inside the underground room in your office, through the locked door behind the shelves. You will get access to this room when you go for cleaning the office.
Note #3 - Evil Science
This note is inside the underground room in your office, through the locked door behind the shelves. You will get access to this room when you go for cleaning the office.
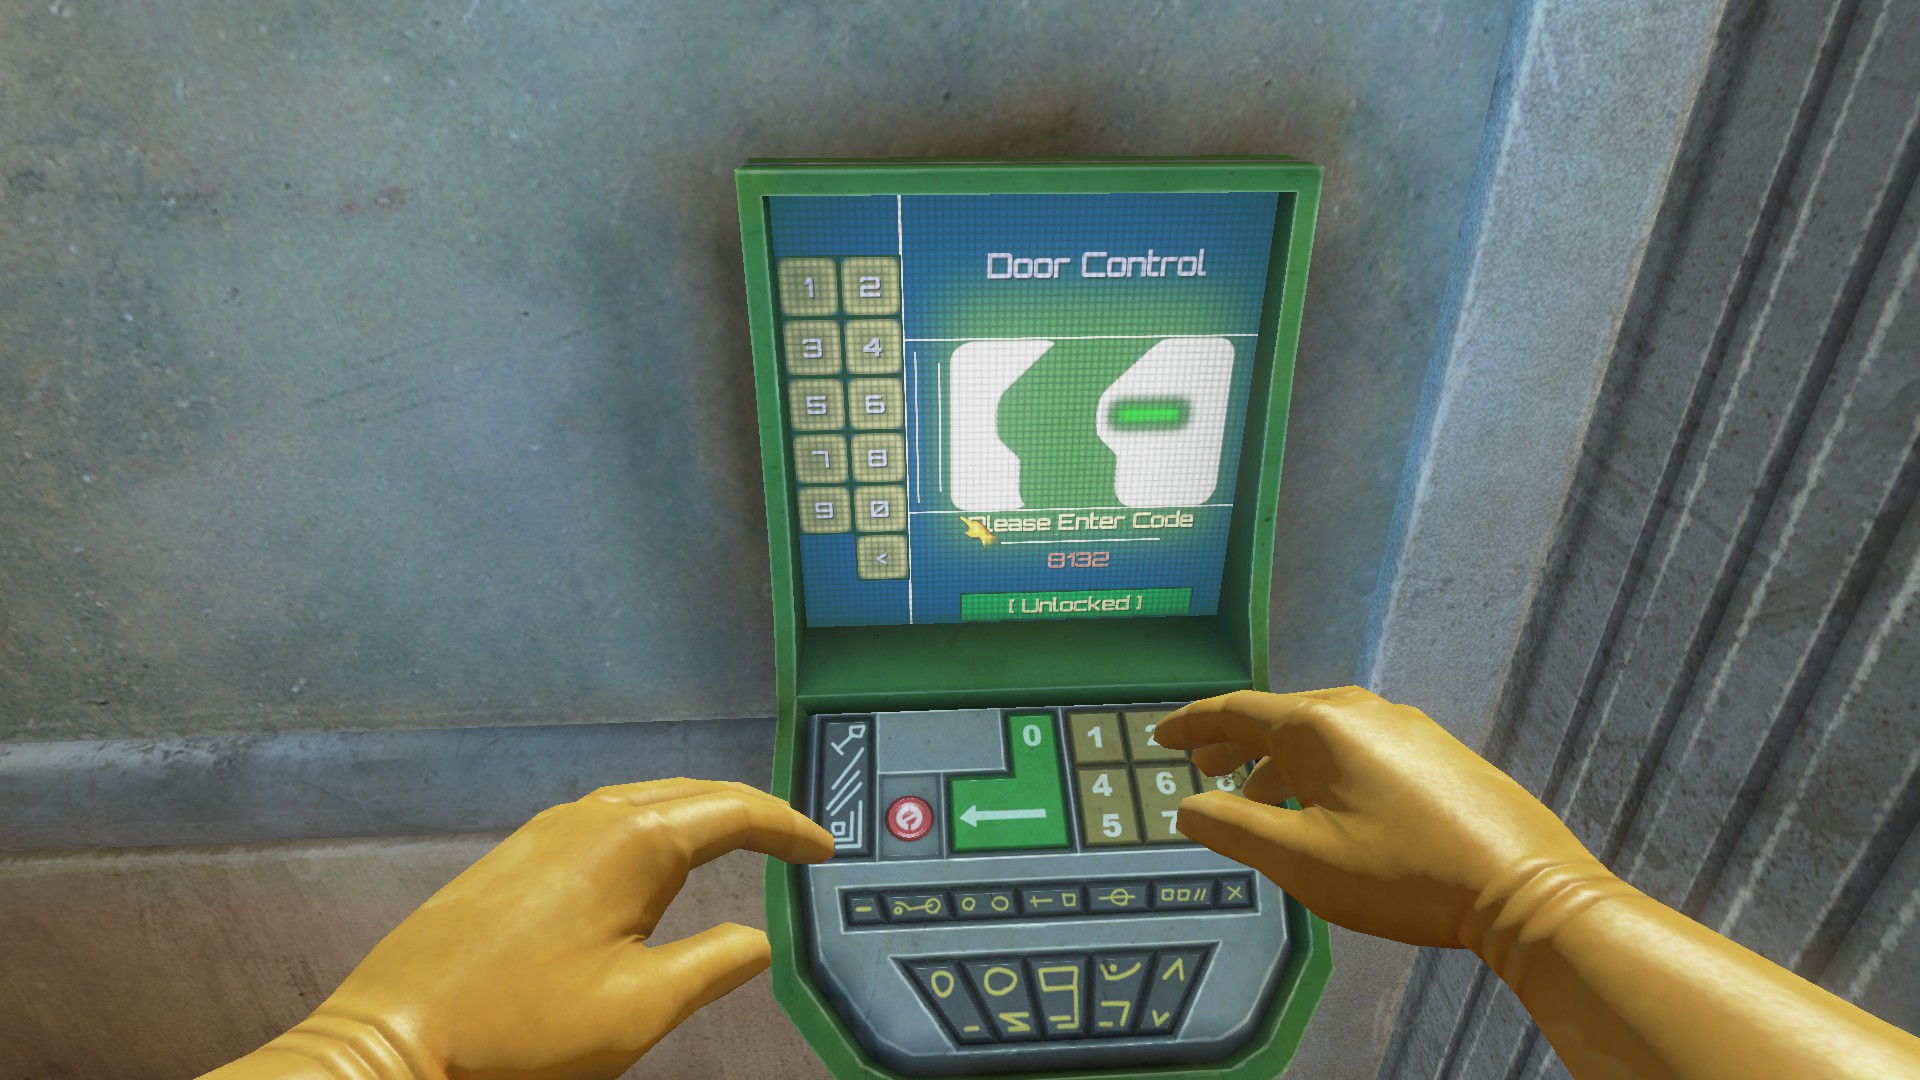
Note #3 - Evil Science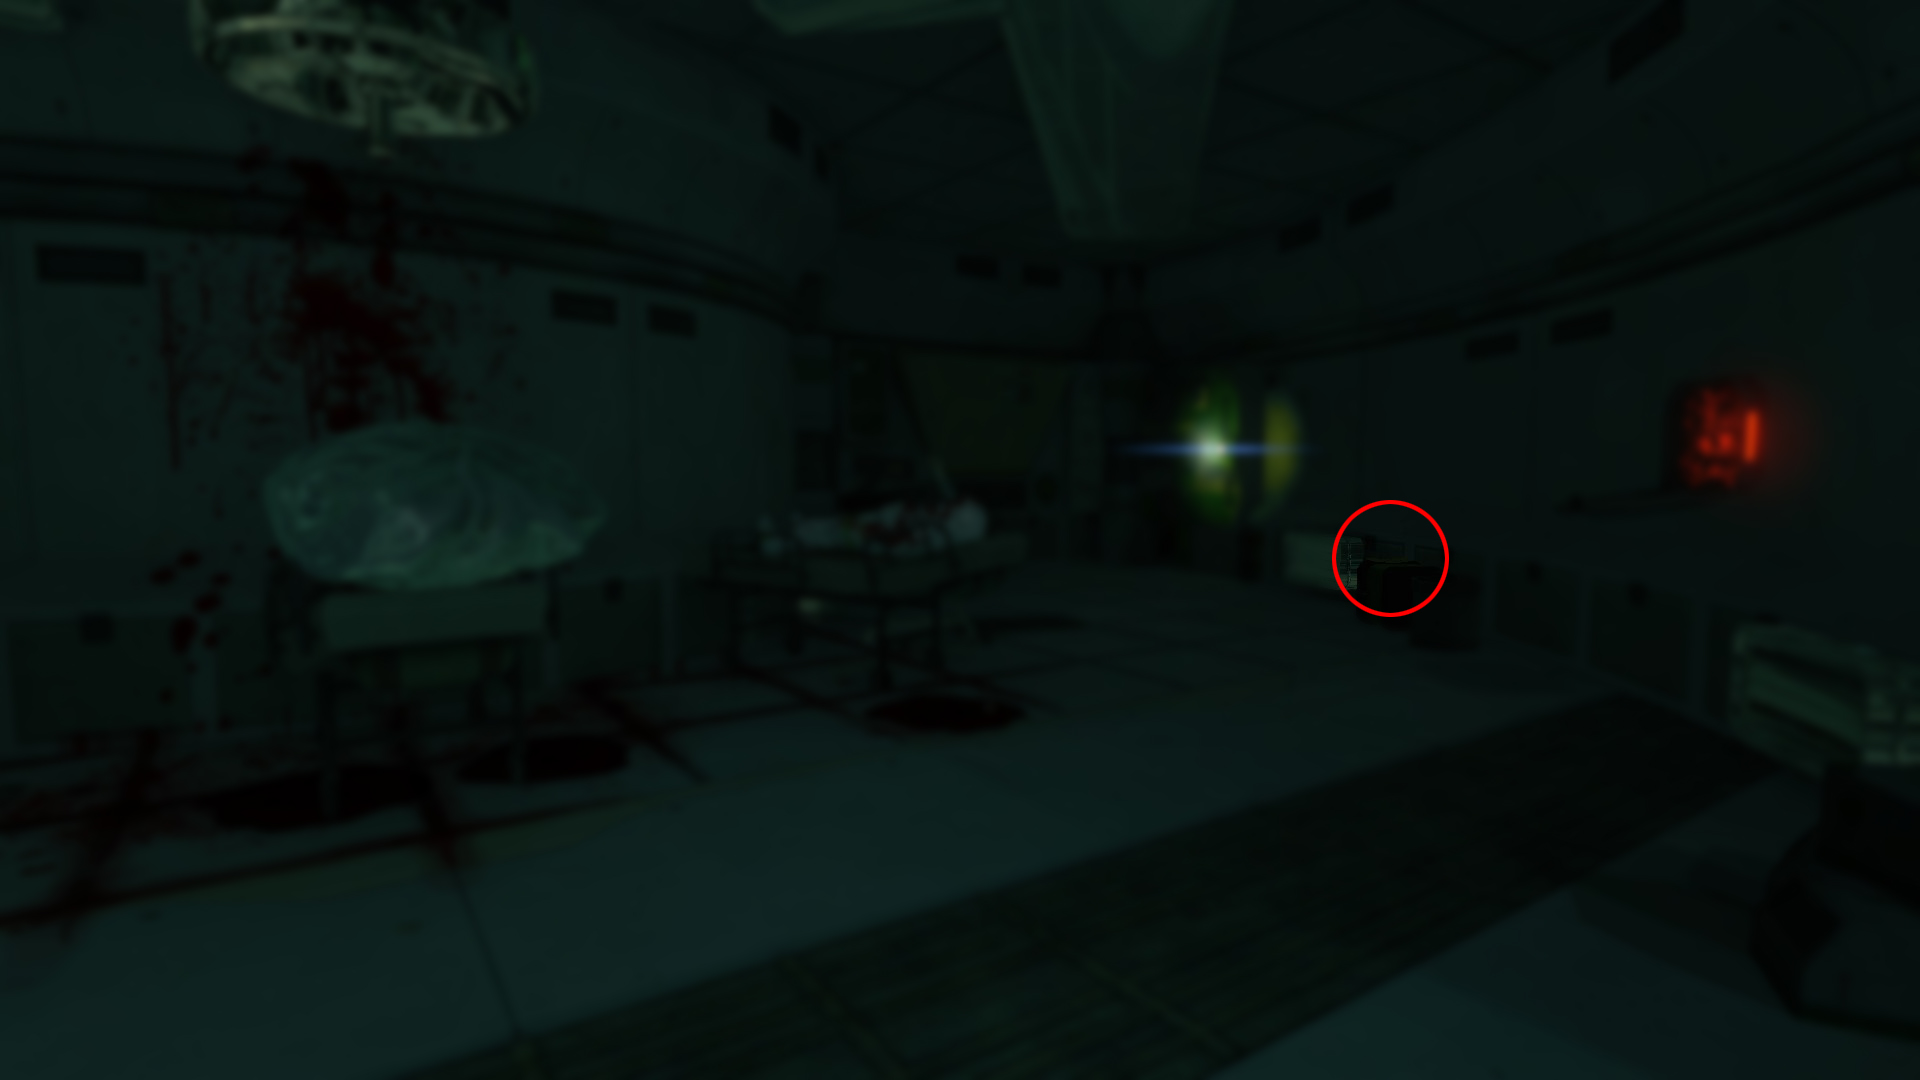 For this note, take the elevator upstairs and head to the locked room on the right hand side. The code is 2199. The note is on the right side of that room.
Note #4 - Cryogenesis
For this note, take the elevator upstairs and head to the locked room on the right hand side. The code is 2199. The note is on the right side of that room.
Note #4 - Cryogenesis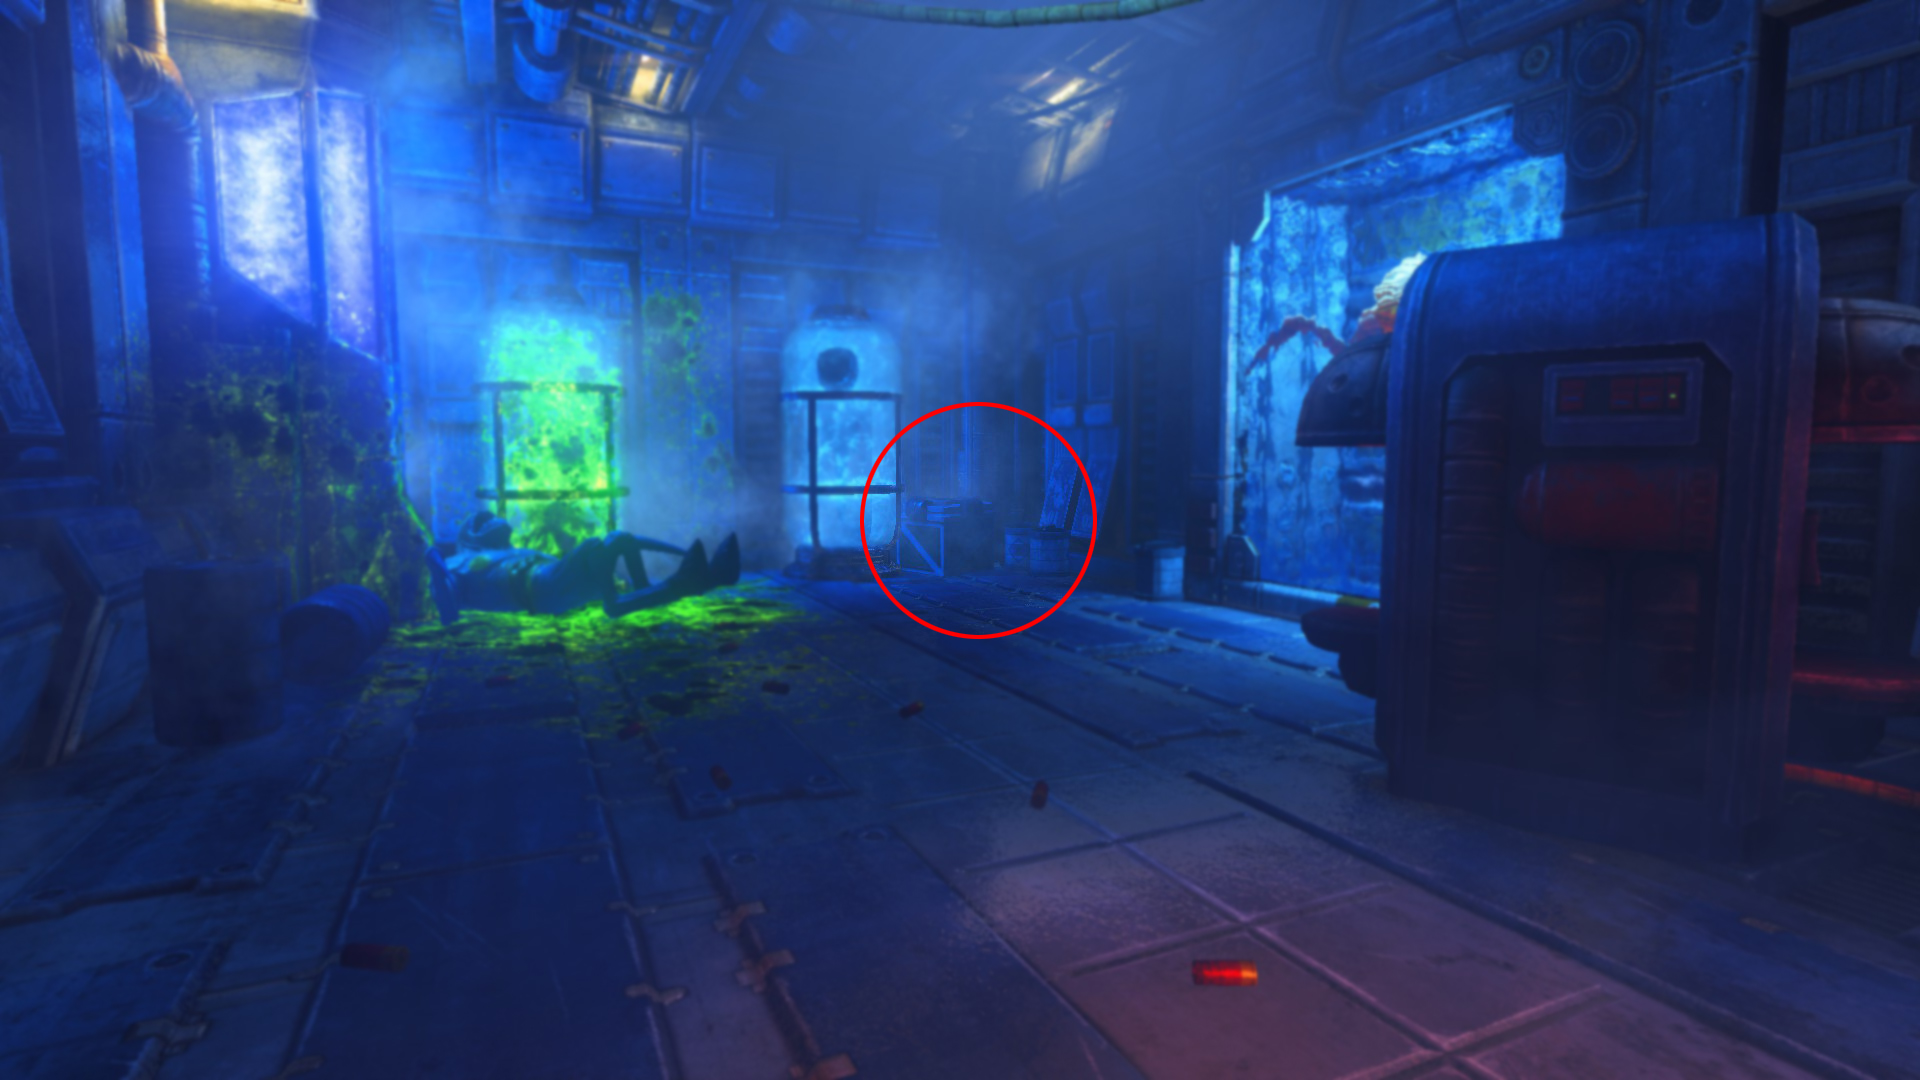 In the 'main' room containing the incinerator and bucket machine, you can find the note in the far right corner behind some barrels.
Note #5 - Caduceus
In the 'main' room containing the incinerator and bucket machine, you can find the note in the far right corner behind some barrels.
Note #5 - Caduceus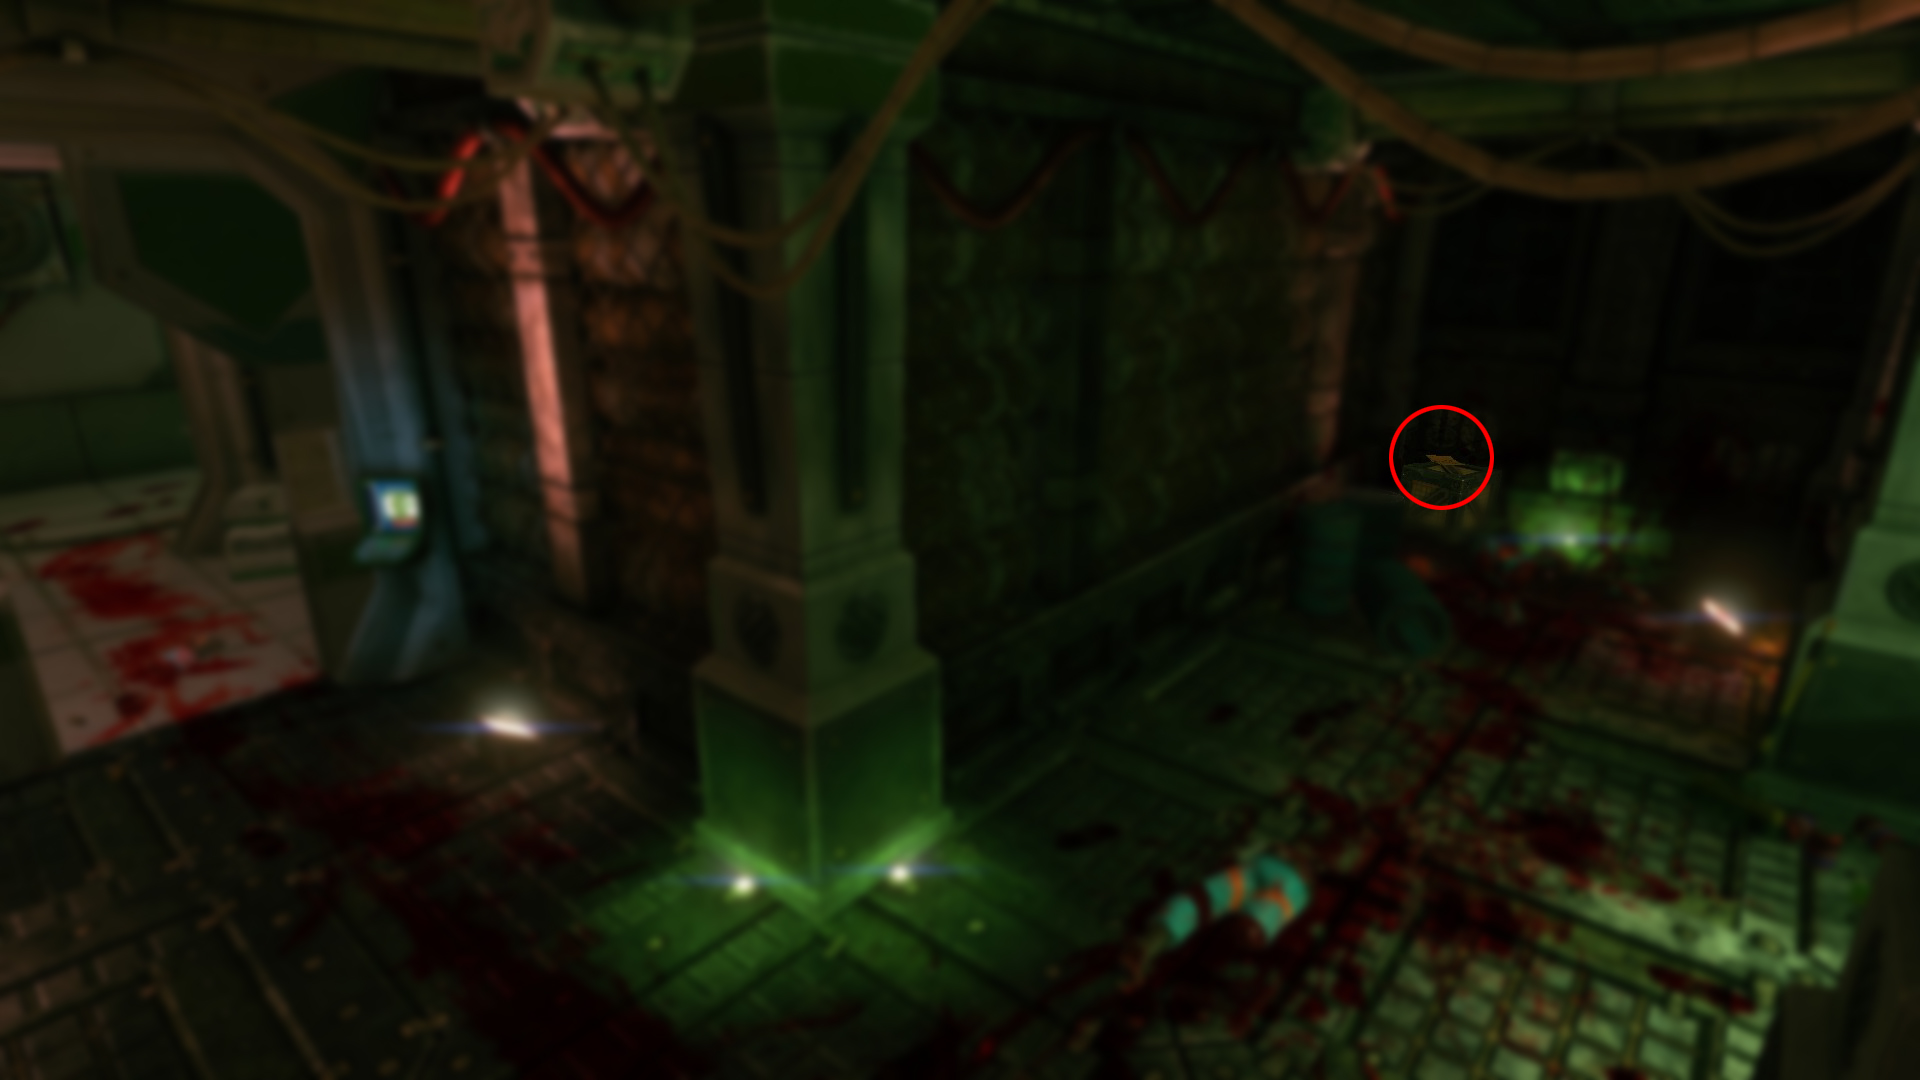 From the spawn, go into the corridor and enter the first room on your left. The note is on a barrel at the far end.
Note #6 - Waste Disposal
From the spawn, go into the corridor and enter the first room on your left. The note is on a barrel at the far end.
Note #6 - Waste Disposal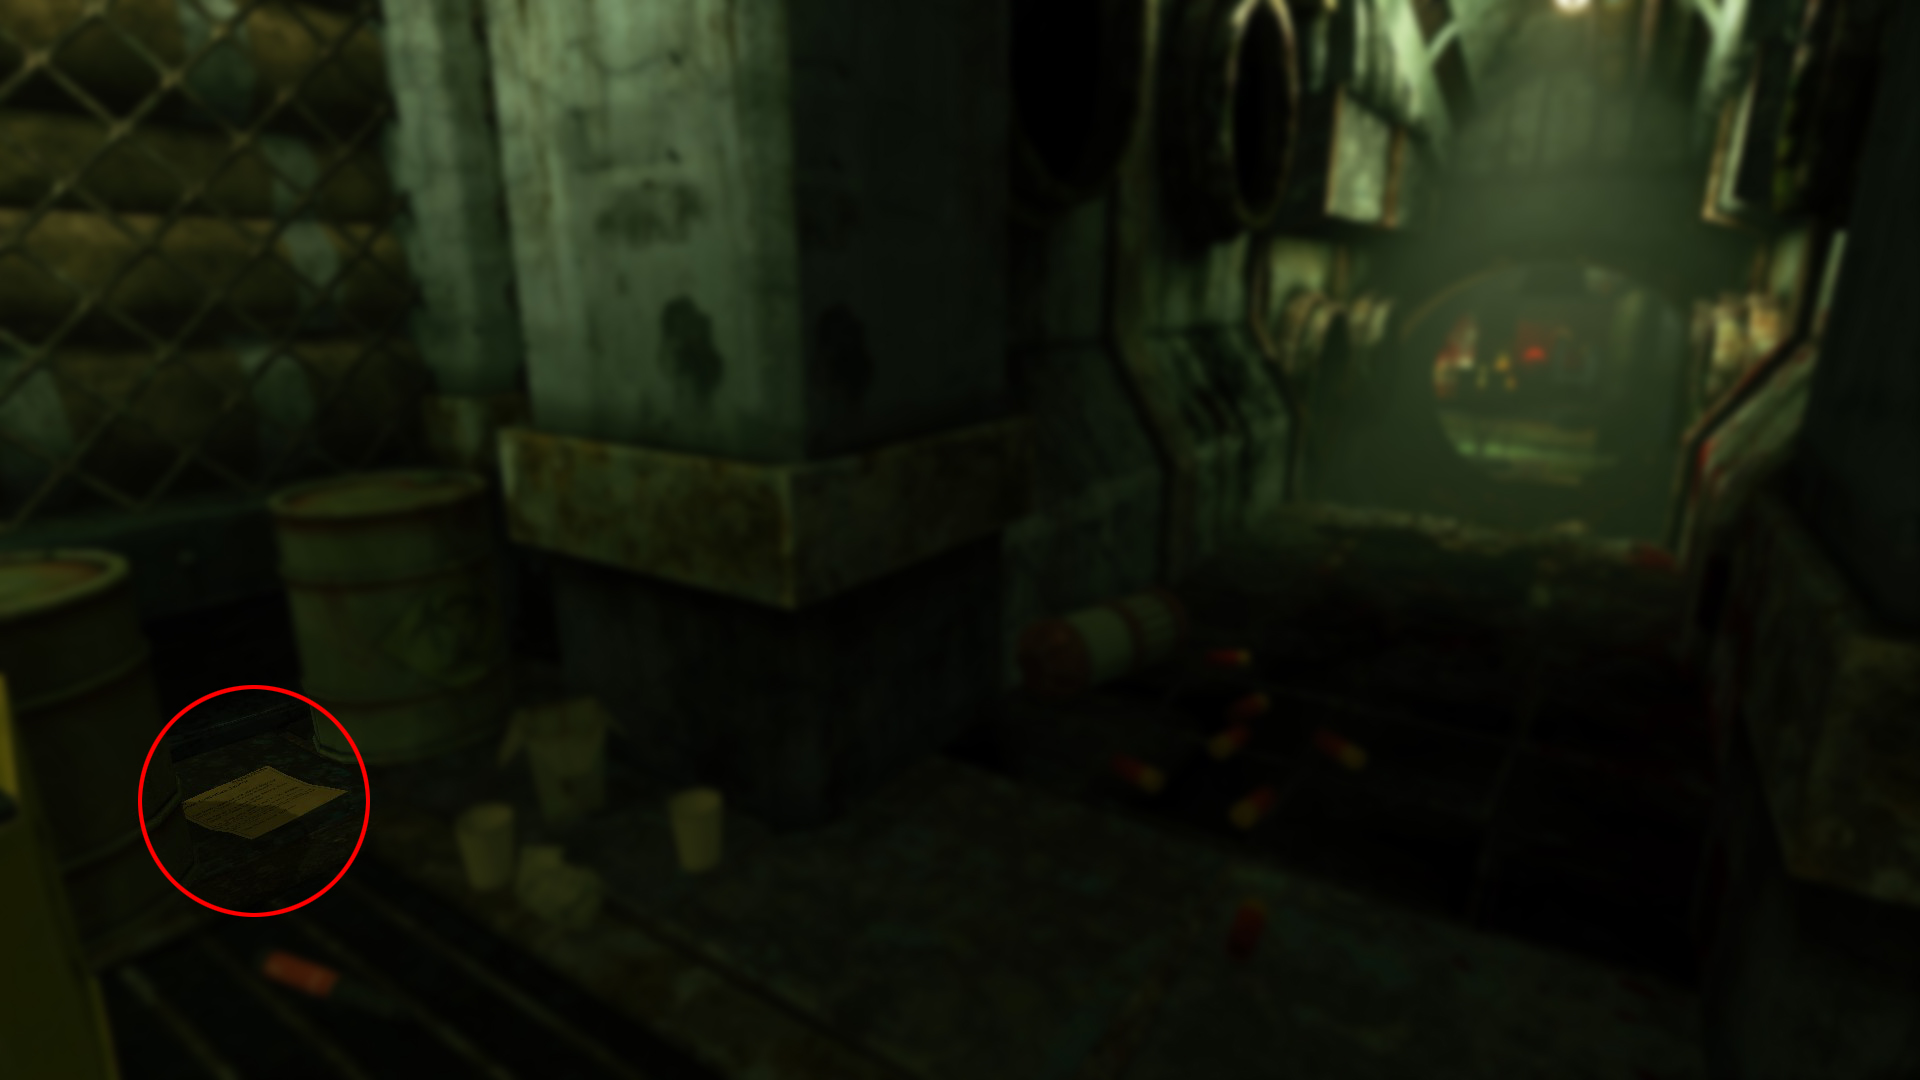 From the starting room, enter the first tunnel you come across, and turn to the right when you exit it. The note is just there among some barrels.
Note #7 - Hydroponic Hell
From the starting room, enter the first tunnel you come across, and turn to the right when you exit it. The note is just there among some barrels.
Note #7 - Hydroponic Hell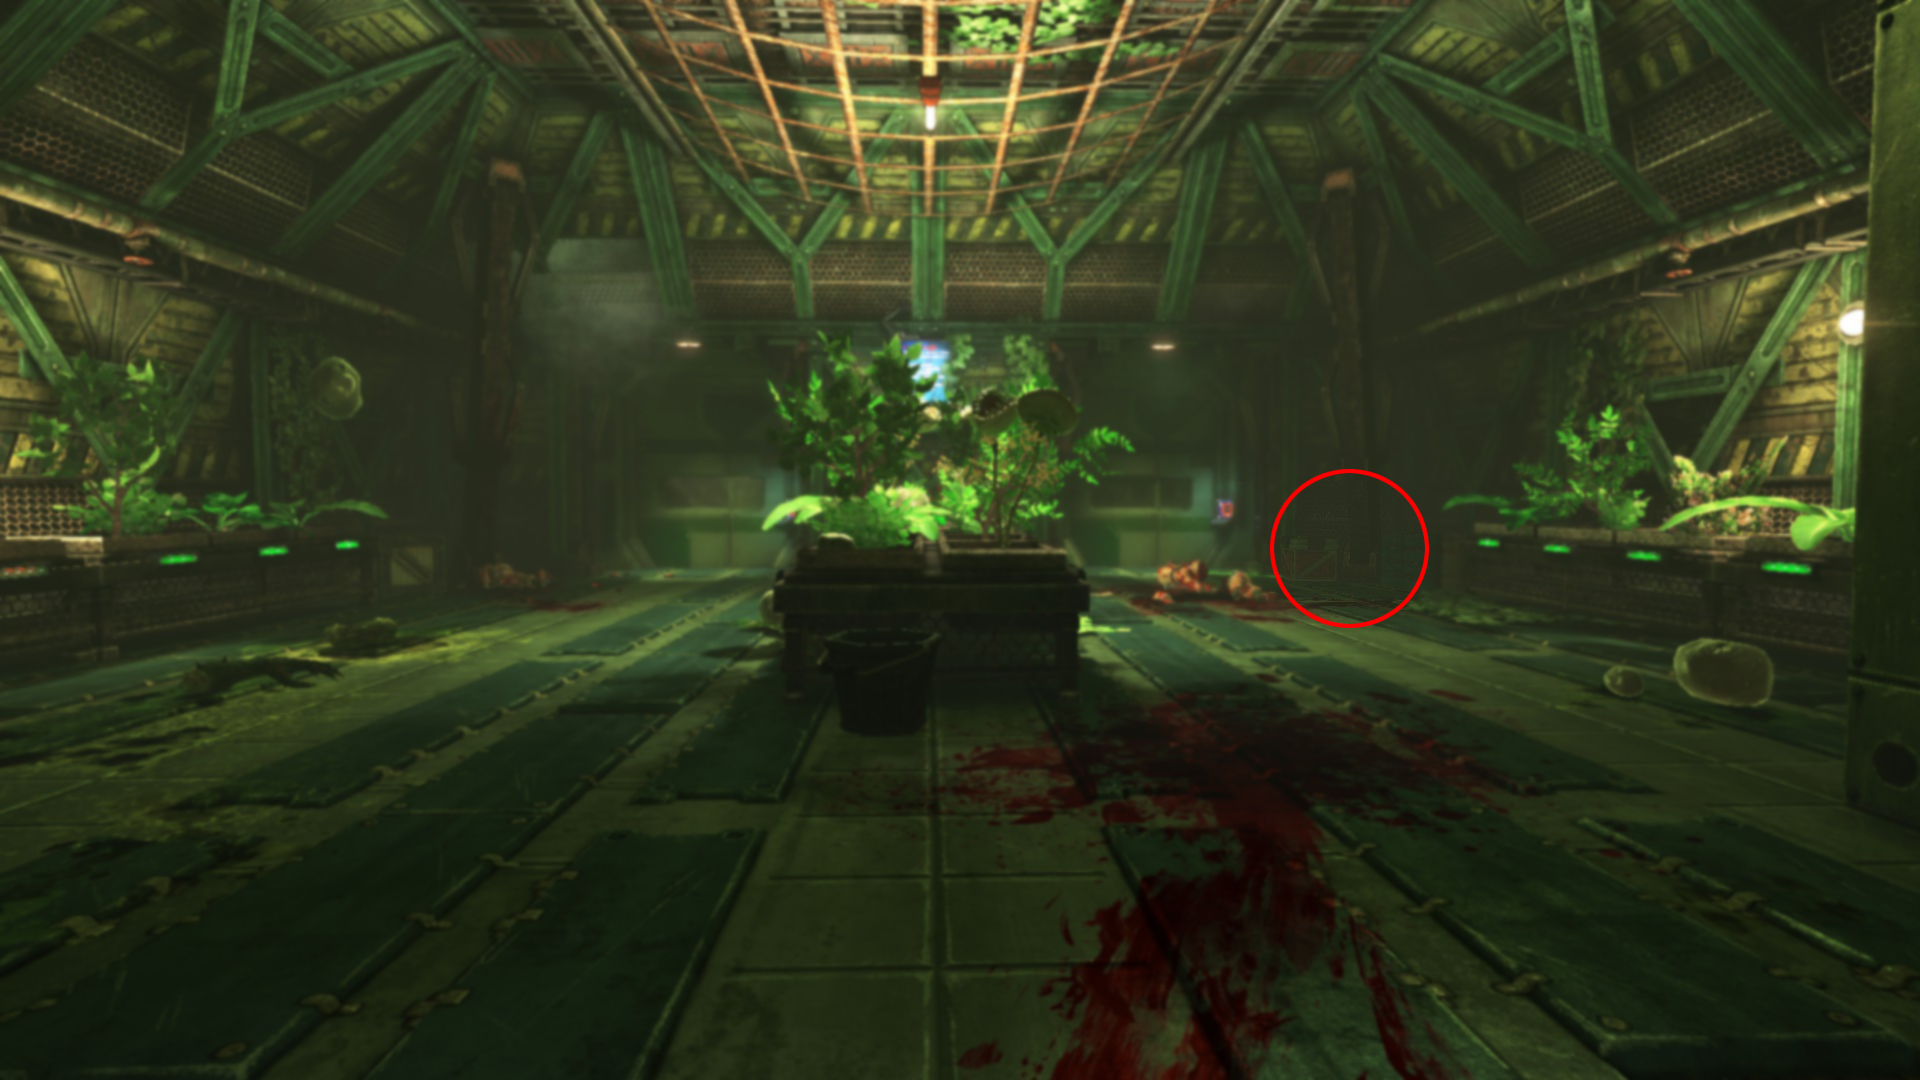 At the end of the large room, with the two large (closed) doors, you can find the note in the right corner behind a pillar/support.
Note #8 - Revolutionary Robotics
At the end of the large room, with the two large (closed) doors, you can find the note in the right corner behind a pillar/support.
Note #8 - Revolutionary Robotics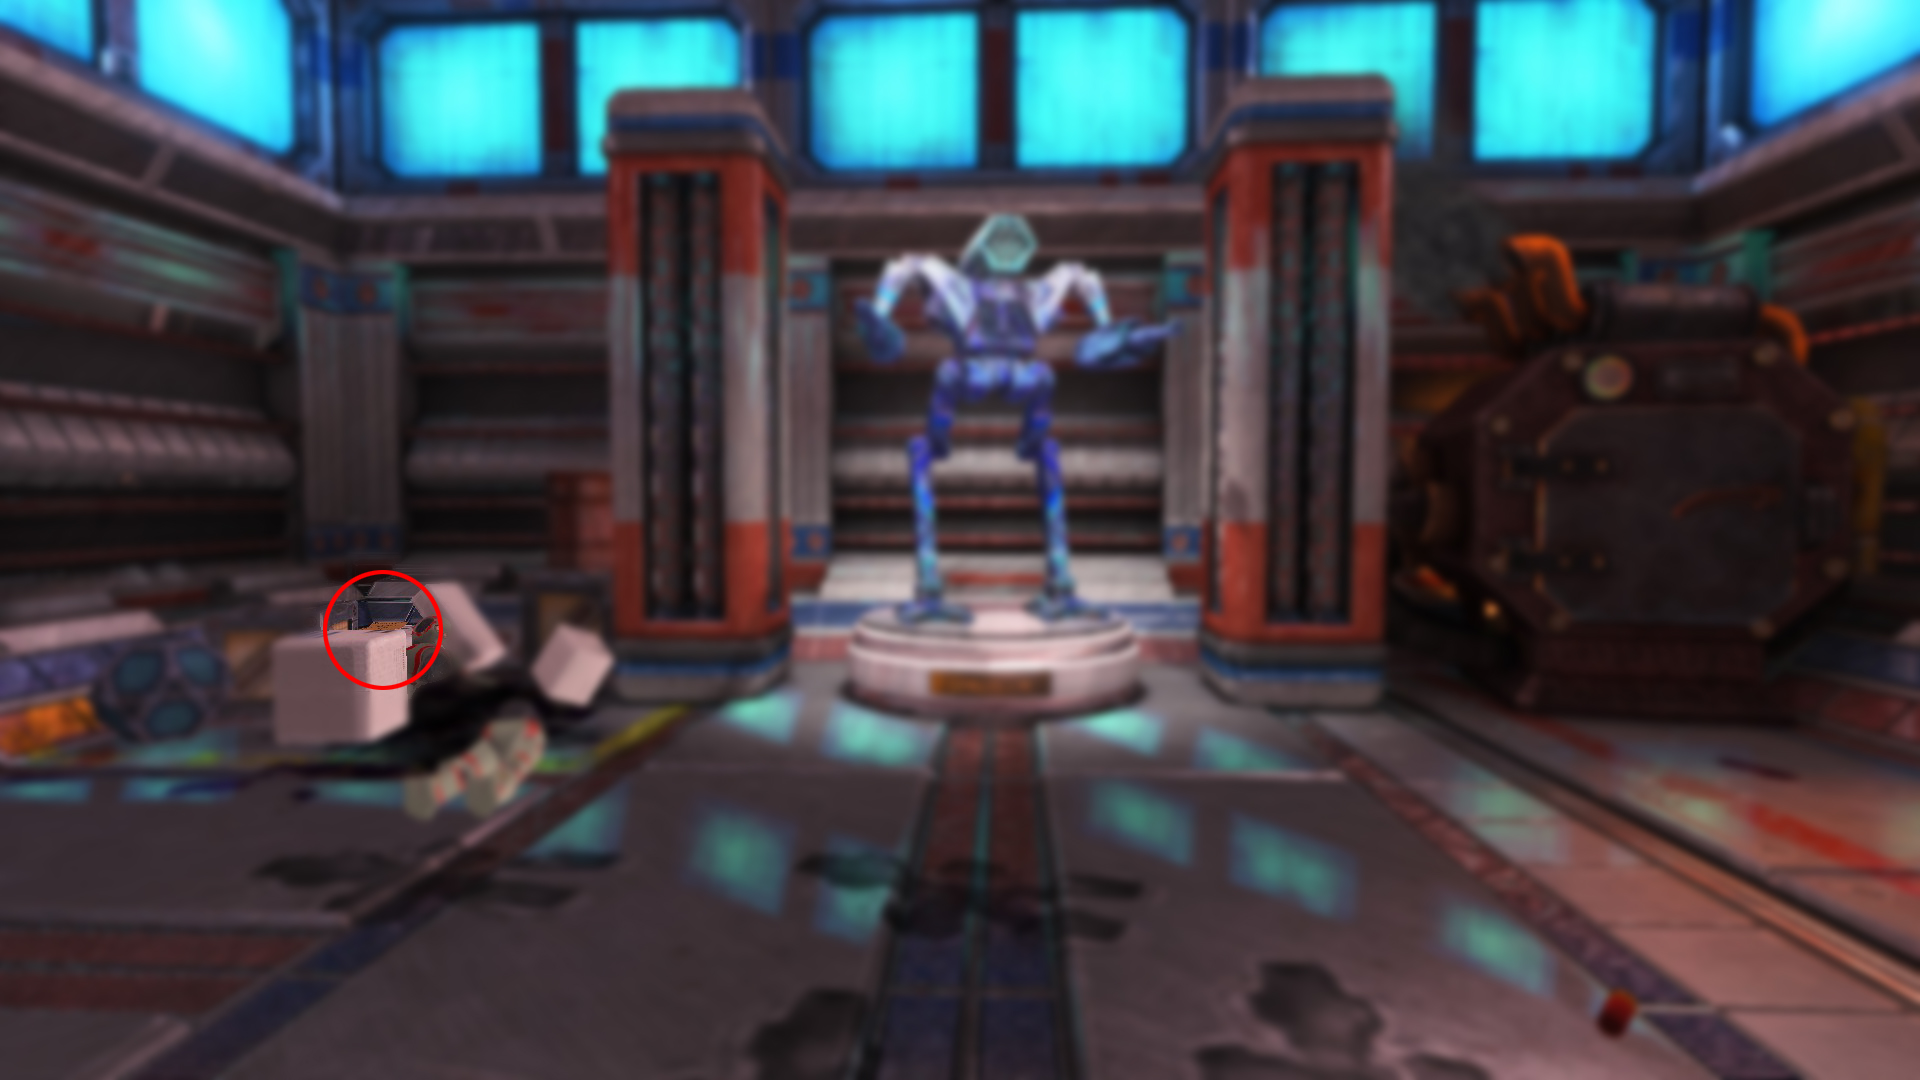 This note is in the same room as the incinerator, on the same side of the room in the other corner.
Note #9 - Unearthly Excavation
This note is in the same room as the incinerator, on the same side of the room in the other corner.
Note #9 - Unearthly Excavation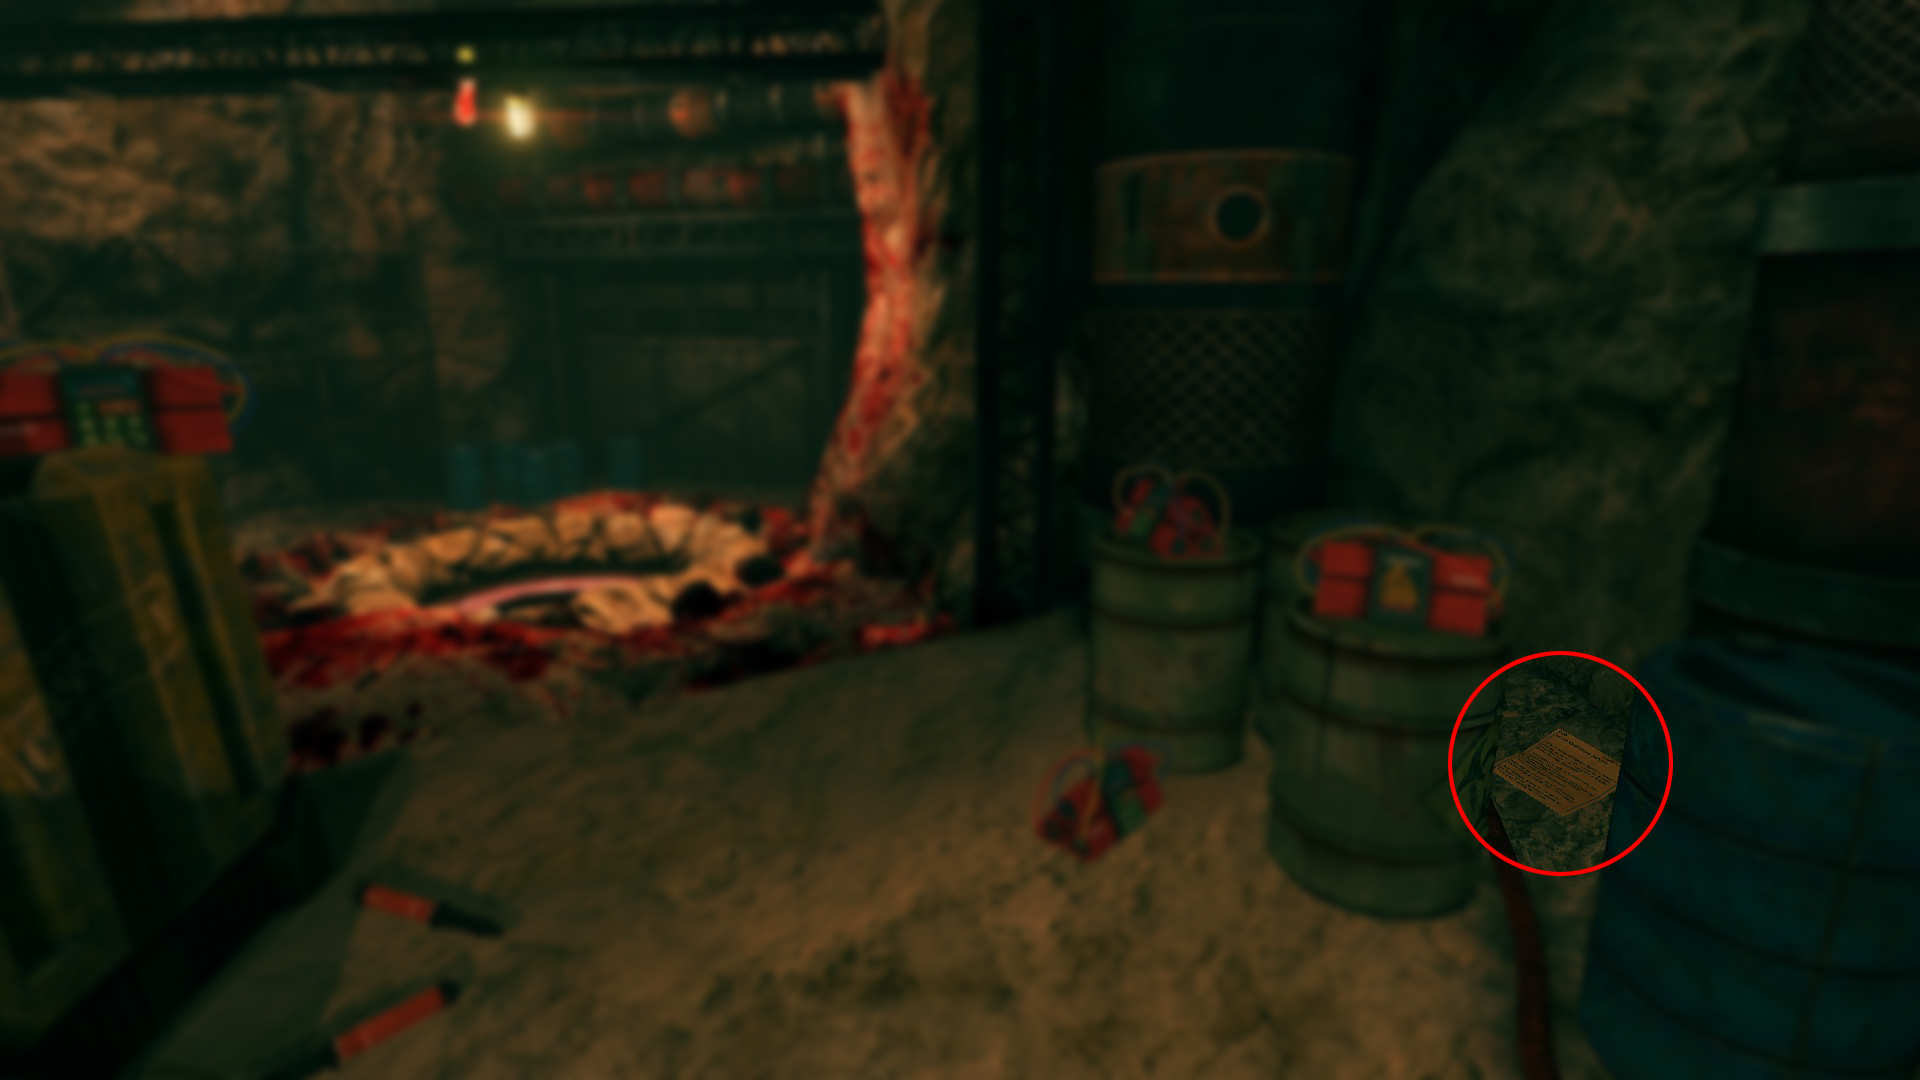 Through both locked gates is a large room with the altar and one of the pits. The last note is against the wall on a slightly raised area in that room.
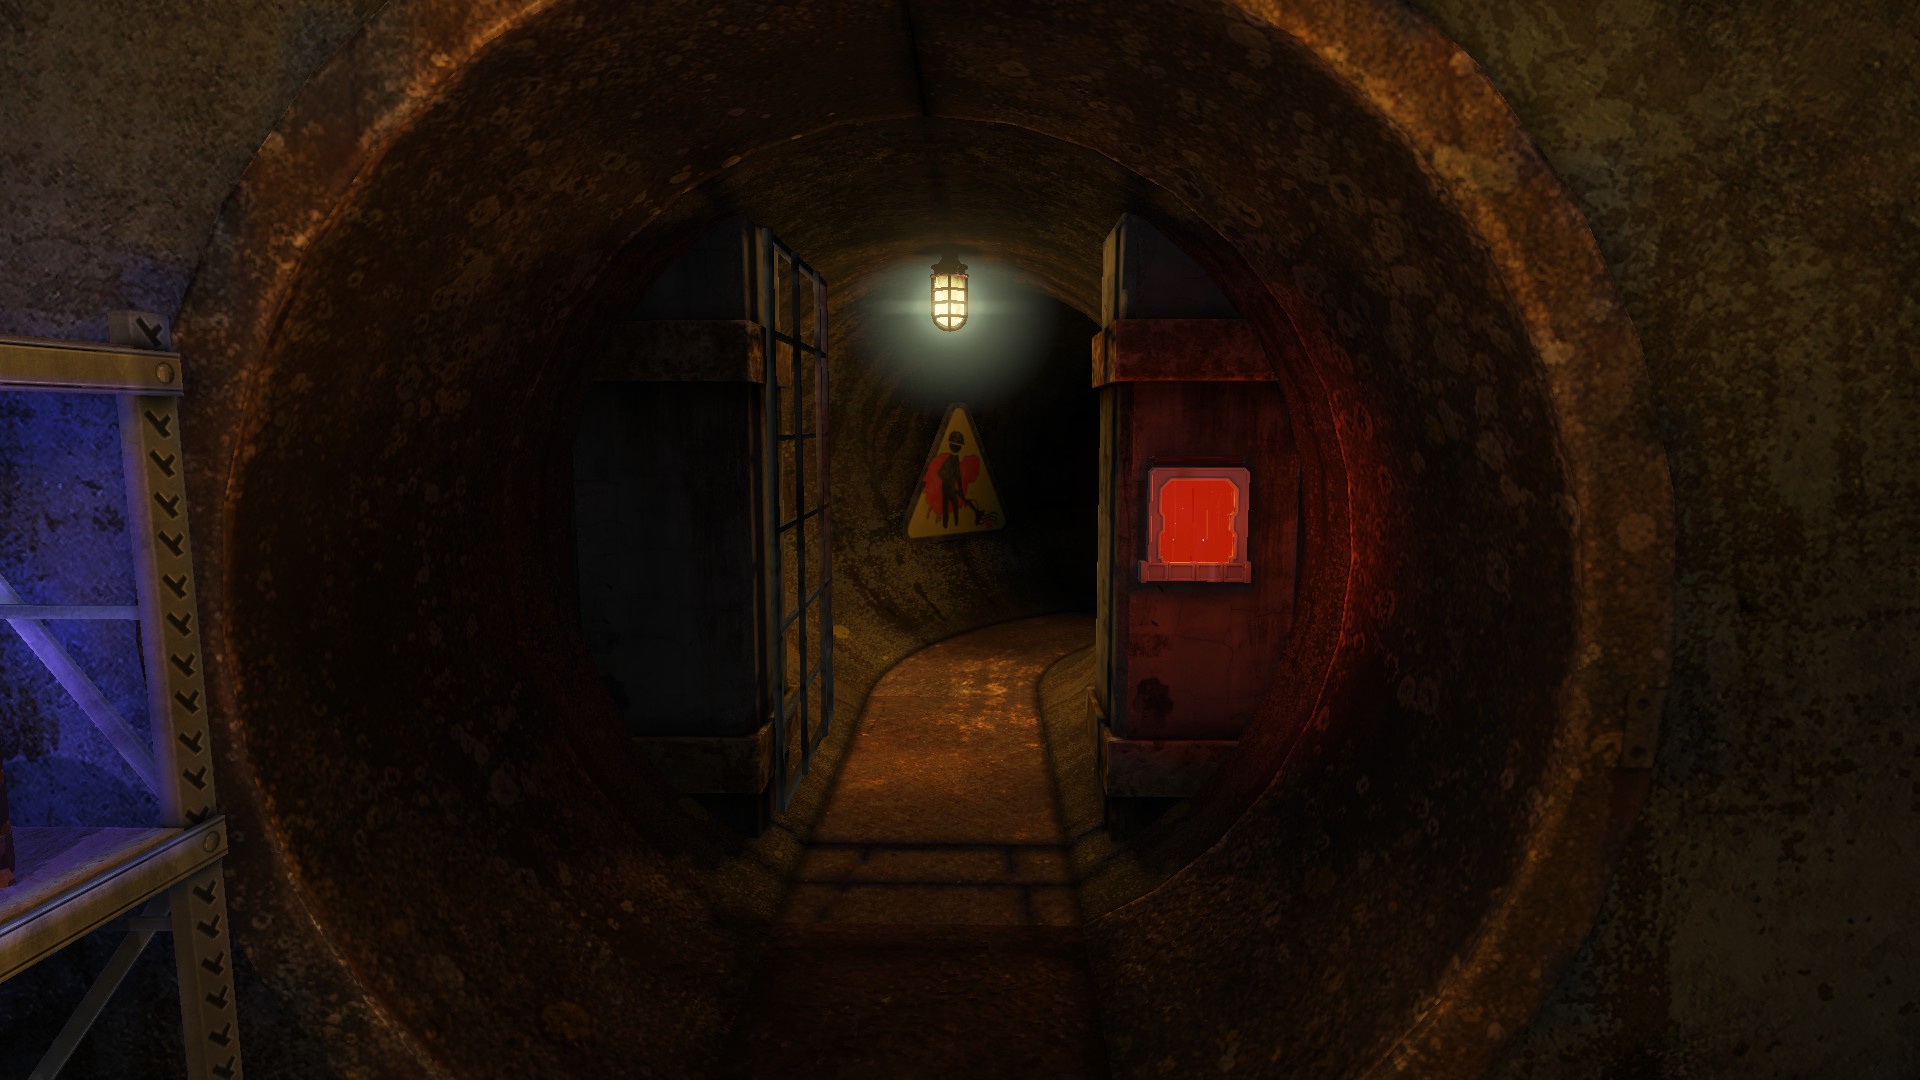
 "Red Keycard"
Unlock Bob's super secret secret stash room Bring the Red Keycard back to your office and use it on the red undergound panel.
Collectible Achievements [Eggs]
 Eggregious
Find all the hidden painted eggs and return them to your office
There are 3 of these.
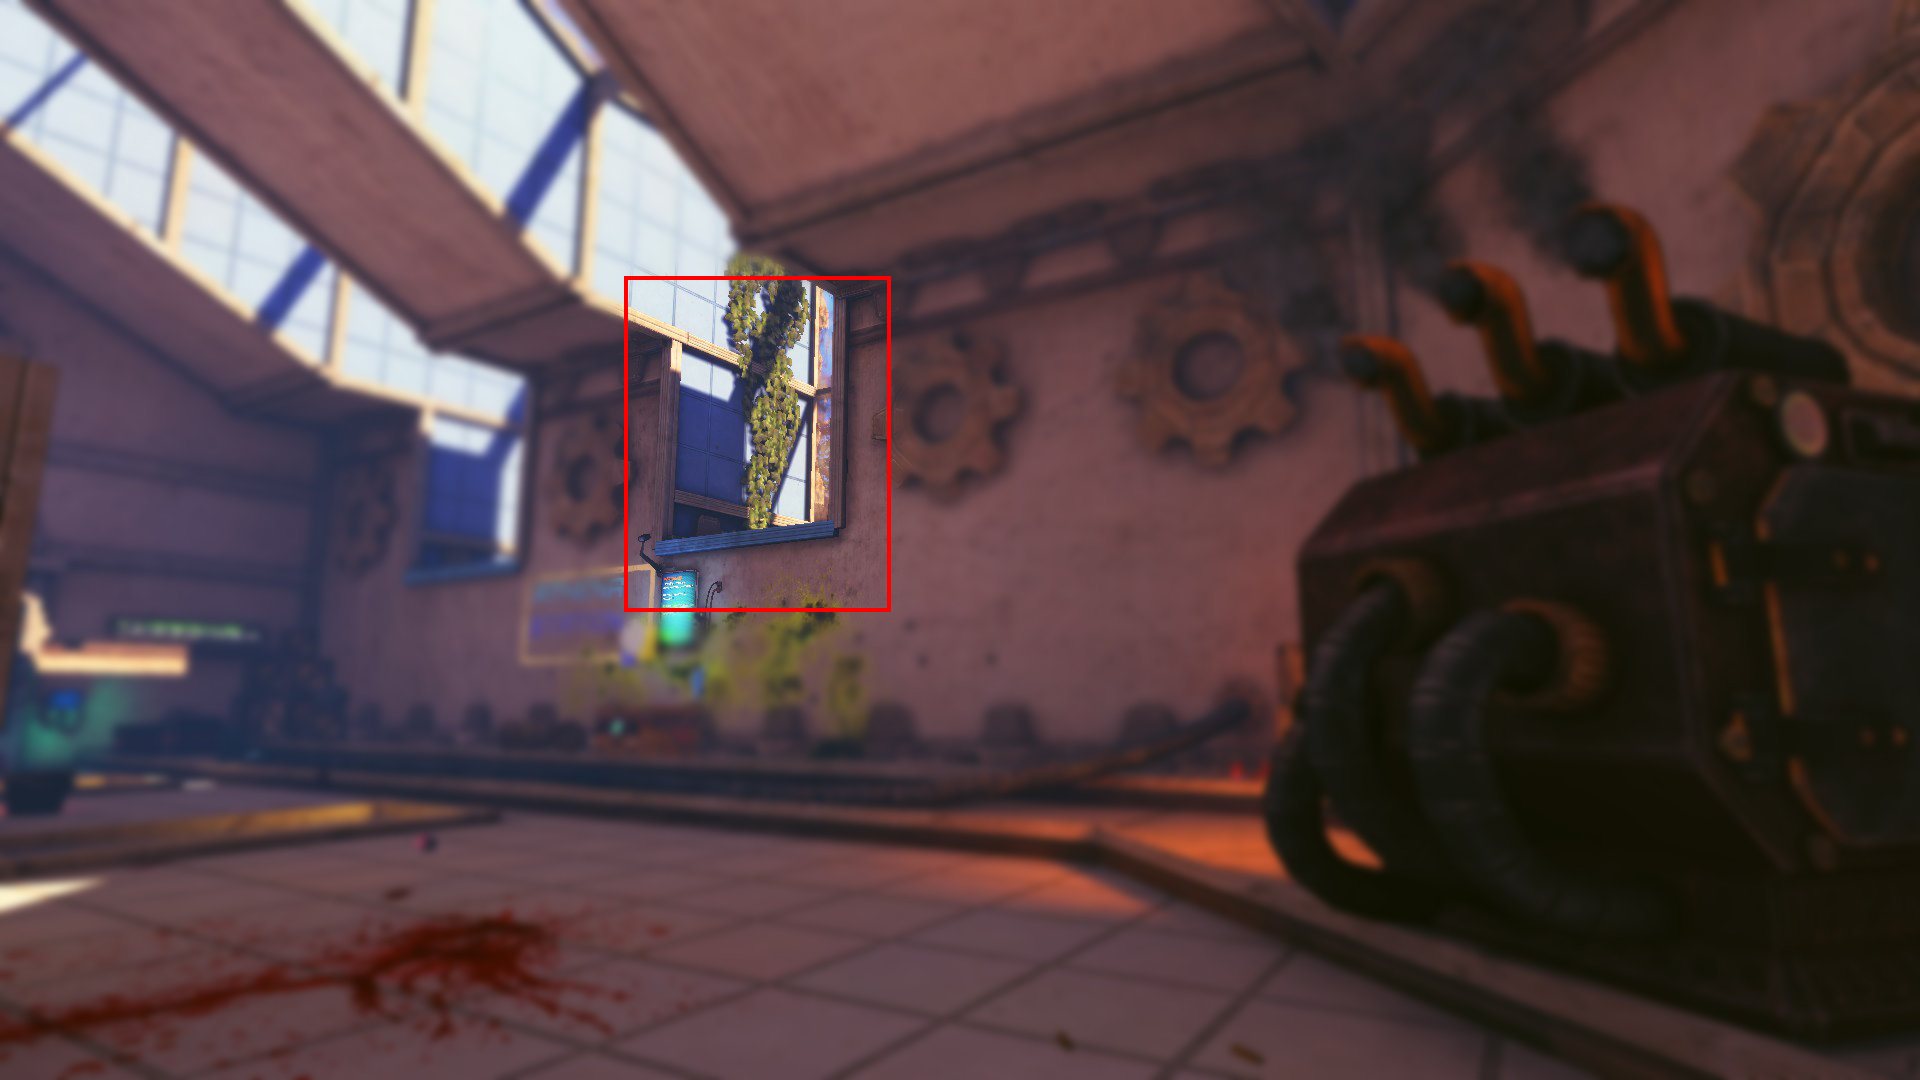 You'll find the egg hidden in the ivy-like plant.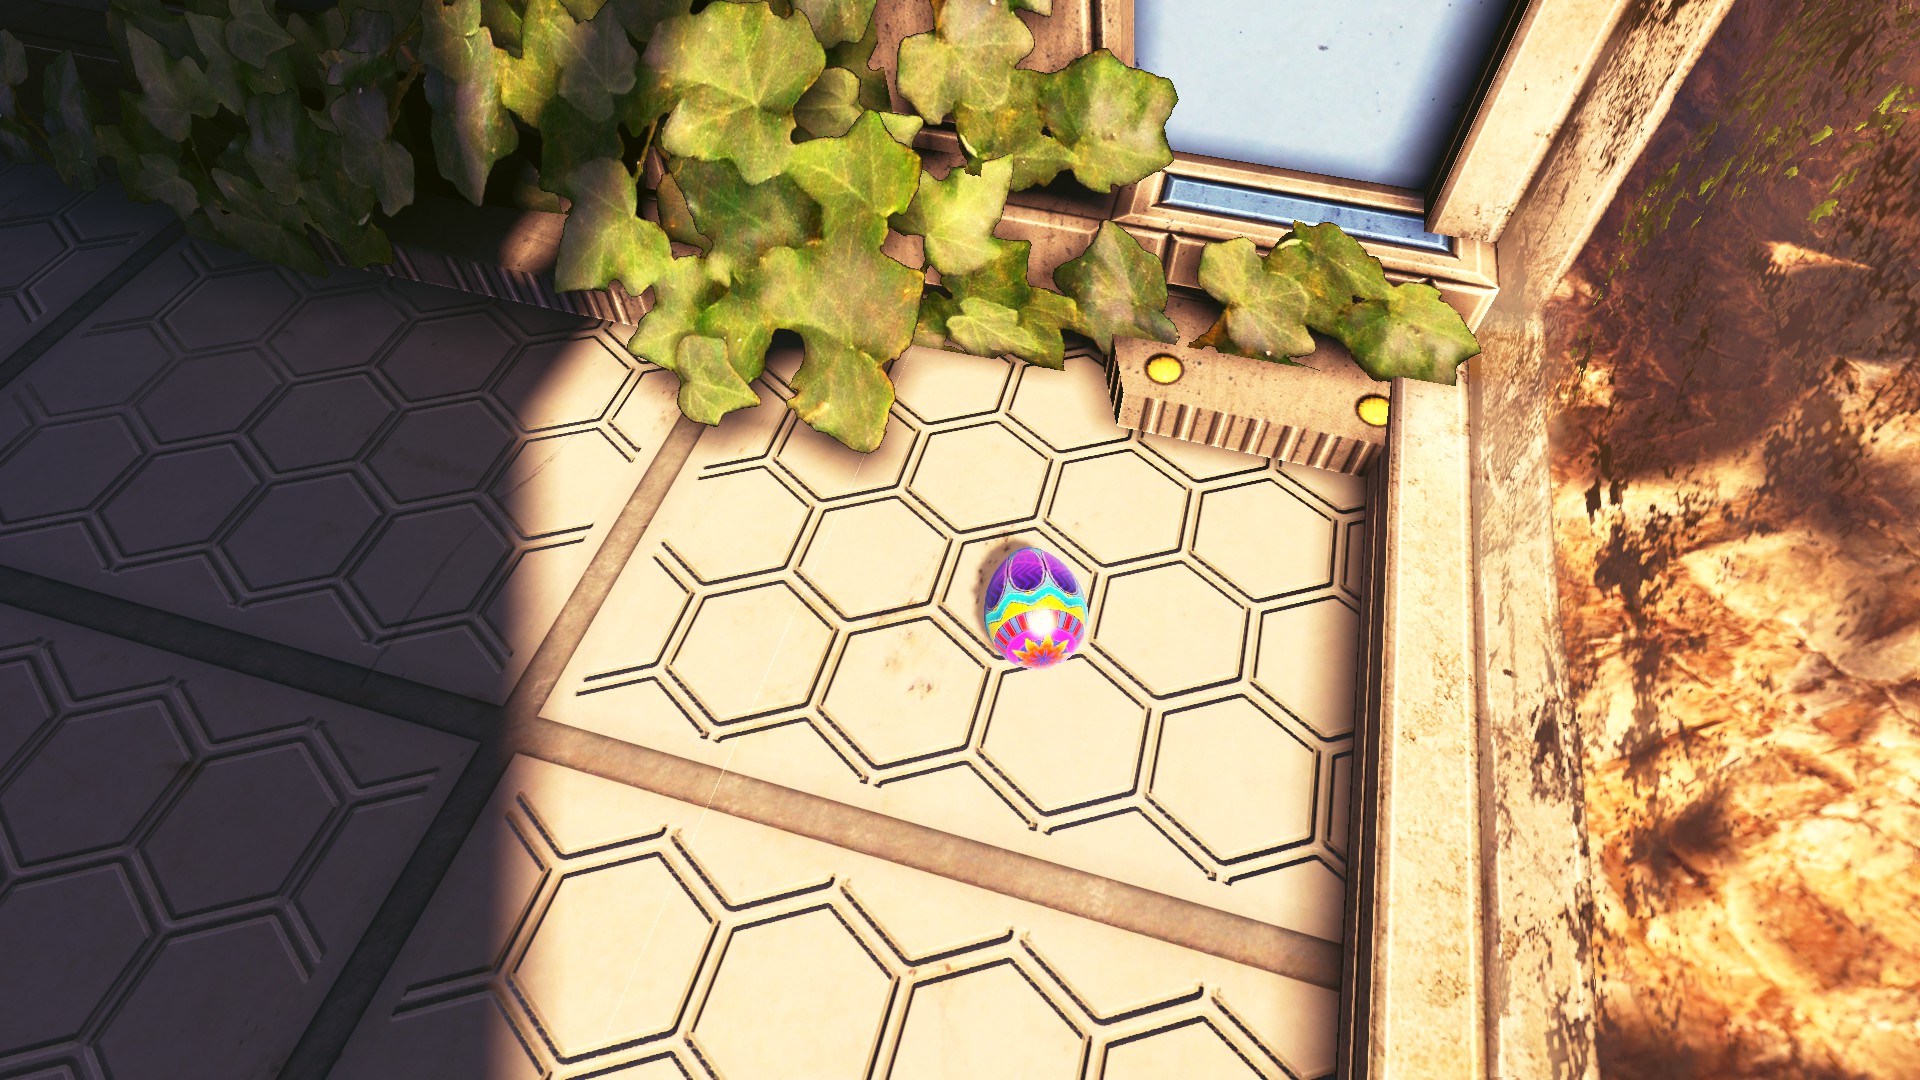
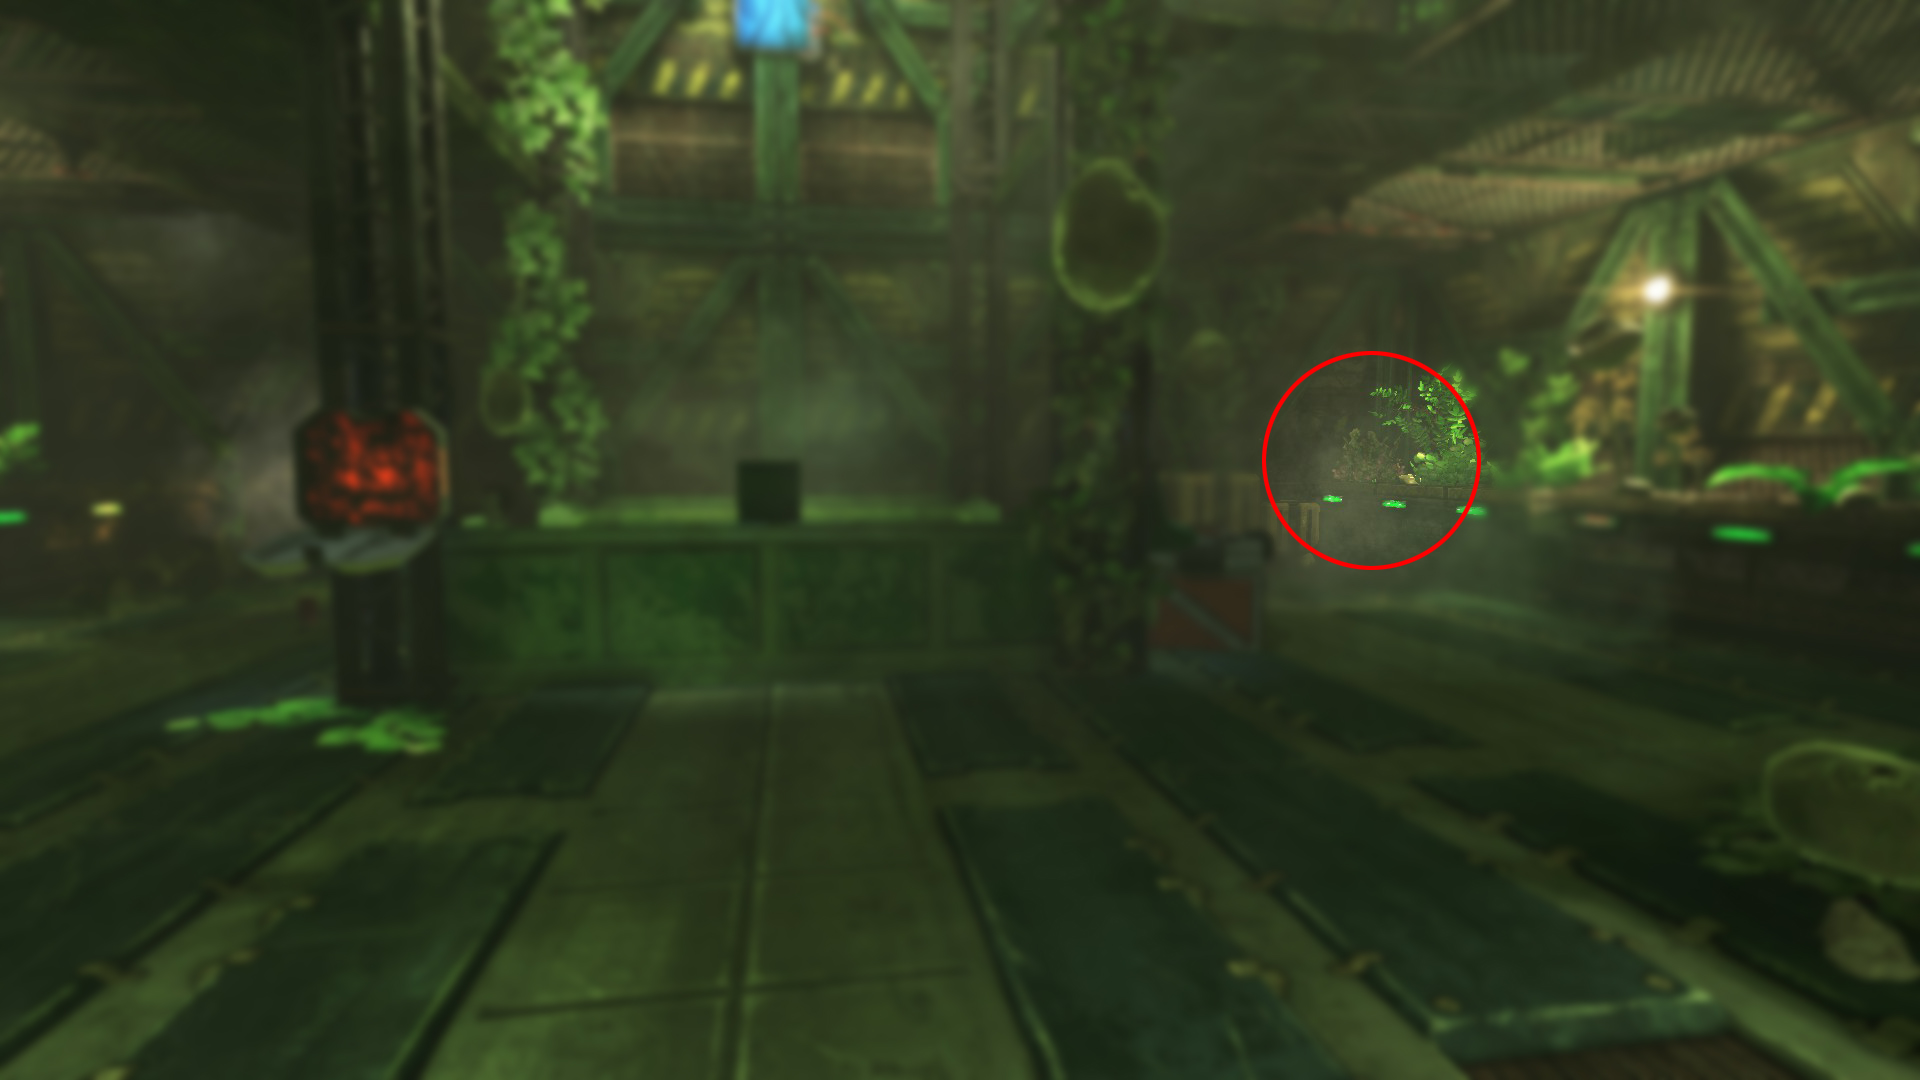 It's in the furthest corner.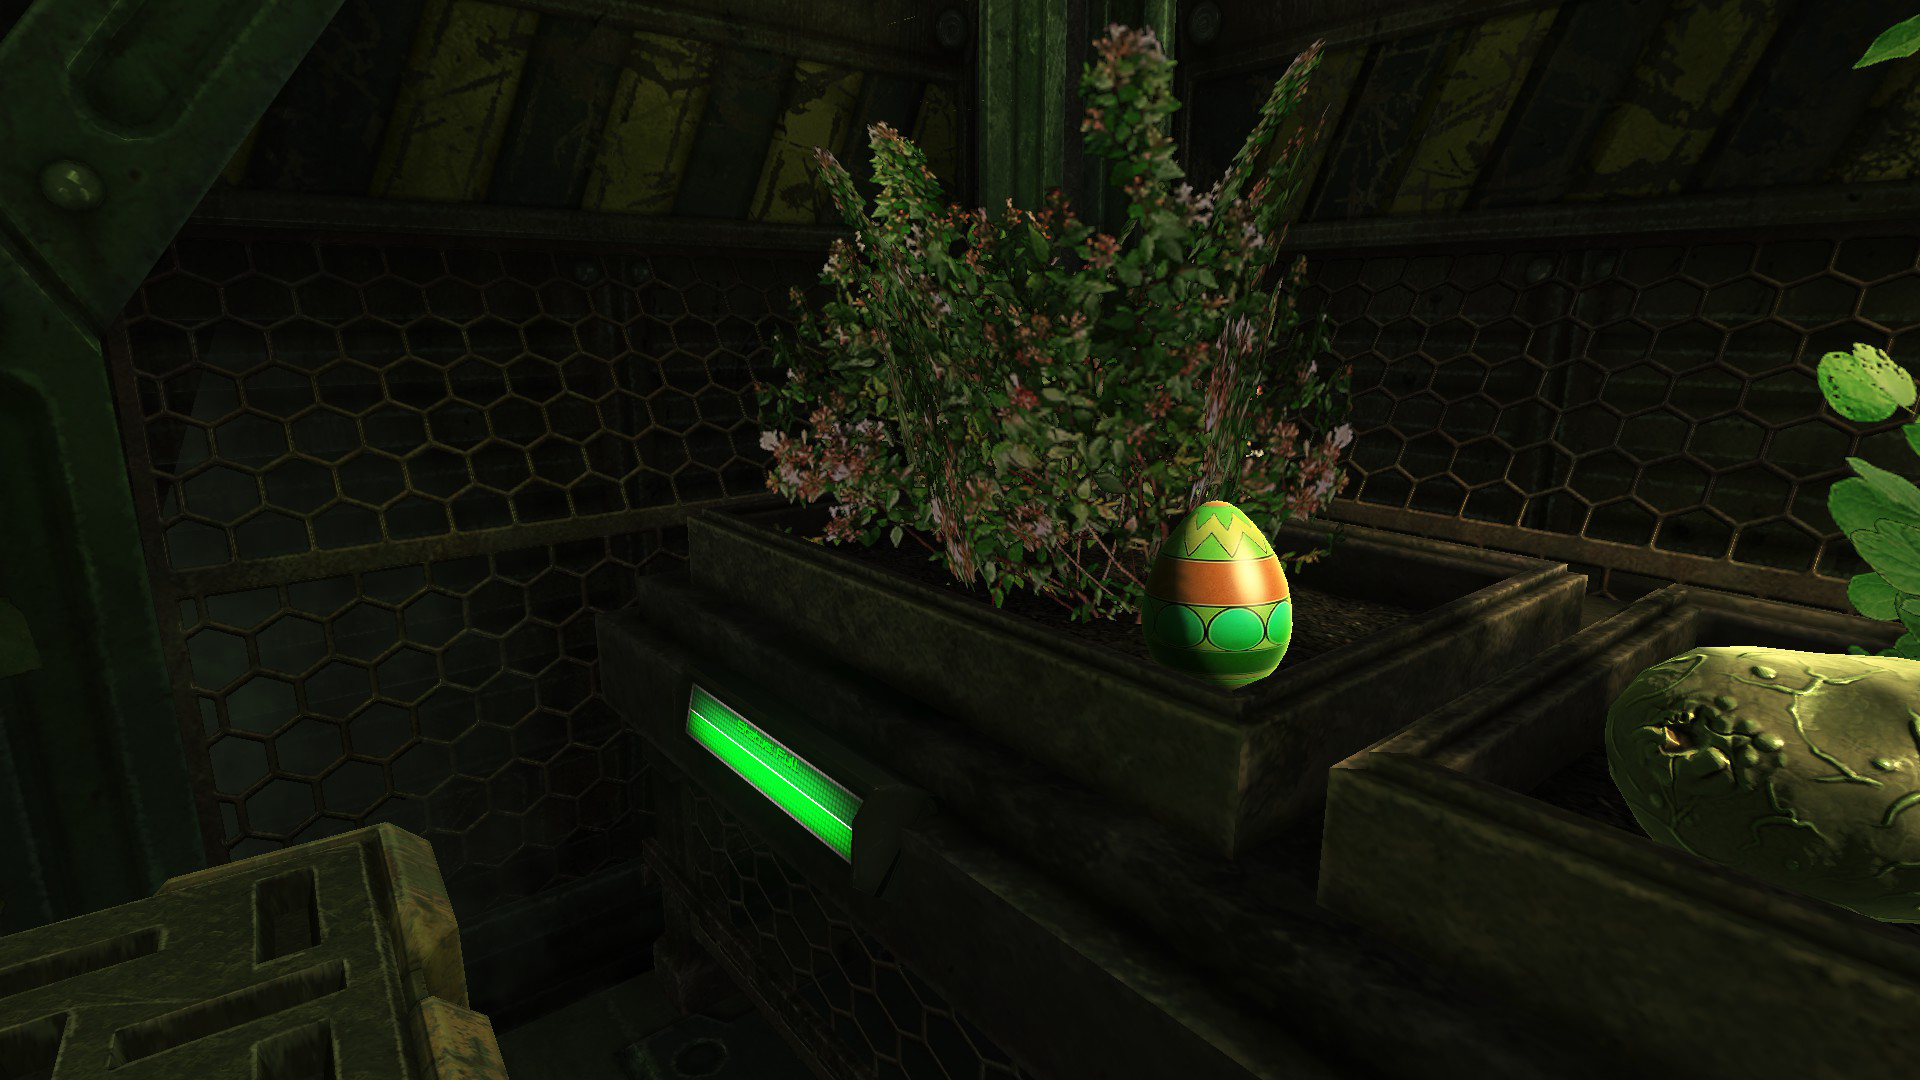
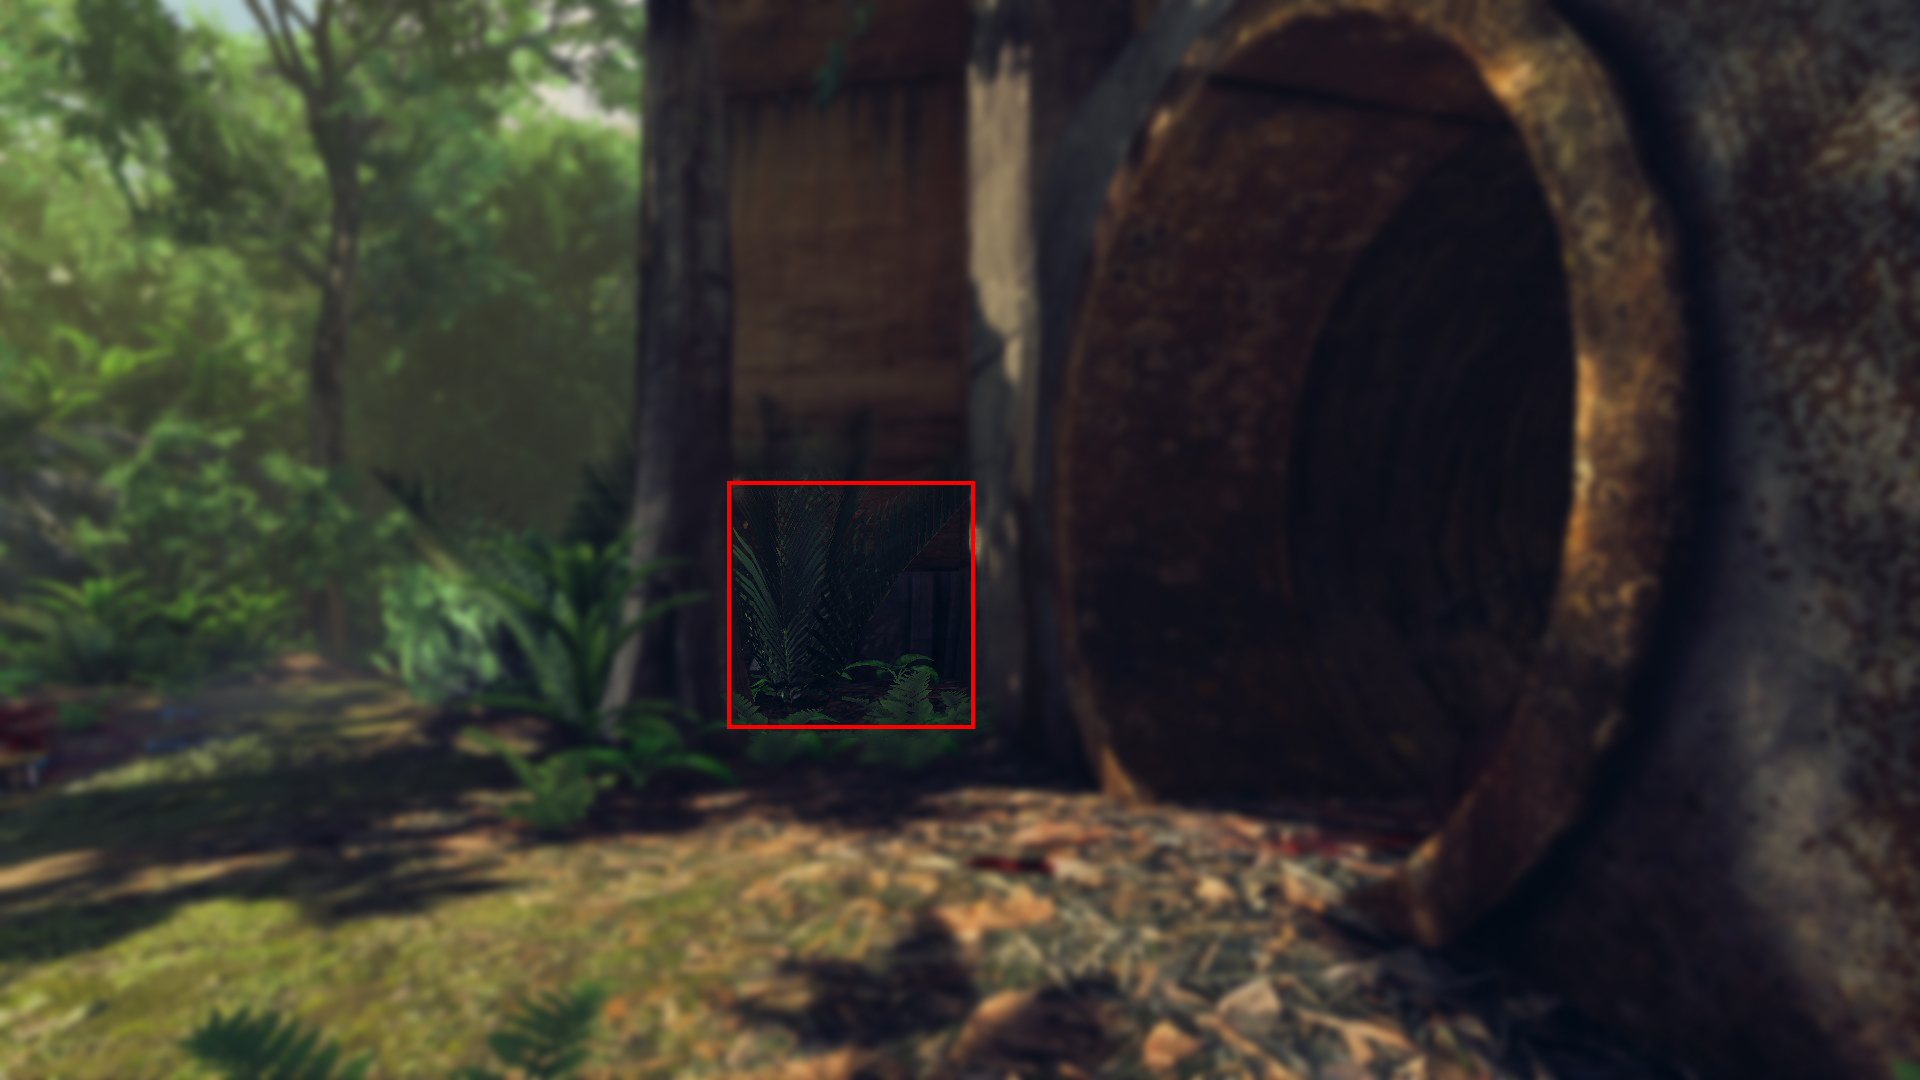 You'll find the egg inside a small plant in that corner.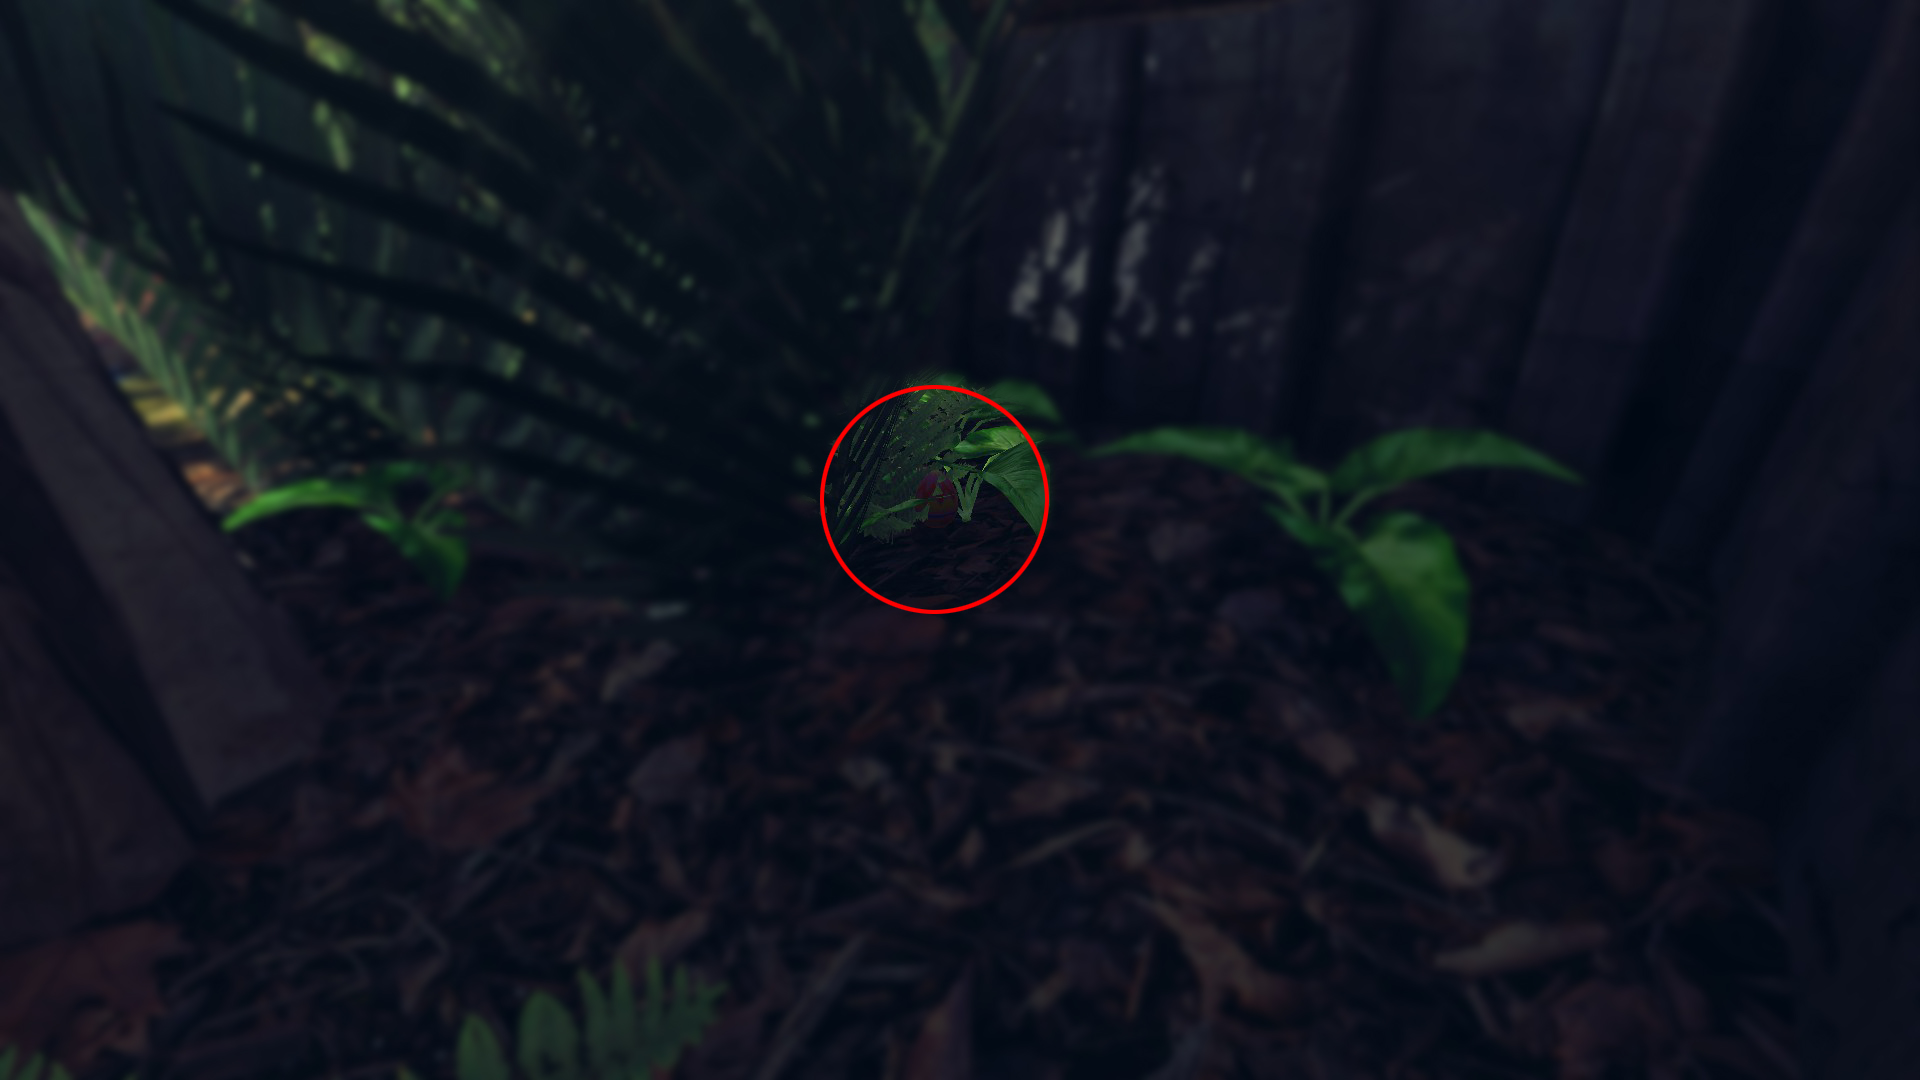
Collectible Achievements [Artifacts]
 Keep It Secret, Keep It Safe
Find all the unique and hidden collectibles and return them to your office There are 13 of these.
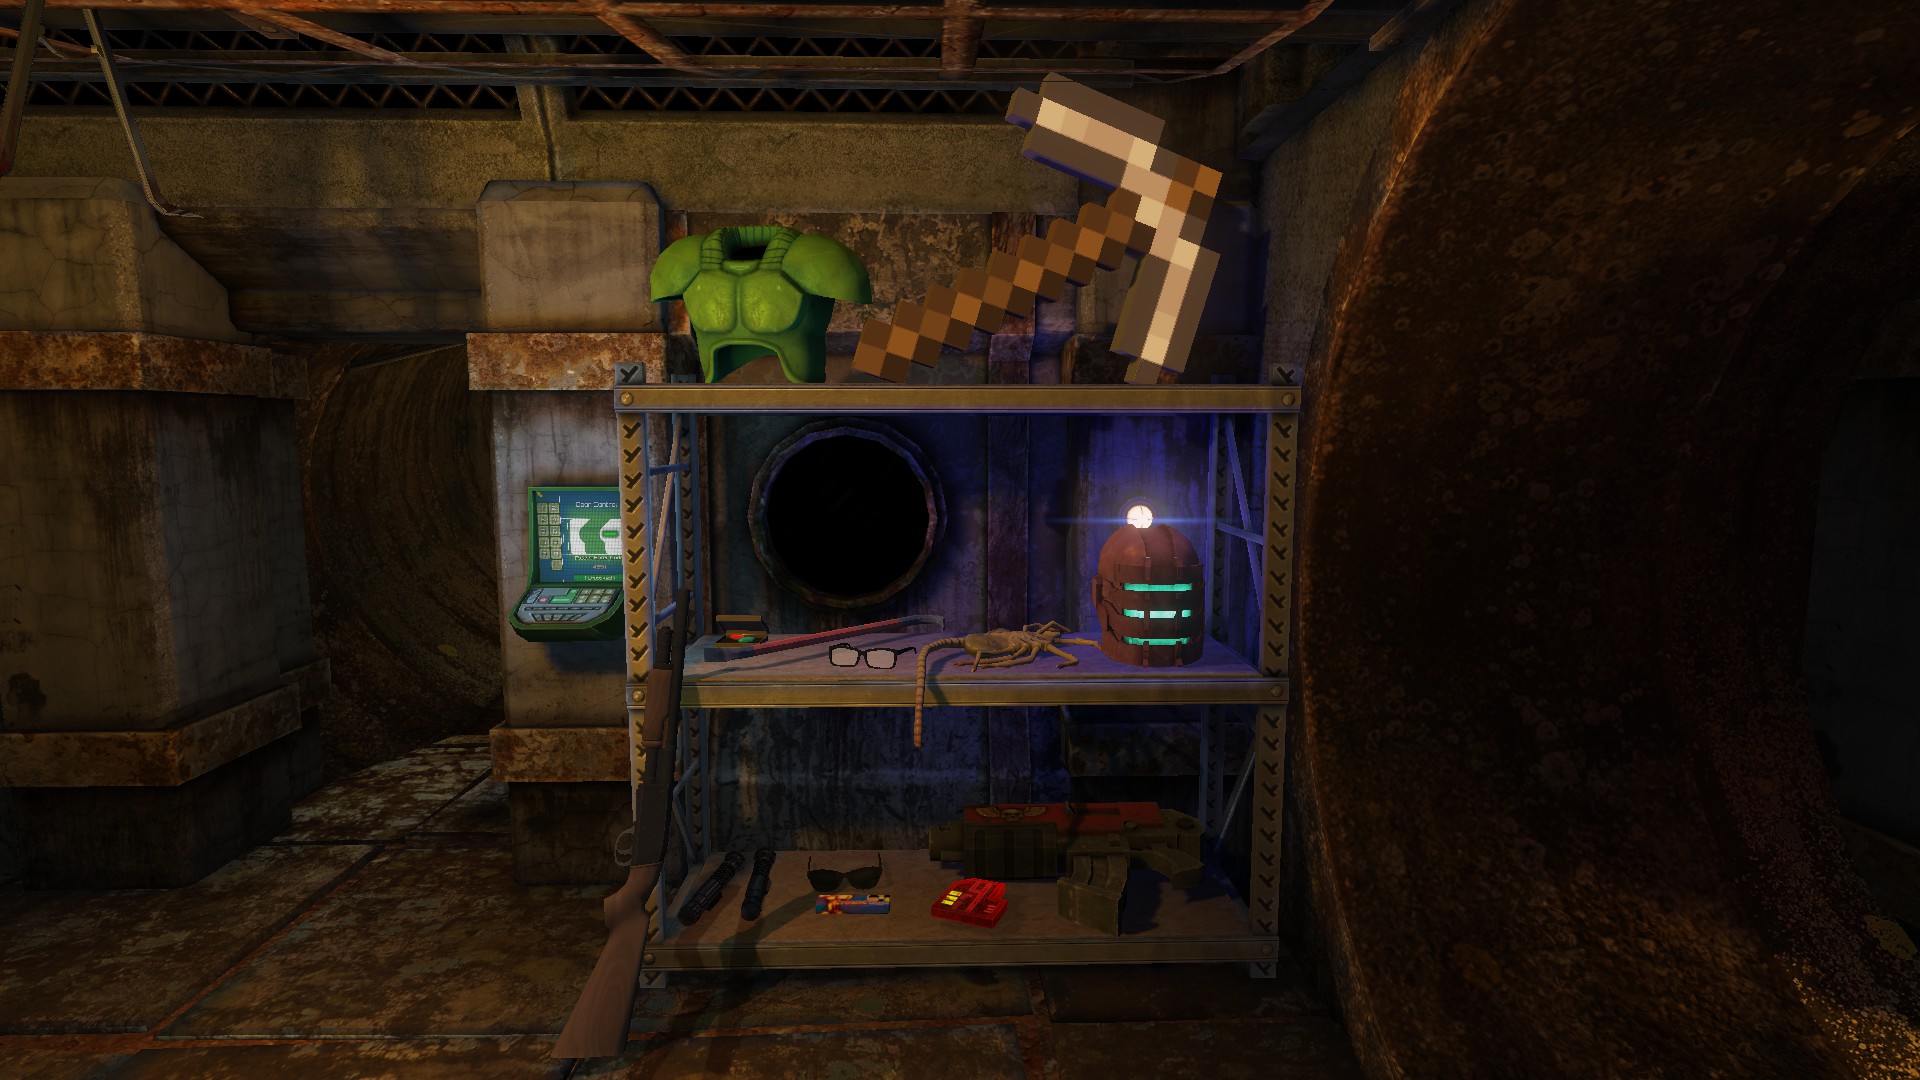
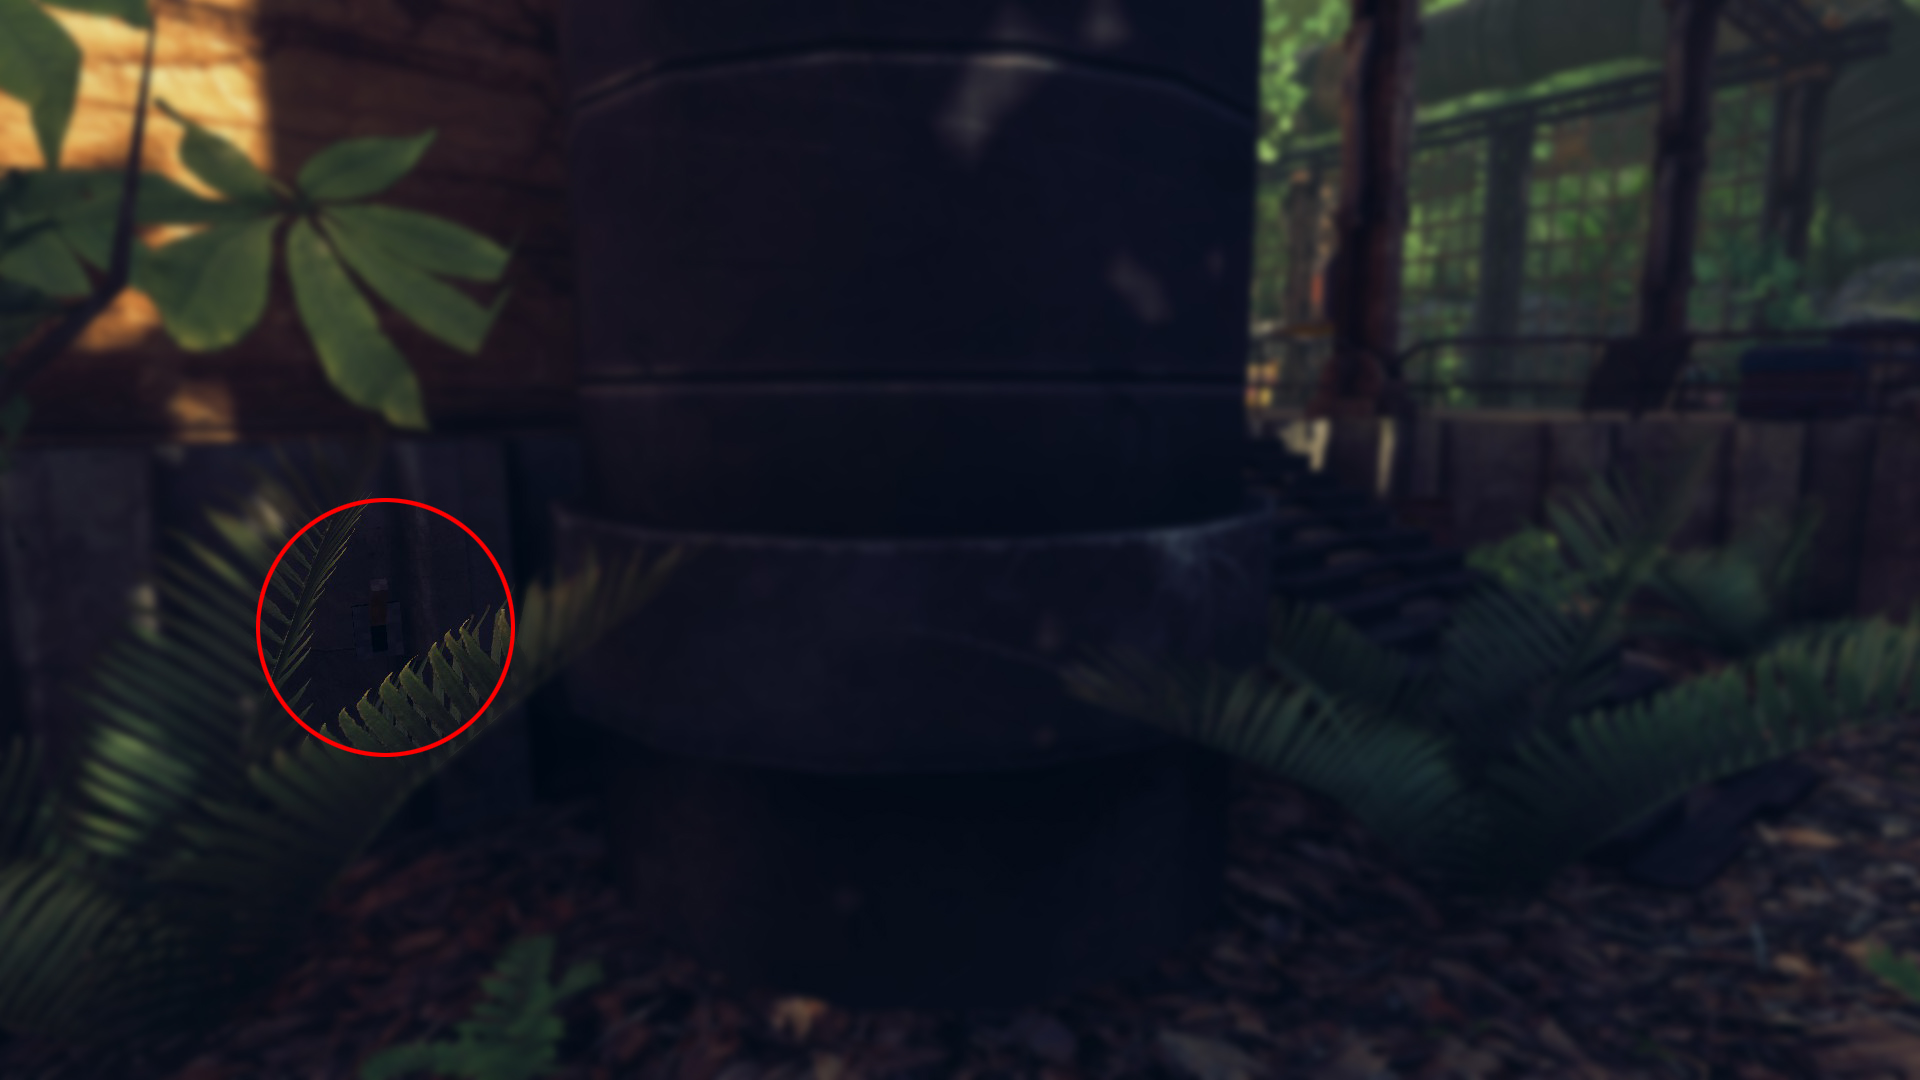
Then head back towards the start of the map and find this rock outside the first tunnel (between the two trees) and use the shovel to dig it out. It might be a little hard to find, but just try a few of the rock walls until you start shoveling dirt from it.
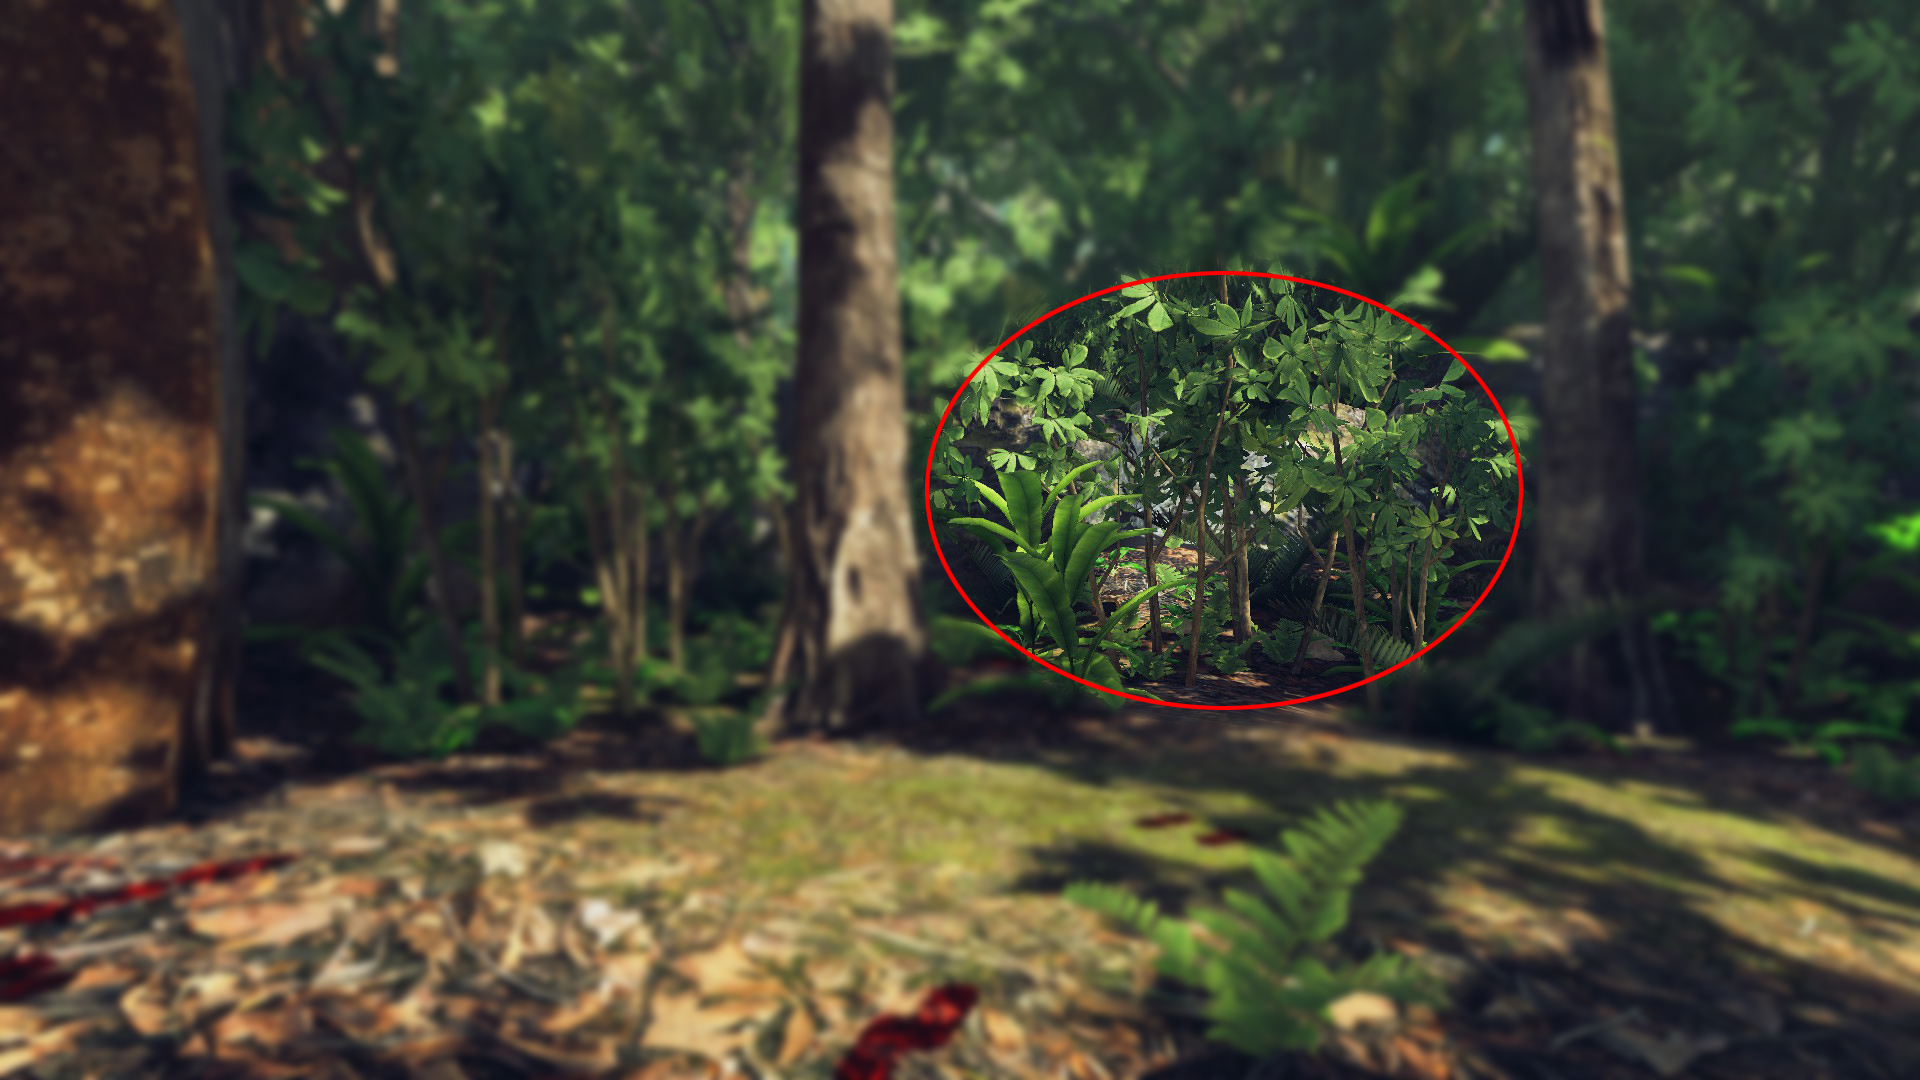
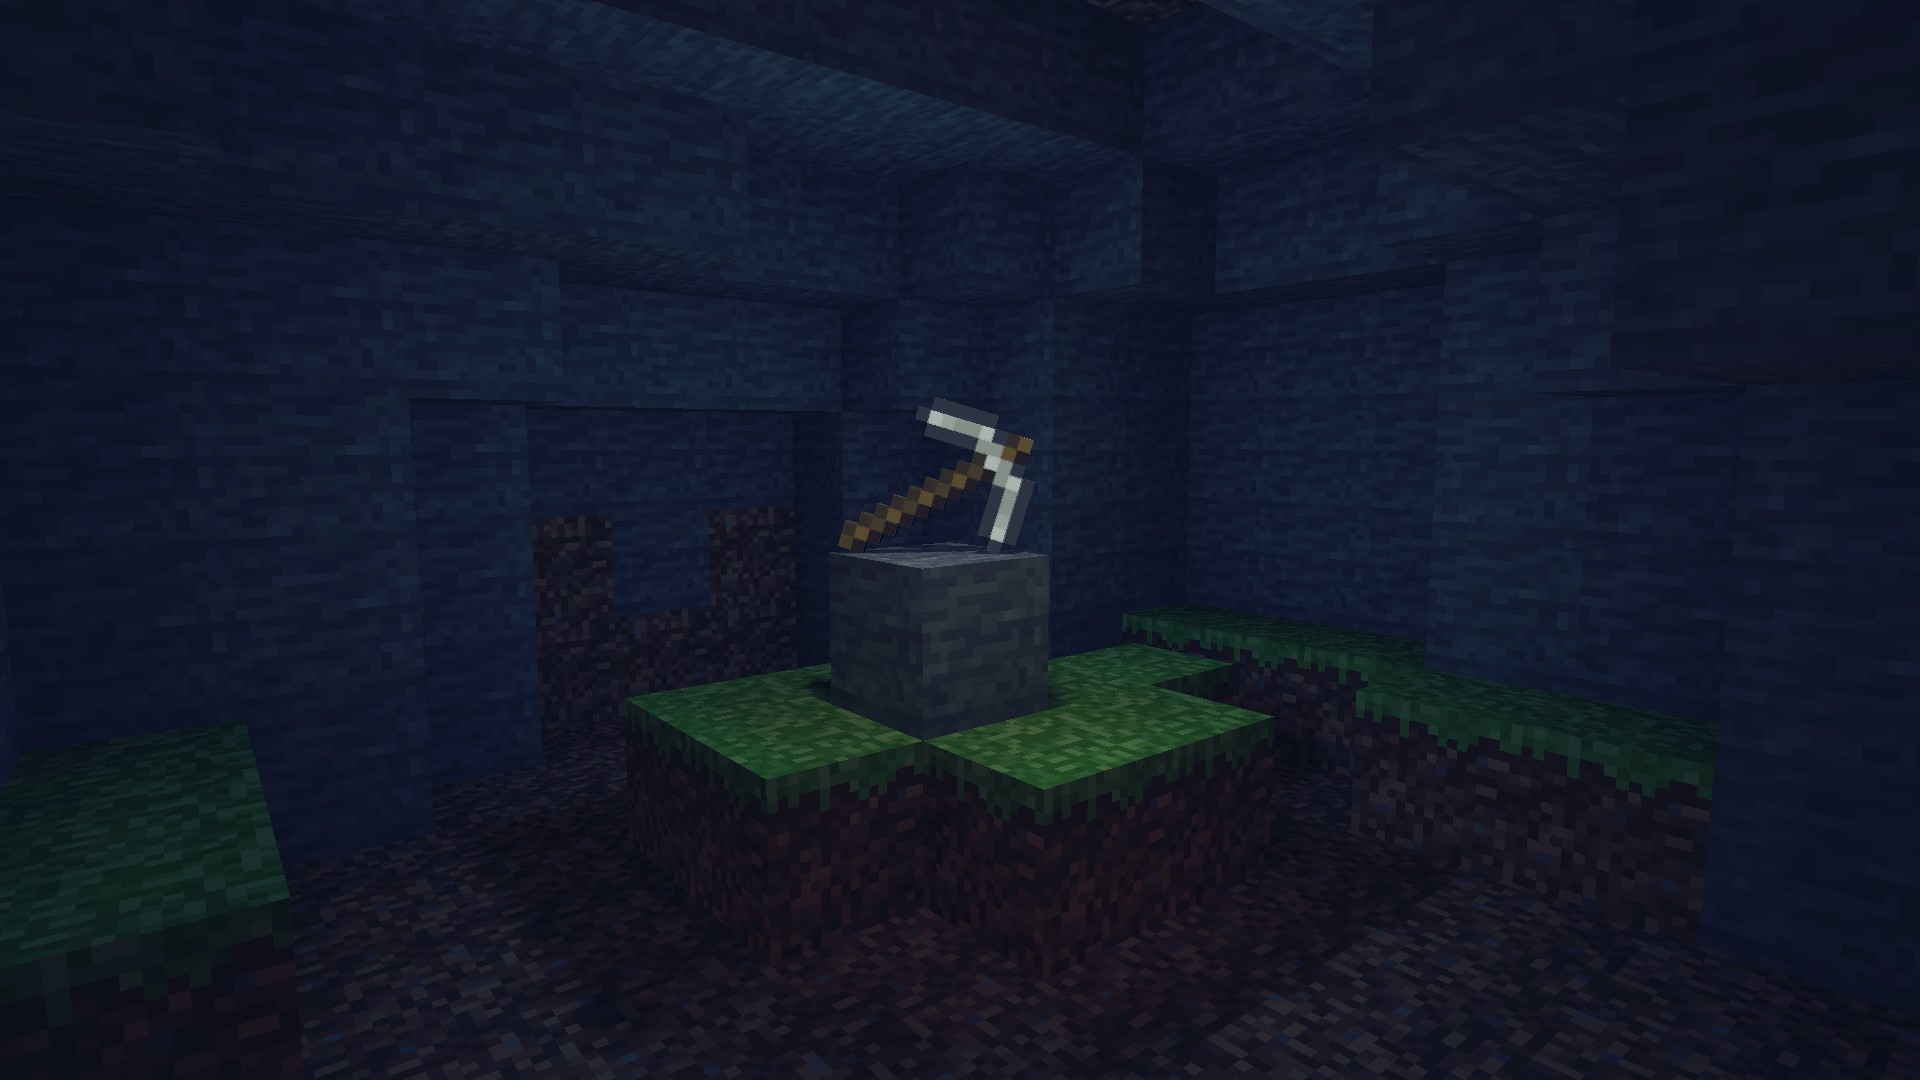
Once the rock is completely dug out (takes a while), you can enter the cave and take the pickaxe.
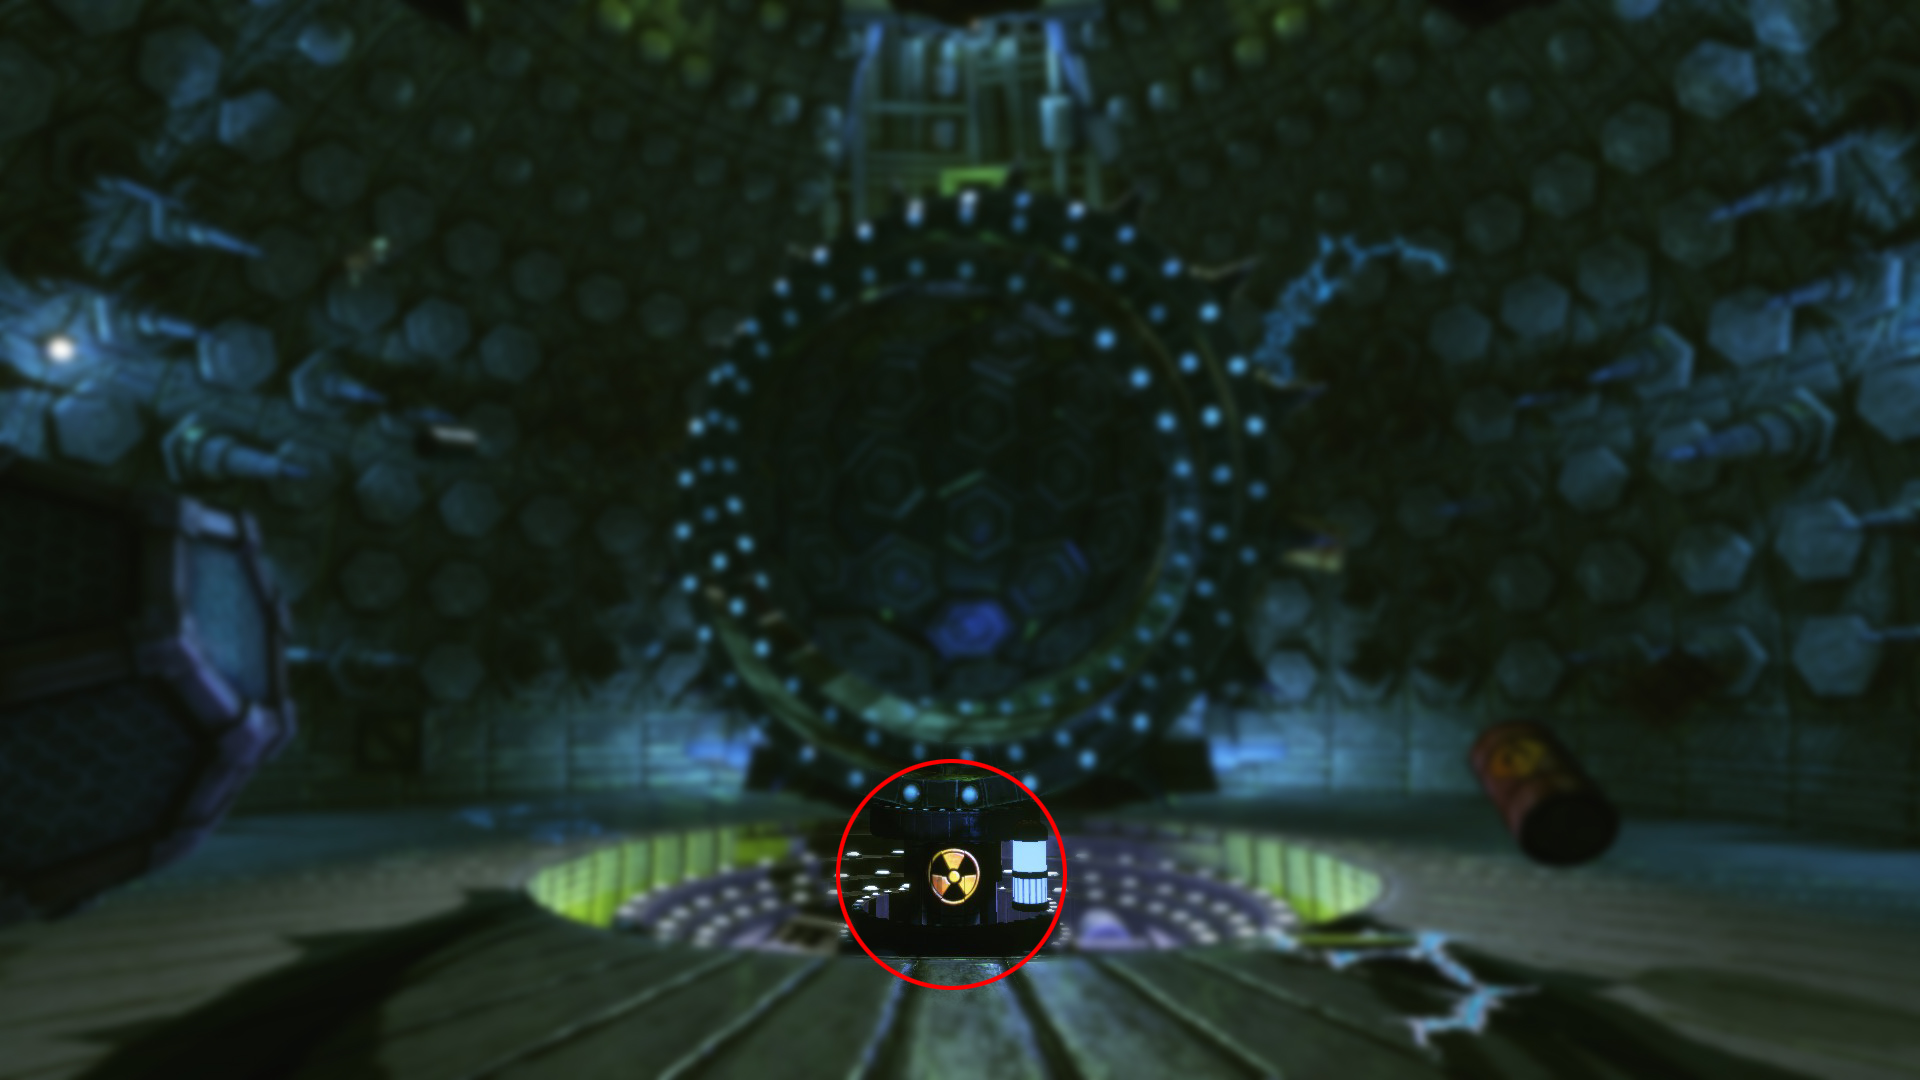
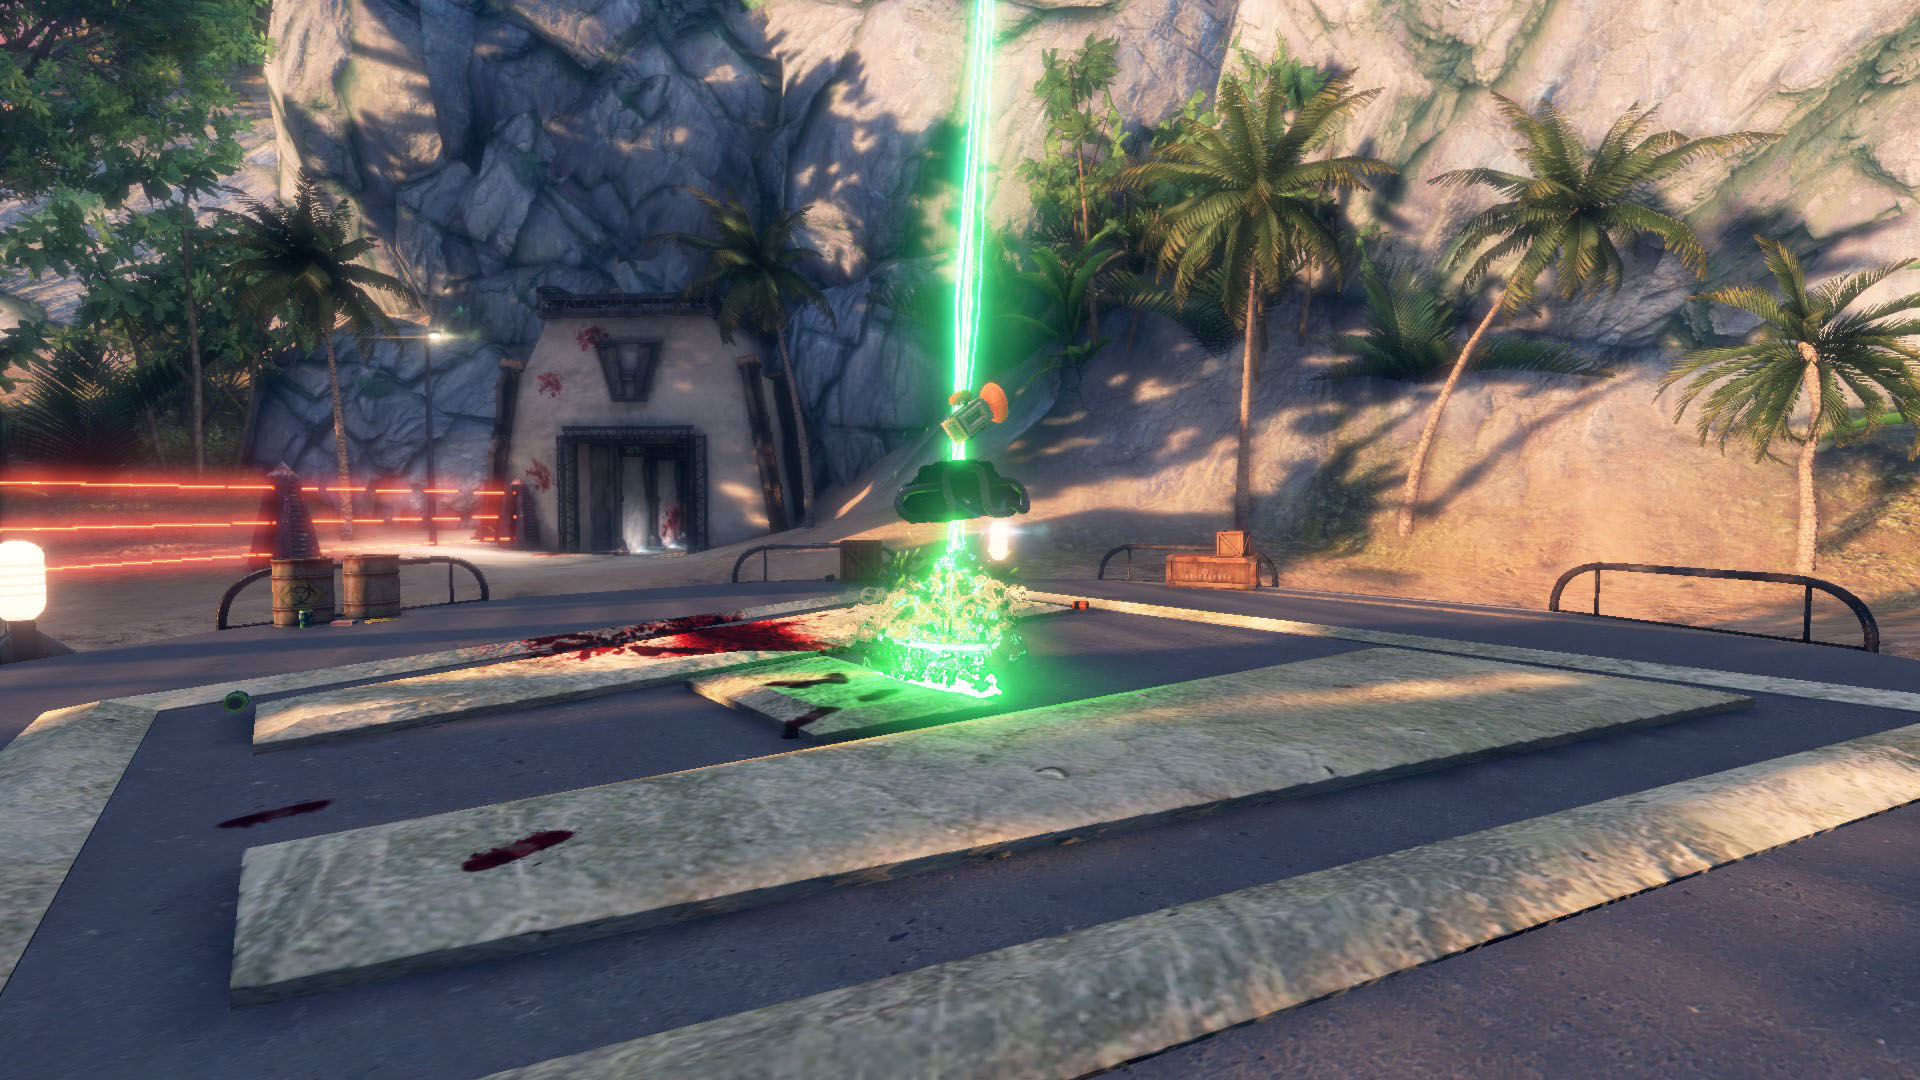
This opens the ceiling of the elevator shaft revealing the collectibles. Gravity should be off to reach it easily.
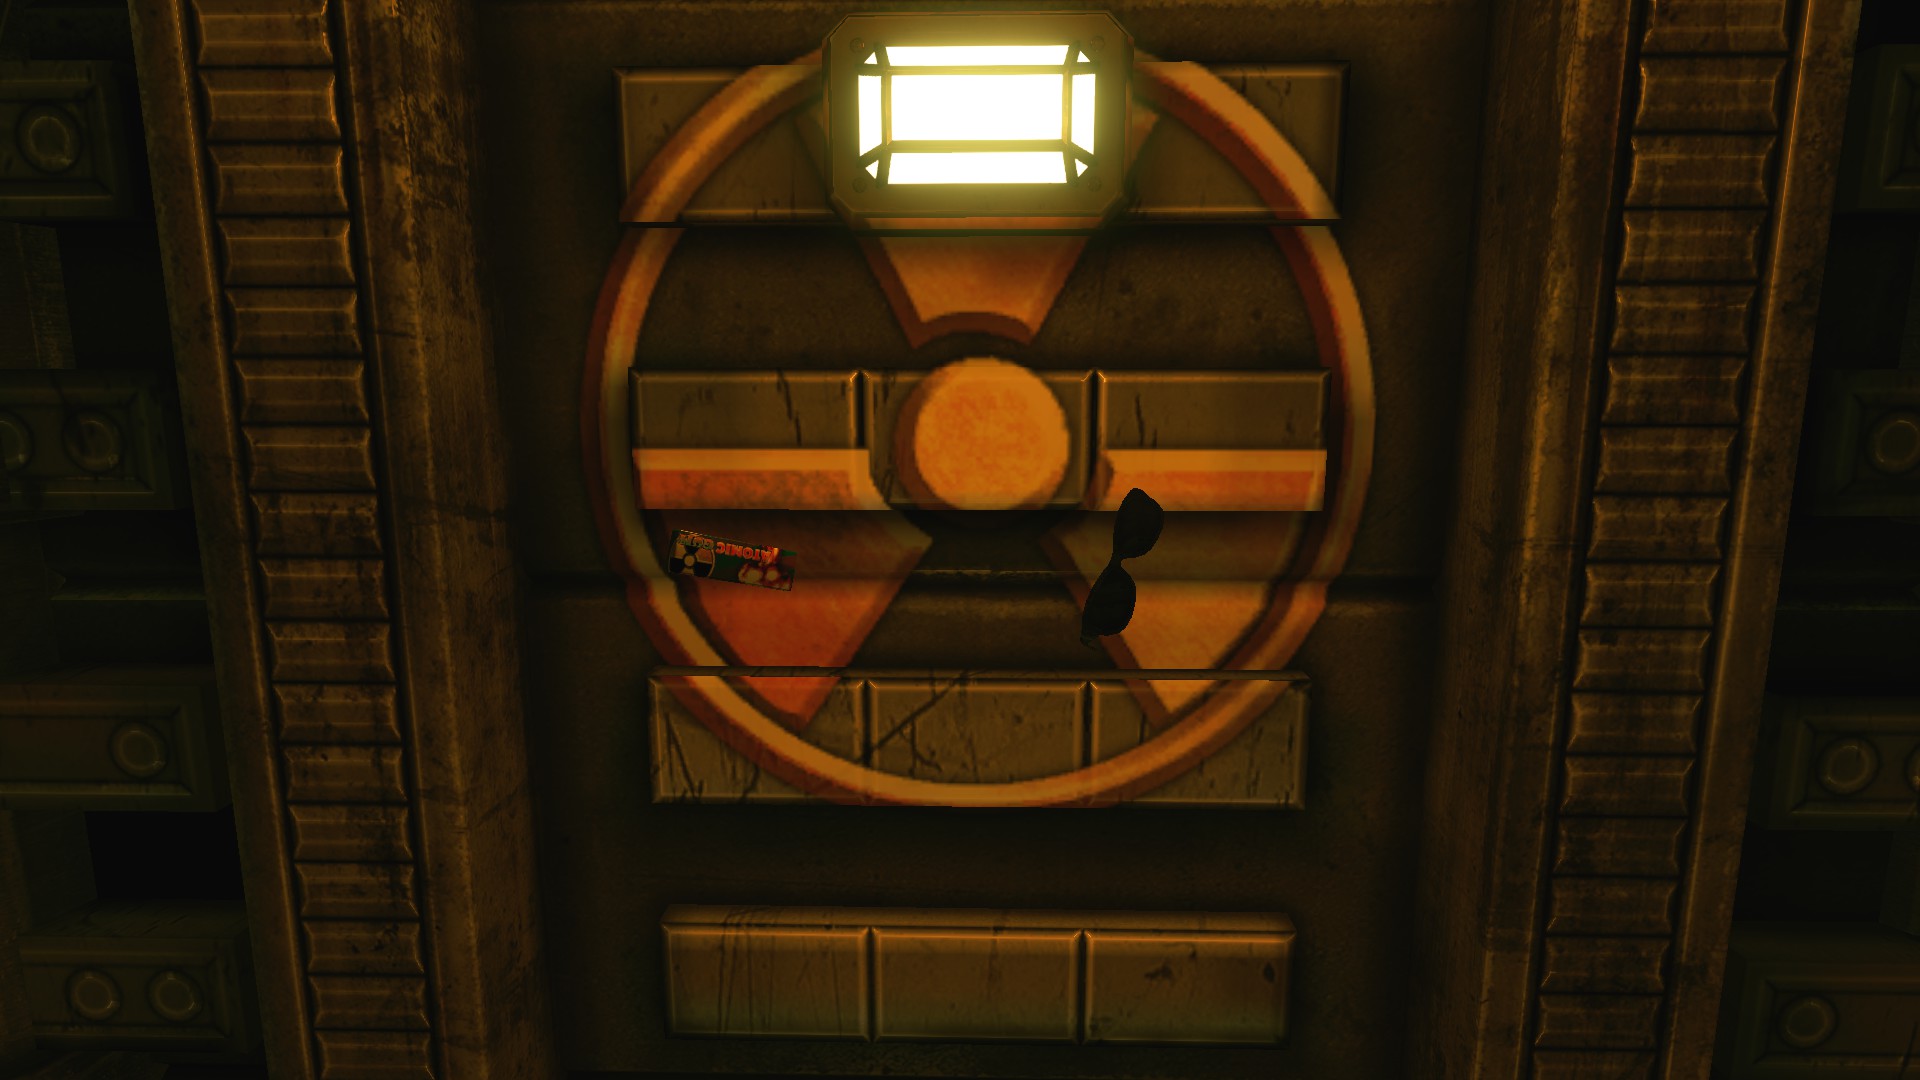
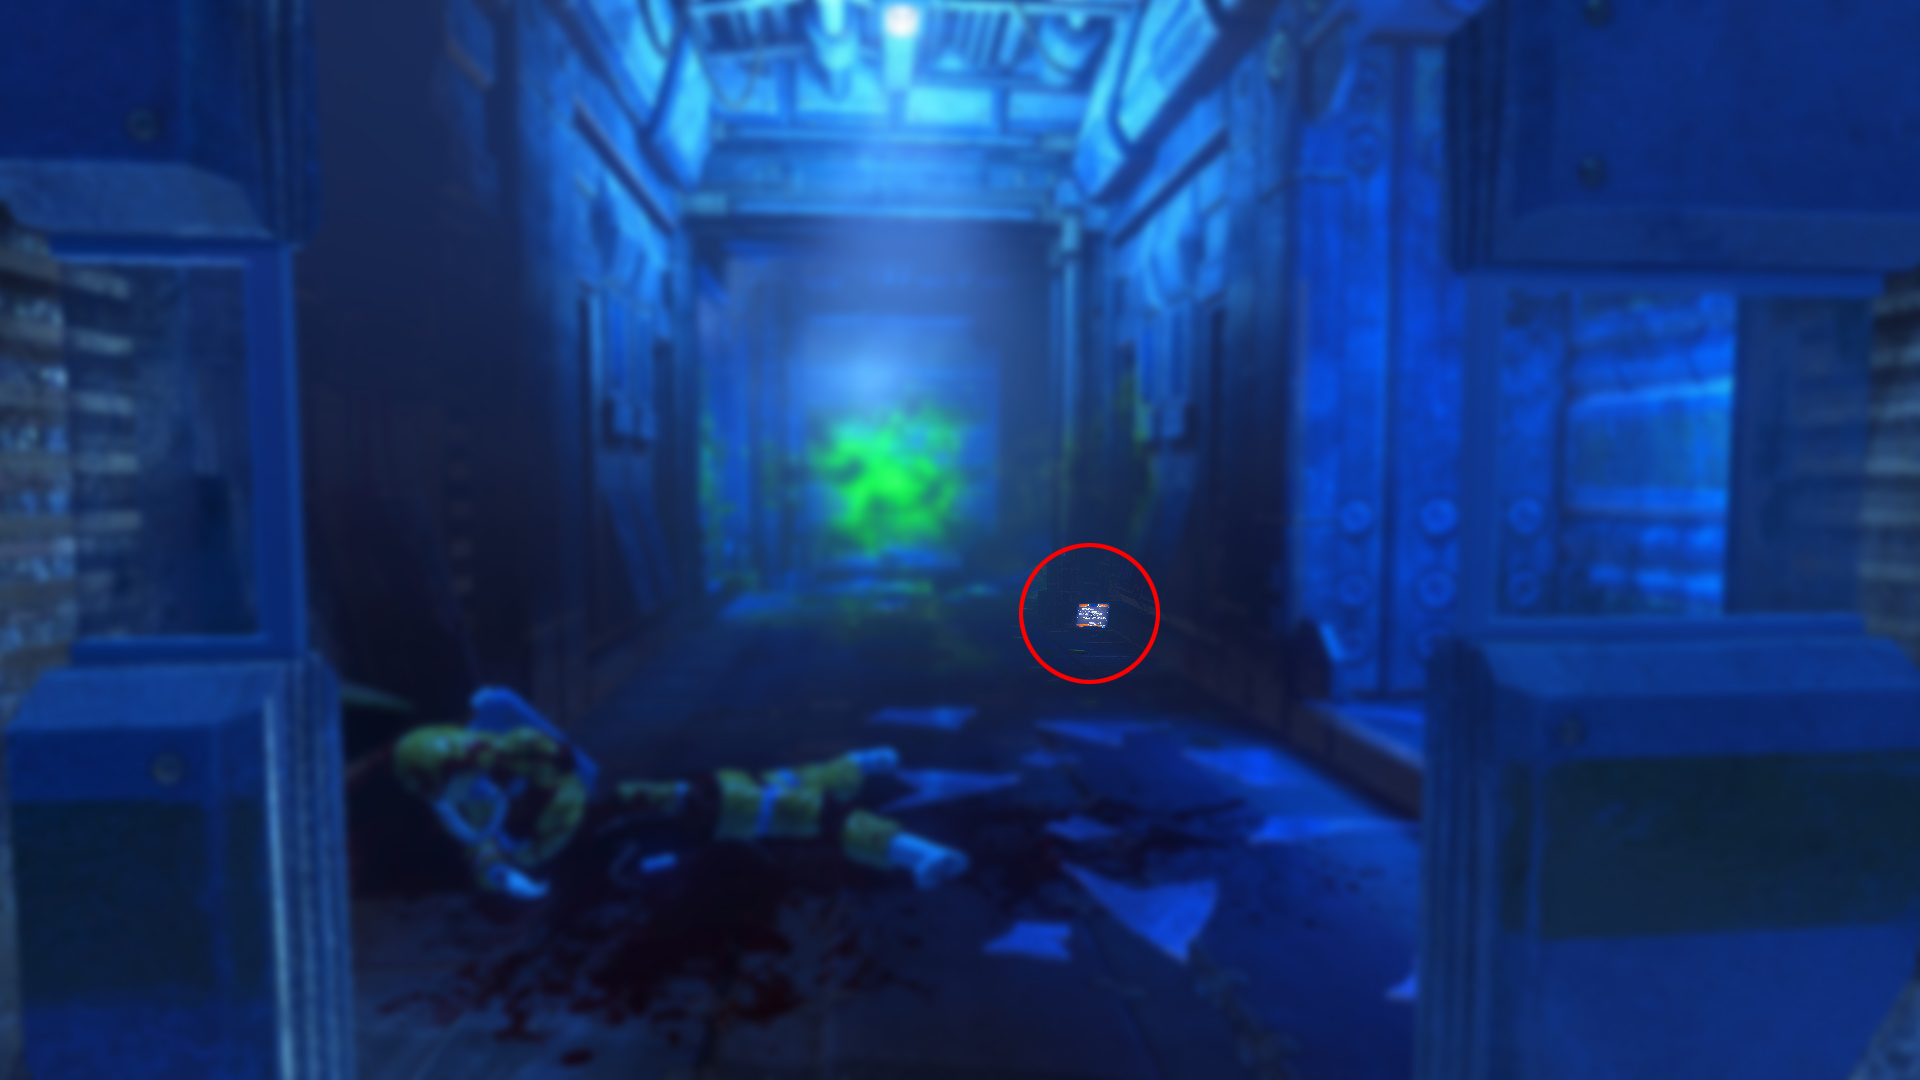
Take the PDA to the control room (code is 084666) and hold it out over the right most screen at the back.
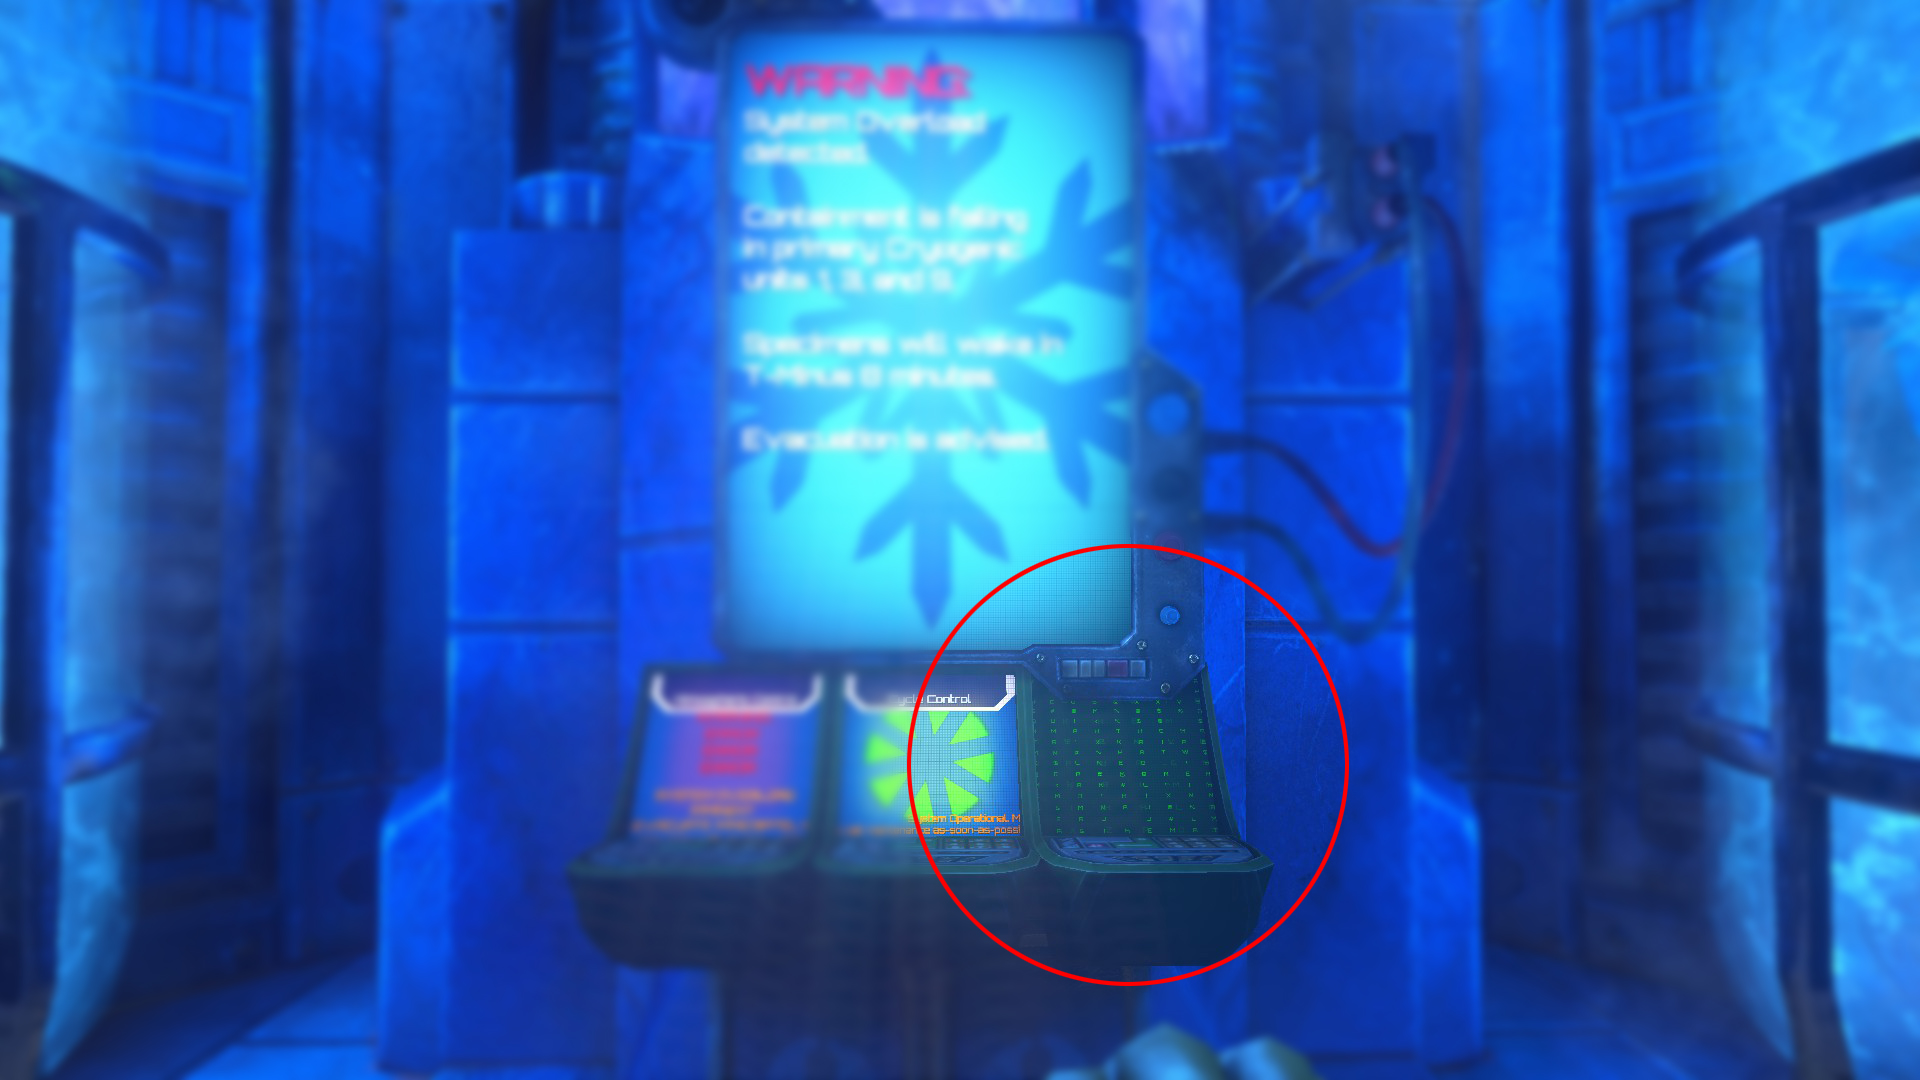
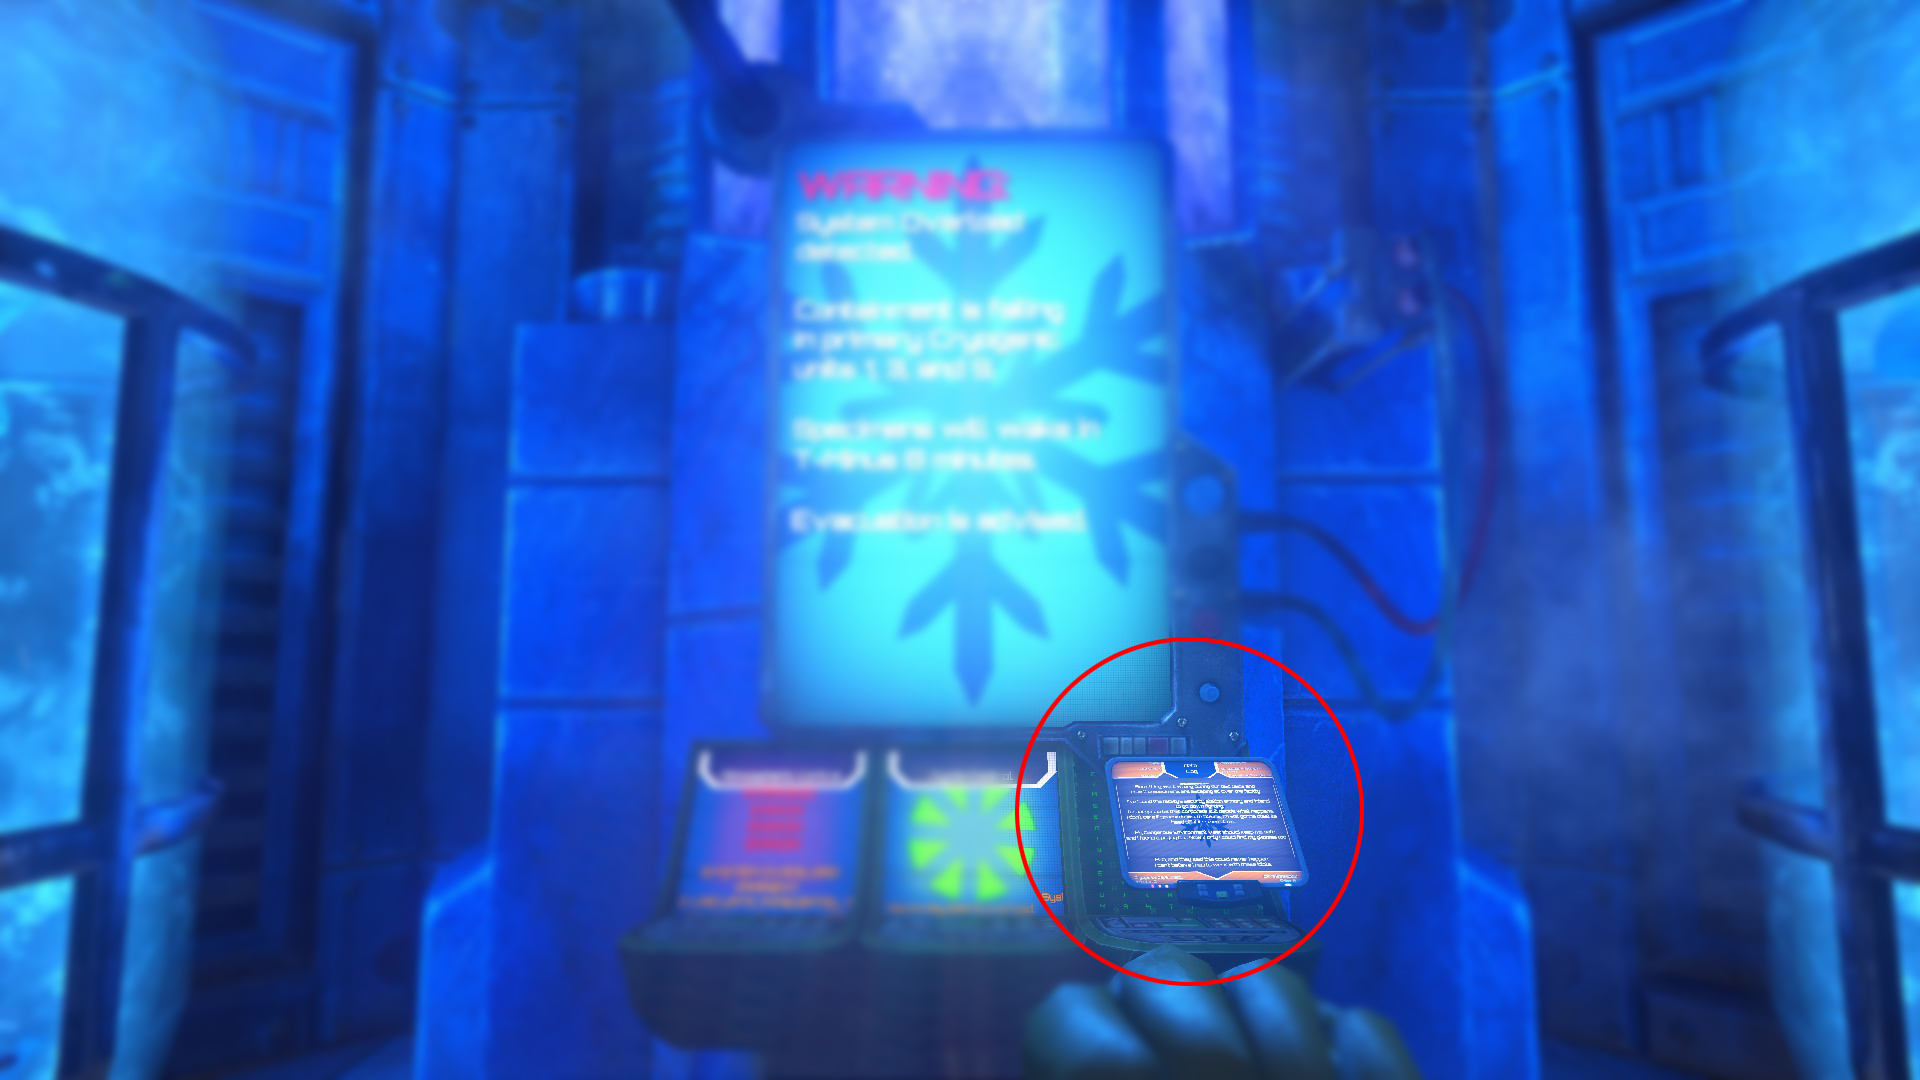
This opens a small panel past the incinerator and bucket machine containing the two collectibles.
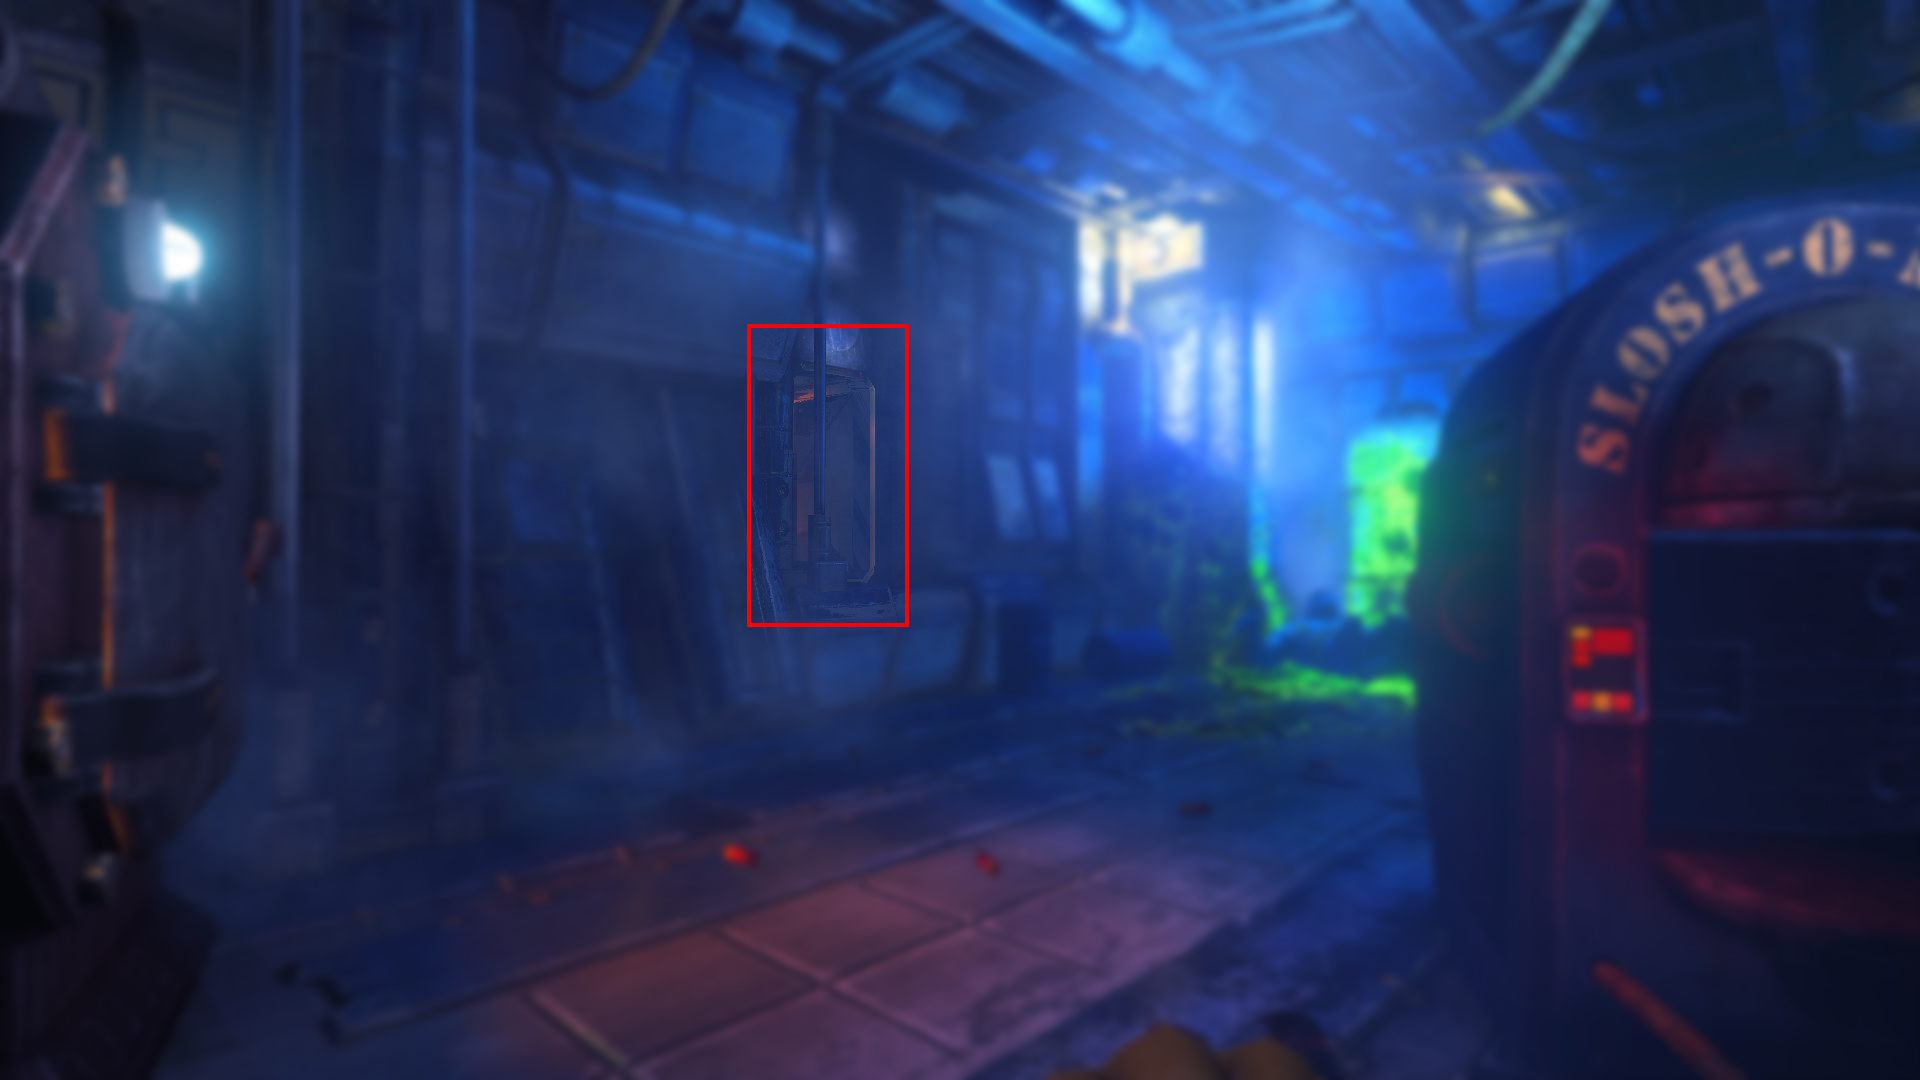
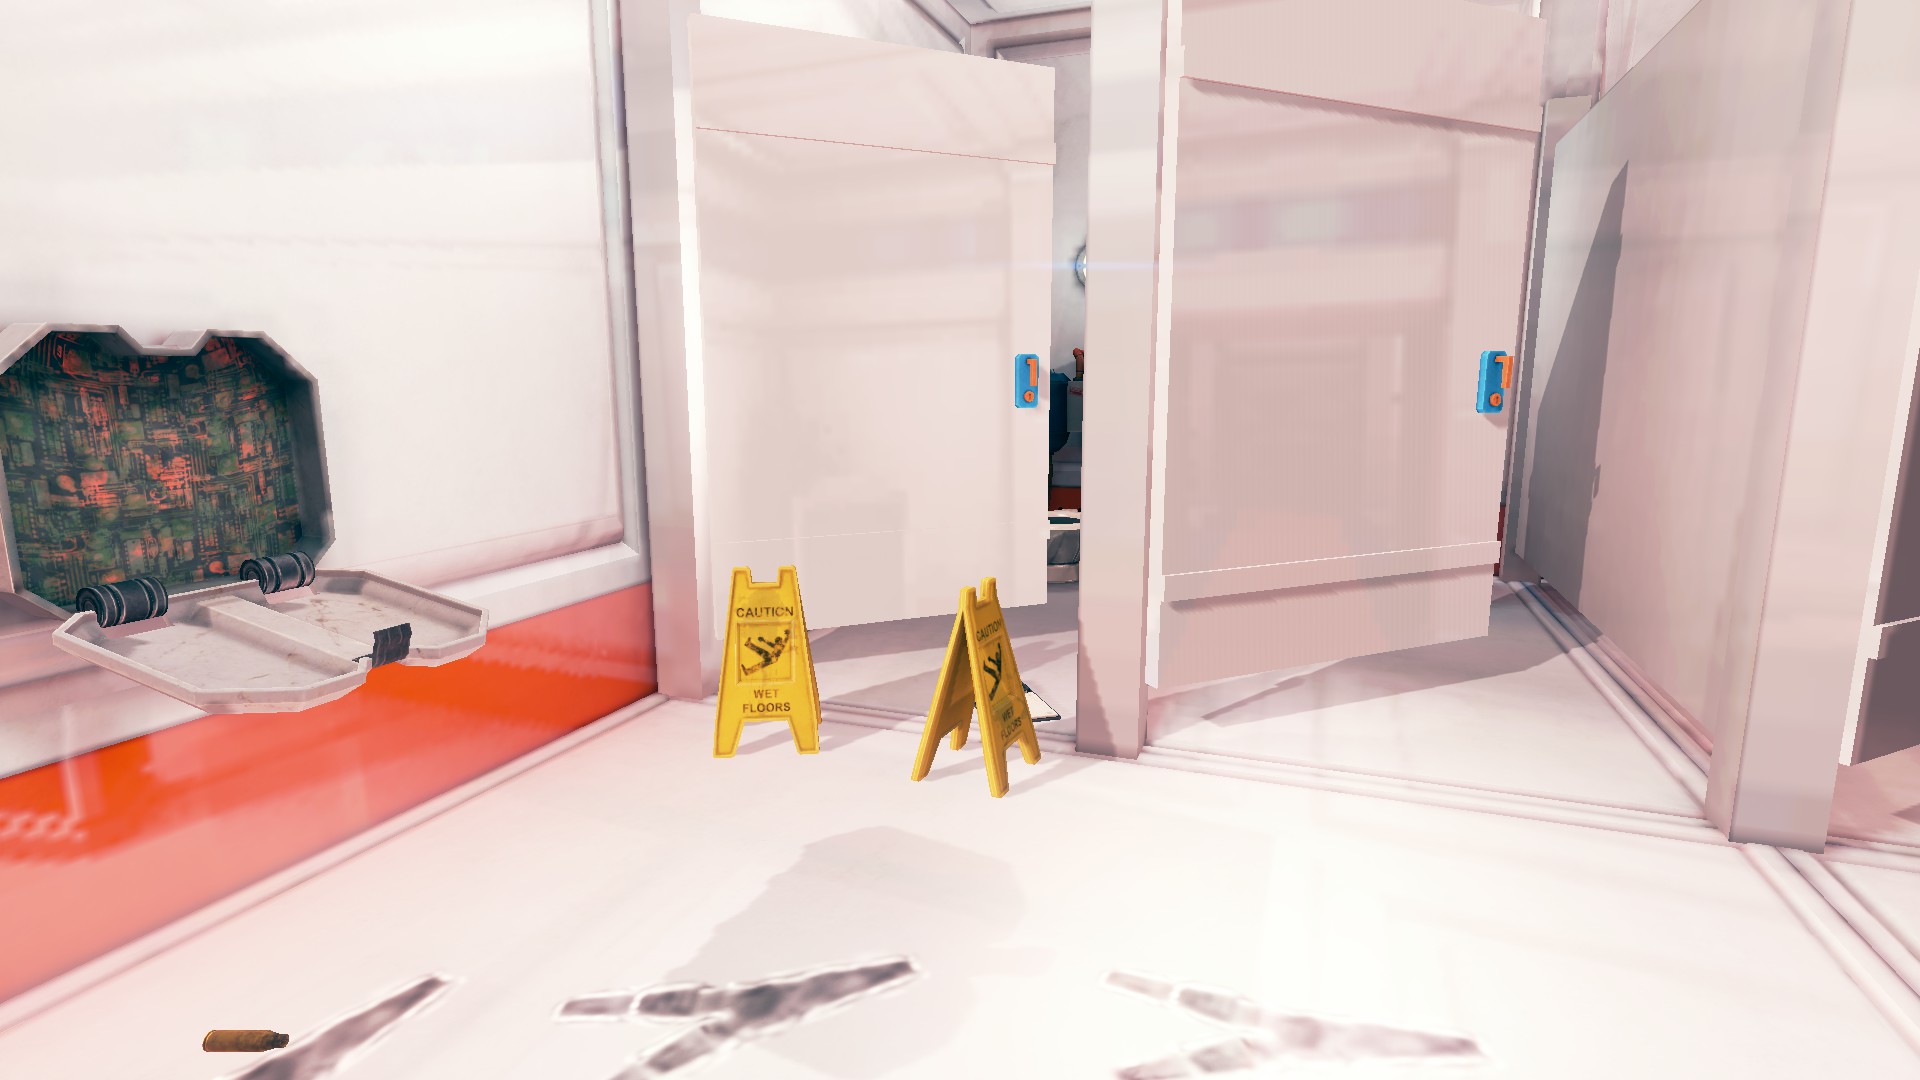 The pills are in a case inside the toilet bowl.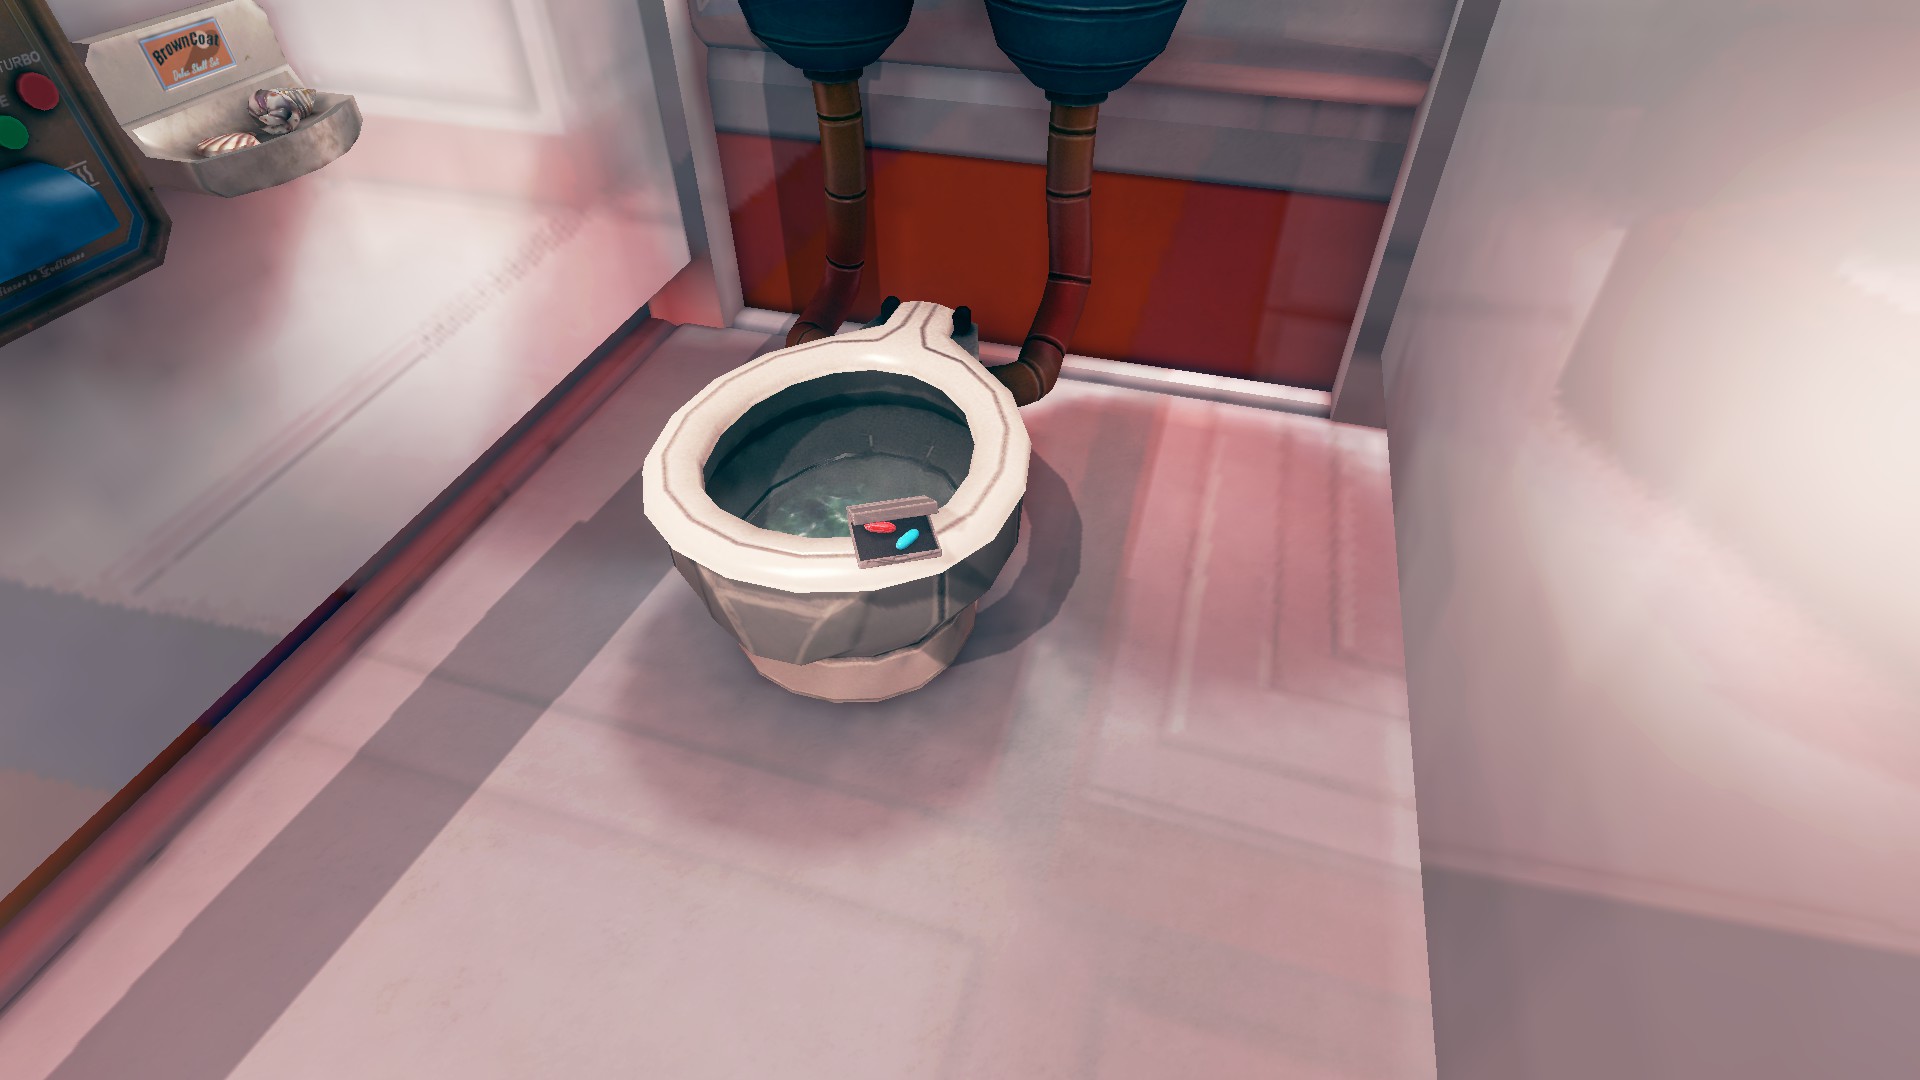
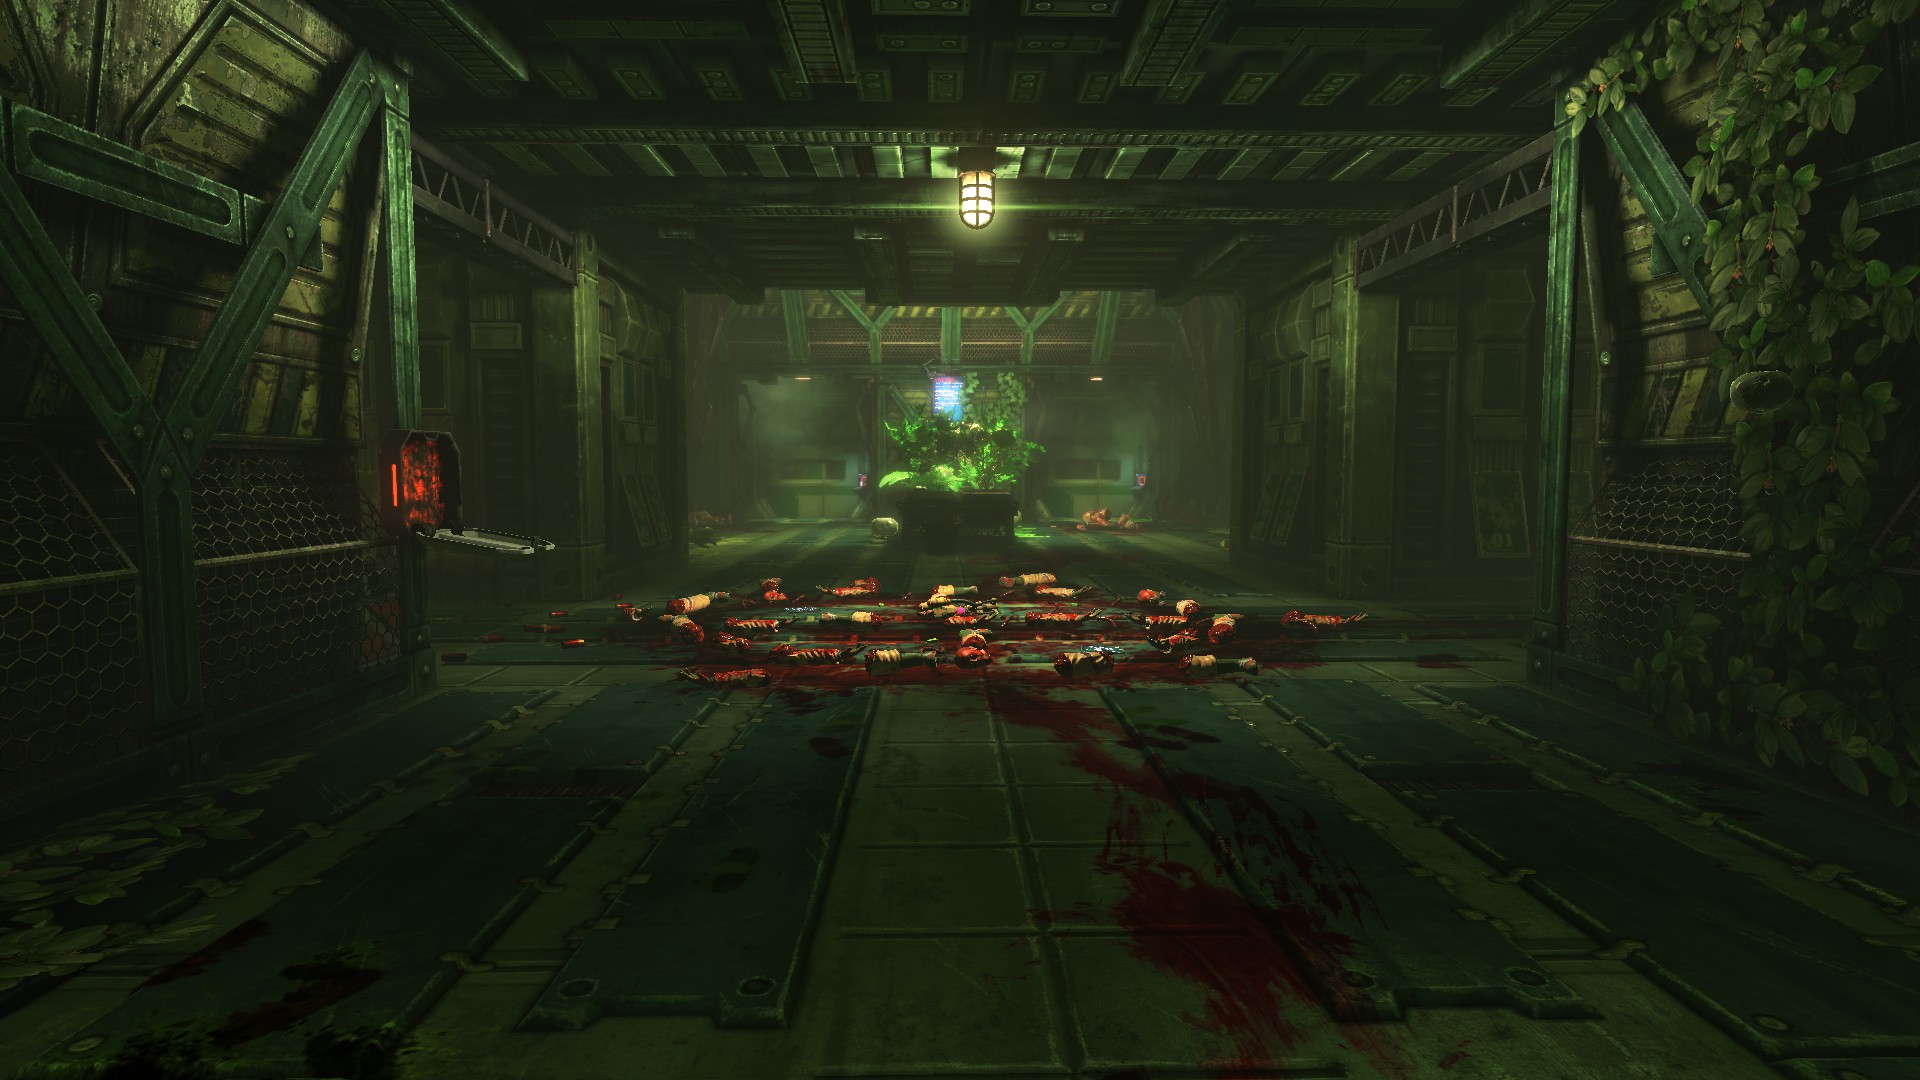 The helmet is hidden in the plants (red square in the image) and is also pictured.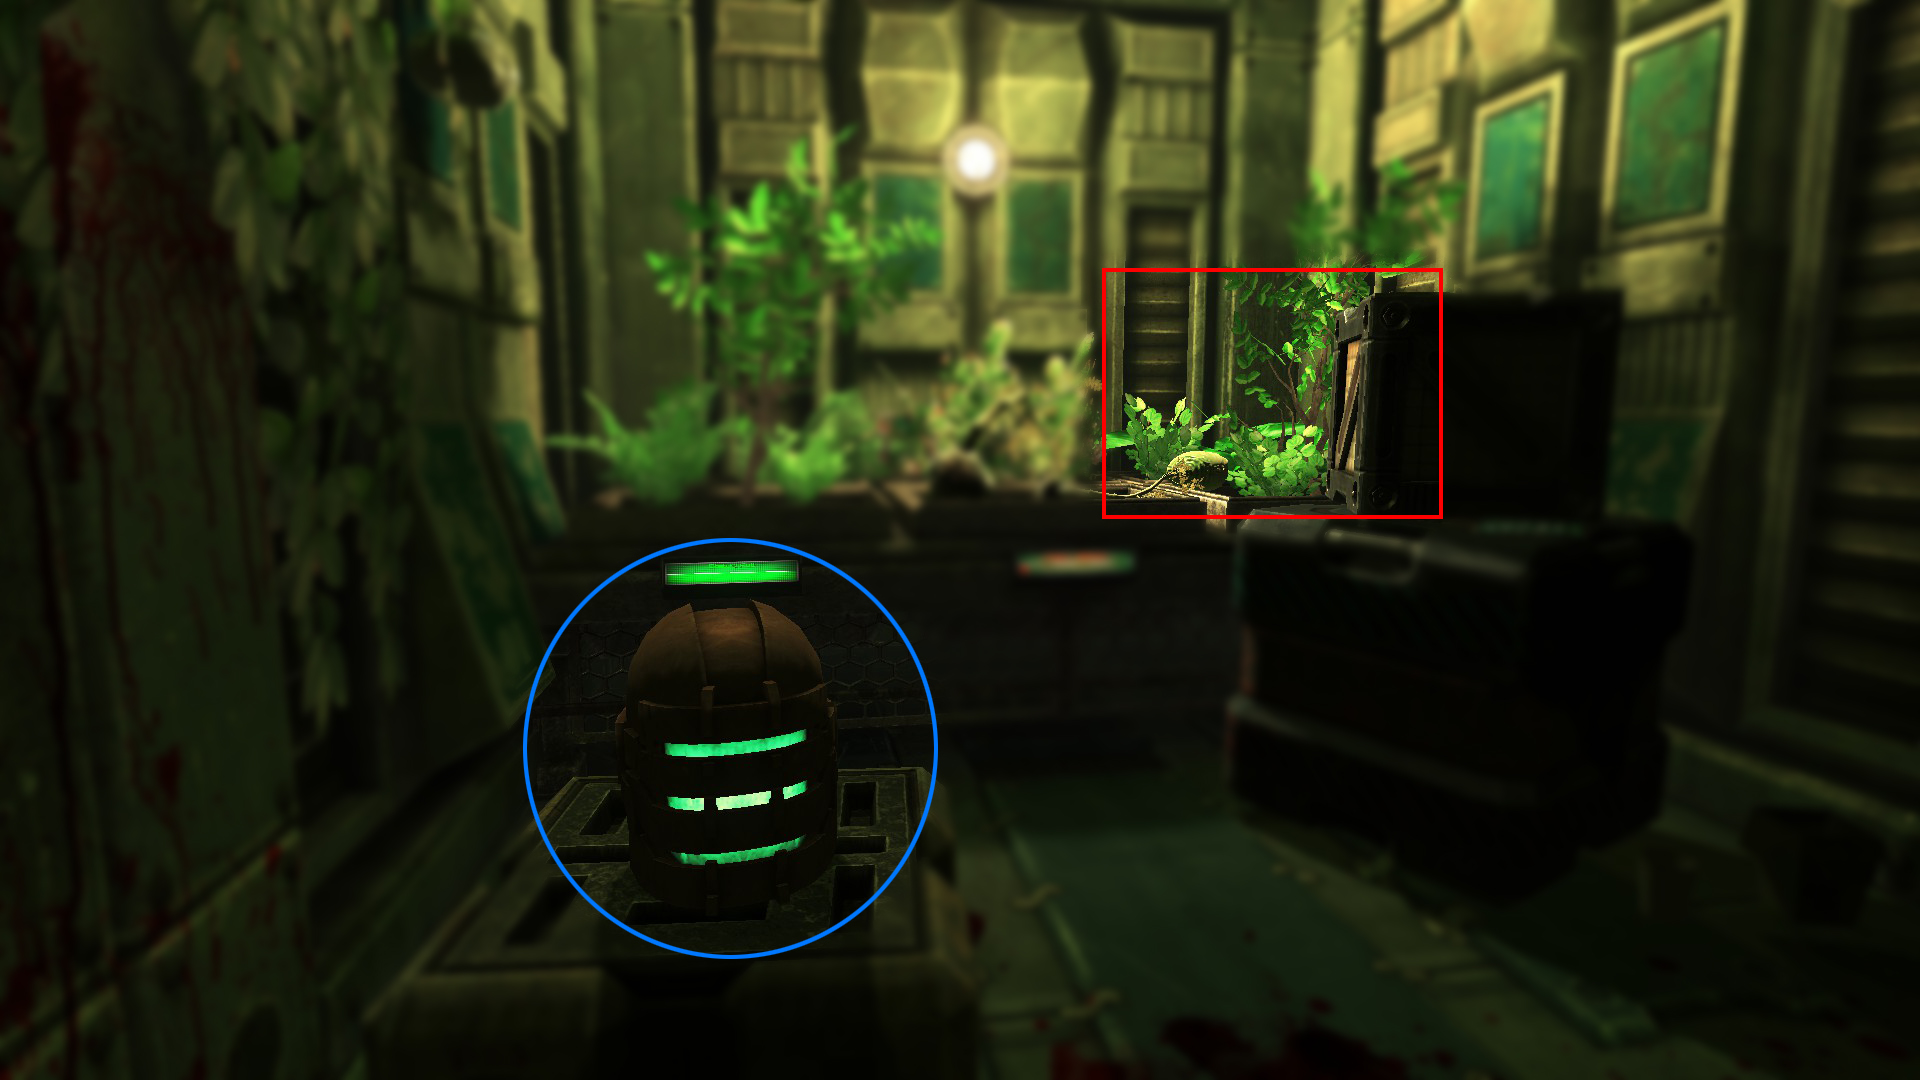
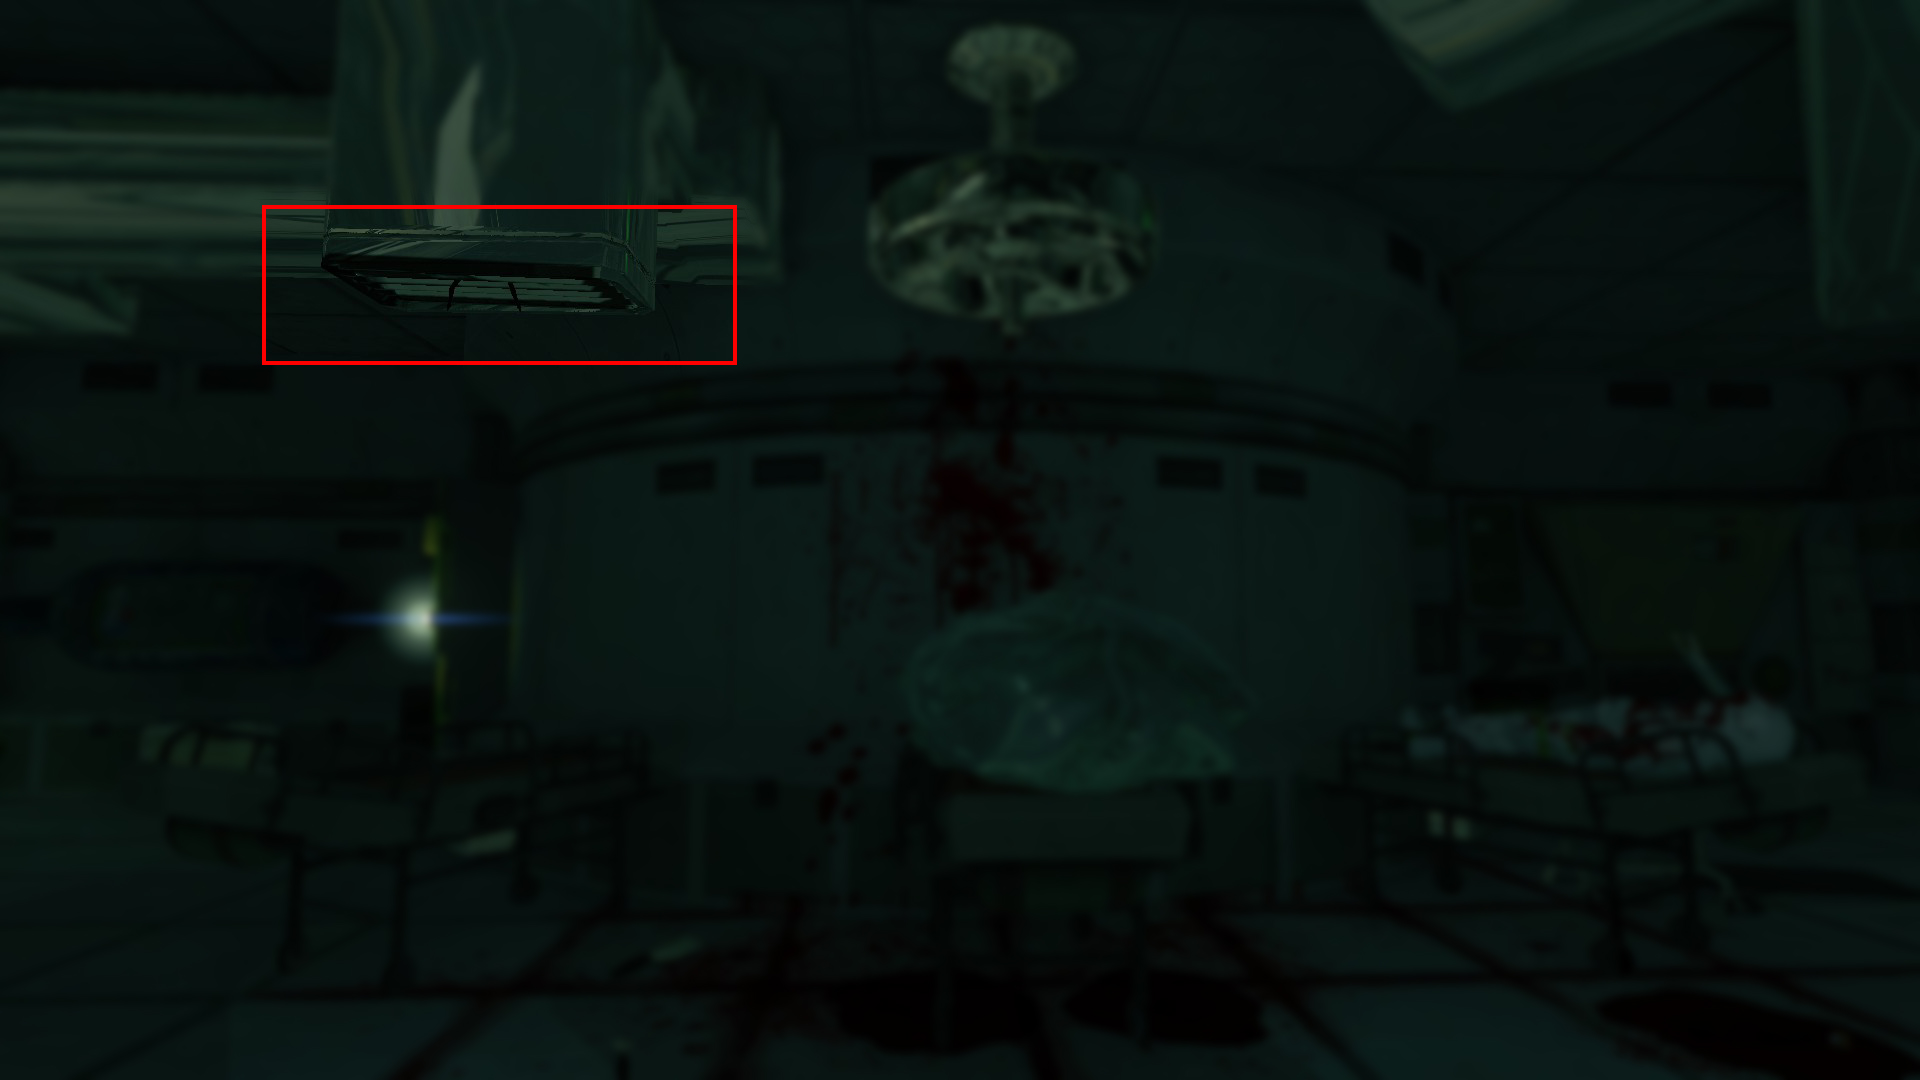 The facehugger is attached to the vent on the inside, just remove the vent cover to have it drop down.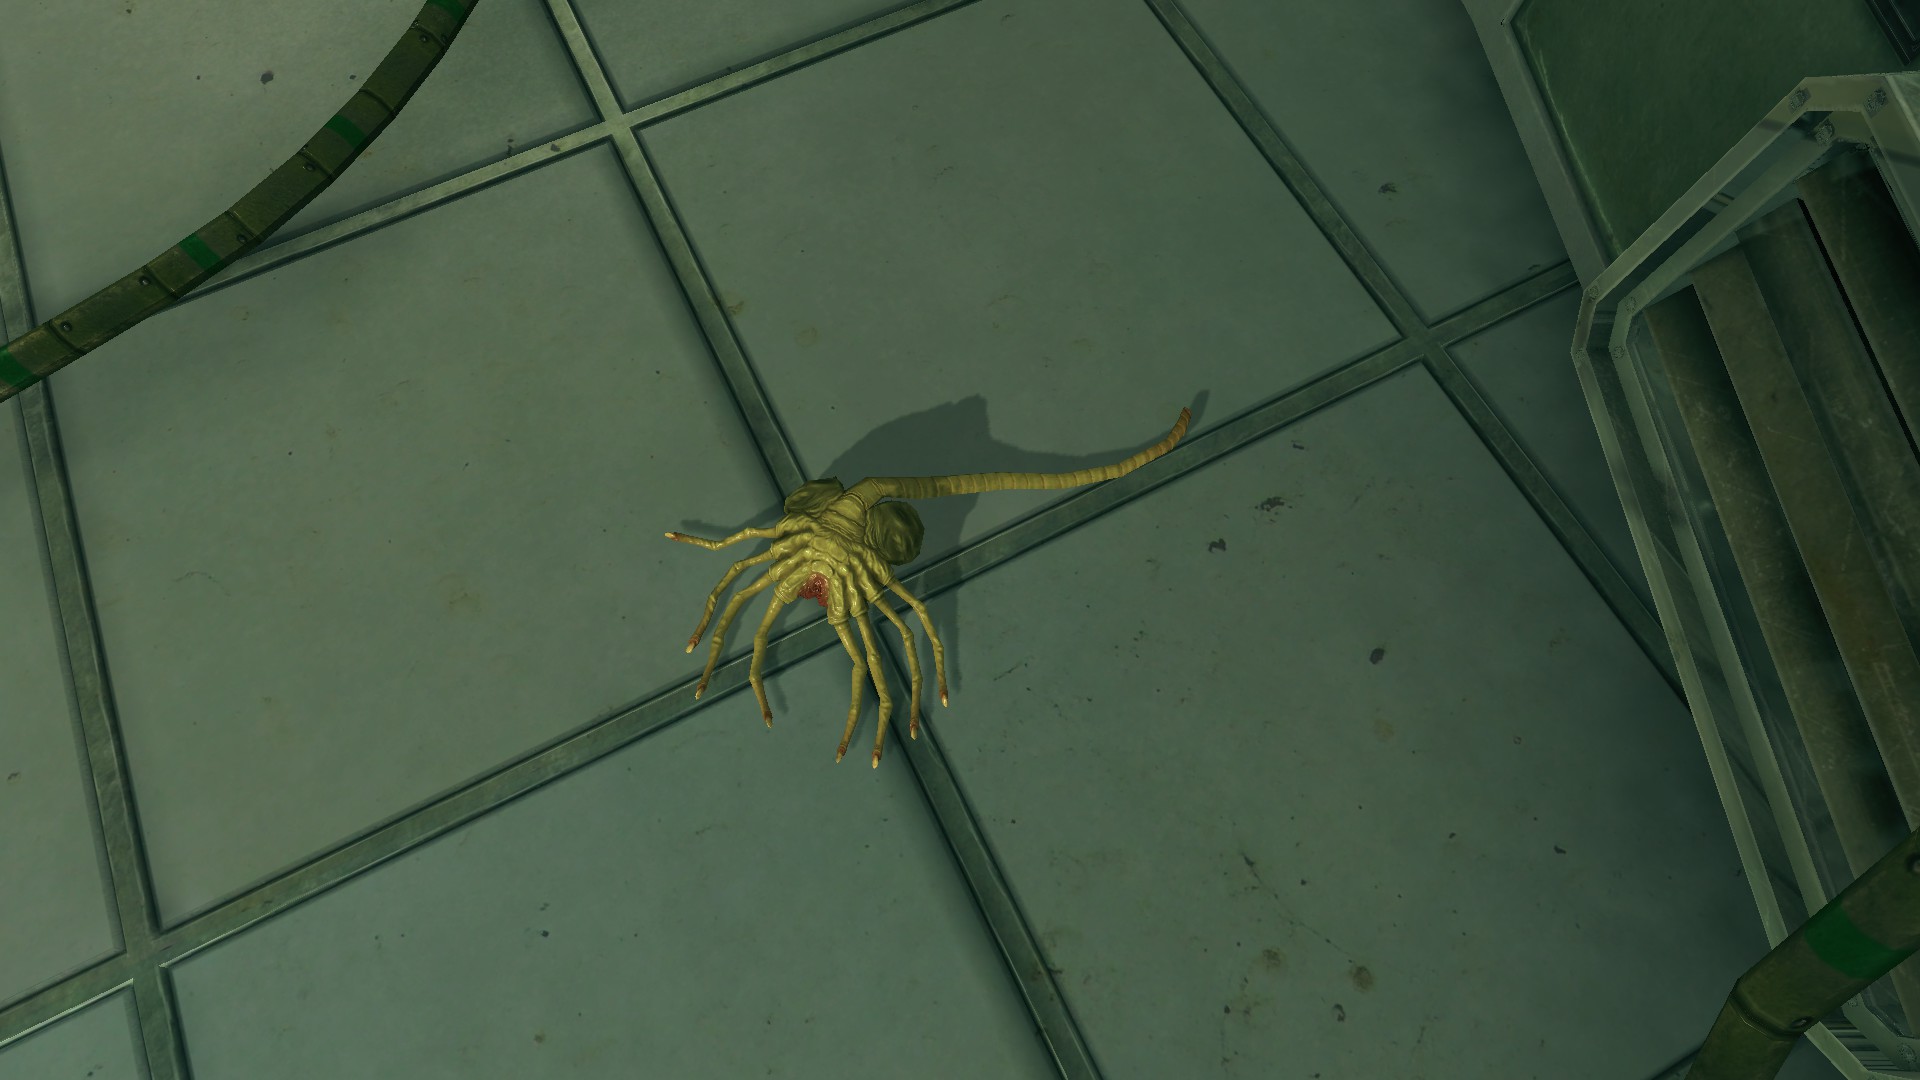
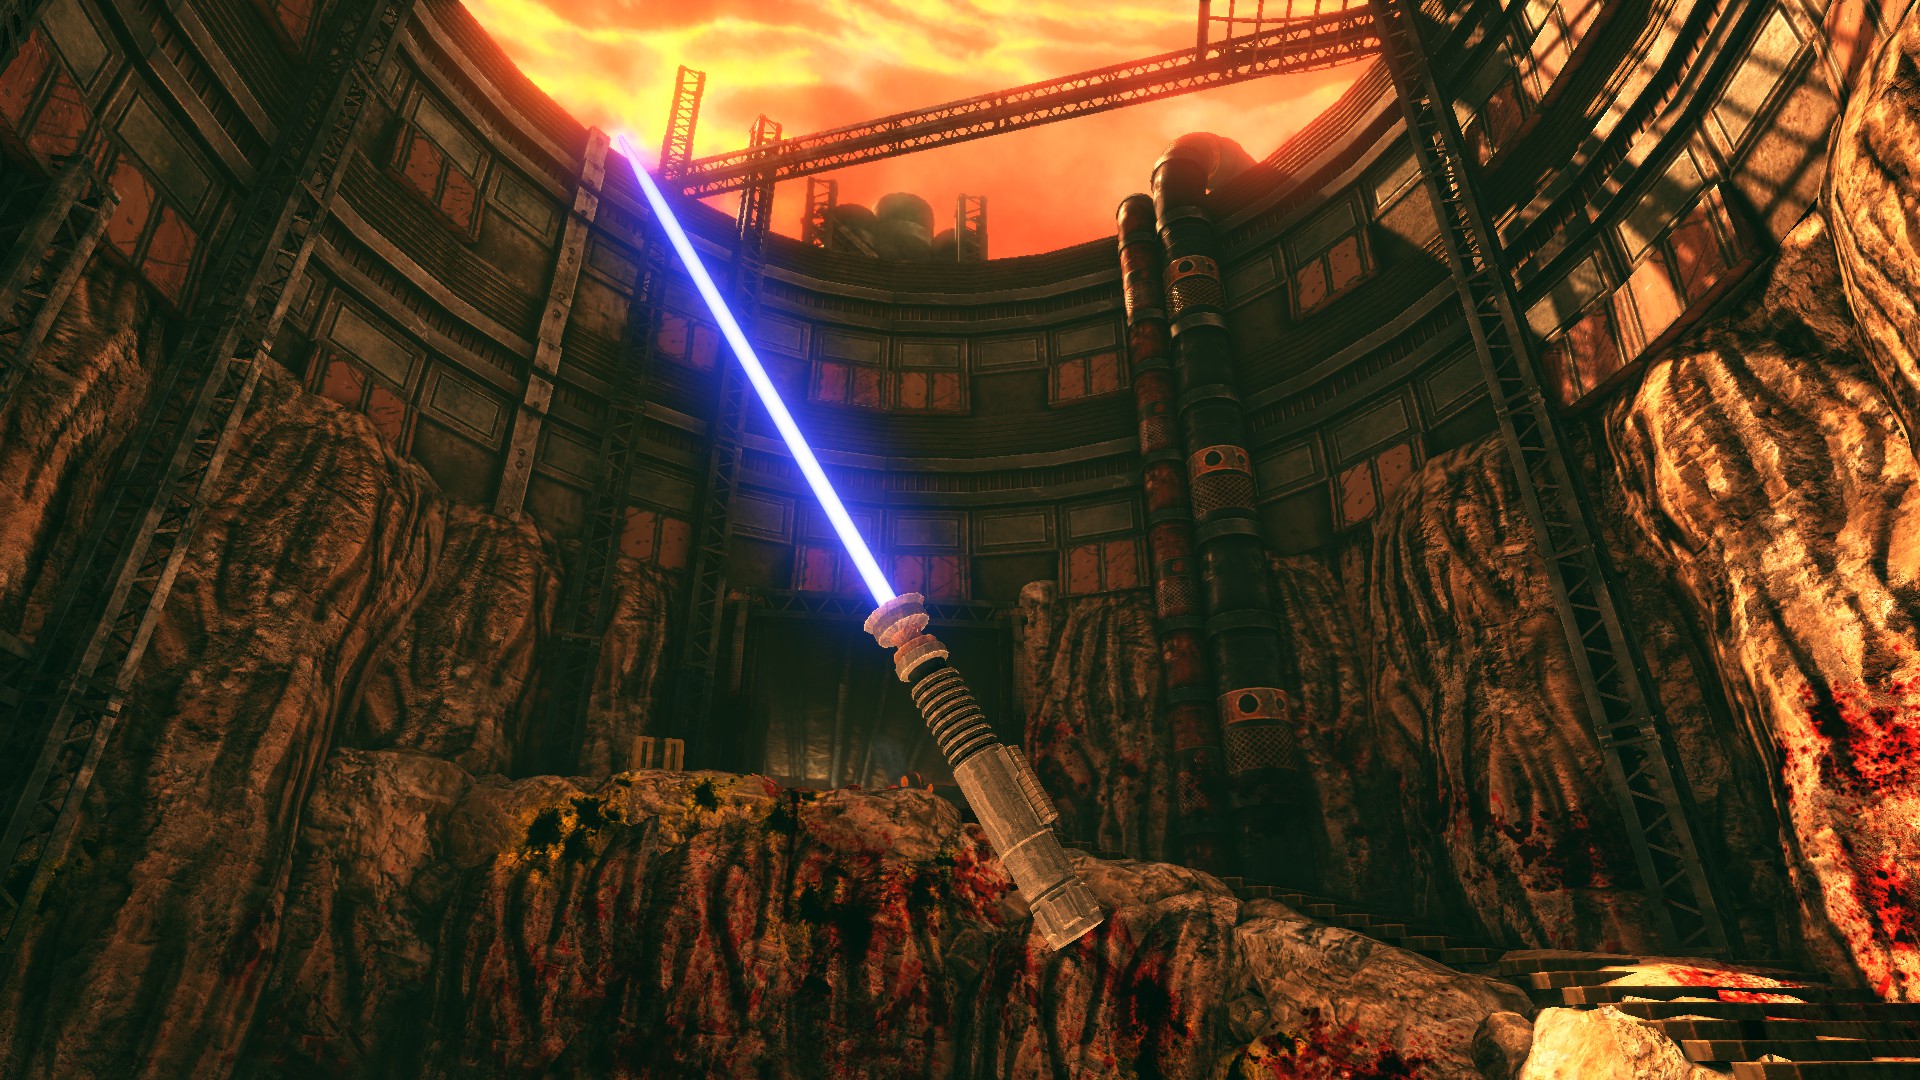 As far as I know, the chance of it appearing is completely random, and any pit on the level can be used. Additionally, having the sound up is a good method as the lightsaber will make a discernible metal clunk sound as opposed to the usual flesh sound.
The following collectibles requires the completed actions from the 'Bob's Legacy' and '"Red Keycard"' achievements to reach:
As far as I know, the chance of it appearing is completely random, and any pit on the level can be used. Additionally, having the sound up is a good method as the lightsaber will make a discernible metal clunk sound as opposed to the usual flesh sound.
The following collectibles requires the completed actions from the 'Bob's Legacy' and '"Red Keycard"' achievements to reach: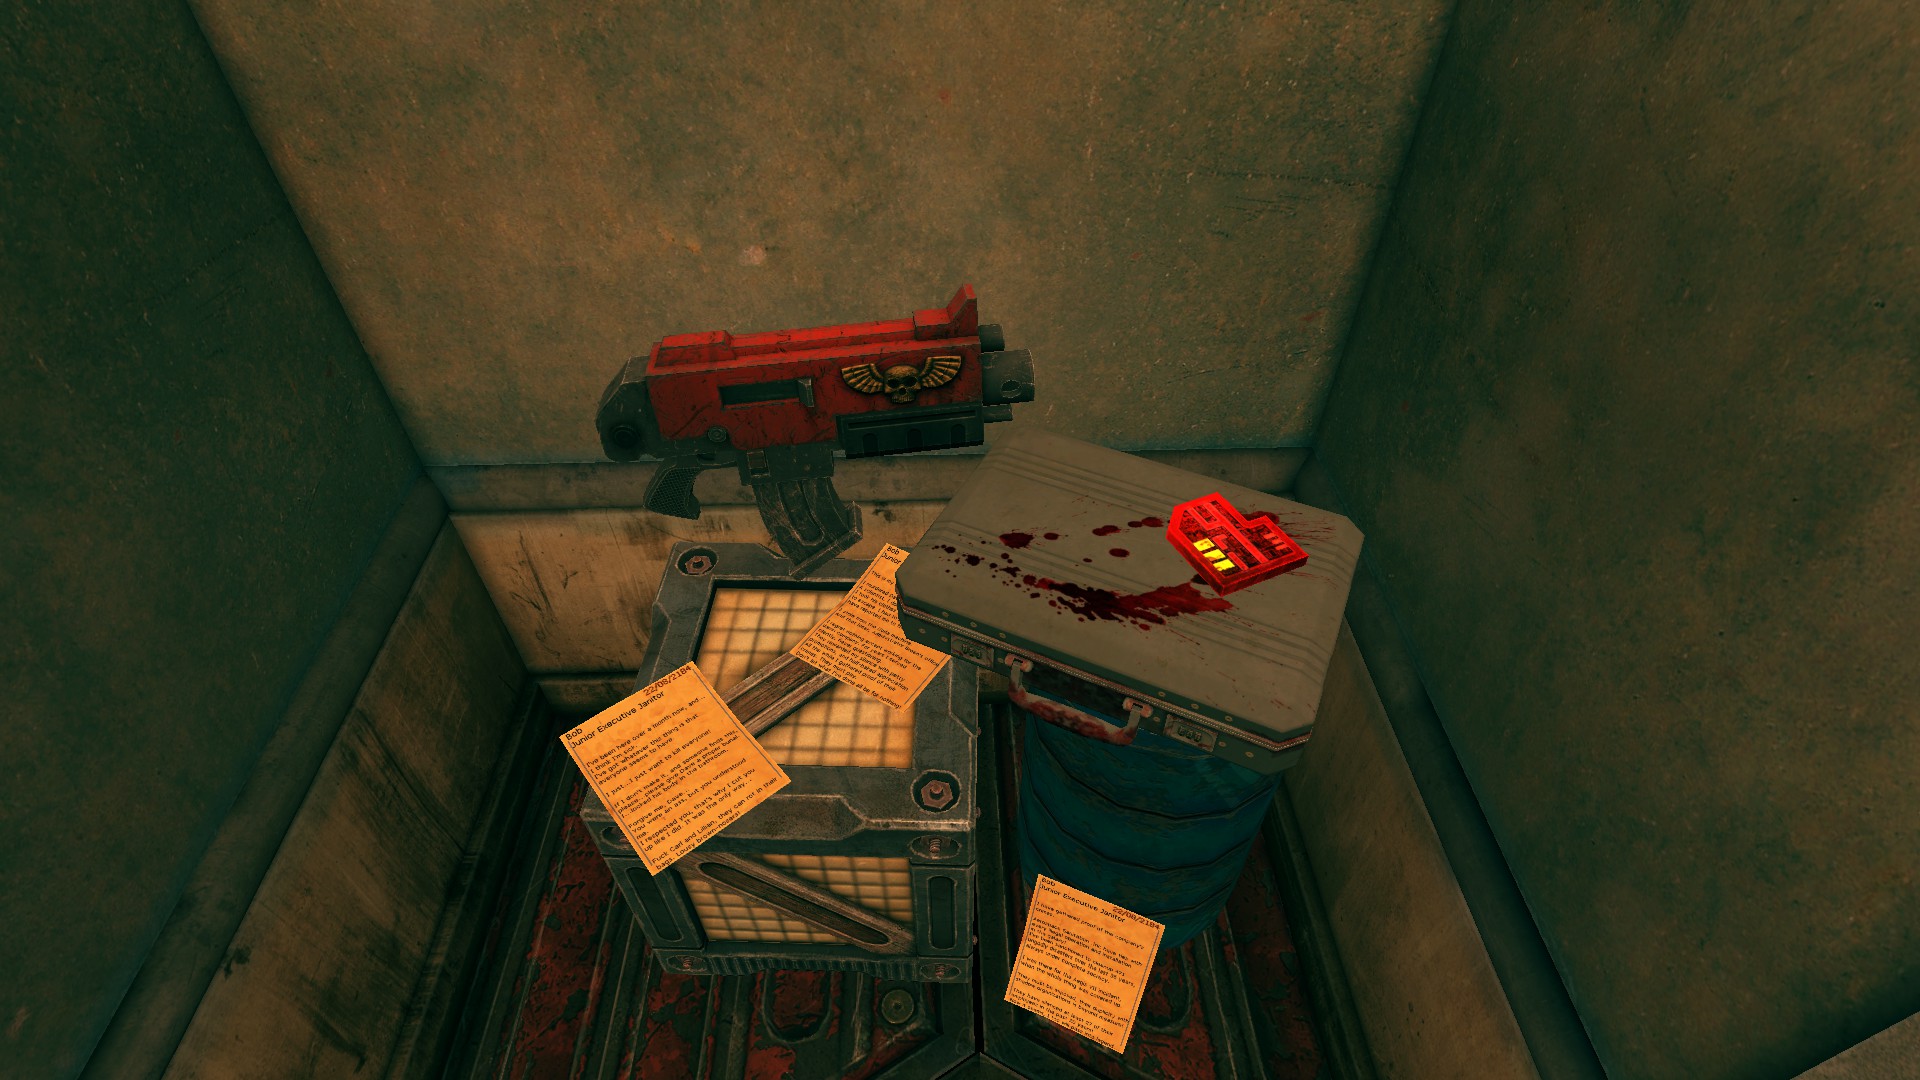
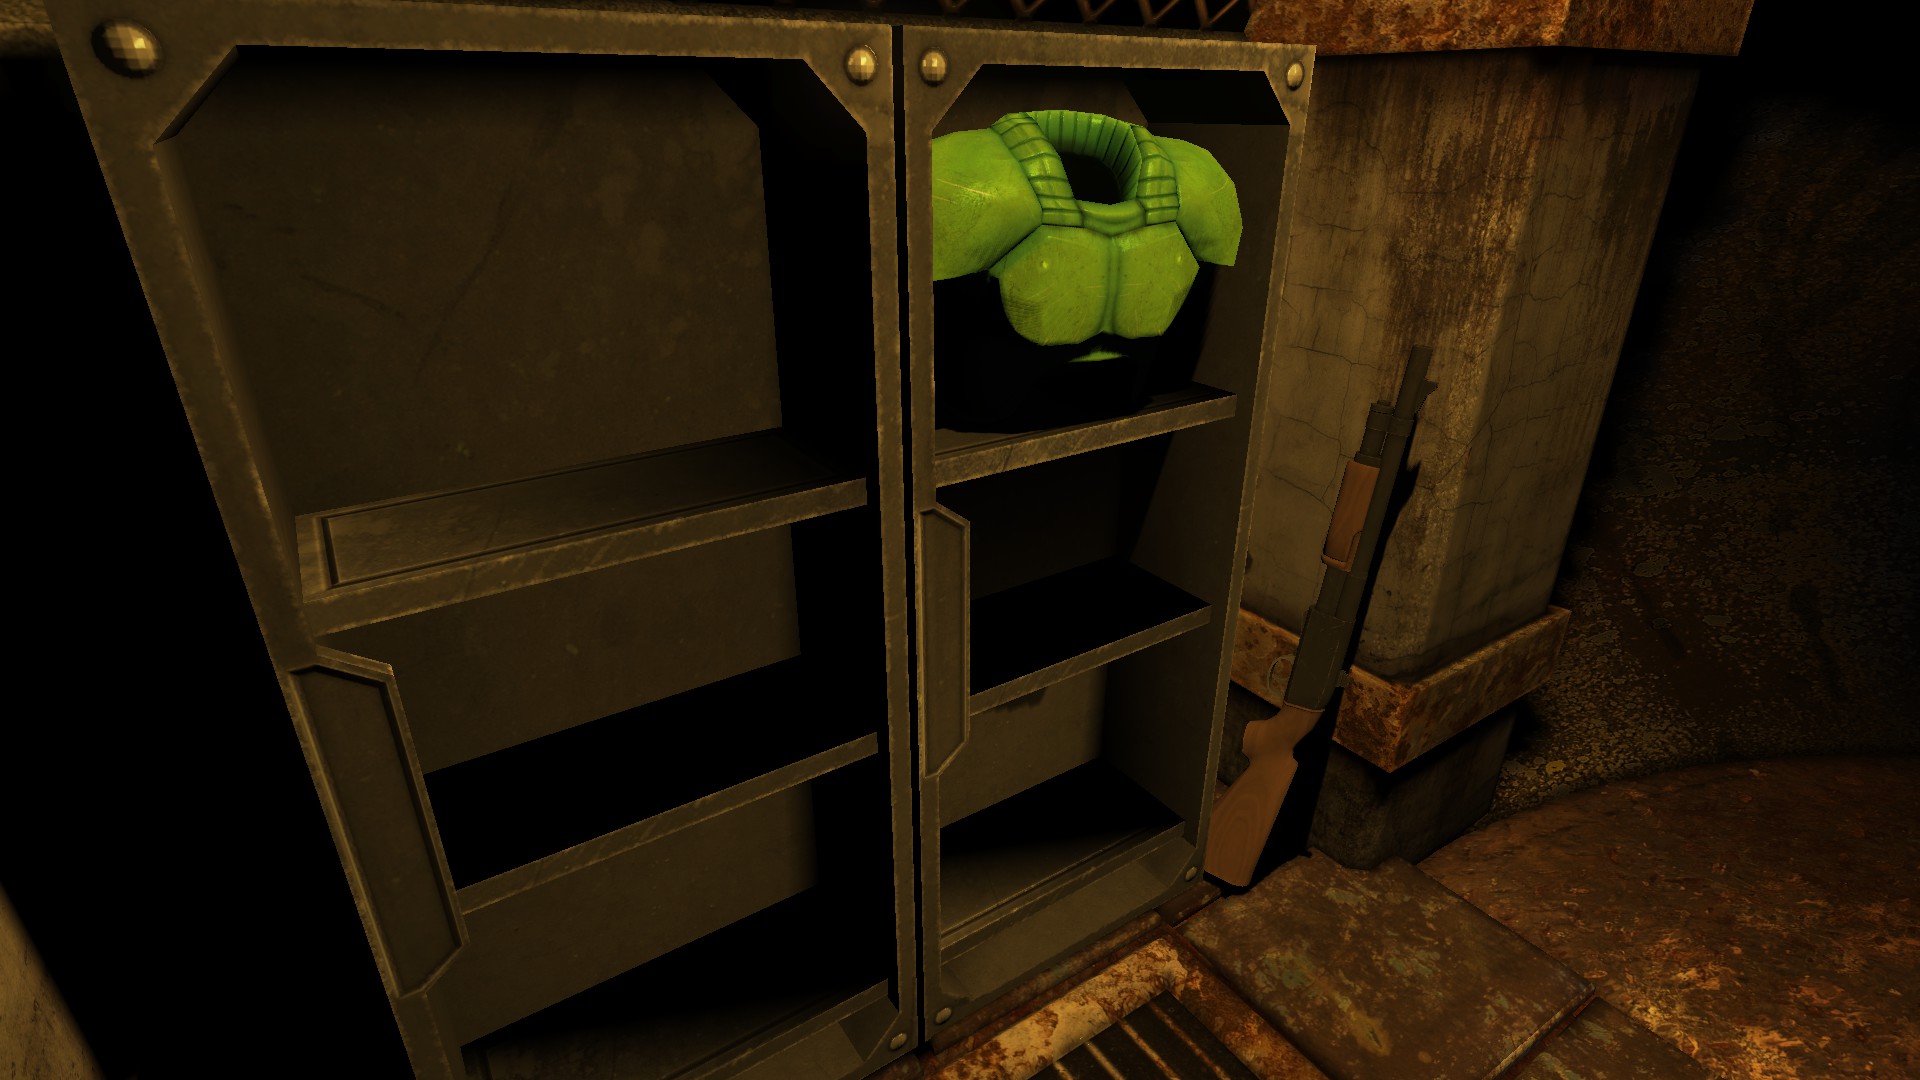
Completion Achievements
 You're Fired!
Get Fired! You'll get this one by clocking out leaving a mess. Just start up any map and clock out at the beginning is the quickest way. Be proud of your work!
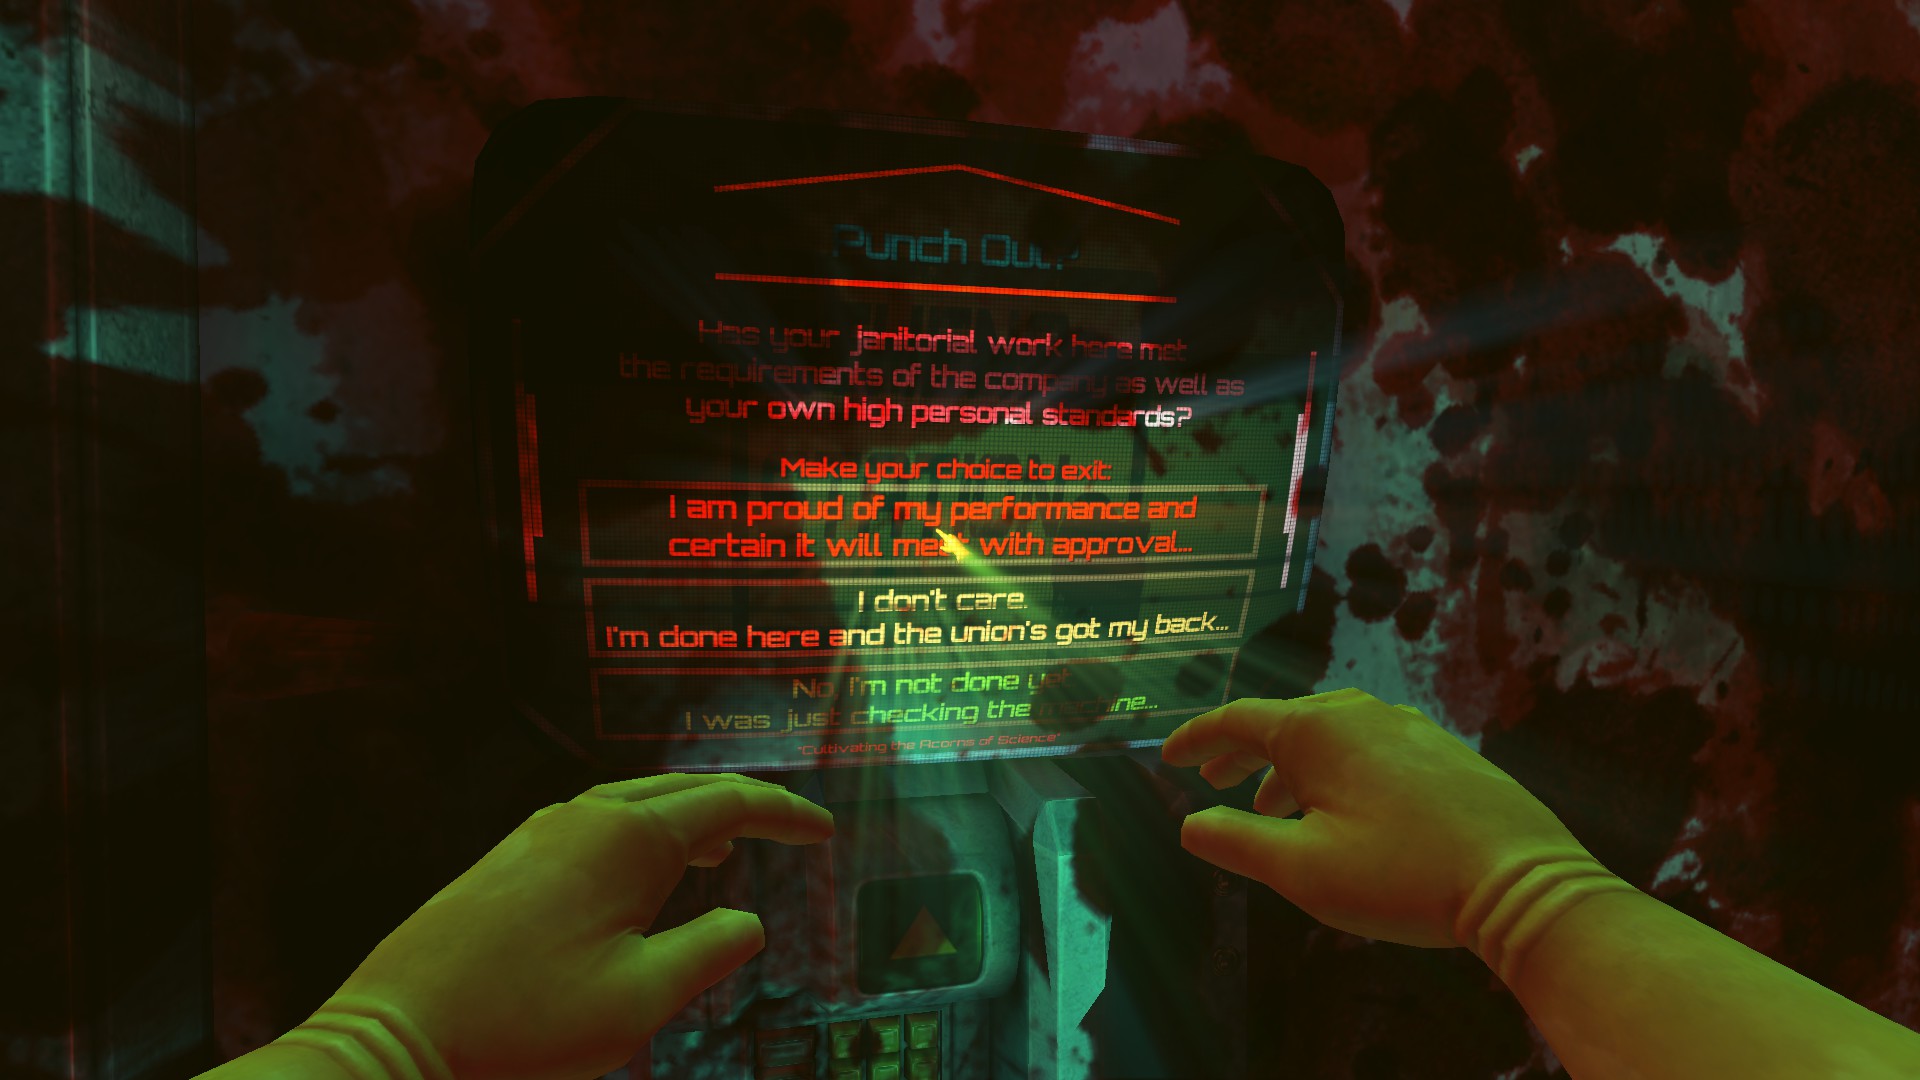
 Spring Fresh
Clean any map adequately Try your hardest to clean every bloodstain and remove every bullet casing to clean up. There's a threshold of remains you can leave which still allows you to get the 'adequate' rating you need for this achievement. A good idea is to save before you clock out, you can then load it and look harder.
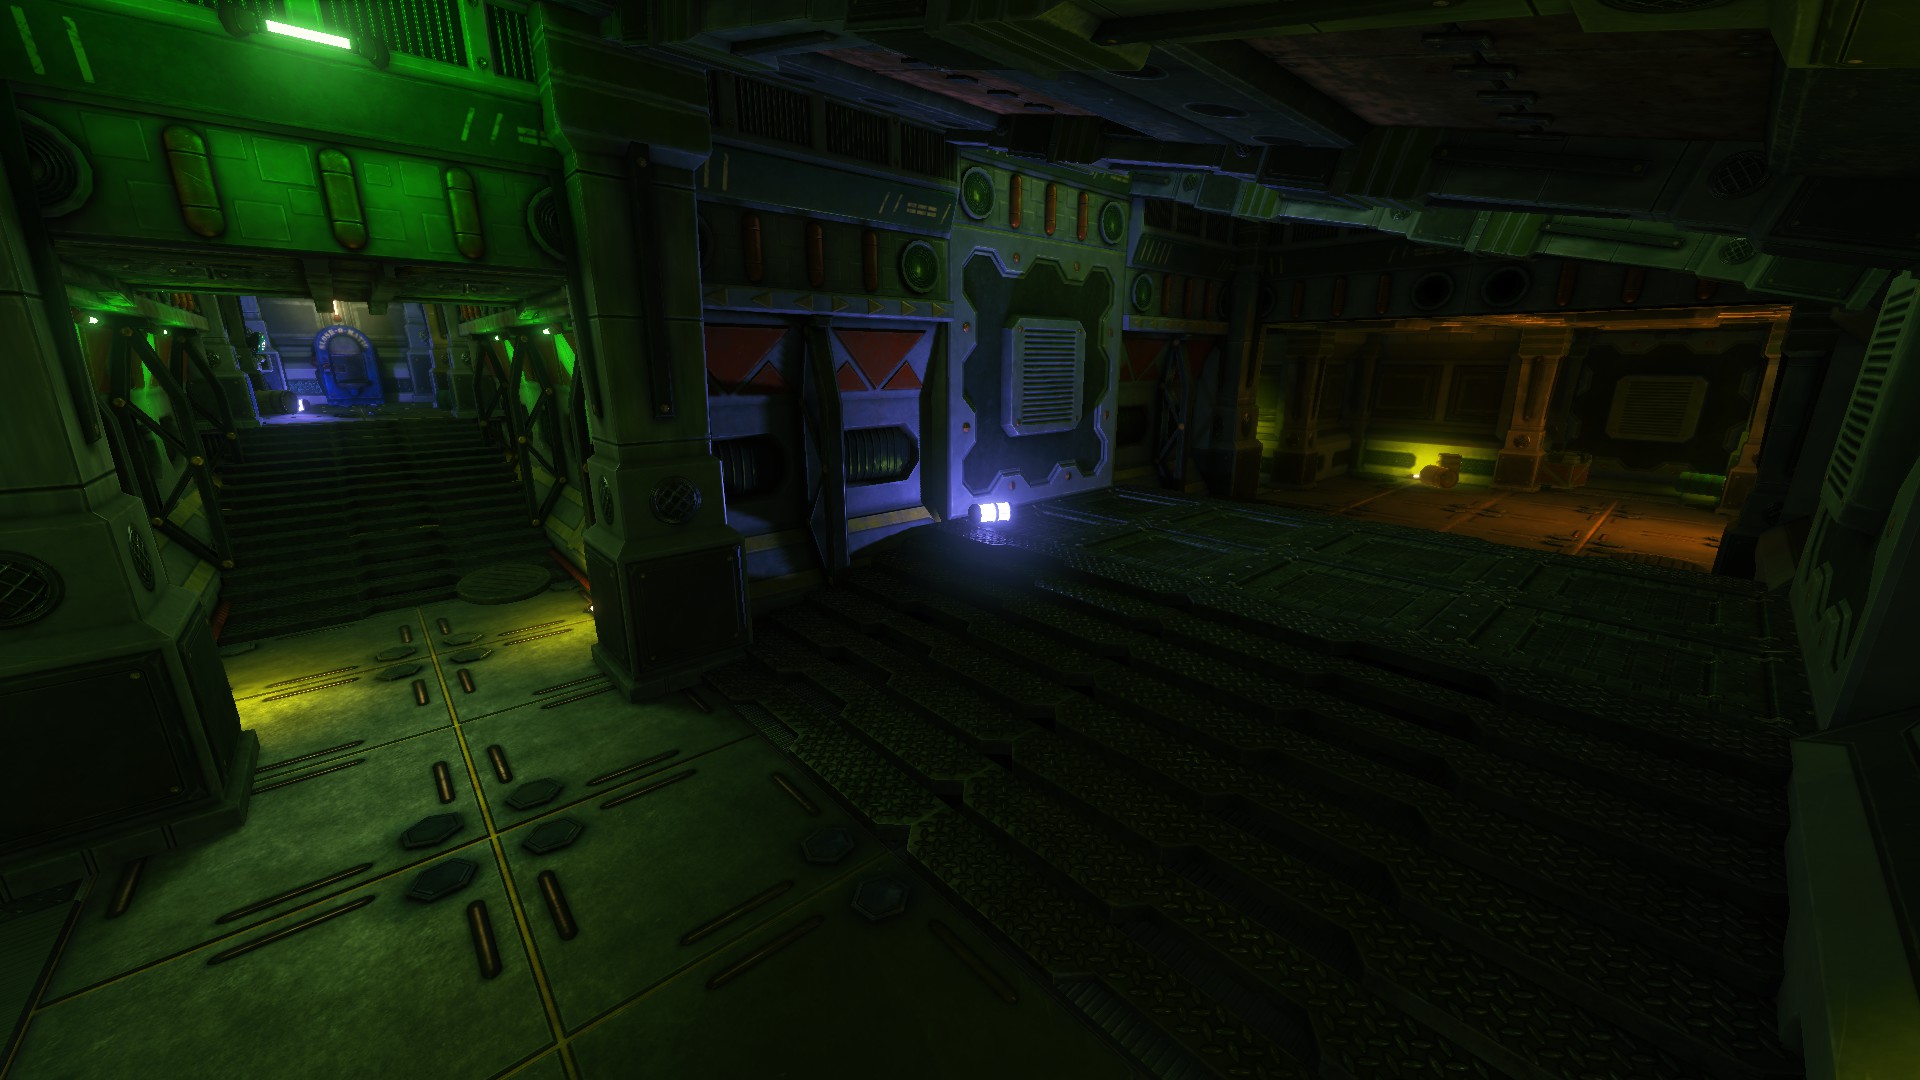
 Employee of the Month
Get the Employee of the Month reward for your office Do an exceptional job, and you shall be rewarded with an "Employee of the Month" award. This means cleaning every blood stain, removing every loose item, correctly placing barrels (upright) and stacking objects in their designated stacking zones where applicable. Get over 100% completion on a level to get an award, you can check your percentage on the screen in your office after level completion. Bringing P.I.Ds back to the machine and doing your paperwork before punching out may give you the boost you need to get over 100%.
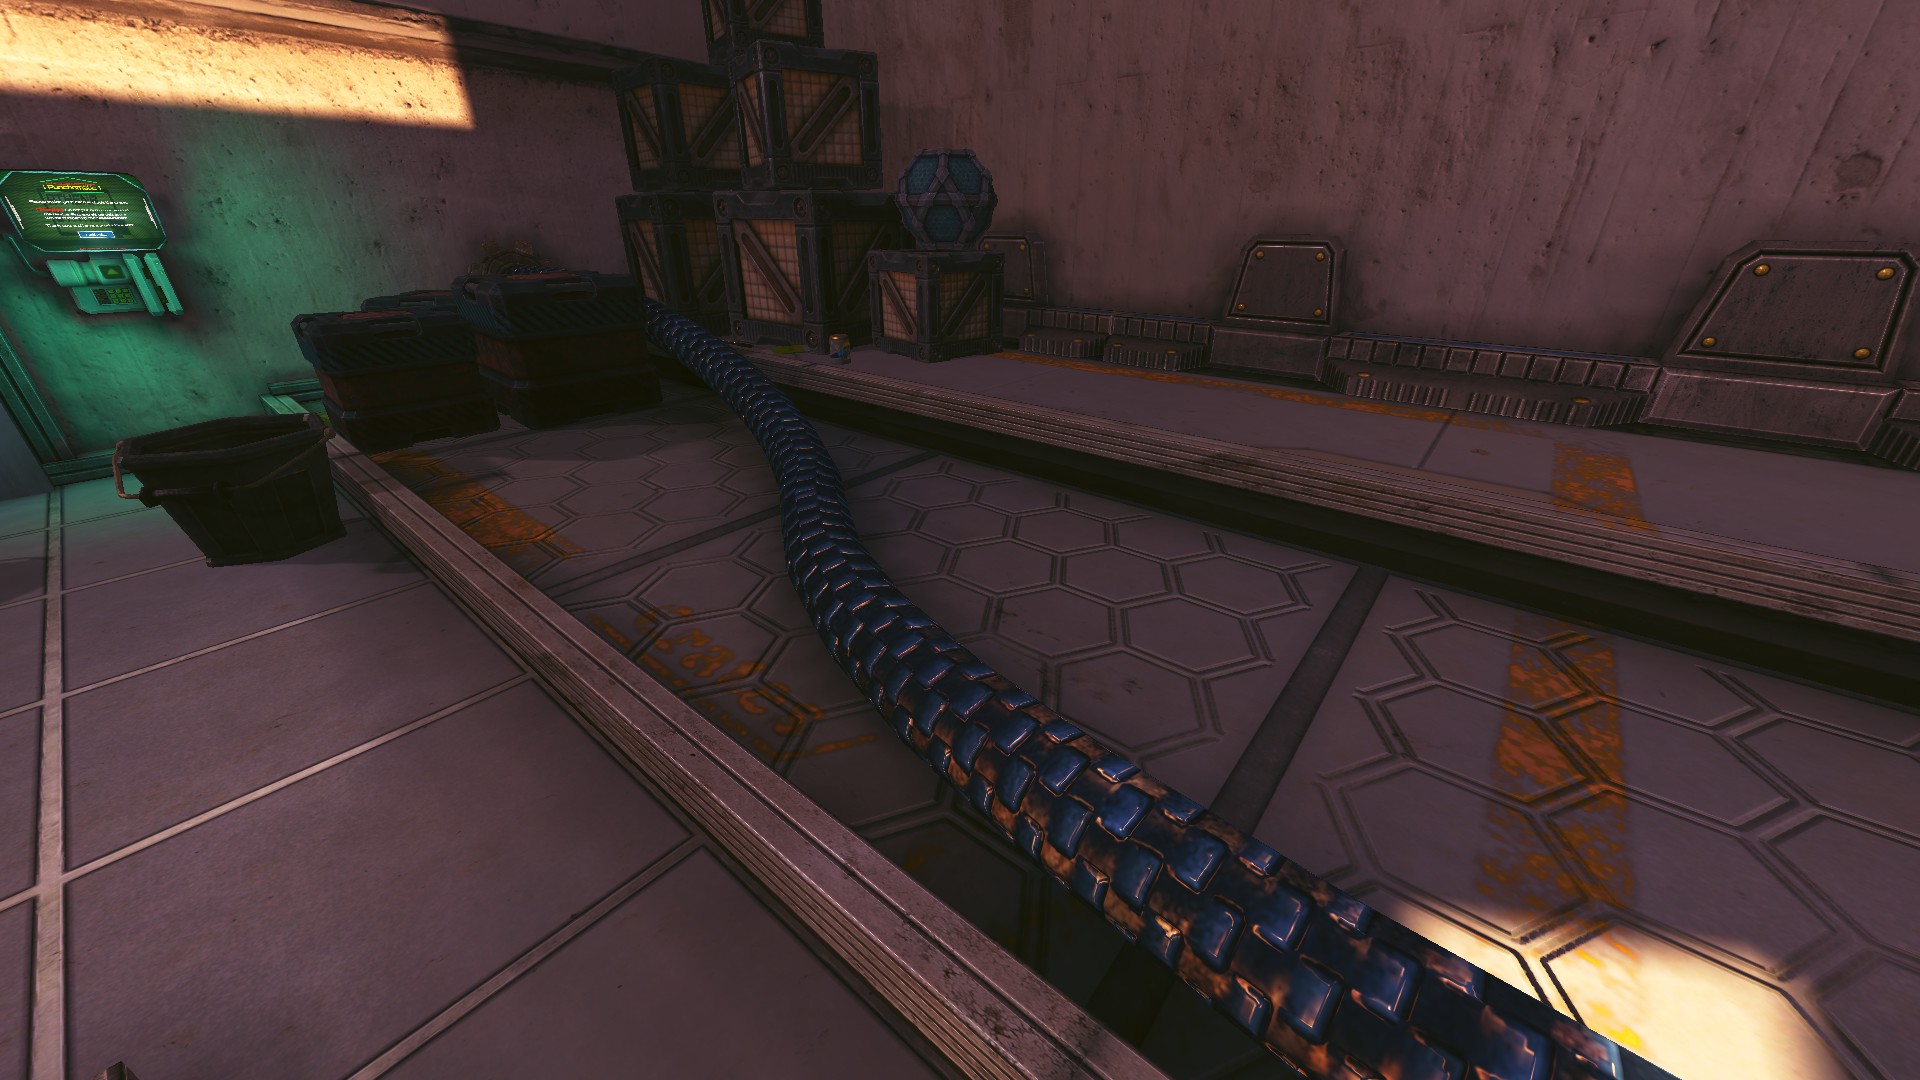
Stacking zones look like painted yellow lines on the floor with a word describing what goes in it:
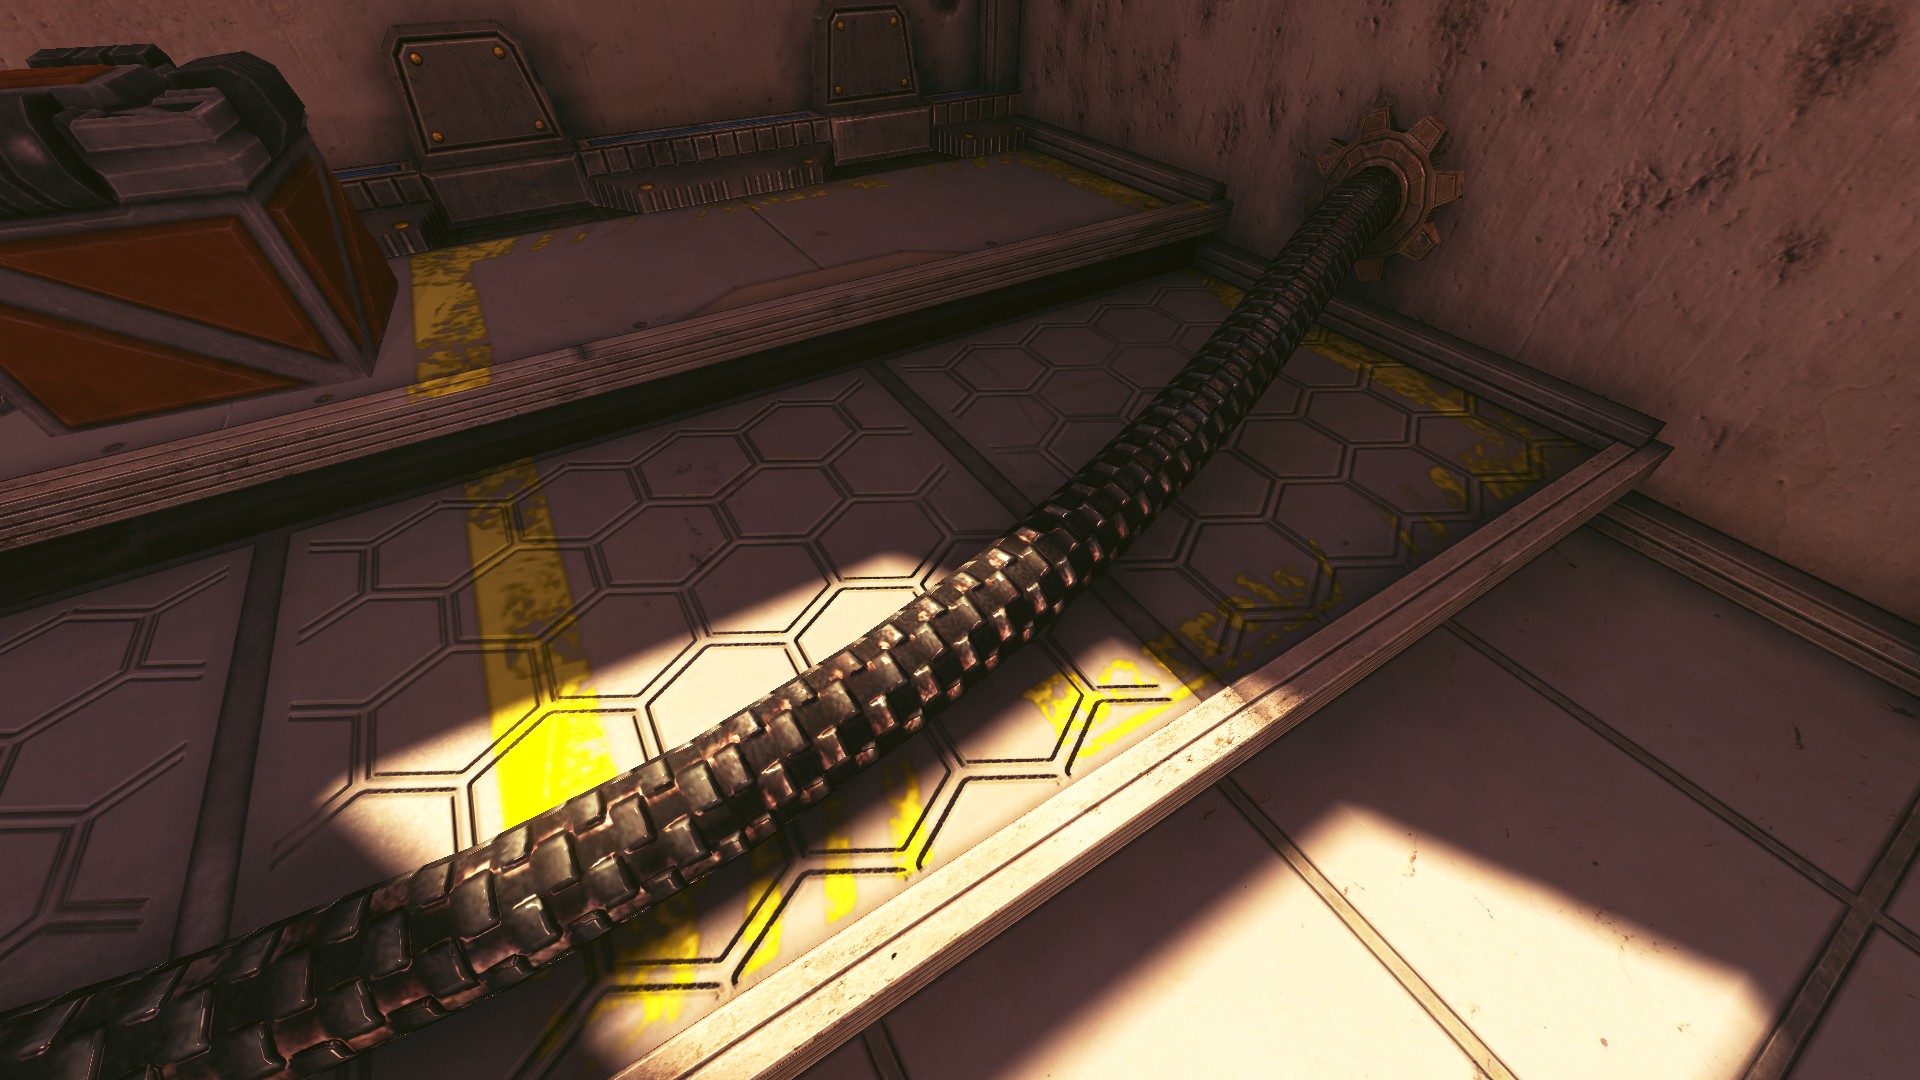
 Employee of the Year
Receive and keep 12 Employee of the Month picture frames See Employeee of the Month achievement, but 12 times.
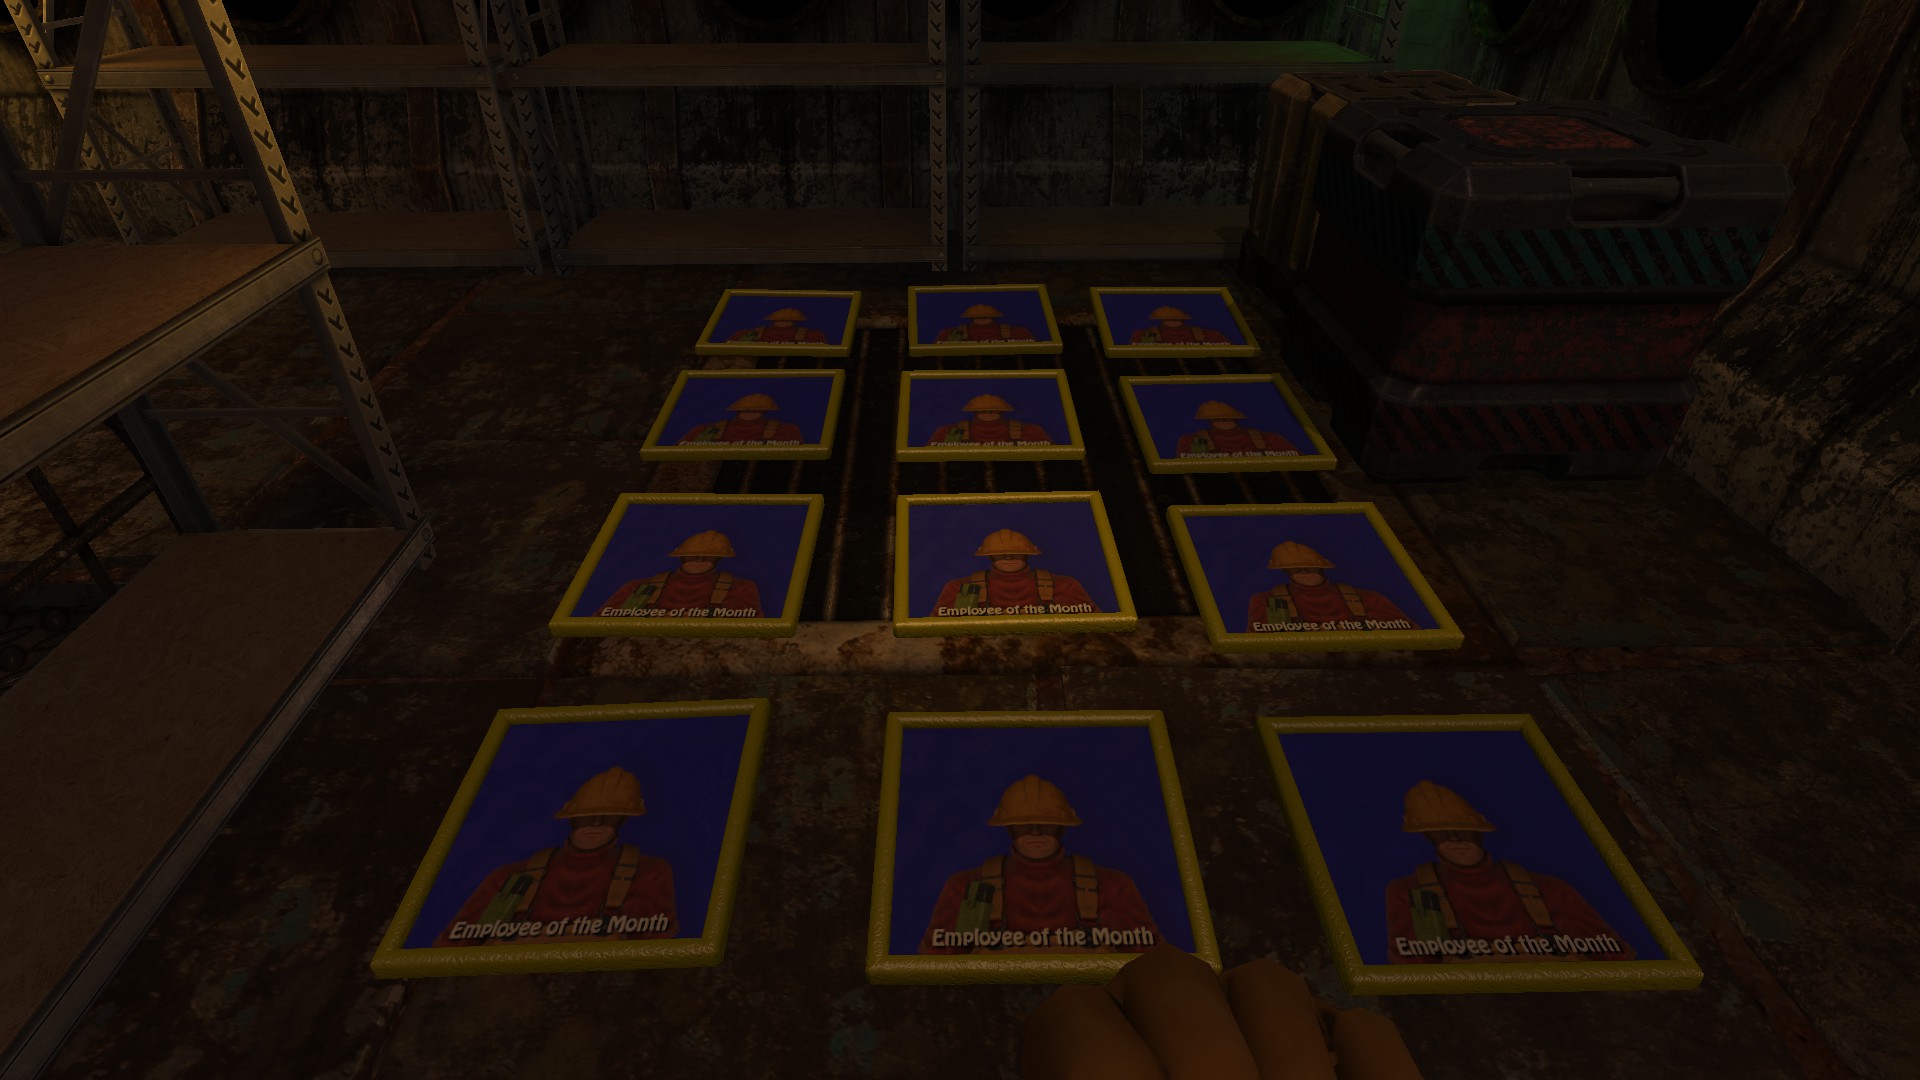 Confirmed that you can get over 100% cleanliness on a level, save, and load to get another award. You can do this 12 (or 11) times, but you could always leave it for last while you get the other achievements.
 One Mop To Rule Them All
Complete All major Official Levels
Each map must be cleaned adequately to count as completed. Each map also has its own achievement for completion and you will get all these on the way to this one.
Individual level Guides by Vic=HKC=
 The Mops Of Wrath
Complete Athena's Wrath Level
Guide
 Anti-Virus
Complete Caduceus Level
Guide
 Ice-Cold Cleana
Complete Cryogenesis Level
Guide
 Surgical Sweeper
Complete Evil Science Level
Guide
 Pine Fresh
Complete Hydroponic Hell Level
Guide
 Deep-Sea Dry-cleaning
Complete Paintenance Level
Guide
 Sandblasted
Complete Unearthly Excavation Level
Guide
 Refined
Complete Unrefinery Level
Guide
 Operation Brownwash
Complete Waste Disposal Level
Guide
 Louis and Clean
Complete Gravity Drive level
Guide
 Brushed Steel
Complete Revolutionary Robotics Level
Guide
 Bushwhacked
Complete Overgrowth level
Guide
 Cold Storage
Complete Frostbite Level
Guide
 Biomassive Breakdown
Complete Incubation Emergency Level
Guide
 Swept Under The Carpet
Complete Uprinsing Level
Guide
 Crystal Clear
Complete Core Sample Level
Guide
 Breach and Clear
Complete Penumbra Level
Guide
 Pest Control
Complete Pestilent Penitentiary Level
Guide
Repeat Achievements
These will all be gained over time, just play a bunch of maps. A bunch.
 Bloody Hell!
Mop up 10,000 splats
Blood splats can be spawned on map start, by giblets and by over-used mop. They are on any map and can also be spawned by spilling buckets. They do not need to be blood splats - they can be goo or plant stuff etc.
 Blaze of Glory
Incinerate 2000 items
Throw that junk into the flames! Surprisingly, throwing a bin full of stuff into the incinerator seems to only count as one object. If you're planning on farming this, spill items out in front of the incinerator and throw them in one at a time.
 Blood Soaked
Spill 100 dirty buckets Fill buckets with mop juice, then sprint into them or hit them with the mop. You can tell they're dirty when the bucket is stained and the water is coloured with whatever was on your mop.
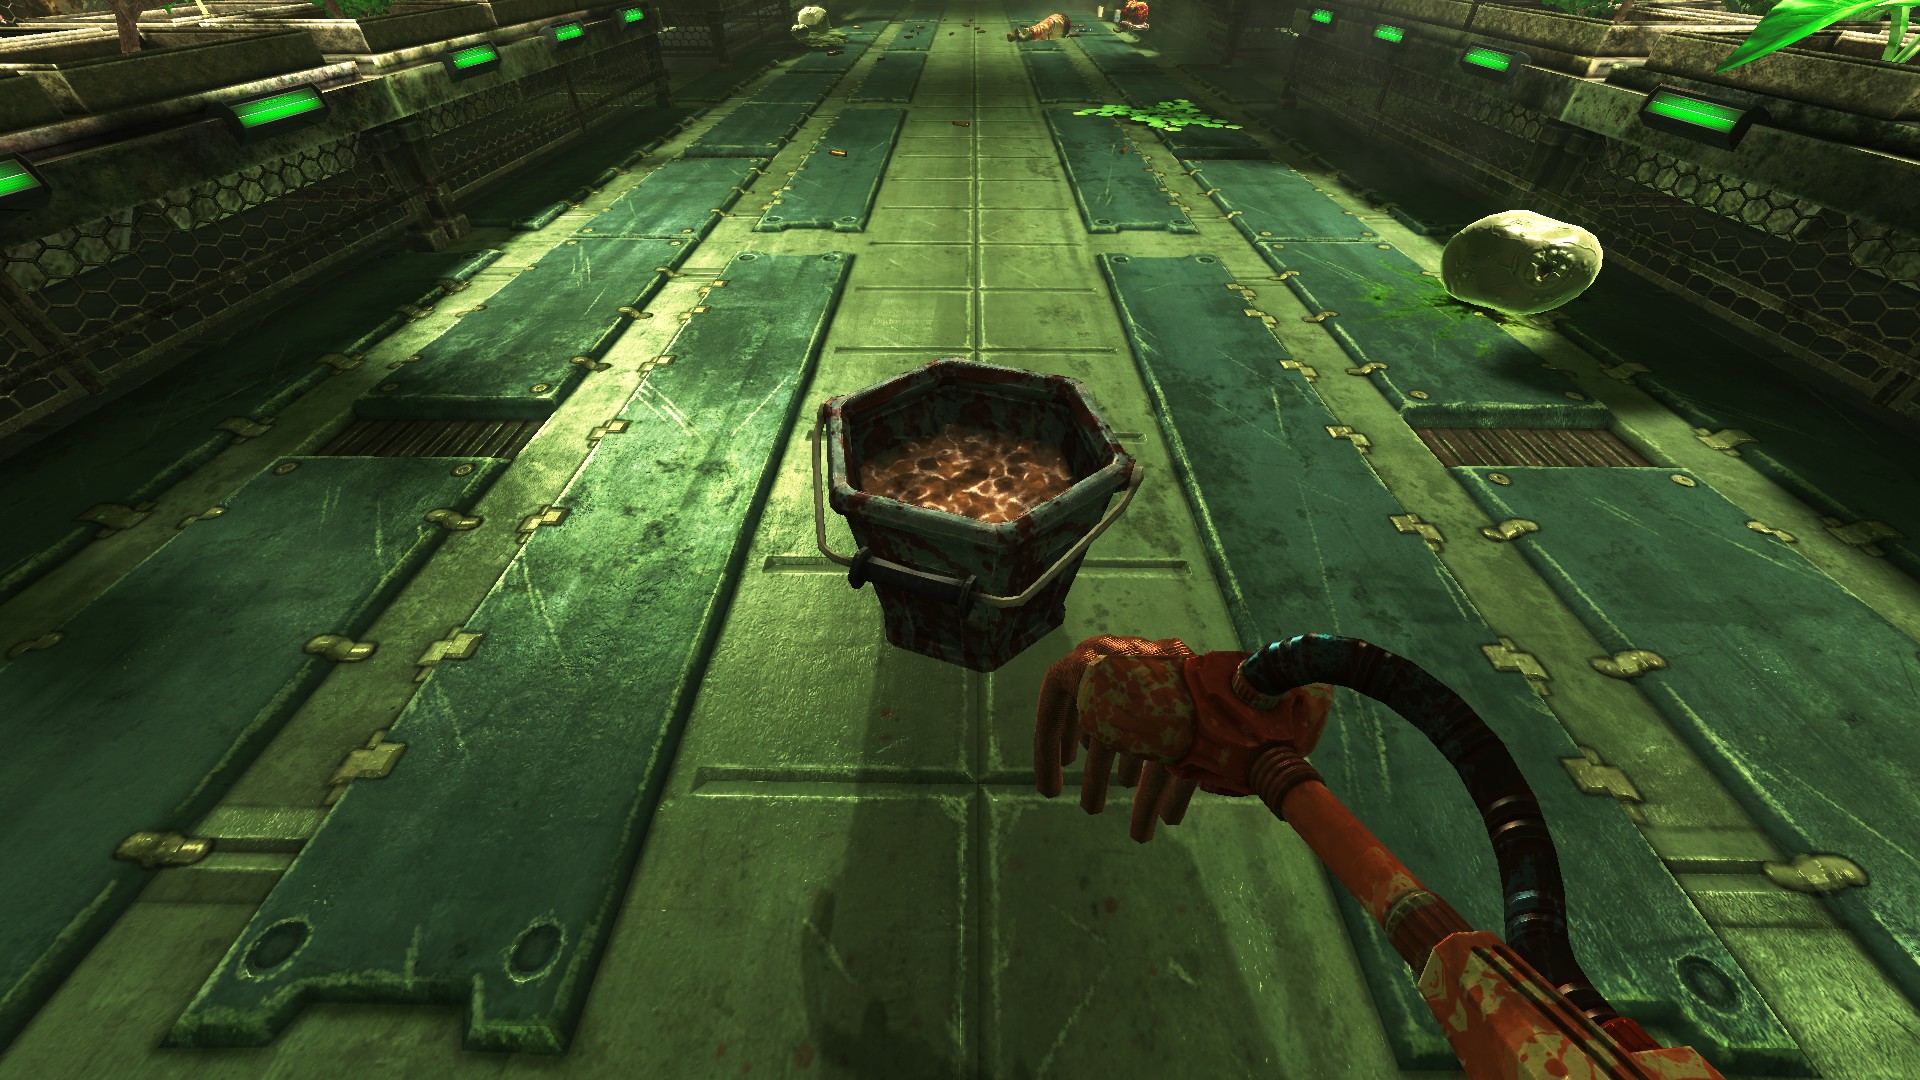
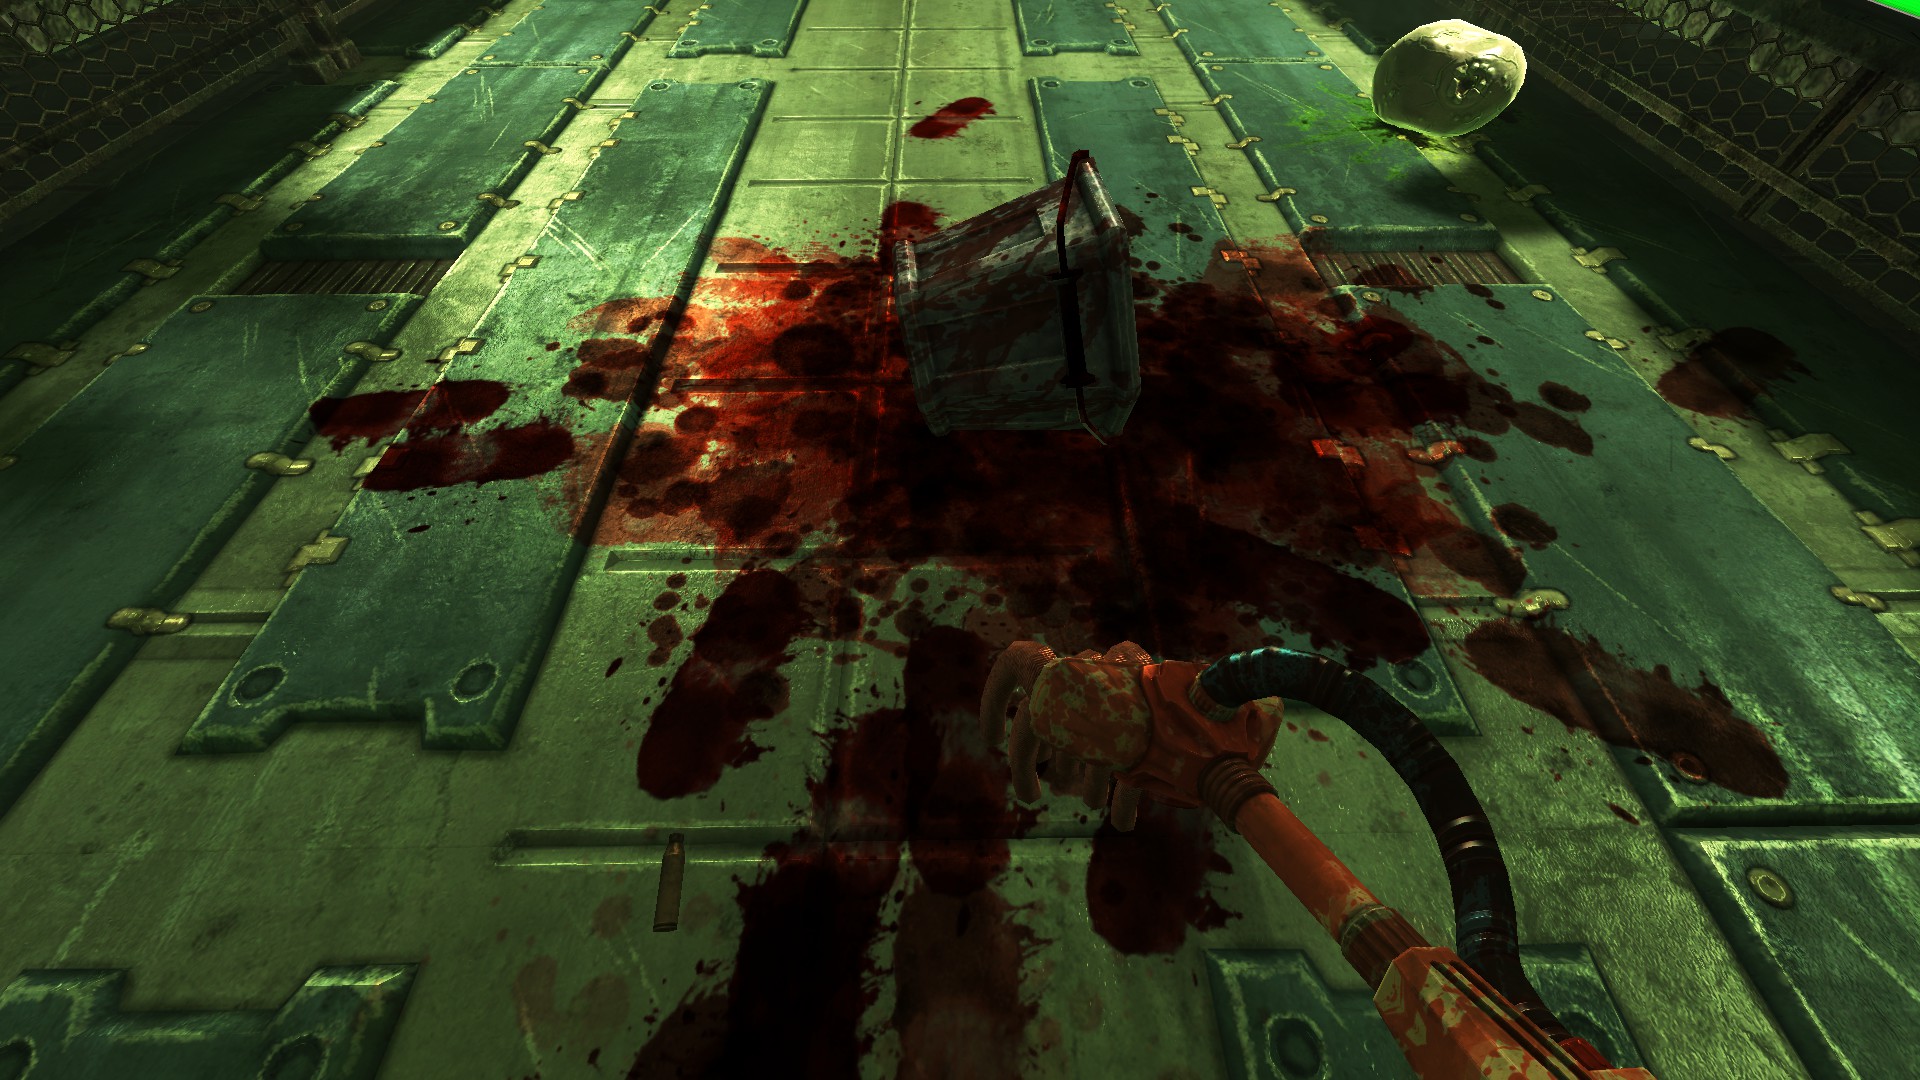
An additional tip from rolandoftheeld is to spill buckets into the incinerator. This still counts towards the achievement, but doesn't leave a mess for you to clean up. Make sure to listen for the splashing water sound if you can't see into the fire.
A further tip for farming this, is to drop a piece of viscera into a bucket and it will go dirty within a few seconds.

 Pedestrian
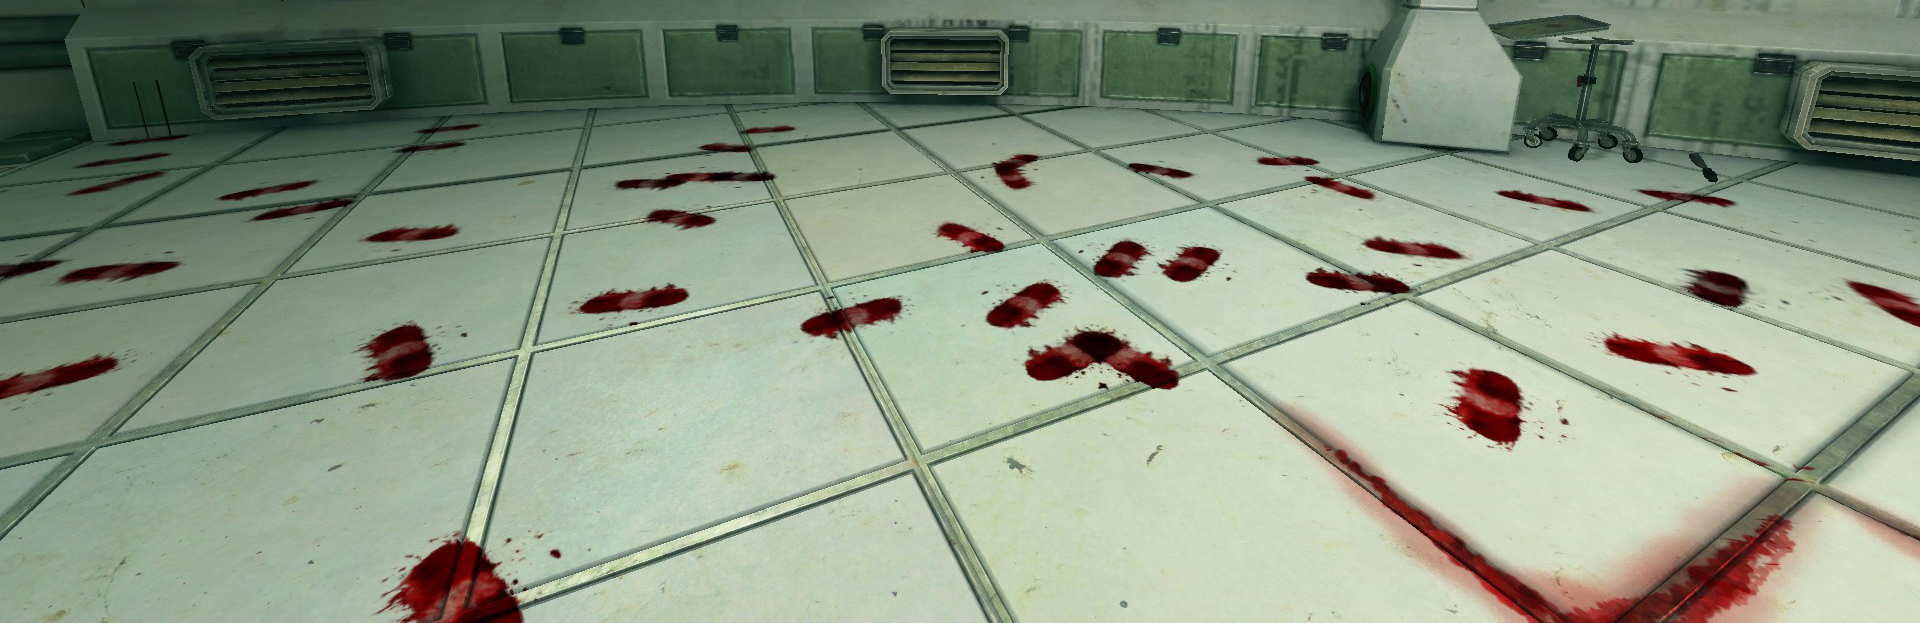
Track over 20,000 footprints By walking through stains on the ground, you can track blood (or whatever else) along as you walk. You bigger the stain you walk through, the faster you get footprints.
 Top Brass
Pick up 800 casings
As implied by the description, you do not need to dispose of the casings, just need to pick them up. You can even keep picking up and dropping a single casing to increase count.
Despite the achievement image, empty shotgun shells also count.
 Taking Out the Trash
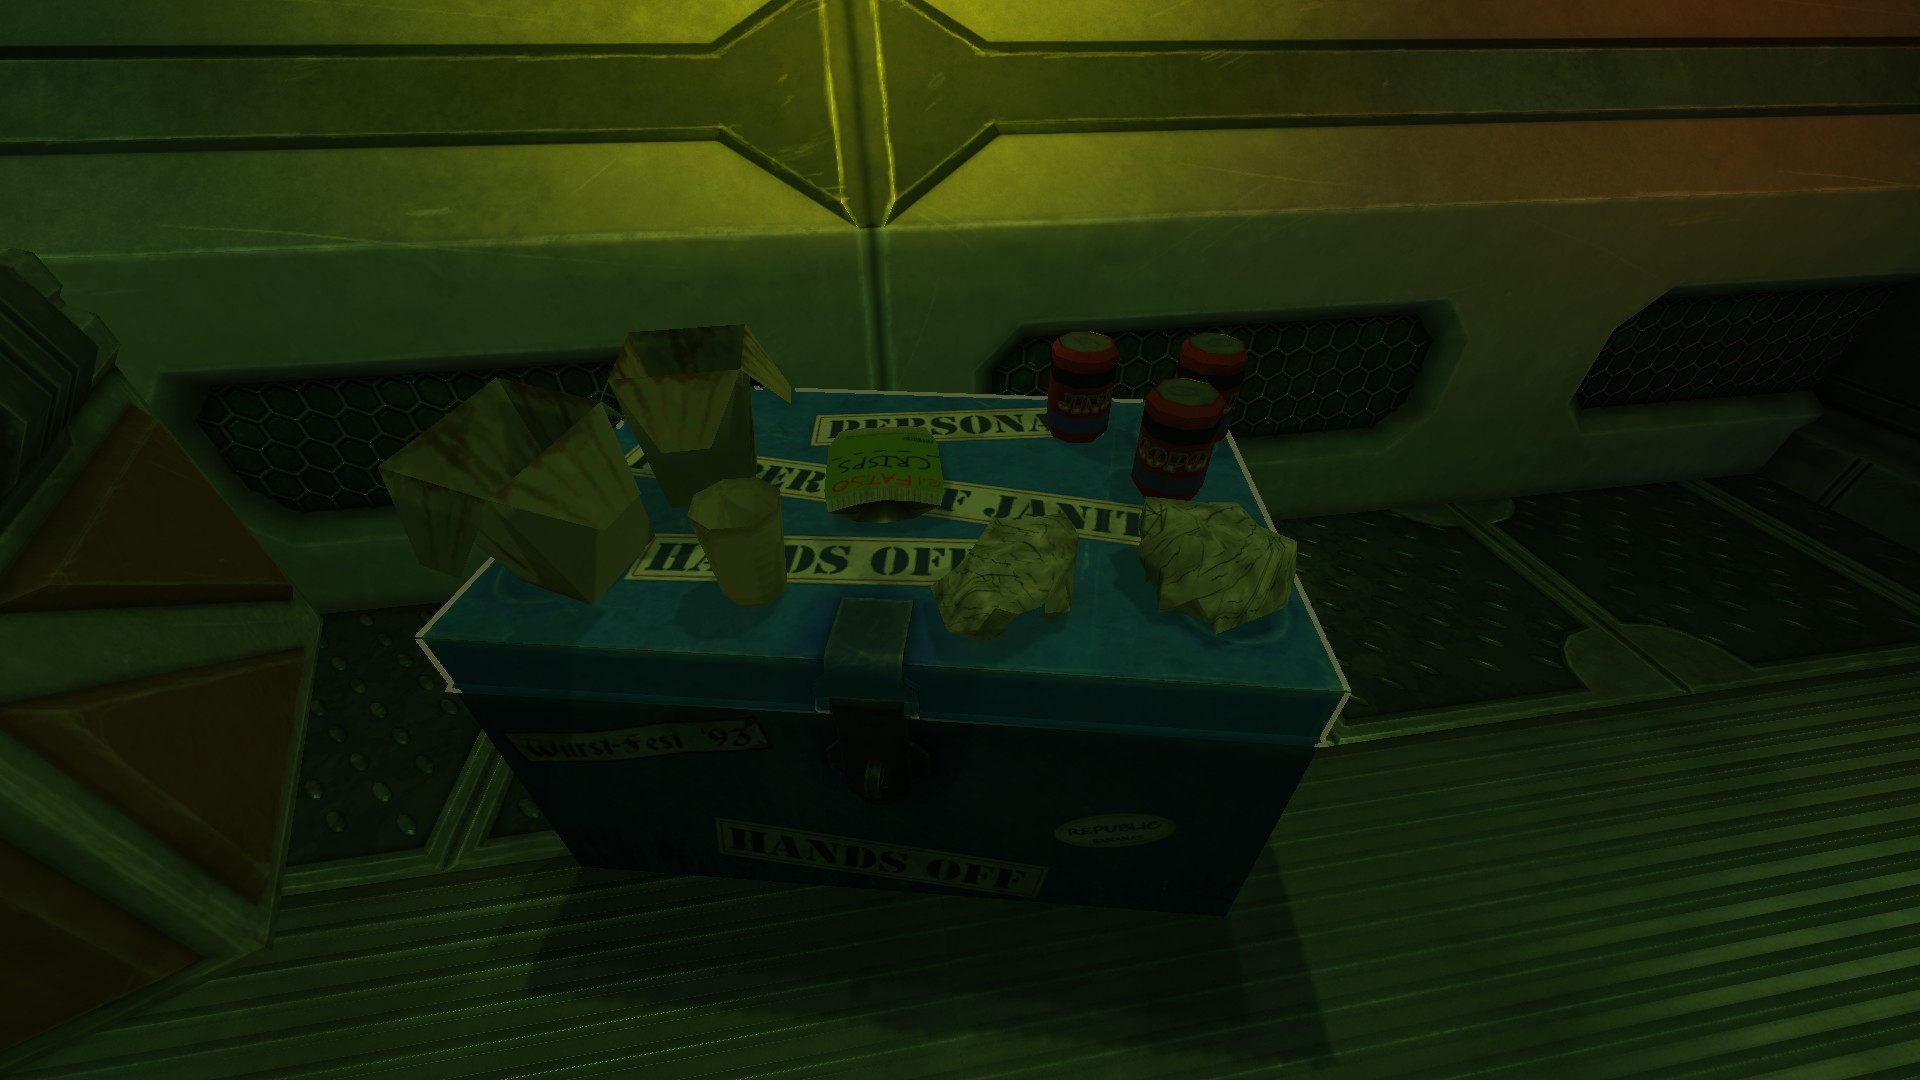
Pick up 1000 pieces of trash Similar to above, can pick up same item to increase counter.
 Need a Hand?
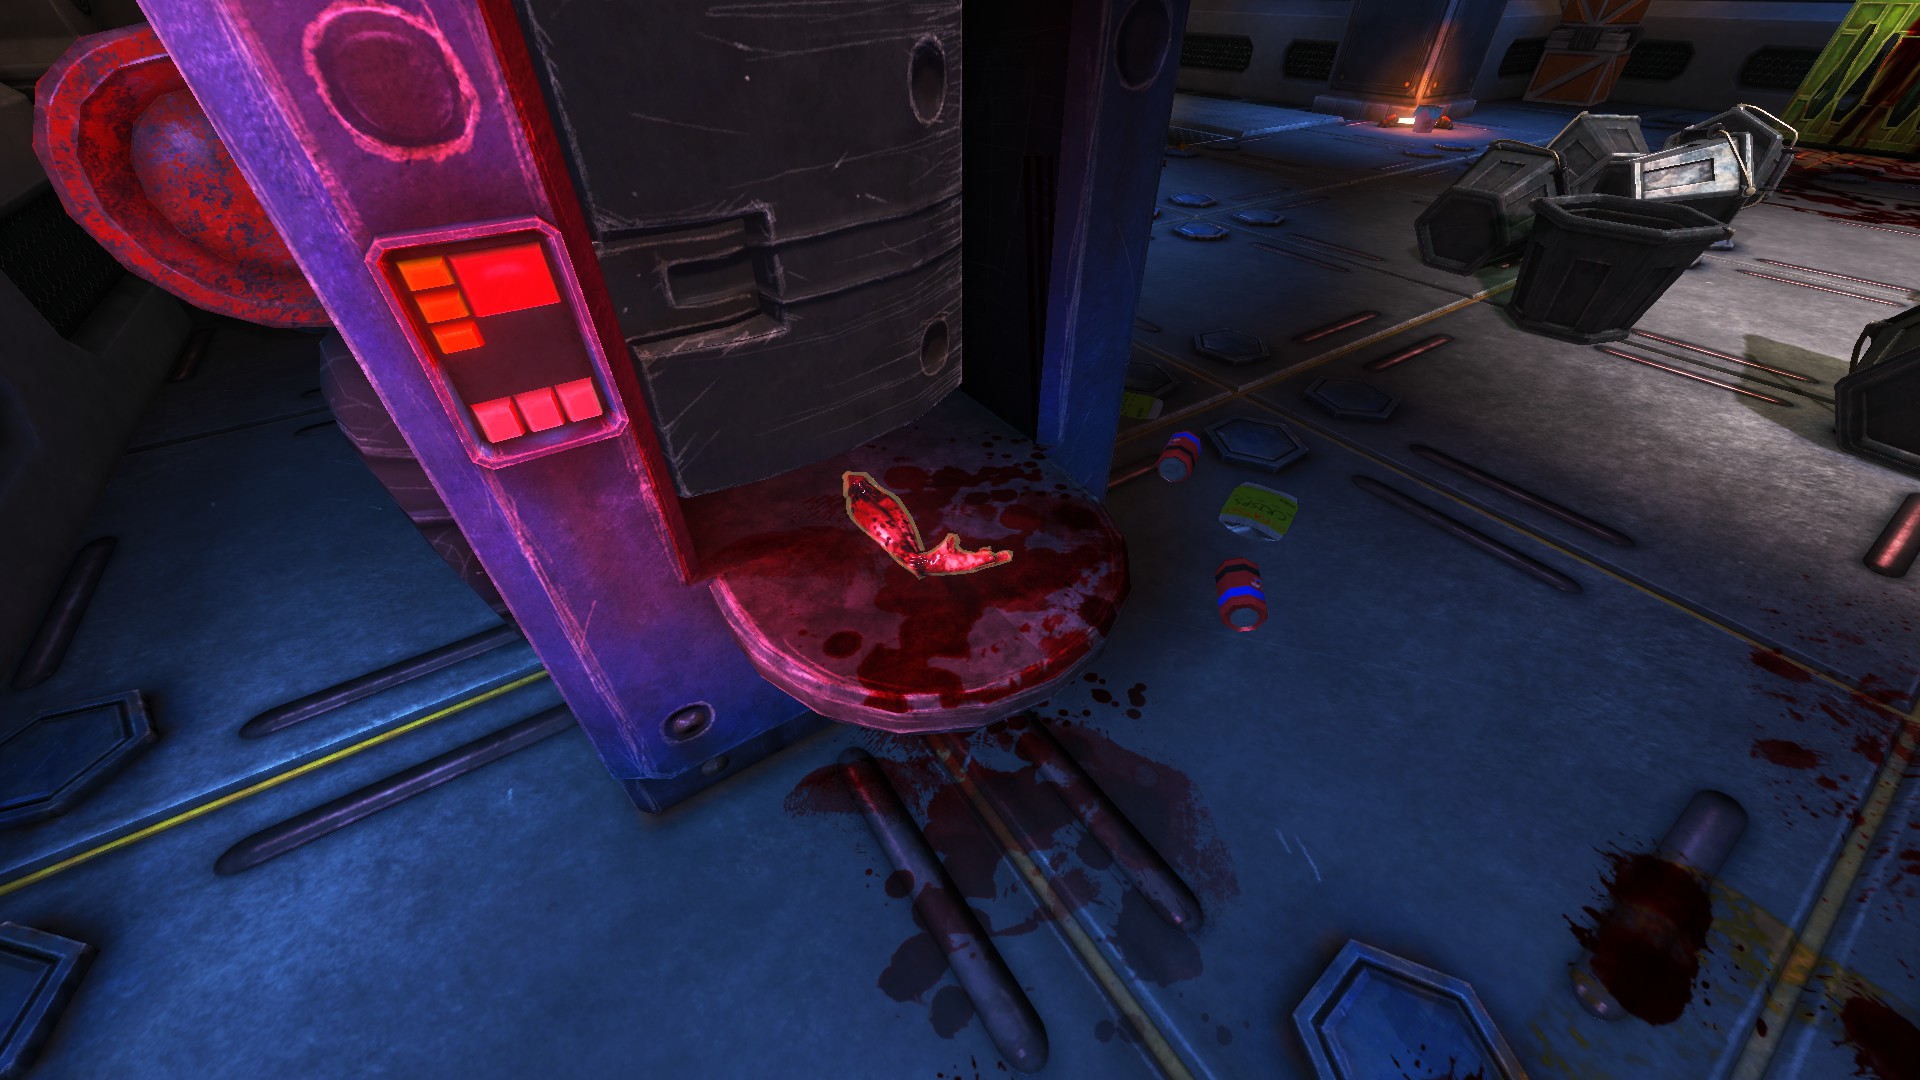
Receive a total of 35 helping hands from the Slosh-O-Matic When you get a new bucket from the Slosh-O-Matic, there is a chance that viscera will come out instead. Unfortunately, this achievement is accurate in that hands must come out to count towards the achievement, even though many different types of viscera are dispensed.
 This one used to require 100, so it's far easier now!
 Bins? Limbs!
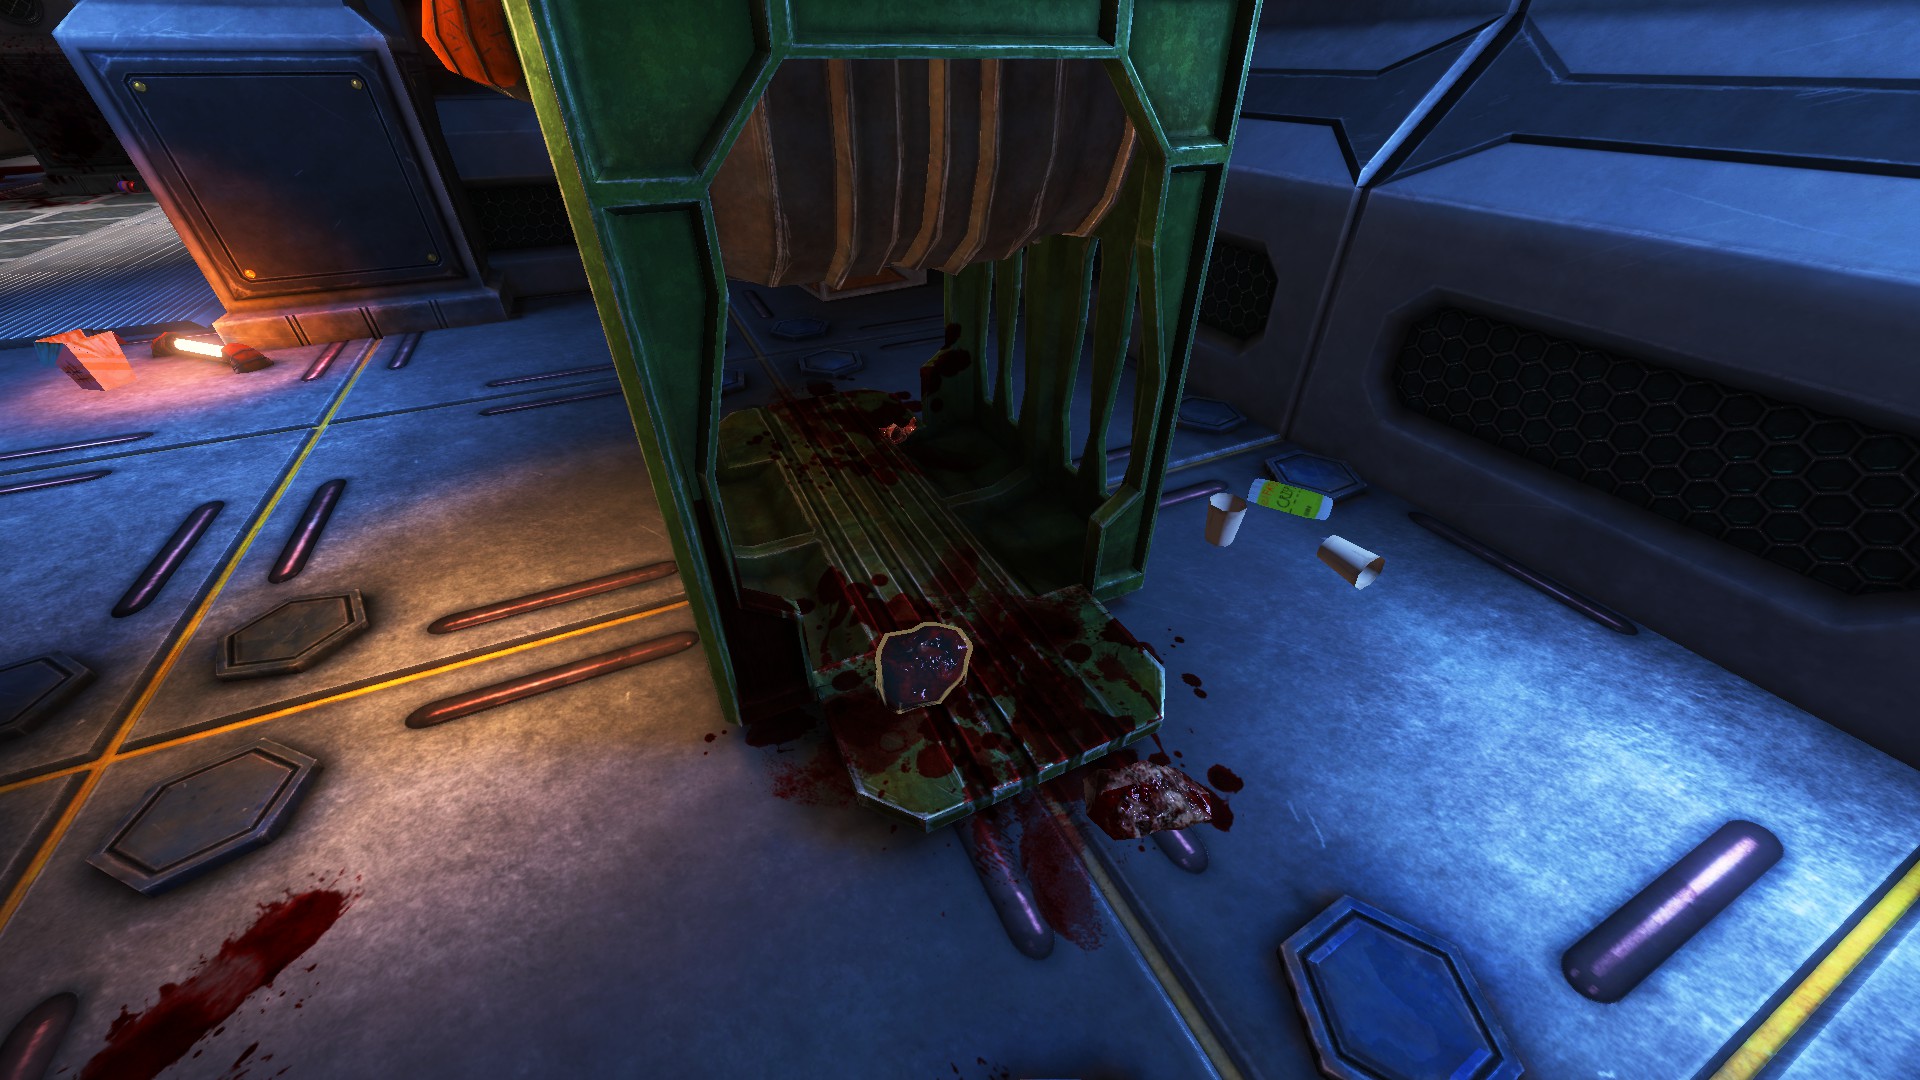
Suffer the wrath of the Bin machine 75 times Similar to above except with the What a Load bin machine and this can be any type of viscera.
 First Aid
Restock a total of 50 medkits over your cleaning career by punching out of levels with medkits As specified, you must place medkits in the map and then punch out for it to count towards achievements. The map does not have to be clean.
When I punched out the first time, the achievement put more than I had done on that map, so I suspect it counts previous medkit placements on previous maps. Please let me know about this.
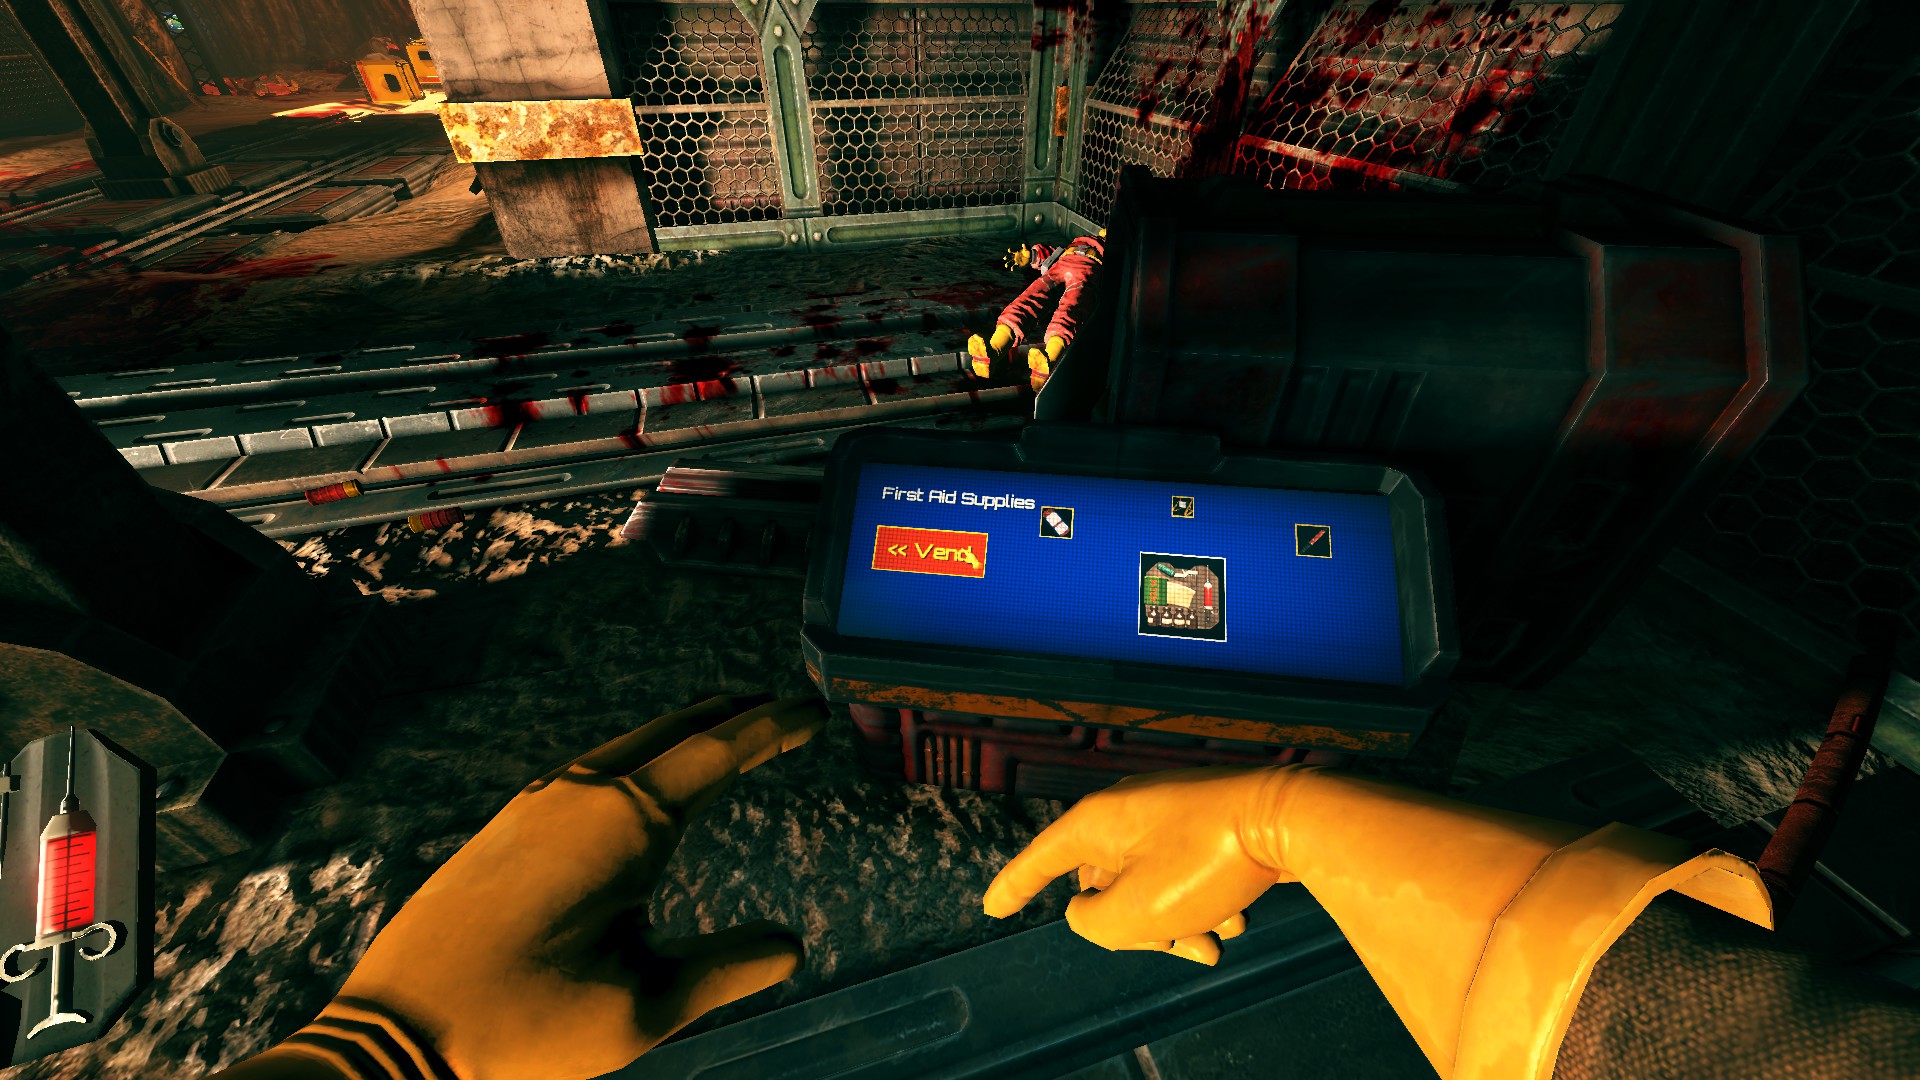
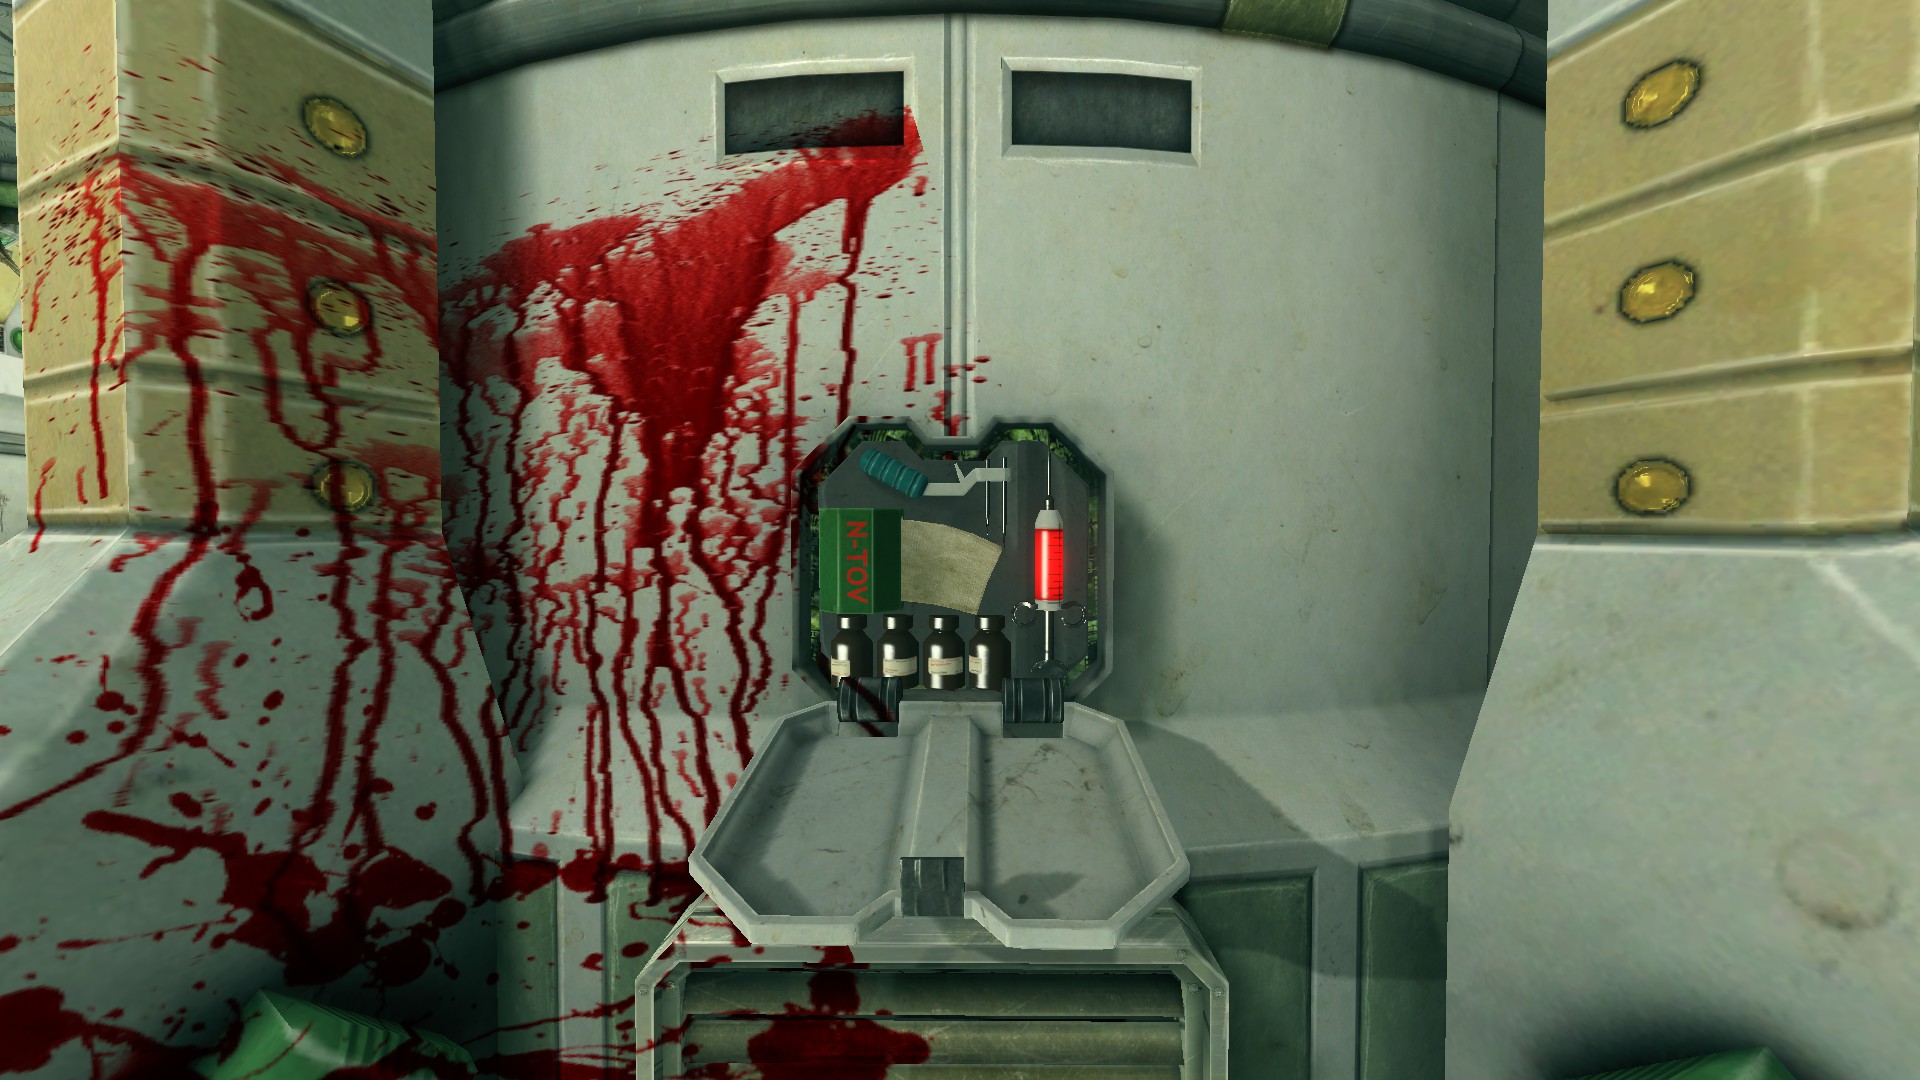
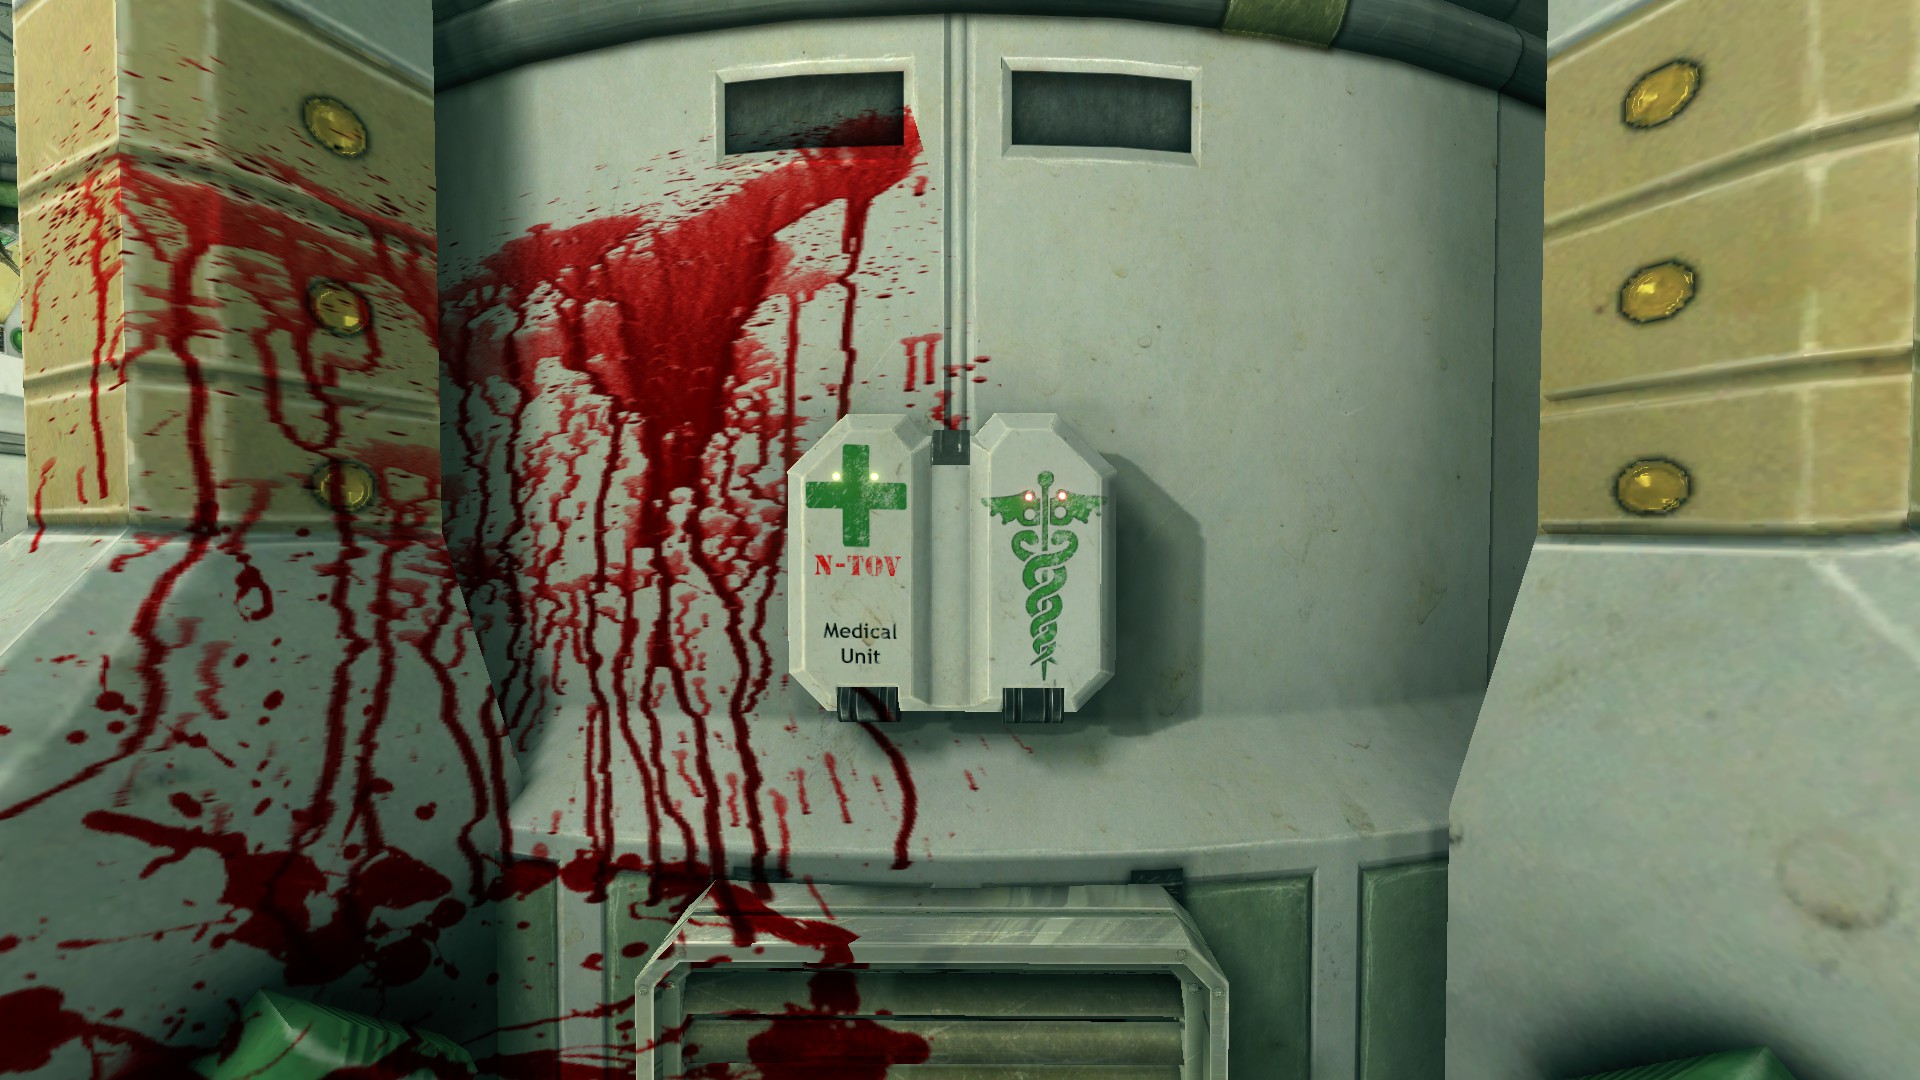 If you want to get this quickly, the map "Evil Science" has 6 medkit placements. Place all 6, then save before punching out. Then you can continue loading and punching out. (Spawn is close to punch out machine)
 Disintegrator
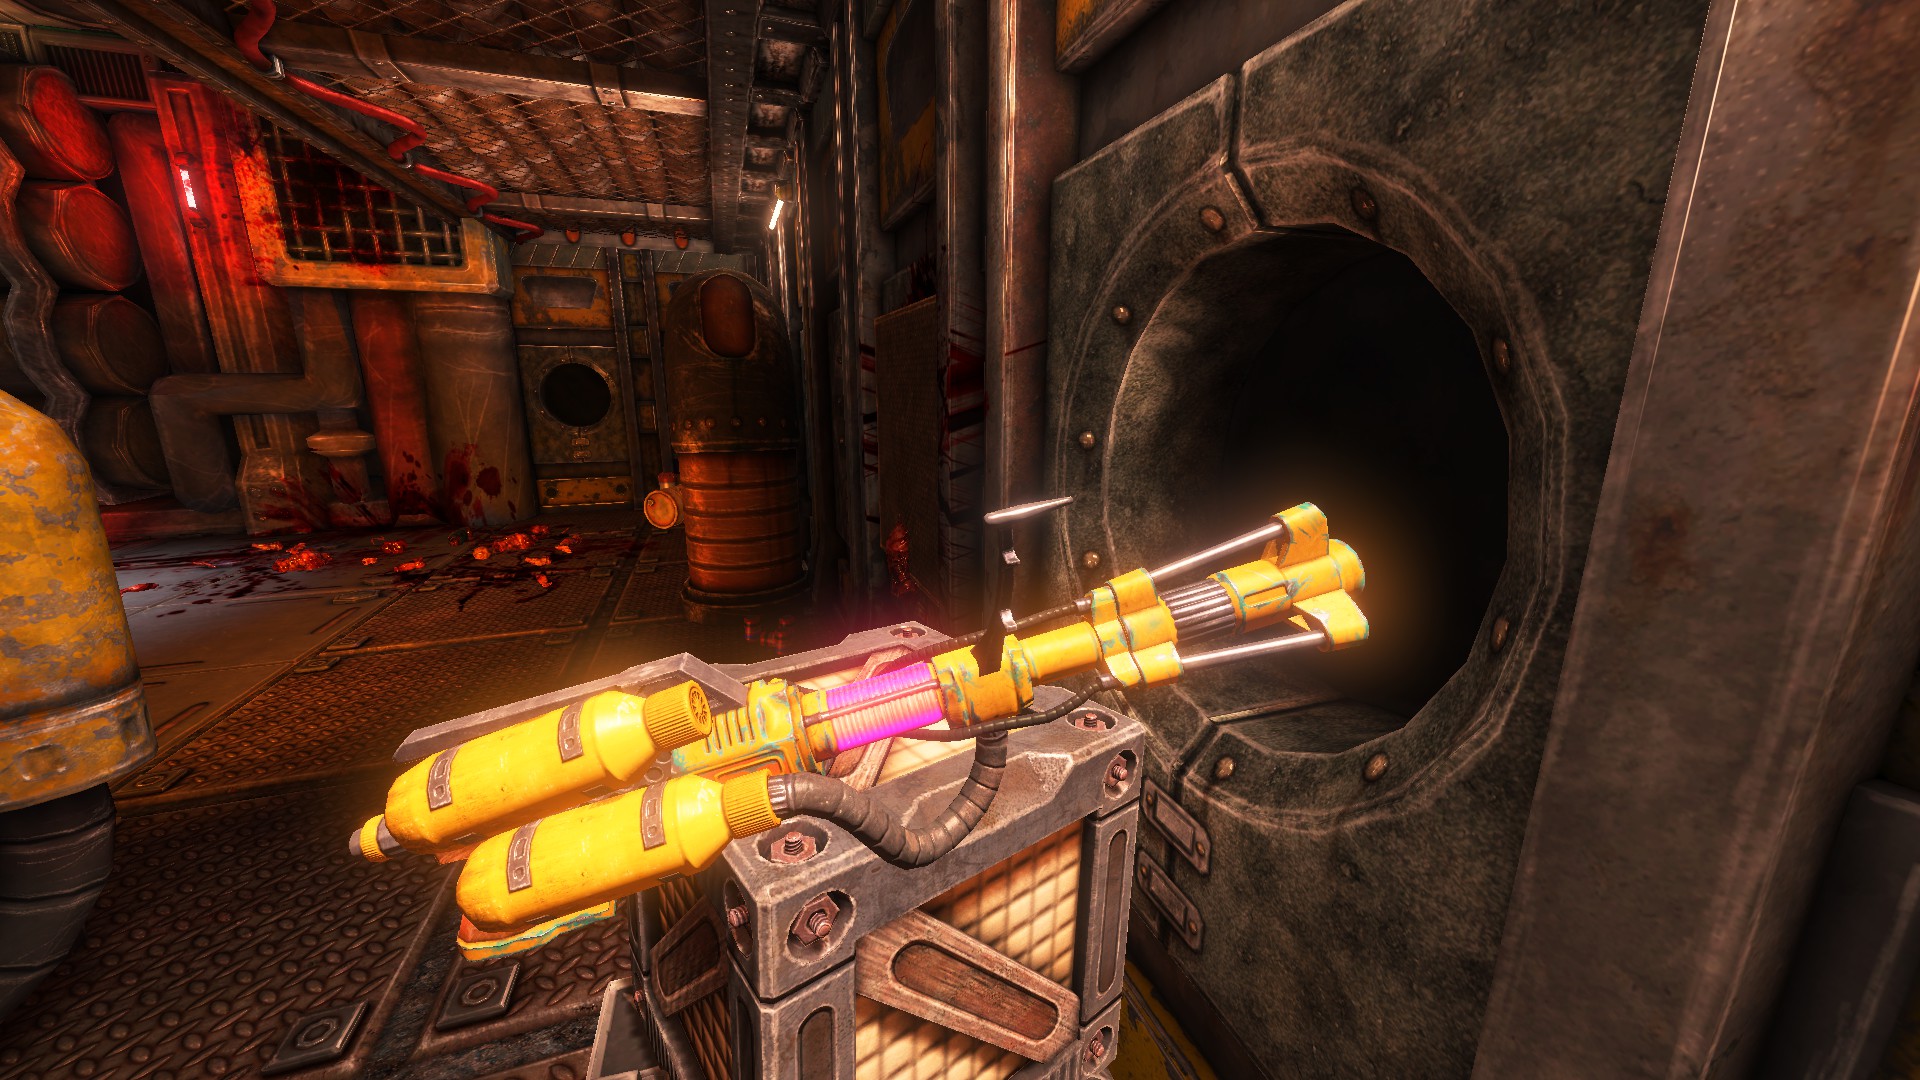
Fry 500 items with the plasma welder You must find the plasma welder on a map. Then shoot at an object for a while until it bursts into flames.
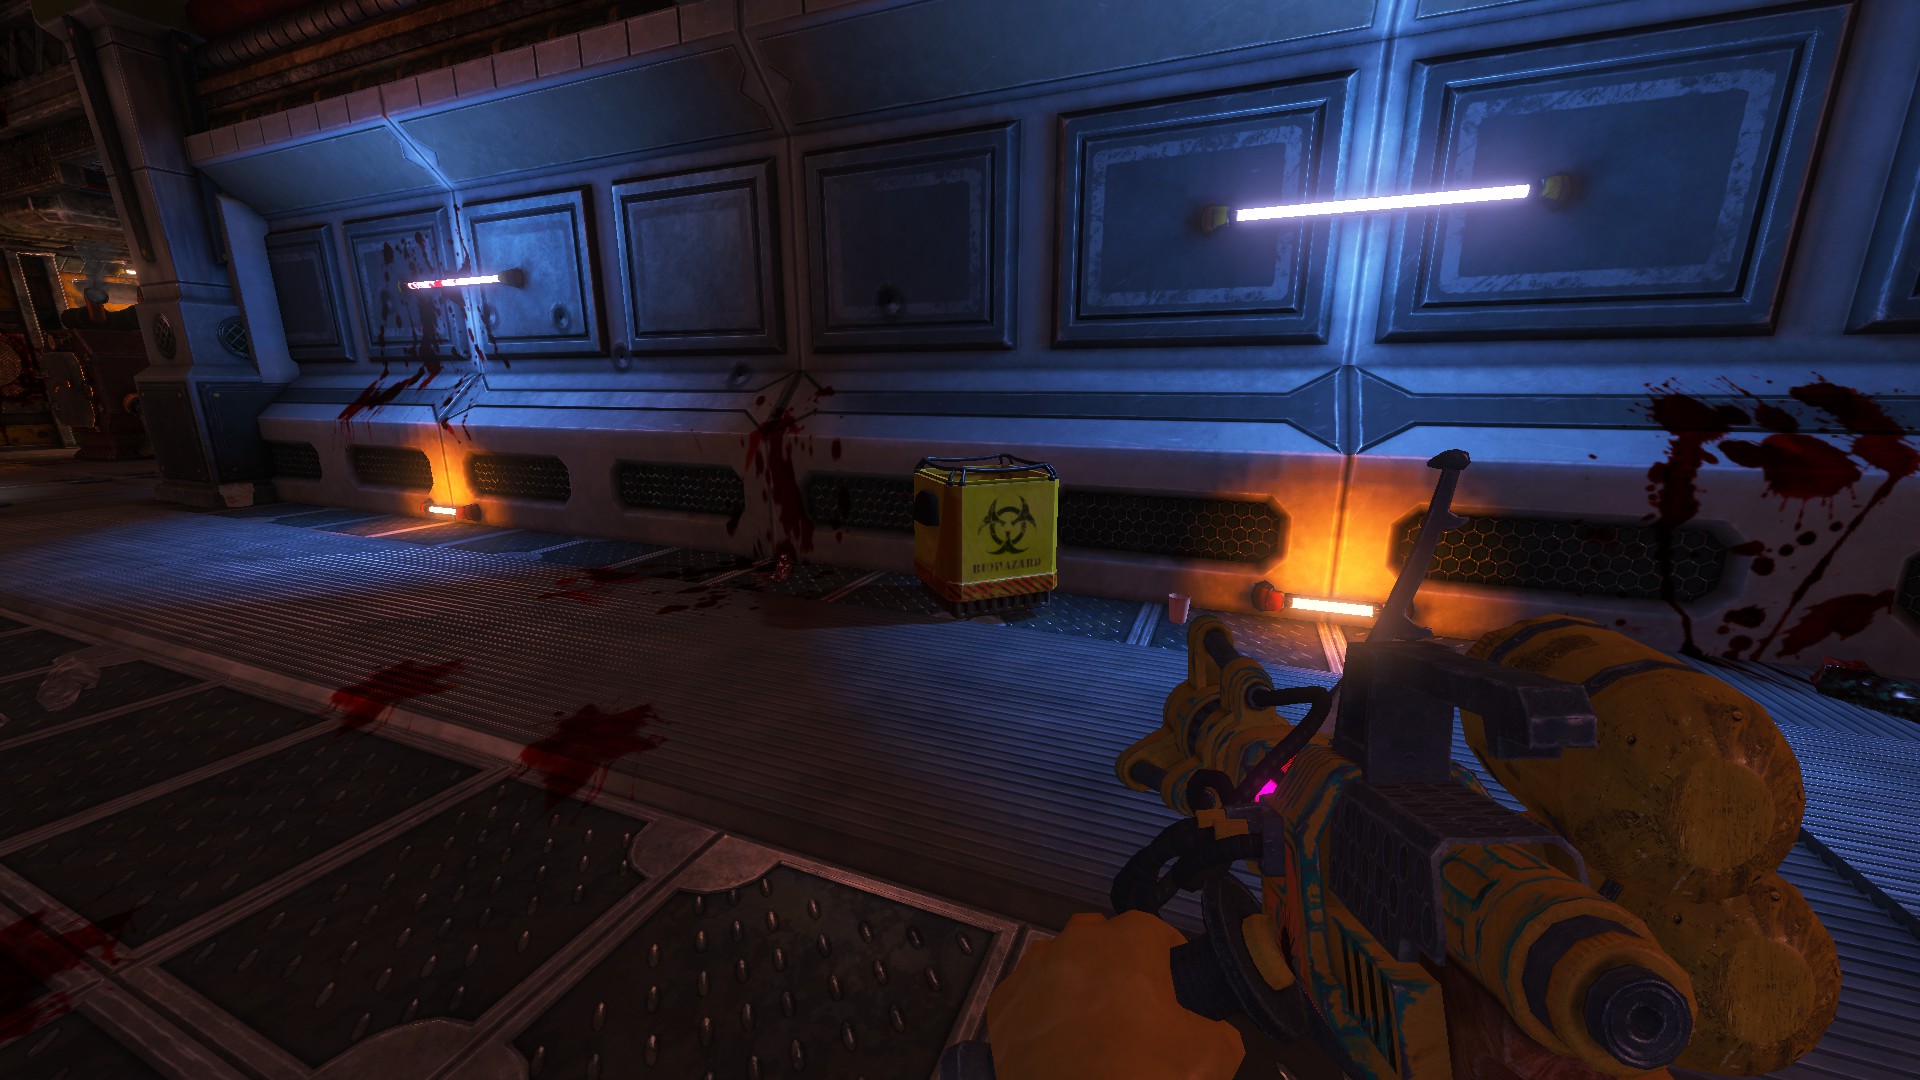
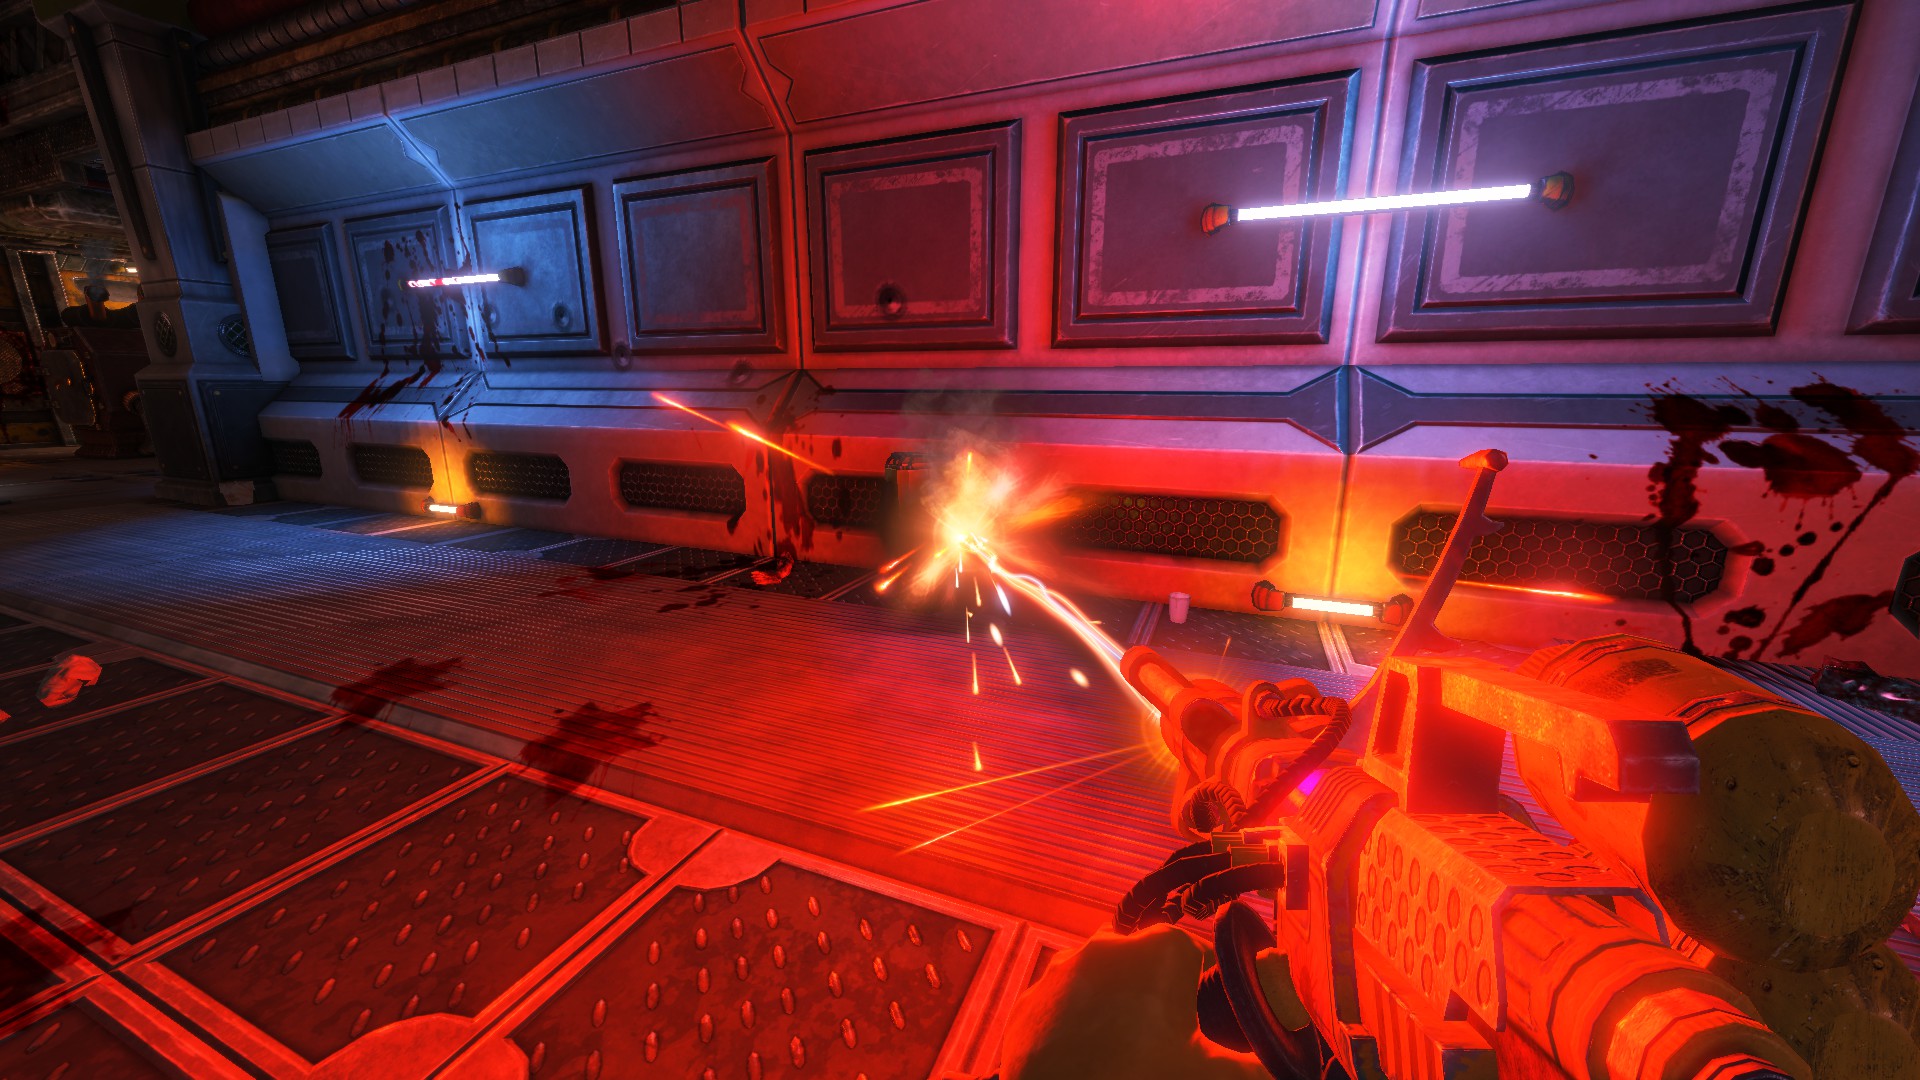
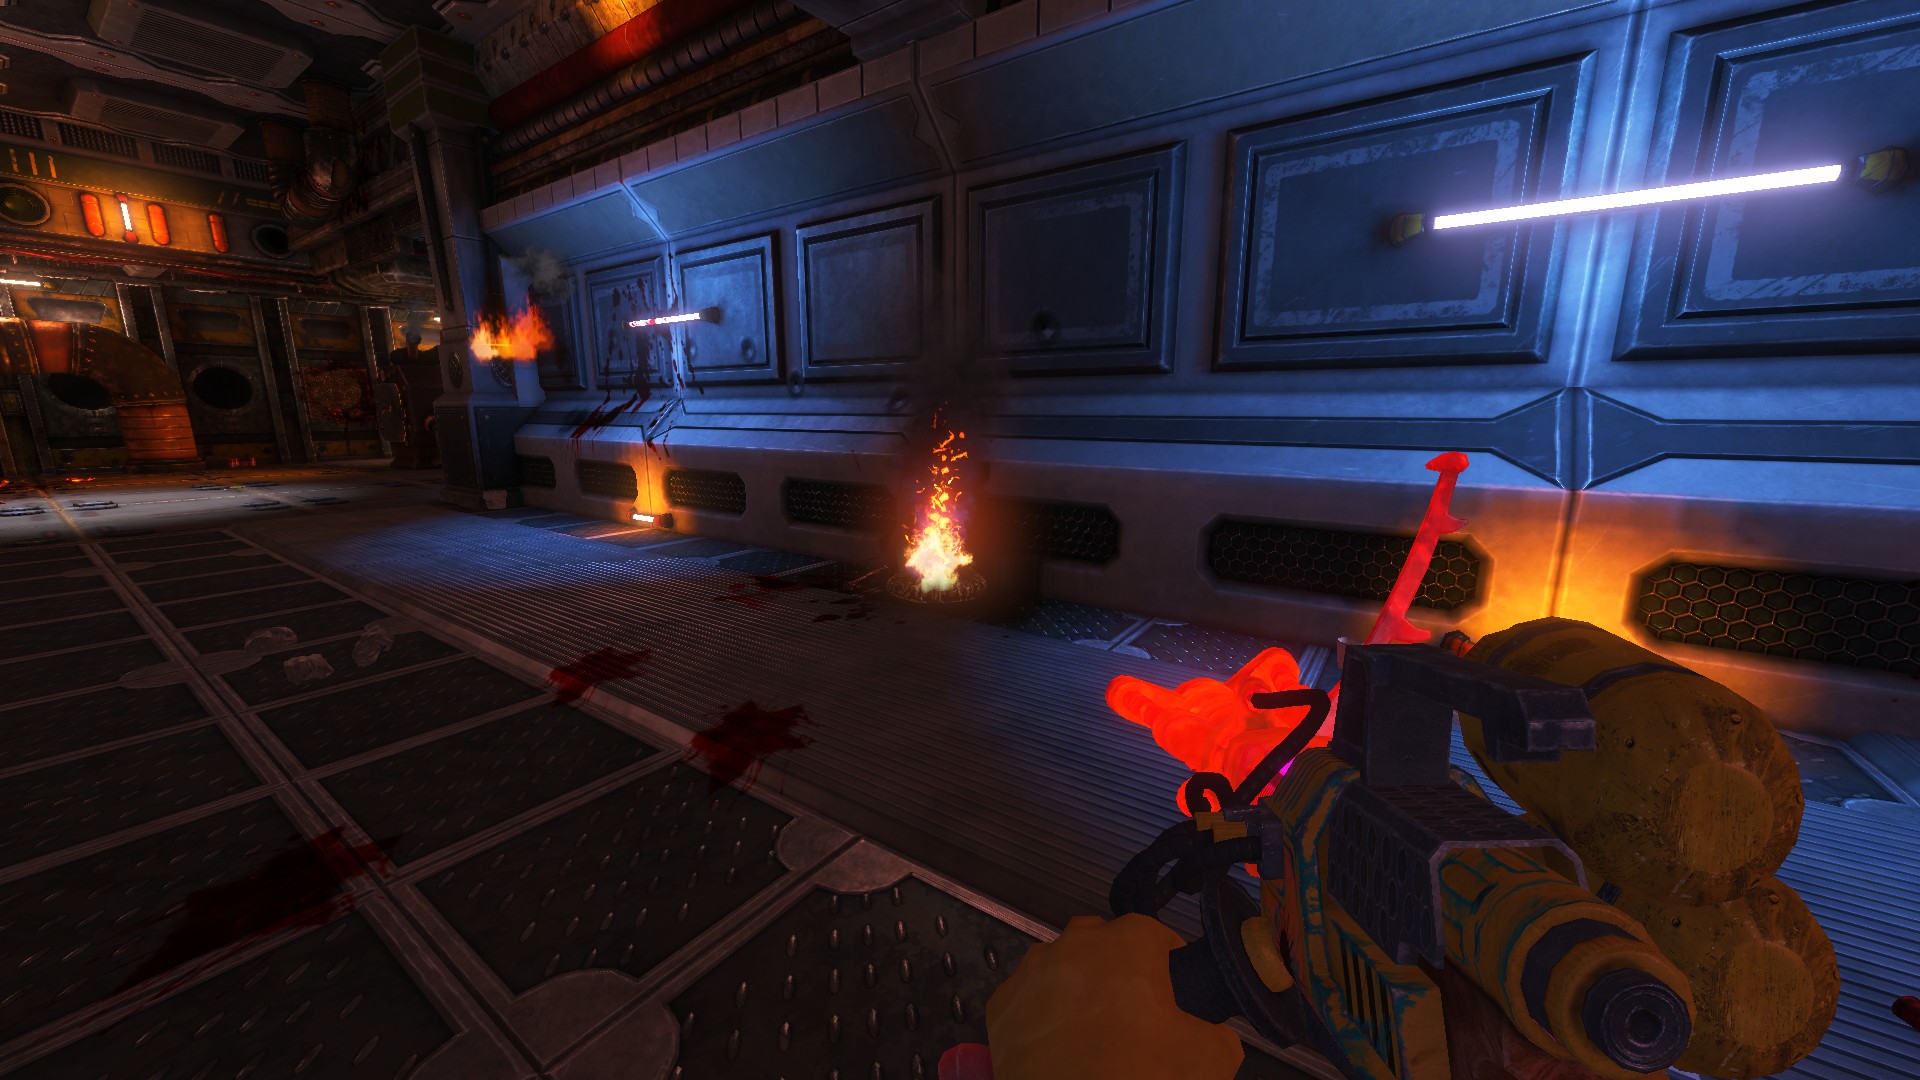
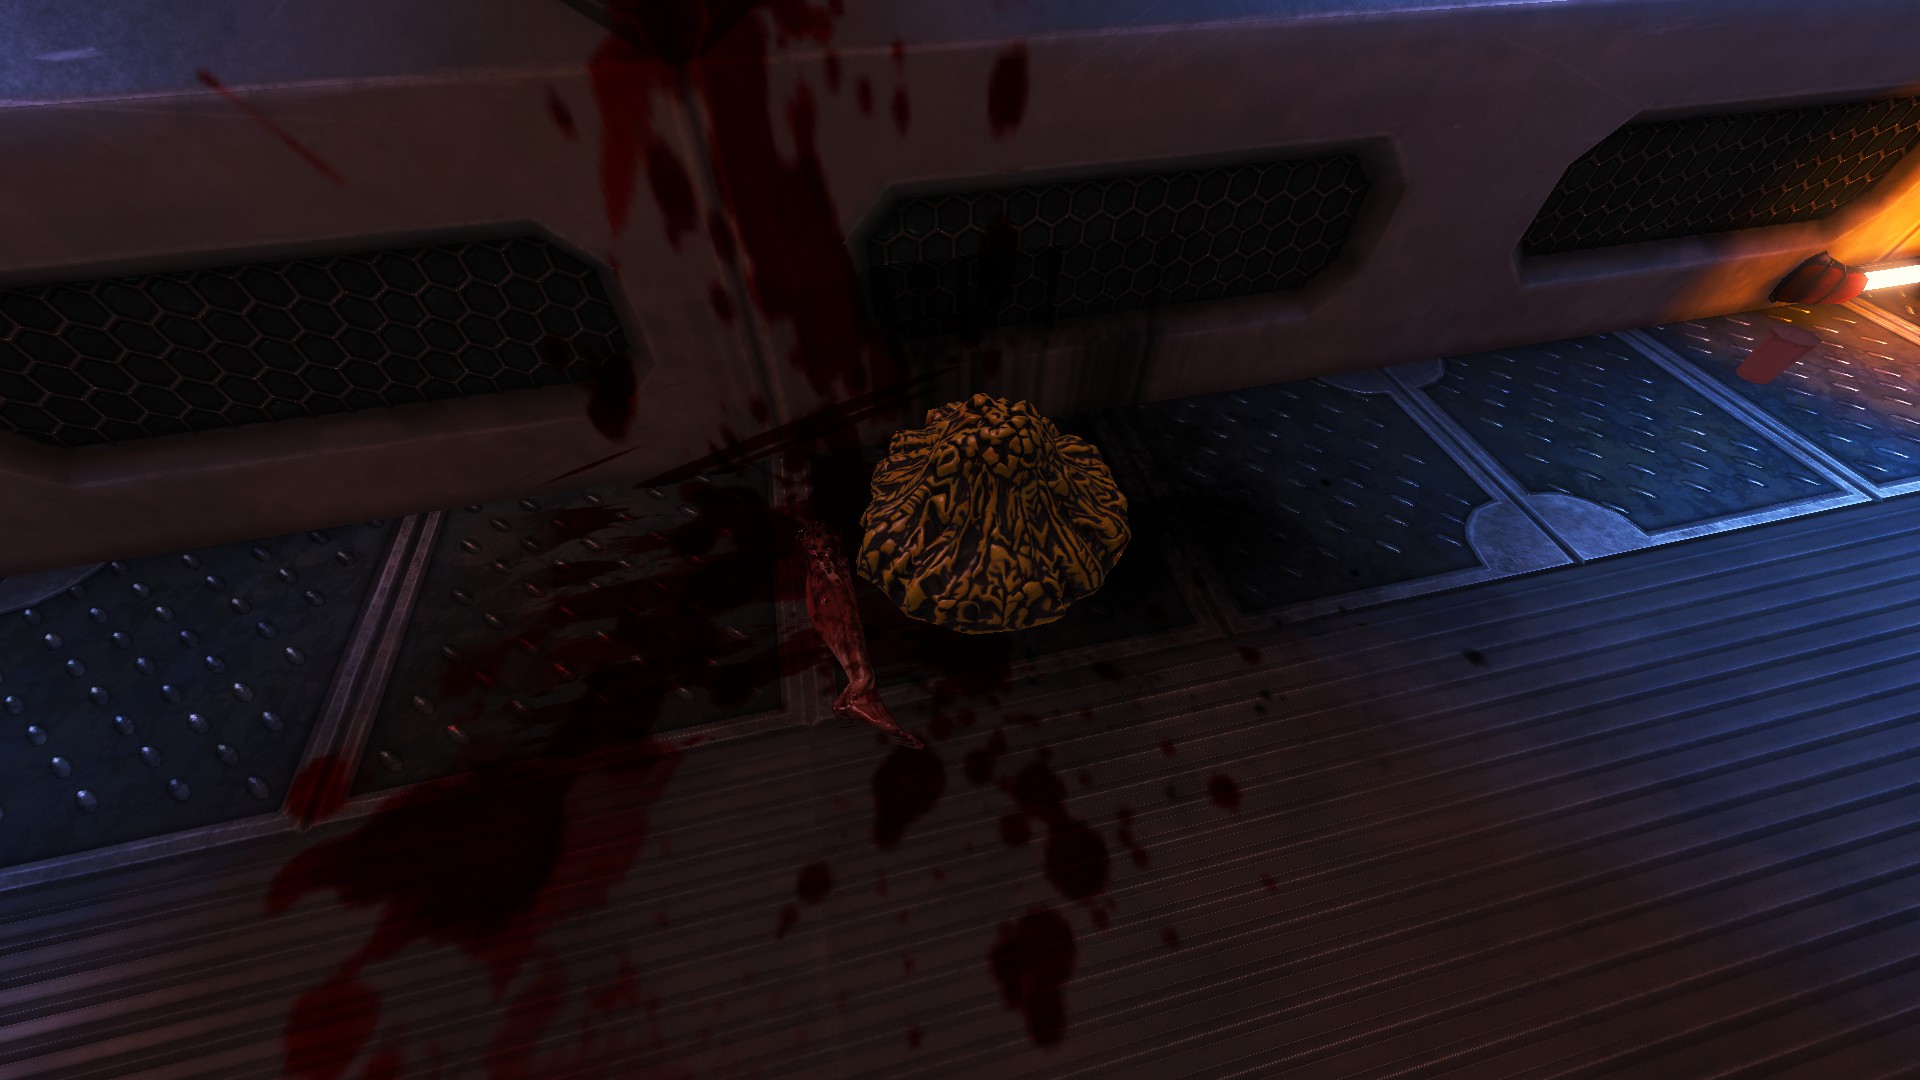
 Chew on This!
Throw 100 items into sand traps Throwing either viscera or objects into the sand traps count towards this one. Occasionally a sand trap will spew out items you gave it. Throwing those back in still count as more items.
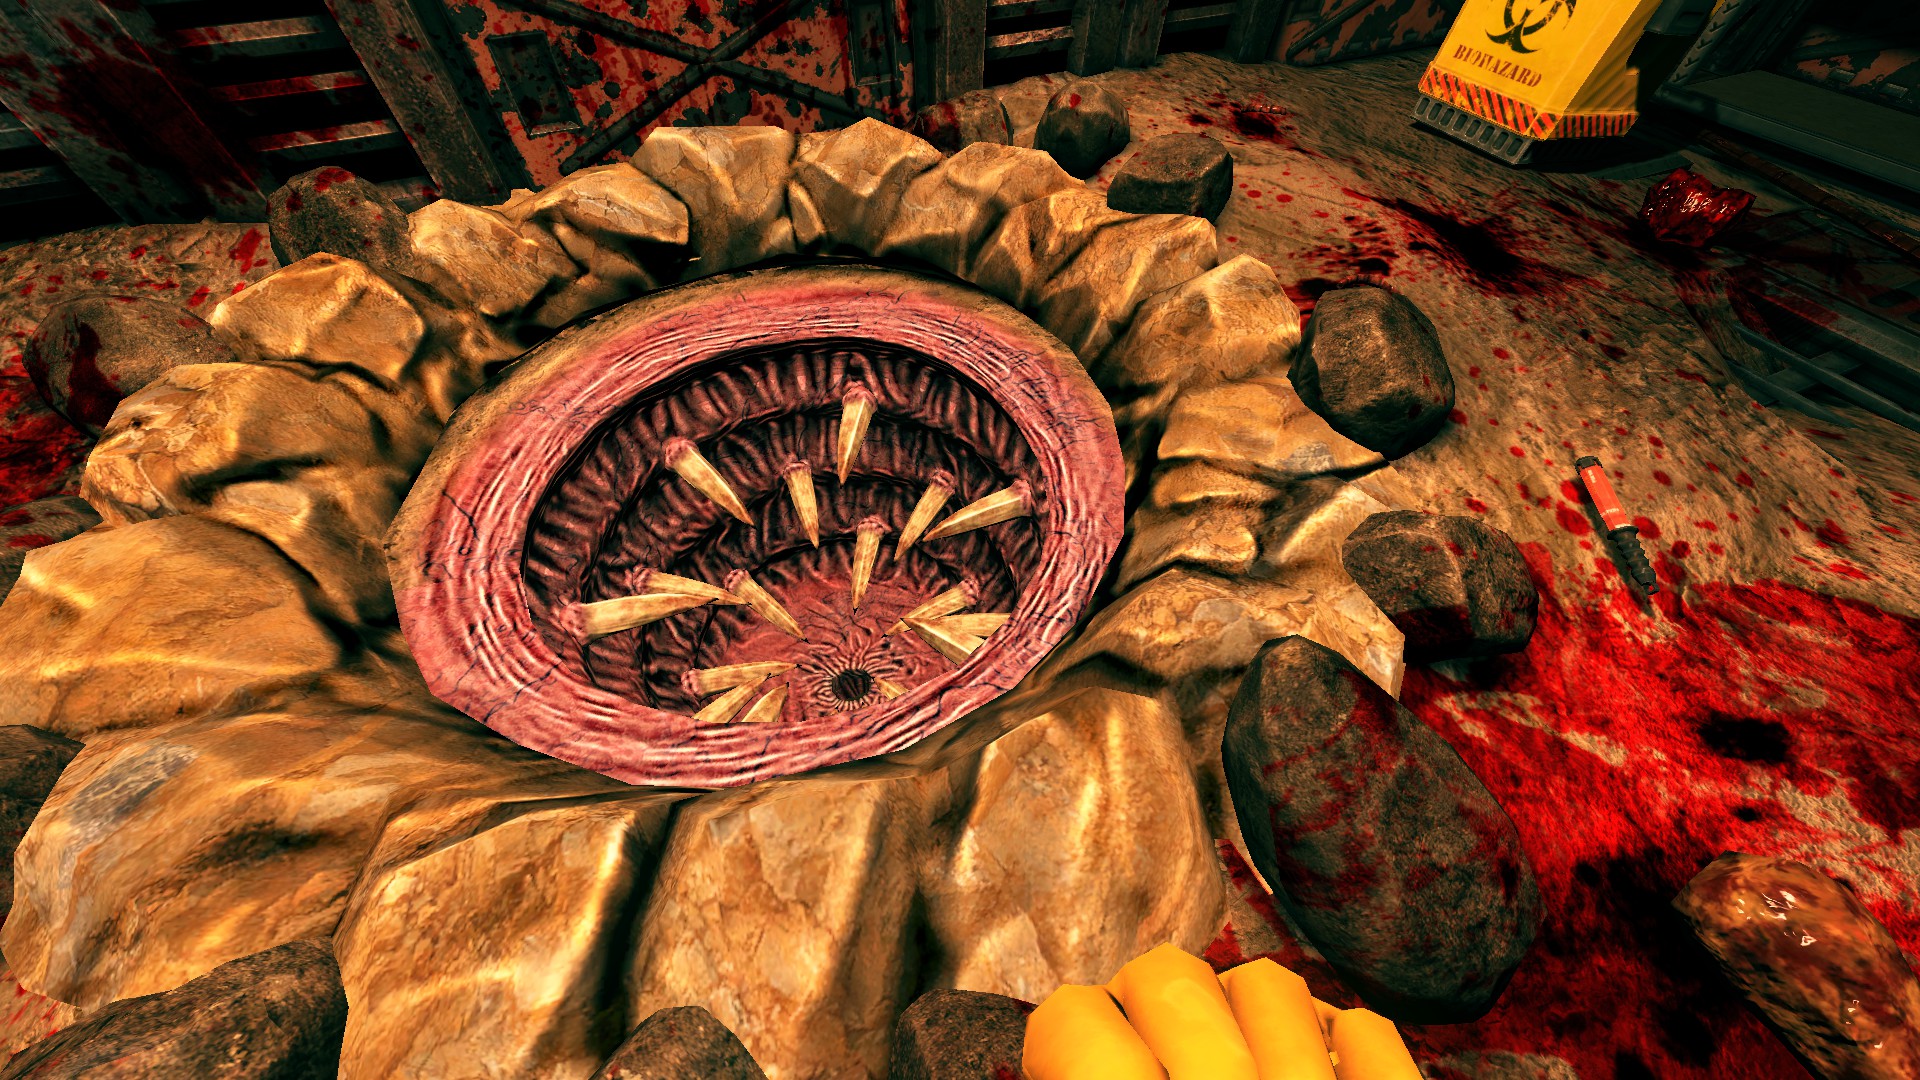 Weapons (plasma welder, shovel) will be instantly regurgitated and do not count towards the achievement. You can use any sand trap.
 The Nose Knows
Use the Sniffer for a total of 2 hours As implied, the Sniffer must be turned on. Either mode (right or left click) can be used.
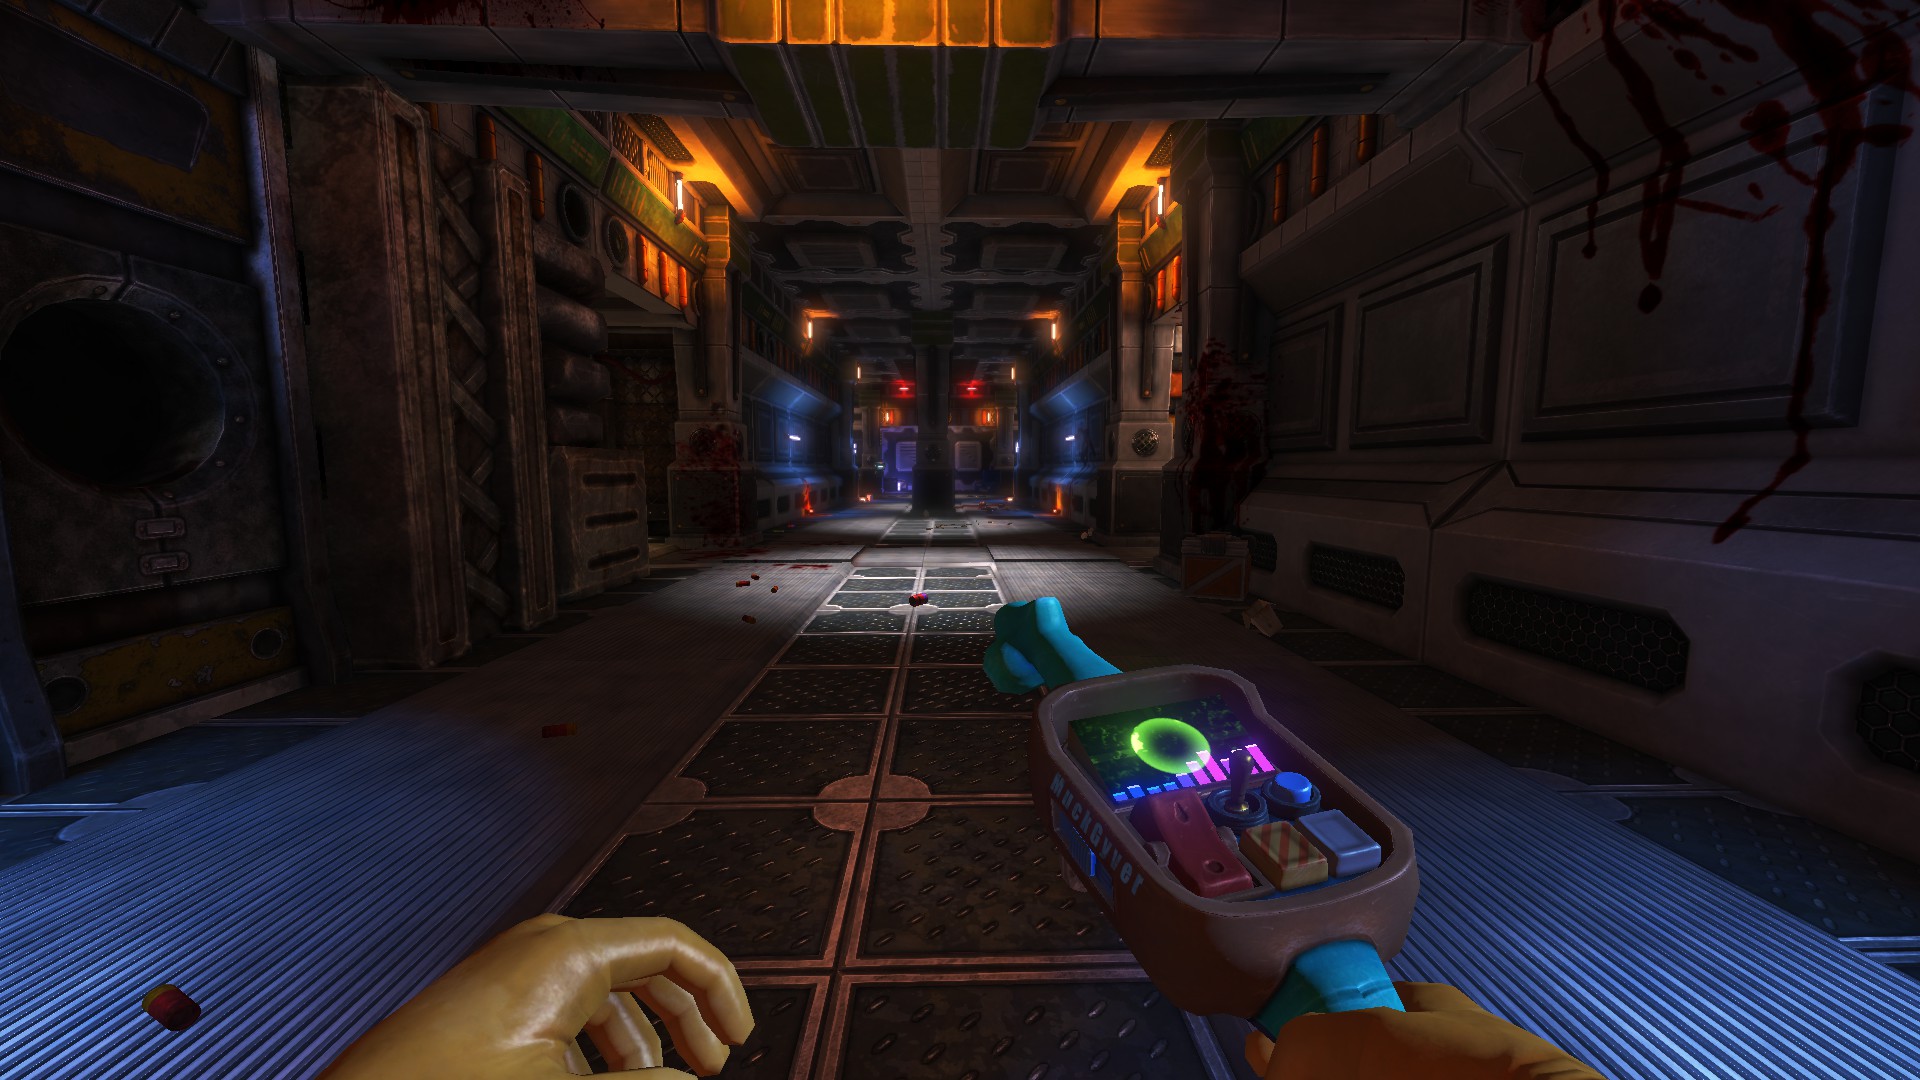
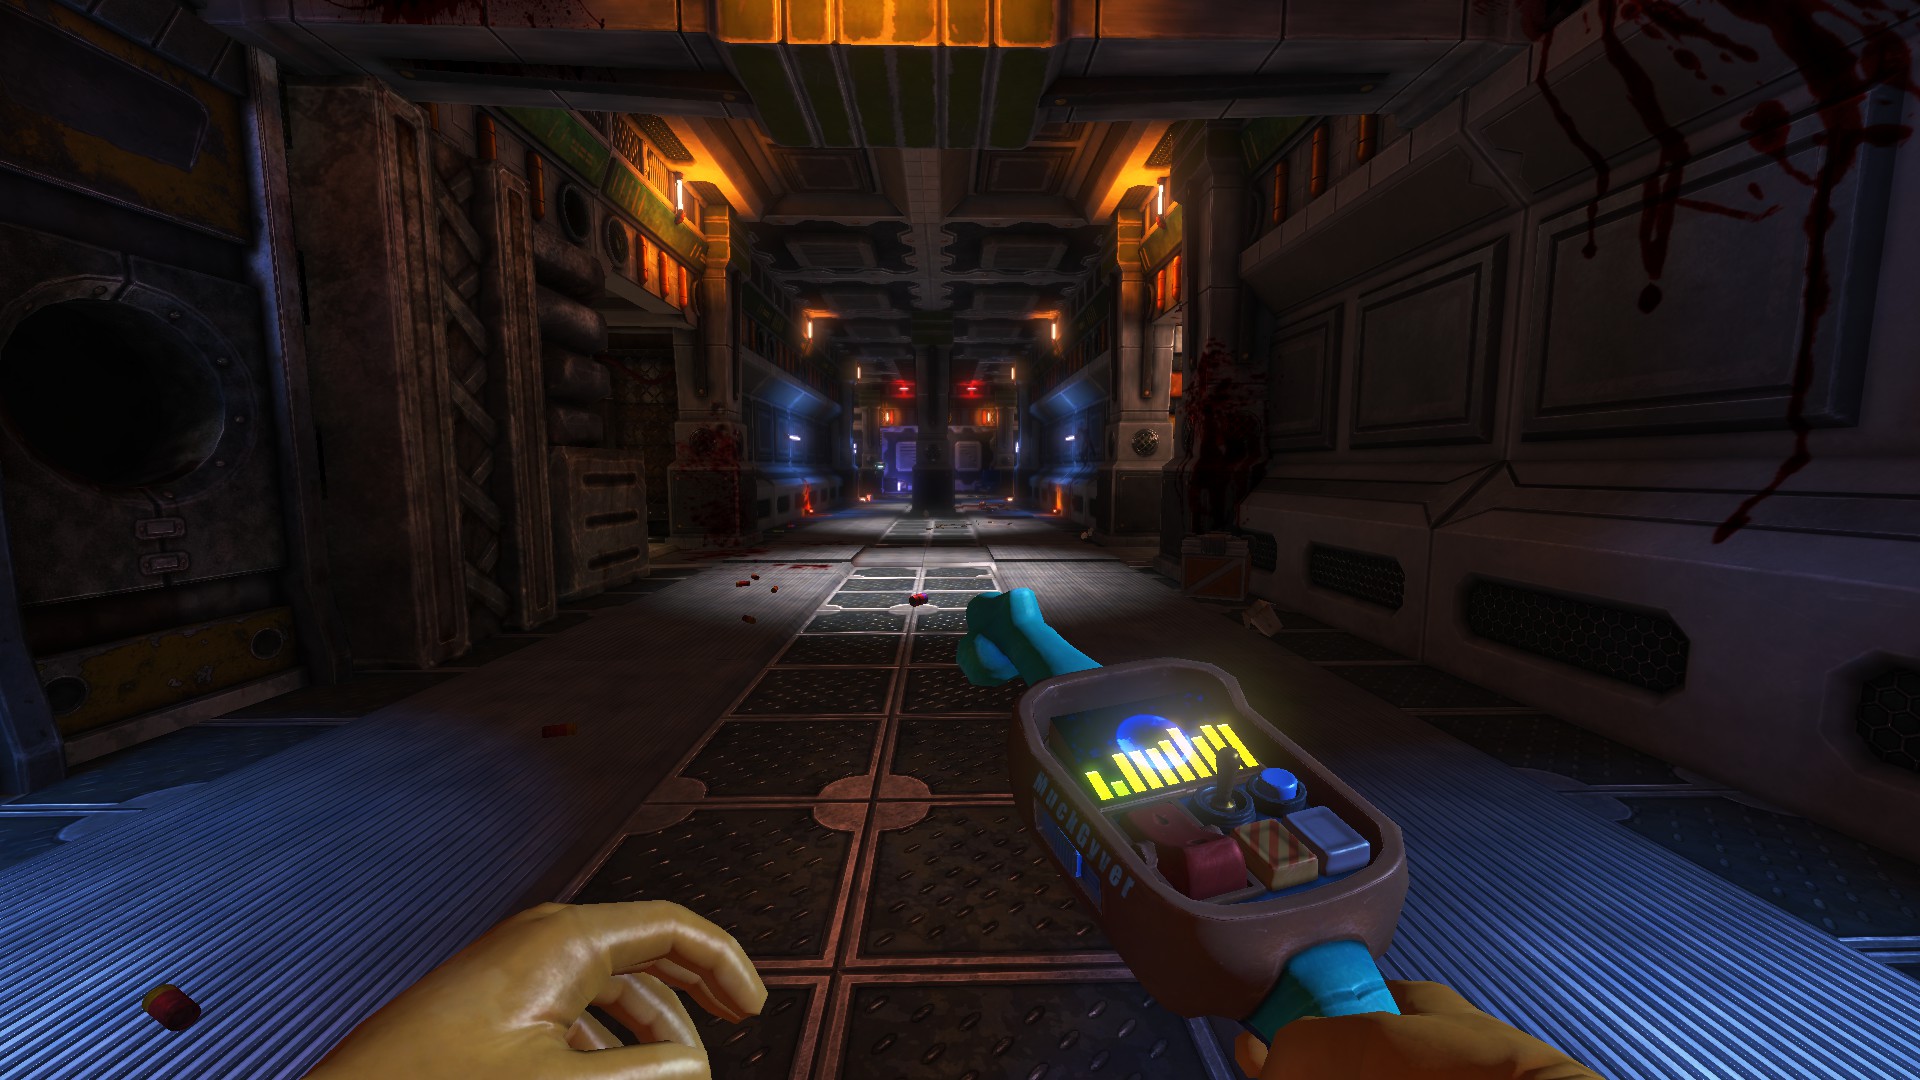 You can stand still, move around, alt+tab, it all still counts up.
Speedrun Achievements
The next three achievement topics (including this one) are just speculations that there may be more achievements of these types added...
 Ubermensch
Speedrun a map with at least %25 par time to spare
As per the completion achievements, a percentage of at least 95% is required.
A common map played for this achievement is Athena's Wrath, which needs to be completed under about 35 minutes.
I recorded a run of it, which you can see it here:
http://www.youtube.com/watch?v=KLUFMvXGw1g
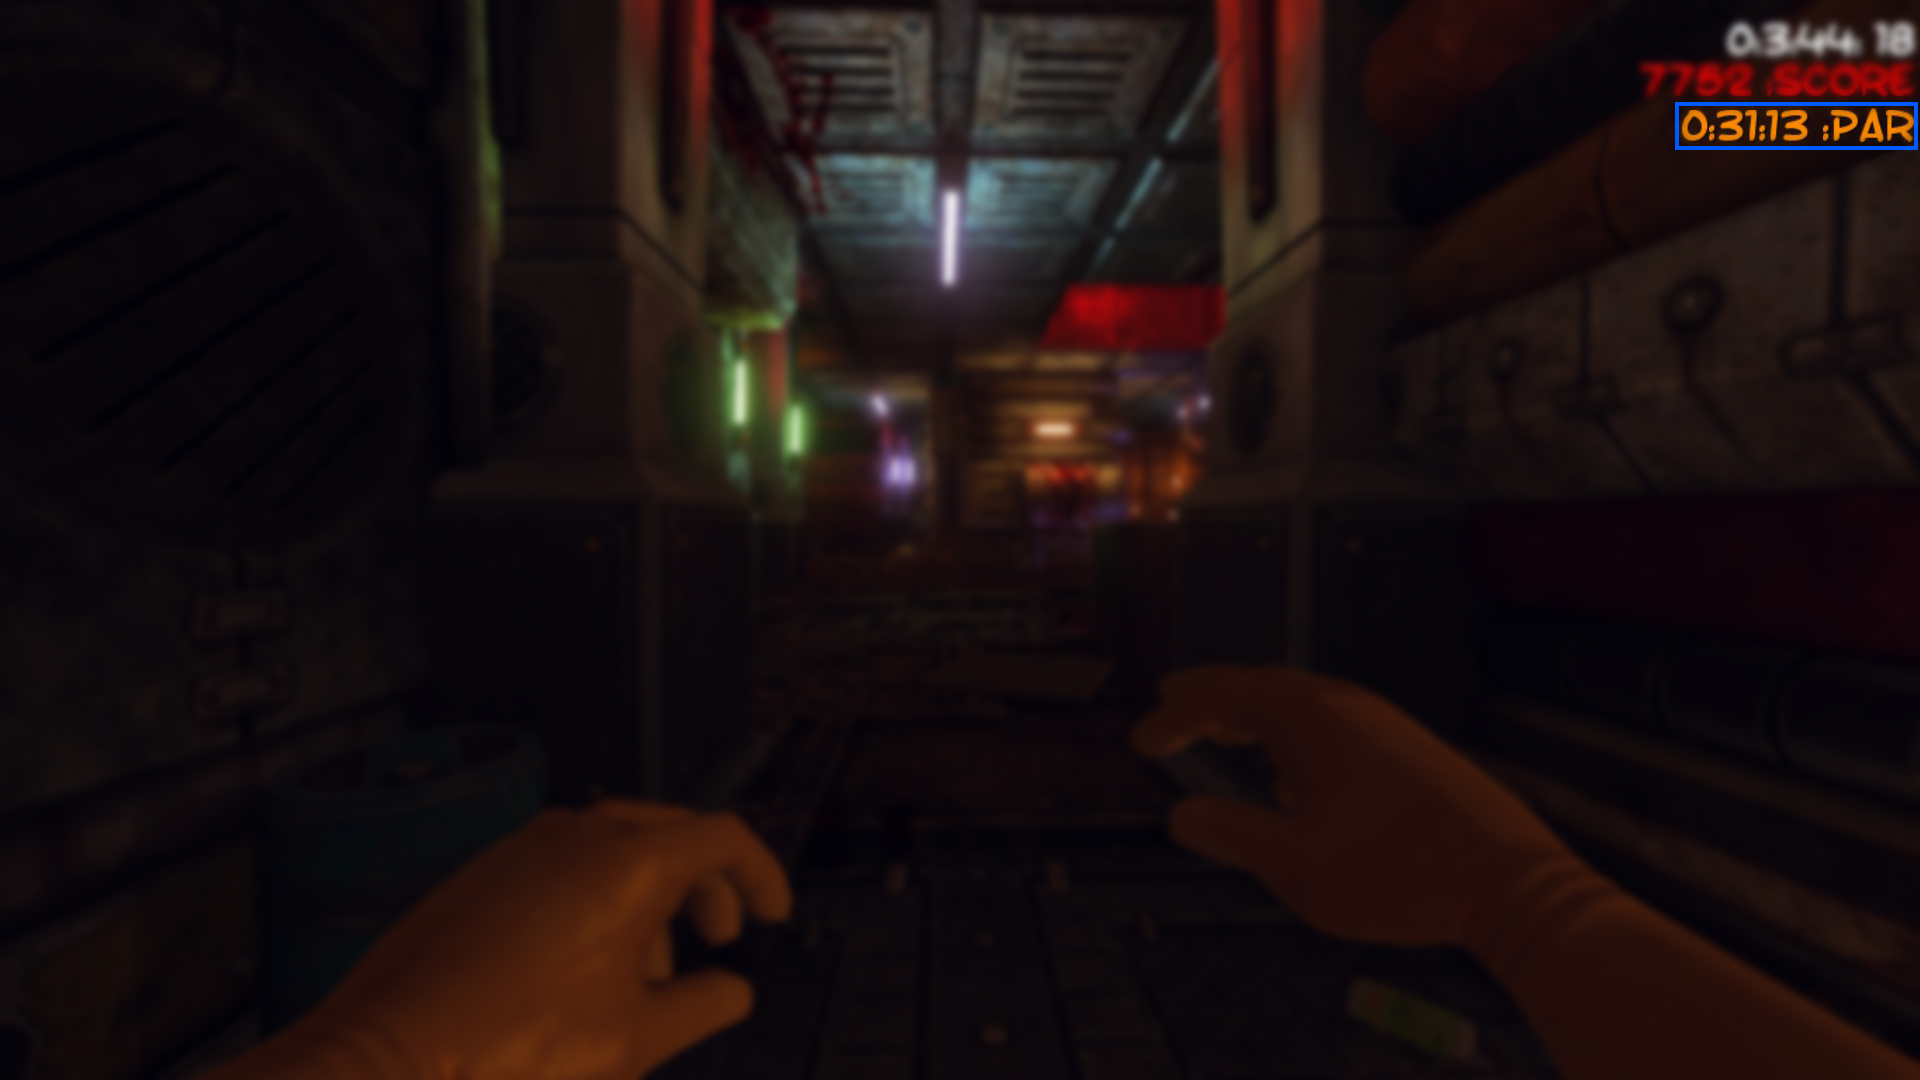 For the map shown in the screenshot, Rust-Station East, the required completion time would have to be under about 24 minutes.
The format is "hours : minutes : seconds . hundredths"
-25%
0:35:33.00
-25%
1:08:12.00
-25%
1:10:35.25
-25%
1:12:00.75
-25%
1:19:54.00
-25%
0:48:00.75
-25%
0:23:24.75
-25%
0:16:33.00
-25%
0:23:33.00
-25%
1:01:44.25
-25%
0:39:45.00
-25%
1:04:47.25
-25%
0:23:11.25
Multiplayer Achievements
 Janicide
Blow up a fellow worker
Blow up another player. Light up some TNT/dynamite and have another player pick it up or stand next to it. TNT can be found in Unearthly Excavation and you can light it with the Plasma Welder or the Incinerator. You can also light TNT by holding down left click while holding it.
 Pass The Torch
Take a lit flare from a fellow Janitor
Light a flare with the Plasma Welder or the incinerator and have another player grab it with the gloves while you are holding it.
You can also light flares by striking one against a wall. [Thanks luigiman39]
You can also light it by holding down left-click while holding a flare. [Thanks Gingusa]
Office Achievements
 Clean Freak
Cleanup your Office by removing any Trash, Viscera and Blood; excluding trophies. Then leave | Guide NOTE: Make sure you leave the two notes written by Bob in your office as you will need them for a later achievement.
For this one you have to open all locked doors in your office. For info on how to do this, check out this great guide (and don't forget the door behind the lockers):
http://steamcommunity.com/sharedfiles/filedetails/?id=359105229
There are bucket and bin machines through one door to help you. A trap door in the same room opens to allow you to clean items.
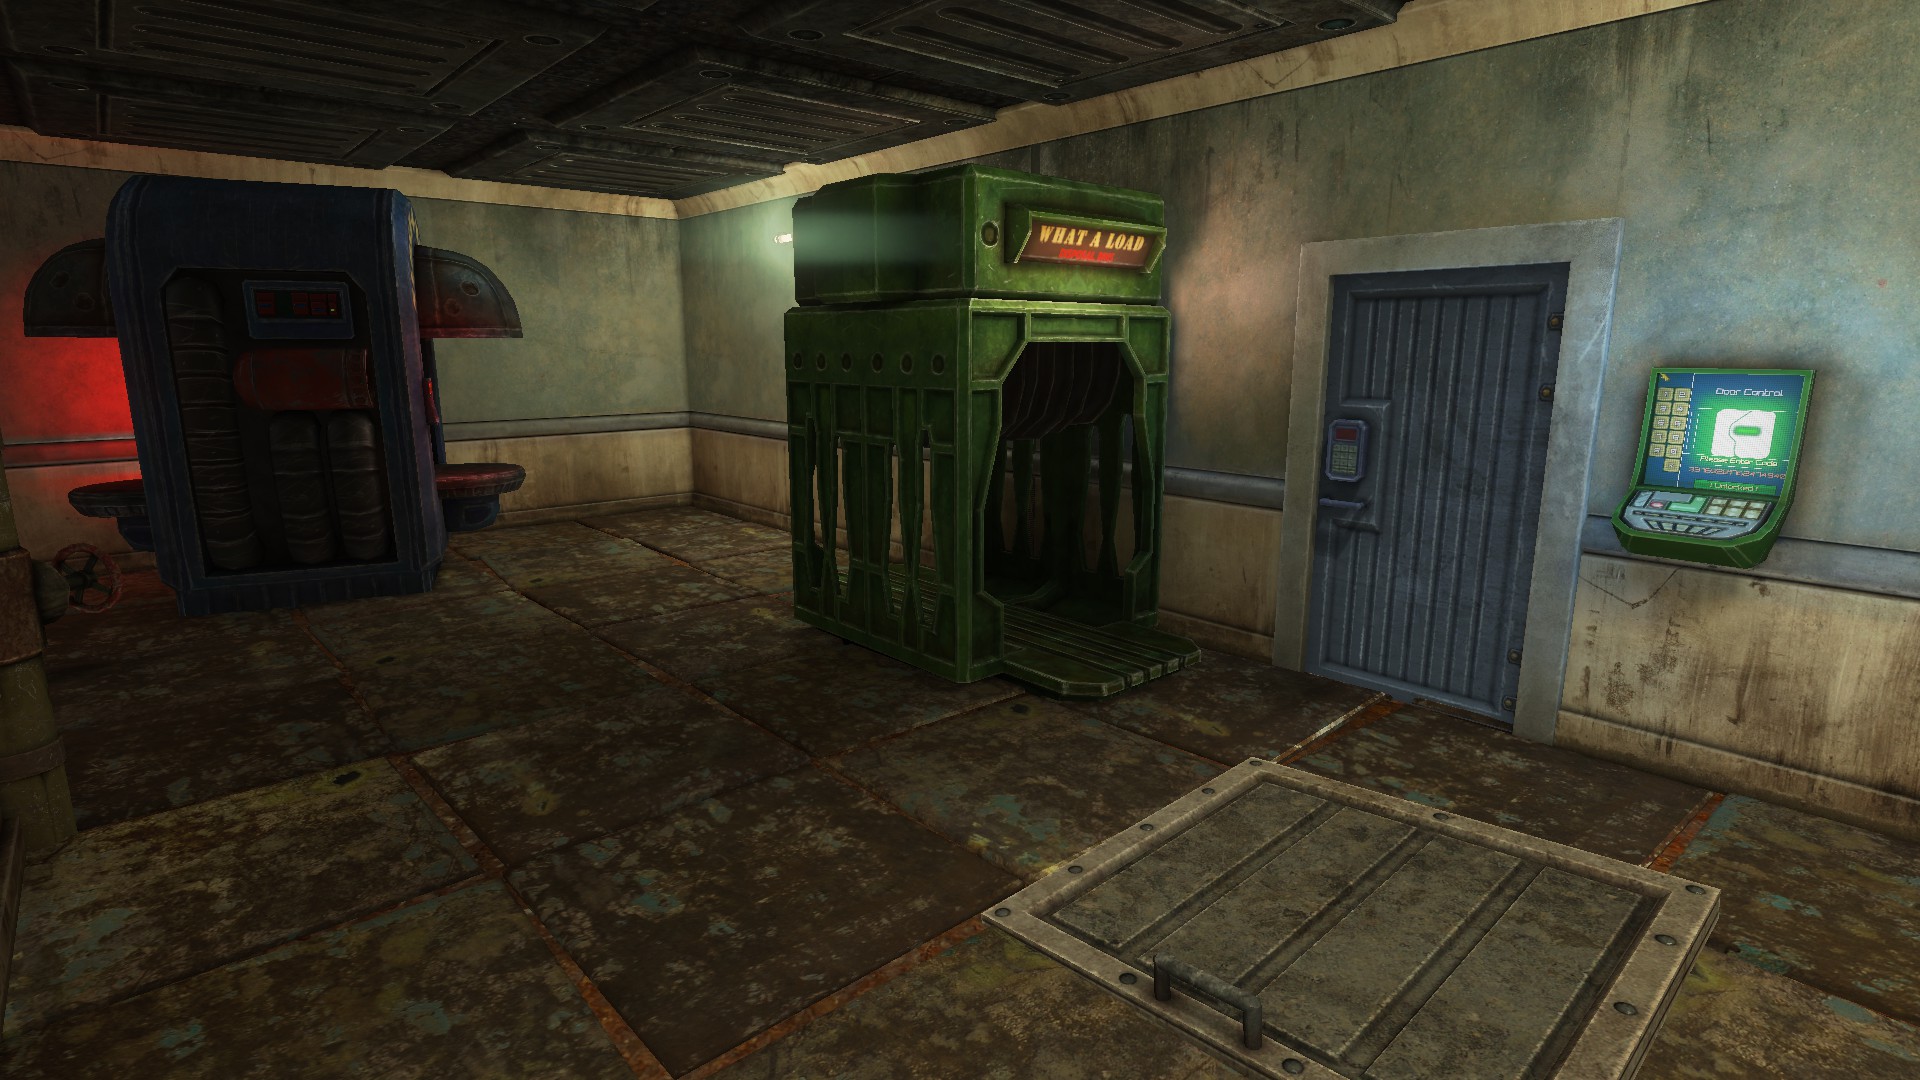 The trap door can be pretty buggy sometimes. If it stops opening, just give it a few whacks with the mop from different angles.
I took no chances with this achievement and removed everything except 4 boxes and my trunk. I don't think you need to be that extreme, just trash and viscera would be fine like the achievement says. Here are screenshots of the finished office:
The trap door can be pretty buggy sometimes. If it stops opening, just give it a few whacks with the mop from different angles.
I took no chances with this achievement and removed everything except 4 boxes and my trunk. I don't think you need to be that extreme, just trash and viscera would be fine like the achievement says. Here are screenshots of the finished office: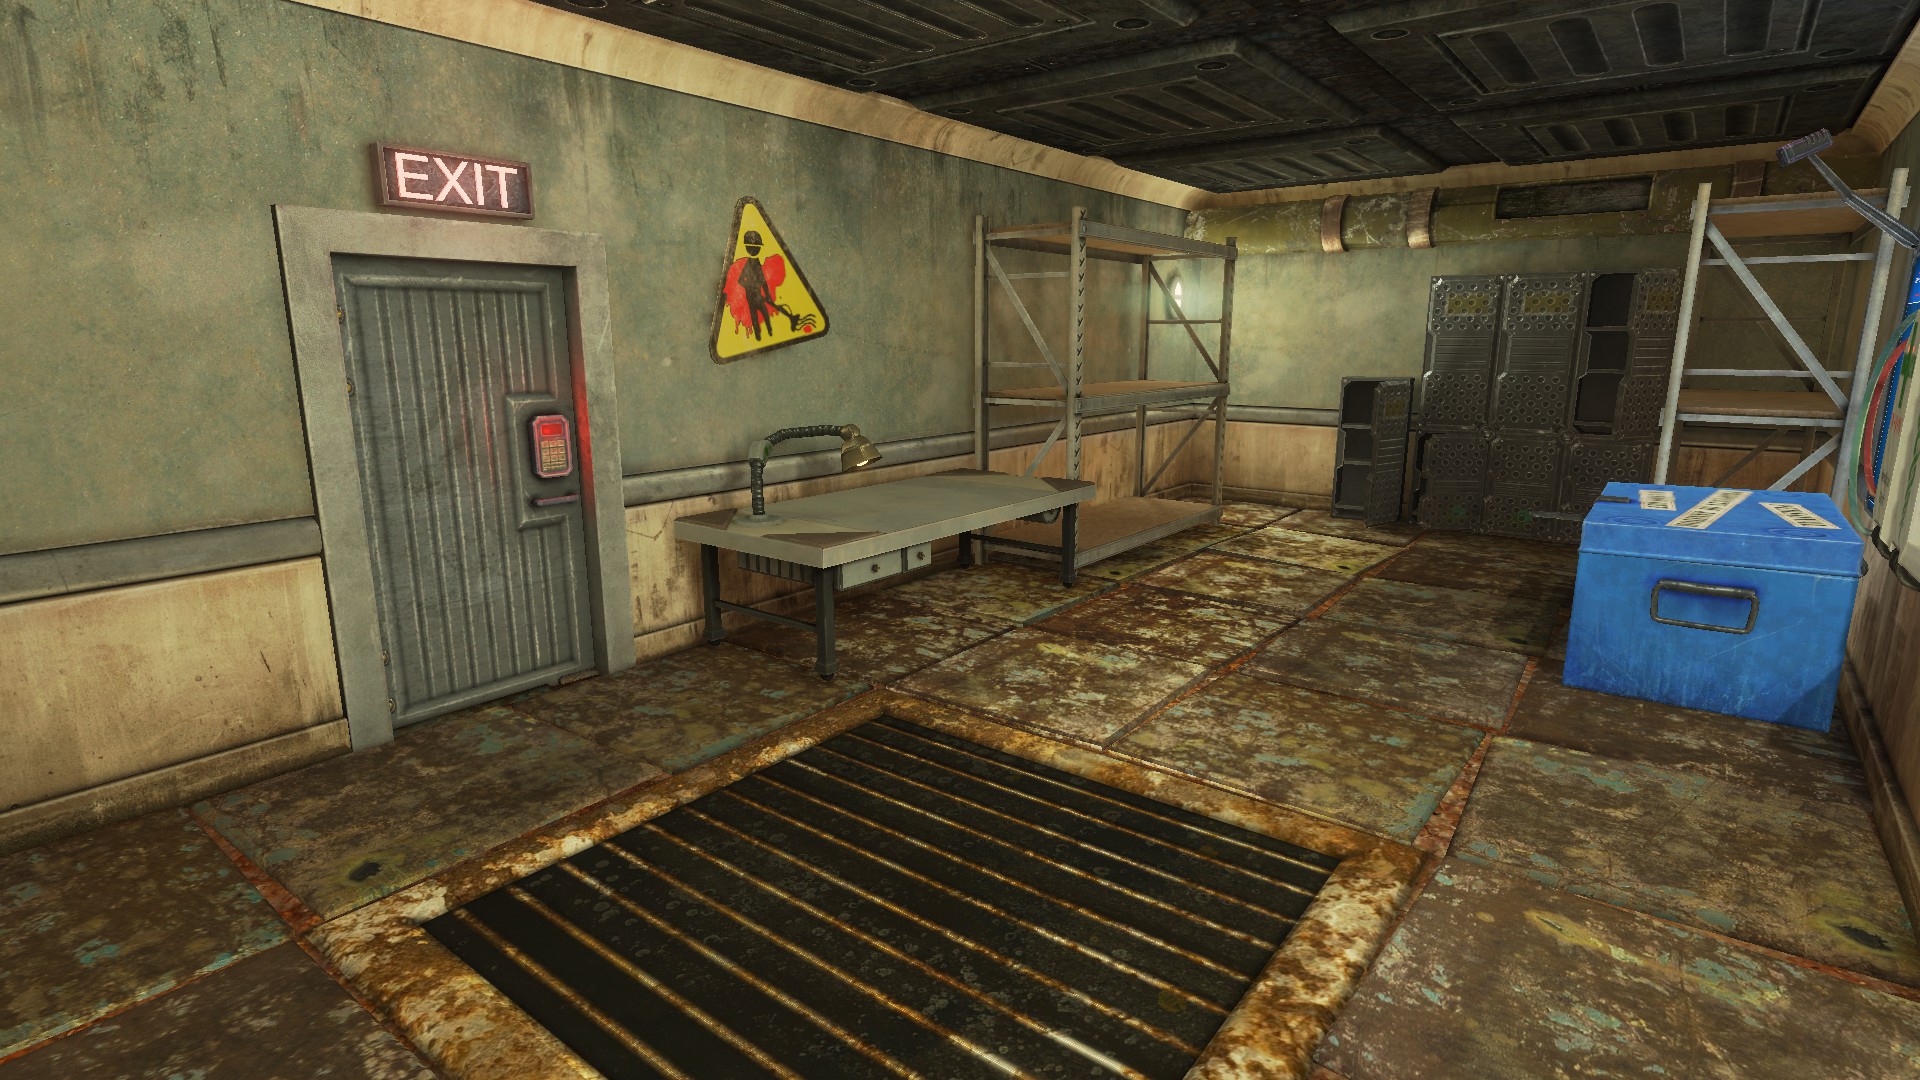
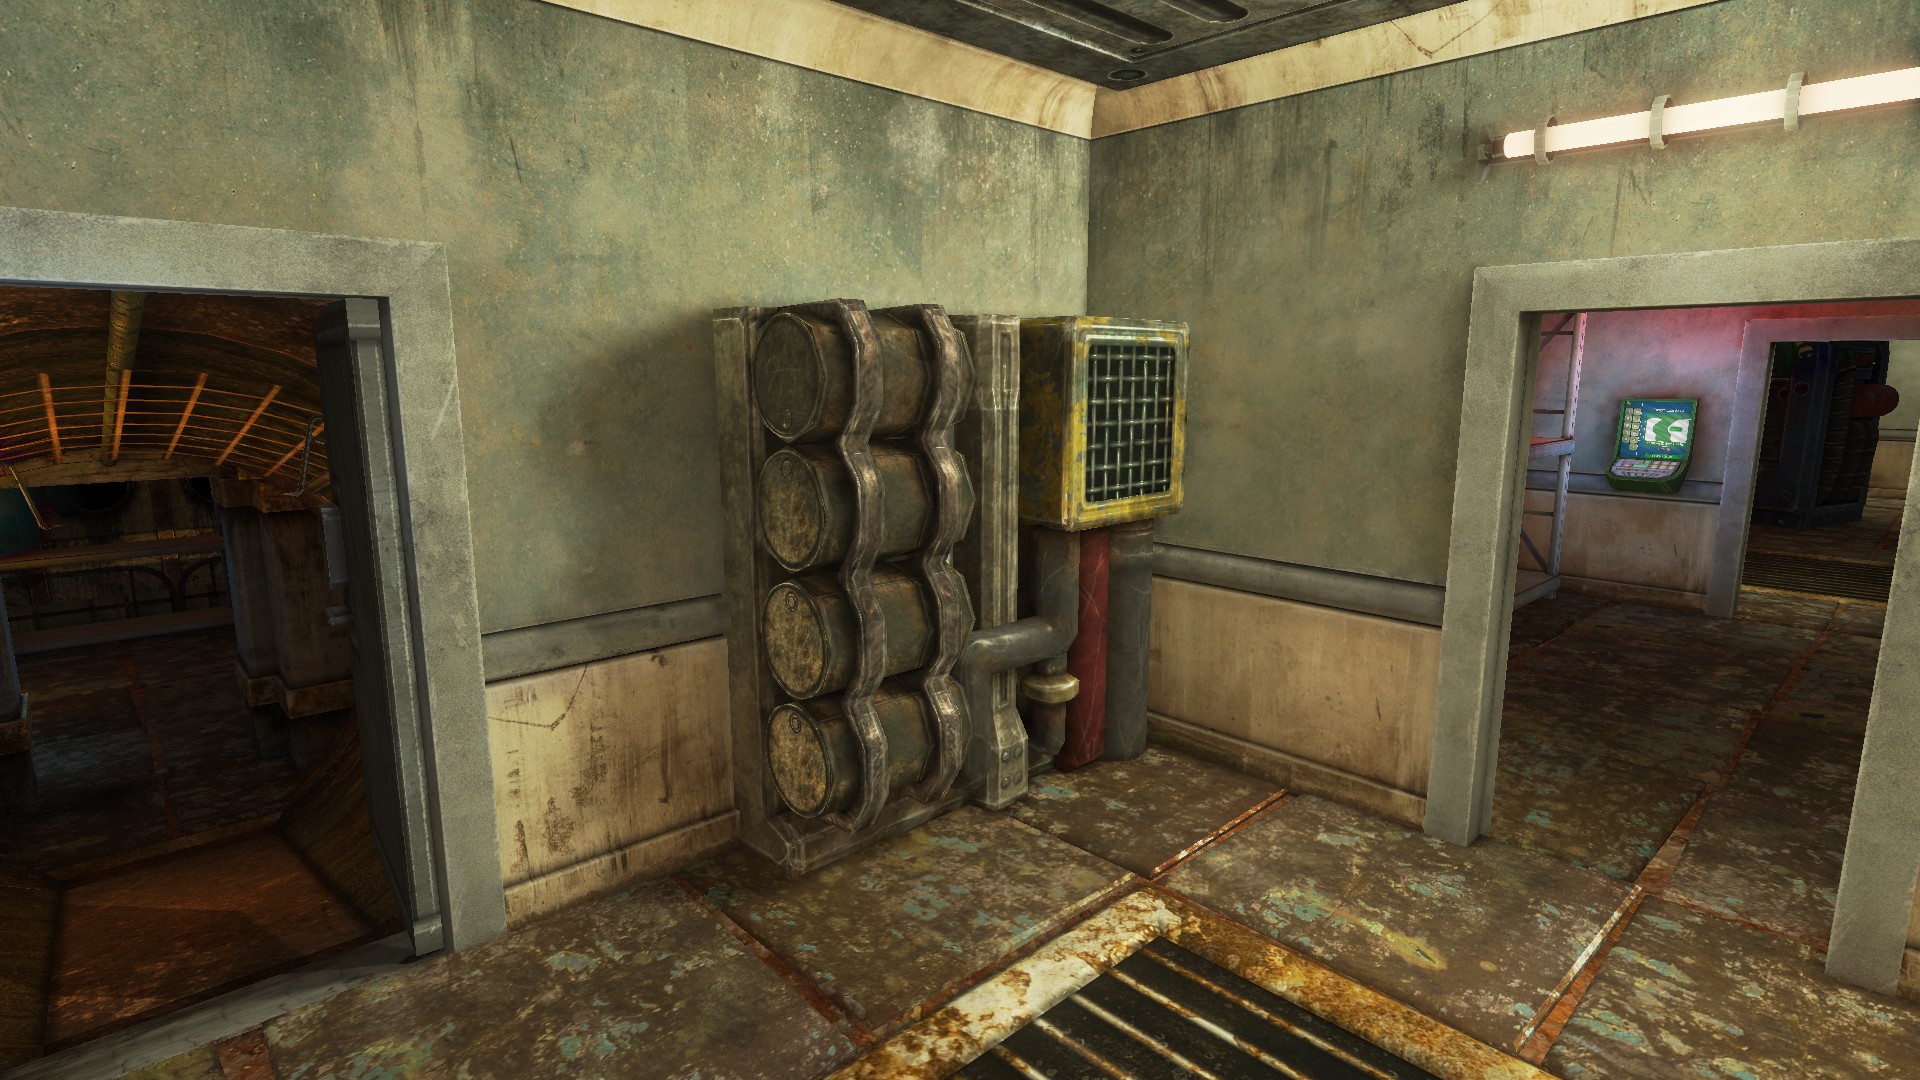
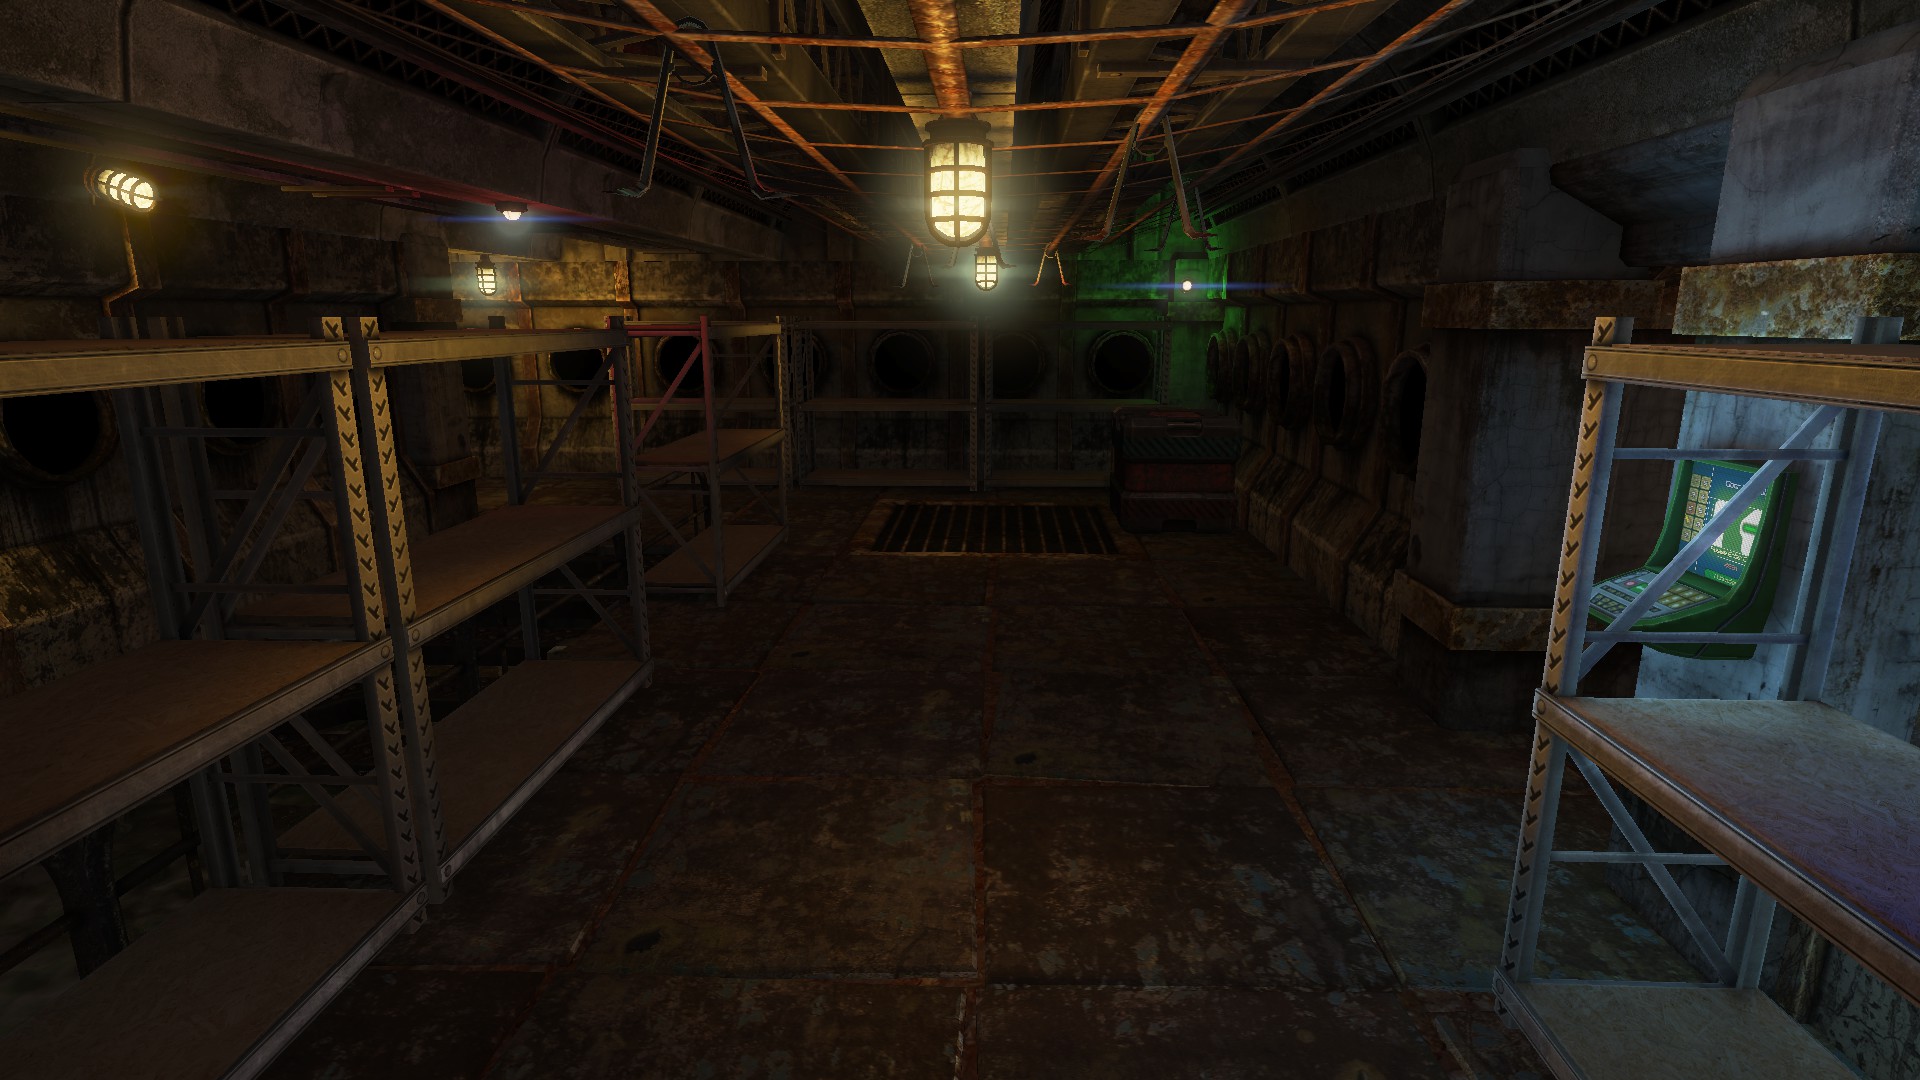
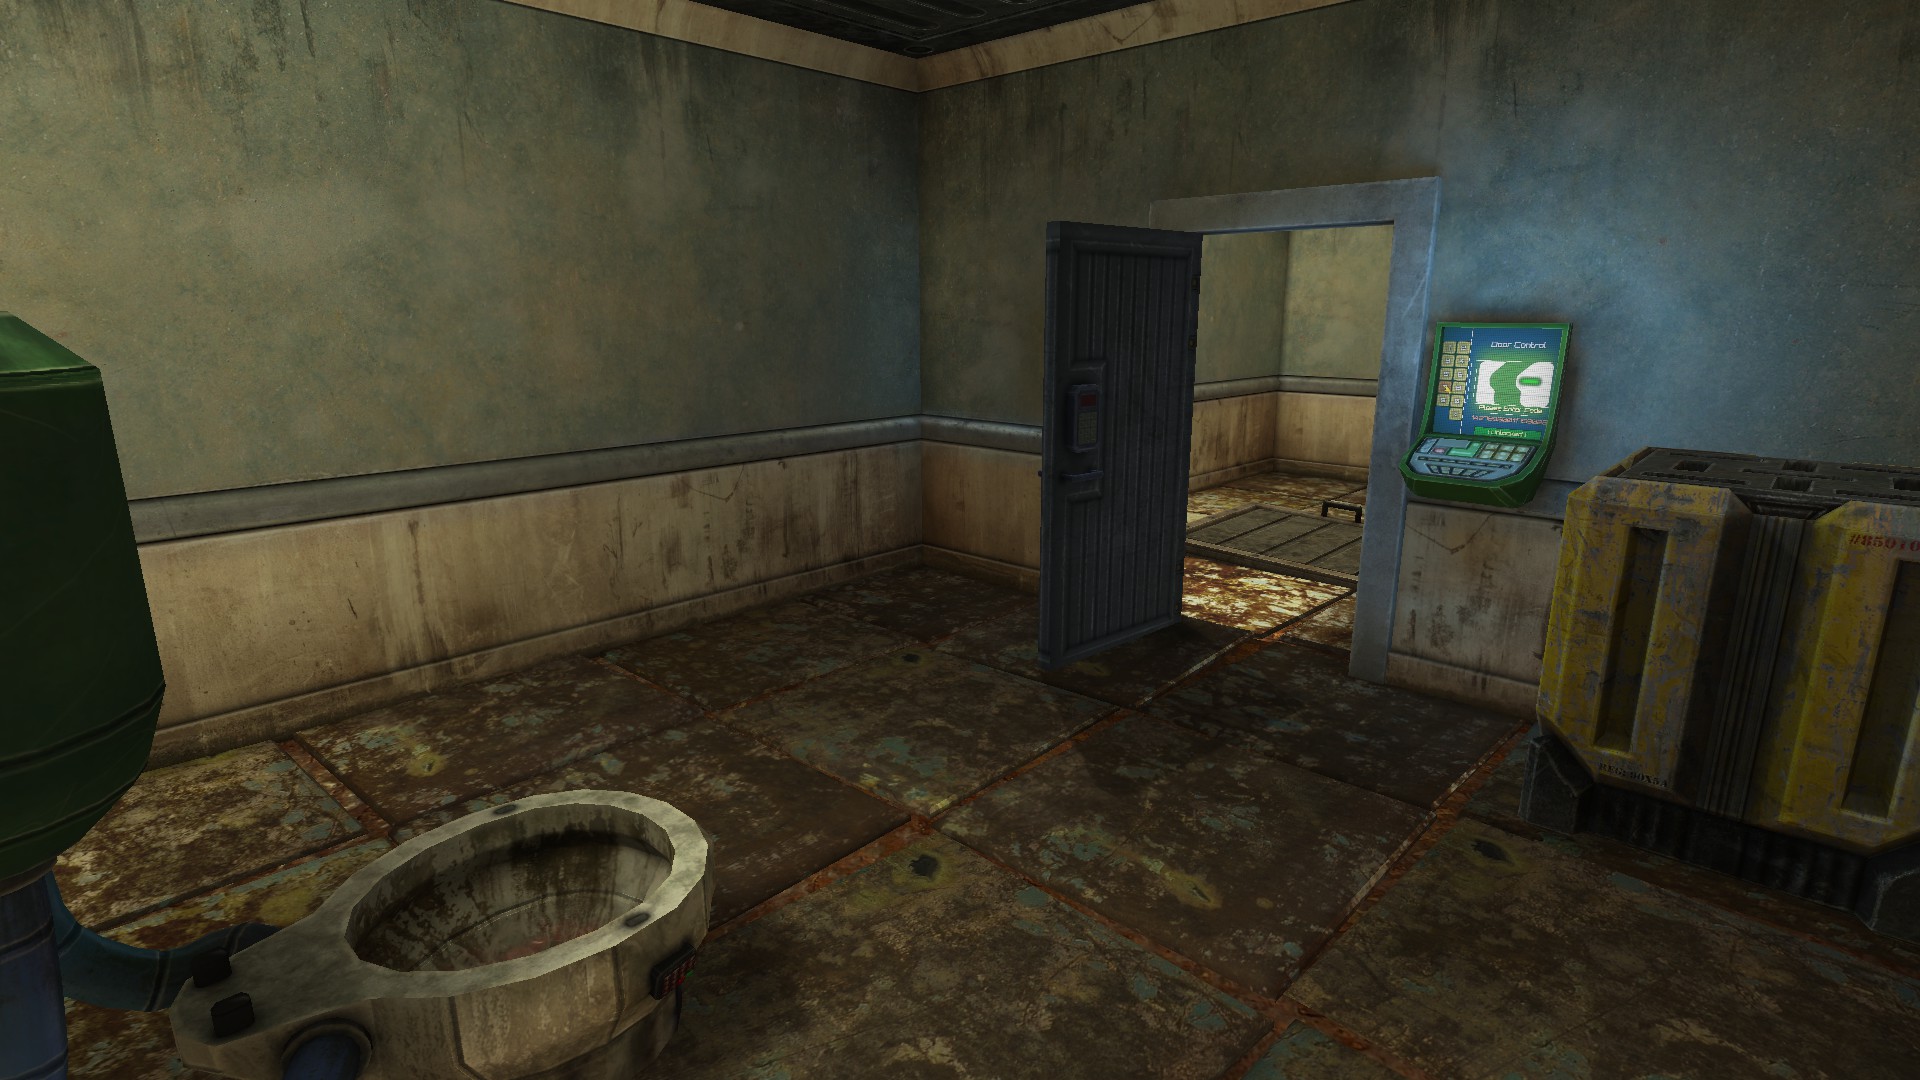
Just use the office exit door when you're done to get the achievement. Make sure you save the office from the pause menu if you plan to leave and come back to it!
 Bring the Thunder
Take the Big Banger Supernova out of Unearthly Excavation and into another work-site NOTE: While attempting this achievement, check out the Identity Theft and Head Hunter achievements, as progress can be gained on Unearthly Excavation for those achievements too.
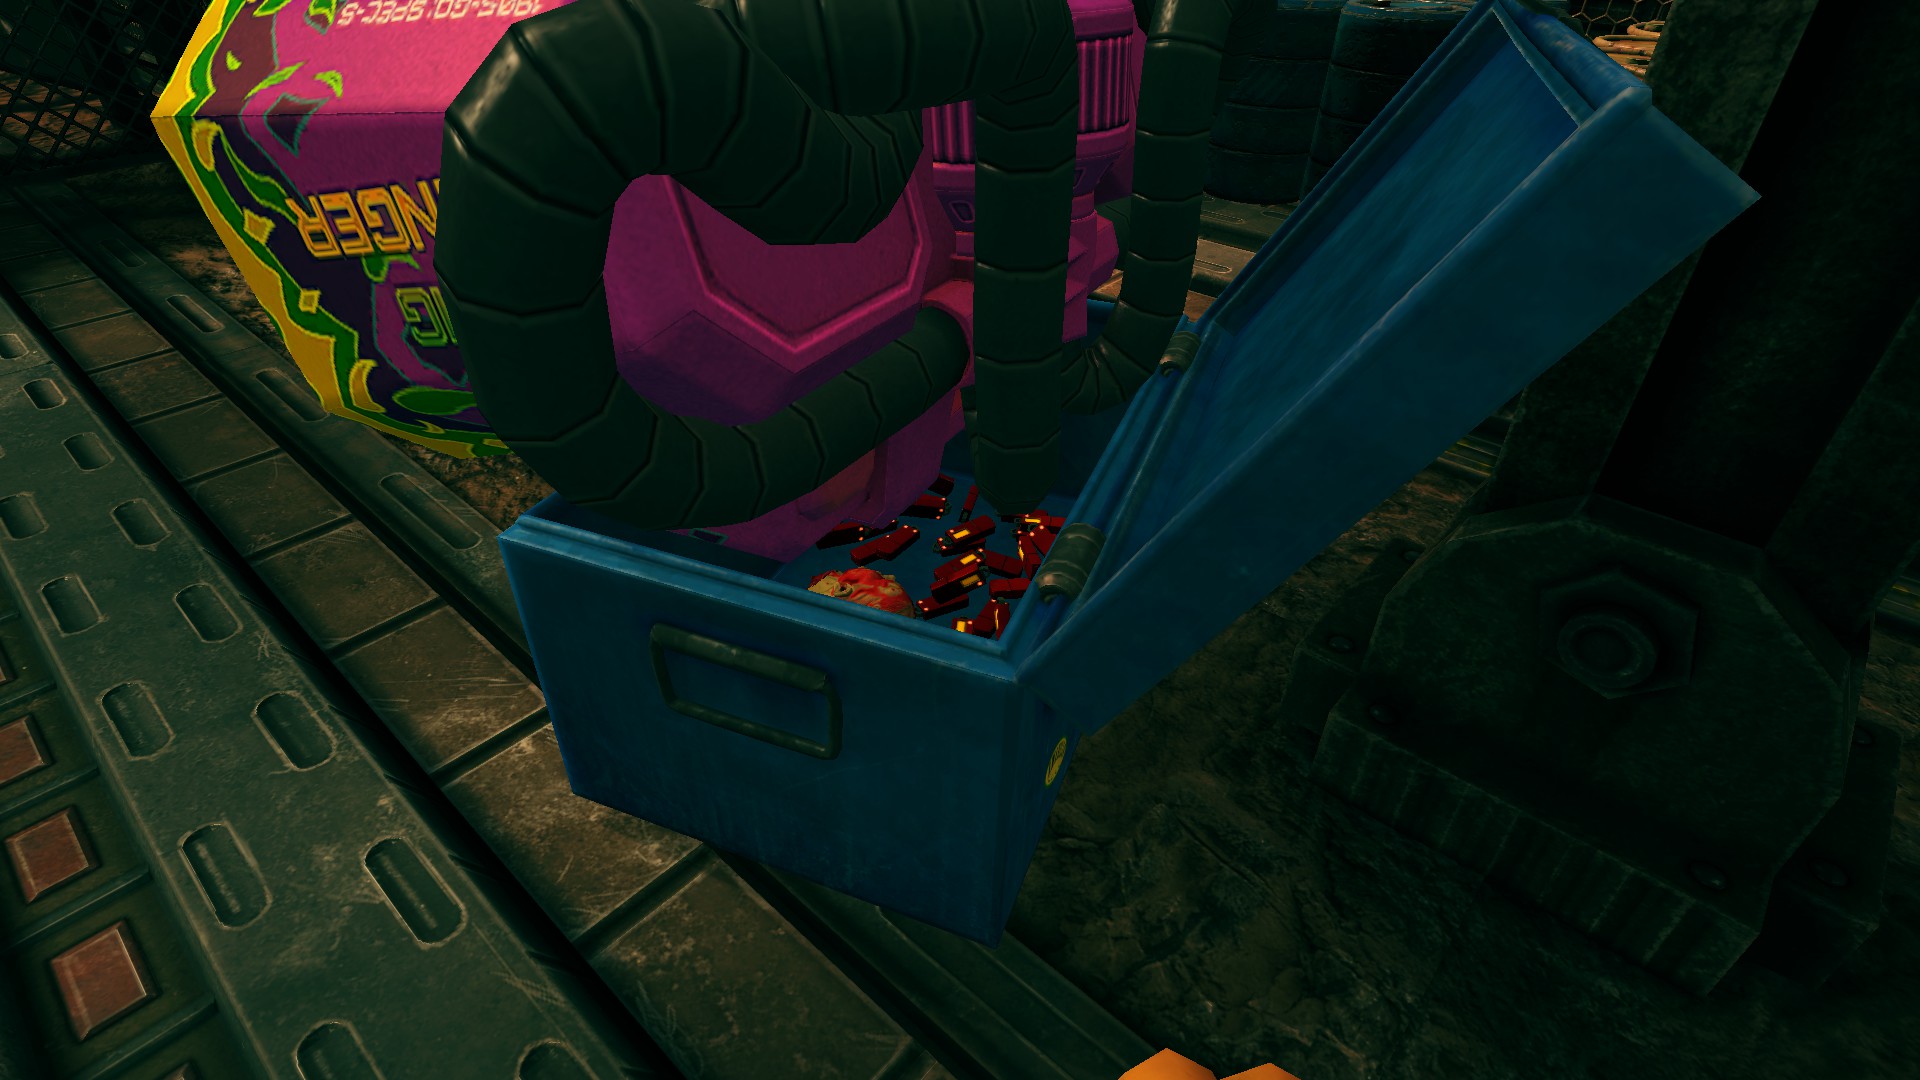
NOTE: If you do not do an 'adequate' job with the cleaning, your office will reset and the supernova will not stay in there.
The Big Banger Supernova appears only on the Unearthly Excavation site. It is up the first set of stairs right next to the first locked gate. The only way of taking it out of this and into another site, is to transfer it to your office first. To do this, you must put the supernova into the Janitor's Trunk, then complete the level.
Unfortunately, the supernova does not fit into the trunk as it is too big. You can however just sit it on top and it will still transfer to your office. I put it in upside down.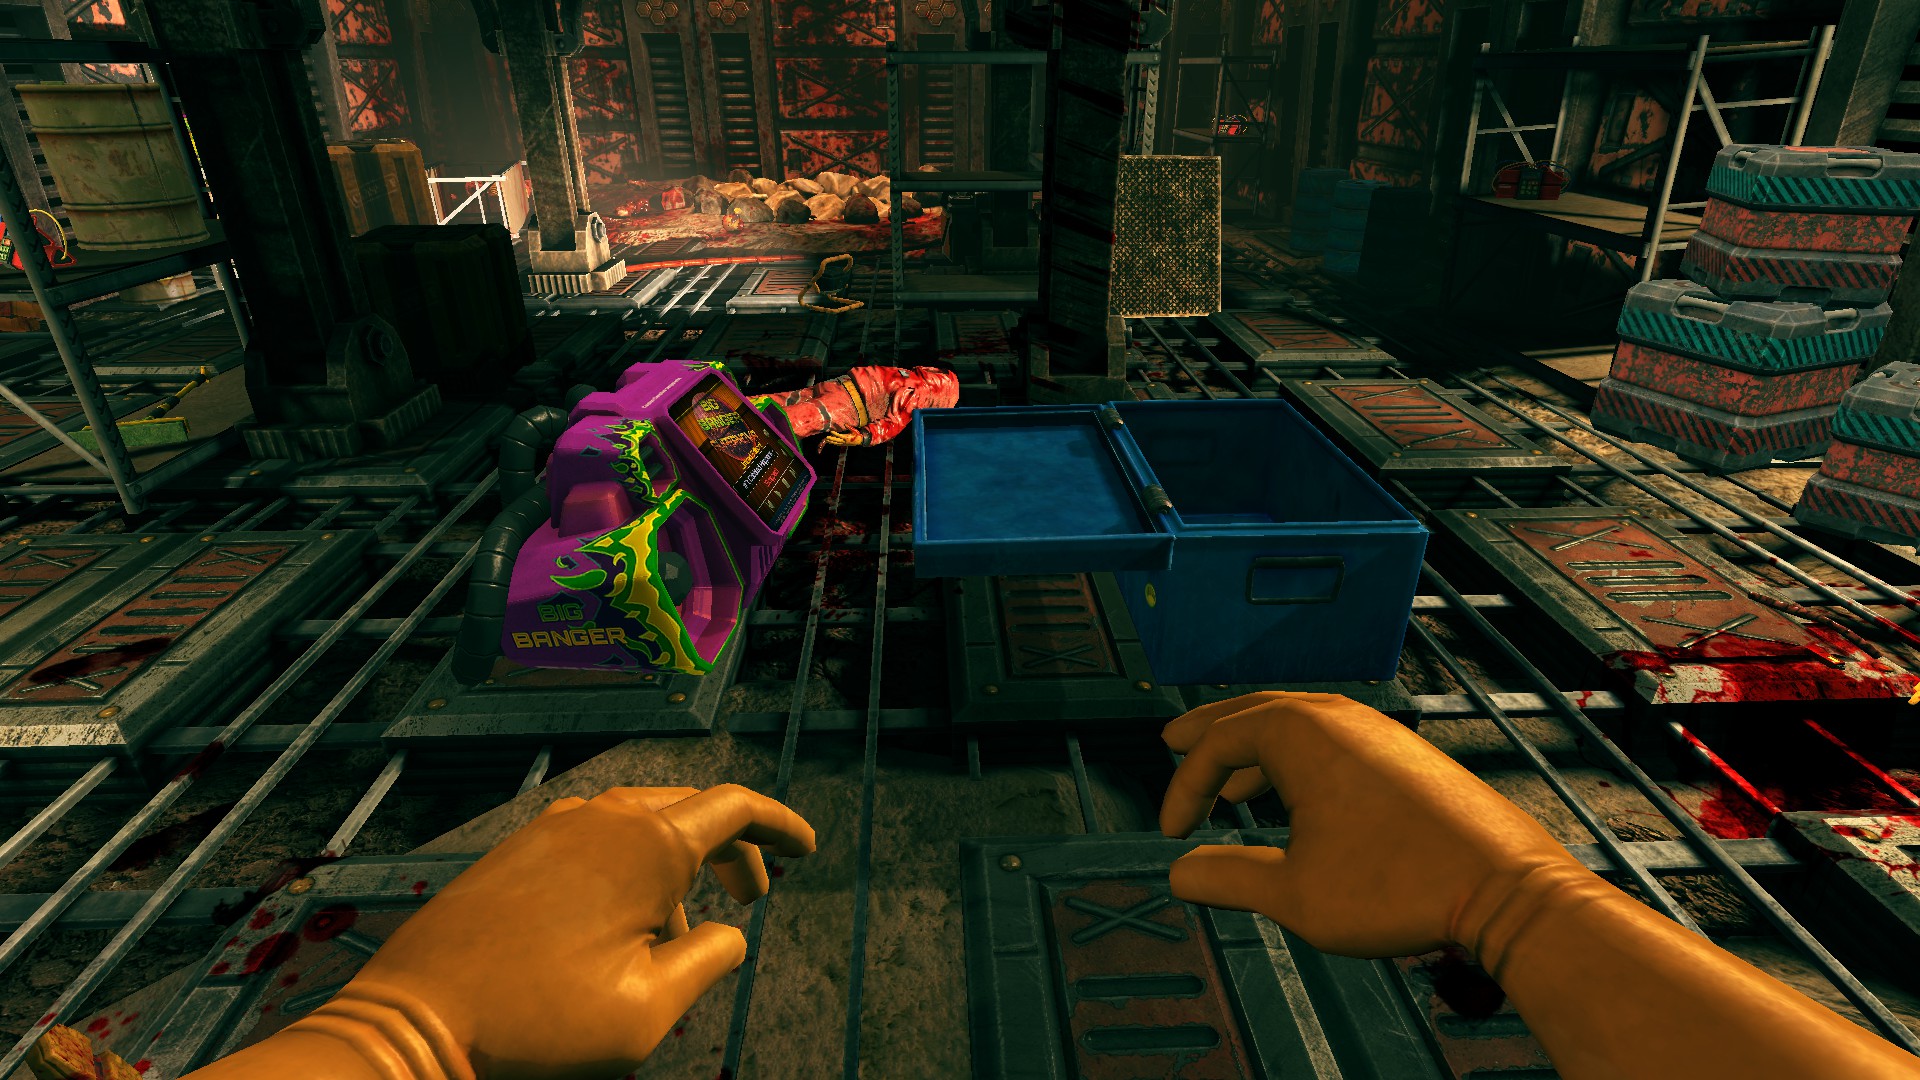
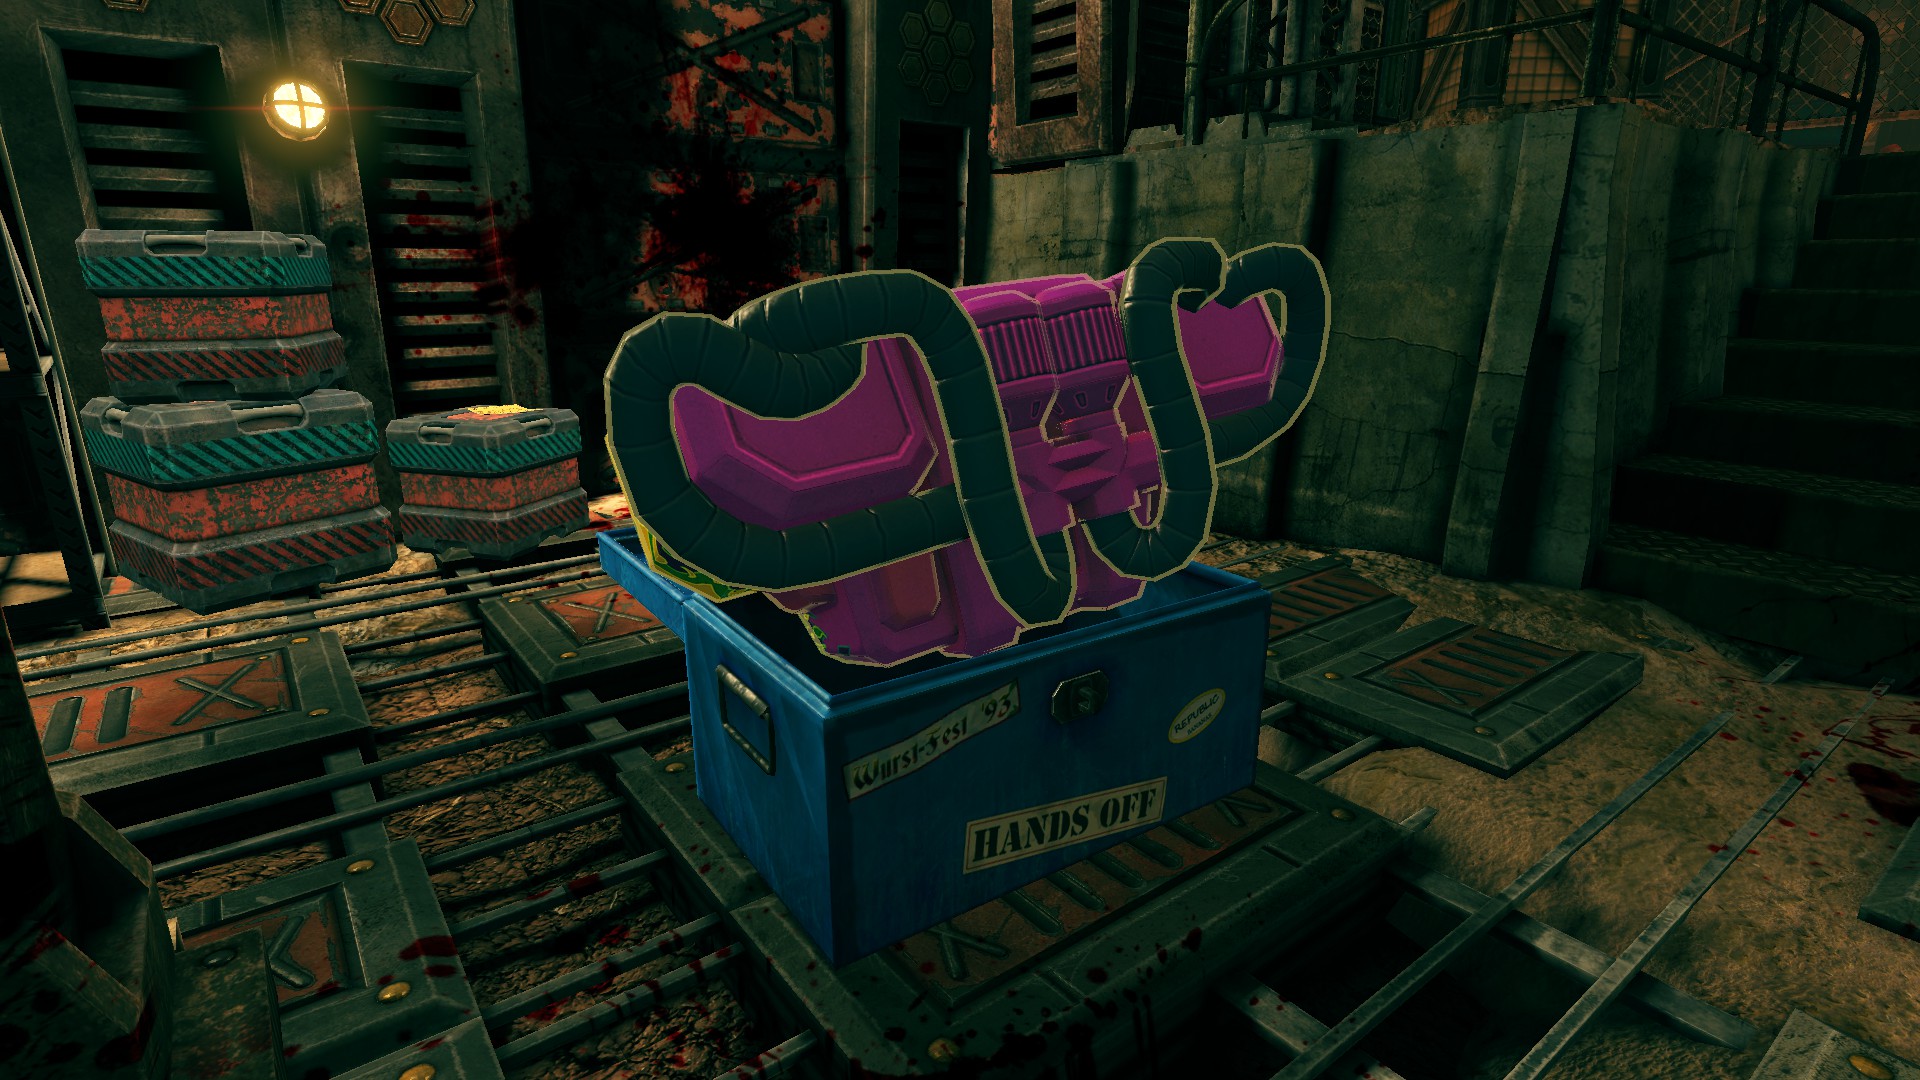 Make sure you save before you leave the site, in case you need to fix up its placement. Once it is in your office, you will need to make sure it is inside the janitor's trunk again in order to start with it at another site. Once you start up a new site with the Supernova, you have to start playing a song with it to get the achievement.
 Head Hunter
Collect a head from each species and take it to your office
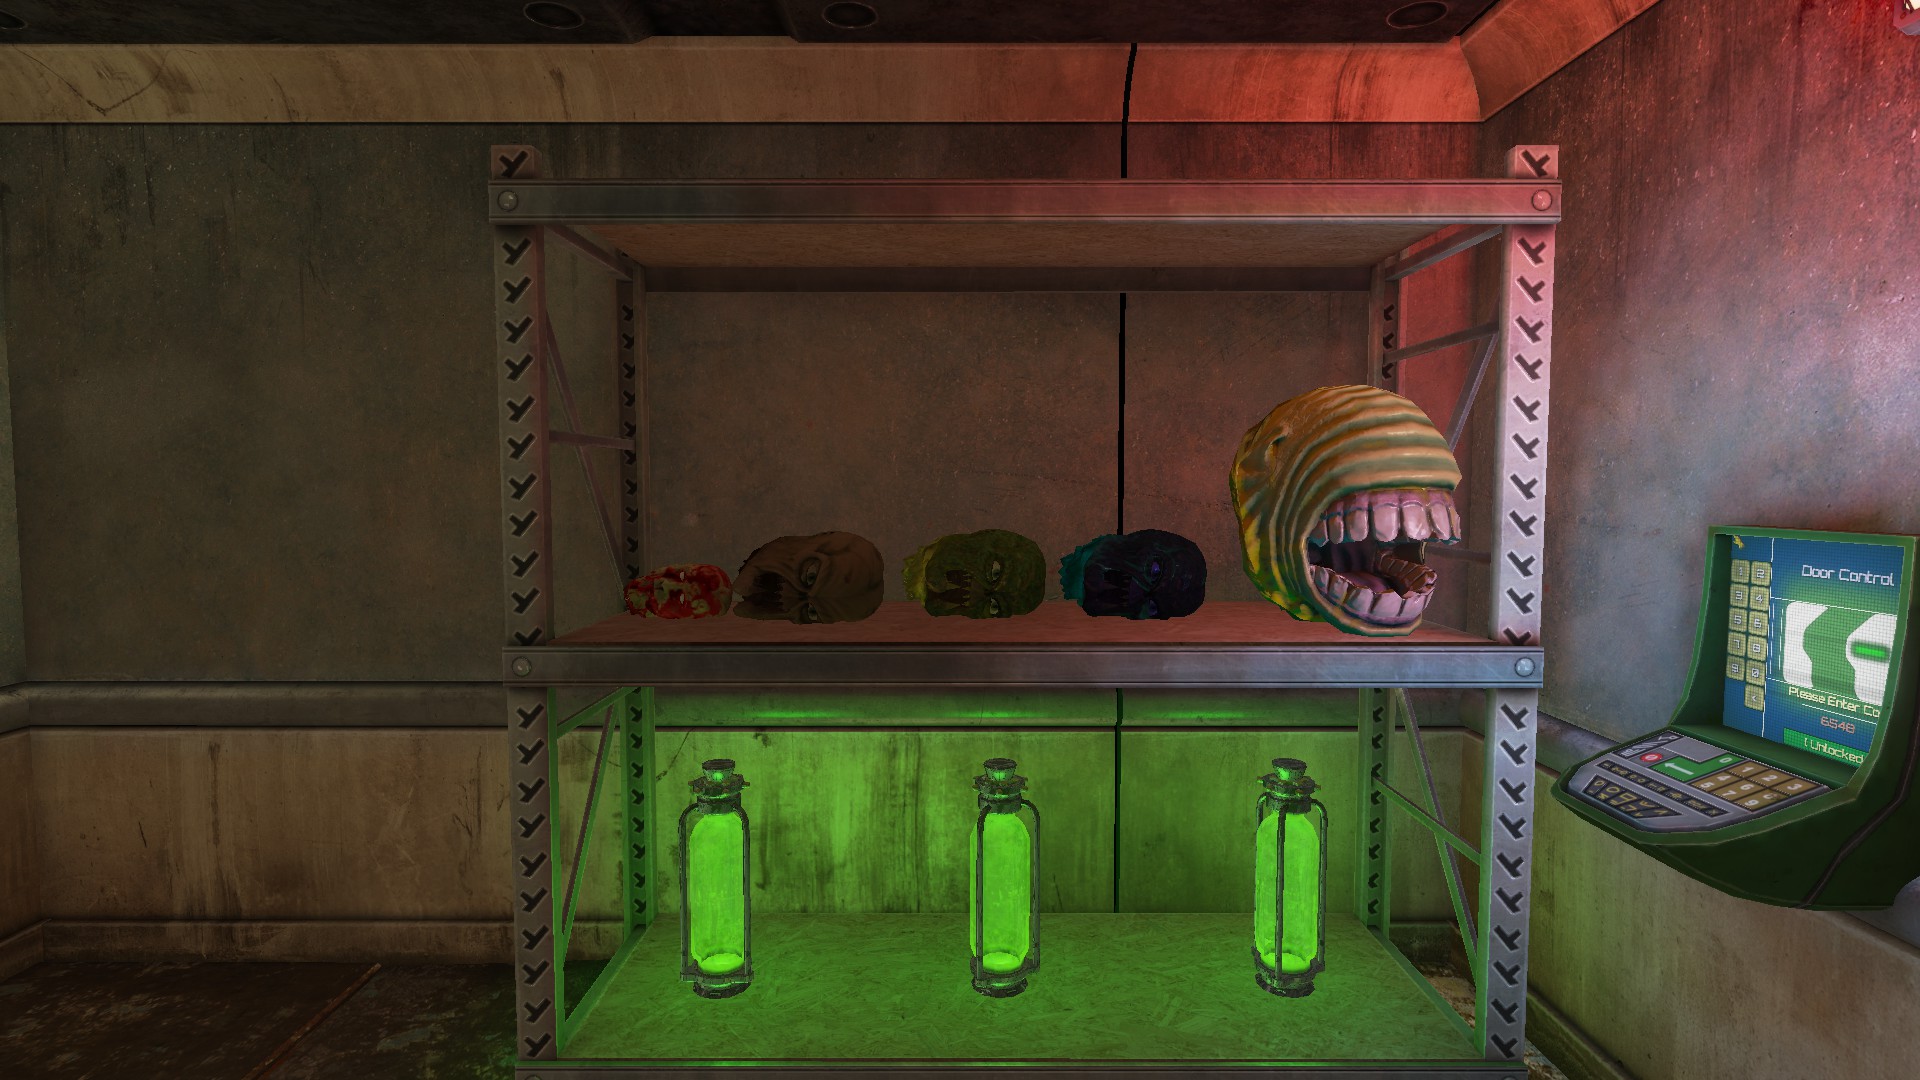 There are 5 species to collect. They are (left to right):
1: Human - ALMOST ANY LEVEL
2: Brown Alien - EVIL SCIENCE || WASTE DISPOSAL
3: Green Alien - HYDROPONIC HELL
4: Blue Alien - PAINTENANCE TUNNELS
5: Teeth Alien - CRYOGENESIS
 Identity Theft
Steal 30 or more Personal Identification Devices (P.I.Ds) and take them to your office These devices can be found on any map, and are always next a human body. If a body is mostly intact, then there is a P.I.D. next to it. Bring 30 back to your office to get this achievement. I'm not sure what unlocks it as I got the achievement after I had been placing the P.I.Ds for a few minutes.
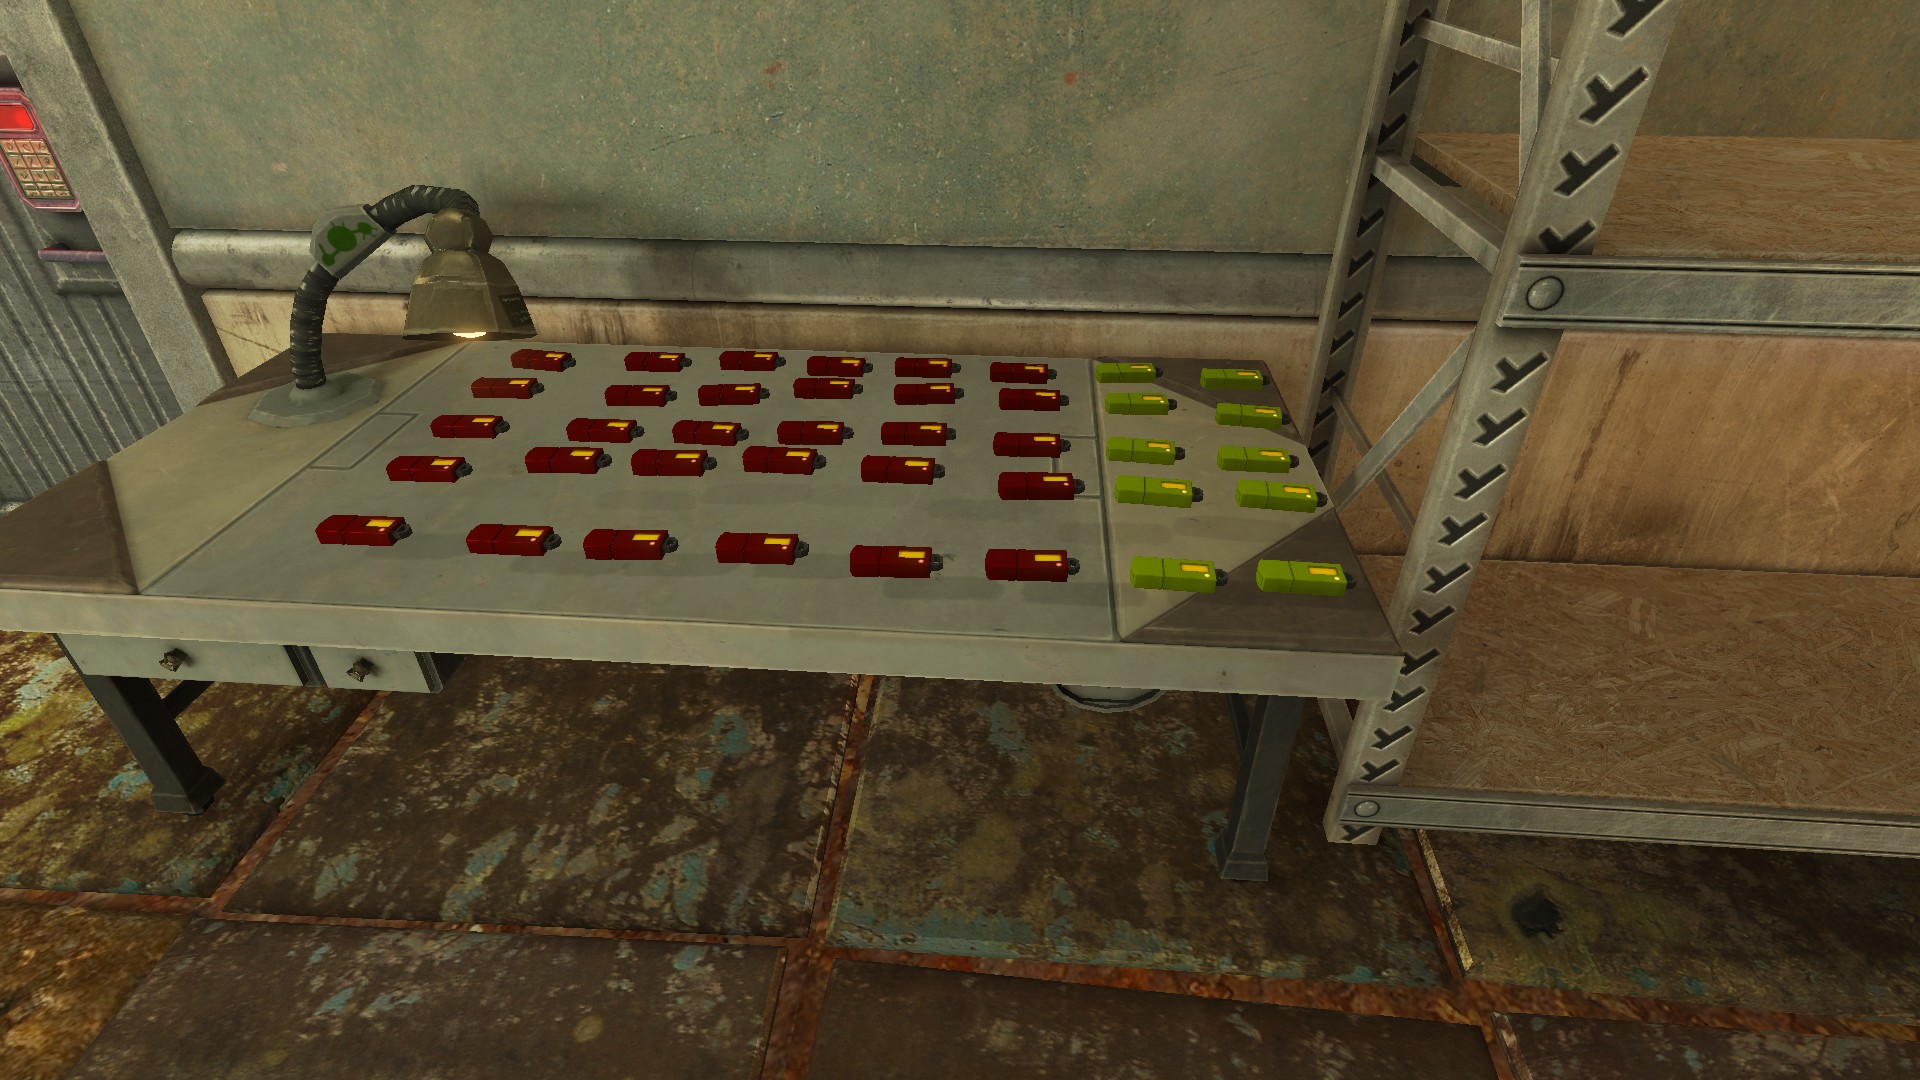 Here is a list of how many devices there are on each site in the game so you can double-check it, but the best one to do for this achievement is Unearthly Excavation for two reasons: there are 30 devices on that site and you can also get the Big Banger Supernova at the same time. [see above]
Revolutionary Robotics: 35 P.I.Ds
Unearthly Excavation: 30 P.I.Ds
Cryogenesis: 15 P.I.Ds
Caduceus: 12 P.I.Ds
Evil Science: 11 P.I.Ds
Athena's Wrath: 10 P.I.Ds
Hydroponic Hell: 9 P.I.Ds
Gravity Drive: 5 P.I.Ds
 Plague Bearer
Transfer a Goo-Jar to another work-site and infect something A Goo-Jar can be found in the Caduceus level. Take it out of the site using the janitor's trunk and start another level with it still in your trunk.
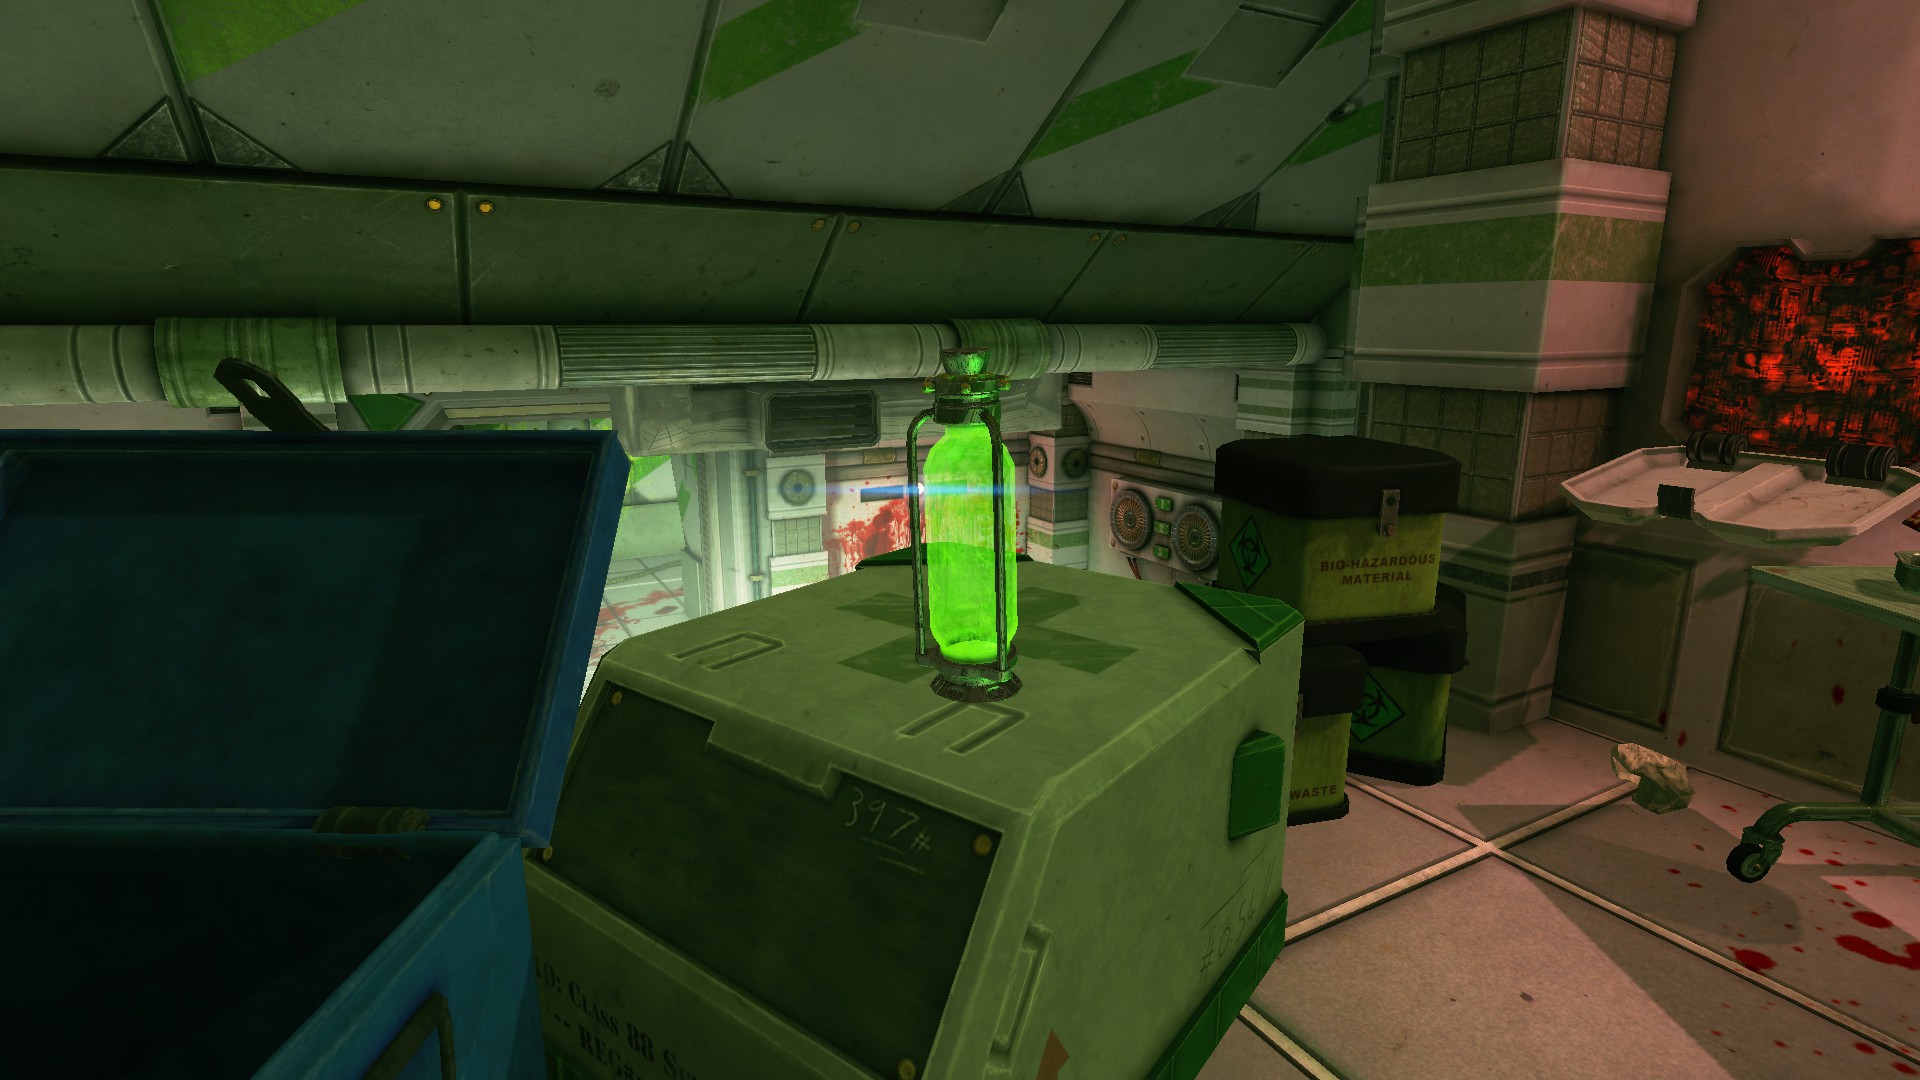
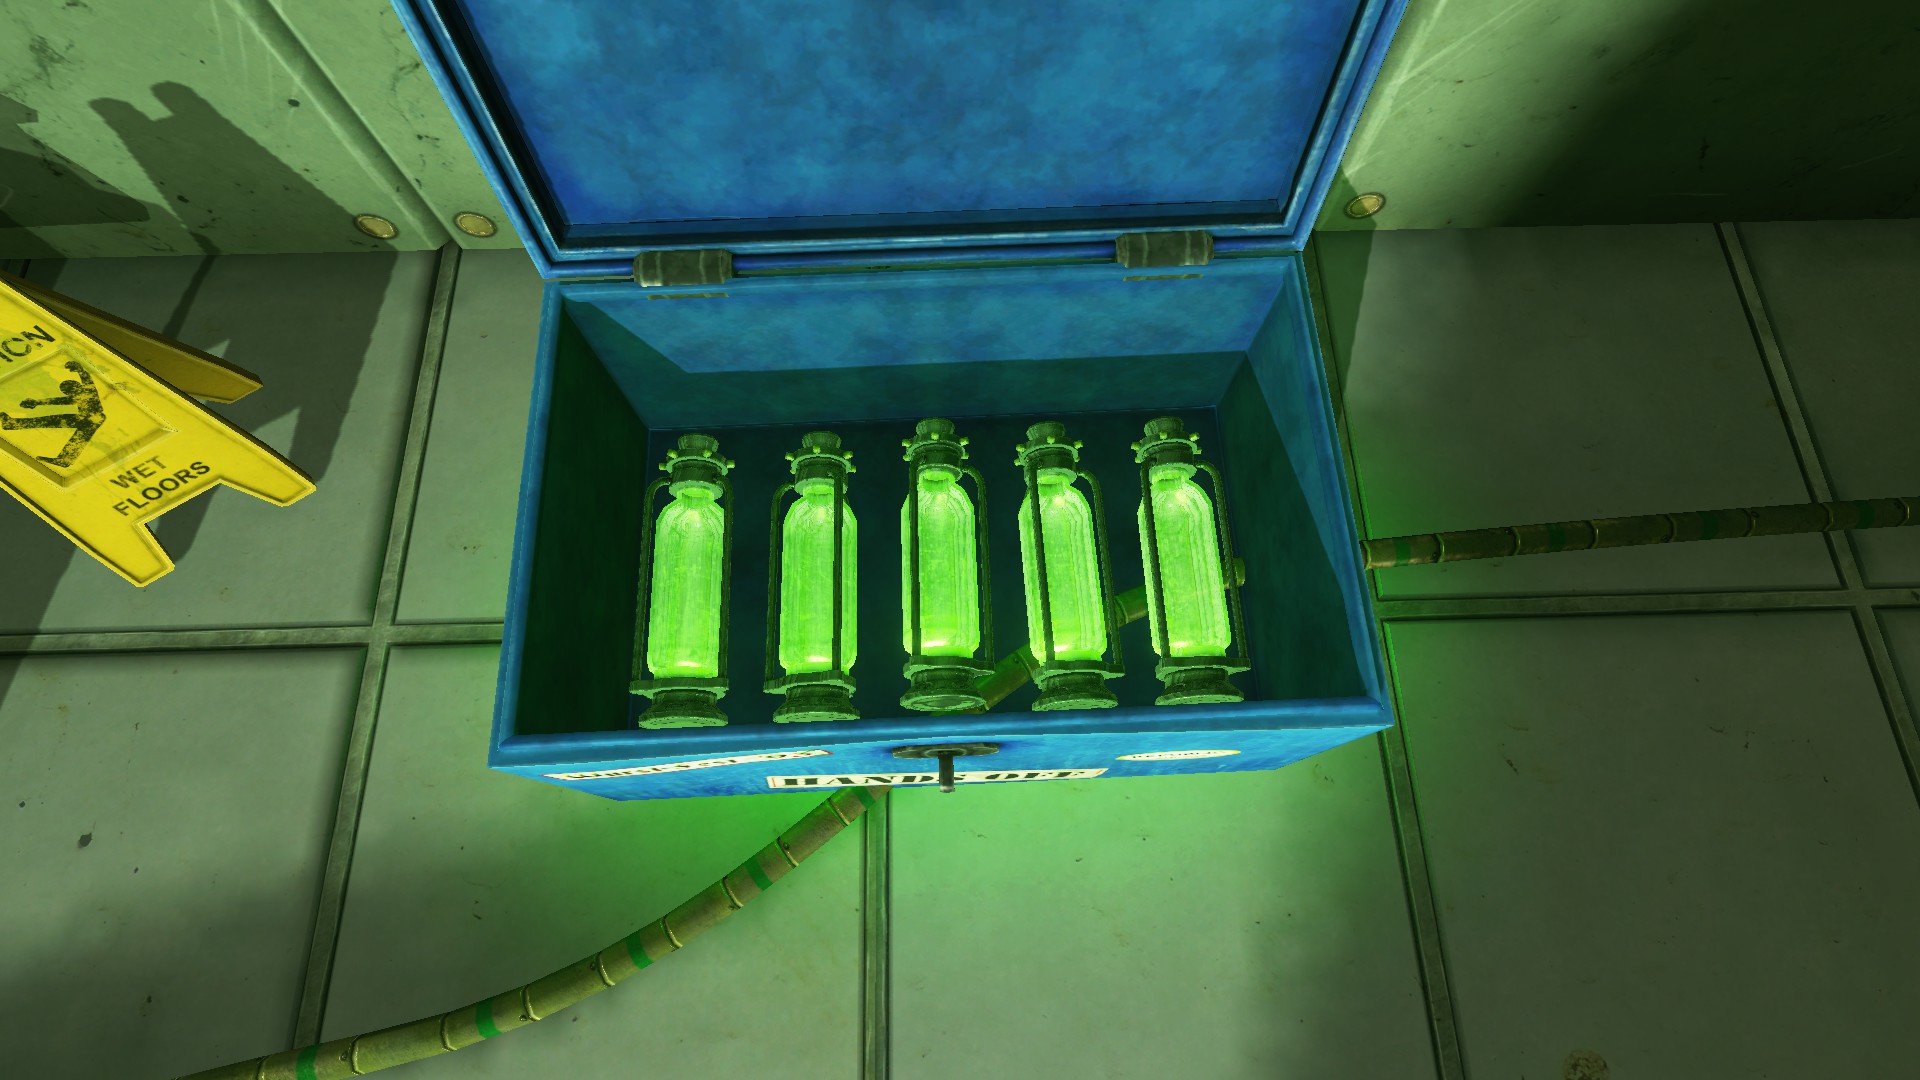 (You only need one jar)
When in the new level smash it on something to get the achievement. I personally tried smashing it on nothing and an alien corpse and got the achievement when I broke the jar on the alien. So it has to be broken on something.
Misc. Achievements
 Who's for Dinner?
Get eaten Everything about this achievement made me think you have to fall into the teeth pits on "Unearthly Excavation", and you do. This got fixed in an the update after the achievements were added.
There are 3 pits in the map, and you can fall in any as far as I know. I might as well leave the codes and images here:
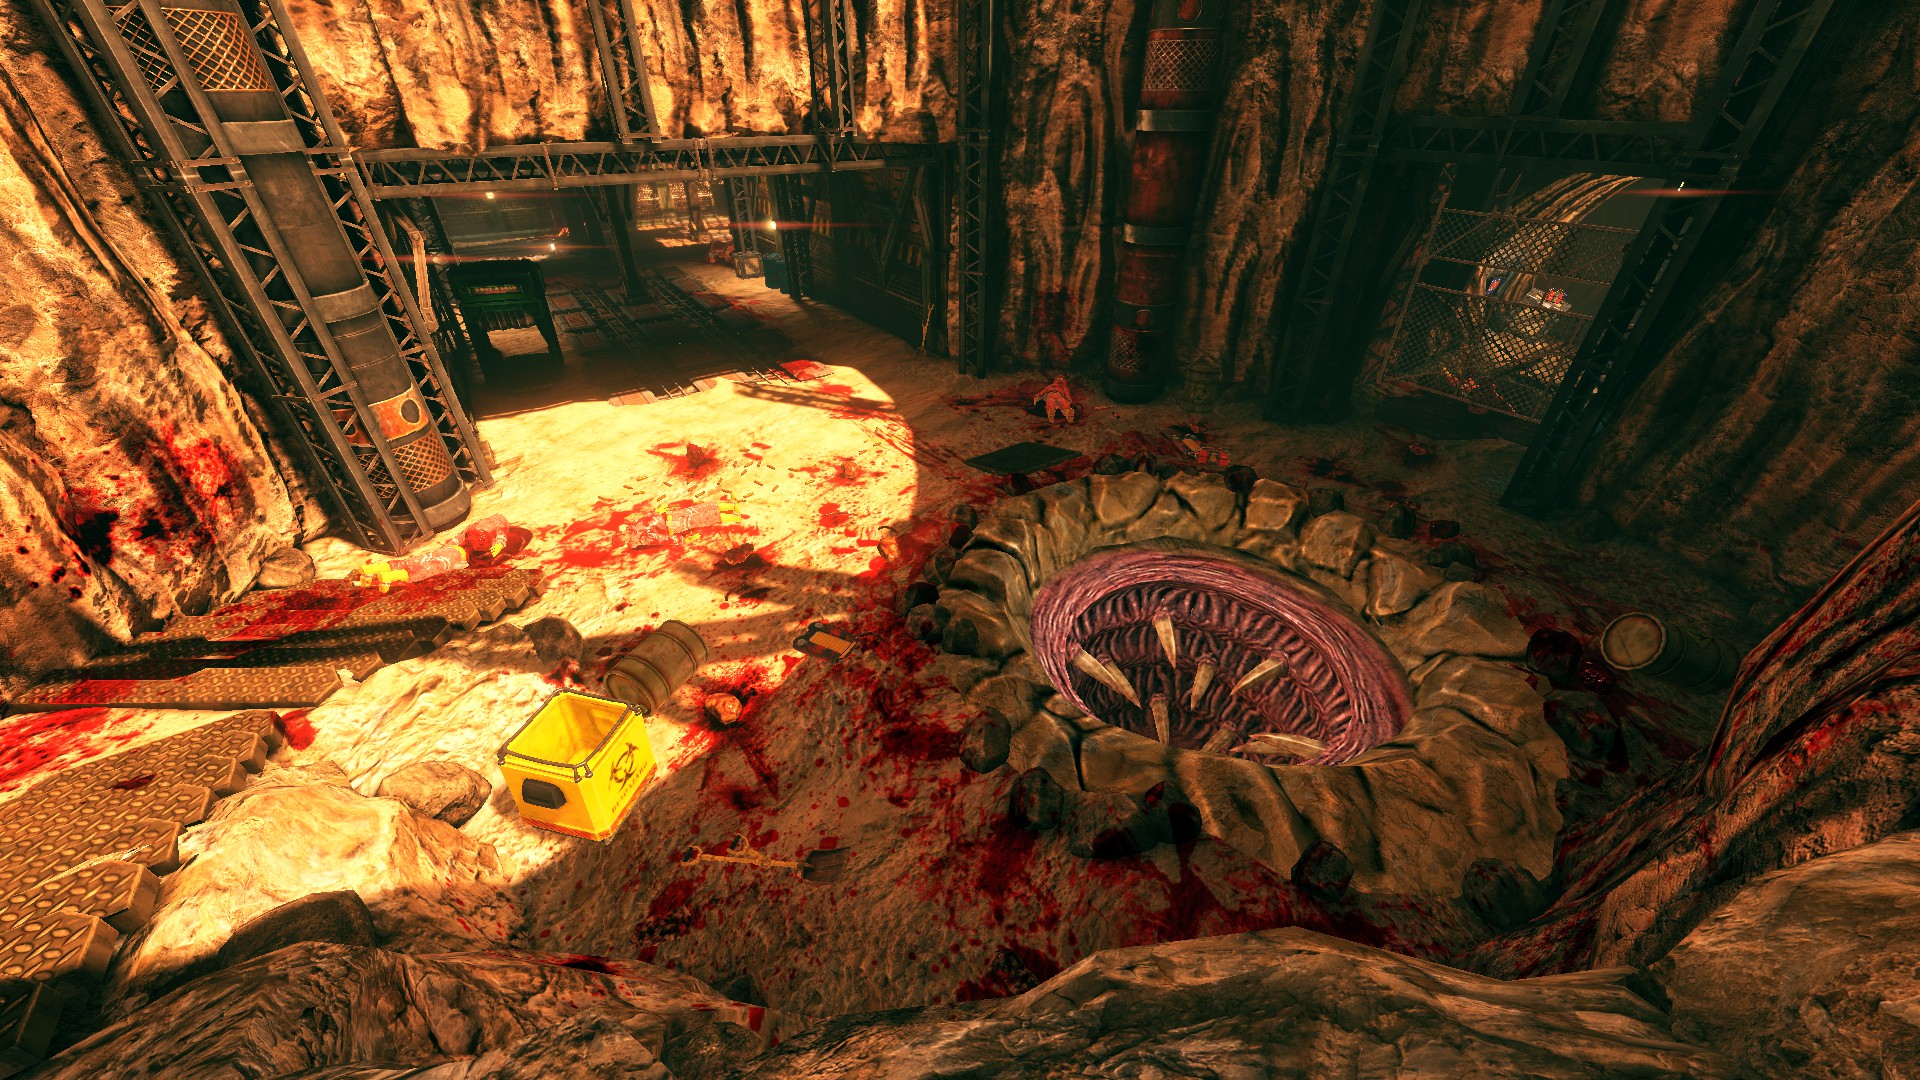
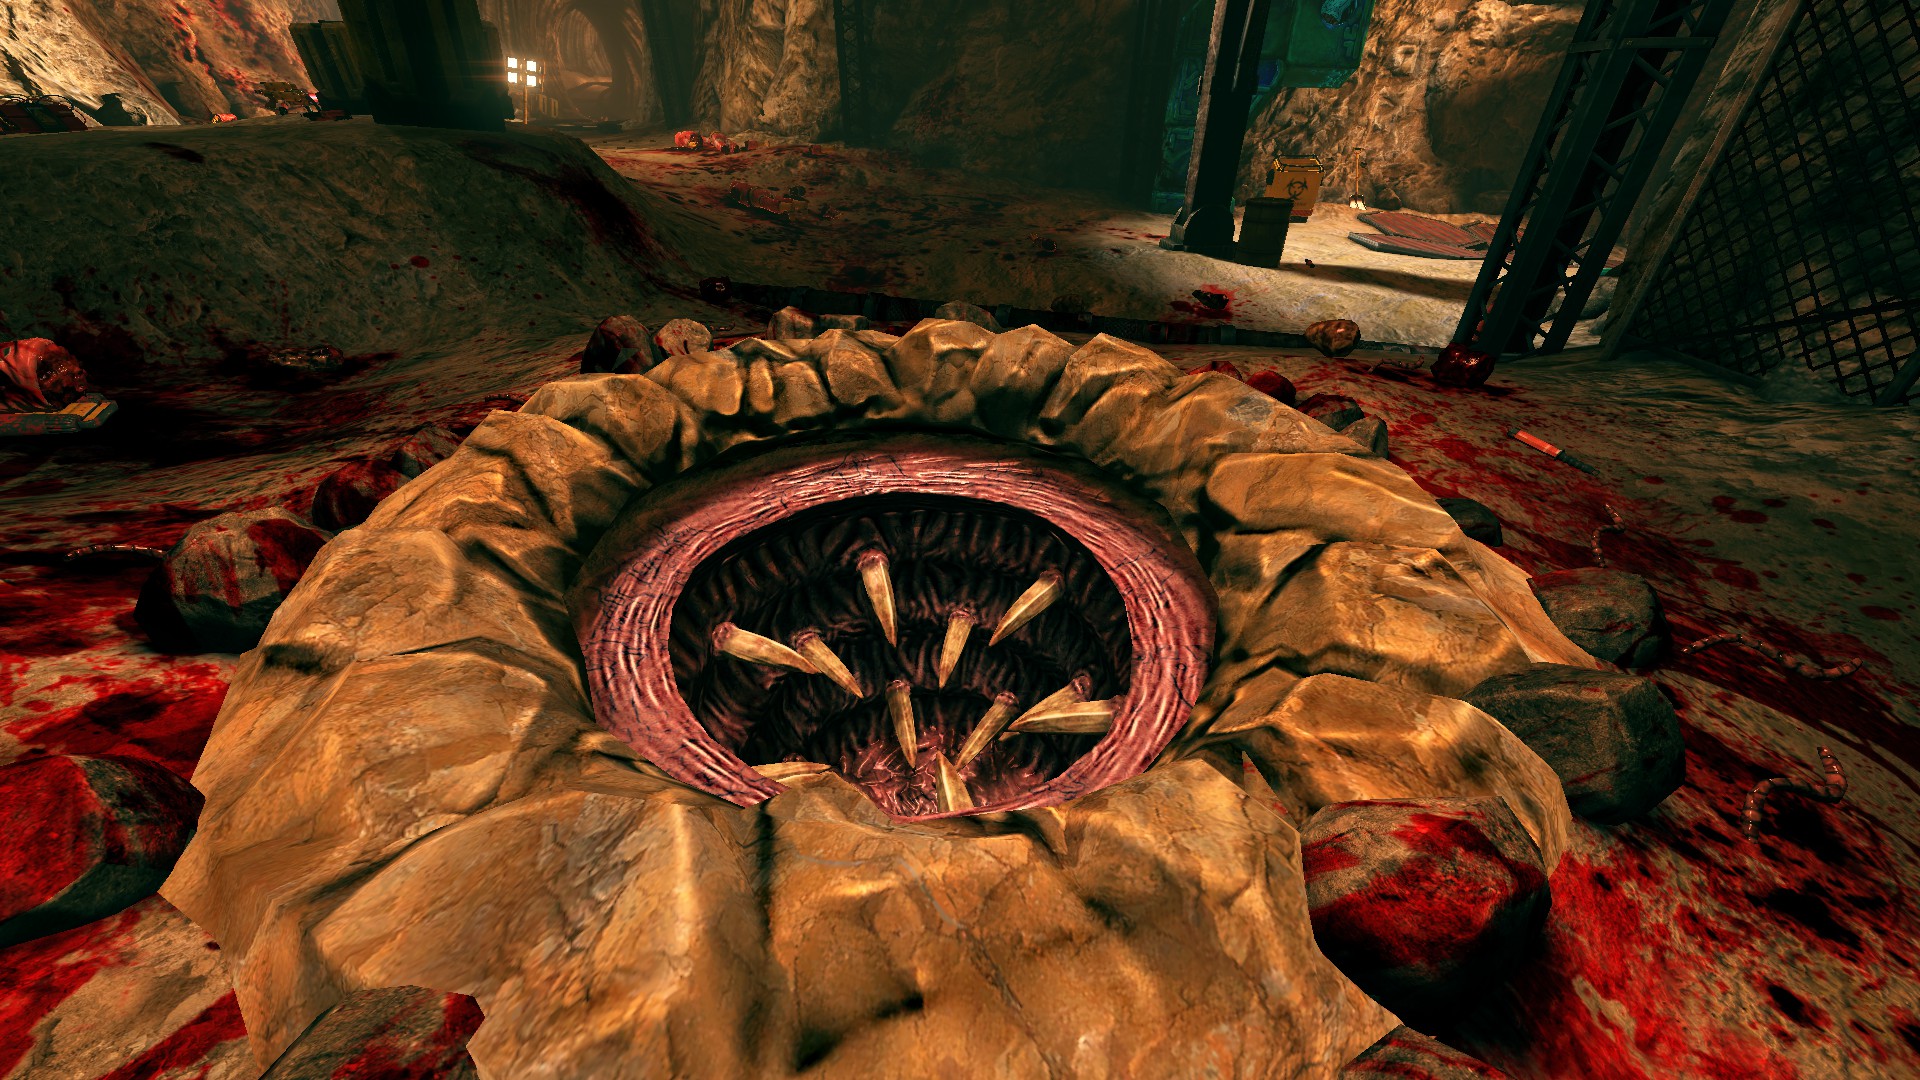
Code for gate 2: 1104214539
 Big Banger Burnout
Tame the uncontrollable fury of the Big Banger by incinerating it The Big Banger is a radio-like device which currently can only play 6 different songs and appears in every map in the game.
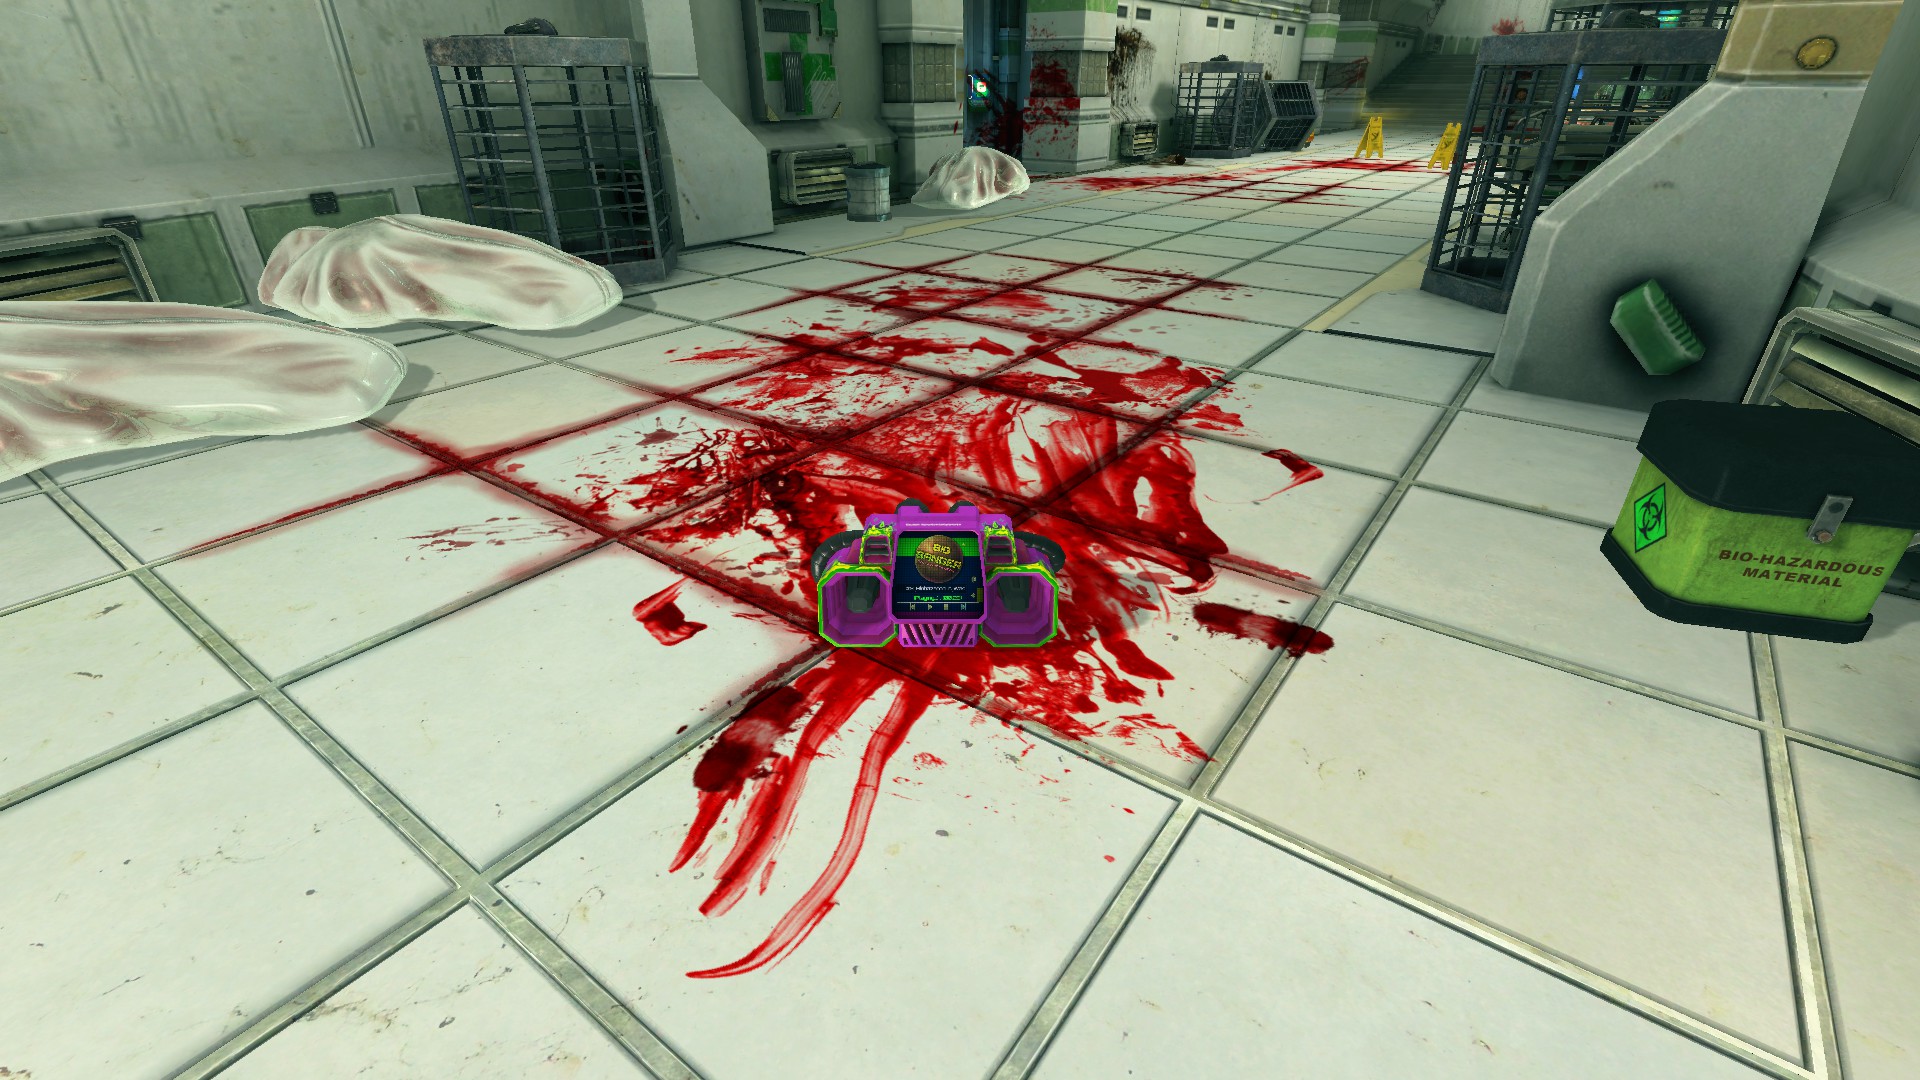 It doesn't matter whether the Banger is playing music or not, just throw it into an incinerator and hope for the best.
 Master of the Beats
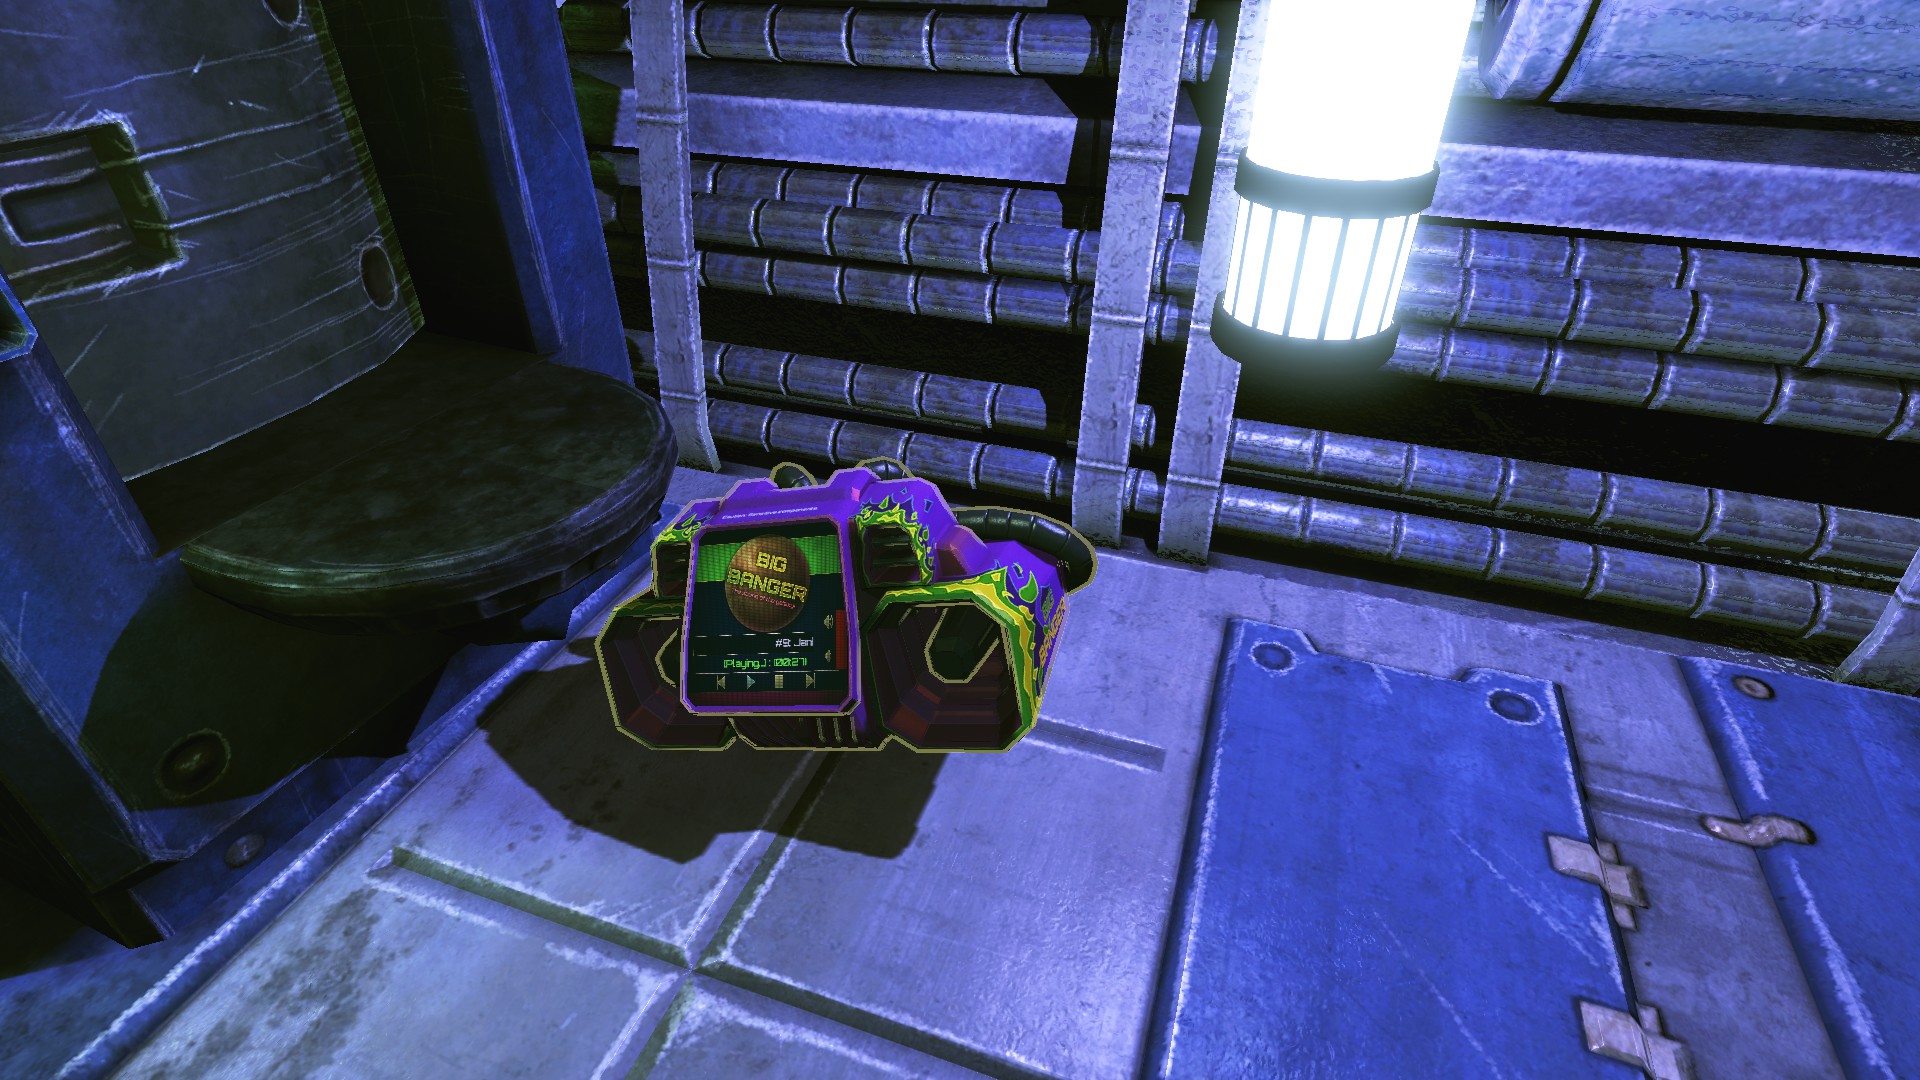
Turn off the Big Banger while it's playing loudly in zero-gravity during a Solo game I did this on the Gravity Drive map. When the Big Banger plays music, it usually vibrates and moves slightly around, but in zero gravity, it spins and lurches everywhere so it can be pretty tricky to turn off.
The first thing you want to do is turn the volume all the way up on the Big Banger by pressing the volume up button as much as you can, so that it is 'playing loudly'.
Then what I did was to jam it in under the bucket dispenser so that it no longer bounced around while the song was playing. Then just hit the stop button.
The music has to be playing at at least 1/3 of it's maximum (33% volume) and must be done in single player.
Halloween Achievements
 House of Honor
Clean the entire House of Horror level
Guide
This one seems pretty self-explanatory. Just clean the level with the usual level of adequacy.
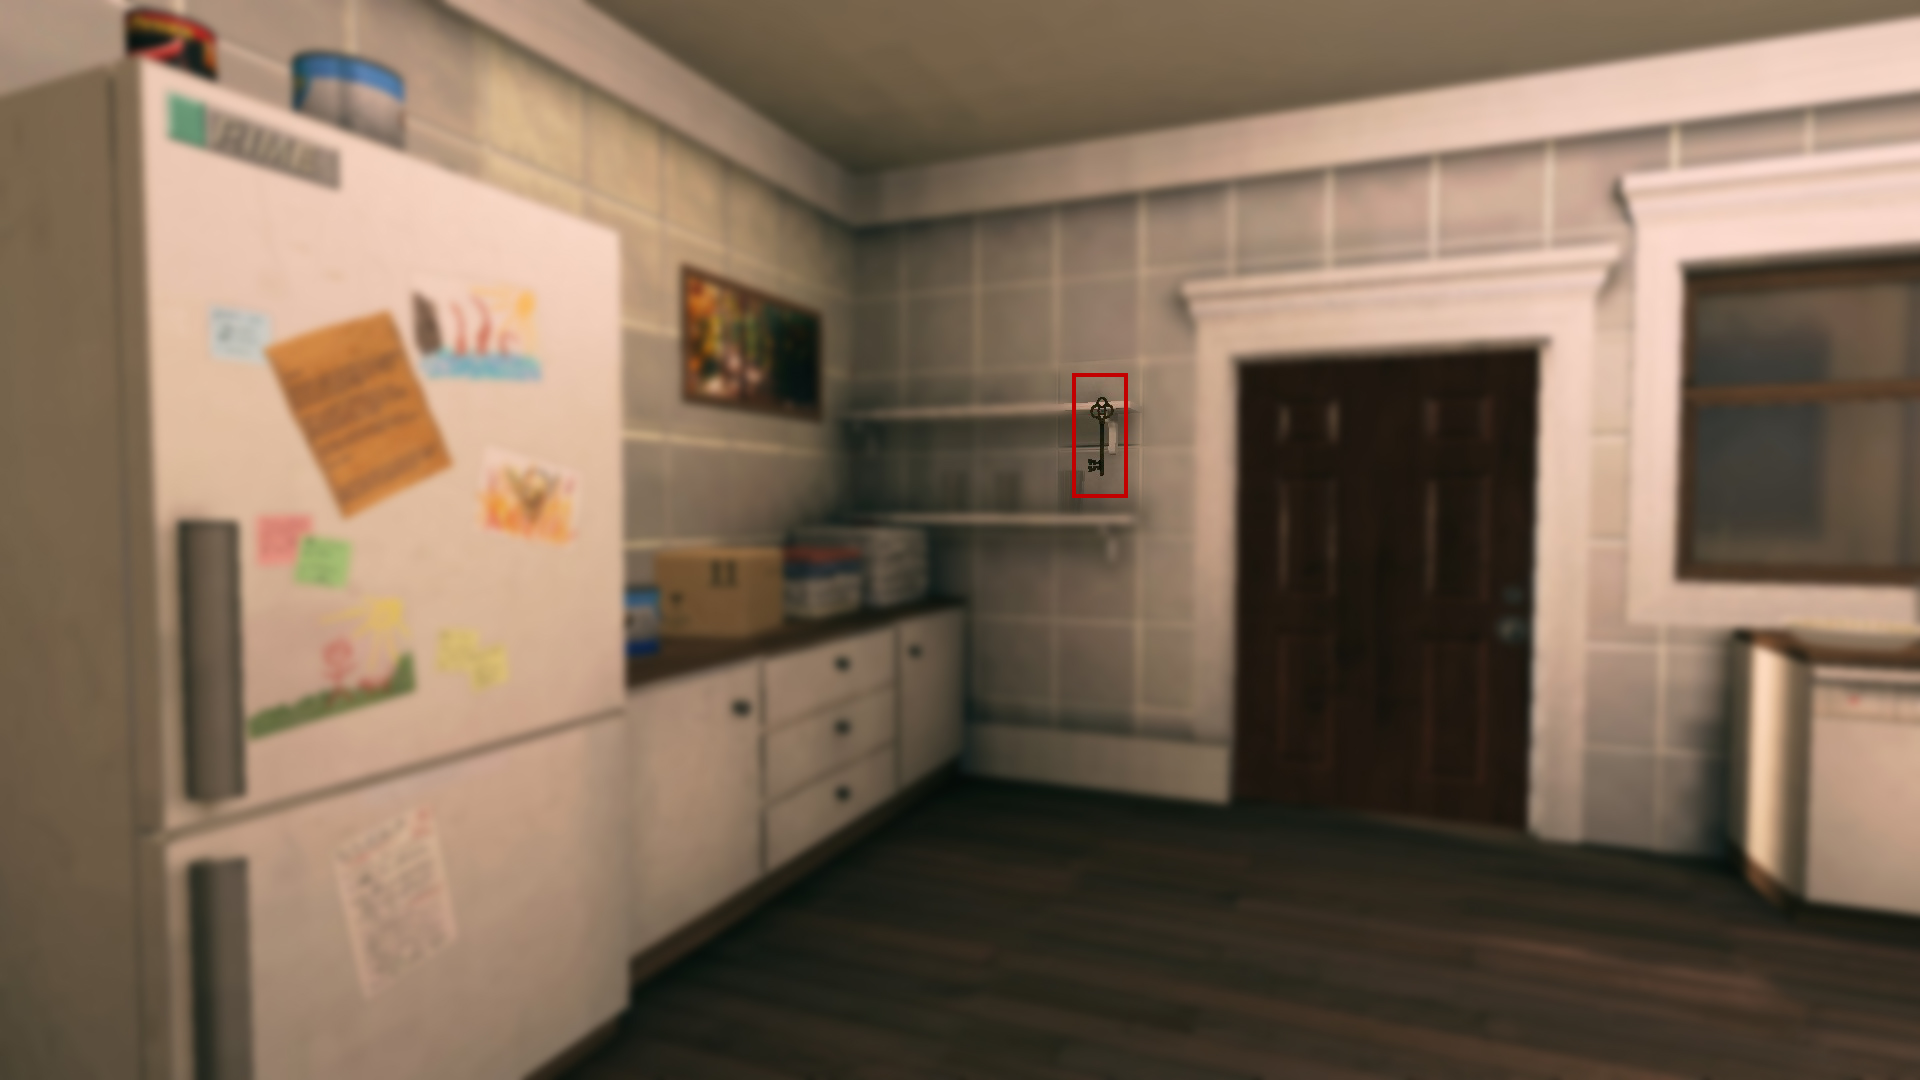
Go to the kitchen in the main house. Next to the door leading outside there is a key hanging up on the wall.
Step 2: Cabin
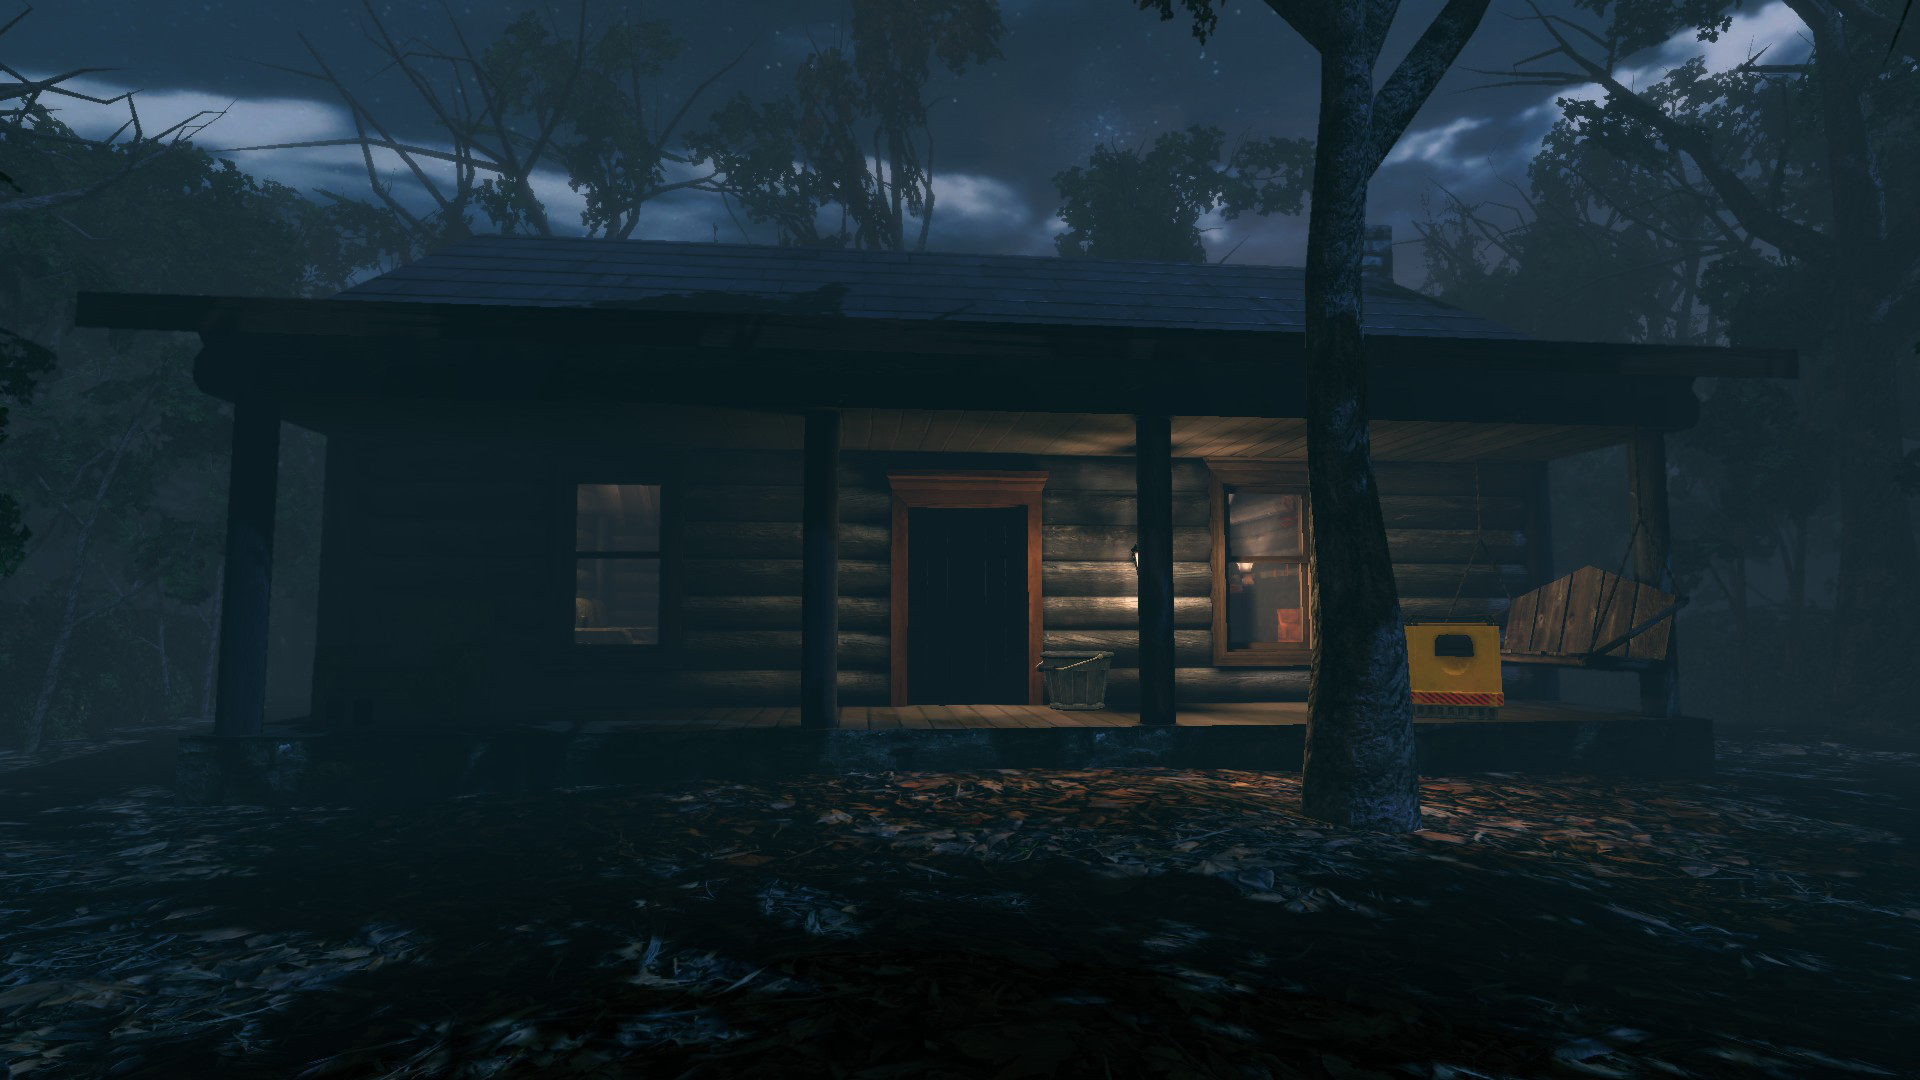
Bring the key from the kitchen to the door on the front of the cabin. Bring the key near the lock of the door and the door will unlock and will be able to be opened.
Step 3: Gate Key
Enter the cabin, go talk to that deer head if you want, but it's super scary. D:
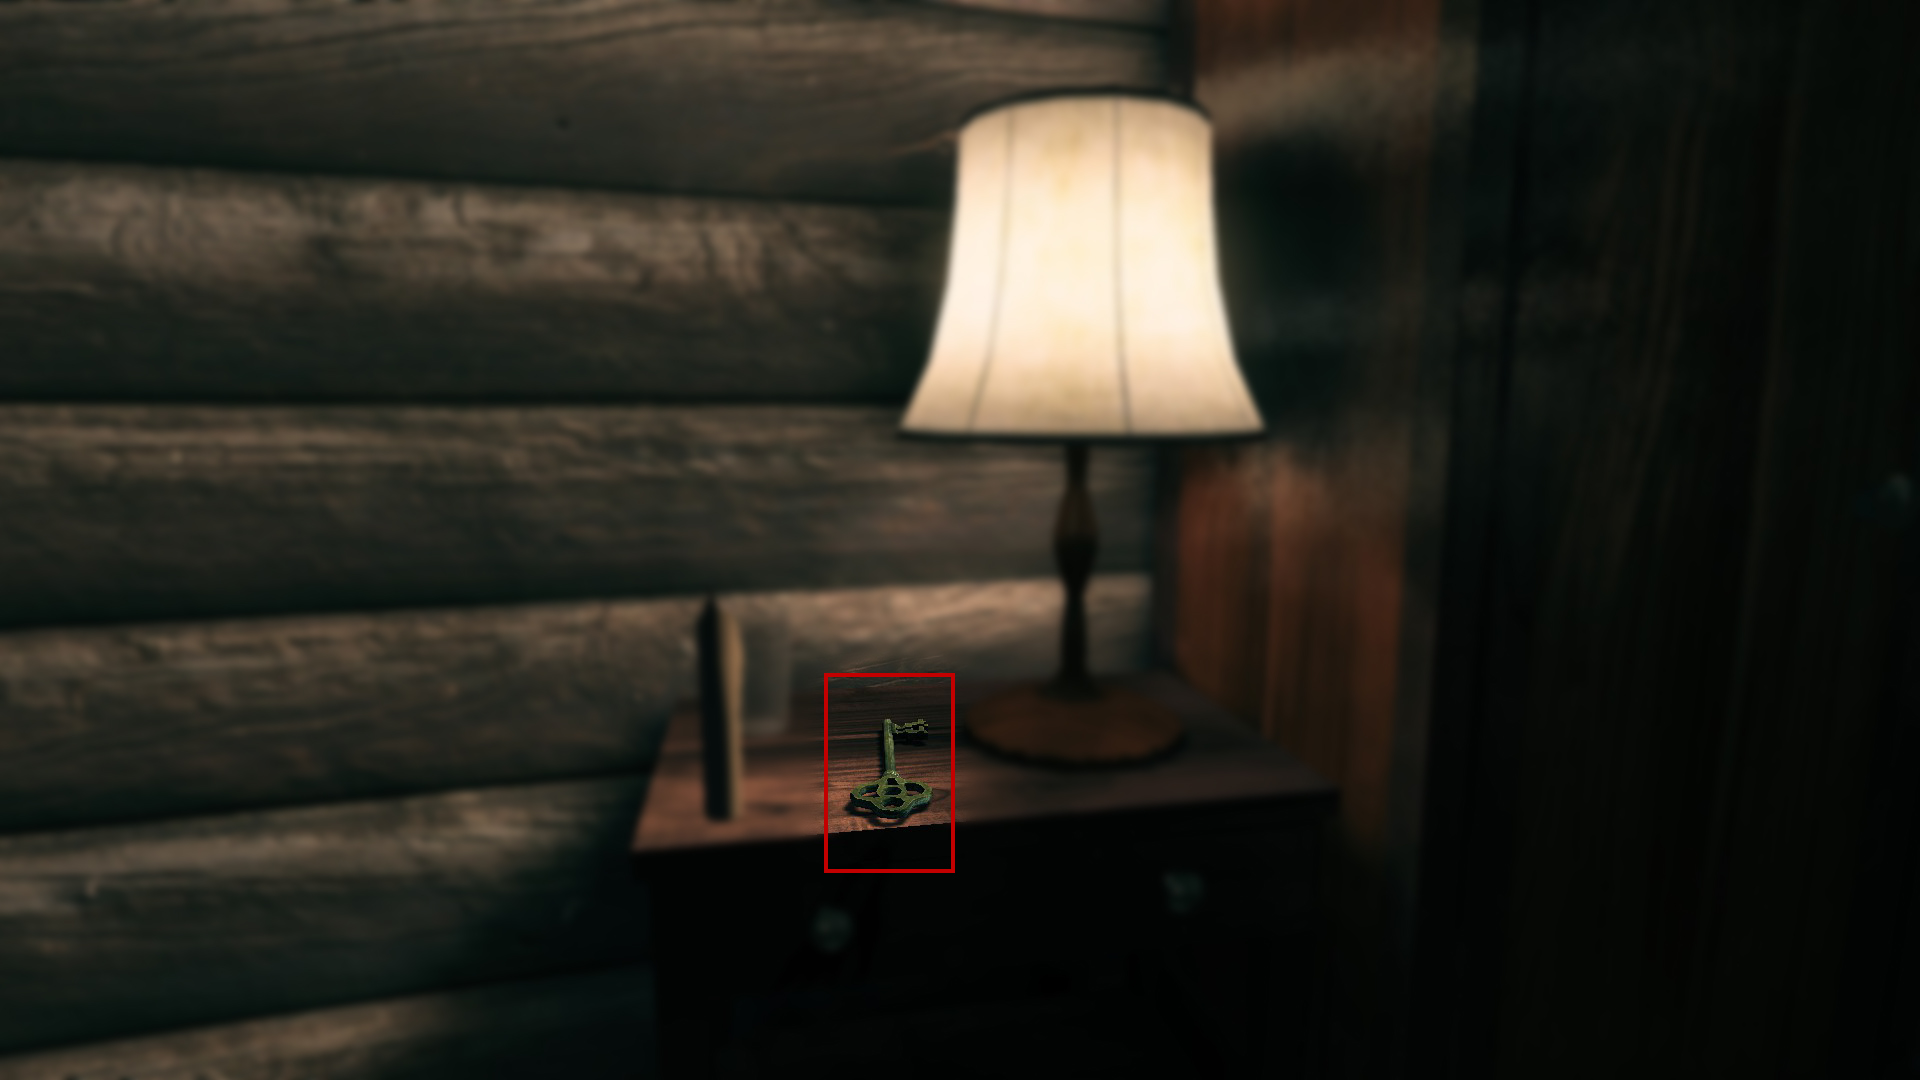
Immediately across from the front door is a small table with a lamp on it. On this table is also another key. This is the key to the Iron Gate.
Step 4: Gate
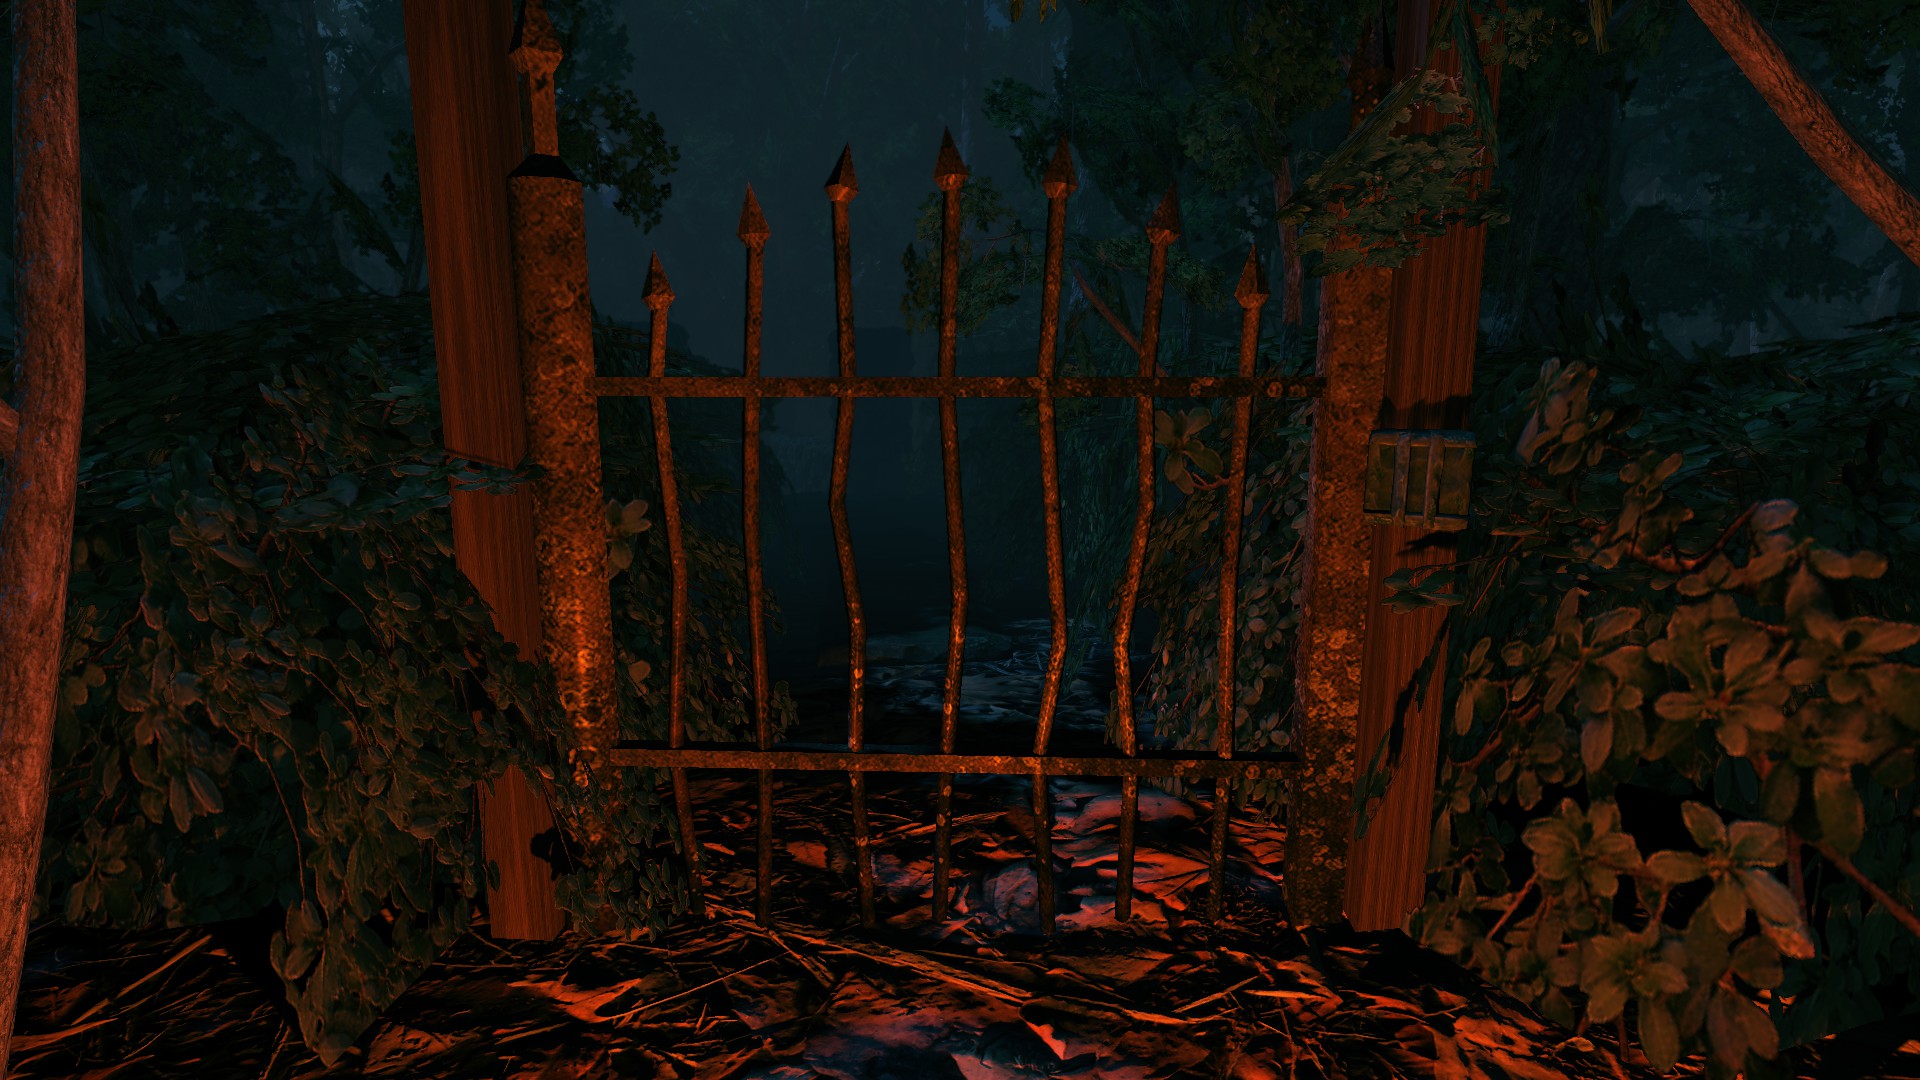
Bring the key to the gate opposite from the cabin and unlock it similarly to the cabin door. The gate can be difficult to open once unlocked.
Will soon add individual guides for each. (also finish the previous guides ;_;)
 The Shimmering
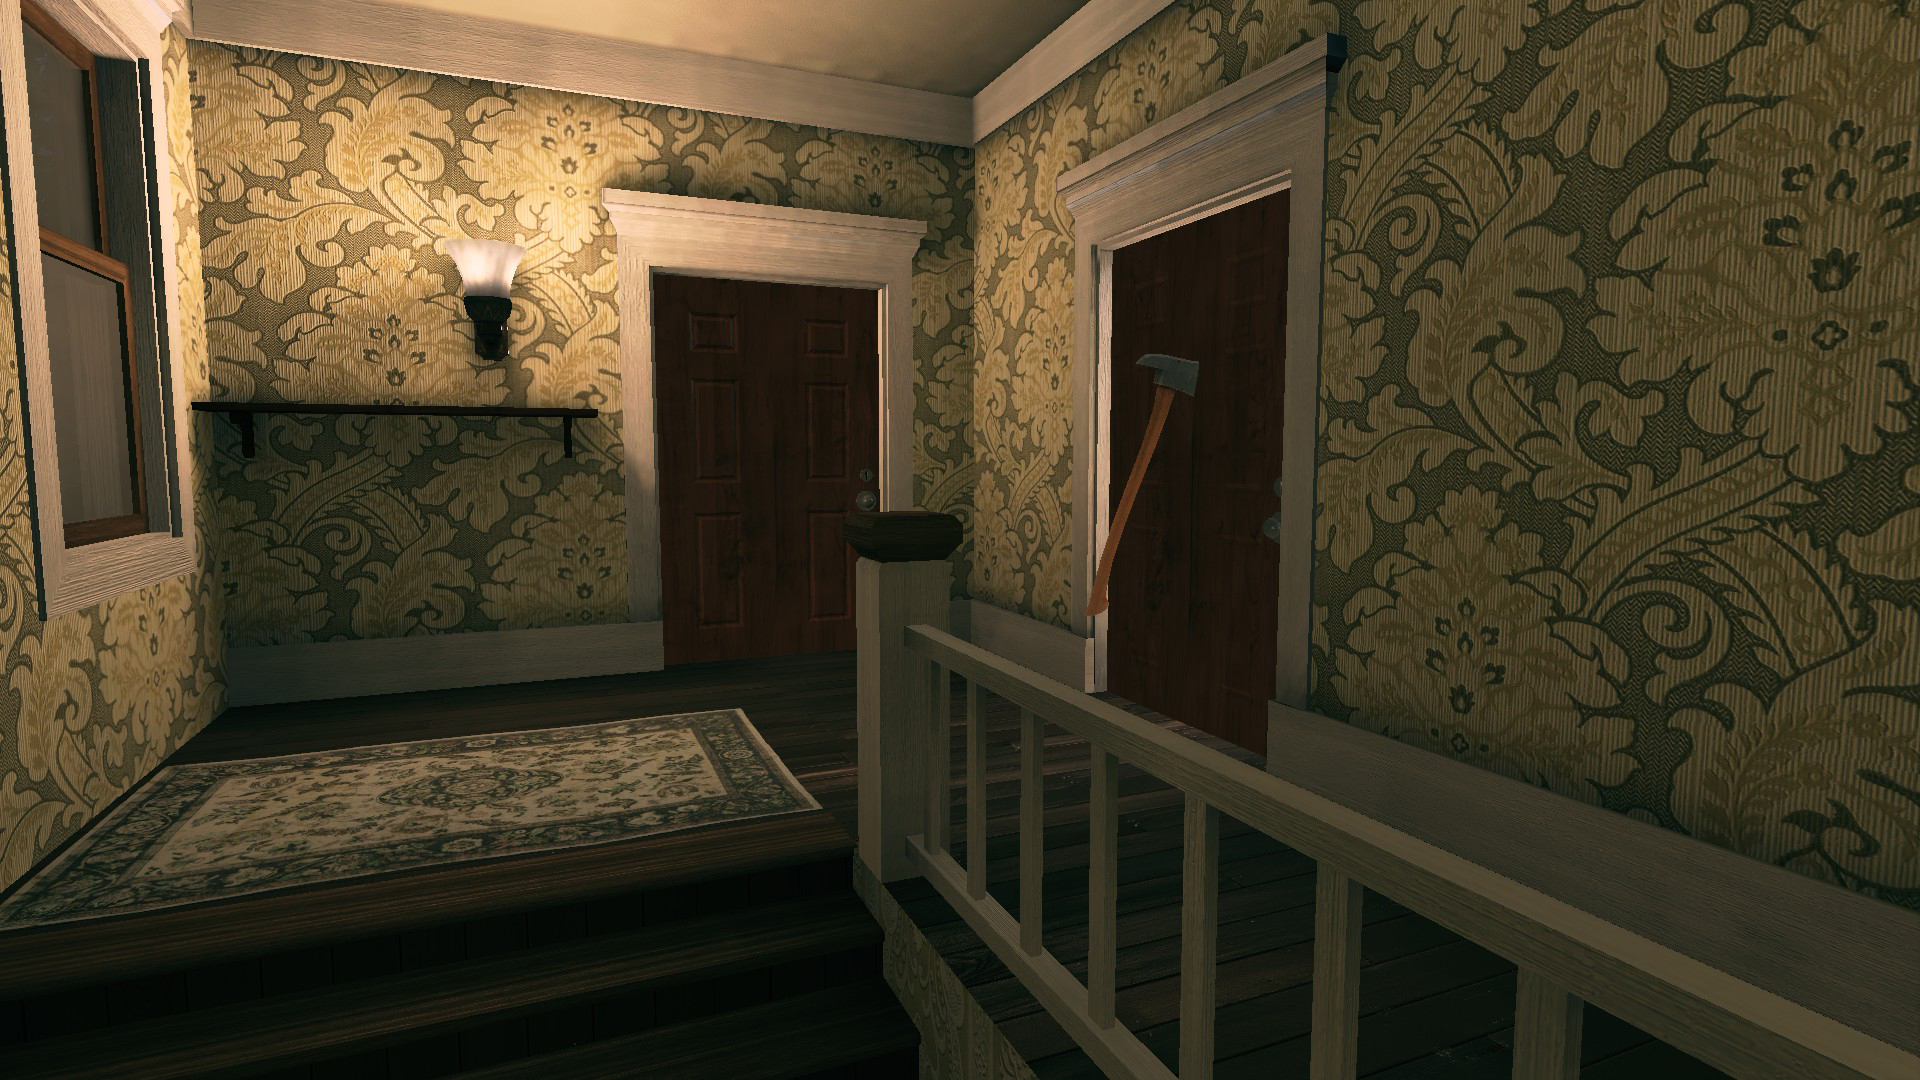
Collect the axe and return it to your office This one is hard to miss. Head upstairs in the main house and the axe will be wedged in a door at the top of the stairs.
 Harroween
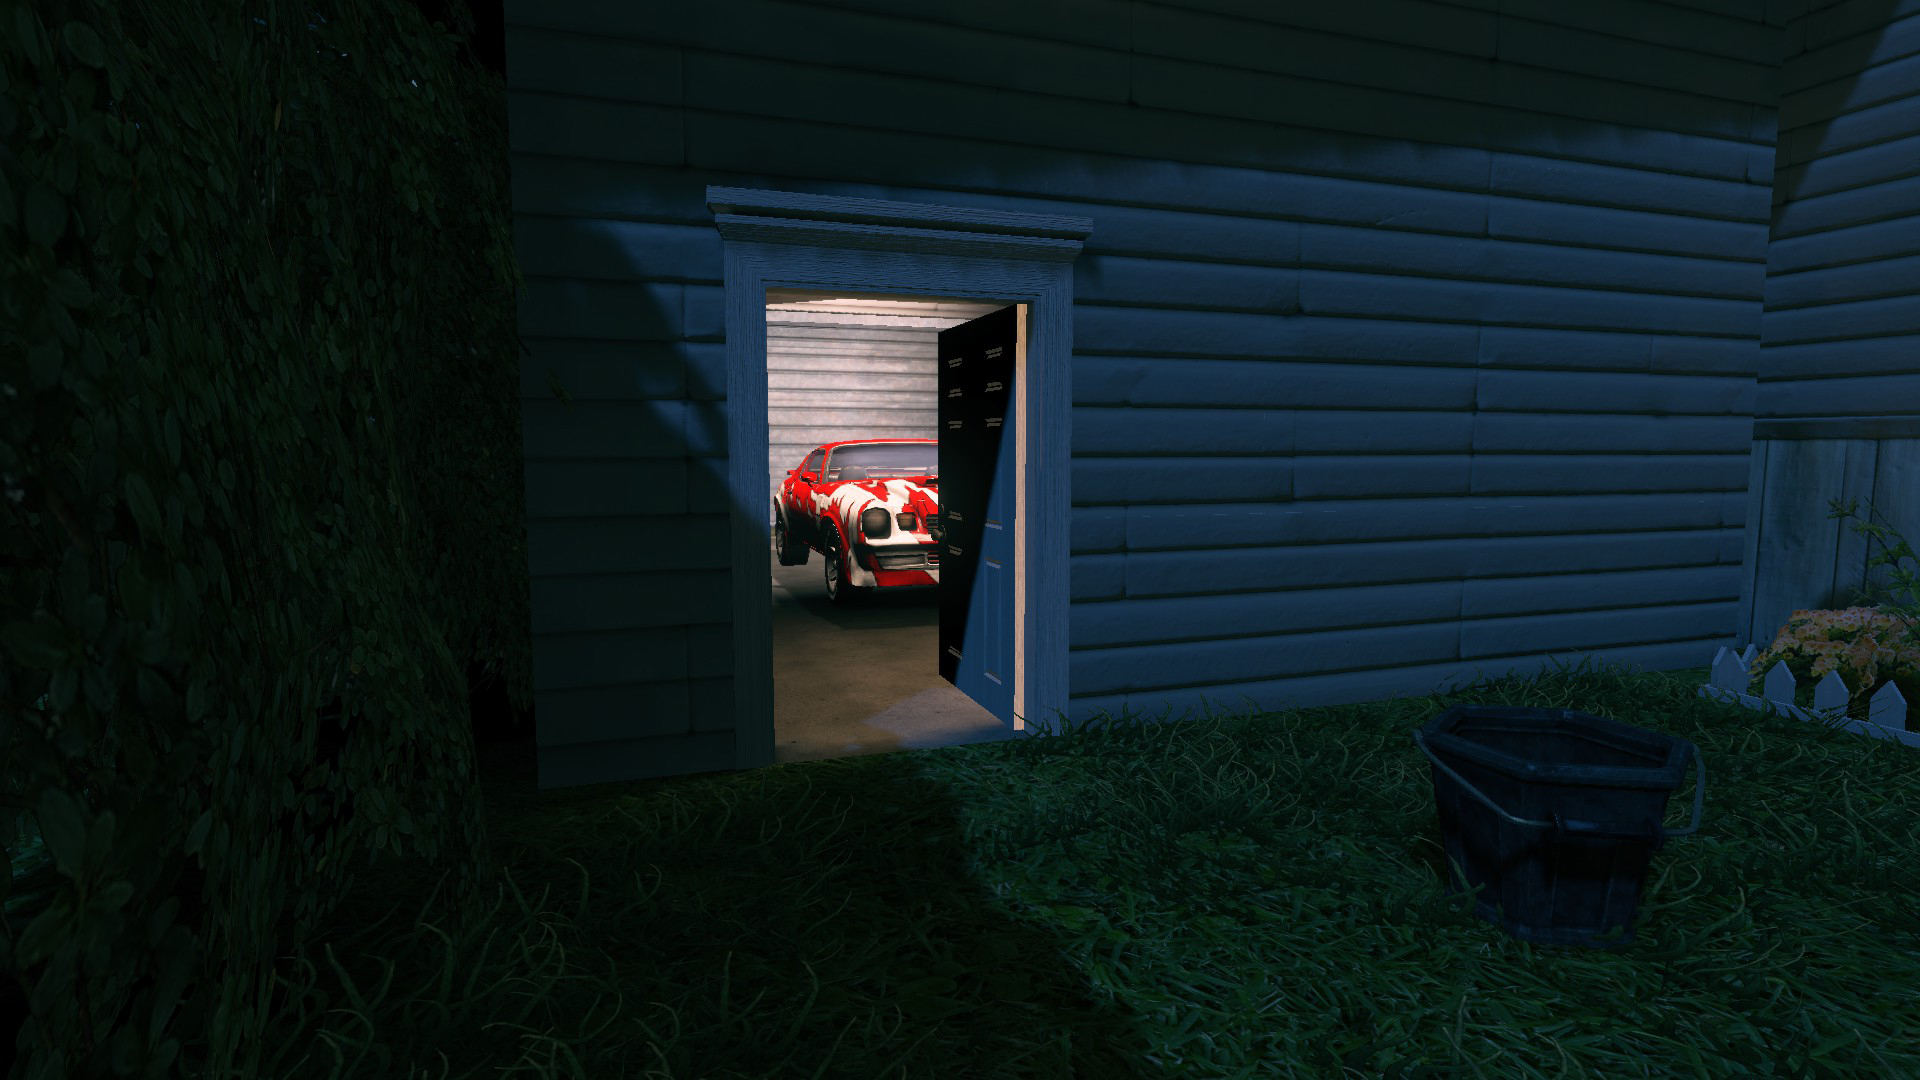
Collect the white mask and butcher knife and return them to your office These two items can be found together in the garage. Head to the door down the side of the house from the backyard.
 Turn right after entering and the knife and mask are in front of the car.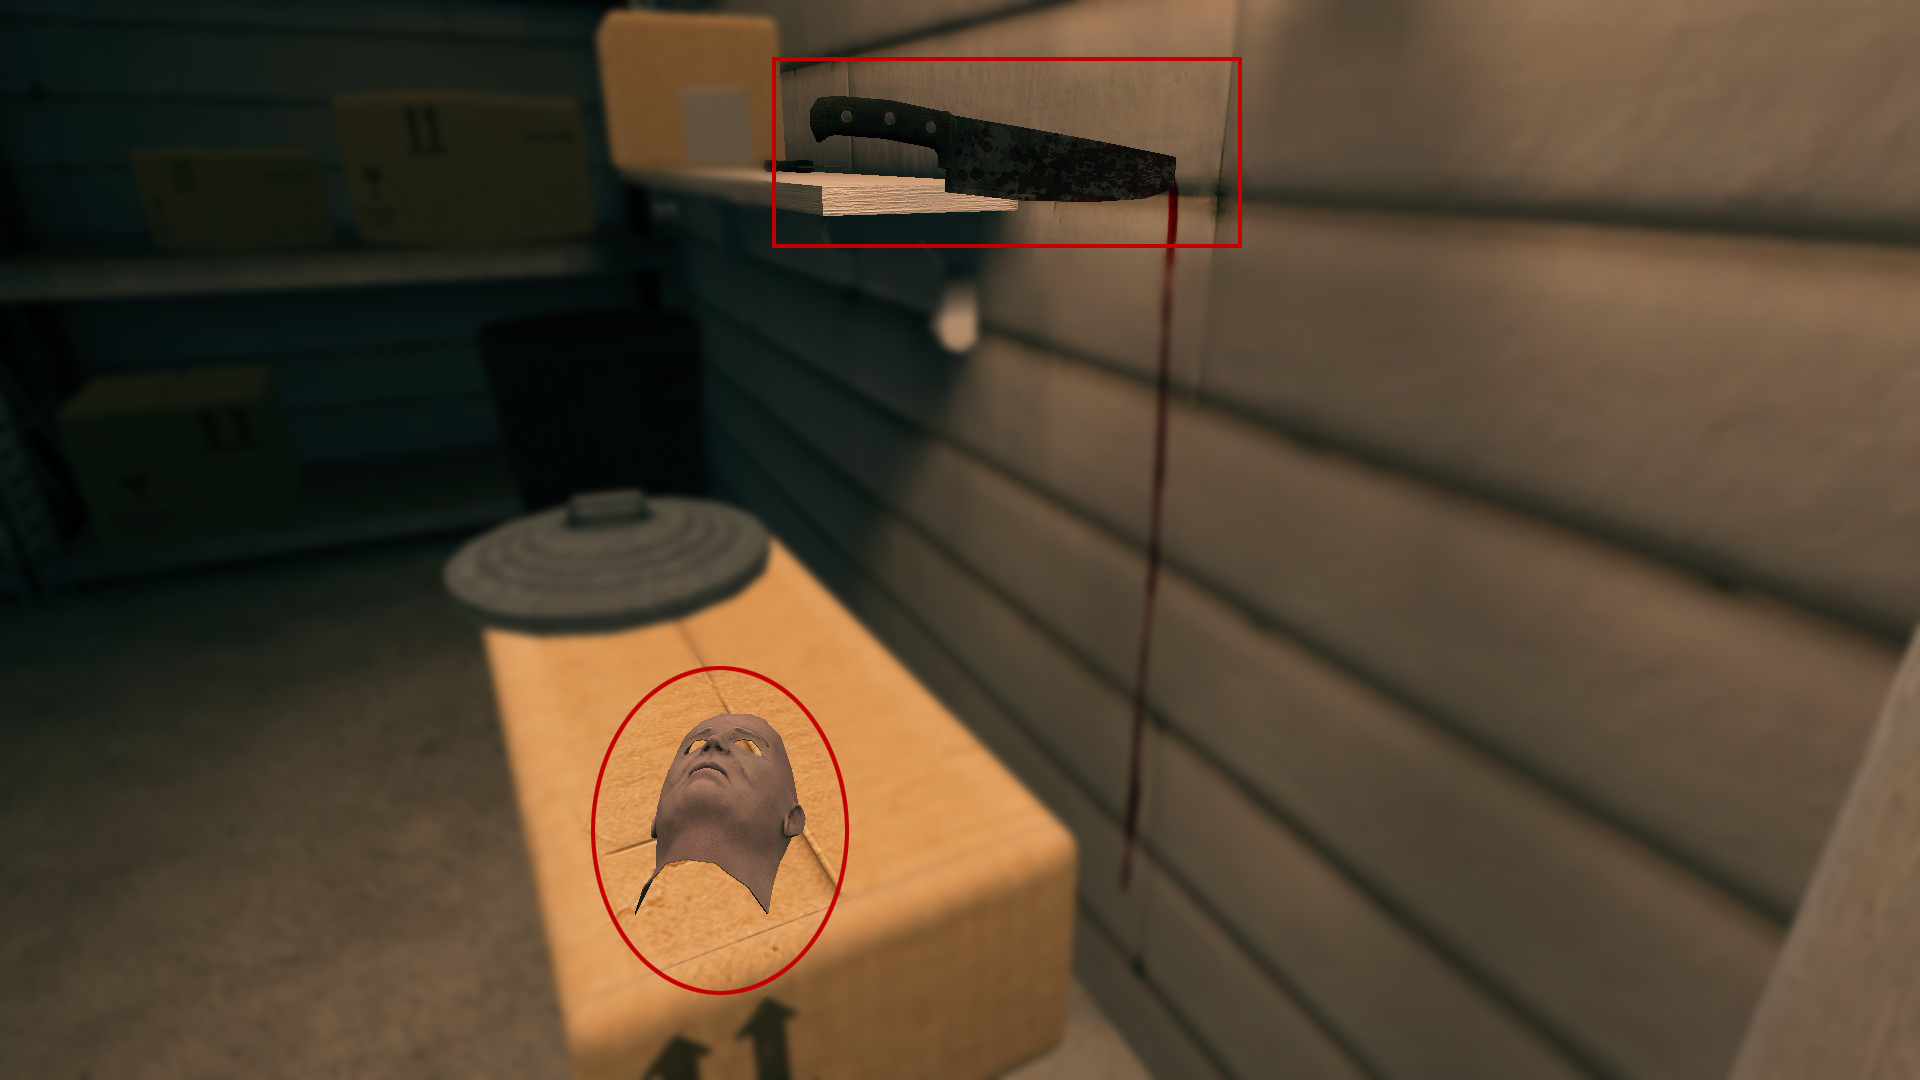
 Bad Dreams on Helm Street
Collect the clawed glove and return it to your office Upstairs in the main house there is a corridor around a corner. Once you turn the corner, enter the first bedroom on the right hand side.
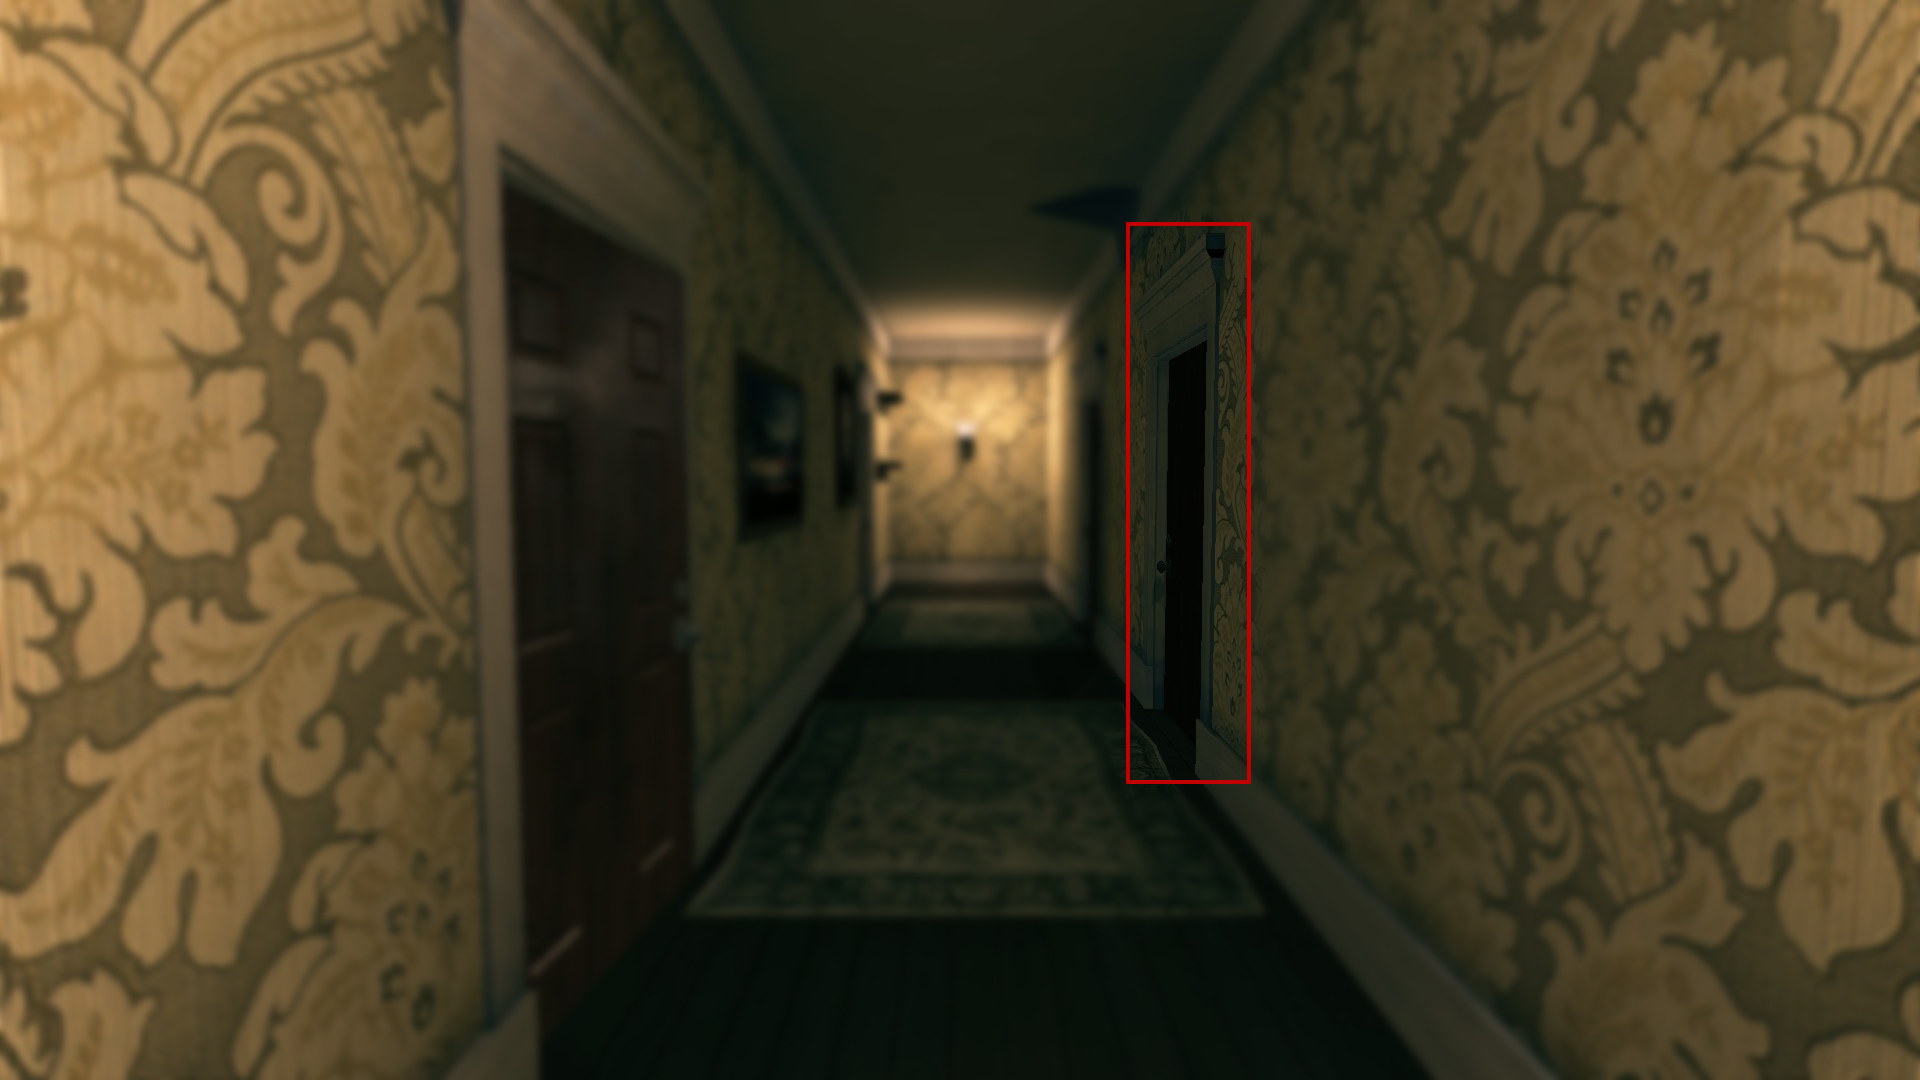 Turn right as you enter and the claw is on the bedside table on the same side of the room as the door.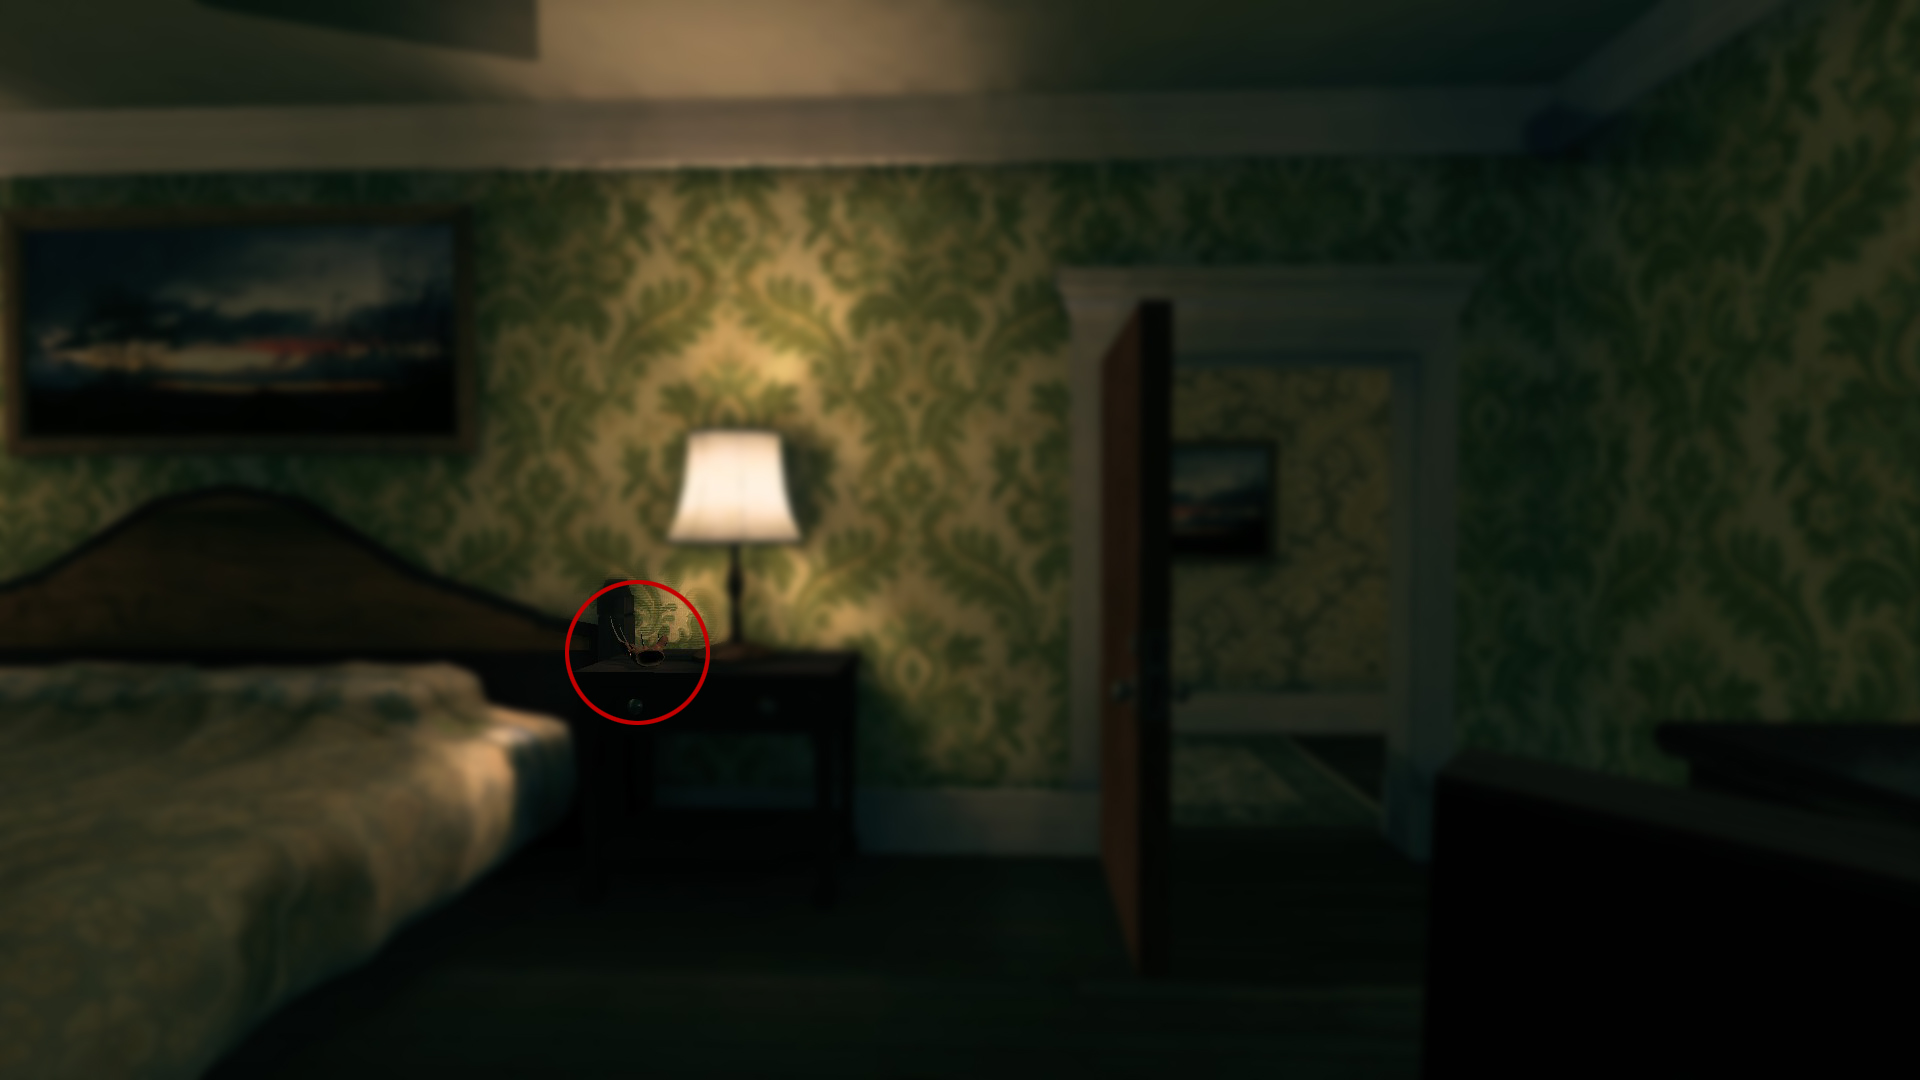
 Thursday the 12th
Collect the mask and machete and return them to your office From the backyard, move away from the house and into the woods.
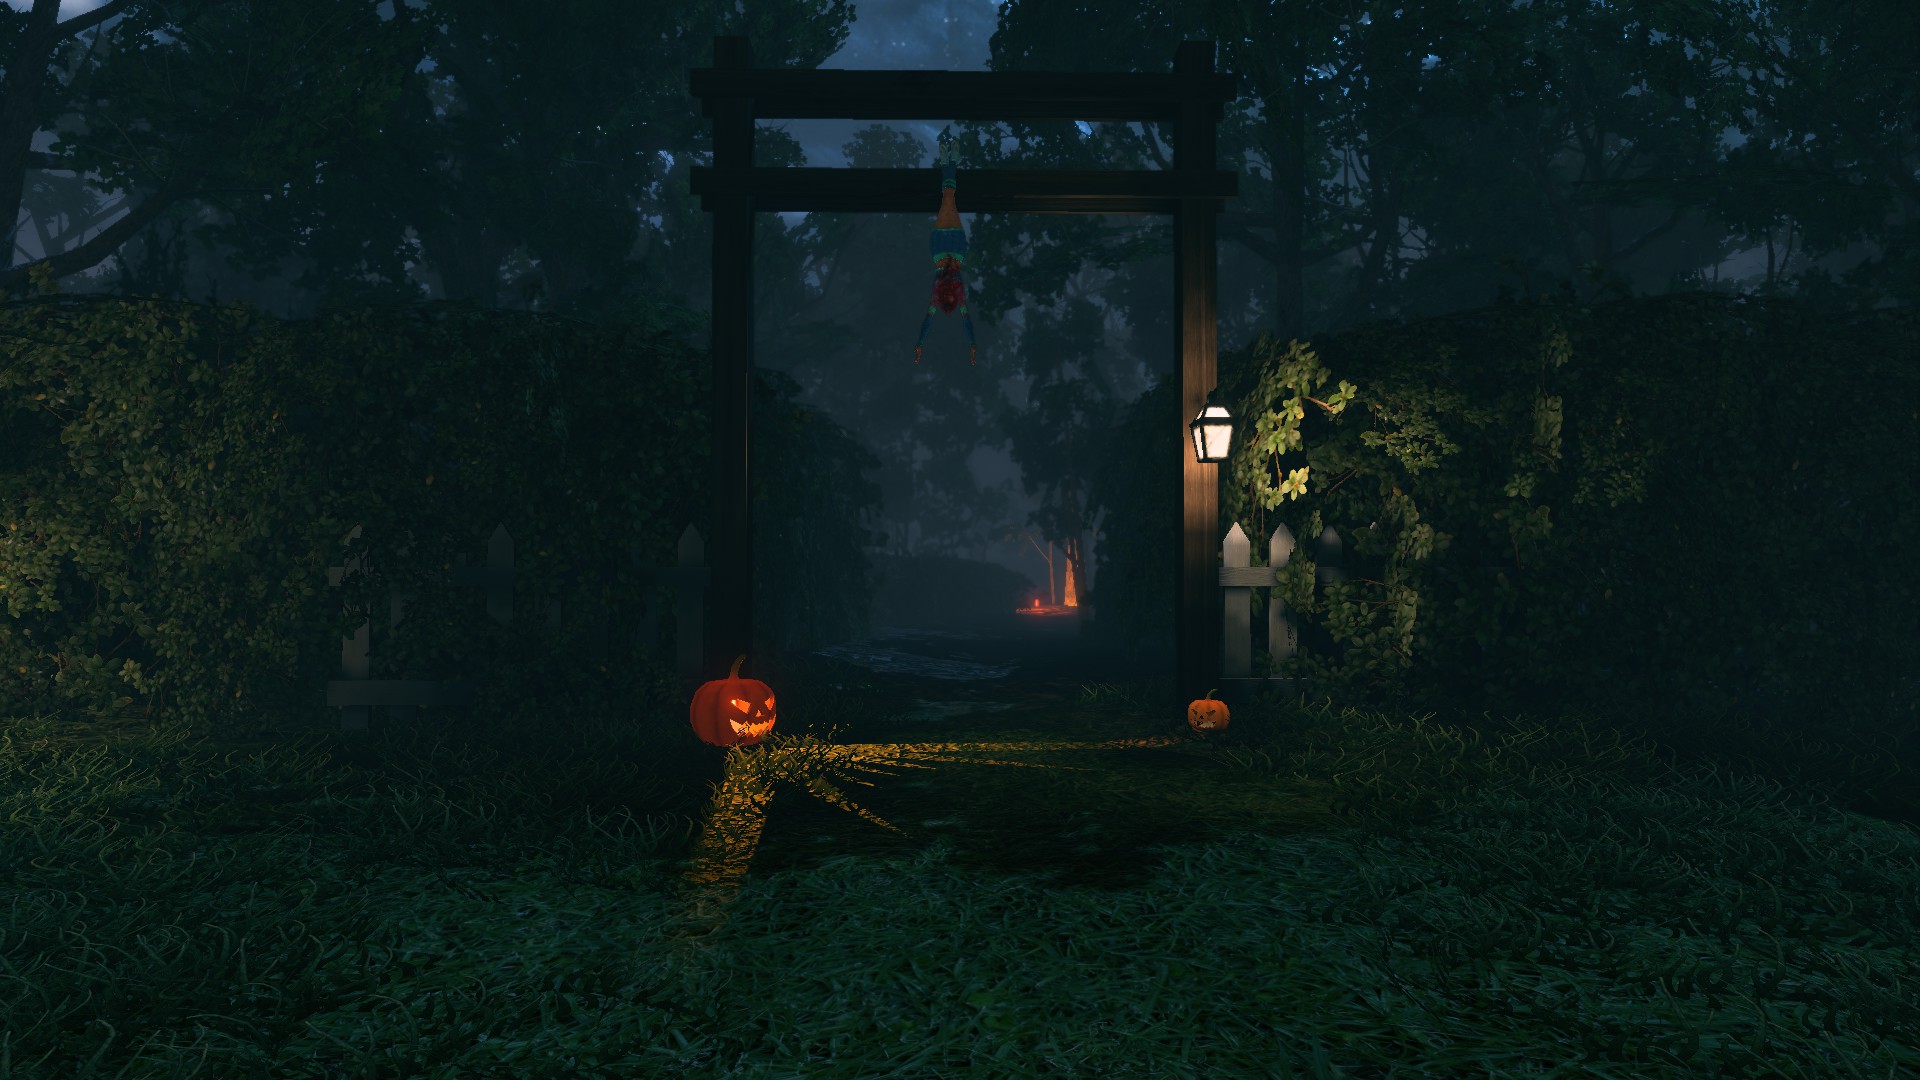 Continue down the path till you reach the tree with a candle nearby on the ground. The machete is stuck in the tree, and the mask is hanging off it.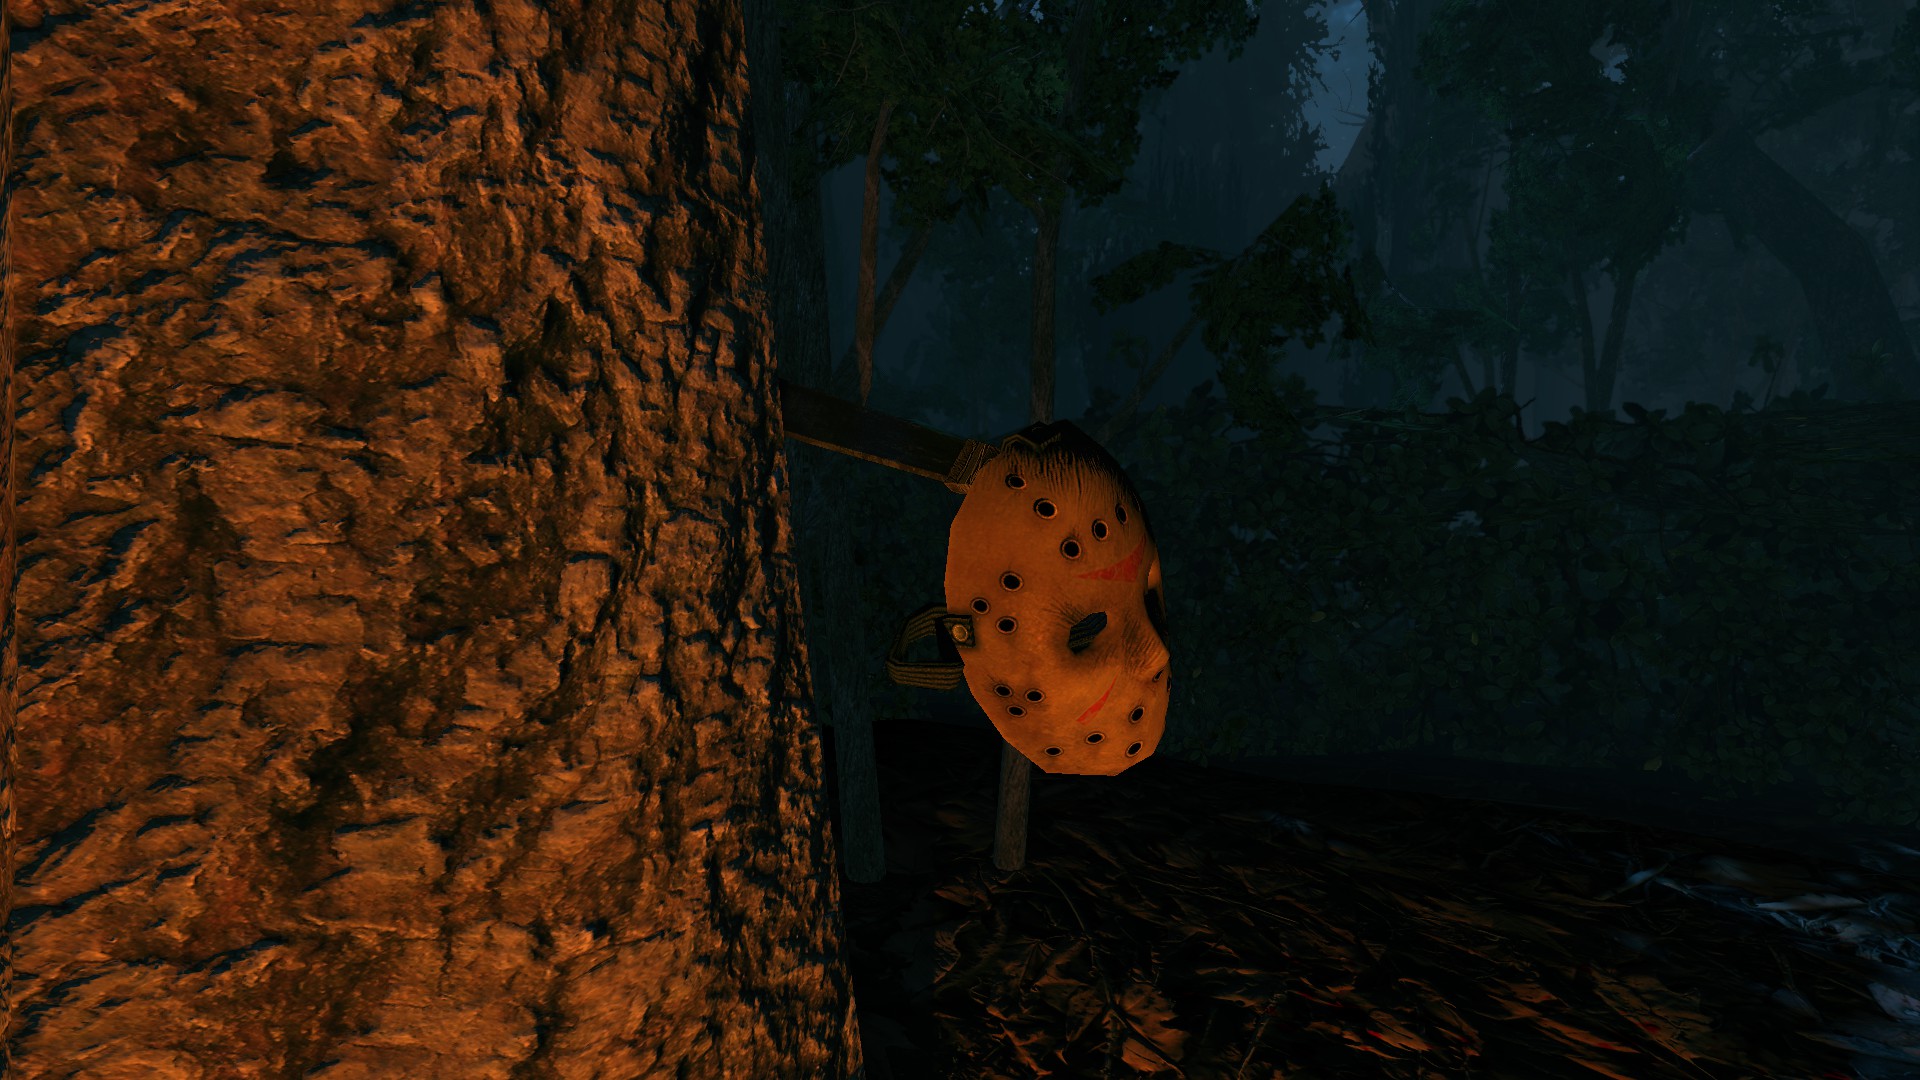
 Never Put It On
Collect the ring and return it to your office Go down the right hand side of the cabin in the woods.
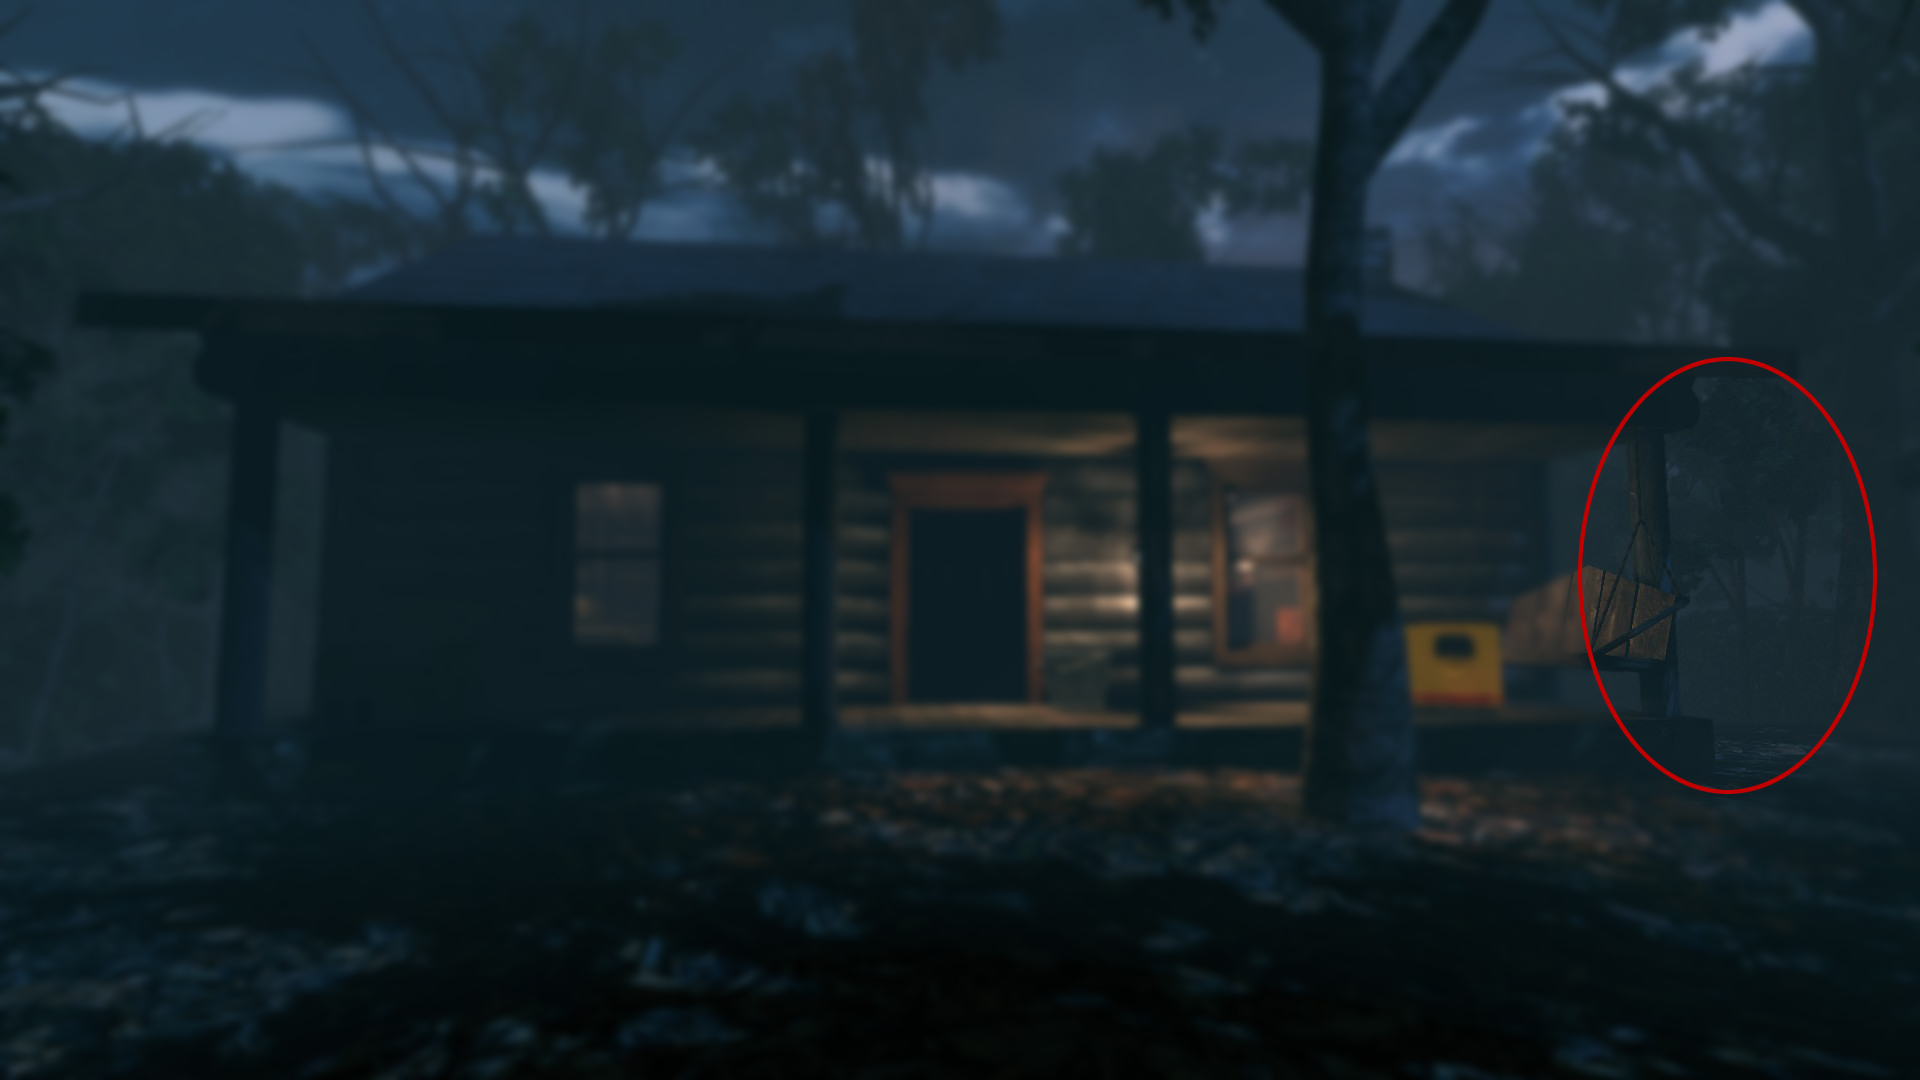 The ring is sitting on a stack of firewood on this side of the cabin.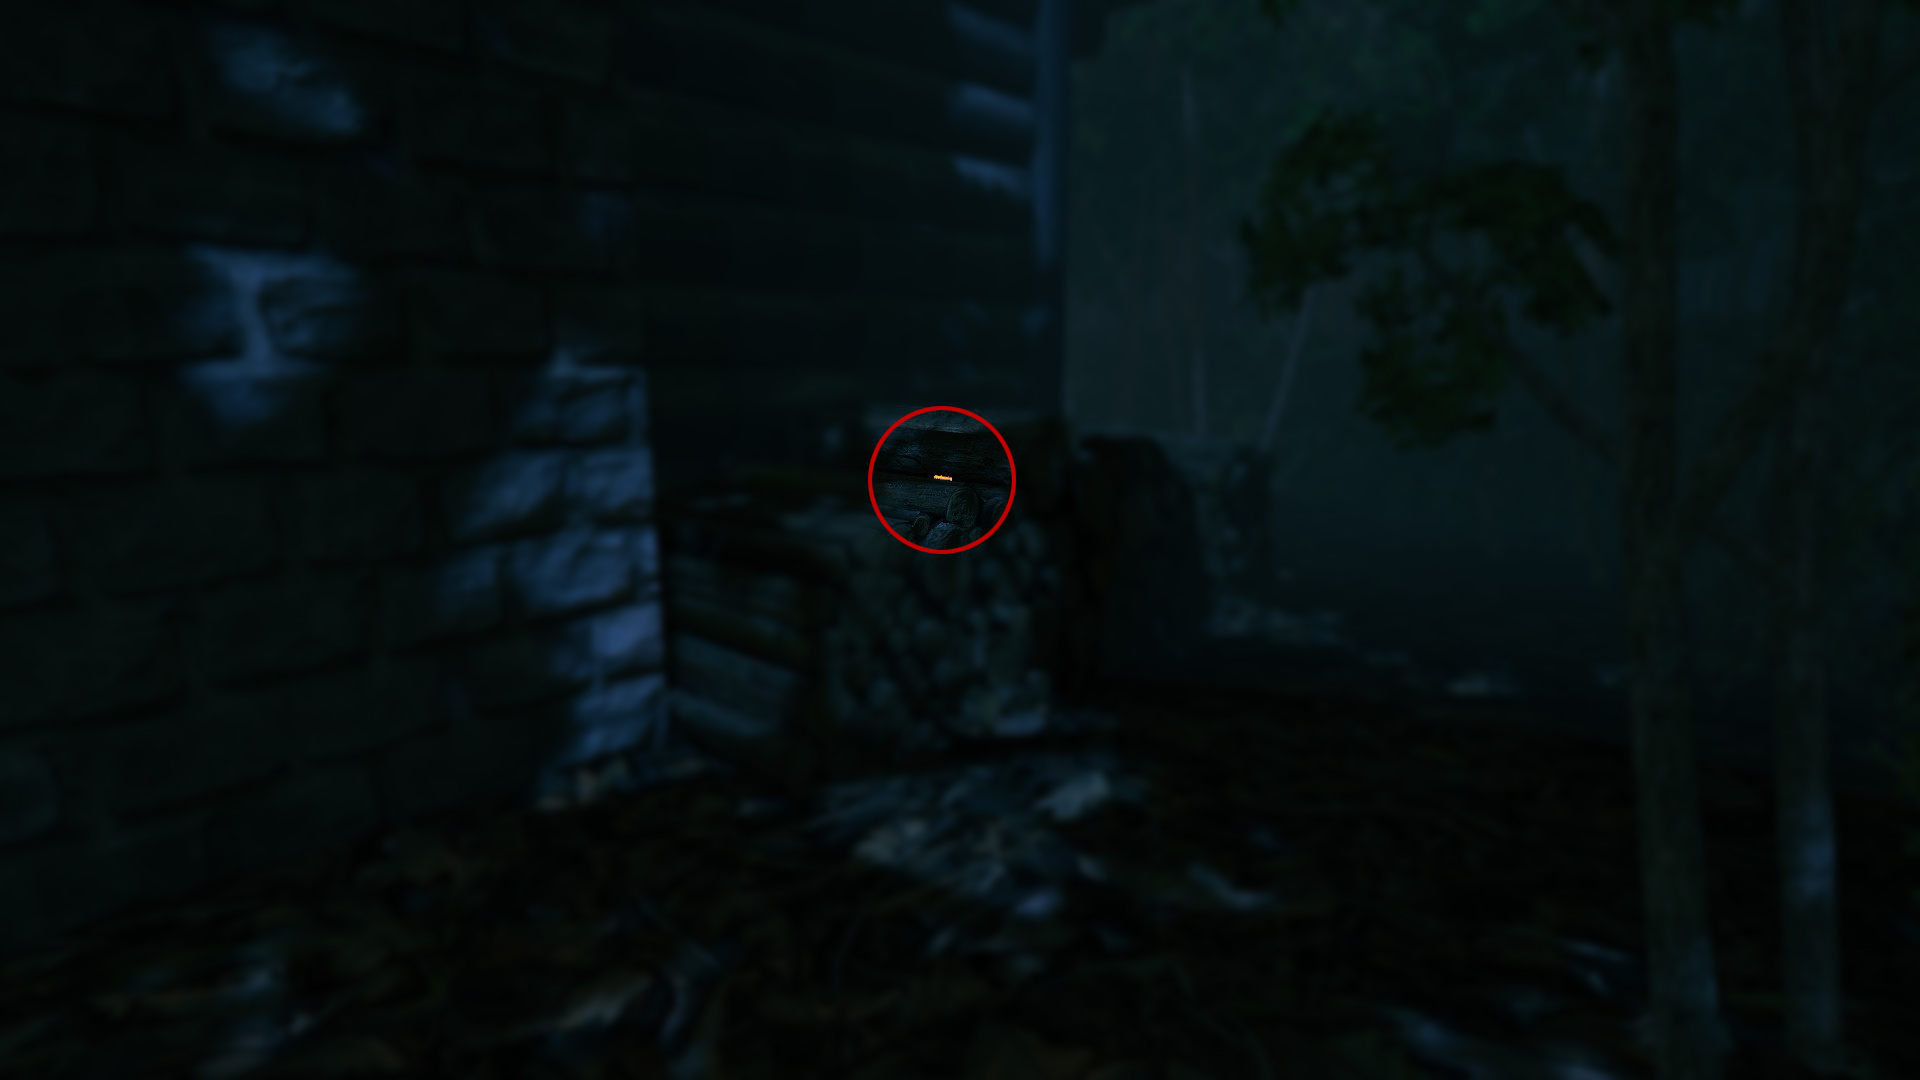
 Wicked Unliving
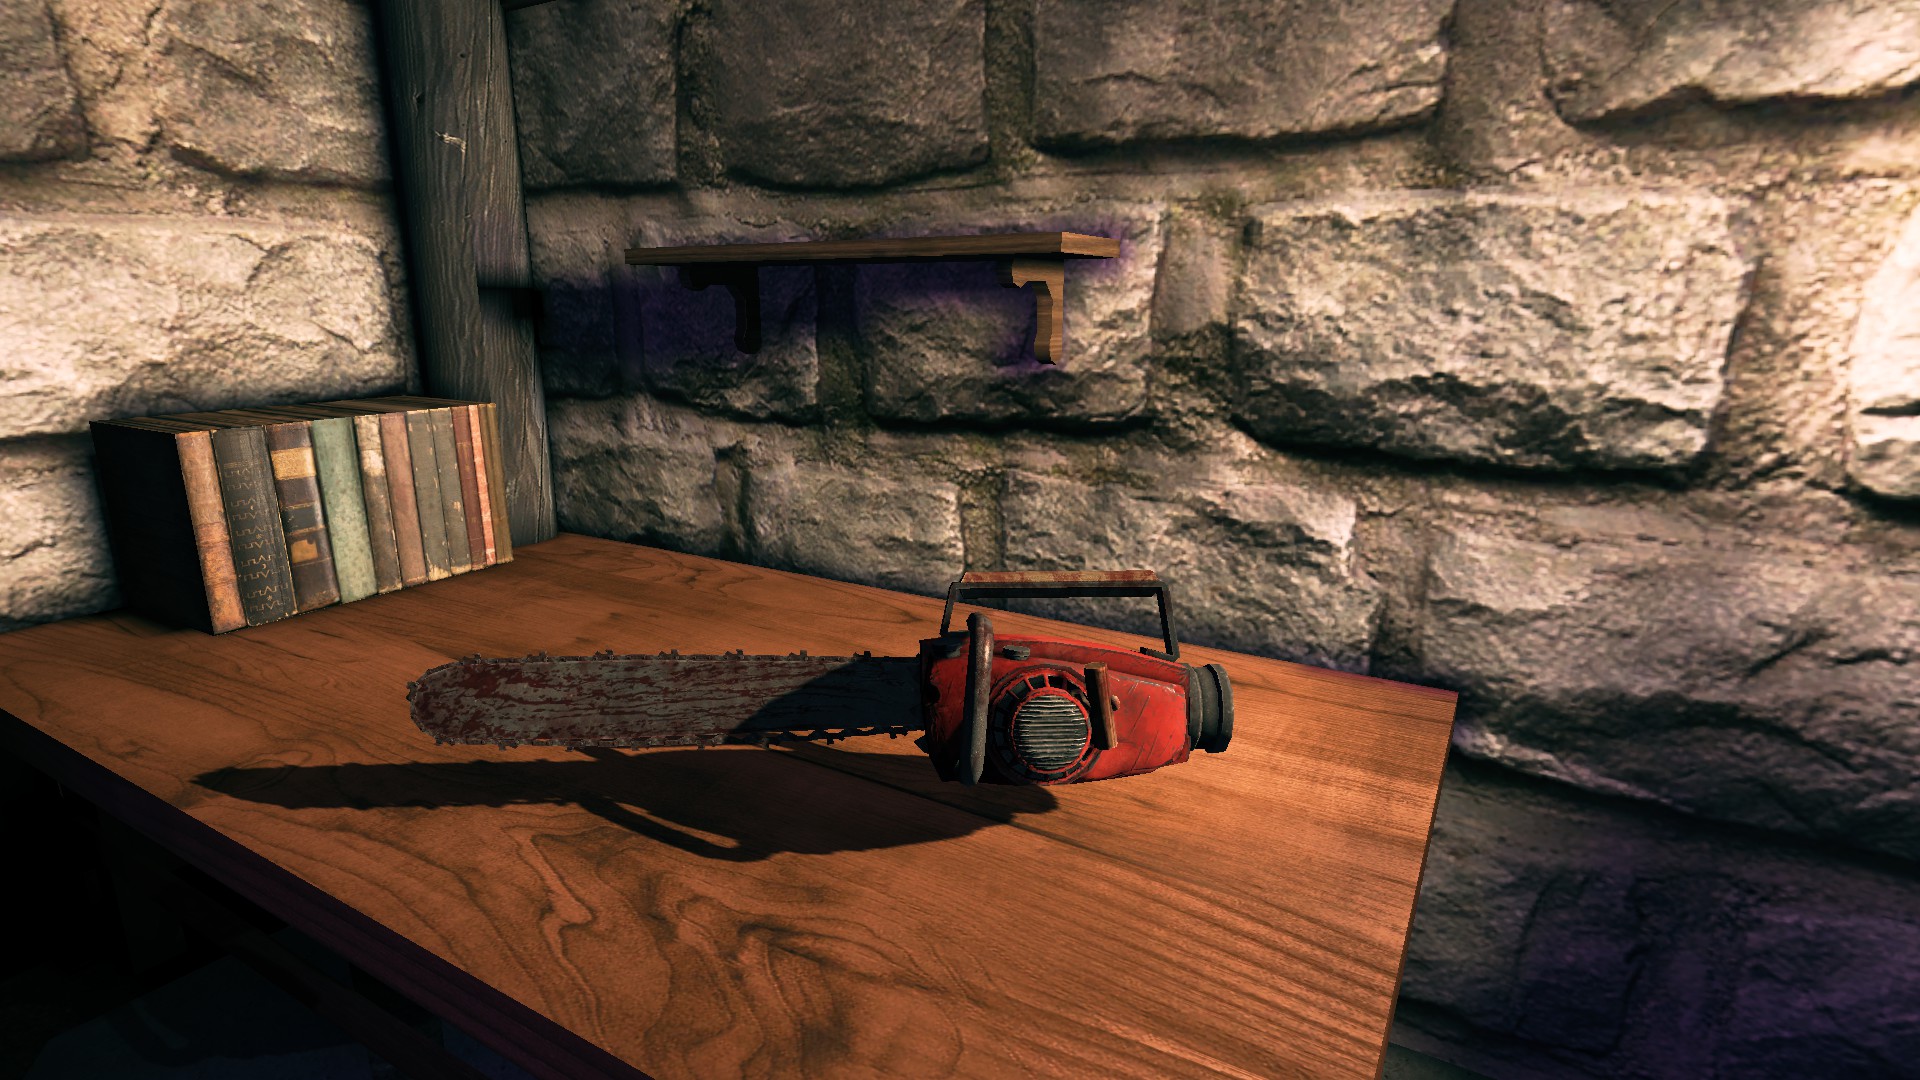
Collect the chainsaw, boomstick, cursed hand and the evil book and return them to your office Chainsaw
The chainsaw is found downstairs in the cabin. Enter through the trapdoor and it can be found on the table to the right of the crack in space-time.
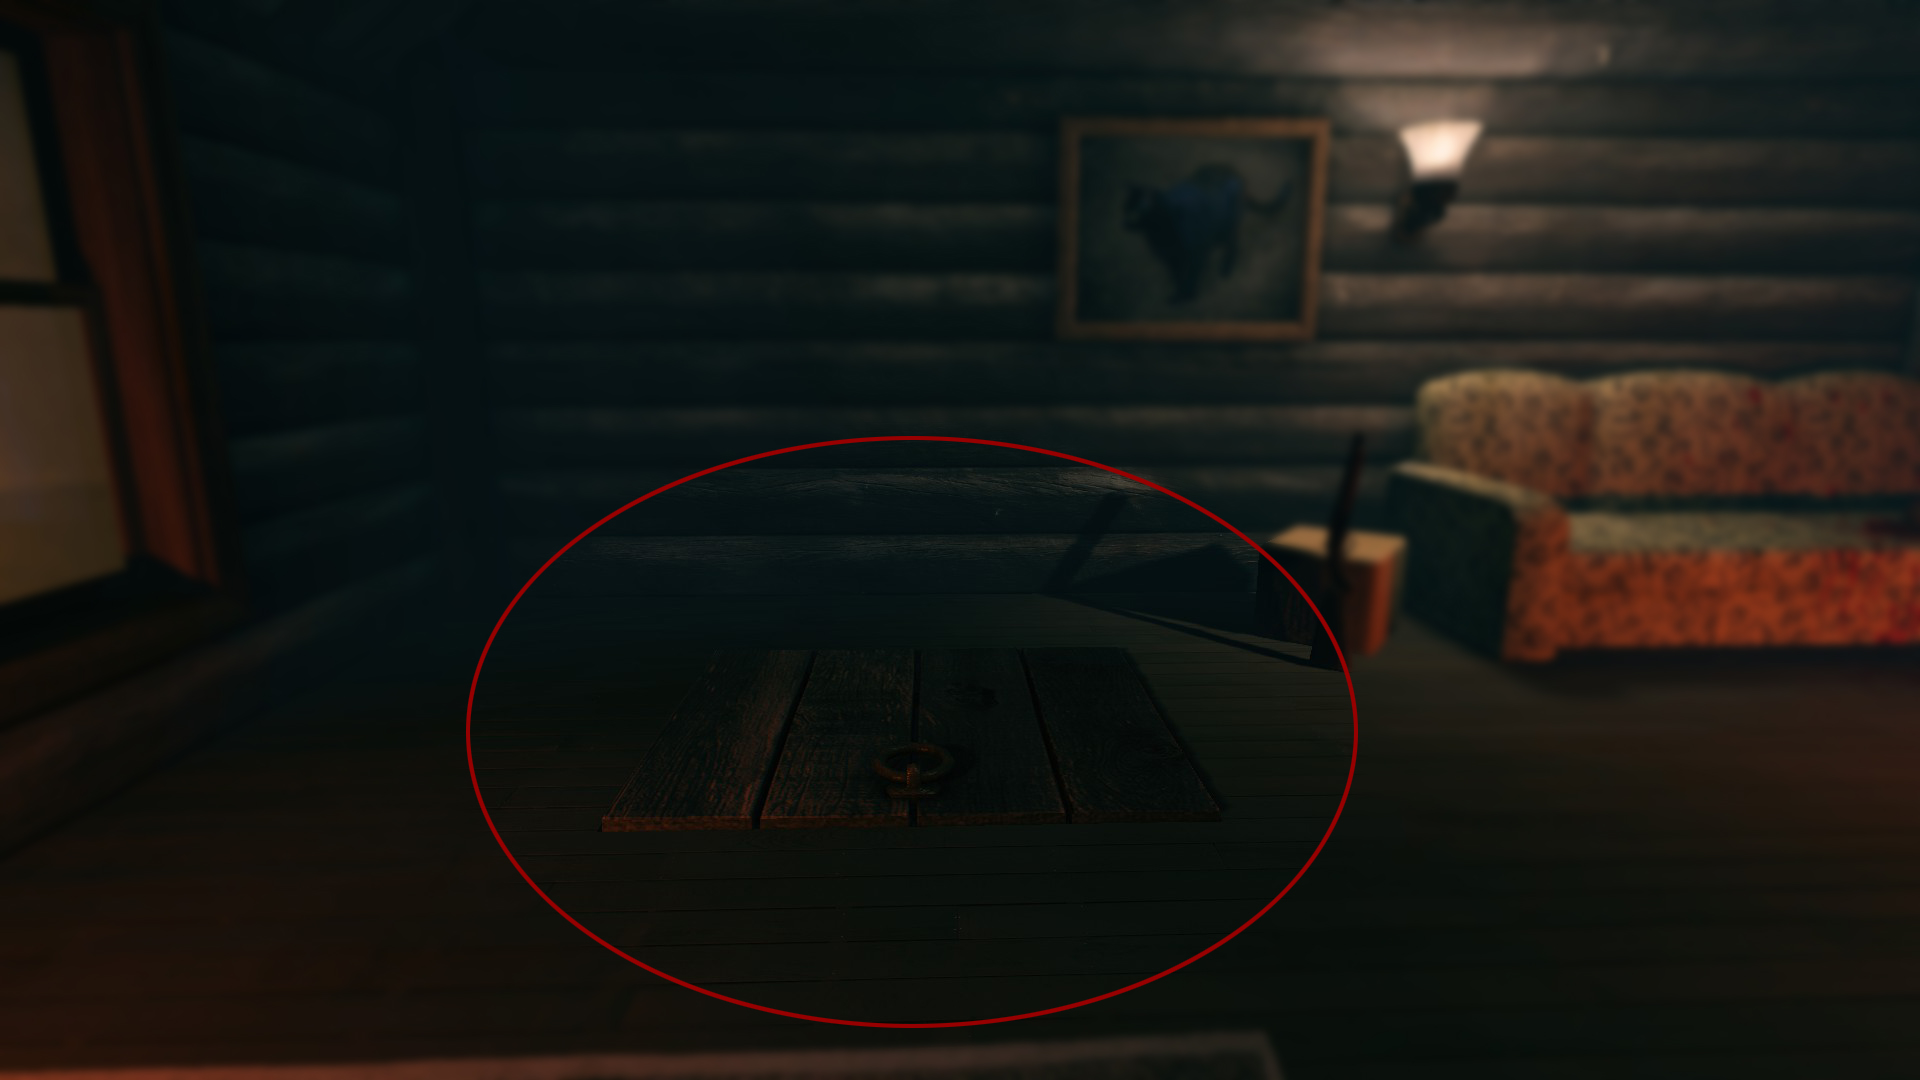
Boomstick
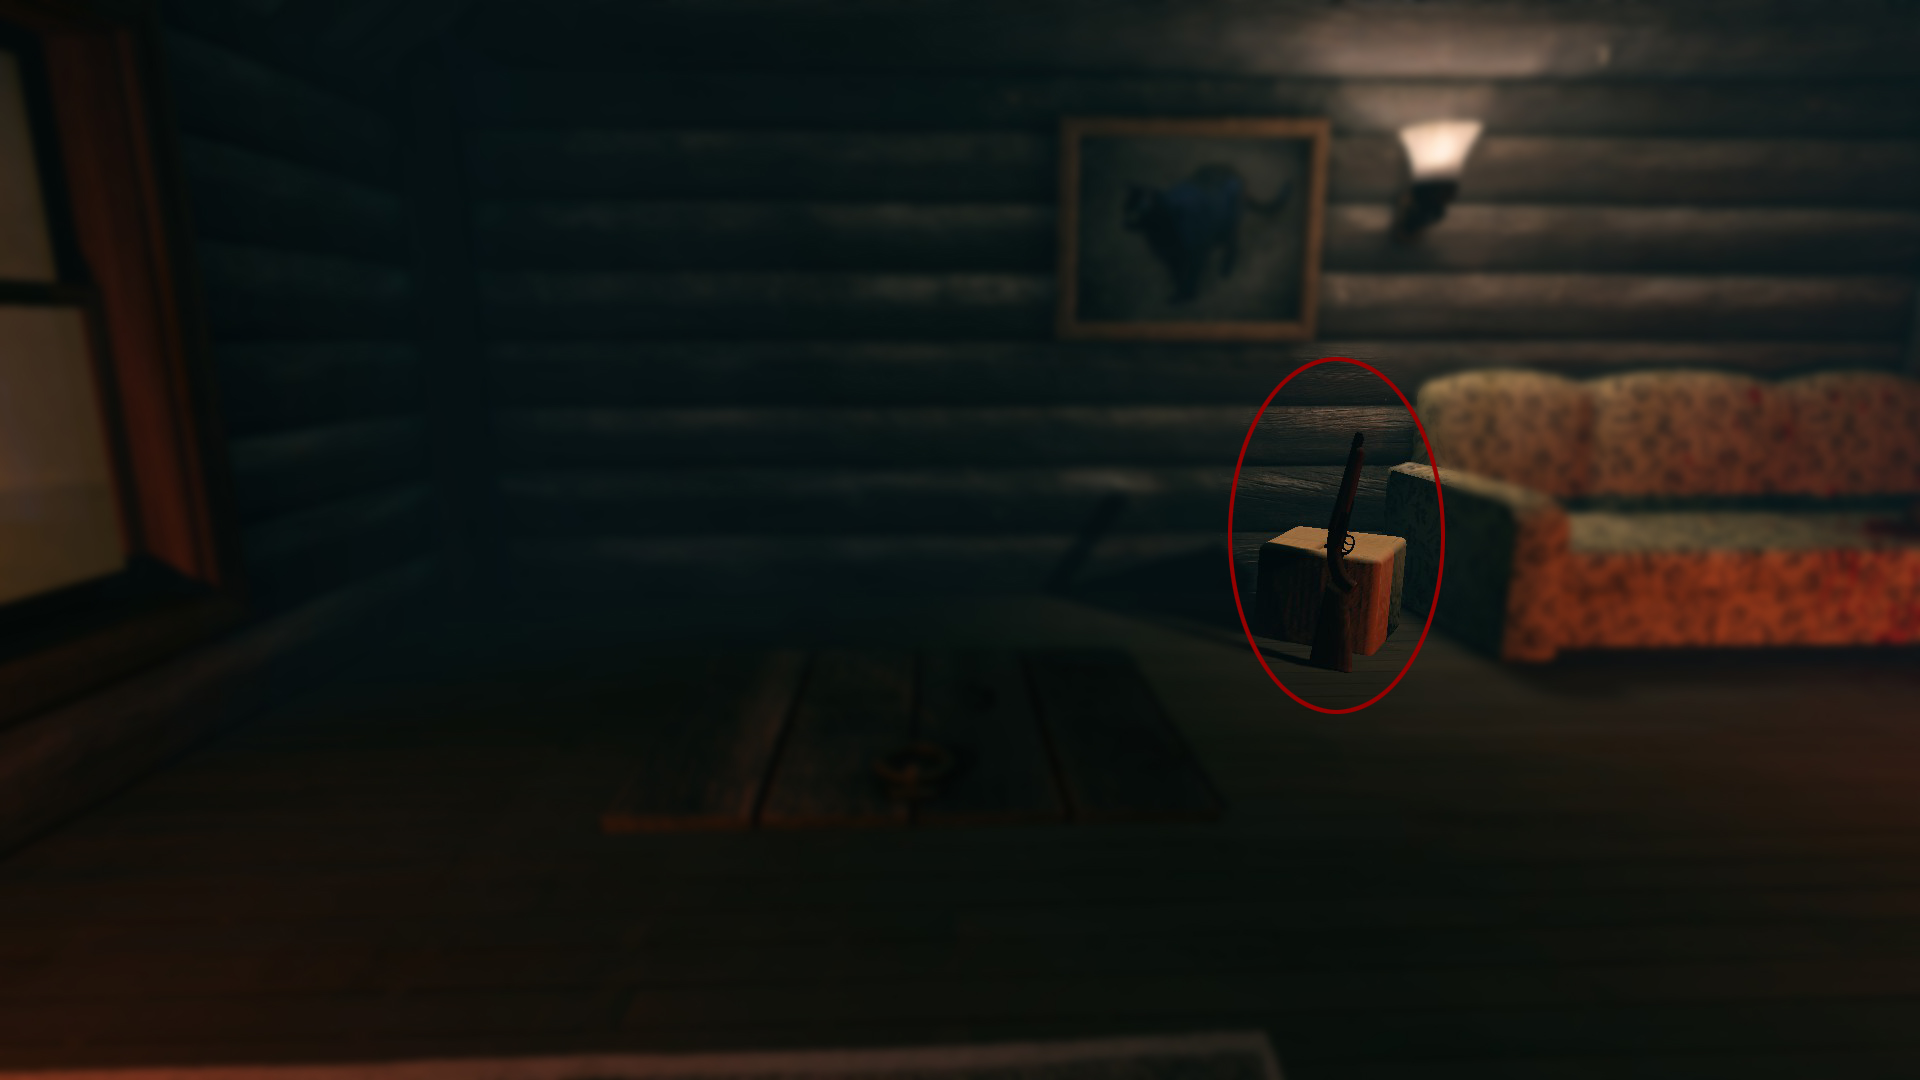
The Boomstick is also in the cabin just to the right of the trapdoor.
Cursed Hand
The Cursed Hand is also in the cabin. Head towards the bookcase to the left of the fireplace.
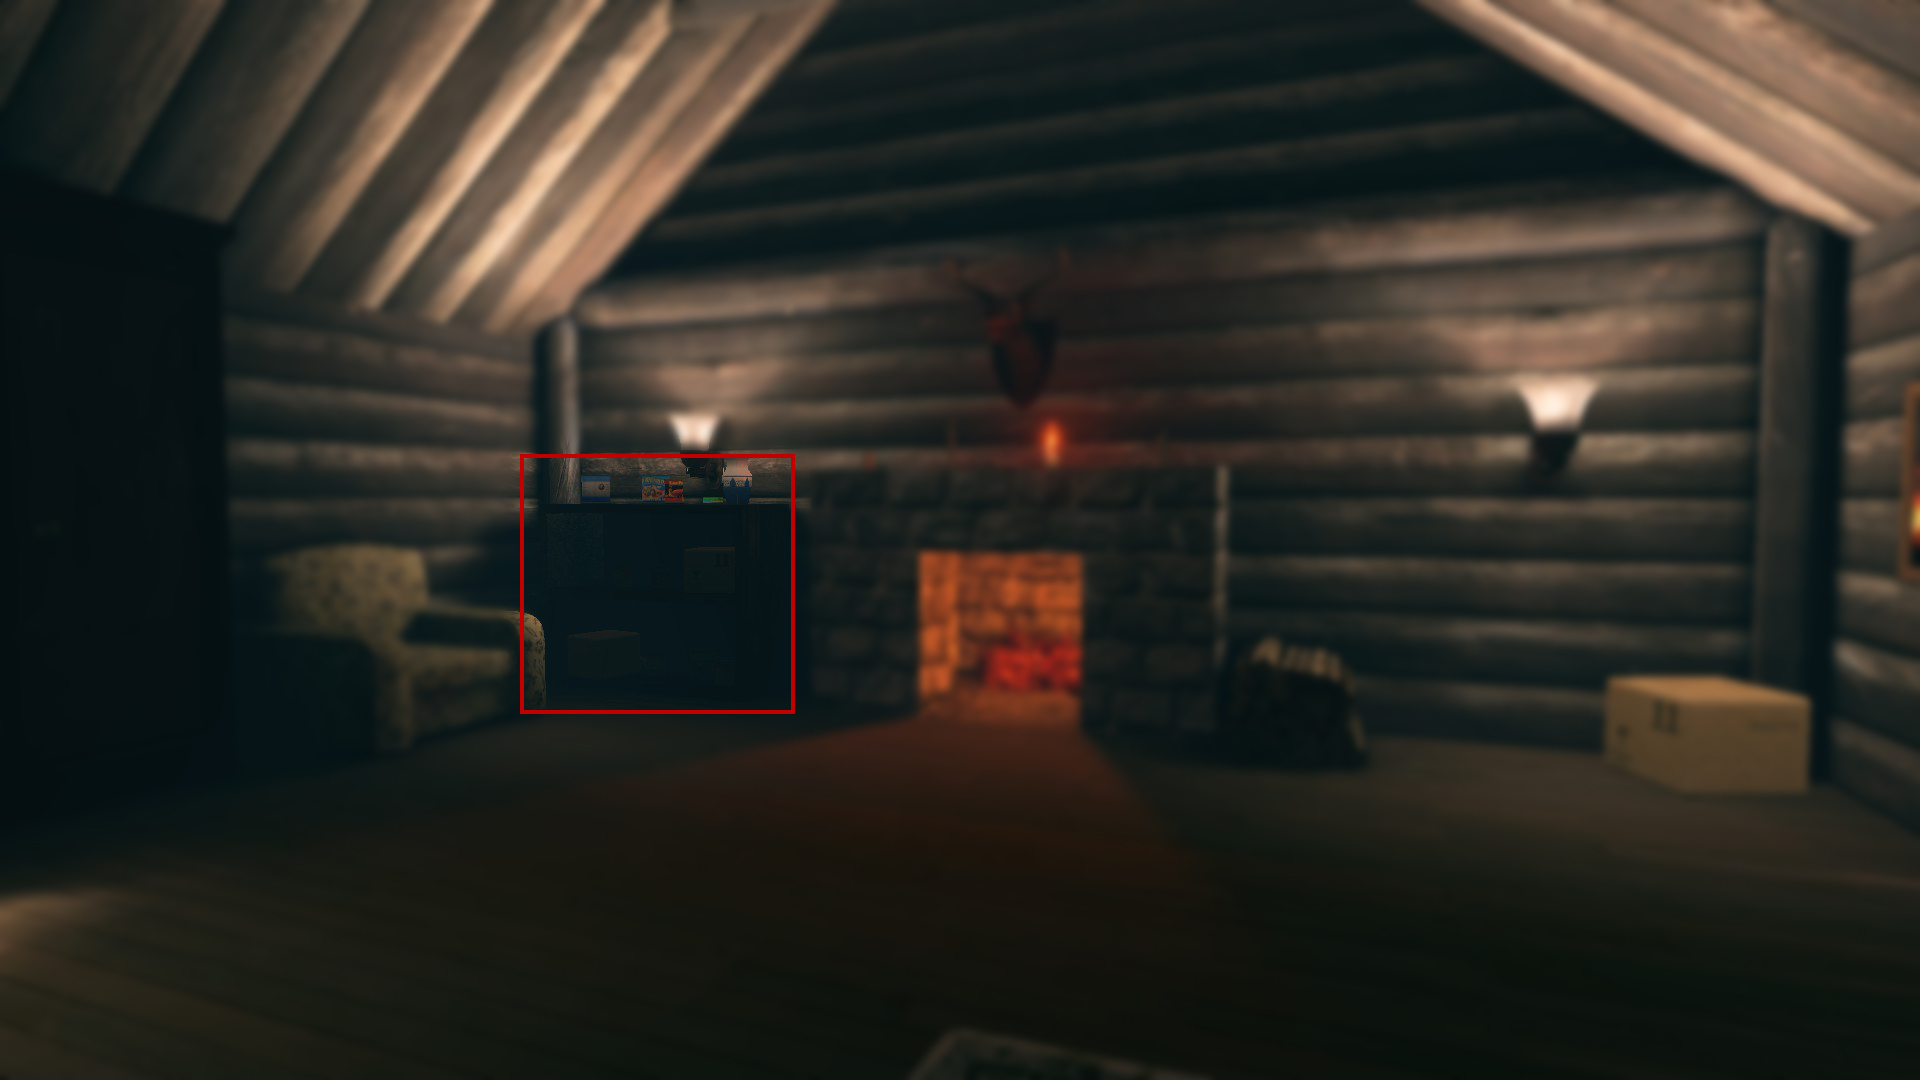 Move the box in the bottom-left, and you will find the hand at the back of the shelf.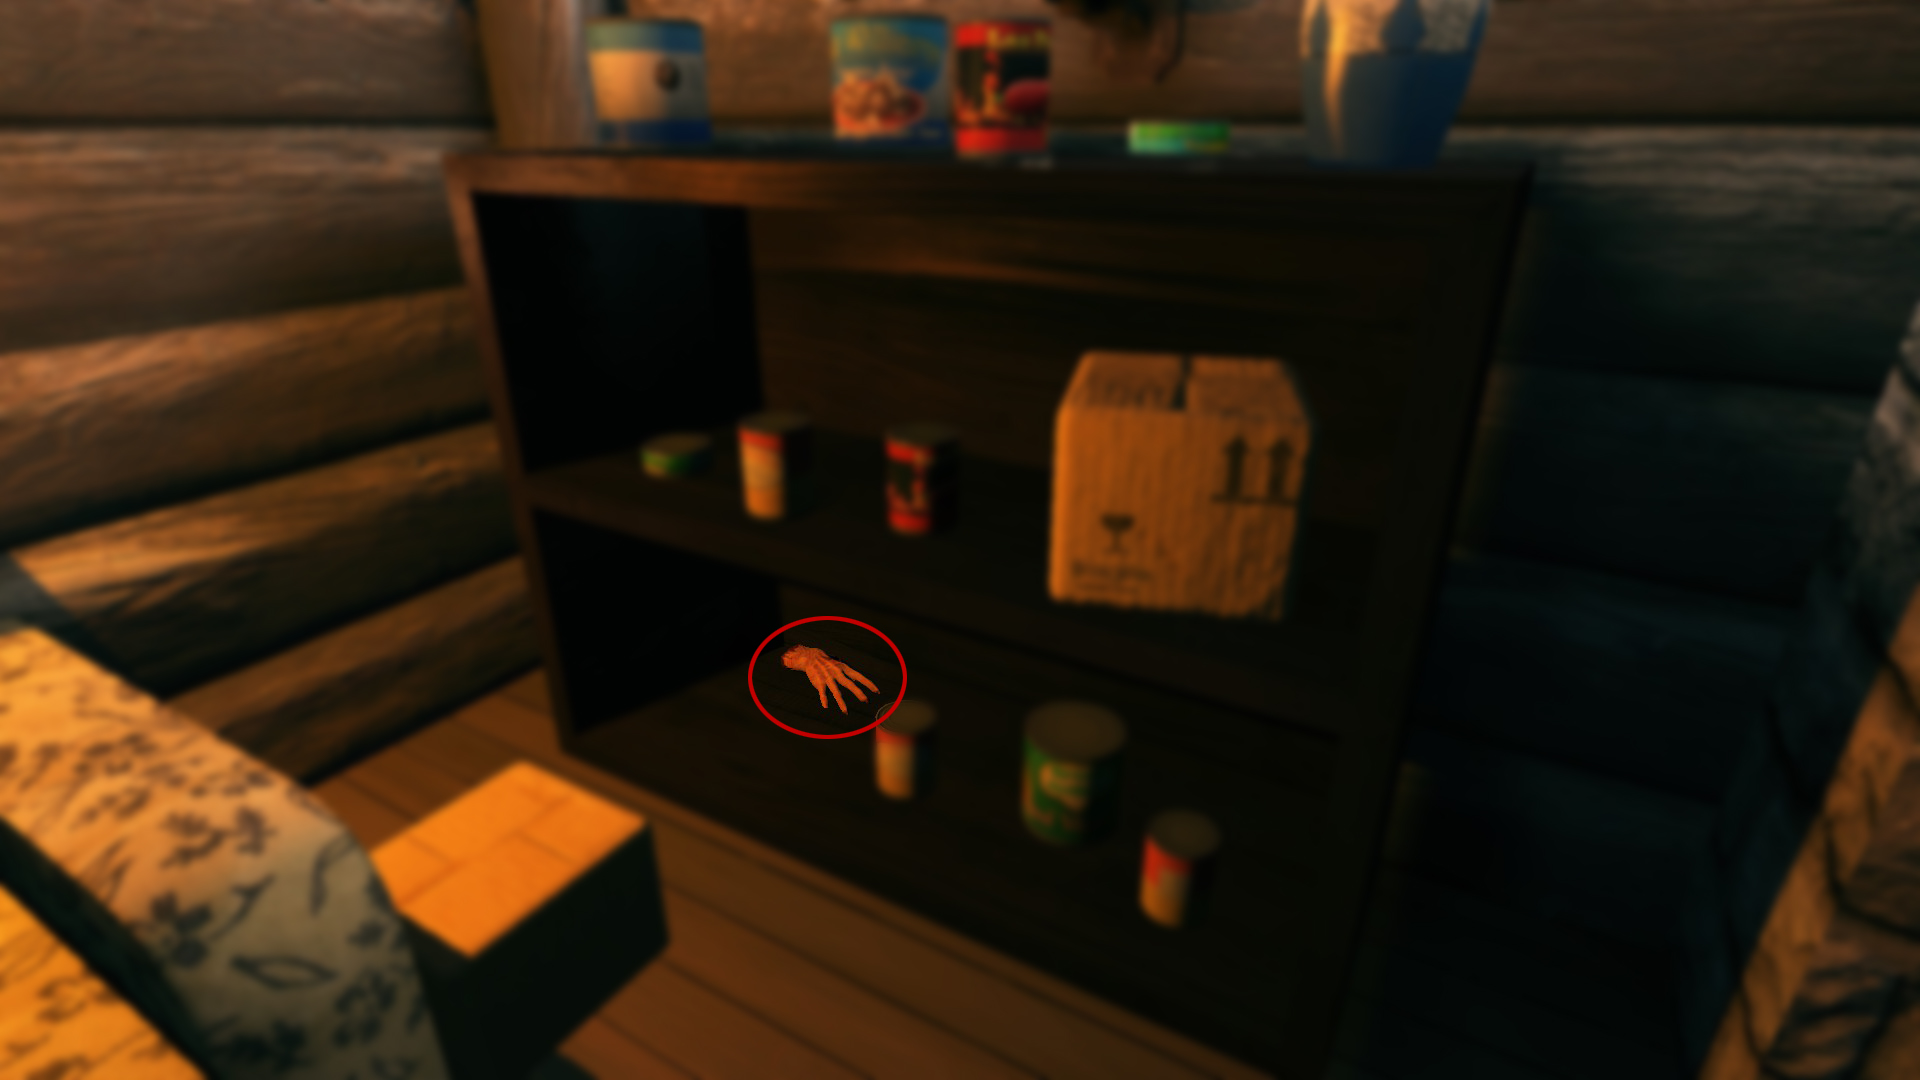
Evil Book
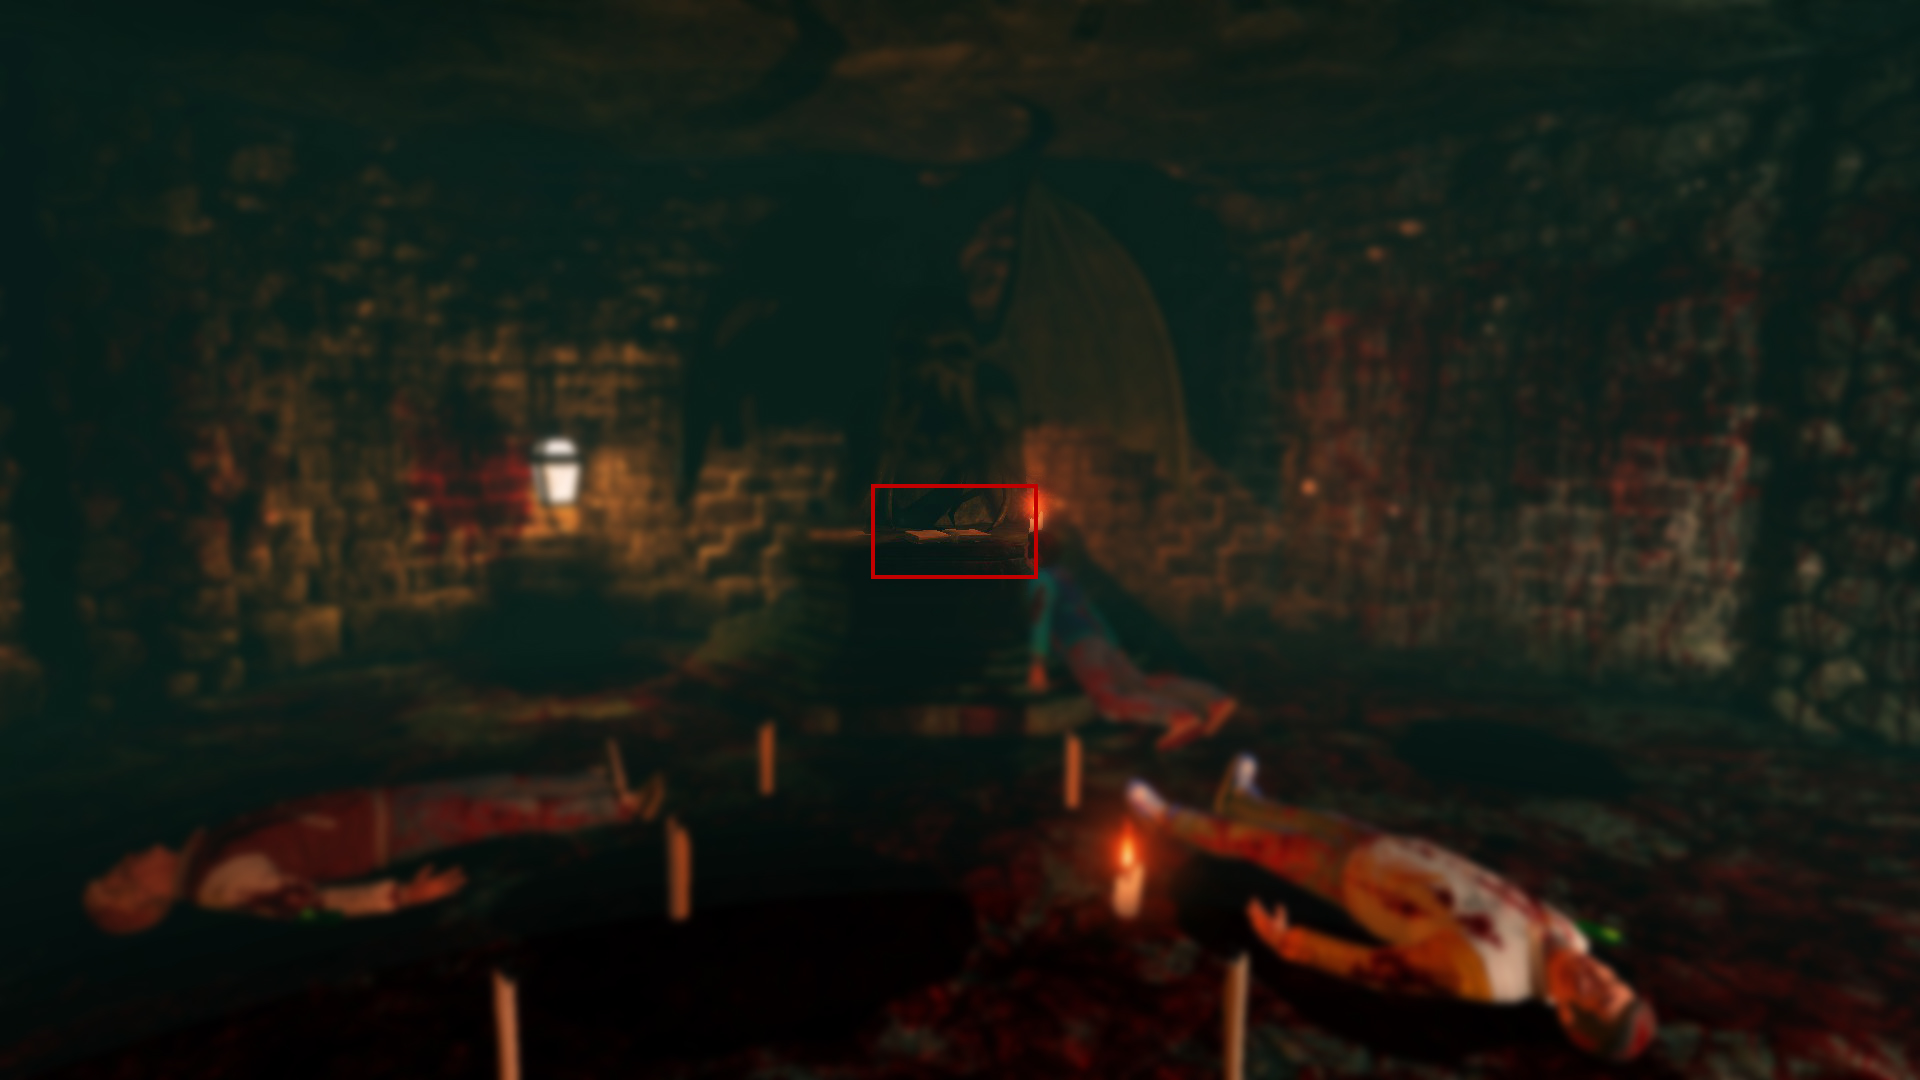
Head through the Iron Gate opposite the cabin in the woods (if locked, check the start of this section). Follow the path, then head down underground. You'll reach a small room with a lot of blood and an altar. The book can be found sitting on the altar.
 Lost in Space and Time
Get consumed by an inter-dimensional crack in space-time Enter the cabin (if it's still locked, check the first part of this section) and turn to the left where you will see a trapdoor.
Open the trapdoor and head down the stairs. The crack in space-time is unmissable down there.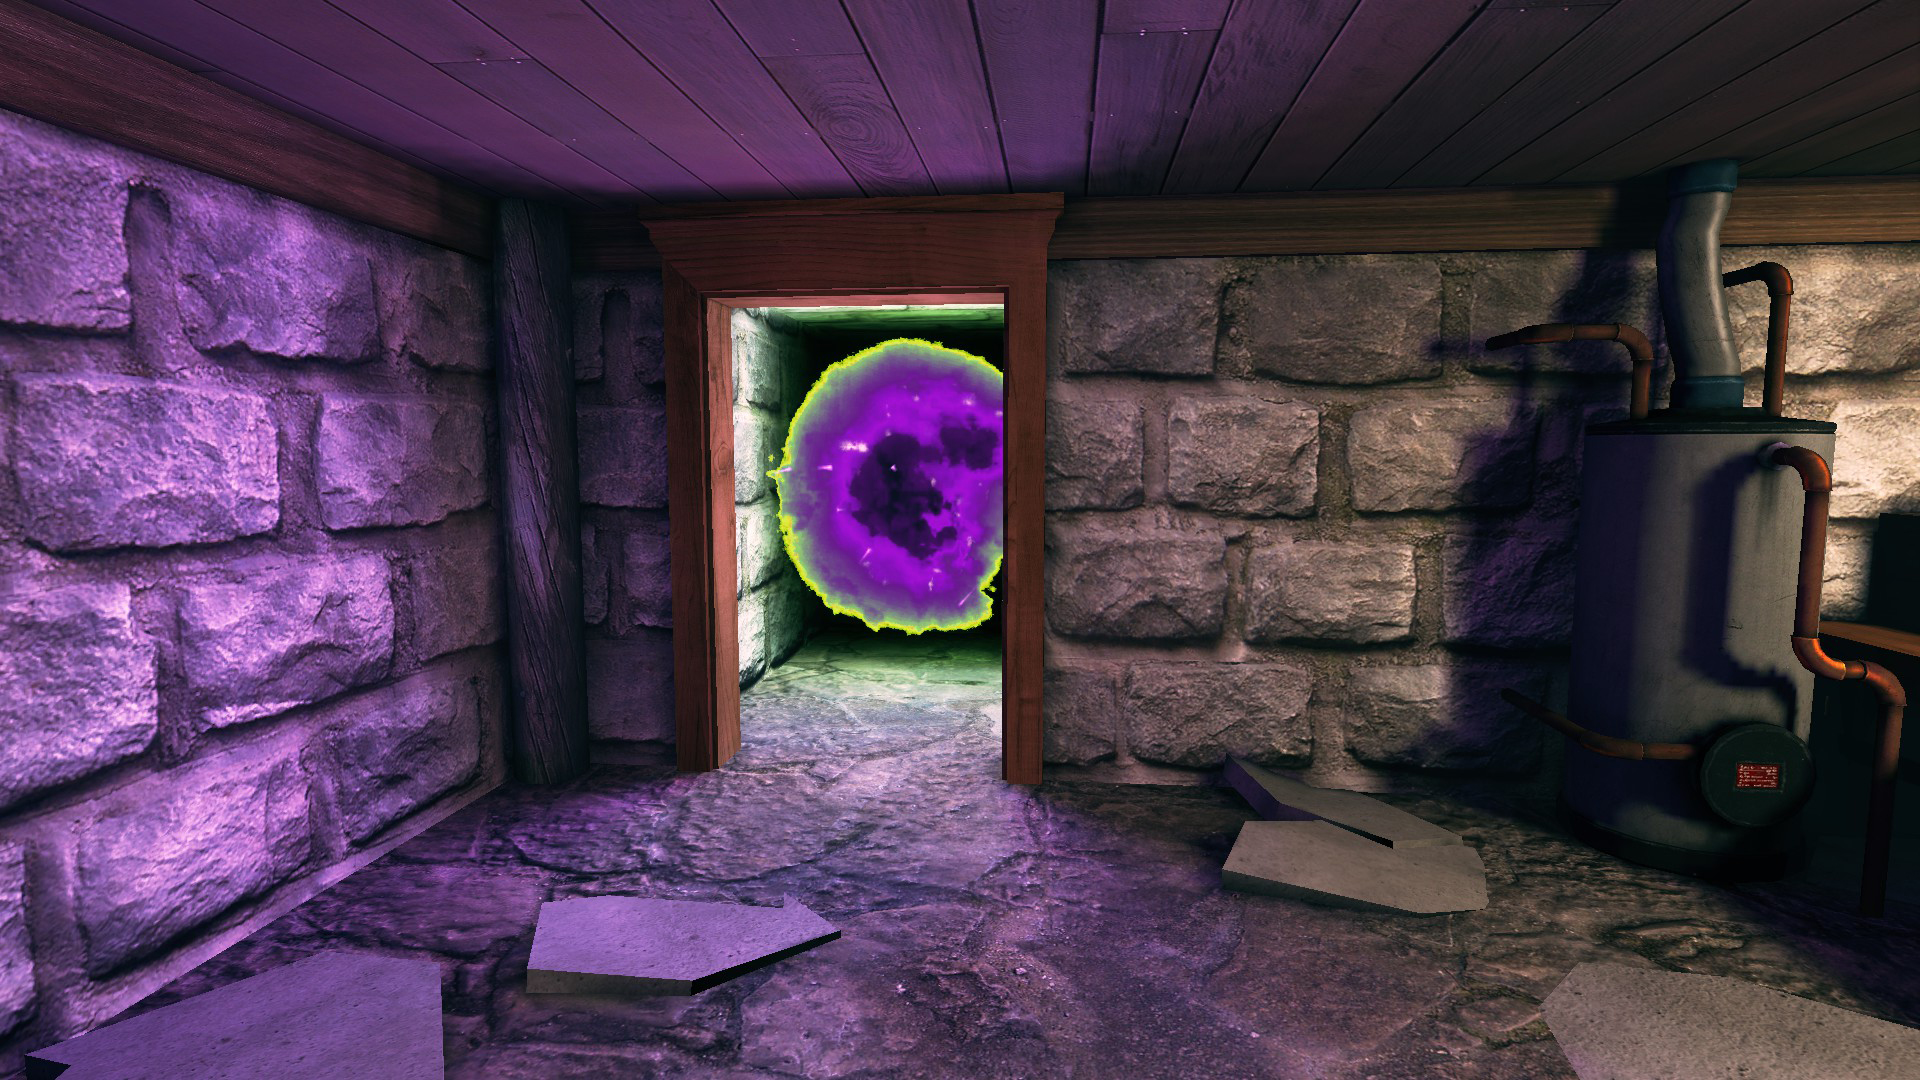
 Not Quite a Lumberjack
Destroy 200 items in the woodchipper
The woodchipper is in the backyard and is a sort of alternative to an incinerator in standard levels, though fireplaces and the crack in space-time can also be used. This achievement is pretty self-explanatory and tracks progress on your achievements page.
 Back From Whence It Came
Destroy the Bad Banger[gfycat.com] The Bad Banger is the equivalent of the Big Banger in other levels. It can be found on the veranda at the front of the house.
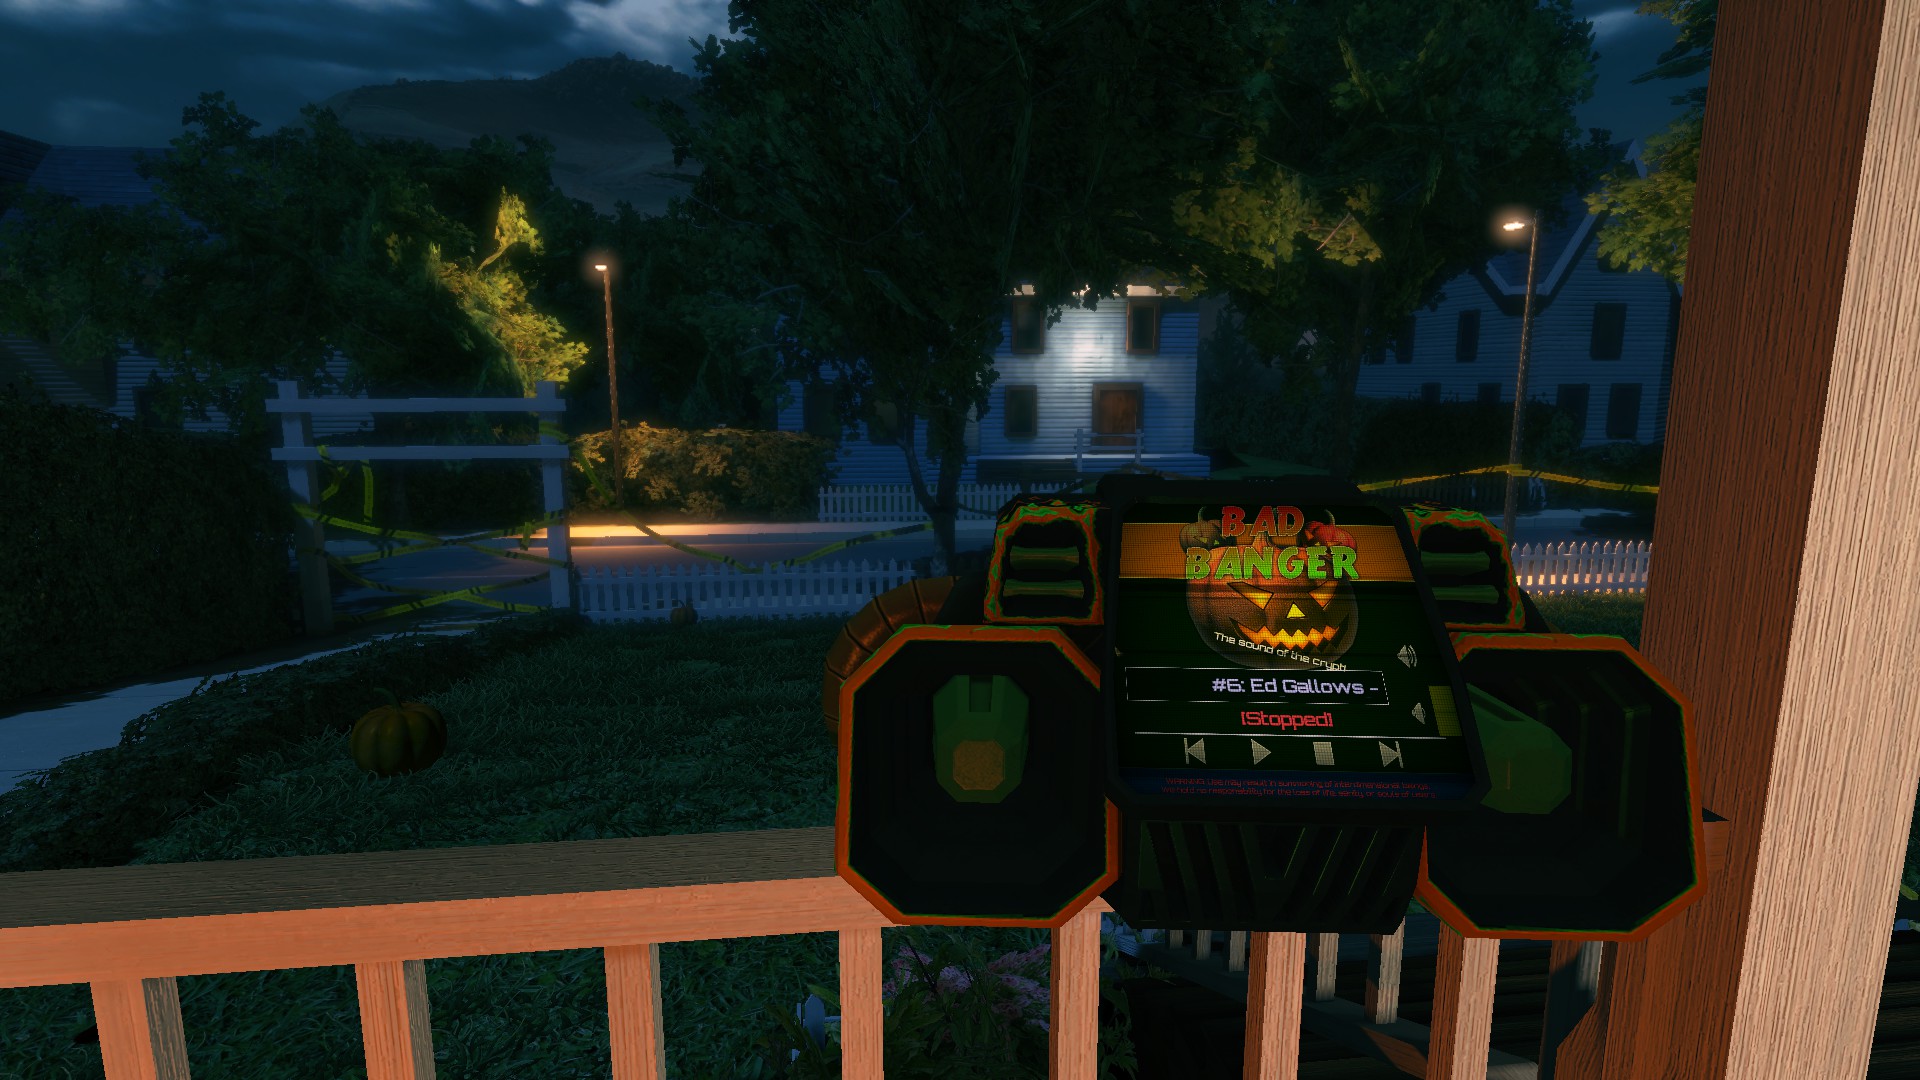 It does not need to be playing music when destroyed and can be destroyed at a number of locations on the map. The woodchipper, crack in space-time and any fireplace should work for this achievement.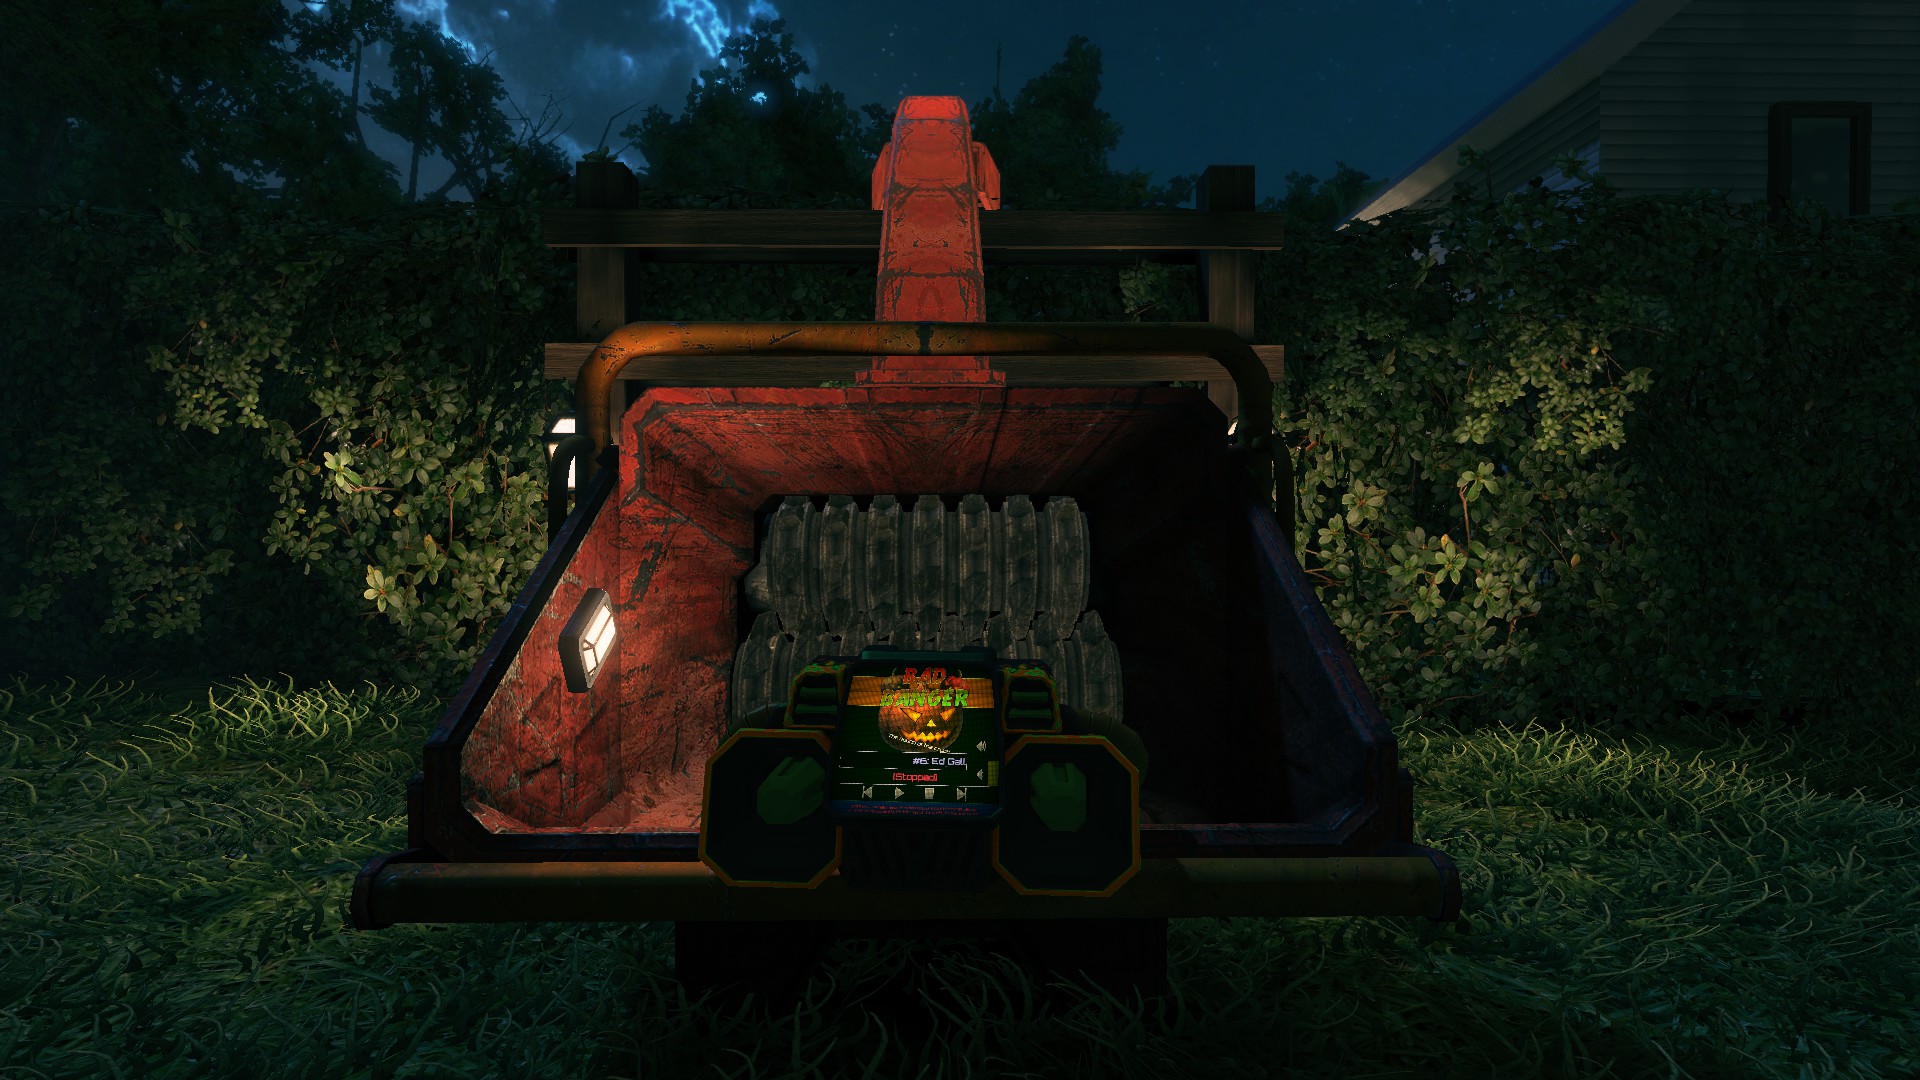
Santa's Rampage Achievements
 Cleanliness is Godliness
Completely clean all mess in Santa's Workshop and clock off
Guide
Clean the level adequately. At least 95%.
 Christmas Crisis Corrected
Completely clean Santa's Workshop without breaking any Christmas items and clock off
I didn't have any issues with this, but it can be tricky. You have to clean around the baubles and everything. Also do not destroy any presents, candy canes or Santa hats. Multiple and backed up saved games are your friends.
 Sanitized Earth
Completely clean all mess and destroy every item in Santa's Workshop and clock off
Clean everything, but also destroy everything like presents, baubles, toys, stools, chairs, candy canes etc.
Save, leave, and come back if you didn't get it yet and find some more stuff.
 Bloody Incompetent
Prove your incompetence by leaving a worse mess and clock off Just spam the mop till it gets dirty, then spam it some more till you leave a big mess. Doesn't need to be this serious.
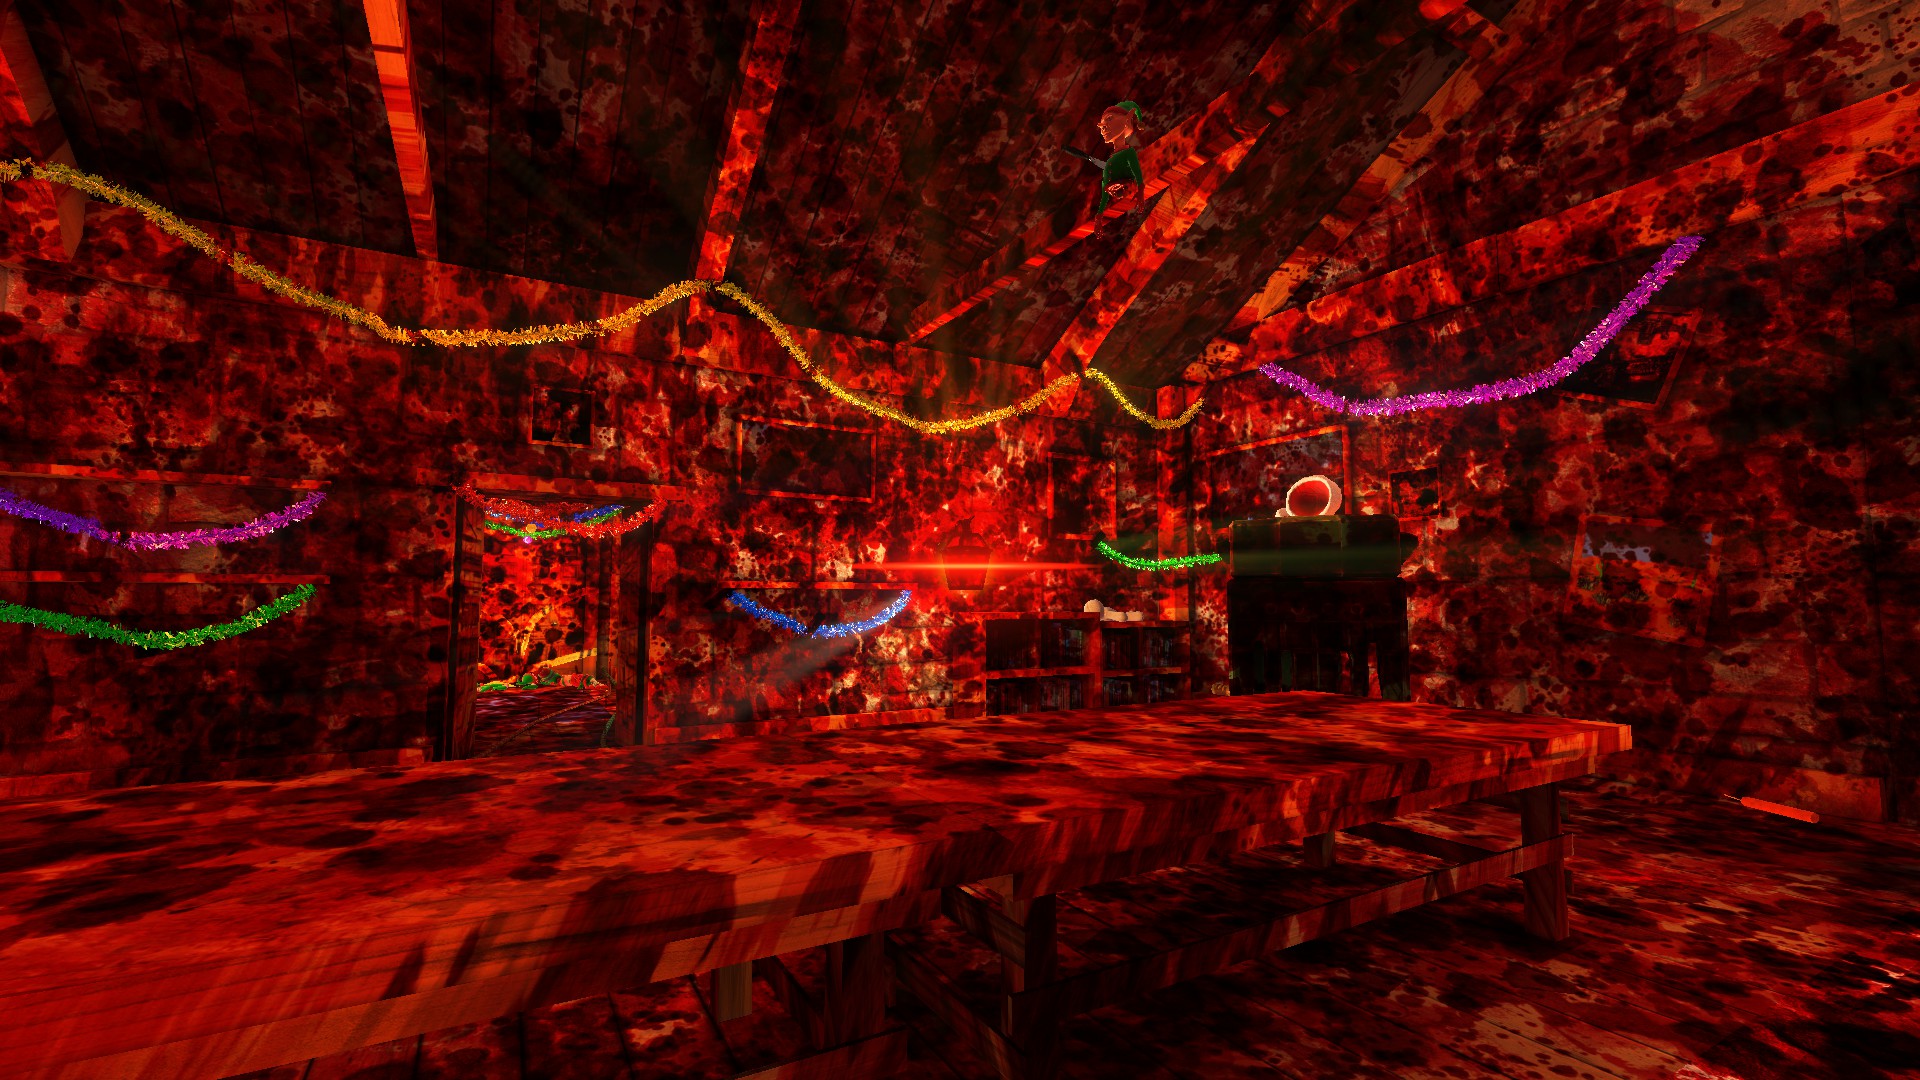
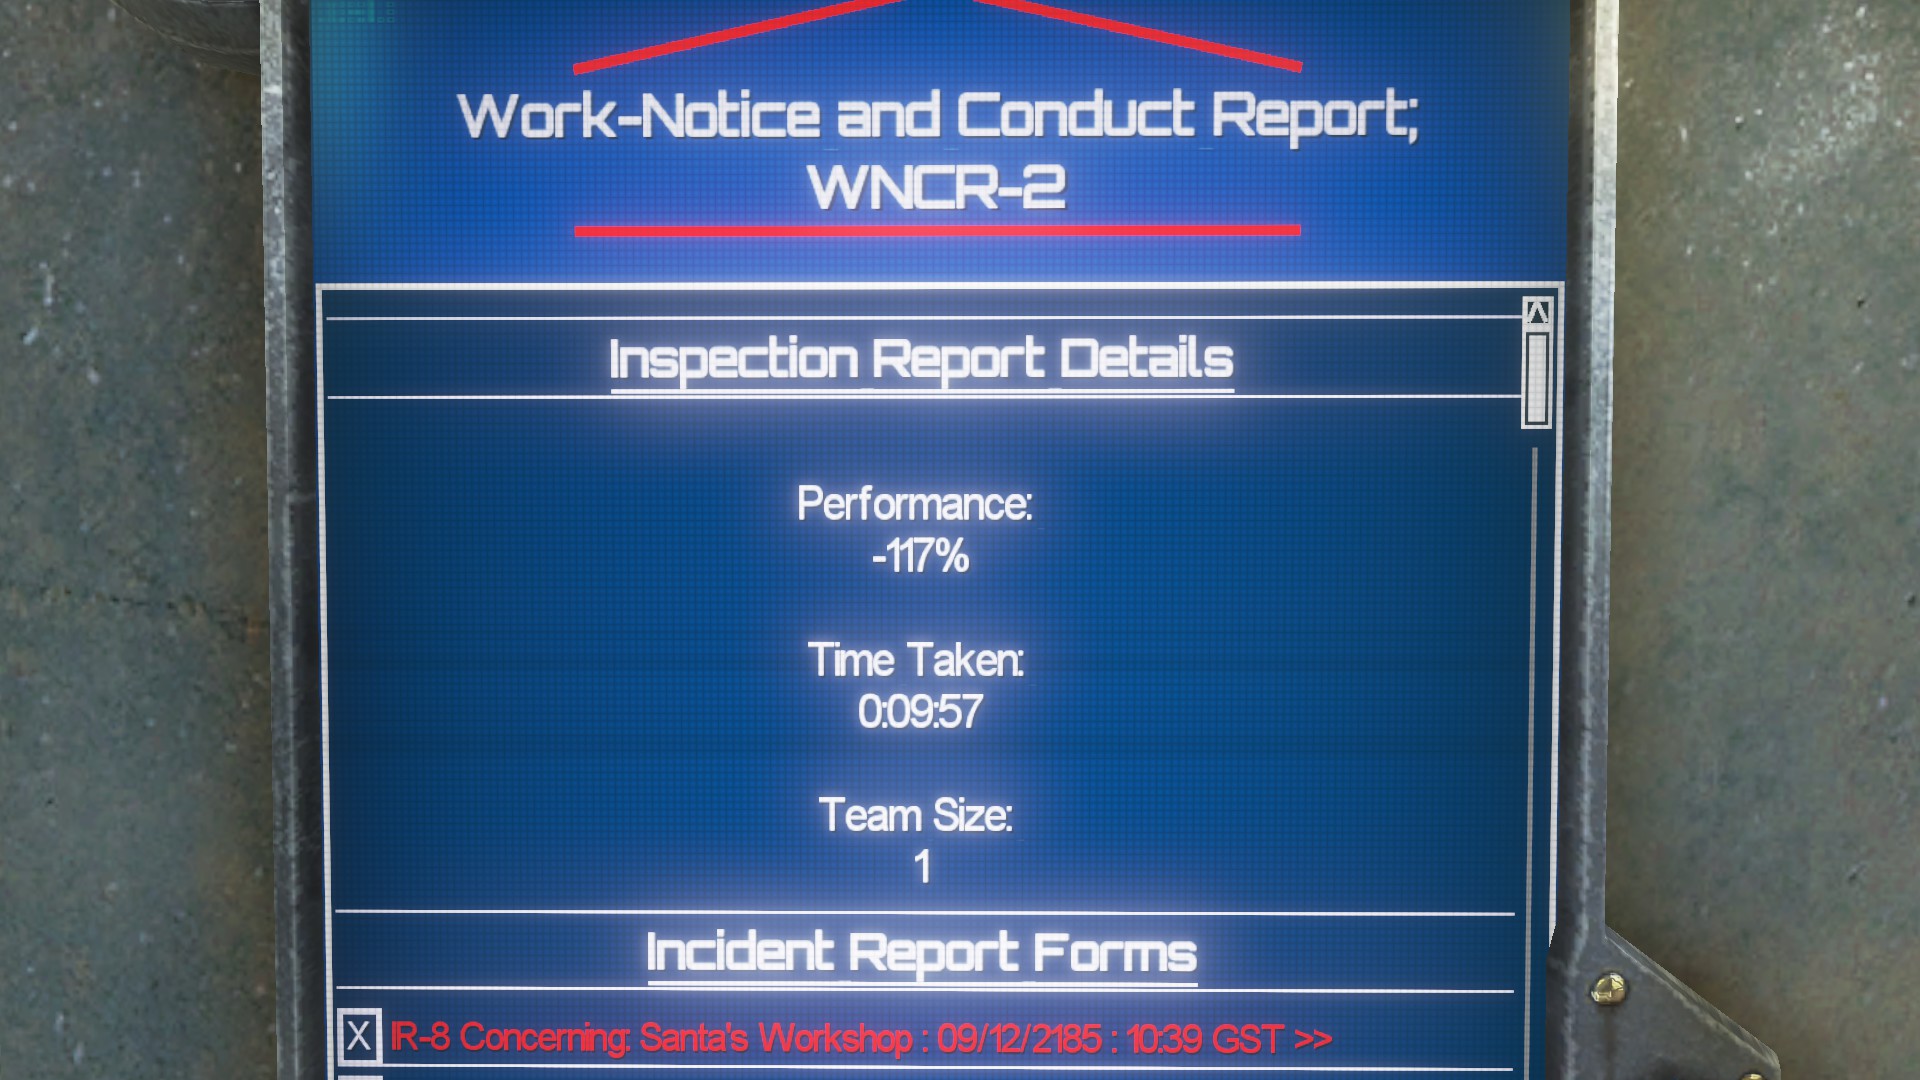 This one requires you to get fired. That means everything in your office will disappear. If you don't want that to happen, follow the guide towards the end about backing up save files.
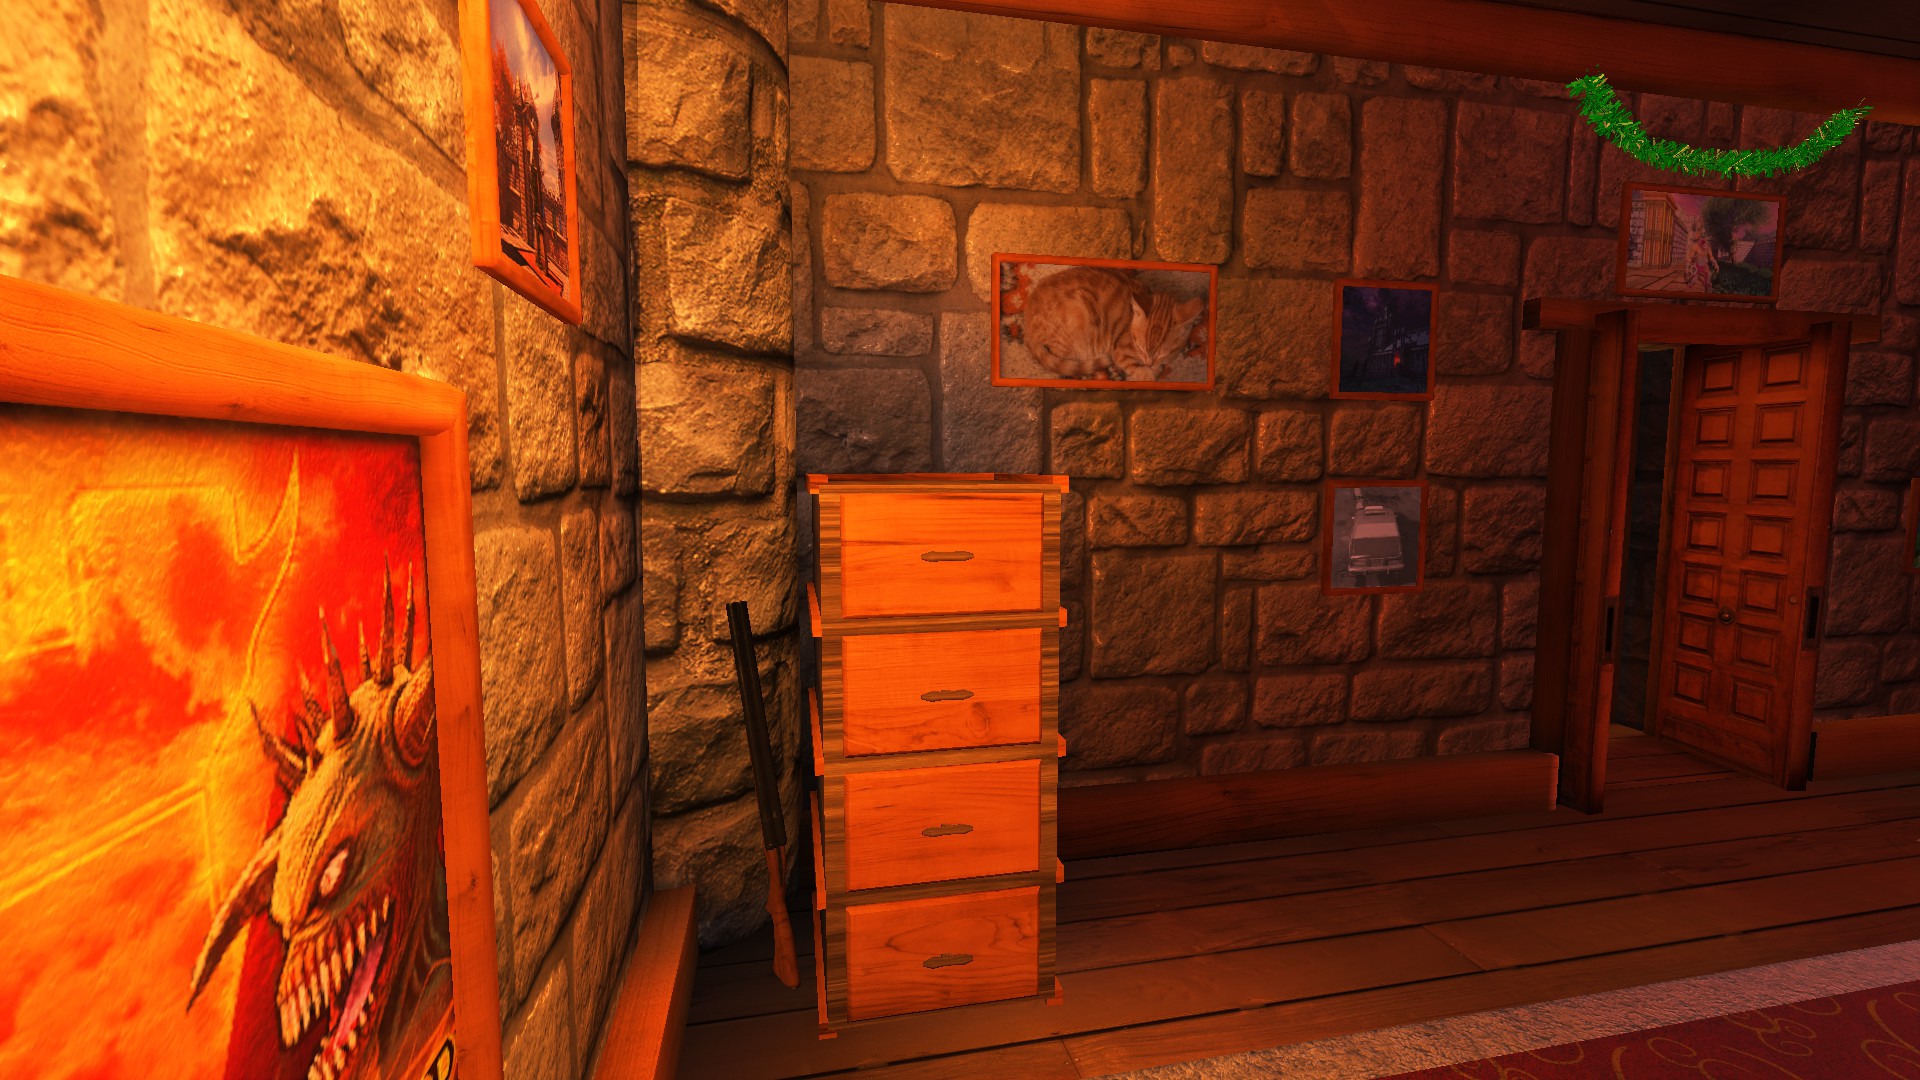
 St. Nick's Boomstick
Collect Santa's shotgun and bring it back to your office Santa's shotgun is behind a chest of drawers in Santa's study.
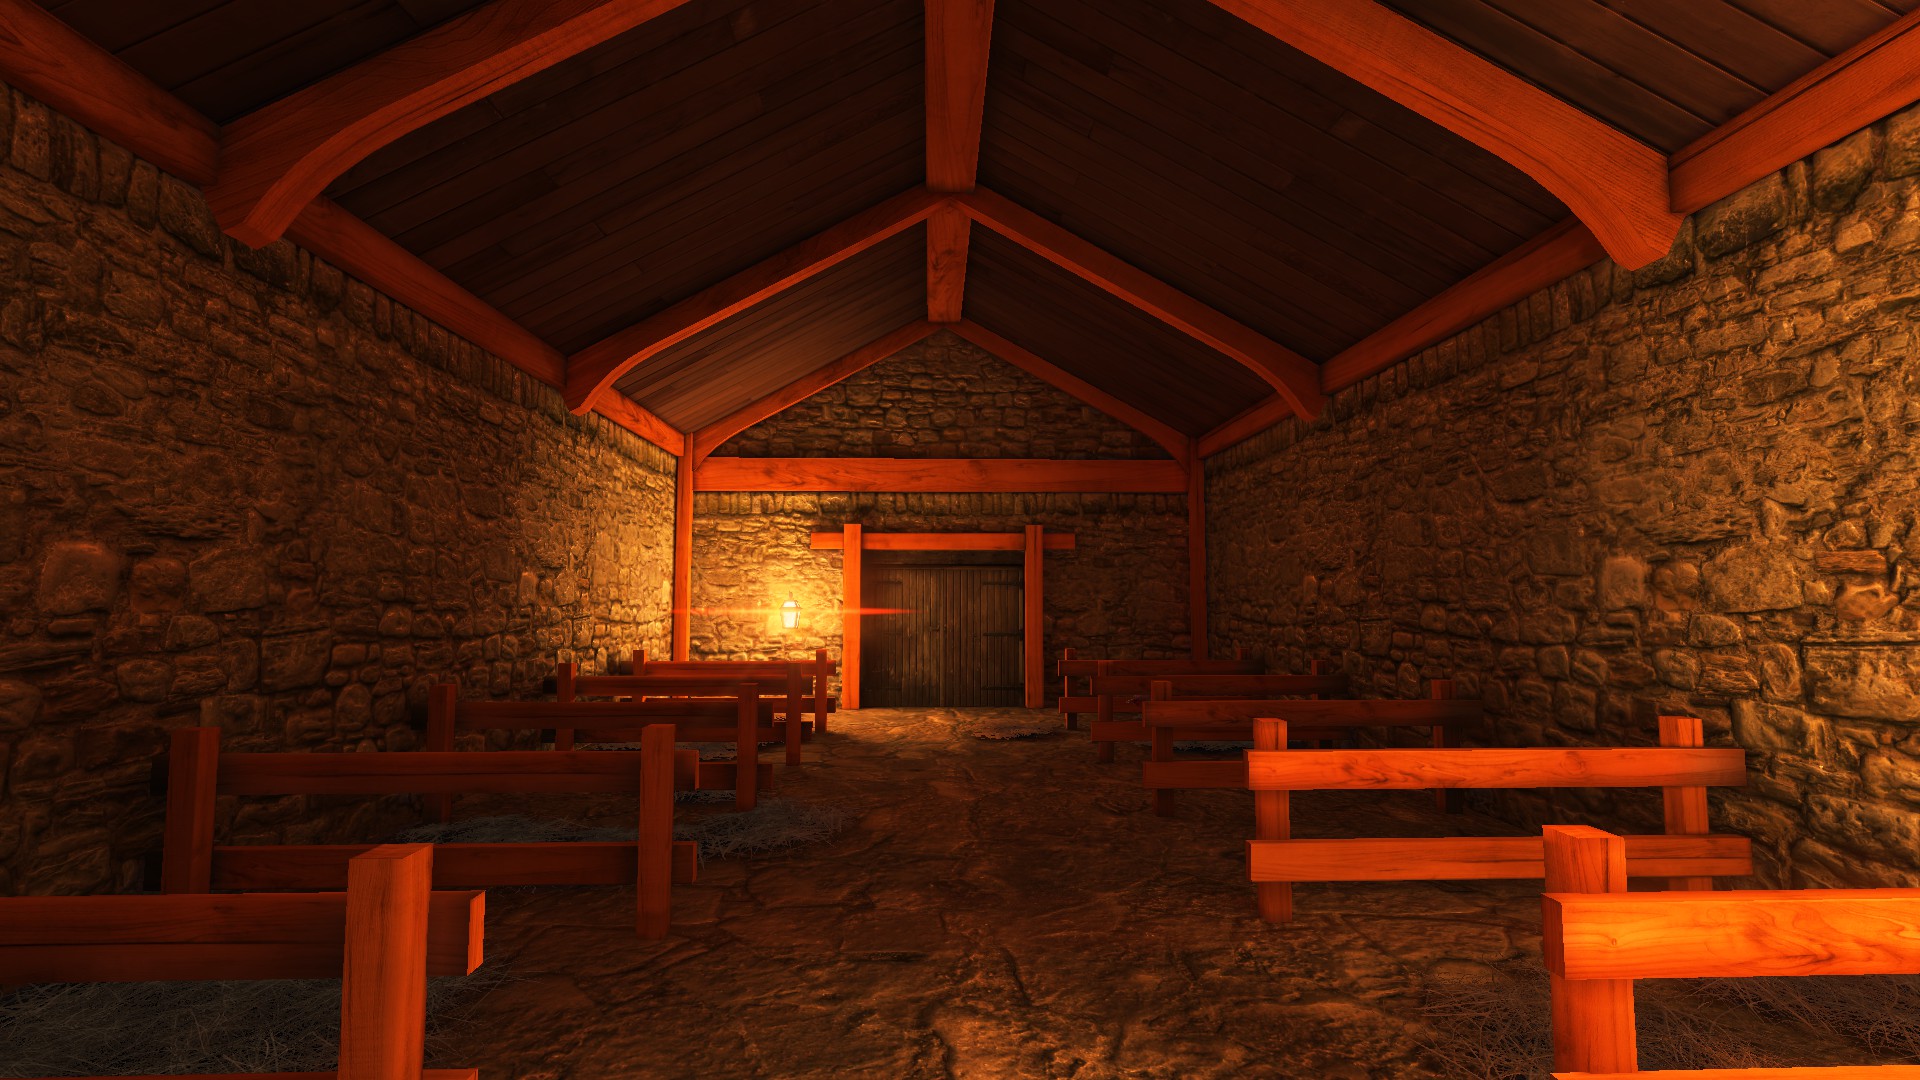
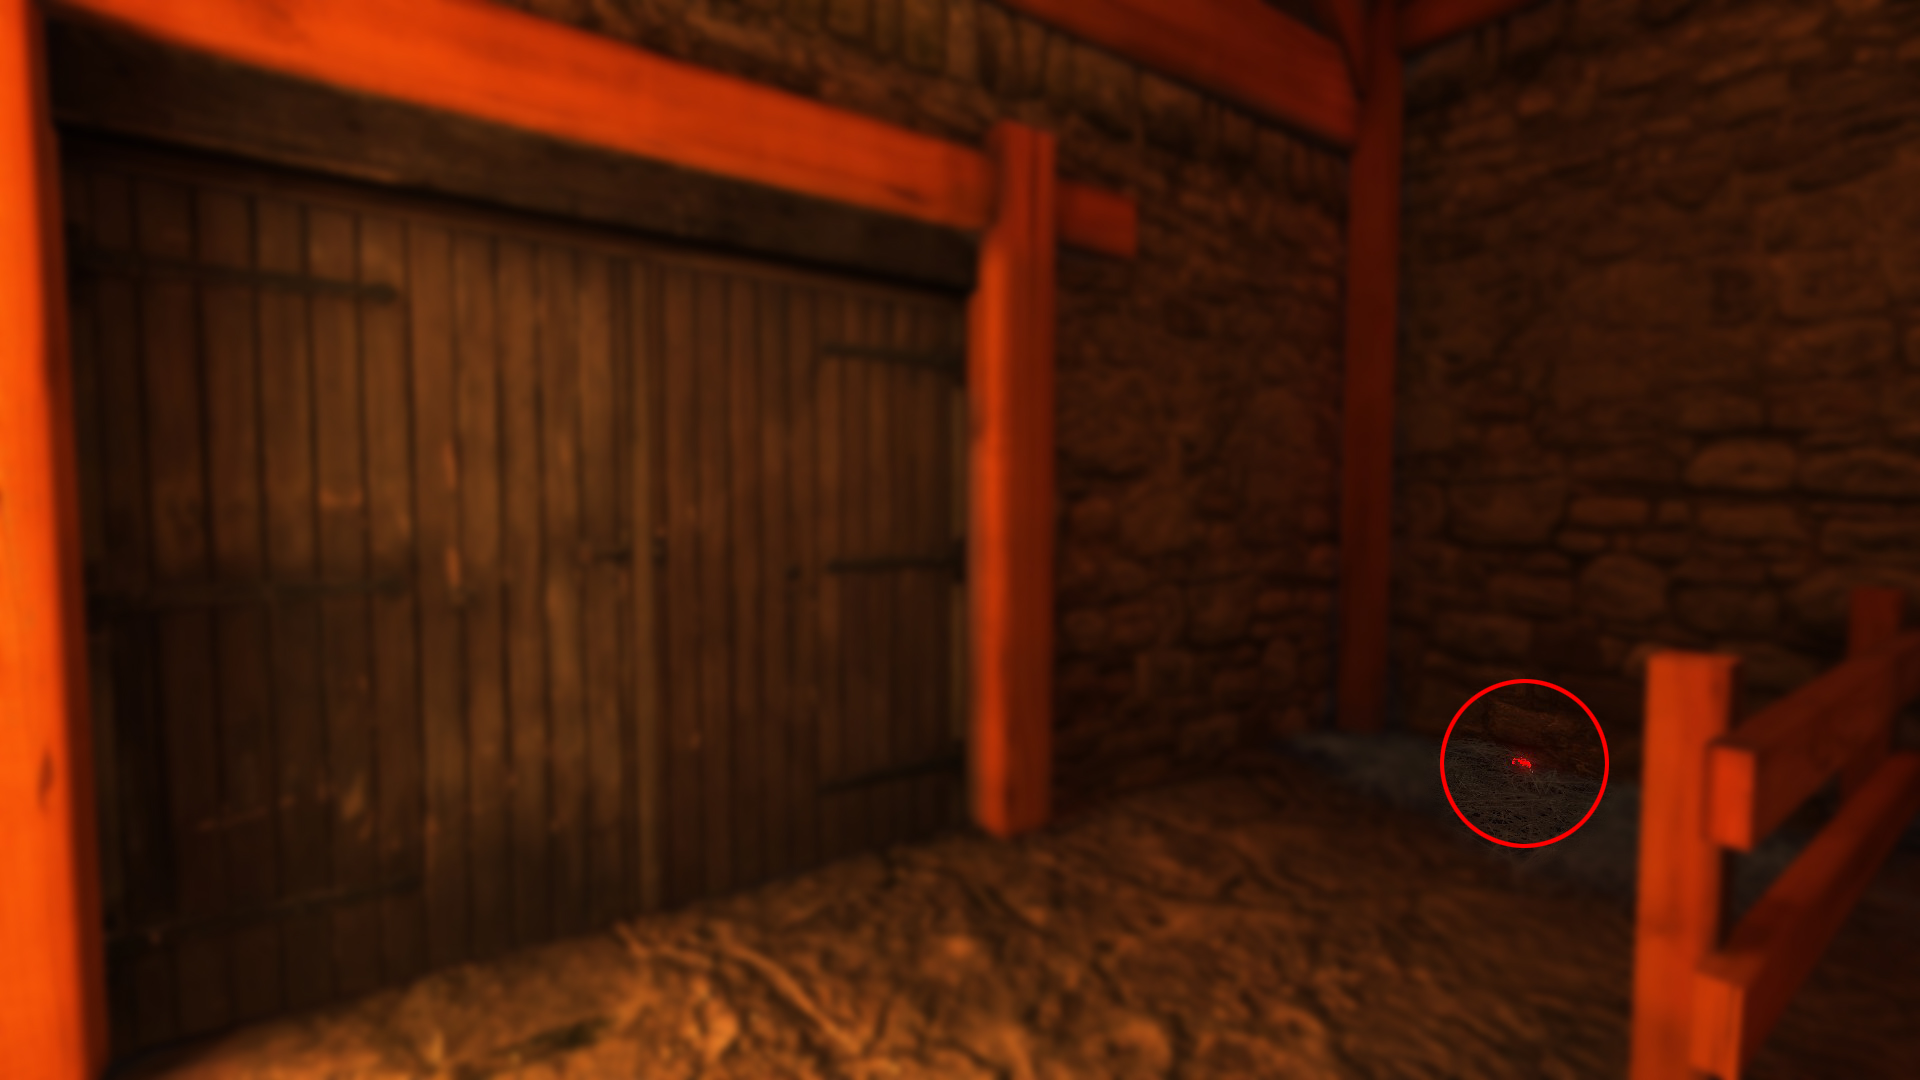
 The Red Nose Knows
Collect the iconic reindeer nose and bring it back to your office The nose is in the far-right corner in the stables downstairs.
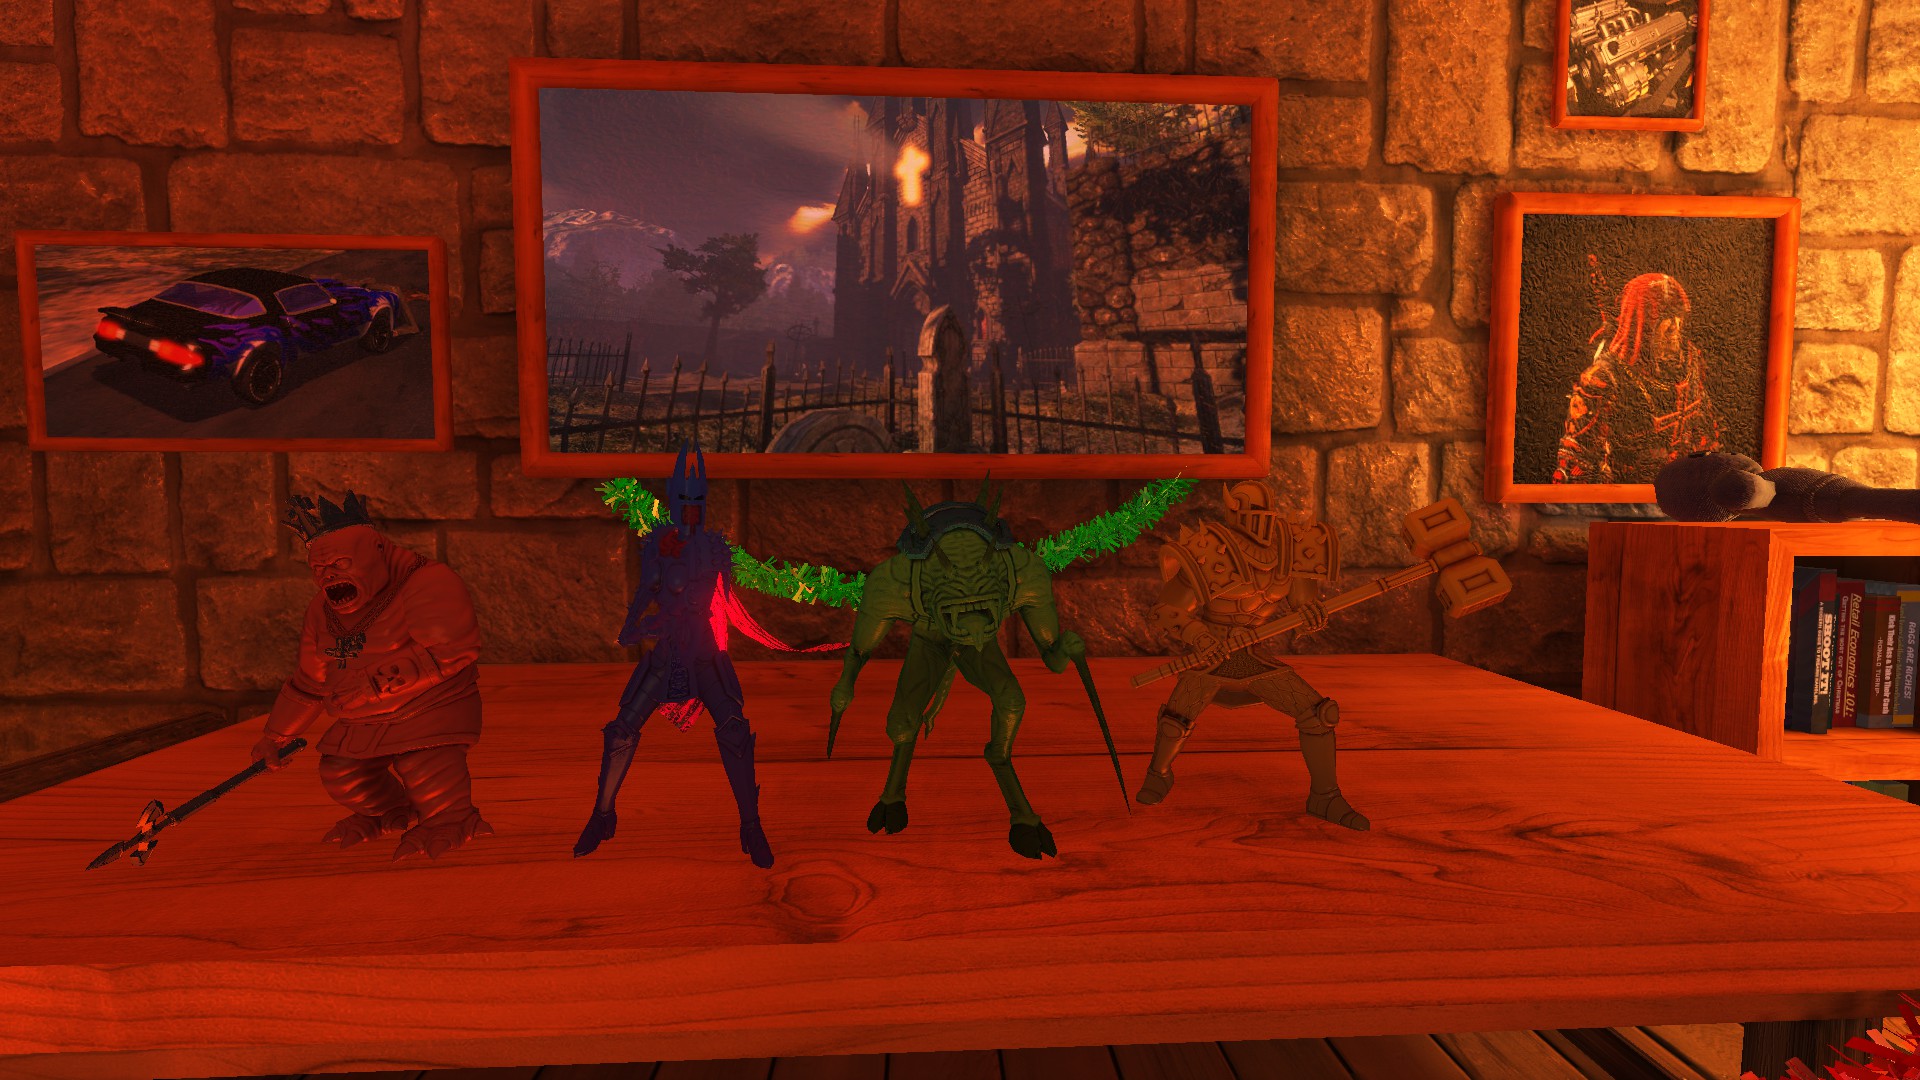
 Rooks Kept
Collect the different Rooks Keep figurines and take them back to your office There are 4 different types required for this one. You need one of each.
 Ballistic Weaponry
Collect the different Ballistic Weapons toys and bring them back to your office There are 6 different types required for this one. You need one of each.
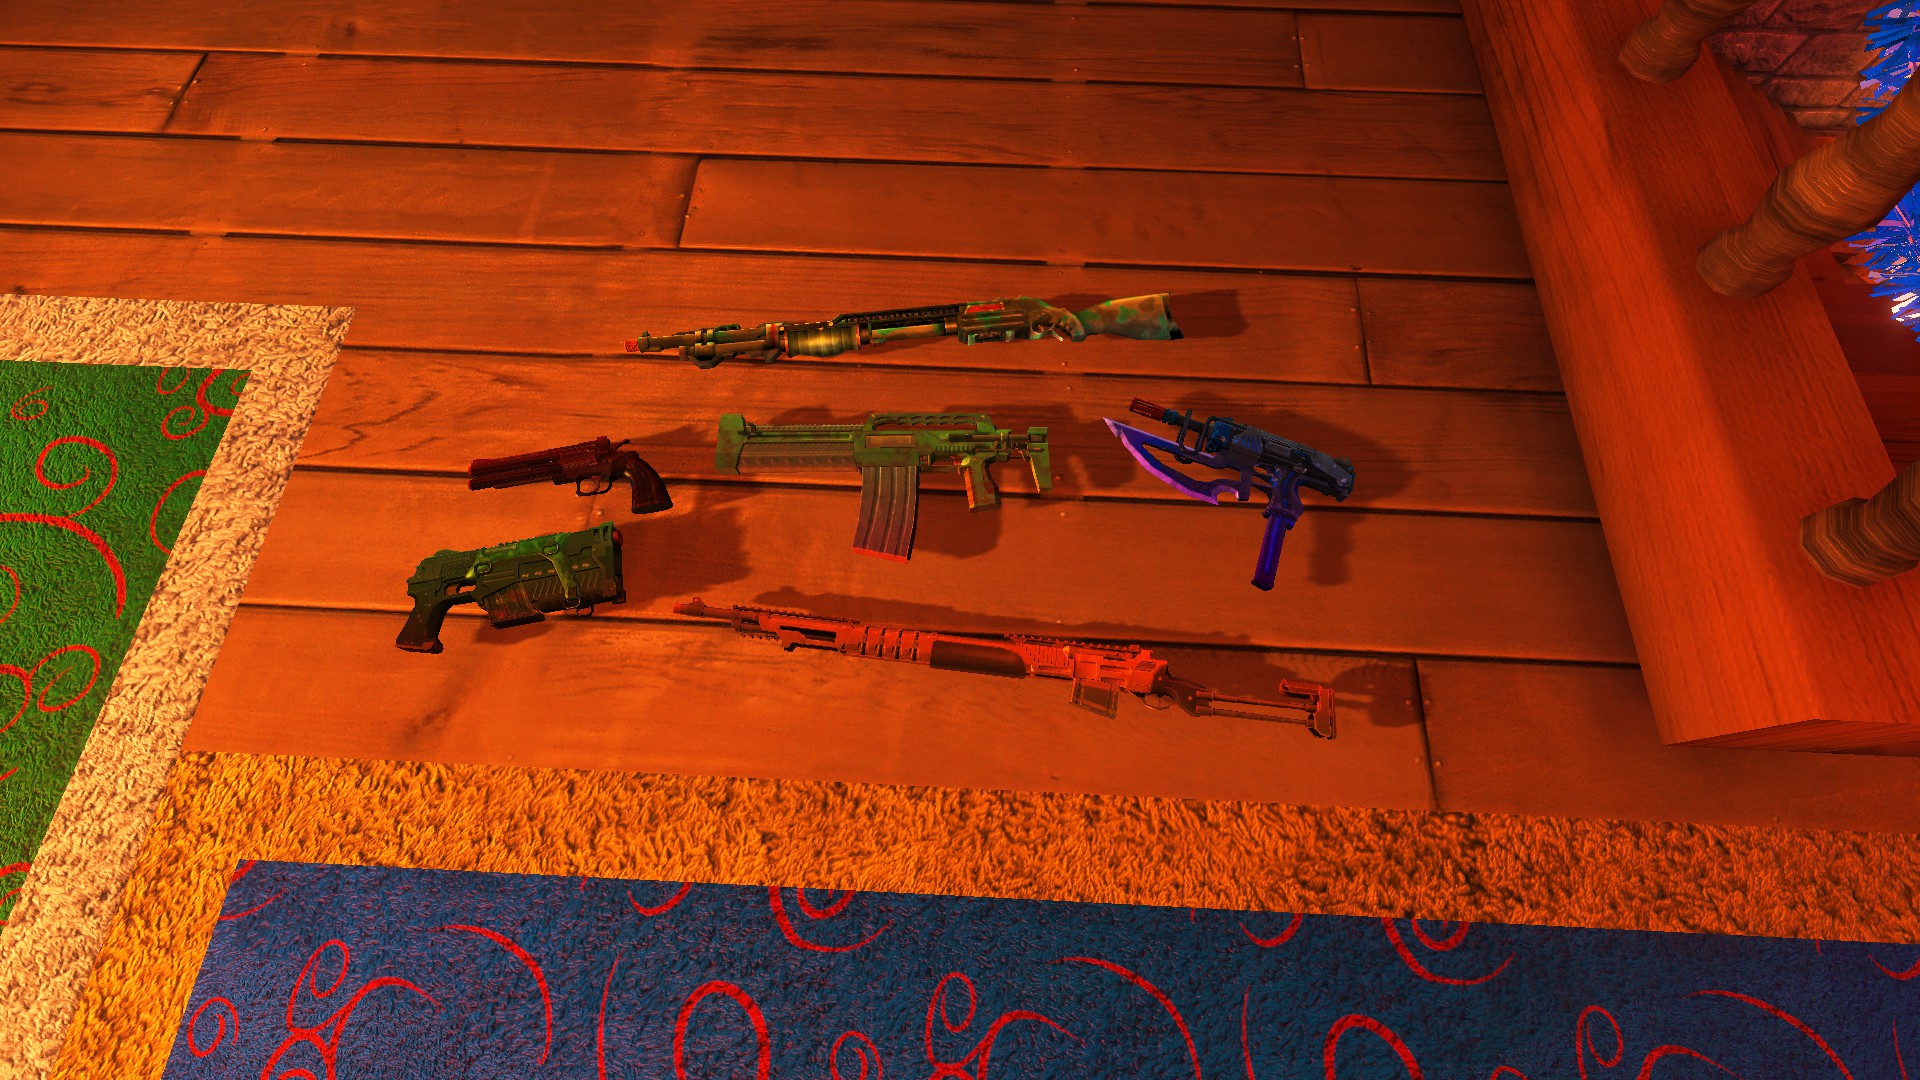 Shotgun, Revolver, Assault Rifle or SMG? Kinda looks like either, SMG, Pistol and Marksman Rifle or something. Kinda looks like an M308 or something.
 Thunder Candle
Requisition a new replacement janitor through the use of TNT
Use the fire to light some TNT, then wait for it to explode. You can't hold left-click for this one. There's some TNT in Santa's study area to the right facing the fireplace.
 Head Hunter
Collect elf heads and bring them back to your office, you freakin' psycho!
You need 7 heads. They will be easily found while cleaning, just make sure not to burn any heads. Make sure you check under the wooden boards upstairs.
 Santa Hats Must Die!
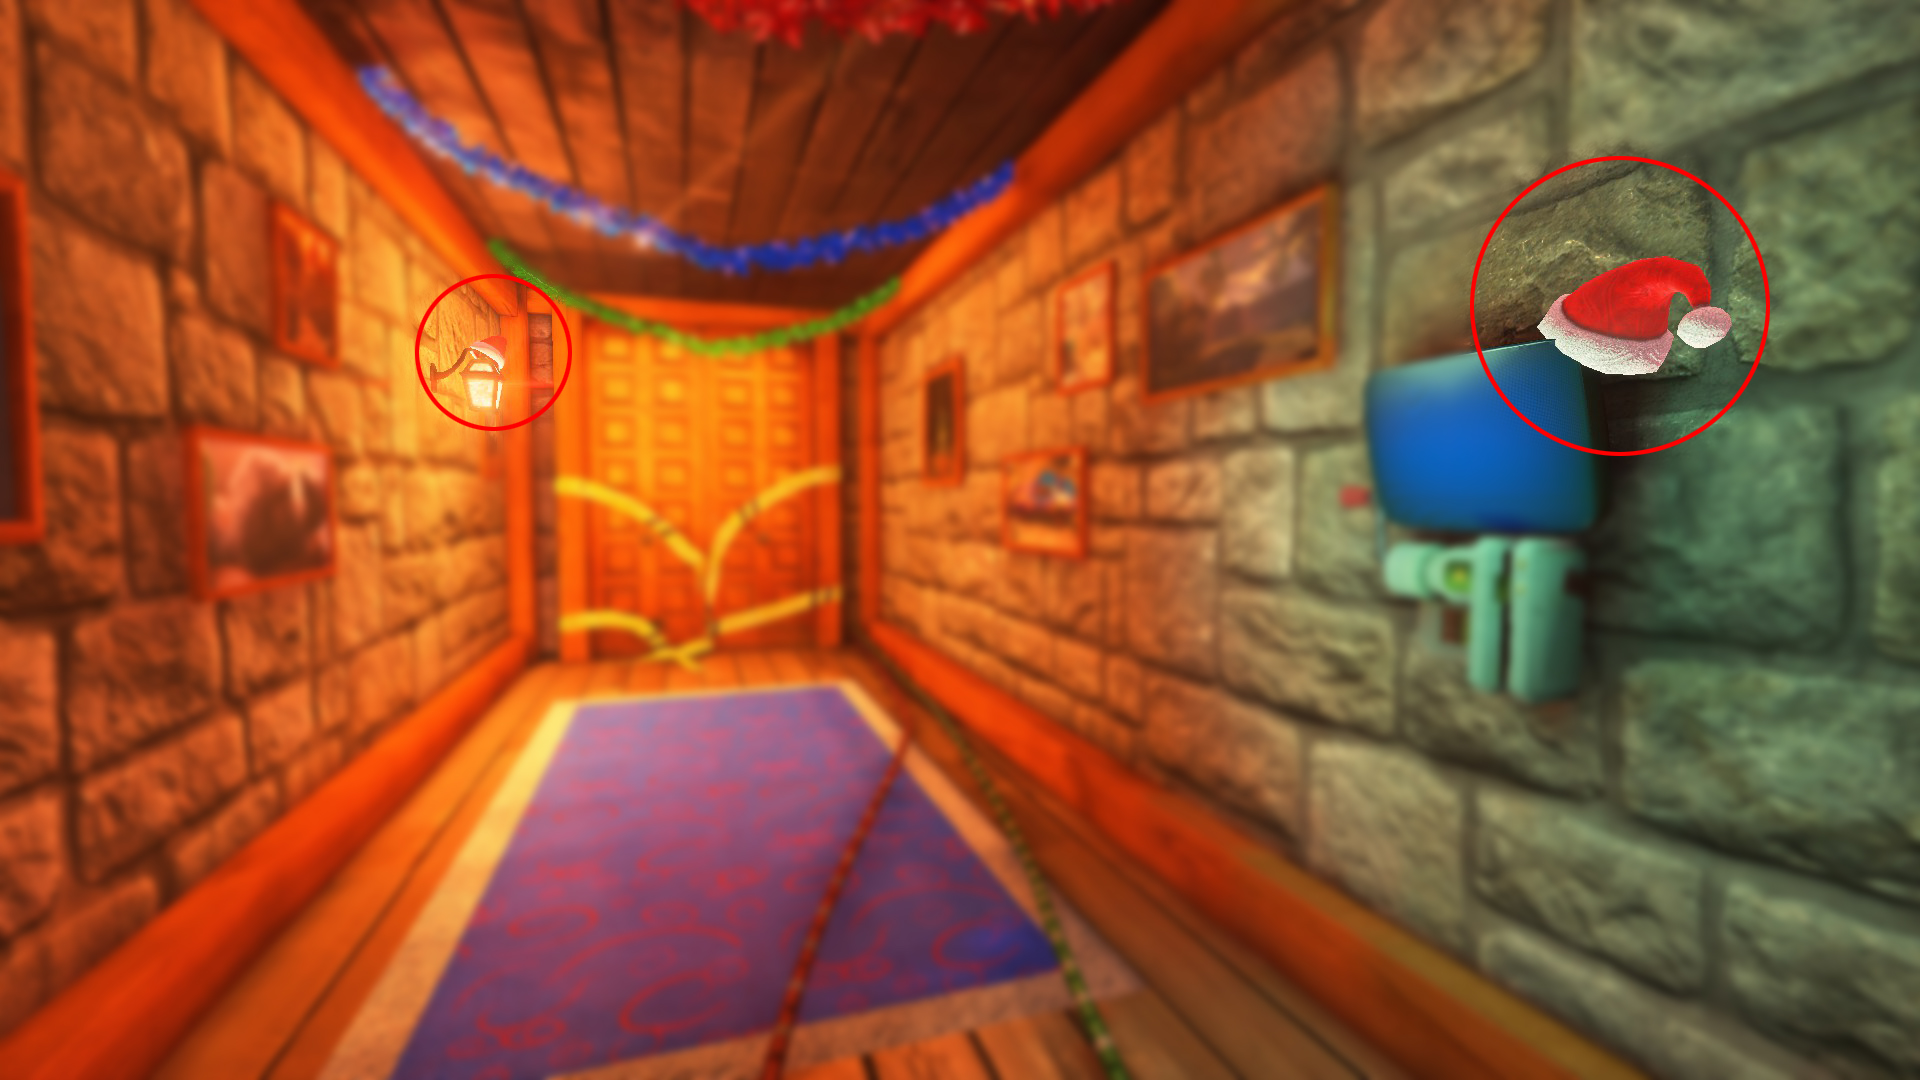
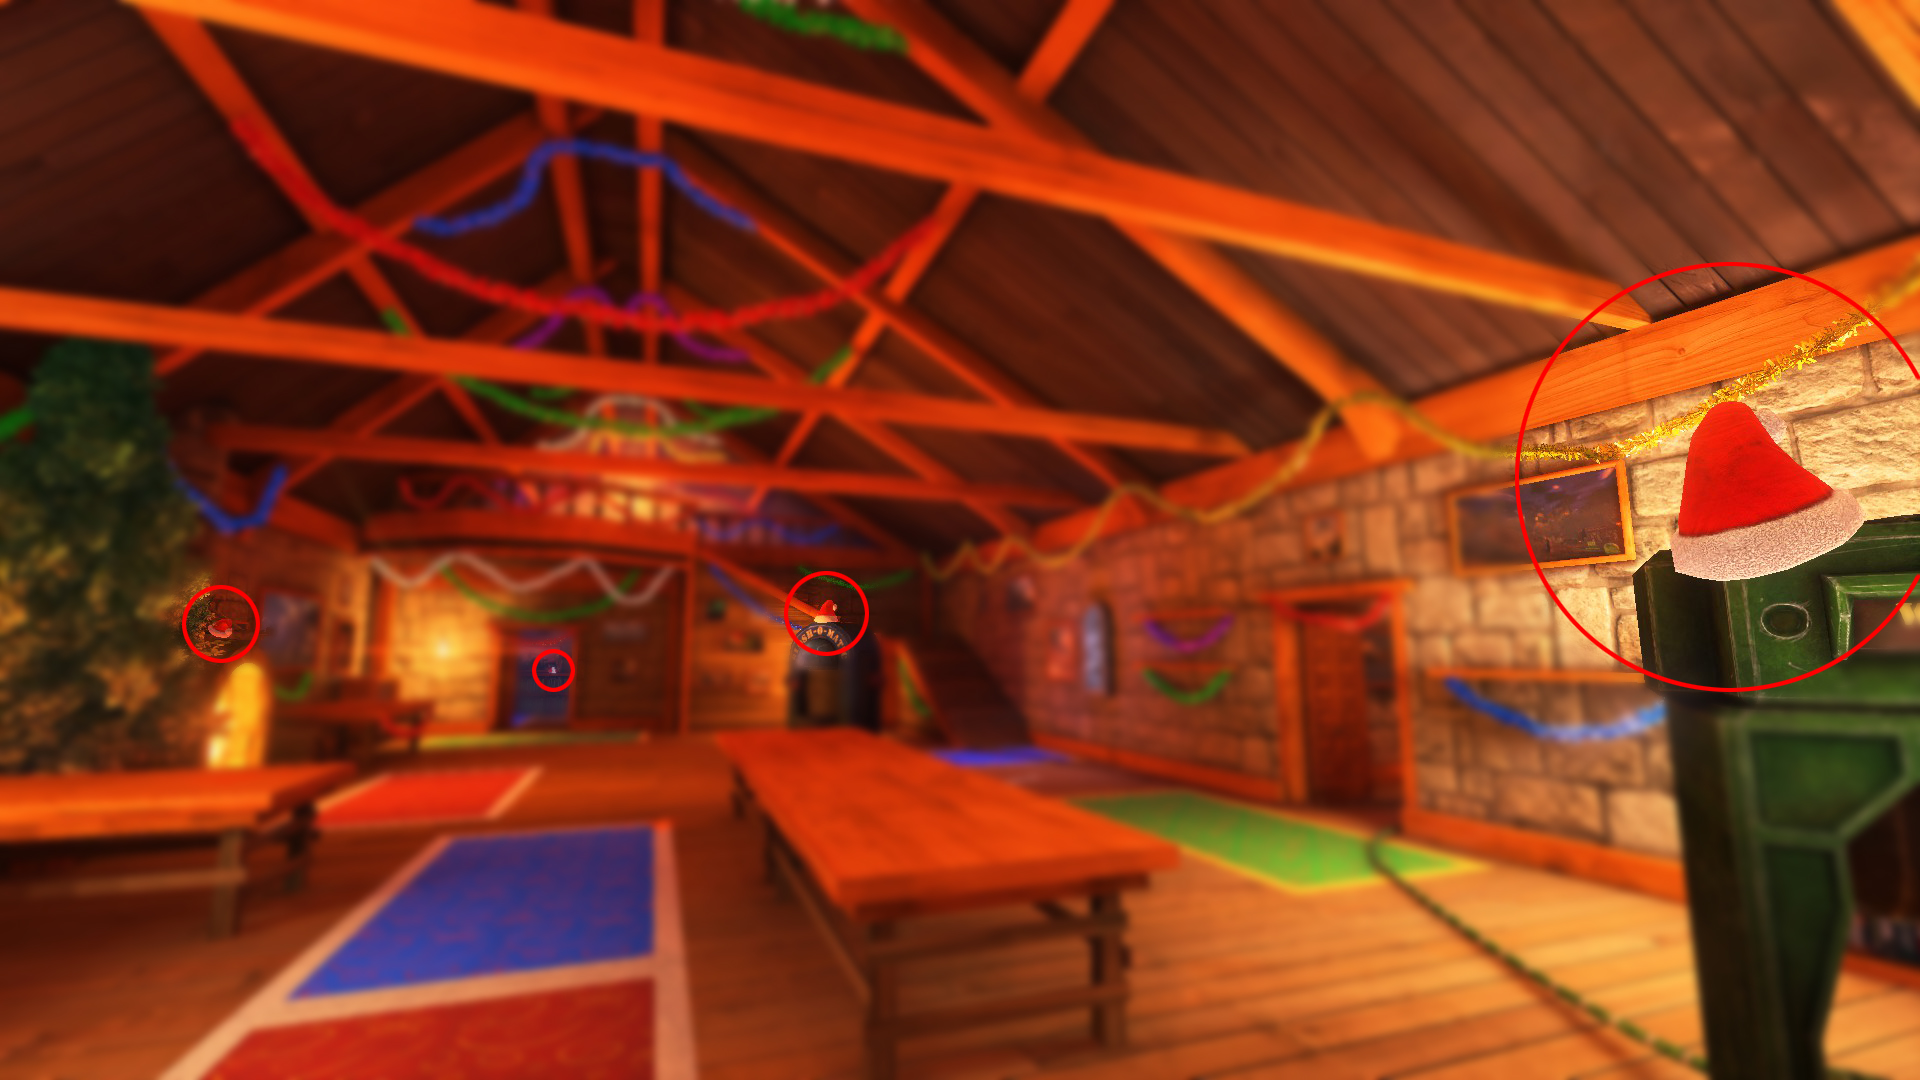
Incinerate 50 Santa hats, the symbol of everything you hate There are only 6 Santa hats in this level, so it requires a few level loads to get. I recommend saving right before you throw the 6 hats into the fire, then load the game 8 or so times.
The hats themselves are pretty easy to find, but here they are anyway.
 Tower of Babel
Build a stack of 10 stools This one is pretty fun. Start out by fashioning a sort of staircase out of stools, then use the balcony upstairs to place stools on top. Screenshots are of new update and old standalone for comparison.
Christmas 2015
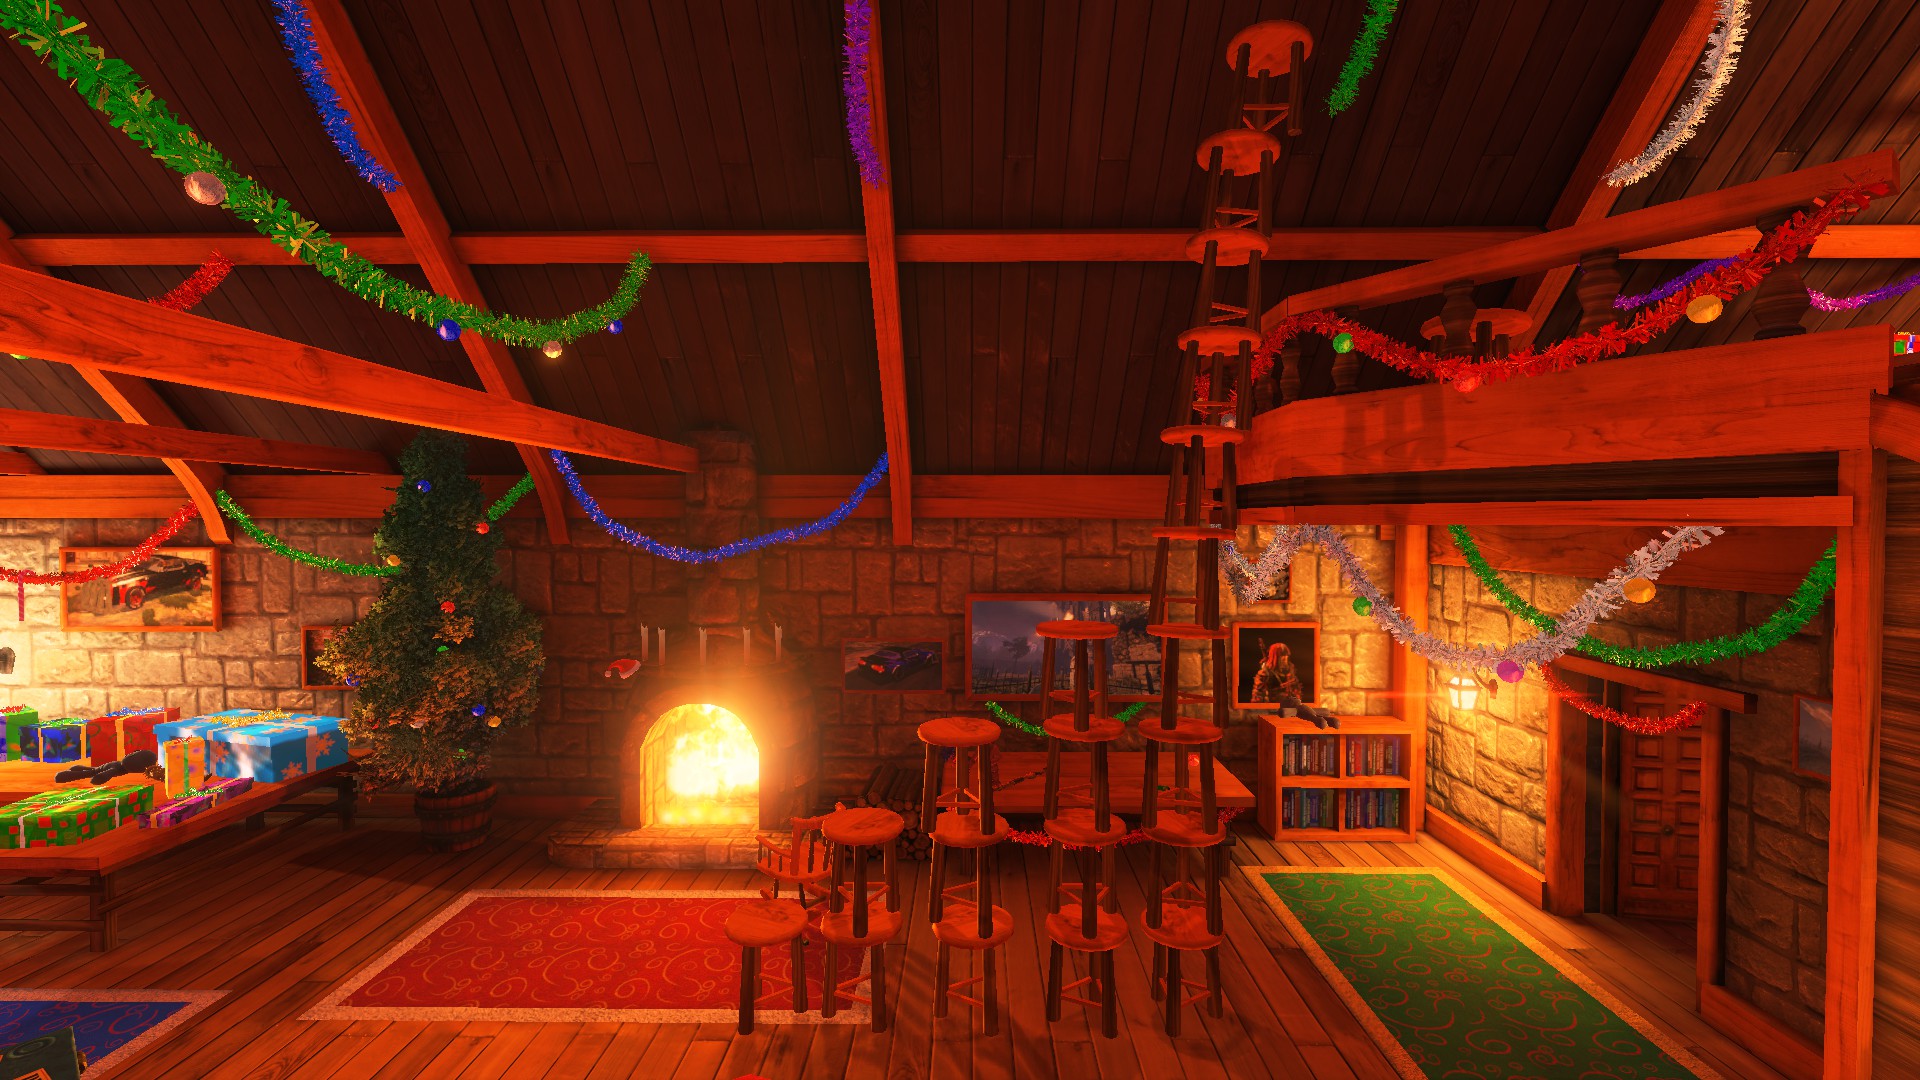
Christmas 2013
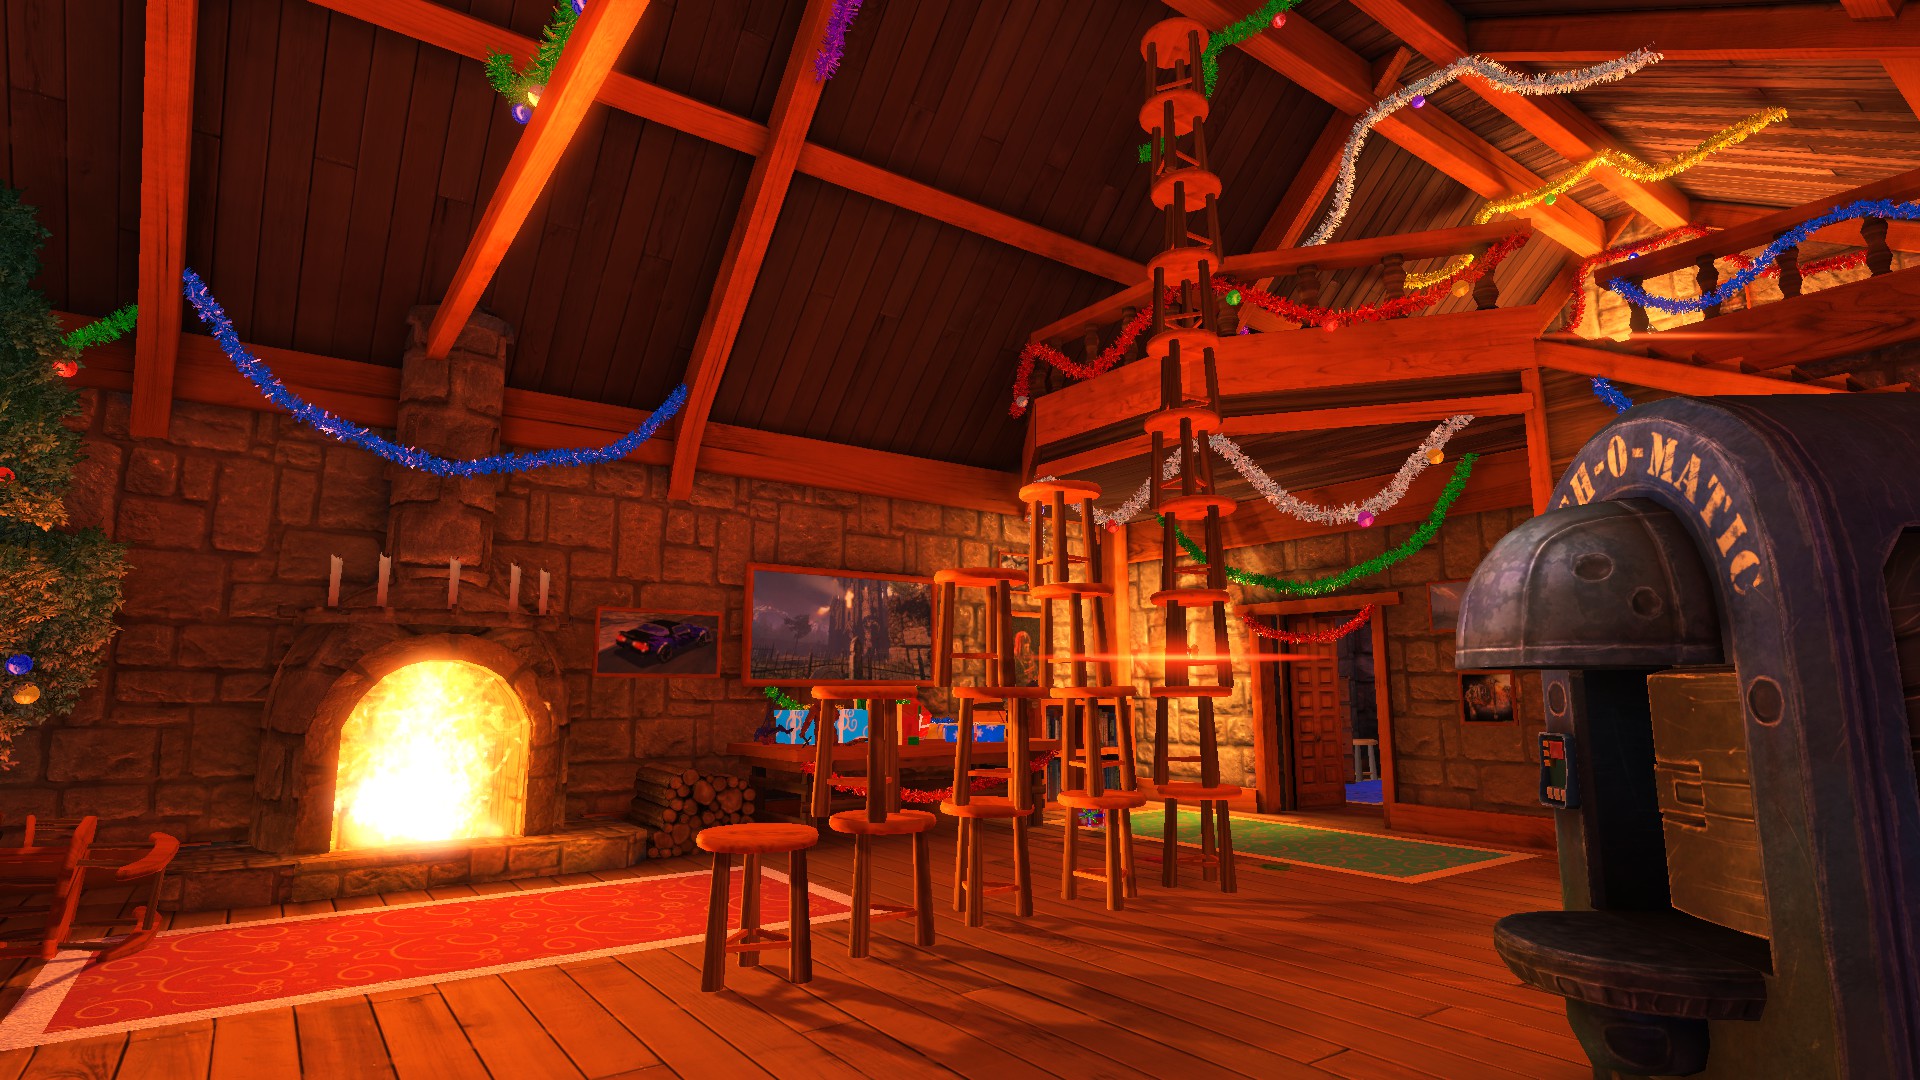
 The Day the Funk Died
Bring about the sad meeting of Ice-Cold Banger to fire
Same as the other banger destroying achievements. It's very easy to find. Just throw it into the fireplace.
Shadow Warrior Achievements
 Sanitary Supremacy
Completely clean the entire Shadow Warrior temple level
Guide
As it says. This shouldn't be too hard, there are no stacking zones or anything on this one. Pretty much just clean and burn everything in the level EXCEPT money.
 Mr. Two Million Dollars
Collect all two million dollars of cold hard cash from the Shadow Warrior level and bring it back to your office Money found in the level must be brought back to your office. This is really not too hard as long as you keep an eye out. Money can be hidden inside body parts, and will fall out when picked up.
There are 3 different looks the money can have: Small stack, folded small stack and large stack.
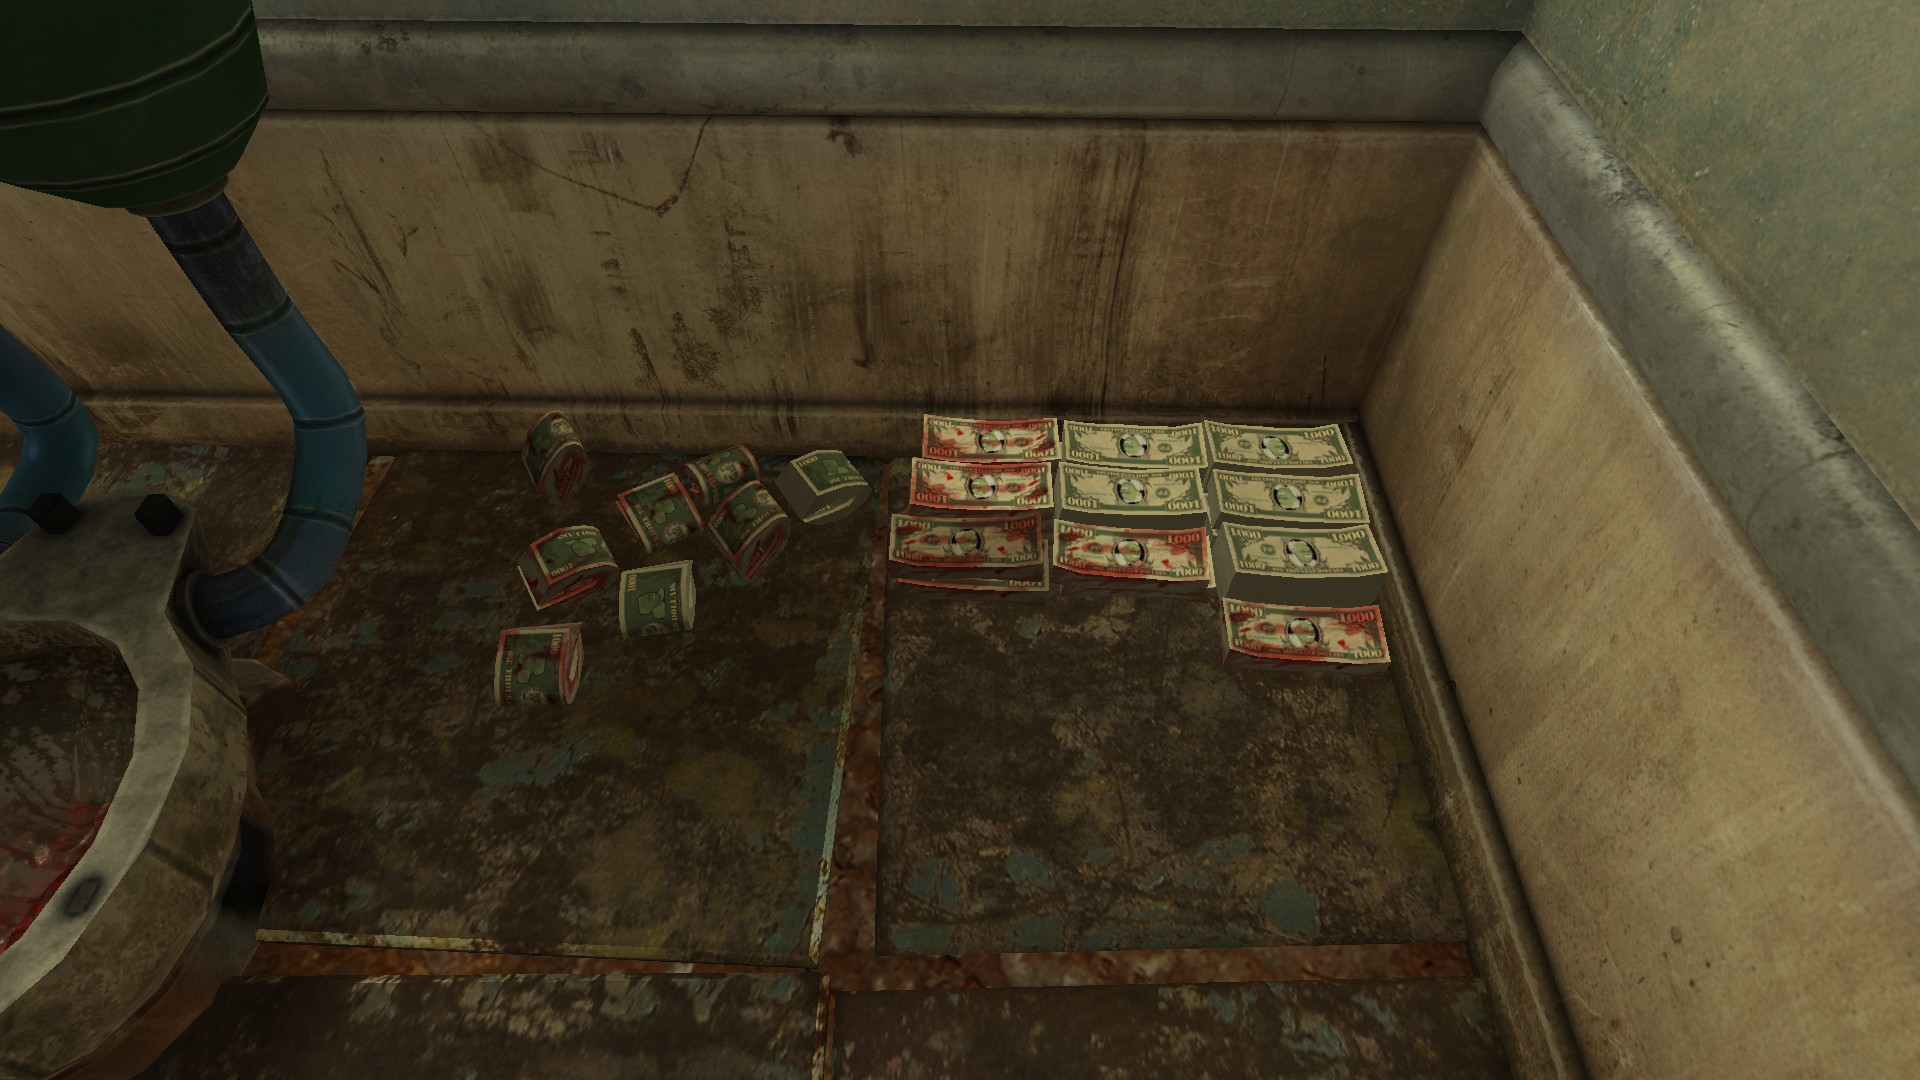 The one place of note is the suitcase at the far end of the first large room, which can be opened and contains a bunch of money.
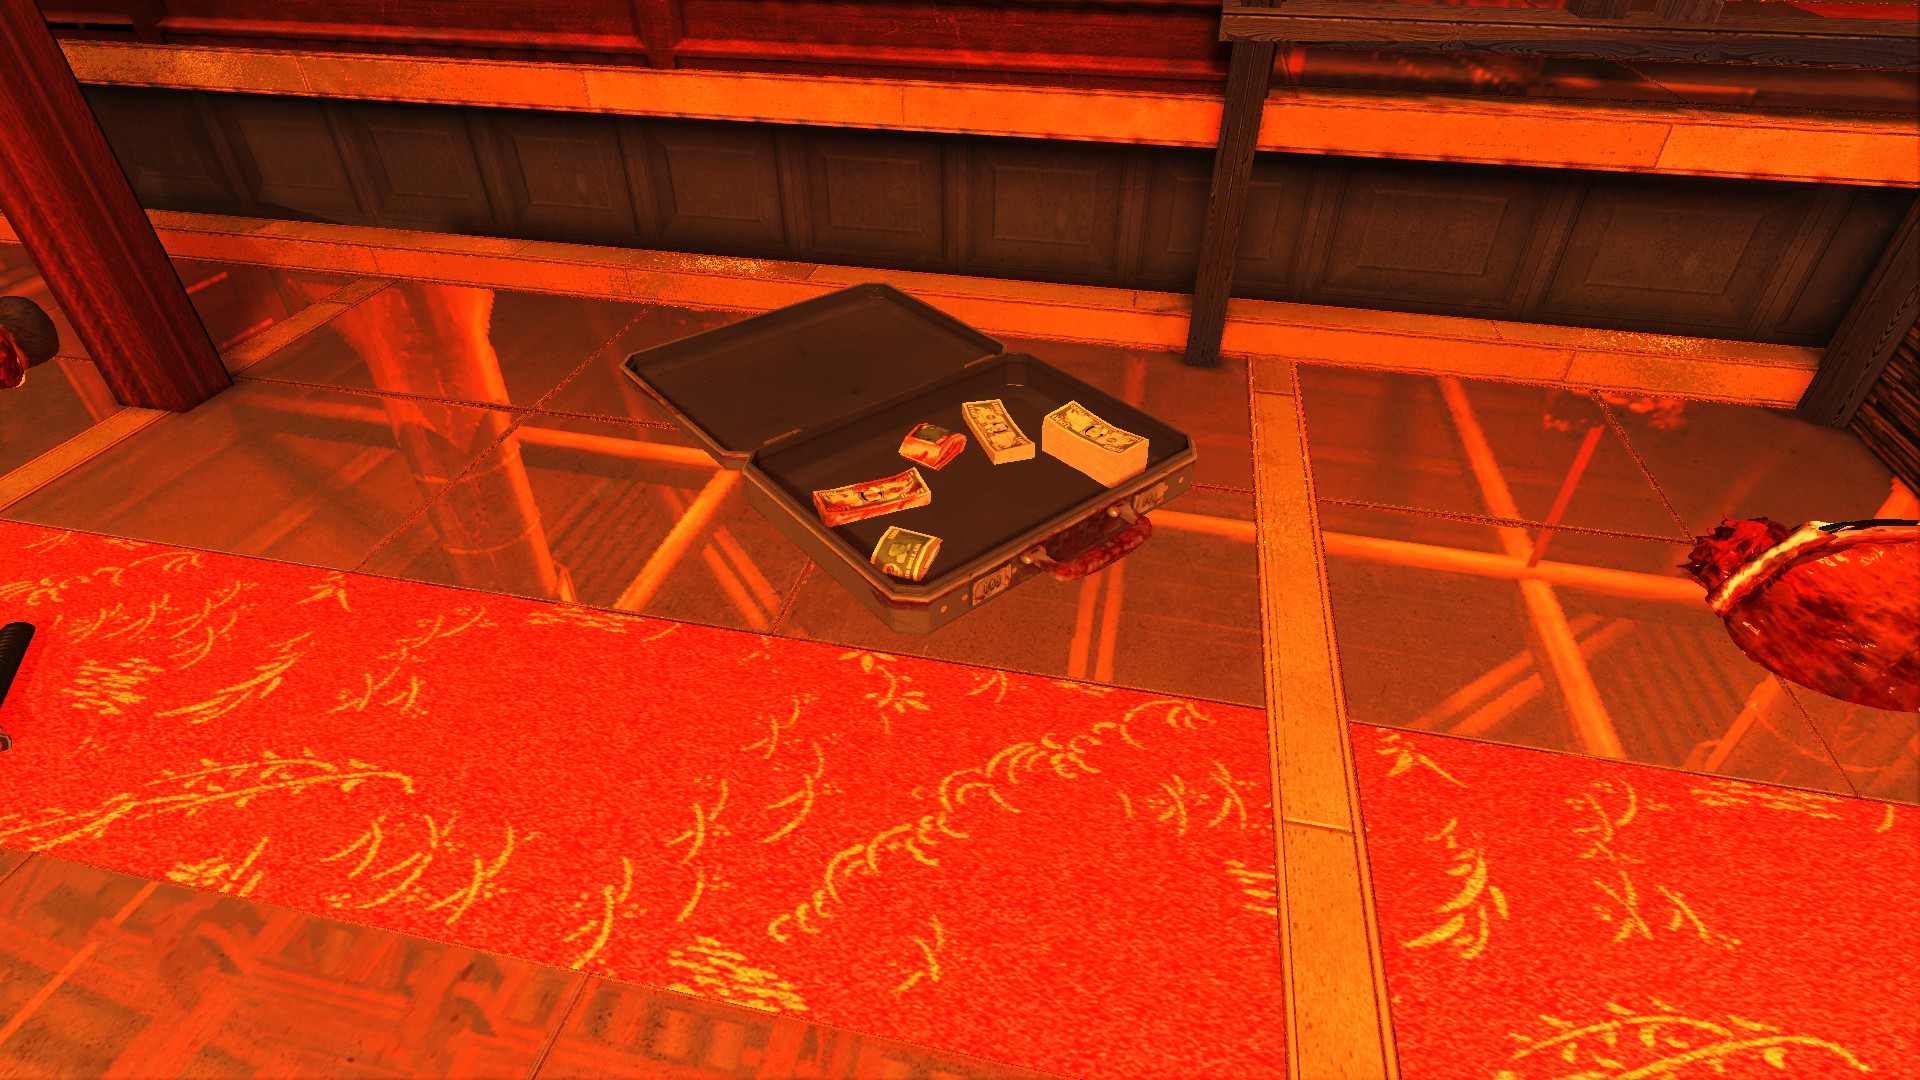 If you want to count them to be sure, there are 22 bundles of money. I won't go into too much detail, but here is a brief run down:
* 1. After exiting the first room, check the closest left-hand corner of the first large room.
* 2-3. After exiting the first room, check the closest right-hand corner of the first large room.
* 4. After exiting the first room, check on top of the cabinet containing swords on the far side of the incinerator.
* 5. In front of that case, check near the closest small pole.
* 6-10. Inside the aforementioned suitcase.
* 11. From the suitcase, check the small stairs near the opening to the next area.
* 12. In the display case corridor separating the large rooms, check one end.
* 13. In the second large room, check under the middle stairs on the right-hand side.
* 14. In the second large room, check one of the upstairs balconies.
* 15. In the second large room, check the other upstairs balcony.
* 16-17. In the furthest display case corridor, check the body parts near the middle.
* 18-19. As soon as you enter the second large room, check the closest small stairs on your right.
* 20-22. In the second large room, check the area and body parts on the large stairs in the center.
If you still need help with this, this guide has a map with the money shown on there!
The Vulcan Affair Collectibles
 Audacious Oddities
Find all the unique Collectibles in the Vulcan Affair and return them to your office
There are 10 collectibles required for this achievement, and their locations are listed below.
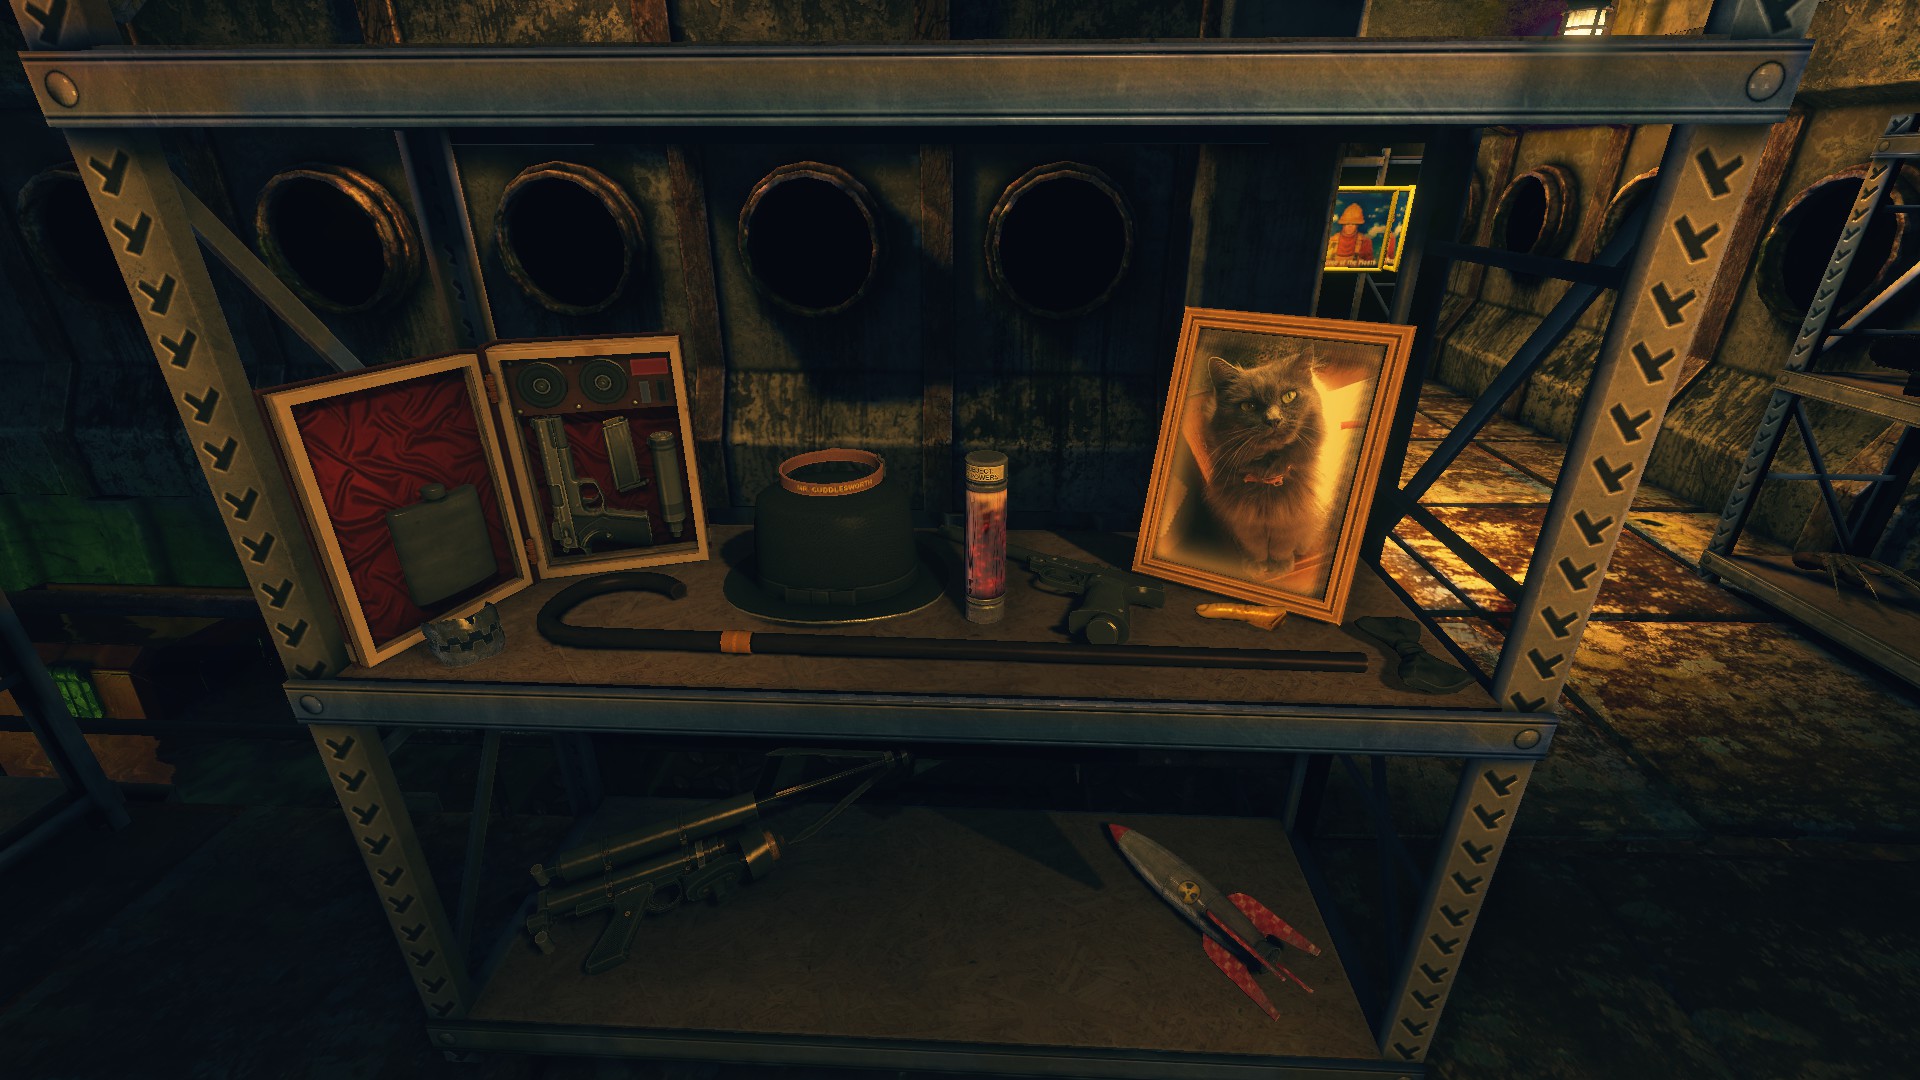 (This is my current Office display from this map, but there are a few extra things on here.)
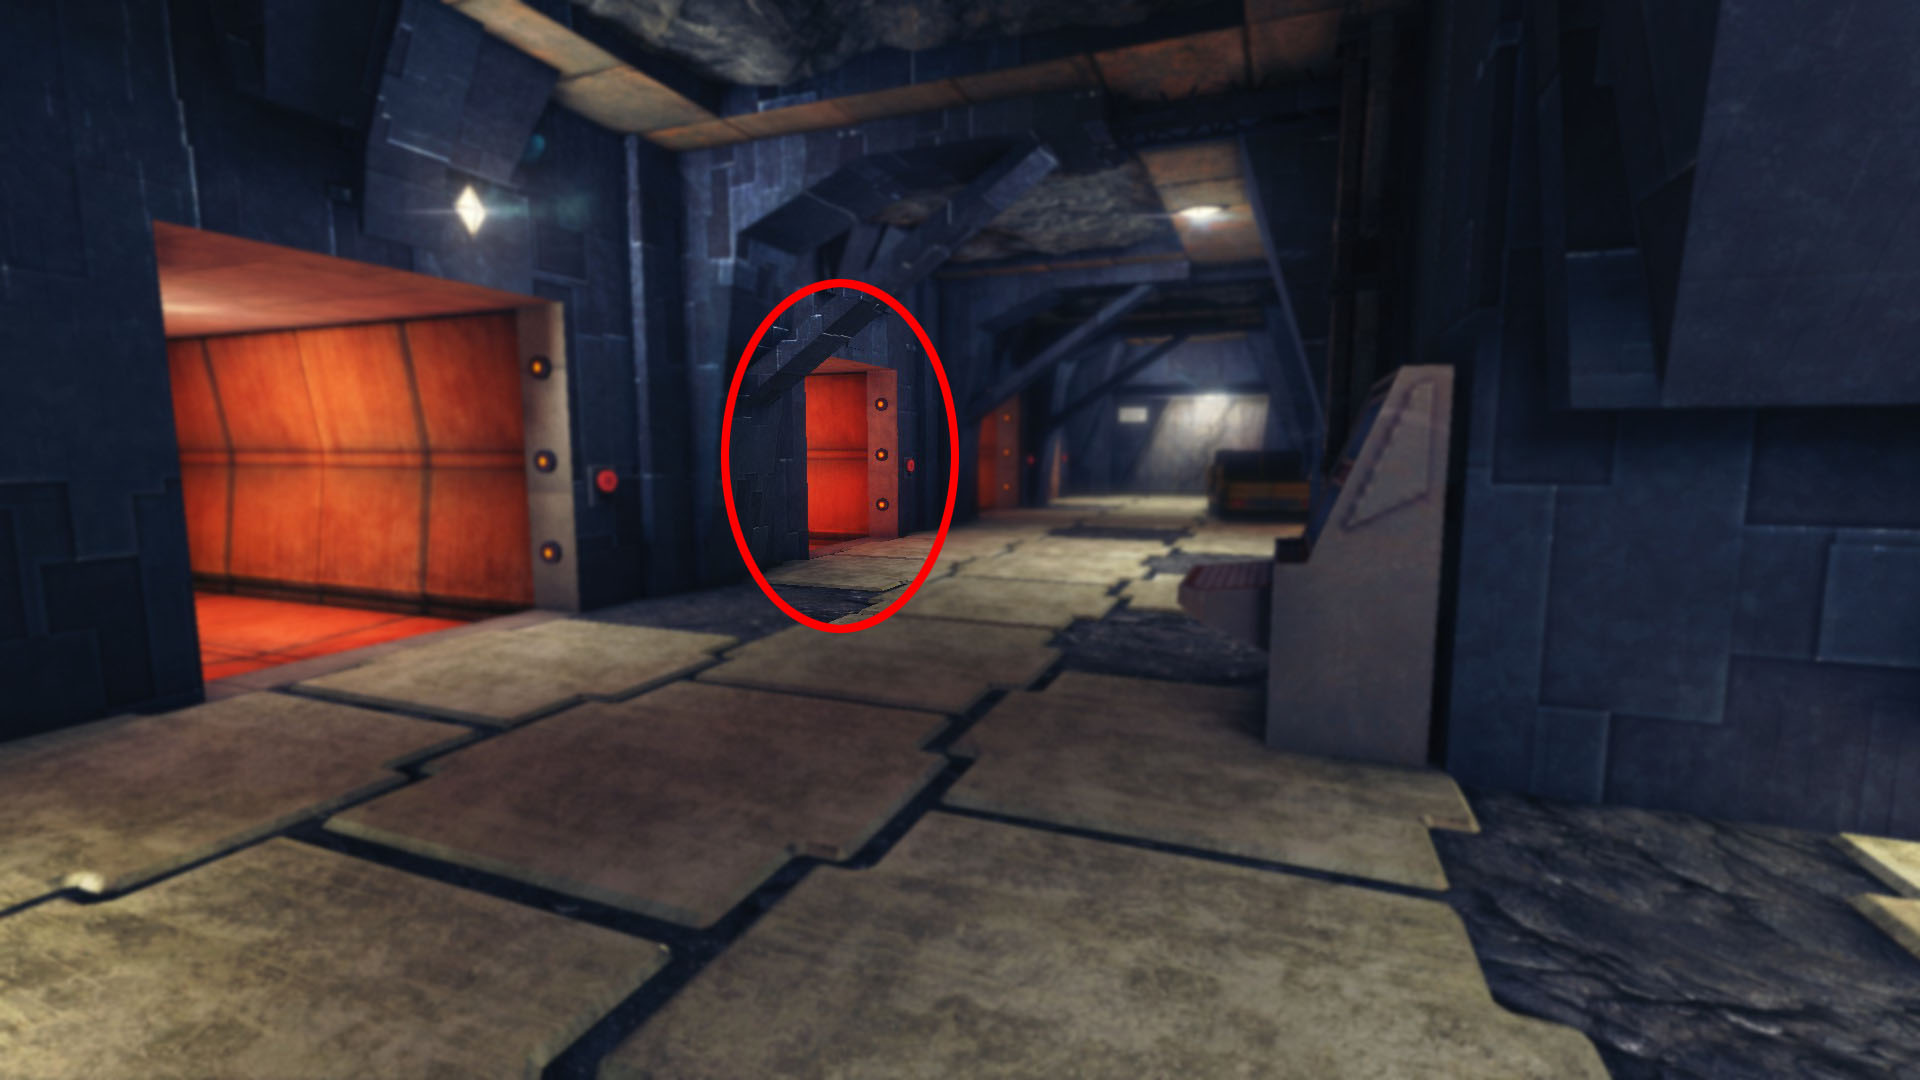 Find the third cell on the left-most wall and go inside.
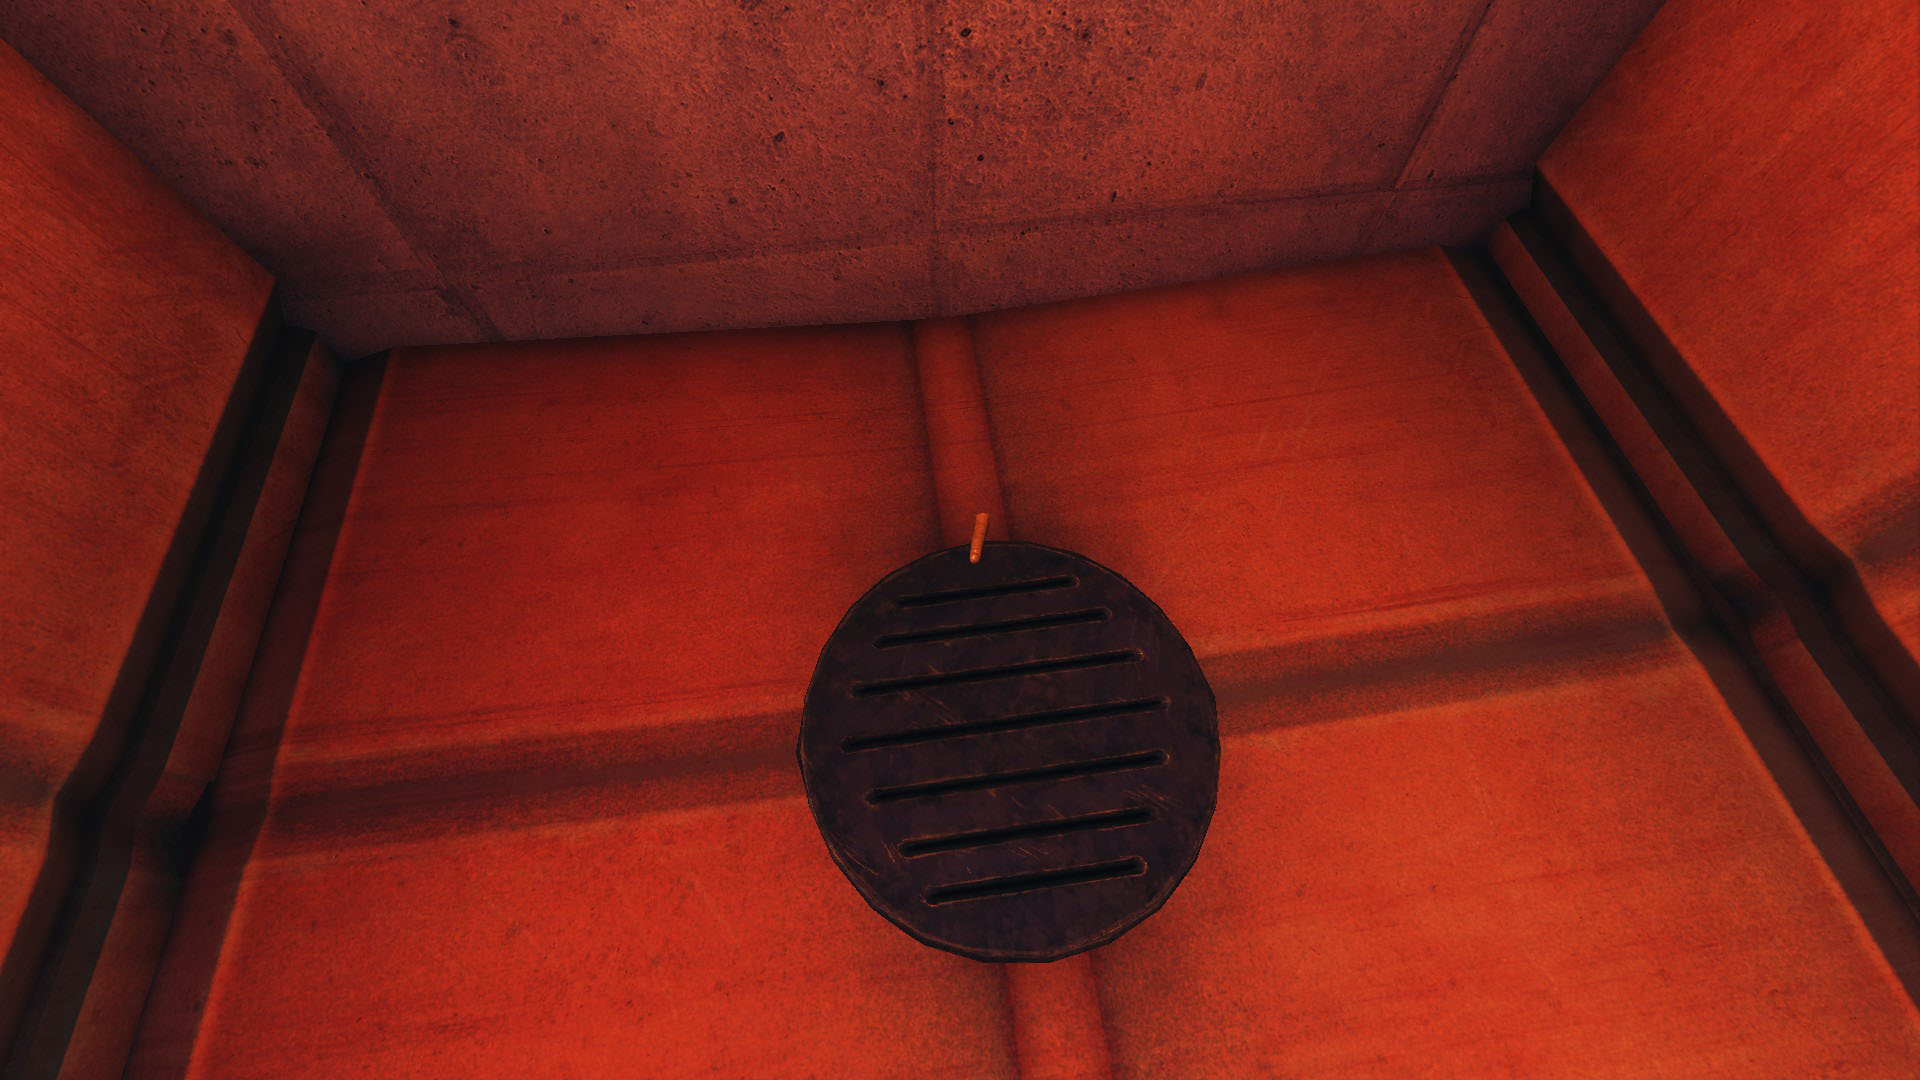 The Goldfinger is behind the sewer grate in that cell.
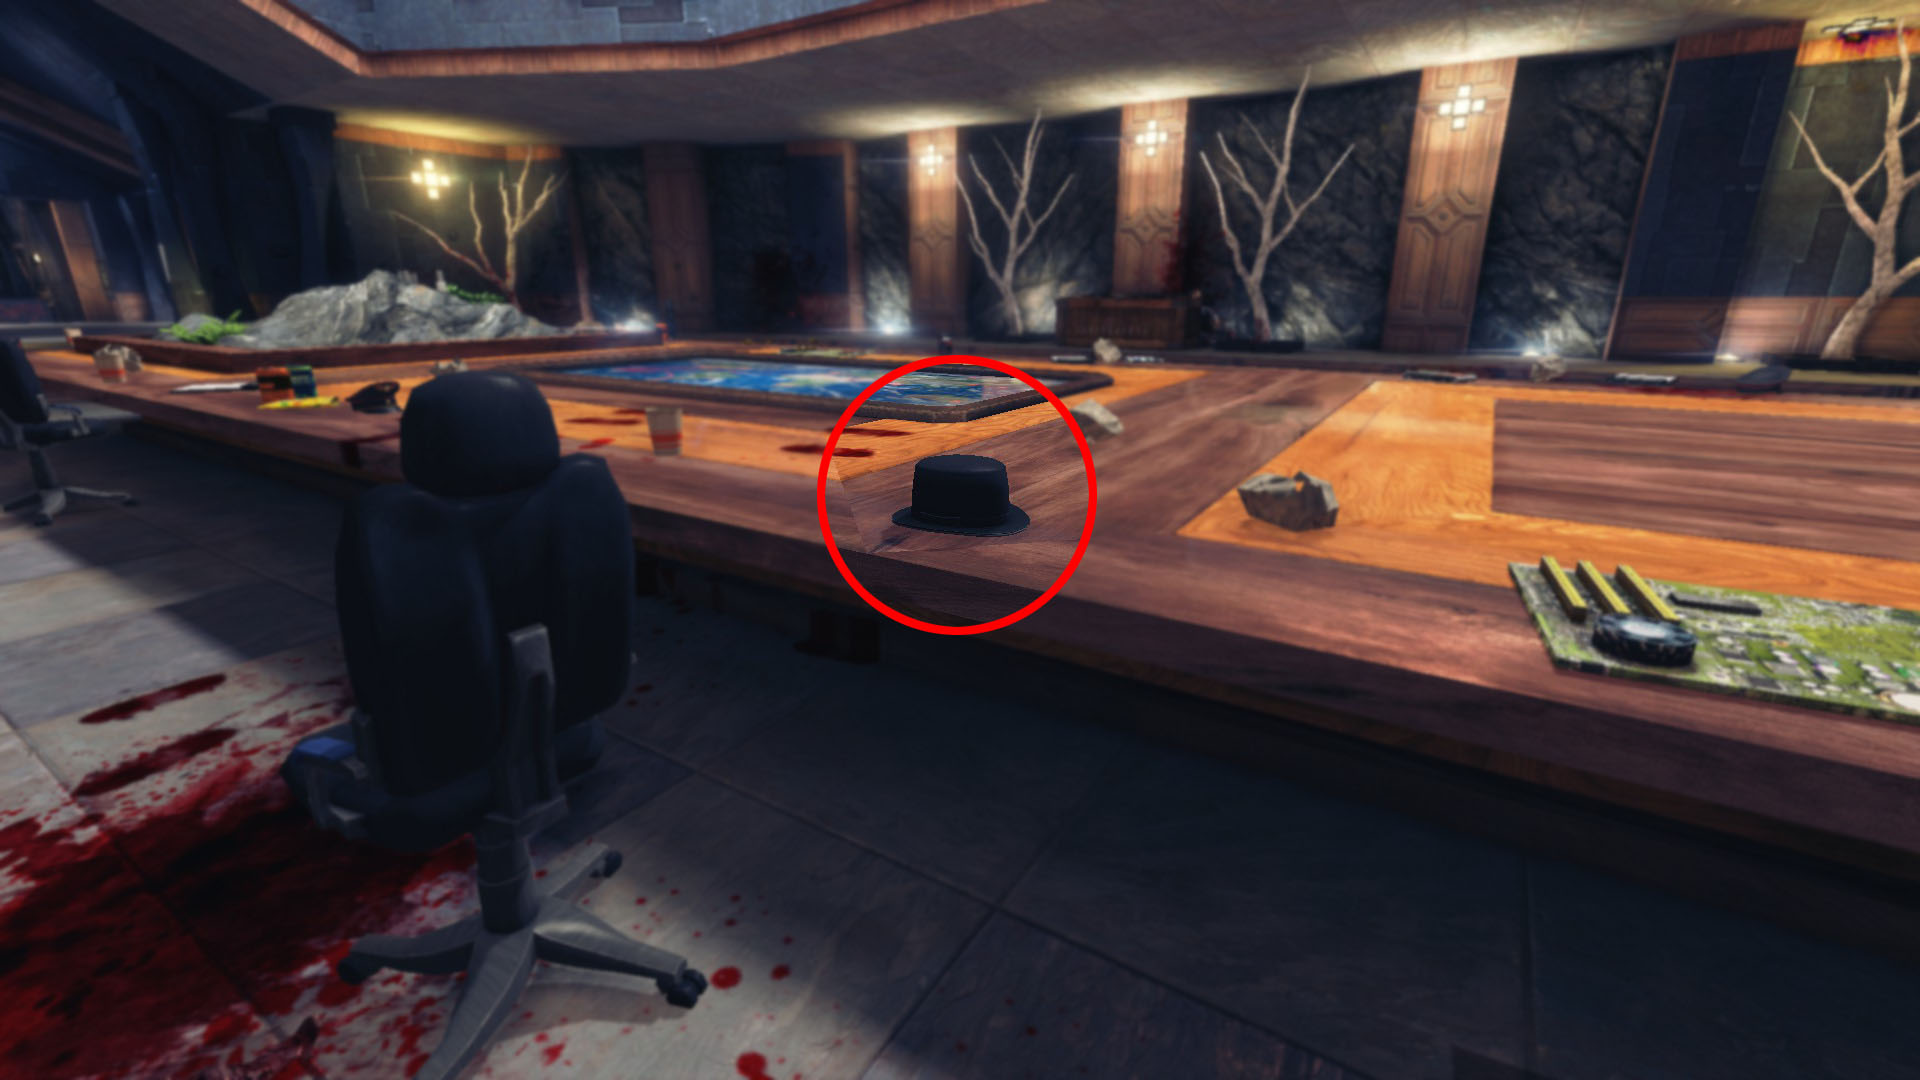 You'll find the hat on the conference table on right side from the entrance.
Go behind his desk and find a button hidden under the desk to the right of his chair.
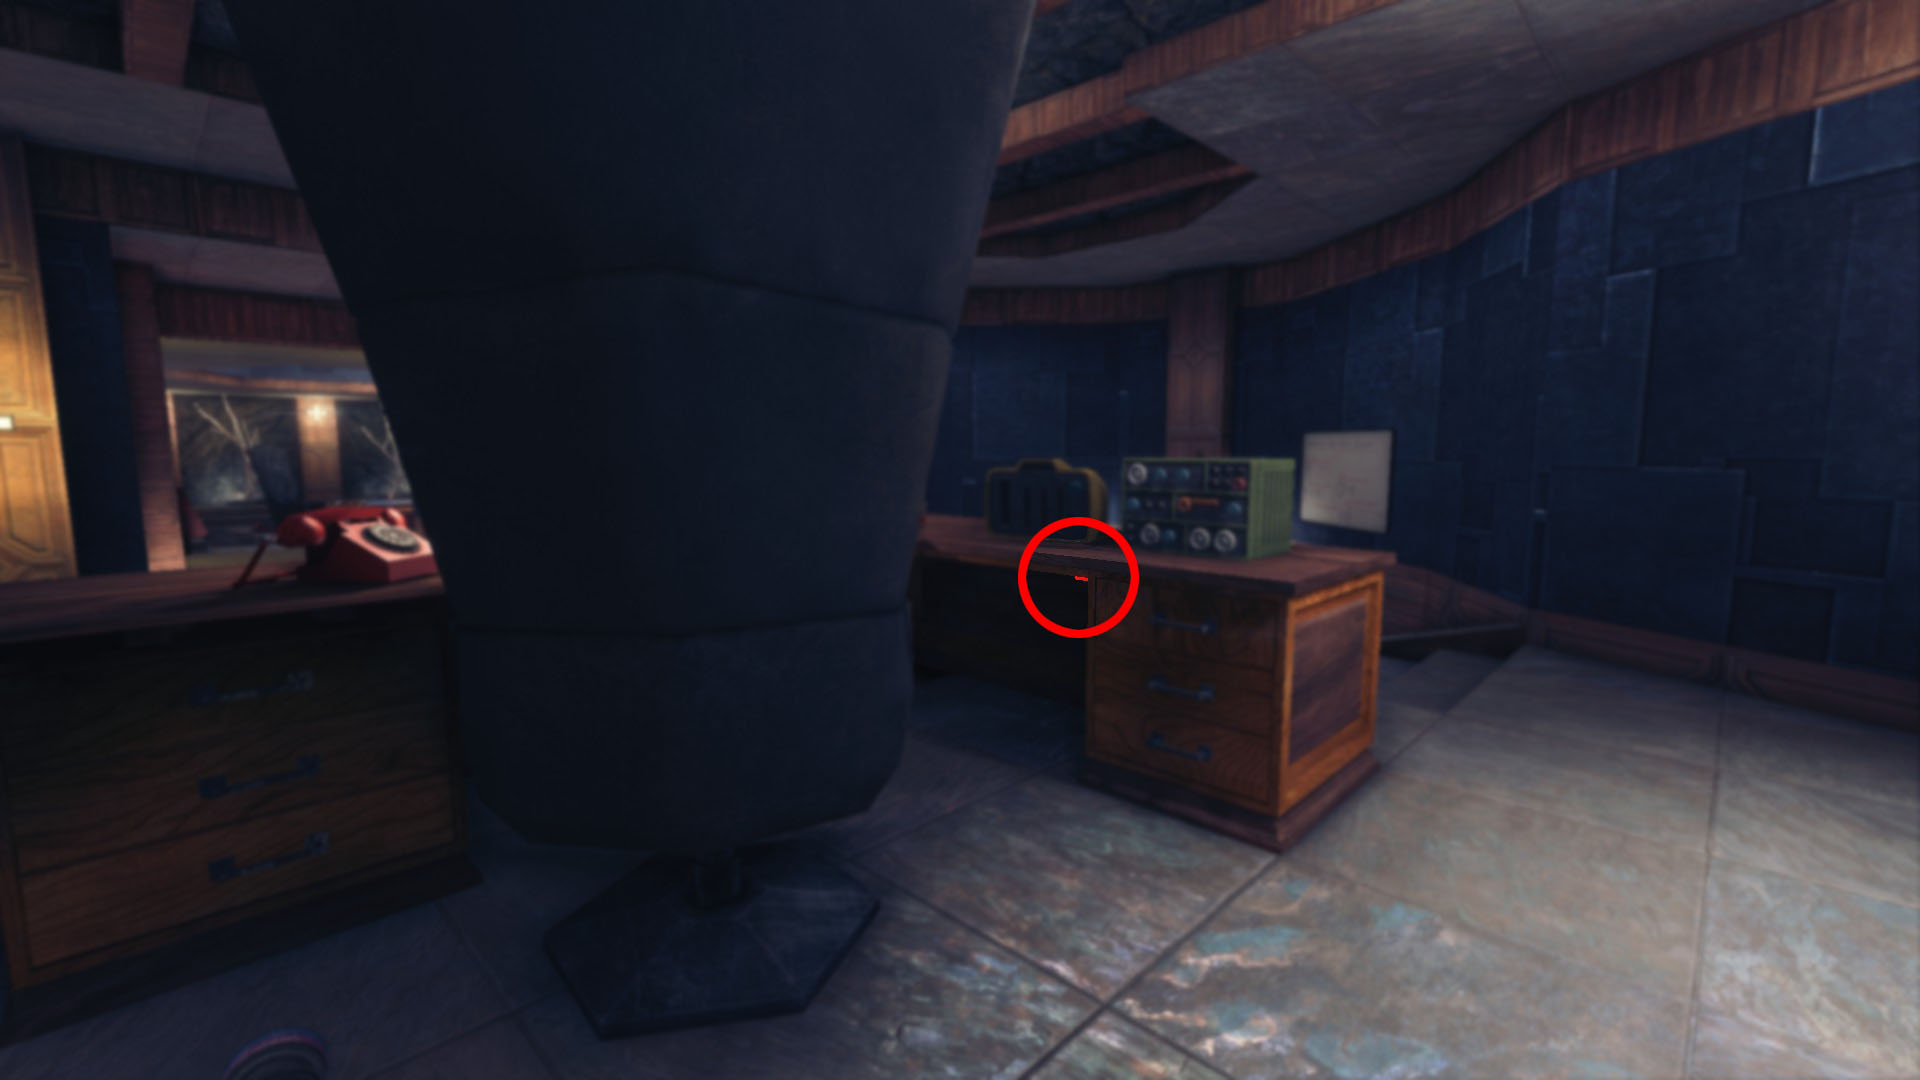 This will open up a secret door behind the desk.
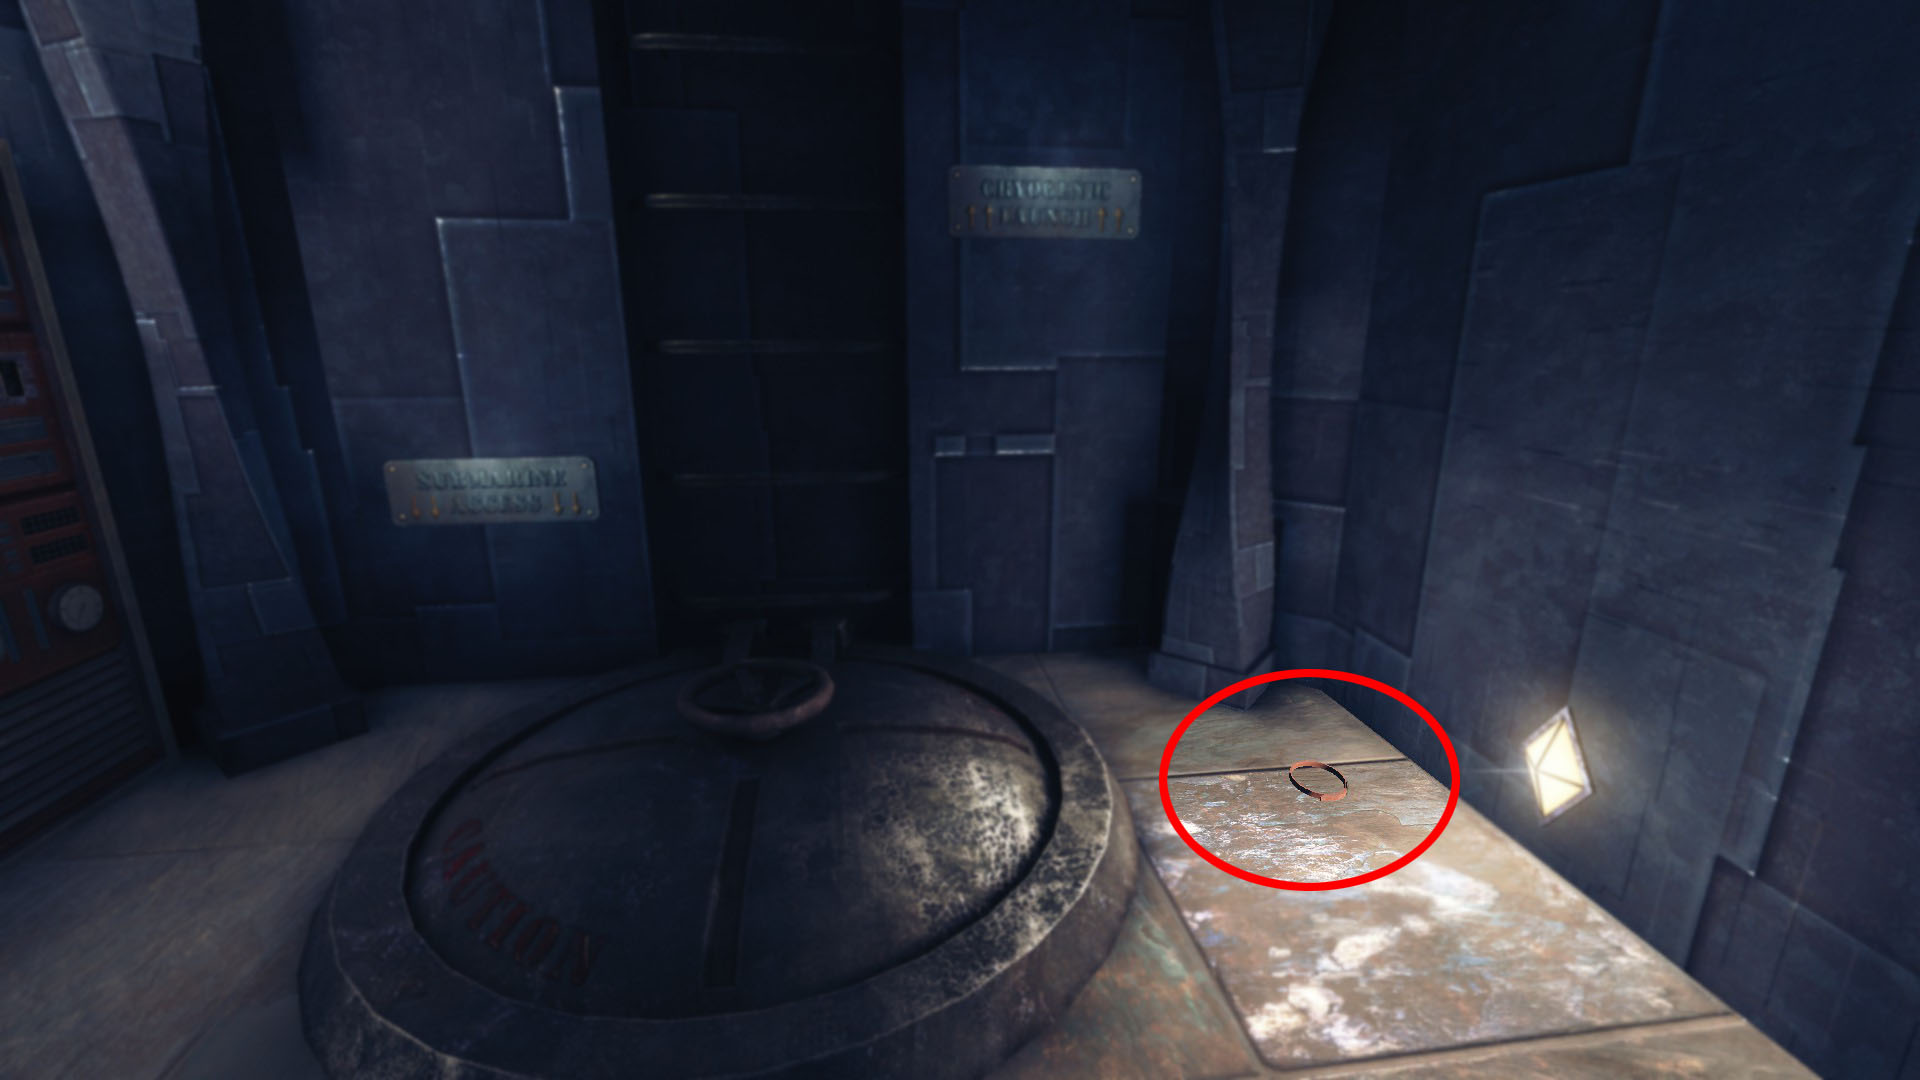 In the secret room, the collar is on the right side.
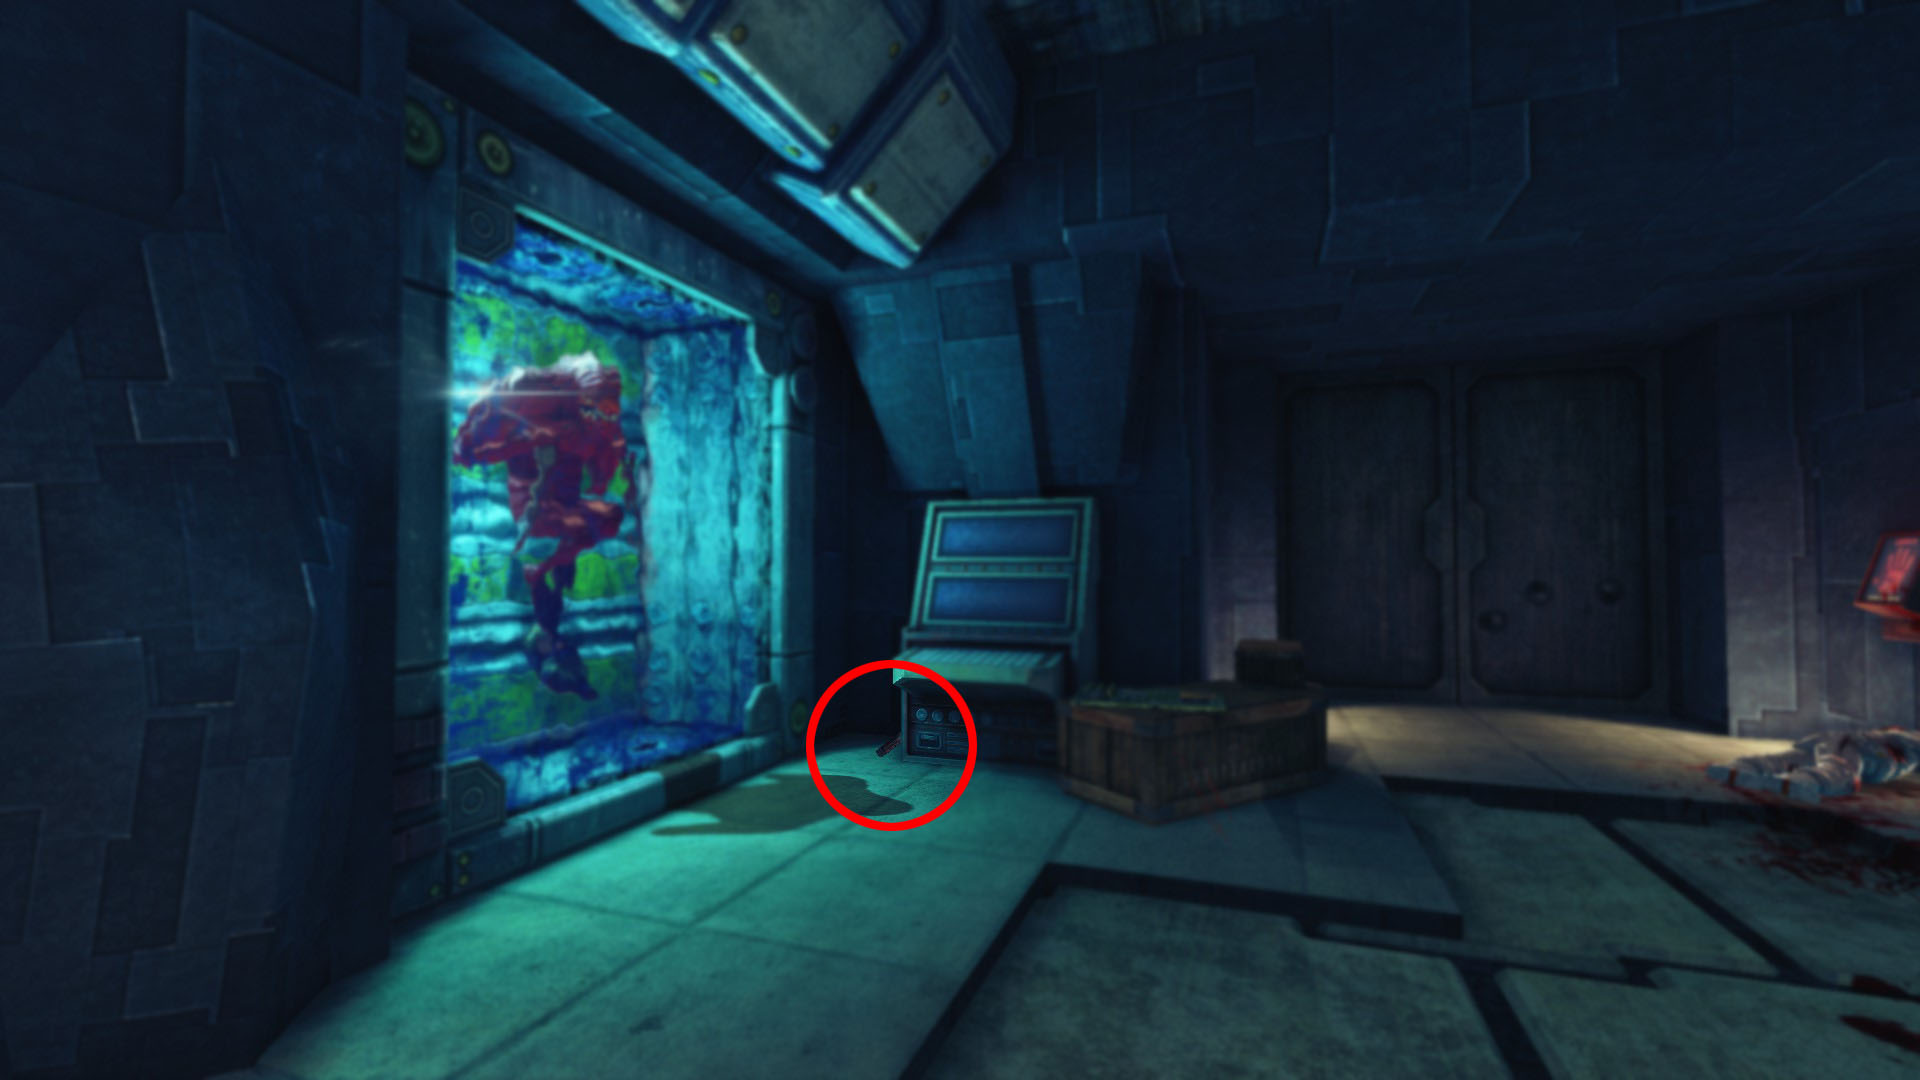 The blood vial is at the back of the room in the left corner behind some barrels.
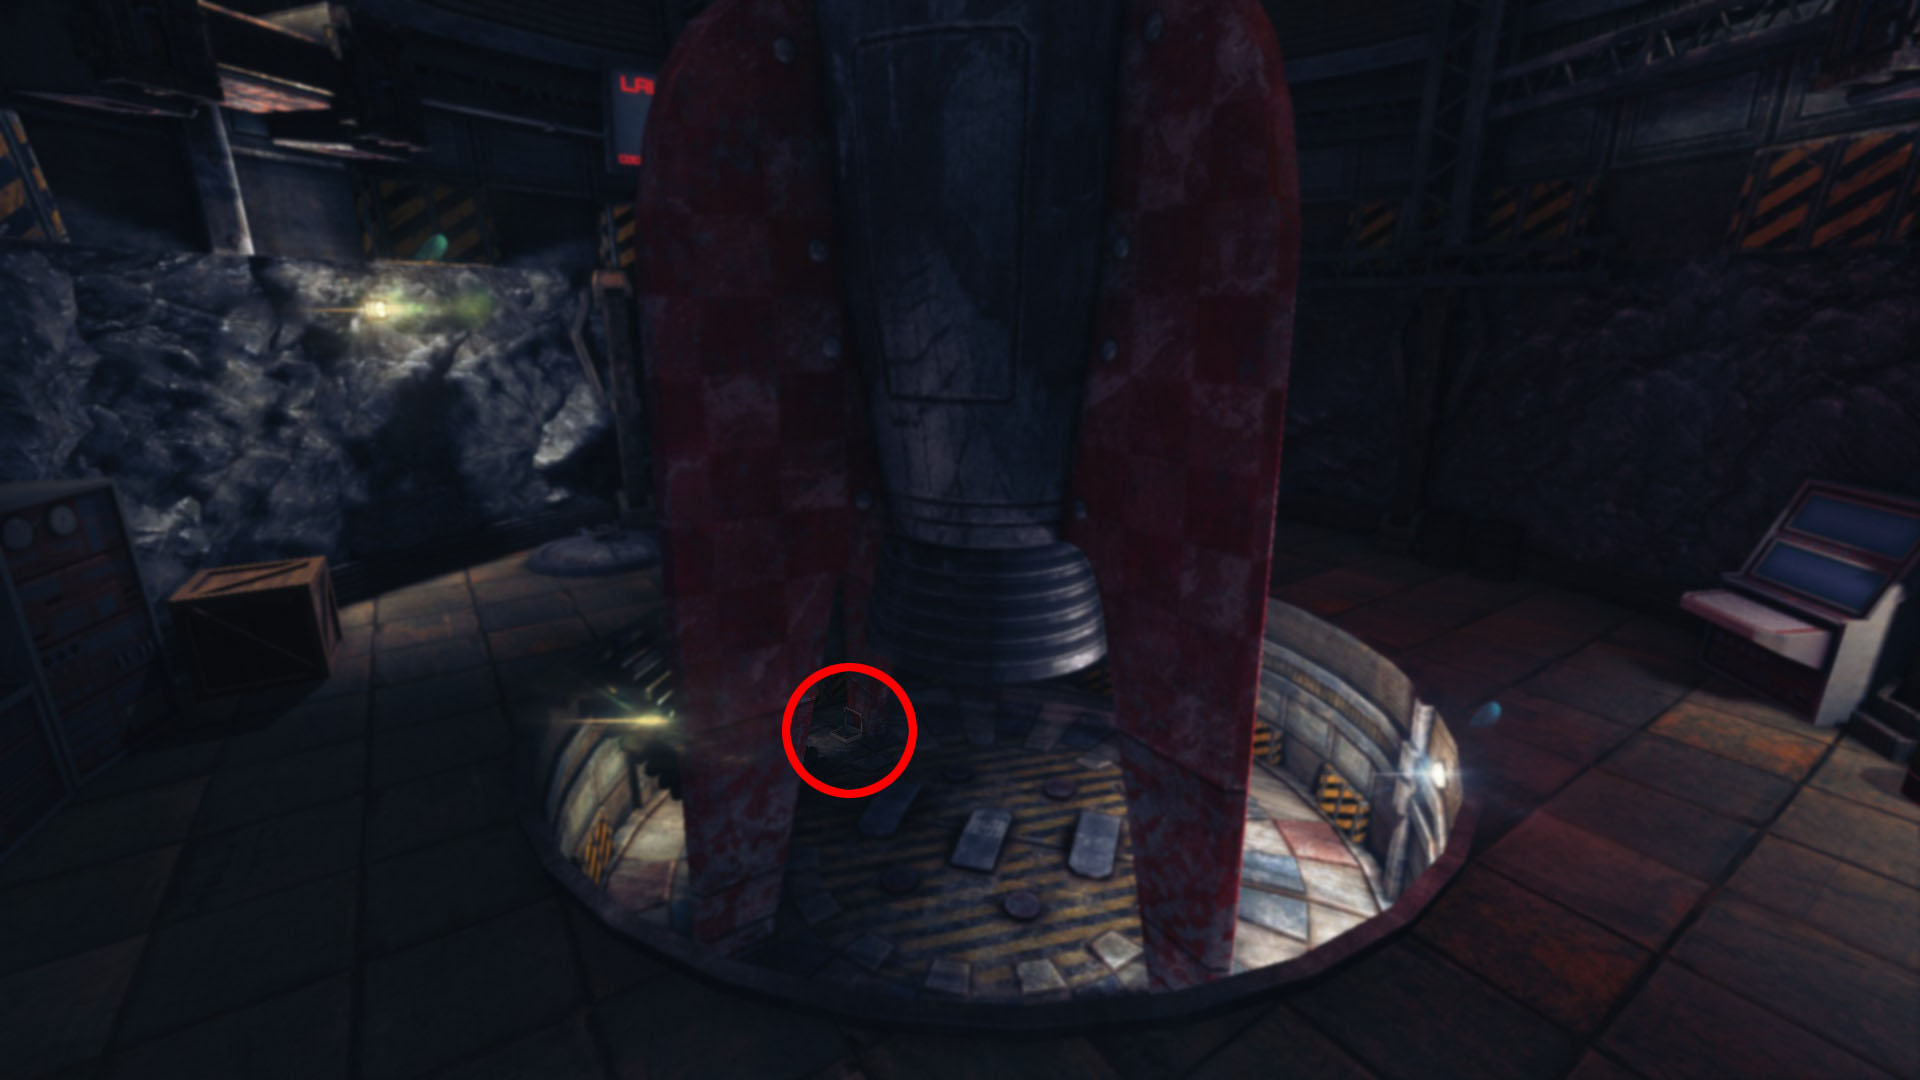 Find this one leaning against the rocket underneath.
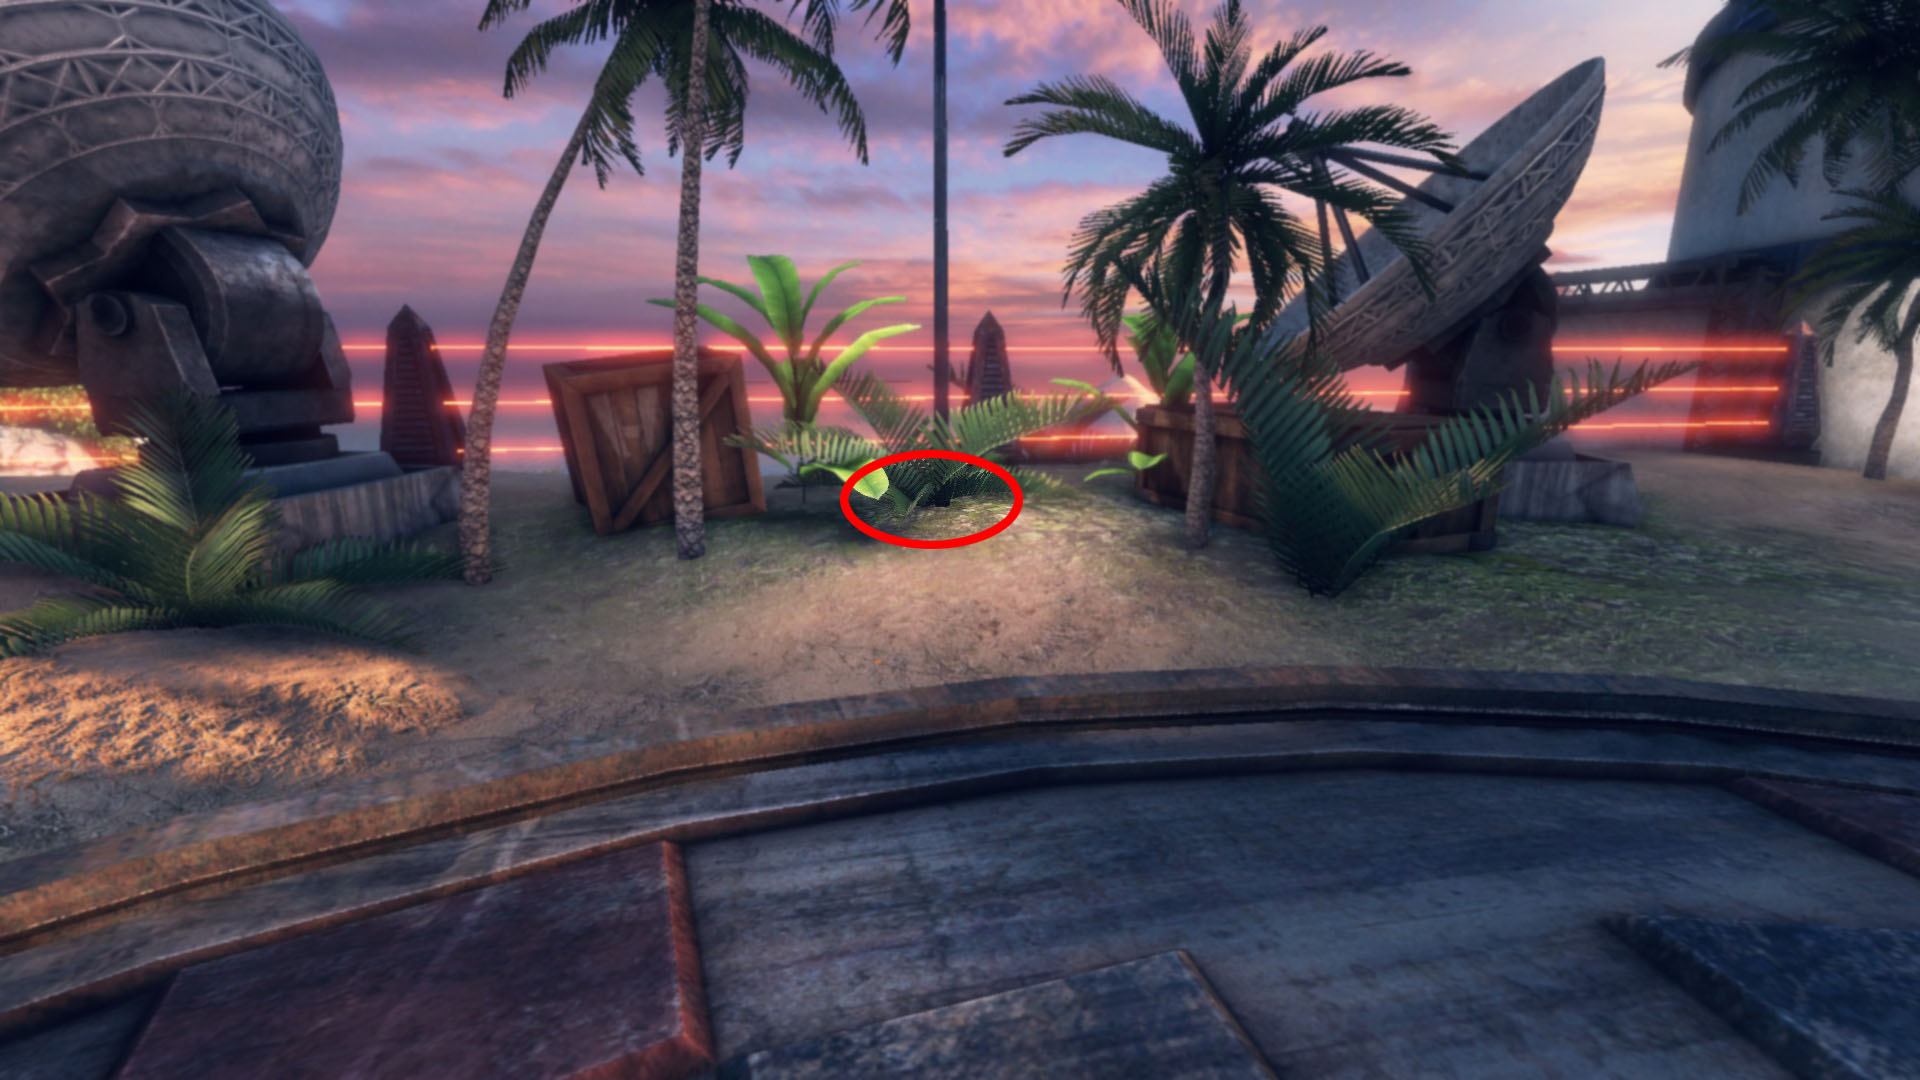 From the large circle, look under the fern right by the fence.
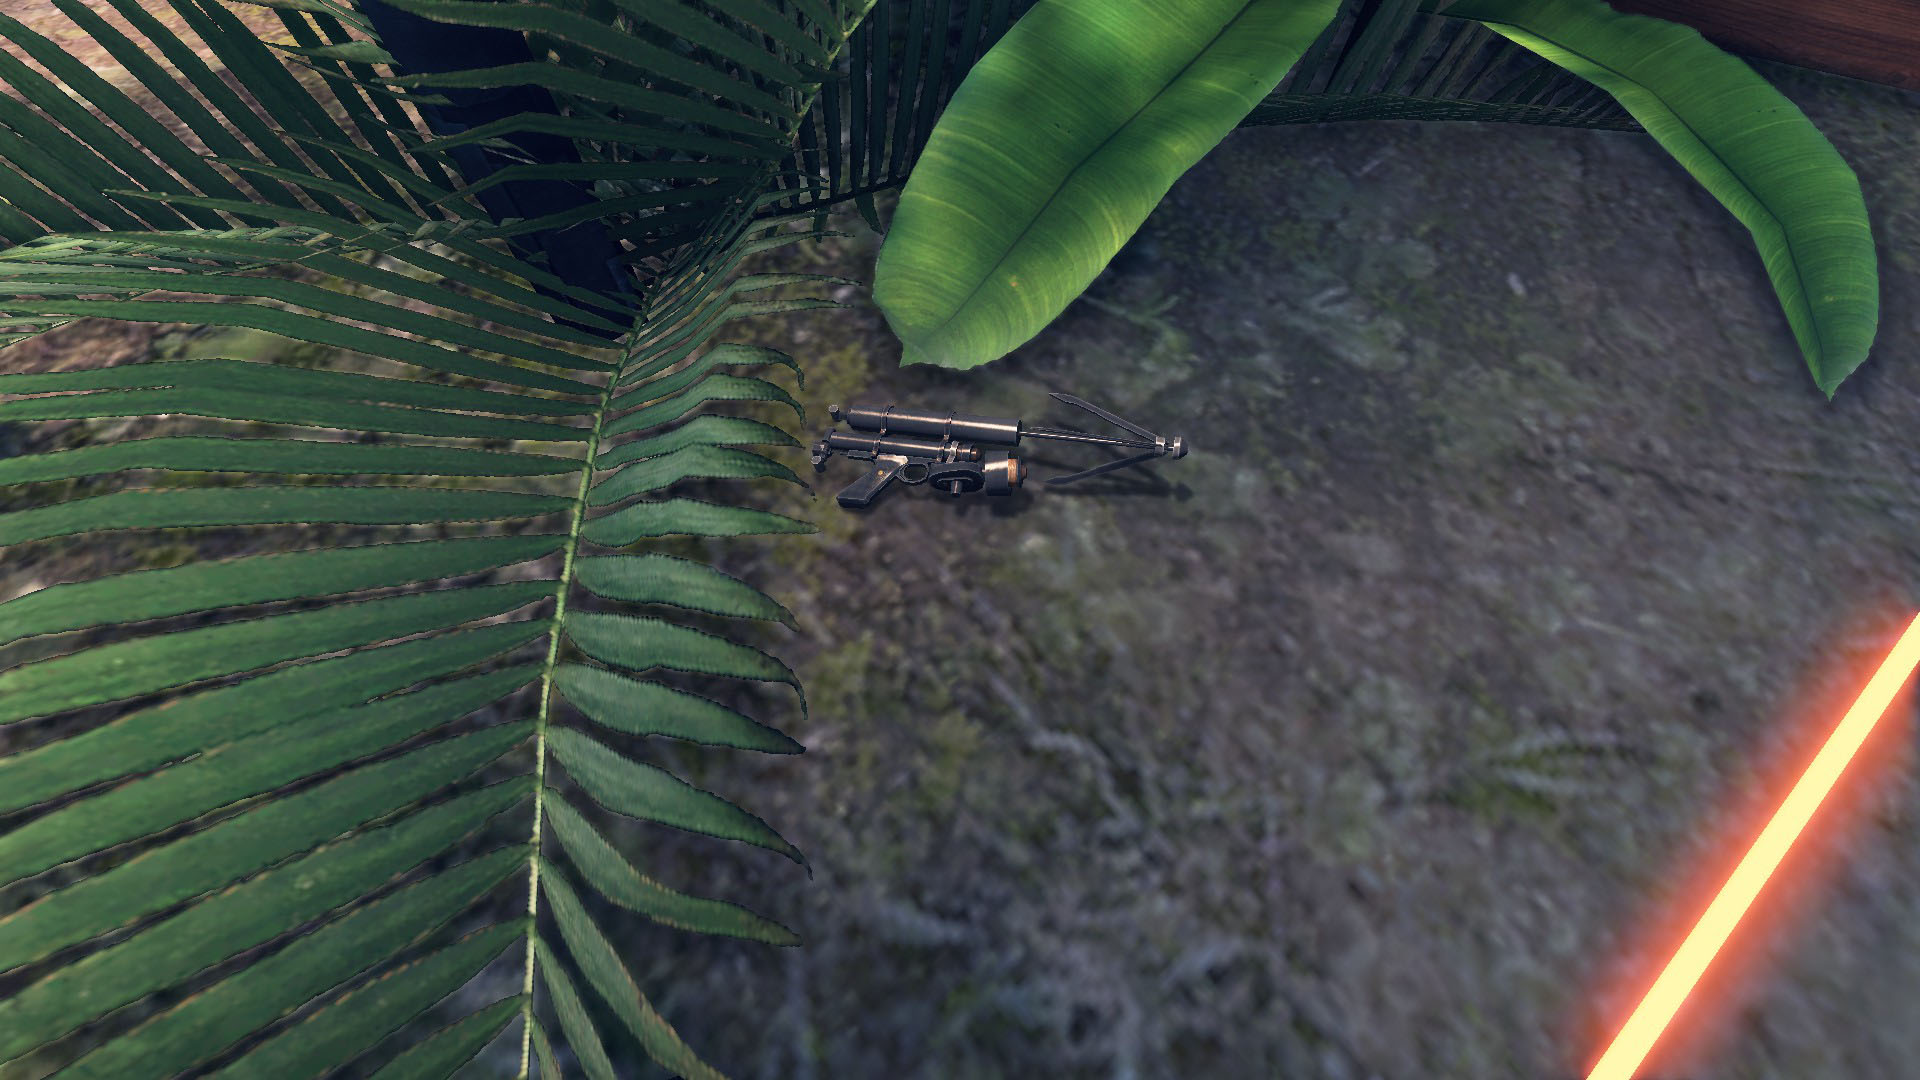 The gun will be hidden under one of the fern leaves (moved slightly for the picture).
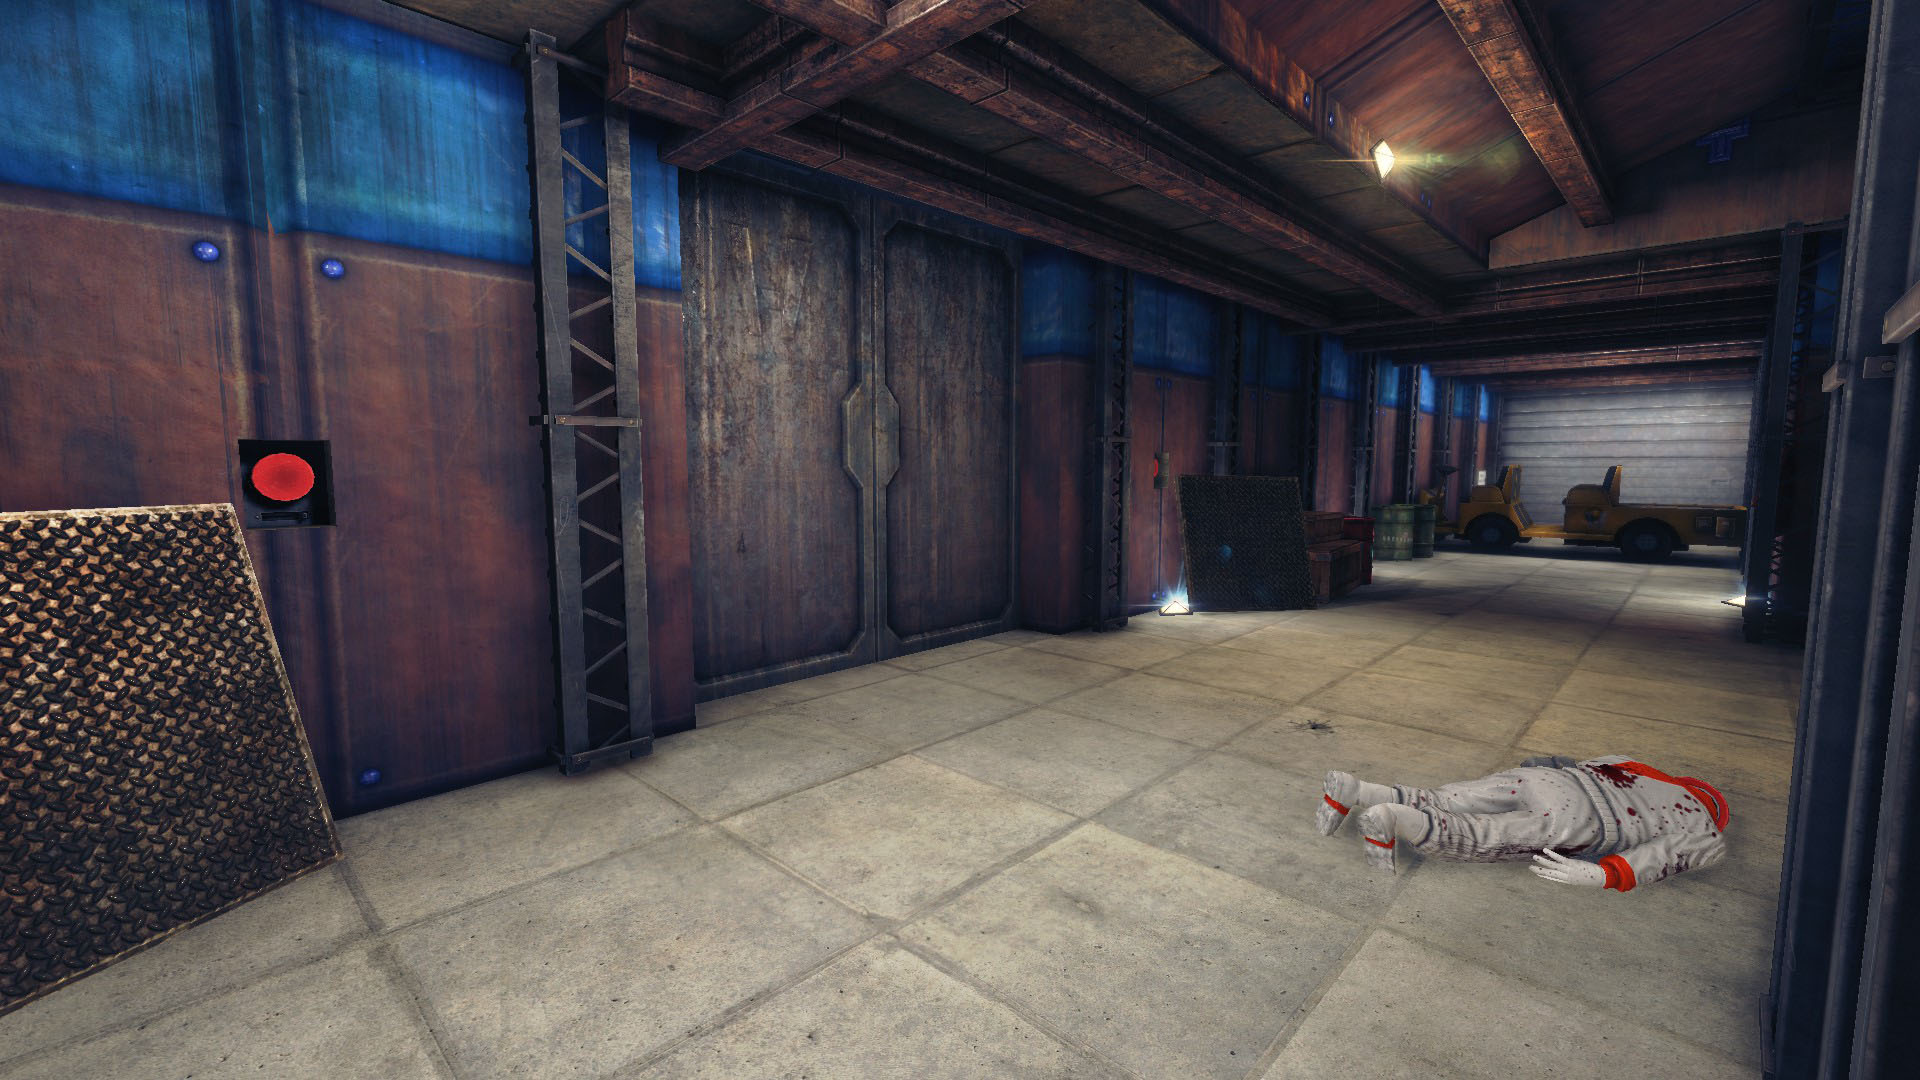 Behind these are buttons that you are supposed to press within a short time of each other.
It's 100% possible to do Solo, but far easier in multiplayer.
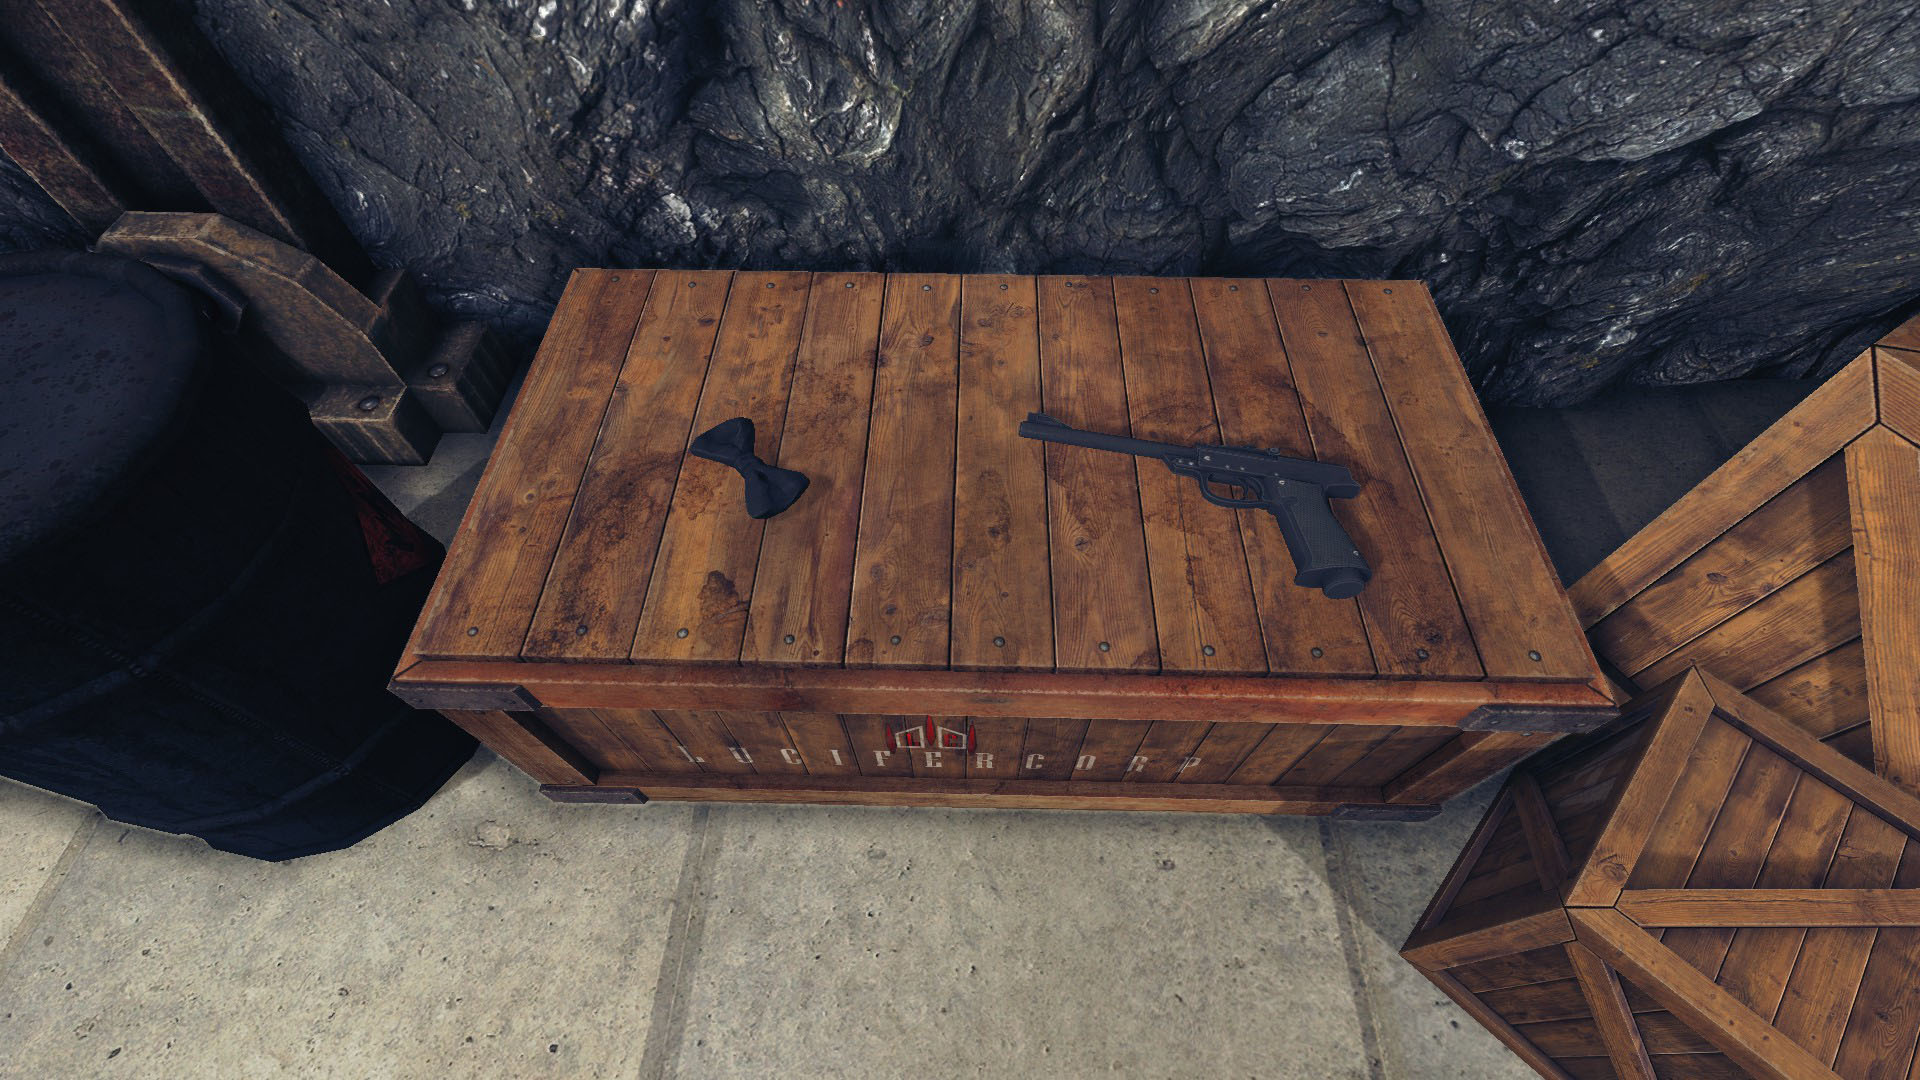 When you press the buttons quickly enough, the door between them will open revealing these two collectibles.
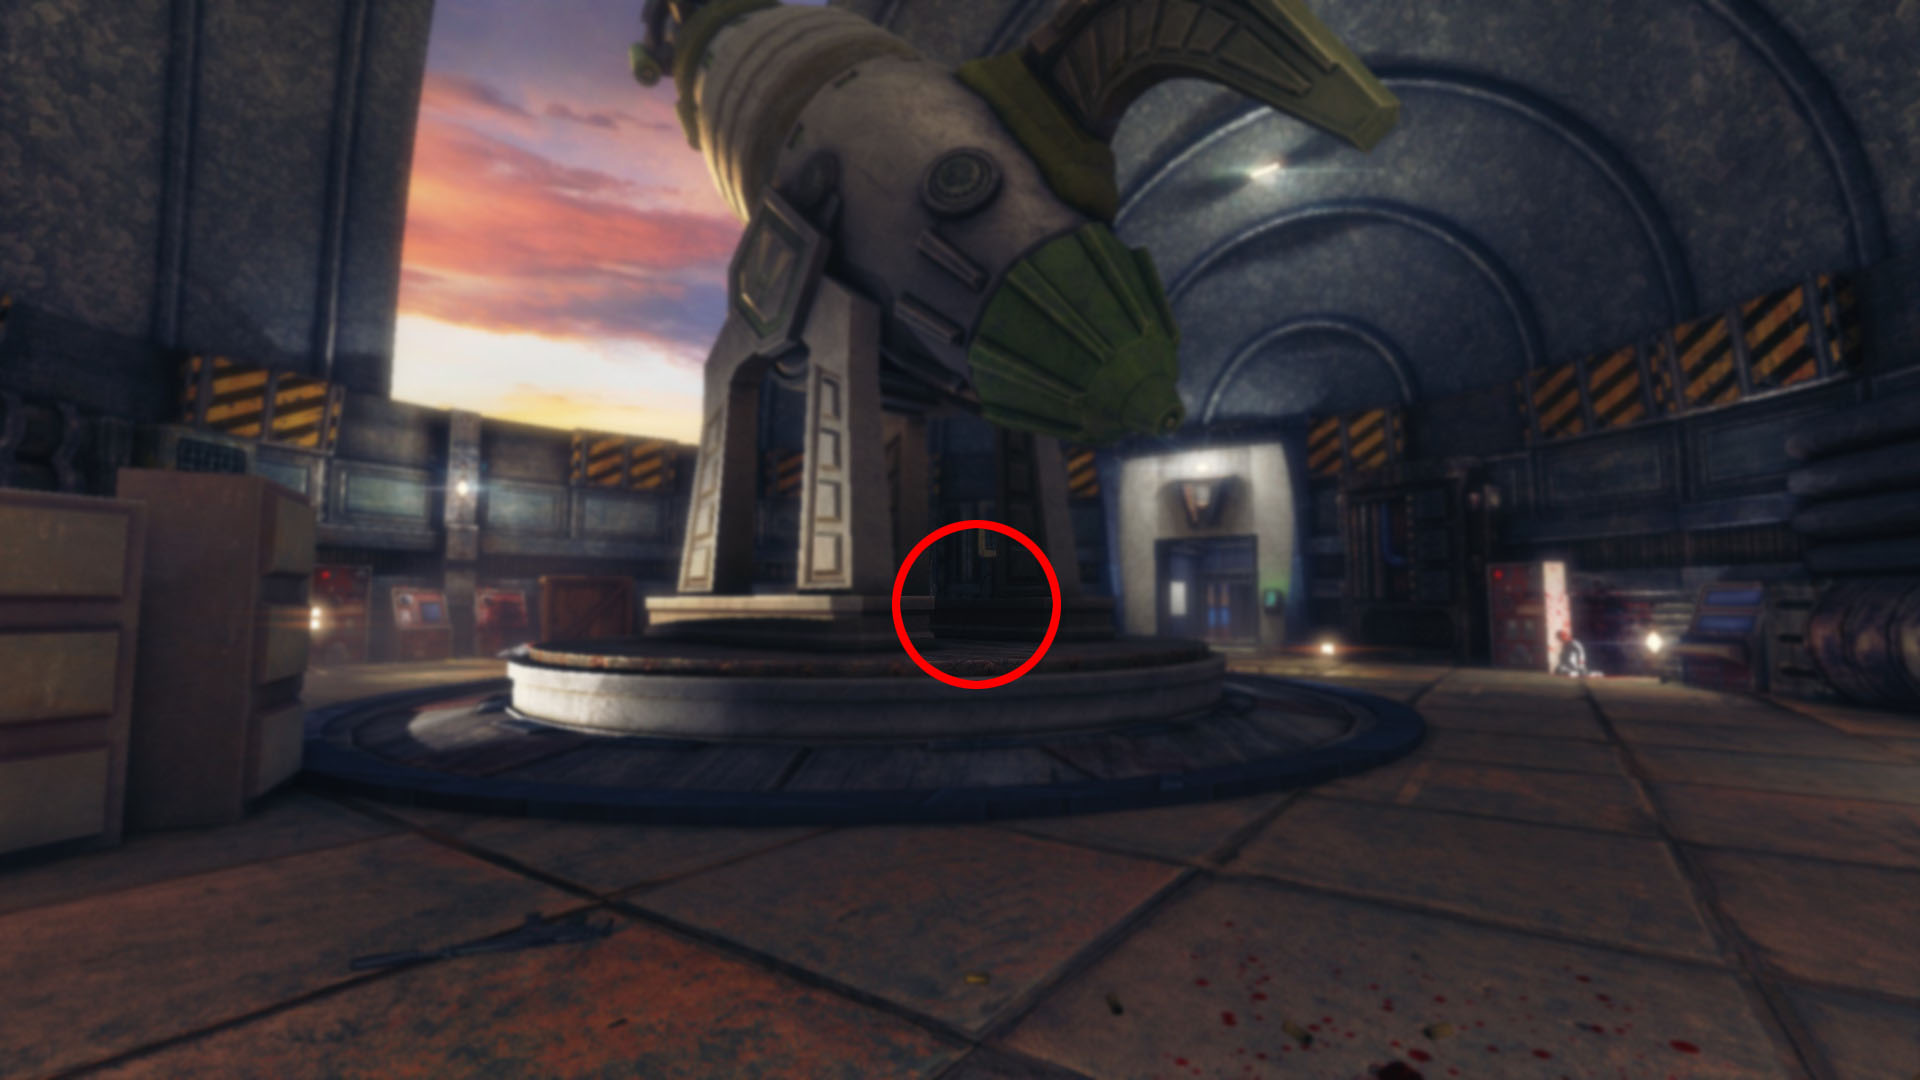 Look in the dark area under the Death Ray itself to find this one.
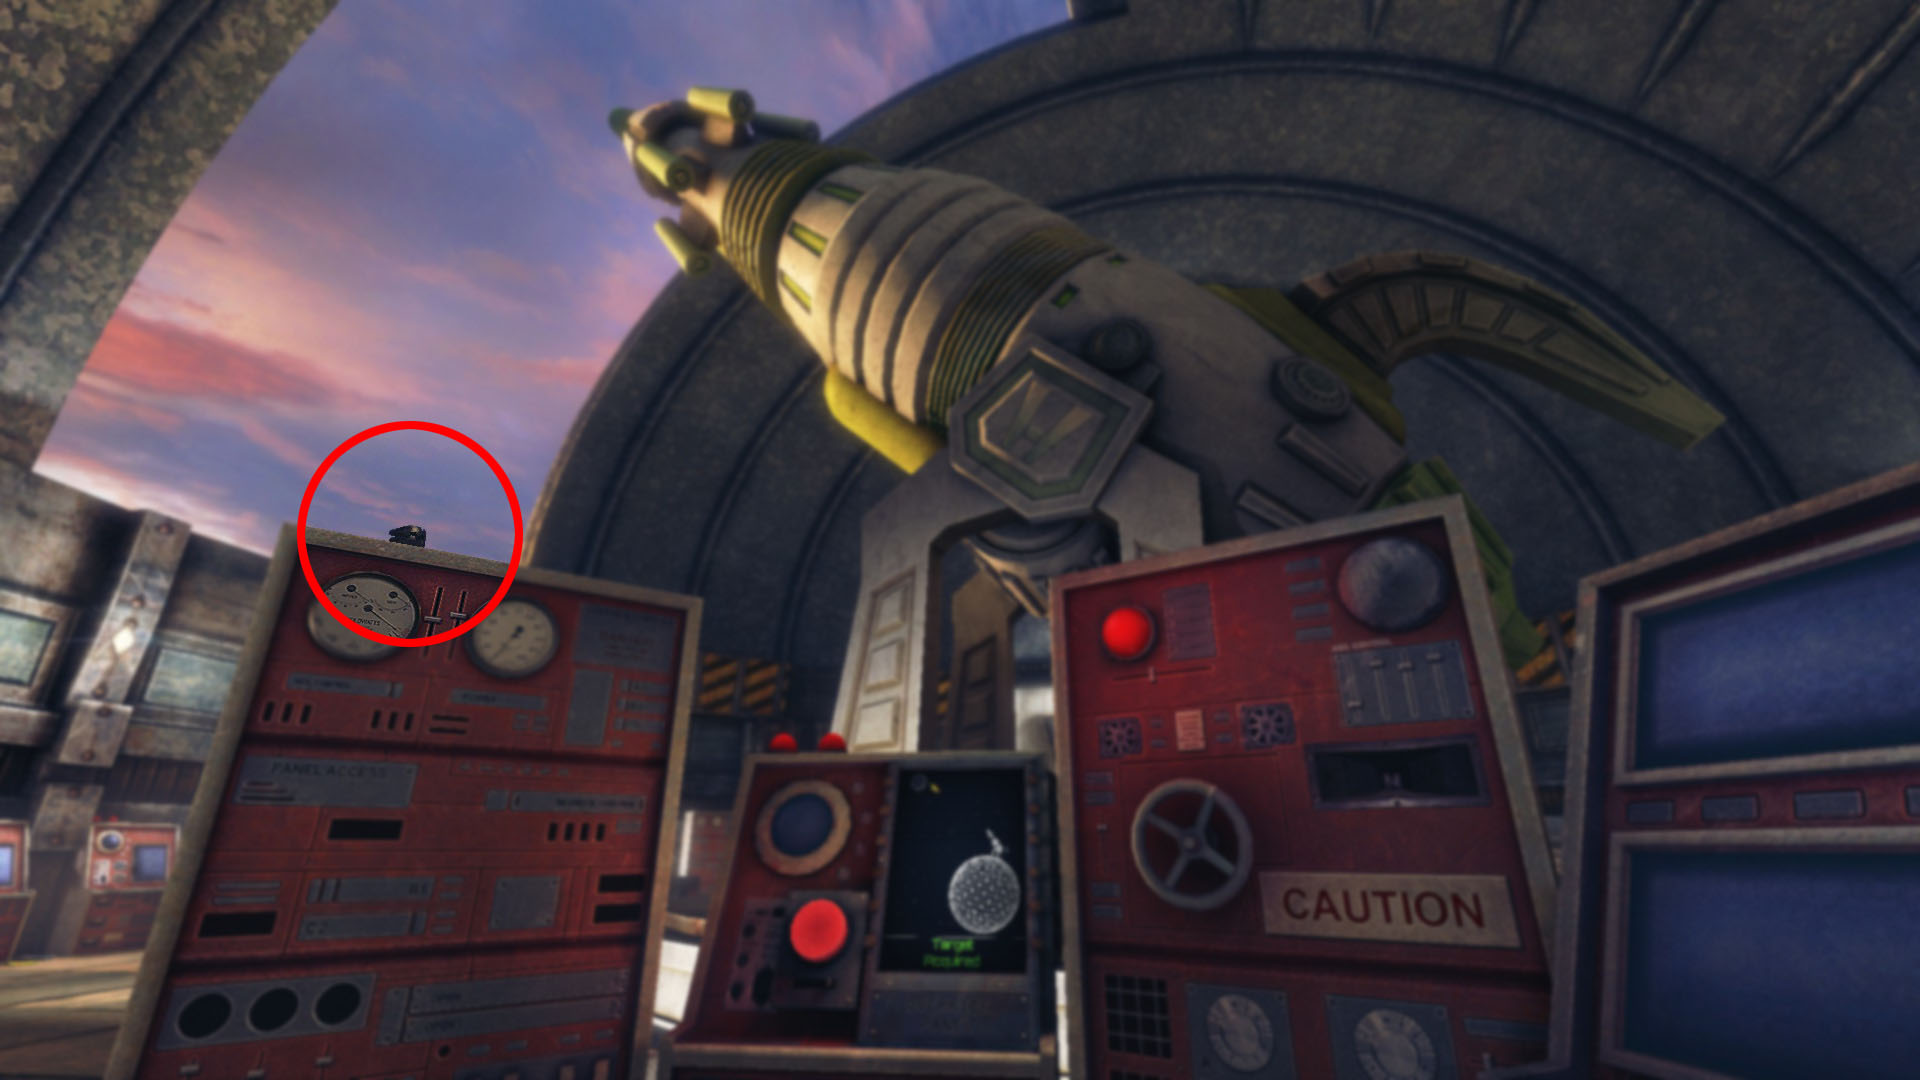 The jaws are up on top of a machine to the left of that console.
As with other collectibles, you'll need take all of them to your Office by placing them in your Janitor's trunk. You will also need an adequate cleanliness level as usual.
The Vulcan Affair Other Achievements
 Lair Care
Clean the entire Vulcan Affair level
Guide
Do it all! There are about 5 floors and many rooms in this one, so good luck!
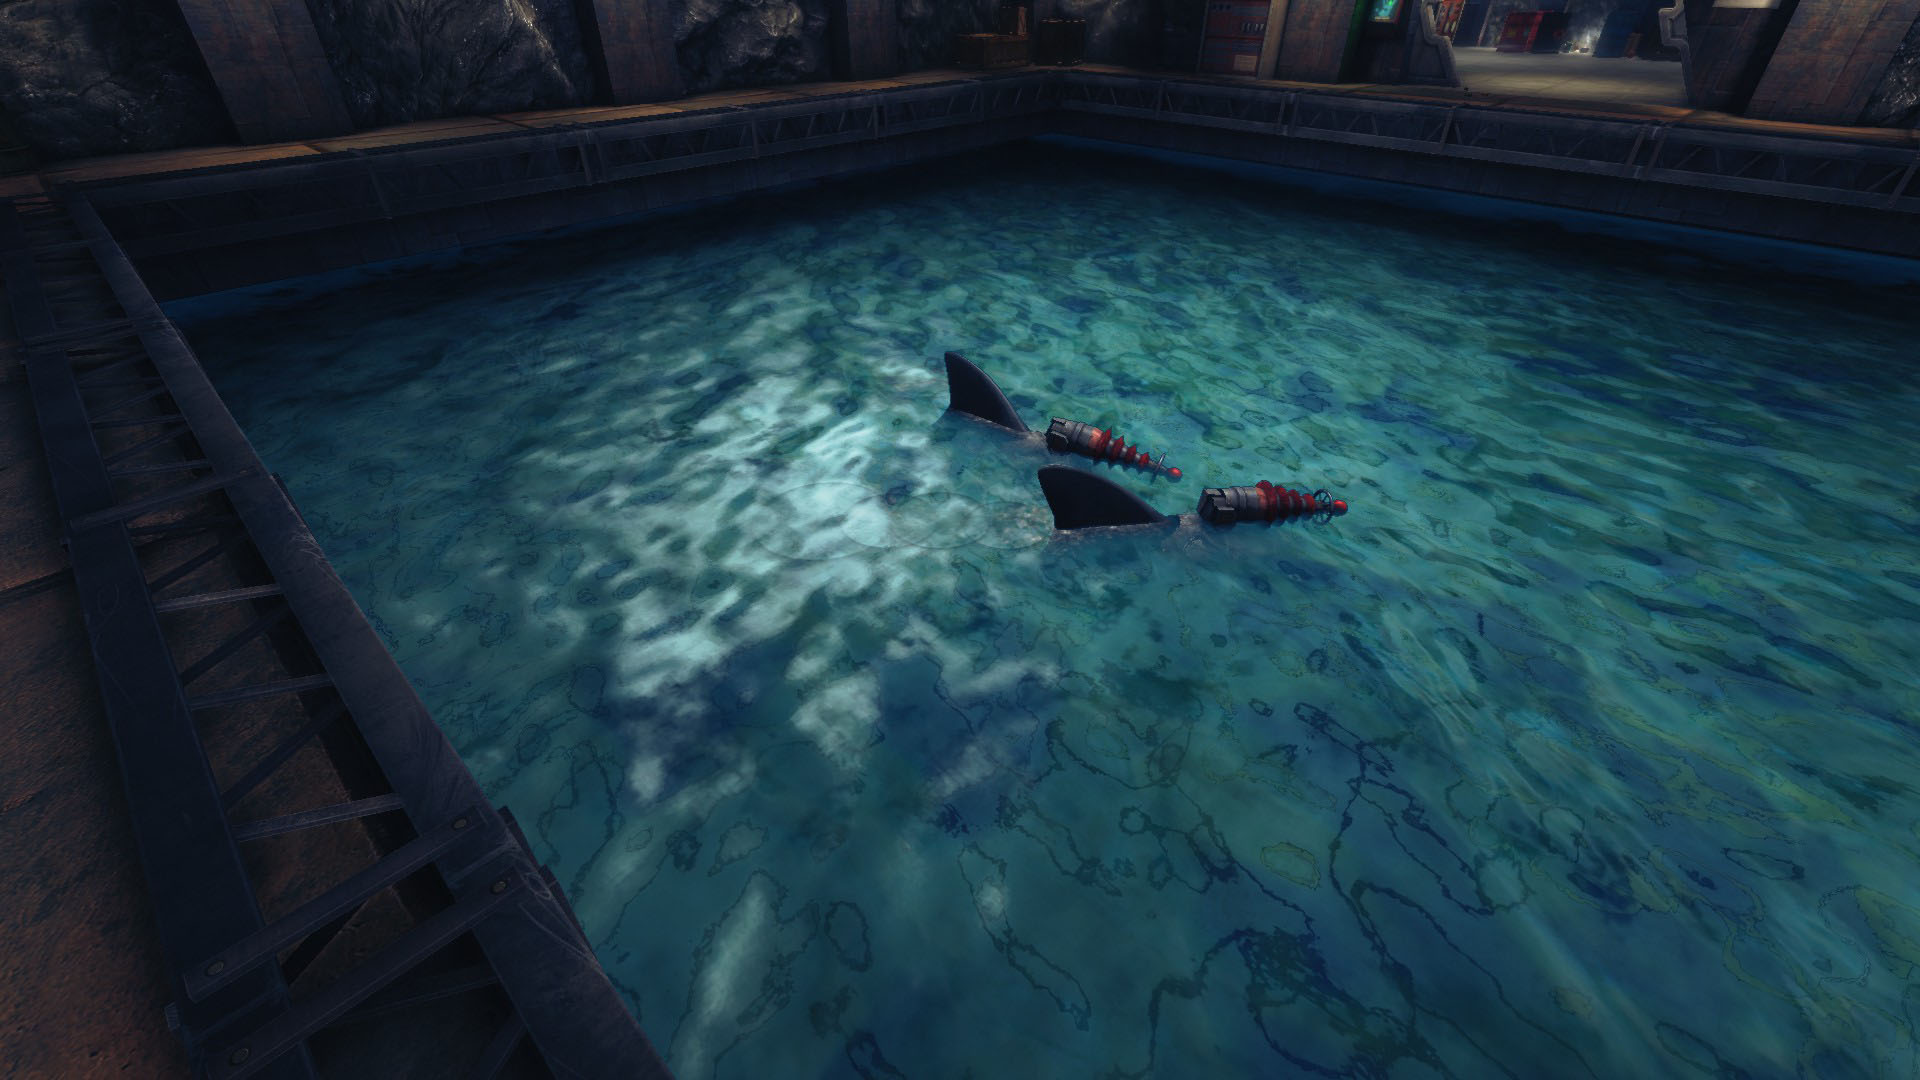 You can drop viscera in there to get eaten, or other objects in there to get lasered.
You can also drop items from the meeting room above by activating the screen buttons near the big chair.
 We're Gonna Need a Bigger Tank
Feed the ever hungry Sharks 500 items they can either devour or destroy
As mentioned, you can throw items in the pool and the sharks will deal with them for you. 500 items in there and you're golden!
 Blood in the Water
Go for a swim with Sharks
Easy! Just jump in and get eaten by one or both of the sharks. Despite the achievement description, you DO also need to get eaten by a shark.
 Teeth for Tunes
Bring about the unfortunate meeting of Double-Oh Banger and Shark
Go grab the Banger from the starting room and throw it in the pool. The sharks will laser it like any other item. The Banger does not need to be playing music.
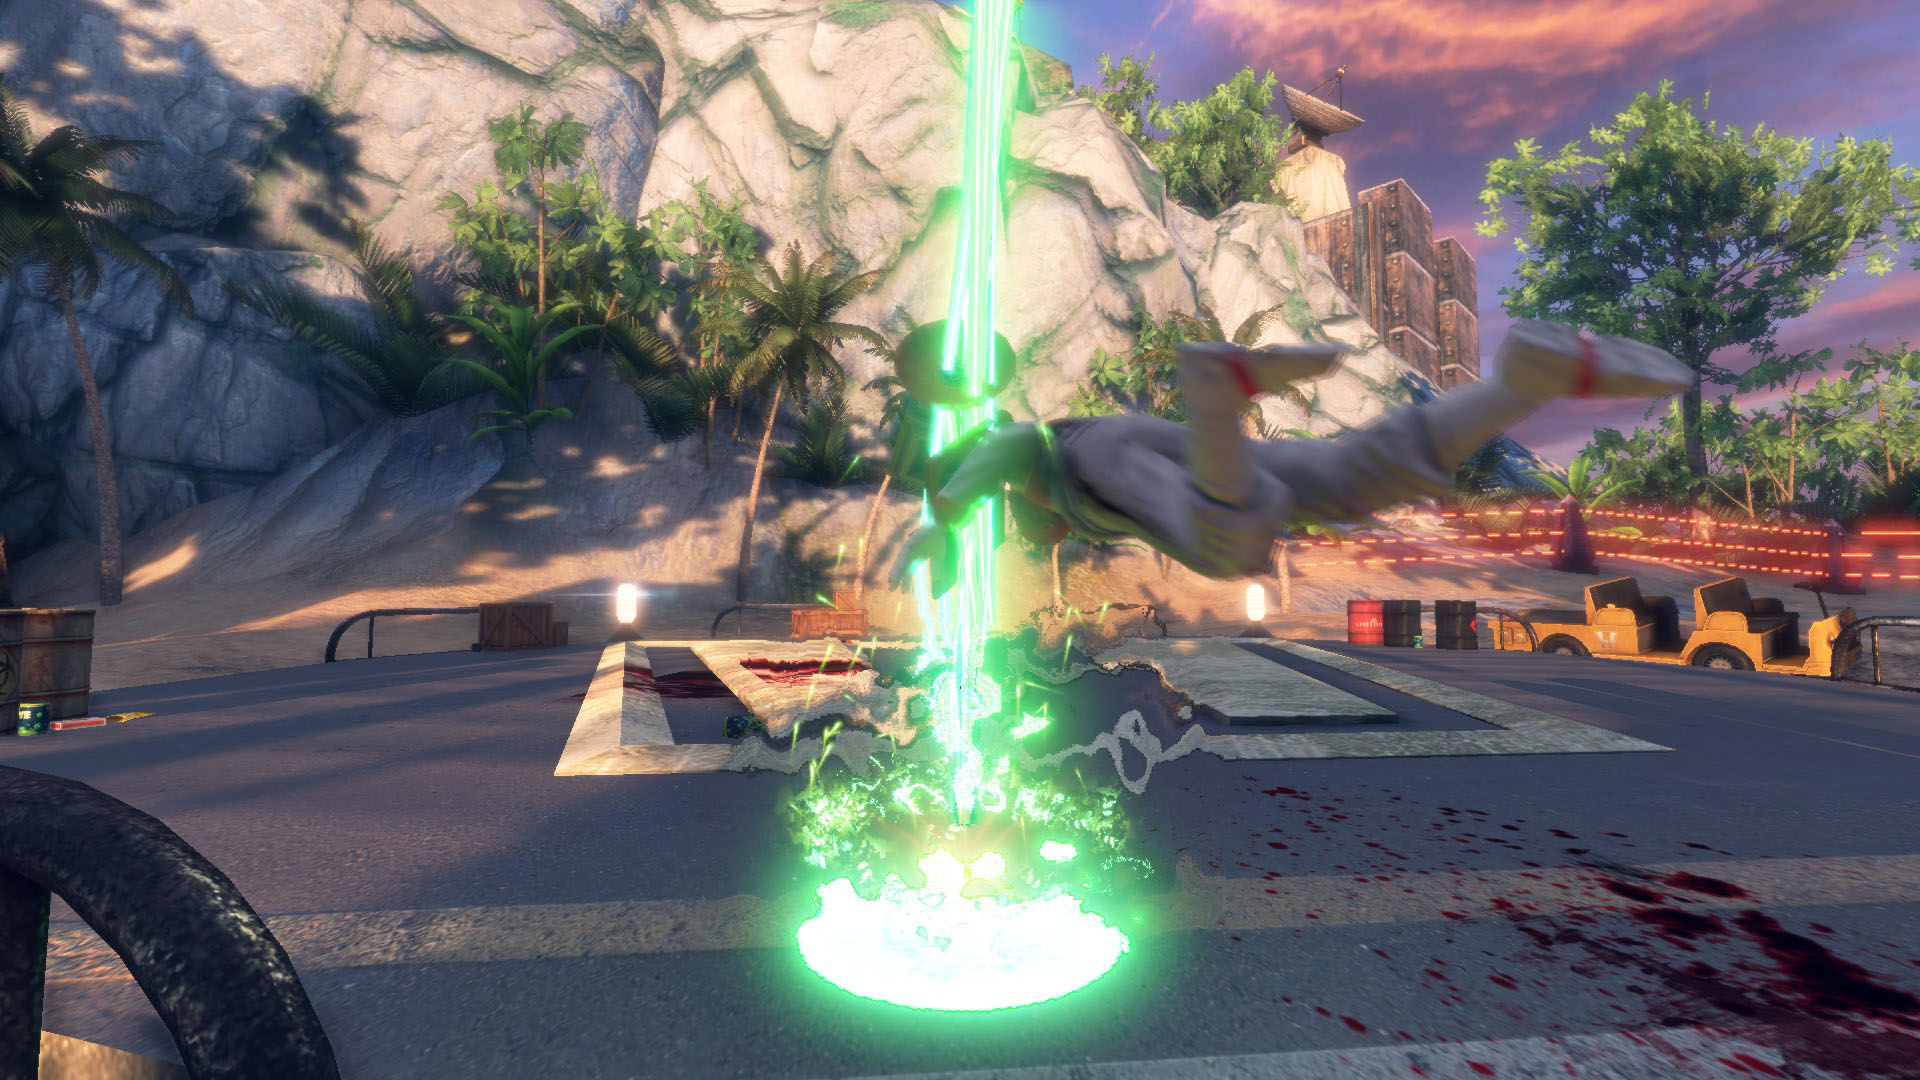 You have to use these beacons outside and you can get them from an item dispenser.
 Cat-astrophe
Using an orbital beam weapon, destroy the symbol of your most hated overlord; cats! NOTE: You may need the picture as a collectible, so you may wish to save before attempting this and loading after you get the achievement.
Head to the second floor of the four floor elevator and find Dr. Hades' office. On the desk in there you'll find a picture of a cat, Mr. Cuddlesworth.
Pick it up and take it up to the surface and place it next to an activated beacon.
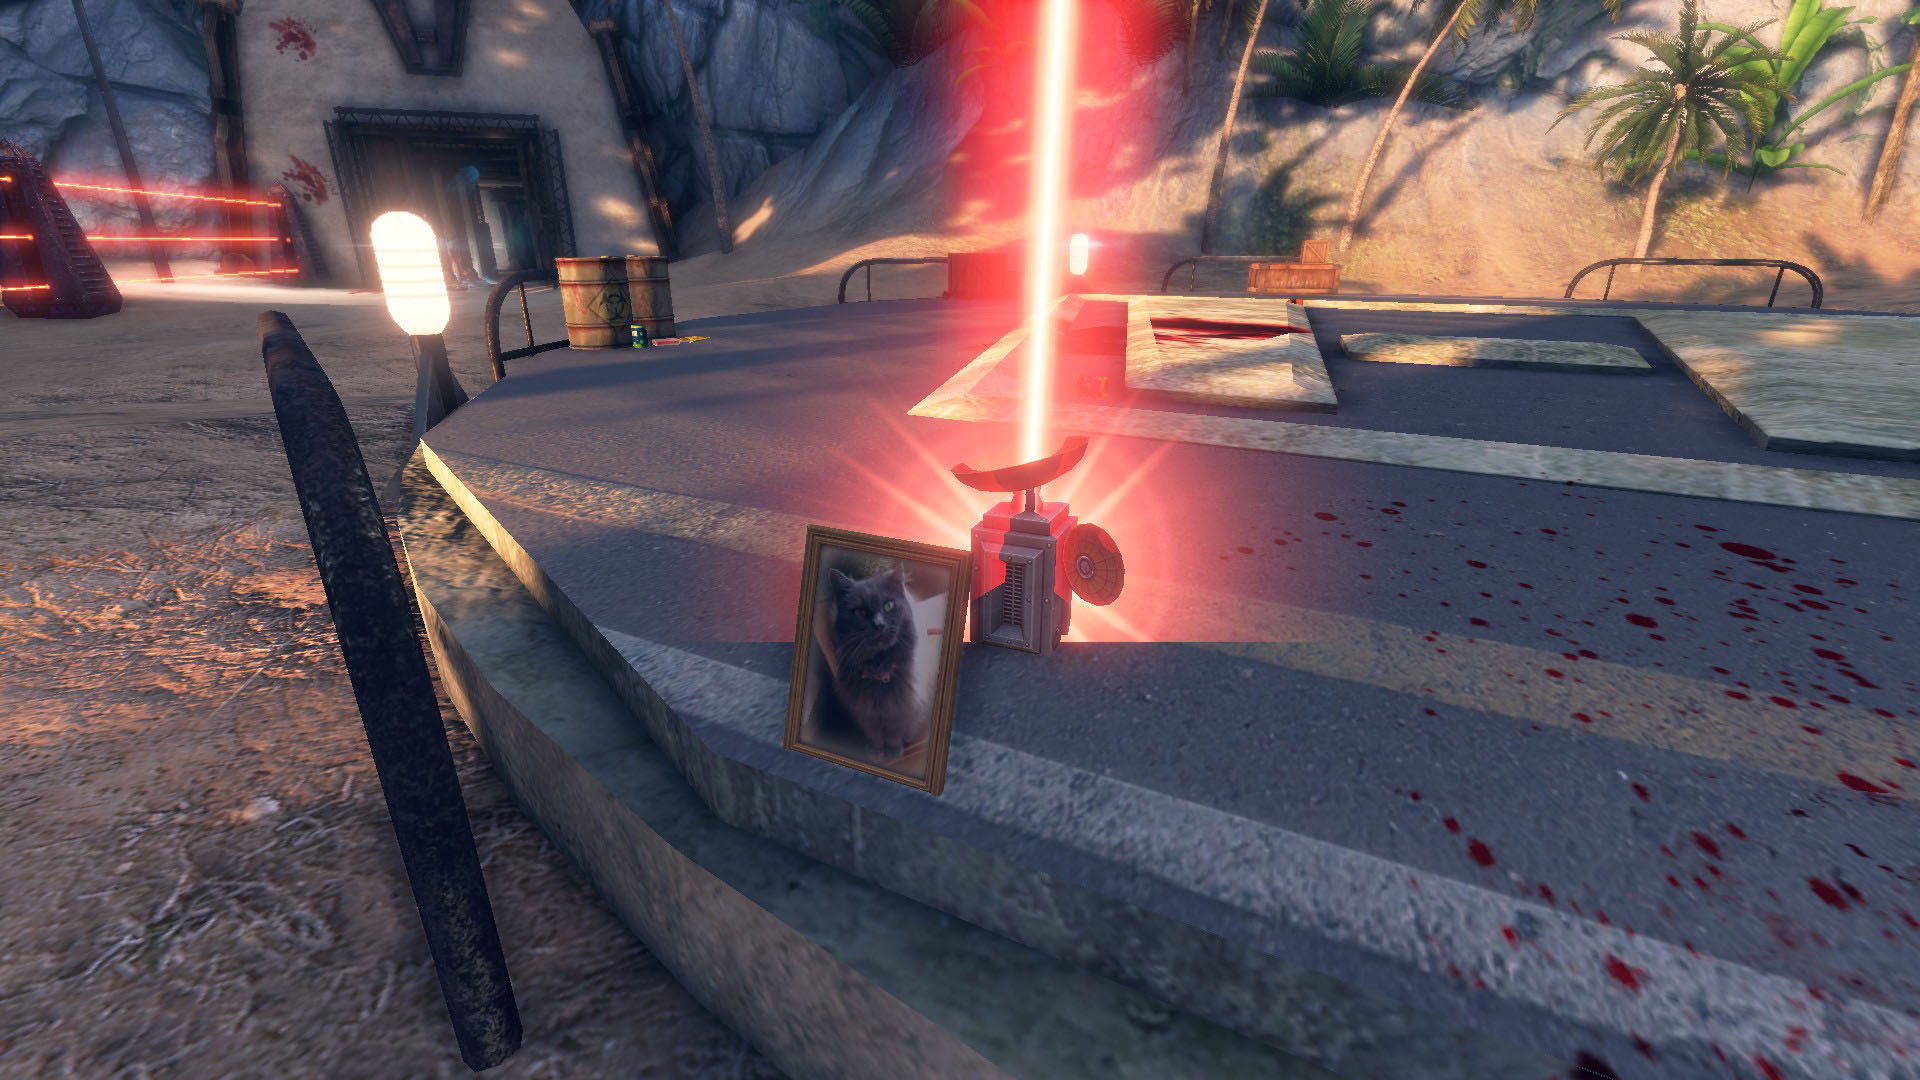
 Death From Above
Get turned into mist by an orbital beam weapon
Activate a beacon on the surface and then stand on it.
 Orbital Bang-bardment
Allow the Banger to ascend to its rightful place among the heavens through the use of an orbital beam weapon Bring the Banger up to the surface and activate a beacon next to it, destroying it.
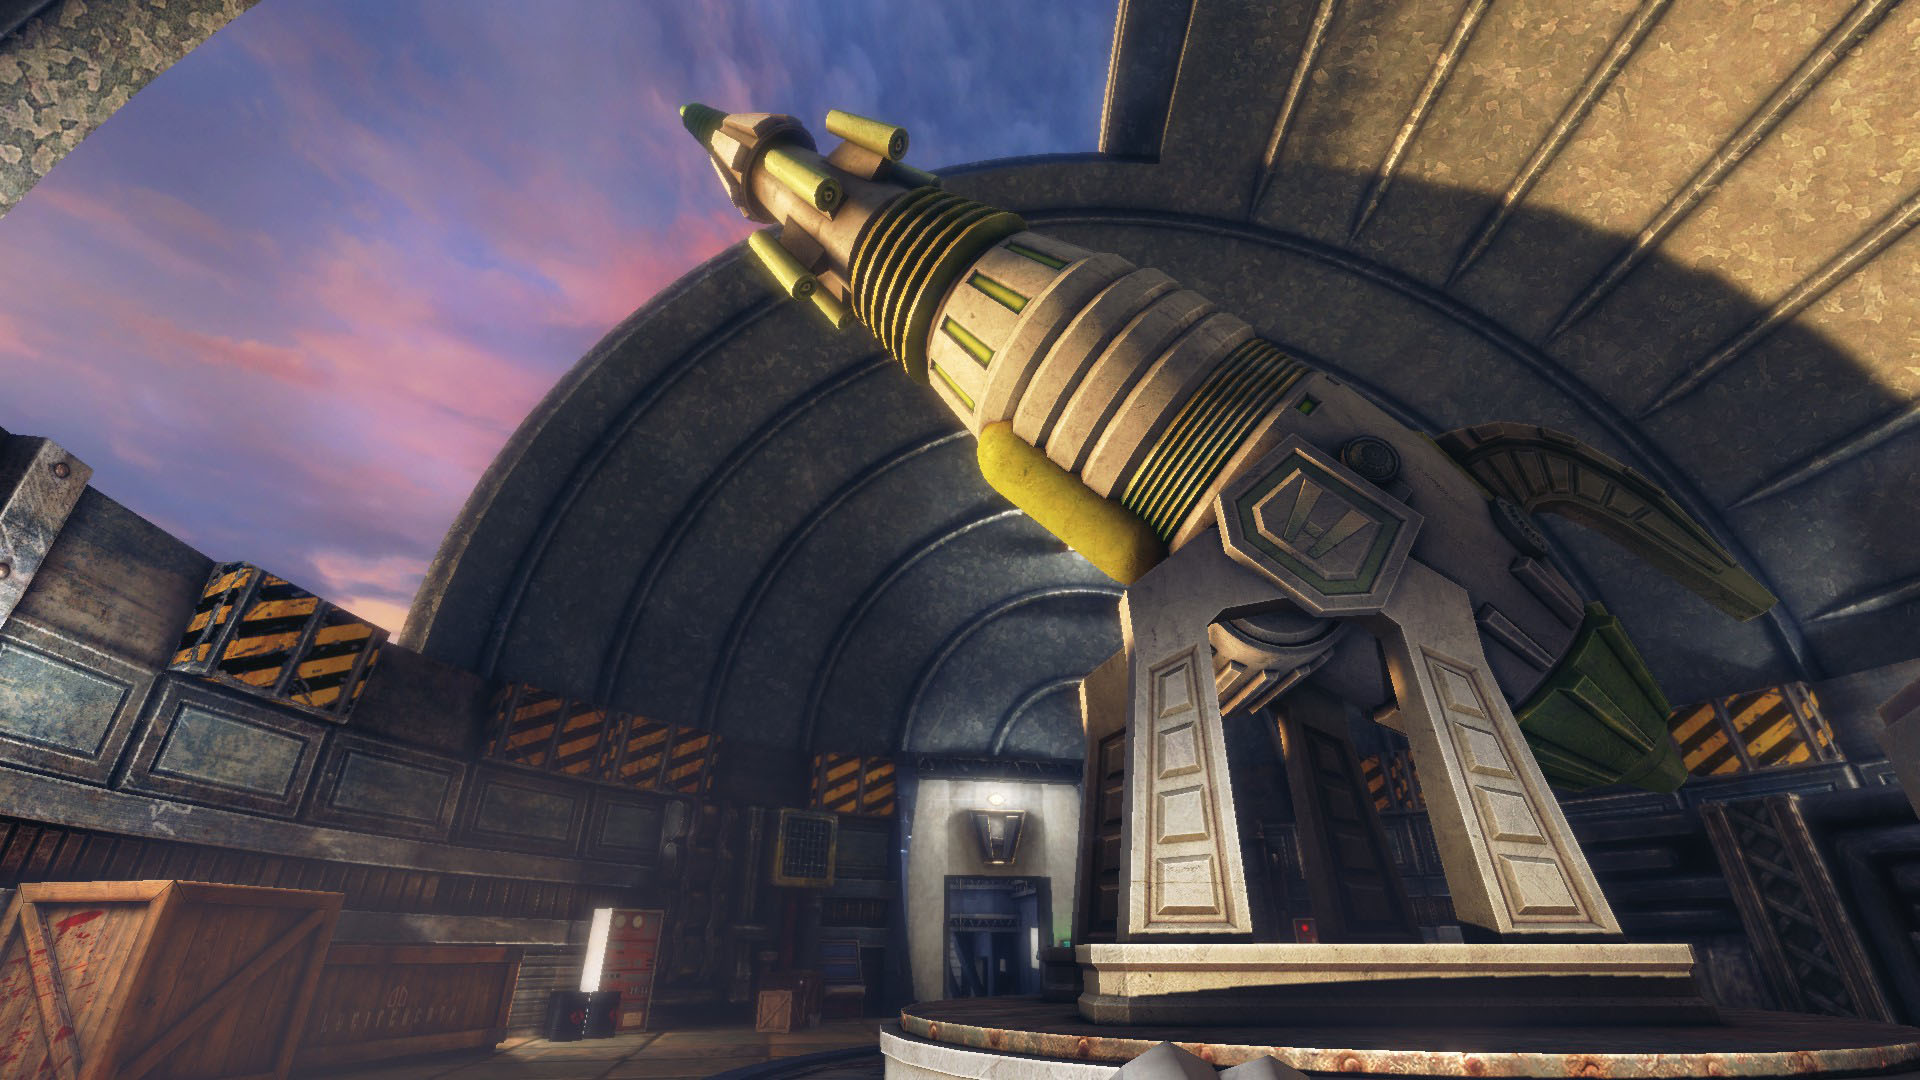 You'll find the Death Ray through the next door.
 Double-Oh Dumbass
Foolishly activate the Death Ray
In the room with the Death Ray, you'll see a console with a screen and a button. Simply press the button to activate the Death Ray.
 Locked In
Lock another player inside a holding cell where they belong
The holding cell room is on the starting floor. While it's possible to lock yourself in a cell while playing Solo, doing that doesn't unlock this achievement.
You may be able to get this in splitscreen, but I've heard differing results.
Additional Info: The Office and Disappearing Objects
There were changes to the janitor's trunk recently that I haven't yet looked into. Beware this information MAY be inaccurate. But any inaccuracies would be very minor.
A lot of people ask why their items disappear from their janitor trunk, so this section aims to explain a few things surrounding the office.
This percentage can determine a few things.
Less than 80%: You are fired. You lose any items you brought back from any level and your office is reset to its original state. You lose everything.
80% and higher: You completed the level just enough to keep your trophies, returned objects and your job.
95% and higher: "Adequately" cleaned. This percentage range is required for the cleaning achievements.
100% and higher: Employee of the Month! Congratulations! (You can get over 100%)
When you reset, the rubbish and viscera (and Bob's notes) will return and will have to be cleaned up again. You'll have to clean up around your trophies.
Additional Info: Save Files and Backing Up
This sections aims to explain what each save file does.
Self-explanatory. The most recent level played with occasional saves to this file.
Save0.sav, Save1.sav, Save2.sav, Save3.sav, ...
Individual saved games inside levels. File name can be seen in-game in the list of saved games.
SavedGameList.sav
List of saved games as seen in the game. This tells the game which of the previously mentioned saved games are to be shown in the list.
GlobalStatsData.sav
Chances are this file contains things such as number of items incinerated and other stats used for achievements. Not sure what this one does when you are fired.
IncidentReportsData.sav
The reports on the screen in the office. Resets when fired.
OfficeData.sav
Objects that were originally in it, including trash, computer, mug, banger and notes. Also the door codes. Resets when fired and from option on menu.
TrophyData.sav
Objects of any type inside the Office that were not originally from there. This remains when choosing to reset the office from the menu, but resets when fired.
TrunkData.sav
This evidently contains information pertaining to current contents of the Janitor's Trunk. I wouldn't recommend messing around with this, as it has produced odd results when I've tried. Probably resets when fired.
For Windows:
The safest thing to do is copy and paste the entire contents of that path to a new folder. You can leave it in that folder, or have a path such as "C:\Program Files (x86)\Steam\steamapps\common\Viscera\Saves\backup" containing the copies files.
It's a good idea to at least have a backup of OfficeData.sav, TrophyData.sav and IncidentReportsData.sav in case something goes wrong. Might also be a good idea to keep TrunkData.sav and GlobalStatsData.sav.
But I would recommend backing up every save file before completing a level. Then, if you are fired, you can put your old files back and finish cleaning the level.
Guide History
September 28, 2014
- Guide started
- 6 new achievements [6]
November 9, 2014
- 6 new achievements [12]
November 23, 2014
- 6 new achievements [18]
February 7, 2015
- 11 new achievements [29]
- Save files: Athena's Wrath, Caduceus, Cryogenesis
February 8, 2015
- Save files: Evil Science, Hydroponic Hell
February 9, 2015
- Save files: Paintenance Tunnels, Unearthly Excavation, Unrefinery, Waste Disposal
February 23, 2015
- Save files: Ubermensch achievement
- Recorded gameplay for the Ubermensch achievement (Still uploading ;_;)
February 24, 2015
- Uploaded gameplay for the Ubermensch achievement
- Added "How To Load Save Files" section
April 11, 2015
- Removed save files and "How To Load Save Files" section (sorry guys)
- 1 new achievement [30]
April 28, 2015
- 1 new achievement [31]
May 1, 2015
- Fixed Big Banger Burnout section up a bit (sorry again)
June 15, 2015
- 7 new achievements [38] (I'll get around to writing the actual guide on these soon)
June 28, 2015
- 1 new achievement [39]
- Added as much of a guide as I can of the Employee of the Year achievement (will add picture when I have 12)
July 20, 2015
- Finished guides for the latest achievements
August 22, 2015
- 1 new achievement [40] (keep an eye out for that minecraft easter egg)
September 09, 2015
- 4 new achievements [44] (guides for these are currently in the works)
October 30, 2015
- Halloween DLC! 10 new achievements [54] (guides on the waaay)
October 31, 2015
- Almost all guides finished! (Only need to catch up on my collectibles/notes)
November 27, 2015
- Guides are done pre much, might add a Bob's notes location guide sometime
- Added a section explaining the Office in some detail
December 10, 2015
- Santa's Rampage! 13 new achievements [67]
- Added guides for Christmas achievements
- Added a section explaining how to backup saves
December 23, 2015
- Frostbite map! 1 new achievement [68]
May 12, 2016
- Added images and descriptions of each Bob note (finally!)
July 7, 2016
- Shadow Warrior! 3 new achievements [71]
July 24, 2016
- Foreword added
December 18, 2017
- Uprinsing map! 1 new achievement [72]
May 10, 2018
- Added a link to the Russian (and Spanish) translations in the guide description. Thanks for your hard work, guys!
December 9, 2018
- New content incoming! Four new maps! 13 new achievements [85]
December 14, 2018
- Added some actual info for the newest achievements.
February 24, 2019
- Made some changes because of recent fixes and improvements. Let me know if I've missed anything!
August 04, 2020
- Added link to the Korean translation in the guide description. Great work!
Beat Viscera Cleanup Detail's 100% run?
Flex it — let your friends know you pulled it off.
- Punchomatic Cheat Sheet★ 5 (1.6k)54k views3.9k ♥38 minUpdated Sep 14, 2024
- Viscera Cleanup Detail for beginners★ 5 (761)50k views818 ♥9 minUpdated Dec 16, 2016
- Unlocking your Office!★ 5 (443)44k views515 ♥4 minUpdated Jan 28, 2022
- Buckets, Baskets, and Mops [How-to and advanced advice]★ 5 (673)32k views727 ♥11 minUpdated Jul 2, 2018
- Highest Completion Percentage For Each Level★ 5 (481)25k views1.2k ♥7 minUpdated May 14, 2019
- Article 402: Sanitation Manual★ 5 (883)25k views1.3k ♥63 minUpdated May 9, 2017




- Upgrading to PremiumTeam Fortress 2★ 5 (20k)1441k views11k ♥6 minUpdated May 11, 2022
- No More Room in Hell Official ManualNo More Room in Hell★ 5 (2.8k)569k views2.1k ♥29 minUpdated Apr 22, 2019
- NMRiH Community Hosting GuidesNo More Room in Hell★ 5 (526)351k views653 ♥1 minUpdated Aug 10, 2022
- How to 'Git Gud' Soon™MORDHAU★ 5 (2k)318k views3k ♥68 minUpdated Nov 16, 2024
- Лучшие кооперативные игры SteamPAYDAY 2★ 5 (1.5k)315k views2.1k ♥56 minRussianUpdated Apr 27, 2025
- Desert Eagle Heat Treated | Blue GemCounter-Strike 2★ 5 (1.6k)292k views1.5k ♥2 minUpdated Jan 16





This guide was created by its original author on the Steam Community. Are you the author and want it removed? Request removal.