"All-in-one" Guide for Darkest Dungeon
Introduction

Welcome to the "All-in-one" Guide for Darkest Dungeon!
This guide want to be a usefull guide for who want a practical guide for that will help you make the right choices like Hamlet upgrade, trinket to keep or sell, quirks, curios, provisions and much more.
Most of information and images are taken from the game or from
FANDOM Darkest Dungeon Wiki [darkestdungeon.fandom.com] and for the team building part, I mostly used that guide Party Building/Composition by Superpseudo that you can find usefull because it's going in dept in the combat system overall more than the part that I used for this guide!!
For now the guide is a WORK IN PROGRESS and I made it mainly to have a one place with all the informations that I need for my playthroughs so that I don't have to memorize everything or to juggle with differents guides/sites.
I'm happy to hear you if there is something that's wrong or if you think i'm missing something in this guide!
And now let's start with what you are looking for and...
"Remind Yourself That Overconfidence Is A Slow And Insidious Killer"
Hamlet Upgrade Tips
 "Welcome Home, Such As It Is. This Squalid Hamlet, These Corrupted Lands, They Are Yours Now, And You Are Bound To Them"
The Hamlet is the starting point of every expedition you will take in Darkest Dungeon and upgrading it in the right way will help immensely to have a good start, you will save a ton of gold and keeping your roster of heroes full and healthy!
Always remember that heirlooms can be exchanged one with another with different ratios, so if you miss few heriloom of a certain type you can always see if you can use other ones and trade with the type that you need, but be aware that is better always to trade common heirlooms for rarest (example Crests for Deeds or Busts) and not the opposite (exaple: Portraits for Crests) if you don't know what are you doing.
Now let's see what is better prioritize to have the best start:
- First for sure is the Stage Coach Network (most of the time you can unlock lvl 2 right after tutorial if you exchange few Crests for the missing Deeds), and aim to reach lvl 3
- After that Hero Barracks are a must to keep incrementing the amount of heroes in your roster

- Guild is you second focus and the main use you will do for Portraits at the start of the game, aim for the Instructor mastery lvl 1
- Training Regimen will be the main focus after that, just dump every Portrait possible for reducing the costs of upgrading and buying Heroes skills at lower costs possible

- Along side Guild the Blacksmith is what you need to upgrade when you don't need your Deeds for the Hero Barracks, upgrading Weaponsmithing and Armorsmithing at lvl 1
- Like Guild the next upgrade will be the Furnace to reduce the costs of weapons and armors of your Heroes trying to maxing it as fast as possible

- Sanitarium will be the next upgrade and the main use of Busts upgrading Treatment
Library at lvl 2 - Medical Devices at lvl 1 or 2 depending how much you are getting diseases
- aim to level up Patient Cells at lvl 2 to have an extra ward slot for each treatment
- just level up Treatment Library to max and Medical Devices after that
After that just upgrade Abbey and Tavern for stress relief and everything else.
Loot Tips
Mastering this concept will make it easier to collect more loot, but you'll quickly realize can even impacts the provisions you need to bring. The drop rate increases dramatically when your torch light is completely depleted (at 0), and you can strategically exploit this in a few different situations:
- You're currently in a fight and know it's the last fight of your expedition
- You're in a fight and know you plan to use a campfire immediately afterward
You can even use this trick, if you've taken a lot of torches and no more than once per expedition, without needing to be at the very end of the run or planning to use a campfire.
- TRINKETS -
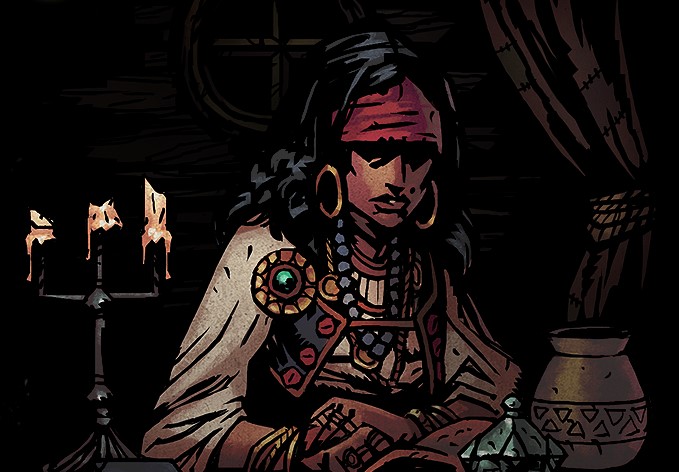 "Idol, amulet or lucky charm. The simplest object can be a talisman against evil"
Now that you know how to upgrade efficently the Hamlet you are just ready to embark in the next expedition and there you will start looking for what mission to start based on reward and mainly trinkets!
In that section you will find mainly the trinkets to avoid or sell just to keep it short. Everything else will have some use or good use, just remeber that dodge is a bit useless early game, speed, accuracy, are godly and resistance, bleed/blight chance are always good.
Trinkets to avoid
Notes: TCM trinkets aren't considering Farmstead endless run where some of that trinket could perform good
Non-class Trinkets

+10% MAX HP
-25% Healing Received

-10% Death Blow Resist

-1 SPD

-1 SPD

-1 SPD

-6 DODGE if HP below 50%

-10% Death Blow Resist

-1 SPD

-33% Healing Received

-2 DODGE

+12% CRIT on First Round
-3 SPD after First Round

+10 DODGE if Torch above 75
+10% Stress

+20% Stress

+7 SPD if Crimson Curse - Wasting

+100% Healing when Eating if has Crimson Curse
+100% Food Consumed if has Crimson Curse

-25% Bleed Resist if has Crimson Curse

+33% Disease Resist if Torch below 75
+33% Stun Resist if Torch below 50
+15% Stress

-20% Virtue Chance
+5% CRIT if Shard Dust in inventory

On Monster Kill: Buff Self: +2 ACC (2 Battles)
Hero Killed: Party: Stun (120% base)
Hero Killed: Party: Stress +25

+15% Stress

+15% Stress
Class-specific Trinkets

Abomination

Antiquarian

Antiquarian

Arbalest
+30% Move Skill Chance
-1 SPD

Crusader
-3% CRIT

Hellion
-20% Stun Resist

Leper

Man-at-Arms
-10% Stun Resist
-10% Move Resist

Man-at-Arms
-2 SPD

Plague Doctor
-5% MAX HP

Vestal
-5% MAX HP

Vestal
+2 SPD after First Round
-25% Stun Skill Chance

Musketeer
+20% Random Target Chance

Jester
+20 DODGE if in position 1

Man-at-Arms
30% Damage Reflection
+20% Stun Resist

Plague Doctor
+35% Disease Resist
- SHARED CURIOS -
"Wealth beyond measure, awarded to the brave and the foolhardy alike"
Before starting the section about every area and tips to deal with them, in every dungeon you will find curios to interact with using bare hands or provisions.
This section is for curios that are shared by every area




25% Nothing
25% Nothing
20% Scounting
20% Nothing


(First Variant)
(Second Variant)
Antivenom > Heirlooms x3
Shovel > 66.6% Any loot x2 33.3% Nothing
12.5% Bleed
12.5% Blight
25% Bleed
25% Blight
25% Blight



10% Purge Negative Quirk
50% Nothing

22.2% RNG Positive Quirk
11.1% RNG Negative Quirk
16.7% Journal Entry
16.7% Nothing
- SHARED ENEMY FACTIONS -
"As the fiend falls, a faint hope blossoms"
Now let's watch some enemy type that are shared by every area.
This type of section will be ordered by Priority focus, Noticeable Skill of that enemy and some Notes about it.
Shared Factions: The Cultists

Cultist Acolyte
Priority: High
Incantation
 Stress +15
 Torch -10 Stress +17 Torch -10
 Mark (3 rds) Stress +20 Torch -10 Mark (3 rds)
 100% Pull 2 120% Pull 2 Stress +5 140% Pull 2 Stress +8 100% Knockback 2 120% Knockback 2 Stress +5 140% Knockback 2 Stress +8
Notes: Stress dealer for excellence and shuffling the party, focus him

Cultist Brawler
Priority: Medium
Old Gods
 +50% vs Marked
 100% Bleed 1
 100% Debuff: +10% Stress +50% vs Marked 120% Bleed 2 120% Debuff: +15% Stress +50% vs Marked 140% Bleed 3 140% Debuff: +20% Stress
Notes: Debuff increasing stress, plus some bleeding
Shared Factions: The Brigands
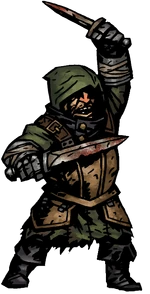
Brigand Cutthroat
Priority: High
100% Debuff: -15% Bleed Resist 120% Debuff: -25% Bleed Resist 140% Debuff: -35% Bleed Resist 100% Bleed 1 120% Bleed 2 140% Bleed 3Notes: Bleeding and damage dealer, focus him and take him down

Brigand Bloodletter
Priority: Medium
100% Bleed 1 Stress +5 120% Bleed 2 Stress +5 140% Bleed 3 Stress +5 100% Bleed 2 Stress +5 120% Bleed 3 Stress +5 140% Bleed 4 Stress +5 100% Knockback 1 120% Knockback 1 140% Knockback 1Notes: Aoe bleed and stress and high damage for the rank 1. Stun him and push him back
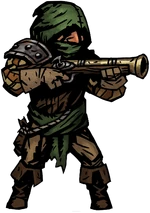
Brigand Fusilier
Priority: Low
100% Debuff: -2 DODGE 120% Debuff: -4 DODGE 140% Debuff: -6 DODGENotes: Reducing dodge, easy to manage with Riposte
Shared Factions: The Unholy Creatures

Ghoul
Priority: High
on Apprencie
120% Bleed 3 120% Debuff: +15% Stress 140% Bleed 4 140% Debuff: +20% Stresson Apprencie
Stress +15 100% Stun Stress +15 130% Stun
on Apprencie
 75% Horror 3 Torch -10
 5% Disease (The Worries) 75% Horror 3 Torch -10 5% Disease (The Worries)
Notes: Stress debuff, stress, horror, stun, disease....don't need to say anything less than KILL HIM FAST
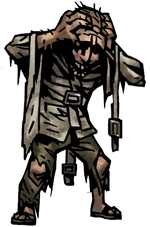
Madman
Priority: Medium
80% Stress +7 (AOE) 80% Stress +9 (AOE) 80% Stress +9 (AOE) Horror 3 (4 rds) 100% Debuff:+15% Stress (Until Camp)
Horror 4 (4 rds) 120% Debuff:+15% Stress (Until Camp)
Horror 4 (4 rds) 140% Debuff:+15% Stress (Until Camp)
Notes: Stress debuff, stress, horror, high dodge try to focus him when possible

Gargoyle
Priority: Low
on Apprencie
50% Shuffle Targets 65% Shuffle Targetson Apprencie
120% Stun 85% Knockback 1 140% Stun 100% Knockback 1Notes: Stun, shuffle and high prot but not much a threath

Bone Rabble
Priority: Very Low
120% Debuff: -7 DODGE 140% Debuff: -10 DODGENotes: Dodge debuff at higher difficulty but it isn't a threath, just ignore him
Shared Factions: The Wildlife

Maggot
Priority: High
Stress +5 75% Stun 15% Disease (any) Stress +5 85% Stun 15% Disease (any) Stress +5 95% Stun 15% Disease (any)Notes: Disease, Stress and stun are a good amount of reason to kill them fast


Webber/Spitter
Priority: Medium
(Only Webber)
100% Stun Mark (3 rds) 100% Debuff:-15% Blight Resist
120% Stun Mark (3 rds) 120% Debuff:-20% Blight Resist
140% Stun Mark (3 rds) 140% Debuff:-25% Blight Resist
(Only Spitter)
+100% DMG vs Mark 100% Blight 1 100% Debuff:
-5 ACC
+100% DMG vs Mark 120% Blight 2 120% Debuff:-7 ACC
+100% DMG vs Mark 140% Blight 3 140% Debuff:-10 ACC
+100% DMG vs Mark 100% Blight 1 +100% DMG vs Mark 120% Blight 2 +100% DMG vs Mark 140% Blight 3Notes: Spitter do more damage and webber have a stun and mark ability both stacking blight. Focus Spitter first to reduce damage taken
Shared Faction: Shieldbreaker's Nightmares (Shieldbreaker DLC)

Pliskin
Priority: High
100% Blight 2 120% Blight 3 140% Blight 4 100% Blight 3 120% Blight 4 140% Blight 4Notes: Stealth at start of the fight and high crit when stealthed, just remember to equip Expose and Puncture before camping to de-stealth and break guard for an easier fight

Rattler
Priority: Medium
 Guard Ally
 Self Buff: +10% PROT
 Riposte: -60% DMG
-3% CRIT
Guard AllySelf Buff: +10% PROT Riposte: -60% DMG-3% CRIT
Guard AllySelf Buff: +10% PROT Riposte: -60% DMG-3% CRIT
100% Bleed 2 120% Bleed 3 140% Bleed 4Notes: Dangerous when guarding Pilskin, just remember to equip Puncture before camping
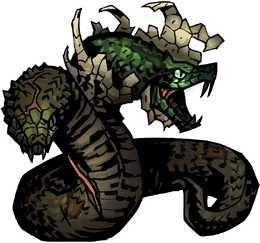
Adder
Priority: Low
100% Blight 3 120% Blight 4 140% Blight 4 120% Stun 140% Stun 160% Stun Heal 8
 Cure Blight/Bleed Cure Debuffs Buff:
+10% Blight skill chance
+10% DMG
Heal 12 Cure Blight/Bleed Cure Debuffs Buff:+10% Blight skill chance
+10% DMG
Heal 16 Cure Blight/Bleed Cure Debuffs Buff:+10% Blight skill chance
+10% DMG
Notes: huge health prot and heal, last in focus. Be conscious of his stun
Shared Factions: The Bloodsuckers (CC DLC)
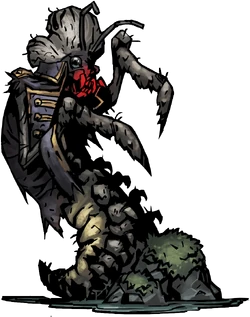
Chevalier
Priority: High
on Apprencie
105% Stun 120% Debuff: -40 DODGE 125% Stun 140% Debuff: -50 DODGEon Apprencie
120% Bleed 3 120% DEbuff:-25% Bleed Resist
Self Back 1 140% Bleed 3 140% DEbuff:-25% Bleed Resist
Self Back 1Notes: High damage, stun and high bleed damage, try to keep him stunned (low stun res) when you manage to kill other enemies and if possible kill him

Gatekeeper
Priority: High
100% Pull 2 90% Stress +10 Mark (3 rds) 120% Pull 2 90% Stress +12 Mark (3 rds) 140% Pull 2 90% Stress +14 Mark (3 rds) Horror 3 Summon 4 Sycophants Horror 3 Summon 4 Sycophants Horror 3 Summon 4 Sycophants
Notes: High dodge, summon enemies and stress make him a target you should focus
-
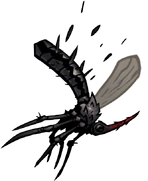

Sycophant
Priority: Medium
Thirsty Form Stress +9 Self Back 4 Stress +11 Self Back 4 Stress +13 Self Back 4 31% Crimson Curse 85% Stress +8 Self Forward 4 On Hit Self Buff: +20% Stun skill Chance (6 rds) Heal 4 Receive target Blight
 Change form to Bloodlust 31% Crimson Curse 85% Stress +8 Self Forward 4 On Hit Self Buff: +25% Stun skill Chance (6 rds) Heal 4 Receive target Blight Change form to Bloodlust 31% Crimson Curse 85% Stress +8 Self Forward 4 On Hit Self Buff: +30% Stun skill Chance (4 rds) Heal 4 Receive target Blight Change form to Bloodlust
-
90% Stun Stress +4 Self Back 4 100% Stun Stress +5 Self Back 4 110% Stun Stress +6 Self Back 4 100% Bleed 2 Self Forward 4 120% Bleed 3 Self Forward 4 140% Bleed 3 Self Forward 4 31% Crimson Curse 85% Stress +12 Self Forward 4 On Hit Heal 4 Debuff: -20 ACC -4 SPD Receive target Blight 31% Crimson Curse 85% Stress +12 Self Forward 4 On Hit Heal 6 Debuff: -18 ACC -3 SPD Receive target Blight 31% Crimson Curse 85% Stress +12 Self Forward 4 On Hit Heal 9 Debuff: -15 ACC -2 SPD Receive target BlightNotes: Stress, Crimson Curse, Stun and even higher damage on Bloodlust form. Low Hp make them easy to kill but they are quite dangerous if managed bad
-

Supplicant
Priority: Low
31% Crimson Curse Self Forward 4 31% Crimson Curse Self Forward 4 31% Crimson Curse Self Forward 4 100% Blight 2 100% Debuff: -25% Bleed Resist Self Forward 1 120% Blight 3 120% Debuff: -25% Bleed Resist Self Forward 1 140% Blight 4 140% Debuff: -25% Bleed Resist Self Forward 1Notes: Immune to stun, high health pull. Not much dangerous compared to others bloodsuckers
- RUINS -
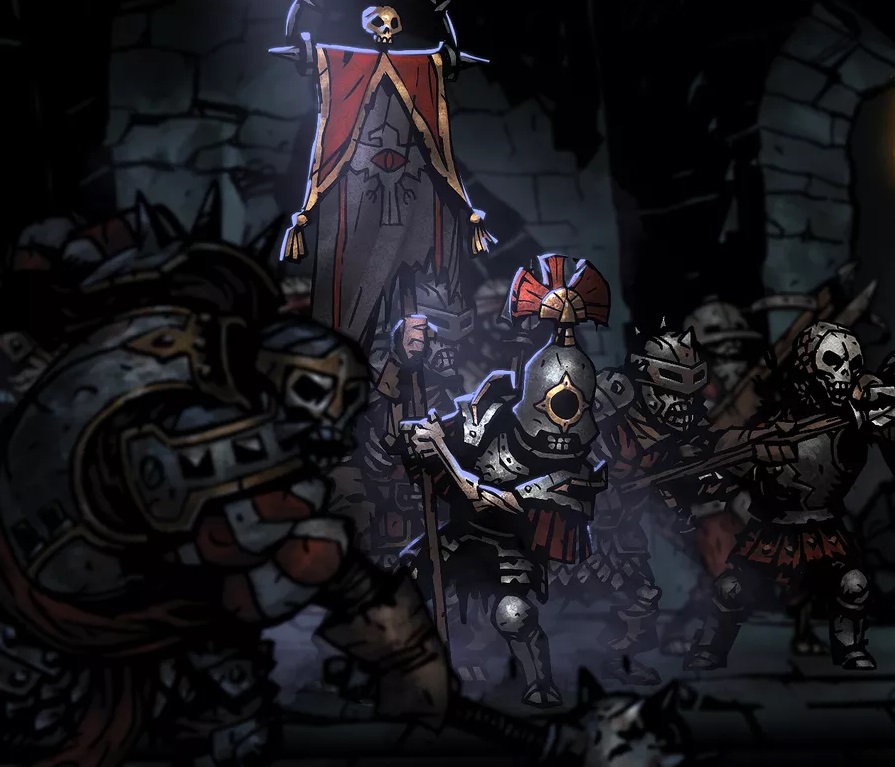 "Pace out the halls of your lineage, once familiar, now foreign"
Ruins is the first dungeon that can be explored. It's a crumbling castle full of undead, cultists and necromancers.
In this section will be covered every detail to prepare doing expedition in Ruins, starting from what type of team fits better vs this region, than what provisions to bring, what curios you can find there and every enemies you can encounter.
Team building: Ruins


Bonus DMG vs Unholy


Blight is effective


You can use knockback, pull, and shuffle abilities to move enemies out of position, forcing them to use weaker attacks. Enemies such as the Cultist Brawlers[darkestdungeon.fandom.com],Bone Defenders[darkestdungeon.fandom.com], Bone Courtiers[darkestdungeon.fandom.com] and Bone Arbalists[darkestdungeon.fandom.com] Veteran Dungeons
The Bone Captain[darkestdungeon.fandom.com] can be countered with a strong stun
and/or with a tanky hero in rank 1.
Champion DungeonsThe Bone Bearer[darkestdungeon.fandom.com] can be countered by using blight
attacks, because enemies that die to blight don't leave corpses and therefor cannot be resurrected by him.Provisions: Ruins (Work in Progress)
Provisions are an hot topic in the Darkest Dungeon community because it's full of opinions and different playstyles, difficulty settings, rank of the expedition could change the amount and the type of provisions you take with you.
My objective is to give a general advice to the amount and type of provisions that you should take with you, explaining why you need it so you could make your own choice.
The amount could be affected to the difficulty setting (Stygian/Bloodmoon deplete faster on new areas increased to 7 instead of 6) and could be higher if you use the stragegy I've explained in the Loot Tips at the start of the guide.
Curios: Ruins
Enemies: Ruins
- WEALD -
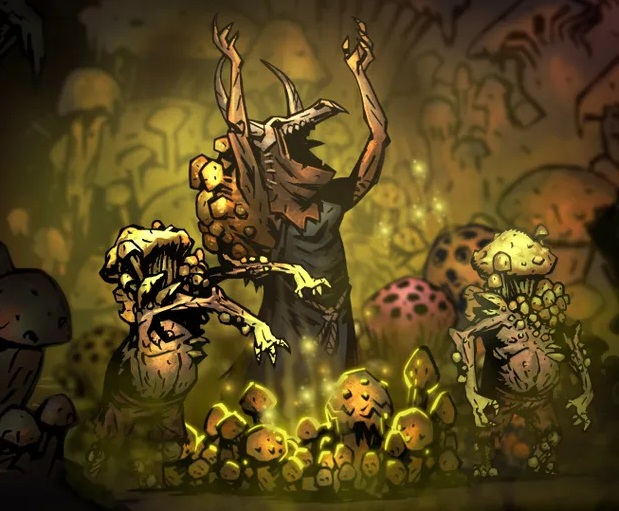
"Excise the fungal tumors and the land may yet live"
Weald is a stagnant, overgrown forest inhabited by bandits and the victims of parasitic fungus and hags.
In this section will be covered every detail to prepare doing expedition in Weald, starting from what type of team fits better vs this region, than what provisions to bring, what curios you can find there and every enemies you can encounter.
Team building: Weald


Bonus damage vs Human and Eldritch


Bleed is effective

 (cure disease camping skills)
The Weald is one of the more likely places to catch a disease


The enemies here take advantage of marking
synergy.Fungal Scratchers[darkestdungeon.fandom.com] will focus on marked heroes and use a more powerful attack, 'Rend the Marked', against them. The Arbalest 'Flare' ability removes marks.


Alternatively, instead of removing marks, you can choose to tank the damage. These are heroes that can apply a +PROT buff to themselves, and even Mark themselves, too. The Flagellant in particular benefits from being marked, because taking damage allows him to use his powerful healing abilities Veteran Dungeons
 (is also good at tanking)
Besides getting 'Rend the Marked' to death, the other way you're likely to die in the weald is to the Unclean Giant[darkestdungeon.fandom.com] and his powerful 'Treebranch Smackdown' ability. The Man-at-Arms Guard ability applies such a strong +PROT buff, that it allows him to eat crit Treebranch Smackdowns for breakfast
Champion Dungeons
The Hateful Virago[darkestdungeon.fandom.com] can be countered by using bleed attacks, because enemies that die to bleed don't leave corpses for her to transform into mushrooms that block healing
Provisions: Weald
Curios: Weald
Enemies: Weald
- WARRENS -
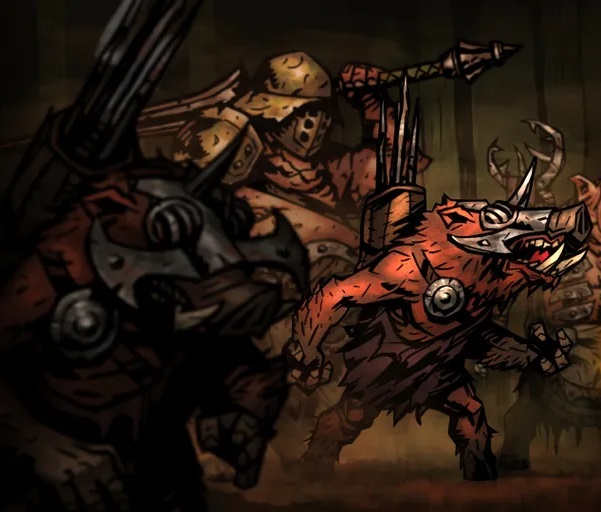
"They breed quickly down there in the dark, but perhaps we can slay them even faster"
Warrens are a maze of aqueducts and cellars inhabited by beasts and man-pigs always ready to fight.
In this section will be covered every detail to prepare doing expedition in Warrens, starting from what type of team fits better vs this region, than what provisions to bring, what curios you can find there and every enemies you can encounter.
Team building: Warrens

Bonus damage vs Human and Beast
Bleed is effective
(Cure Disease camping skill)It's really easy to get diseased here from the curios and Swine Wretches[darkestdungeon.fandom.com] Veteran Dungeons
The Swinetaur[darkestdungeon.fandom.com] can be countered with a strong stun
, or by using the Man-at-Arms to guard and take the hit
Champion Dungeons


(they can reach the back)
There is an enemy named the Swine Skiver[darkestdungeon.fandom.com] that needs to be killed immediately
Provisions: Warrens
Curios: Warrens
Enemies: Warrens
- COVE -

"The smell of rotting fish is almost unbearable..."
Cove are waterlogged caverns inhabited by fishmen, creatures of the sea, and undead.
In this section will be covered every detail to prepare doing expedition in Cove, starting from what type of team fits better vs this region, than what provisions to bring, what curios you can find there and every enemies you can encounter.
Team building: Cove
Bonus DMG vs Eldritch
Bonus DMG vs Unholy. There are only a couple of unholy enemies that appear in the cove, but they are very high-priority targets.
Specifically, I'm talking about the Drowned Thrall[darkestdungeon.fandom.com]
Blight is effective Veteran Dungeons

The Uca Major[darkestdungeon.fandom.com] inflicts a powerful bleed, so you can counter it by bringing a Plague Doctor and using 'Battlefield Medicine' to cure bleed. In fact, doing this enables you to infinitely stall off of the Uca Crusher Champion Dungeons

 (Bring Medicinal Herbs for Hellion's 'Revel')
The Squiffy Ghast[darkestdungeon.fandom.com] can be countered by bringing stress-healing heroes. You might also consider bringing Laundanum, a usually not very useful provision item
Provisions: Cove
Curios: Cove
Enemies: Cove
- DARKEST DUNGEON (Spoilers)-
 "In time, you will know the tragic extent of my failings..."
Because of how risky the Darkest Dungeon is, try to go in with fully upgraded heroes, and buy all of the provisions that you can. There is no nighttime ambush in the Darkest Dungeon, so don't worry about that. Don't worry about Shovels and Keys, either.
Darkest Dungeon: We Are The Flame (Spoilers)
Provisions: Darkest Dungeon
Curios: Darkest Dungeon
Enemies: Darkest Dungeon
- COURTYARD > CRIMSON COURT DLC -
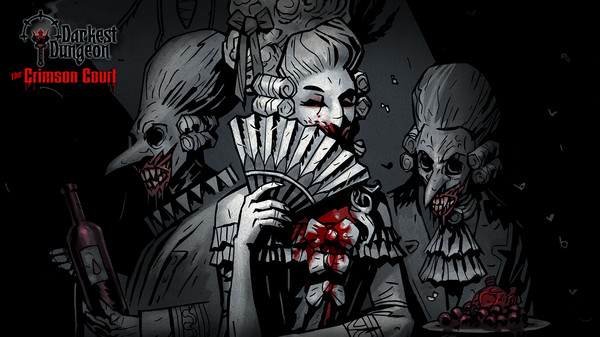
Team building: Courtyard
Bleed is effective


Taking a lot of stress damage is basically unavoidable, because you run into enemy compositions that have too many stress-dealers in them, like multiple Sycophant[darkestdungeon.fandom.com] or Manservant[darkestdungeon.fandom.com]. Also, heroes that have the crimson curse can stress each other out. On the other hand, there are some curio interactions that greatly assist in managing stress


The Vestal and the Man-at-Arms improve your team's survivability. Because the Courtyard is difficult, playing it safe with them isn't a bad idea
The Courtyard is brutal, but your progress is saved, so even if you have to abandon the quest, the next time that you return you will resume from the spot that you left off at. It may take multiple visits to reach the boss, but when you finally do, you can create a different team specifically for that boss.
Provisions: Courtyard
Curios: Courtyard
Enemies: Courtyard
- FARMSTEAD > THE COLOR OF MADNESS DLC -
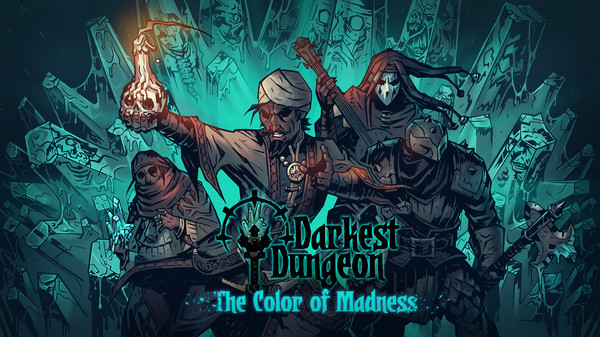
Team building: Farmstead
Provisions: Farmstead
Curios: Farmstead
Enemies: Farmstead
- BOSSES -
- QUIRKS -
- Curio Guide★ 5 (5.1k)96k views13k ♥10 minUpdated Feb 2, 2022
- Party Building/Composition★ 5 (2.2k)60k views5.8k ♥27 minUpdated Jun 28, 2018
- Know Your Dungeon: 15 Adventuring Tips★ 5 (2.6k)58k views4.3k ♥52 minUpdated May 31, 2020
- The Darkest Dungeon 101 - All You Need to Know★ 5 (2.1k)56k views6.1k ♥21 minUpdated Jun 20, 2022
- The Complete Guide to Provisions★ 5 (2.2k)50k views6.1k ♥20 minUpdated Jun 24, 2020
- Darkest Dungeon без боли: 100 страниц боевого опыта★ 5 (2.6k)48k views4.7k ♥179 minRussianUpdated Aug 30, 2020





- Upgrading to PremiumTeam Fortress 2★ 5 (20k)1441k views11k ♥6 minUpdated May 11, 2022
- No More Room in Hell Official ManualNo More Room in Hell★ 5 (2.8k)569k views2.1k ♥29 minUpdated Apr 22, 2019
- NMRiH Community Hosting GuidesNo More Room in Hell★ 5 (526)351k views653 ♥1 minUpdated Aug 10, 2022
- ULTIMATE GUIDE FOR GAME DEV TYCOONGame Dev Tycoon★ 5 (5.8k)326k views10k ♥4 minUpdated 23 Jan, 2014
- How to 'Git Gud' Soon™MORDHAU★ 5 (2k)318k views3k ♥68 minUpdated Nov 16, 2024
- Лучшие кооперативные игры SteamPAYDAY 2★ 5 (1.5k)315k views2.1k ♥56 minRussianUpdated Apr 27, 2025






This guide was created by its original author on the Steam Community. Are you the author and want it removed? Request removal.