Call of the Dead Easter Egg + Achievements Guide
Map Specific Achievements
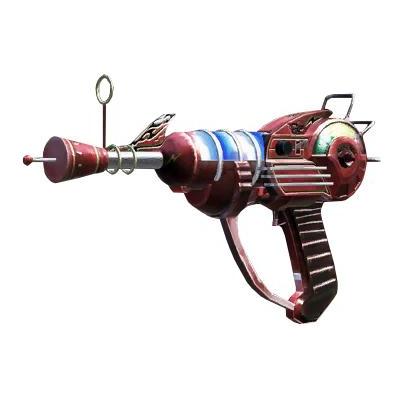
 Stuntman - In Call of the Dead, make a zombie explode using the V-R11.
Pack-a-Punch the V-R11 and shoot a zombie twice with it.
 Quiet on the Set - In Call of the Dead, cut the lights on the Director.
Kill George Romero. (George has 250,000 health PER player)
 Shooting on Location - In Call of the Dead, kill 10 zombies with one Scavenger shot from over 100 feet away.
Self-explanatory.
 Stand-in - In Call of the Dead, send the crew to Paradise in solo or co-op.
Self-explanatory. Complete the Easter Egg in solo or co-op.
 Ensemble Cast - In Call of the Dead, send the crew to Paradise in co-op.
Self-explanatory. Complete the Easter Egg in co-op.
Music Easter Egg
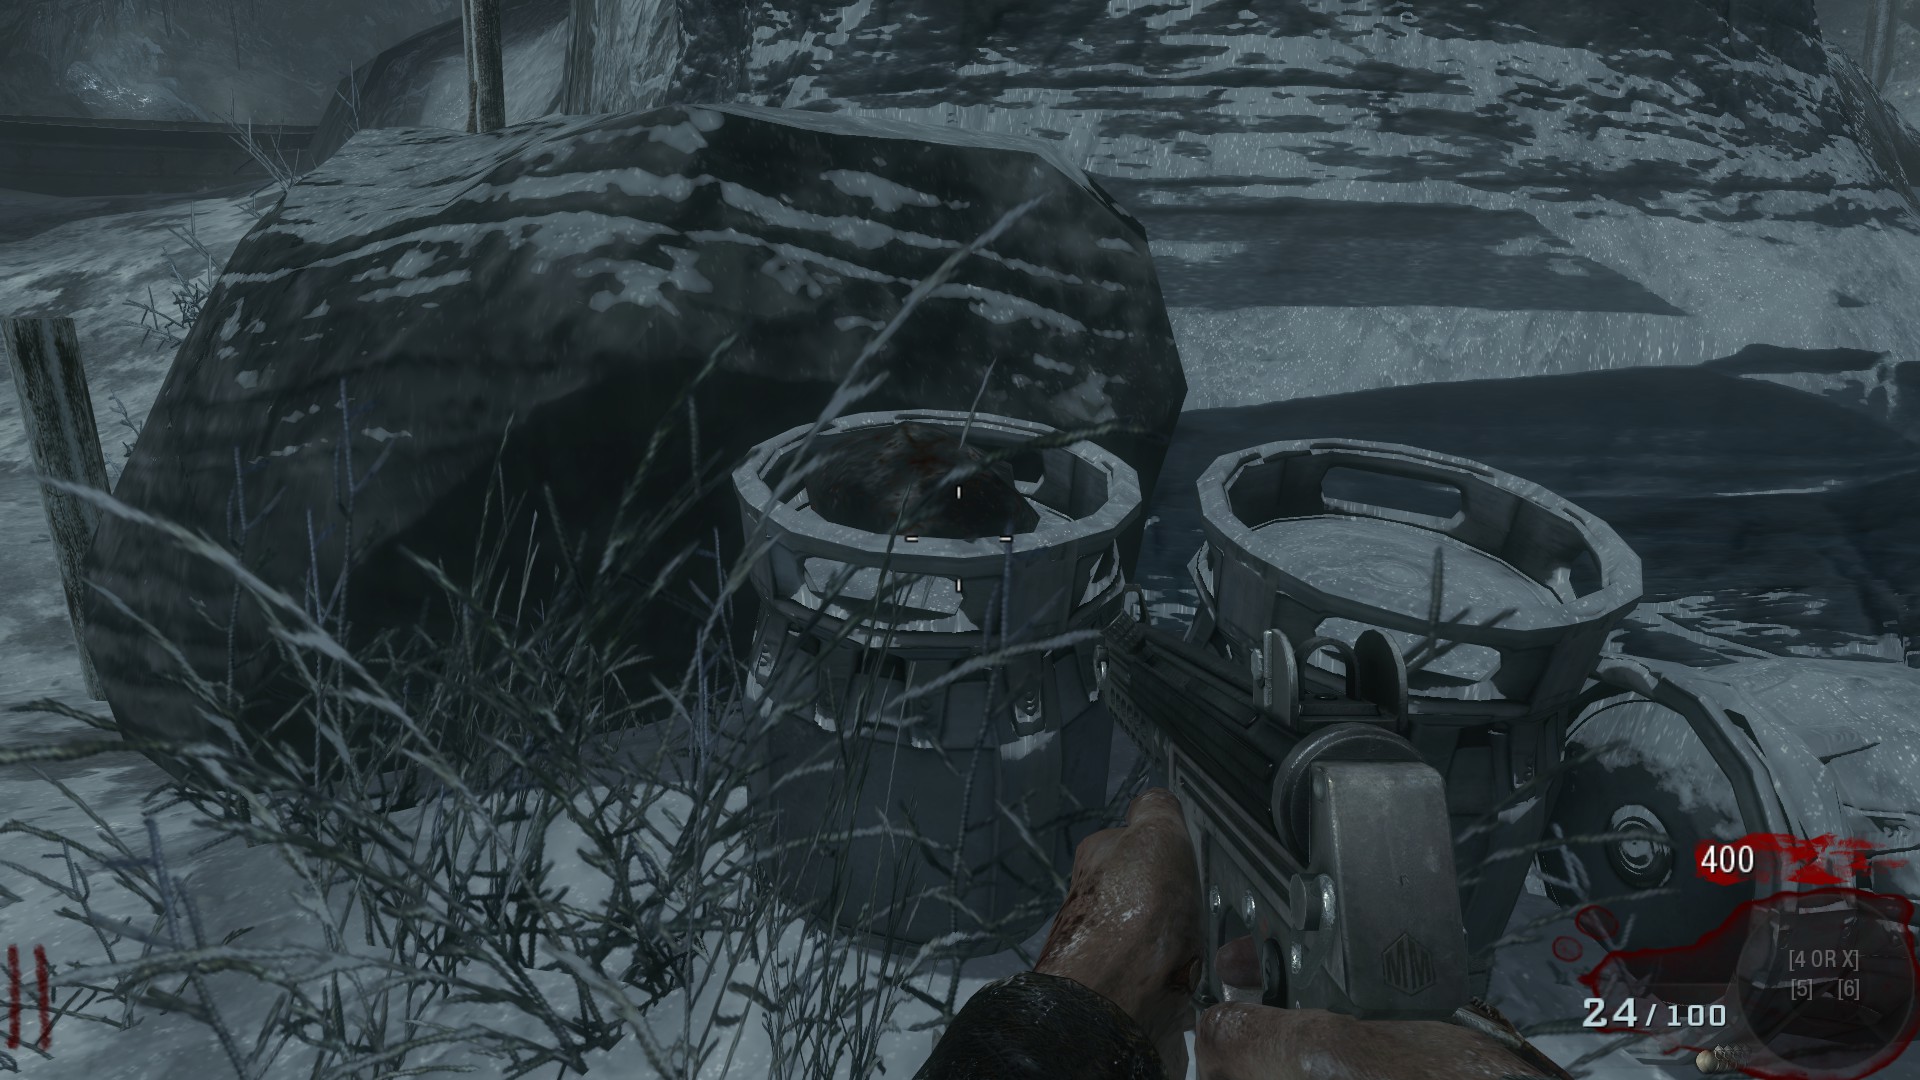
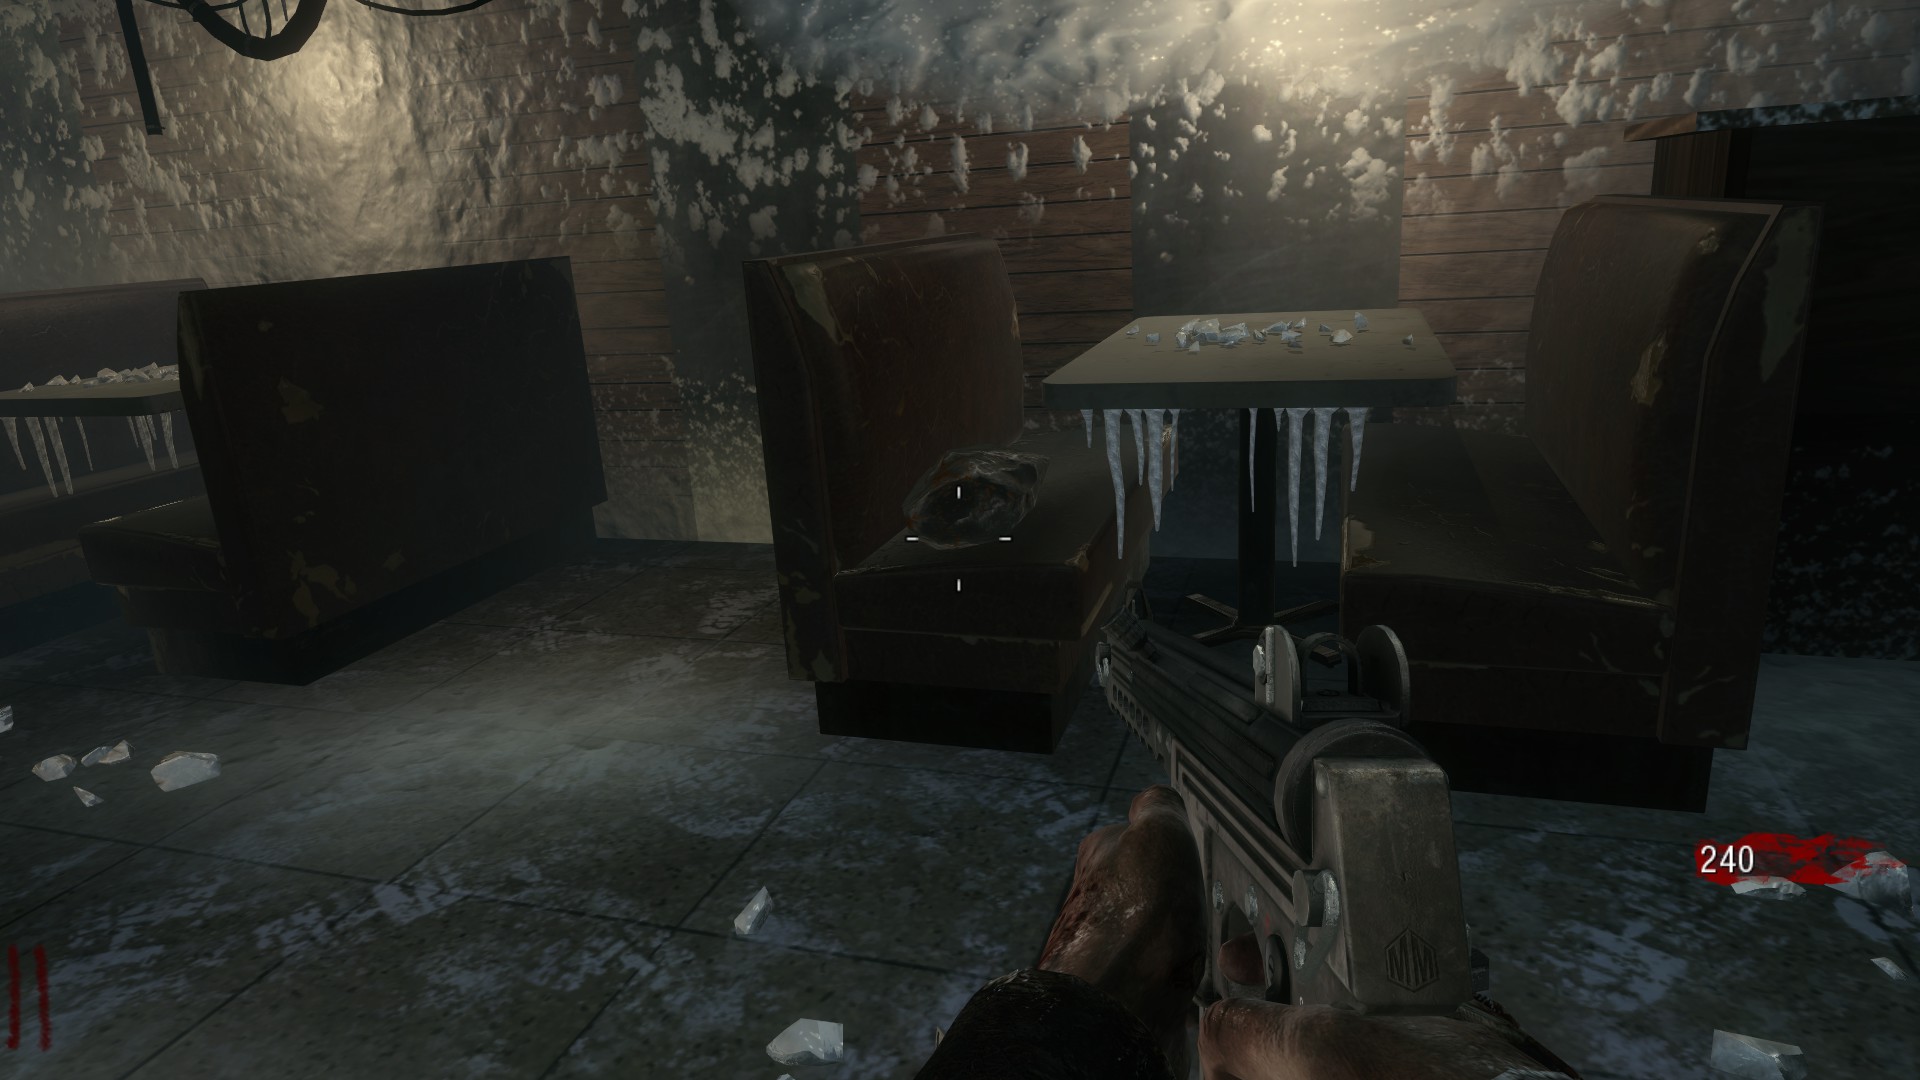
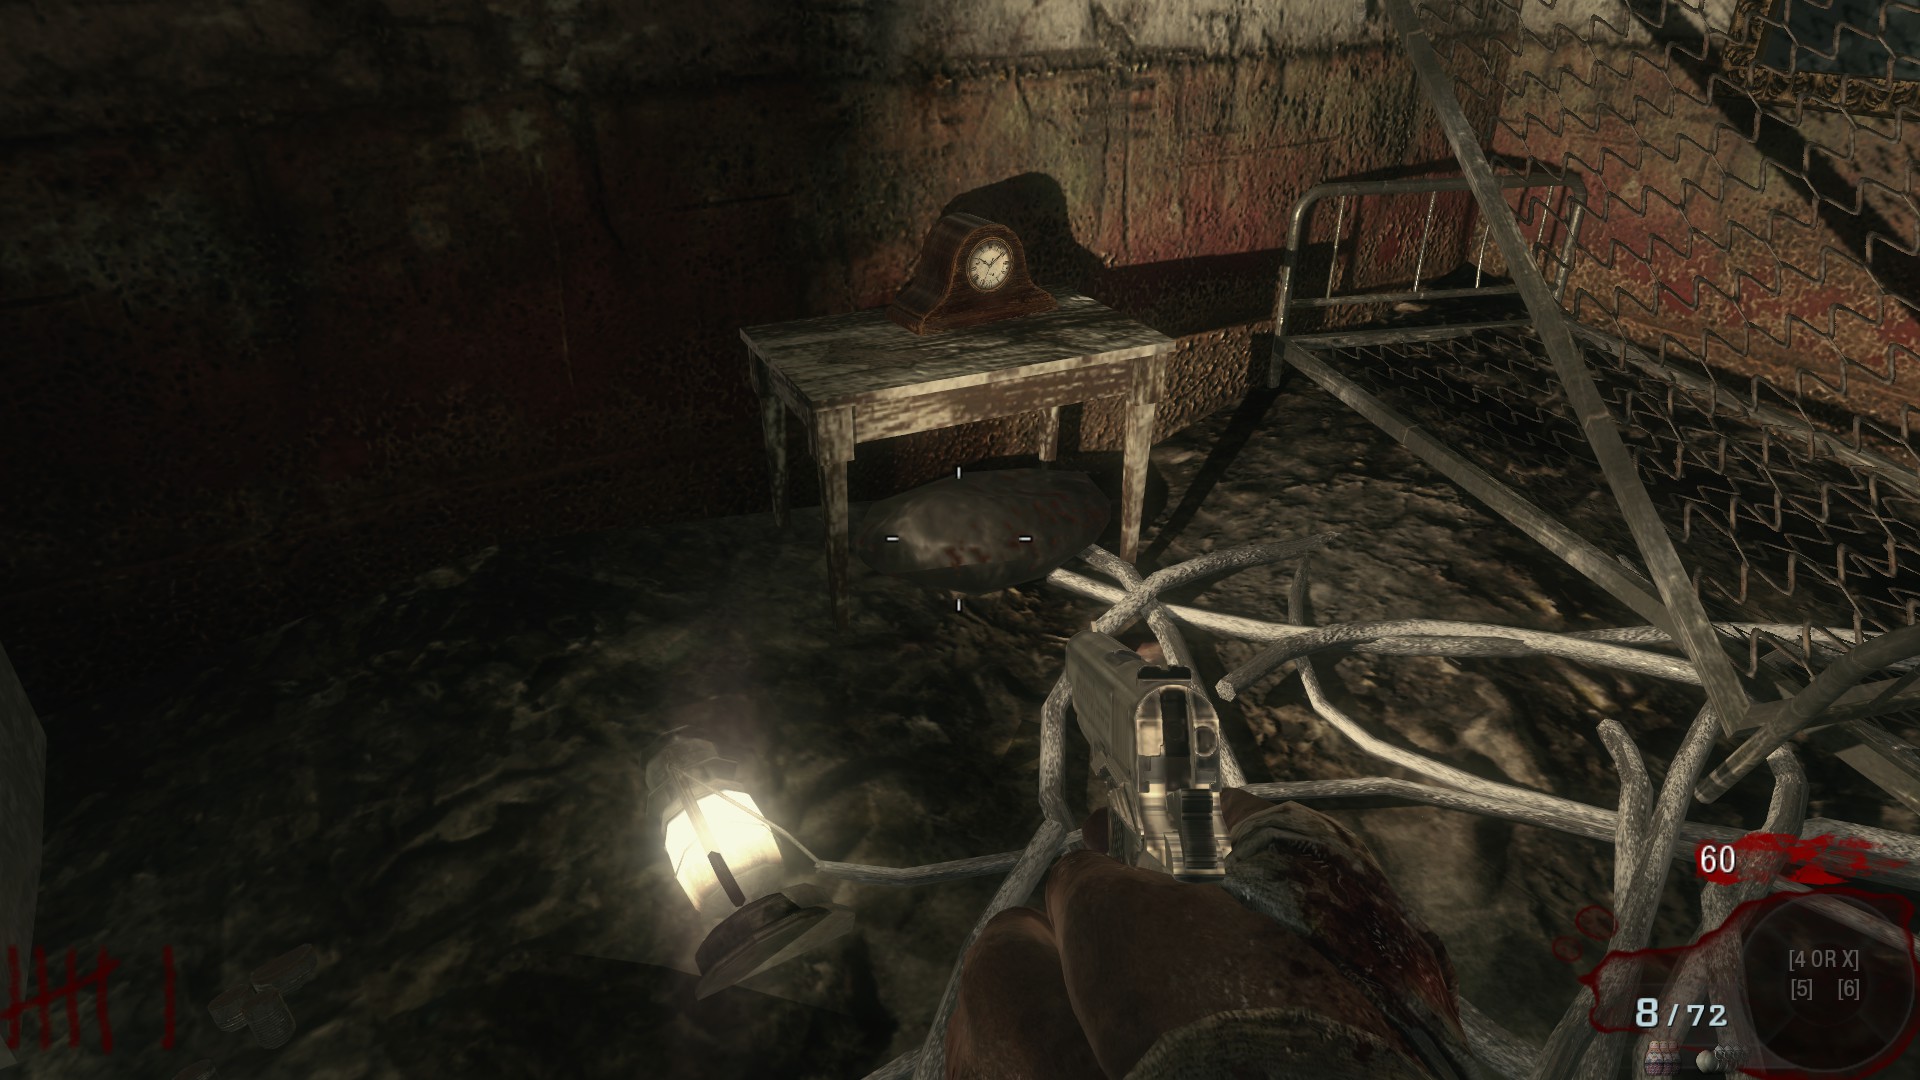
Unlike finding 3 teddy bears in this map, you instead have to find 3 Element 115 fragments, just like in Kino Der Toten.
The song Not Ready to Die by Avenged Sevenfold is the song that plays.
The locations of the fragments are as follows:
The song Not Ready to Die by Avenged Sevenfold is the song that plays.
The locations of the fragments are as follows:
- Immediately in the spawn area, on a barrel next to the water George first emerges from.
- In the ships dining area, on a bench.
- Across from PhD Flopper, underneath a table.
Ensemble Cast: Step 1 - Power
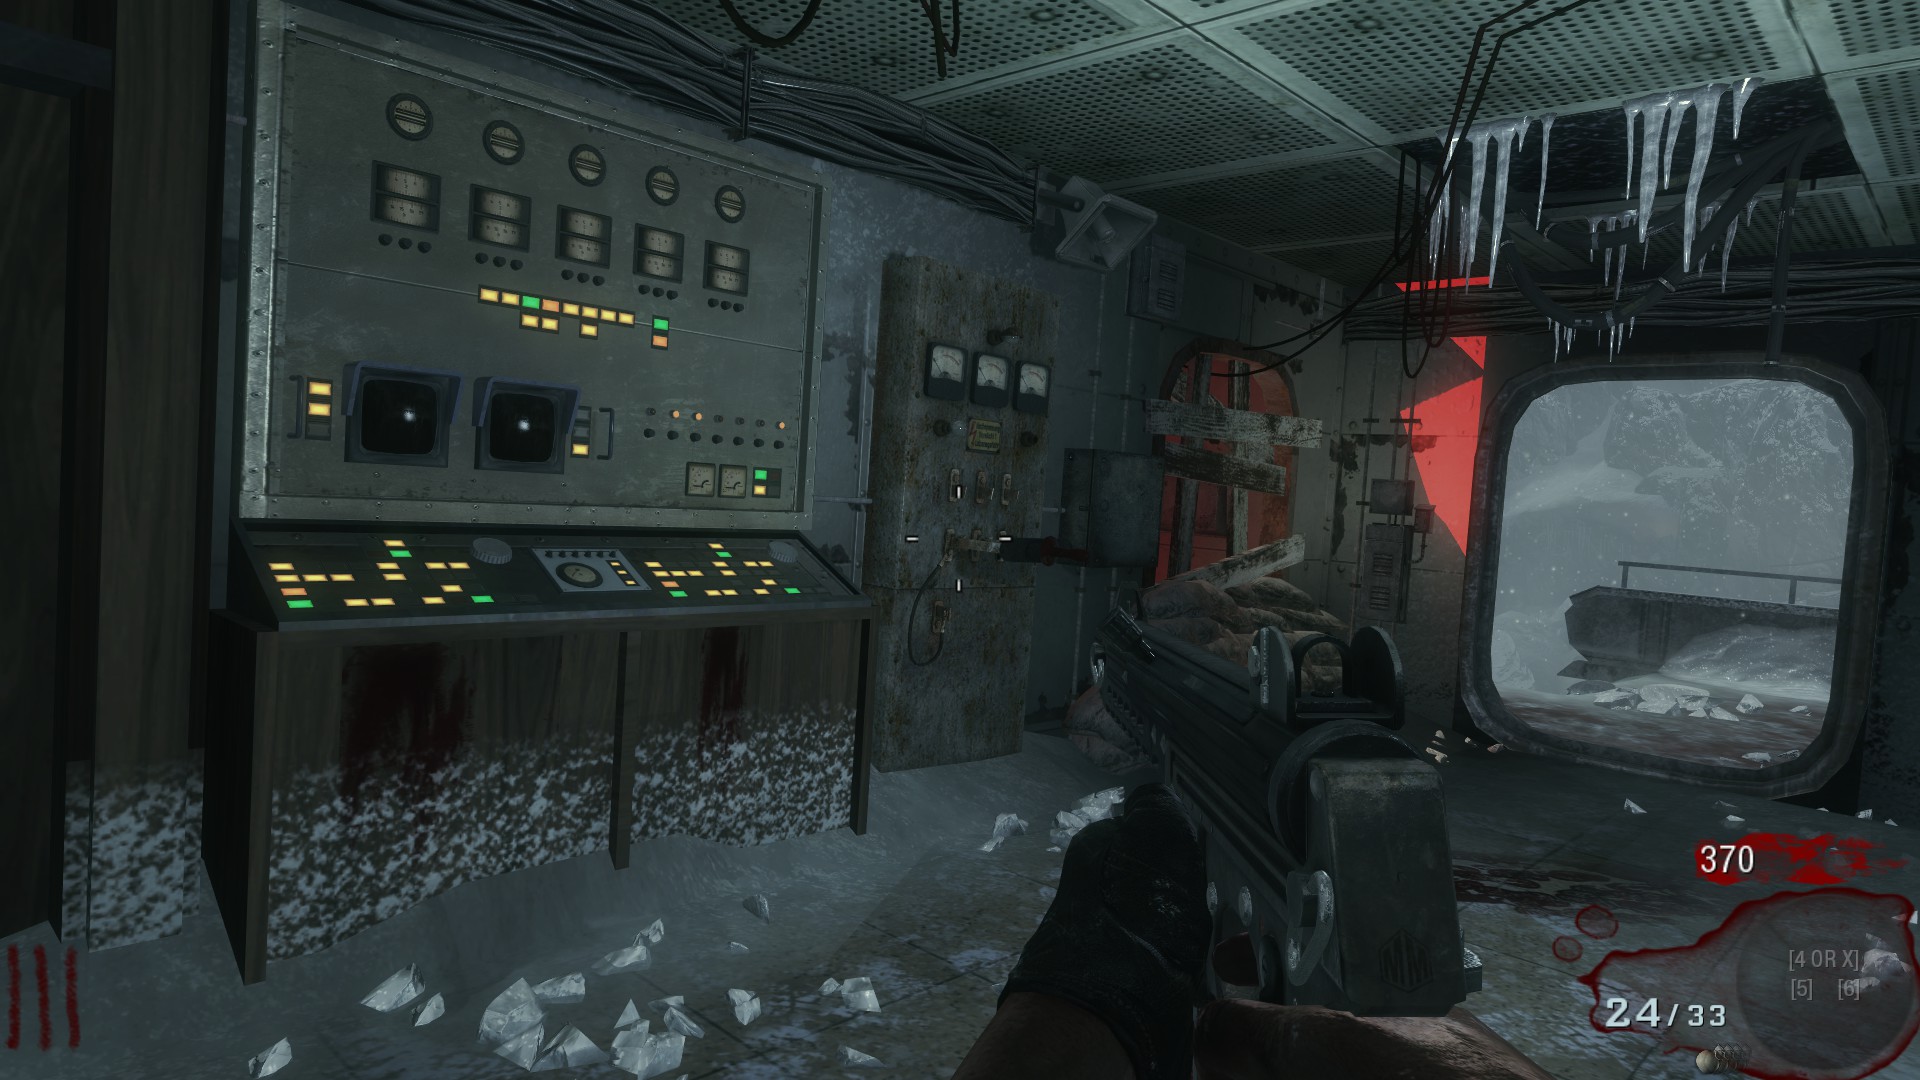
Just like any other Easter Egg, the first step is to turn on the power. The power switch can be found in the bridge on the top level of the ship.
Ensemble Cast: Step 2 - Missing Fuse
After that make your way to the vault door in the room below PhD Flopper and knife. A semi-long dialogue interaction will happen and Richtofen will explain that a fuse must be broken. Search around in the room above and on the same floor for a fuse. Once the fuse is grabbed, place it in the slot next to the door and knife the door again.
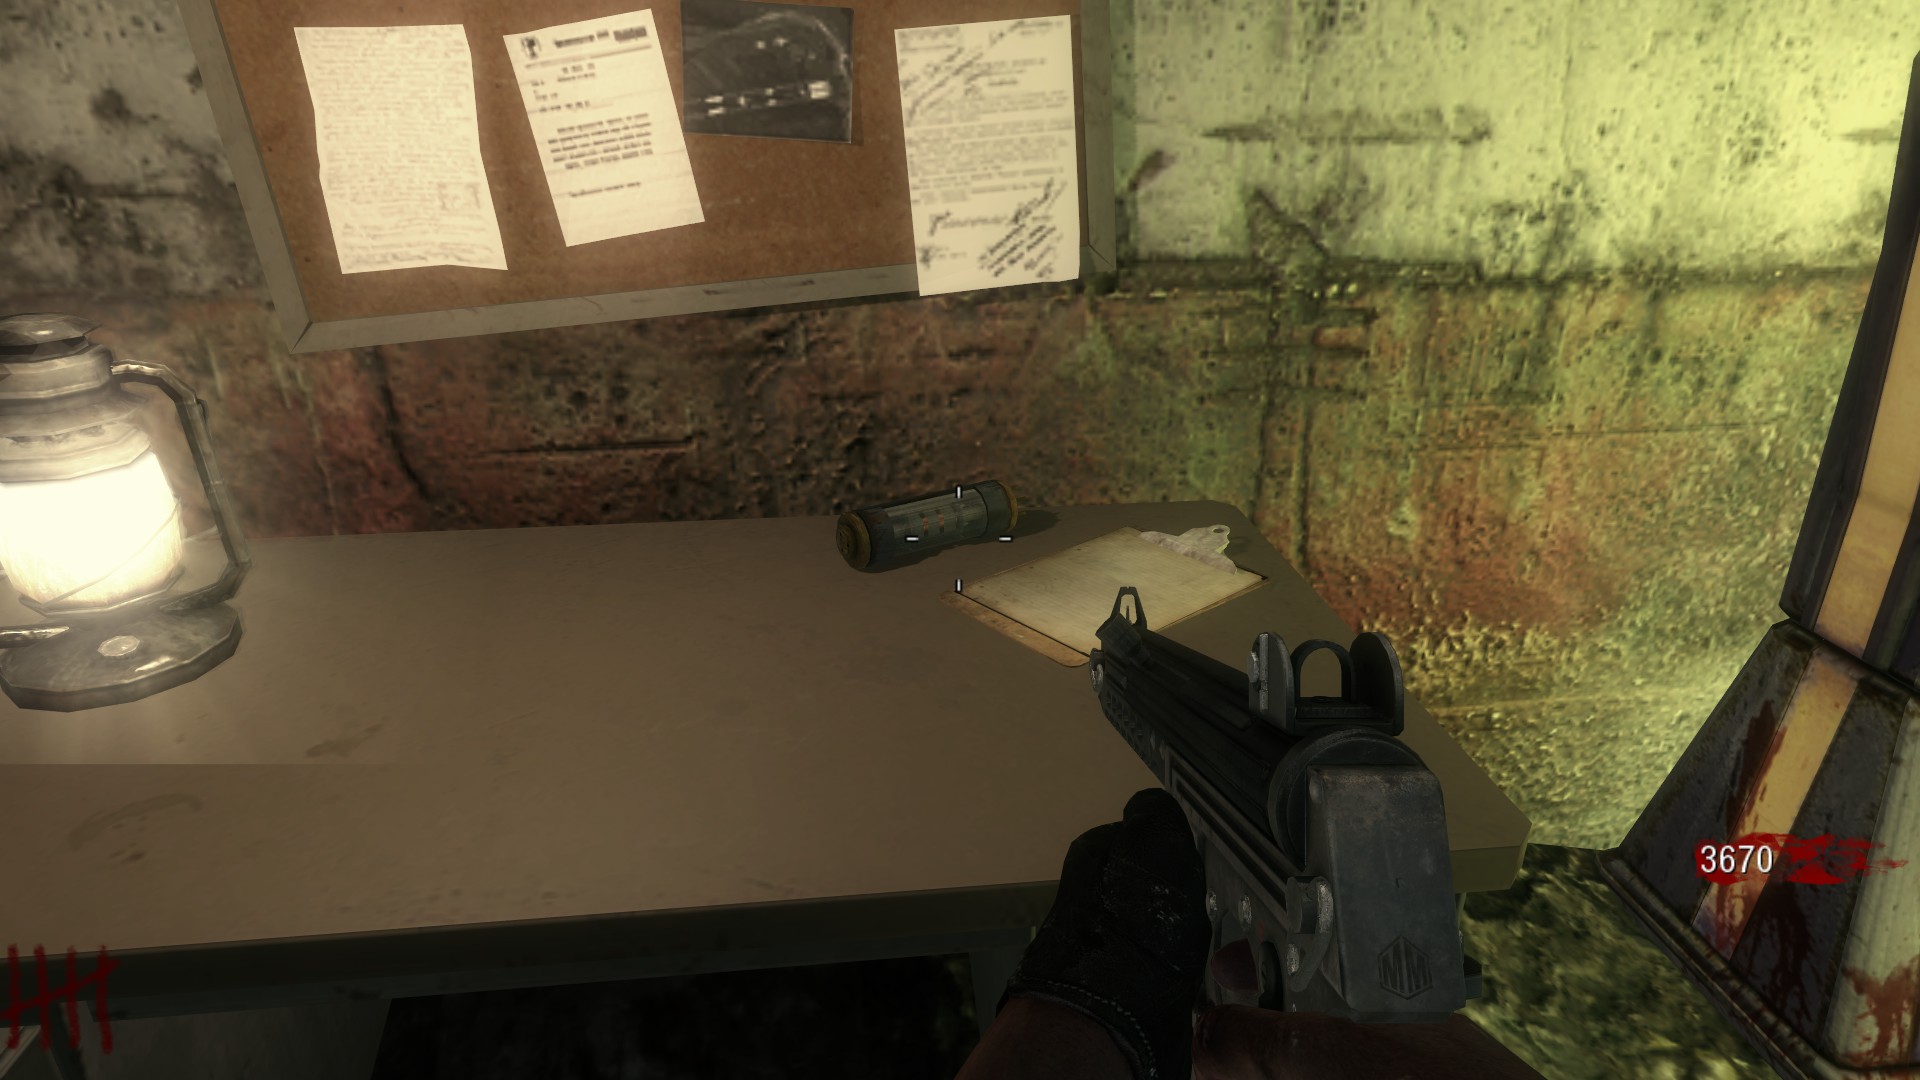
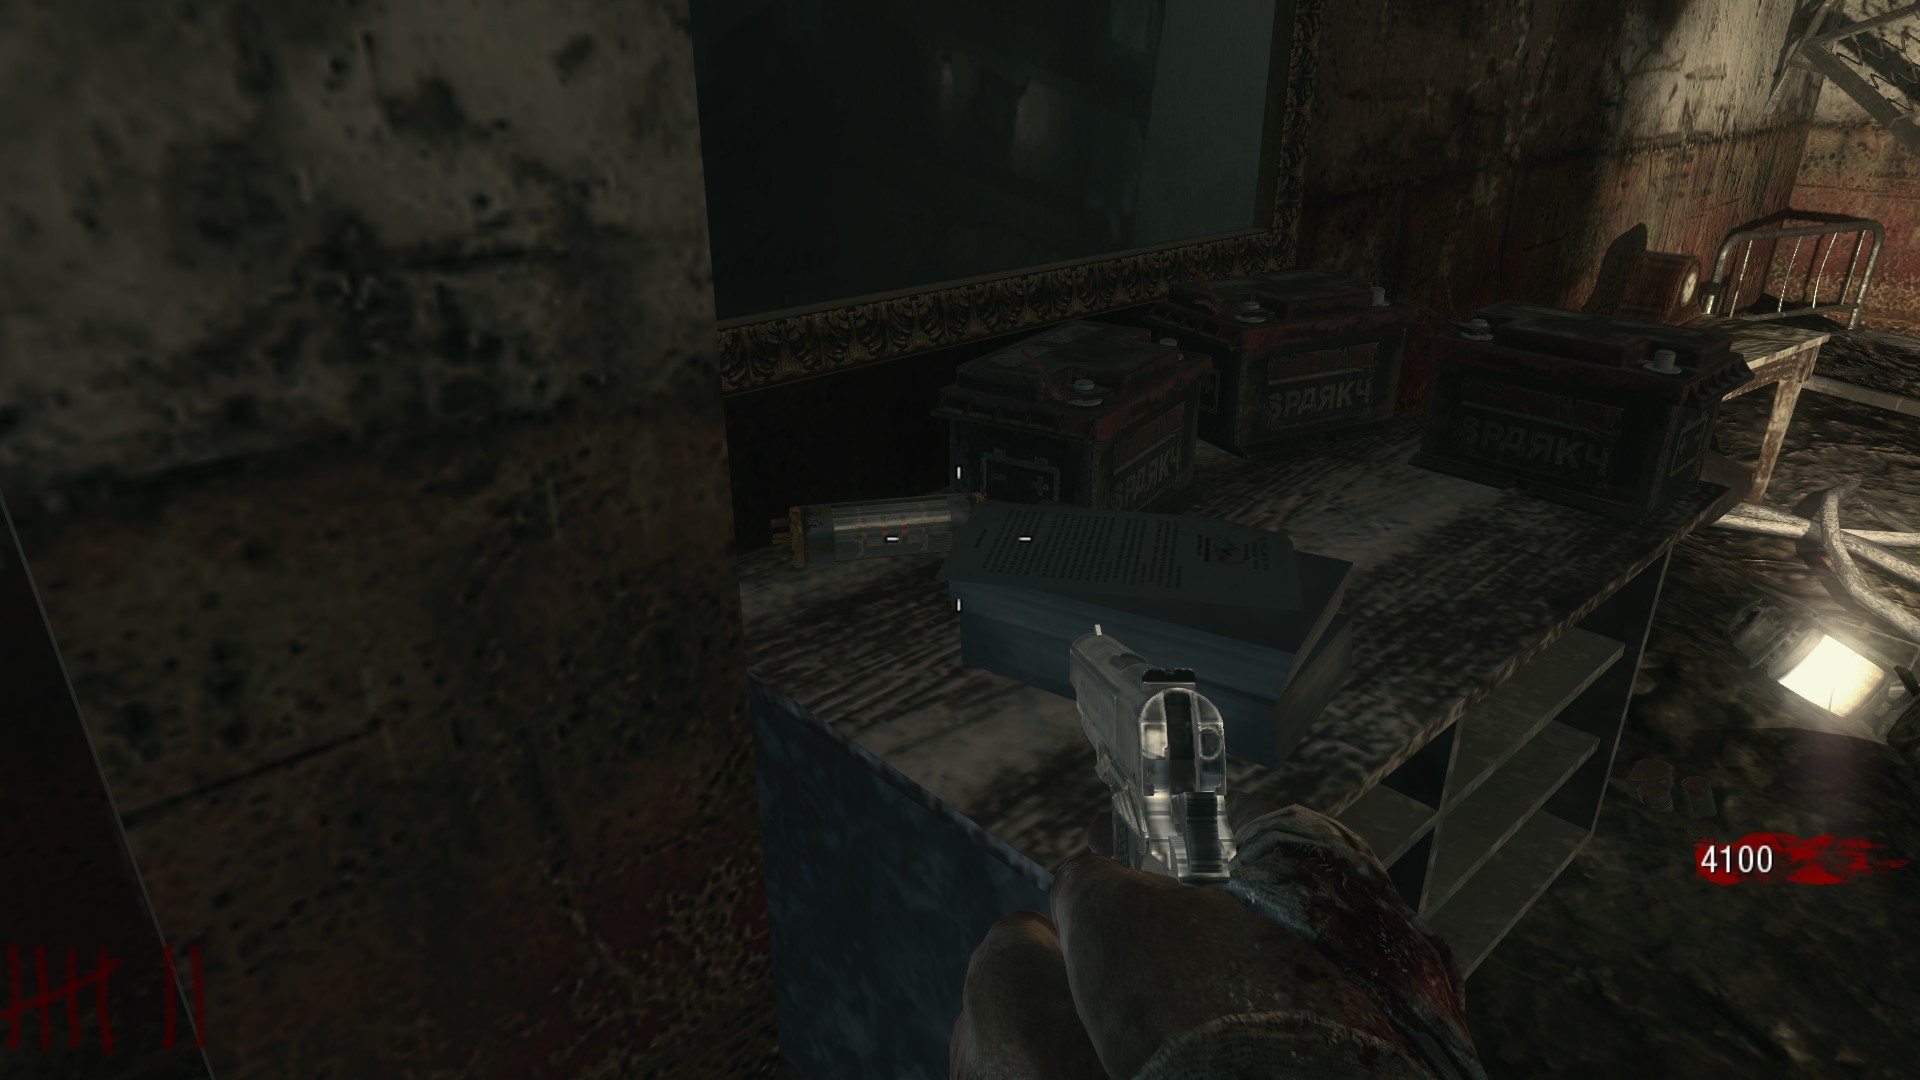
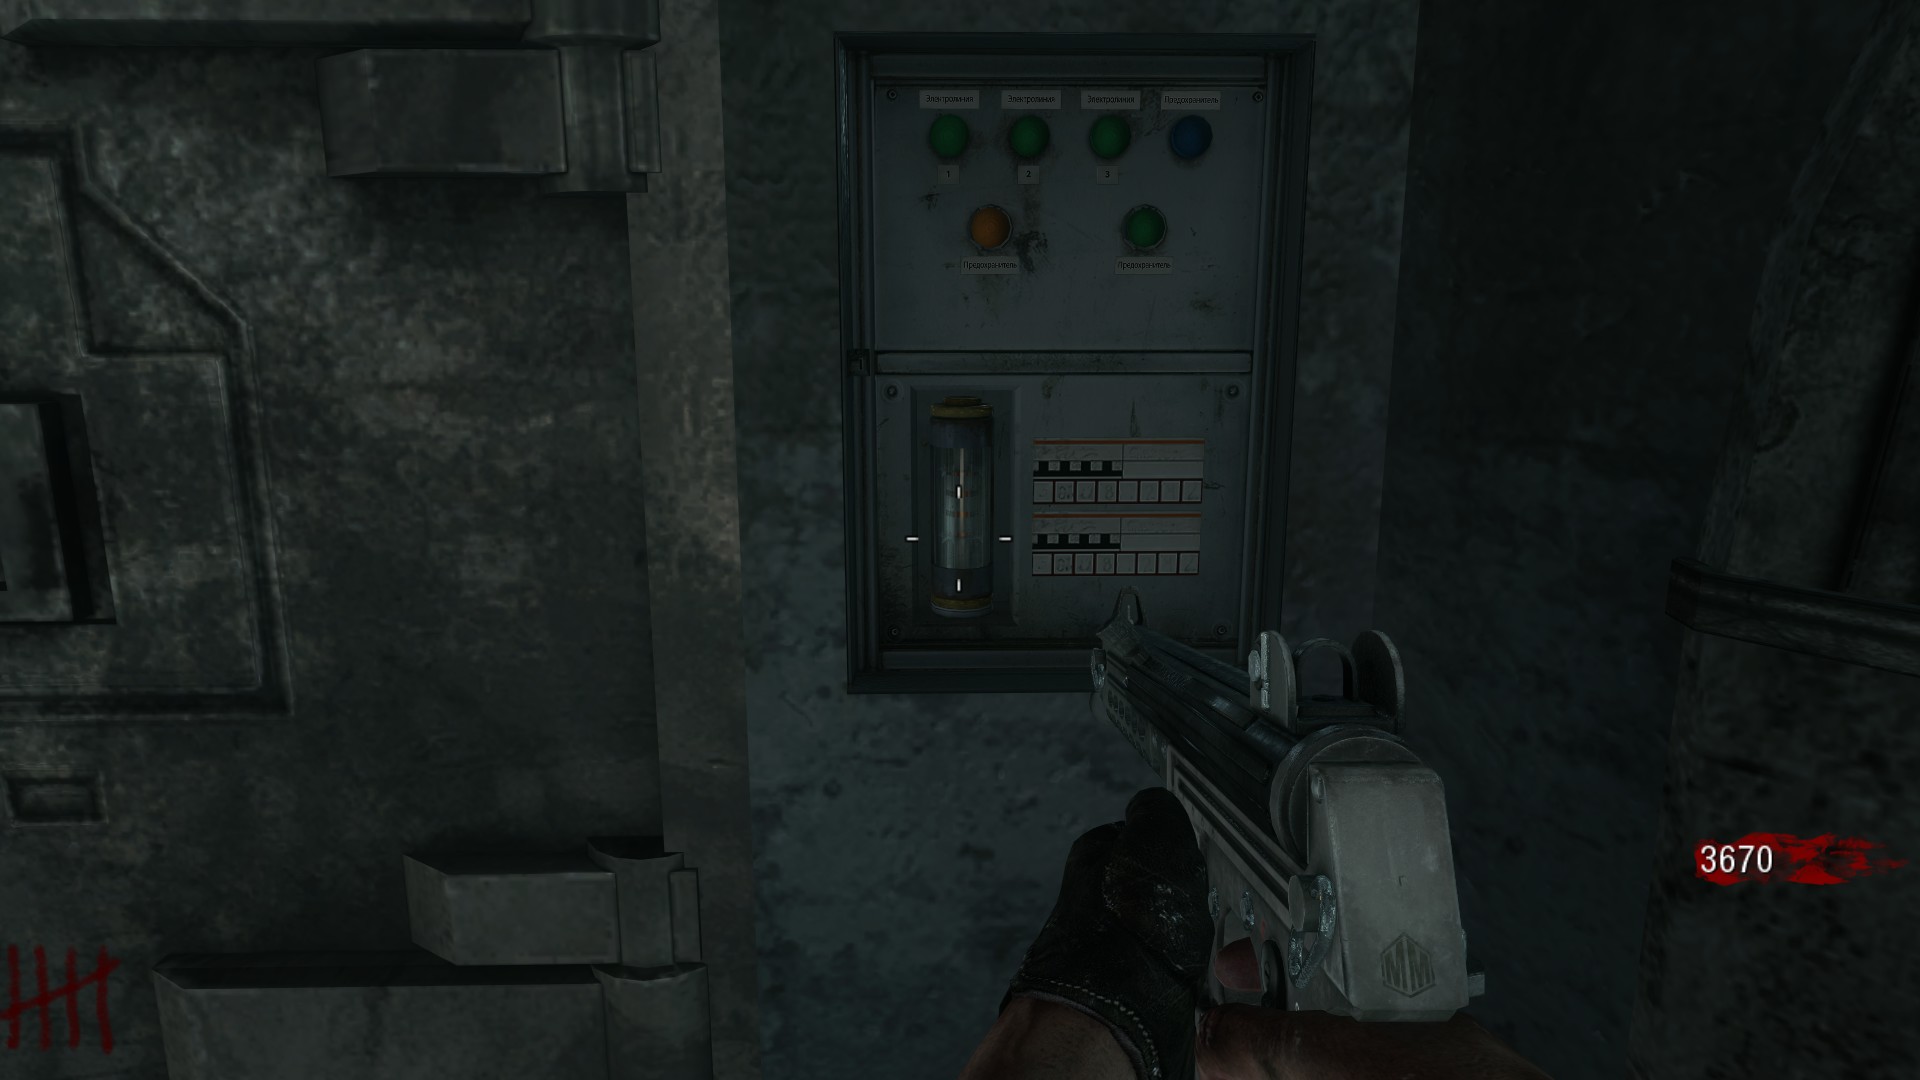
Ensemble Cast: Step 3 - Security Generators
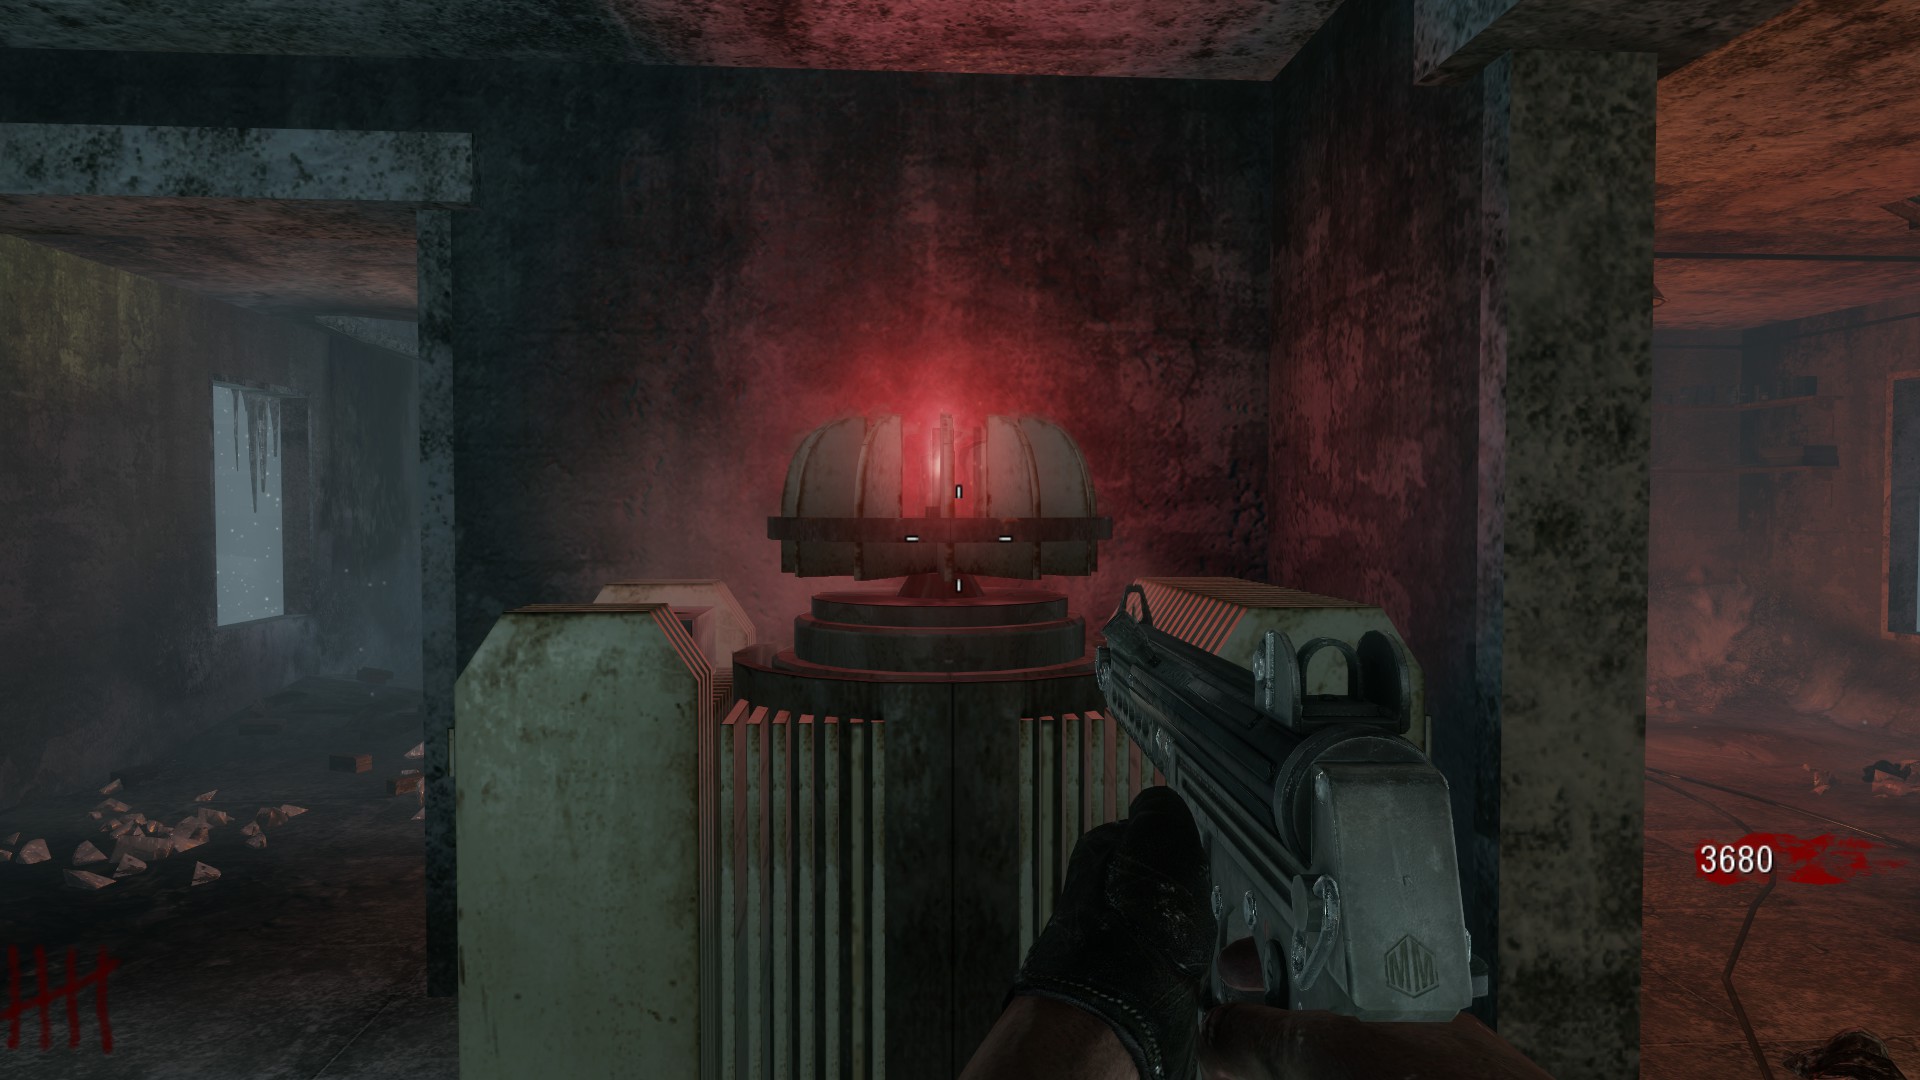
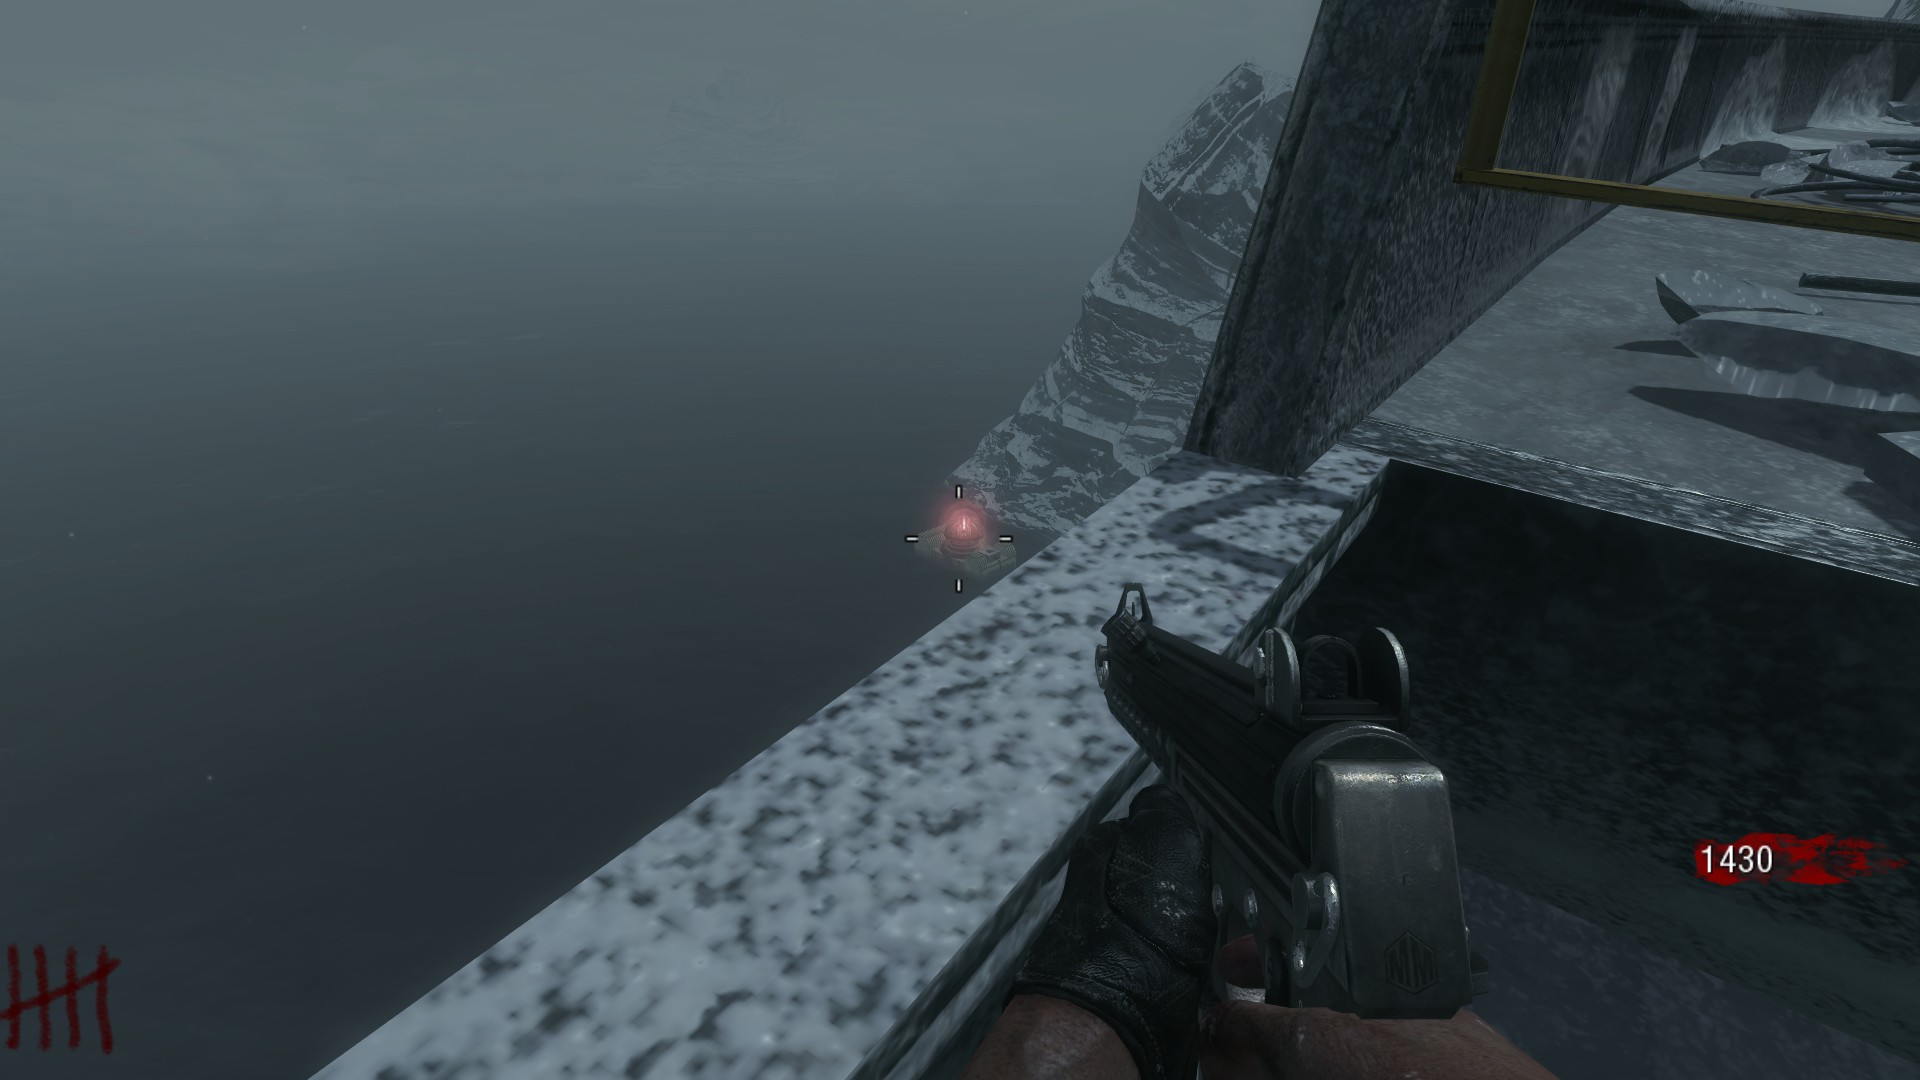
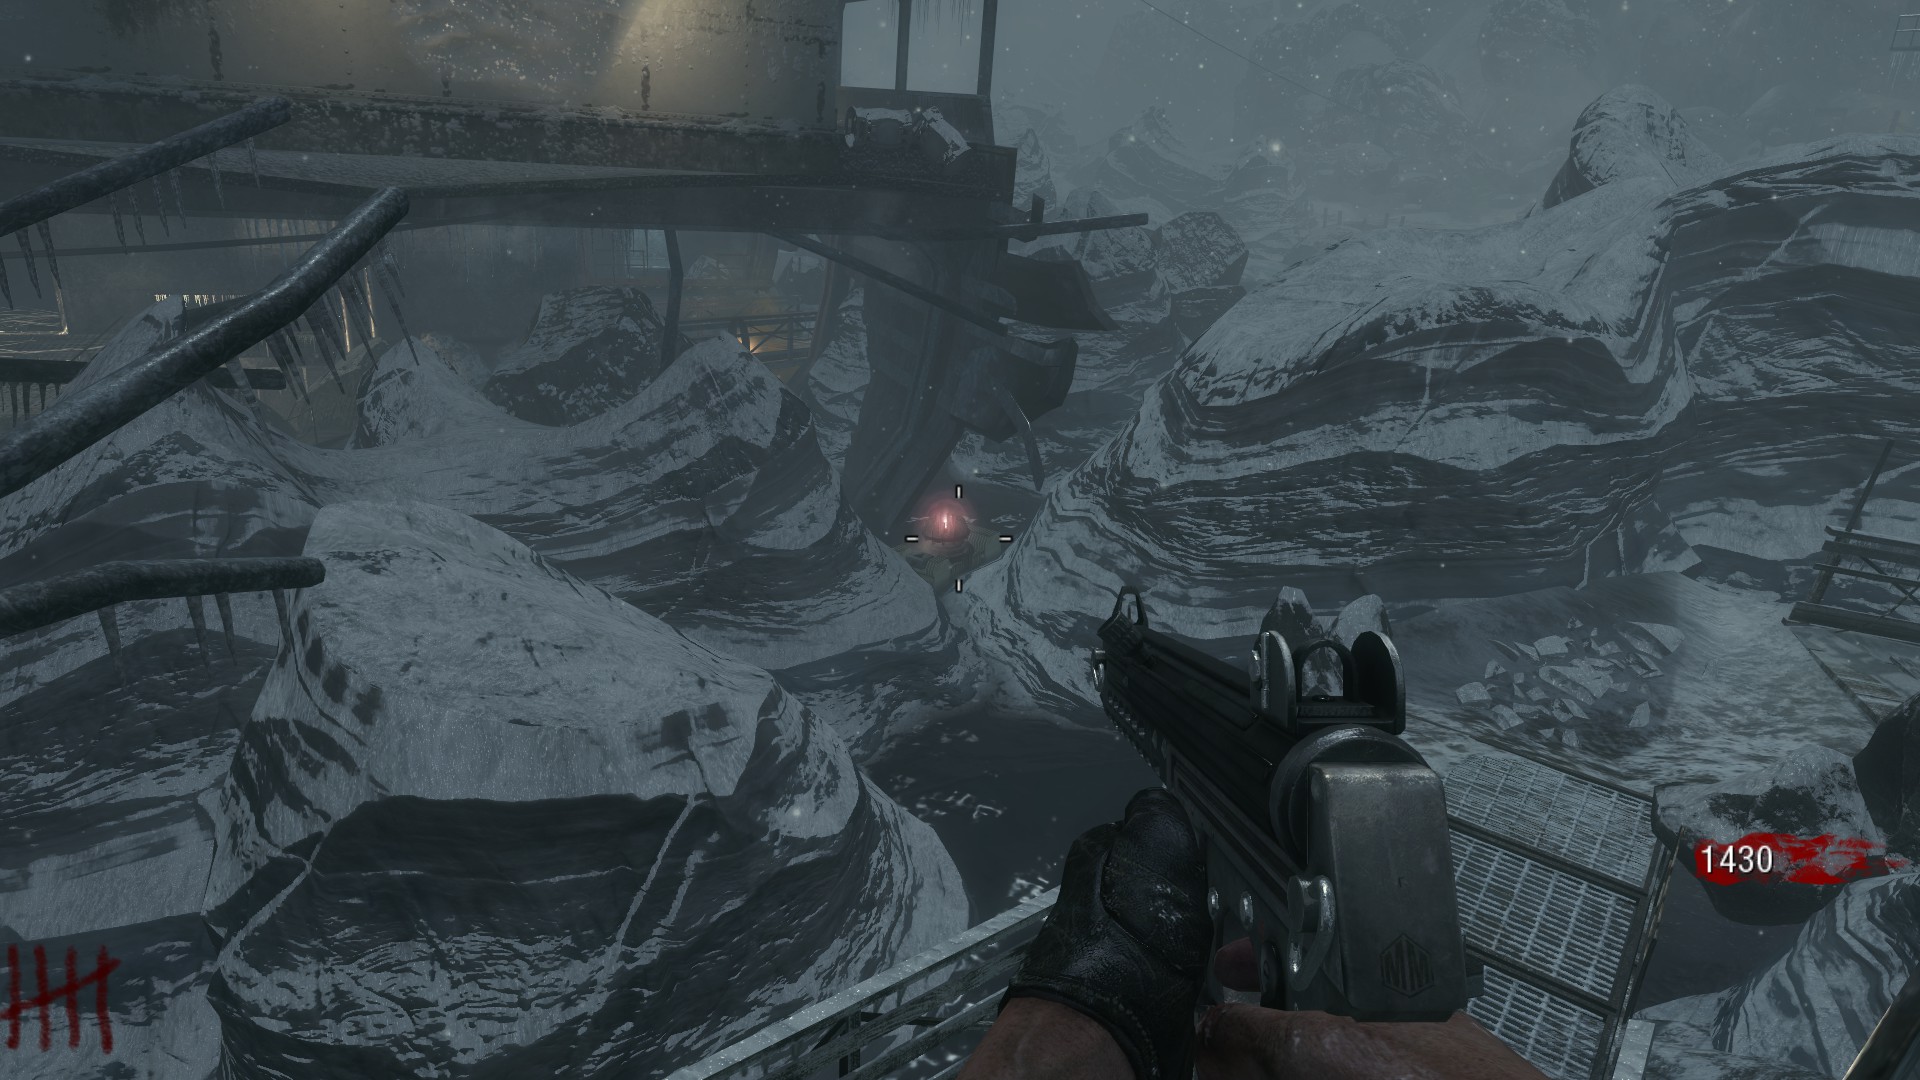
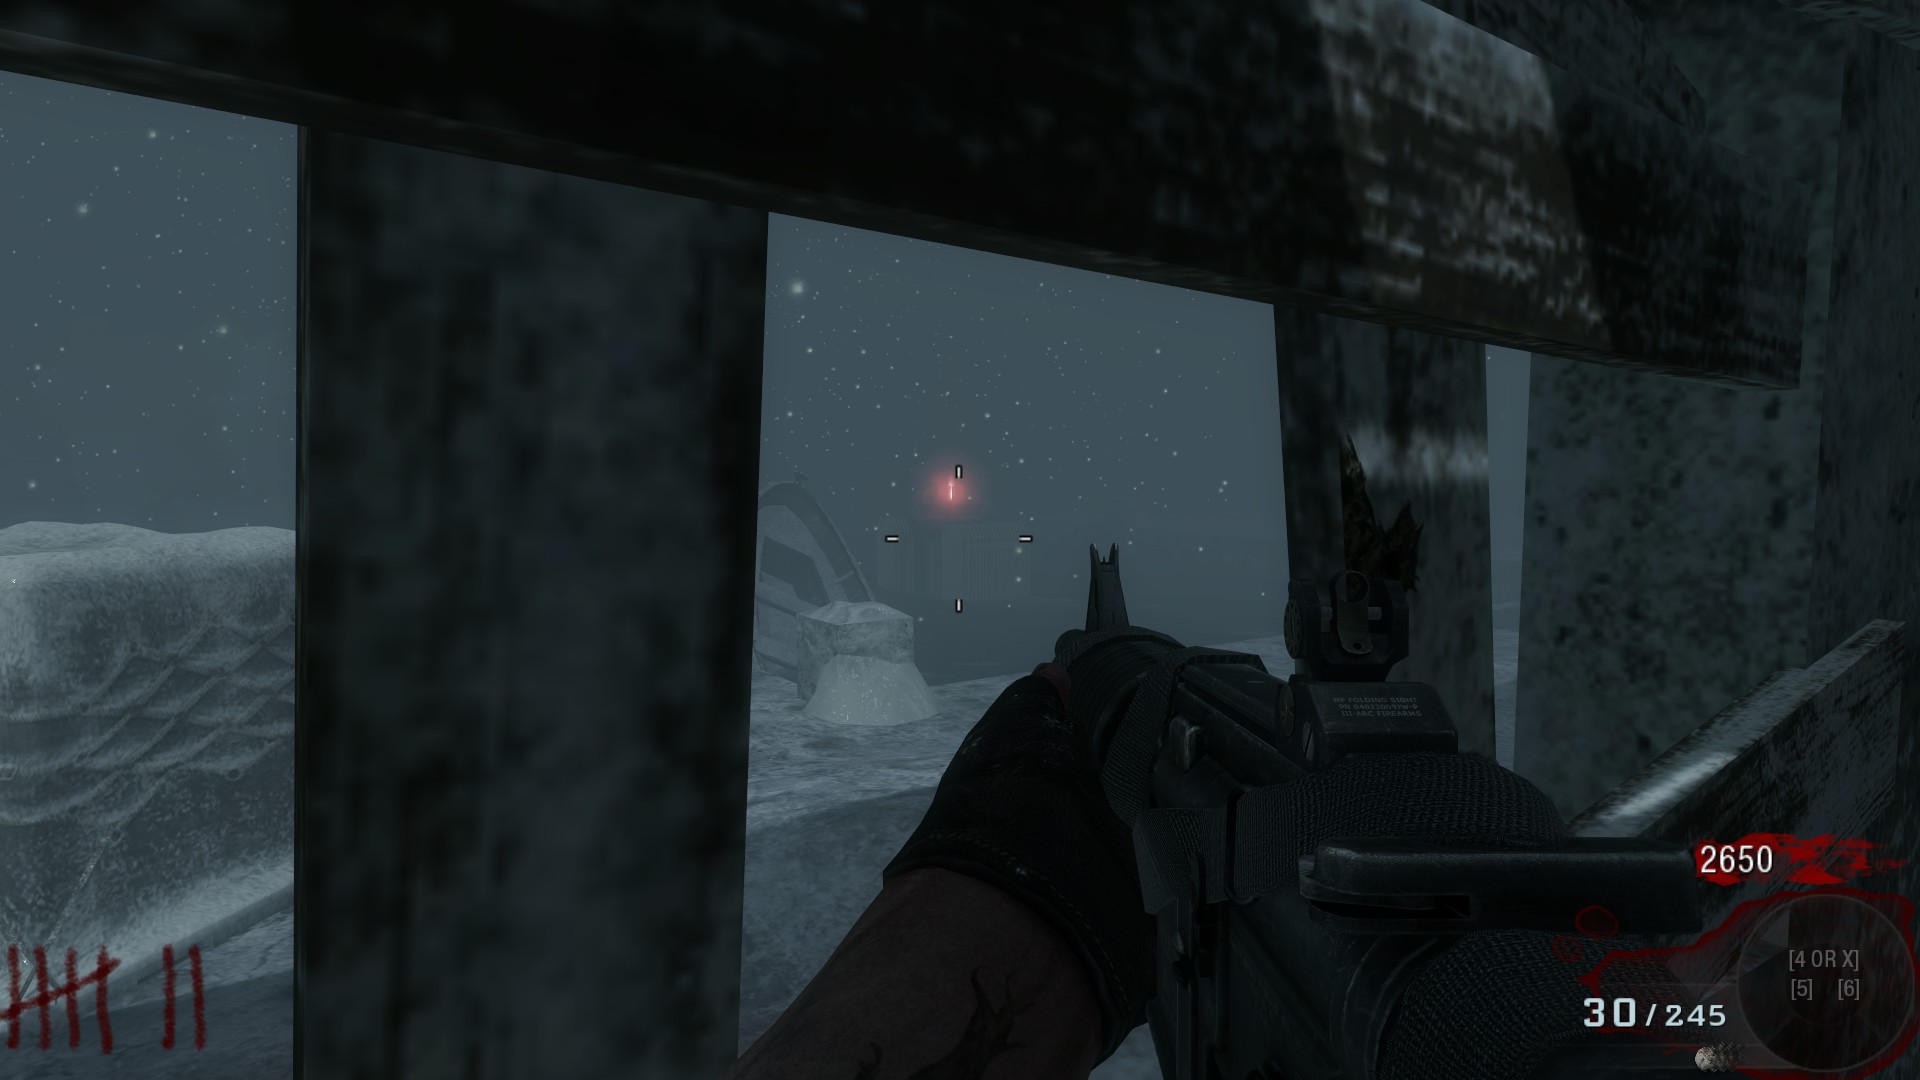
Nikolai will then accidentally activate the MDT's Security System. You will then go around the map to find the 4 generators and deactivate them. The best way to do this is to buy Semtex Grenades and throw them on top of the generators.
The locations of the generators are as follows:
The locations of the generators are as follows:
- Directly across from the vault door.
- Over the railing in the water by Double Tap.
- In between some ice shelves in the middle of the ship.
- Outside the map next to a window by Stamin-Up.
Ensemble Cast: Step 4 - Nikolai's Vodka
CO-OP ONLY STEP
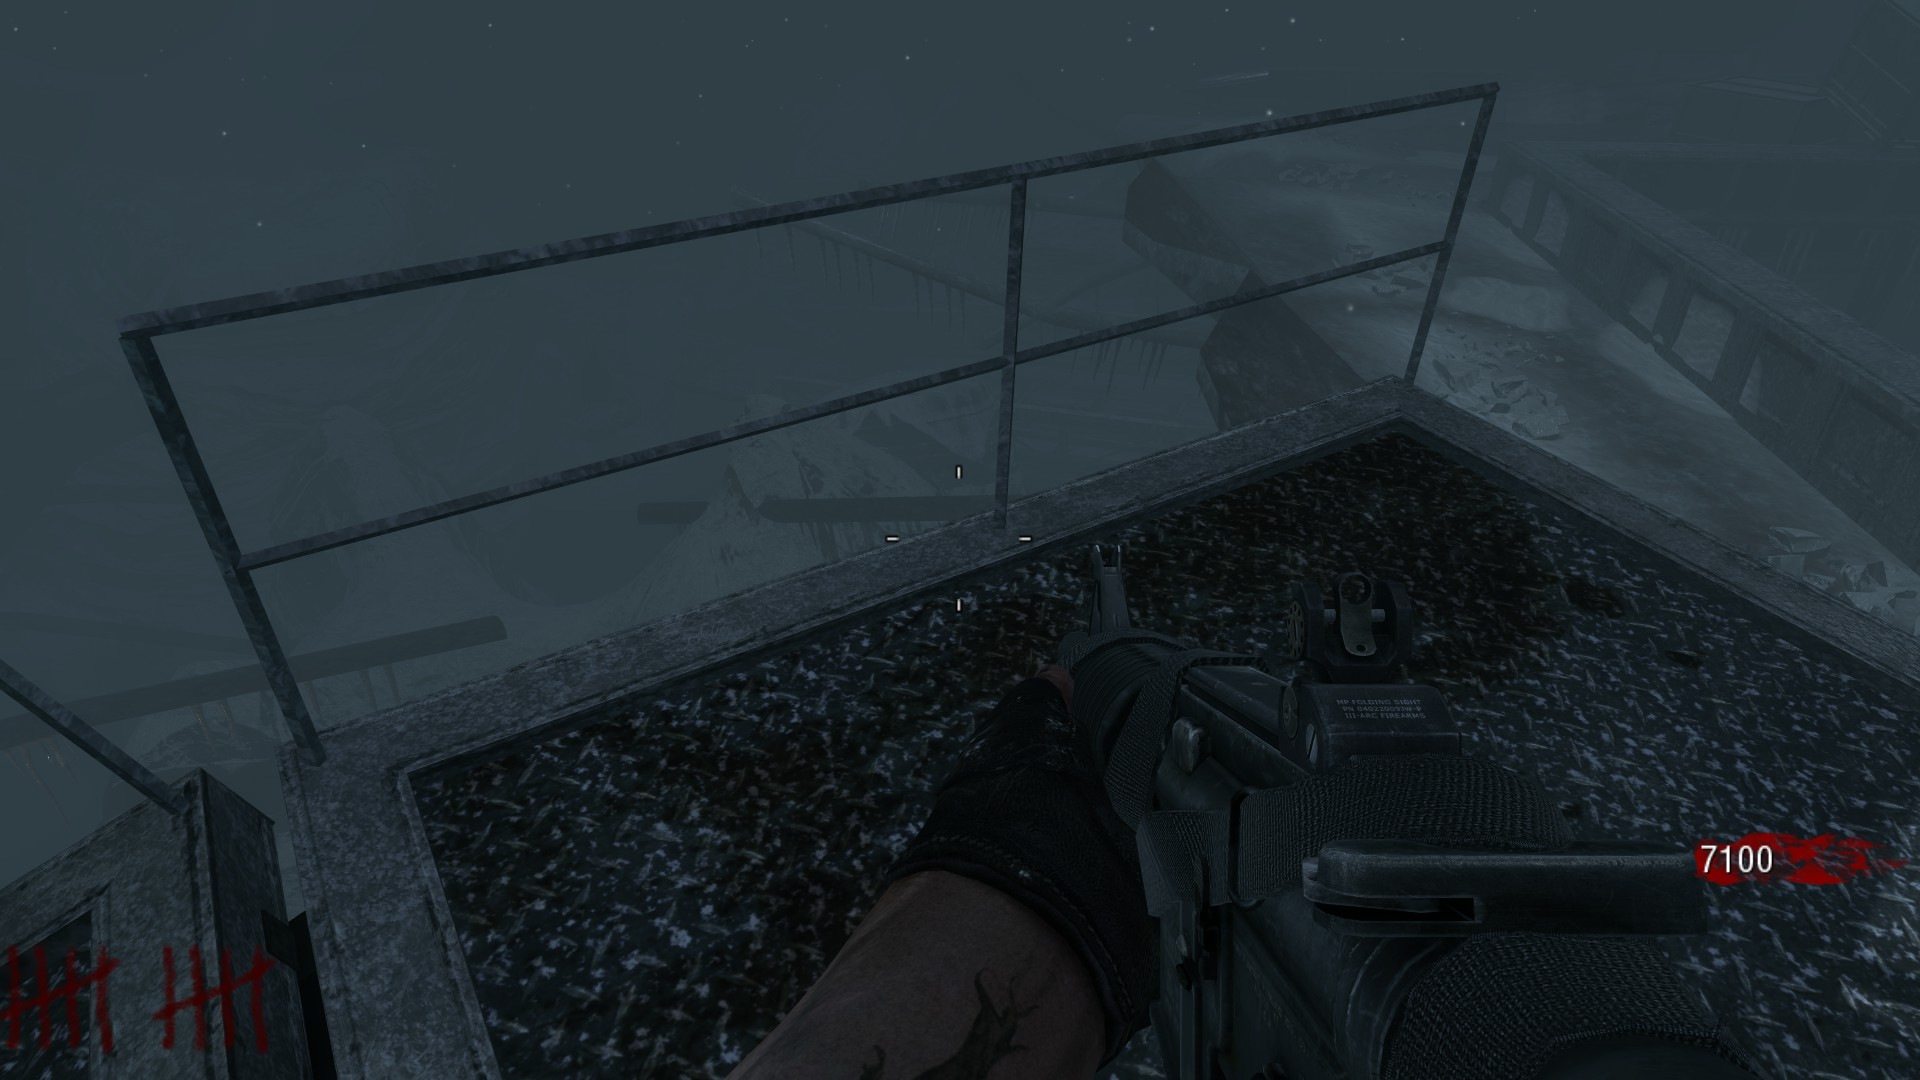
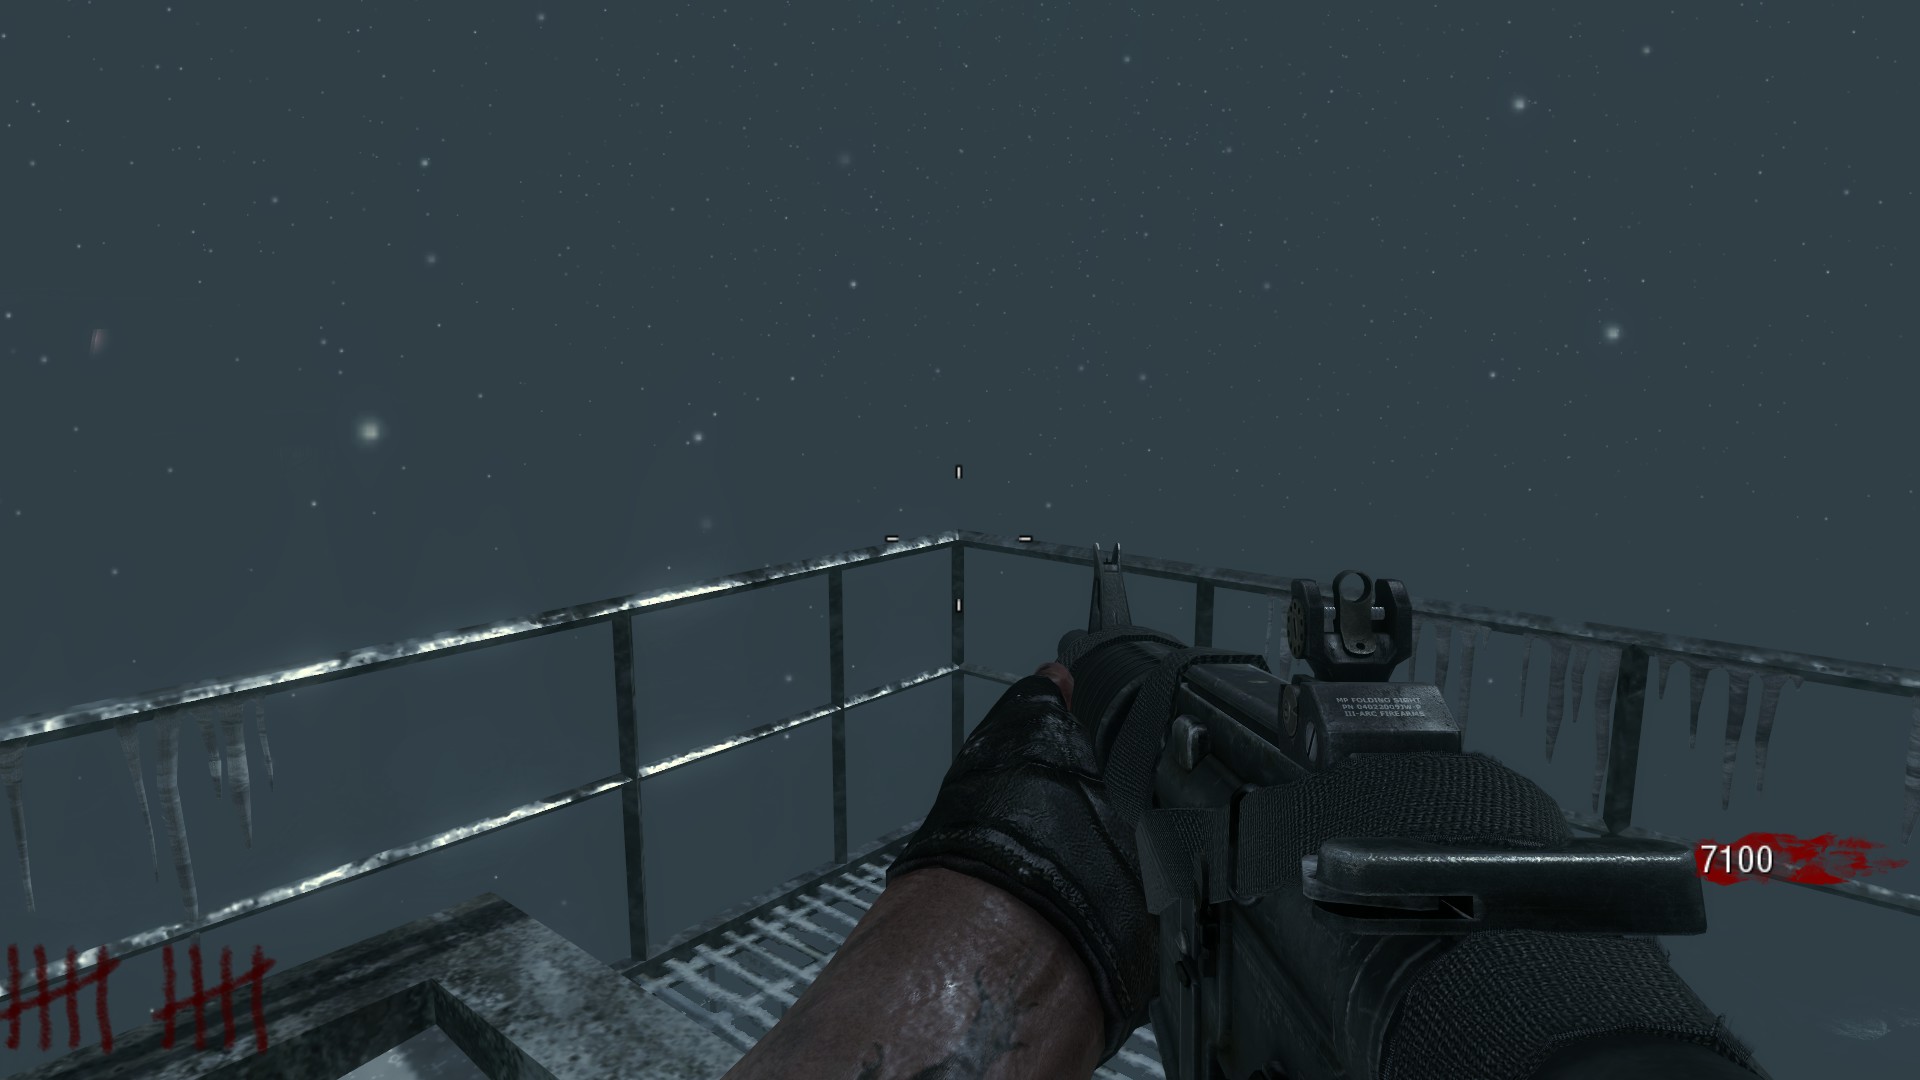
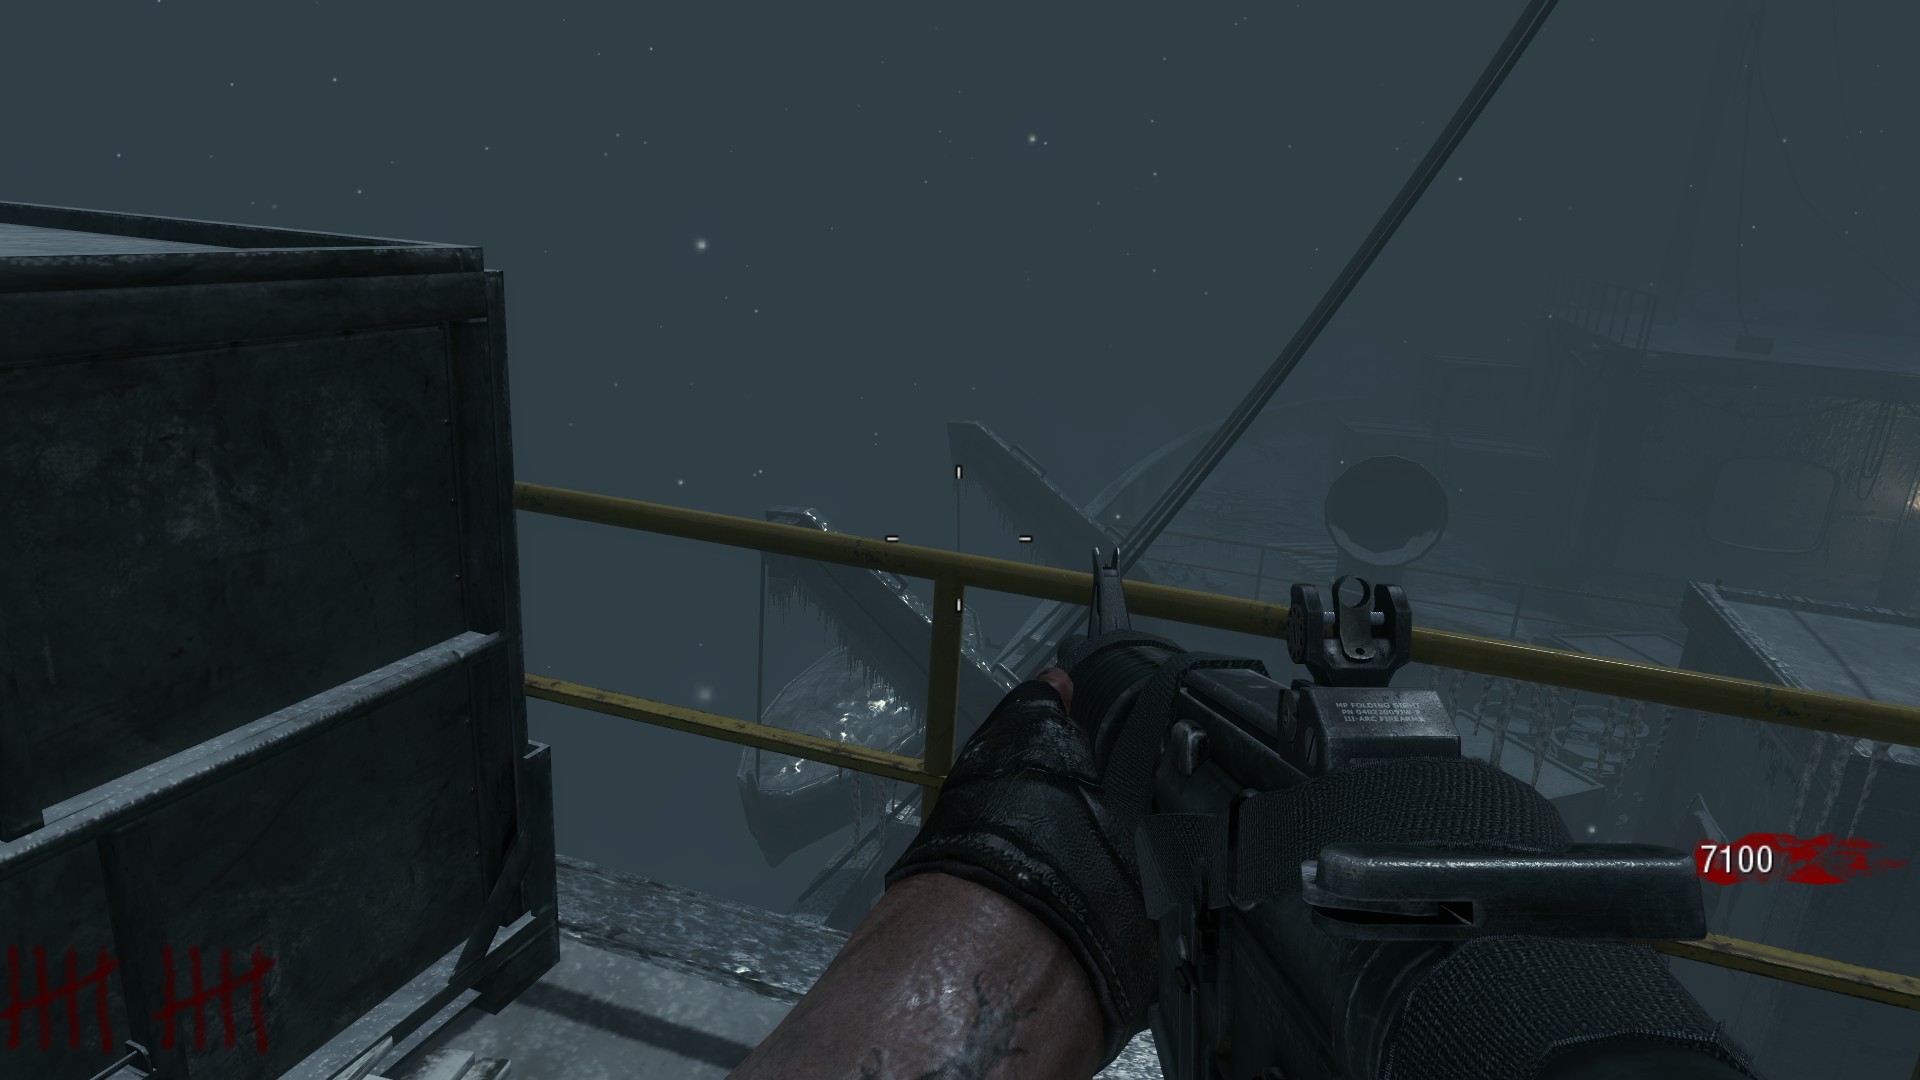
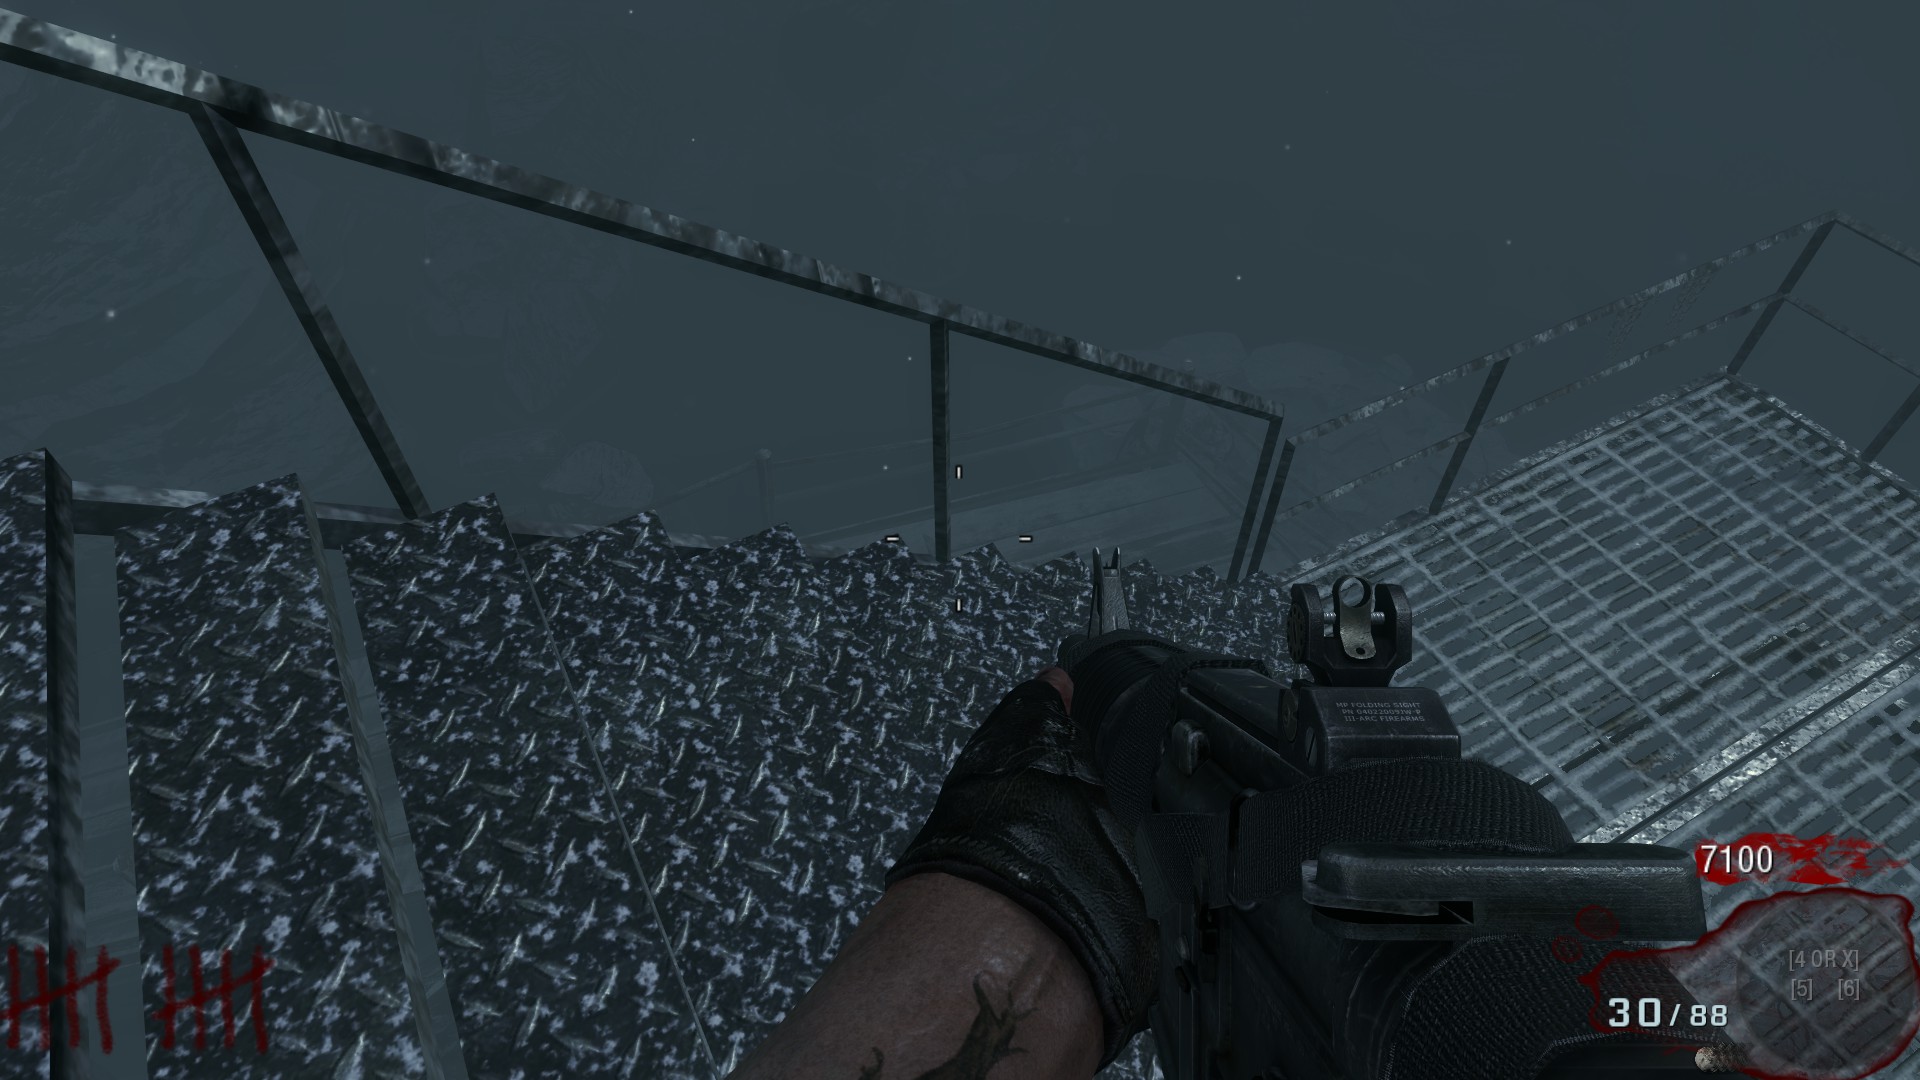
Nikolai will then ask for the player to bring him some vodka. The vodka can be found in 1 of 4 locations on the map. One player will have to knife the ice surrounding the vodka, while another player stands below it to catch the bottle.
The vodka locations are as follows:
- On the ramp connecting the 2 halves of the ship.
- Next to the Mystery Box above PhD Flopper.
- Above to the right of the MPL Wall Buy.
- On the staircase leading from the Mystery Box above PhD Flopper, to the room with PhD Flopper.
Place the vodka bottle in the receptacle tube to the left of the vault door after acquiring it.
Ensemble Cast: Step 5 - Morse Code
CO-OP ONLY STEP
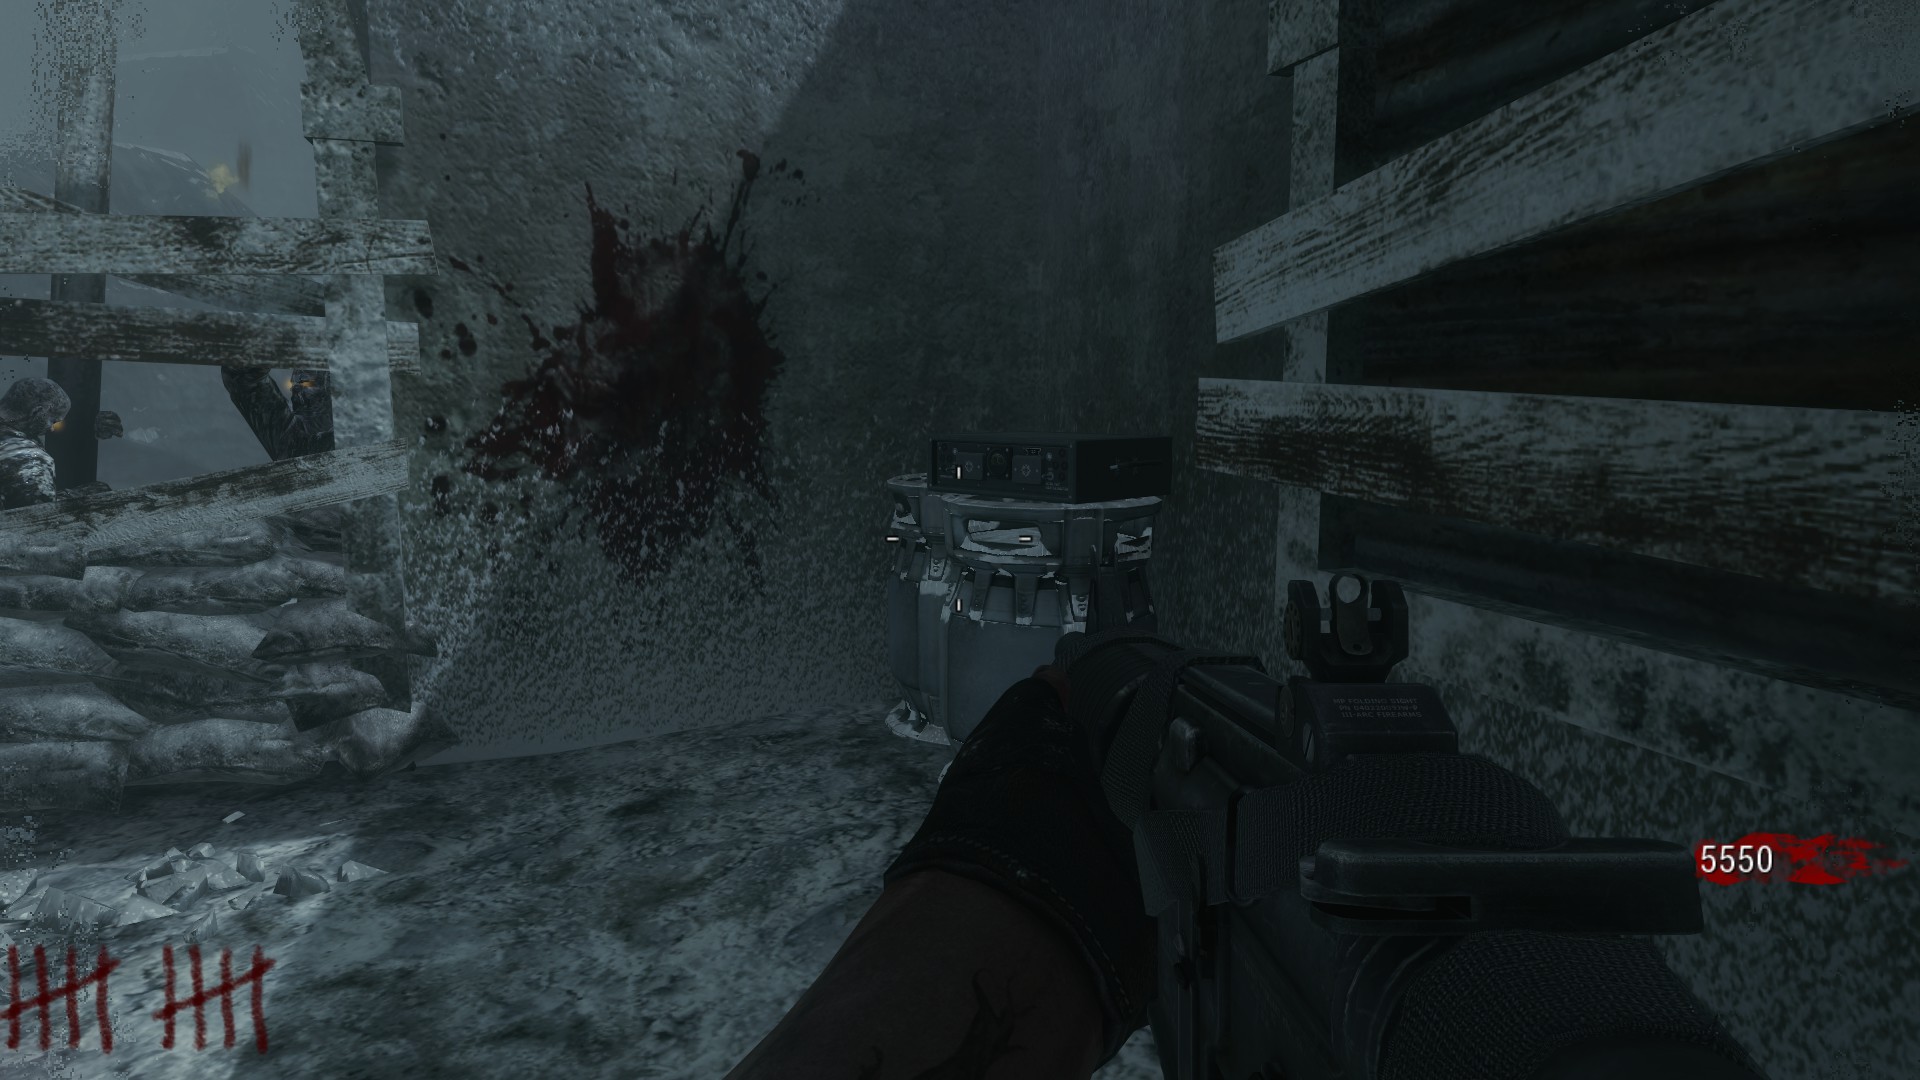
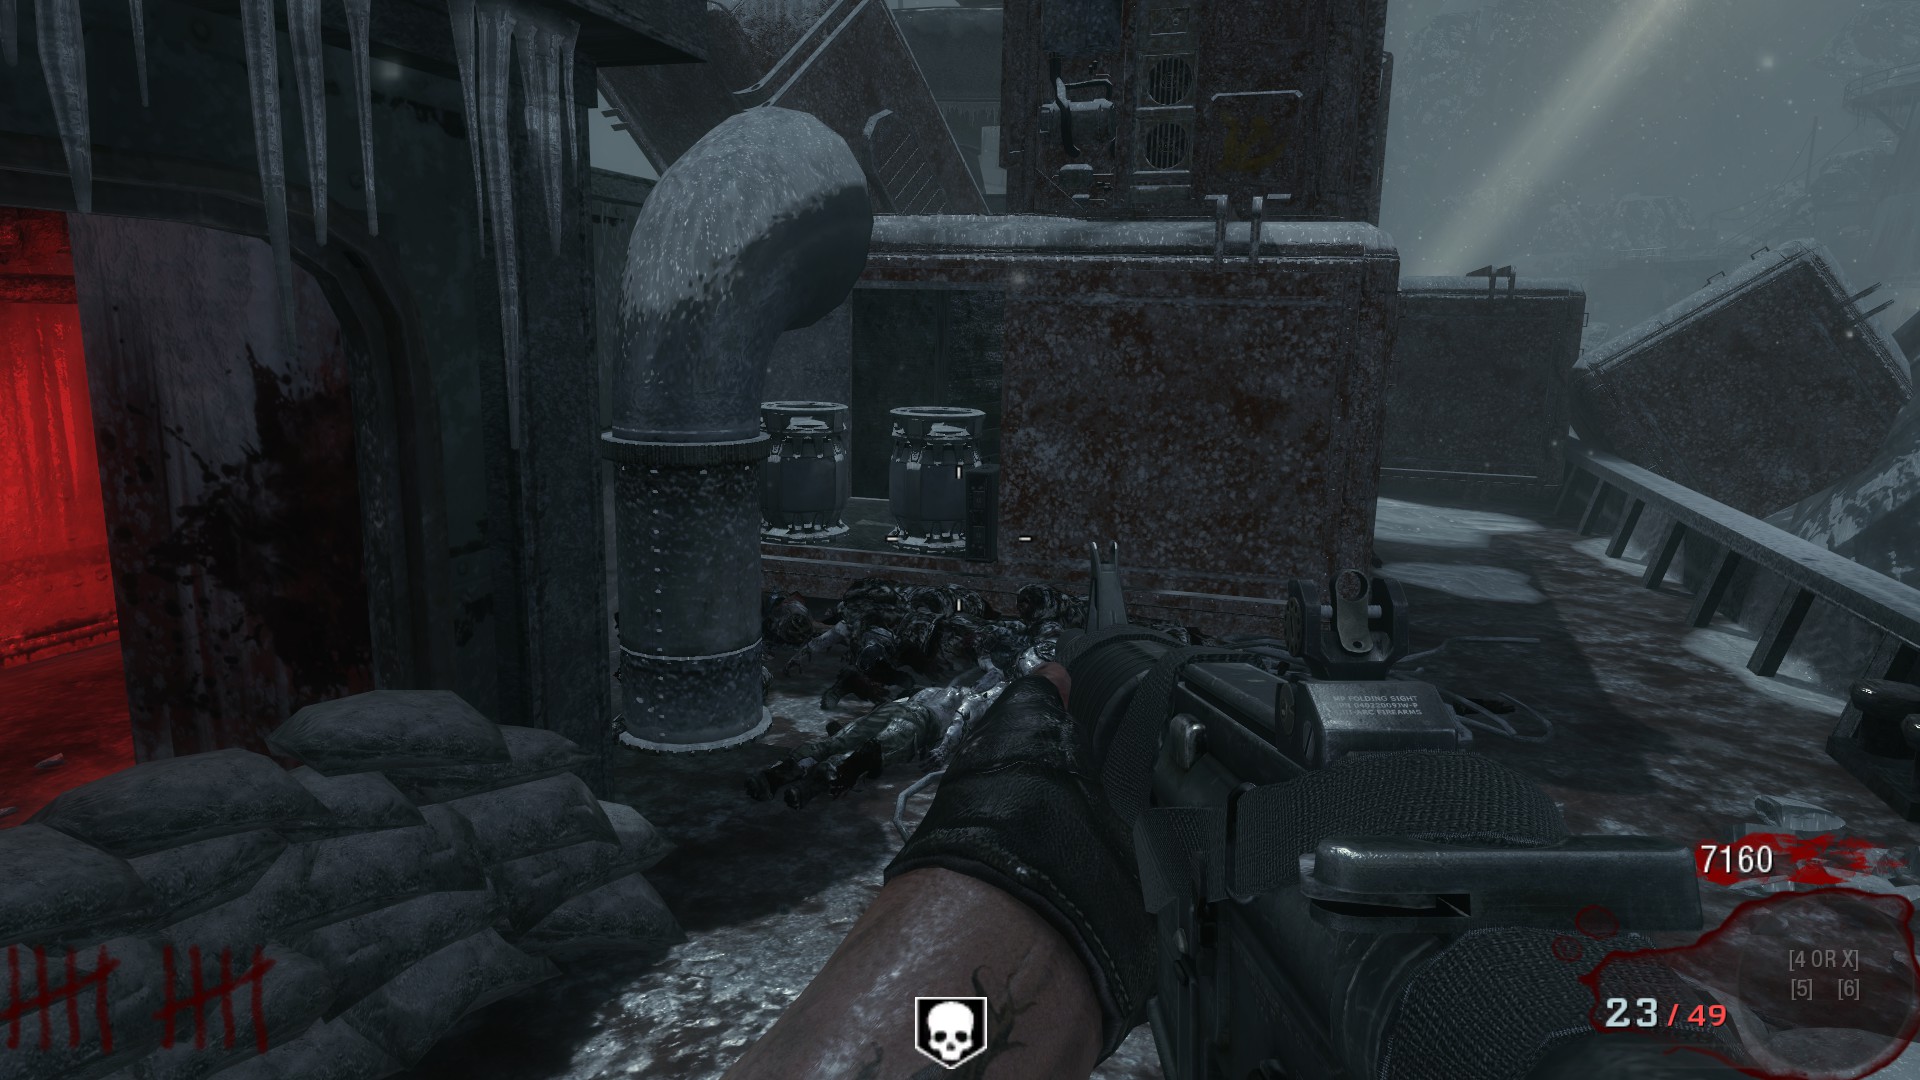
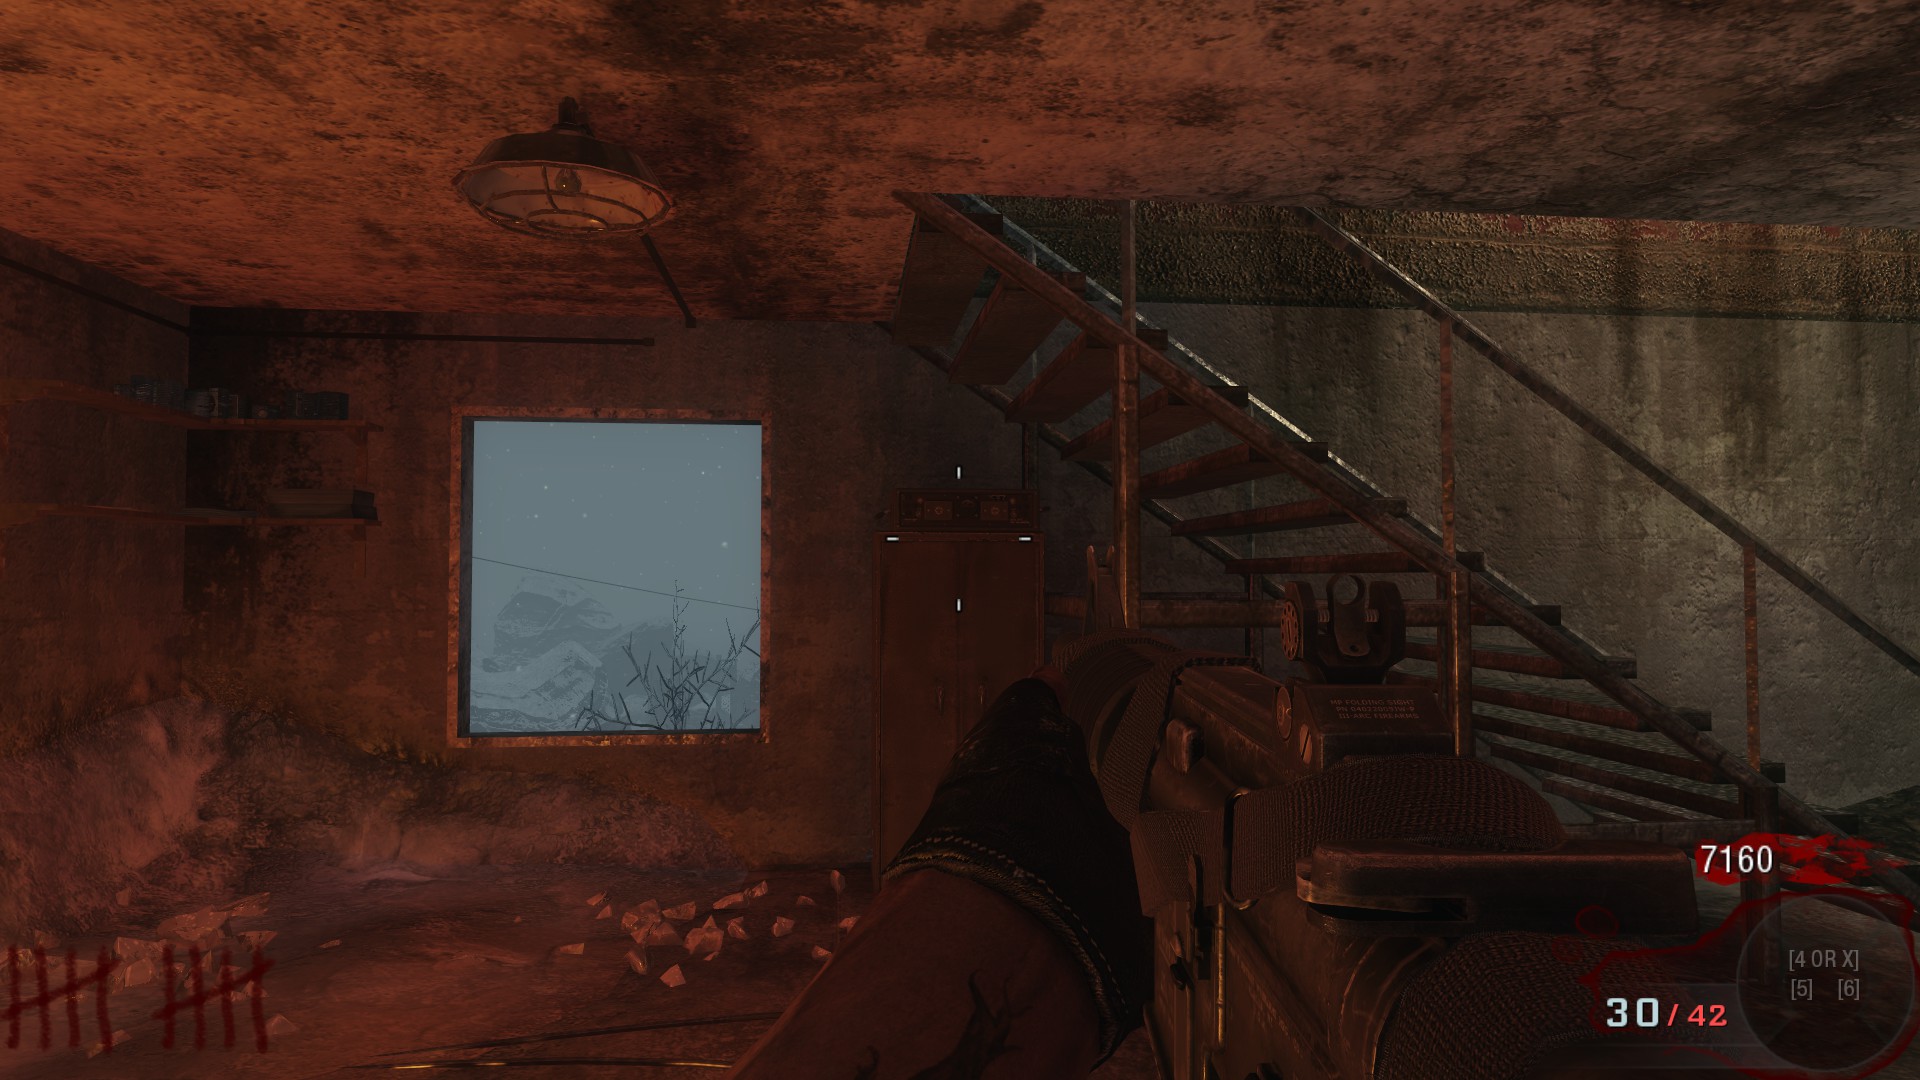
Players will now have to find 4 radios around the map and press them in a specific order.
The location and order of the radios are as follows.
- Underneath the power room, on top of an electrical cabinet on the right side.
- To the right of Stamin-Up, on top of a barrel.
- To the right of the exit to the zip-line, the radio is on it's side inside a shipping container.
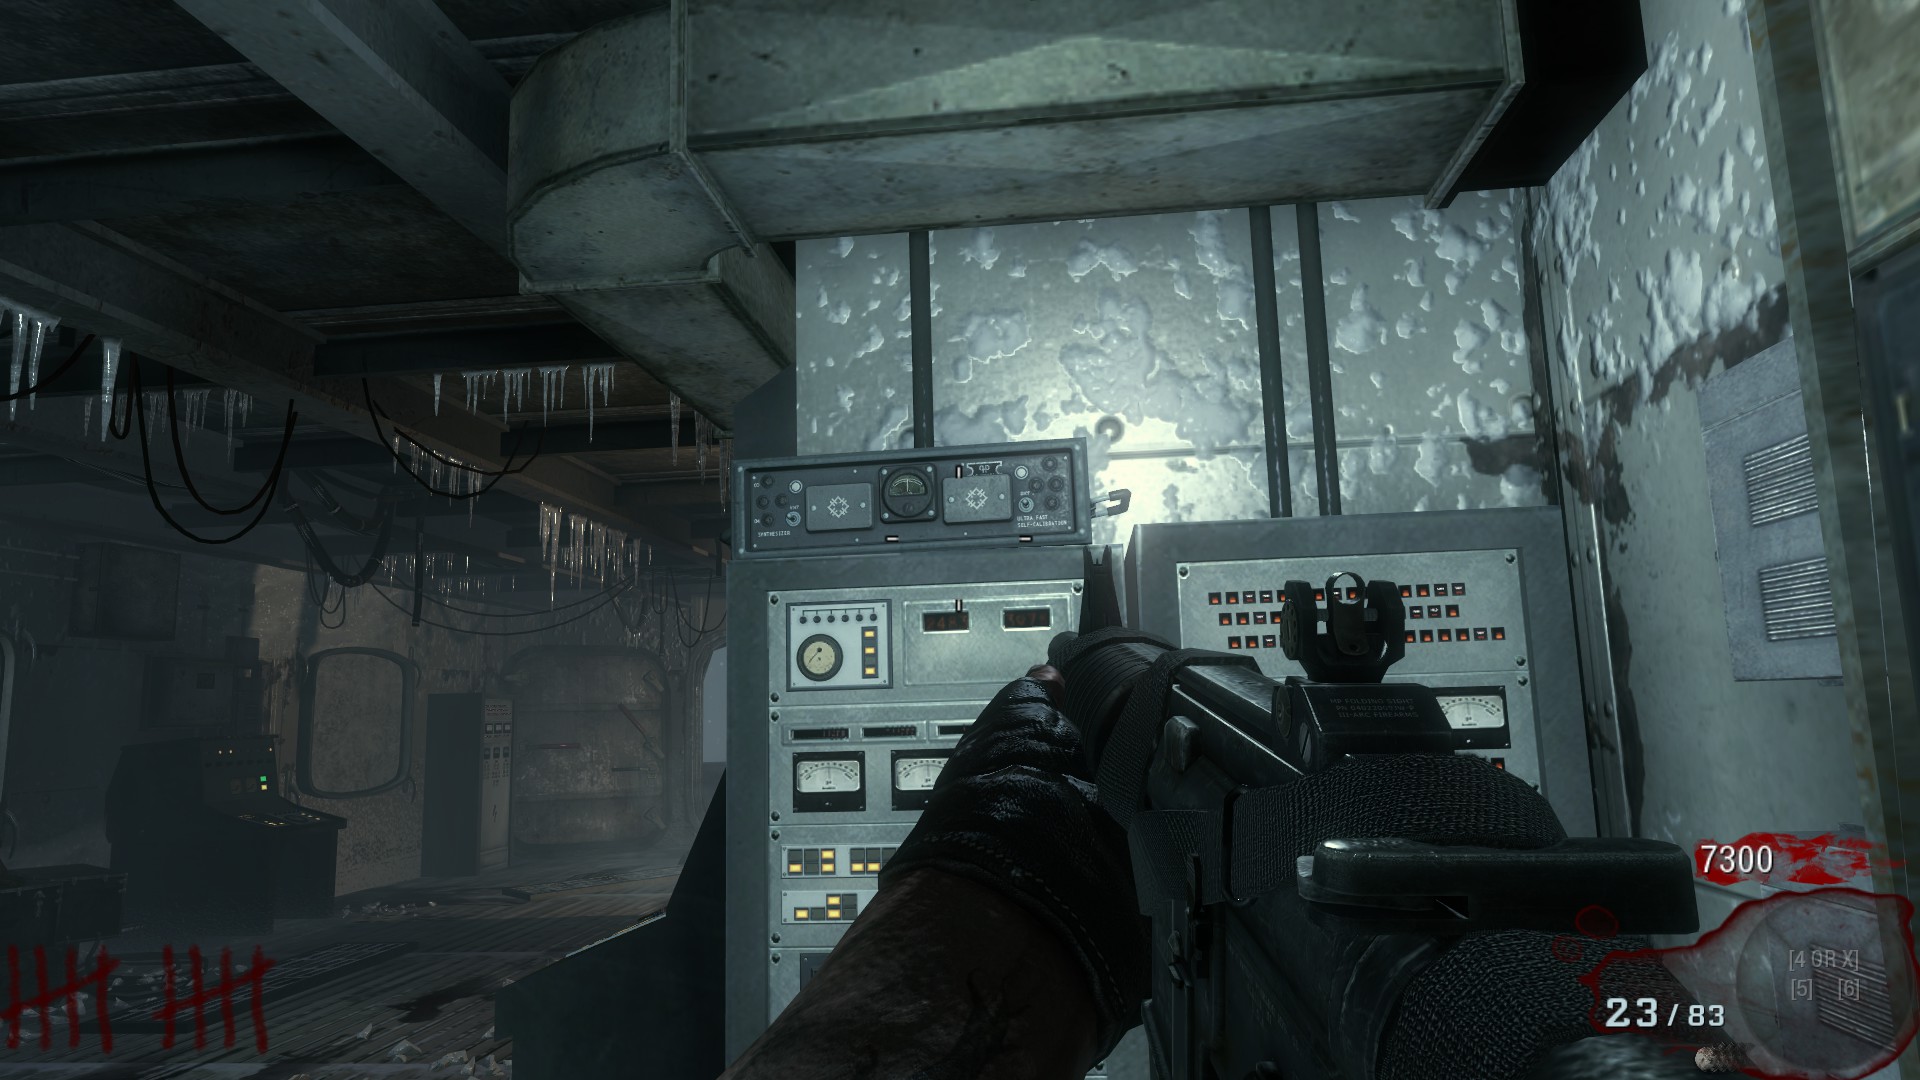
- On top of a cabinet underneath the stairs next to the vault.
Pressing the radios in the order will activate a light in the sky that flashes in Morse Code.
Ensemble Cast: Step 6 - Ship's Bridge
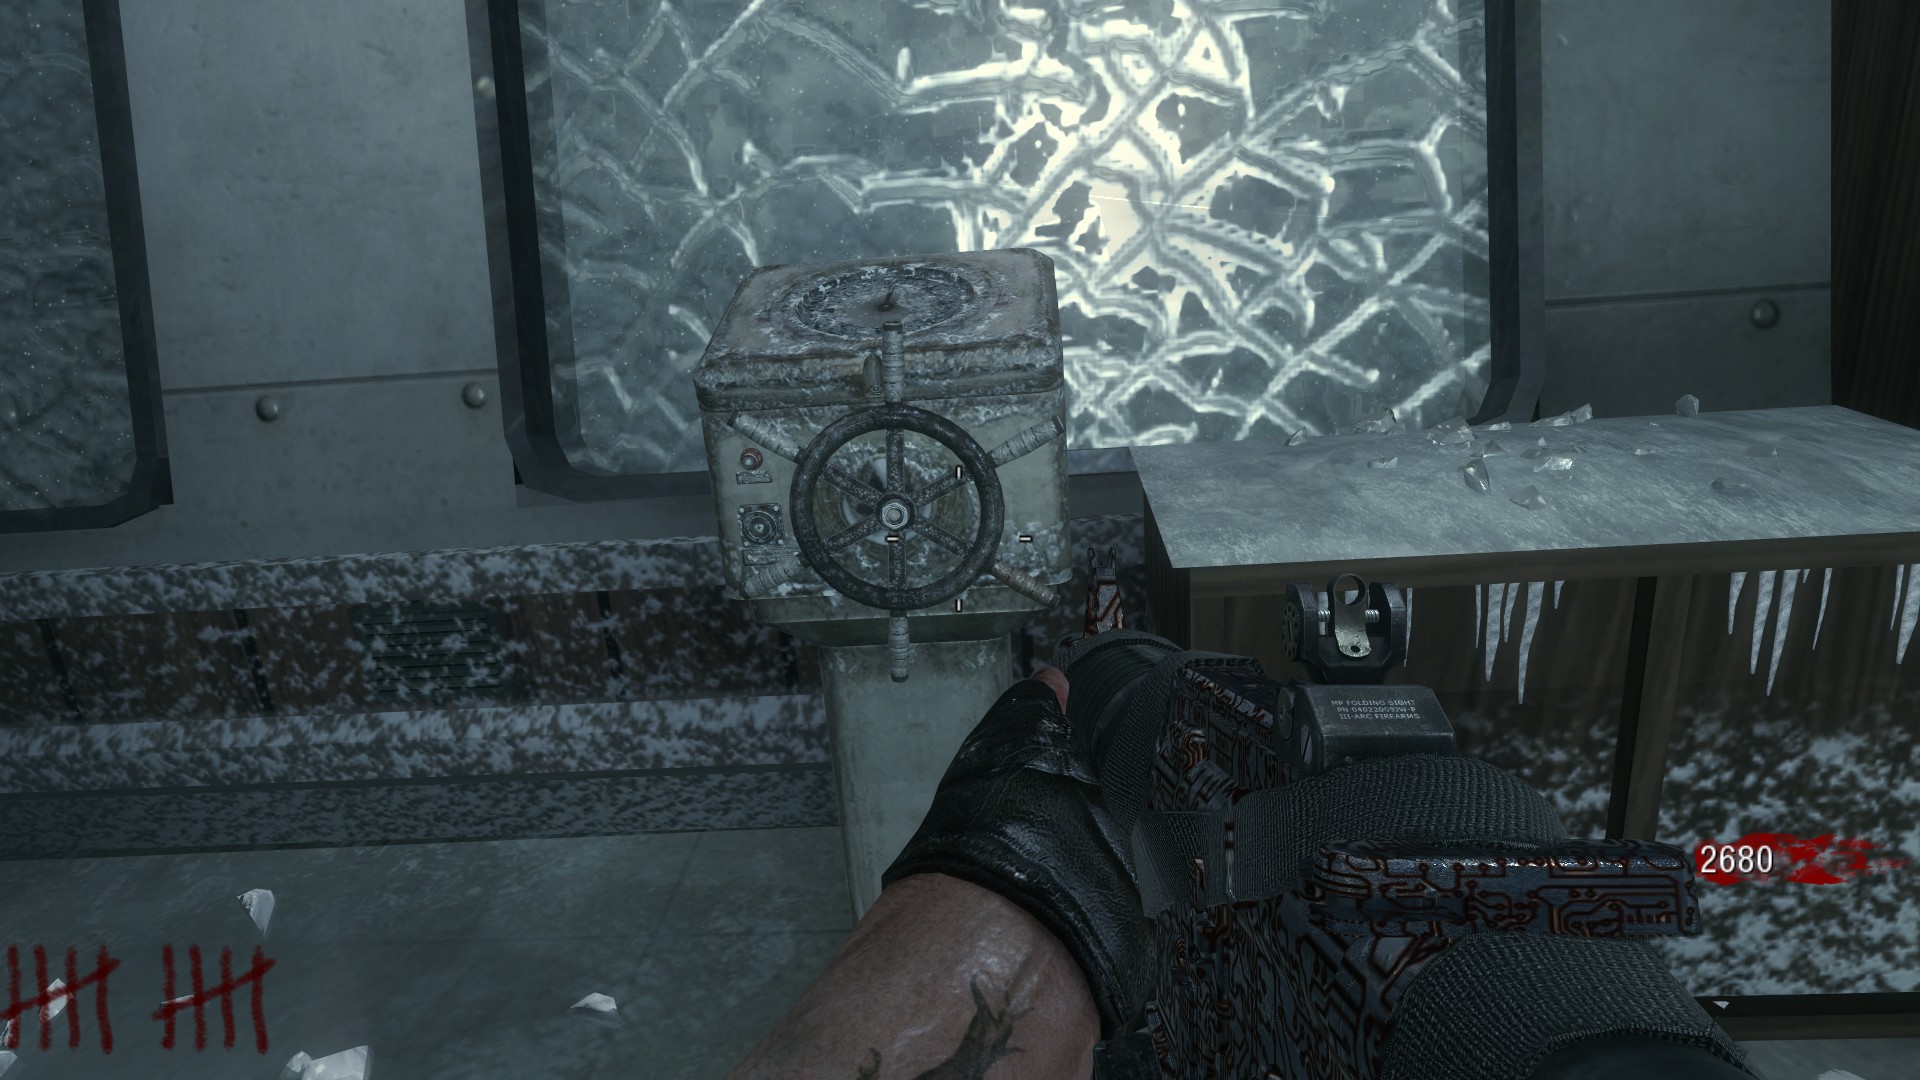
Head up to the power room and face the ship's wheel and 3 levers next to it.
Turn the wheel so the brown peg is pointing to the bottom right.
 Then go to the 3 levers to the right of it. Pull the left handle once, and the right-most handle 3 times.
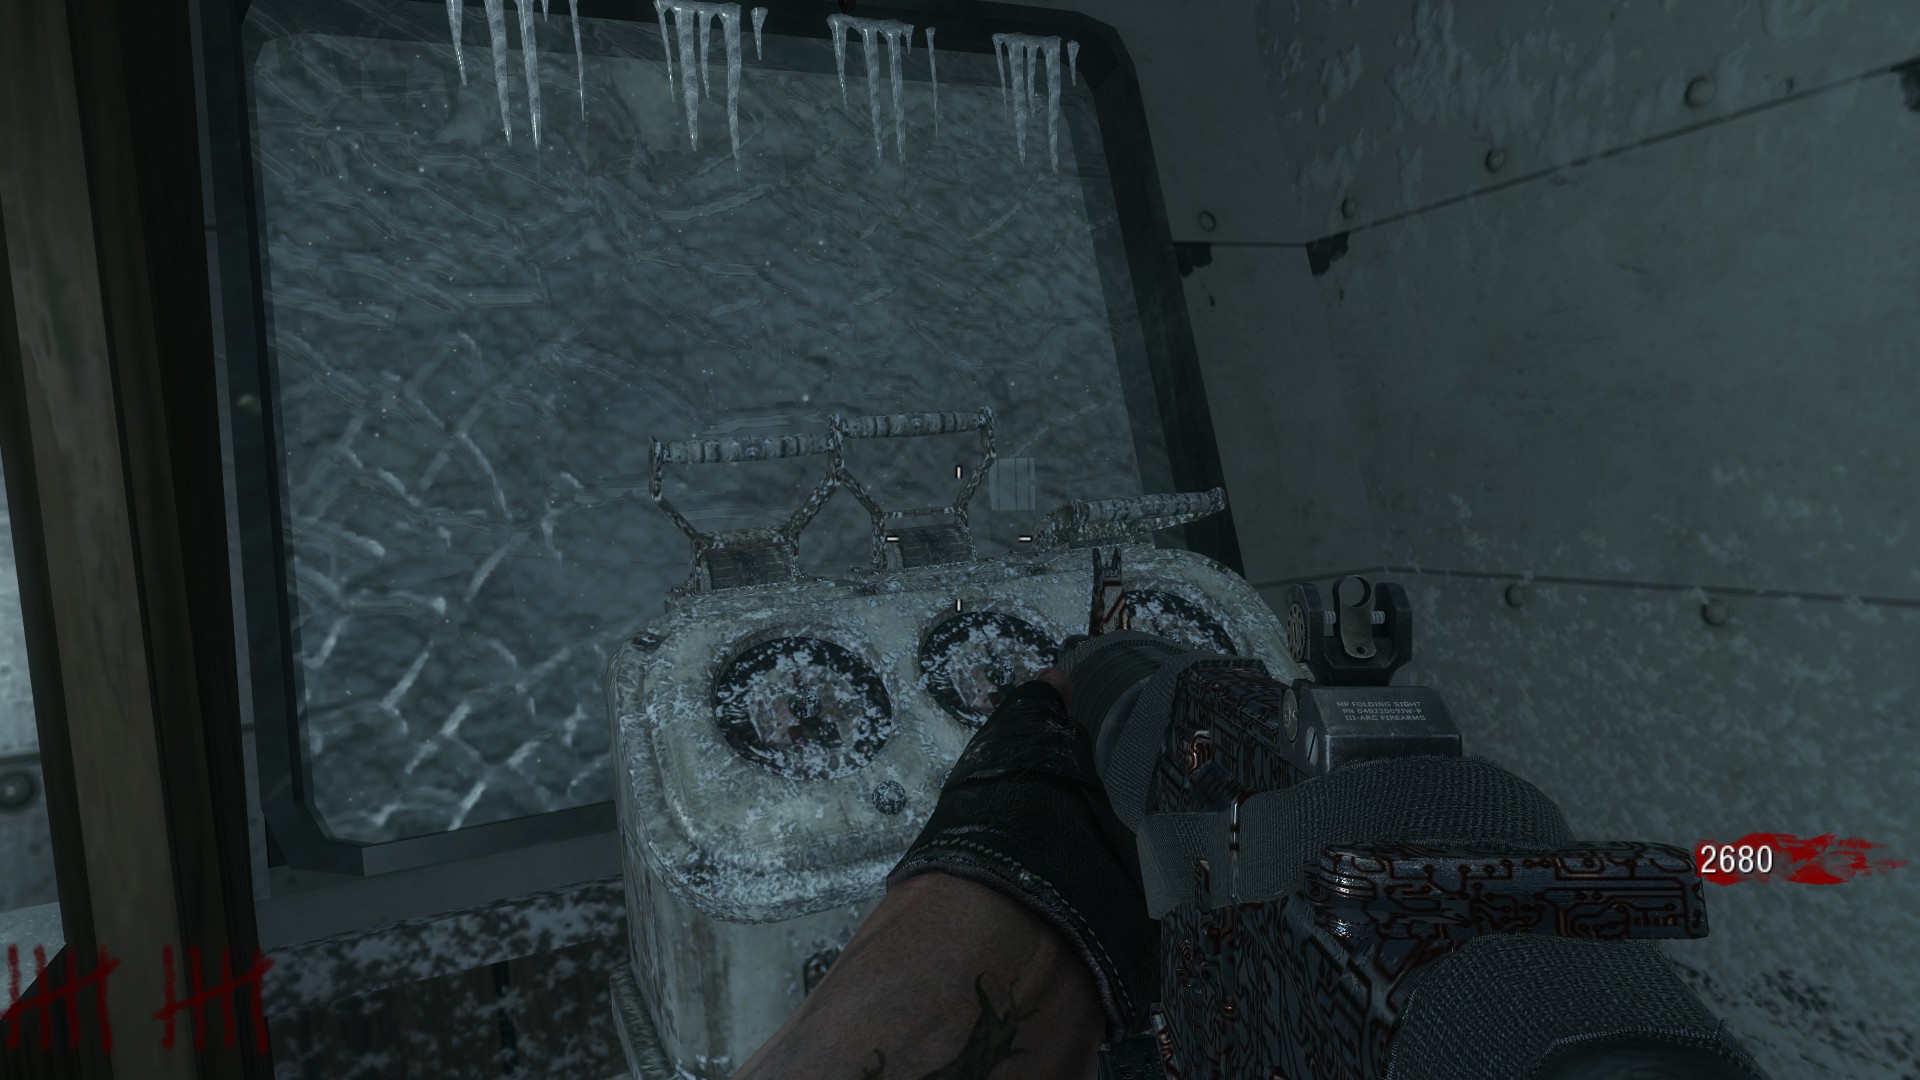 The ship's foghorn should go off after. (I honestly don't know if that happens because I've only ever done the EE solo.)
Turn the wheel so the brown peg is pointing to the bottom right.
Then go to the 3 levers to the right of it. Pull the left handle once, and the right-most handle 3 times.The ship's foghorn should go off after. (I honestly don't know if that happens because I've only ever done the EE solo.)
Ensemble Cast: Step 7 - Foghorns
CO-OP STEP ONLY
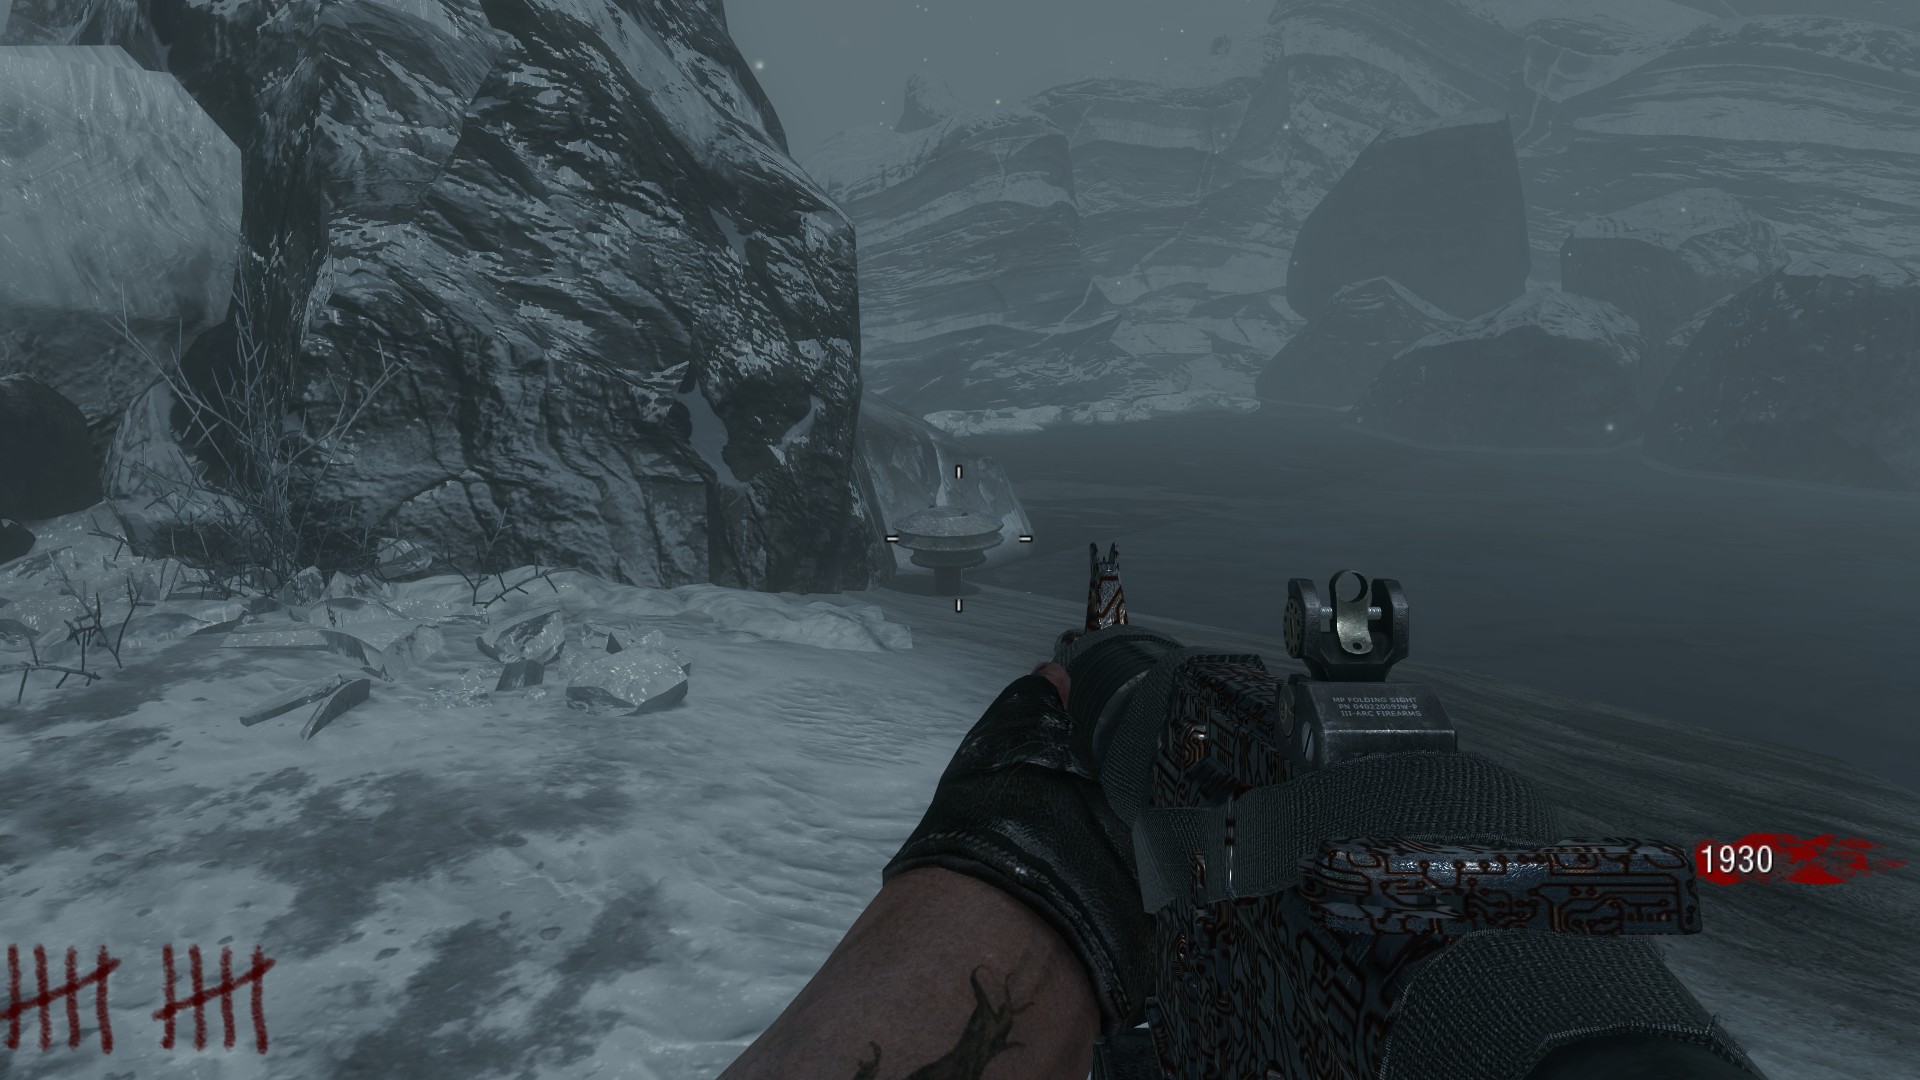
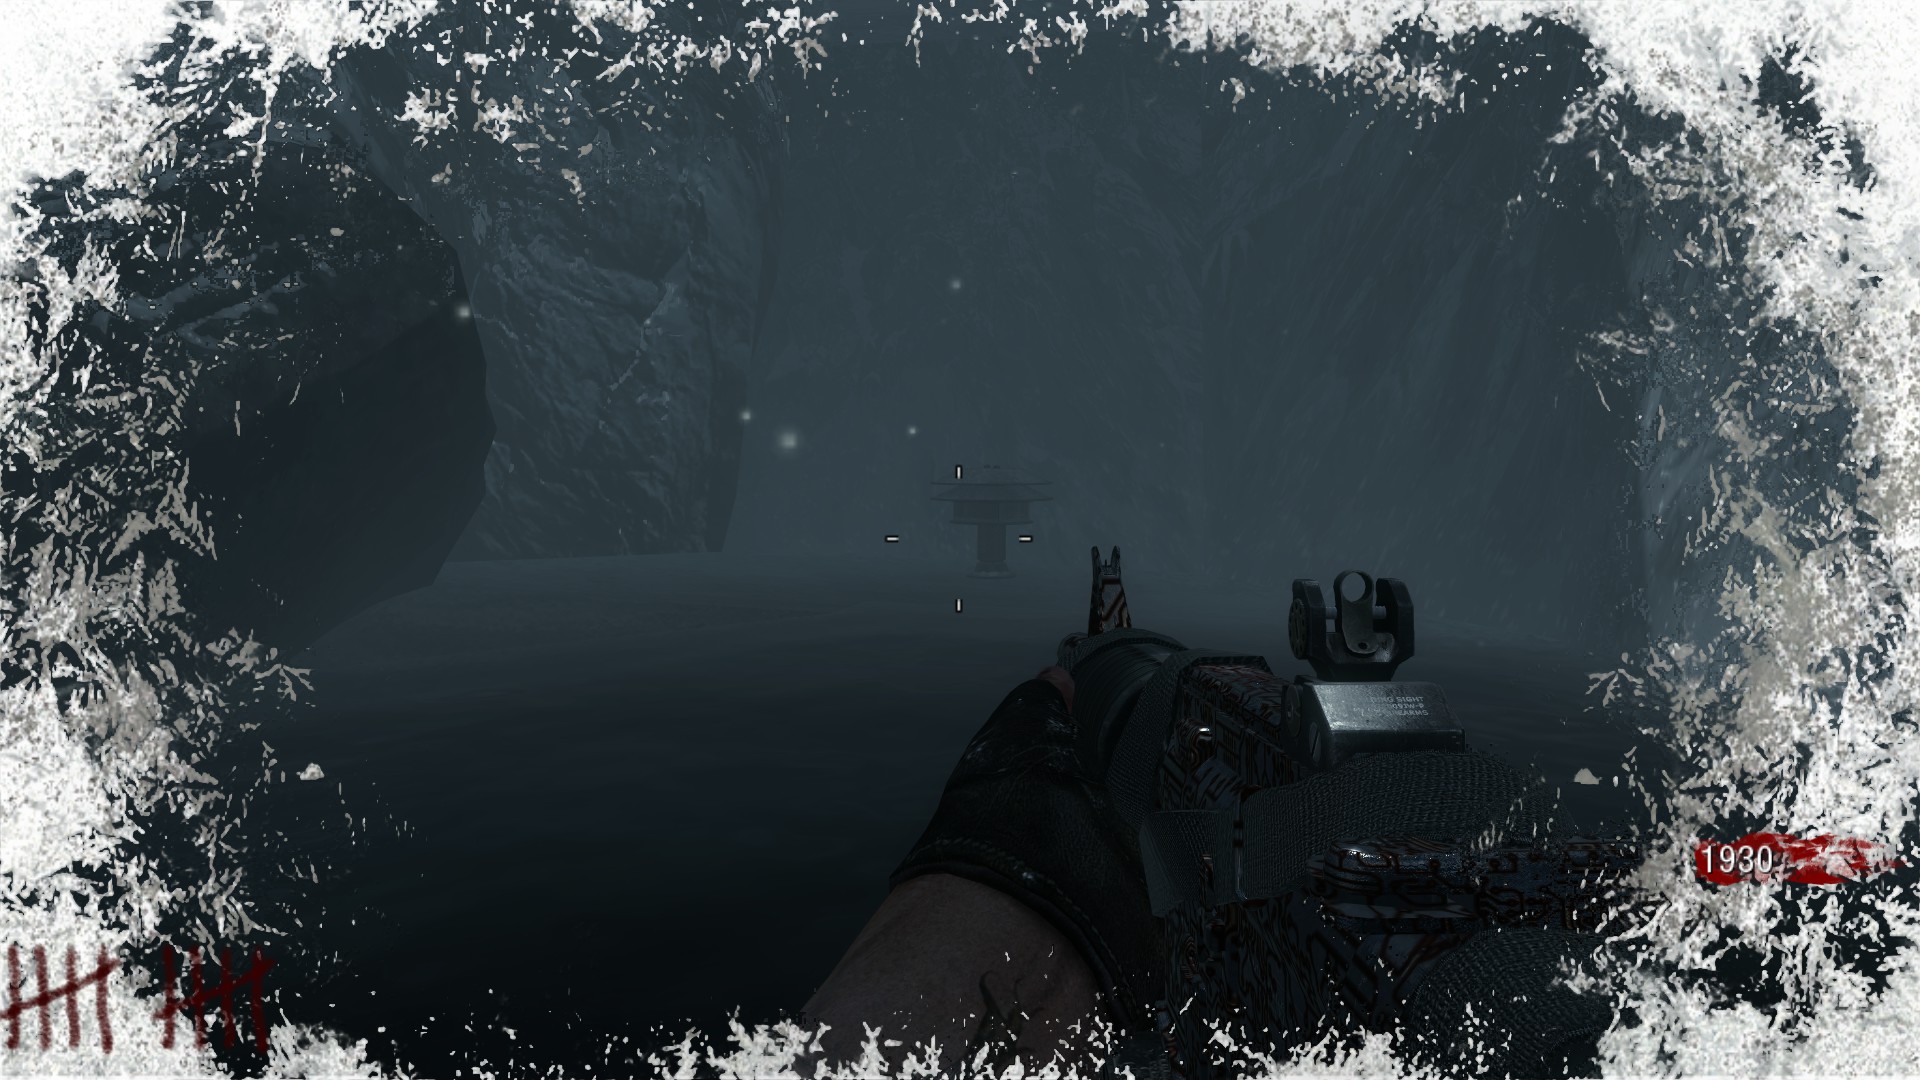
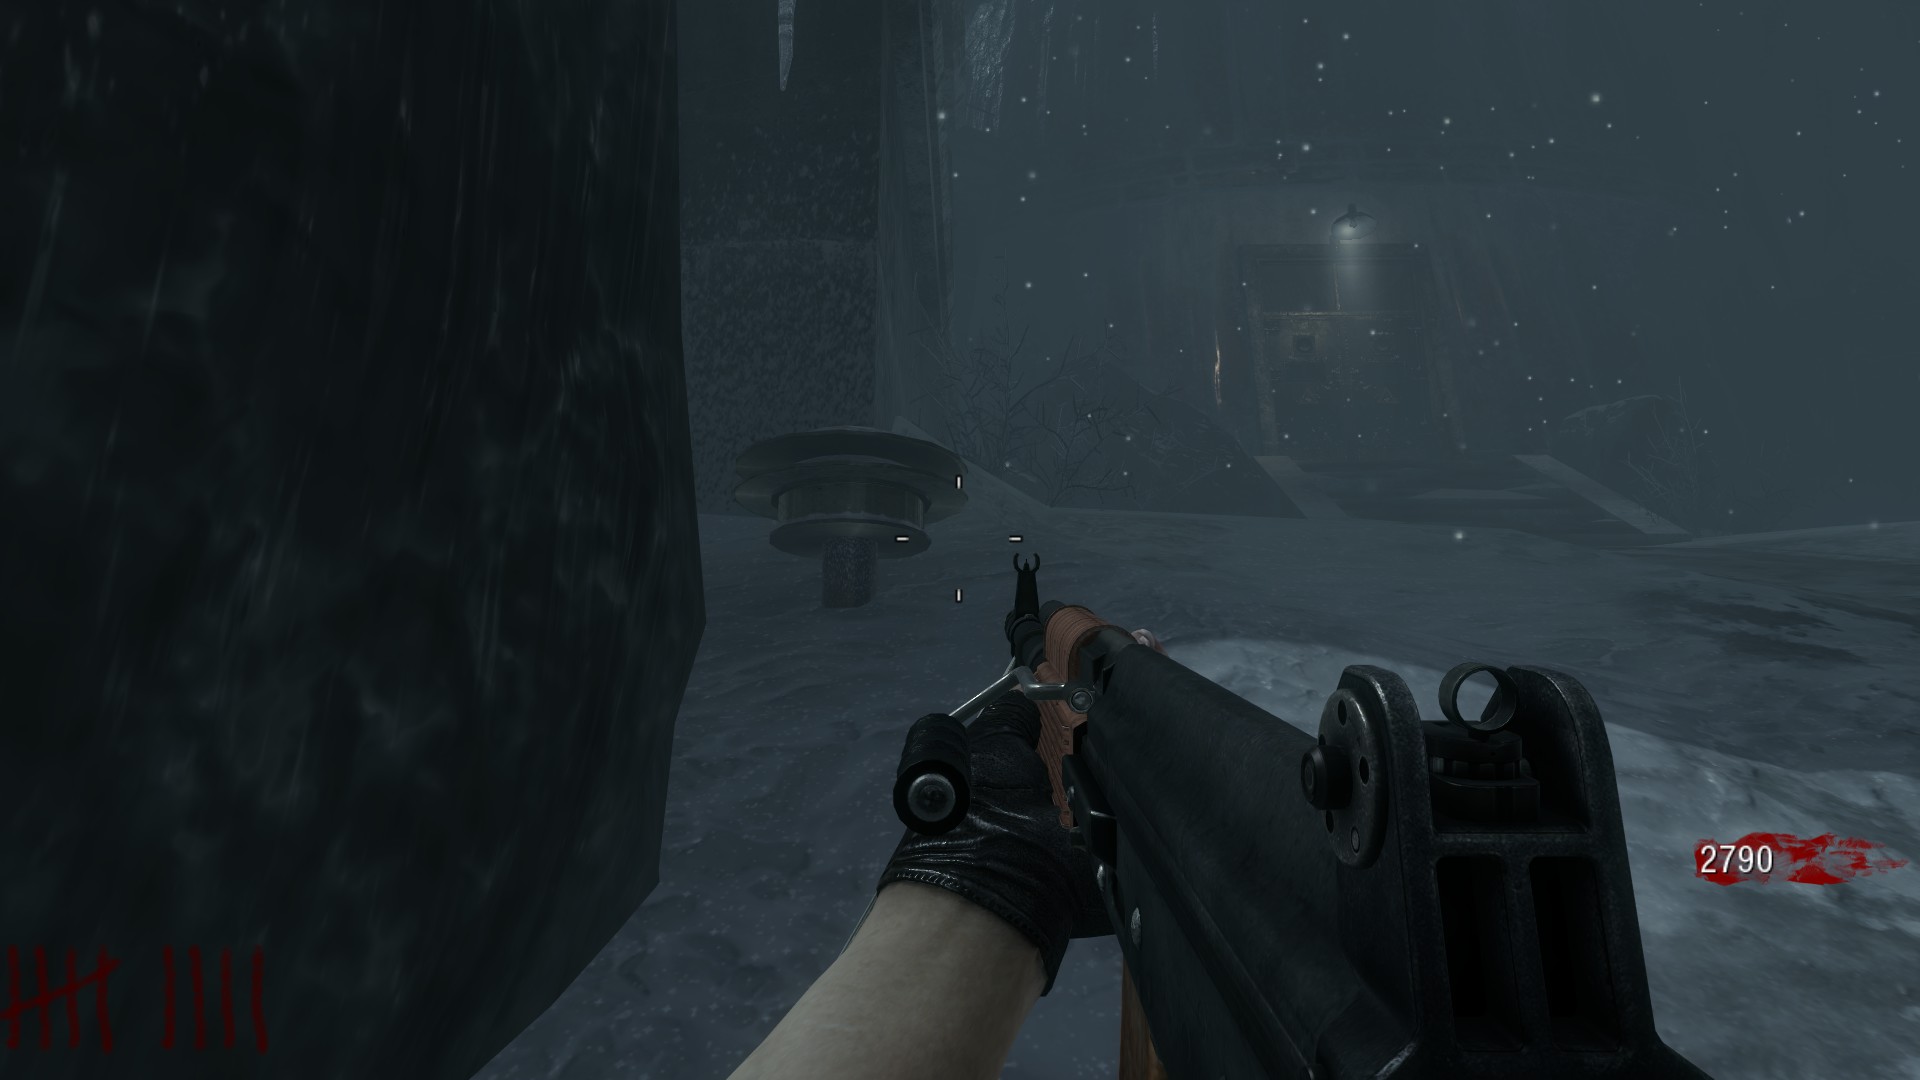
Players will now have to press 4 foghorns around the map in the correct order.
The location and order of the foghorns are as follows.
- To the right of the AK-74u Wall Buy, at the water's edge.
- Around the right corner after sliding down to Speed Cola.
- To the left of the AK-74u Wall Buy, at the base of the building.
- Straight ahead after sliding down to Speed Cola.
Pressing all the foghorns will cause a green light to shine from the submarine to the top of the lighthouse.
Ensemble Cast: Step 8 - Tower Dials
CO-OP STEP ONLY
This is probably the hardest step of the whole EE. Inside the lighthouse are 4 dials on each of the 4 floors of the lighthouse. From top to bottom they are:
- Yellow
- Orange
- Blue
- Purple
You will have to turn each dial to the correct number, but turning one dial will also turn the dial beneath it. (Turning purple will cause yellow to turn.)
This is the best way I found to do this step:
- Turn the yellow dial to 2.
- Turn the blue dial until orange is at 7.
- Turn the purple dial to 6.
- Turn the orange dial until blue is at 4.
- Turn the yellow dial to 2.
Ensemble Cast: Step 9 - Human Sacrifice
One player will now have to acquire the V-R11 from the Mystery Box. After getting the V-R11, you will have to shoot a zombie on the bottom floor of the lighthouse. The zombie you shot will then turn into a human and run into the green light in the spiral staircase. The human will then scream and float upwards. Players will have to kill the human before he reaches the top of the staircase.
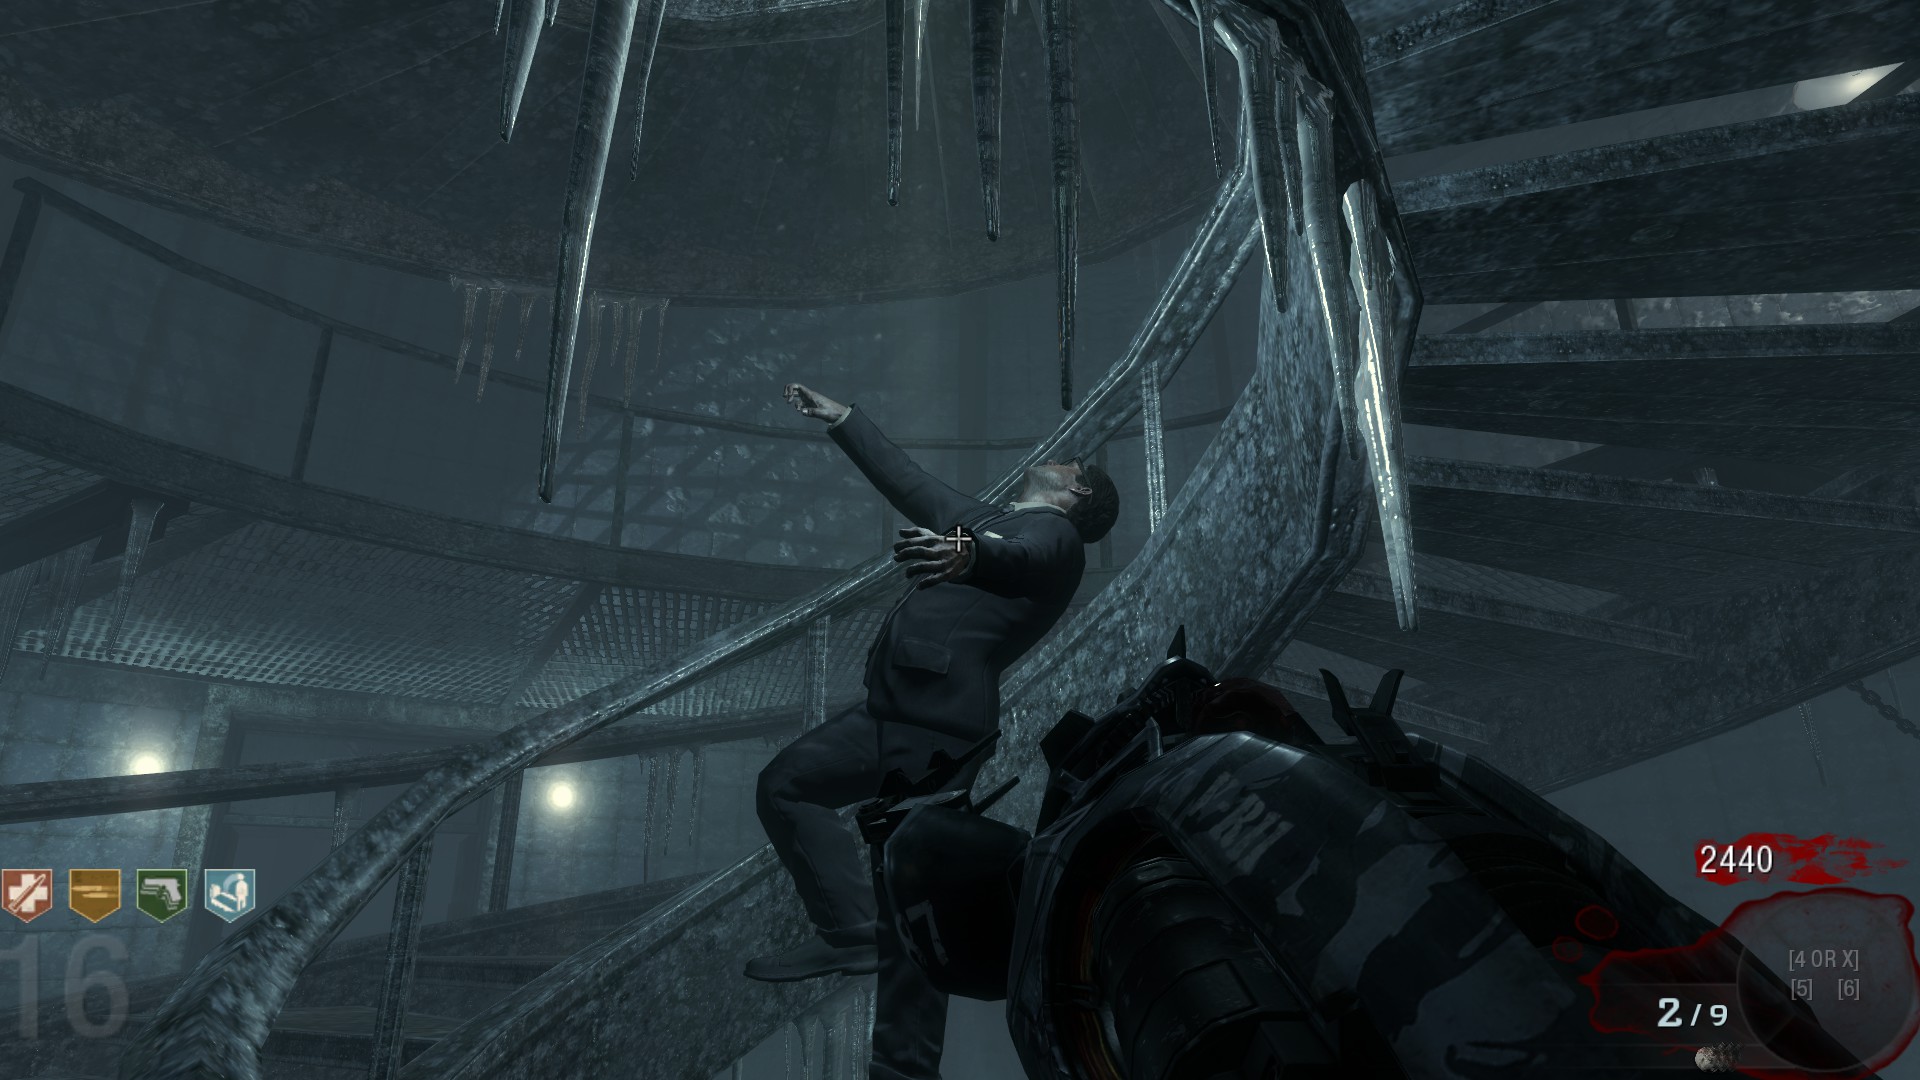
Ensemble Cast: Step 10 - Ensemble Cast
After killing the human, he will reach the top of the staircase and enter the portal. The Vrill Device will then float down to the bottom of the staircase. Have a player grab the Vrill Device and then run over to the vault door. Place the Vrill Device in the same tube you put the vodka bottle in on the left side of the door.
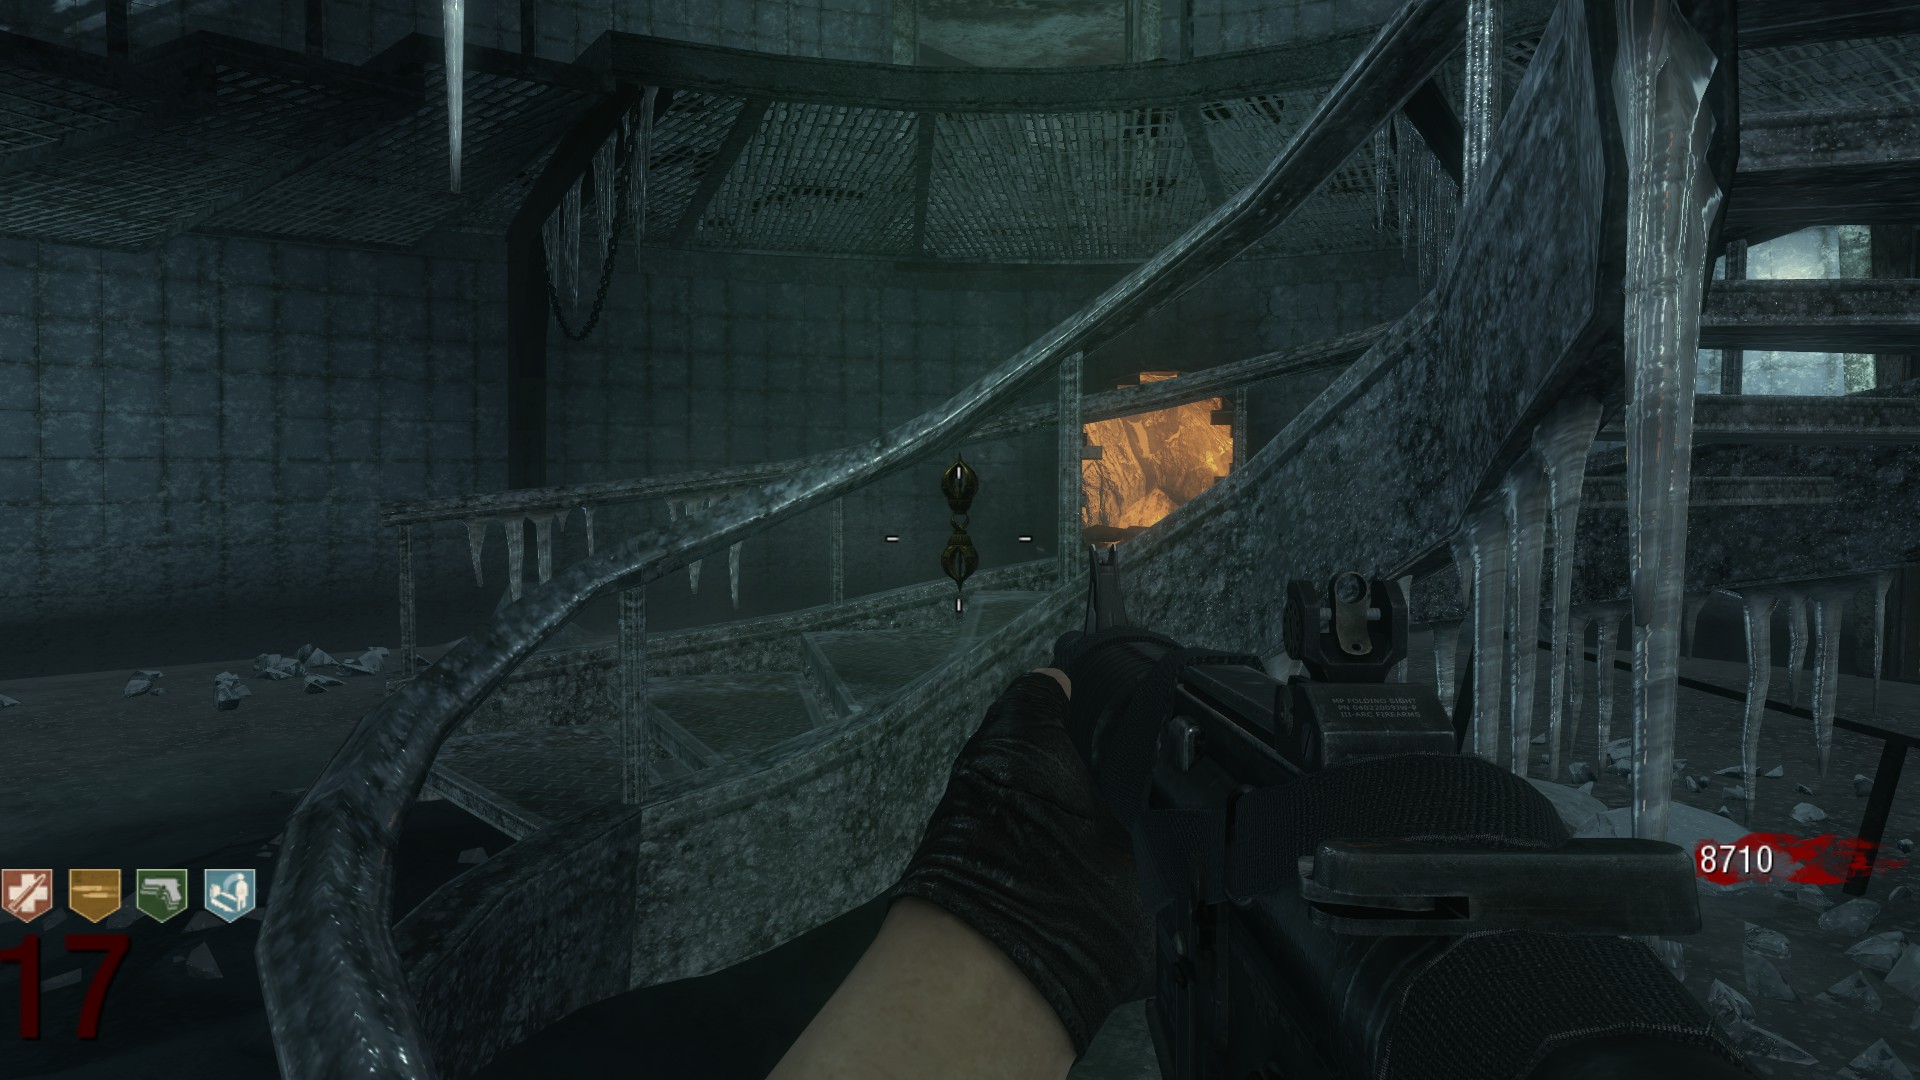
Knife the fuse box one last time after hearing Richtofen's dialogue, and send the crew to Paradise.
You will now be rewarded a Wunderwaffe DG-2 that lasts until you run out of ammo. Also, George will now drop a Wunderwaffe instead of a Death Machine whenever you kill him.
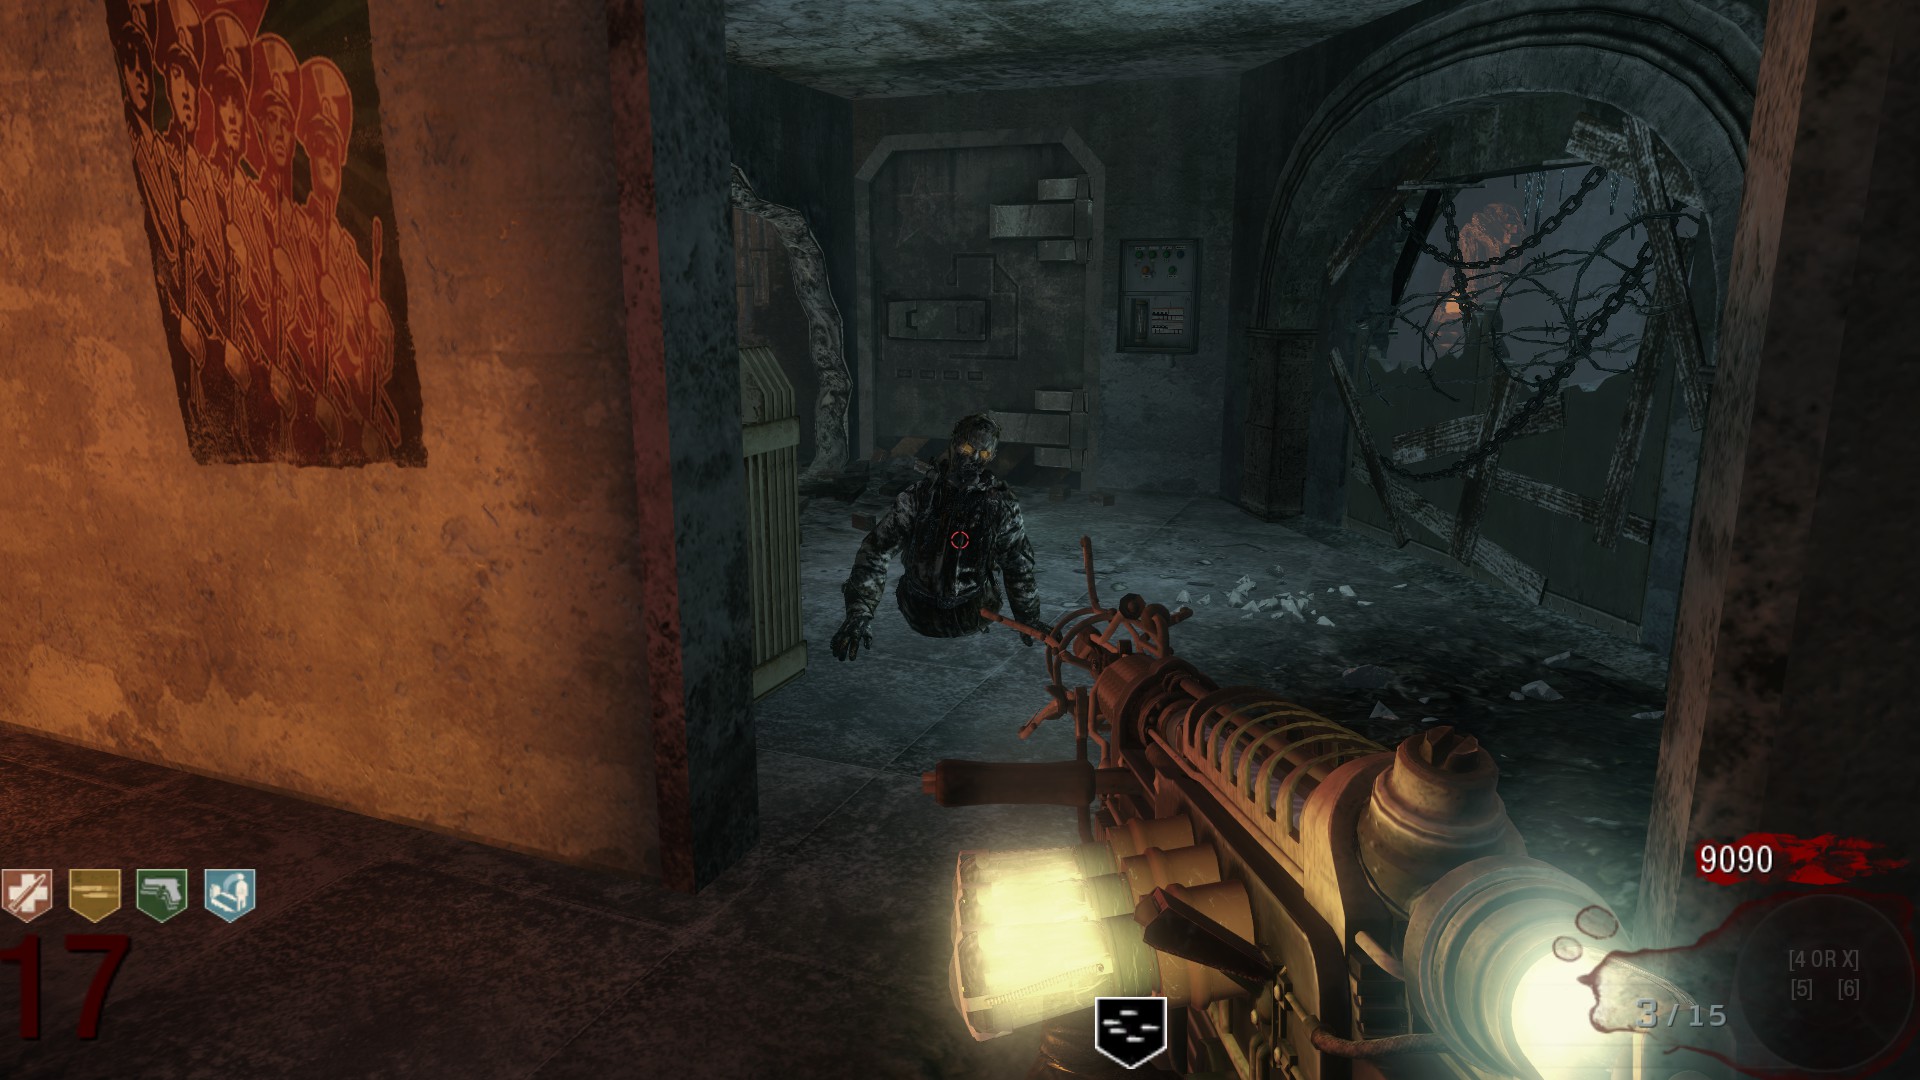
Knife the fuse box one last time after hearing Richtofen's dialogue, and send the crew to Paradise.
You will now be rewarded a Wunderwaffe DG-2 that lasts until you run out of ammo. Also, George will now drop a Wunderwaffe instead of a Death Machine whenever you kill him.
🏆
Beat Call of Duty: Black Ops's achievements?
Flex it — let your friends know you pulled it off.
More Call of Duty: Black Ops guides
- Zombie Mode Weapon Damage/Health/Data Guide★ 5 (802)41k views811 ♥5 minBulgarianUpdated Apr 11, 2017
- Zombies Weapons Guide★ 5 (735)37k views649 ♥53 minUpdated Dec 26, 2015
- Terminal Codes★ 5 (424)36k views863 ♥2 minUpdated May 21, 2022
- How to play Zombies without internet connection.★ 5 (475)33k views801 ♥1 minUpdated Feb 3, 2017
- Config Commands and How to Use Config Commands★ 5 (183)26k views576 ♥5 minUpdated Mar 25, 2025
- 100% achievements guide★ 5 (706)23k views1.5k ♥15 minUpdated Aug 25, 2020




This guide was created by its original author on the Steam Community. Are you the author and want it removed? Request removal.