CSL Custom brushes
Importing brushes
In your map editor, simply open the terraforming tool and click on the yellow folder icon and drop the pngs into it. that's it :D
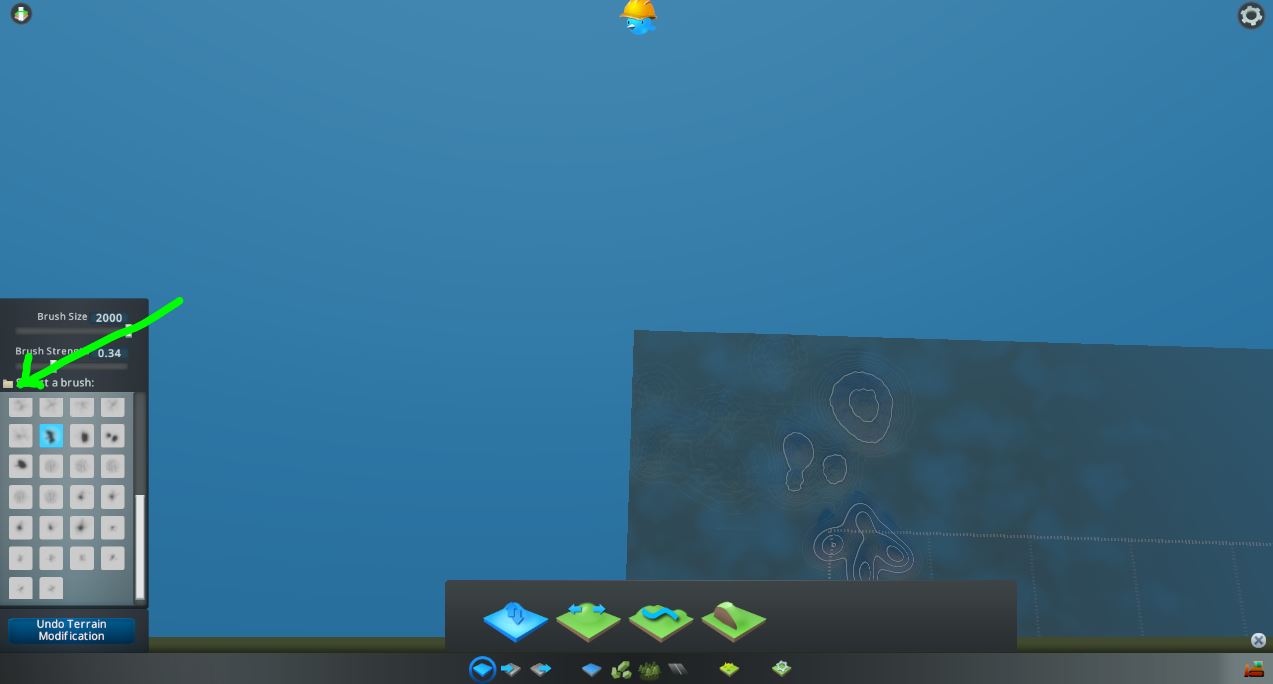
Download link: https://www.dropbox.com/scl/fo/l69r3tu2lw4uni29x03am/h?rlkey=xtnzml19ckcs53oya0bgwytly&dl=0
Folder location: C:\Users\[username]\AppData\Local\Colossal Order\Cities_Skylines\Addons\MapEditor\Brushes
note: you might need to take out the pngs out of the downloaded folder, a folder in a folder might not work.
Making your own brushes
you can remove any of the downloaded brushes if you feel like they're clogging your brush folder.
I haven't seen any post that mentions this, but if you're going to make your own brushes your file must be:
64 x 64 pixel resolution
RGB mode 8-bit <-without this it won't work
only black and transparent colours should be used: if your picture is a black and white it probably wont work.. I had to convert evman's images in photoshop for it to work
here was my process:
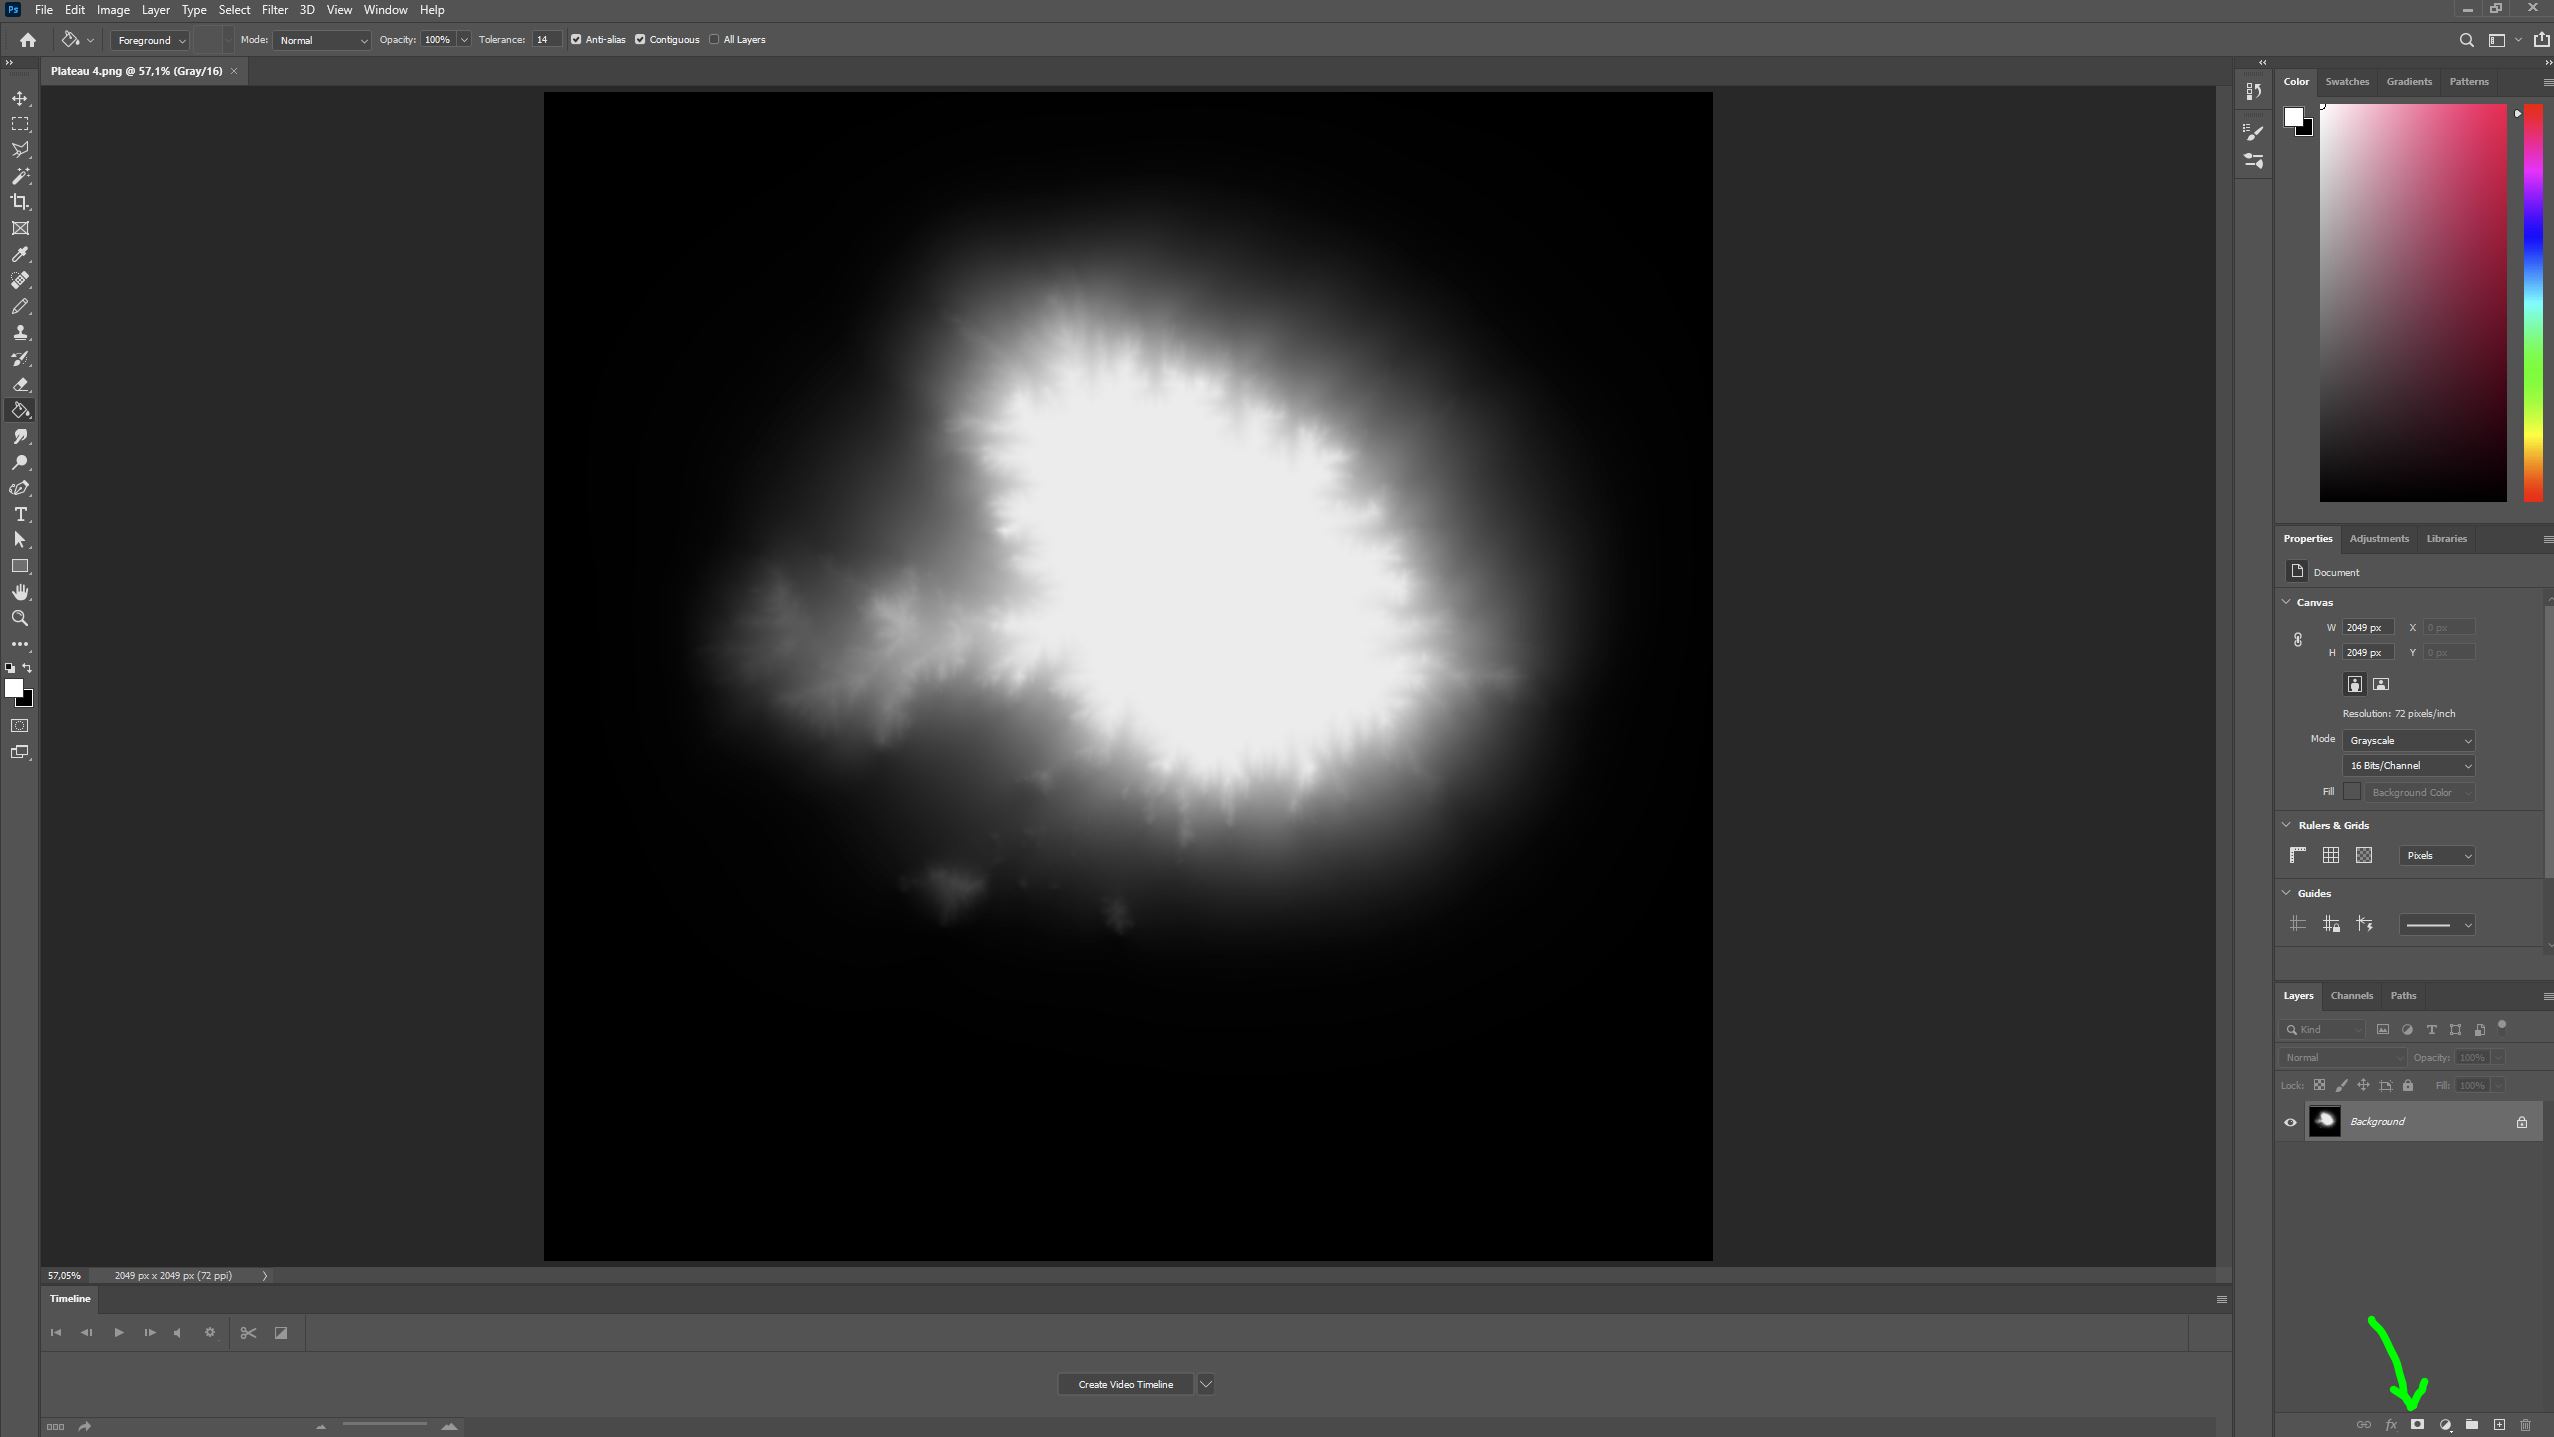
make a mask
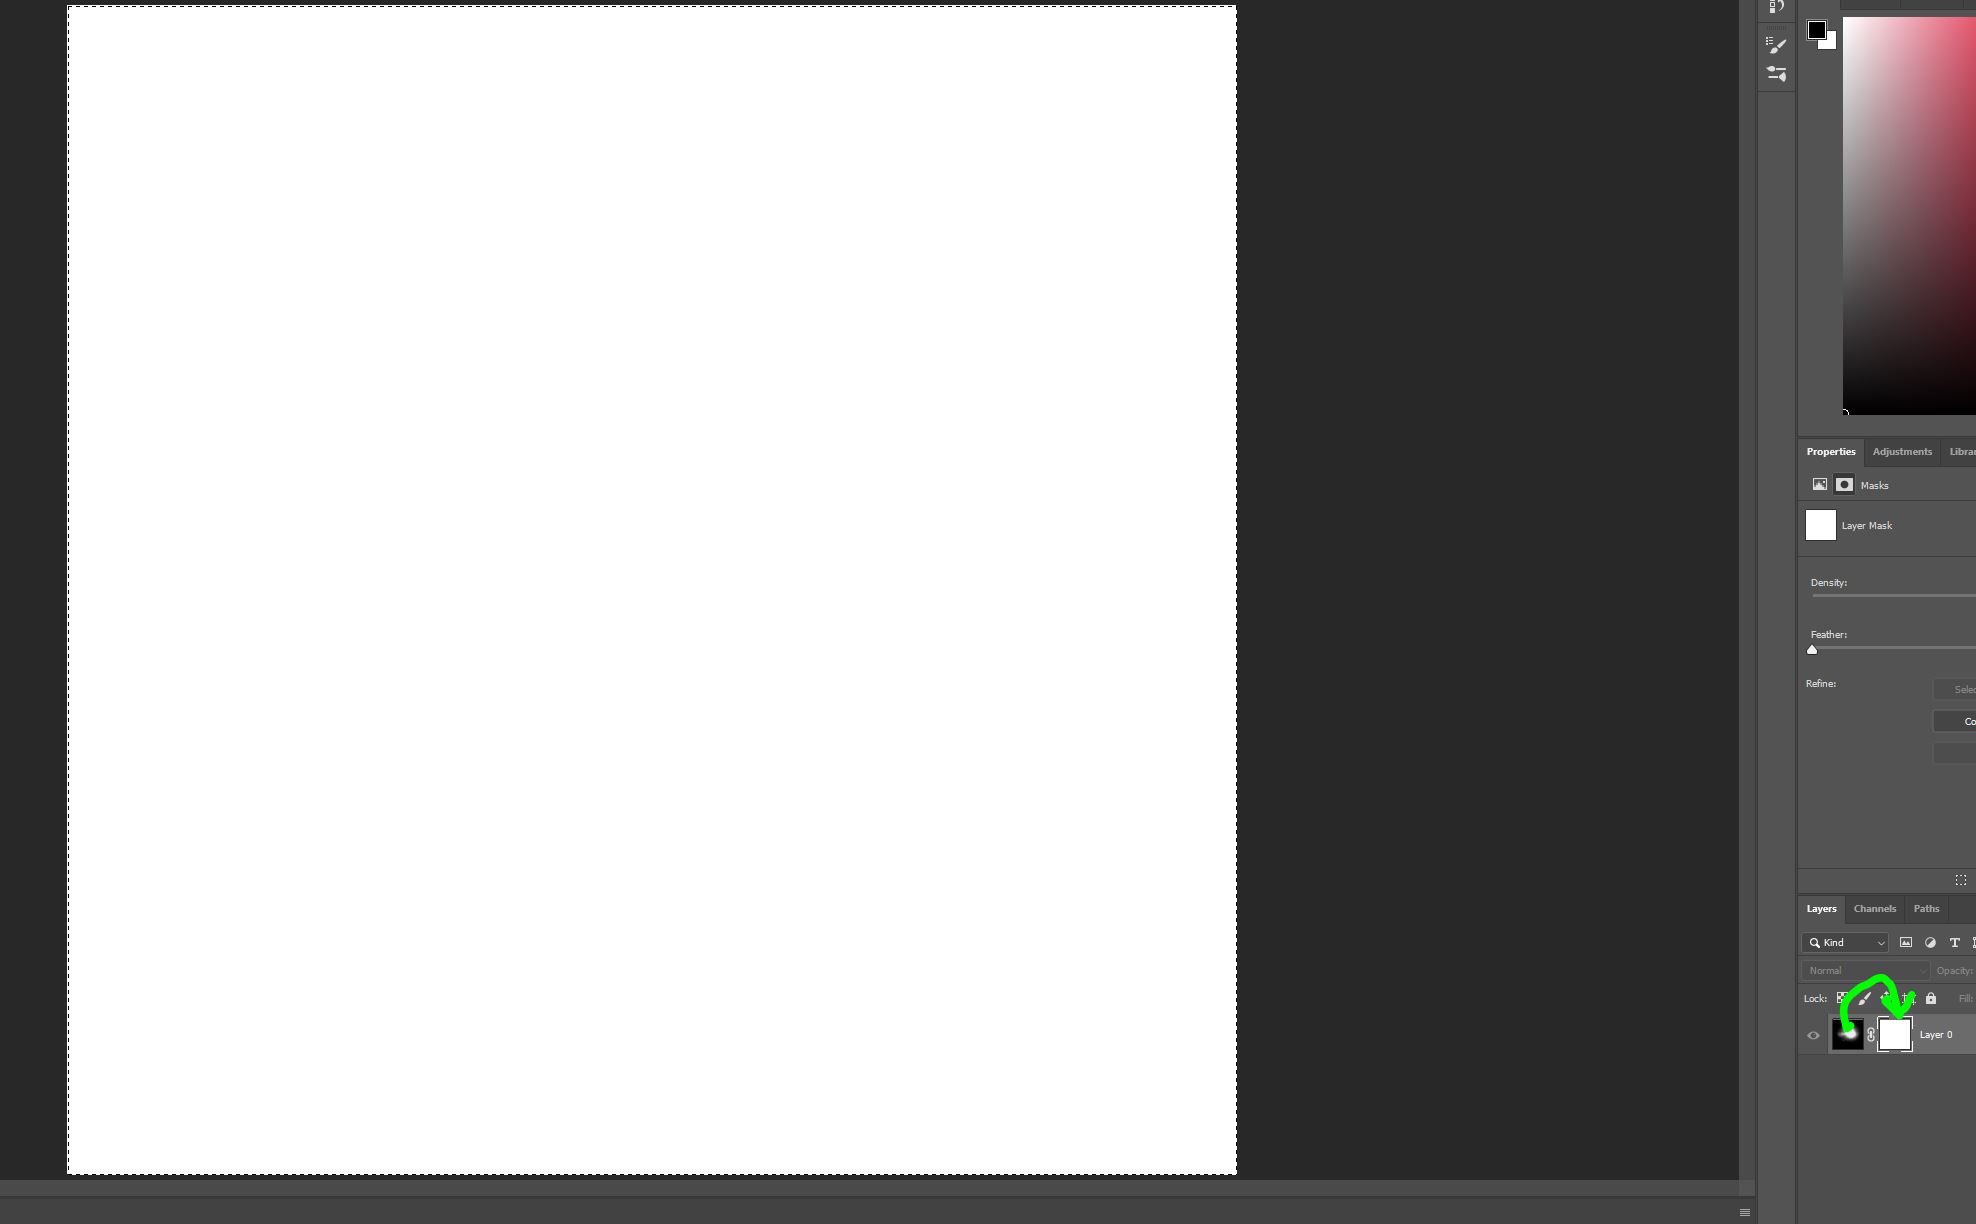
ctrl + a the original picture and paste it into the mask, hold alt while clicking on the white mask
should look like this:
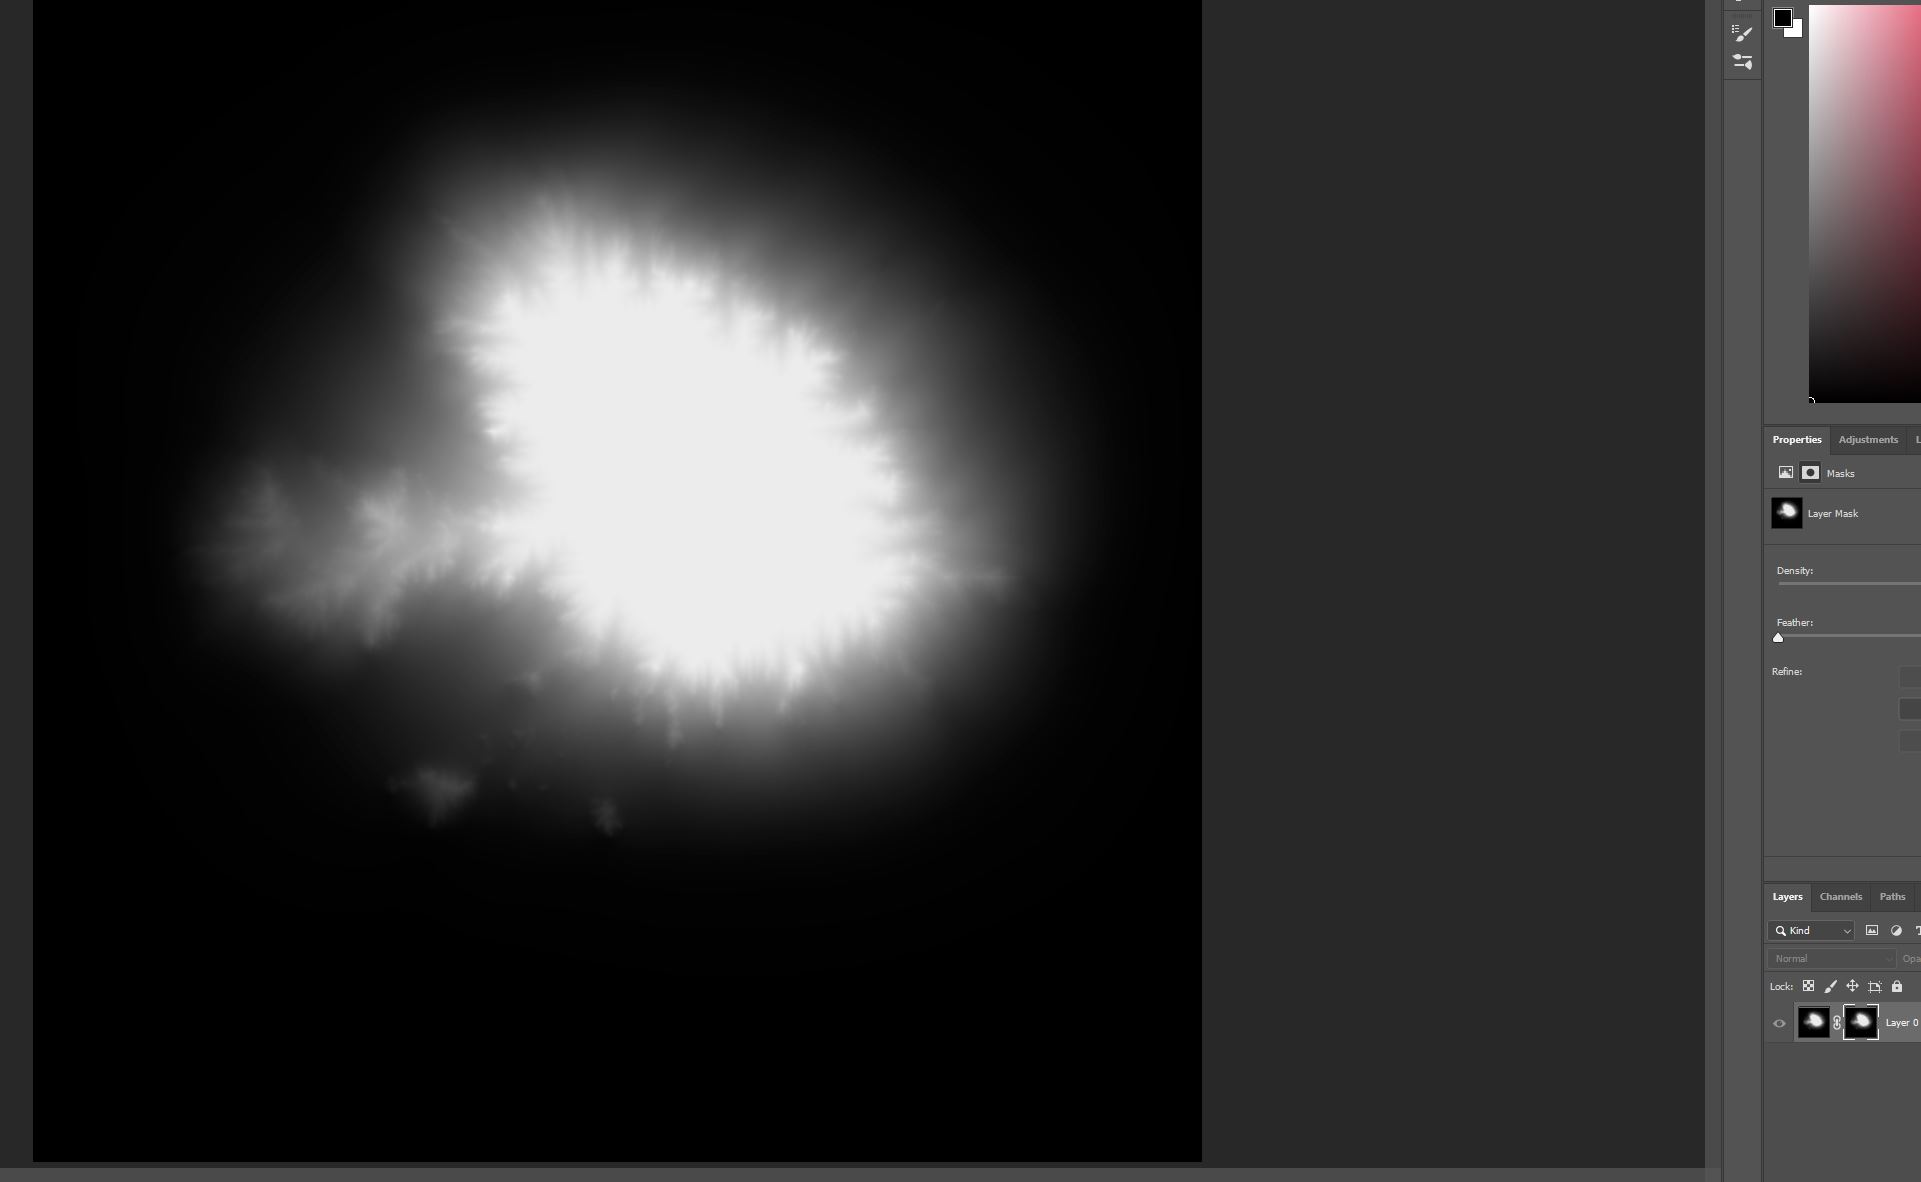
how it will look like when clicking back on the original image:
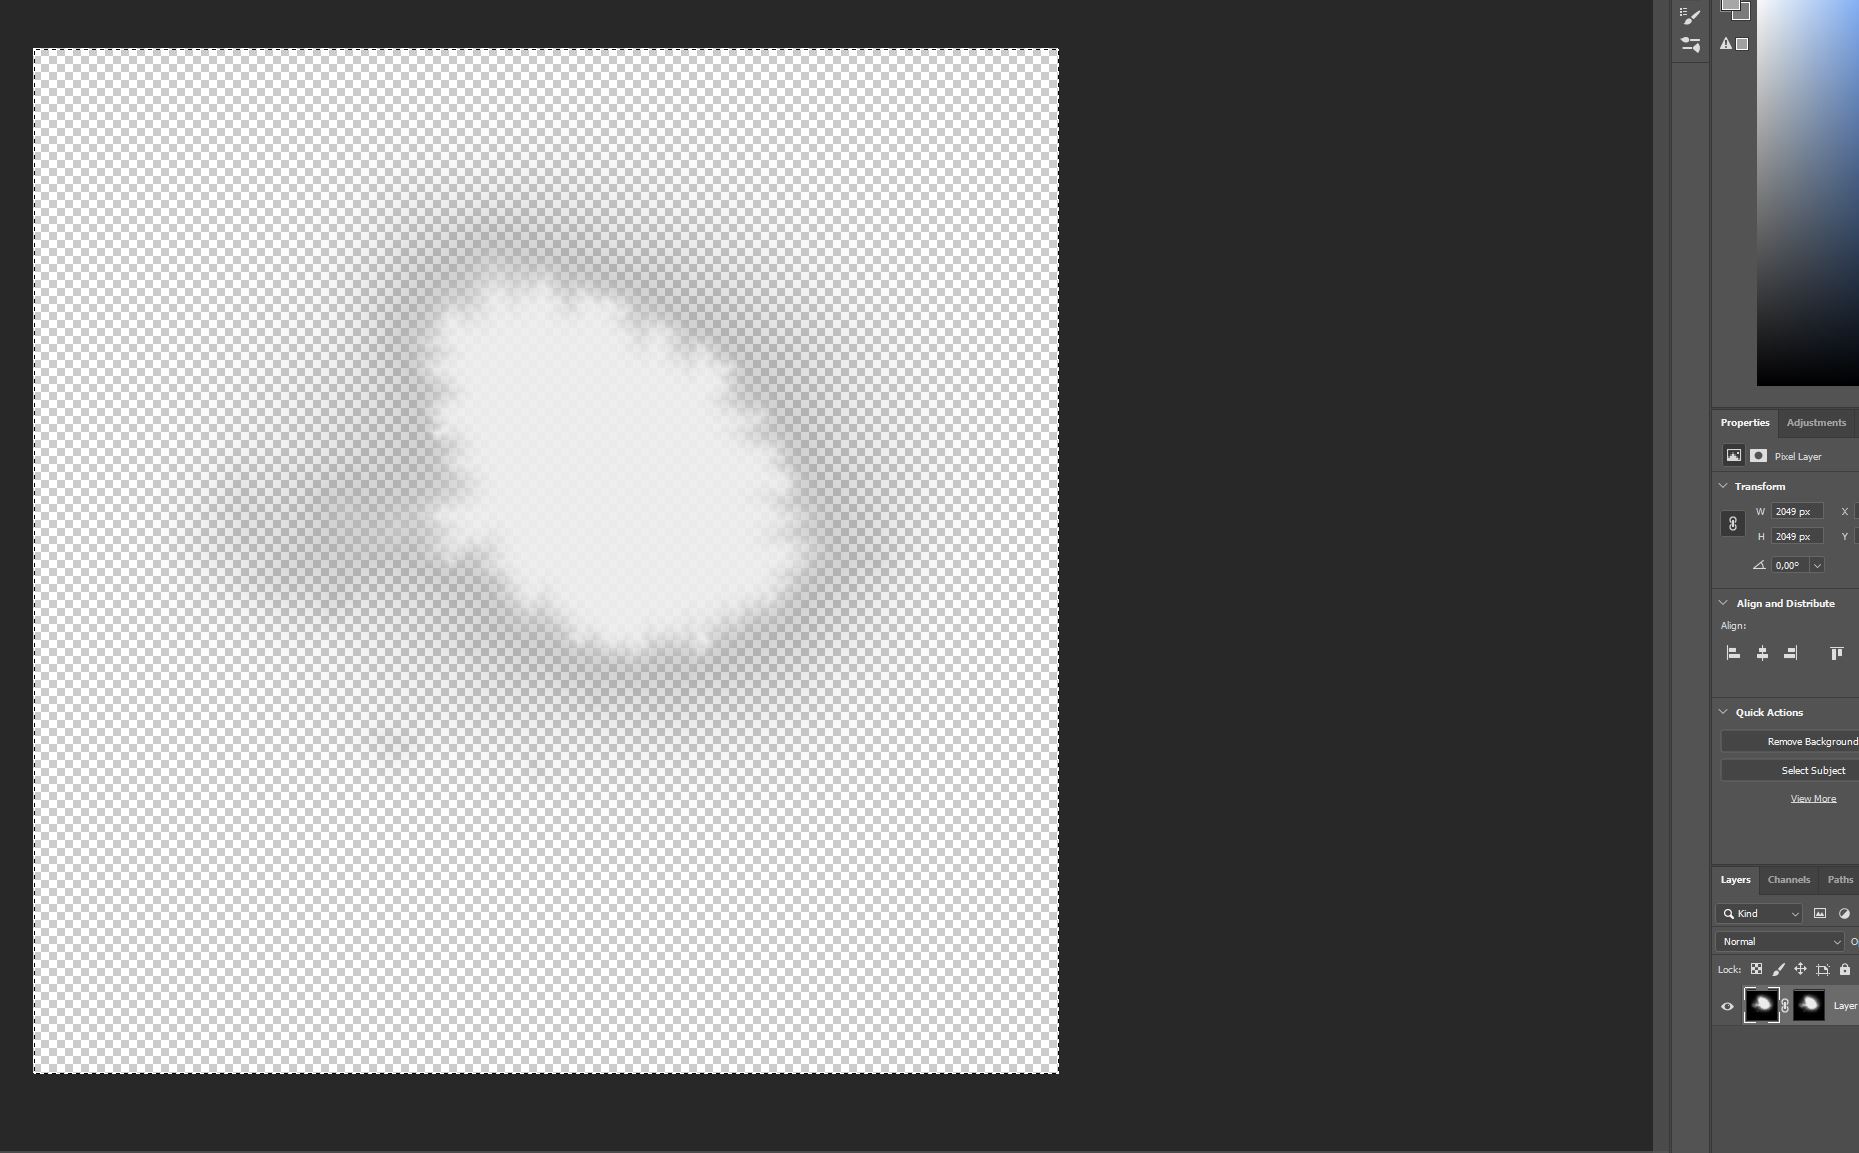
if you still have the original image selected, delete it and fill it with full white: g tool in photoshop and select the white colour (to optimize, you could also fill it with white and avoid 1 extra step)
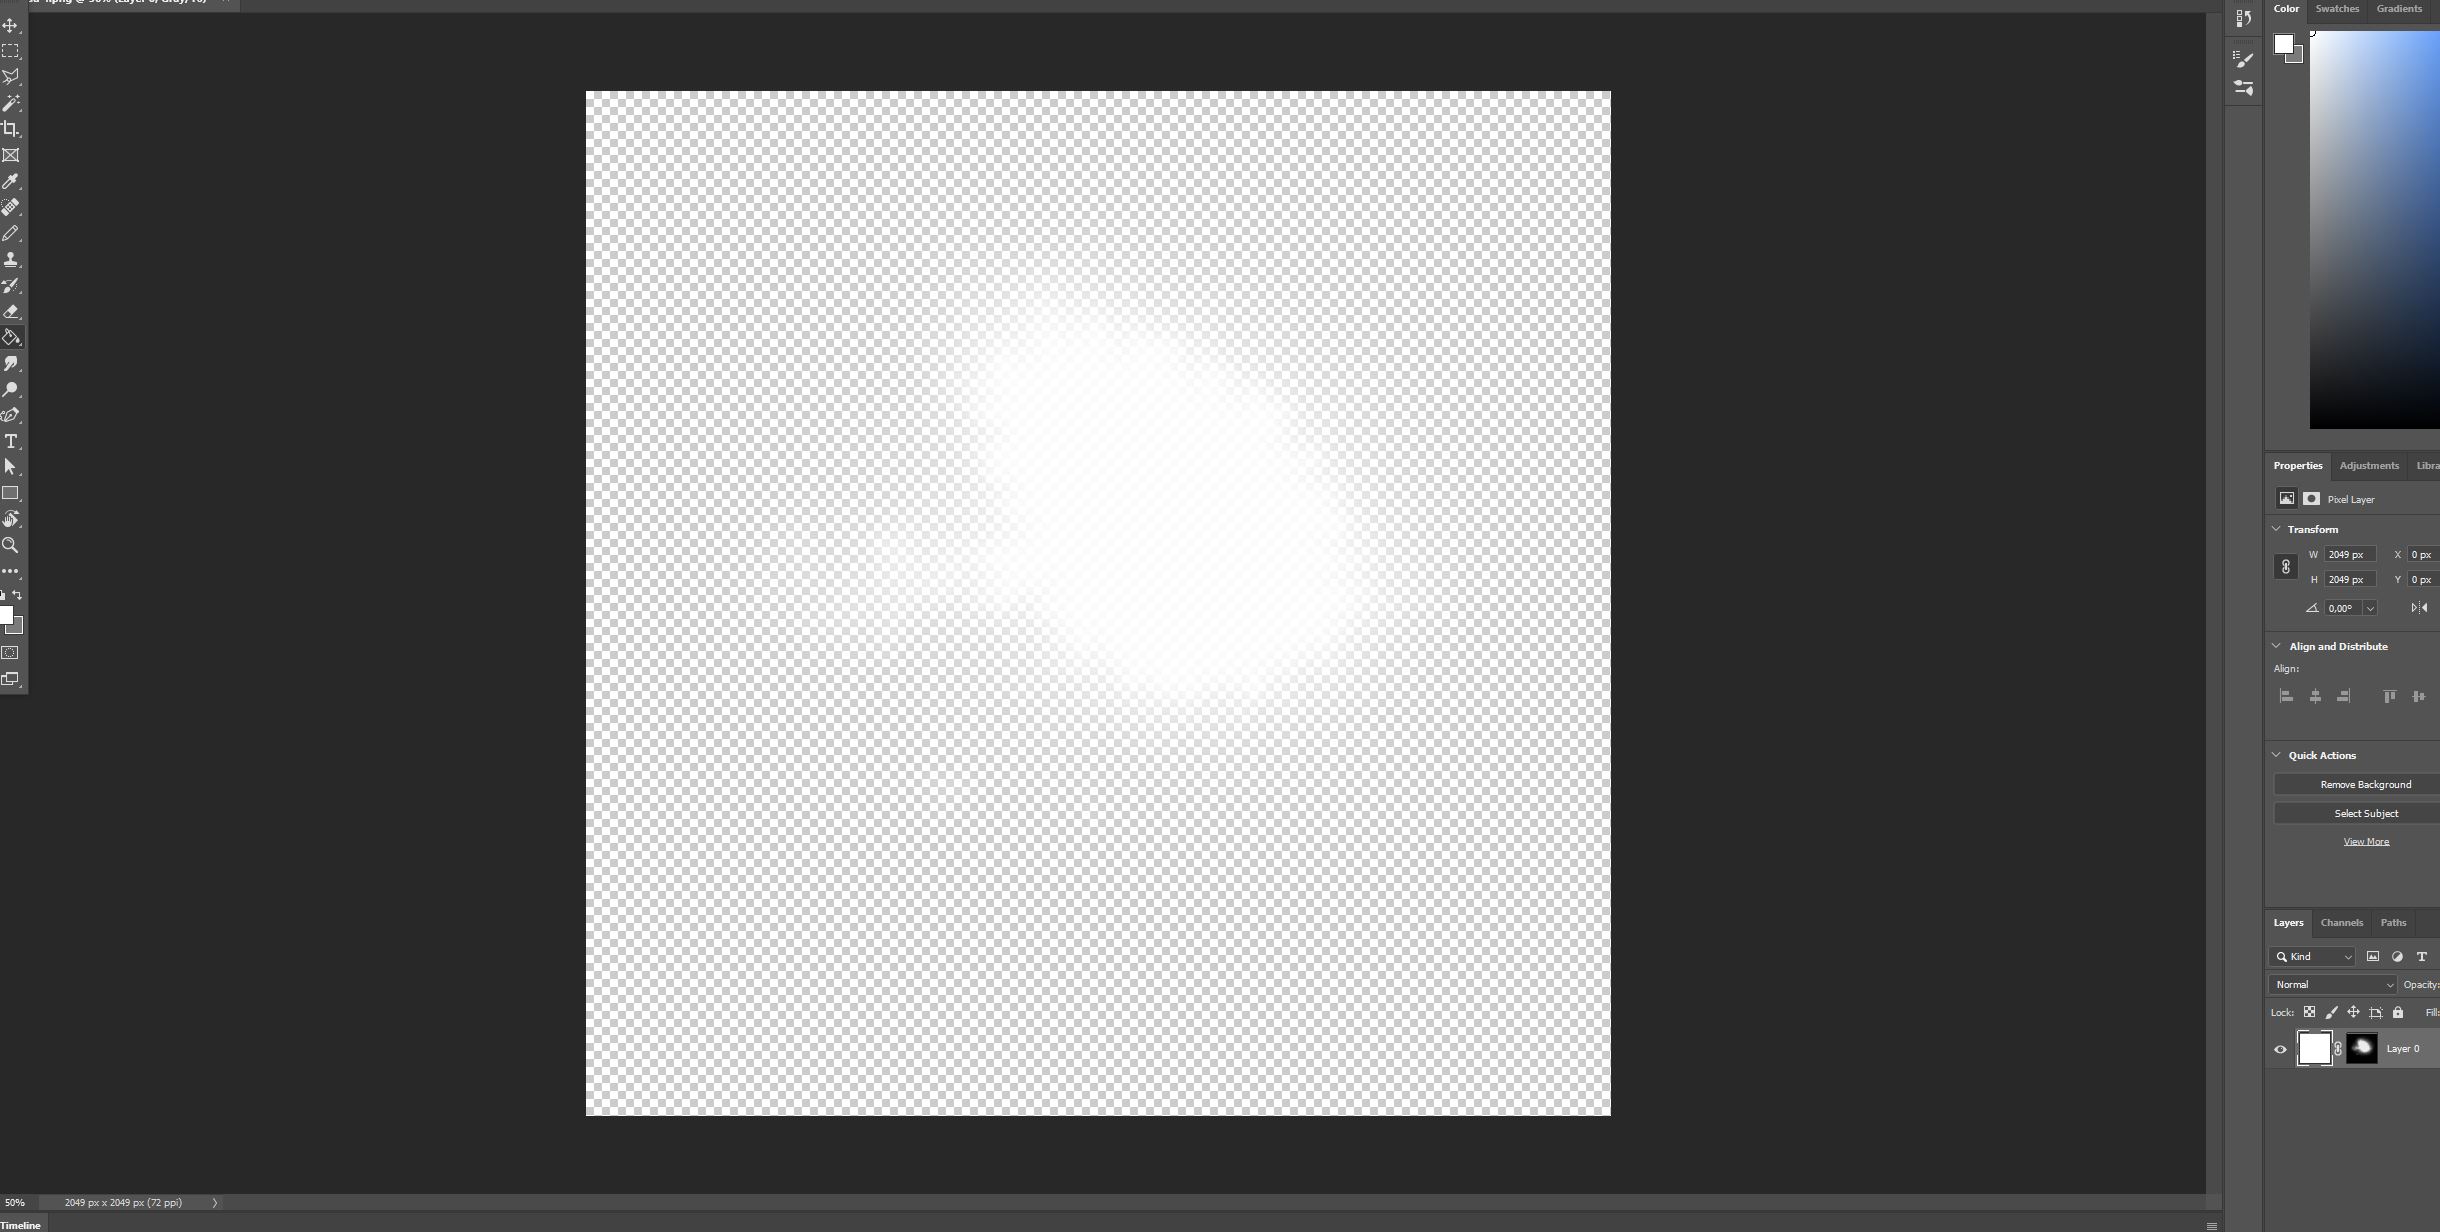
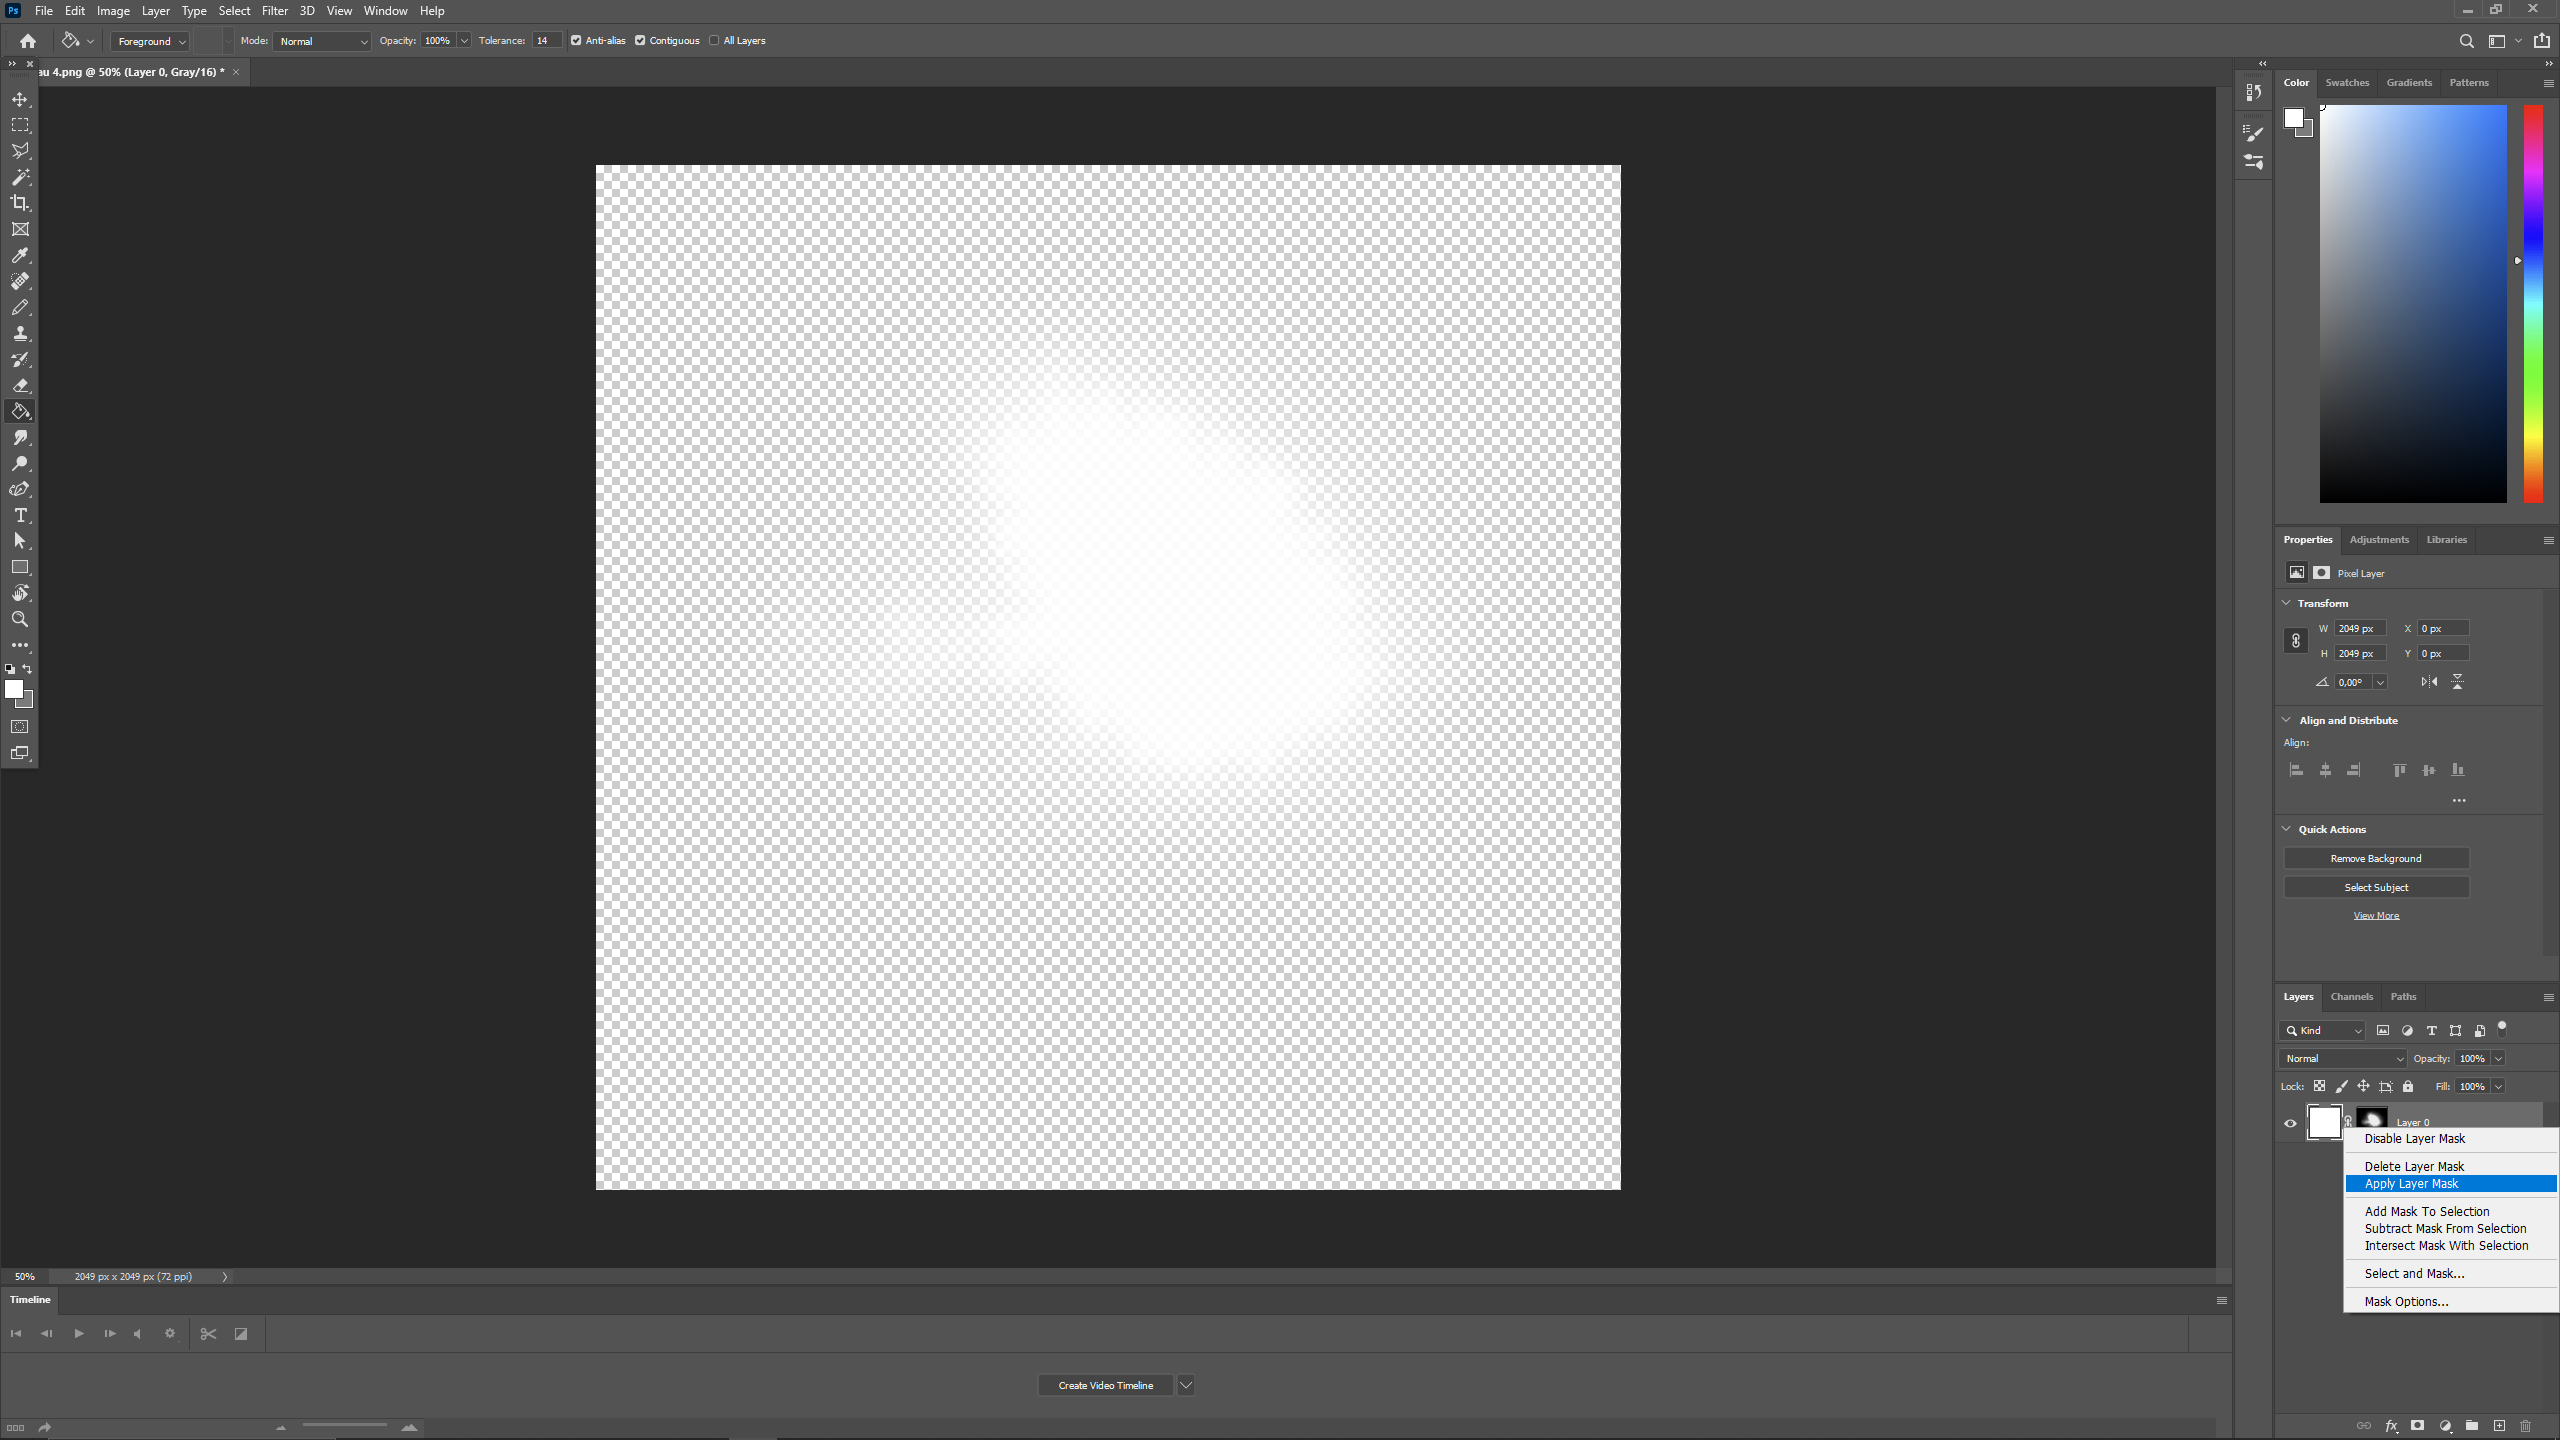
apply layer mask
after inverting colours:
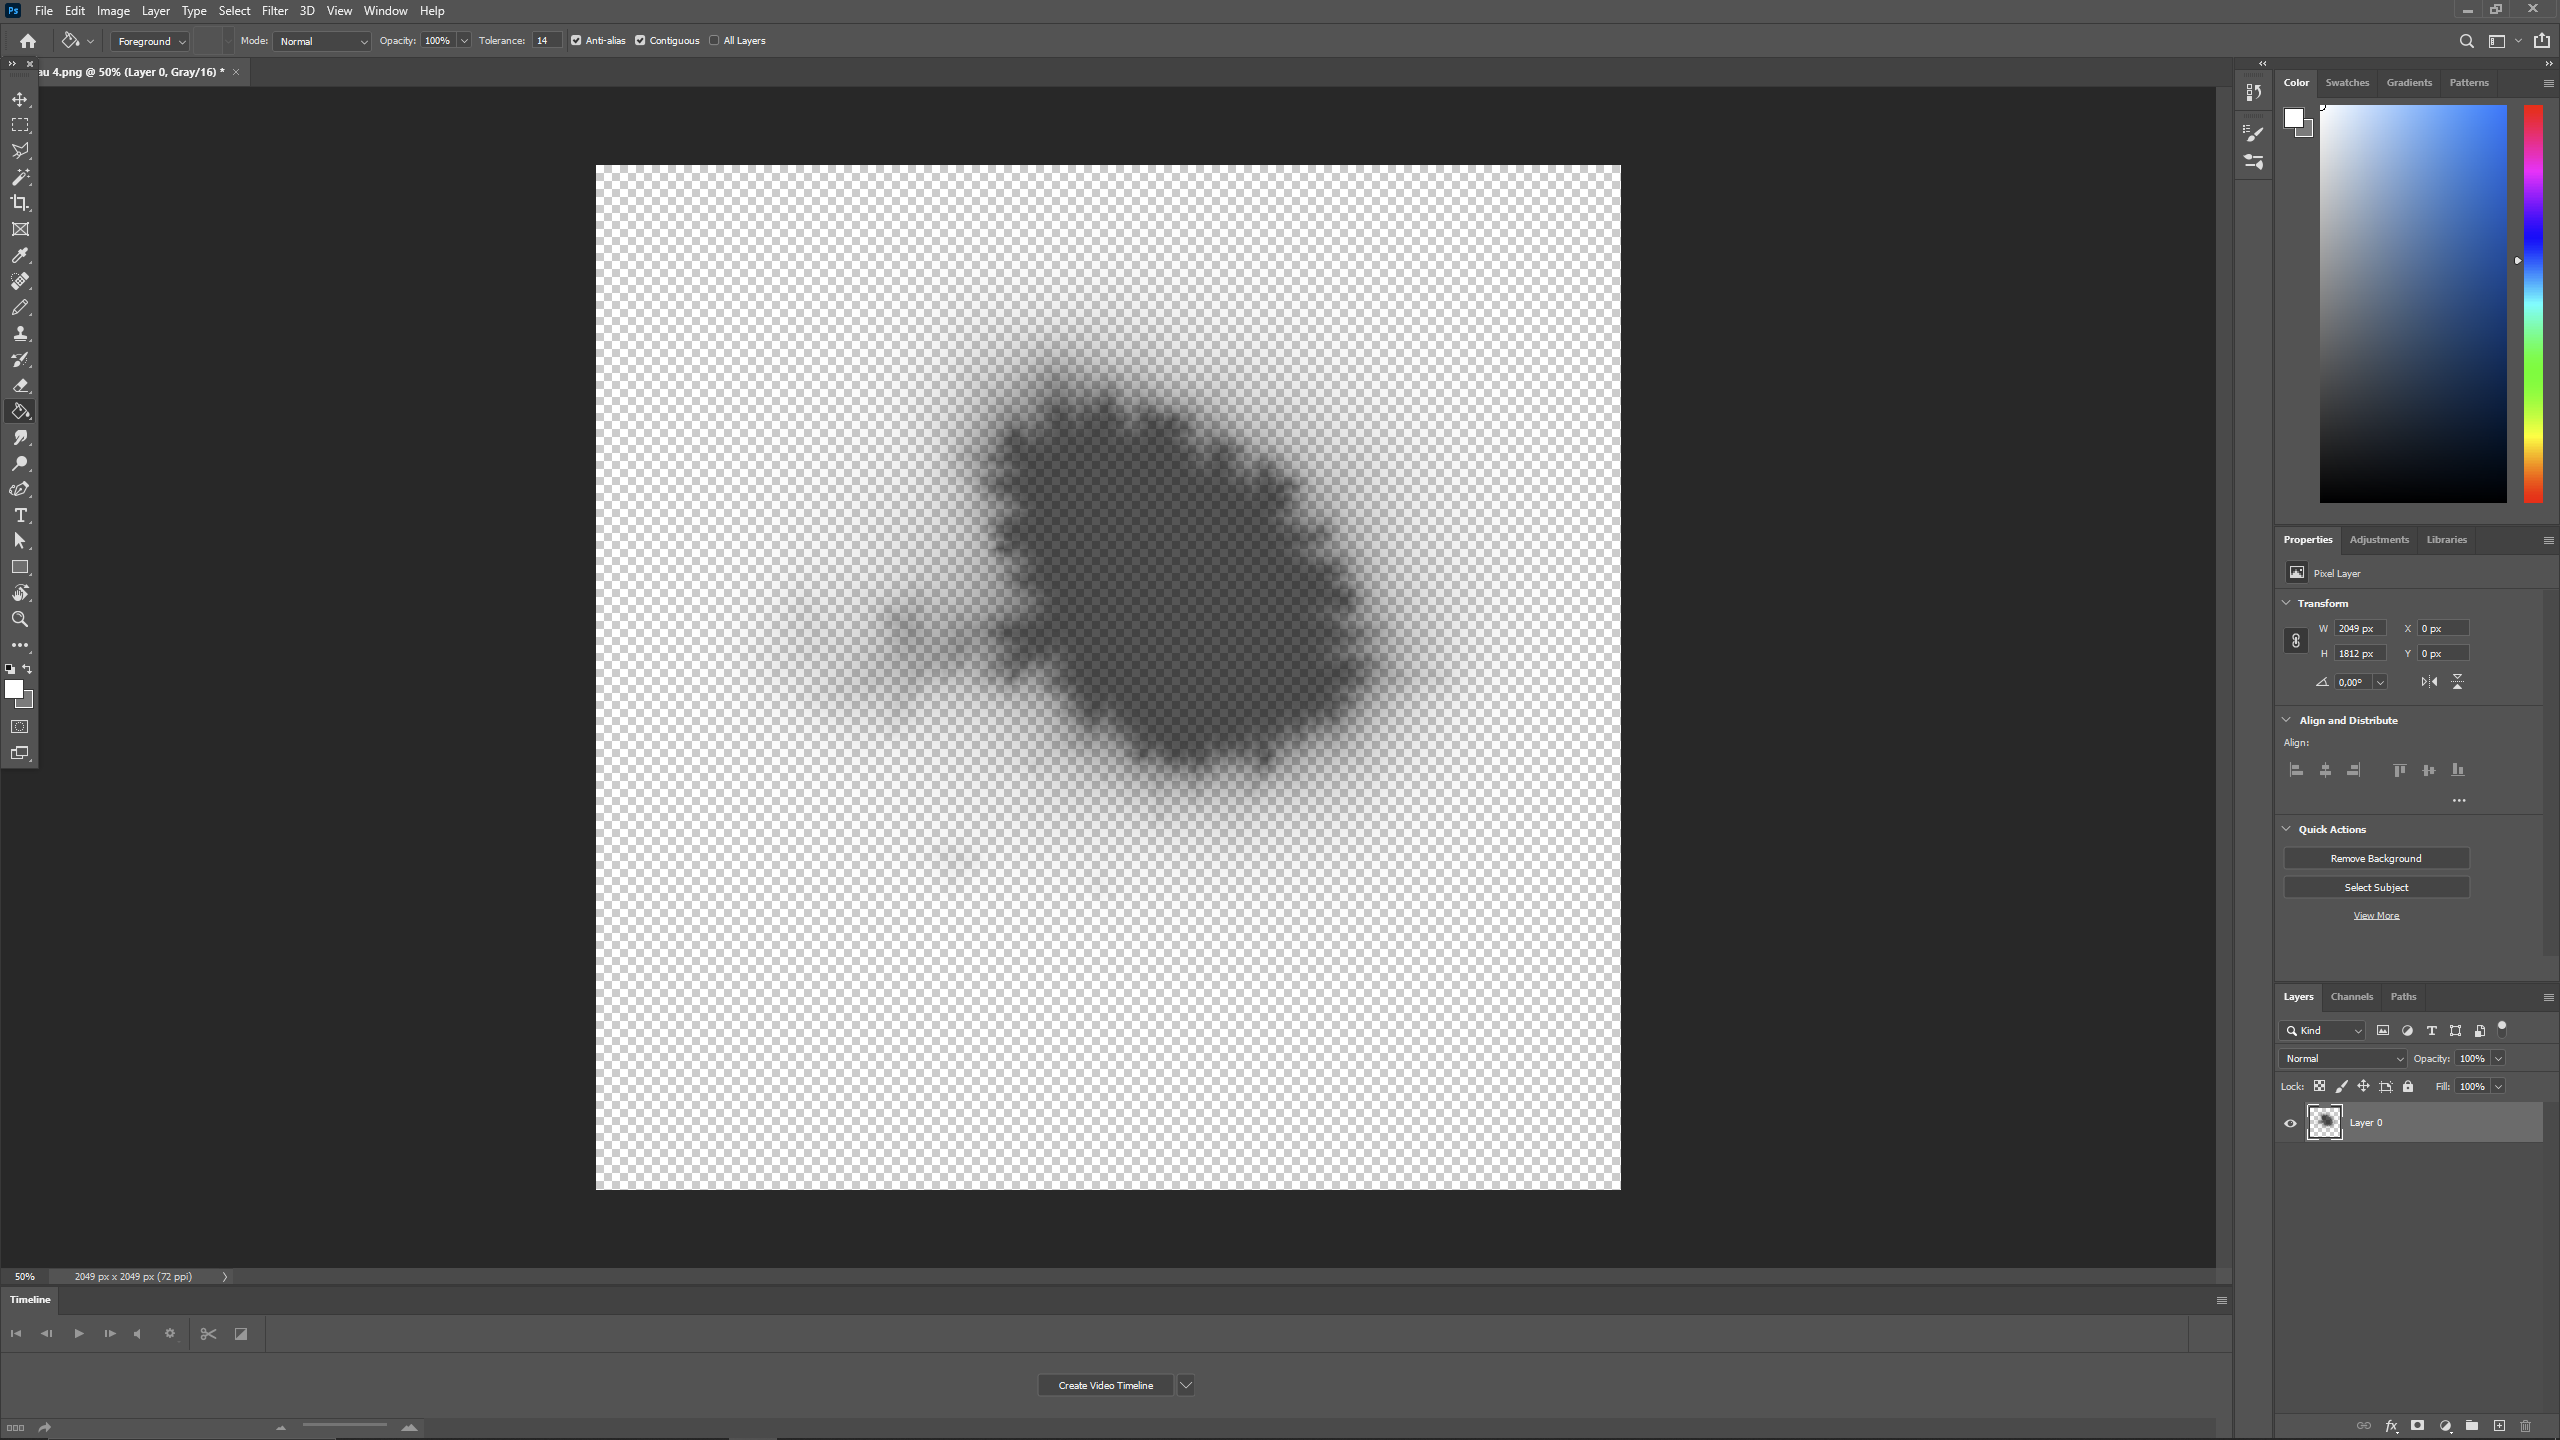
resize image to 64x64: Alt + Ctrl + I in photoshop
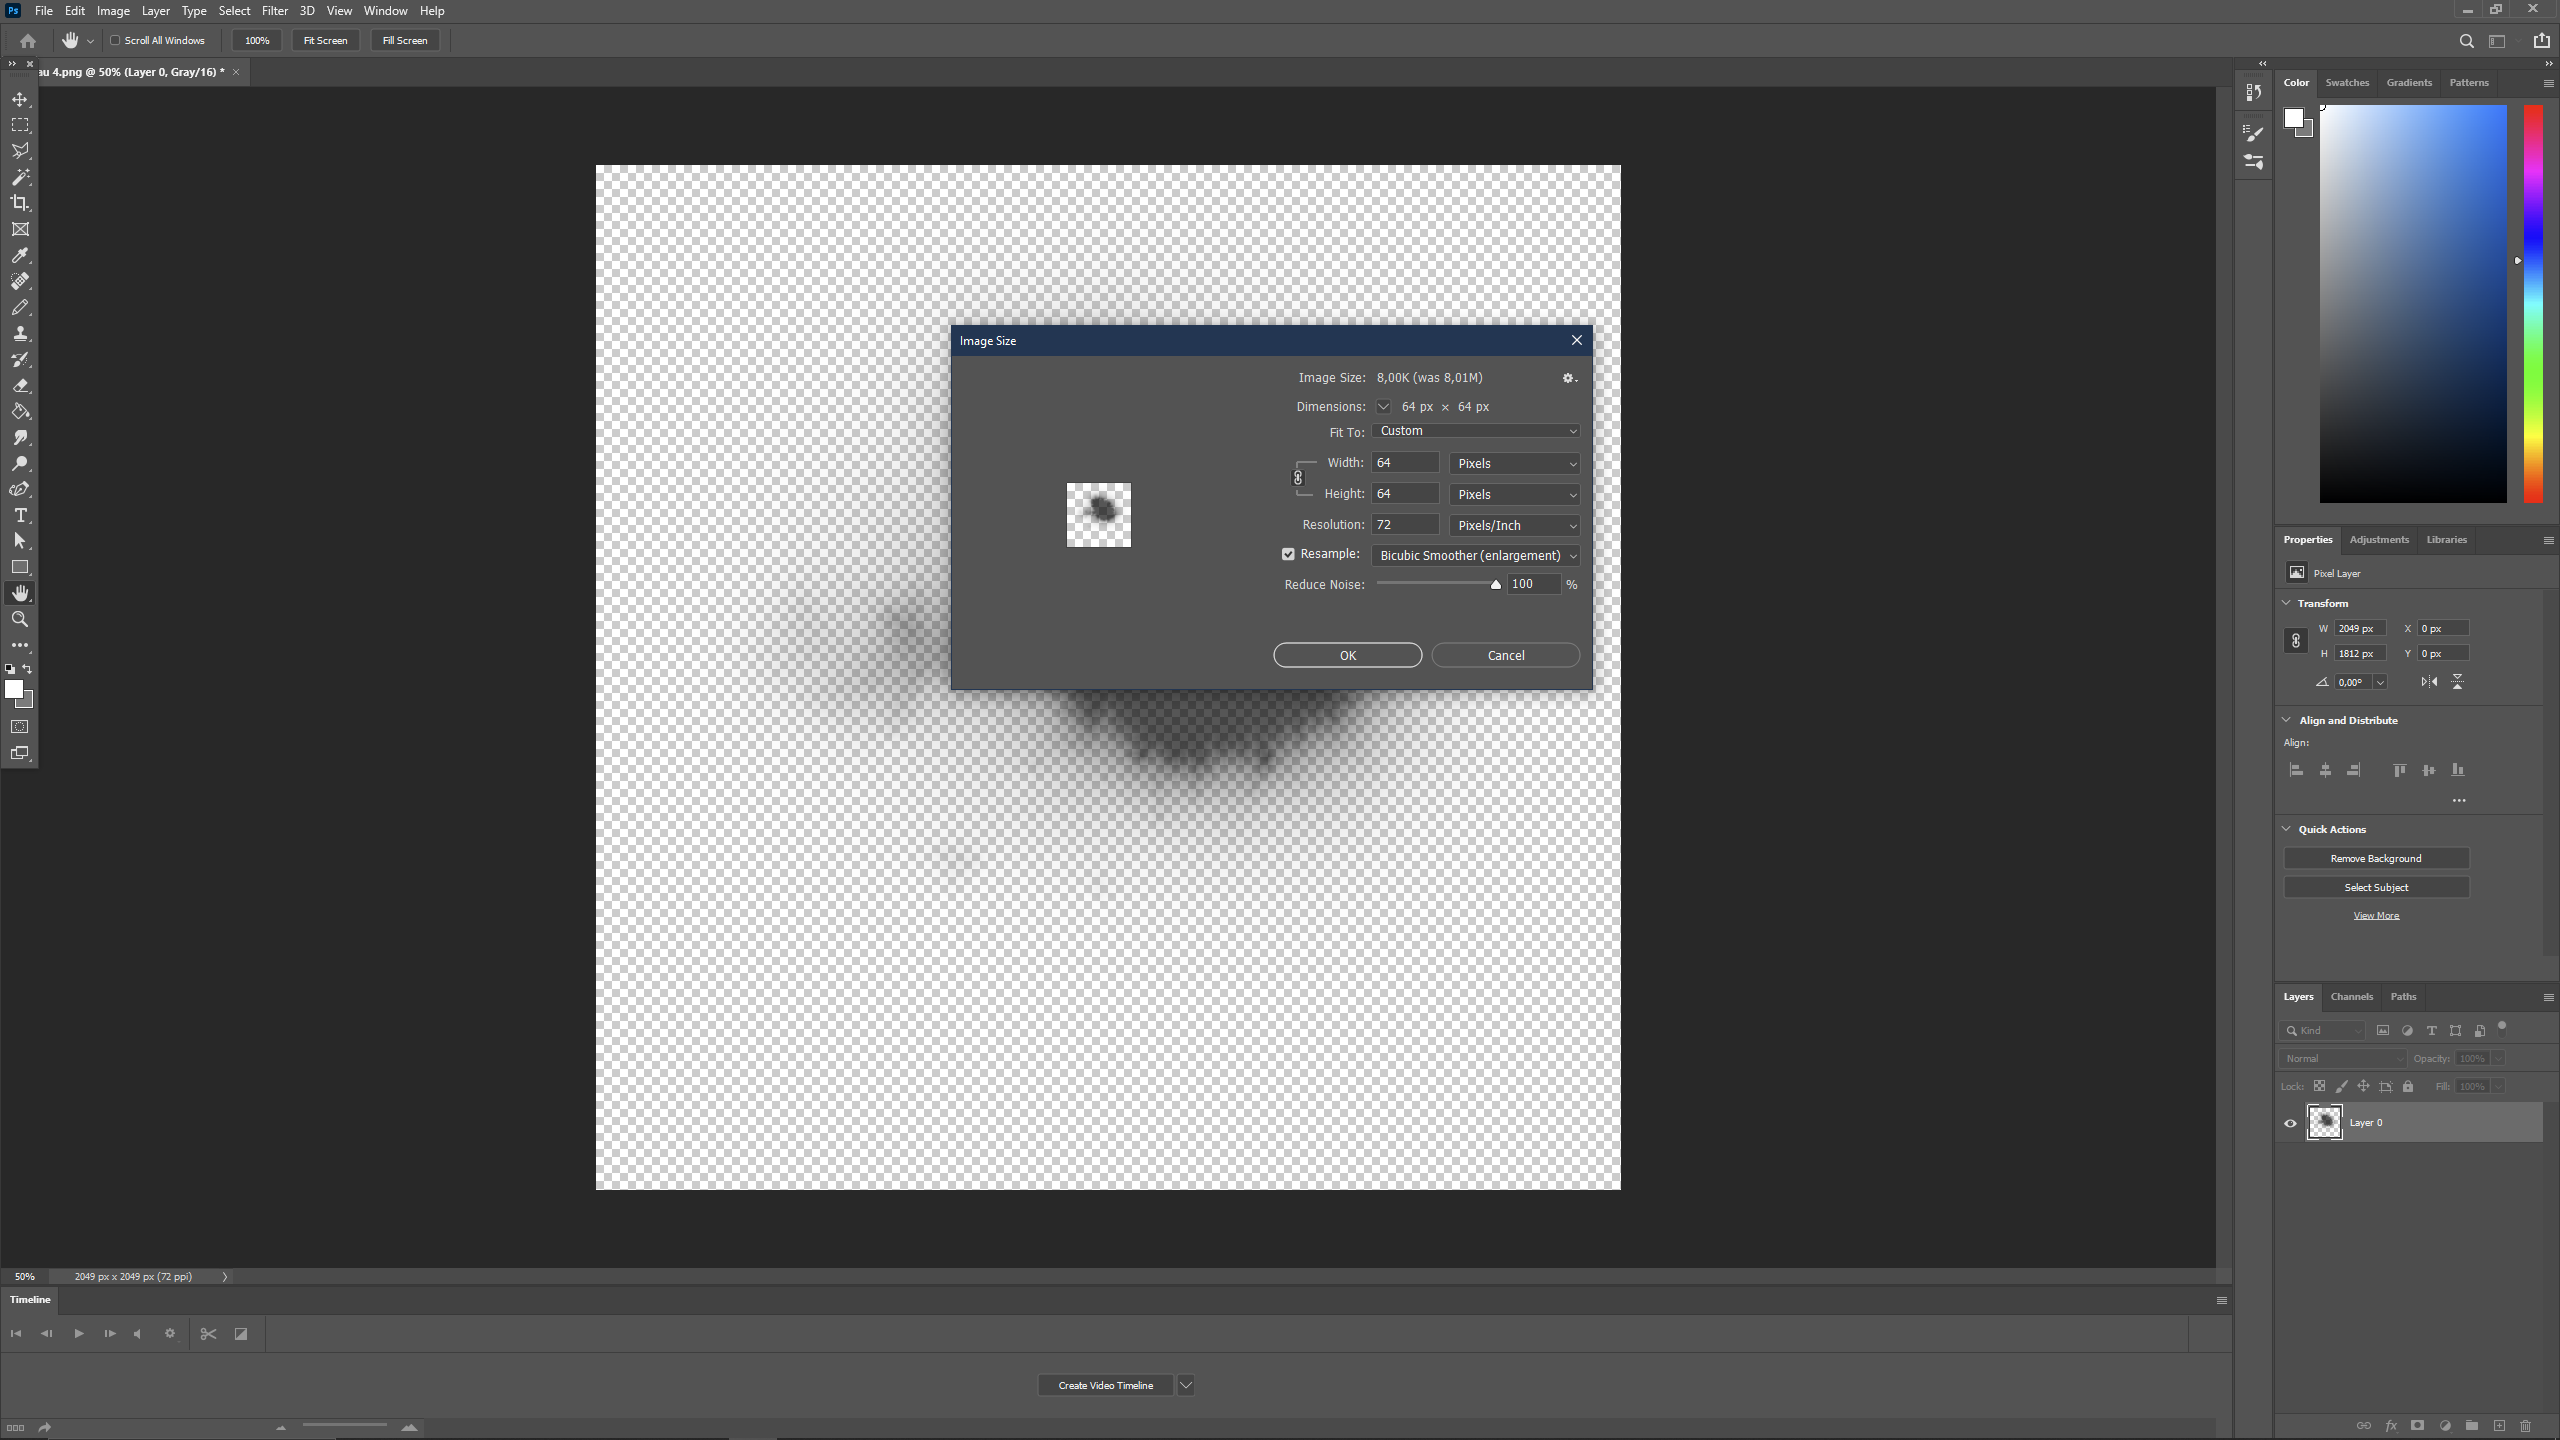 Ctrl + I in photoshop
switch to rgb 8 bit:
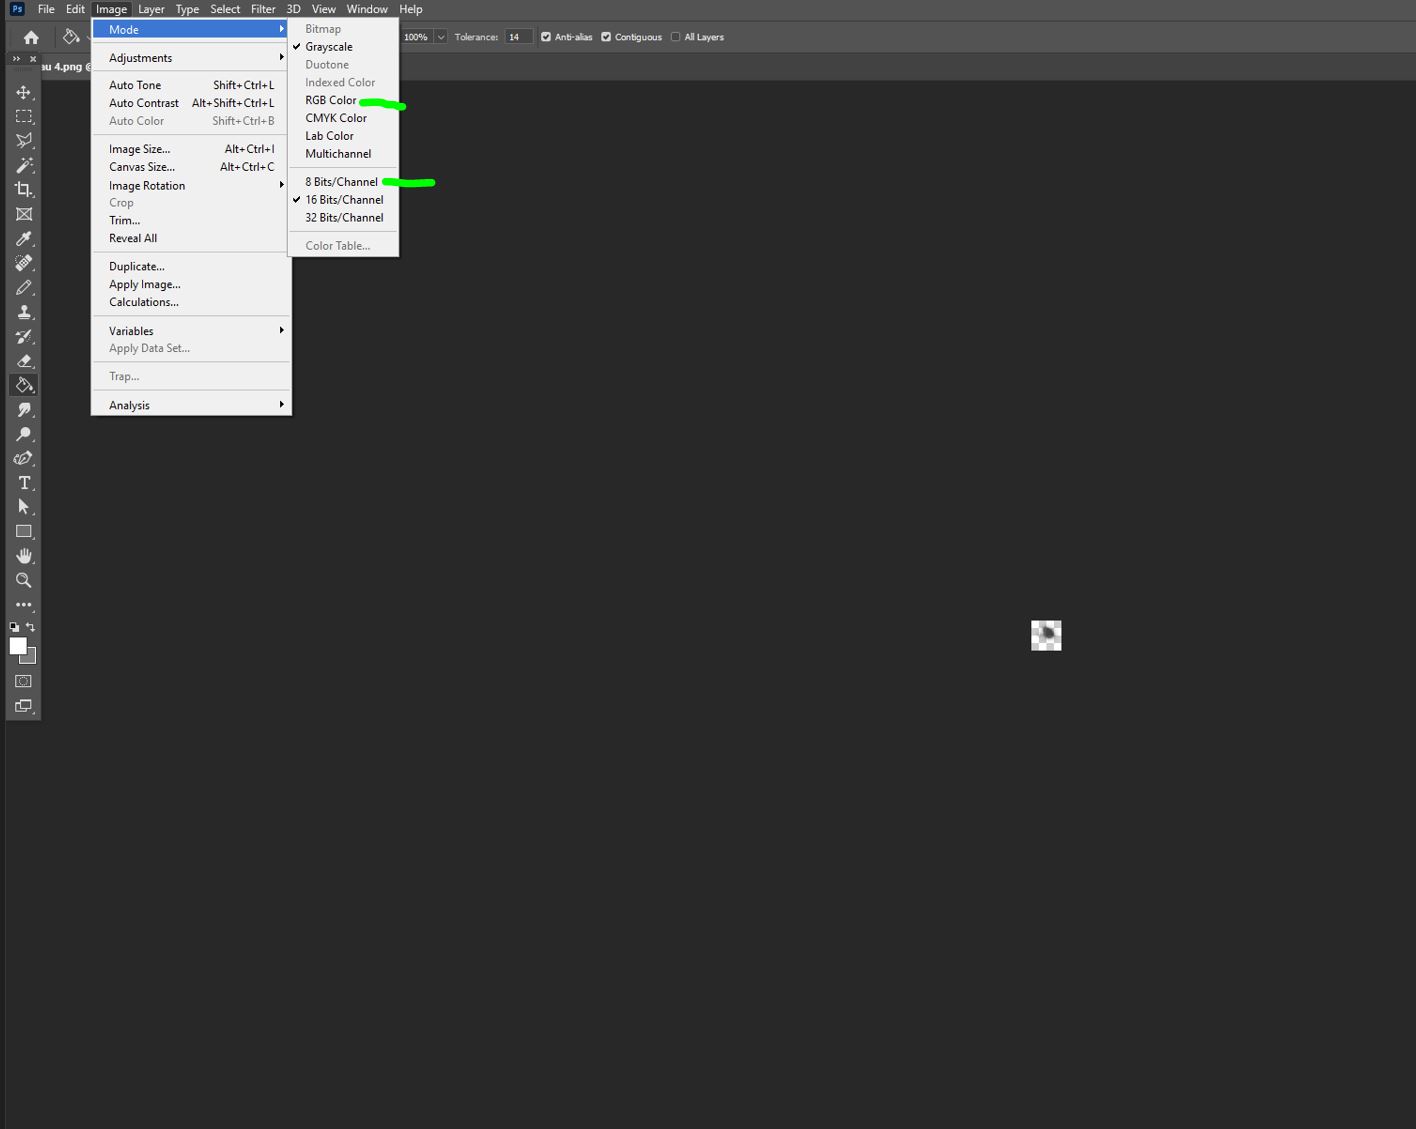
if your image will have these arguments at the end, your file should be correct
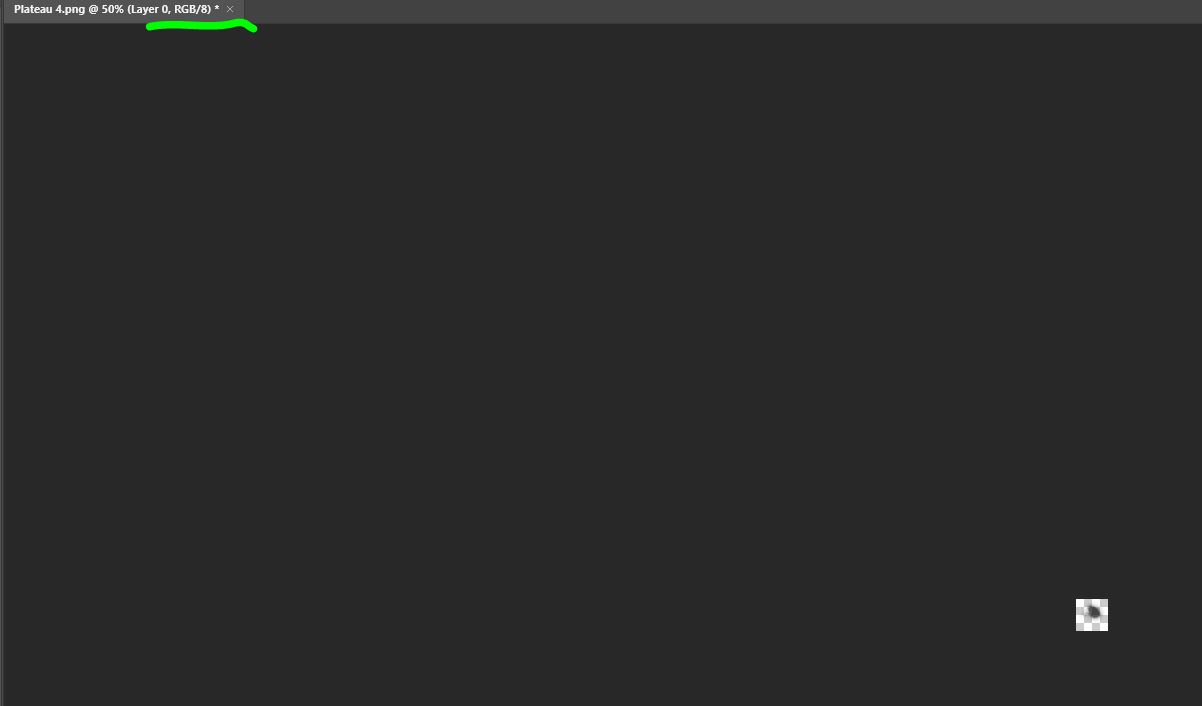
that should be it!
- The Beginner's Guide to Traffic★ 5 (5.9k)167k views13k ♥27 minUpdated Sep 26, 2015
- HOW TO TRAFFIC★ 5 (3.5k)95k views5.2k ♥33 minUpdated Mar 26, 2017
- 都市天际线模组推荐指南V5.1★ 5 (1.9k)67k views6.5k ♥29 minSimplified ChineseUpdated Dec 26, 2023
- Cities Skylines: An In-Depth Beginner's Guide & Walkthrough★ 5 (926)66k views2.8k ♥37 minUpdated Apr 9, 2015
- Traffic Planning Guide for Realistic Cities★ 5 (1.4k)59k views3.1k ♥30 minUpdated Jul 20, 2017
- Cities Skylines | A Beginner's Guide To Using Mods & Custom Content★ 5 (898)47k views2k ♥28 minUpdated May 21, 2023



- Upgrading to PremiumTeam Fortress 2★ 5 (20k)1441k views11k ♥6 minUpdated May 11, 2022
- No More Room in Hell Official ManualNo More Room in Hell★ 5 (2.8k)569k views2.1k ♥29 minUpdated Apr 22, 2019
- NMRiH Community Hosting GuidesNo More Room in Hell★ 5 (526)351k views653 ♥1 minUpdated Aug 10, 2022
- ULTIMATE GUIDE FOR GAME DEV TYCOONGame Dev Tycoon★ 5 (5.8k)326k views10k ♥4 minUpdated 23 Jan, 2014
- How to 'Git Gud' Soon™MORDHAU★ 5 (2k)318k views3k ♥68 minUpdated Nov 16, 2024
- Лучшие кооперативные игры SteamPAYDAY 2★ 5 (1.5k)315k views2.1k ♥56 minRussianUpdated Apr 27, 2025






This guide was created by its original author on the Steam Community. Are you the author and want it removed? Request removal.